This year, Williams College collaborates with the Clark Art Institute to become a vital site for the next chapter of Astral Sea, an ongoing series by multidisciplinary artist Tsedaye Makonnen. Known for blending performance, sculpture, and textile arts, Makonnen’s work explores the intertwined themes of resilience, memory, and migration. Her residency at Williams extends this exploration through a series of collaborative workshops, performances, and community engagements that invite both participation and reflection.

Kusika dancers shroud themselves in fabric for Makonnen’s performance. (Photo courtesy of Brad Wakoff.)
The Vision Behind Astral Sea

Tsedaye Makonnen unpacking and seeing the woven mylar demo for the first time.
At its core, Astral Sea is about creating immersive, multi-sensory experiences that transcend traditional performance boundaries. The project weaves together live dance, sculptural installations, soundscapes, and reflective textiles, many of which are inspired by Makonnen’s light sculptures. These elements come together to embody themes of diasporic memory, spiritual resilience, and the cosmic connections between people and places.
In this iteration, produced by Williams College and presented at the Clark, Makonnen collaborates closely with Kusika, the college’s African dance and percussion ensemble, and a broader network of faculty, students, and staff across departments like WCMA, Theater, Dance, Makerspace, FabLab, Science Shop, and the Sculpture Studio. This partnership is supported by the Gaudino Fund and fosters a unique interdisciplinary environment where art, technology, and community engagement converge.
Materials as Storytellers

Staff and faculty examining Zea Barker’s fabric for Tsedaye Makonnen’s Astral Sea series. From left to right: Kyle Yager, Samantha Pasapane, Tsedaye Makonnen, and Sandra Burton.
A central feature of Astral Sea is its sculptural textiles—large, flowing fabrics adorned with shimmering materials that move and reflect light during performances. These are not just aesthetic choices; they are vessels for storytelling. Makonnen and her collaborators have been experimenting with a range of unconventional materials:
Blue fabrics and appliqué
Custom-made textiles in various sizes, embellished with symbols, mylar cut-outs, mirrored acrylic, and smelted aluminum disks. These components create a dynamic visual and acoustic experience as performers interact with the fabrics.
Upcycled aluminum: Samantha Pasapane of the Sculpture Studio worked with the team’s requests to forge and cast aluminum—from the Science Shop’s CNC shavings —into blocks. Samantha smelted the aluminum, cast it as a rectangular block, cut a slice with a metal bandsaw, and then polished that to a mirror reflective finish. This was one of many material experiments that the team conducted to determine what kinds of materials would function most effectively being sewn into the fabrics. There were even discussions of sourcing aluminum from cans collected at the U.S.-Mexico border, linking the material to Makonnen’s broader themes of displacement, asylum, and echoing global migration. Like a variety of materials tested, this particular process was not selected for adorning the final textiles.

Aluminum shavings from the Science Shop’s CNC machines were repurposed and cast into aluminum blocks.

Samantha Pasapane of the Sculpture Studio experiments with forging aluminum from CNC shavings into blocks, and then polishing to a mirror reflective finish. Left: cutting a slice with the bandsaw; Middle: polishing with a drill mounted 3M abrasive pad; Right: the final slice is highly polished.
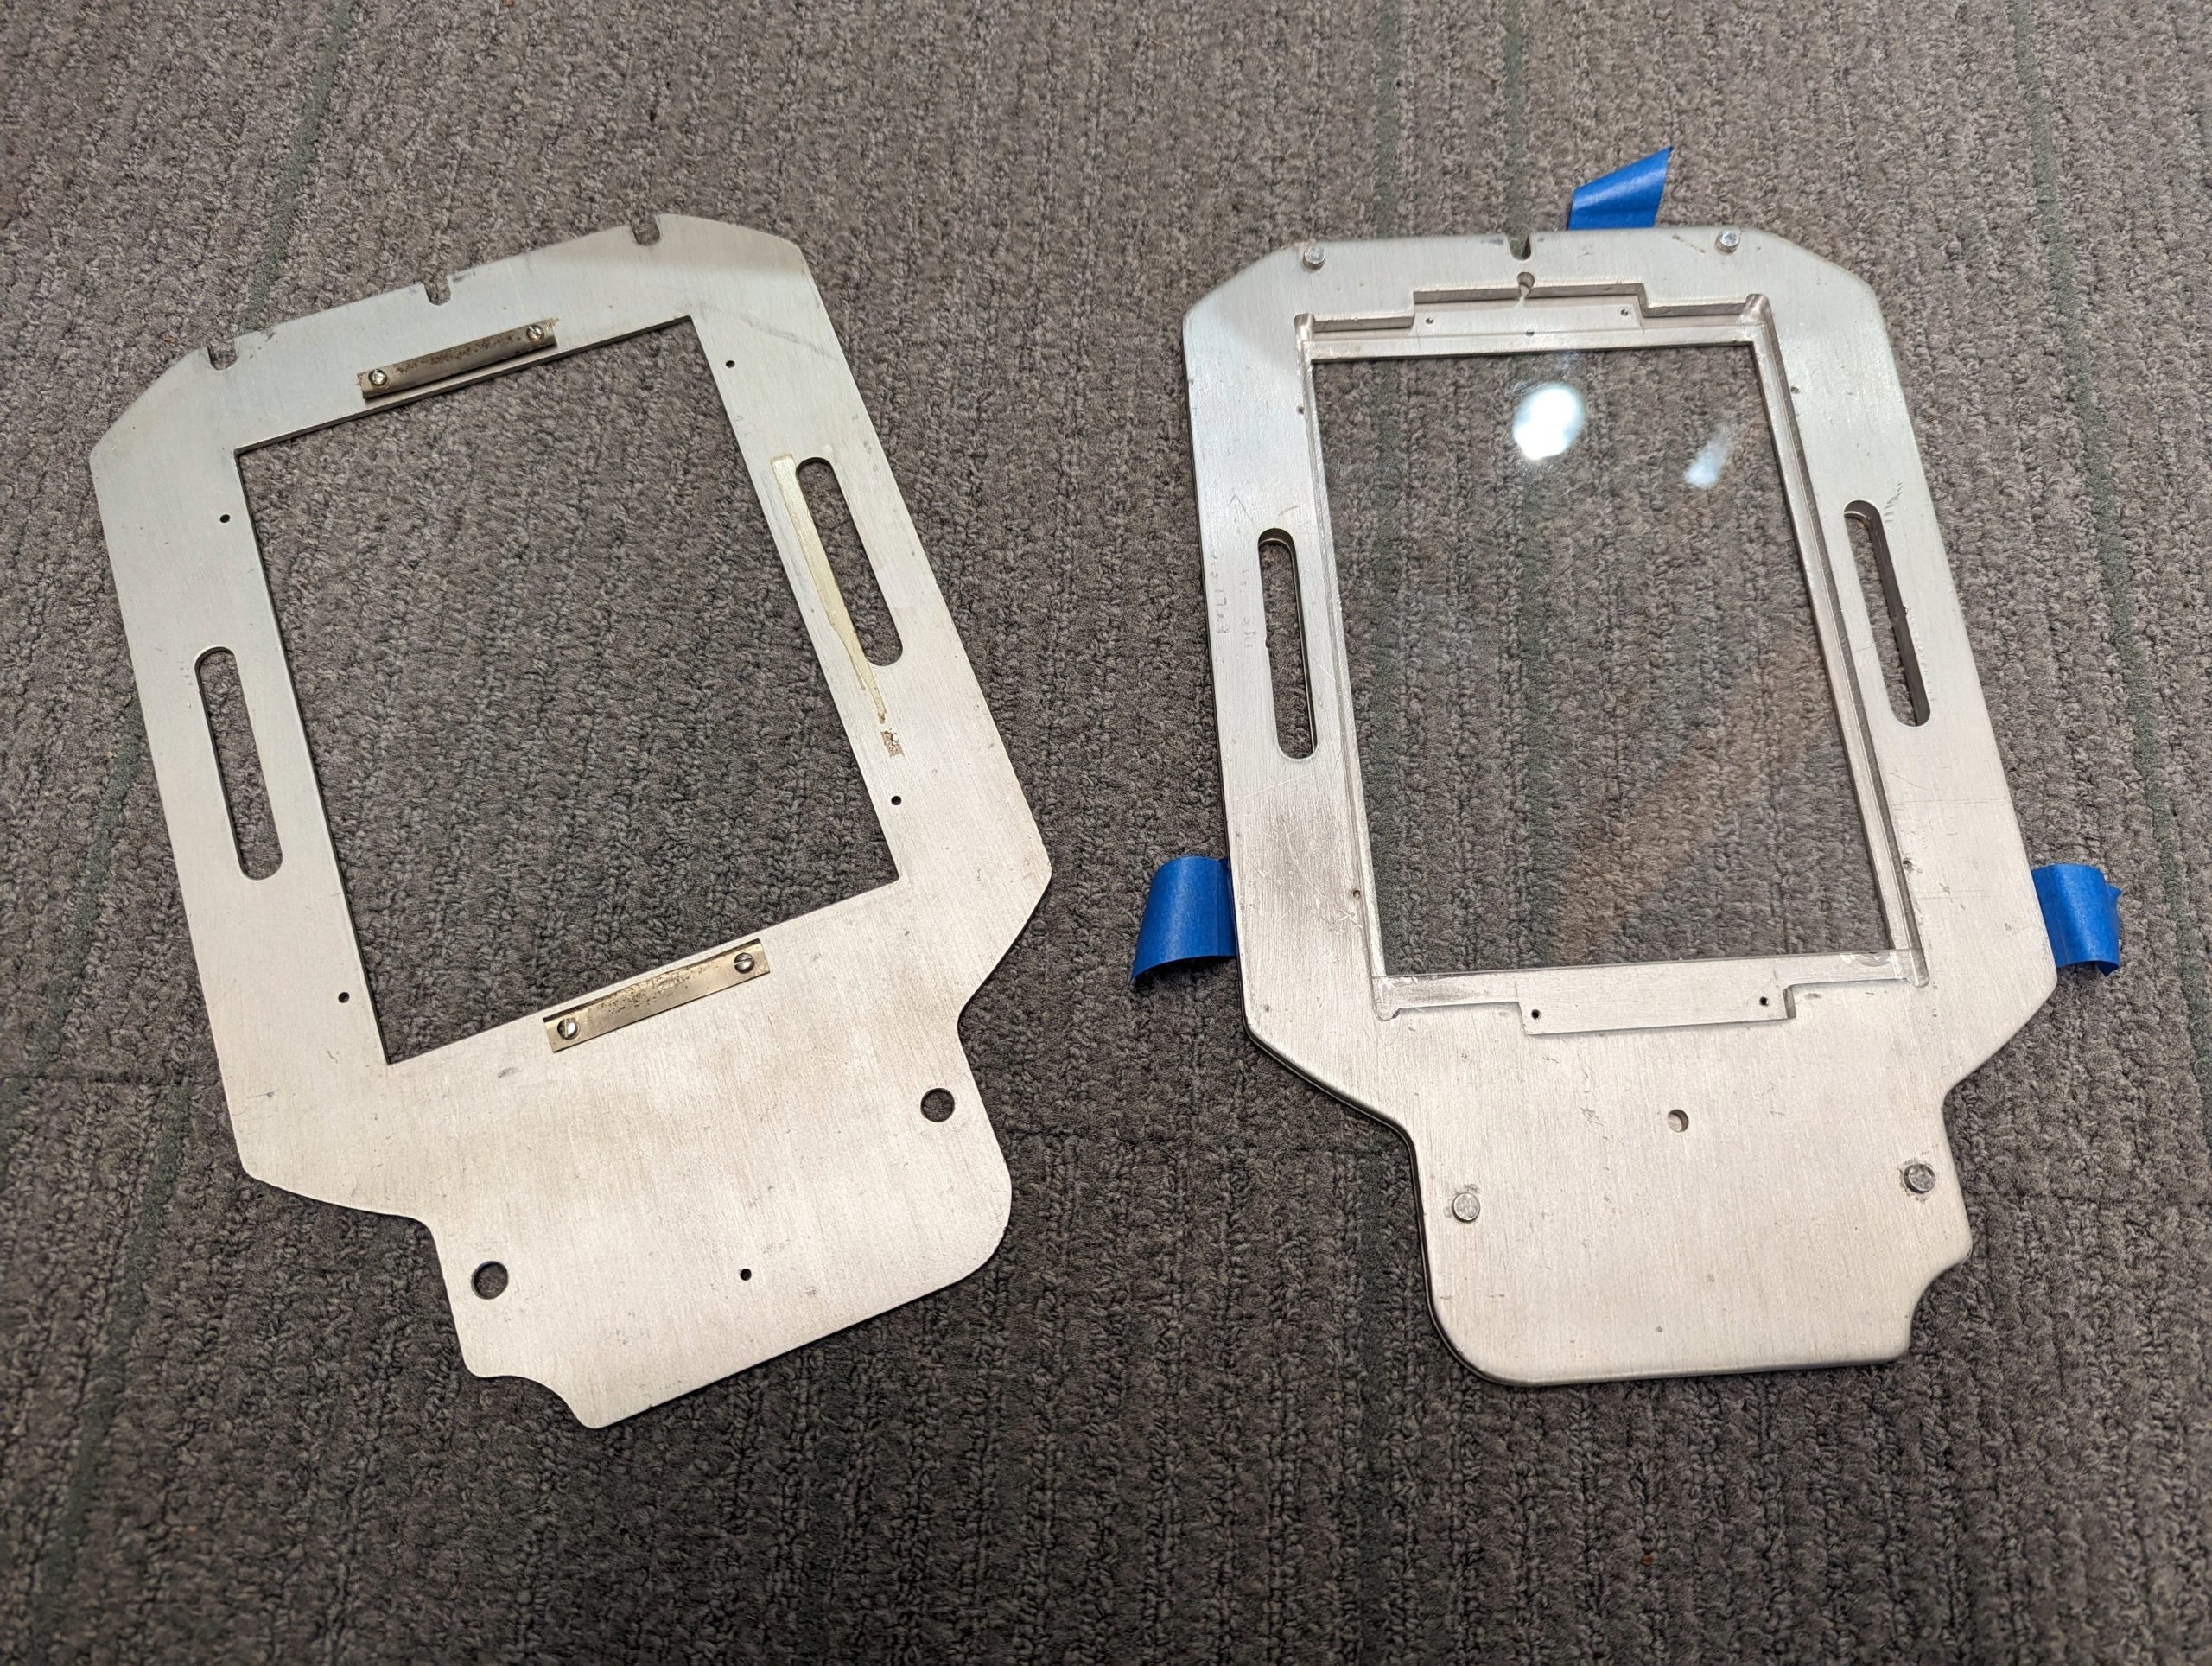
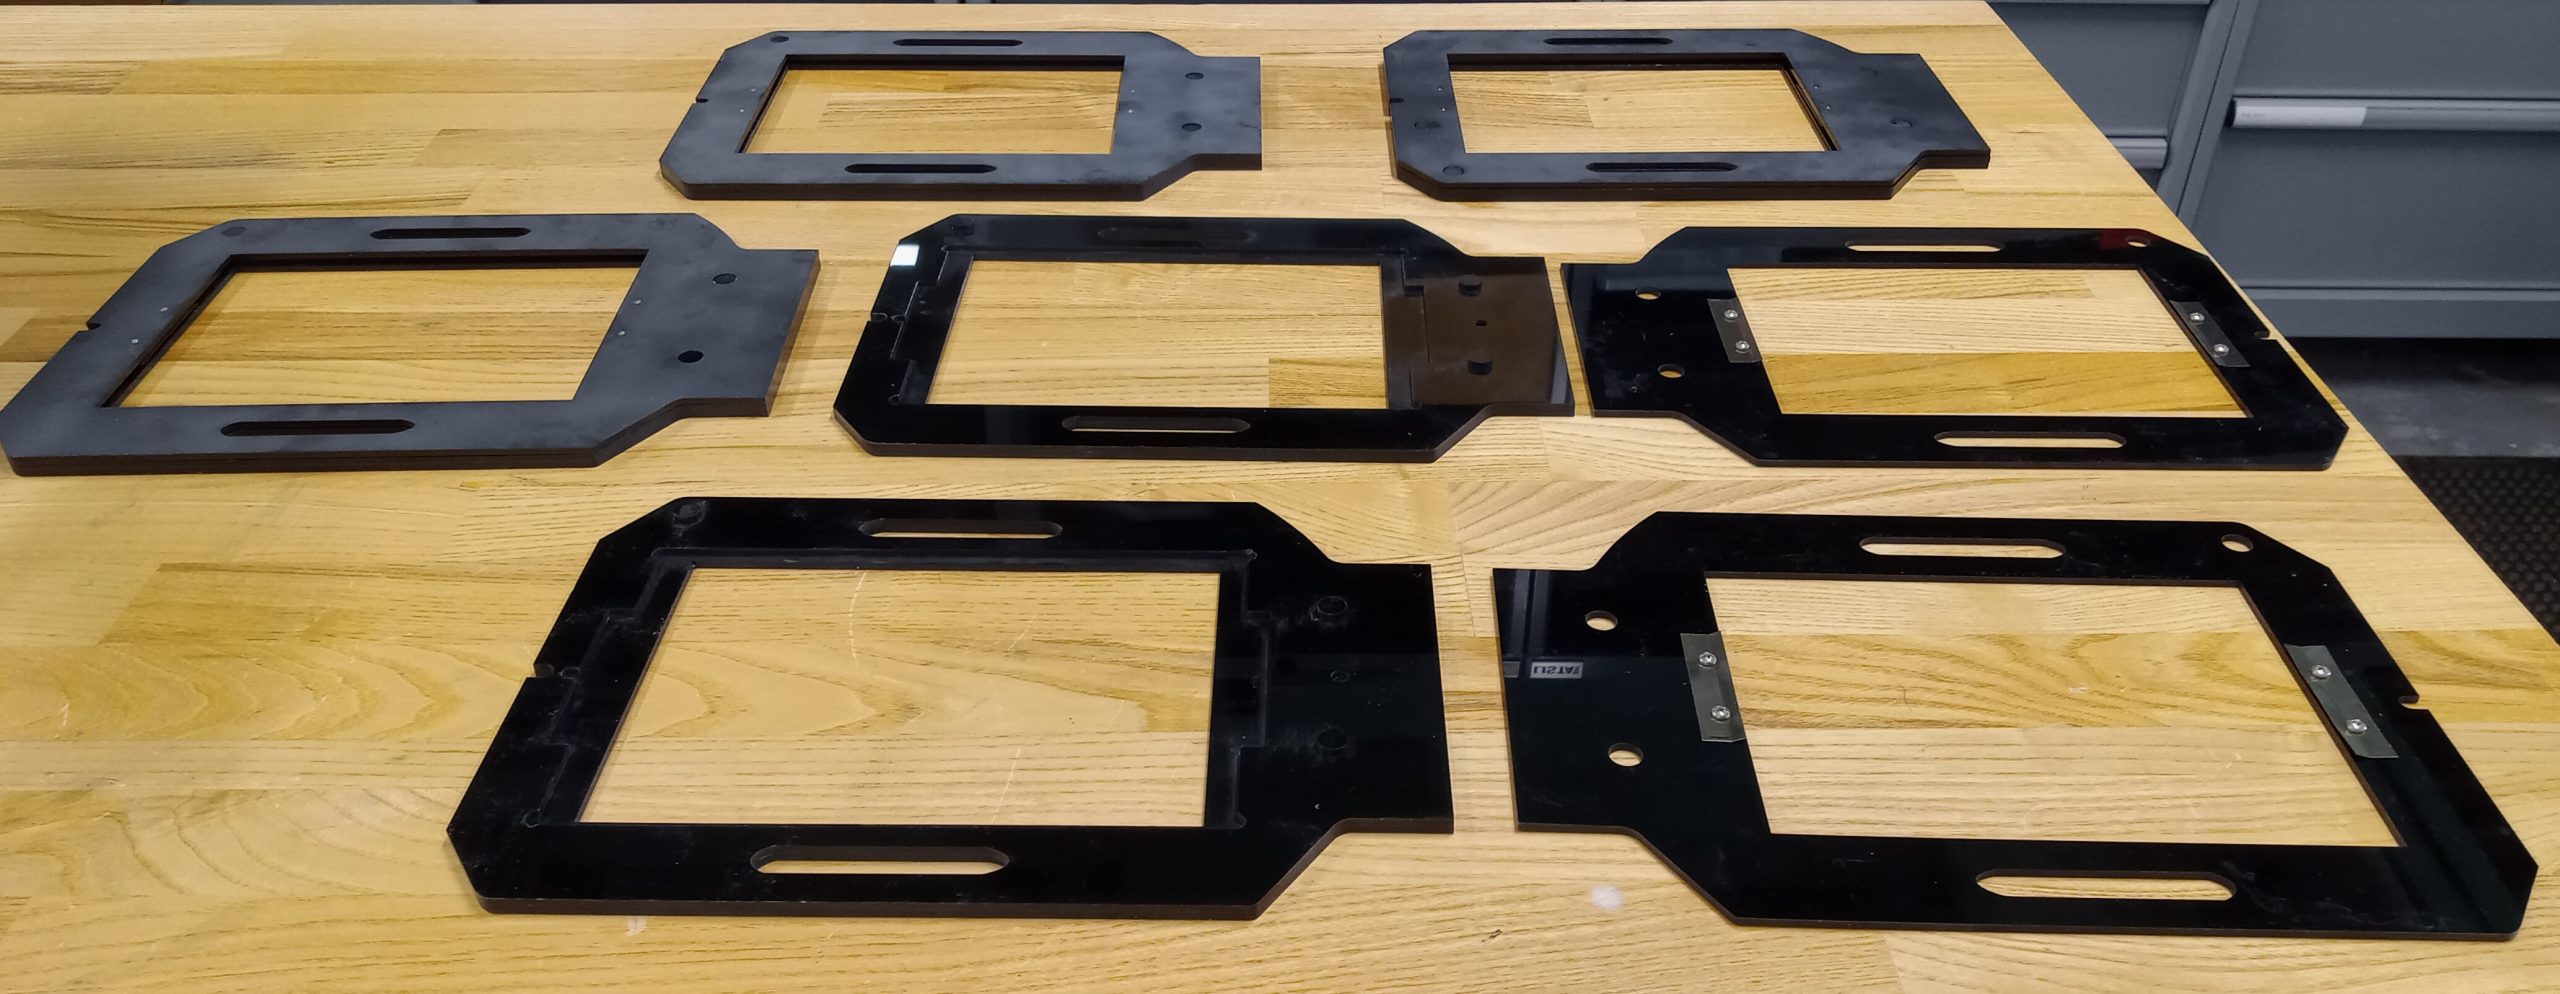
Mirrored acrylic and mylar
Laser-cut into symbolic shapes, these reflective elements catch light during performances, amplifying the visual impact and connecting to Makonnen’s signature light sculpture motifs.

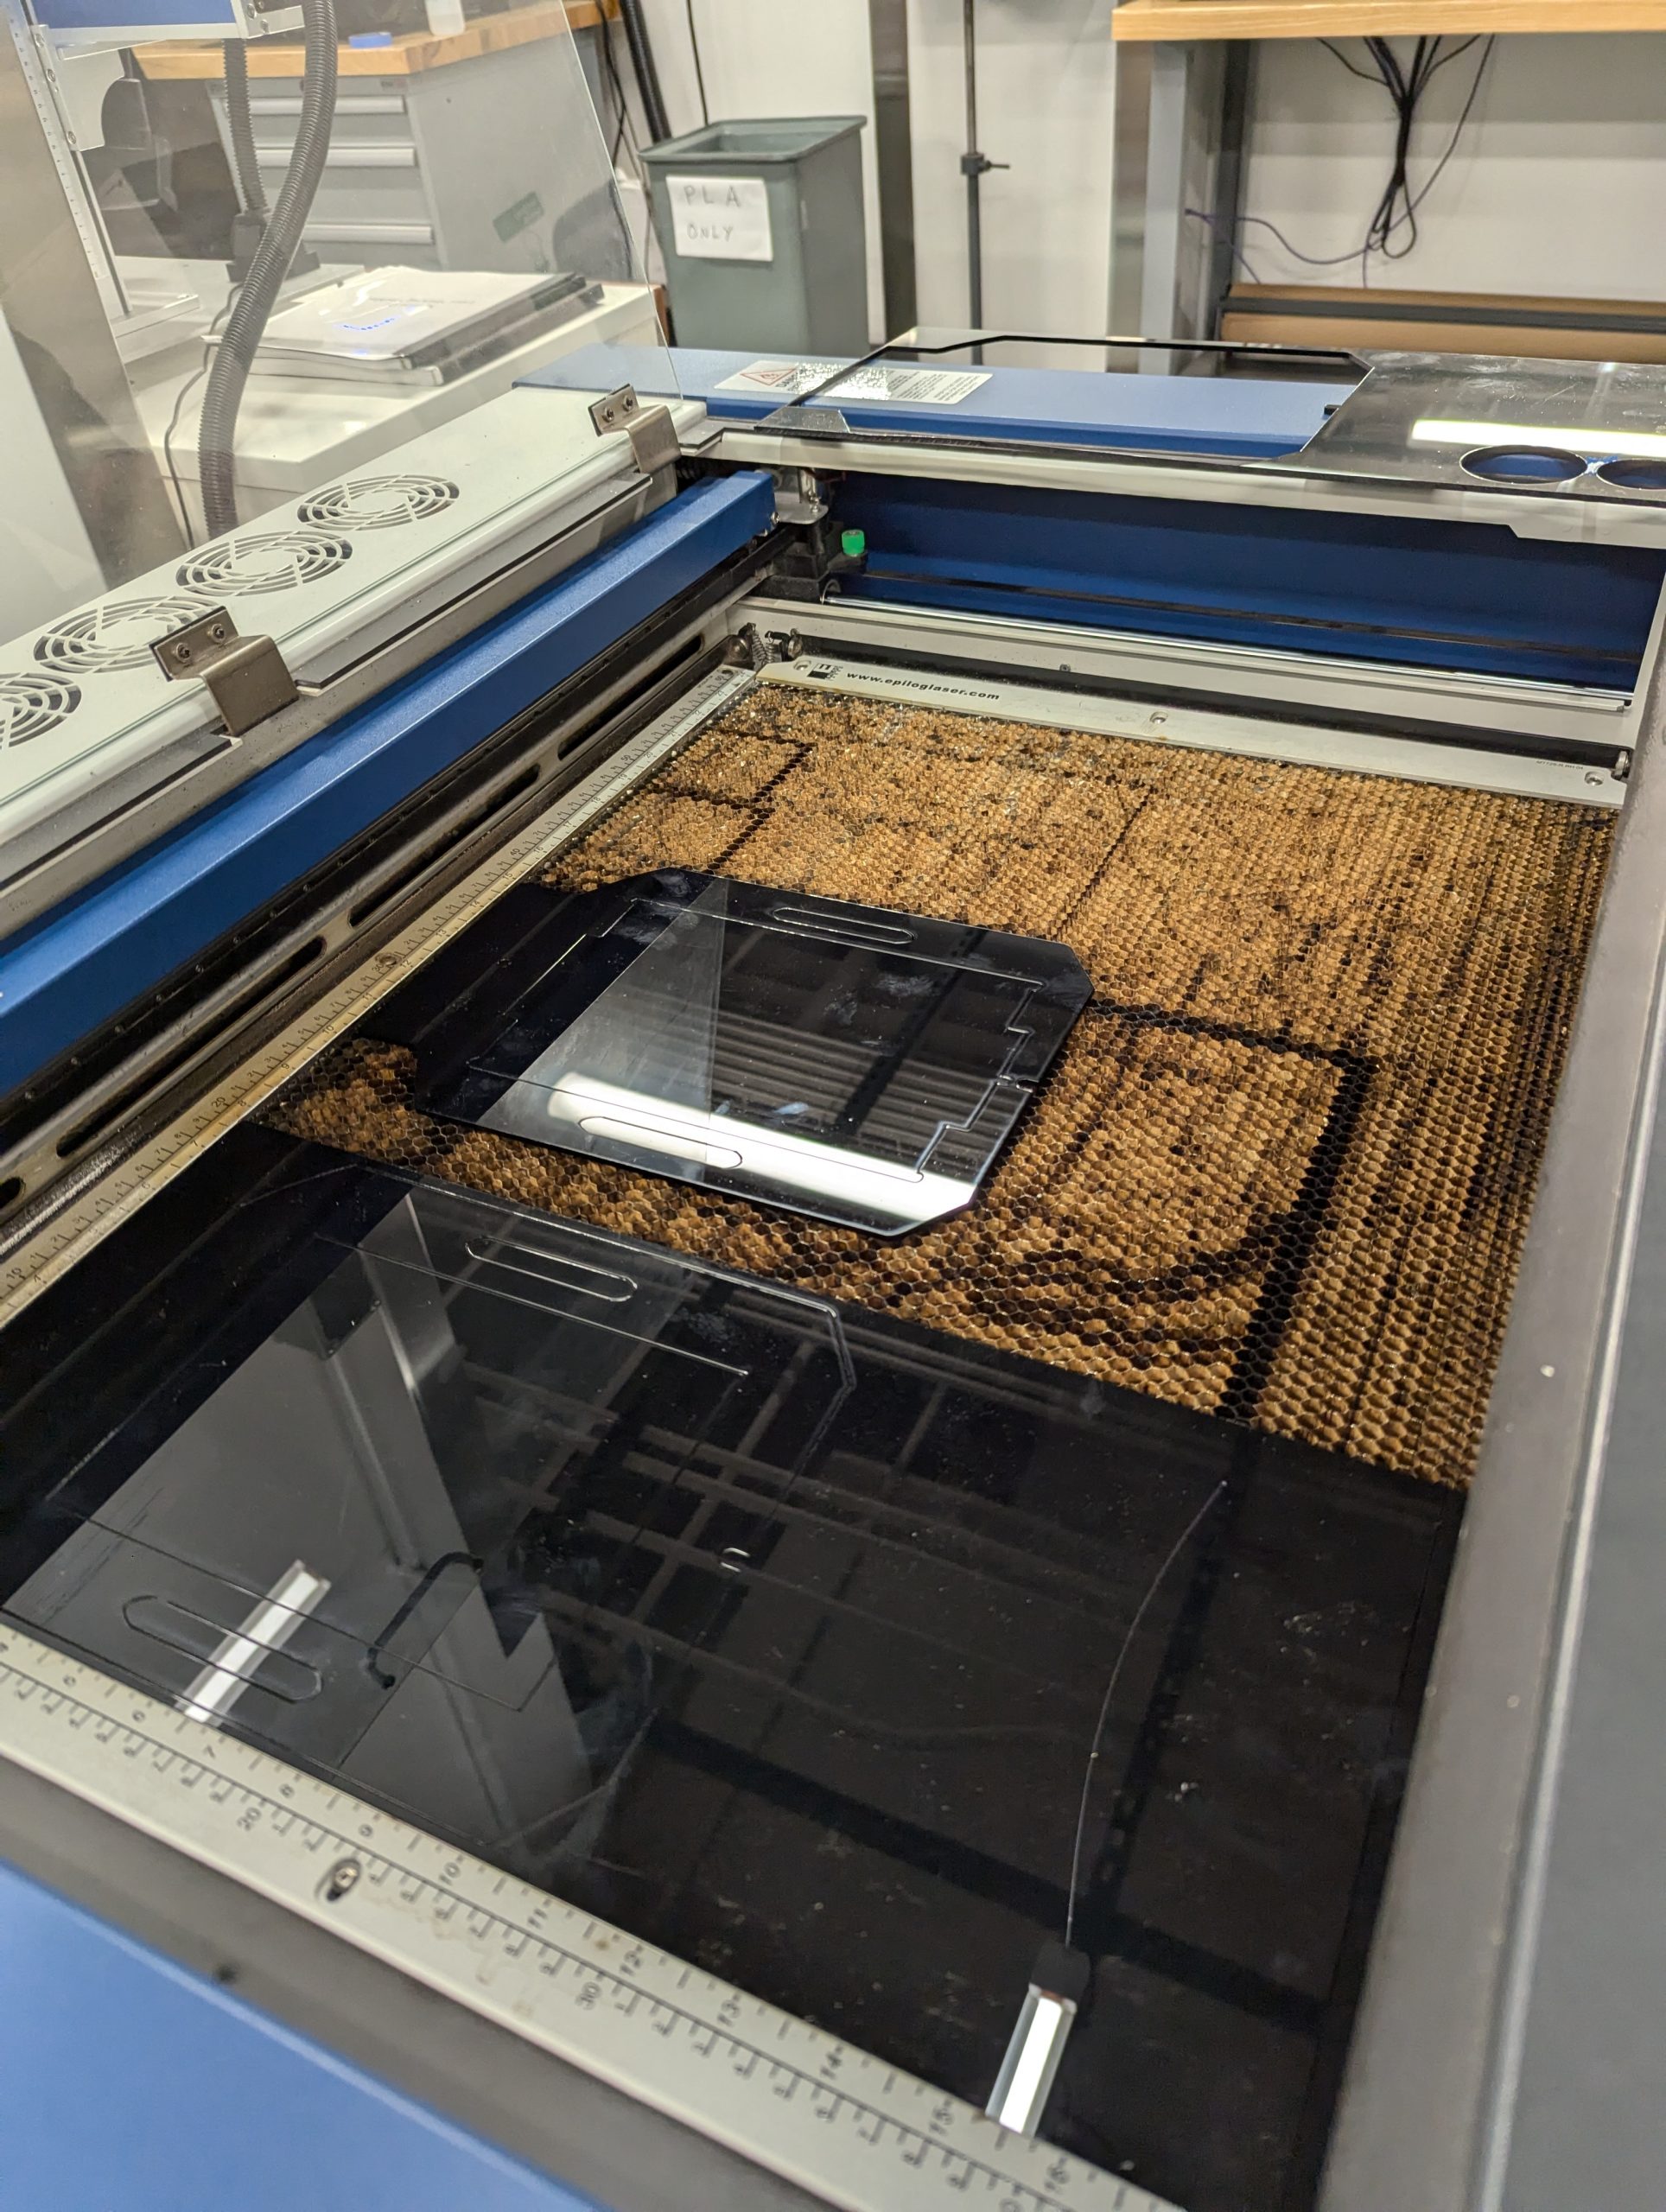
Jason Mativi of the Science Shop uses the Epilog Laser Helix machine to cut mylar for decorating fabric.

Mirrored acrylic was also laser cut in the Science Shop on an Epilog Laser Helix machine.
Bells and sound elements
Some fabrics incorporate bells and metal disks, adding an auditory layer that enhances the sensory immersion of the piece.
Every material choice is intentional, contributing to a tapestry of textures, sounds, and reflections that mirror the complexity of human migration and spiritual continuity. The fabrication process itself is a collaborative effort, involving professionals like Zea Barker (Textile Fabricator) and numerous student volunteers, ensuring both technical precision and educational engagement.
The Process: Collaboration in Motion
The residency at Williams has been punctuated by a series of workshops designed to engage students and community members in the making of Astral Sea. These include:
Textile and Soft Sculpture Workshops
Participants learned about the materials and techniques used to create the sculptural fabrics, from cutting mylar symbols to sewing reflective appliqués.

Weaving reflective mylar into Tsedaye Makonnen’s Astral Seas project. Left: Before weaving the mylar, the loom must be threaded to create a warp. Middle: Creating a demo weaving in the FabLab to demonstrate a variety of mylar widths and explore looser or tighter weaving of materials. Right: Final woven demo. Weaver: David Keiser-Clark.
Movement Workshops
Led by Makonnen and Kusika director Sandra Burton, these sessions explored how performers embody and interact with the textiles, integrating dance, ritual, and improvisation.
Oral History Workshops
Led by Makonnen and WCMA Curator Roz Crews, these sessions explored storytelling as a critical component of the performance.
Technology Integration
The Makerspace, FabLab, Science Shop, Sculpture Studio, and Zea Barker explored innovative elements like muscle wires (shape-memory alloys), body-mounted fans to billow fabric, an air curtain, and even virtual reality body tracking tools to map movement and choreography. In addition, these teams tested a variety of materials that could connect with the billowy fabric including: varying weights and types of handle attachments; hand-woven mylar that could serve as a trim; 3D printed rainsticks to add sound. These experiments reflect a commitment to pushing the boundaries of performance through interdisciplinary exploration.

Iterating with a variety of fans to explore billowing effects for the dancer’s fabric. From left to right: Kyle Yager, Tsedaye Makonnen, and Jason Mativi. Out of frame: David Keiser-Clark.

Using powerful fans to create billowing effects. From left to right: Kyle Yager and Jason Mativi. Out of frame: Tsedaye Makonnen and David Keiser-Clark.
Looking Ahead: Performance and Community
The culminating performances for this phase of Astral Sea are set for Fall 2025, including a major presentation at the Clark Art Institute. These events will activate the sculptural textiles through dance, light, and sound, transforming spaces into living canvases of migration, memory, and cosmic connection.
Through these efforts, Astral Sea is not just an artwork—it is a living, breathing collaboration between artist, institution, and community. It offers a platform for reflection on shared histories and futures, reminding audiences of the unseen threads that connect us across time, space, and culture.

A student rehearsal of Tsedaye Makonnen’s Astral Sea series.