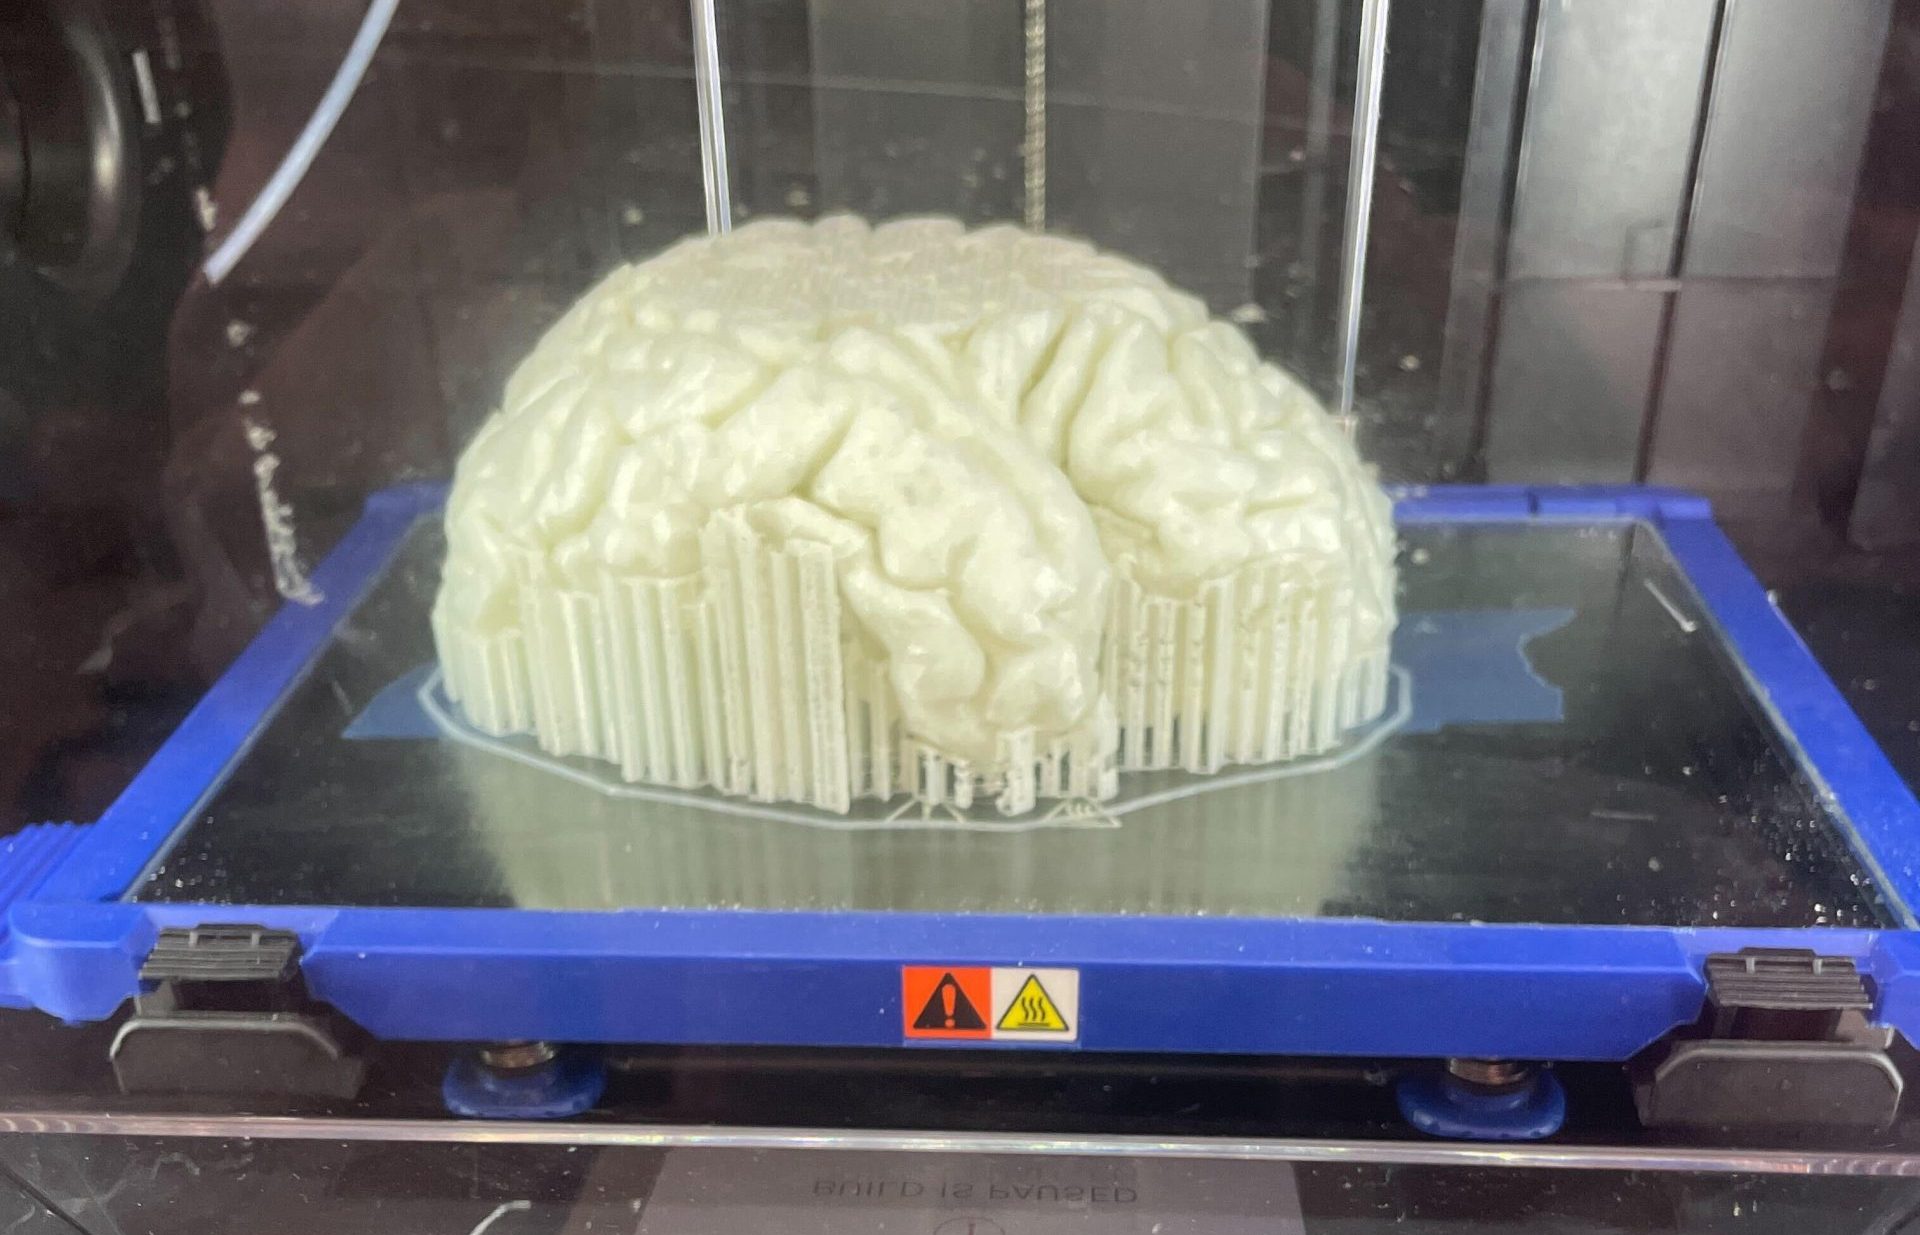
Printing a glow-in-the-dark brain with supports
Occasionally, I’ve had to print complex objects that require support constructions to hold the main print in place. In the process, I understood how crucial it is to understand the role of supports that 3D printers employ and how they affect the overall print quality.
What are supports in 3D printing?
Supports in 3D printing are the additional elements printed to support the weight of the main print while printing larger models. It offers room for the filament to work and enables the printer to print finer details and overhangs without making any errors.
What are the types of supports?
There are basically two types of supports that are commonly used in 3D printing:
1. Linear Support
Linear supports touch the entire ground directly beneath the prints where it overhangs. I found them pretty useful for flat and steep overhangs. But the problem with linear support is that they take a little bit more time and use more filament to print.
2. Tree-like Support
Tree-like support is a tree-like structure that supports the overhangs of the object. It only touches the overhang at certain points. I found it useful for printing arches and rounded overhangs.
How do you print without supports?

Failed attempt to print a slanted complex object without support
If we are willing to give up having things printed in one go, almost anything can be printed without support. Printing items that usually require support is possible by using a slicer to reduce the size and angle of the object sections. Nevertheless, the printing process will become considerably time consuming.
What are the pros and cons of not having supports in 3D prints?
While working on a variety of projects, I have experimented with printing items without supports in an effort to determine whether or not doing so offers any advantages over printing with supports. During the course of the tests, I made the following list of advantages and disadvantages of using and not using supports for 3D prints:
Why not to use supports
-
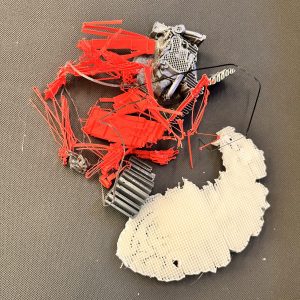
Waste produced from printing supports
Less Filament: It can be difficult to justify using a whole support system for the entire print when filaments are expensive and I am using half of the roll on printing supports that I will eventually toss away (recycle).
- Quick Cleanup: When printing using supports, a large amount of waste is produced that must be disposed of after printing is complete.
- Faster Prints: If you have to print a large object that needs support, cutting it up into smaller parts can make the process go much more quickly.

Why to use supports
- Print Stability: A 3D print’s instability increases in proportion to its size. The 3D prints will be consistently stable if you provide them with enough support to keep them supported and attached to the printing bed.
- More surface to print: More surface area can be used for printing if supports are used, as there will be more scopes to use a slicer to cut up an object and print it in smaller parts.
- Strong prints: Due to the increased connectivity enabled by the support, the printed object is significantly more durable, and the time required for the layers to dry in order for another layer to print on top of it is also reduced. The objects achieve better durability by eliminating the chances of sagging and layer displacement during the print. The likelihood of overhanging or separating owing to weight is extremely low.
Printing without supports is possible, and most small projects can be performed quickly and easily. However, as the complexity and size of my projects have grown, I’ve had to educate myself on when and how to make use of supports while printing to get the best output.