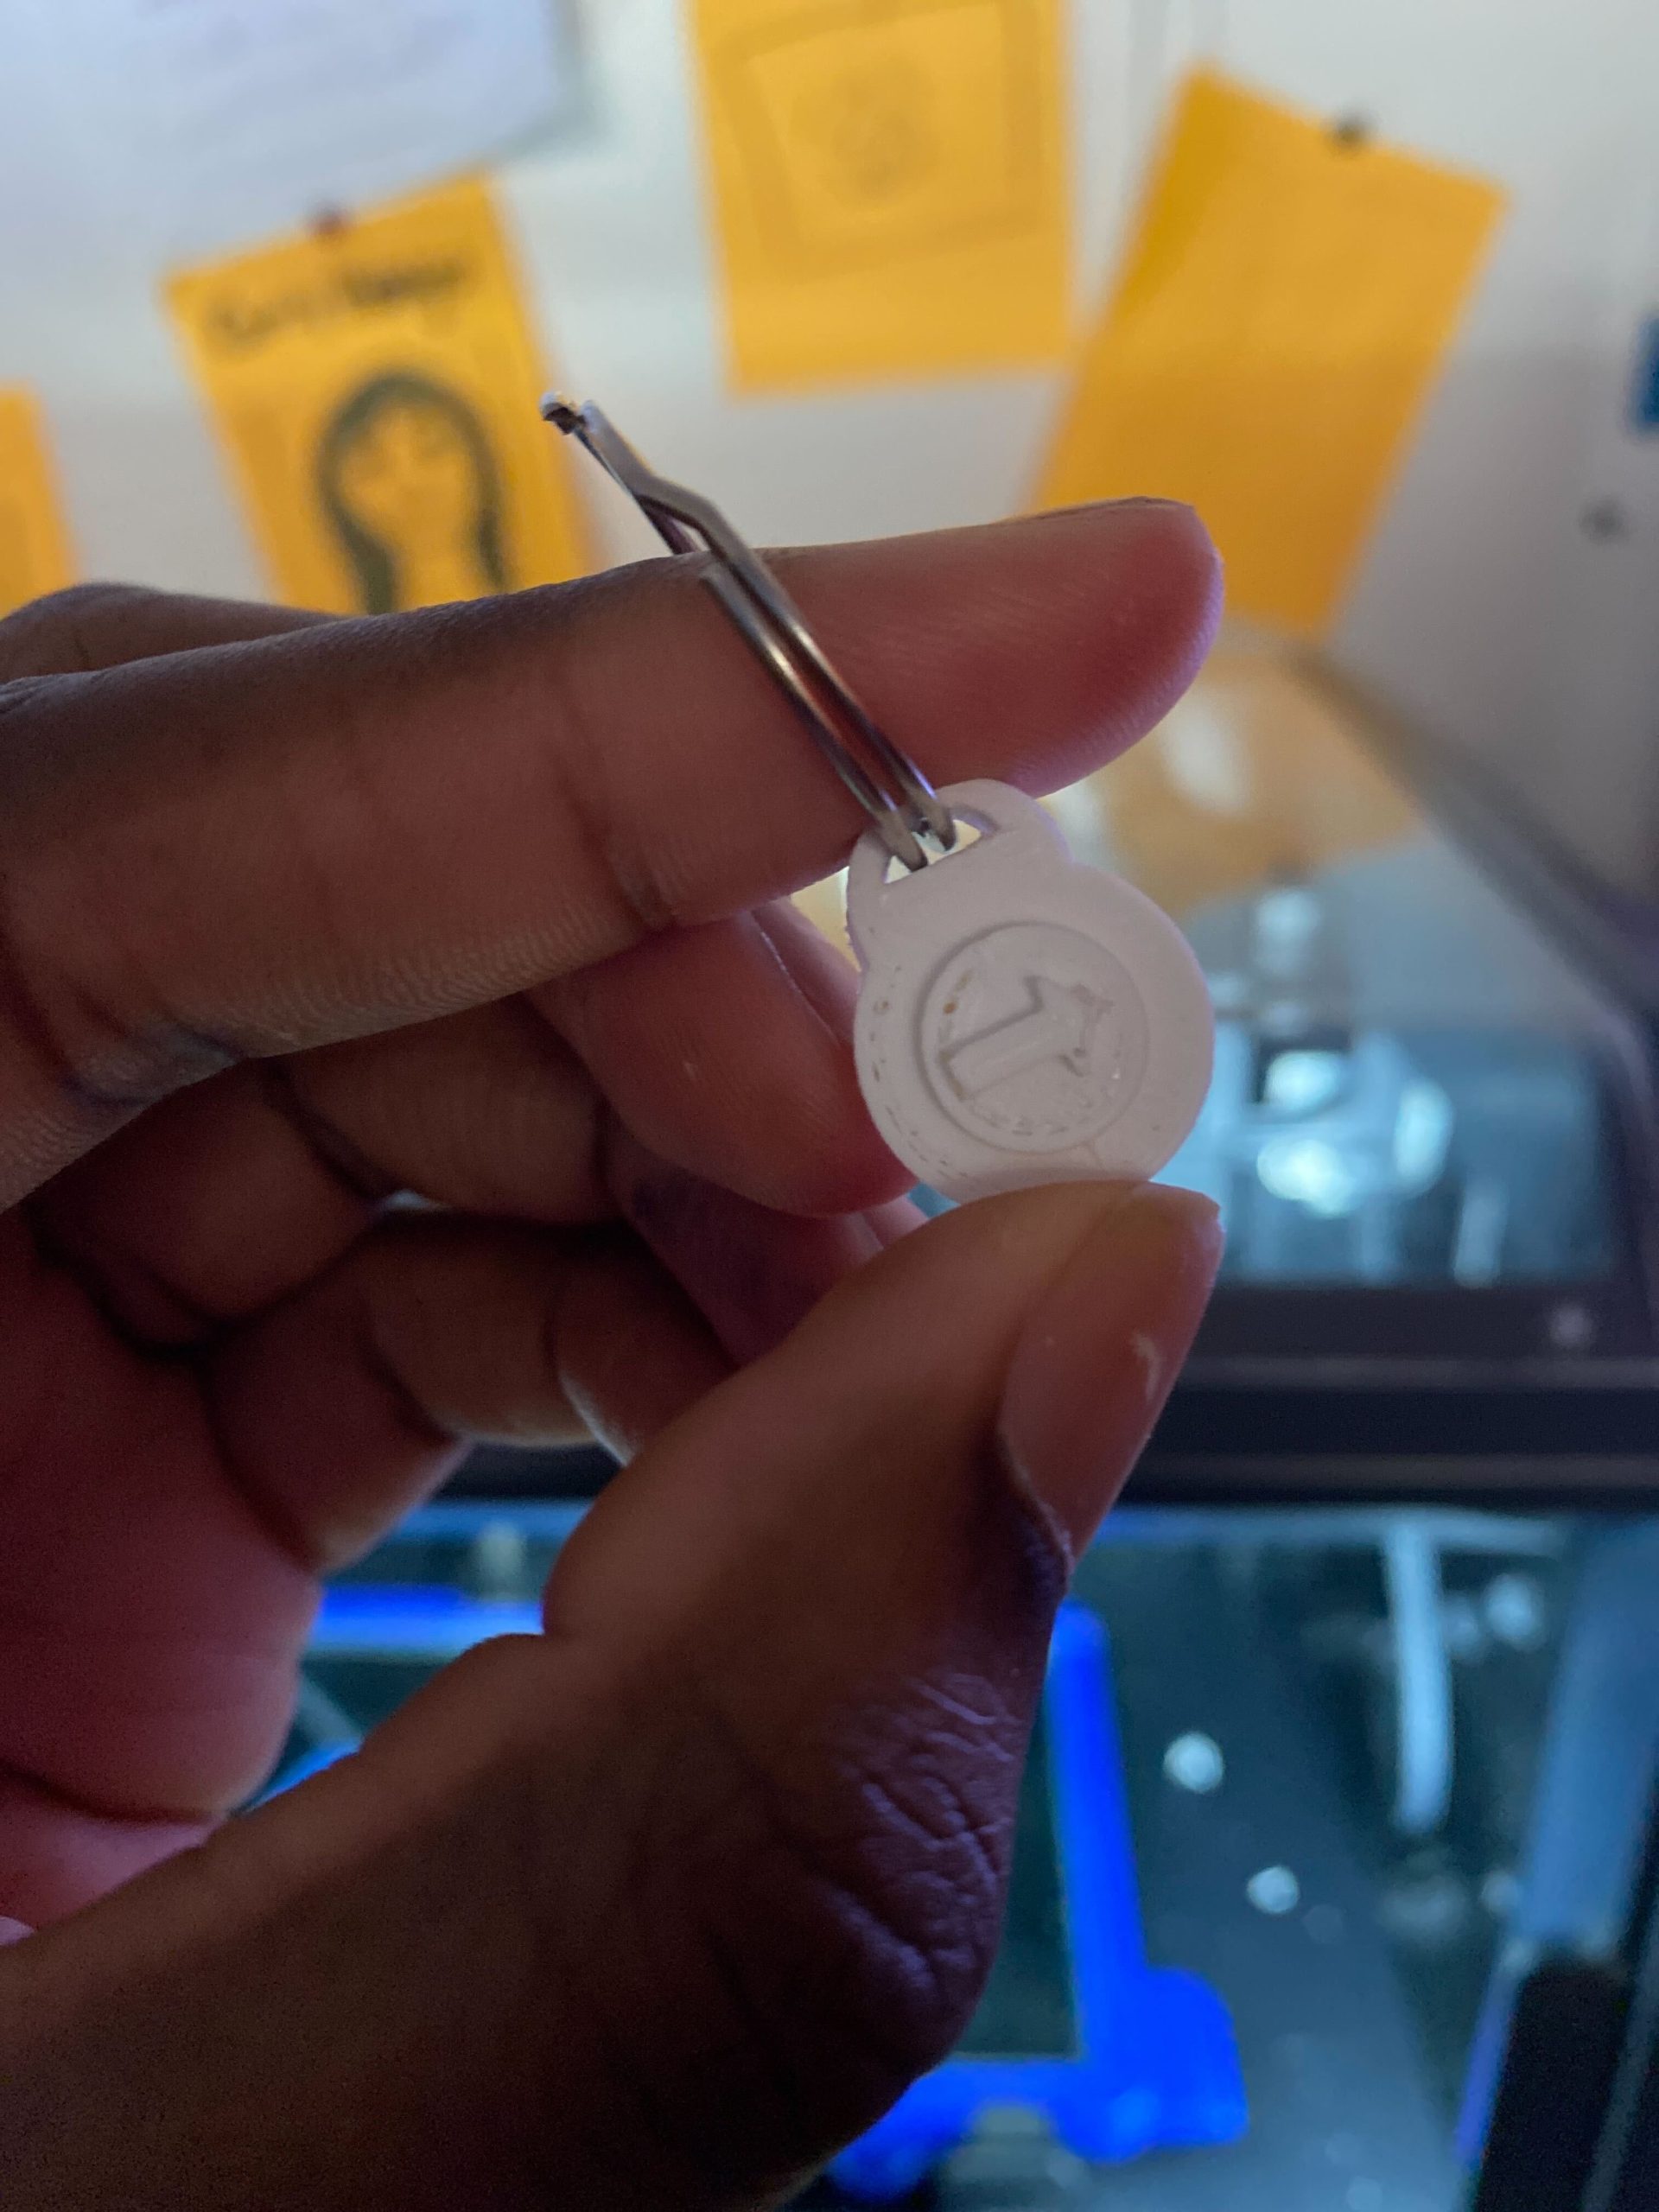
A prehistoric cave bear tooth (a molar), excavated from Divje Babe, a cave site in Slovenia that also houses evidence of Neanderthal activity. The tooth is estimated to be 80,000 years old.
What happens when a scientific technique meant to illuminate the past threatens to erase it? That’s the puzzle at the heart of an interdisciplinary project at Williams College, where Chemistry Senior Lecturer Anne Skinner and a team of Makerspace collaborators including Sebastian Tabit ‘25, Sam Samuel ‘26, Alessandra Menjívar ‘26, Camily Hidalgo ‘26, Tazmin Appiah ‘25, and myself set out to solve a very modern problem using very ancient material.
The object in question? A prehistoric cave bear tooth, excavated from Divje Babe, a cave site in Slovenia that also houses evidence of Neanderthal activity. The tooth is estimated to be 80,000 years old—far beyond the limits of radiocarbon dating.
Enter Electron Spin Resonance (ESR) dating, the technique Anne specializes in. ESR is powerful because it can measure radiation damage in buried objects up to several hundred thousand years old, making it one of the few methods capable of dating a sample this old. But here’s the catch: ESR dating destroys the sample. Once the tooth is tested, it’s gone forever.

A prehistoric cave bear tooth (a molar), excavated from Divje Babe, a cave site in Slovenia that also houses evidence of Neanderthal activity. The tooth is estimated to be 80,000 years old.
So, how do you preserve something that can’t be preserved?
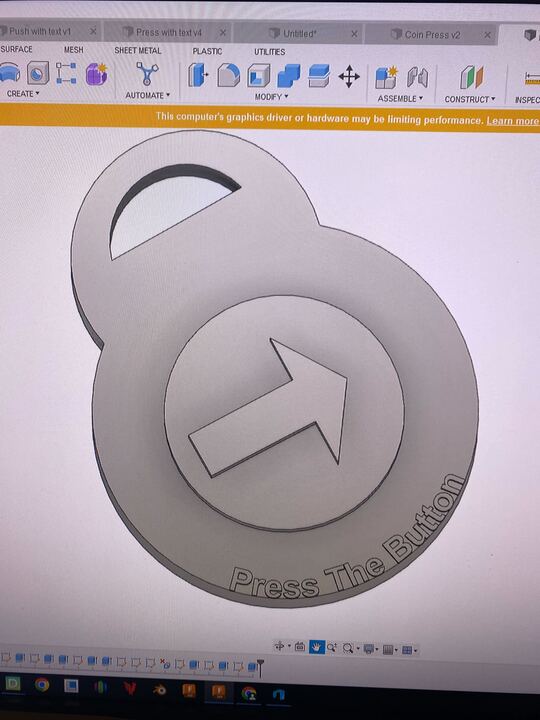
The Solution: Photogrammetry and High-Resolution 3D Printing

The Metashape software displays “orbits” of the many flat digital photos that were required to accurately construct the 3D object of the tooth (viewable in the center of the photo).
Before an object like this tooth is subjected to ESR, we set out to create a permanent, high-resolution, 360-degree digital record of it. Our goal: generate a 3D model so detailed that paleontologists decades from now could examine the tooth’s grooves and ridges as closely as if they held the original.
This wasn’t just an exercise in academic curiosity. Teeth are one of the most species-specific anatomical features in mammals. Species designations often hinge on subtle differences in tooth structure. Given that mammal species are generally constrained by both time and environment, the ability to revisit the shape of this tooth even digitally is essential to maintaining scientific accuracy.
Beth Fischer, Assistant Curator of Digital Learning and Research at the Williams College Museum of Art, led two photogrammetry workshops that covered photography and using the Agisoft Metashape software. These workshops were well attended and incredibly helpful to us.

These are views of the digital model within Metashape’s software. Clockwise from top left:
(1) a wireframe of 203,000 triangular vertices; (2) a color map that represents the software’s confidence in the digital reconstruction (blue = high confidence, red = low confidence); (3) a solid rendering of the object; (4) a model that includes color texturing.
Using photogrammetry, a technique where detailed 3D models are made by stitching together a series—typically between 60 and 300—of high-resolution photos, we generated a complete digital scan of the tooth. This method is especially powerful in the field, where researchers may only have time to snap photos before reburial or transfer.
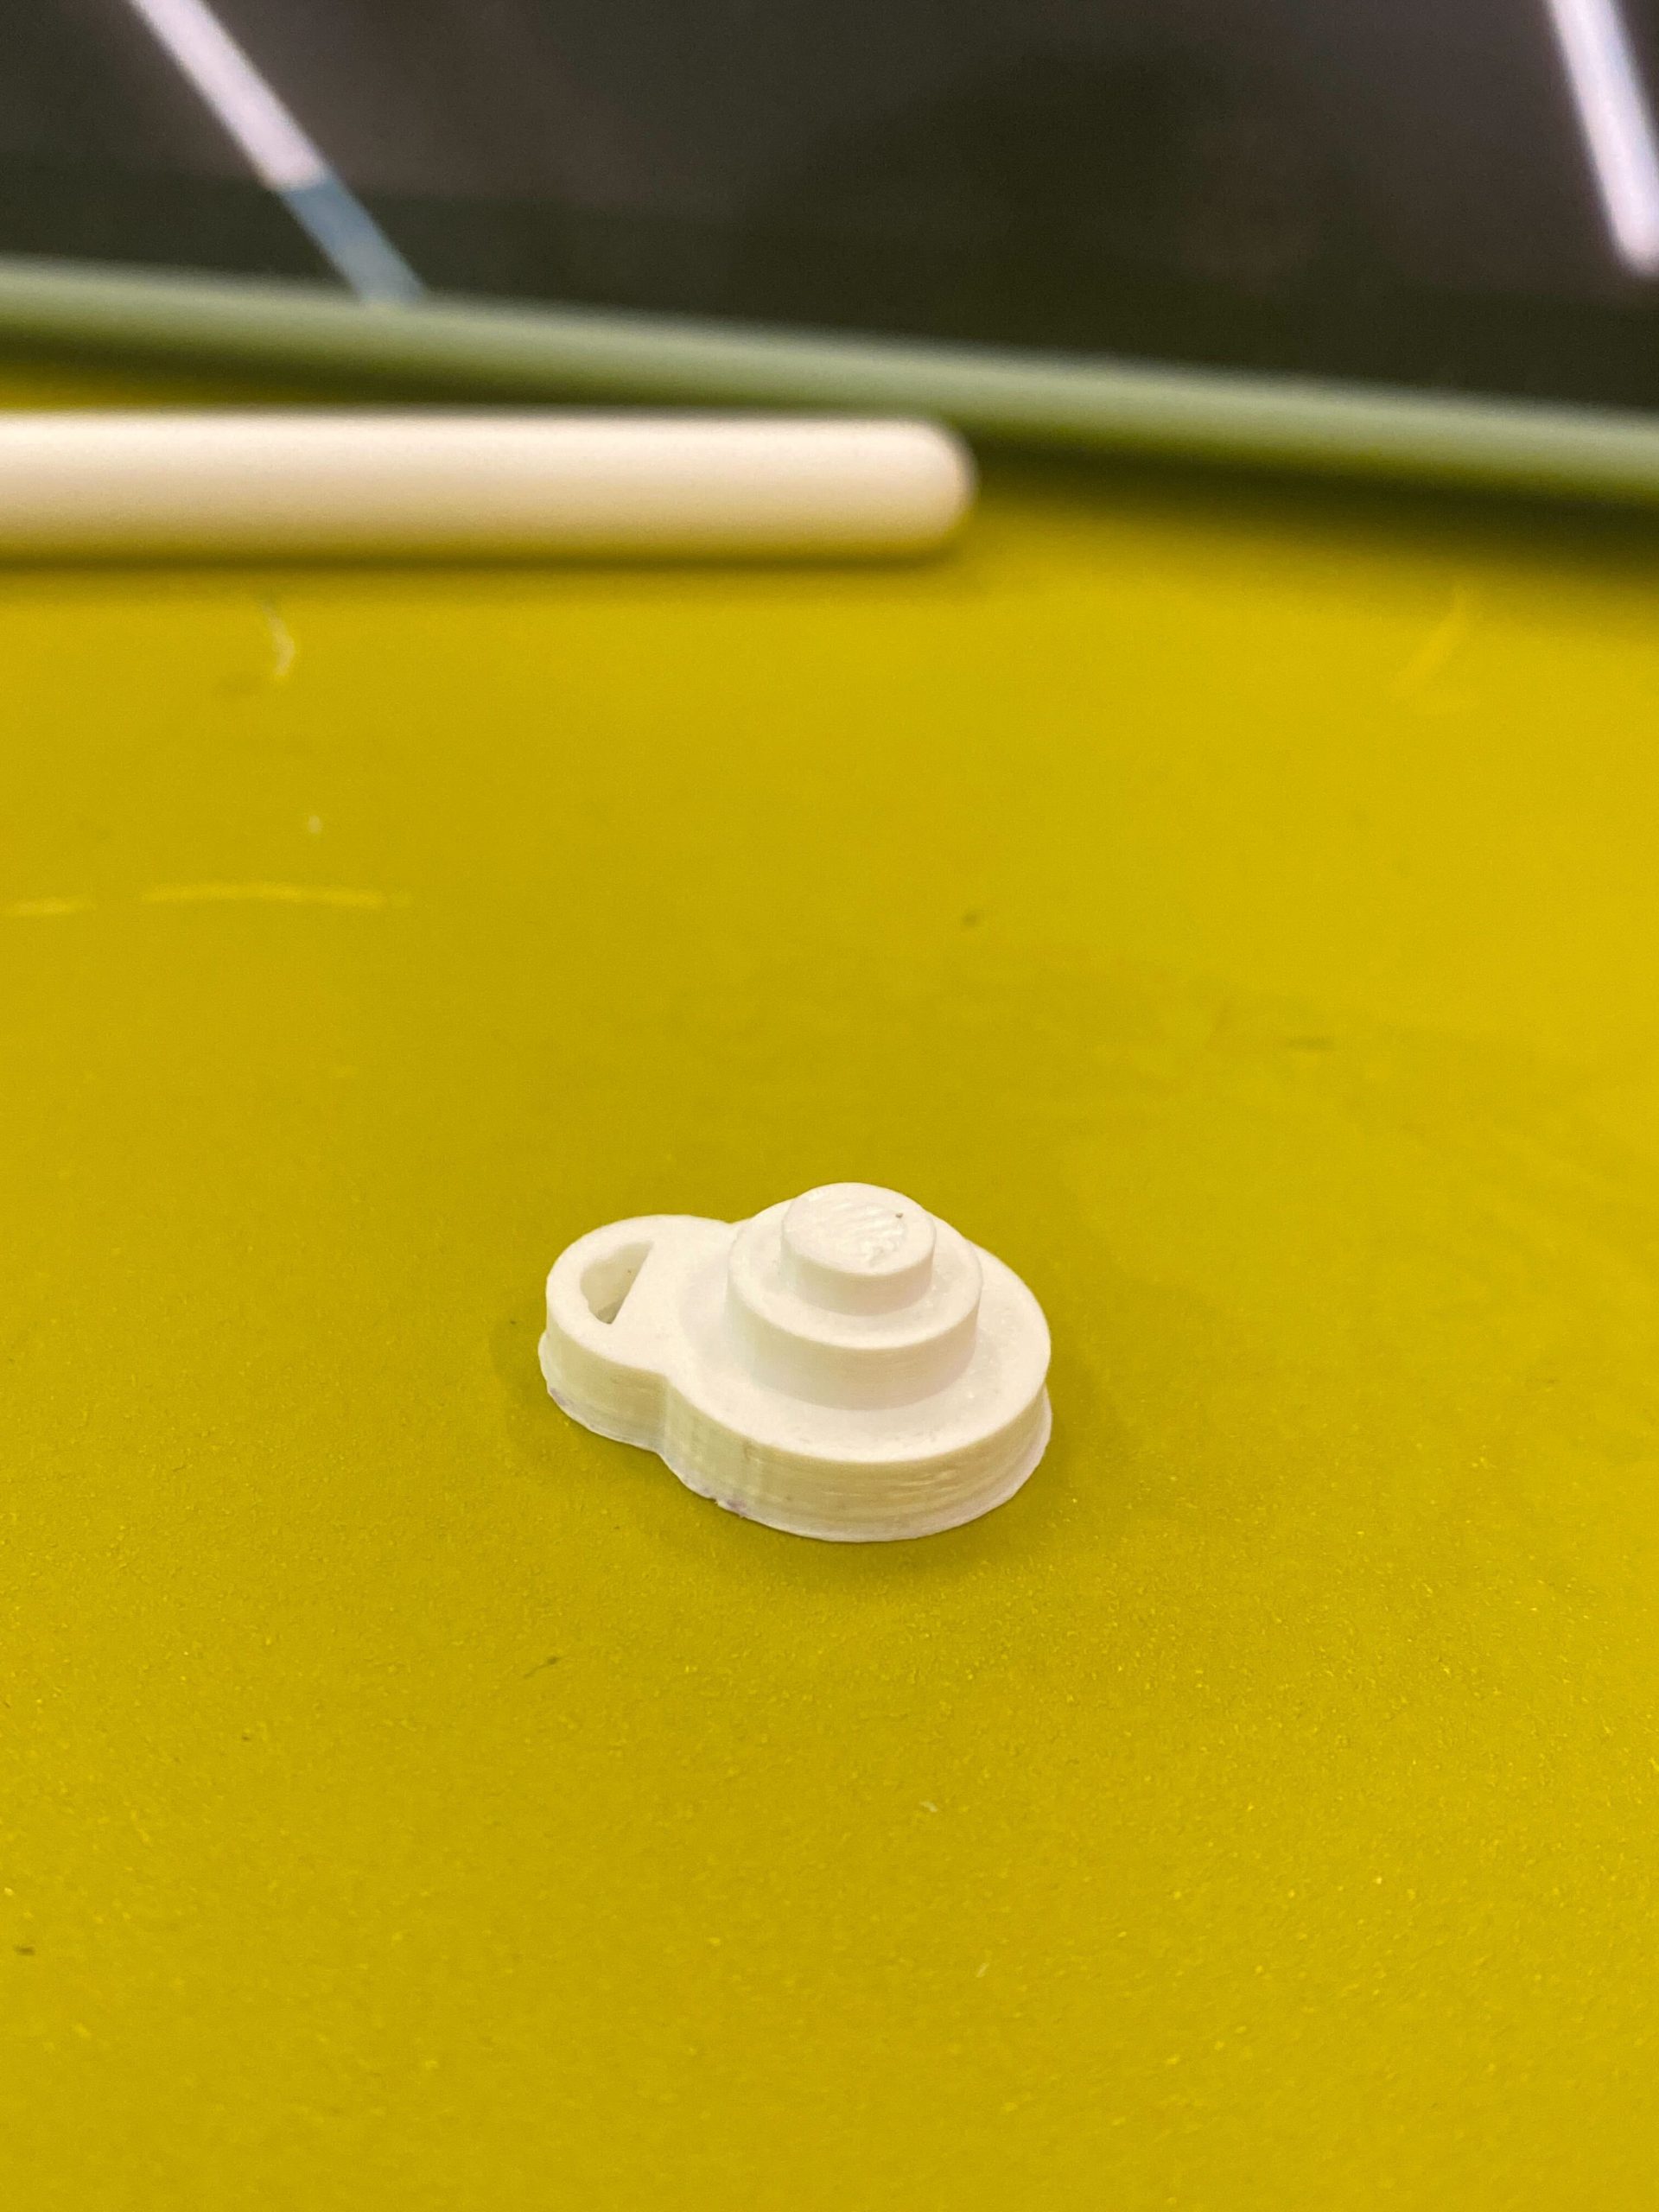
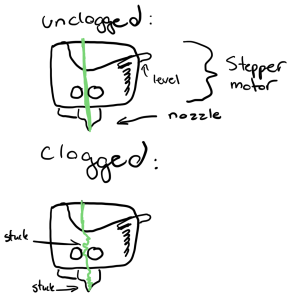
Anne’s verdict? The Makerspace’s digital rendering of the cave bear tooth was “highly satisfactory.” Even the resulting resin 3D print produced with the Science Shop’s in-house Stratasys printer was “quite satisfactory and usable.” However, our rapid FDM (Fused Deposition Modeling) 3D print of standard PLA, while helpful for quick prototypes, lacked the fine detail required for scientific documentation.
What We Learned (and What Comes Next)
This project was as much about process as it was about product. We asked:
-
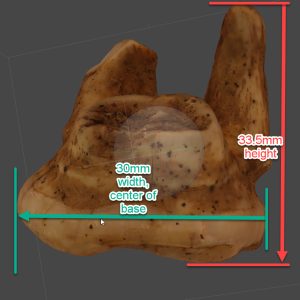
Establishing the dimensions of the digital 3D tooth (in Metashape) so that it exactly matches the real life tooth’s measurements taken using calipers.
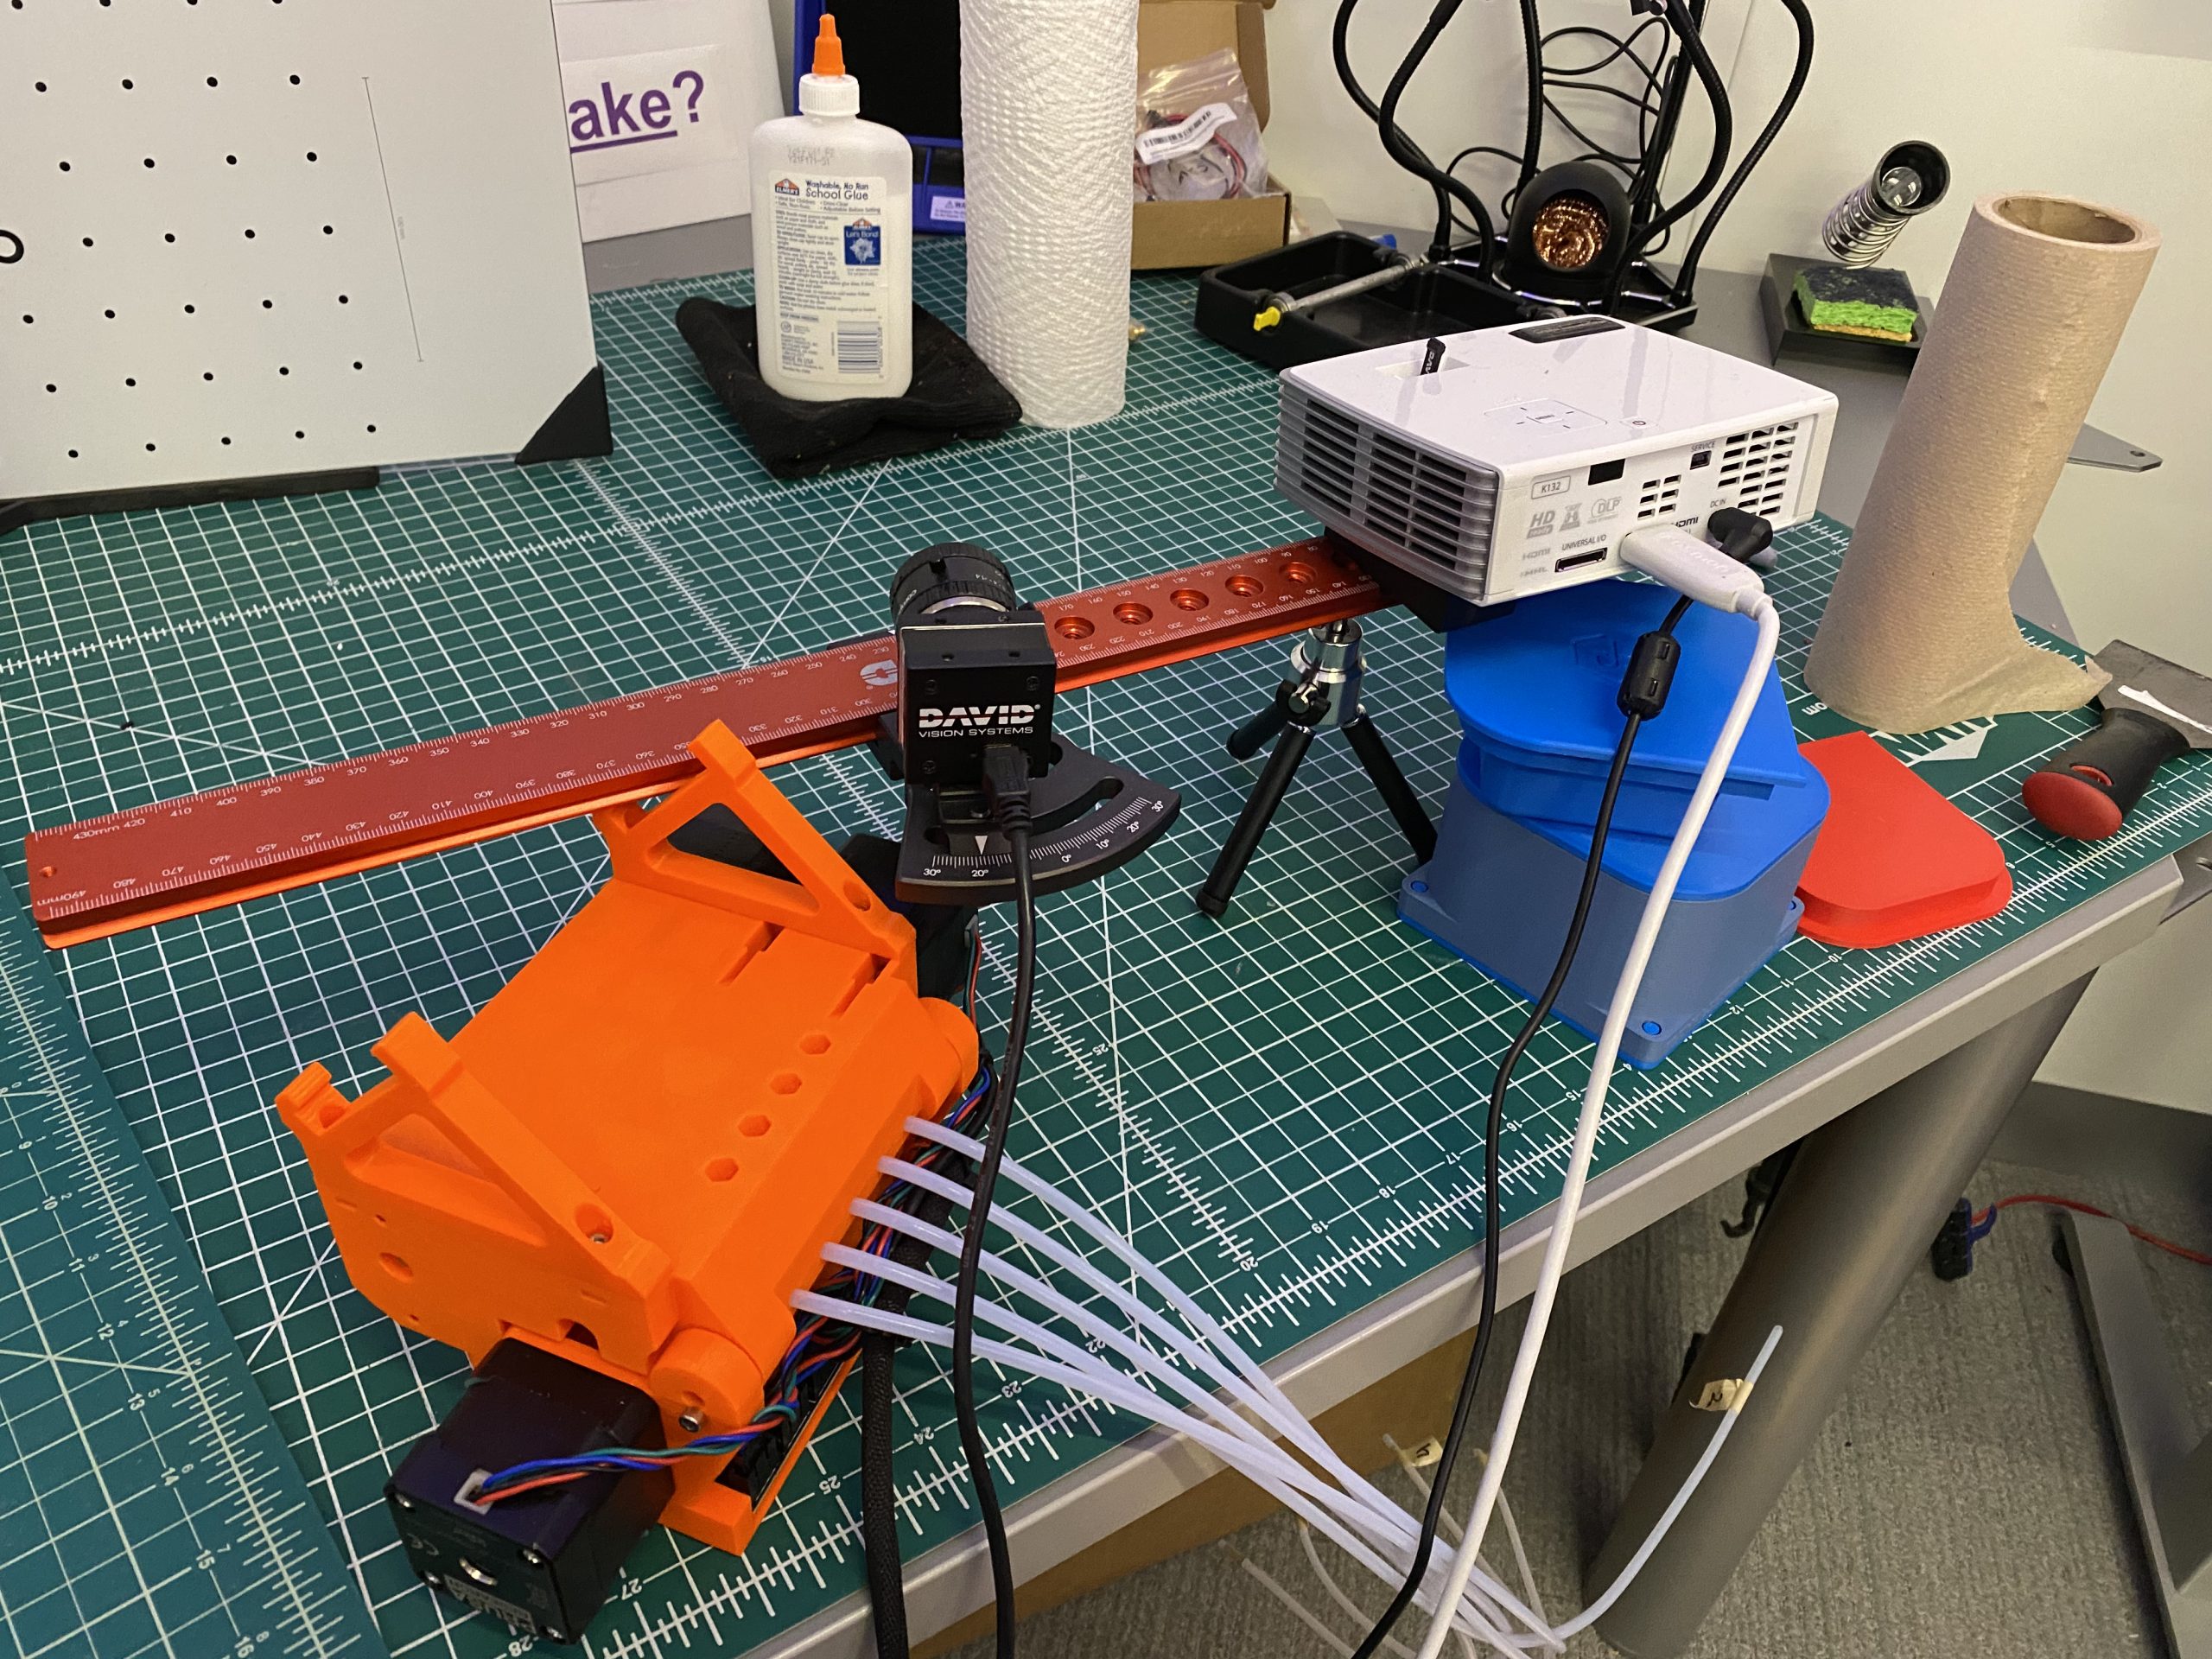
Can we scan all surfaces of an object ourselves? With a carefully positioned camera, proper lighting, and a rotating turntable, yes. But for even better results, investing in multi-angle structured light scanning or more robust photogrammetry rigs would help.
- Can we print highly detailed models ourselves? Our current tools (Prusa MK2, MK3, and Dremel Digilab) are great workhorses, but not yet up to the task for archival-quality replicas. High-resolution SLA (stereolithography) printers, especially those with resin-based technology, offer much finer detail with smoother surfaces.
- Can we replicate the feel of bone? We’re intrigued by the idea of creating our own 3D filament using bone powder though this would take experimentation (and a safety check!). Another challenge is capturing the color variations between bone and embedded soil. While current printers work with uniform filaments, full-color printing or texture mapping onto the 3D model in digital environments might be a viable workaround for now.

A Window into Ancient Minds
Why does all this matter? Because the site of Divje Babe is home not just to teeth and bones but also to what many believe could be the world’s oldest known musical instrument. A pierced bone, long thought to be part of a bear, has holes that some researchers argue form a flute. It’s a controversial claim challenged largely by those who underestimate the cognitive and cultural capabilities of Neanderthals.
But that’s the point.
Every preserved tooth, every digitally immortalized fragment, helps rewrite the story of who we are. This project isn’t just about technology or teeth. It’s about legacy ensuring that the data of today can still speak clearly to the scientists of tomorrow.
Looking Ahead
This pilot project was a success. Anne has already begun applying the lessons learned to future samples, including those from students conducting honors theses on sites across Europe and Asia. We’re now exploring expanded collaboration across departments: Chemistry, Biology, Geosciences, and beyond and even considering an independent study to deepen this research into 3D scanning and scientific preservation.

Comparison of an 80,000 year old cave bear tooth (on left) with a 3D printed resin tooth derived from student photogrammetry work (on right).
We’re excited about the possibilities about pushing the limits of what can be preserved, even when the object itself must be sacrificed.
Thanks to Anne Skinner’s vision and the incredible work of our student team, we’re one step closer to ensuring that prehistoric stories can still be told even in a future filled with lasers and layers of resin.