My First Pie Ever: Rustic Pear and Raspberry Pie

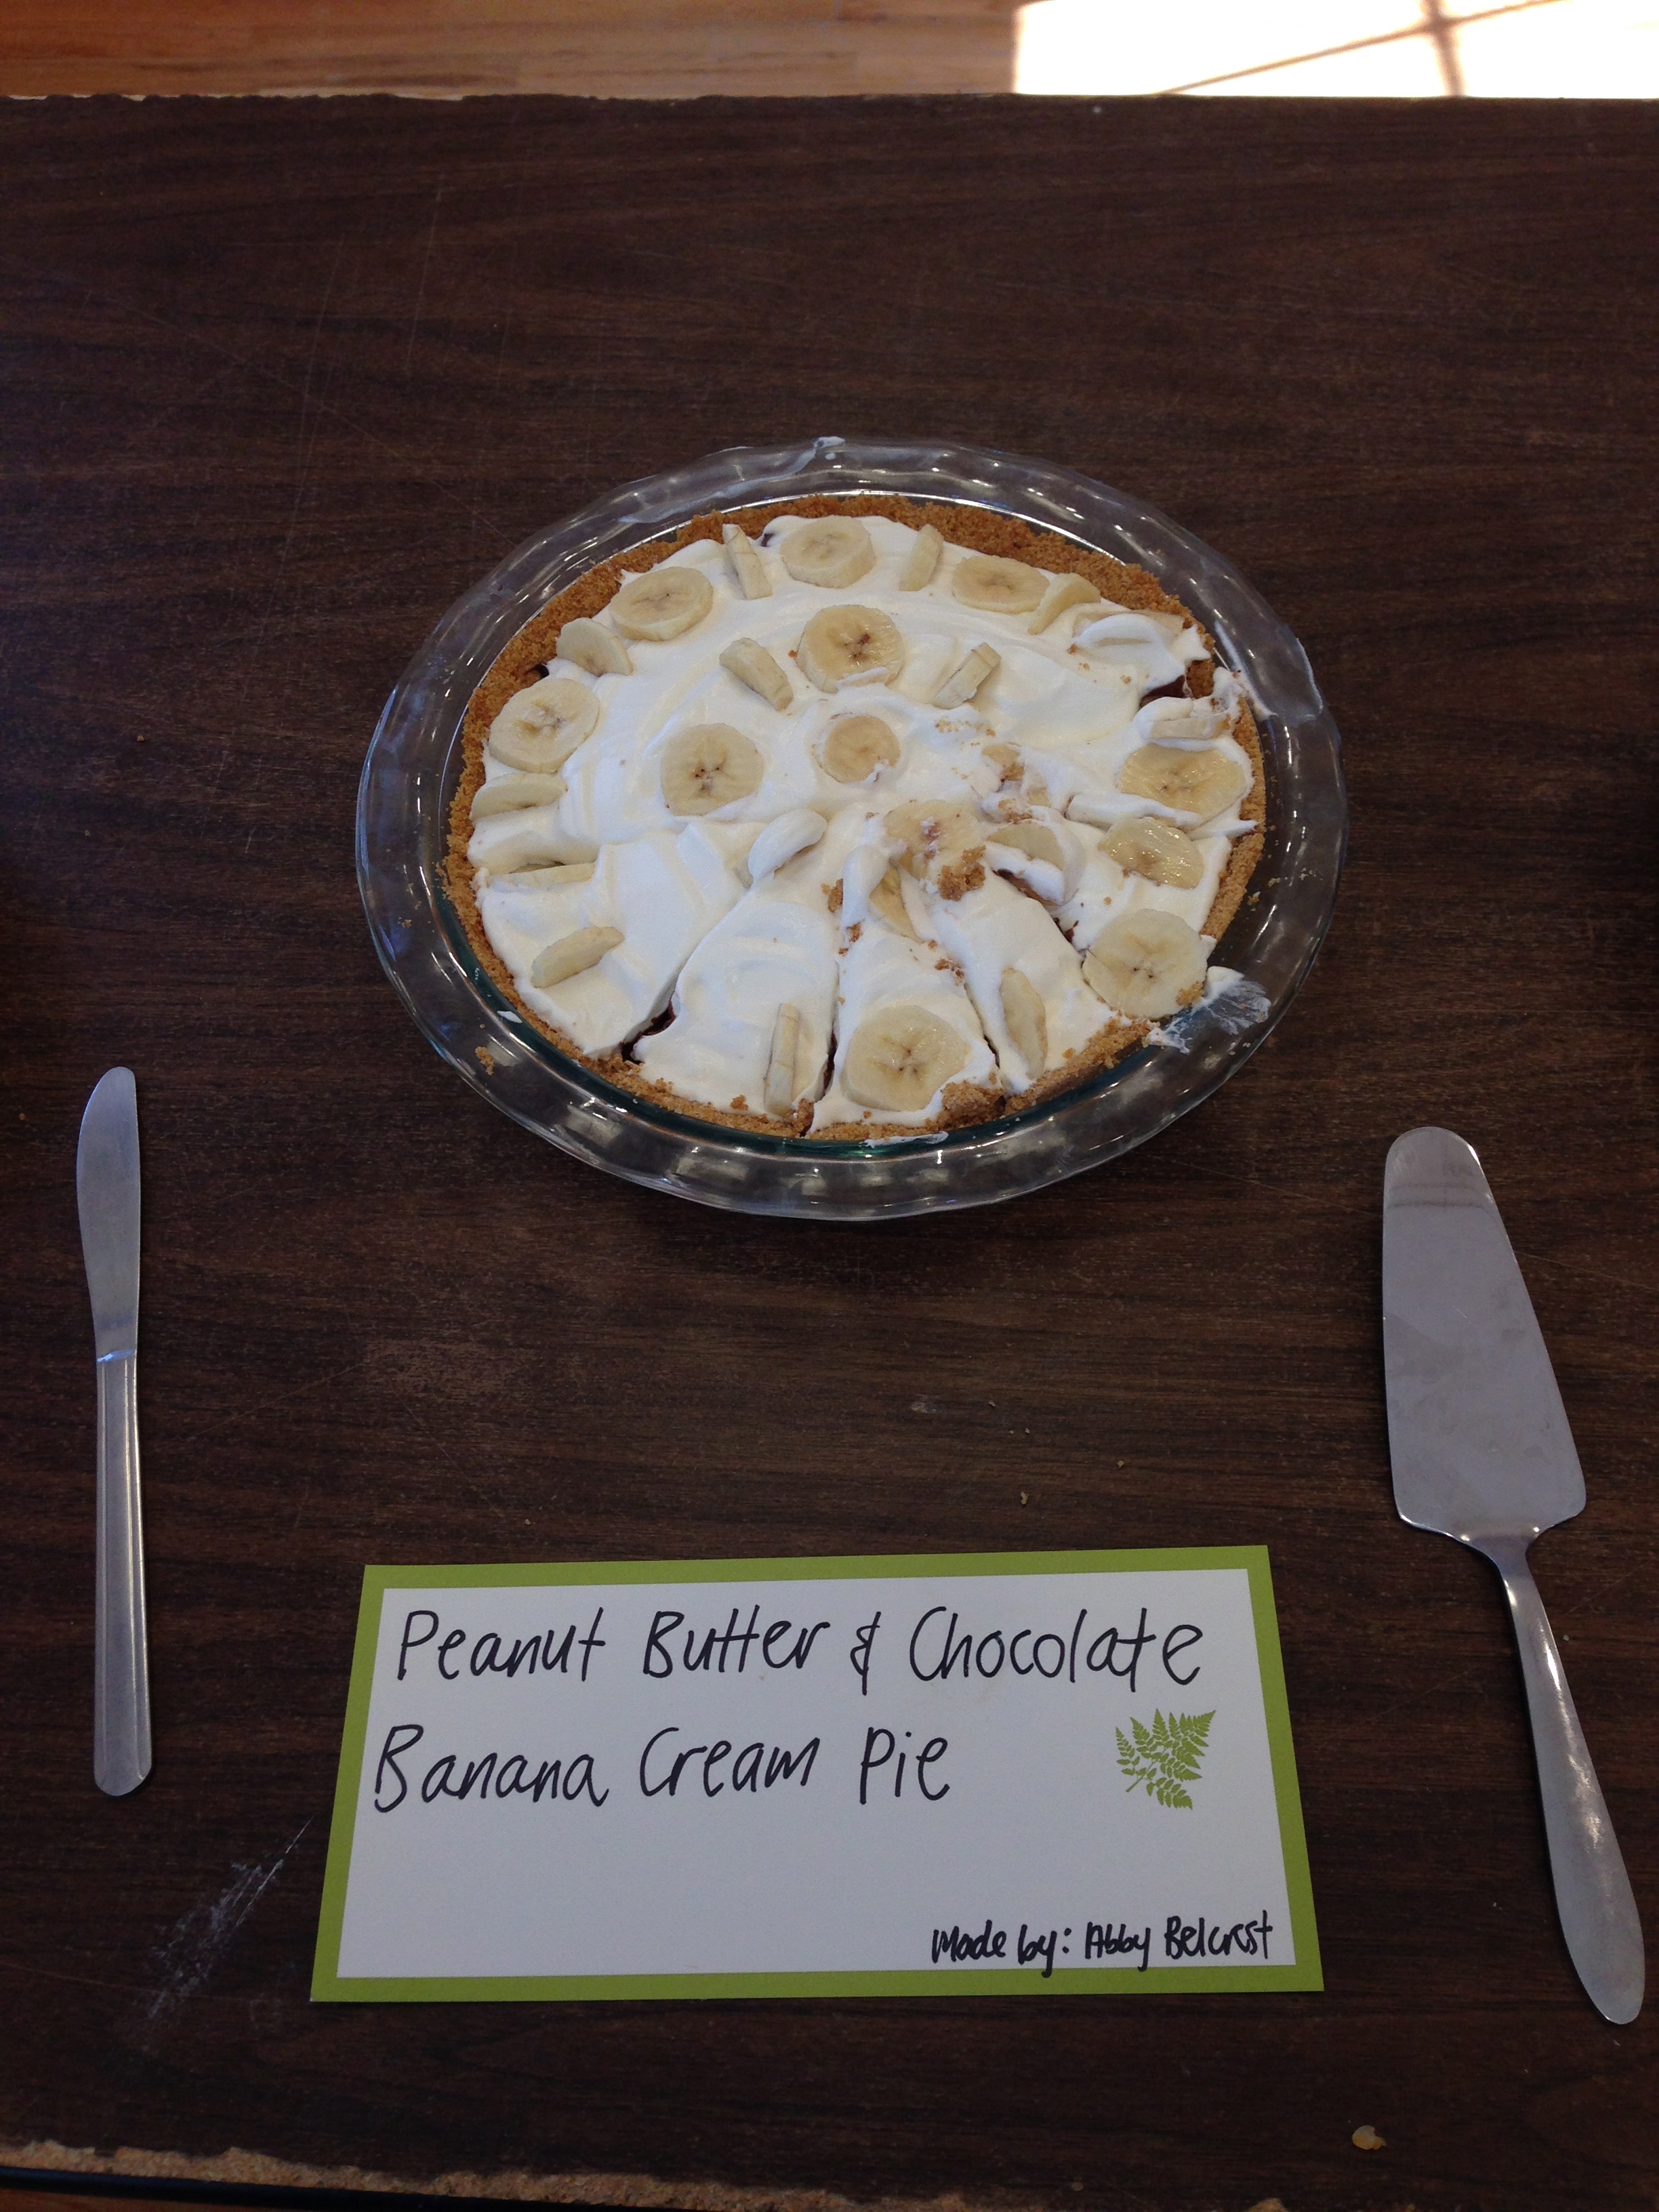
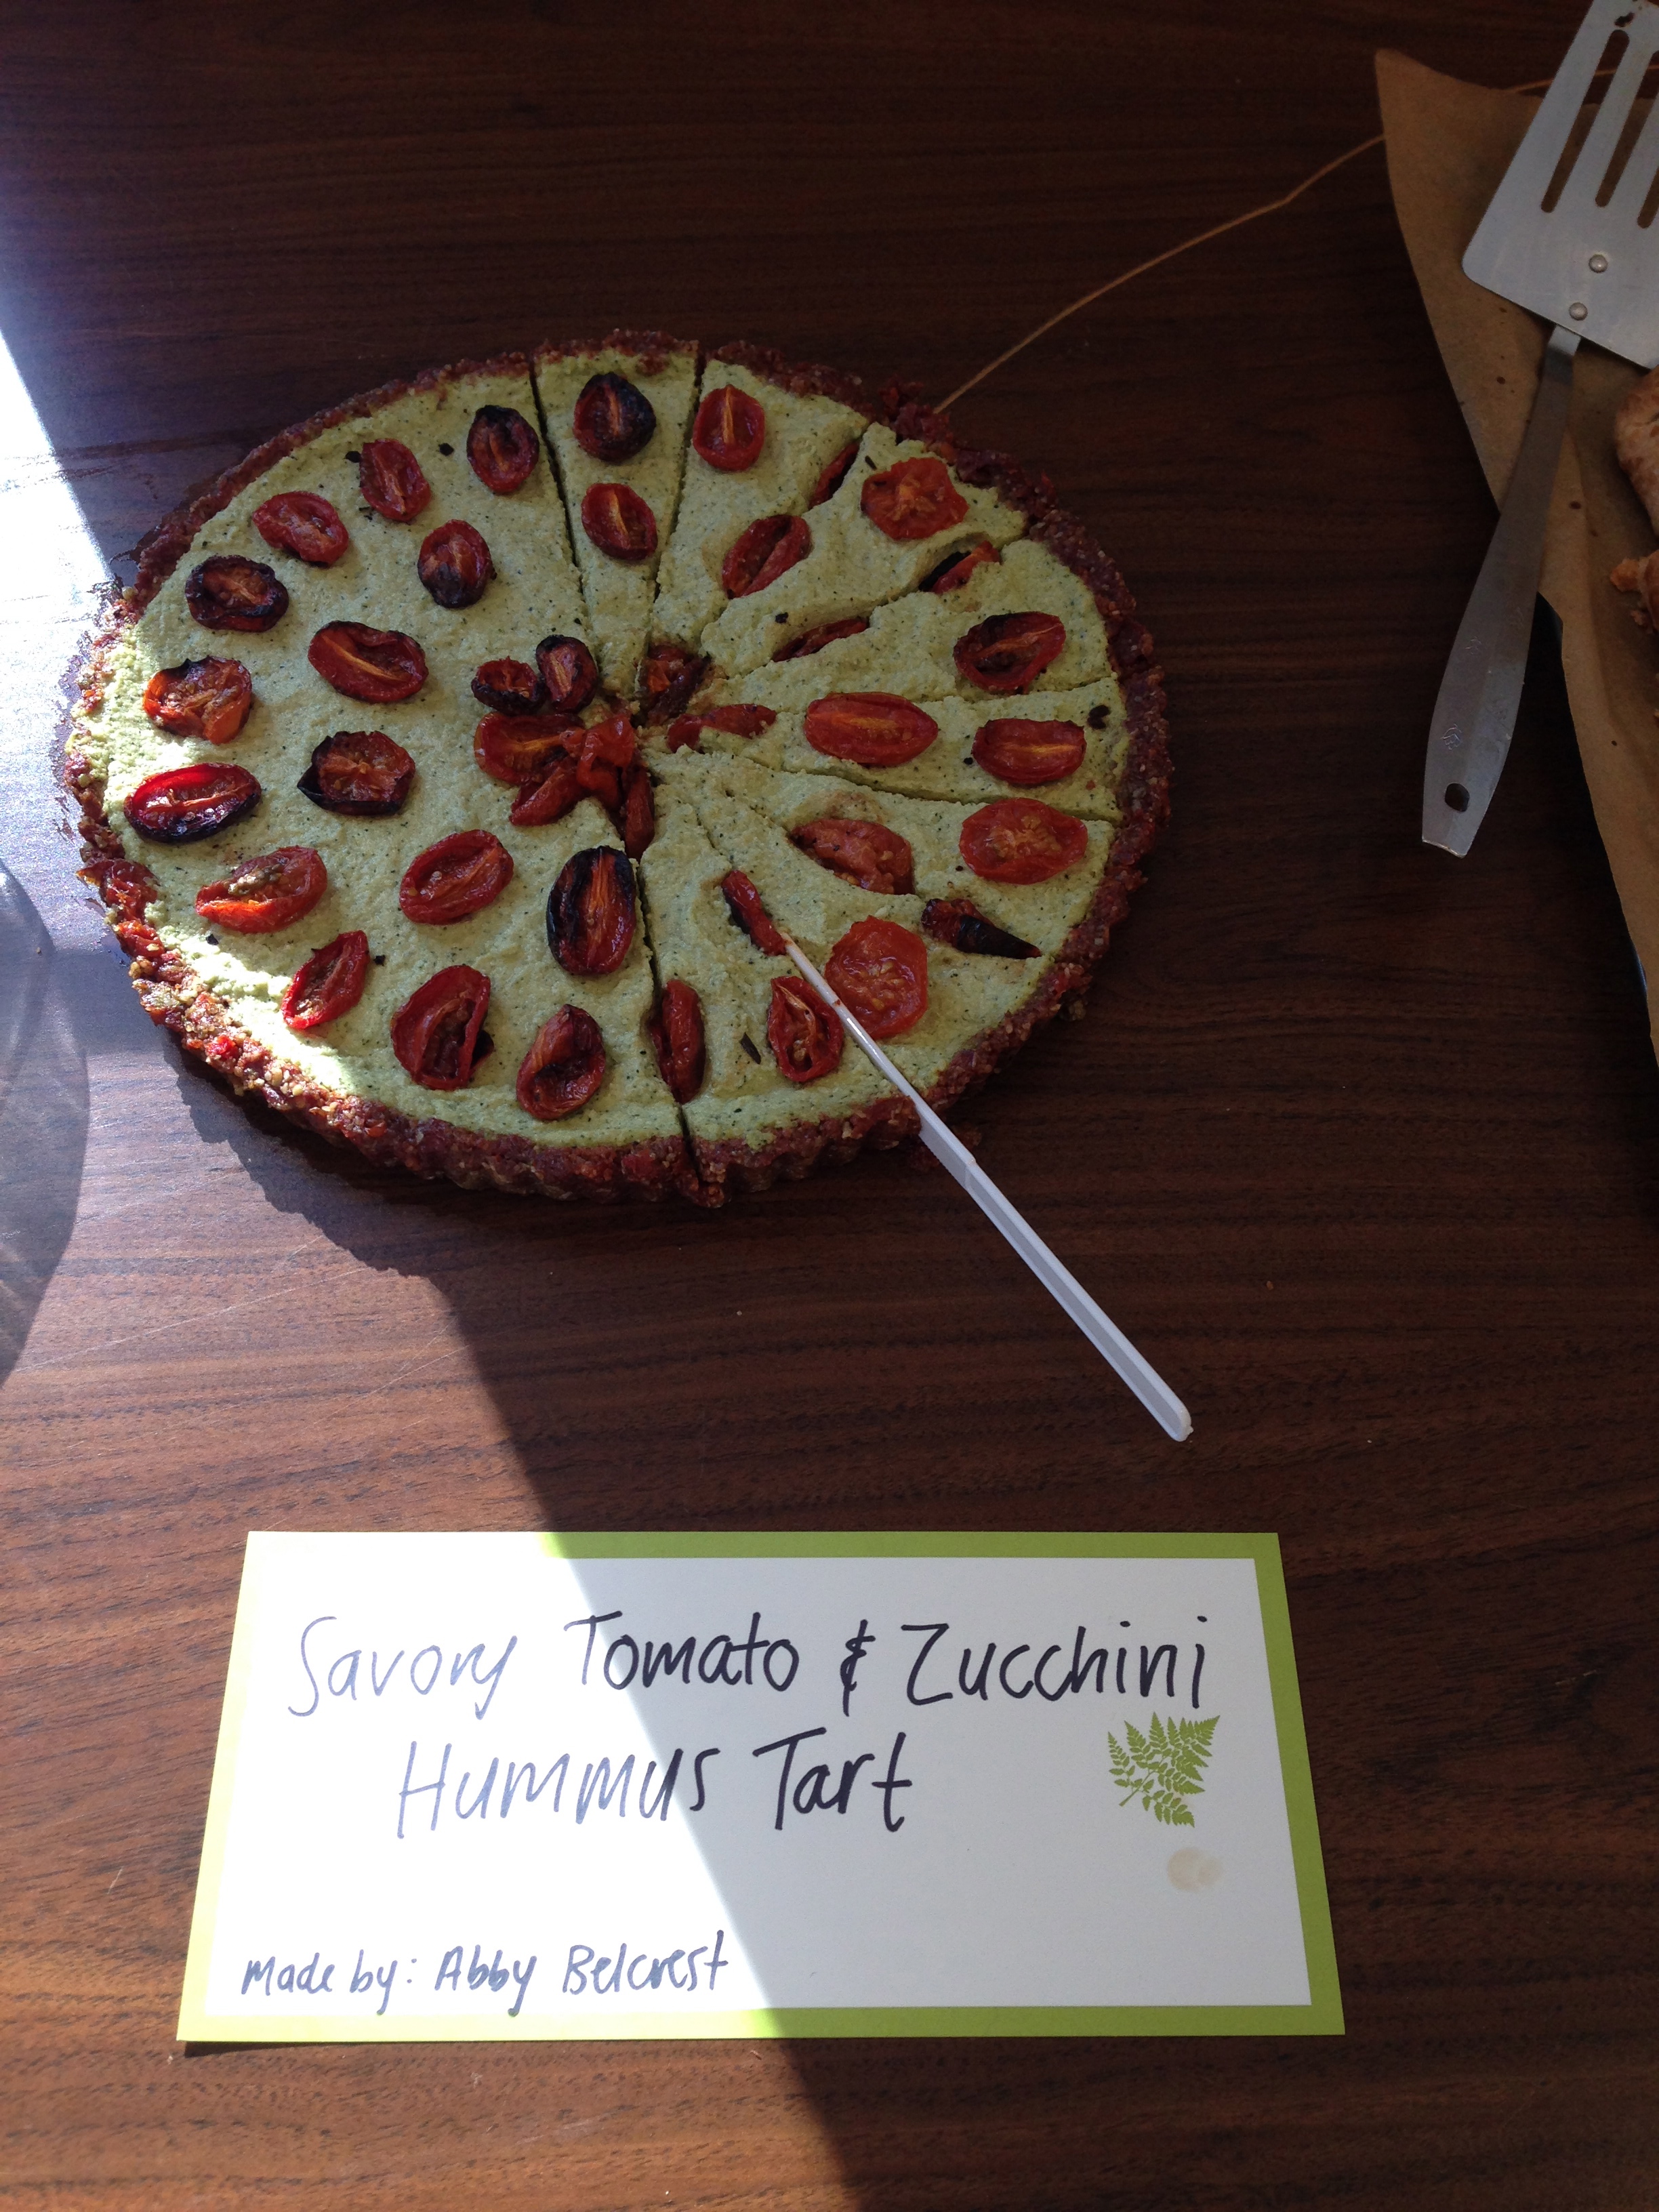
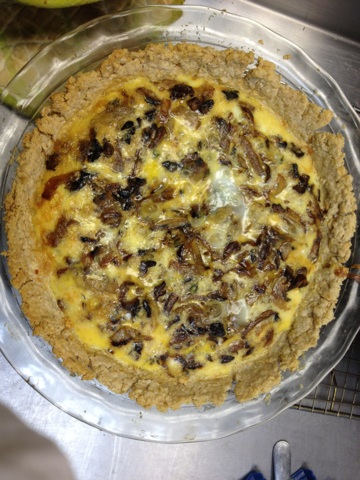
As I entered the kitchen of the First Congregational Church on the first day of this year’s Life of Pie winter study, I knew I was in for a treat. For the record, I had never made a pie before prior to this week but I have been cooking and baking other things for a very long time. That said, the world of pie-making just lured me in – making pies is an intricate an art as painting or sculpting and I could not have been more excited to make my first ever pie this week.

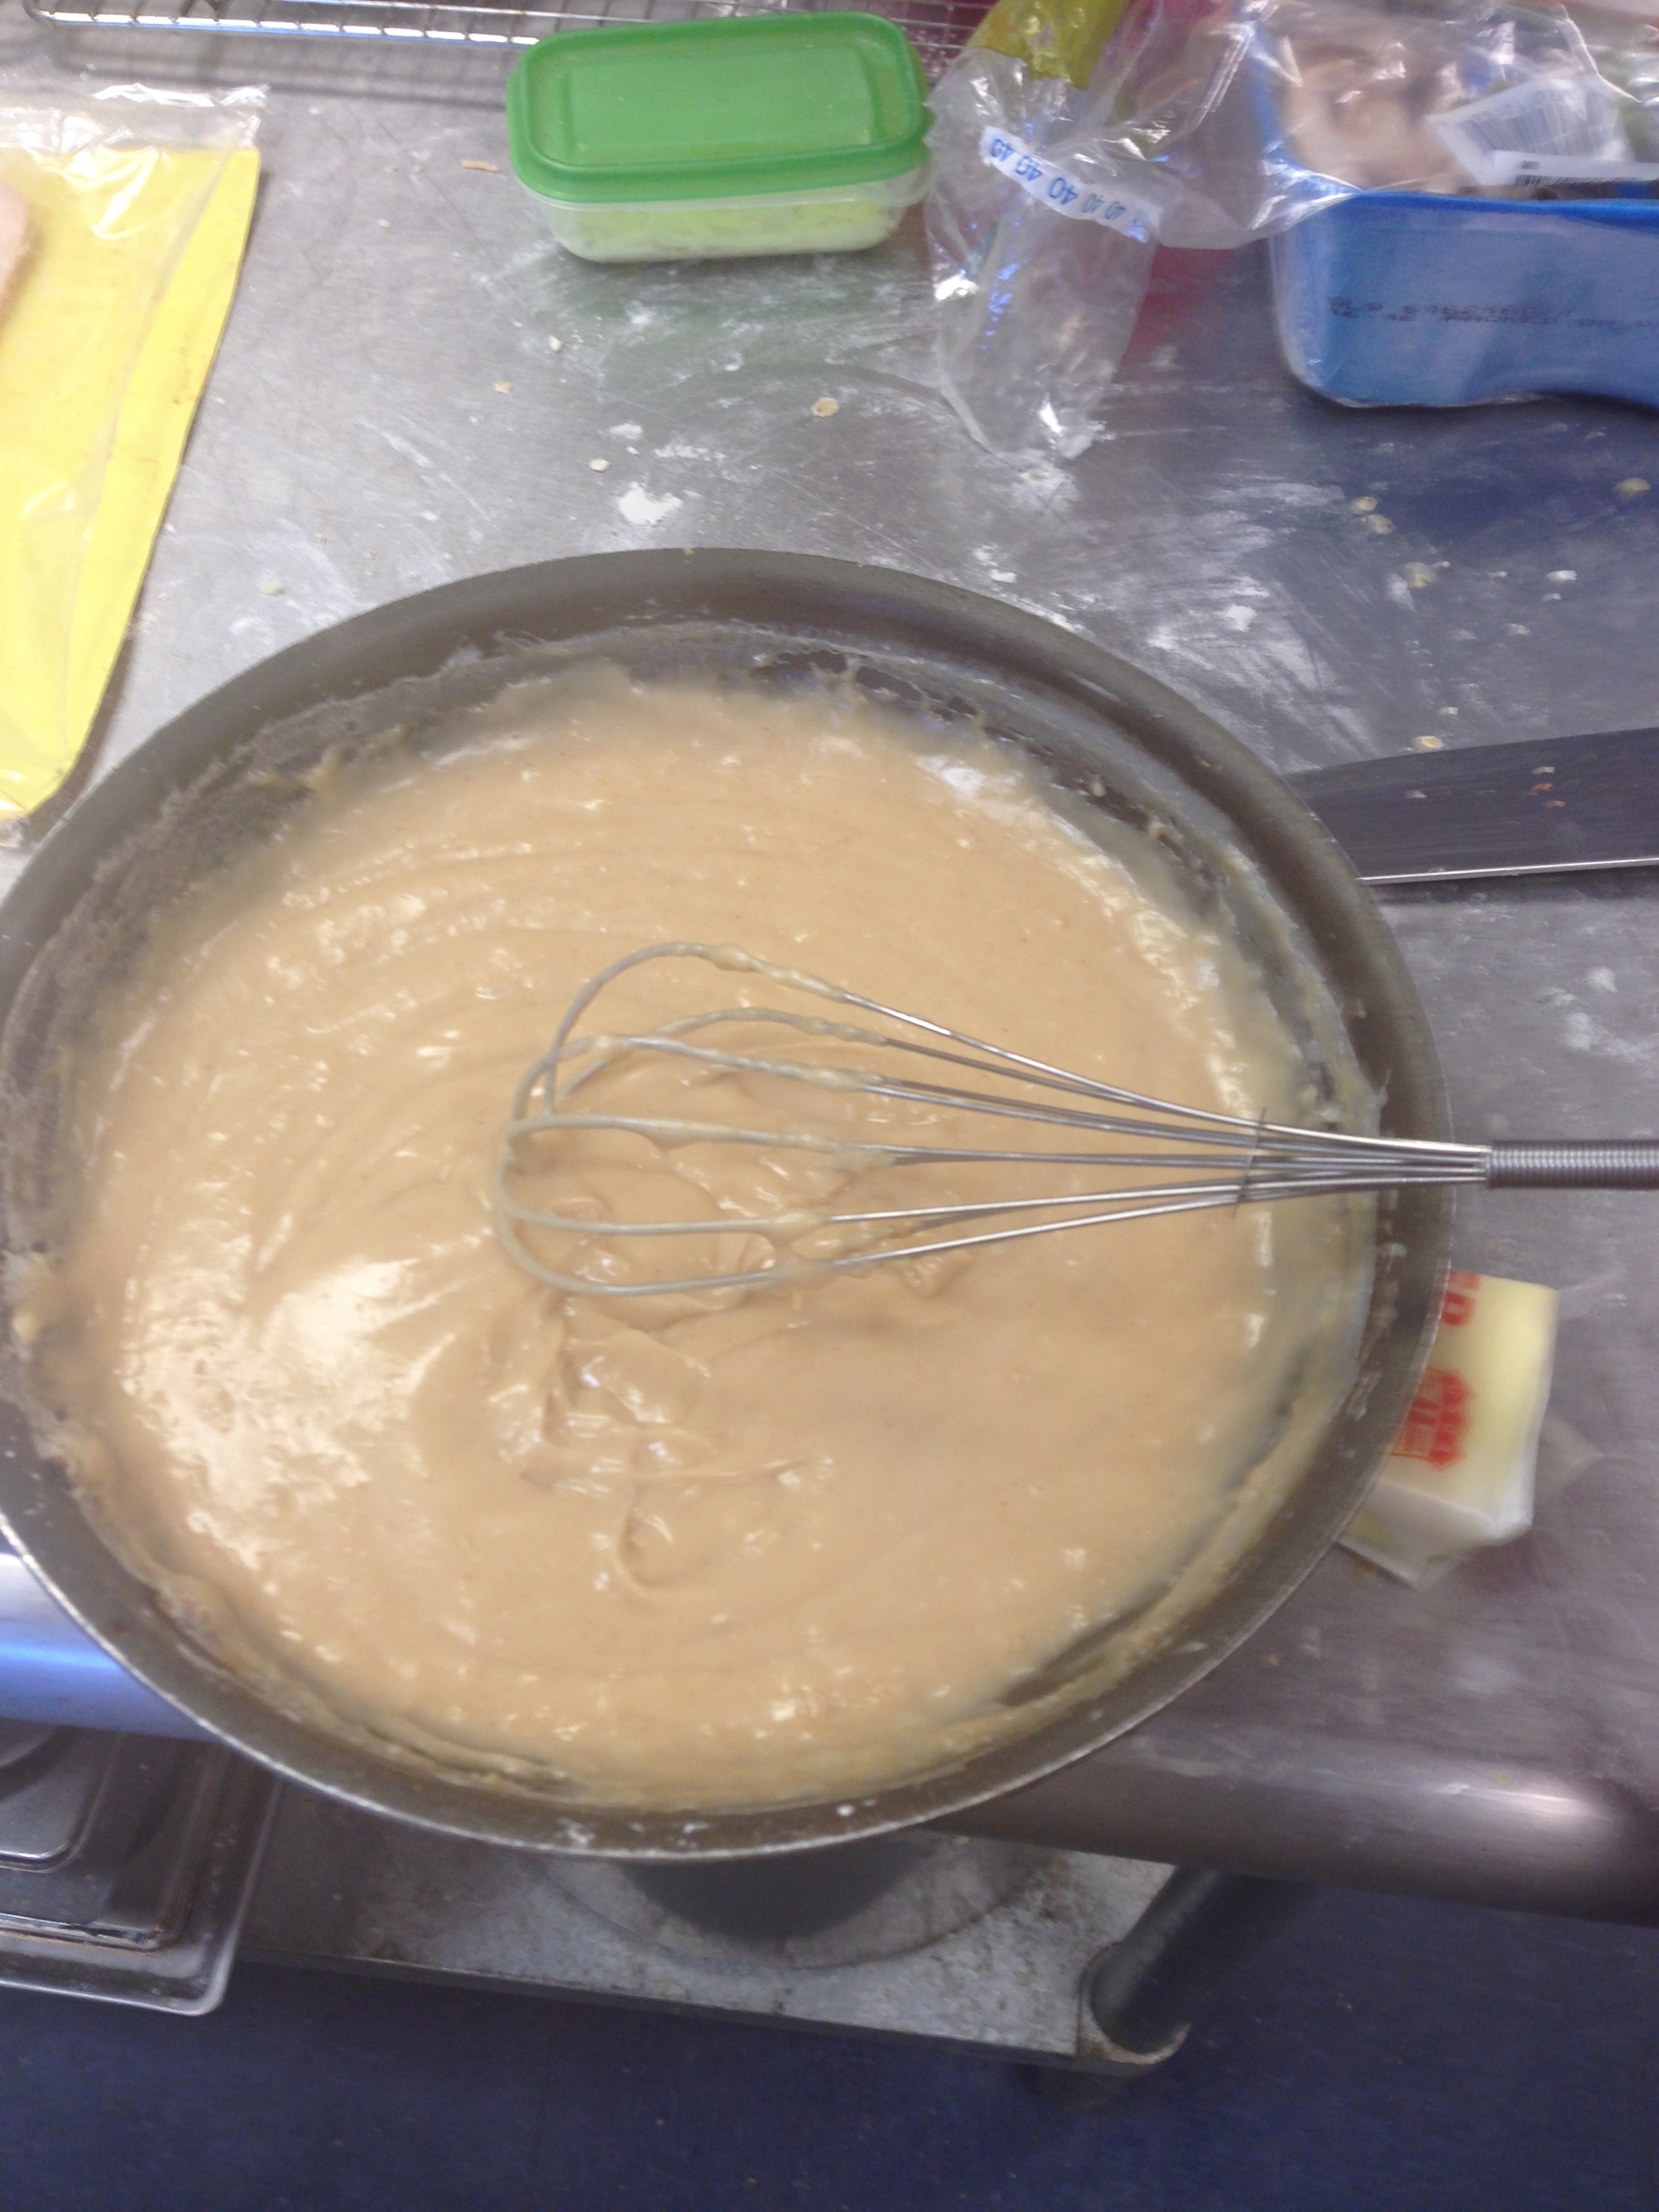
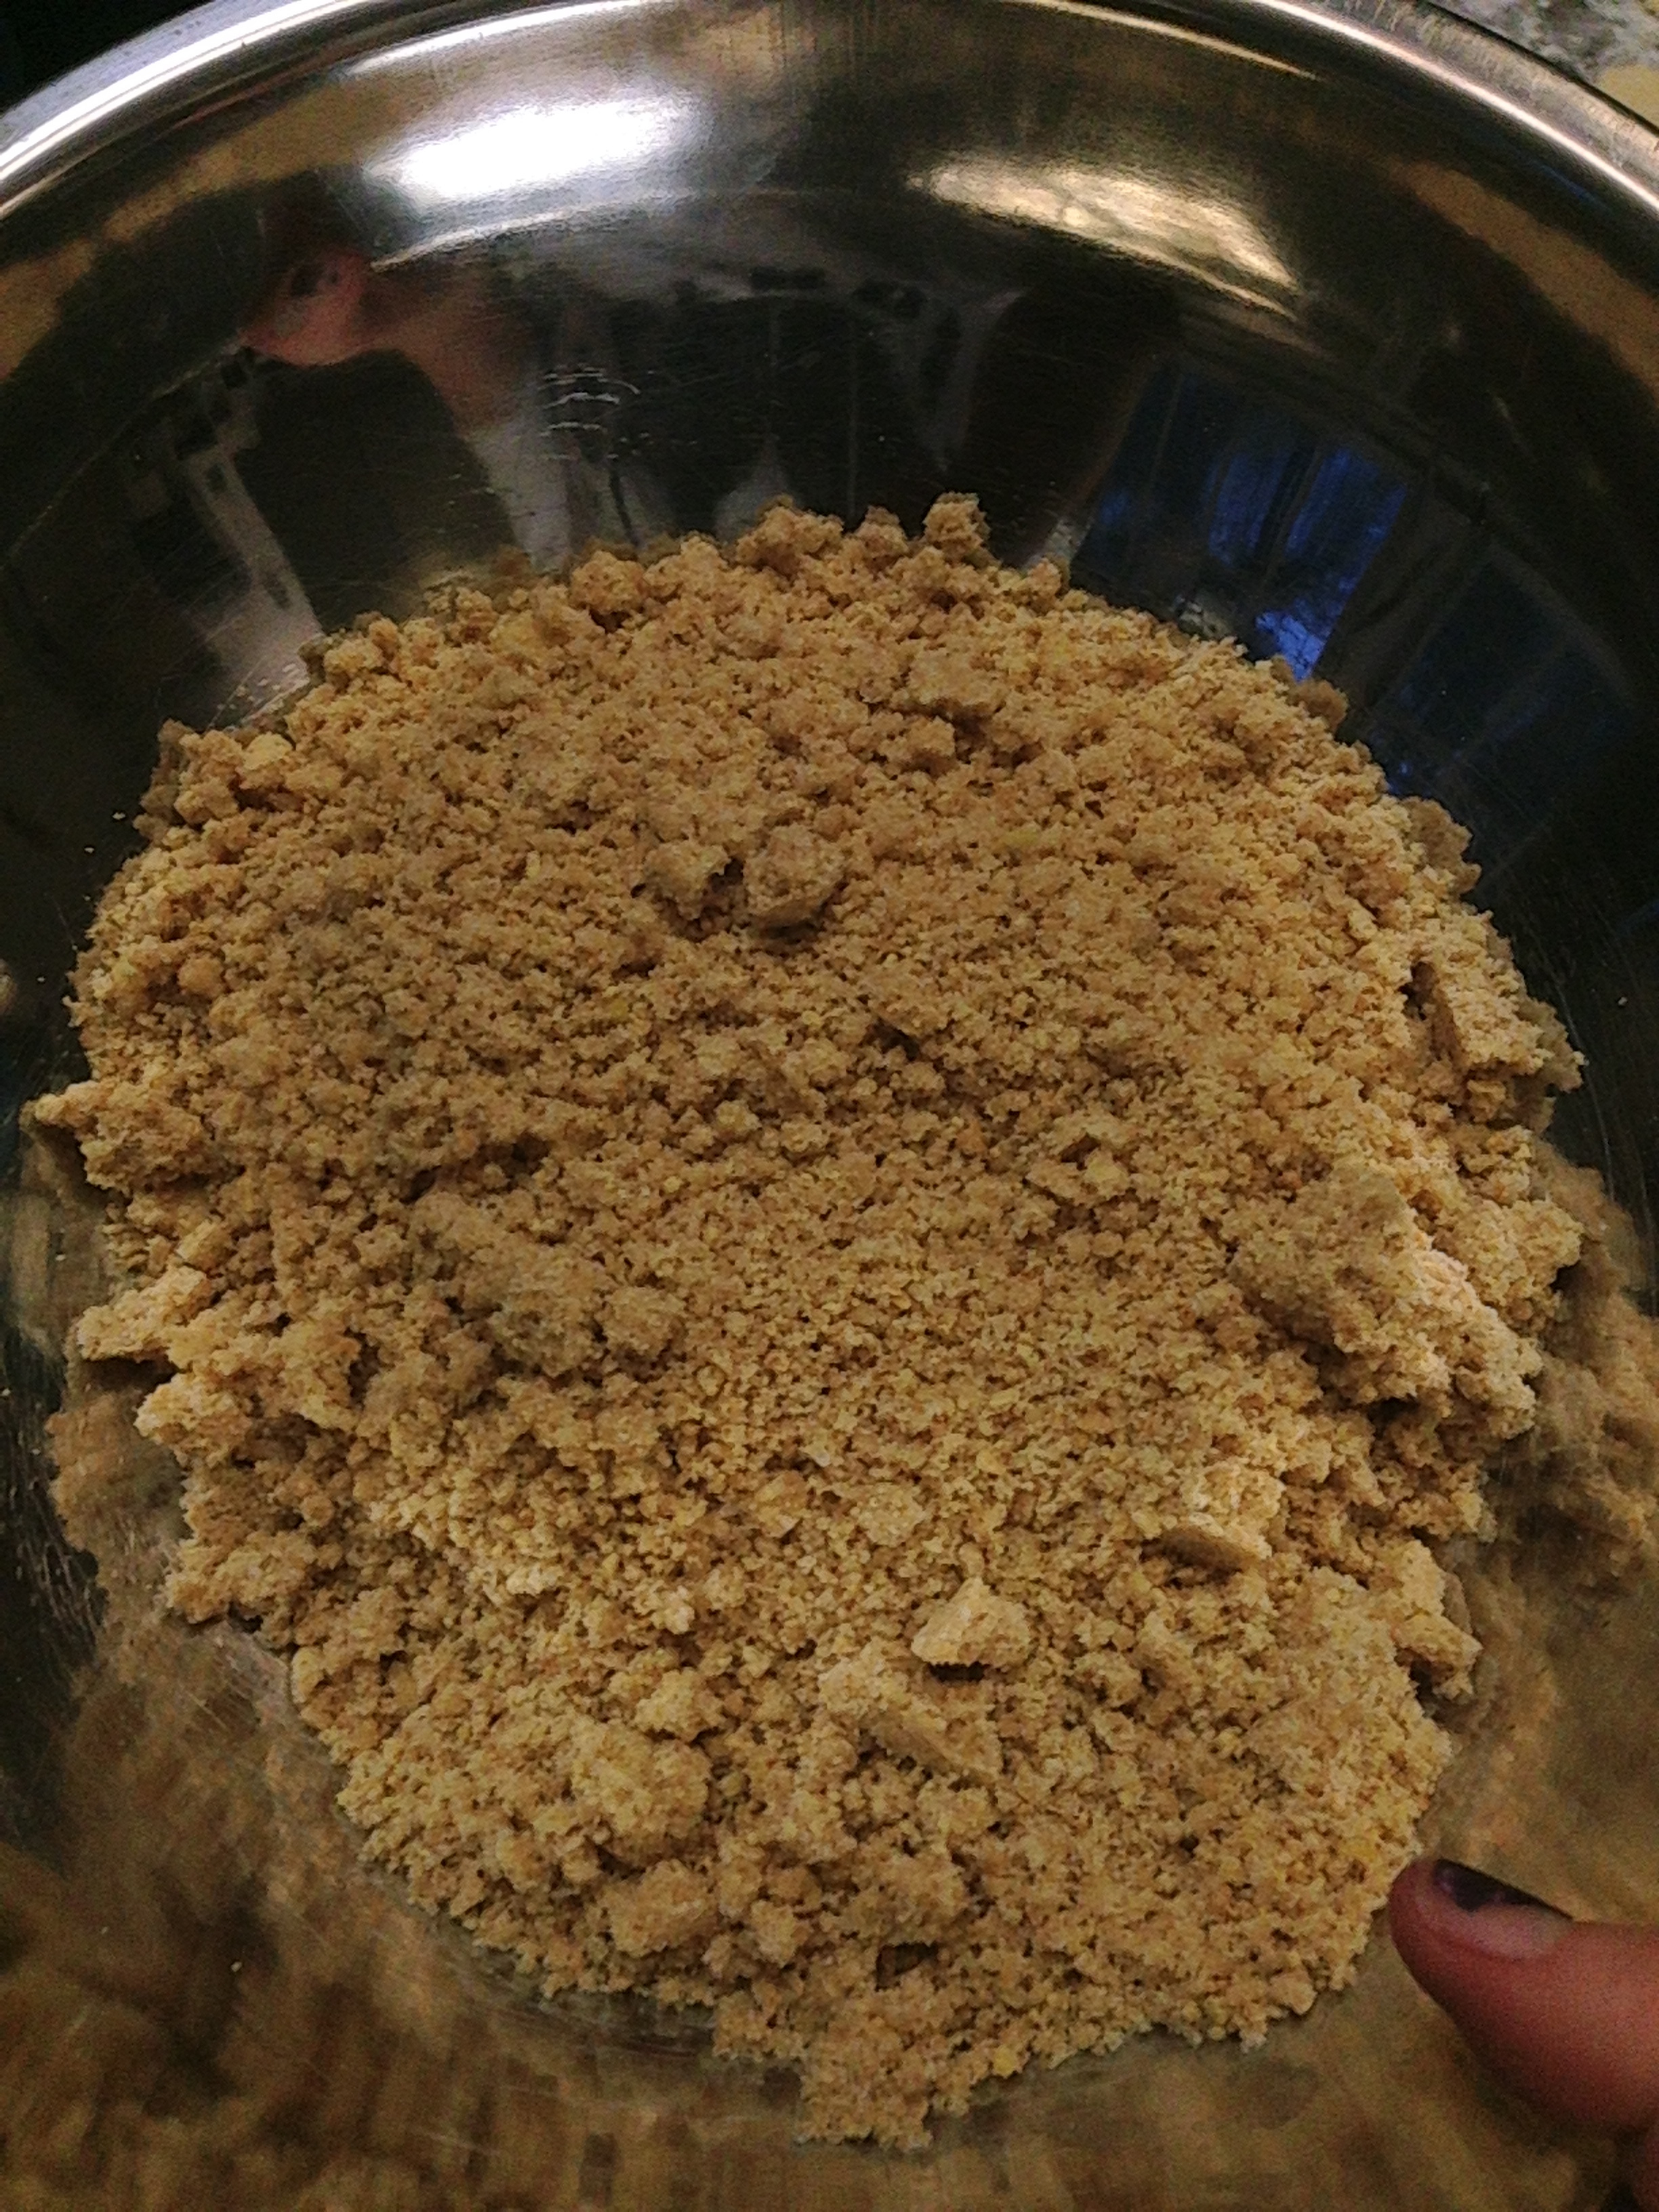
Earlier this week, we learned how to make a basic flaky pastry crust for our pies. My team mate, Neftaly, and I made both an all-butter and a half butter, half shortening pastry crust just to the difference we would get. Making the pastry was actually much easier than I thought it would be but having a tutorial from DGM was certainly the only reason it was so. Getting a feel for the texture of the pastry dough at different stages and understanding the chemistry behind keeping the fat cold and solid was fascinating.

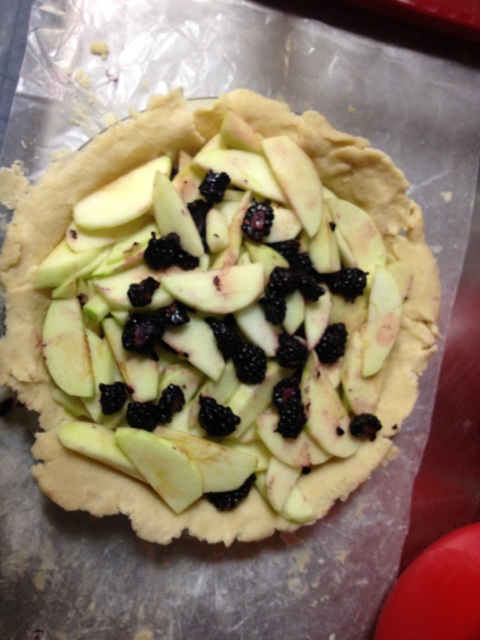
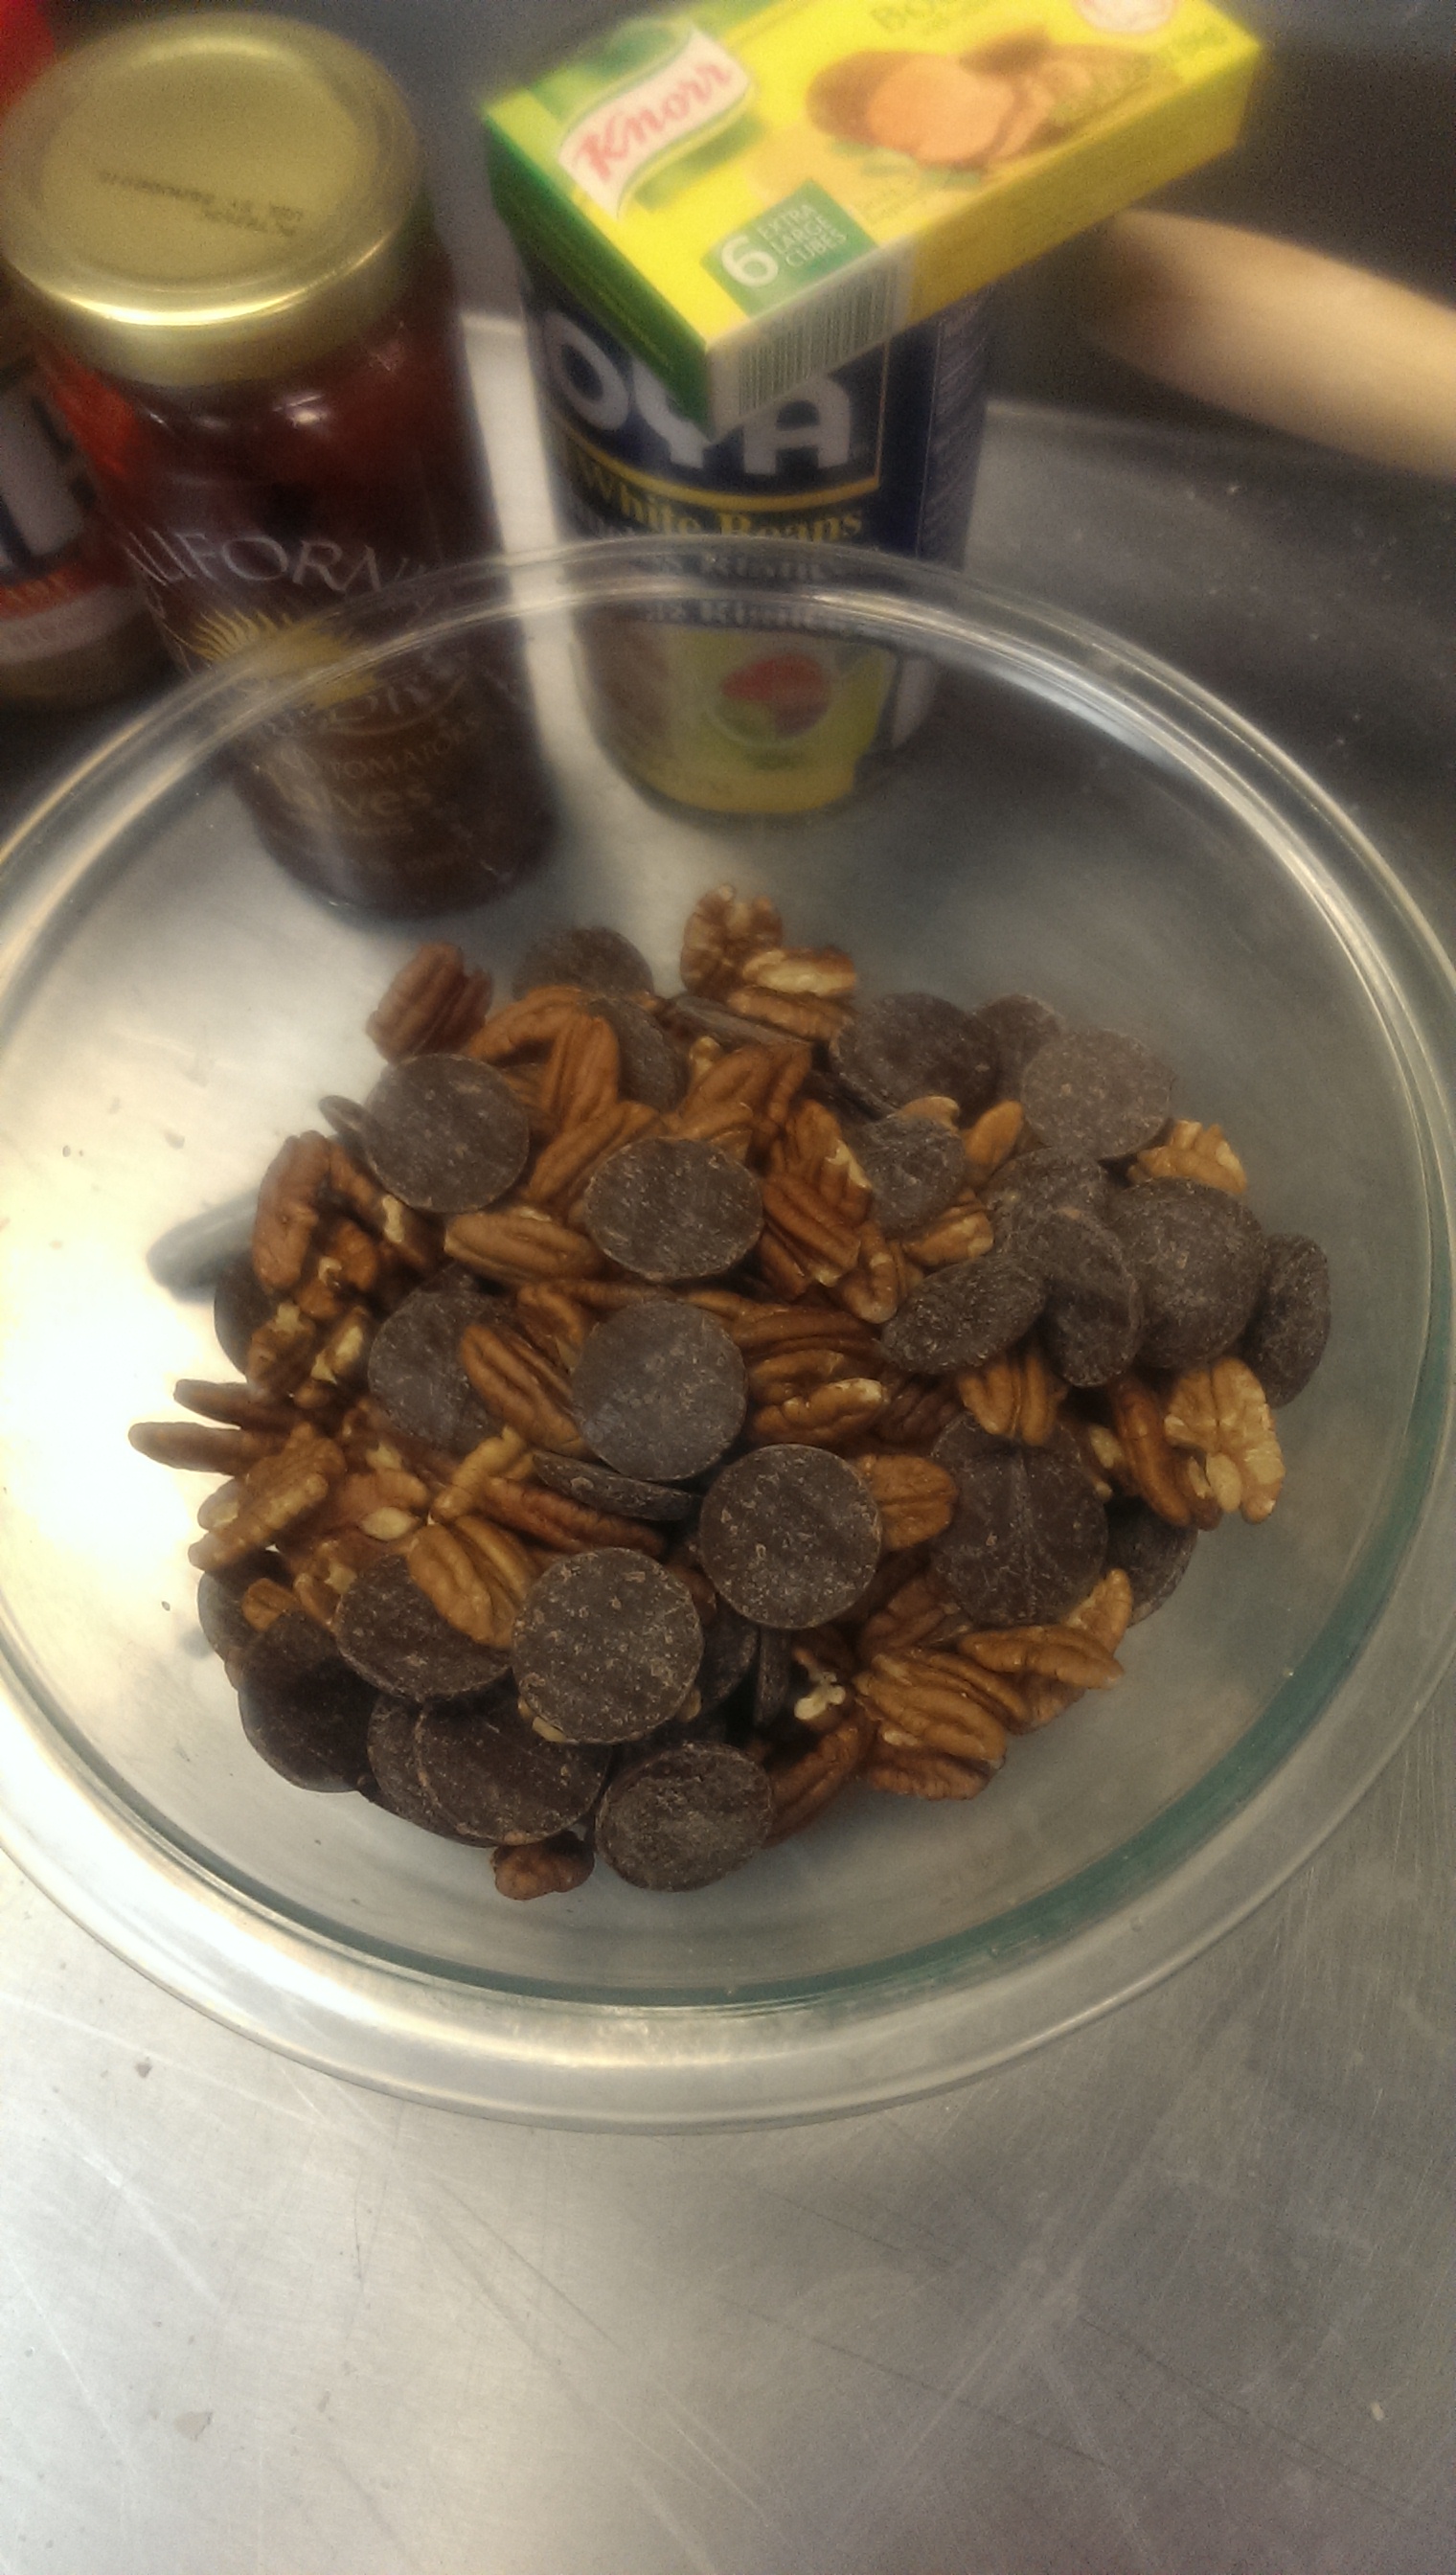
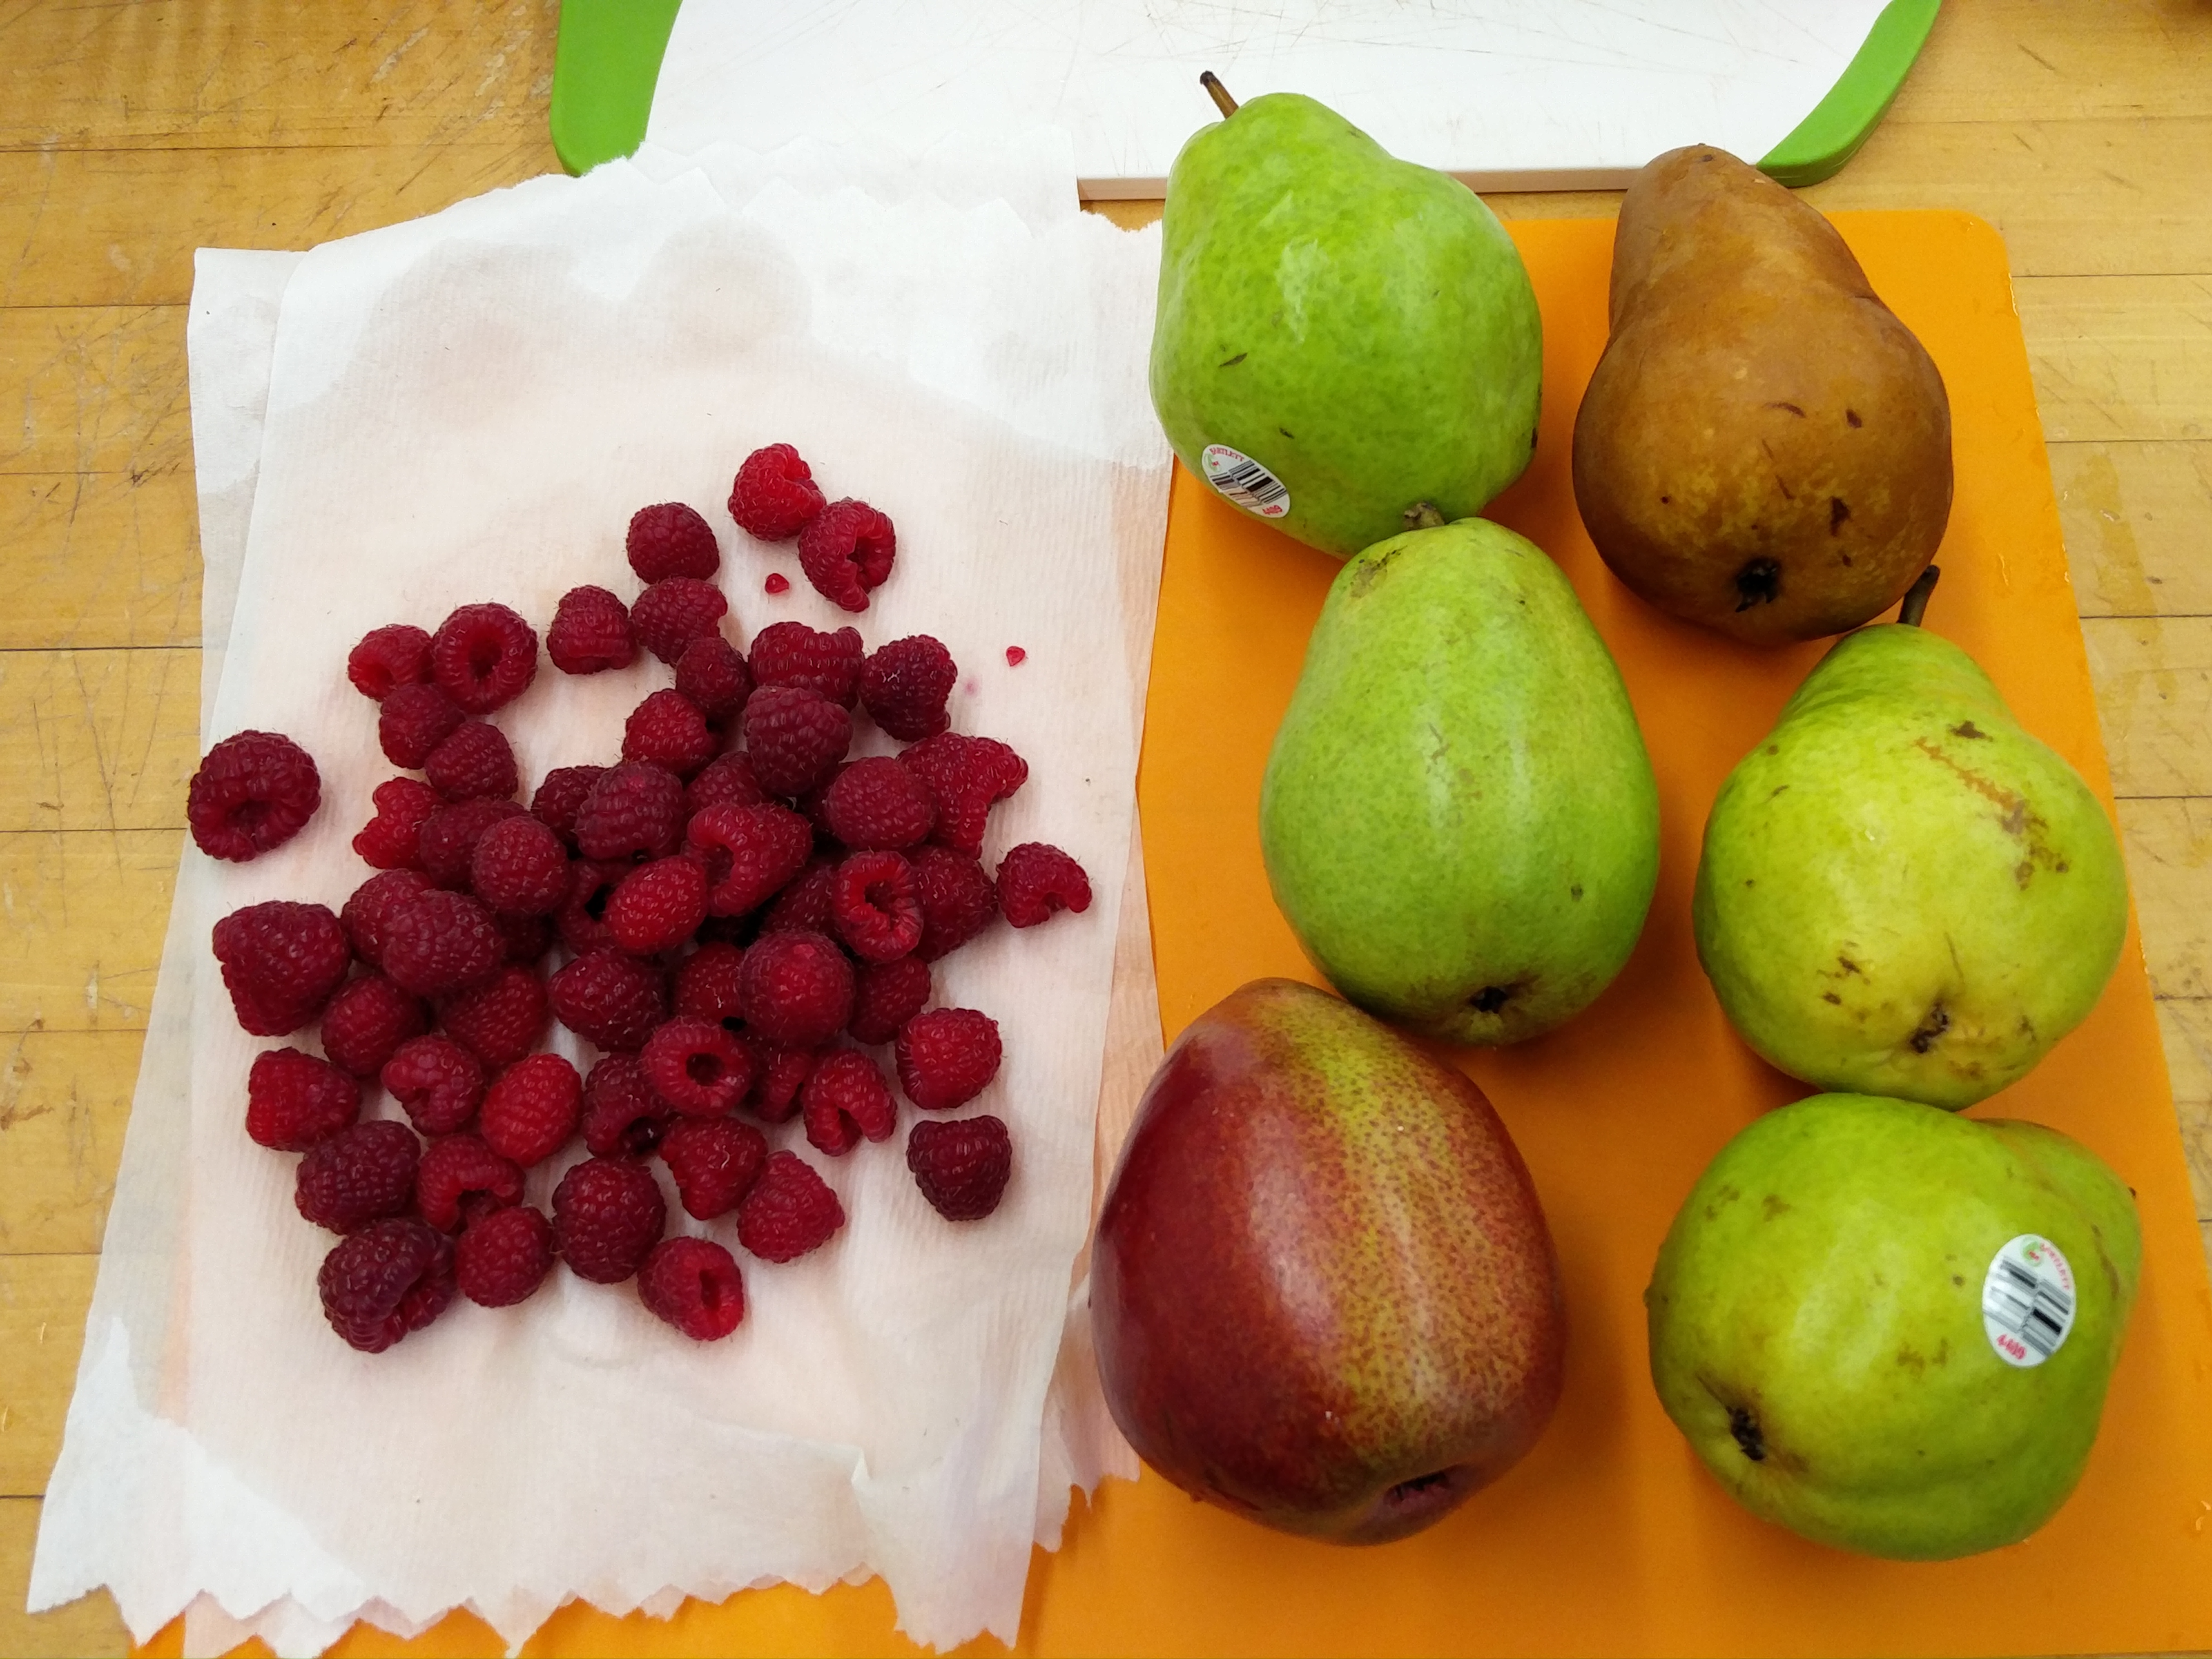
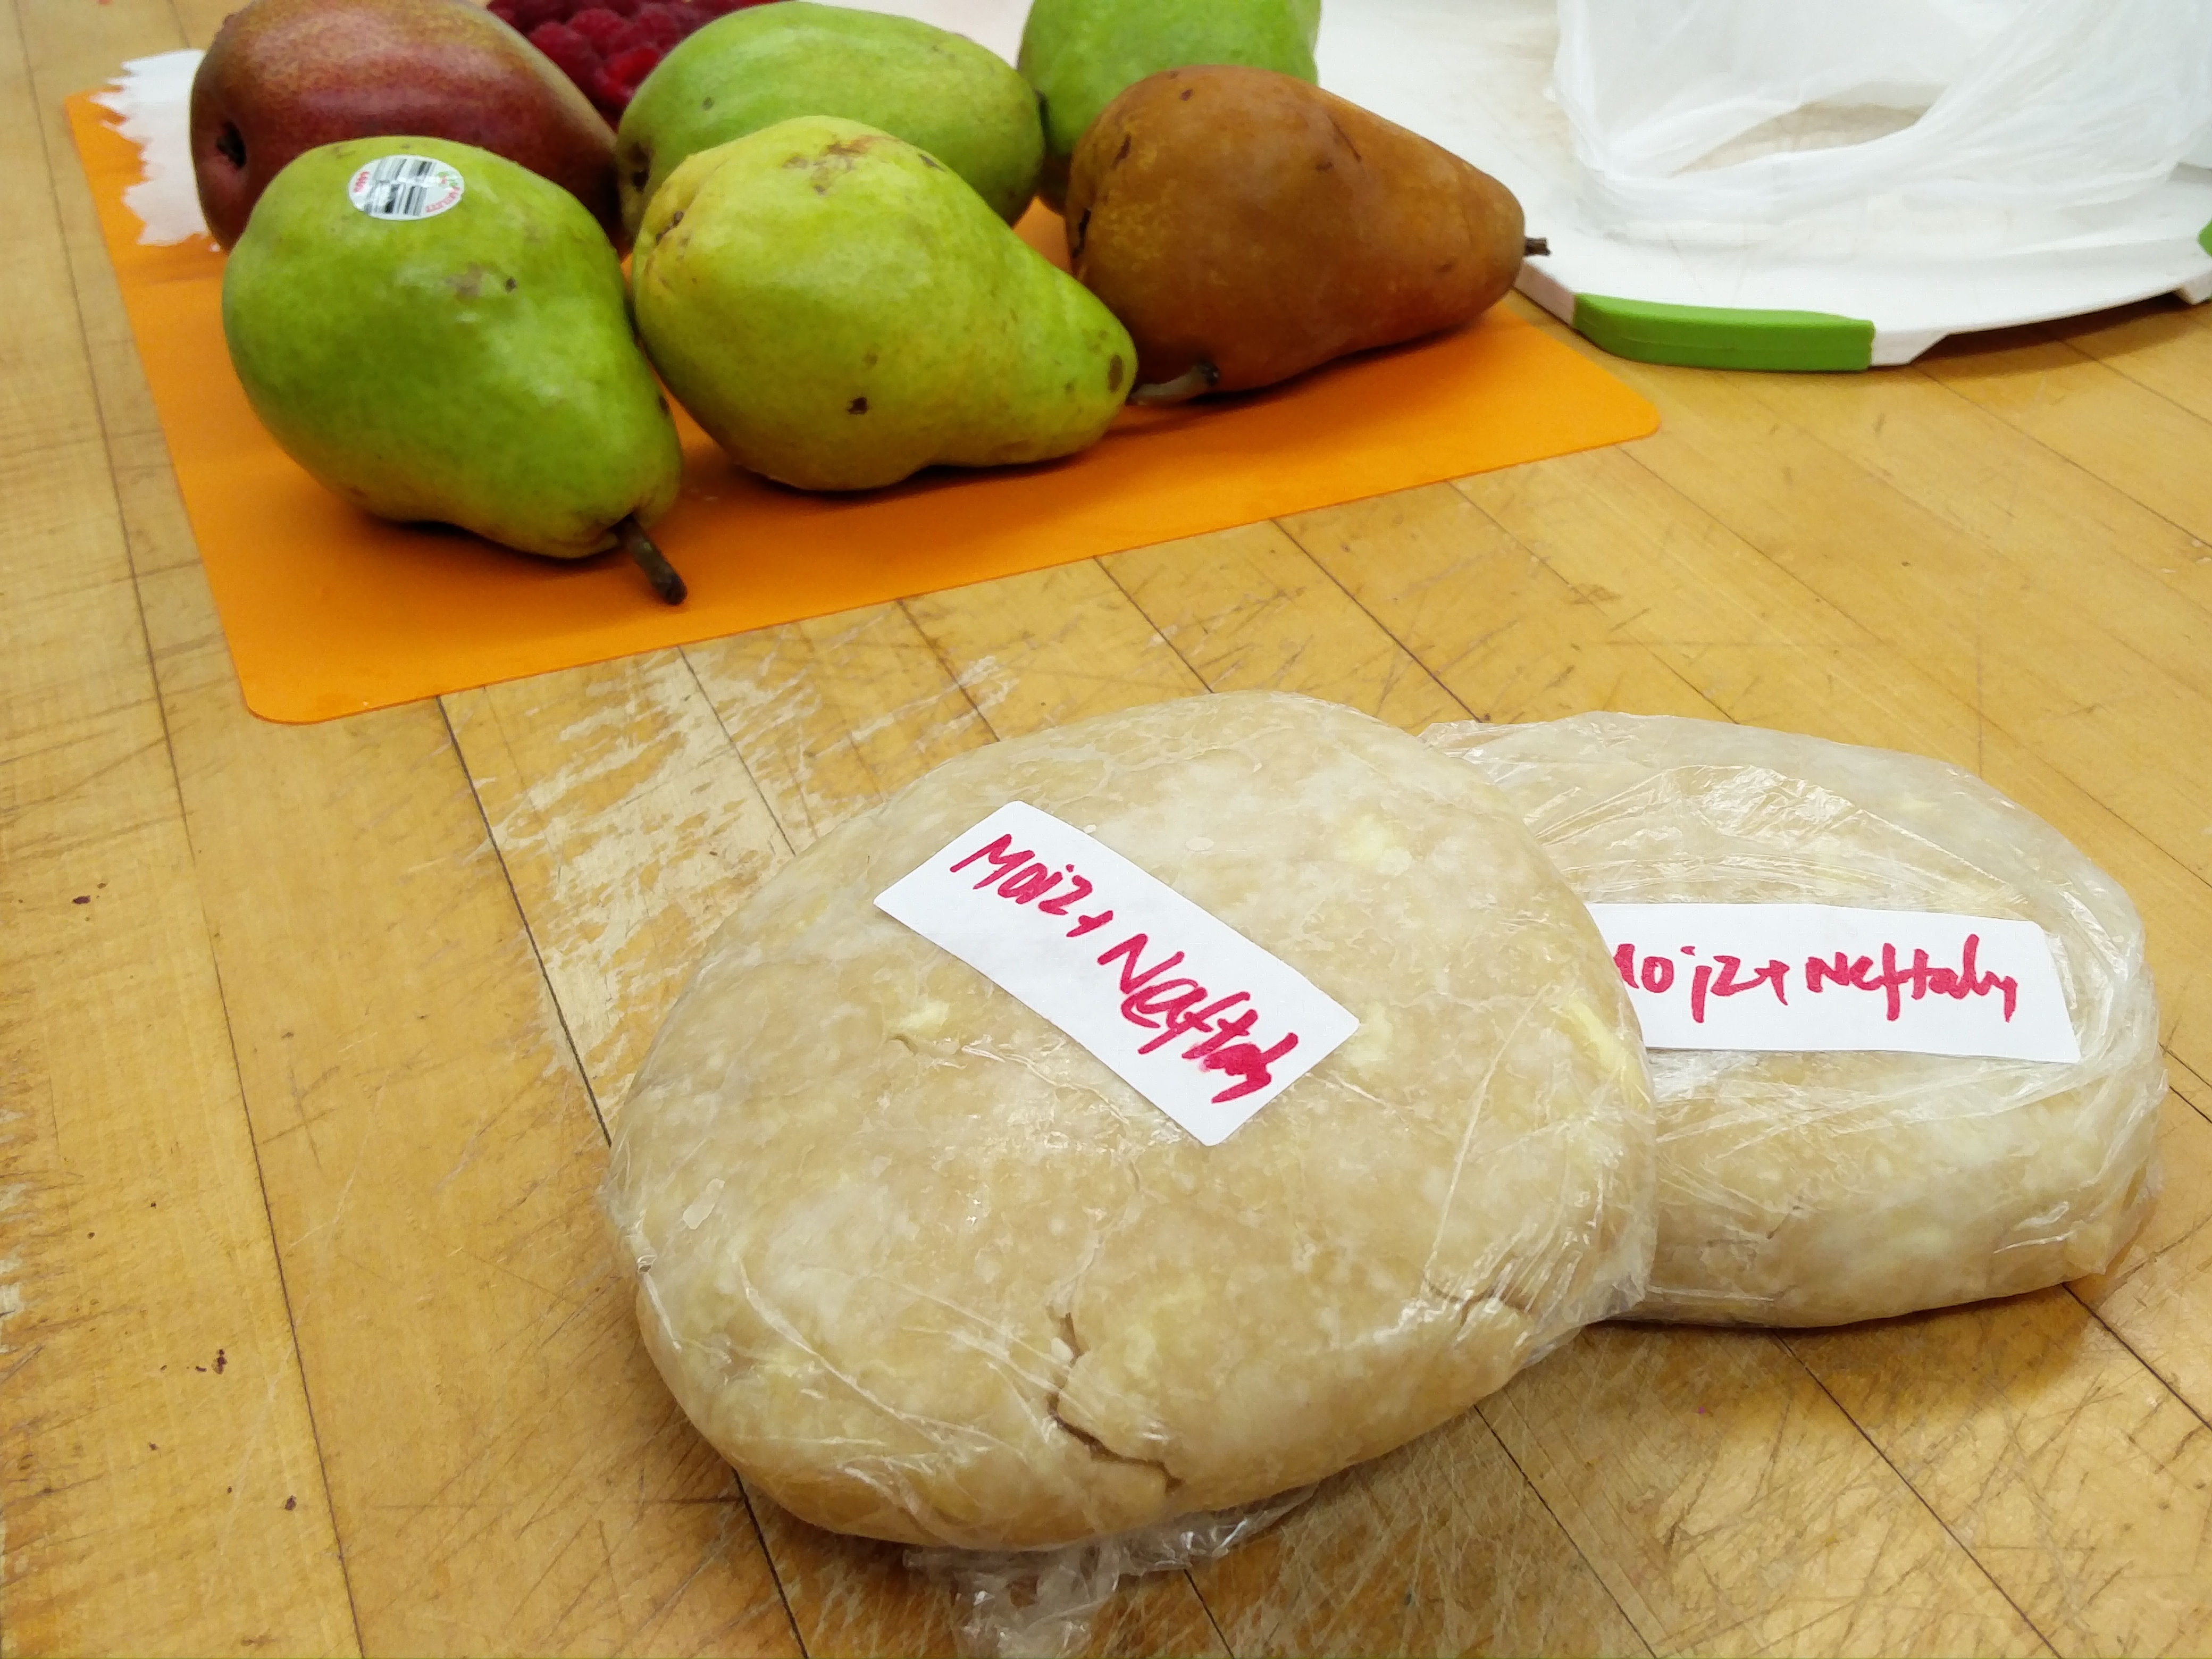
The next step, obviously, was deciding what pie I wanted to make. I had SO many choices. But I knew I wanted to make a double-crusted pie with fruit in it and I also wanted to use fruits that were in season. I looked up a few different recipes including a Pear and Raspberry pie, Peach and Blueberry, and Apple and Raspberry in hopes of finding the answer regarding which pie I should make once I went shopping. A trip to Stop & Shop (thanks to Steph for the ride!) helped me solved the dilemma as I walked through the fruit aisle and saw some gorgeous pears. The recipe I had called for only 6 Bartlett pears but for the sake of having a variety of textures, flavors, and aromas, I picked 3 Bartlett pears, 1 Red pear, 1 Anjou pear, and 1 Bosc pear. I also found some fresh organic raspberries and I knew making this pie was going to be interesting experience.

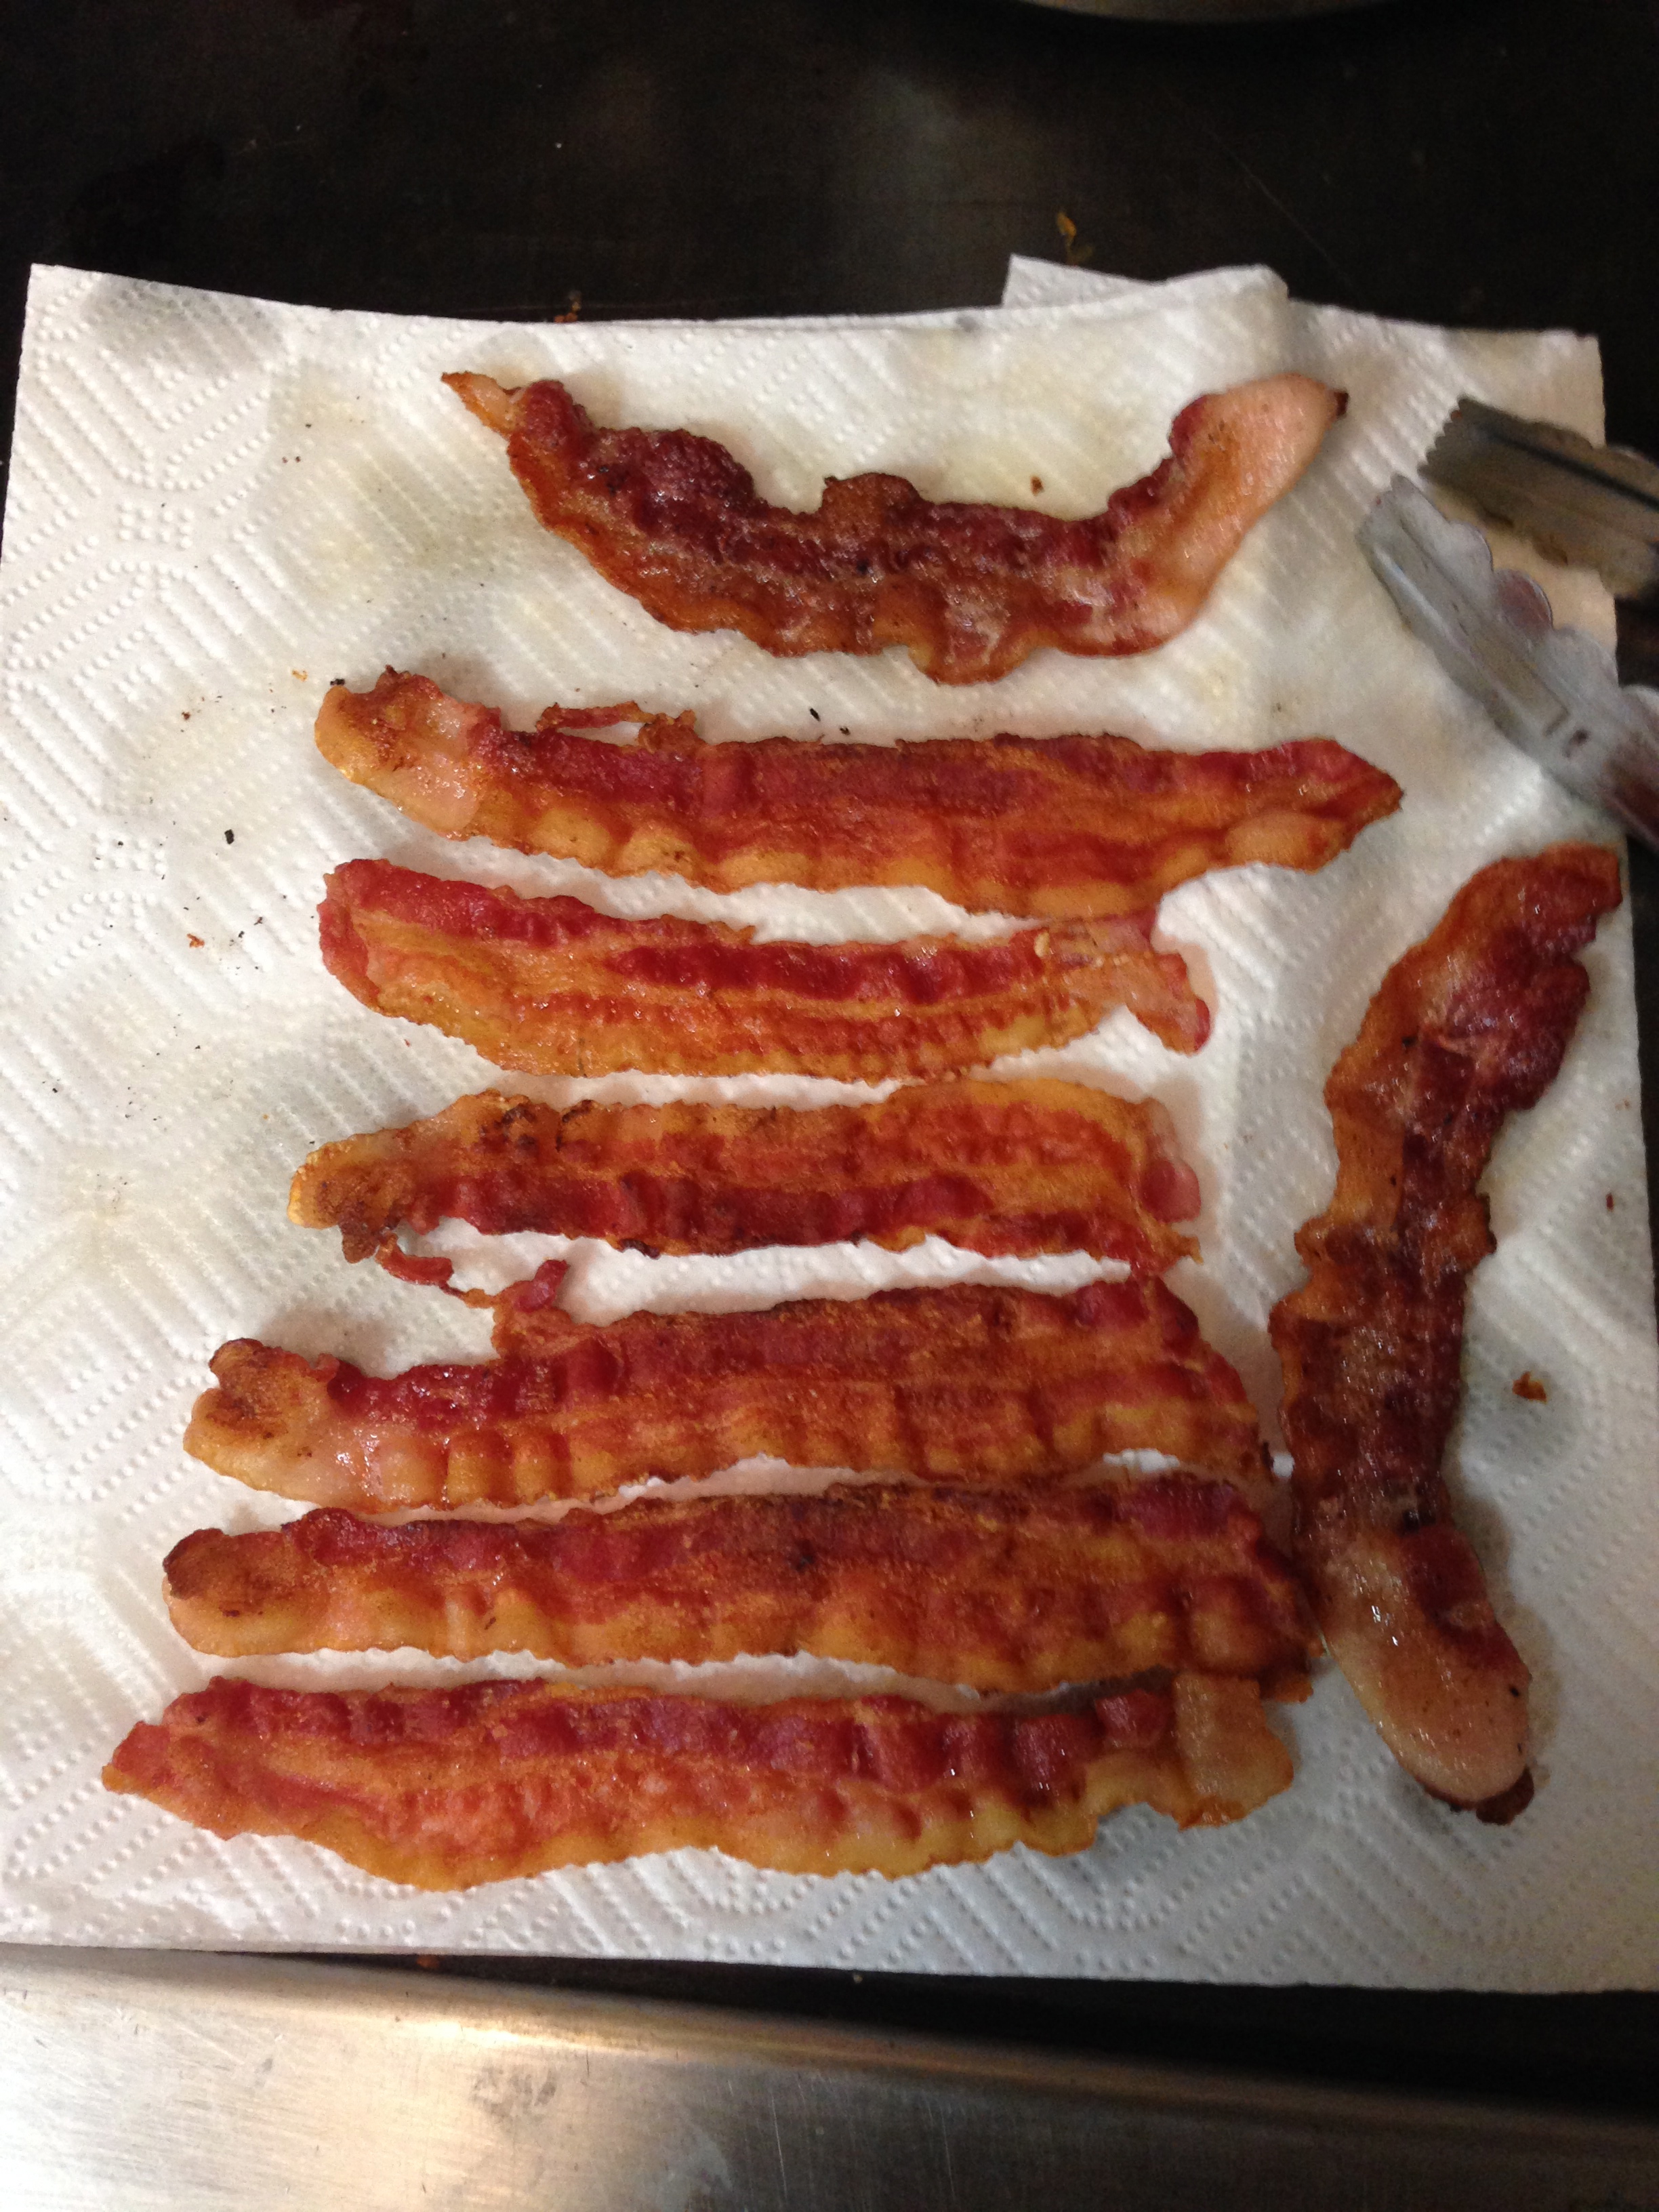
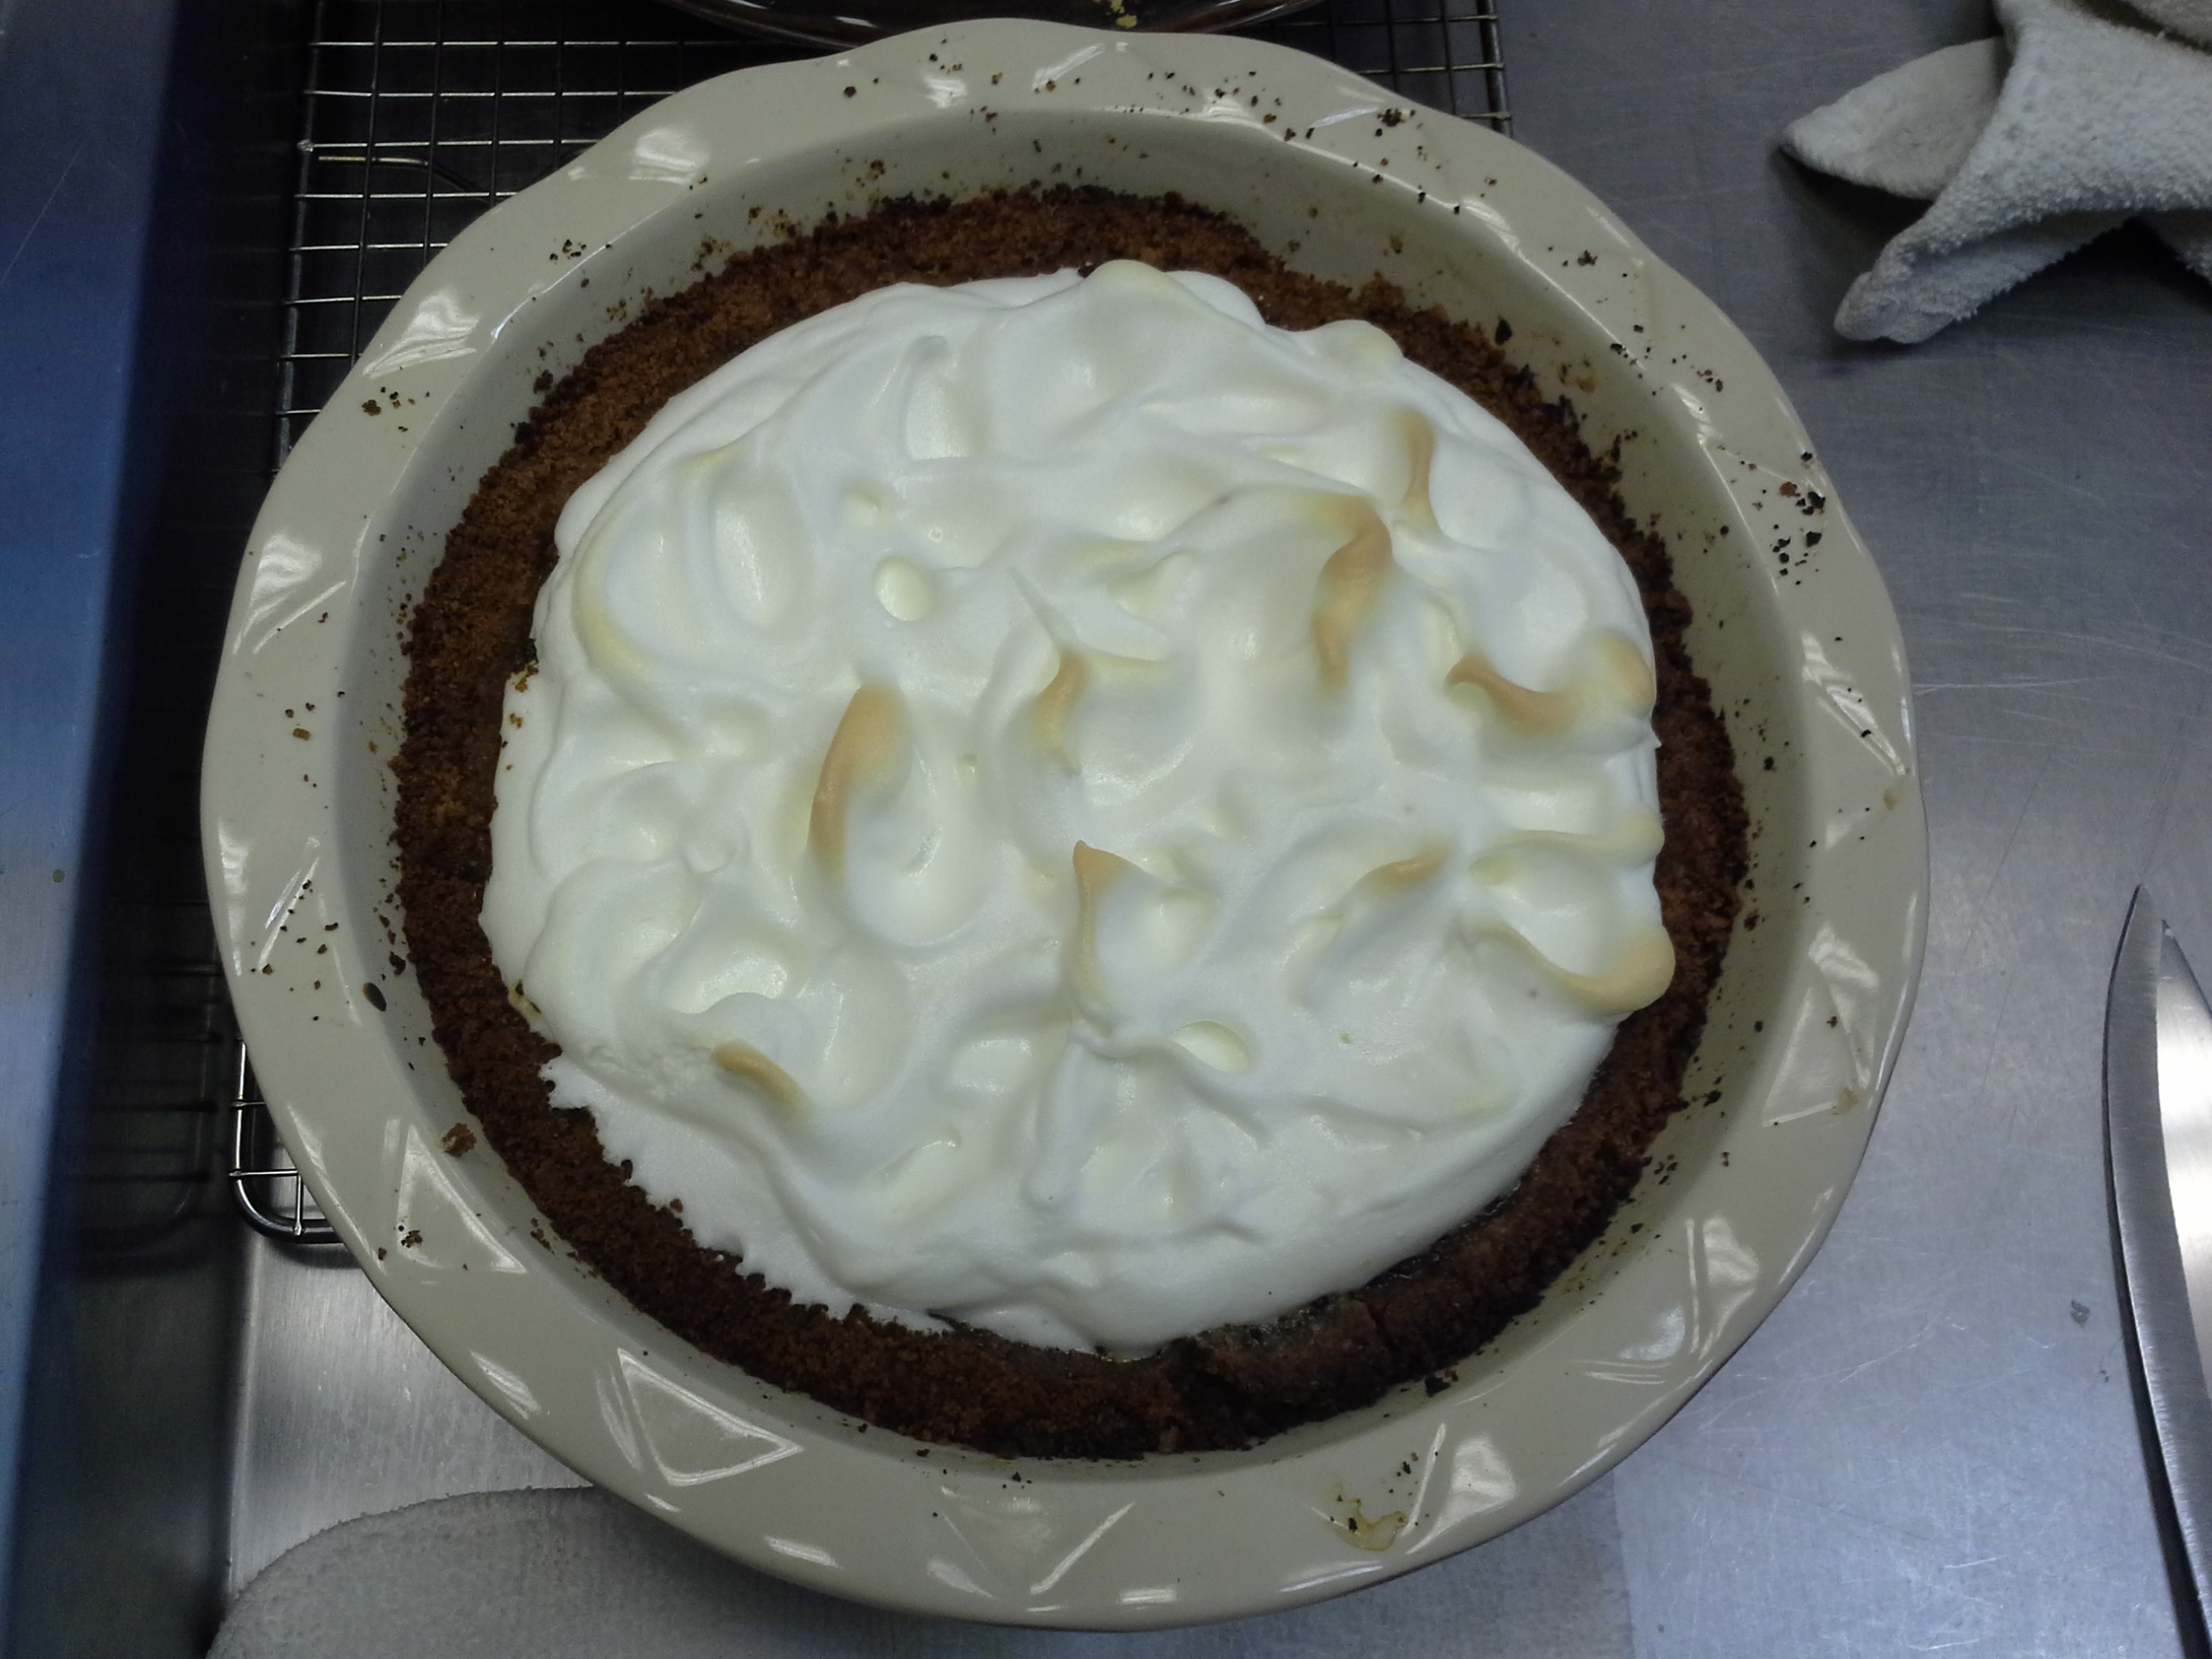
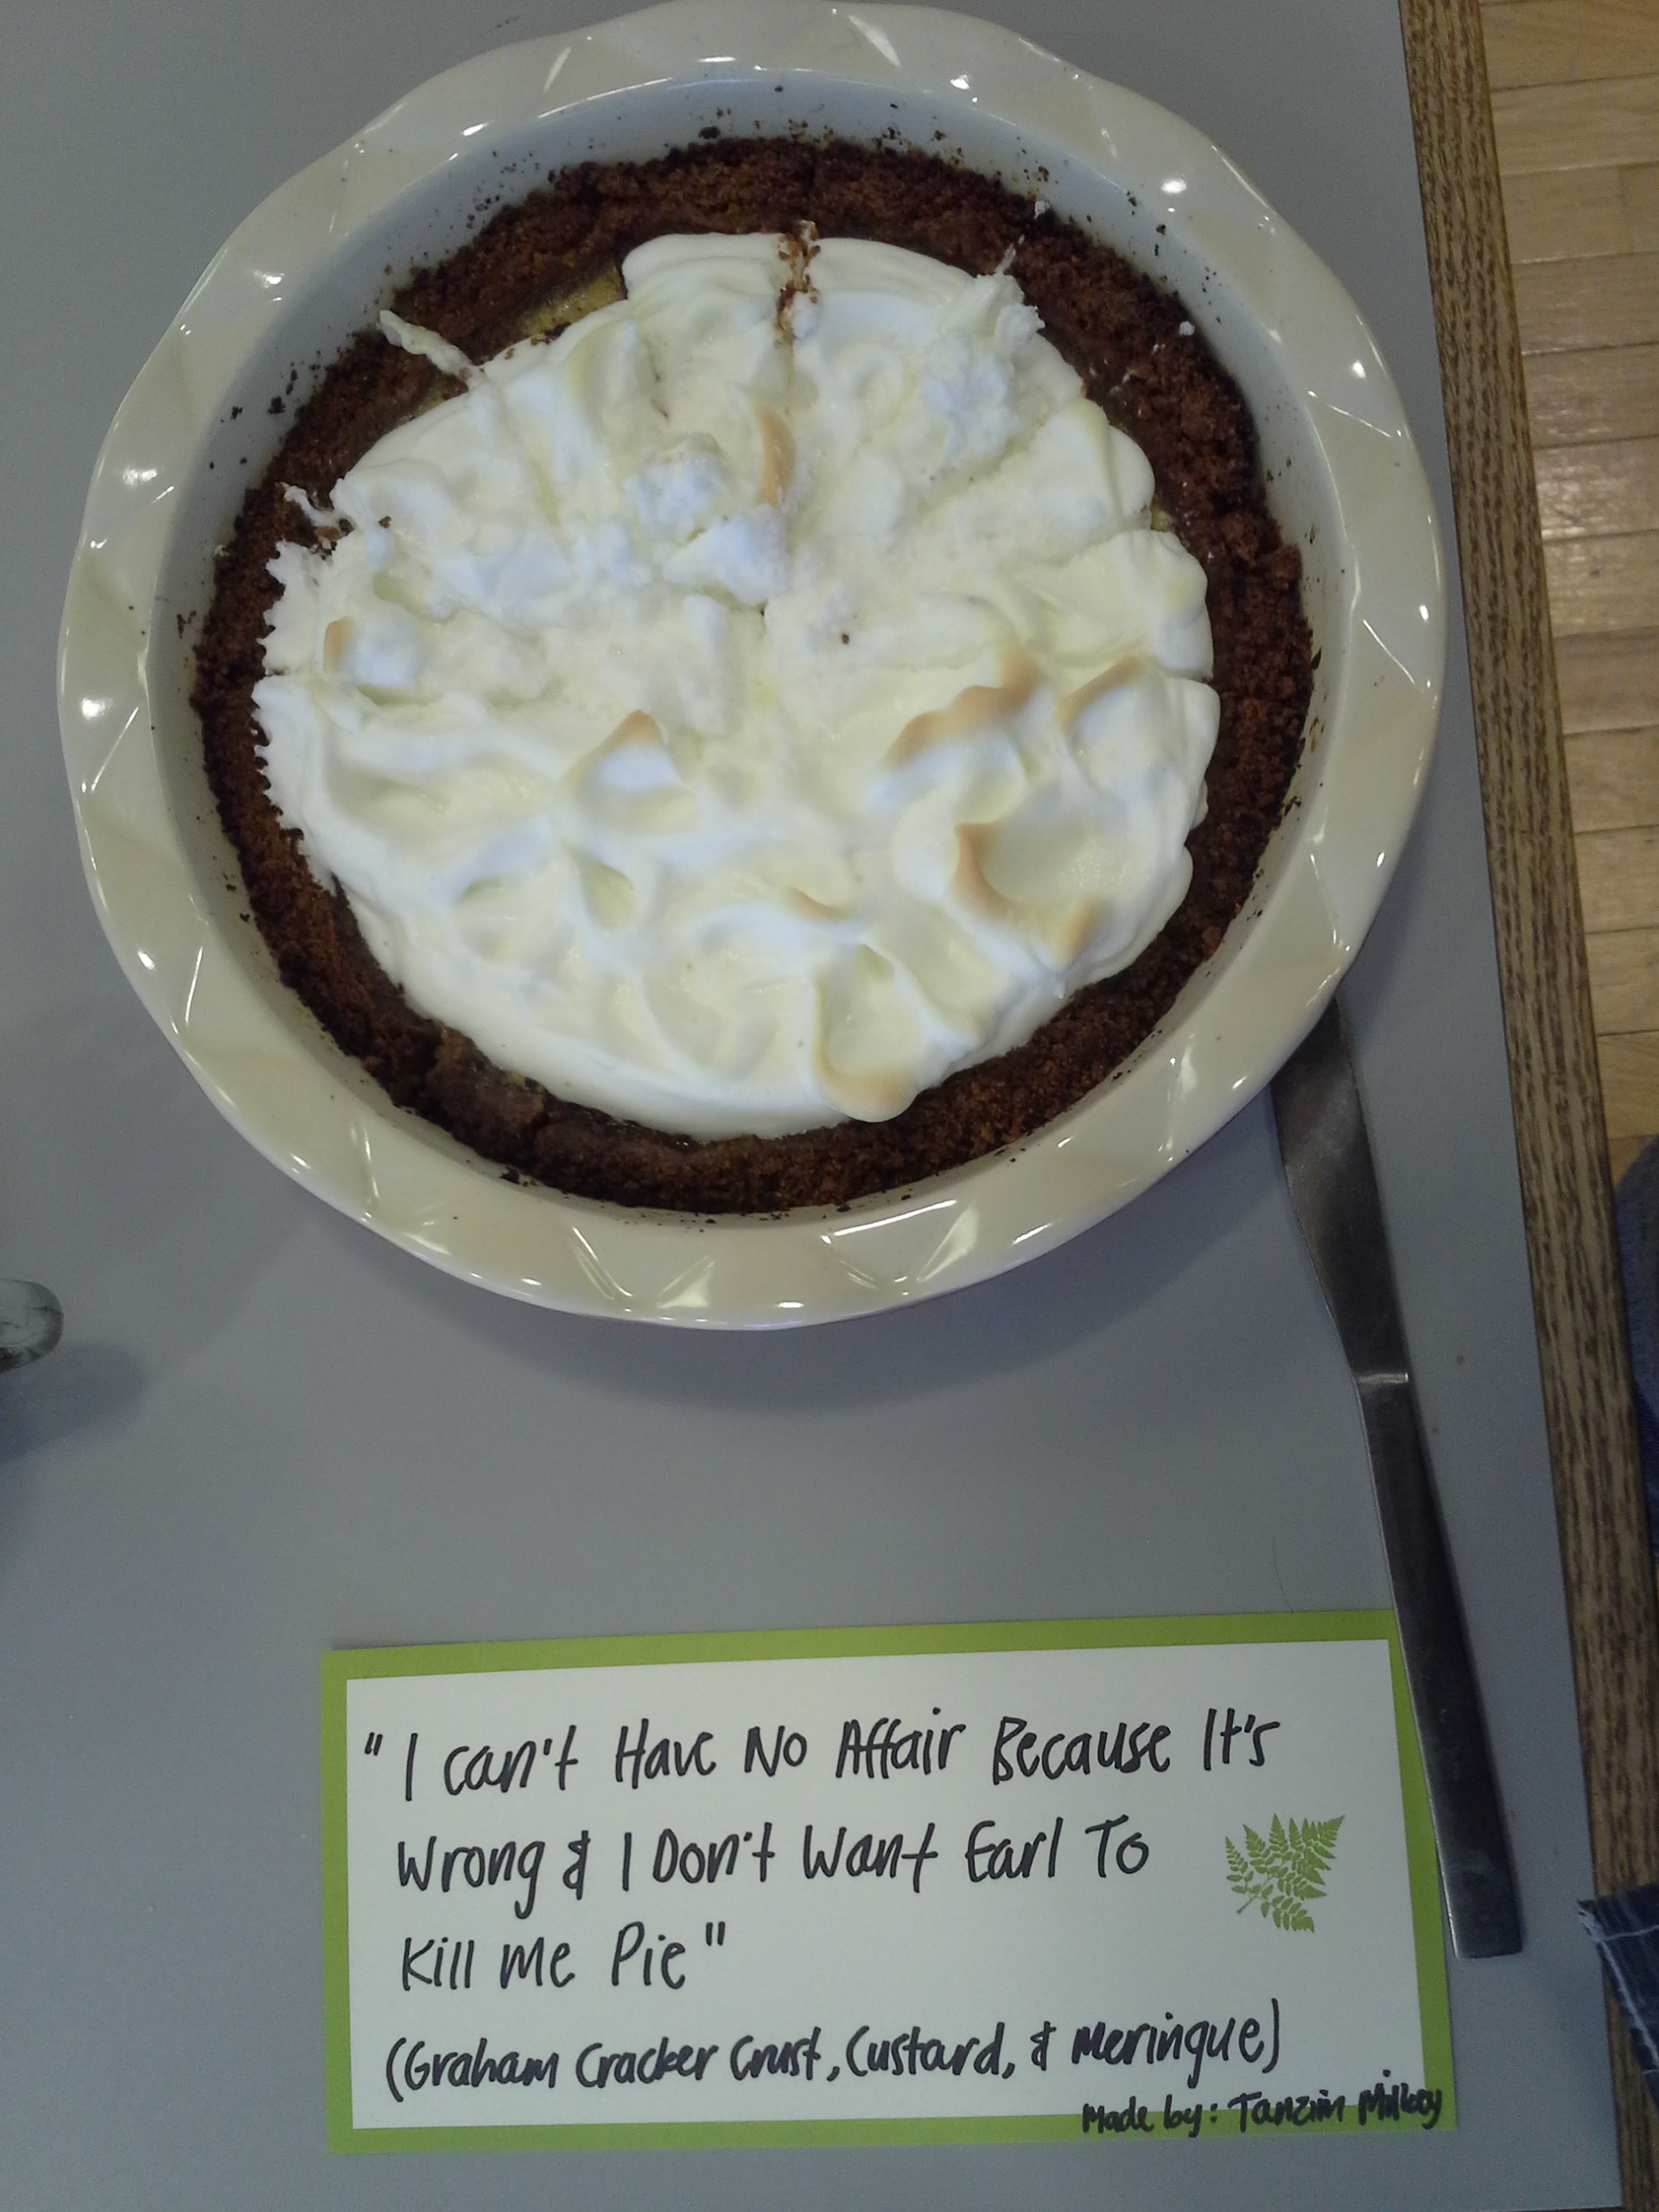
Overnight, I binge-watched a few pie-related episodes of The Great British Bake-Off and educated myself on how to avoid a soggy pie bottom due to a liquidy filling especially in fruit pies. Some research allowed me to learn that an egg-white wash, a chocolate wash, blind-baking, and adding cornstarch to the fruit, all seemed like viable options to avoid the disaster of a soggy bottom.

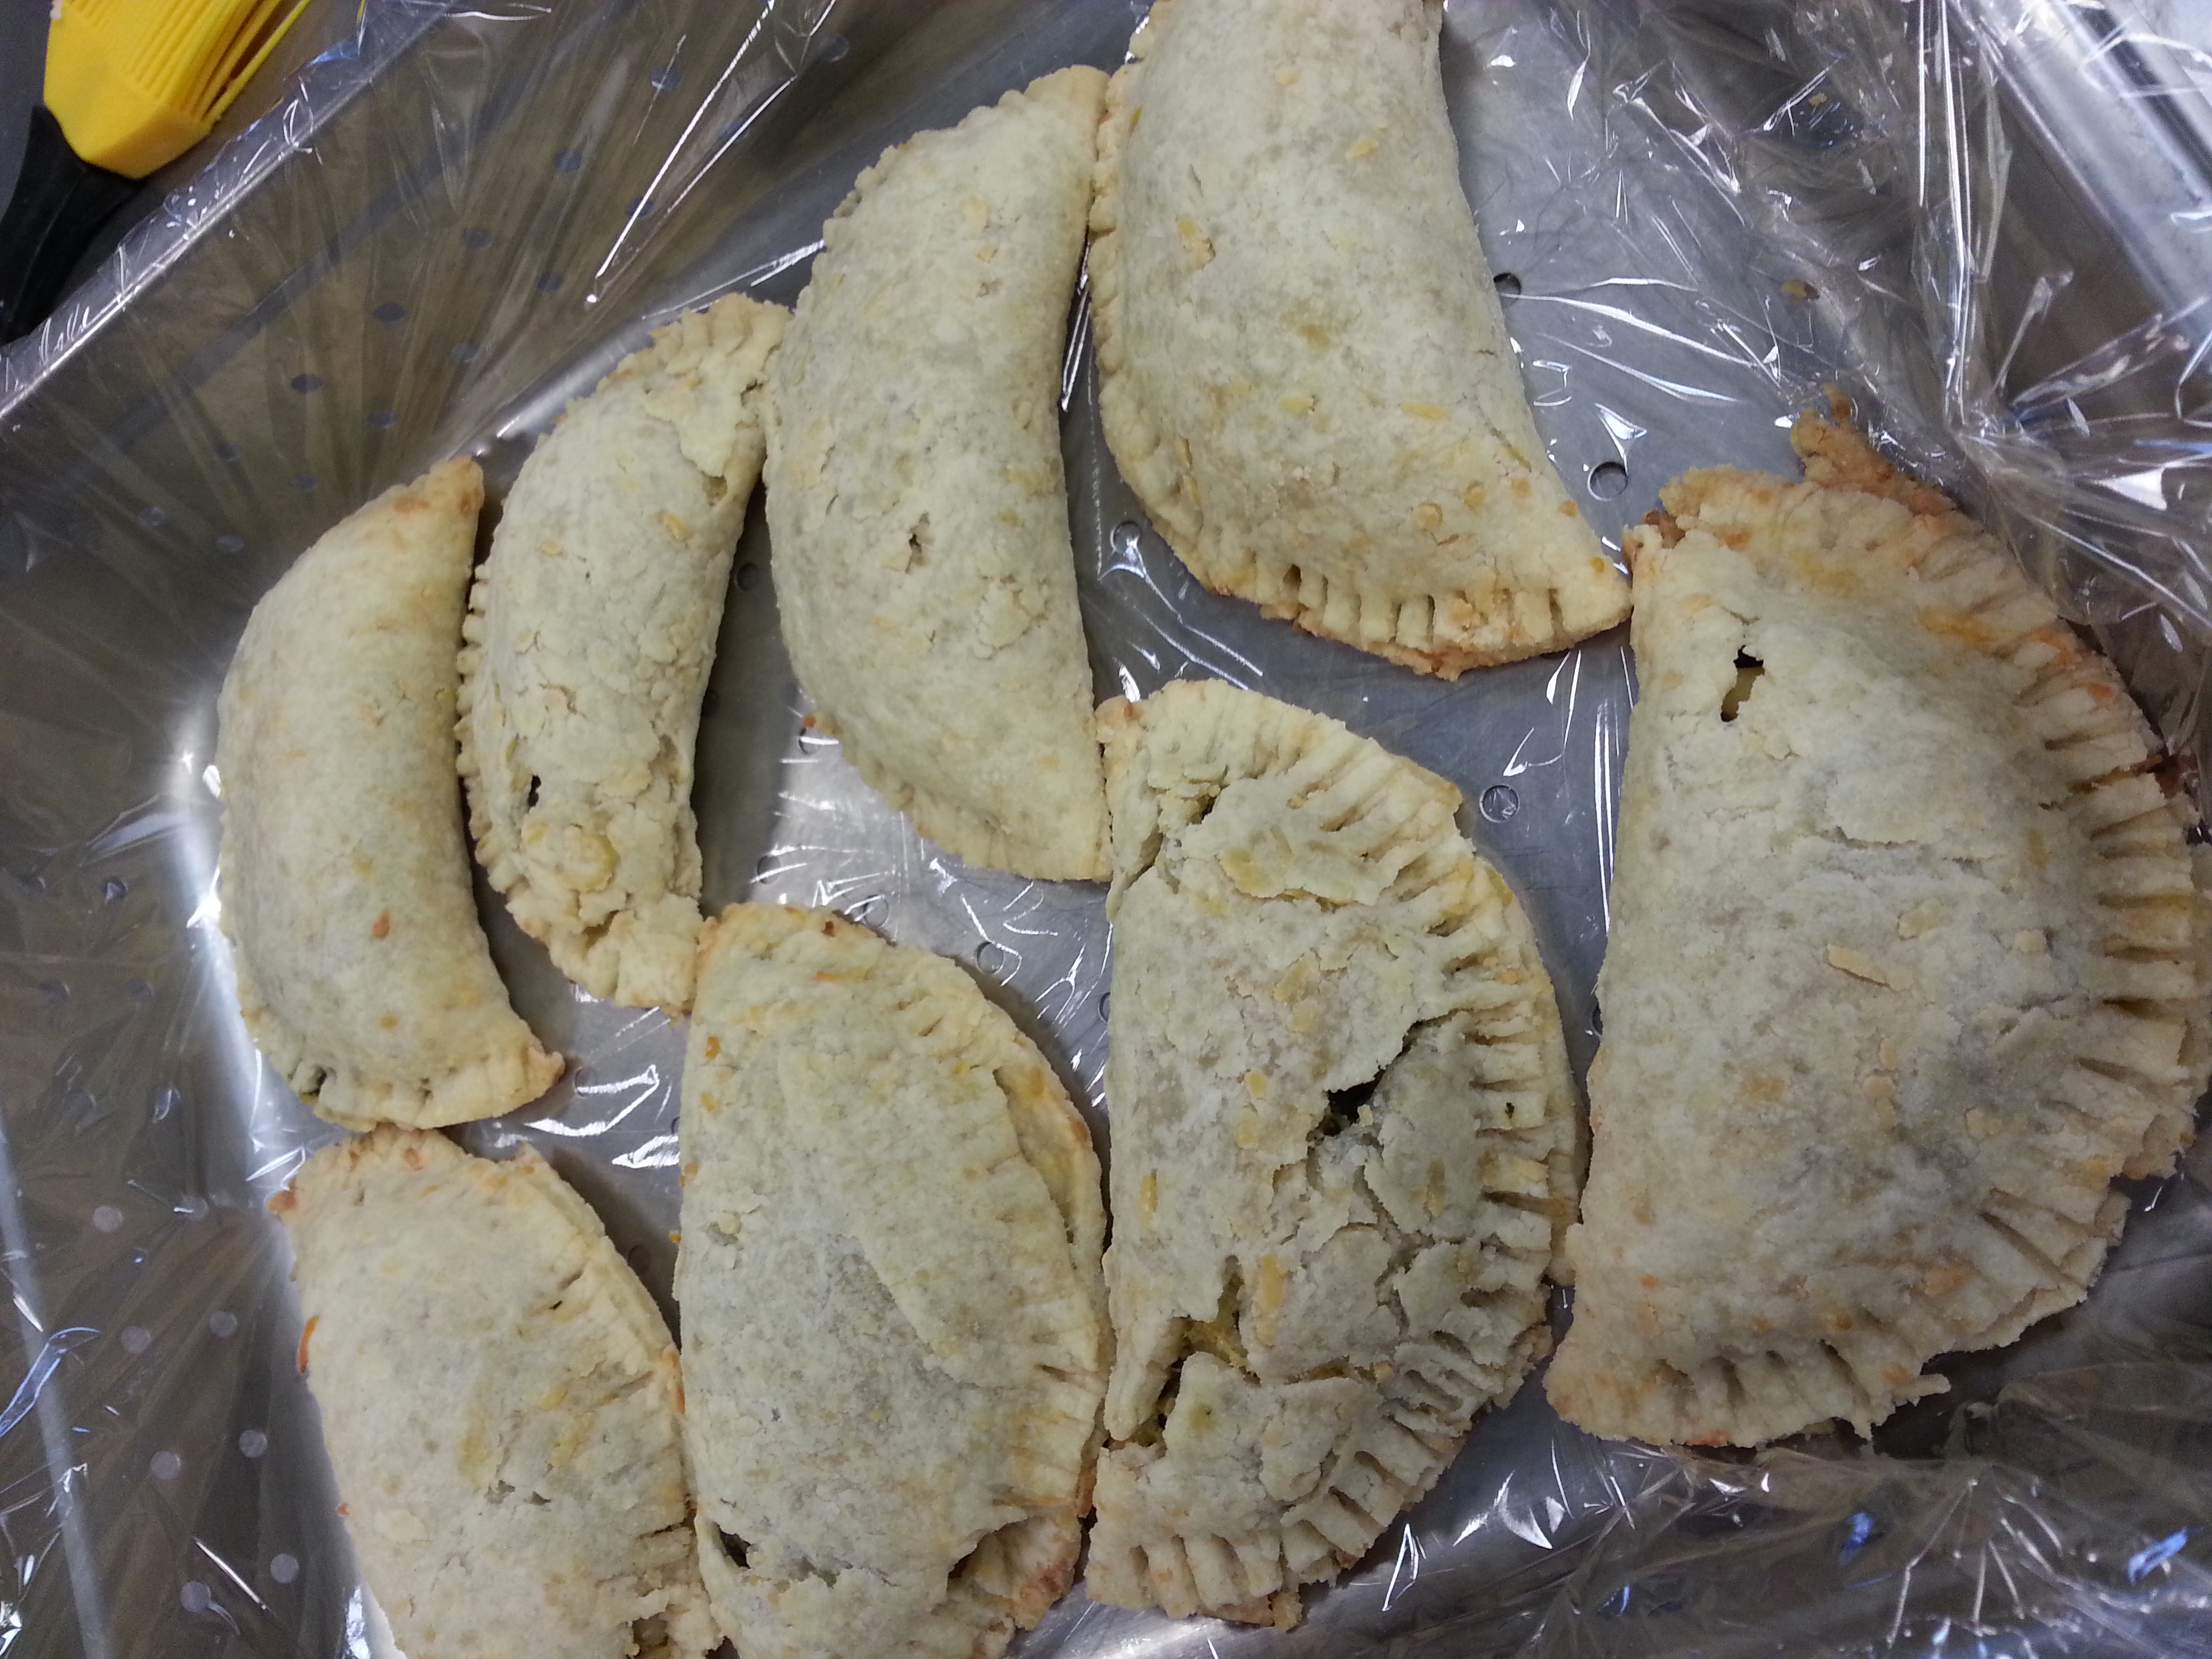
And then it was finally bake day! One thing I would say is that I really underestimated how much time it takes to make pies because it took almost four hours in total just to make one pie! Most of the time was probably spent because I was being as careful as possible and trying not to mess up and also because the baking time of the pie was almost 2 hours.

So I decided to follow the Pear and Raspberry pie recipe by Martha Stewart because it seemed like it would work. I started off by taking my pastry out of the fridge which had been in there for two days. Then I washed my raspberries and pears and dried them out.

IMG_20160106_132017
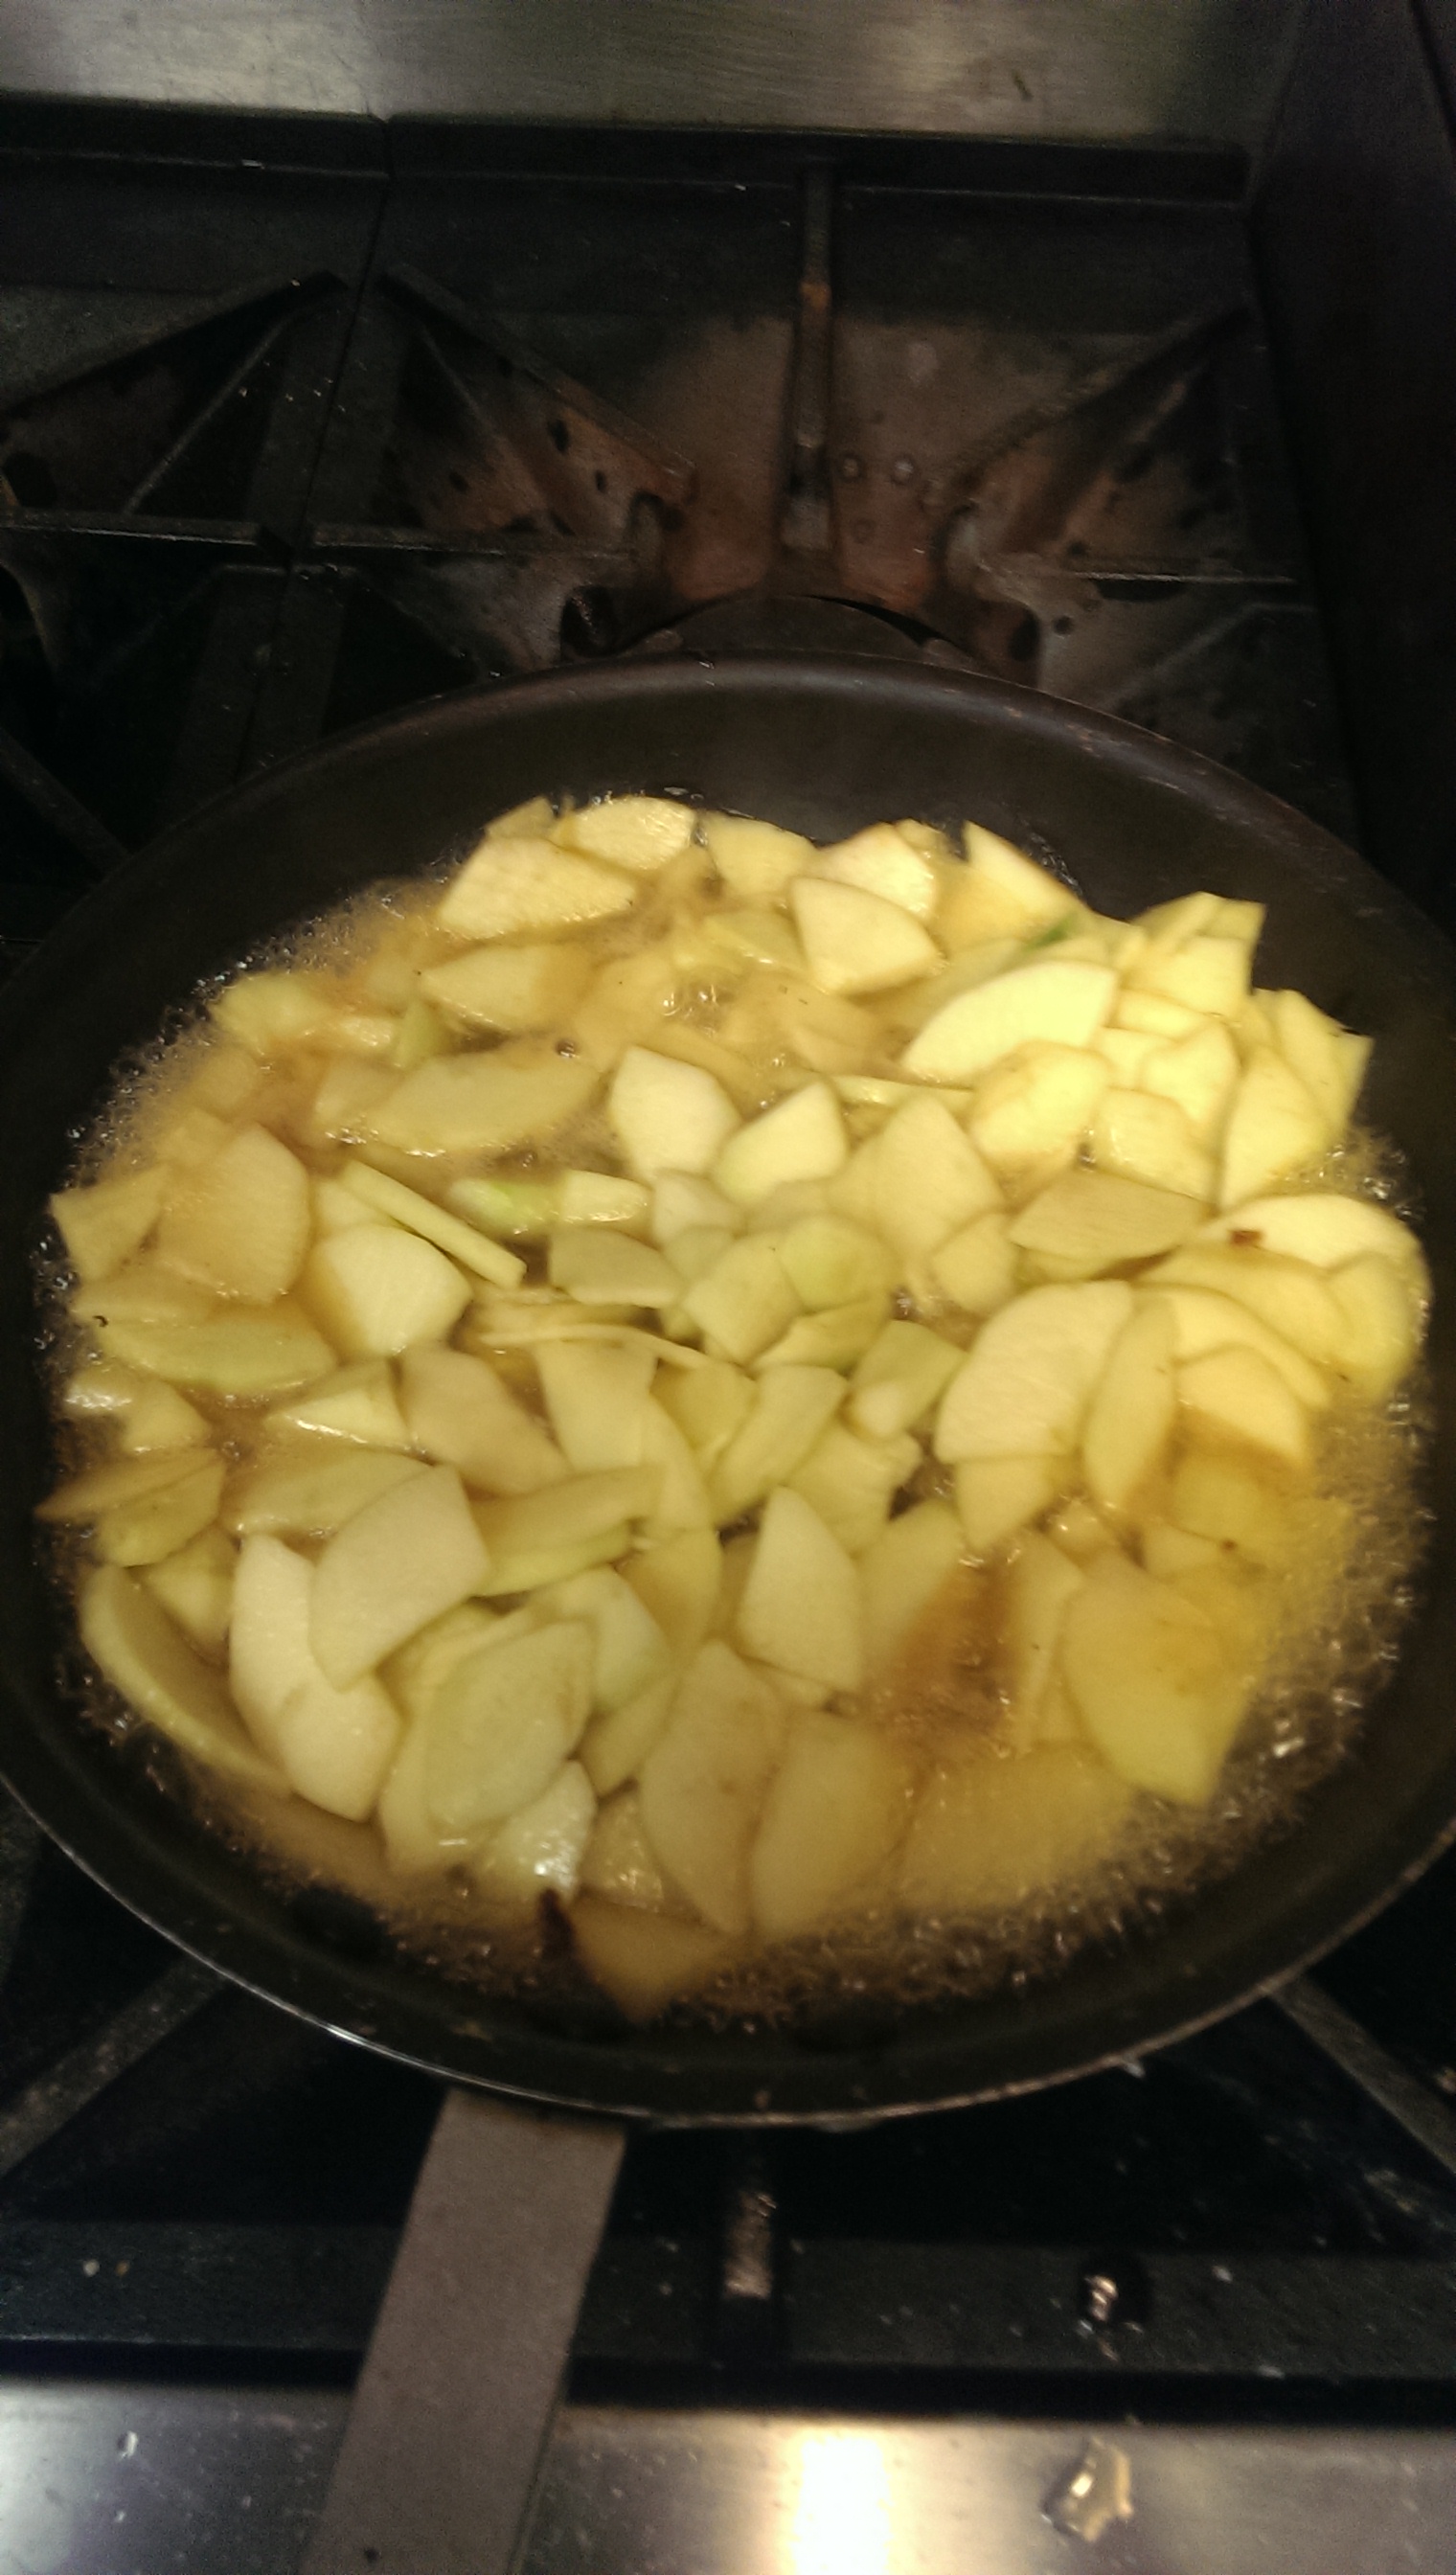
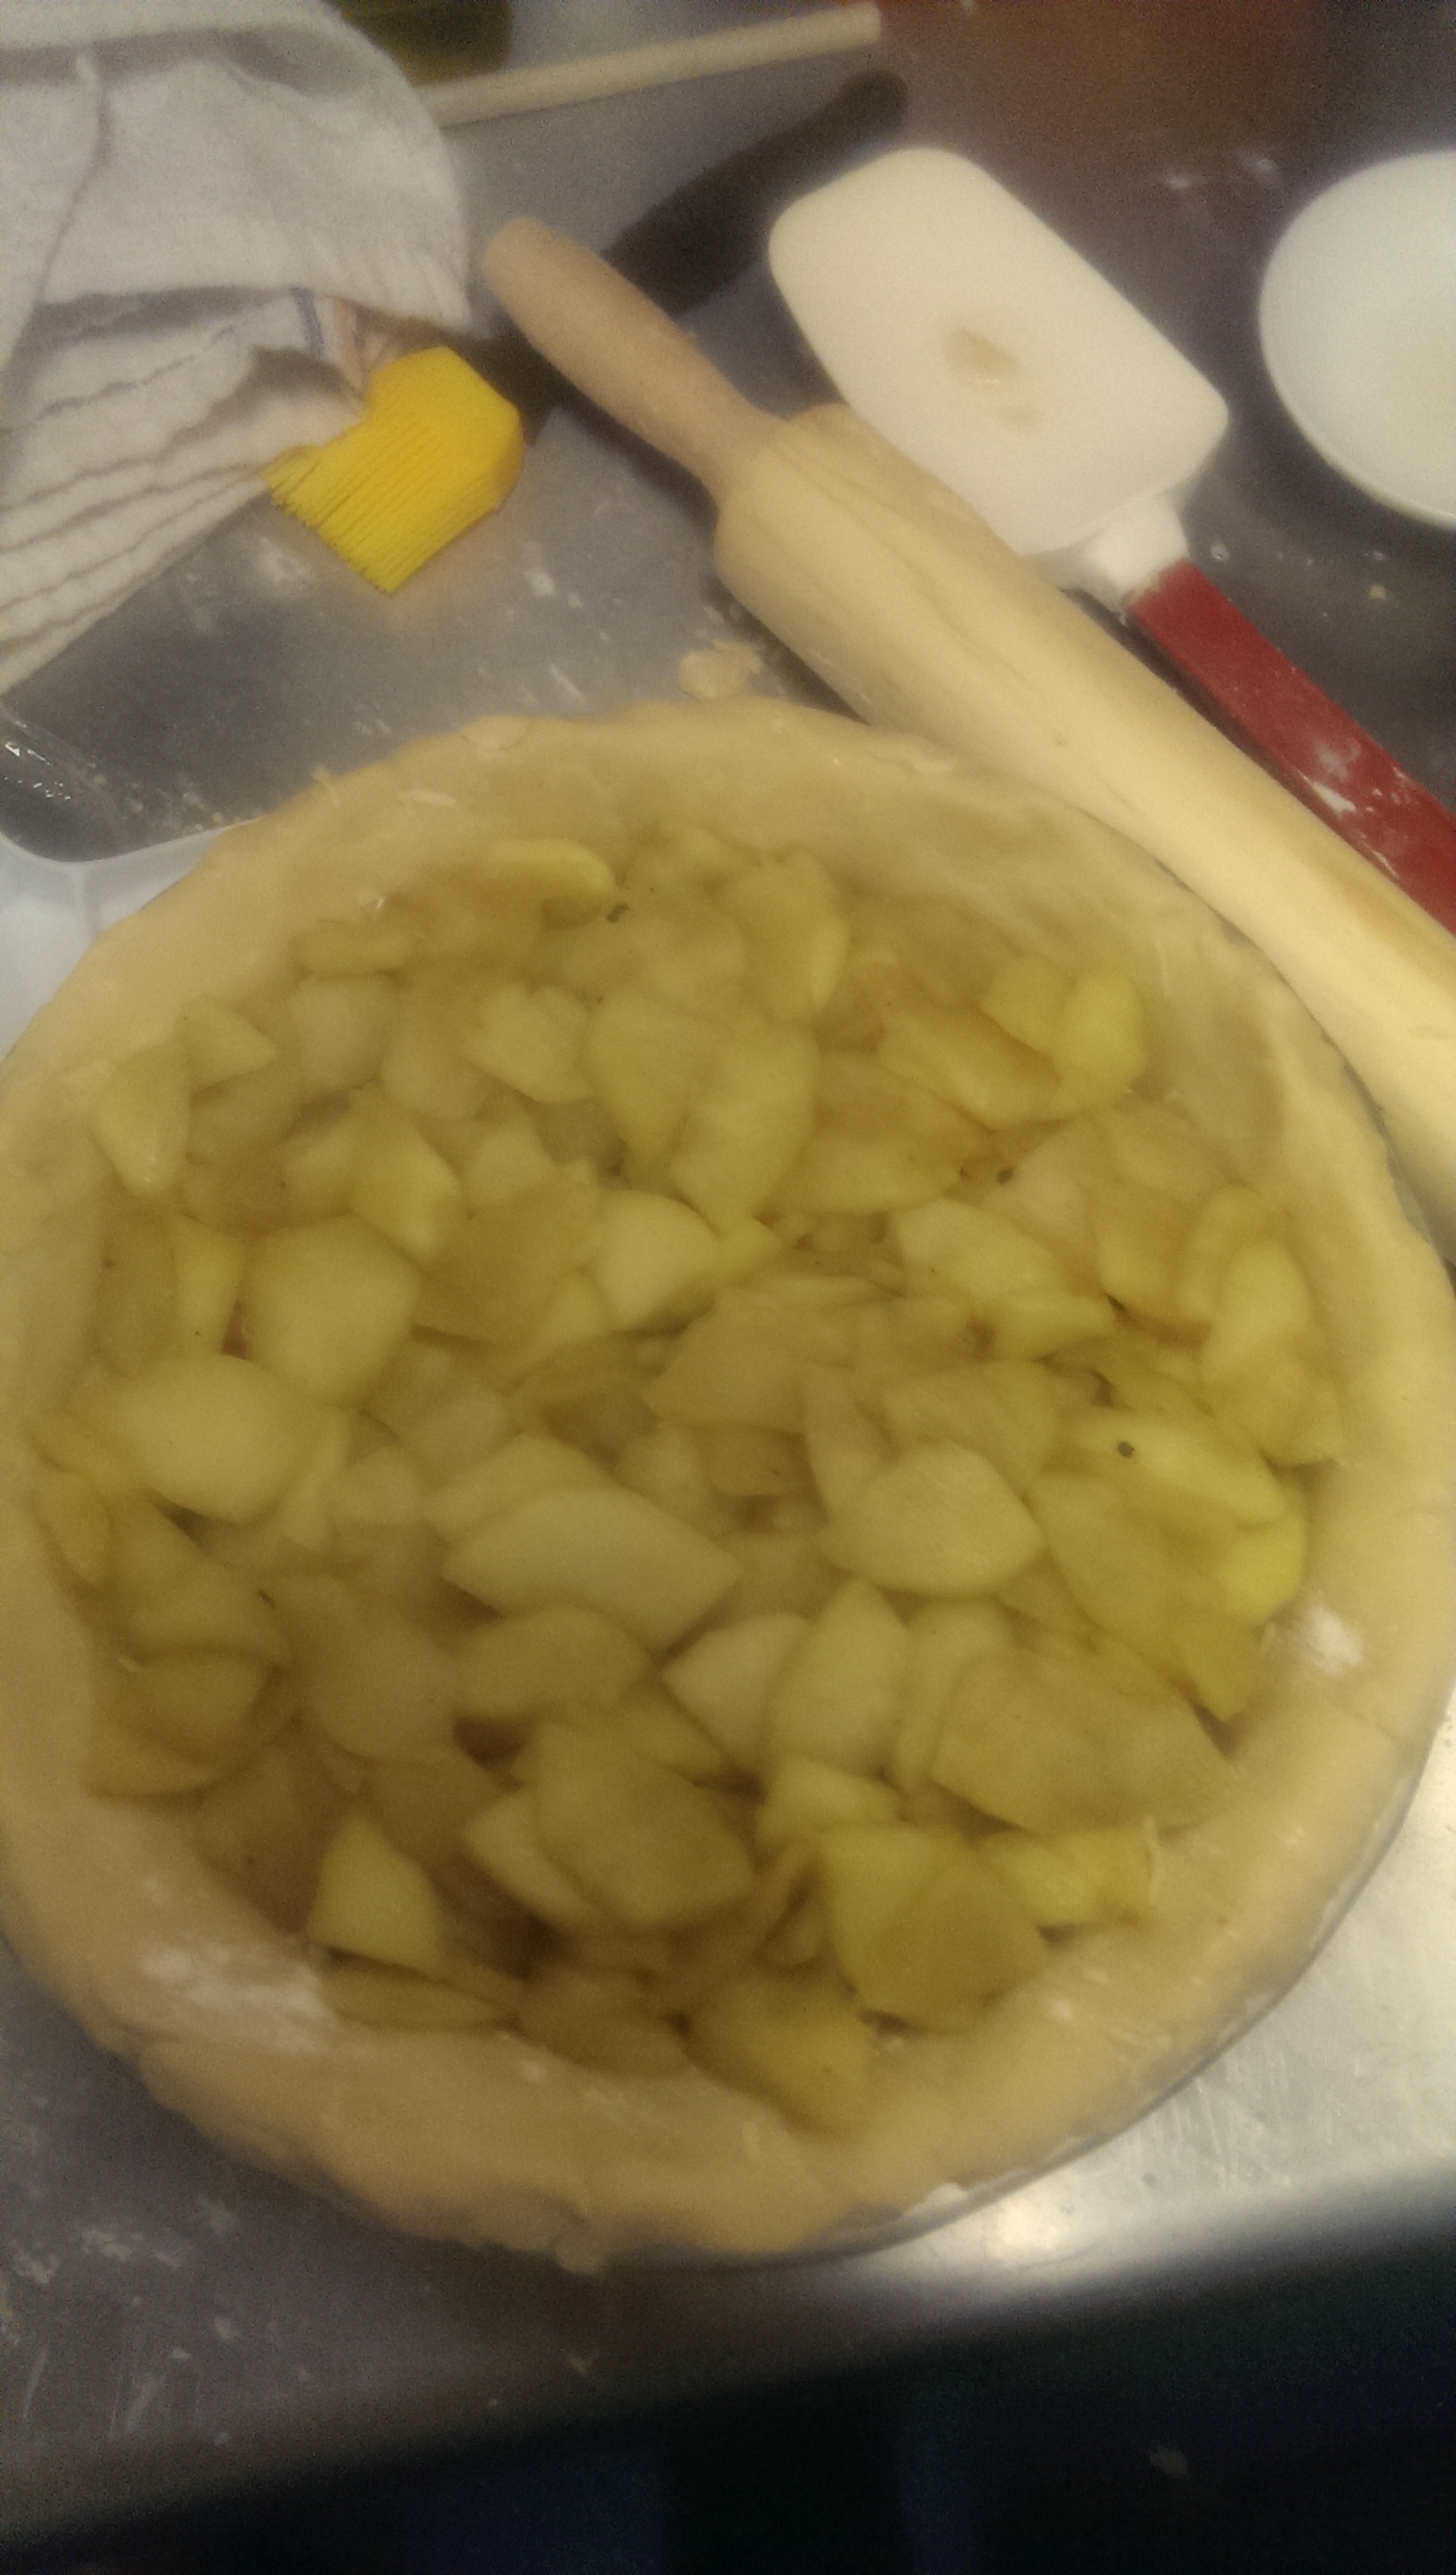
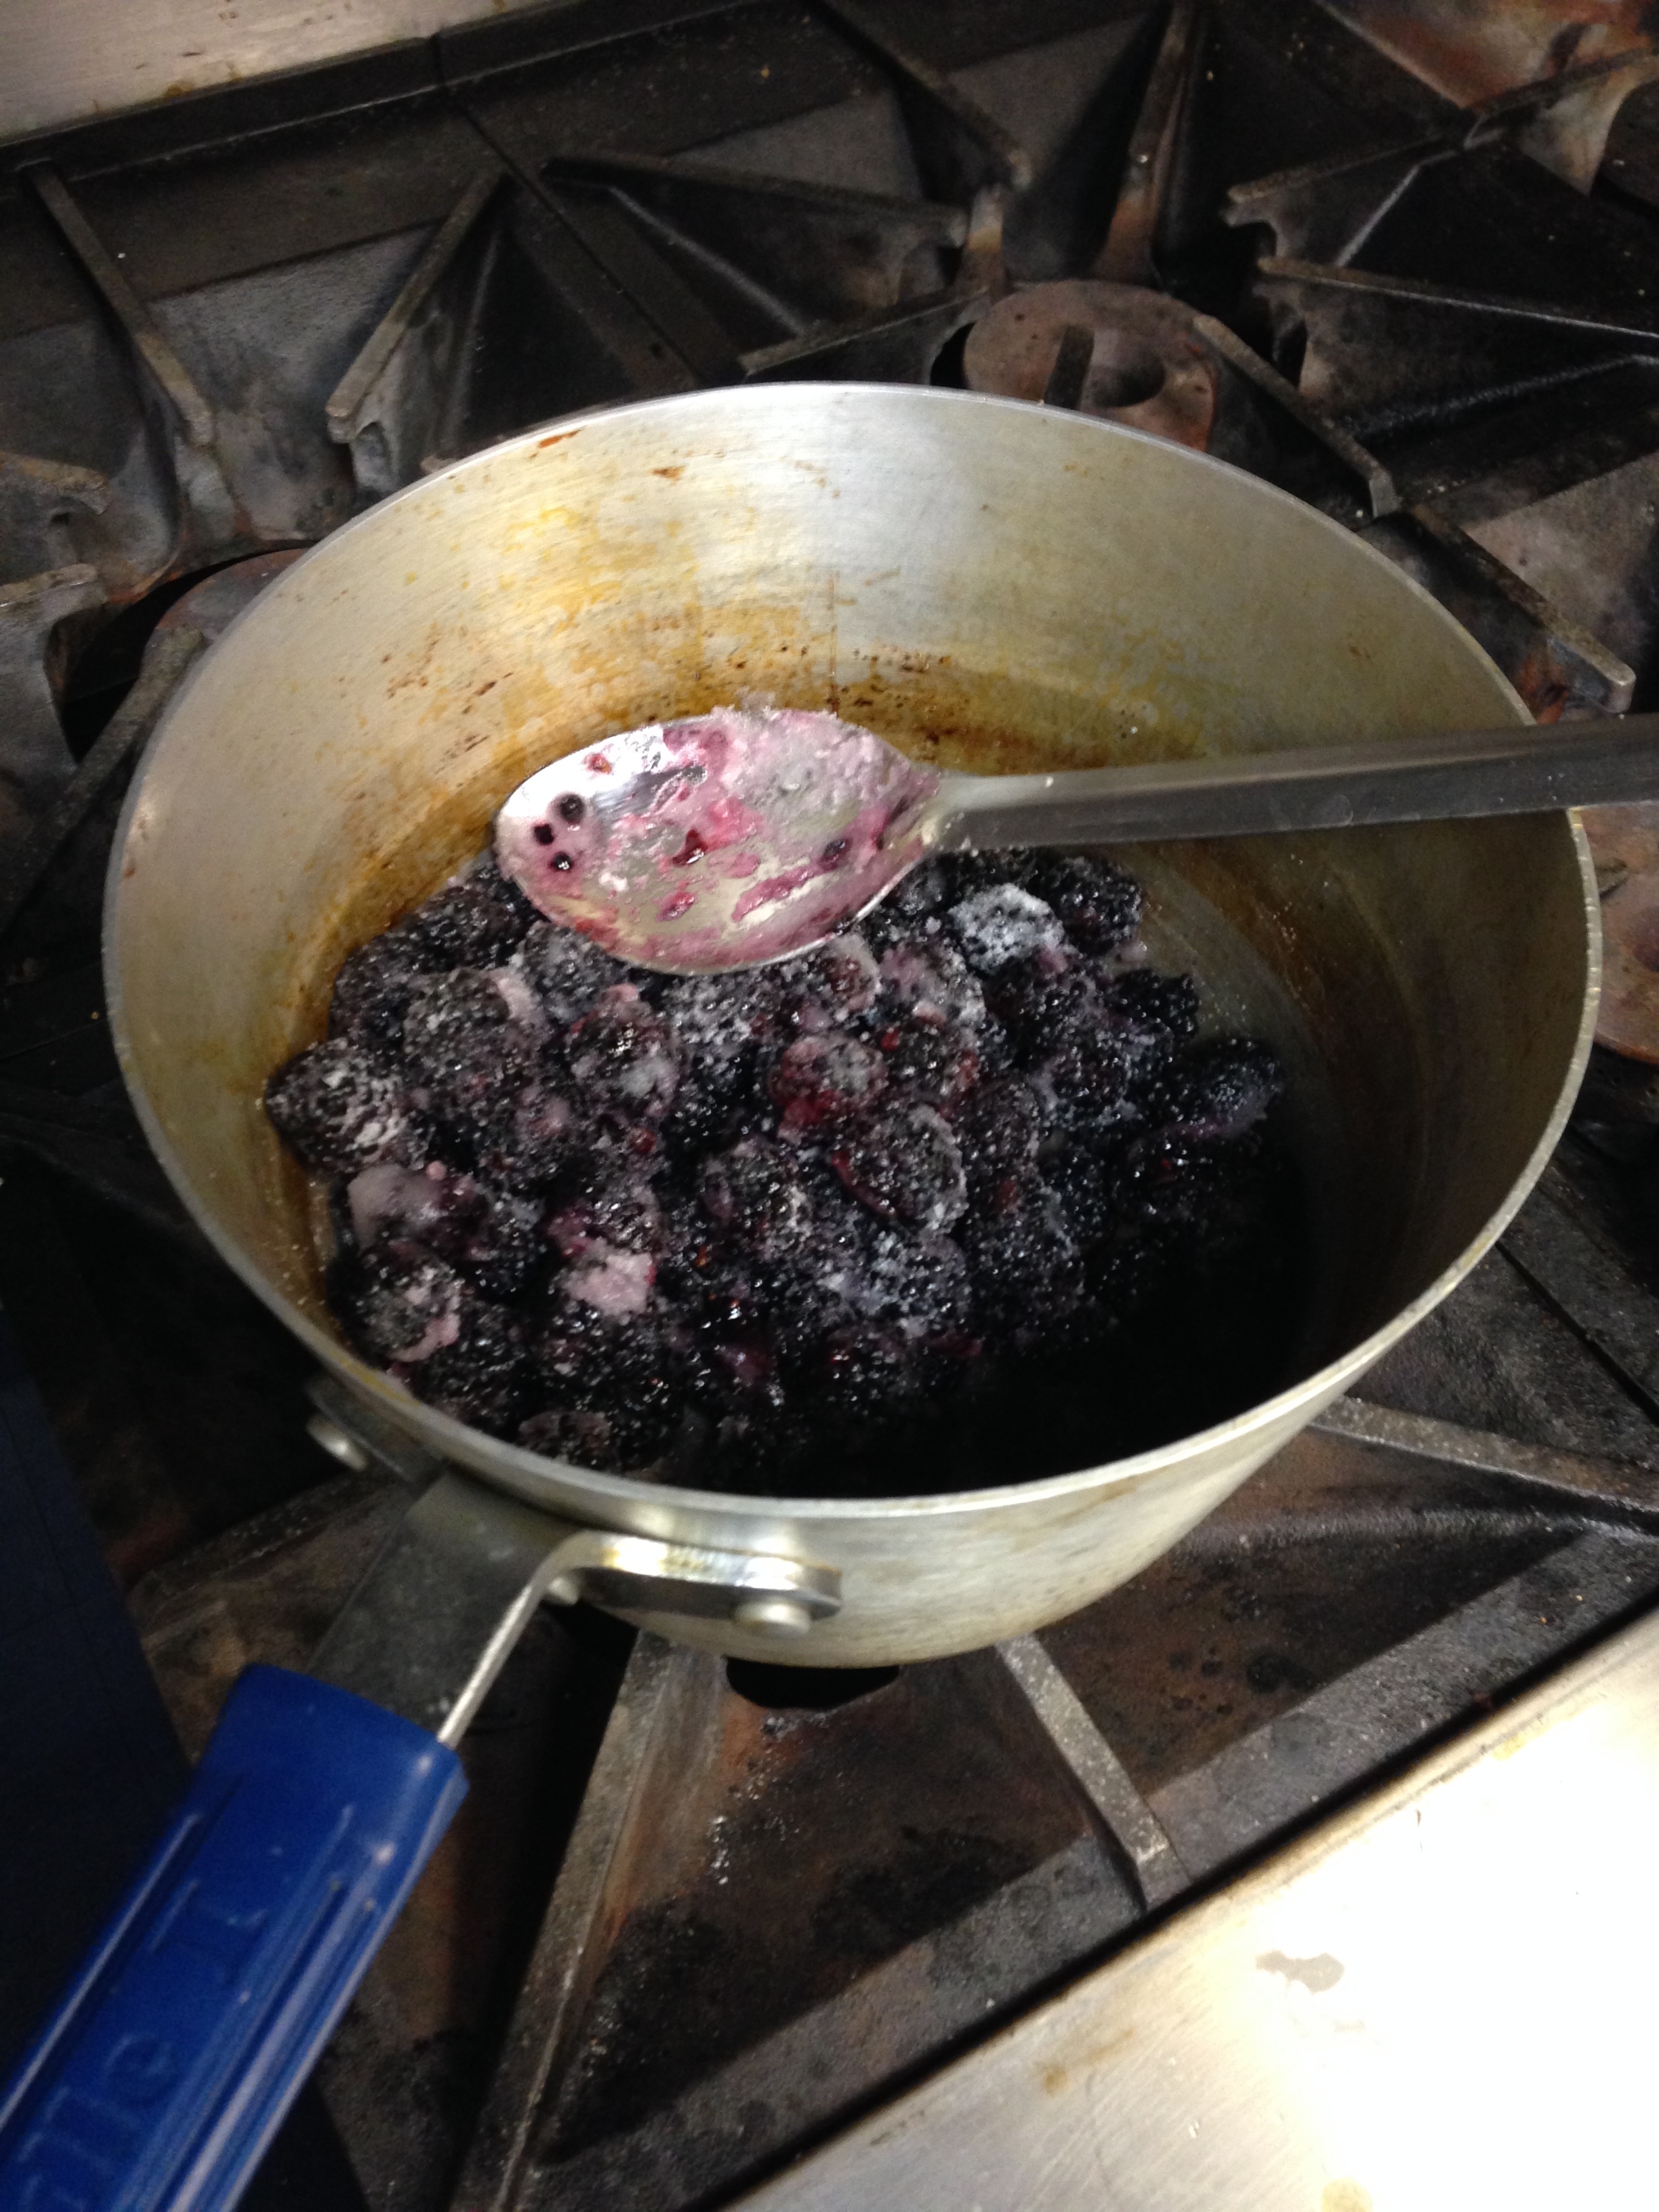
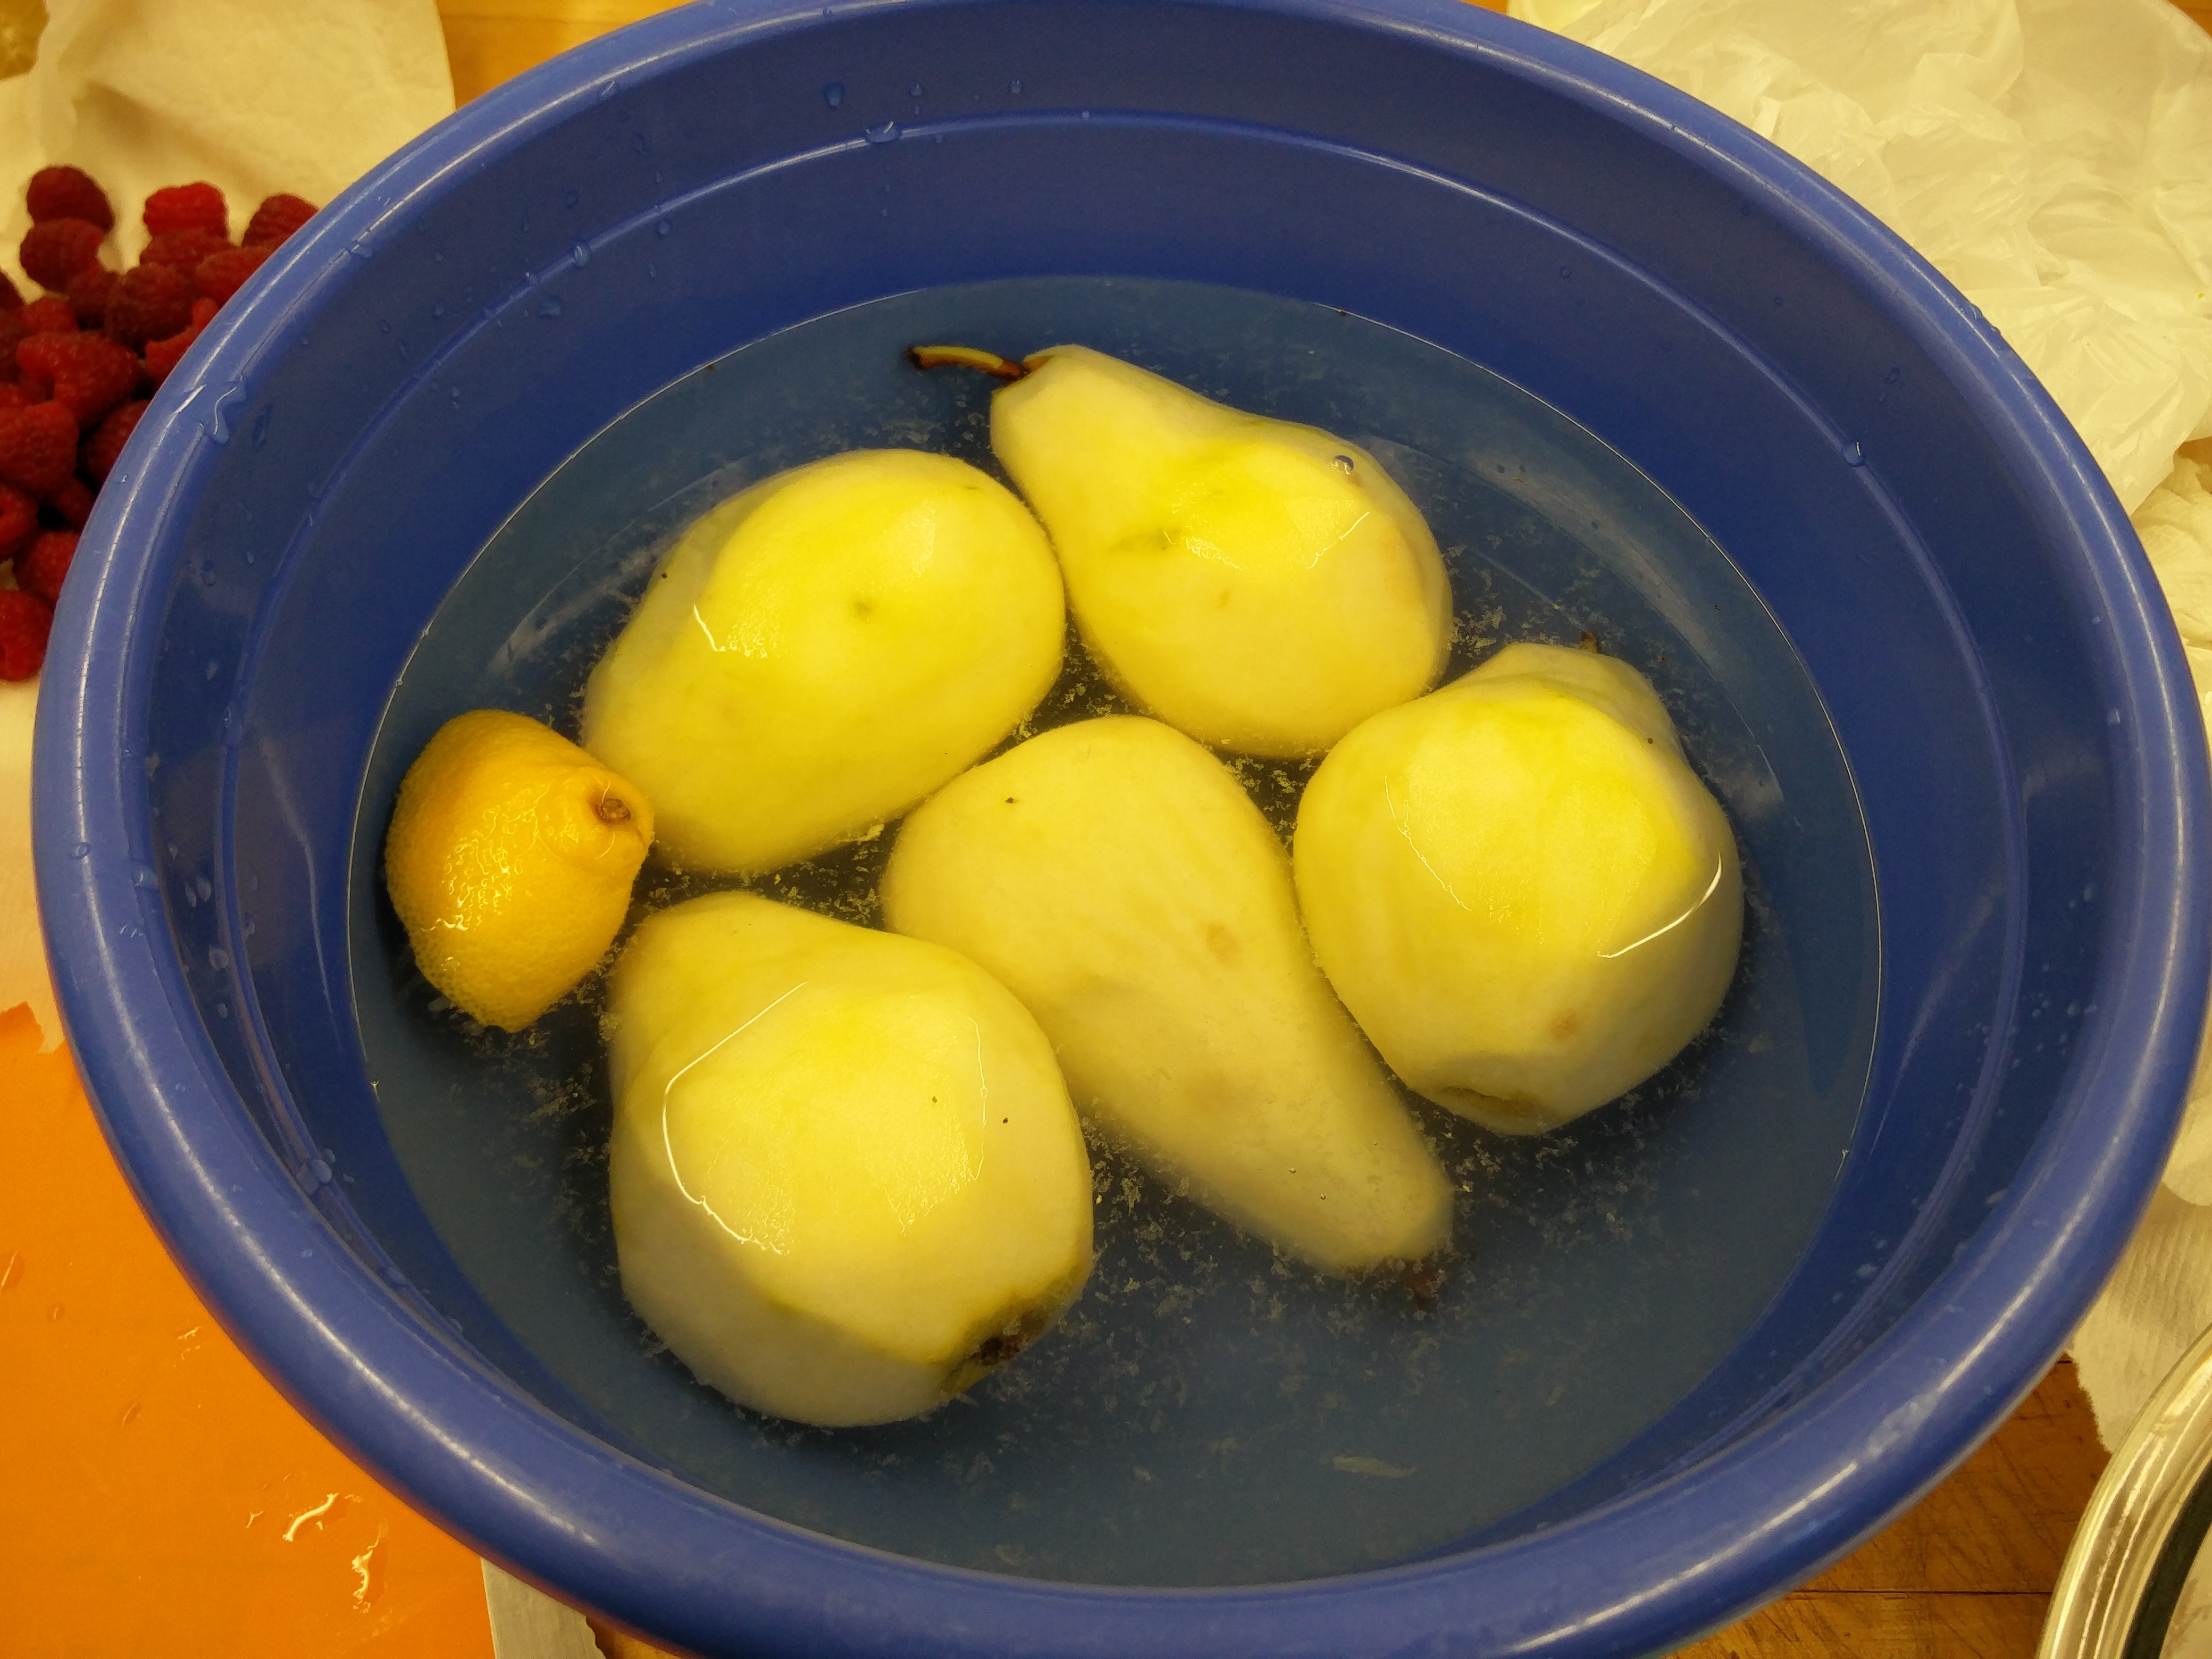
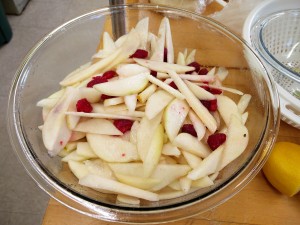
I set up a bowl with water and some lemon juice before I started peeling the pears in order to avoid browning. Once all the pears were peeled, I removed them from the acidified-water one-by-one and cut them in somewhat big slices. I was not entirely sure about the size of the slices but some advice from DGM helped me realize that it did not really matter as long as all the slices were similarly sized. I put the pear slices and the raspberries in a bowl and put in 1/2 cup of sugar. The recipe doesn’t call for this step but I wanted to remove as much juice as possible from the fruit so I just let the fruits and sugar sit for almost 30 minutes.

IMG_20160106_133406 IMG_20160106_135243

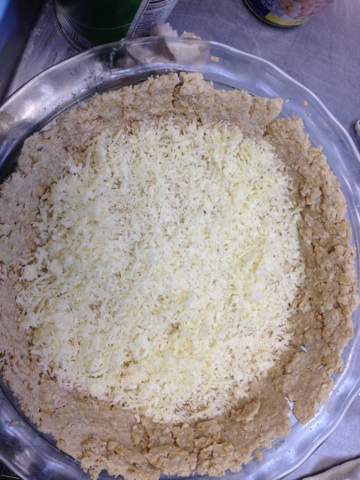
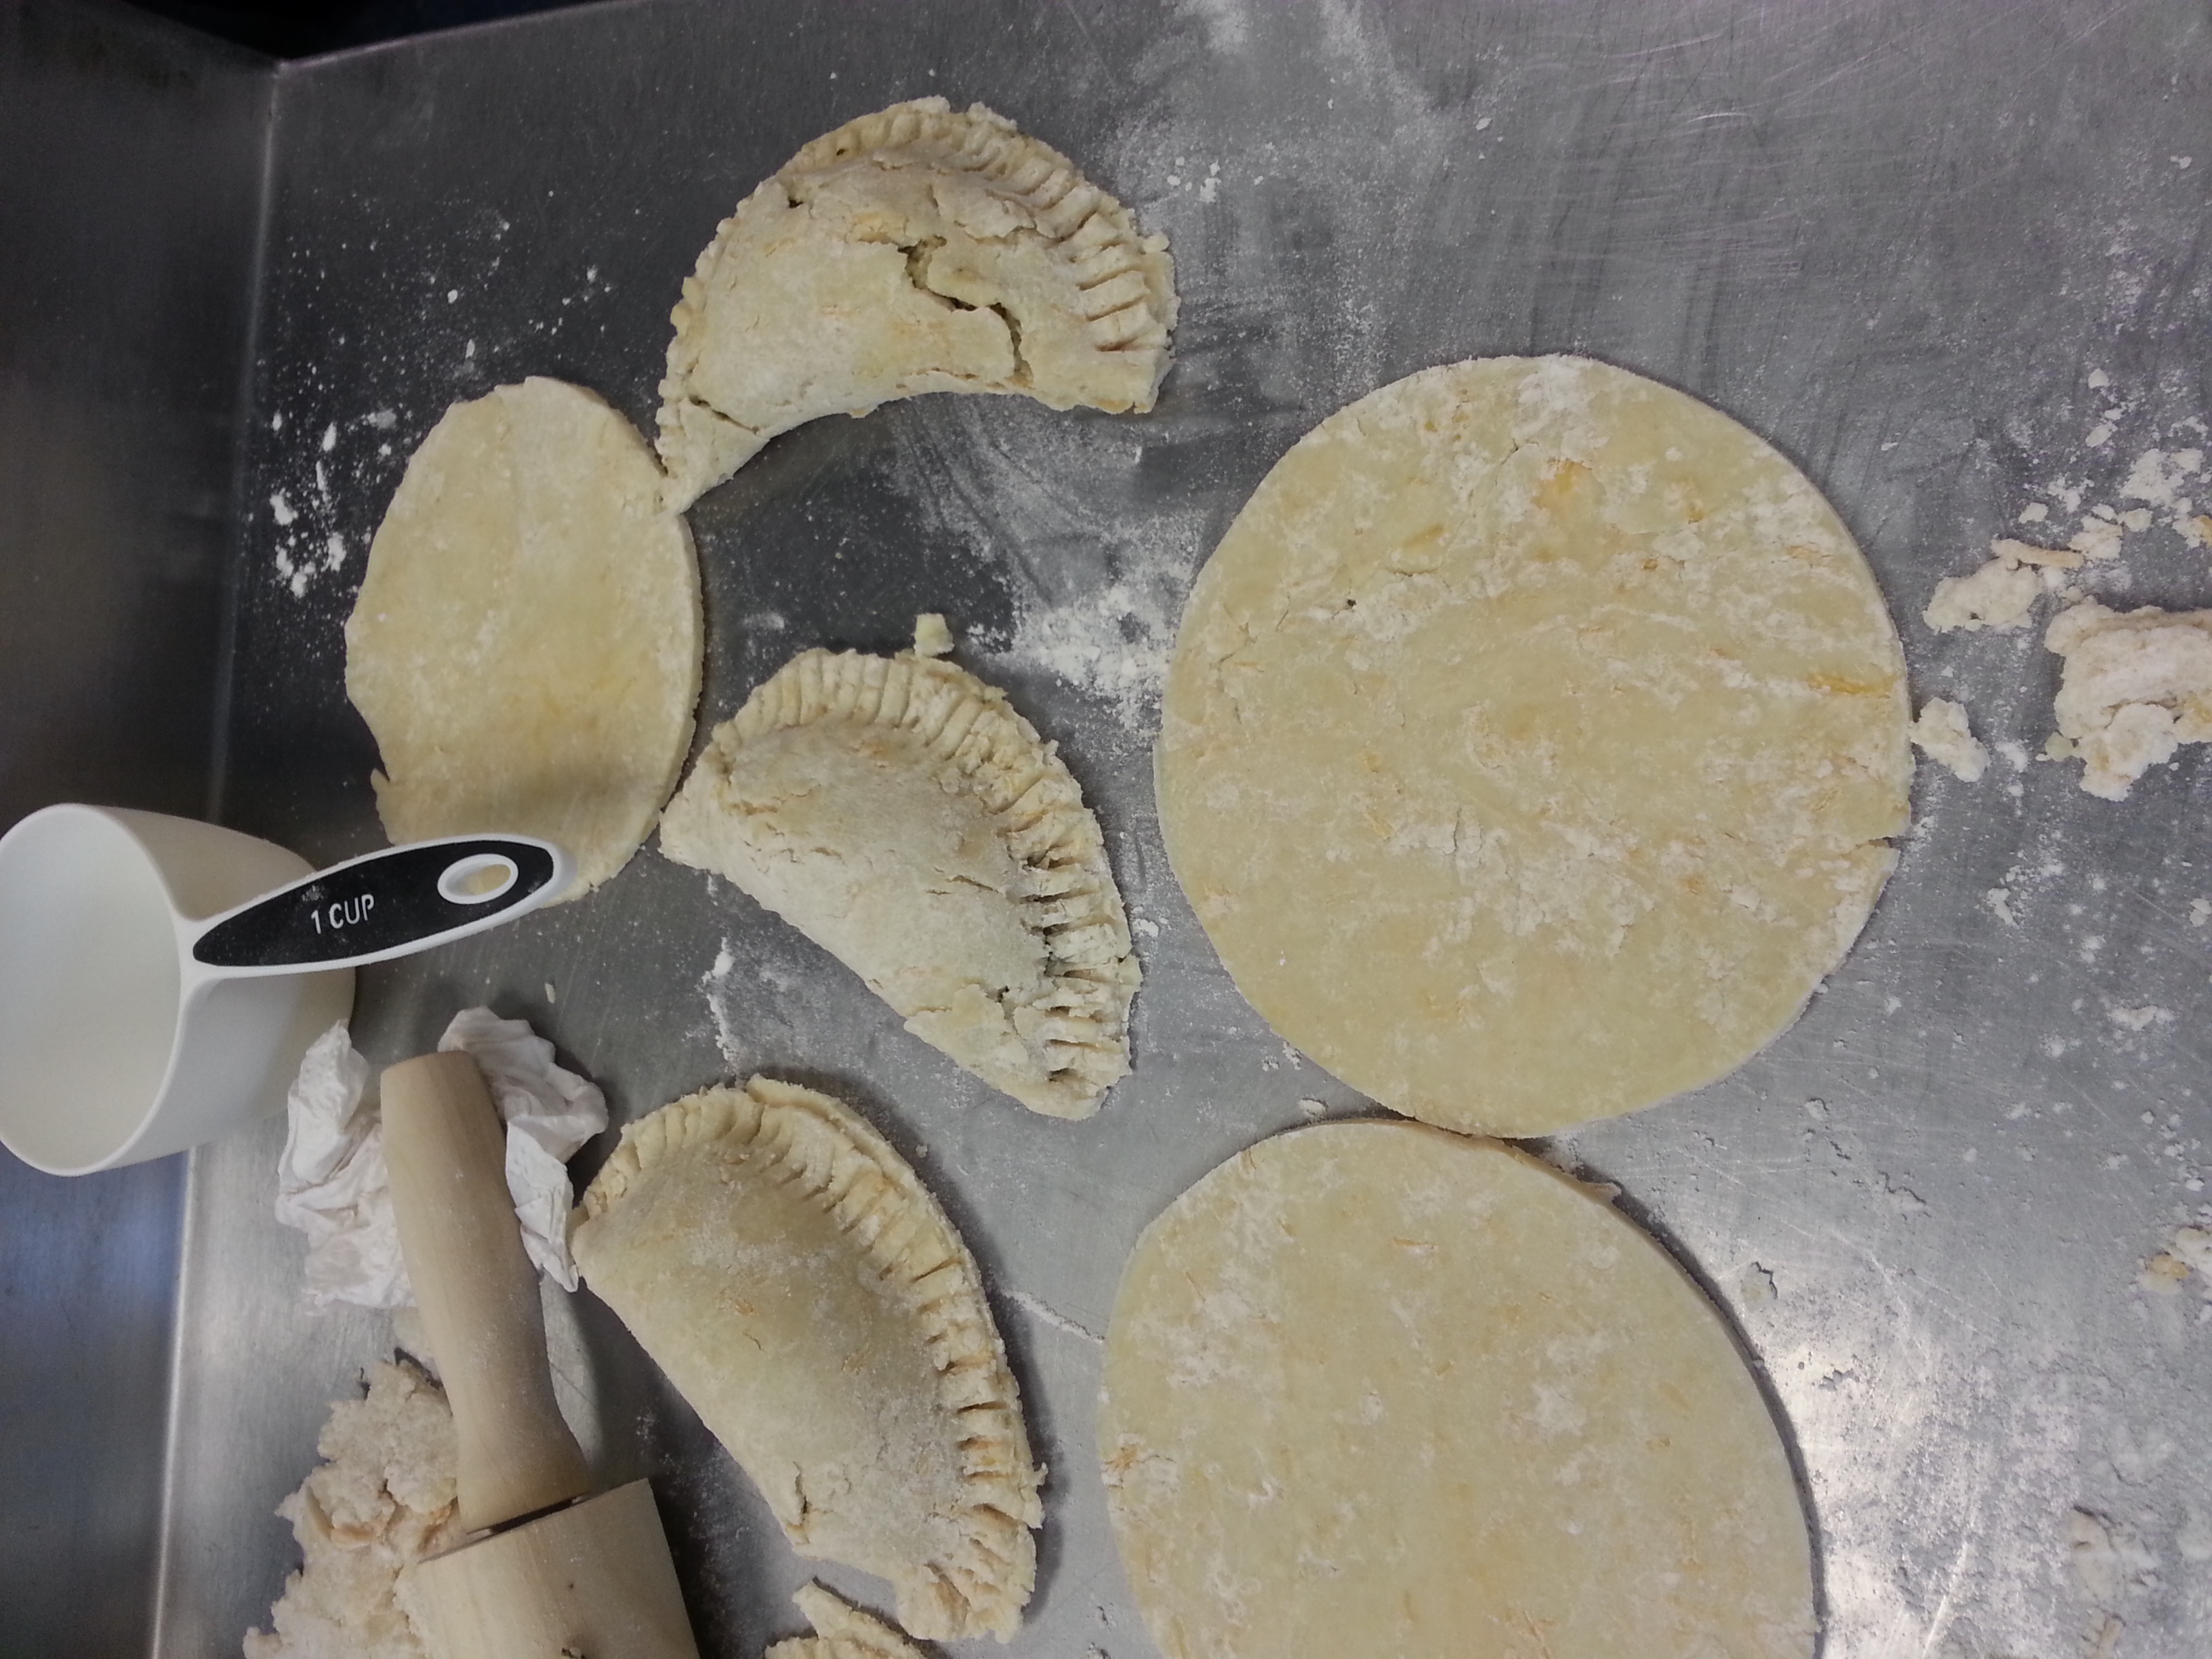
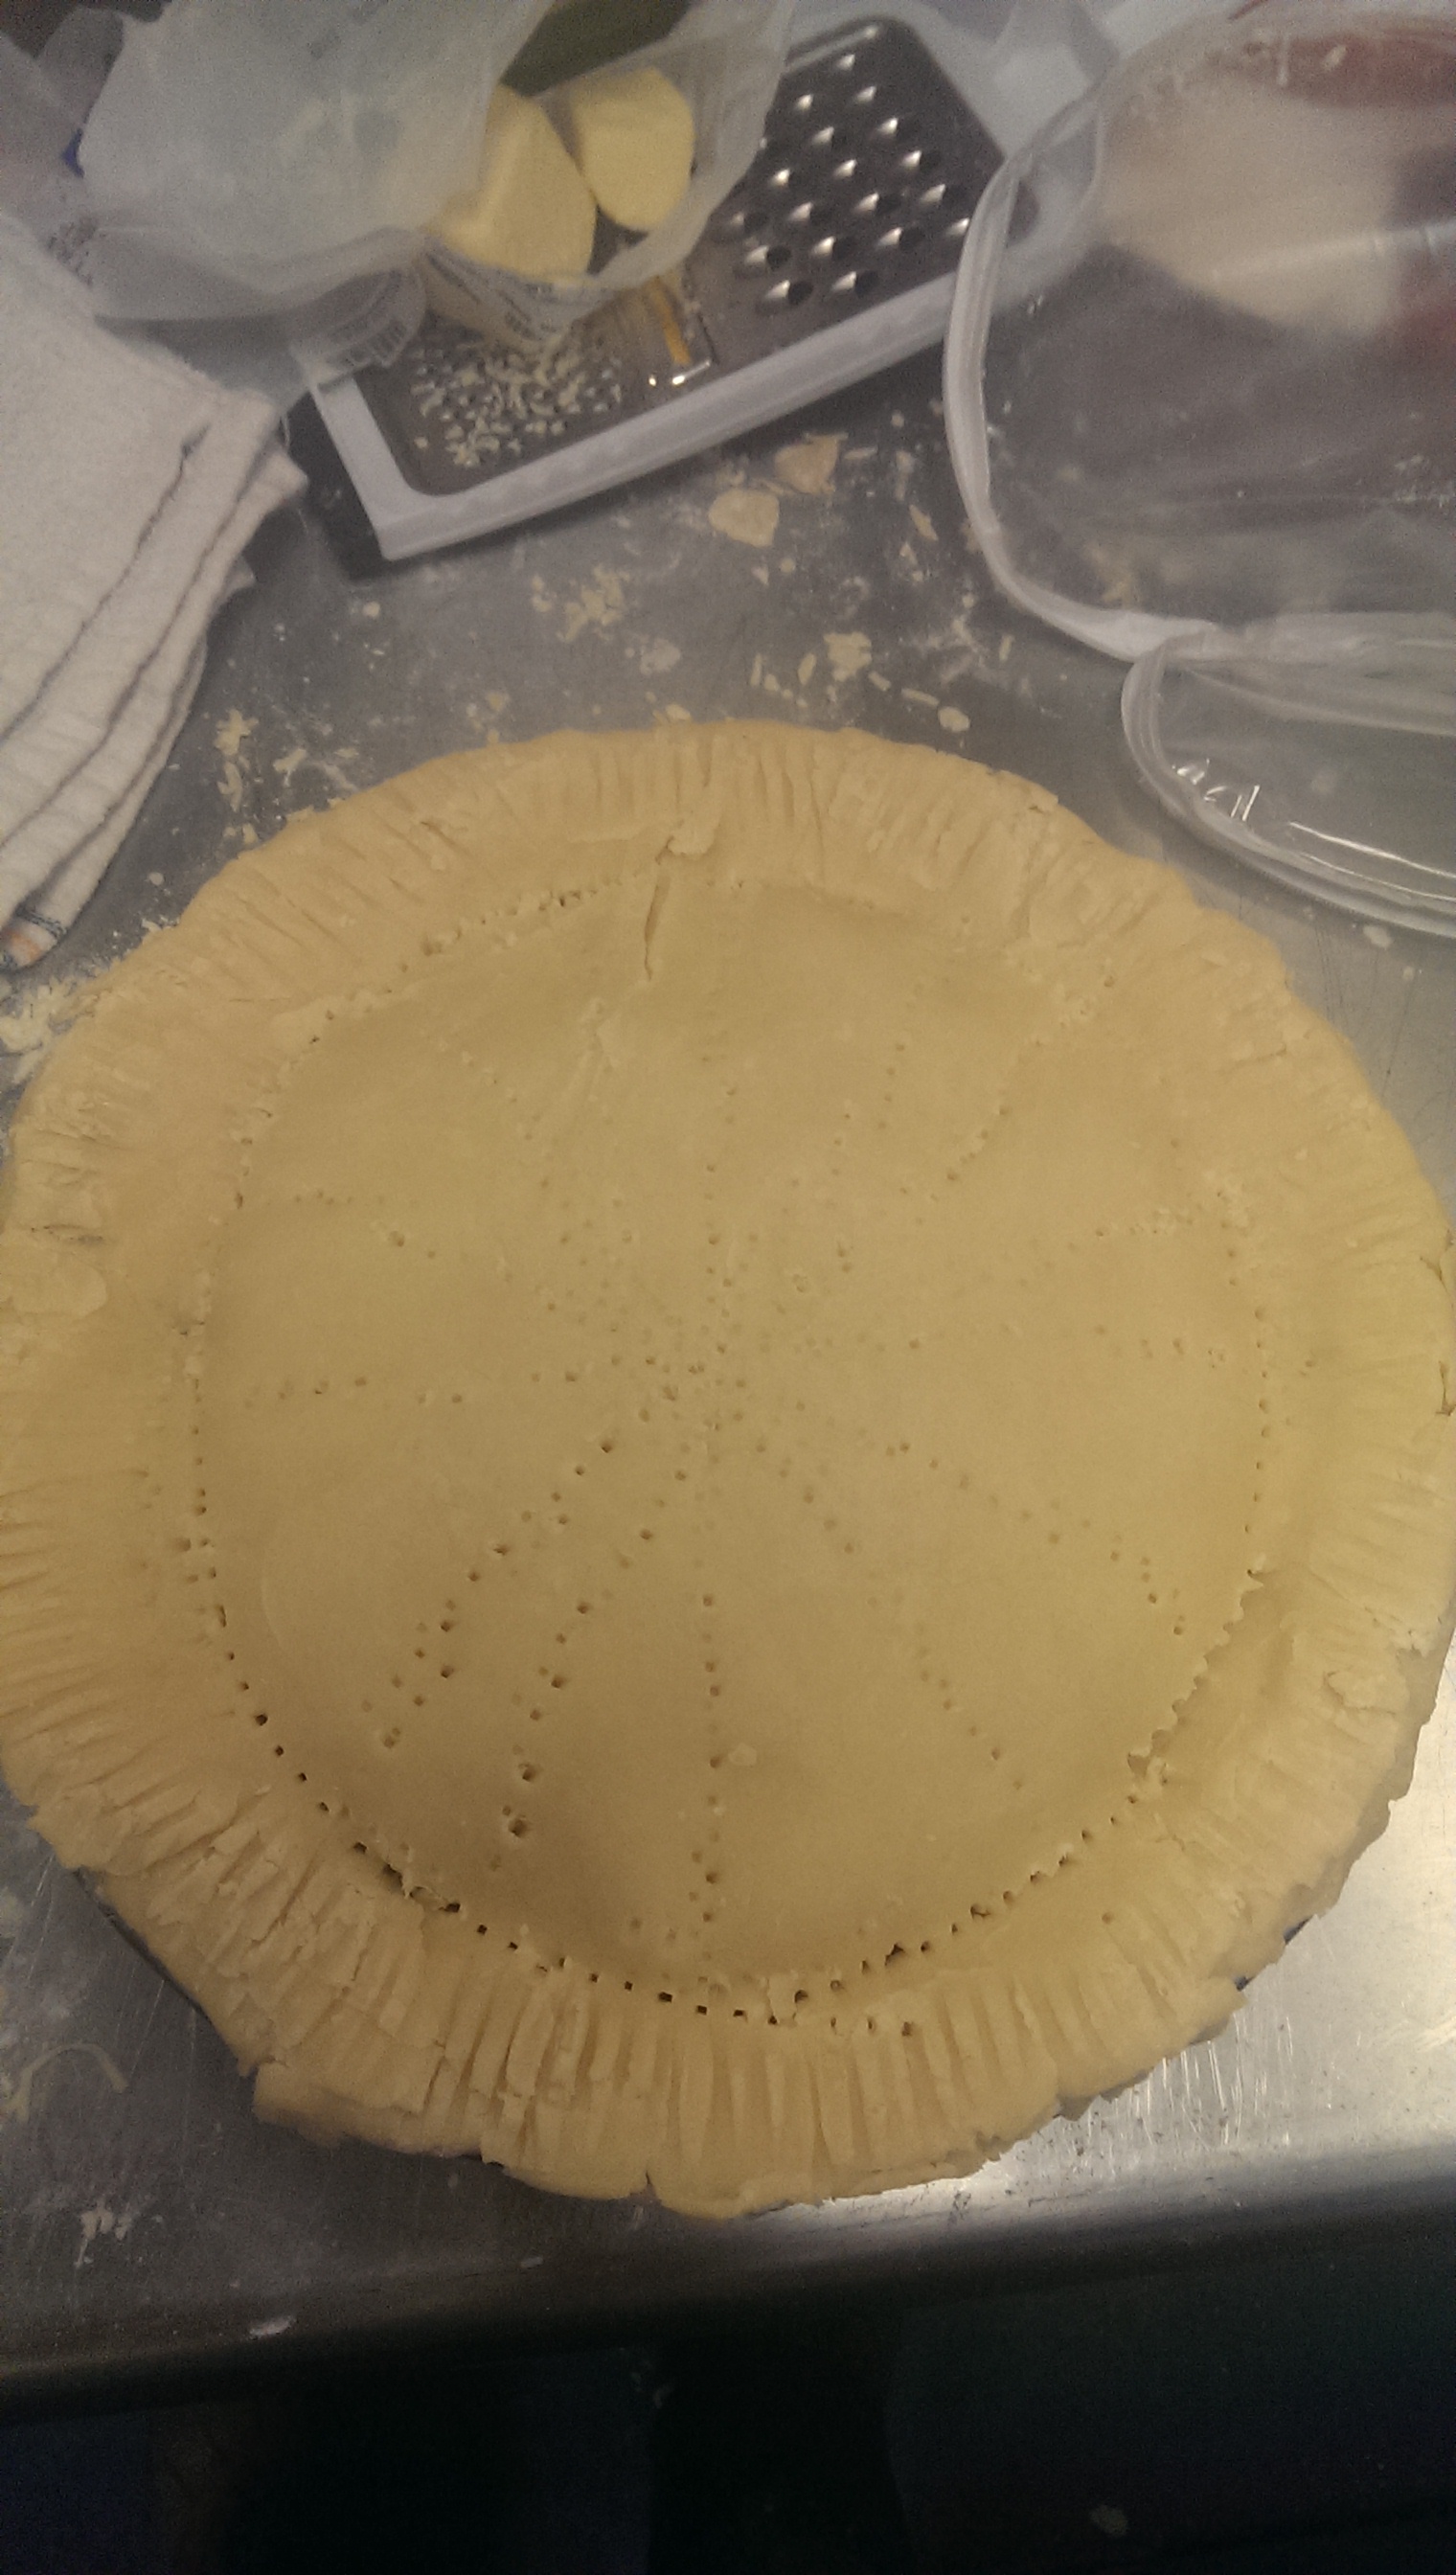
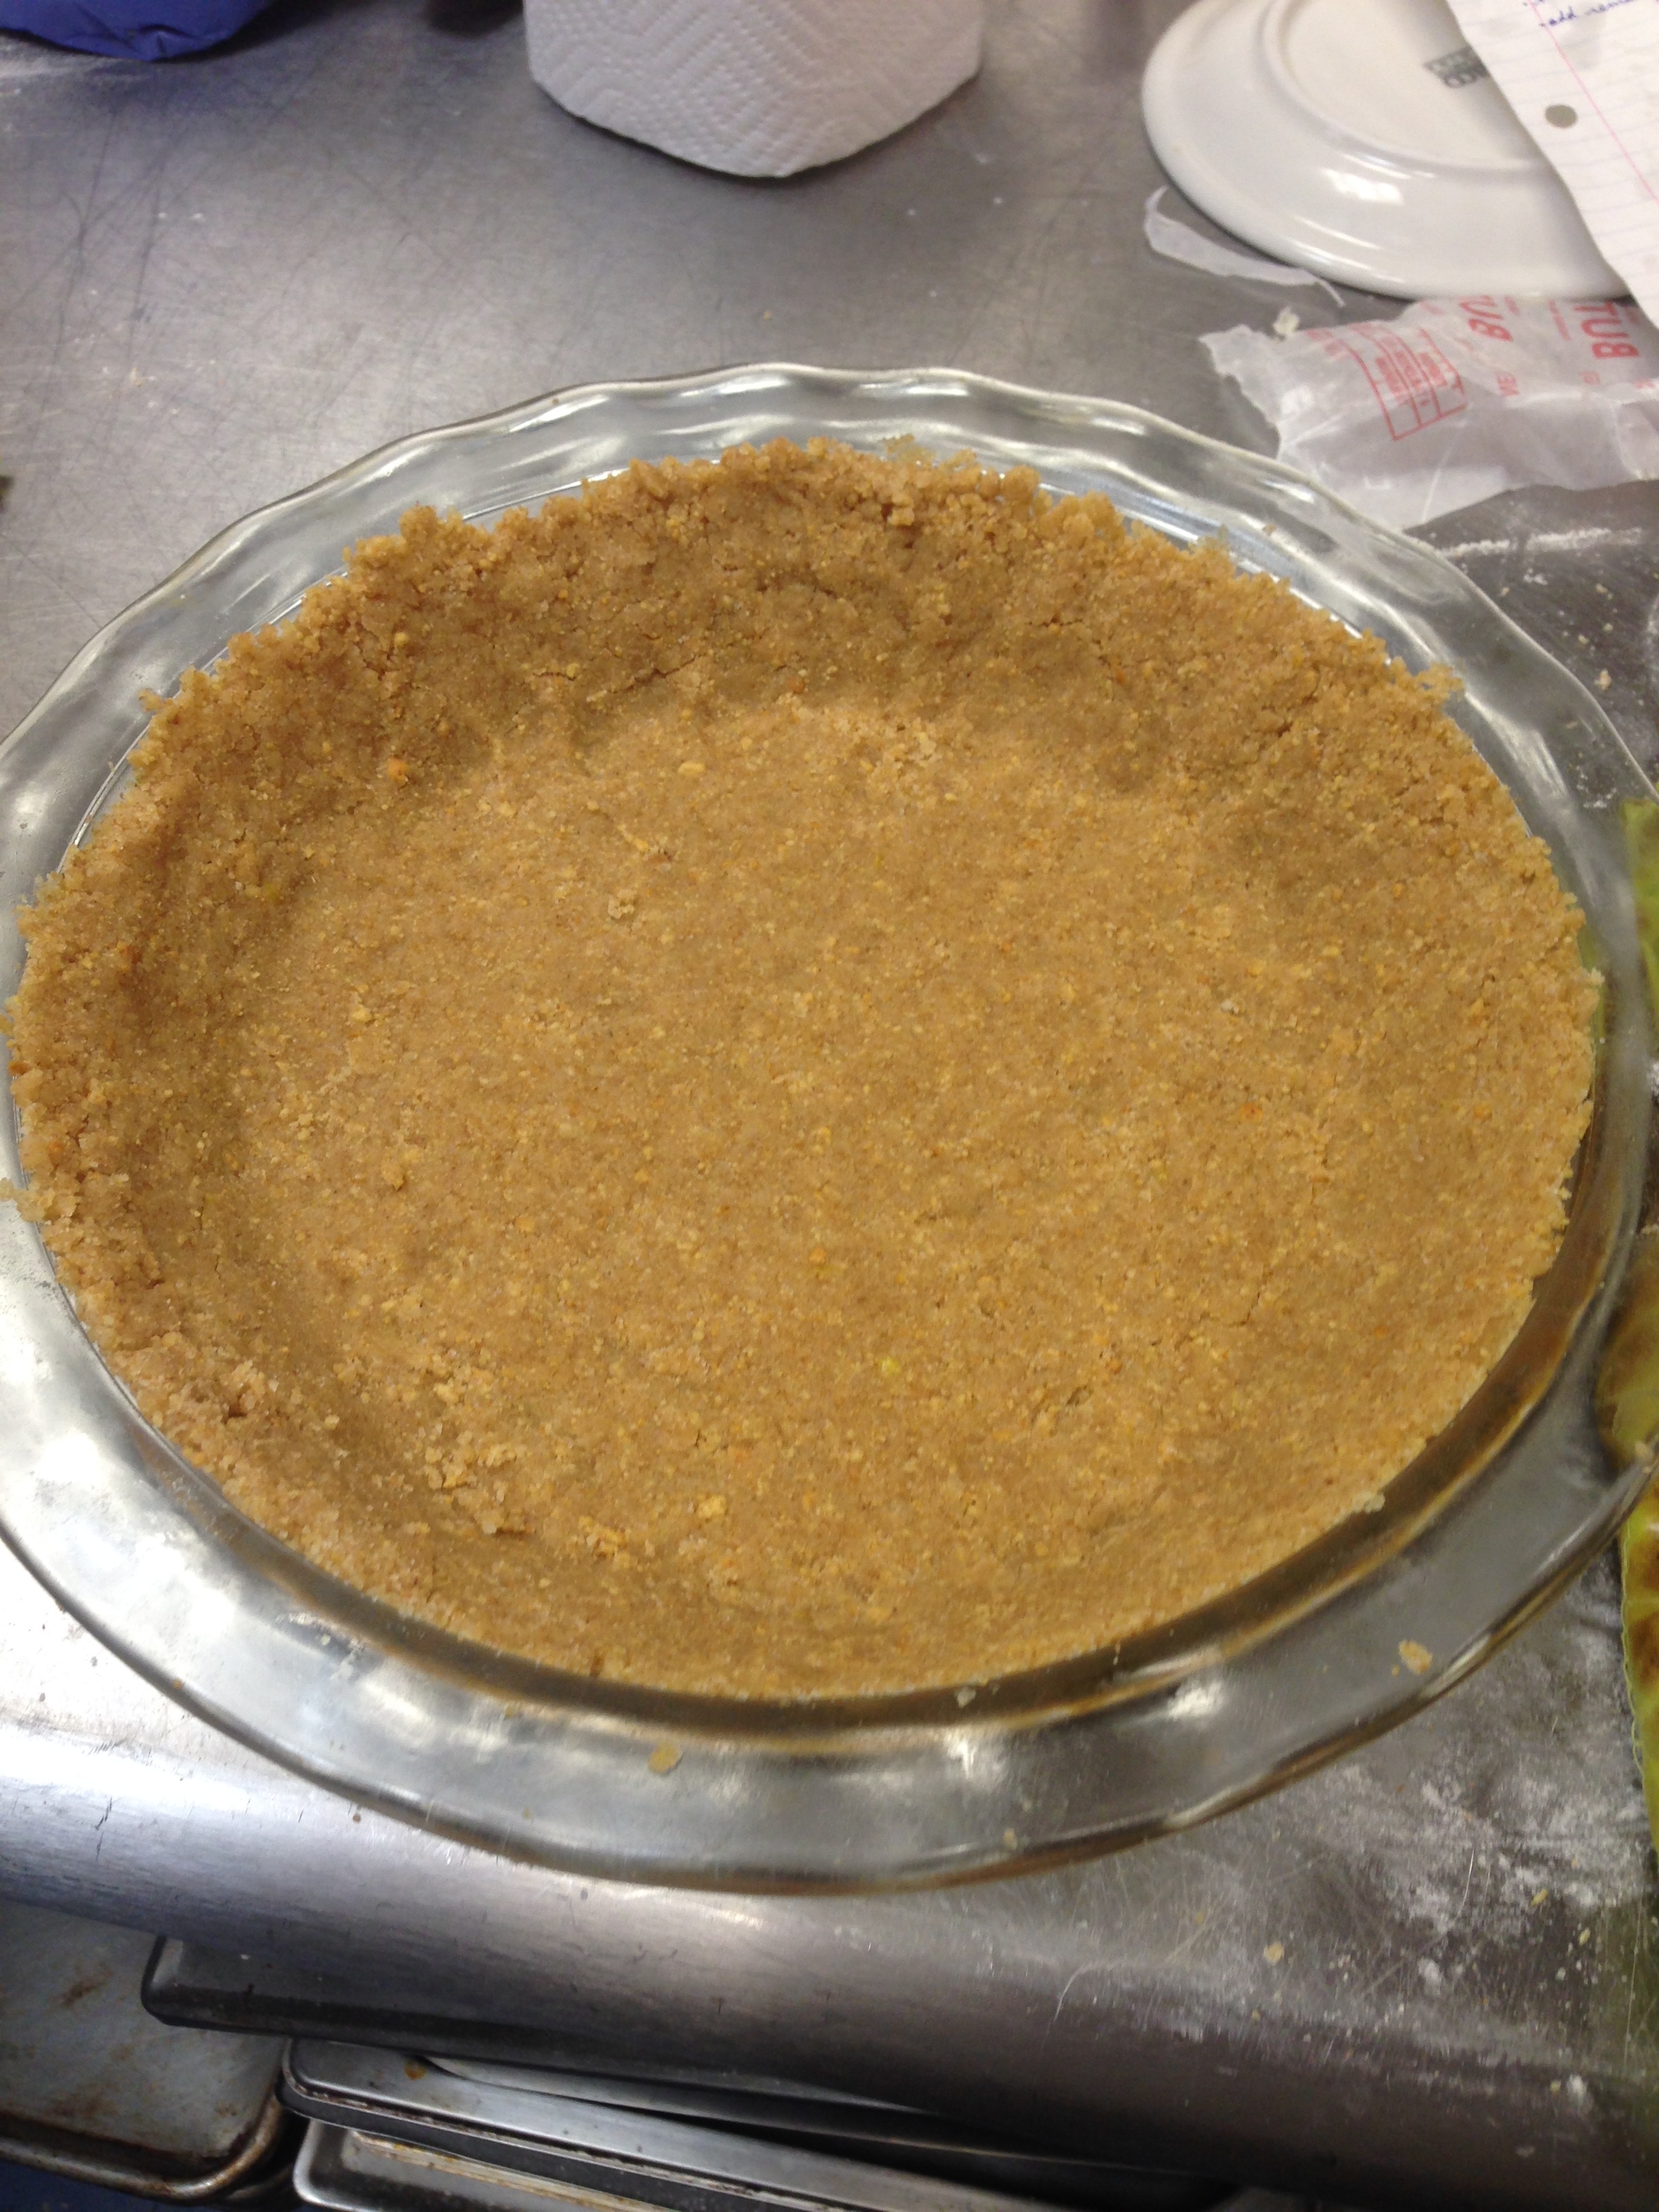
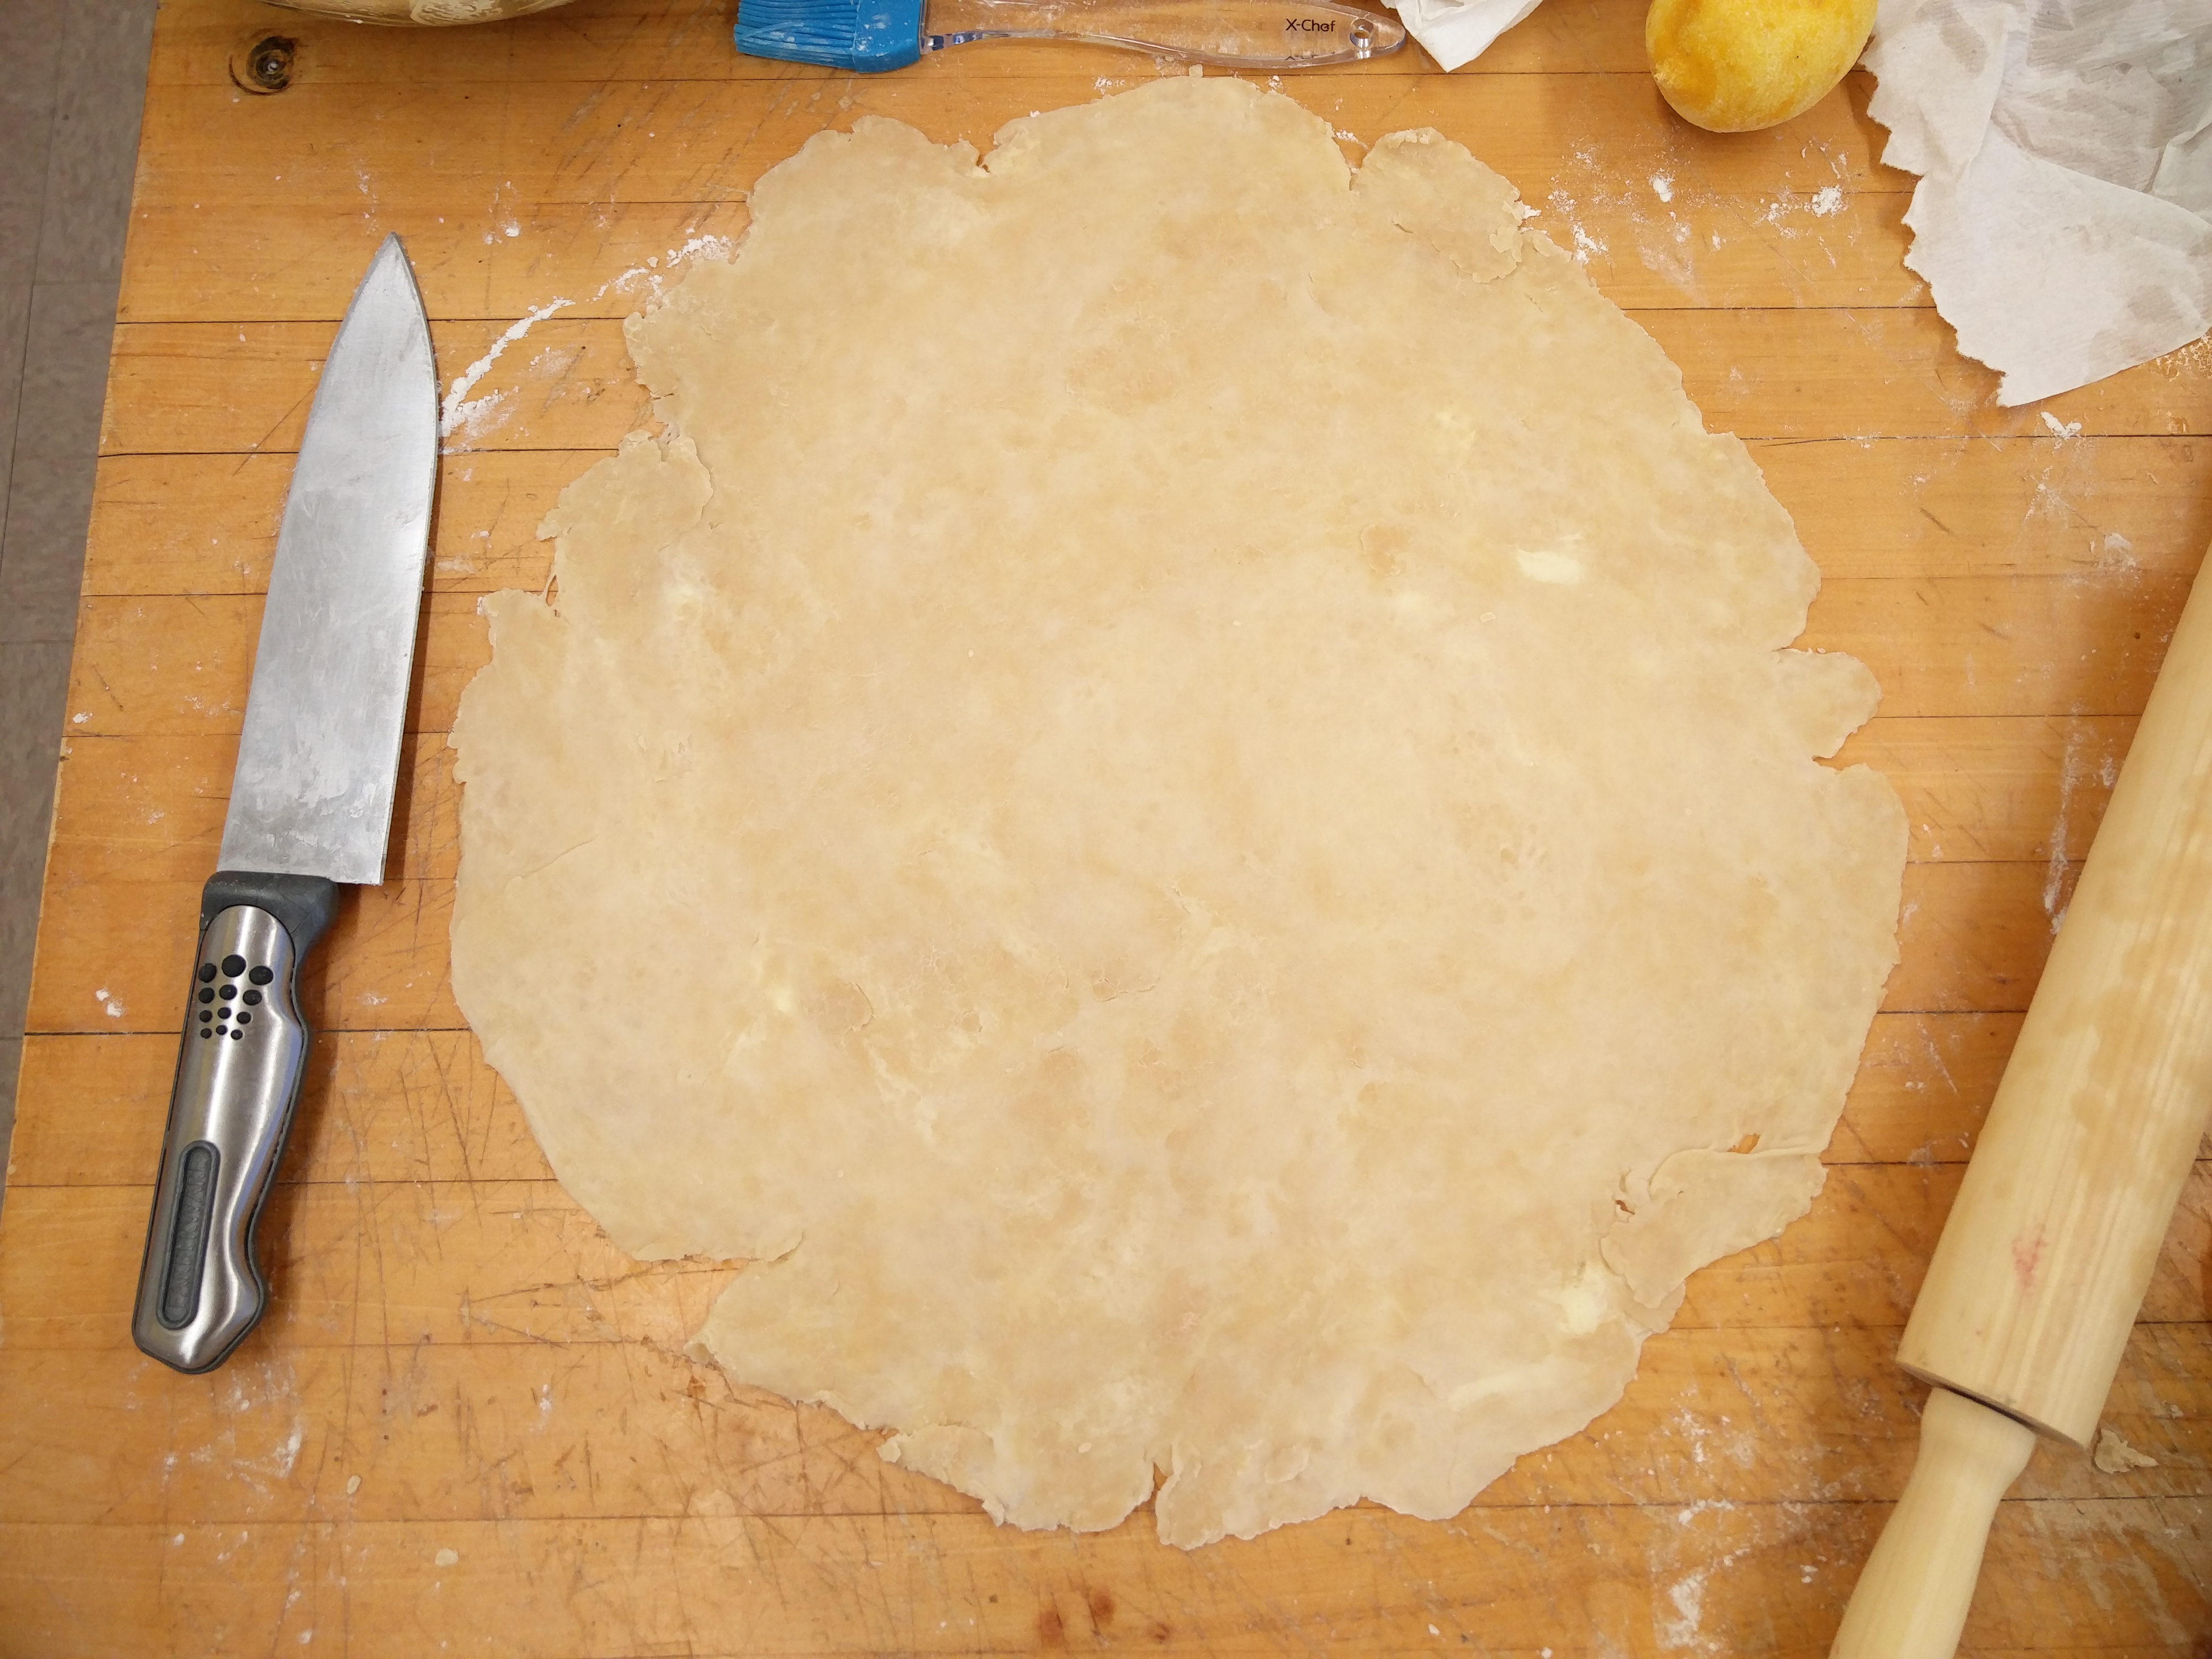
In the meantime, I rolled out my first pastry crust. Following a tip I found on the internet, I rolled only in one direction in order to avoid “confusing” the dough and to avoid forming gluten that would toughen up my crust. I placed the rolled out pastry in my pie plate, trimmed off the edges leaving some overhang and put it in the fridge to chill for a few minutes.

IMG_20160106_132034 IMG_20160106_140439
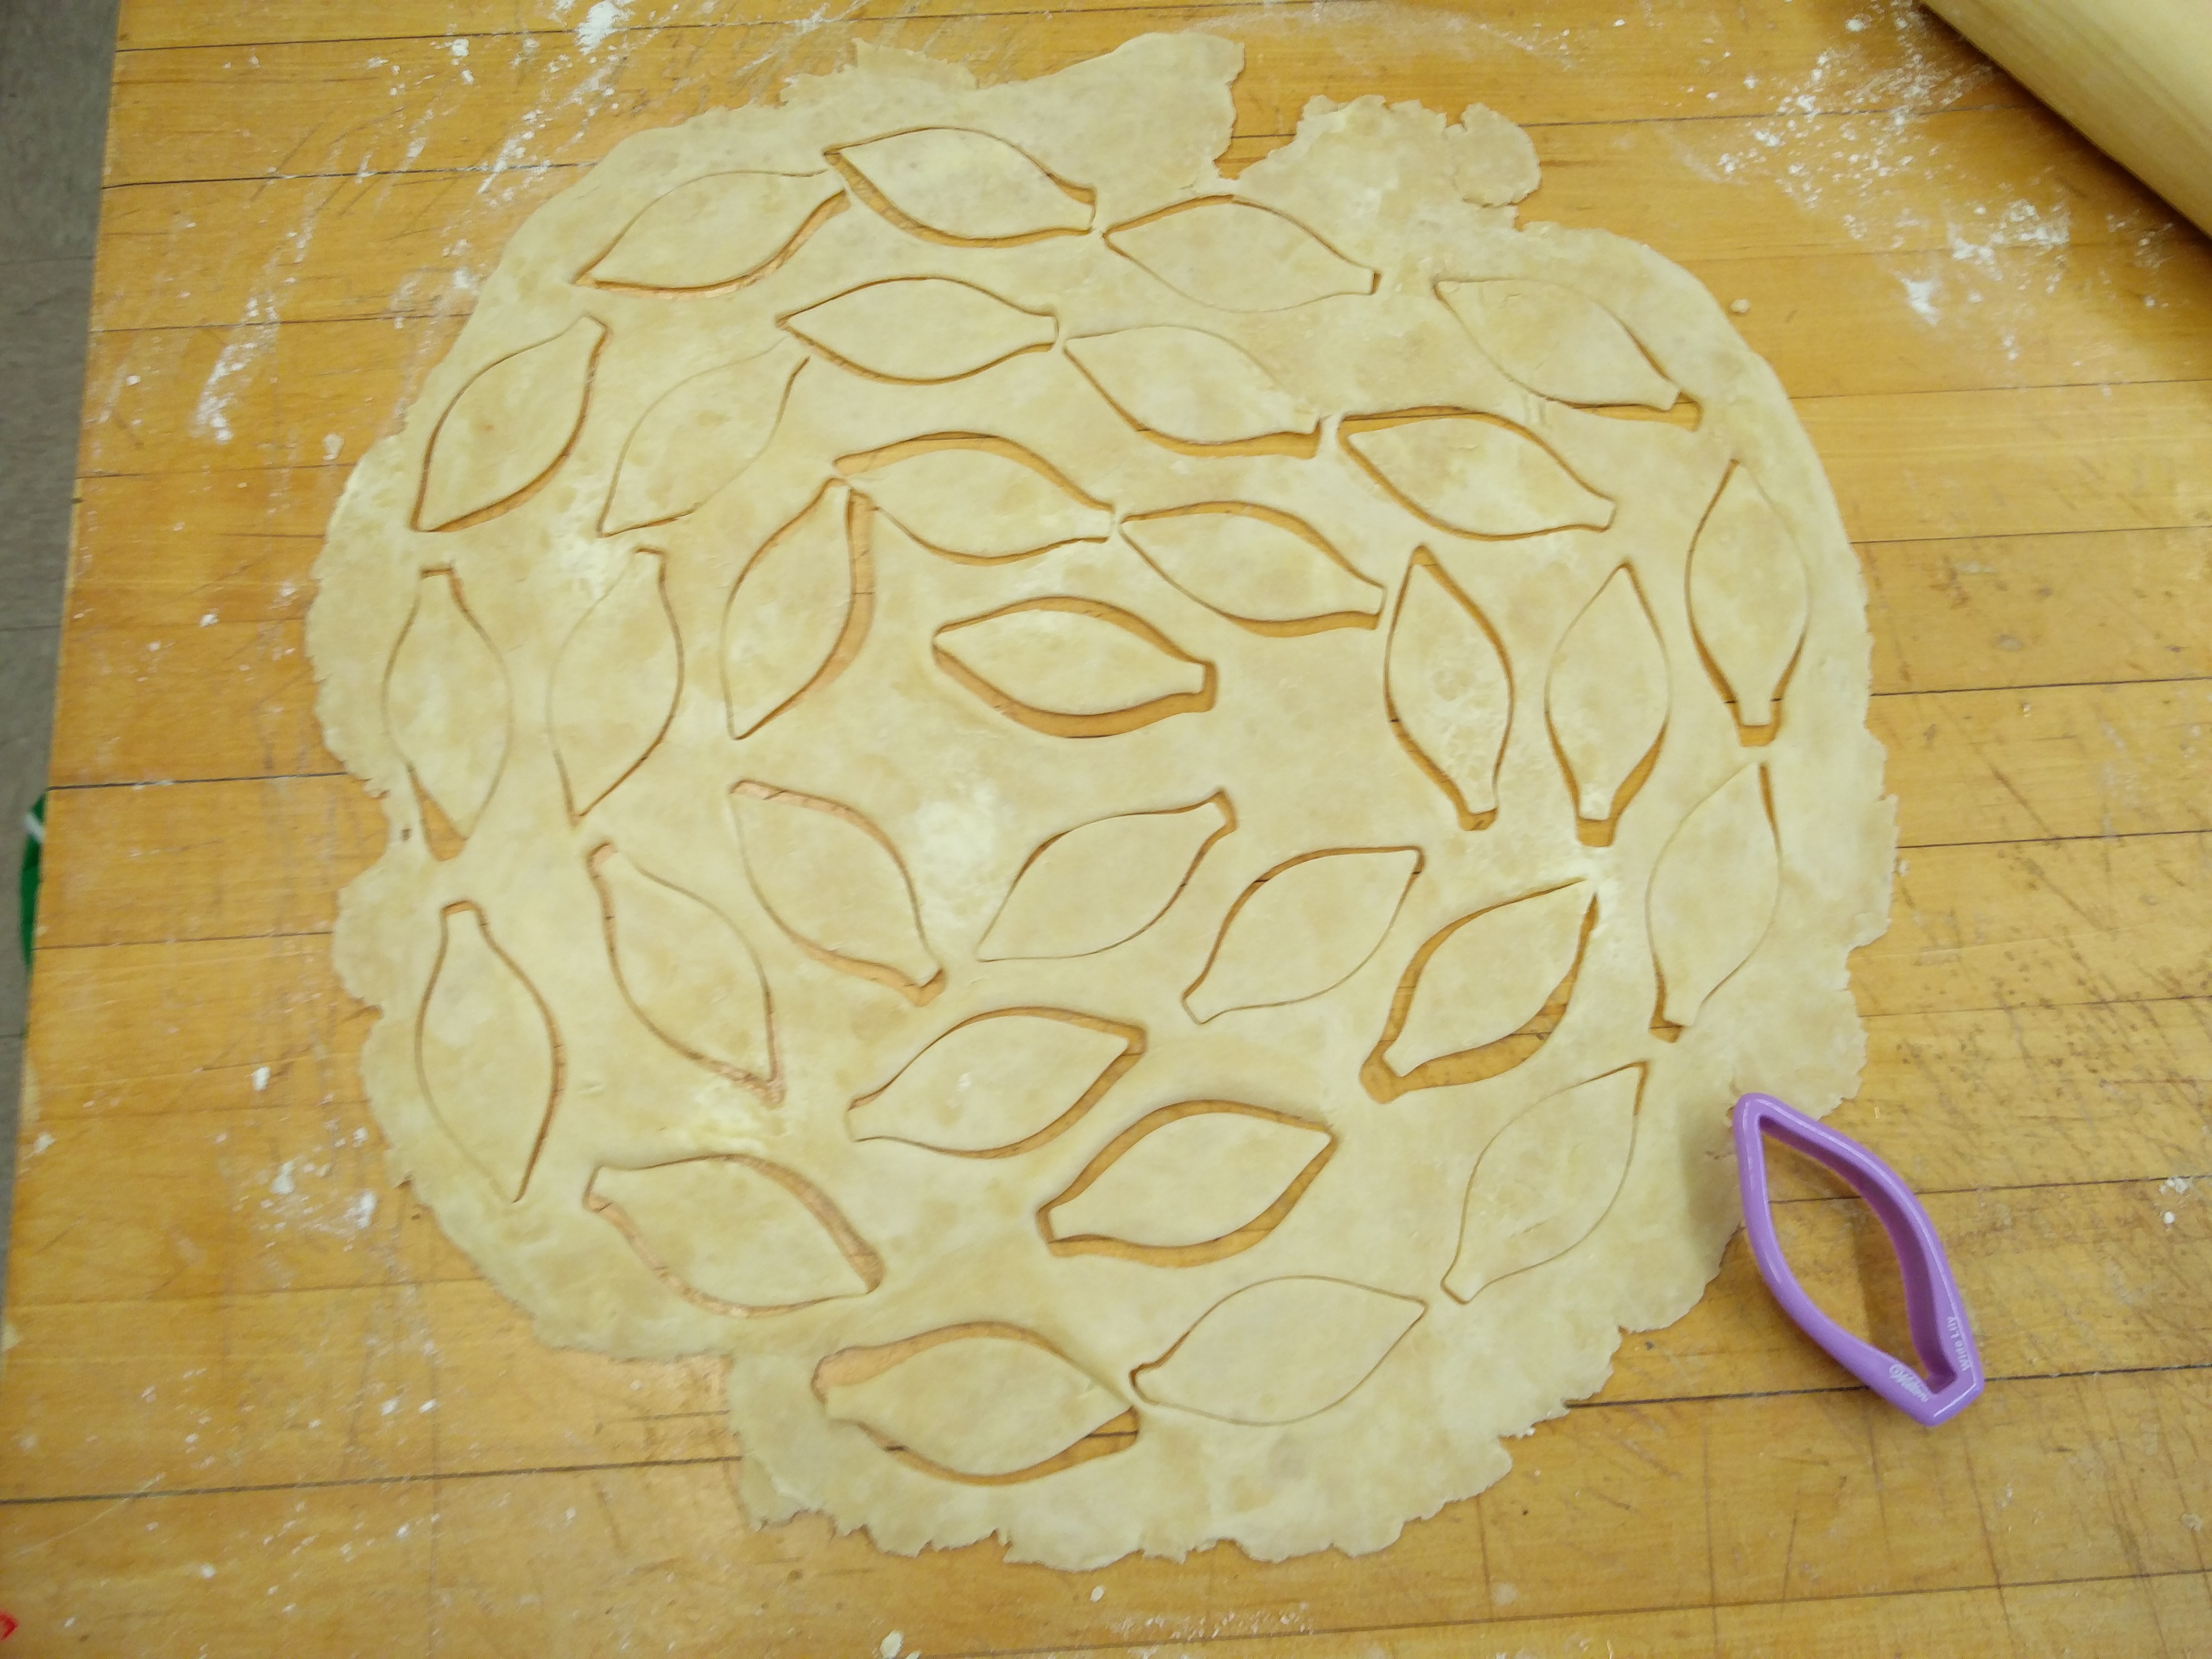
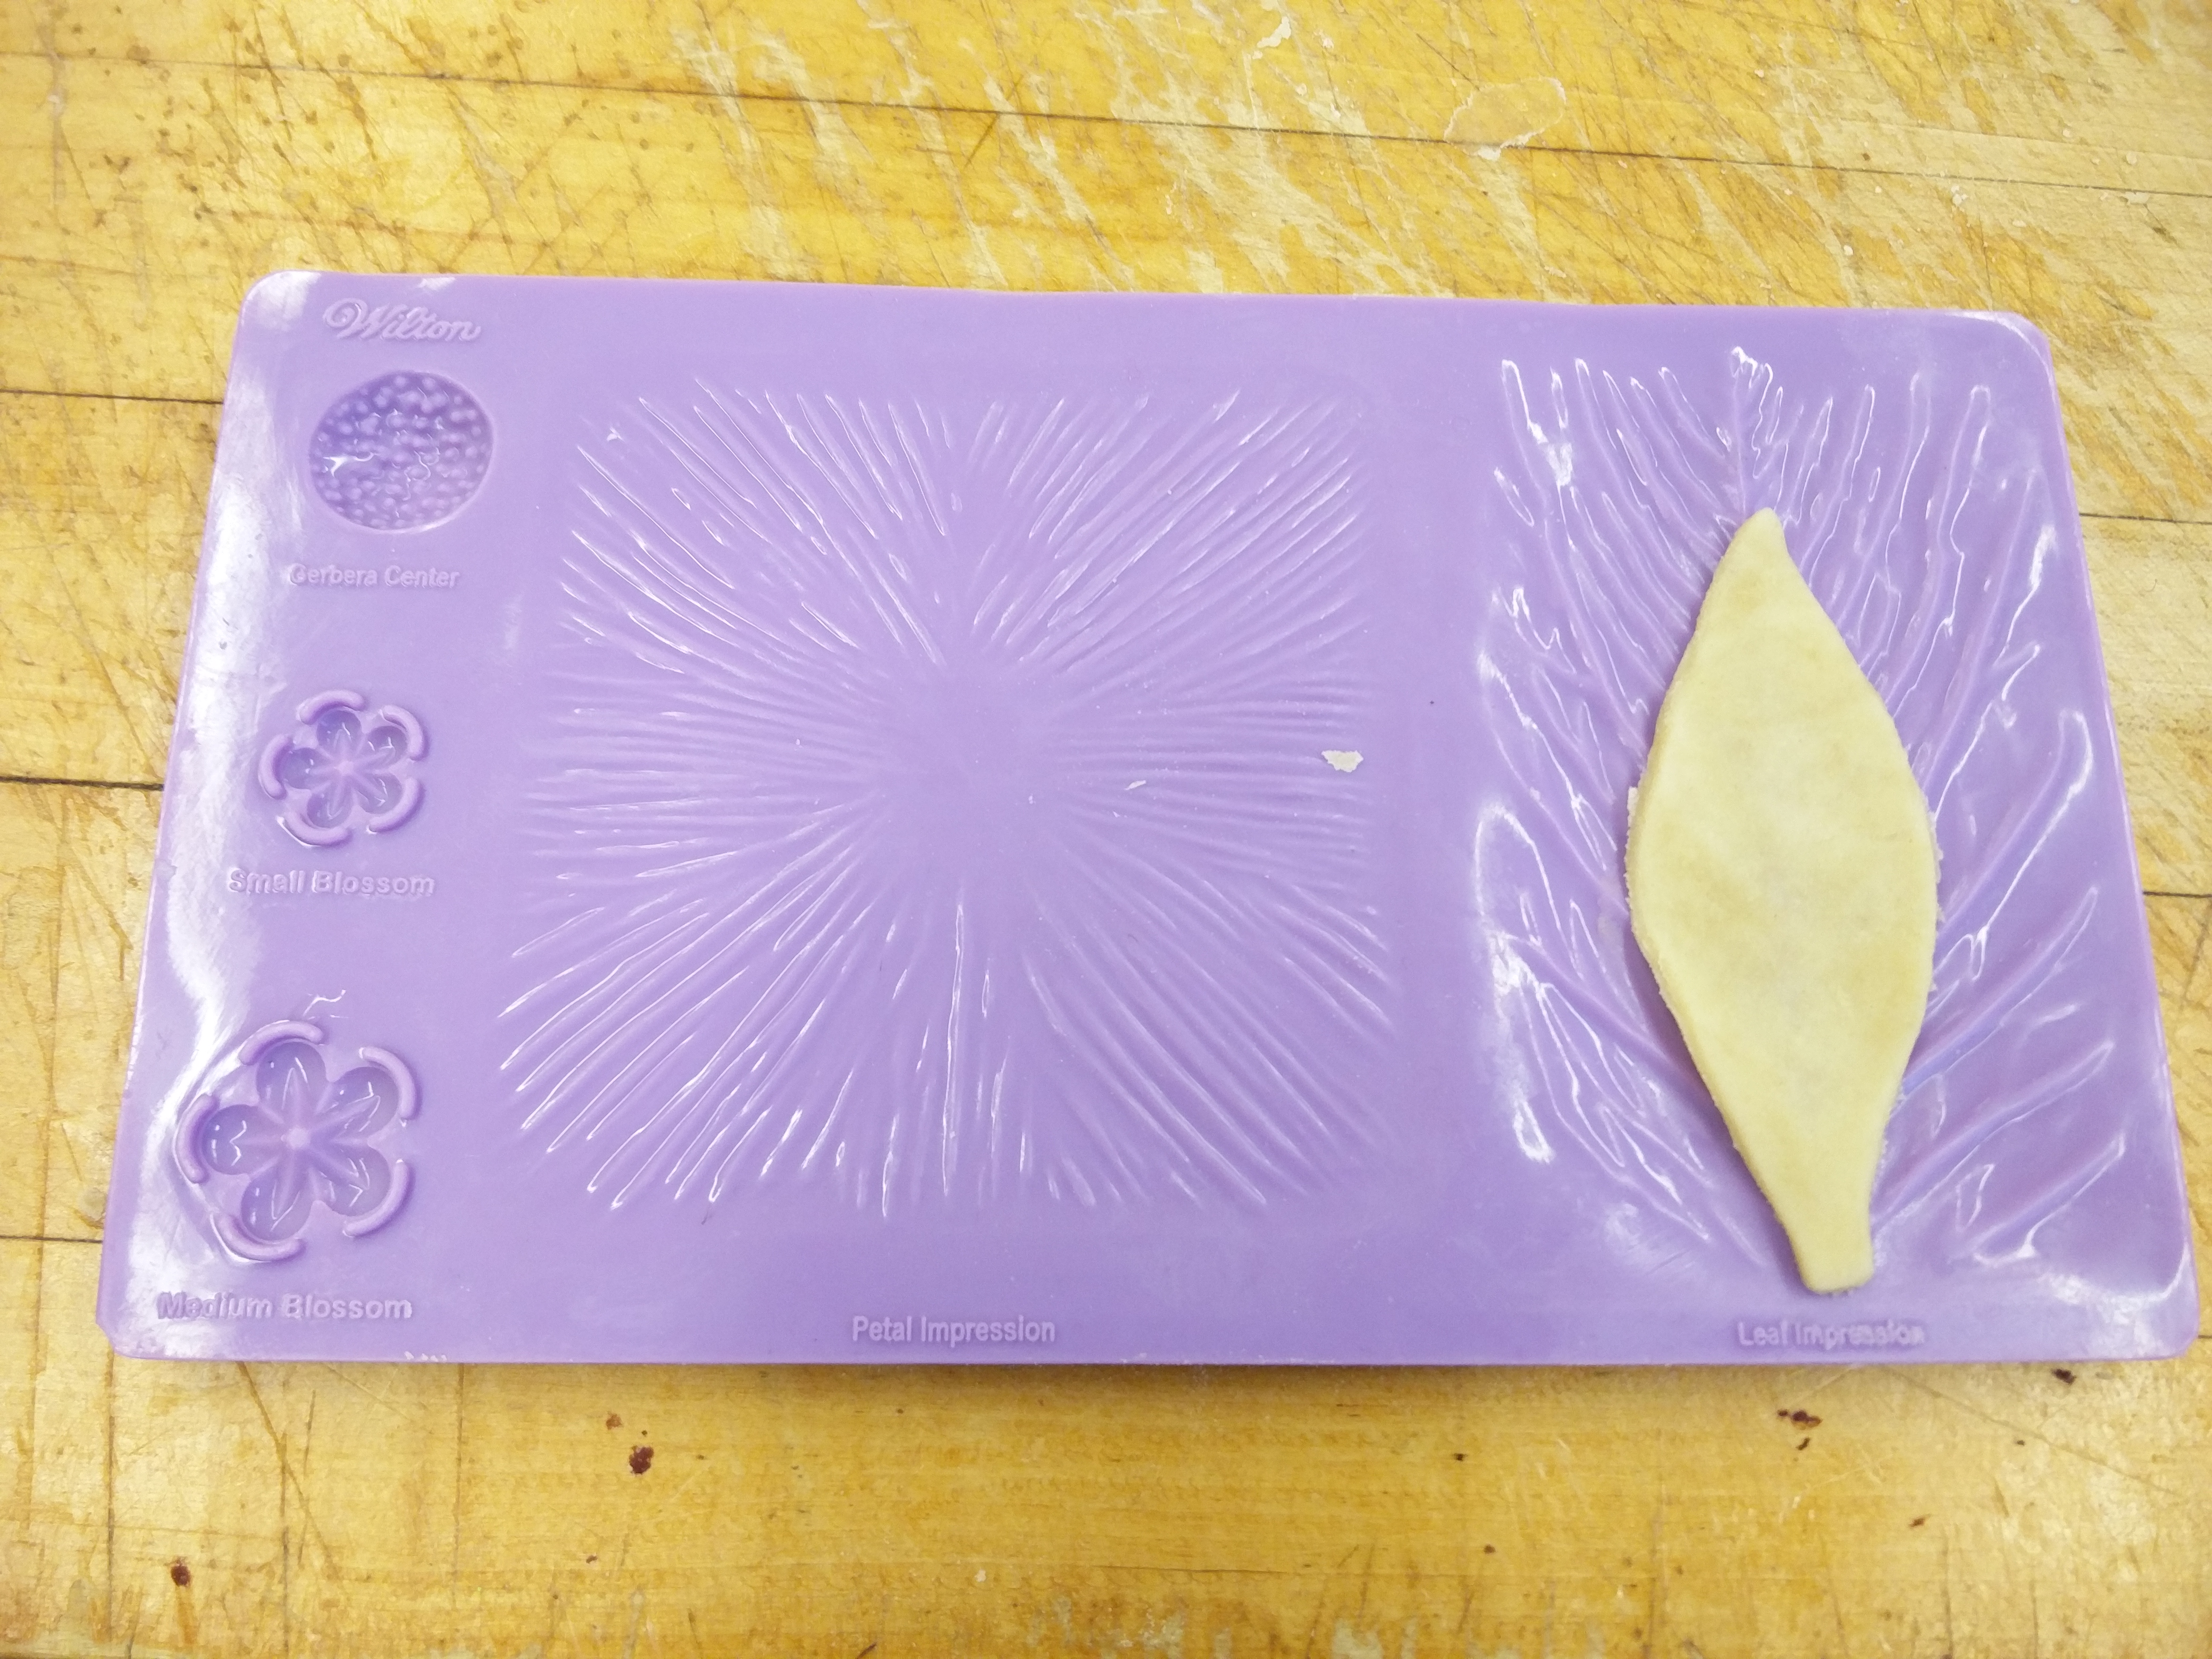
Meanwhile I rolled out my second pastry dough and even the recipe called for heart-shaped pastry cut-outs, I did not have a heart-shaped cookie cutter but did have a leaf-shaped cutter and even a leaf pattern-maker (thanks to Neftaly!) so I decide to use that and cut out around 50 leaves. Jordan helped me put patterns on the leaves (thanks!).

IMG_20160106_142916 IMG_20160106_144332 
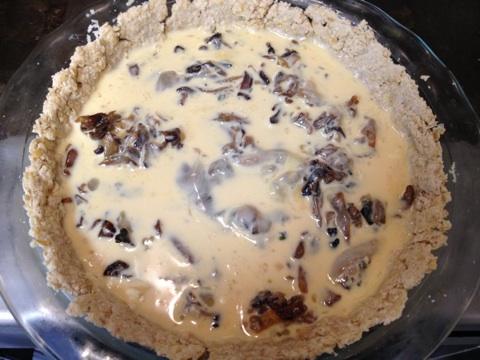
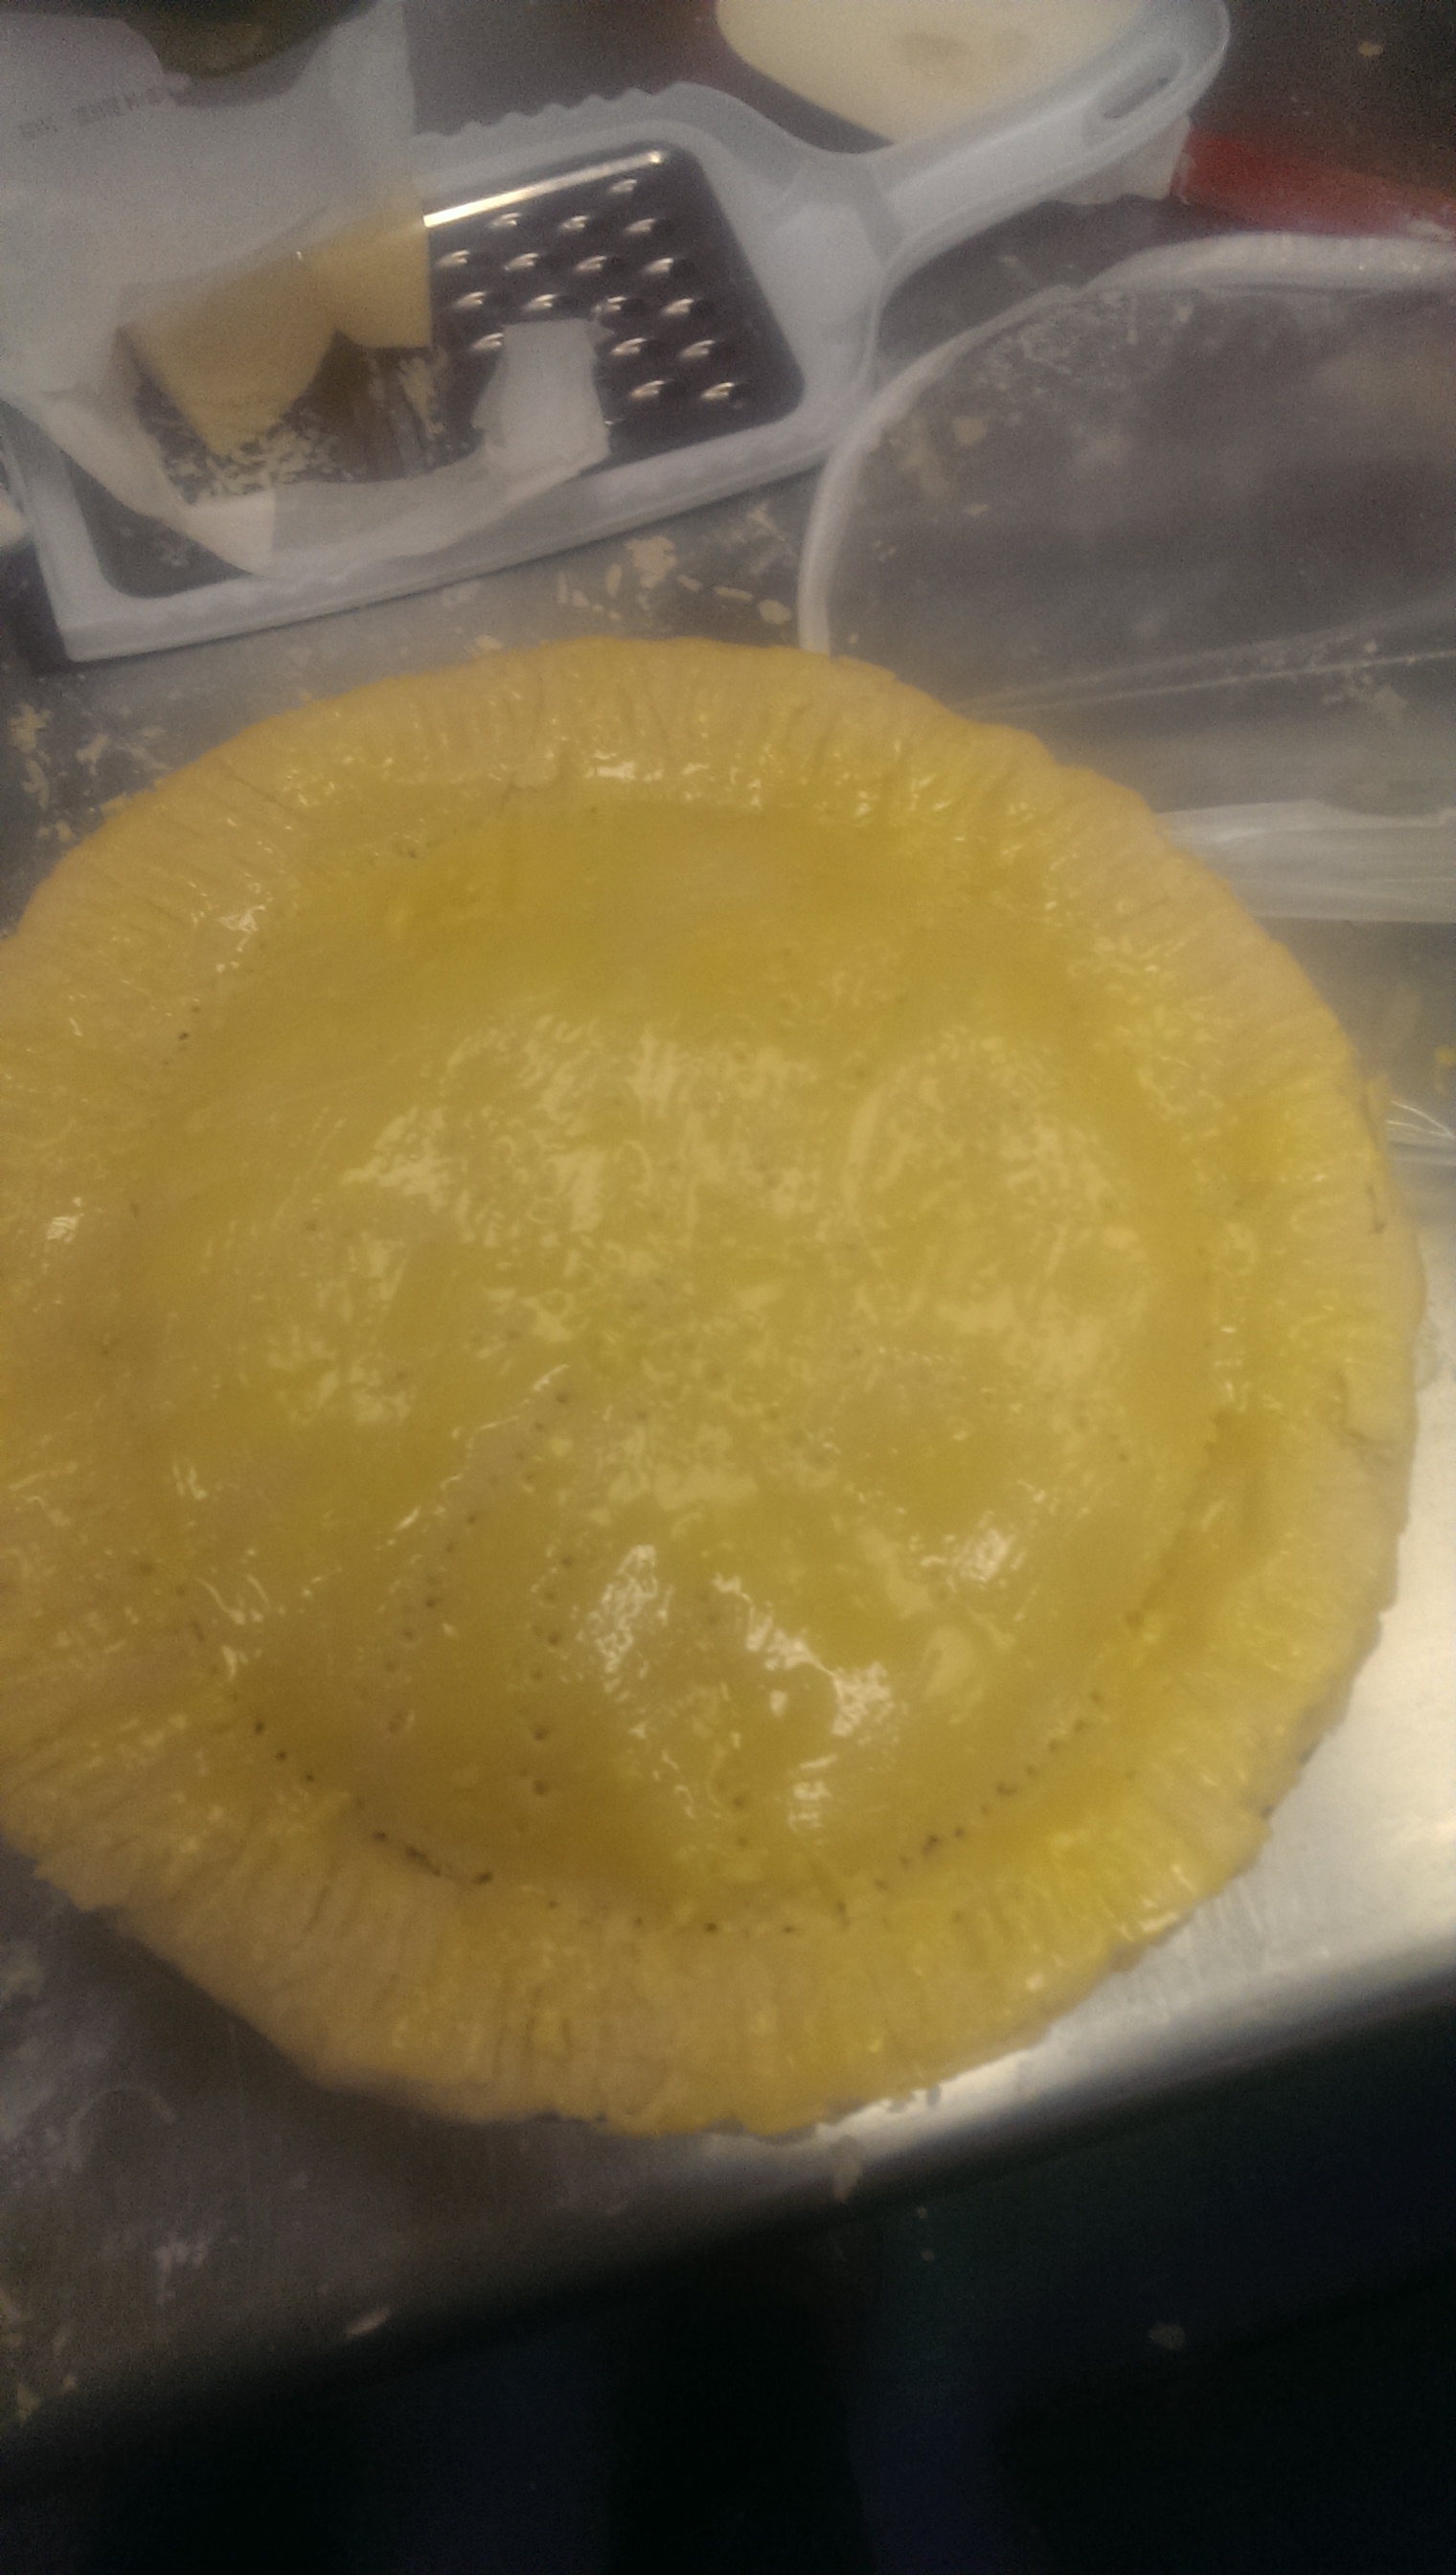
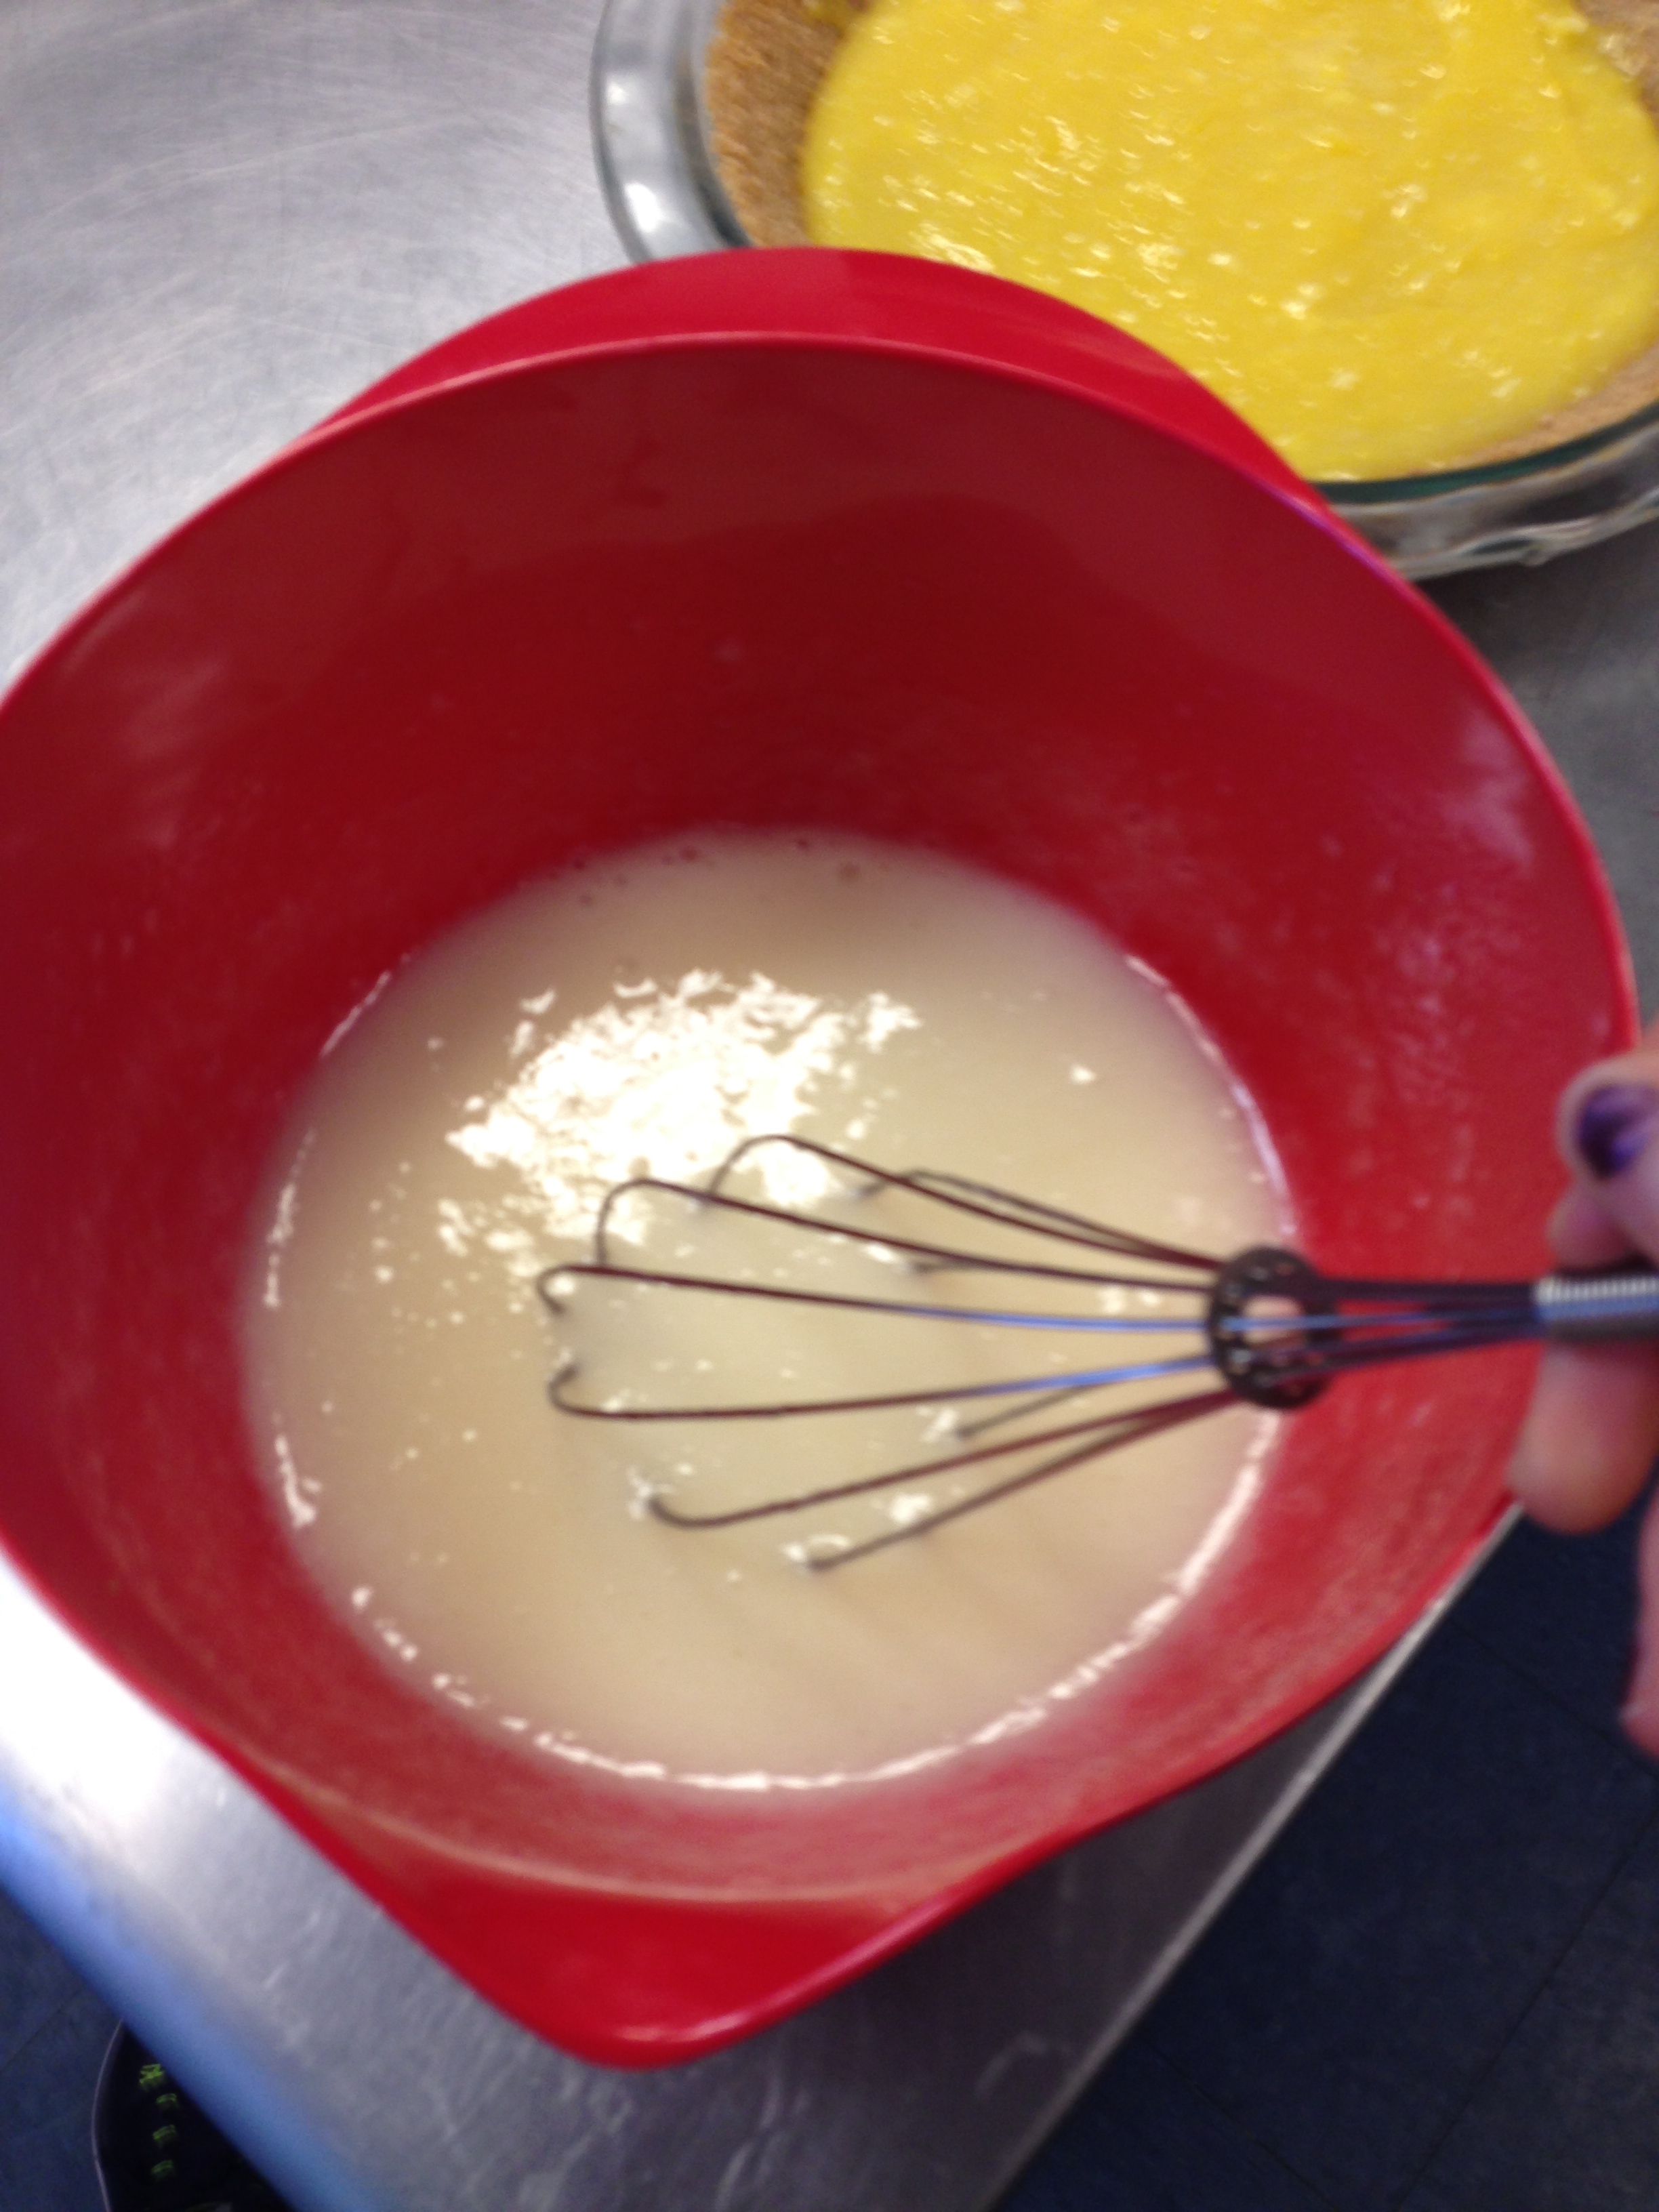
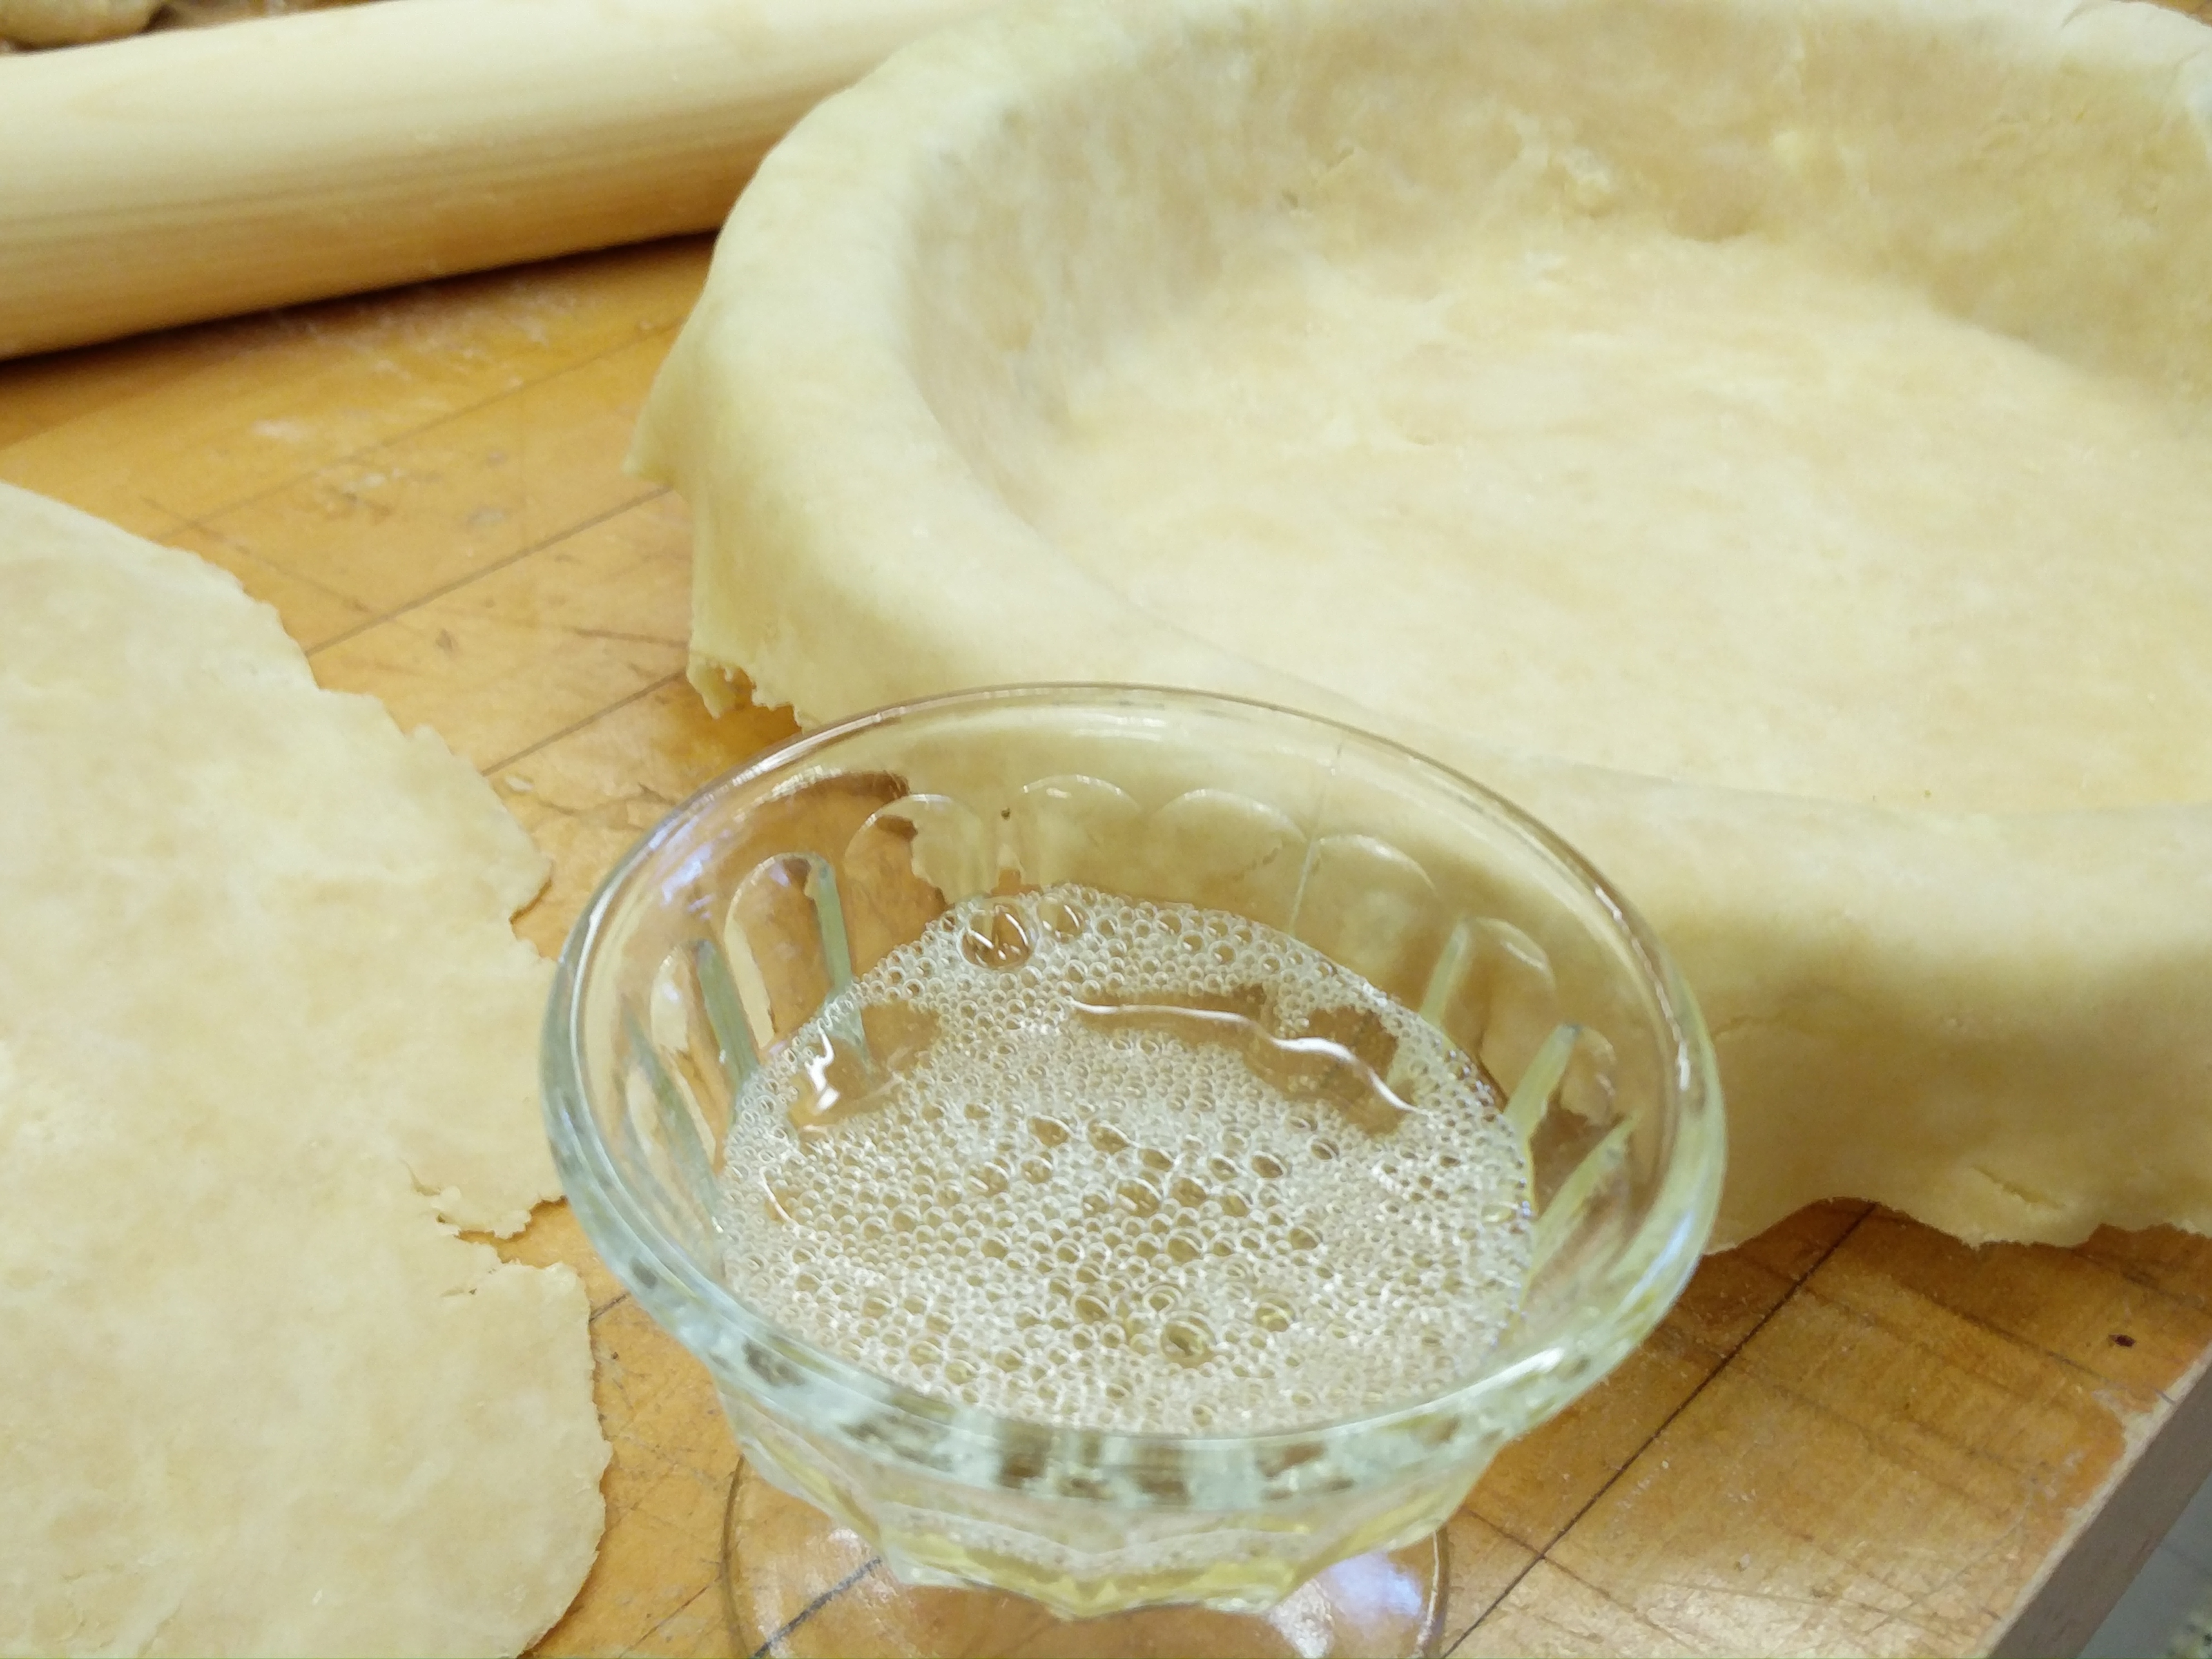
I took the pie plate out from the fridge and made an egg-white wash with a little bit of water and brushed a very thin layer of this on to the bottom of the pie. The egg wash contains proteins which do not interact with water and hence form a protective layer against the fruit juices while cooking. I put this pie plate back in the fridge to harden the egg wash. I also put the leaf cut outs on a baking sheet lined with parchment paper and put them in the fridge to harden.

IMG_20160106_142503

IMG_20160106_145026

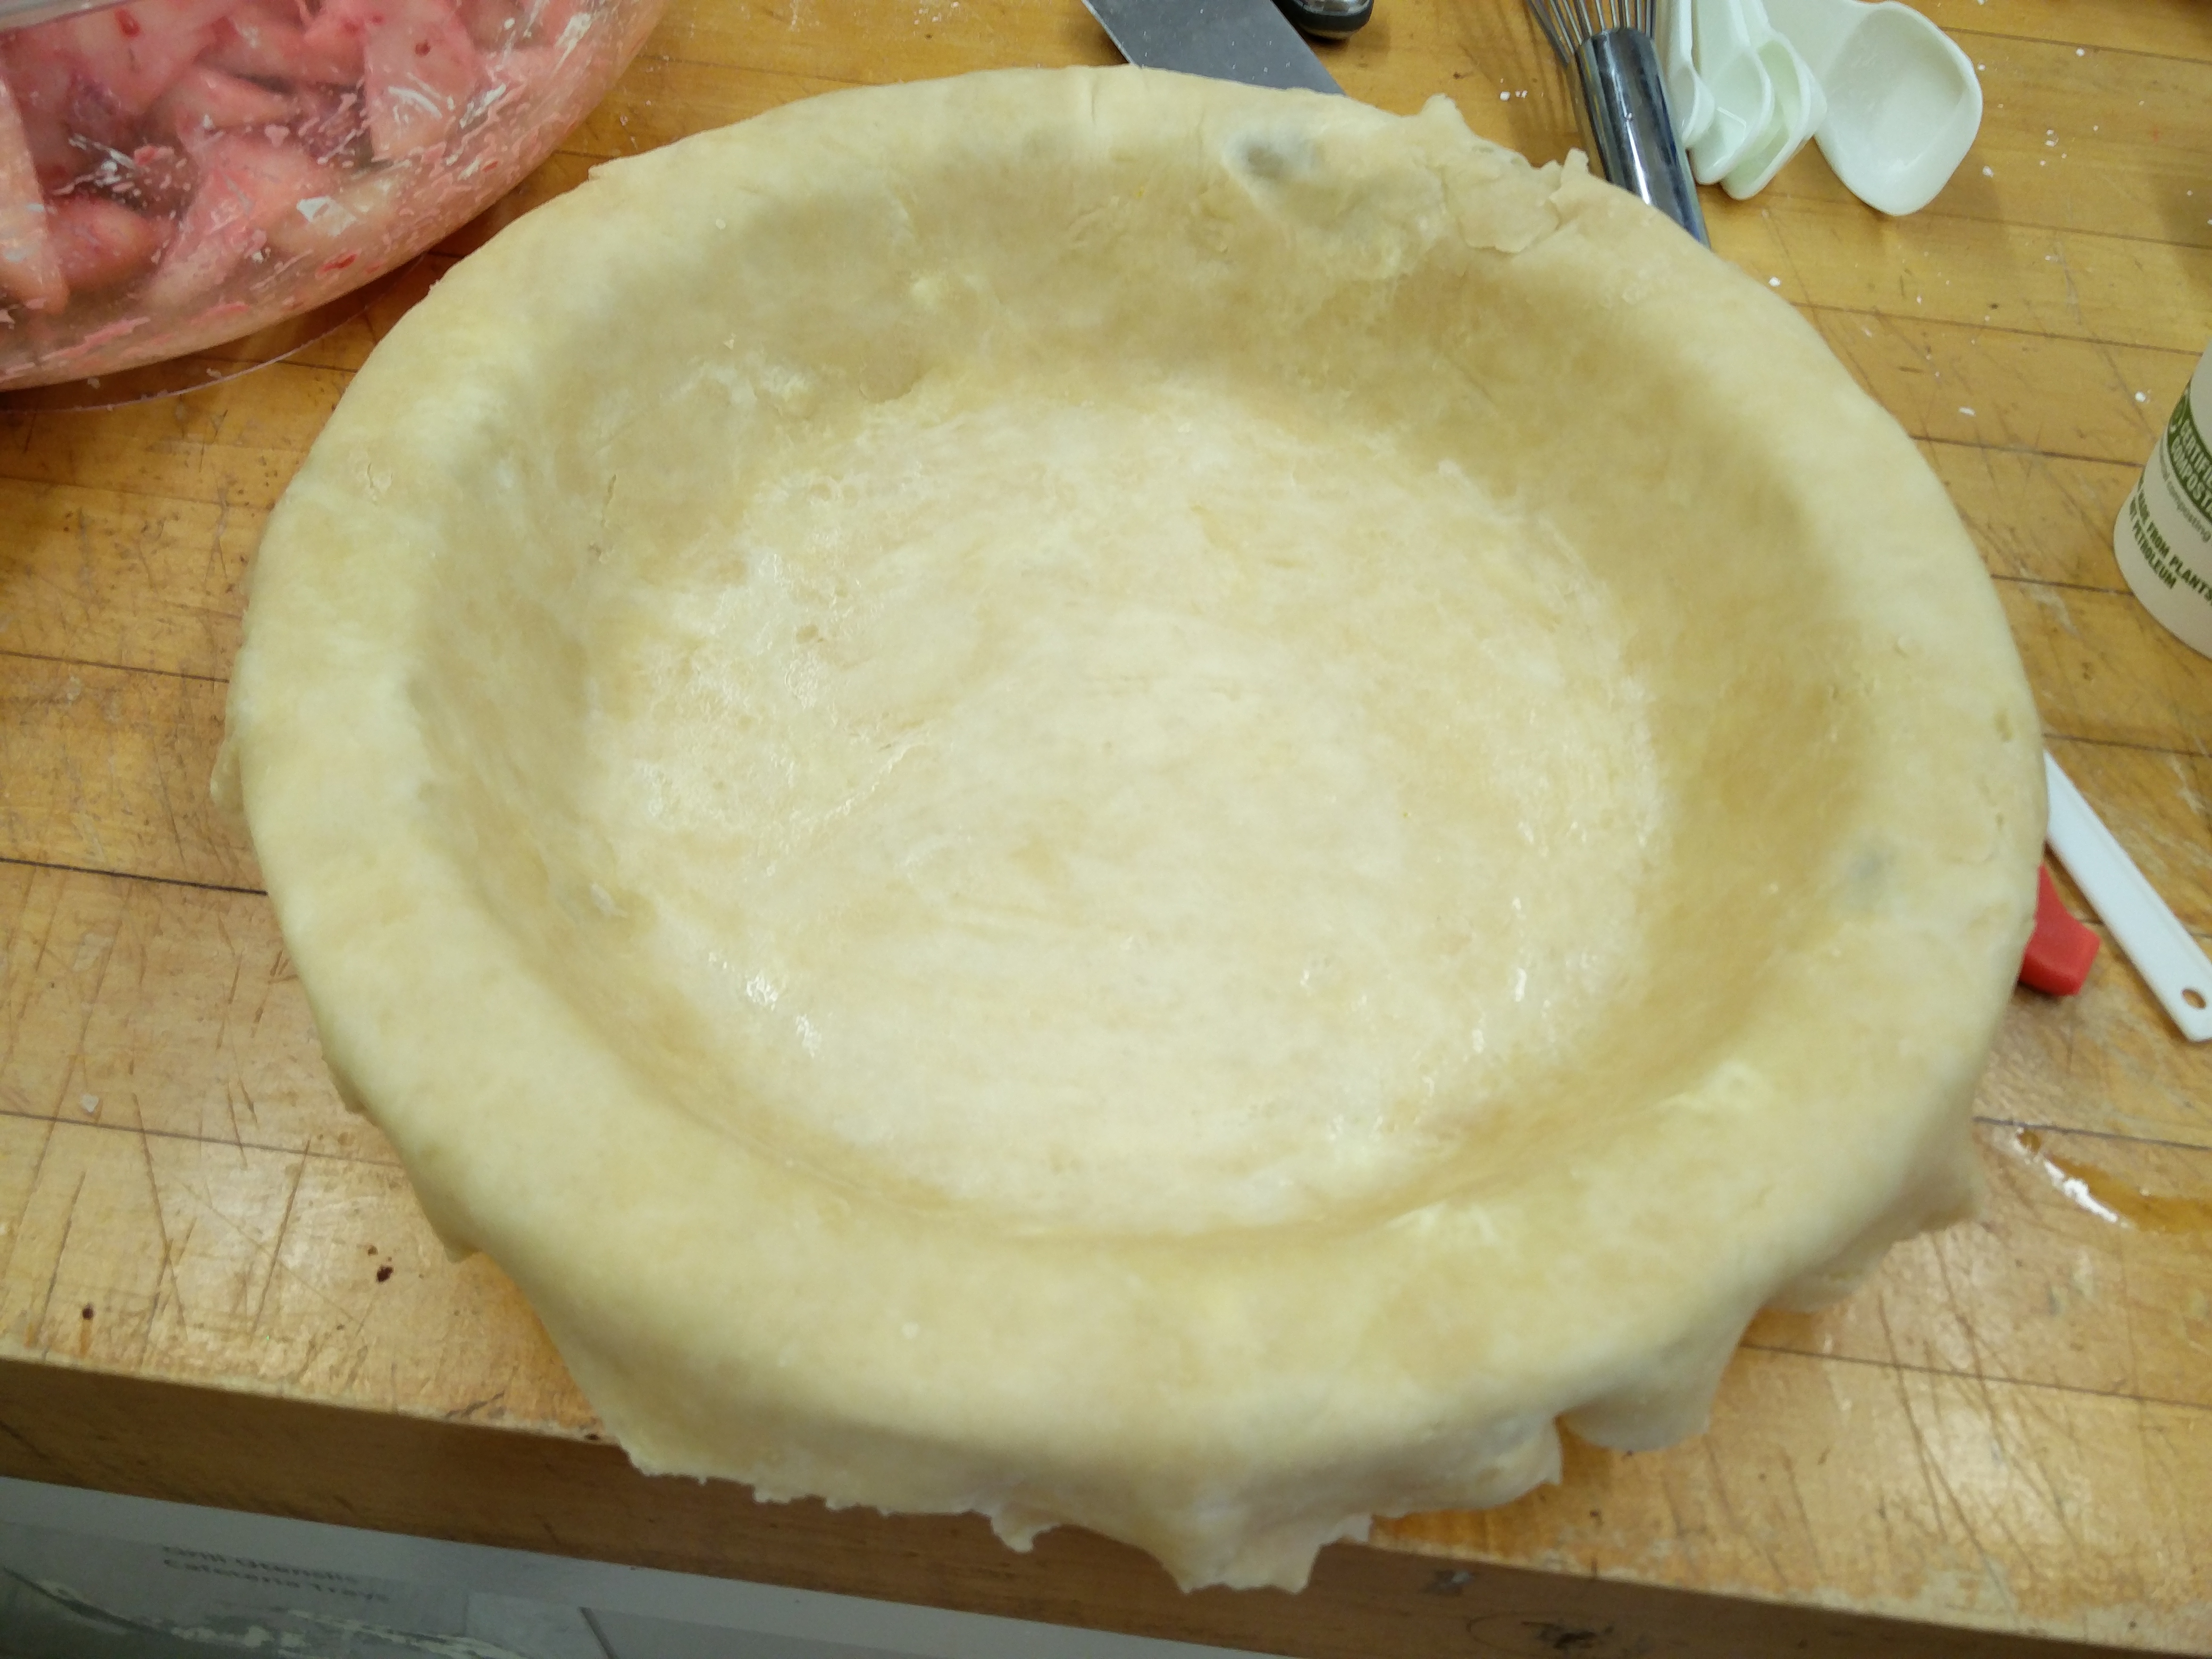
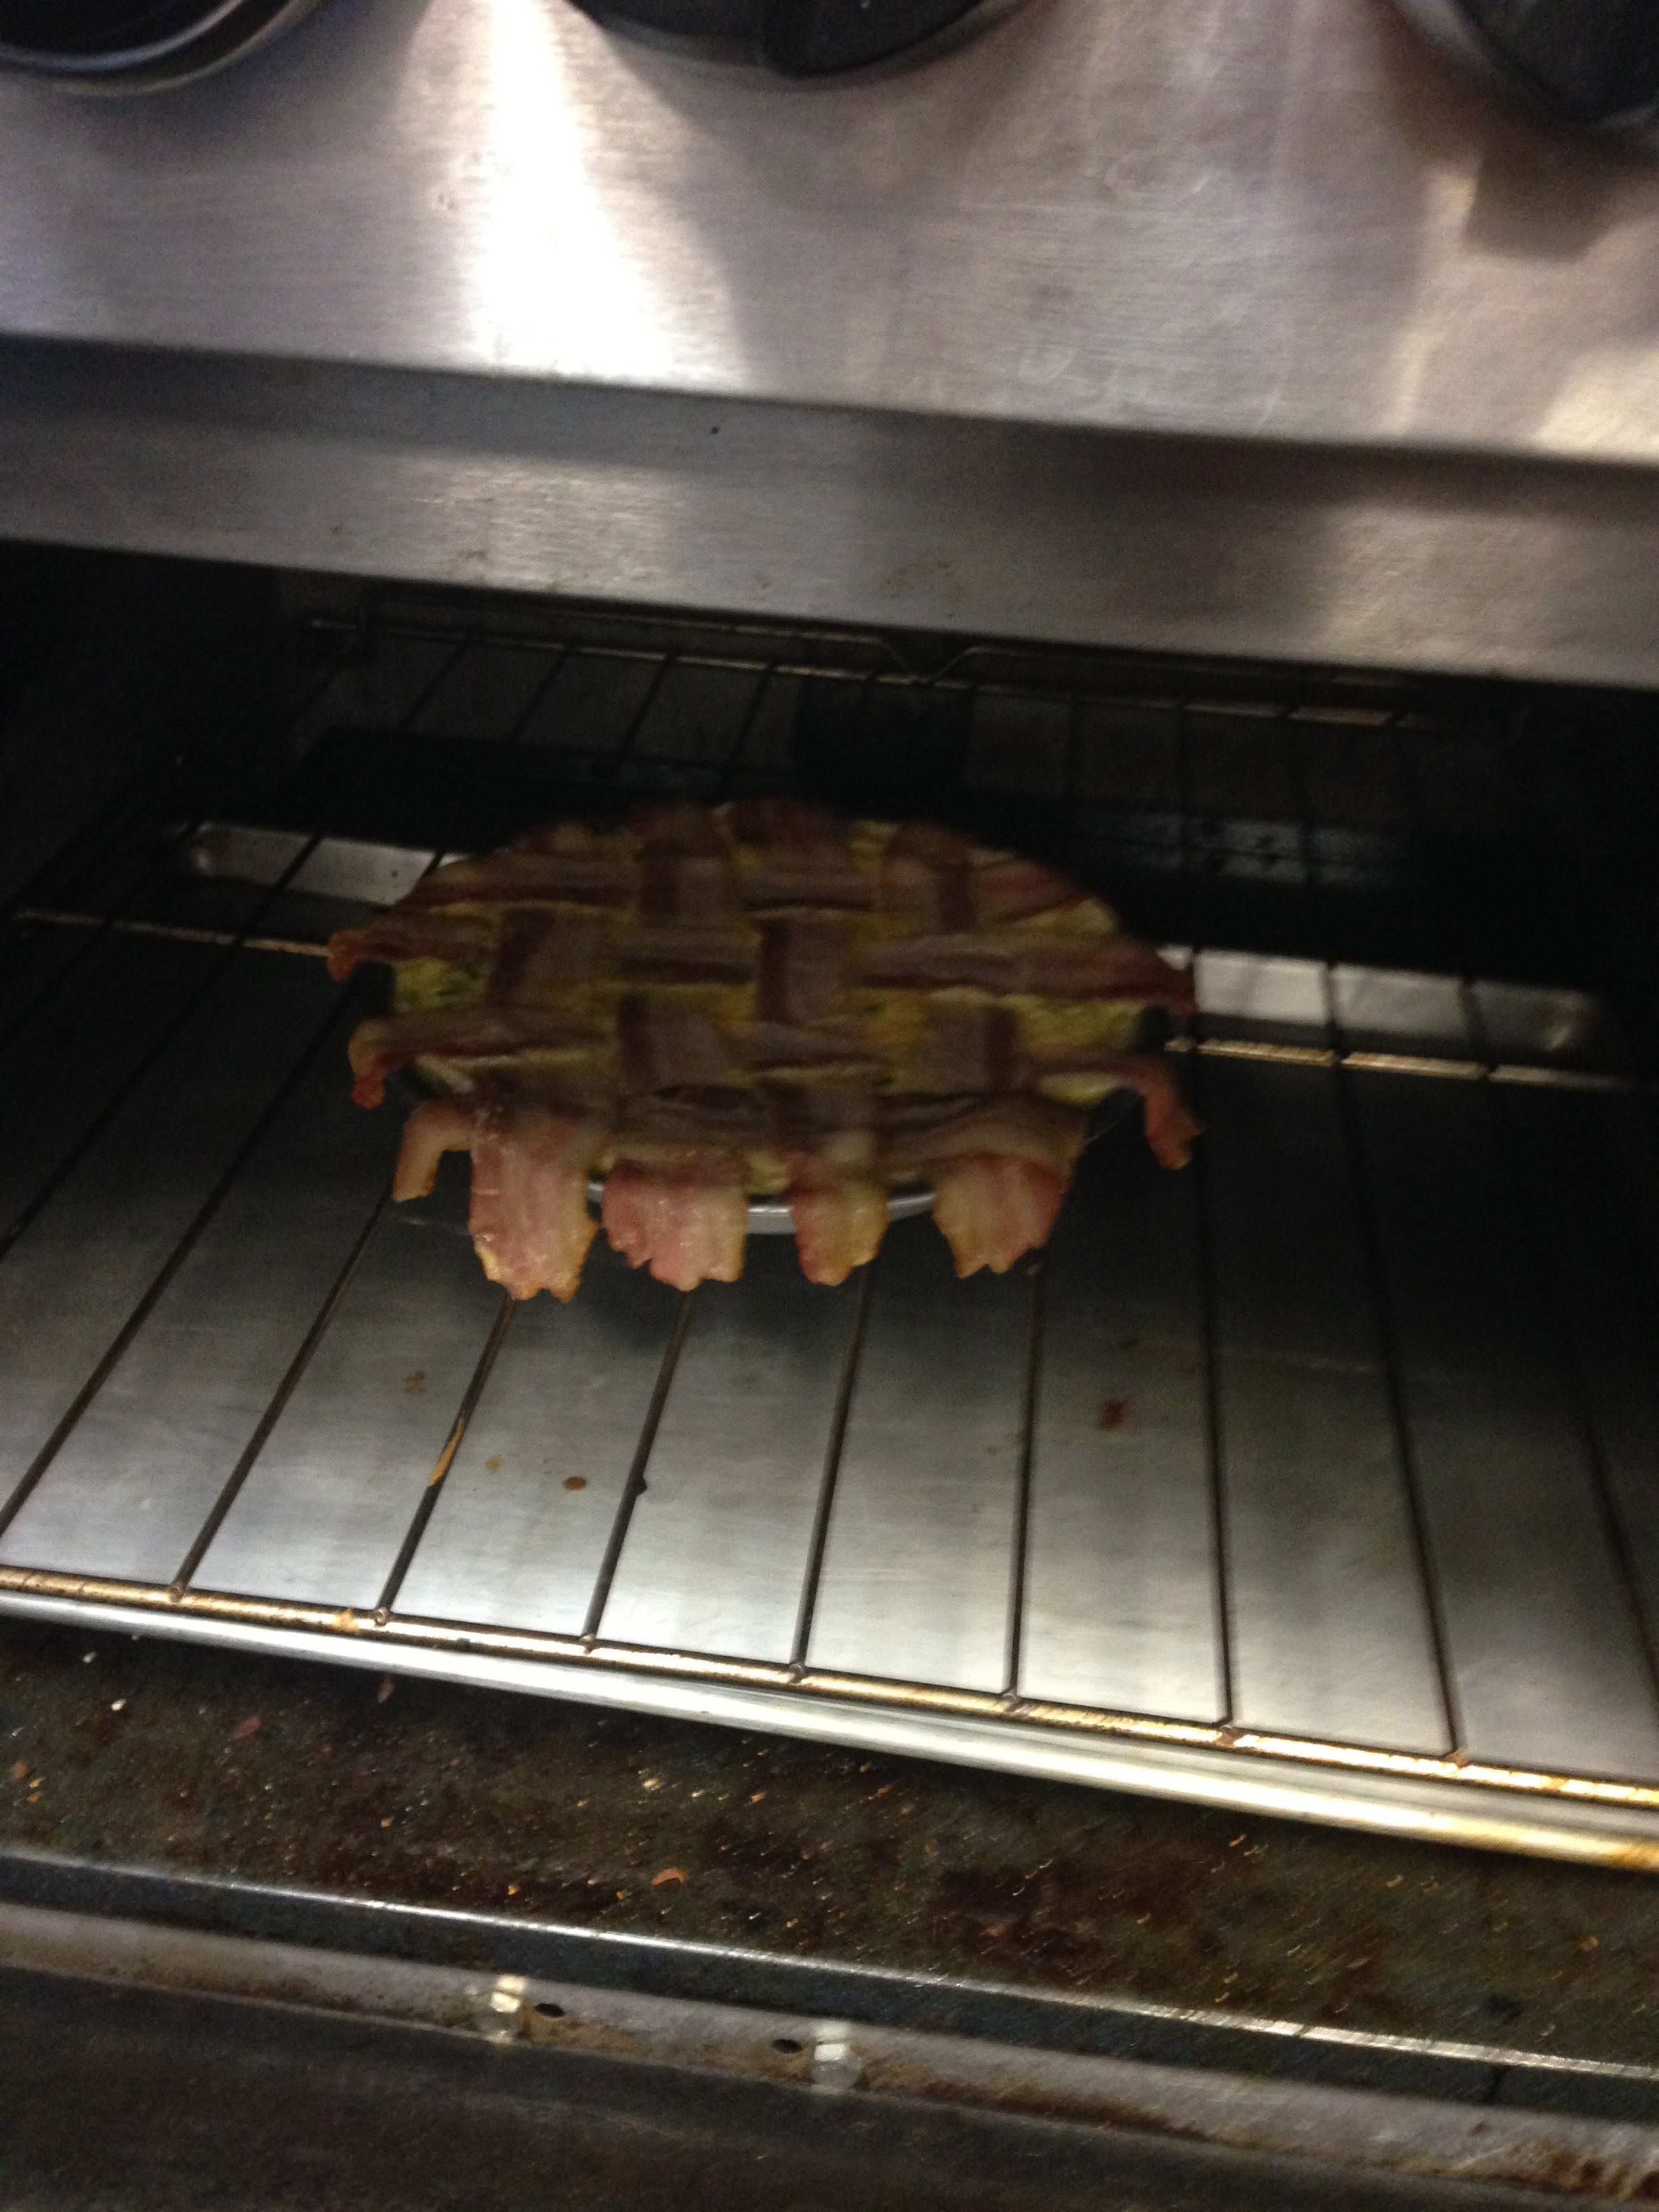
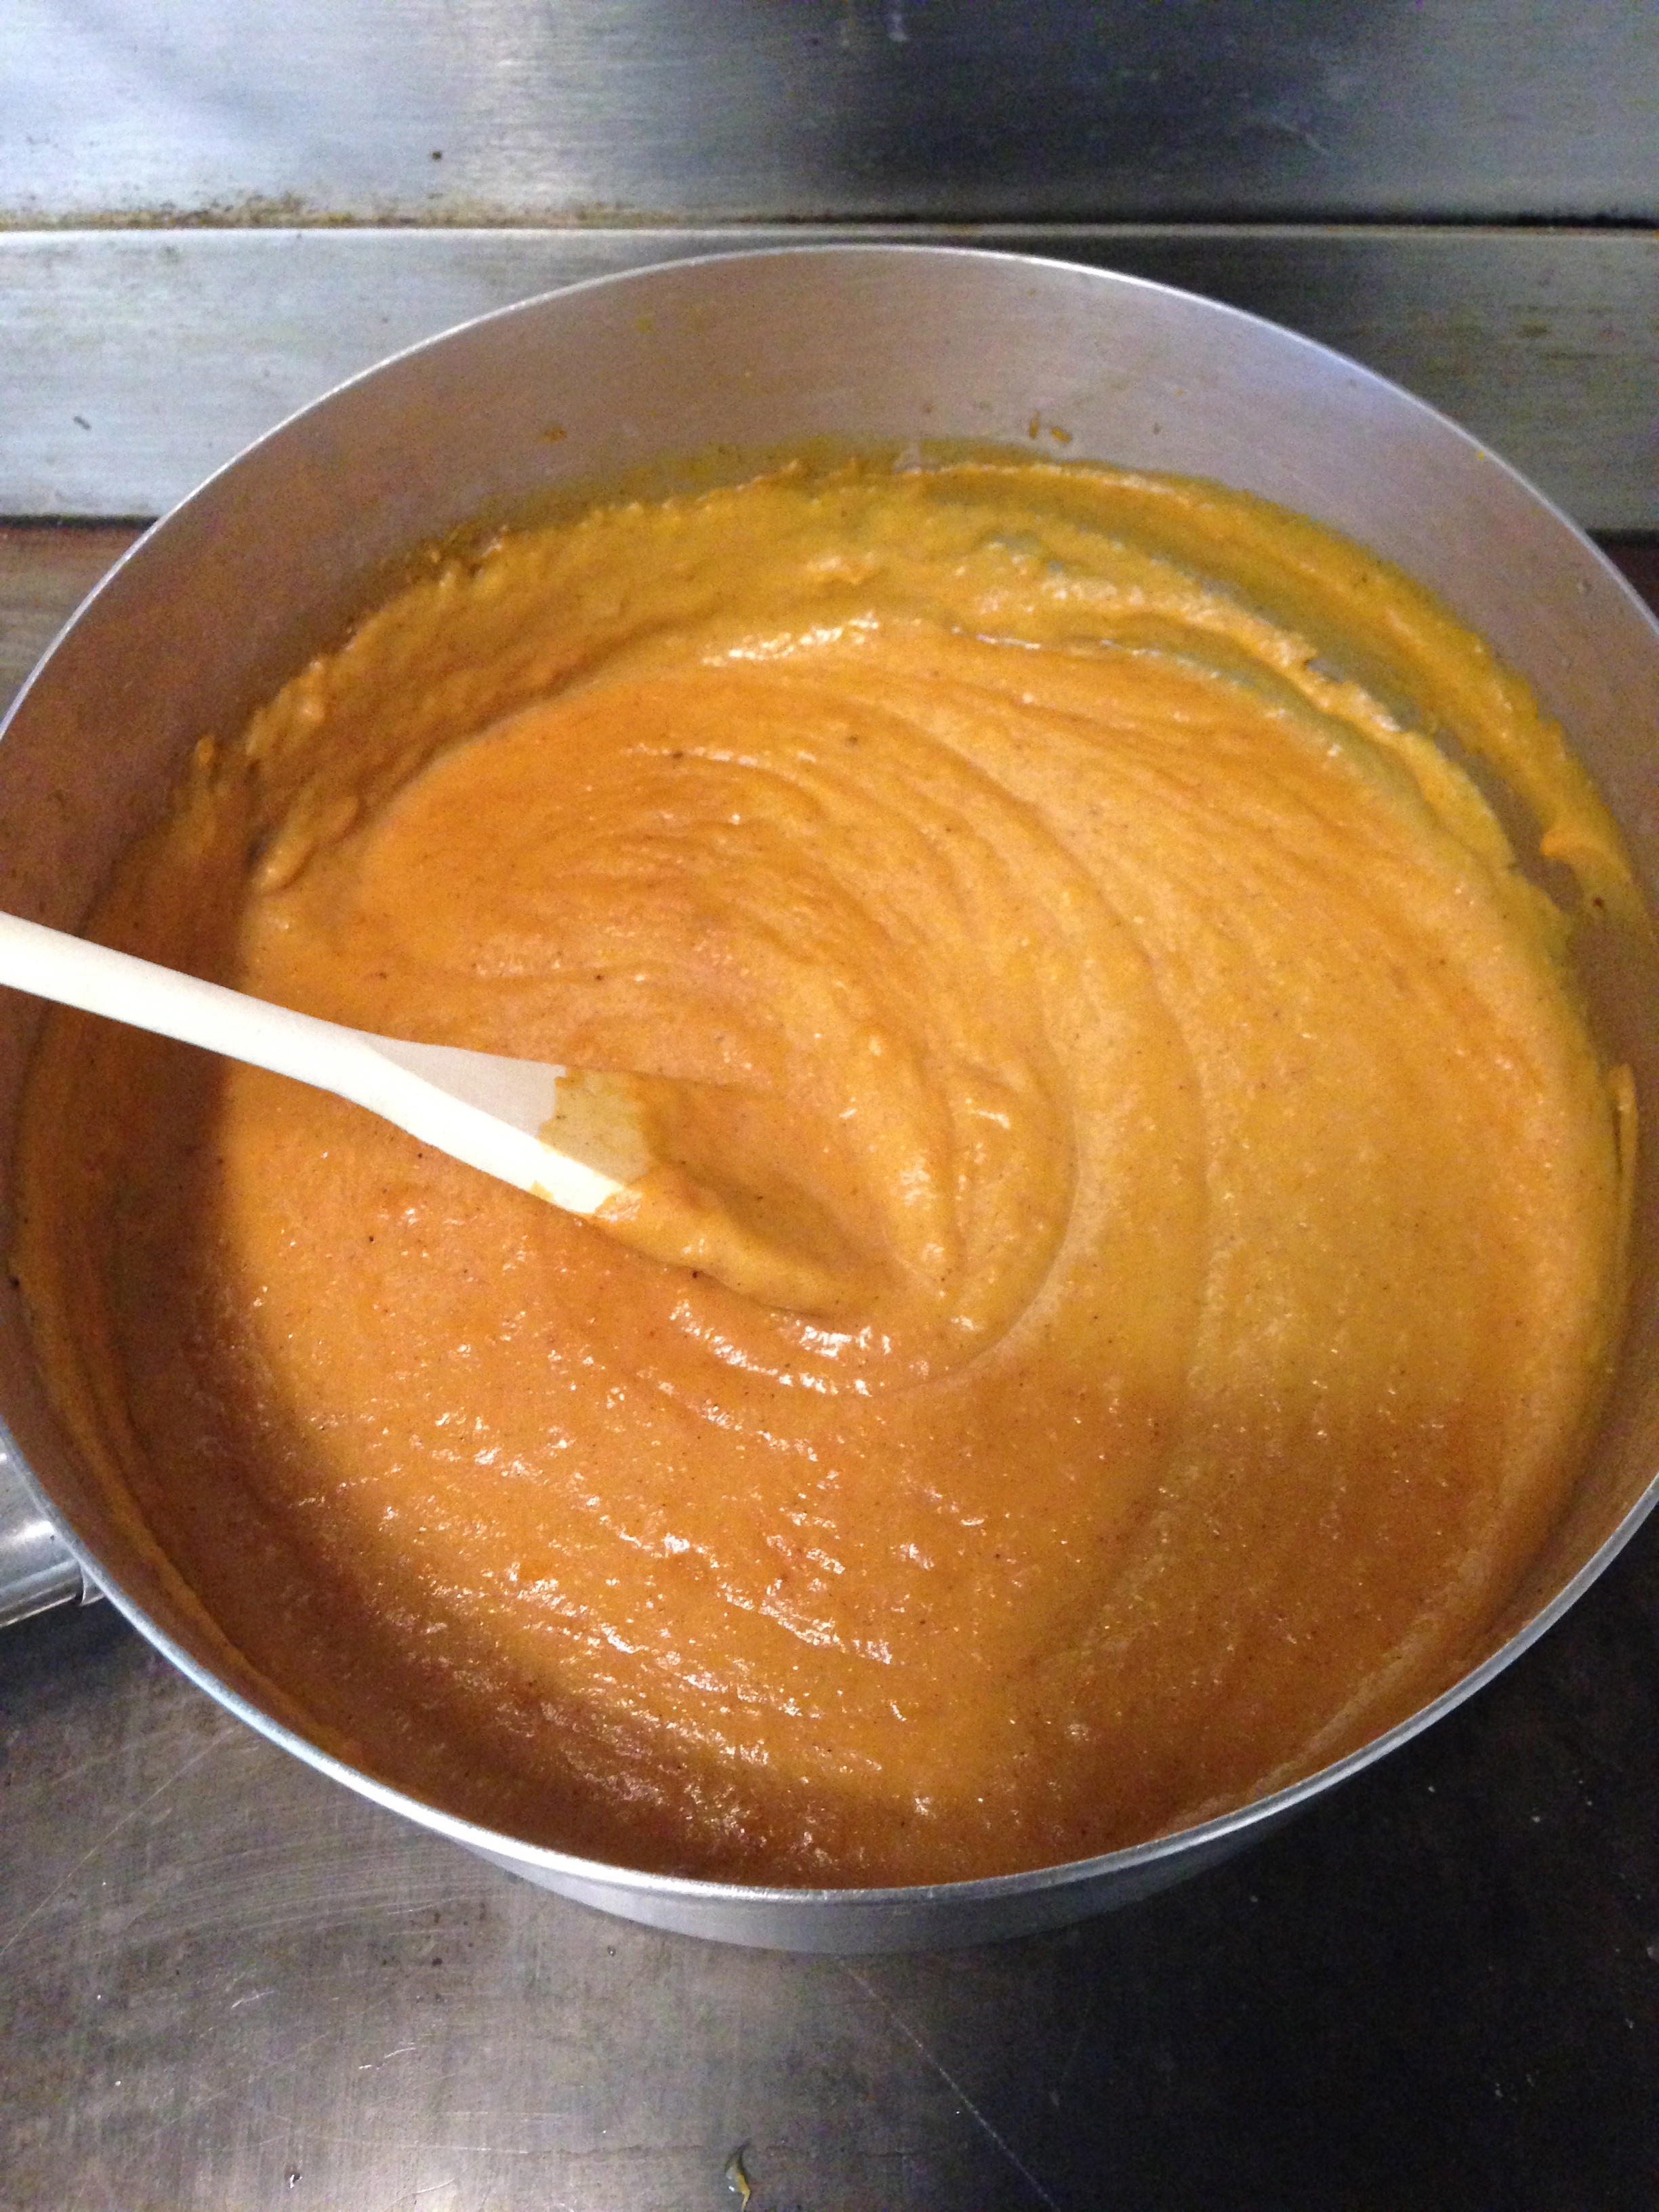
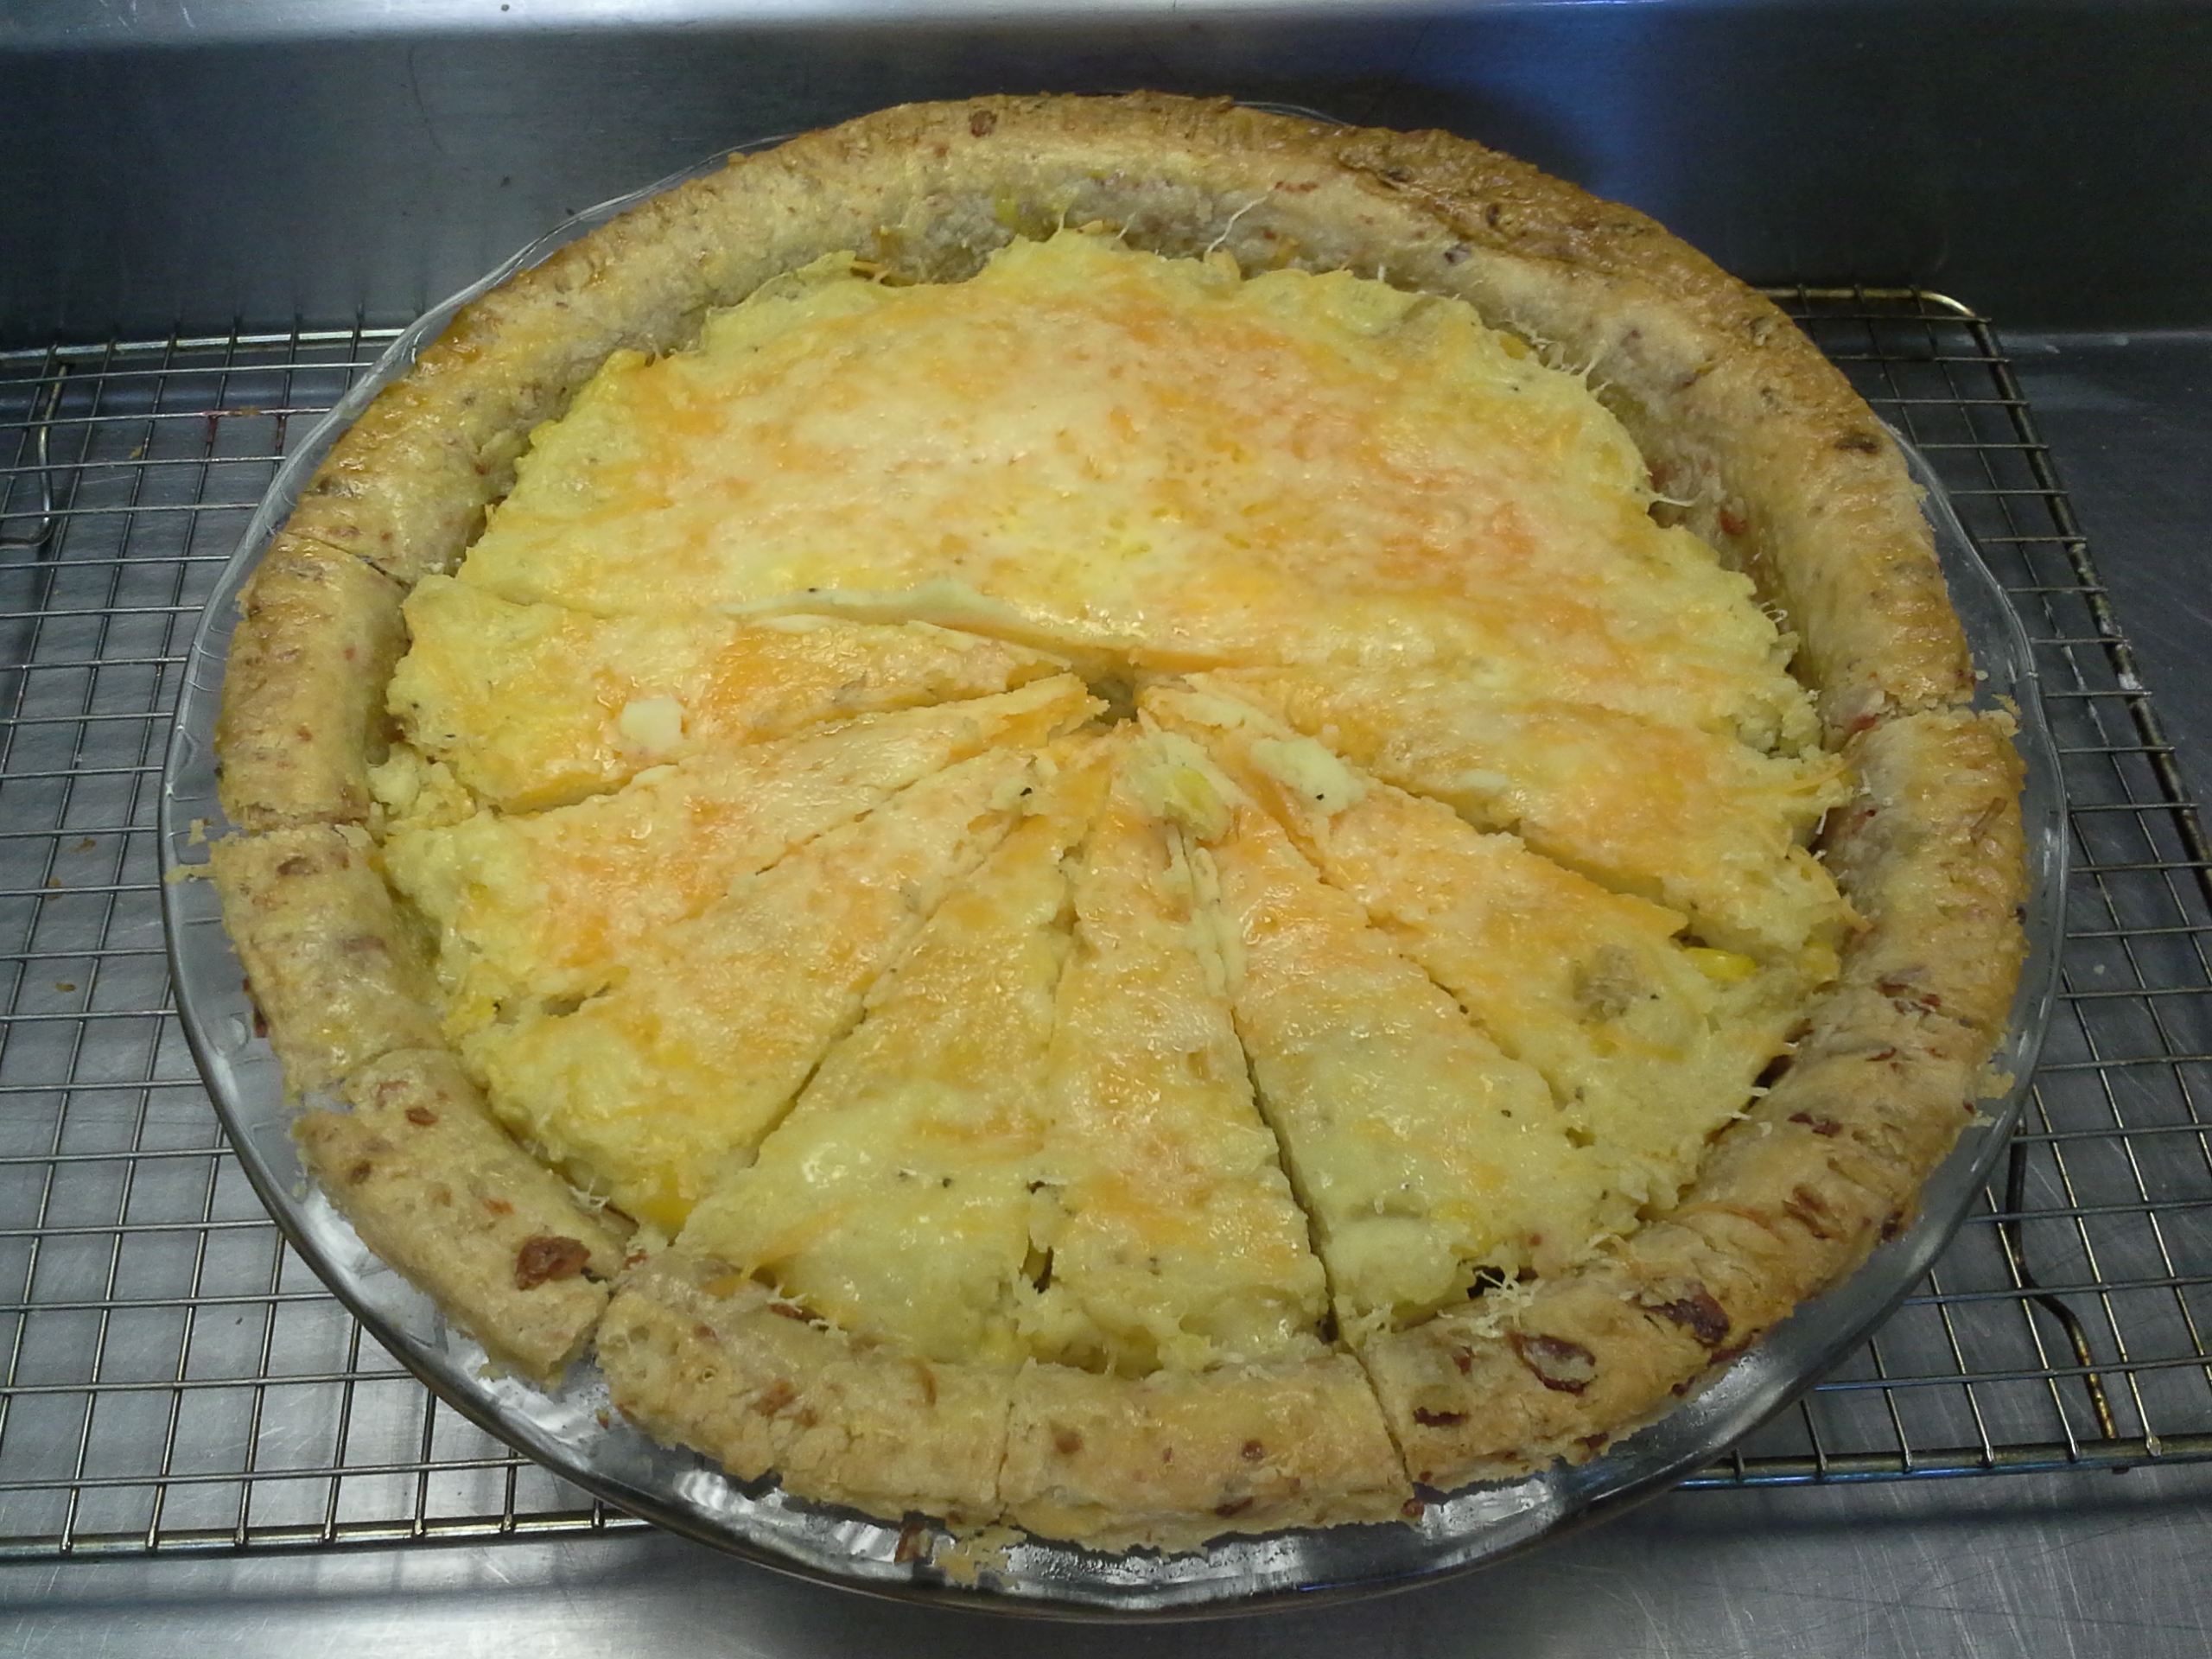
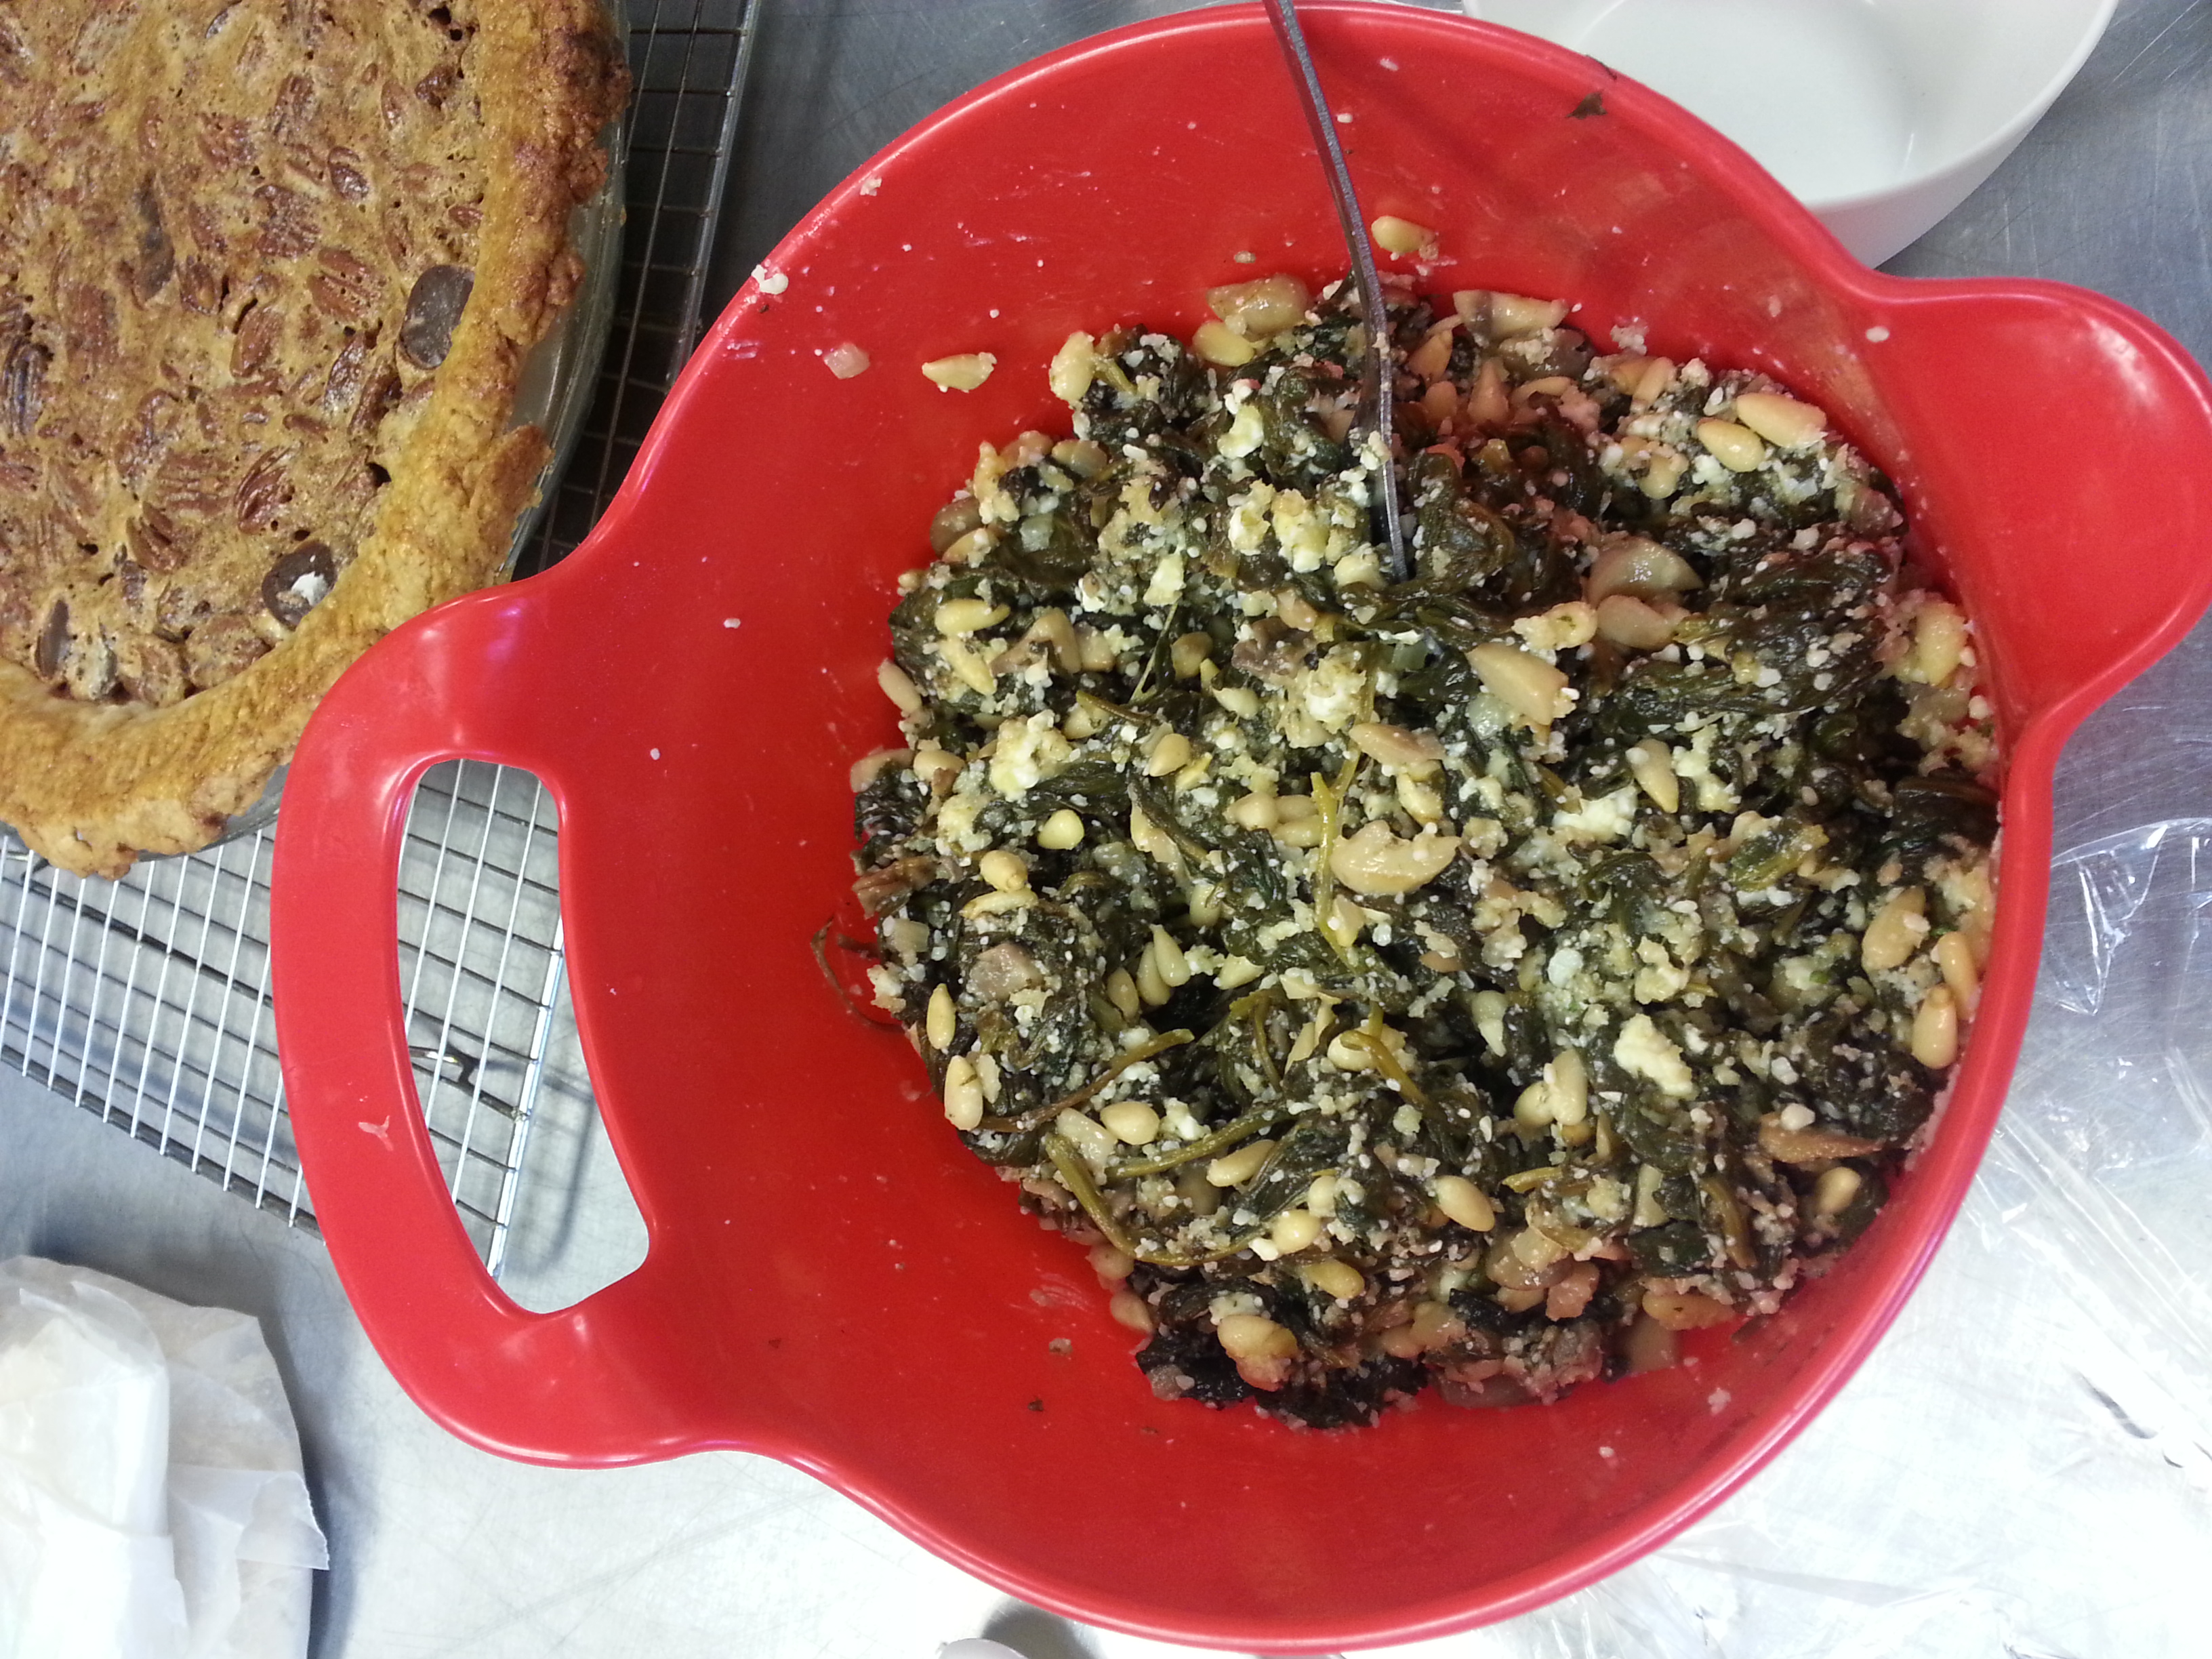
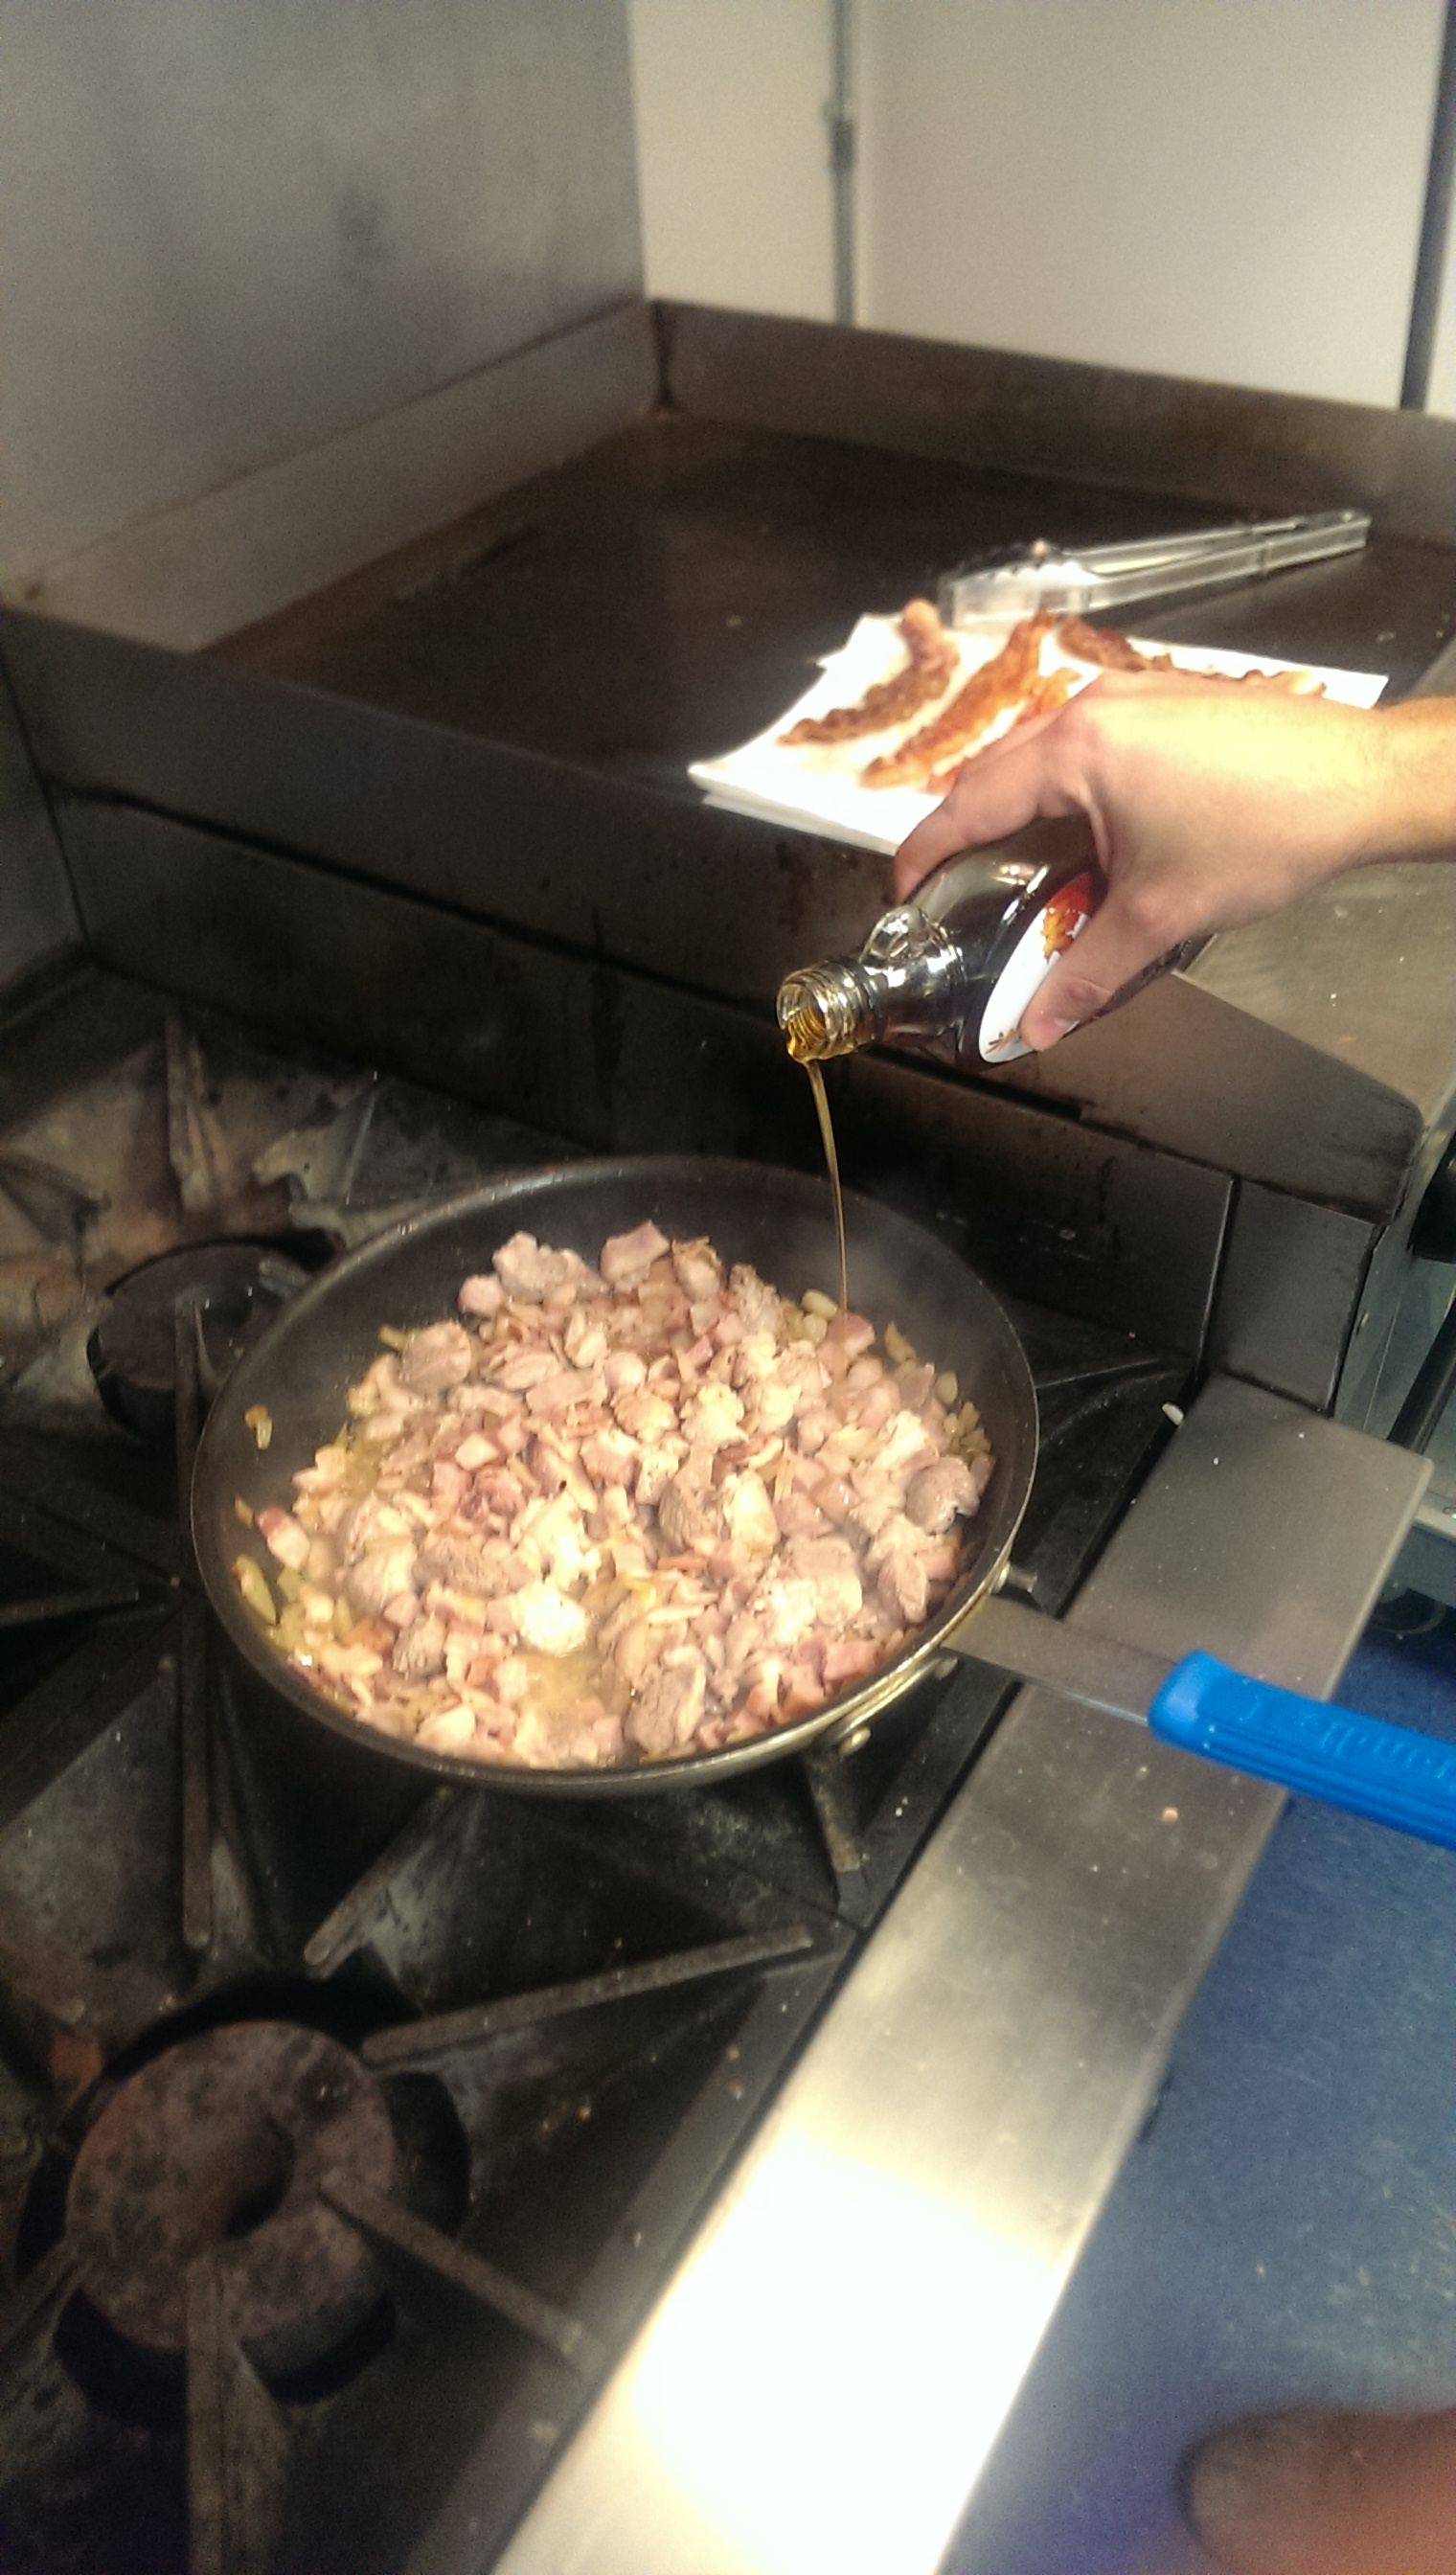
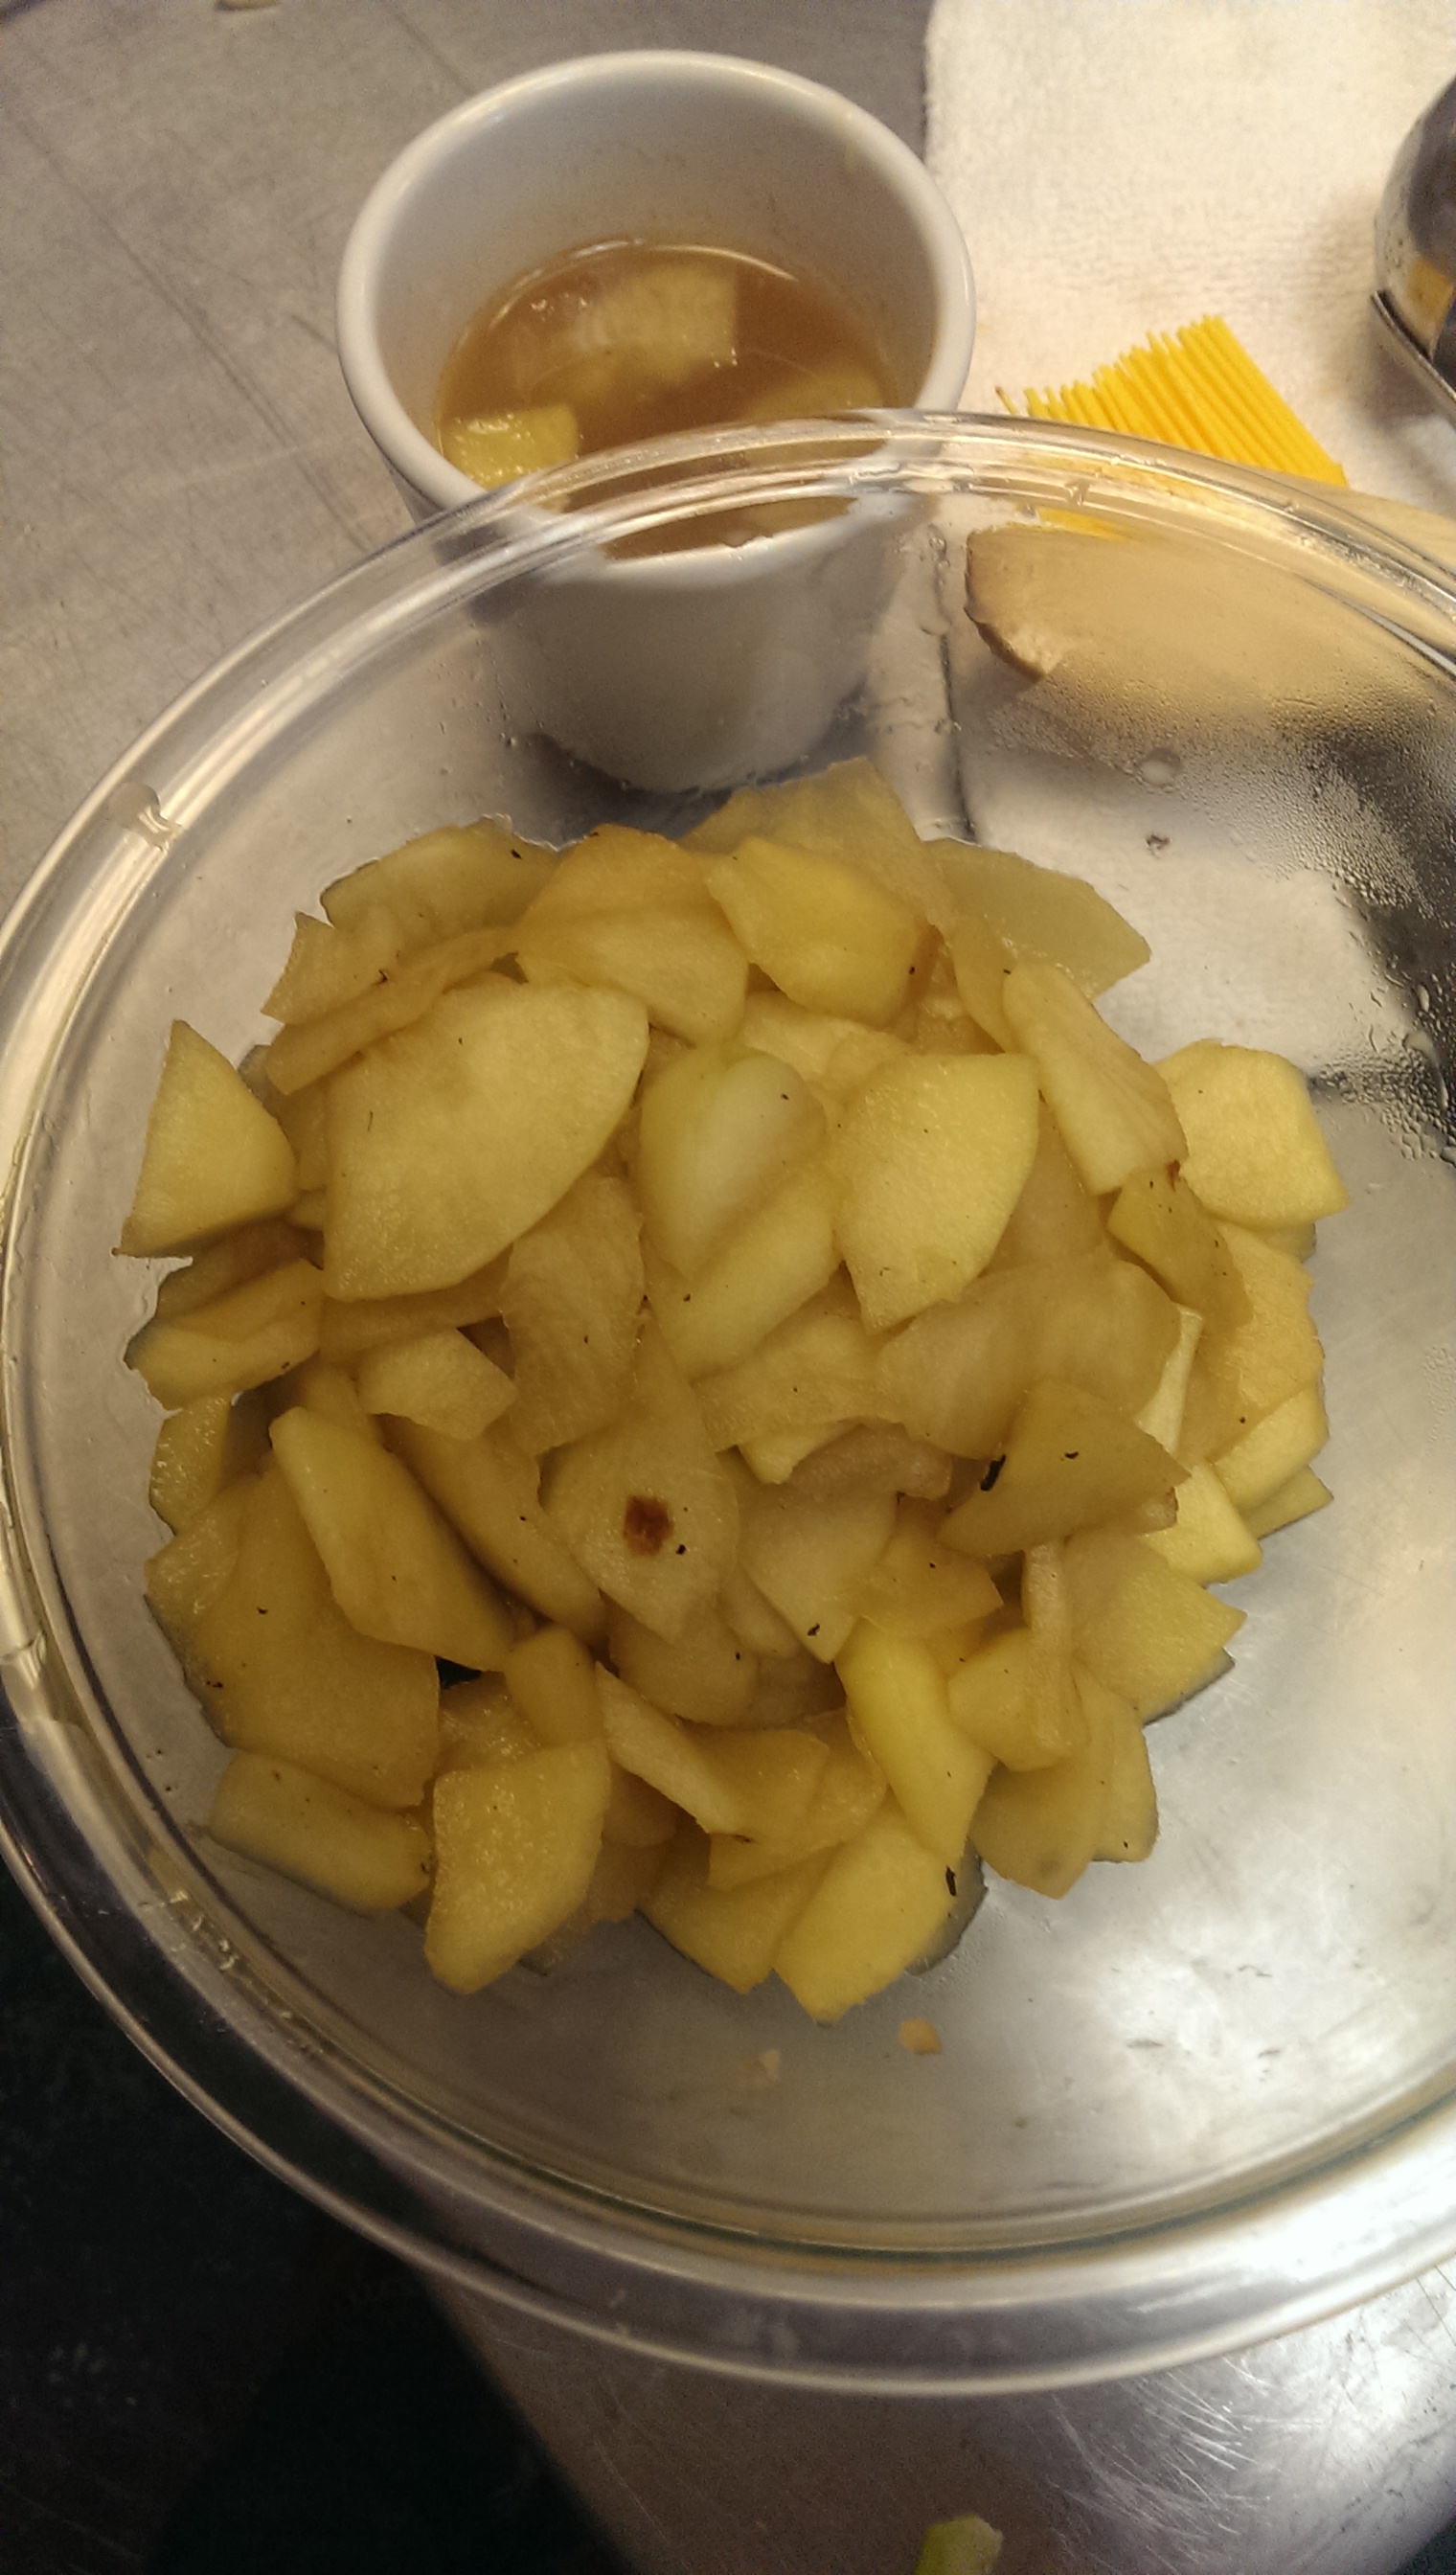
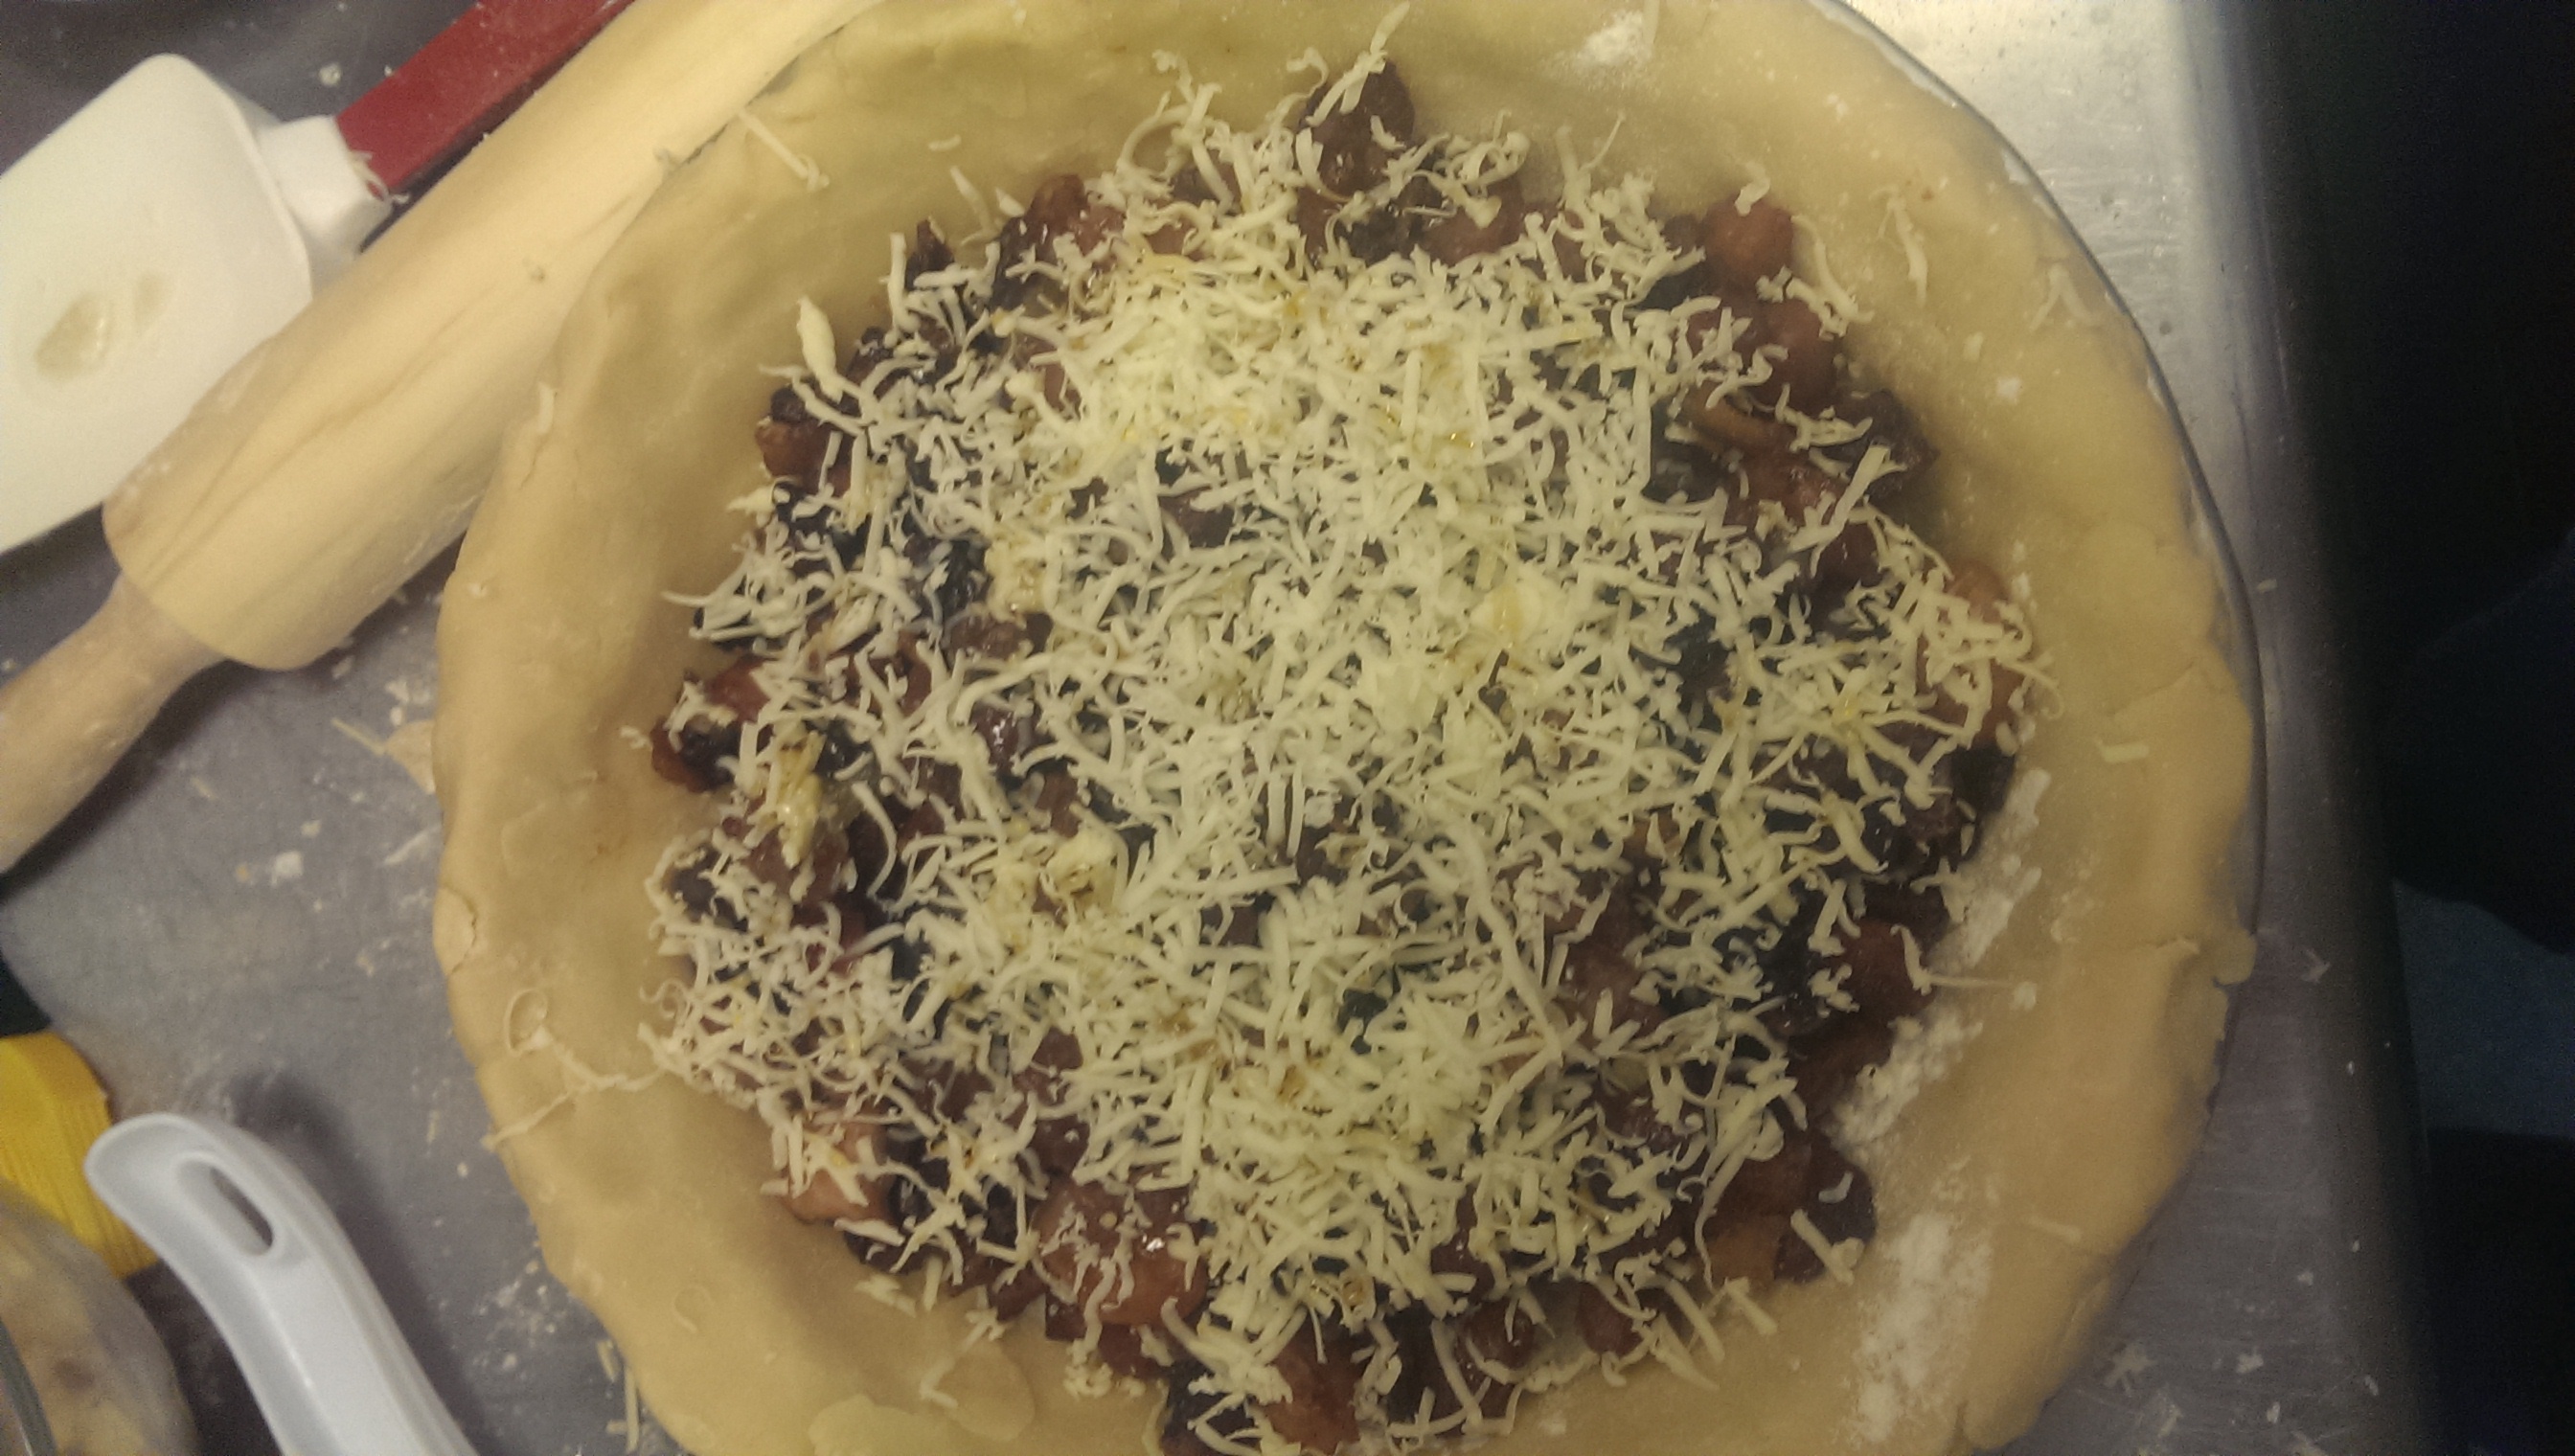
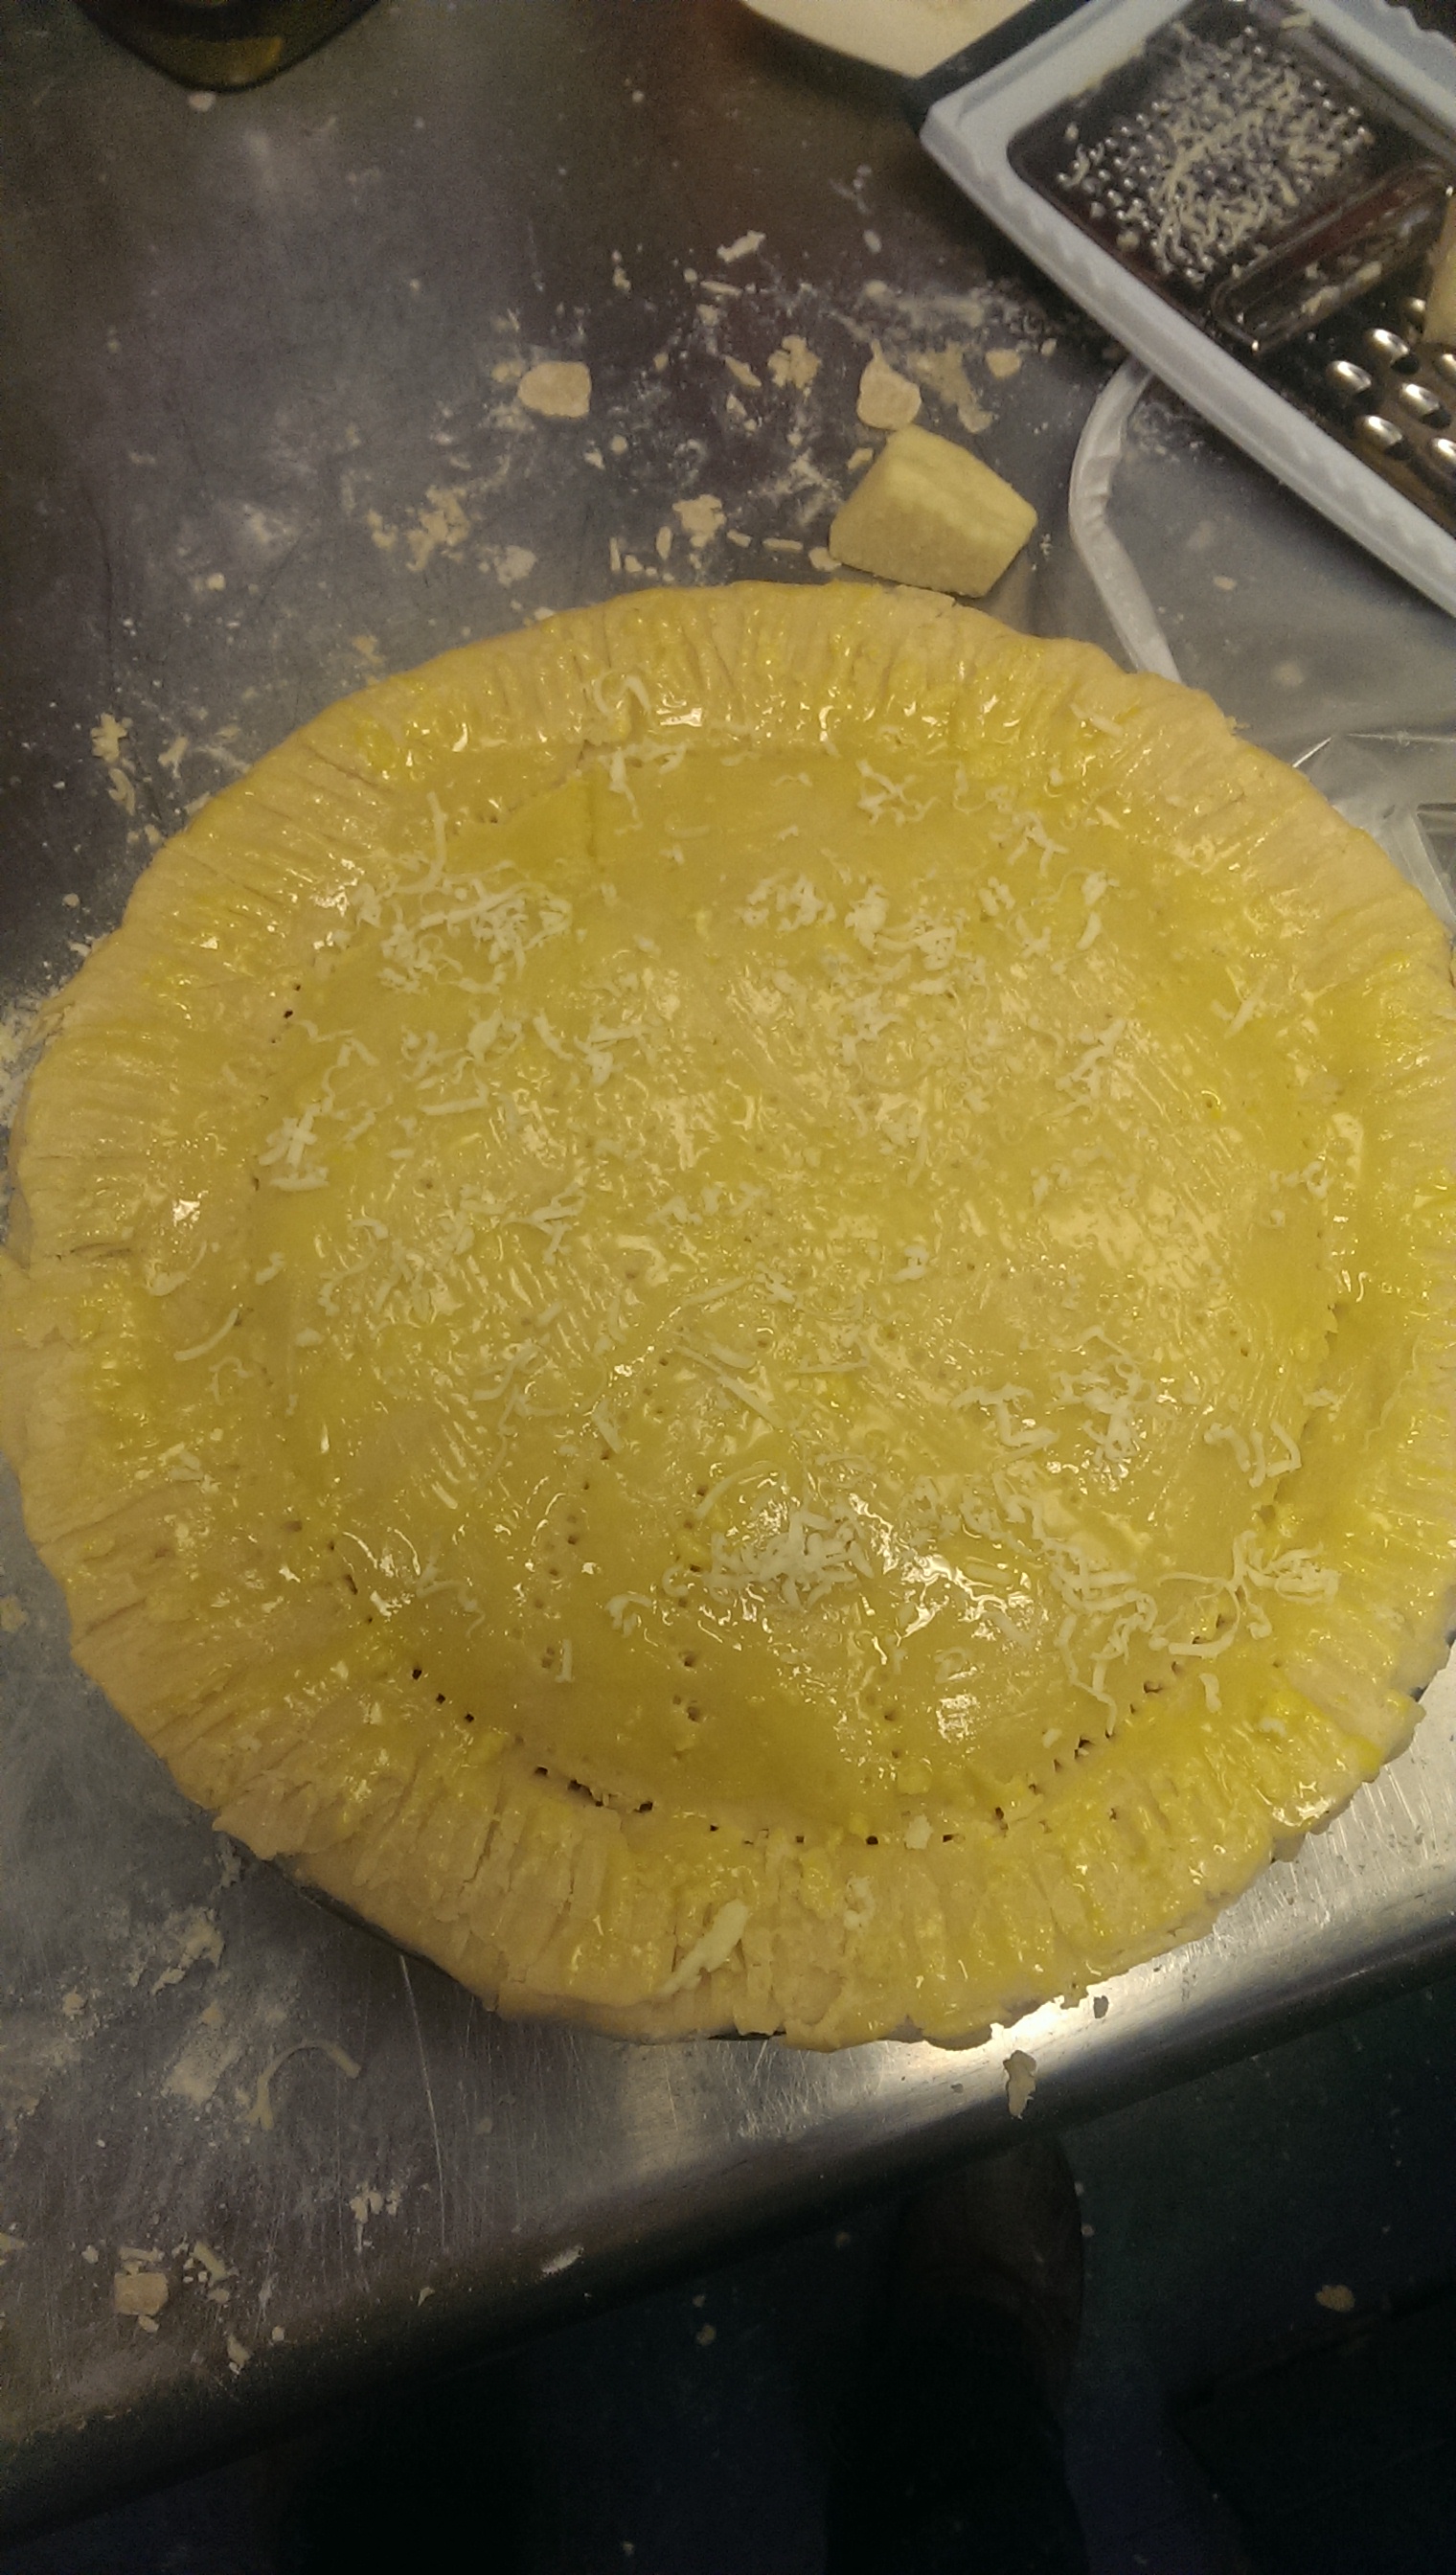
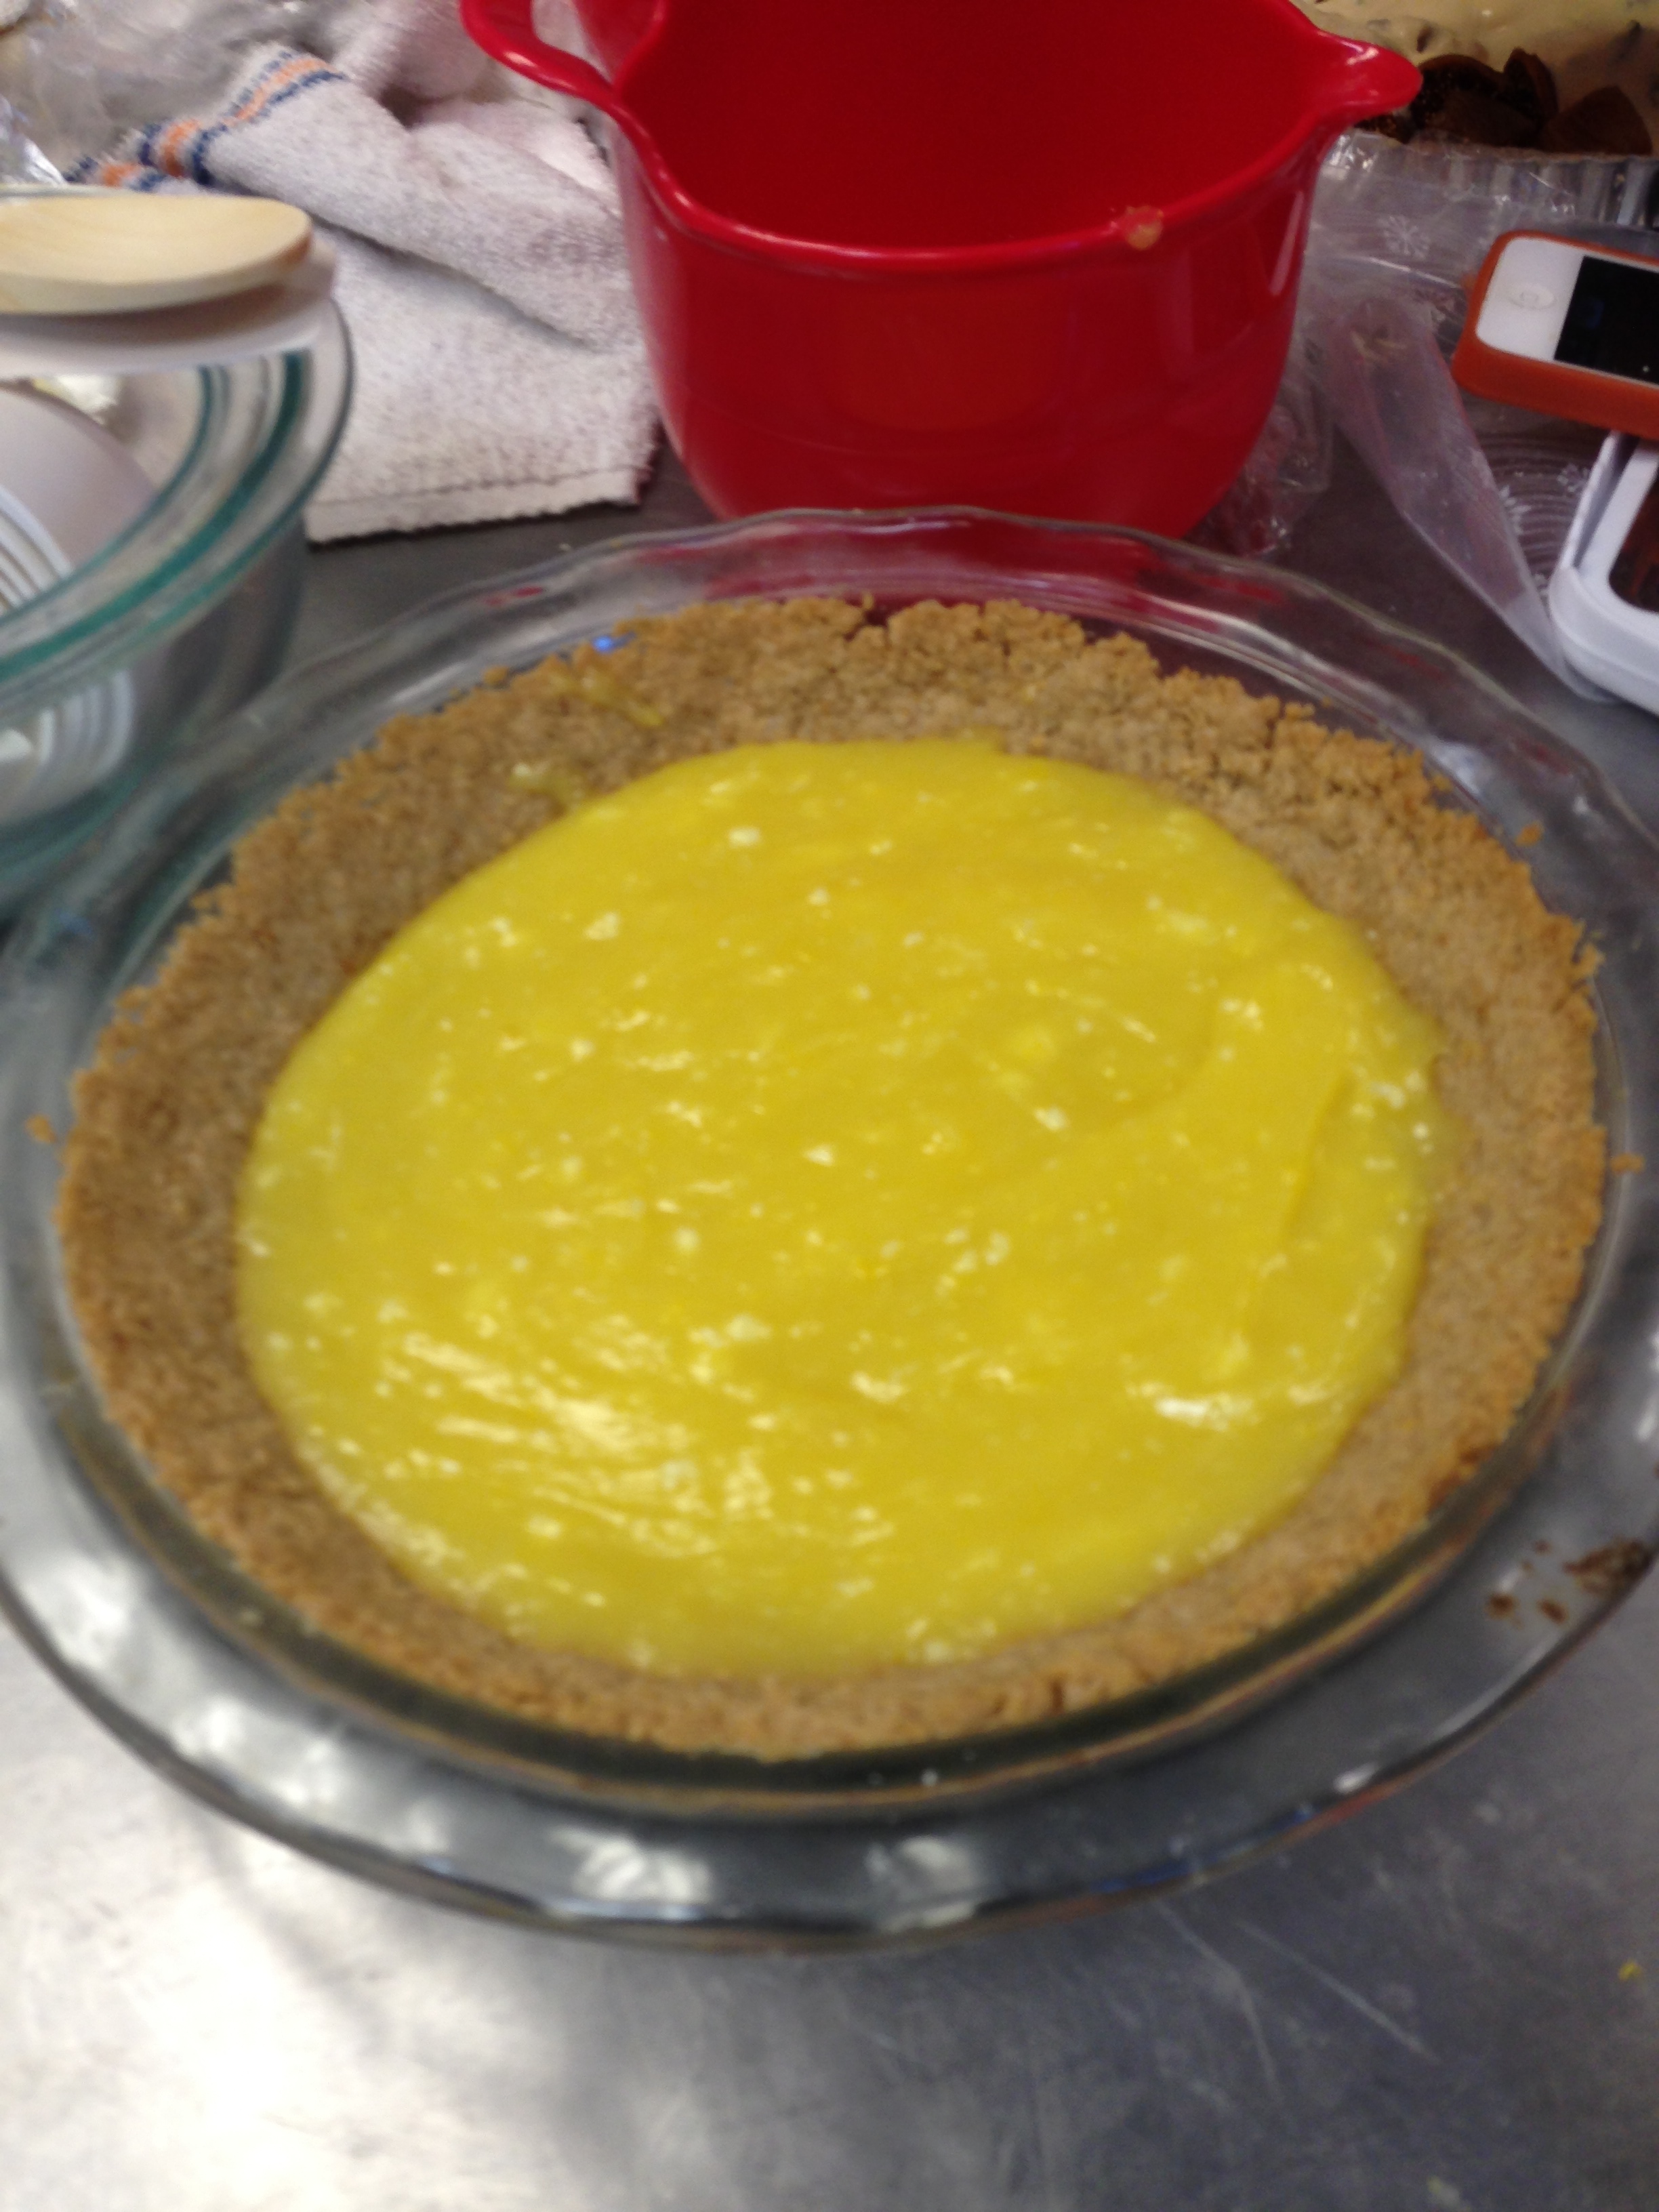
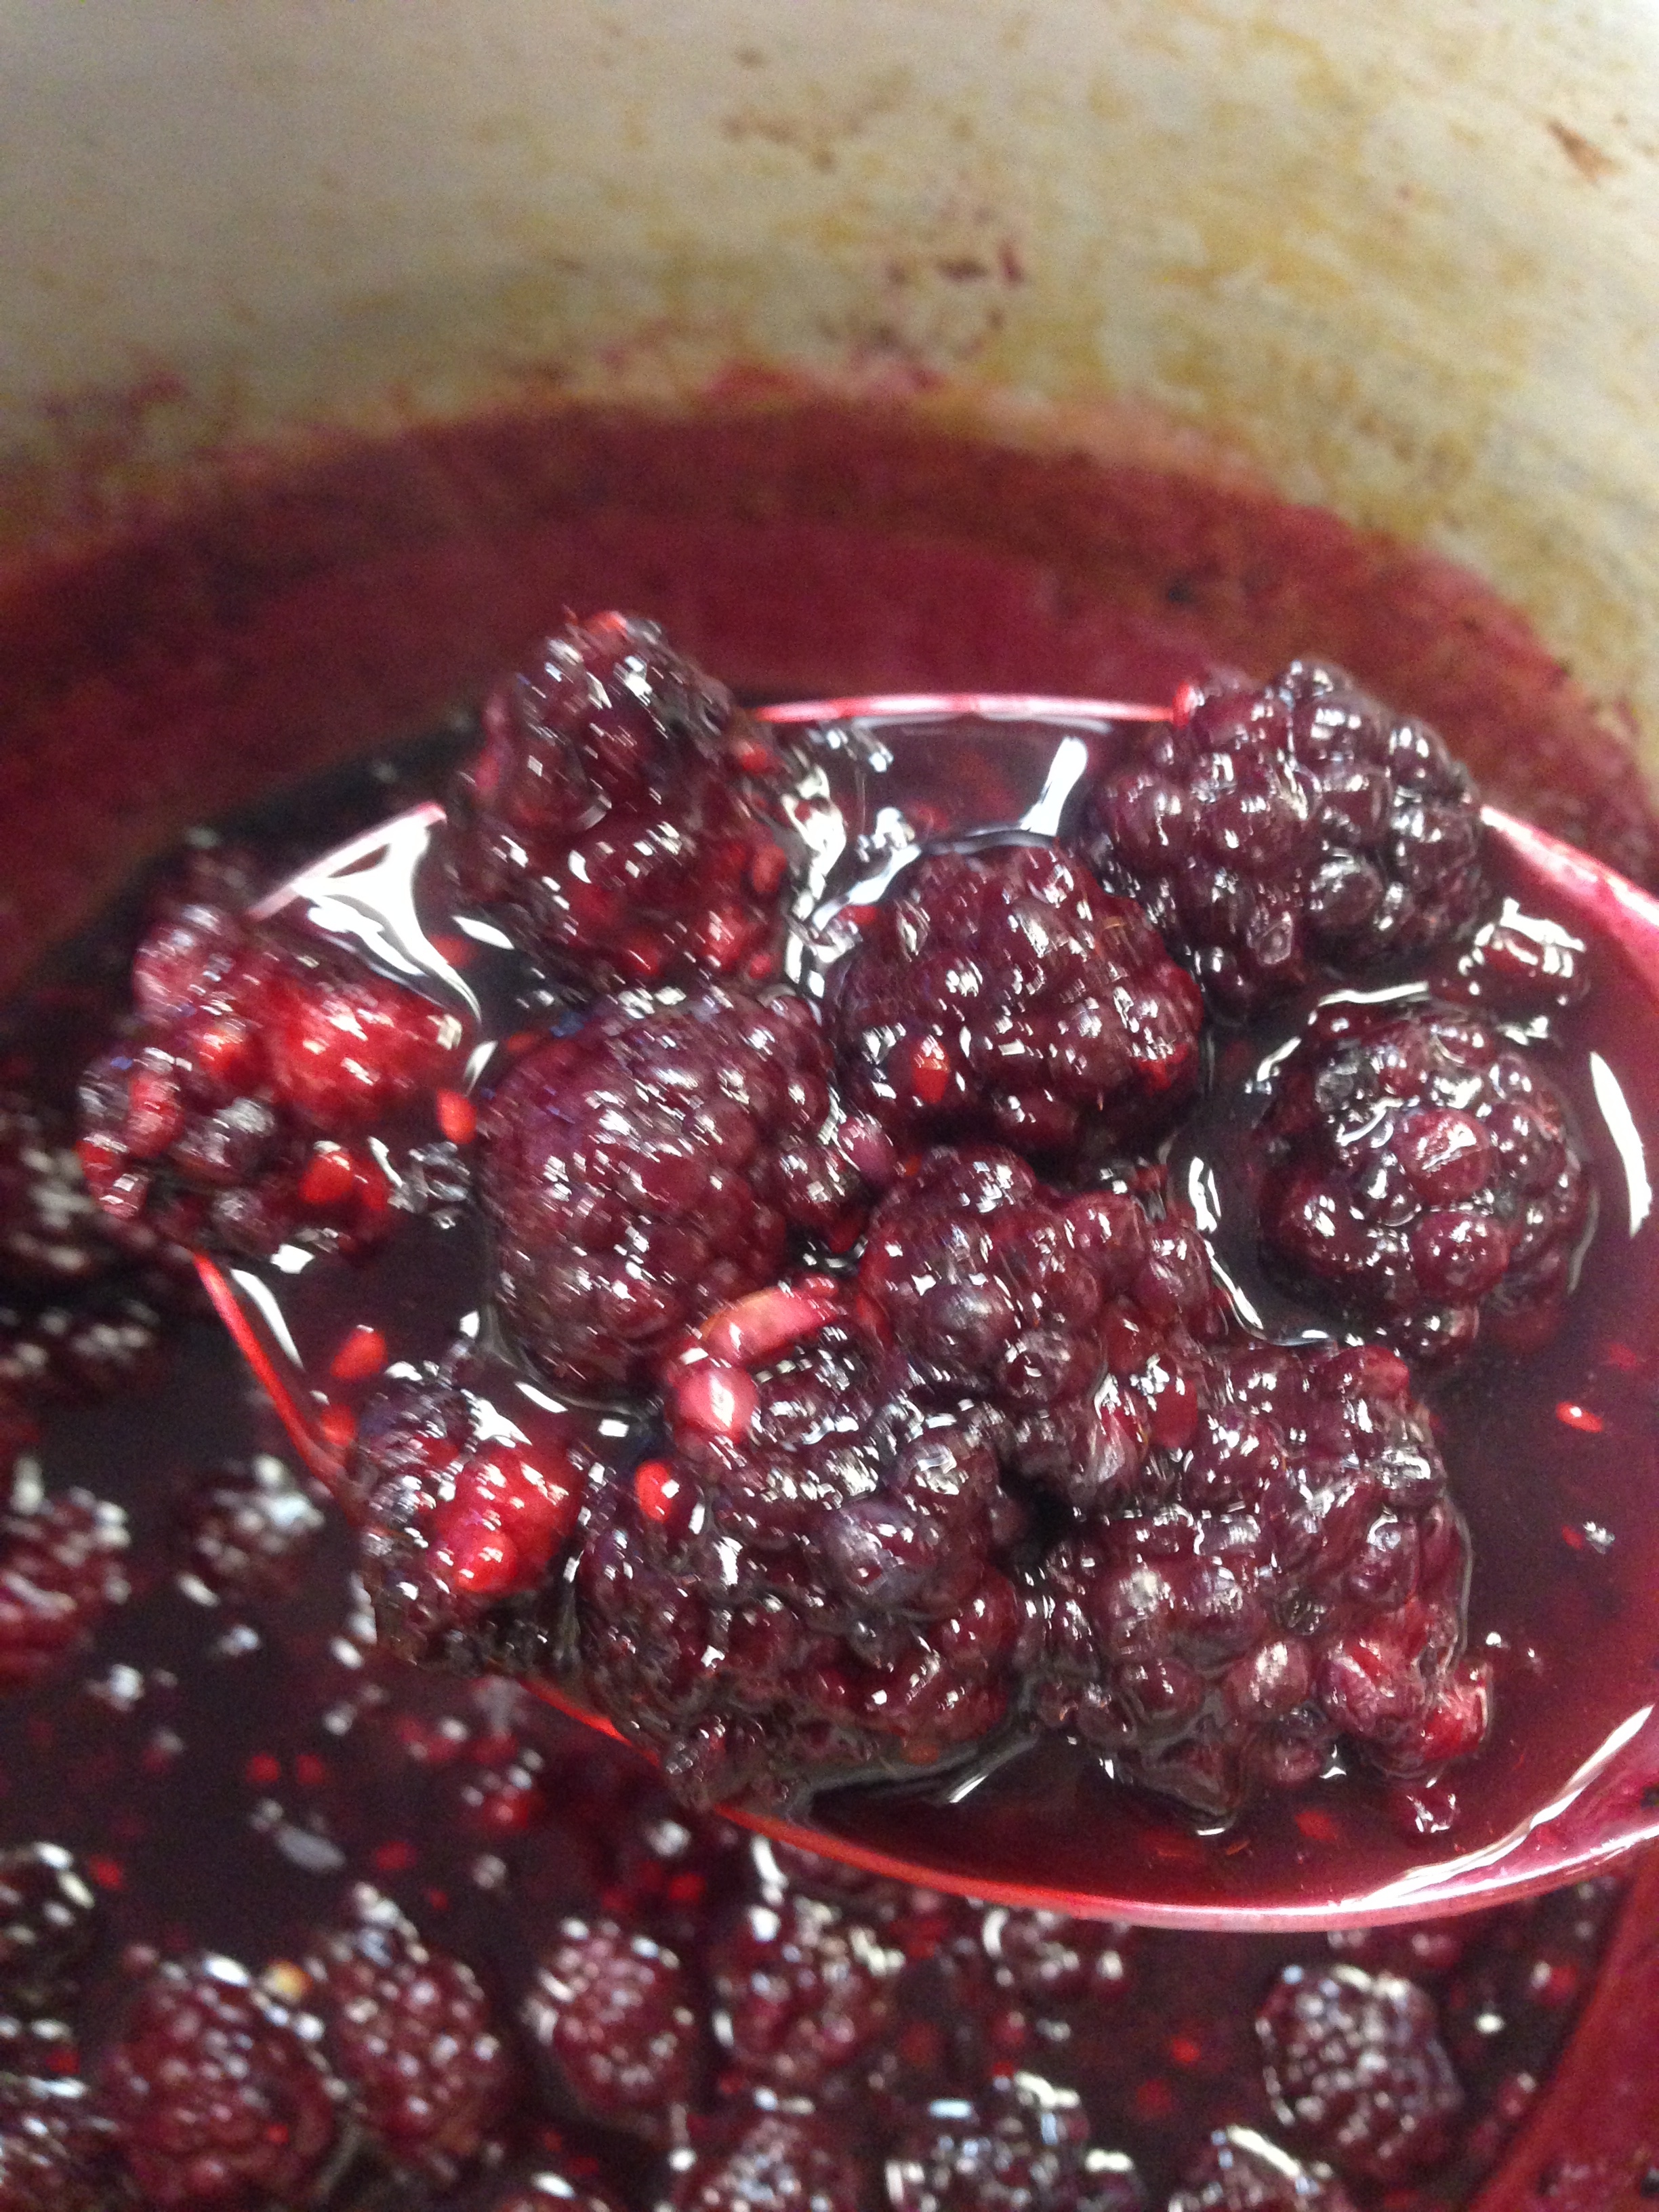
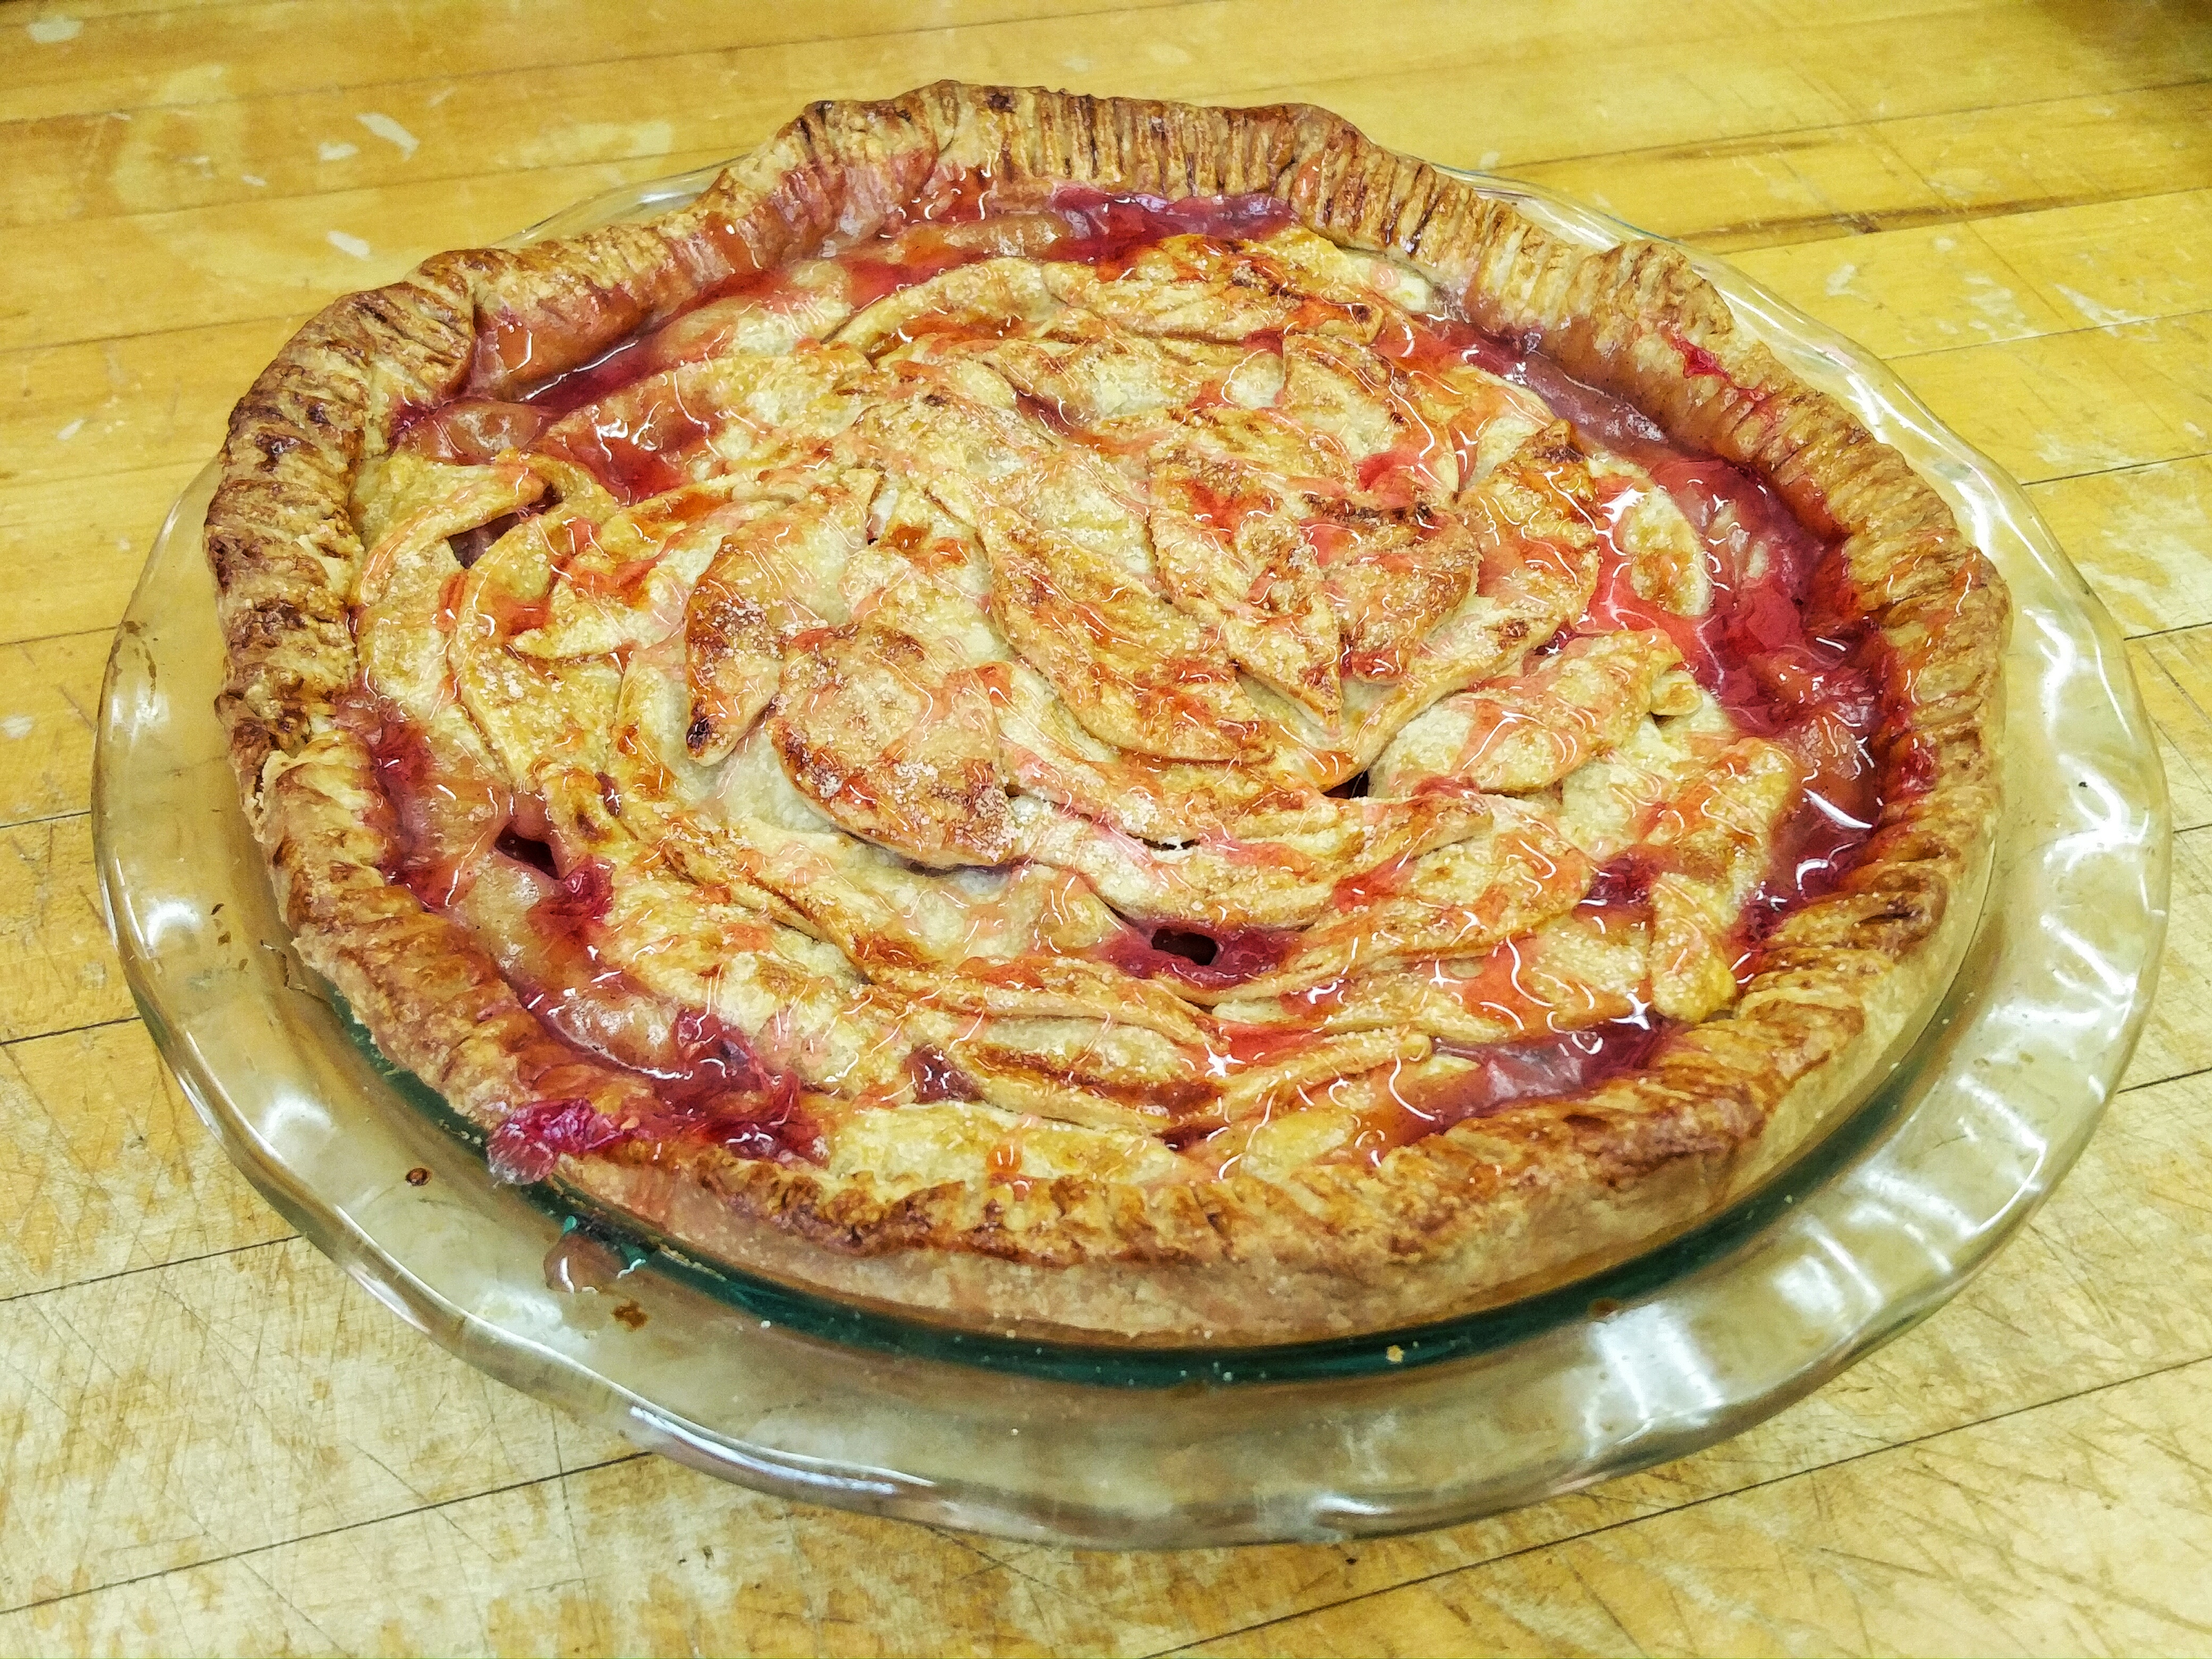
Now, I whisked together some corn starch, cinnamon and salt in a bowl and added the fruits which I had just drained over a colander. I reserved the fruit juice in hopes of making a sauce later. I tossed the fruits and corn starch mixture together. I took out the pie plate from the fridge and put in the pie filling. I forgot to put in dots of butter at this point but I remedied that later. I arranged the leaves in sort of a circular pattern until the whole pie was covered. The overlapping of the leaves created natural vents so there was no need to score the crust on top. I mixed together an egg yolk and some milk and brushed this wash on top of the pie.

IMG_20160106_145029 IMG_20160106_145909

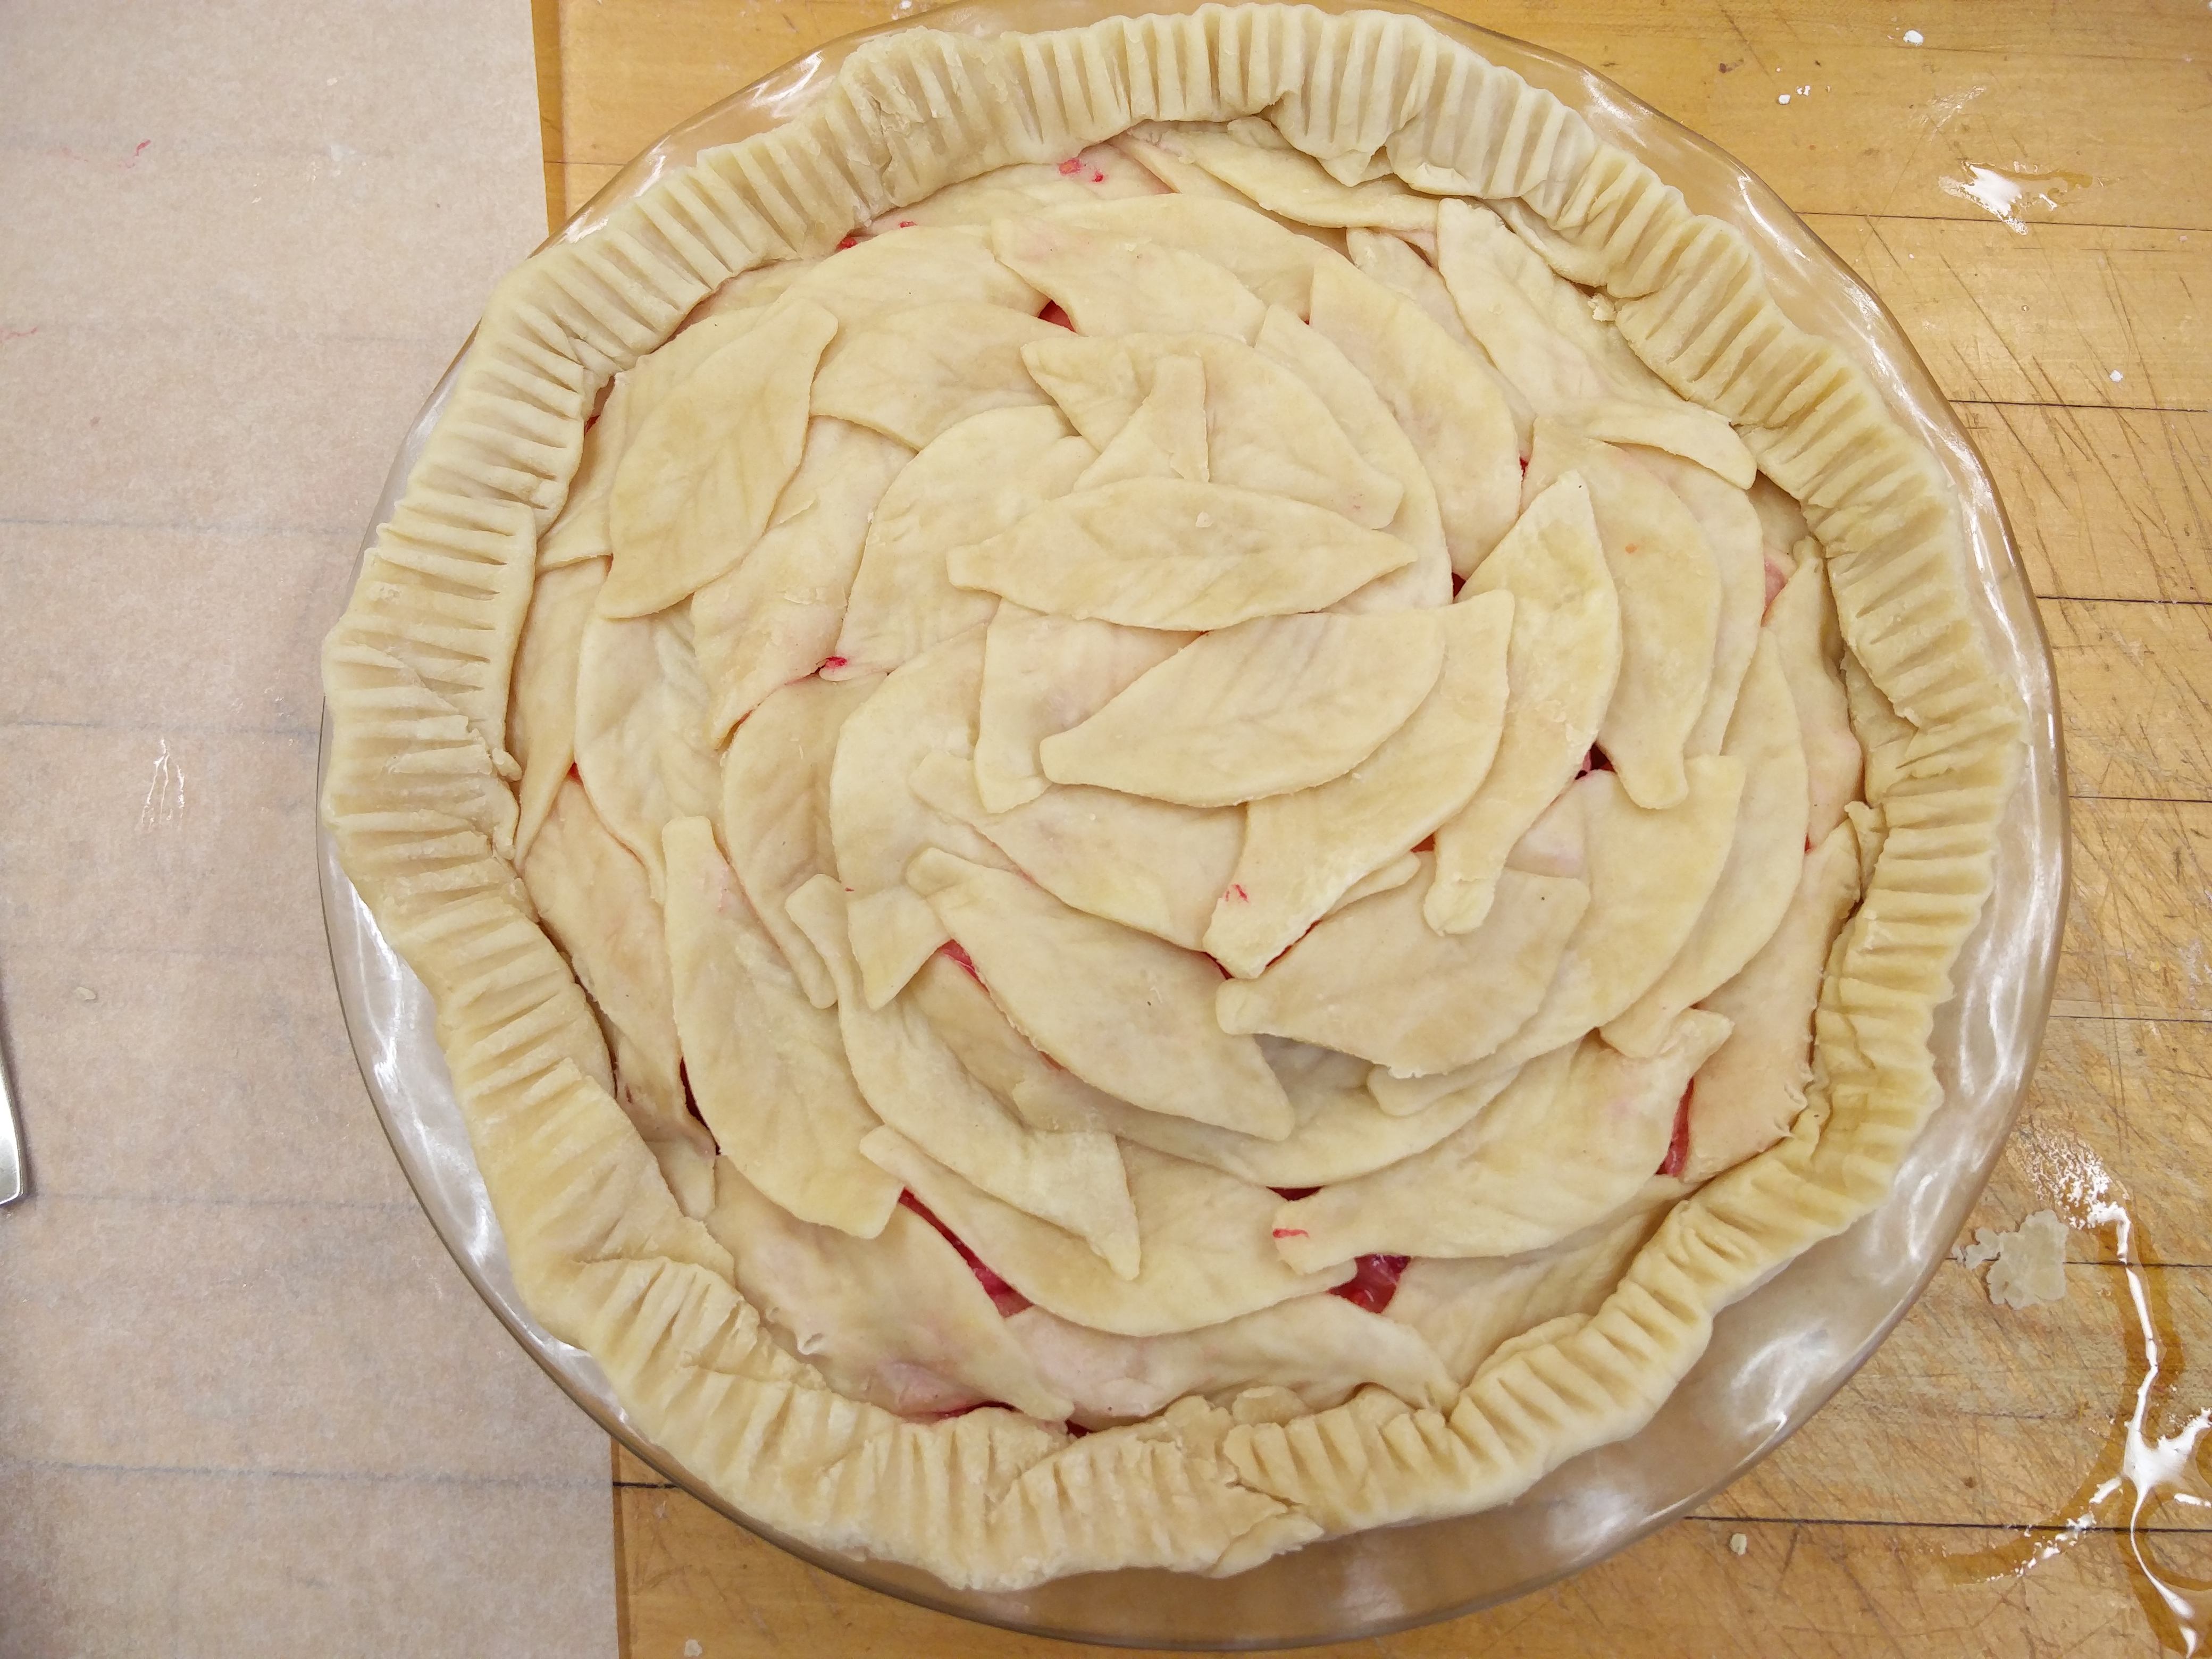
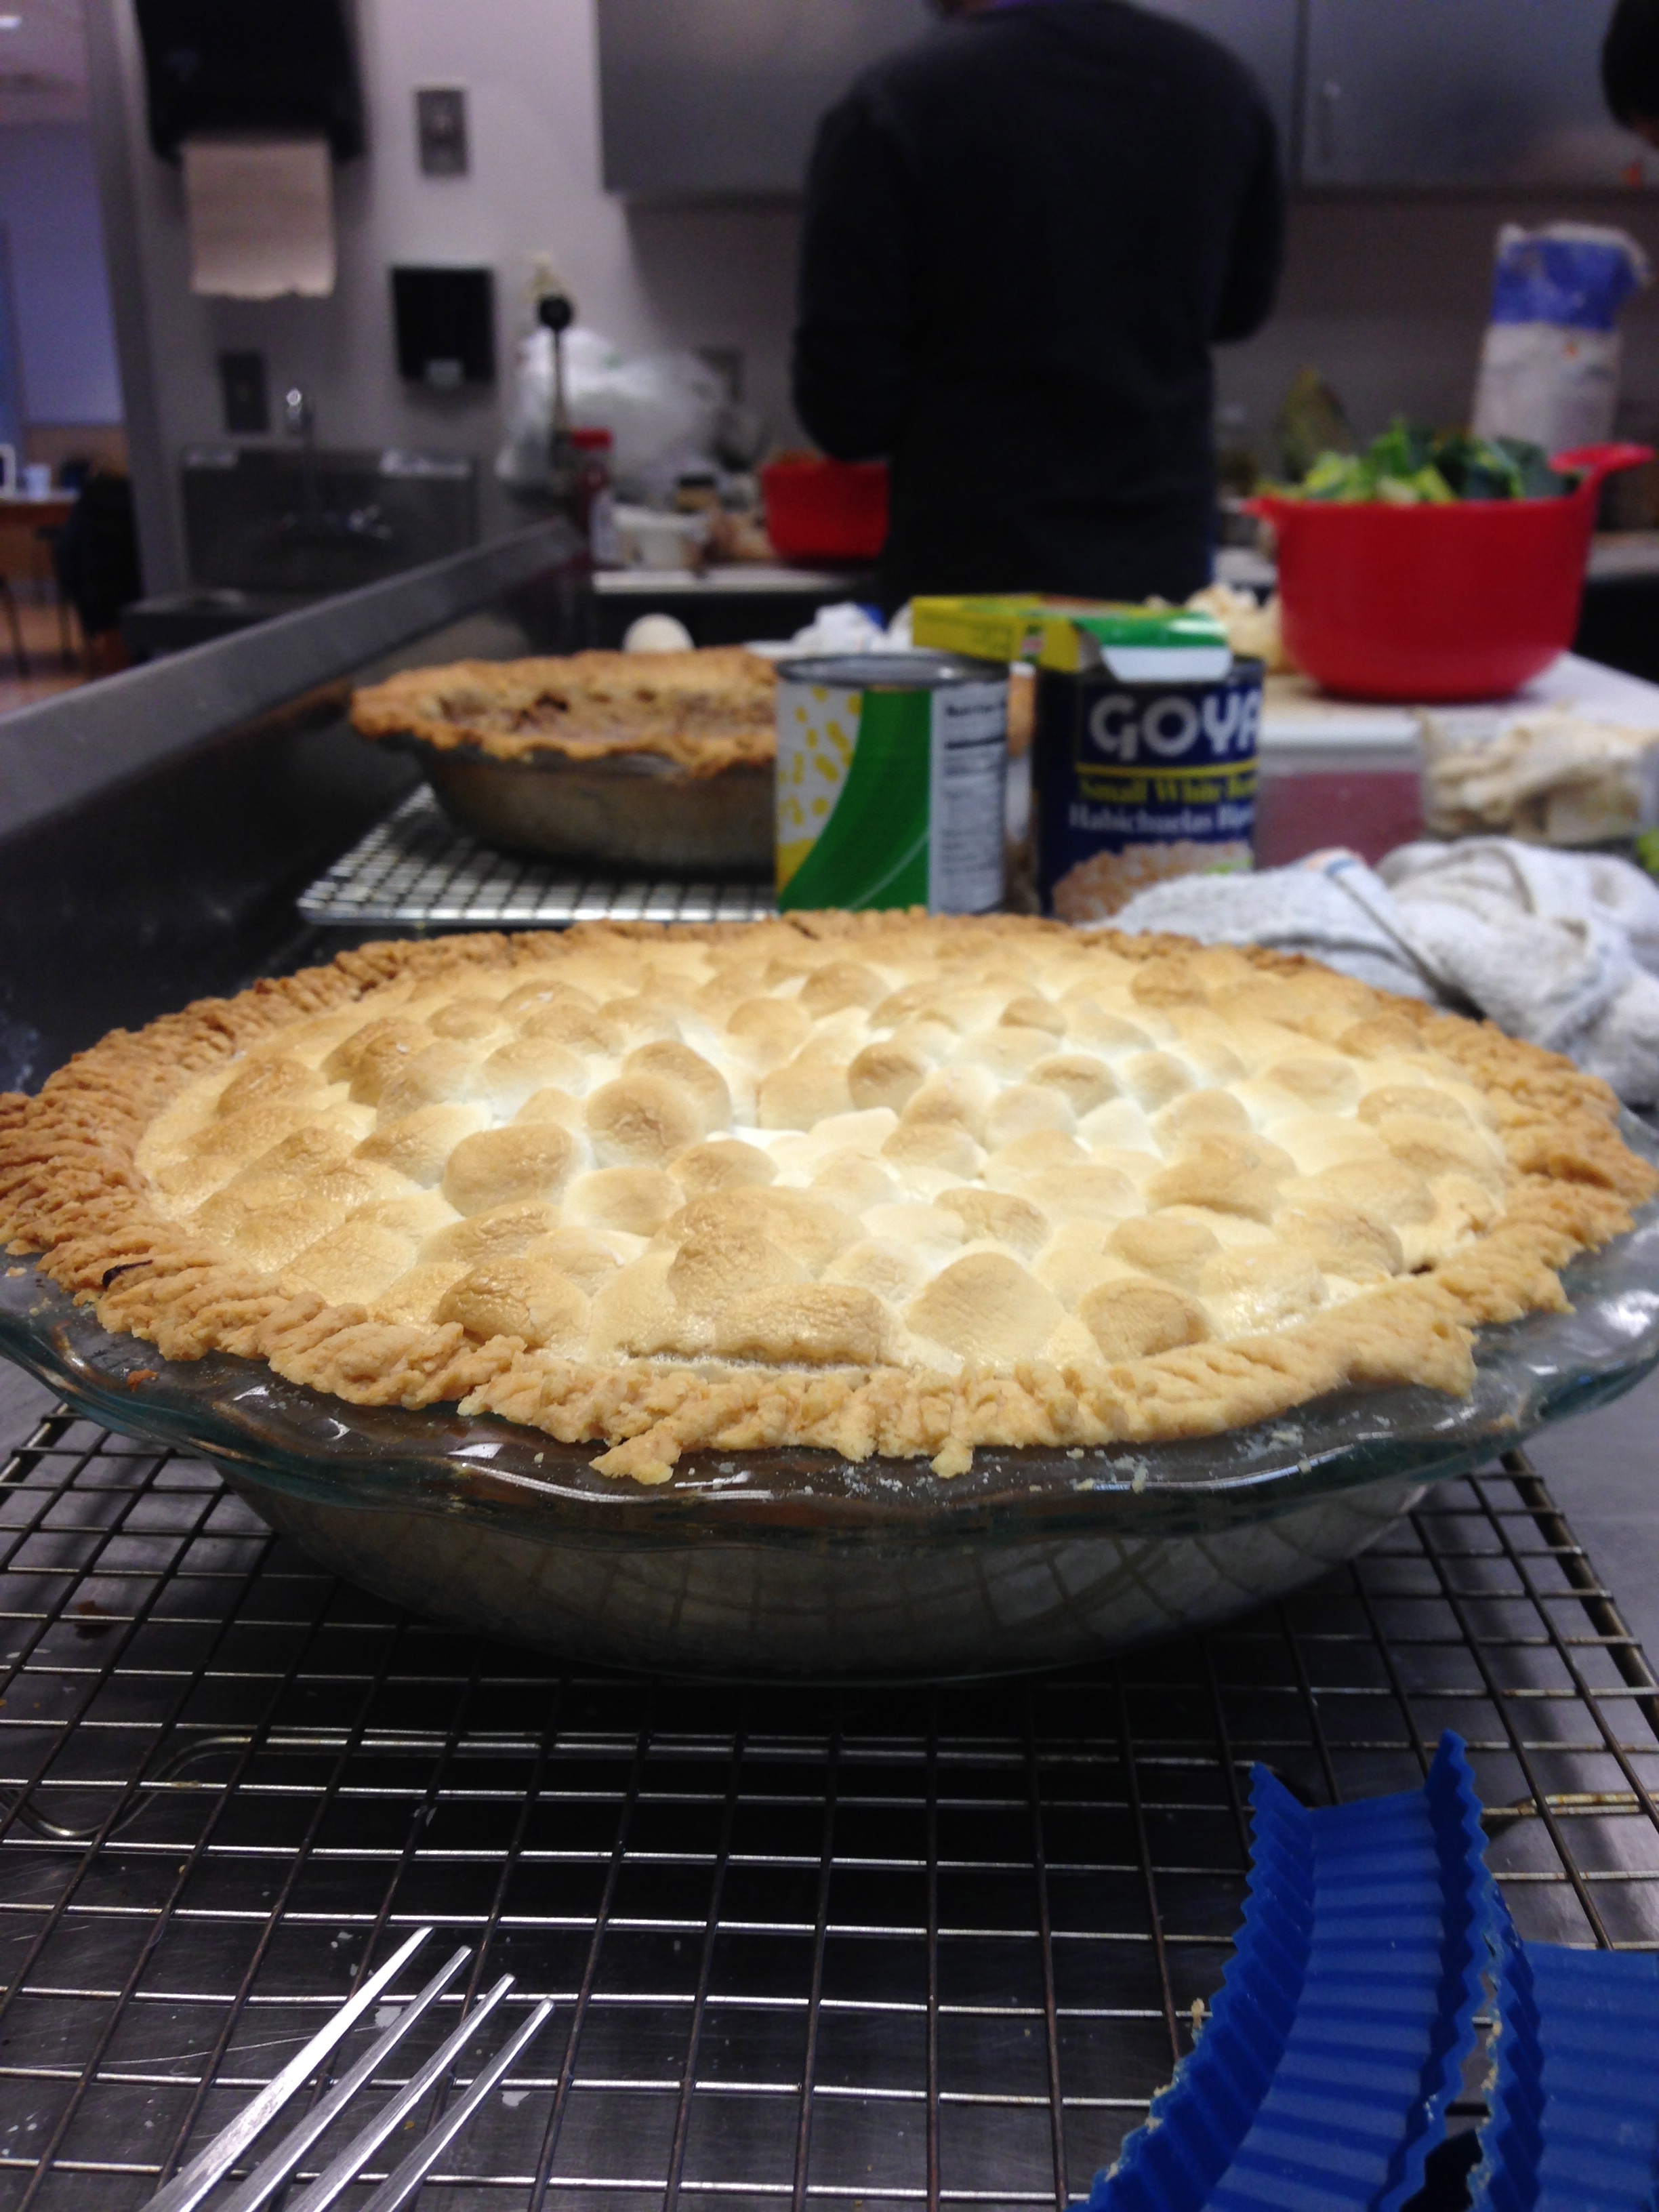
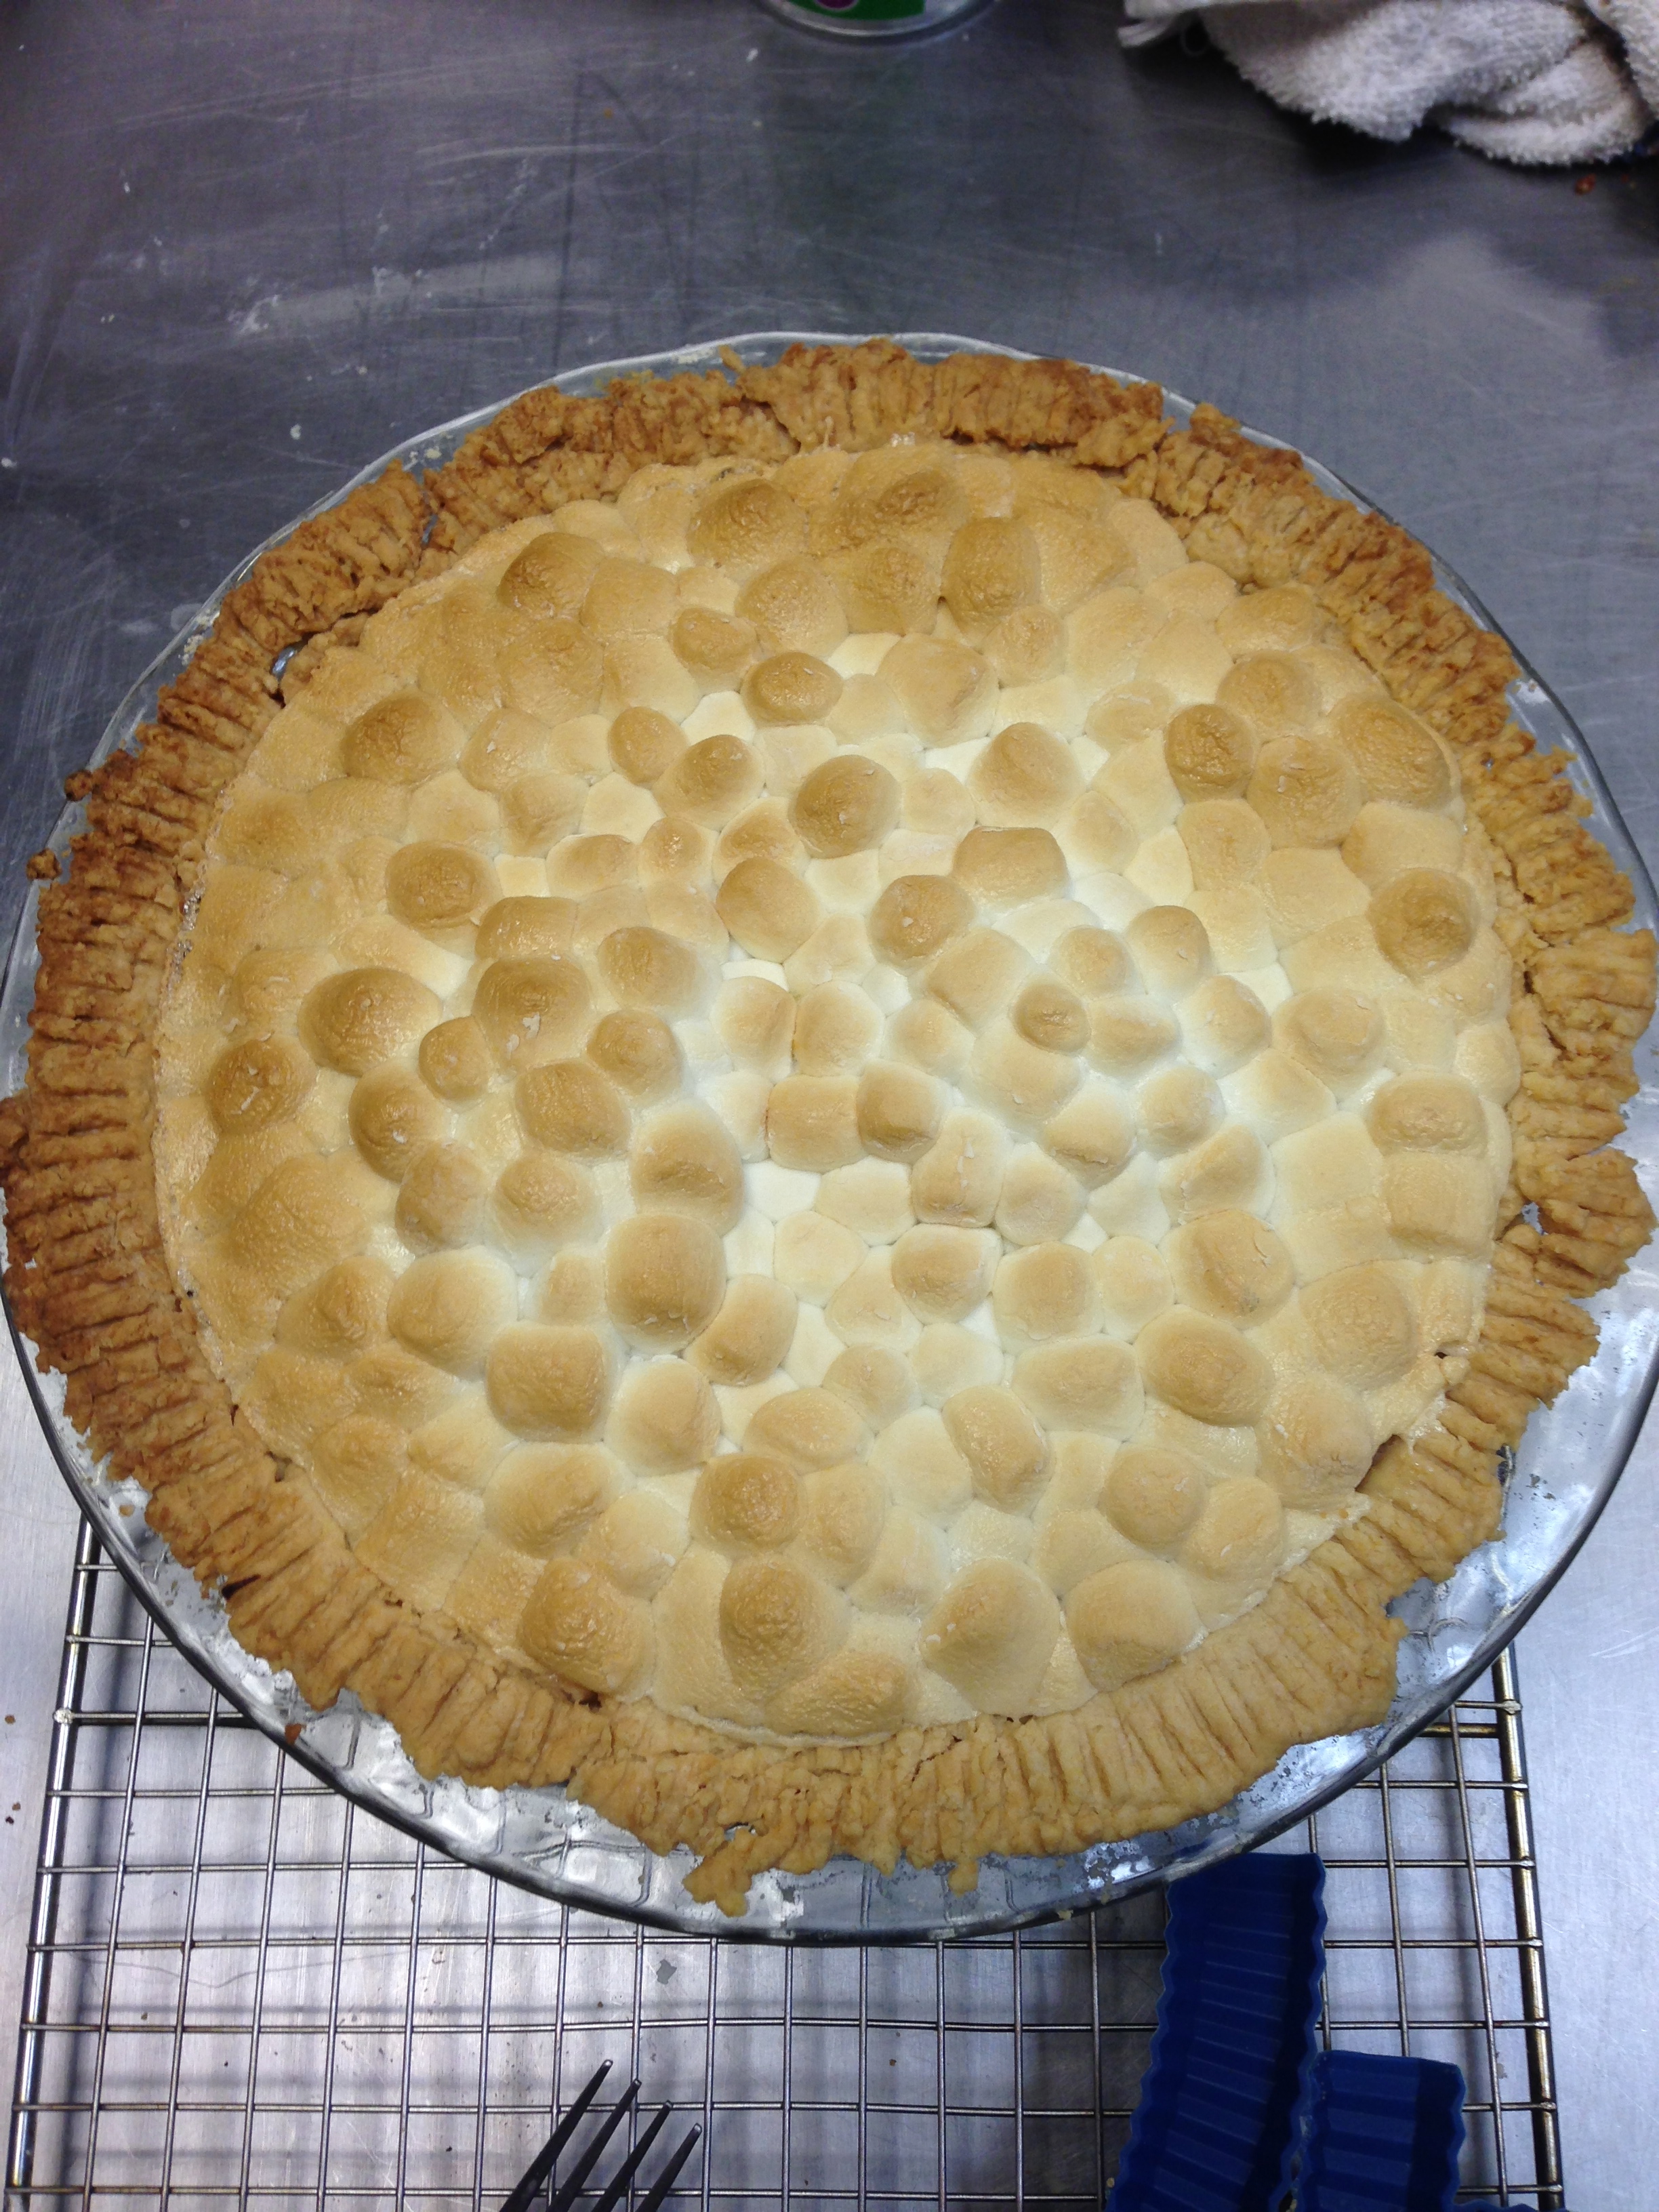
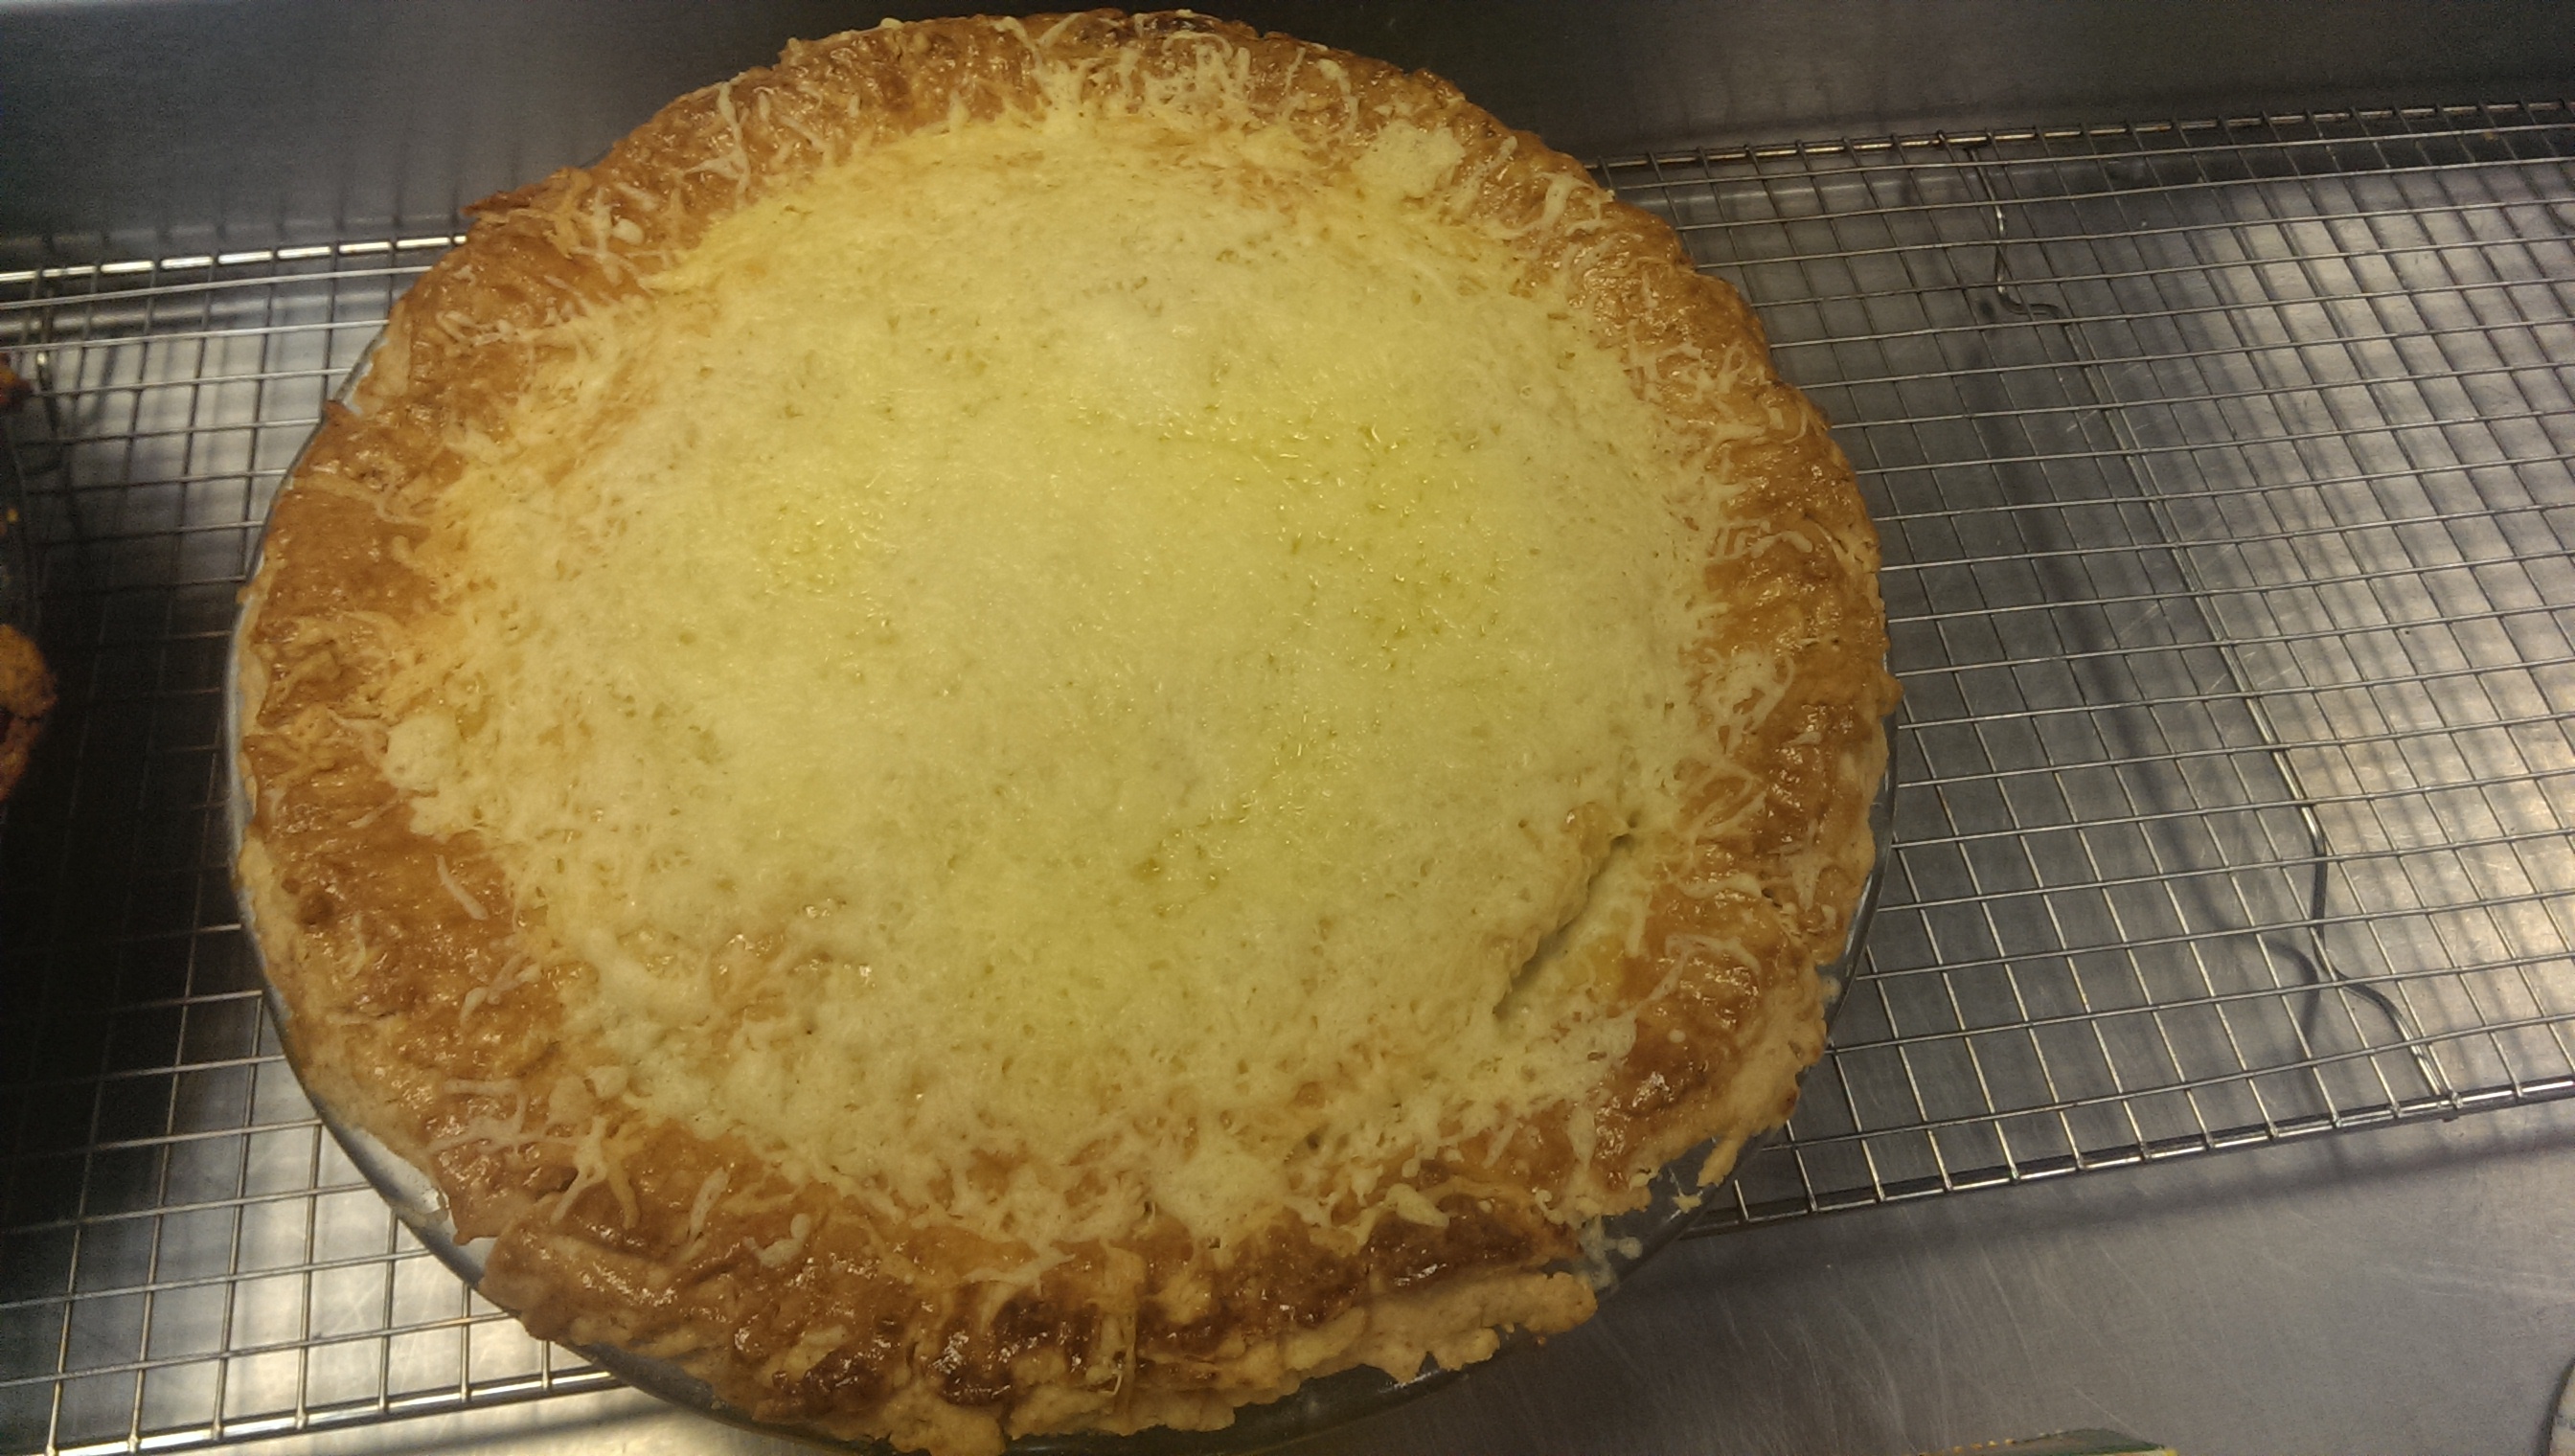
At this point I had to go to the Zilkha center kitchen because we ran out of time in the church’s kitchen. I wrapped my pie with plastic wrap and took it to the Zilkha center kitchen. As I peeled off the plastic wrap, a few leaves came off naturally so I just put in some butter into those gaps and then sealed the leaves back on. I also sprinkled some granulated sugar on top of the pie and then it was time for baking. 25 minutes on 400F and then around 1 hour 15 minutes on 360F till the pie looked golden brown and beautiful juices were oozing out and bubbling.

IMG_20160106_153717 IMG_20160107_131425-01

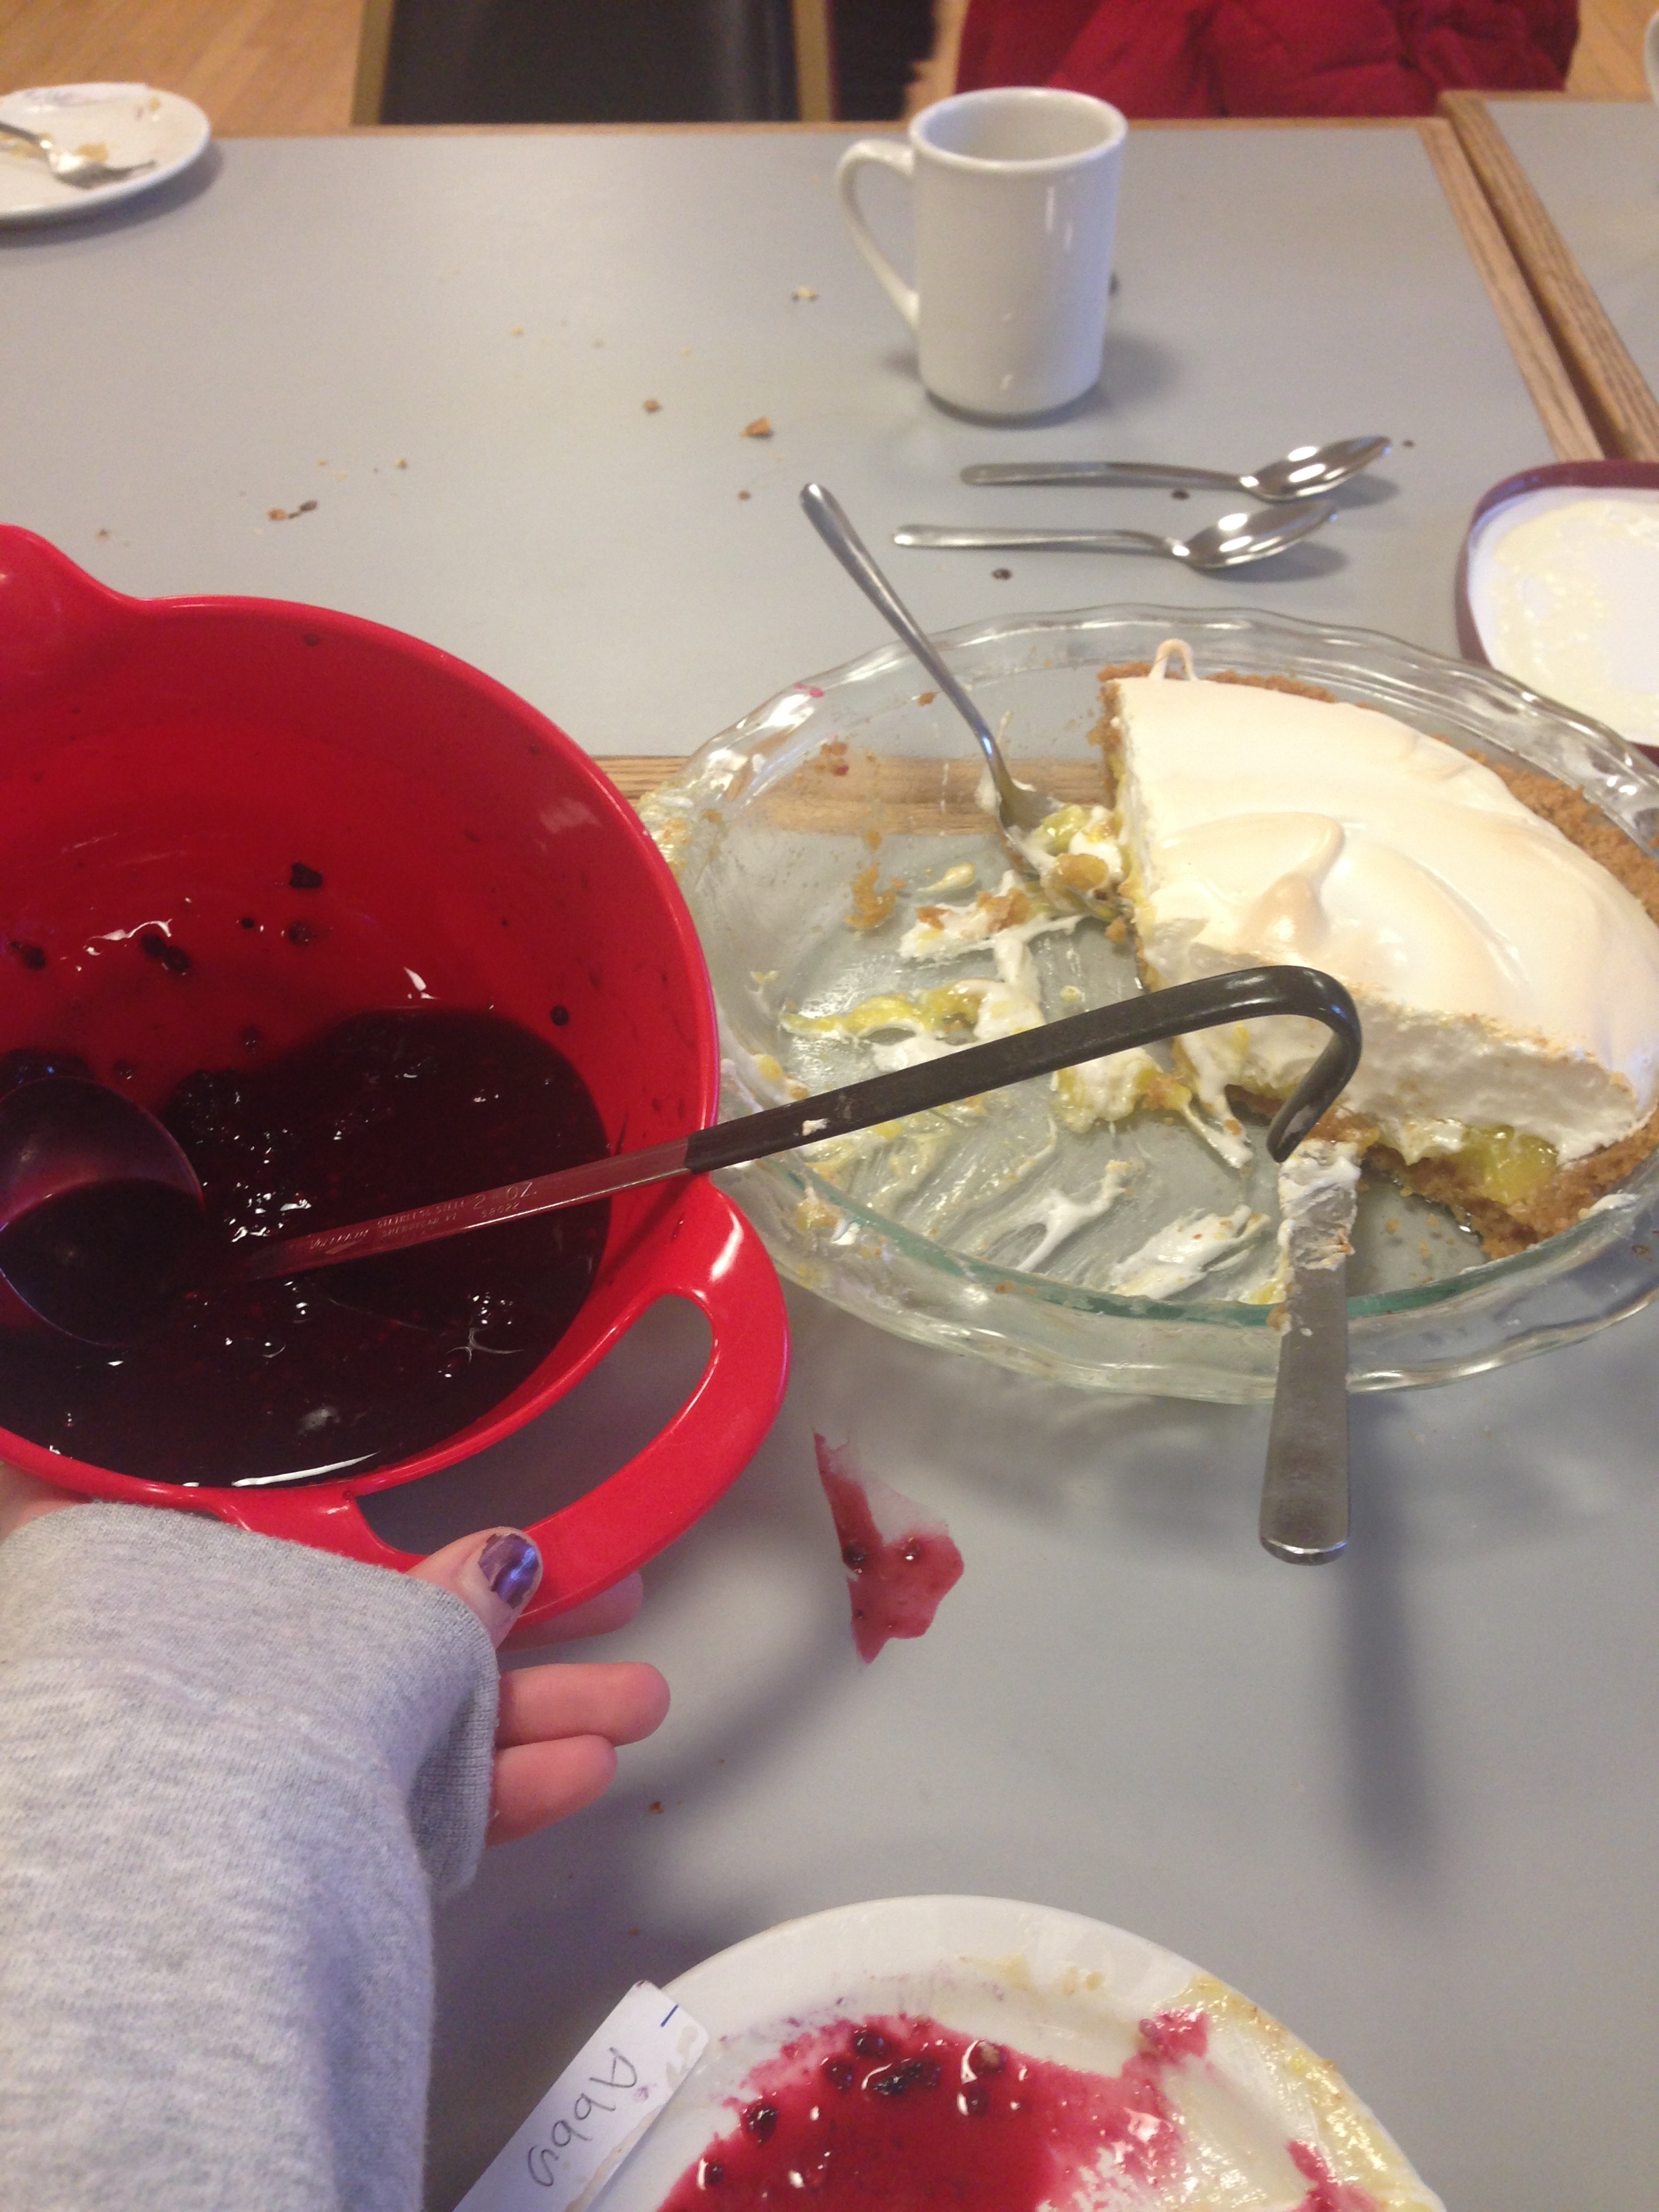
I took out the pie, let it come to room temperature before wrapping in plastic wrap and now it has been sitting on my window sill overnight ready to be eaten! Let’s hope it gets the seal of approval from my class mates.

Link to Martha Stewart’s recipe: http://www.marthastewart.com/335569/pear-raspberry-heart-pie

New year, new Life of Pie

keep calm and eat more pie
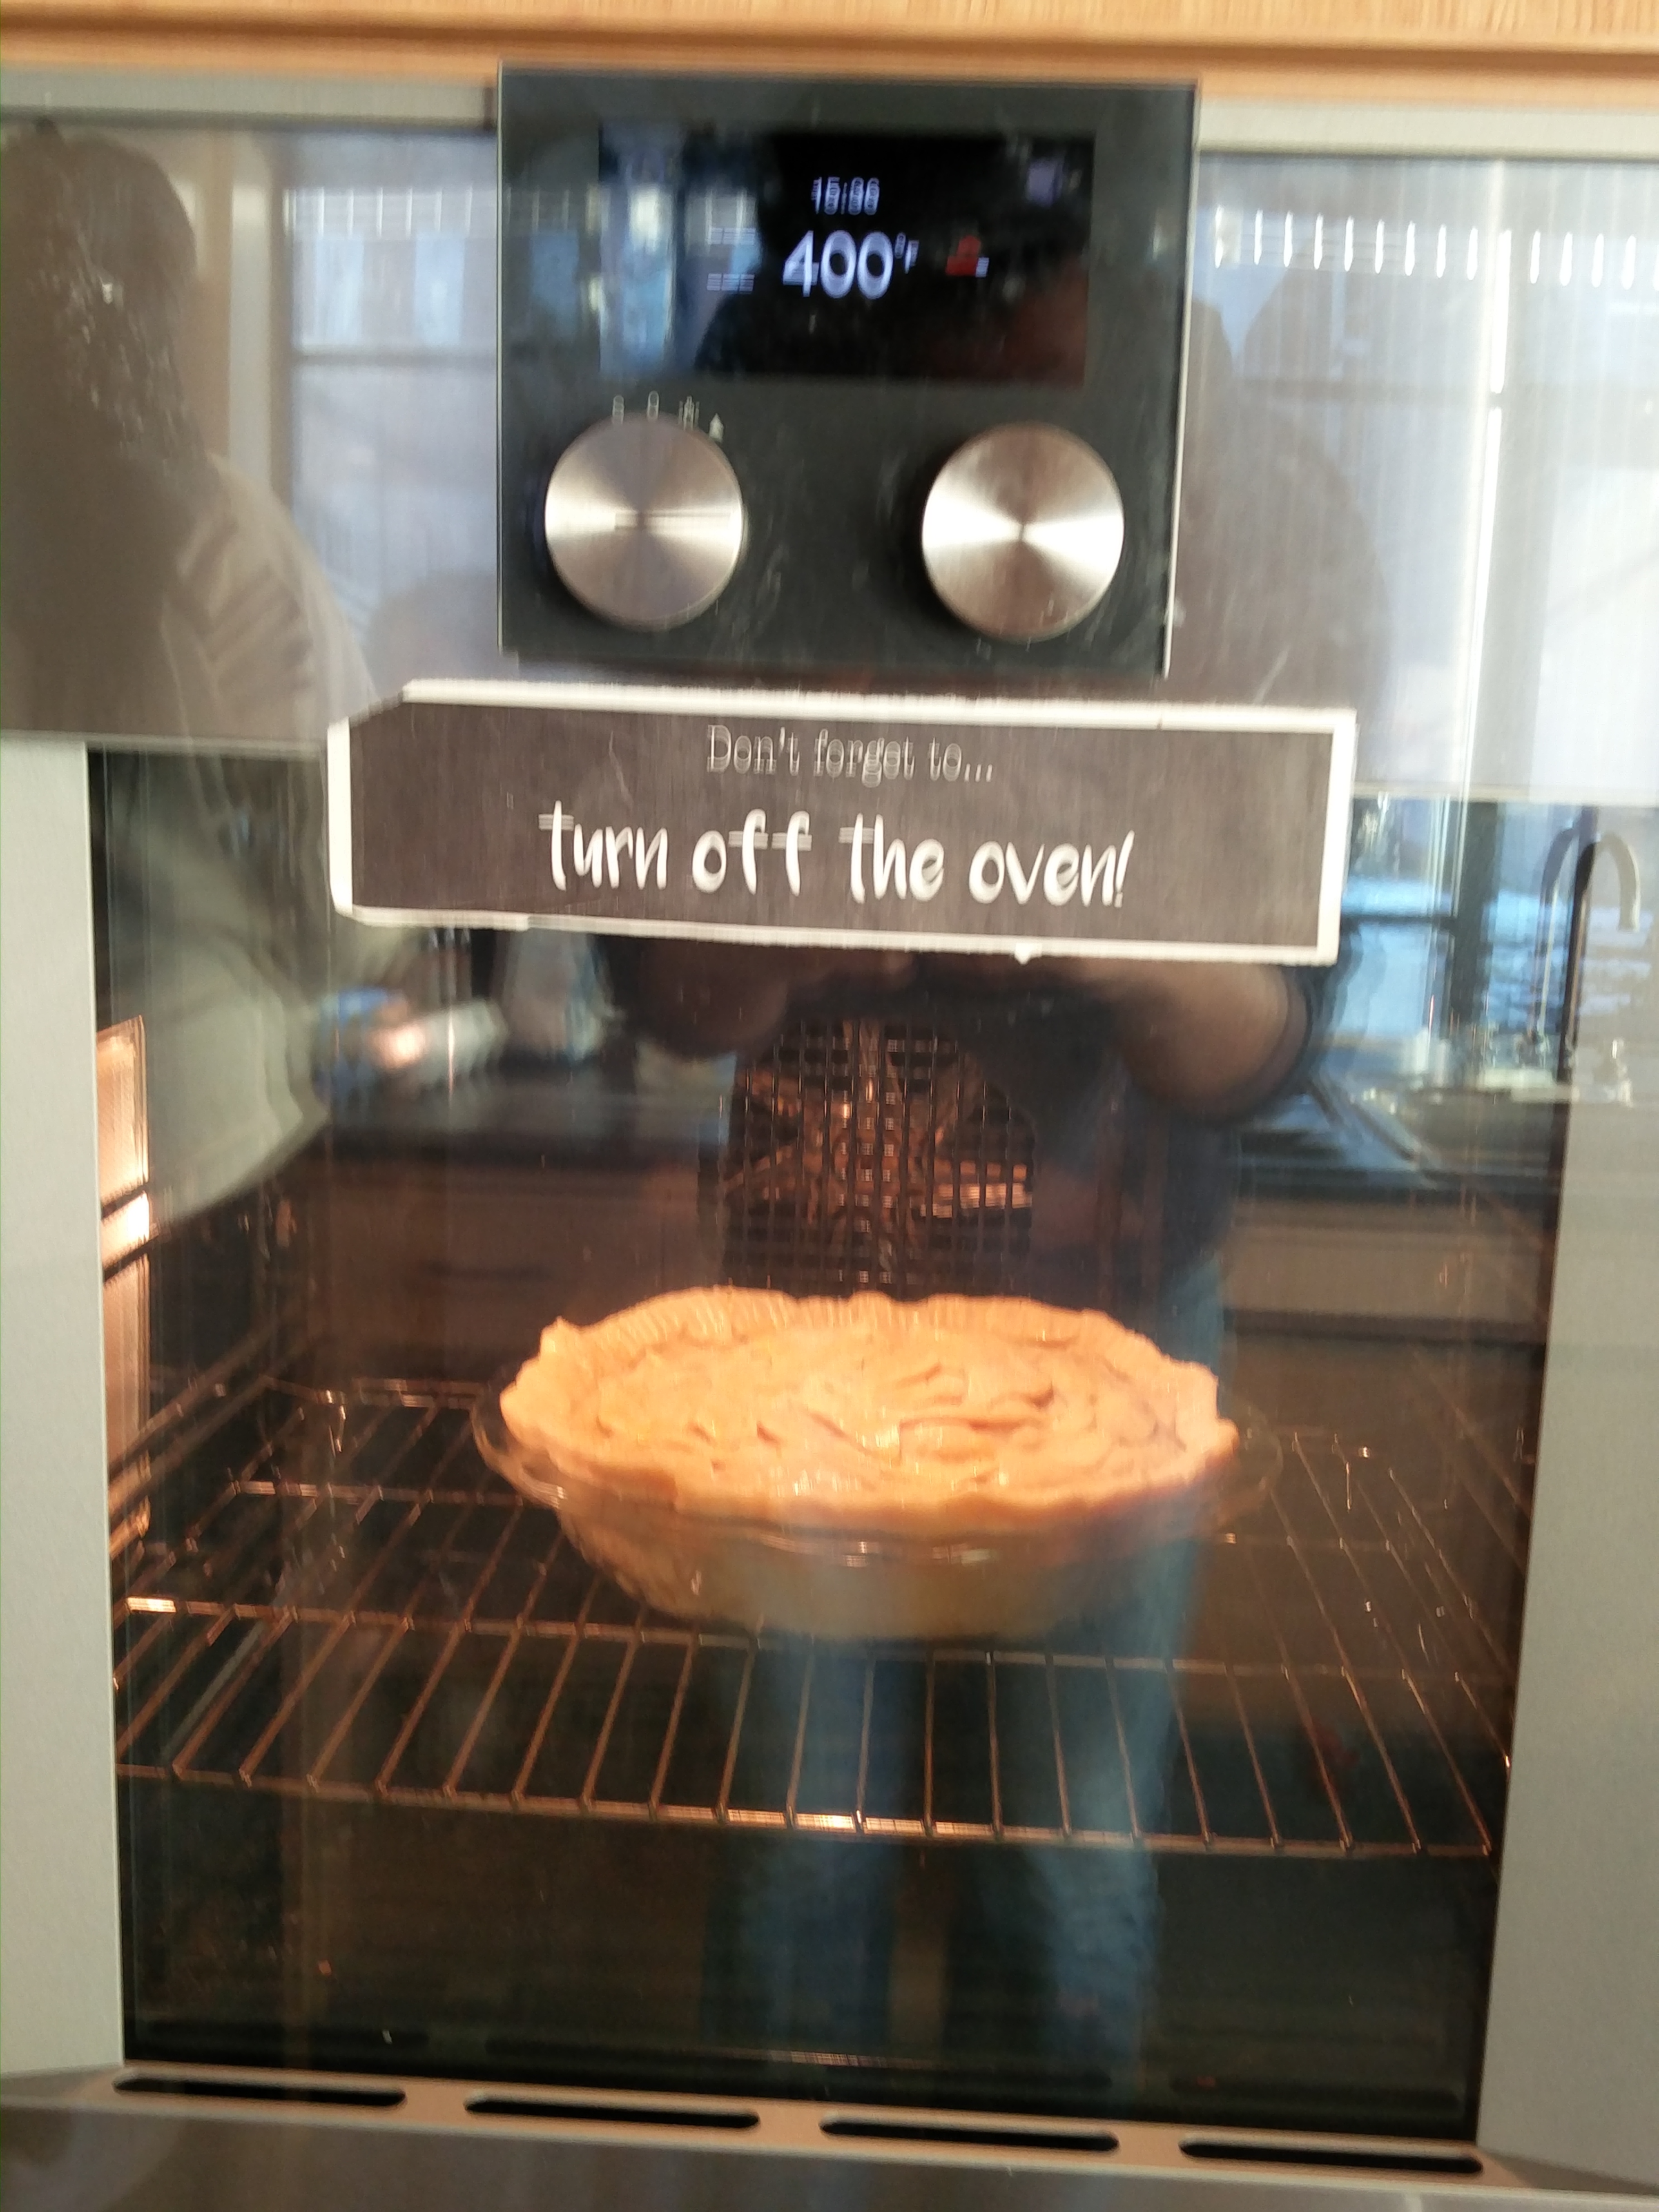
And here we go, off again on another month of pie-making in a bucolic, wintry New England town. Well, somewhat less wintry this year, what with having been in the mid-60s on Christmas, with freshly-churned mud on the ground instead of new-fallen snow. But nothing cures the Lame Winter Blues like making, baking, and eating 10 pies a week for four weeks running! Not to mention the new video additions this year: excerpts from the BBC’s most excellent show, The Great British Bake Off, which I binge-watched all 6 seasons of this past summer.

For my own part, I’ll be starting us off tomorrow by making an oldie but goodie: a classic lattice-topped blueberry pie with a basic flaky crust of butter and shortening. Still to this day one of my Top 10 Favorite Pies of All Time—and maybe even in the Top 3.

Bacon Egg and Cheese Bacon Lattice Breakfast Pie and Sweet Potato Pie

I really enjoyed making both of these pies because they were so different! A bacon lattice top and a marshmallow top are pretty dissimilar, but somehow I managed to make both of them work out. I think the breakfast pie was the biggest success mostly because I think there is something inherently appetizing about a bacon lattice!
IMG_1410
The challenge with the breakfast pie was figuring out how to cook the bacon lattice entirely without overcooking the pie filling (essentially a quiche). I decided to prebake the crust then add the filling and cook it for 15-20 minutes before adding the bacon. The bacon was added early enough that the egg was still a little runny so the bacon drippings could contribute to the flavor of the filling, but not so early that it overcooked in the oven. As it turns out the middle of the bacon strips cooked more slowly I assume because the filling was thickest there.
IMG_1417
Overall, though, I think the pie went pretty well! At least I enjoyed eating it. Forgive me for not including the final picture of the pie. The wordpress site refuses to upload it!

The sweet potato pie went pretty well too. I was working off of two recipes. One for sweet potato pie and one for marshmallow toped sweet potatoes, so I had to be a little inventive. This was the first time I’d done a pie with a runny liquid filling rather than chunks of fruit and meat. The main issue I had to tackle here was also with the top. I had to figure out how to prevent the marshmallows from sinking into the liquid of the filling, so I cooked the filling in the pie crust until it began to set a bit then I pilled the marshmallows on top. The other thing I didn’t foresee was the the marshmallows expanding in the oven and then contracting upon cooling so that the top of the pie actually pulled away from the edges of the crust. It looked a little strange and made it hard to cut well, but I think the flavor wasn’t effected.
Here is the completed pie complete with marshmallow-y bubbles:
IMG_1413

IMG_1412

And here is the sweet potato filling while being cooked on the stove:
IMG_1411

Peanut Butter and Chocolate Banana Cream Pie

IMG_1047


Chocolate. Peanut butter. Banana cream. Love. What else do you need?! Nothing! This was one of my favorite pies, and, according to the meager bit I had left at the end of the banquet, an overwhelming success. Best of all, it was super easy to make. You can follow any recipe for homemade graham cracker crust. The graham cracker crust has definitely become my new go-to. Graham cracker crumbs, sugar, melted butter, and a tad bit of baking and you’re all set! No worries about the crust woes that befall your typical pastry. The one thing I would recommend is buttering your pan thoroughly before pre baking/pressing in your crust. I had many crusts of the graham cracker variety, and too often they stuck to the pan, and I couldn’t get enough!

Anyway, after my crust was prepared and chilling, I  started with the peanut butter pudding:

IMG_1037


It was phenomenal. I had never had homemade peanut butter pudding (I’m accustomed to the Jell-O variety), and it was terrific! I had no idea puddings were so simple; corn starch, sugar (of course), and some heavy whipping cream/whole milk, and I was all set! I figured I’d follow the same strategy for the chocolate pudding and I got ahead of myself…turns out chocolate pudding only calls for 2 tbsp of cornstarch, as opposed to the 5 tbsp in the peanut butter pudding…whoops! I could definitely tell that it was a little less liquid than typical pudding, but it still tasted great! I filled a layer of banana in over the peanut butter and then covered that with a layer of chocolate pudding. Then, I put my leftovers in a mason jar to give some friends a taste-test before the big next day.

IMG_1041IMG_1042IMG_1043


After the puddings were in the crust, it was time to chill them both. I wrapped up my little treat, and popped it in the refrigerator overnight. The next day, I came in about an hour early to prepare our space and whip up some homemade whipped cream…After making my own, I have to say, it will be pretty darn hard to go back to the store-bought stuff.

IMG_1044


It was wonderfully light and sweet. To finish, I sliced up one more banana to complete the presentation. As I’ve said, it was super sweet and delicious, and not too heavy! In retrospect, I think I’d like a little more banana cream, rather than the chocolate/peanut butter/whipped cream with bananas thrown in. Nikki also made a coconut whipped cream that was spectacular, and would be great with the flavors in this pie.

And so comes the end of my month of pies. It was quite the journey in our industrial kitchen–Lord knows I learned how to manage a 10-lb skillet. Let’s see, what else have I learned…not to be such a wimp in the face of pastry adversity, how to not connect a pastry braid to a bottom crust, you can never chill your dough enough…Yep, I’ve definitely learned some life lessons…how could I not while watching Sweeney Todd and Pushing Daisies? But honestly, I had such a lovely month with great new friends making great food. It’s going to be hard to compare this course to my other classes come spring semester!

IMG_1048

Savory Tomato and Zucchini Hummus Tart

IMG_1046

Another week, another pie. This week I decided to switch things up for my savory pie and delve into the vegan world for my inspiration. I had tried my hand at being a vegan about a year ago and because of a jam-packed schedule and limited resources, had given up on the venture after approx. 3 months–not to mention, vegan cheese didn’t really cut it for me. Ideally, I loved the idea of veganism–if you stick to local and seasonal ingredients, it’s a super eco-friendly and healthy lifestyle. So, I decided why not pie? Well, friends, I have to admit, this pie wasn’t my proudest venture. It was bursting with flavor from the strong garlic and sun-dried tomatoes, but I think the flavors were overwhelming and stood out too much, rather than creating the deep layers of satisfying flavor I was hoping for. Additionally, I think cold nature of the dish and the lack of flakiness rubbed me the wrong way in comparison to all of the other pies I was consuming on banquet day. Still, though, it was pretty cool to make an entire pie with veggies, nuts, and seeds, and if you’re into that kind of thing, by all means here’s how to do it!

The first thing I did coat the tomatoes with some salt and olive oil and throw them in the oven. The recipe said to dehydrate them at the lowest temperature for 4-5 hours…Well, that amount of time seemed like forever, so I just cranked up the heat to a whopping 375 and decided that would knock off a couple hours…little did I know…

IMG_1038


Yes. This is what happens when you forget about the tomatoes…Luckily, I ended up having just enough to make a pretty topping!

Making the tart “crust” was super simple. All there really was to it was processing and pressing. No big shakes. The filling was ridiculously easy, as well. Process and spread. I found that the sesame seeds didn’t particularly turn into sesame “butter”, but that didn’t seem to make a difference! The final picture of this tart on banquet day is picture below…I had about half of it left at the end, sadly, but I don’t blame anyone…I’d say it would be much better suited to a hot summer day.

IMG_1049

Final Banquet and Reflections

20140130_113323
[My two babies before they were presented to the dining table]

With 5 pies under my belt and the Final Banquet over, I am at a loss this weekend. No longer am I figuring out new recipes for next week, no longer planning decorations or work shopping different combinations of ingredients. With the Sunday Night TV Dinner Pie and the I Can’t Have No Affair Because It’s Wrong & I Don’t Want Earl to Kill Me Pie prepped, baked, and eaten, what’s next?

Well first, I now know how to bake pies. And from scratch too. I have acquired a new “adult” life skill, and it feels awesome! To know that I can bake a delicious, symbolic food that humans have been enjoying for thousands of years with my own two hands (and brain) is amazing, and I absolutely can’t wait to share this skill with friends and family!

Second, I learned how to invent recipes. Even adding a little twist to a recipe through the addition of an extra ingredient can mean the difference between “mmm” and “oh. my. GAWD! This is fantastic!” There is a plethora of possible combinations for ingredients, and you are only limited by your imagination.

Third, I learned that presentation matters. To be especially appetizing, a pie must look the part, even though it may taste fine otherwise. In fact, a beautiful pie expands the pleasure of eating beyond simply the aesthetic, reaching down and elevating the experience from simply eating pie to consuming art.

Fourth, I’ve learned that a little help in the kitchen makes for a better time, and better pies. Discounting the many times my fellow bakers have opened up ovens for me, or helped me wash my own dishes, but simply being there, being encouraging, and having conversations to keep company made for a better baking experience – and thus better pies. Of course, David being a pie pro did not hurt much either, haha.

With all the things I learned from the class, I sincerely hope to keep baking (and eating) pies. I appreciated the lessons on its historical context, as well as the lessons on its cultural role. Hopefully you readers had a good time with my blog as well; happy baking!

I Can’t Have No Affair Because It’s Wrong & I Don’t Want Earl to Kill Me Pie

http://www.recipegirl.com/2007/09/28/waitress-pie/

For my savory addition this week, I created the above pie exactly as the recipe stated. It was my first time working with Meringue, and although the recipe called for beating it manually, it took forever even with an electric mixer; I could not imagine having to do it otherwise! It was also my first time working with a Graham Cracker Crust, and although it wasn’t terribly difficult to form the loose crumbs into a solid pie crust, it was difficult gauging how cooked it was. While forming a solid crust, I actually a burned a bit of my pie…BUT, the end result did not have a burny aftertaste! Just something to note for next time – graham cracker crusts take less time than you think they will.

Check out the pictures below:

20140129_145019
[Pie with Baked Crust and Custard, chilling in the fridge]

20140130_113312
[Pie with freshly baked and browned Meringue]

20140130_114719
[Plated and sliced Final Pie]

Sunday Night TV Dinner Pie

http://allrecipes.com/recipe/meat-loaf-pie/

For my savory entry this week, I went with a classic dinner recipe in pie form. In the style of the English, “anything you can put on a plate, you can bake into a pie.” I mostly stuck to the recipe above, but of course, throwing in the classic Tanzim twists.

First, the crust, which was made with butter and crisco, was also baked with bacon flakes.
Second, rather than have a layer of sweet corn, I added half the corn called for in the recipe to the mashed potatoes.
Third, the meatloaf was cooked using this recipe for added flavor.
Fourth, the cheese crust was done with two different kinds of cheddar: mild and sharp.
Additionally, the mashed potatoes were made using this recipe.

The pie turned out very well! I think the changes I made added a lot to the dish. The layer of corn on the bottom would have been a distracting taste, and it worked nicely with the potatoes. The cheese on the top also baked into a nice, crispy crust, which added an extra dimension of texture.

Check it out!

20140129_173740
[Raw Pie with Meatloaf filling and some Mashed Potatoes with Corn]

20140130_112919
[Fresh Baked Pie – sliced into Eights]

20140130_114751
[The Final Presentation]


Caramelized onion, mushroom, and gruyere quiche with oat crust

http://www.foodnetwork.com/recipes/ellie-krieger/caramelized-onion-mushroom-and-gruyere-quiche-with-oat-crust-recipe.html

I think the most perplexing thing about this recipe was the crust.  There were two issues I saw with it.  The first is that the recipe really did not seem to make enough to cover the pie dish.  When I got it as thin as possible, it still probably only covered about 3/4 of the pie pan. I ended up making a double recipe and used nearly all of it.  Additionally, there wasn’t much liquid in the recipe, and it broke apart very easily.  I ended up putting the crust in piece by piece instead of all in one piece, and it split some in the oven.  As someone pointed out, fortunately the egg probably fills in the crevices.

IMG_1607

IMG_1608

IMG_1609

I was surprised by just how much the quiche cooked down.  Because I am still having some trouble wrapping my mind around savory pies more generally (although I have loved trying them all so far!), I thought quiche was a nice middle ground. I was surprised how little mushroom was really in the quiche; although once it cooked, there certainly seemed to be a lot more in there.  I’m excited to see how it comes out.  I feel like there might be a fine line in quiche for texture, so I hope I got the line right!

Blackberry-Apple Pie

I was excited about this pie because I really enjoyed the blackberry pie we had earlier this semester (my first blackberry pie), and I love a good old-fashioned apple pie.  I thought this pie was interesting because there was no soaking of the apples in advance.  I simply laid the the apples and the blackberries into the crust.  There was no suggestion on how to place the apples and blackberries into the crust, so I tried to layer them some. I wonder how much of a difference in taste there is depending on the fruit layers.  I was happy that I learned my lesson with the sauce to turn it down really low.  Last time I allowed something to stay on the heat as suggested by the recipe, it burned. If you turned it off all the way, it did thicken a bit too much to pour over, so if taken off the heat, it should be placed back over heat again before spooning over pie.

IMG_1610

This was my first attempt at a lattice, so I was slightly intimidated. My crust was being a little temperamental (I think it sat out of the fridge too long before rolling initially), and peeling off the slices was difficult (despite using the trick of making sure the crust came up on the rolling pin).  I was happy with how the lattice turned out.

IMG_1611

I will say, this one the only pie I’ve made thus far that has taken less time to bake then the recipe said. Although it was only a few minutes less, the pie was certainly bubbling and browning by the 30-minute mark after I turned down the oven.  I’m excited to see how putting the sauce on top affects the tastes since normally it’s mixed first!

IMG_1614

http://allrecipes.com/recipe/apple-blackberry-pie/


Spinach and Mushroom Handpies

I think my spinach and mushroom hand pies turned out really well.

20140128_160133

The crusts had Parmesan and cheddar cheese. They were fantastic. I had to improvise a little. I didn’t have a 4 inch pastry cutter but I did have a cap from the pine nuts container that I used in the filling. So I just used my tiny little carving knife to cut into the pastry around the circular container.

20140128_142327

I had made 9 pies from the first batch of pastry. I realize that my pastry probably wasn’t 4-in because I couldn’t fit the said amount of filling, according to the recipe, into them without fearing that they’d explode.

Instead, I managed to make another batch of pastry. I also realized that for my second batch, I formed my batch into a flat rectangle for chilling instead of a conventional disc. That way, I just rolled out the pastry to form this super long sheet of pastry and cut my circles out from there. Another funny thought, I actually had used less butter in my first batch due to a calculation error. That’s why my pastry was so much harder to roll out and cut in my first attempt.

Here’s a look at my filling:

20140128_132145

I didn’t have feta so I substituted Parmesan and goat cheese instead.

These pies were probably the most fun to make, especially after getting into the groove.


The Lumberjack Pie

While it was very easy figuring out what my sweet pie was going to be for the final week, I had no idea what to do for my savory pie. I was not particularly fond of my twist on an English Pork Pie when I first tried making savory pies. I remember it was incredibly time consuming and I did not even like how it ended up taking.

As I was pondering what I should make, I came across a friend, Williams own Scott Wieman who gave me a great idea. He said (more or less) “why not make a lumberjack pie”? Although I forgot how exactly my bearded friend envisioned this pie, I remember it involved apples, cheddar cheese, a meat of sorts, and some maple syrup. When it came time to decide on what pie to make, I knew this was the one for me. I figured it would only be fitting to end class eschewing the recipe books in favor of a Robbie Feder original.

The more I thought about it, the more excited I got. In practice it seemed like it would not be too time consuming, as was the case with the pork pie. Furthermore, unlike with the pork pie, I figured by creating the recipe, I could ensure that all the ingredients were ones I liked and not things, such as mace, that have the potential to completely throw things off. Lastly, I figured I would cook my meat beforehand to ensure everything was up to health standards and so I wouldn’t need to bake the pie as long.

As I went about this process, everything came to me on the fly. In turn, as I describe this recipe, it is similar to something my Great Grandma Mimi would do “with a pinch of this or a splash of that.” I will try to be as exact as possible though!

I started out by cutting up my meat and an onion. In thinking about what a lumberjack would eat, I figured it would be very hearty. In turn I cut up some pork shoulder, ham, and bacon. Lots and lots of bacon! I wanted to mix in some onion flavor, hence cutting up the onion.

IMAG0180IMAG0181

I began by caramelizing the onions which I had chopped finely in a pan with olive oil. I added a pinch of salt, a pinch of sugar, and a little bit of water to help sweat the onion. Then when the vegetable in question got golden brown, I proceeded to add my meat. I’m sure the order does not matter but I did bacon, ham, and then pork shoulder. I should also mentioned that I sprinkled the meat with salt, pepper, onion powder, and garlic powder.

IMAG0182IMAG0183IMAG0185IMAG0186

As I kept on stirring, the fat from the meat mixed with the onions and created a really nice flavor. I’m sure that mixture would be delicious on its own, but remember this is a lumberjack pie. So as the meat was beginning to gain color, I added a couple of splashes of maple syrup. Between the bacon fat, sugary maple syrup, and onion juices an intoxicating scent began to emerge. I also added a couple of table spoons of the bourbon sauce from my chocolate pecan bourbon pie recipe to reinforce how this is a sweet savory pie.

IMAG0188IMAG0194

In retrospect I realized that between the sugar in the maple syrup and the bourbon sauce, I did something that the fellas on epic meal time would do: I candied bacon! (as well as the other meats). For as I continued to stir my meat, it developed a beautiful dark red color that when I tried was sinfully good.

IMAG0195IMAG0196

While I put my candied meats in a bowl I proceeded to start on my 4 granny smith apples. While I am sure I could have cut up my apples and put them in the pie as is, I wanted to keep going with the elaborate nature of this pie. In turn, I stewed my apples in apple cider (which I have done for other recipes and is terrific) and added some more maple syrup!

IMAG0197IMAG0198

With my main components done, I began to assemble my pie. After putting the pie crust in the tin, I grated sharp cheddar cheese on the bottom. I really enjoy Cabot, but any sharp cheddar is fine. On top of that fluffy mound of grated cheese I put my candied meat. I then covered this layer in another blanket of cheddar cheese with a little drizzle of more maple syrup. Then atop that layer of cheese I added the stewed apple mixture to which I shockingly drizzled a little bit more maple syrup.

IMAG0199IMAG0200IMAG0201IMAG0202

I then covered my pie with its top crust, washed it with egg folk so it could achieve a golden brown, made a decorative pattern, and put a small amount of cheddar cheese on top. I put a great deal more cheddar on the top of the pie, but only 10 minutes before the pie was actually done, since the cheese cooks quickly and can burn. That little bit I added at the beginning of cooking was more for fun and you can totally do without it if you would like, since as mentioned, there will be a lot more grated cheese towards the end. But hey, I’m a glutton and believe there is no such thing as too much cheese!

IMAG0203IMAG0204IMAG0205

I put my pie in for 45 minutes at 350. While the edges were golden brown, the middle was not. In turn I stuck my pie in for another 10 minutes. Then, I grated more cheddar cheese on the top of the pie, put it back in the oven, and waited another 15 minutes. The finished product looked great! I also got it nestled next to its buddy and my sweet pie, the chocolate bourbon pecan pie. While this pie is by no means healthy, I certainly hope it tastes good!

IMAG0207IMAG0208

Chocolate Pecan Bourbon Pie

With the final banquet fast approaching, I needed a recipe for a sweet and a savory pie. Last week I had come across a recipe for a chocolate pecan bourbon pie. The recipe sounded and looked amazing. I mean bourbon and chocolate, what’s not to like people? While I am more of a scotch man, I thoroughly enjoy some bourbon on occasion, especially the great but undervalued “pickle back shot” (a shot of bourbon followed by a shot of pickle juice.

Although I really really really wanted to make it at the time, I figured two pies is ambitious. Yet needing to make two pies this week around, I knew that this was going to be the recipe for at least one of my two pies. I got the recipe off of the humorously entitled ezra pound cake blog which I have included here: http://www.ezrapoundcake.com/archives/18097

The recipe itself is very simple, at least based on the opinion of this pie maker. I began by rolling out my pie dough and putting it in the tin. Then I assembled the pecans and chocolate morsels which I proceeded to put in that very same pie tin. That is step one, of what I calling a three step process.

.Chocolate and PecansIMAG0171

Afterwards I mixed together the filling that consisted of eggs, dark corn syrup, sugar, melted butter, and of course BOURBON! I then proceeded to pour this mixture over the pecans and chocolate, as the recipe called for.

Bourbon MixtureIMAG0172

In the recipe, it claims that the pecans and chocolate magically rise to the top while the filing makes a decadent bottom layer. I tried a spoonful and with all of that sugar, butter, and bourbon, it did not disappoint. You might want to get your sugar levels tested afterwards…

I then proceeded to “decorate” my pie with a couple of chocolate chips and then I popped into the oven at 350 F for 45 minutes. While I was waiting, I made the bourbon sauce (the recipe is also in the link). I melted the brown sugar and butter, then when it was a dark brown I added the heavy cream, and the bourbon last. As someone who hates caramel I can attest that this is a far better alternative and you can actually taste the bourbon!

IMAG0173IMAG0175

The recipe is very easy and straightforward. The only thing I will say is that when I took the pie out of the oven it did not have the dark brown color I was looking for. In turn, I popped it back in the oven for an additional 10-15 minutes. Then it turned out the way I wanted it to.

IMAG0178   IMAG0179

I cannot wait to try this pie tomorrow. With some freshly made bourbon sauce it should be rockin!

Chocolate Peanut Butter Bacon Pie

I actually don’t have any pictures of this pie. Unfortunately, the day I made this pie, I had a huge stomach ache and I just didn’t want to do anything to exacerbate it. All I can say about this pie is that it’s freakin dense! I don’t know if it was because I had eaten 6 other slices of pies before I tried my own but it was very very dense. The chocolate sauce is way too runny that after I cut a slice, the sauce would run into the plate. Well, lesson learned. No more condensed milk or sugar in that chocolate sauce!

Lemon Meringue Pie with Blackberry Lemon Sauce

IMG_1007IMG_1011IMG_1013

Although I would like to say my second pie of presentation week was smooth sailing after the myriad of annoyances that accompanied my Utterly Deadly Southern Pecan Pie, I have to say the stress level that accompanied my lemon meringue pie was equivalent to its partner this week. Perhaps my focus wasn’t quite on point. Perhaps I was trying to be too bold with my presentation. Musings aside, there is one lesson I learned with this pie that I will never forget…it is impossible to create a meringue by hand. Impossible. Think you can do it? Want to prove me wrong? Don’t. Honestly. It’s miserable. I spent about an hour vigorously whipping those egg whites and that sugar and that dash of cream of tartar to no avail. I stirred so much my arm was more sore the next day than it was after my lift on Friday. The best I could achieve was a marshmallowy goo that, although tasty, was still, well, goo. Even when Tala valiantly brought the electric hand mixer from home and I had beaten the goo for about 15 minutes and I had added way more sugar than the recipe called for, it remained slightly lighter, slightly tougher goo. Absent were the so-called “peaks” that were supposed to have appeared ages ago. Serves me right, I suppose, having the audacity to attempt the elegant meringue with nothing but a whisk…

IMG_1010

Aside from the melty meringue (which firmed up a bit after baking, and really did taste terrific), the rest of the pie was wonderful. I created my own take on whole wheat graham flour (which BonAppetit.com requested) by combining whole wheat flour with graham cracker crumbs, and it did the trick just fine.

IMG_0989

What a good-looking crust, right?!One problem–the butter that I ever-so-lovingly worked in by hand was supposed to be melted an act as the connecting agent. I was preparing to mourn yet another irreparable mistake, when David saved the day with a nifty trick. We put my concoction in a bowl over a pot of boiling water to create a makeshift double-boiler and melted the butter without burning anything in the process! It was quite the success, and the dough came together really well.

IMG_0990IMG_0991


The lemon-blackberry sauce also turned out beautifully:

IMG_0985IMG_0986


And one more close up for good measure:

IMG_0987


There we go…the good stuff.

Lemon and blackberry is a stellar combination, and I owe many of the laudations my pie received to that wonderful sauce. I think the fresh blackberries really made it, despite the recipe calling for frozen. Also, I did not use fresh lemon juice because the stuff was really in demand this week, but still got lovely results with using lemon juice from the bottle and fresh lemon zest.

IMG_1012