Category Archives: Jordan Jones

Puff Pastry, Meat, and Lava

Unfortunately, we have reached the end. We all knew this was coming, the pie that is the month of January has run out of slices. It was a wonderful month full of wonderful pies that ended spectacularly with our banquet. For the banquet we had to make two pies one sweet, one savory,  and I decided to make a pie I had wanted to make during savory week, a beef short rib pot pie, and one inspired by a friend, chocolate lava mini pies.

I knew there would be challenges with these pies, but I figured it was the last week, so why not go out with a bang, either a blaze of glory or with the actual flames of a burnt pie. With the savory pie I was concerned about the fact that I would be doing actual cooking, as the filling had to be cooked before being put into the pie, and by the fact that I had somehow got it into my head that puff pastry would greatly improve the pie. With the sweet pie I was concerned with just how exactly it would work. I knew it would have a bottom shell and the lava-y cake part would fill it, but I wasn’t convinced I could actually make the lava happen. Nevertheless, I sallied onward as this was the last week for pie baking and was not a time to be meek.

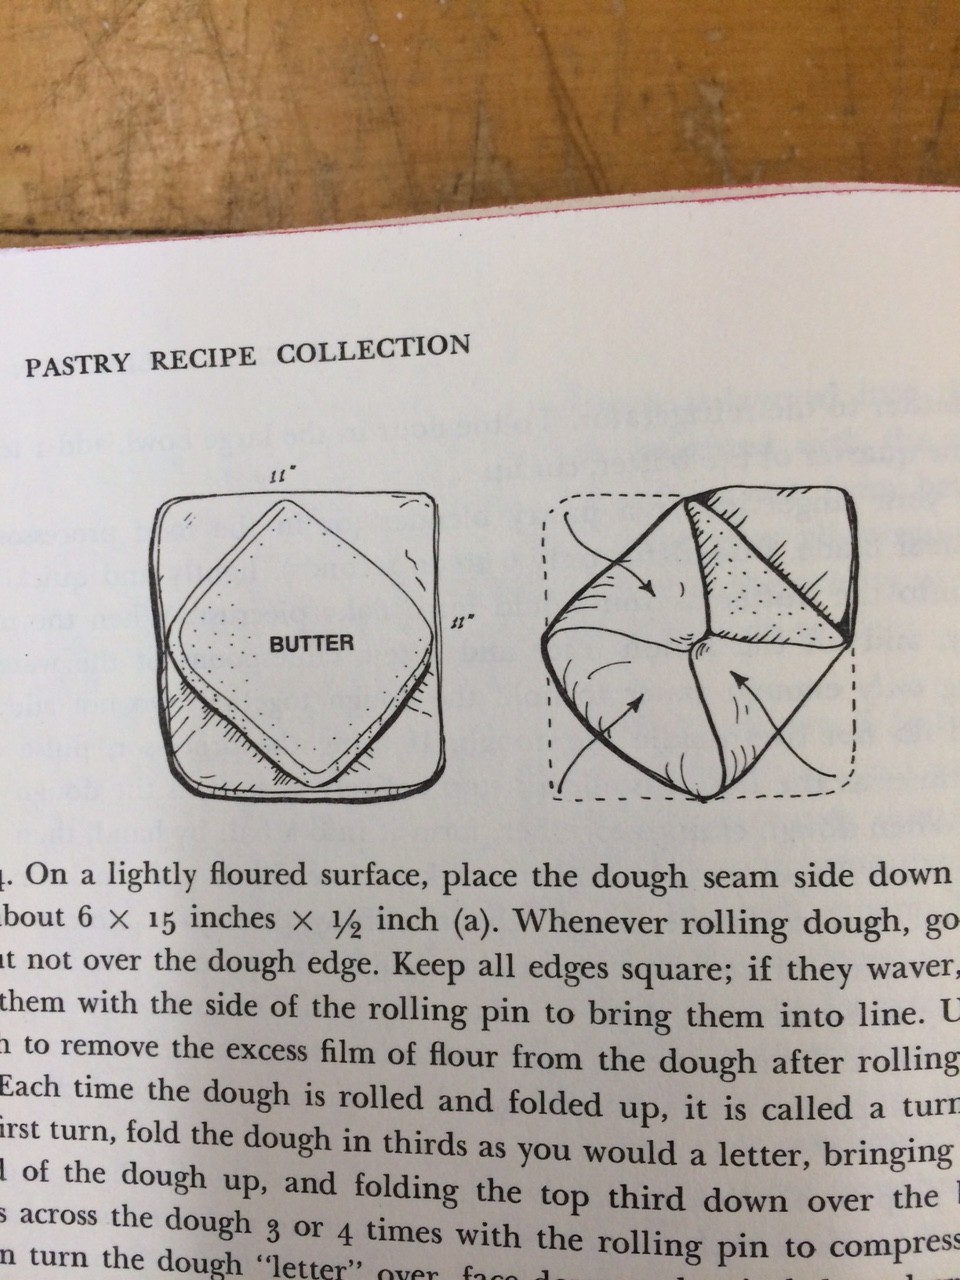
The puff pastry was the first obstacle I set out to conquer using the recipe for puff pastry outlined in Susan Purdy’s As Easy As Pie. Reading the recipe itself was daunting as it was three pages long, with an additional three pages of introduction, because puff pastry is not something one just blindly walks into, puff pastry is serious. So serious, that to make it you need diagrams and internal notation systems. 
IMG_1358IMG_1376

So complex!

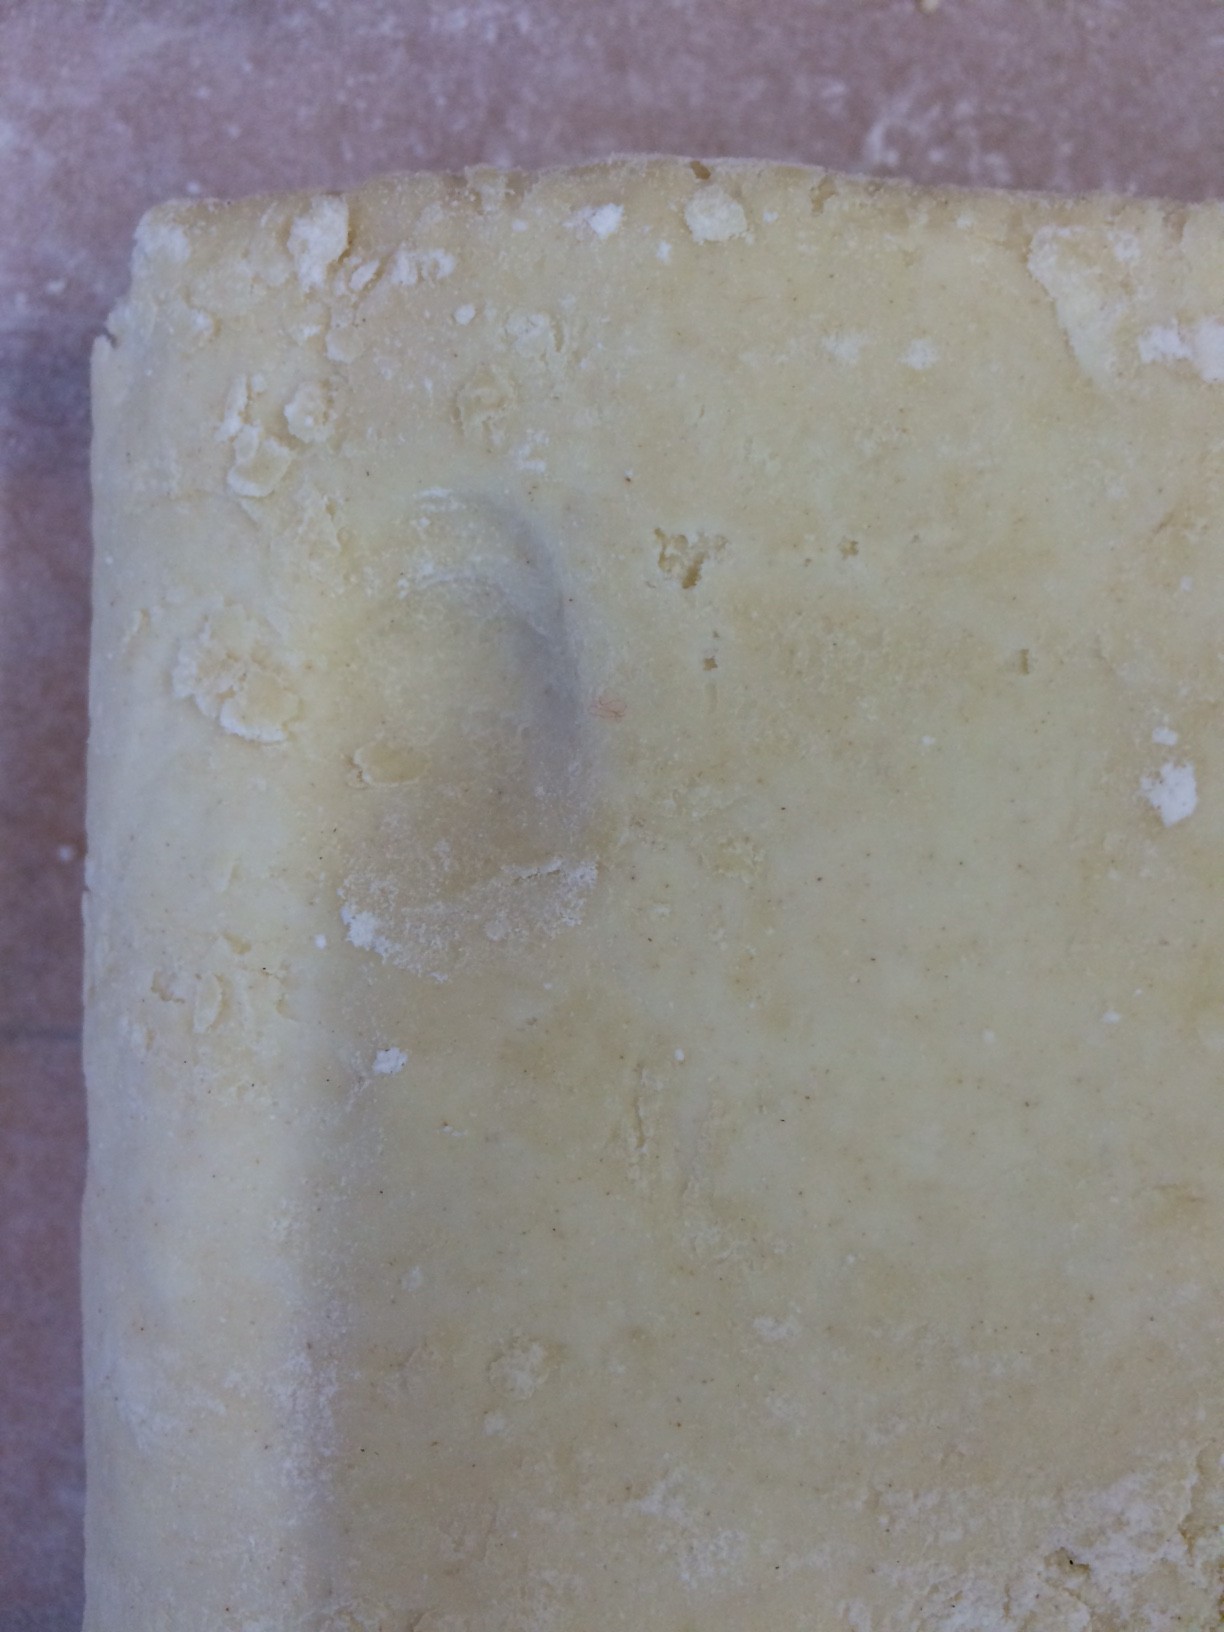
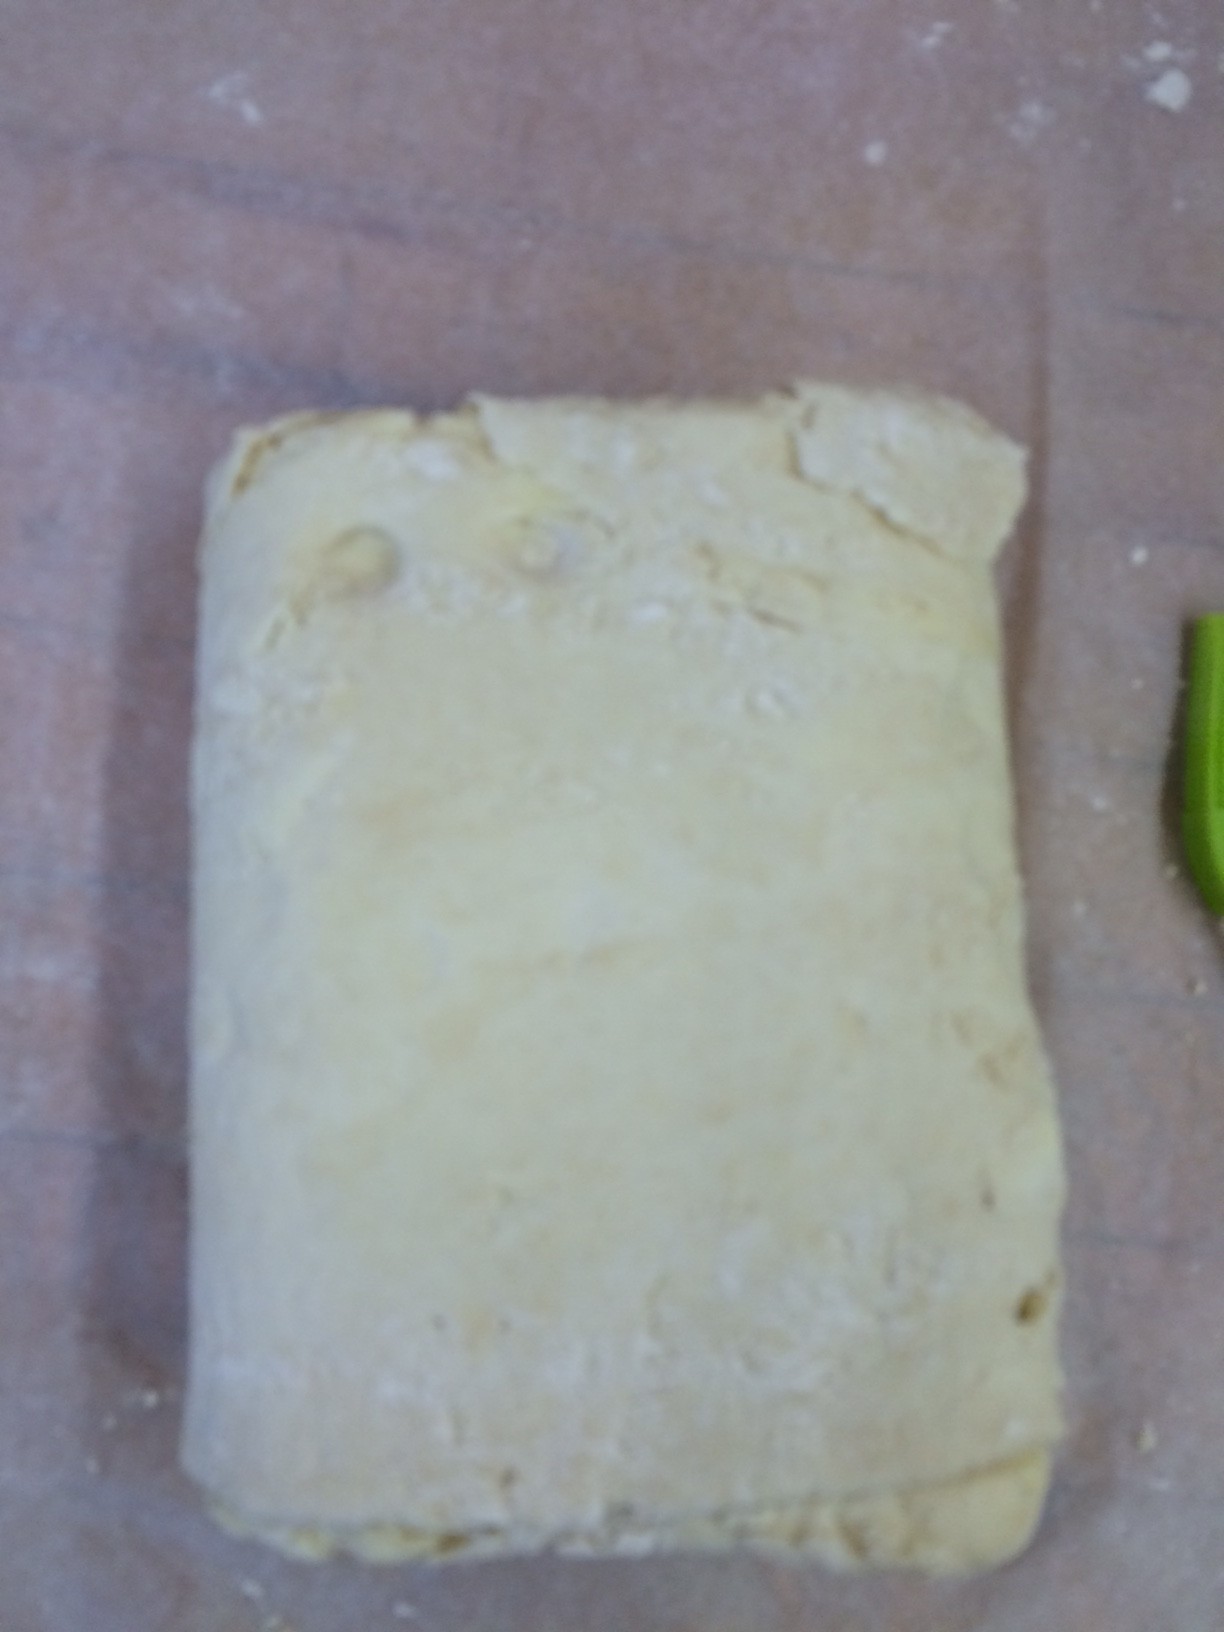
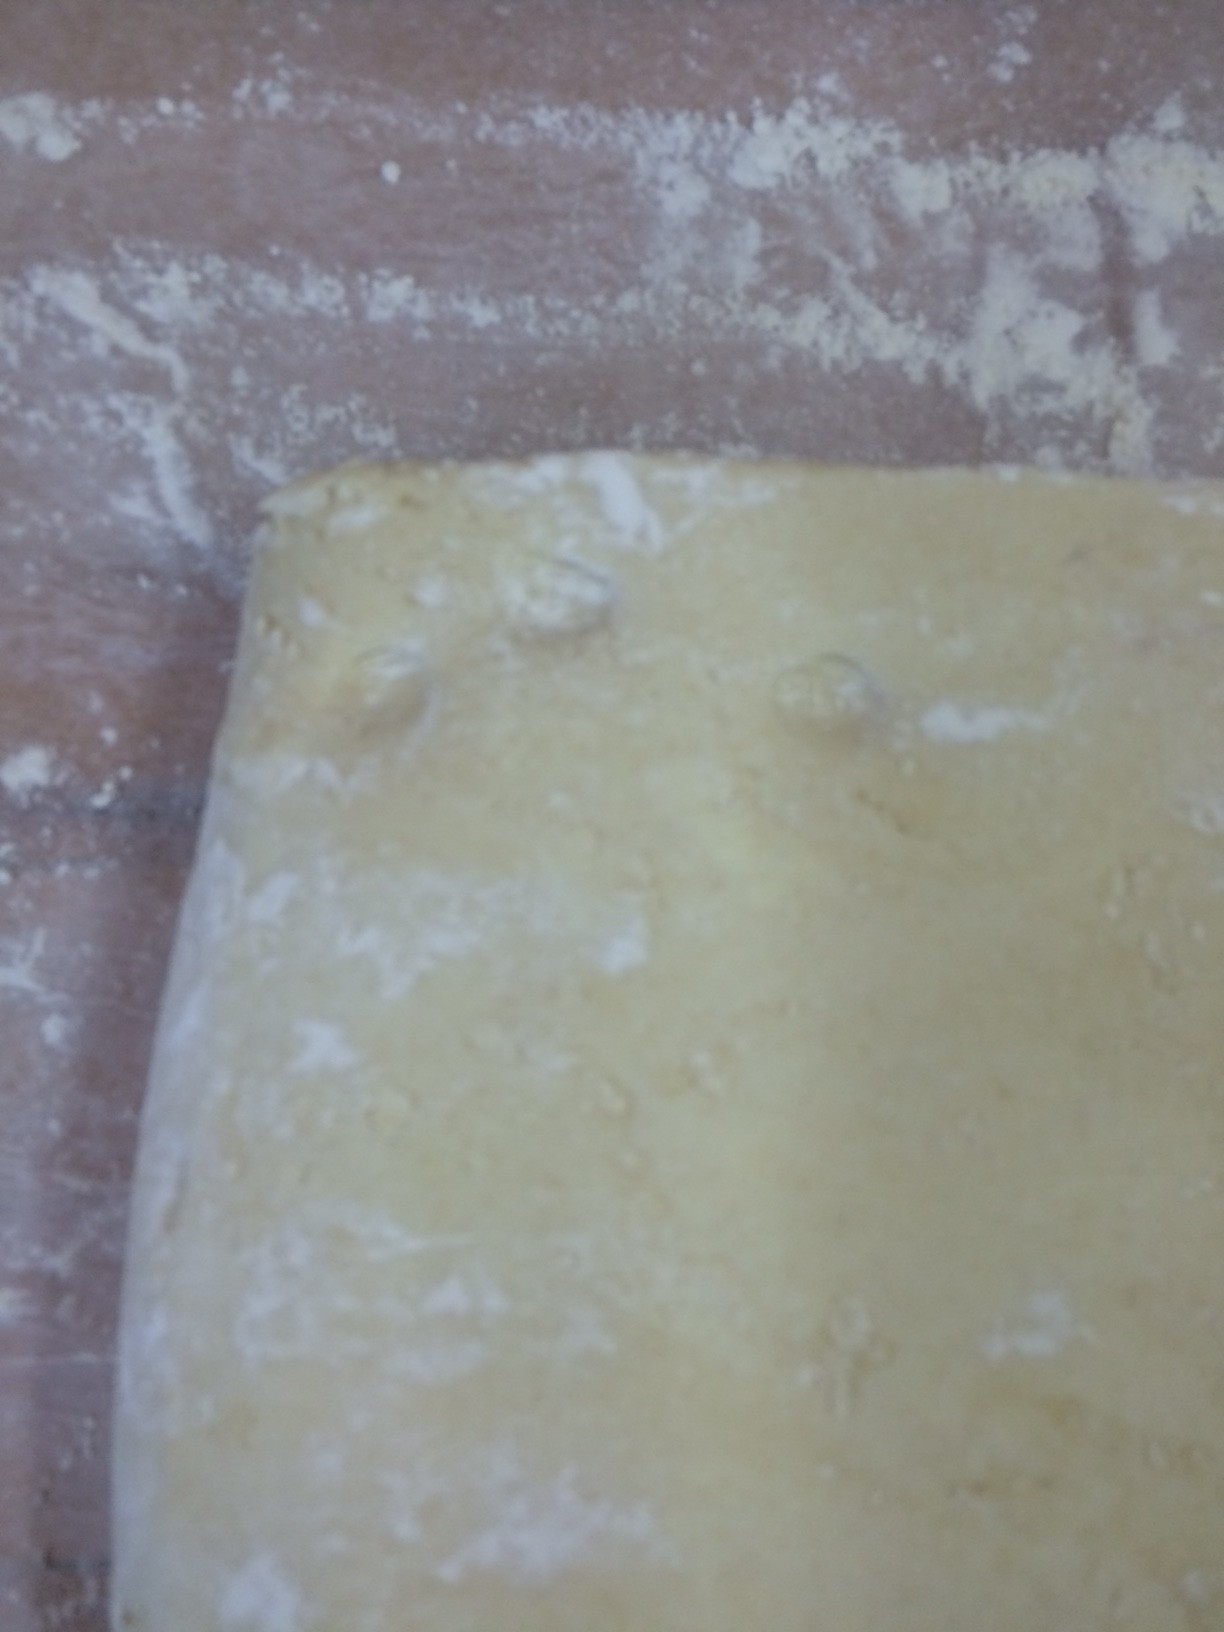
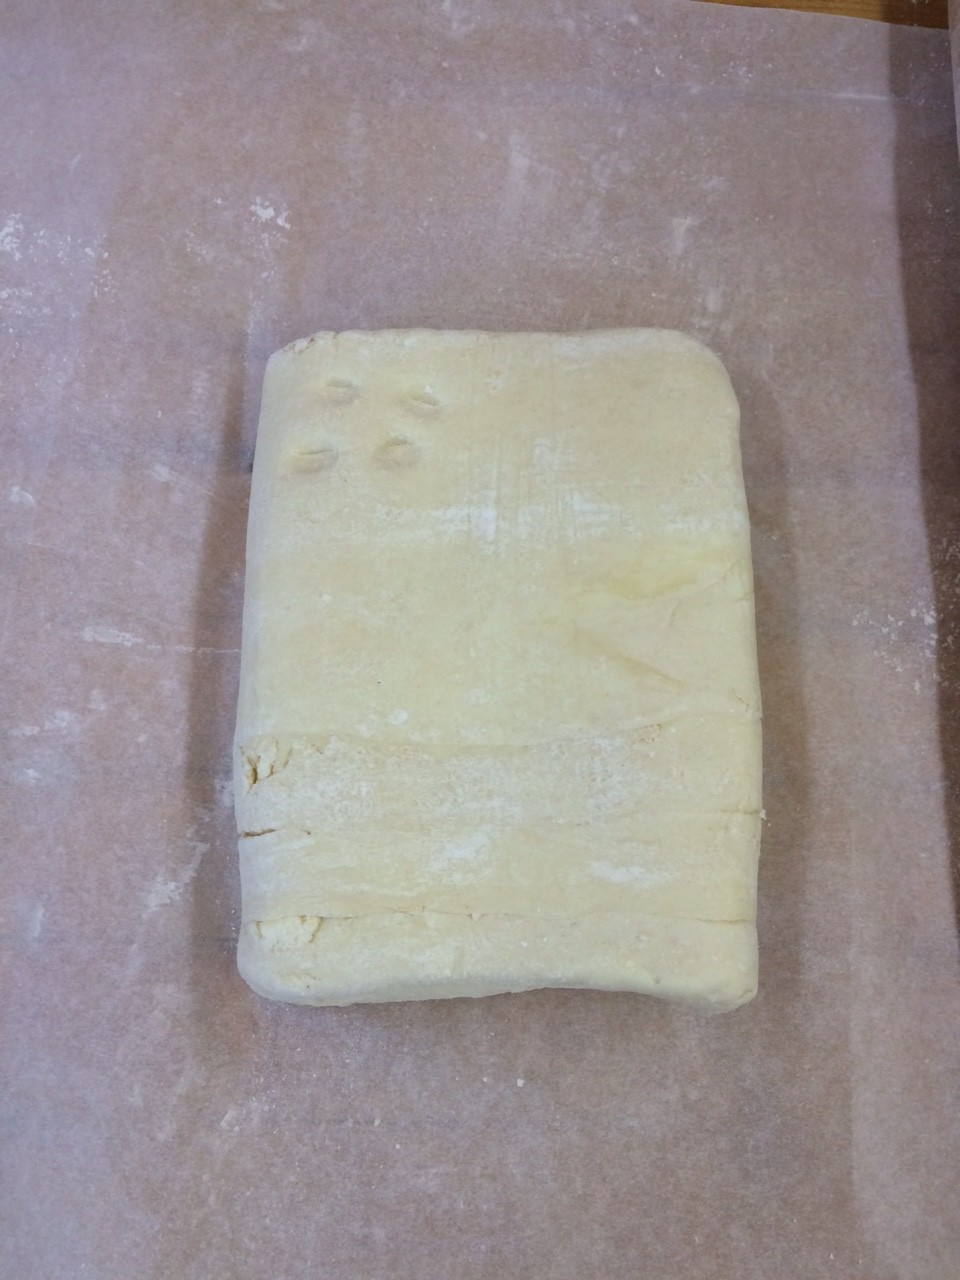
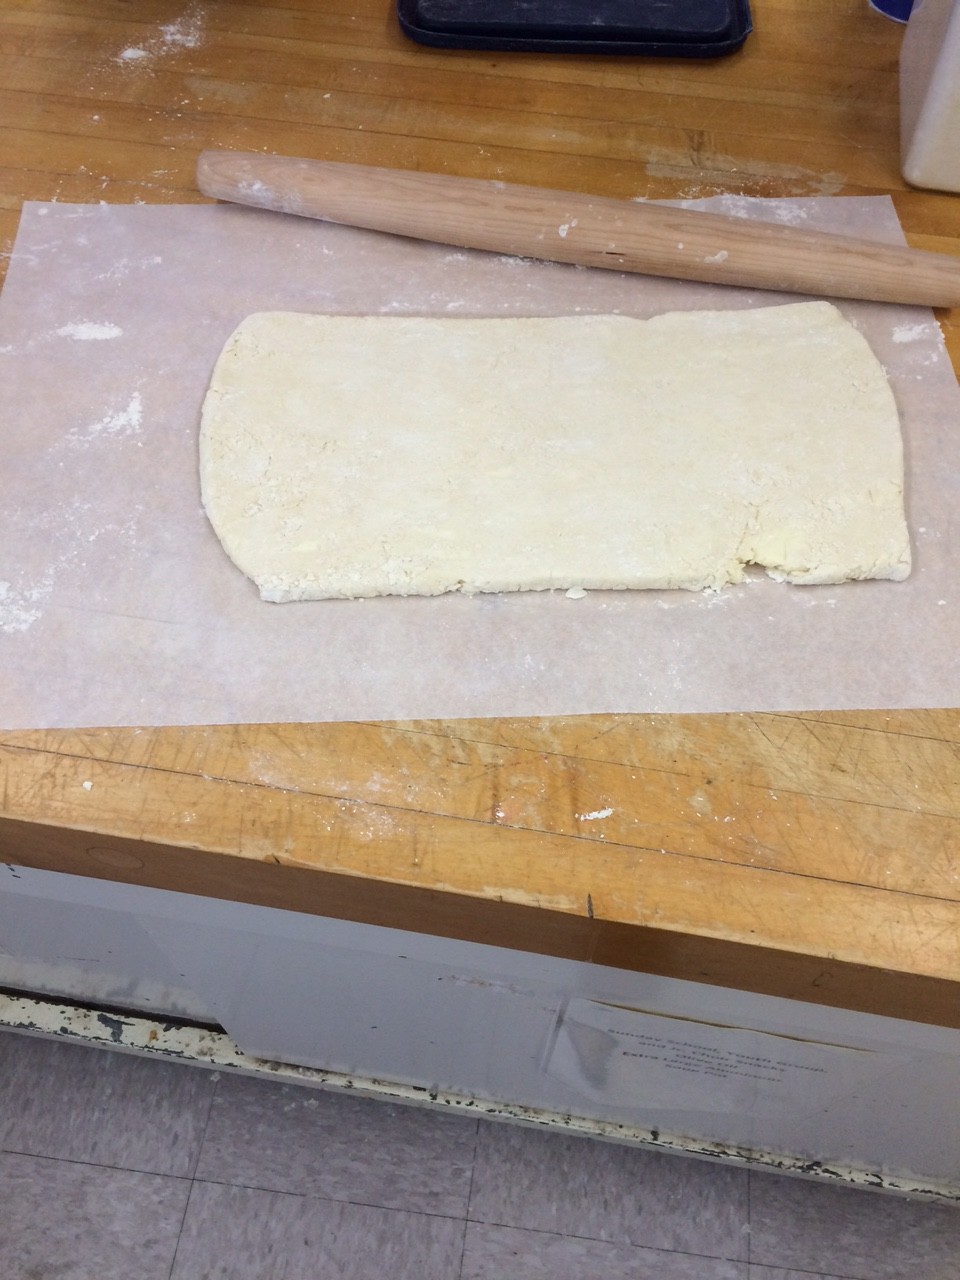
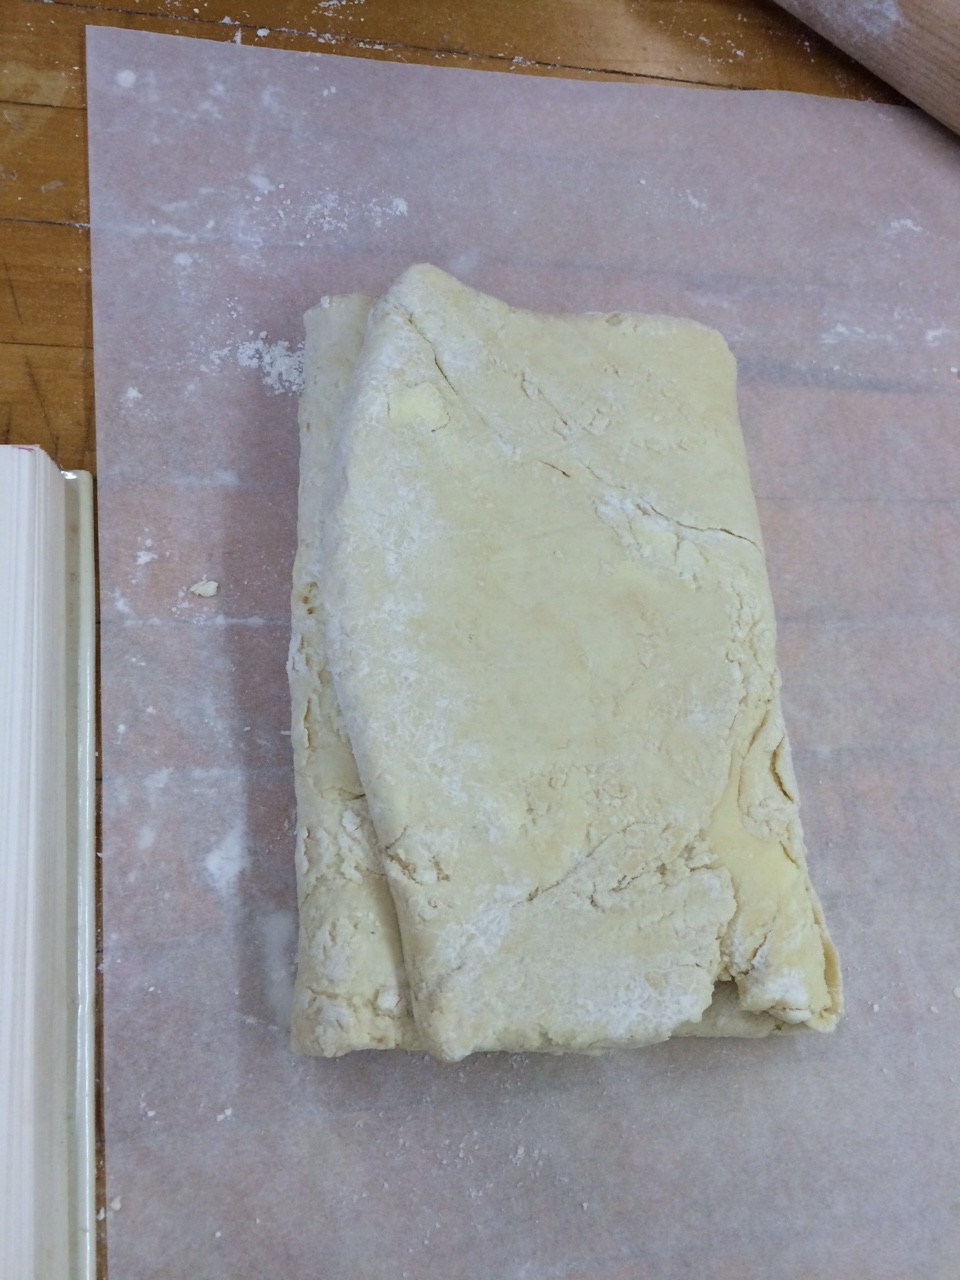
But I did it so I guess I will outline the key steps. First, you must make a what is essentially a basic all-butter pastry, which you then wrap, like wrapping paper, around a slab of butter that had been mixed with a smidge of flour. Then, you roll it out into a rectangle that is precisely 6in x 15in x 1in, fold it in thirds like an envelope, orient it so the top is the unfolded side with the flap oriented to the right, and then you mark it with a finger print for every turn of the pastry you have done. You do this 6 times. Chilling for 25 minutes in between each step.
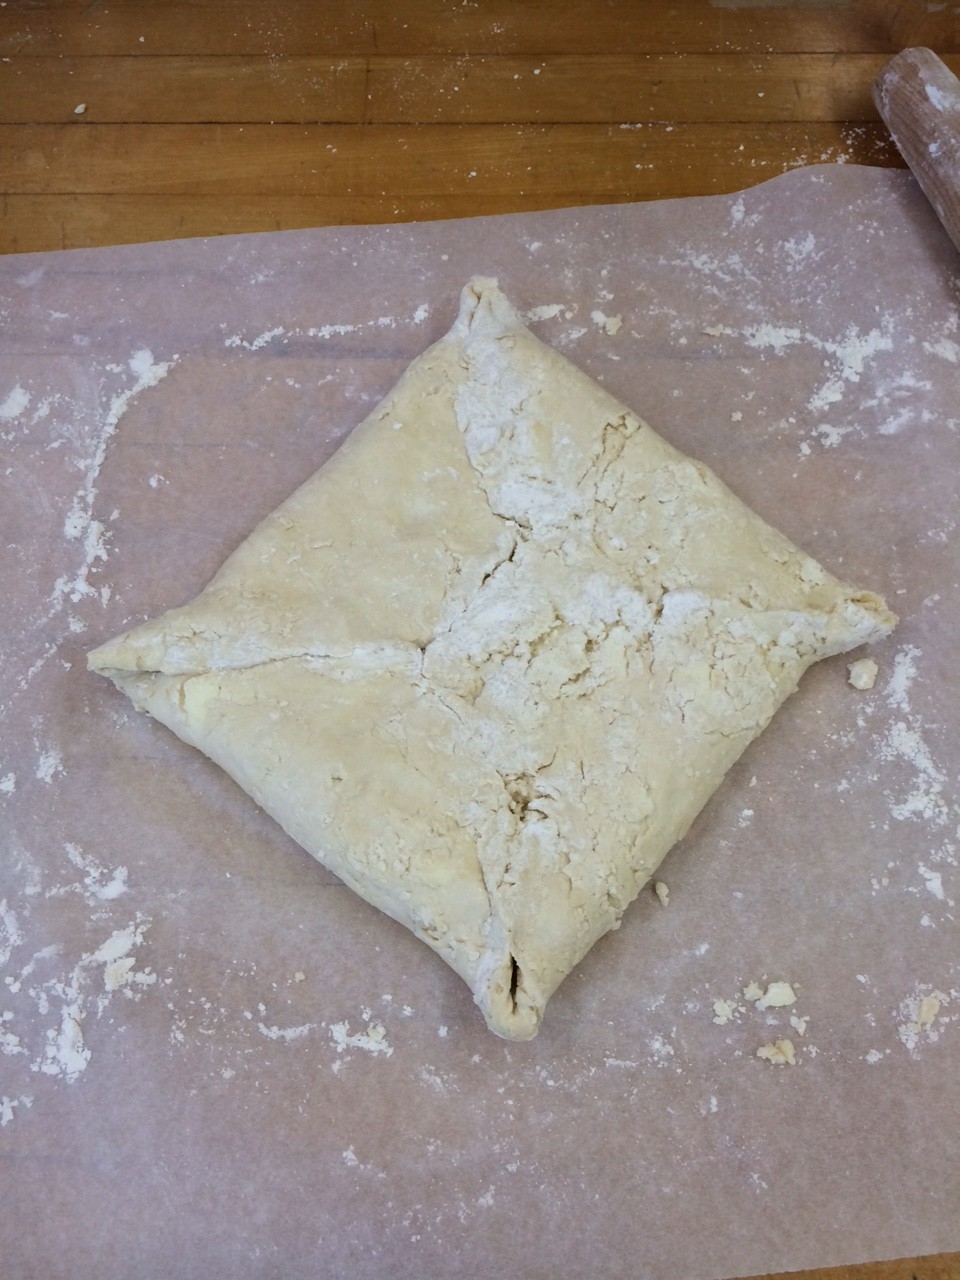
pastry wrapped butter present
pastry wrapped butter present

then you roll it out
then you roll it out

fold in thirds
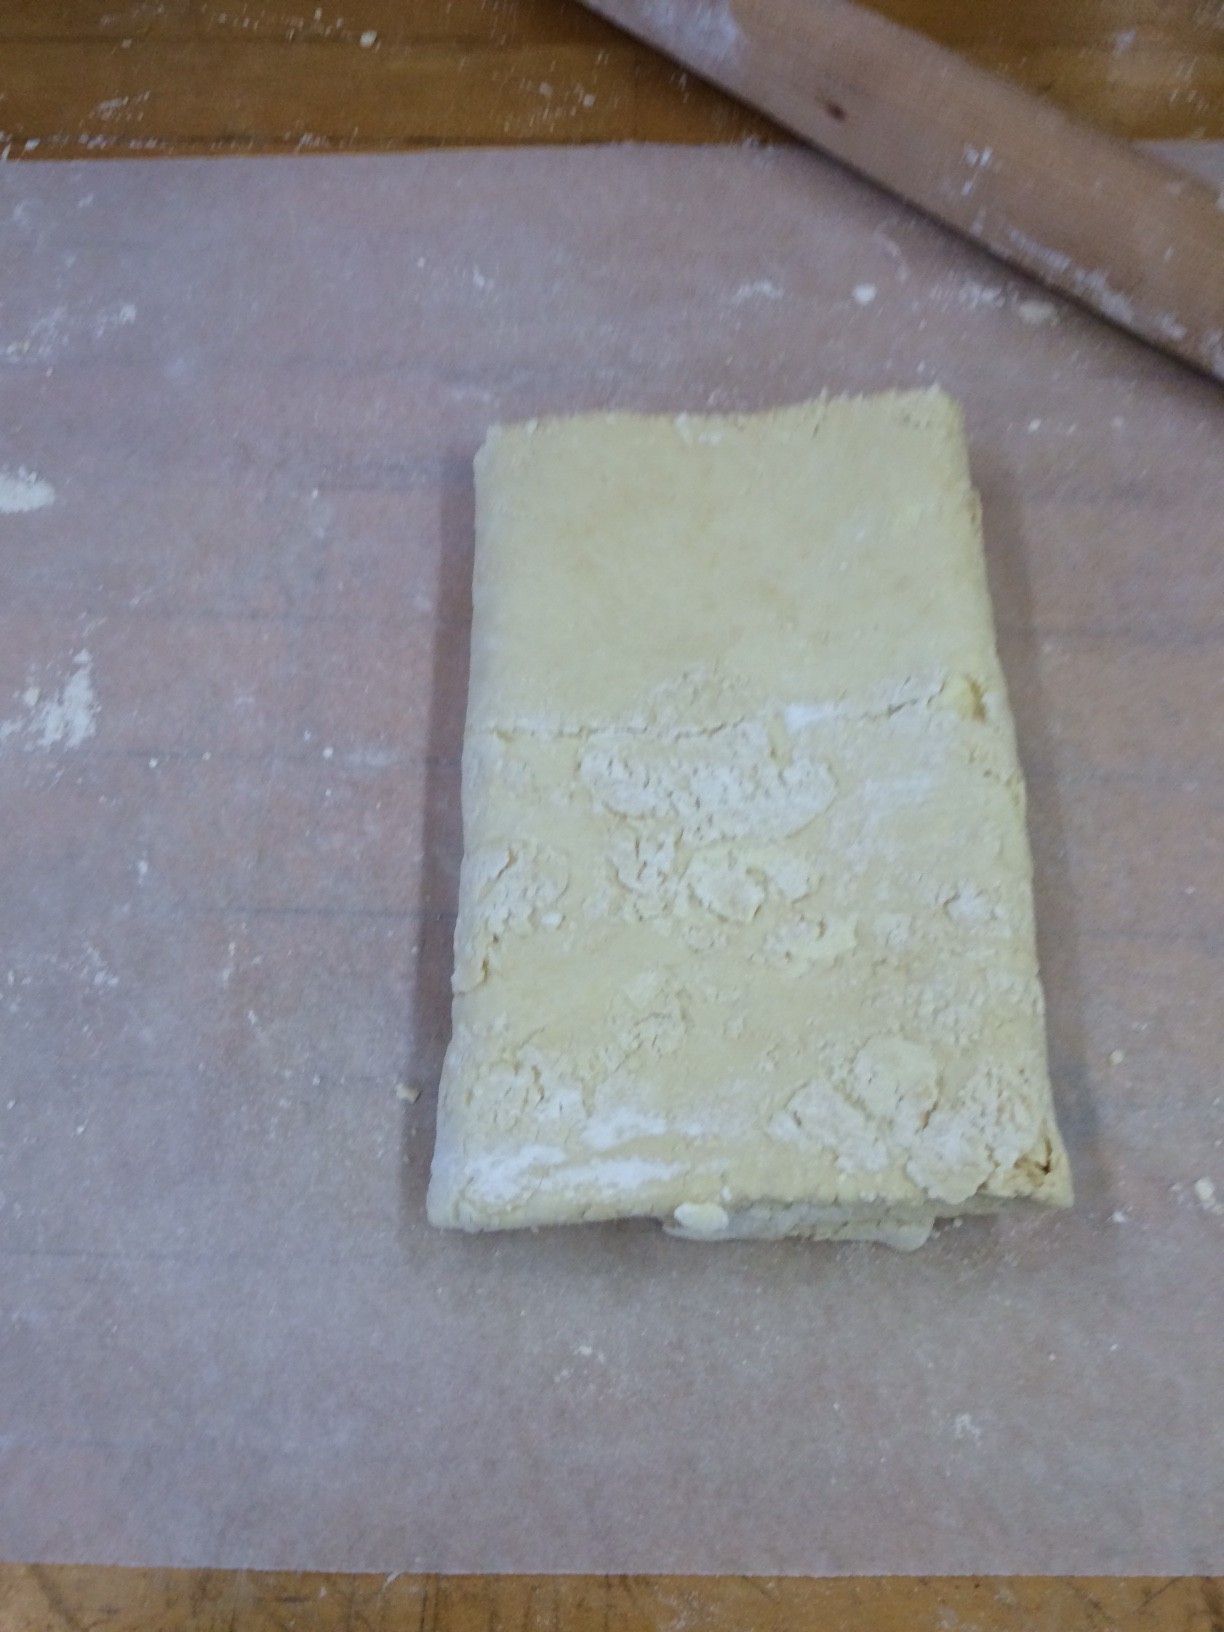
fold in thirds

flip it

flip it

mark it with your finger

mark it with your finger

and then

and then

do it again

do it again

and again

and again

and again

and again

until you have six dots

until you have six dots

And there you have it, puff pastry. In four short hours!

So the puff pastry was done and the next obstacle was tackling the filling of the pie, I approached it very methodically, setting out all my ingredients cooking-show-style in bowls before I began.
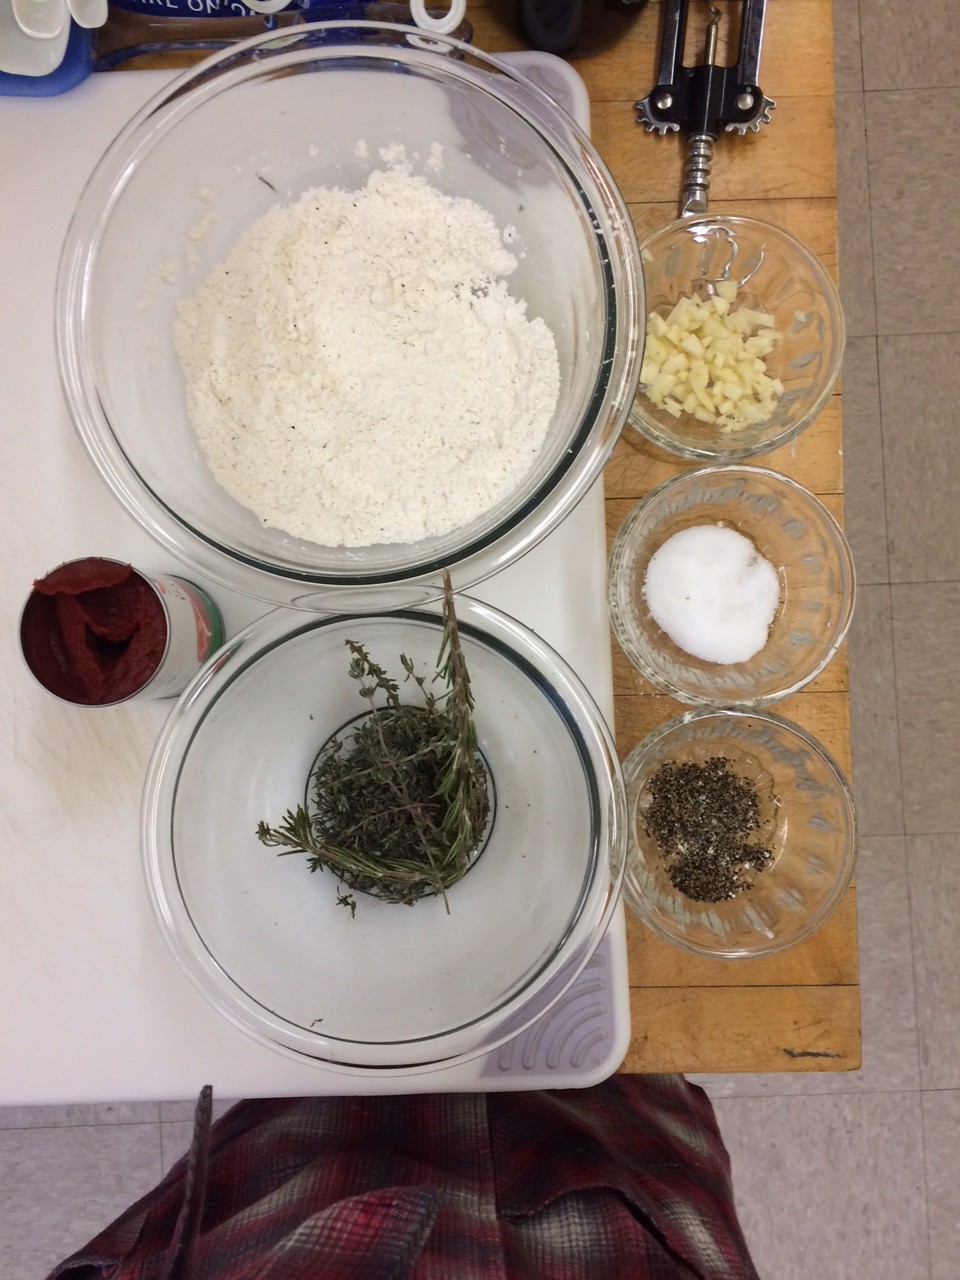
So organized

So organized

in the end the recipe I had ended up being very easy to follow, the only challenge was again how long it took. I began prep at 9am started cooking at 10 am, but didn’t officially take things off the burner until 2:30pm!
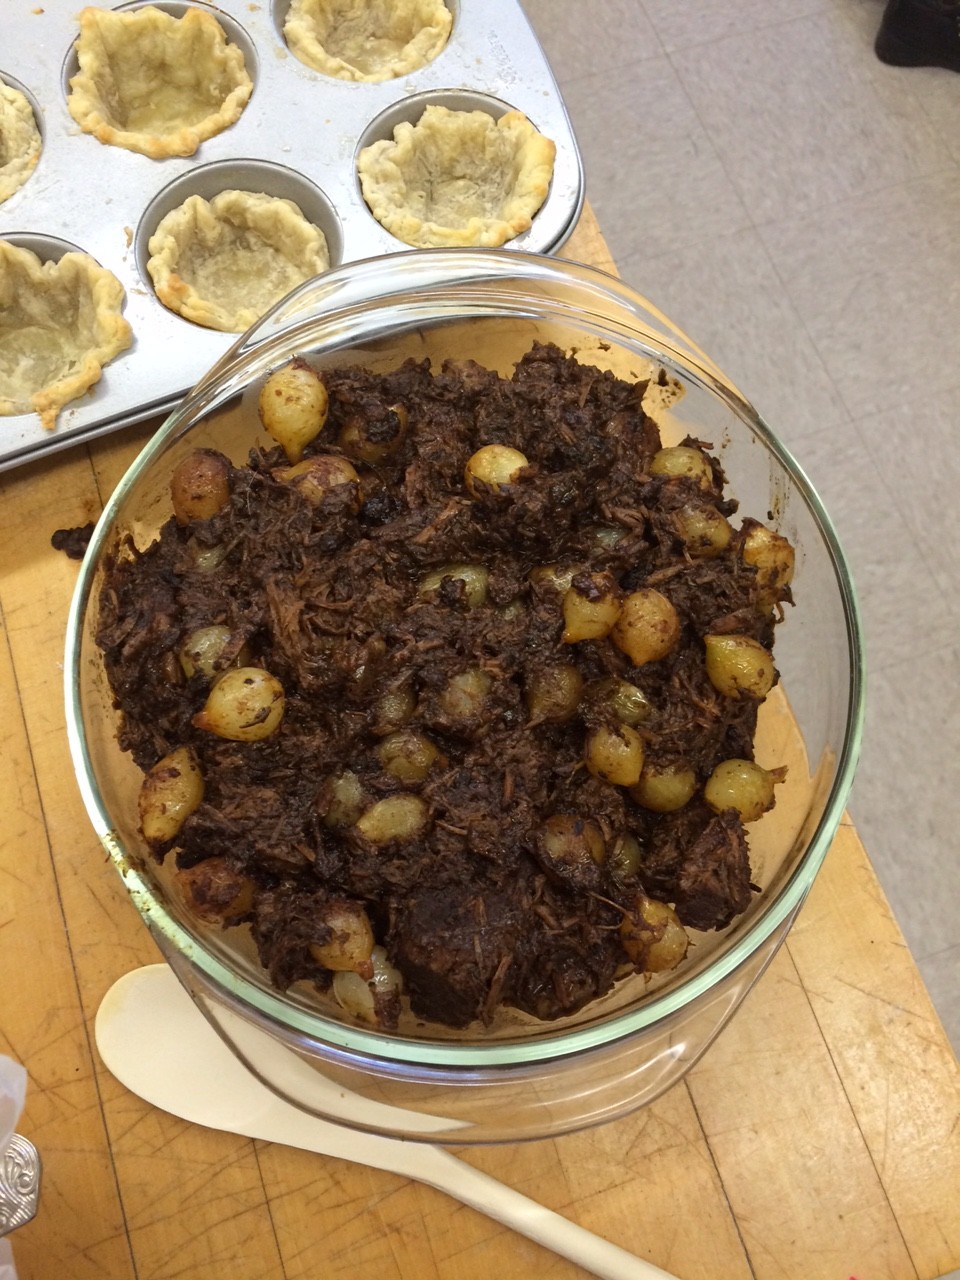
the final product of 5.5 hours of cooking

the final product of 5.5 hours of cooking

Luckily, 3 hours of that time was just letting it sit in a pot doing its thing. So while that was happening I made the bottom shell for my chocolate lava mini pies (featured in the background of the above photo), and I mixed the filling. The shells for these pies were the first time I have to blind bake a pie crust, so that was a fun adventure.
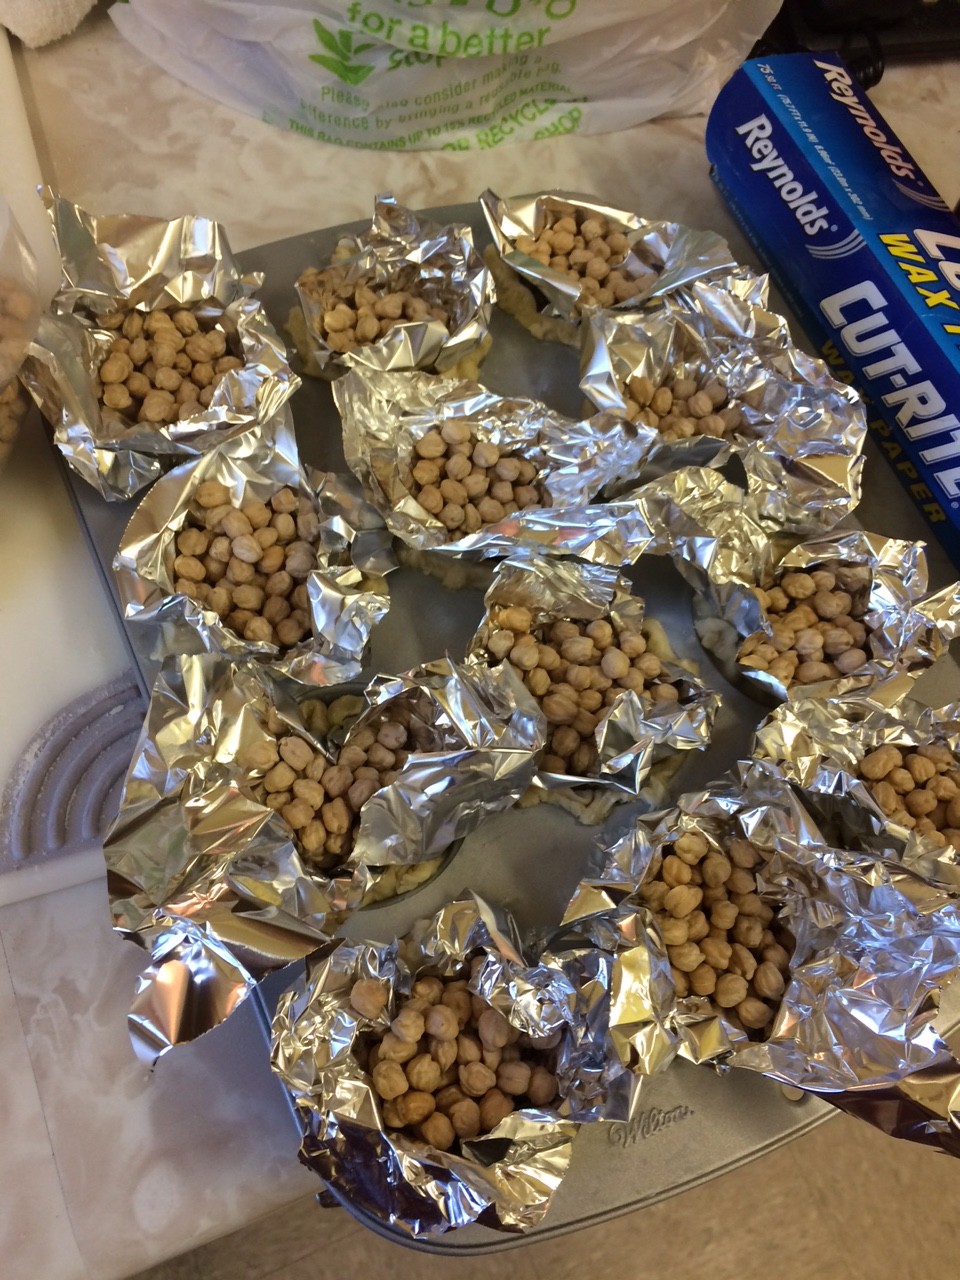
So much tin foil!

So much tin foil!

The only regret I had was buttering the muffin cups. I was really concerned about it sticking, but since the pastry already had so much butter in it, I got little buttery pools in the bottom of my cups that I had to wipe up. Aside from that my first attempt at blind baking was okay.
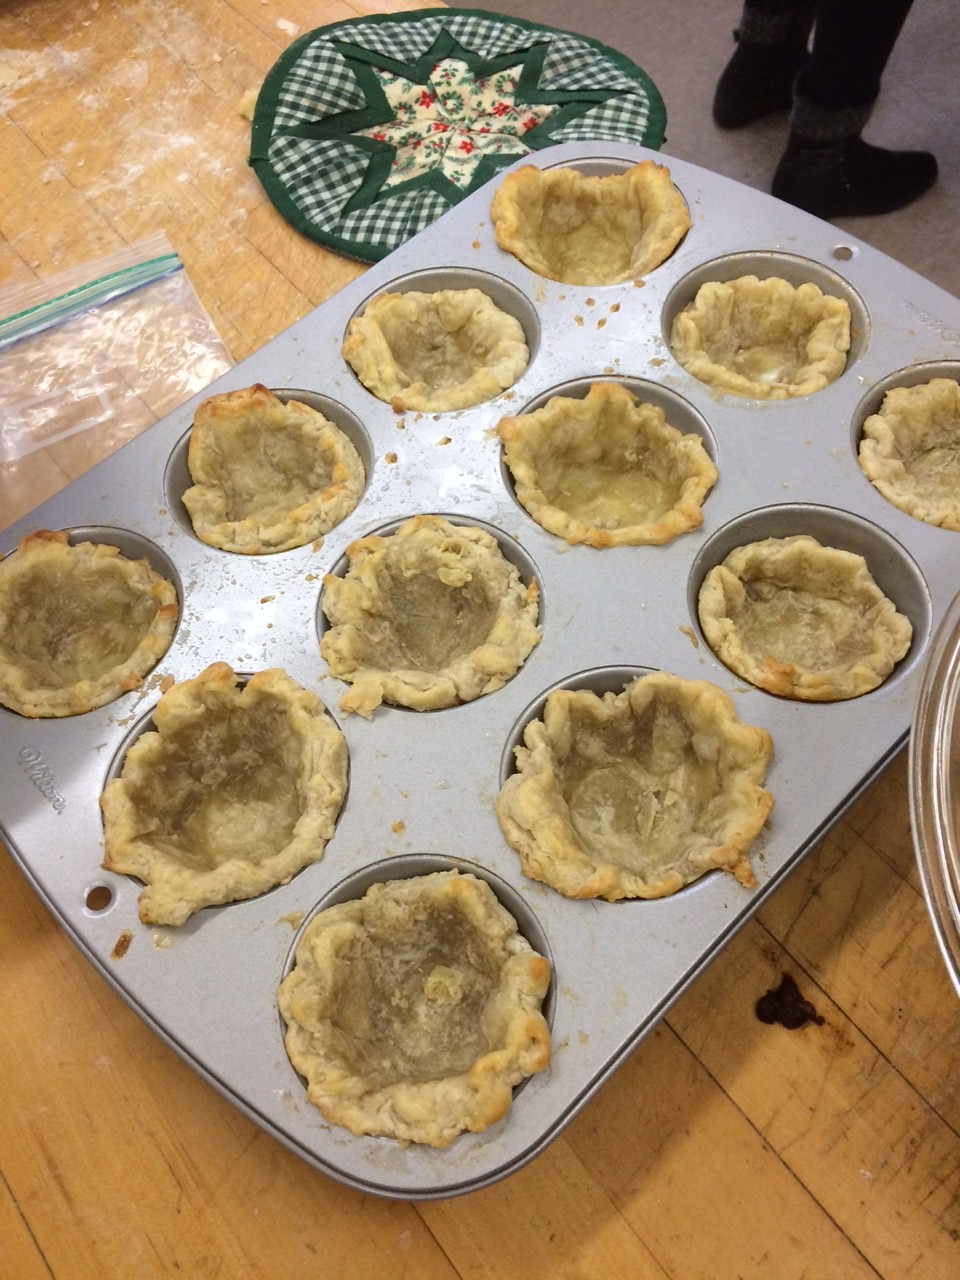
Pretty okay

Pretty okay

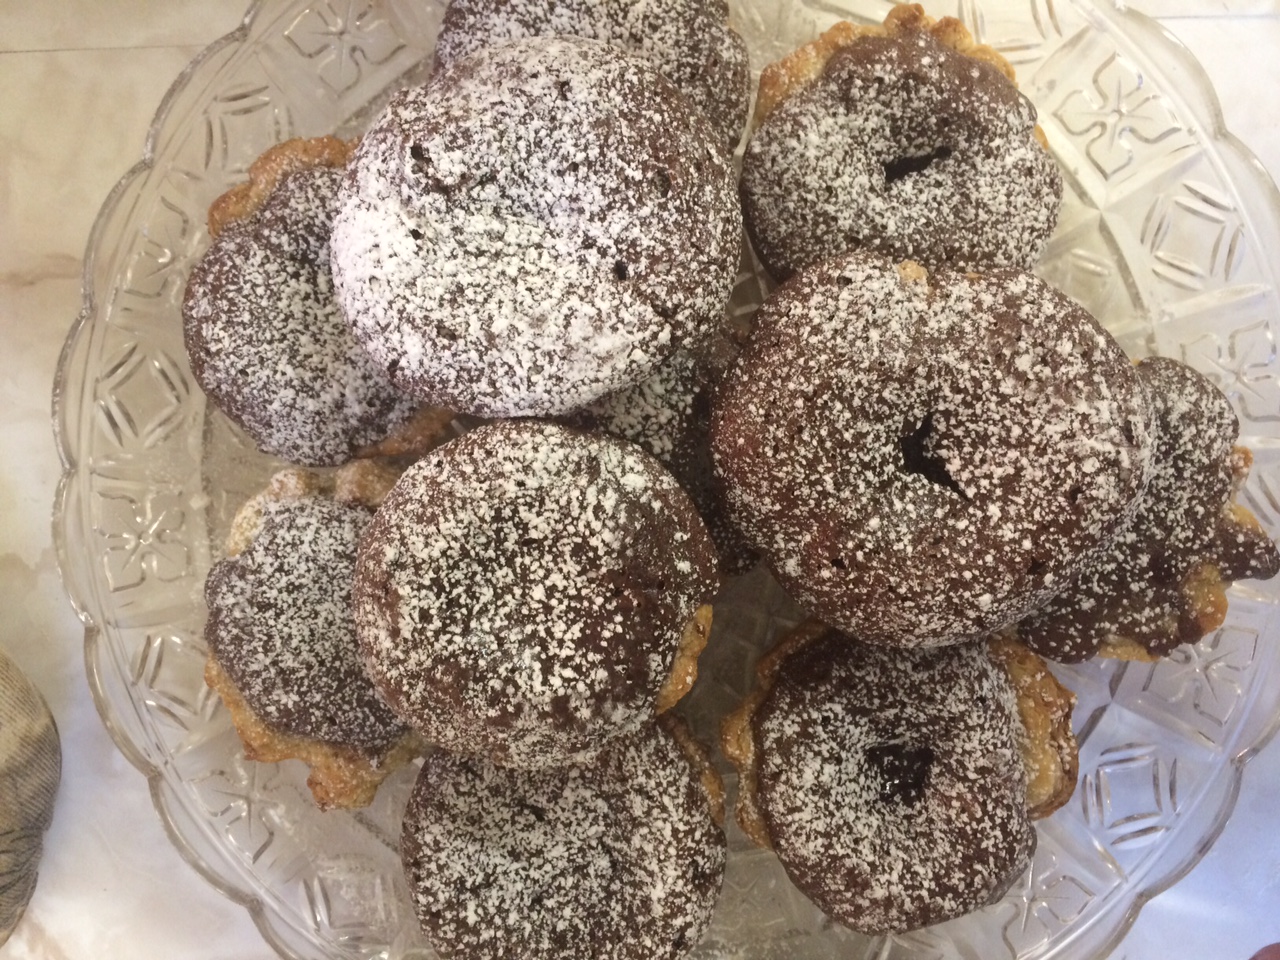
I set about doing all of this the first day of cooking, and the next I did a test lava cake, along with the real batch, and assembled and baked my pot pie. The lava cake pies were the major concern as I knew I could make pie and I knew I could make cake, but could I make the lava flow. In the end it was a lot of guess work. I found a recipe for a chocolate lava pie, but this was a whole pie not mini ones so any questions about timing were up in the air. In the end I just had to do a lot of checking, like every 3 minutes, but…..
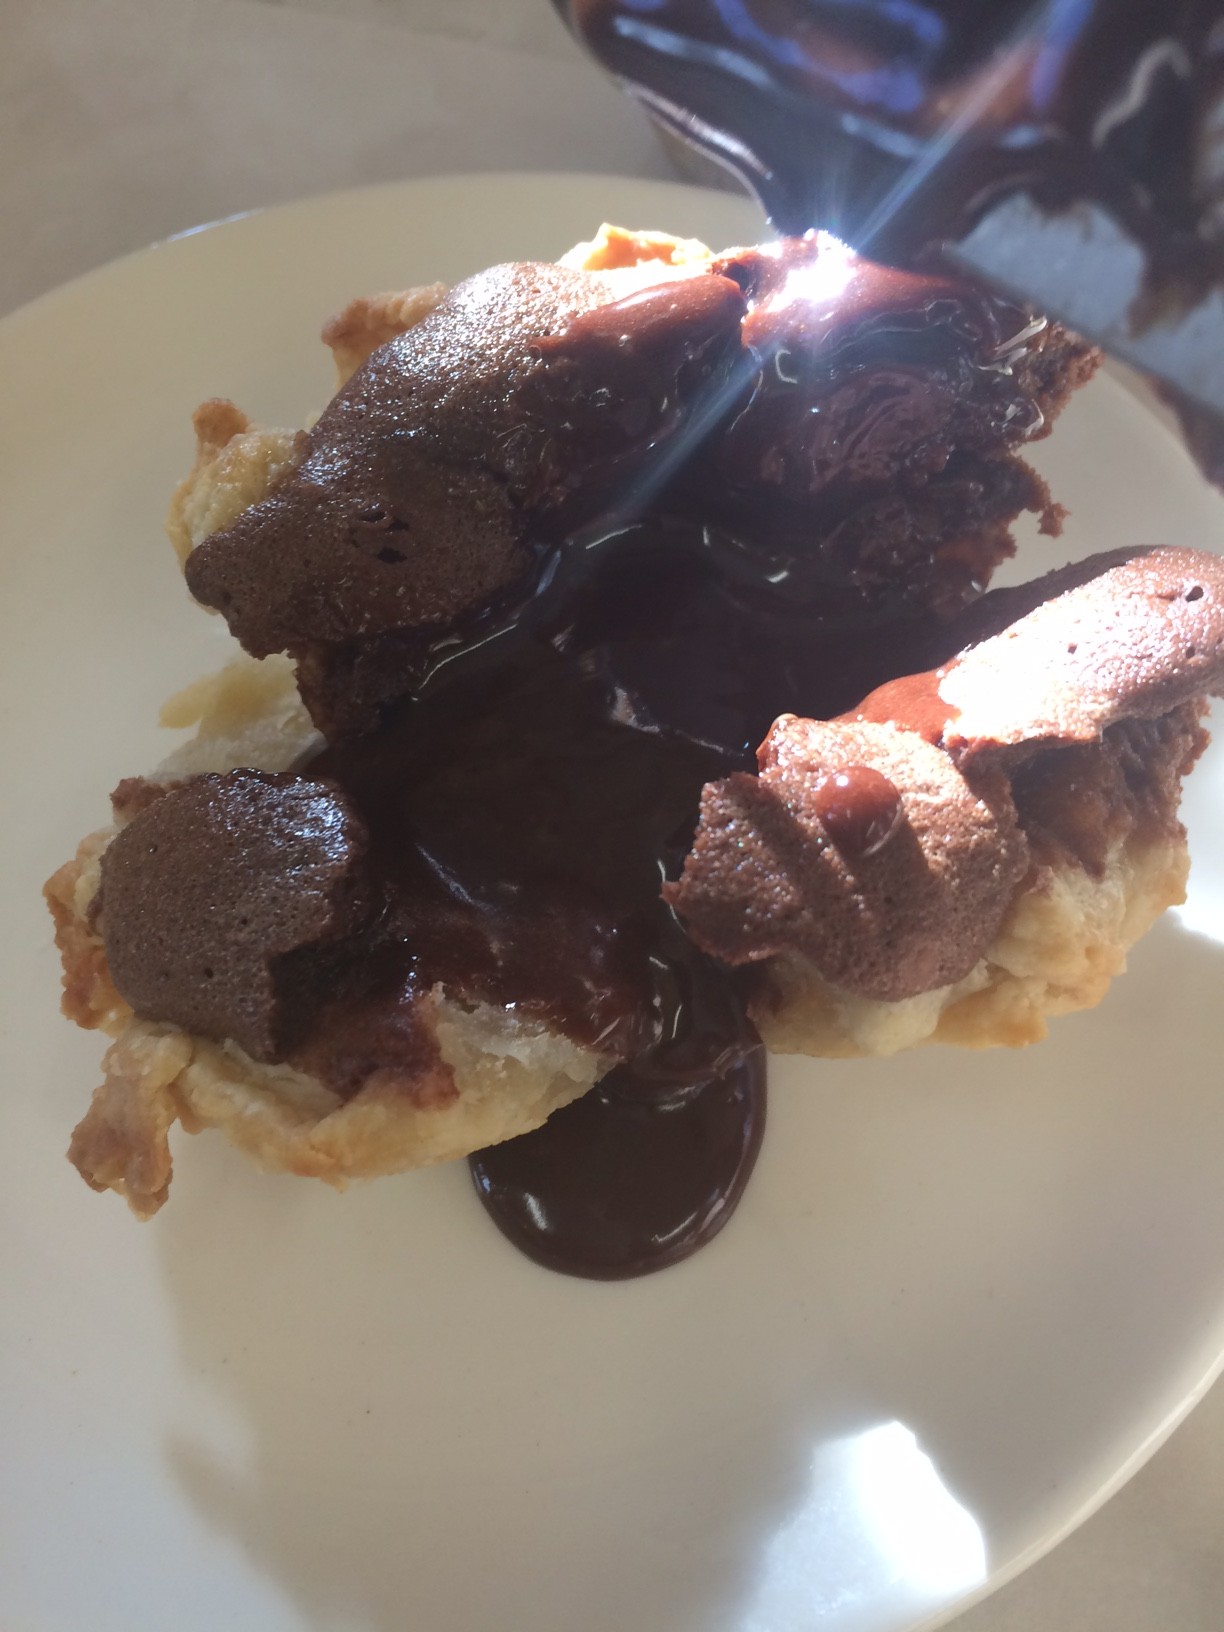
IT WORKED!

IT WORKED!

and so I made the rest!

IMG_1459

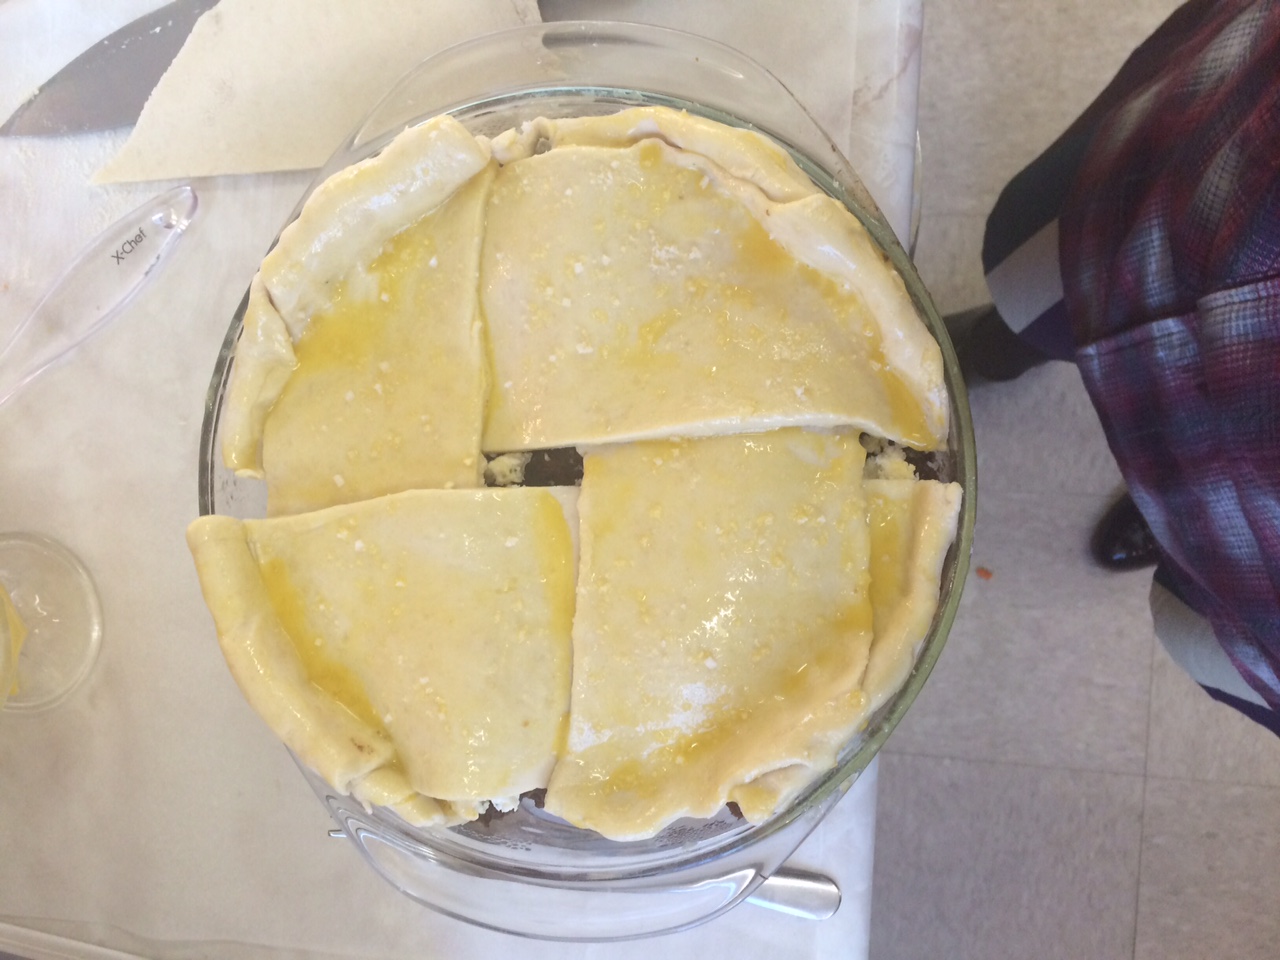
Then came assembling the pot pie. Last minute I decided to add some Boursin cheese into the pie because I felt it was a little to wine-y tasting and I thought it would mellow that out some. I also decided to go with a lattice crust because I hadn’t done that yet, but because I was concerned about how the puff pastry would puff I made a wider lattice, a very wide lattice.
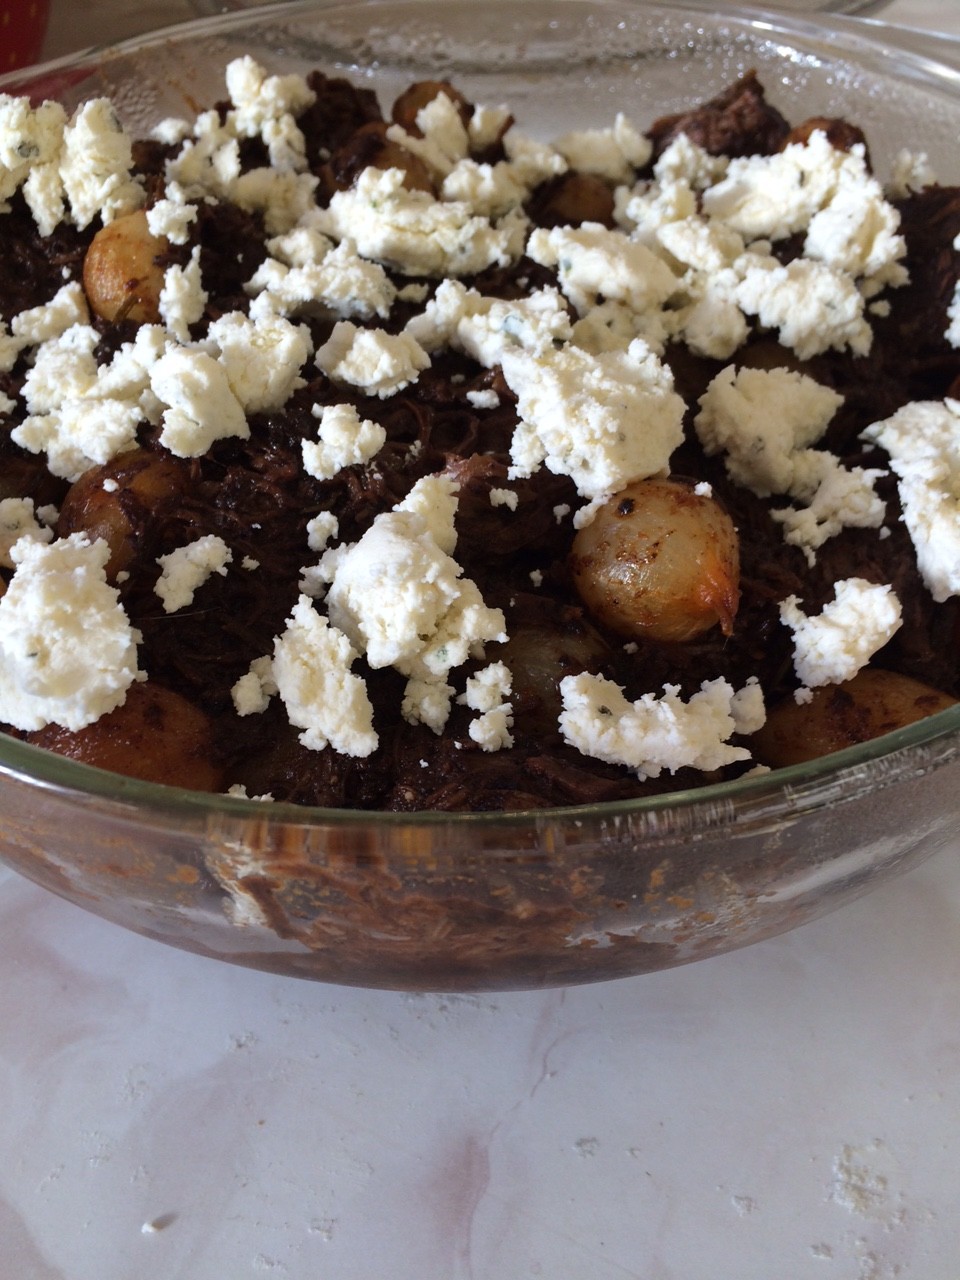
mmmmm cheese
mmmmm cheese

I'm not even sure we can call this a lattice
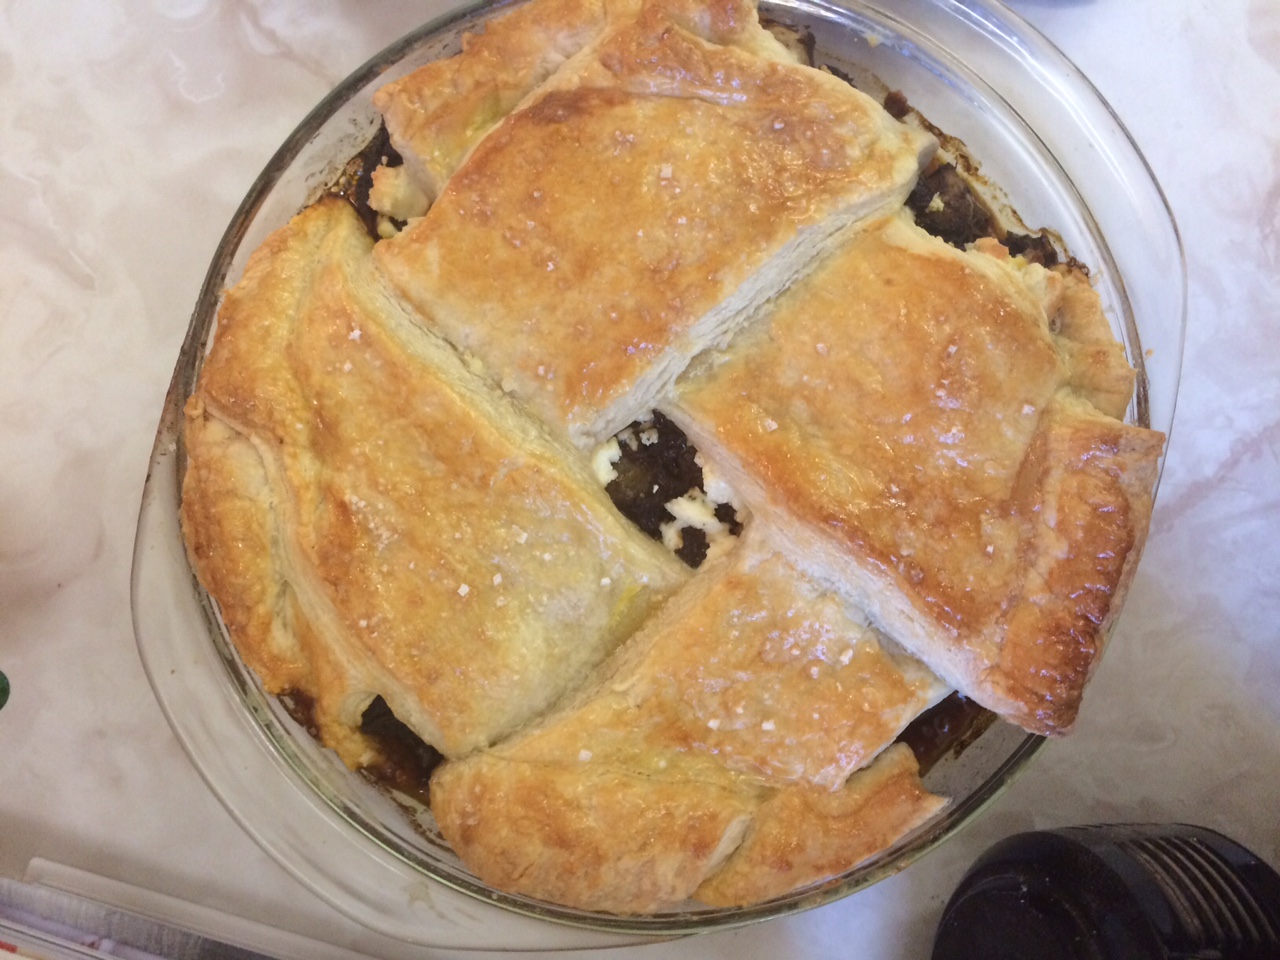
I’m not even sure we can call this a lattice

The finished pie!

The finished pie!

So that’s it! I made my pies. Unfortunately the time between the lava pies coming out of the oven and there being consumed was a tad longer than expected, so the lava didn’t happen, but all of them were eaten in the end, so apparently they were good. The pot pie was successful as well, as the cheese worked as planned.

I definitely learned a lot over these past few weeks. I can make pie crust and not just on kind. I can make it with cream cheese, canola oil, just butter, butter and shortening, and I can make puff pastry. I can make sweet pies, I can make savory pies, I can make the various things that go into these pies, I can say I have eaten 14 different pies in one sitting, I can boast about being the proud owner of my own Pyrex mixing bowls, I know more than the average person about the history of pie, I am now a fan of The Great British Bake Off. I can say I can make a pretty tasty pie, and I can say I learned a valuable skill.
Oh My, Apple Pie!

In the past three week no one had made an apple pie. I don’t know about you, but when I think of pie, apple is always  the one I think of first. Its the only pie dinning services makes with somewhat regularity. It is what various things are as “American as”. It is just plain yummy. So think week, when focusing on design I set about creating the perfect apple pie, the one that exists only in my mind, the one that haunts my dreams…

What does this pie look look? Well first of all it is large, it makes a statement walks into the room, just based on its size. Is it truly the epitome of American-ness if it is not large? I think not. This behemoth of an apple pie is glorious and golden, with a great soaring dome packed to the brim with apples. The apples themselves are tender, but still have a bit of a bite. They are cinnamony and sweet and tart all at the same time.

this week I used a combination of this recipe and this recipe and some good `ole gut instincts. It was the gut instincts that lead me to purchase the six pounds of apples for this pie. None of the recipes I found were willing to go this large, but I just felt it just had to be done. This week I also wanted to modify the cream cheese crust I used last week, this time using a slightly sweeter version that had half as much cream cheese.

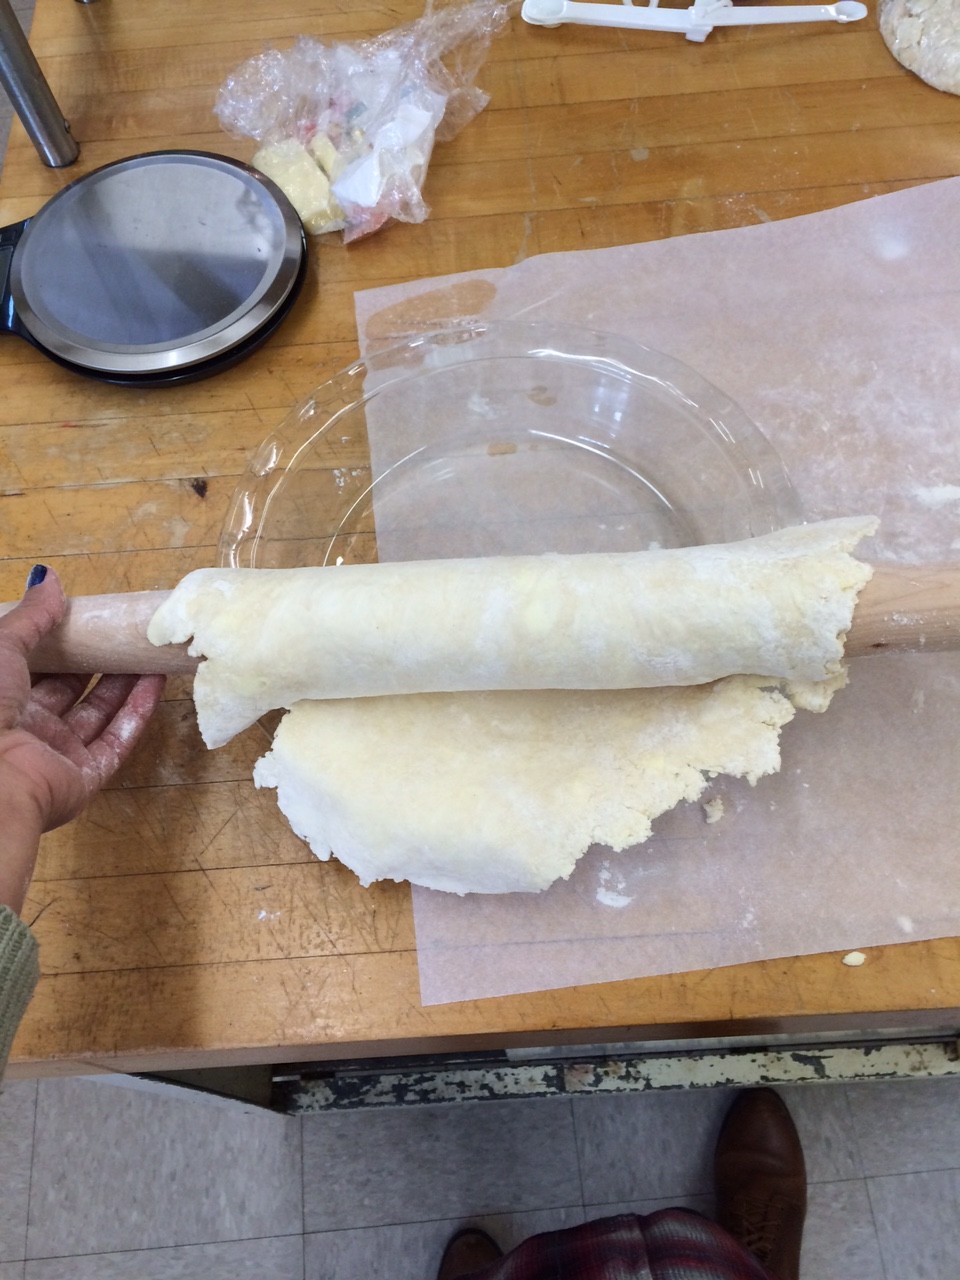
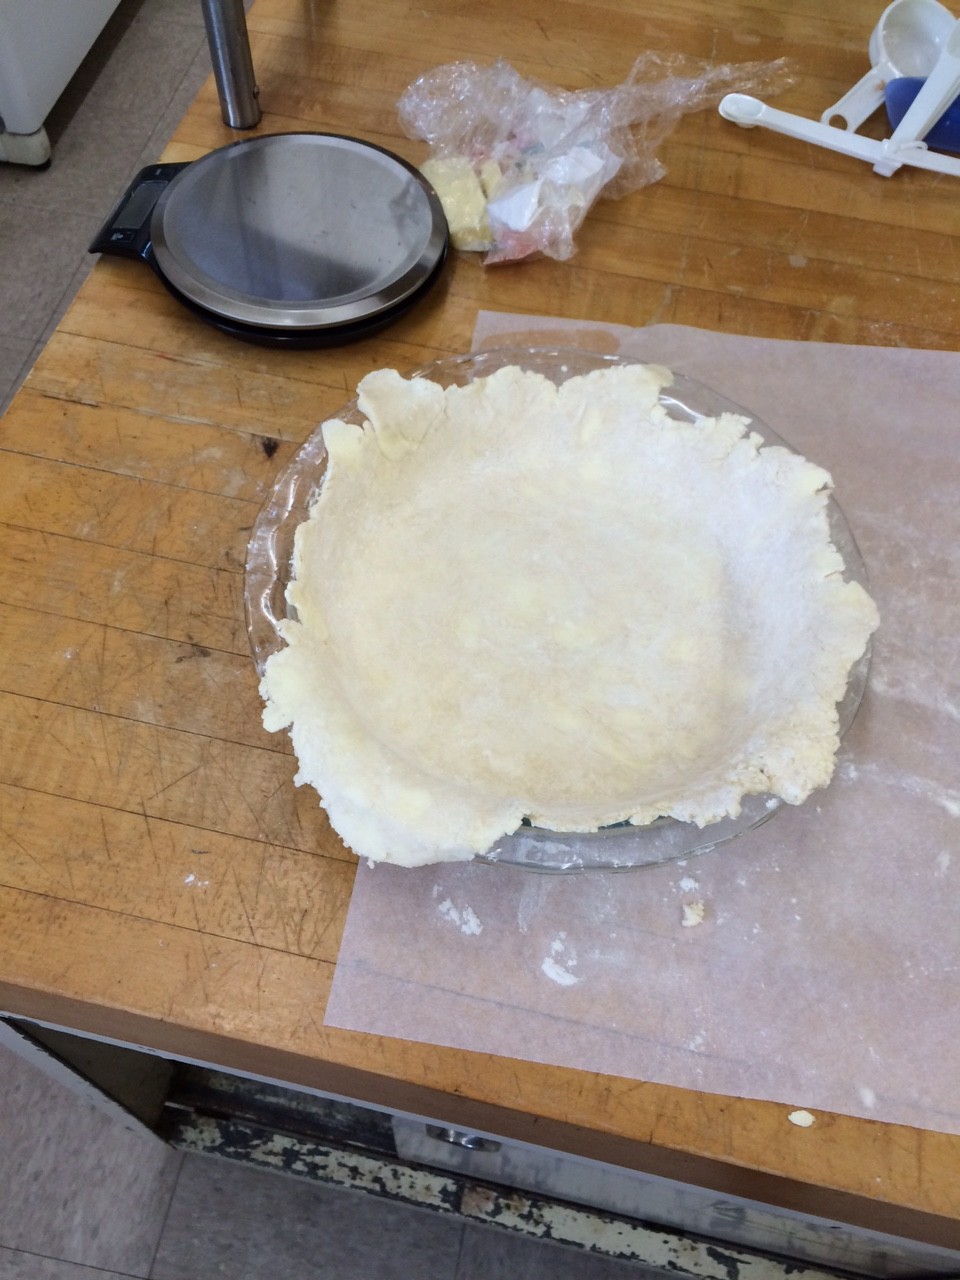
To begin, I set out making the crust. Pretty straight forward. I think I’m getting pretty good at this part.

IMG_1307IMG_1308

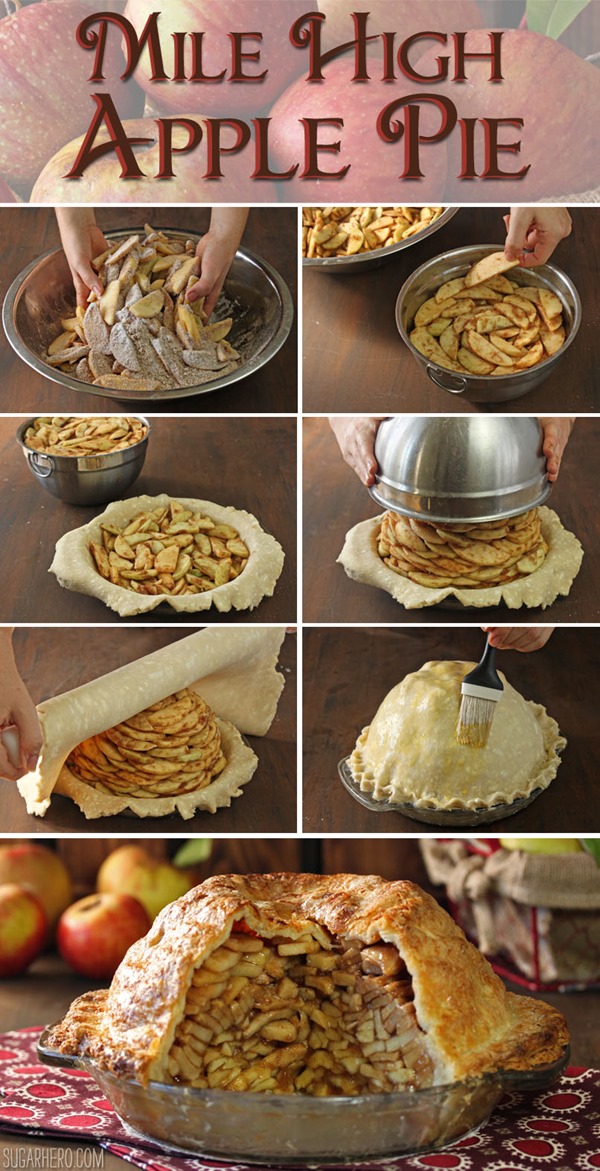
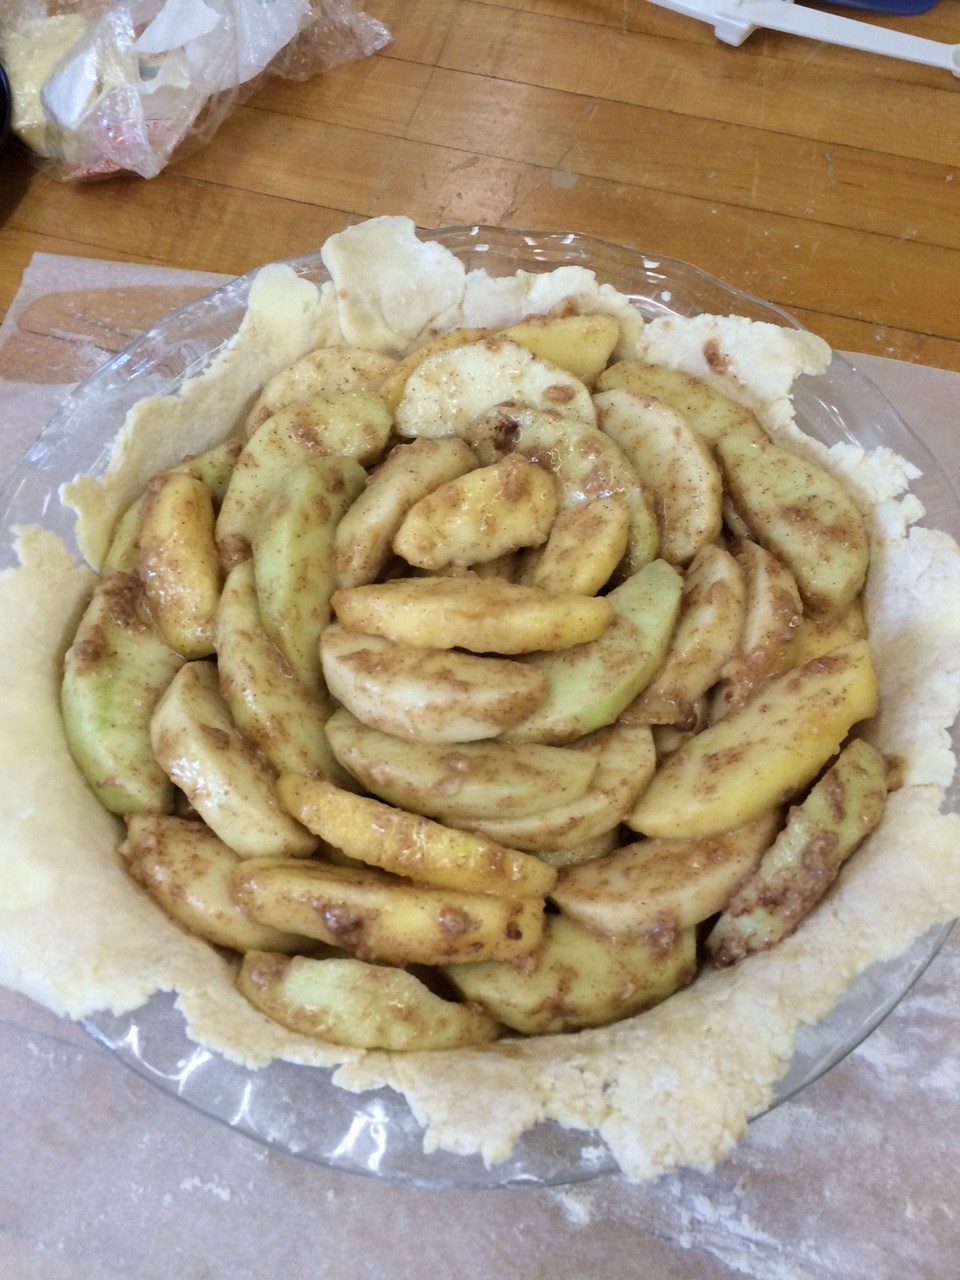
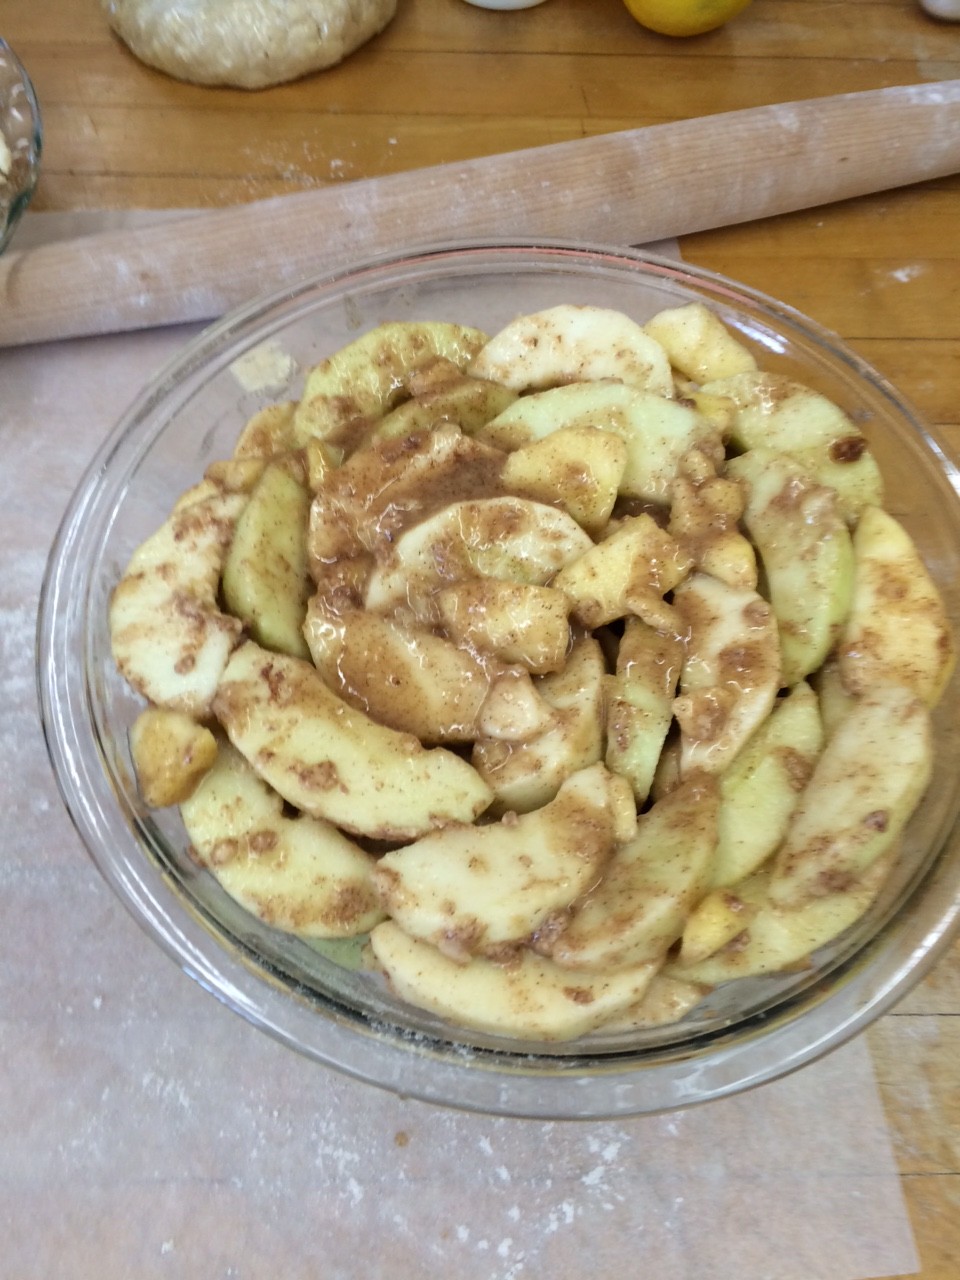
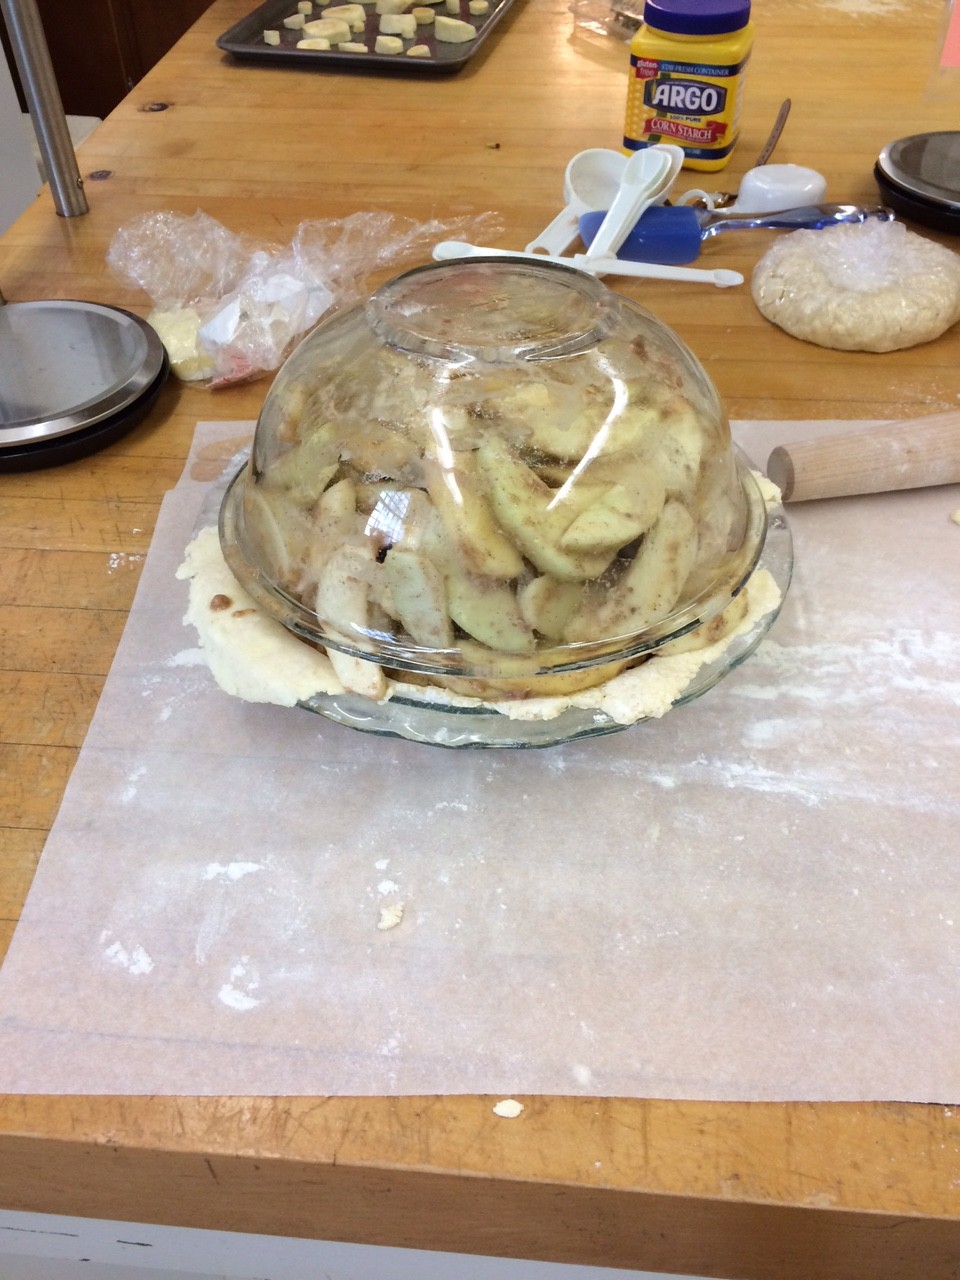
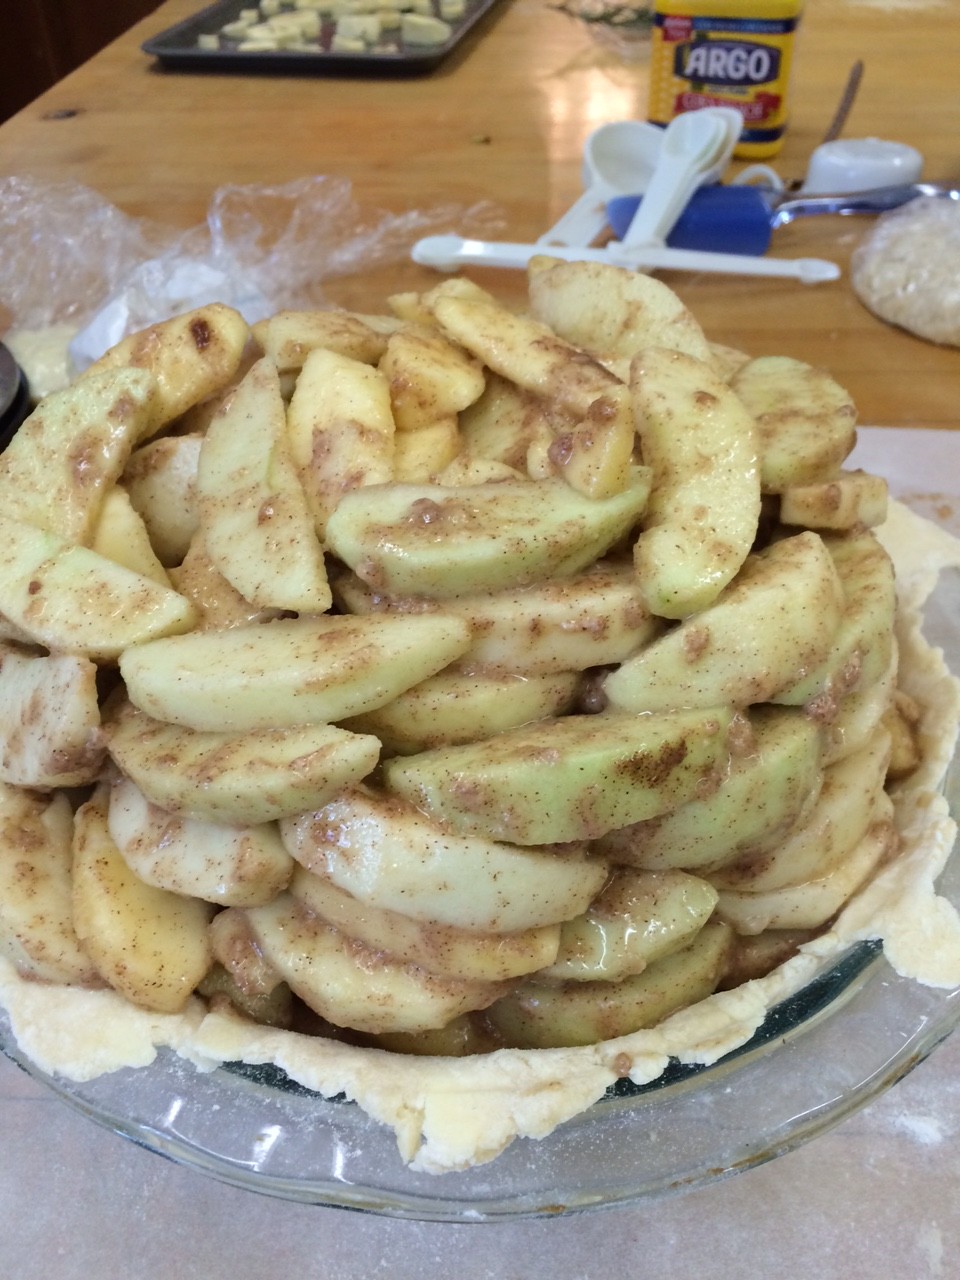
Then I set about peeling, coring, and cutting the six pounds of apples. That part was definitely the most difficult. So many apples. So many. By the end my hands were all pruney from all the apples wet with lemon juice. But I persevered. Mixing the filling was fine. Rolling out the dough was fine. Then the apples became an issue again as I realized I must get them all into this pie. Rather than just tossing them in, I decided it would probably look the best, and fit the most apples, if I carefully shingled them into the pie plate, and then used this seemingly magical trick with a bowl to get the rest of them in, in a perfect dome. The diagram I found to do this made it look super easy, but as I approached the flipping stage all the pinterest fails I had seen started coming to mind.

#GOALS

#GOALS

Base layer of apples

Base layer of apples

Bowl full of apples

Bowl full of apples

Whelp.

Whelp.

In the end it turned out okay. Not as pretty as the picture, but no apples were lost in the process.

Not the best, but not the worst.

Not the best, but not the worst.

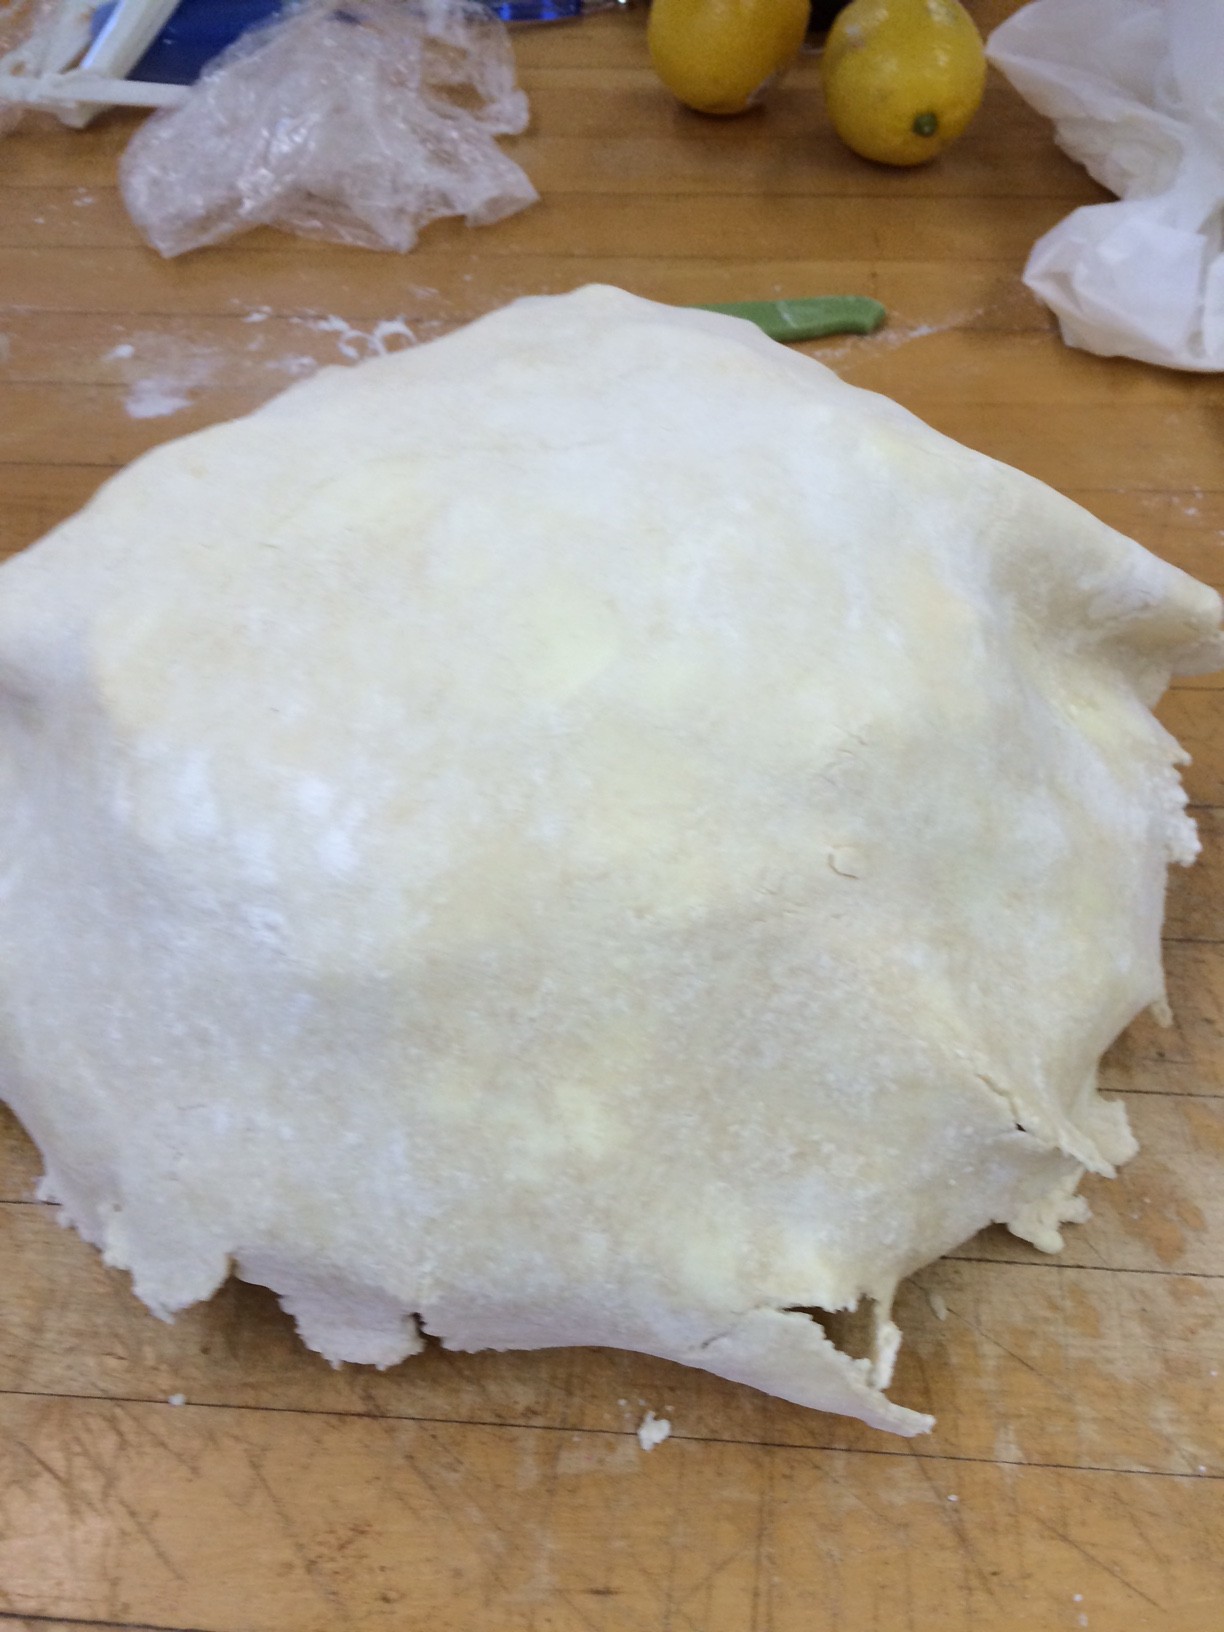
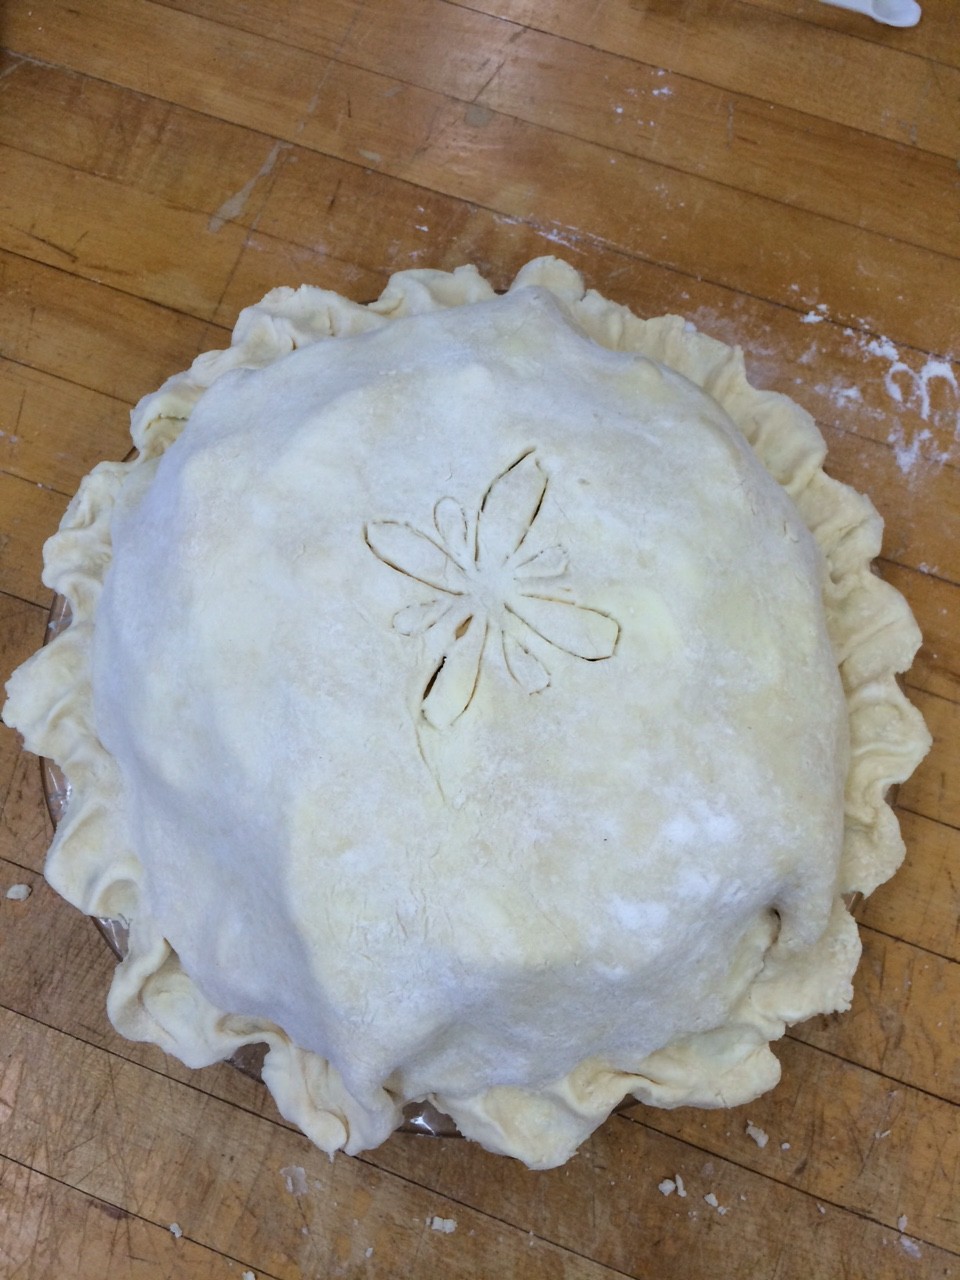
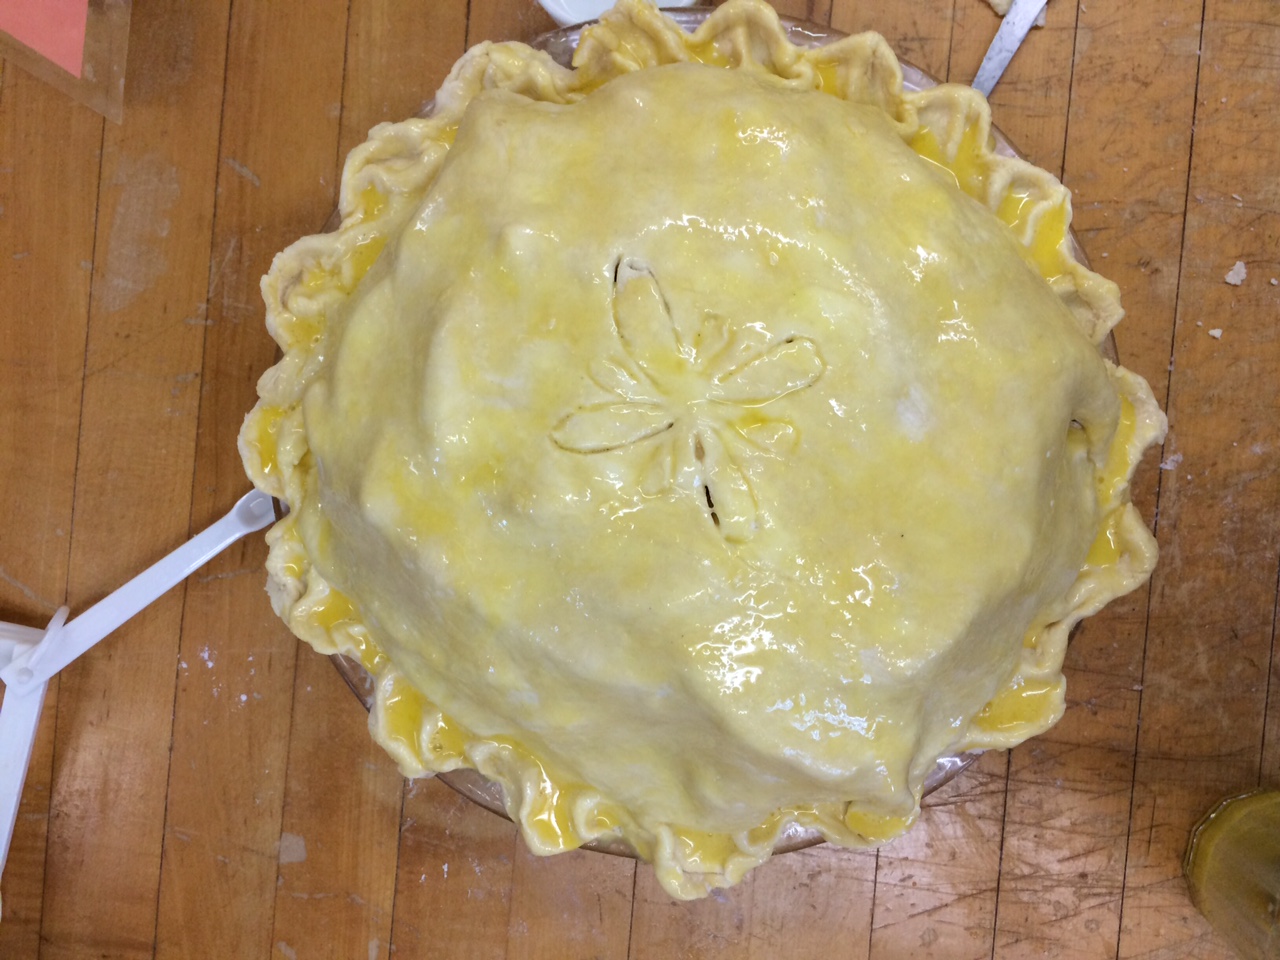
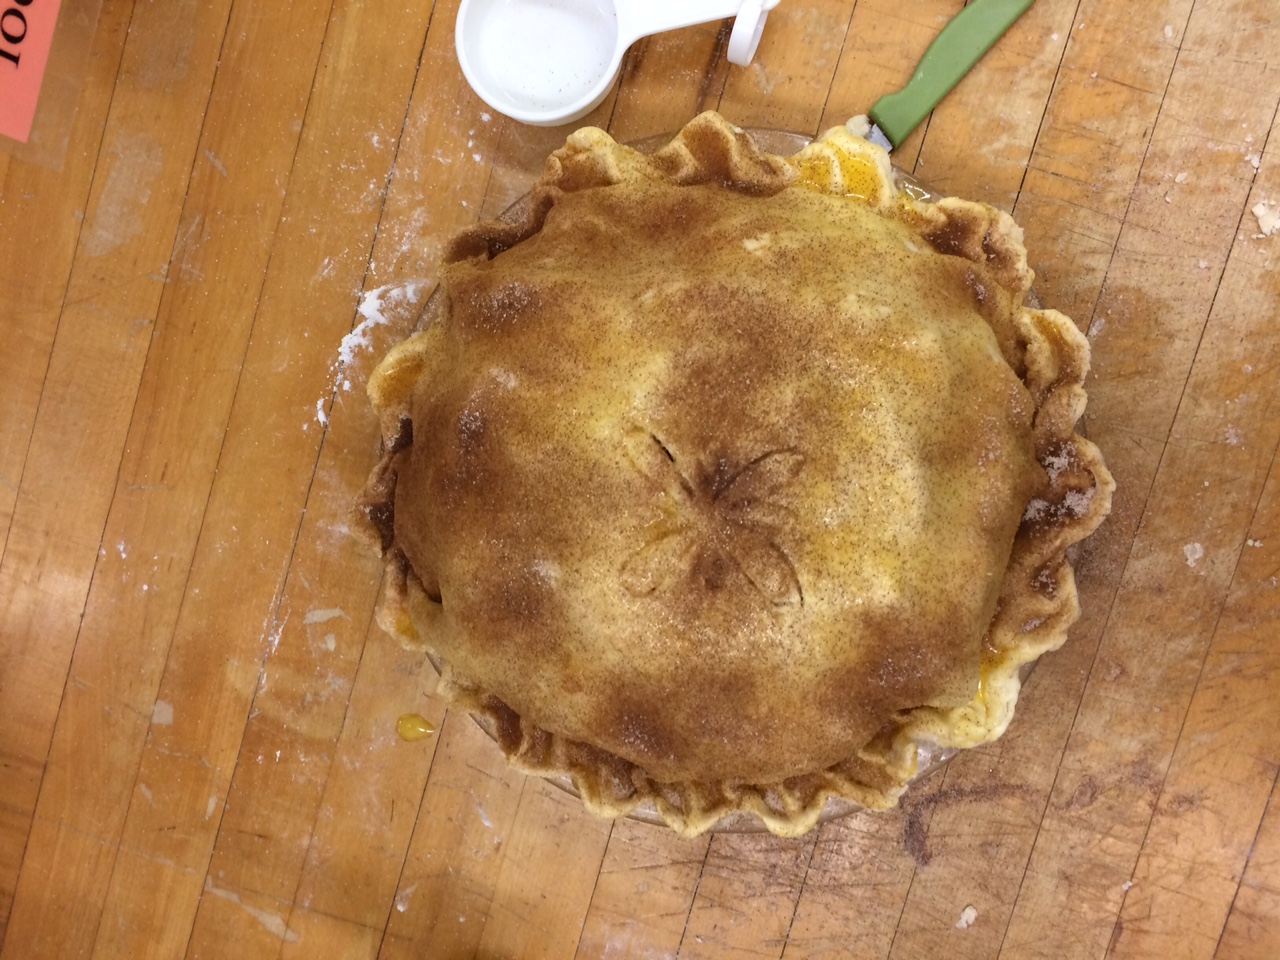
The top crust went on nicely. I did some fancy crimping, inspired by one our our course pack readings, and cut a flower shaped vent in the top. I brushed the whole pie in egg wash and then went crazy with the cinnamon sugar and popped it in the oven.

IMG_1325

ooooh fancy

ooooh fancy

IMG_1328IMG_1329

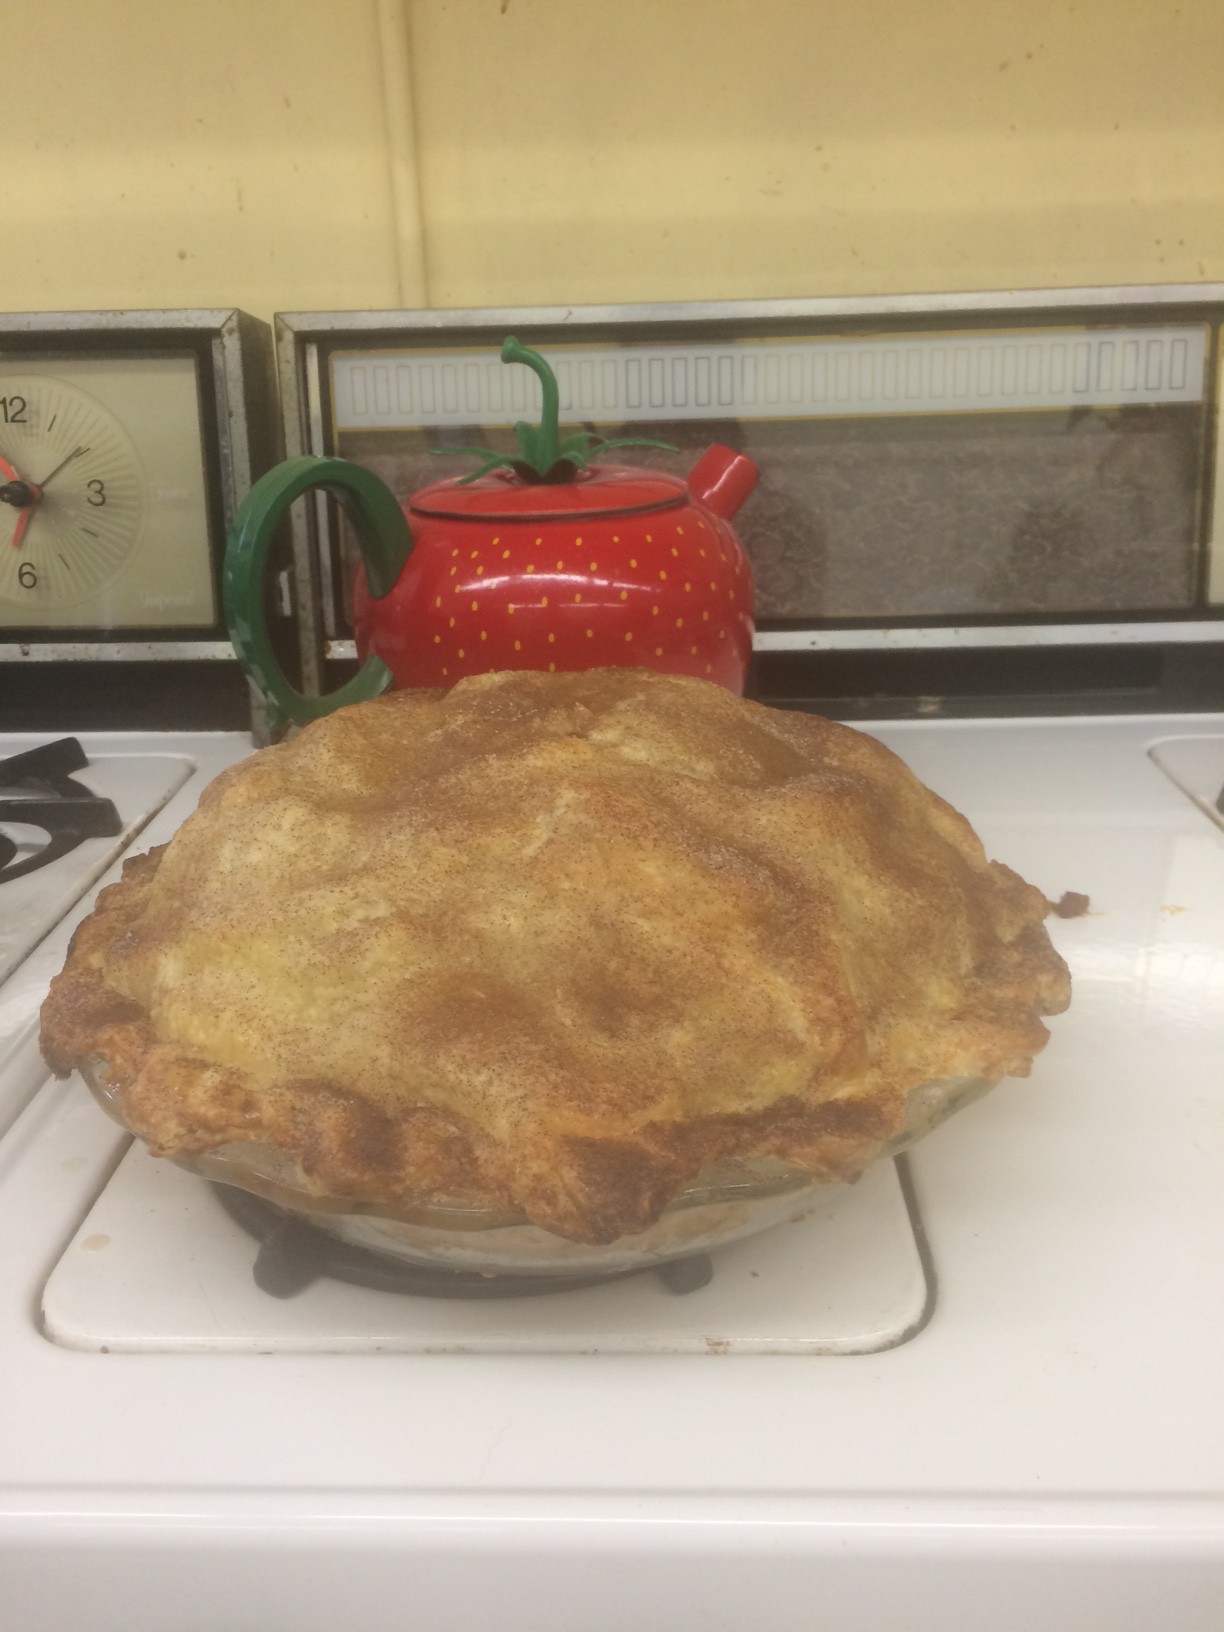
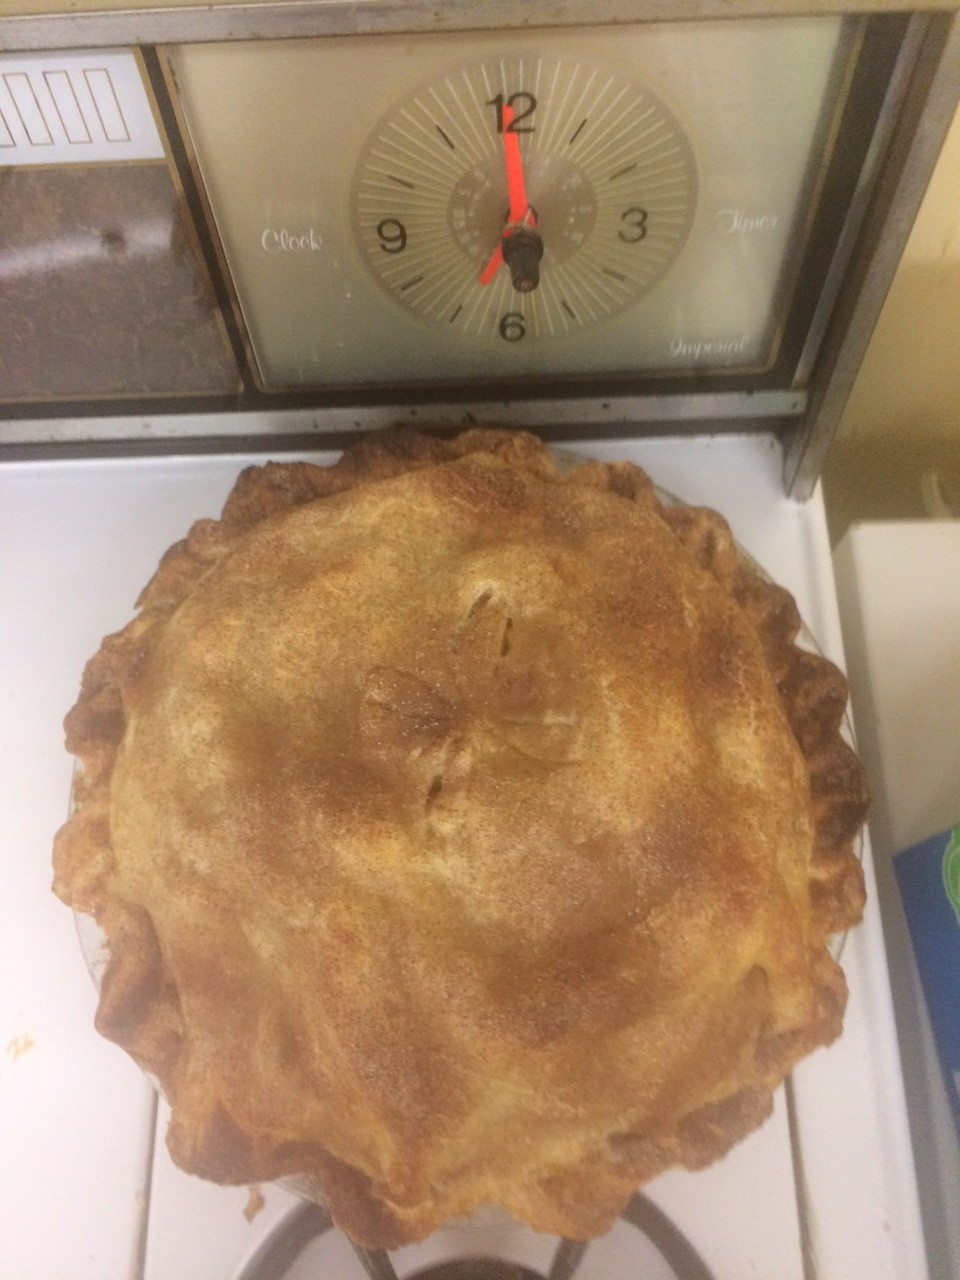
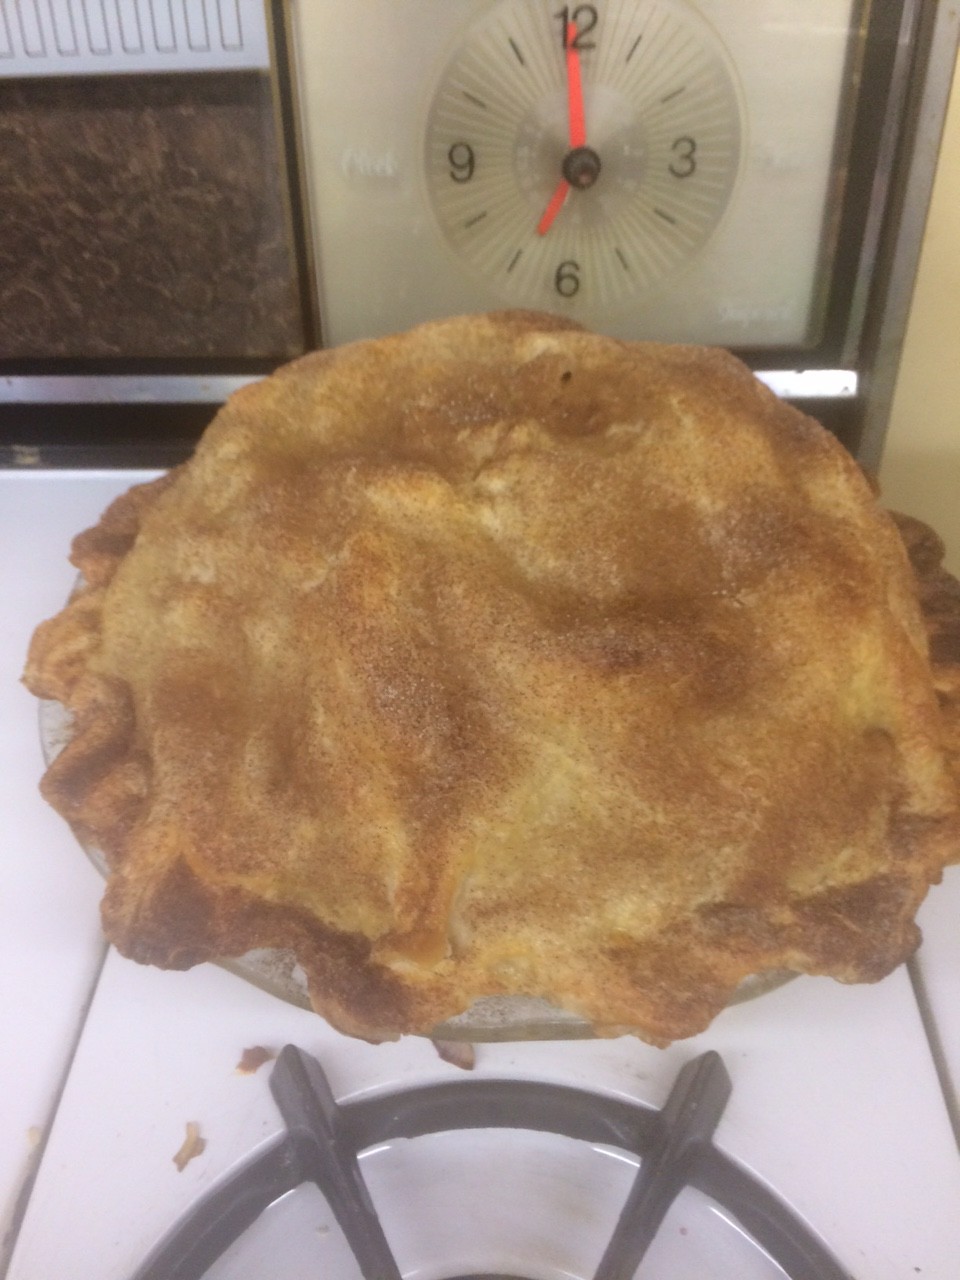
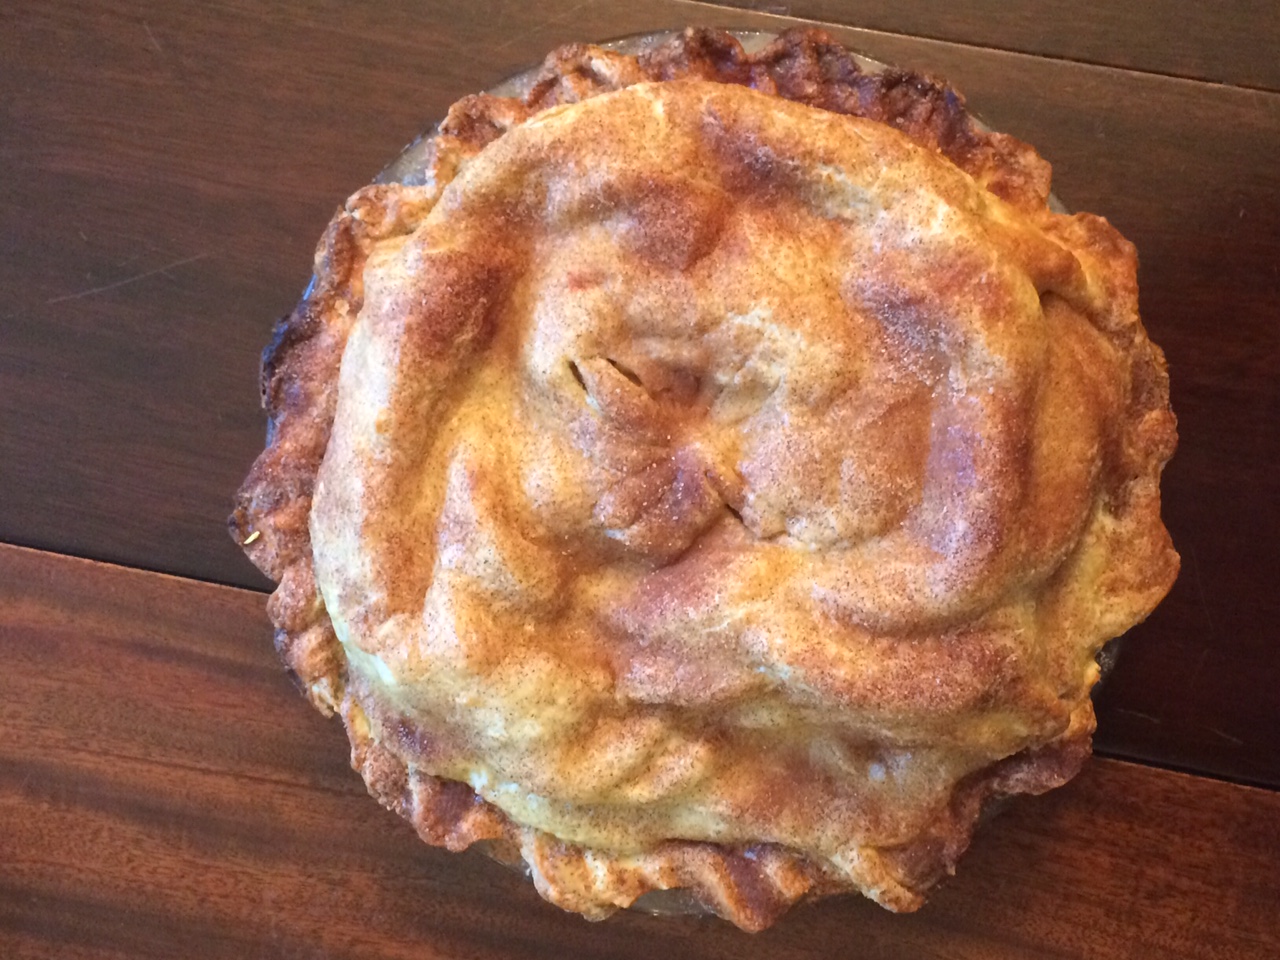
The pie came out of the oven perfect! All golden and delicious. A perfectly inflated dome and it even looked like the apples did not shrink too much. Luckily I got some shots then, because by the next day the crust had unfortunately deflated, creating an interesting (read lumpy) topography on my pie.

SO GOLDEN!

SO GOLDEN!

SO DELICIOUS!

SO DELICIOUS!

SUCH A GREAT DOME!

SUCH A GREAT DOME!

Oh how how the mighty fall...

Oh how how the mighty fall…

Looks aside the pie tasted great! The best compliment I got was that my pie was the platonic ideal of an apple pie. The crust on this pie was my best one yet I think. The cinnamon sugar was a nice touch and I definitely want to play with another flavored crust in my final pies. I was worried about my apples being under-cooked  since there were so many, but they were fine. All in all a good go at the “perfect” apple pie, I think I totally would have had it if was eaten the day before, maybe with some ice cream, hot out of the oven. Yum.

Don’t Crowd the Mushrooms!


This week we ventured into savory pies! I was very excited for this week; I was ready to cook big hunks of meat for a big hearty pie. Unfortunately, this was the week I decided to sprain my ankle. So, I settled for a quiche, something that could be made in one day, relatively quickly. With my savory pie, I still wanted to push myself a bit even though I had physically constraints. So, I decided to try out a cream cheese crust and decided to transform for my favorite omelette contents into a quiche.

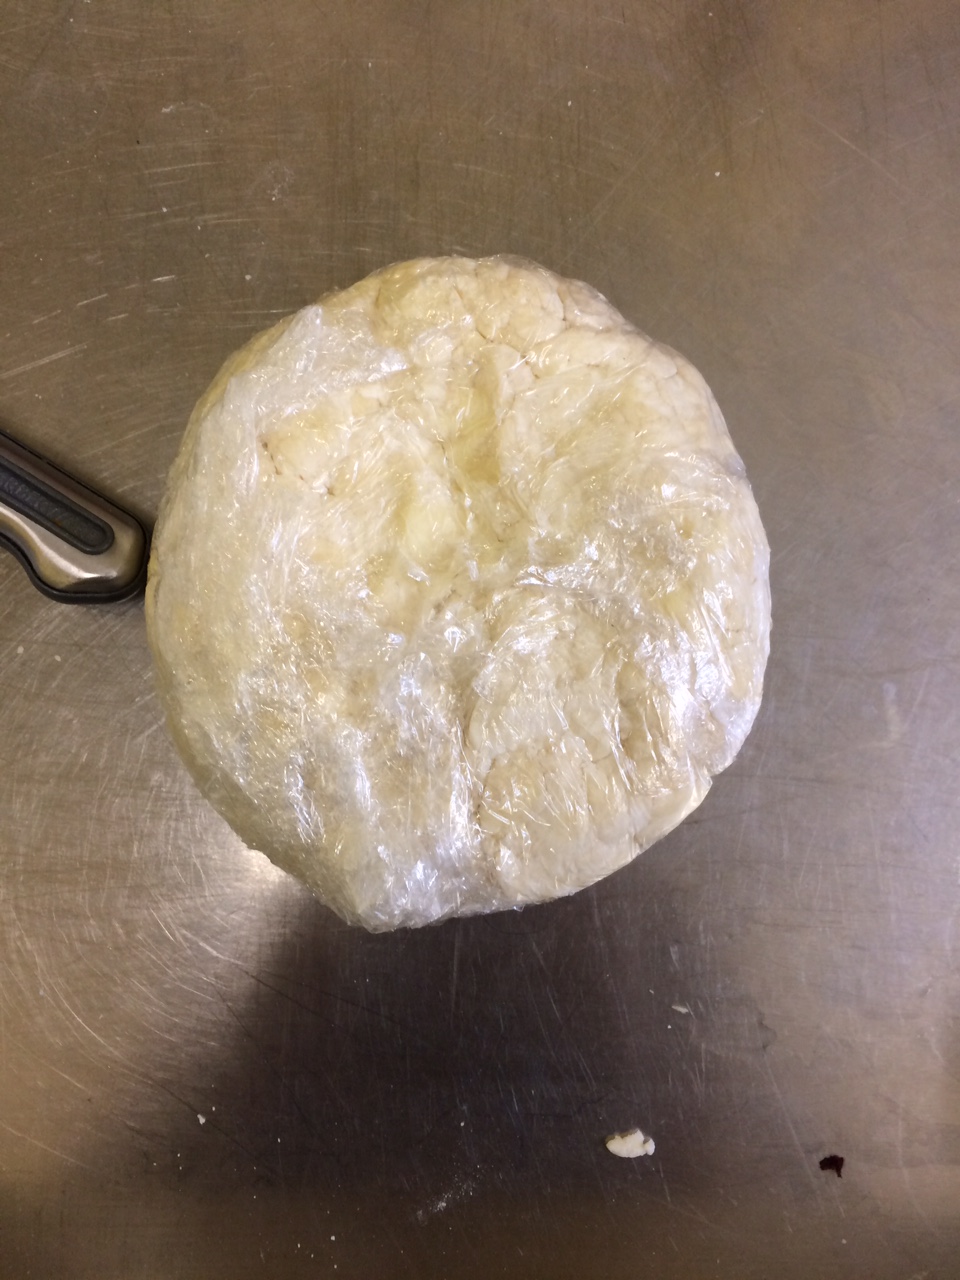
The cream cheese crust was something I stumbled across while looking on the internet for alternative fats in pastry dough. I used a mish-mosh of a couple different crust recipes and mostly I was surprised at how little flour (only 1 cup!) it used in comparison to the butter and cream cheese. Albeit this was the first single crust pie I have made, so things are already halved from what I was used to , but still there was a lot of fat in comparison to flour. Also the water was mostly optional in recipes I looked at, I definitely needed it; they must live in some ridiculously humid places. Once everything was sorted out, it mixed fine and rolled out nicely.

Cream Cheese Pastry


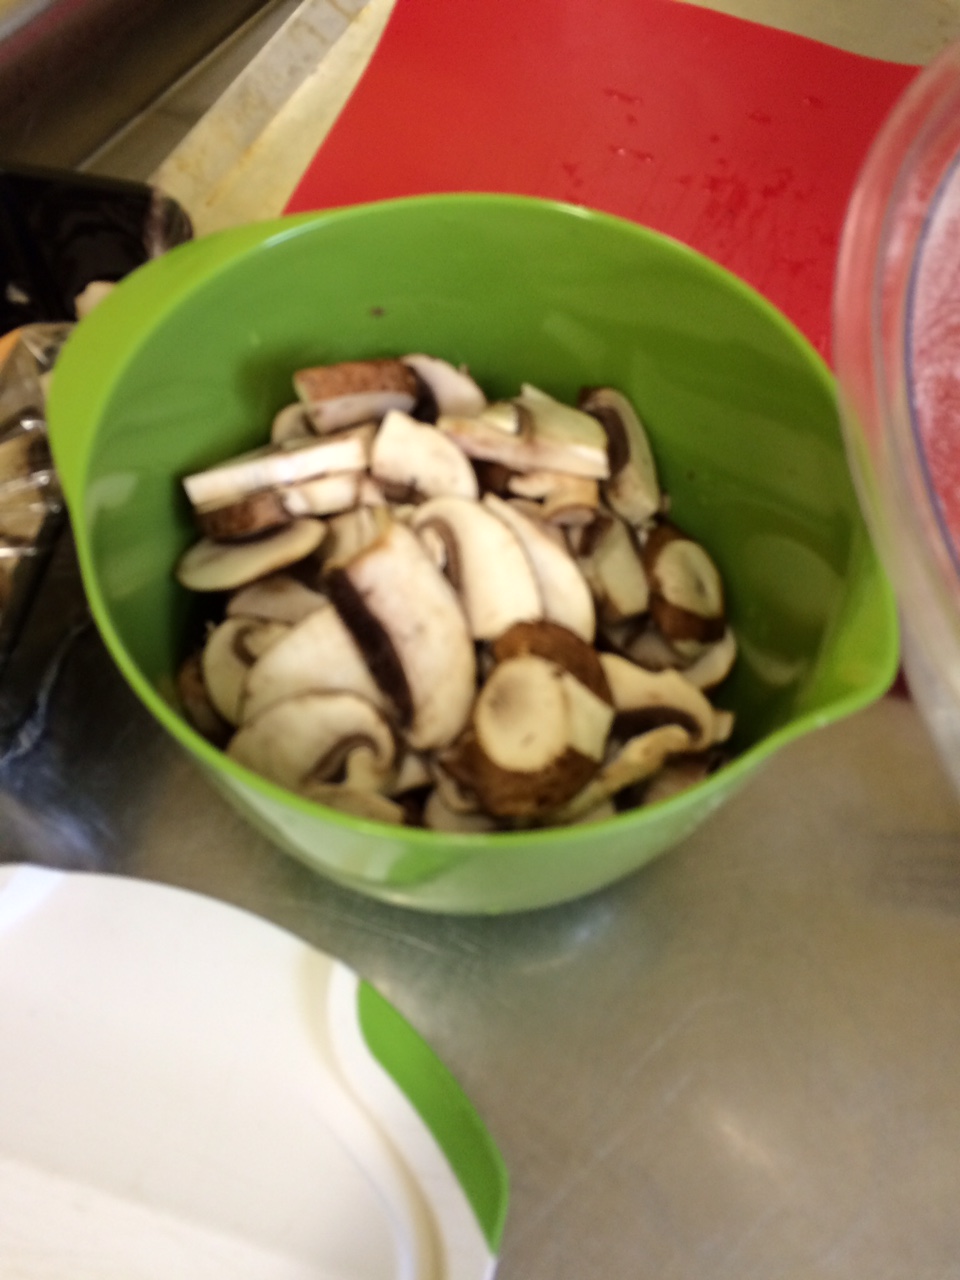
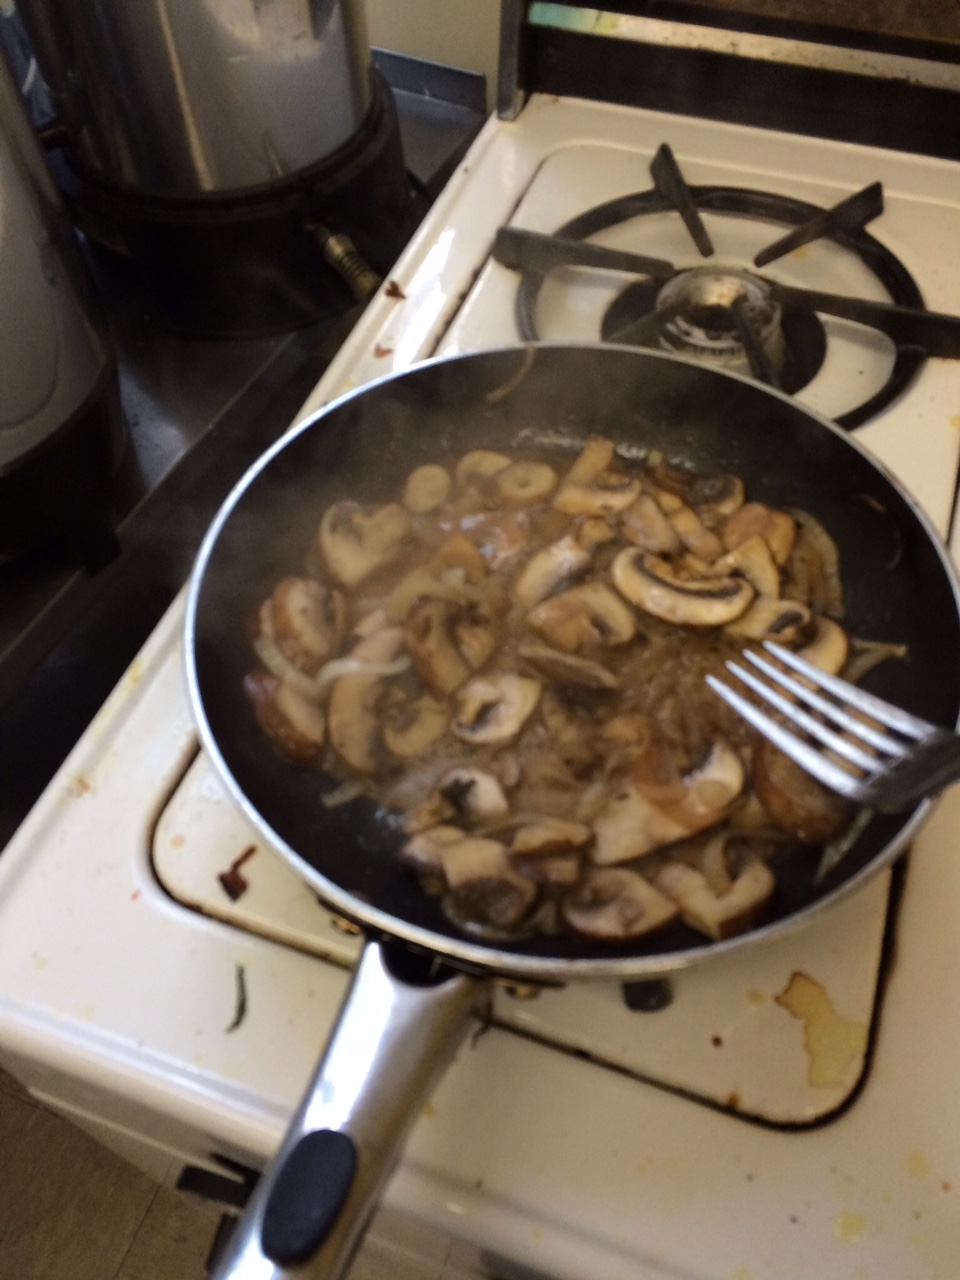
Next, on to all the things going on inside of the quiche. I chopped up my mushrooms and my onions (Moment of pride: I evaded watery eyes through some miracle) and set about cooking them. I had to make them in two batches because they couldn’t all fit in one pan, and because I was terribly afraid of crowding the mushrooms. Both Julia Child’s and my mother’s voice keep saying the mantra “don’t crowd the mushrooms” over and over again in my head. The first batch went well, but I guess the second one was slightly larger and they definitely got a little too much steam from their own juices.


mushrooms all chopped

I crowded the mushrooms


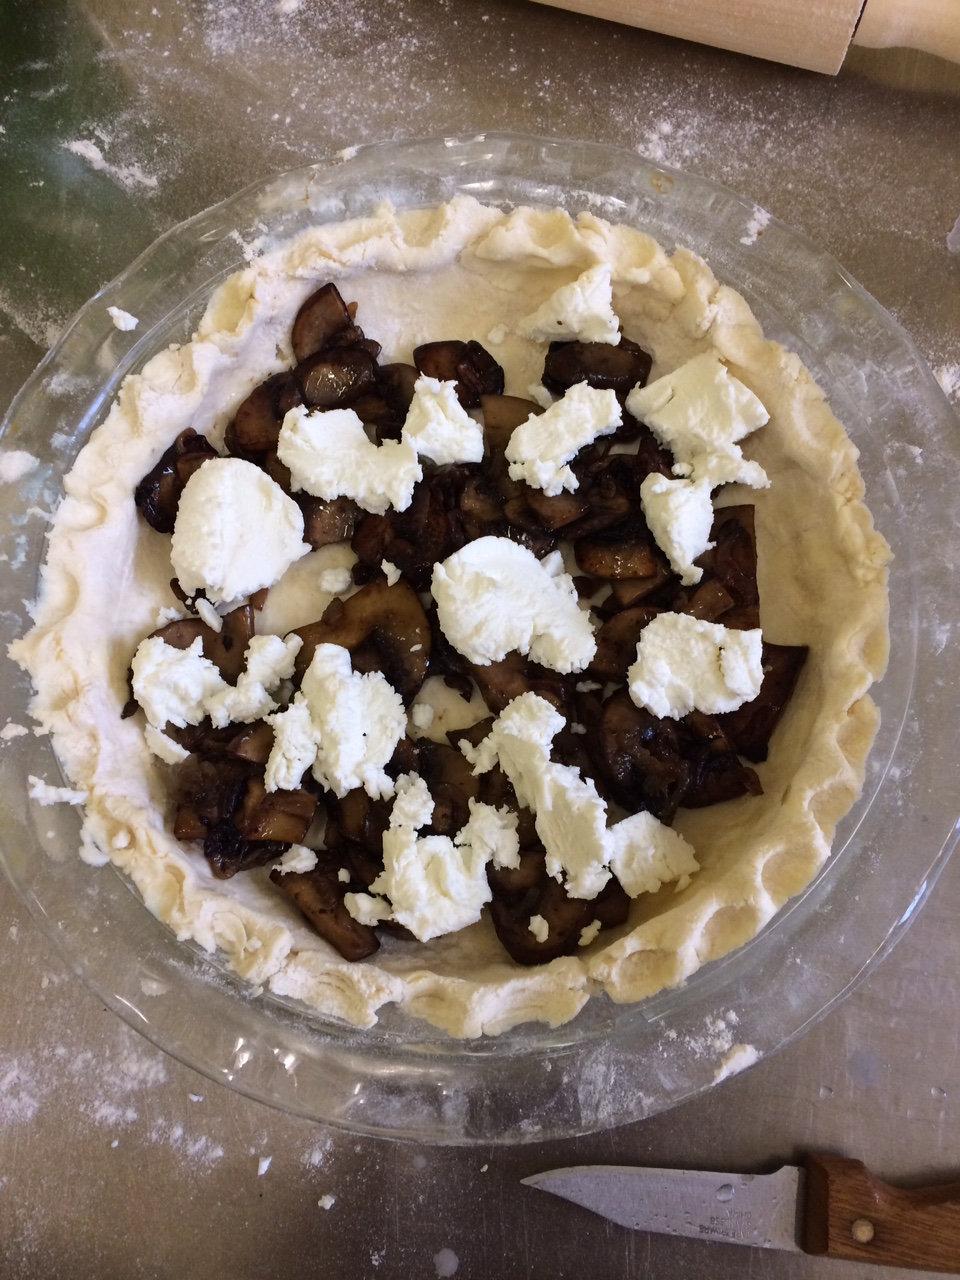
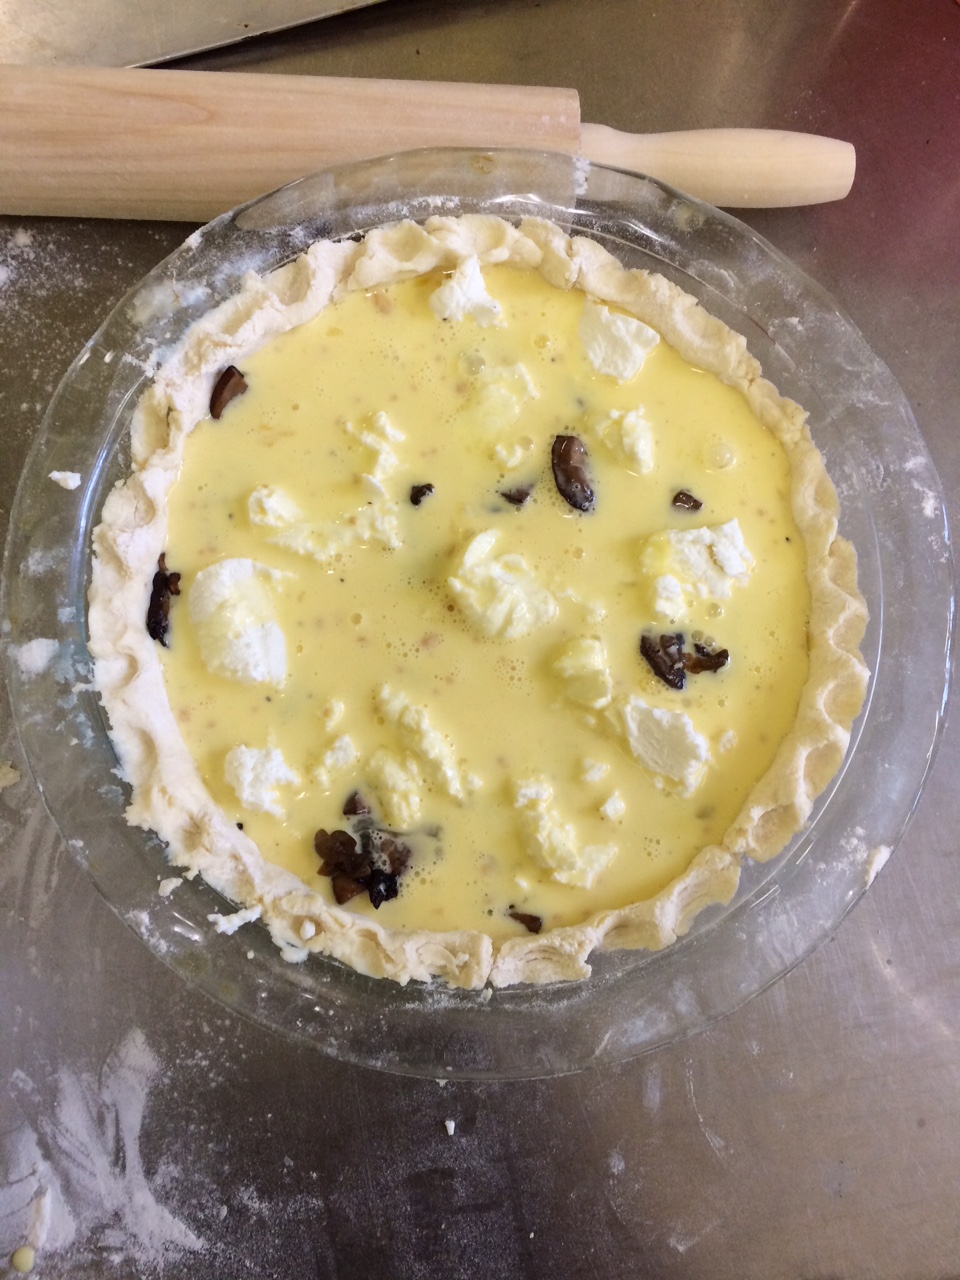
But we must move on. Assembling the pie was super easy. The mushrooms, onions, and goat cheese all went in the bottom and then I just poured in the egg mixture, filling in the crust quite nicely.

crust with mushrooms and cheese

almost done quiche


Then into the oven it went.

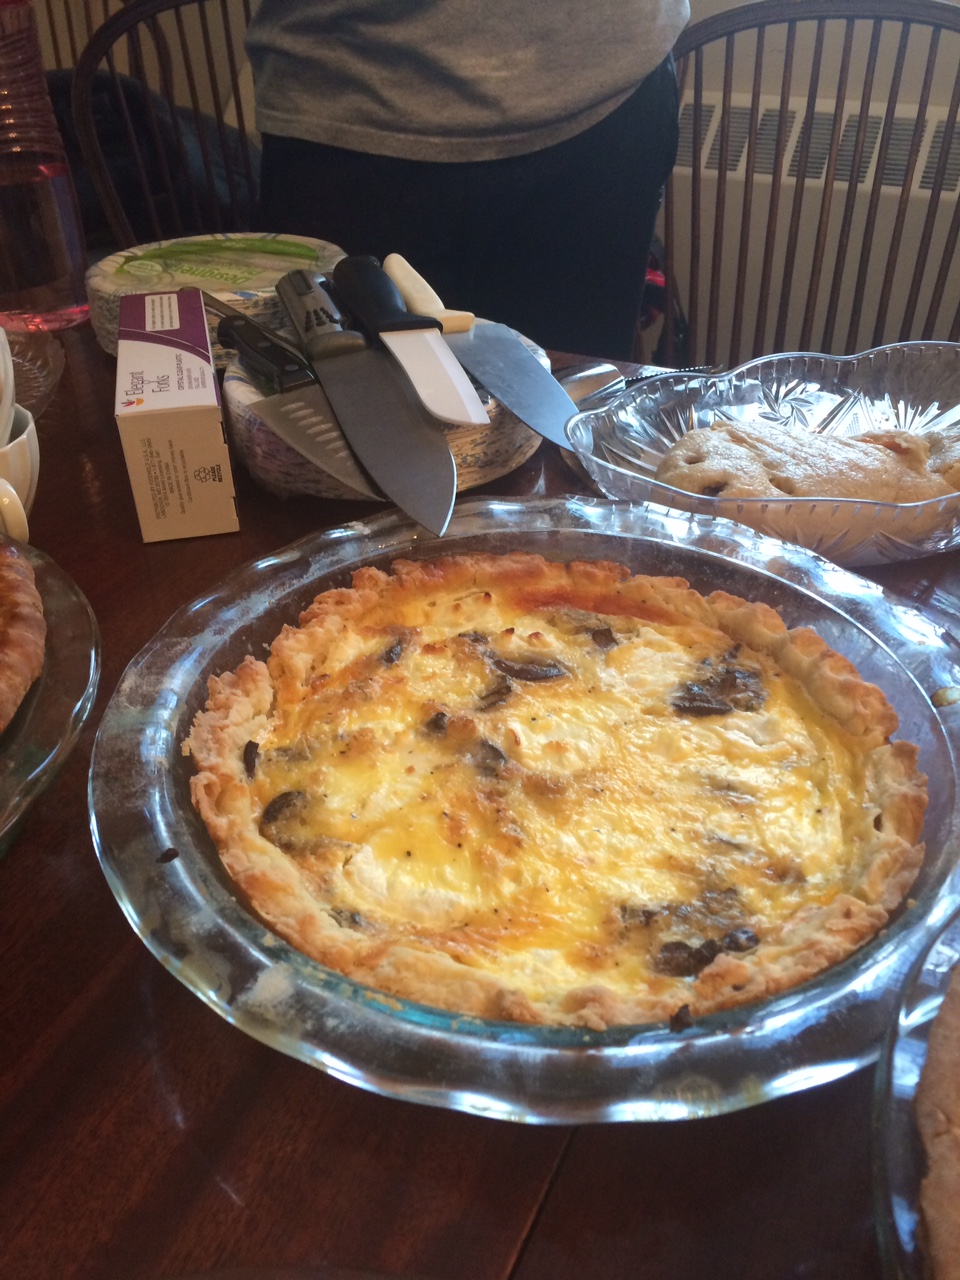
mushroom, onion, and goat cheese quiche


I think, aesthetically, this is the best pie I have made yet (this is my third pie, so there is a low bar). Everything is evenly golden and delicious looking. The only thing I might have changed was to perhaps add some chives into the egg mixture, so that I might have a pop of green. Unfortunately the forces at be made it so that I couldn’t actually taste the quiche I made. Hopefully it was good? I’ll have to make it again for myself sometime so I can see if I actually succeeded.

So Many Pies, So Little Time

This first week I feel like we were all overwhelmed with the sheer number of possibilities when it comes to pie; I know I definitely was. It’s a big question, what pie to make, and with sweet pies there are so many options. Am I doing a fruit pie, a custard, ice cream? And that is just the filling. What kind of crust is a whole other question. In class on Monday we prepared a butter and shorting crust, but I learned that there are so many more options! It was a real dilemma. What did I want to say with my first pie? What did I want it to say about me?

In an attempt to deal with these problems I figured it would be best to make two pies, my great grandmother’s raspberry pie and a pie I only just discovered, buttermilk pie. My great grandmother’s raspberry pie is my favorite pie and I definitely wanted to take a stab at it at some point during this course, just didn’t expect to make it so early on. The buttermilk pie was something I encountered while thumbing through some cookbooks. I was initially interested because I had never heard of it before, but in doing some research I found out that it is actually quite popular in the south. It is similar to chess pie, another pie I had never heard of.

I began with the buttermilk pie which I made using this recipe and the butter-shortening crust we made in class. The crust had chilled in the fridge all night and was a little hard, but ended up rolling out quite nicely.

Pie crust

rolled out crust

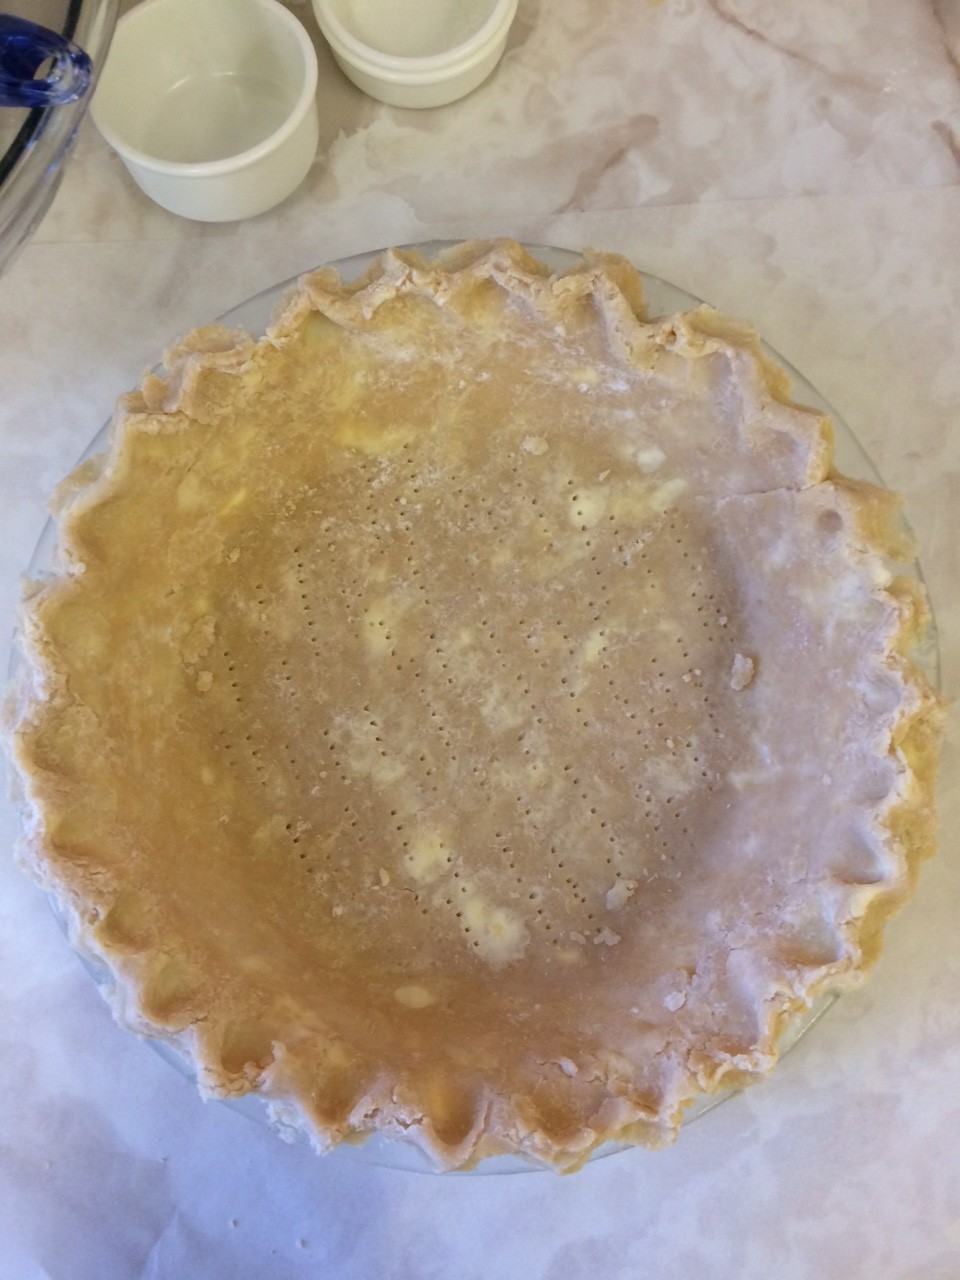
I even had the chance to get a little fancy with the edges.

IMG_1108

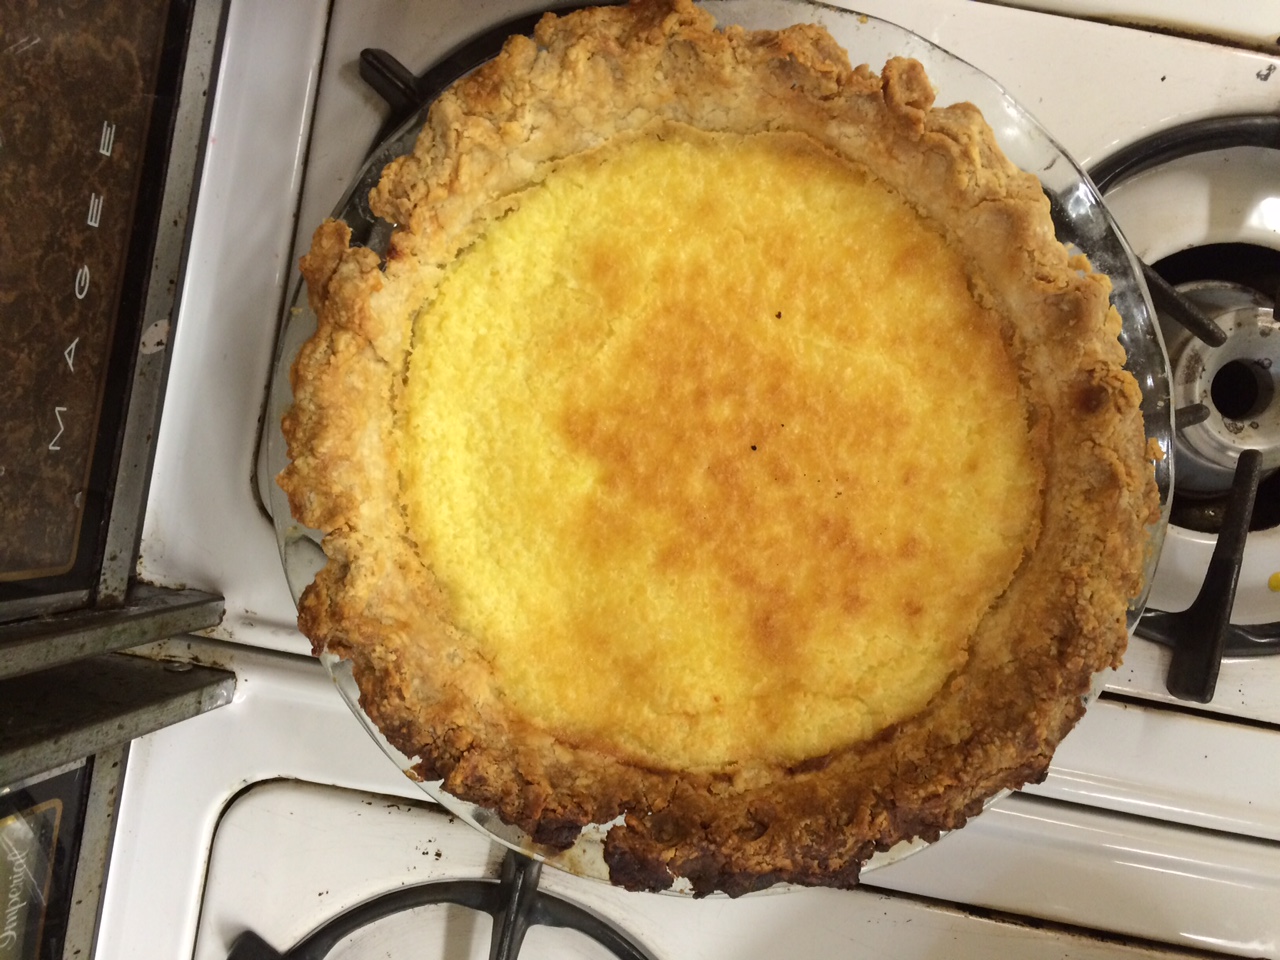
The filling was super easy to make too. I just whisked it all together and poured it in. the popped it into the oven and low and behold my first pie was made.

IMG_1111

buttermilk pie!

The buttermilk pie was super easy to make. The only stressful thing about it was not having any clue what it would taste like. In the end it was pretty good. Like a slightly lemony pudding with crust.

The raspberry pie on the other hand was not as easy to make. The first challenge was getting the recipe out of my great grandmother, who was more than happy to share it with me, but I’m pretty sure she was not wearing her hearing aids, and her caption phone was not working that day. Once I got the recipe making it, specifically the crust was just as hard.

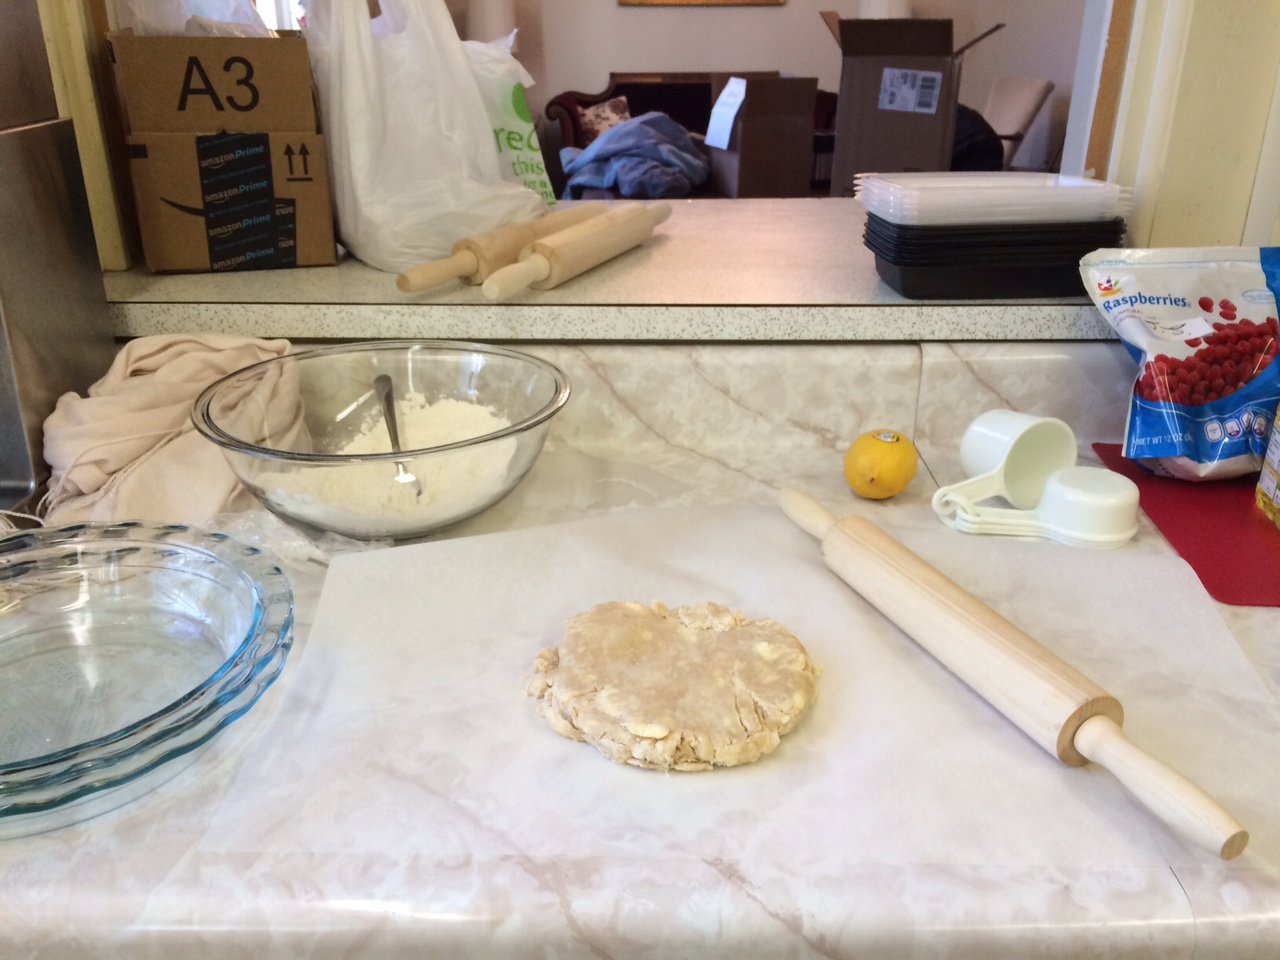
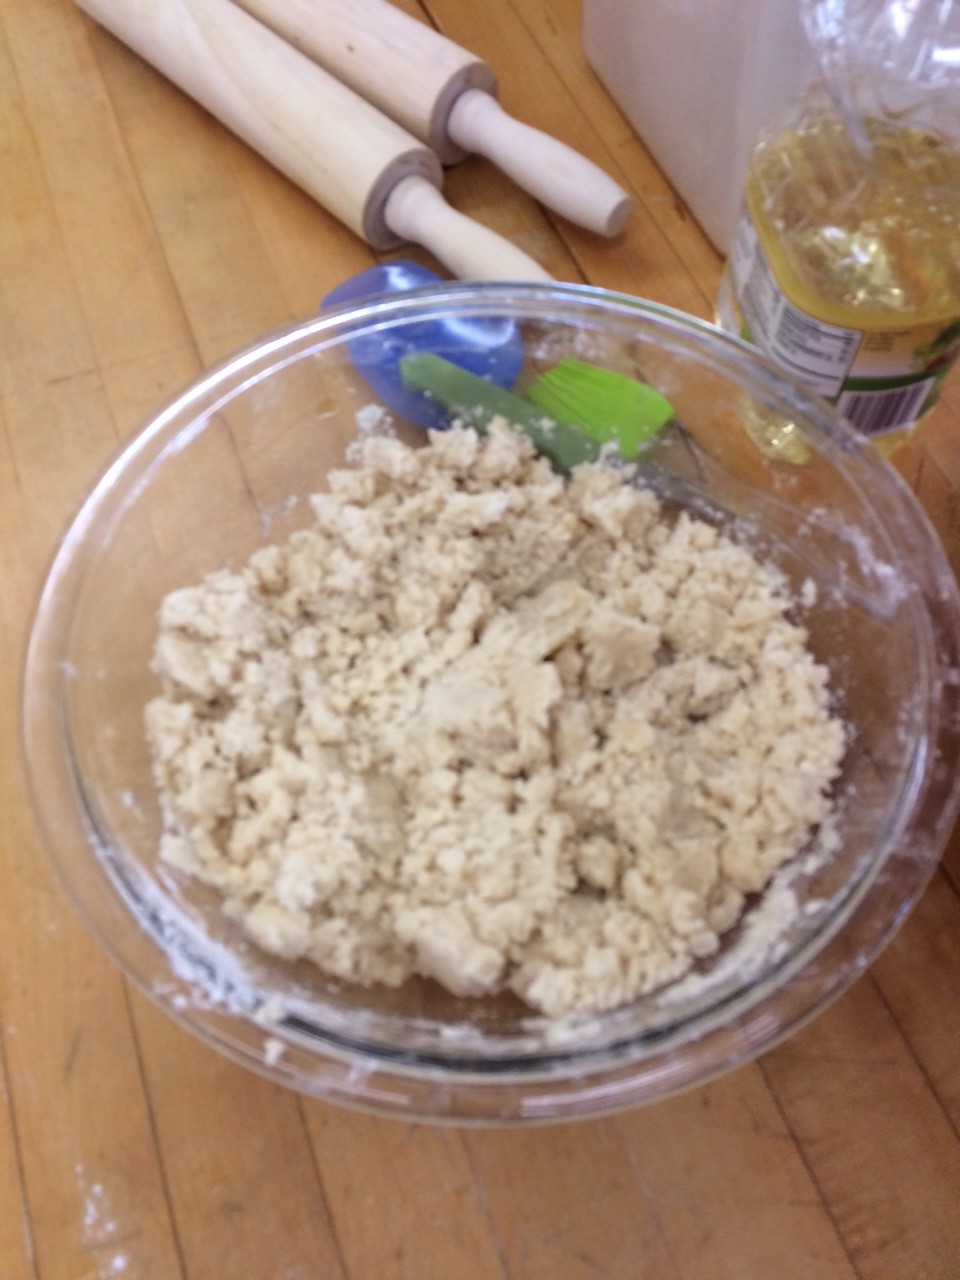
My great grandmothers pie crust is an all oil crust, canola oil to be specific. This means that the gluten fibers are very short and prone to cracking and just generally being unpleasant. It mixed easily and looked like pie crust should.

crust from hell


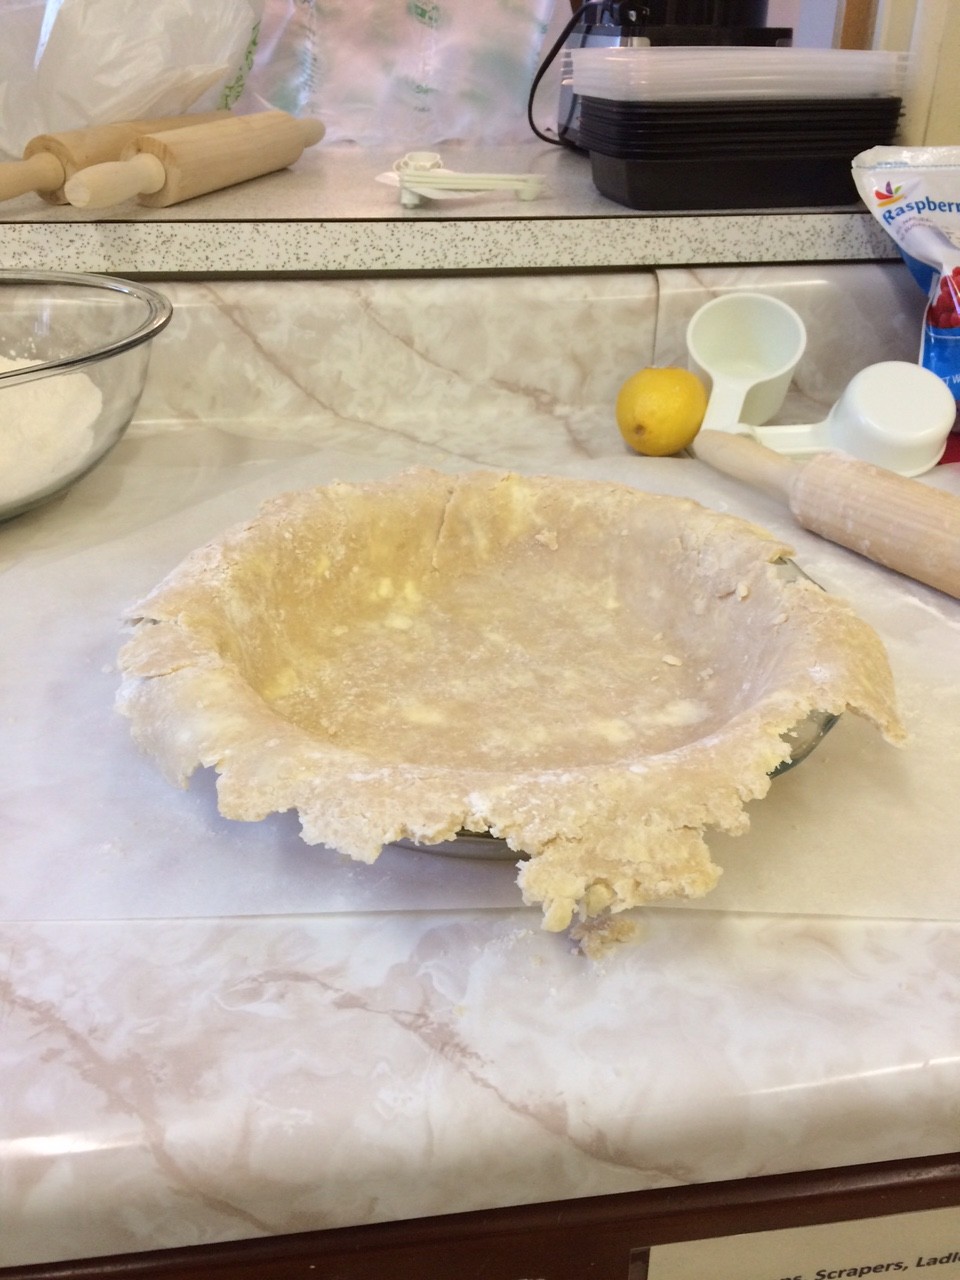
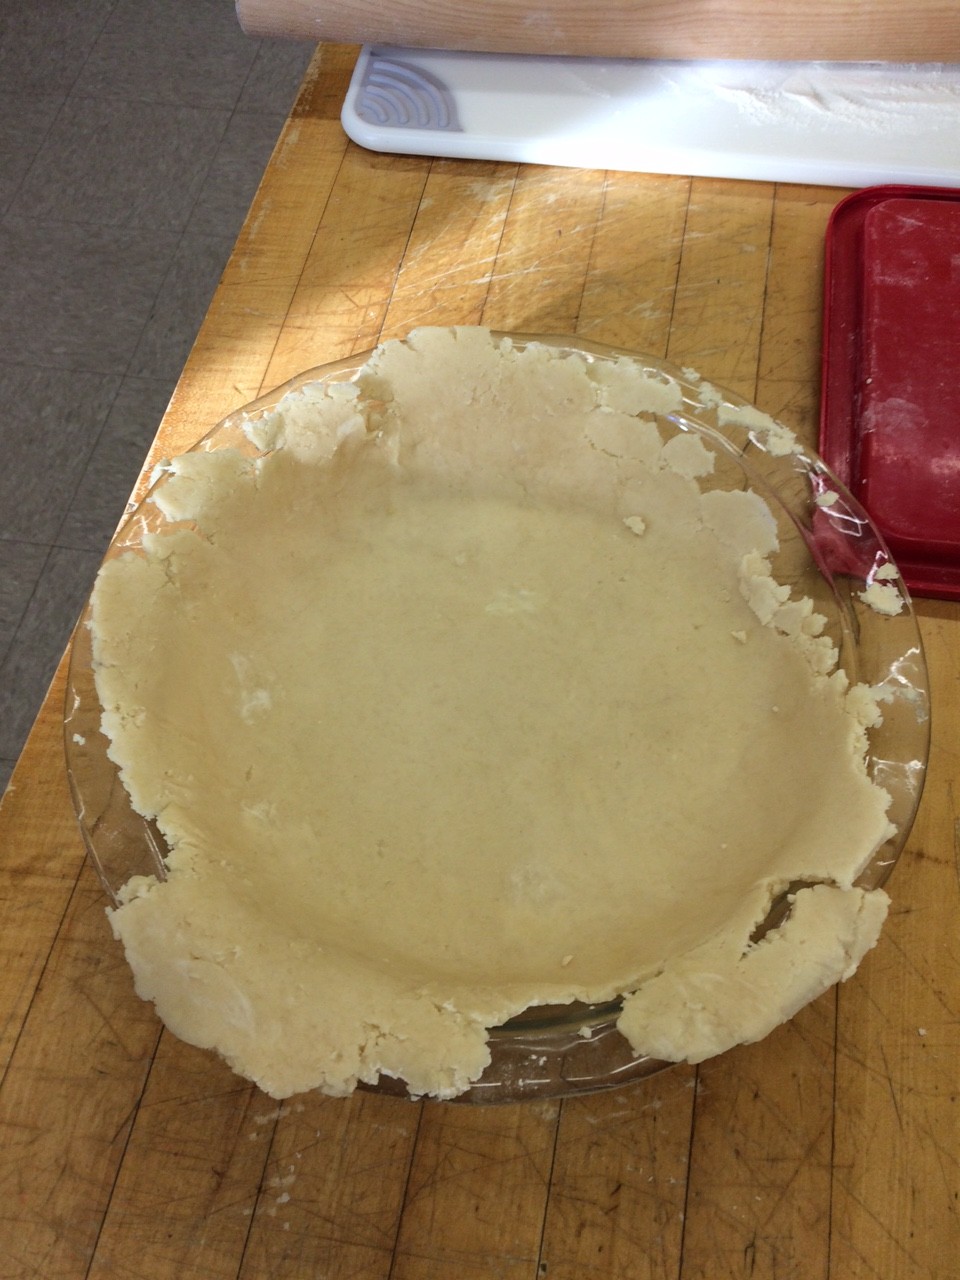
However rolling it out proved to be quite challenging. She said to roll it out between two sheets of wax paper, but we only had parchment paper when I was making the pie and I thought that it would suffice, but when I attempted to put the crust into the pie plate I learned otherwise. It was bad, cracking, crumbling, and sticking to the parchment. So I made the filling and put it in the fridge and decided to try the crust again the next day this time with wax paper. And it worked kind of.


its not pretty but at least its in the plate

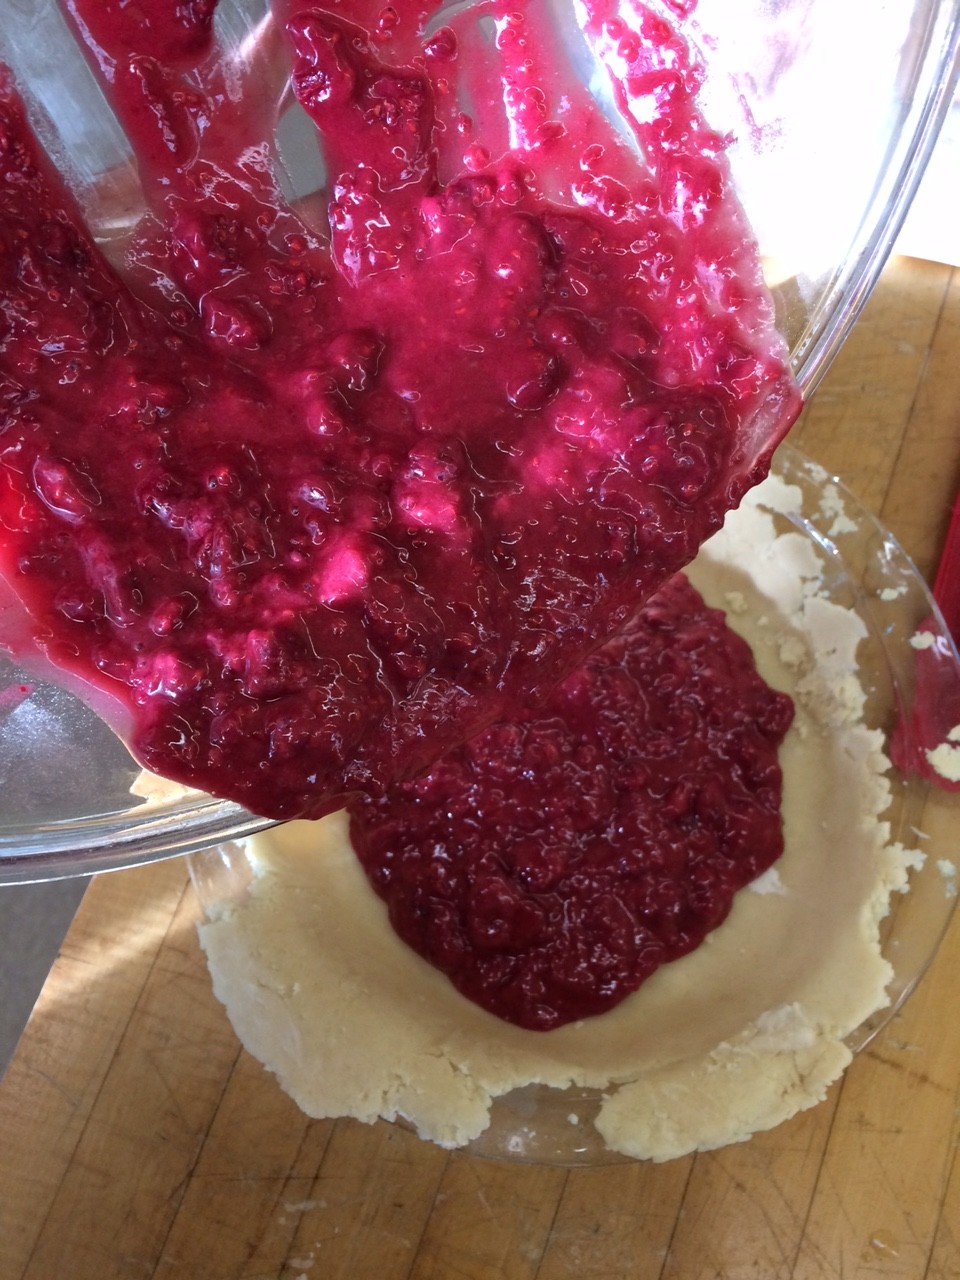
might as well pour it in


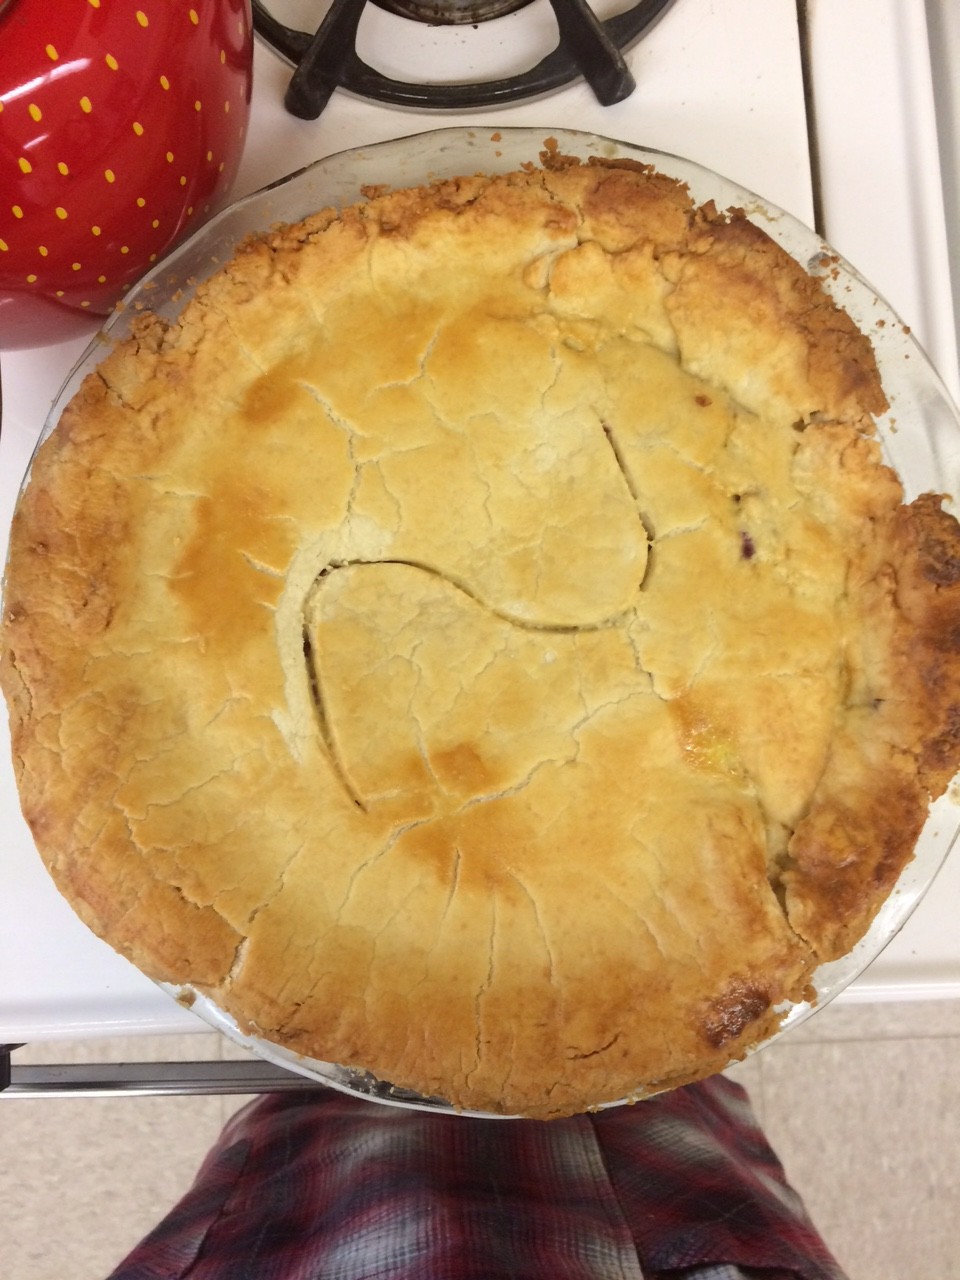
Getting the top crust on was a whole other issue, and in the end I just ended up tossing it on and doing some repair with water.

raspberry pie


In the end I think it turned out alright. The crust definitely tasted like my great grandmothers crust, perhaps a bit too thick. The filling was a little disappointing. It had the right texture and firmness, but was not as tart as it could be. This, however, could be because I used frozen raspberries and my great grandmother hand-picks berries from a local farm at the peak of raspberry season. There is probably a slight difference in quality.

All in all I think it was a good first attempt, and I look forward to what next week has in store.