Tag Archives: Savory

Puff Pastry, Meat, and Lava

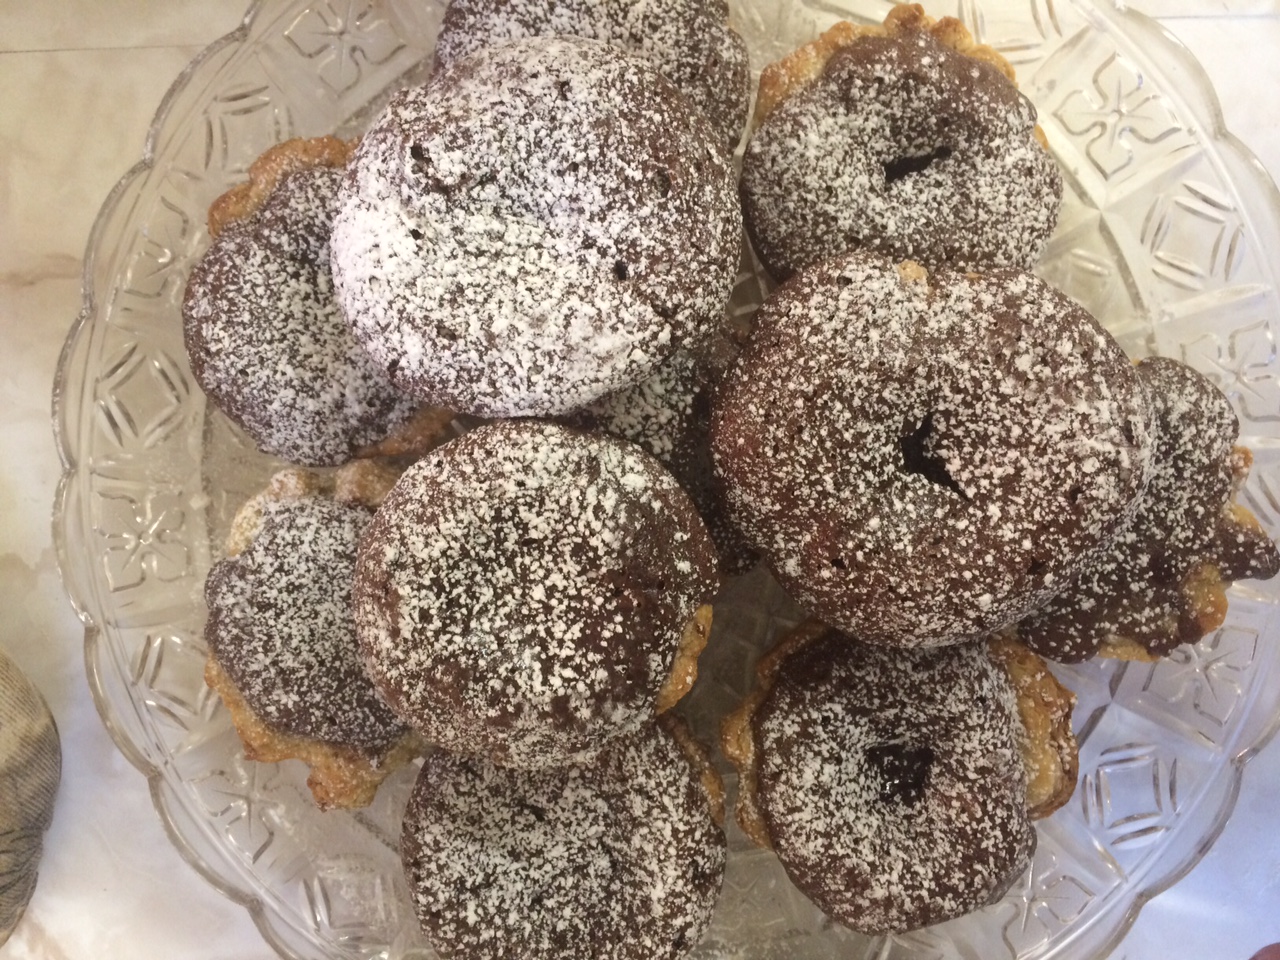
Unfortunately, we have reached the end. We all knew this was coming, the pie that is the month of January has run out of slices. It was a wonderful month full of wonderful pies that ended spectacularly with our banquet. For the banquet we had to make two pies one sweet, one savory,  and I decided to make a pie I had wanted to make during savory week, a beef short rib pot pie, and one inspired by a friend, chocolate lava mini pies.

I knew there would be challenges with these pies, but I figured it was the last week, so why not go out with a bang, either a blaze of glory or with the actual flames of a burnt pie. With the savory pie I was concerned about the fact that I would be doing actual cooking, as the filling had to be cooked before being put into the pie, and by the fact that I had somehow got it into my head that puff pastry would greatly improve the pie. With the sweet pie I was concerned with just how exactly it would work. I knew it would have a bottom shell and the lava-y cake part would fill it, but I wasn’t convinced I could actually make the lava happen. Nevertheless, I sallied onward as this was the last week for pie baking and was not a time to be meek.

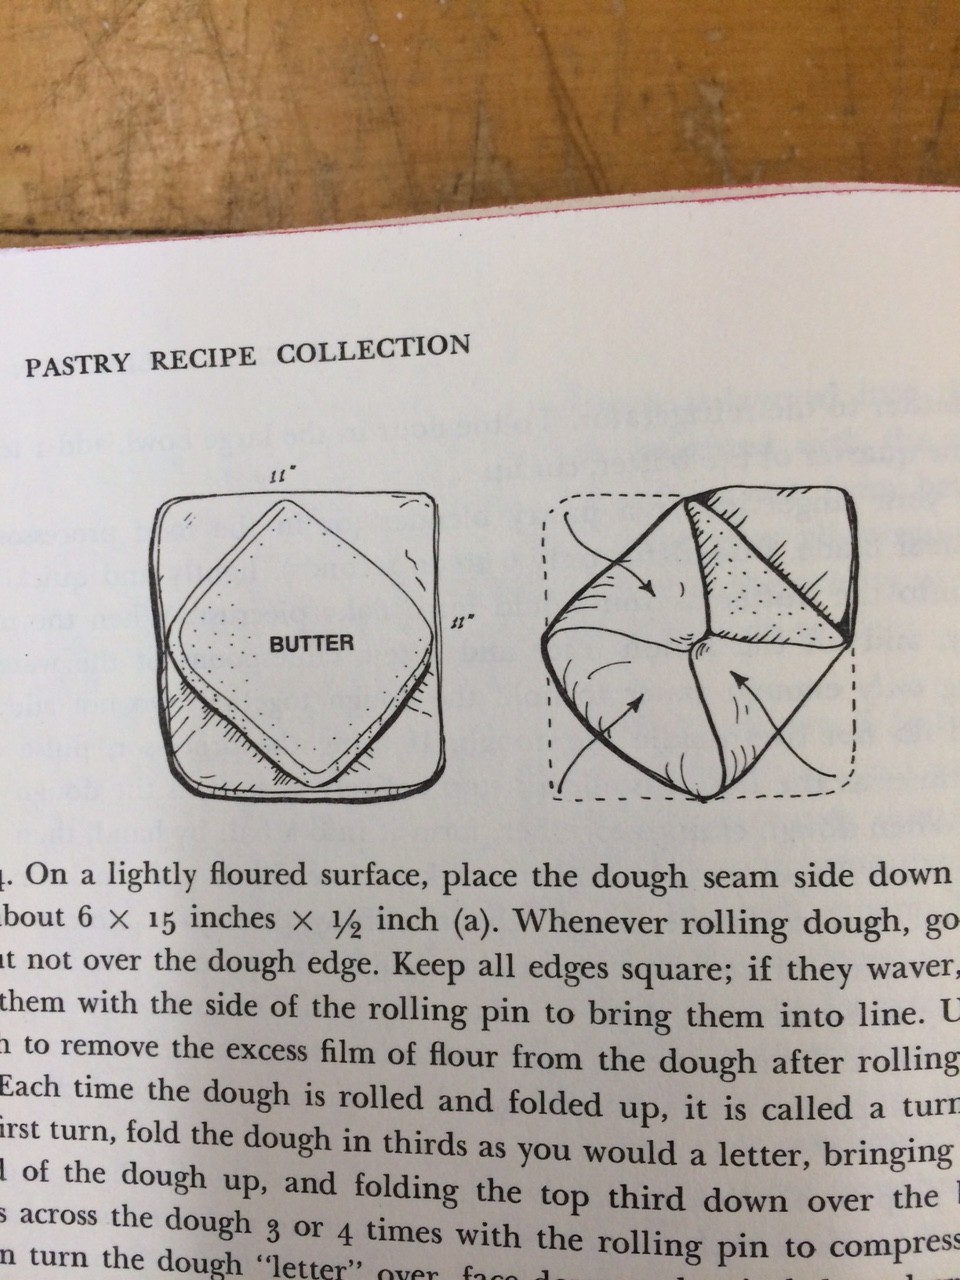
The puff pastry was the first obstacle I set out to conquer using the recipe for puff pastry outlined in Susan Purdy’s As Easy As Pie. Reading the recipe itself was daunting as it was three pages long, with an additional three pages of introduction, because puff pastry is not something one just blindly walks into, puff pastry is serious. So serious, that to make it you need diagrams and internal notation systems. 
IMG_1358IMG_1376

So complex!

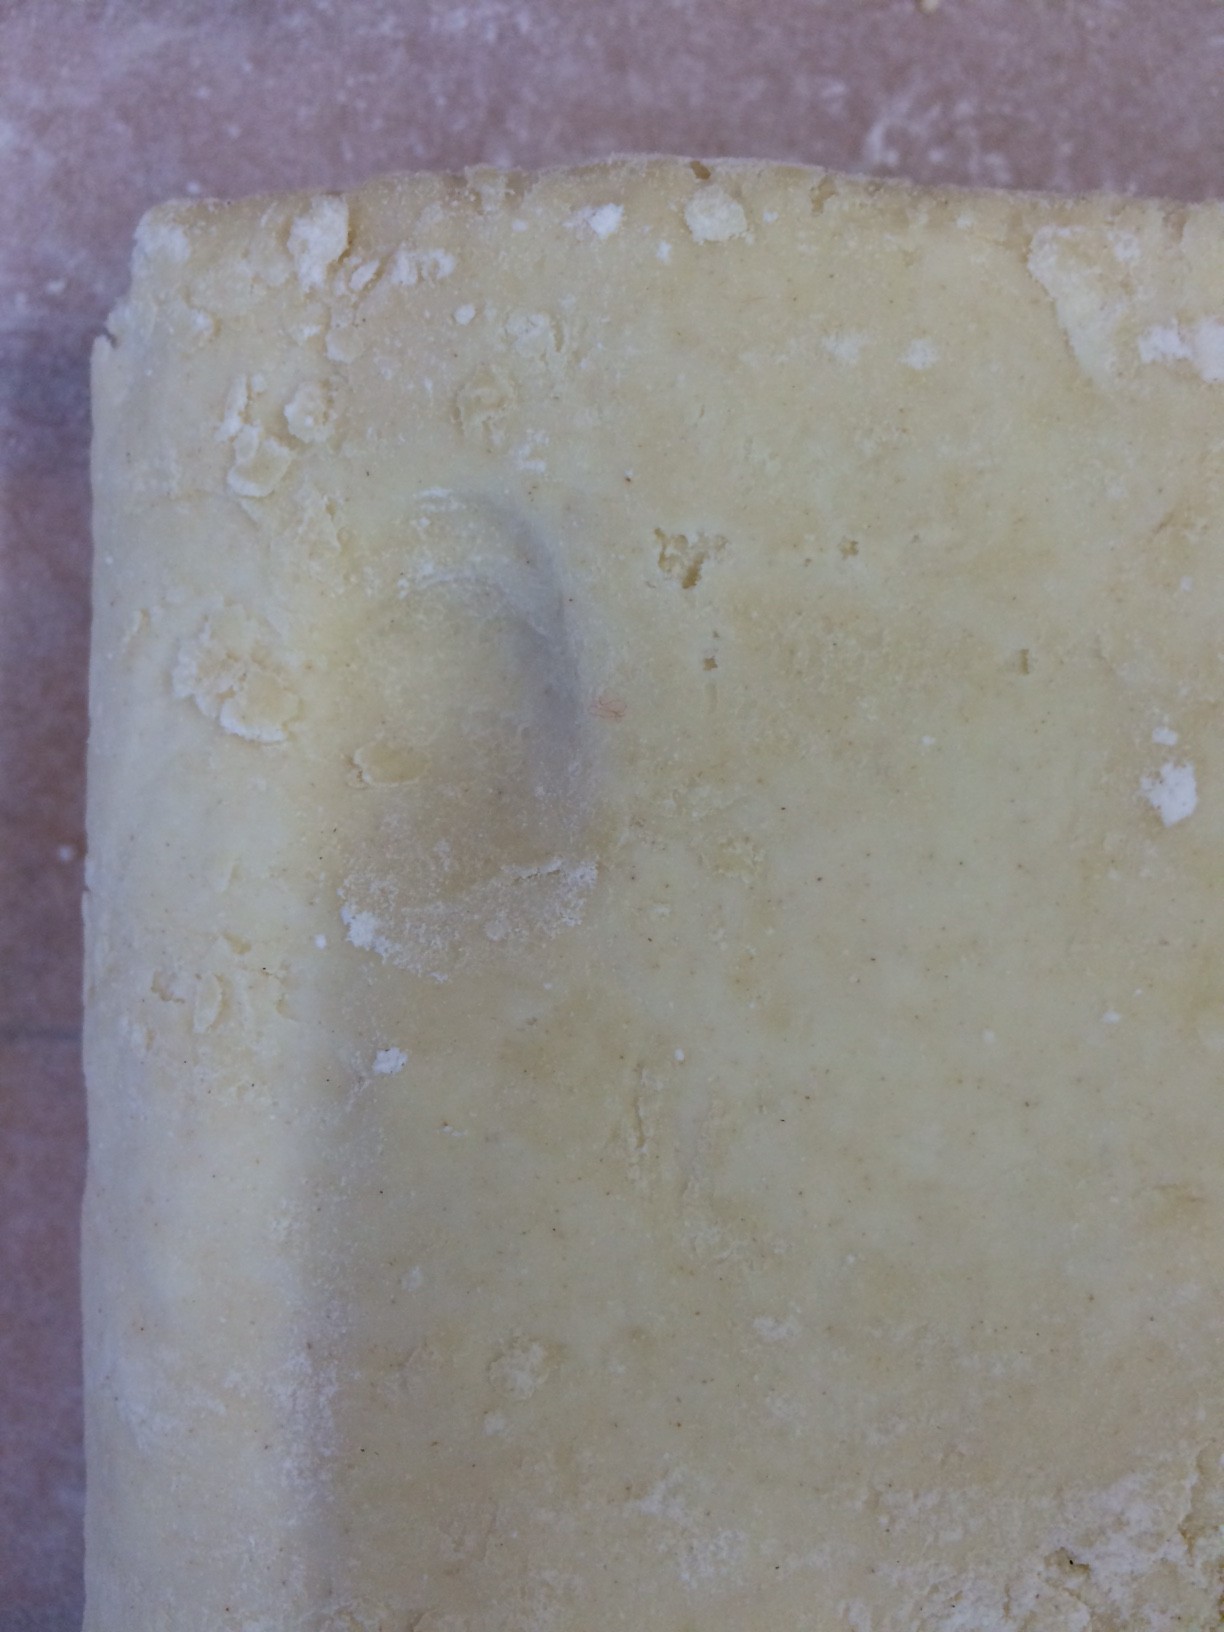
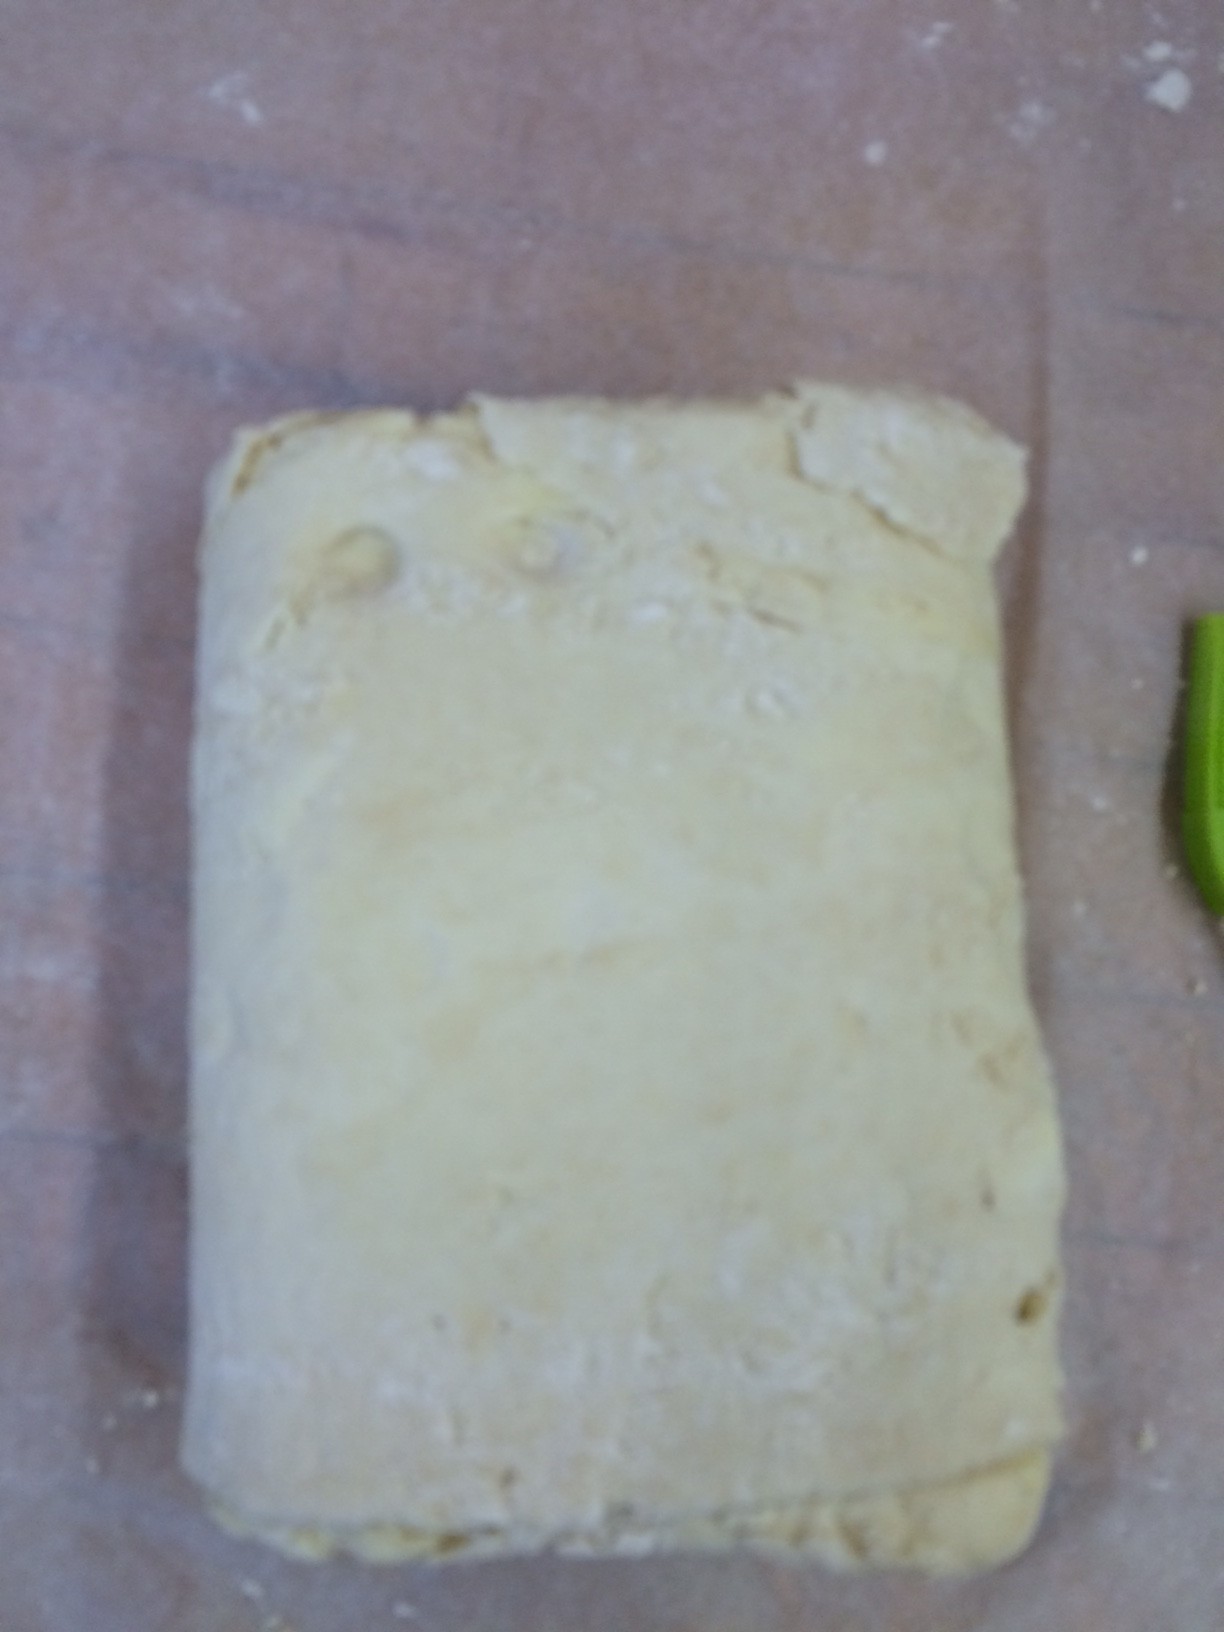
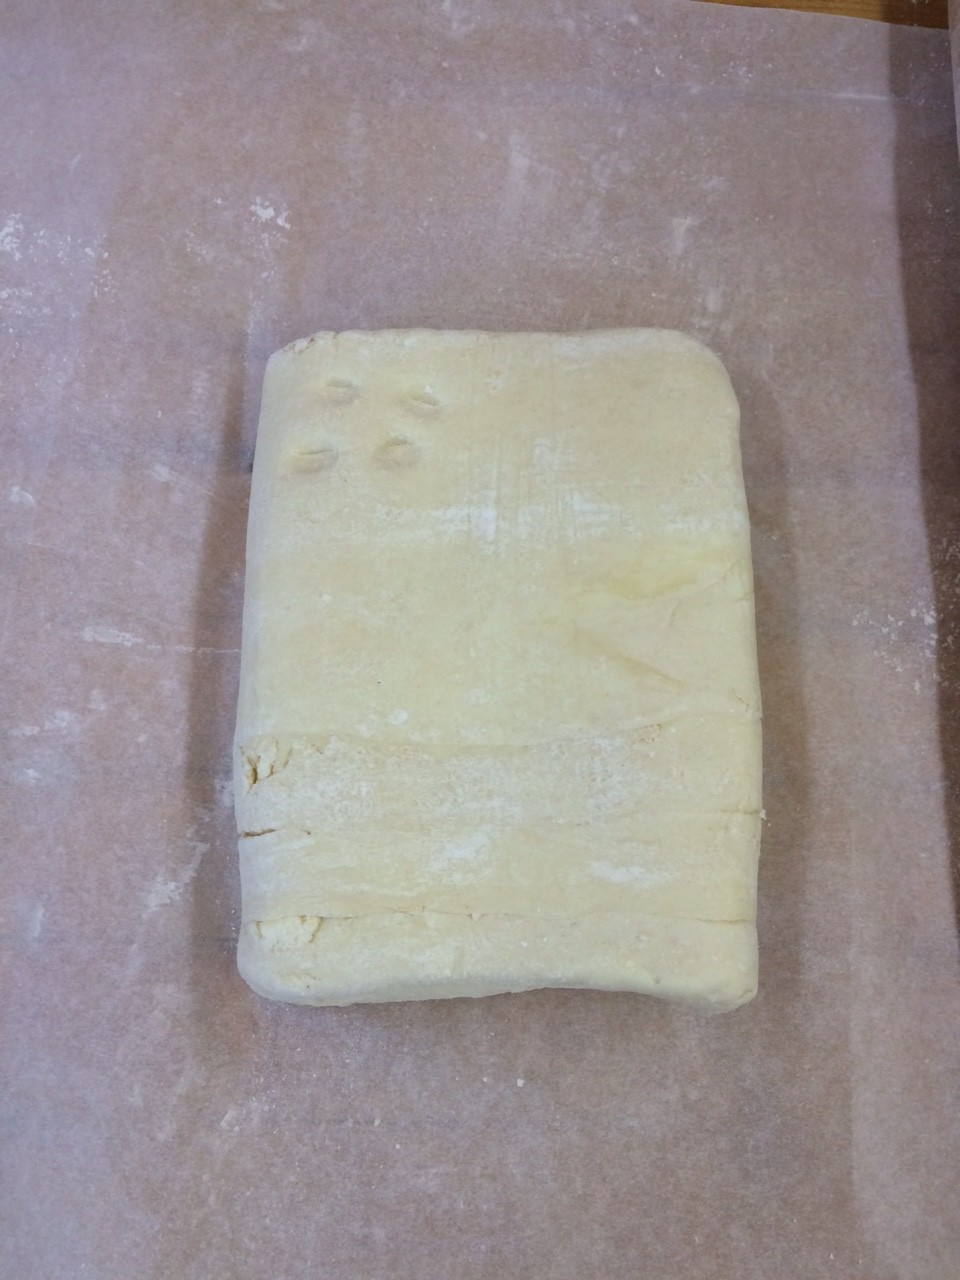
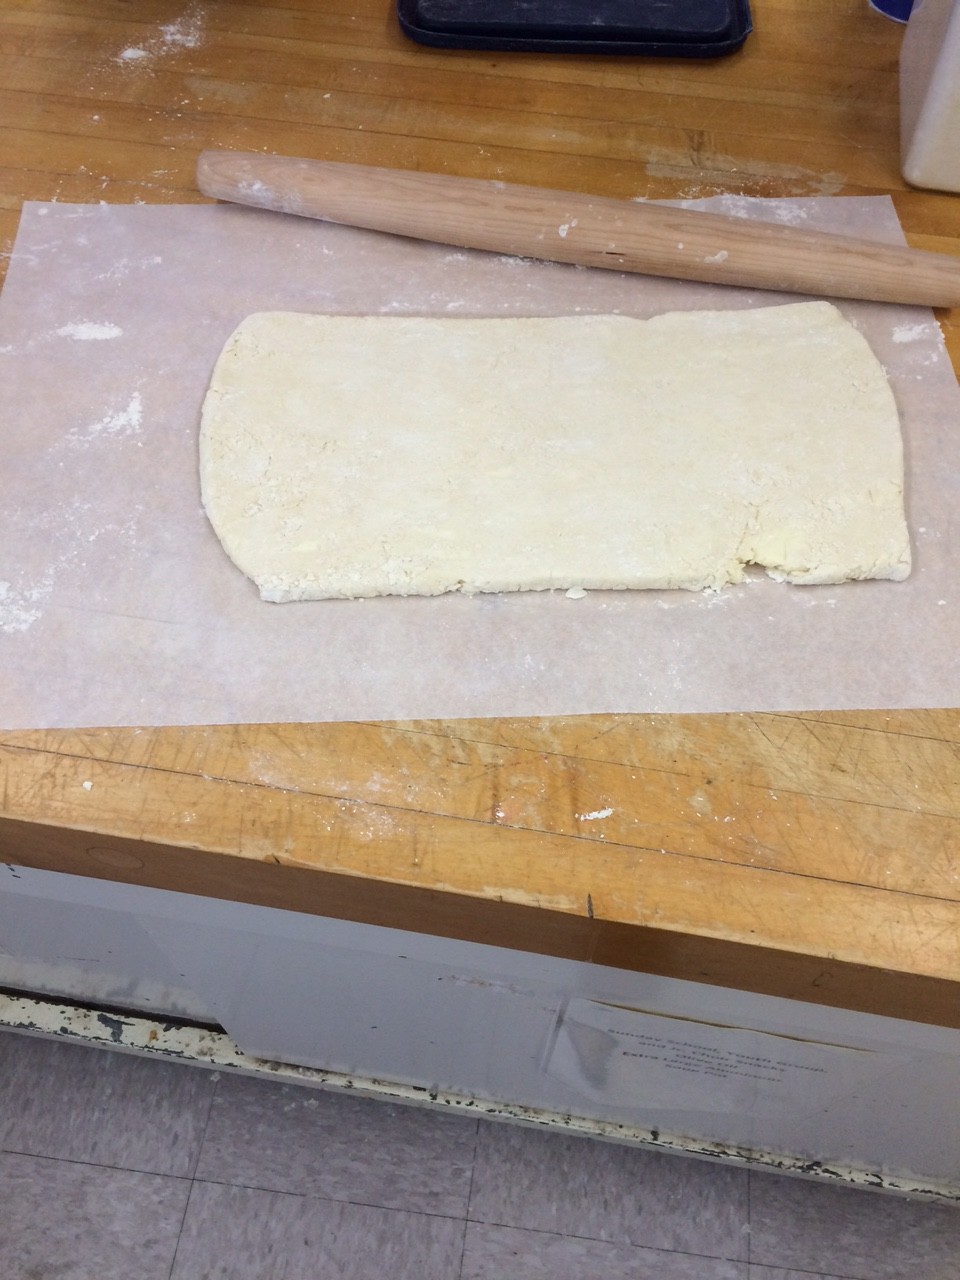
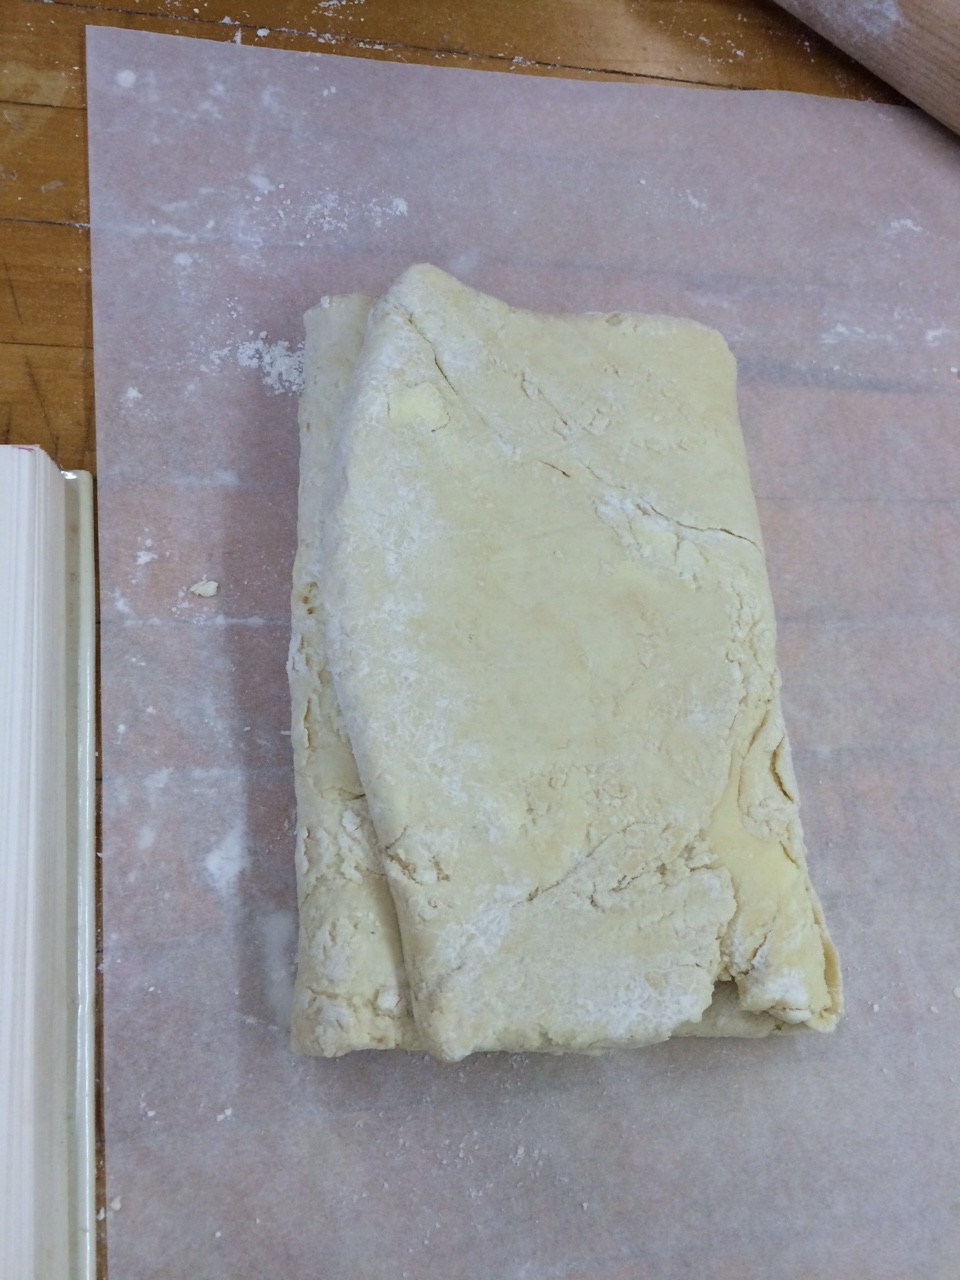
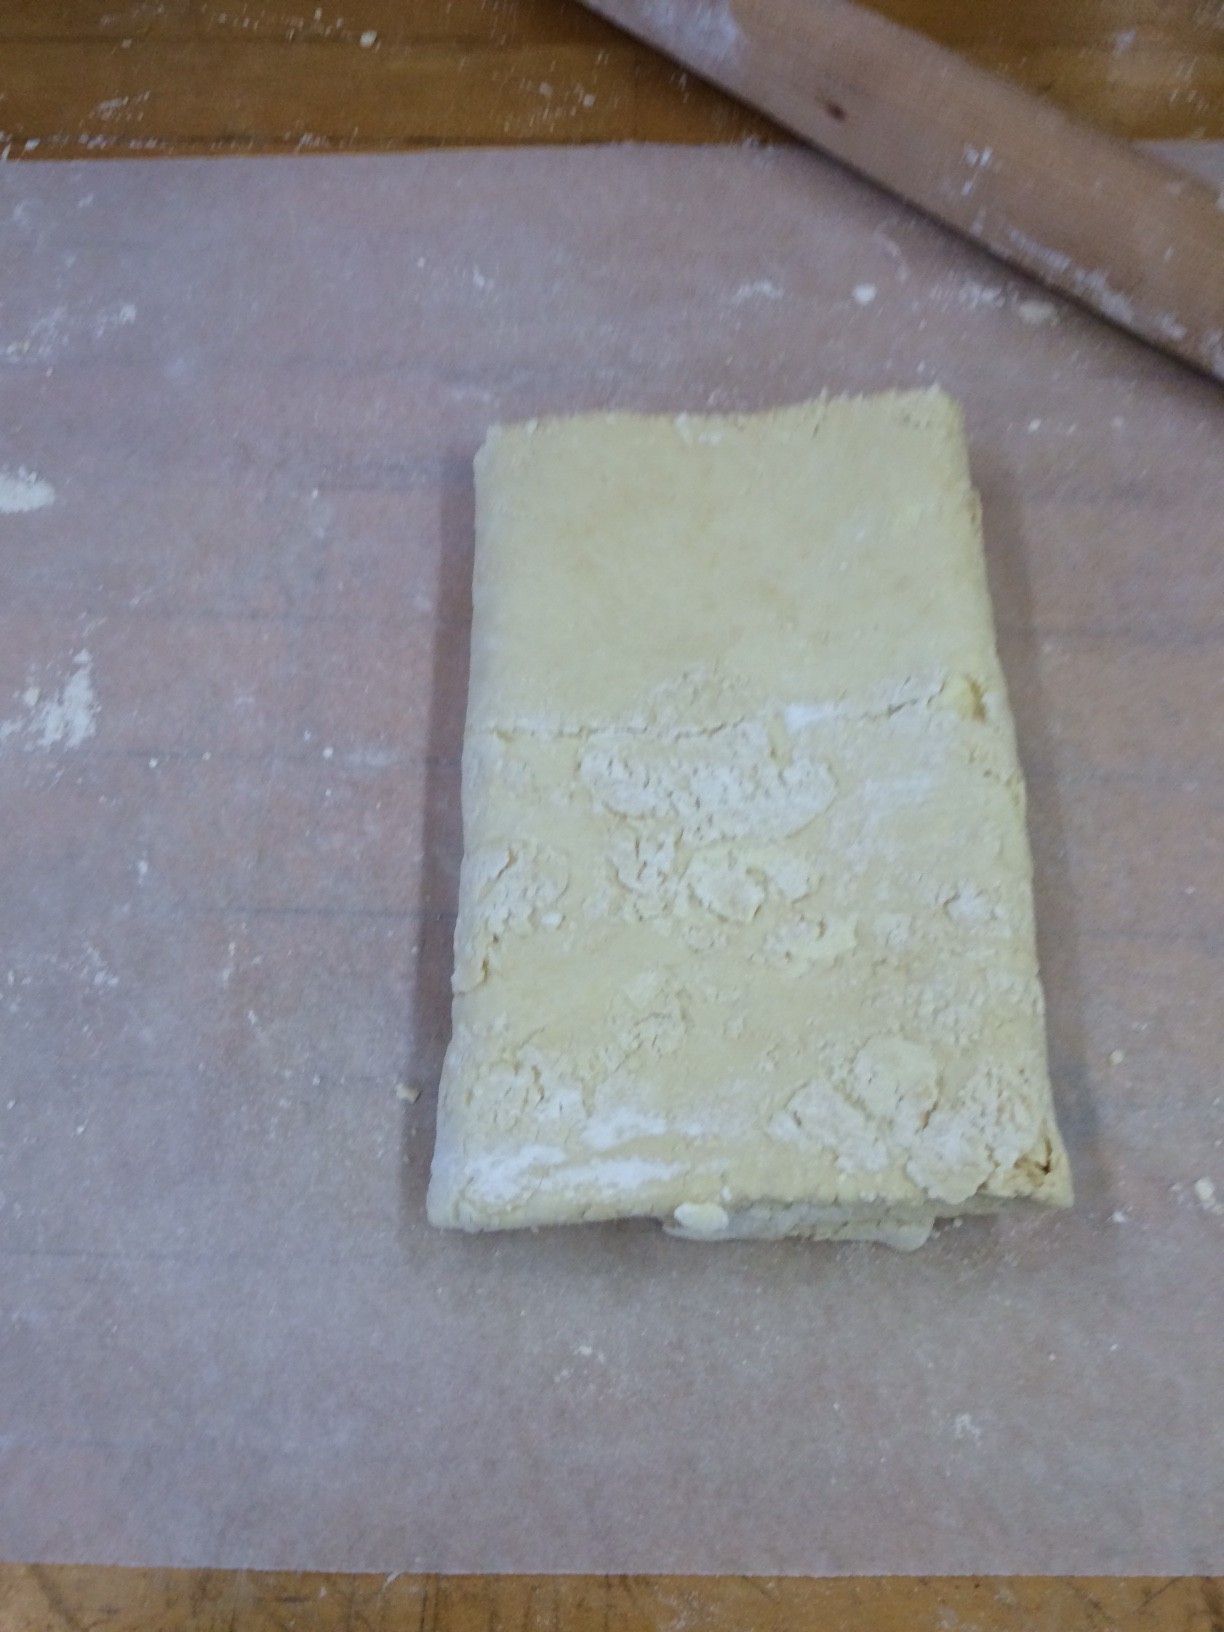
But I did it so I guess I will outline the key steps. First, you must make a what is essentially a basic all-butter pastry, which you then wrap, like wrapping paper, around a slab of butter that had been mixed with a smidge of flour. Then, you roll it out into a rectangle that is precisely 6in x 15in x 1in, fold it in thirds like an envelope, orient it so the top is the unfolded side with the flap oriented to the right, and then you mark it with a finger print for every turn of the pastry you have done. You do this 6 times. Chilling for 25 minutes in between each step.
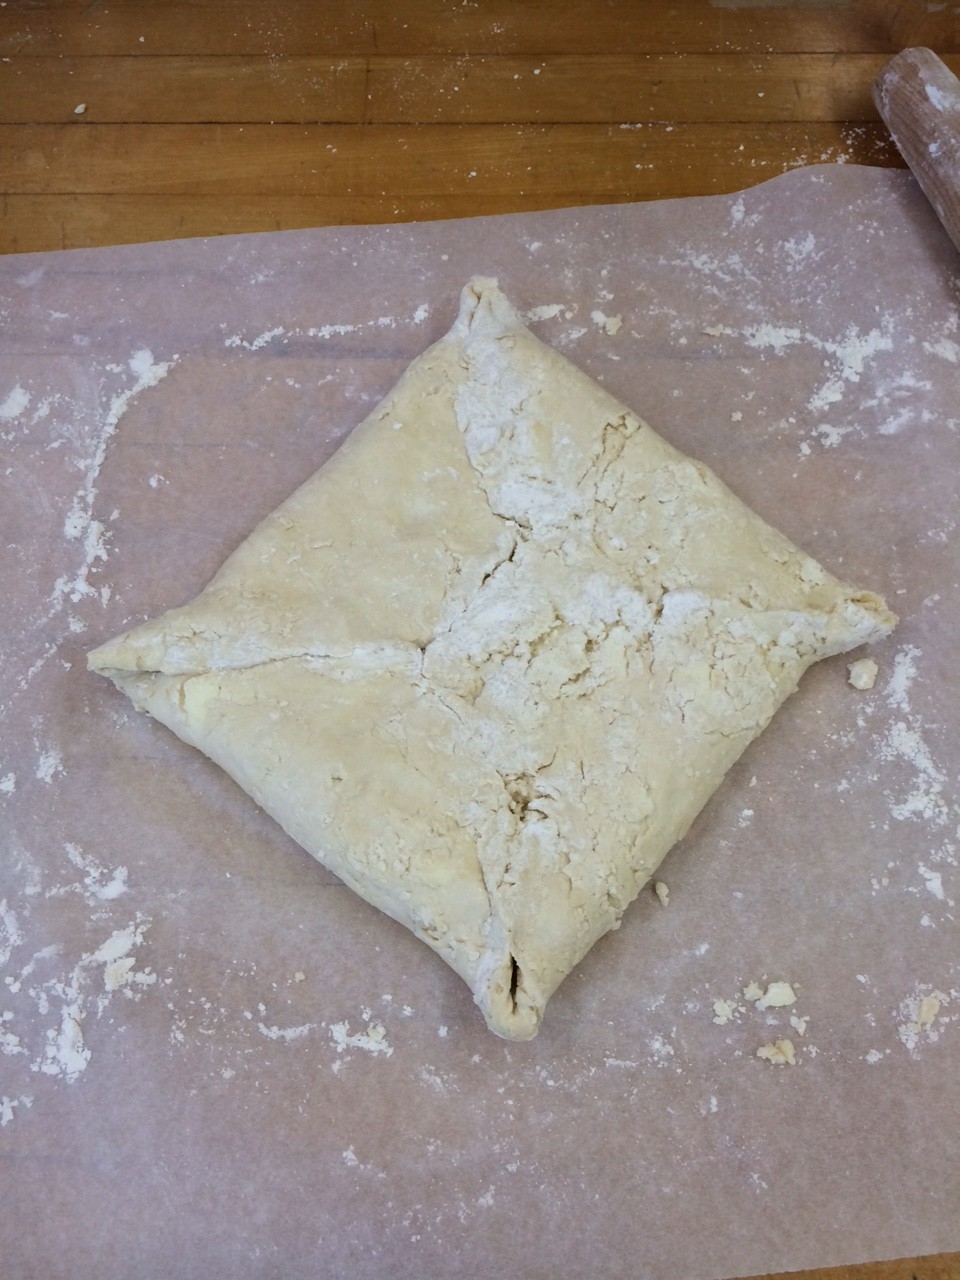
pastry wrapped butter present
pastry wrapped butter present

then you roll it out
then you roll it out

fold in thirds
fold in thirds

flip it

flip it

mark it with your finger

mark it with your finger

and then

and then

do it again

do it again

and again

and again

and again

and again

until you have six dots

until you have six dots

And there you have it, puff pastry. In four short hours!

So the puff pastry was done and the next obstacle was tackling the filling of the pie, I approached it very methodically, setting out all my ingredients cooking-show-style in bowls before I began.
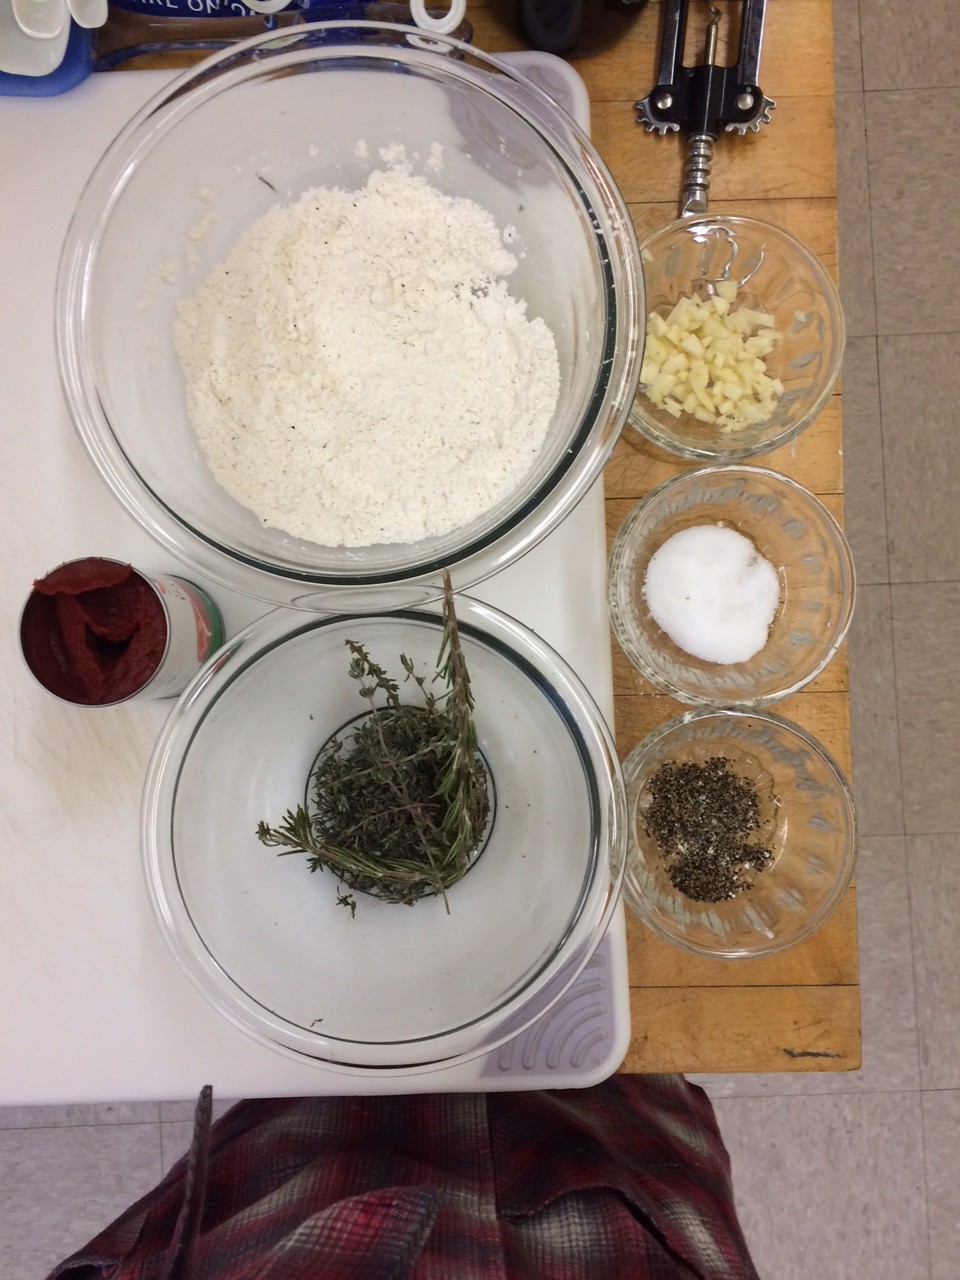
So organized

So organized

in the end the recipe I had ended up being very easy to follow, the only challenge was again how long it took. I began prep at 9am started cooking at 10 am, but didn’t officially take things off the burner until 2:30pm!
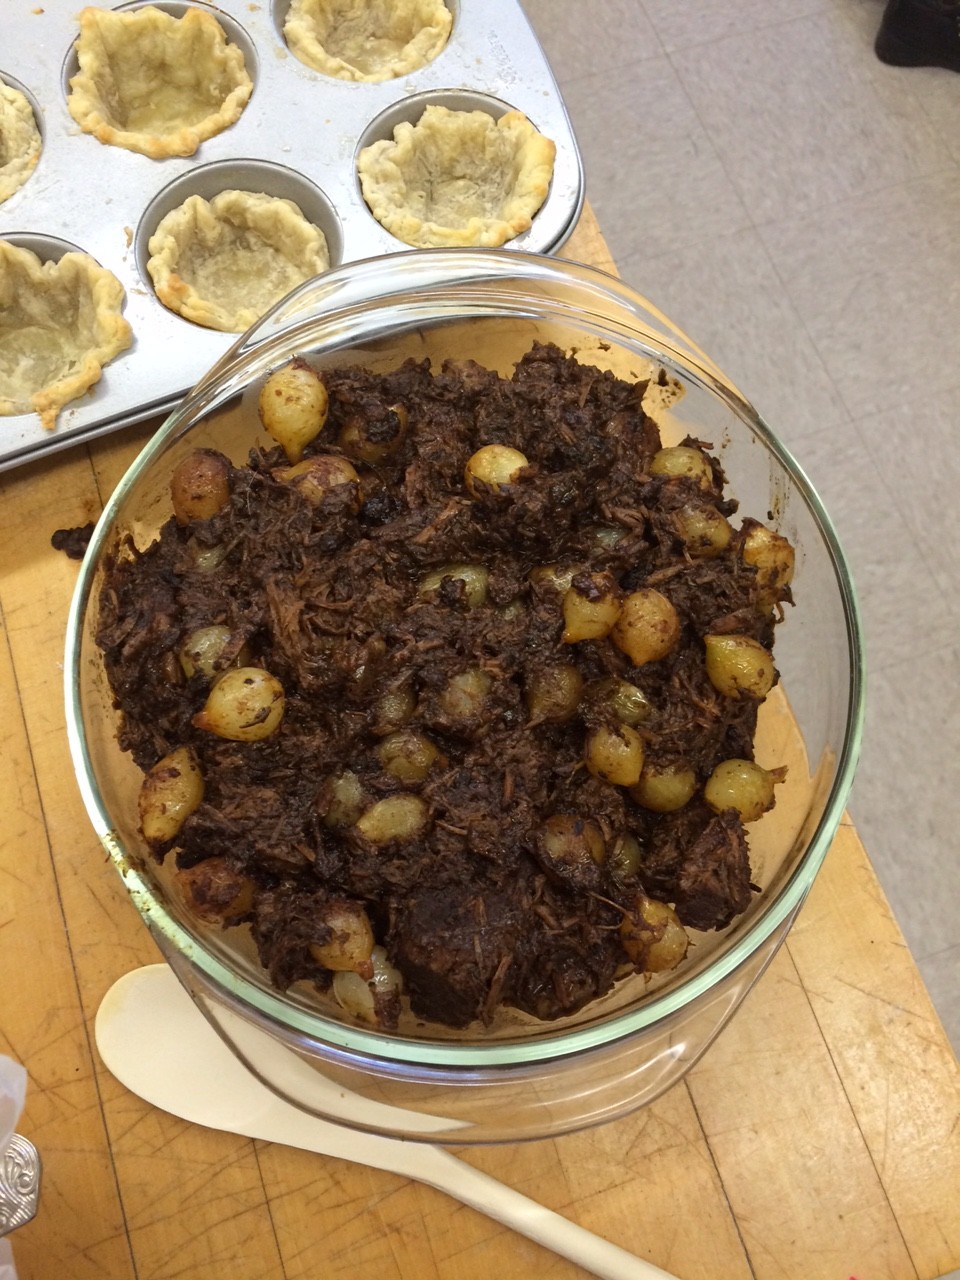
the final product of 5.5 hours of cooking

the final product of 5.5 hours of cooking

Luckily, 3 hours of that time was just letting it sit in a pot doing its thing. So while that was happening I made the bottom shell for my chocolate lava mini pies (featured in the background of the above photo), and I mixed the filling. The shells for these pies were the first time I have to blind bake a pie crust, so that was a fun adventure.
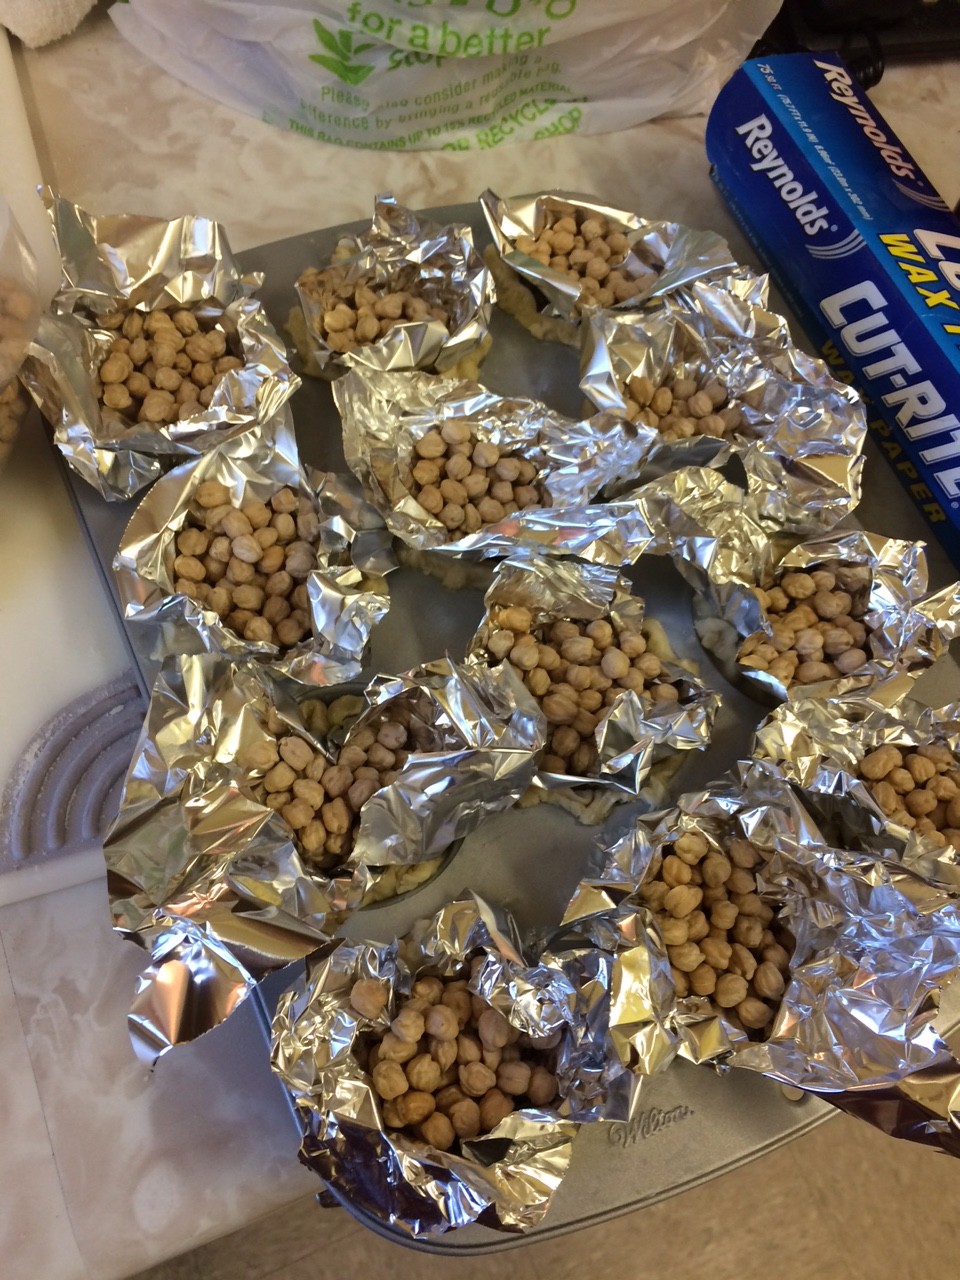
So much tin foil!

So much tin foil!

The only regret I had was buttering the muffin cups. I was really concerned about it sticking, but since the pastry already had so much butter in it, I got little buttery pools in the bottom of my cups that I had to wipe up. Aside from that my first attempt at blind baking was okay.
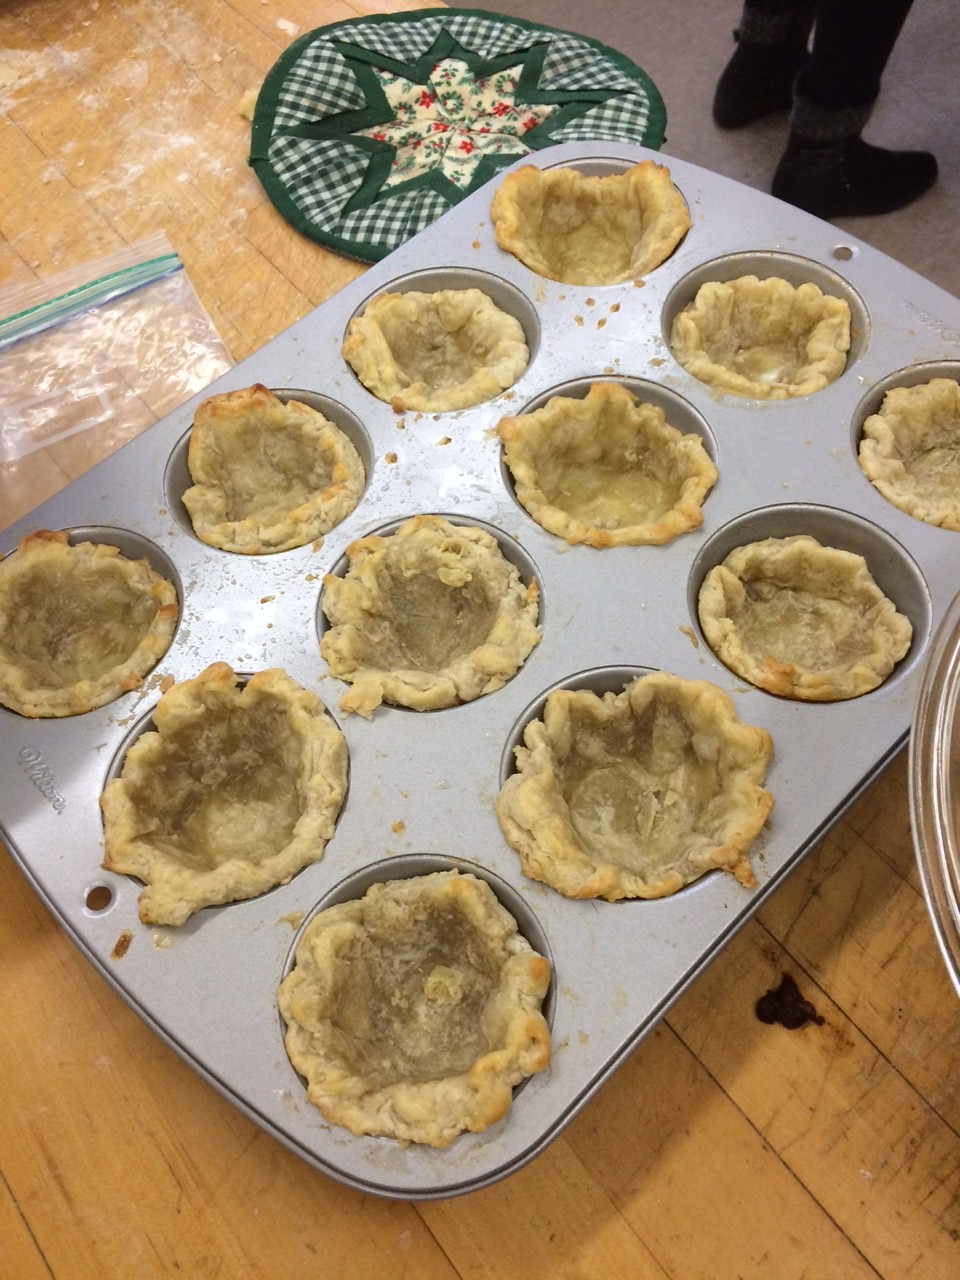
Pretty okay

Pretty okay

I set about doing all of this the first day of cooking, and the next I did a test lava cake, along with the real batch, and assembled and baked my pot pie. The lava cake pies were the major concern as I knew I could make pie and I knew I could make cake, but could I make the lava flow. In the end it was a lot of guess work. I found a recipe for a chocolate lava pie, but this was a whole pie not mini ones so any questions about timing were up in the air. In the end I just had to do a lot of checking, like every 3 minutes, but…..
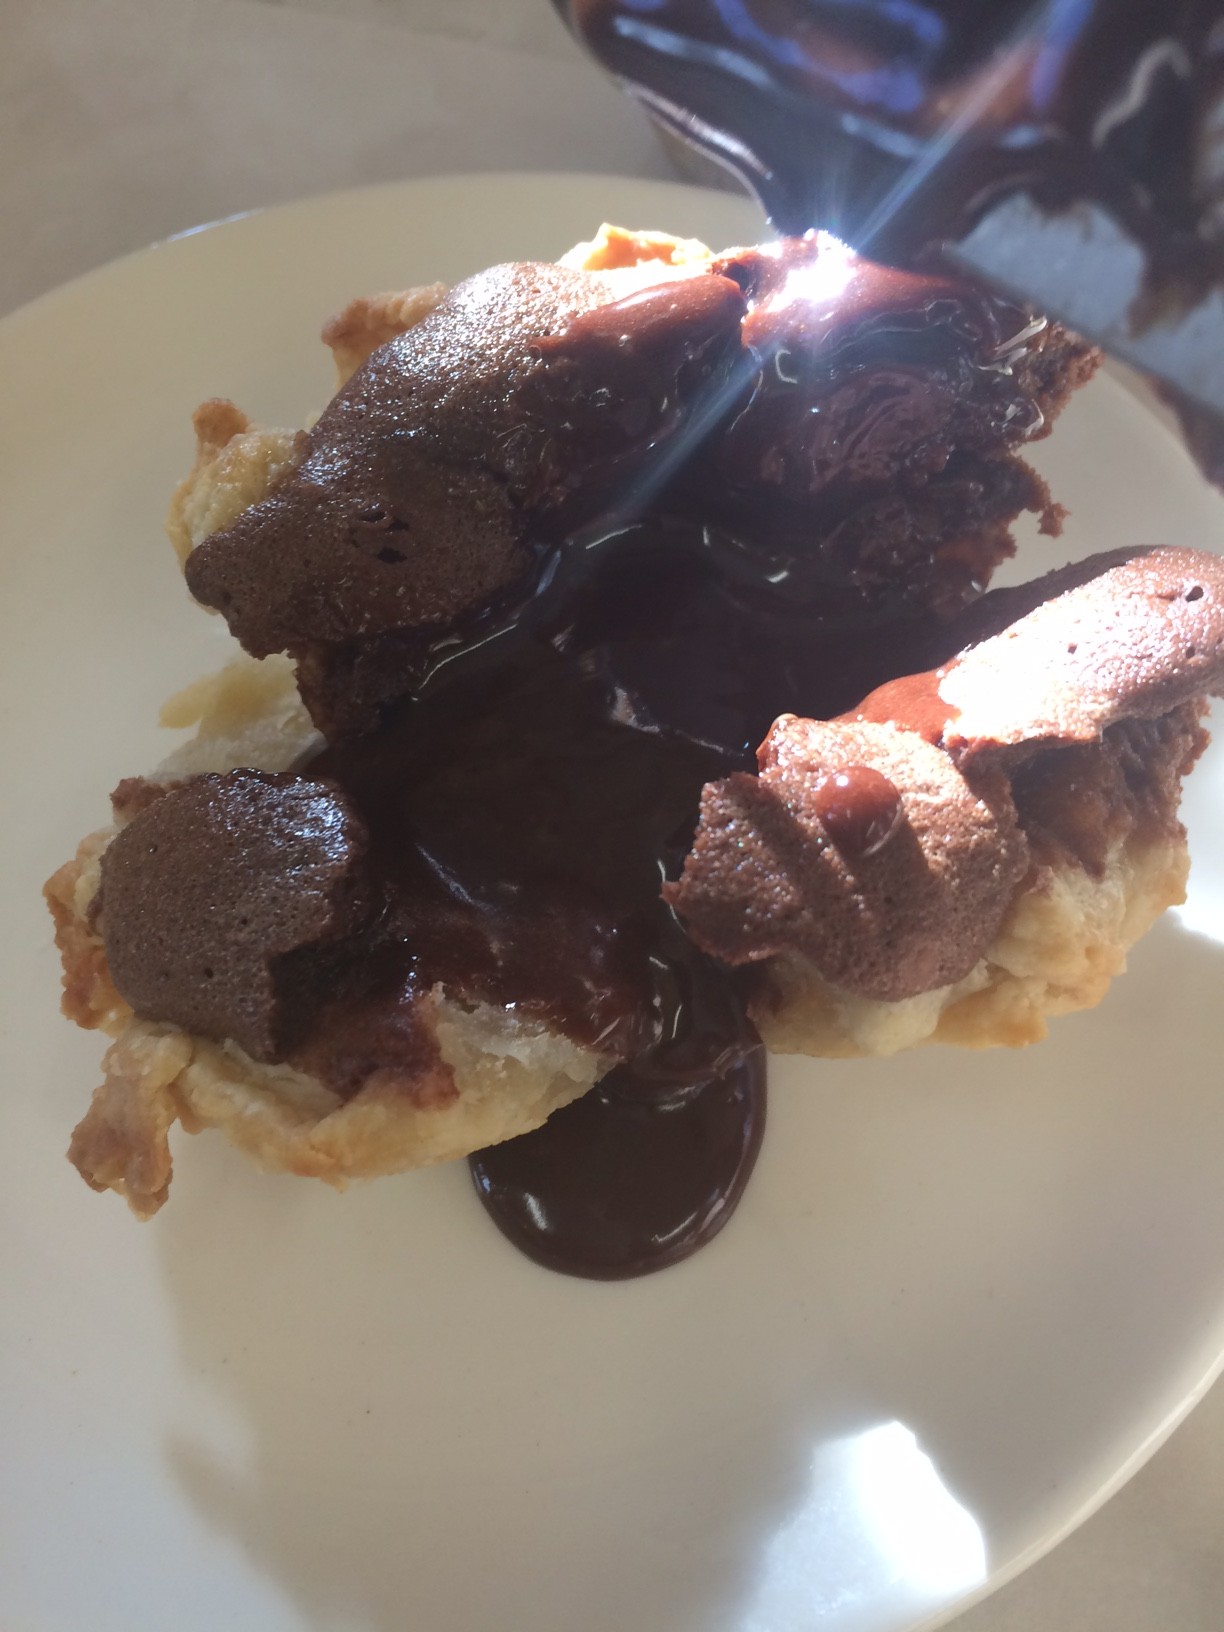
IT WORKED!

IT WORKED!

and so I made the rest!

IMG_1459

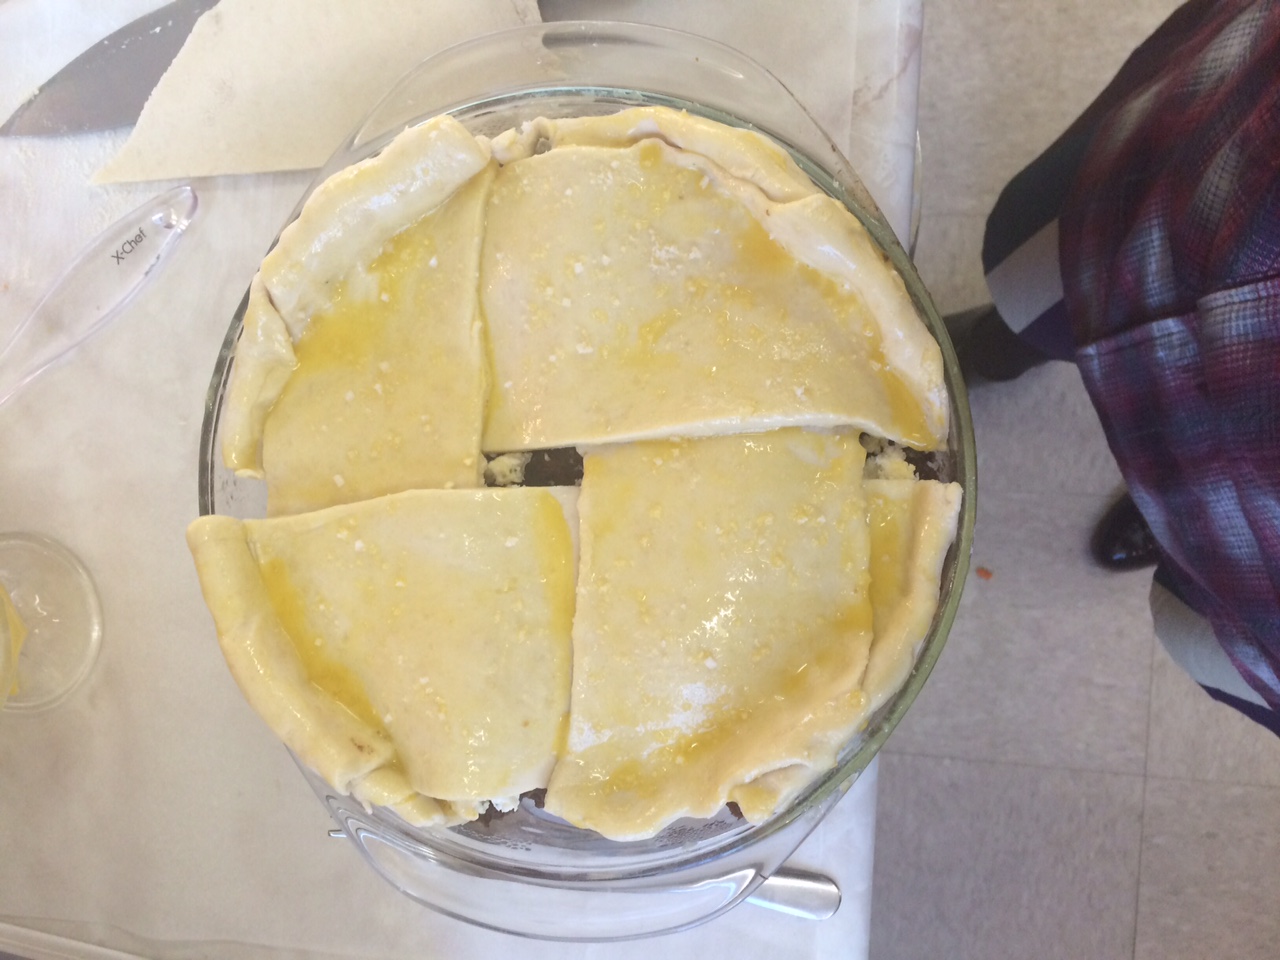
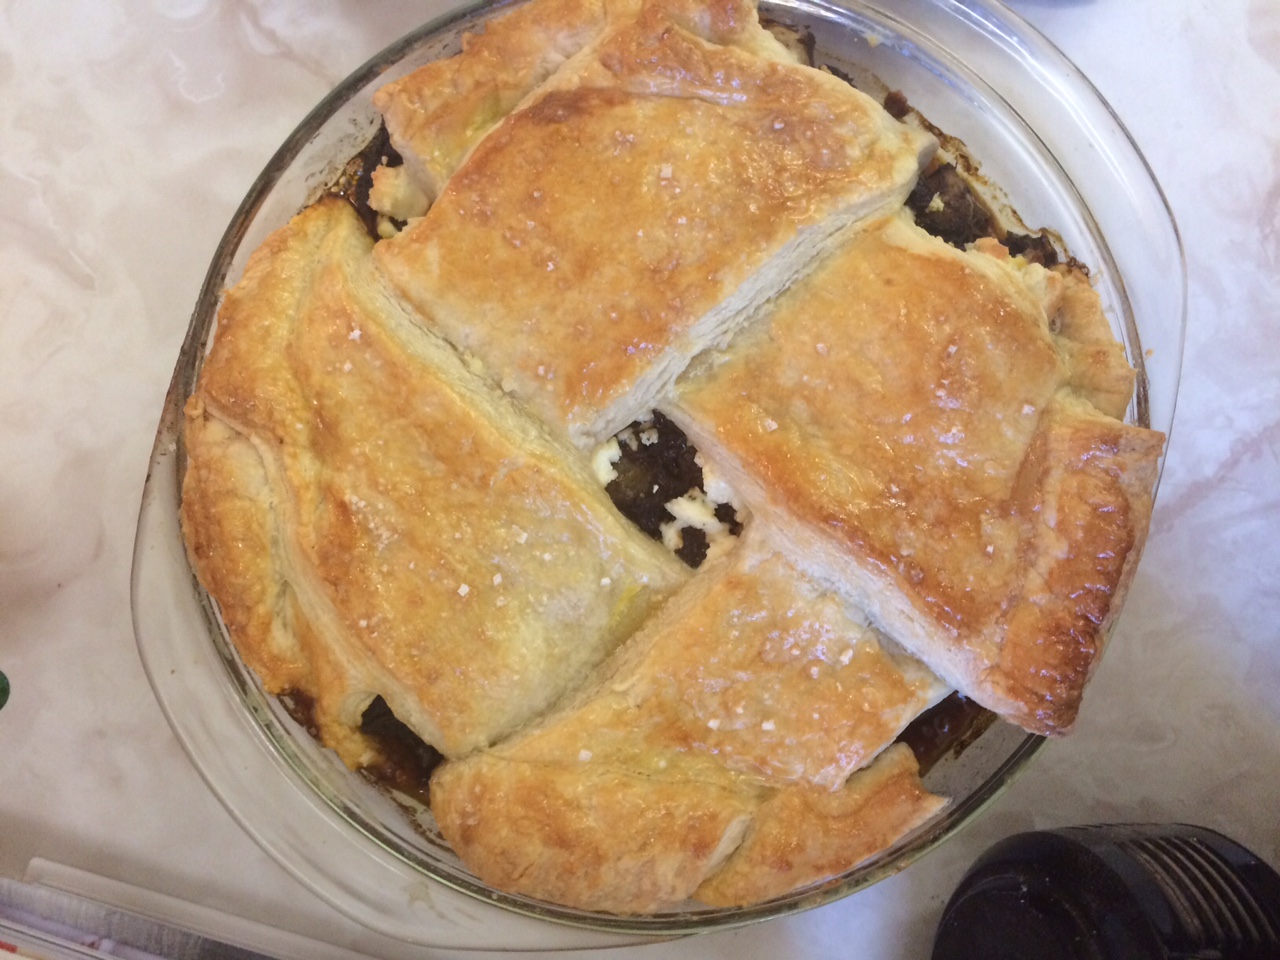
Then came assembling the pot pie. Last minute I decided to add some Boursin cheese into the pie because I felt it was a little to wine-y tasting and I thought it would mellow that out some. I also decided to go with a lattice crust because I hadn’t done that yet, but because I was concerned about how the puff pastry would puff I made a wider lattice, a very wide lattice.
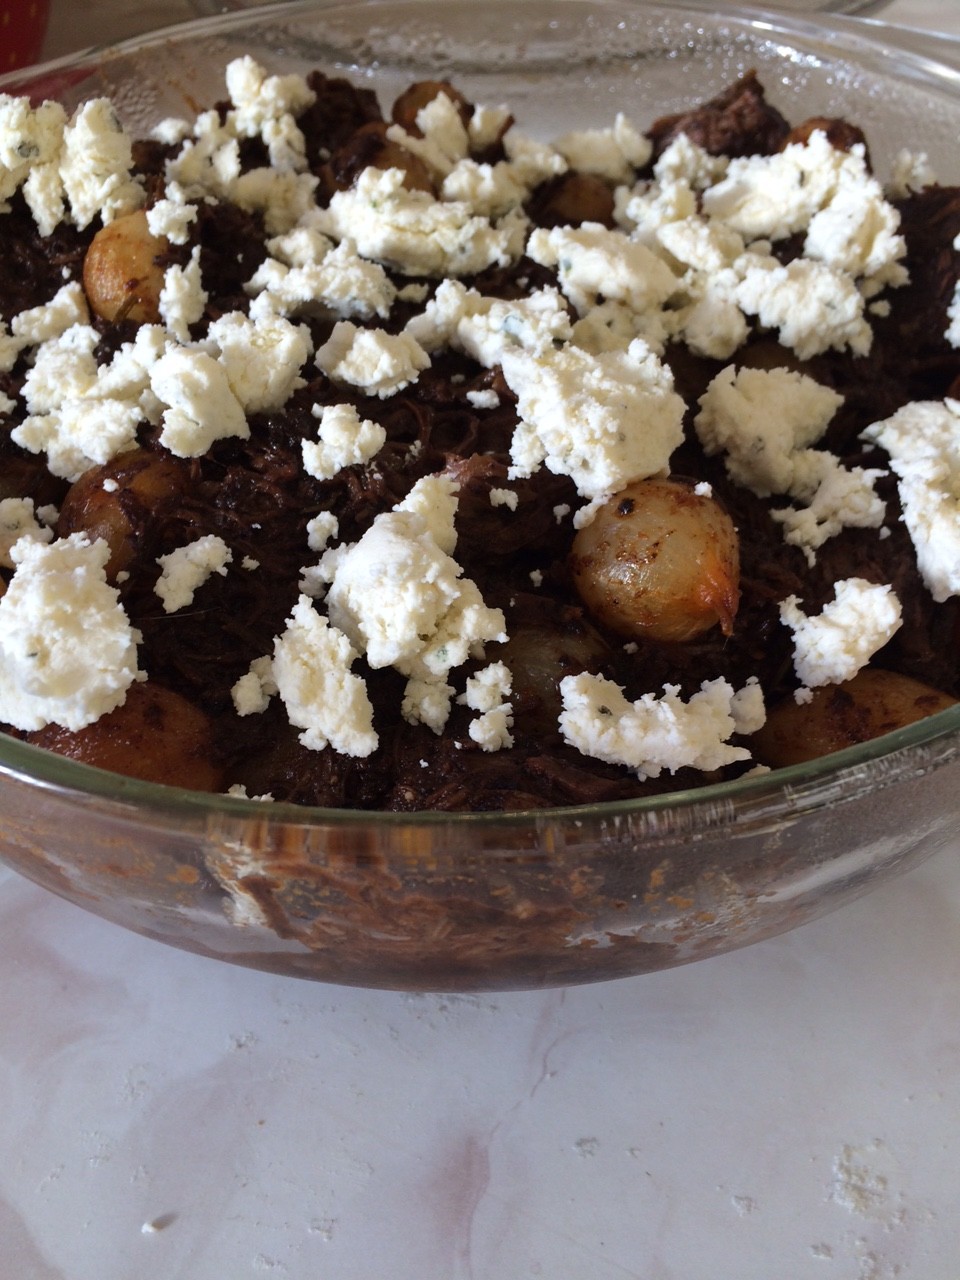
mmmmm cheese
mmmmm cheese

I'm not even sure we can call this a lattice
I’m not even sure we can call this a lattice

The finished pie!

The finished pie!

So that’s it! I made my pies. Unfortunately the time between the lava pies coming out of the oven and there being consumed was a tad longer than expected, so the lava didn’t happen, but all of them were eaten in the end, so apparently they were good. The pot pie was successful as well, as the cheese worked as planned.

I definitely learned a lot over these past few weeks. I can make pie crust and not just on kind. I can make it with cream cheese, canola oil, just butter, butter and shortening, and I can make puff pastry. I can make sweet pies, I can make savory pies, I can make the various things that go into these pies, I can say I have eaten 14 different pies in one sitting, I can boast about being the proud owner of my own Pyrex mixing bowls, I know more than the average person about the history of pie, I am now a fan of The Great British Bake Off. I can say I can make a pretty tasty pie, and I can say I learned a valuable skill.
Don’t Crowd the Mushrooms!


This week we ventured into savory pies! I was very excited for this week; I was ready to cook big hunks of meat for a big hearty pie. Unfortunately, this was the week I decided to sprain my ankle. So, I settled for a quiche, something that could be made in one day, relatively quickly. With my savory pie, I still wanted to push myself a bit even though I had physically constraints. So, I decided to try out a cream cheese crust and decided to transform for my favorite omelette contents into a quiche.

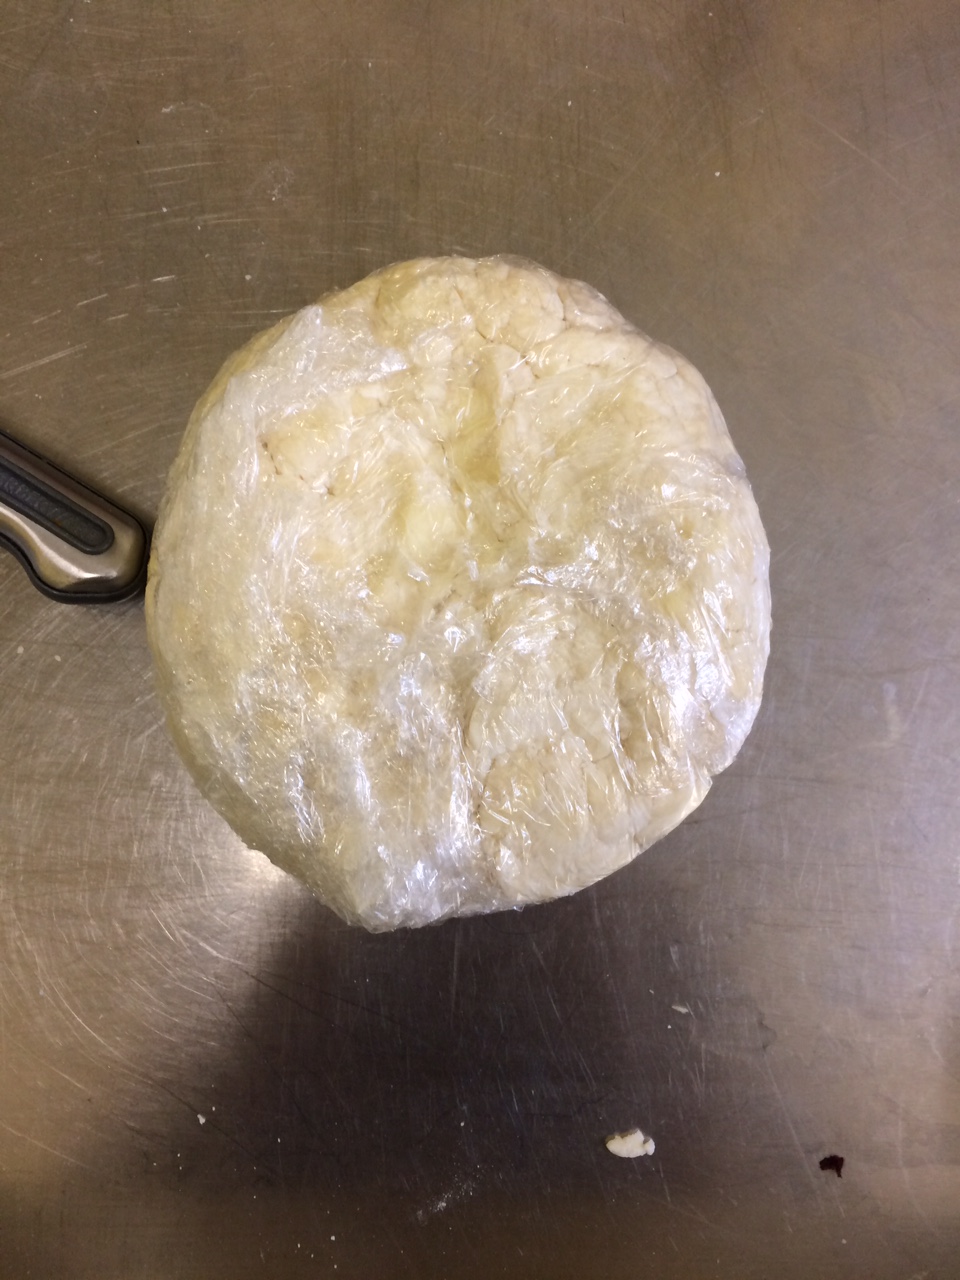
The cream cheese crust was something I stumbled across while looking on the internet for alternative fats in pastry dough. I used a mish-mosh of a couple different crust recipes and mostly I was surprised at how little flour (only 1 cup!) it used in comparison to the butter and cream cheese. Albeit this was the first single crust pie I have made, so things are already halved from what I was used to , but still there was a lot of fat in comparison to flour. Also the water was mostly optional in recipes I looked at, I definitely needed it; they must live in some ridiculously humid places. Once everything was sorted out, it mixed fine and rolled out nicely.

Cream Cheese Pastry


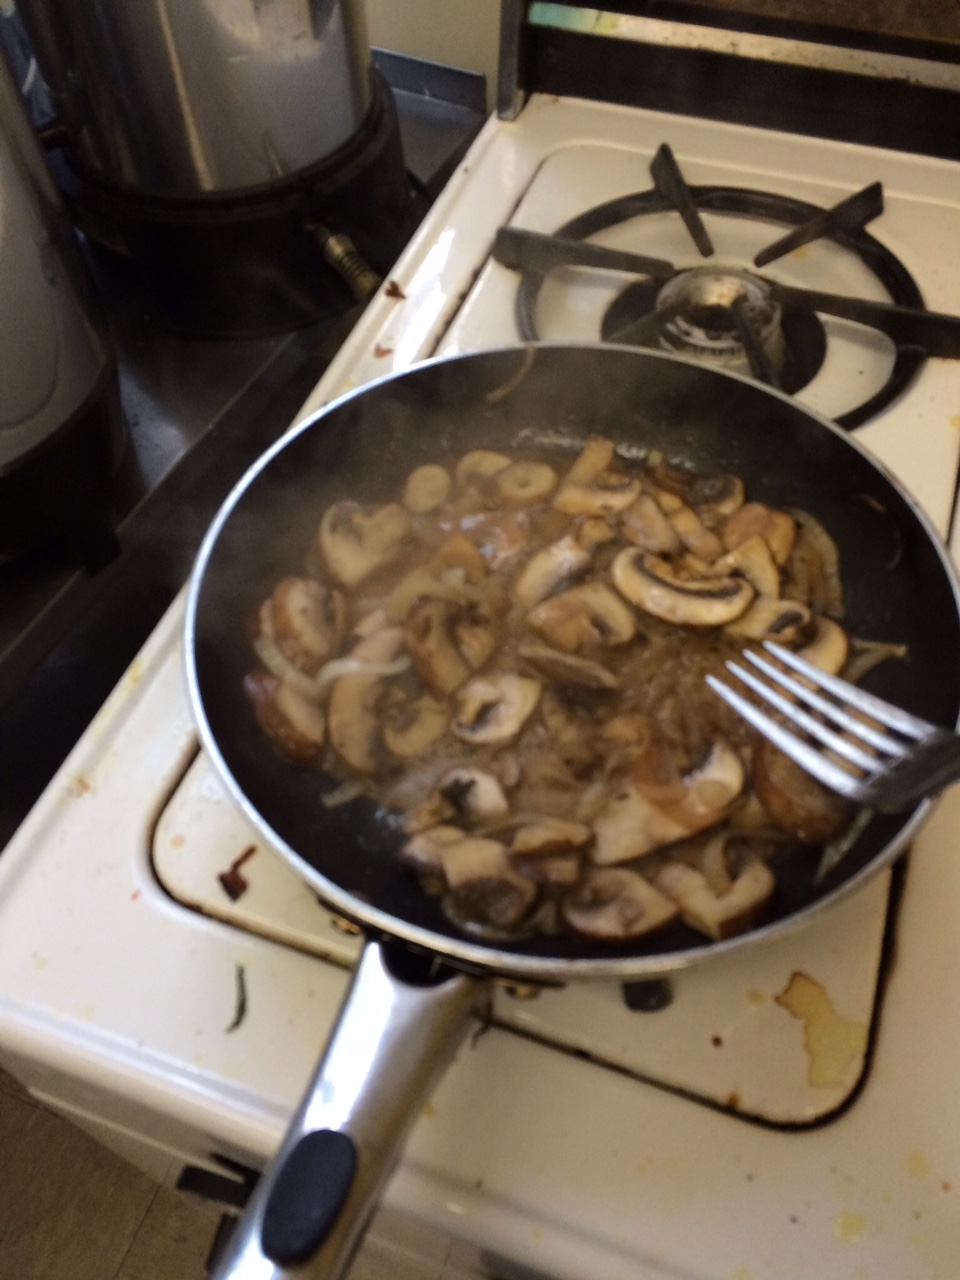
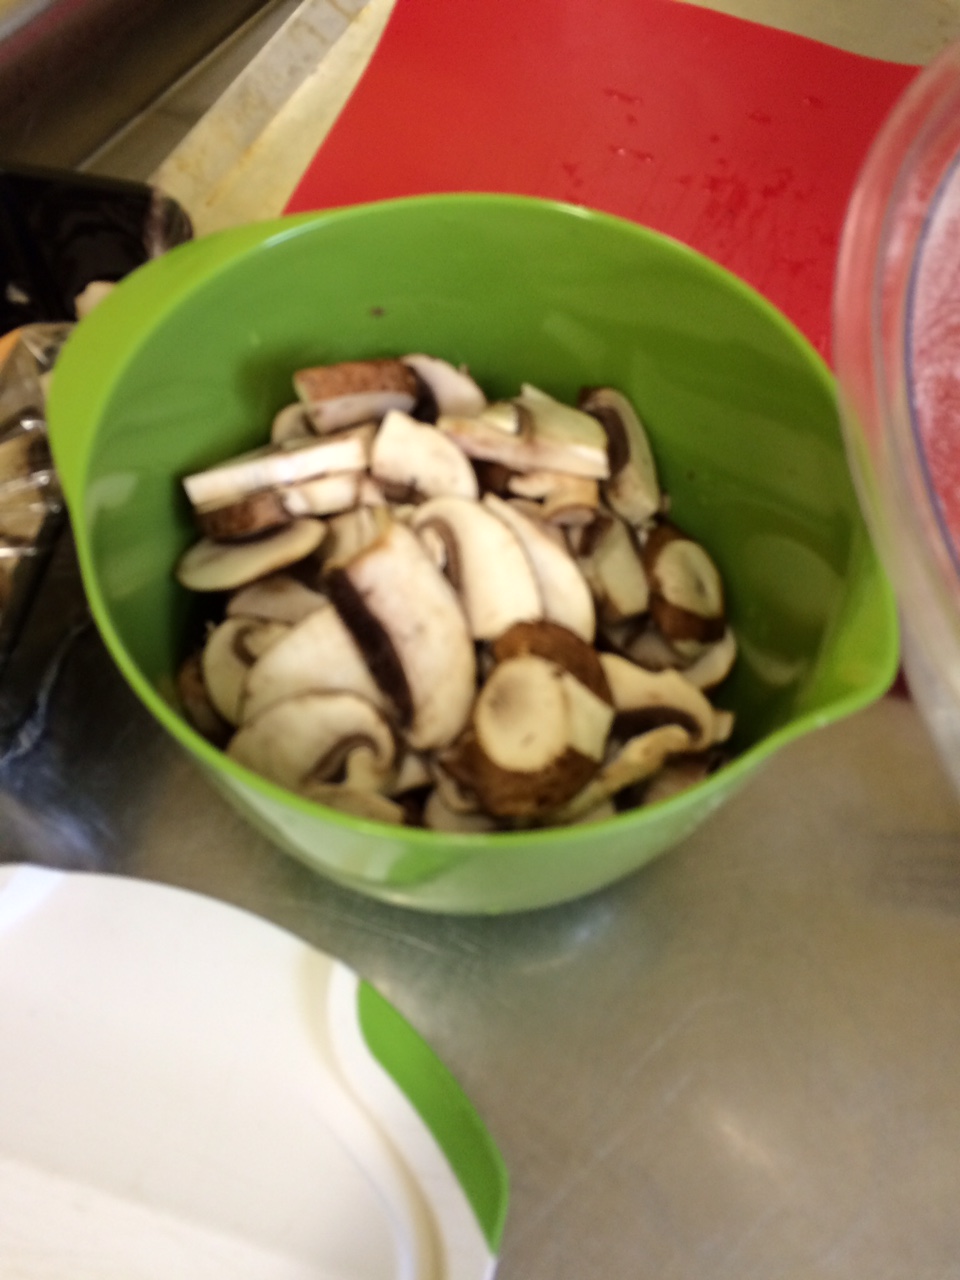
Next, on to all the things going on inside of the quiche. I chopped up my mushrooms and my onions (Moment of pride: I evaded watery eyes through some miracle) and set about cooking them. I had to make them in two batches because they couldn’t all fit in one pan, and because I was terribly afraid of crowding the mushrooms. Both Julia Child’s and my mother’s voice keep saying the mantra “don’t crowd the mushrooms” over and over again in my head. The first batch went well, but I guess the second one was slightly larger and they definitely got a little too much steam from their own juices.


mushrooms all chopped

I crowded the mushrooms


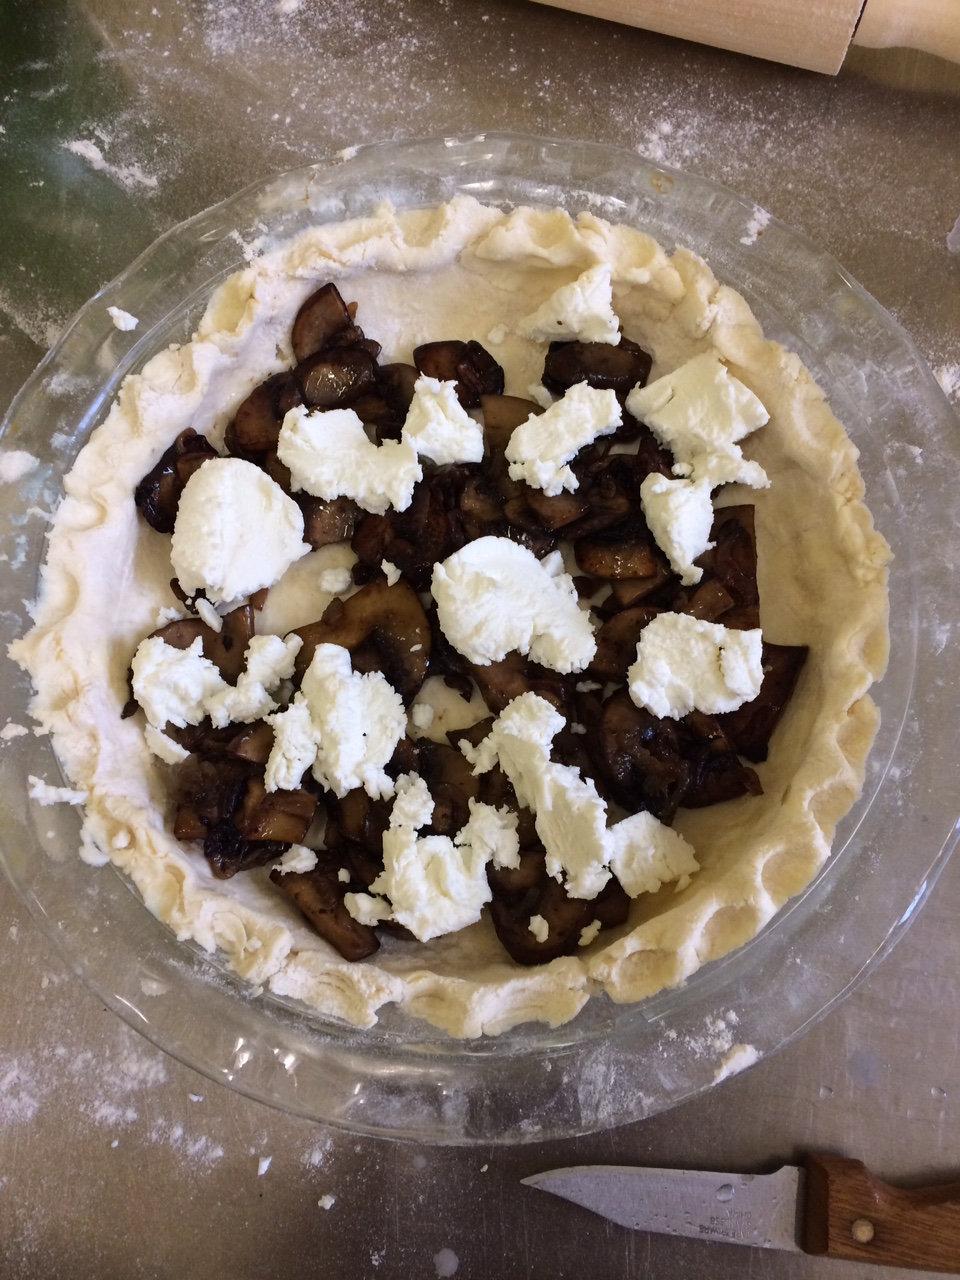
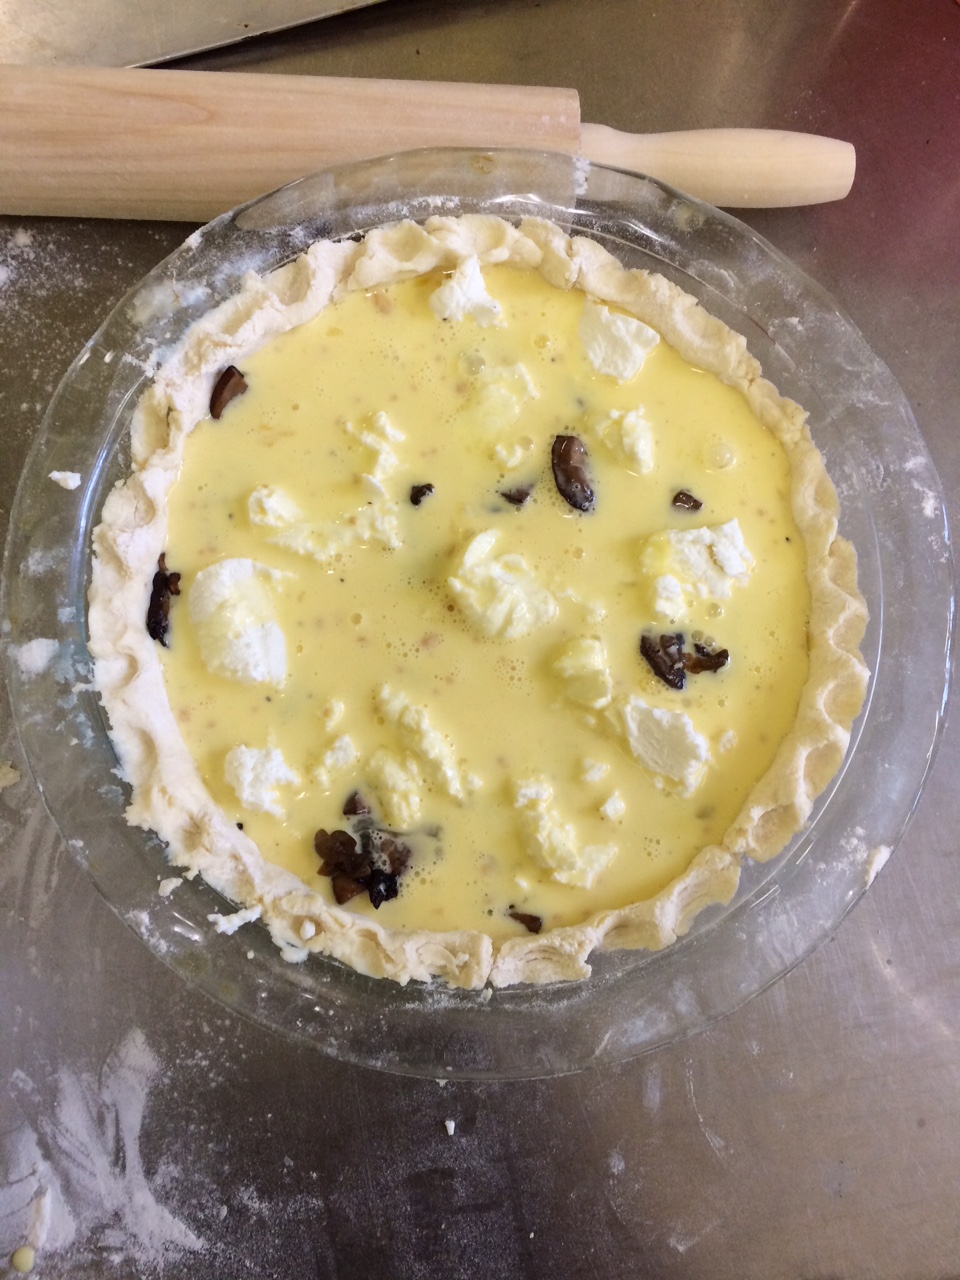
But we must move on. Assembling the pie was super easy. The mushrooms, onions, and goat cheese all went in the bottom and then I just poured in the egg mixture, filling in the crust quite nicely.

crust with mushrooms and cheese

almost done quiche


Then into the oven it went.

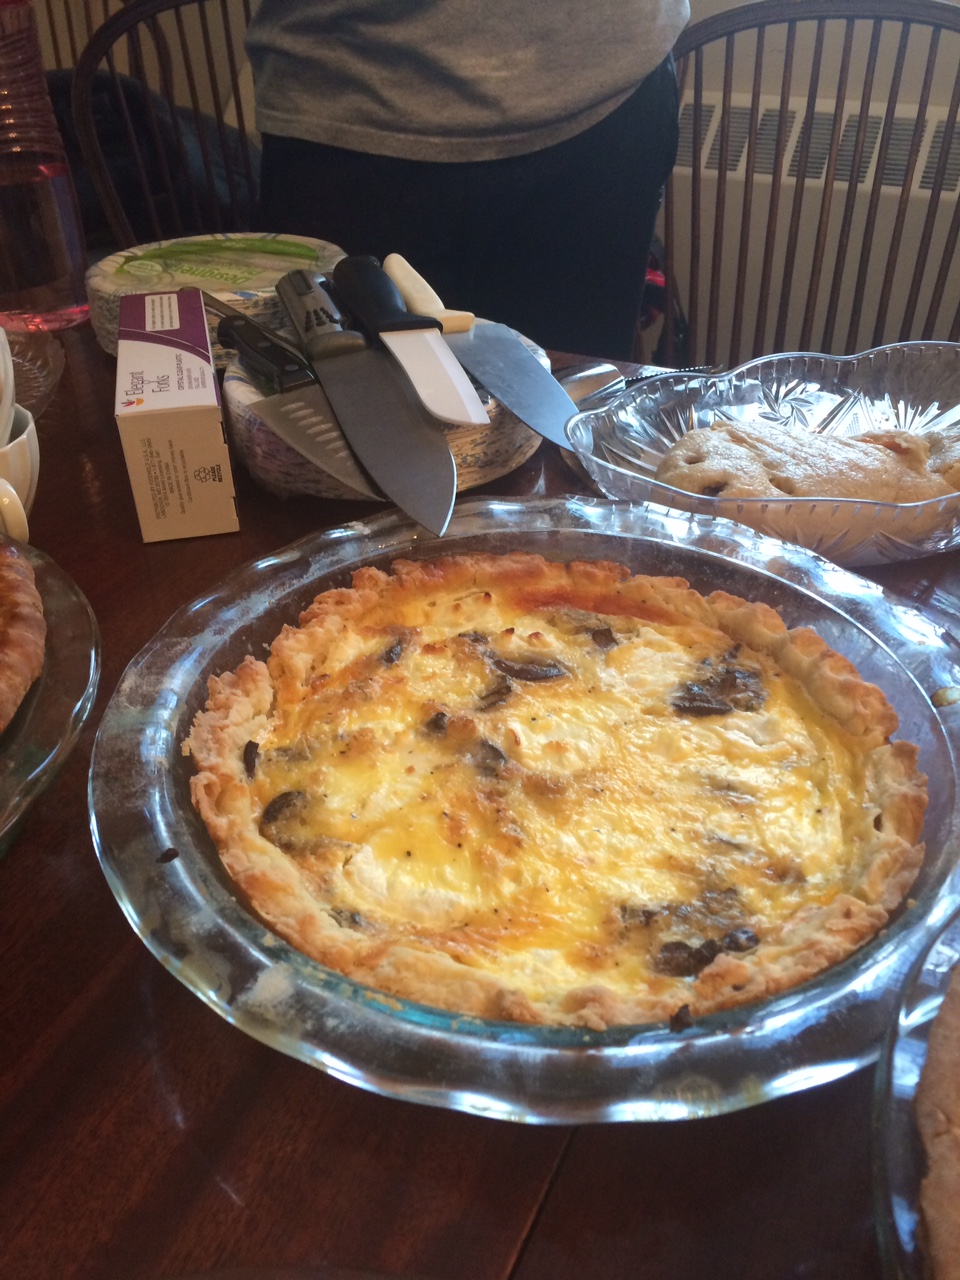
mushroom, onion, and goat cheese quiche


I think, aesthetically, this is the best pie I have made yet (this is my third pie, so there is a low bar). Everything is evenly golden and delicious looking. The only thing I might have changed was to perhaps add some chives into the egg mixture, so that I might have a pop of green. Unfortunately the forces at be made it so that I couldn’t actually taste the quiche I made. Hopefully it was good? I’ll have to make it again for myself sometime so I can see if I actually succeeded.

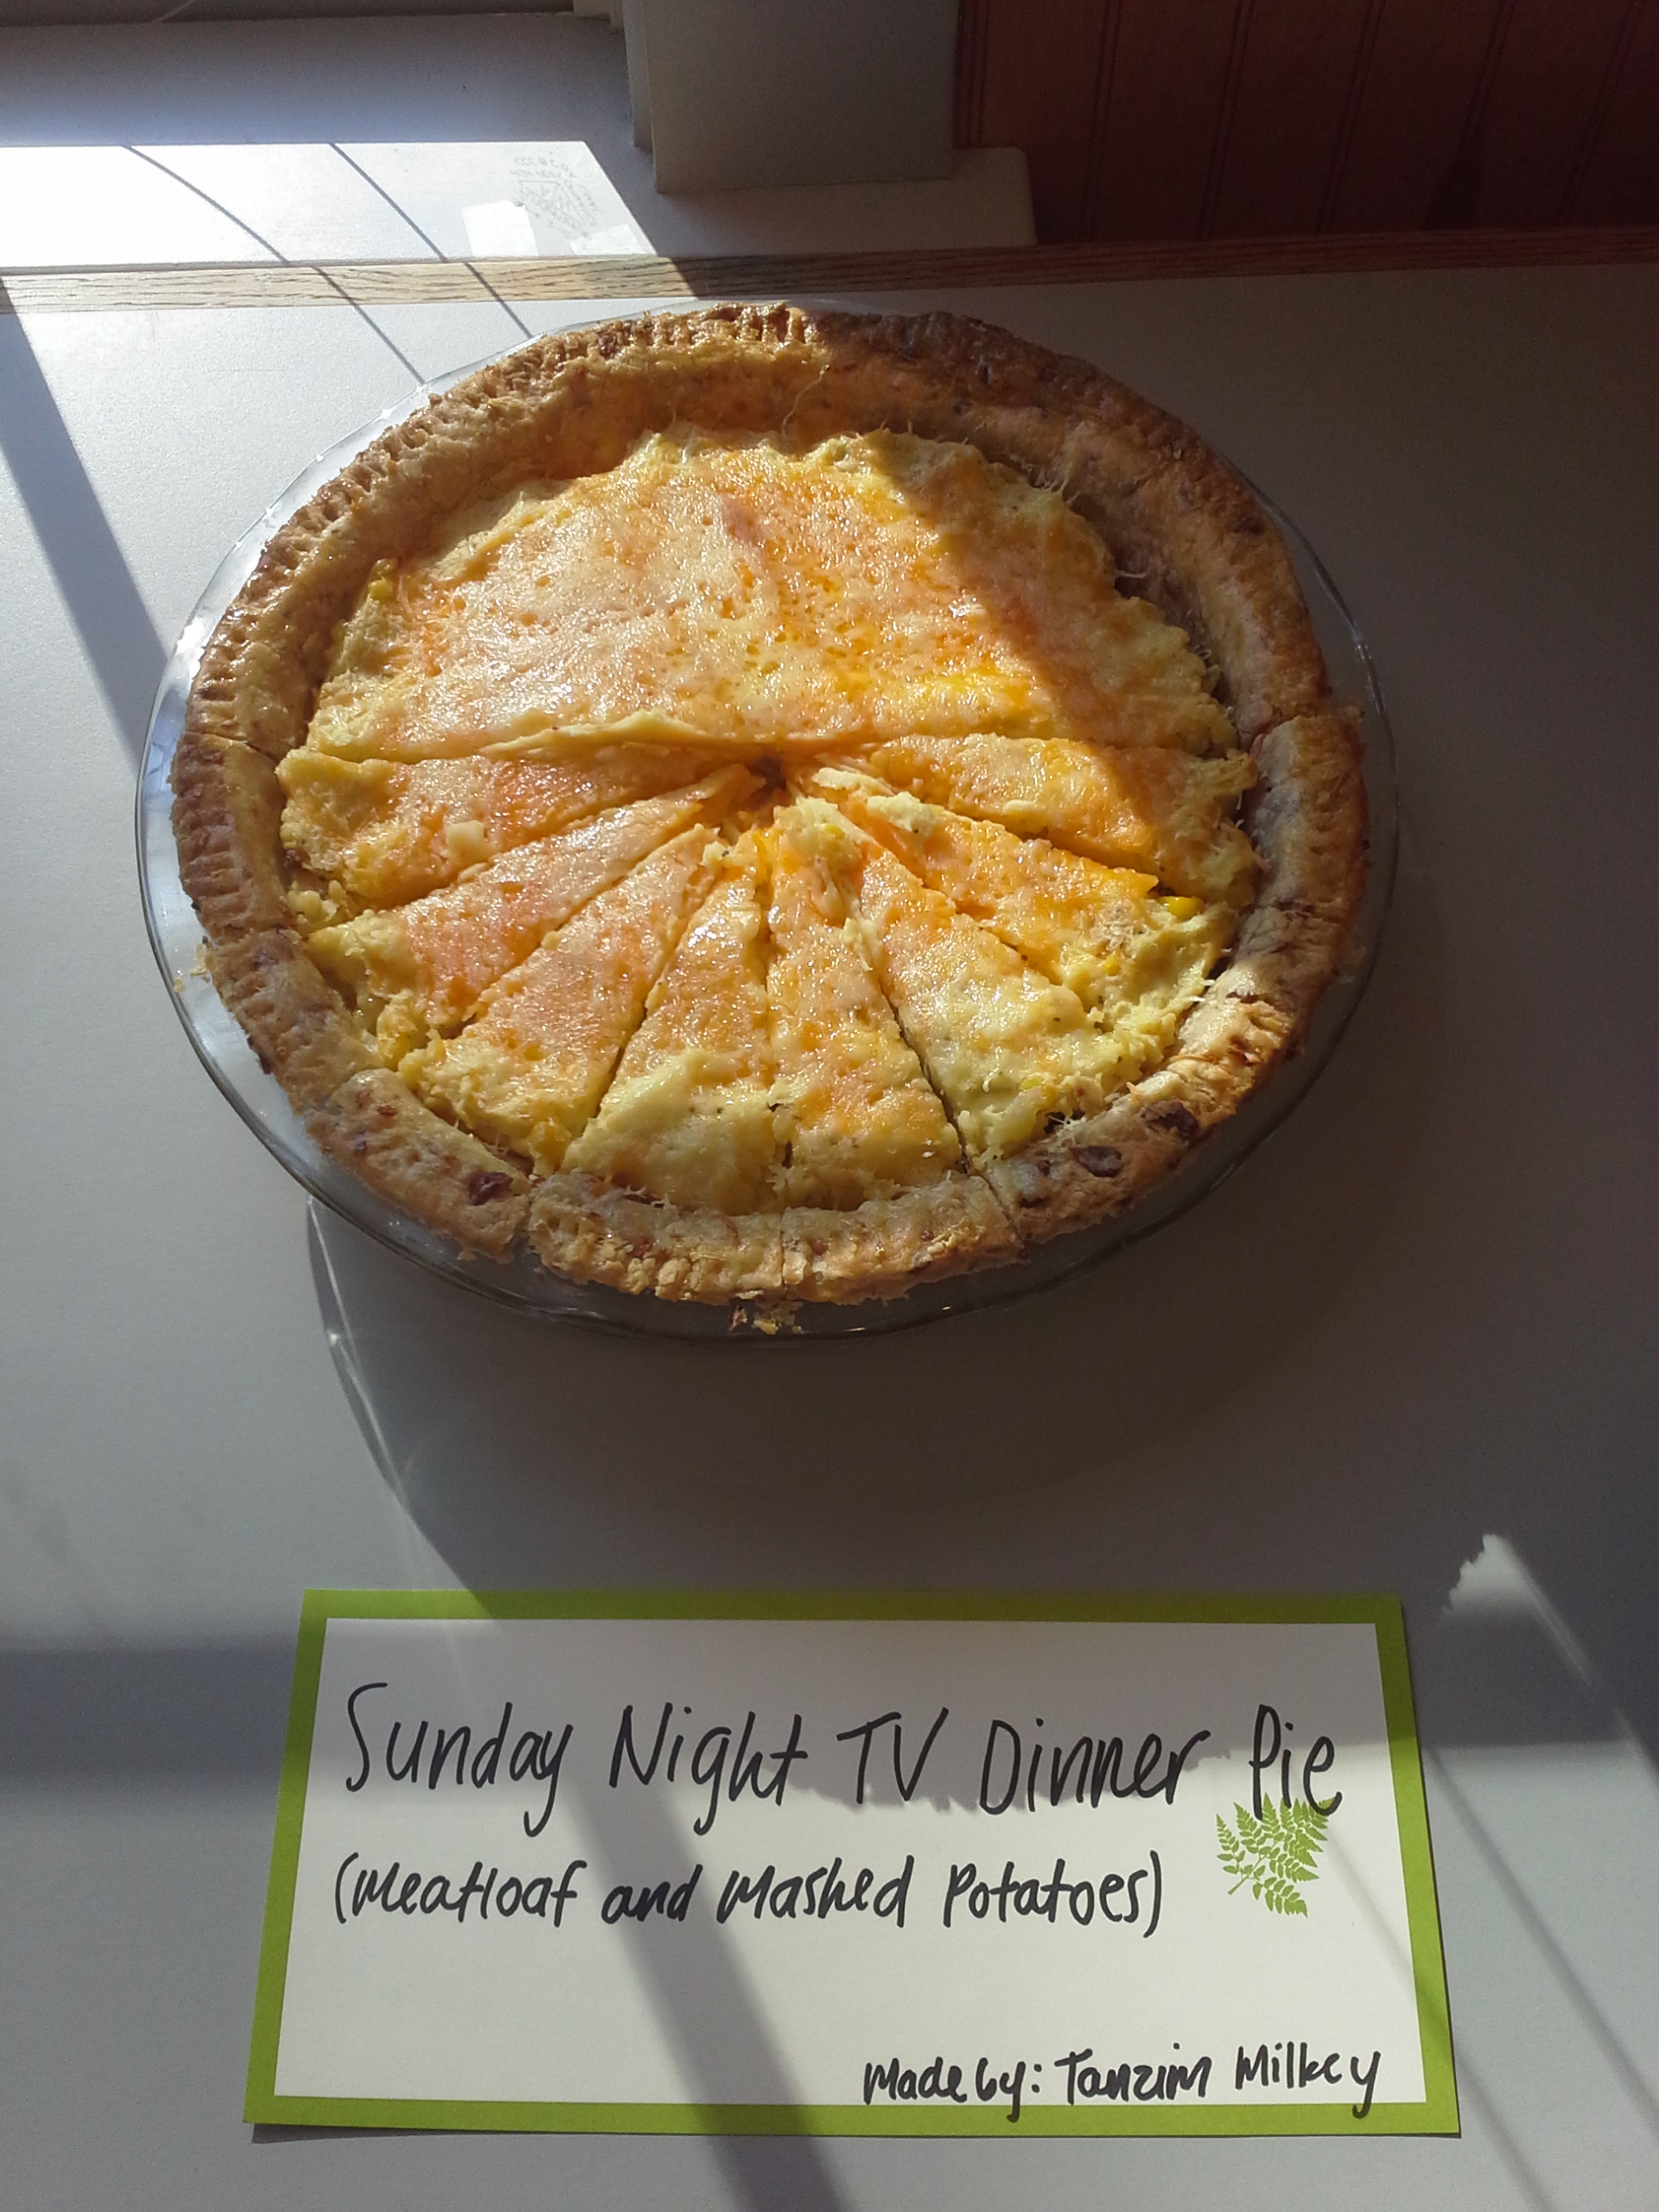
Sunday Night TV Dinner Pie

http://allrecipes.com/recipe/meat-loaf-pie/

For my savory entry this week, I went with a classic dinner recipe in pie form. In the style of the English, “anything you can put on a plate, you can bake into a pie.” I mostly stuck to the recipe above, but of course, throwing in the classic Tanzim twists.

First, the crust, which was made with butter and crisco, was also baked with bacon flakes.
Second, rather than have a layer of sweet corn, I added half the corn called for in the recipe to the mashed potatoes.
Third, the meatloaf was cooked using this recipe for added flavor.
Fourth, the cheese crust was done with two different kinds of cheddar: mild and sharp.
Additionally, the mashed potatoes were made using this recipe.

The pie turned out very well! I think the changes I made added a lot to the dish. The layer of corn on the bottom would have been a distracting taste, and it worked nicely with the potatoes. The cheese on the top also baked into a nice, crispy crust, which added an extra dimension of texture.

Check it out!

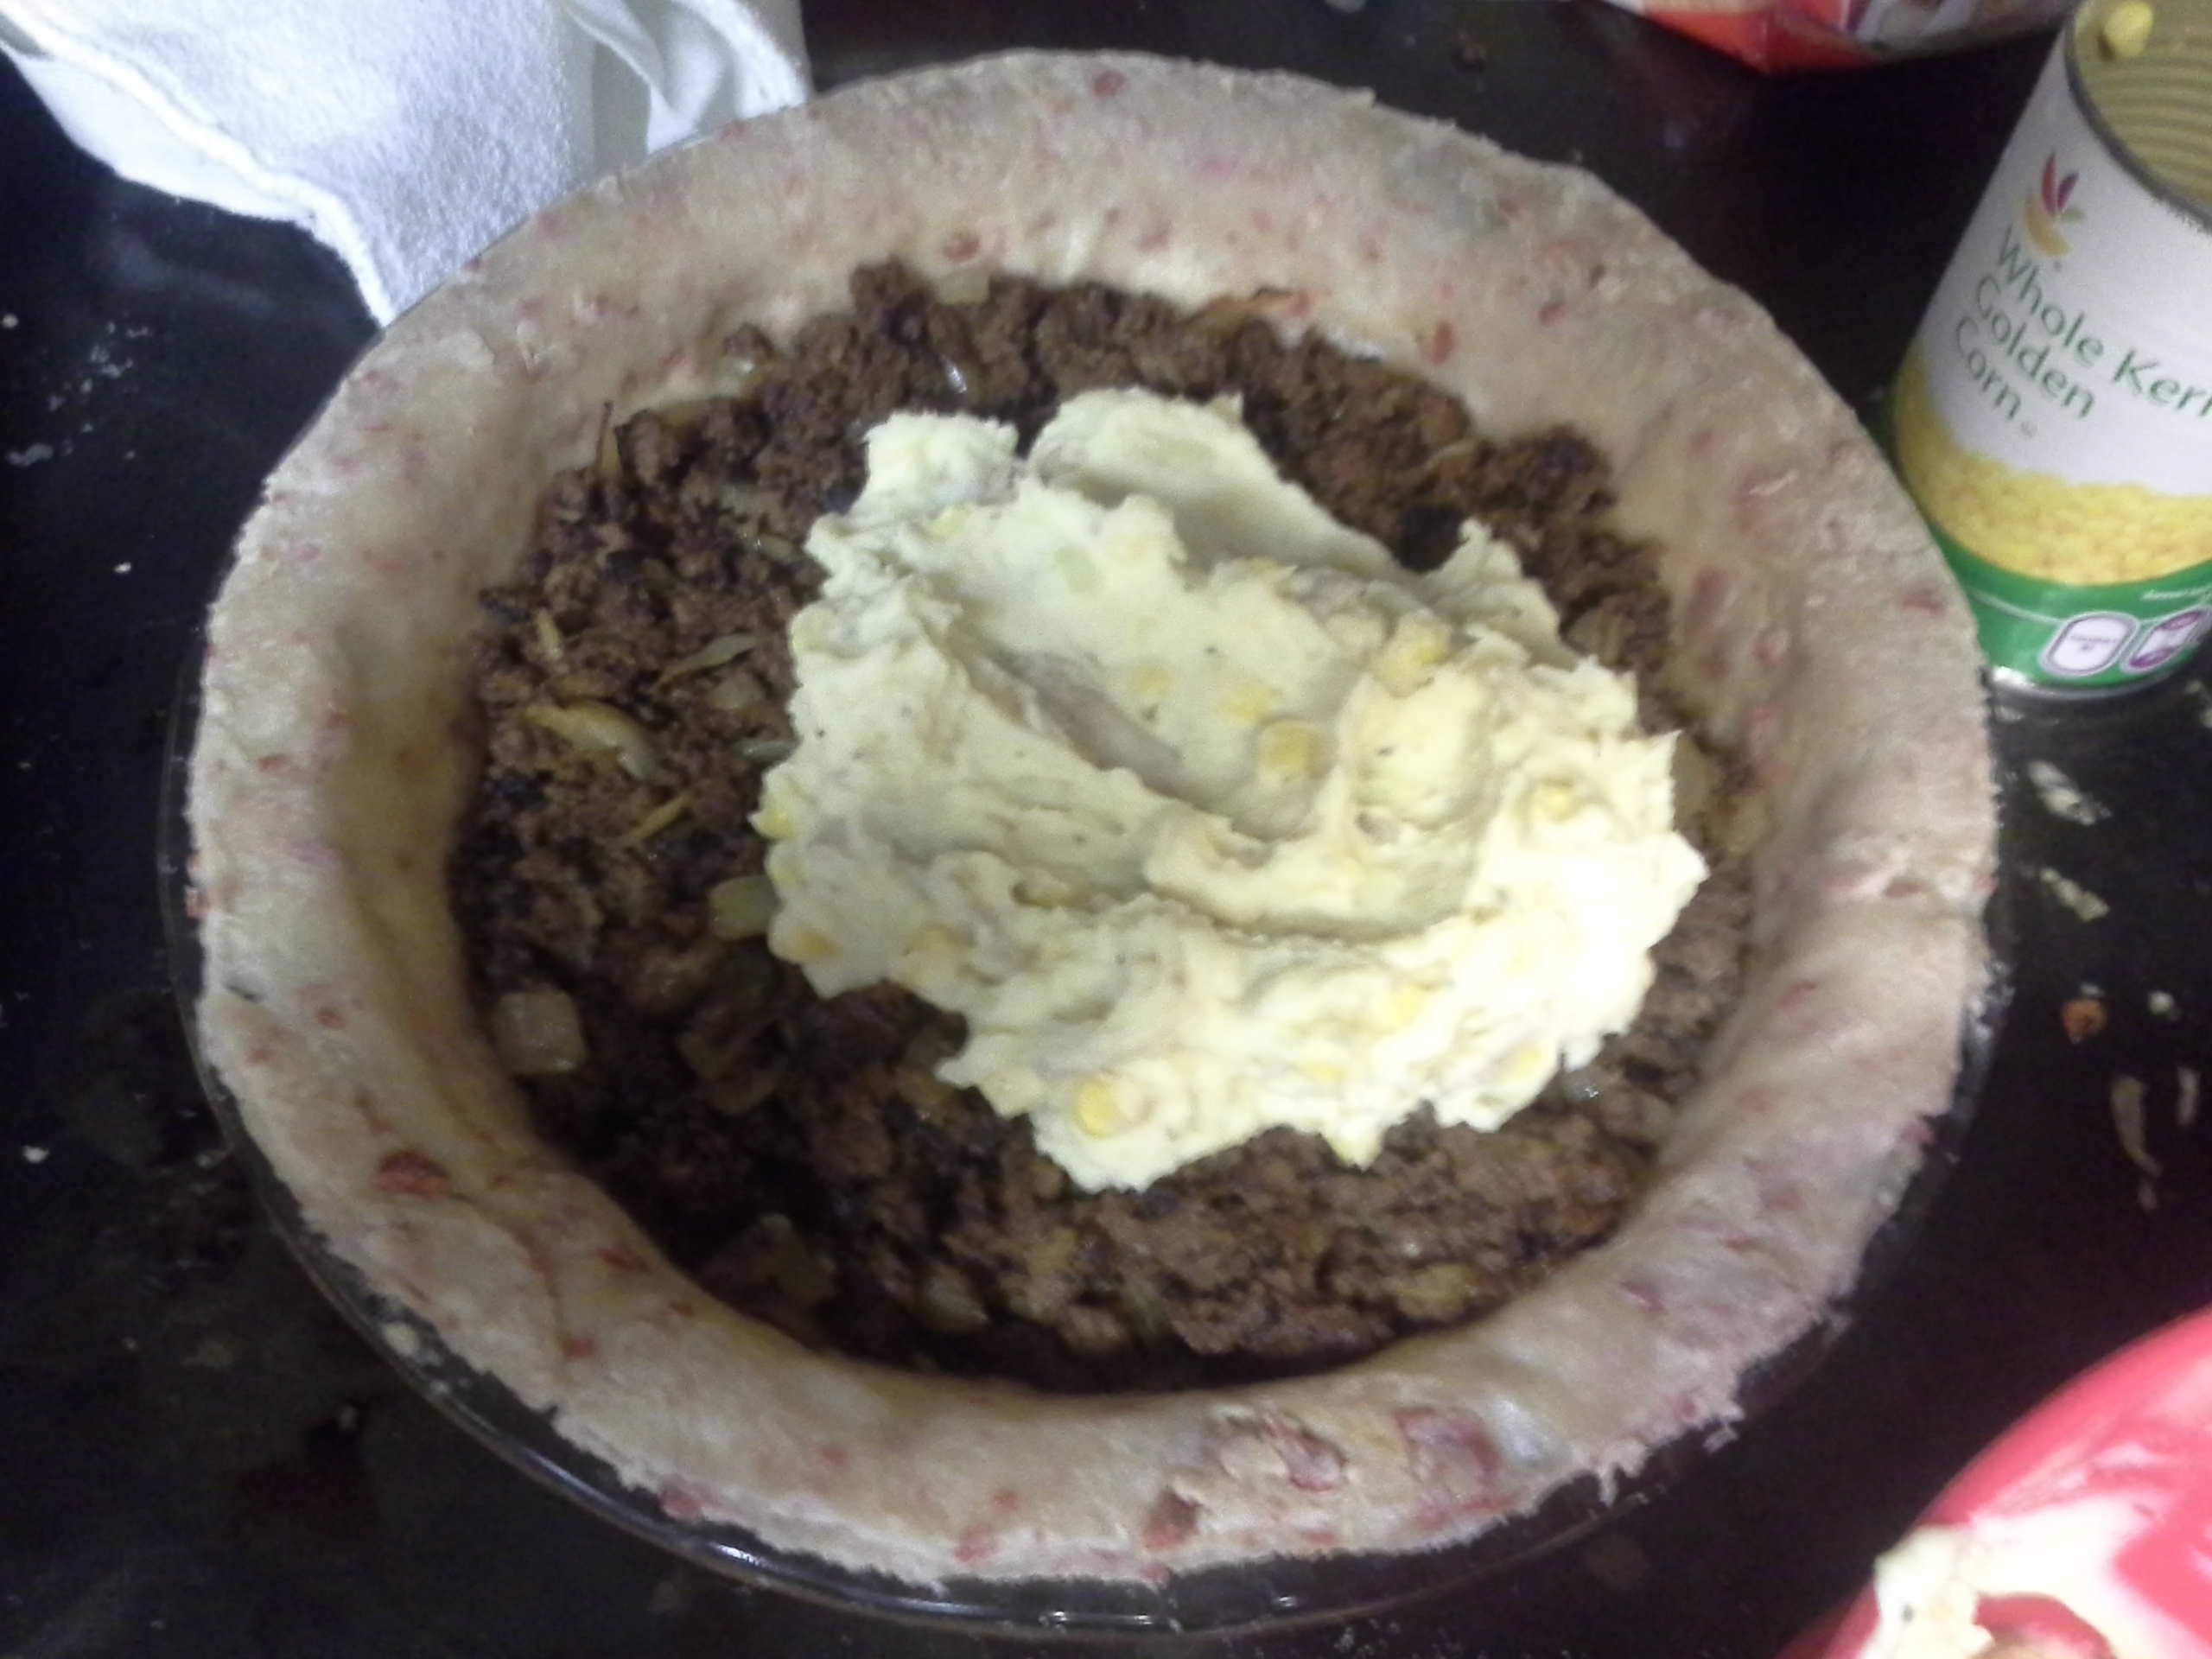
20140129_173740
[Raw Pie with Meatloaf filling and some Mashed Potatoes with Corn]

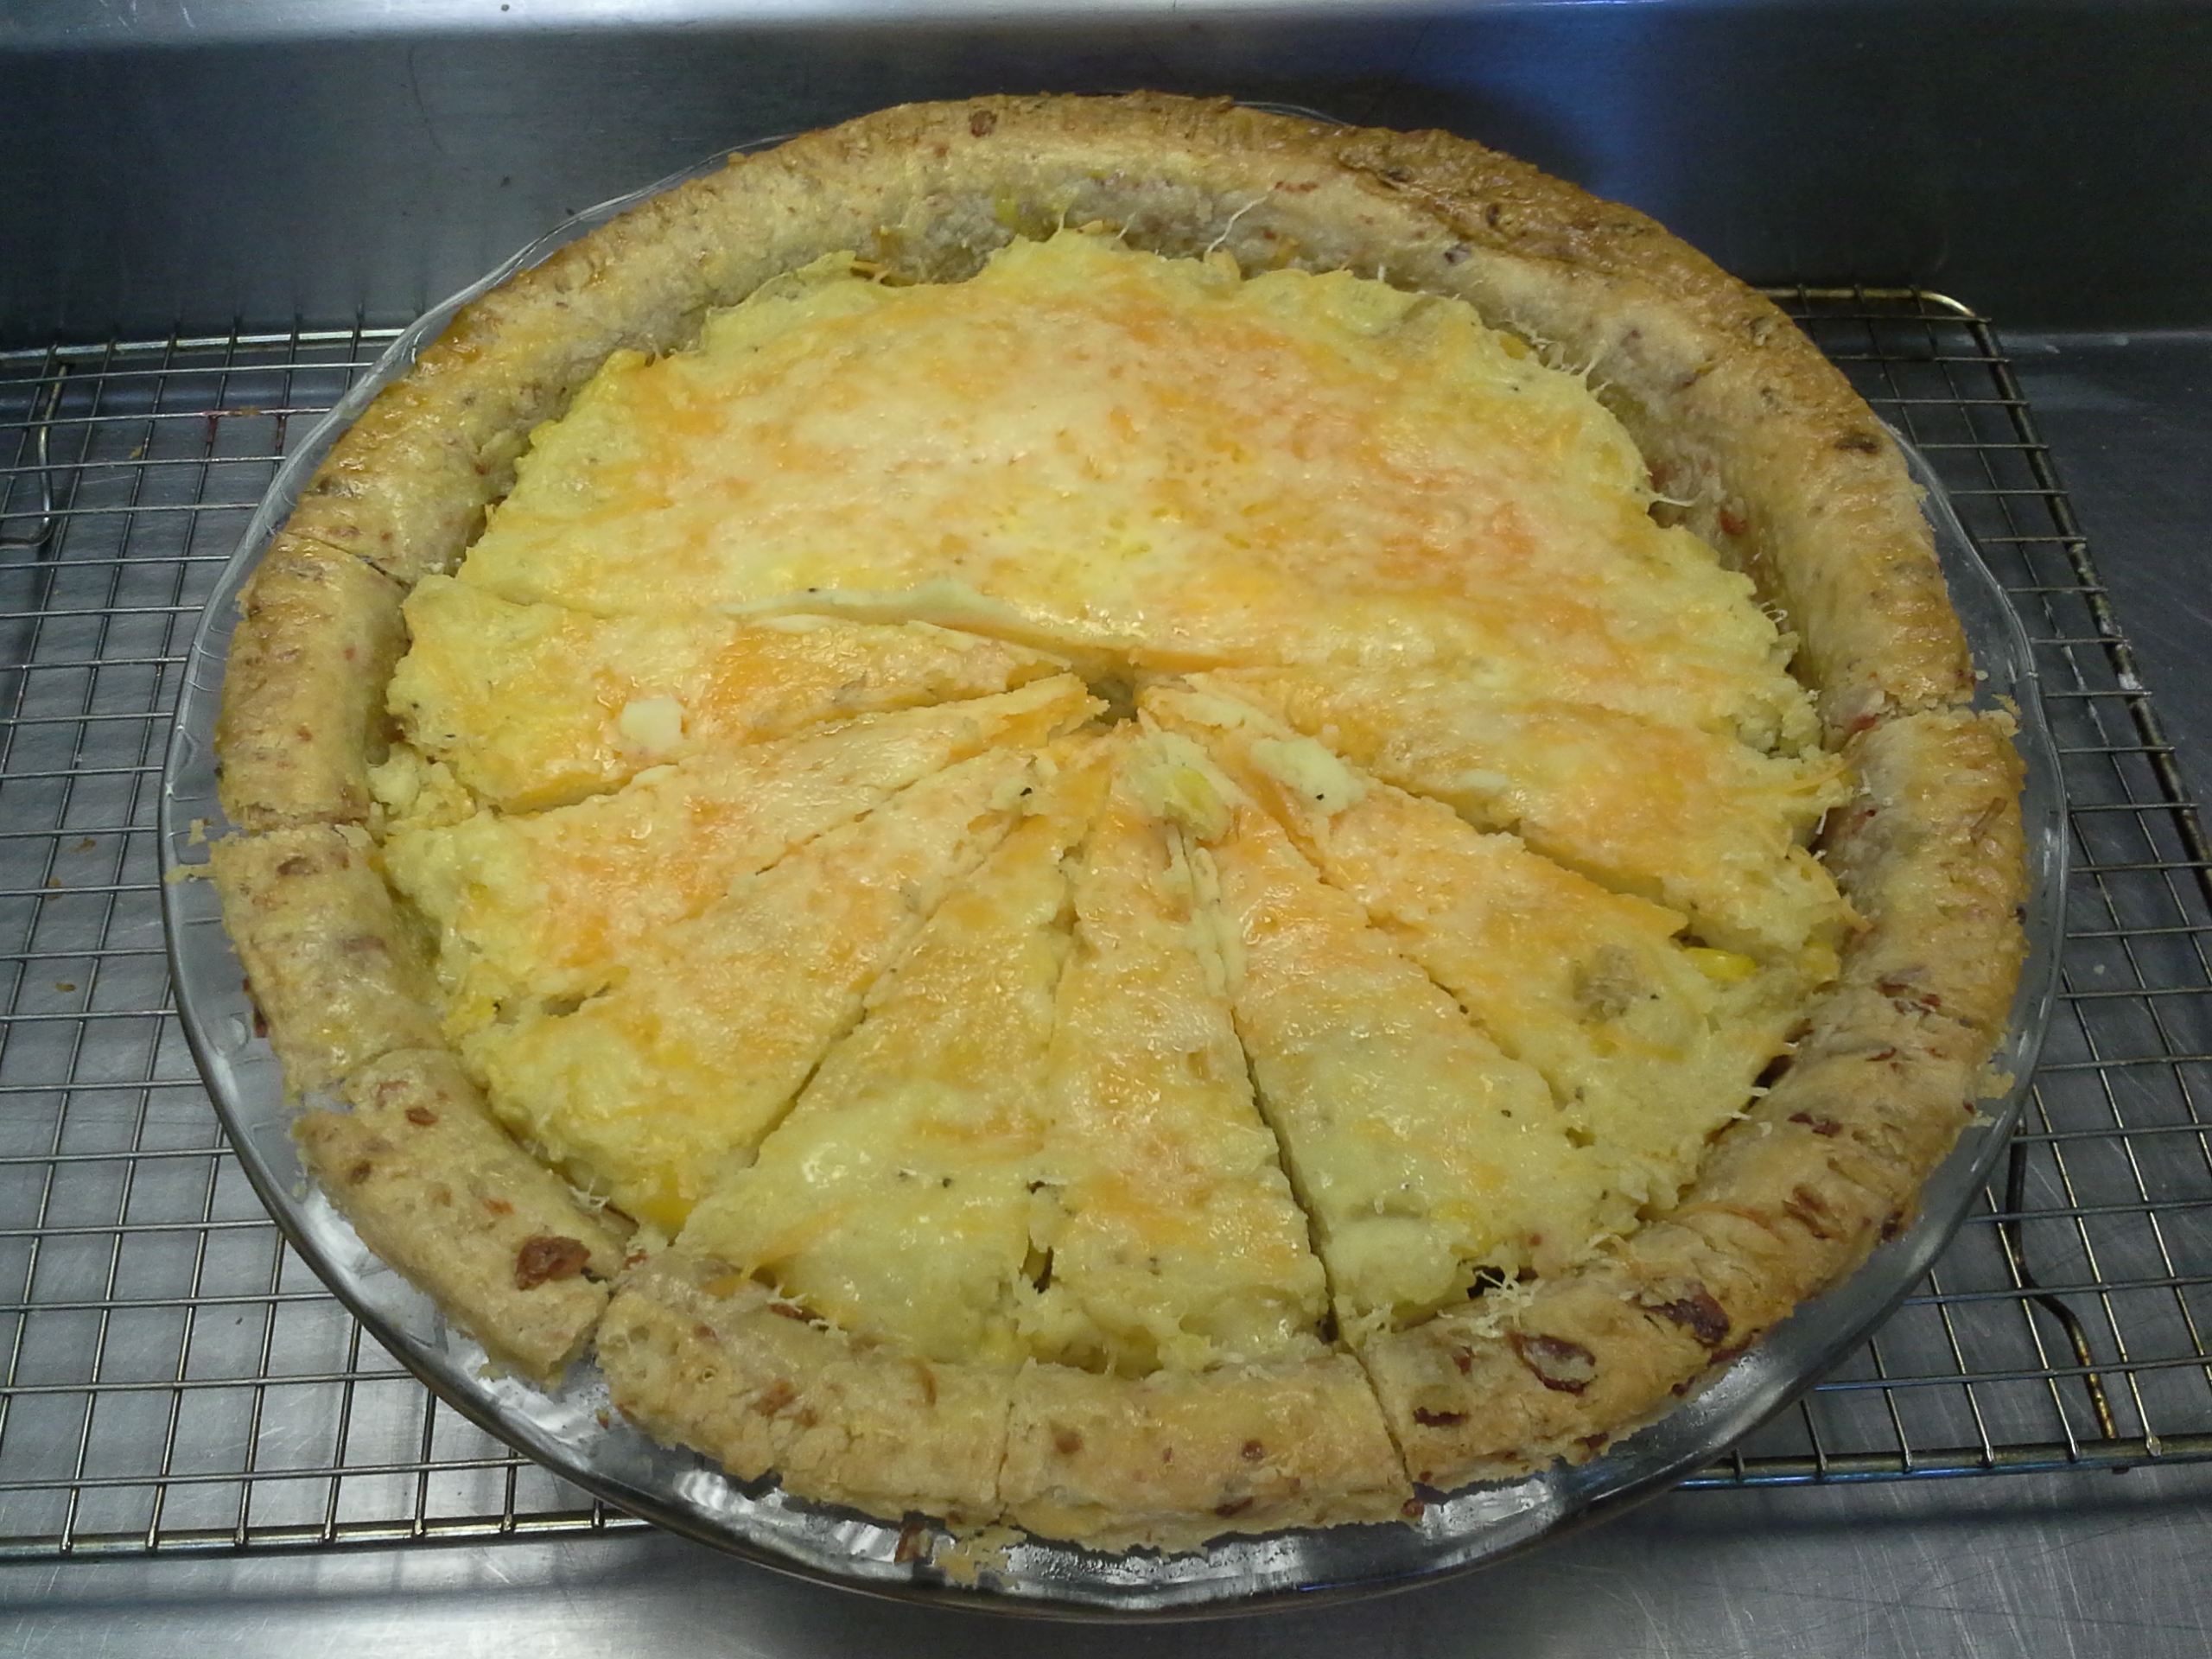
20140130_112919
[Fresh Baked Pie – sliced into Eights]

20140130_114751
[The Final Presentation]


White Fish Pie

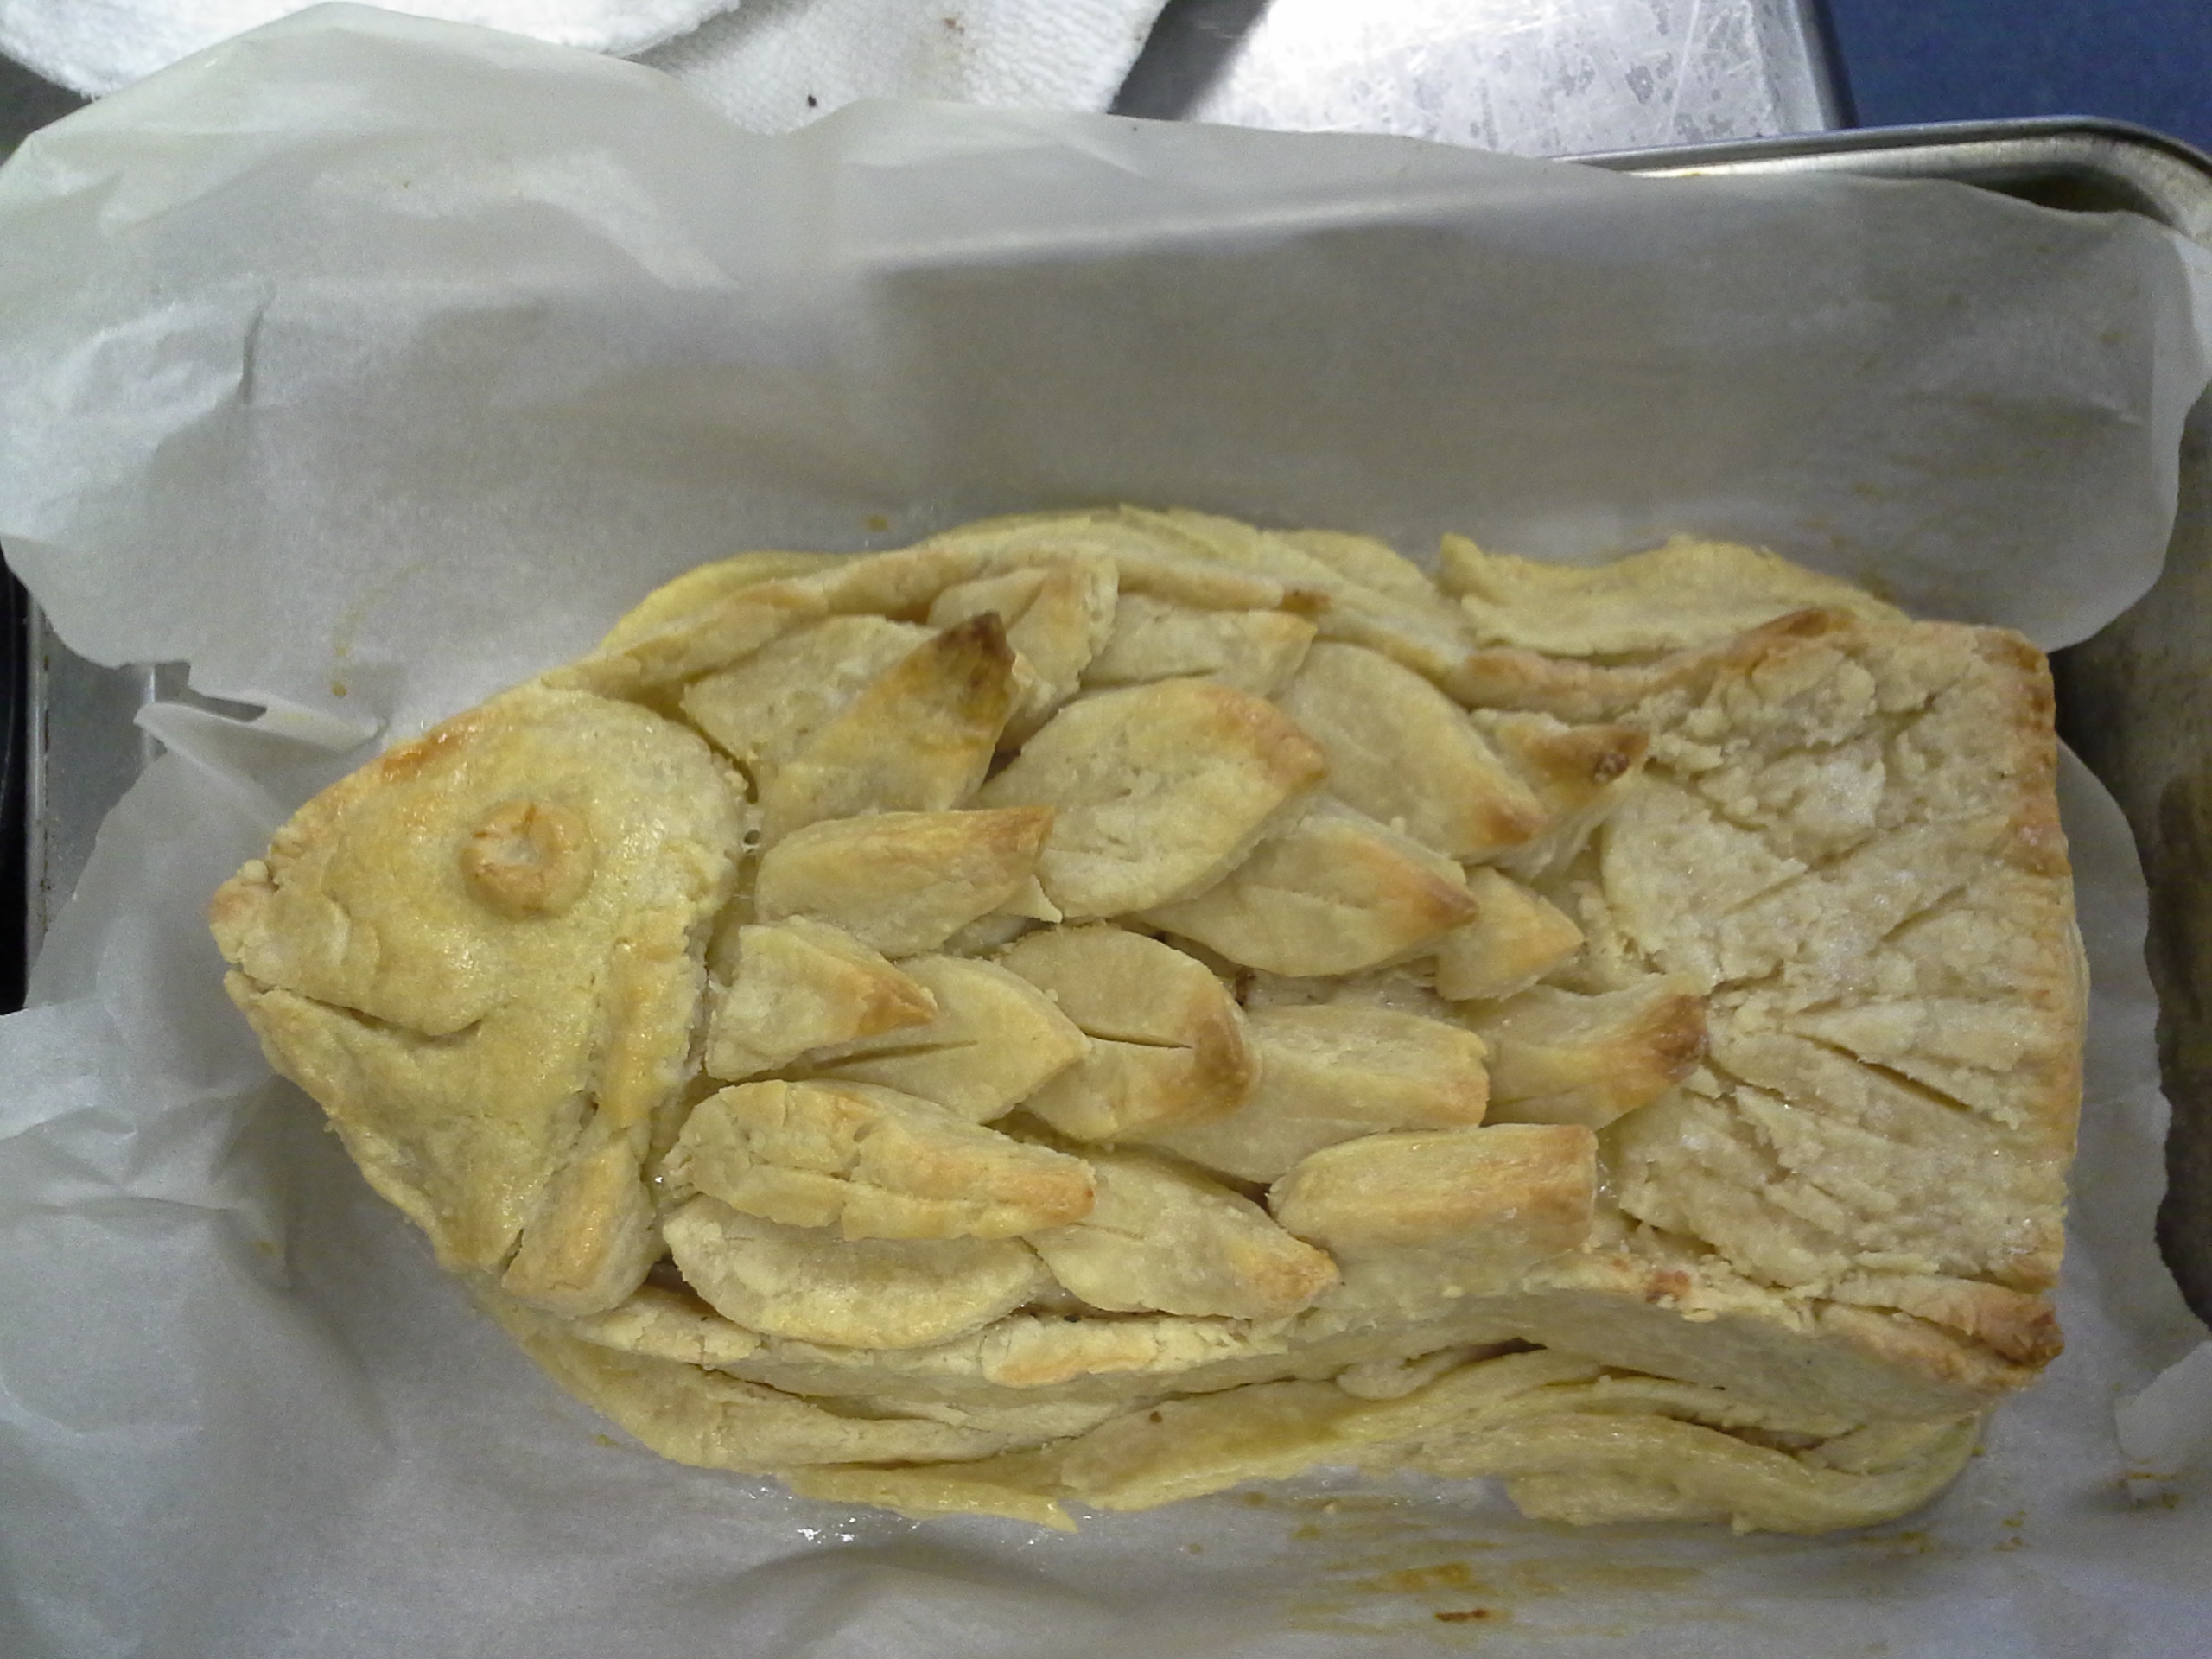
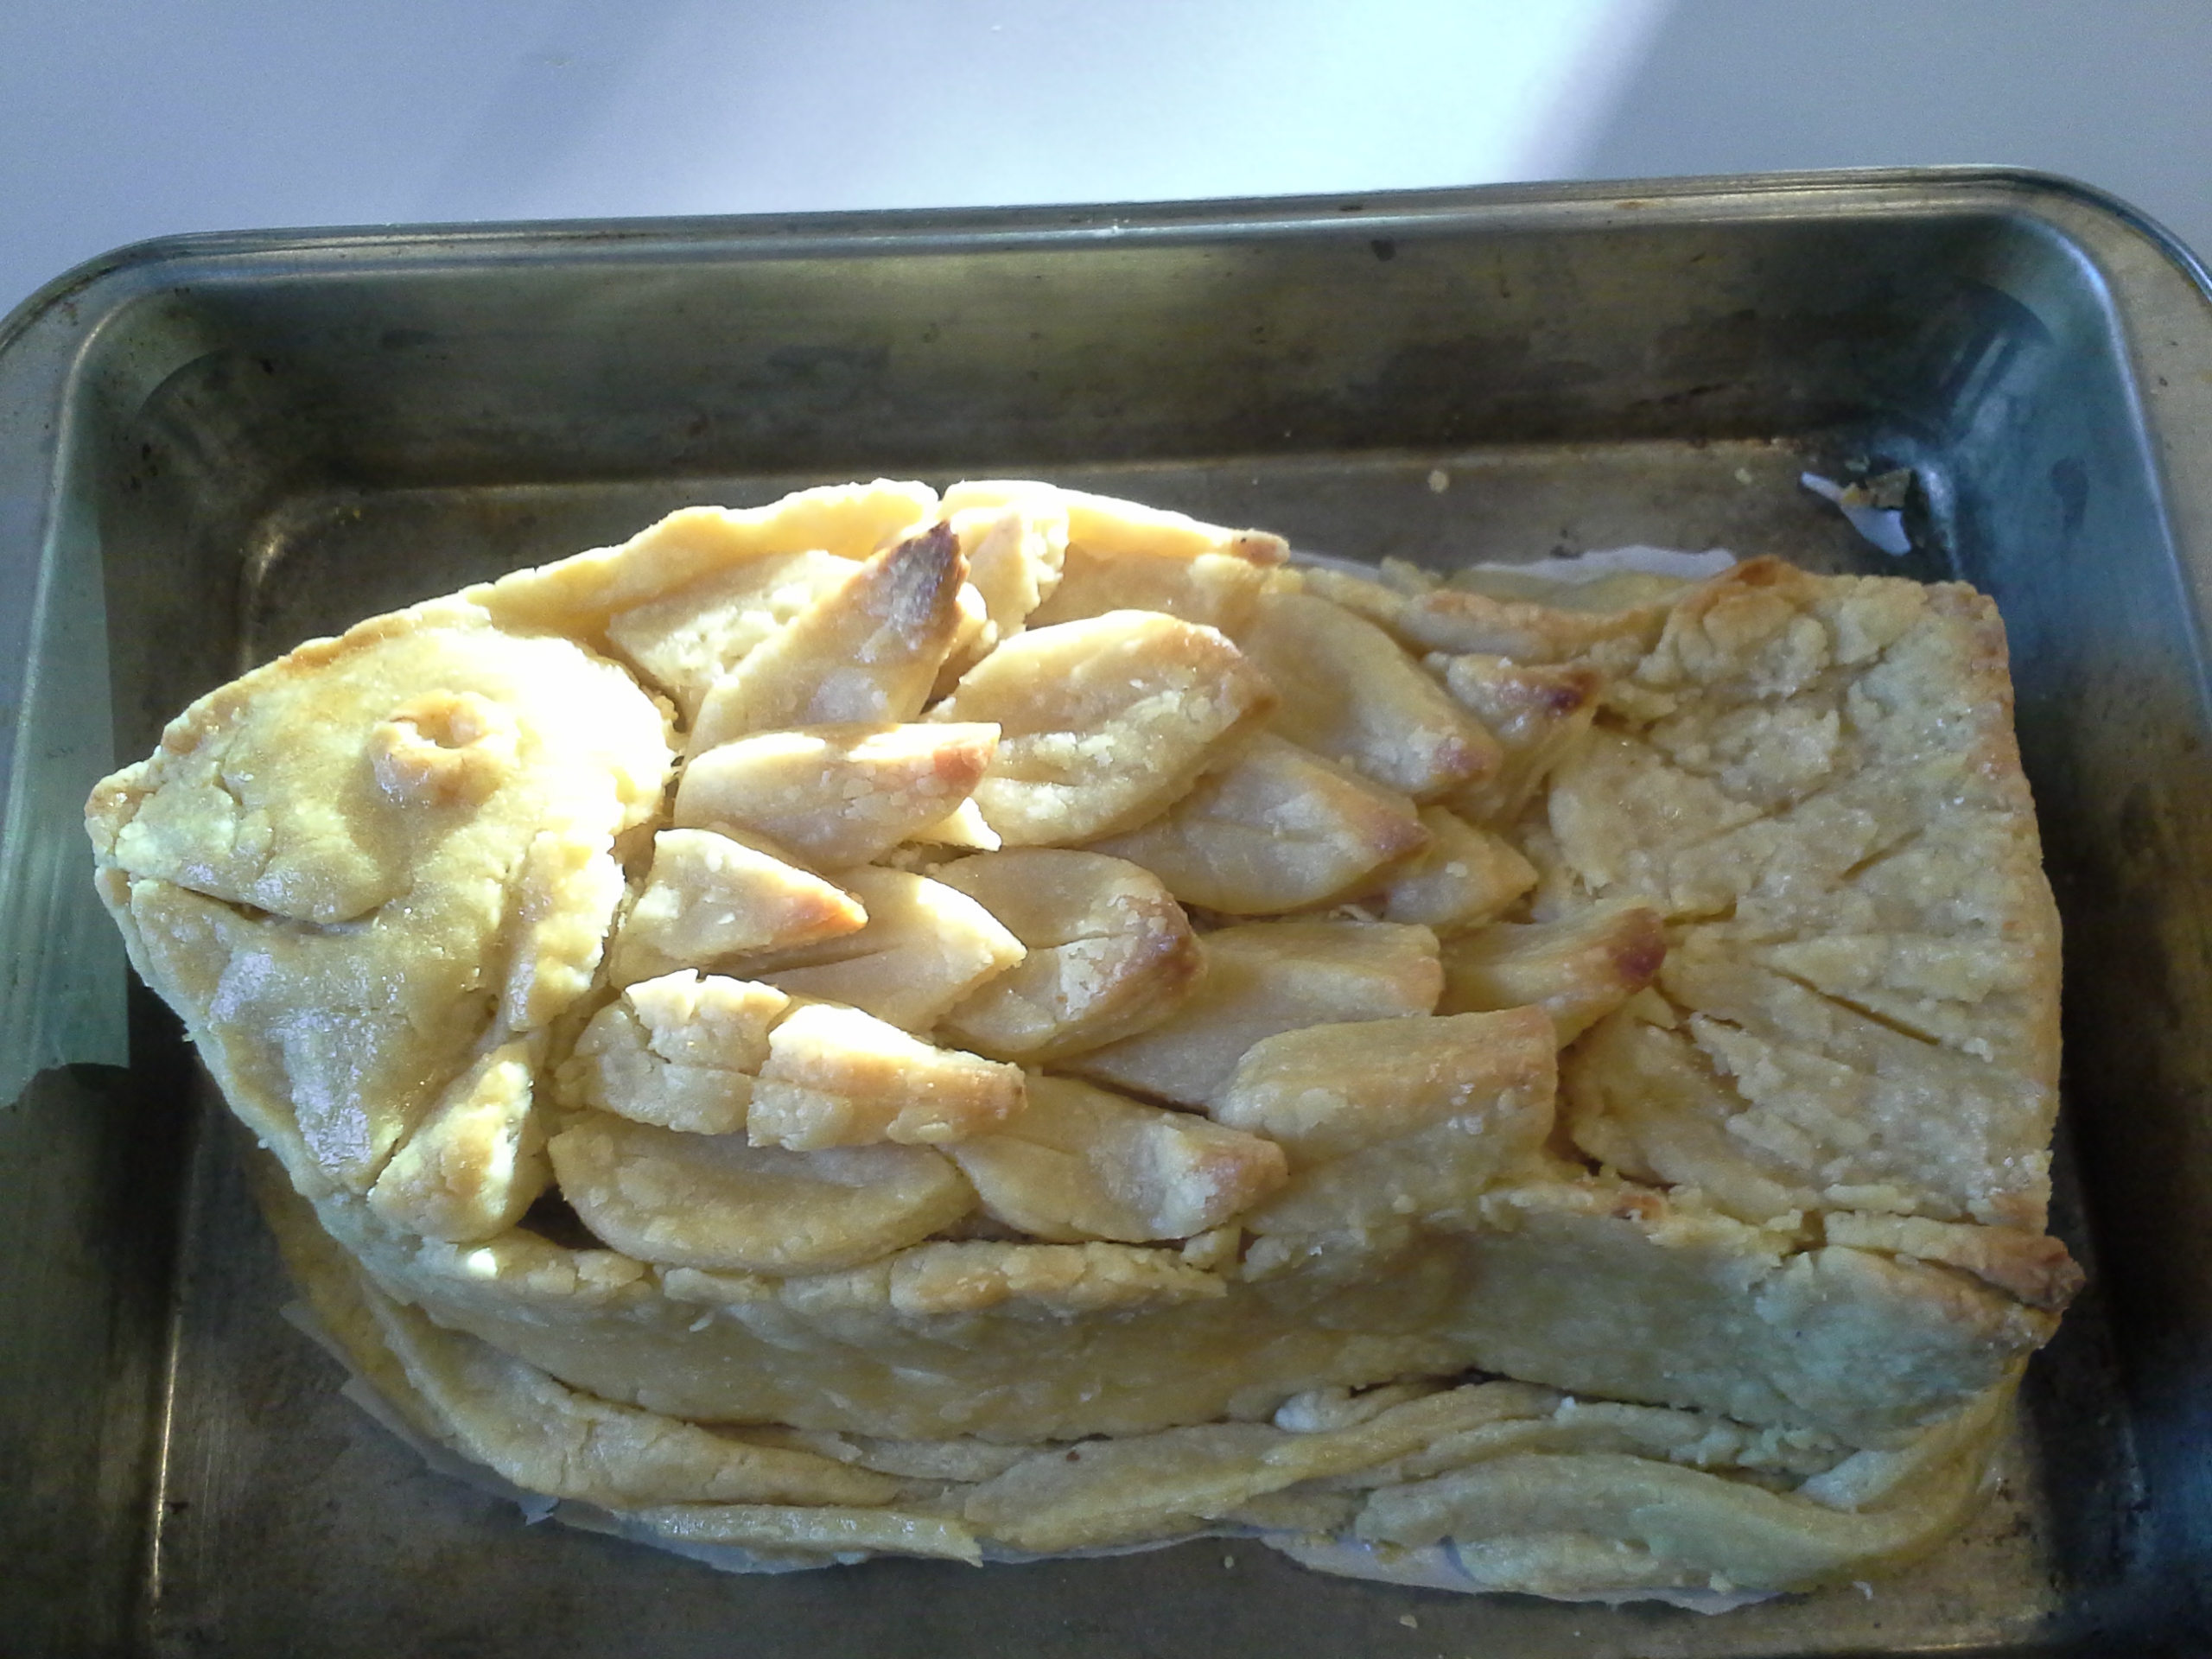
So, as a continuation of my previous post, today I finished baking the white fish pie. To my partial surprise, it turned out pretty solid; my biggest concern, that the structure wouldn’t hold and the filling would explode everywhere, did not come to pass, so that was spectacular, haha.

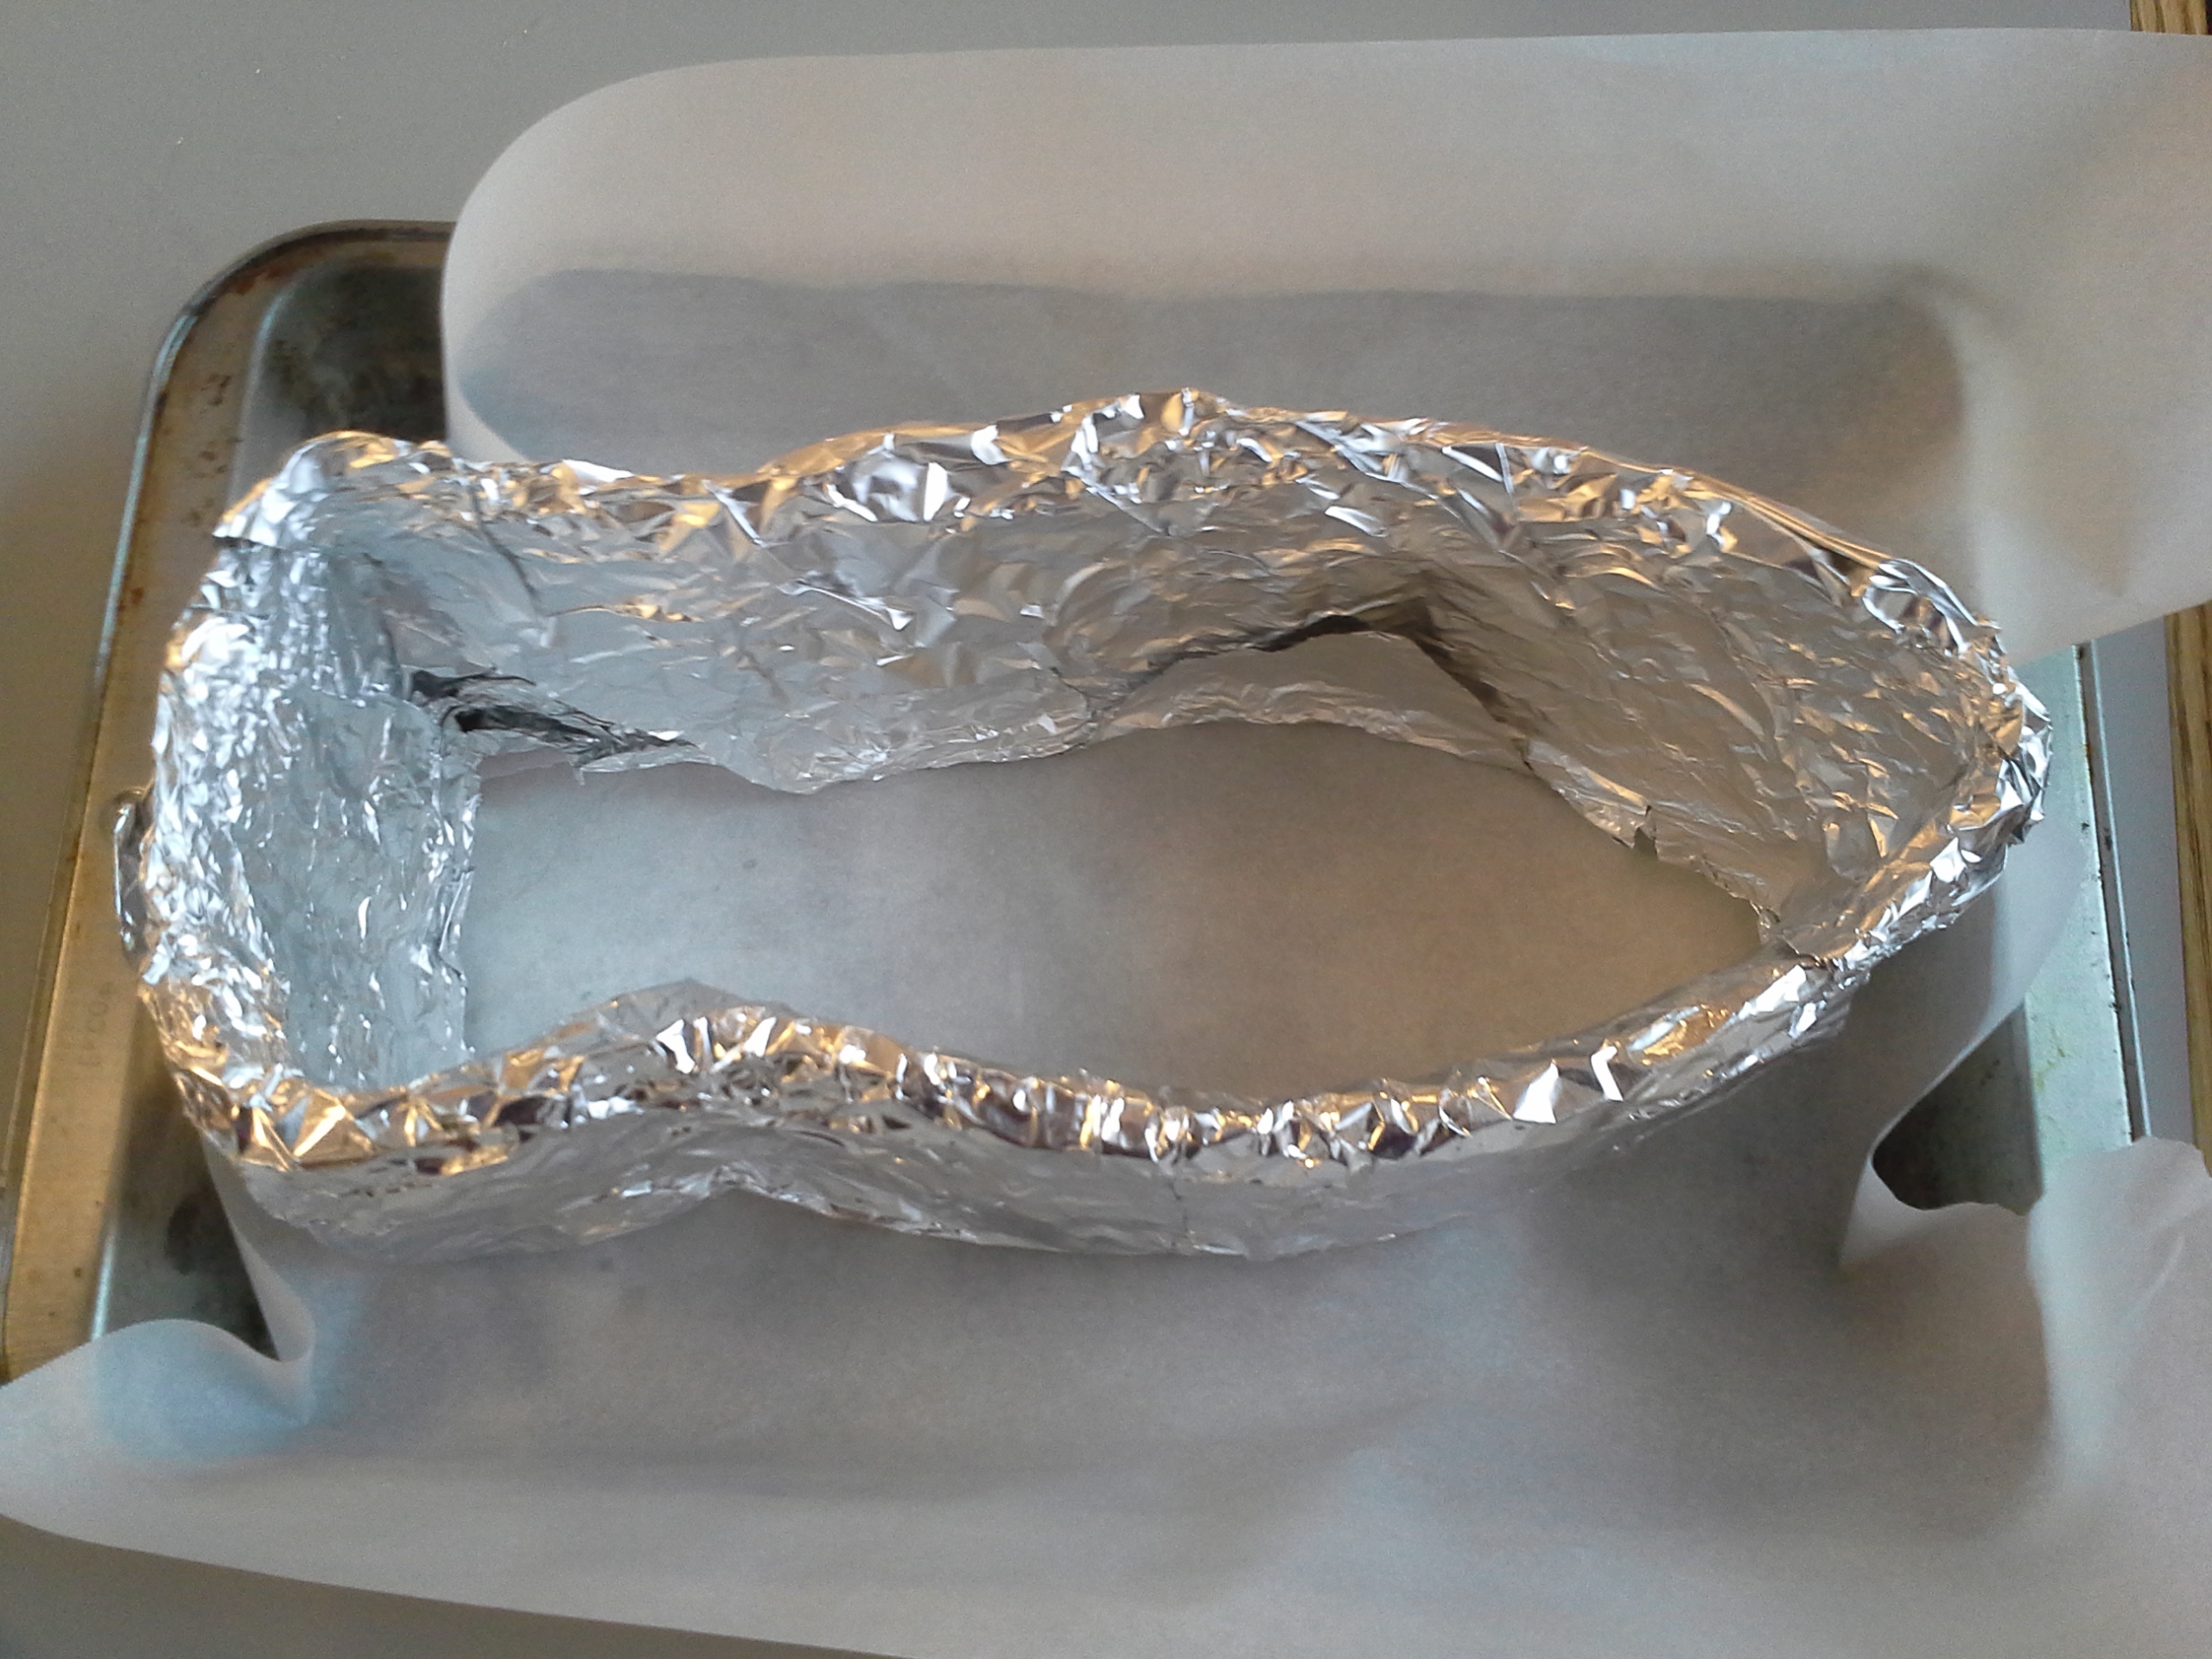
I went with the No-Rolling-Pin Pastry because I felt that it would be the easiest to work with while fitting the pie to my mold. That part definitely turned out to be true – the oil-based pastry worked wonderfully with my cardboard and aluminum mold, allowing me almost play-doh like control over my pastry so I could design and implement the base structure.

The filling was simple and easy. It is a tried and true recipe I’ve cooked for dinner before, and I thought the light, cheesy flavors would sincerely compliment the baked pastry. I layered the seafood, sauce, and cheese so that all ingredients were symmetrically arranged and even the cross-section may be beautiful. This idea was further led by the fact that many towering medieval pies also contained layers of ingredients.

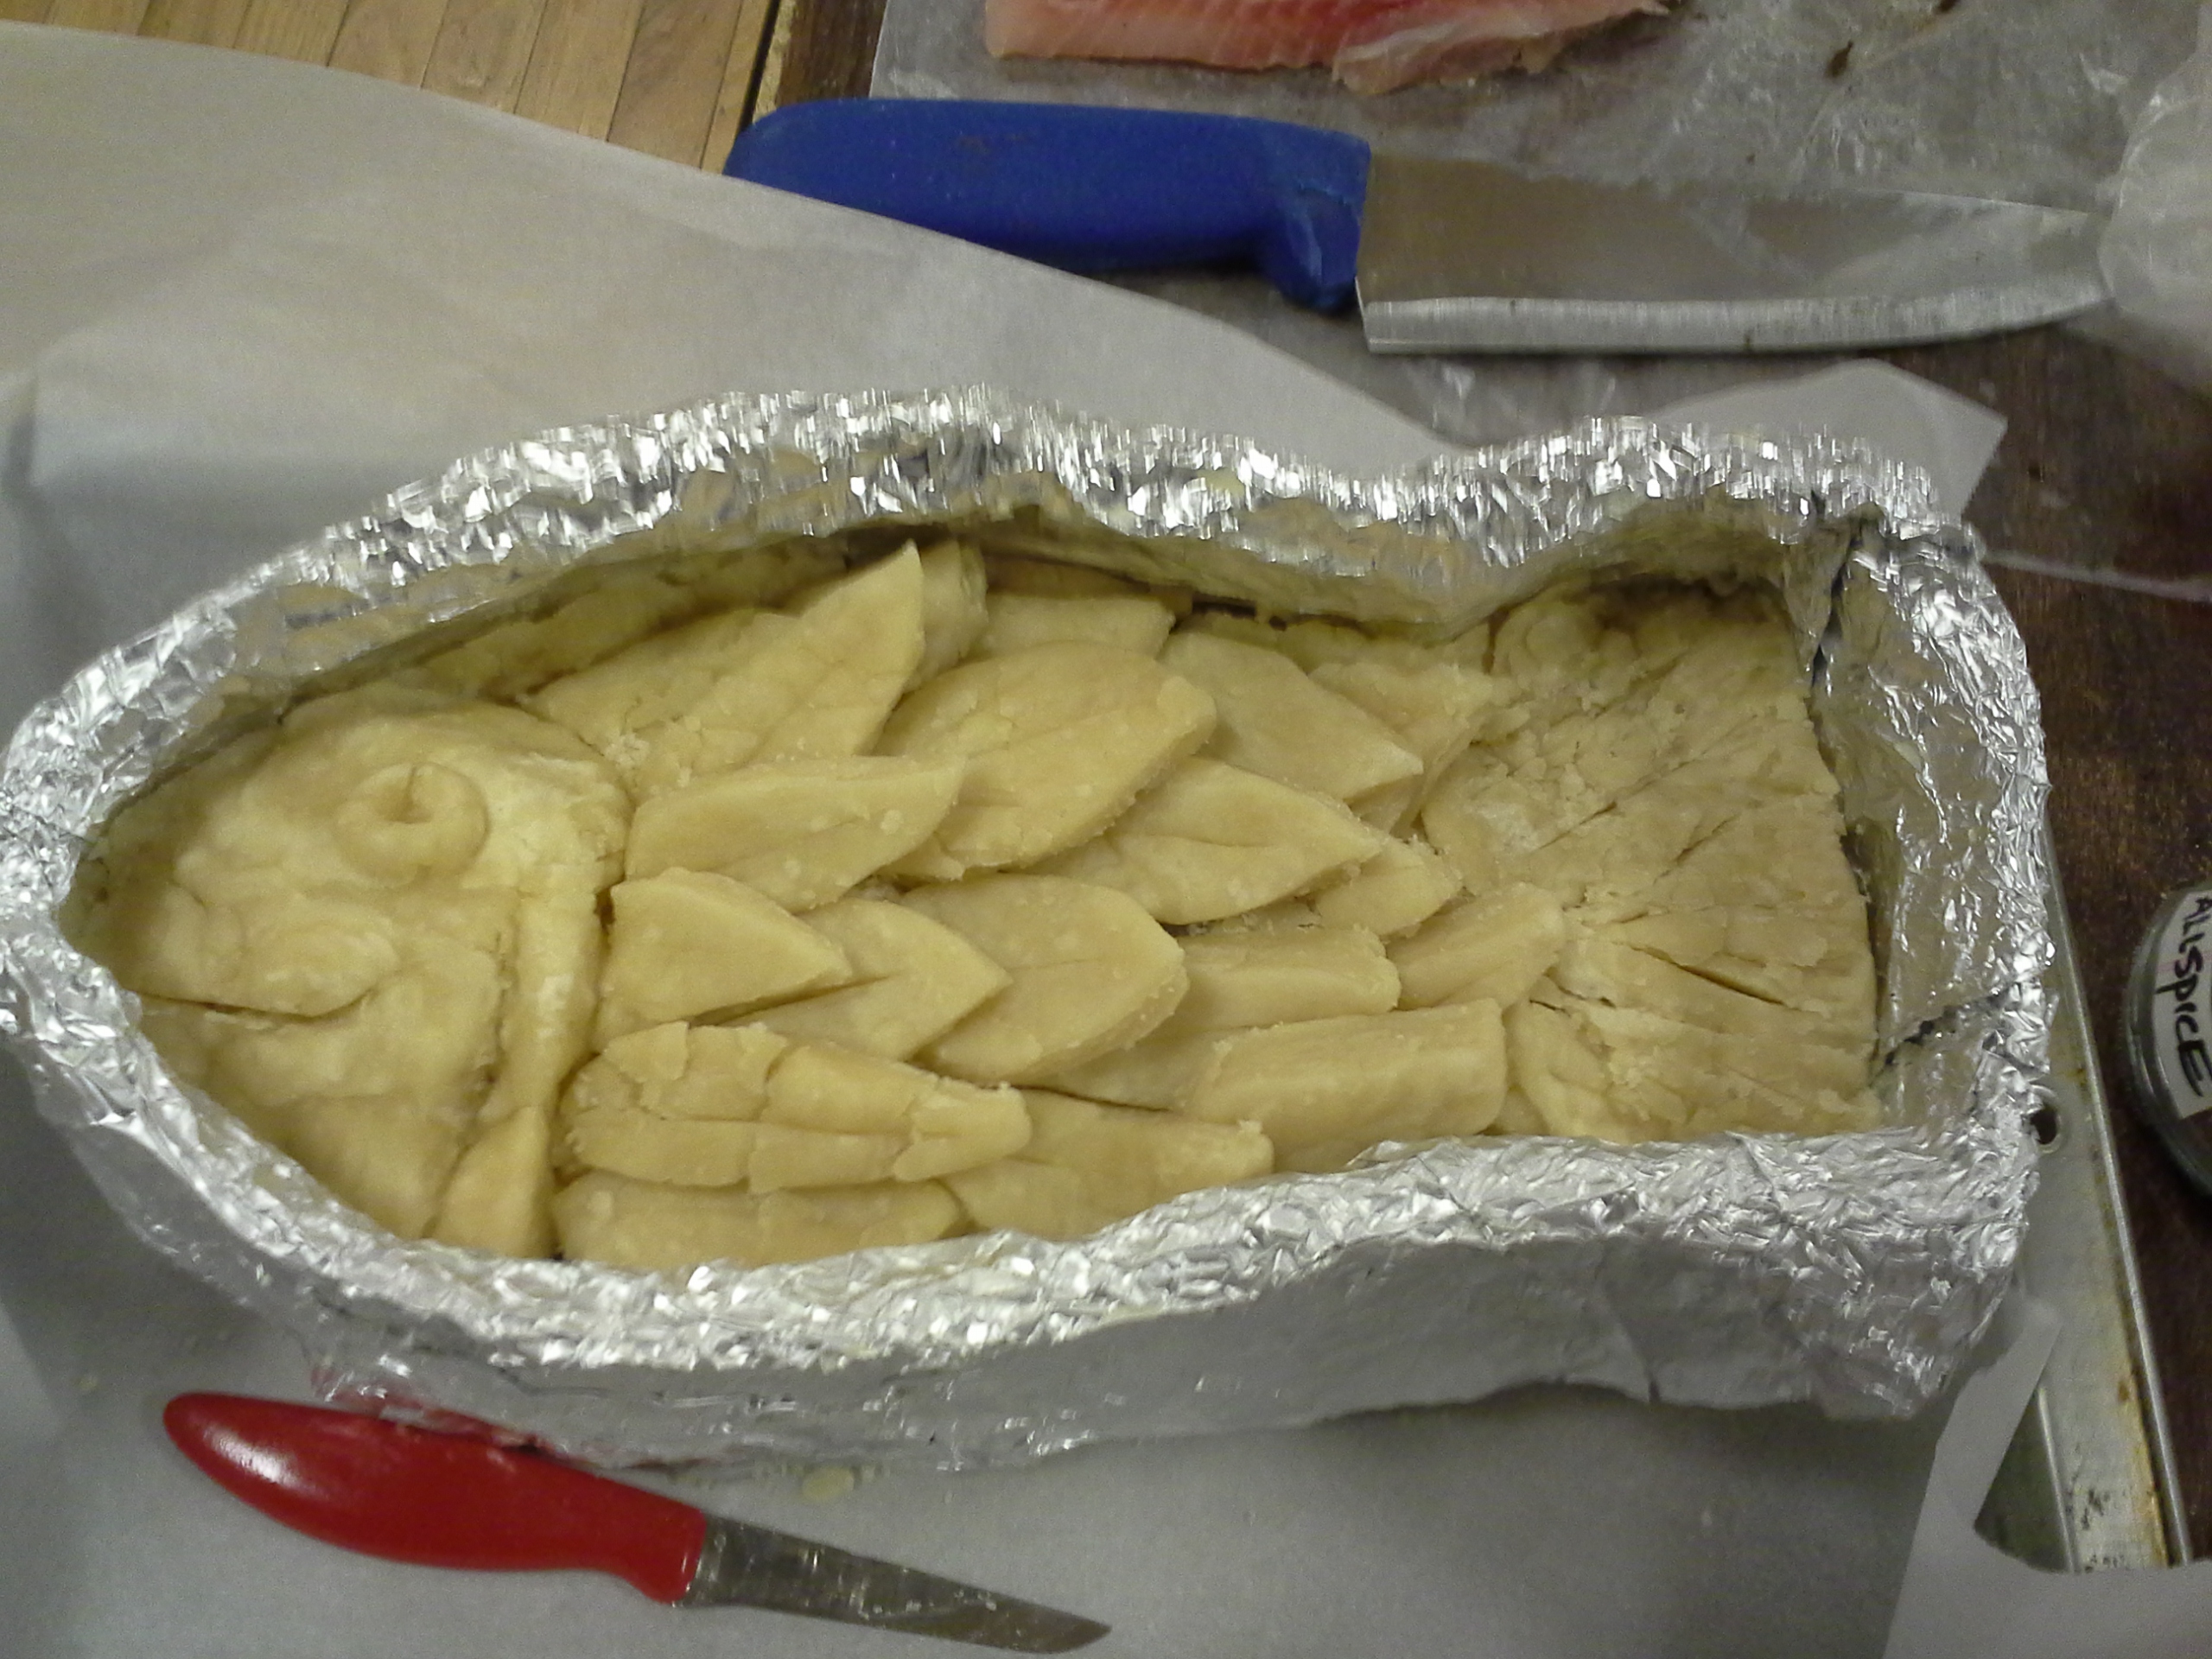
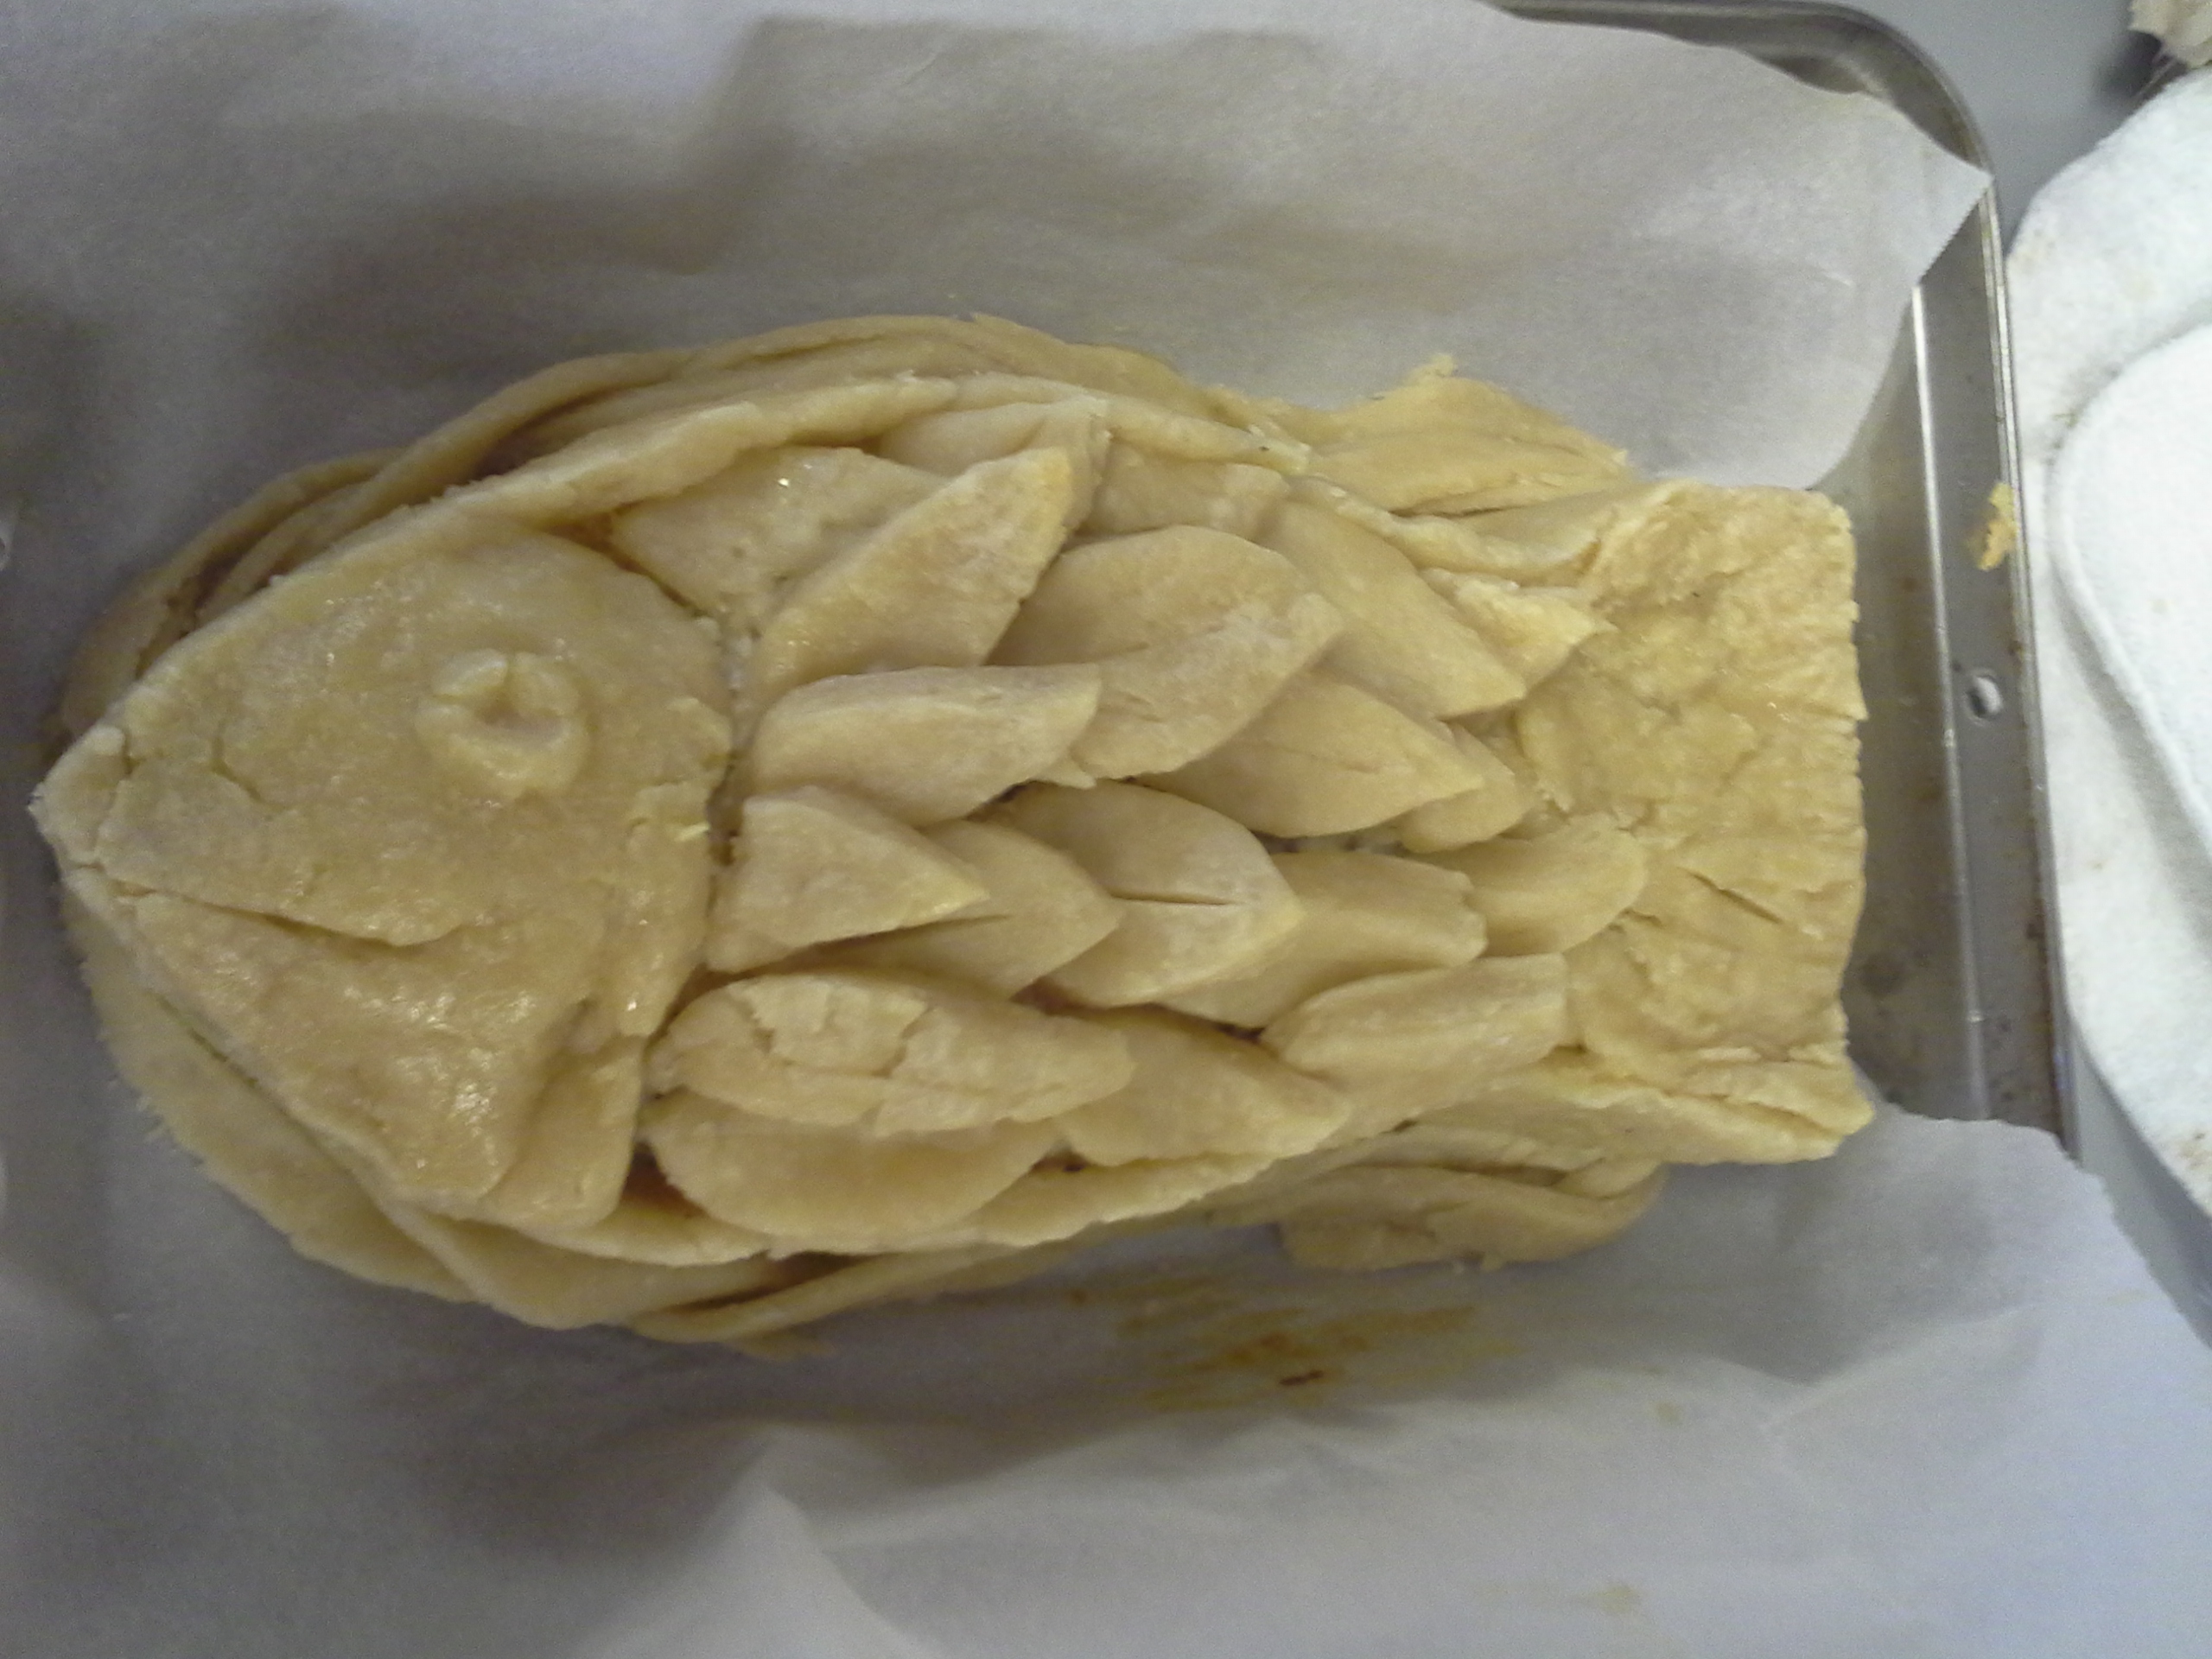
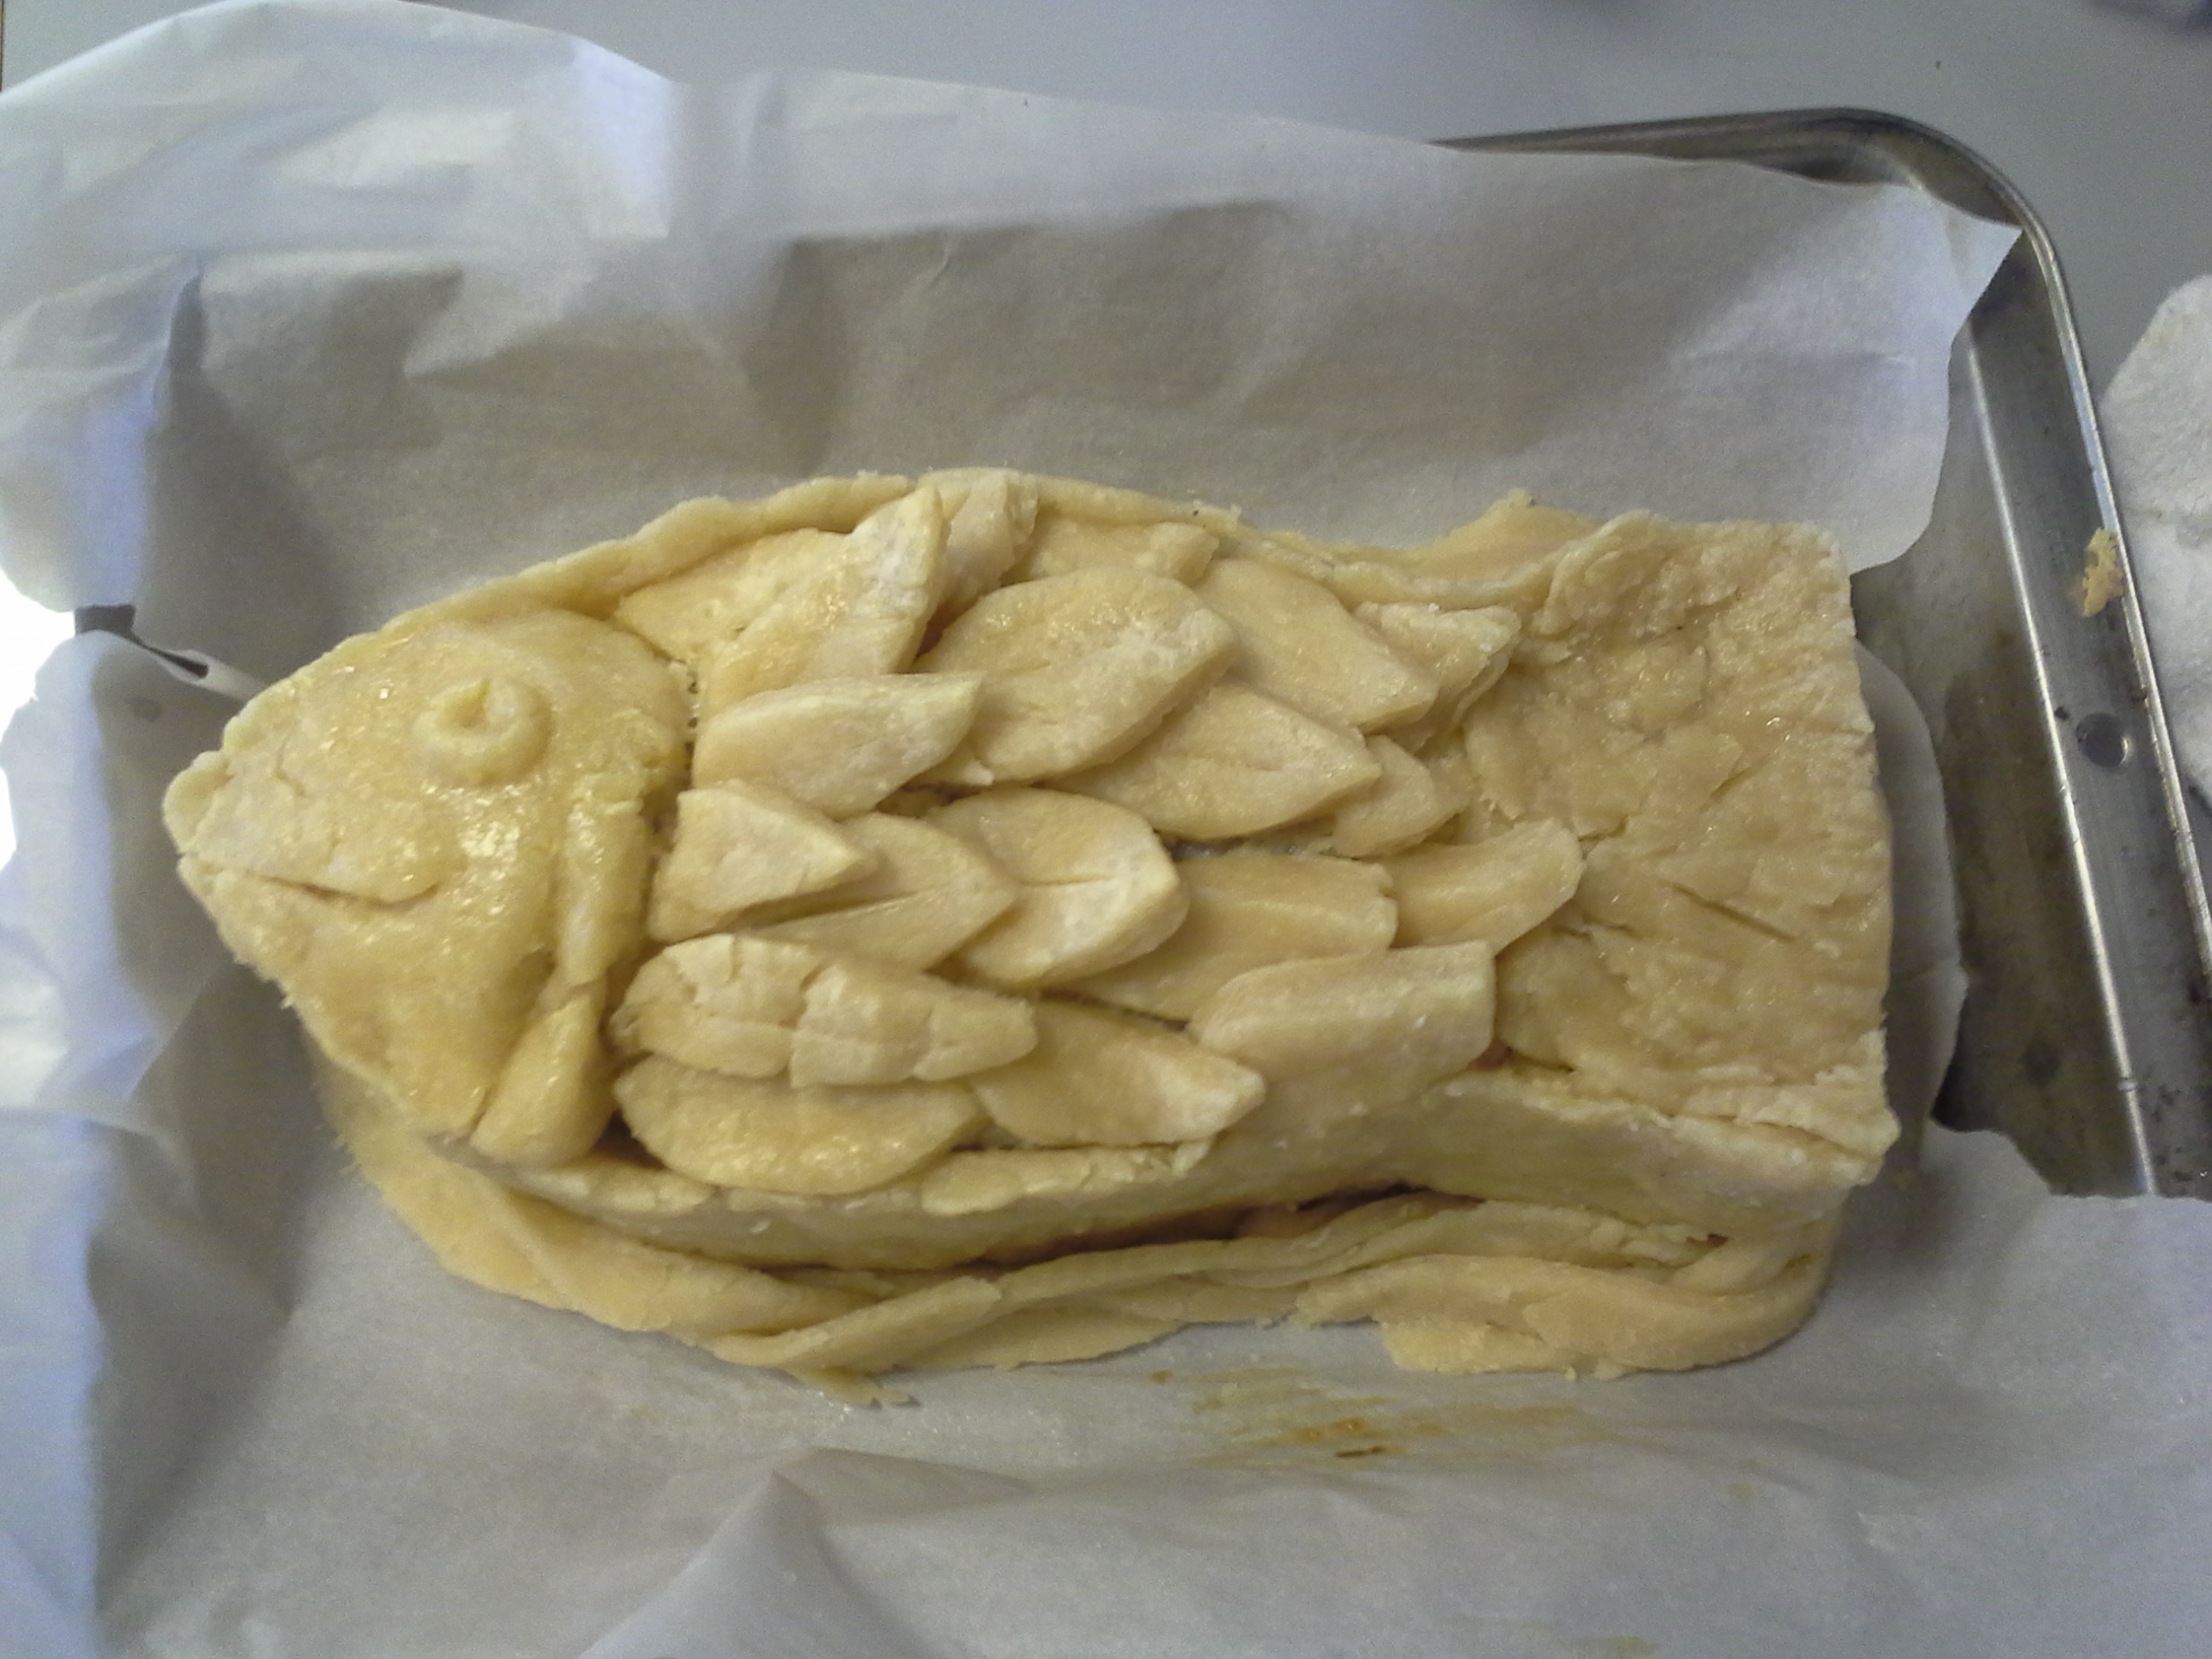
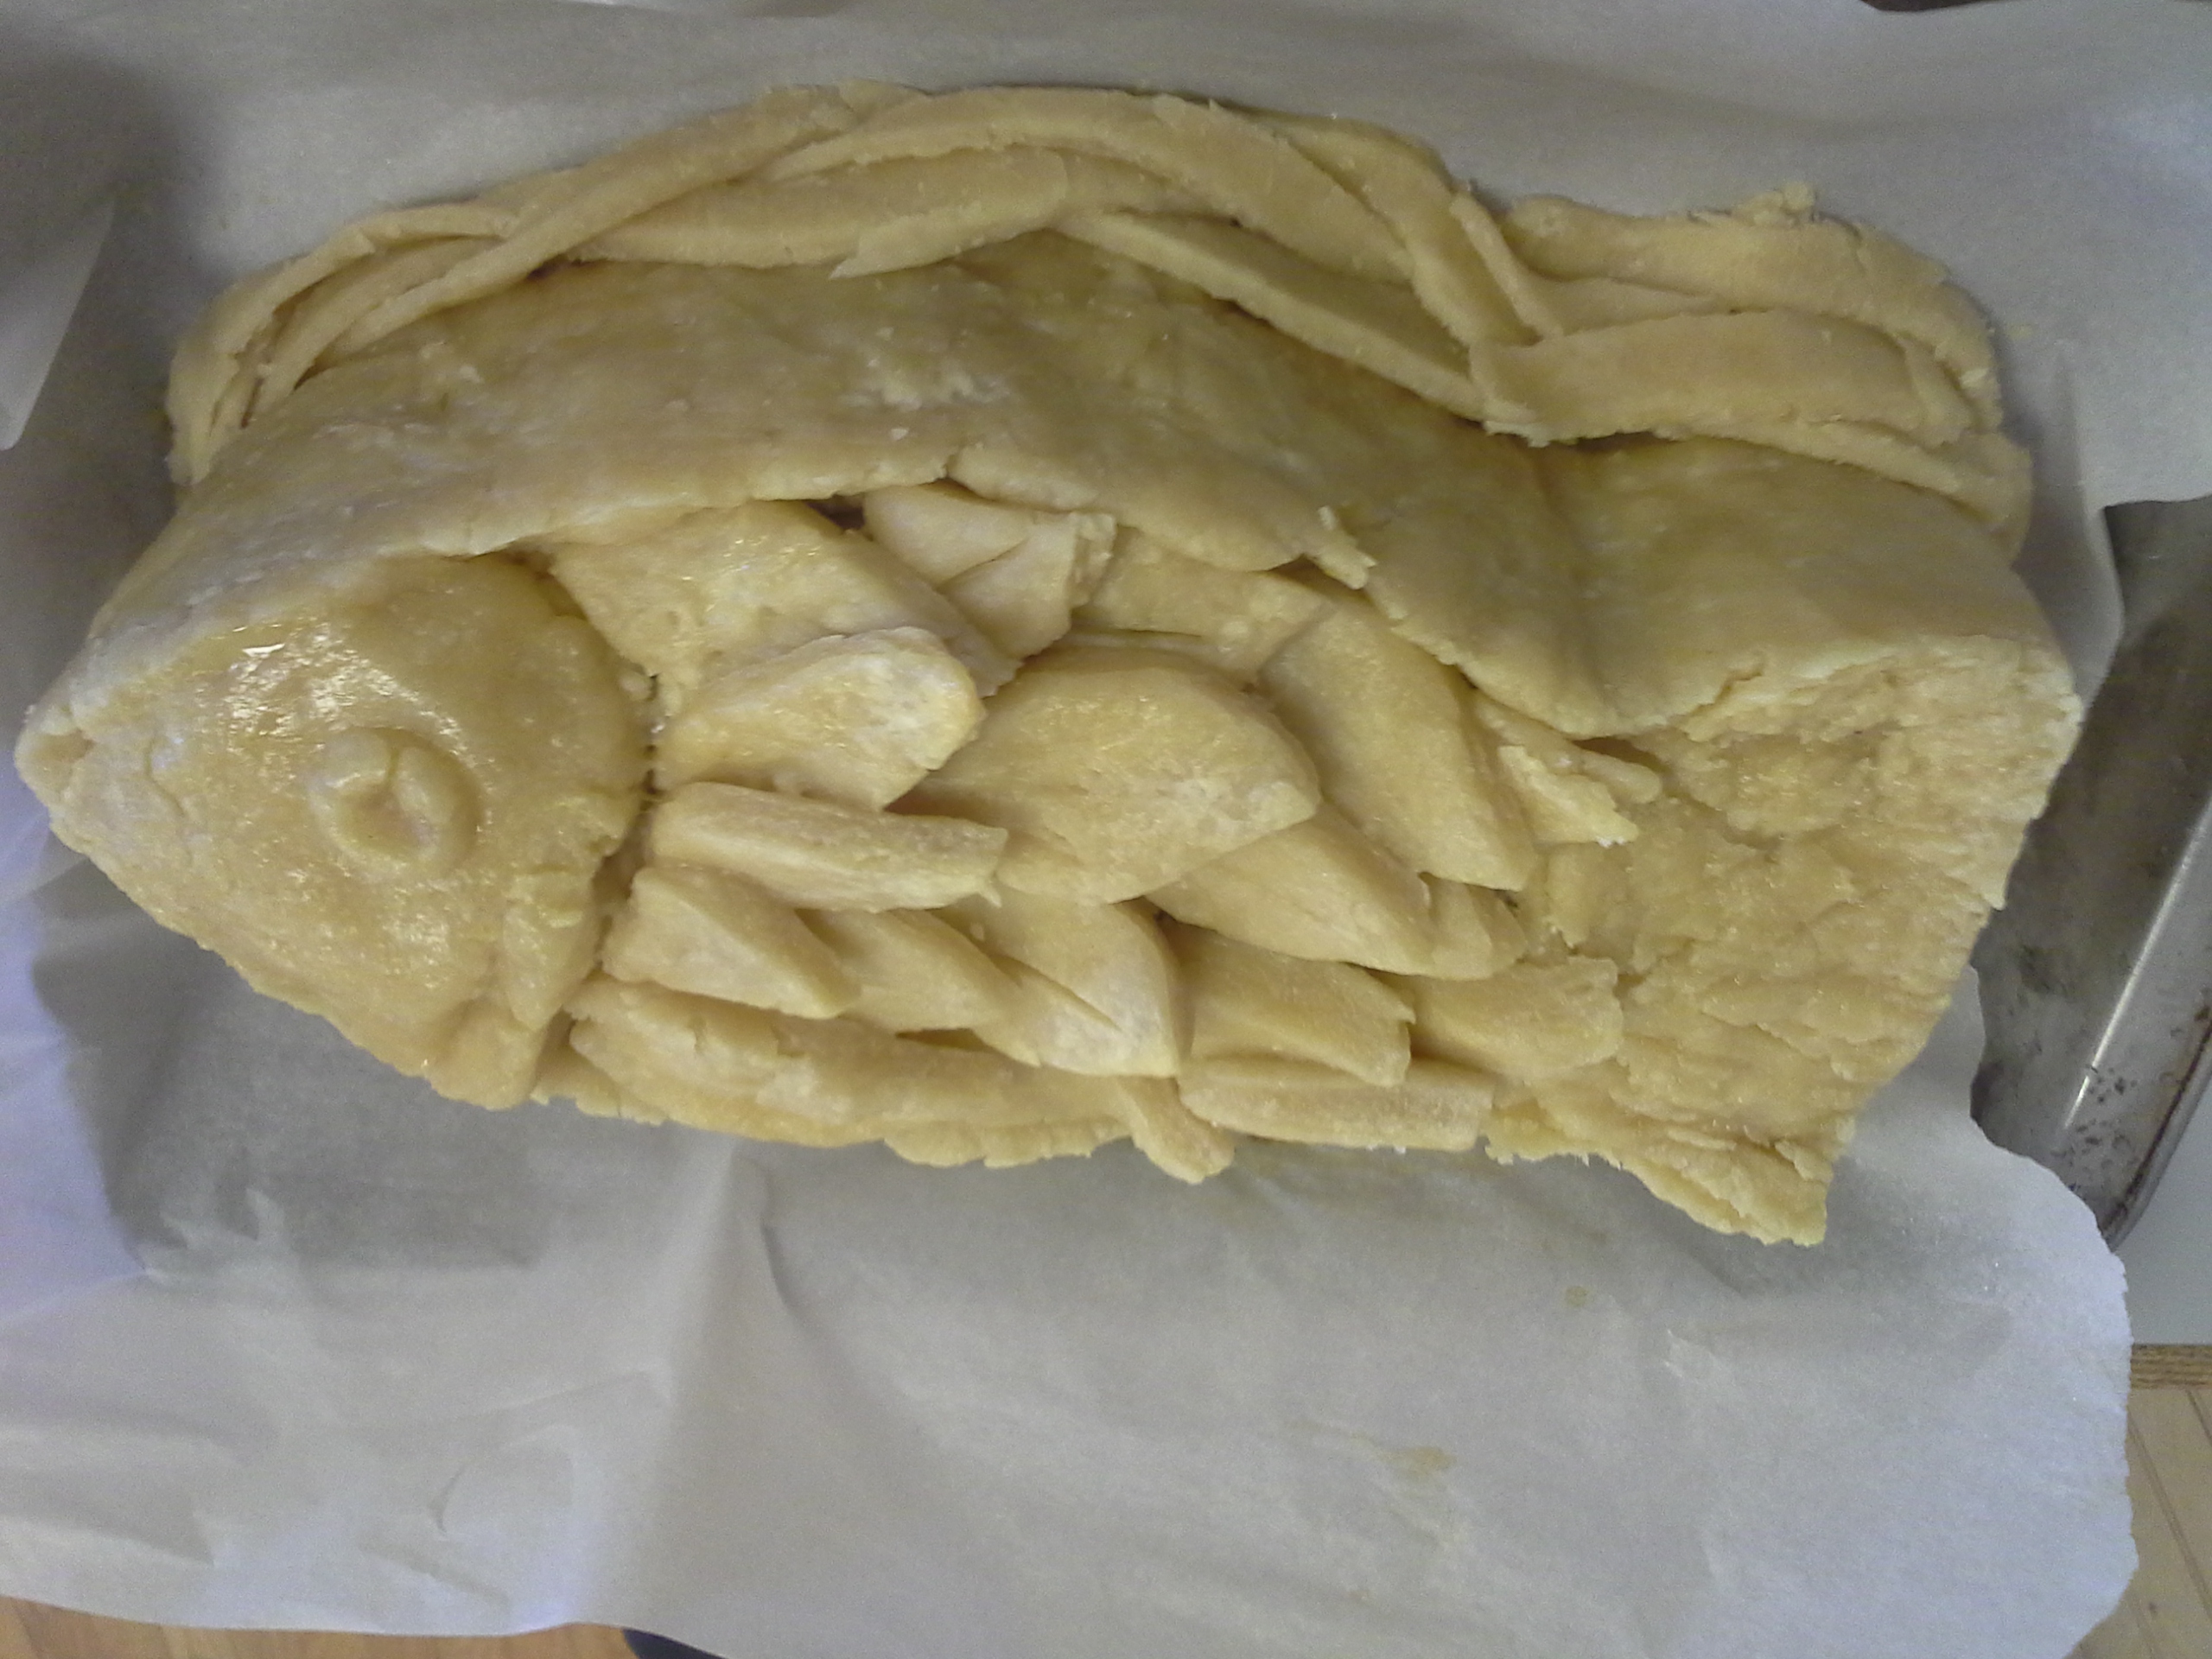
Finally, the top crust was made in three parts: first, a fish head, onto which I molded a raised eye and cut in a gill and a smile, for good measure. Then, came the fish tail, which was simply a layer of pastry shaped to the mold of the tail. Onto that, I cut in lines to represent the tail fins. Finally, I created a series of individual scales onto which I cut in small, either single-line or triple-line striations. I thought this leaf-shaped design would look better than the cloud-shaped scales I displayed in my previous post, and I believe the gamble paid off. Furthermore, to achieve proper browning, I used egg yolk on the head (for a yellow tint as well as a lighter color), egg white on the scales (to impart a glistening sheen), and sugar water on the tail fins (to cause a golden brown).

With a hunk of additional dough I had left over, I added a braided border along the bottom. This was attached after about 40 minutes of cooking, when the mold was removed. This invokes a rippling effect, as if the fish is swimming through water. I also added an egg wash on that to cause browning.

The biggest gripe I had with this piece is how brittle and hard to work with the pastry became. It was initially good for the structure, and fitting to the mold, but next time, I would use a different pastry for the top crust as well as the braid – likely a flaky all-butter pastry. The use of the other pastry just caused some issues with designs staying as well as the crust flaking in unusual places, marring the design.

Another issue involved browning – the effect of a dark tail, shiny scales, and a slightly brown/yellow head was not achieved. Overall, it turned out well though.

Take a look and judge for yourself!

20140121_143809
[The Mold in the shape of a Fish]

20140121_174001 [Raw Pie – the Crust as well as Filling is all in – take note of the Designs cut into the Top Crust]

20140122_152602
[After Pre-Baking in the Oven with the Braided Border around – some of the glisten and color from the Wash can be seen]

20140122_152609
[Another Angle]

20140122_152620
[This side came out well – note the Ripple Effect created by the Braid]

20140122_161804
[All done Cooking!]

20140123_152729
[After Reheating – the Final Presentation]

Questions? Comments? Post them below!

An Experiment in Recipe Synthesis: The Thanksgiving Pie

When we were throwing around the idea of ‘an entire Thanksgiving dinner baked into a pie’ in class, I laughed and appreciated the ridiculousness along with the rest of my baking buddies. But something about the idea took root in that part of my brain where thoughts like ‘how awesome would it be to make a  giant kit-kat bar’ and ‘I wonder if you can take cats for walks?’ flourish. Or it might have been the fact that I missed the traditional turkey, mashed potatoes, green vegetables, something orange, and pie Thanksgiving while I was away in Turkey. Either way, the idea stuck, and even though no recipe for this existed online yet, I was not going to let that stop me.

First, I had to do a bit of research. That meant looking up every vaguely related recipe to this concept and picking up ideas from them. The first mockup of my internal schema for the grand design for this pie contained a layer of bacon mac & cheese. Upon consultation with my idea guy (read: girlfriend), that part was shot down as the flavor could be too overpowering in relation to the others, it could make the pie soggy, and layers of filling was something to be avoided, if at all possible. Onto Step 2…

I found the perfect approximation of what I wanted for my pie here. Unfortunately, they did not also offer a recipe. So, it was back to the drawing board to create my own. After viewing a few more recipes, I decided on the following concept:

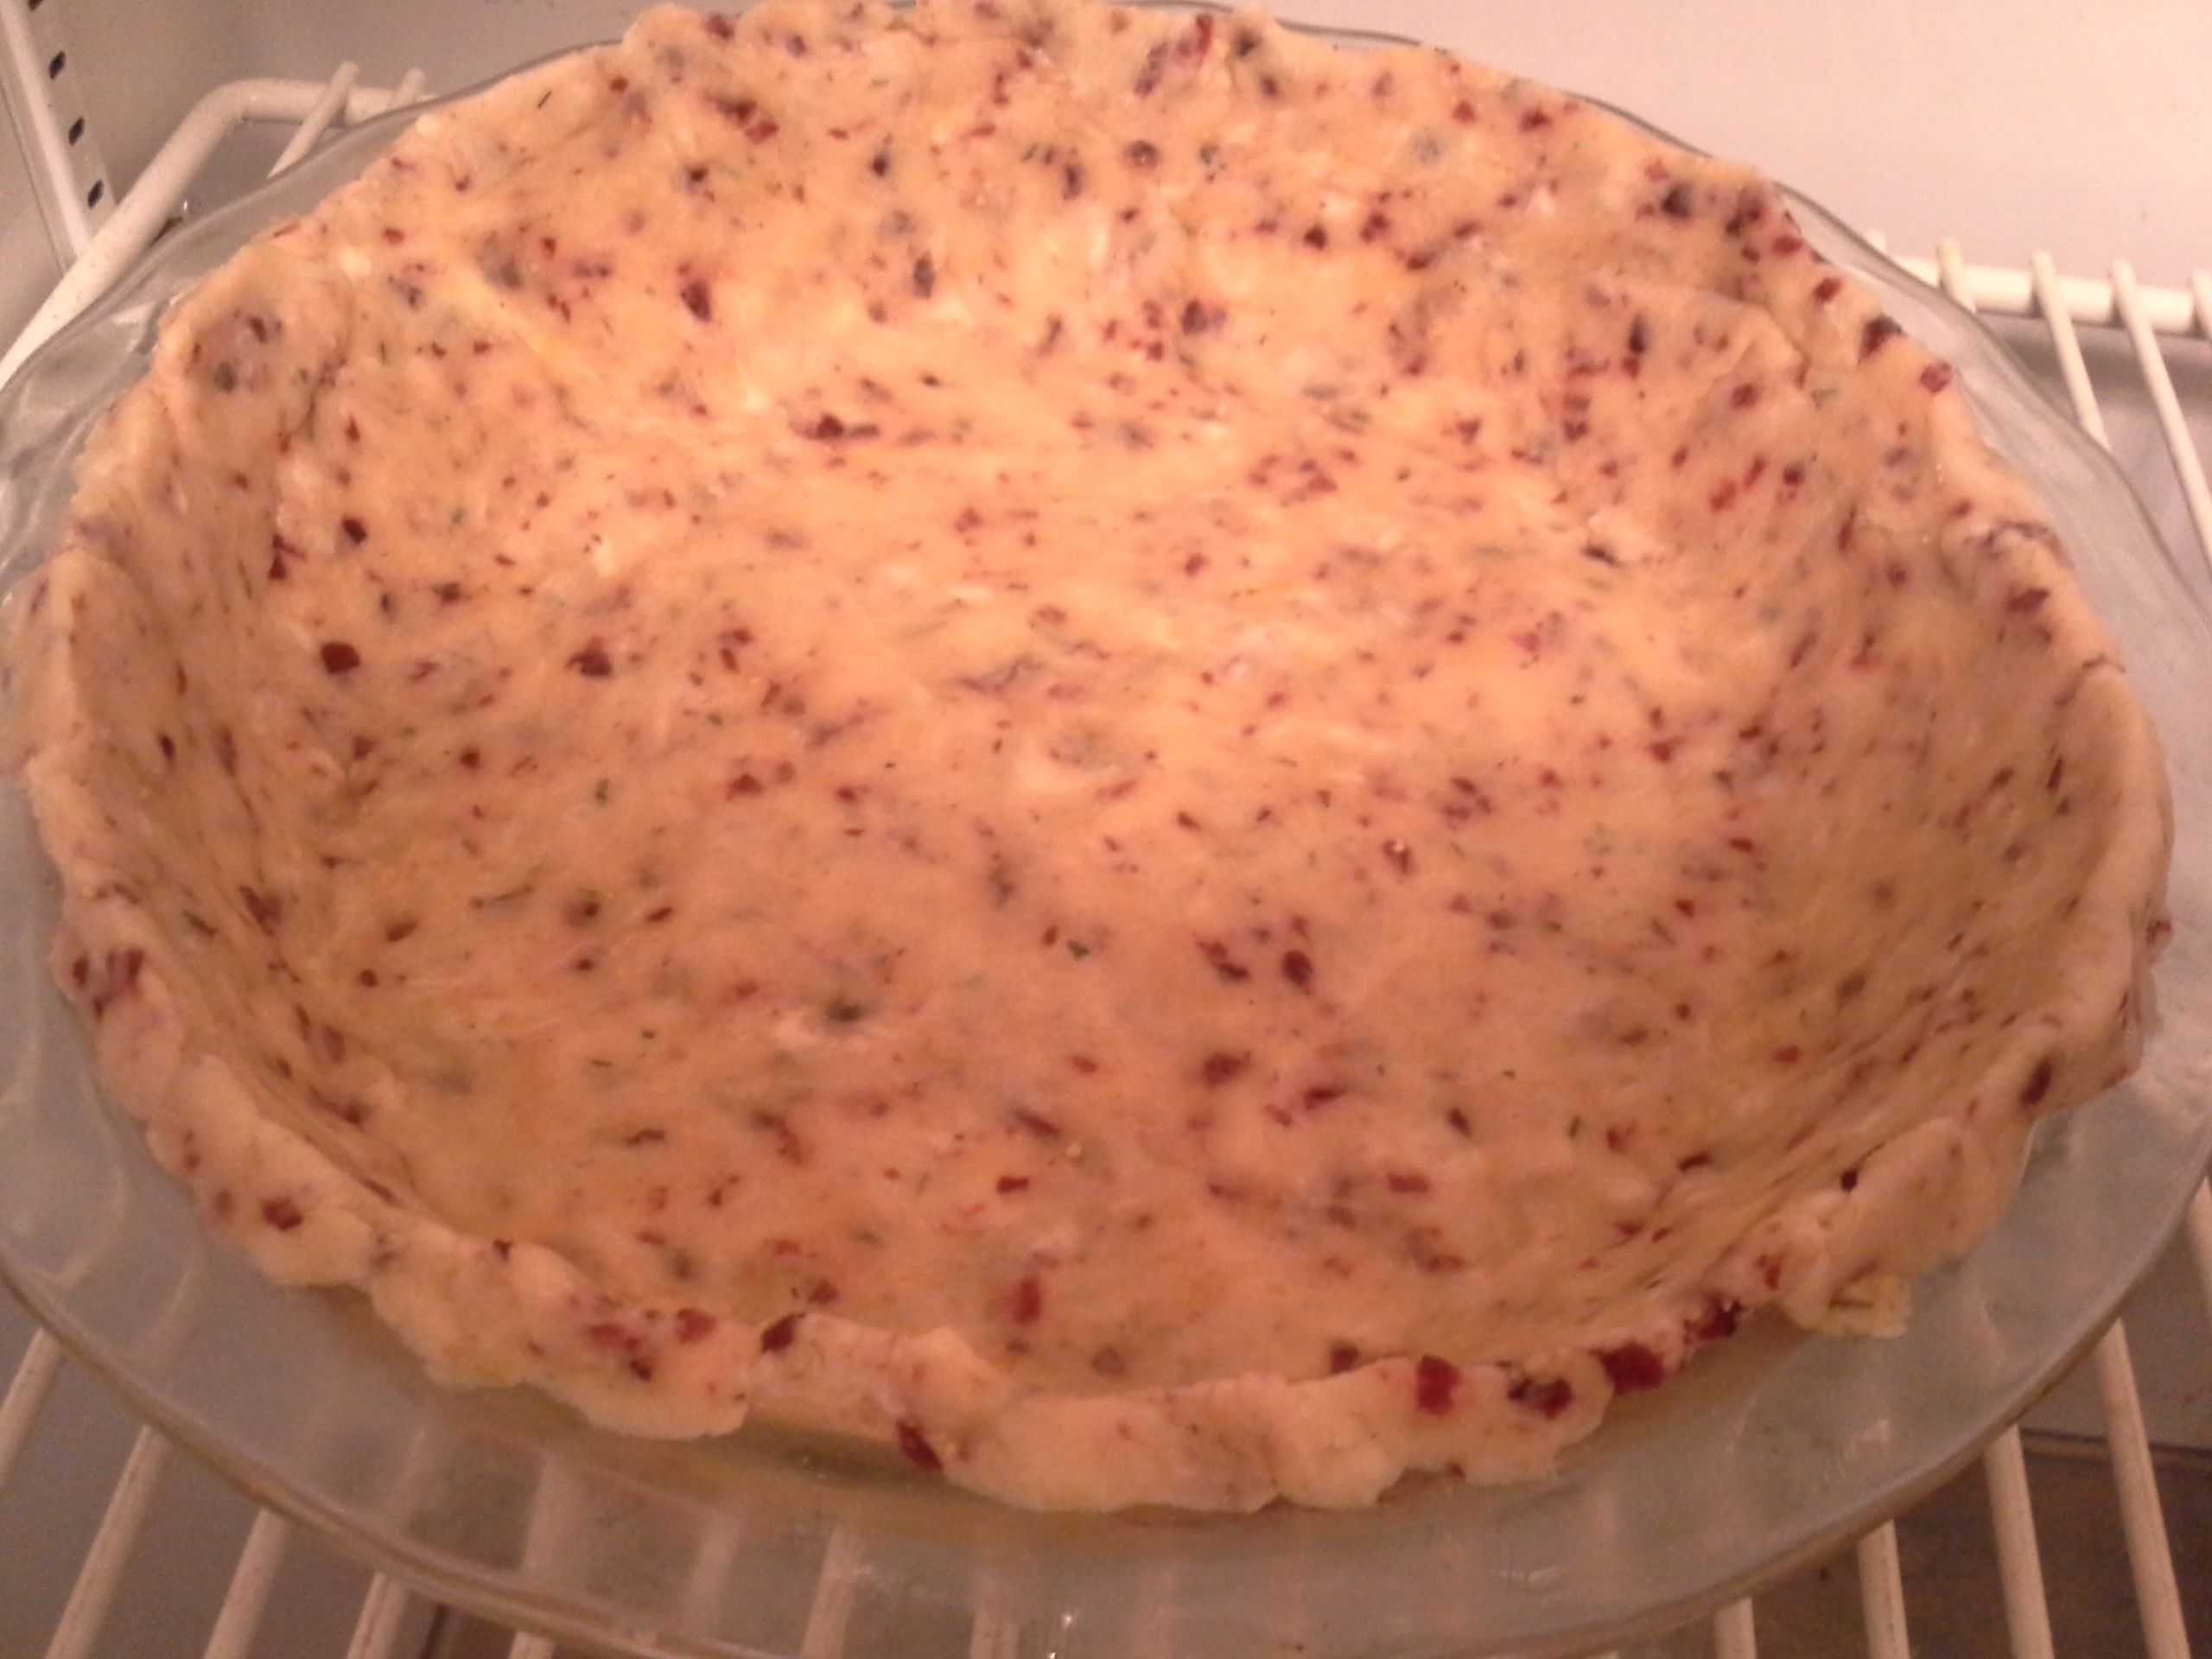
  • A butter and shortening crust that would include craisins, savory herbs, and a bit of chicken stock baked in.
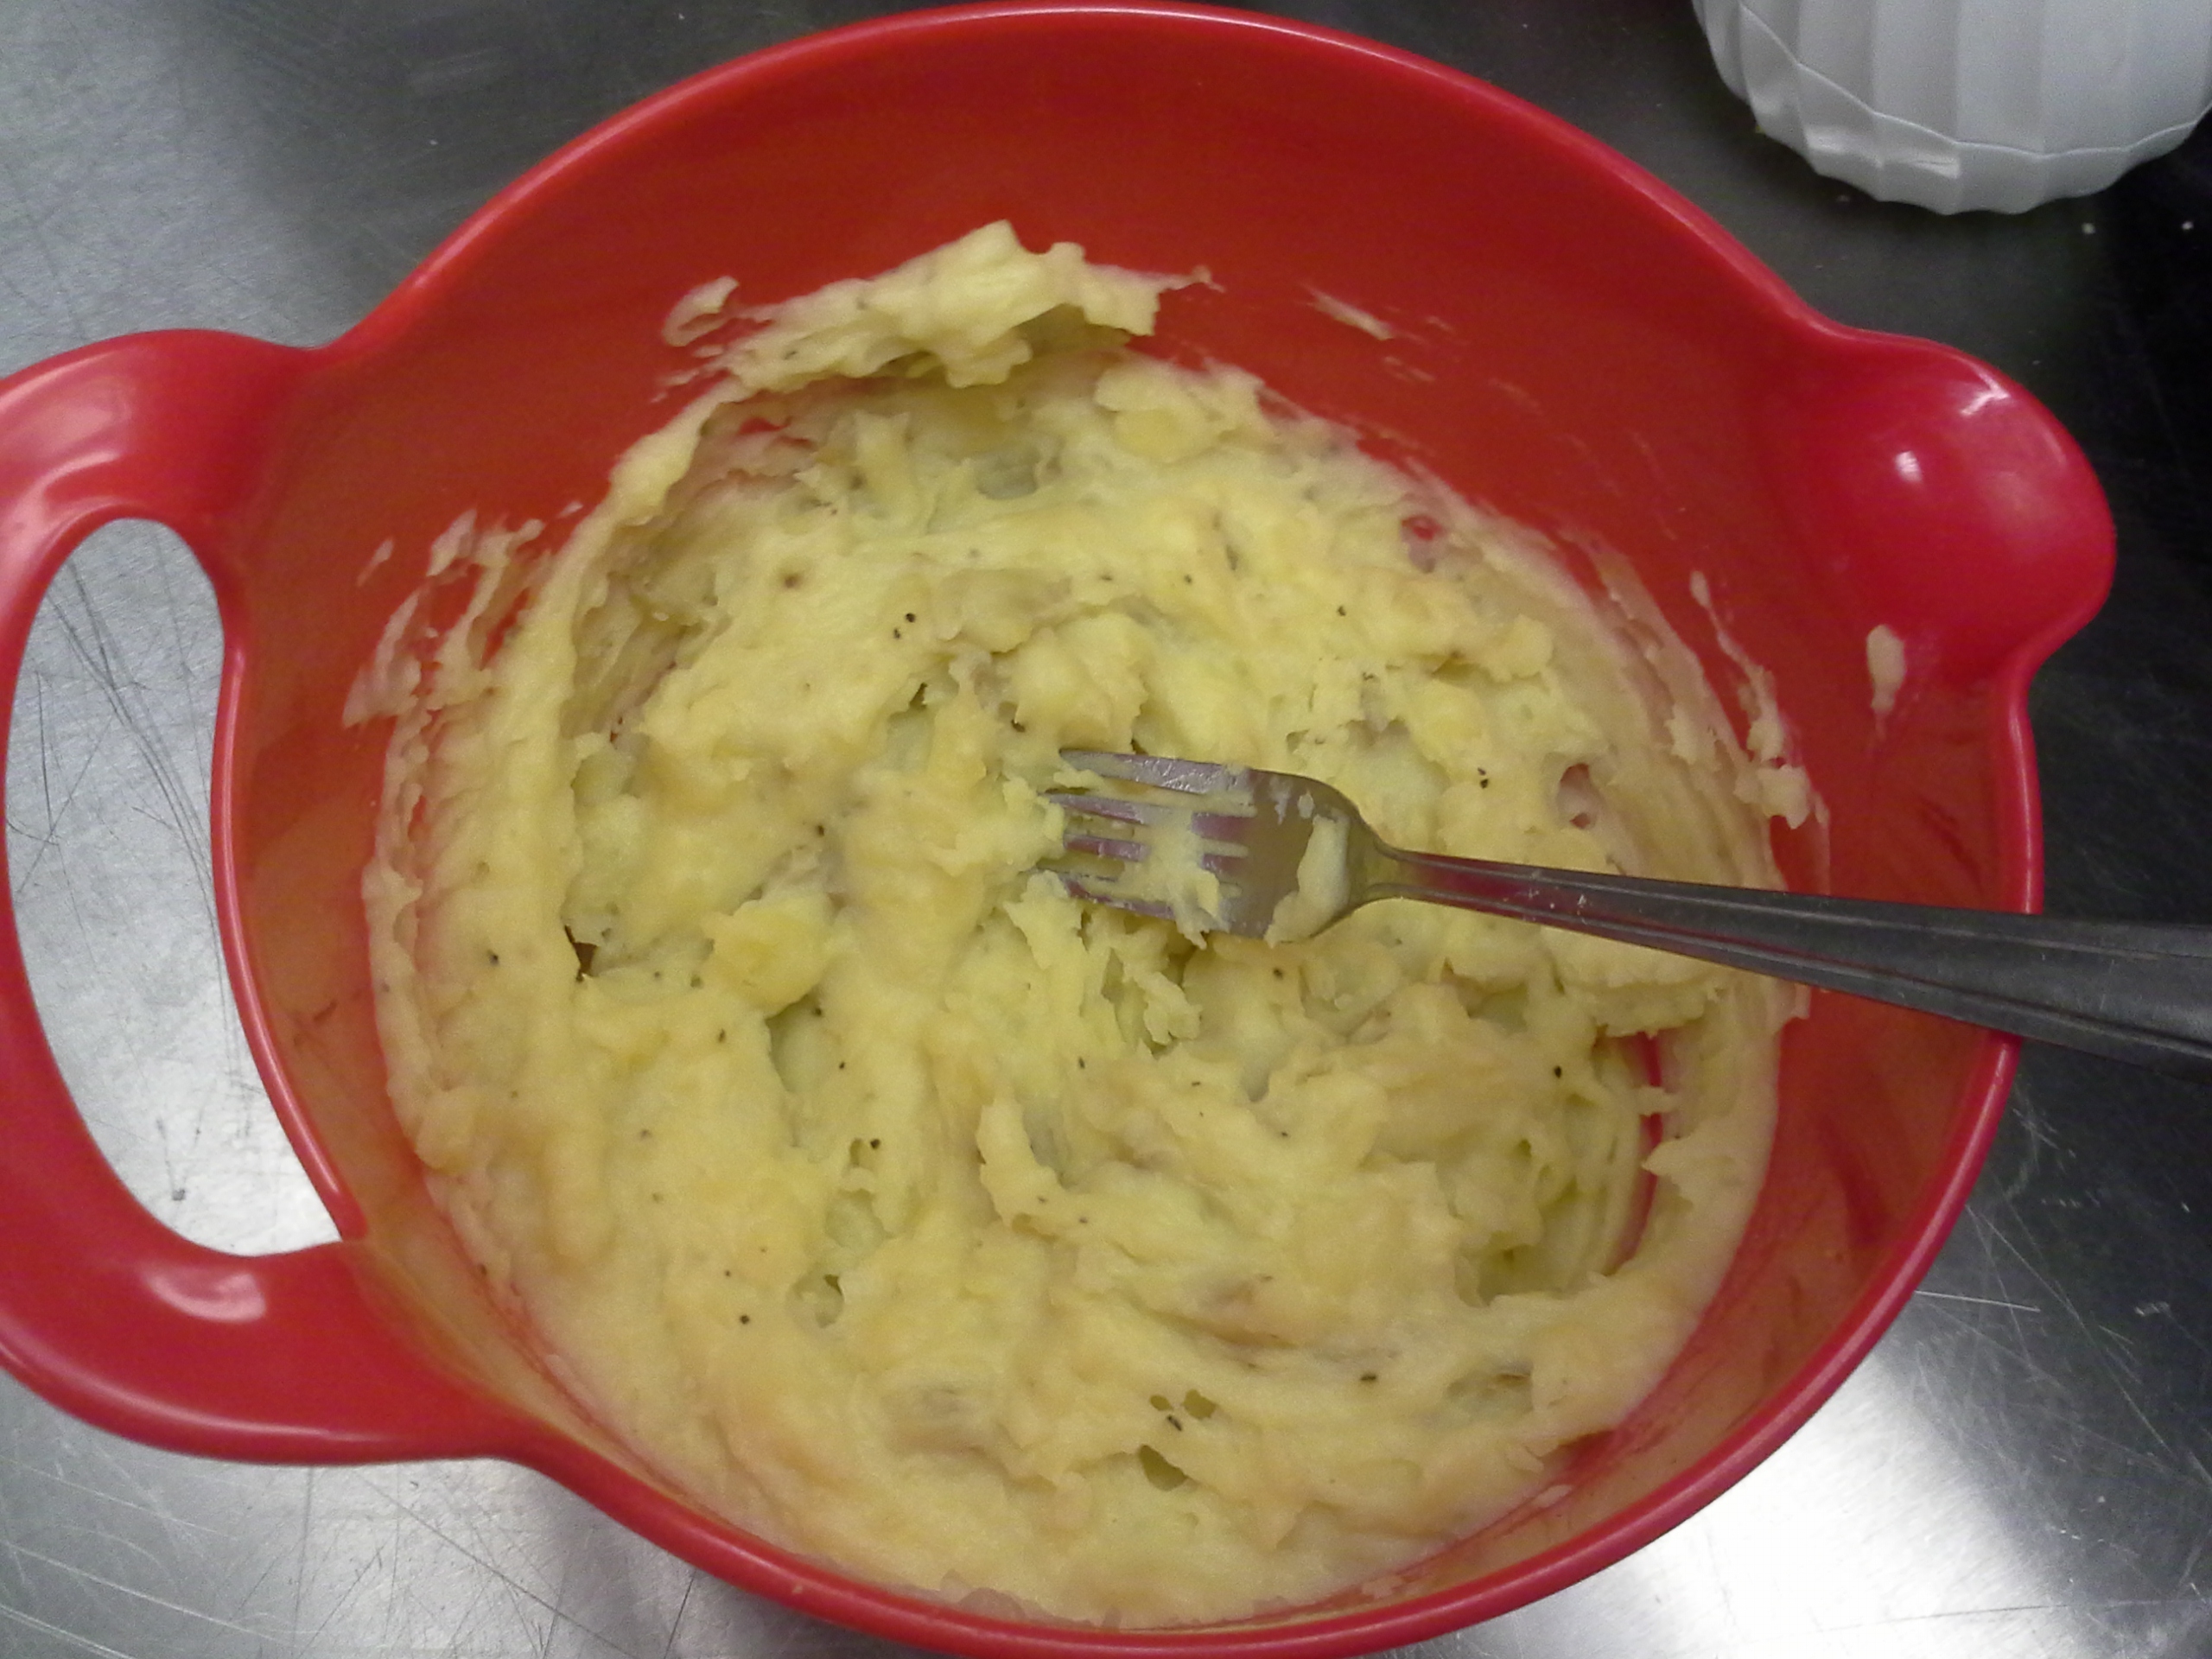
  • A filling consisting largely of mashed potatoes, with the other ingredients suspended within. (An excellent recipe can be found here).
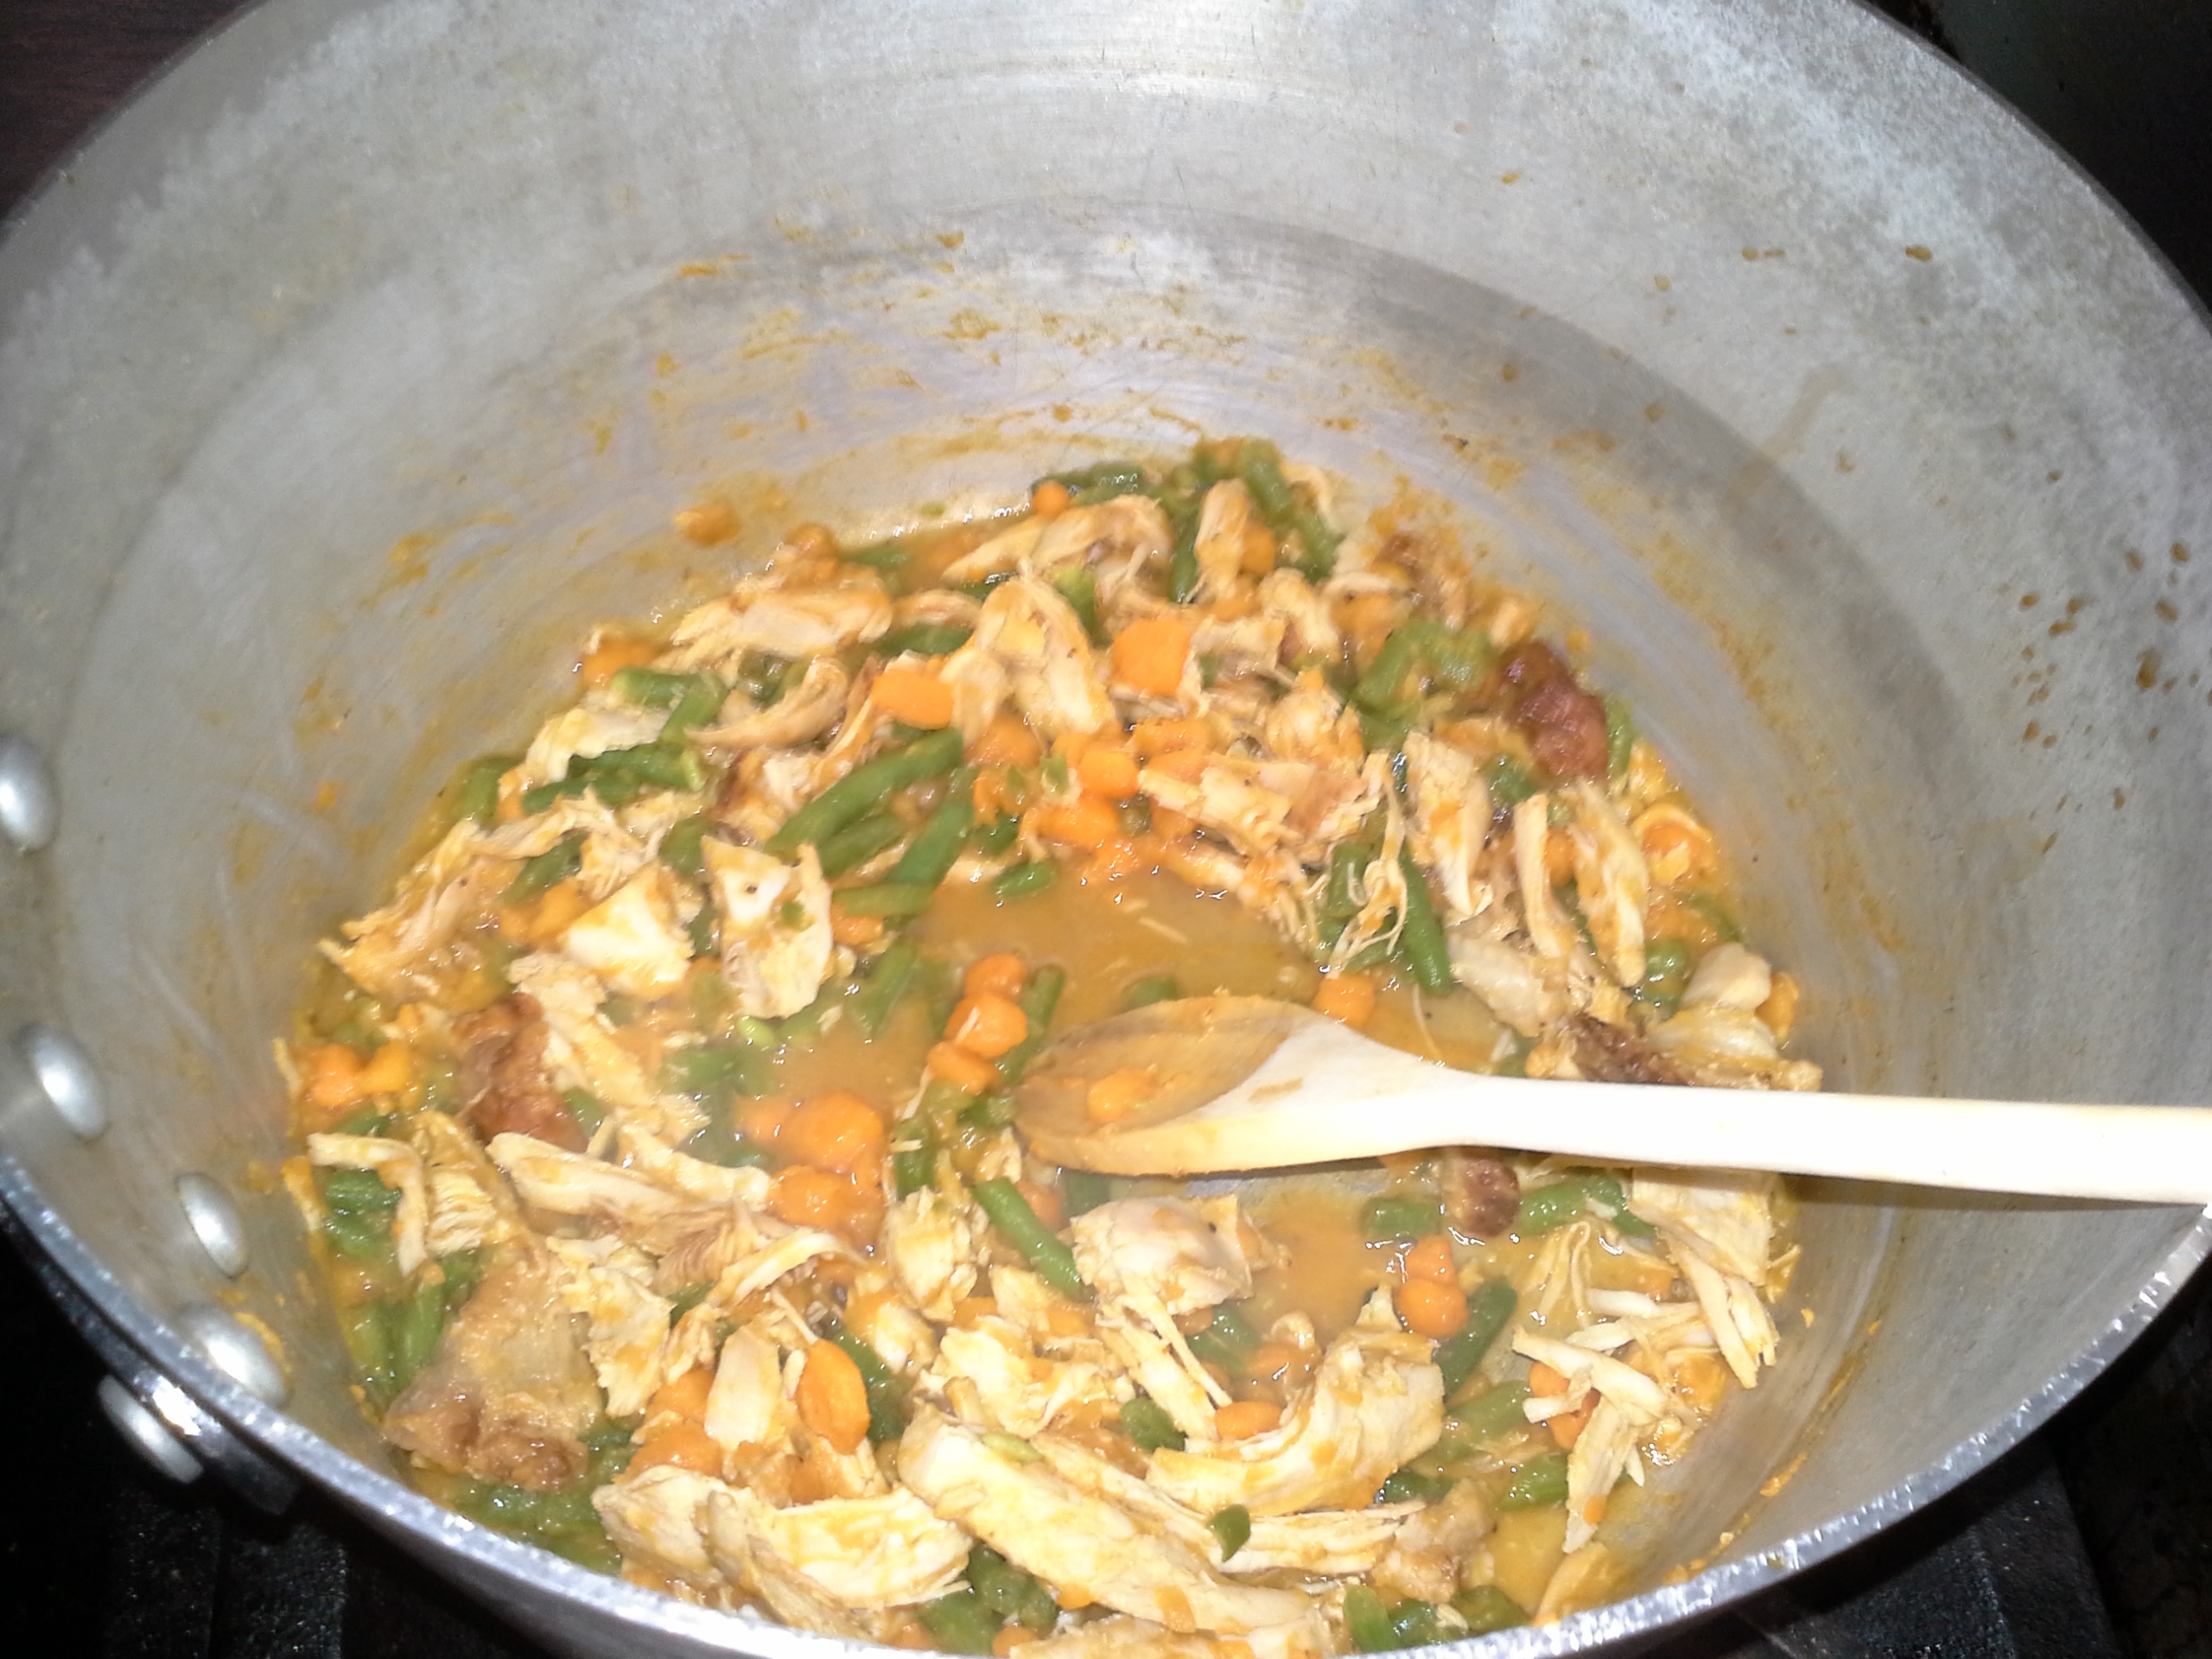
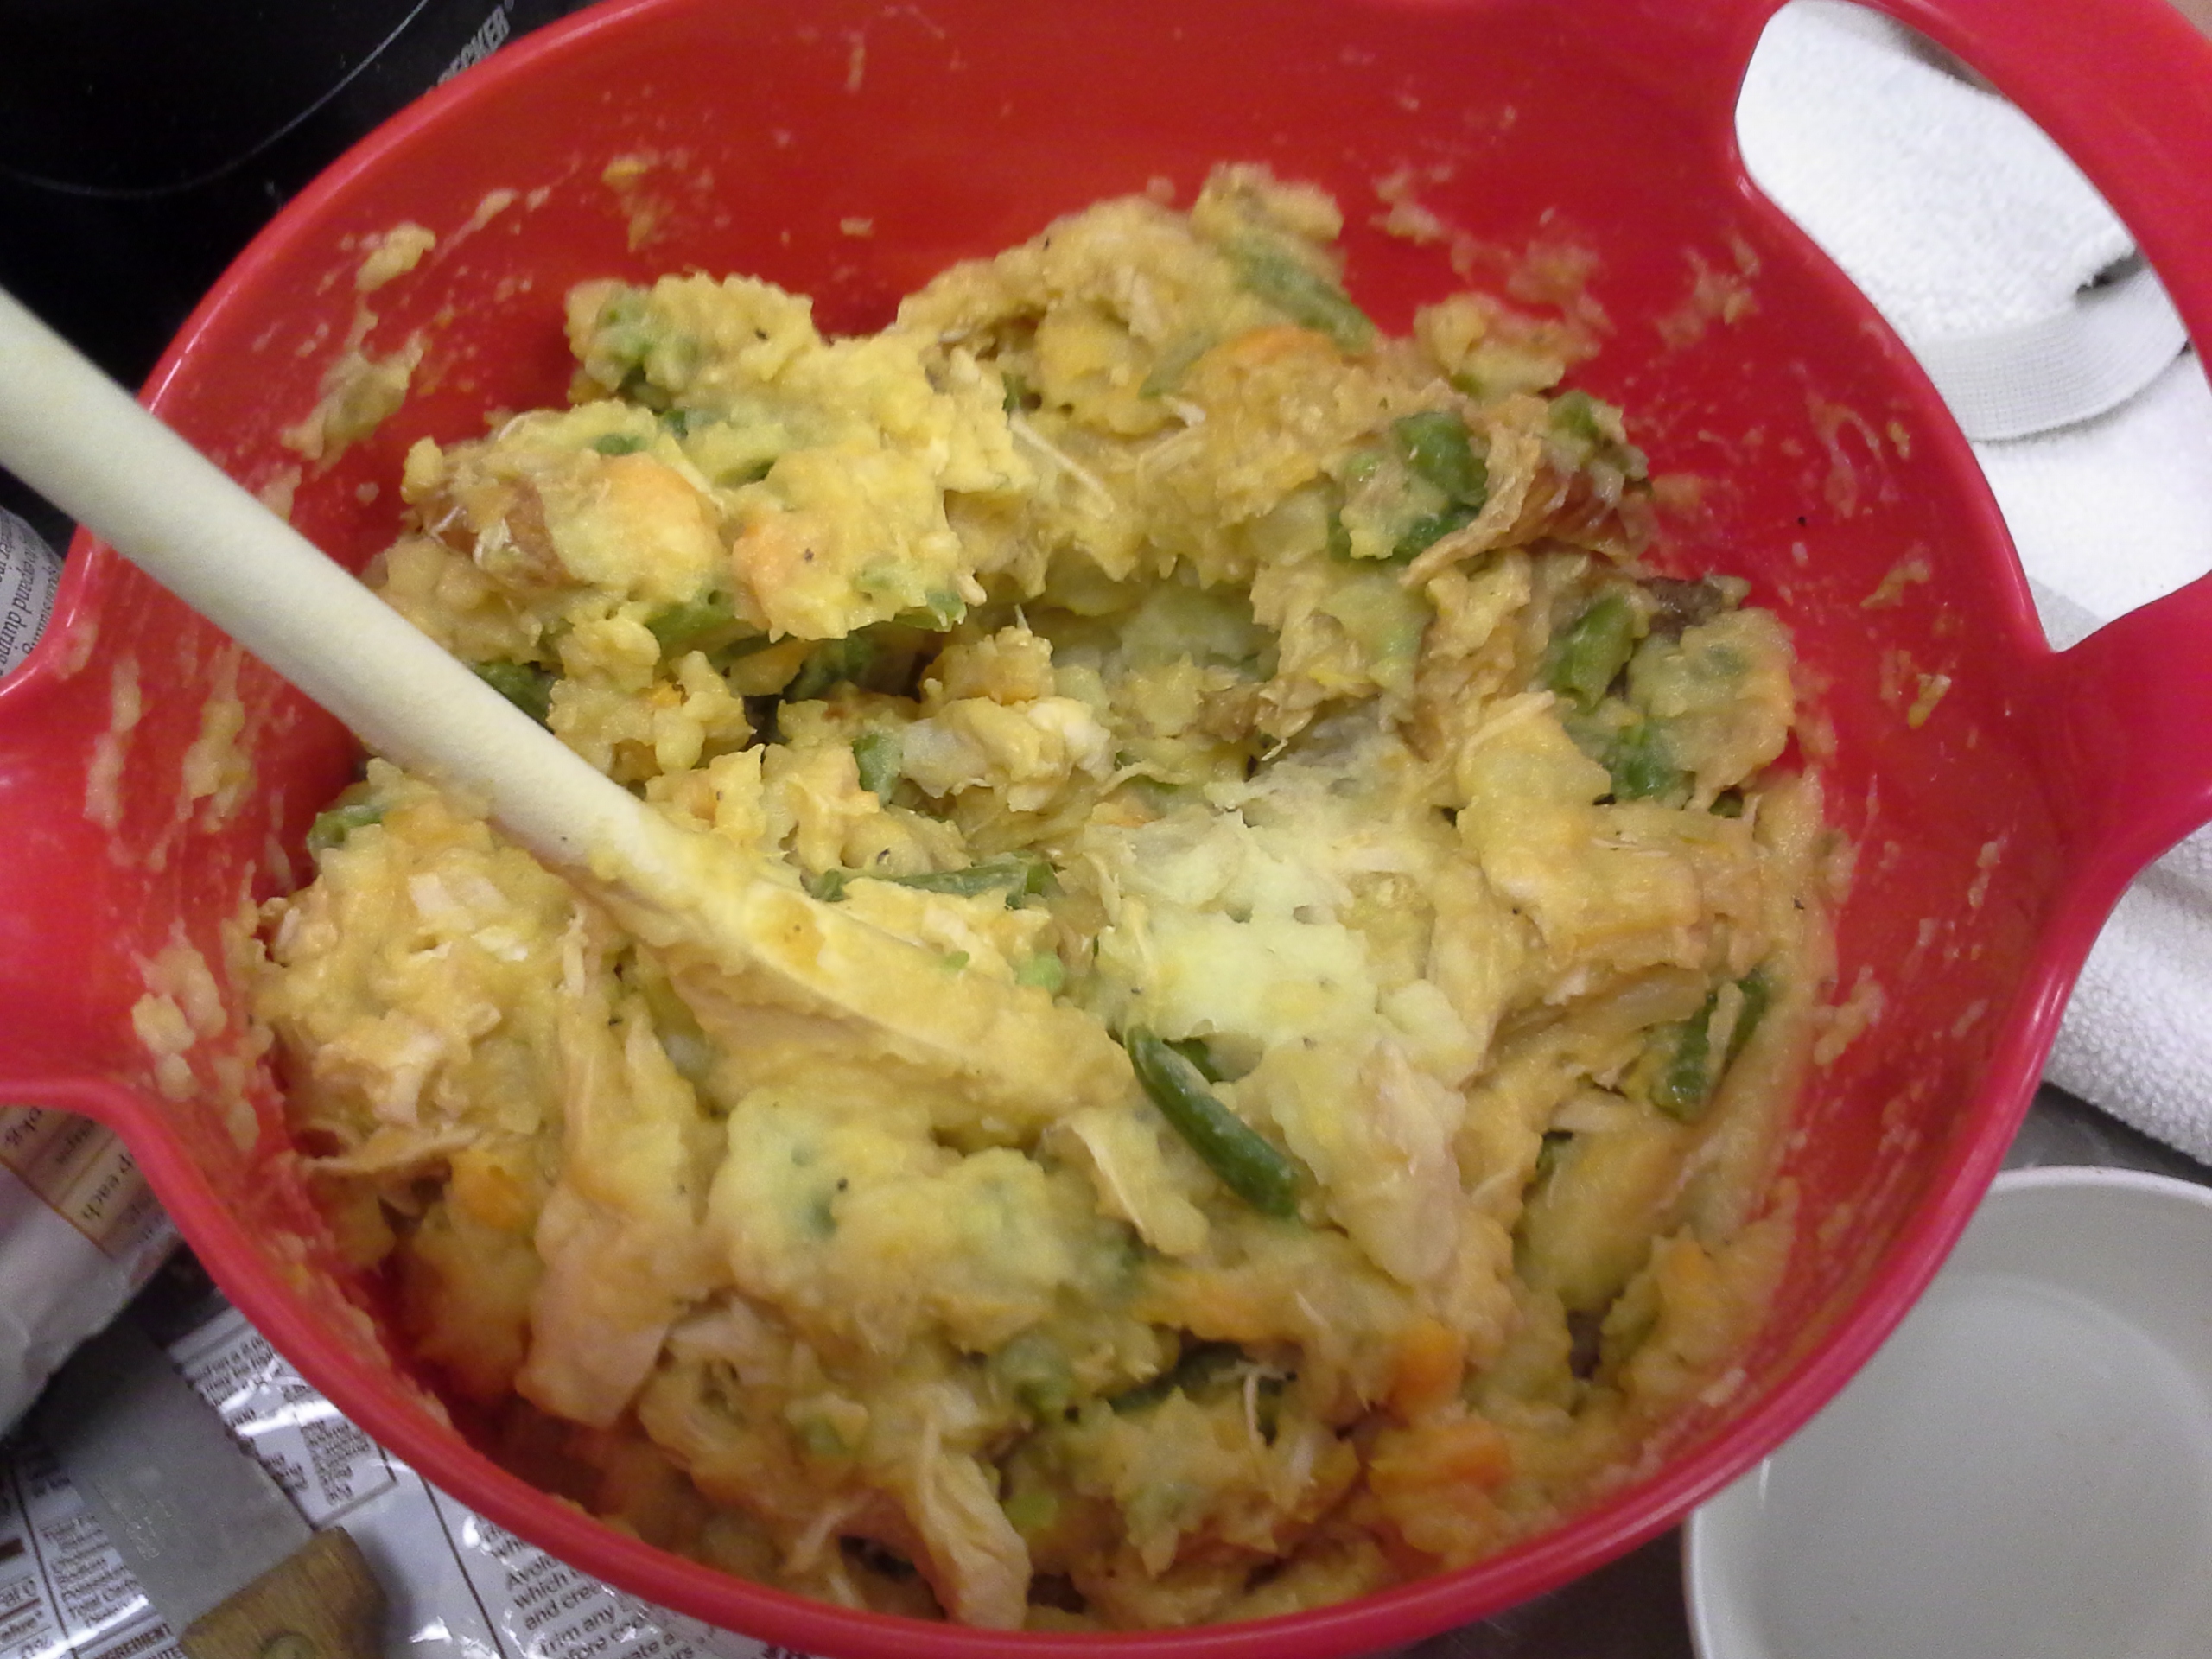
  • Turkey, green beans, and sweet potatoes all simmered in a bit of stock, then mixed into the mashed potatoes.
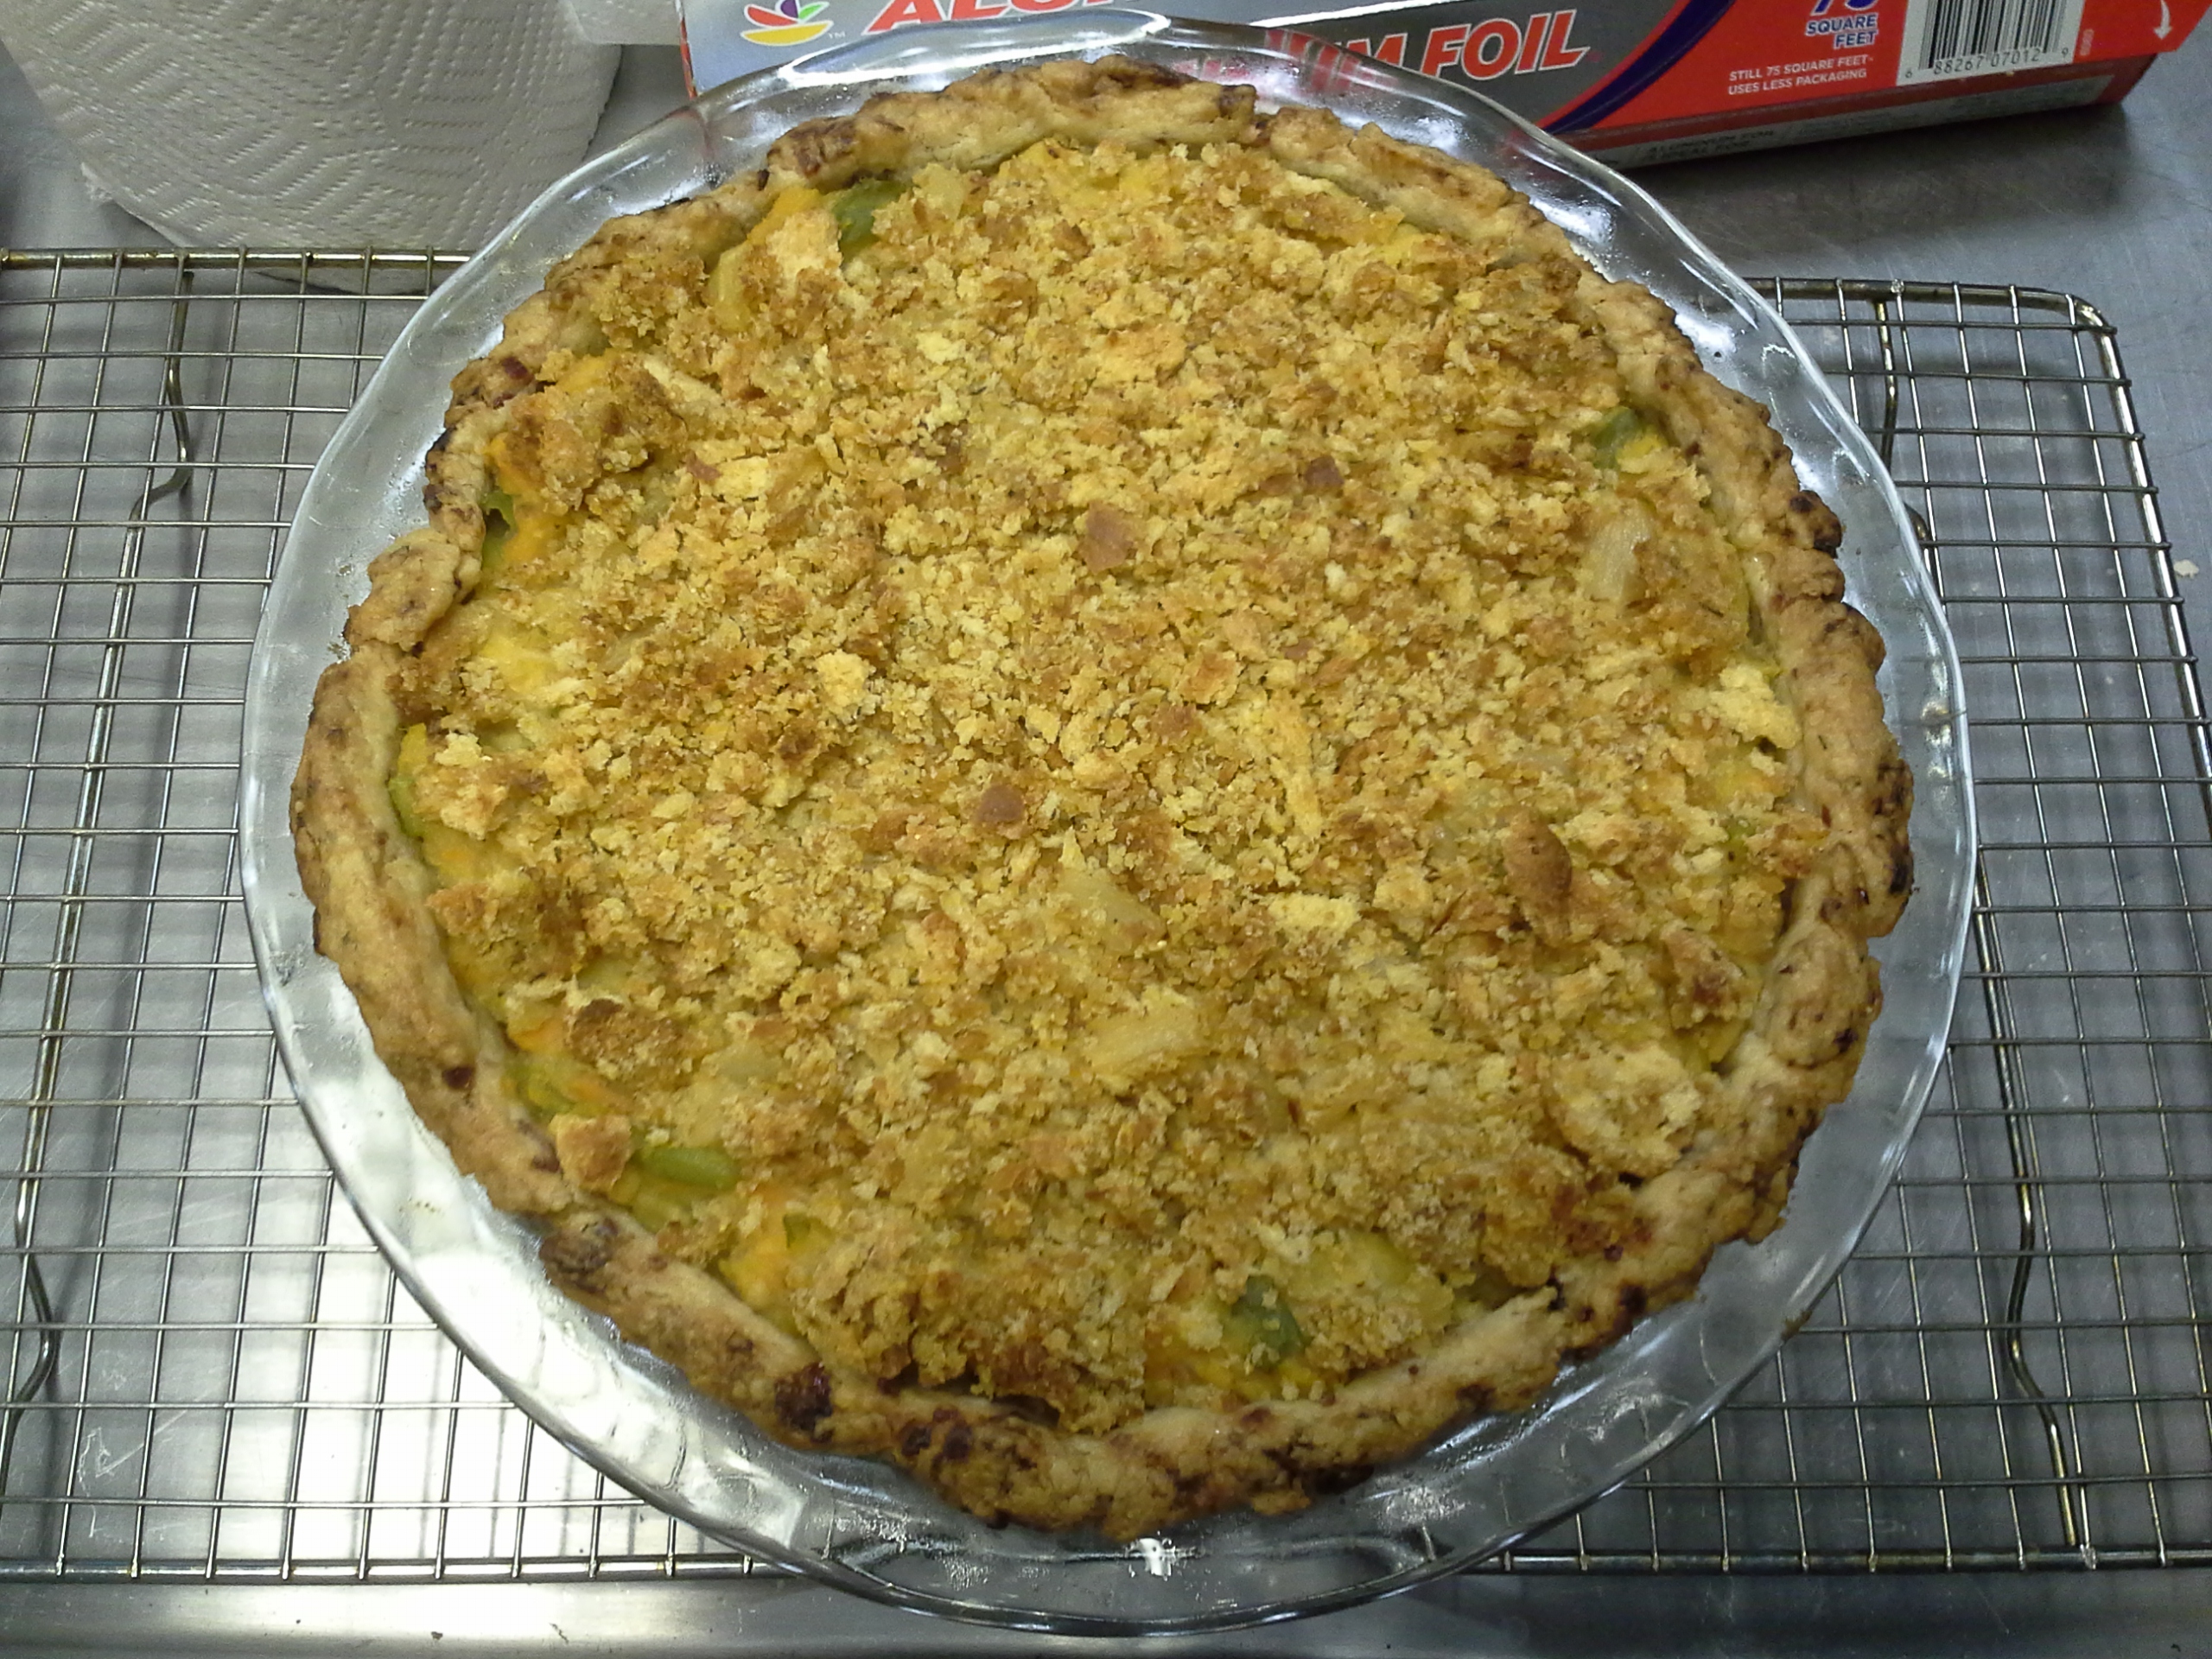
  • A crumb-top crust of cornbread stuffing for the upper layer.
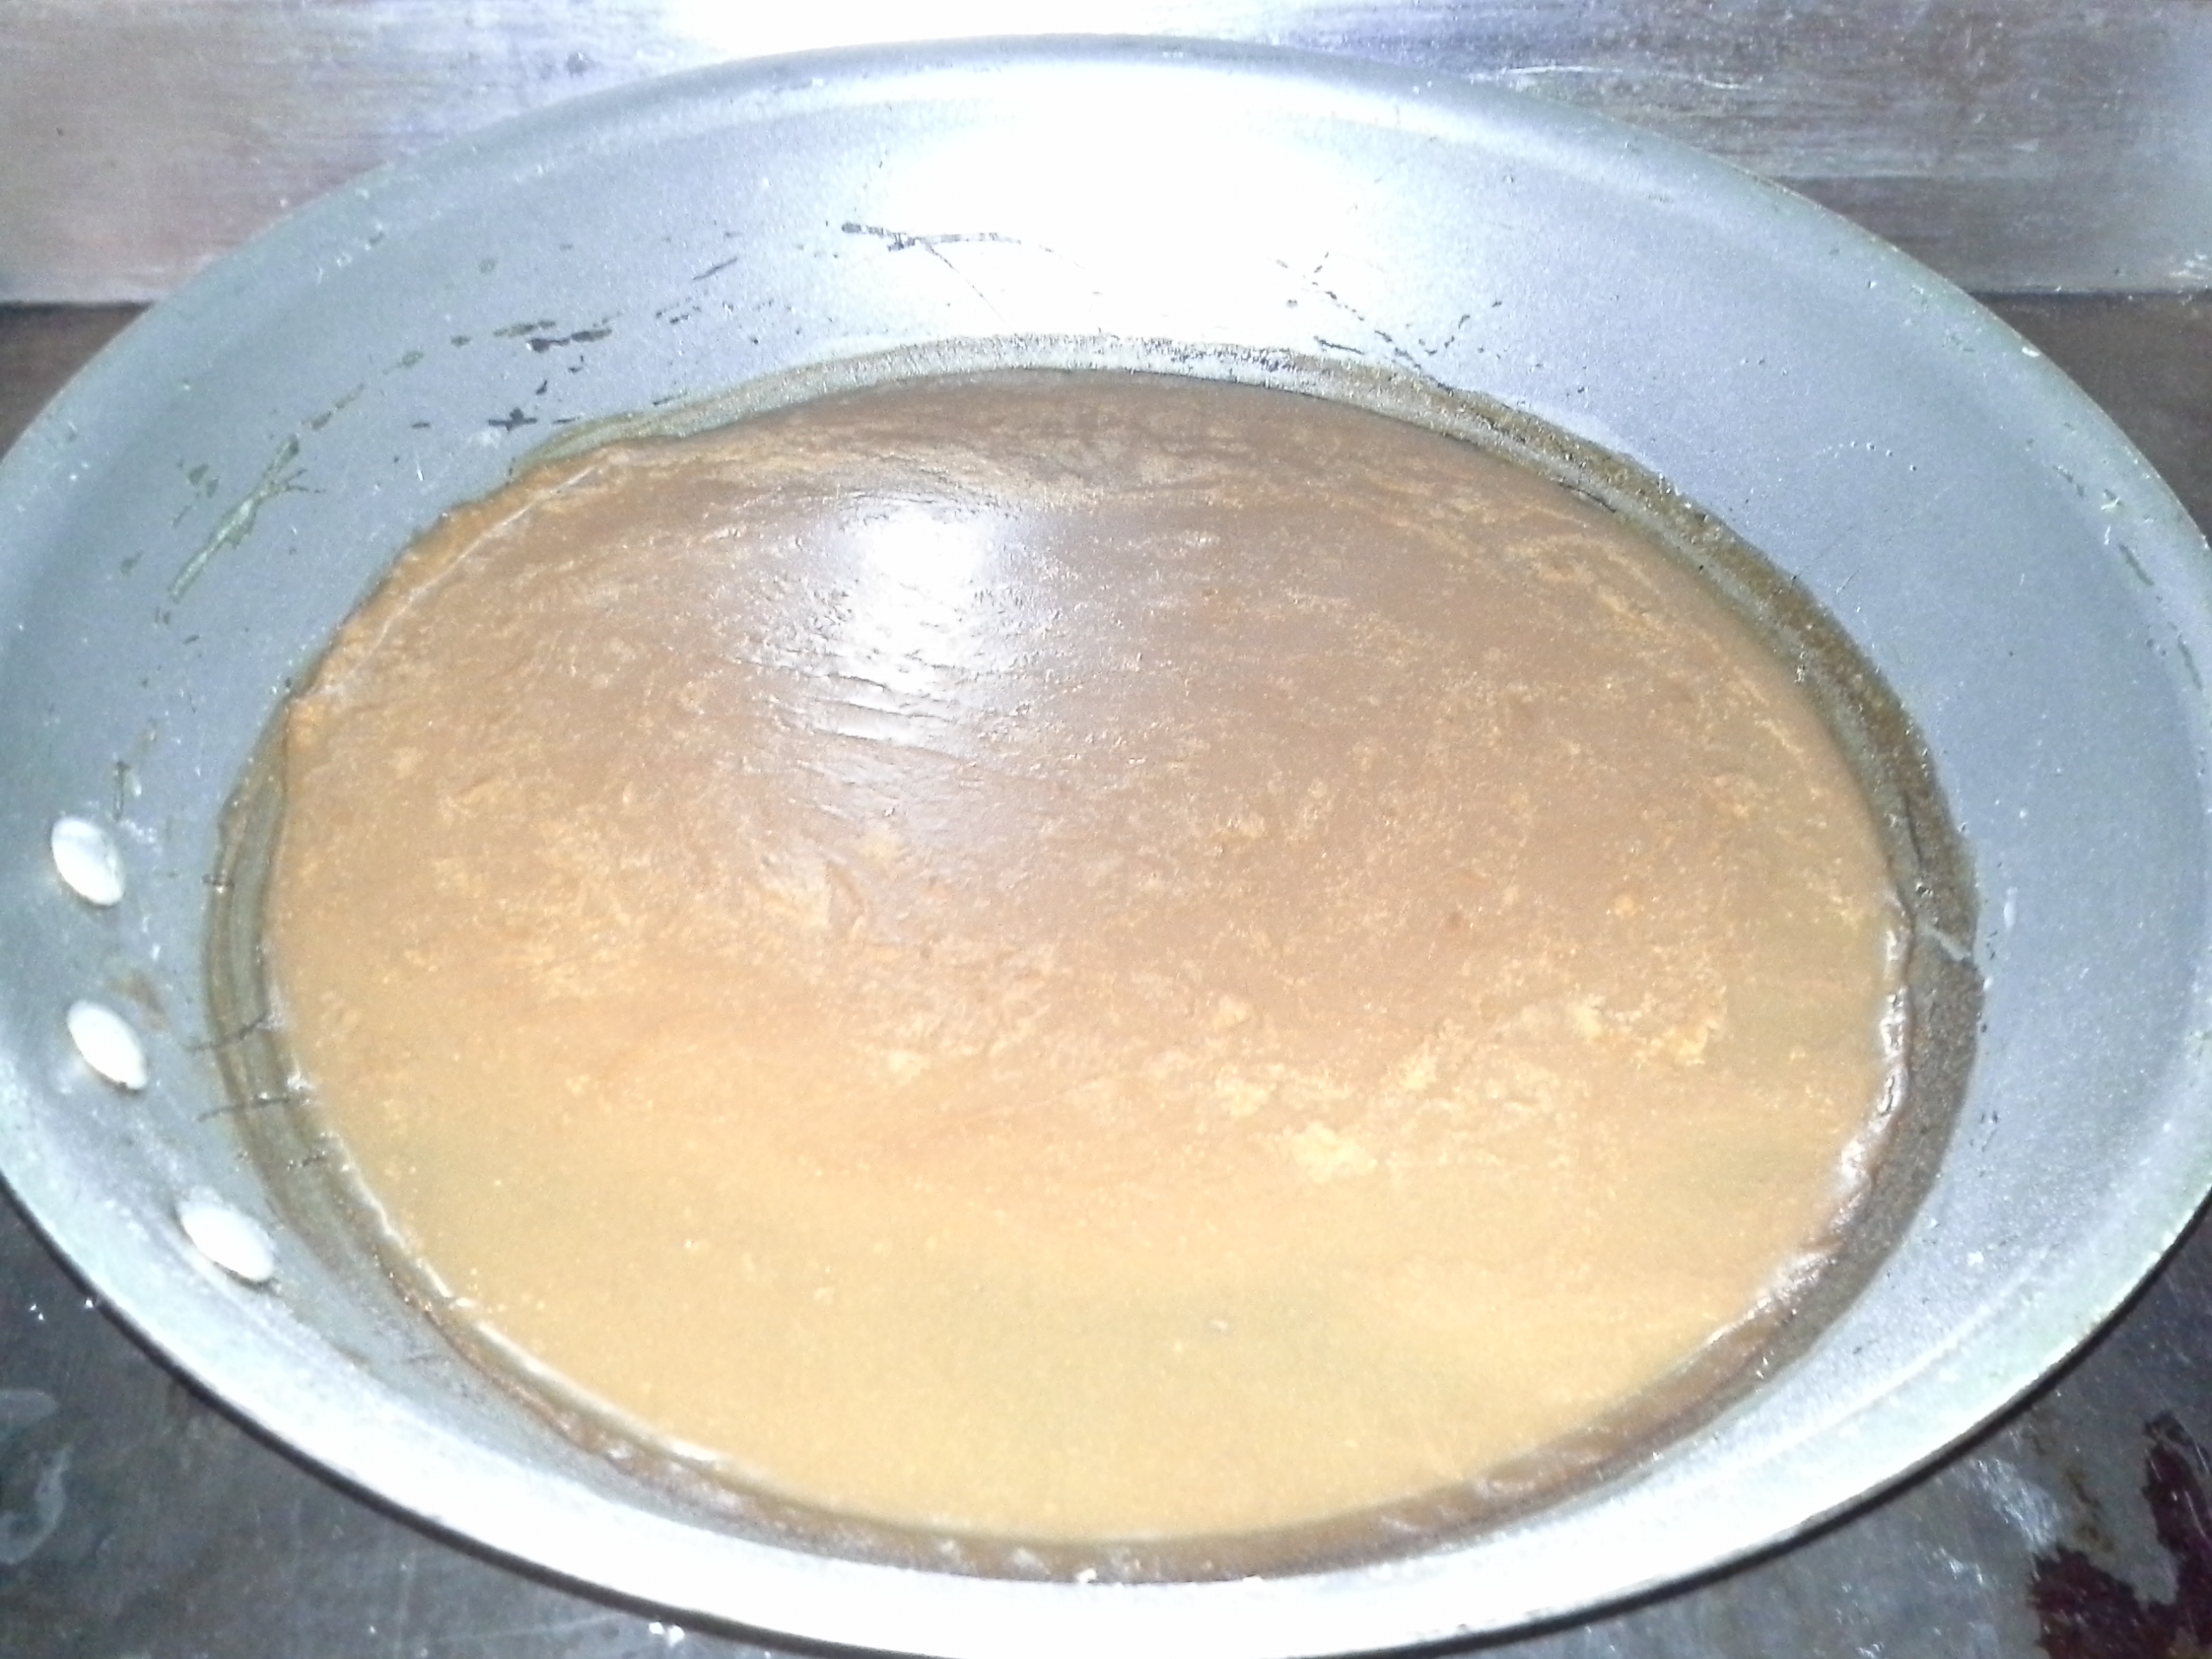
  • A bit of brown gravy to be poured over each slice upon serving.

Basically, doing that worked! The following is a series of pictures I took while baking that idea into life:
*Note: The measurements as well as rough directions are listed in the recipe section of this post.

20140115_160809
[The Crust, while it was cooling in the fridge; note the the Cranberries]

20140115_160728
[The Mashed Potatoes]

20140115_160748
[The Green Beans, Turkey, and Sweet Potatoes stew; note the small bit of thick Gravy]

20140115_161550
[The previous two items combined; this will be the Filling]

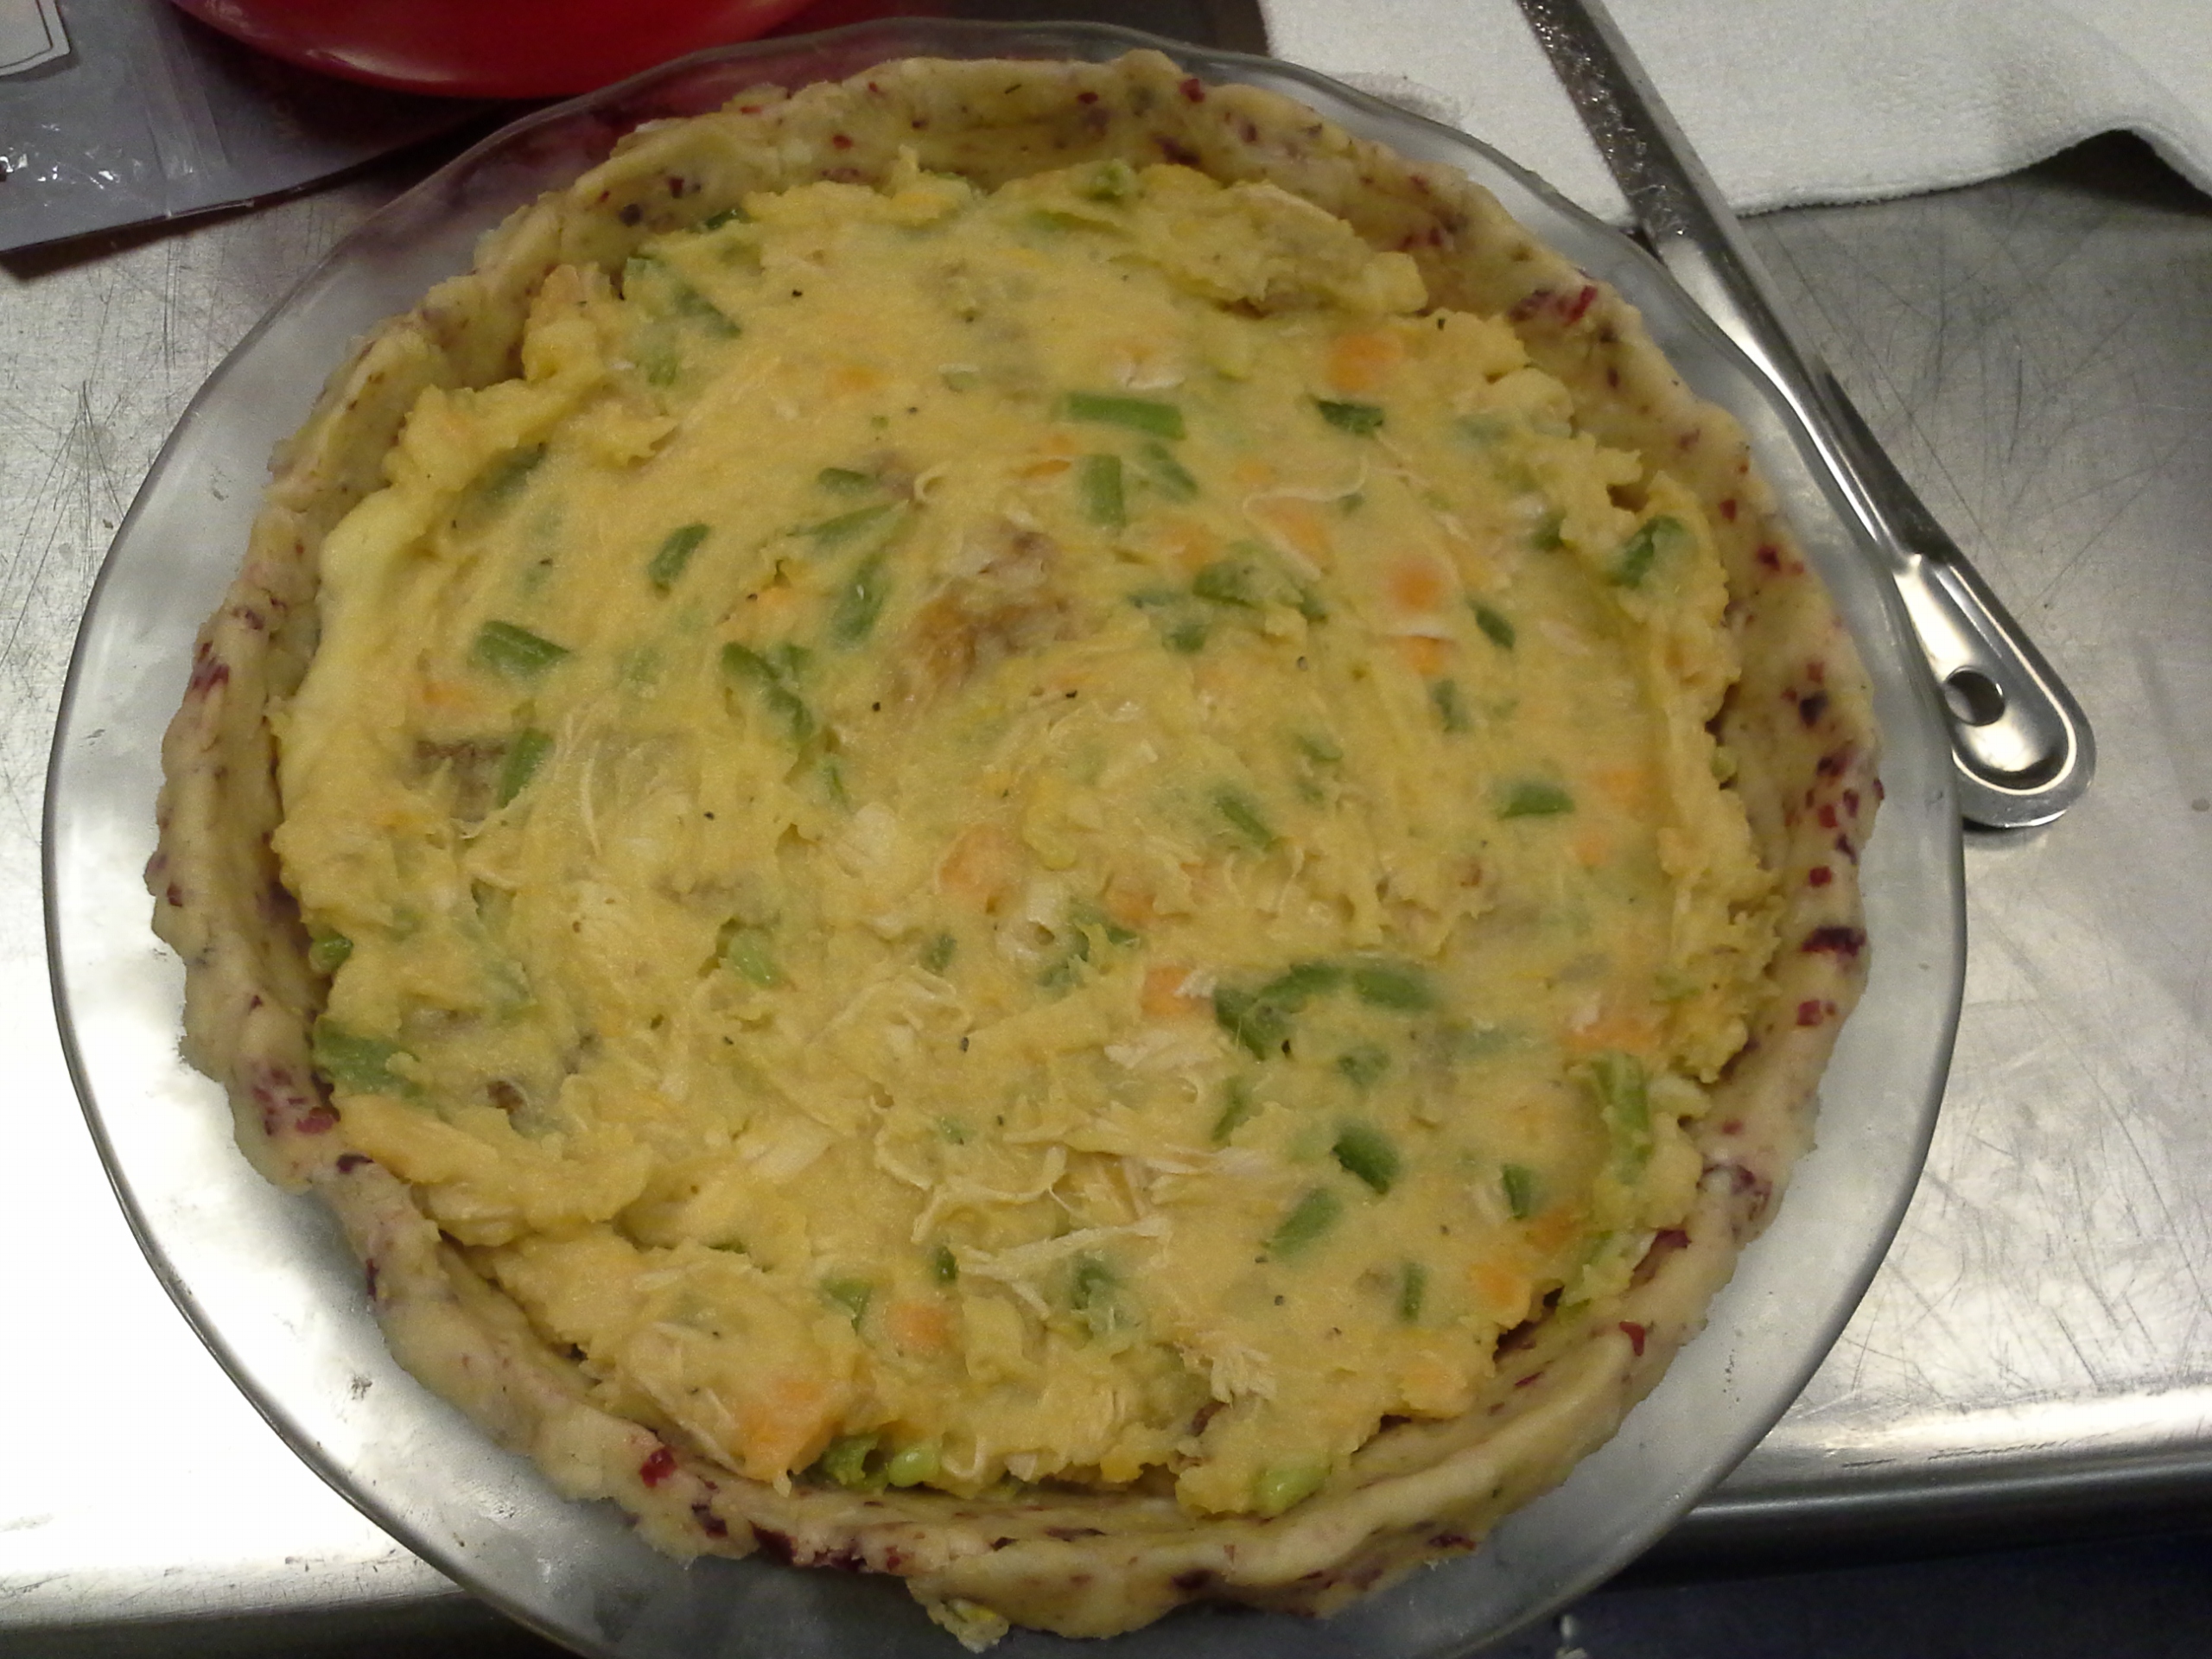
20140115_165052
[Raw Pie with Filling]

20140115_171257
[Raw Pie with Filling and Cornbread Stuffing Crumb Coat]

20140116_142758
[Freshly Baked Thanksgiving Pie]

20140116_140948
[Brown Gravy to Serve with the Pie]

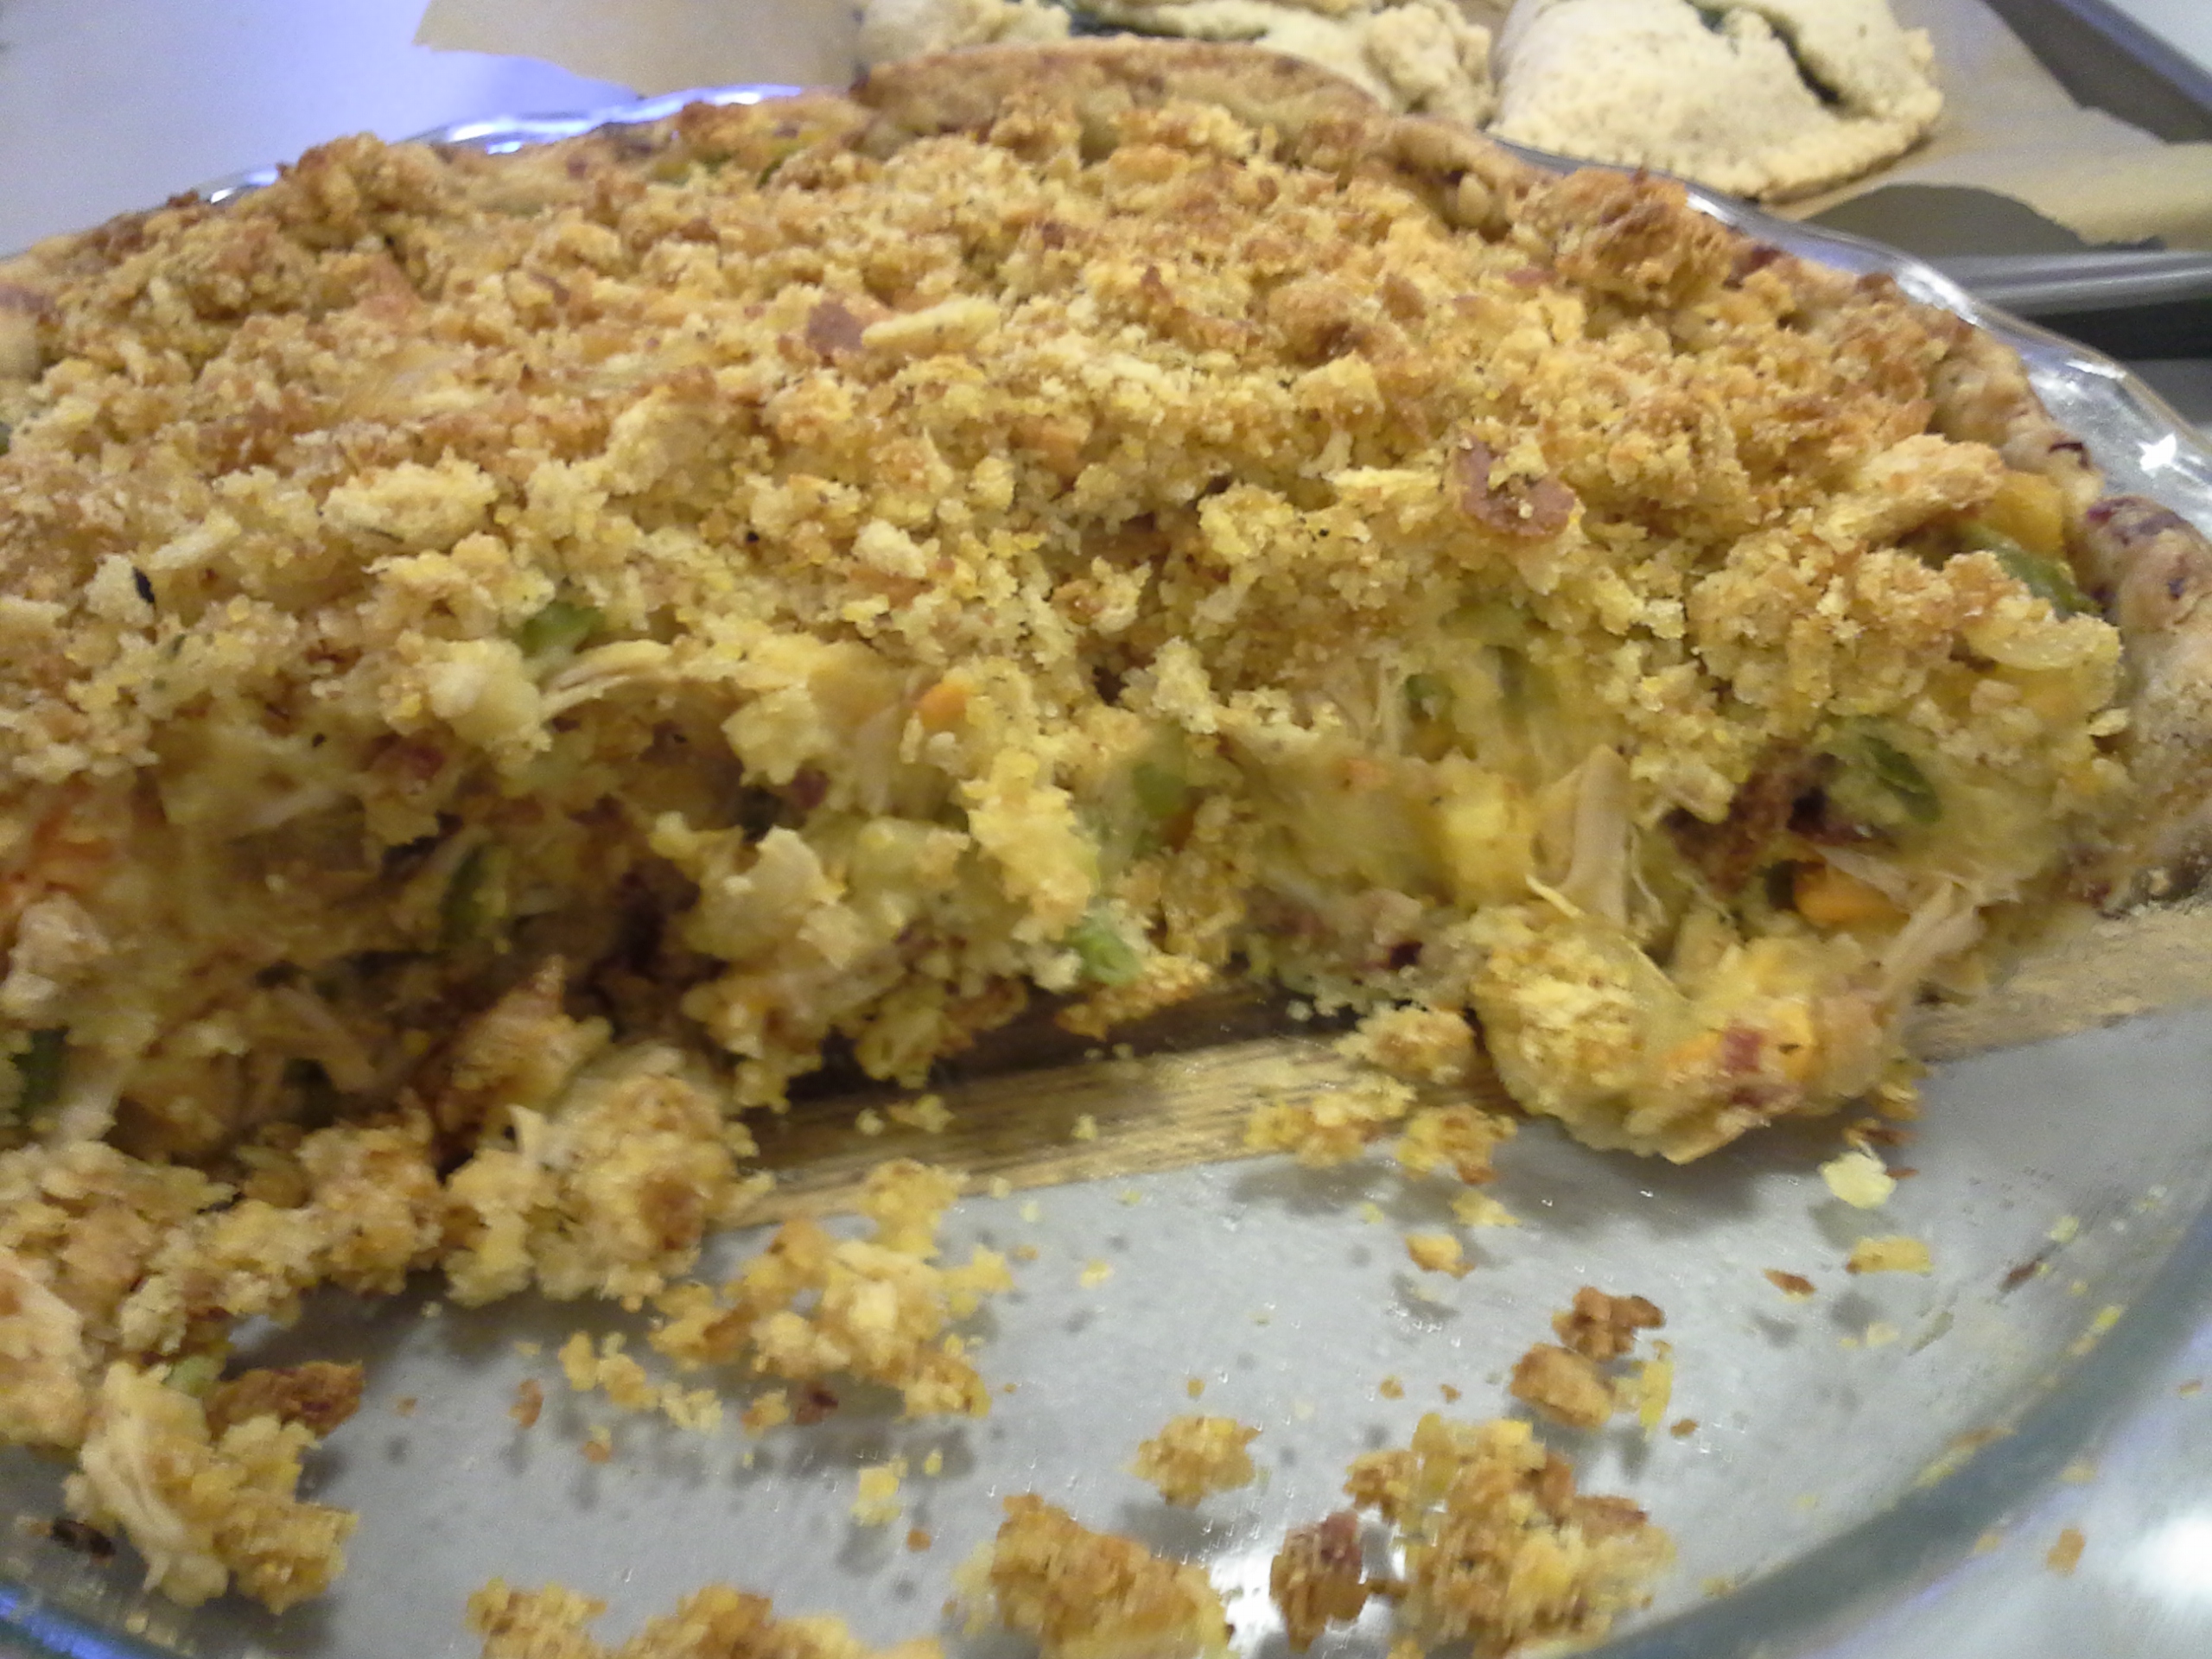
20140116_153112
[Cross-Sectional View of the Finished Product]

Reflections: This experiment turned out pretty great, actually! I was a little worried that the crust would be too soggy, especially after a lot of it kept sticking to my utensils as well as the wax paper, but good flakiness was achieved. Next time I try the Vodka Trick, I think I’ll use slightly less liquid, haha. Other than that, another thing I might try differently is to not put in the filling and top crumb coat crust and leave it overnight. Perhaps doing both right before baking it in the oven would have achieved a flakier crust. Either way, it worked out, and the pie tasted delicious!

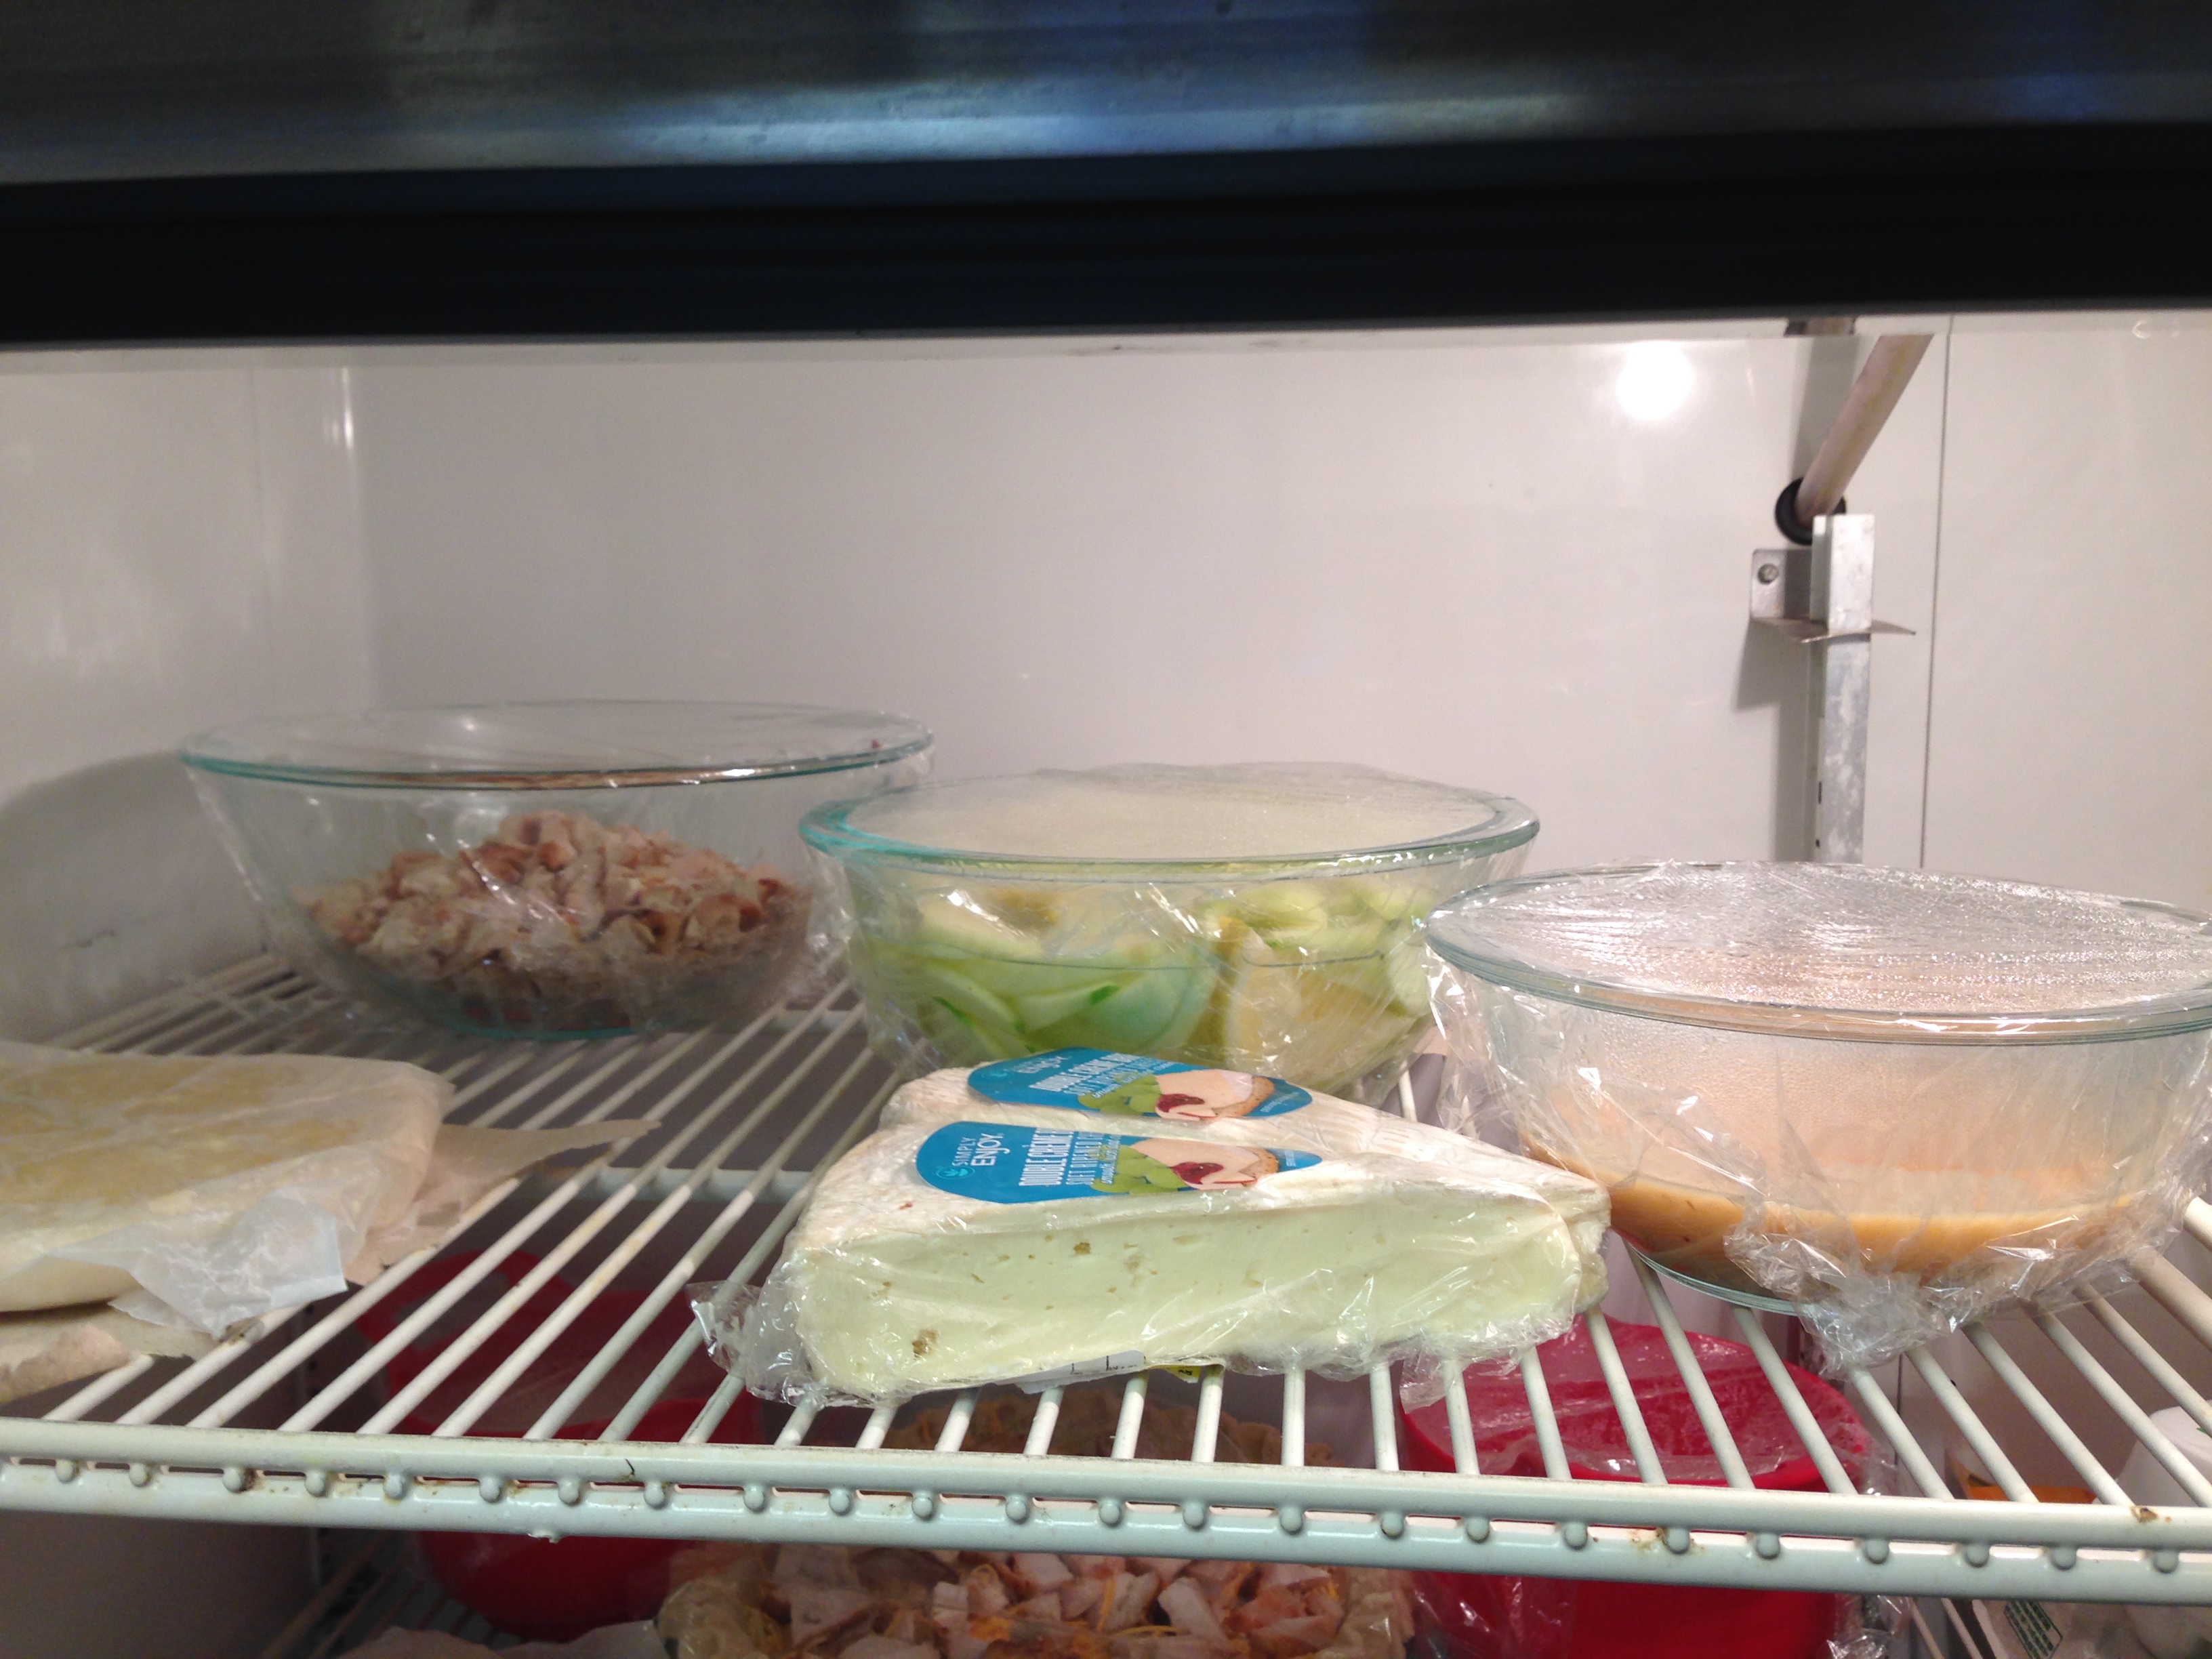
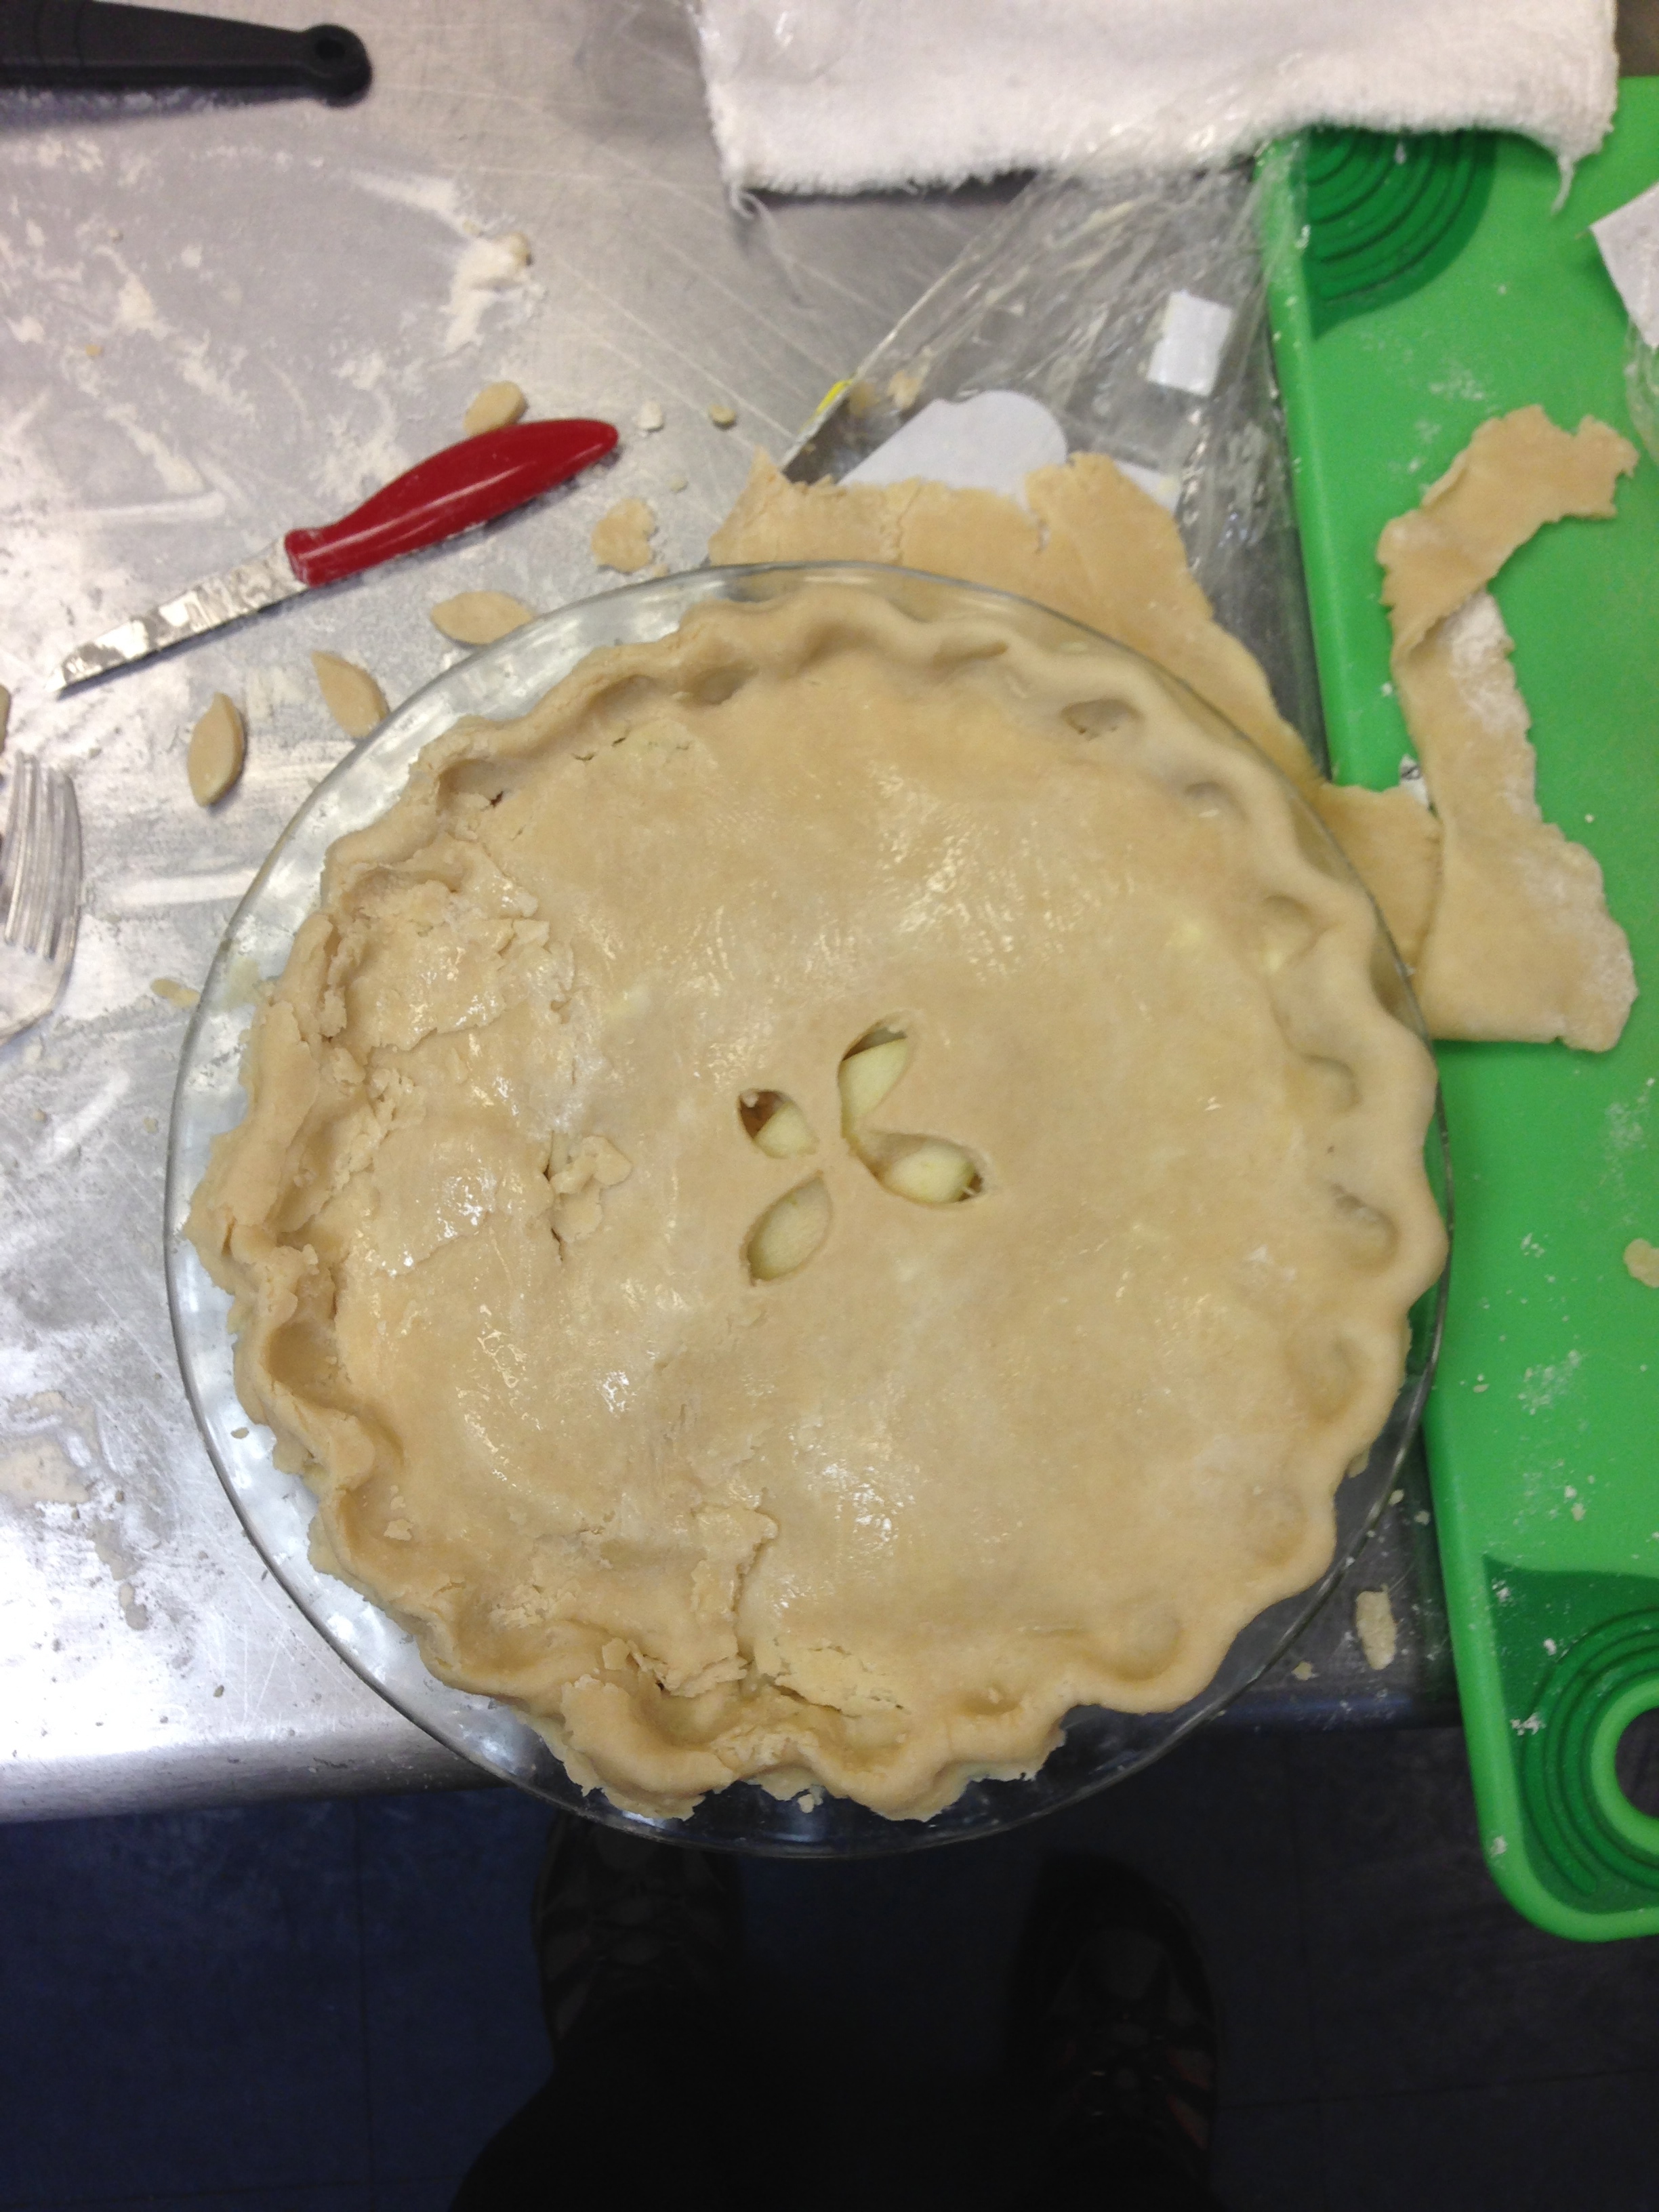
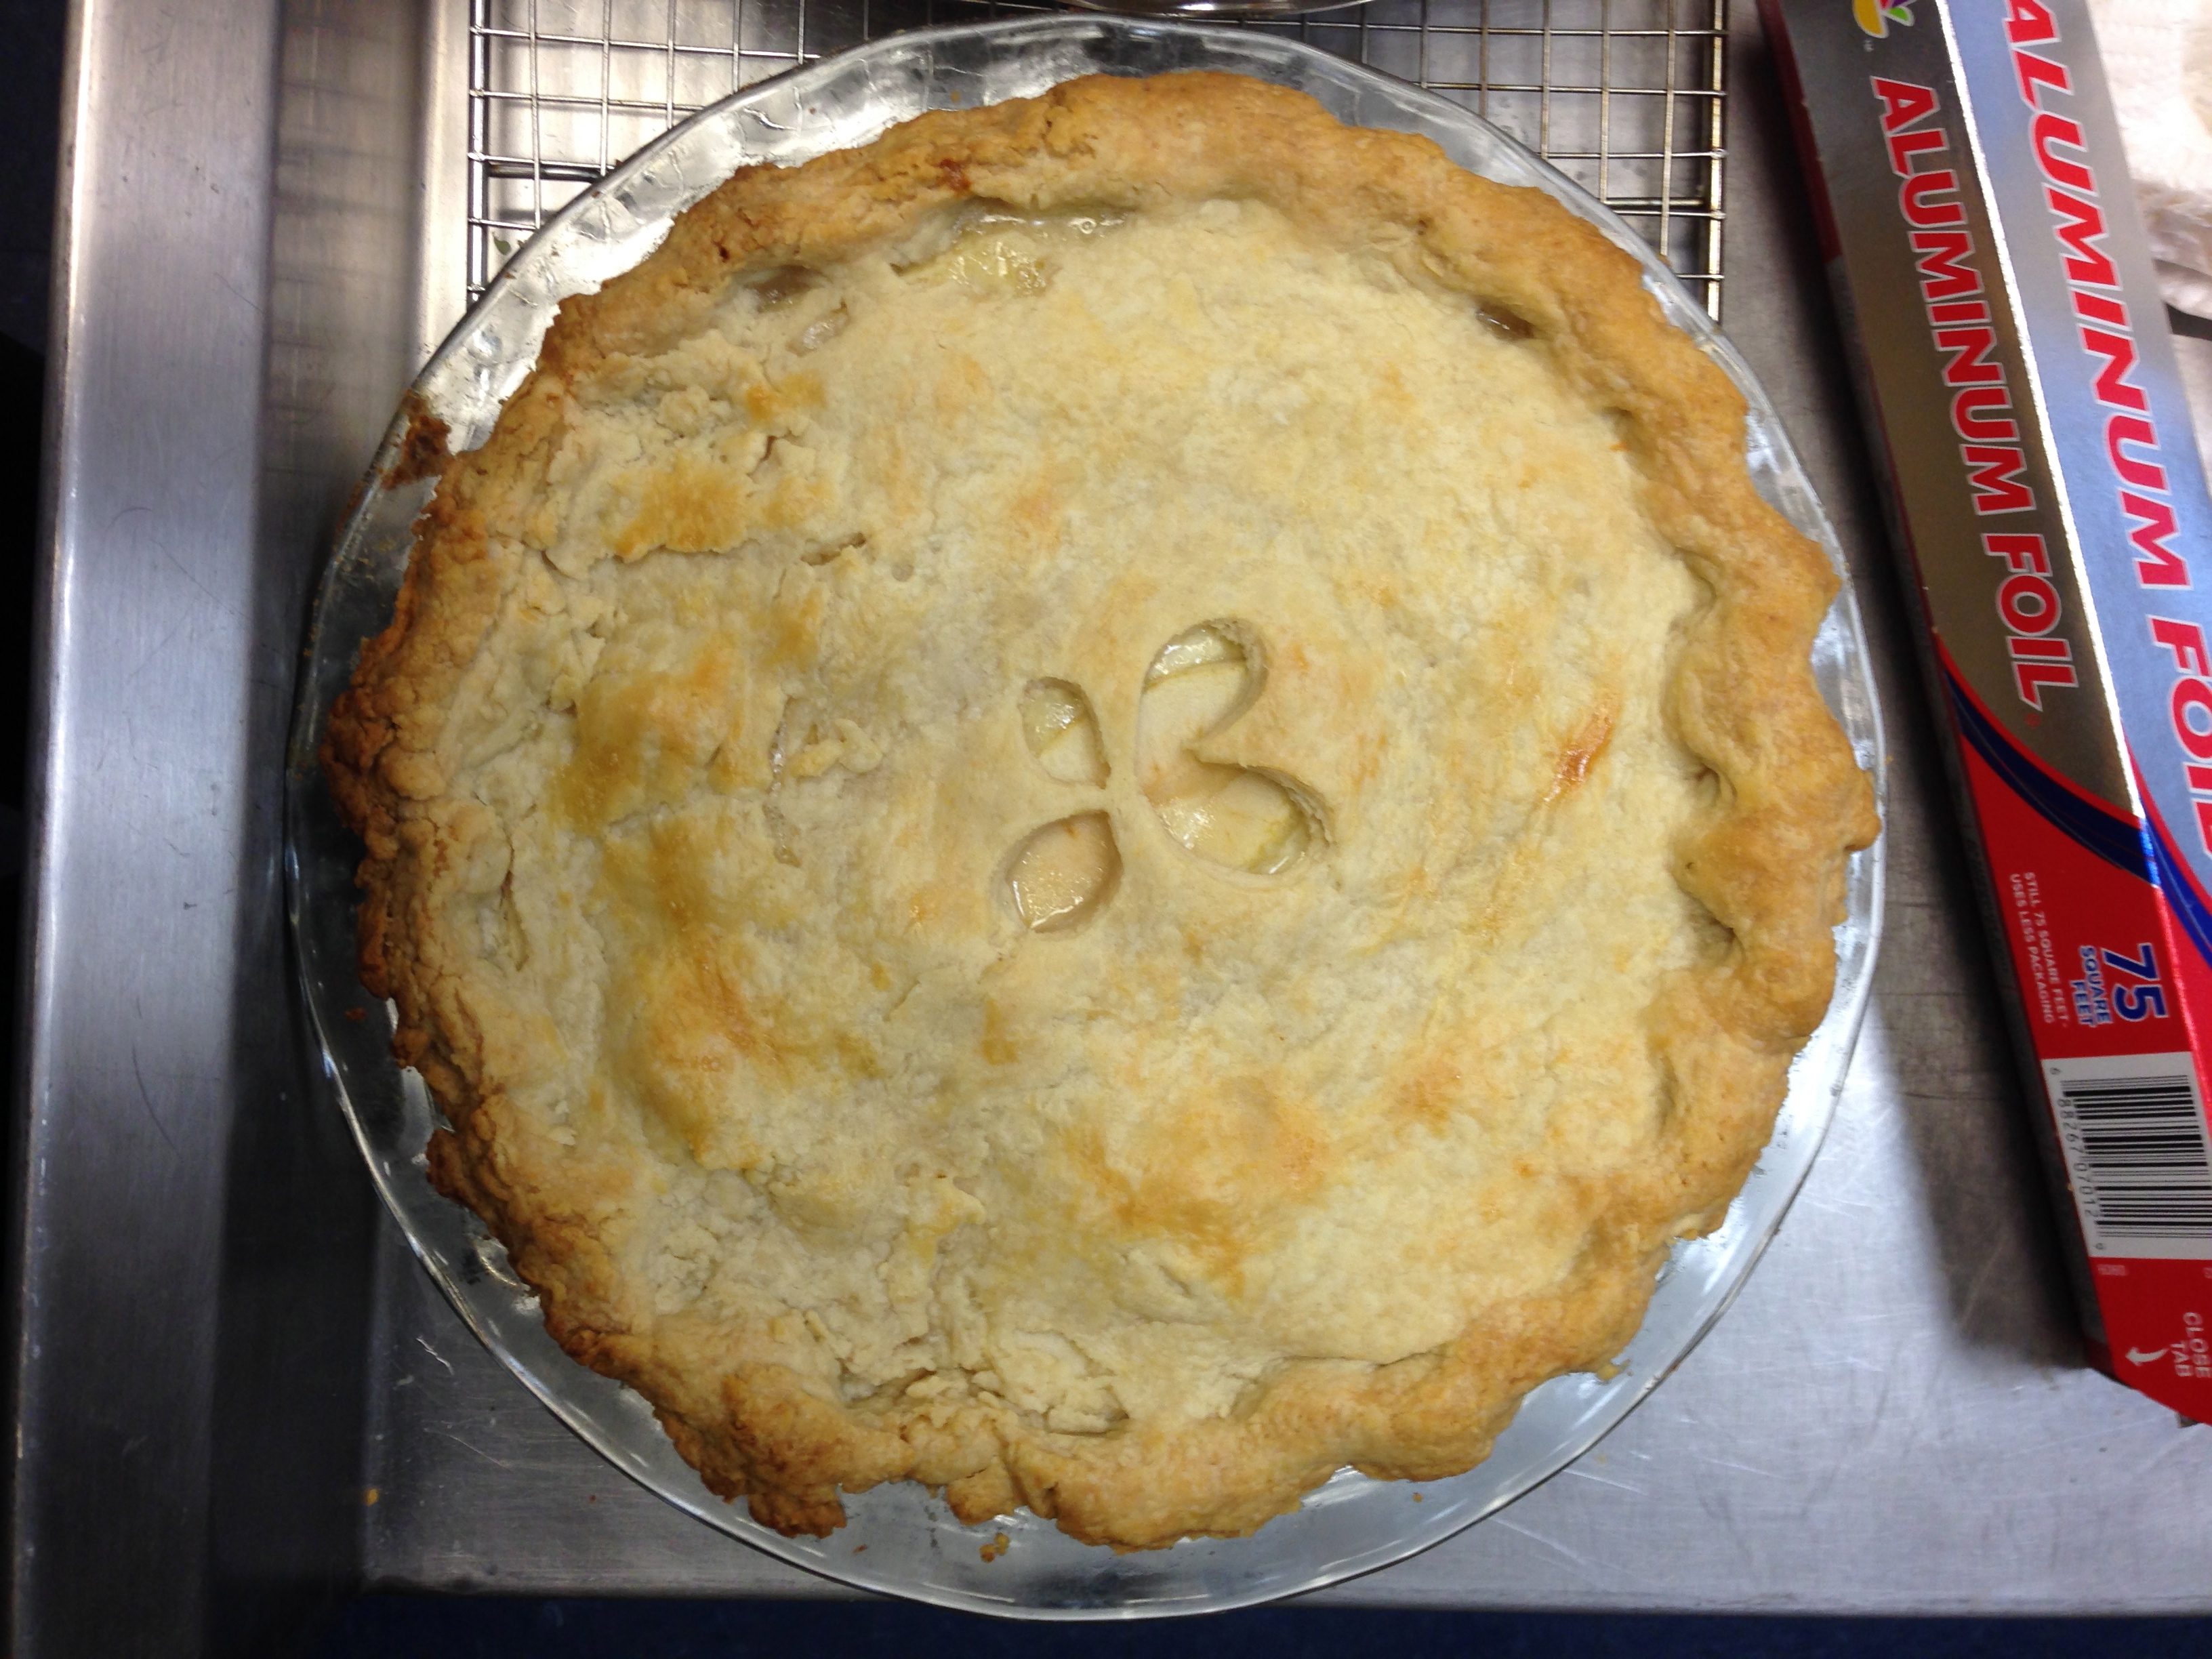
Turkey, Brie, Apple Pie!! with apple cider turkey gravy.

IMG_1376

IMG_1377

IMG_1380

IMG_1381This pie actually came about because of a panini I had while I was home for break. Turkey, brie, and apple panini. The brie melts and is delicious, and the apples provide a little bit of crunch and tartness. It is awesome. So when given the chance to throw savory things into a pie, I jumped on it! The only problem was that I couldn’t really find a recipe, so I made it up as I went along and I’m really hoping it’s good. Figuring it out as I went along, though, was a really good learning experience for me because with David’s help I began to learn how to know when something needs more of a certain spice. Definitely a good skill for cooking.