Tag Archives: yummy

Puff Pastry, Meat, and Lava

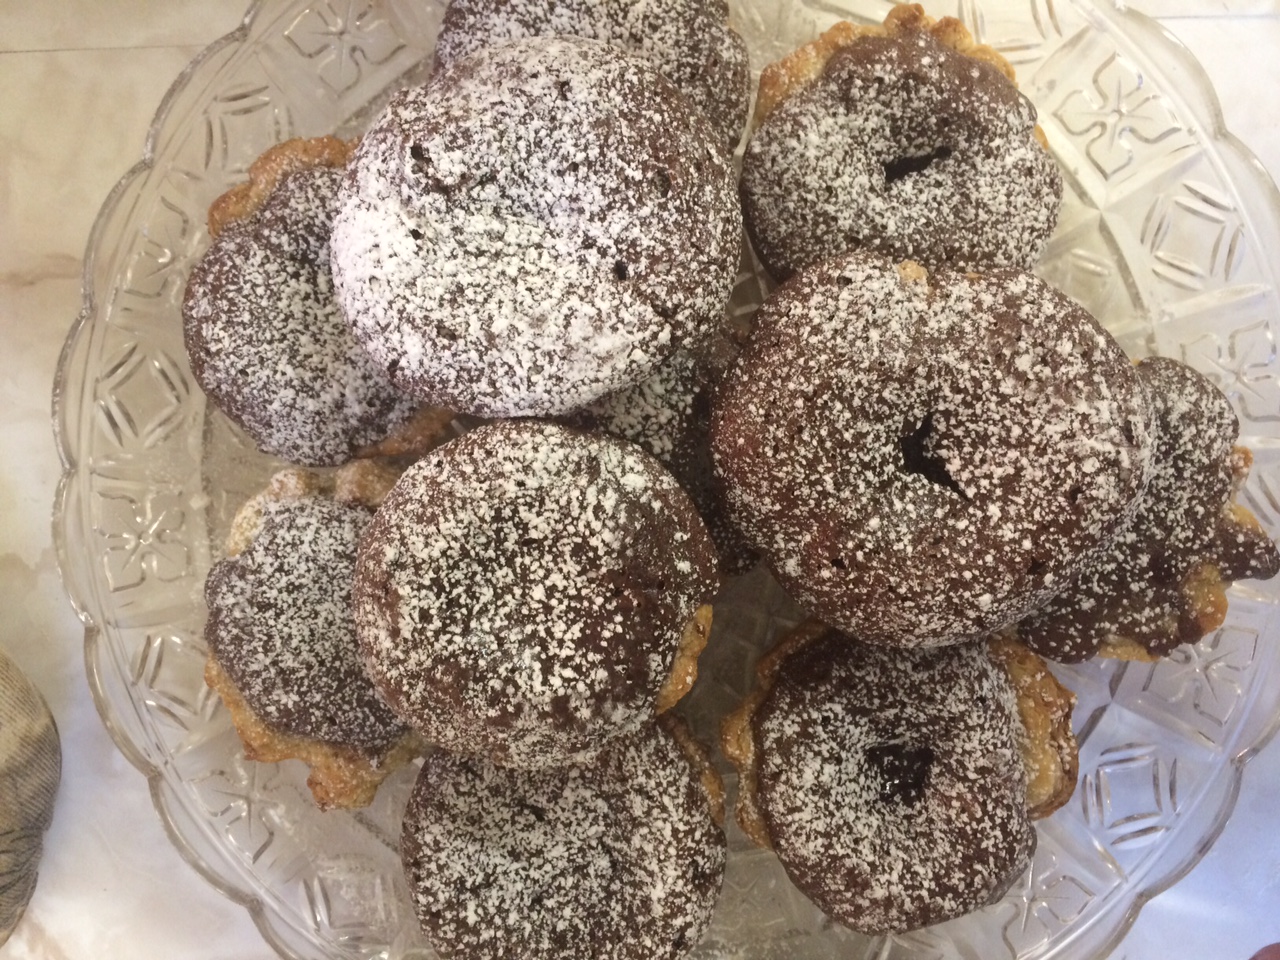
Unfortunately, we have reached the end. We all knew this was coming, the pie that is the month of January has run out of slices. It was a wonderful month full of wonderful pies that ended spectacularly with our banquet. For the banquet we had to make two pies one sweet, one savory,  and I decided to make a pie I had wanted to make during savory week, a beef short rib pot pie, and one inspired by a friend, chocolate lava mini pies.

I knew there would be challenges with these pies, but I figured it was the last week, so why not go out with a bang, either a blaze of glory or with the actual flames of a burnt pie. With the savory pie I was concerned about the fact that I would be doing actual cooking, as the filling had to be cooked before being put into the pie, and by the fact that I had somehow got it into my head that puff pastry would greatly improve the pie. With the sweet pie I was concerned with just how exactly it would work. I knew it would have a bottom shell and the lava-y cake part would fill it, but I wasn’t convinced I could actually make the lava happen. Nevertheless, I sallied onward as this was the last week for pie baking and was not a time to be meek.

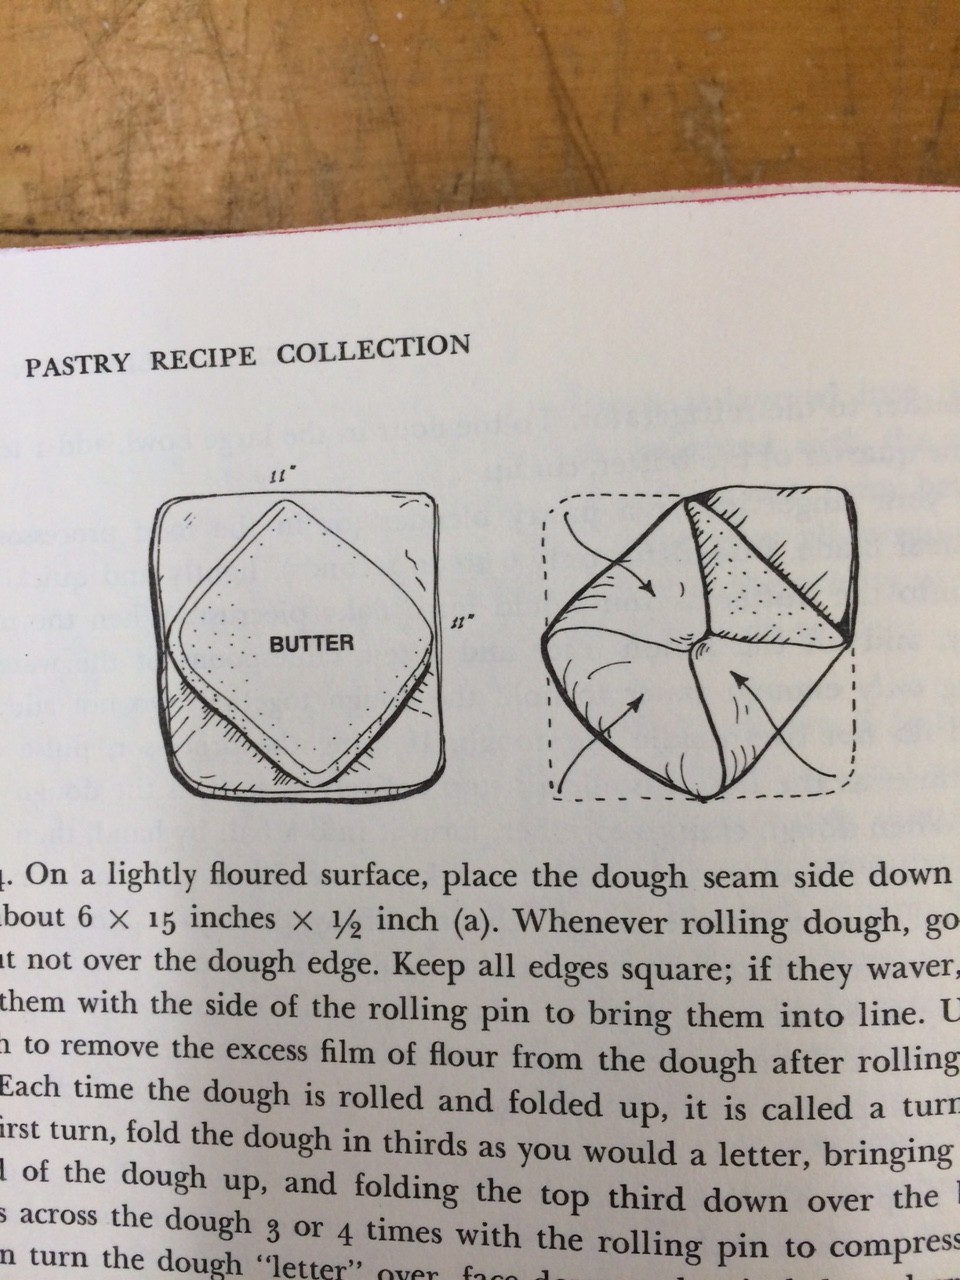
The puff pastry was the first obstacle I set out to conquer using the recipe for puff pastry outlined in Susan Purdy’s As Easy As Pie. Reading the recipe itself was daunting as it was three pages long, with an additional three pages of introduction, because puff pastry is not something one just blindly walks into, puff pastry is serious. So serious, that to make it you need diagrams and internal notation systems. 
IMG_1358IMG_1376

So complex!

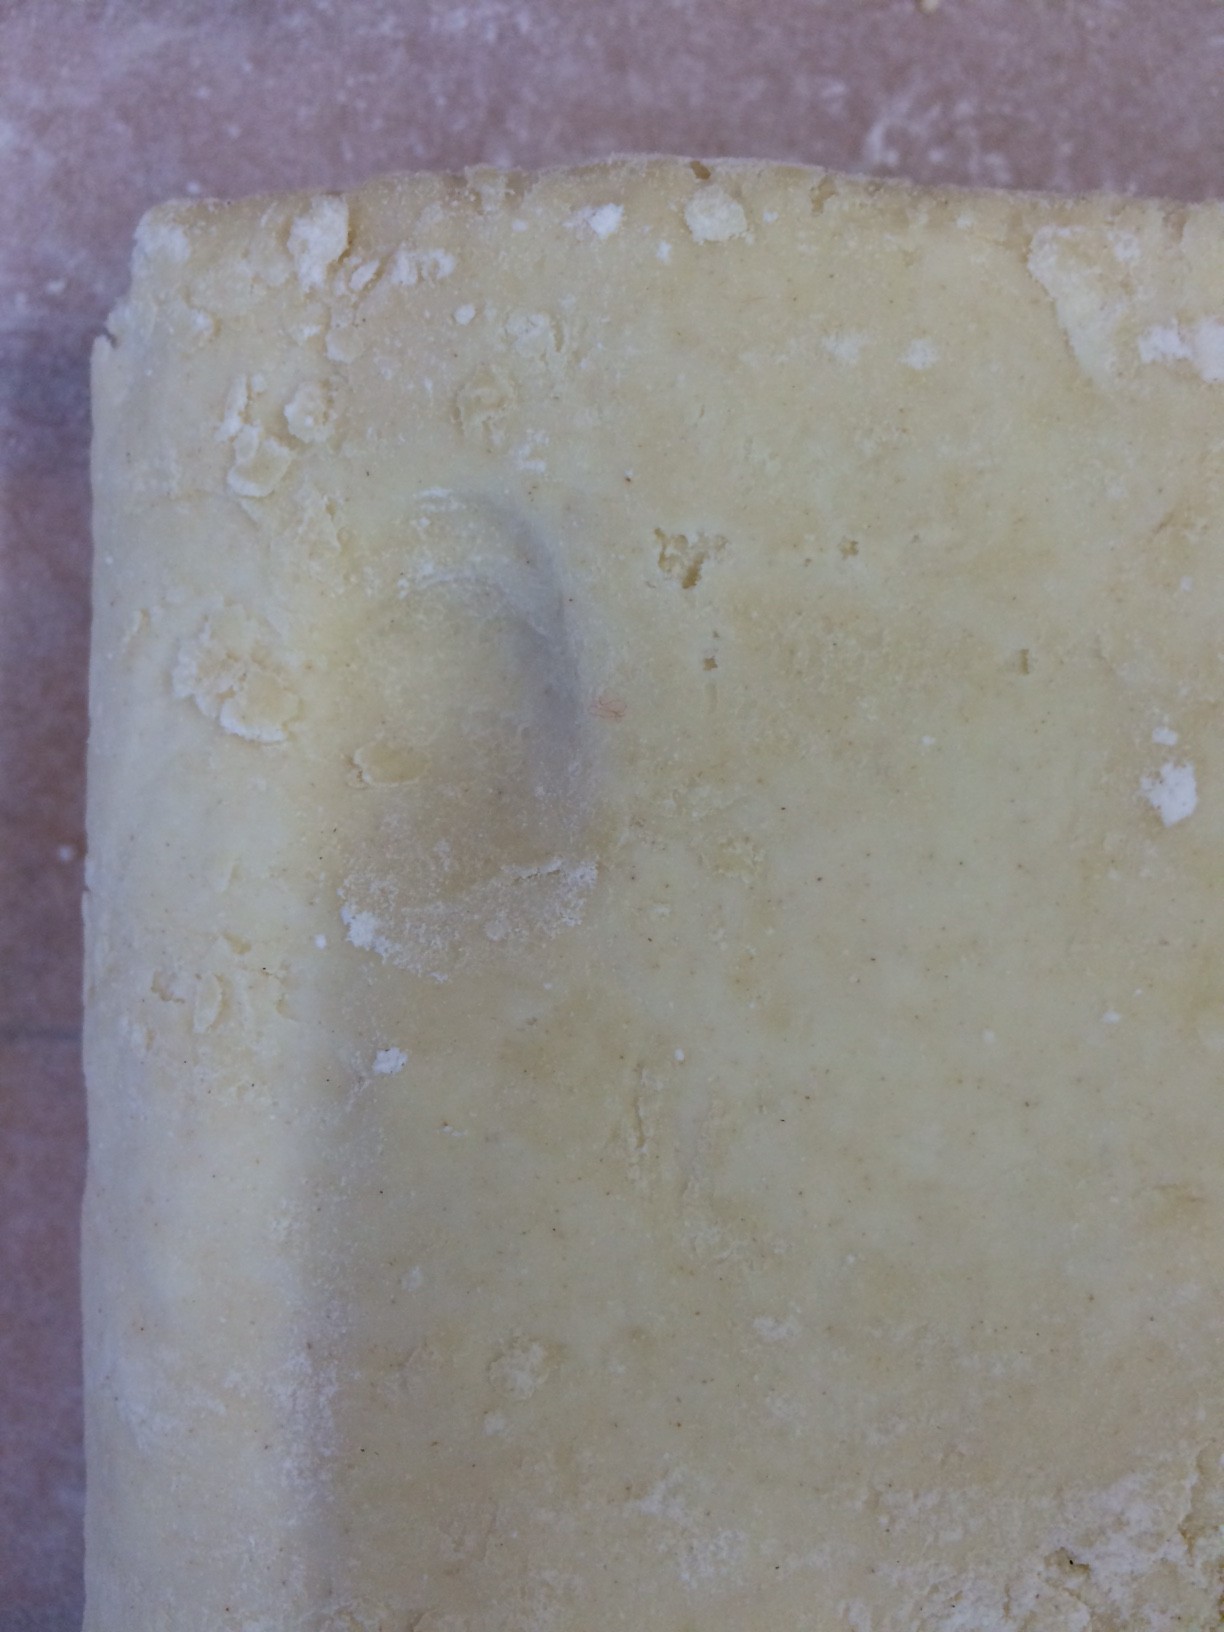
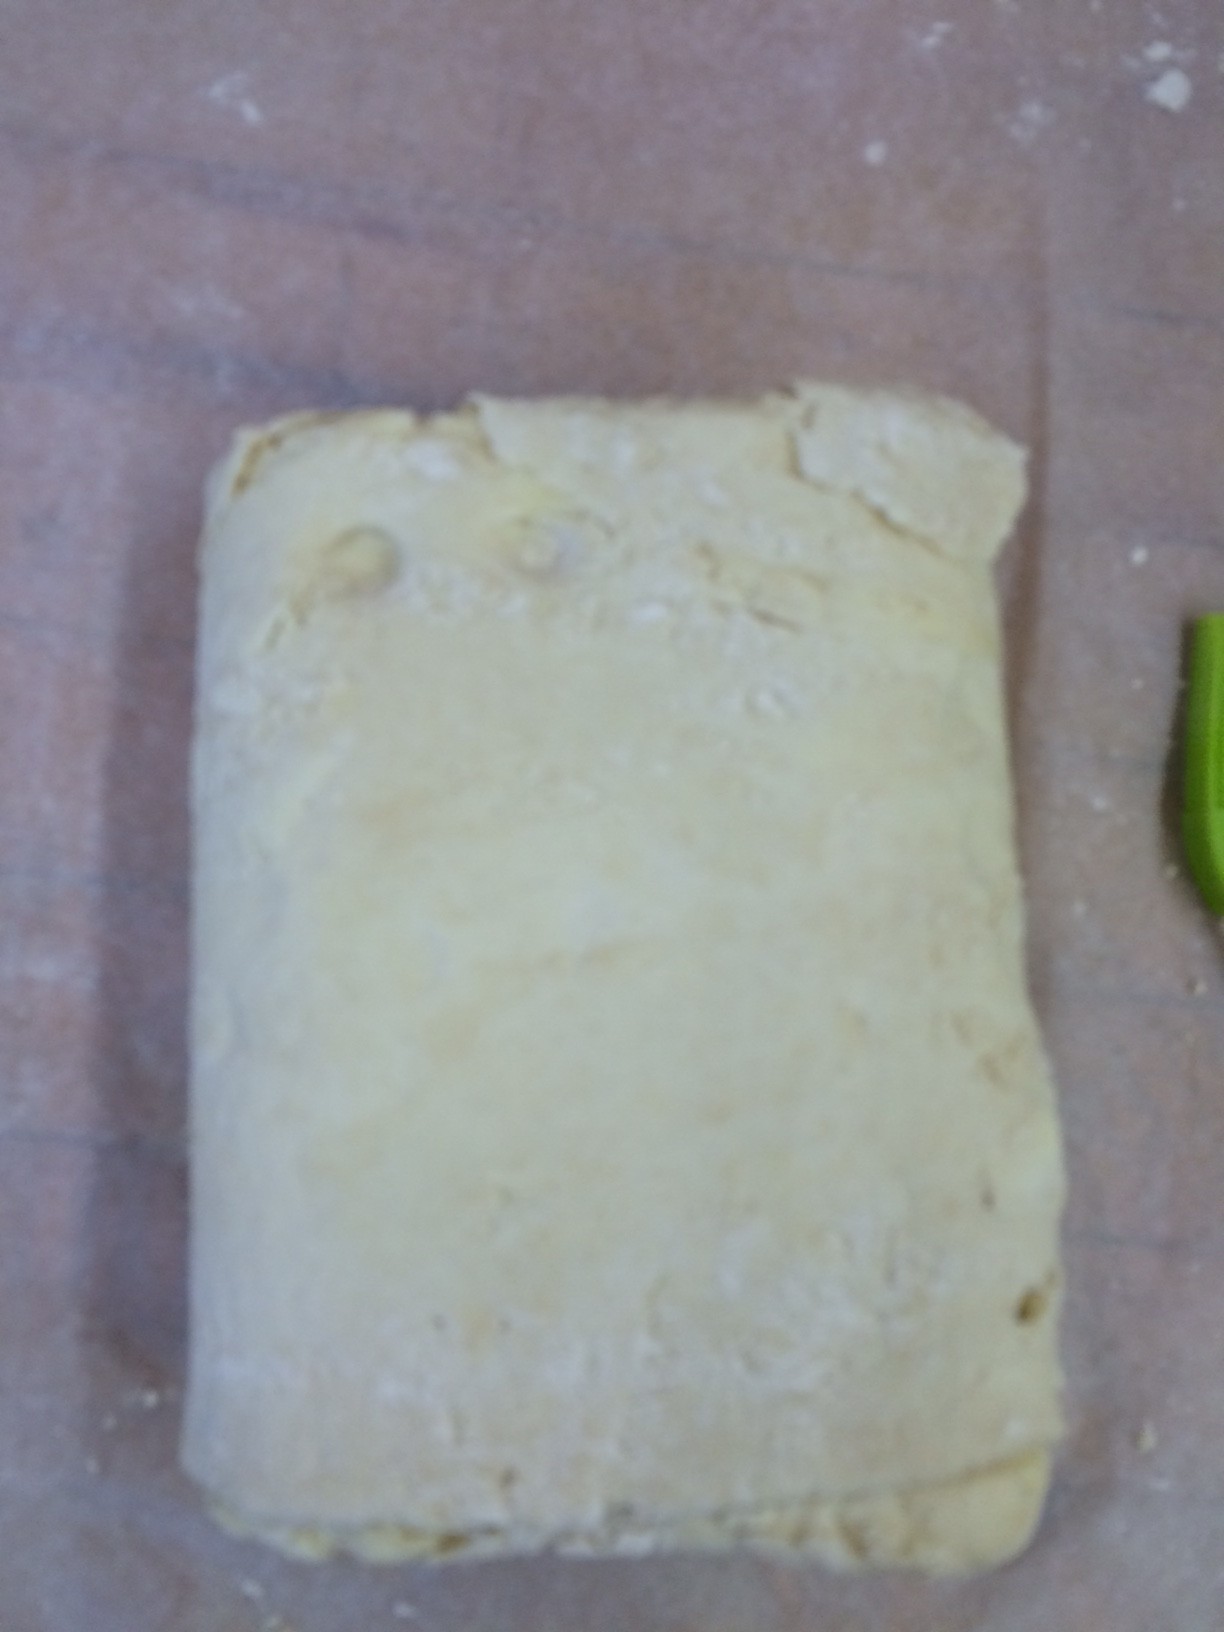
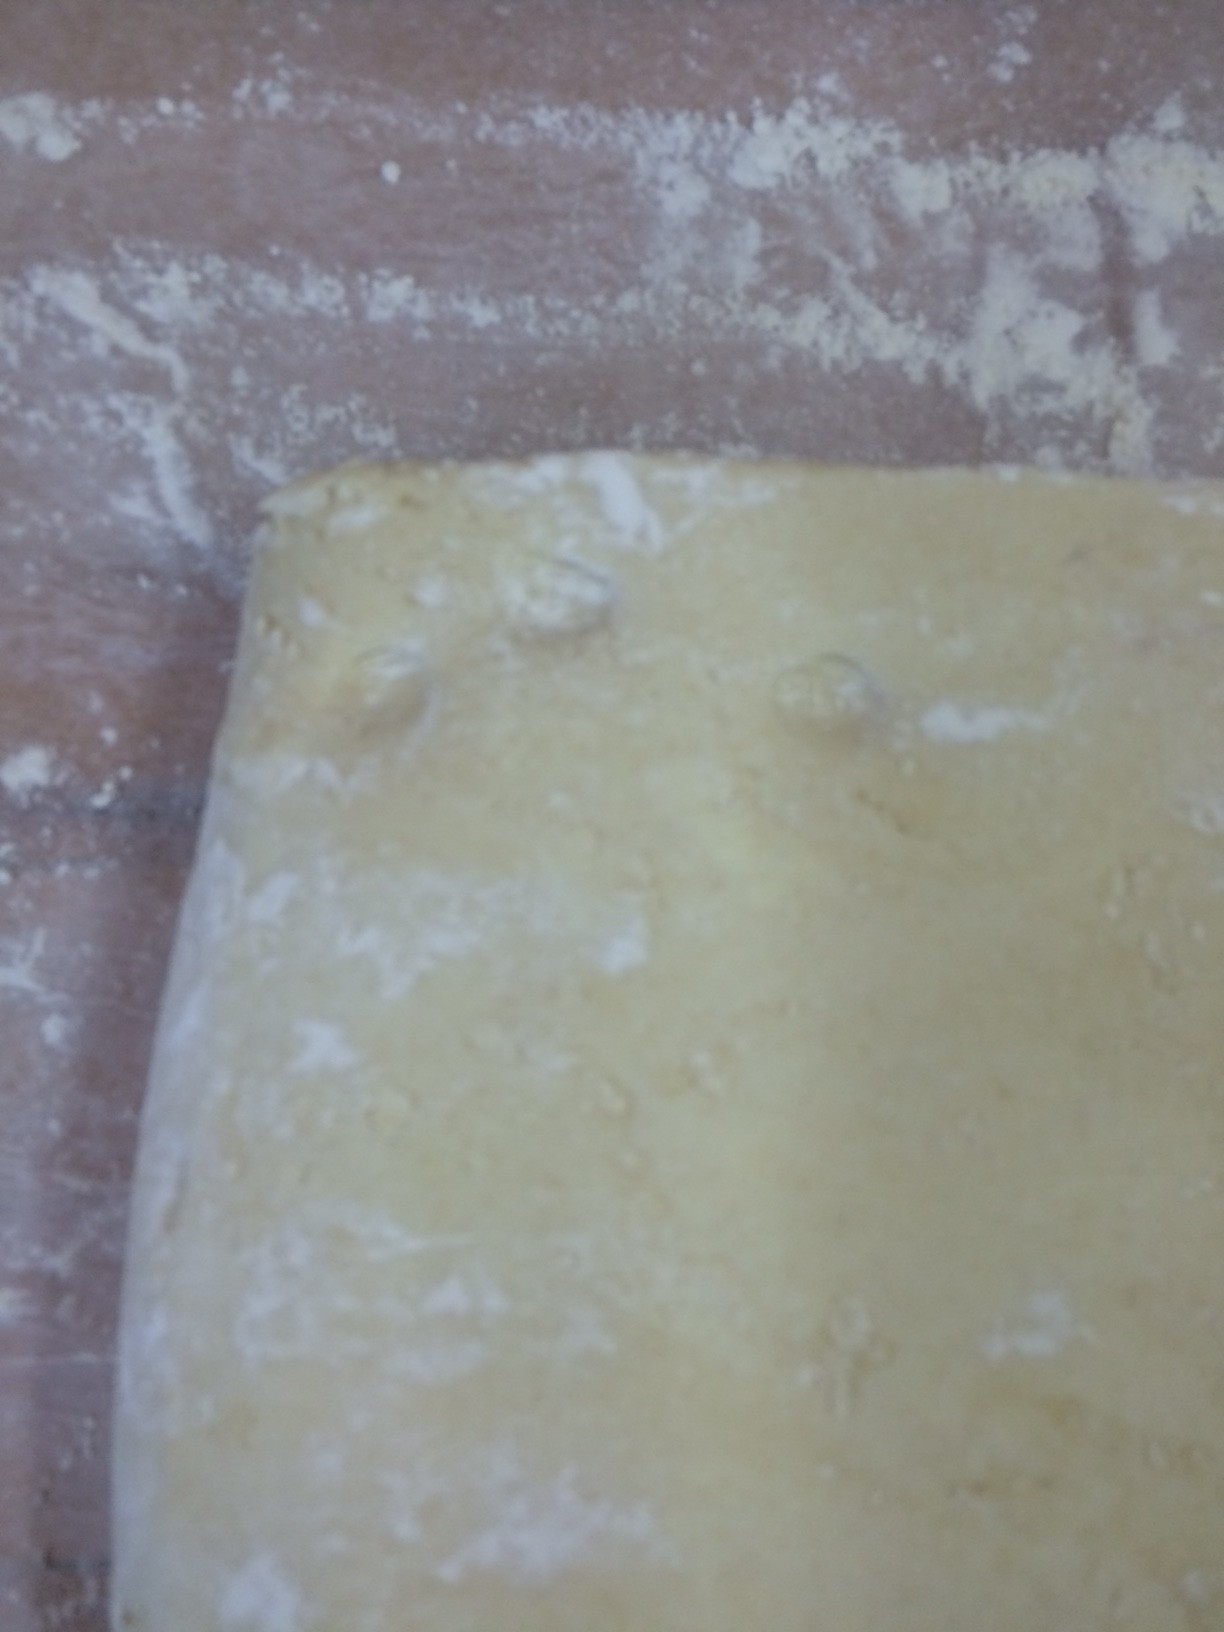
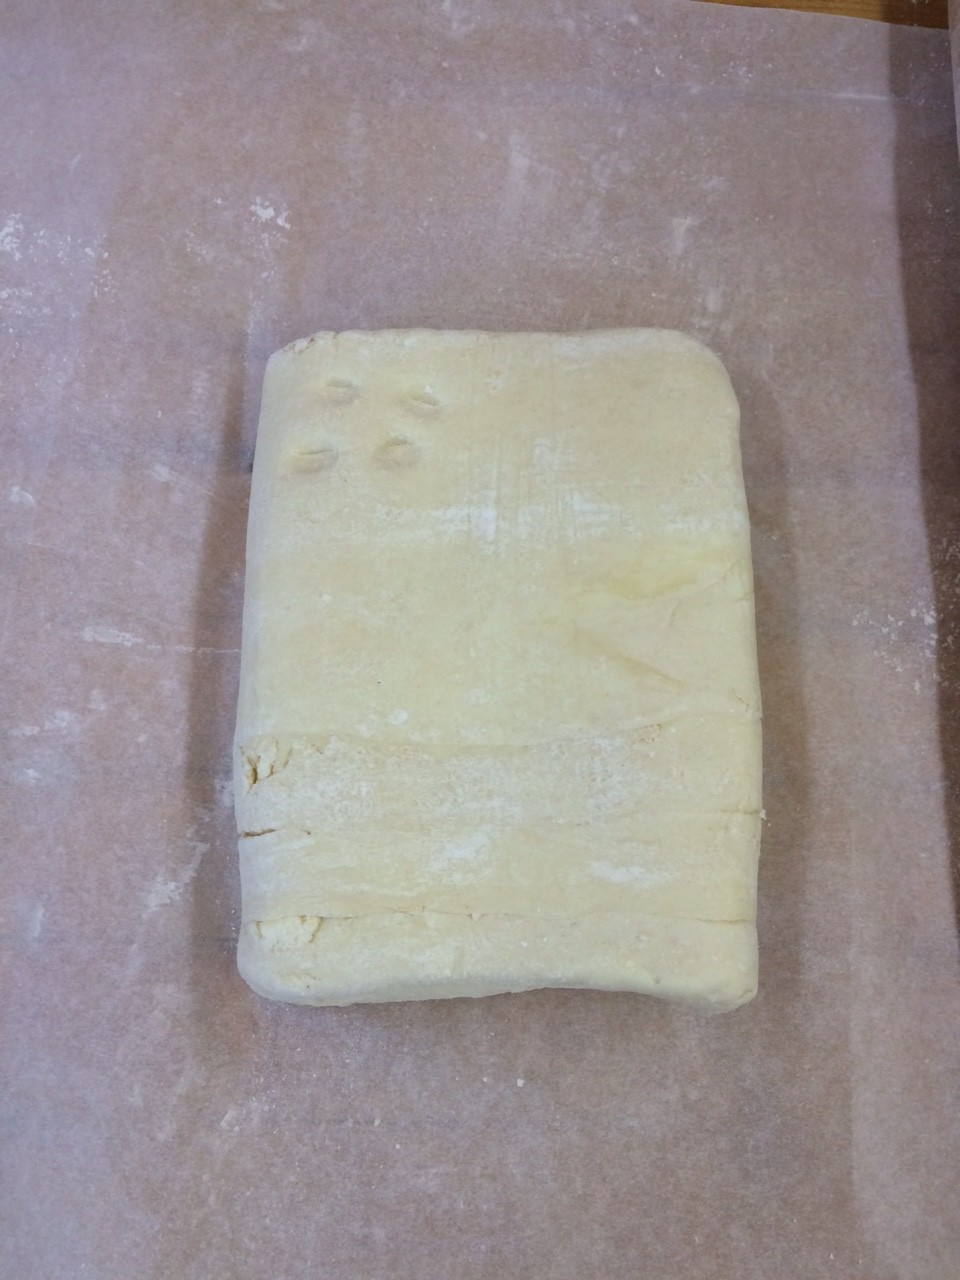
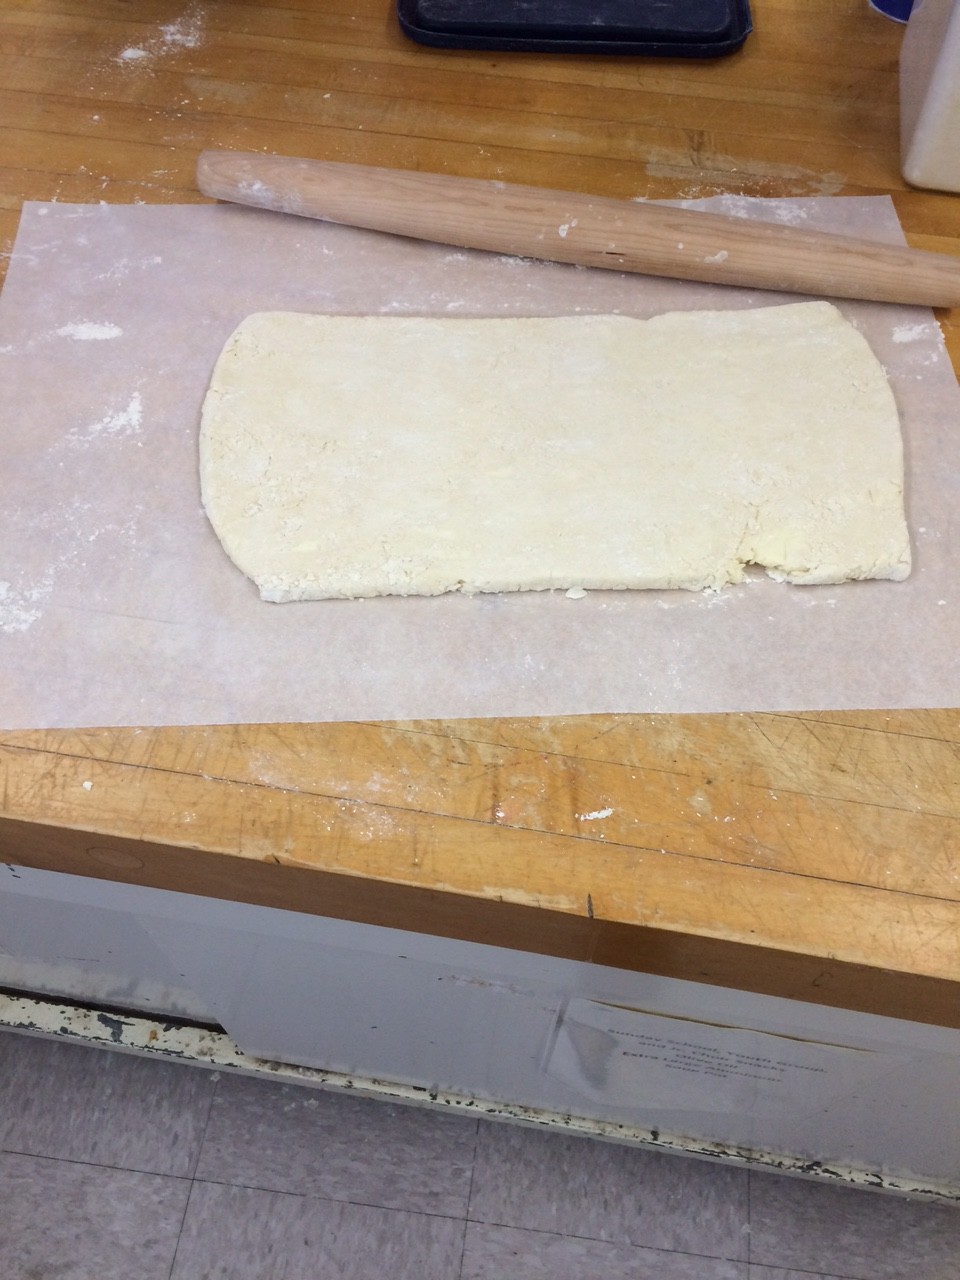
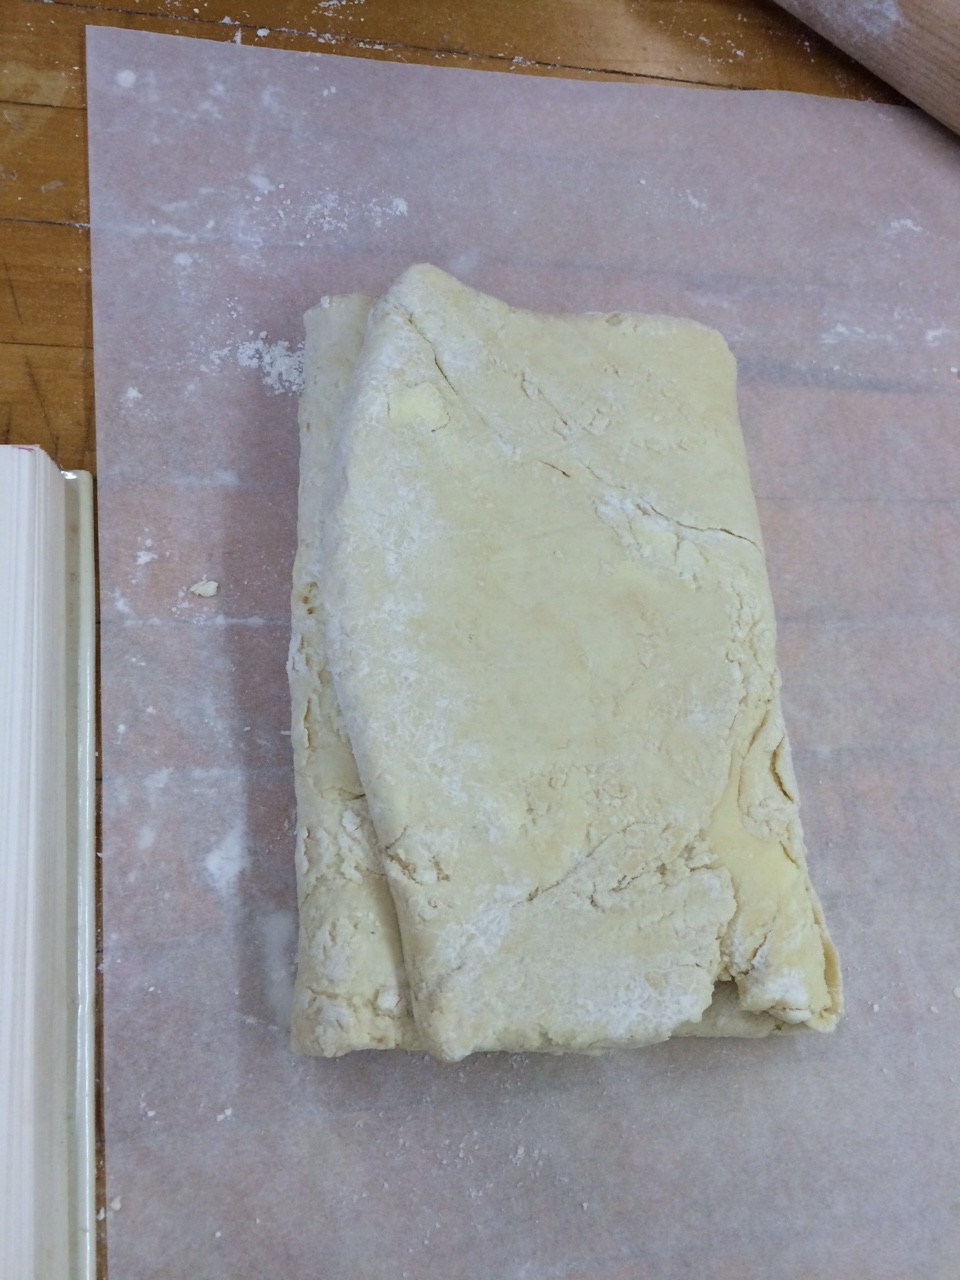
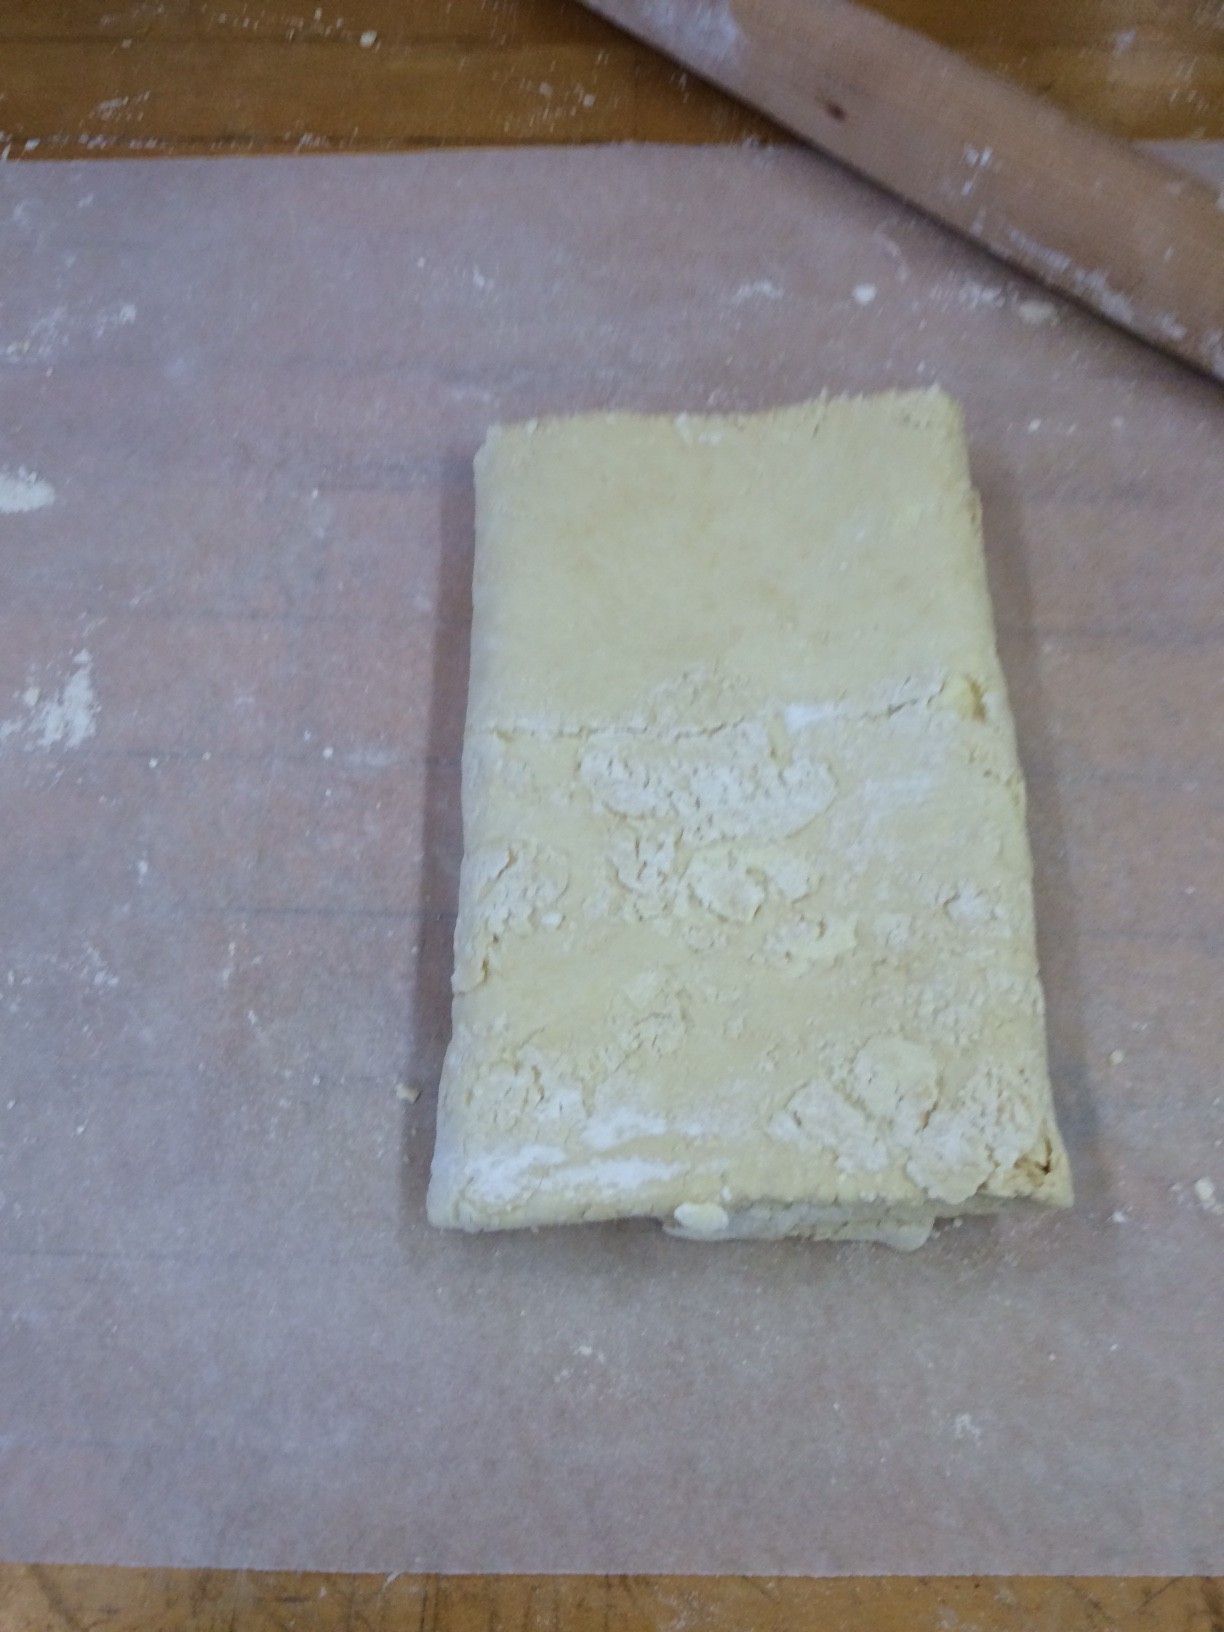
But I did it so I guess I will outline the key steps. First, you must make a what is essentially a basic all-butter pastry, which you then wrap, like wrapping paper, around a slab of butter that had been mixed with a smidge of flour. Then, you roll it out into a rectangle that is precisely 6in x 15in x 1in, fold it in thirds like an envelope, orient it so the top is the unfolded side with the flap oriented to the right, and then you mark it with a finger print for every turn of the pastry you have done. You do this 6 times. Chilling for 25 minutes in between each step.
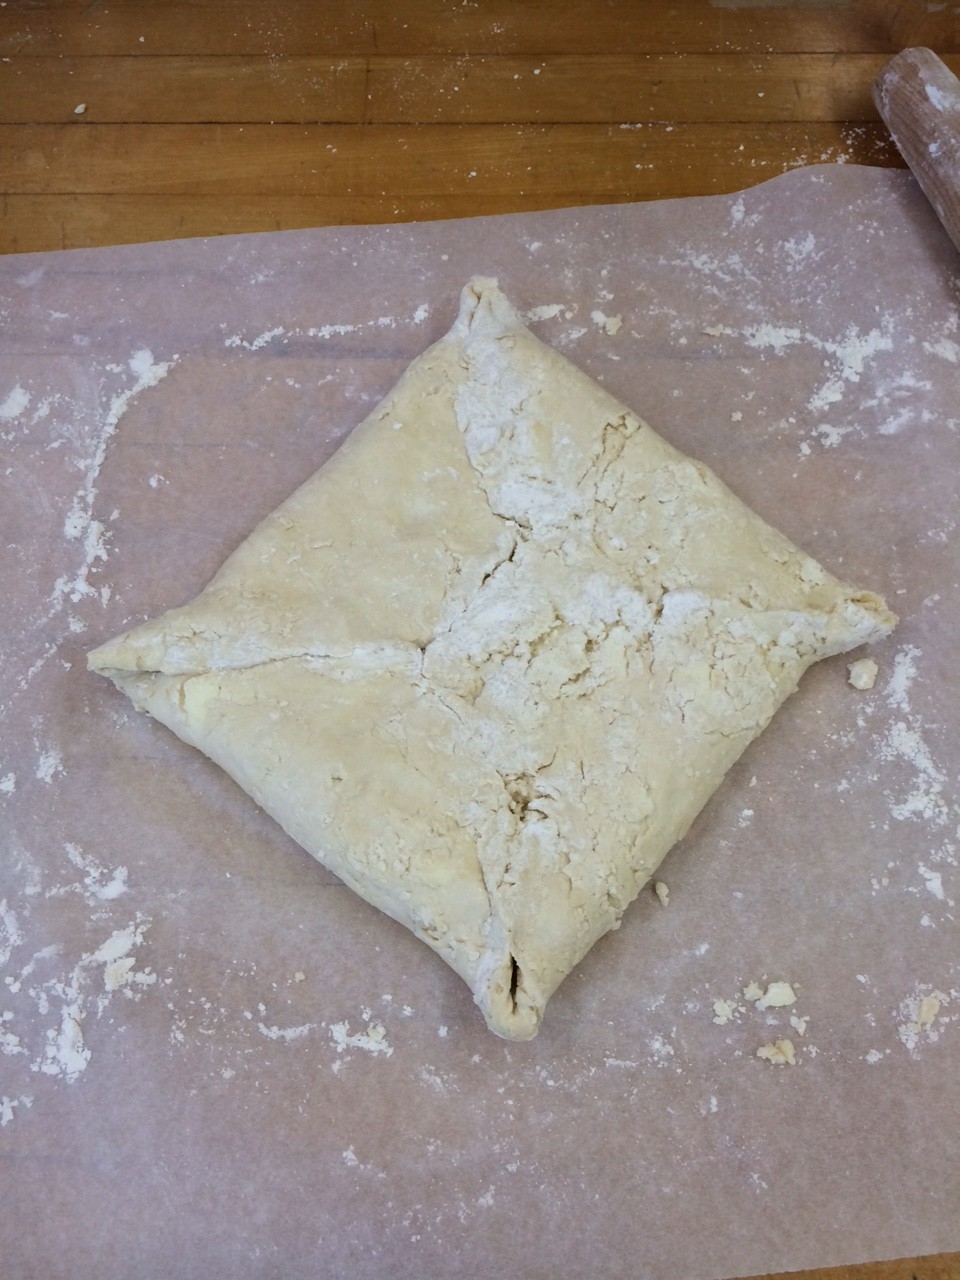
pastry wrapped butter present
pastry wrapped butter present

then you roll it out
then you roll it out

fold in thirds
fold in thirds

flip it

flip it

mark it with your finger

mark it with your finger

and then

and then

do it again

do it again

and again

and again

and again

and again

until you have six dots

until you have six dots

And there you have it, puff pastry. In four short hours!

So the puff pastry was done and the next obstacle was tackling the filling of the pie, I approached it very methodically, setting out all my ingredients cooking-show-style in bowls before I began.
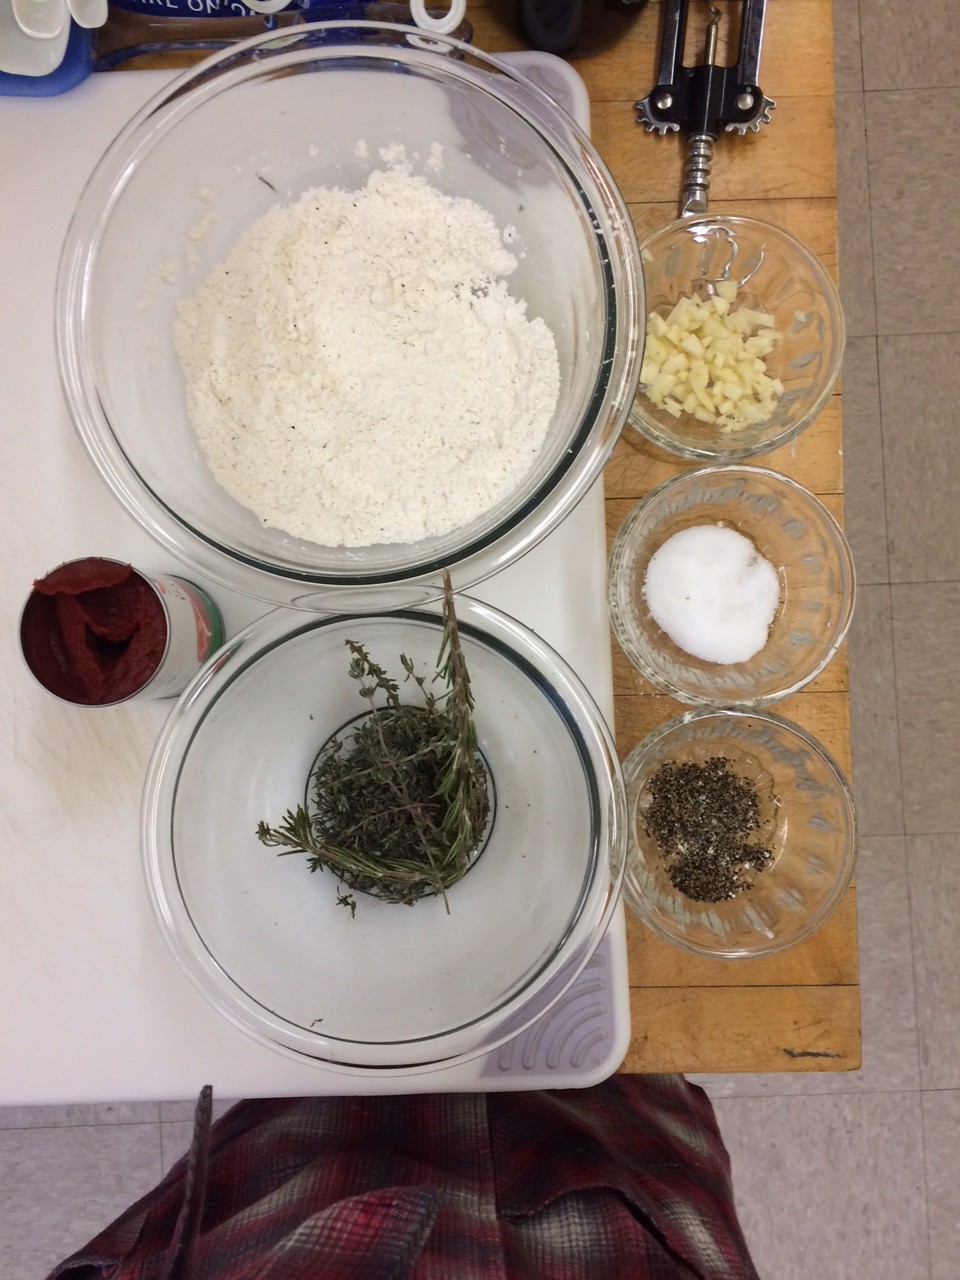
So organized

So organized

in the end the recipe I had ended up being very easy to follow, the only challenge was again how long it took. I began prep at 9am started cooking at 10 am, but didn’t officially take things off the burner until 2:30pm!
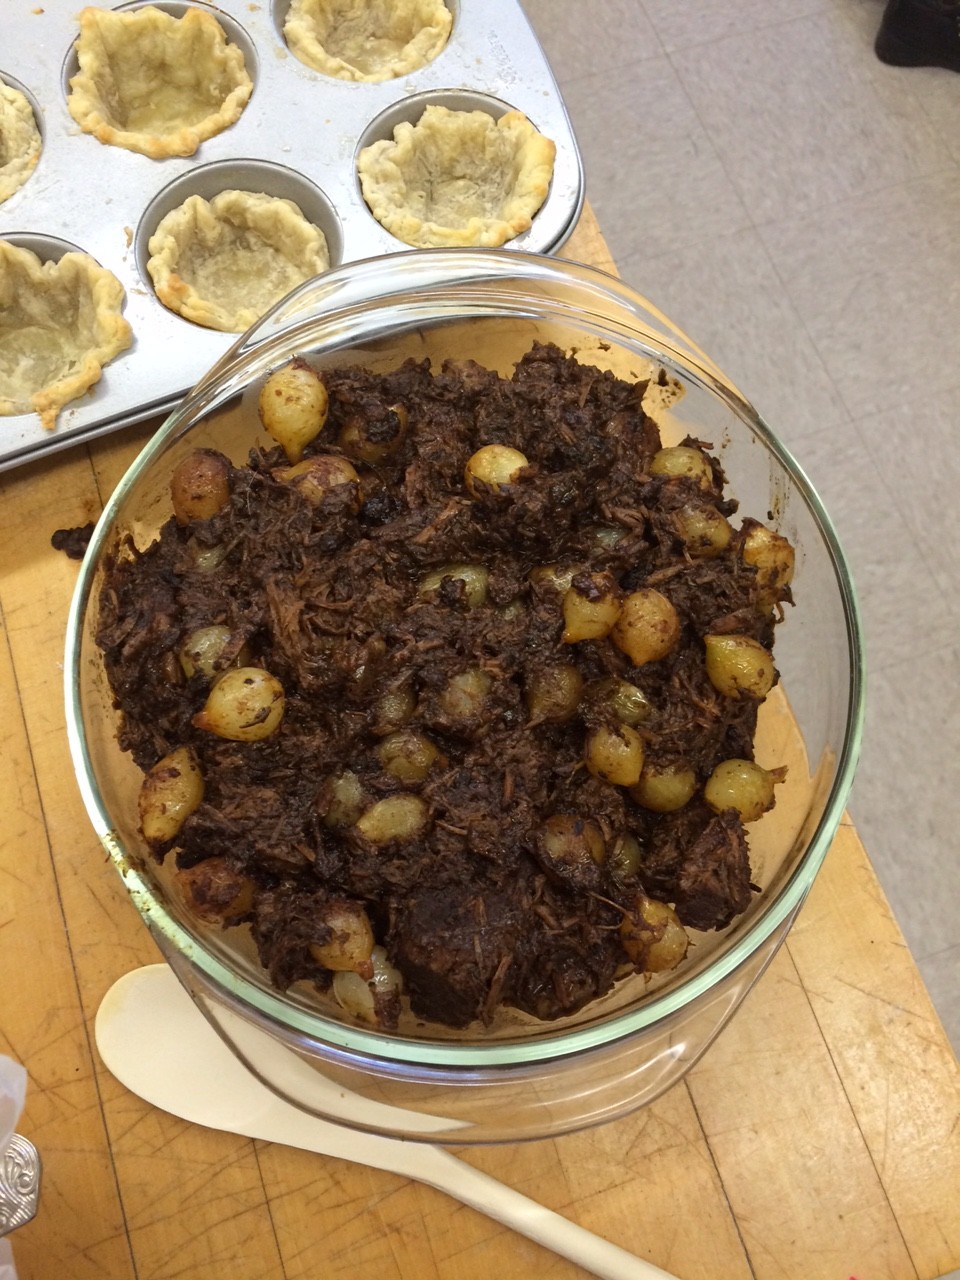
the final product of 5.5 hours of cooking

the final product of 5.5 hours of cooking

Luckily, 3 hours of that time was just letting it sit in a pot doing its thing. So while that was happening I made the bottom shell for my chocolate lava mini pies (featured in the background of the above photo), and I mixed the filling. The shells for these pies were the first time I have to blind bake a pie crust, so that was a fun adventure.
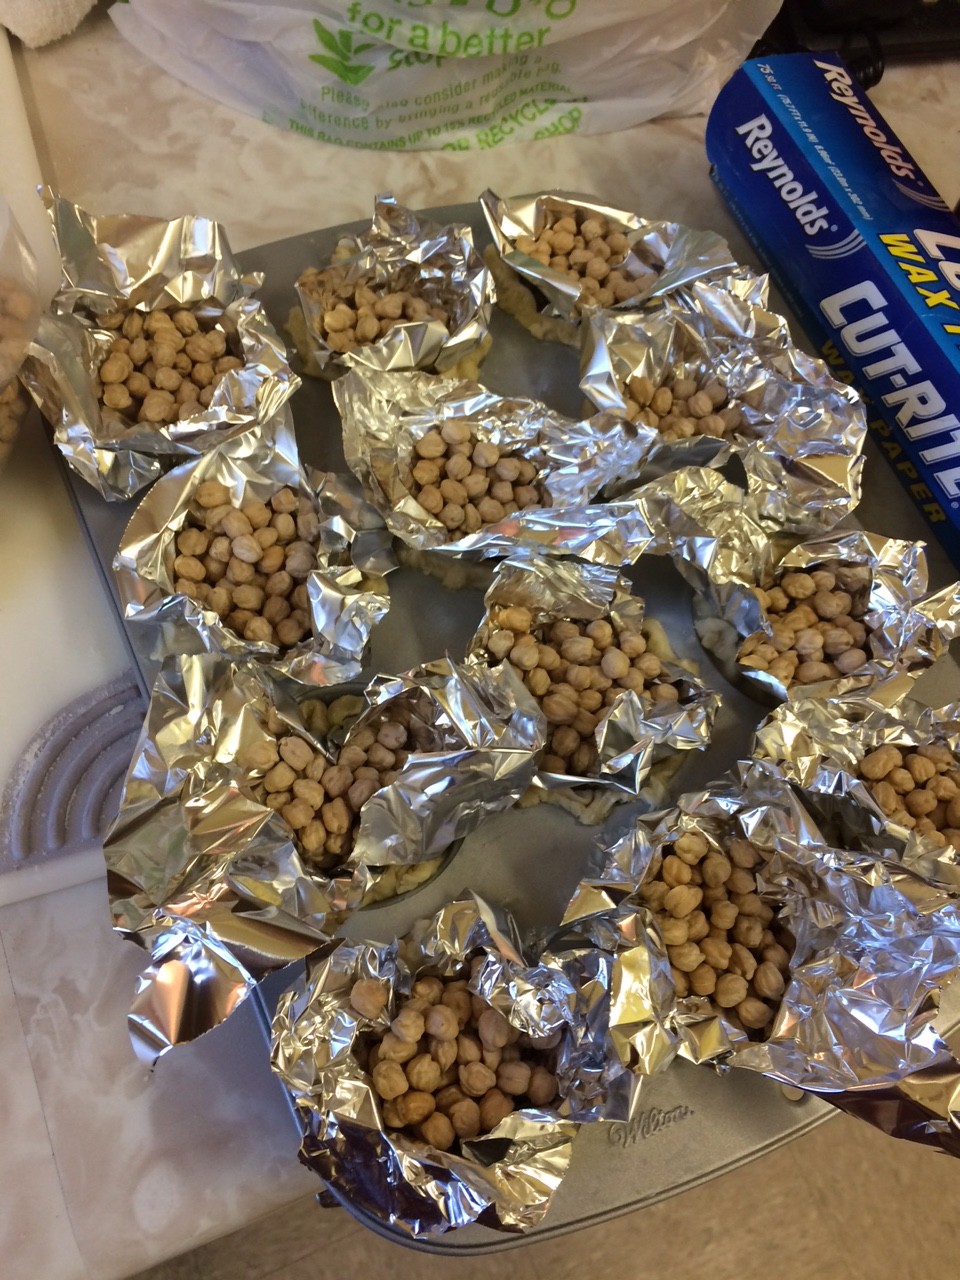
So much tin foil!

So much tin foil!

The only regret I had was buttering the muffin cups. I was really concerned about it sticking, but since the pastry already had so much butter in it, I got little buttery pools in the bottom of my cups that I had to wipe up. Aside from that my first attempt at blind baking was okay.
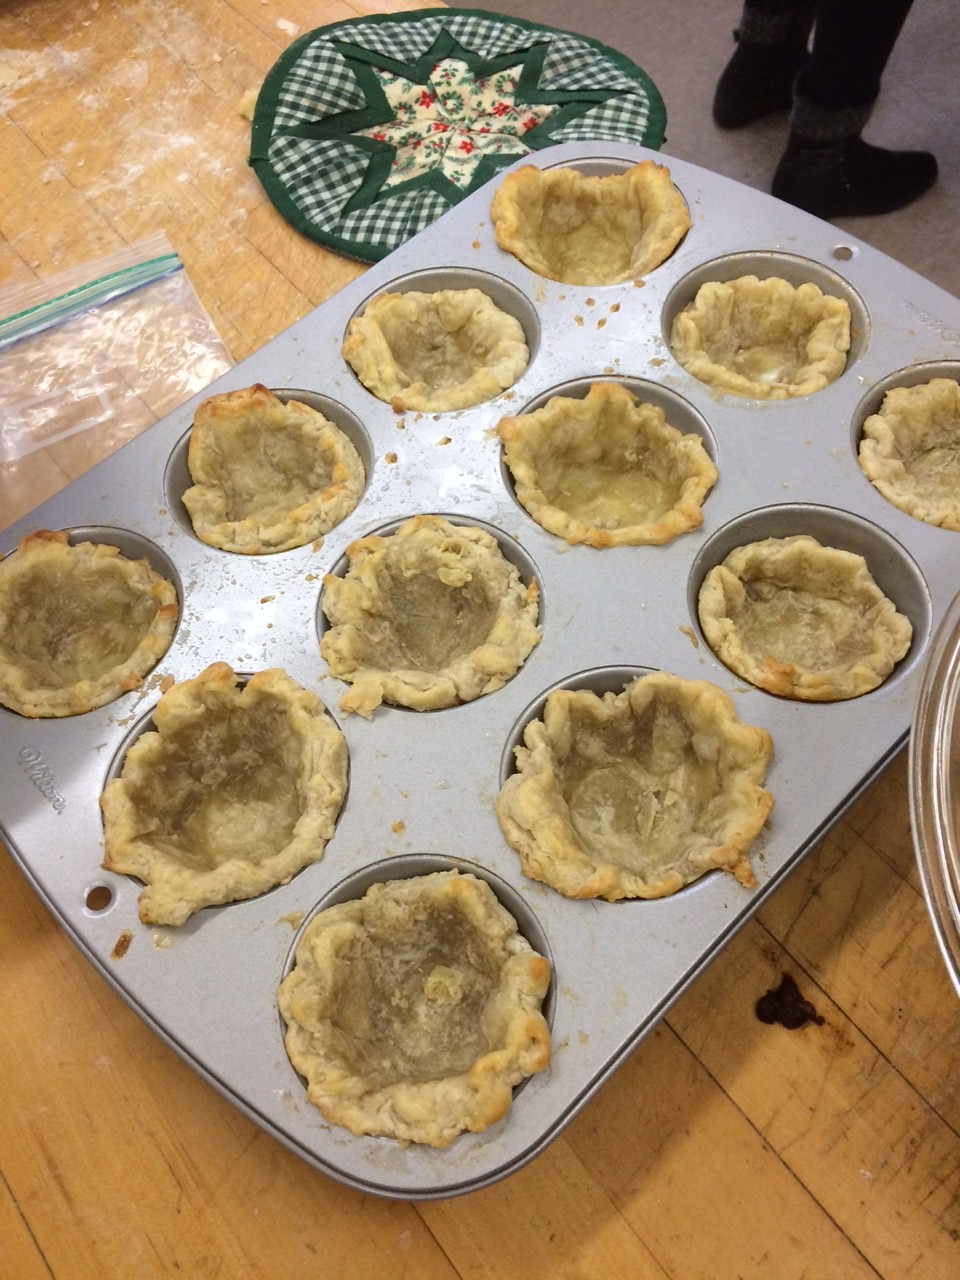
Pretty okay

Pretty okay

I set about doing all of this the first day of cooking, and the next I did a test lava cake, along with the real batch, and assembled and baked my pot pie. The lava cake pies were the major concern as I knew I could make pie and I knew I could make cake, but could I make the lava flow. In the end it was a lot of guess work. I found a recipe for a chocolate lava pie, but this was a whole pie not mini ones so any questions about timing were up in the air. In the end I just had to do a lot of checking, like every 3 minutes, but…..
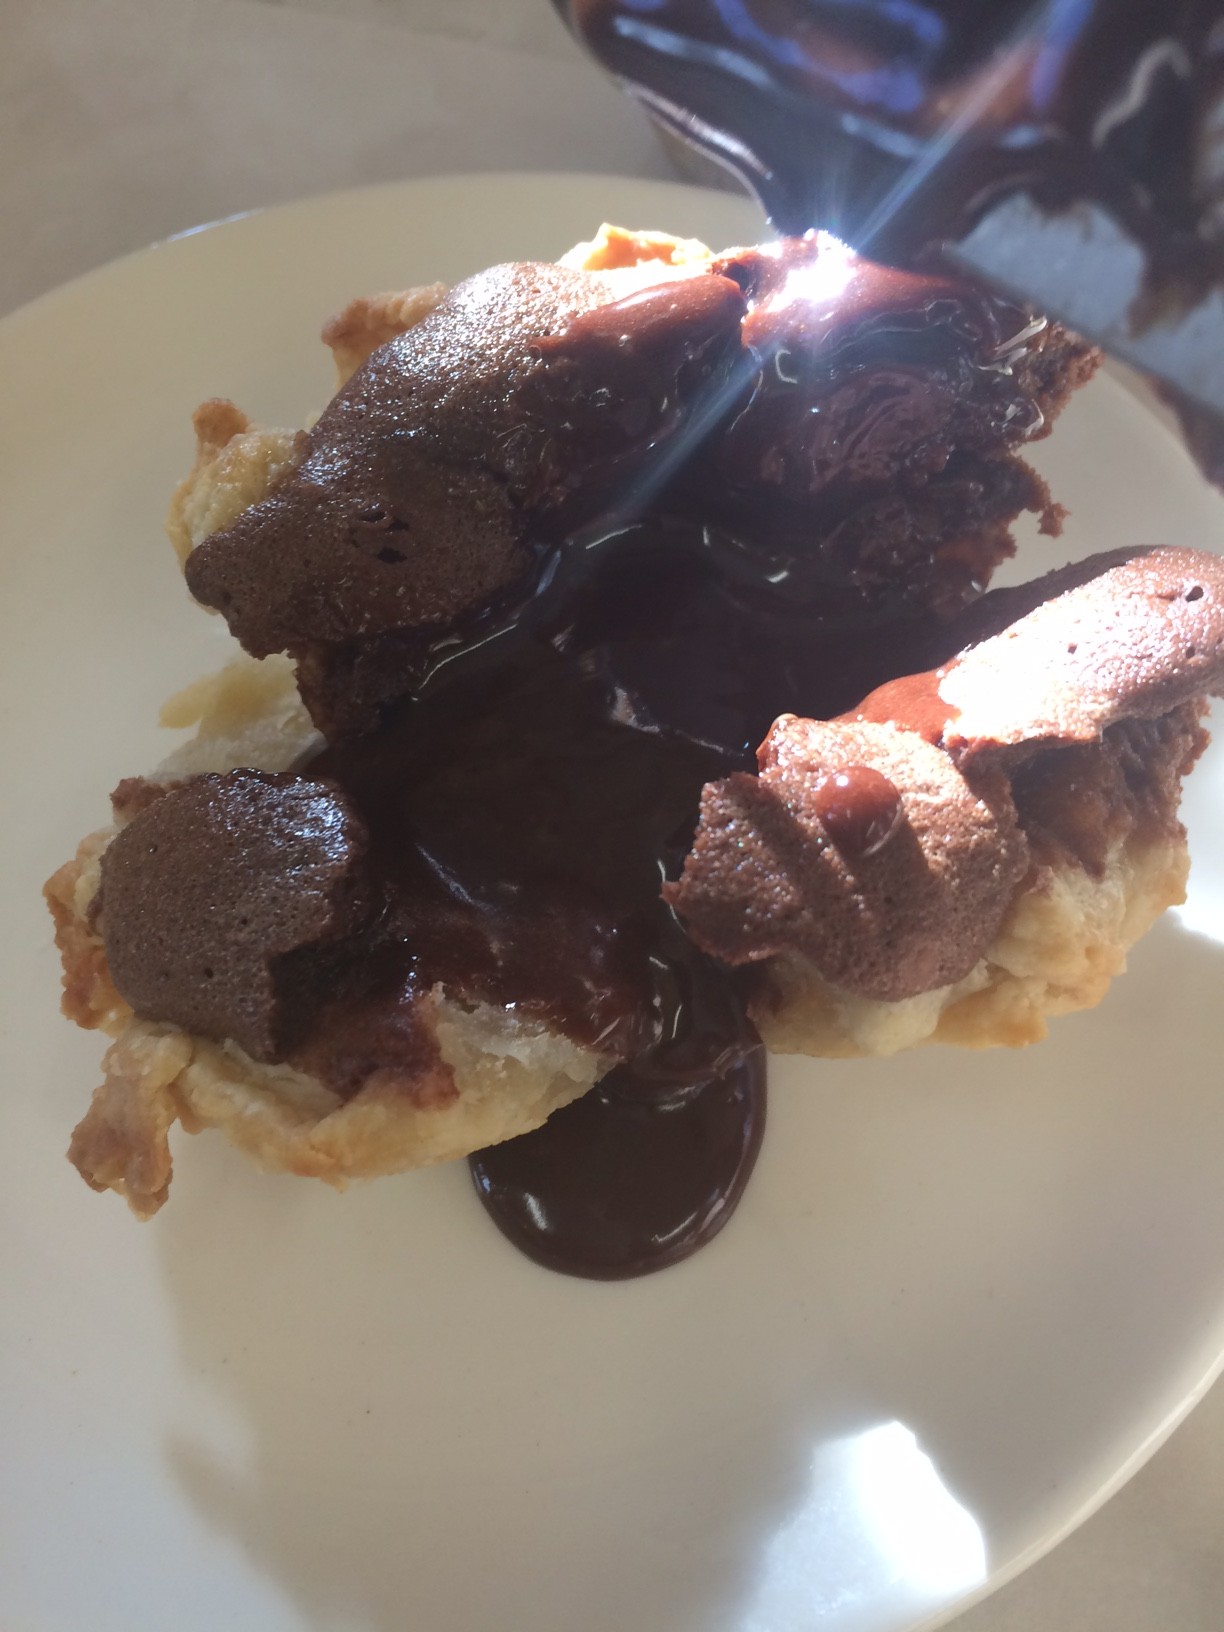
IT WORKED!

IT WORKED!

and so I made the rest!

IMG_1459

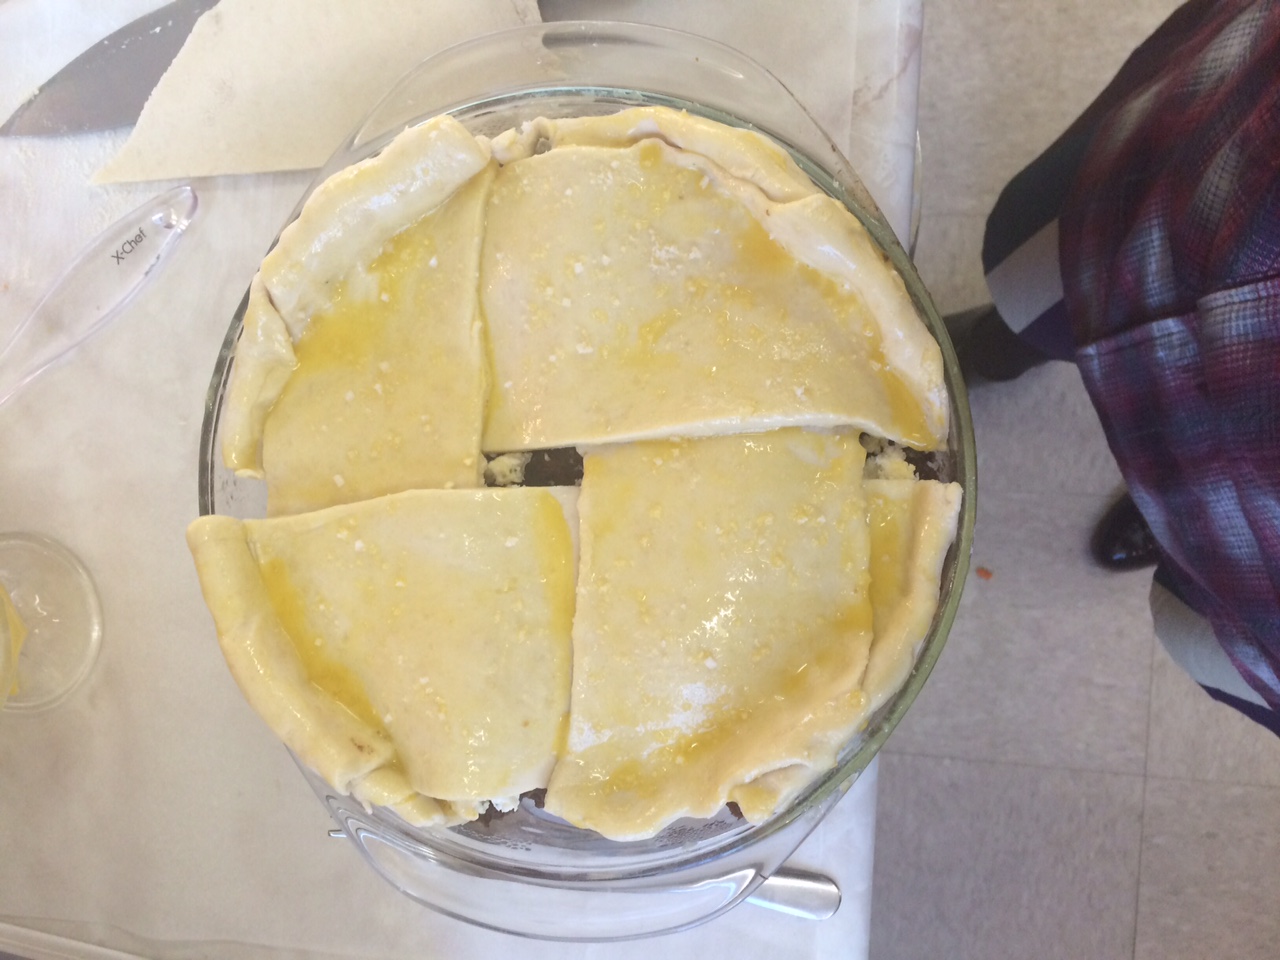
Then came assembling the pot pie. Last minute I decided to add some Boursin cheese into the pie because I felt it was a little to wine-y tasting and I thought it would mellow that out some. I also decided to go with a lattice crust because I hadn’t done that yet, but because I was concerned about how the puff pastry would puff I made a wider lattice, a very wide lattice.
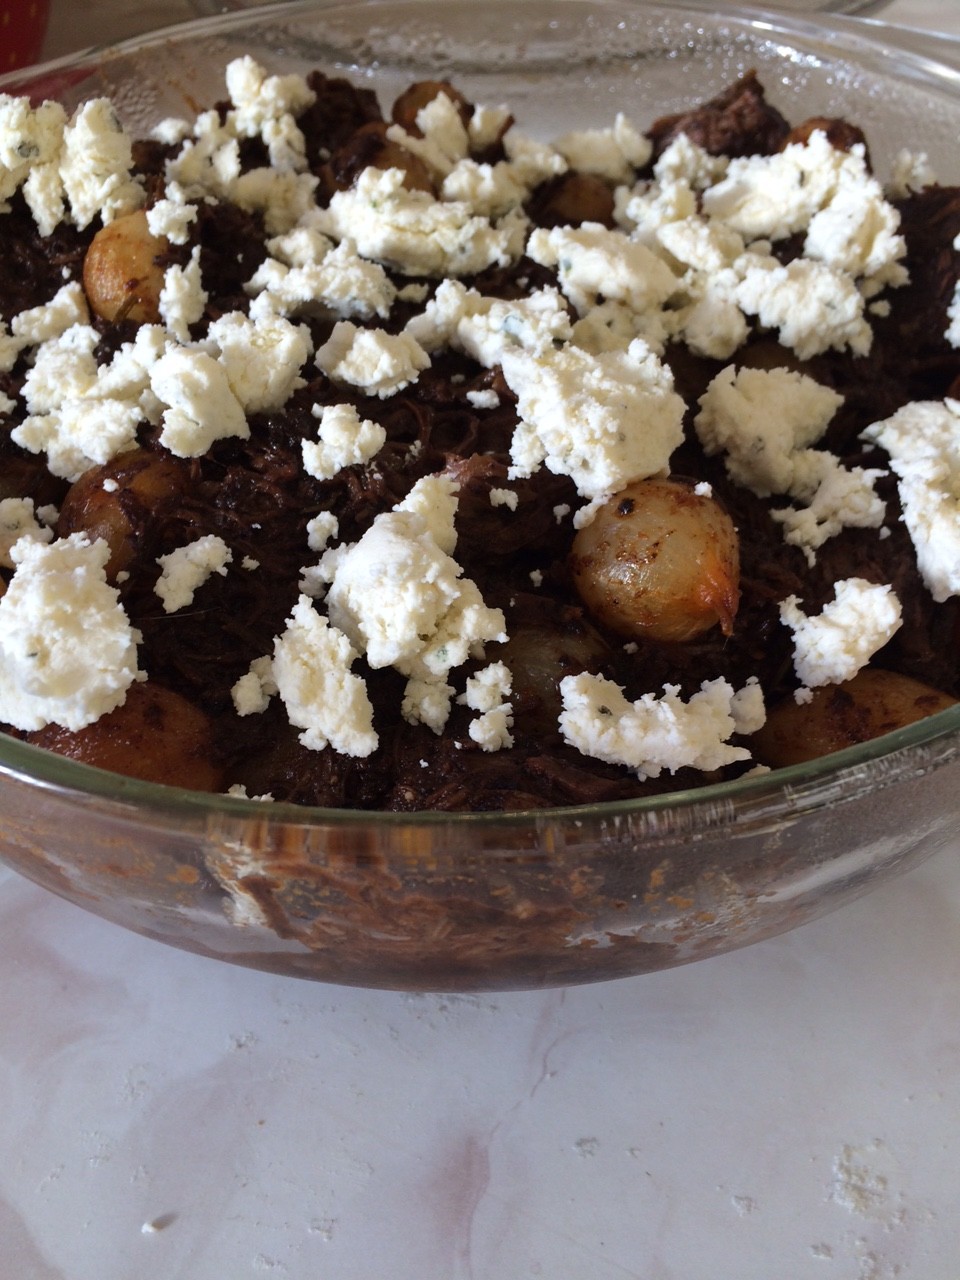
mmmmm cheese
mmmmm cheese

I'm not even sure we can call this a lattice
I’m not even sure we can call this a lattice

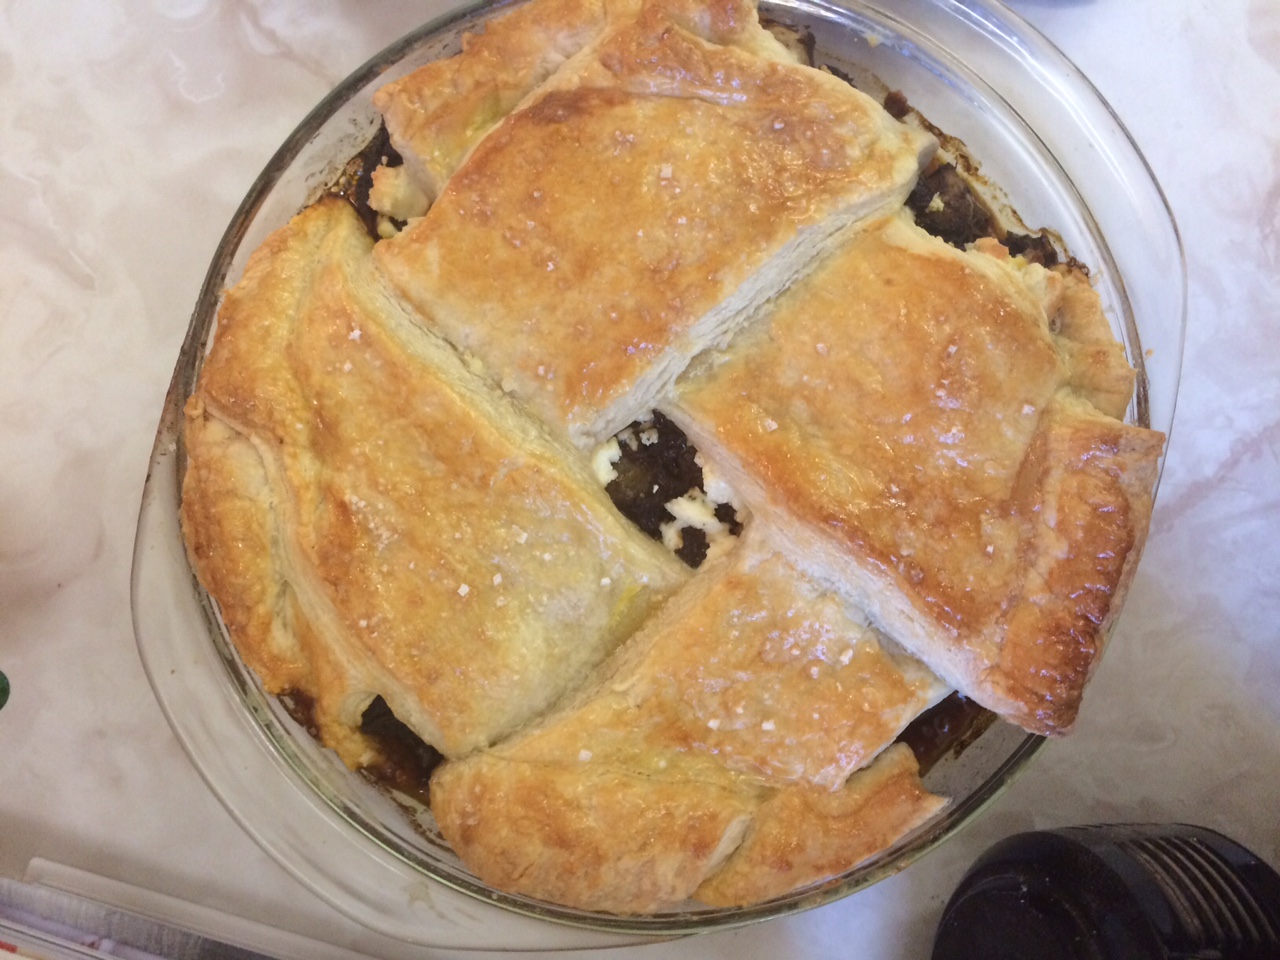
The finished pie!

The finished pie!

So that’s it! I made my pies. Unfortunately the time between the lava pies coming out of the oven and there being consumed was a tad longer than expected, so the lava didn’t happen, but all of them were eaten in the end, so apparently they were good. The pot pie was successful as well, as the cheese worked as planned.

I definitely learned a lot over these past few weeks. I can make pie crust and not just on kind. I can make it with cream cheese, canola oil, just butter, butter and shortening, and I can make puff pastry. I can make sweet pies, I can make savory pies, I can make the various things that go into these pies, I can say I have eaten 14 different pies in one sitting, I can boast about being the proud owner of my own Pyrex mixing bowls, I know more than the average person about the history of pie, I am now a fan of The Great British Bake Off. I can say I can make a pretty tasty pie, and I can say I learned a valuable skill.
The Ultimate Fruit Basket

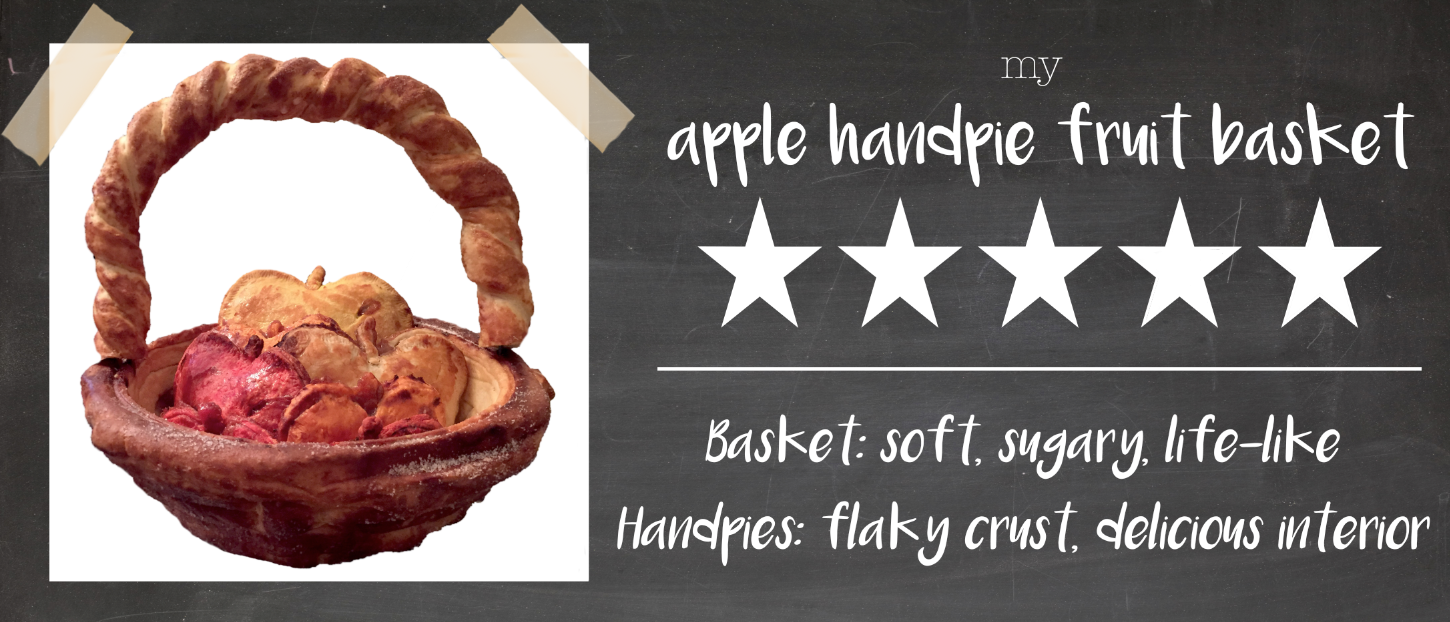
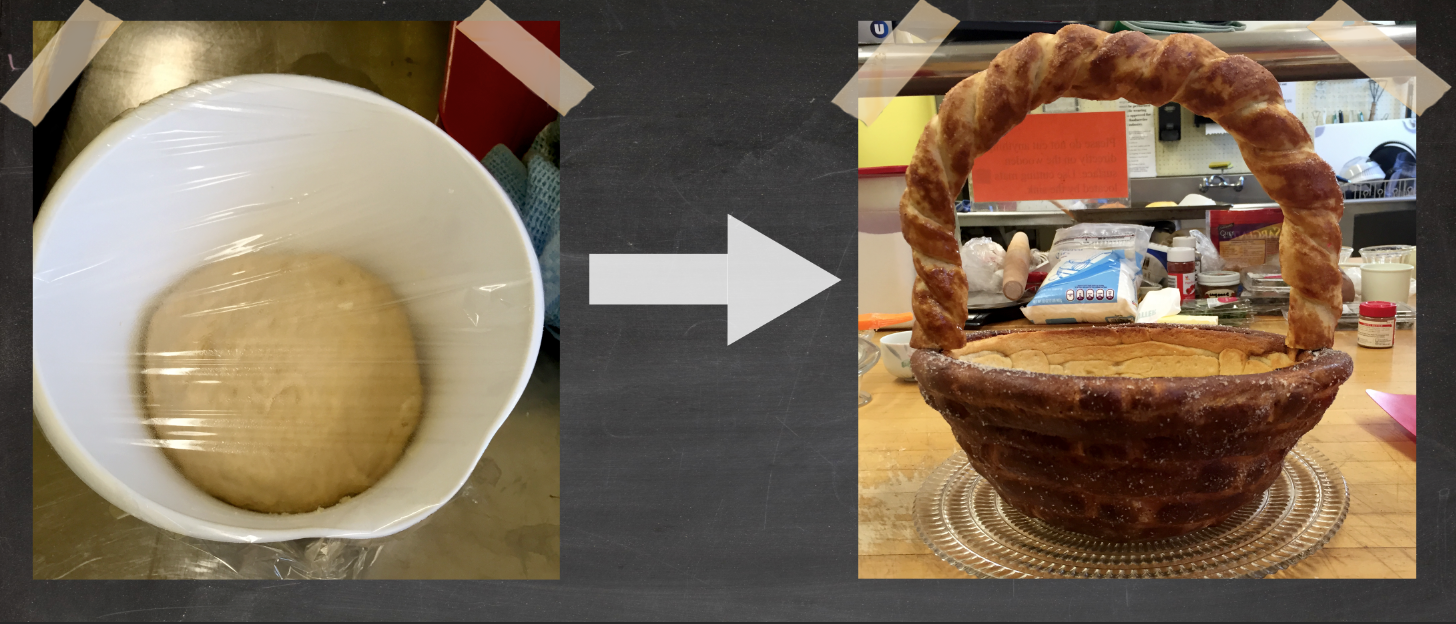
I knew right away that I wanted to go all-out for presentation week. My mind was overflowing with ideas (not many of them very feasible), but I chose to go with making the ultimate fruit basket. It took longer than I expected, but here’s a summary of what I did:

The Night Before

On Wednesday night, I decided to try to make pineapple-shaped pineapple hand pies and the basket. The filling was incredibly easy to make following this recipe. I rolled out the pastry, which I had made earlier that day, and cut out pineapple shapes. I sealed the hand pie together, decorated it, and put it in the oven. In the meantime, I tried to make the basket. I made pretzel dough, cut it into strips, and wove a basket on an upside-down metal mixing bowl.

The results? They weren’t so hot. I forgot to put butter on the mixing bowl and the baking sheet so both the hand pies and basket were stuck to their containers. Sigh.

The Day Of

Basket

I came to the kitchen very early to make the pretzel dough. I have tried various recipes, but so far the best one is the one I made up:

Pretzel Dough

Ingredients:

2 cups of milk, 2 packets of active dry yeast, 7 tablespoons brown sugar, 4 tablespoons butter, 5 1/2 cups flour, 2 cups water, 1/2 cup baking soda

Directions:

  1. Warm the milk in a microwave-safe container. Stir in the yeast. Let it sit for a few minutes.
  2. Melt butter in a microwave-safe container.
  3. Add milk, brown sugar, melted butter, and flour in a large bowl. Mix with your hands (sorry, it’s going to get messy).
  4. Once you get a firm ball, place the dough in a greased container and wrap with greased foil or plastic wrap. Let rise for an hour.
  5. Start making the pretzels!
  6. Bake until the top is golden brown (temperature doesn’t matter, but the baking time will change).

Screen Shot 2016-01-25 at 9.34.06 PM

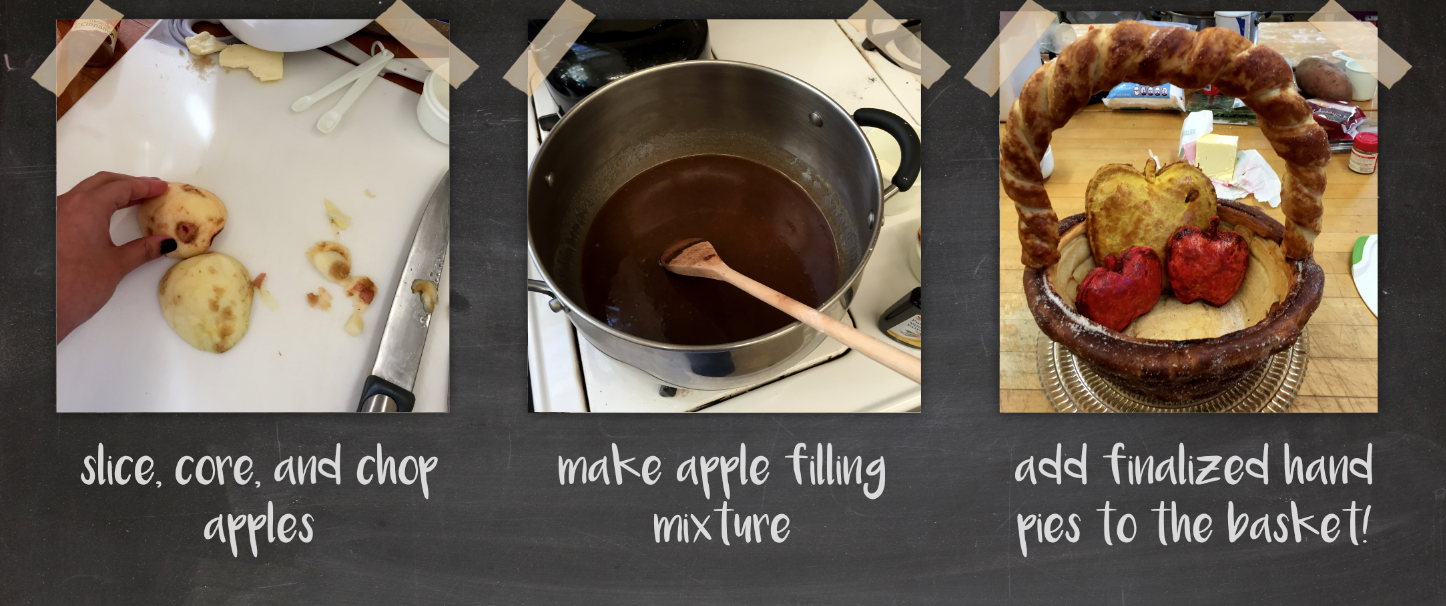
While the pretzel dough was rising, I started making the filling for the hand pies. Instead of making different fruit fillings like I had originally planned to, I stuck with apples. I stole a couple from the dining hall and began chopping them up. I looked at multiple recipes for apple pie filling, but I chose to make my own. I didn’t measure anything exactly, but from what I can remember this is what I did:

Apple Pie Filling

  1. In a rather deep pan, melt a stick of butter (about 1/2 cup). Keep stove on.
  2. Add 1/3 cup of flour. The flour and butter will make a paste-like substance.
  3. Add 1 cup of white granulated sugar and 1 cup of brown sugar. Mix well.
  4. Add 4 teaspoons of cinnamon, 2 teaspoons of allspice,  2 teaspoons of nutmeg, and 2 teaspoons of vanilla extract. Mix well.
  5. Add 2 1/2 cups of water. Mix and bring mixture to a boil, constantly stirring.
  6. Once it has a thick/sticky consistency, add the apples. Mix well and bring to a boil again for about 1-2 minutes.
  7. It’s ready!

By the time I was finished with the filling, I started to weave the pretzel basket. This time, I buttered AND floured the mixing bowl. Once I finished weaving it, I put it in the oven. Since the mixing bowl was elevated, I was aware that it would take longer to bake. I wanted the basket to be soft, but a bit hard so that it would keep its shape. So I took the time to continue with the hand pies.

I rolled out the pastry. I had made different colors: yellow, orange, and red. Once they were rolled out, I cut out apple shapes, stuffed one half, brushed egg yolk and milk mixture on the edges, and sealed the hand pies. I brushed the egg yolk and milk mixture on the top as well. I made as many as I could and placed them in the oven.

As I had suspected, the basket took a while to bake. However, the butter and flour helped because it instantly came off of the mixing bowl! I had made the handle separately, so I simply used tooth picks to attach it to the basket. Screen Shot 2016-01-25 at 9.54.56 PM

I am SO proud of how my fruit basket came out! The pretzel basket was delicious and the hand pies WERE SO ADDICTING. I took the leftover hand pies to my entry and they were devoured. Everything took chunks off of the basket, but eventually we decided to use the remaining basket as a bowl for an ice cream sundae!

Screen Shot 2016-01-25 at 5.37.25 PM


Oh My, Apple Pie!

In the past three week no one had made an apple pie. I don’t know about you, but when I think of pie, apple is always  the one I think of first. Its the only pie dinning services makes with somewhat regularity. It is what various things are as “American as”. It is just plain yummy. So think week, when focusing on design I set about creating the perfect apple pie, the one that exists only in my mind, the one that haunts my dreams…

What does this pie look look? Well first of all it is large, it makes a statement walks into the room, just based on its size. Is it truly the epitome of American-ness if it is not large? I think not. This behemoth of an apple pie is glorious and golden, with a great soaring dome packed to the brim with apples. The apples themselves are tender, but still have a bit of a bite. They are cinnamony and sweet and tart all at the same time.

this week I used a combination of this recipe and this recipe and some good `ole gut instincts. It was the gut instincts that lead me to purchase the six pounds of apples for this pie. None of the recipes I found were willing to go this large, but I just felt it just had to be done. This week I also wanted to modify the cream cheese crust I used last week, this time using a slightly sweeter version that had half as much cream cheese.

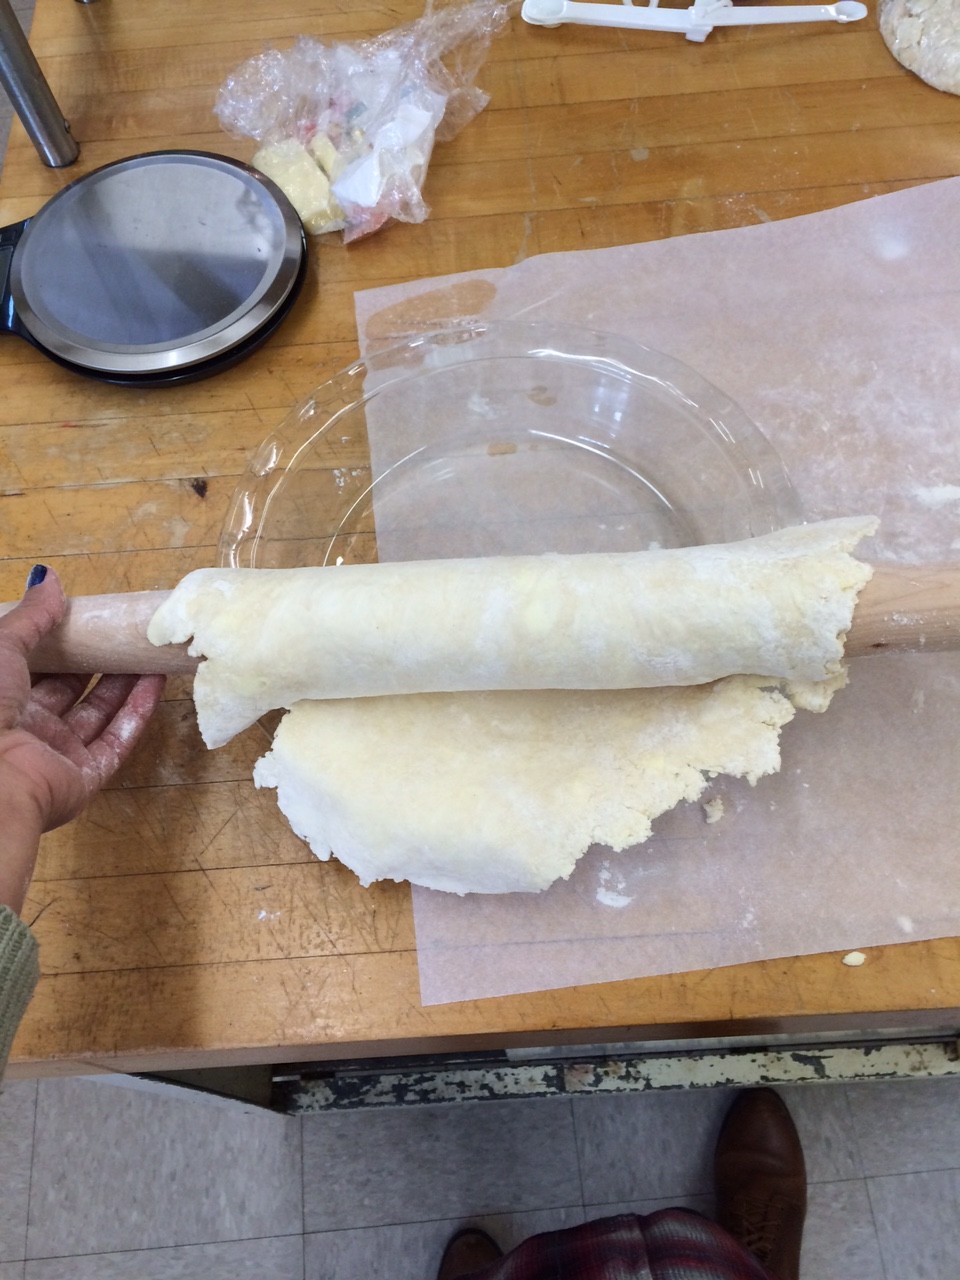
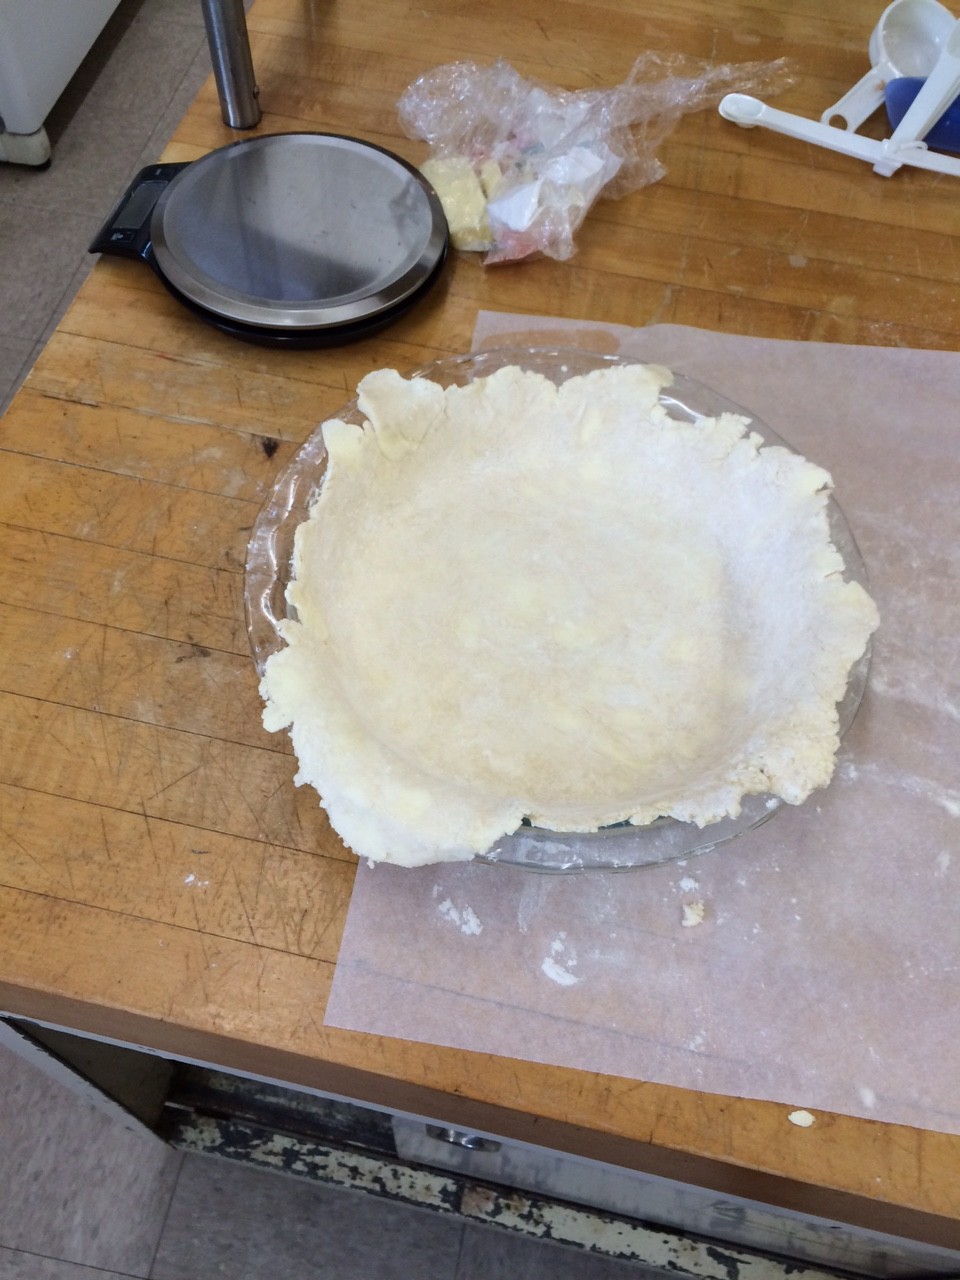
To begin, I set out making the crust. Pretty straight forward. I think I’m getting pretty good at this part.

IMG_1307IMG_1308

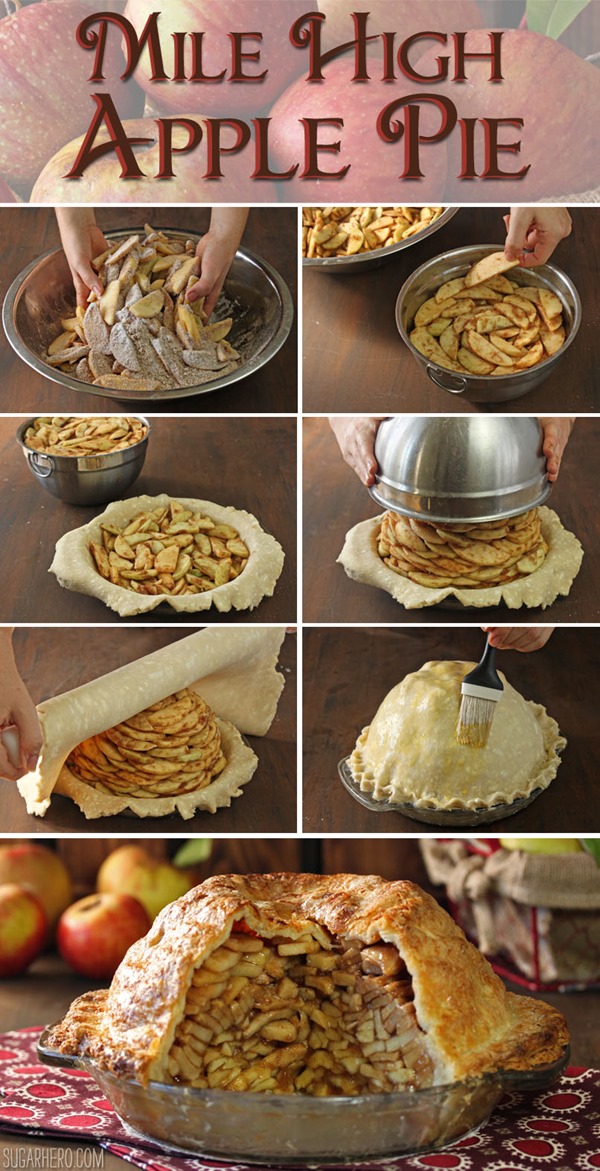
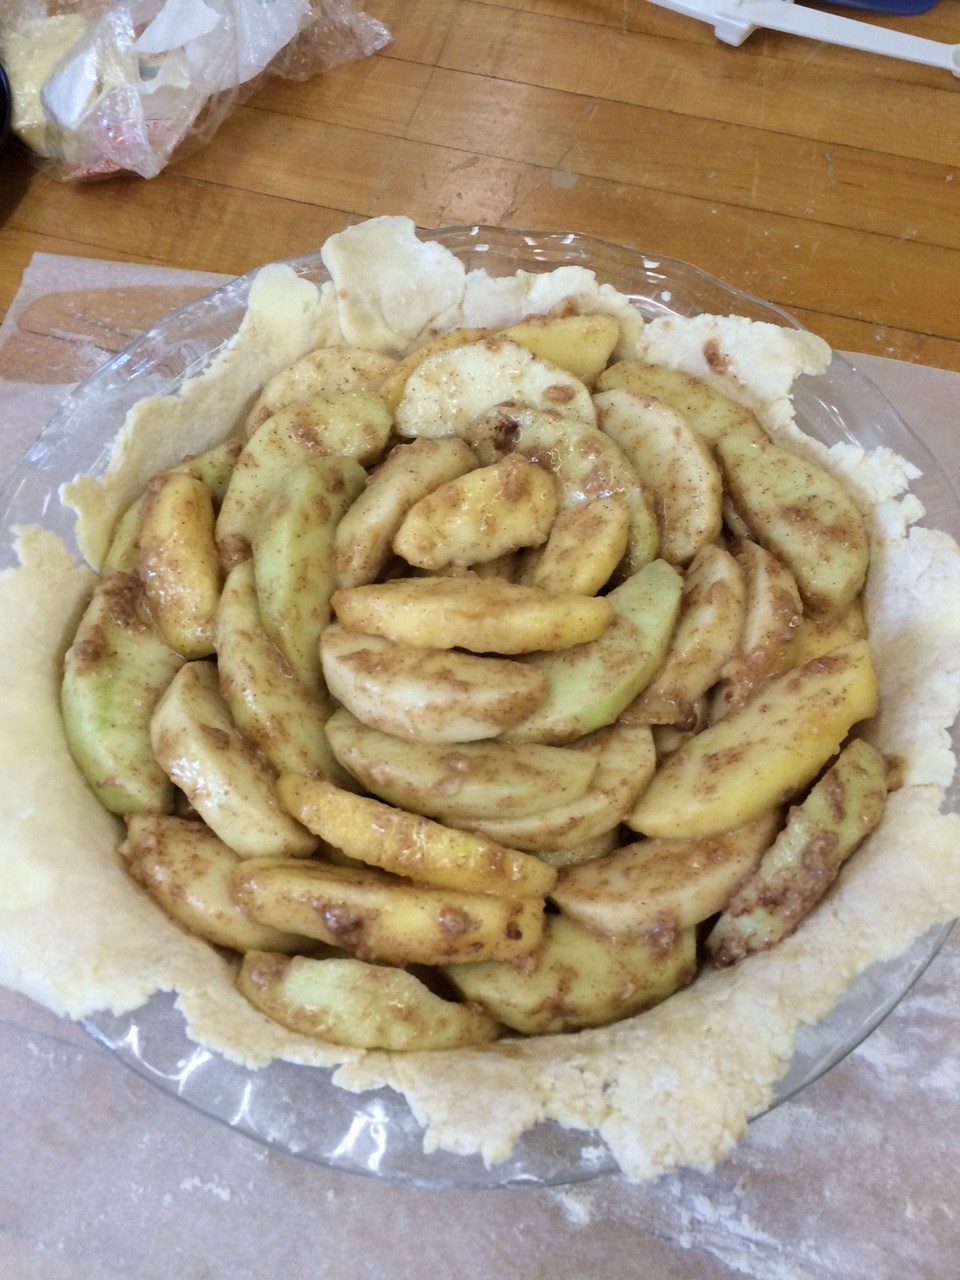
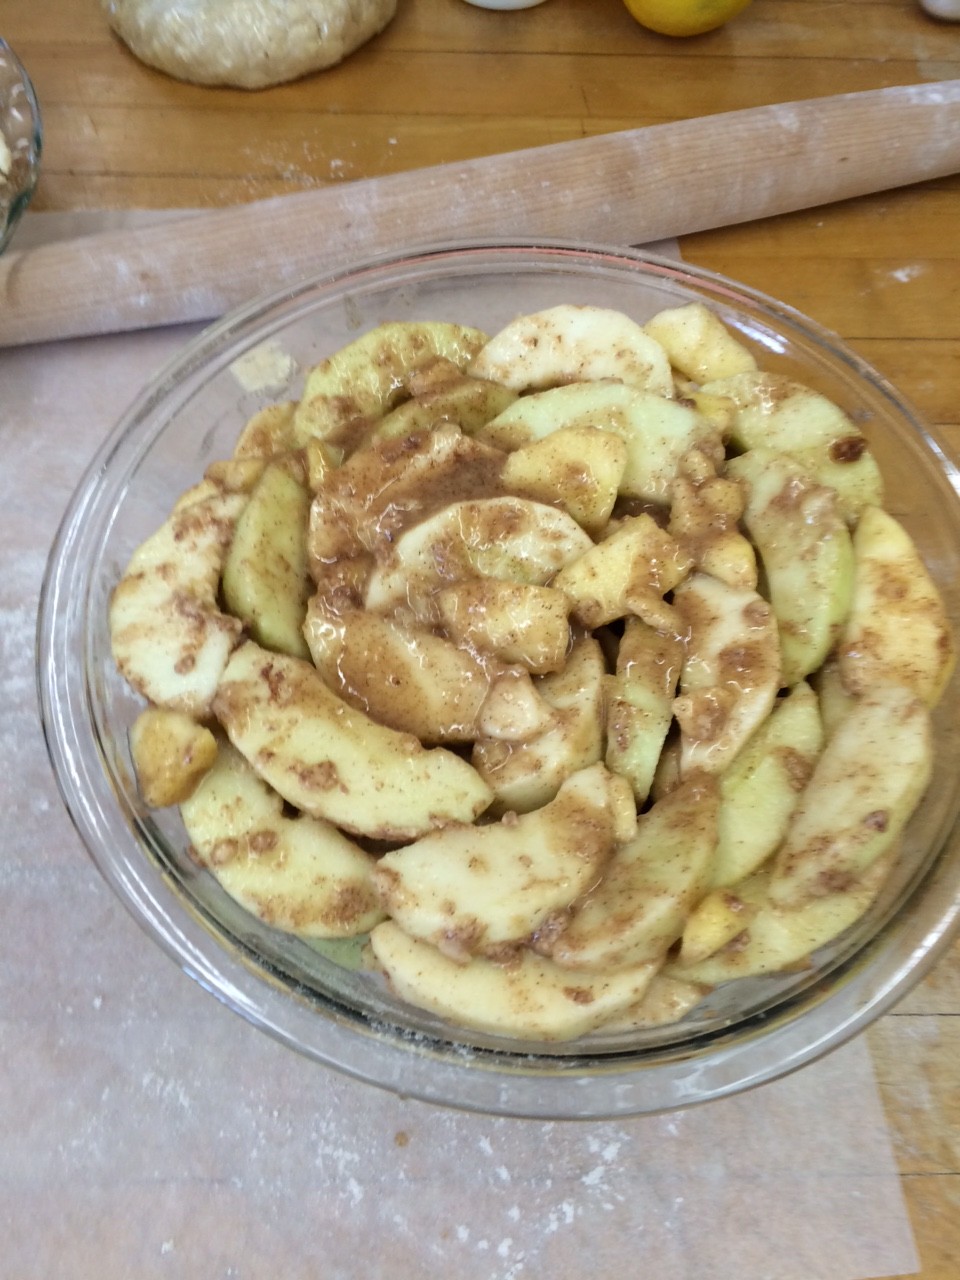
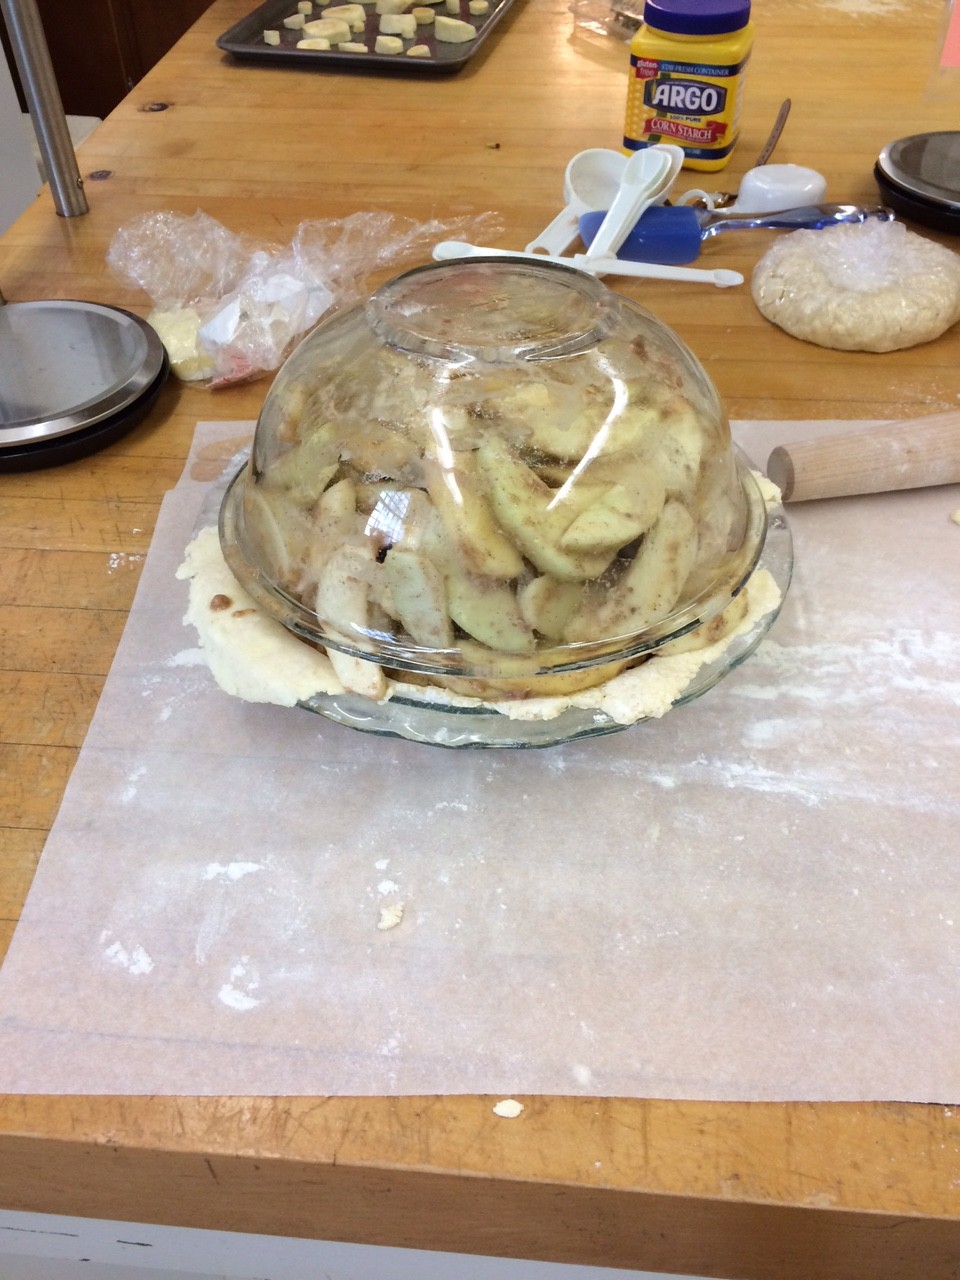
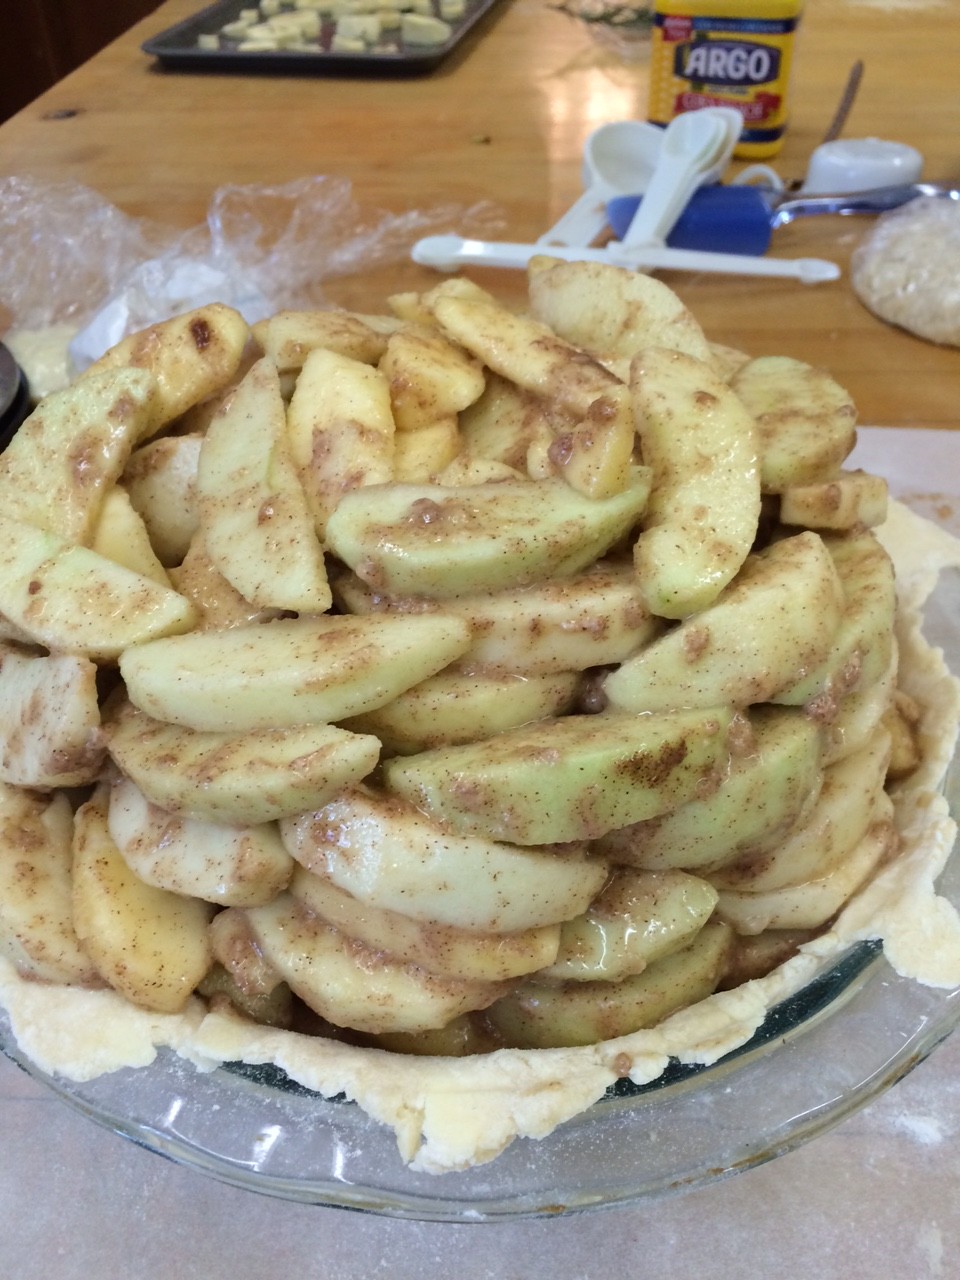
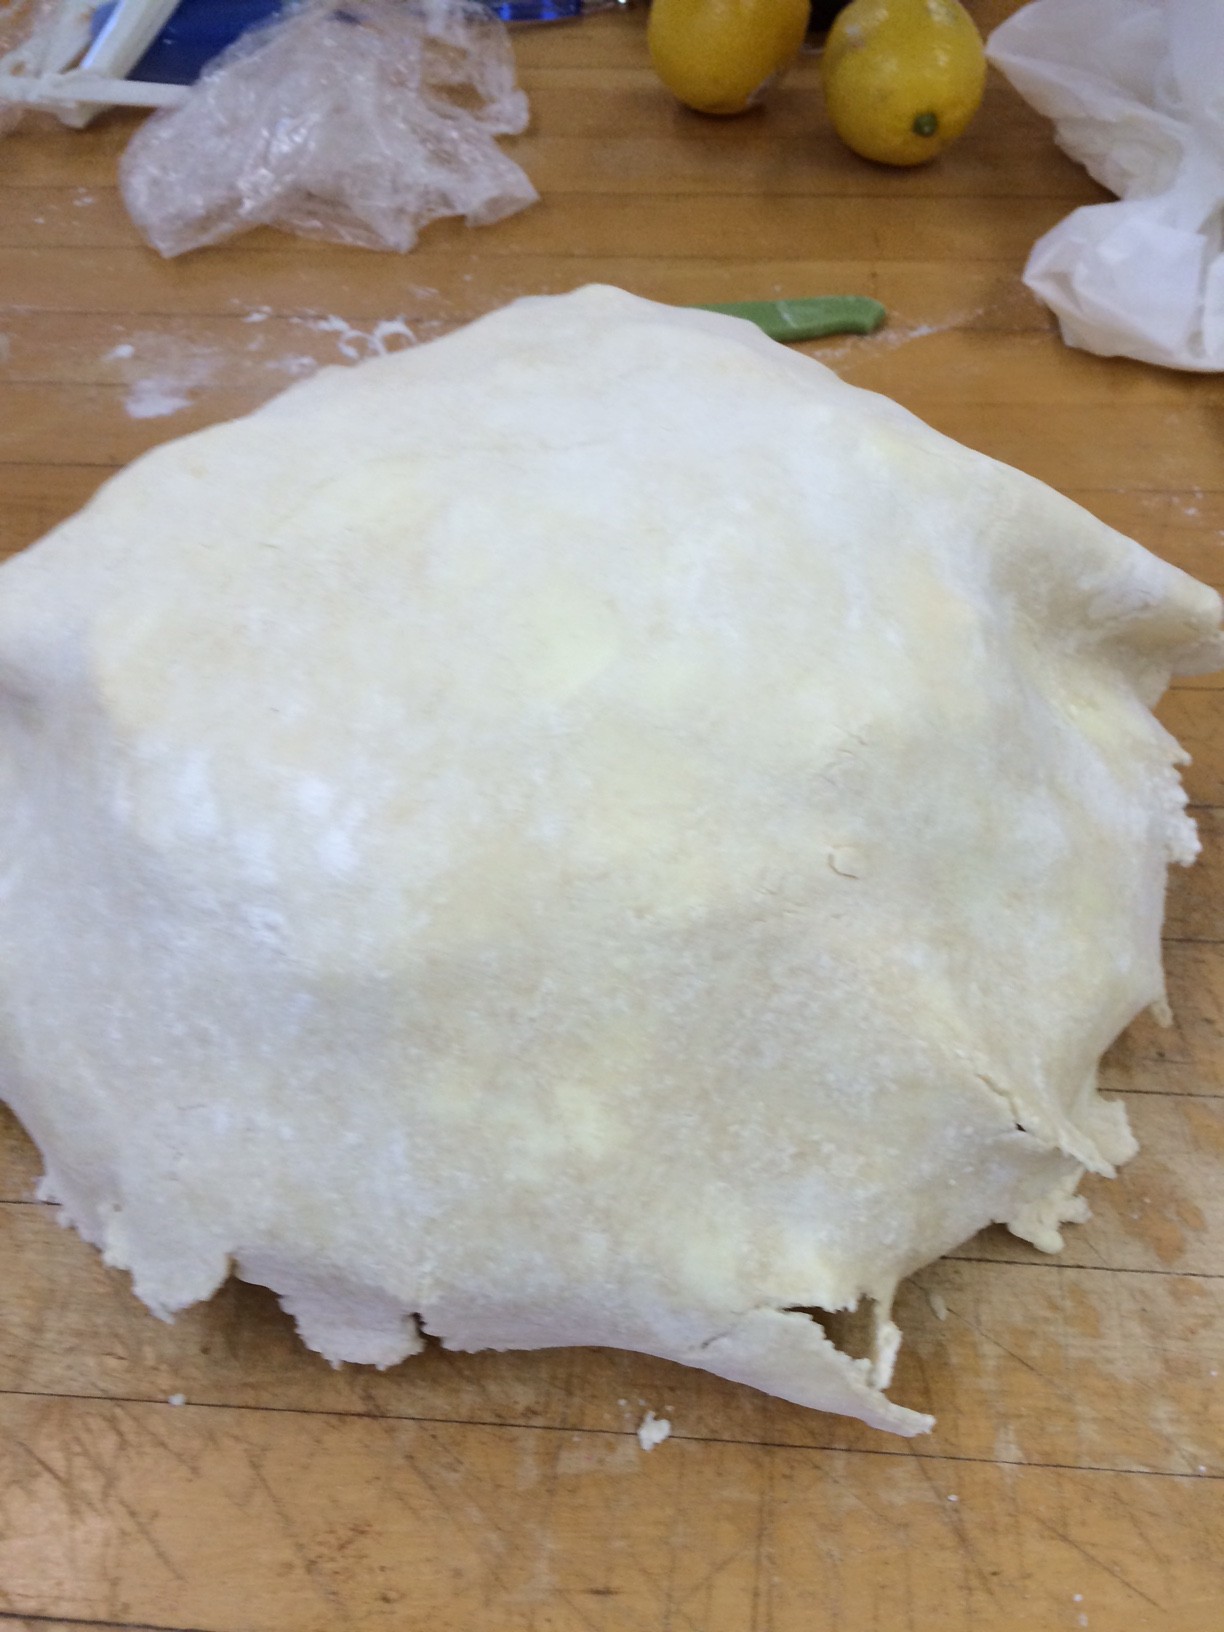
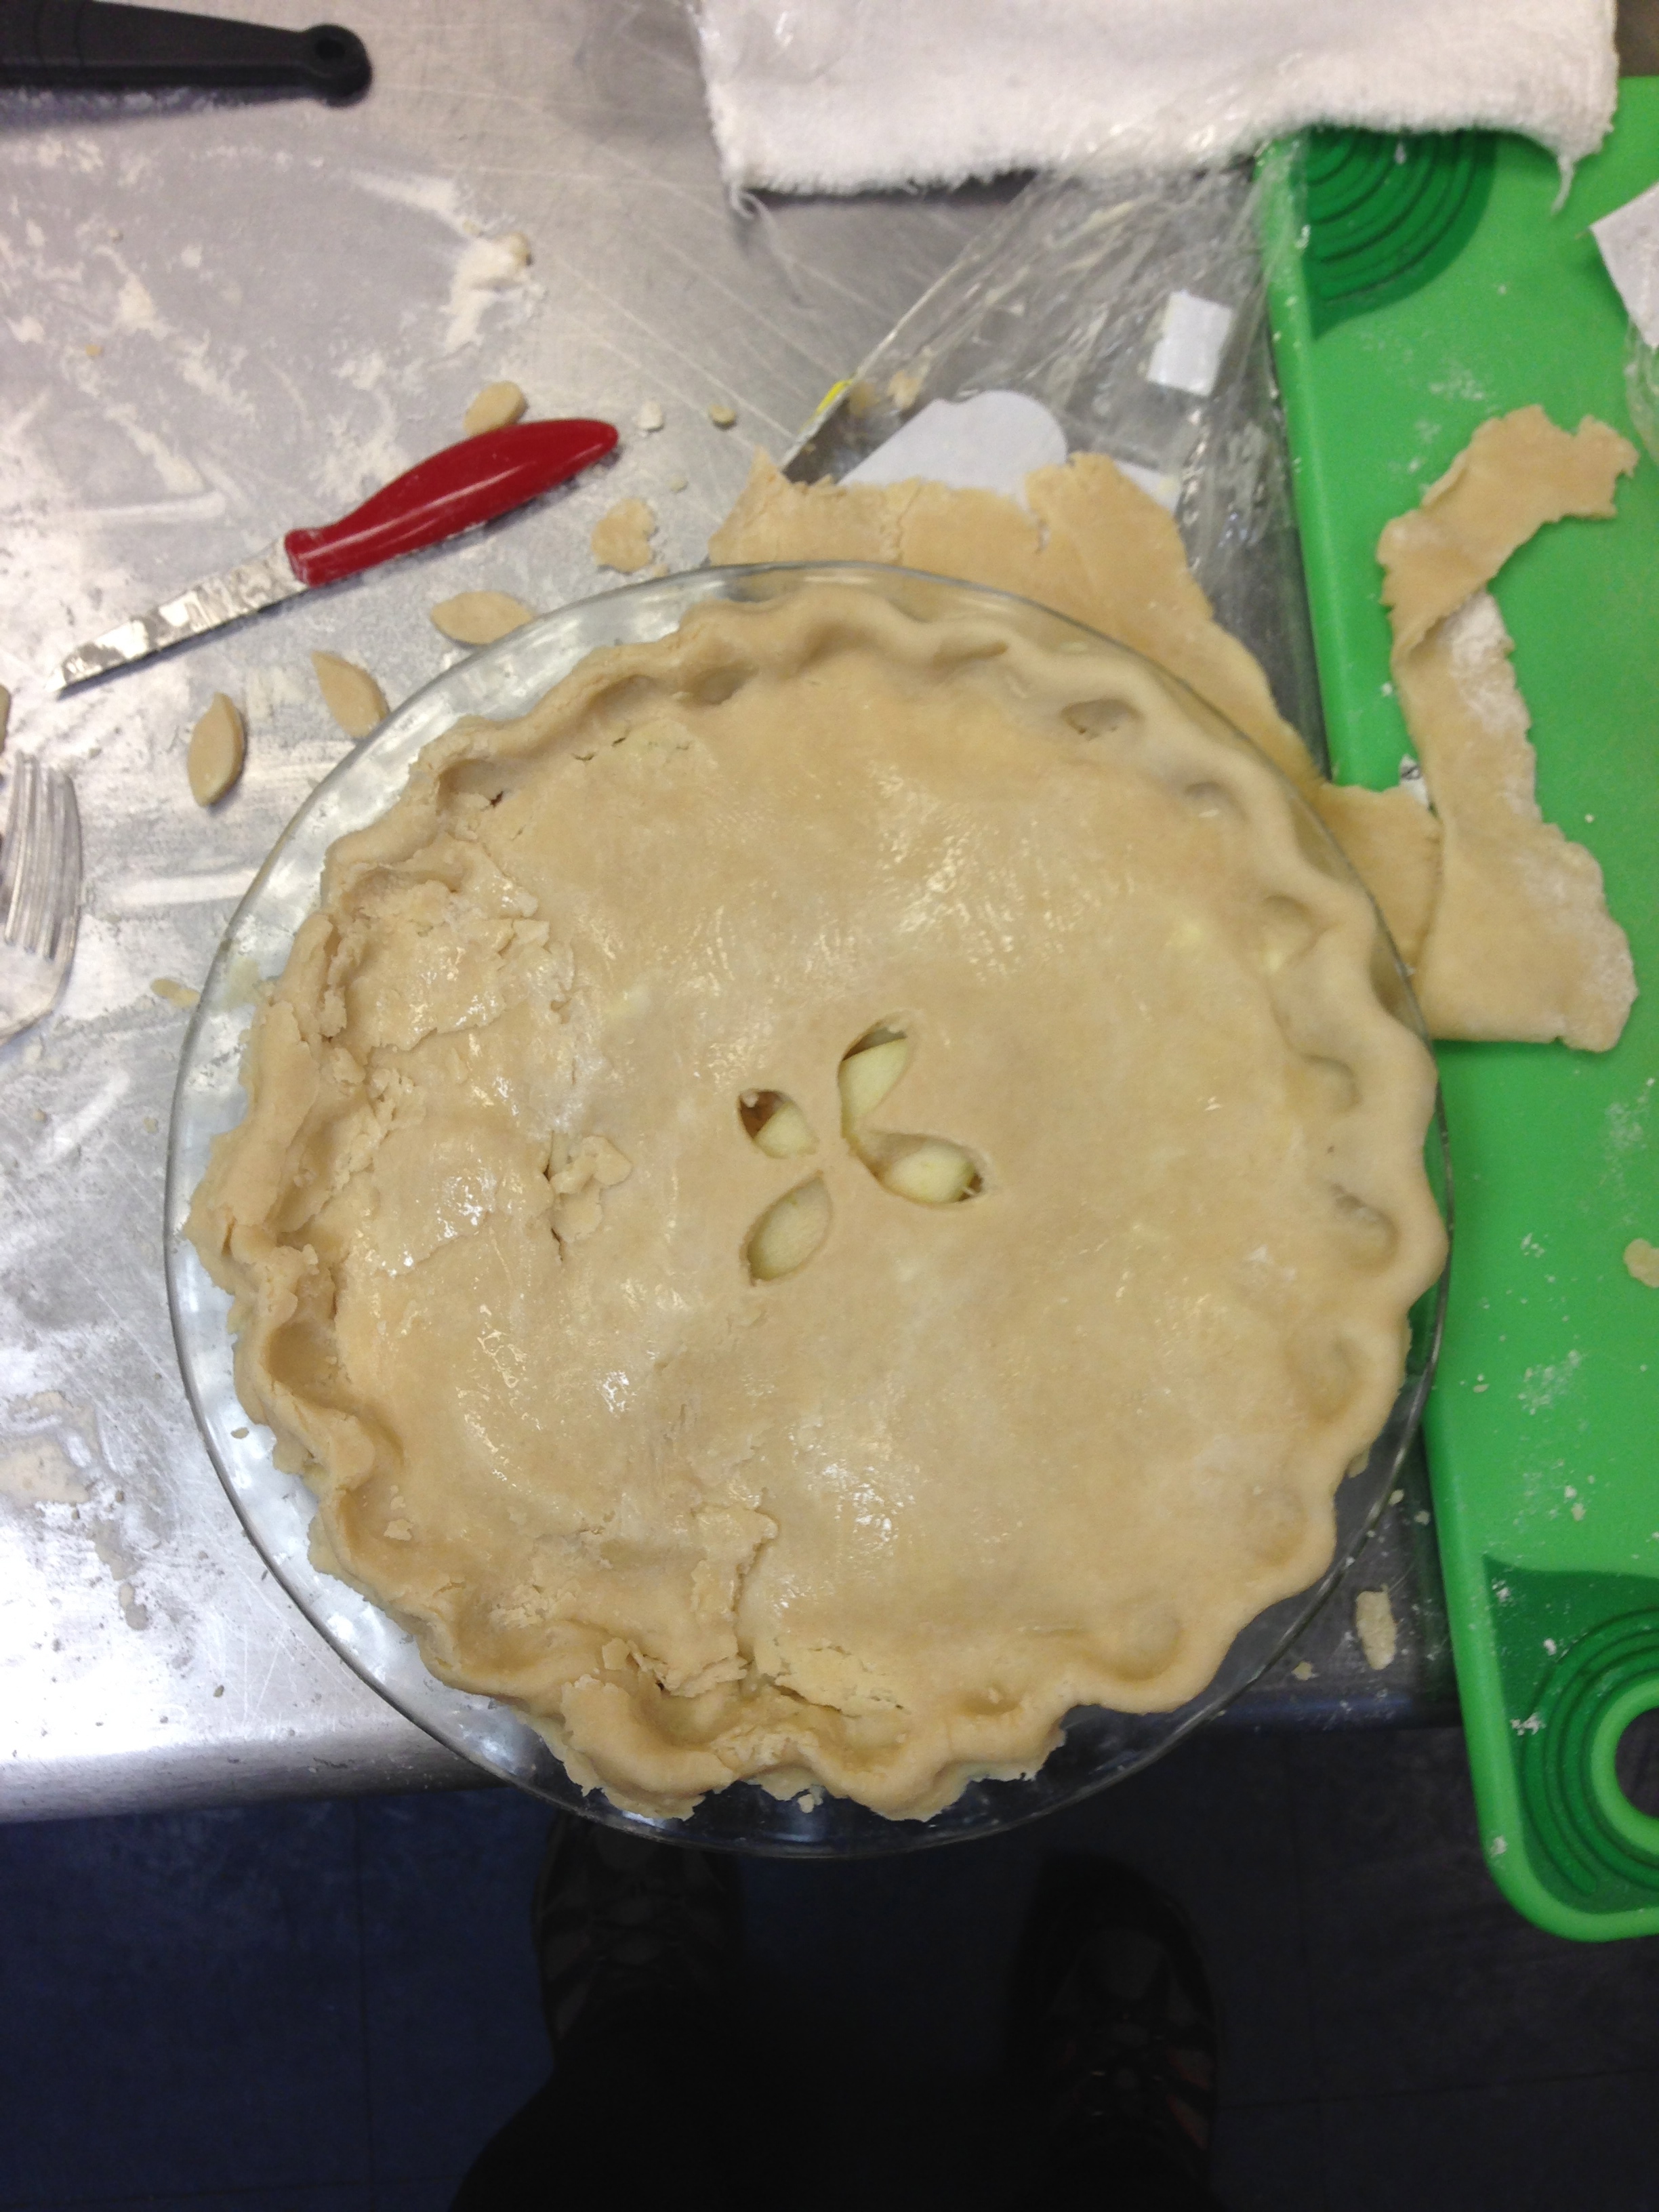
Then I set about peeling, coring, and cutting the six pounds of apples. That part was definitely the most difficult. So many apples. So many. By the end my hands were all pruney from all the apples wet with lemon juice. But I persevered. Mixing the filling was fine. Rolling out the dough was fine. Then the apples became an issue again as I realized I must get them all into this pie. Rather than just tossing them in, I decided it would probably look the best, and fit the most apples, if I carefully shingled them into the pie plate, and then used this seemingly magical trick with a bowl to get the rest of them in, in a perfect dome. The diagram I found to do this made it look super easy, but as I approached the flipping stage all the pinterest fails I had seen started coming to mind.

#GOALS

#GOALS

Base layer of apples

Base layer of apples

Bowl full of apples

Bowl full of apples

Whelp.

Whelp.

In the end it turned out okay. Not as pretty as the picture, but no apples were lost in the process.

Not the best, but not the worst.

Not the best, but not the worst.

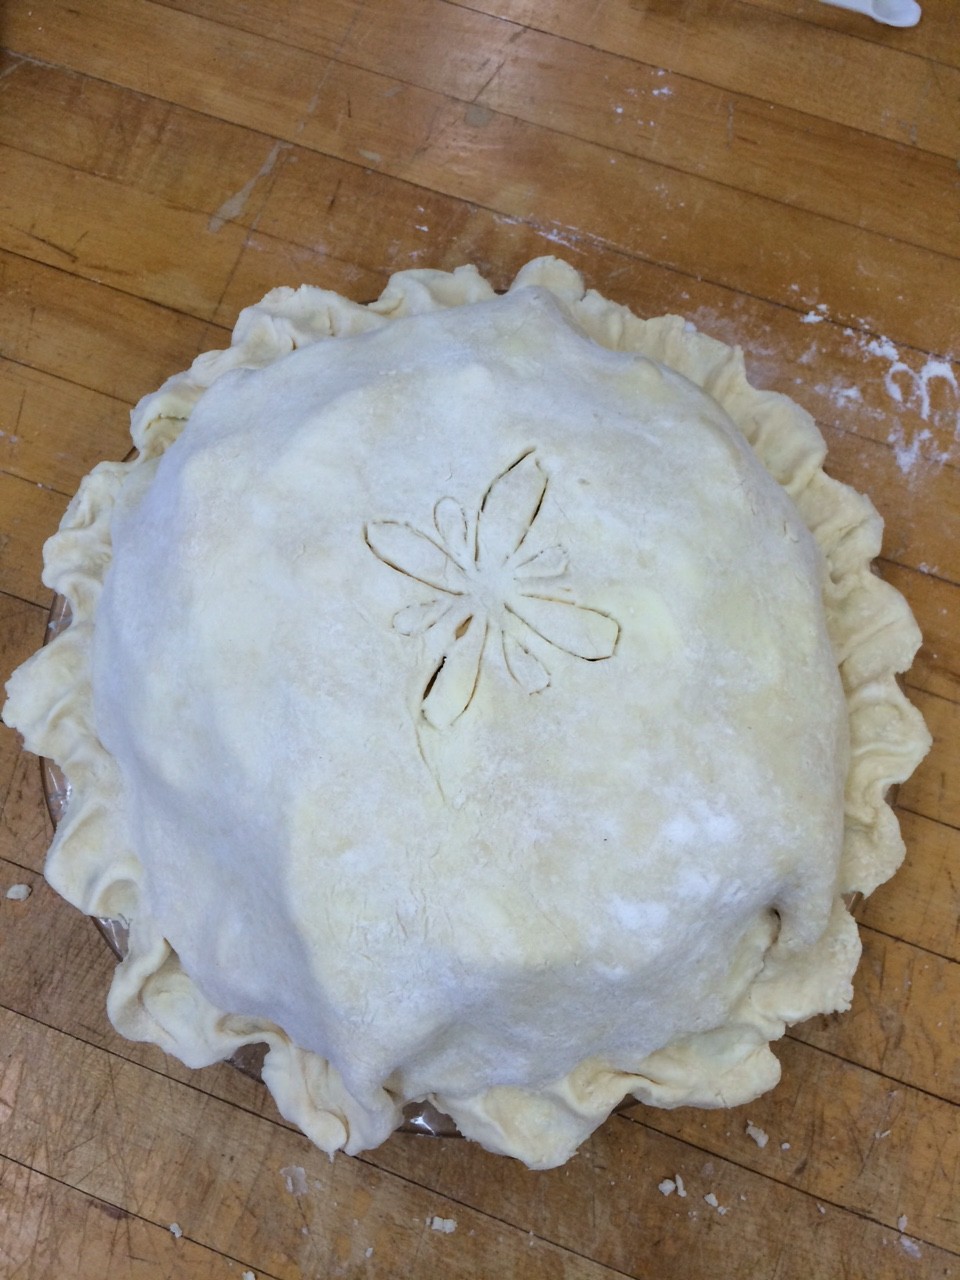
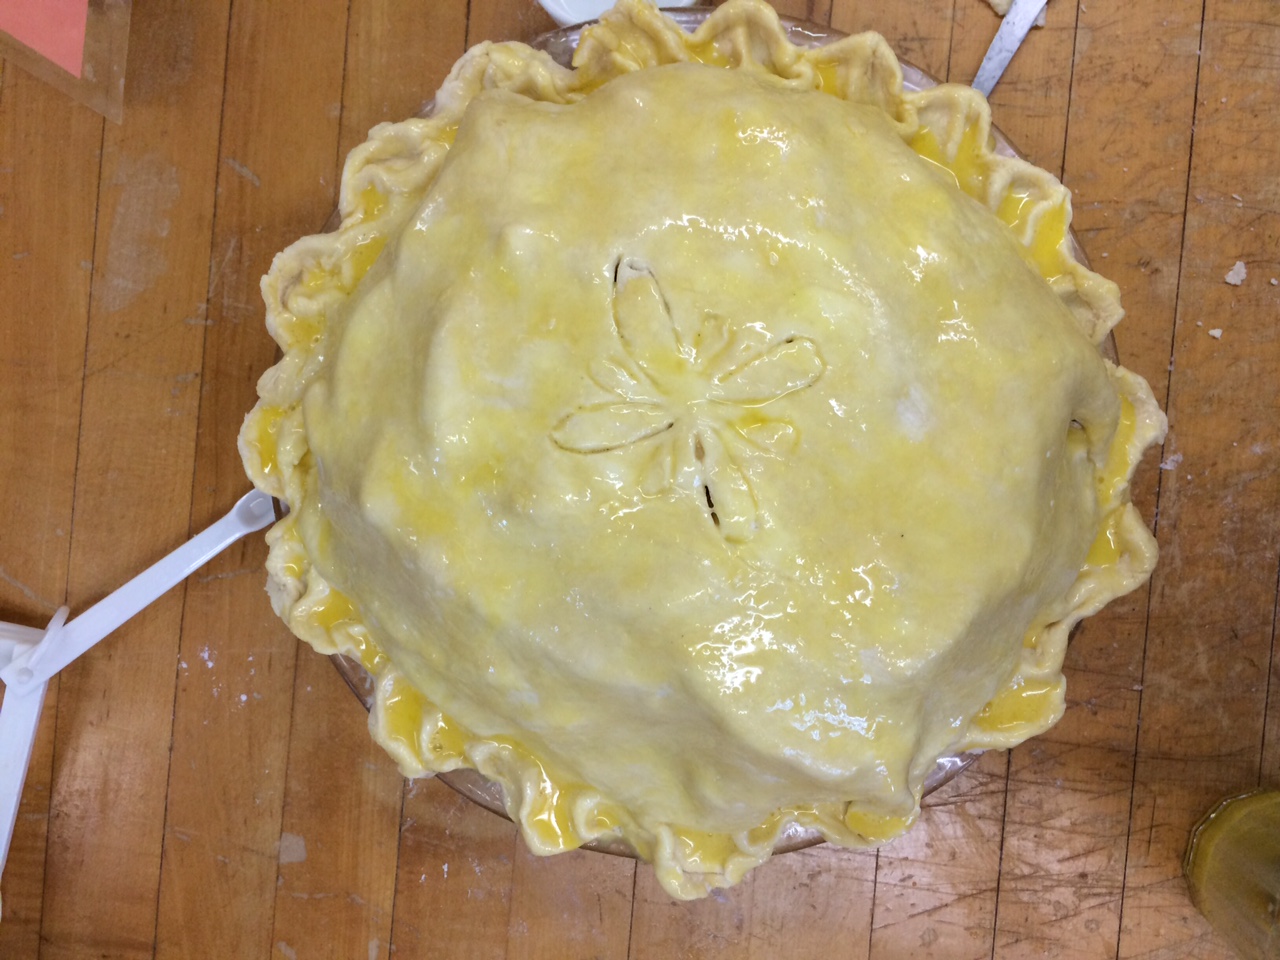
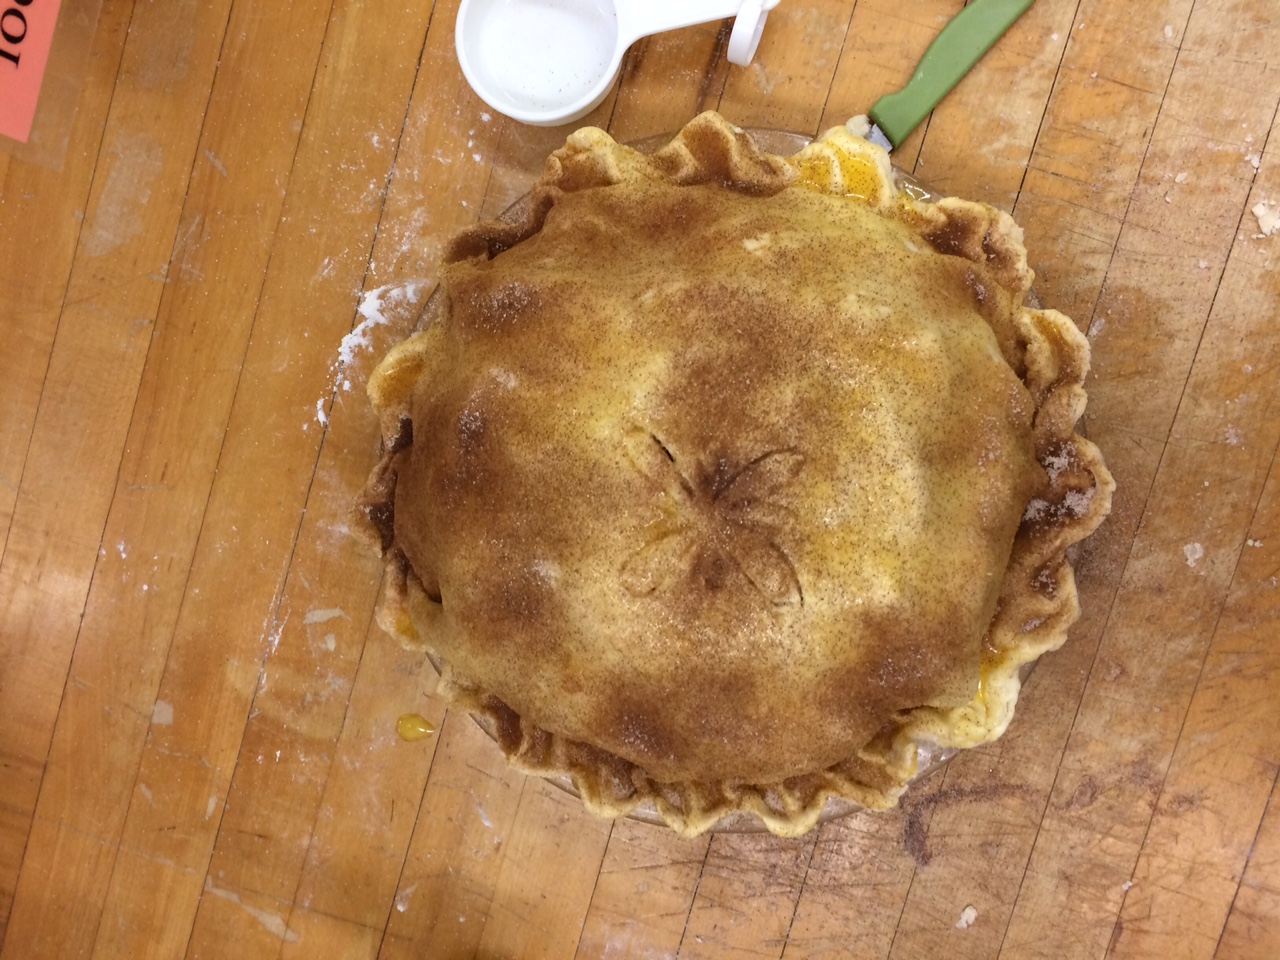
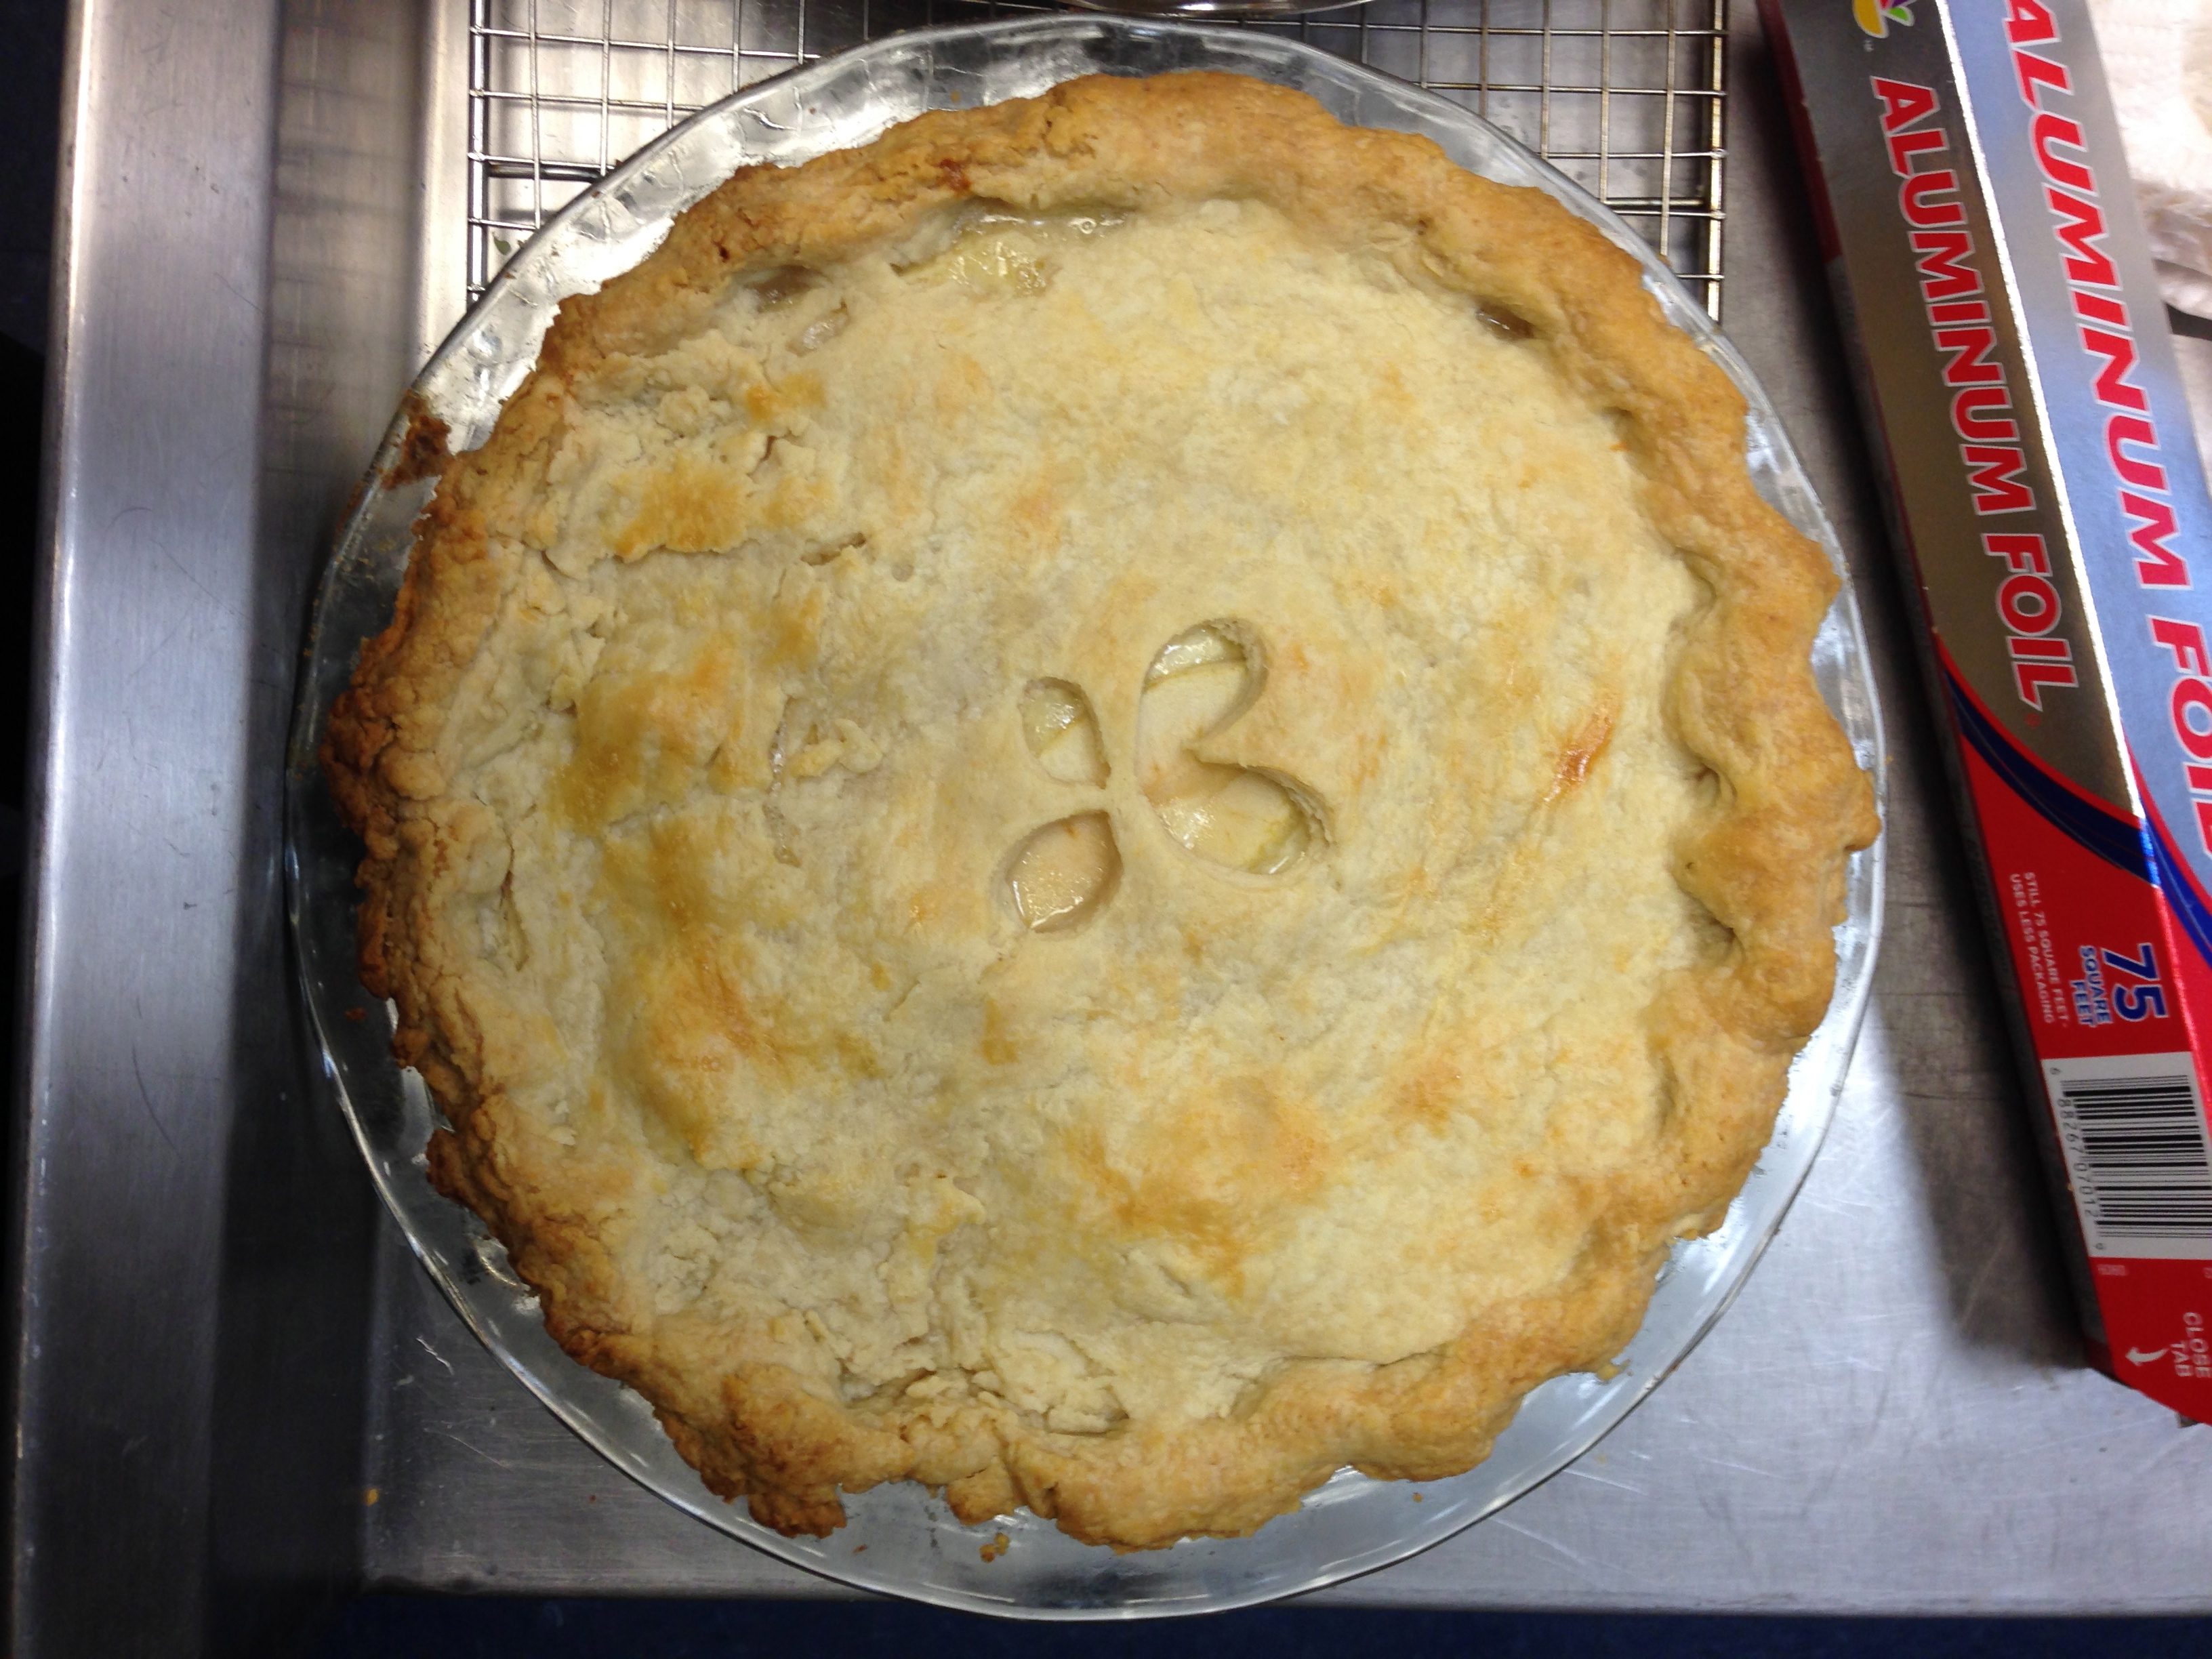
The top crust went on nicely. I did some fancy crimping, inspired by one our our course pack readings, and cut a flower shaped vent in the top. I brushed the whole pie in egg wash and then went crazy with the cinnamon sugar and popped it in the oven.

IMG_1325

ooooh fancy

ooooh fancy

IMG_1328IMG_1329

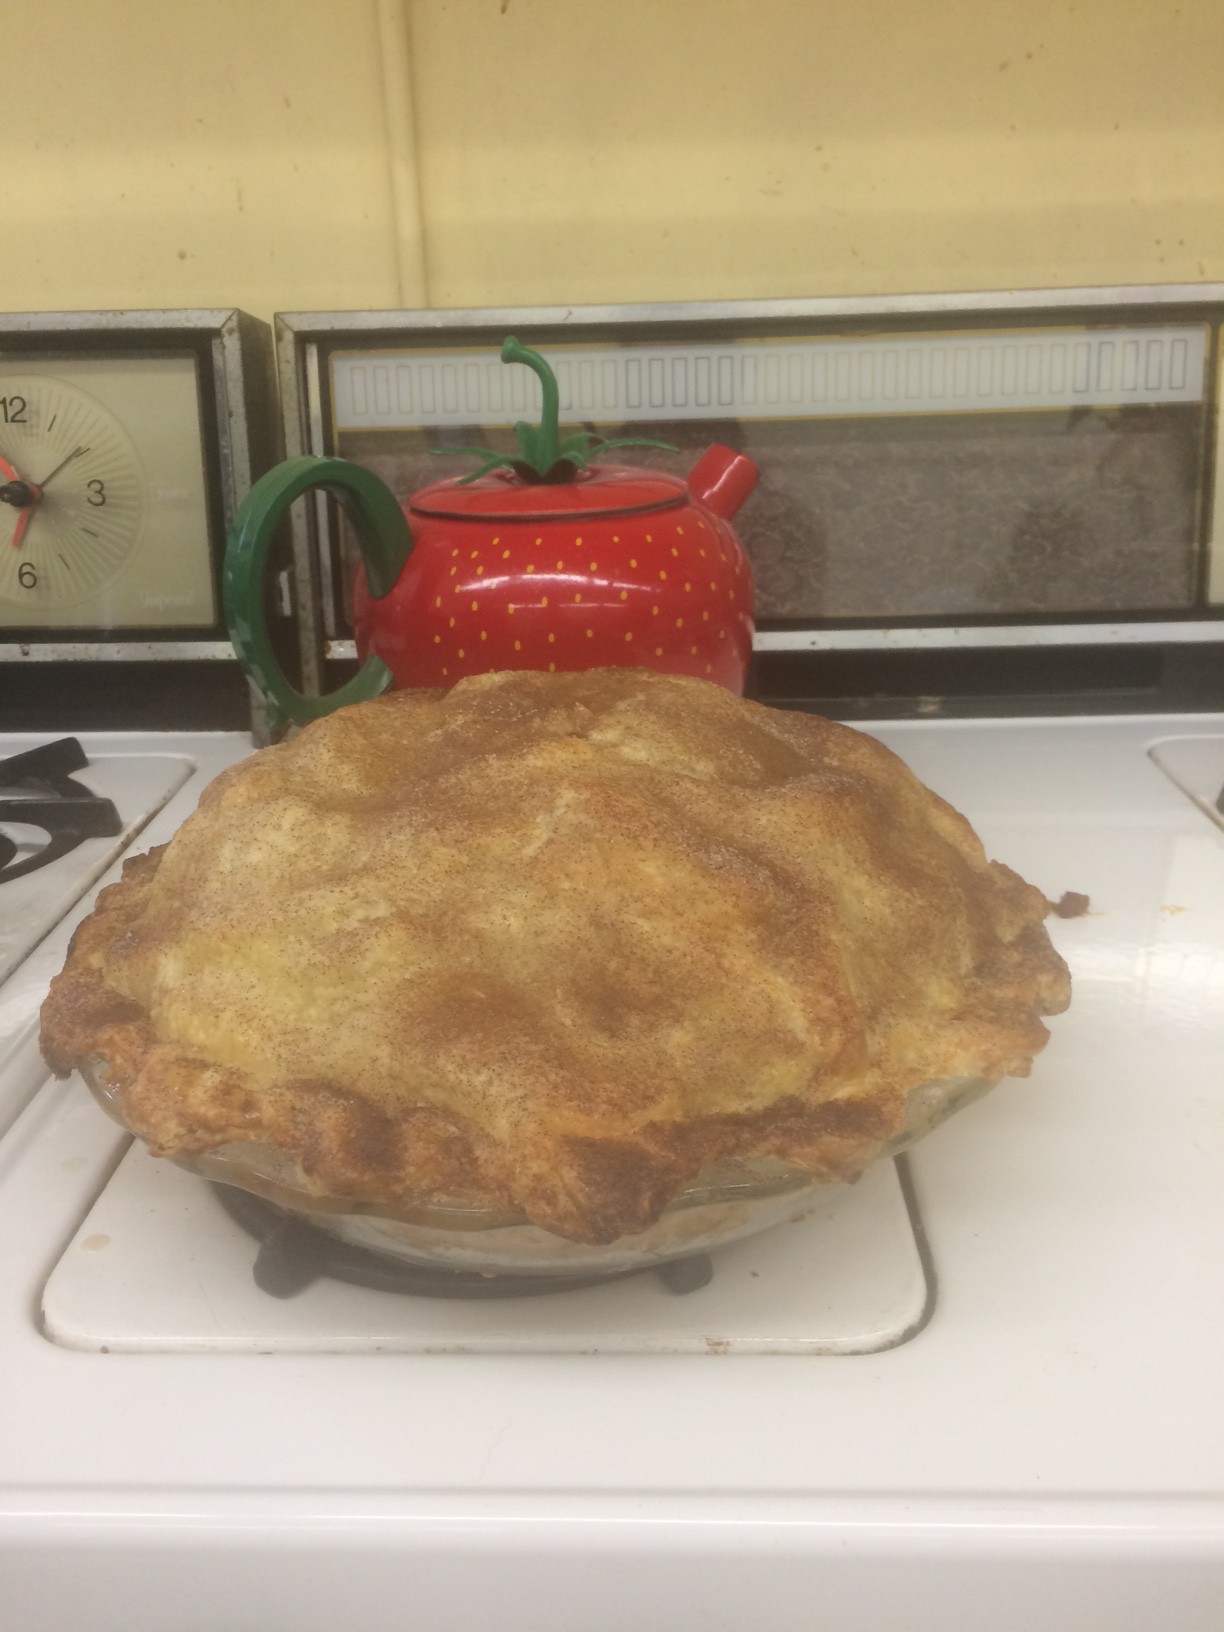
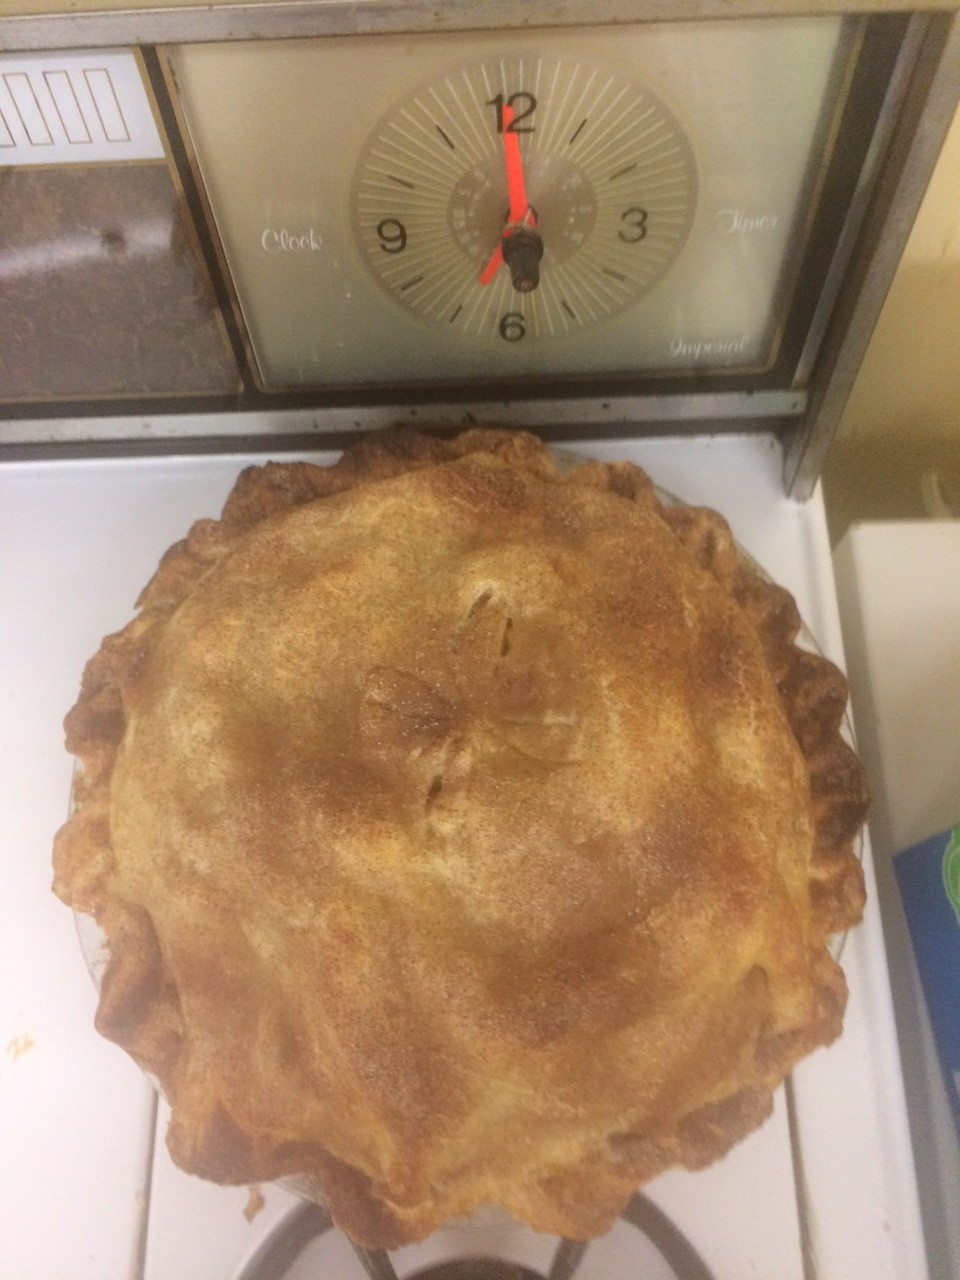
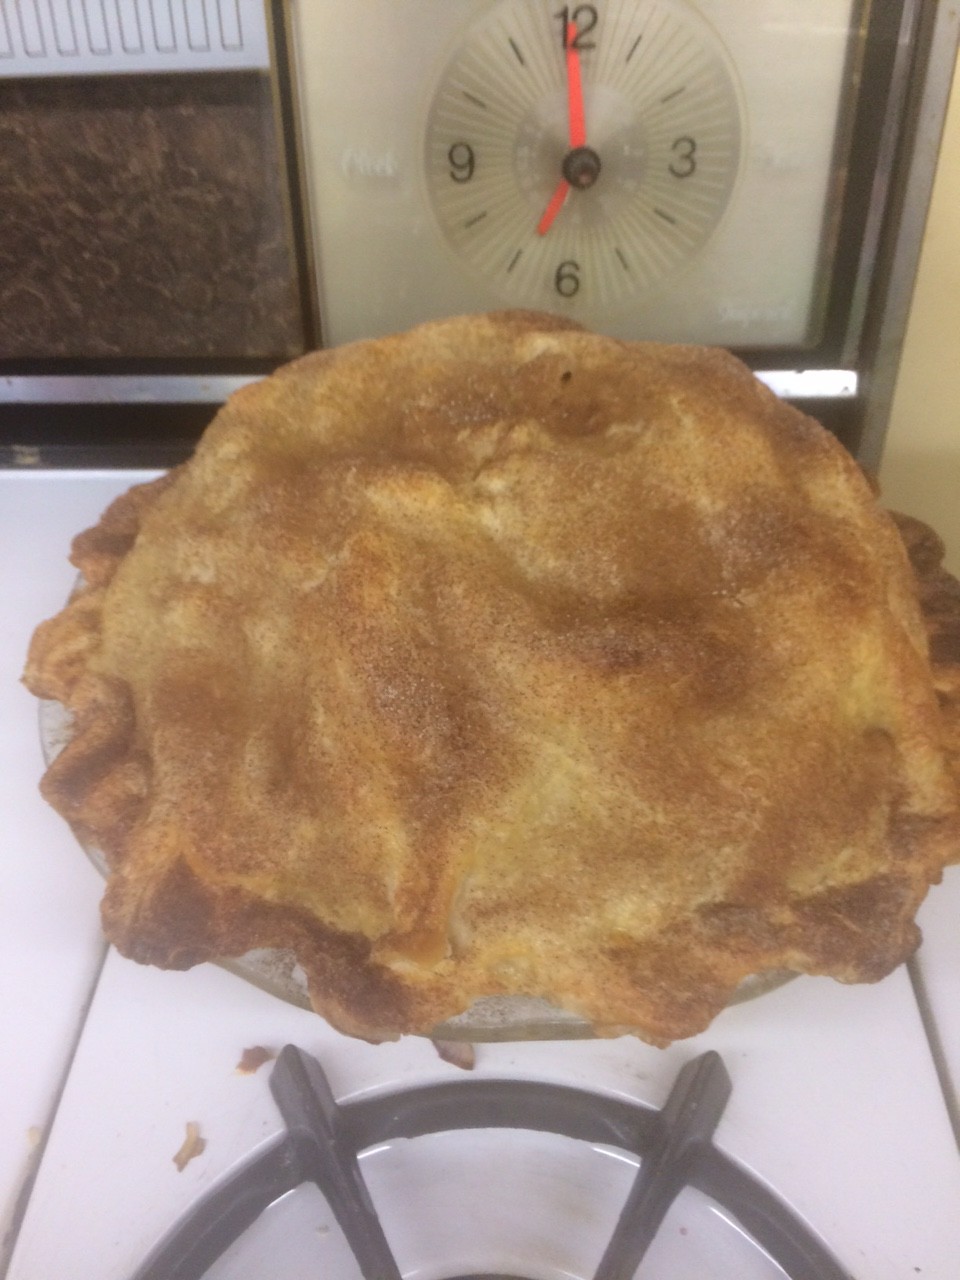
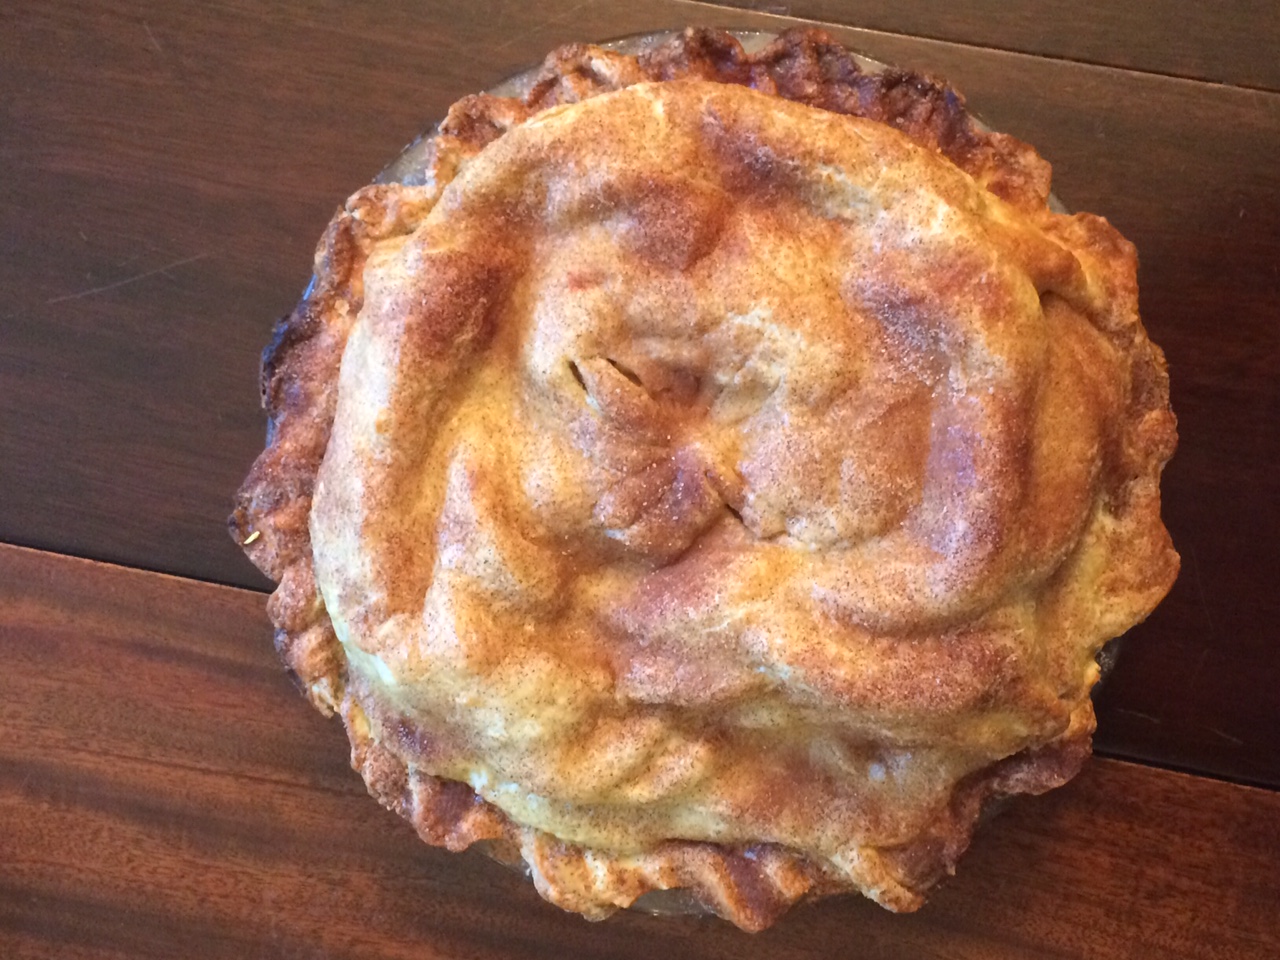
The pie came out of the oven perfect! All golden and delicious. A perfectly inflated dome and it even looked like the apples did not shrink too much. Luckily I got some shots then, because by the next day the crust had unfortunately deflated, creating an interesting (read lumpy) topography on my pie.

SO GOLDEN!

SO GOLDEN!

SO DELICIOUS!

SO DELICIOUS!

SUCH A GREAT DOME!

SUCH A GREAT DOME!

Oh how how the mighty fall...

Oh how how the mighty fall…

Looks aside the pie tasted great! The best compliment I got was that my pie was the platonic ideal of an apple pie. The crust on this pie was my best one yet I think. The cinnamon sugar was a nice touch and I definitely want to play with another flavored crust in my final pies. I was worried about my apples being under-cooked  since there were so many, but they were fine. All in all a good go at the “perfect” apple pie, I think I totally would have had it if was eaten the day before, maybe with some ice cream, hot out of the oven. Yum.

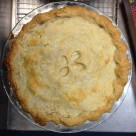
Turkey, Brie, Apple Pie!! with apple cider turkey gravy.

IMG_1376

IMG_1377

IMG_1380

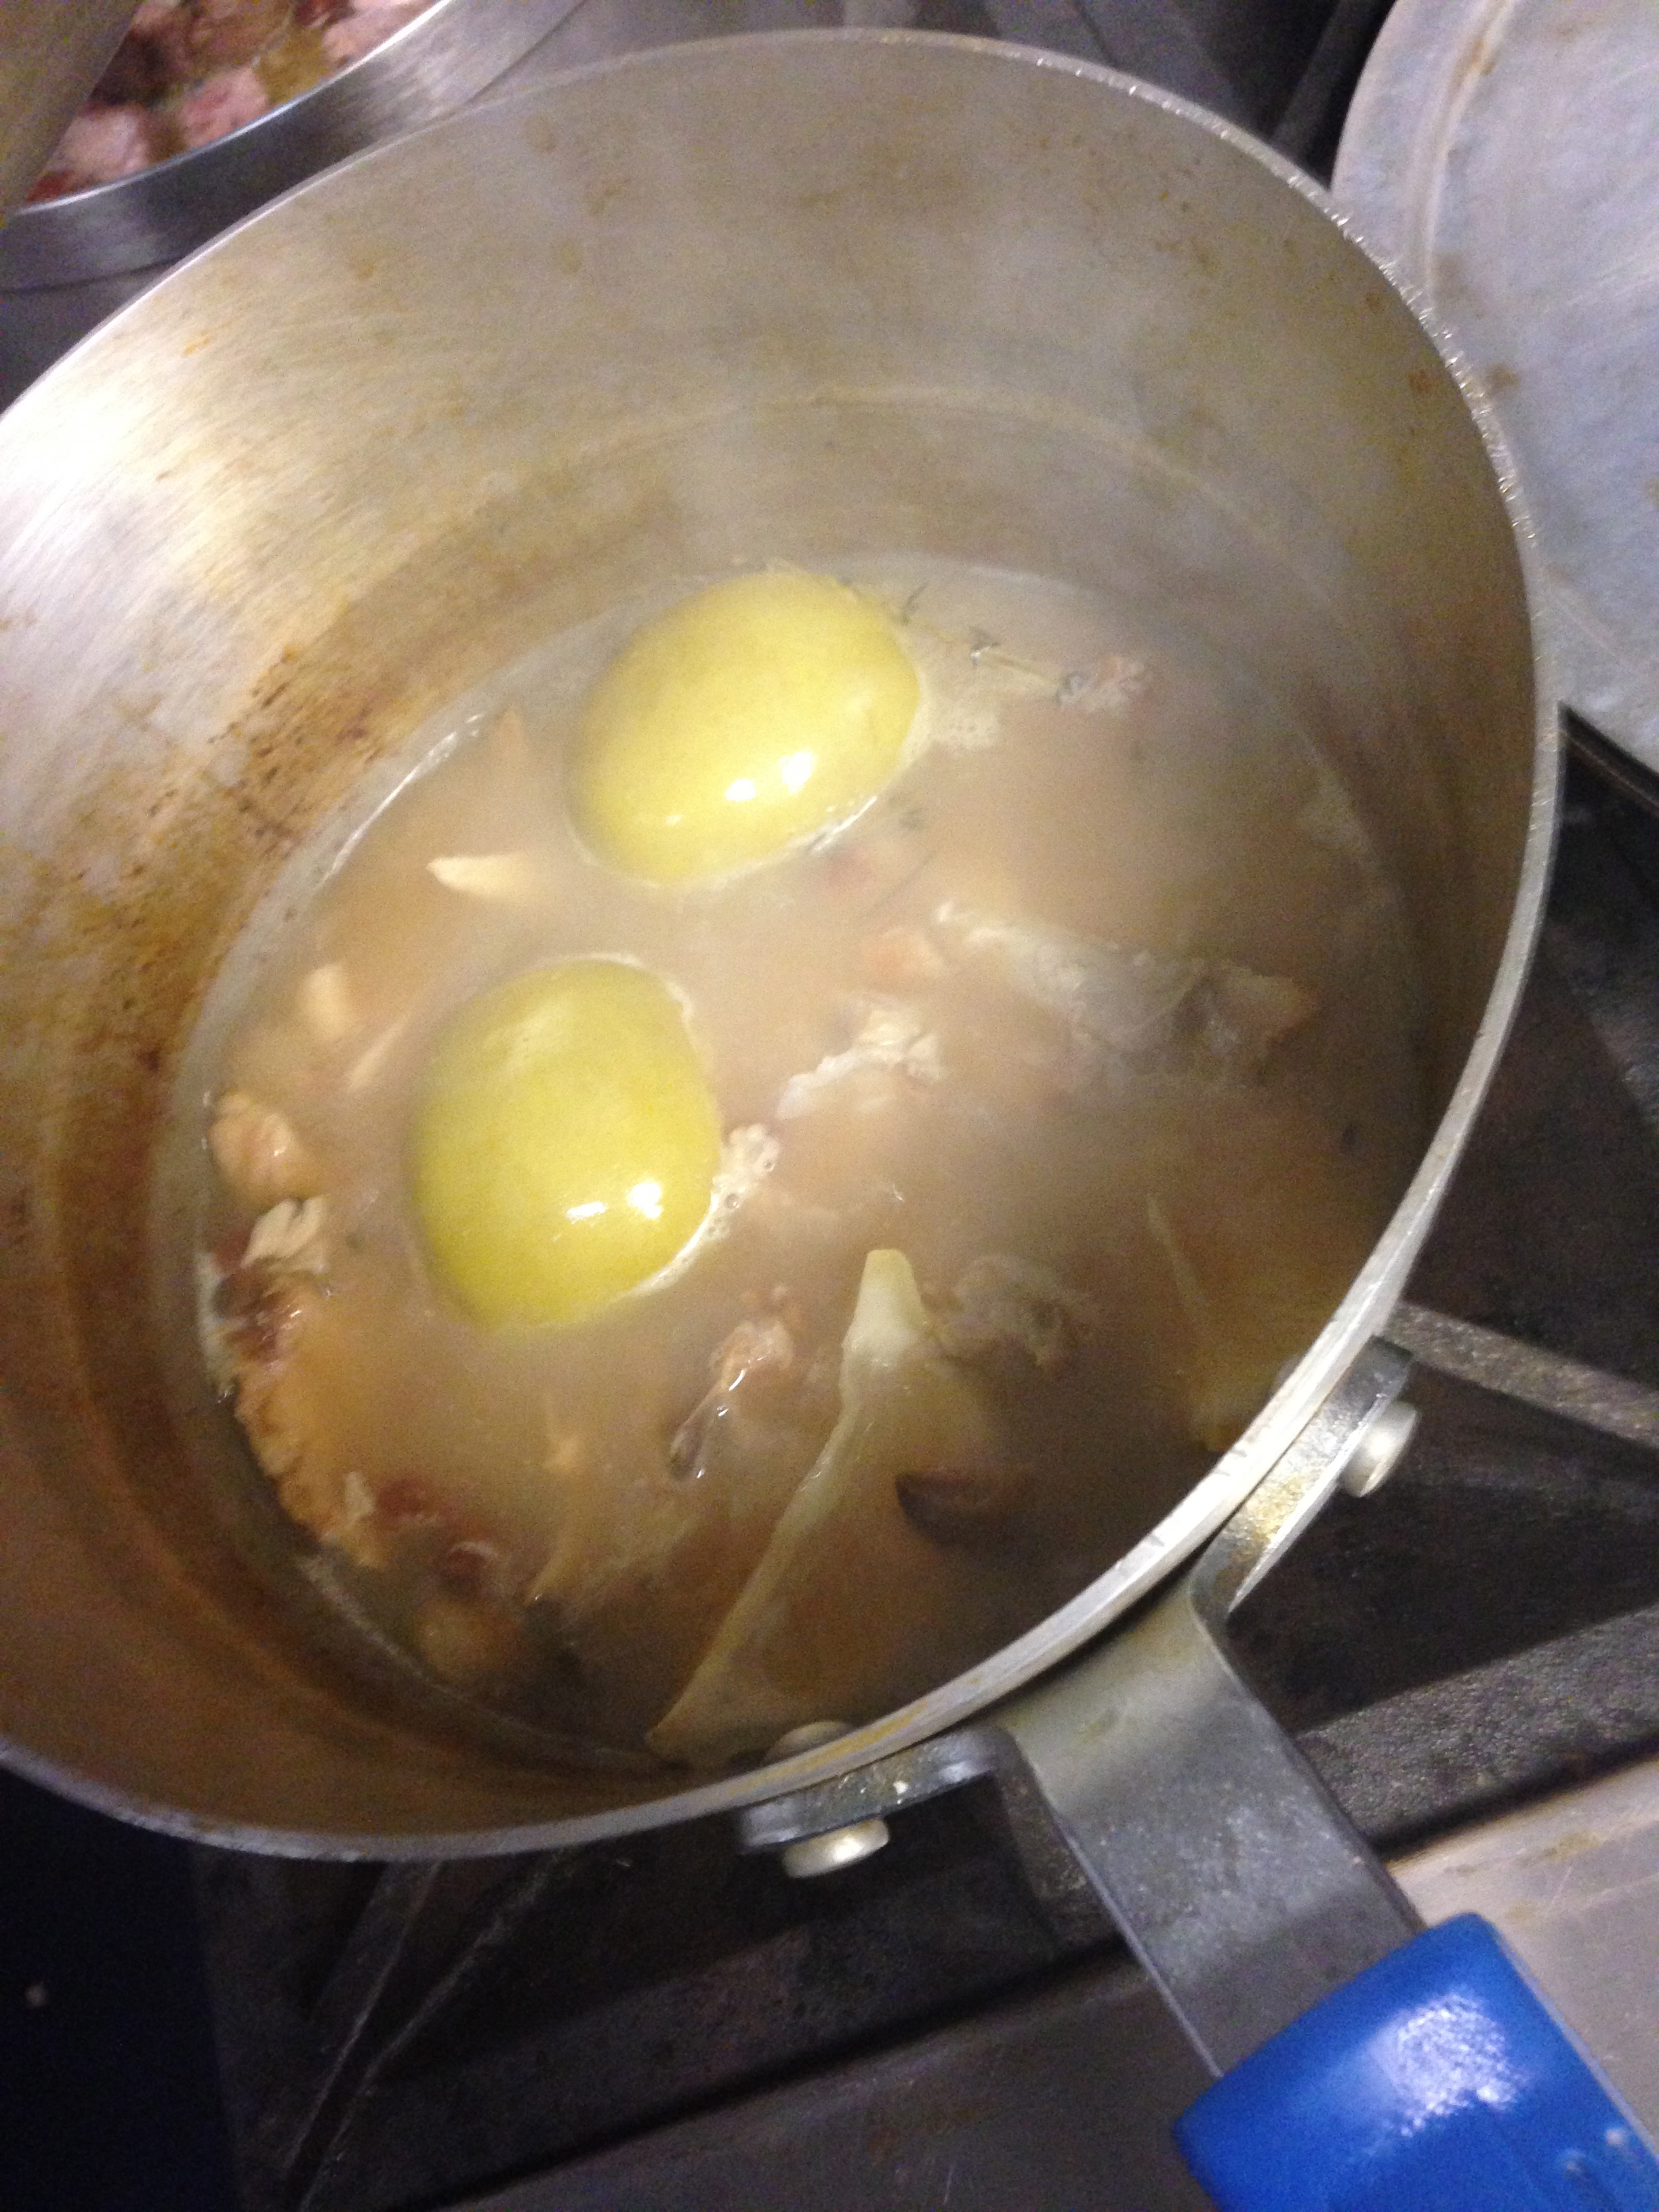
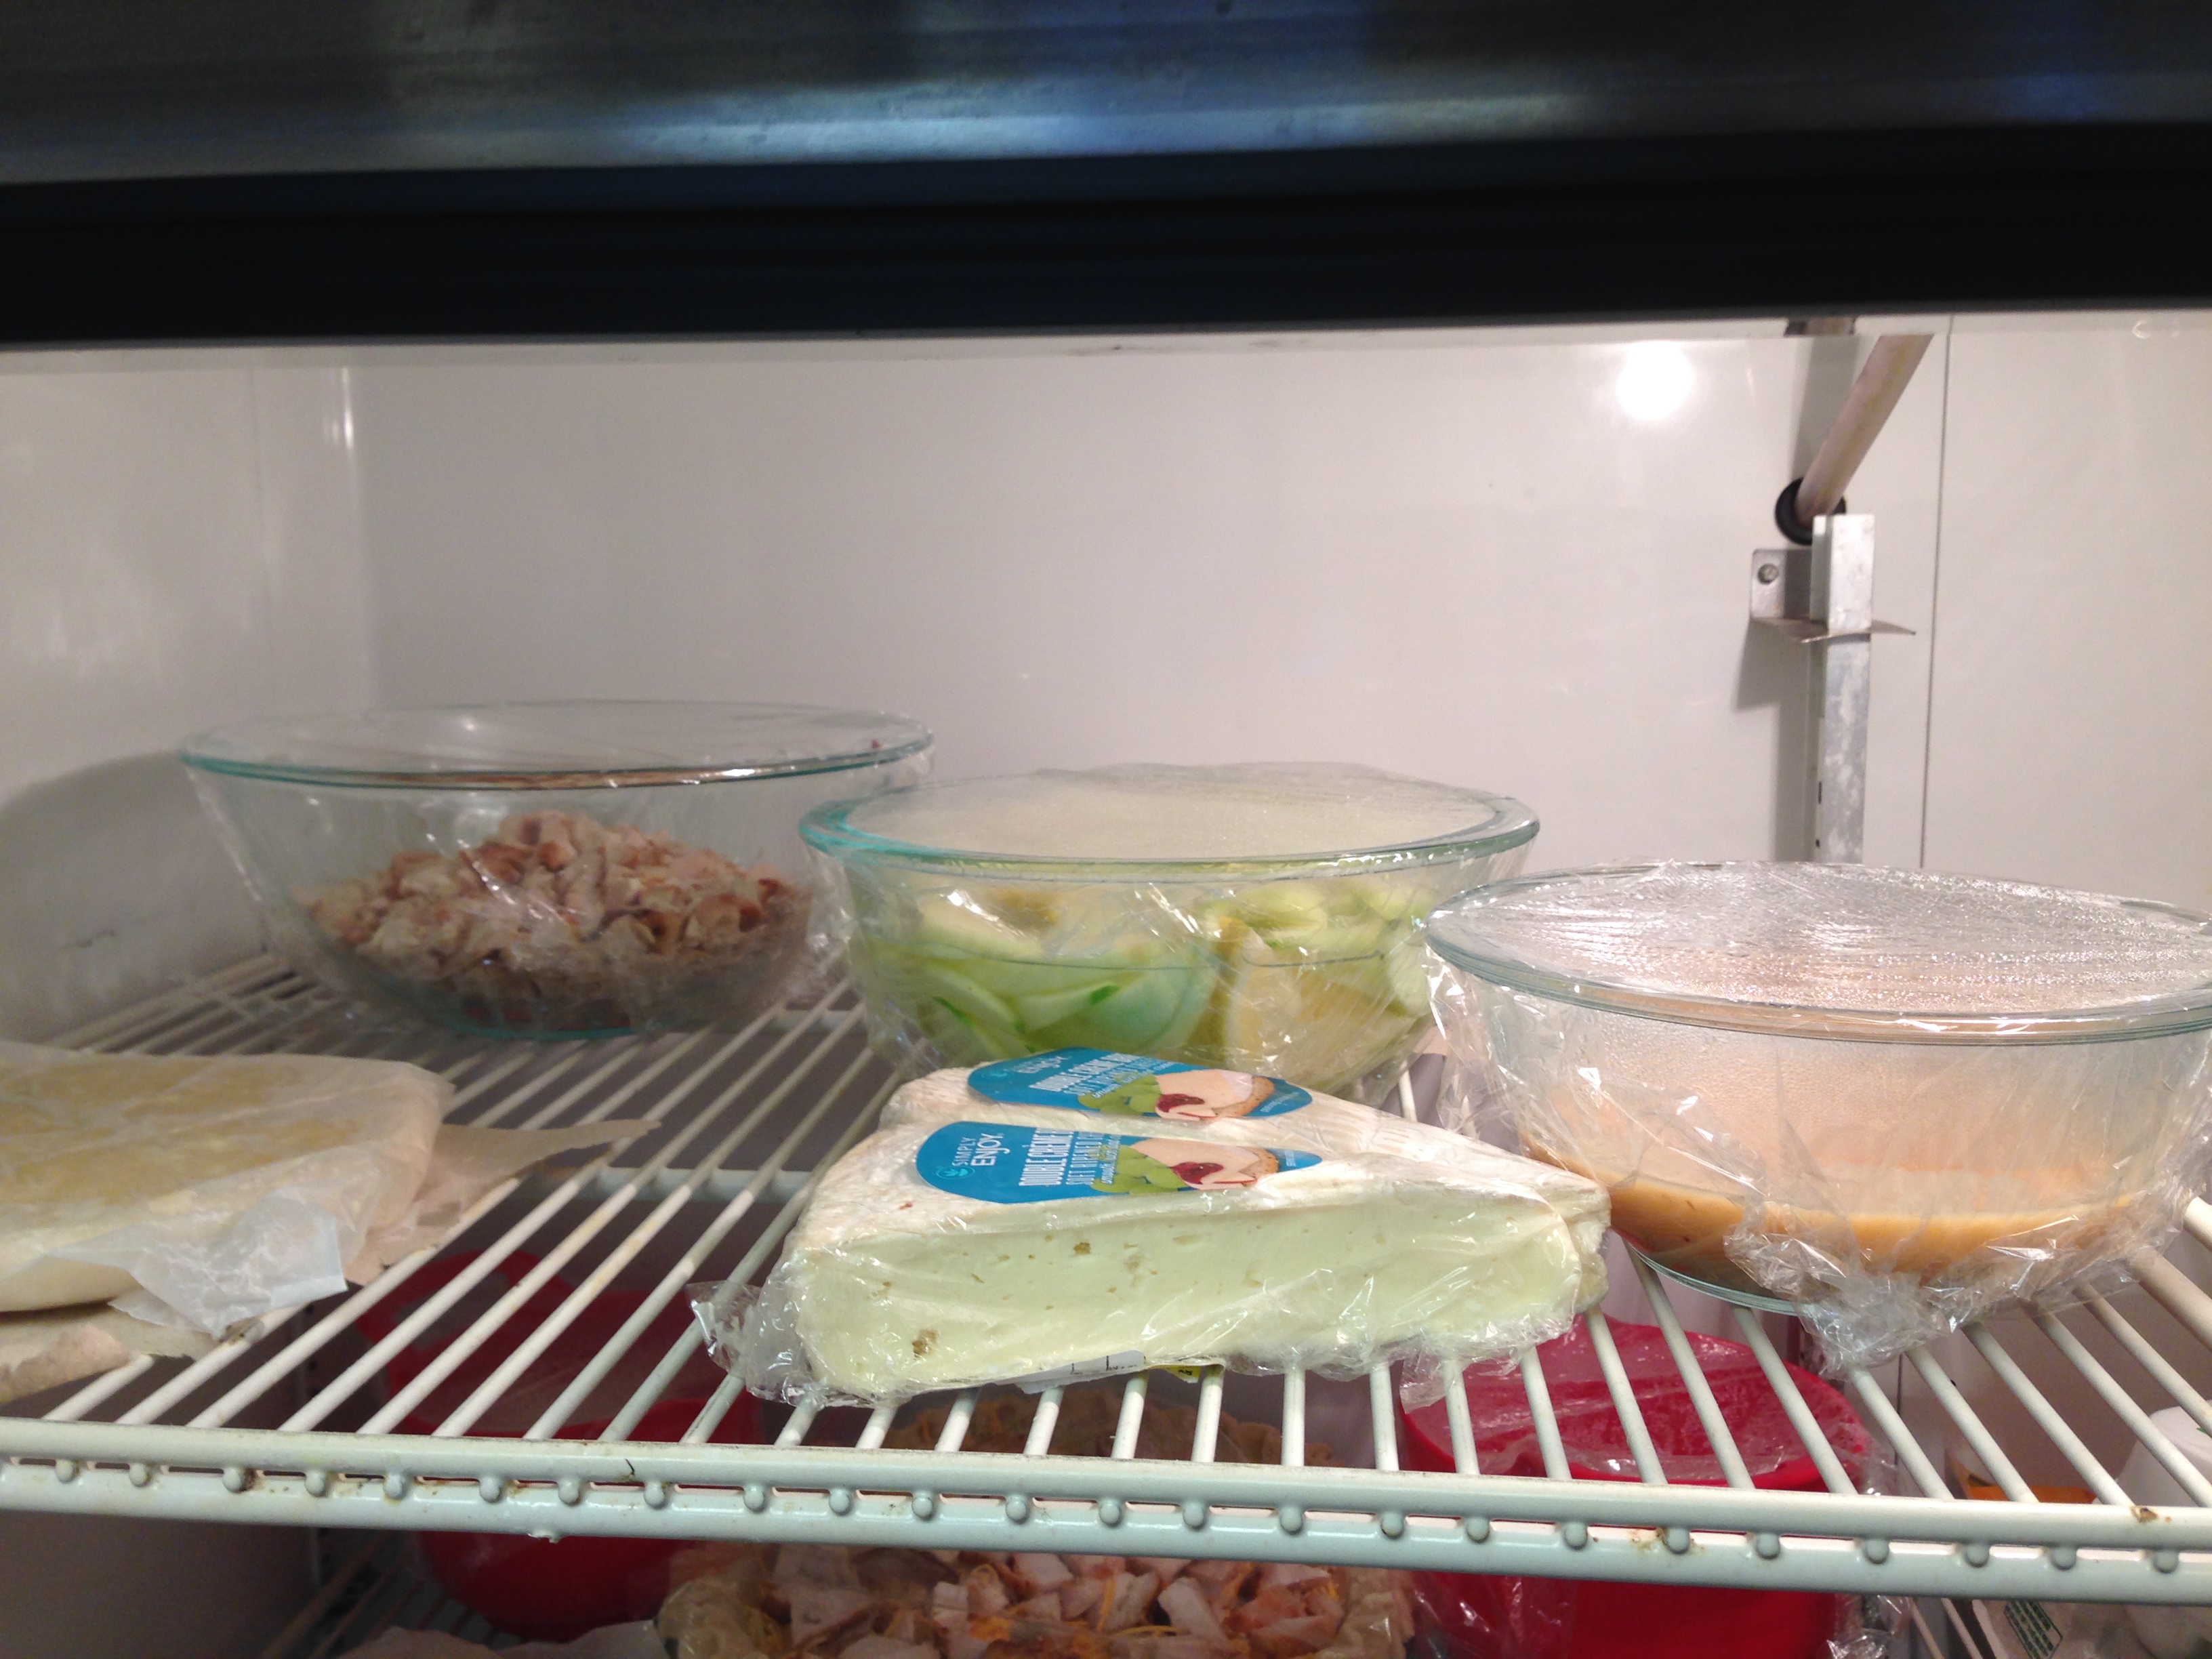
IMG_1381This pie actually came about because of a panini I had while I was home for break. Turkey, brie, and apple panini. The brie melts and is delicious, and the apples provide a little bit of crunch and tartness. It is awesome. So when given the chance to throw savory things into a pie, I jumped on it! The only problem was that I couldn’t really find a recipe, so I made it up as I went along and I’m really hoping it’s good. Figuring it out as I went along, though, was a really good learning experience for me because with David’s help I began to learn how to know when something needs more of a certain spice. Definitely a good skill for cooking.

Wooo mixed berry pie!!

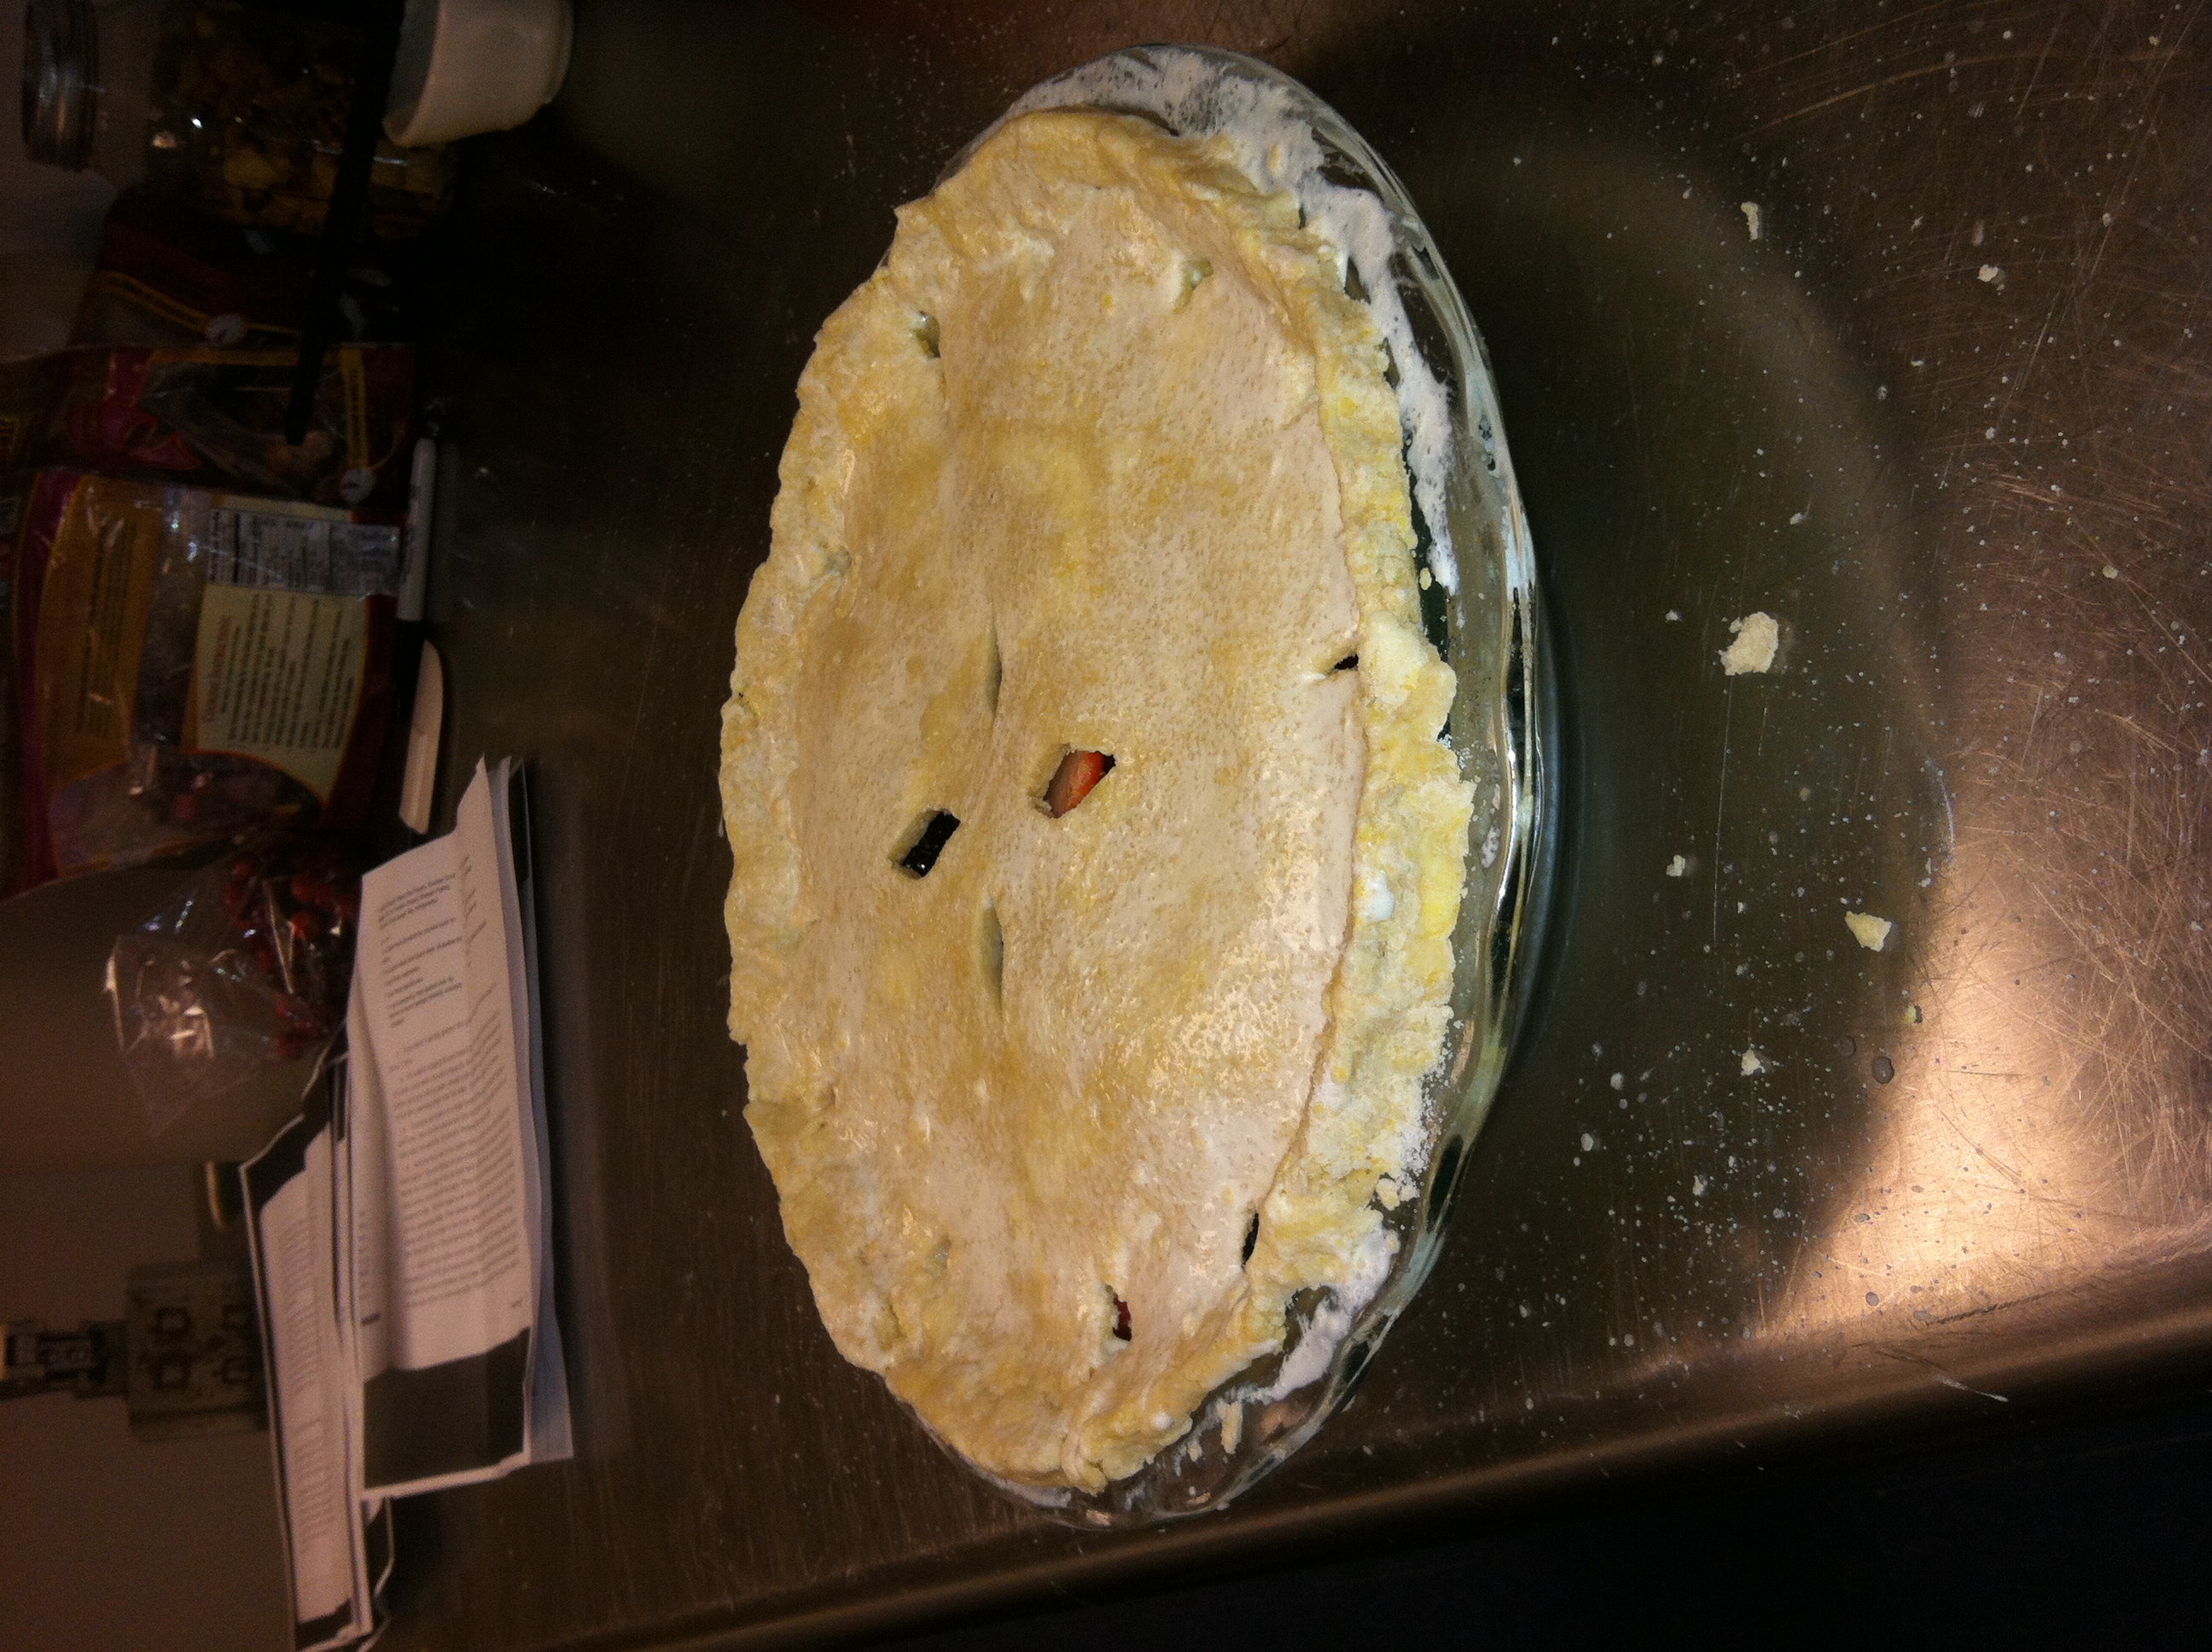
image image2

Nikki here! I, personally, was very excited to make an ENTIRE PIE from scratch. Also, I’ve never blogged before so that’s pretty exciting as well. And now Sara Wu and I can genuinely say we can make pie-who wouldn’t want such skills? Sara and I had a few issues with the crust (there is apparently a very fine line between too little and too much water to be added…we didn’t find that line) in any case, our mixed berry pie turned out rather well I thought. I wasn’t feeling very creative so I let Sara make a nice design on the crust. I also had a lot if fun using my hands to get the job done. To celebrate our crust finally becoming crust-like, Sara and I finished off David’s mince pie  (sooooo freeeeakin goooood). Can’t wait to try everyone else’s! There was also a brief issue with the lemon zest that was going into the filling…there was a lack of zesting utensils as well as a lack of knives suitable for mincing lemon peel (thanks to Dave for his problem solving skills, we may not have made it otherwise), but we finally came through (don’t worry, unusually large chunks of lemon peel are indeed edible). The final step, the actual baking of the pie, was easy; our outer rim browned a bit more than the rest of the pie but it still looks pretty (which is all that matters anyway). If anyone is obsessed with berries and pie, this one’s for you! Hurray for week one! Over and out.