Category Archives: double-crust pie

Oh My, Apple Pie!

In the past three week no one had made an apple pie. I don’t know about you, but when I think of pie, apple is always  the one I think of first. Its the only pie dinning services makes with somewhat regularity. It is what various things are as “American as”. It is just plain yummy. So think week, when focusing on design I set about creating the perfect apple pie, the one that exists only in my mind, the one that haunts my dreams…

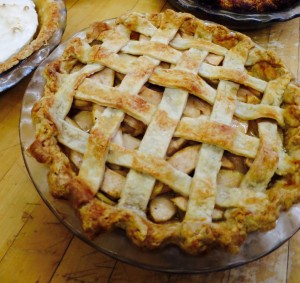
What does this pie look look? Well first of all it is large, it makes a statement walks into the room, just based on its size. Is it truly the epitome of American-ness if it is not large? I think not. This behemoth of an apple pie is glorious and golden, with a great soaring dome packed to the brim with apples. The apples themselves are tender, but still have a bit of a bite. They are cinnamony and sweet and tart all at the same time.

this week I used a combination of this recipe and this recipe and some good `ole gut instincts. It was the gut instincts that lead me to purchase the six pounds of apples for this pie. None of the recipes I found were willing to go this large, but I just felt it just had to be done. This week I also wanted to modify the cream cheese crust I used last week, this time using a slightly sweeter version that had half as much cream cheese.

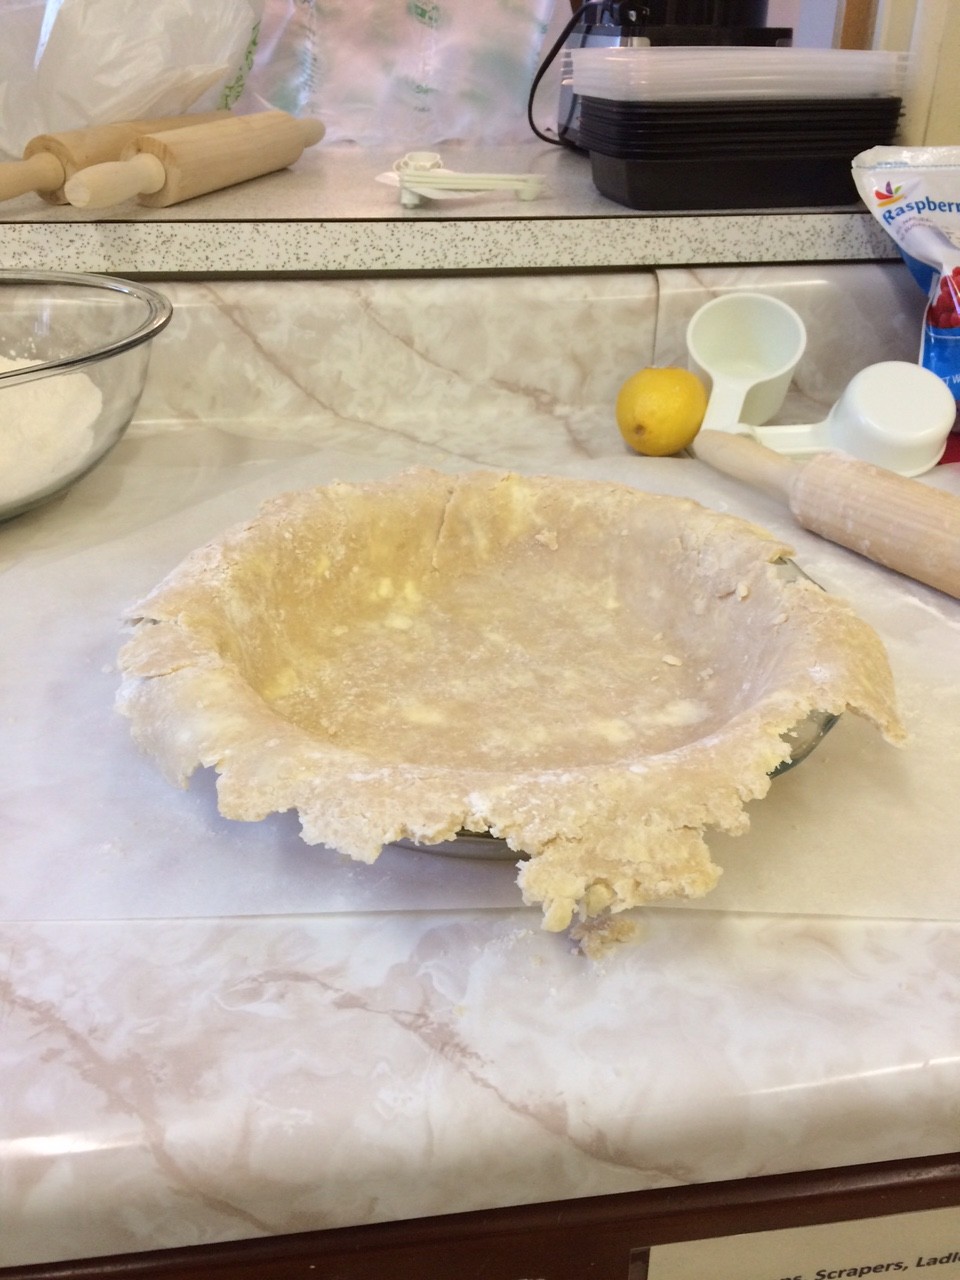
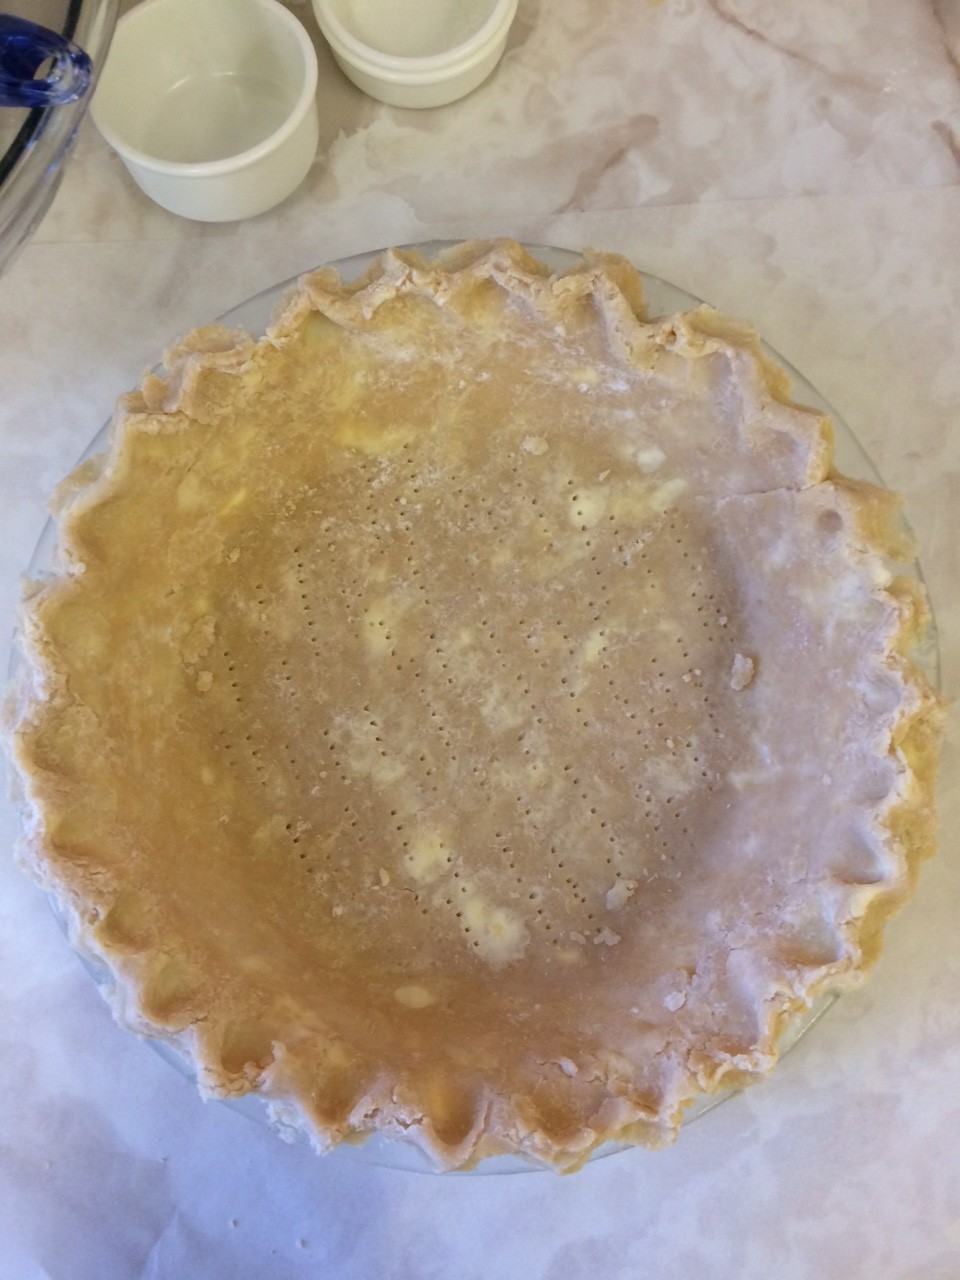
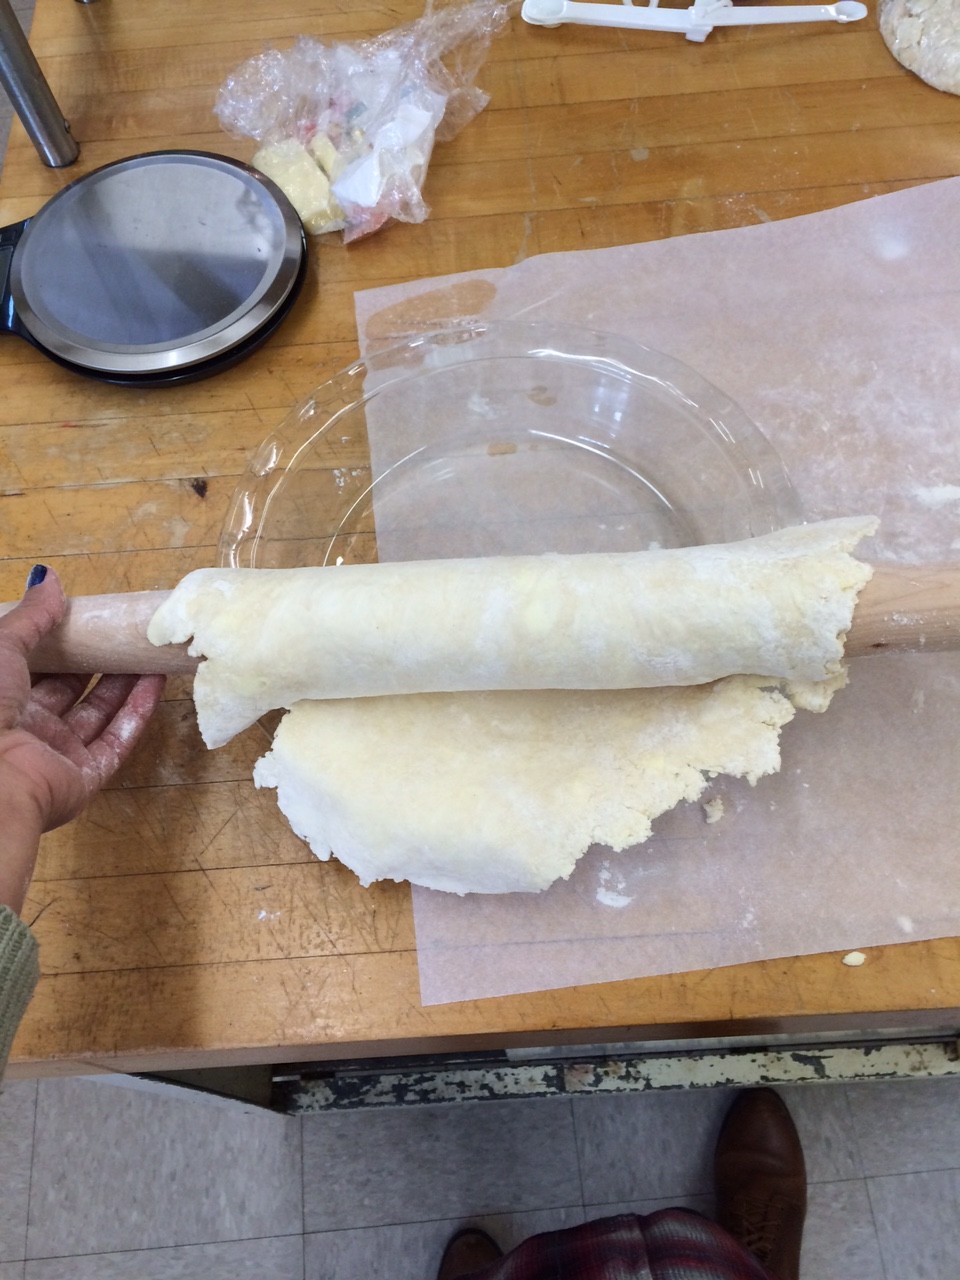
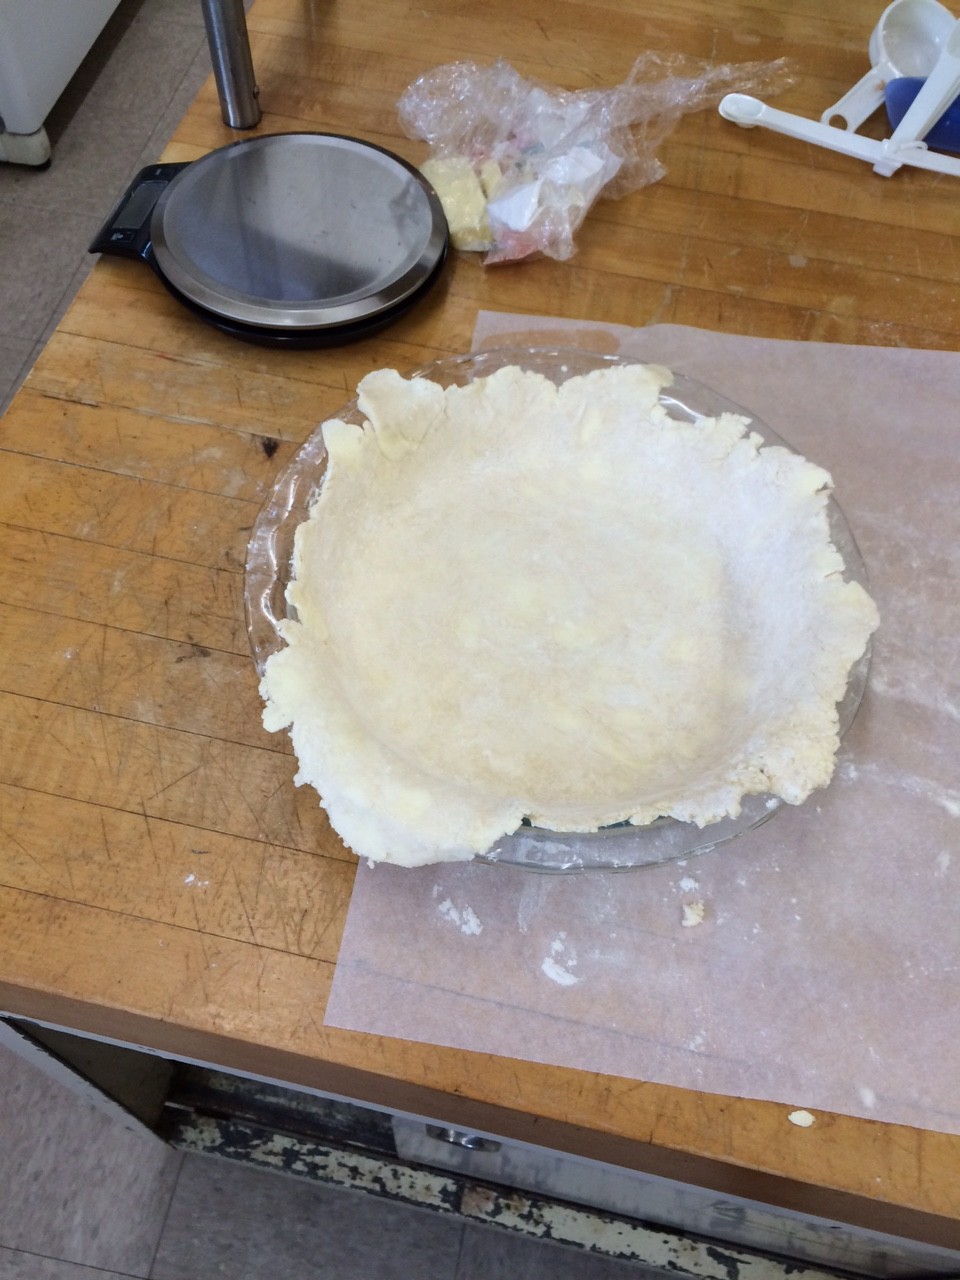
To begin, I set out making the crust. Pretty straight forward. I think I’m getting pretty good at this part.
IMG_1307IMG_1308

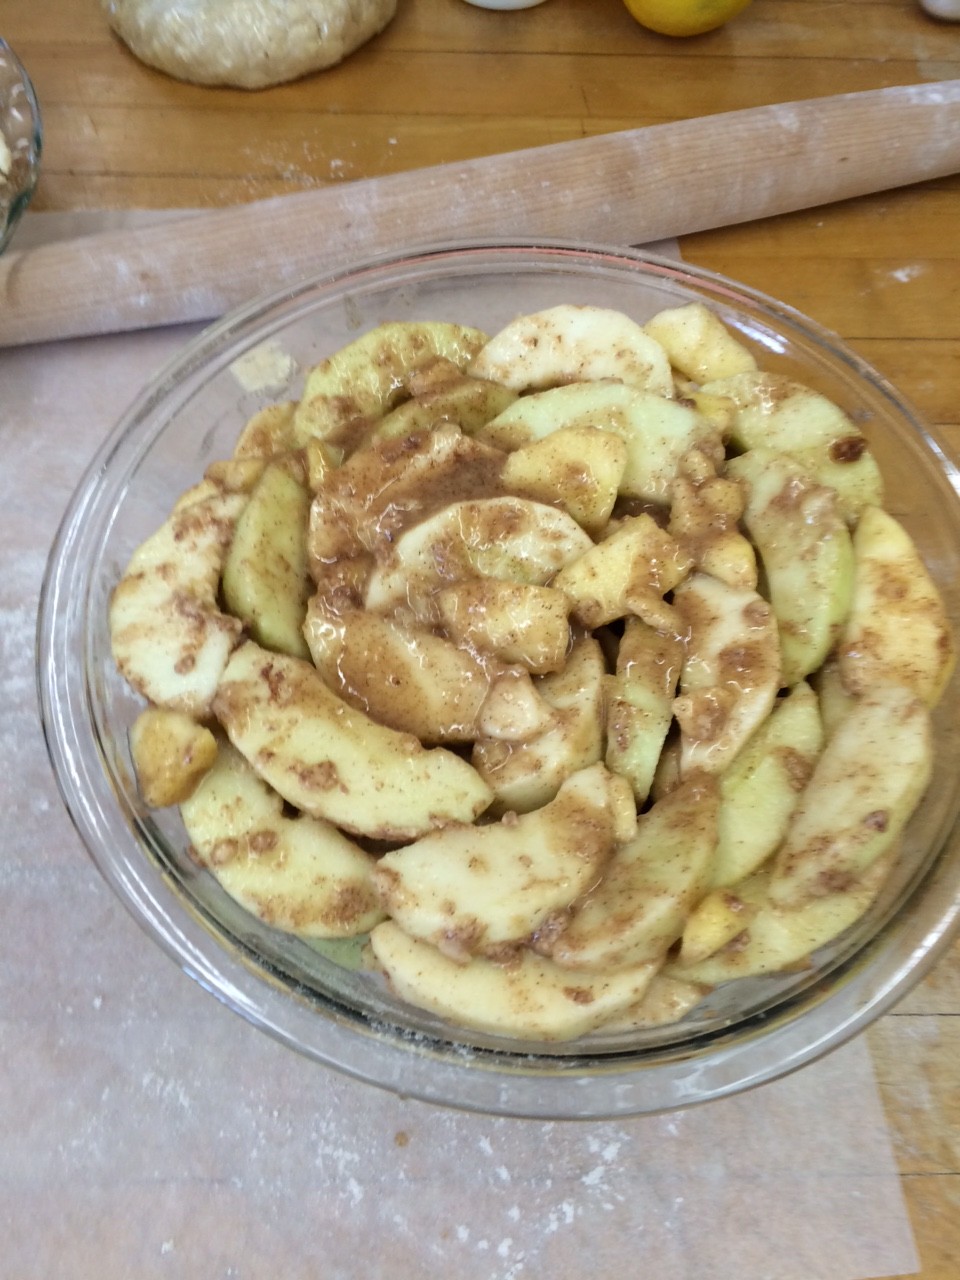
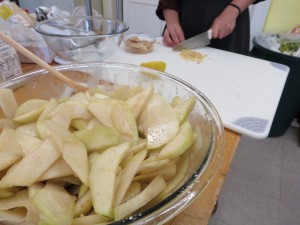
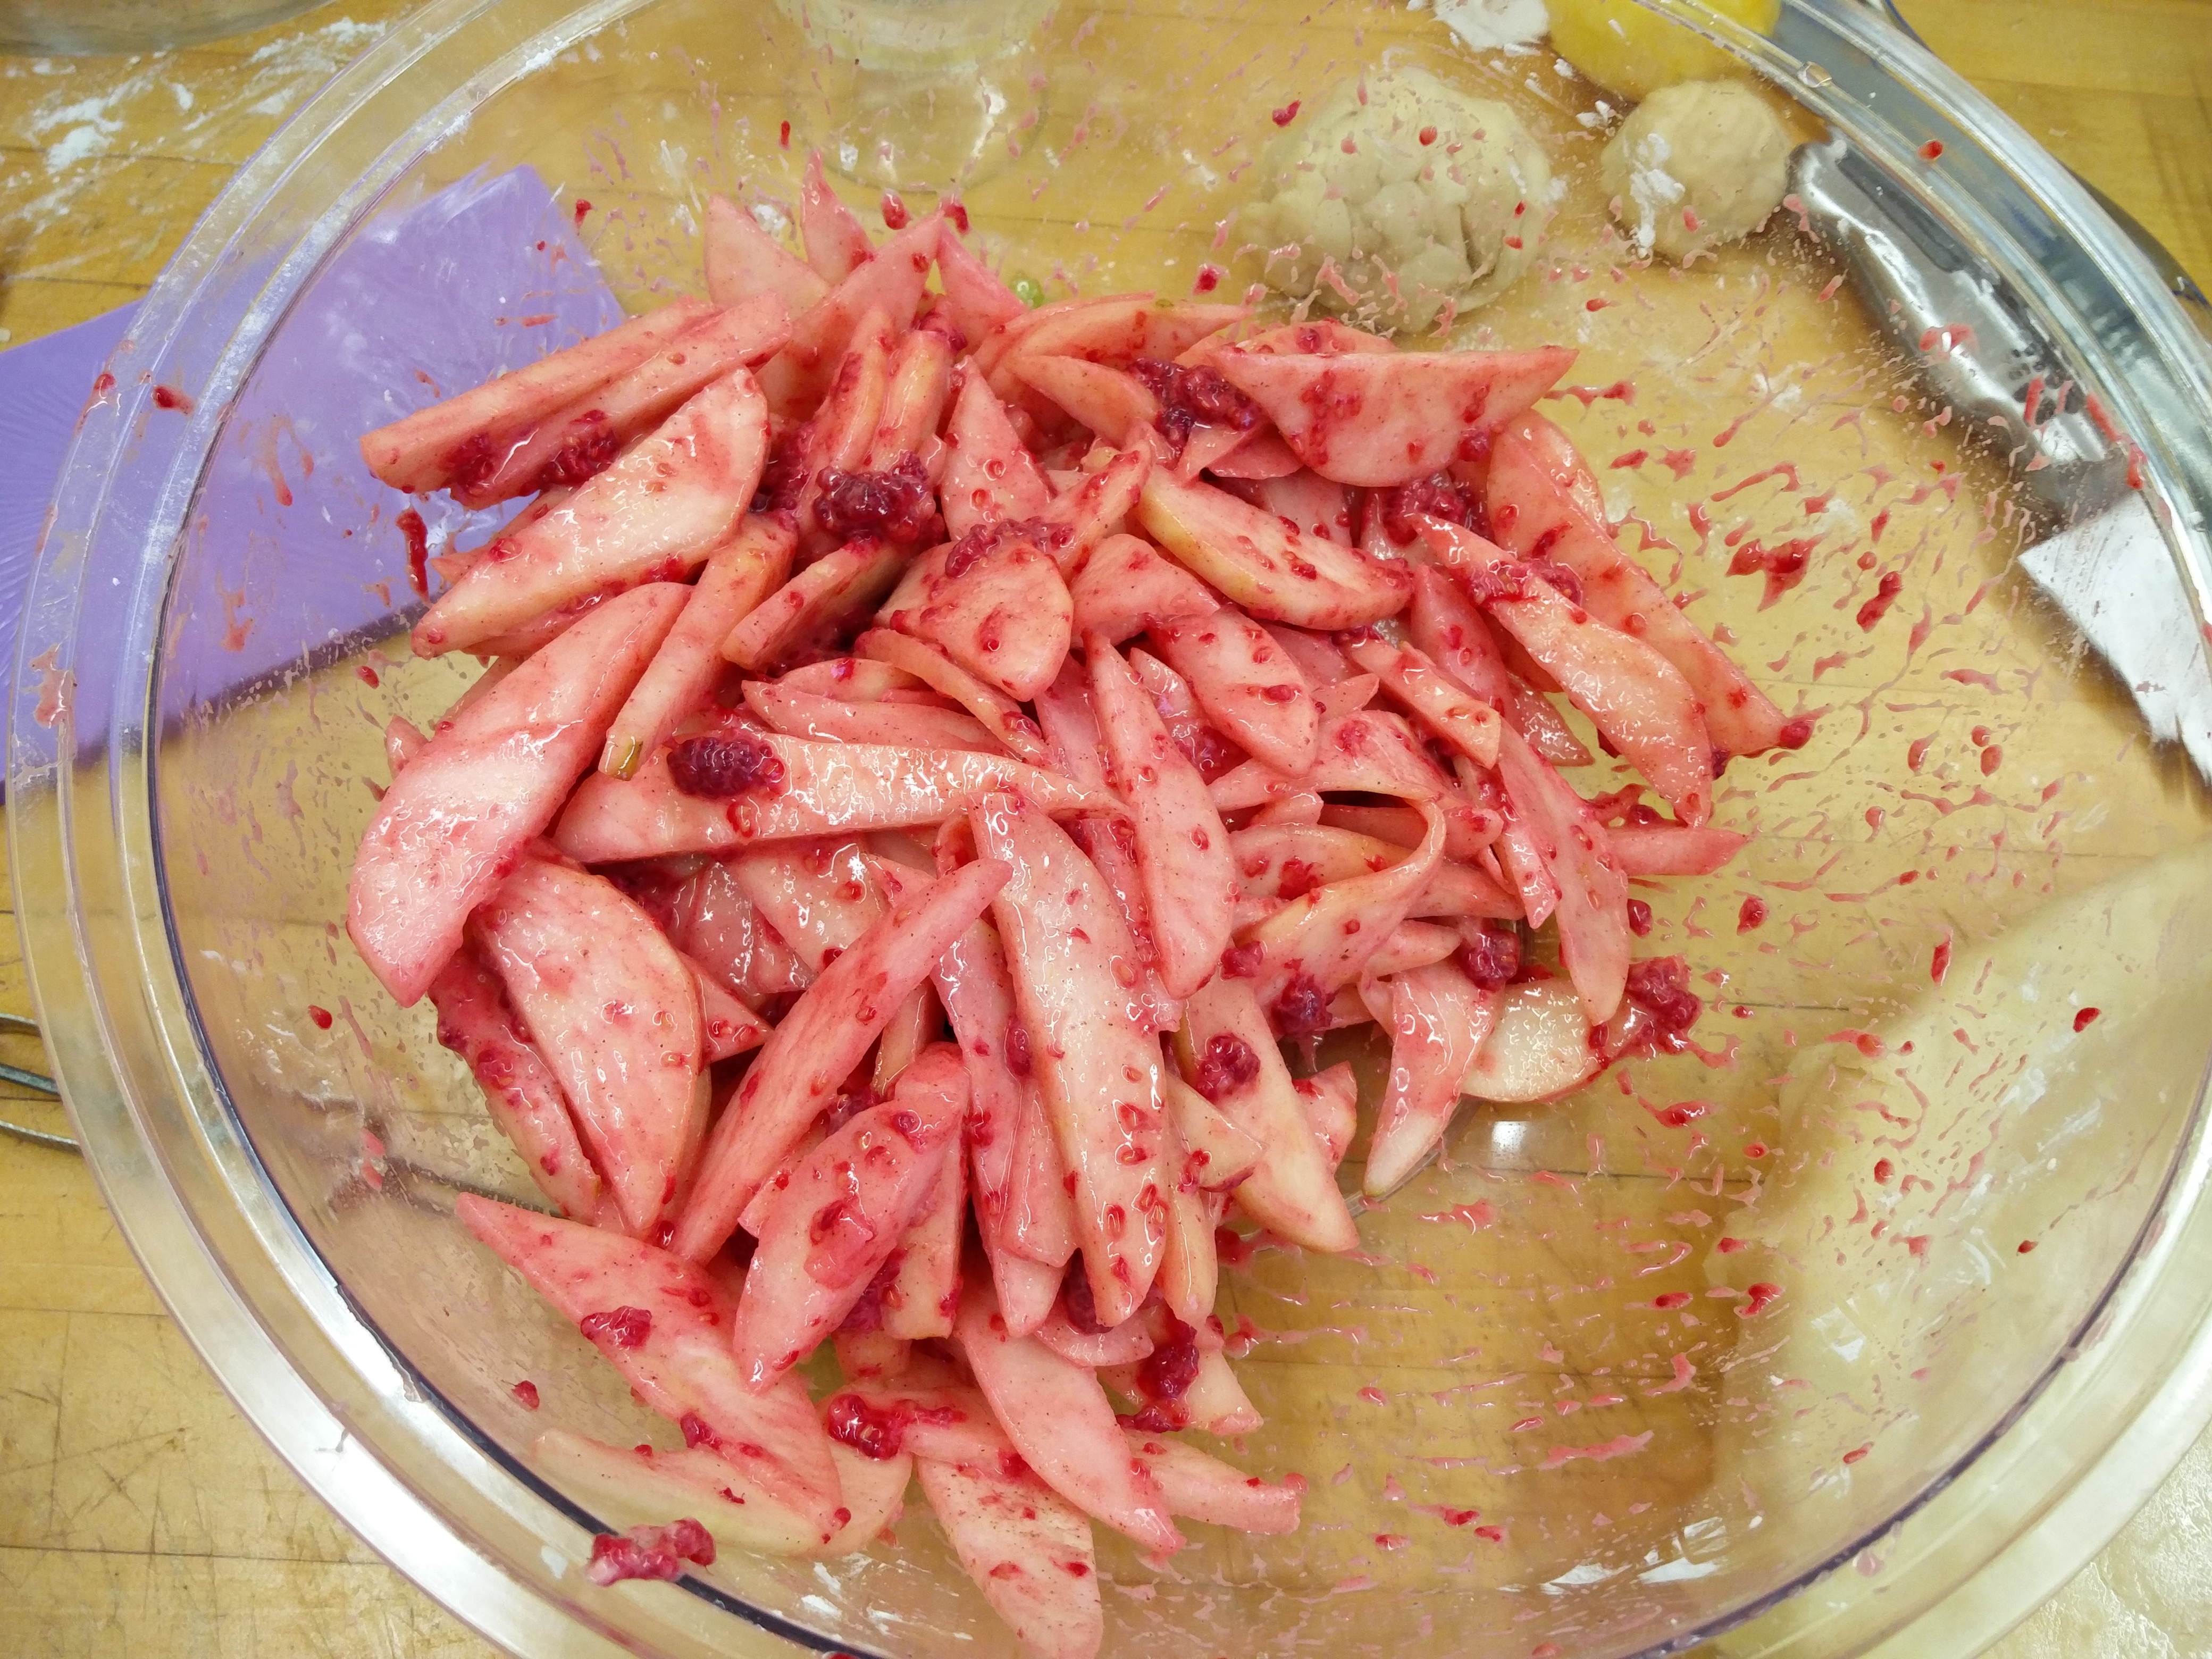
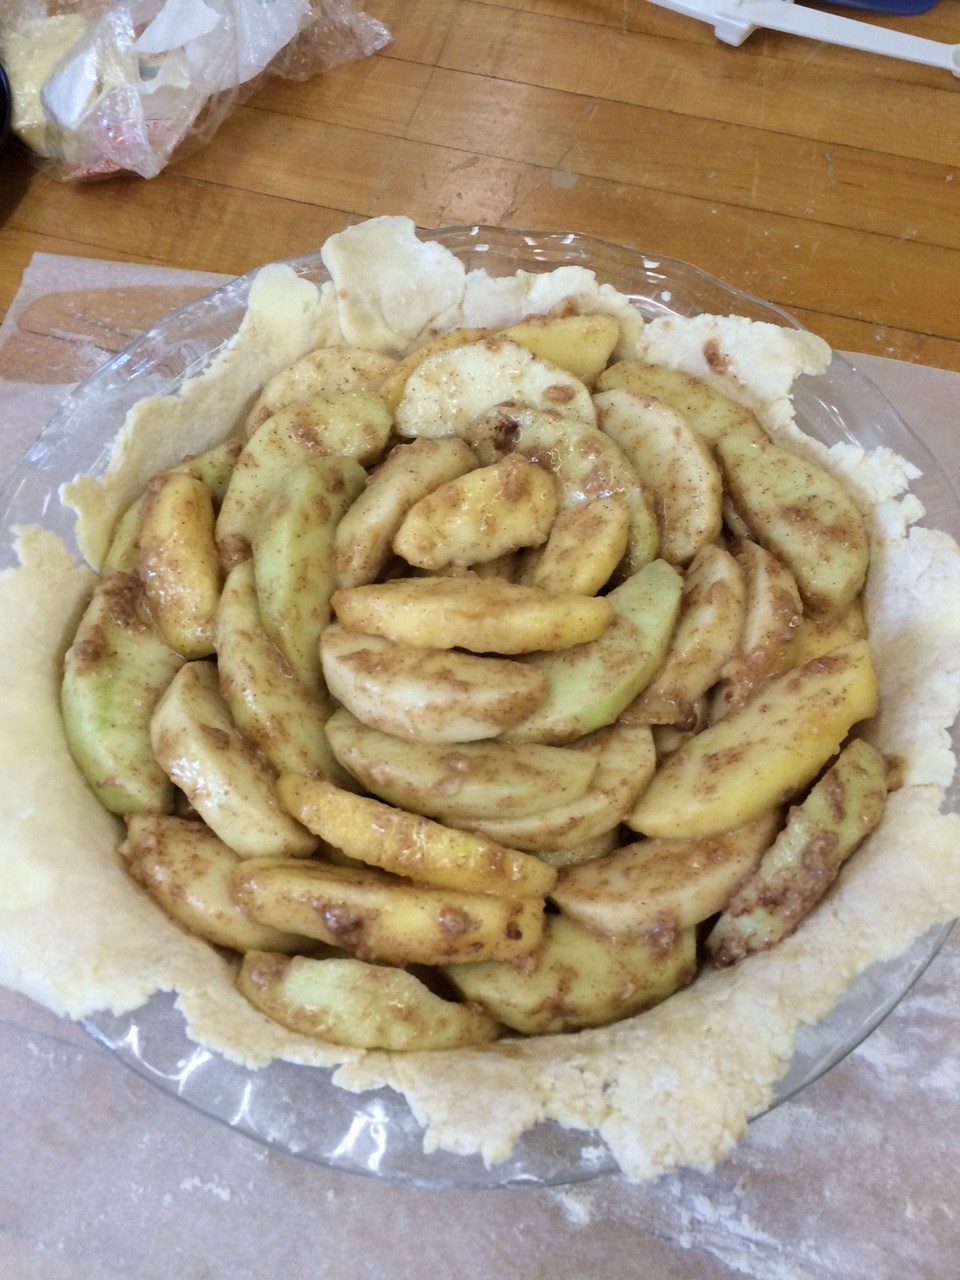
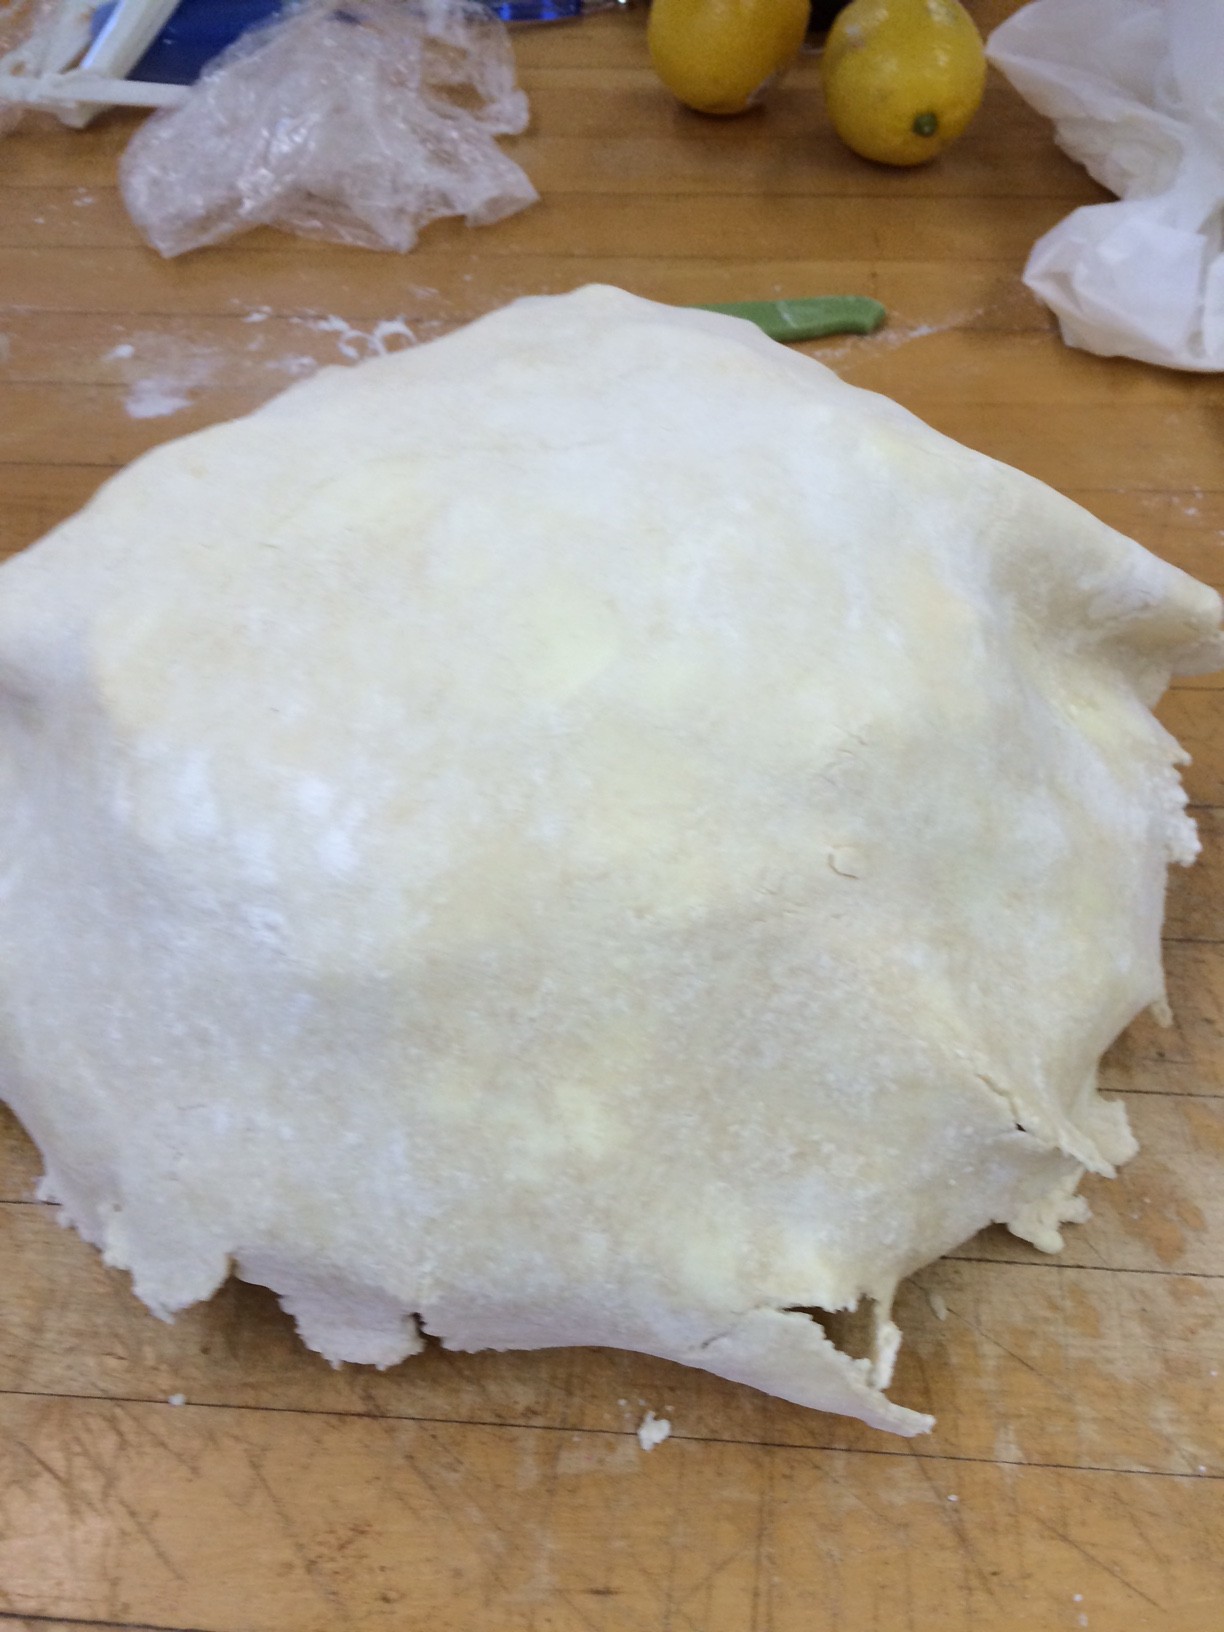
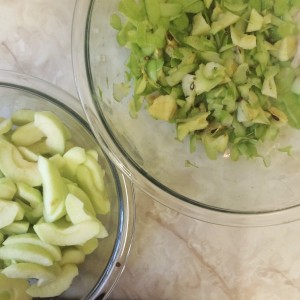
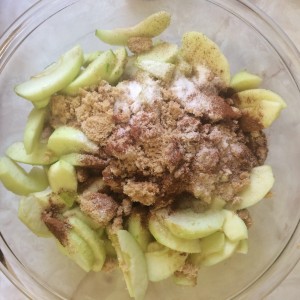
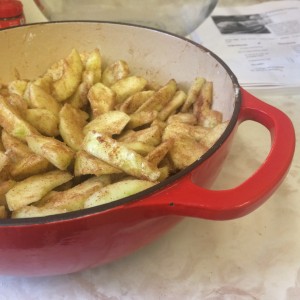
Then I set about peeling, coring, and cutting the six pounds of apples. That part was definitely the most difficult. So many apples. So many. By the end my hands were all pruney from all the apples wet with lemon juice. But I persevered. Mixing the filling was fine. Rolling out the dough was fine. Then the apples became an issue again as I realized I must get them all into this pie. Rather than just tossing them in, I decided it would probably look the best, and fit the most apples, if I carefully shingled them into the pie plate, and then used this seemingly magical trick with a bowl to get the rest of them in, in a perfect dome. The diagram I found to do this made it look super easy, but as I approached the flipping stage all the pinterest fails I had seen started coming to mind.
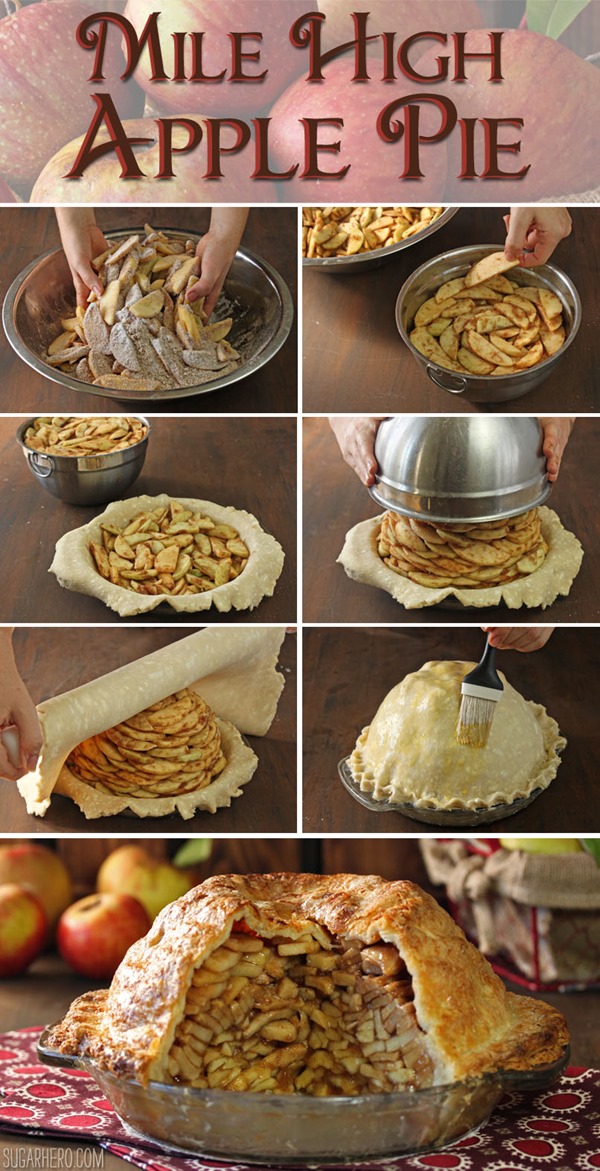
#GOALS
#GOALS

Base layer of apples

Base layer of apples

Bowl full of apples
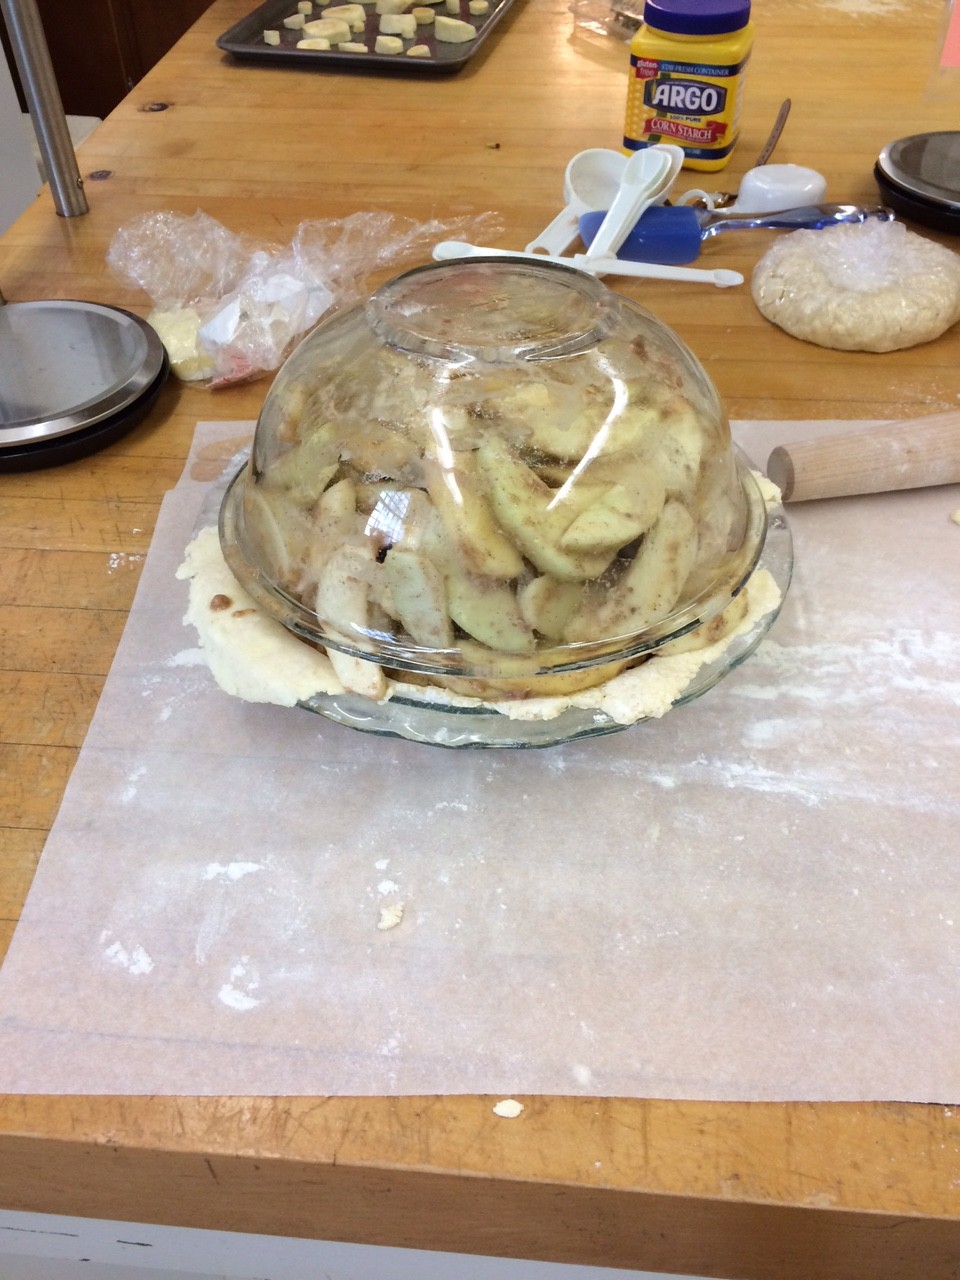
Bowl full of apples

Whelp.

Whelp.

In the end it turned out okay. Not as pretty as the picture, but no apples were lost in the process.
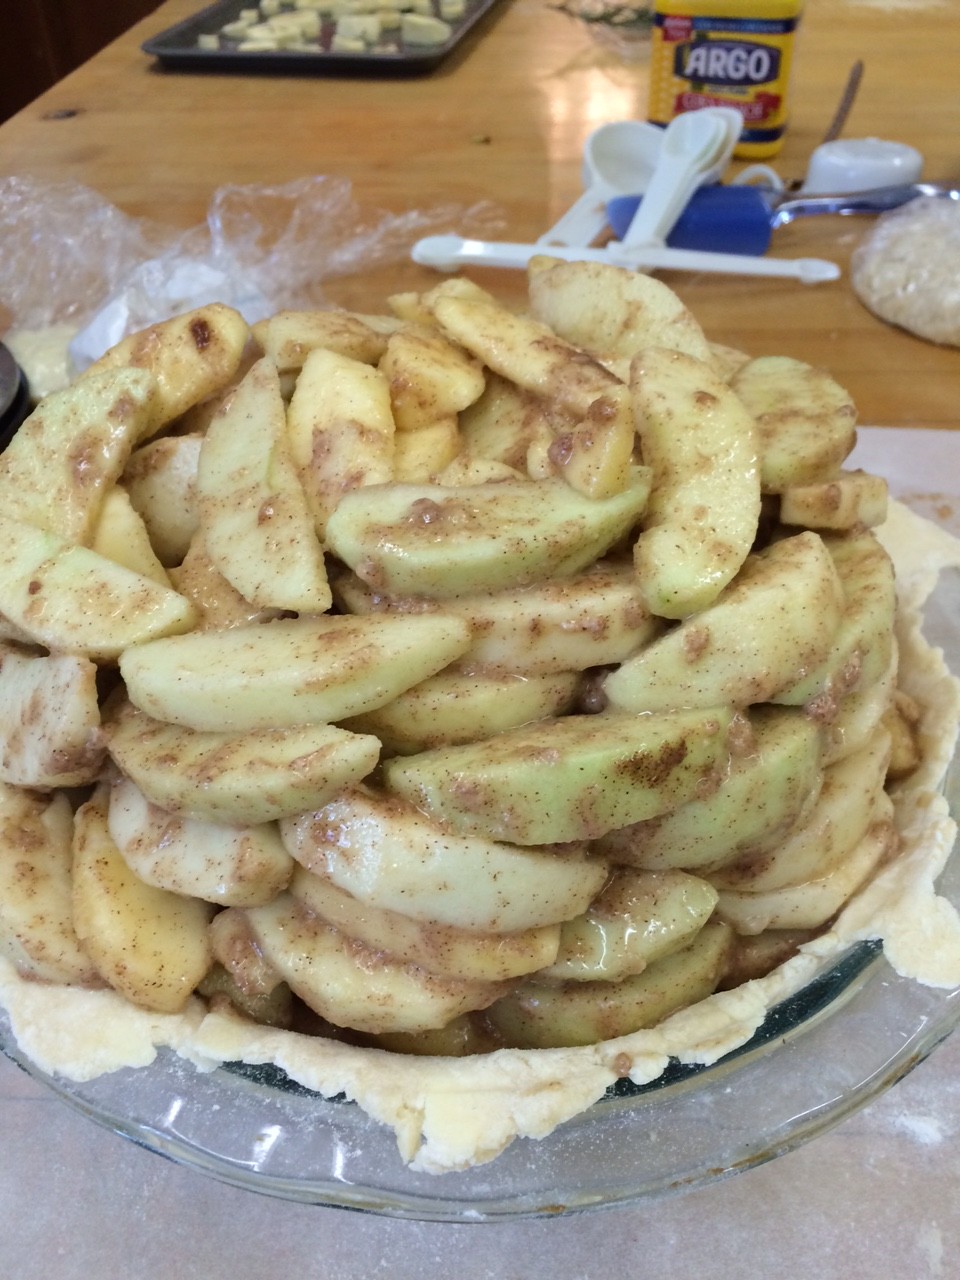
Not the best, but not the worst.

Not the best, but not the worst.

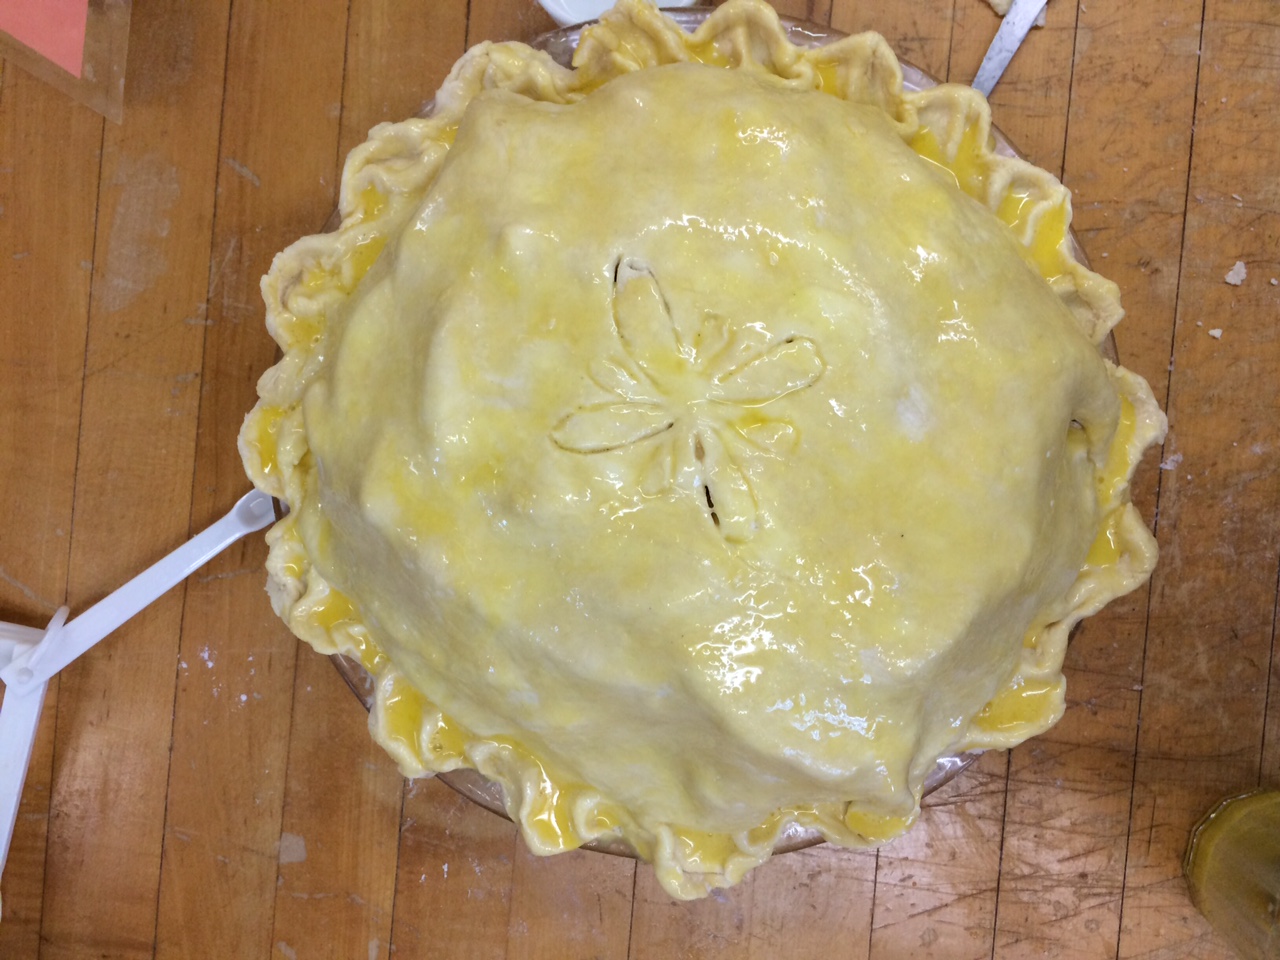
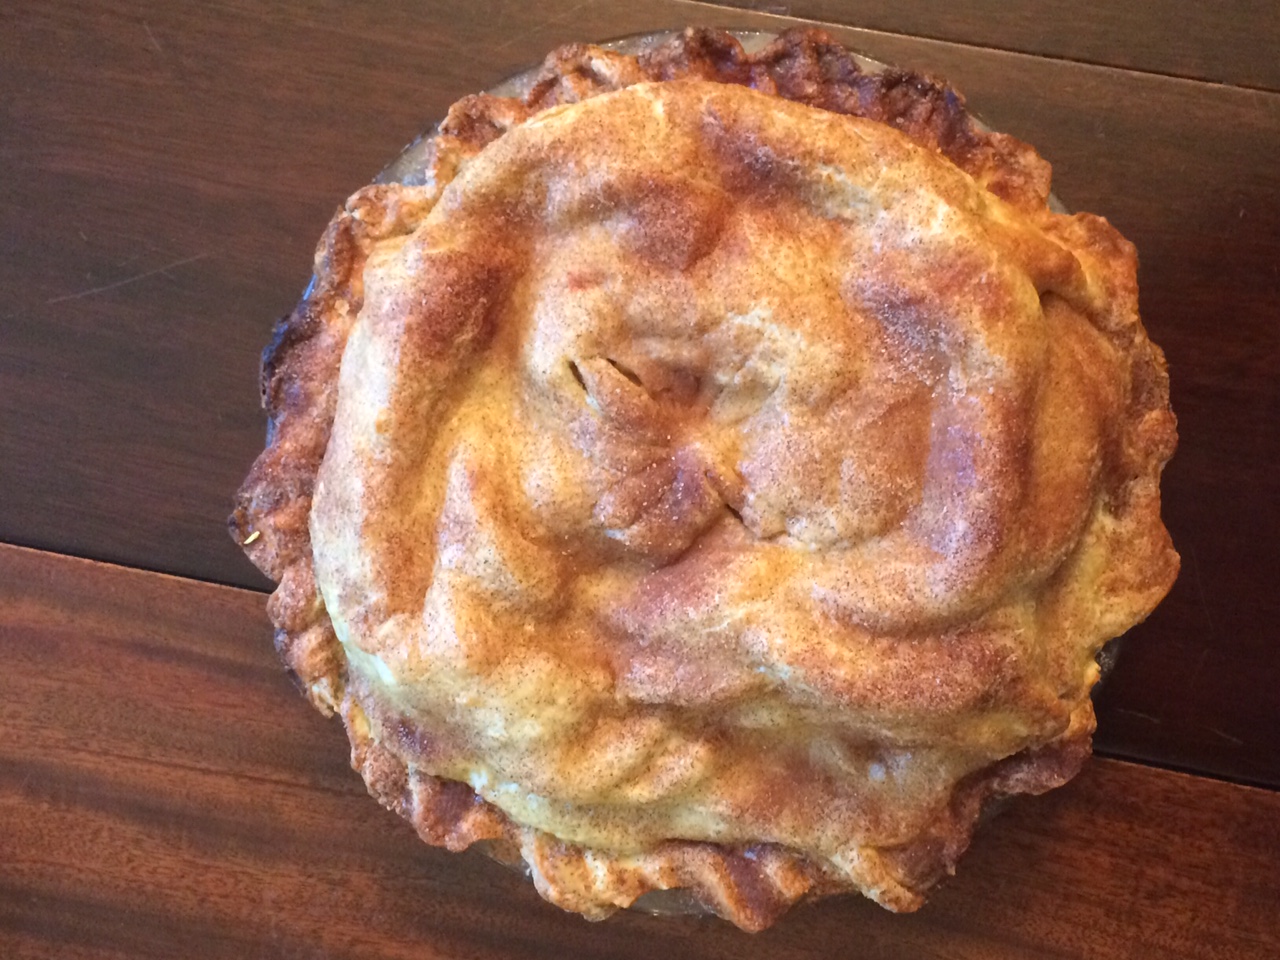
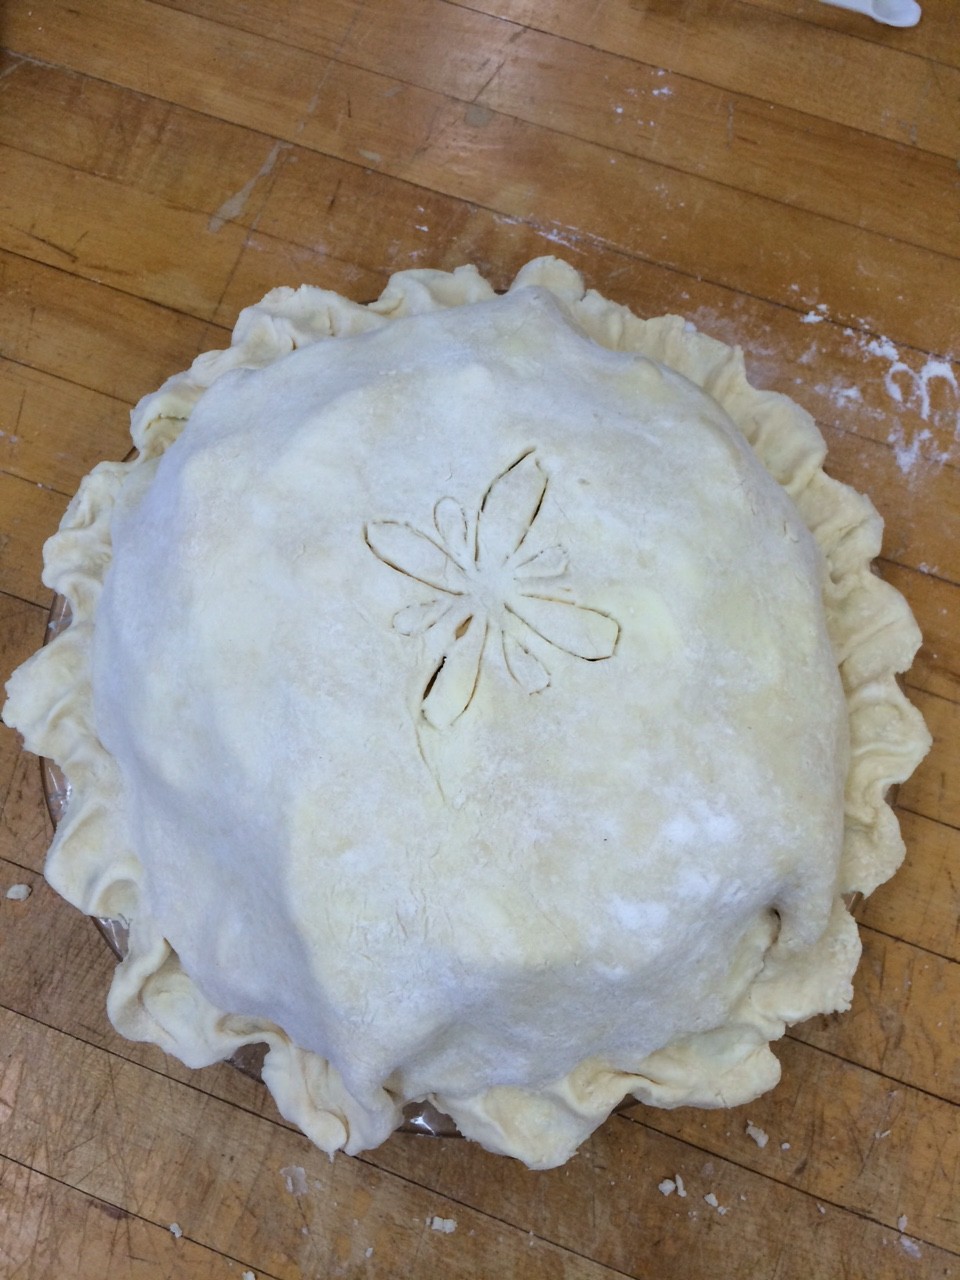
The top crust went on nicely. I did some fancy crimping, inspired by one our our course pack readings, and cut a flower shaped vent in the top. I brushed the whole pie in egg wash and then went crazy with the cinnamon sugar and popped it in the oven.
IMG_1325

ooooh fancy

ooooh fancy

IMG_1328IMG_1329

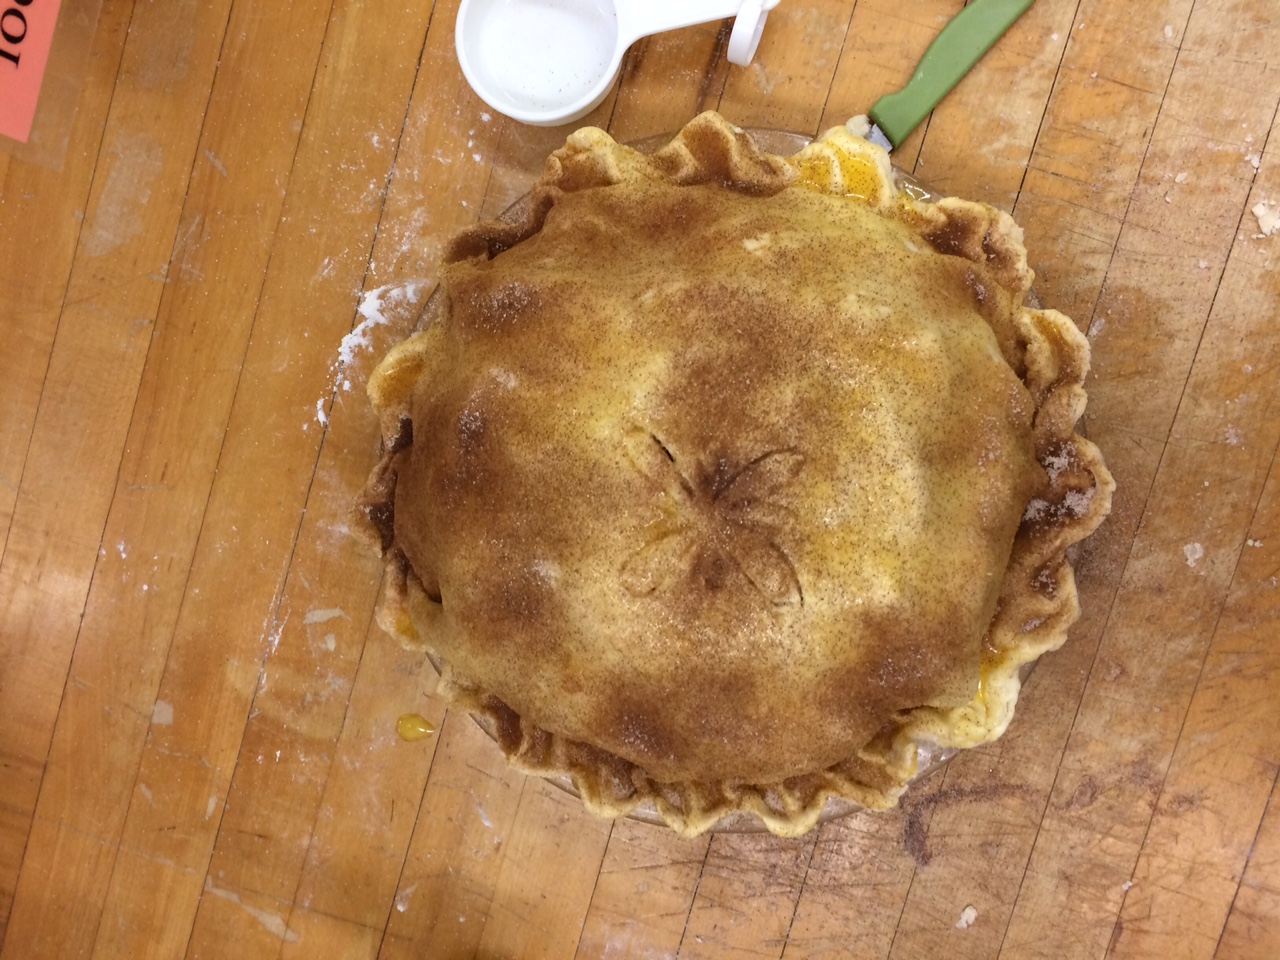
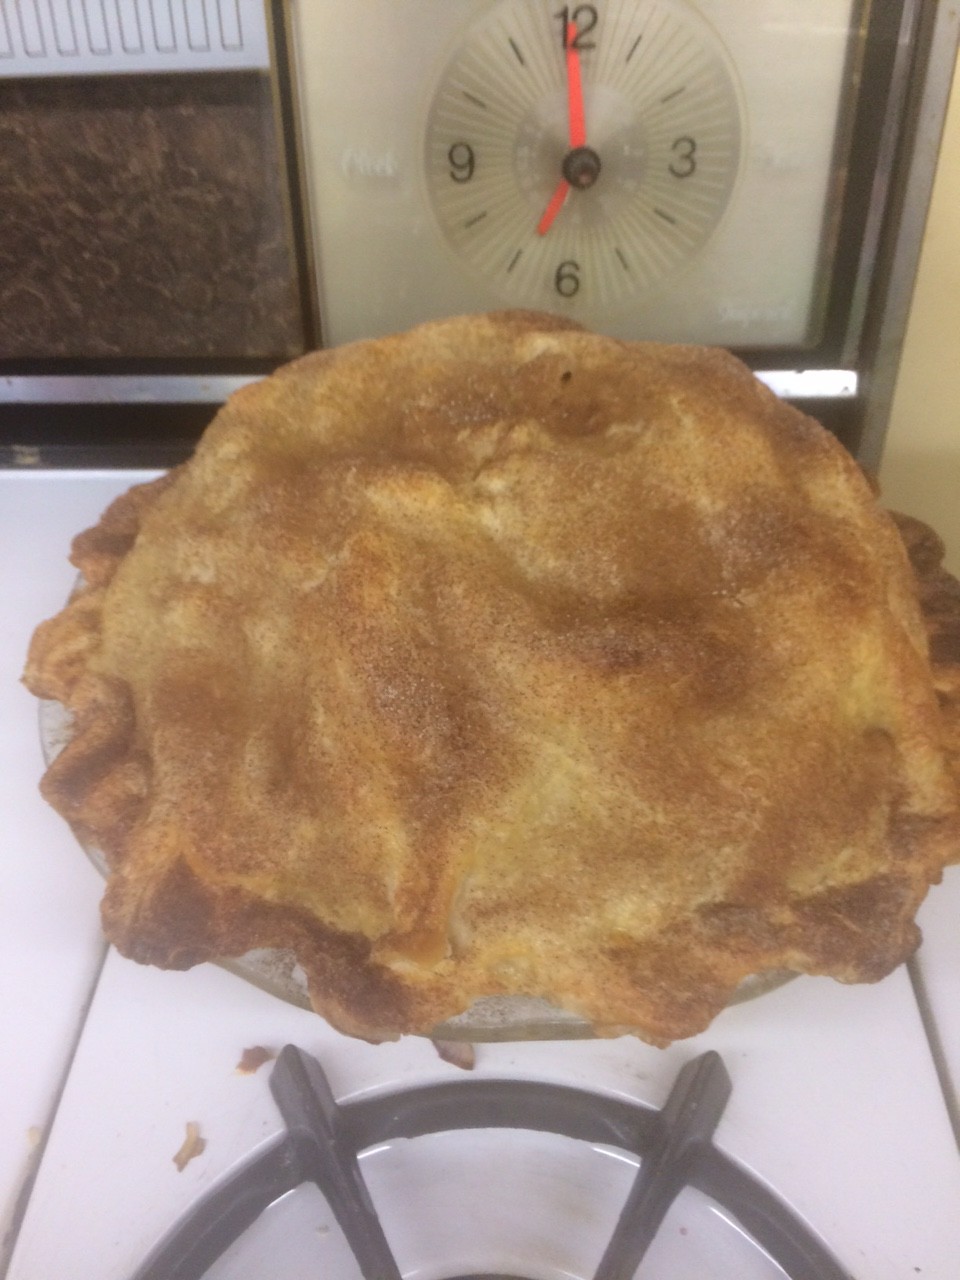
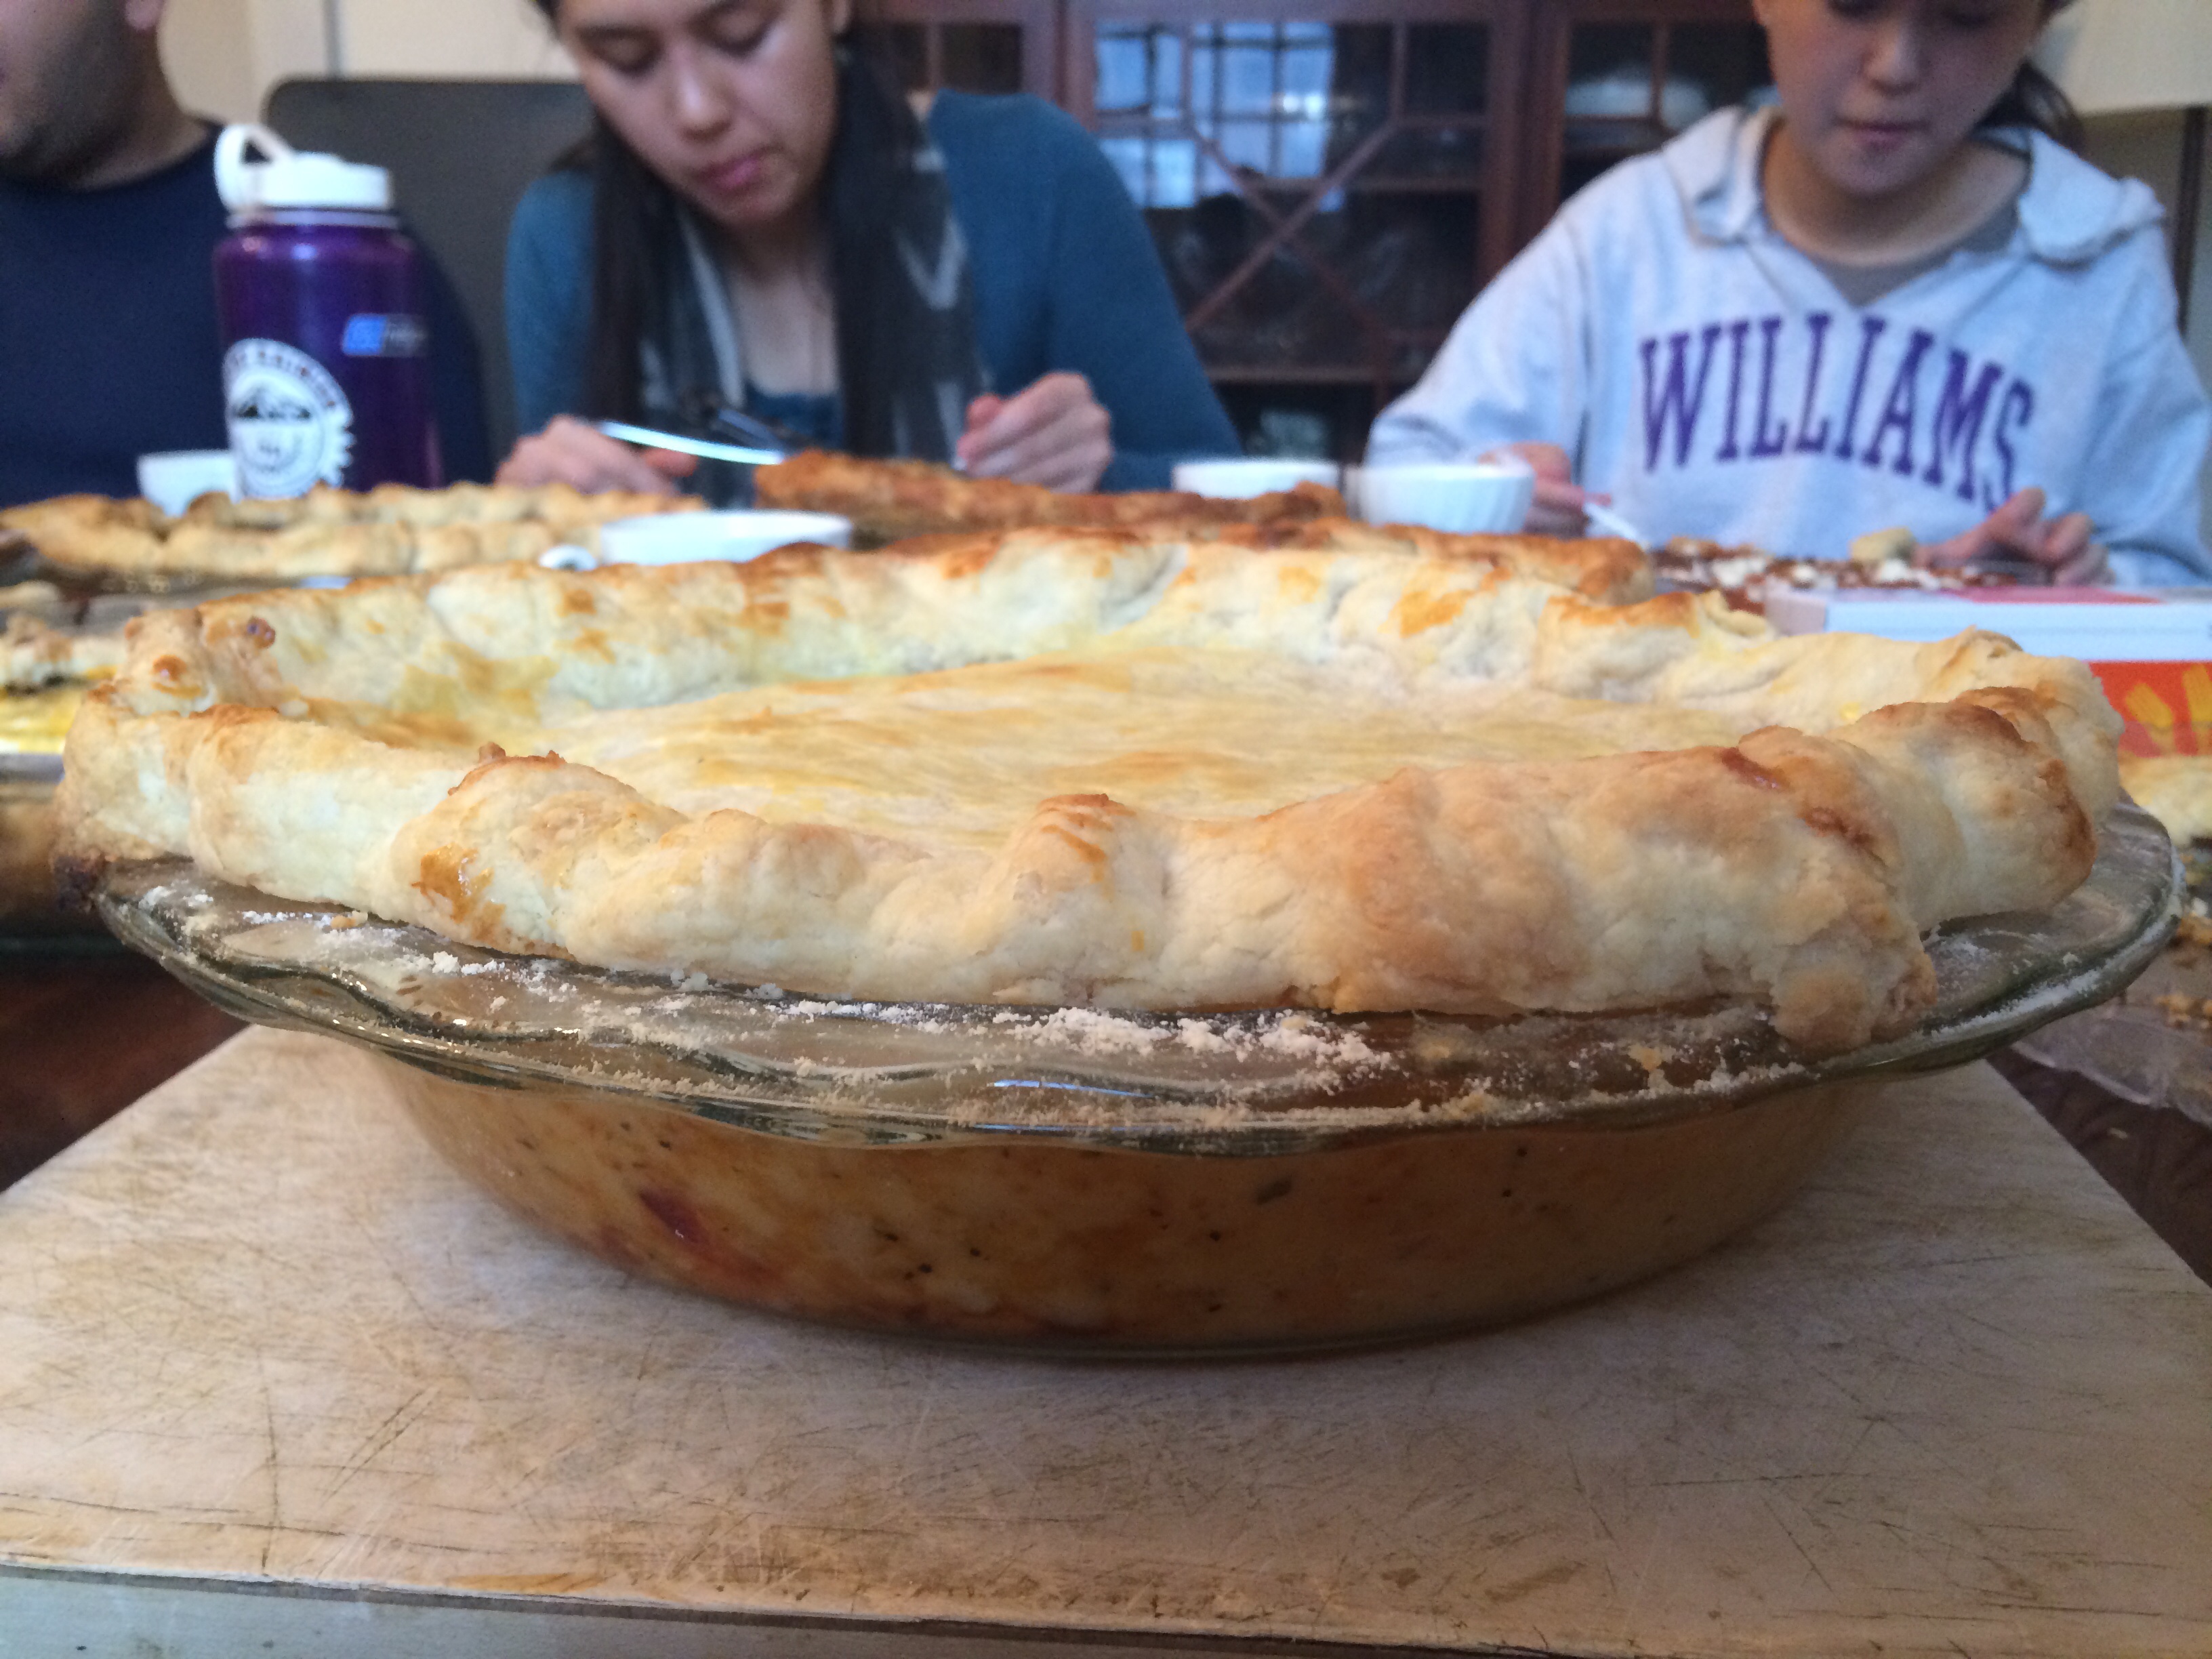
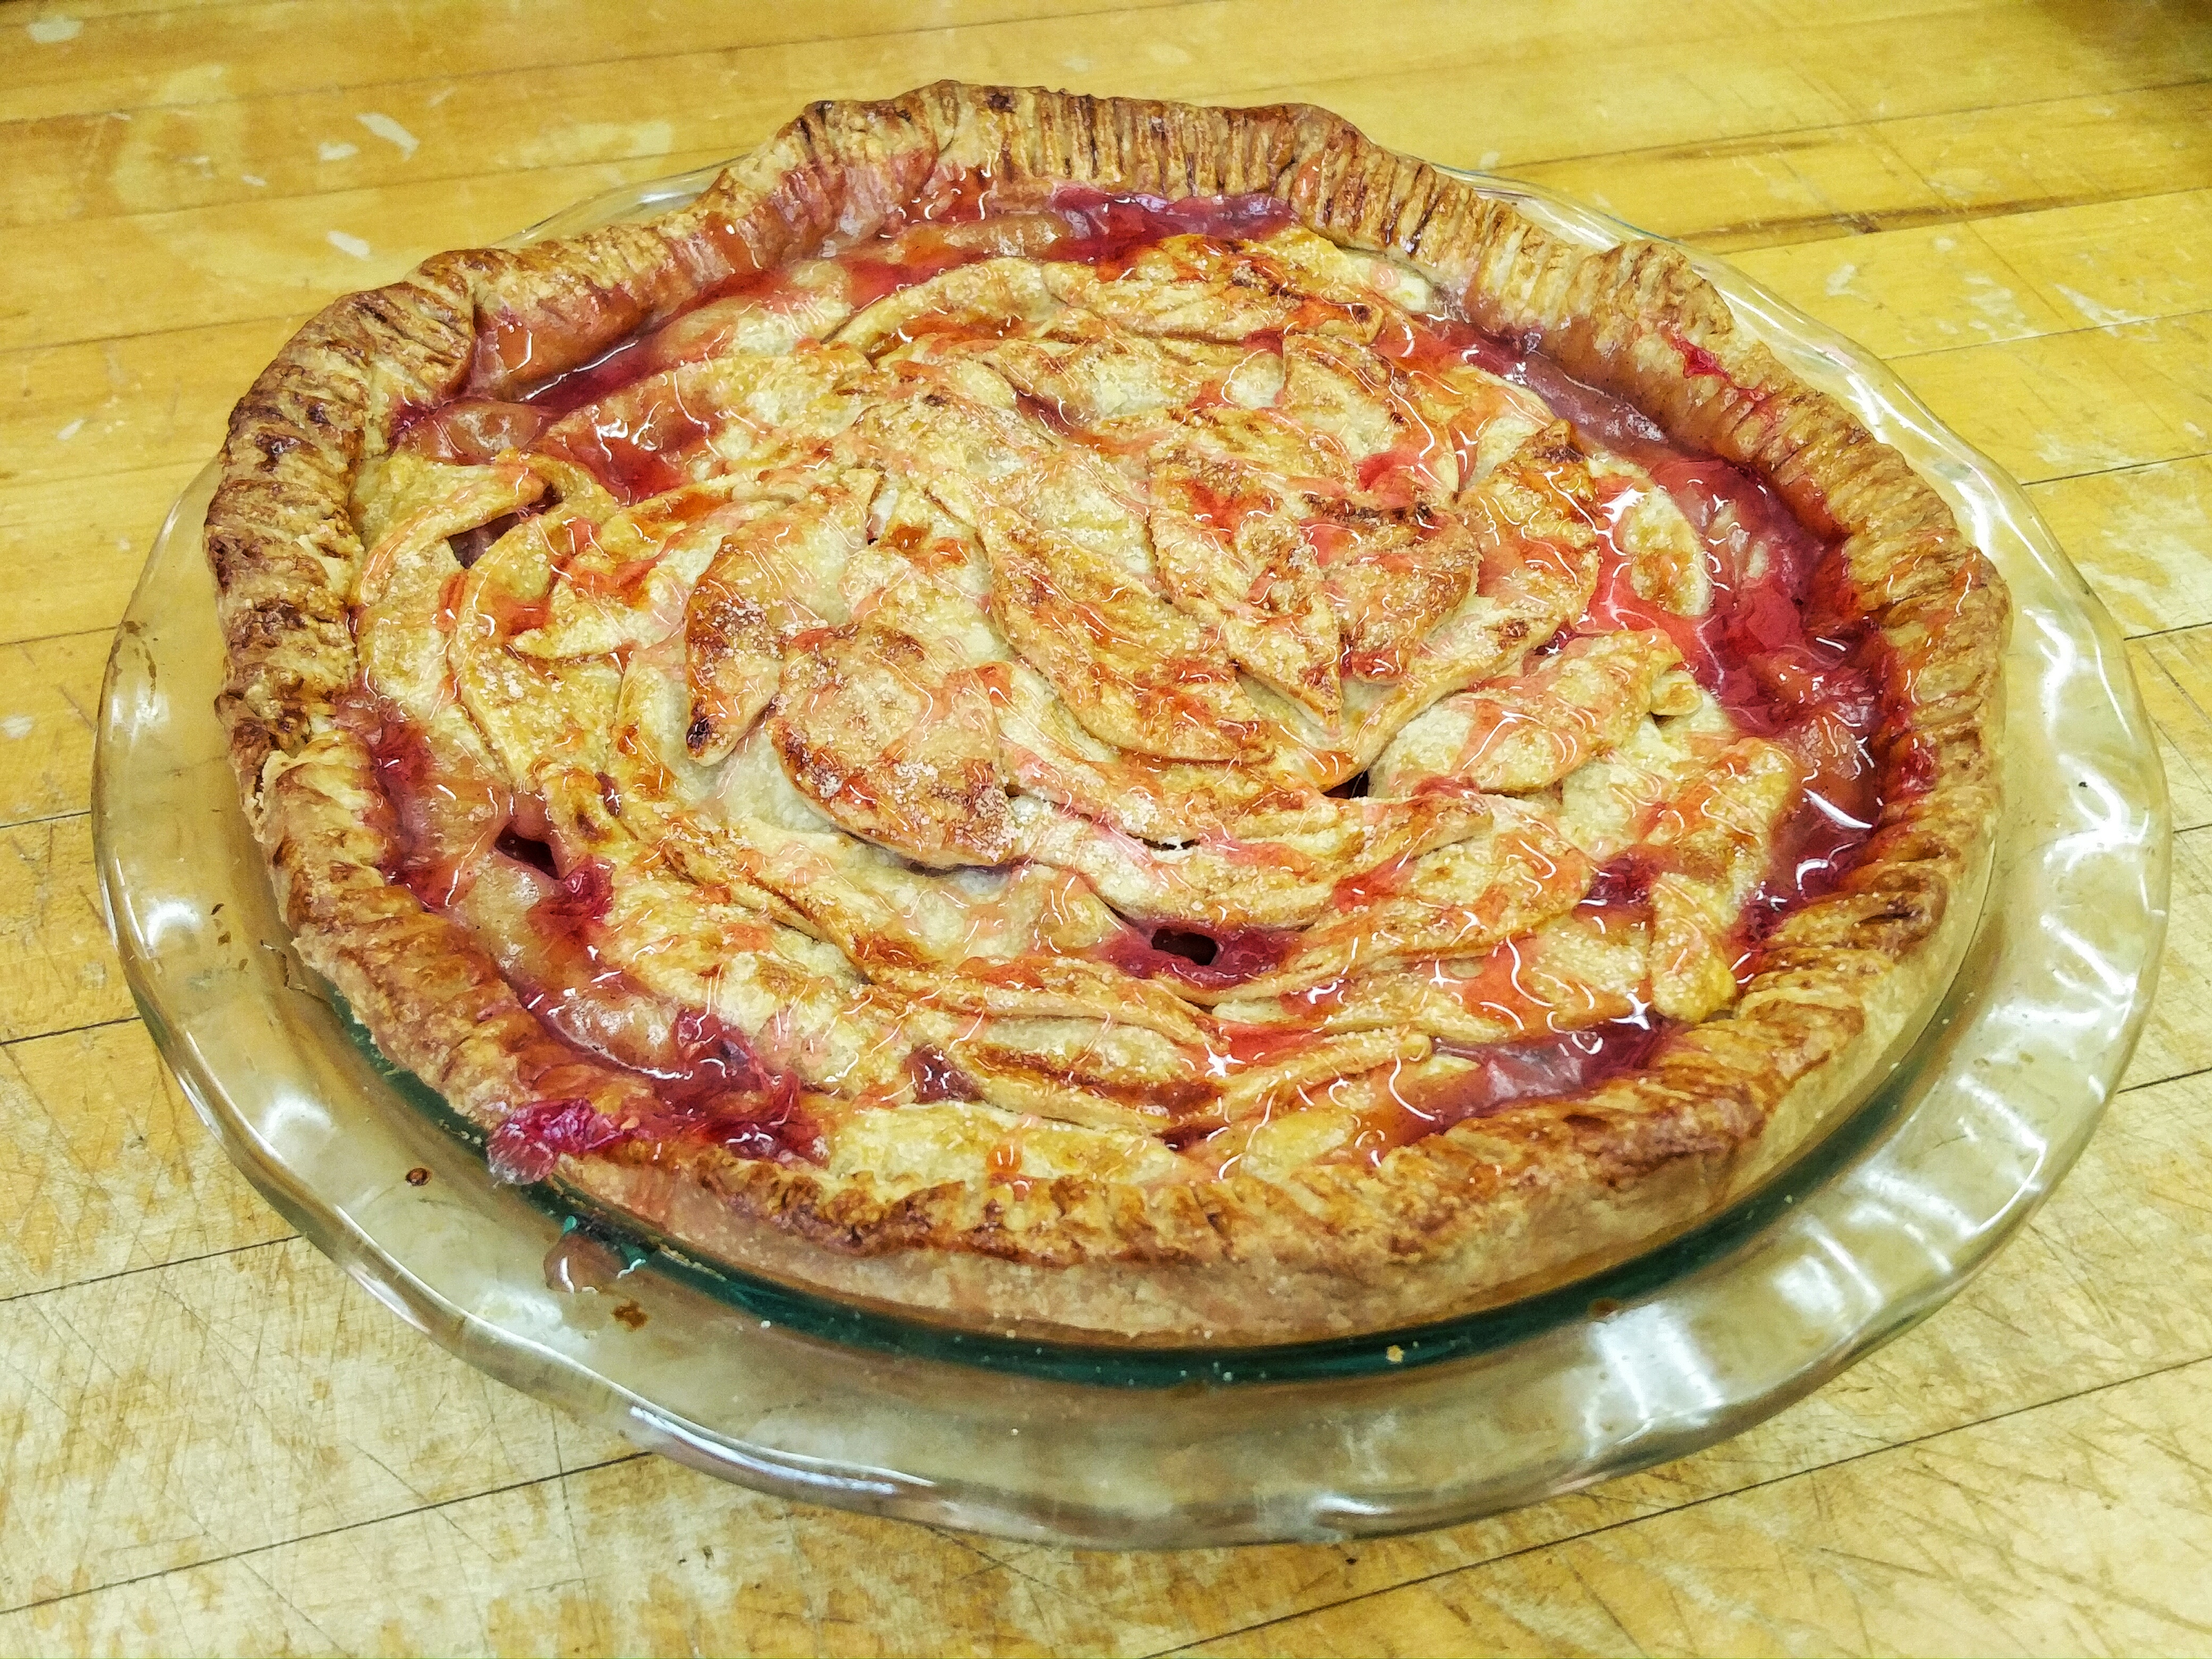
The pie came out of the oven perfect! All golden and delicious. A perfectly inflated dome and it even looked like the apples did not shrink too much. Luckily I got some shots then, because by the next day the crust had unfortunately deflated, creating an interesting (read lumpy) topography on my pie.
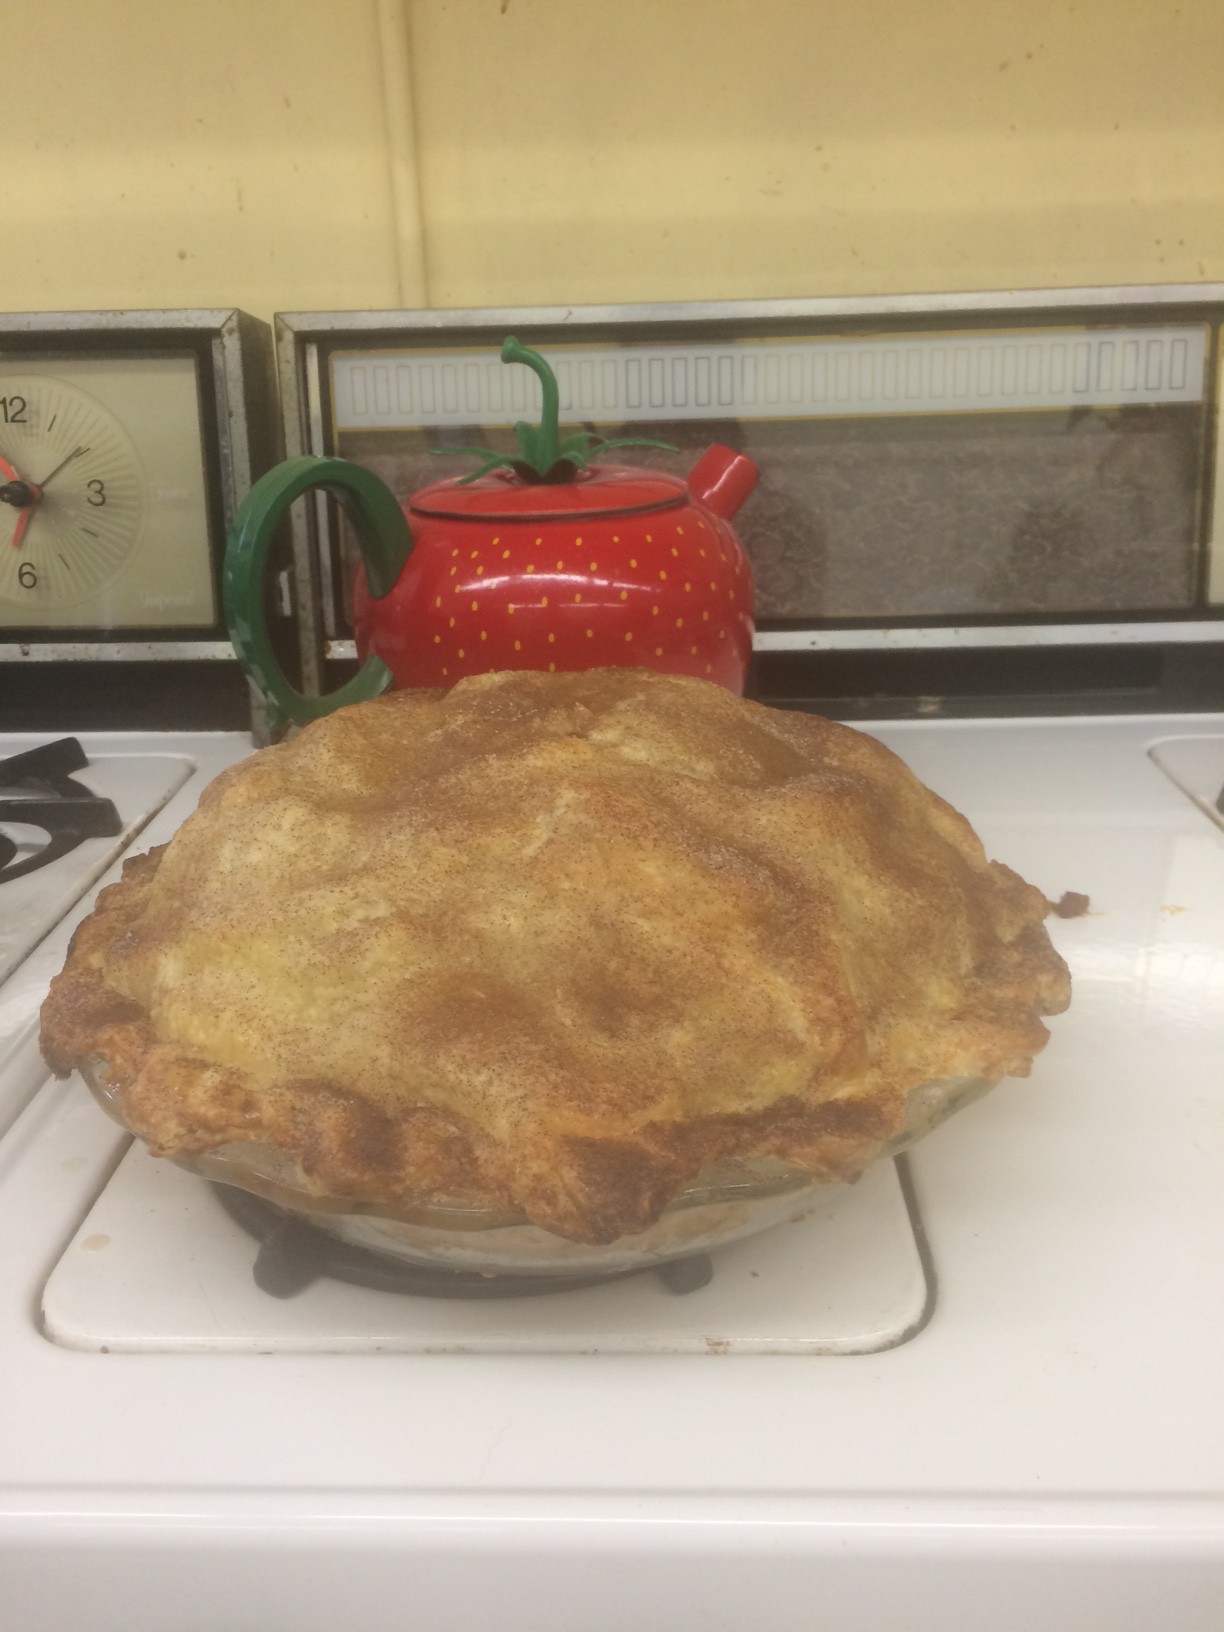
SO GOLDEN!
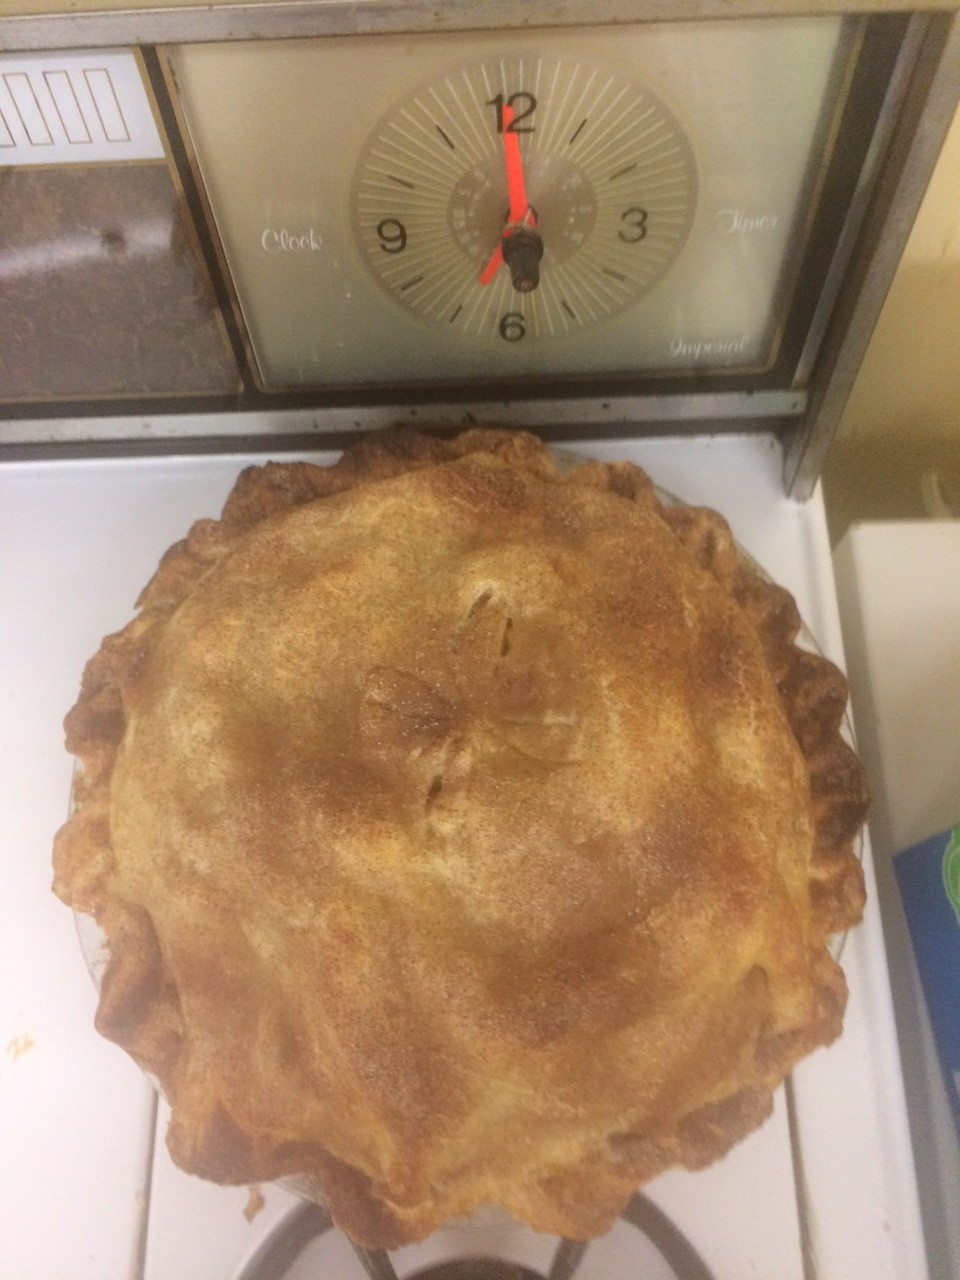
SO GOLDEN!

SO DELICIOUS!

SO DELICIOUS!

SUCH A GREAT DOME!

SUCH A GREAT DOME!

Oh how how the mighty fall...

Oh how how the mighty fall…

Looks aside the pie tasted great! The best compliment I got was that my pie was the platonic ideal of an apple pie. The crust on this pie was my best one yet I think. The cinnamon sugar was a nice touch and I definitely want to play with another flavored crust in my final pies. I was worried about my apples being under-cooked  since there were so many, but they were fine. All in all a good go at the “perfect” apple pie, I think I totally would have had it if was eaten the day before, maybe with some ice cream, hot out of the oven. Yum.
Late Again: Will I Ever Learn?

Once again, I am stunningly late with this blog post, but here it goes.

For last week’s assignment, we were to make savory pies. Now I absolutely love chicken pot pies, and I certainly considered making one, but I also wanted to really try something different than what I was used to. You know, take this class as a time to expand my palate as well as my cooking repertoire. So, the recipes that I found were for a pie called a Tourtiere du Shack and a Root Vegetable Tarte Tatin (recipes found at the links). Both looked incredible and exciting, so I decided to make both so that I didn’t have to choose between them.

IMG_1412

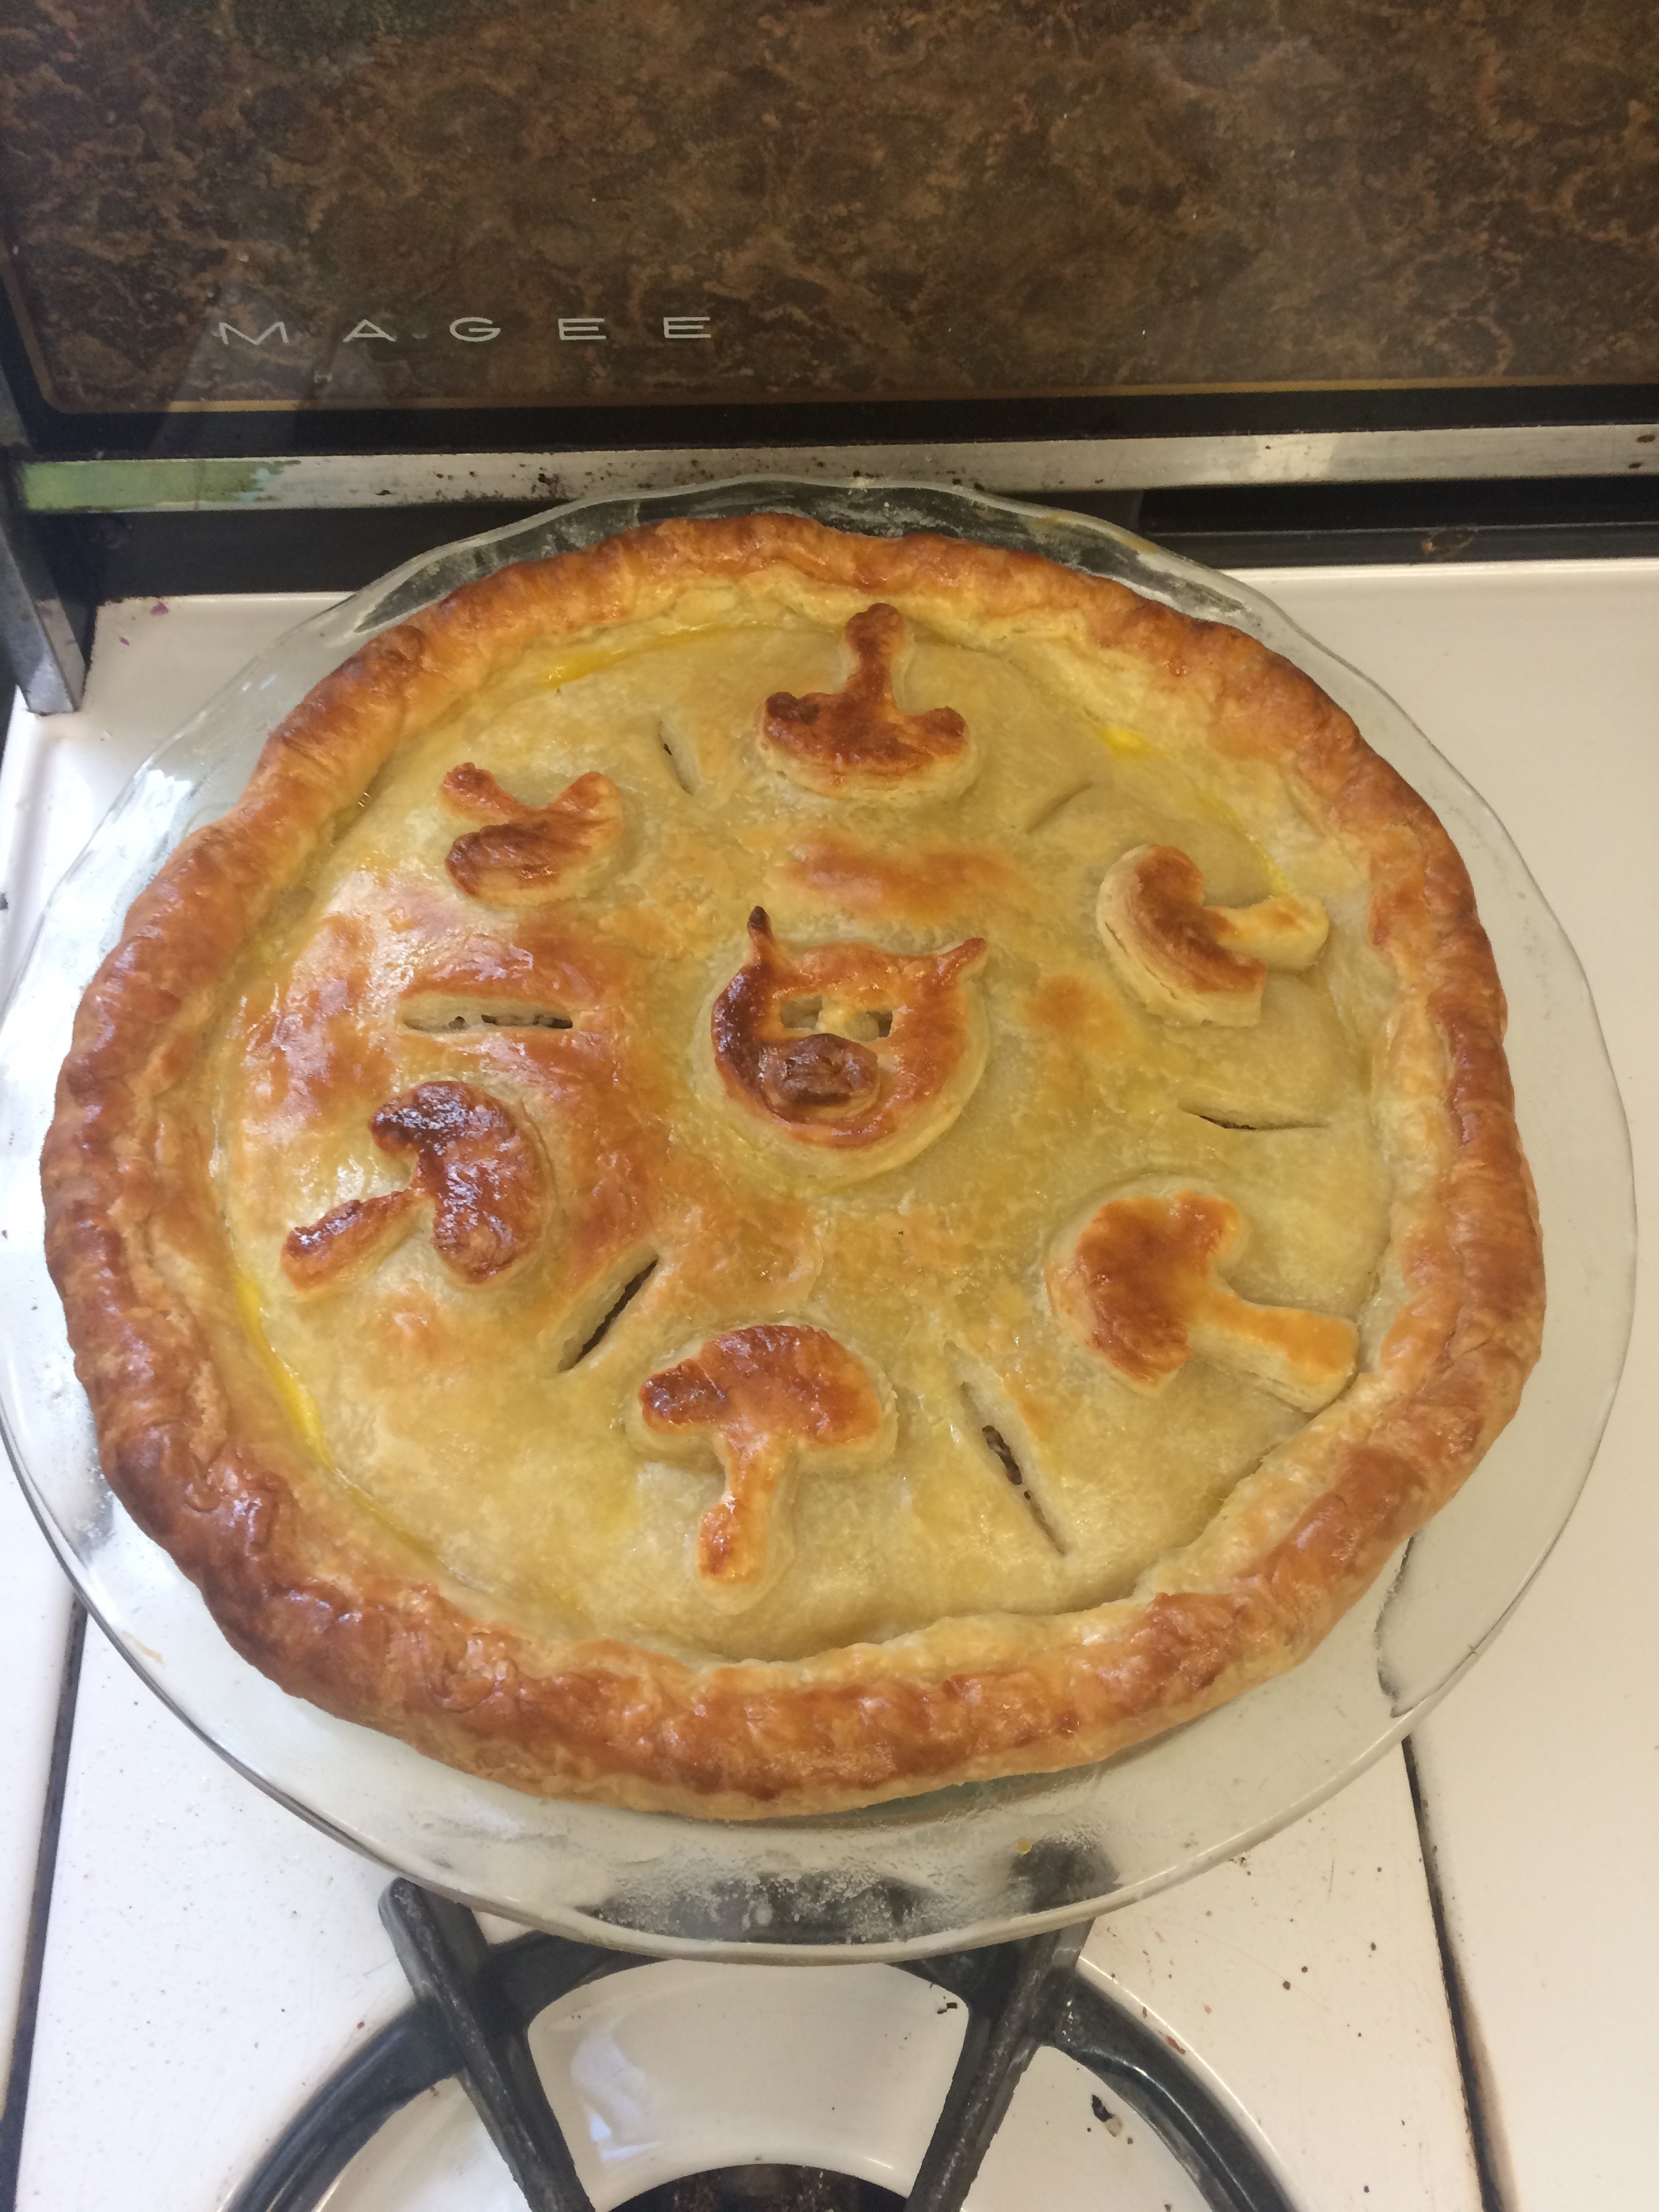
The Tourtiere du Shack is a double crust pie that combines pulled pork and ground pork with mushrooms, onions, and garlic. The pulled pork is braised for a few hours until it can be easily pulled apart, while the ground pork is boiled in the juice from the pulled pork. For this pie, I decided to make an all butter pie crust that also made use of apple cider vinegar and an egg yolk. My overall impression of the pie was that it tasted good but seemed a little bland. If I was to make it again, I think that I would cook the ground pork separately before boiling it and include some more spices when cooking both types of pork.


IMG_1413

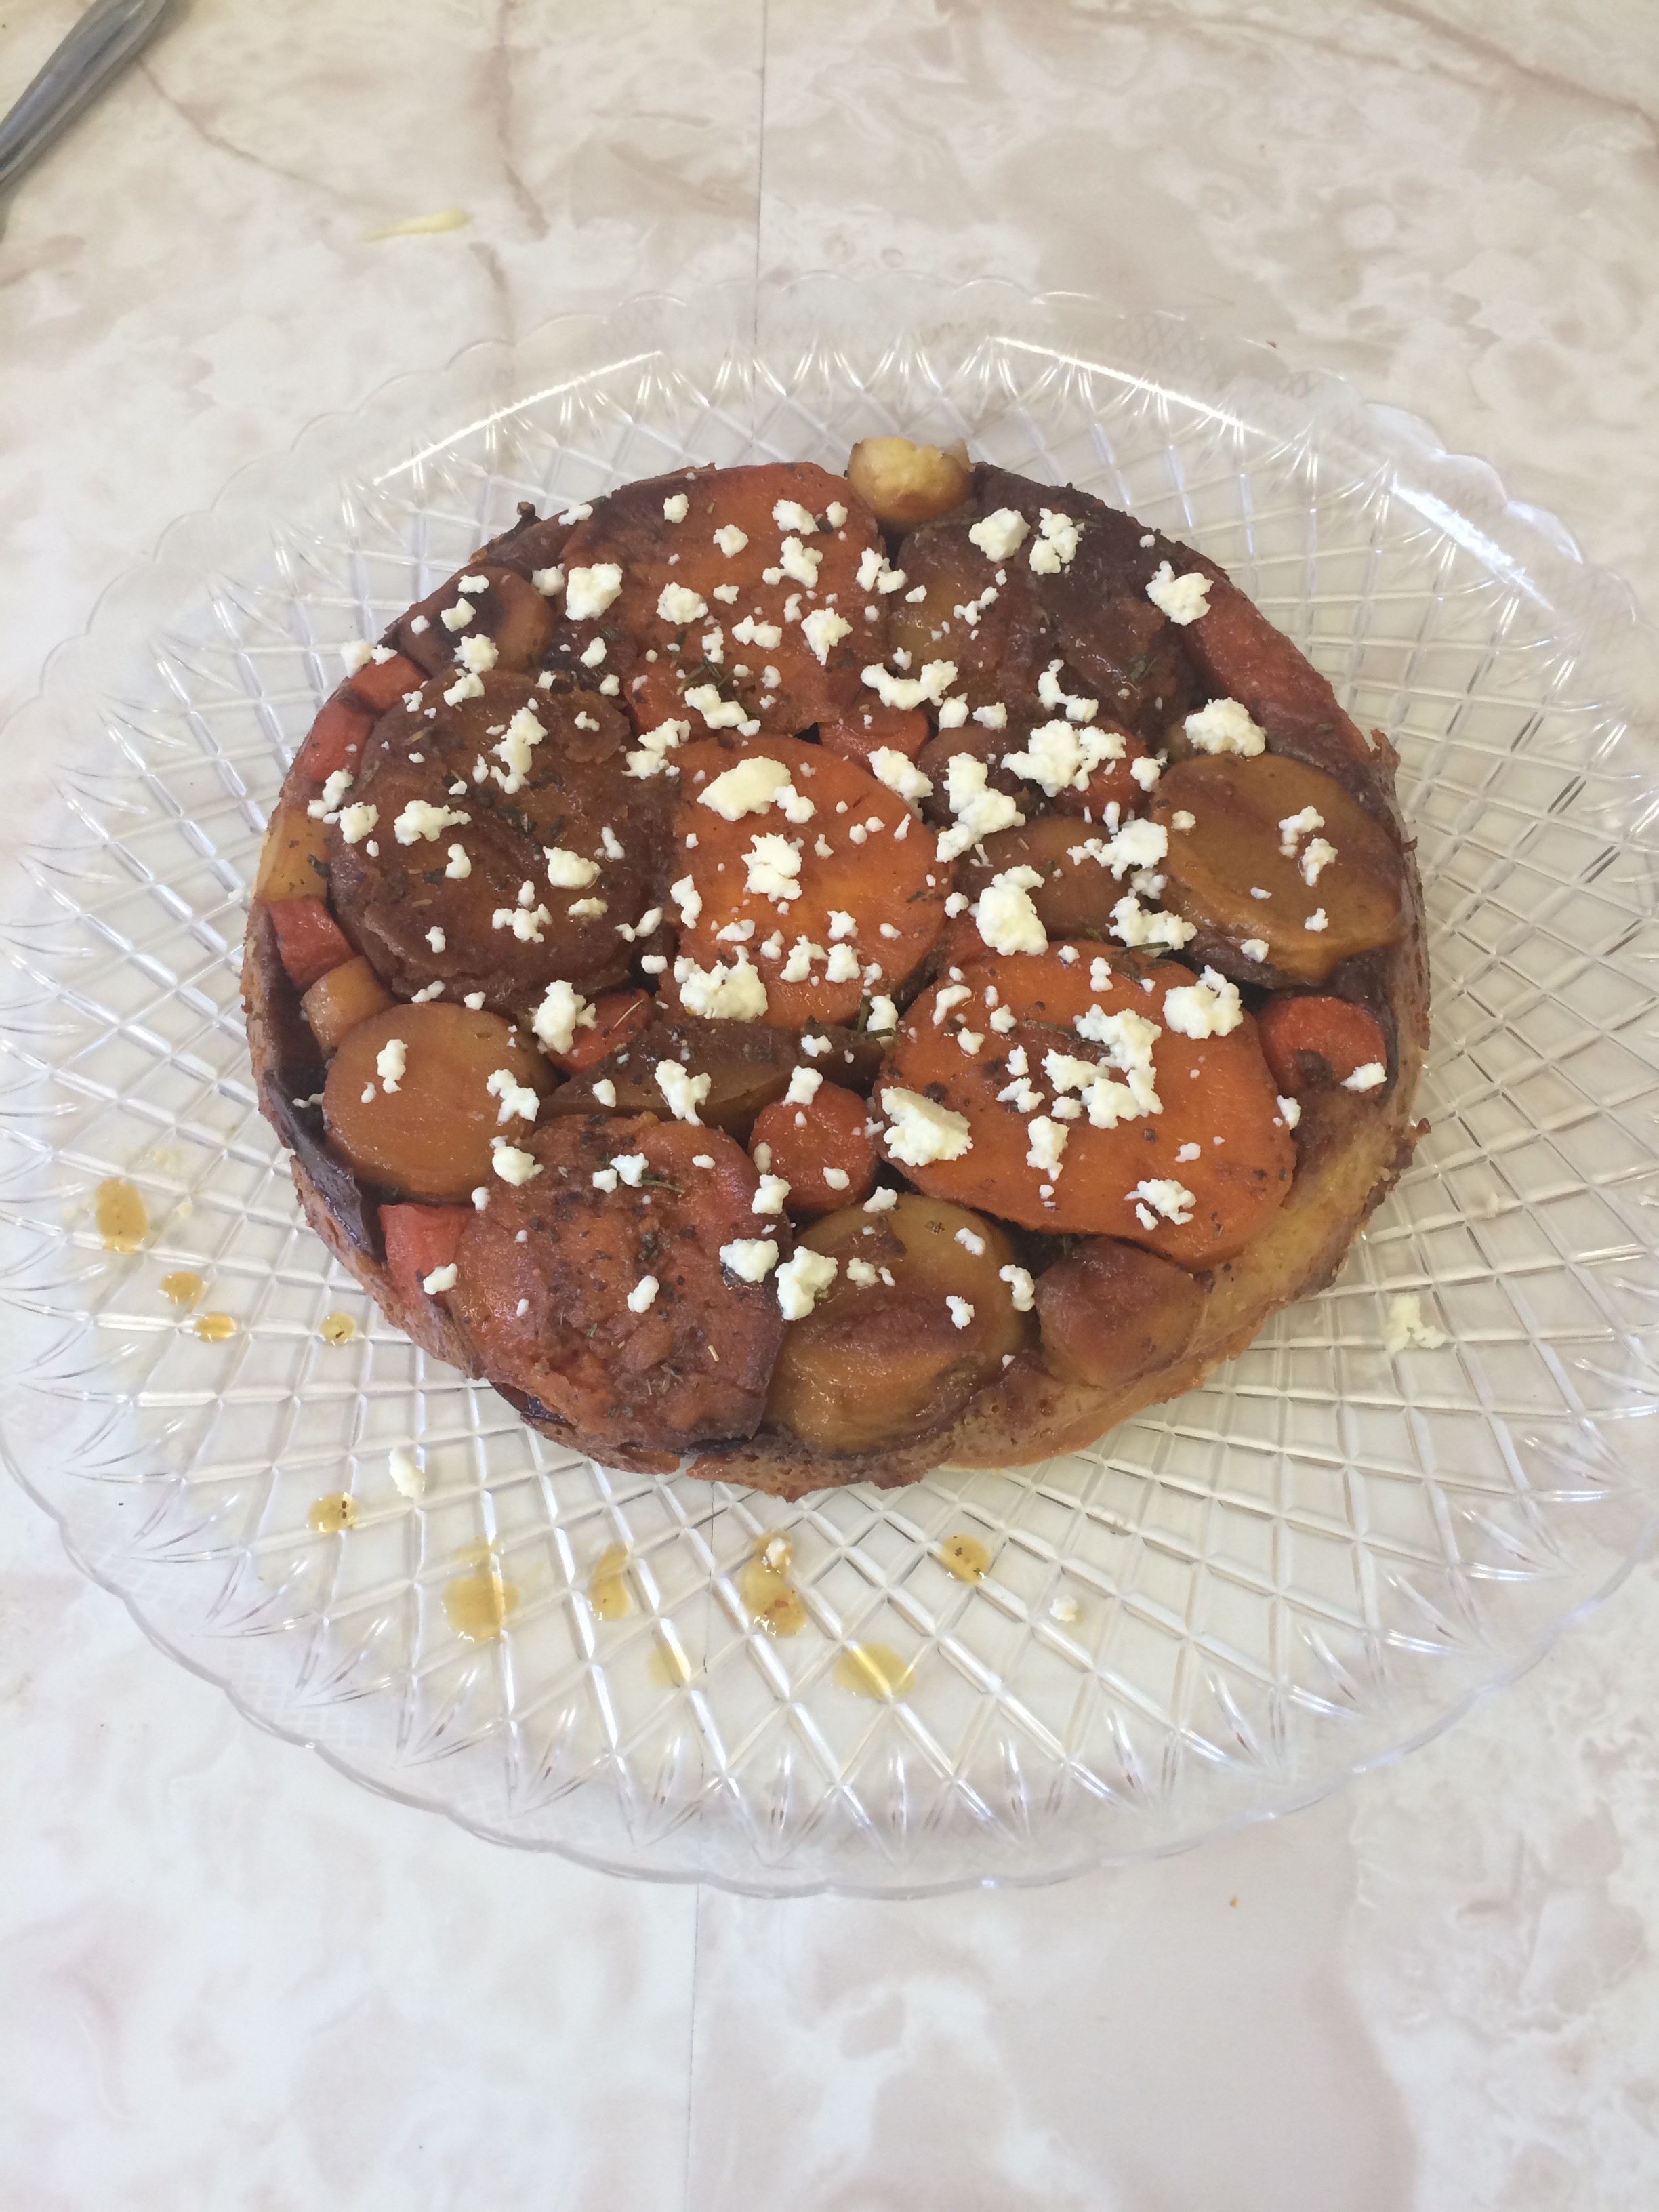
The Root Vegetable Tarte Tatin is a single crust pie made up of sweet potatoes, potatoes, parsnips, and carrots. Before this, I had never had a parsnip, but I definitely enjoyed the flavor, which was reminiscent of that of a carrot. This pie was pretty simple to make. I just roasted the vegetables with olive oil, salt, and pepper and made a simple caramel of sugar, water, and white wine vinegar. The caramel went on the bottom of the pie pan along with thyme and rosemary, and the roasted vegetables went on top of them in a single layer. I ended up with a lot of extra roasted vegetables this week because I didn’t follow the recipe’s directions for their sizes very closely. This isn’t exactly a problem as the vegetables are delicious by themselves, but it’s something to be aware of. What I should have done next was to sprinkle the cheese over the top of the vegetables (I used queso fresco instead of goat cheese because I don’t really like goat cheese), but I forgot and just put the lard and butter pie crust on top instead. I fixed this shortly after I put it in the oven by lifting up the edges of the crust and stuffing some cheese around the edges of the pie, but it definitely would have been better had it been more evenly distributed. I really liked this pie and would definitely make it again without changing a thing (except for getting smaller vegetables).

Stay tuned for decorative pies coming soon this week!

Lobster Pot Pie: The Quest

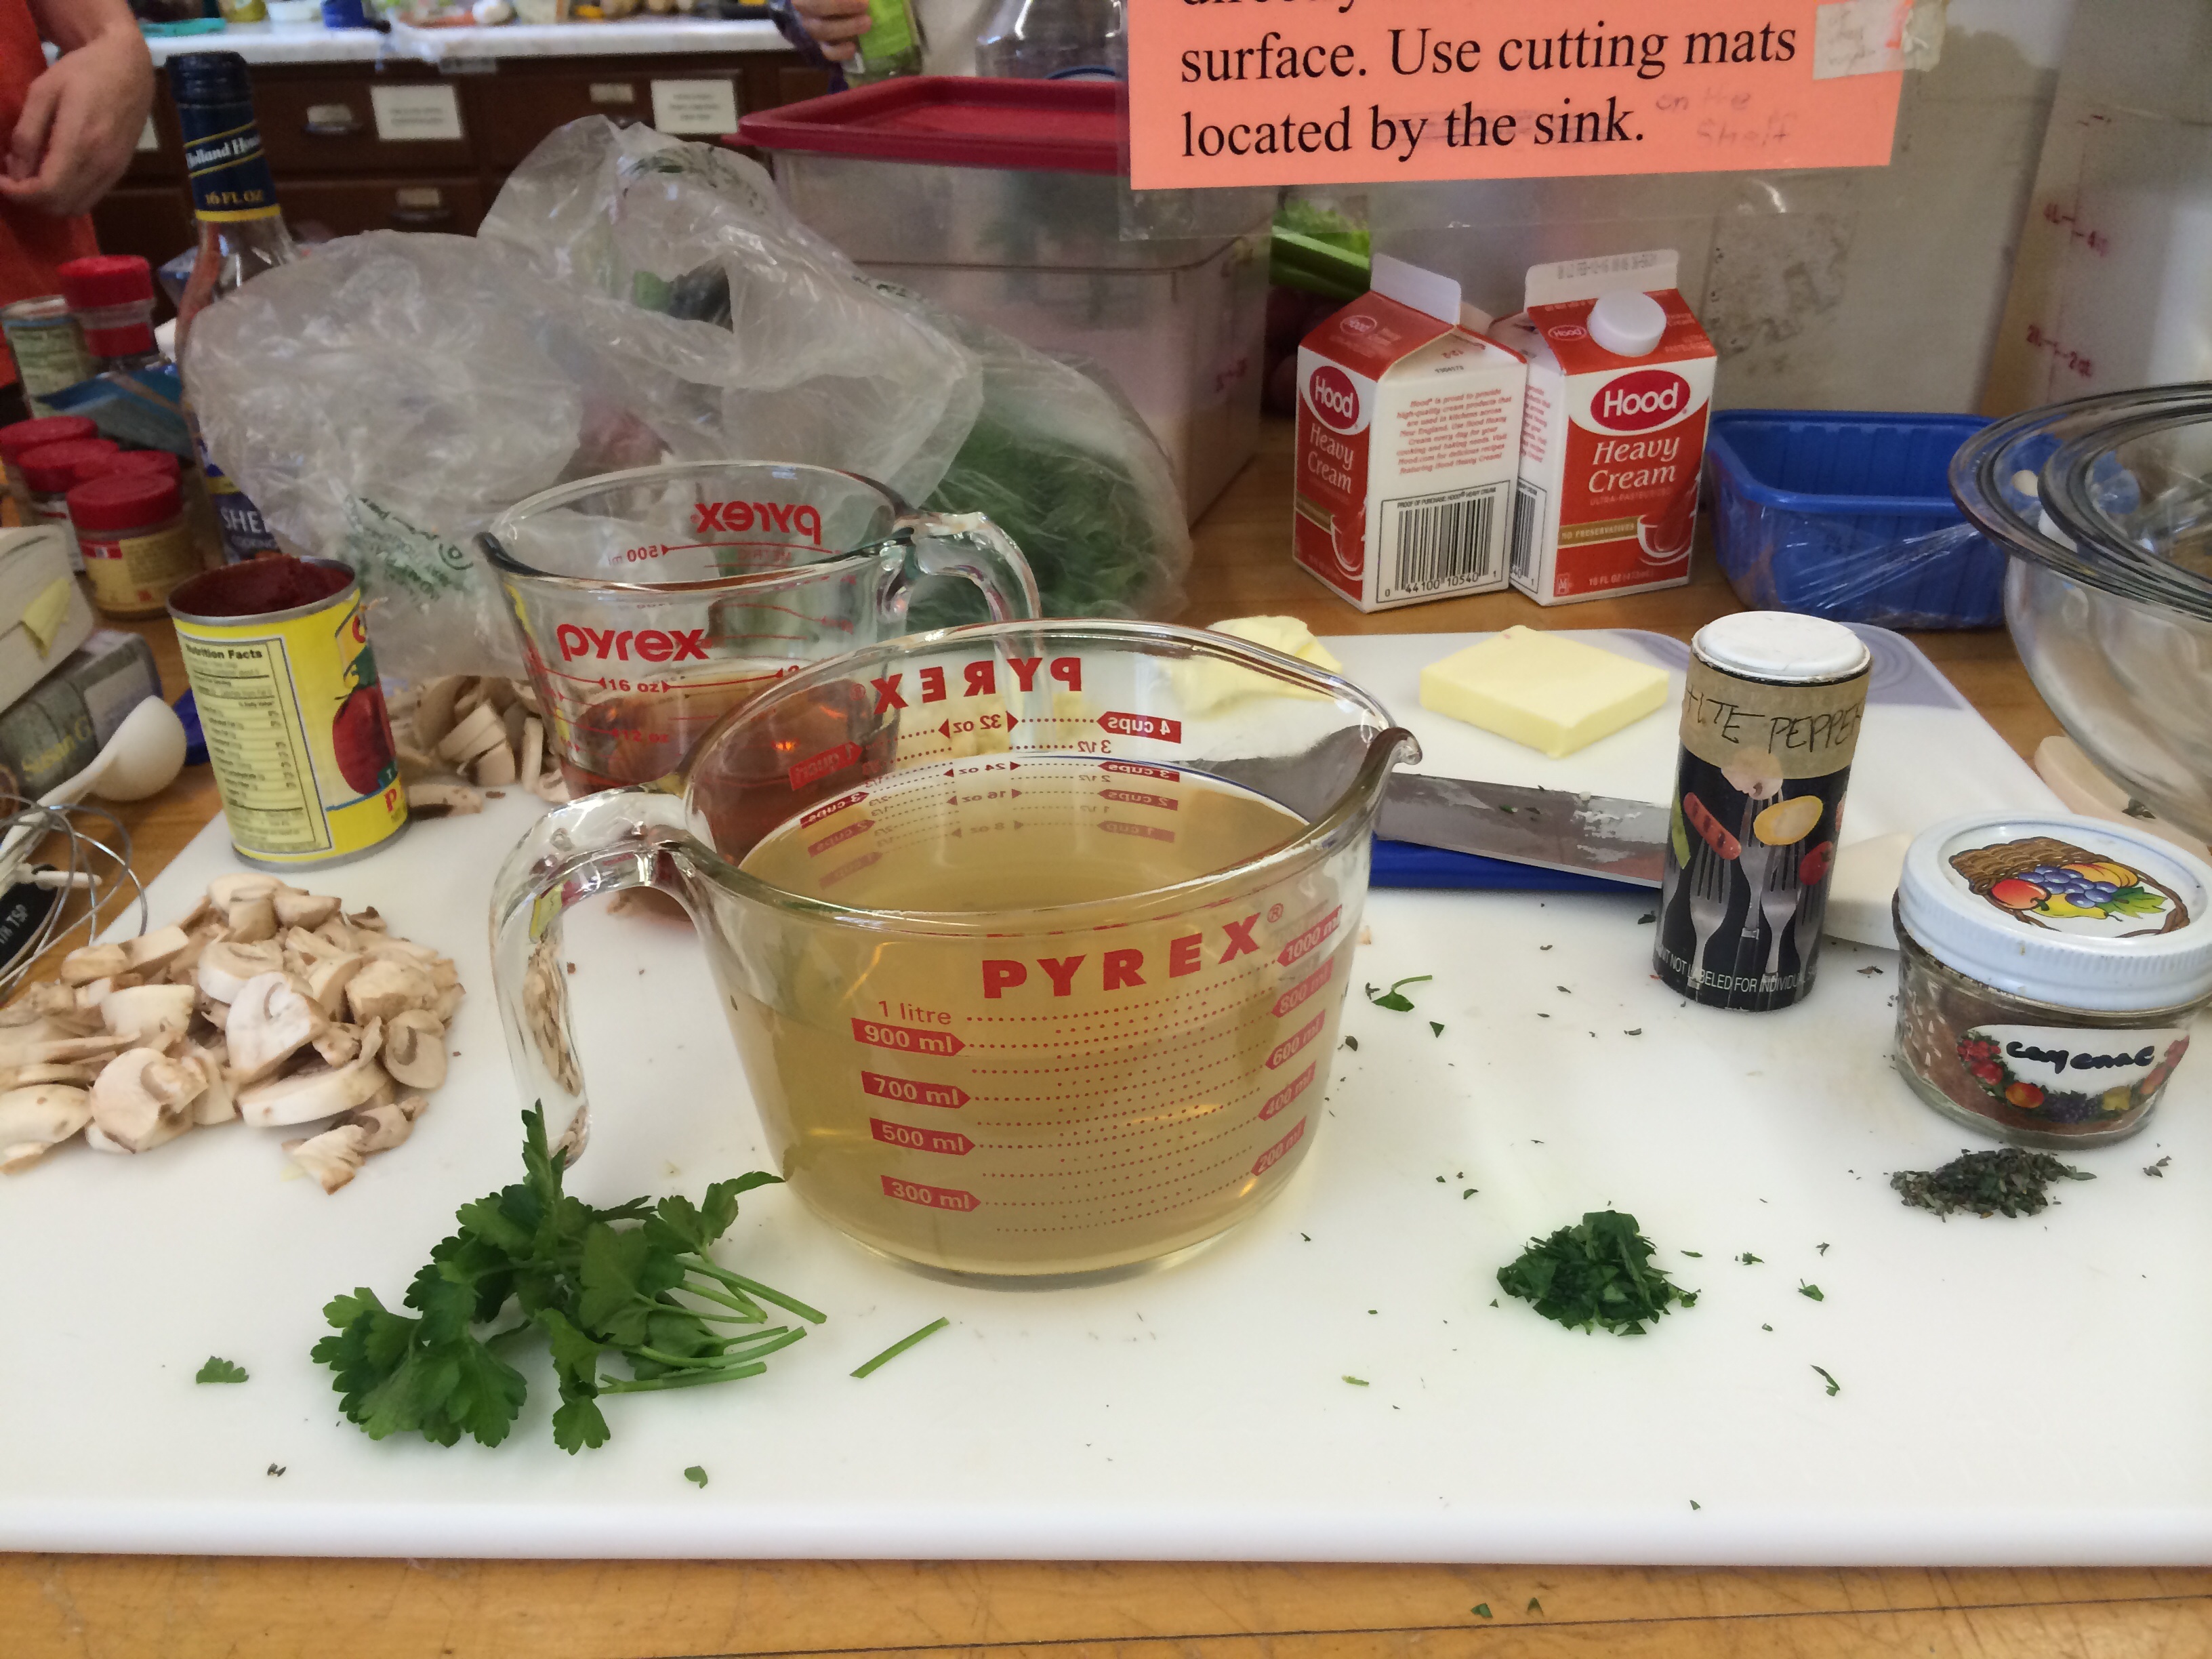
My quest for the ideal Lobster Pot Pie began a couple years ago at a restaurant called the City Tavern in Philly. Little did I know that as I gorged myself on the best dish of my life, I would try to recreate it myself. Because I couldn’t find the recipe online and also couldn’t settle for a lesser pie, I ended up called the City Tavern and begging them for their recipe. Luckily, they disclosed it and my journey began. After a mildly traumatic Stop and Shop visit and 50 minute walk home with 10 grocery bags, I was finally prepared to start cooking. On Wednesday, I began by preparing (chopping, measuring, etc.) all my ingredients for the filling. Though I discovered I had bought garlic instead of scallions, David helped me correct my error by combining garlic and onion for the filling.

image (2)

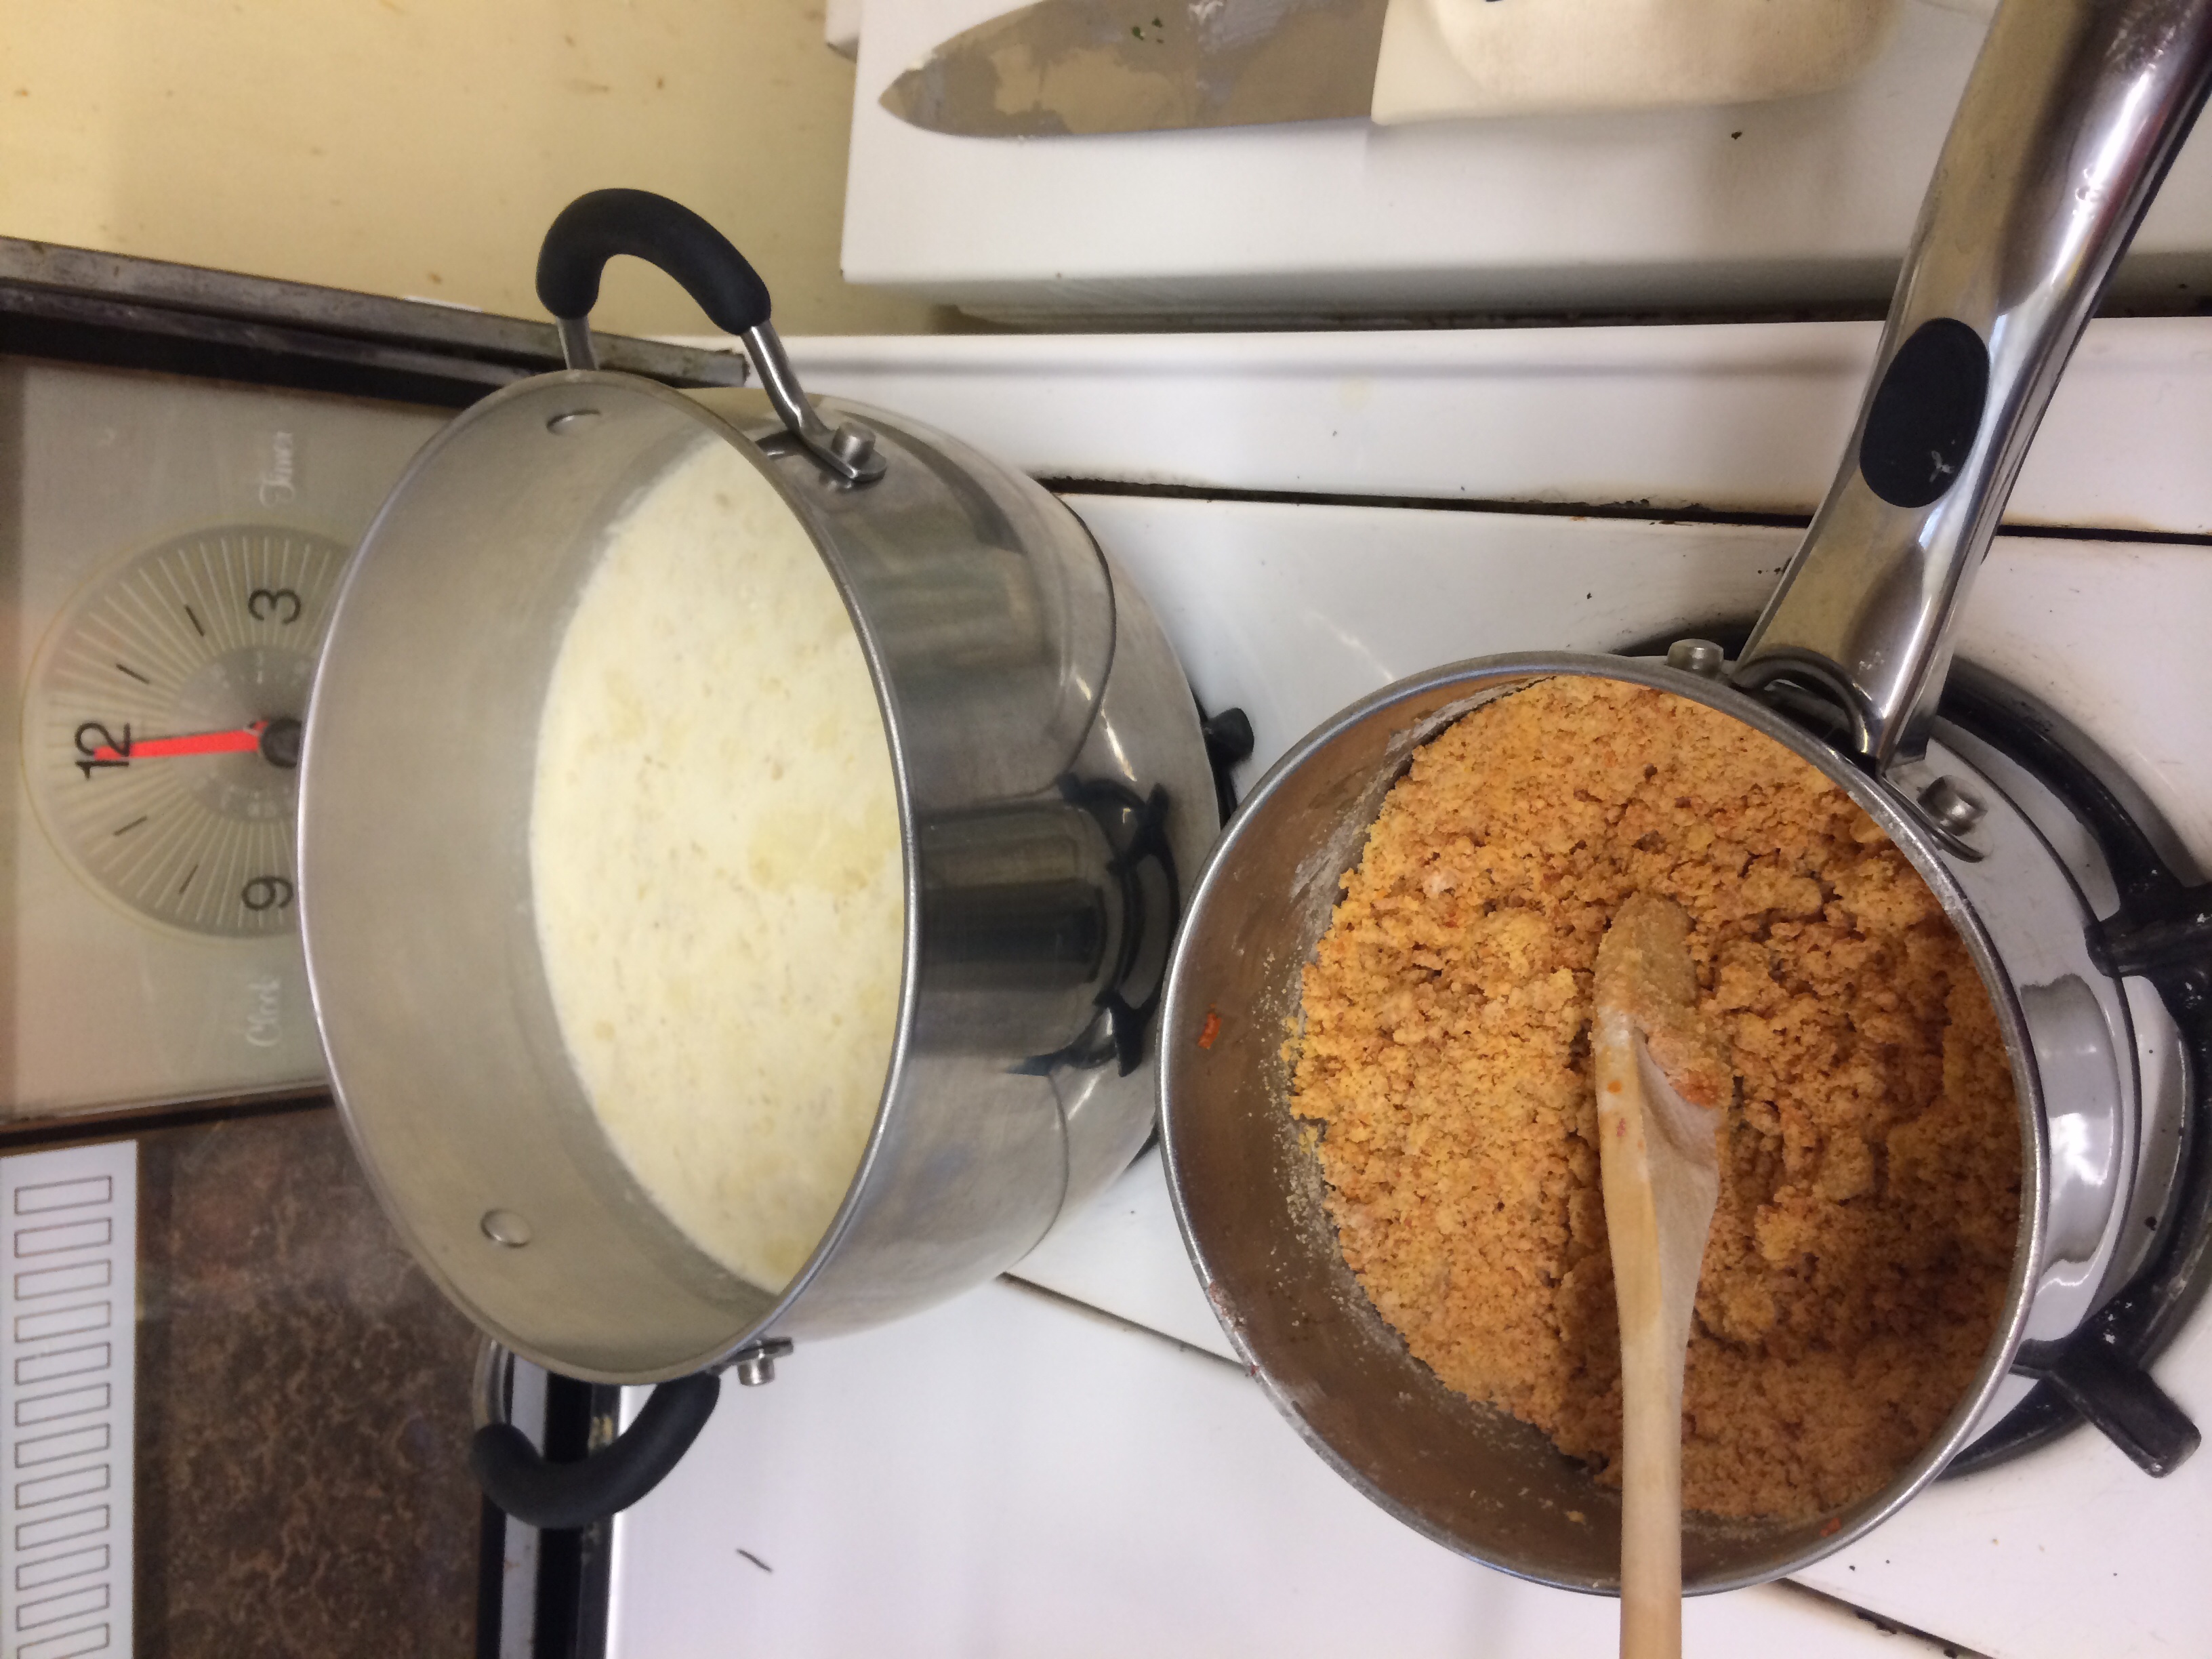
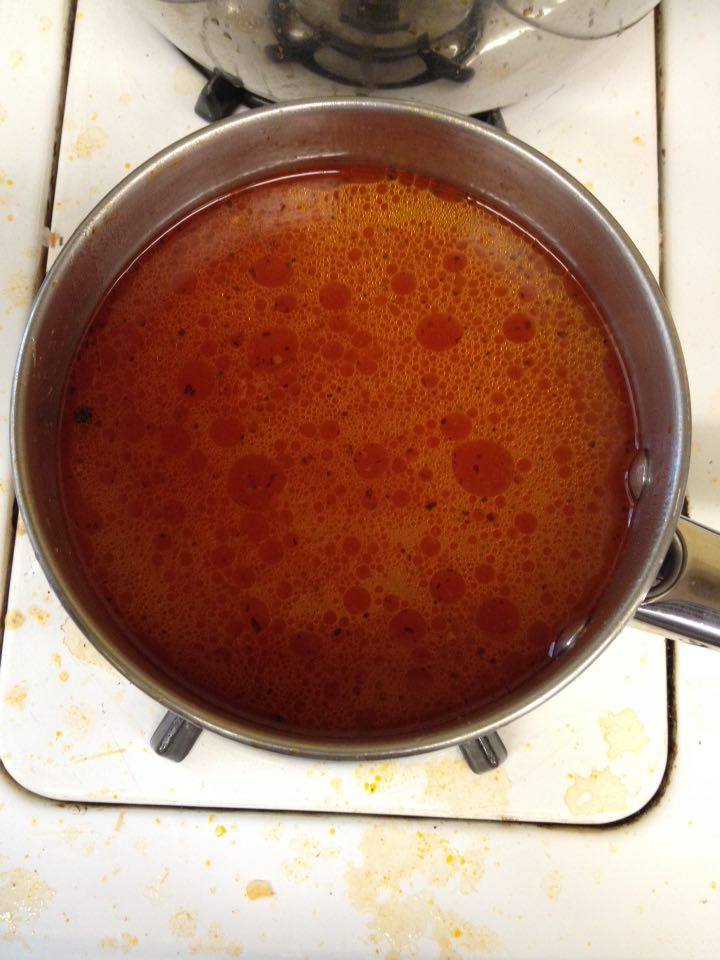
Next, I went to the stovetop. I made the creme mixture without incident. However, the roux was another story. I didn’t know what a roux was supposed to look like (a liquid) and waited too long to begin adding flour to the buttery tomato paste. By the time I did add flour, much of the butter had evaporated, leaving insufficient liquid for the flour. As a result, when I whisked my roux into the creme, it never completely dissolved and remained in chunks.

image (3)image (5)

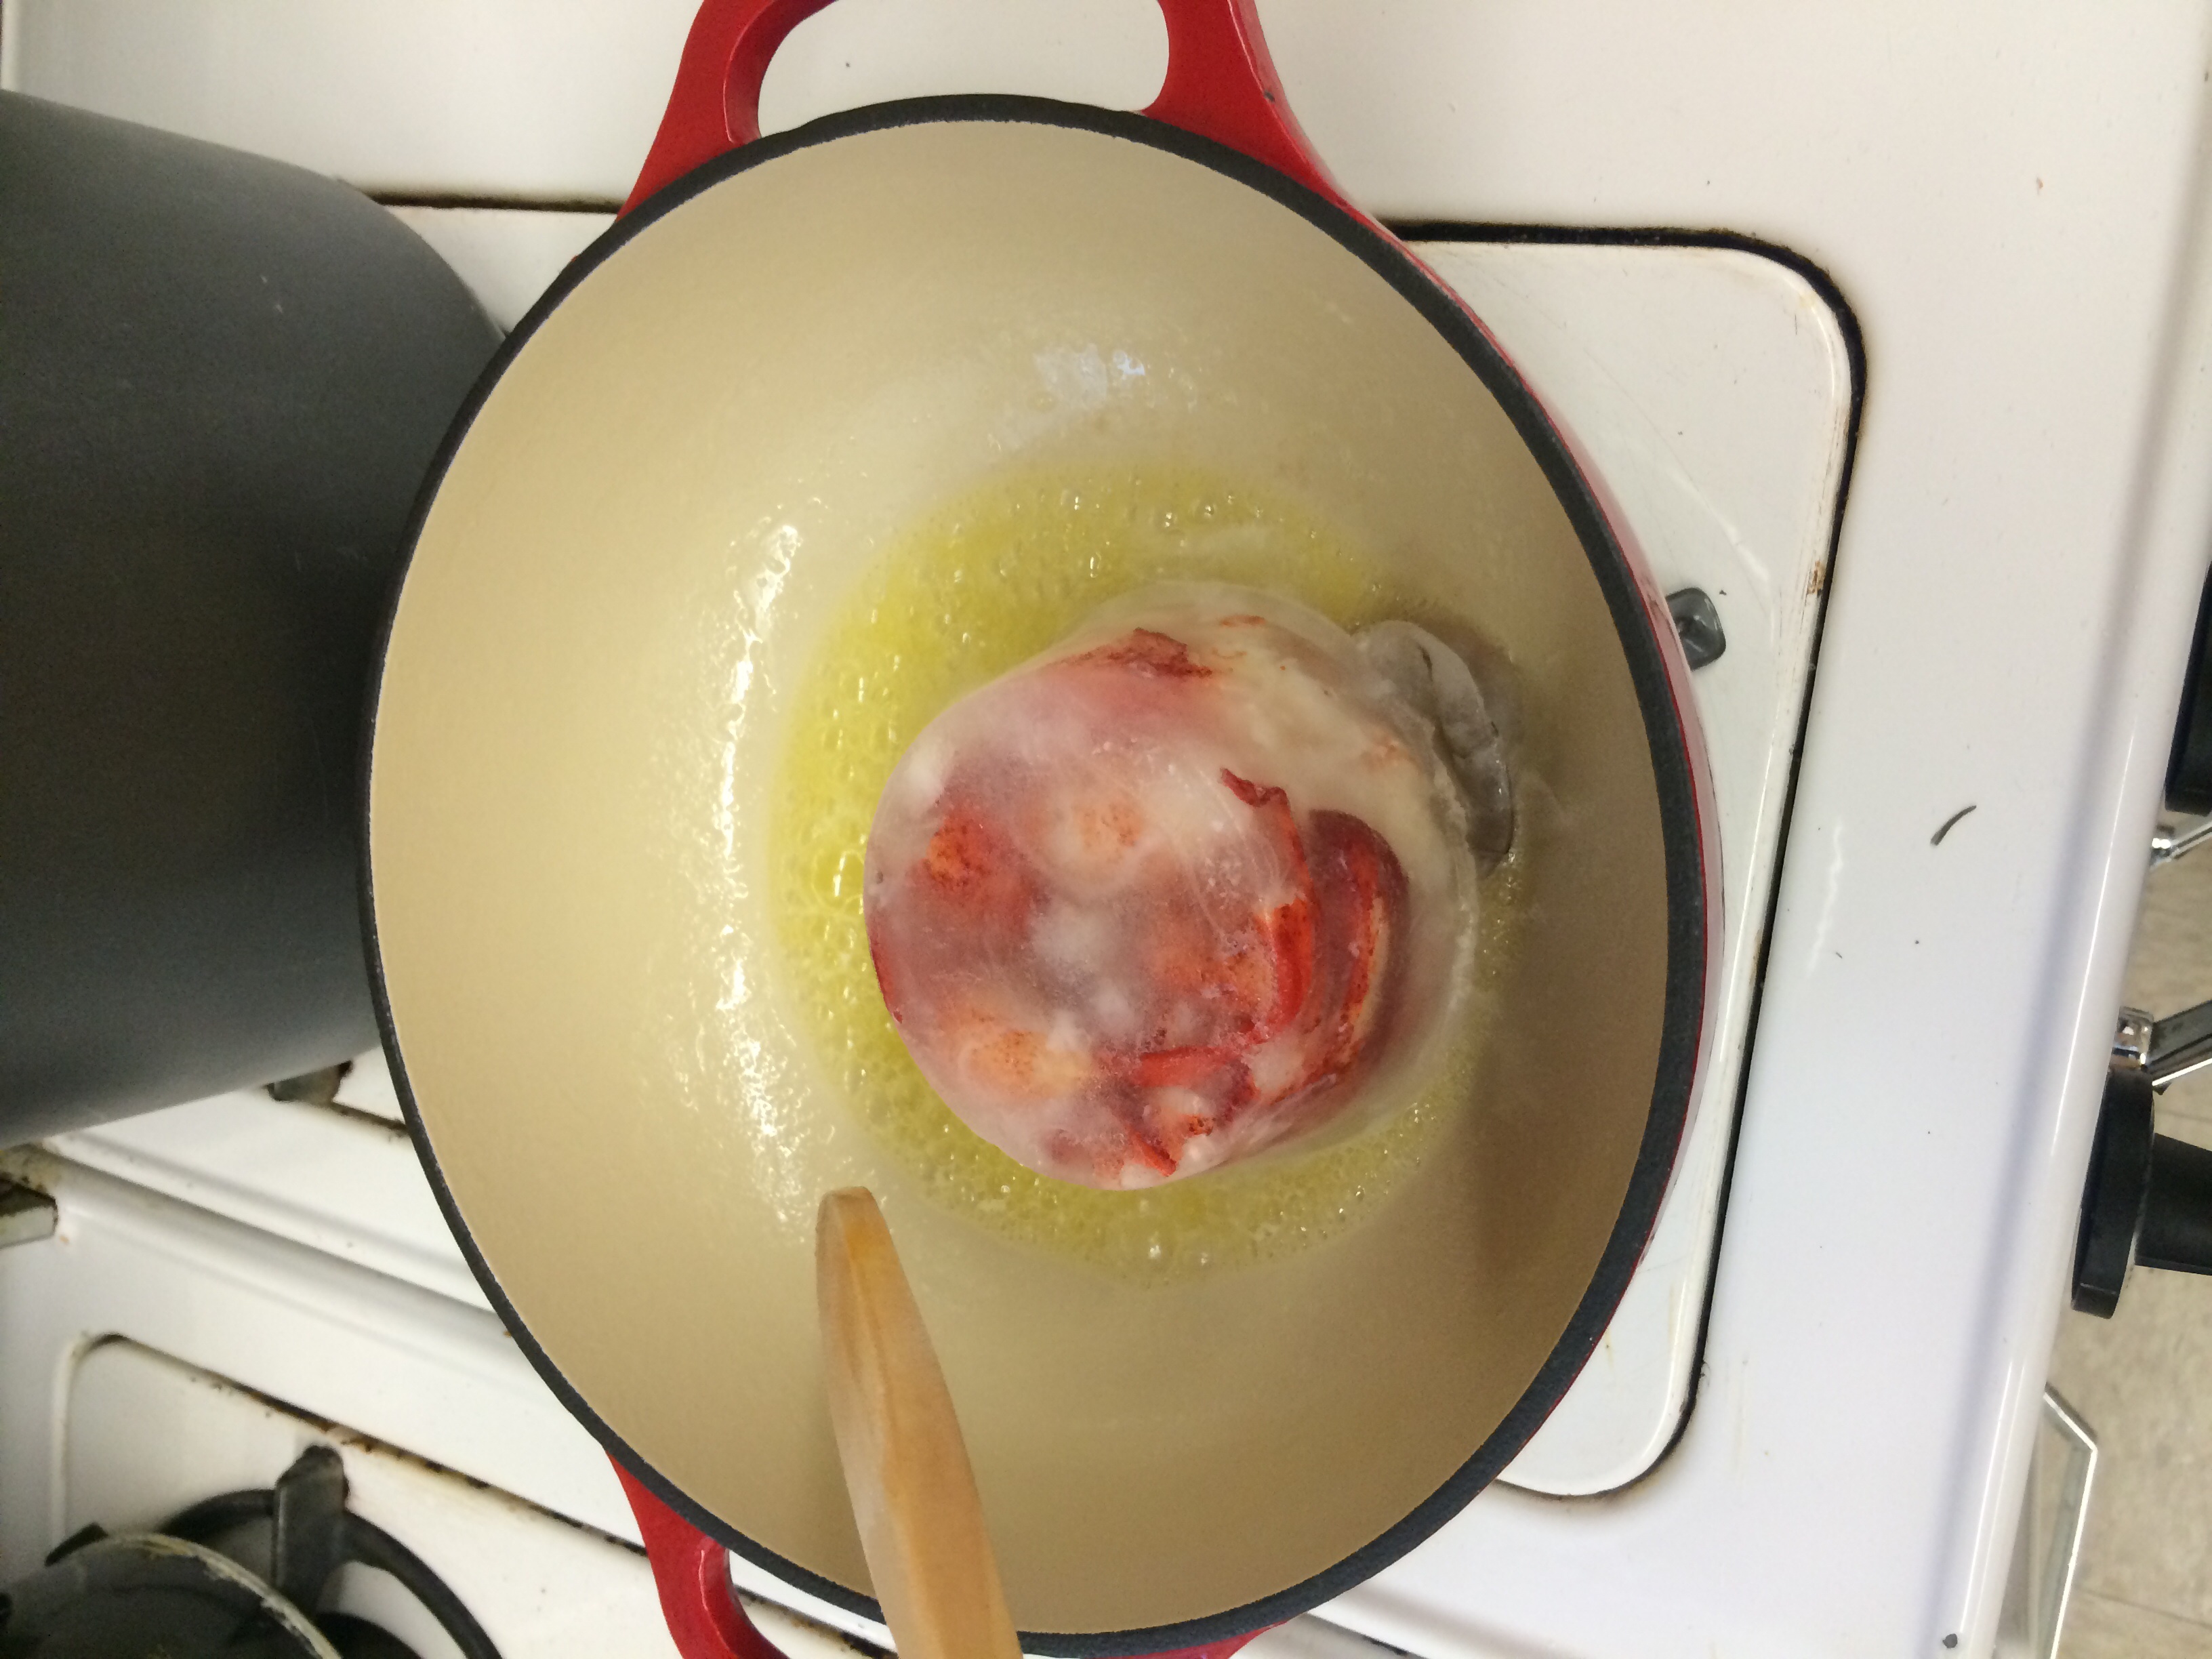
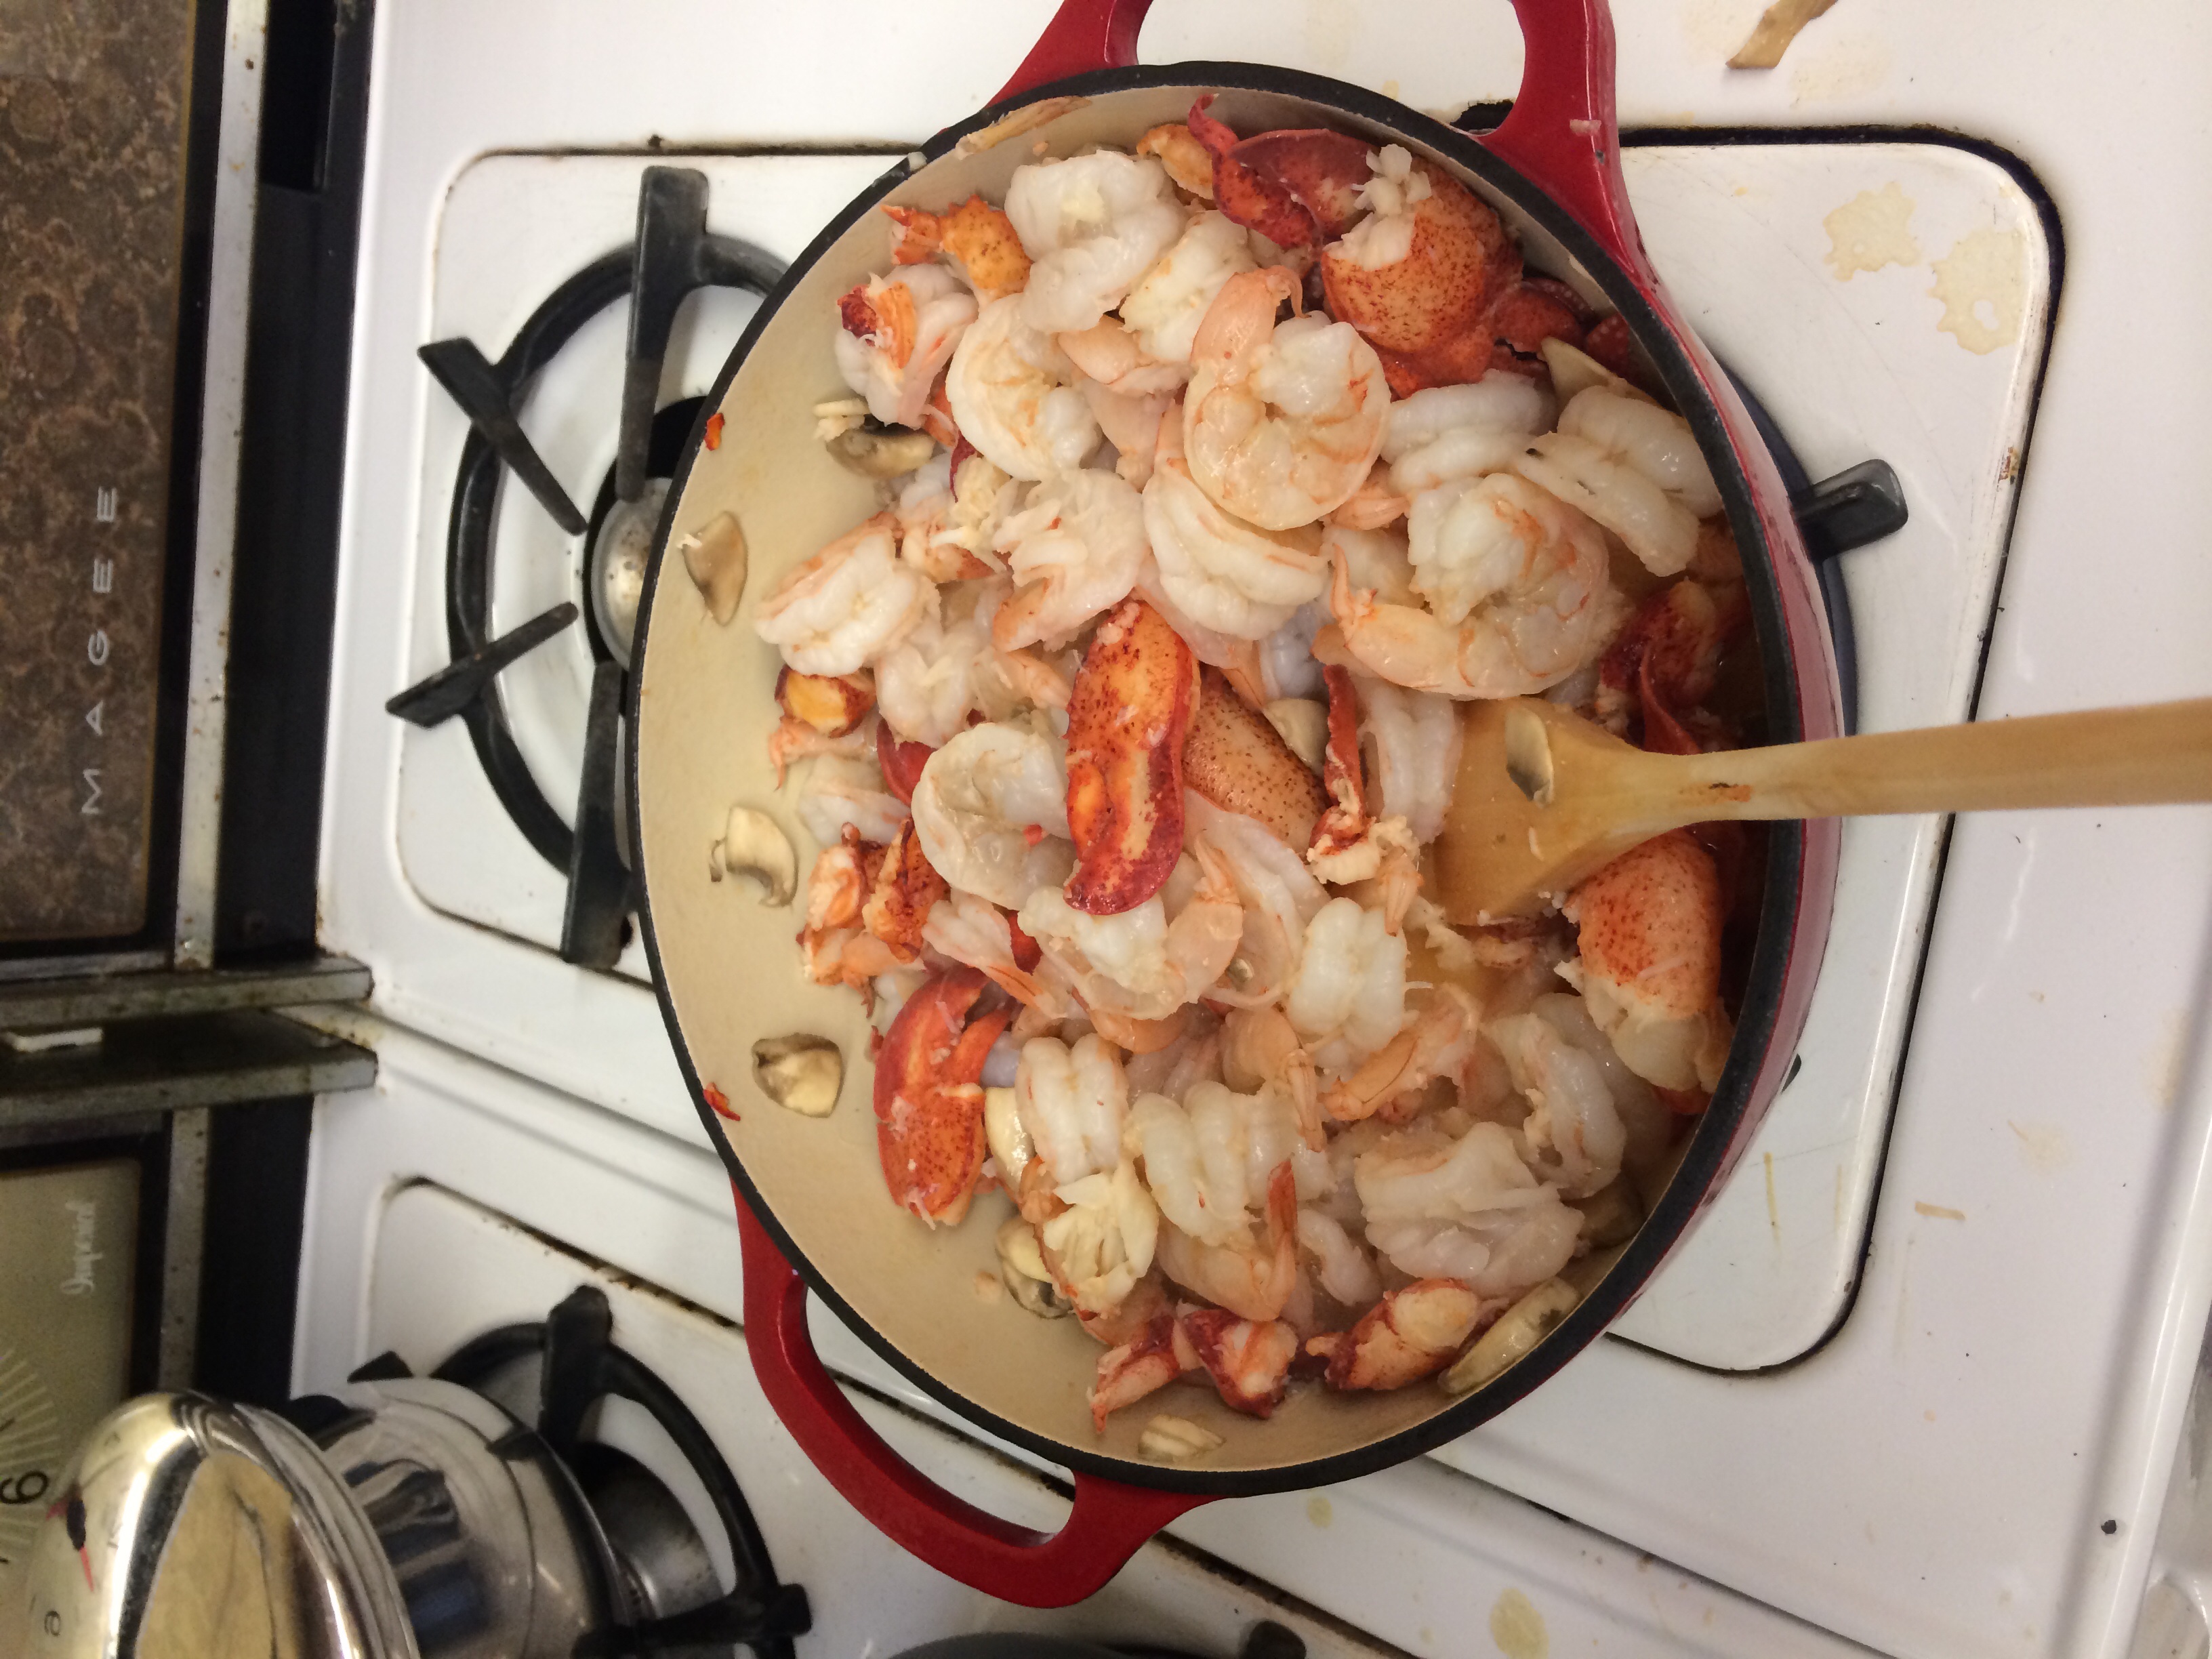
I put this combined mixture aside to simmer as I tackled cooking the seafood. I didn’t defrost the frozen lobster before putting it in the pan, however, which resulted in an excess of liquid.

image (6)

Because of this, I didn’t end up sautéing the seafood and had to drain liquid continuously from the pan. I put the seafood and sauce into separate containers in the fridge for the next day.

image (7)


On Thursday, I gave up my dream of making a puff pastry and, instead, made an all butter crust in a hurry and threw it in the fridge. Meanwhile, I also was reheating my ingredients. I ran into a problem with the seafood because I wanted it to be warm due to my short baking time but didn’t want it to overcook. I ended up cooking the sauce with some added water for a long time on low and only heated the seafood enough to make it lukewarm at the very end. I rolled out my dough and combined the seafood and sauce in the pie pan and put my top crust on. I put the pies in the oven to bake. I knew, since the filling was warm, that the only thing I need to worry about baking was the top crust! I ended up making enough for two pies instead of one so halve the recipe if you want one pie.

image (9)

Recipe:

Lobster Pie

From City Tavern: Recipes from the Birthplace of American Cuisine, ©2009 by Walter Staib

Hannah Glasse offers six recipes for lobster in The Art of Cookery Made Plain and Easy, among

which is the recipe for lobster pie that inspired the recipe below. However, her example is the

exception rather than the rule, as lobster dishes are remarkably scarce in colonial cookbooks.

This is mainly because colonials had a low opinion of lobster and generally considered it so

undesirable that it was used as fertilizer and fish bait. When it was cooked and served, it was

given only to children, prisoners, and indentured servants. In fact, so many servants were sick of

eating lobster, they often specified in their contracts that they couldn’t be served lobster more

than three times per week.


Serves 6

1/4 pound (1 stick) unsalted butter

2 tablespoons chopped shallots

1 cup dry sherry

1 quart Lobster Stock (page 00)

1 quart heavy cream

2 tablespoons tomato paste

2 cups all-purpose flour

1 tablespoon chopped fresh parsley, for serving

Pinch of fresh thyme

Pinch of cayenne pepper

Salt and freshly ground white pepper

3 pounds lobster tail meat

18 jumbo shrimp (about 11/4 pounds), peeled and deveined

1 cup sliced button mushrooms

1/2 cup dry sherry

Salt and freshly ground black pepper

3 pounds Quick Puff Pastry (page 00) or purchased puff pastry

1 egg, lightly beaten with 1 teaspoon water


Heat 1 tablespoon of the butter in a 4-quart saucepan over medium heat. Add the shallots and

sauté for 2 to 3 minutes, until translucent. Add the sherry and bring to a boil. Continue cooking

until the liquid is reduced by half, about 8 to 10 minutes. Stir in the stock and bring back to a

boil. Stir in the cream and bring back to a boil. Reduce the heat to let simmer.

Heat 4 tablespoons of the butter in a medium-size saucepan over medium heat, add the tomato

paste, and slowly stir in the flour to form a smooth paste (or roux). Cook until the roux bubbles.

Remove from the heat and slowly whisk into the sherry-stock mixture. Return to medium heat

and cook until the sauce starts to thicken, about 2 minutes. Add the parsley, thyme, and cayenne

pepper, and season to taste with salt and pepper. Reserve.

Preheat the oven to 450°F.

Heat 3 tablespoons of the butter in a large skillet over medium heat, add the lobster, shrimp,

and mushrooms, and sauté for 5 minutes, until the mushrooms are soft and the lobster and shrimp

are white. Add the sherry to deglaze the pan, loosening any browned bits on the bottom of the

pan with a wooden spoon. Divide the mixture among six 14- to 16-ounce au gratin or casserole

dishes. Divide the reserved sauce among the six dishes. (The sauce should cover the filling.)

On a lightly-floured surface, roll out the Quick Puff Pastry to 1/8-inch thickness. Cut out 6

circles allowing 1-inch overhang and place on top of the au gratin dishes. Crimp the pastry to the

edge of the dishes, prick the dough with fork to allow steam to escape, and brush with the egg-

water wash.

Bake for 12 minutes, until the edges of the pastry are brown and the centers are golden brown.

Week Two: Calling All Cheese Lovers


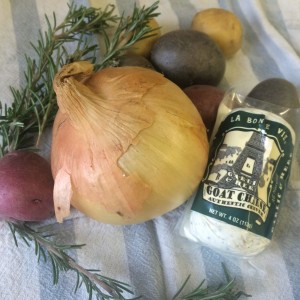
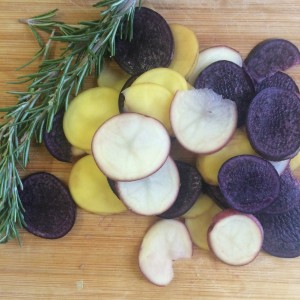
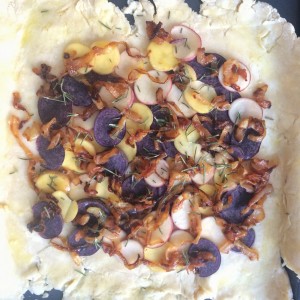
FullSizeRender (35)Savory pies are entirely underrated. I’ve never baked a savory pie before so I was incredibly excited this week to explore a new side of what I’ve considered pie. Upon pouring through internet blogs and recipe books, I found I was consistently attracted to pies that centered around cheese. In the end I chose a pie and a galette for some variety. I’ve made fruit galette before, but the idea of a savory one was novel and exciting. The galette contained tri-color potato, caramelized onion, goat cheese, and fresh rosemary while the pie was a brie, apple, prosciutto sweet and savory mix.
FullSizeRender (29)FullSizeRender (30)FullSizeRender (33)

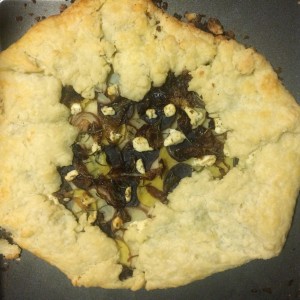
The galette was taken from a blog called Nothing From the House which was entirely dedicated to making pies. It was incredibly straightforward and simple to make. First I made the dough using the vodka trickFullSizeRender (34) where I substituted half of the water with vodka in order to make the pastry extra fluffy and light when the vodka evaporated. Then I cut the potatoes, caramelized the onions, and layered them on the rolled out dough adding dollops of cheese and pieces of rosemary on top. The only addition I made was that I used herbed goat cheese with thyme. I was pleasantly surprised by how colorful the miniature potatoes were and if I had made the galette again, I might have added a bit more potato. As it was, I found the galette to be delicious. The vodka trick made a noticeable improvement and although there was a large crust to filling ratio, the rosemary flavored the crust well. I liked this recipe because the pie felt light and airy with little filling which is not the case for many pies.
FullSizeRender (36)FullSizeRender (27)FullSizeRender (28)

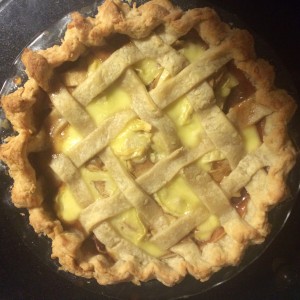
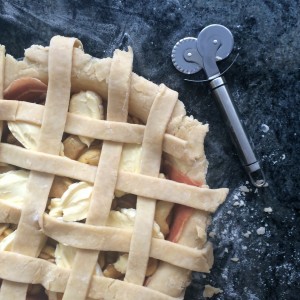
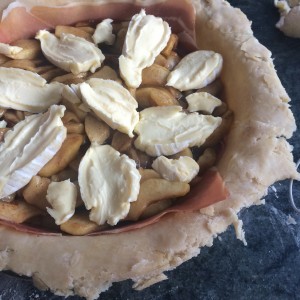
The brie and apple pie was also taken from Nothing From the House which I found to be filled with incredibly innovative recipes. This pie was intriguing because I haven’t heard of many pies that combine the sweet and savory elements so completely.  First, I made a standard double crust then cooked the apples in cinnamon, sugar, and spices. The most strenuous portion of the entire pie process was peeling and coring the seven miniature granny smith apples that were used.  To put the pie together, I layered prosciutto on the bottom near the crust and poured the apple filling inside. Then on top, I spread slices of brie and covered the entire pie with a lattice. The overall effect was a sweet, smoky taste. It was certainly an incredibly different and exotic flavor set, and I felt pretty ambivalent about it. I loved the flavor complexity, but I was torn as to whether it was just a little too weird.

FullSizeRender (32)FullSizeRender (31)

<3 Steph

How to make a Mushroom-Ricotta Pie

  1. Spend several days promising yourself that you’re really going to look up some starter recipes for what you want to make. Alternate this by thinking “I know how to cook mushrooms, dammit.” Ultimately find one (http://www.completelydelicious.com/2013/01/wild-mushroom-pie-with-parmesan-crust.html) and mostly ignore it for the rest of the process.
  2. Take your grocery list, with your boyfriend in tow to the overpriced price chopper on the way to the airport. Try to convince yourself that just because you paid four dollars for an 8 oz bag of cranberries here last week doesn’t mean they’re set on price gouging you.
  3. Yell across the practically empty price chopper about the weight of mushrooms.
  4. Debate internally about the two dollar and fourty-nine cent container of fresh rosemary. Decide against it because rosemary is overpowering (you will later ignore this reminder).
  5. Argue about the benefits of part-skim versus all-fat ricotta with your boyfriend. Cave when he reminds you that the all-fat is “just going to taste better.”
  6. Start baking Wednesday afternoon in a kitchen full of people who are all planning much more elaborate dishes than you. Feel mildly inadequate, but remind yourself that you like mushrooms, and that’s all that matters (right?)
  7. Distract yourself with the rosemary that someone has left on the corner, and convince yourself it’s a worthwhile addition to your pie. Conveniently forget that rosemary is overpowering and it’s going to mess up your garlic and leave little bits of rosemary interspersed in the pie.
  8. Make your ricotta mixture. Eat your ricotta mixture.
  9. Cook your mushrooms, and proceed to cook out too much of your wine. Add more until it seems like it’s about the right consistency.
  10. Put together your pie, watching sadly as your lattice melts slowly into your still-steaming mushrooms. This is your fault and you knew it. It will taste fine. It will taste fine.
  11. Continue to pull out the visible stems of rosemary as you place your pie in the oven.
  12. Vow to omit the rosemary from the recipe.
  13. Remove your pie from the oven. Look at it with a mixture of sadness and fondness as you are reminded that it will not be available to you for another 22 hours. Remind yourself sadly that Mission dining hall will have to do for tonight.
  14. Make yourself sick on pie the next day.


2 ¼ cups flour

1 tsp salt

½ tsp pepper

⅓ cup parmesan cheese

2 sticks butter

ice water


½ cup heavy cream

1 head garlic


½ Tbsp. butter

1 Tbsp. olive oil

2 lbs mushrooms, mixed (crimini, portabella, shiitake)

5 oz pearl onions, ends trimmed and peeled

½ tsp. dried thyme

salt and pepper

1 cup red wine

2 Tbsp. flour


15 oz container of ricotta

1 egg

salt and pepper

½ tsp thyme

⅓ cup parmesan


  1 egg
In a small pan, insert heavy cream and a peeled head of garlic. Cover and simmer on low for around half an hour. After this time, strain and put any resulting liquid in with the mushrooms. Mush the garlic until it is a sort of paste and add to the ricotta.

Make your pie crust as normal, simply adding parmesan cheese to the flour mix. Shape into rounds (or rectangles) and place into the fridge, covered in clingwrap.

Clean and chop your mushrooms, varying your sizes. Place butter and oil into a large pan and allow butter to melt. Add your pearl mushrooms and saute until they are lightly colored. Add the prepared mushrooms along with ½ tsp dried thyme and salt and pepper to taste. Cook down until mushrooms are tender. Add in ⅔ cup red wine and continue to cook until almost all liquid is evaporated. Add in your flour, stirring to cover 20160113_133001all mushrooms. Remove pan from heat. Add in last ⅓ cup of red wine and set mushrooms aside.
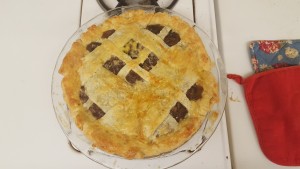
Mix together the ricotta, thyme, salt and pepper to taste, and parmesan. Remember to add garlic.

Roll out your pie crust, and your top lattice strips. Fill the crust first with the ricotta layer and then with the cooked mushrooms. Top with lattice, and brush with egg wash.

Bake at 425°F for 20 minutes, and then cover edges with tinfoil or silicone protectors. Bake for another 45 minutes at 350°F or until golden brown on all sides.

Allow to cool slightly and eat (preferably) that day.20160113_144509

20160113_144719

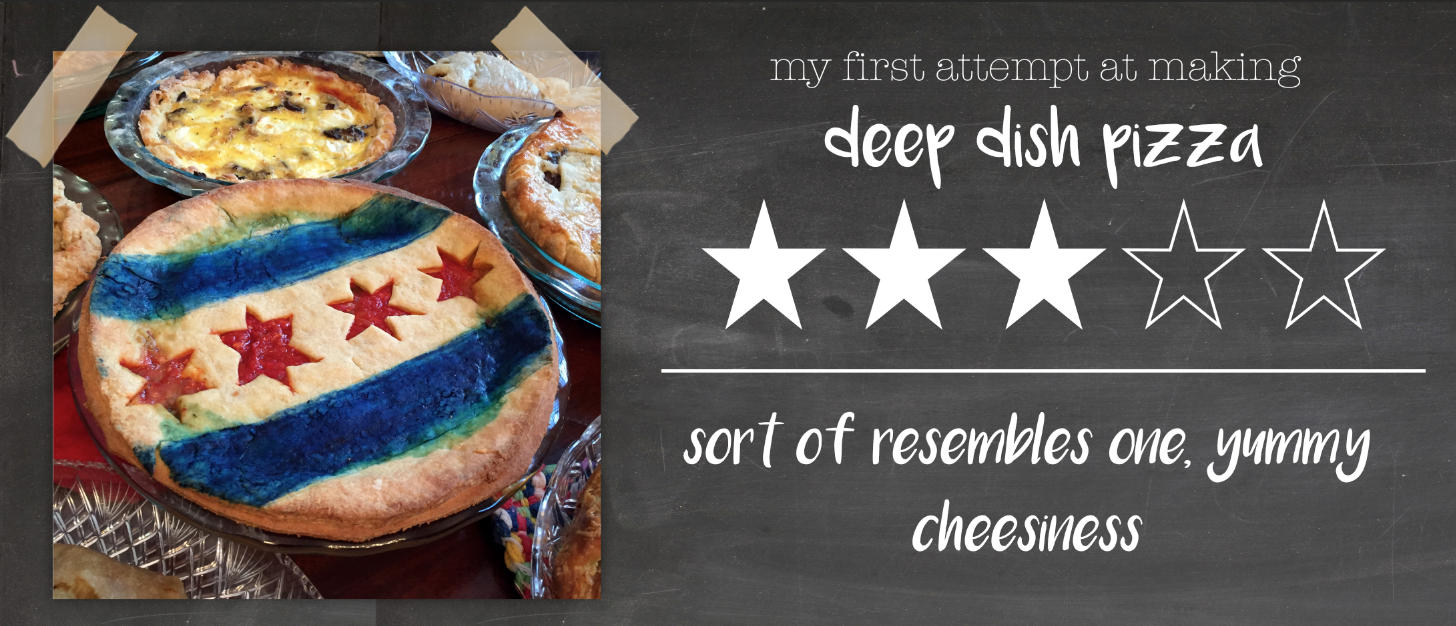
“Deep Dish Pizza”

I was feeling a bit nostalgic, so I decided to make an attempt at making a Chicago classic: deep dish pizza. Technically, deep dish pizza is like pie: it has a crust, a filling, and it tastes delicious. I was excited to try it out for the first time, but I wanted a simple recipe so I wouldn’t feel too overwhelmed. That is why I went with this recipe.

Unfortunately, I forgot to take pictures of the different steps, but I will give you an overview of what went wrong.

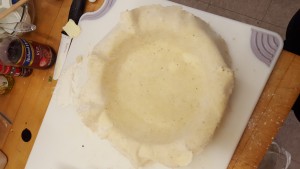
1. The dough did not rise. Yes, I added yeast, sugar, and everything else. Yes, I placed it in a warm environment. The dough did not rise even a little bit. Seeing that I didn’t have enough time to make another batch, I decided to go with it and hope for the best. I rolled it out, slathered butter on it, and rolled it back up before placing it in the fridge.

2. I forgot to boil the sauce. While the dough was in the fridge, I sautéed the onion, oregano, red pepper flakes, and garlic. Then I added the crushes tomatoes. I warmed it up before I moved back to the dough.

These two mistakes has a drastic effect on the appearance of my deep dish pizza. The sauce was mushy and seeped through. The crust was very hard. However, I realized that it will still contain loads of cheese, pepperoni, mushrooms, and green peppers. It would still taste good!

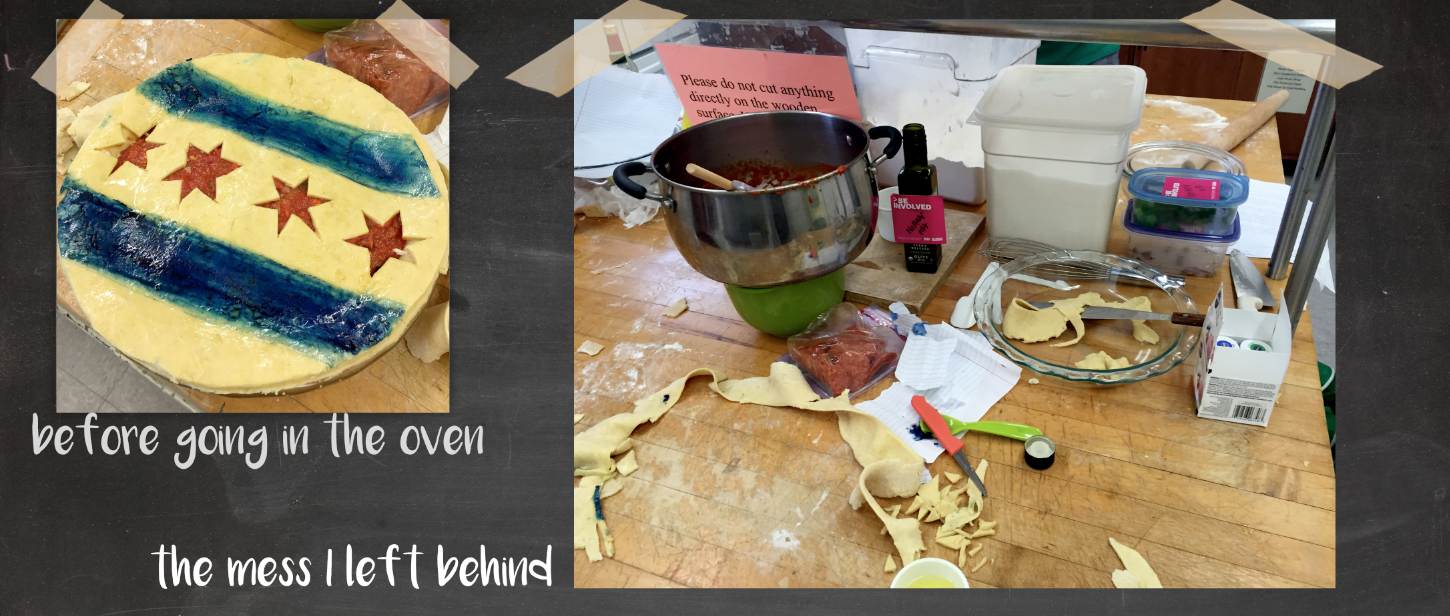
In a Neftaly-fashion, I decided to add a top crust and cut out four stars and add blue stripes (the Chicago flag).  As a proud Chicagoan, I wanted to represent my city (at least in first impressions because the deep dish pizza was not going to look very deep dish-y).

Screen Shot 2016-01-16 at 4.31.49 PM

In the end, it did remind me of home (although not completely). I will definitely be repeating this recipe until I get it right. It’s too expensive to ship pizza from Lou Malnati’s or Giordano’s to Williamstown.

Screen Shot 2016-01-16 at 4.14.29 PM

An Exotic Moroccan Lamb Tagine Pie!

As soon as I realized that we were going to make a savory pie this week, I knew that it had to have bags of flavor. A filling with complex flavors and spices that would give the eater a different tasting experience on each bite. After much deliberation, I remembered a video I saw as a kid once: Nigella Lawson cooking a Moroccan Lamb Tagine. I looked for the video, saw it again and knew that I had to make a Moroccan Lamb Tagine Pie.

In my search for the maximum amount and complexity, I looked up two more Moroccan Lamb Tagine recipes and combined the ingredients and methods to what would hopefully become the “ultimate” Lamb Tagine Pie. In addition to these recipes I also added a touch of some Pakistani cooking techniques to the recipes to give it a personal touch. Here are the links to the three recipes I used for my pie followed by a breakdown of how I combined all three of them.

http://www.myrecipes.com/recipe/lamb-tagine-shepherds-pie

http://www.goodfood.com.au/good-food/cook/recipe/moroccan-lamb-pie-20121002-344vc.html

http://www.foodnetwork.com/recipes/nigella-lawson/lamb-olive-and-caramelised-onion-tagine-recipe.html

Pie Filling:

I started with caramelizing slices of one white onion in a mixture of butter and olive oil in a heavy-bottomed cast iron pan. A pinch of salt speeds up the process considerably. While this was happening, I prepared the meat by cutting it into small bite-size pieces. I used one packet of boneless lamb shoulder and used one packet of lamb leg pieces with bone. I deboned the lamb leg pieces and kept the bones to give some extra flavor to the tagine.

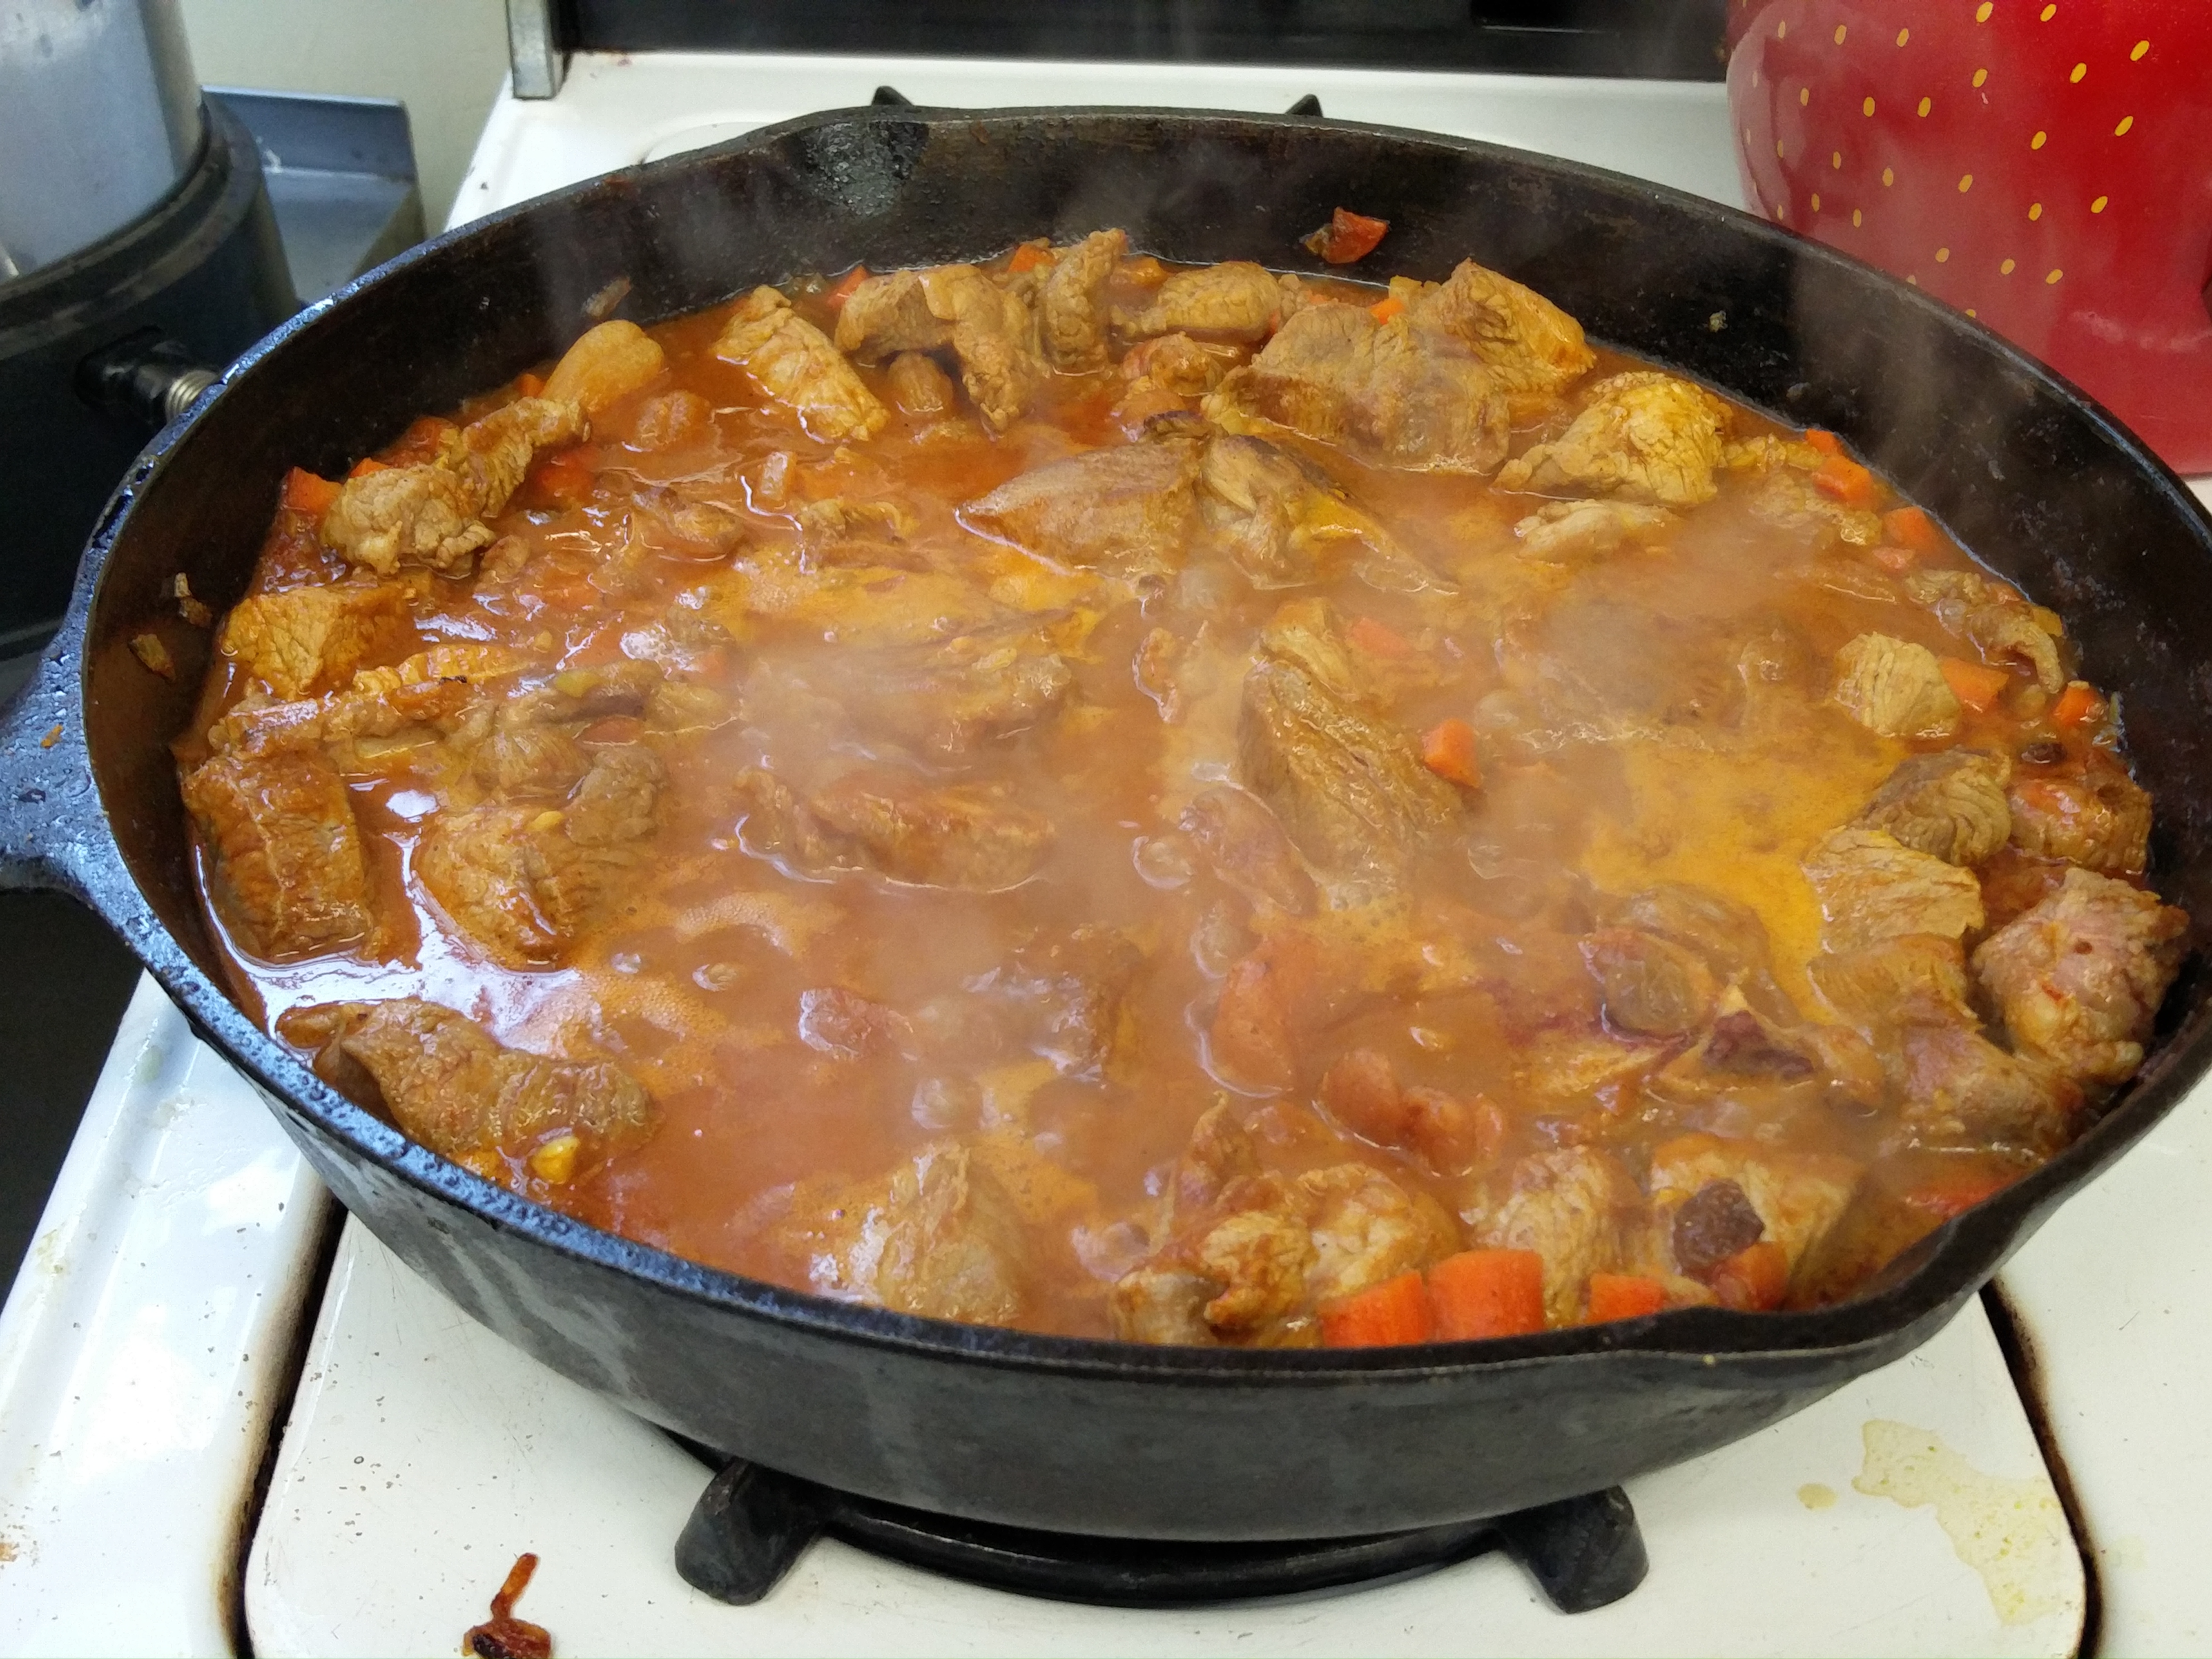
Once the onion was caramelized, I took the onion slices and in the same pan, I browned the lamb pieces and the bones in batches until they were golden brown on all sides about five minutes for each batch. In the same pan, I added a tiny bit more olive oil, waited for it to heat up and added a cup each of chopped onion and carrot. I sautéed this mixture for around 4 minutes and added a tablespoon chopped garlic followed by the salt, tomato paste, cumin powder, coriander powder, cinnamon powder, ginger powder, cayenne pepper, turmeric, and all-spice. After around 30 seconds, I added around half a cup of red wine and gave the pan a good stir to release all the bits stuck to the bottom of the pan. I added in the browned lamb pieces and bones, chicken stock, lemon zest, lemon juice, orange zest, orange juice, dried apricots, and golden raisins. I brought this mixture to a simmer, covered it and let it cook on a low flame for 30 minutes stirring occasionally.

IMG_20160113_123457

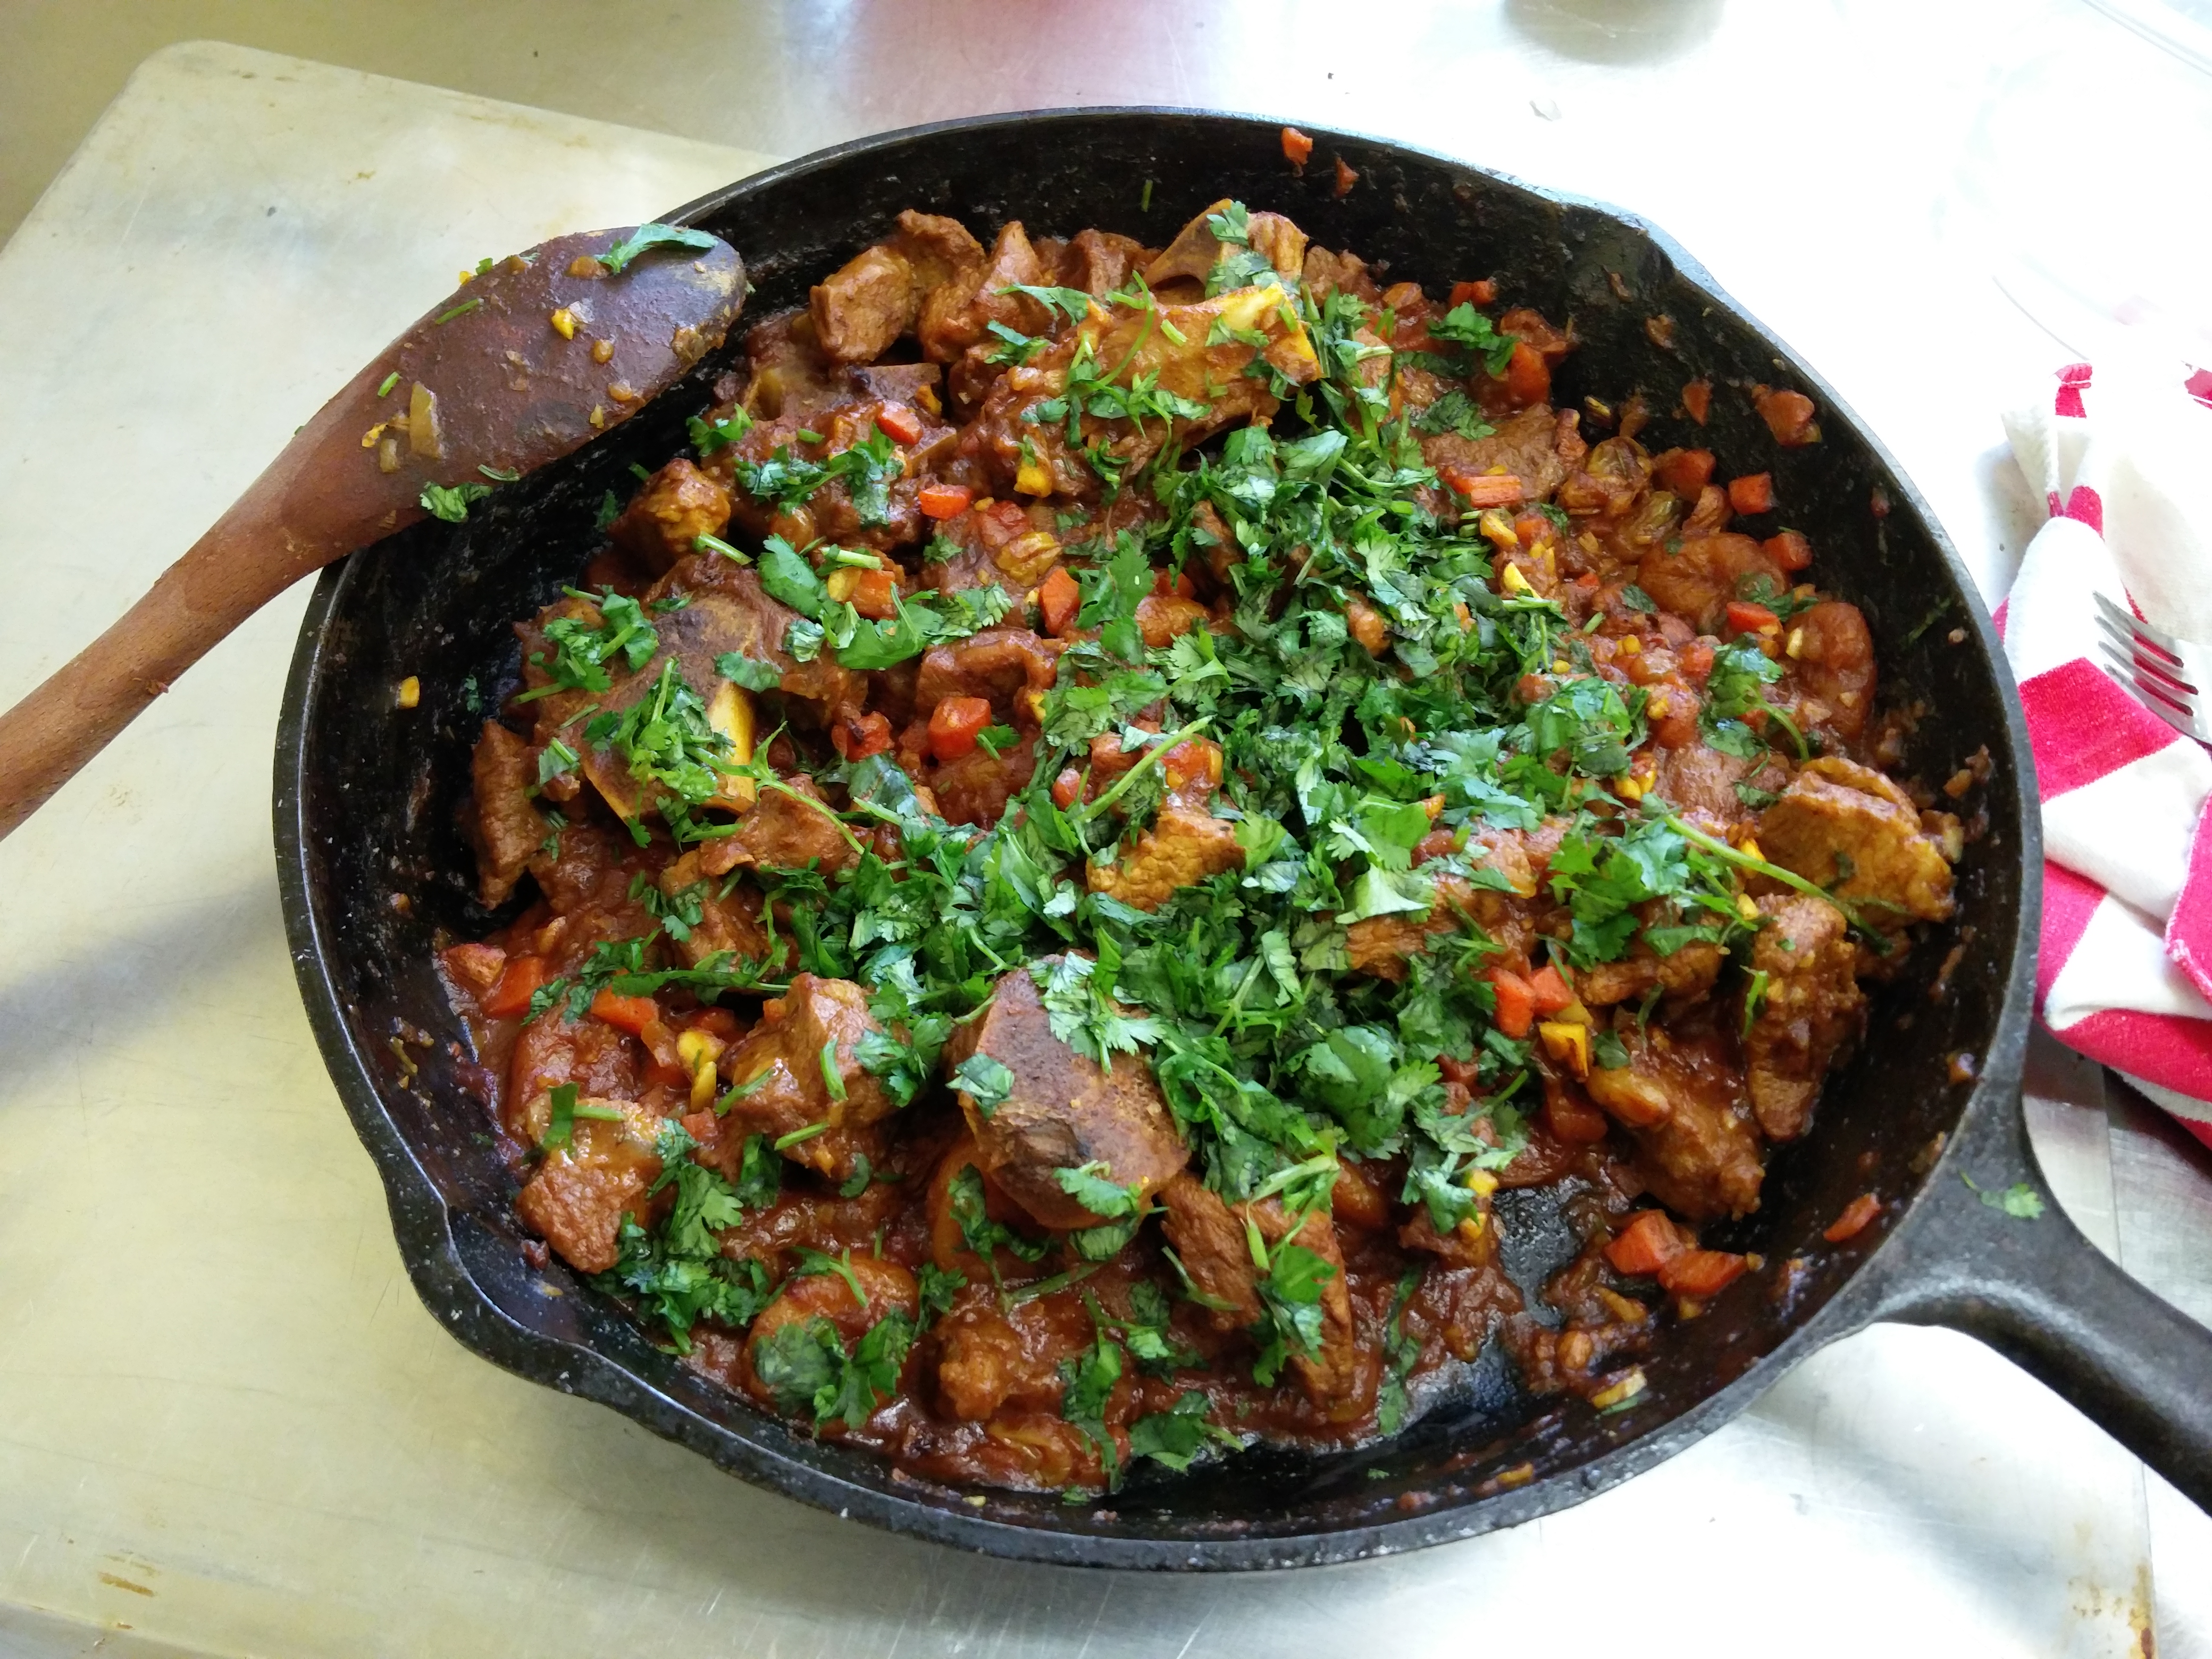
Then I added around half a cup of chopped almonds and cooked the meat for another 20 minutes till the sauce had thickened considerably. I turned off the heat and added 4 tablespoons of chopped cilantro. Before putting the filling in the pie, I took out the lamb bones and let the tagine come to room temperature.

IMG_20160113_133506

Pie Crust:

I followed the recipe for a basic flaky crust with both butter and shortening but had bigger chunks of butter this time for more flakiness and also flavored the pastry with cumin, black pepper and a bit of lemon zest.

Putting it together:

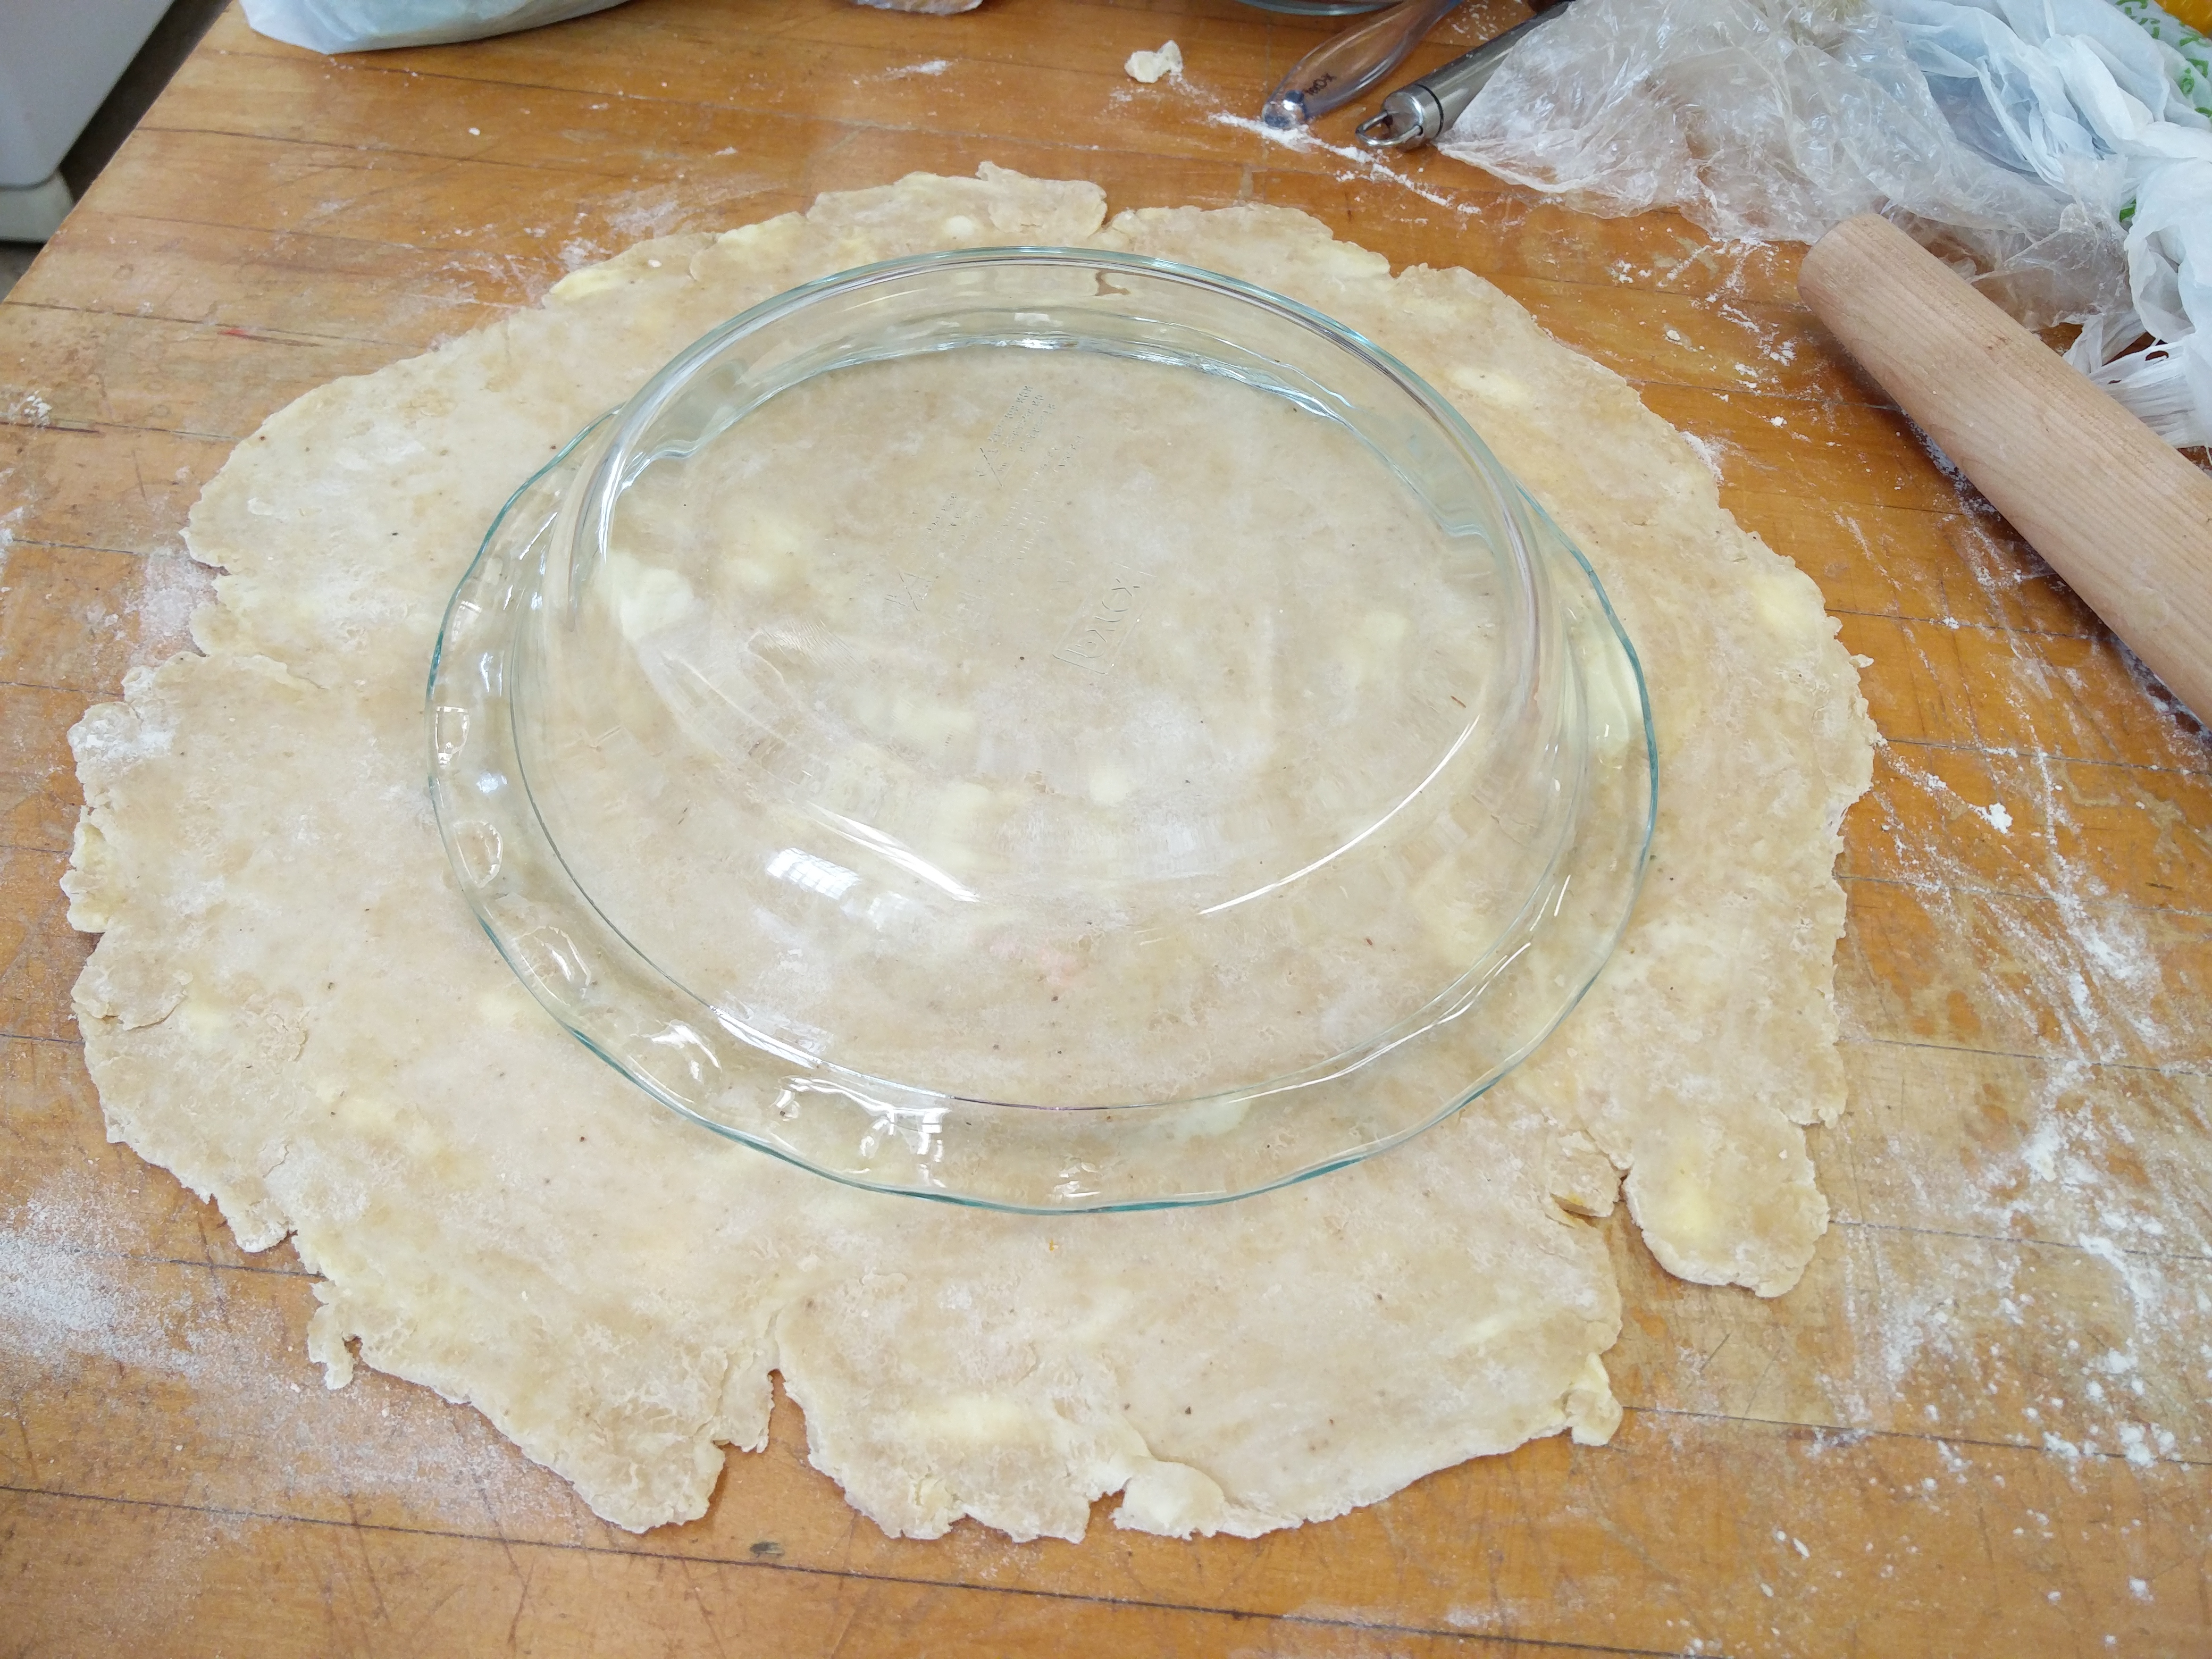
Same as last week, I rolled out the bottom crust to fit the 9-inch pie plate, left an inch of overhang and put it in the fridge for five minutes. After that, I brushed the bottom pie crust with an egg-white to prevent a soggy bottom and put the pie plate back in the fridge for another 10 minutes.

Gotta make it fit!

Gotta make it fit!

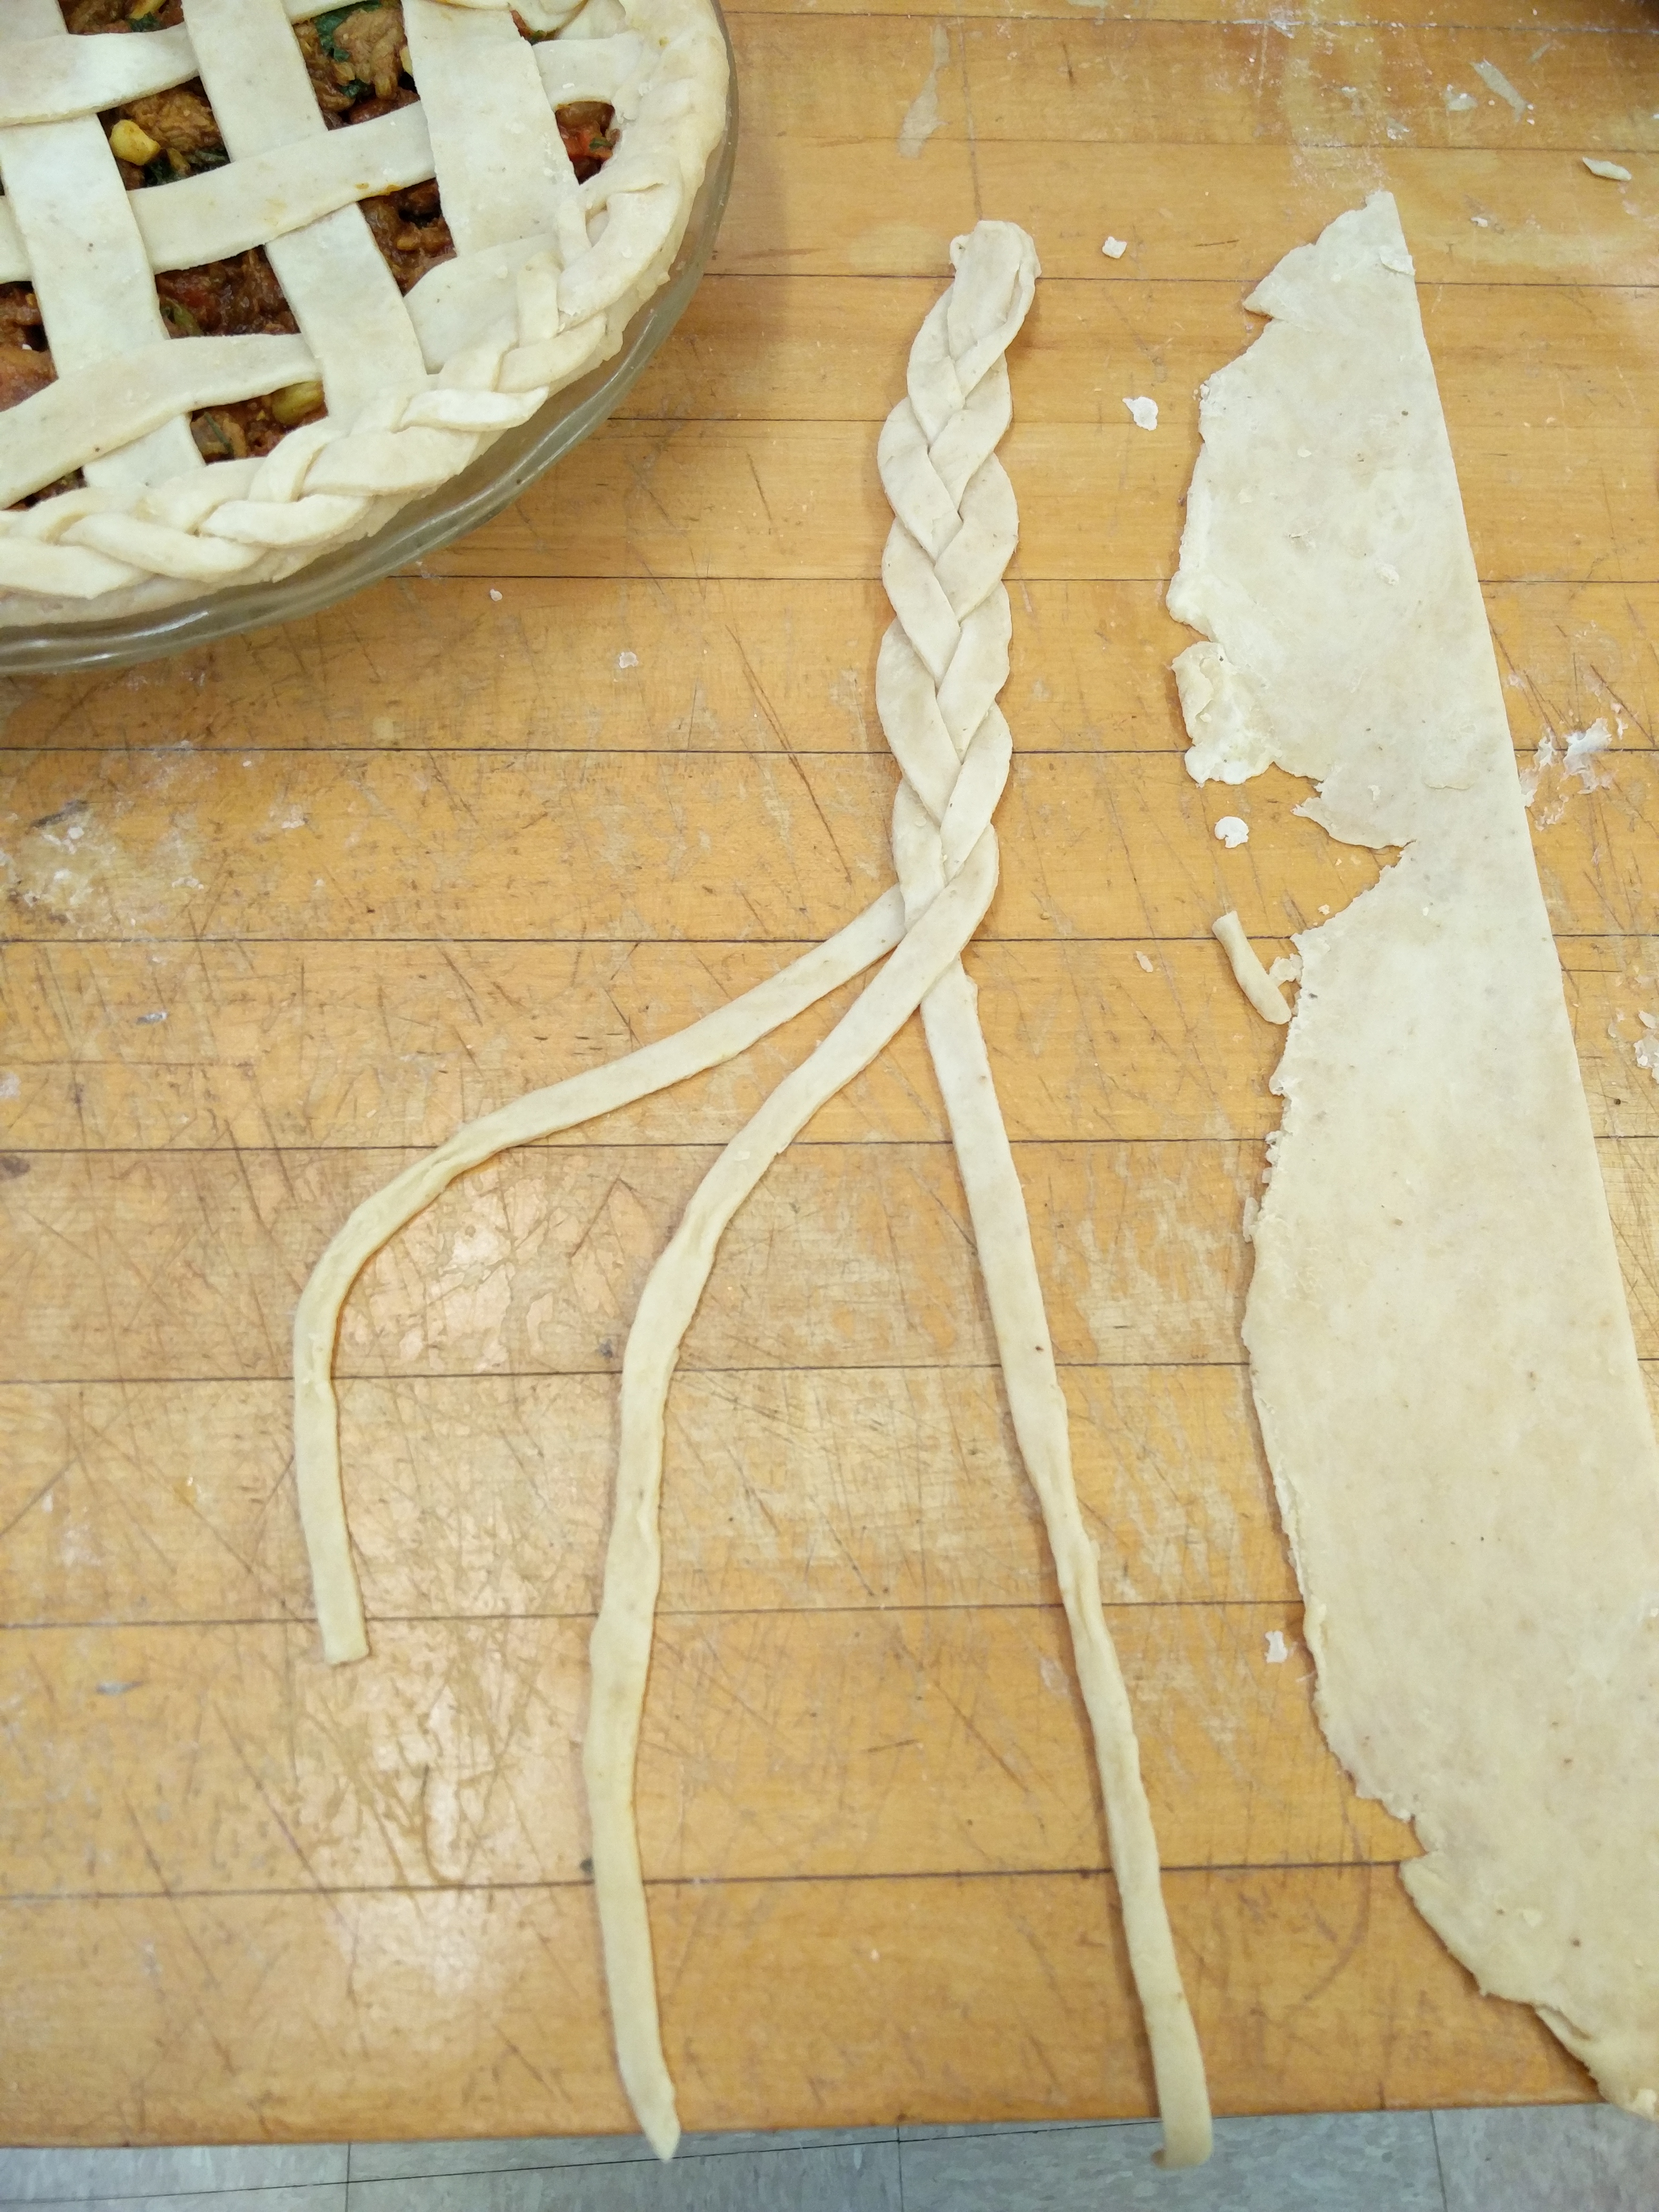
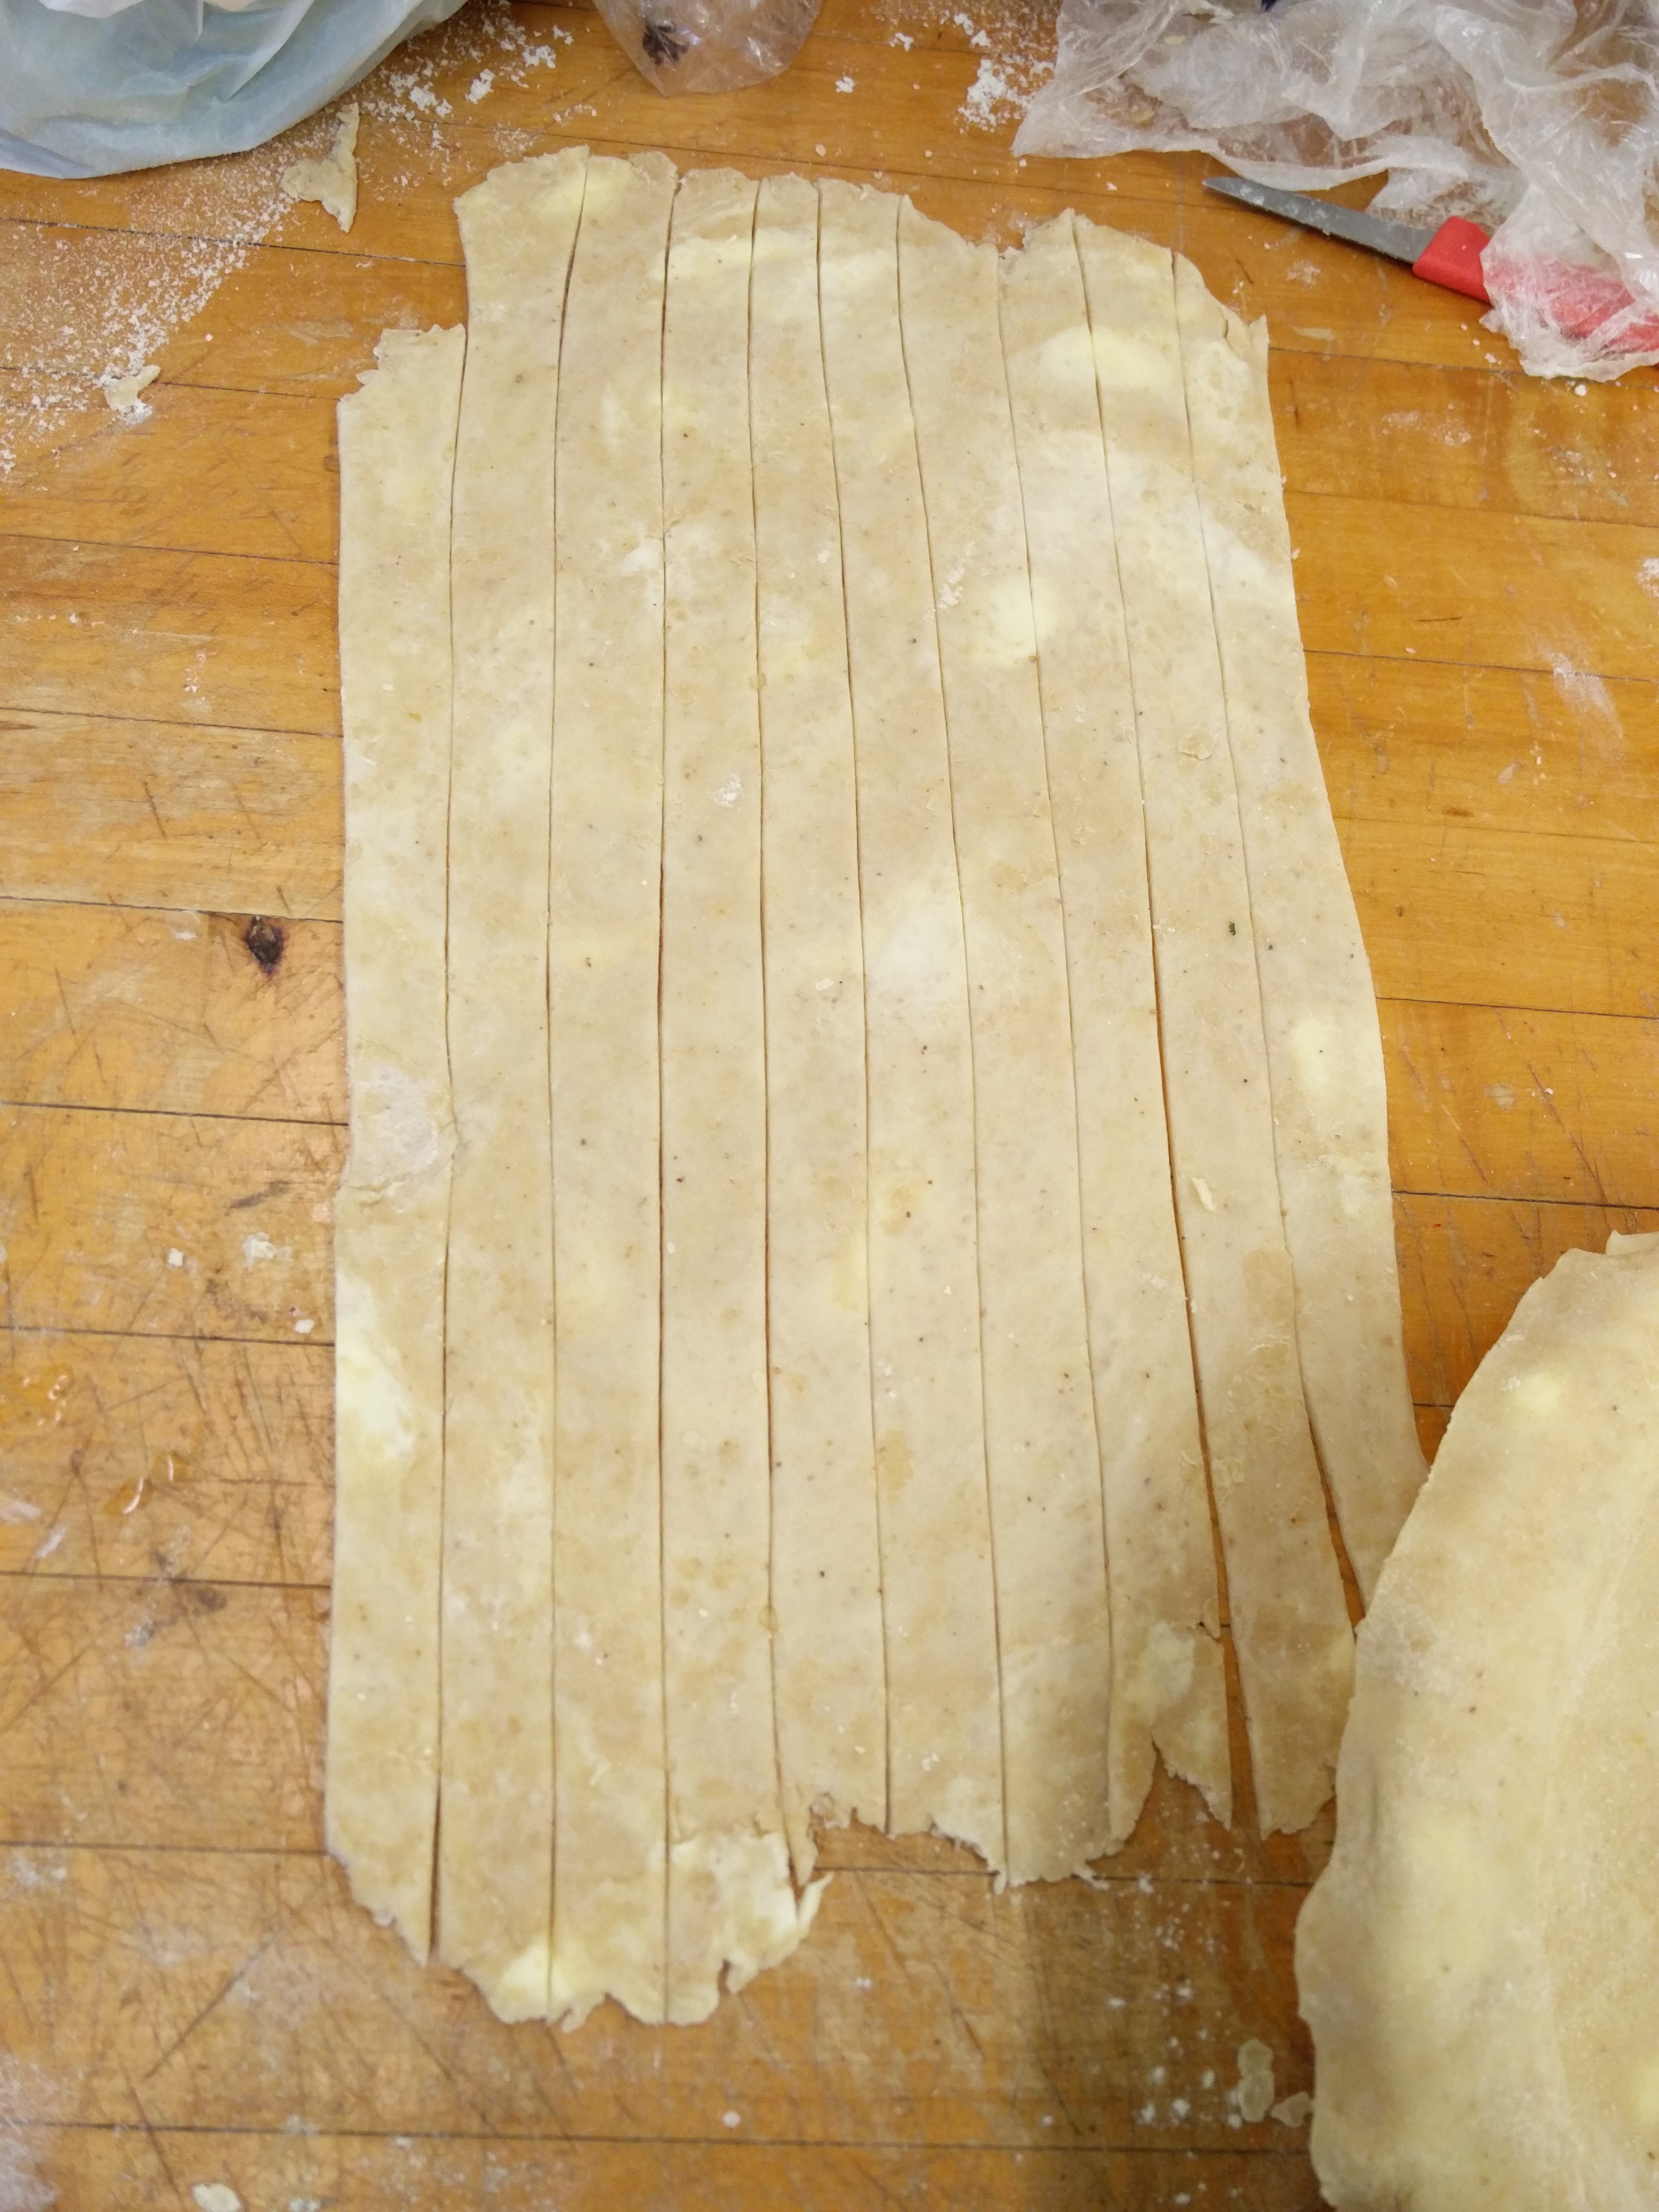
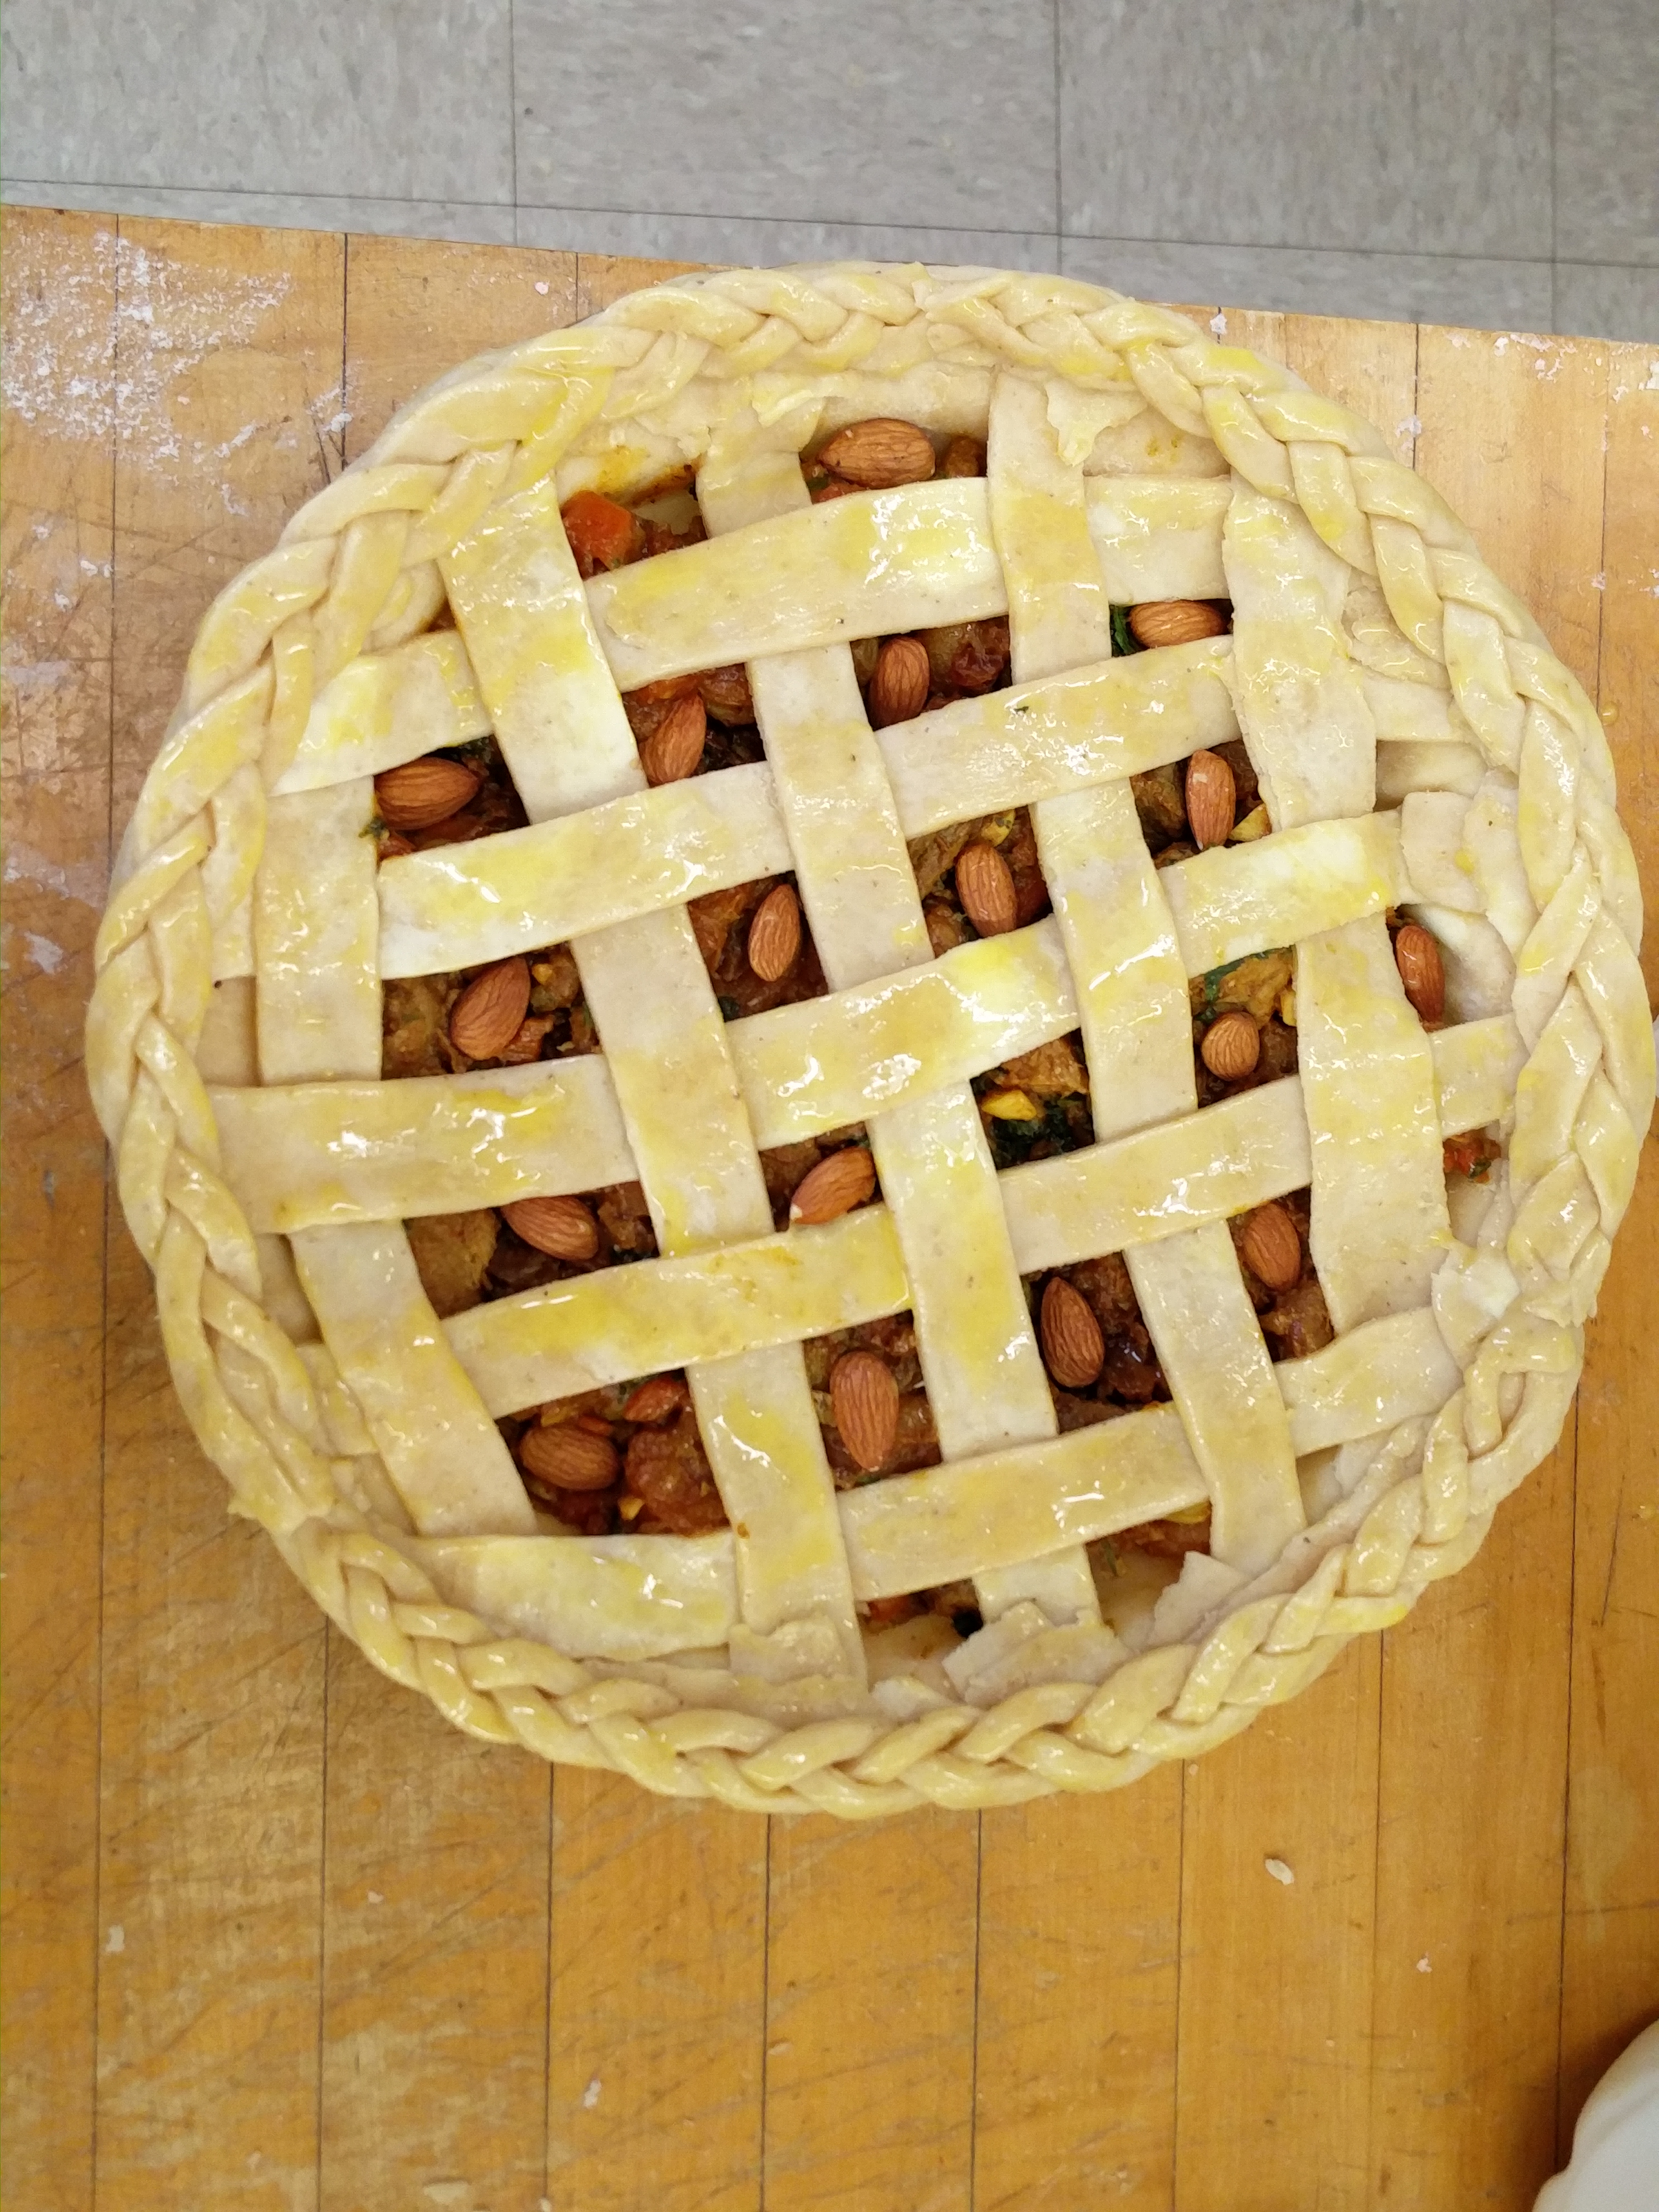
Meanwhile, I rolled out the second pie crust, cut it into strips and with help of Neftaly, made a lattice top as well as a braid to line the pie. For decoration purposes, I put an almond in each gap formed by the lattice. A generous wash with a mixture of an egg yolk and a tablespoon of milk followed.

IMG_20160114_120028 IMG_20160114_112700

Ready for the oven

Ready for the oven

I baked the pie at 400F in the lower third rack for 20 minutes. After that, I took out the pie and put pie protectors on the rims of the pie and put the pie back in the oven in upper third rack for some extra coloration for another 30 minutes.

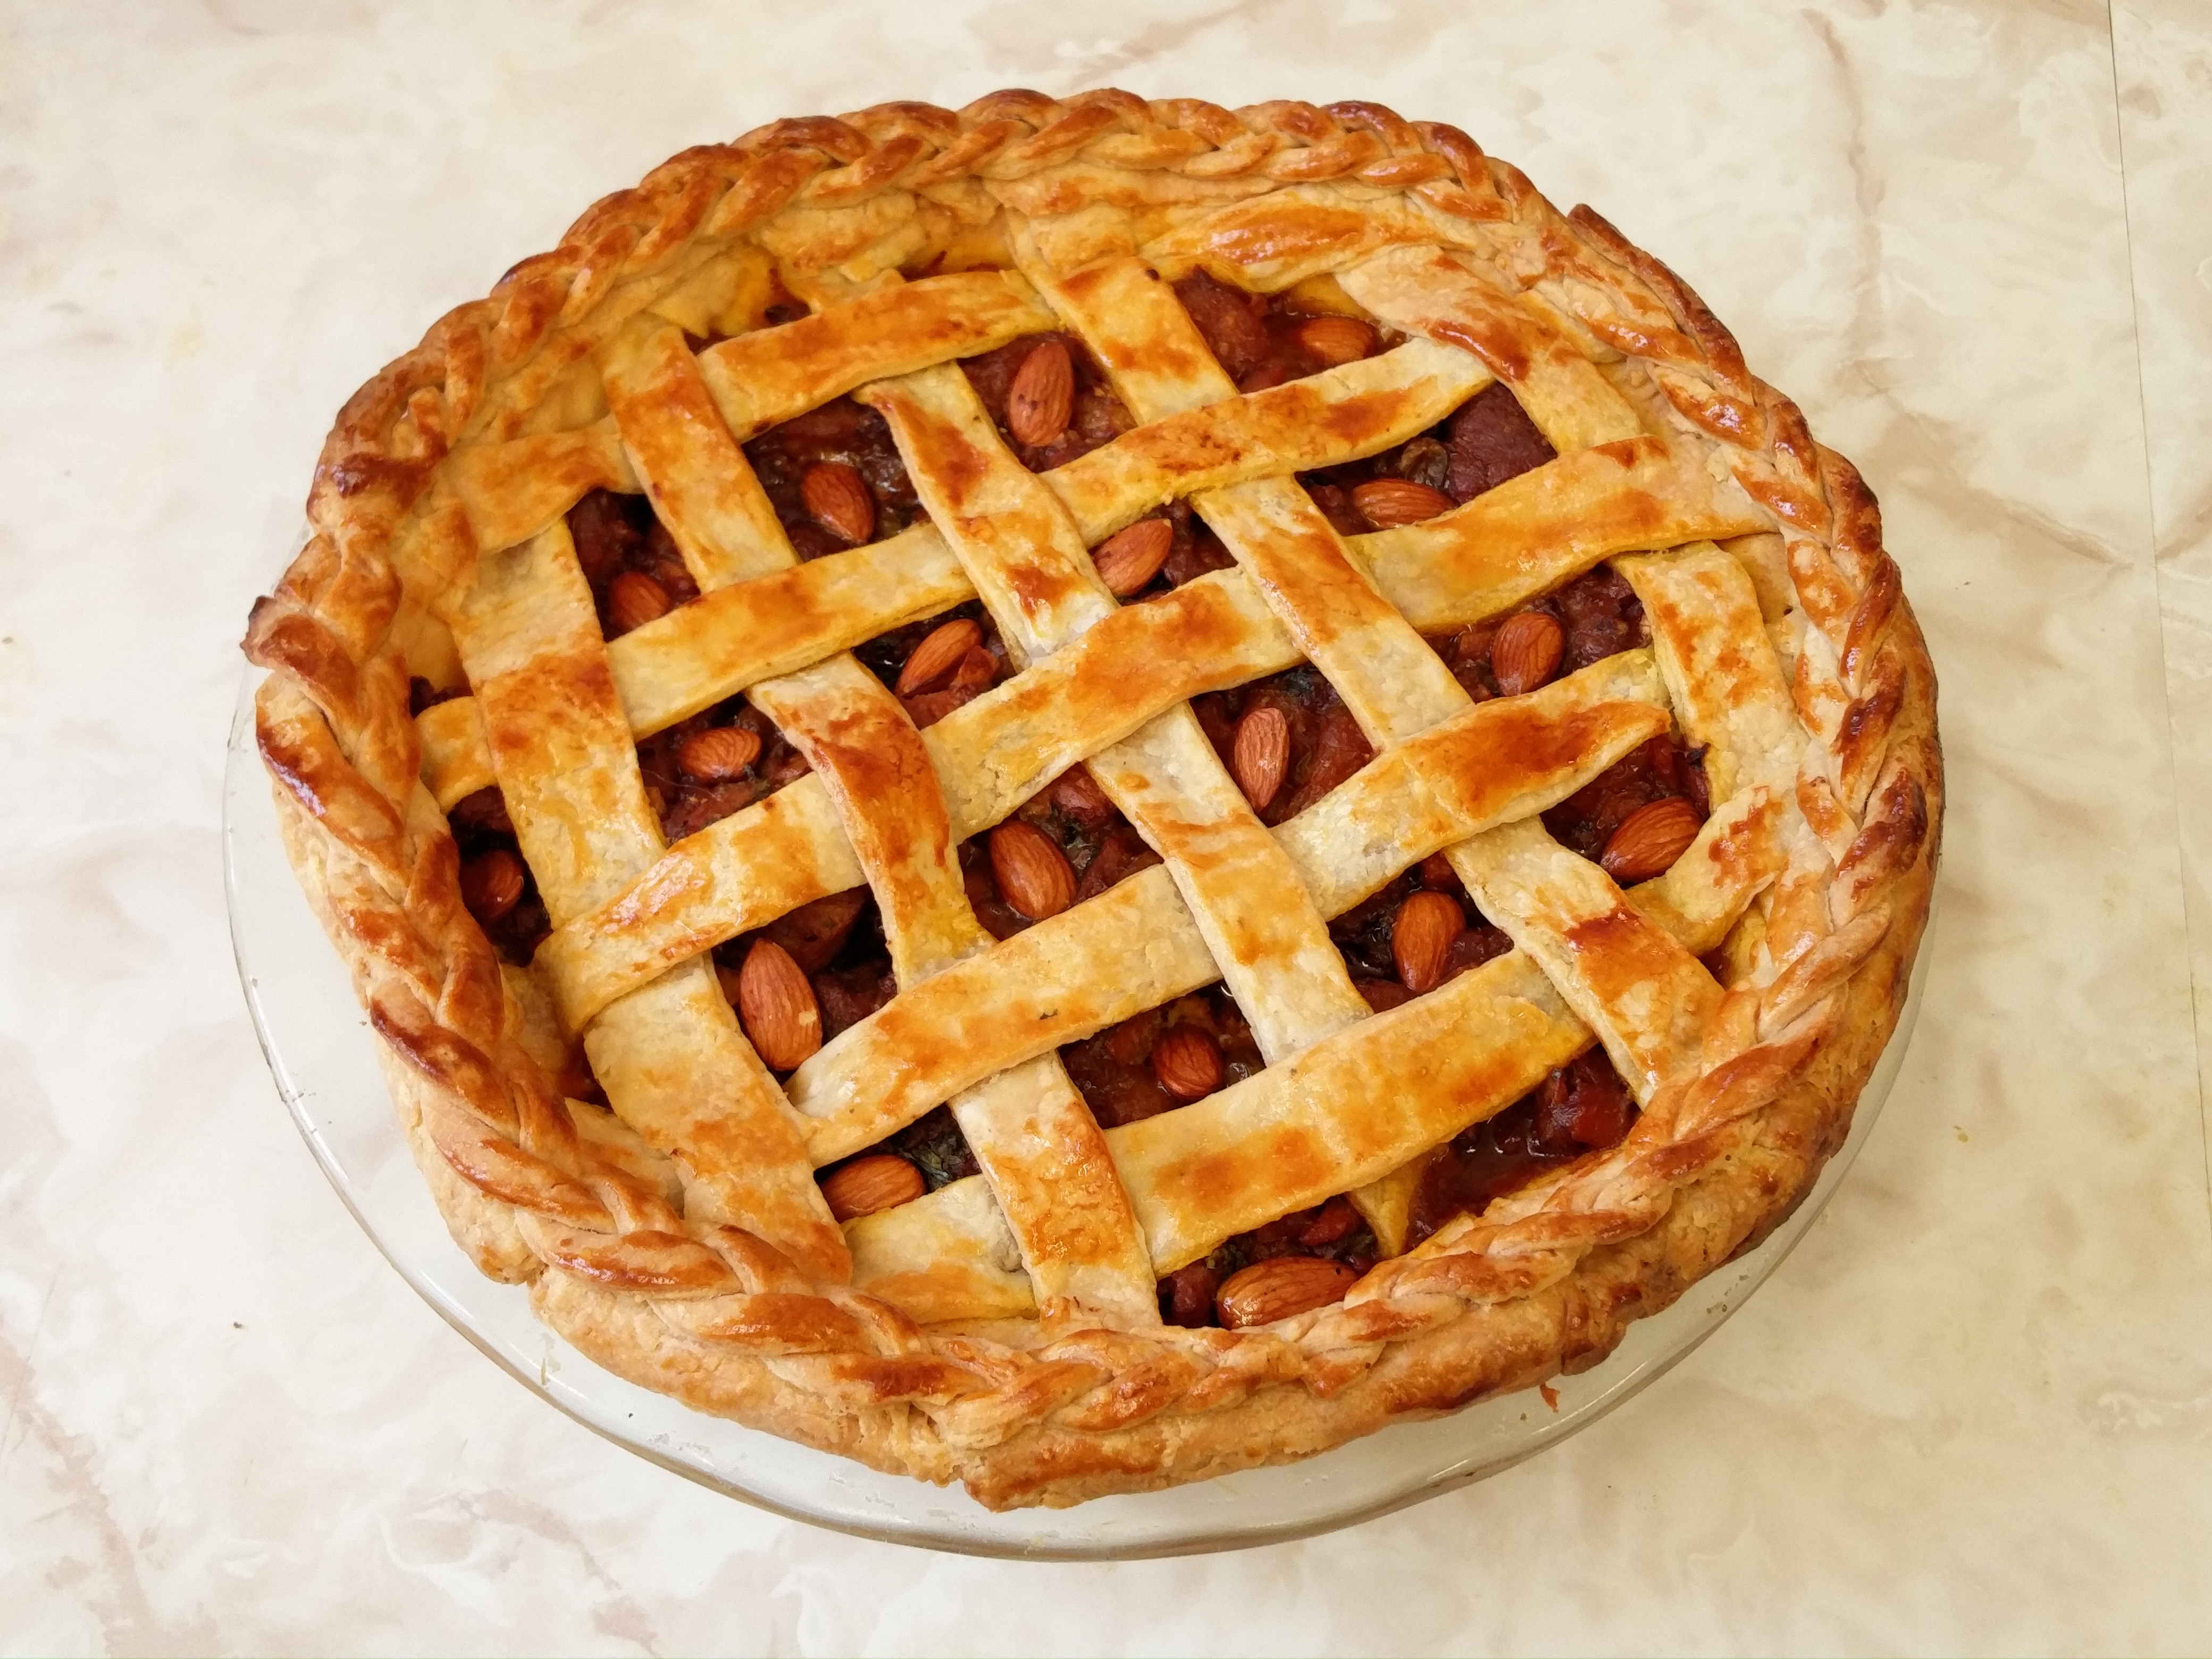
And then the pie was ready to serve! I am glad to report that it was all gone within an hour and I personally think, it turned out beautifully!

IMG_20160114_130202

Chicken Pot Pie

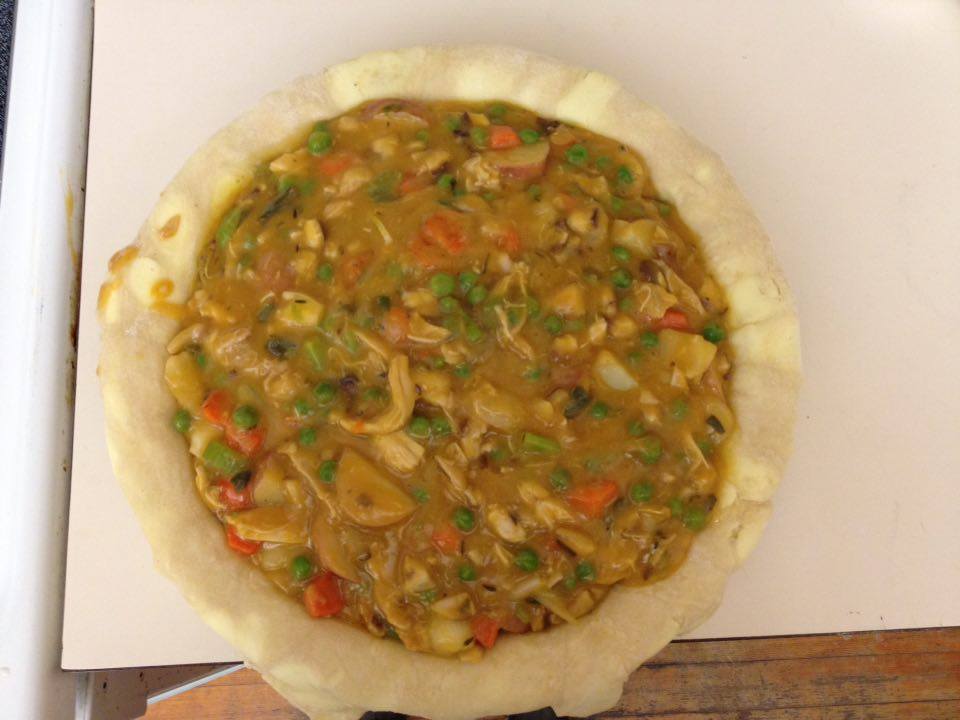
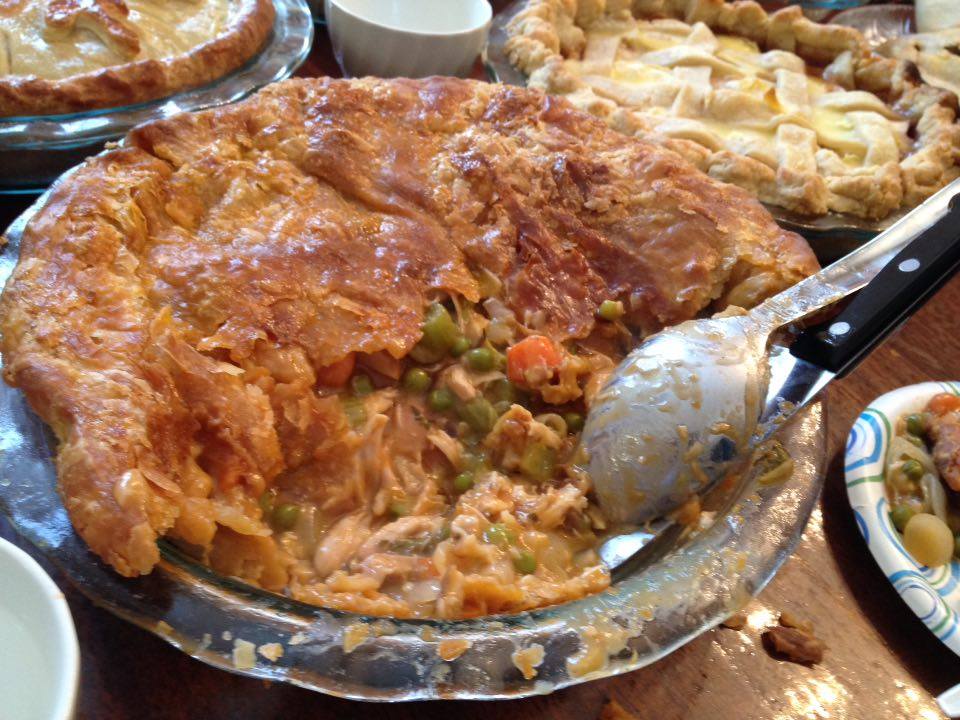
This week I made a chicken pot pie.

The original recipe is found here – Epicurious’ Chicken Pot Pie Recipe. I modified the recipe a little however, and the below recipe and steps includes the changes I made.


Double-crust (same as the class recipe)

3 cups all purpose flour

1 tablespoon sugar

1 teaspoon salt

1 cup (2 sticks) of cold unsalted butter (an all-butter crust, instead of using shortening)

1/2 cup of cold water + 1/4 cup of vodka


Handmade crust, following the usual procedure. I separated the dough into two balls–one large and one small, for the top and bottom crust. Refrigerated overnight. Flattened and fit to baking pan on the day of baking, with the bottom crust in first. The pastry crust for the top – I rolled this very thin, and it turned out well because it was puffier and more flaky when it came out.

Prep time: 10-15 minutes, at least 30-60 minutes in the fridge


Chicken

1 cornish hen (1-3 pound whole chicken)

2-3 cups peeled, coarsely chopped carrots

1 large yellow onion, coarsely chopped

4-6 celery stalks, coarsely chopped

6 sprigs thyme

1 cup dry white wine

1 tablespoon kosher (preferably) salt

1 teaspoon whole black peppercorns

1 tablespoon tomato paste


Preheat oven to 400 degrees. Place carrots and onions on a baking sheet and roast until golden brown, or what I did, which is about 30 minutes.

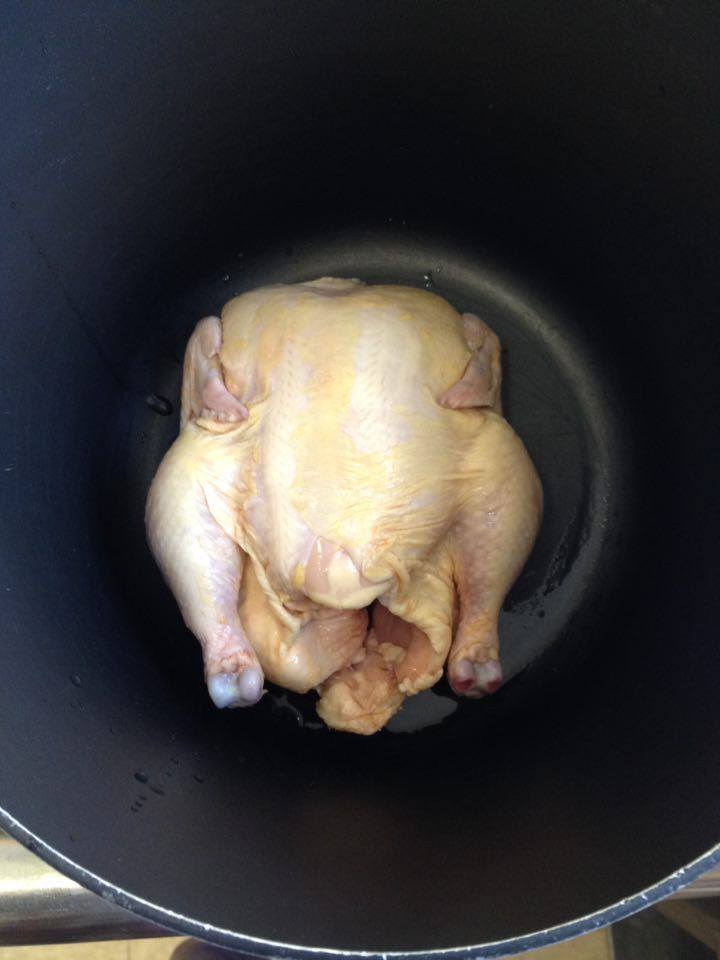
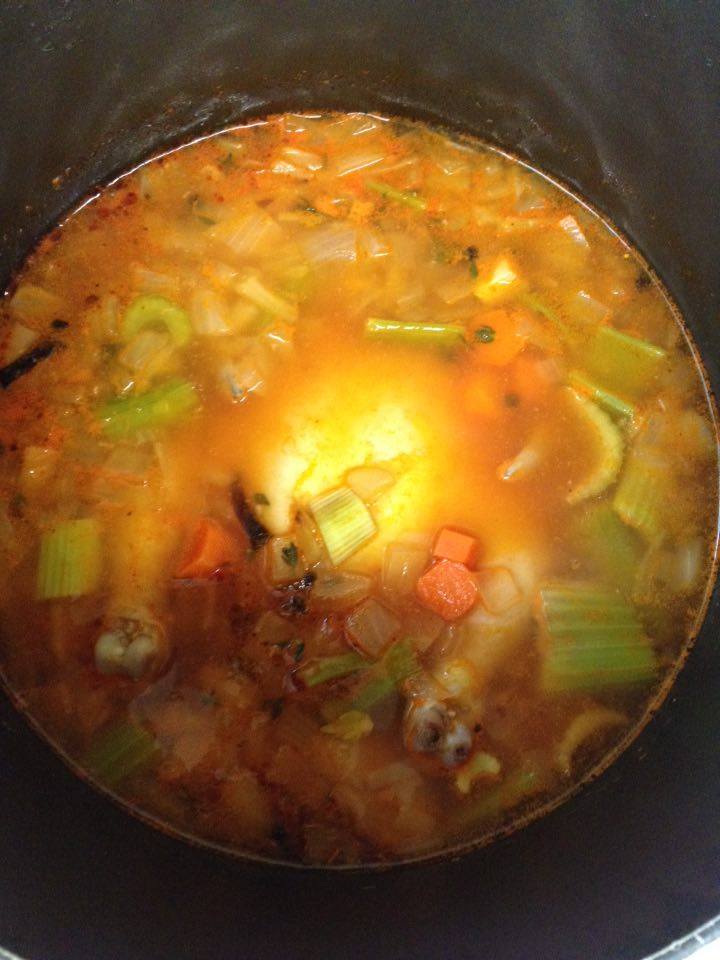
Place the chicken inside a large pot, breast side down, and place carrots, onion, celery into pot. Add thyme, white wine, salt, peppercorns, and 1 teaspoon tomato paste. (The Epicurious recipe holds off on the tomato paste until later, but I accidentally put it in at this step – and added another teaspoon again later – and it worked well.)

Chicken in pot

Chicken in pot

Add 8 cups of water to cover and bring to a boil. Reduce heat to low and simmer gently for 10 minutes. Turn down heat to low, cover, and poach chicken until cooked through, about 40-50 minutes. Here I used a meat thermometer to check the inside temperature of the chicken to make sure it was cooked through at 45 minutes.


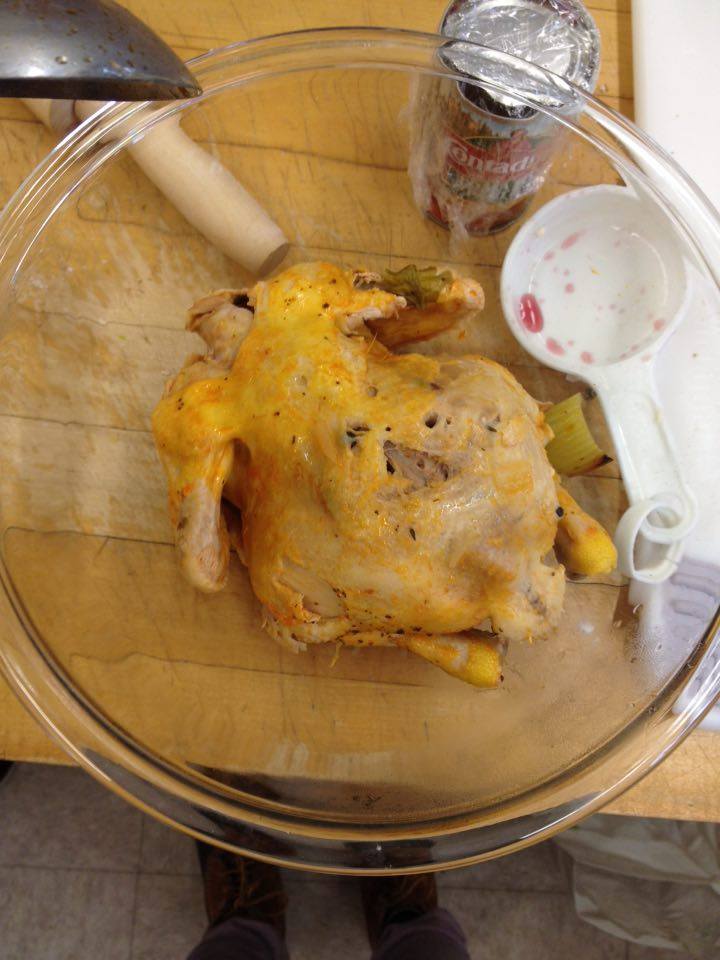
Cooked chicken

Cooked chicken

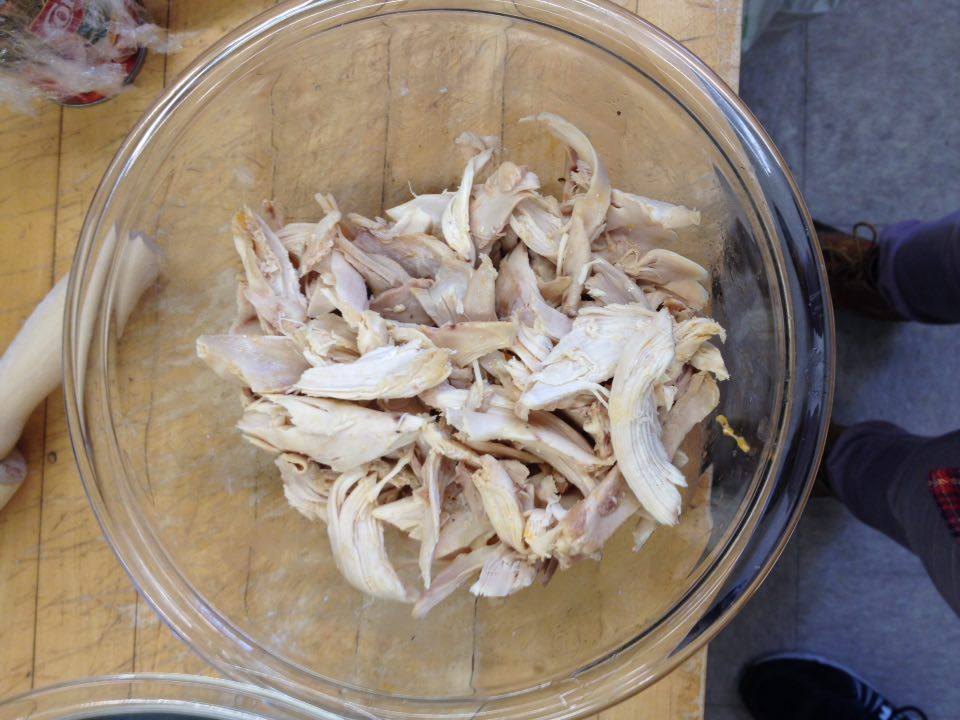
Remove chicken from pot and set aside until cool. Reserve broth. Shred meat; discard skin and bones. Set a large strainer over another smaller pot. Strain broth into clean pot. Stir in another 1 tablespoon of tomato paste. Return to medium heat and simmer, uncovered, until reduced to 5 cups, about 40 minutes.

12527739_10208879900178100_1239254683_n 12539990_10208879899698088_651147120_n


Chicken broth and tomato paste

Chicken broth and tomato paste

Can be made 1 day ahead. Chill uncovered until cool. Cover chicken and broth separately; keep chilled. Rewarm broth before continuing.


Filling

1 cup 1/2 slices peeled carrots

1 cup fresh (or frozen, thawed) peas

1 cup red (purple/white) pear onions

2 cups fresh shitake mushrooms, chopped or minced

2-3 stalks celery, coarsely chopped

1 cup 1/2 red small potatoes

1/2 (1 stick) unsalted butter

1/2 – 3/4 cup all purpose flour

6 fresh sage leaves

4 thyme sprigs

2 sprigs rosemary

1 egg, beaten to blend


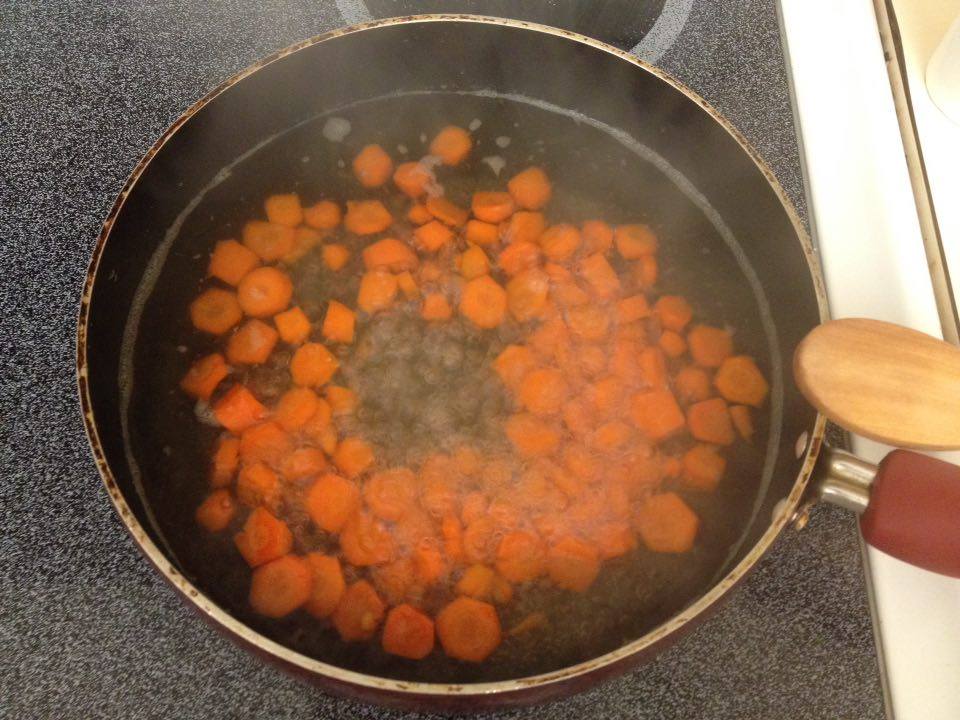
Cook carrots in large saucepan of boiling salted water until crisp-tender, about 5 minutes. Using a slotted spoon, transfer to a medium bowl. Add peas to saucepan, cook for about 2 minutes, transfer to bowl with carrots. Repeat with potatoes, celery, onions. Peel onions after cooked, and chop in half or 1/4. Set aside in the medium bowl.

12575873_10208879896338004_496072440_n

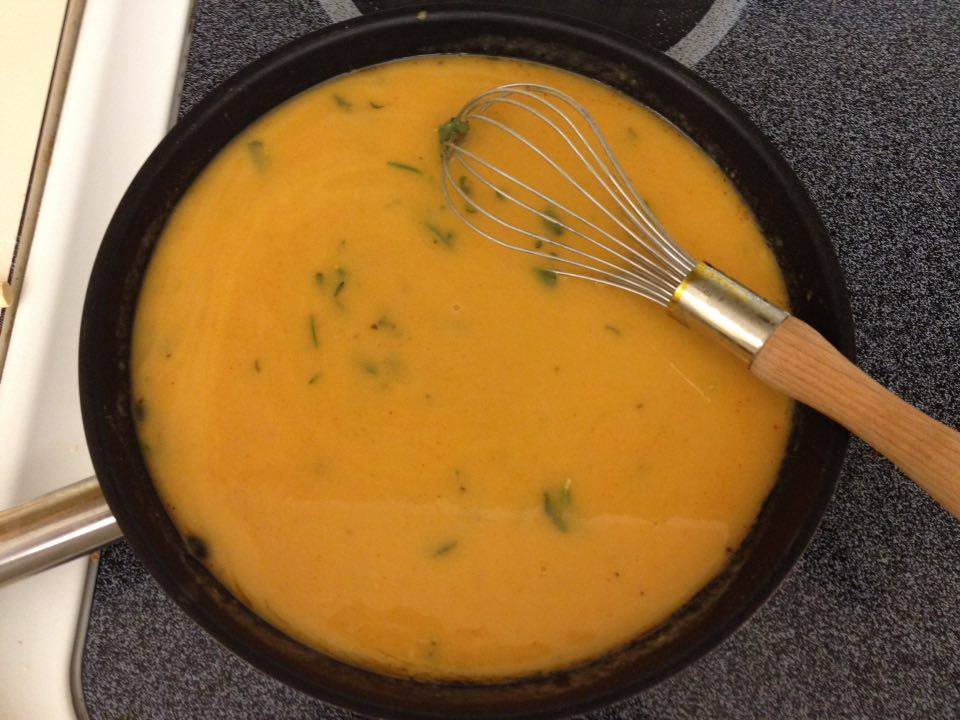
In a large heavy saucepan, melt the butter over medium heat, stirring gently. Whisk in flour, a little at a time, and whisk constantly. Cook over medium-low heat, whisking constantly, until golden brown, about 10 minutes. Whisk in herbs and warm broth from chicken. Simmer for about 15 minutes, until the liquid reaches a thick consistency.

Chicken broth, flour, butter, and herbs

Chicken broth, flour, butter, and herbs


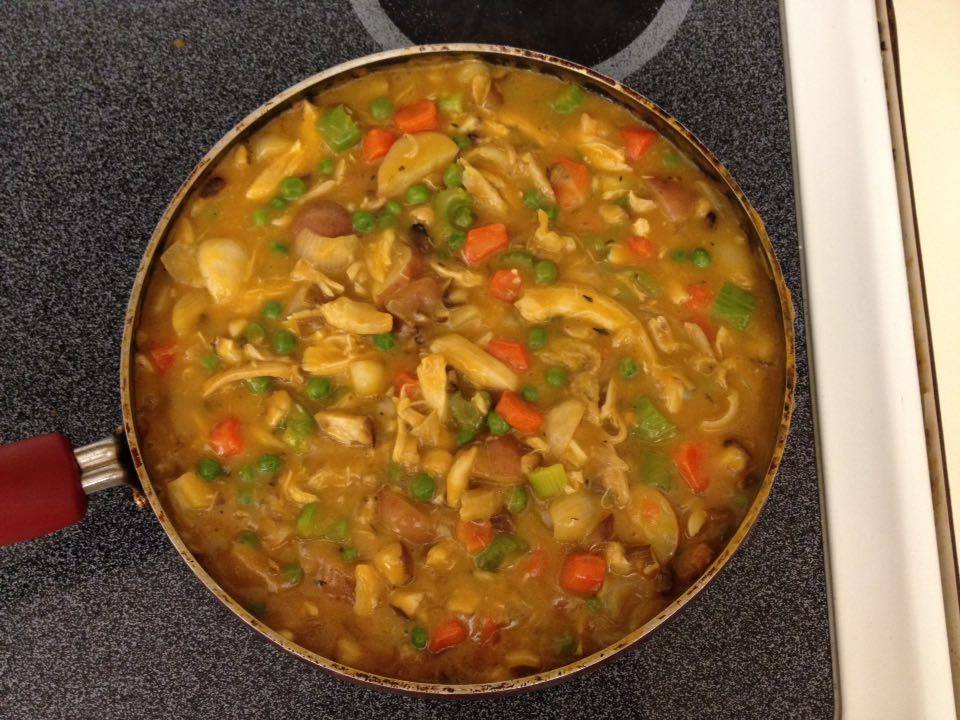
Add the chicken, carrots, peas, onions, mushrooms, celery, potatoes. Bring to a simmer.

This can also be made 1 day ahead. Rewarm before continuing.

The filling

The filling


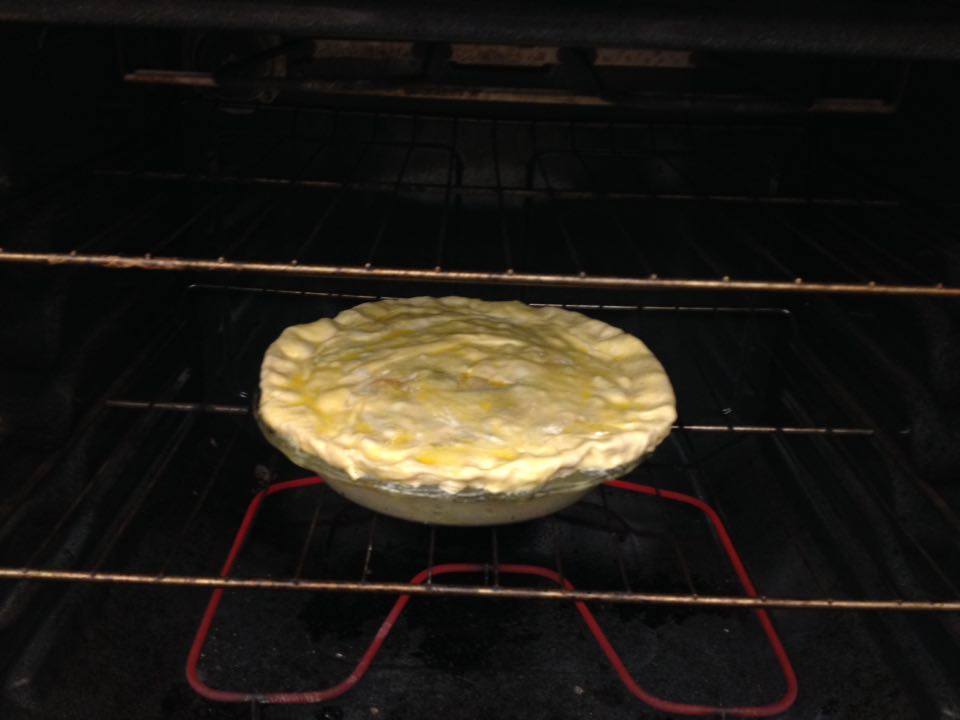
Preheat oven to 400 degrees. Spoon filling into the pie dish. Top with the pastry cover, pinching edges to seal. If not using a pie bird (which I didn’t), cut a 1″ slit in center of crust for steam to vent. Brush pastry with beaten egg.

Place pot pie on a rimmed baking sheet (I skipped this). Bake until crust is golden brown and filling is bubbly, about 35-45 minutes.

12571190_10208879894377955_245470925_n 12576169_10208879894137949_1604240996_n


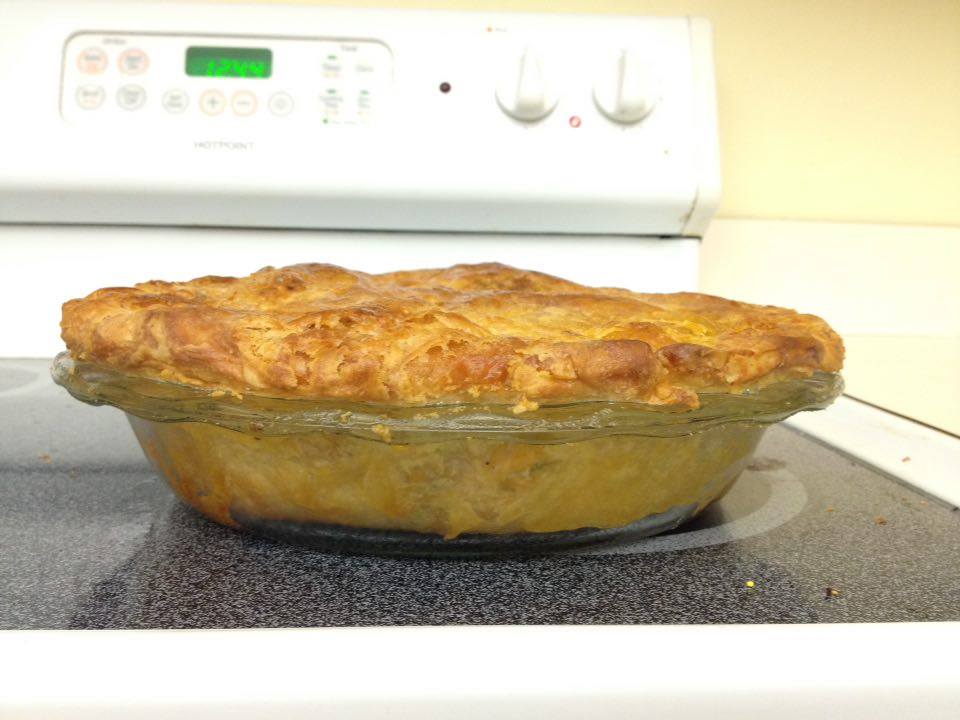
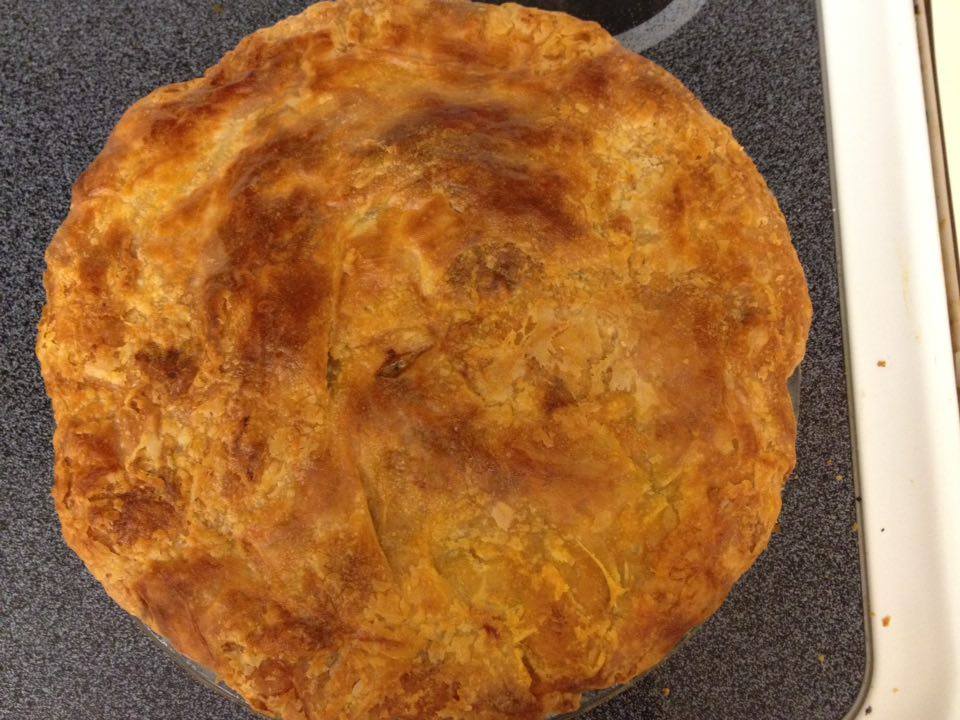
After baking:

Whoohoo!

12571339_10208879892377905_1398259756_n

12540434_10208879891617886_1566501536_n

Whoohoo!


Total prep time: 220 – 330 minutes (3 hours 40 minutes – 5 hours  30 minutes). It took me about 6 hours.

Double crust – 45-90 minutes (including chill time)

Chicken and chicken/tomato stock – 95 – 120 minutes

Filling – 45-50 minutes

Pie baking – 35-50 minutes

An abundance of sugar

This week, we made sweet pies.

After settling ourselves into pairs, we set off to make pastry, filling, and a plan for the next three days.

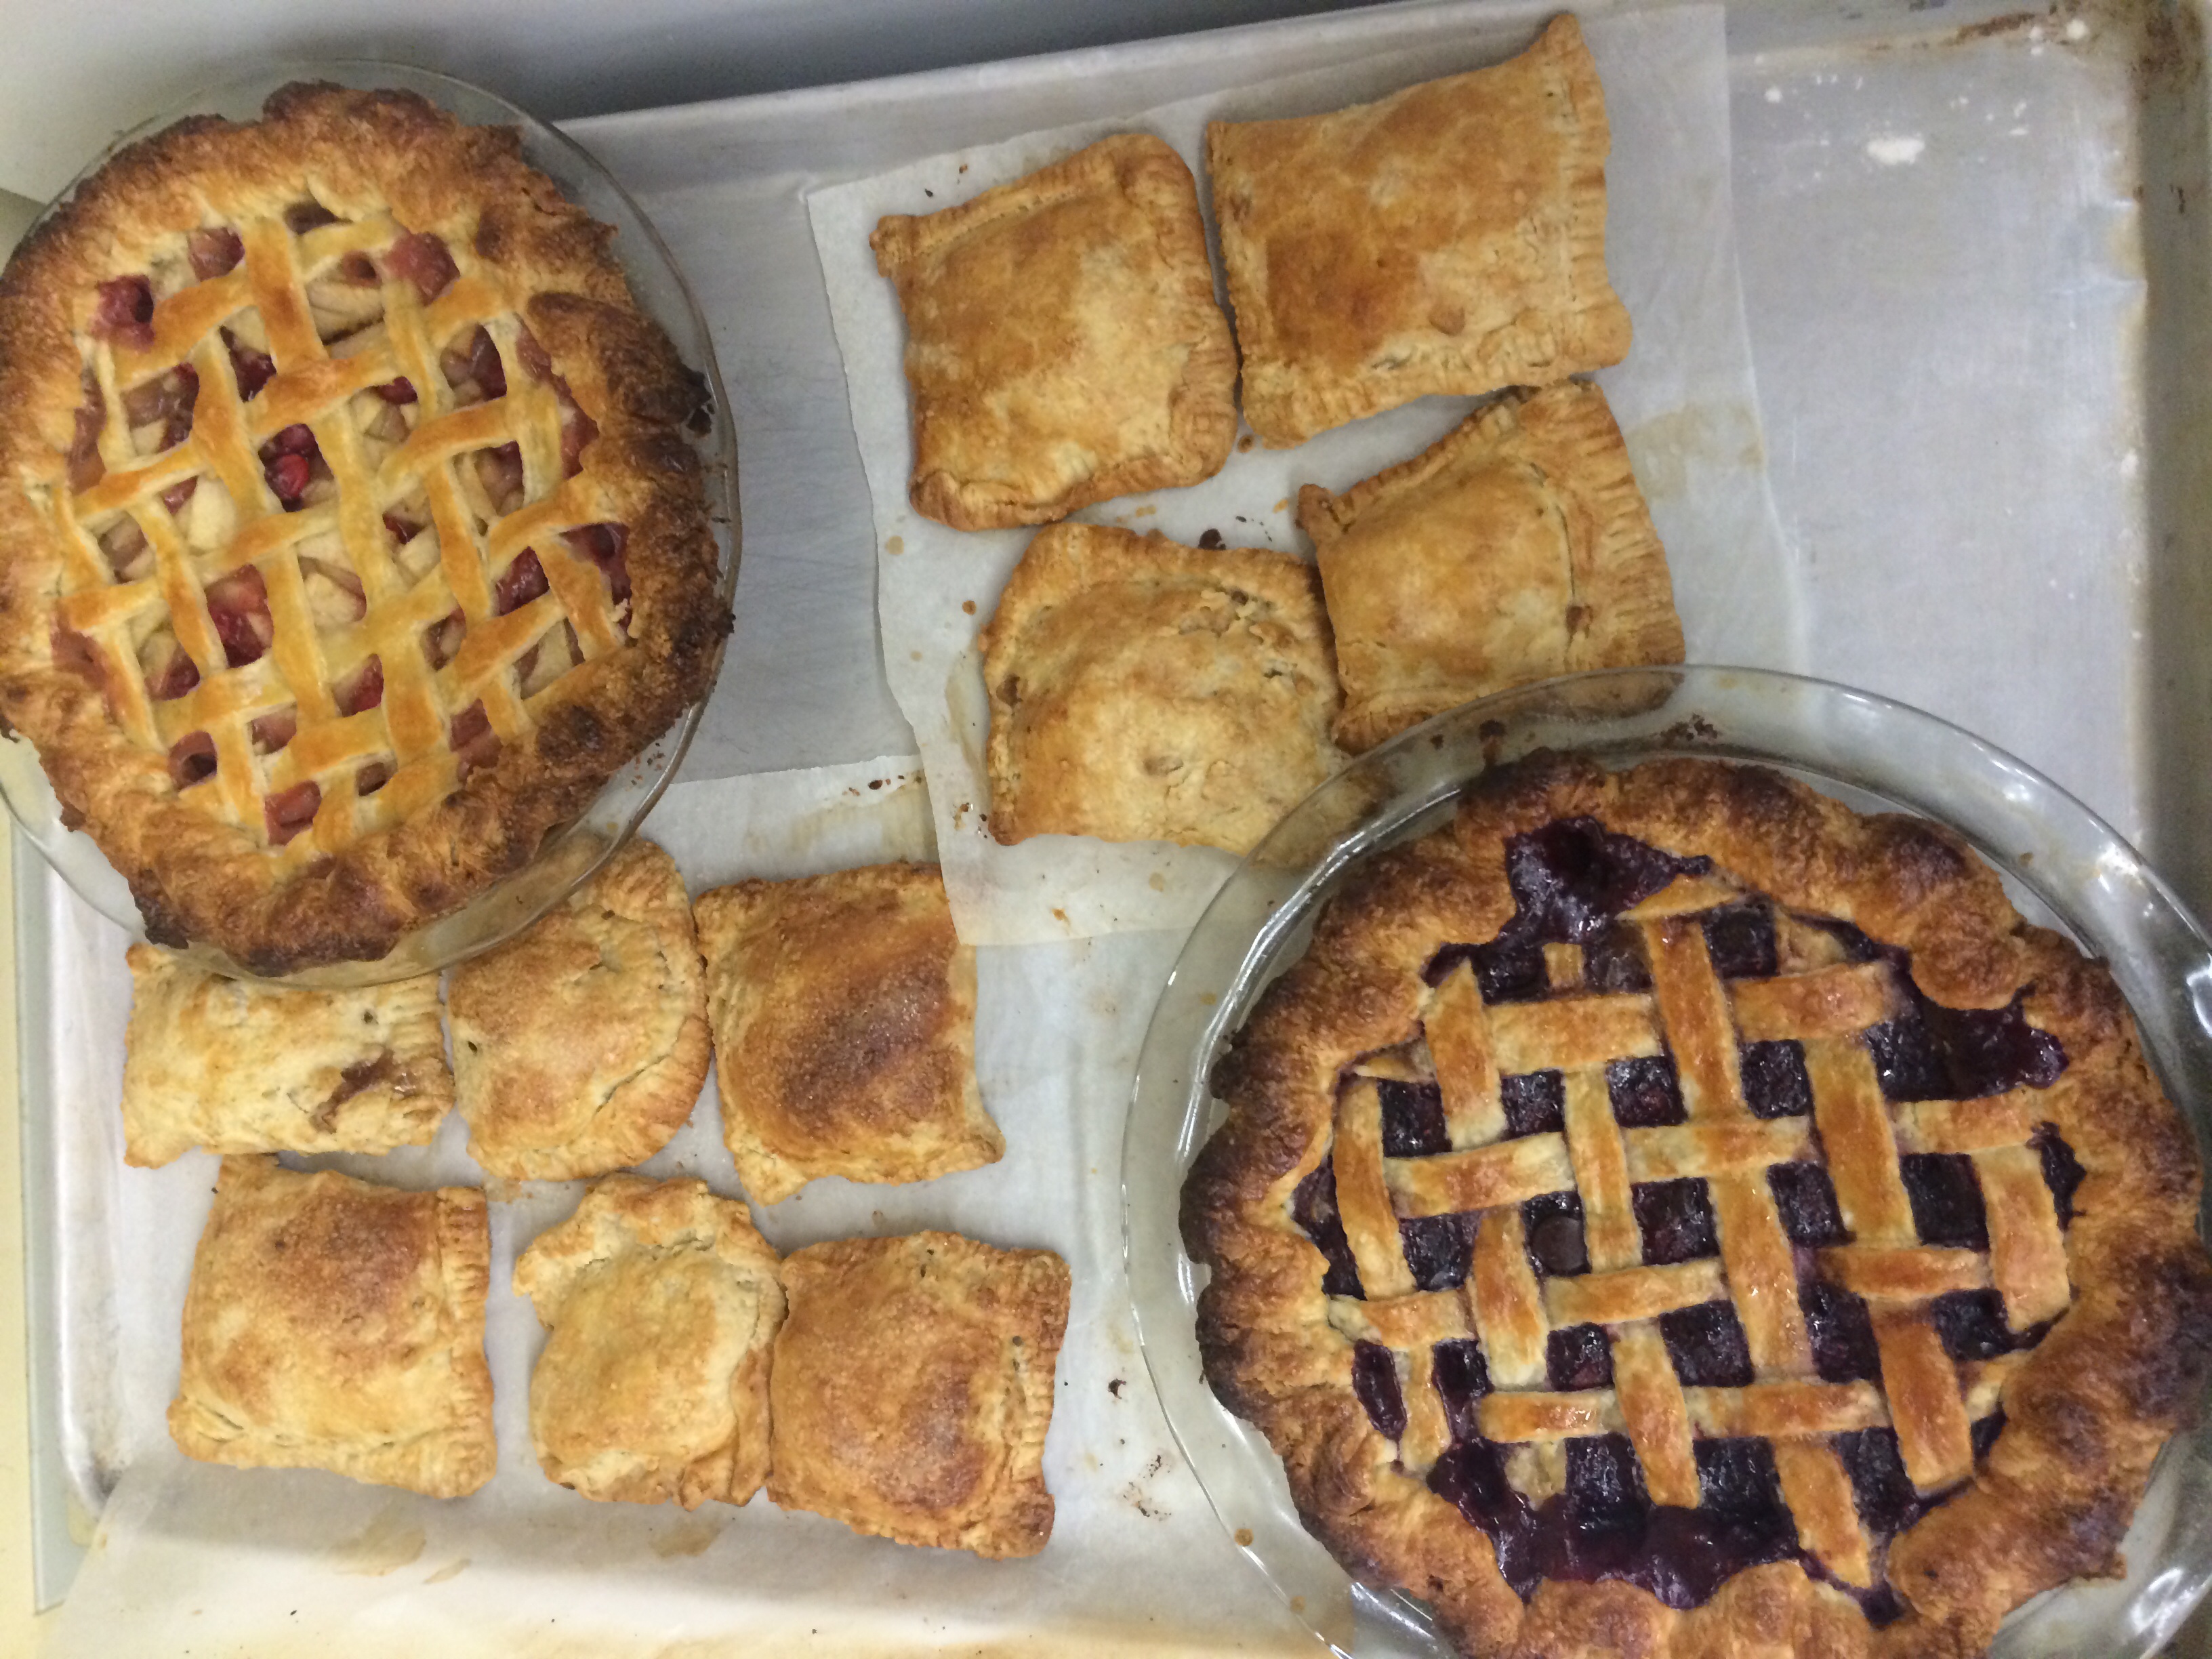
I worked with Katie and we decided that, with pies, three is better than two. Our intention was to make a chocolate raspberry pie, a pear cranberry pie, and some apple hand pies. The two full-sized pies were to have all butter crust, and the hand pies were to have a butter-shortening mix.

We selected no specific recipes, and instead opted to work off of taste alone.

20160106_094739

Raspberry Chocolate Filling

20160106_094728

Pear Cranberry Filling


Katie made the butter-shortening crust, and I made the all-butter crust, so I’m just going to be listing the ingredient list for that pastry.


All-Butter Pie Crust

2 ¼ cups flour

5 tbsp sugar

1 tsp salt

2 sticks butter, cold and cubed

ice water


I prefer an all-butter crust because a) I think it tastes better, and b) shortening freaks me out. It’s nothing more than that.

20160106_105223

Full-sized pies, pre-bake

The pie baking took, in total, around 3 ½ hours (plus the time spent making pastry two days before), and I think that for the first week, everything turned out pretty well. My only qualms with our pies had to do with some slightly over-browned crust, and a lack of suitable ice cream.

20160107_130642

Golden Apple Hand Pies

The crust issue can be solved by adding silicone crust covers earlier in the baking process, and the ice cream issue was presumably just a fluke. I’ve never seen ice cream behave quite like that before, but as I prefer my ice cream to be neither icy, nor liquid, I think perhaps I will choose another brand in the future.

20160107_131653

Pear Cranberry


All of the recipes are listed at the bottom of this post, but for now, I’m going to take a short jump to talk about tasting.

I’ve never been asked to try 14 pies before.

I will be totally honest: going into this, I thought it would be a breeze. I now question my lack of foresight, as fourteen pies – even if all quite well-made and delicious, and totally, 100% overwhelming.

I left with a very full stomach, an ache in my head, and a new understanding of the weeks to come.

     image (2)


Chocolate-Raspberry Pie

Ingredients:

1 12-oz bag dark chocolate chips

2 12-oz bags of frozen raspberries, thawed

1 pear

¾ tsp almond extract

1 ½ tsp vanilla extract

⅓ lemon, juiced

¼ cup cornstarch

5 tbsp white sugar

1 egg, beaten

1 double pie crust


Instructions:

Preheat oven to 425°F

Strain excess liquid from raspberries, and prepare pear by peeling and finely chopping the fruit.

Mix fruits, chocolate, extracts, lemon juice, cornstarch and sugar in a large bowl. Stir and allow to marinate.

Roll out one pie crust, and place into a buttered pie plate. Allow to cool in the fridge.

Roll out the second crust into a rectangle and slice for a lattice.

Remove the bottom crust from the fridge, fill with filling, and form lattice on top of filling. Arrange crust as desired, and brush pie with egg wash.

Bake at 425°F for 20 minutes and then lower oven temperature to 350°F for around 50 minutes, or until pie is golden brown on all sides.


Pear-Cranberry Pie

Ingredients:

1 orange

1 8-oz bag of cranberries

4 pears

½ tsp ground ginger

3 tbsp bourbon

6 tbsp cornstarch

6 tbsp white sugar

1 egg, beaten

1 double pie crust


Instructions:

Preheat oven to 425°F

Zest and juice the orange, setting aside all of the zest and ⅓ of the juice in a large bowl. The rest can be discarded.

Peel, thinly slice and then halve those slices for each of the pears.

Add fruits, spices, bourbon, cornstarch and sugar to the juice and zest. Stir and allow to marinate.

Roll out one pie crust, and place into a buttered pie plate. Allow to cool in the fridge.

Roll out the second crust into a rectangle and slice for a lattice.

Remove the bottom crust from the fridge, fill with filling, and form lattice on top of filling. Arrange crust as desired, and brush pie with egg wash.

Bake at 425°F for 20 minutes and then lower oven temperature to 350°F for around 50 minutes, or until pie is golden brown on all sides.


Apple Hand Pies

Ingredients:

4 apples

2 tsp ground cinnamon

¾ tsp ground ginger

¾ tsp allspice

½ lemon, juiced

3 tbsp cornstarch

5 tbsp white sugar

1 egg, beaten

1 double pie crust


Instructions:

Preheat oven to 400°F

Peel and thinly slice the apples, then cutting the slices into thirds.

Mix fruit, spices, juice, cornstarch, and sugar in a medium bowl and allow to marinate.

Roll out your pie crust into a large rectangle. Slice into desired number of smaller rectangles (10 works well).

Putting filling on half of each rectangle, leaving a 1 centimeter border around the entire edge (and leaving half of the rectangle empty).

Fold the empty half over the full half, and use water, or some of your beaten edge to hold the two edges together.

Crimp, fold, or fork your edges so that no juices will leak out during the cooking process.

Place hand pies on a parchment lined baking pan and brush with egg wash. Bake for around 30 minutes, or until golden brown.

So Many Pies, So Little Time

This first week I feel like we were all overwhelmed with the sheer number of possibilities when it comes to pie; I know I definitely was. It’s a big question, what pie to make, and with sweet pies there are so many options. Am I doing a fruit pie, a custard, ice cream? And that is just the filling. What kind of crust is a whole other question. In class on Monday we prepared a butter and shorting crust, but I learned that there are so many more options! It was a real dilemma. What did I want to say with my first pie? What did I want it to say about me?

In an attempt to deal with these problems I figured it would be best to make two pies, my great grandmother’s raspberry pie and a pie I only just discovered, buttermilk pie. My great grandmother’s raspberry pie is my favorite pie and I definitely wanted to take a stab at it at some point during this course, just didn’t expect to make it so early on. The buttermilk pie was something I encountered while thumbing through some cookbooks. I was initially interested because I had never heard of it before, but in doing some research I found out that it is actually quite popular in the south. It is similar to chess pie, another pie I had never heard of.

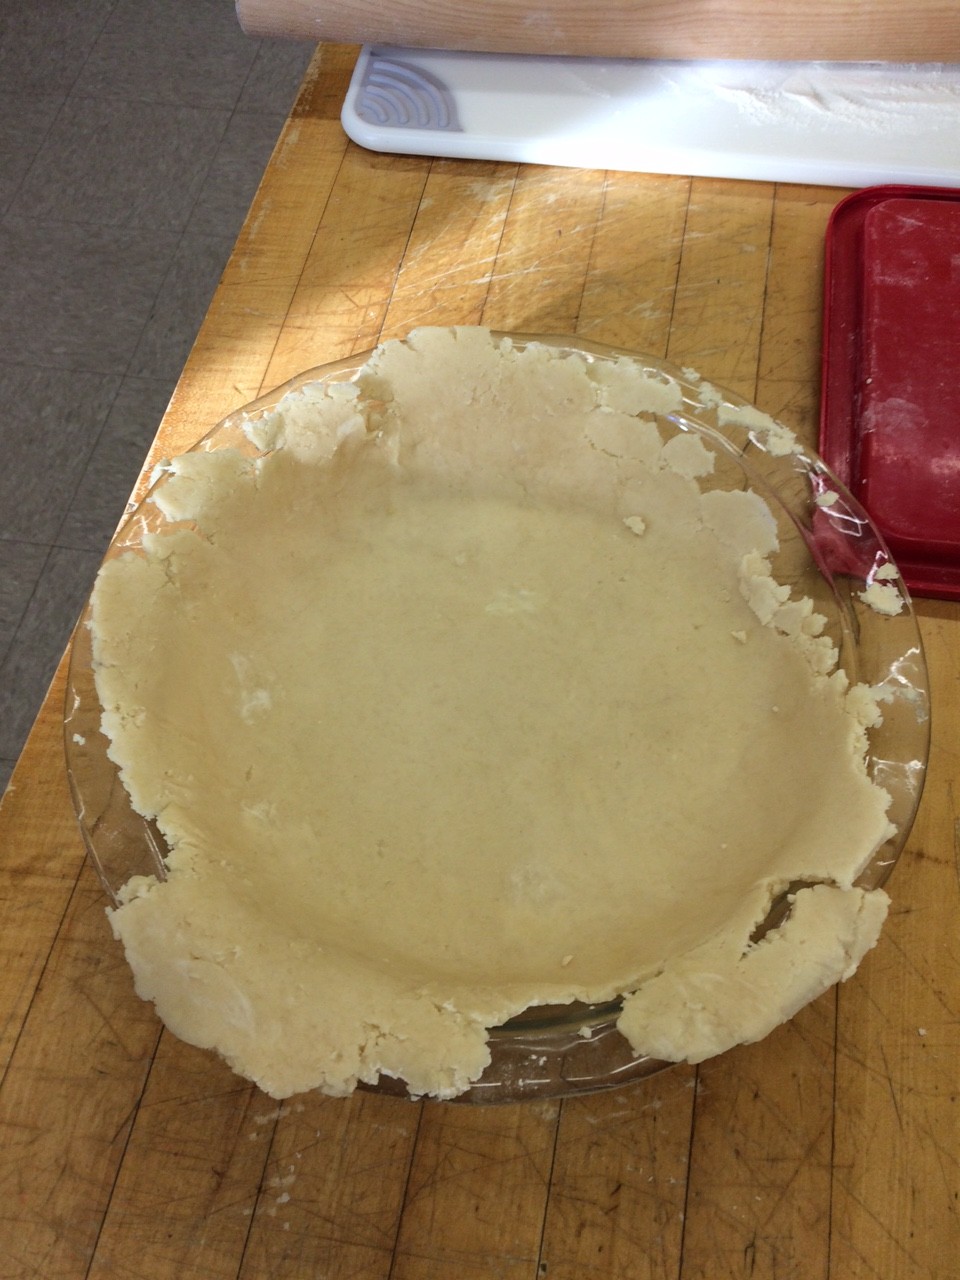
I began with the buttermilk pie which I made using this recipe and the butter-shortening crust we made in class. The crust had chilled in the fridge all night and was a little hard, but ended up rolling out quite nicely.

Pie crust

rolled out crust

I even had the chance to get a little fancy with the edges.

IMG_1108

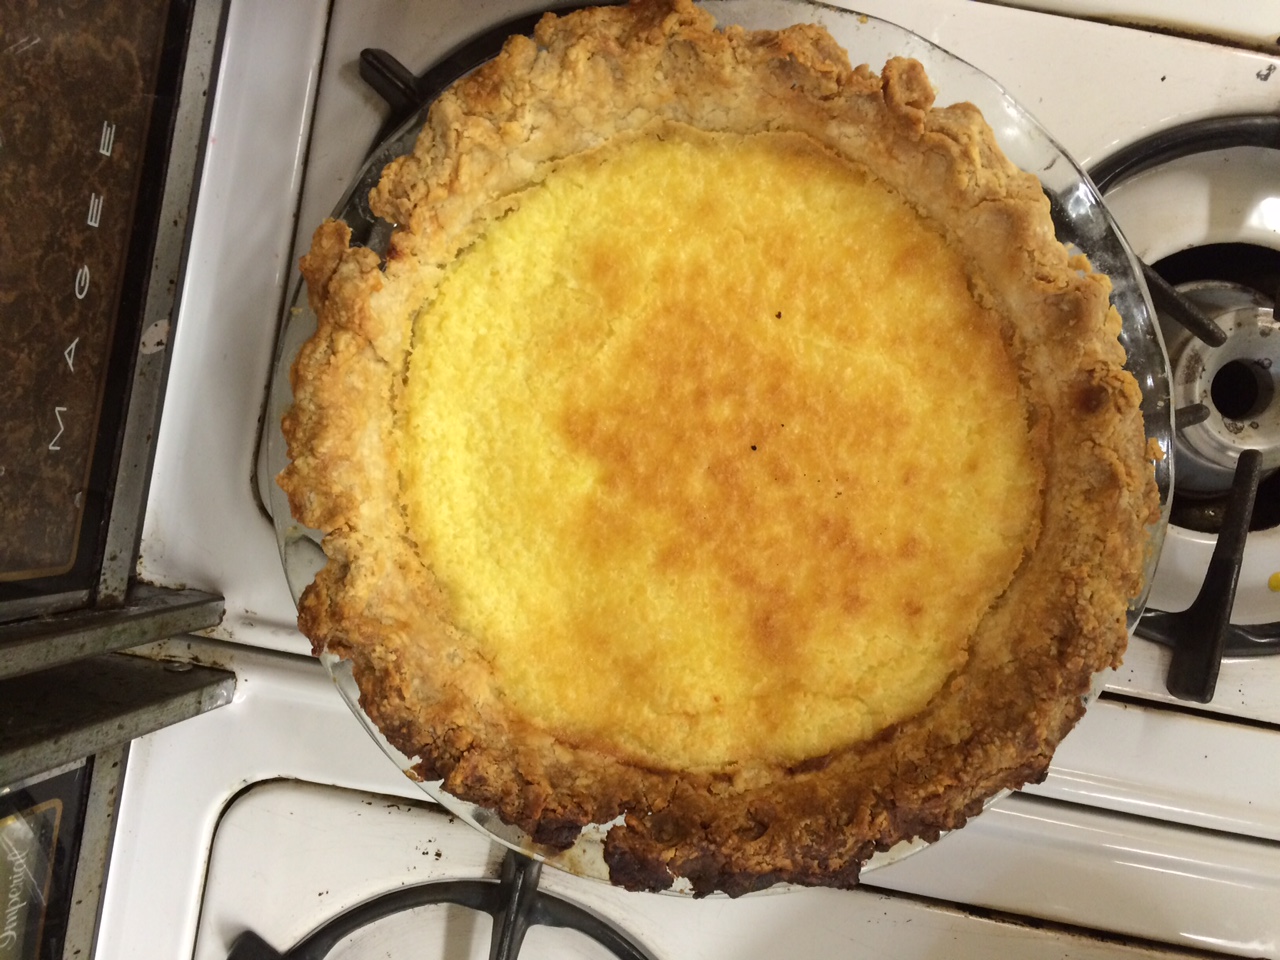
The filling was super easy to make too. I just whisked it all together and poured it in. the popped it into the oven and low and behold my first pie was made.

IMG_1111

buttermilk pie!

The buttermilk pie was super easy to make. The only stressful thing about it was not having any clue what it would taste like. In the end it was pretty good. Like a slightly lemony pudding with crust.

The raspberry pie on the other hand was not as easy to make. The first challenge was getting the recipe out of my great grandmother, who was more than happy to share it with me, but I’m pretty sure she was not wearing her hearing aids, and her caption phone was not working that day. Once I got the recipe making it, specifically the crust was just as hard.

My great grandmothers pie crust is an all oil crust, canola oil to be specific. This means that the gluten fibers are very short and prone to cracking and just generally being unpleasant. It mixed easily and looked like pie crust should.

crust from hell


However rolling it out proved to be quite challenging. She said to roll it out between two sheets of wax paper, but we only had parchment paper when I was making the pie and I thought that it would suffice, but when I attempted to put the crust into the pie plate I learned otherwise. It was bad, cracking, crumbling, and sticking to the parchment. So I made the filling and put it in the fridge and decided to try the crust again the next day this time with wax paper. And it worked kind of.


its not pretty but at least its in the plate

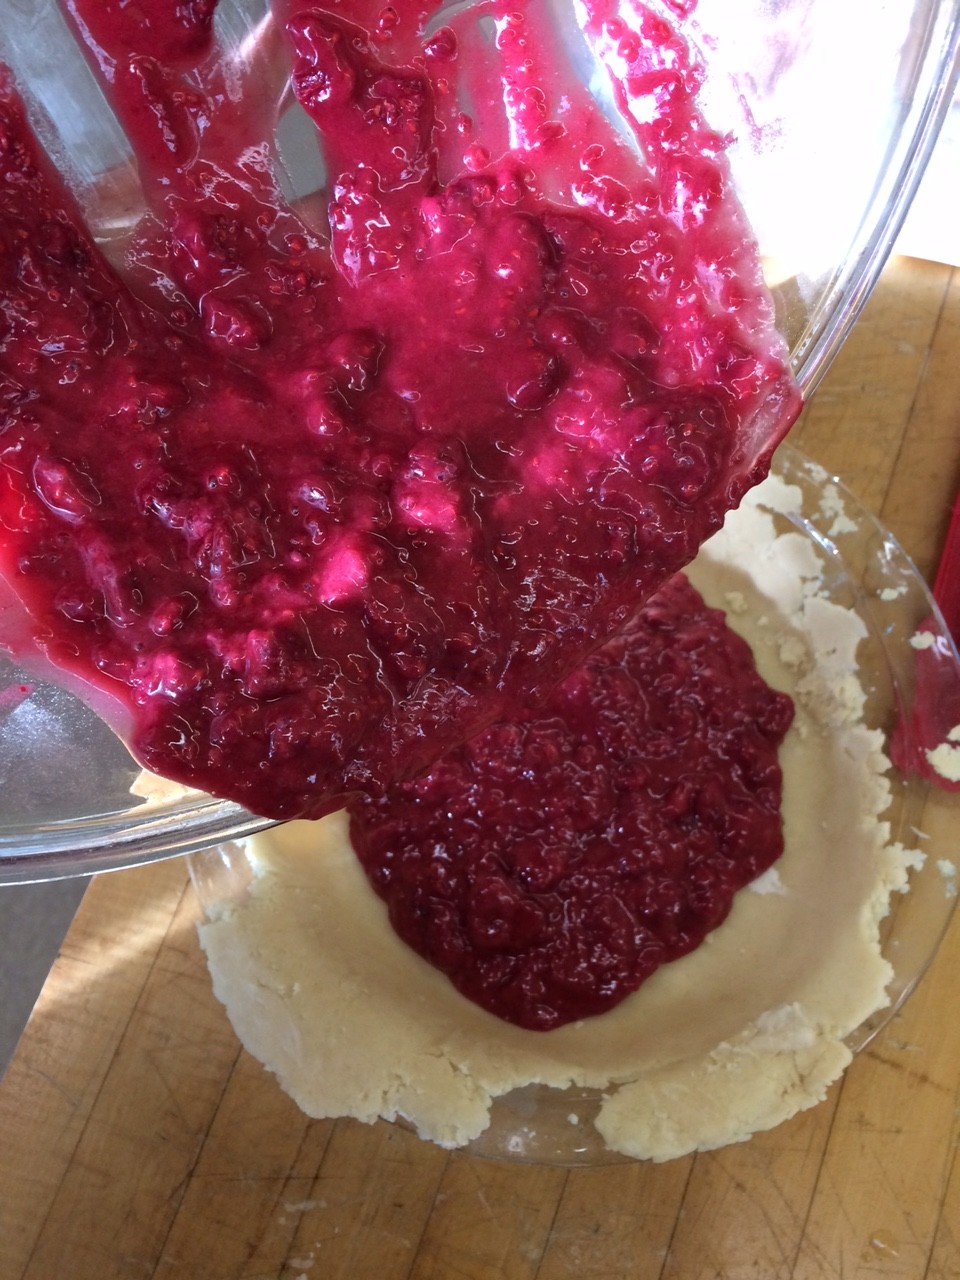
might as well pour it in


Getting the top crust on was a whole other issue, and in the end I just ended up tossing it on and doing some repair with water.

raspberry pie


In the end I think it turned out alright. The crust definitely tasted like my great grandmothers crust, perhaps a bit too thick. The filling was a little disappointing. It had the right texture and firmness, but was not as tart as it could be. This, however, could be because I used frozen raspberries and my great grandmother hand-picks berries from a local farm at the peak of raspberry season. There is probably a slight difference in quality.

All in all I think it was a good first attempt, and I look forward to what next week has in store.

Sweet Pies!!

There was nothing more exciting, relaxing, and perhaps a bit mystifying than the idea of spending an entire three week course dedicated to the idea of baking pies. I wanted this to be a time to explore flavor combinations and build on the classics. With this in mind, Grace and I chose a green chili chocolate pie, a pear ginger pie, and a grapefruit meringue.

FullSizeRenderFullSizeRender (5)FullSizeRender (4)FullSizeRender (26)

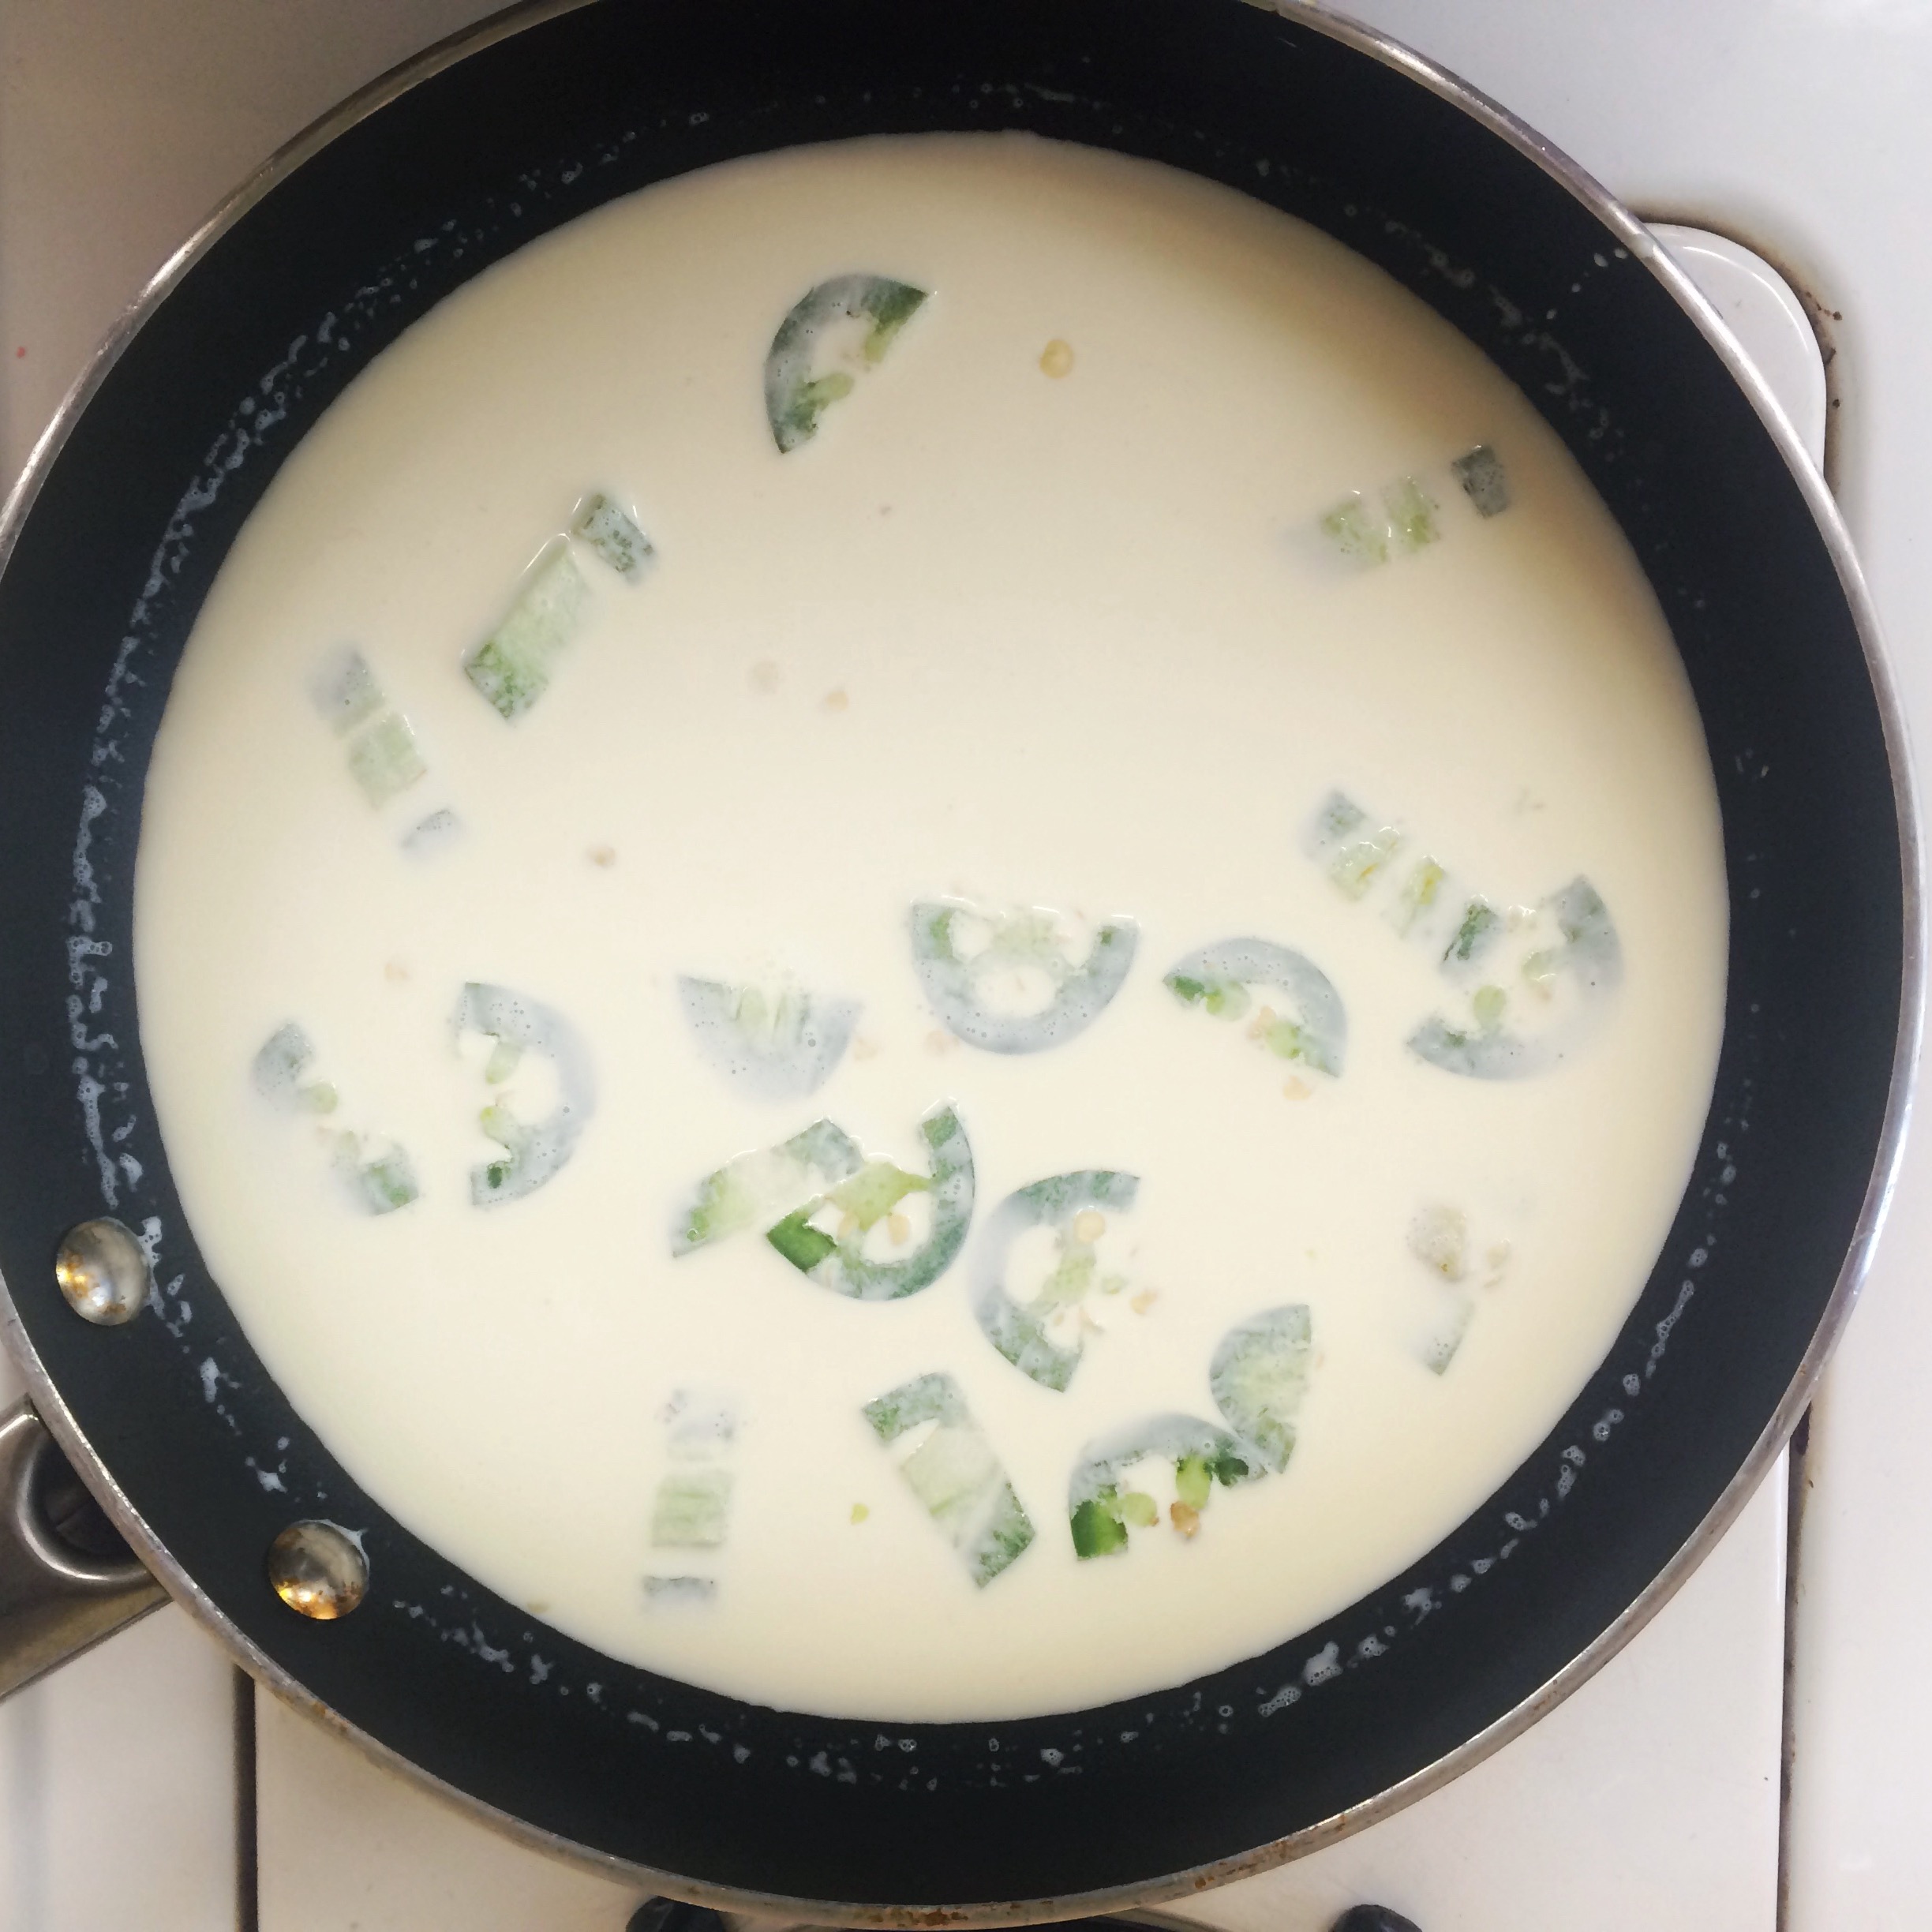
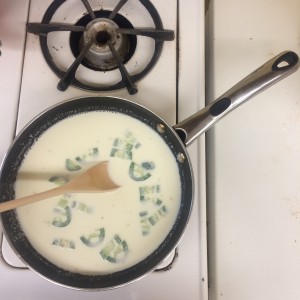
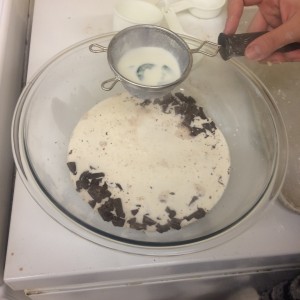
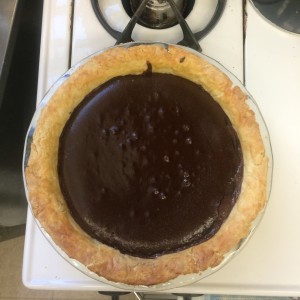
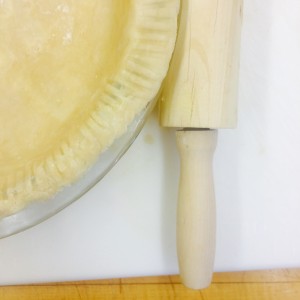
FullSizeRender (6)This green chili chocolate pie was taken from the Four and Twenty Blackbirds pie cookbook. For the pie, the jalapeño and ginger were simmered in milk and cream in order to give a spicy kick to the chocolate. This cream mixture was later strained and poured into the chocolate in order to melt it. We found this idea intriguing, but in reality the spice was too overpowering. The jalapeño pepper outside of the actual spicy taste was a bit too prominent and the chocolate was too dark to be sweet. This made the pie savory and spicy If I were to try this recipe again, I would have added more sugar and perhaps a whipped cream topping as well. There was also cardamom in the recipe, but I couldn’t taste it in the final pie. We partially baked the crust beforehand using beans in order to weigh the crust down and keep the pastry from puffing up with air bubbles. This was the first time I had partially baked the crust using this technique.

FullSizeRender (19)FullSizeRender (20)FullSizeRender (21)

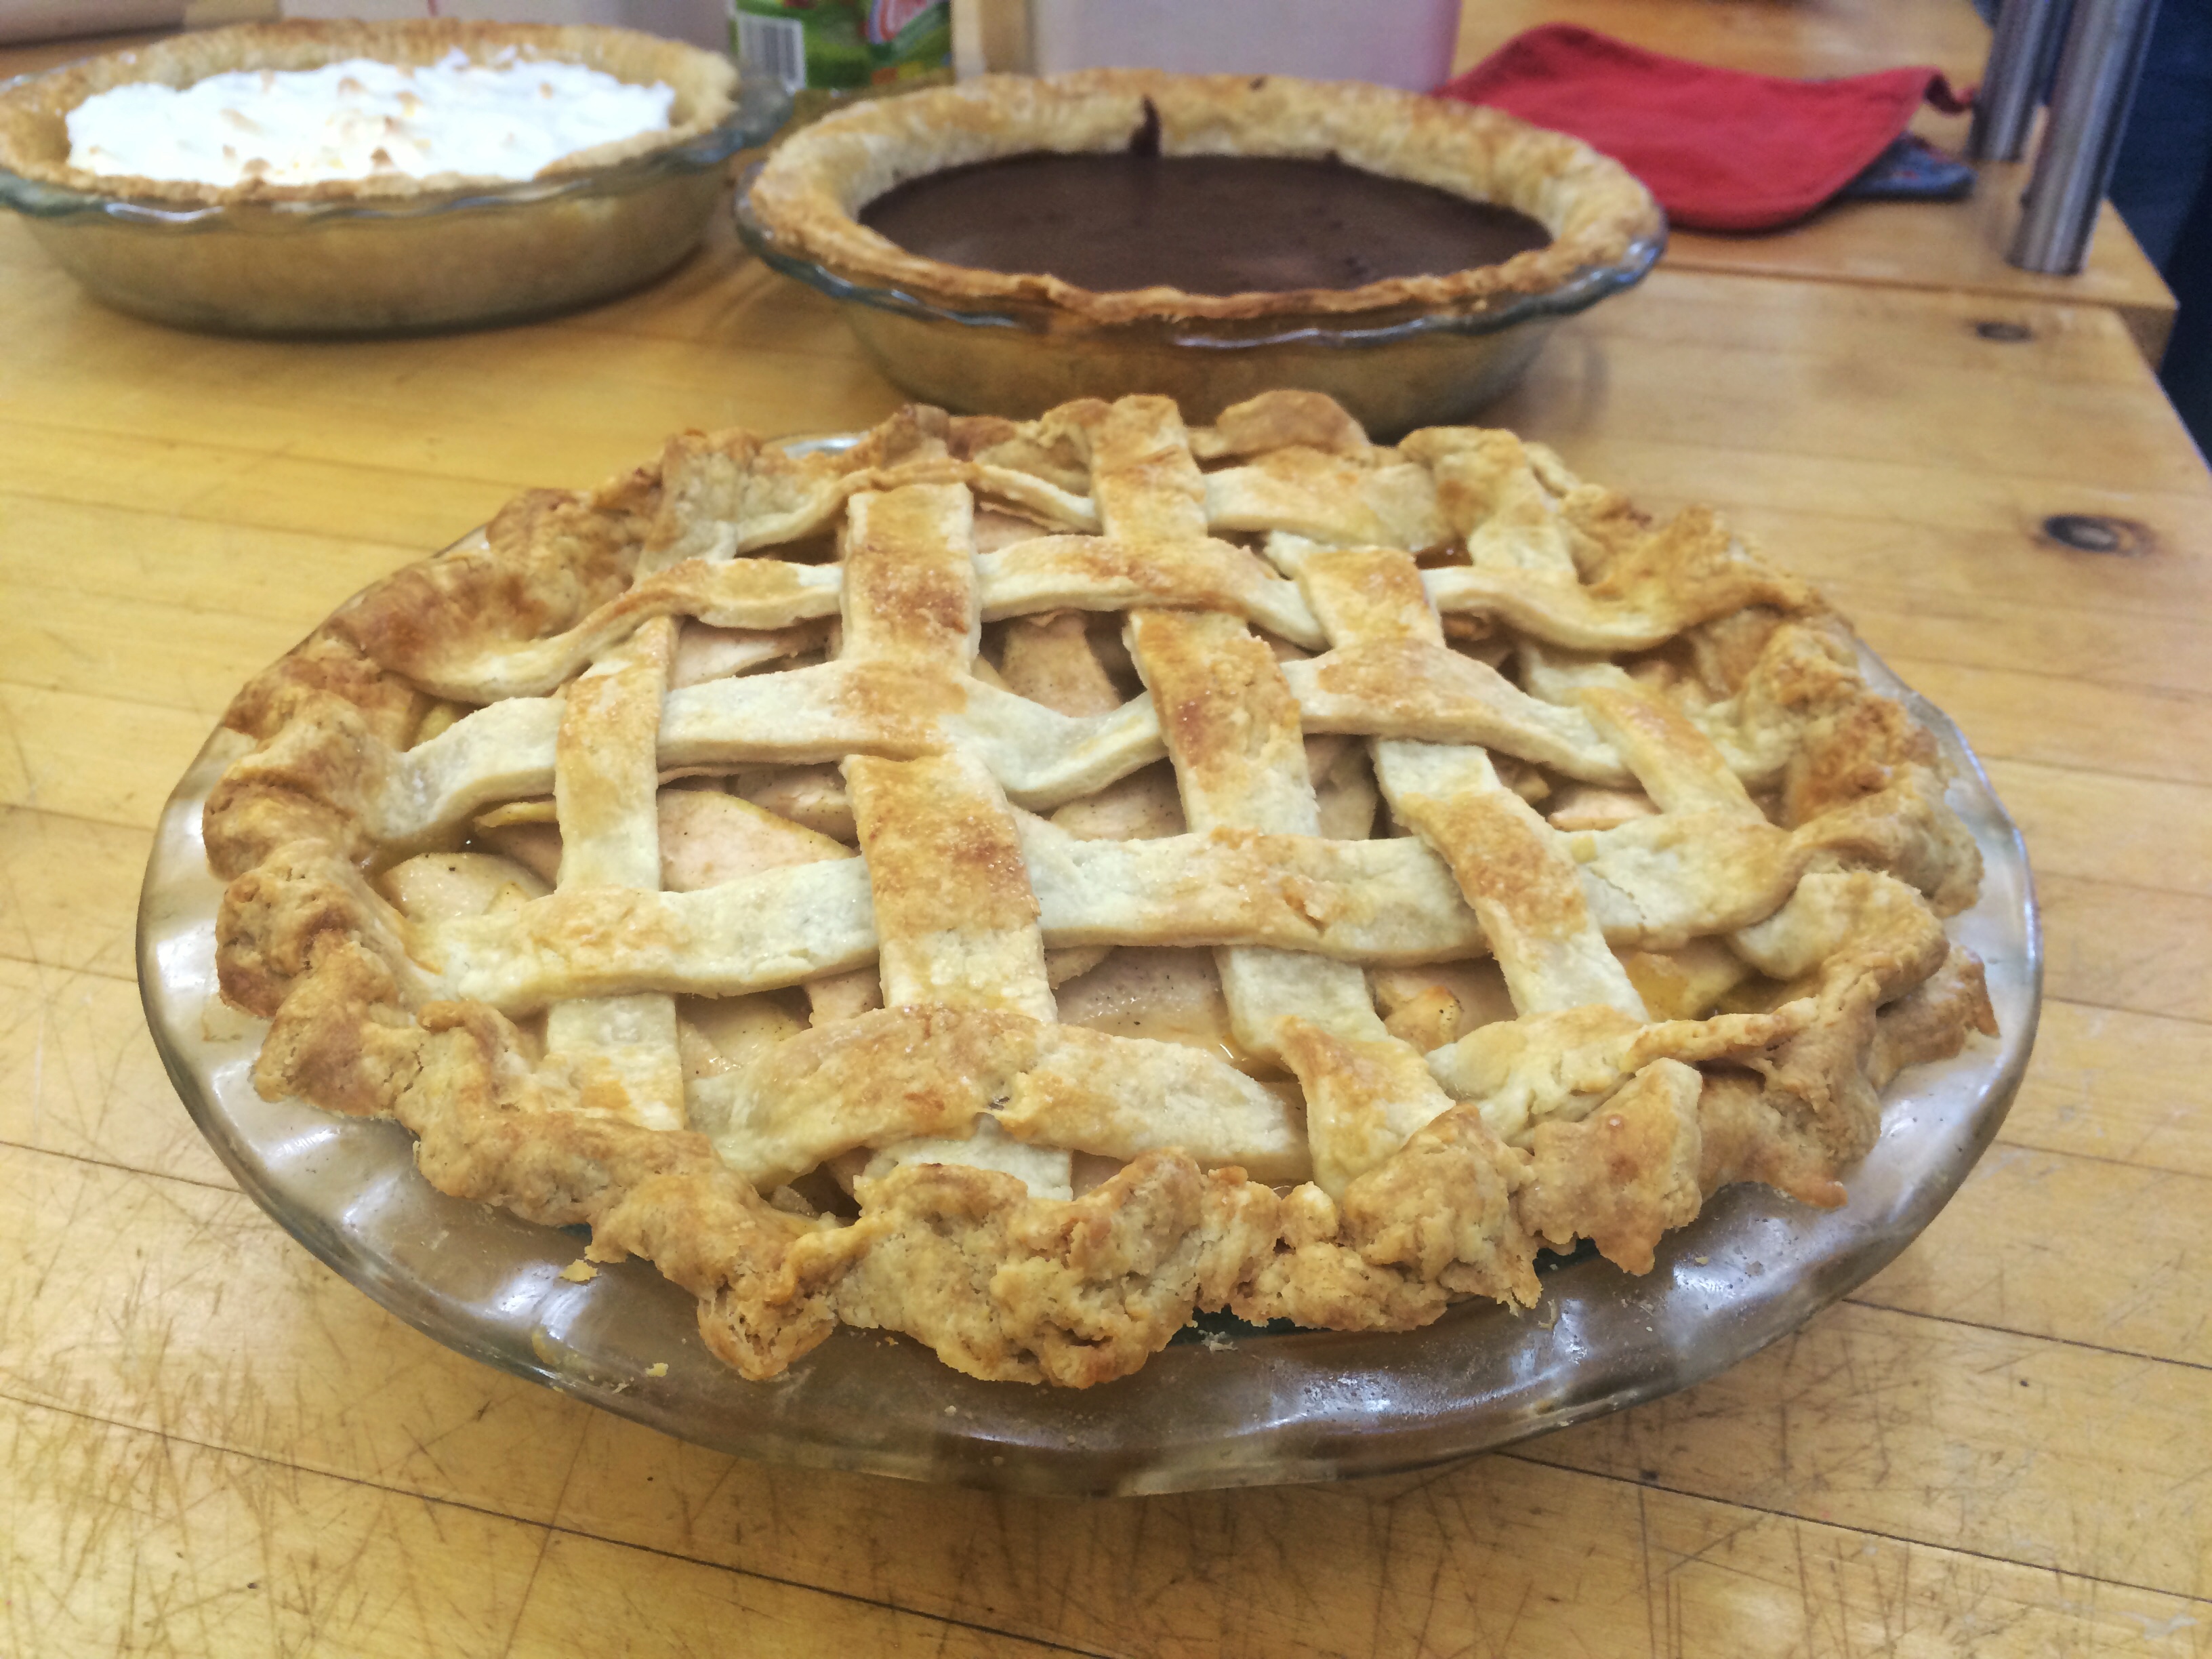
FullSizeRender (14)The pear ginger pie was an adaptation from a fresh pear pie in our course packet. It called for crystallized ginger and apricot jam which were twists from the typical pear pie. It was interesting to try and overall quite good. The pears themselves ended up a little undercooked, probably as a product of being under ripe. Additionally, the filling was a little on the runny side. The recipe called for cornstarch or tapioca to thicken   the filling and we tried cornstarch, but it would have been interesting to see if there was any substantial difference with using tapioca. The crystallized ginger was a good idea, but I would have liked a little more to make the flavor a bit more prominent.  In order to combat the under ripe pears, it might have been good to cook them in a saucepan with the ginger and all the spices before putting the filling in the pie. I’ve done this with apple pie, and it has worked pretty well.
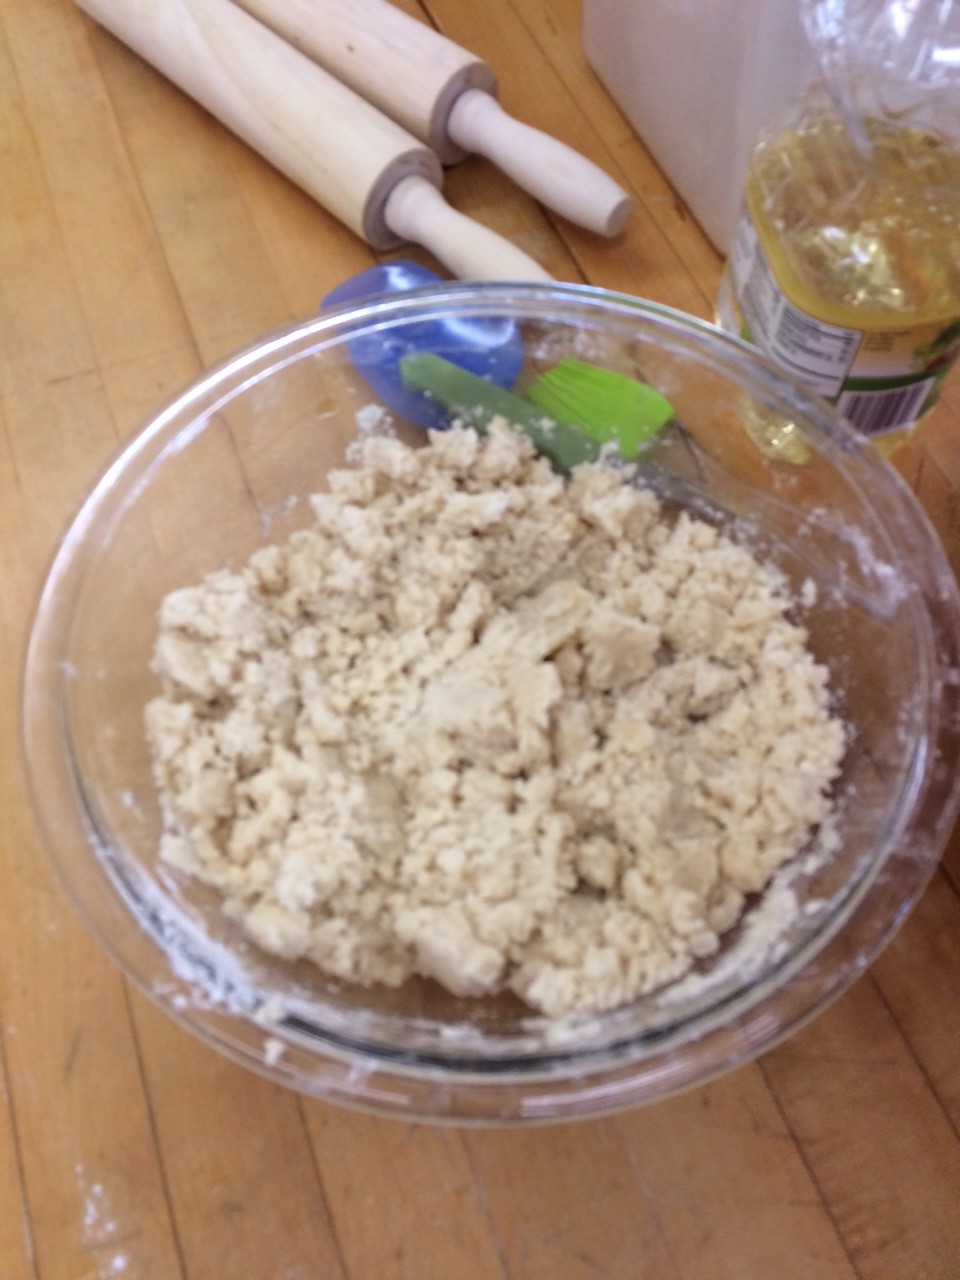
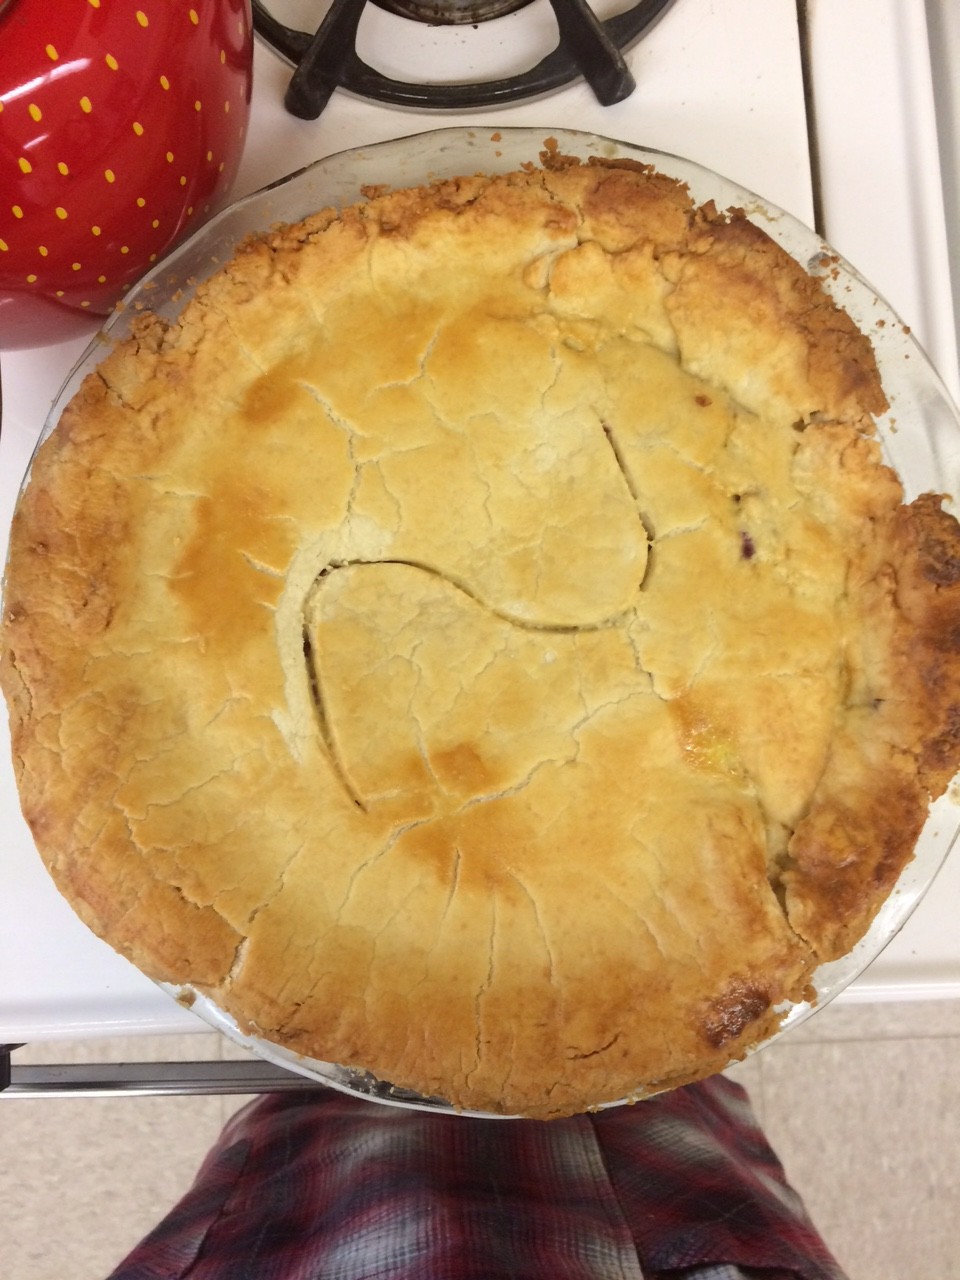
 

FullSizeRender (13)FullSizeRender (10)FullSizeRender (12) FullSizeRender (23)

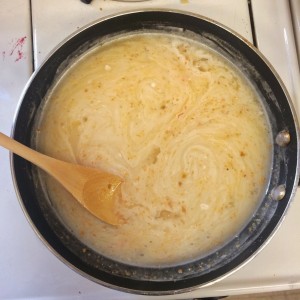
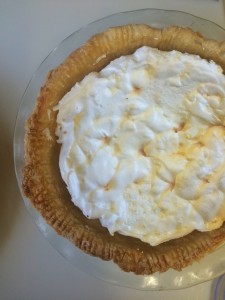
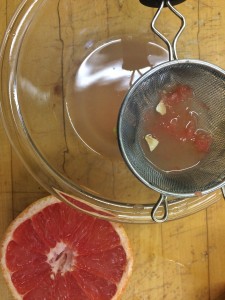
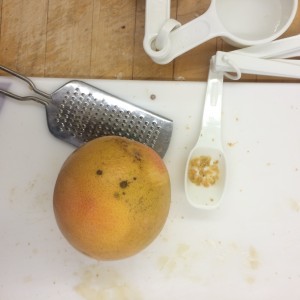
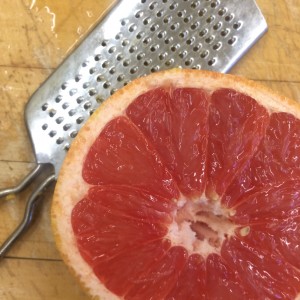
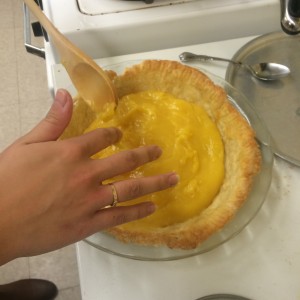
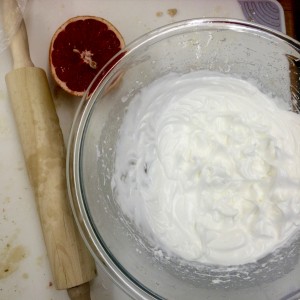
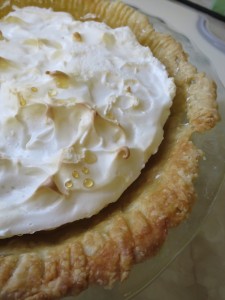
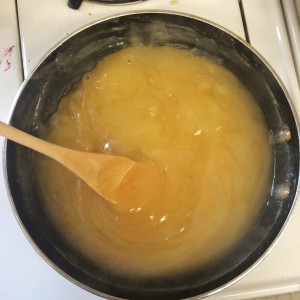
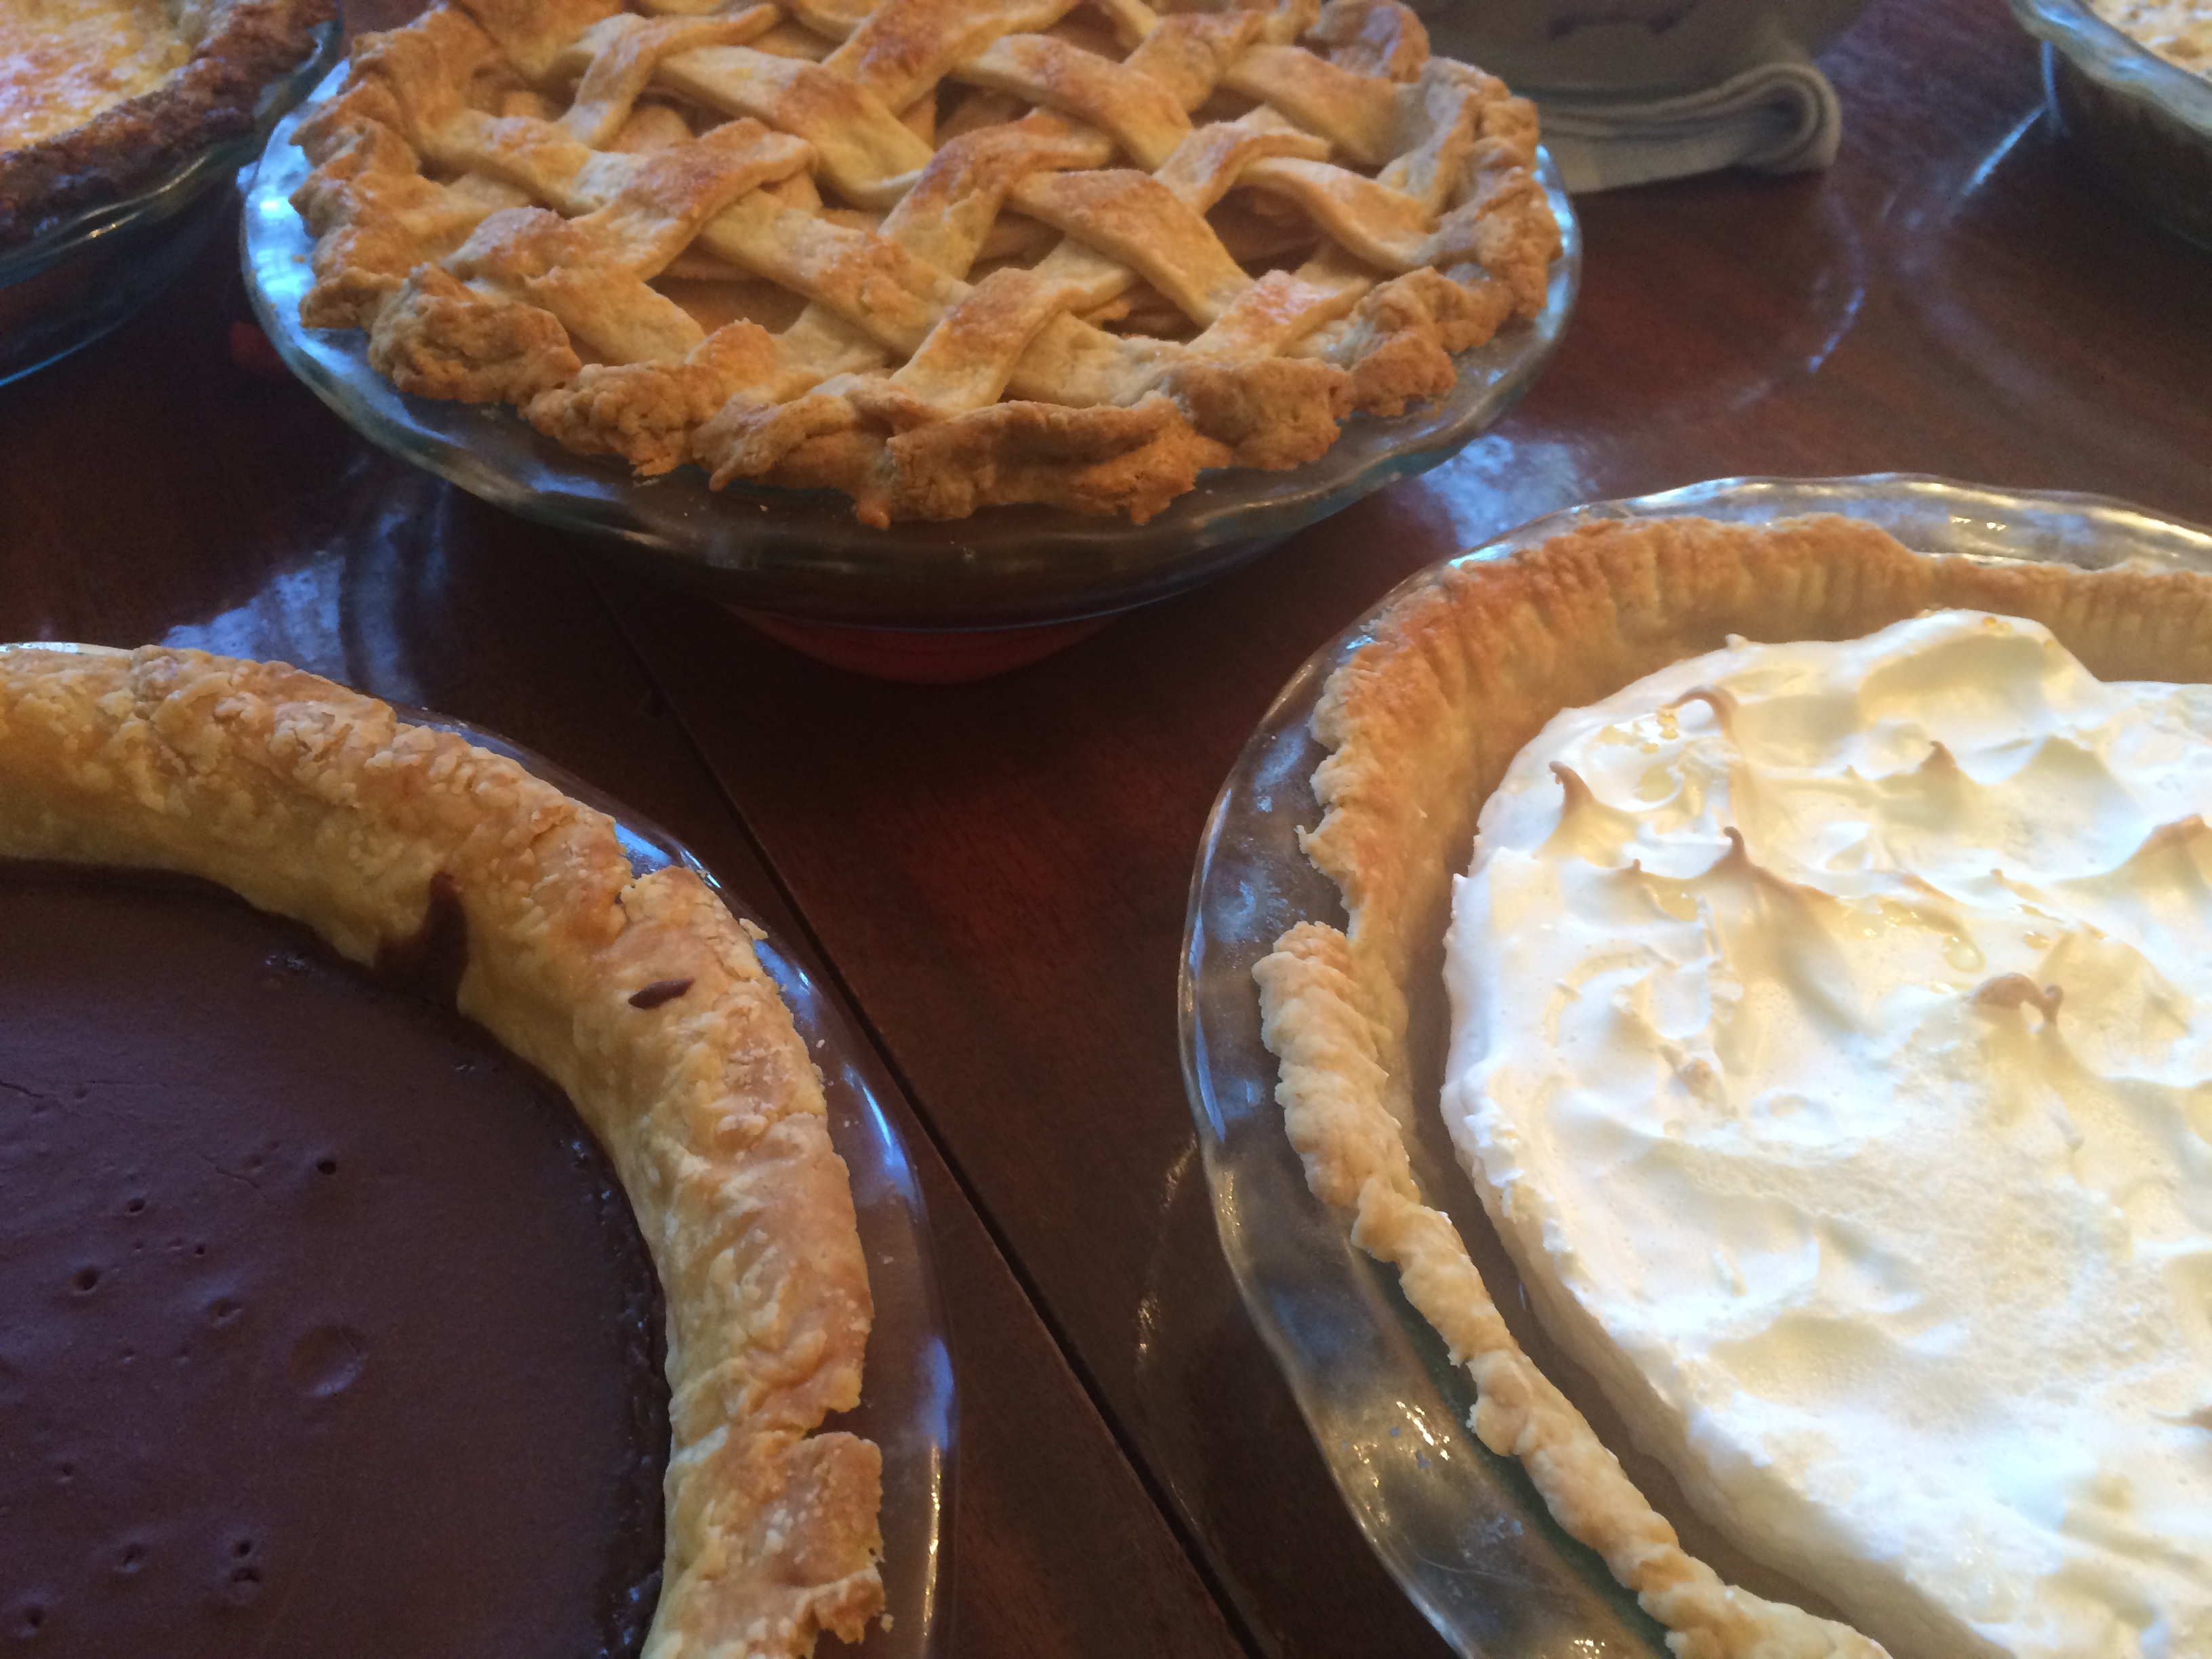
FullSizeRender (7)We found the recipe for the grapefruit meringue on a cooking blog called Sweet and Savory. I was intrigued by this because lemon meringue is one of my favorite pies and this was an interesting substitution. I was a little hesitant because grapefruit has the tendency to be quite bitter, but this recipe was surprisingly successful. The filling was boiled on the oven and it thickened surprisingly well and quickly, so it was important to have beaten the meringue topping earlier rather than later. One small tweak I would have made is to add some lemon or lime juice to the recipe. I found it to be a little too sweet especially with the addition of the sweet meringue topping. When the pie came out of the oven, it was gorgeous, but as it cooled, the meringue shrunk from the topping. This could have been because we put it in the refrigerator before it completely cooled and there was a large drop in temperature.


FullSizeRender (25) IMG_3158

Overall, I had an amazing week, loved working with Grace, and was excited to try some interesting and weird pies, even with some mixed results. There’s definitely a lot to learn, and it is almost sad to move on so quickly. However, I’m still looking forward to another week of baking and enjoying the savory side to pies!

🙂 Steph

Sweet Week

After a productive first day of pastry-making with my partner, Moiz, it took me a while to decide which pie to make. When I looked back at my experience with pies, I realized that I am more of a crust person and tend to neglect the pie fillings. Regardless, I narrowed it down to a peach vanilla cardamom pie and a German chocolate pecan pie. It wasn’t until I took a trip to the grocery store that I finally decided to go with the latter (mainly because peaches aren’t in season).

I chose this recipe, but I also stumbled upon this highly-rated one so I decided to do a mash up!I followed the Gimme Some Oven’s instructions on the filling:

Gimme Some Oven

And followed Melanie Makes’s instructions regarding the German chocolate and coconut. I used the all-butter pie pastry that I made with Moiz.

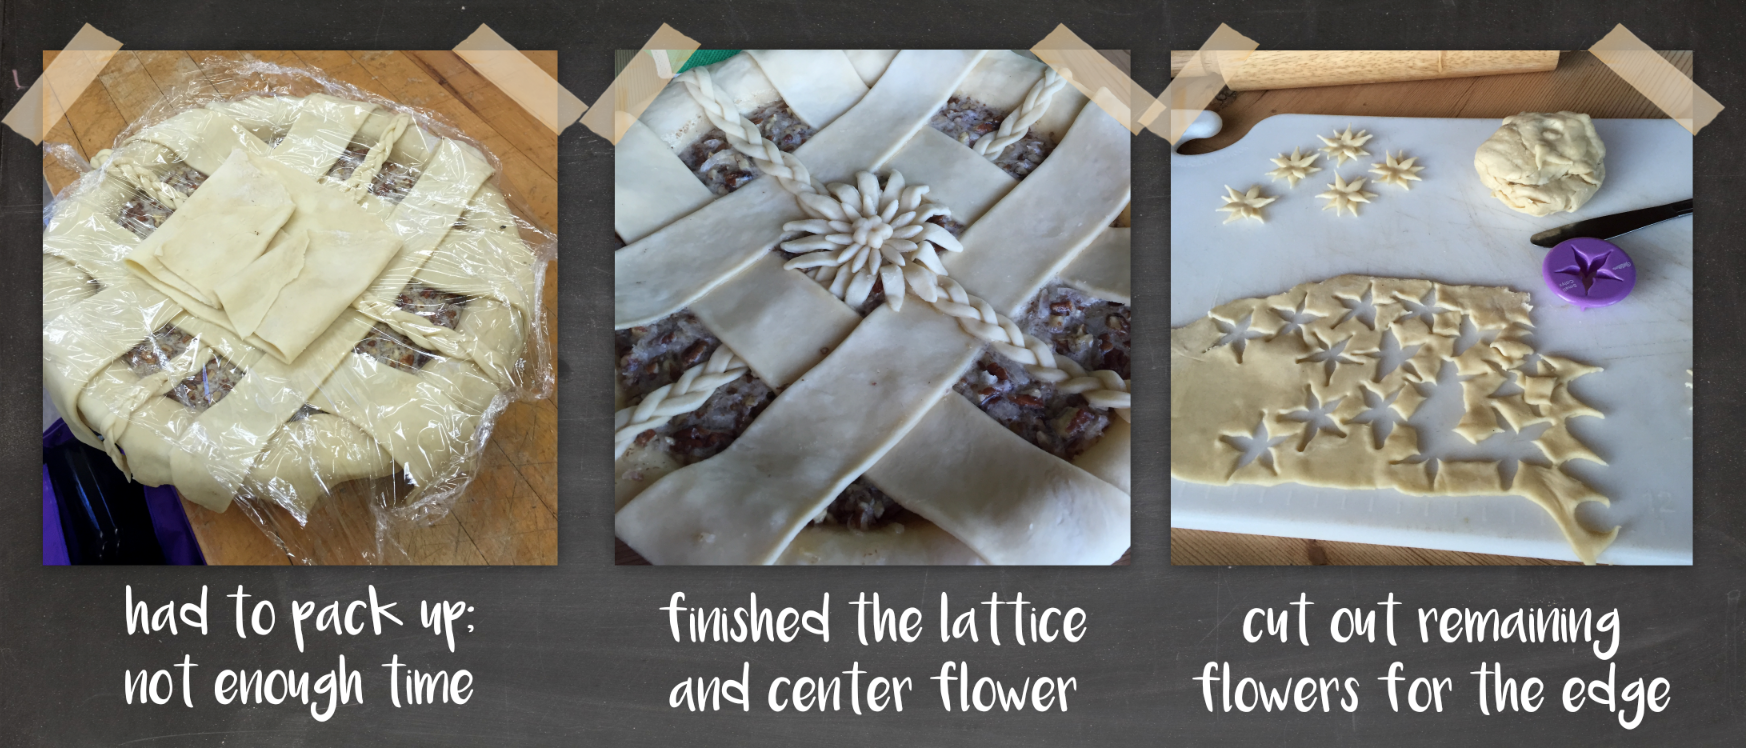
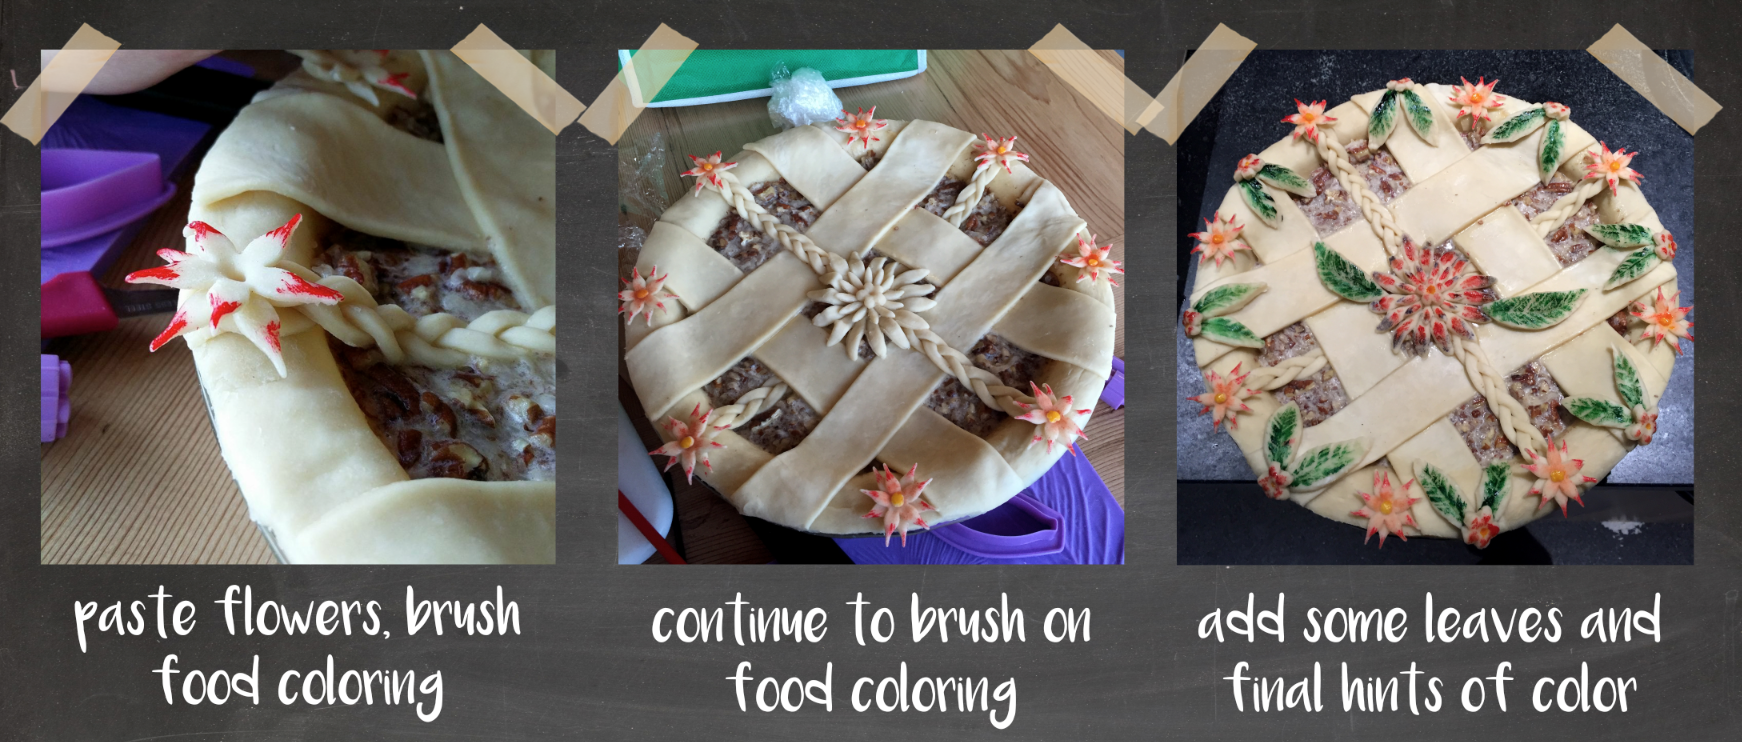
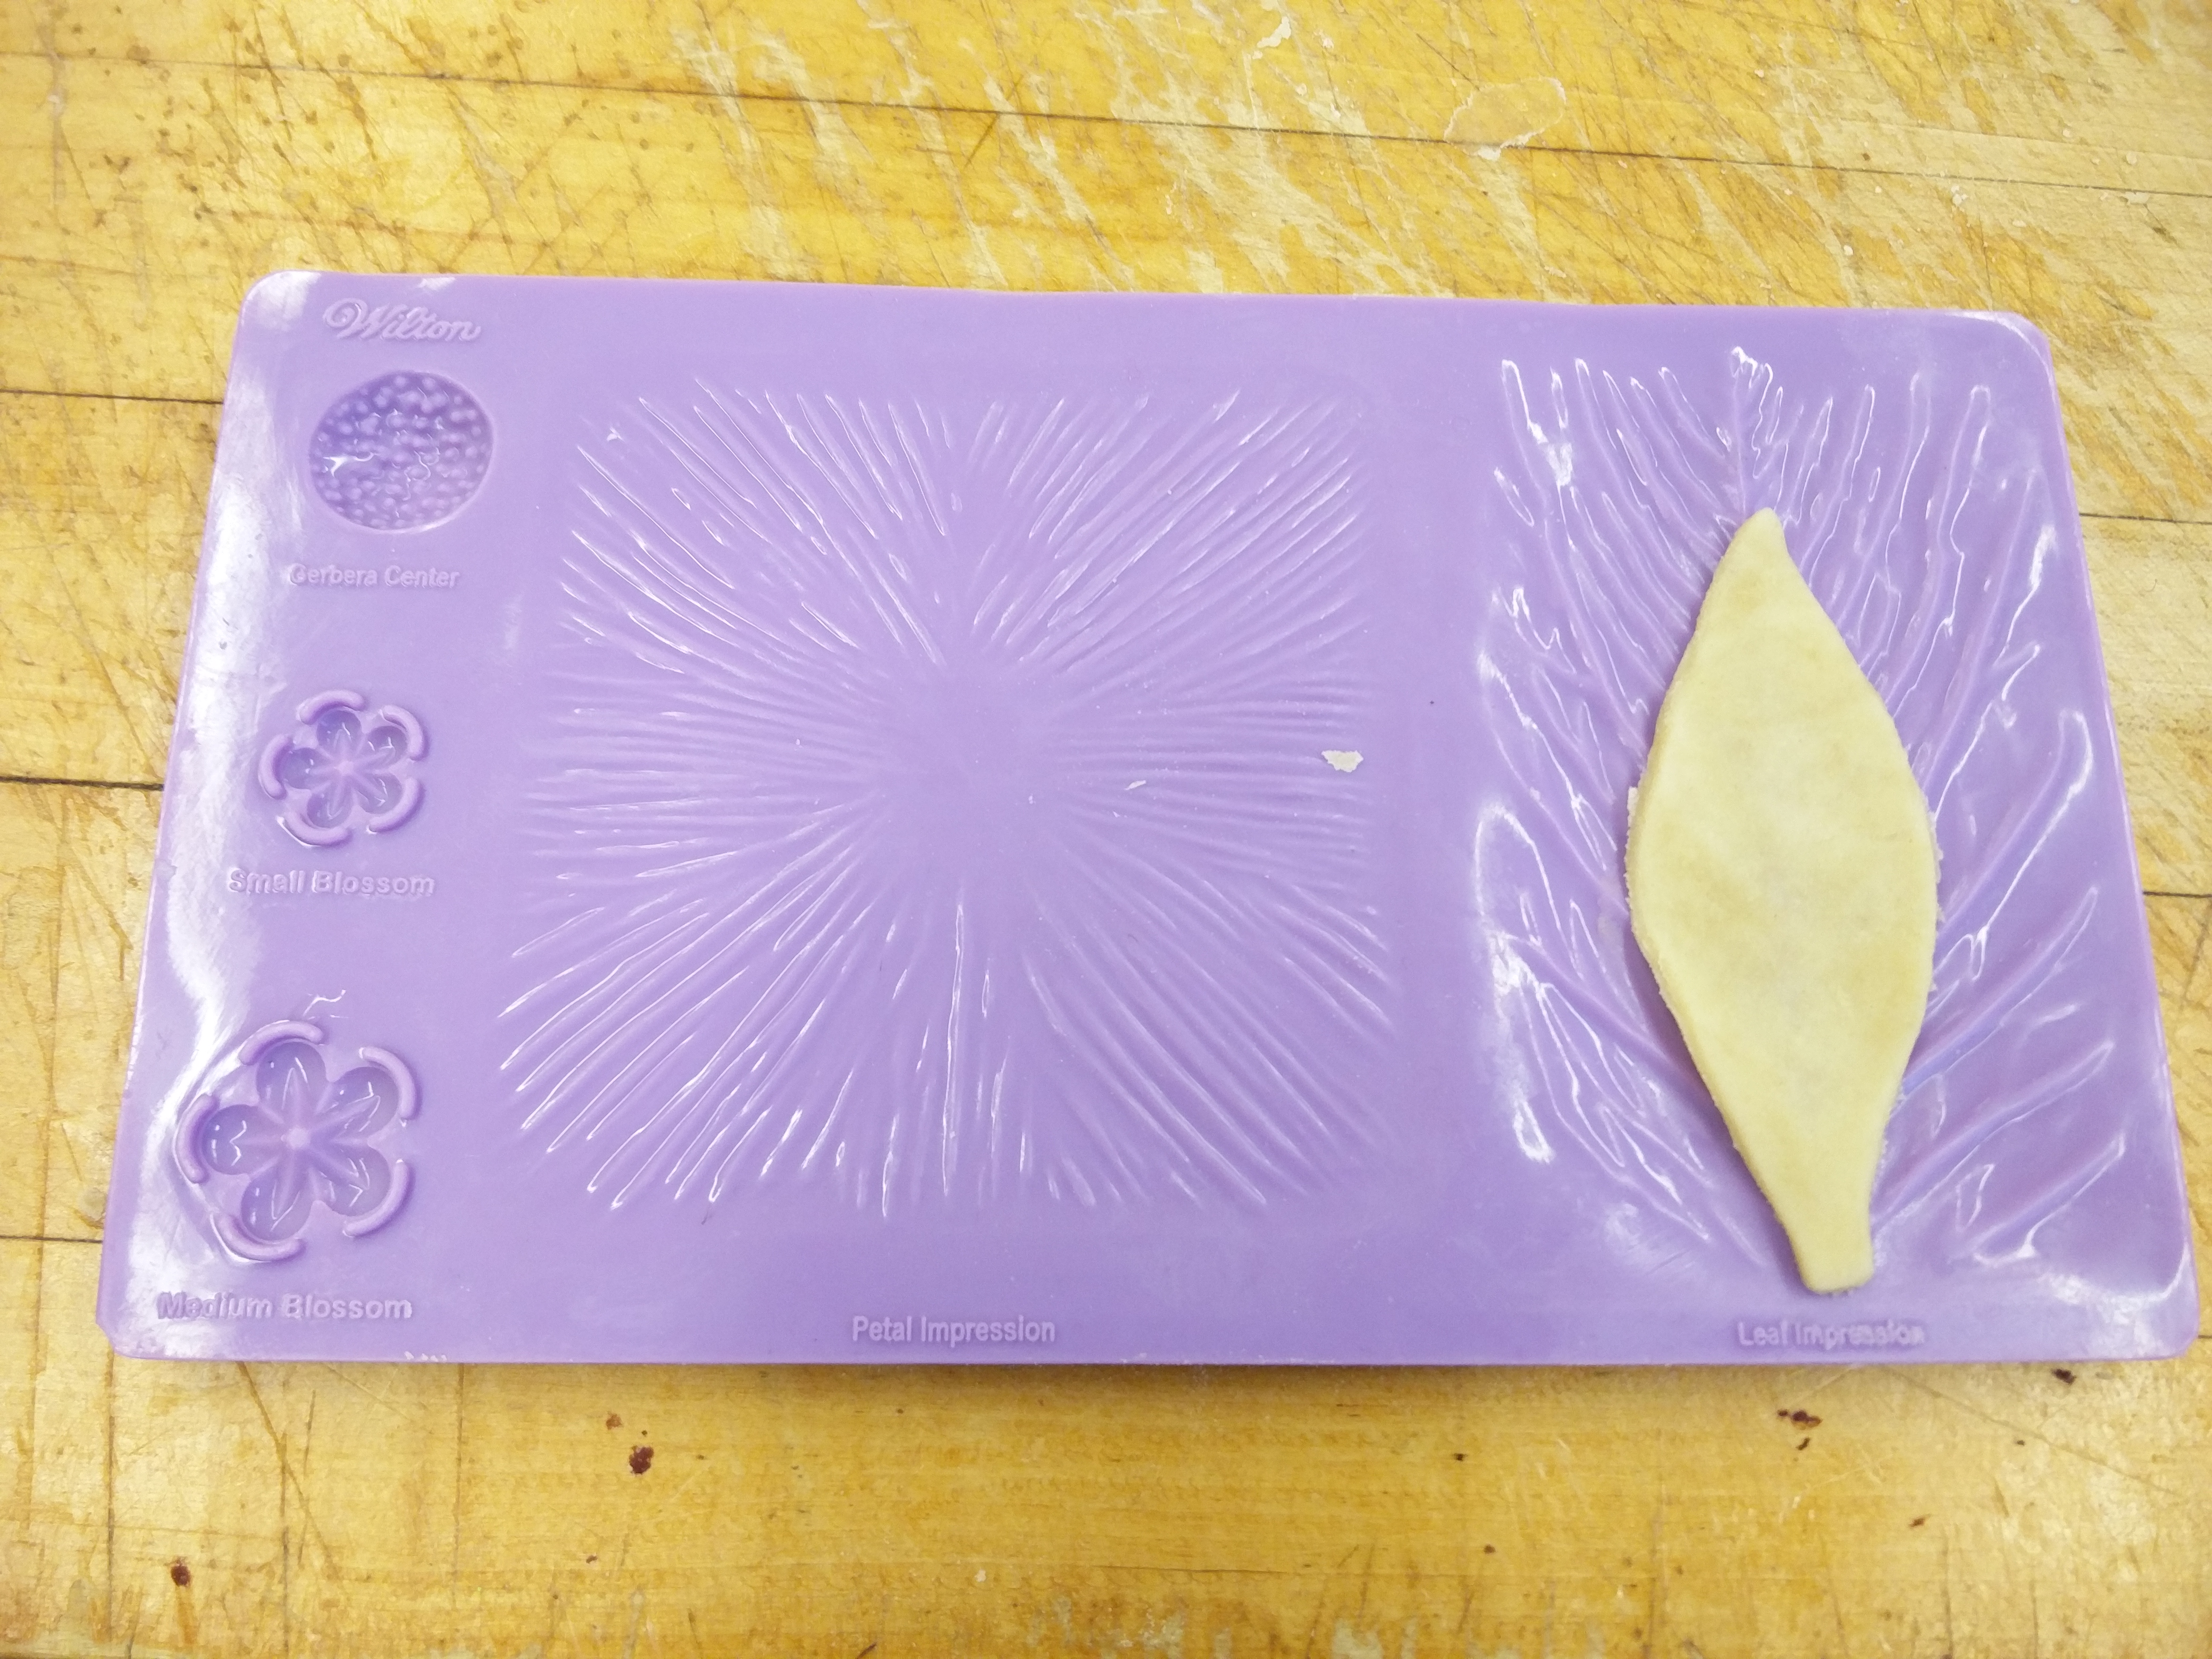
As is the case with everything I make, I wanted to make it look appealing. I realized that pastry dough has a similar consistency to gum paste and fondant, both of which I occasionally use when I decorate cakes. I used my gum paste equipment to decorate my pie:

Decorating-1

I didn’t have enough time to finish decorating my pie at the First Congo kitchen, so I had to pack everything up and I relocated to the Zilkha Center’s kitchen. Lugging everything around was a serious workout, but I was having a wonderful time decorating my baby!

Screen Shot 2016-01-08 at 11.53.26 PM

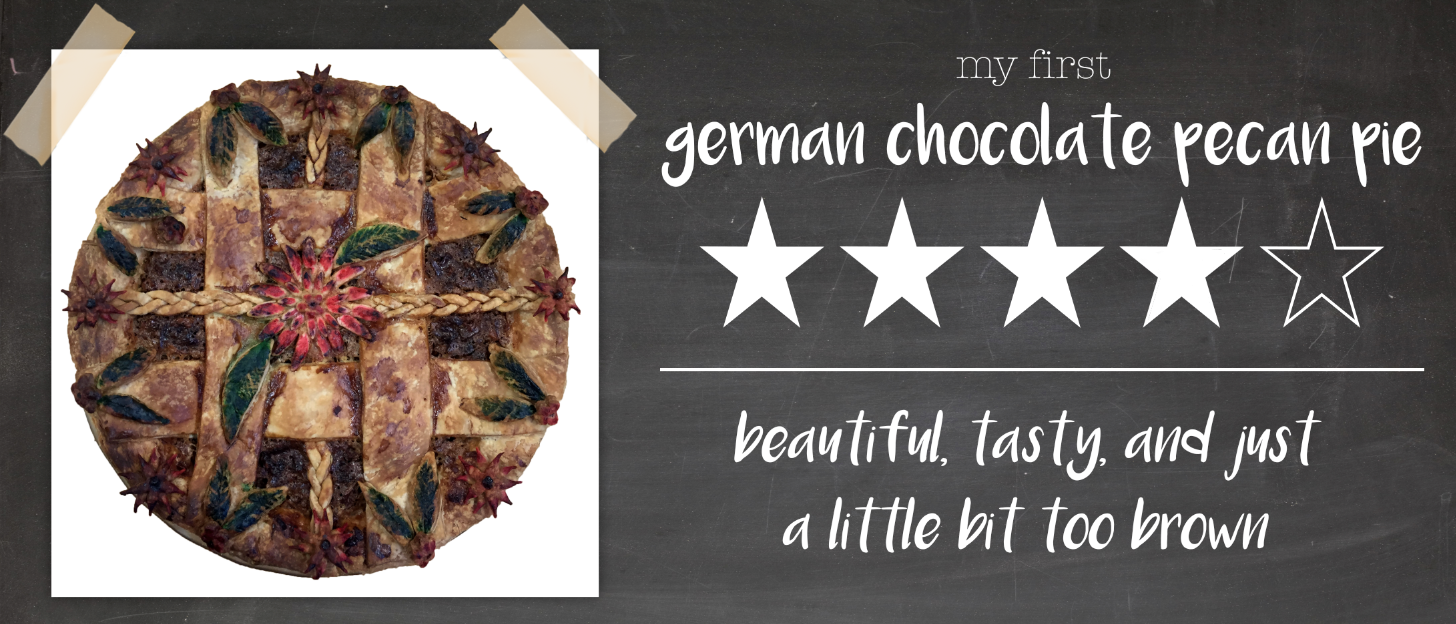
Finally, I put it in the oven! Unfortunately, I got distracted while it was baking and it…browned quite a bit. Regardless, I was satisfied with the final appearance and taste!

Screen Shot 2016-01-09 at 12.16.58 AM

A Sweet Start to Winter Study

After much deliberating and drooling over cook books, Stephanie and I finally decided on three sweet pies to tackle this week: chili chocolate pie, grapefruit meringue pie, and ginger-pear pie.


I was particularly excited to bake the chili chocolate pie, because not only am I a chocolate addict, I love spicy foods and the combination of the sweet and spicy sounded heavenly. Making the filling was relatively easy –it involved steeping the milk and cream with green jalapeno pieces to achieve the chili flavor and then using the hot cream mixture to melt the chocolate pieces. I’m glad Steph is as big of a chocolate snob as myself, because she had the great idea of using delicious 70% Lindt chocolate bars. Although the recipe called for a chocolate curst, we used a single butter and shortening crust which was, in my opinion, a smart tweak to the recipe because otherwise the already very rich, dense pie would have been absurdly decadent.

IMG_9069IMG_9070IMG_9076IMG_9080 IMG_9086IMG_9099

The grapefruit meringue pie was a bit more complicated to prepare, because it involved prebaking the crust, cooking the grapefruit filling, and I didn’t do a very good job rolling out the dough and as a result the crust edges were thin, crispy, and not all that attractive. Also, the morning of the taste test we discovered the meringue had shrunk, separating from the crust and creating a weird gap. We think this might be from transferring the pie from the oven to the fridge too quickly, but we can’t be sure. I loved the texture of this pie because it was light and airy, but if I were to bake it again I would add less sugar to the grapefruit base to create a more tart flavor, complimented by the sweet meringue topping.

IMG_9090IMG_9093IMG_9087IMG_9106IMG_9109IMG_9144

The pear-ginger pie was probably the easiest to make, because it only involved filling a double crust with a pear, sugar, ginger mixture. The ginger flavor was not a strong as I would have liked, and if I make this pie in the future I will definitely add more, or perhaps let the filling soak in the ginger pieces for a while before adding them to the crust. The crust of the pear pie was definitely the most successful of all three pies –it was nicely latticed, the edges were firm and golden, and the bottom tasted great with the apricot preserve layer. However, the inside was quite runny and the pears were still a bit crunchy.
IMG_9132IMG_9134IMG_9136IMG_9138IMG_9141IMG_9163

Overall, I think Steph and I picked three contrasting pies that gave us great experience in the sweet-pie making field, and I can’t wait to delve into savory pies next week!

A little (or a LOT of) pie for your day…

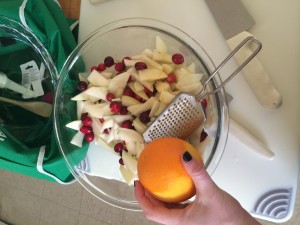
After completing our initial two servings of dough (half butter and half crisco in my case and all butter in Lia’s) with extra time, Lia and I decided to make another dough. After we put the dough in the fridge for the night, we chose to bake apple handpies, a raspberry chocolate pie, and a cranberry orange pear bourbon pie. Instead of using a previously conceived recipe, we (but mostly Lia) came up with our own recipe, reproduced below.
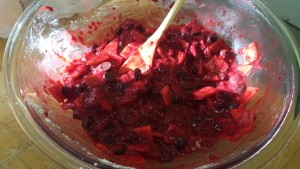
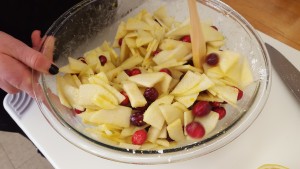
On Wednesday, Lia and I began the day by making the fillings for both pies. We peeled pears (and rescued some we dropped in the trash on accident..whoops!), zested an orange, and drained our frozen raspberries. We combined the pears, zest, and a bag of frozen cranberries while mixing in the rest of our filling ingredients

.image

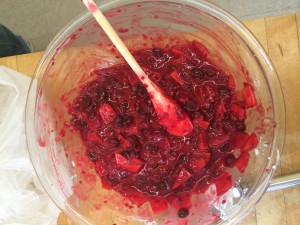
In a different bowl, we combined chocolate chips and our thawed raspberries. image (1)

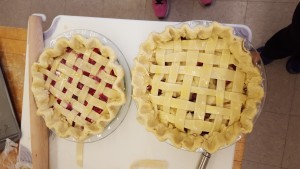
After rolling out our bottom crusts, we added the filling and a lattice crust on top.

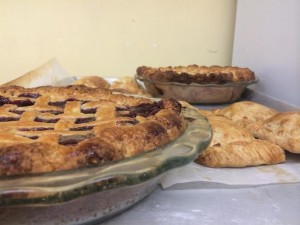
While these pies were in the oven, cut up apples and rolled a square piece of dough out into a giant rectangle. After adding the filling ingredients (including too much corn starch which we had to scoop back out) to our apples, we cut our dough into 10 equal rectangles. We added the apple filling to each and folded the dough. We placed them on a baking sheet and into the oven! Though we did not over cook the apple hand pies, the top ridges of our other pies were slightly burnt. We should have covered the crust to slow the browning 10 minutes before we did. However, small mishaps aside, the pies were absolutely delicious!!

.3d4d4f3b-134c-40cd-ab81-06f5d108dcda

Chocolate-Raspberry Pie

1 12-oz bag dark chocolate chips
2 12-oz bags of frozen raspberries, thawed
1 pear
¾ tsp almond extract
1 ½ tsp vanilla extract
⅓ lemon, juiced
¼ cup cornstarch
5 tbsp white sugar
1 egg, beaten
1 double pie crust

Preheat oven to 425F
Strain excess liquid from raspberries, and prepare pear by peeling and finely chopping the fruit.
Mix fruits, chocolate, extracts, lemon juice, cornstarch and sugar in a large bowl. Stir and allow to marinate.
Roll out one pie crust, and place into a buttered pie plate. Allow to cool in the fridge.
Roll out the second crust into a rectangle and slice for a lattice.
Remove the bottom crust from the fridge, fill with filling, and form lattice on top of filling. Arrange crust as desired, and brush pie with egg wash.
Bake at 425F for 20 minutes and then lower oven temperature to 350F for around 50 minutes, or until pie is golden brown on all sides.

Pear-Cranberry Pie

1 orange
1 8-oz bag of cranberries
4 pears
½ tsp ground ginger
3 tbsp bourbon
6 tbsp cornstarch
6 tbsp white sugar
1 egg, beaten
1 double pie crust

Preheat oven to 425F
Zest and juice the orange, setting aside all of the zest and ⅓ of the juice in a large bowl. The rest can be discarded.
Peel, thinly slice and then halve those slices for each of the pears.
Add fruits, spices, bourbon, cornstarch and sugar to the juice and zest. Stir and allow to marinate.
Roll out one pie crust, and place into a buttered pie plate. Allow to cool in the fridge.
Roll out the second crust into a rectangle and slice for a lattice.
Remove the bottom crust from the fridge, fill with filling, and form lattice on top of filling. Arrange crust as desired, and brush pie with egg wash.
Bake at 425F for 20 minutes and then lower oven temperature to 350F for around 50 minutes, or until pie is golden brown on all sides.
Apple Hand Pies

4 apples
2 tsp ground cinnamon
¾ tsp ground ginger
¾ tsp allspice
½ lemon, juiced
3 tbsp cornstarch
5 tbsp white sugar
1 egg, beaten
1 double pie crust

Preheat oven to 400
Peel and thinly slice the apples, then cutting the slices into thirds.
Mix fruit, spices, juice, cornstarch, and sugar in a medium bowl and allow to marinate.
Roll out your pie crust into a large rectangle. Slice into desired number of smaller rectangles (10 works well).
Putting filling on half of each rectangle, leaving a 1 centimeter border around the entire edge (and leaving half of the rectangle empty).
Fold the empty half over the full half, and use water, or some of your beaten edge to hold the two edges together.
Crimp, fold, or fork your edges so that no juices will leak out during the cooking process.
Place hand pies on a parchment lined baking pan and brush with egg wash. Bake for around 30 minutes, or until golden brown.

My First Pie Ever: Rustic Pear and Raspberry Pie

As I entered the kitchen of the First Congregational Church on the first day of this year’s Life of Pie winter study, I knew I was in for a treat. For the record, I had never made a pie before prior to this week but I have been cooking and baking other things for a very long time. That said, the world of pie-making just lured me in – making pies is an intricate an art as painting or sculpting and I could not have been more excited to make my first ever pie this week.

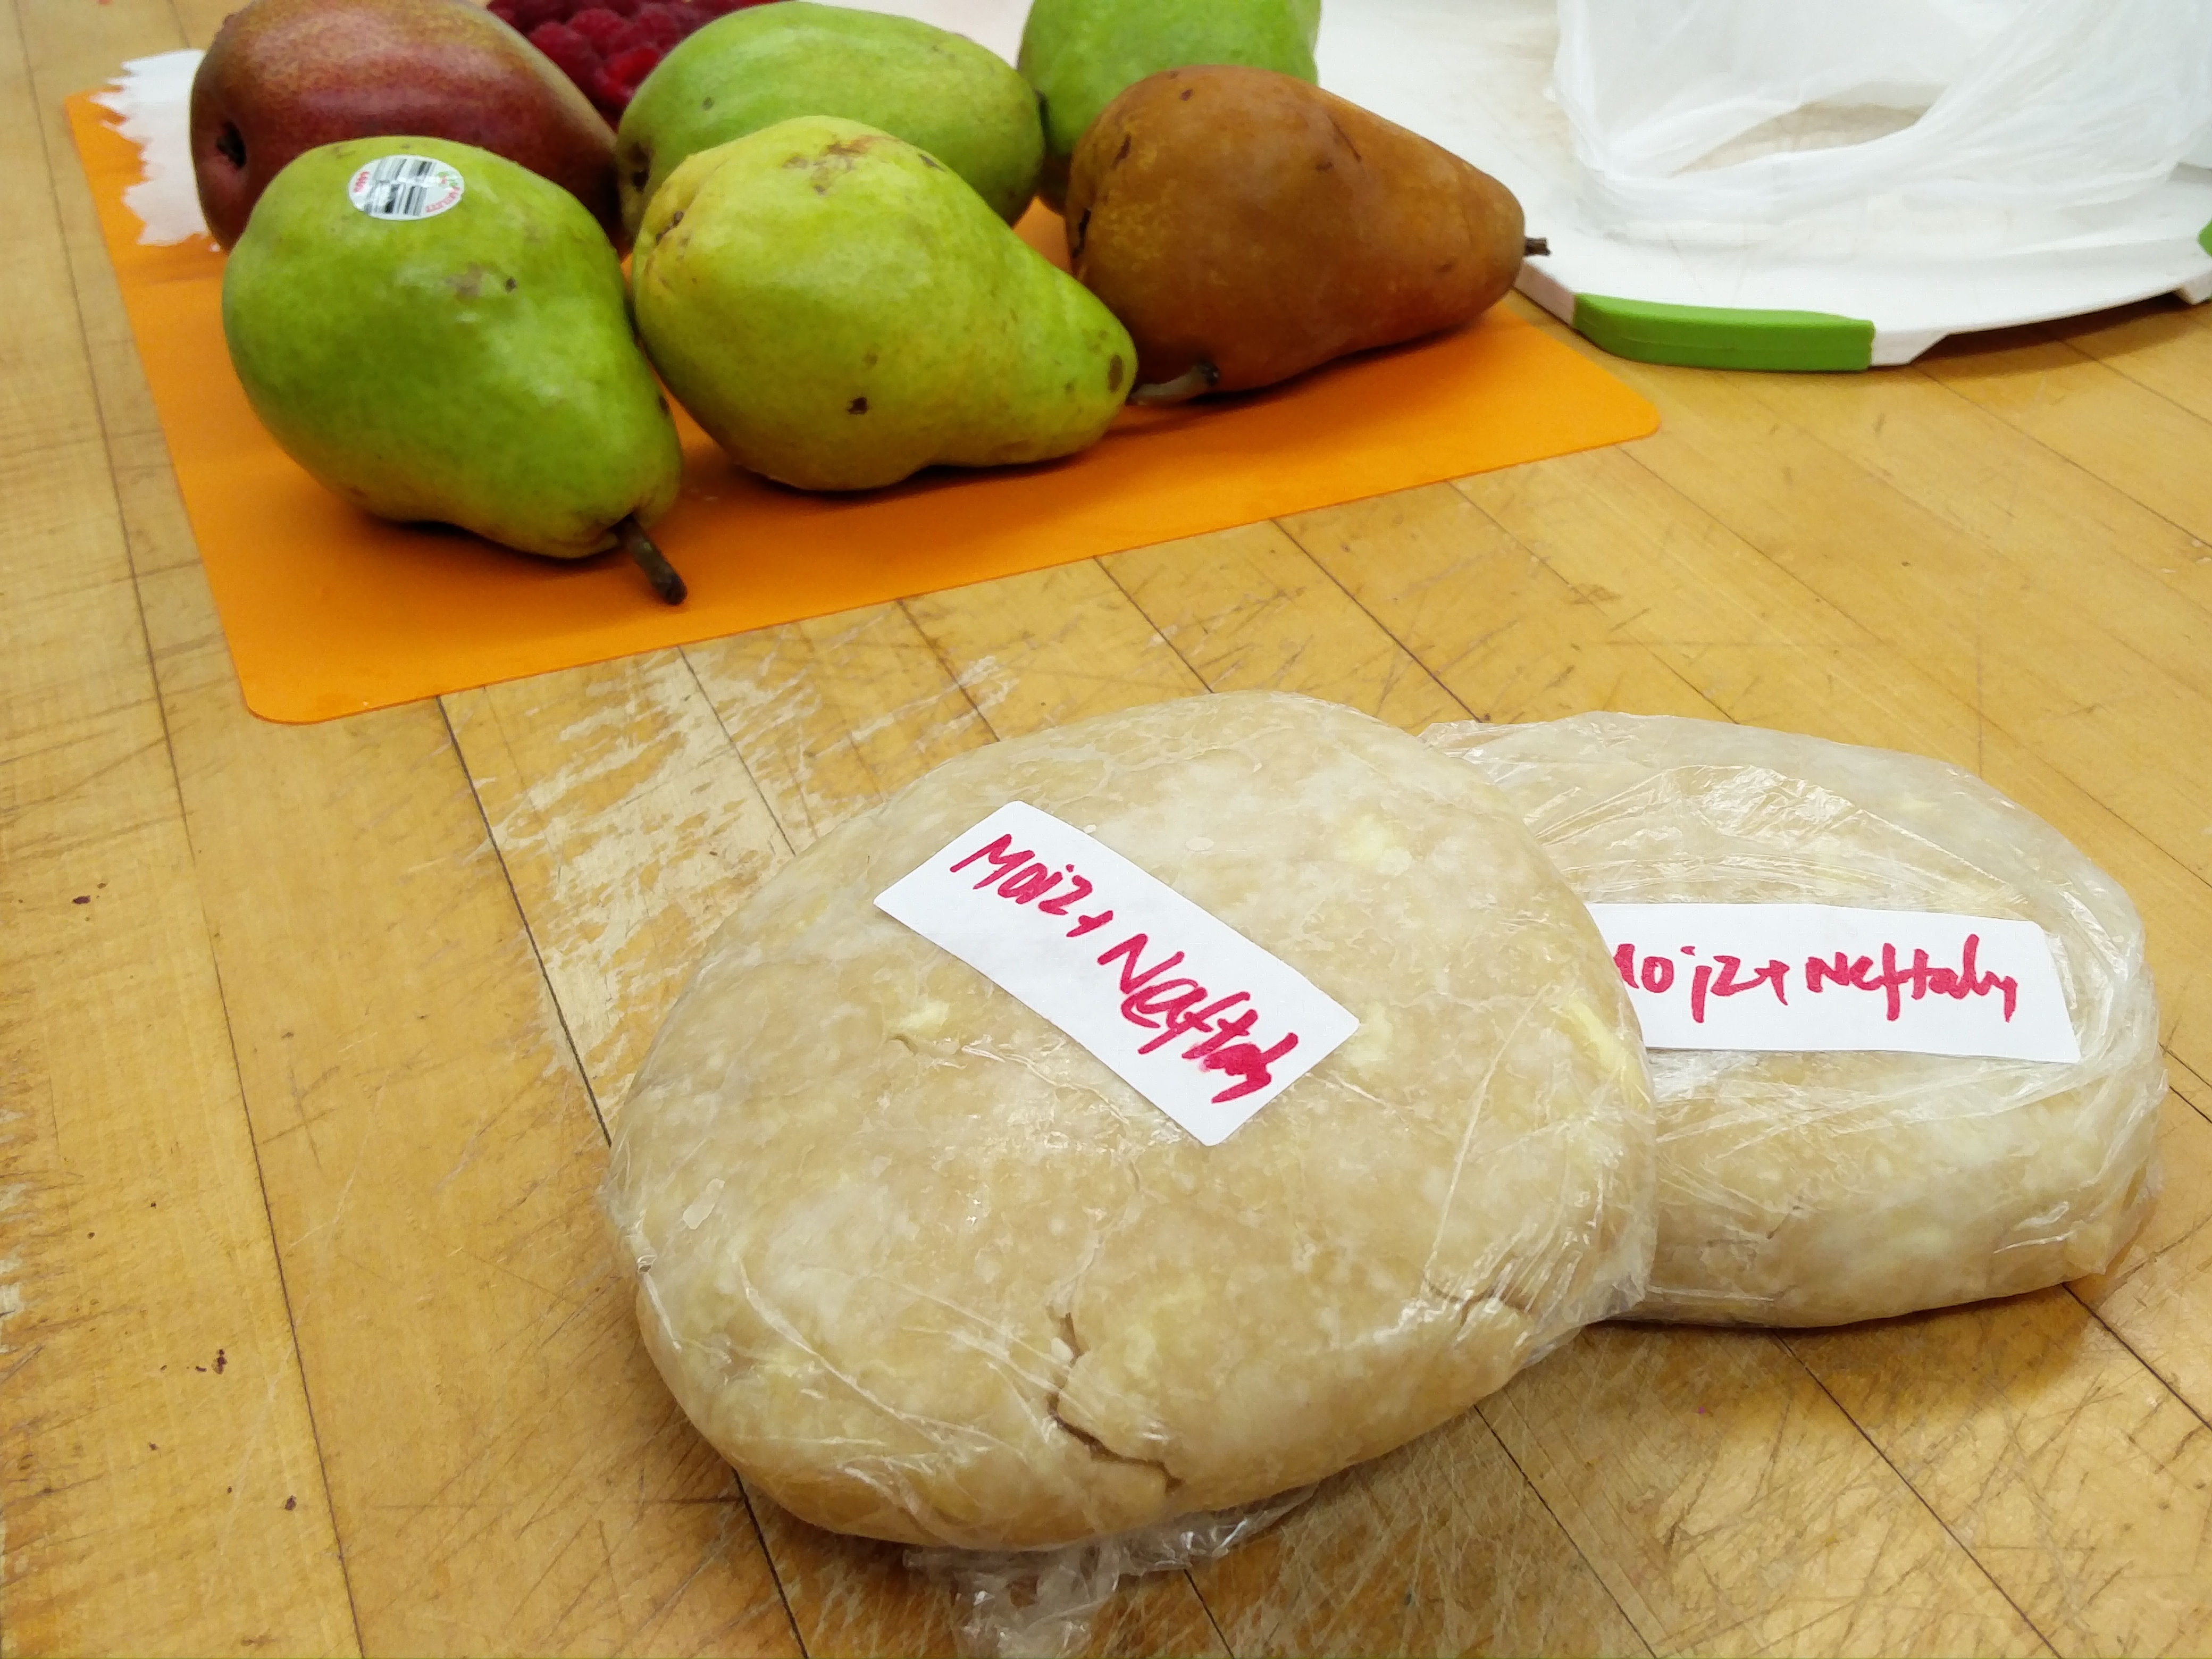
Earlier this week, we learned how to make a basic flaky pastry crust for our pies. My team mate, Neftaly, and I made both an all-butter and a half butter, half shortening pastry crust just to the difference we would get. Making the pastry was actually much easier than I thought it would be but having a tutorial from DGM was certainly the only reason it was so. Getting a feel for the texture of the pastry dough at different stages and understanding the chemistry behind keeping the fat cold and solid was fascinating.

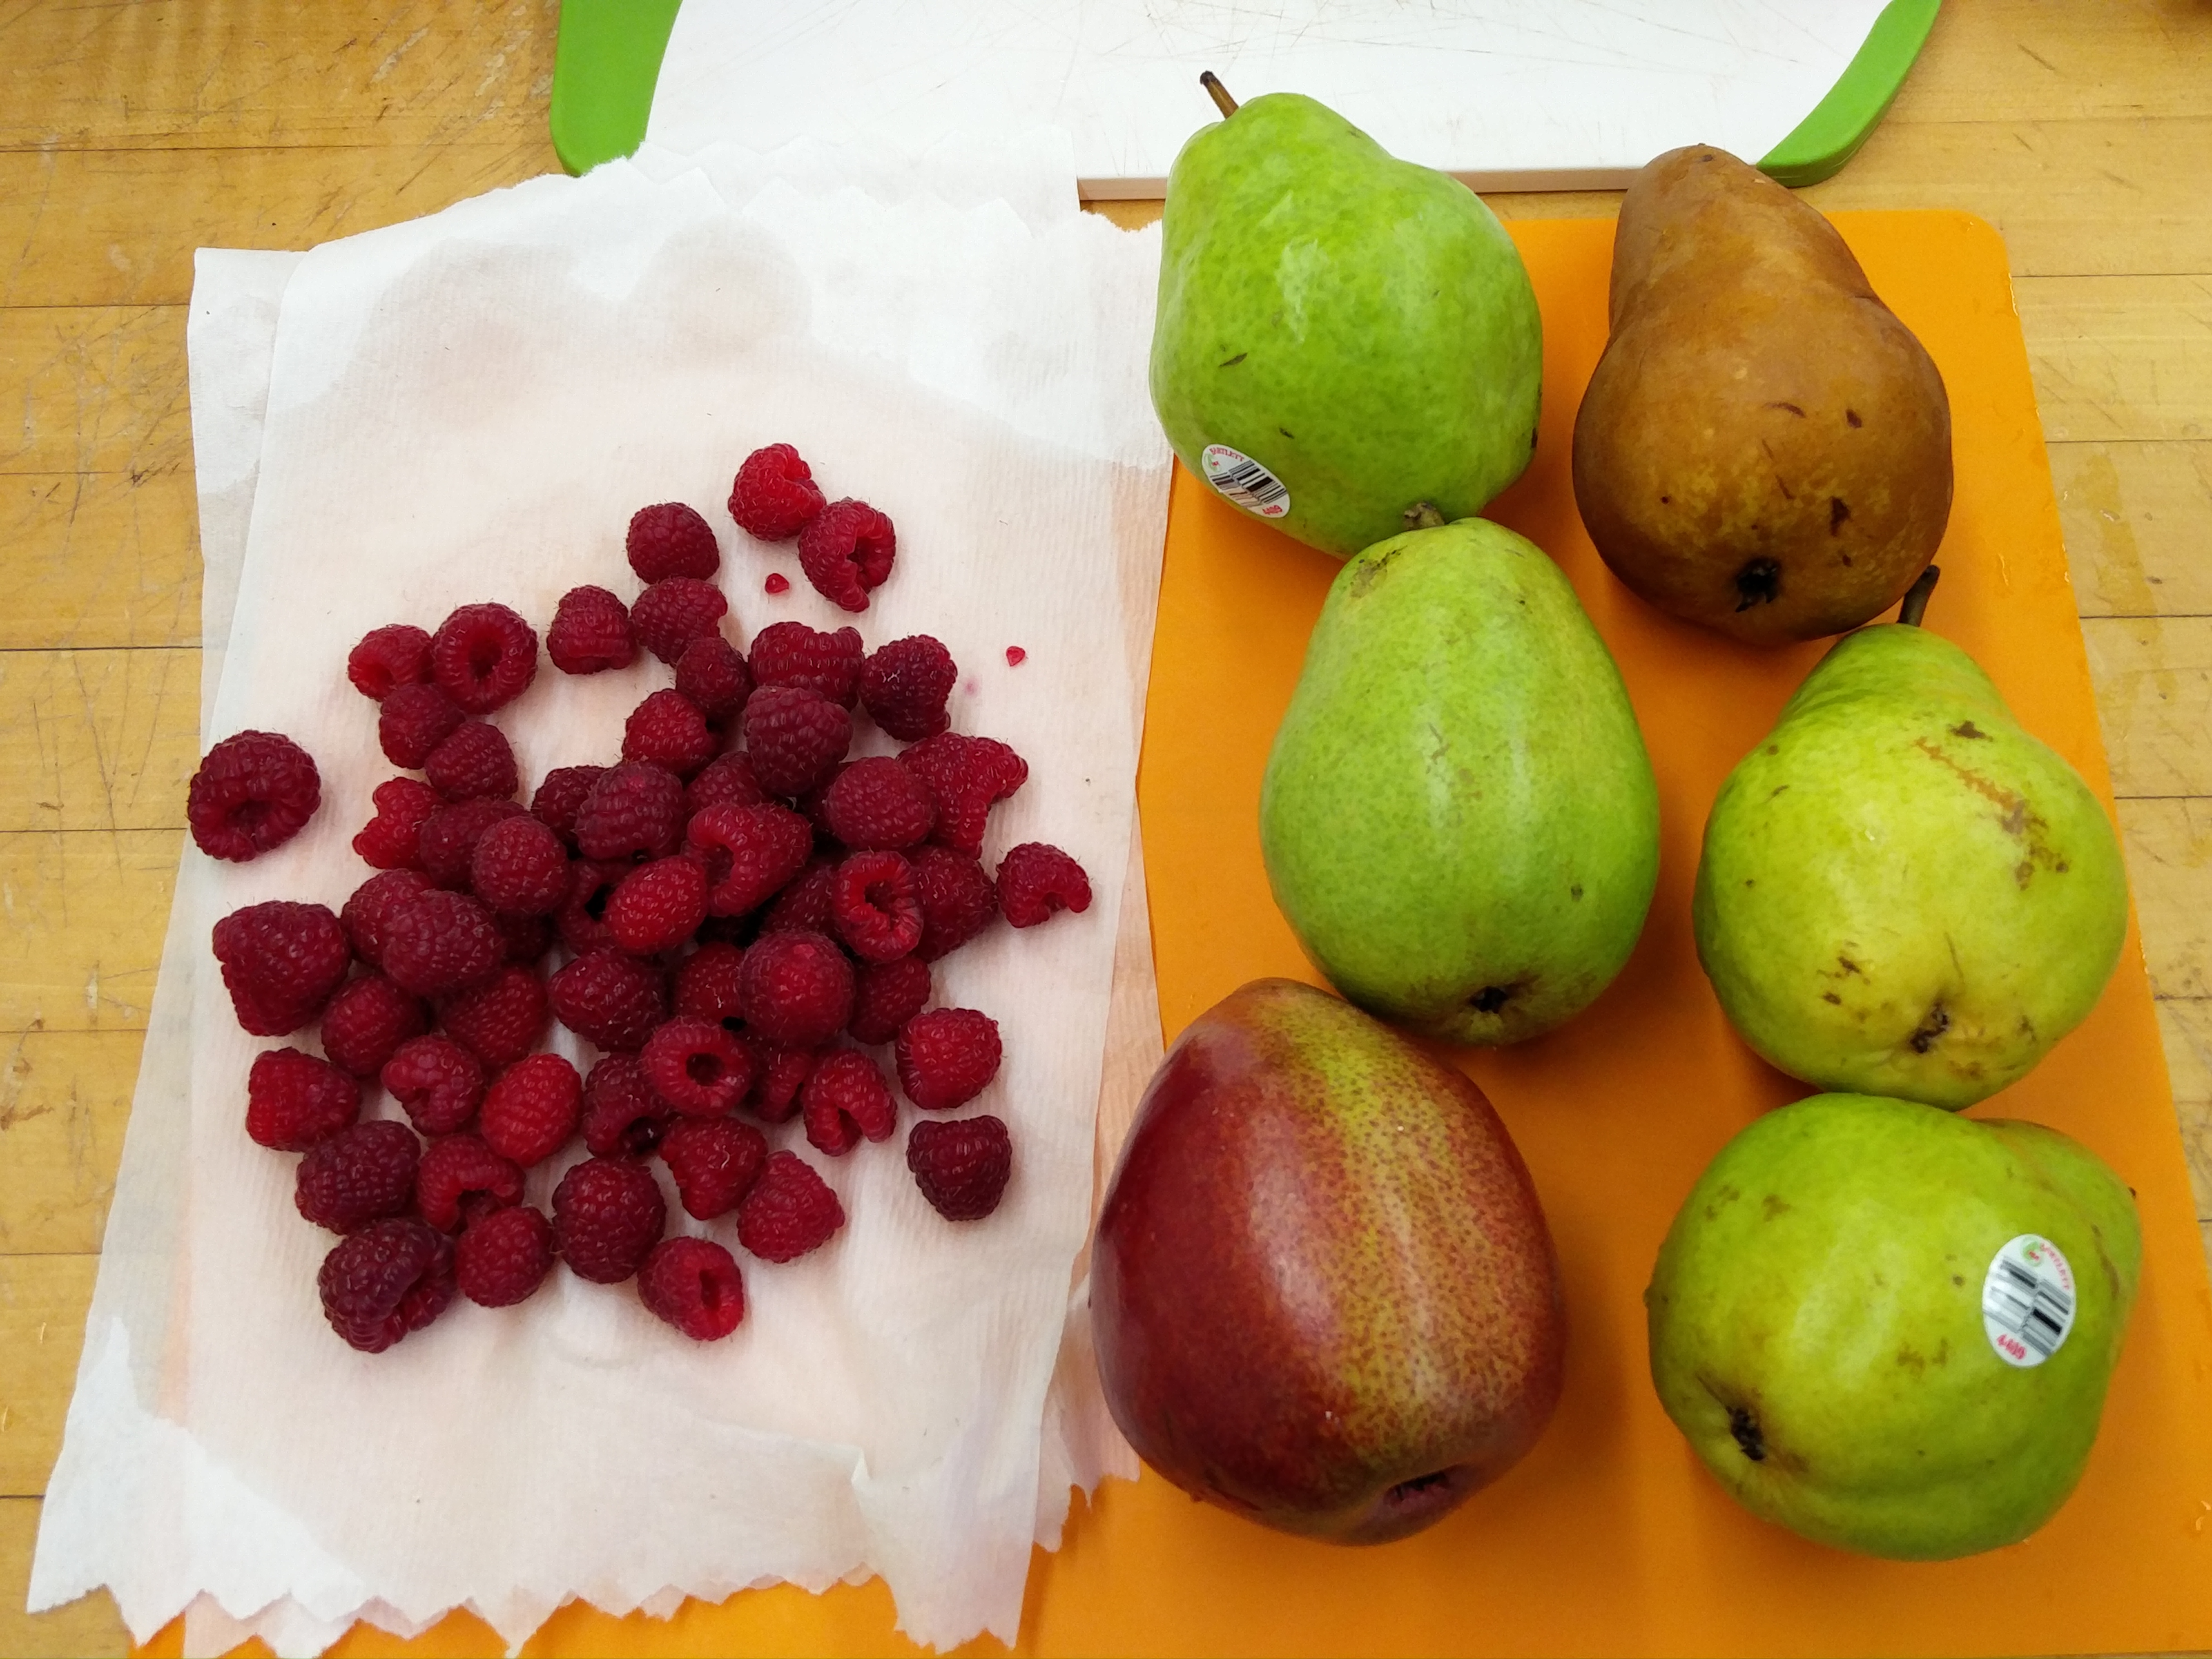
The next step, obviously, was deciding what pie I wanted to make. I had SO many choices. But I knew I wanted to make a double-crusted pie with fruit in it and I also wanted to use fruits that were in season. I looked up a few different recipes including a Pear and Raspberry pie, Peach and Blueberry, and Apple and Raspberry in hopes of finding the answer regarding which pie I should make once I went shopping. A trip to Stop & Shop (thanks to Steph for the ride!) helped me solved the dilemma as I walked through the fruit aisle and saw some gorgeous pears. The recipe I had called for only 6 Bartlett pears but for the sake of having a variety of textures, flavors, and aromas, I picked 3 Bartlett pears, 1 Red pear, 1 Anjou pear, and 1 Bosc pear. I also found some fresh organic raspberries and I knew making this pie was going to be interesting experience.

Overnight, I binge-watched a few pie-related episodes of The Great British Bake-Off and educated myself on how to avoid a soggy pie bottom due to a liquidy filling especially in fruit pies. Some research allowed me to learn that an egg-white wash, a chocolate wash, blind-baking, and adding cornstarch to the fruit, all seemed like viable options to avoid the disaster of a soggy bottom.

And then it was finally bake day! One thing I would say is that I really underestimated how much time it takes to make pies because it took almost four hours in total just to make one pie! Most of the time was probably spent because I was being as careful as possible and trying not to mess up and also because the baking time of the pie was almost 2 hours.

So I decided to follow the Pear and Raspberry pie recipe by Martha Stewart because it seemed like it would work. I started off by taking my pastry out of the fridge which had been in there for two days. Then I washed my raspberries and pears and dried them out.

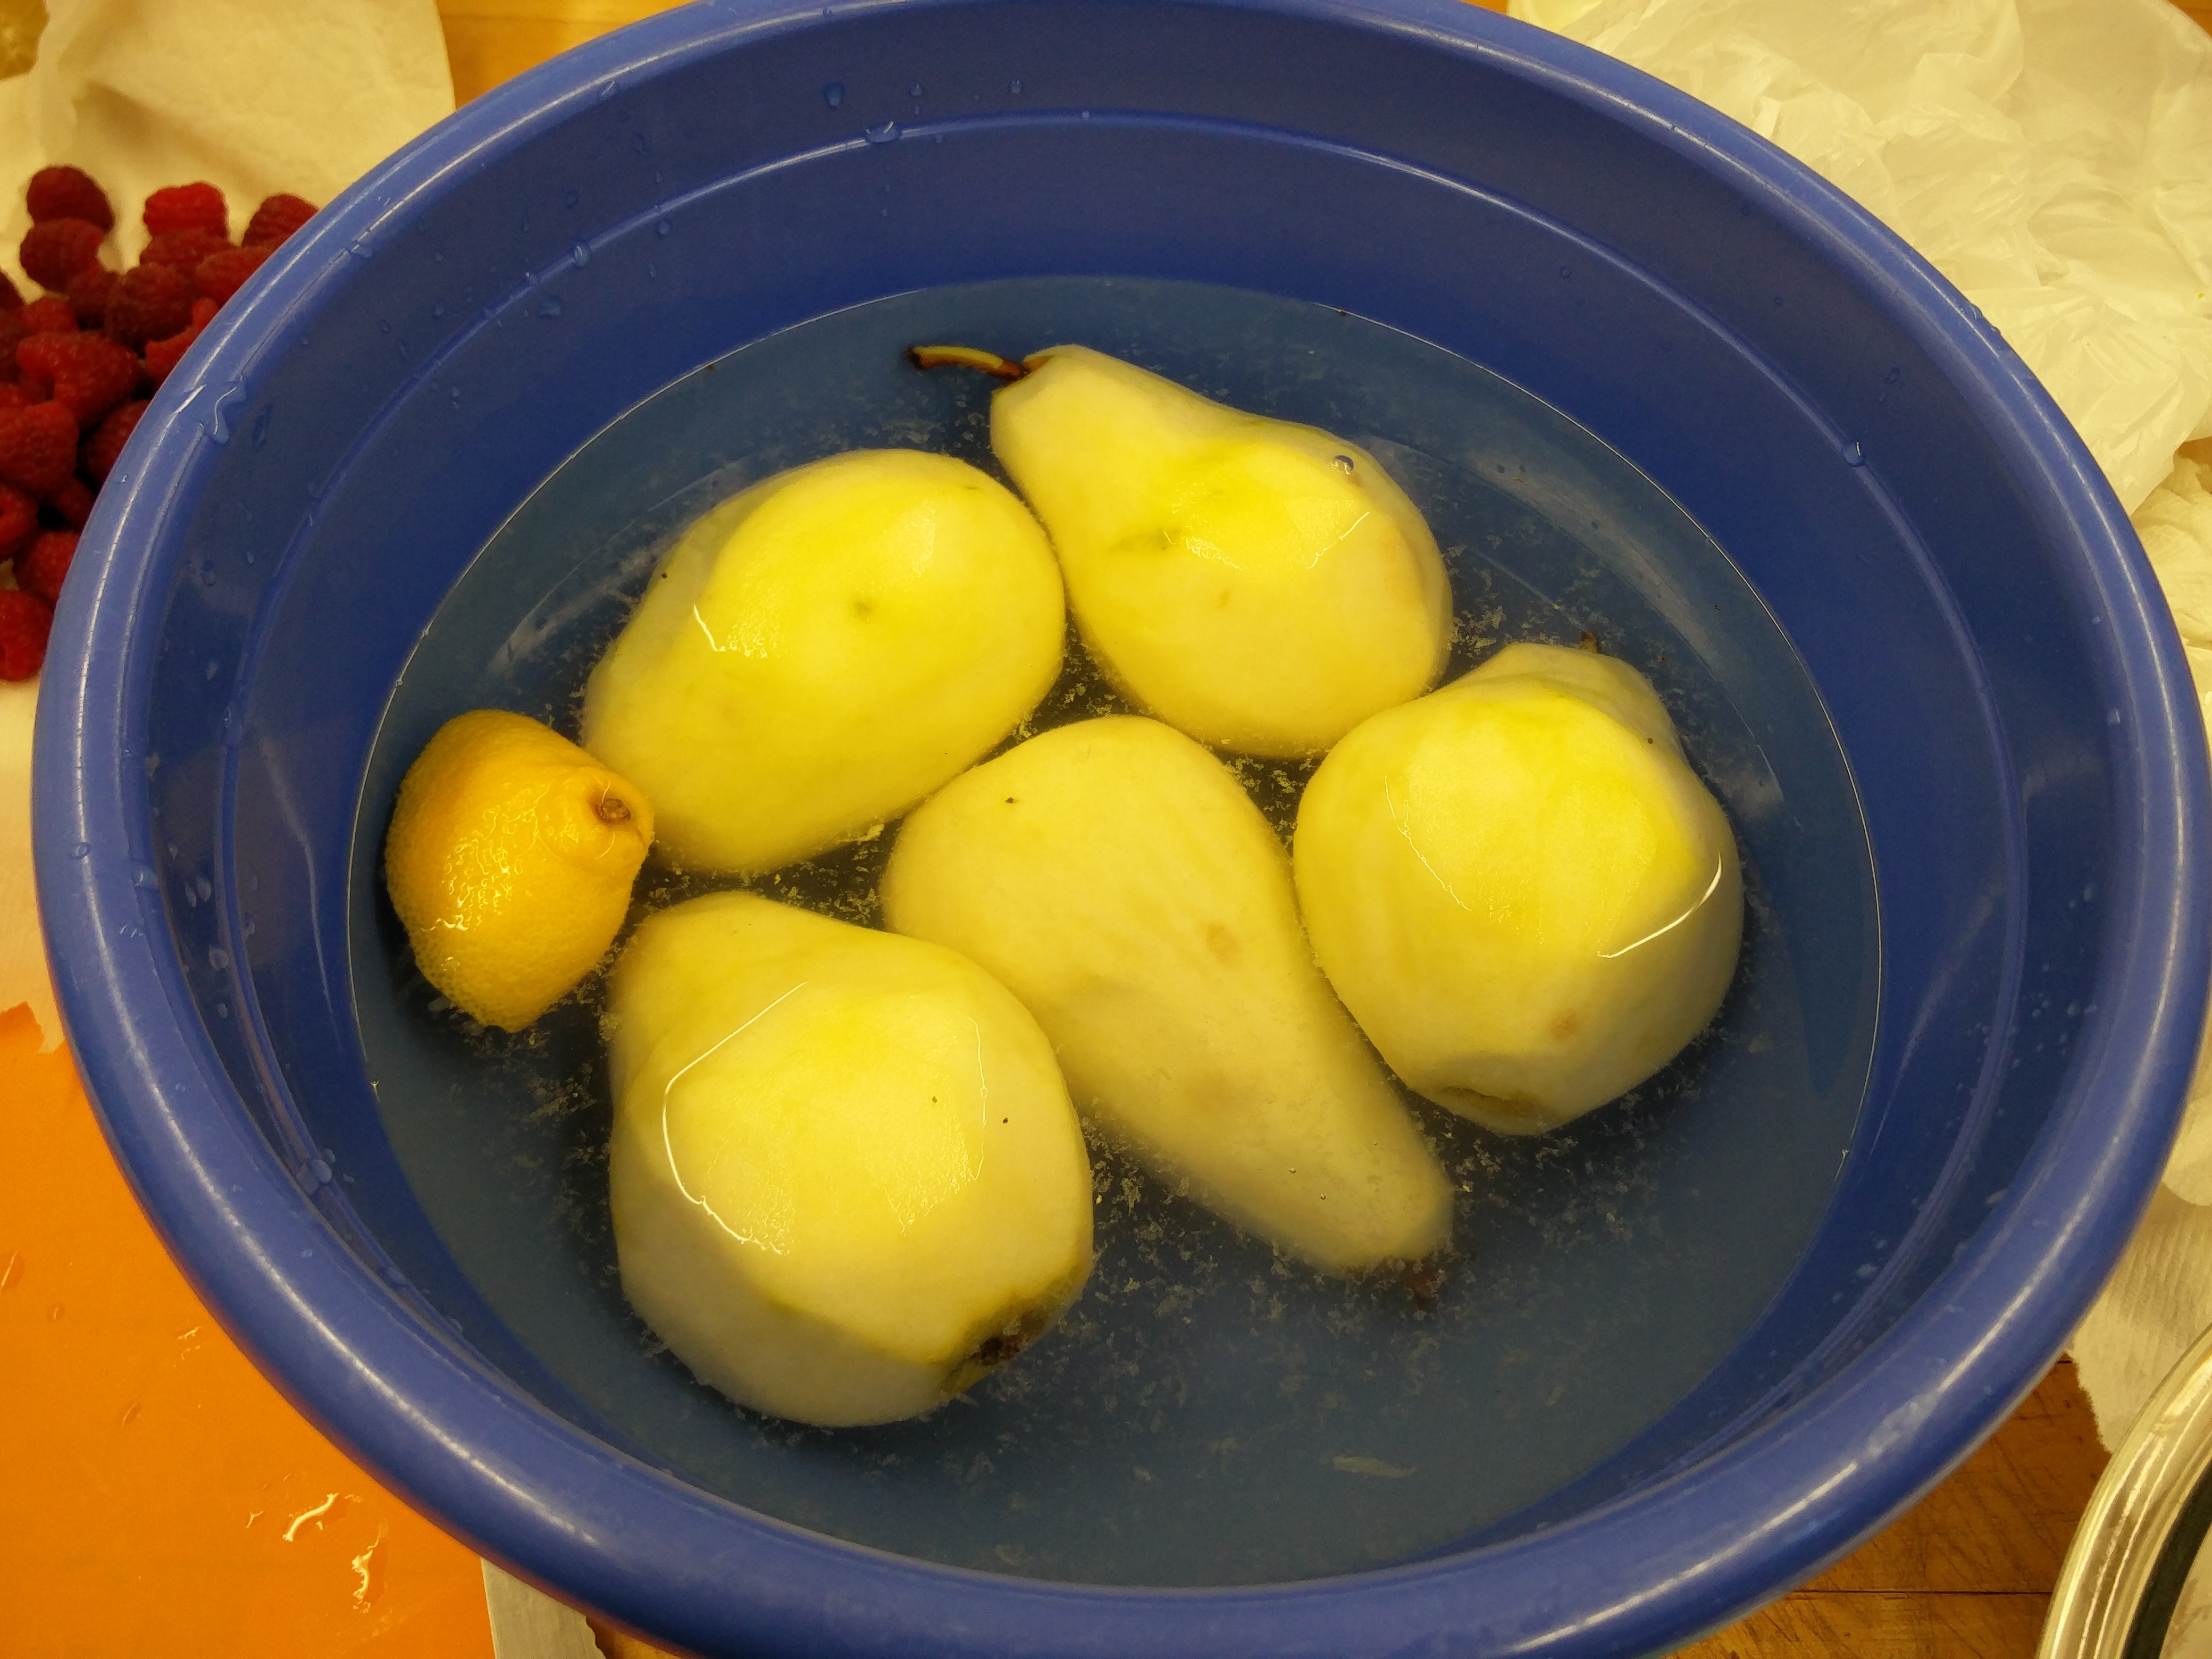
IMG_20160106_132017I set up a bowl with water and some lemon juice before I started peeling the pears in order to avoid browning. Once all the pears were peeled, I removed them from the acidified-water one-by-one and cut them in somewhat big slices. I was not entirely sure about the size of the slices but some advice from DGM helped me realize that it did not really matter as long as all the slices were similarly sized. I put the pear slices and the raspberries in a bowl and put in 1/2 cup of sugar. The recipe doesn’t call for this step but I wanted to remove as much juice as possible from the fruit so I just let the fruits and sugar sit for almost 30 minutes.

IMG_20160106_133406 IMG_20160106_135243

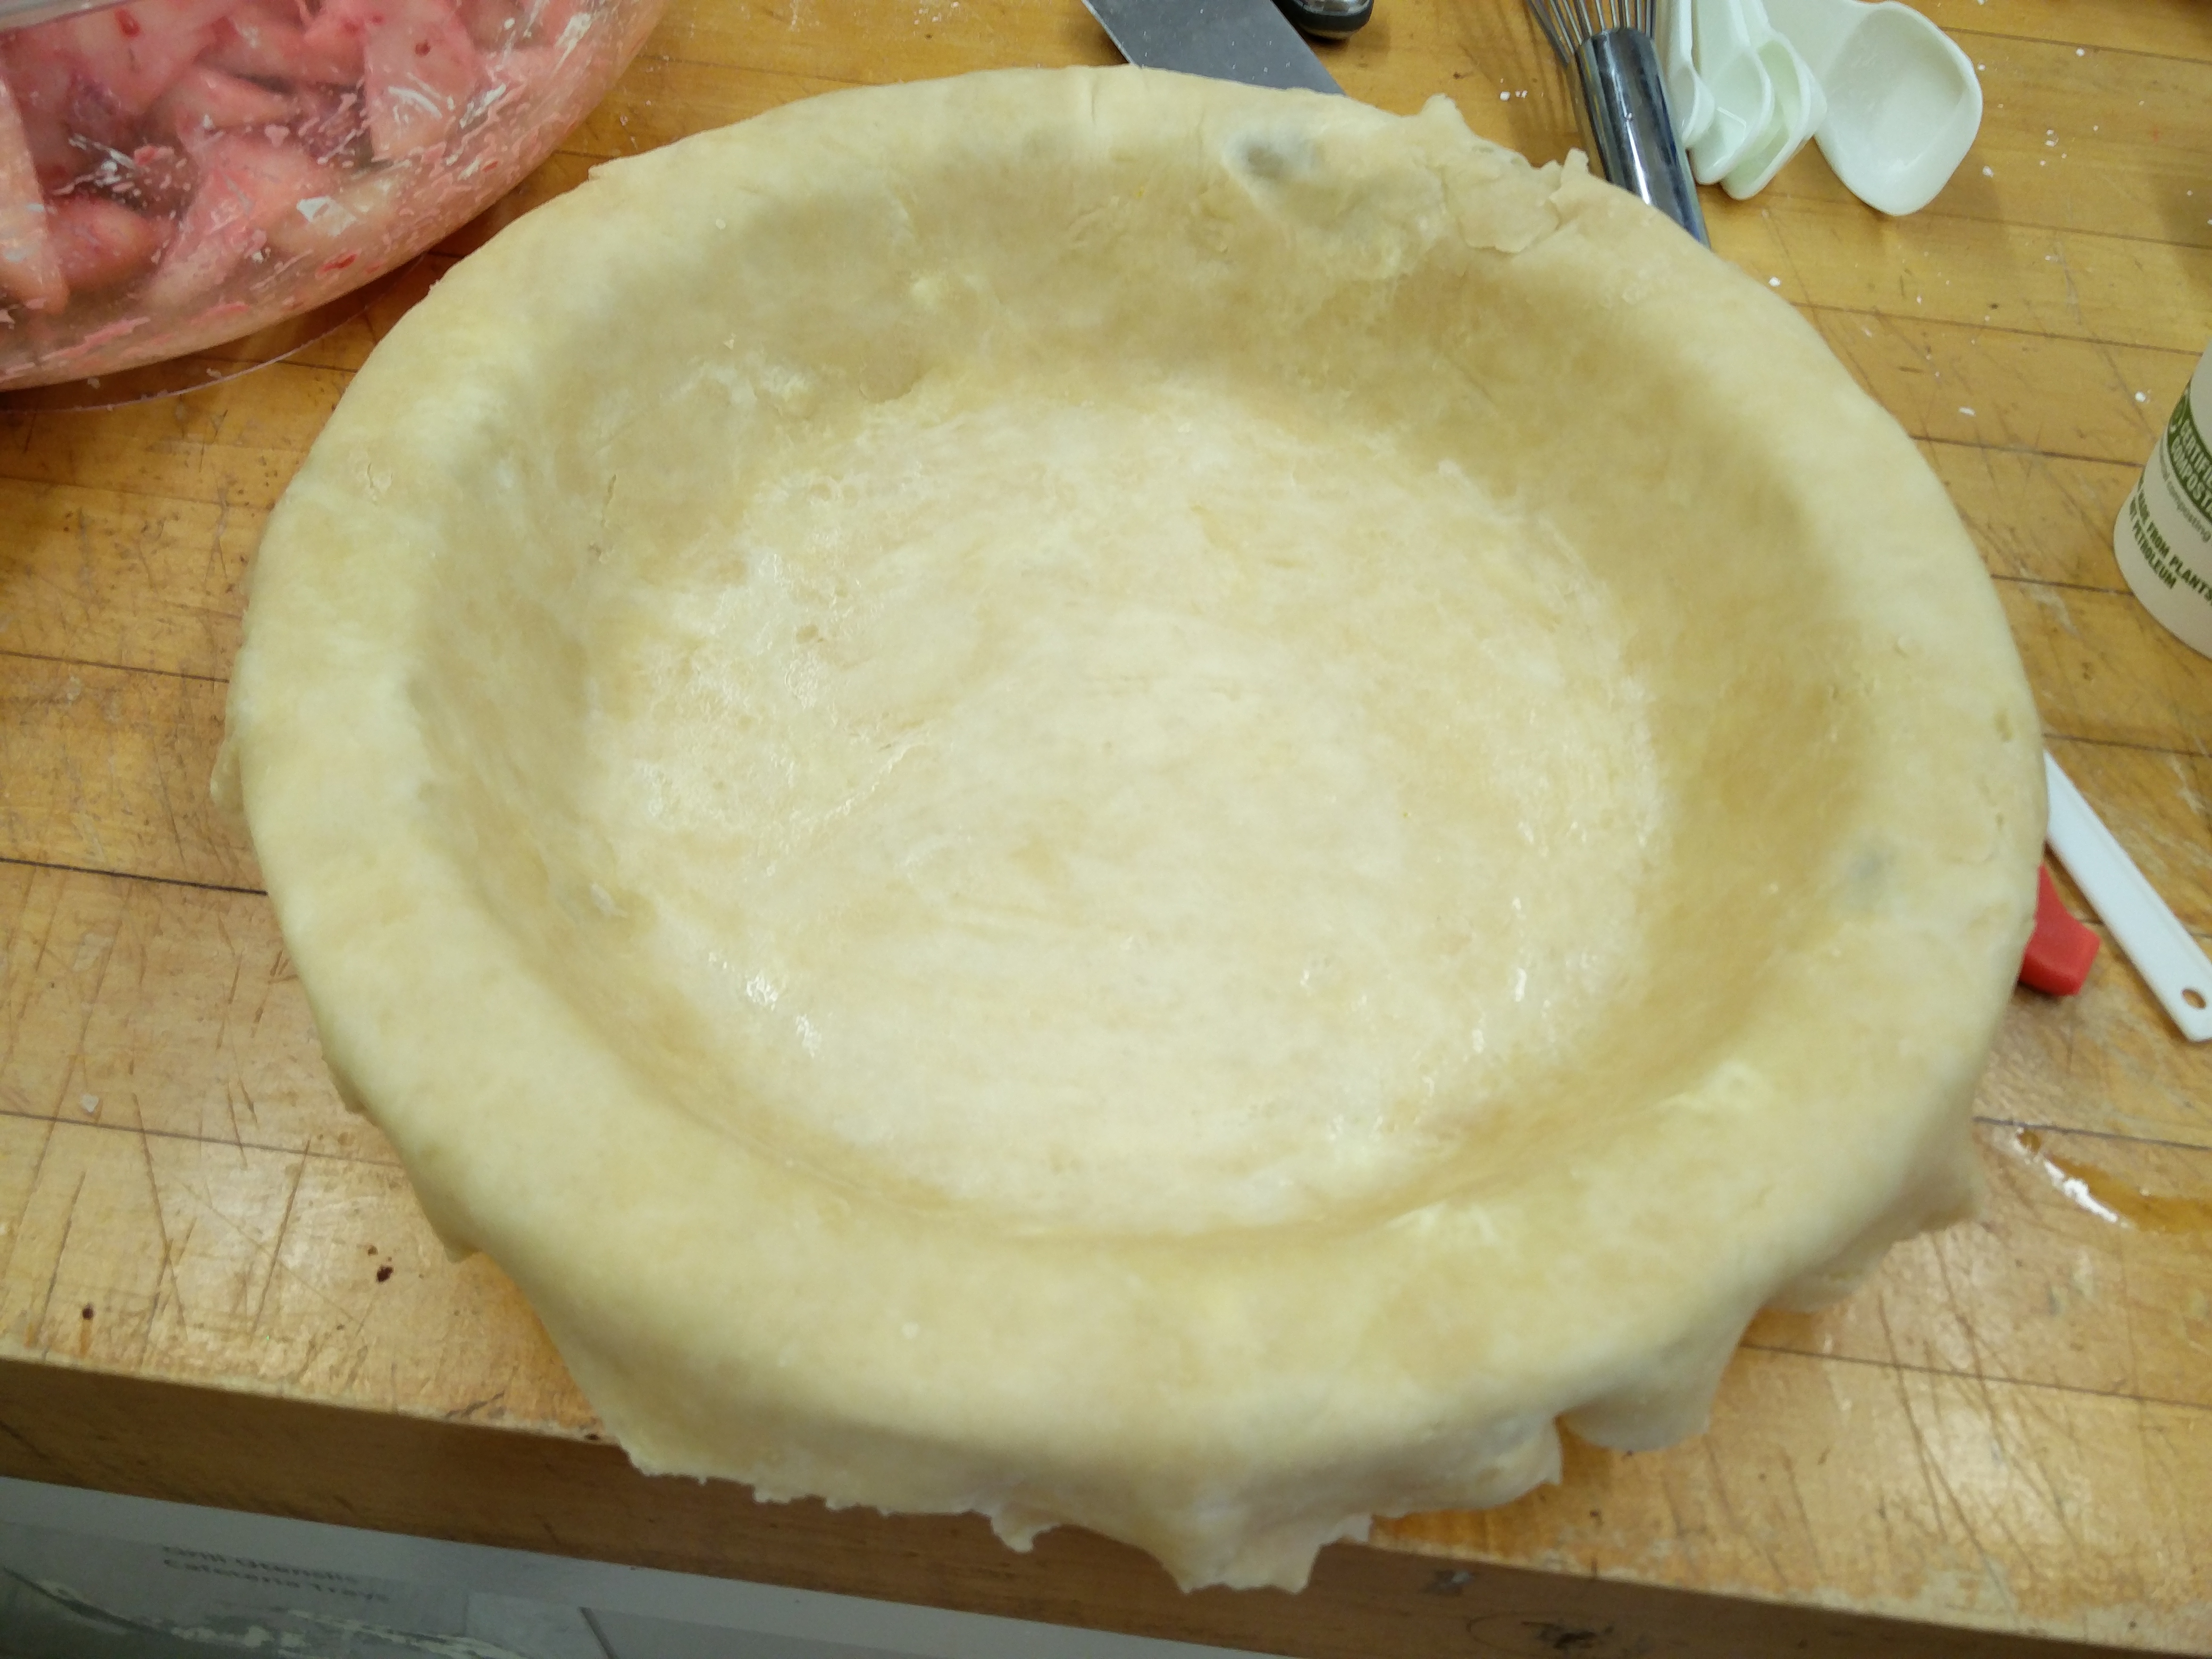
In the meantime, I rolled out my first pastry crust. Following a tip I found on the internet, I rolled only in one direction in order to avoid “confusing” the dough and to avoid forming gluten that would toughen up my crust. I placed the rolled out pastry in my pie plate, trimmed off the edges leaving some overhang and put it in the fridge to chill for a few minutes.

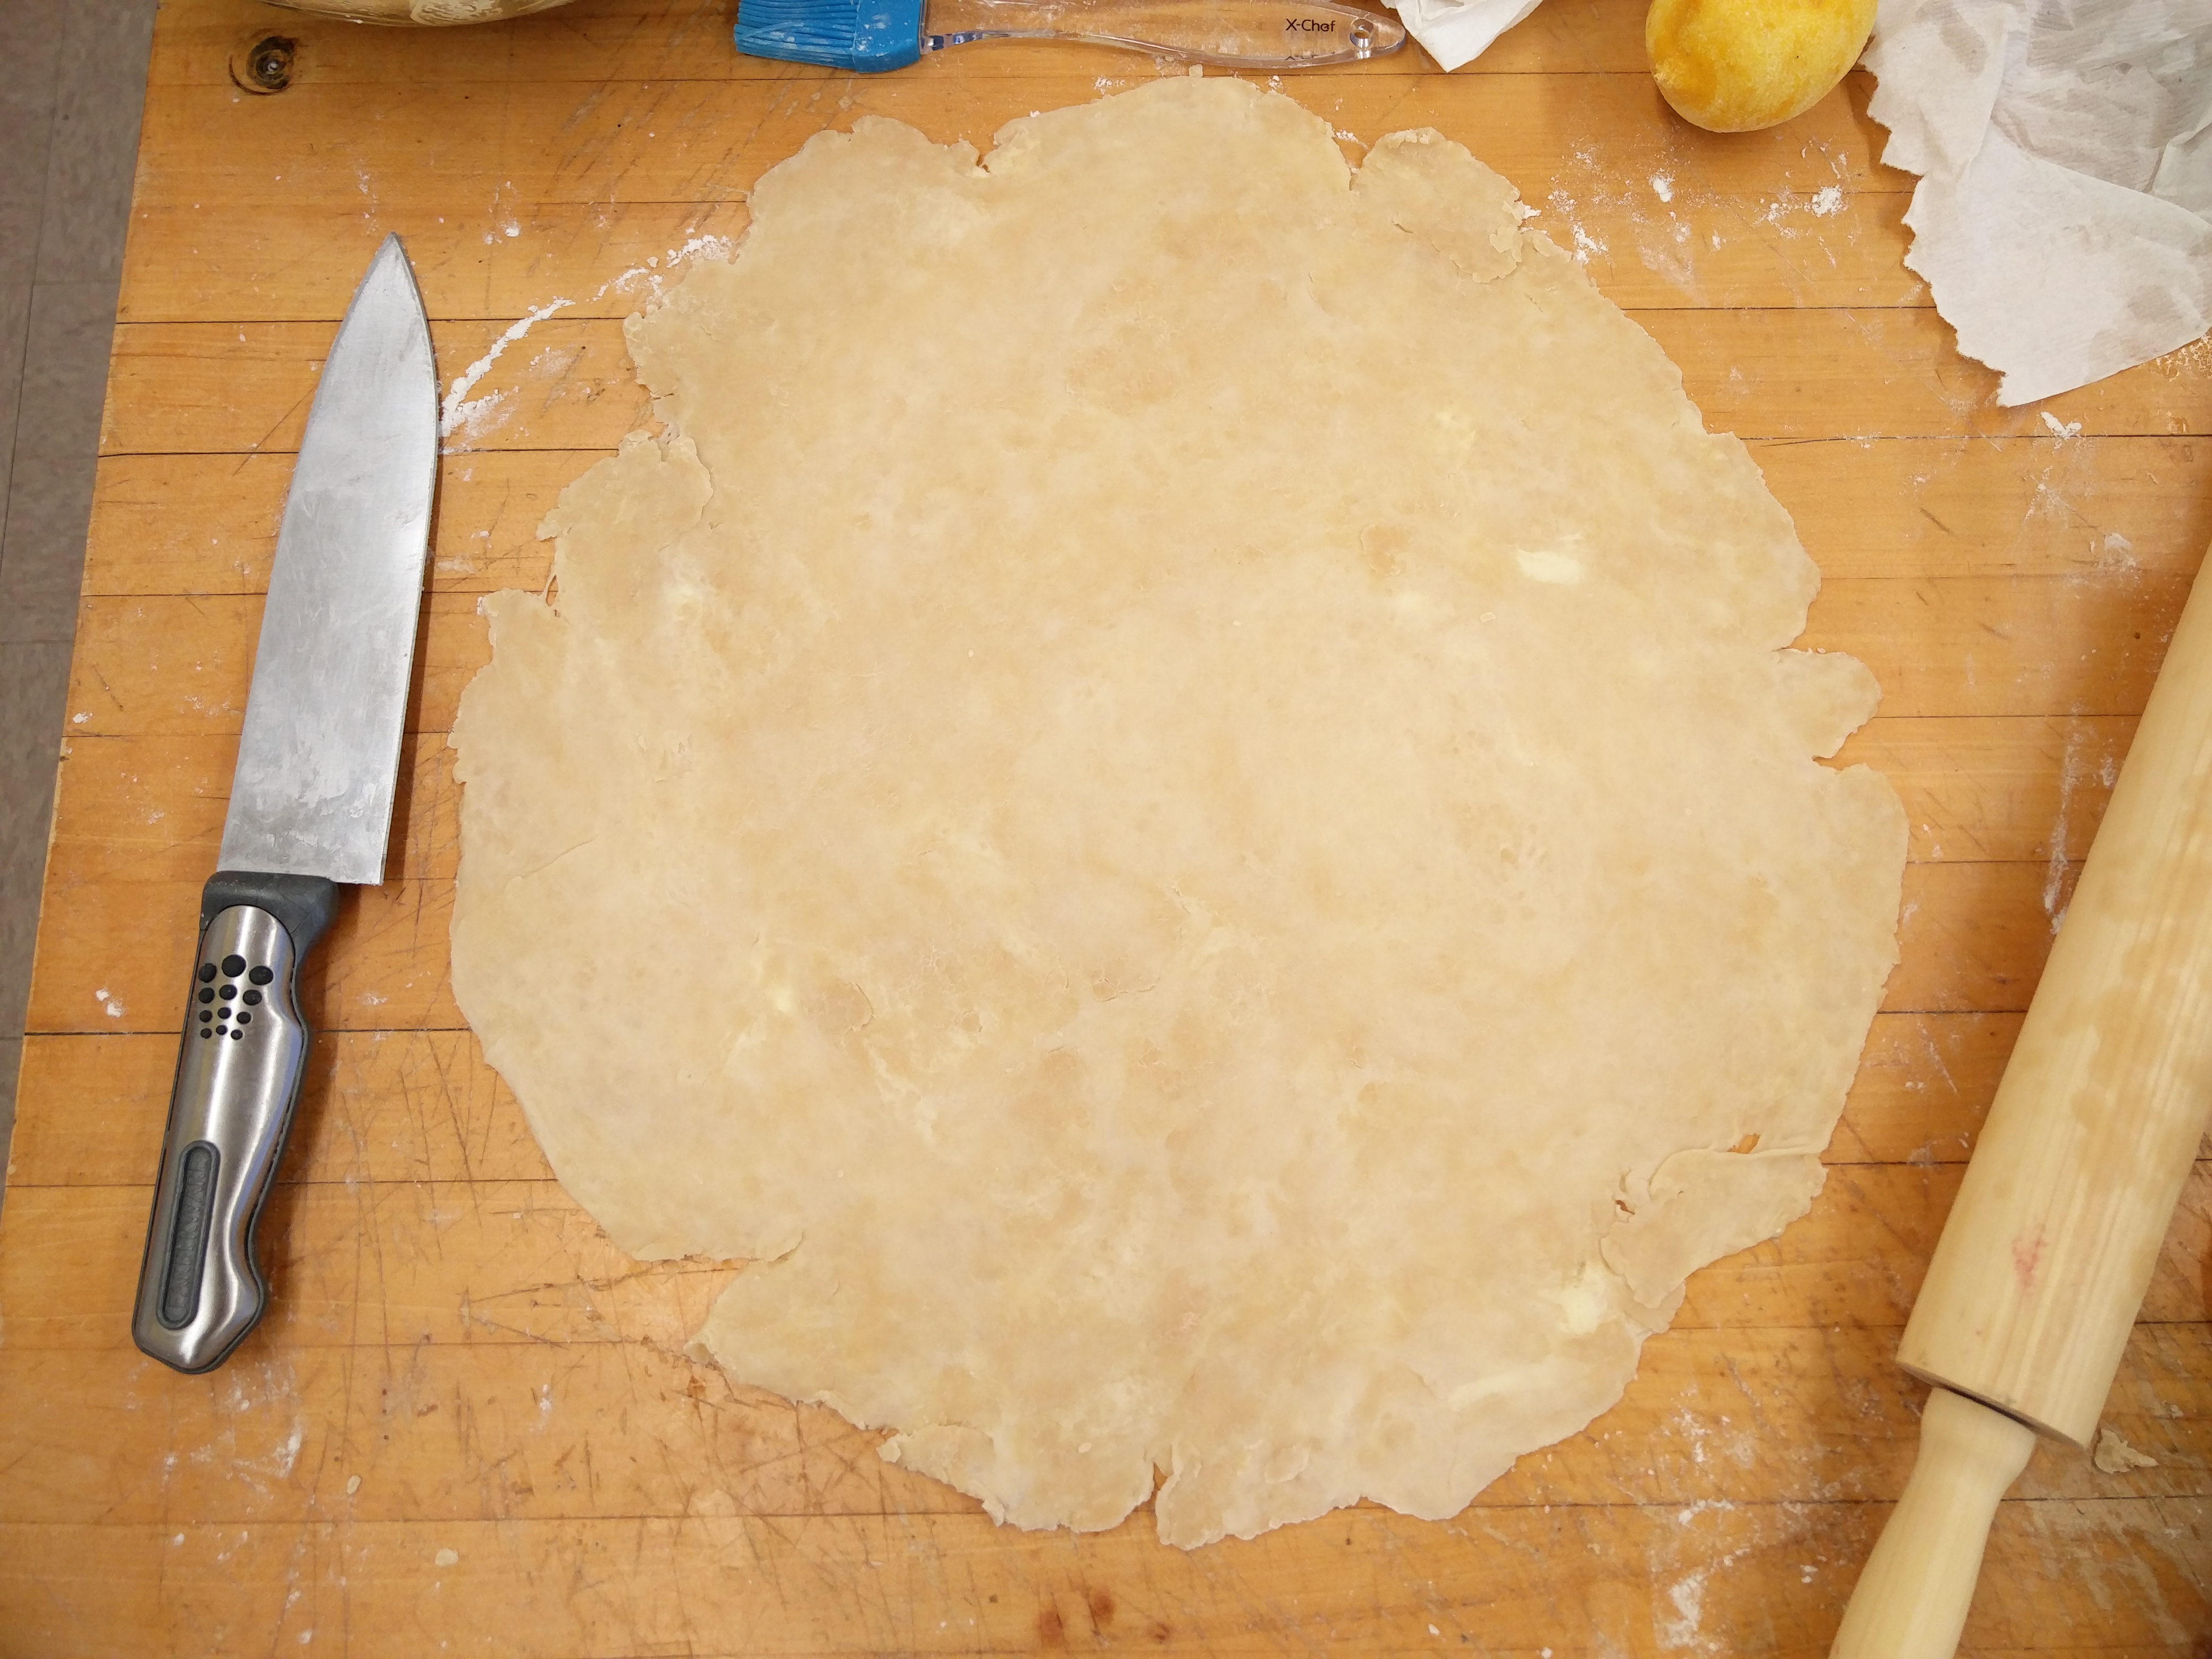
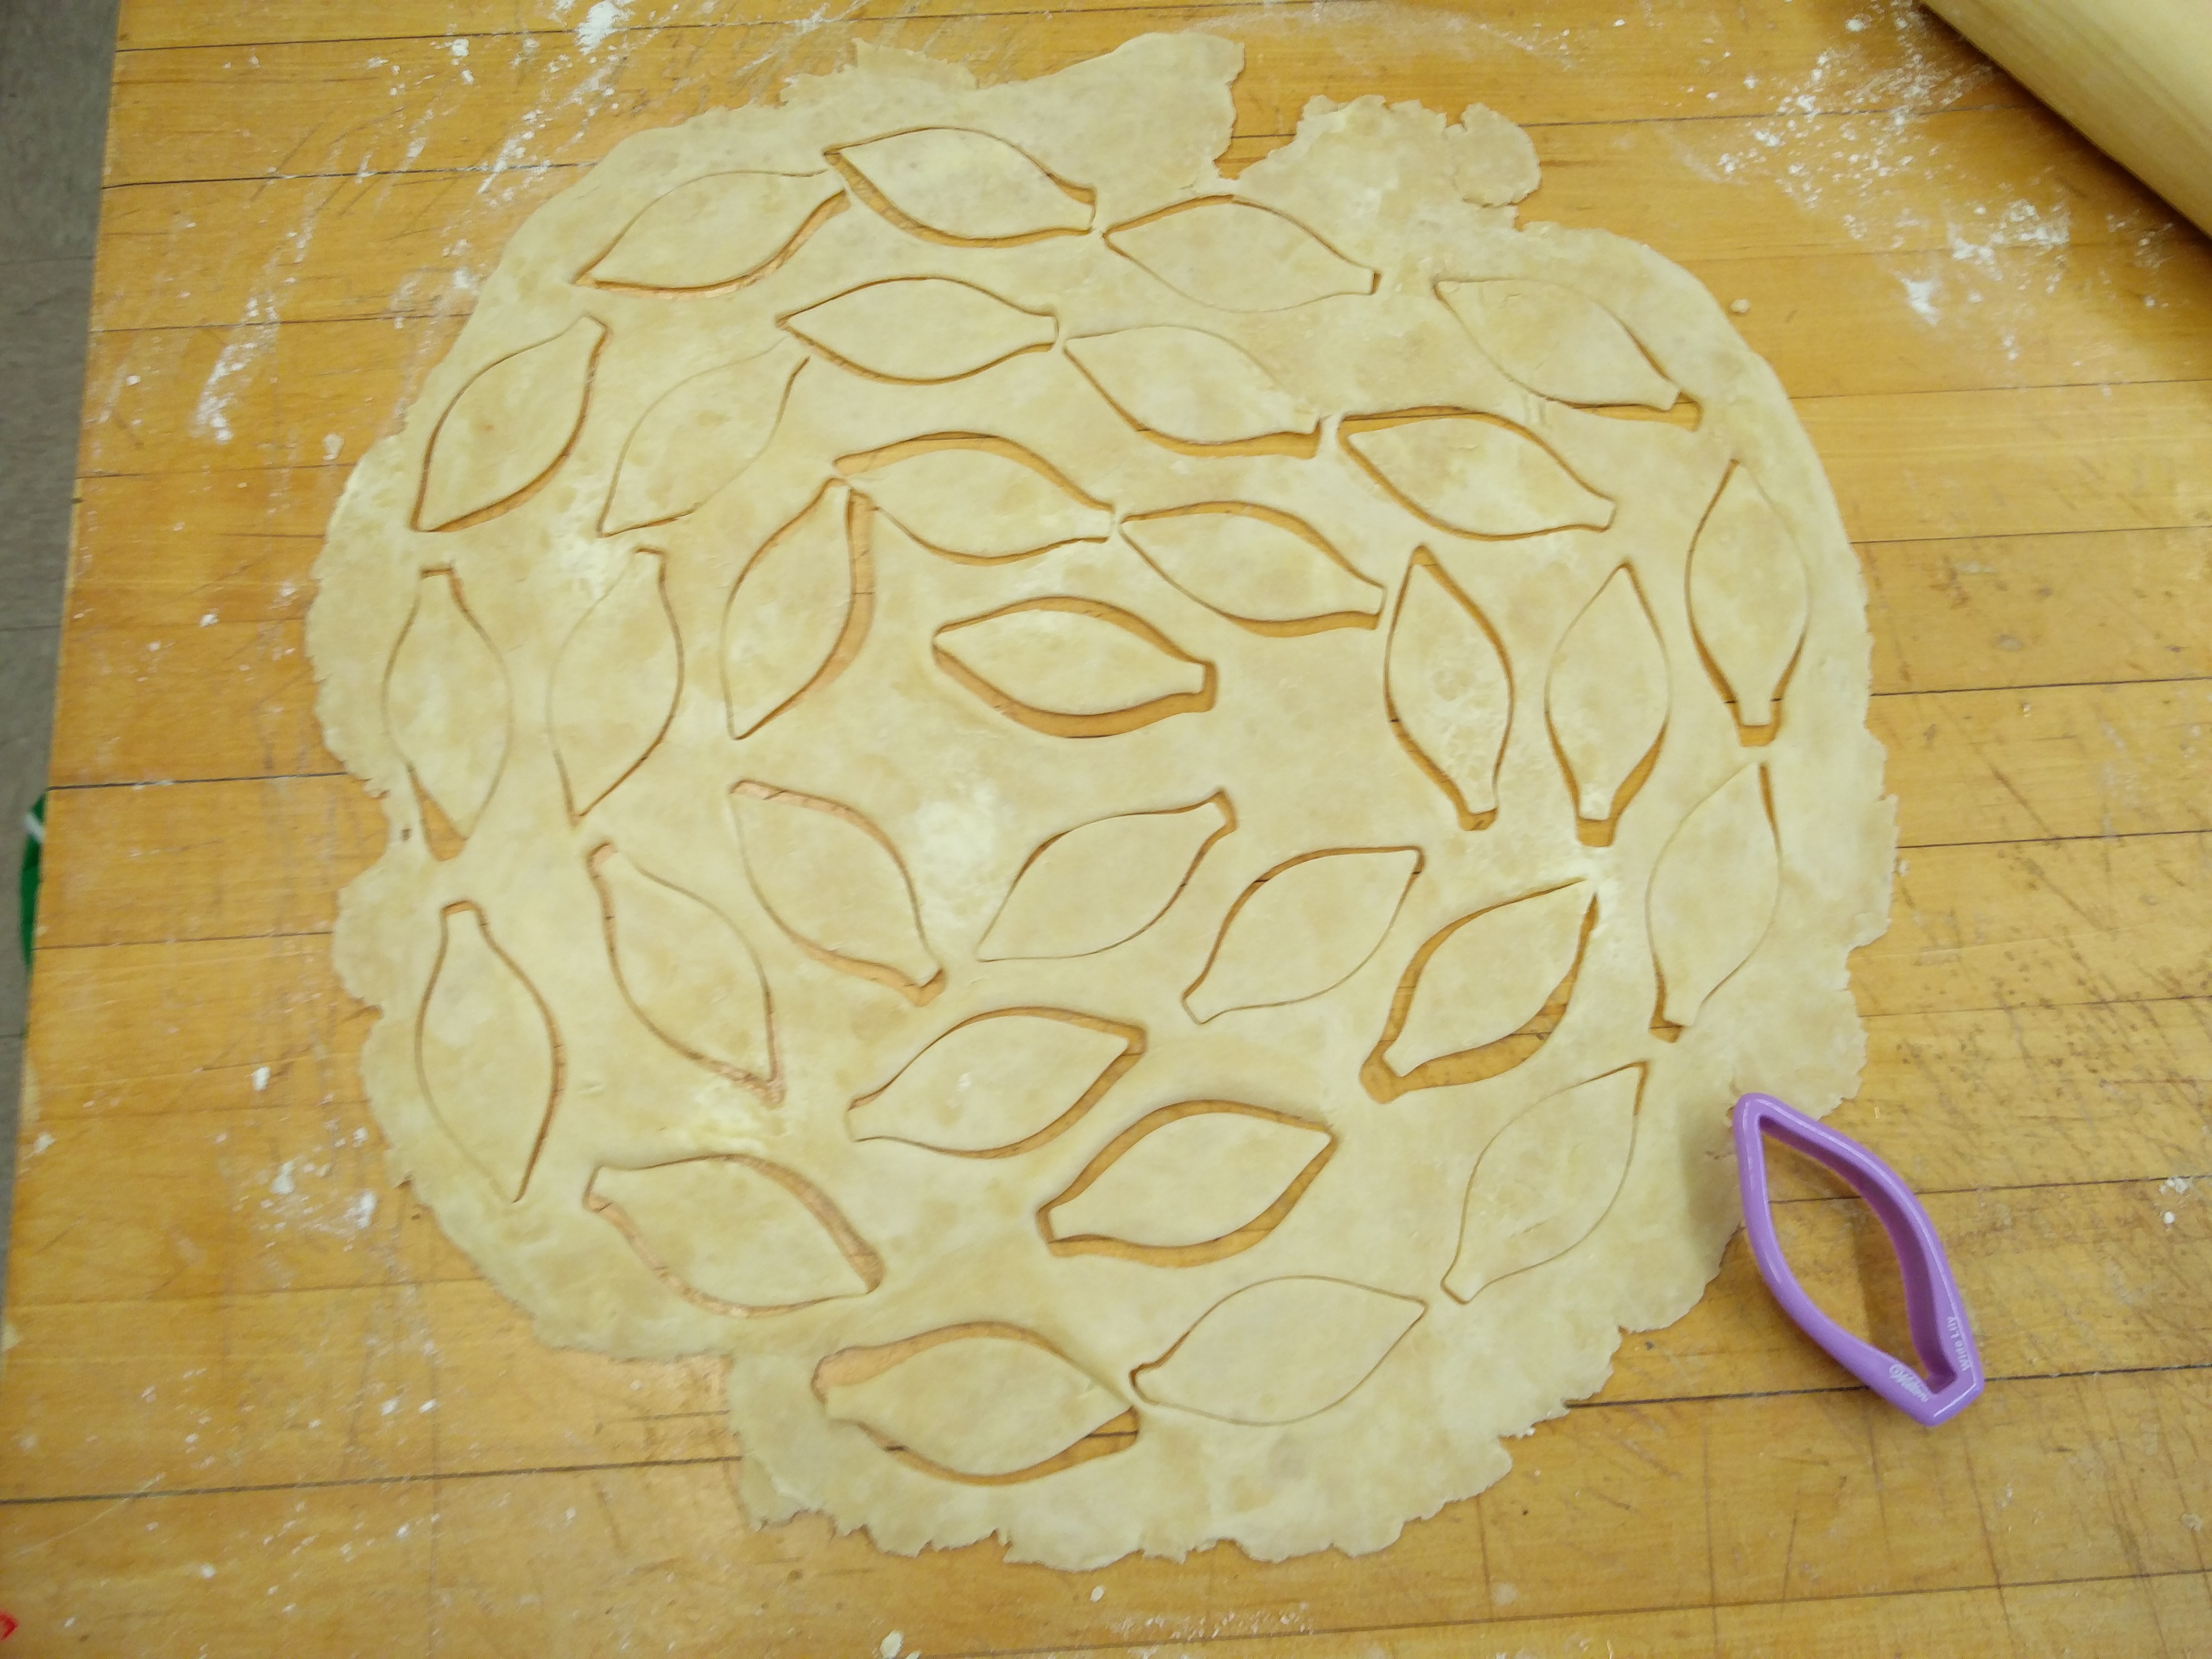
IMG_20160106_132034 IMG_20160106_140439Meanwhile I rolled out my second pastry dough and even the recipe called for heart-shaped pastry cut-outs, I did not have a heart-shaped cookie cutter but did have a leaf-shaped cutter and even a leaf pattern-maker (thanks to Neftaly!) so I decide to use that and cut out around 50 leaves. Jordan helped me put patterns on the leaves (thanks!).

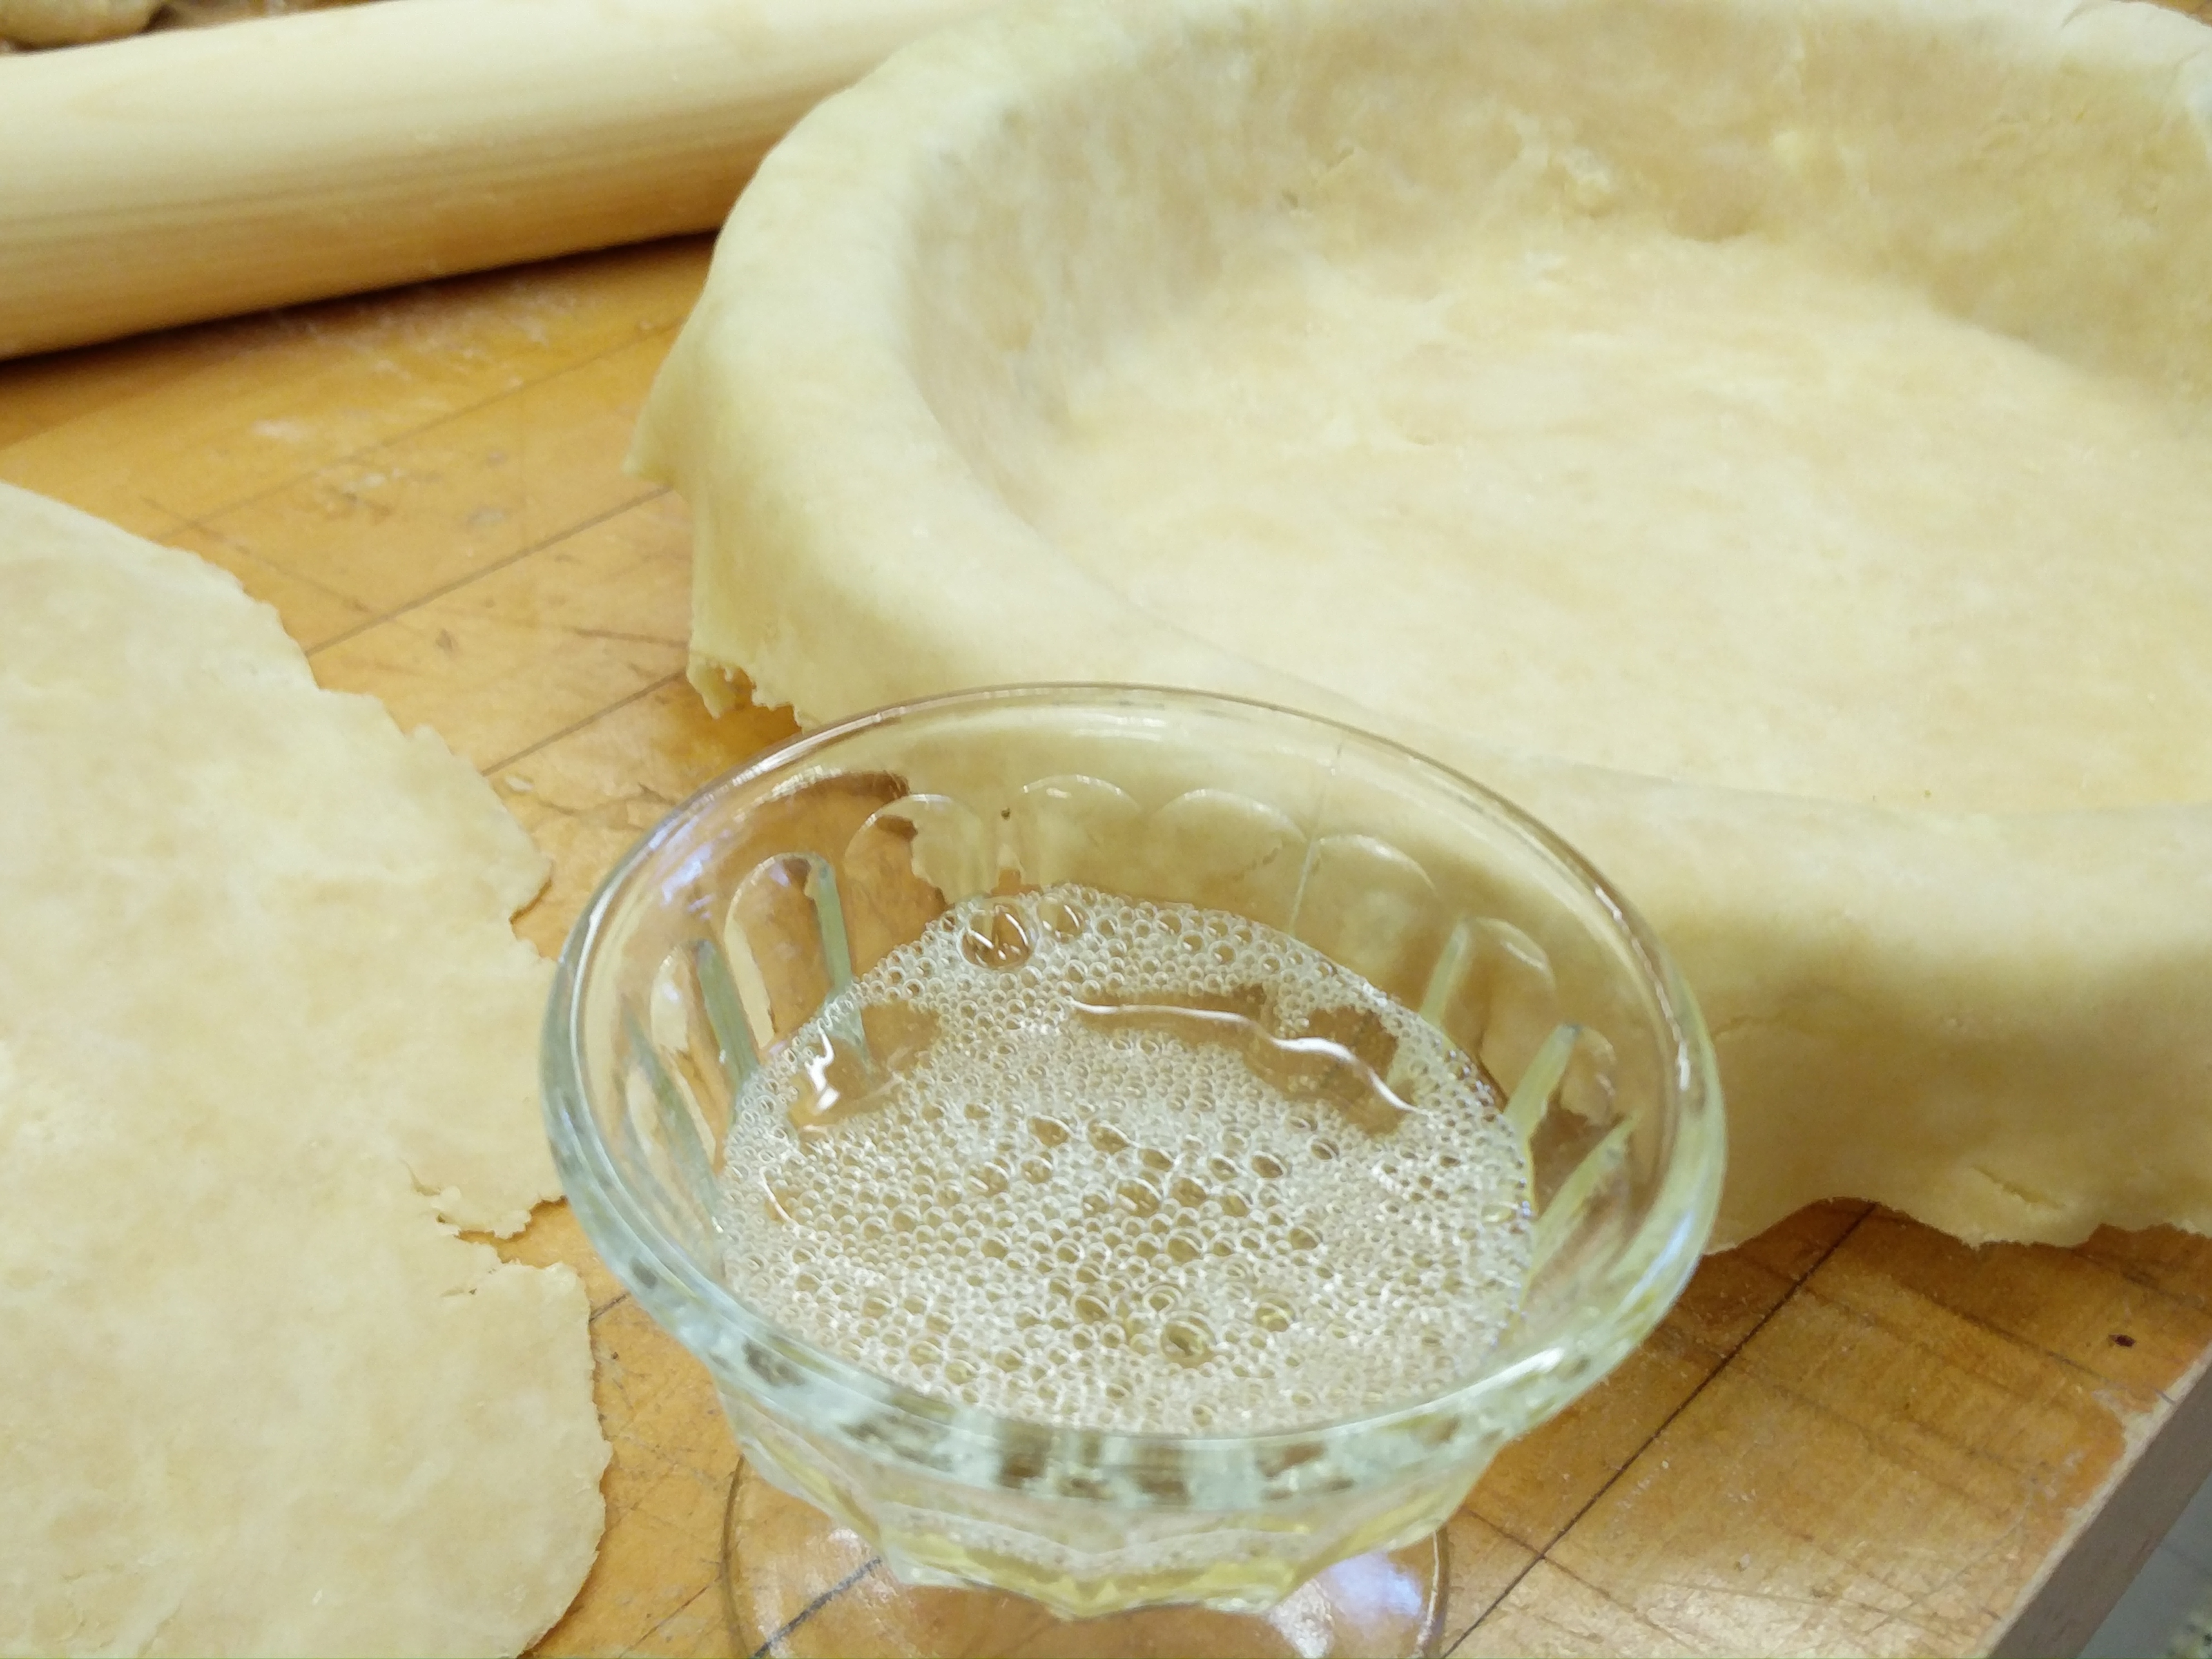
IMG_20160106_142916 IMG_20160106_144332 I took the pie plate out from the fridge and made an egg-white wash with a little bit of water and brushed a very thin layer of this on to the bottom of the pie. The egg wash contains proteins which do not interact with water and hence form a protective layer against the fruit juices while cooking. I put this pie plate back in the fridge to harden the egg wash. I also put the leaf cut outs on a baking sheet lined with parchment paper and put them in the fridge to harden.

IMG_20160106_142503

IMG_20160106_145026

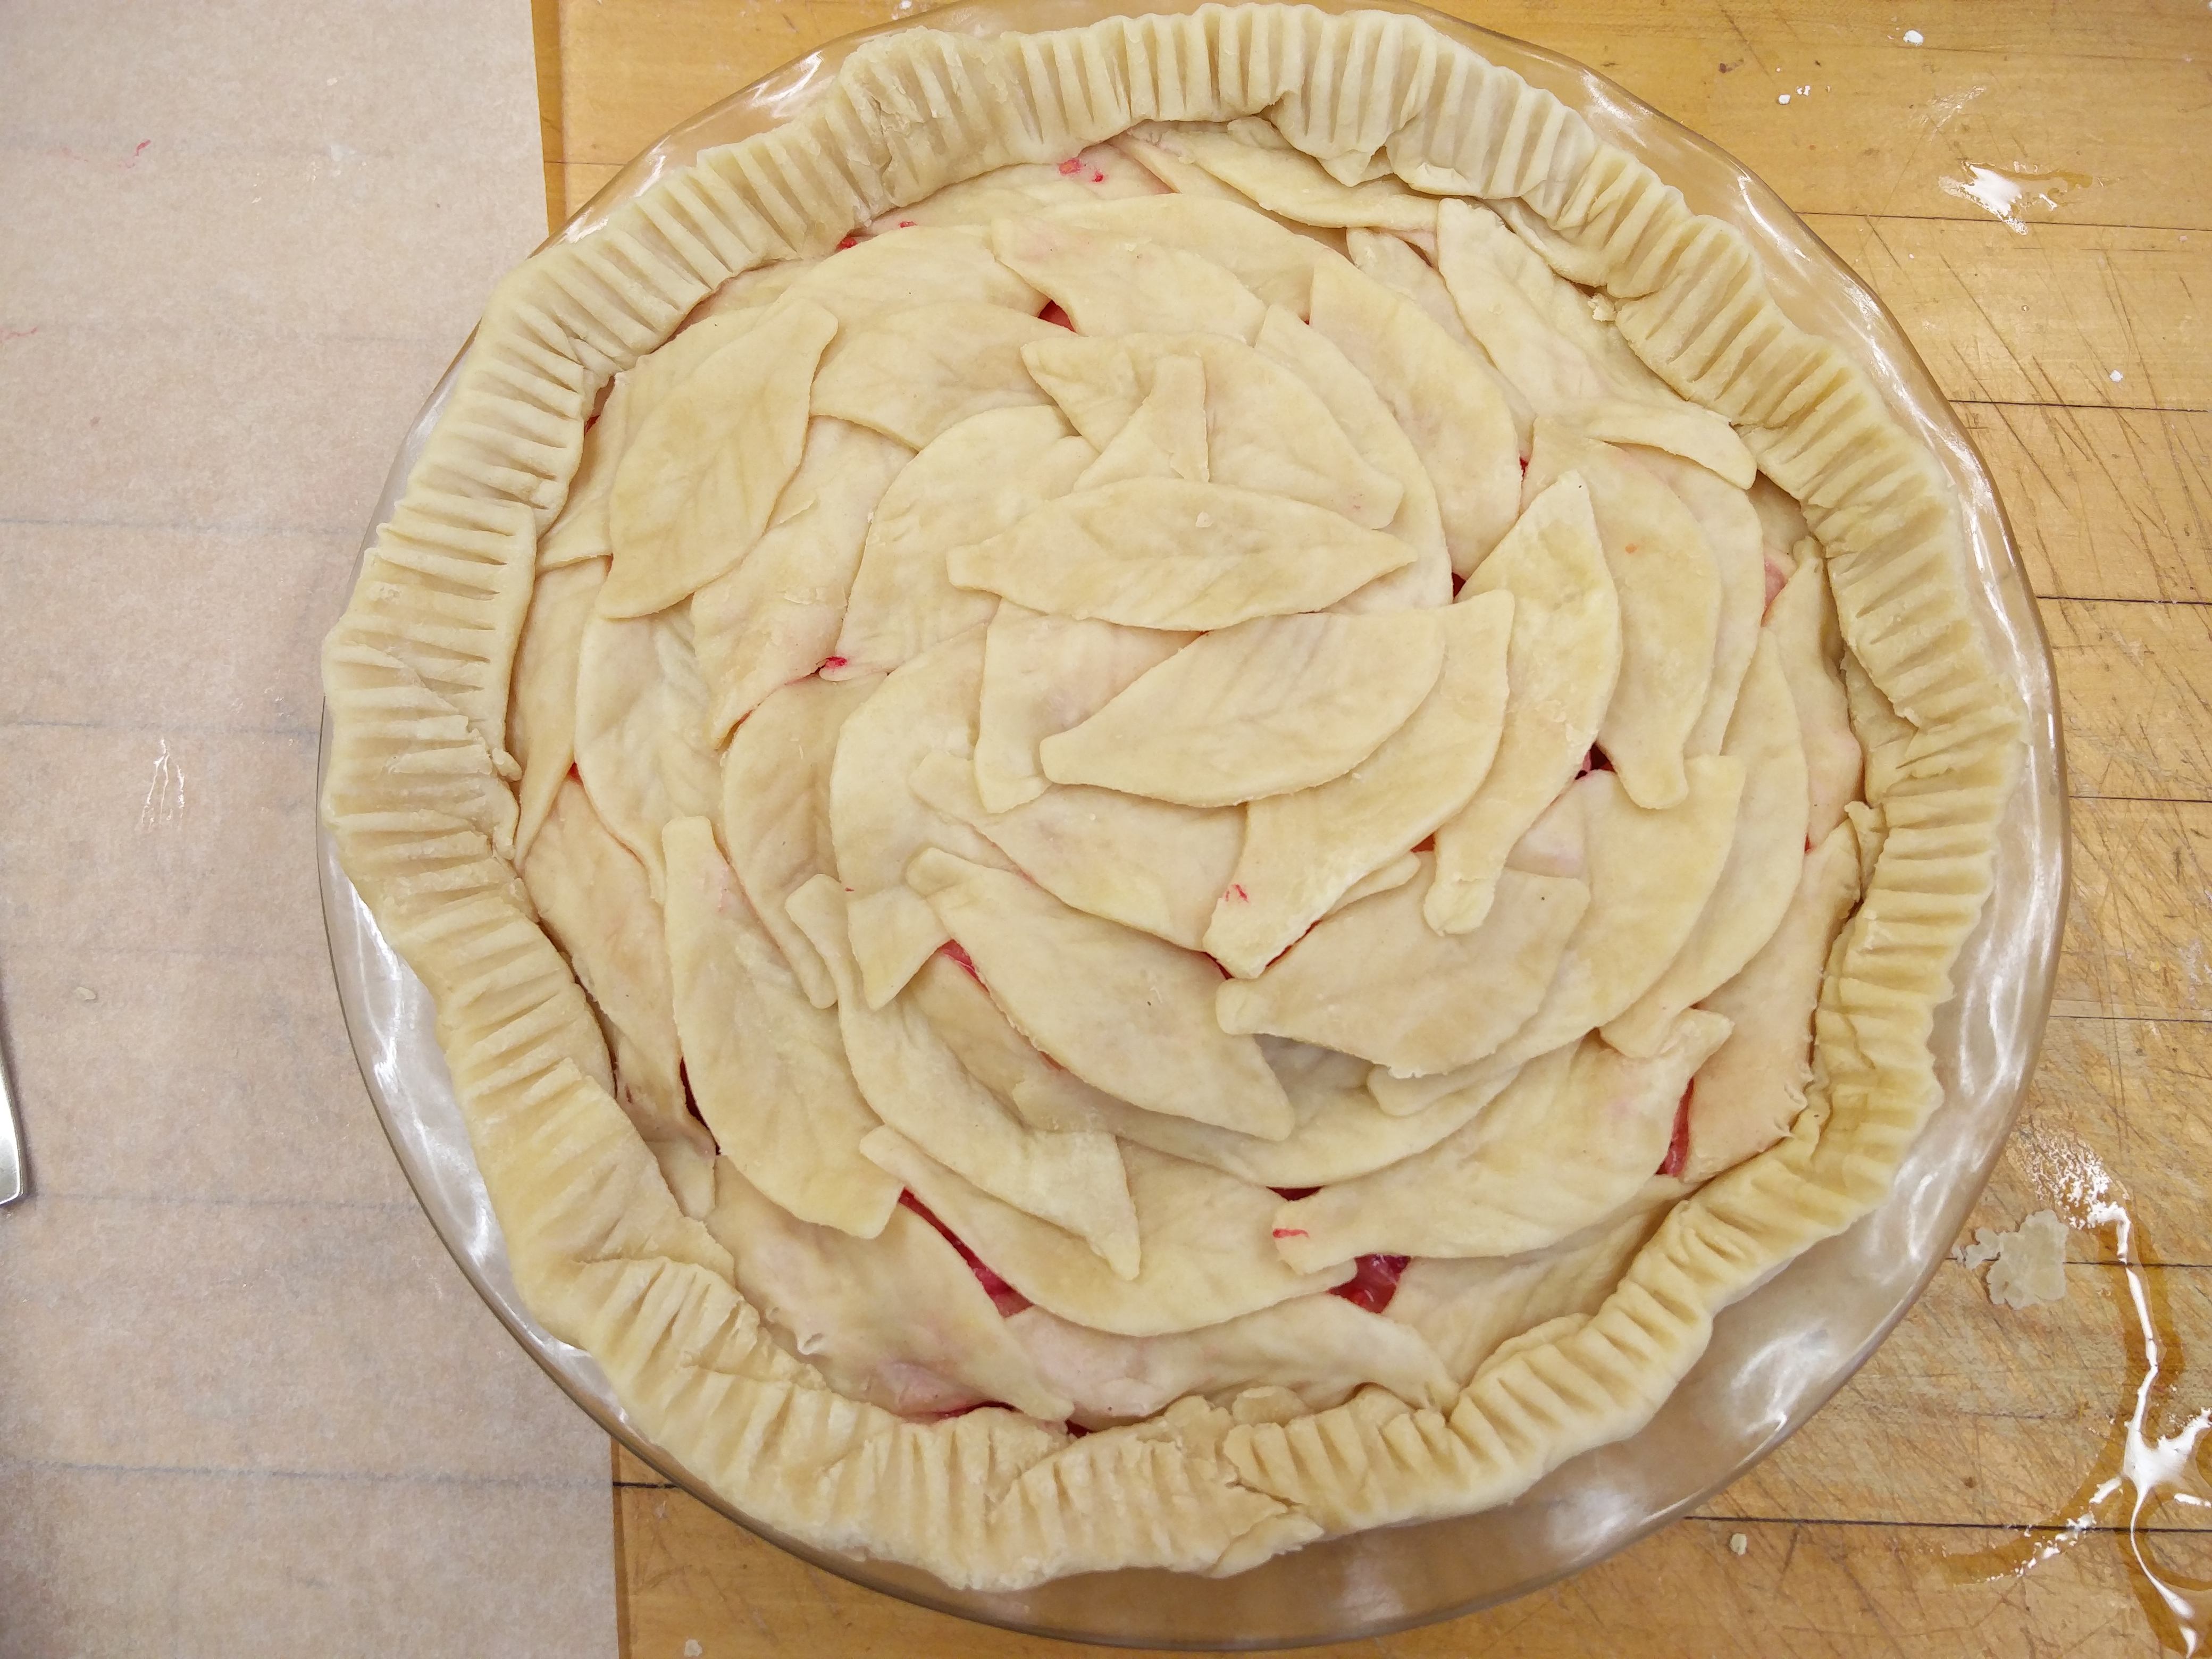
Now, I whisked together some corn starch, cinnamon and salt in a bowl and added the fruits which I had just drained over a colander. I reserved the fruit juice in hopes of making a sauce later. I tossed the fruits and corn starch mixture together. I took out the pie plate from the fridge and put in the pie filling. I forgot to put in dots of butter at this point but I remedied that later. I arranged the leaves in sort of a circular pattern until the whole pie was covered. The overlapping of the leaves created natural vents so there was no need to score the crust on top. I mixed together an egg yolk and some milk and brushed this wash on top of the pie.

IMG_20160106_145029 IMG_20160106_145909

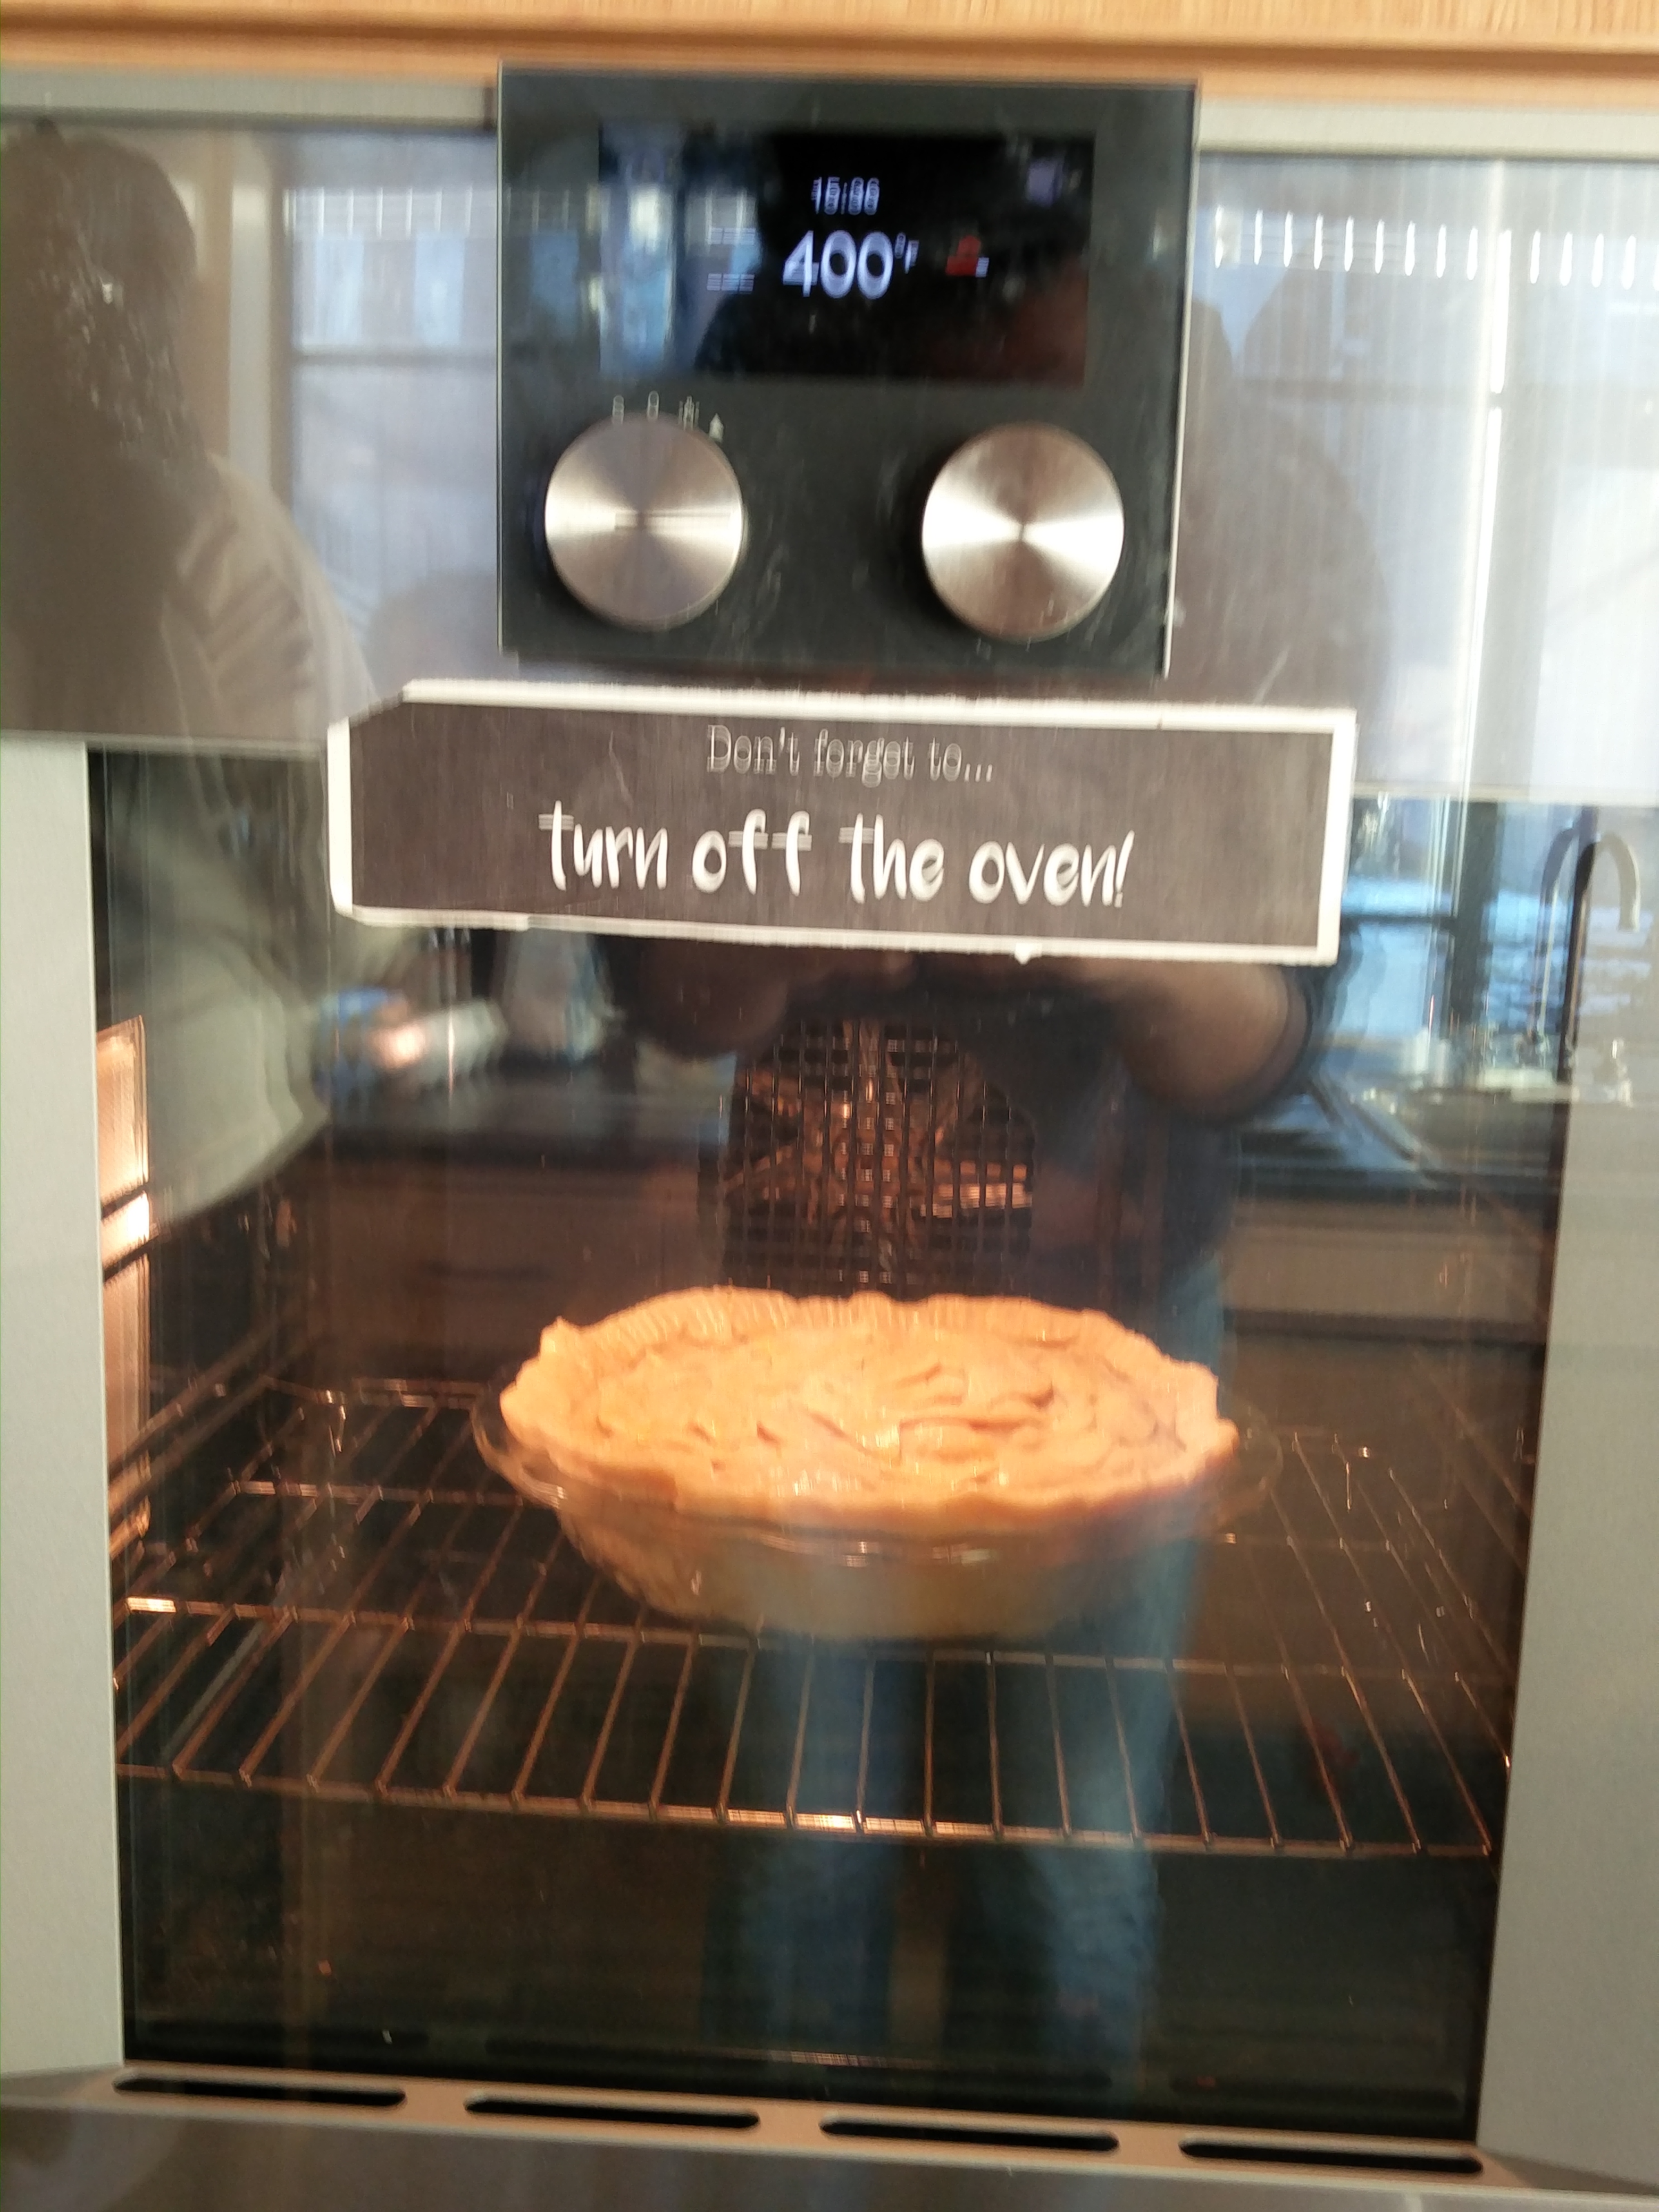
At this point I had to go to the Zilkha center kitchen because we ran out of time in the church’s kitchen. I wrapped my pie with plastic wrap and took it to the Zilkha center kitchen. As I peeled off the plastic wrap, a few leaves came off naturally so I just put in some butter into those gaps and then sealed the leaves back on. I also sprinkled some granulated sugar on top of the pie and then it was time for baking. 25 minutes on 400F and then around 1 hour 15 minutes on 360F till the pie looked golden brown and beautiful juices were oozing out and bubbling.

IMG_20160106_153717 IMG_20160107_131425-01

I took out the pie, let it come to room temperature before wrapping in plastic wrap and now it has been sitting on my window sill overnight ready to be eaten! Let’s hope it gets the seal of approval from my class mates.

Link to Martha Stewart’s recipe: http://www.marthastewart.com/335569/pear-raspberry-heart-pie