Category Archives: hand-held pies & pasties

Puff Pastry, Meat, and Lava

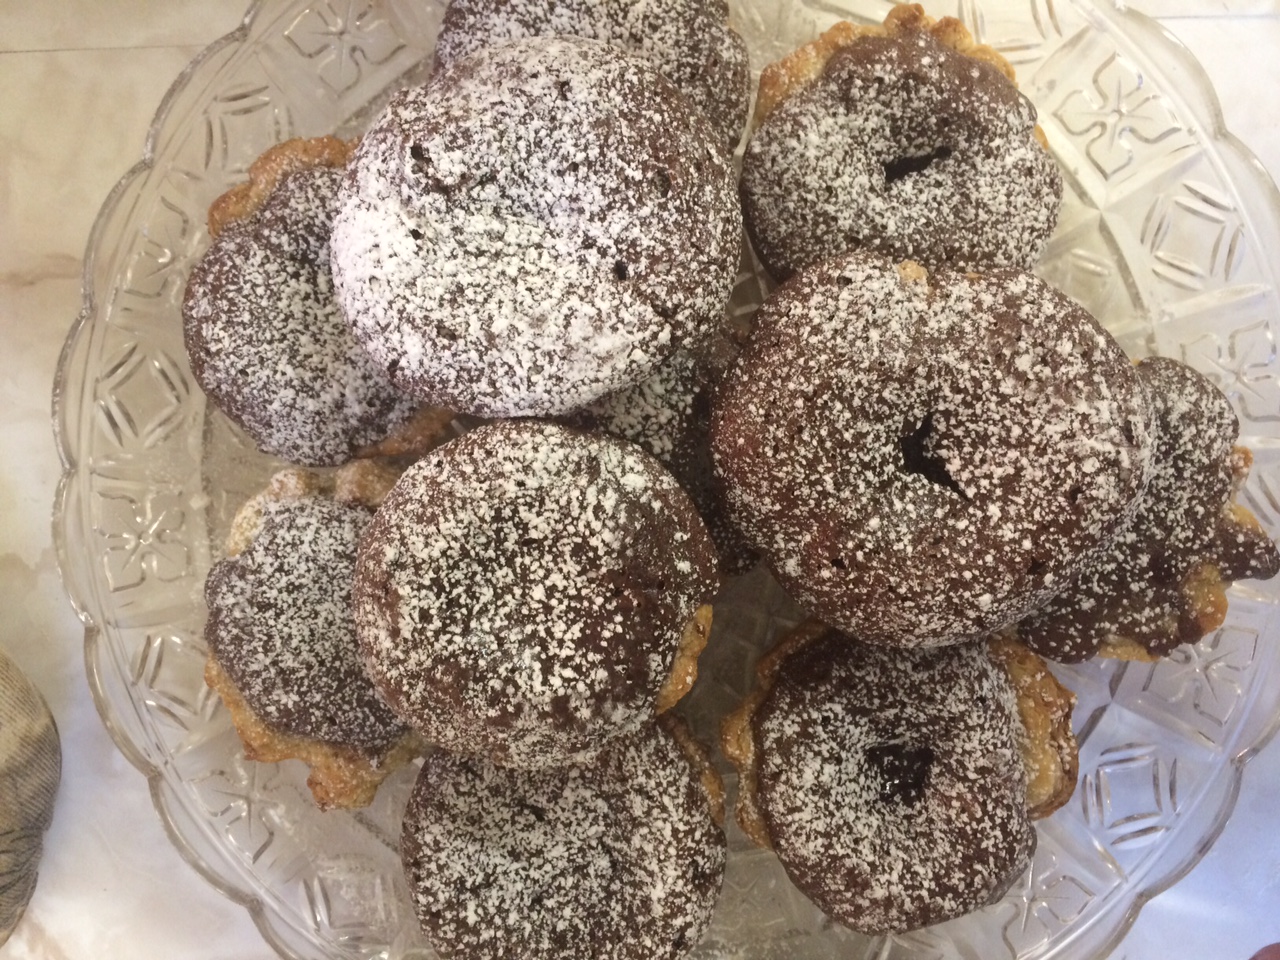
Unfortunately, we have reached the end. We all knew this was coming, the pie that is the month of January has run out of slices. It was a wonderful month full of wonderful pies that ended spectacularly with our banquet. For the banquet we had to make two pies one sweet, one savory,  and I decided to make a pie I had wanted to make during savory week, a beef short rib pot pie, and one inspired by a friend, chocolate lava mini pies.

I knew there would be challenges with these pies, but I figured it was the last week, so why not go out with a bang, either a blaze of glory or with the actual flames of a burnt pie. With the savory pie I was concerned about the fact that I would be doing actual cooking, as the filling had to be cooked before being put into the pie, and by the fact that I had somehow got it into my head that puff pastry would greatly improve the pie. With the sweet pie I was concerned with just how exactly it would work. I knew it would have a bottom shell and the lava-y cake part would fill it, but I wasn’t convinced I could actually make the lava happen. Nevertheless, I sallied onward as this was the last week for pie baking and was not a time to be meek.

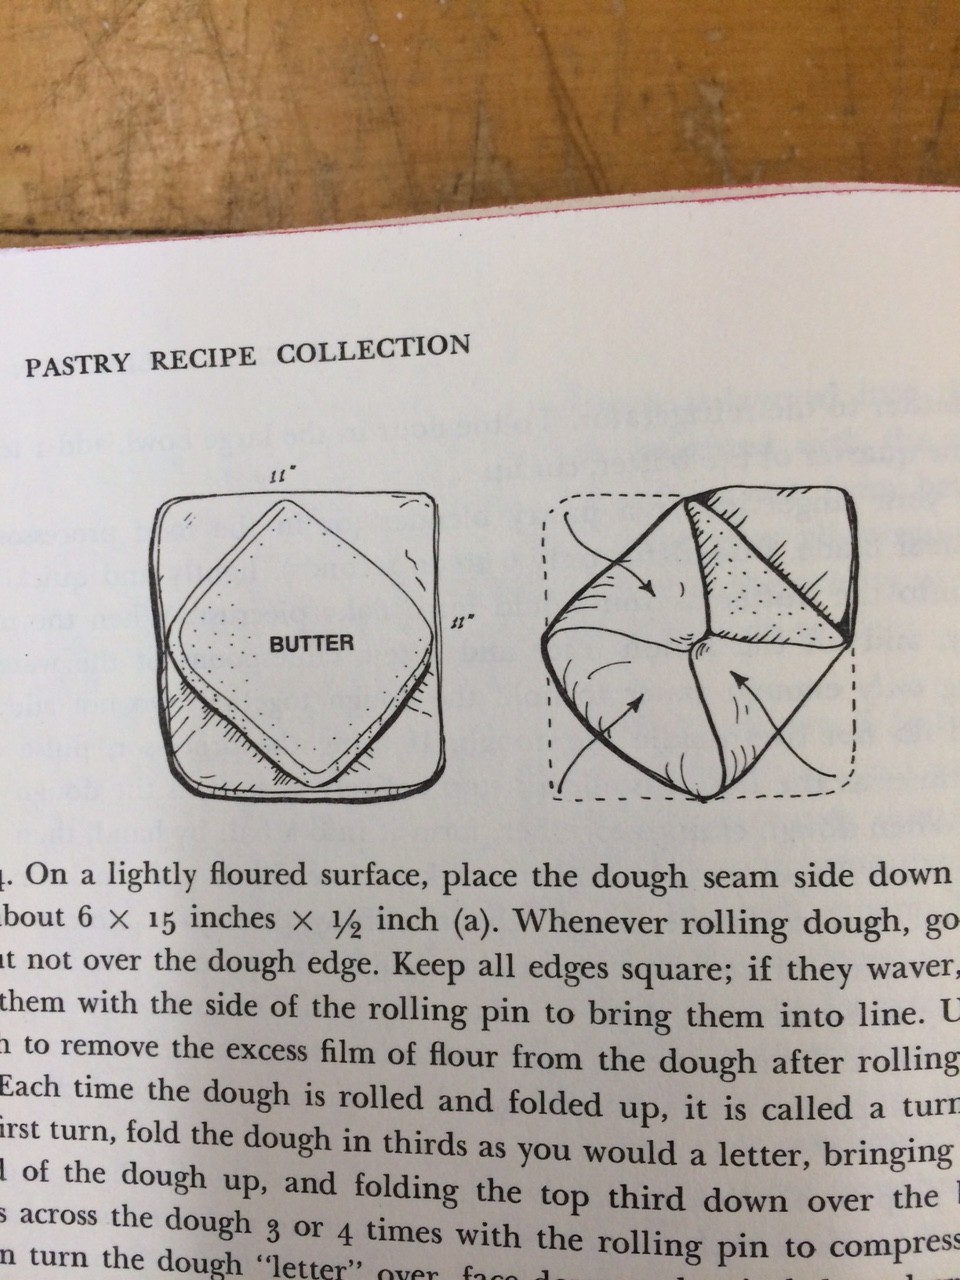
The puff pastry was the first obstacle I set out to conquer using the recipe for puff pastry outlined in Susan Purdy’s As Easy As Pie. Reading the recipe itself was daunting as it was three pages long, with an additional three pages of introduction, because puff pastry is not something one just blindly walks into, puff pastry is serious. So serious, that to make it you need diagrams and internal notation systems. 
IMG_1358IMG_1376

So complex!

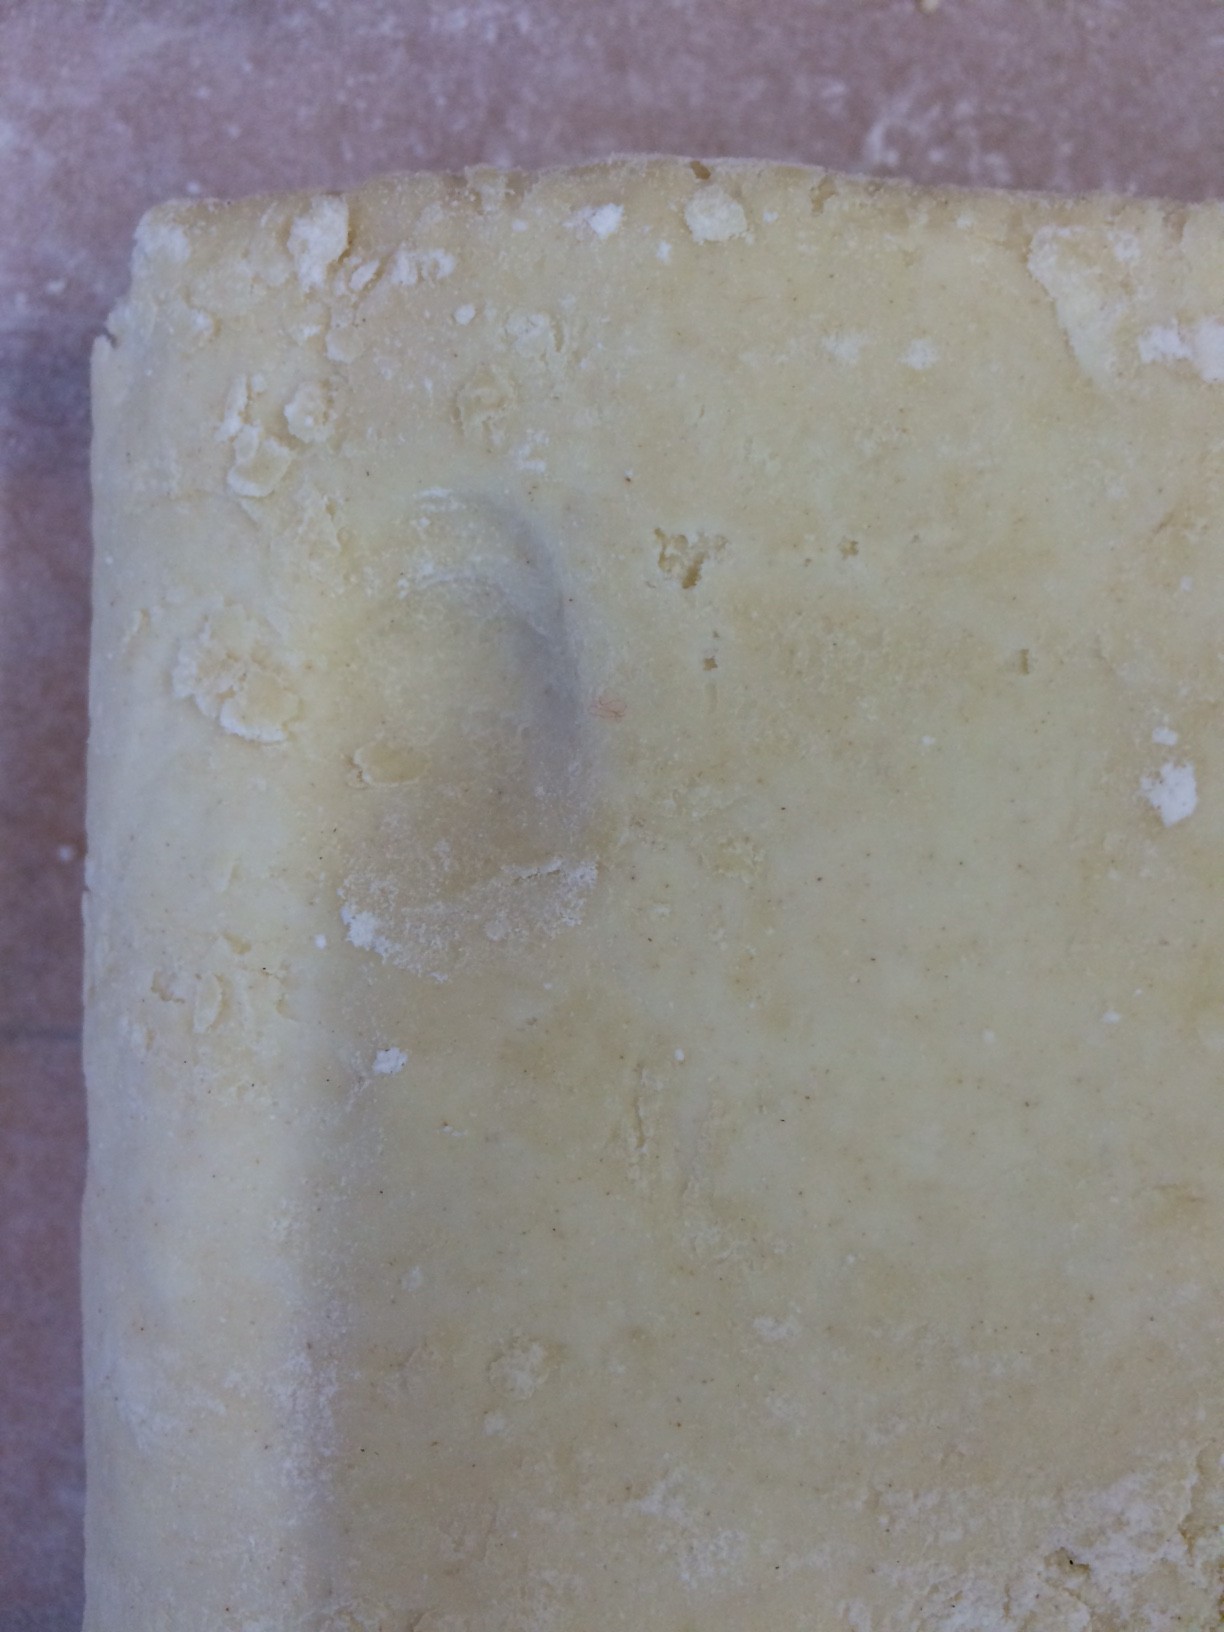
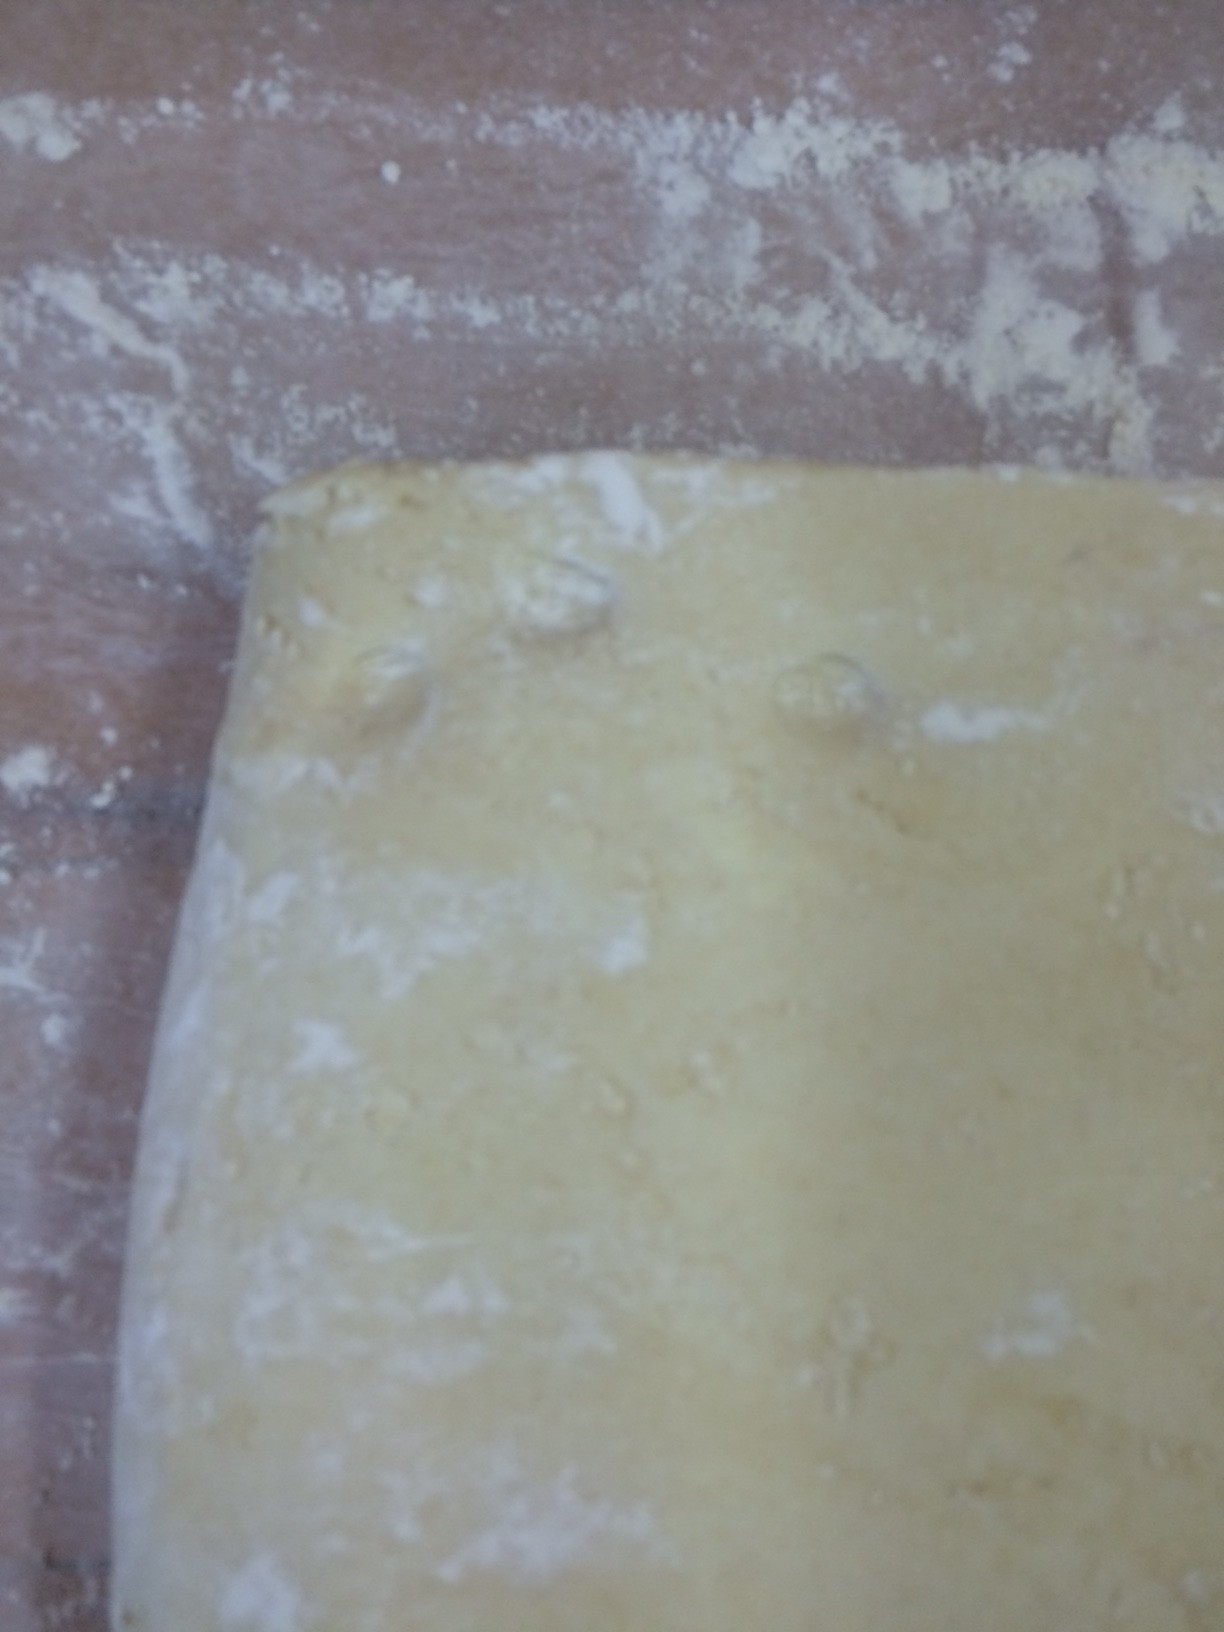
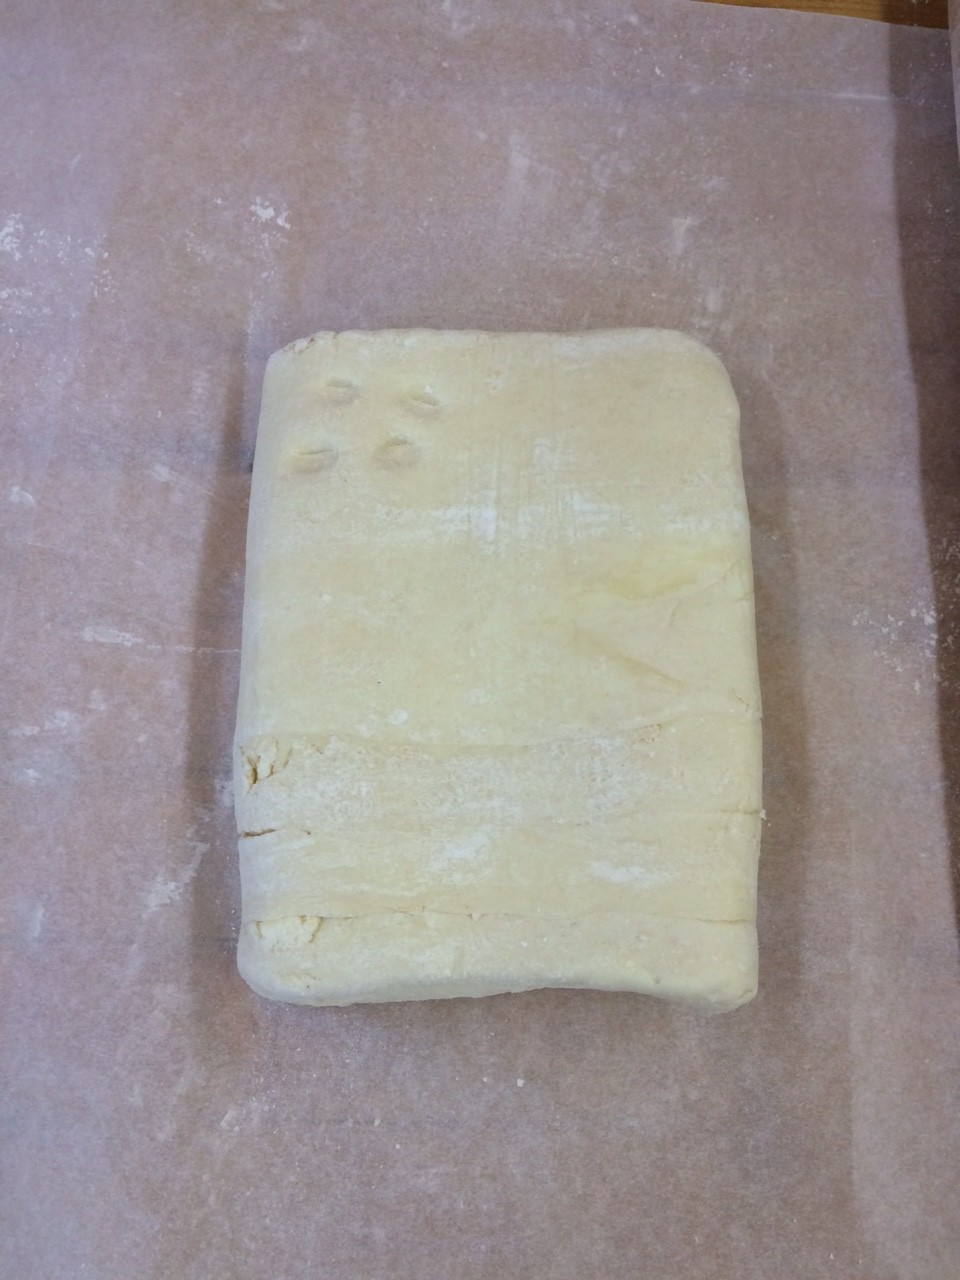
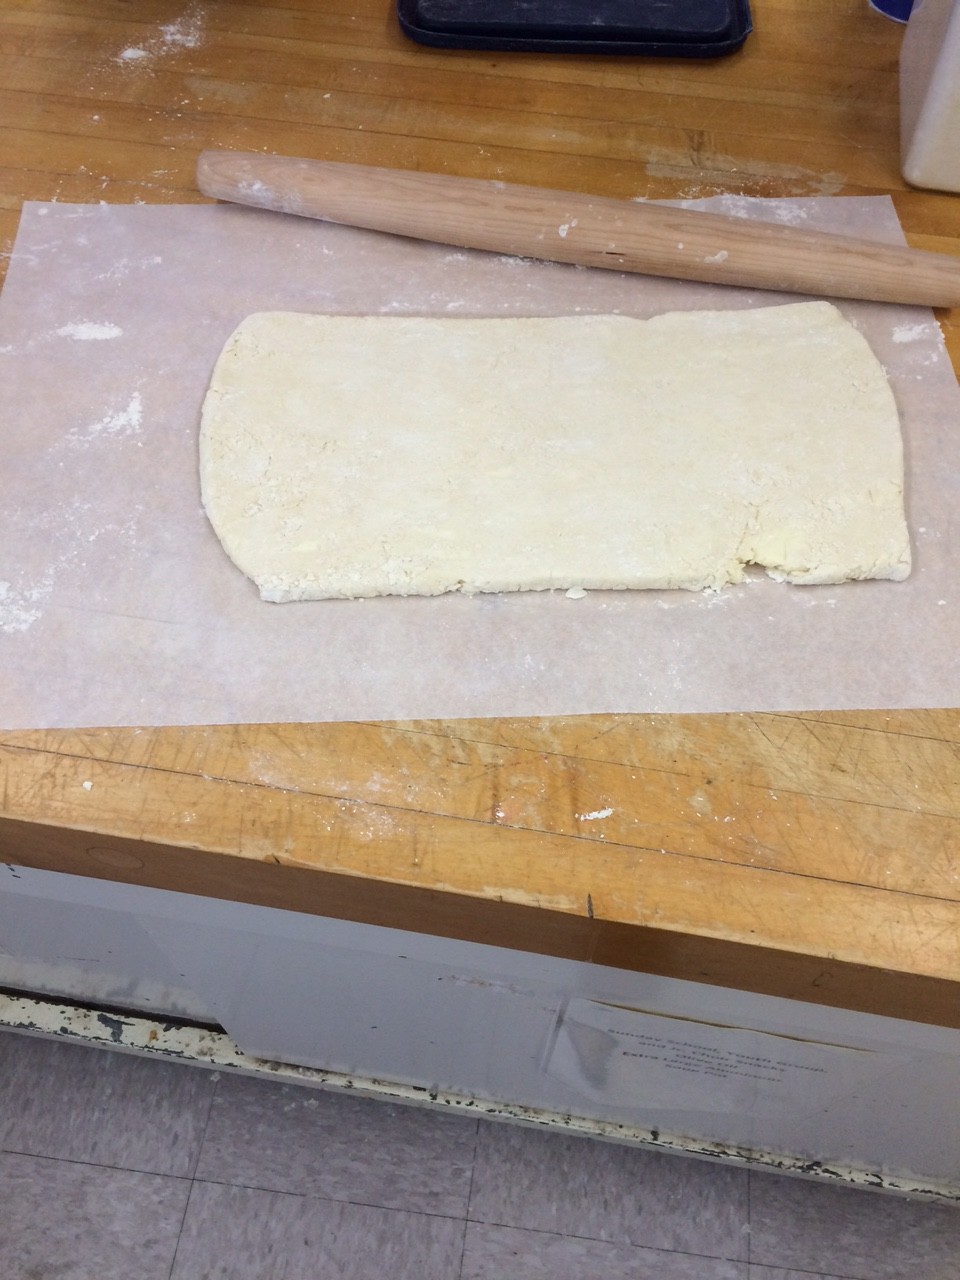
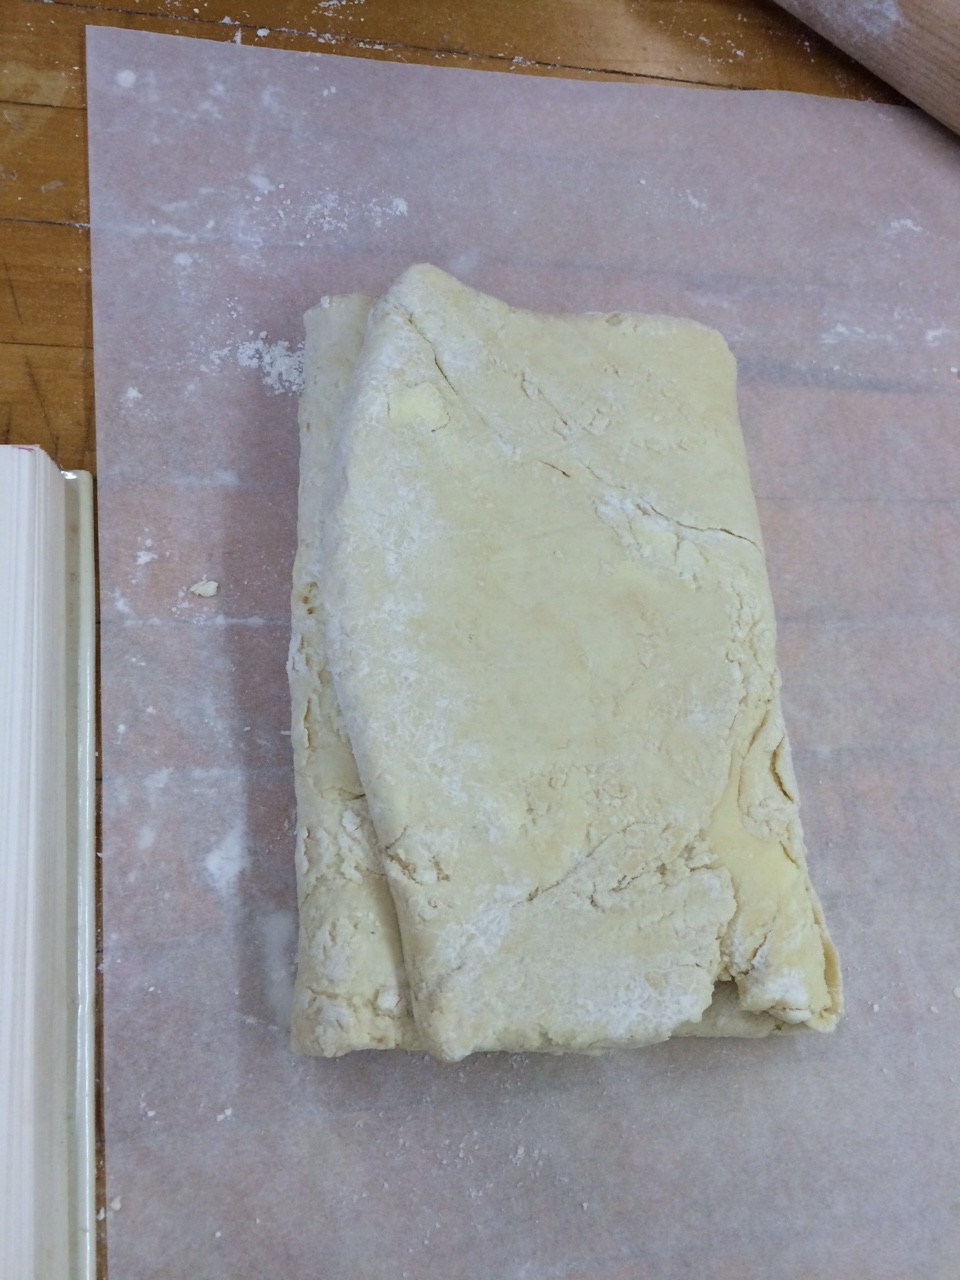
But I did it so I guess I will outline the key steps. First, you must make a what is essentially a basic all-butter pastry, which you then wrap, like wrapping paper, around a slab of butter that had been mixed with a smidge of flour. Then, you roll it out into a rectangle that is precisely 6in x 15in x 1in, fold it in thirds like an envelope, orient it so the top is the unfolded side with the flap oriented to the right, and then you mark it with a finger print for every turn of the pastry you have done. You do this 6 times. Chilling for 25 minutes in between each step.
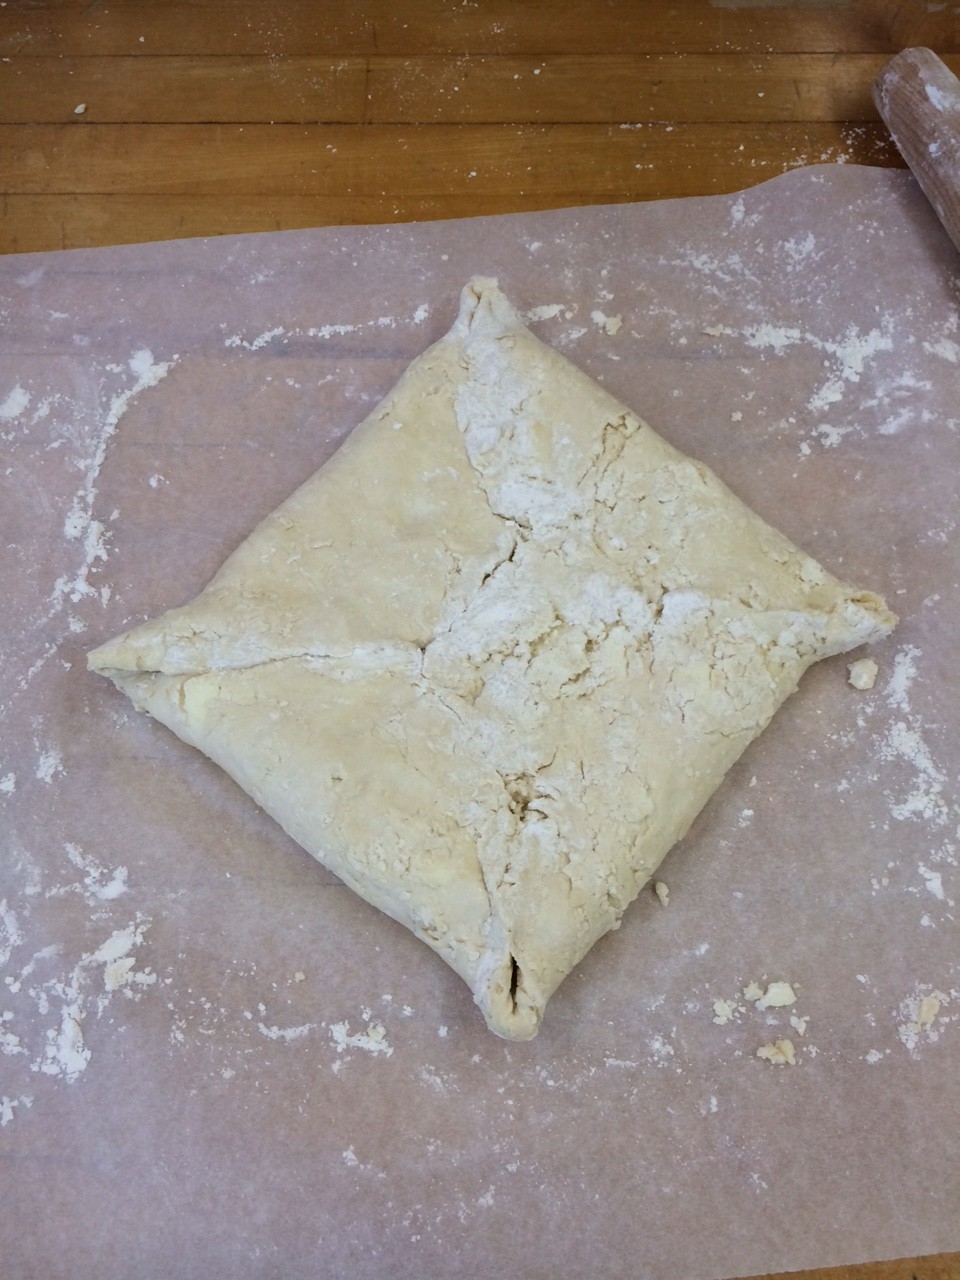
pastry wrapped butter present
pastry wrapped butter present

then you roll it out
then you roll it out

fold in thirds
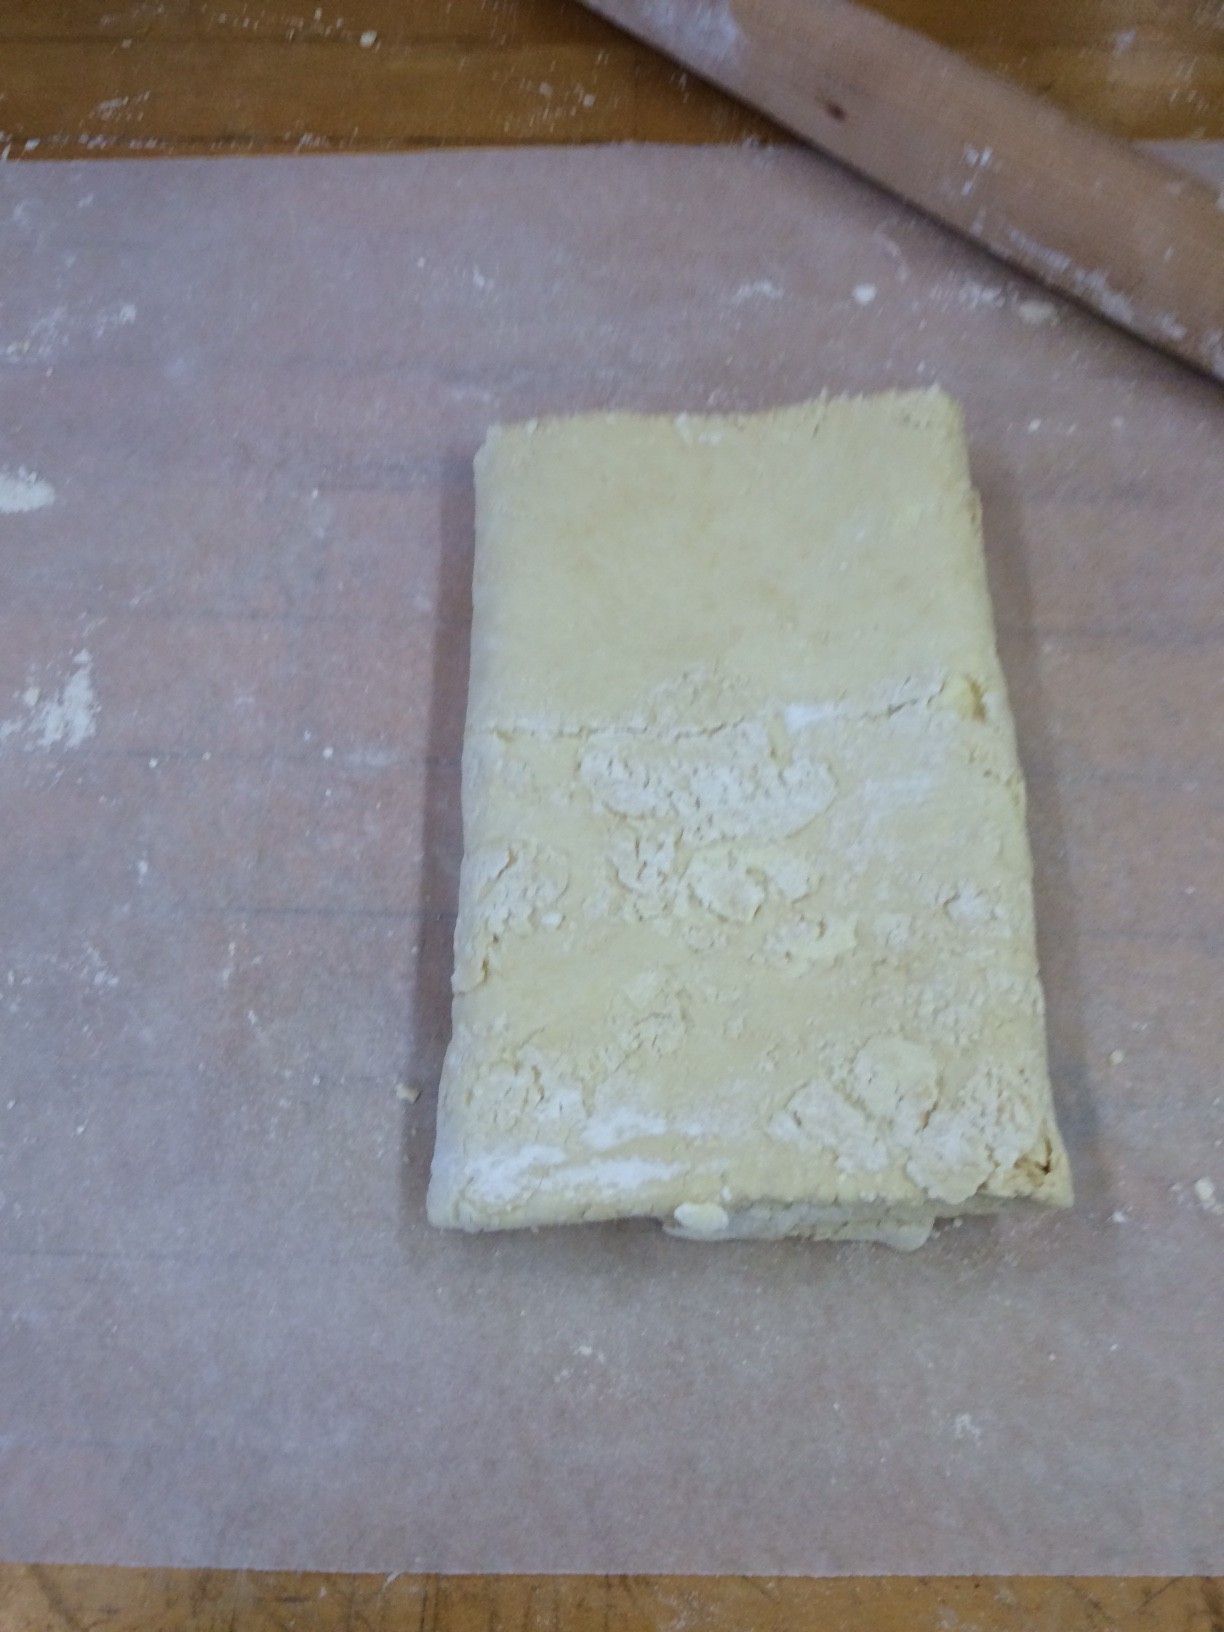
fold in thirds

flip it

flip it

mark it with your finger

mark it with your finger

and then

and then

do it again

do it again

and again

and again

and again

and again

until you have six dots

until you have six dots

And there you have it, puff pastry. In four short hours!

So the puff pastry was done and the next obstacle was tackling the filling of the pie, I approached it very methodically, setting out all my ingredients cooking-show-style in bowls before I began.
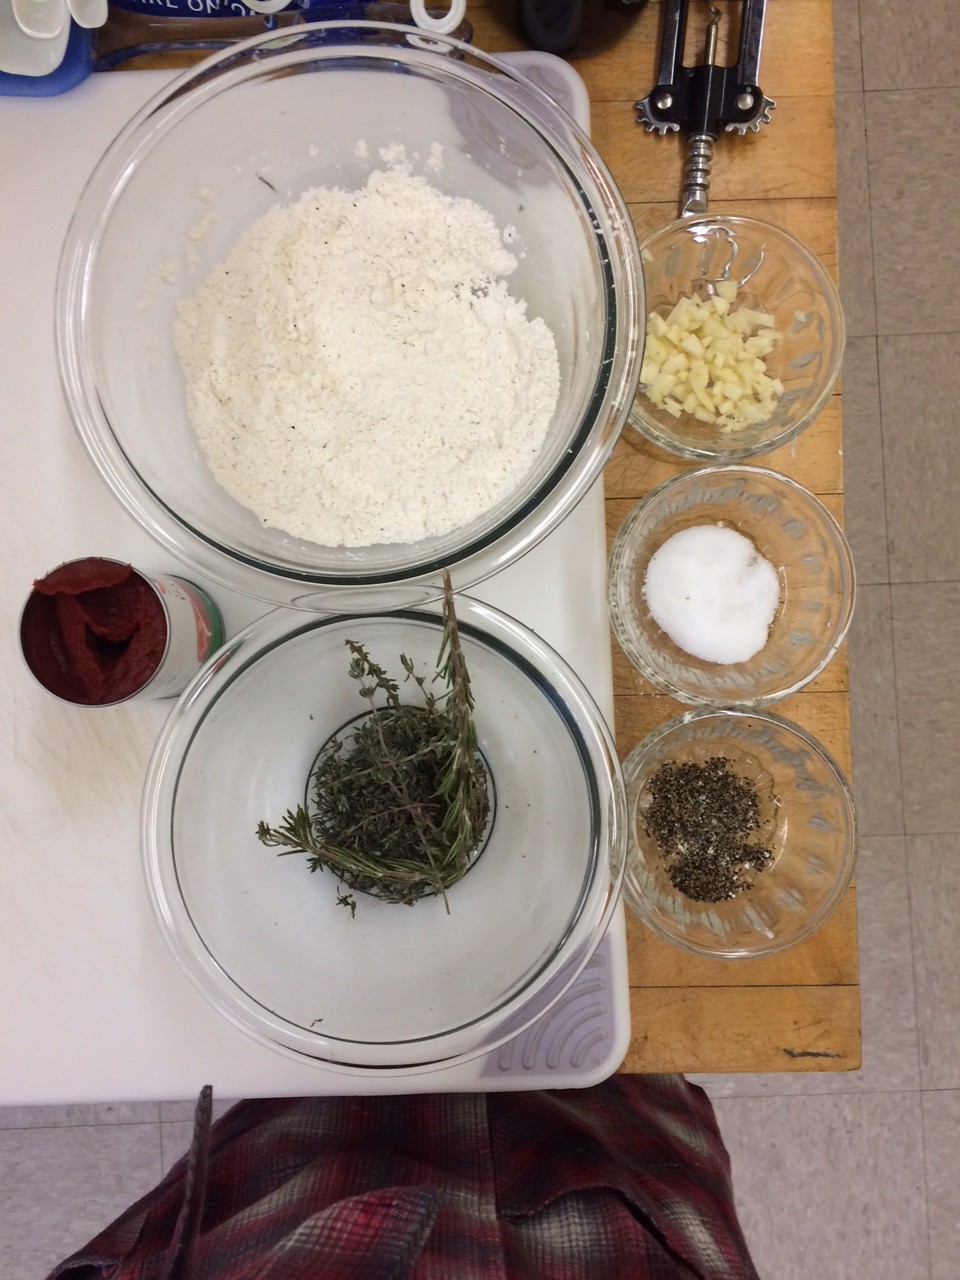
So organized

So organized

in the end the recipe I had ended up being very easy to follow, the only challenge was again how long it took. I began prep at 9am started cooking at 10 am, but didn’t officially take things off the burner until 2:30pm!
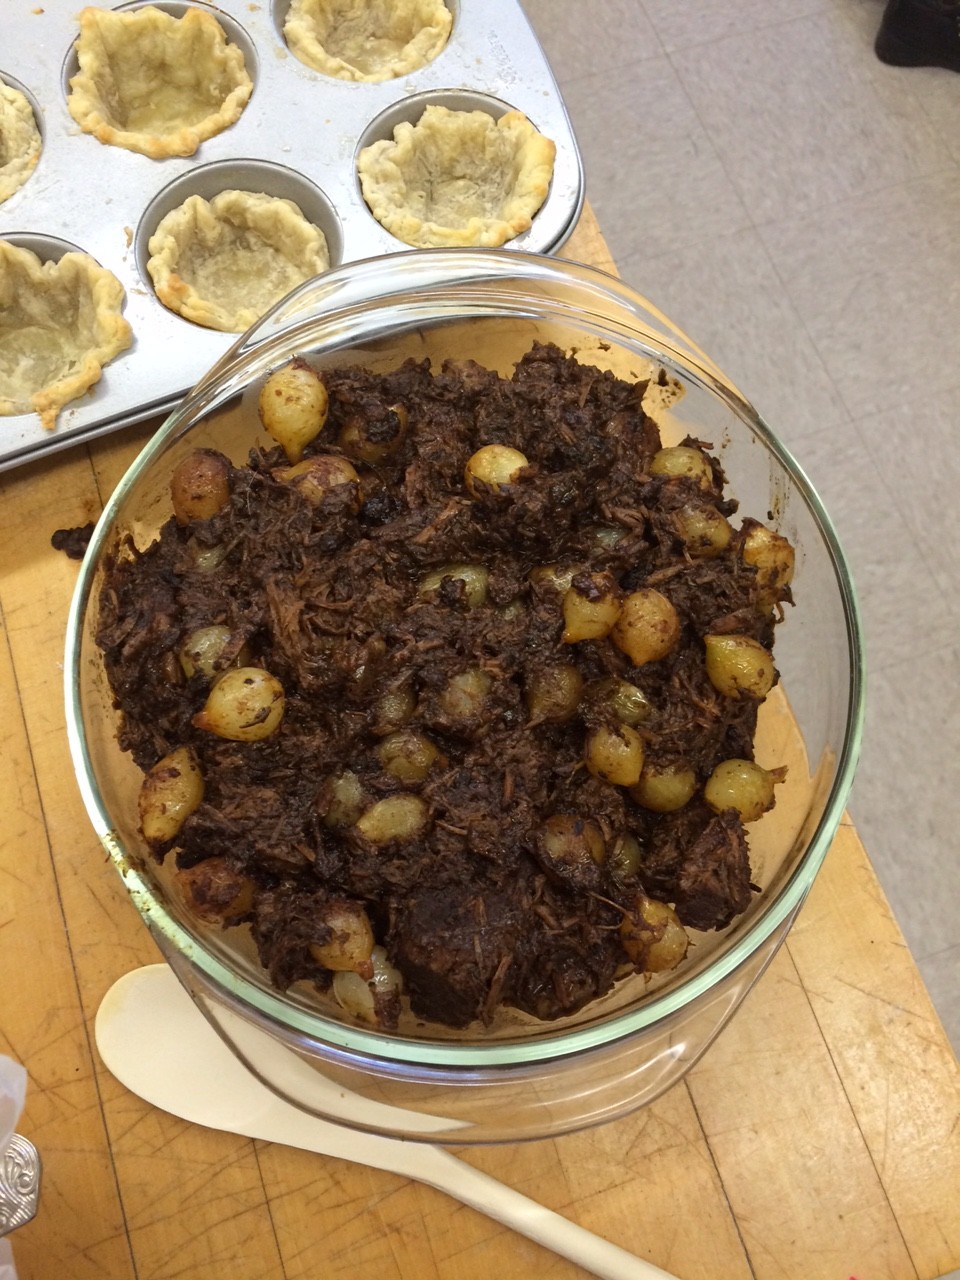
the final product of 5.5 hours of cooking

the final product of 5.5 hours of cooking

Luckily, 3 hours of that time was just letting it sit in a pot doing its thing. So while that was happening I made the bottom shell for my chocolate lava mini pies (featured in the background of the above photo), and I mixed the filling. The shells for these pies were the first time I have to blind bake a pie crust, so that was a fun adventure.
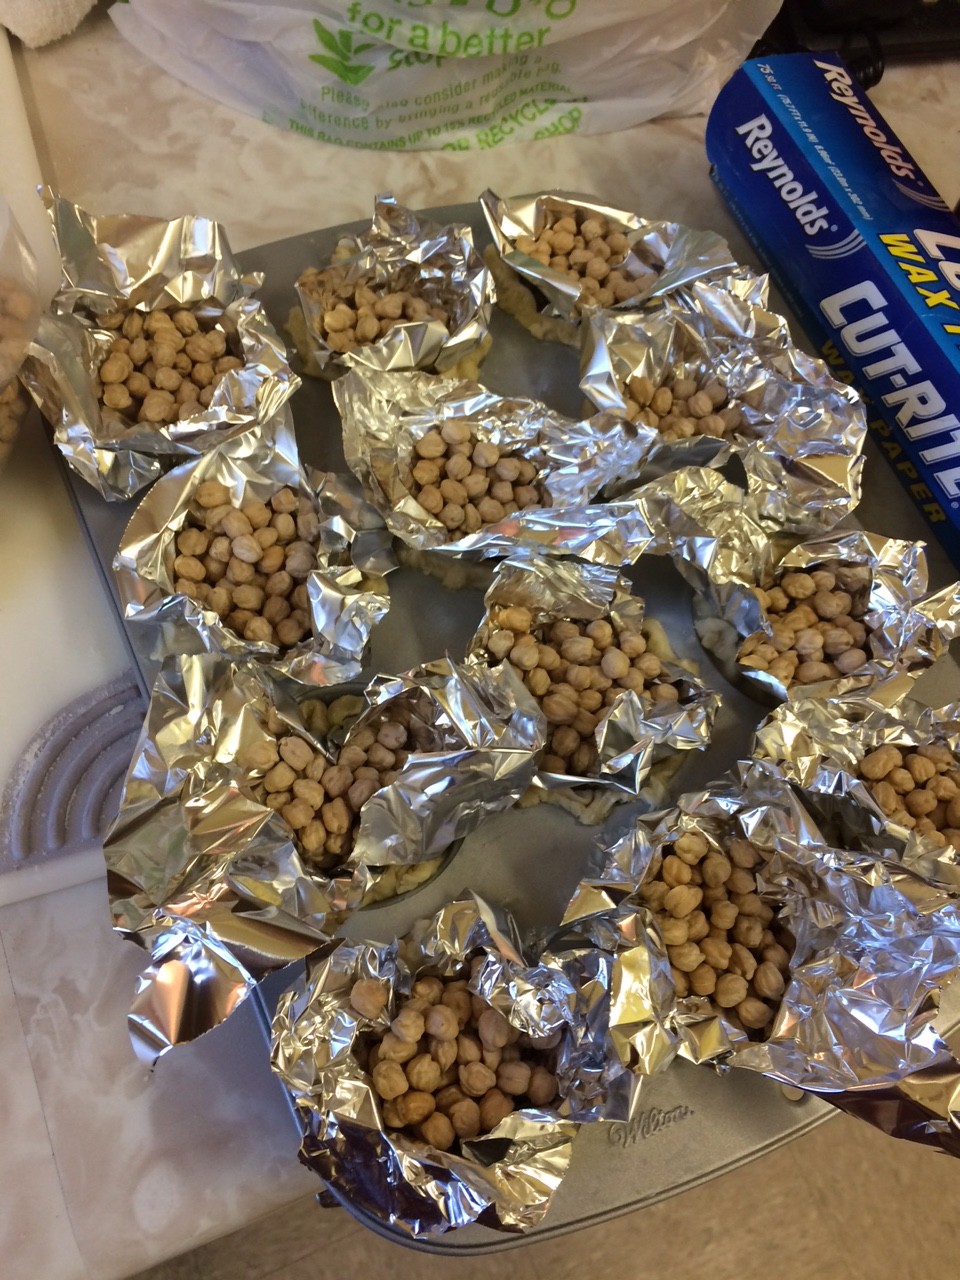
So much tin foil!

So much tin foil!

The only regret I had was buttering the muffin cups. I was really concerned about it sticking, but since the pastry already had so much butter in it, I got little buttery pools in the bottom of my cups that I had to wipe up. Aside from that my first attempt at blind baking was okay.
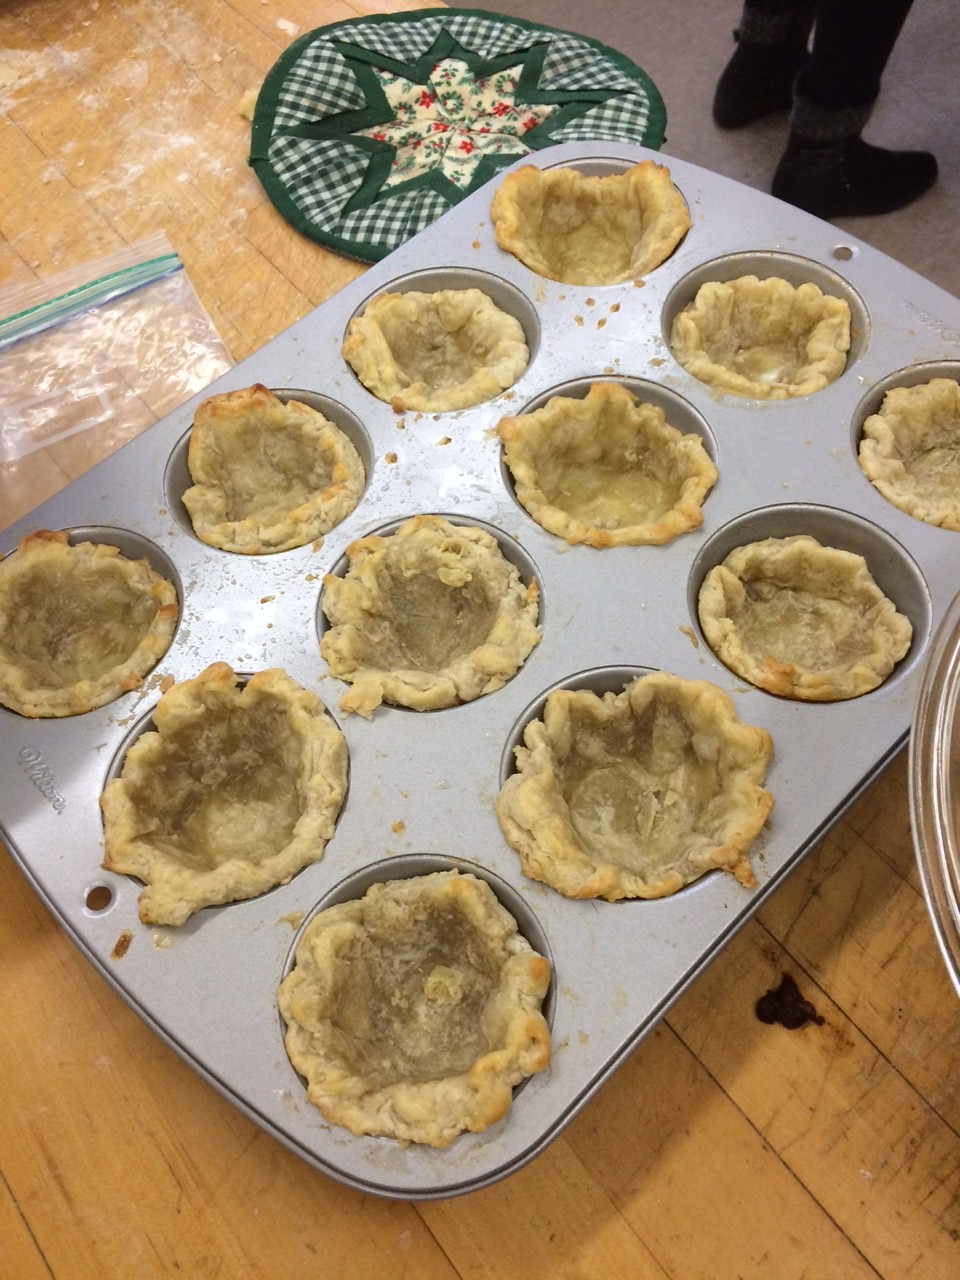
Pretty okay

Pretty okay

I set about doing all of this the first day of cooking, and the next I did a test lava cake, along with the real batch, and assembled and baked my pot pie. The lava cake pies were the major concern as I knew I could make pie and I knew I could make cake, but could I make the lava flow. In the end it was a lot of guess work. I found a recipe for a chocolate lava pie, but this was a whole pie not mini ones so any questions about timing were up in the air. In the end I just had to do a lot of checking, like every 3 minutes, but…..
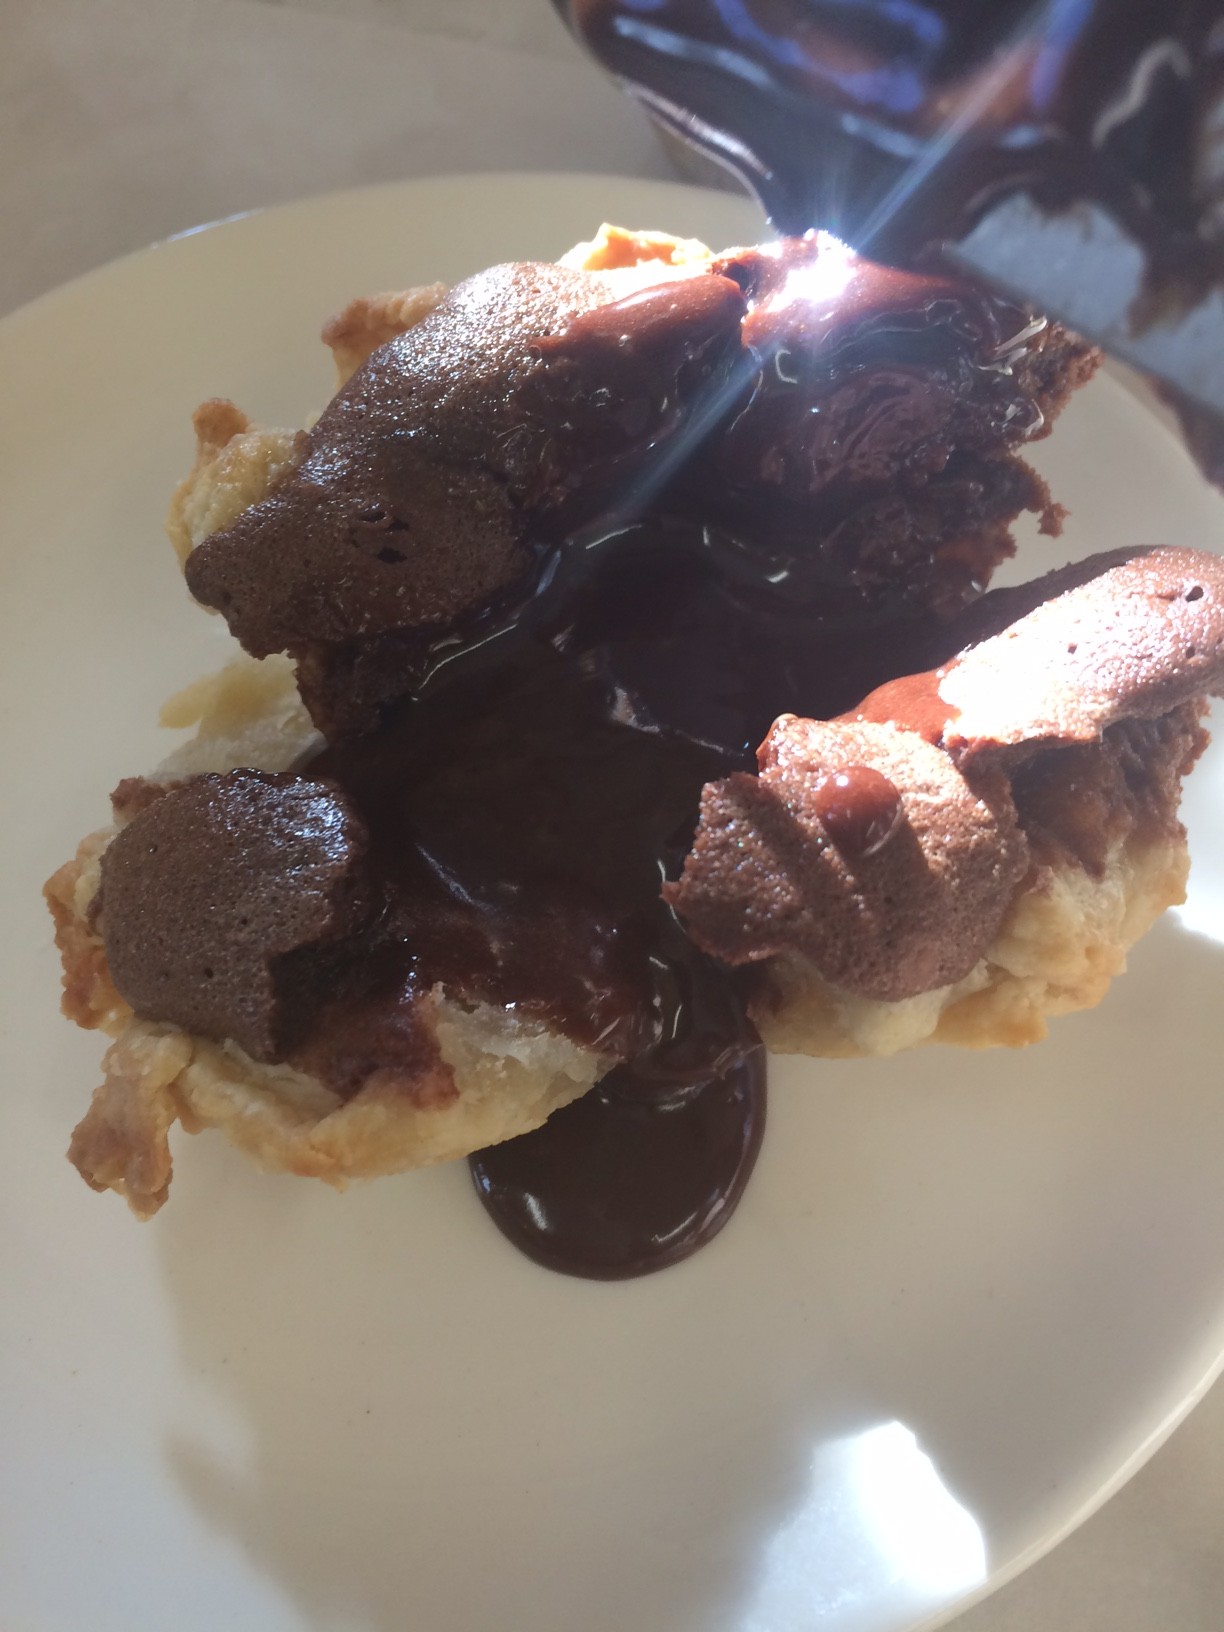
IT WORKED!

IT WORKED!

and so I made the rest!

IMG_1459

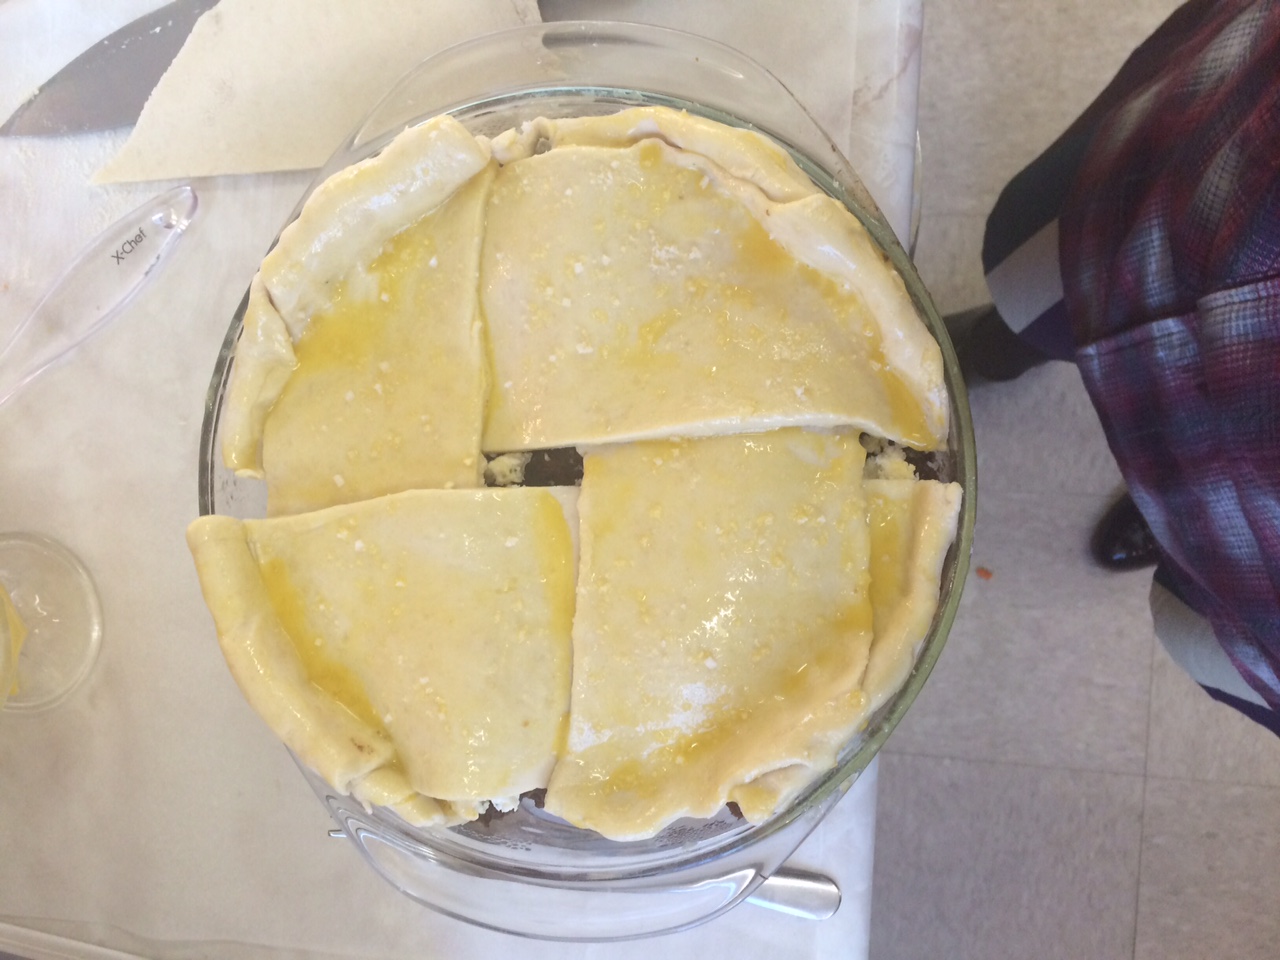
Then came assembling the pot pie. Last minute I decided to add some Boursin cheese into the pie because I felt it was a little to wine-y tasting and I thought it would mellow that out some. I also decided to go with a lattice crust because I hadn’t done that yet, but because I was concerned about how the puff pastry would puff I made a wider lattice, a very wide lattice.
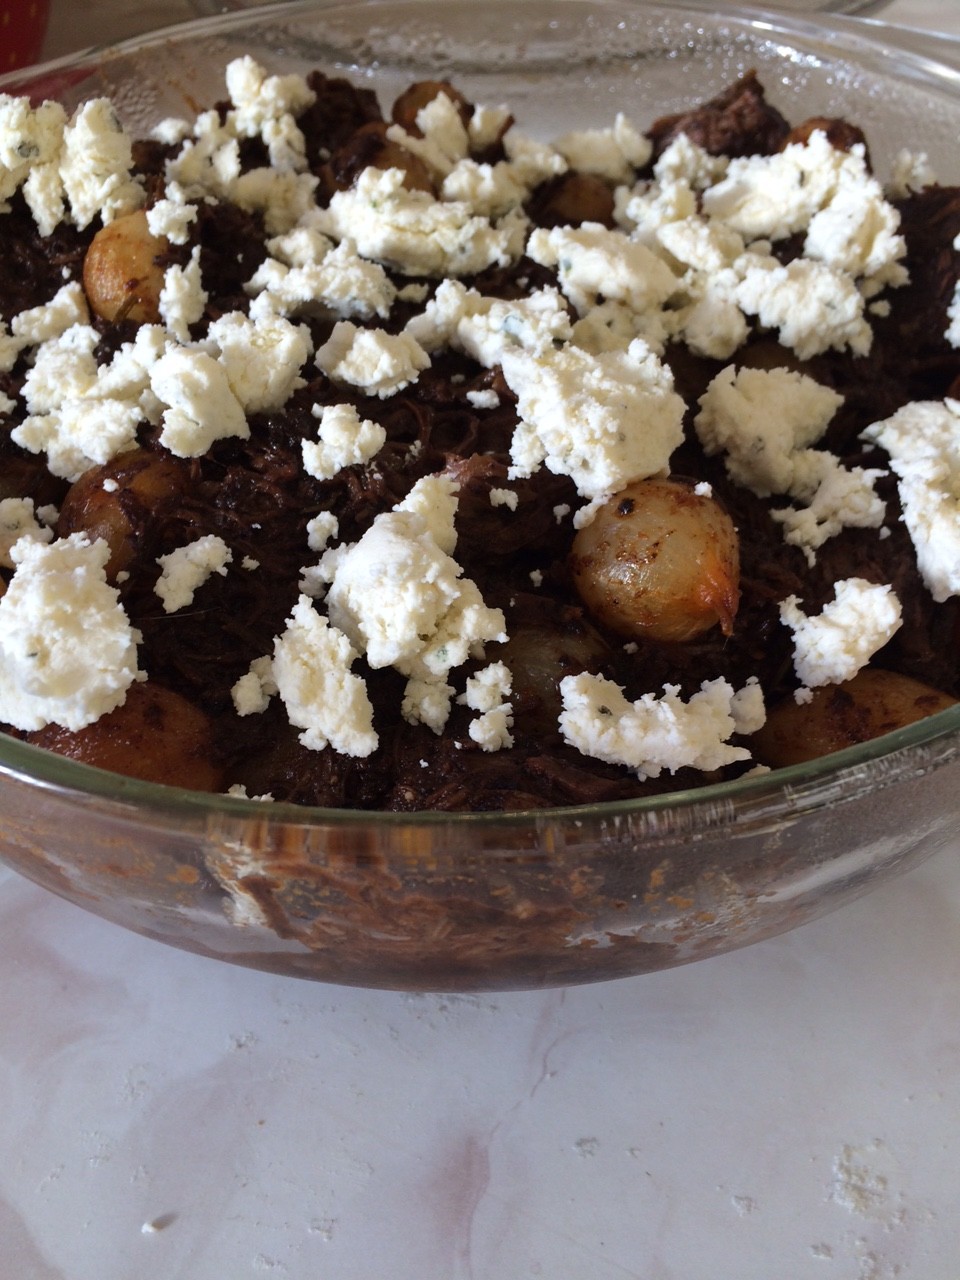
mmmmm cheese
mmmmm cheese

I'm not even sure we can call this a lattice
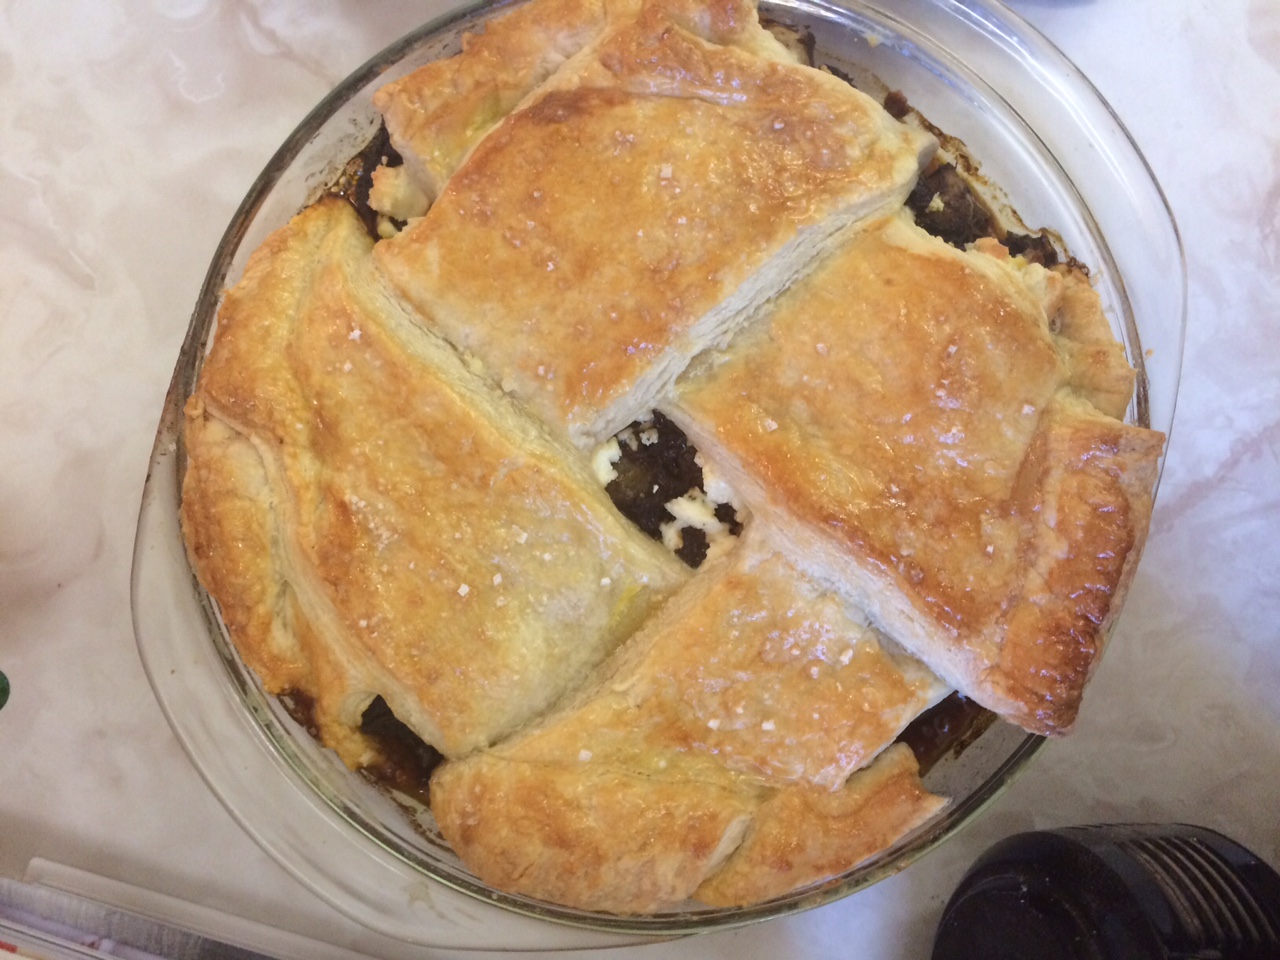
I’m not even sure we can call this a lattice

The finished pie!

The finished pie!

So that’s it! I made my pies. Unfortunately the time between the lava pies coming out of the oven and there being consumed was a tad longer than expected, so the lava didn’t happen, but all of them were eaten in the end, so apparently they were good. The pot pie was successful as well, as the cheese worked as planned.

I definitely learned a lot over these past few weeks. I can make pie crust and not just on kind. I can make it with cream cheese, canola oil, just butter, butter and shortening, and I can make puff pastry. I can make sweet pies, I can make savory pies, I can make the various things that go into these pies, I can say I have eaten 14 different pies in one sitting, I can boast about being the proud owner of my own Pyrex mixing bowls, I know more than the average person about the history of pie, I am now a fan of The Great British Bake Off. I can say I can make a pretty tasty pie, and I can say I learned a valuable skill.
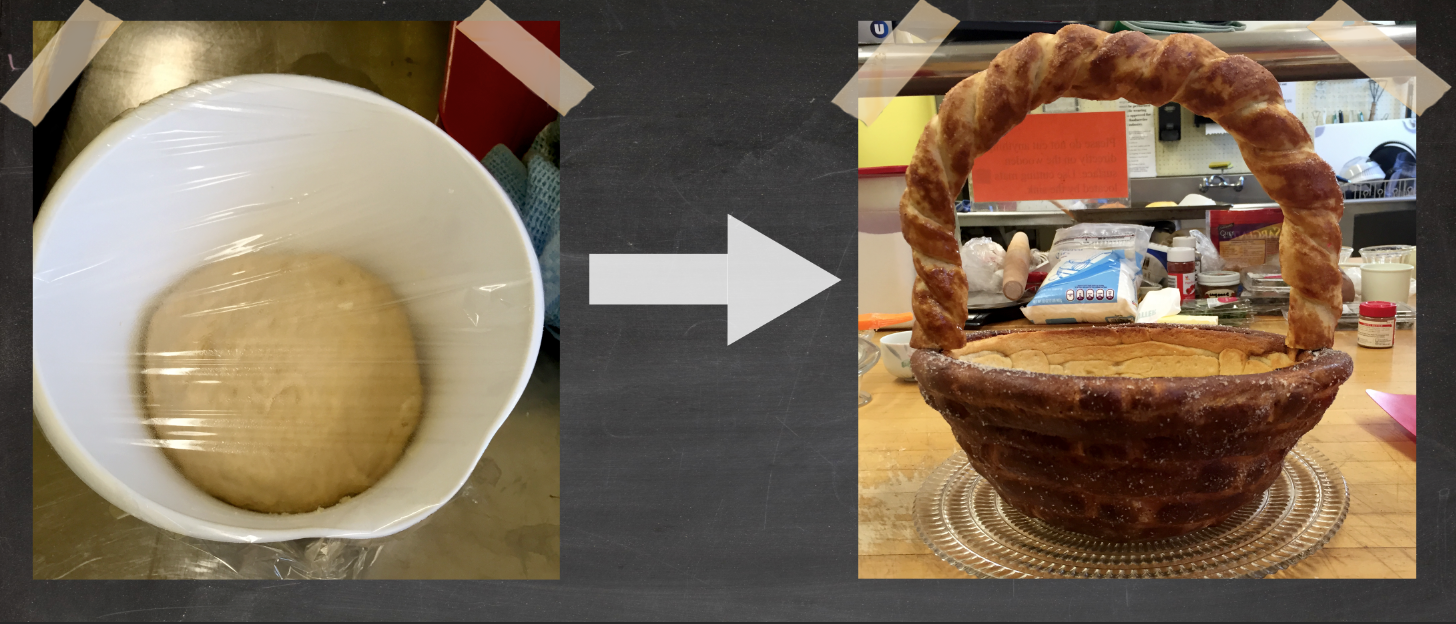
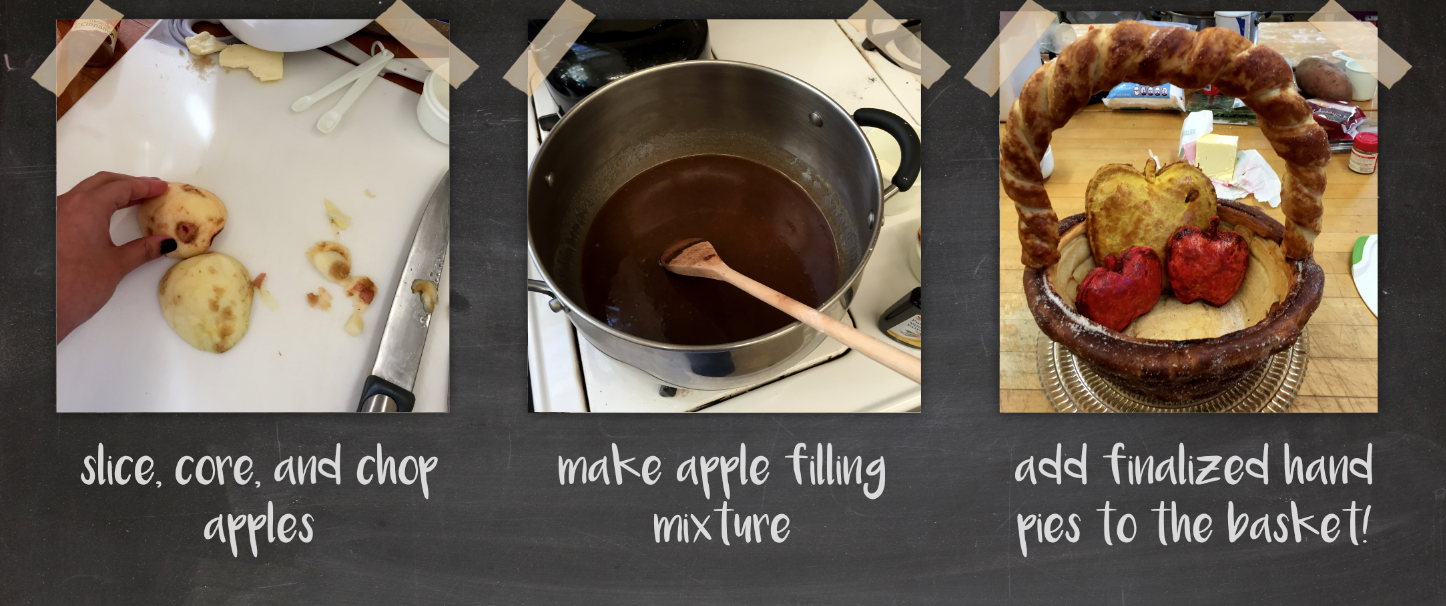
The Ultimate Fruit Basket

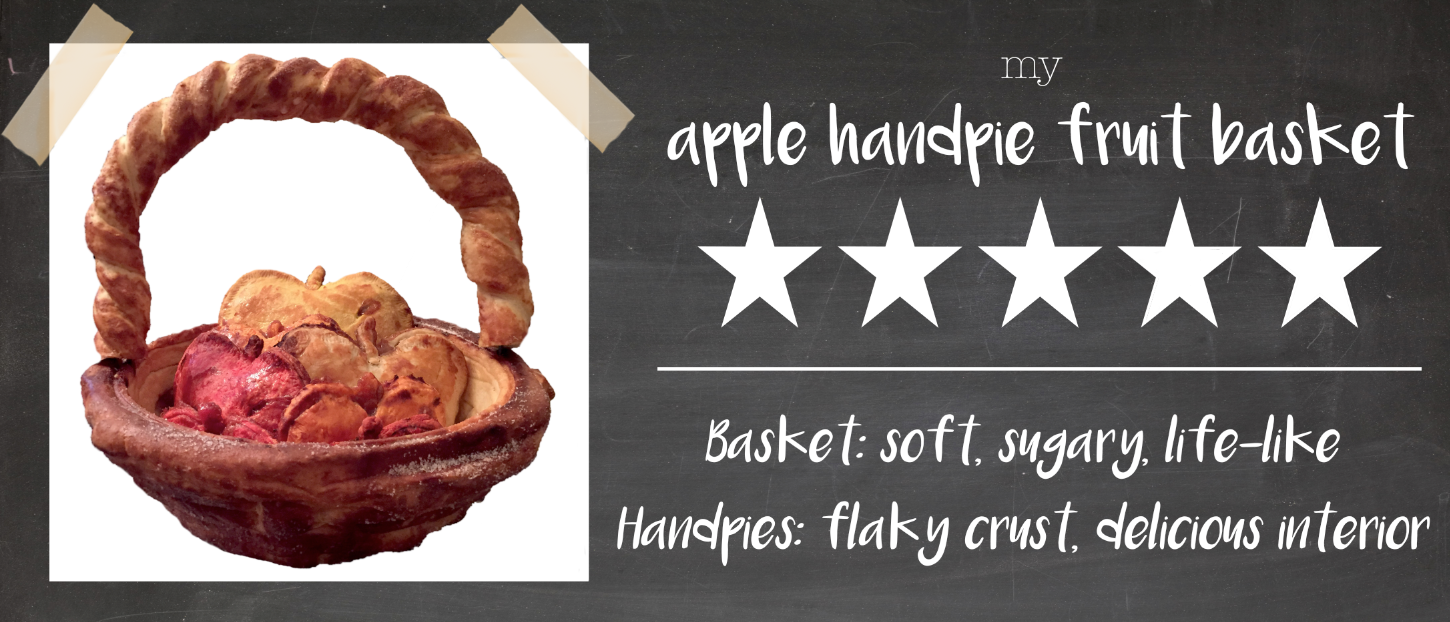
I knew right away that I wanted to go all-out for presentation week. My mind was overflowing with ideas (not many of them very feasible), but I chose to go with making the ultimate fruit basket. It took longer than I expected, but here’s a summary of what I did:

The Night Before

On Wednesday night, I decided to try to make pineapple-shaped pineapple hand pies and the basket. The filling was incredibly easy to make following this recipe. I rolled out the pastry, which I had made earlier that day, and cut out pineapple shapes. I sealed the hand pie together, decorated it, and put it in the oven. In the meantime, I tried to make the basket. I made pretzel dough, cut it into strips, and wove a basket on an upside-down metal mixing bowl.

The results? They weren’t so hot. I forgot to put butter on the mixing bowl and the baking sheet so both the hand pies and basket were stuck to their containers. Sigh.

The Day Of

Basket

I came to the kitchen very early to make the pretzel dough. I have tried various recipes, but so far the best one is the one I made up:

Pretzel Dough

Ingredients:

2 cups of milk, 2 packets of active dry yeast, 7 tablespoons brown sugar, 4 tablespoons butter, 5 1/2 cups flour, 2 cups water, 1/2 cup baking soda

Directions:

  1. Warm the milk in a microwave-safe container. Stir in the yeast. Let it sit for a few minutes.
  2. Melt butter in a microwave-safe container.
  3. Add milk, brown sugar, melted butter, and flour in a large bowl. Mix with your hands (sorry, it’s going to get messy).
  4. Once you get a firm ball, place the dough in a greased container and wrap with greased foil or plastic wrap. Let rise for an hour.
  5. Start making the pretzels!
  6. Bake until the top is golden brown (temperature doesn’t matter, but the baking time will change).

Screen Shot 2016-01-25 at 9.34.06 PM

While the pretzel dough was rising, I started making the filling for the hand pies. Instead of making different fruit fillings like I had originally planned to, I stuck with apples. I stole a couple from the dining hall and began chopping them up. I looked at multiple recipes for apple pie filling, but I chose to make my own. I didn’t measure anything exactly, but from what I can remember this is what I did:

Apple Pie Filling

  1. In a rather deep pan, melt a stick of butter (about 1/2 cup). Keep stove on.
  2. Add 1/3 cup of flour. The flour and butter will make a paste-like substance.
  3. Add 1 cup of white granulated sugar and 1 cup of brown sugar. Mix well.
  4. Add 4 teaspoons of cinnamon, 2 teaspoons of allspice,  2 teaspoons of nutmeg, and 2 teaspoons of vanilla extract. Mix well.
  5. Add 2 1/2 cups of water. Mix and bring mixture to a boil, constantly stirring.
  6. Once it has a thick/sticky consistency, add the apples. Mix well and bring to a boil again for about 1-2 minutes.
  7. It’s ready!

By the time I was finished with the filling, I started to weave the pretzel basket. This time, I buttered AND floured the mixing bowl. Once I finished weaving it, I put it in the oven. Since the mixing bowl was elevated, I was aware that it would take longer to bake. I wanted the basket to be soft, but a bit hard so that it would keep its shape. So I took the time to continue with the hand pies.

I rolled out the pastry. I had made different colors: yellow, orange, and red. Once they were rolled out, I cut out apple shapes, stuffed one half, brushed egg yolk and milk mixture on the edges, and sealed the hand pies. I brushed the egg yolk and milk mixture on the top as well. I made as many as I could and placed them in the oven.

As I had suspected, the basket took a while to bake. However, the butter and flour helped because it instantly came off of the mixing bowl! I had made the handle separately, so I simply used tooth picks to attach it to the basket. Screen Shot 2016-01-25 at 9.54.56 PM

I am SO proud of how my fruit basket came out! The pretzel basket was delicious and the hand pies WERE SO ADDICTING. I took the leftover hand pies to my entry and they were devoured. Everything took chunks off of the basket, but eventually we decided to use the remaining basket as a bowl for an ice cream sundae!

Screen Shot 2016-01-25 at 5.37.25 PM


Pear Hand Pies

FullSizeRender (44)FullSizeRender (38) FullSizeRender (43)

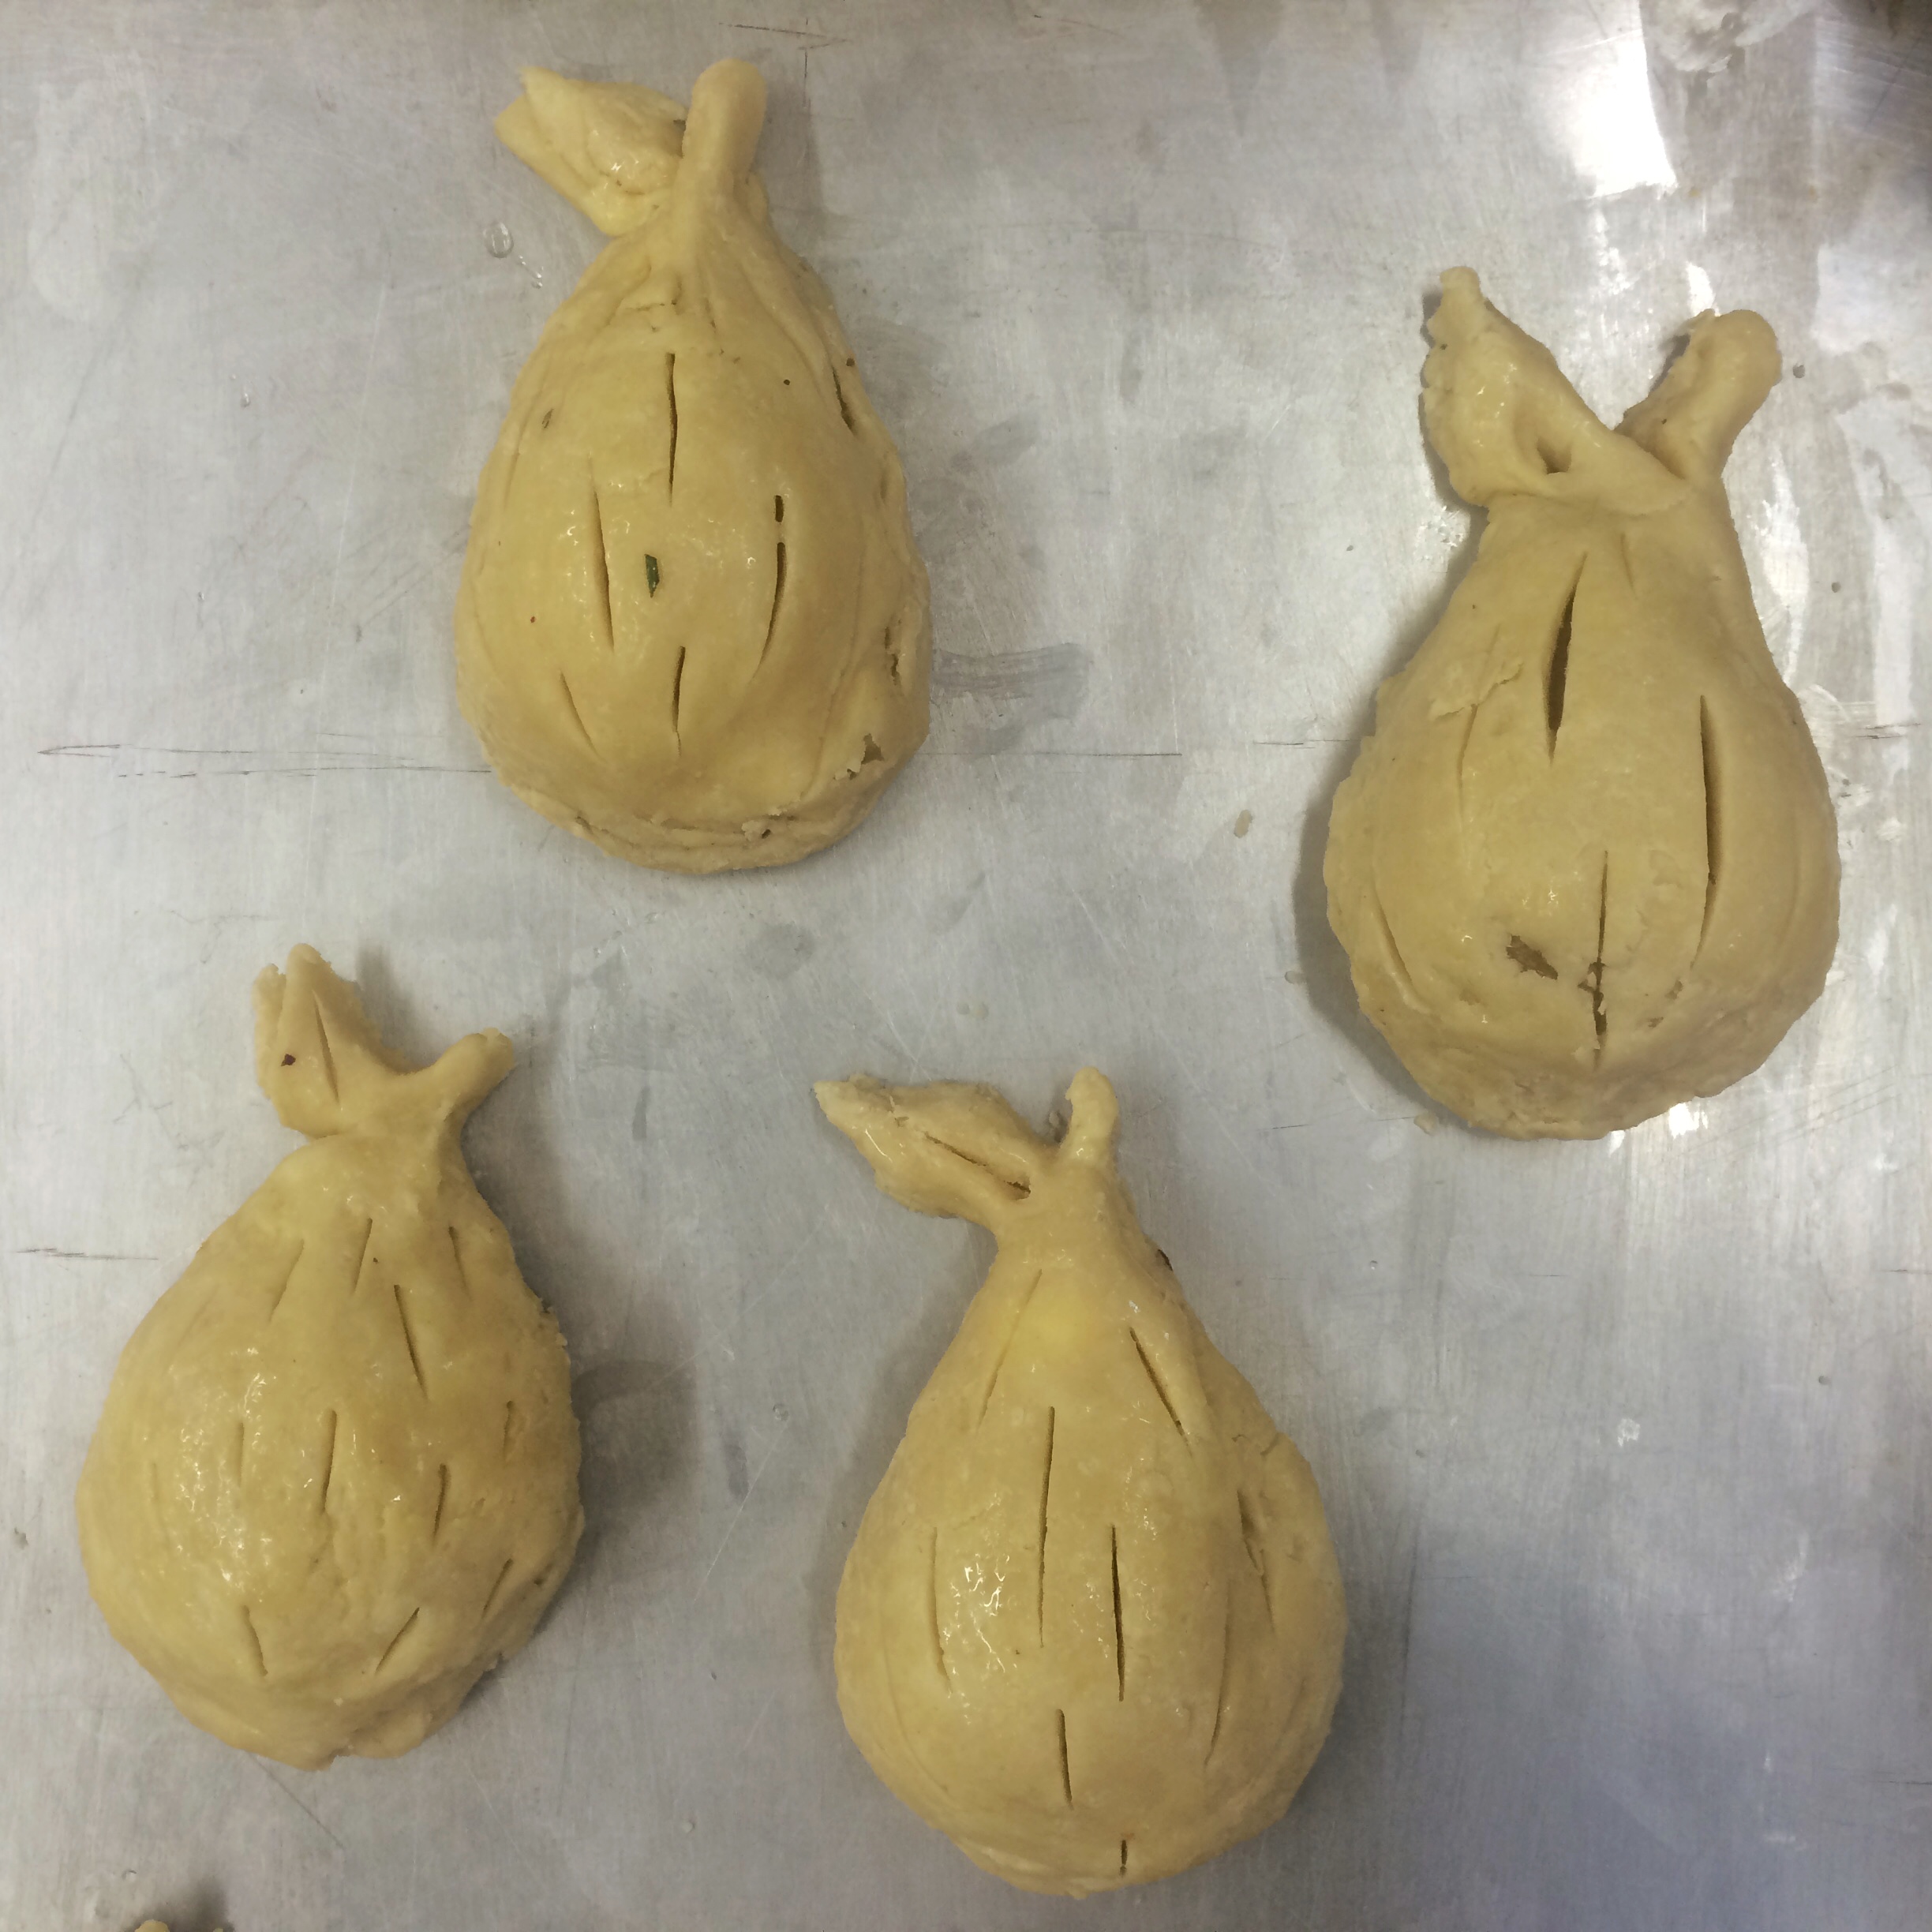
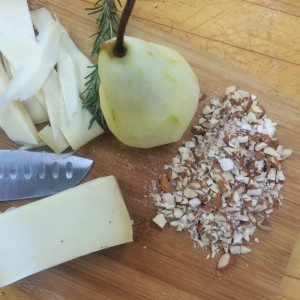
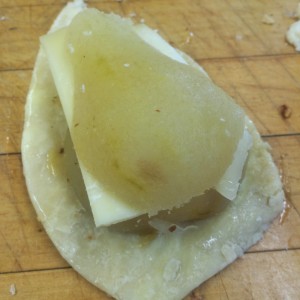
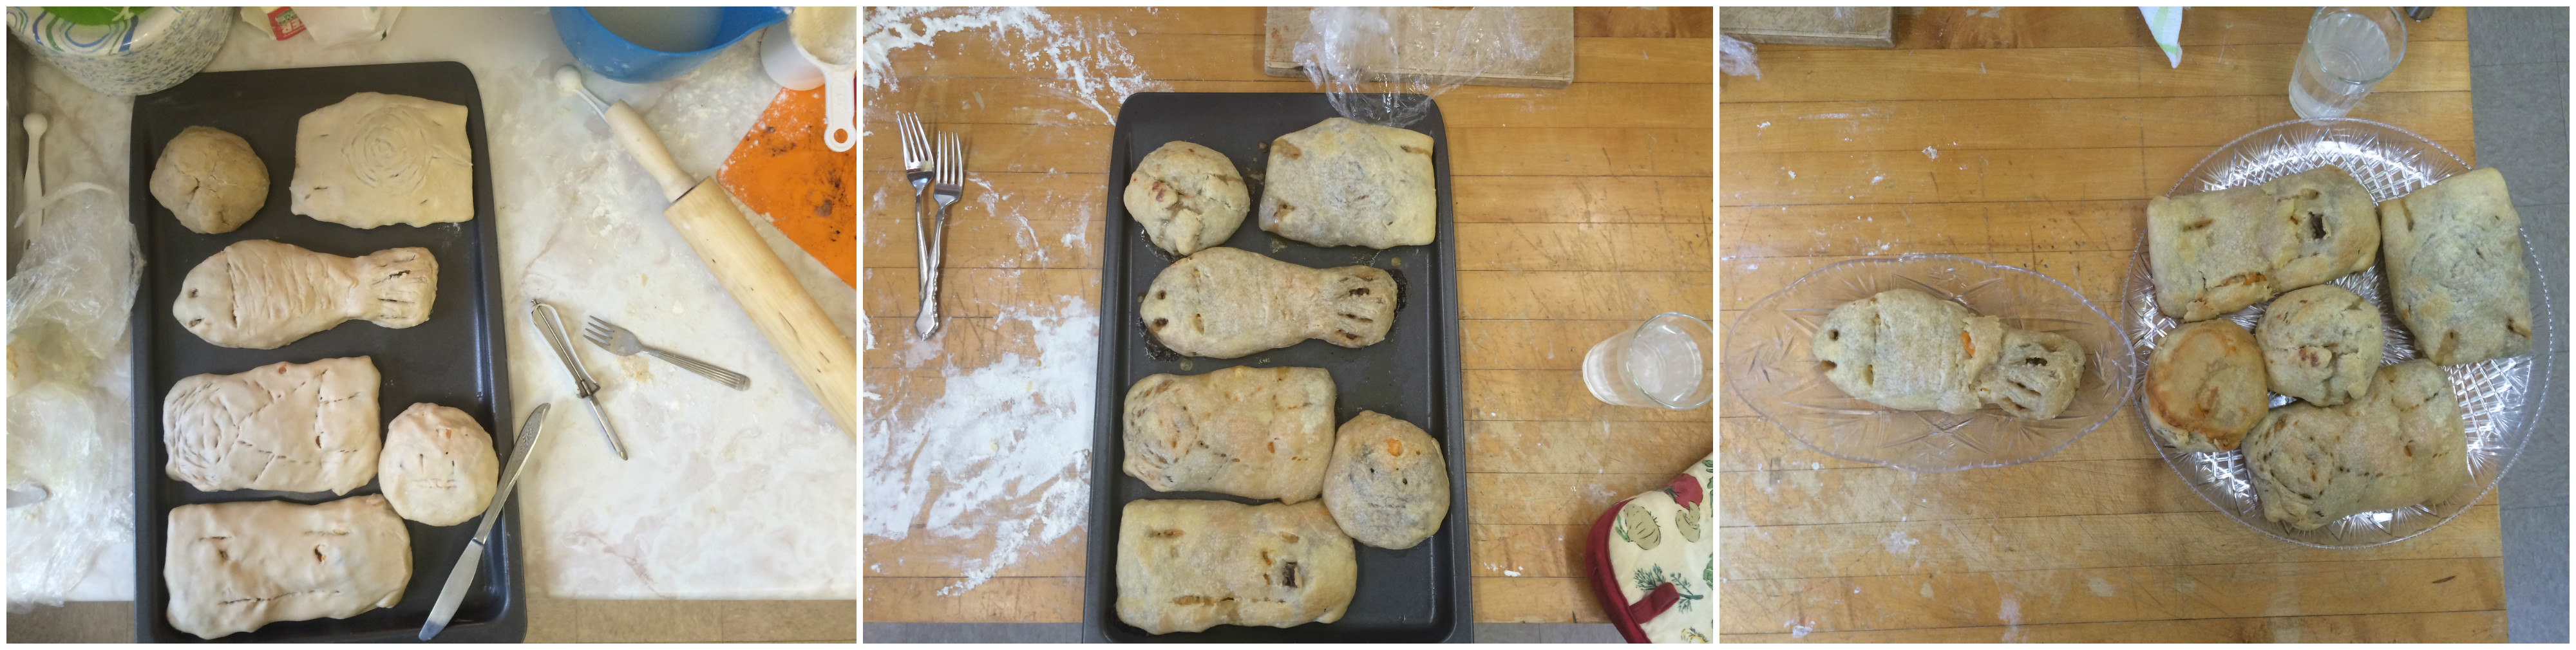
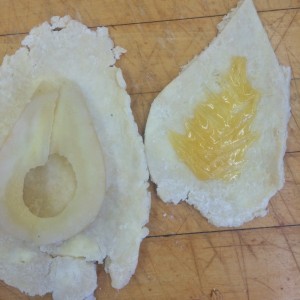
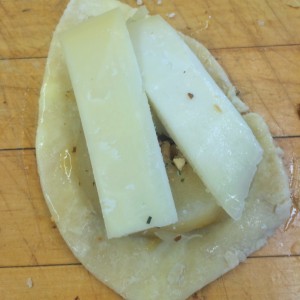
FullSizeRender (37)I came into the week without a clue as to what I wanted to do. I played with apple roses, celtic knot lattices, and floral cutouts but in the end chose something entirely different: hand pies. I’ve never tried making hand pies before and I started with the idea of a classic apple hand pie with a cheddar cheese crust shaped to make different flowers. After hearing what everyone else was making for the week, I changed again and decided I would go the savory route.  With this in mind, I searched through dozens of recipes. After a while, I noticed a trend in my searches that included pears and cheese. Building off of that, I decided to be adventurous and gave up recipes all together.  This week, my pie was entirely my own, the first I can put my name to. I ended up with a pear, gruyere, and toasted almond hand pie. To add the decorative aspect, I poached the pears and stuffed the halves, wrapping them into pear shaped pies.
Ingredients:

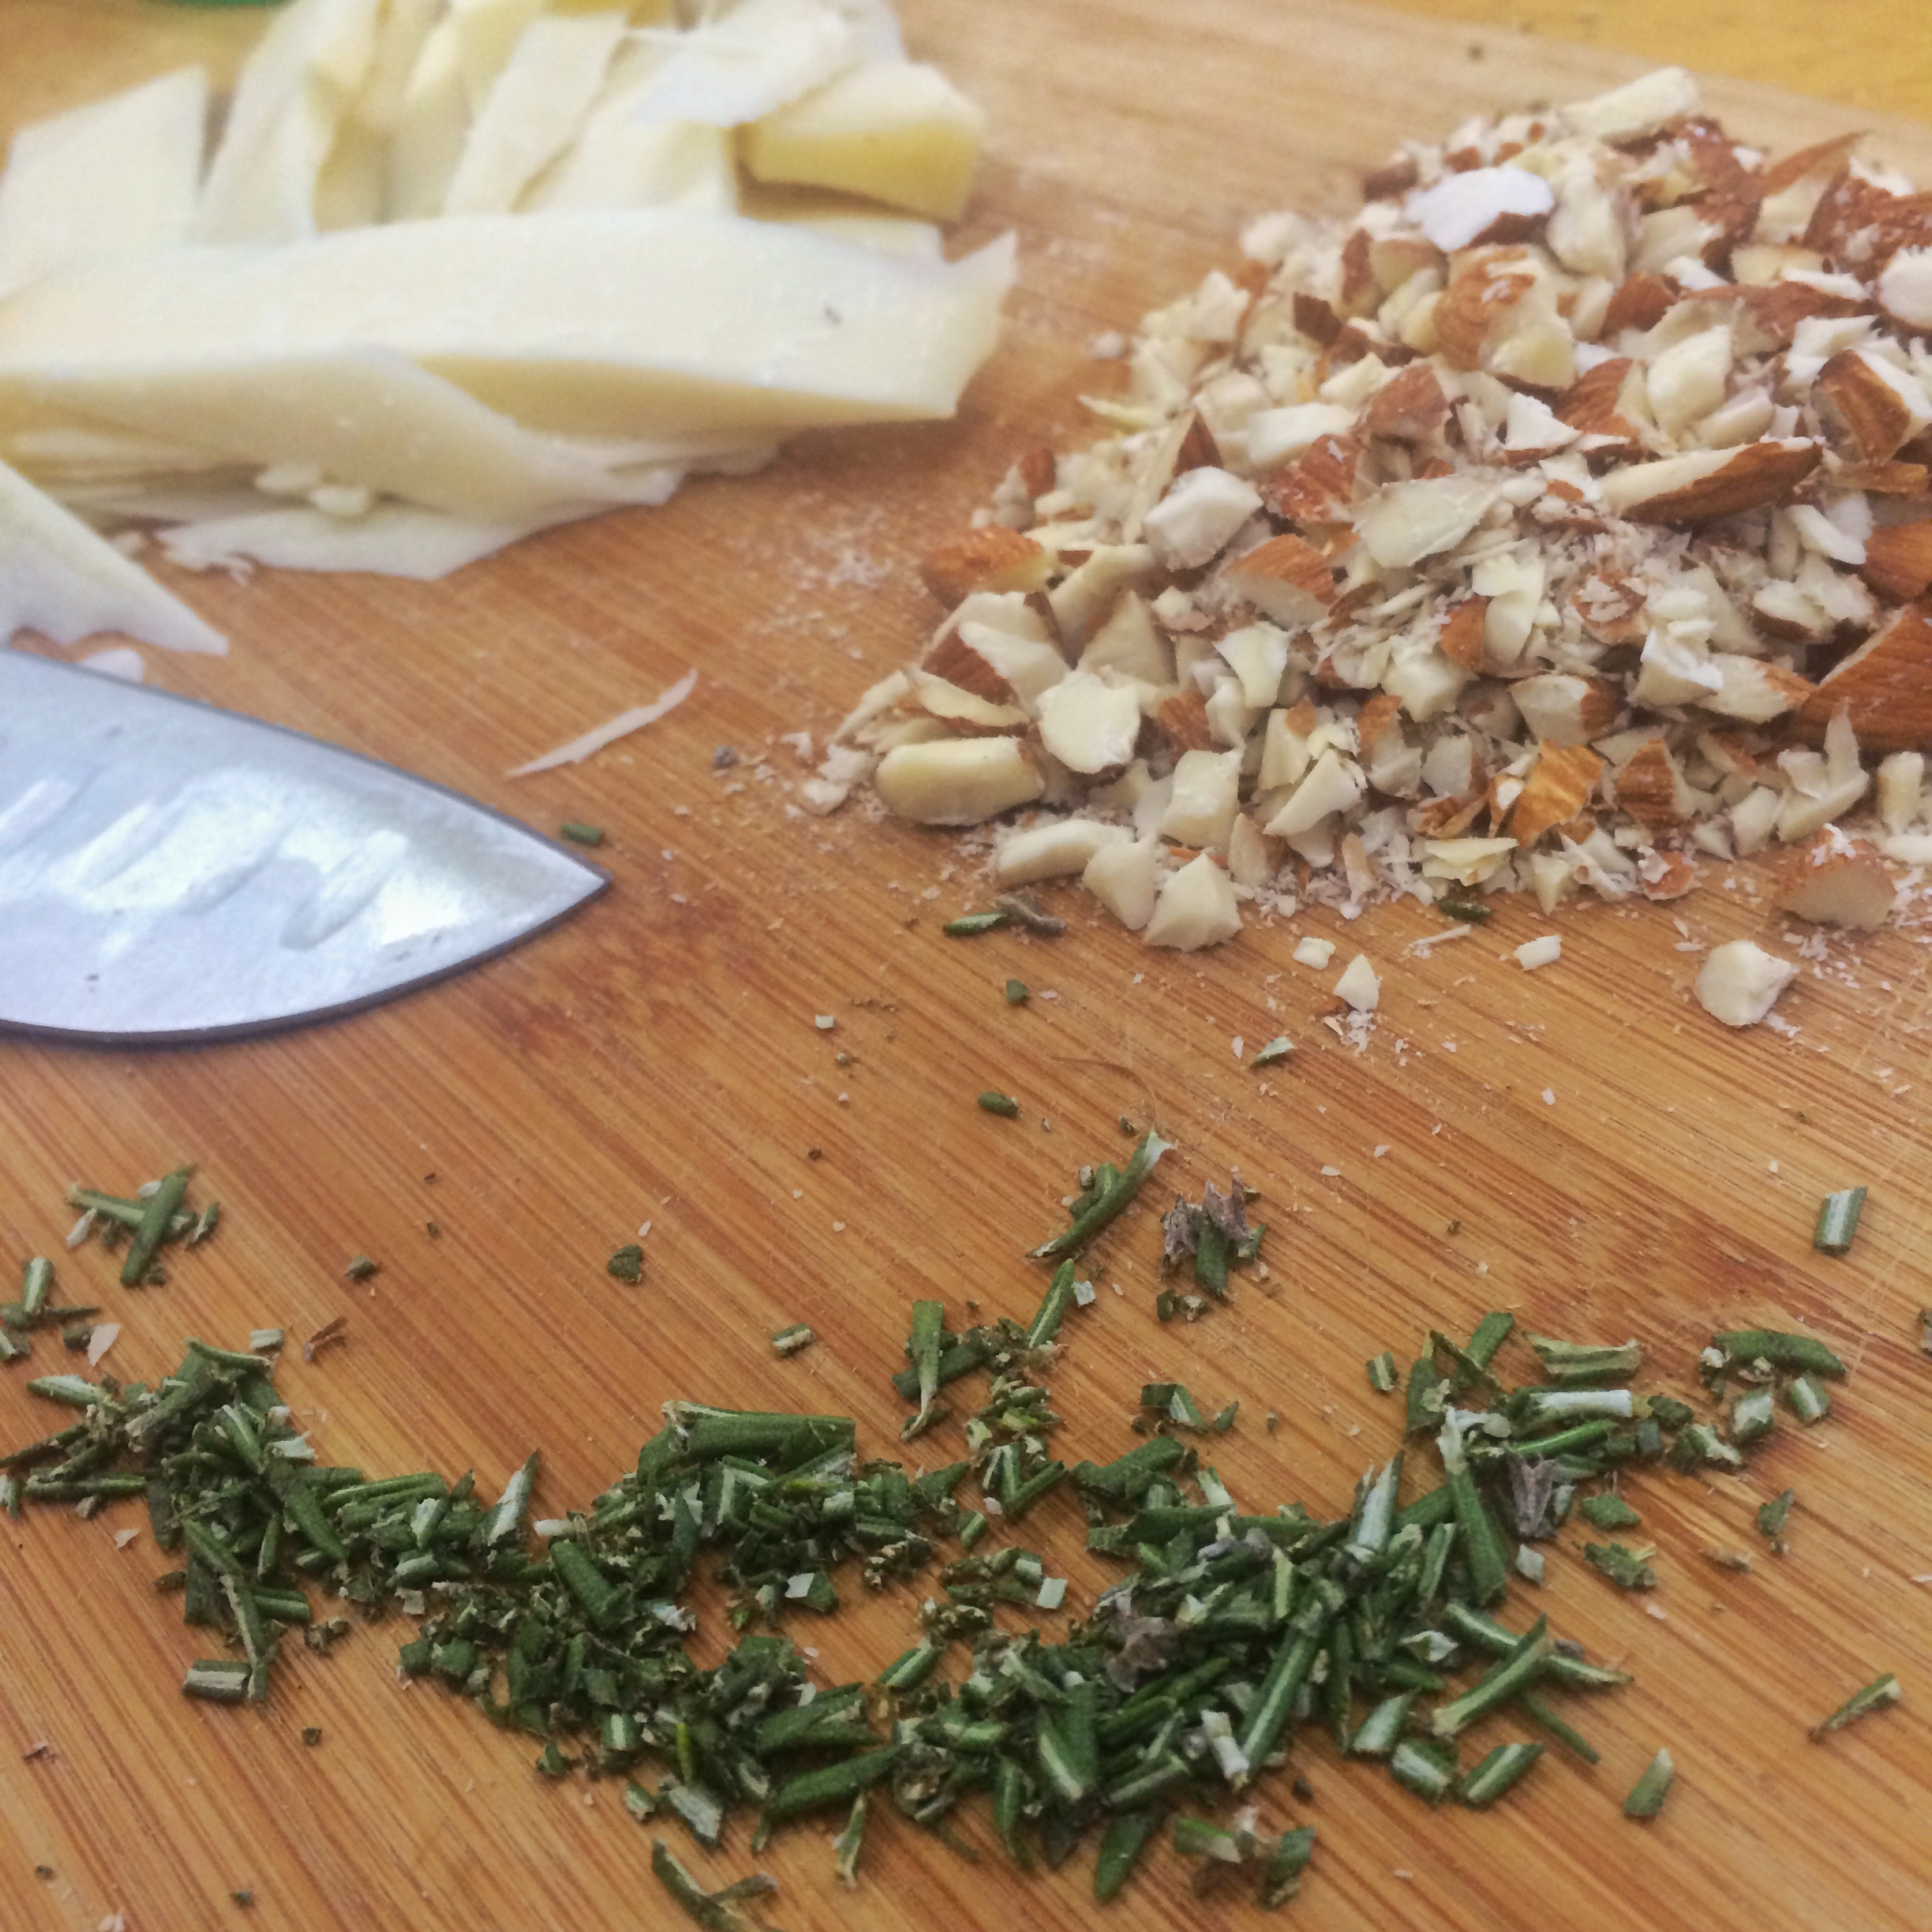
1 double crust pastry, 4 Bosc pears, block of gruyere, almonds (toasted and chopped), a few sprigs of rosemary, honey (I used solid honey butter)

FullSizeRender (39)

To make the pies, first make a double crust of your choosing (good for about 3.5 pears or 7 hand pies). I went with the vodka crust which gave me some anxiety as it seemed quite crumbly for a while but ended up delicious. Leave your crust in the fridge and poach the pears by heating a pot of water, adding about 1 cup of sugar and adding the whole peeled pears at a simmer for 15-20 minutes until the pears are softer but not mushy.  Remove and drain.  Halve and scoop out the center of the pears. Slice the cheese and chop the rosemary finely. Roll out the dough and use a pastry cutter to cut around the pear halves, leaving an edge to close the pies. Brush the edge with an egg white wash. Slice the pear in half again laterally, so there are two non-symmetrical pieces. Then lay the pastry down, spread a layer of honey, place the larger slice on the pastry, stuff the hole with toasted almond and chopped rosemary, then place a couple slices of gruyere on top. Place the second half of the pear over it to cap it off and cover the entire pear half in pastry, pinching the pastry pieces together to seal. Brush the pastry, shape hand pie into a pear, and cut slits down the long length.

FullSizeRender (40)FullSizeRender (41)FullSizeRender (42)

The hand that rocks the crust.

My main beef with savory hand pies is the crust. I’ve always complained its just too thick, and it kills the flavor. Being a self-serving megalomaniac, I decided to make a thin pastry with a filling that would satisfy gluttony itself. Did I achieve this? Let’s find out.

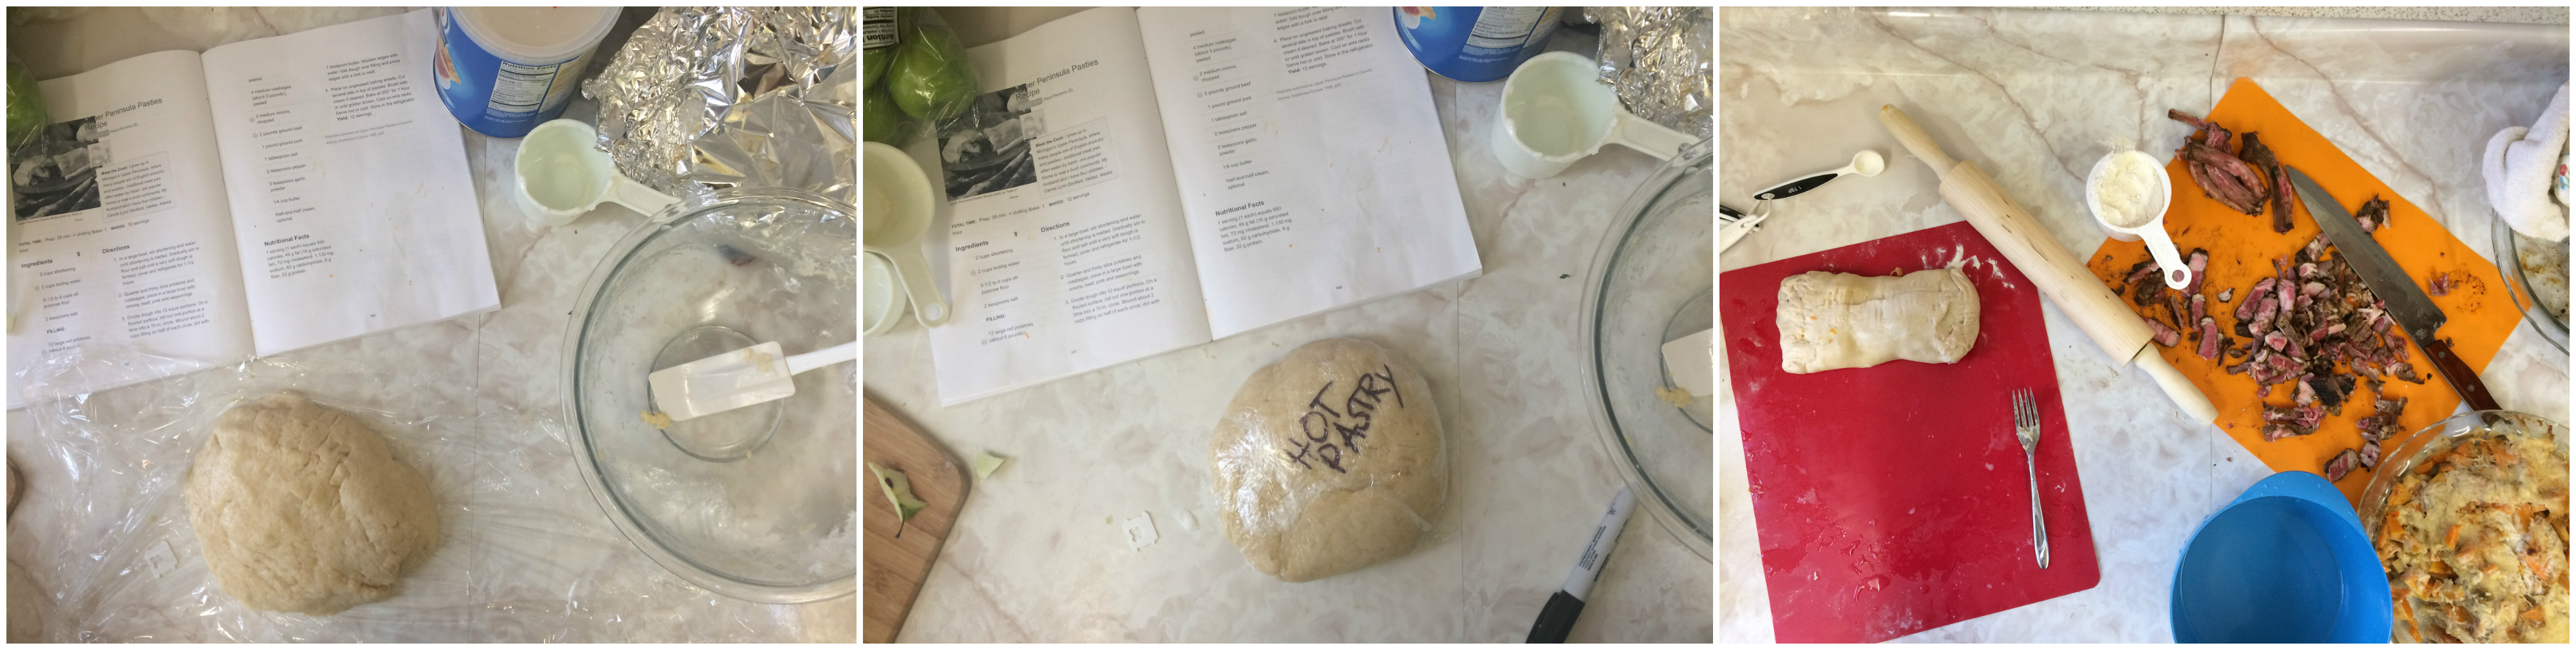
I decided to make a hot water pastry. Something about the words “a very soft pastry dough” made me think it was cool. The pastry itself was fun too make. It took a while for the shortening to melt, so I just put it on the stove, and while it melted, mixed the flour and salt. I decided to go with half the serving suggested by the recipe book. The dough came out well, it was in fact very soft. Into the fridge it went.

FotorCreated3

For my filling, I decided to use two separate recipes. The first was lamb chops marinated in honey, mint and cumin (http://www.myrecipes.com/recipe/cumin-honey-mint-marinated-lamb-chops). The lamb chop marinade was easy to make, and I added cayenne pepper and paprika to the recipe. The lamb marinated for four hours, while I worked with the other recipe.
FotorCreated

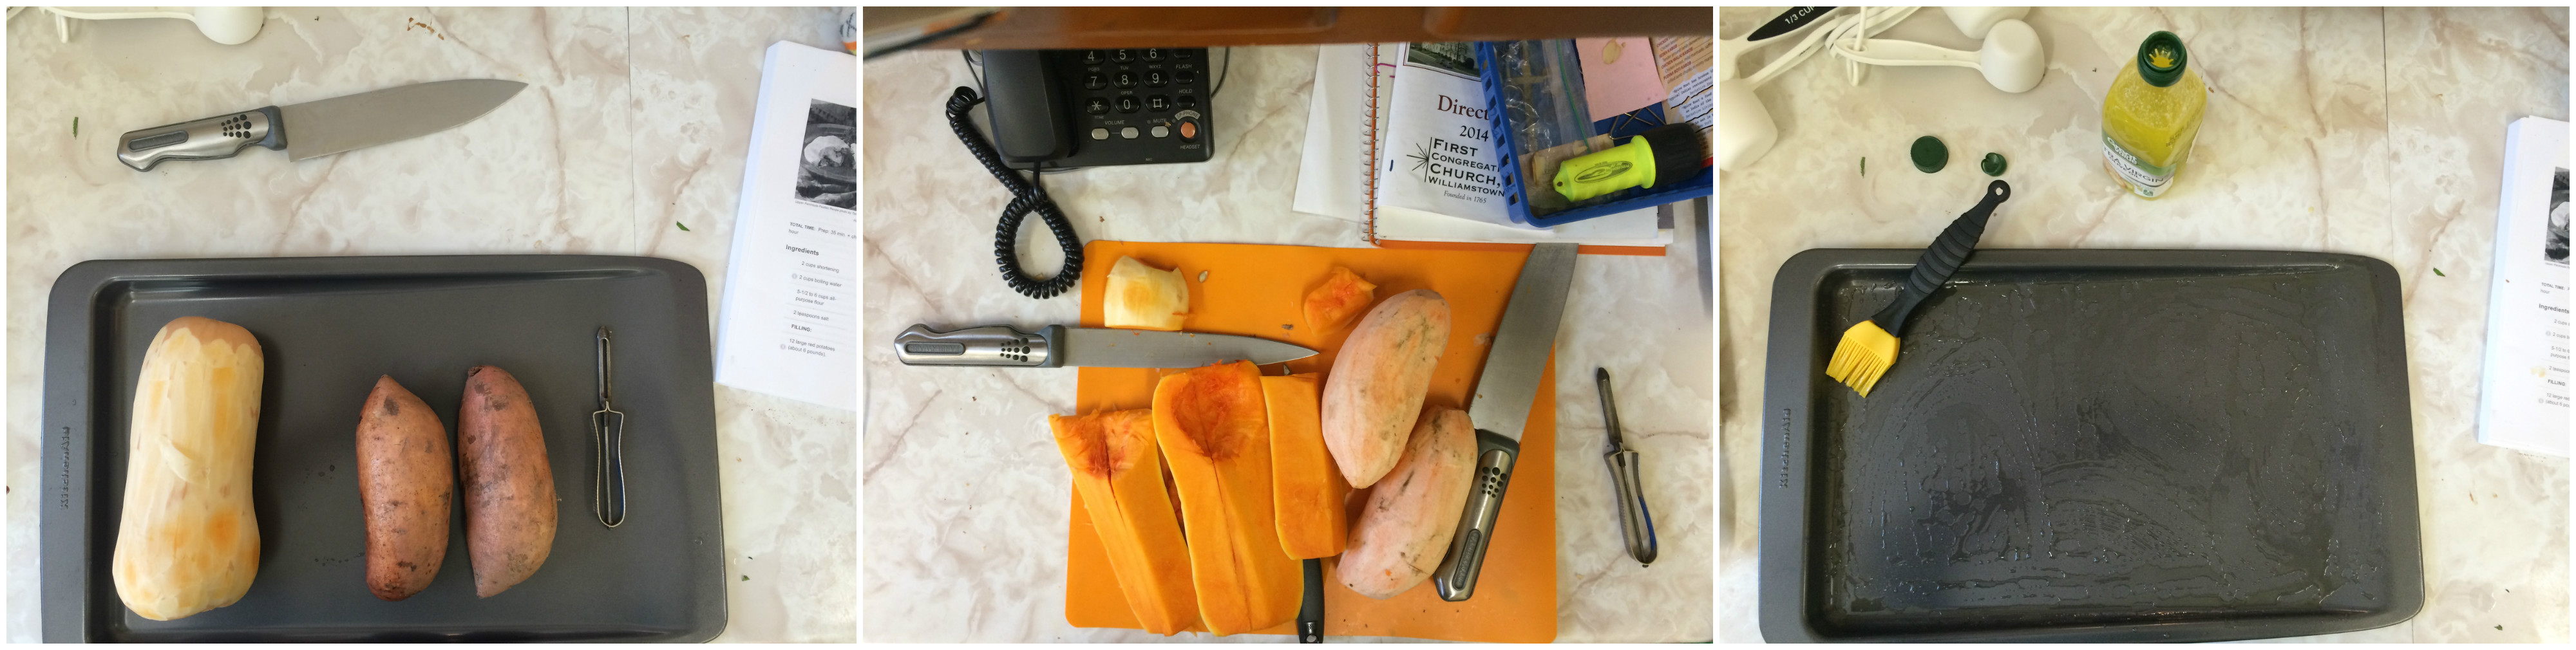
The other recipe was scalloped sweet potatoes and butternut squash (http://allrecipes.com/recipe/228878/scalloped-sweet-potatoes-and-butternut-squash/). I loved this recipe but it took a fair amount of time and chopping. The butternut squash and sweet potato had to get tender in the oven and the butternut squash gave me some trouble but with the amount of cooking it went through by the end, it came out very tender and I don’t think I would alter anything as far as cooking time goes. The recipe was not as spicy as I would have liked it to be, I suppose the next time I work with this filling, I’ll use my fair share of either chili, onions and bell pepper to add another texture and more flavor. On its own, the filling tasted great.
FotorCreated2

While rolling out the pastry, I rolled it too thin. I would stick to rolling it out thin, partially because I don’t care for thick pastries.
FotorCreatedt
Overall, this week went well. I think the pie cut at the table was a little off, because it didn’t taste fine, but the pie I had later tasted great. I’ll discuss this bit with David later. Also, I do think hand pies are great, and might be my forte. Next week is decoration week, and with my odd looking fish, I believe a Koons will be me.

Spinach and Mushroom Handpies

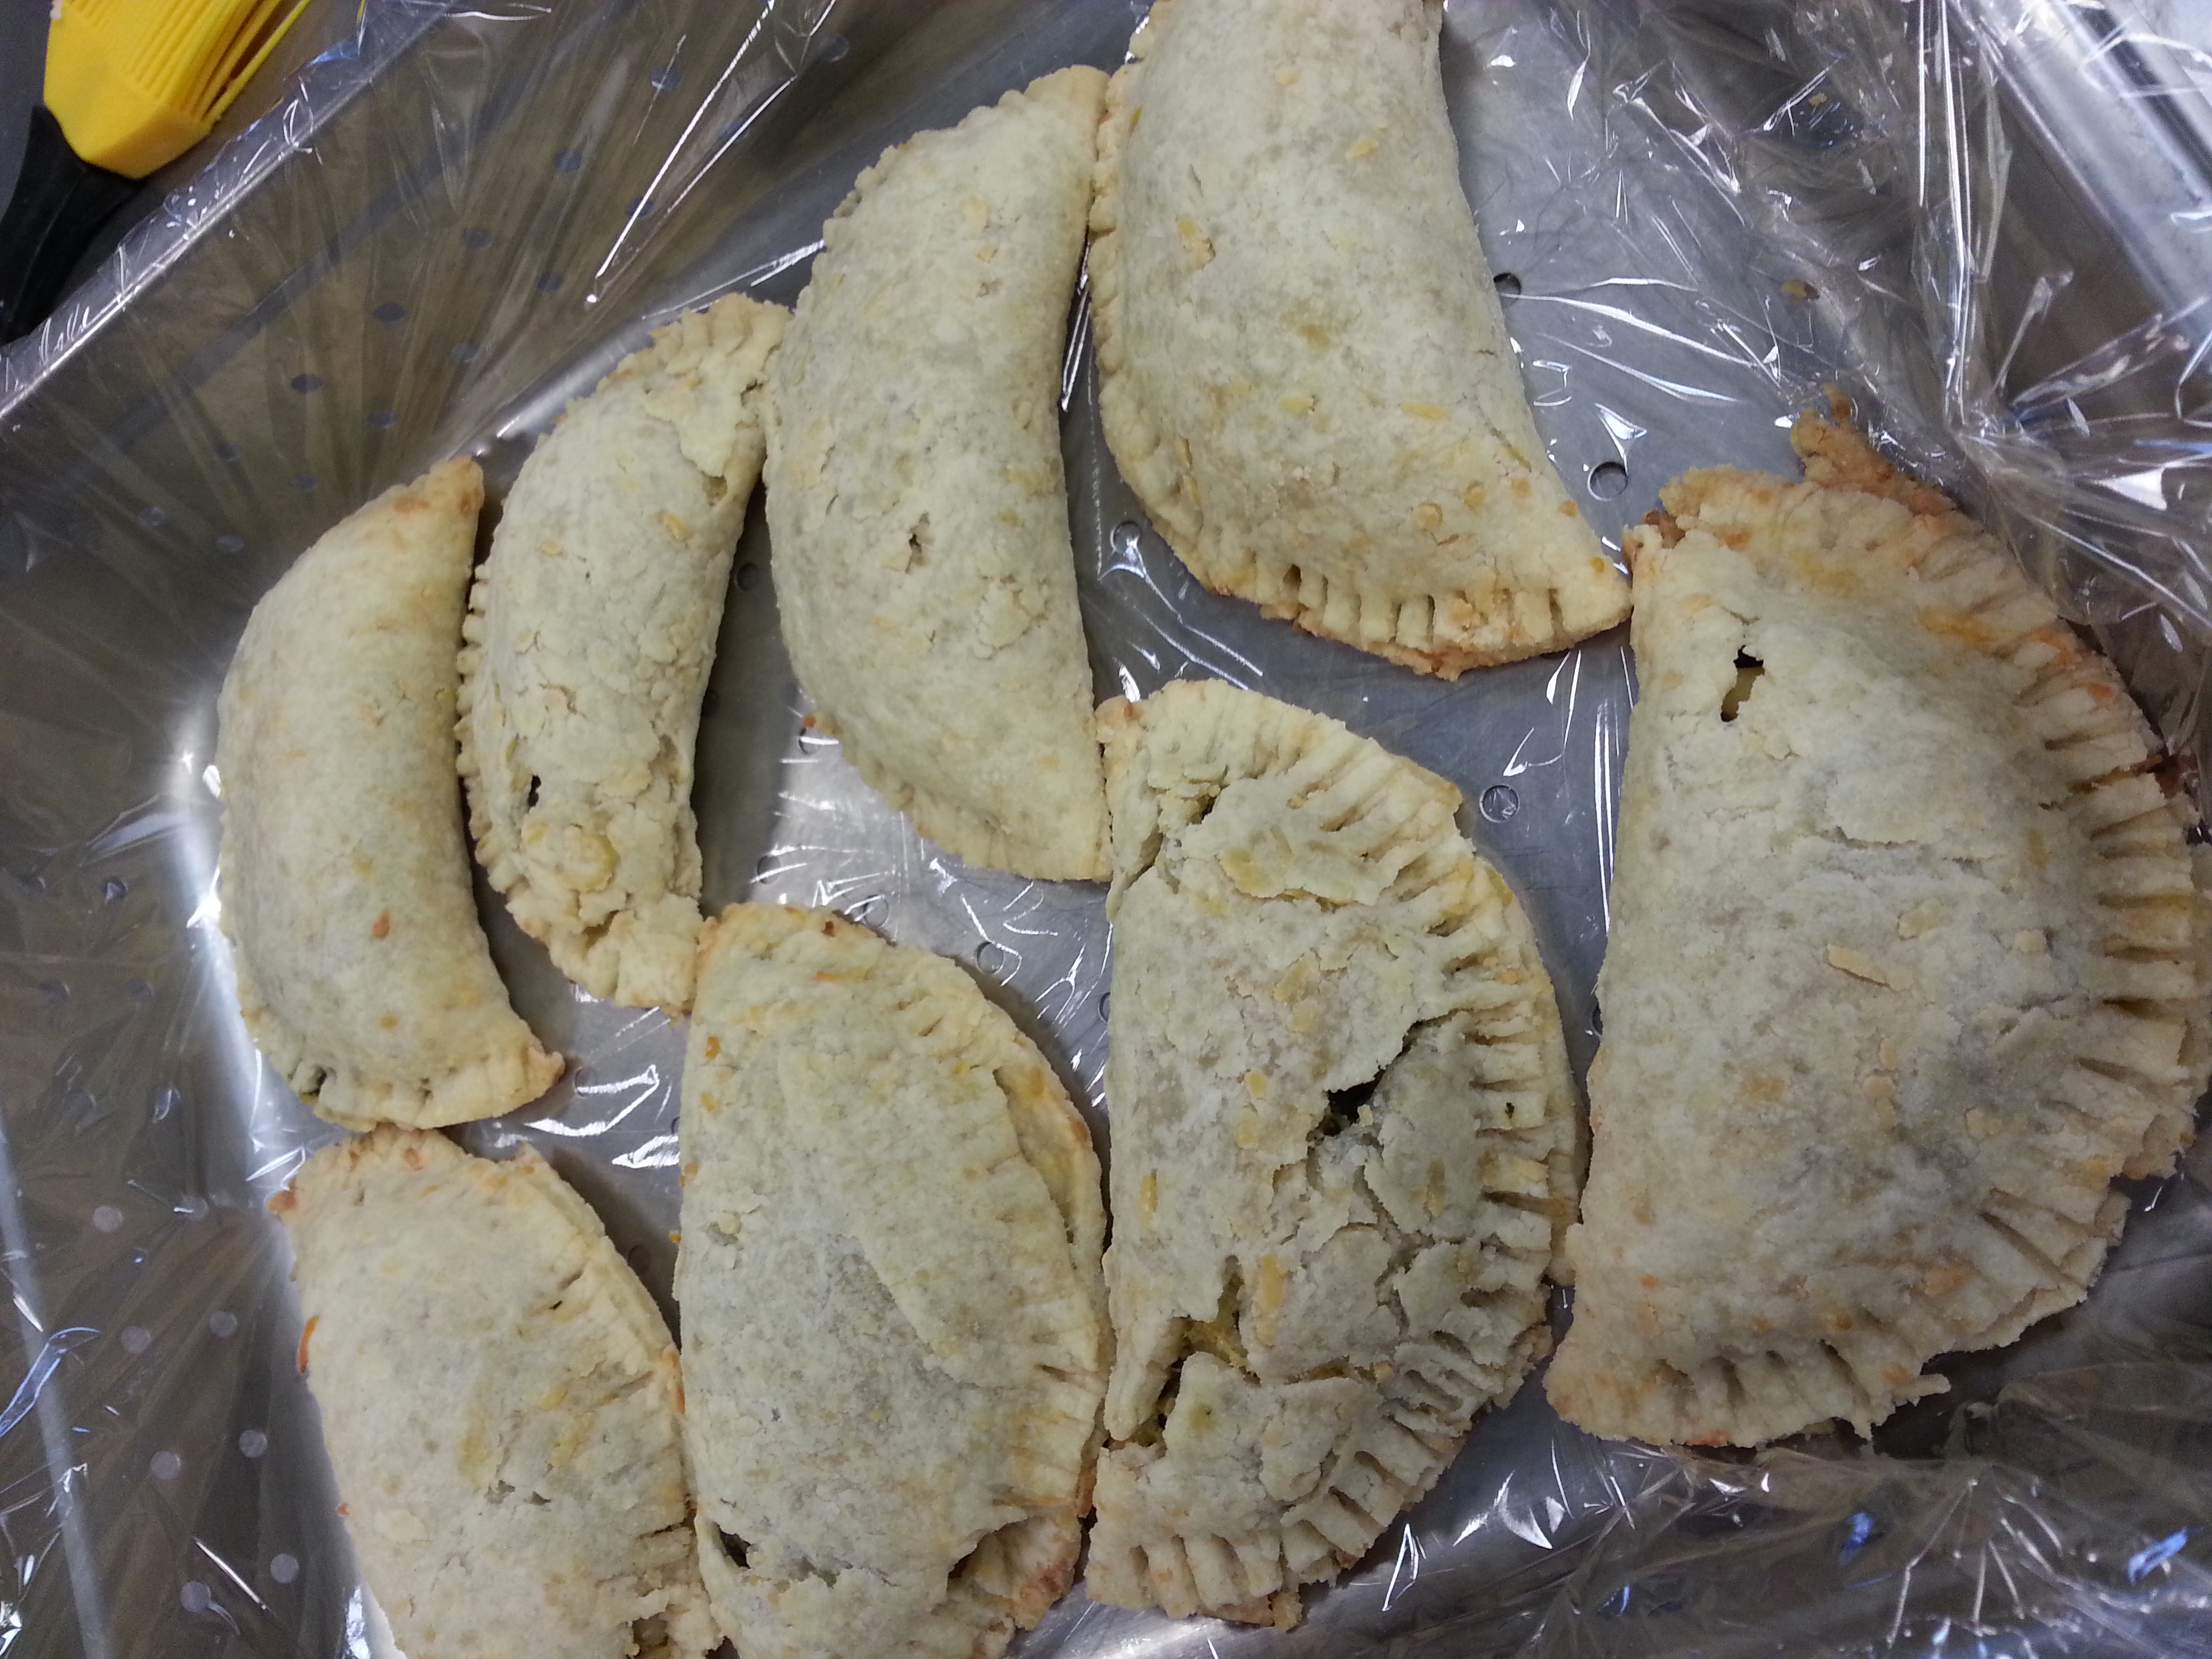
I think my spinach and mushroom hand pies turned out really well.

20140128_160133

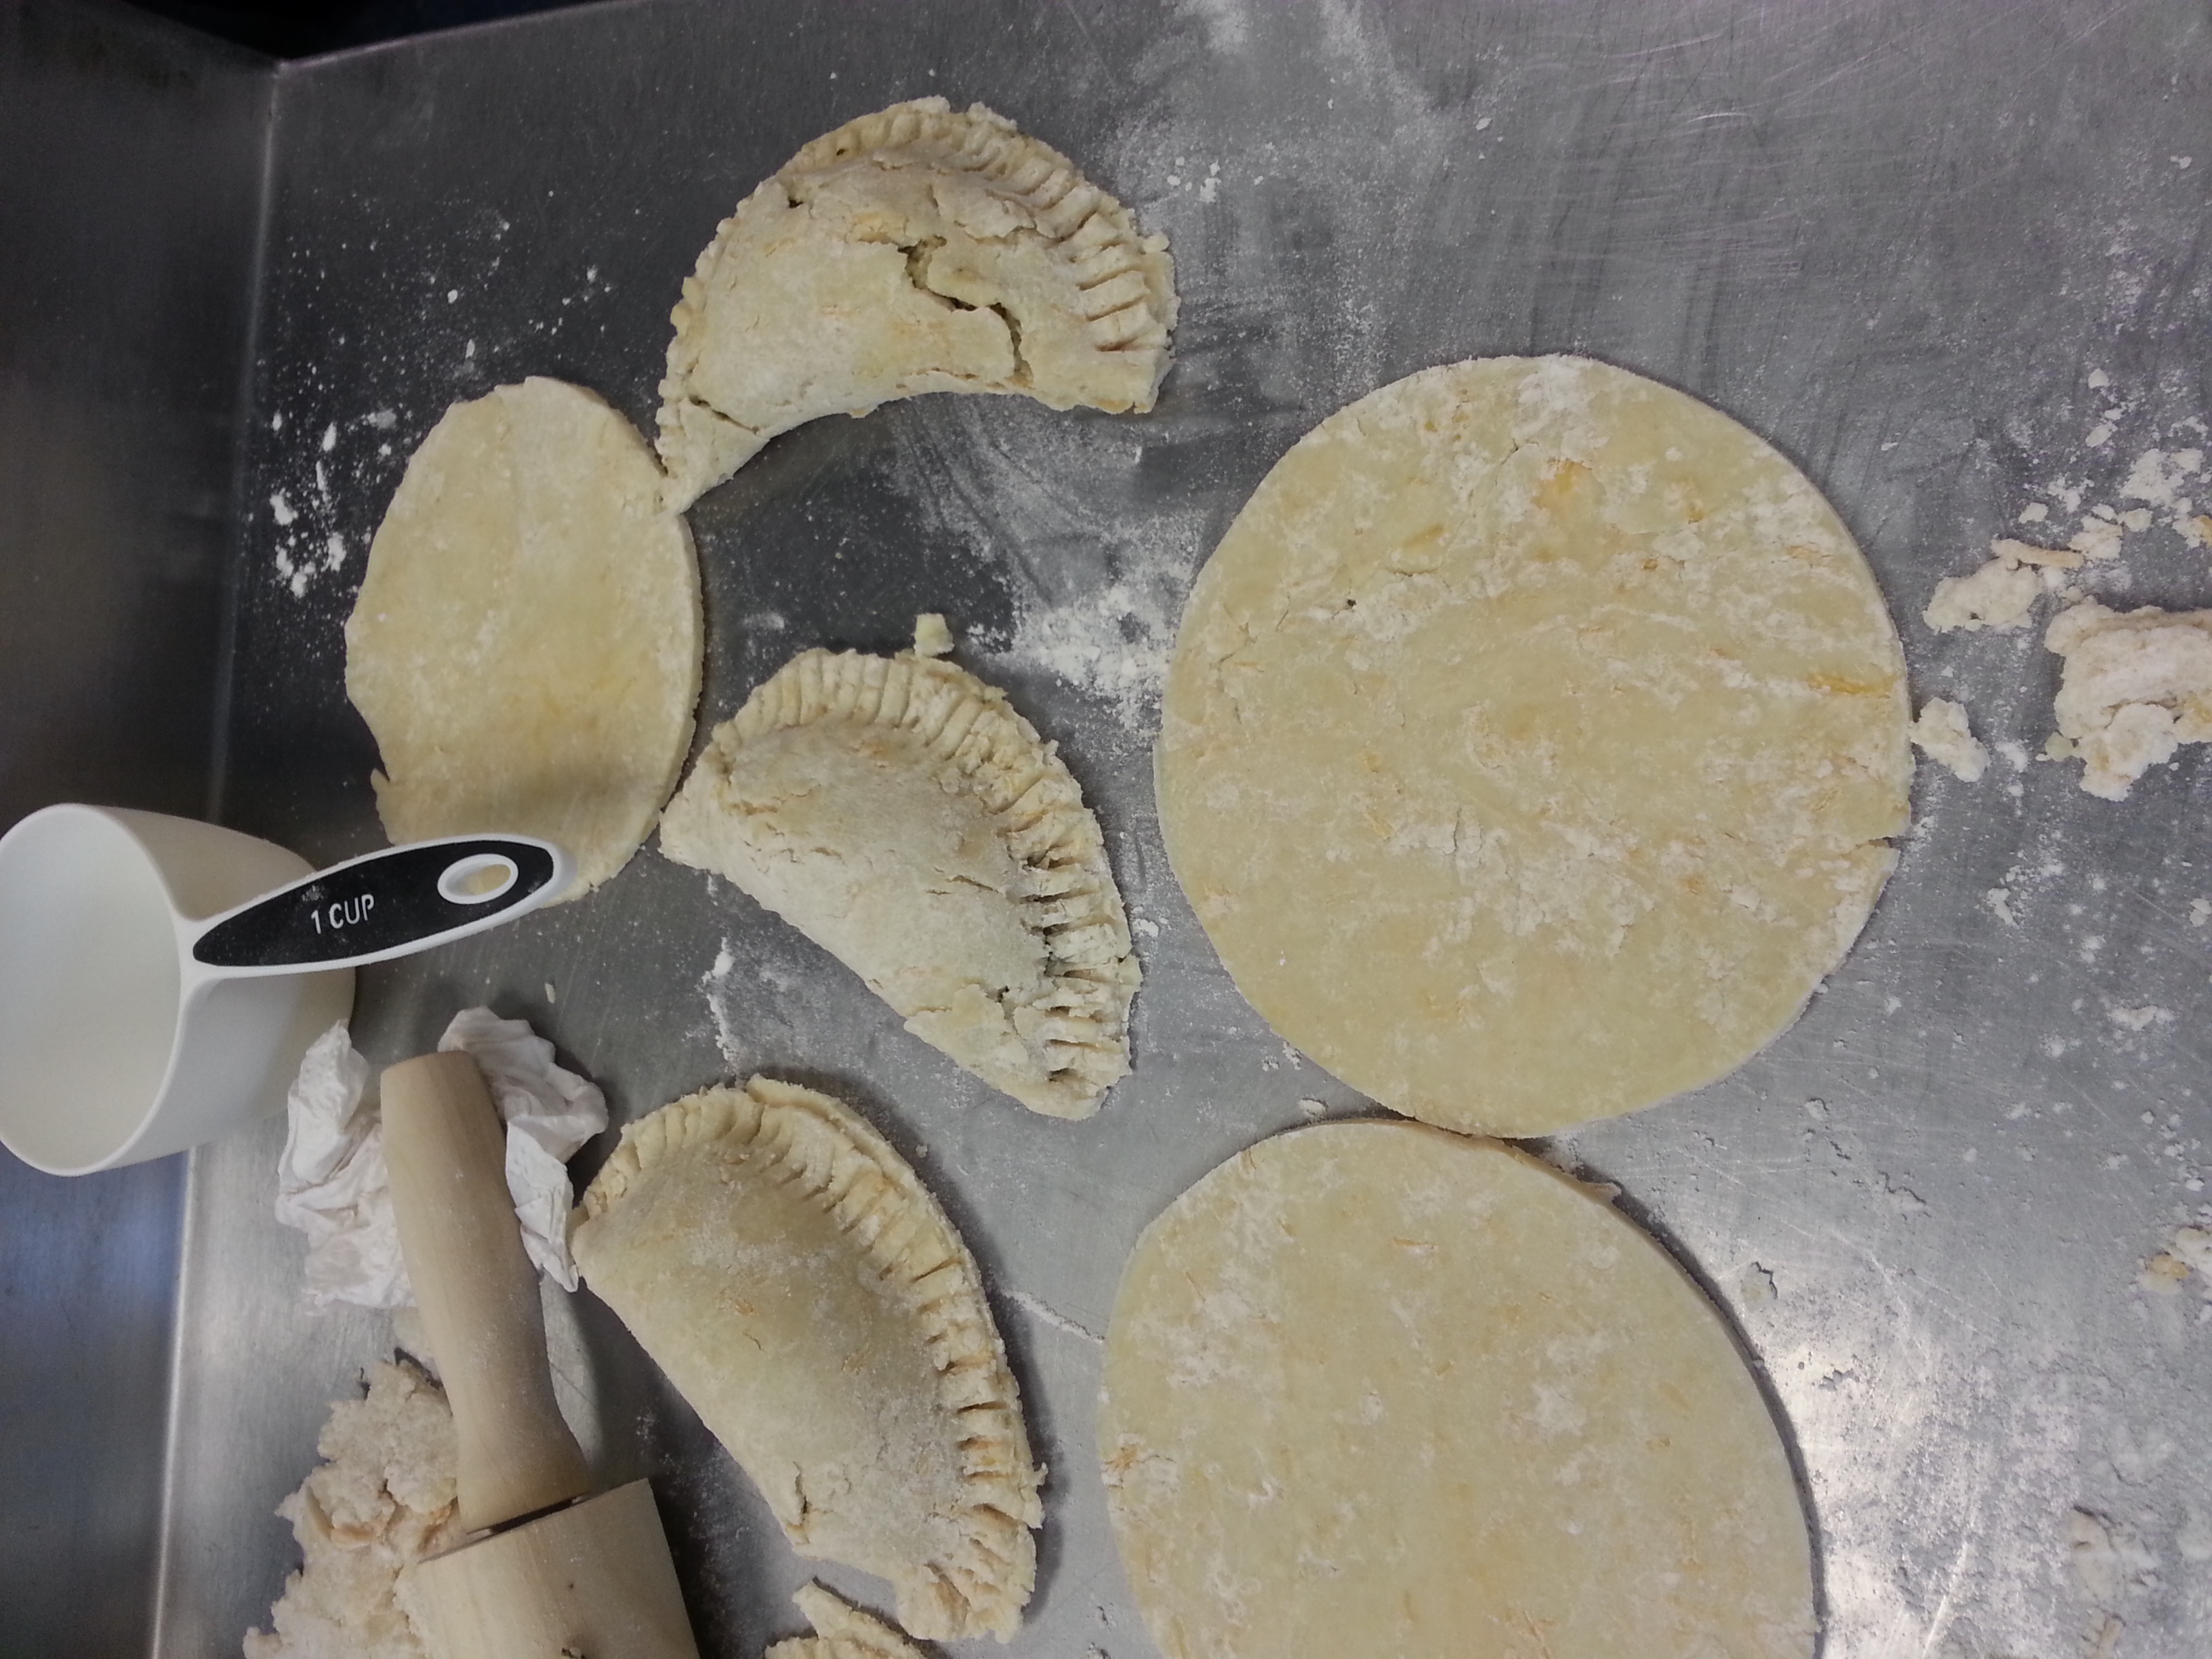
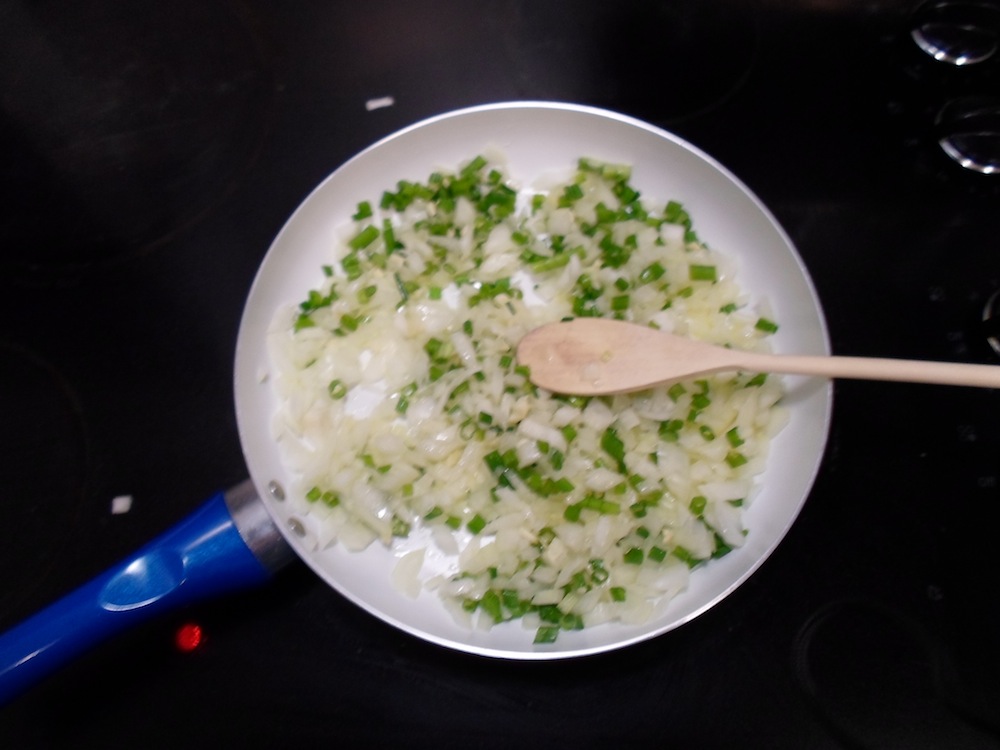
The crusts had Parmesan and cheddar cheese. They were fantastic. I had to improvise a little. I didn’t have a 4 inch pastry cutter but I did have a cap from the pine nuts container that I used in the filling. So I just used my tiny little carving knife to cut into the pastry around the circular container.

20140128_142327

I had made 9 pies from the first batch of pastry. I realize that my pastry probably wasn’t 4-in because I couldn’t fit the said amount of filling, according to the recipe, into them without fearing that they’d explode.

Instead, I managed to make another batch of pastry. I also realized that for my second batch, I formed my batch into a flat rectangle for chilling instead of a conventional disc. That way, I just rolled out the pastry to form this super long sheet of pastry and cut my circles out from there. Another funny thought, I actually had used less butter in my first batch due to a calculation error. That’s why my pastry was so much harder to roll out and cut in my first attempt.

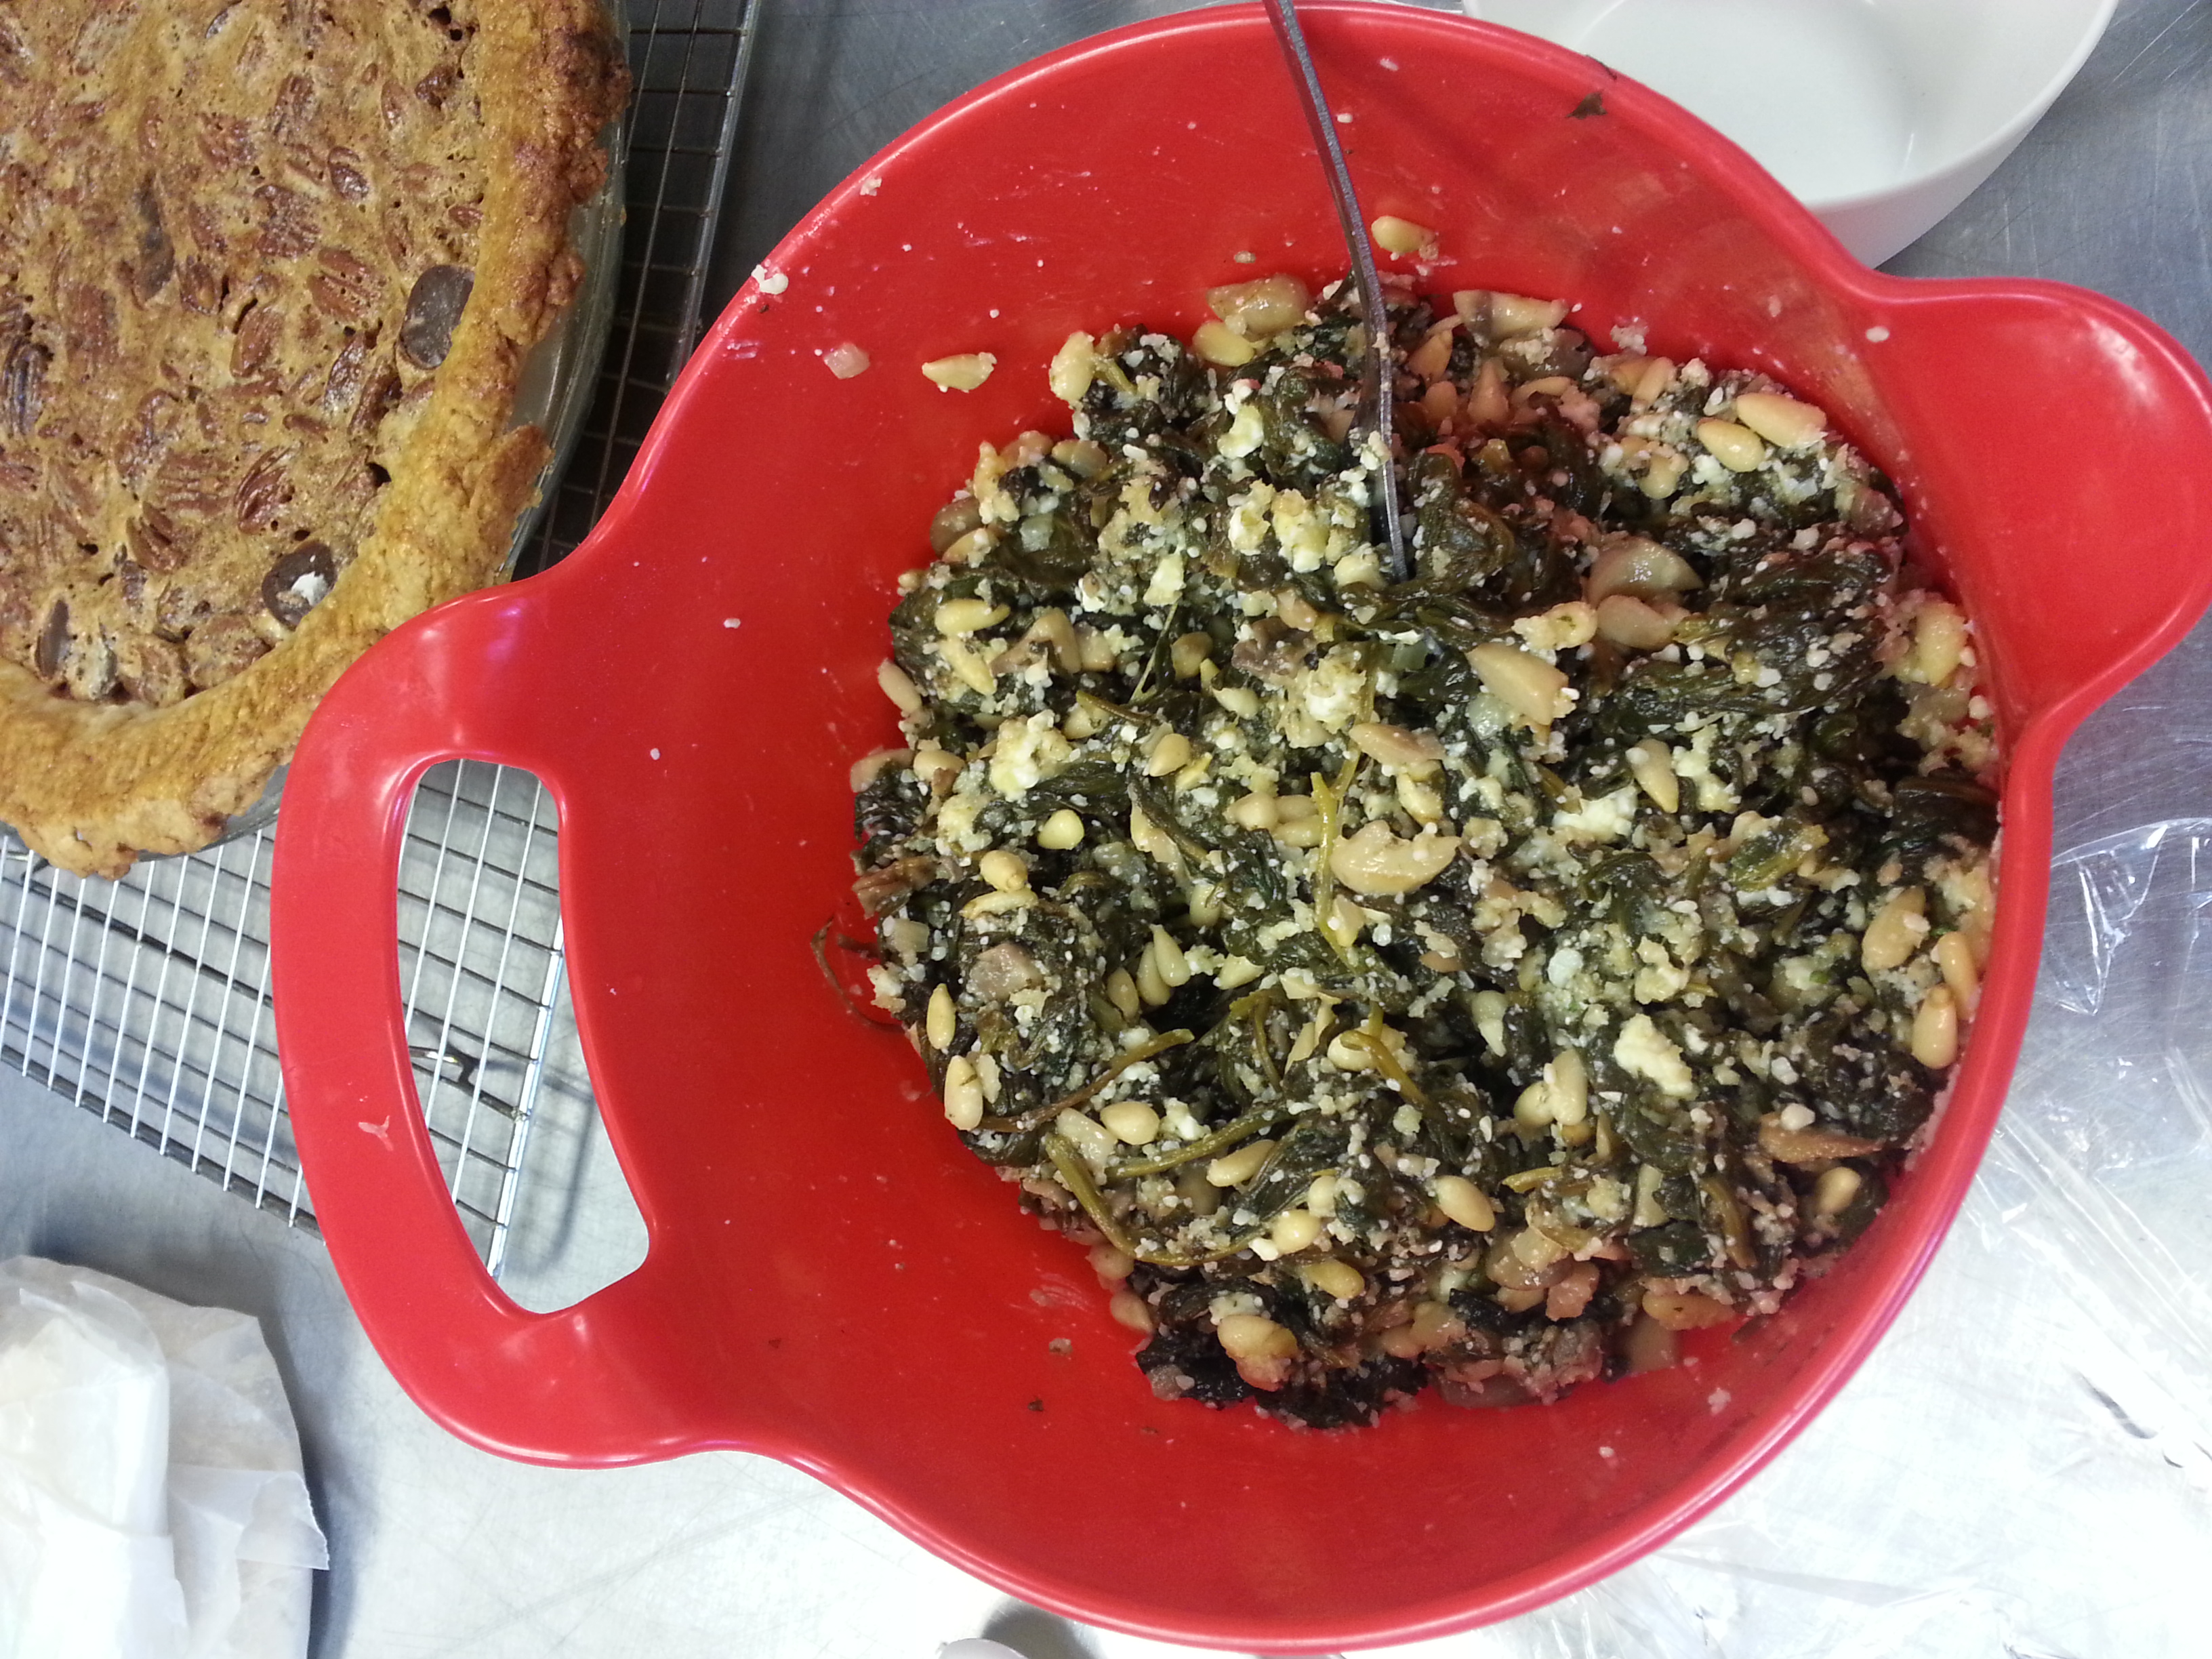
Here’s a look at my filling:

20140128_132145

I didn’t have feta so I substituted Parmesan and goat cheese instead.

These pies were probably the most fun to make, especially after getting into the groove.


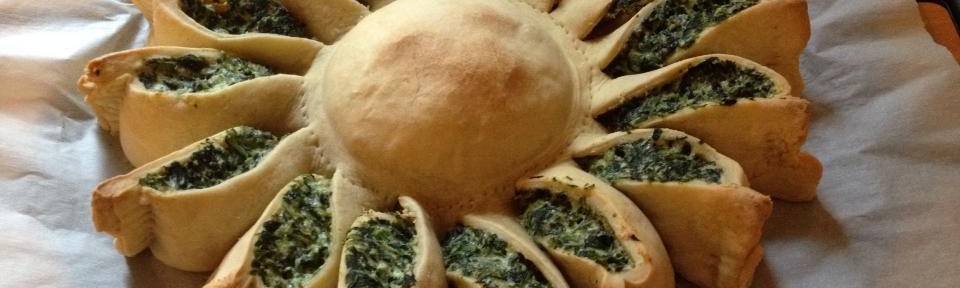
Sunny spinach pie

This just looked too good to pass up. Best part was, it tasted amazing too! Win-win.

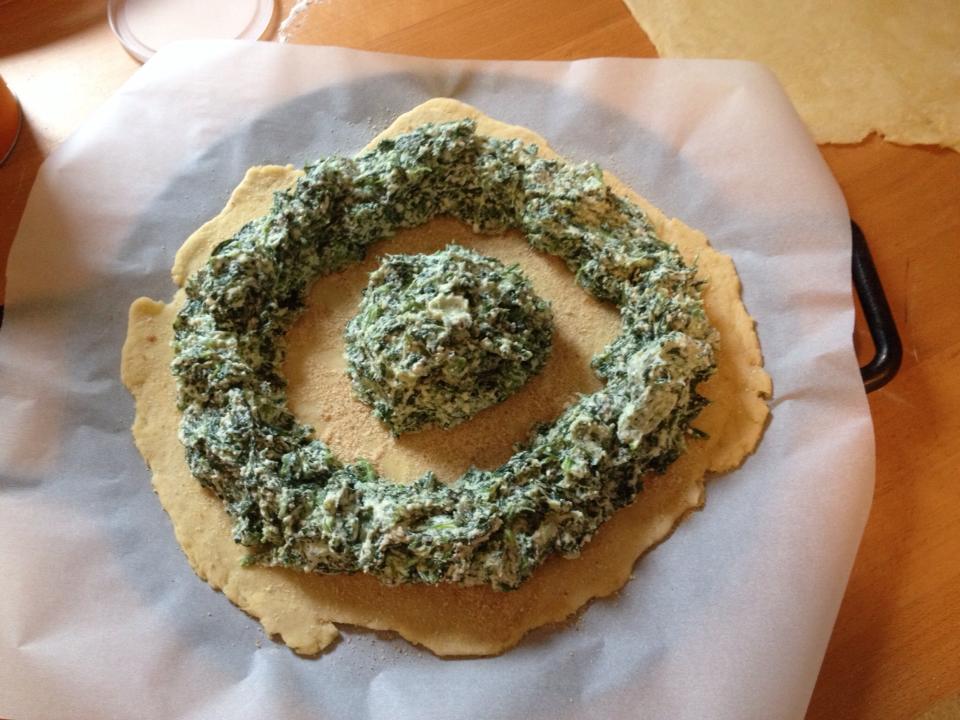
So basically you make a double crust, opening it up to a bit wider than one would for a pie in a pie plate. On the bottom crust you put your spinach-ricotta-spices mixture in a pattern like this:

20131117-sunny-spinach-pie-1Then lay the top crust over it, tucking it in around the central mound of filling, and making sure the outer edges line up with one another. Use a bowl to shape the dough over the central mound (it’ll give it a nice dome shape). Moisten the edges of the two layers and use a fork to crimp them together. Poke the fork tines down through both layers in a circle around the bowl to help bind them together around the center dome.

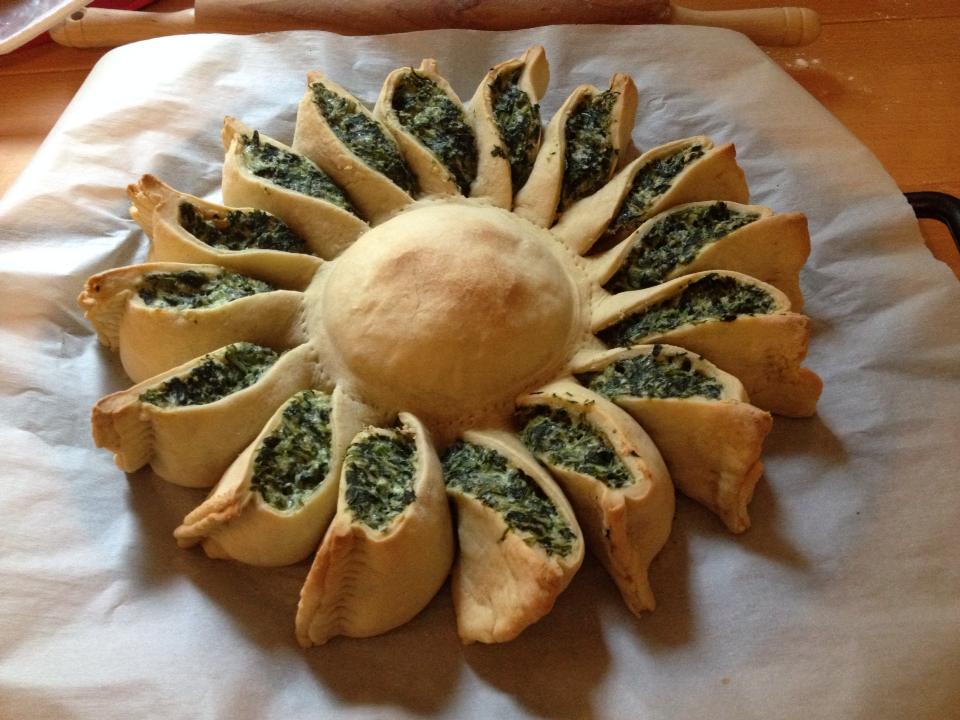
Then you do a magical slice-and-twist thing around the outer ring of filled pastry to get this:

20131117-sunny-spinach-pie-2It’s pretty amazing!