Category Archives: other topping

Bacon Egg and Cheese Bacon Lattice Breakfast Pie and Sweet Potato Pie

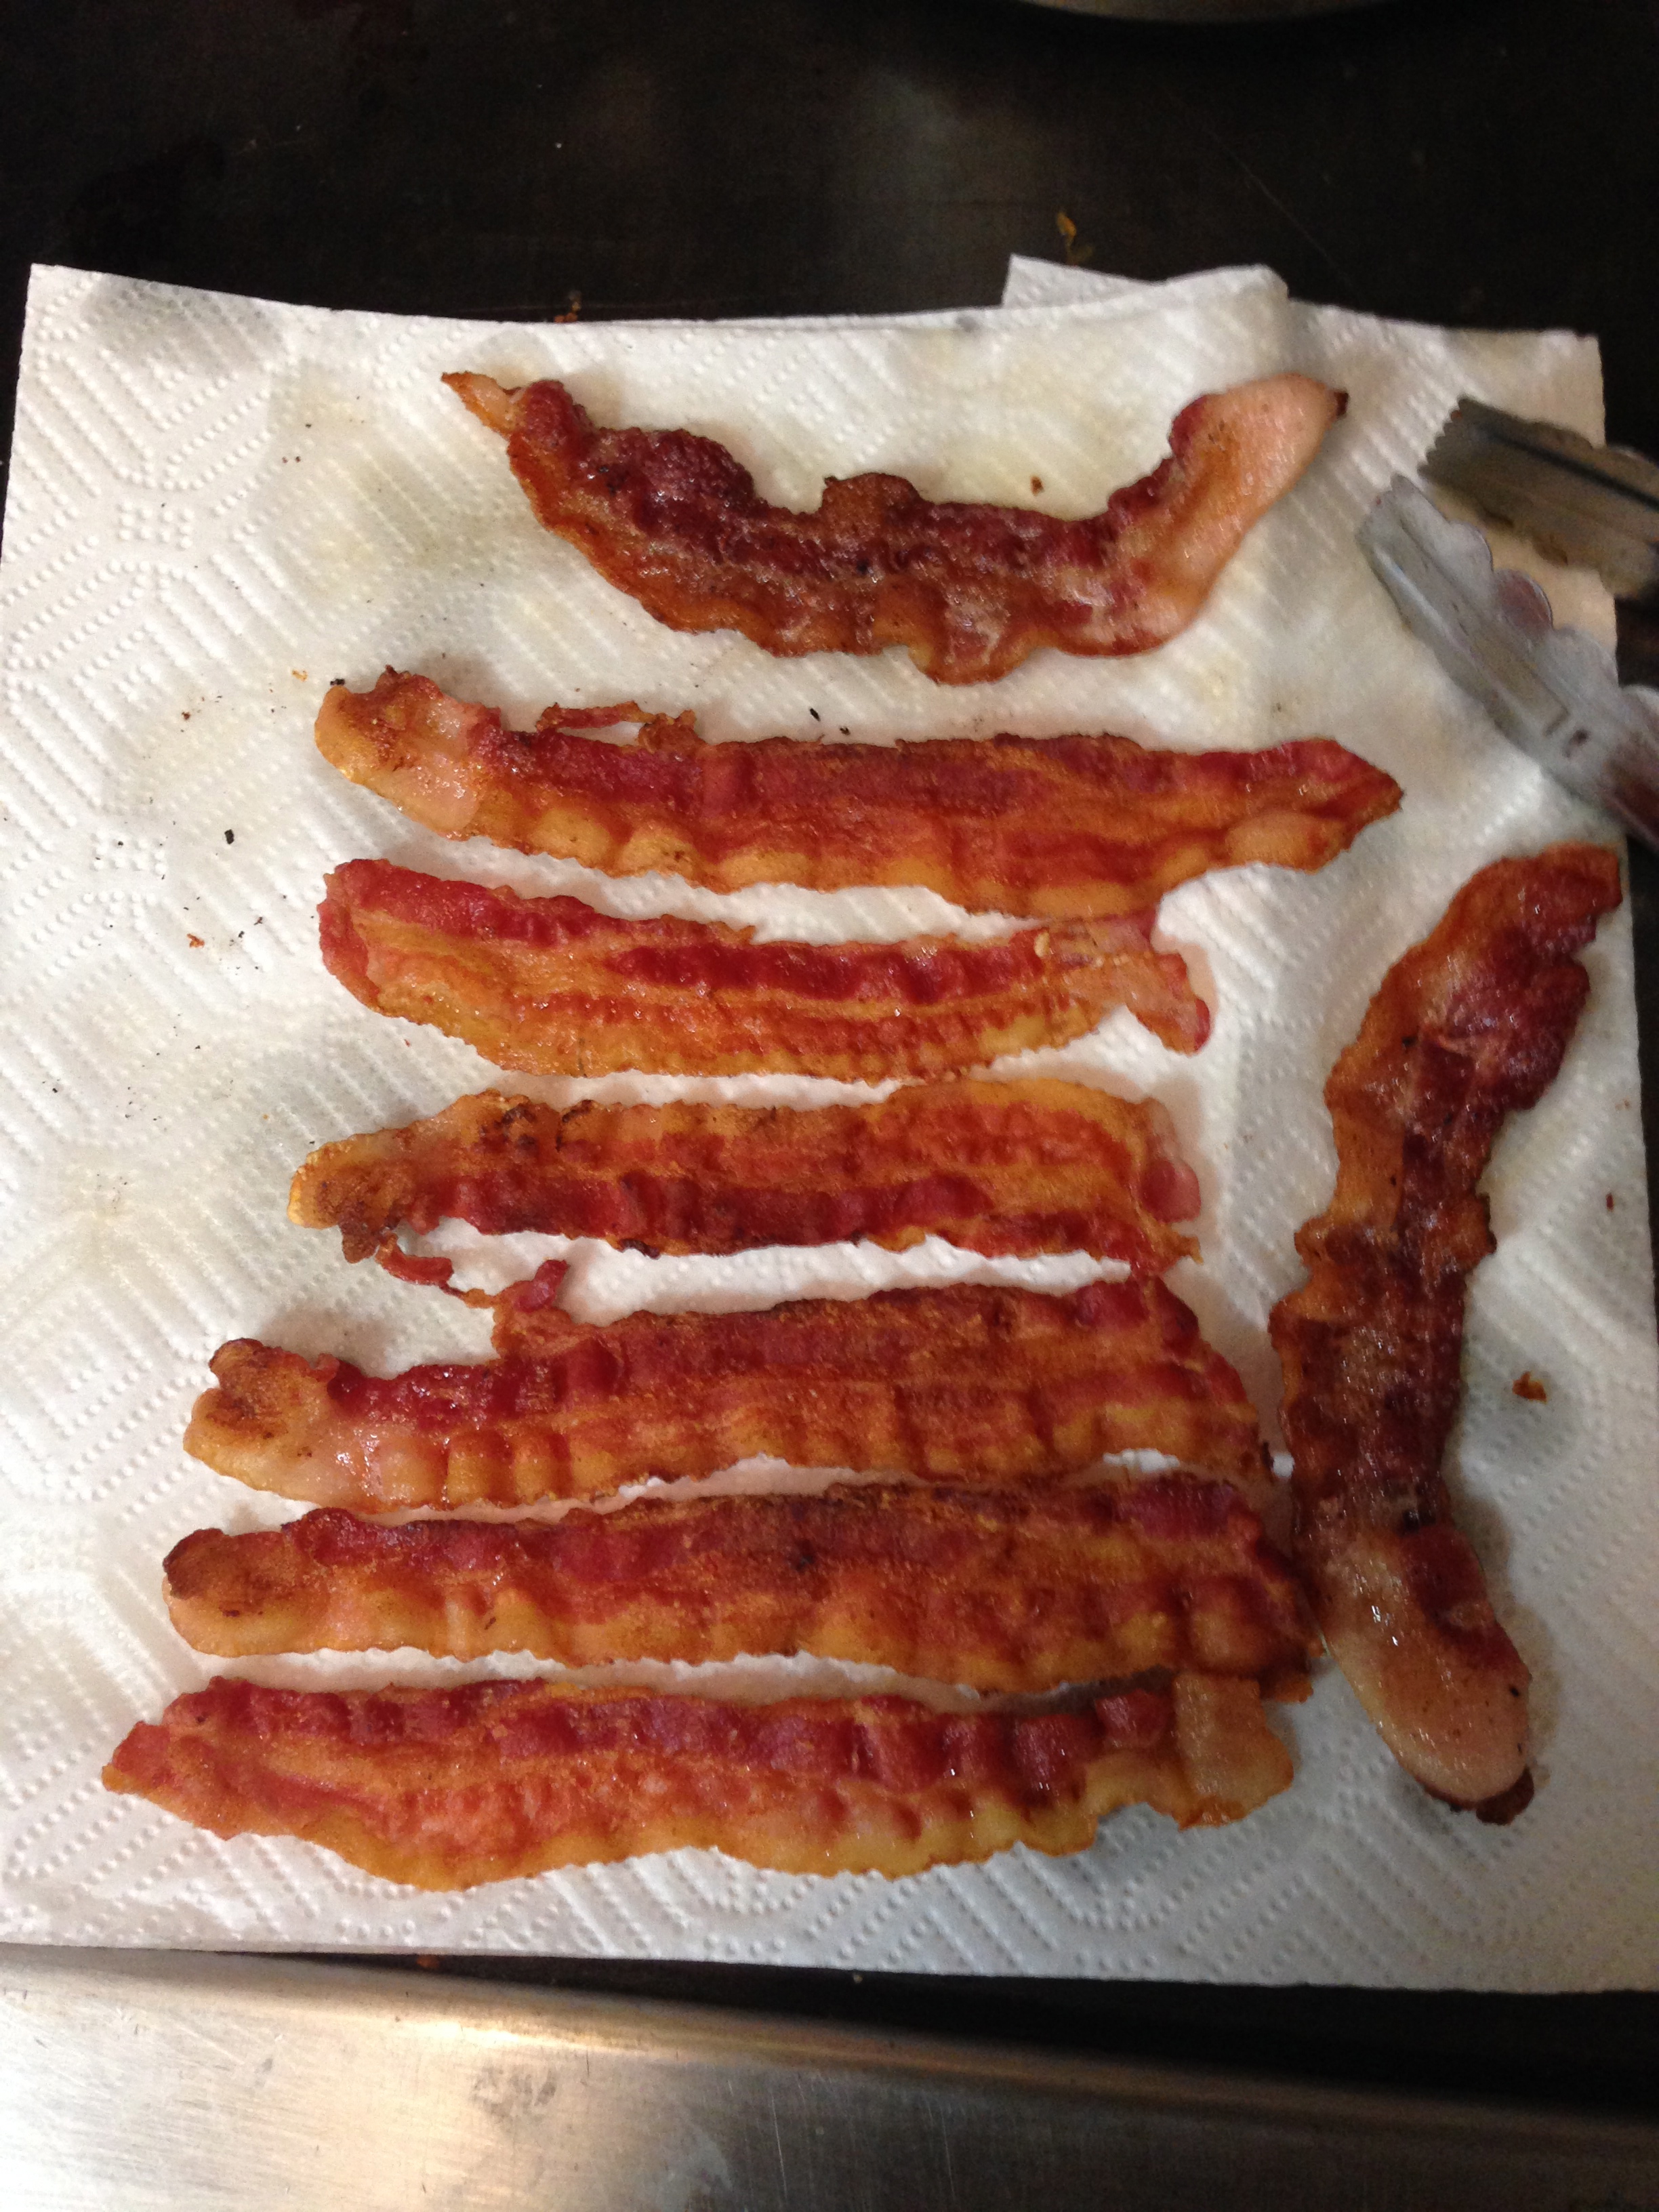
I really enjoyed making both of these pies because they were so different! A bacon lattice top and a marshmallow top are pretty dissimilar, but somehow I managed to make both of them work out. I think the breakfast pie was the biggest success mostly because I think there is something inherently appetizing about a bacon lattice!
IMG_1410
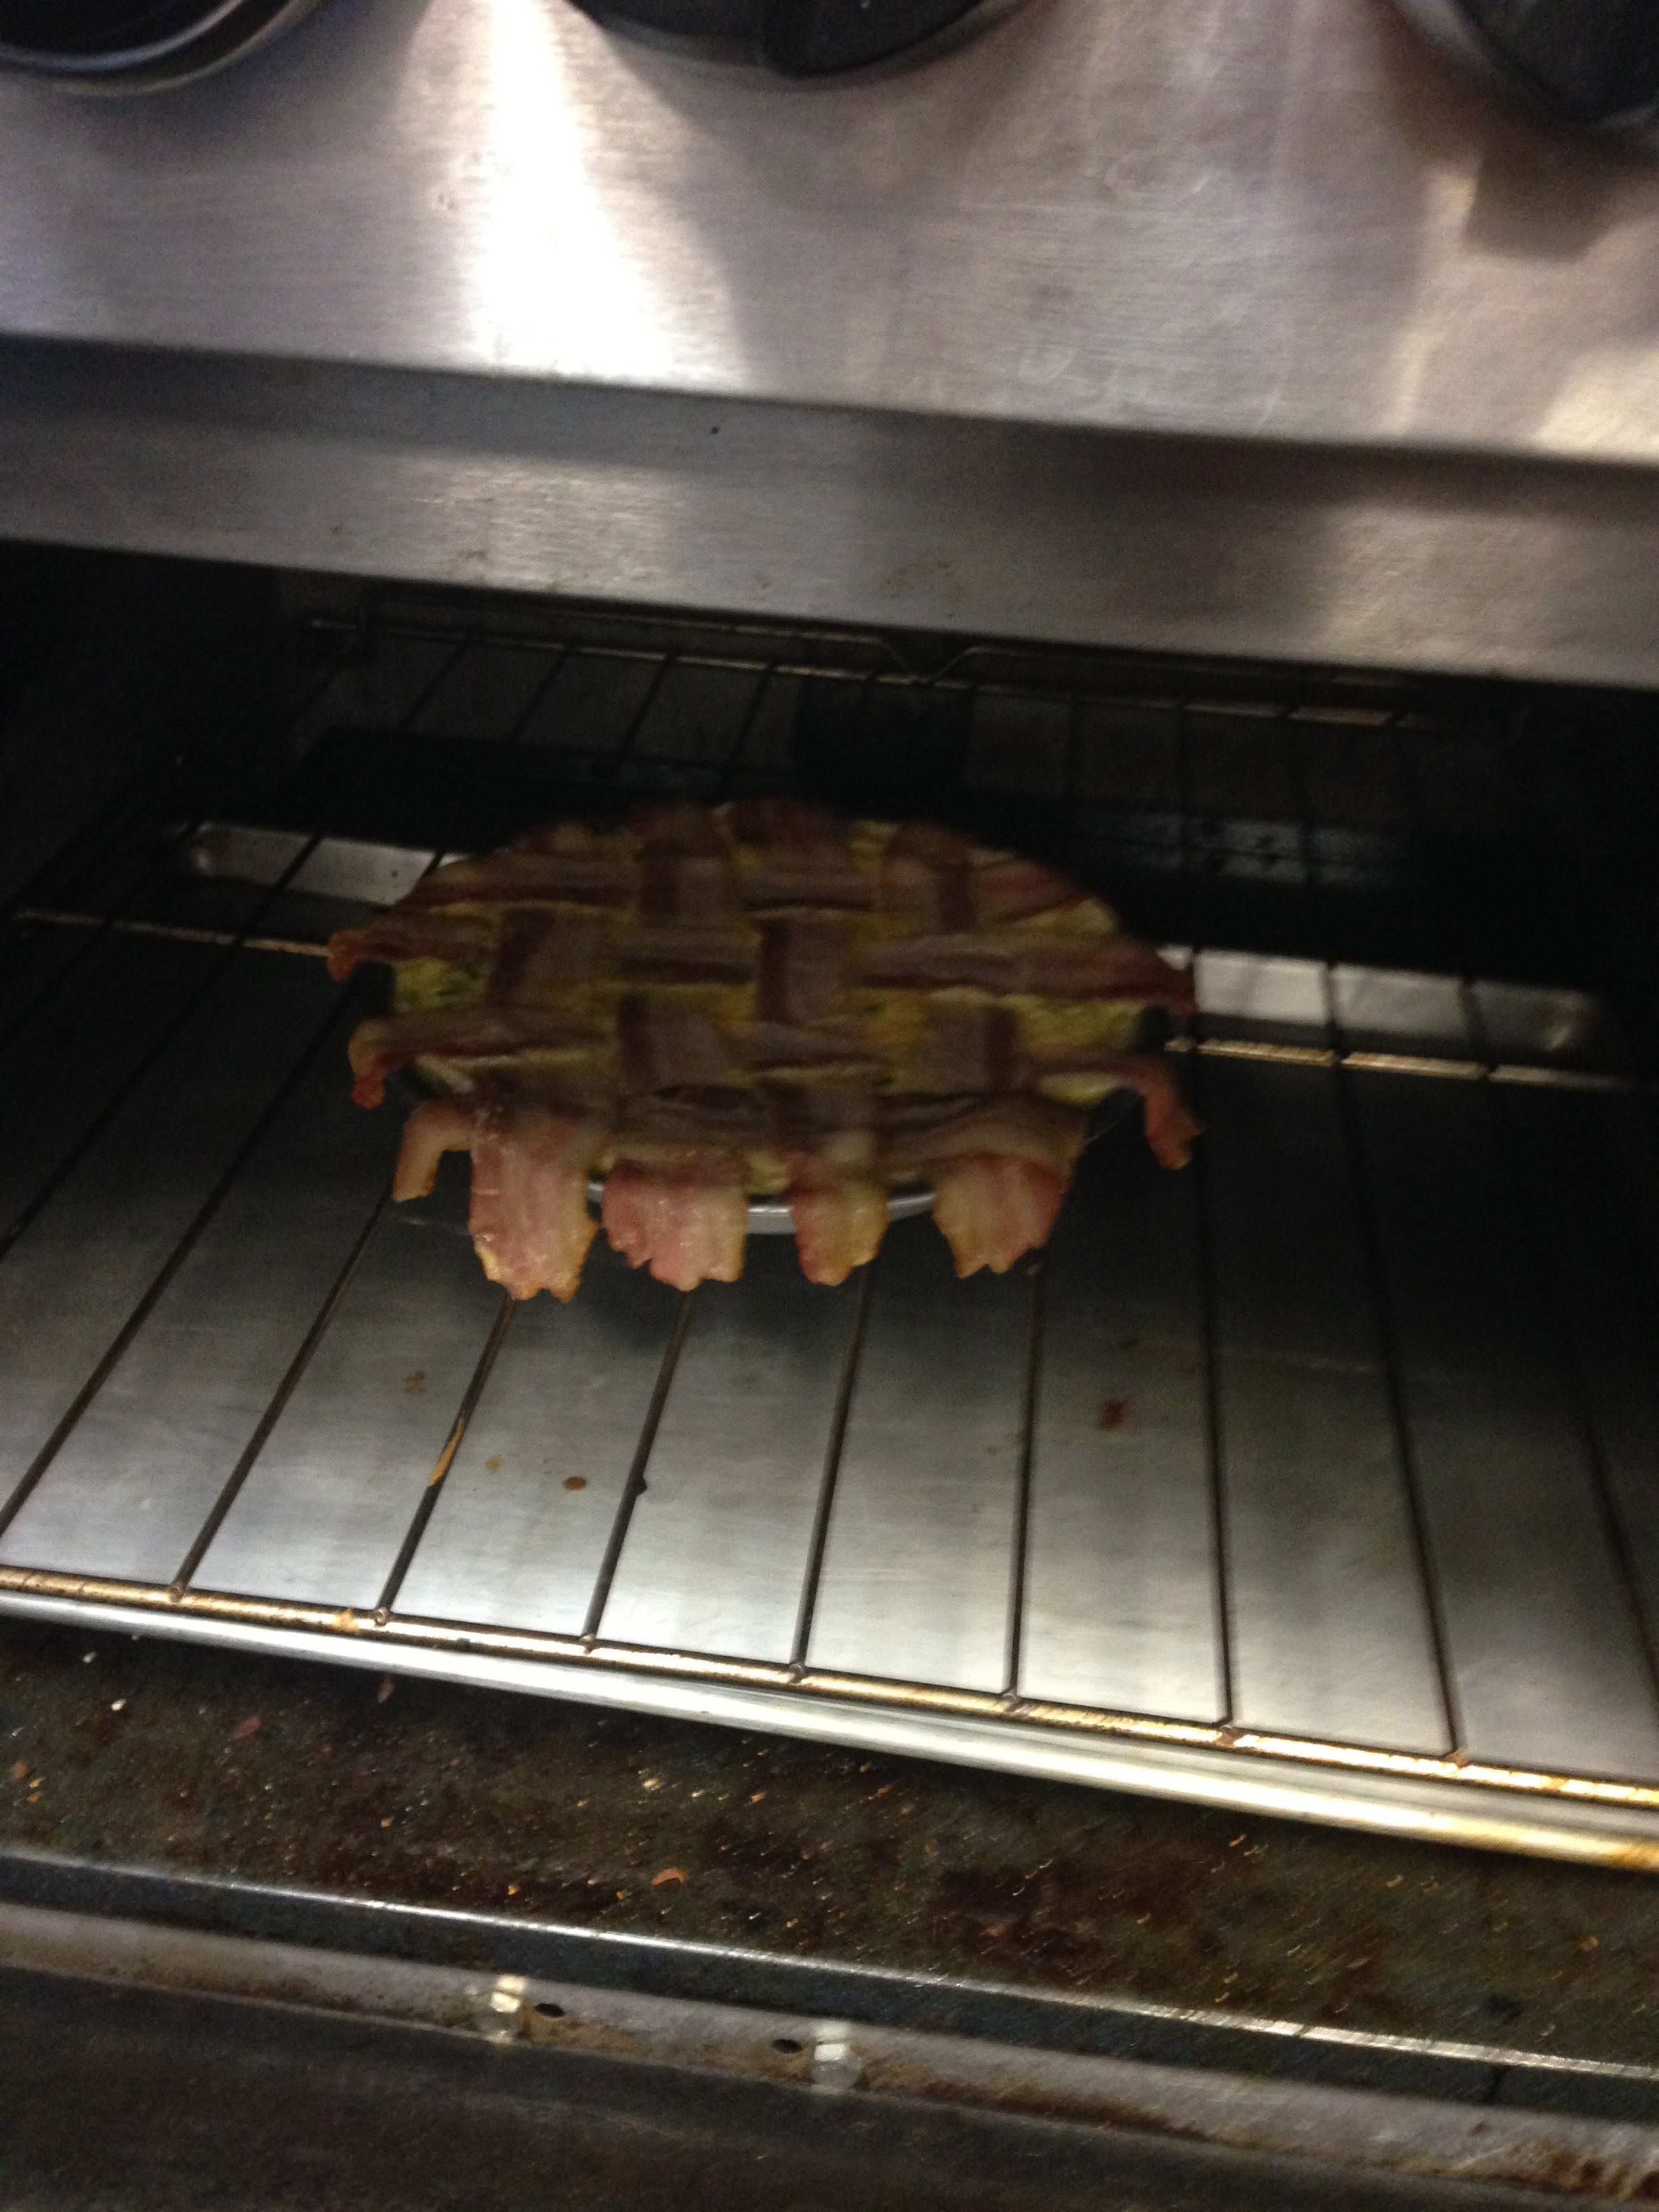
The challenge with the breakfast pie was figuring out how to cook the bacon lattice entirely without overcooking the pie filling (essentially a quiche). I decided to prebake the crust then add the filling and cook it for 15-20 minutes before adding the bacon. The bacon was added early enough that the egg was still a little runny so the bacon drippings could contribute to the flavor of the filling, but not so early that it overcooked in the oven. As it turns out the middle of the bacon strips cooked more slowly I assume because the filling was thickest there.
IMG_1417
Overall, though, I think the pie went pretty well! At least I enjoyed eating it. Forgive me for not including the final picture of the pie. The wordpress site refuses to upload it!

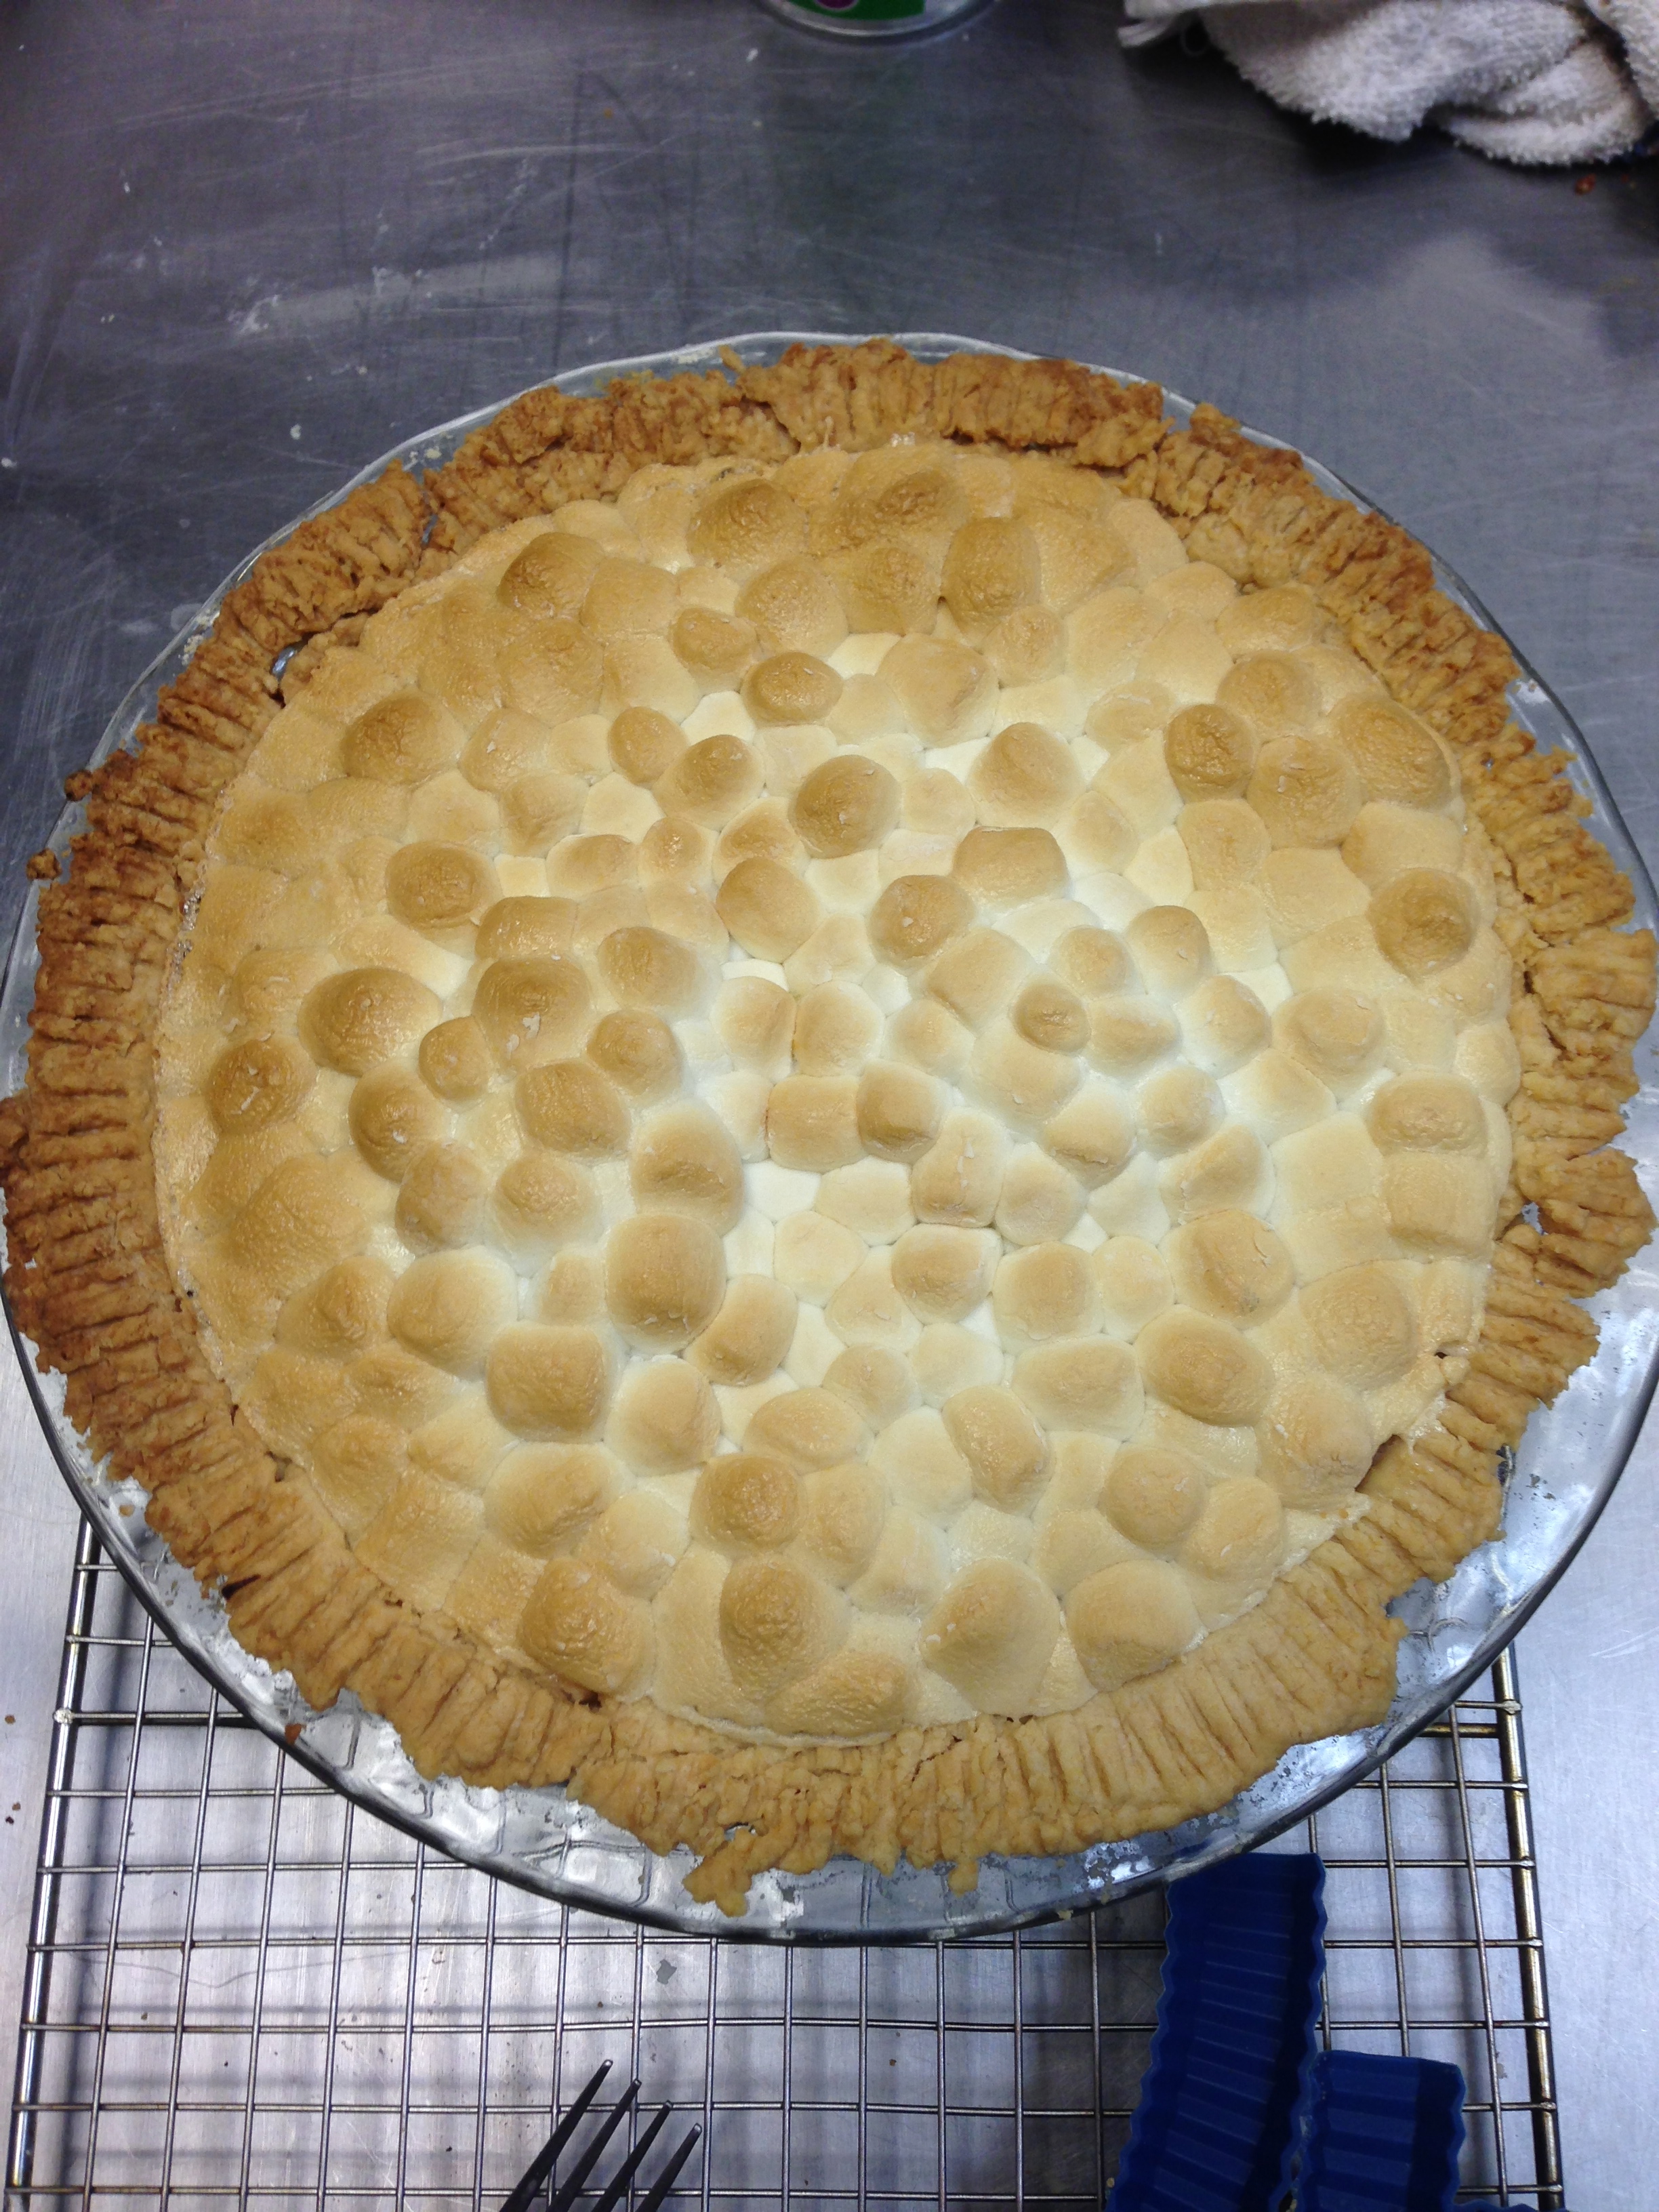
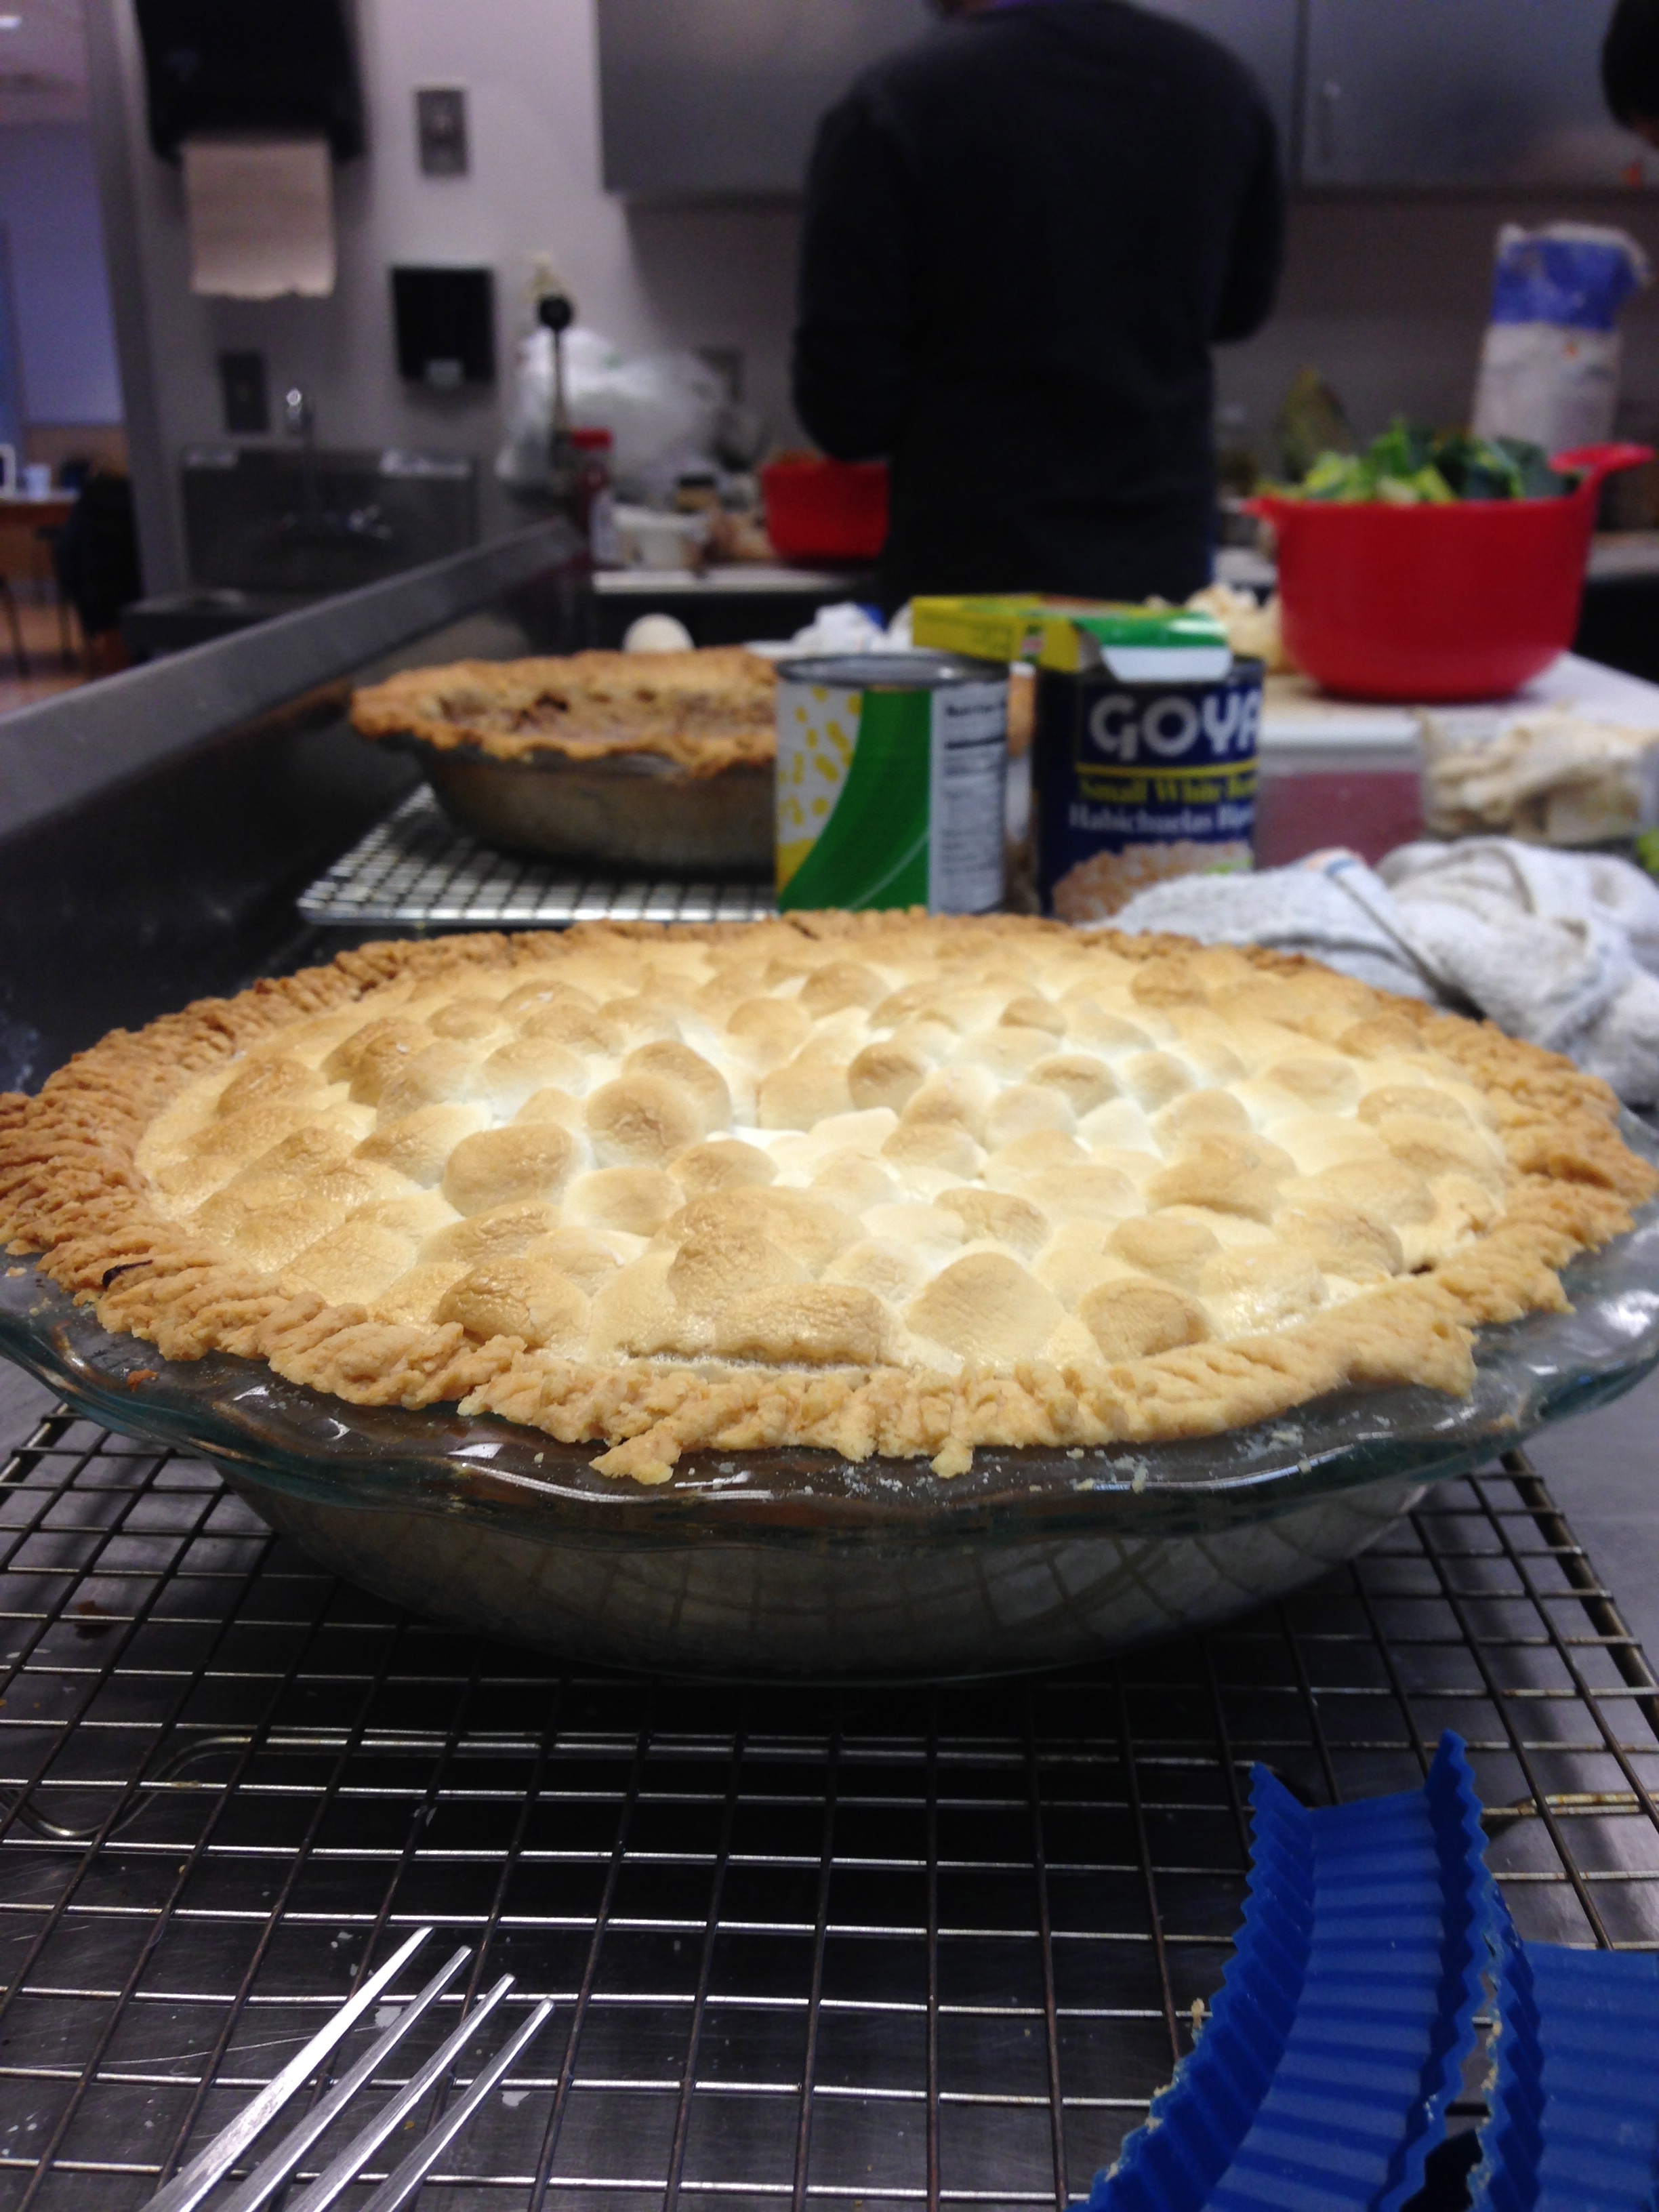
The sweet potato pie went pretty well too. I was working off of two recipes. One for sweet potato pie and one for marshmallow toped sweet potatoes, so I had to be a little inventive. This was the first time I’d done a pie with a runny liquid filling rather than chunks of fruit and meat. The main issue I had to tackle here was also with the top. I had to figure out how to prevent the marshmallows from sinking into the liquid of the filling, so I cooked the filling in the pie crust until it began to set a bit then I pilled the marshmallows on top. The other thing I didn’t foresee was the the marshmallows expanding in the oven and then contracting upon cooling so that the top of the pie actually pulled away from the edges of the crust. It looked a little strange and made it hard to cut well, but I think the flavor wasn’t effected.
Here is the completed pie complete with marshmallow-y bubbles:
IMG_1413

IMG_1412

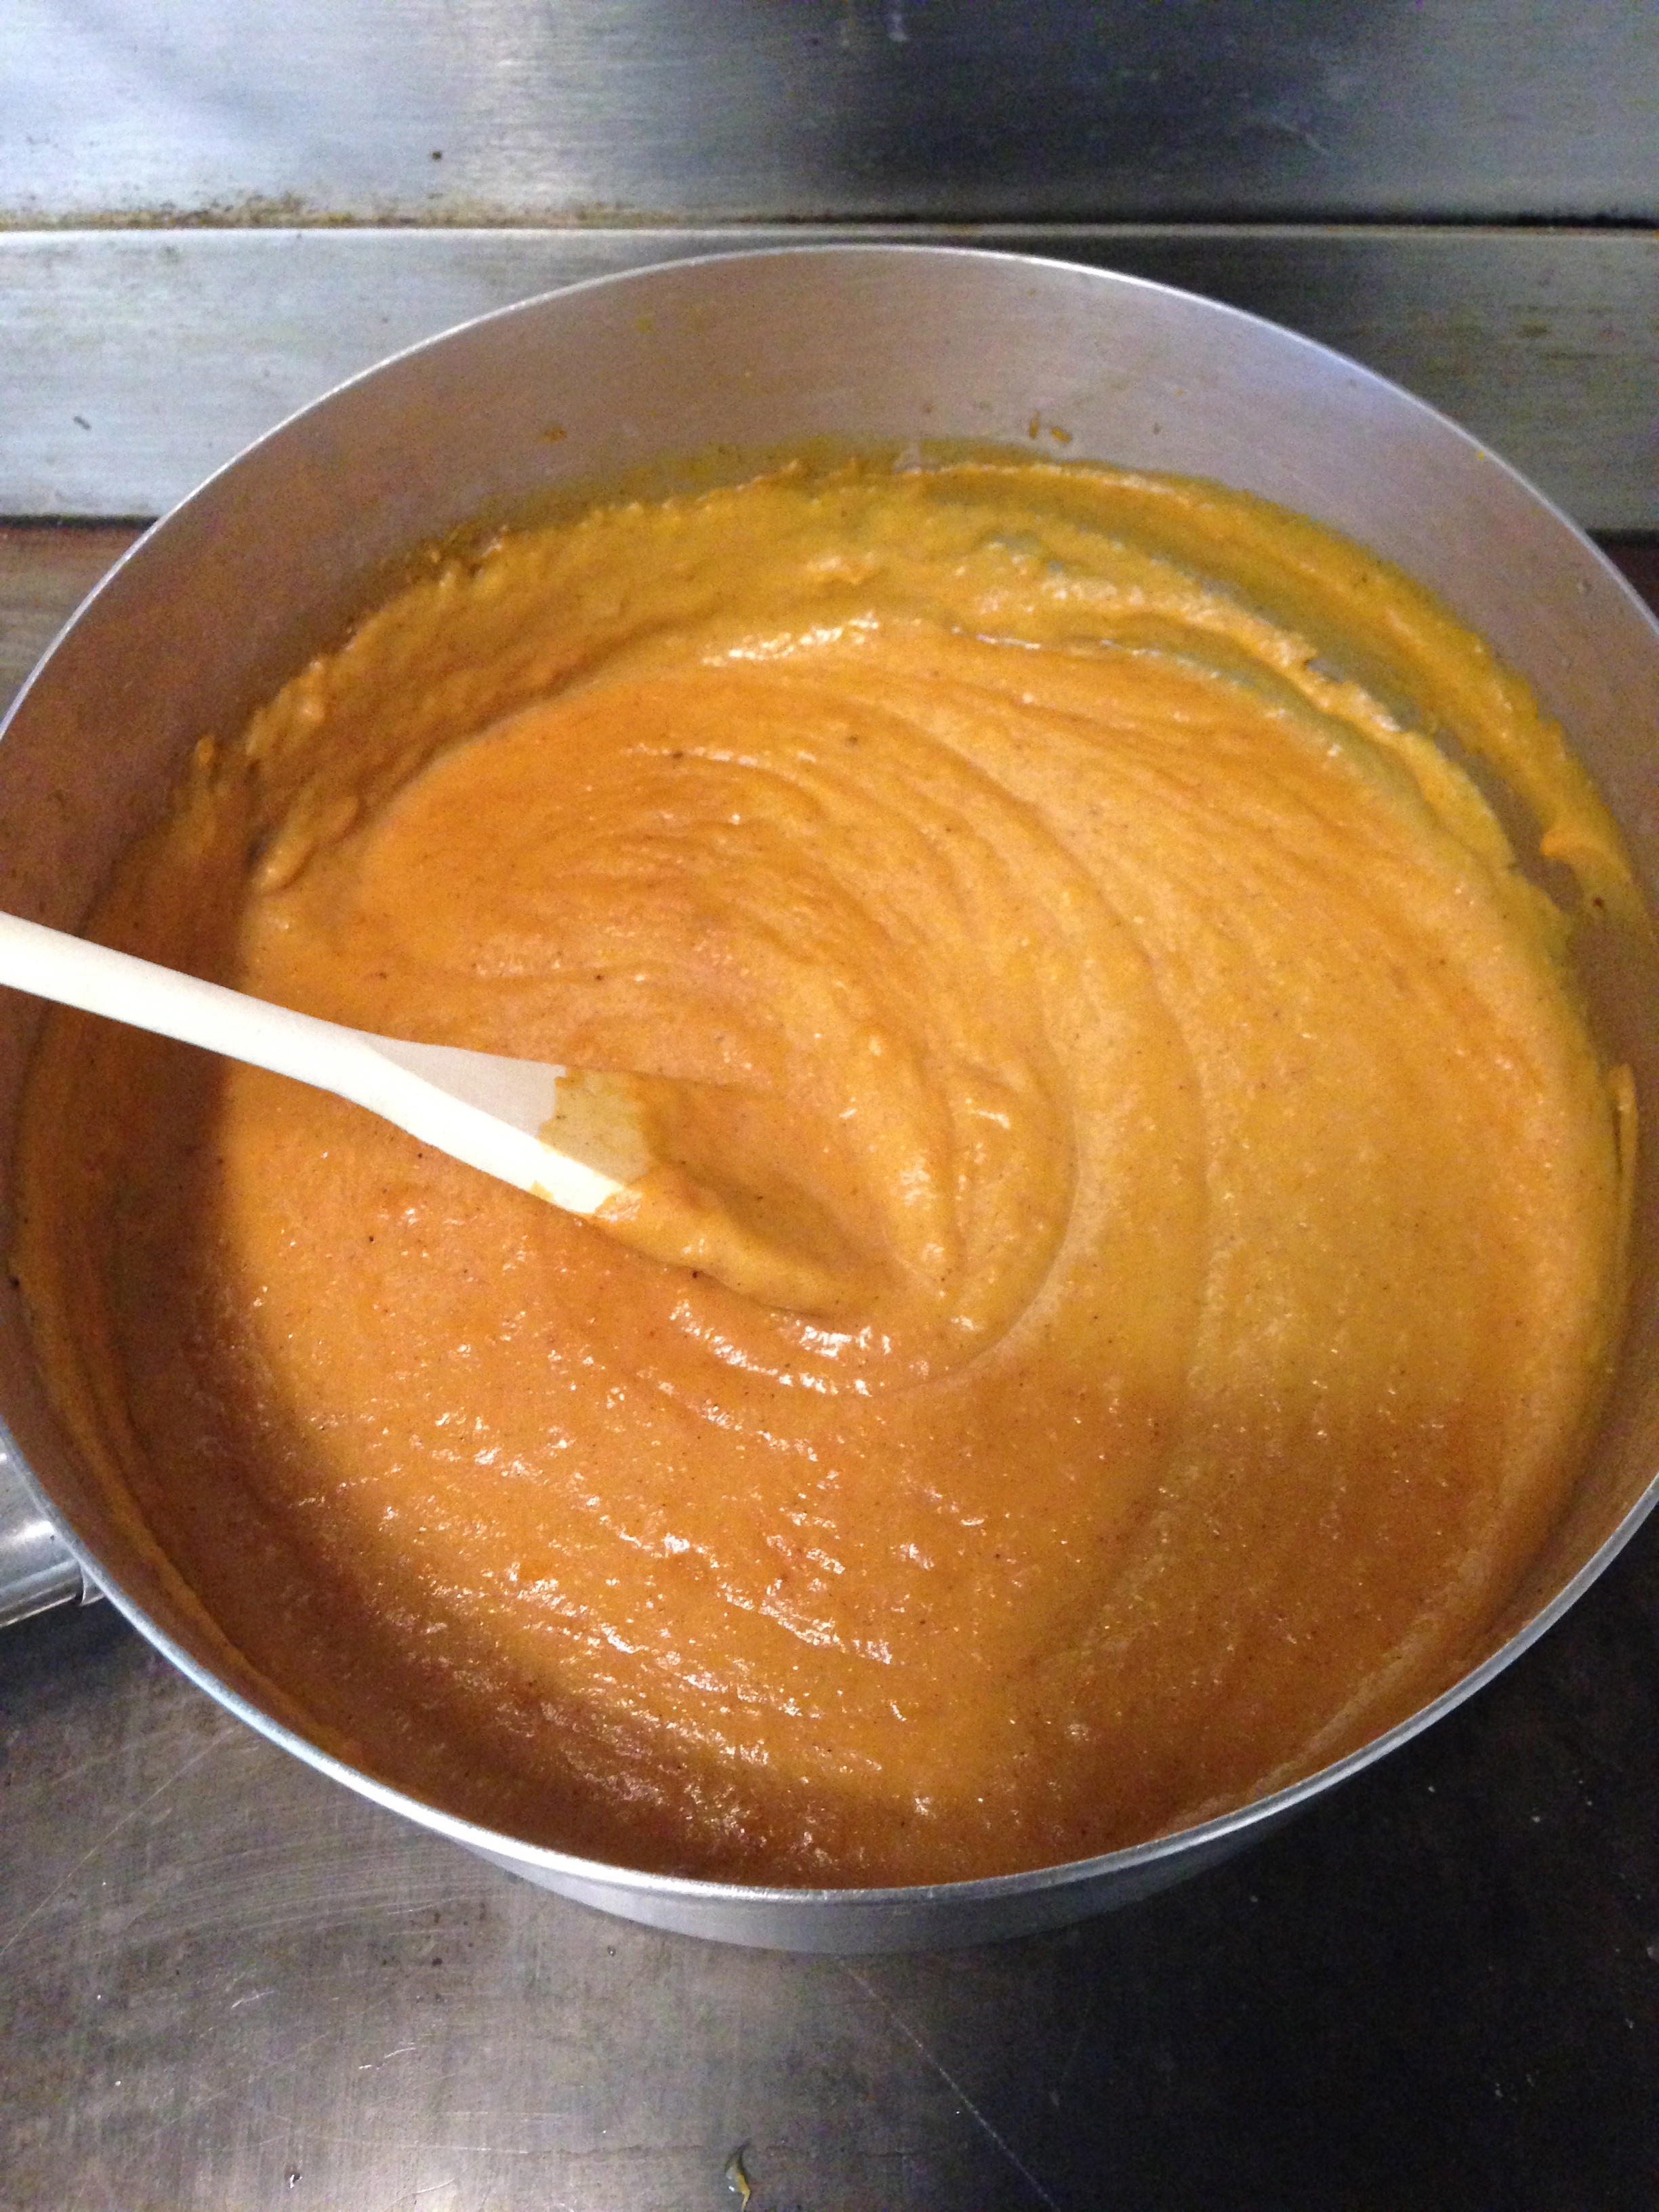
And here is the sweet potato filling while being cooked on the stove:
IMG_1411

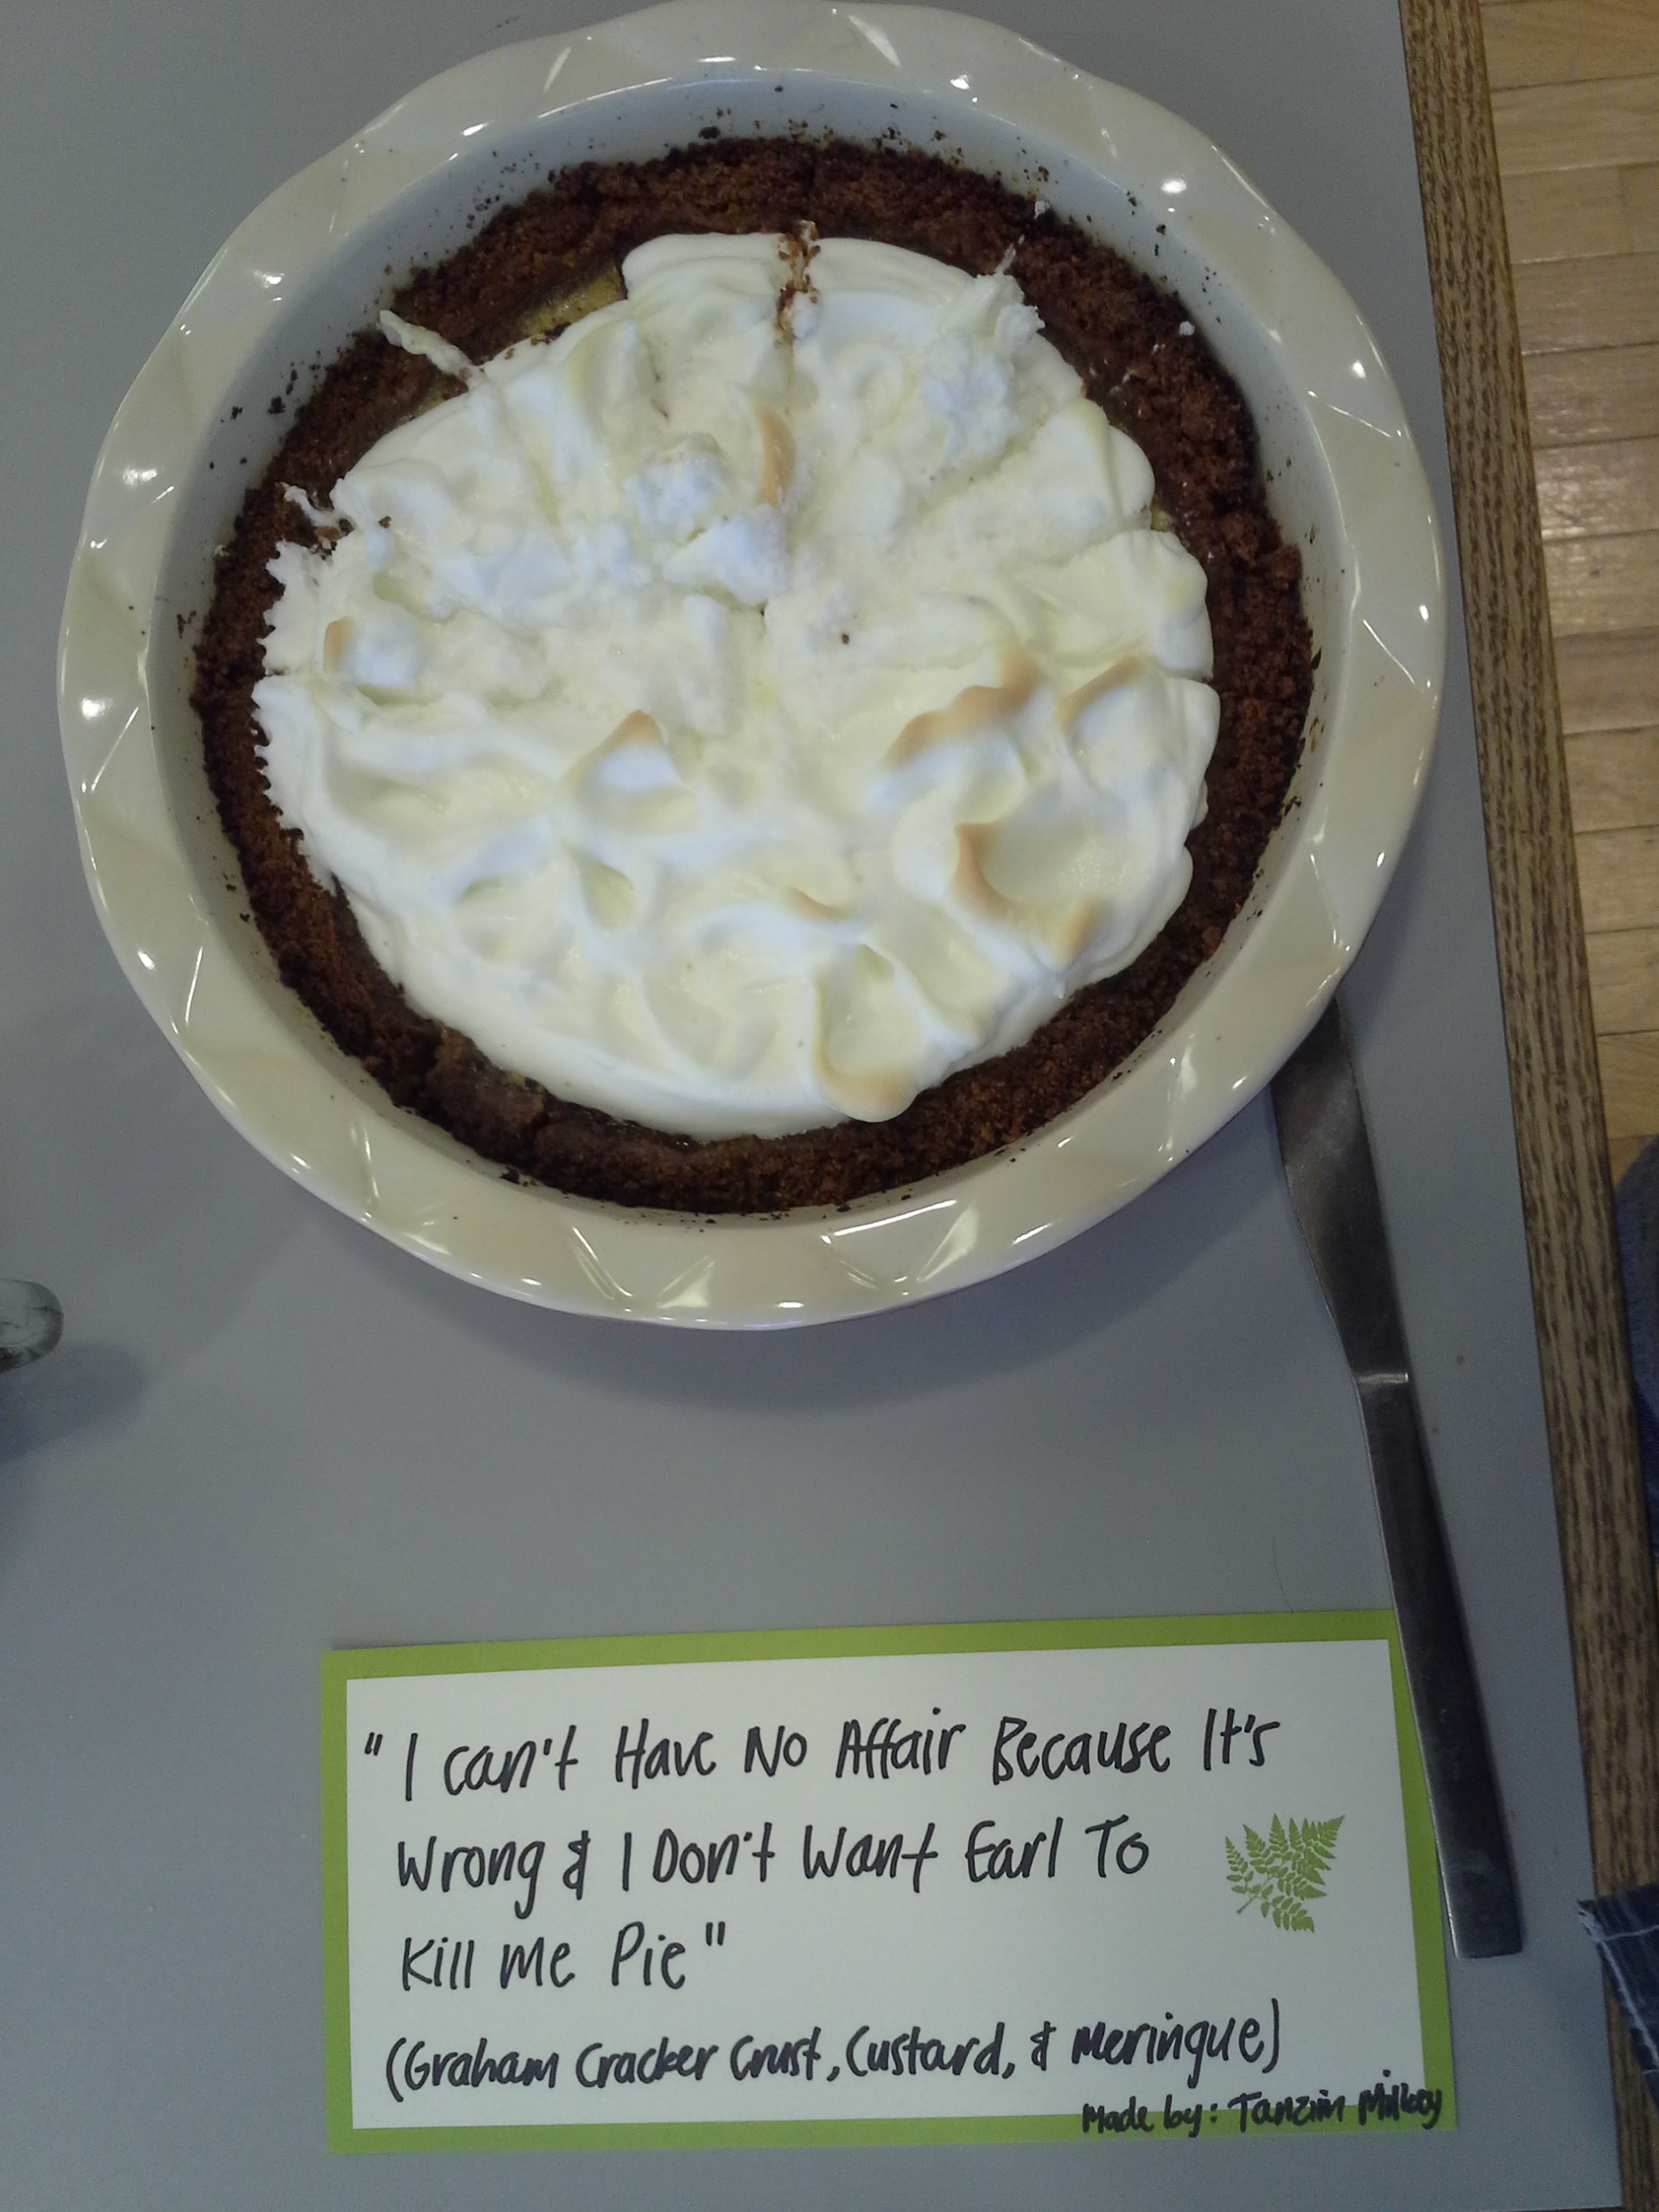
I Can’t Have No Affair Because It’s Wrong & I Don’t Want Earl to Kill Me Pie

http://www.recipegirl.com/2007/09/28/waitress-pie/

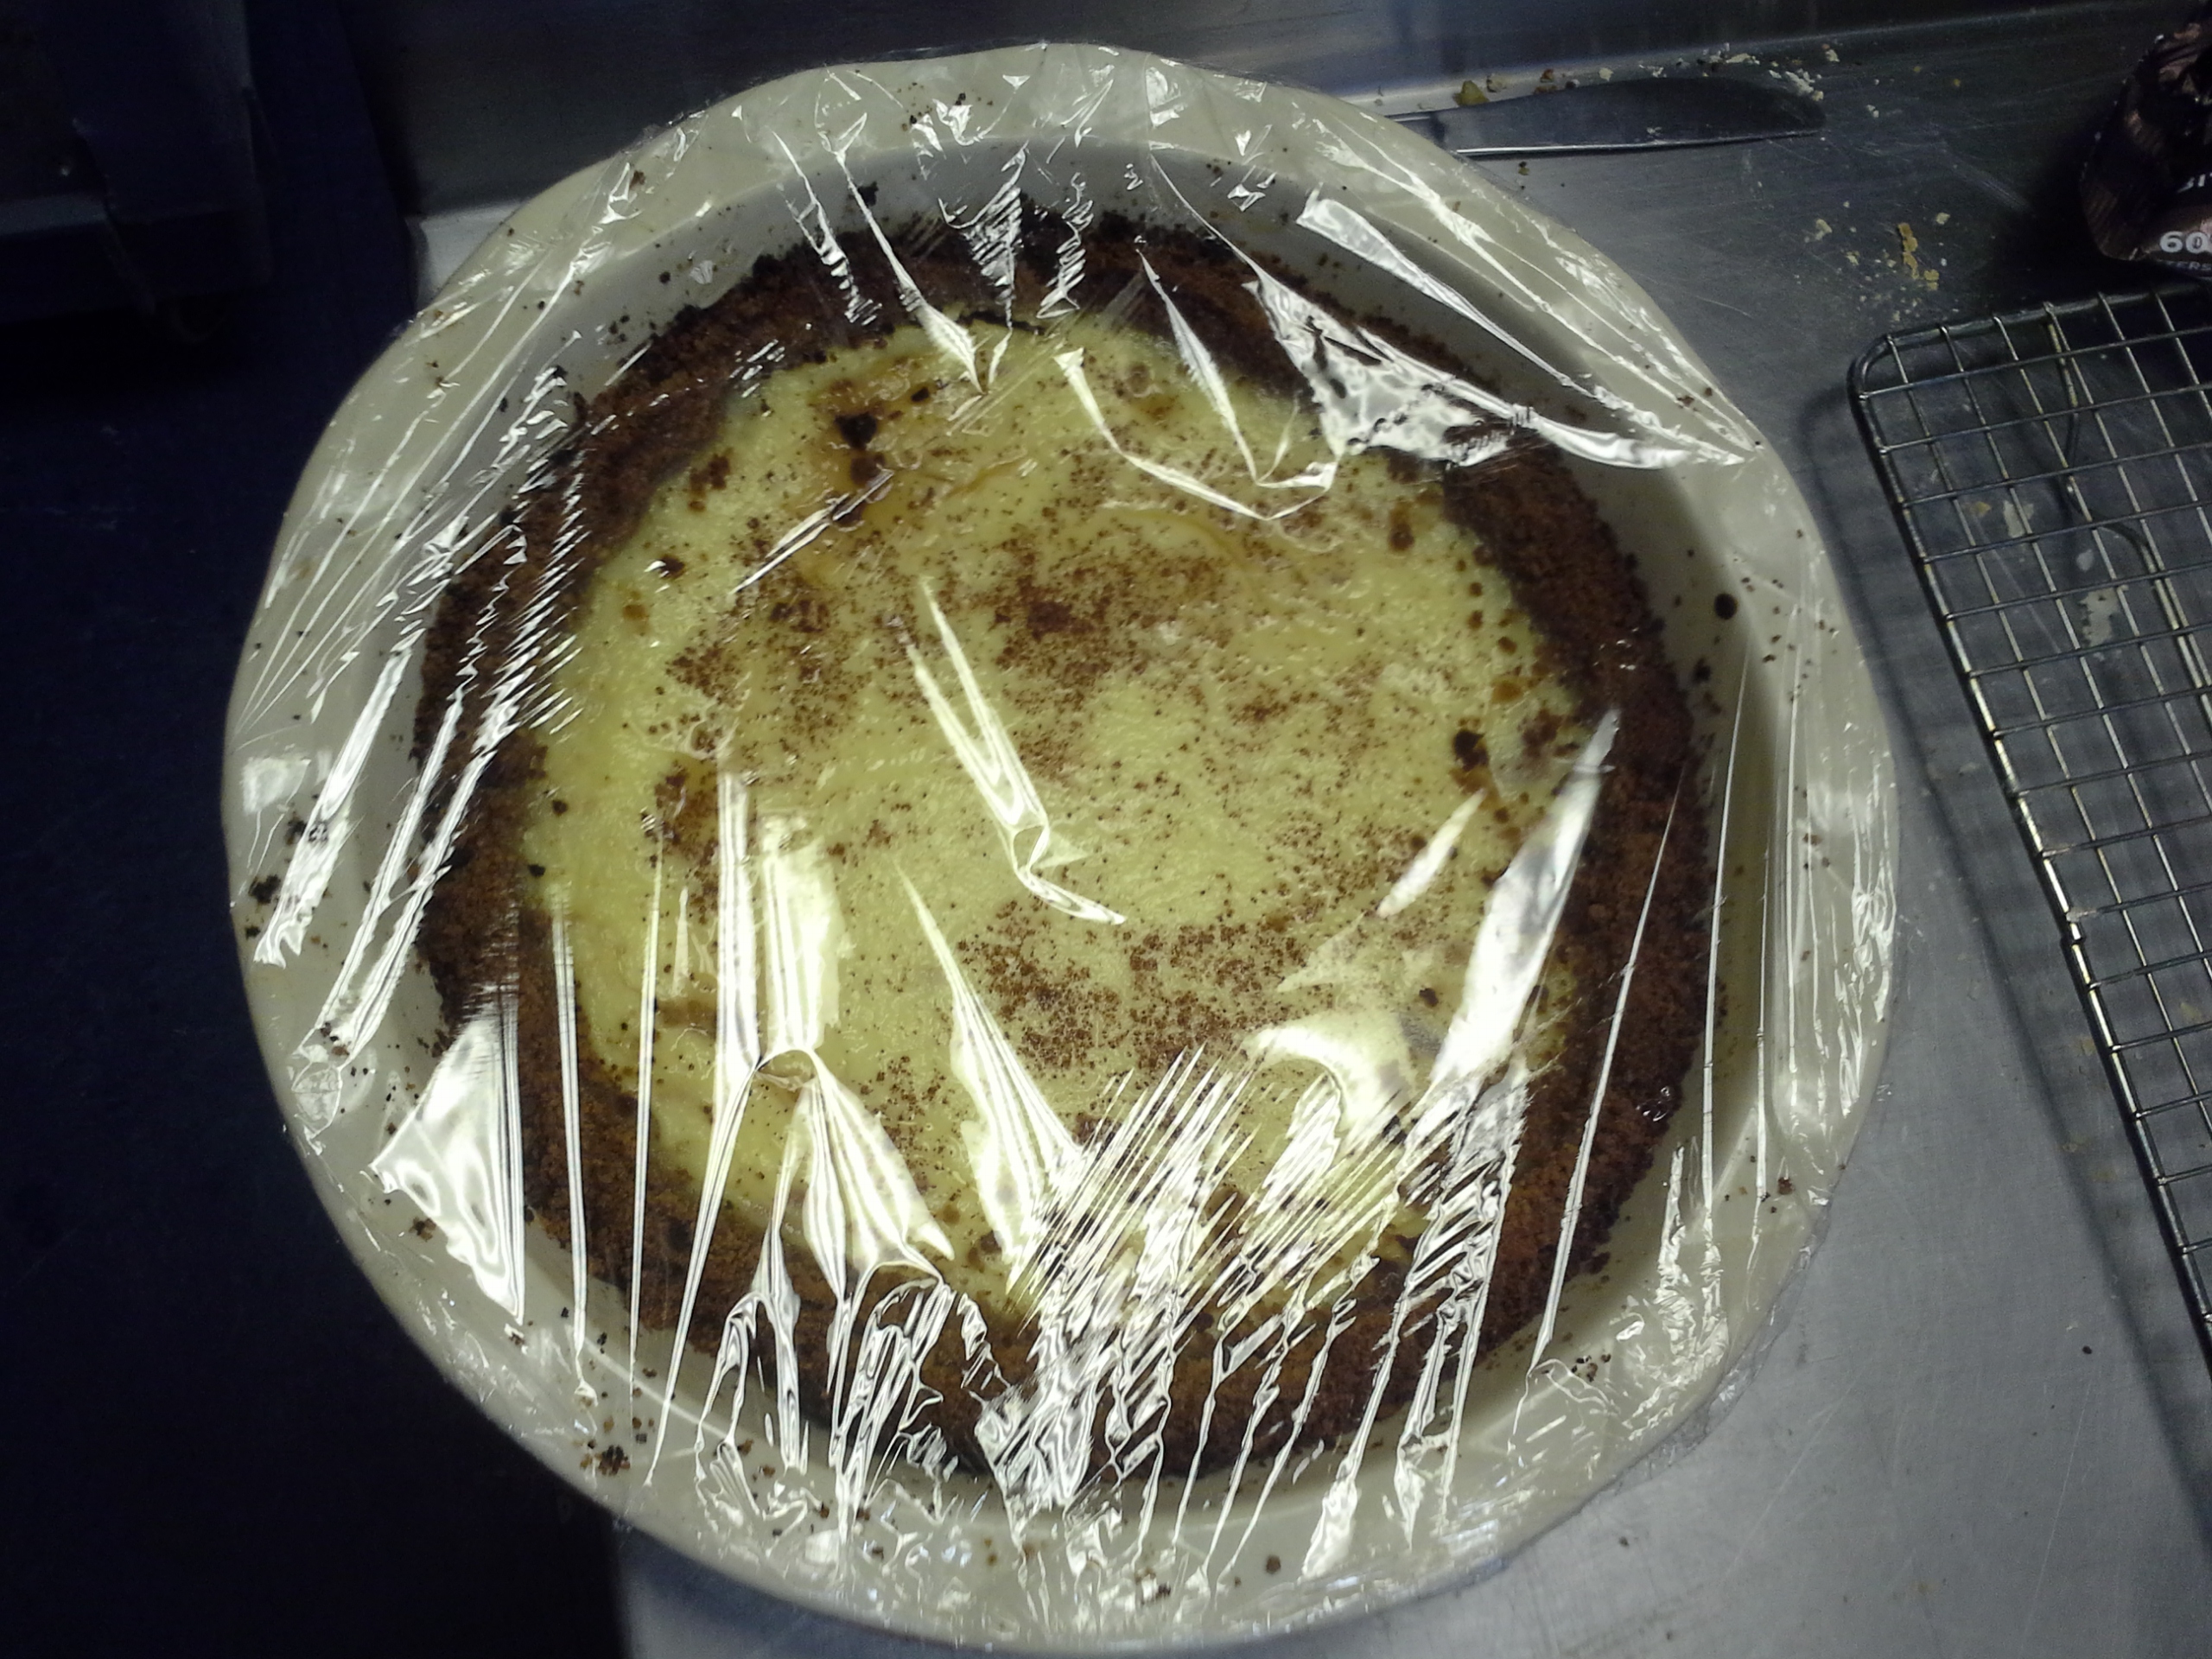
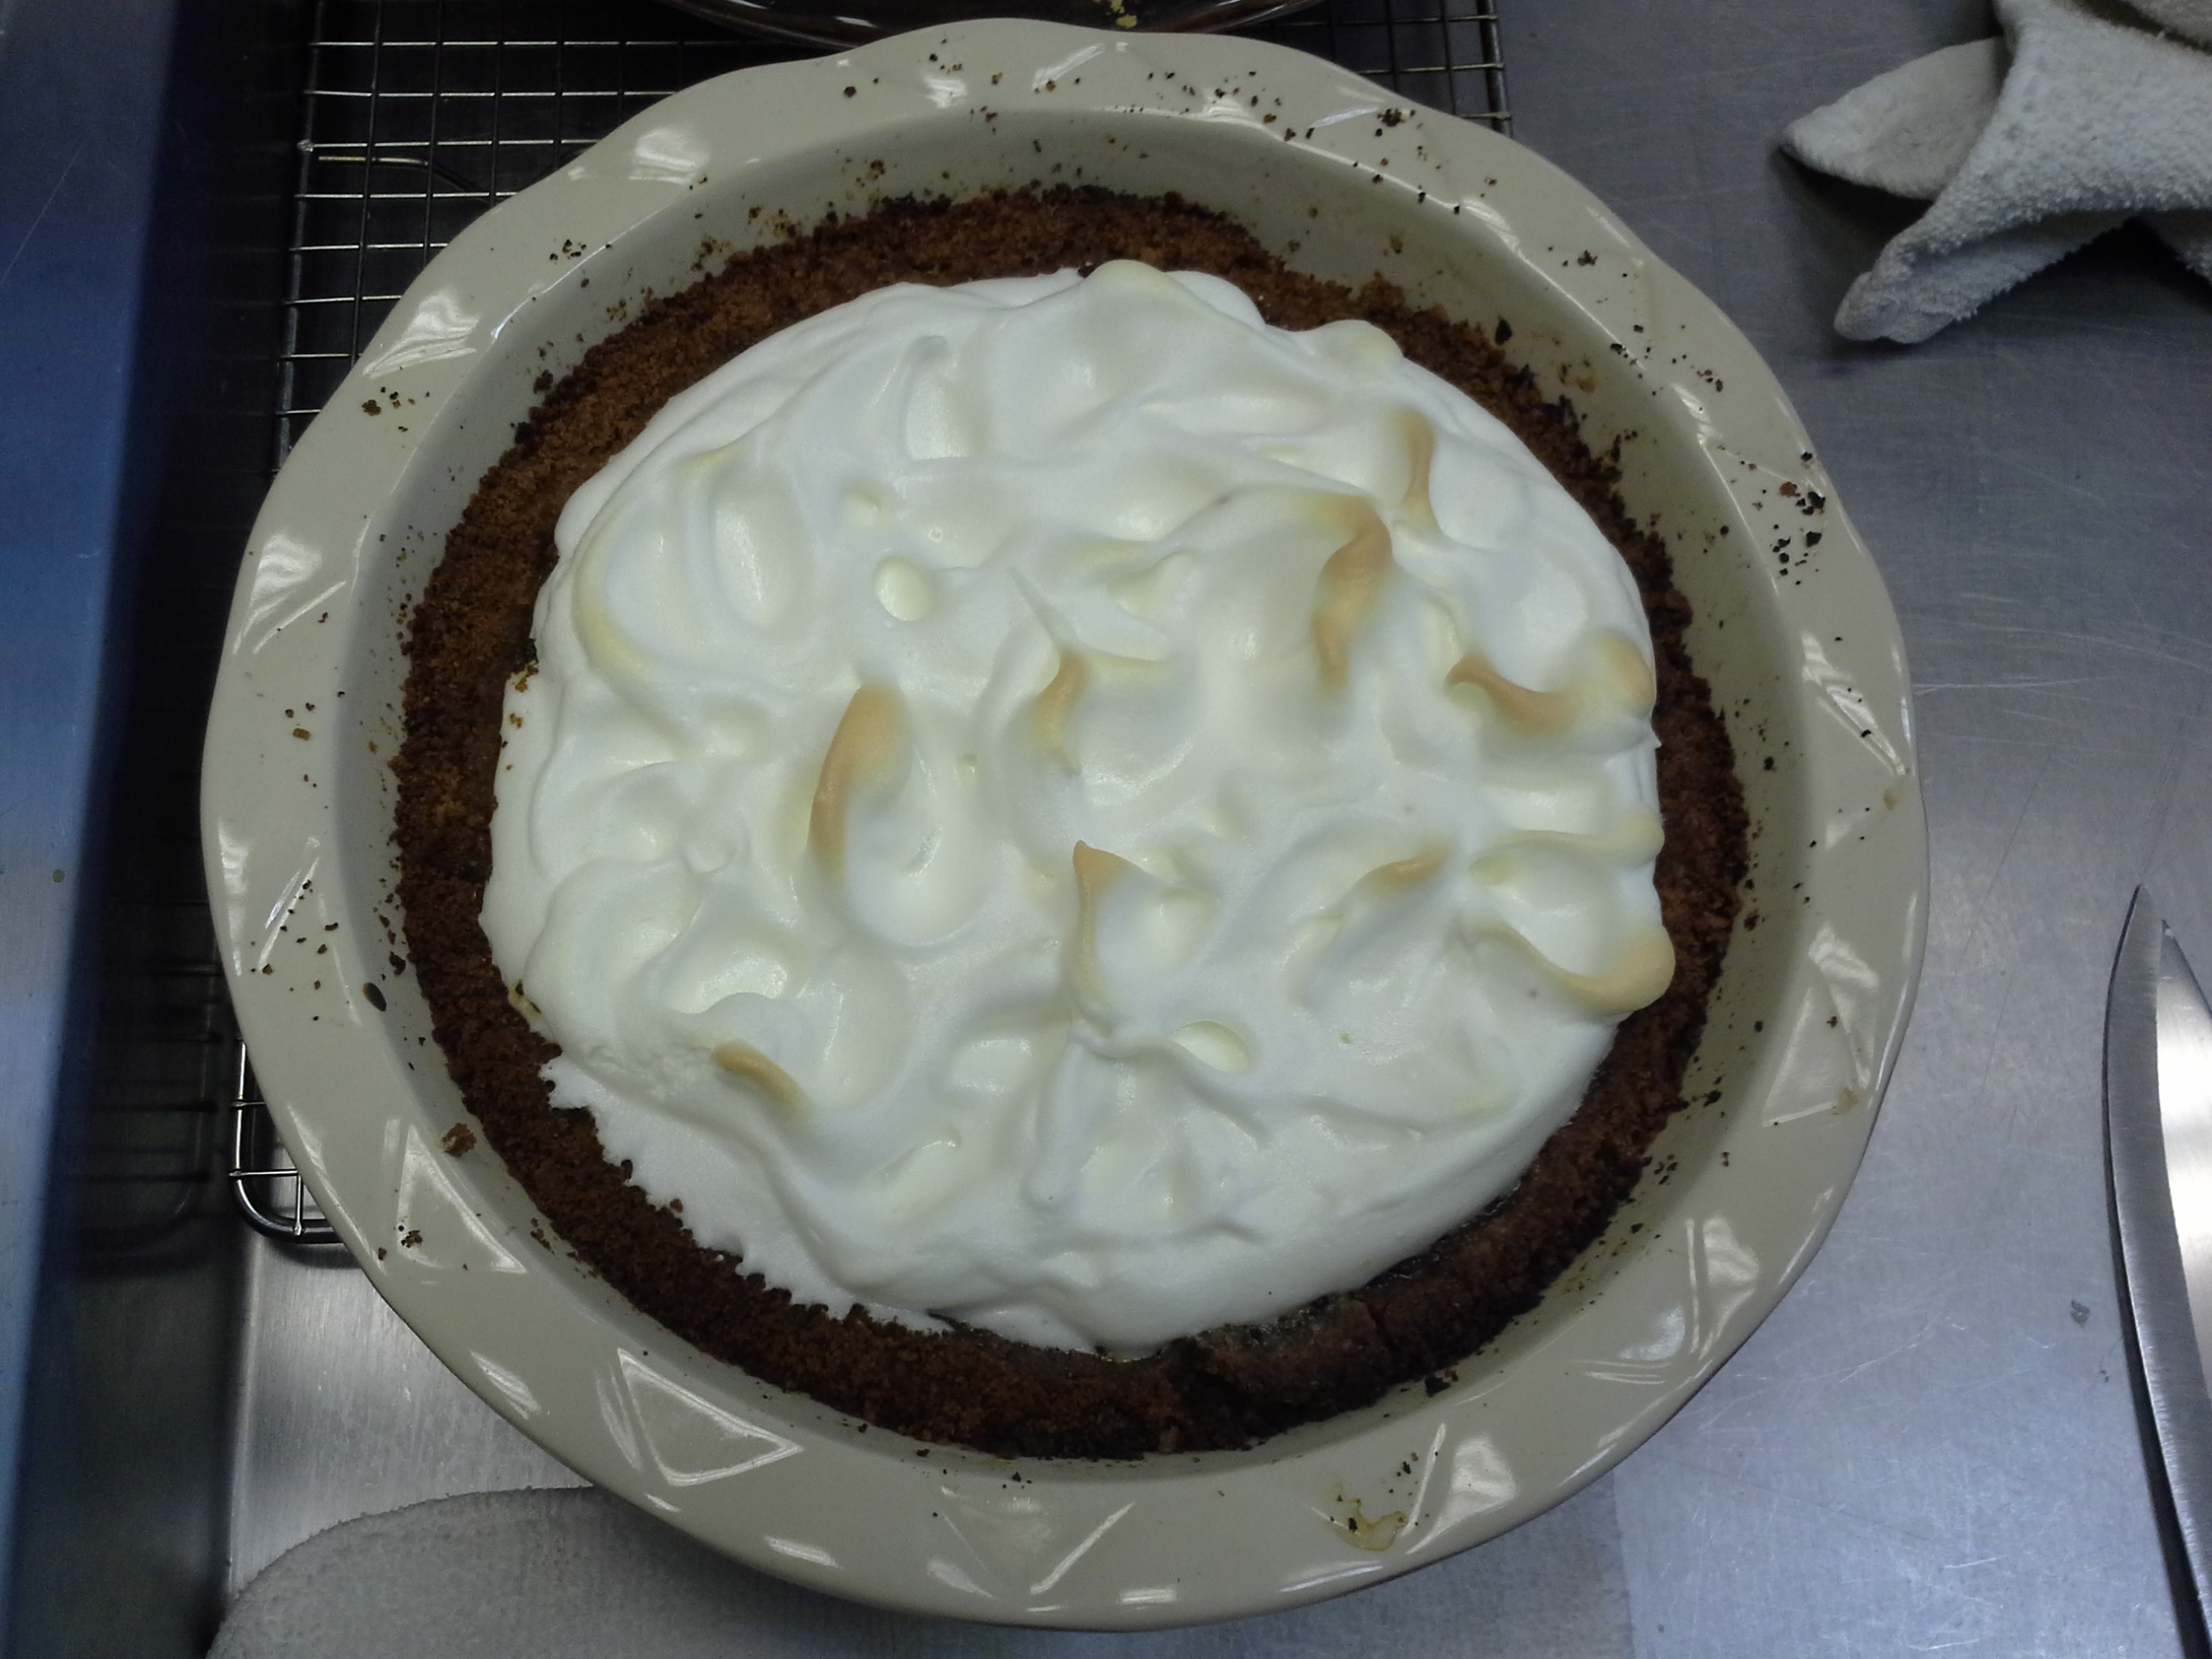
For my savory addition this week, I created the above pie exactly as the recipe stated. It was my first time working with Meringue, and although the recipe called for beating it manually, it took forever even with an electric mixer; I could not imagine having to do it otherwise! It was also my first time working with a Graham Cracker Crust, and although it wasn’t terribly difficult to form the loose crumbs into a solid pie crust, it was difficult gauging how cooked it was. While forming a solid crust, I actually a burned a bit of my pie…BUT, the end result did not have a burny aftertaste! Just something to note for next time – graham cracker crusts take less time than you think they will.

Check out the pictures below:

20140129_145019
[Pie with Baked Crust and Custard, chilling in the fridge]

20140130_113312
[Pie with freshly baked and browned Meringue]

20140130_114719
[Plated and sliced Final Pie]

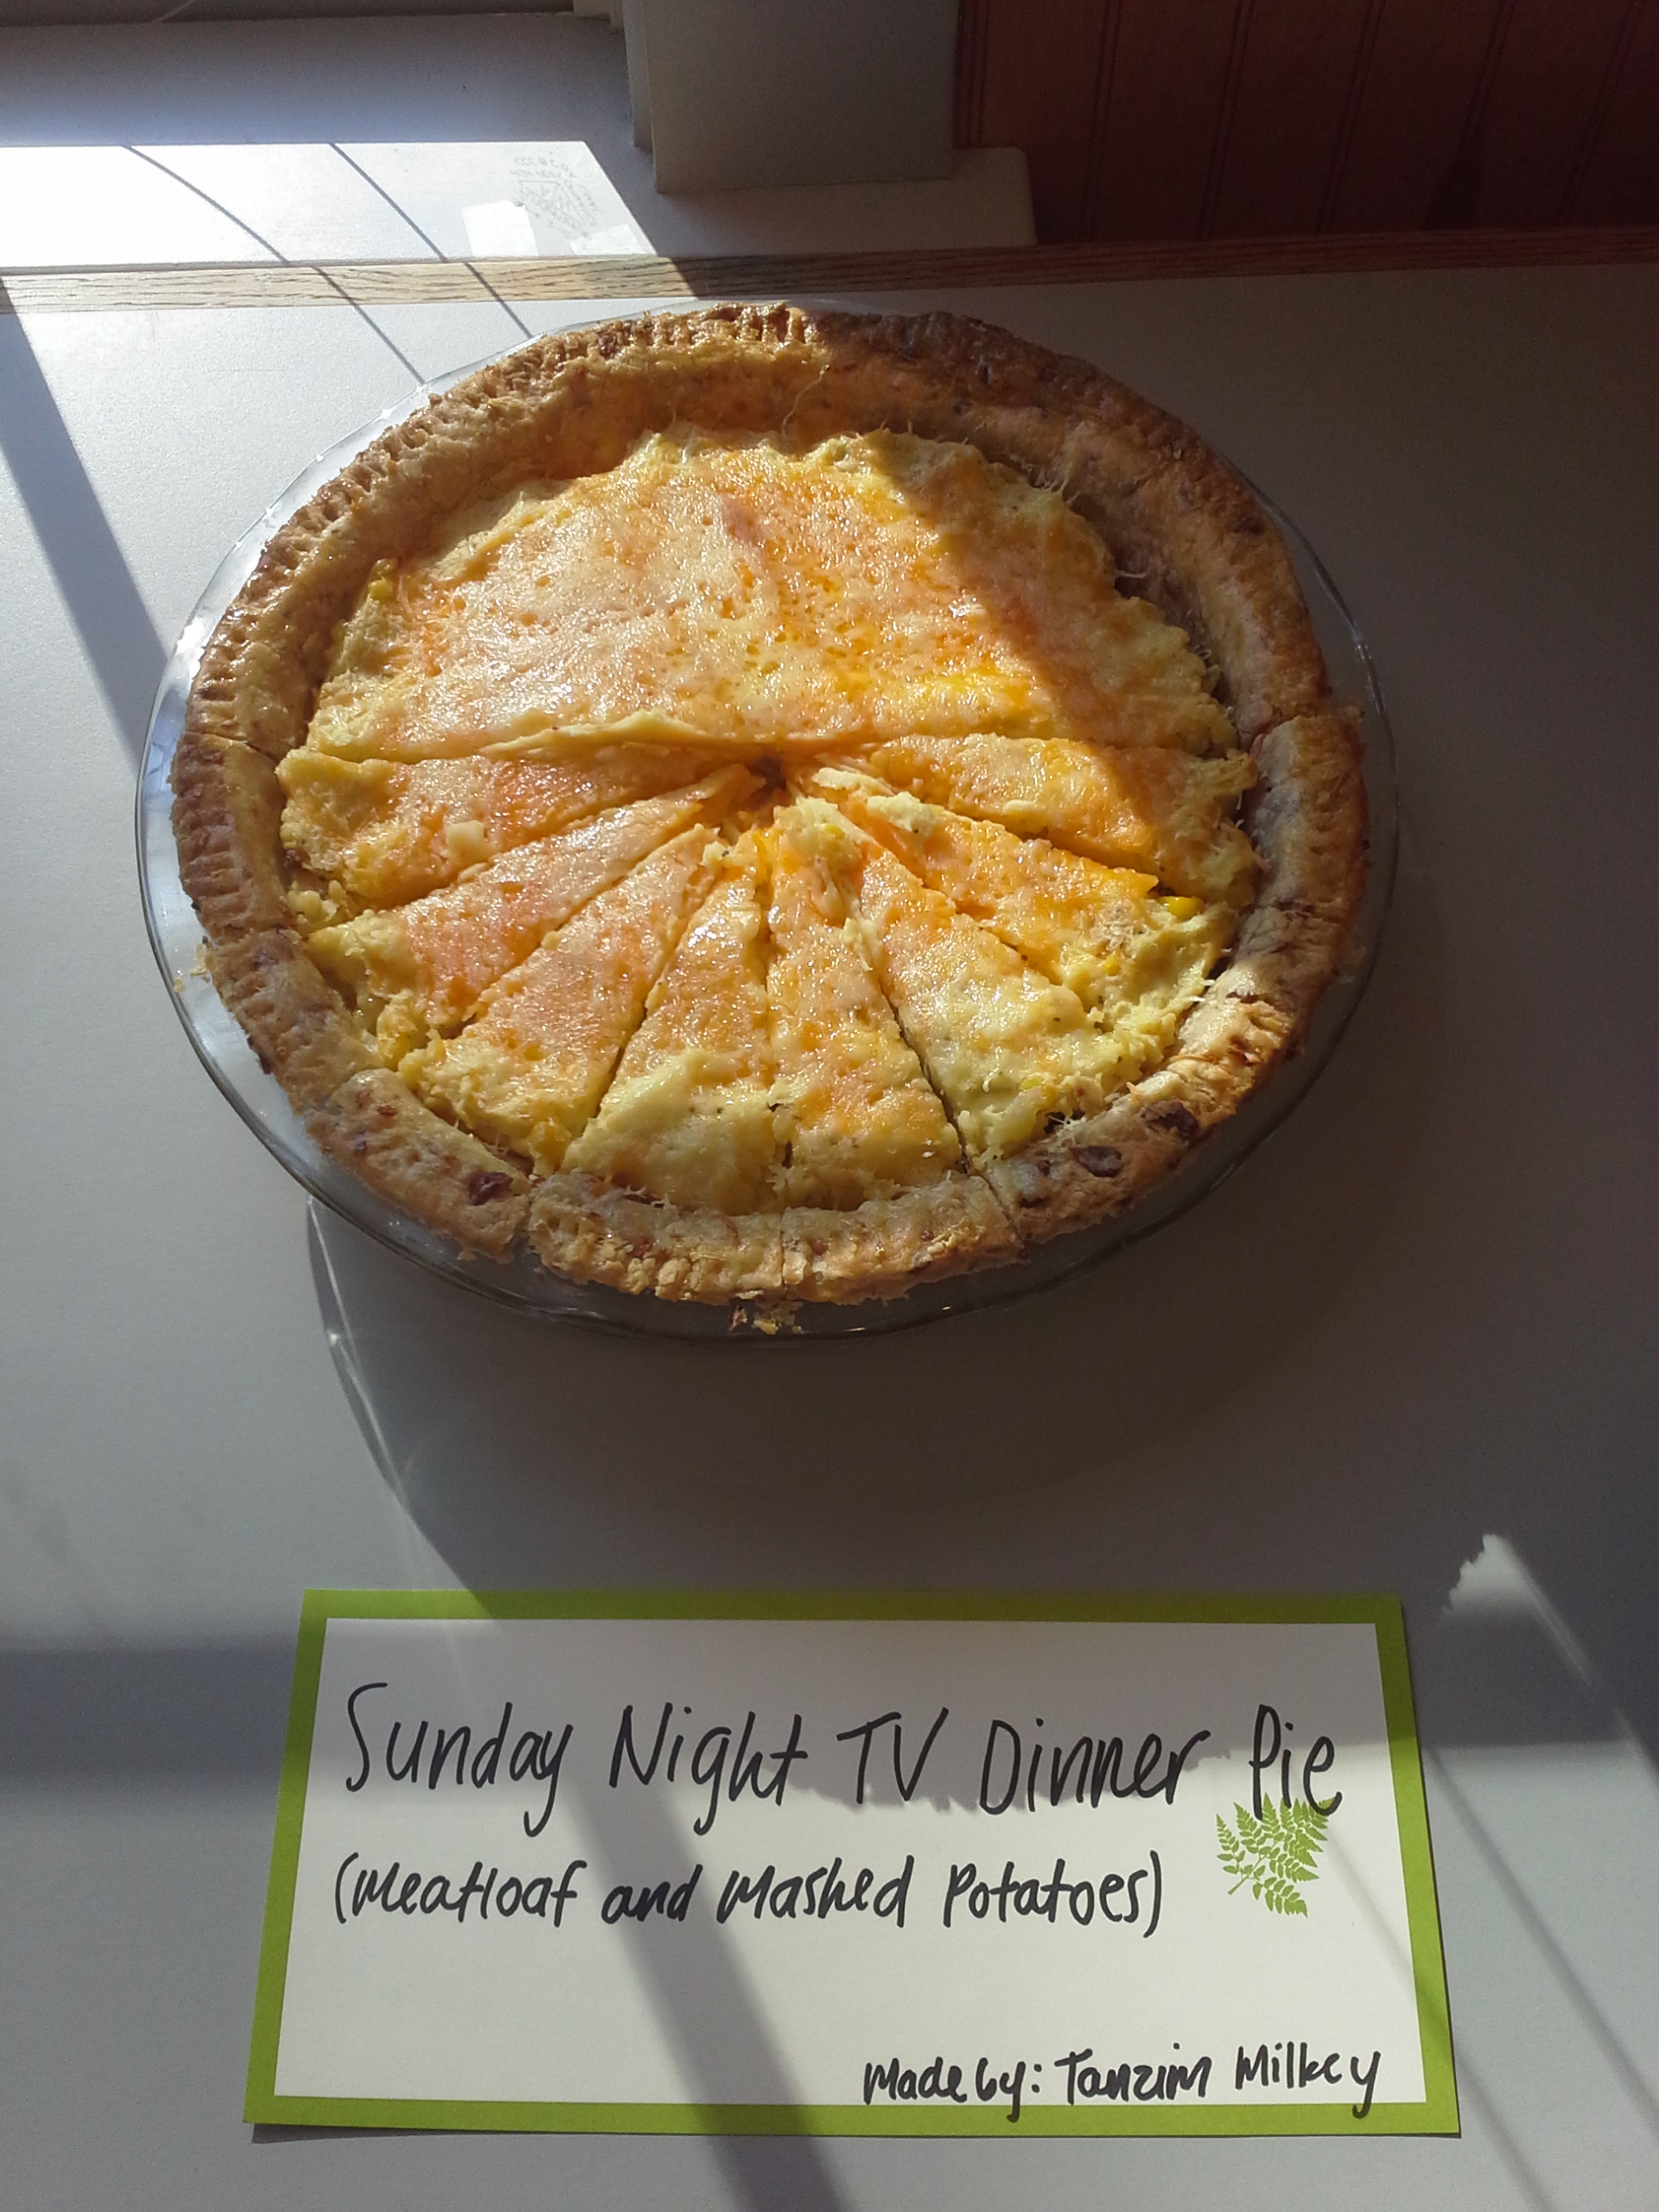
Sunday Night TV Dinner Pie

http://allrecipes.com/recipe/meat-loaf-pie/

For my savory entry this week, I went with a classic dinner recipe in pie form. In the style of the English, “anything you can put on a plate, you can bake into a pie.” I mostly stuck to the recipe above, but of course, throwing in the classic Tanzim twists.

First, the crust, which was made with butter and crisco, was also baked with bacon flakes.
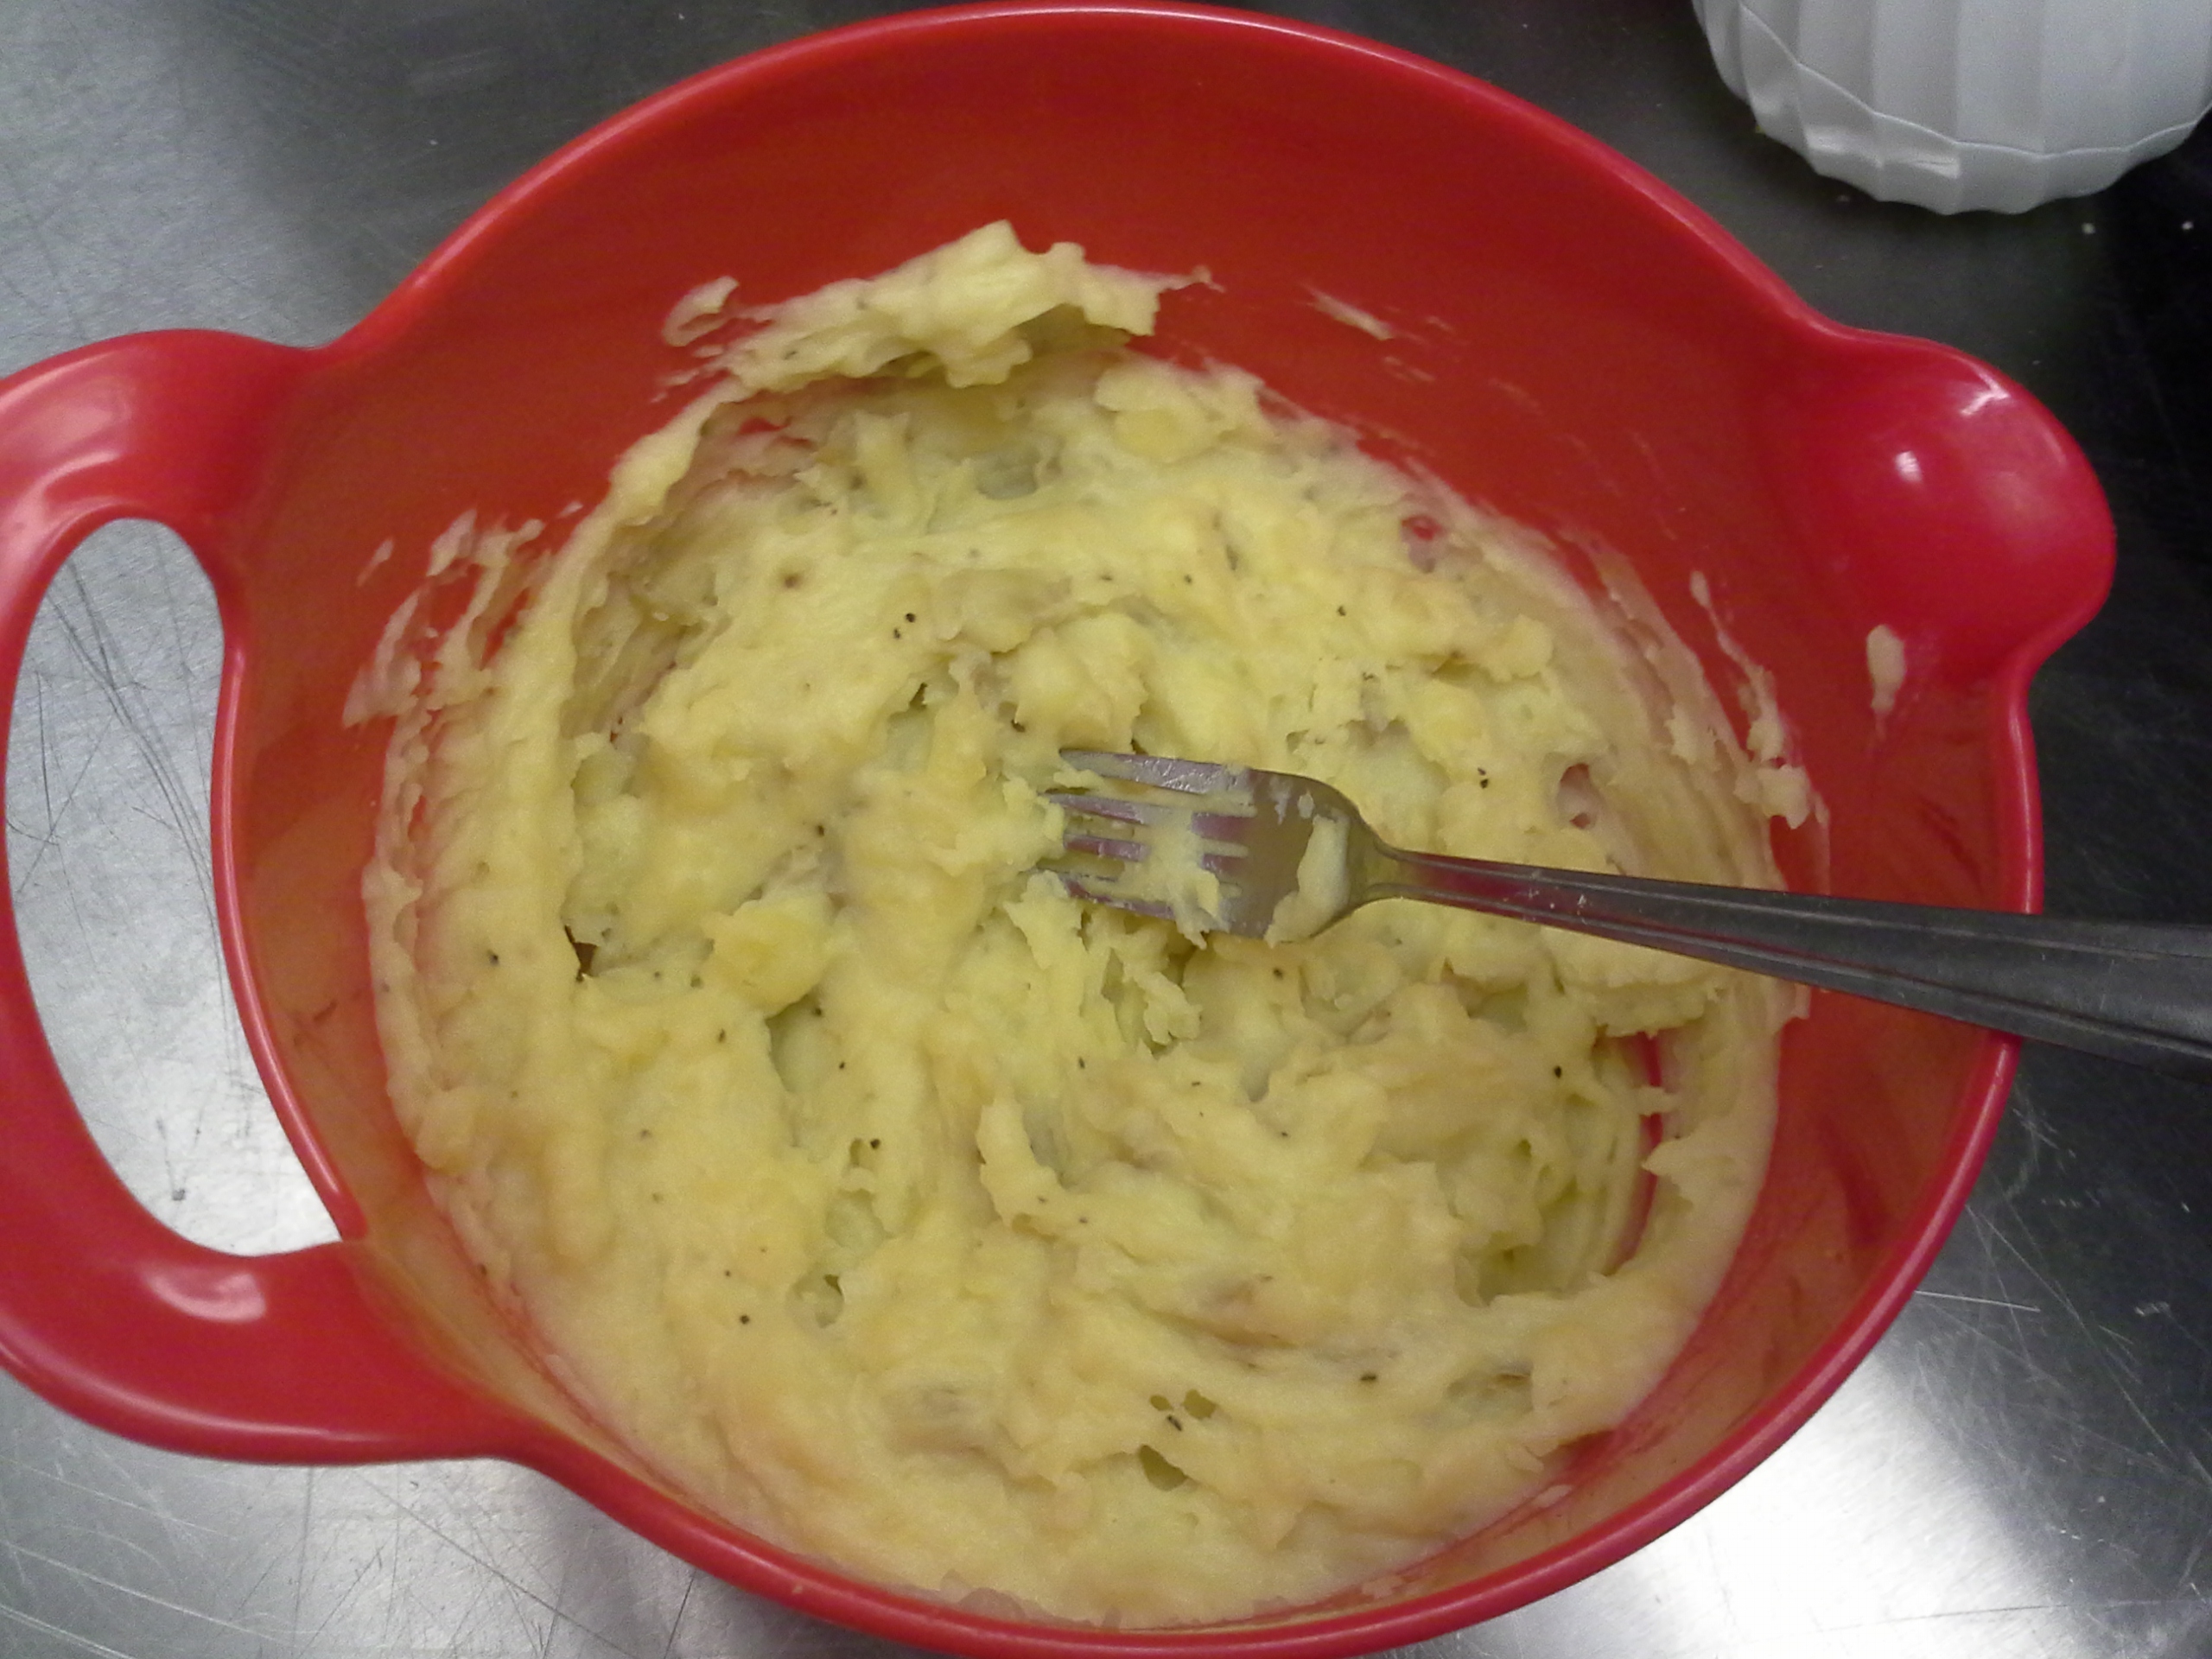
Second, rather than have a layer of sweet corn, I added half the corn called for in the recipe to the mashed potatoes.
Third, the meatloaf was cooked using this recipe for added flavor.
Fourth, the cheese crust was done with two different kinds of cheddar: mild and sharp.
Additionally, the mashed potatoes were made using this recipe.

The pie turned out very well! I think the changes I made added a lot to the dish. The layer of corn on the bottom would have been a distracting taste, and it worked nicely with the potatoes. The cheese on the top also baked into a nice, crispy crust, which added an extra dimension of texture.

Check it out!

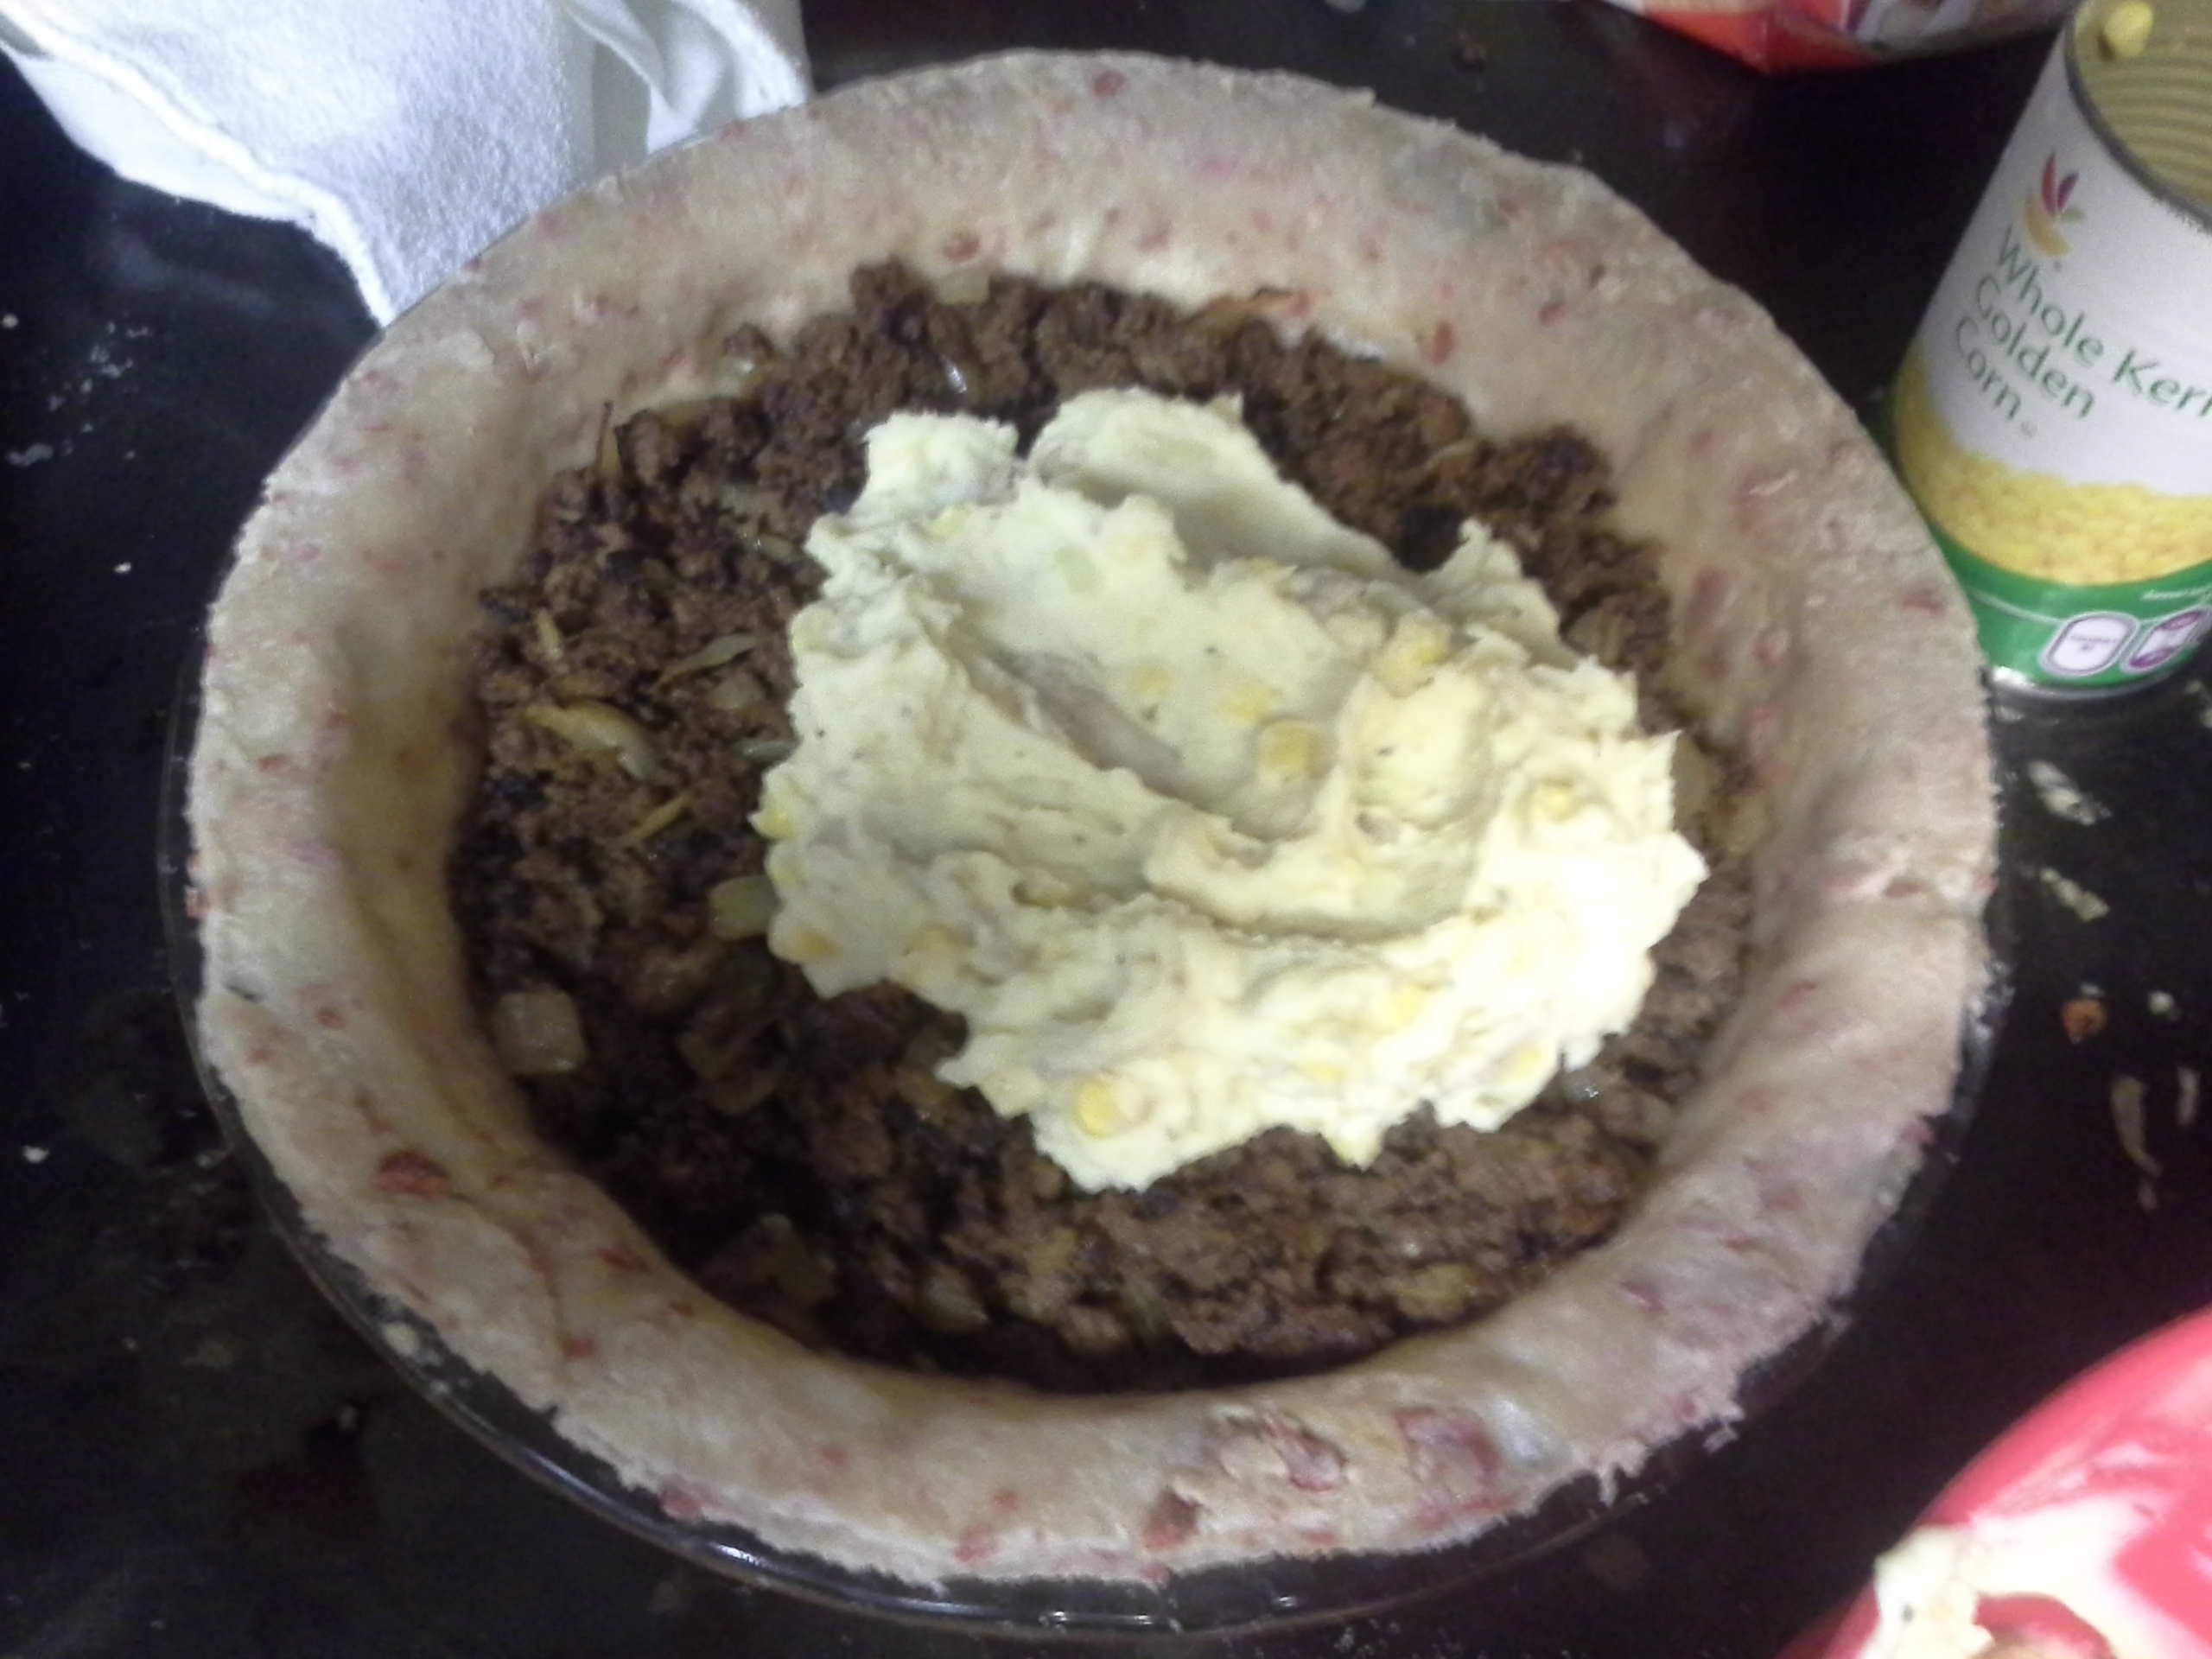
20140129_173740
[Raw Pie with Meatloaf filling and some Mashed Potatoes with Corn]

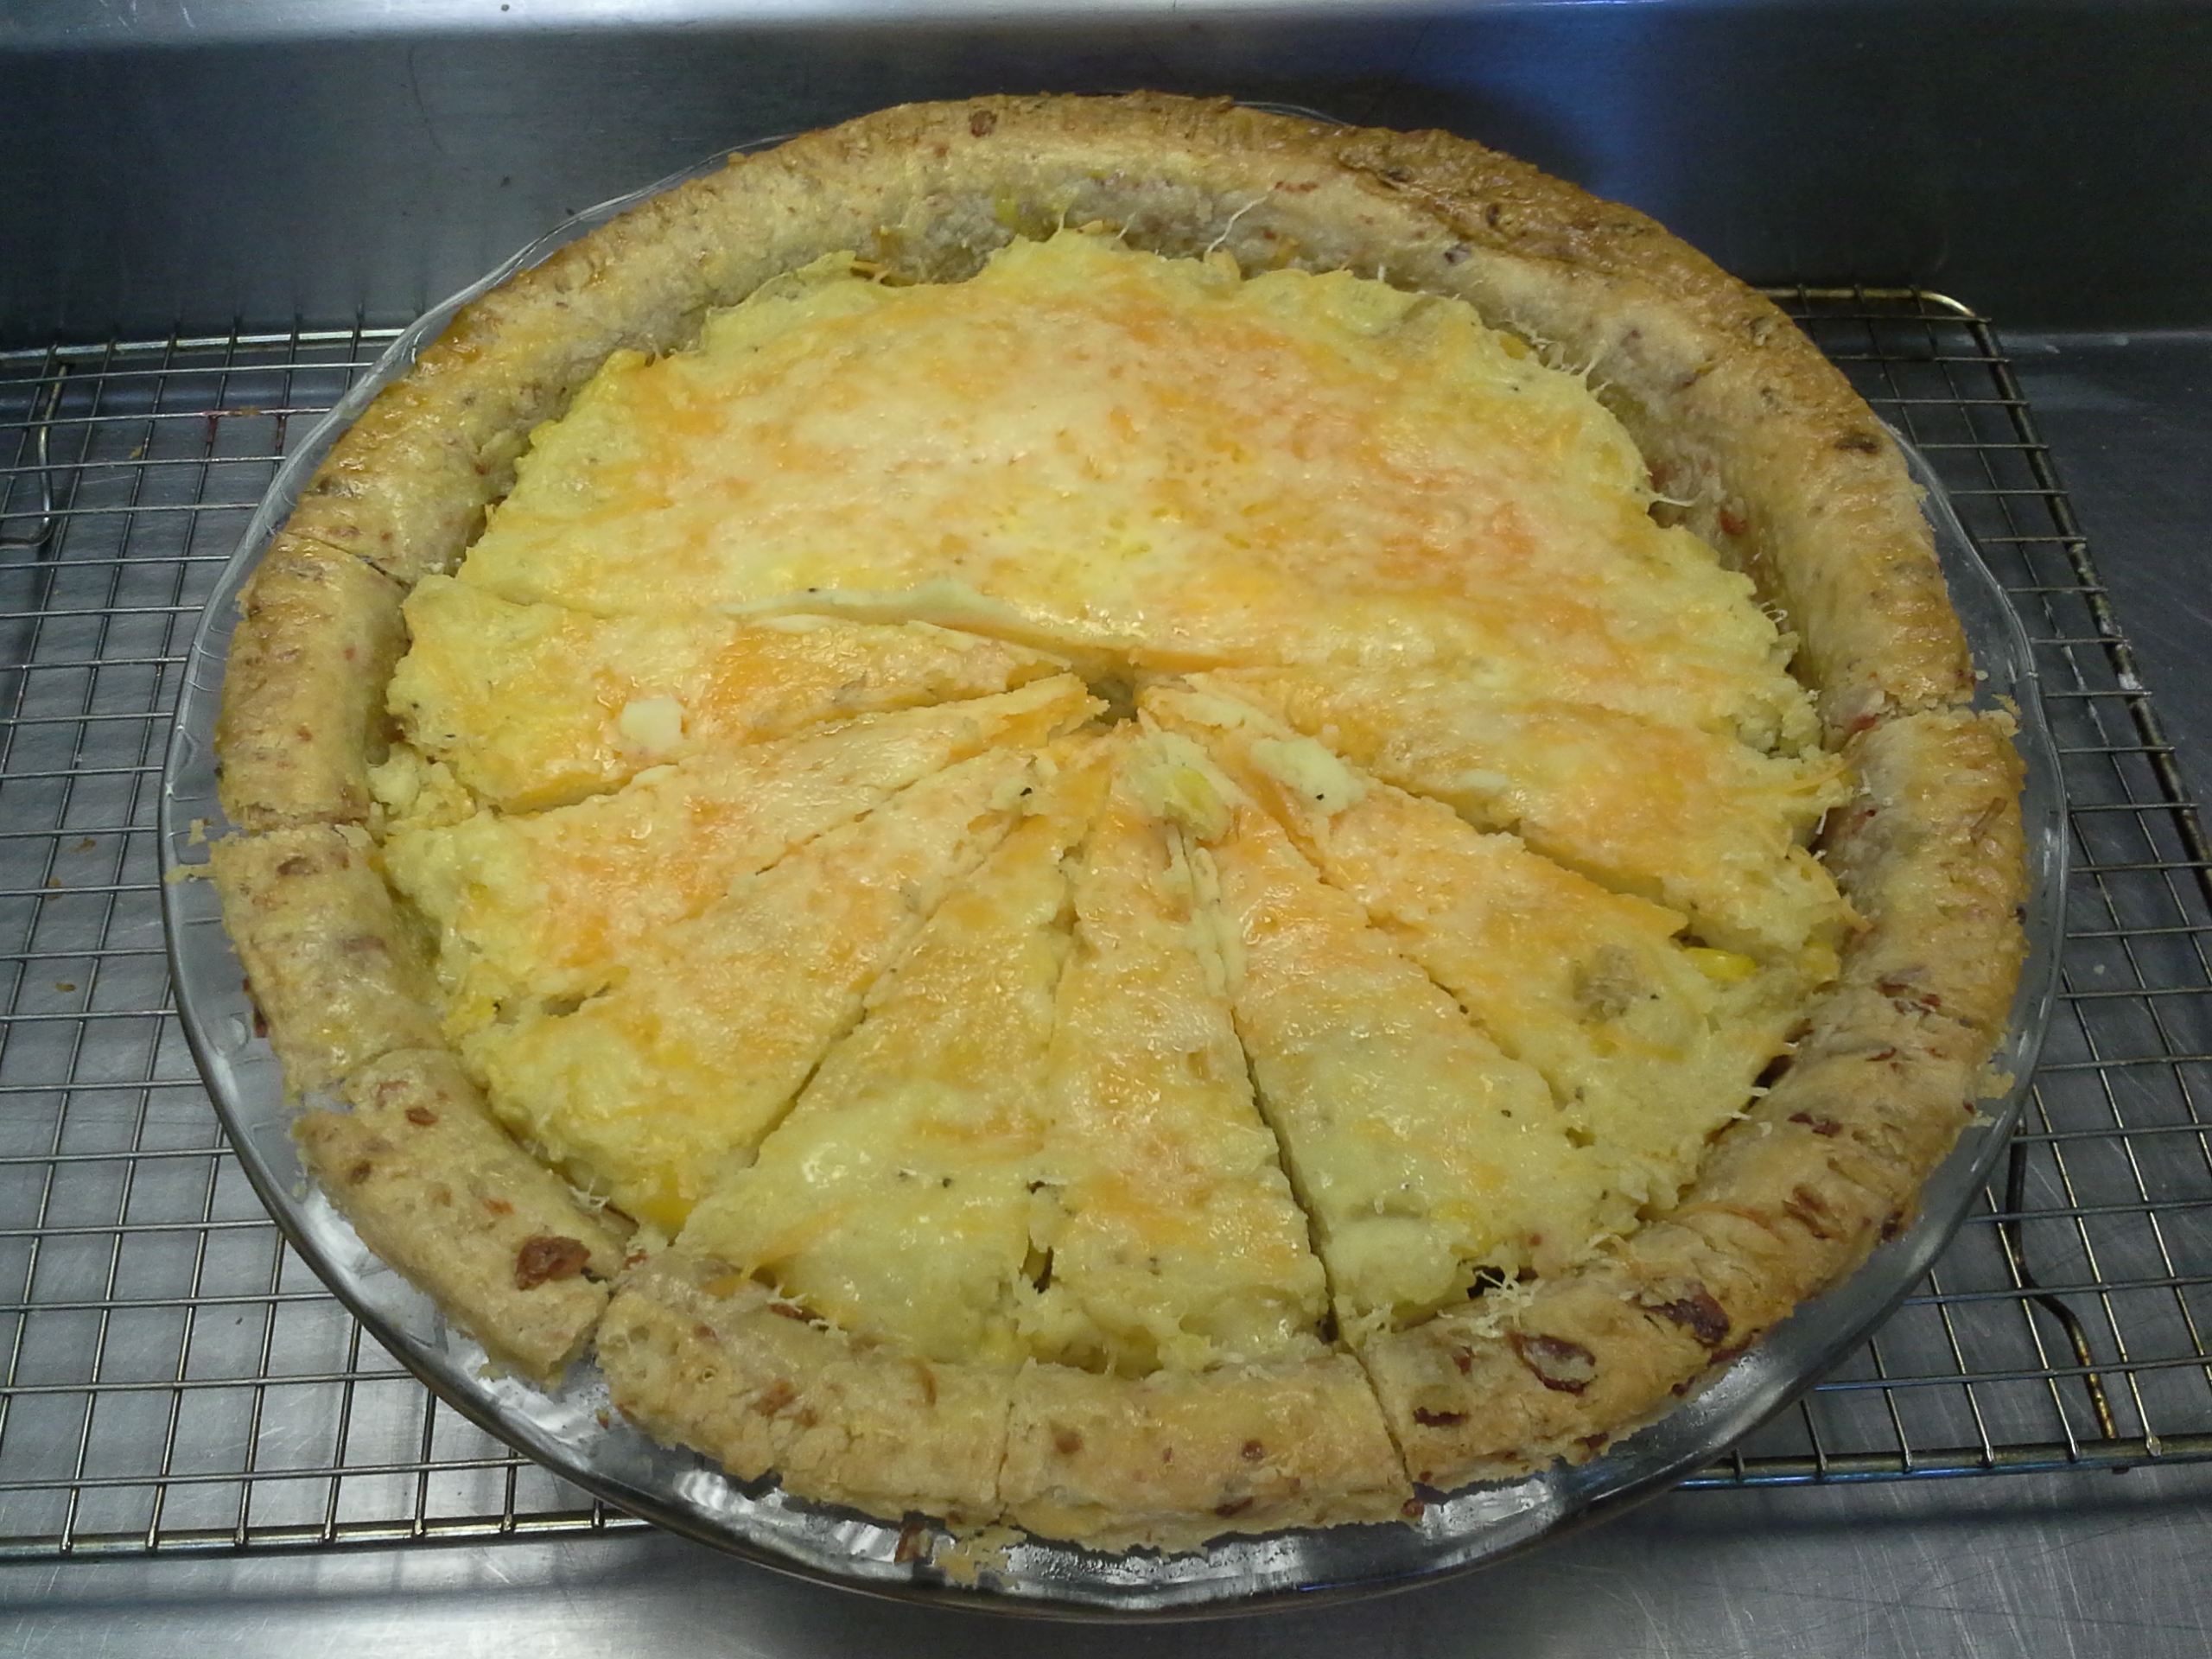
20140130_112919
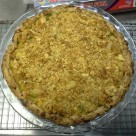
[Fresh Baked Pie – sliced into Eights]

20140130_114751
[The Final Presentation]


Utterly Deadly Southern Pecan Pie

IMG_1003 IMG_1008

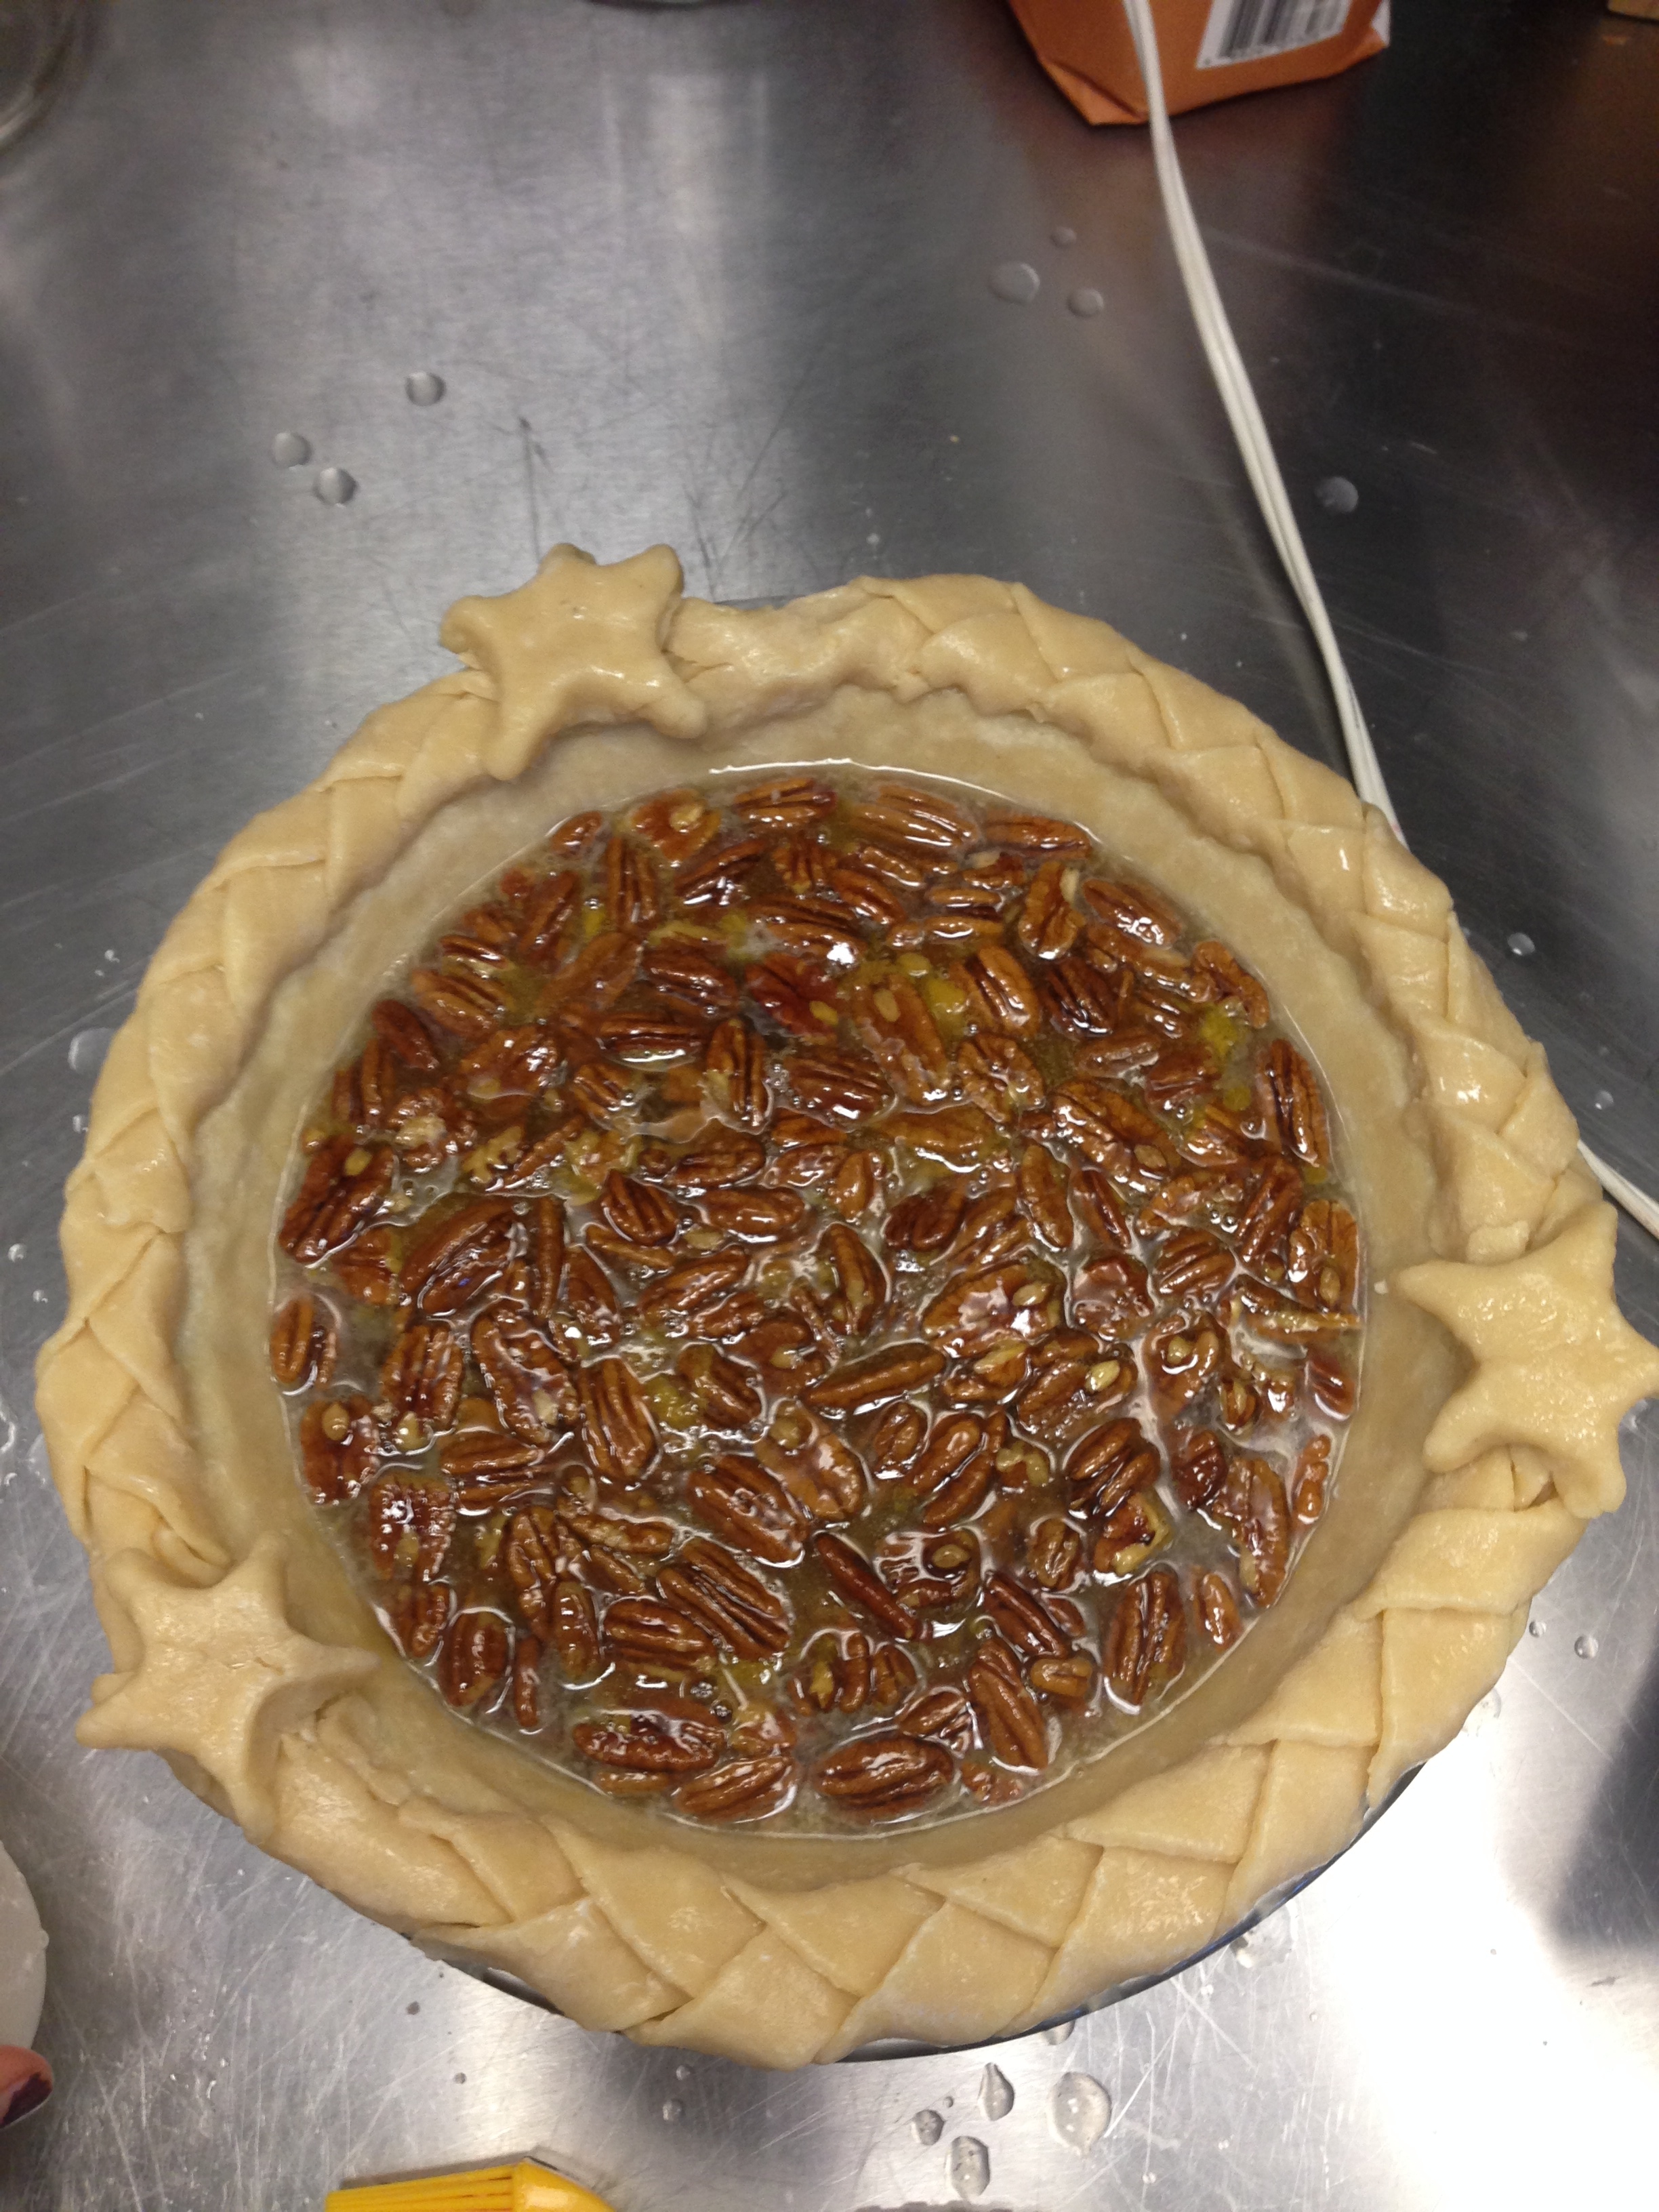
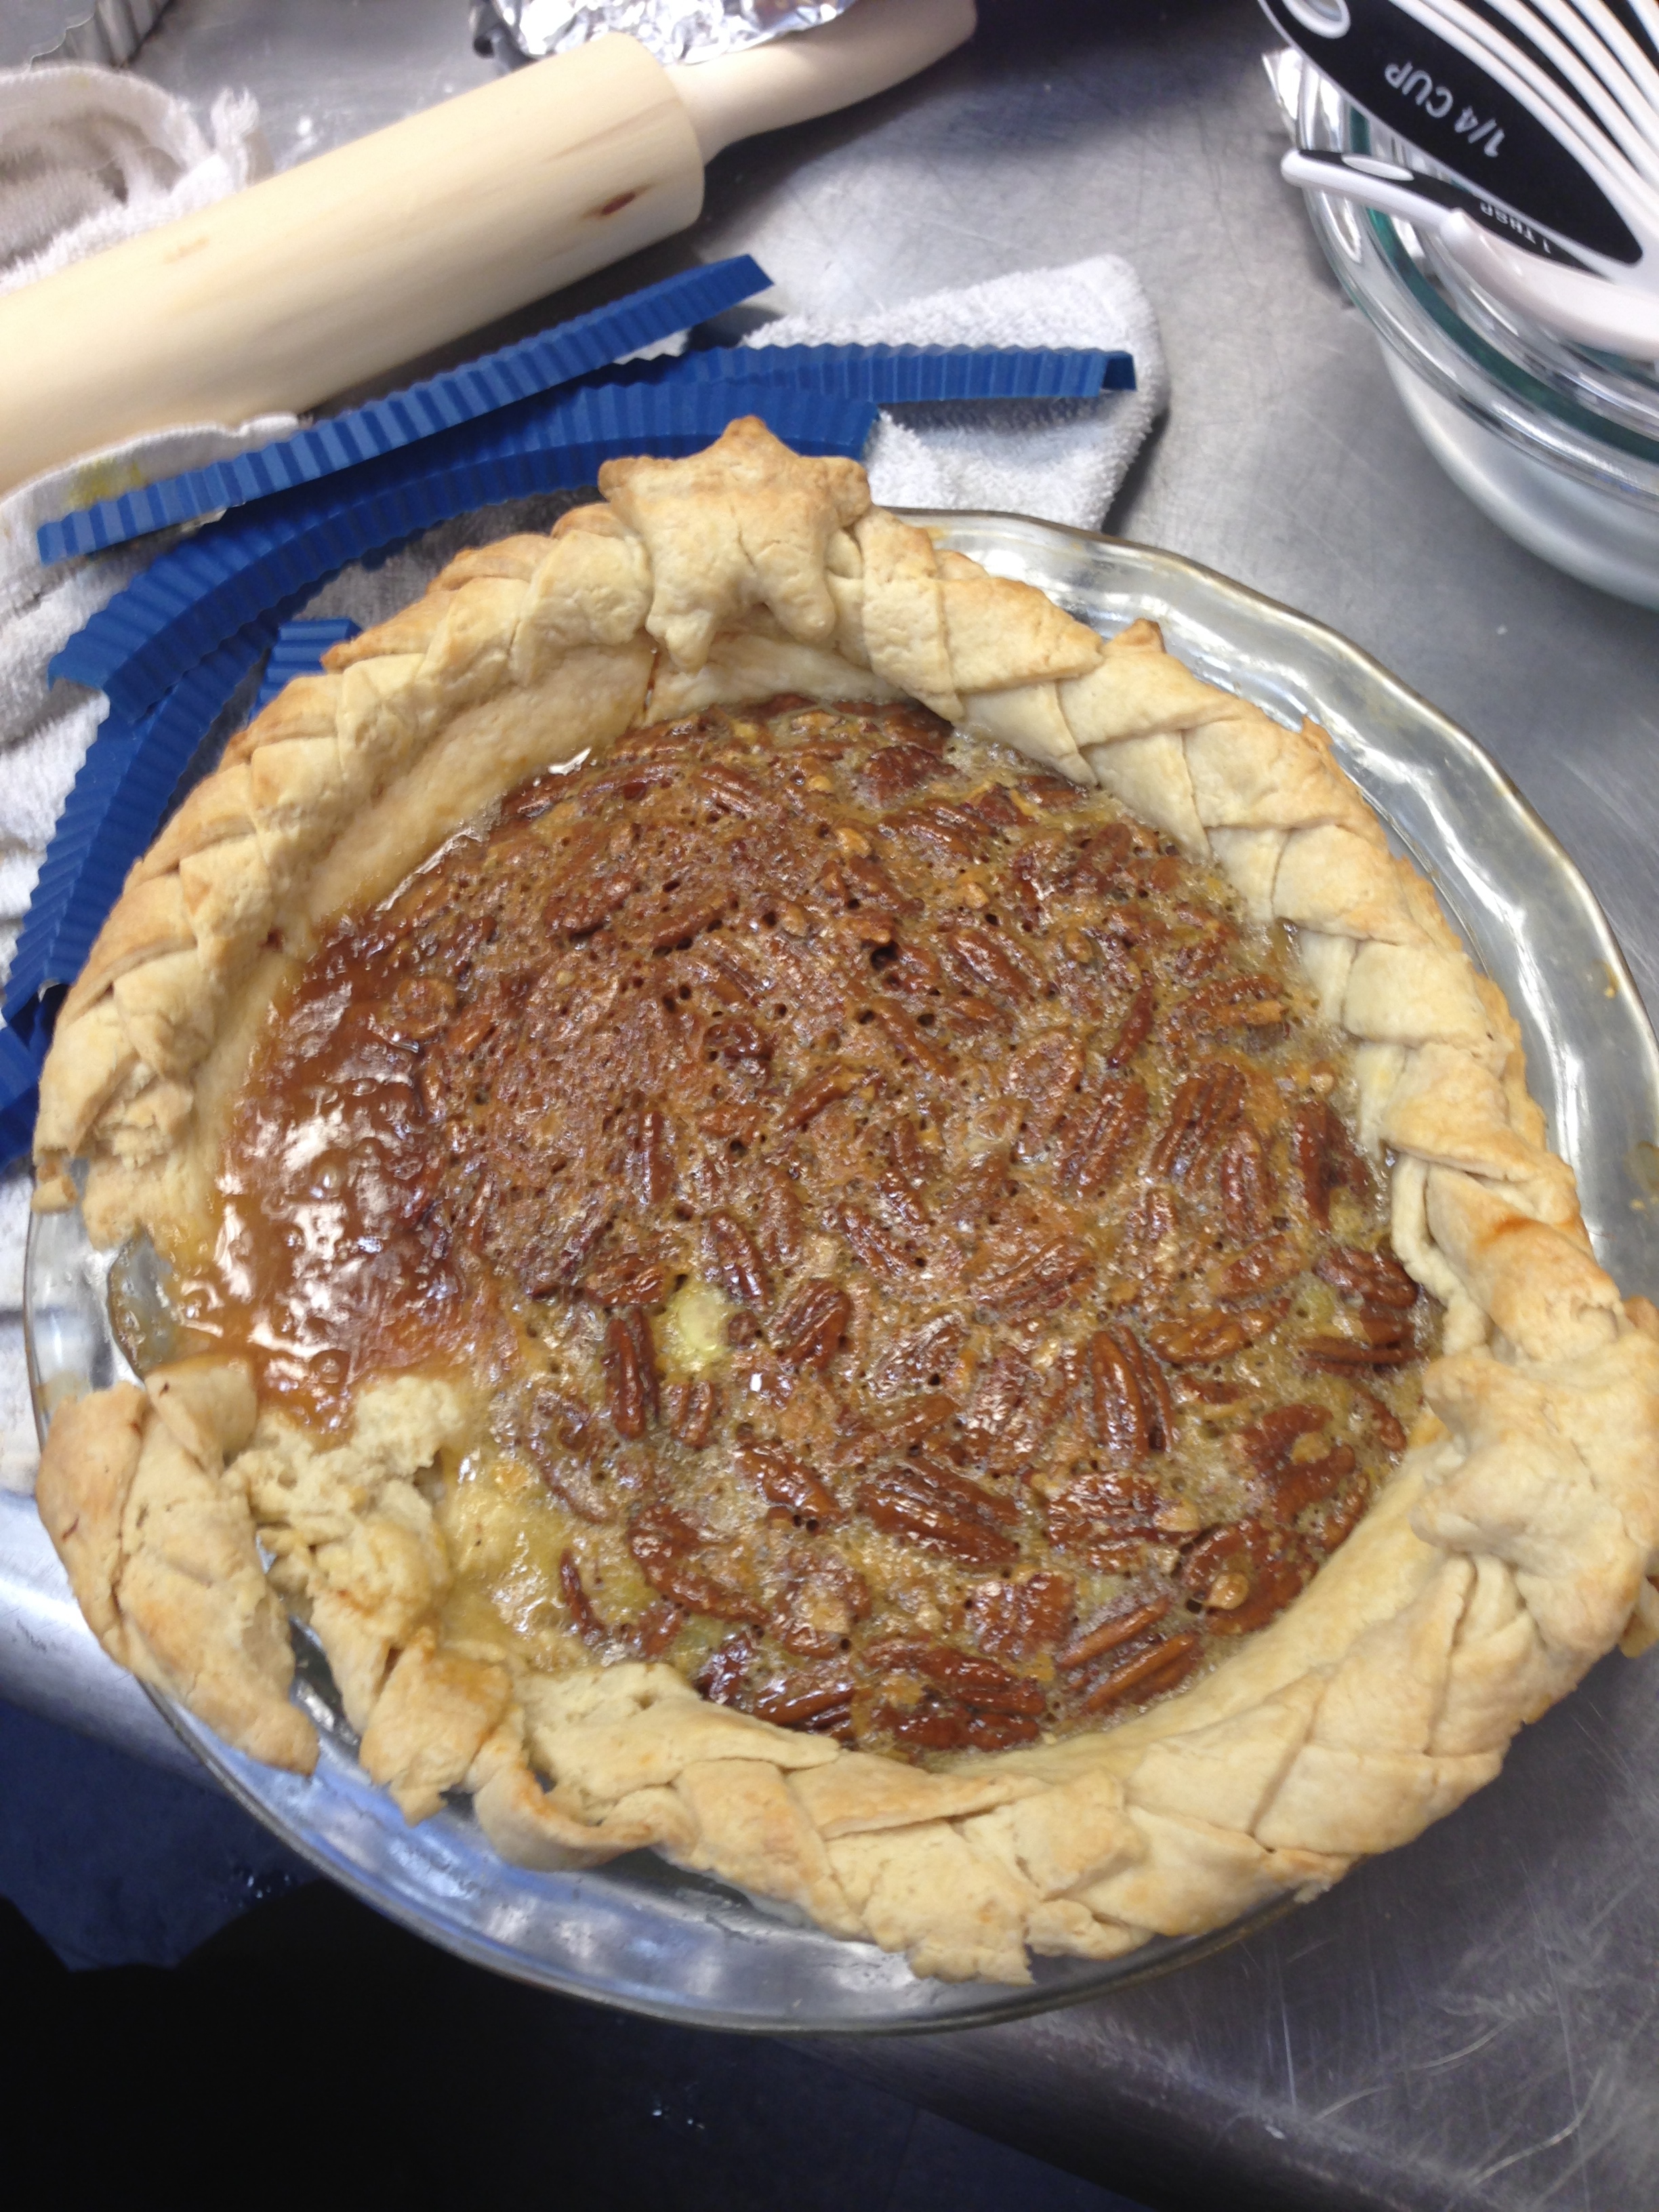
This was my first disaster pie. Although one would think the “utterly deadly” portion of the title comes from the abundance of delicious sugar and butter in the recipe (which I assume it originally did, as that was the name I found for this recipe online), the deadly attributes of this pie took on an entirely different meaning during the baking process. Now don’t get me wrong–this pie was fantastically delicious. I had three self-proclaimed pecan pie aficionados (from the South, no less) tell me this was one of the best pecan pies they had ever tasted. I kid you not. However, it was a long and perilous road creating the tasty, yet horrifyingly ugly final product pictured above. The picture to the left of the horribly ugly final pie illustrates my pie pre-baking in all of its braided glory…but I’ll get to that.

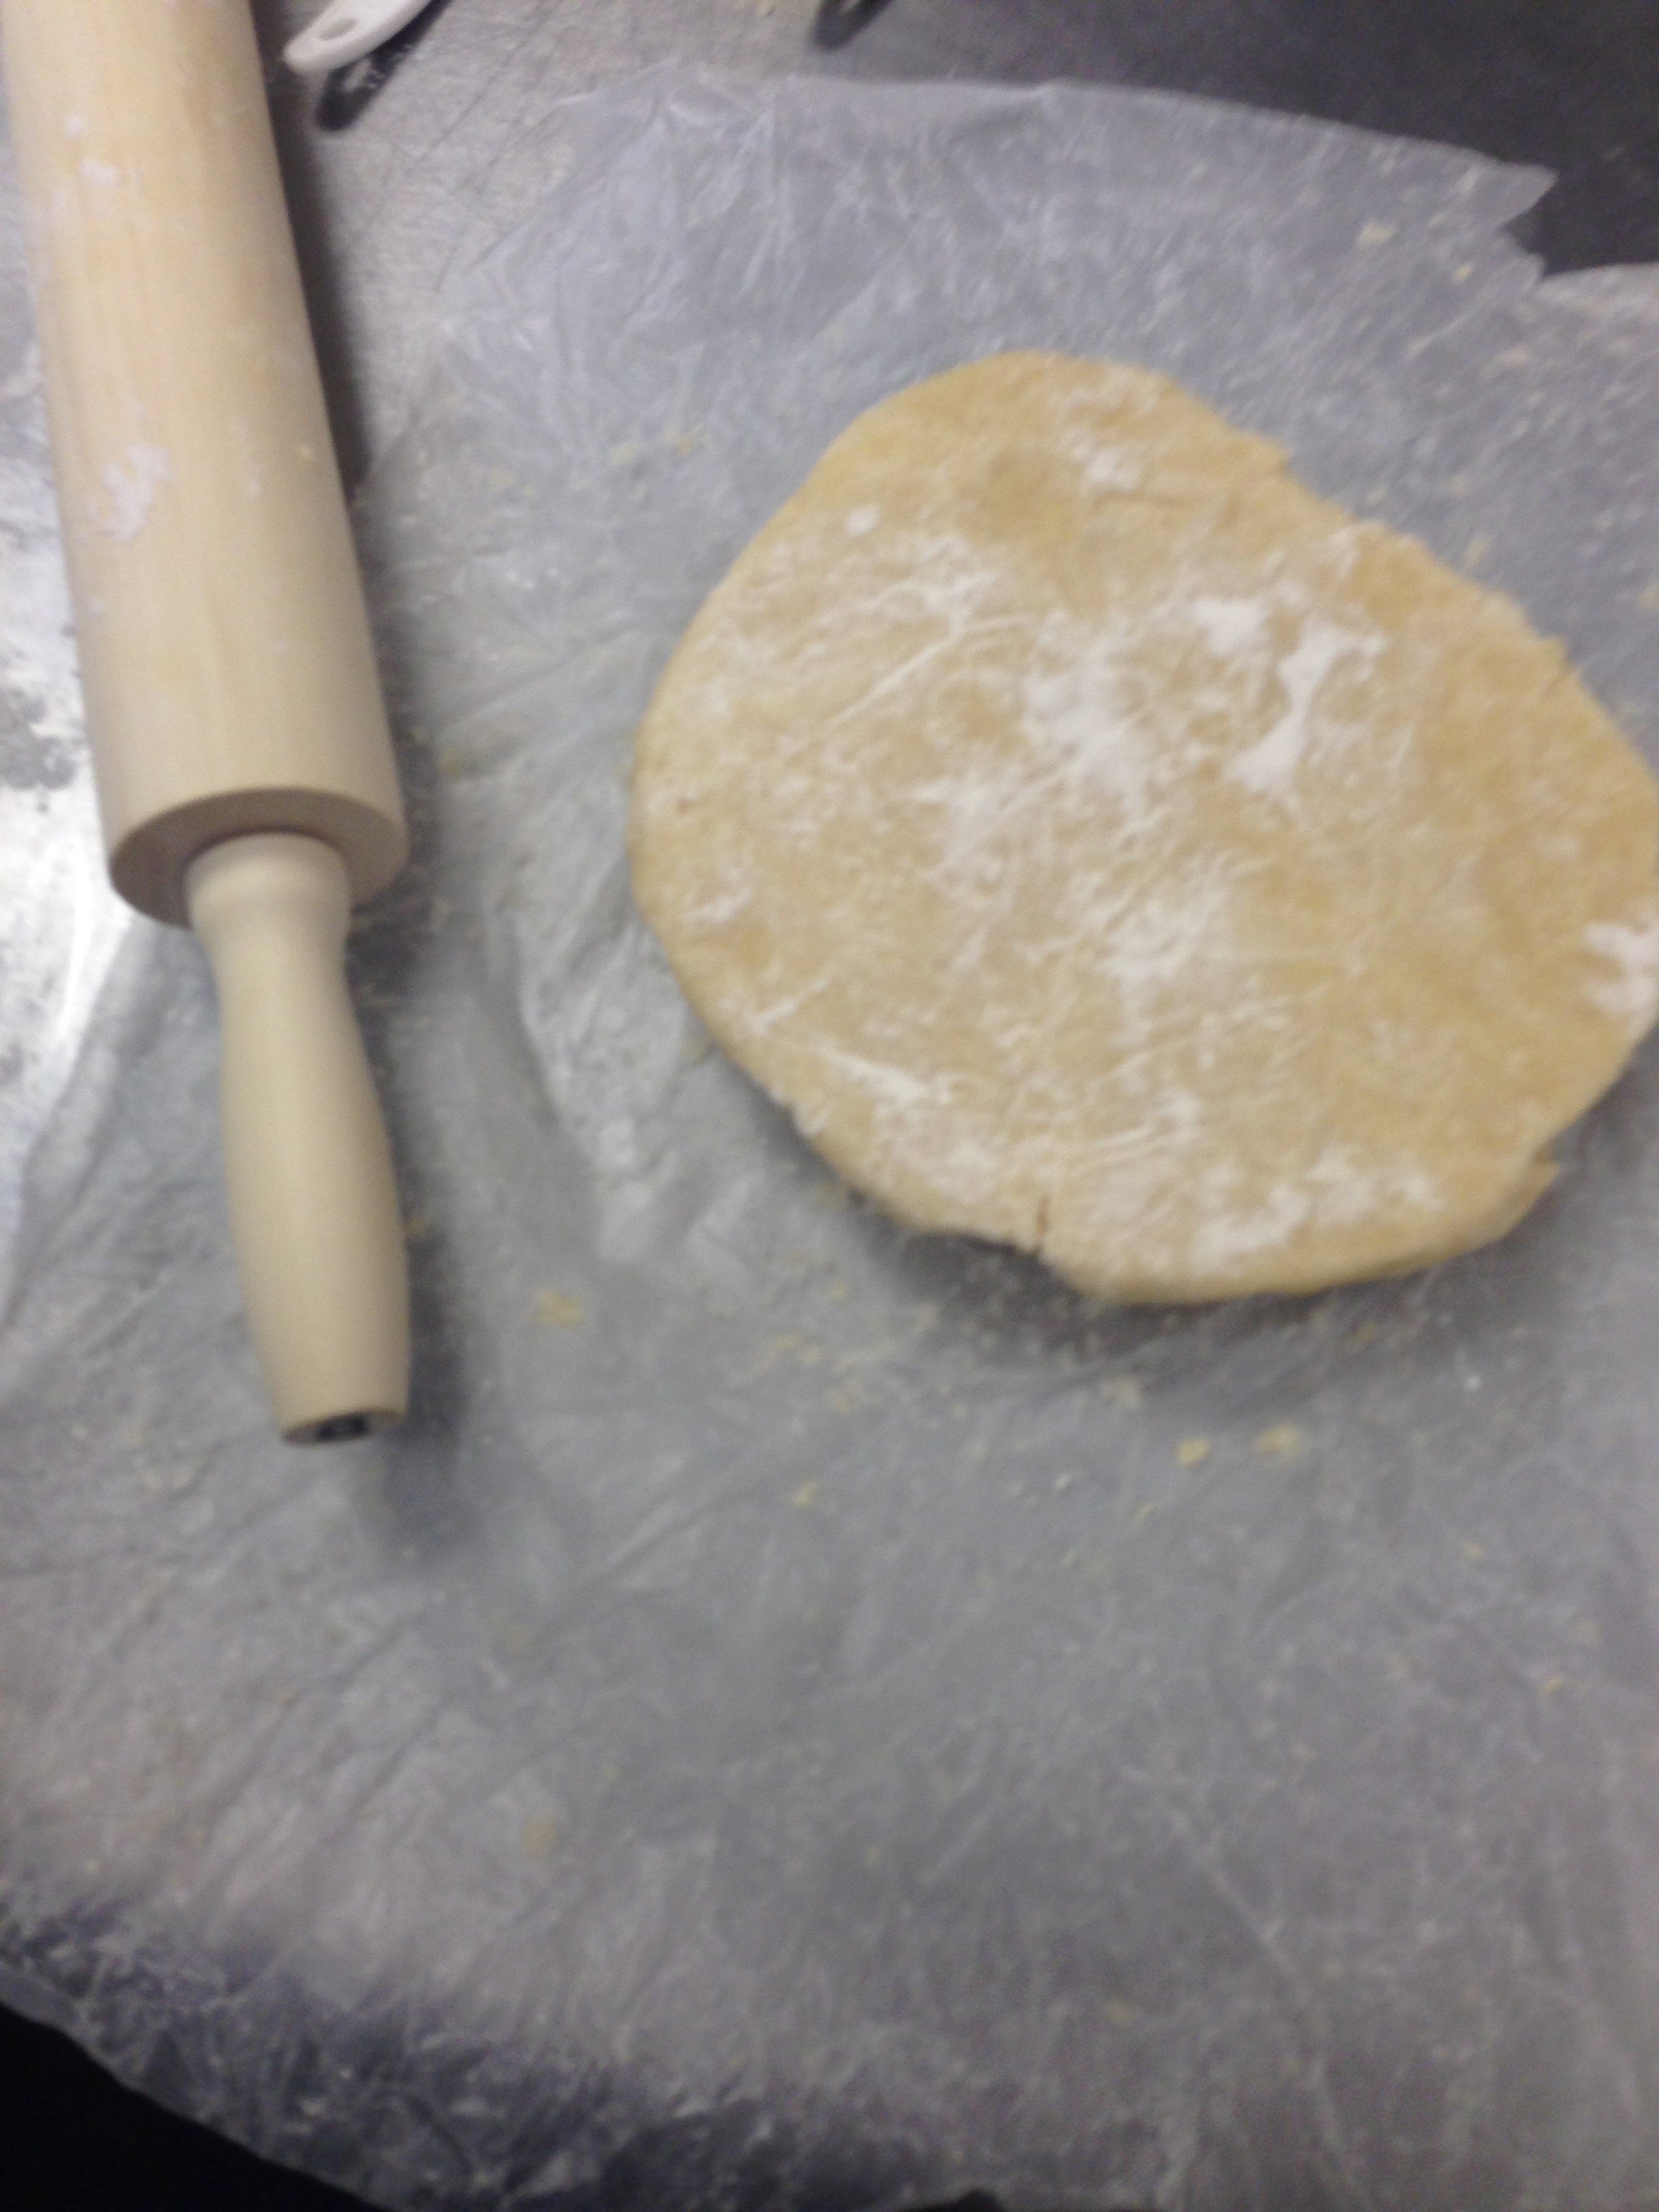
To begin, I decided to use the food processor and vodka trick that everyone was raving about for my pie crust. Previously, my dough was a little too moist, so I was looking forward to avoiding the doughy mess, and simplifying my crust-working with the processor.  Lesson of the week: shortcuts are not always so short. First of all, I had some issues with the food processor. While the dough was relatively pea-sized on top, the majority of the butter clumped at the bottom. Then, when I was working in the water/vodka, I think I overworked the dough because it was difficult to handle. Later, when I was rolling out the pastry, it kept cracking.

IMG_0988IMG_0992IMG_0993

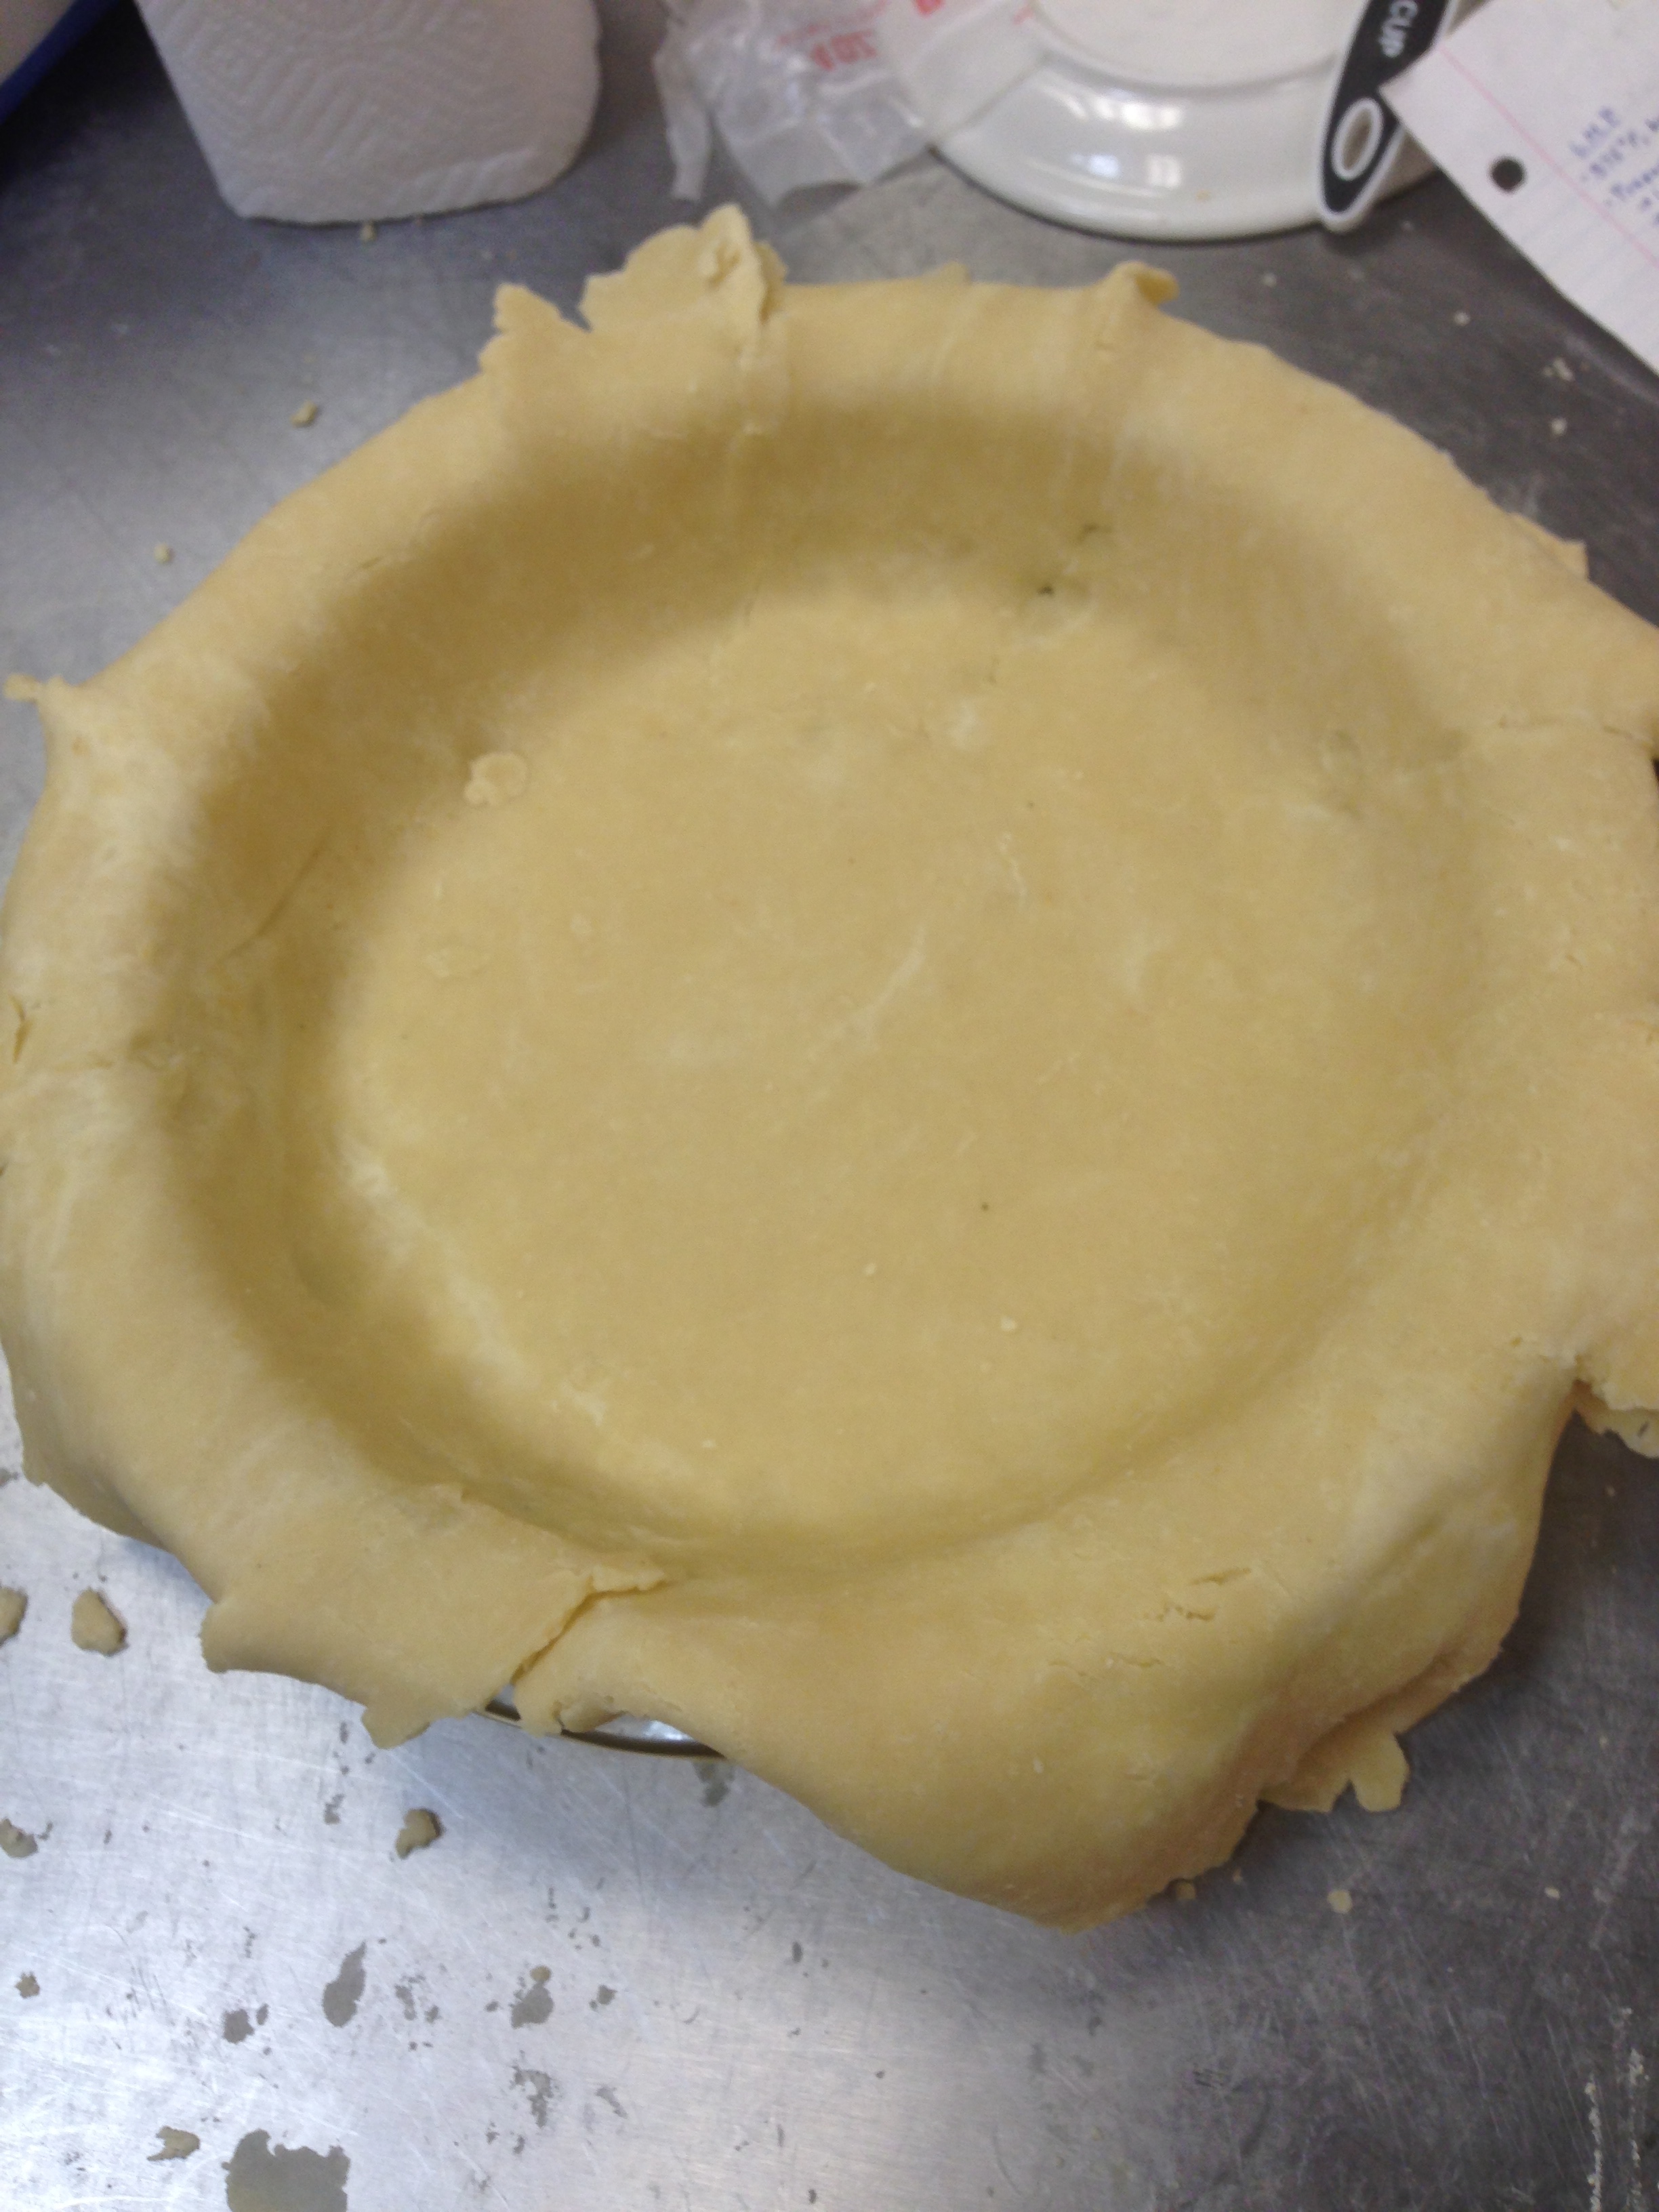
Although I knew I needed to wait for the dough to warm a bit, I was afraid of overworking it and having it end up too tough. The process of rolling and mending, rolling and mending continued until the dough was finally large enough to fit the pie plate. After cutting off the excess, I worked it together and rolled that out as well. I cut this dough into long strips and braided it together to make a pretty crust. Connecting the three braids wasn’t easy, but I finally figured I could just put some additional decorations around the connection points…in my case, stars. After all of the dough working, I was ready to shift away from the gluten and focus on the filling.

The first folly: I confused corn starch and corn syrup and mistakenly tried to boil the former with sugar–both obviously solid together in a pan.

IMG_0998

Big whoops. After starting again, I saw the results I was looking for, and I threw in the butter, pecans, vanilla, and eggs to complete the filling. Word to the wise–although the final product tasted wonderful, I advise anyone who plans on washing their dishes by hand to stay away from the corn syrup…the excess transformed in to this horrifying dried rubber meets plastic consistency all over the pan.

Finally, though, I was ready to complete the beautiful union of filling and crust. I thought I secured the delicate crust fairly well with water and egg yolk, but…well we all saw how that turned out. When I opened the oven to check on my pie, I was shocked and mortified to see the pathetic crust slumping into the filling. My braid! All of that time! All of that patience! Filled with woe, I removed the pie a tad bit earlier than the recipe suggested. As a result, my crust had more of a shortbread texture, but it was commended by many which leads me to think…blessing in disguise?…but no. Absolutely not. I would have readily sacrificed the tasty, slightly under-baked crust for even an over-crunchy, yet pretty crust.

Alas. The disaster pie was finished. Quite literally. I brought home about a piece and a half, and my friends annihilated my ugly pecan pity party with their voracity…success? You can try out the recipe and decide for yourself.


White Fish Pie

So, as a continuation of my previous post, today I finished baking the white fish pie. To my partial surprise, it turned out pretty solid; my biggest concern, that the structure wouldn’t hold and the filling would explode everywhere, did not come to pass, so that was spectacular, haha.

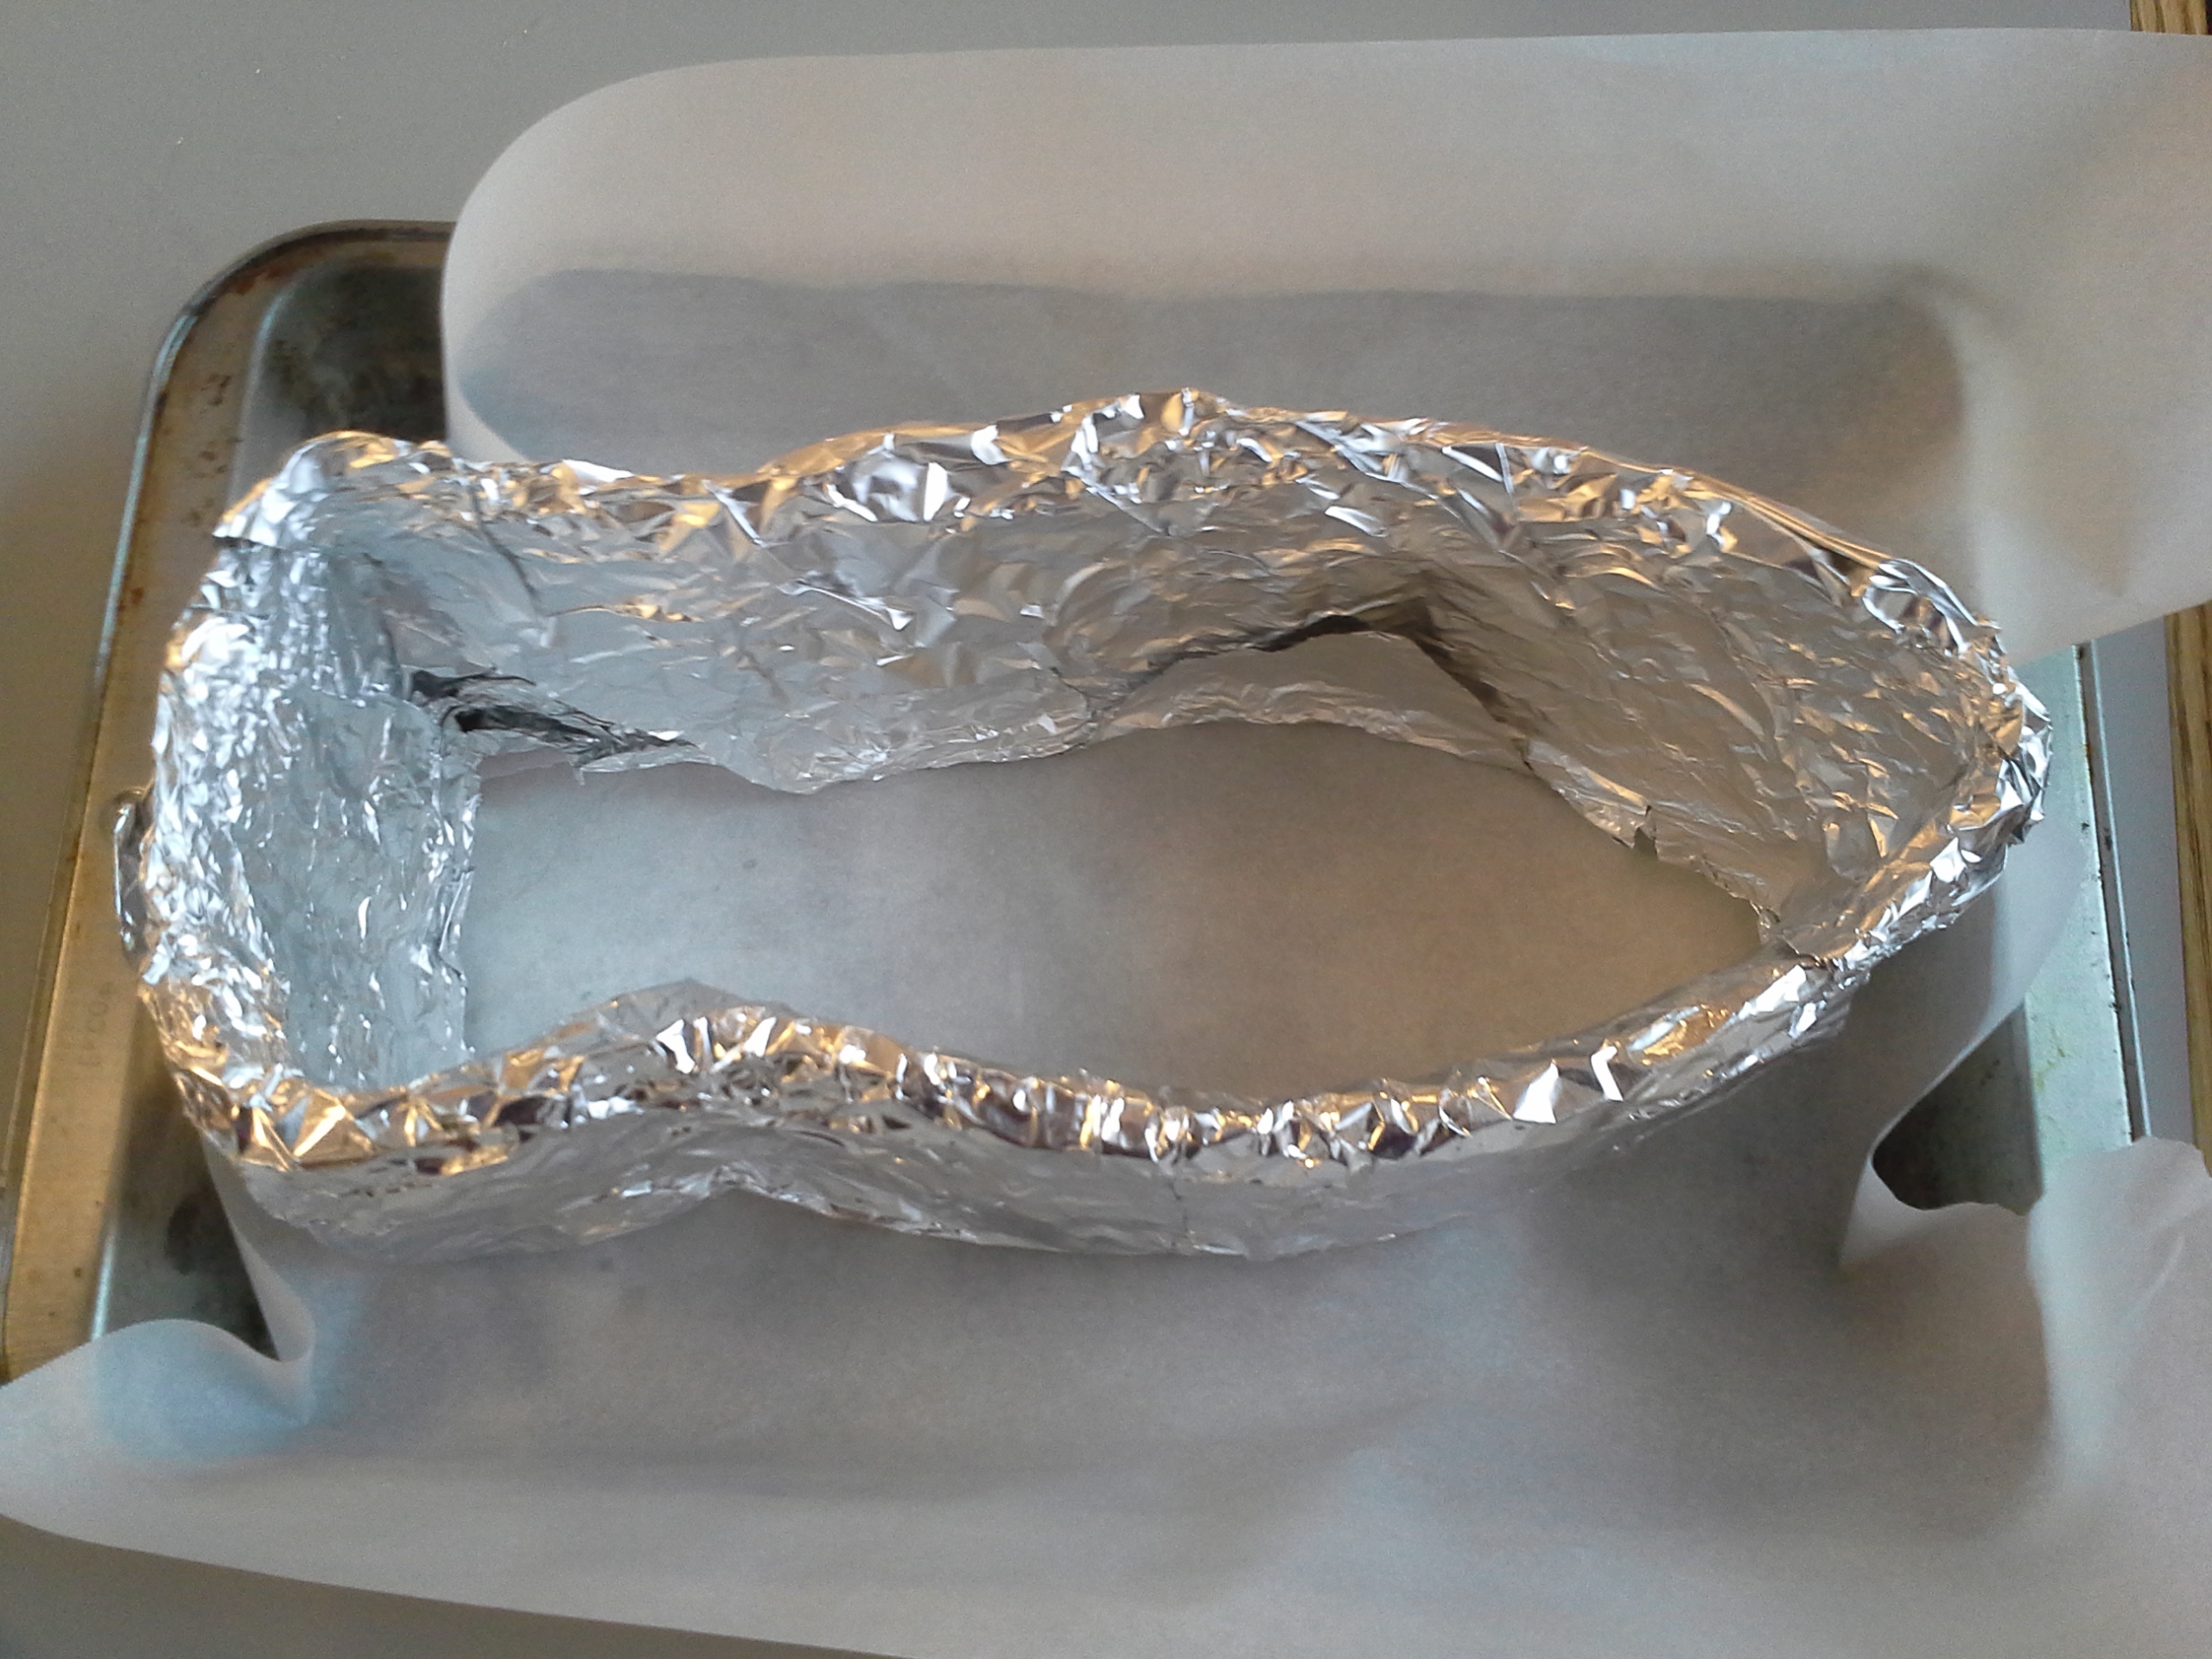
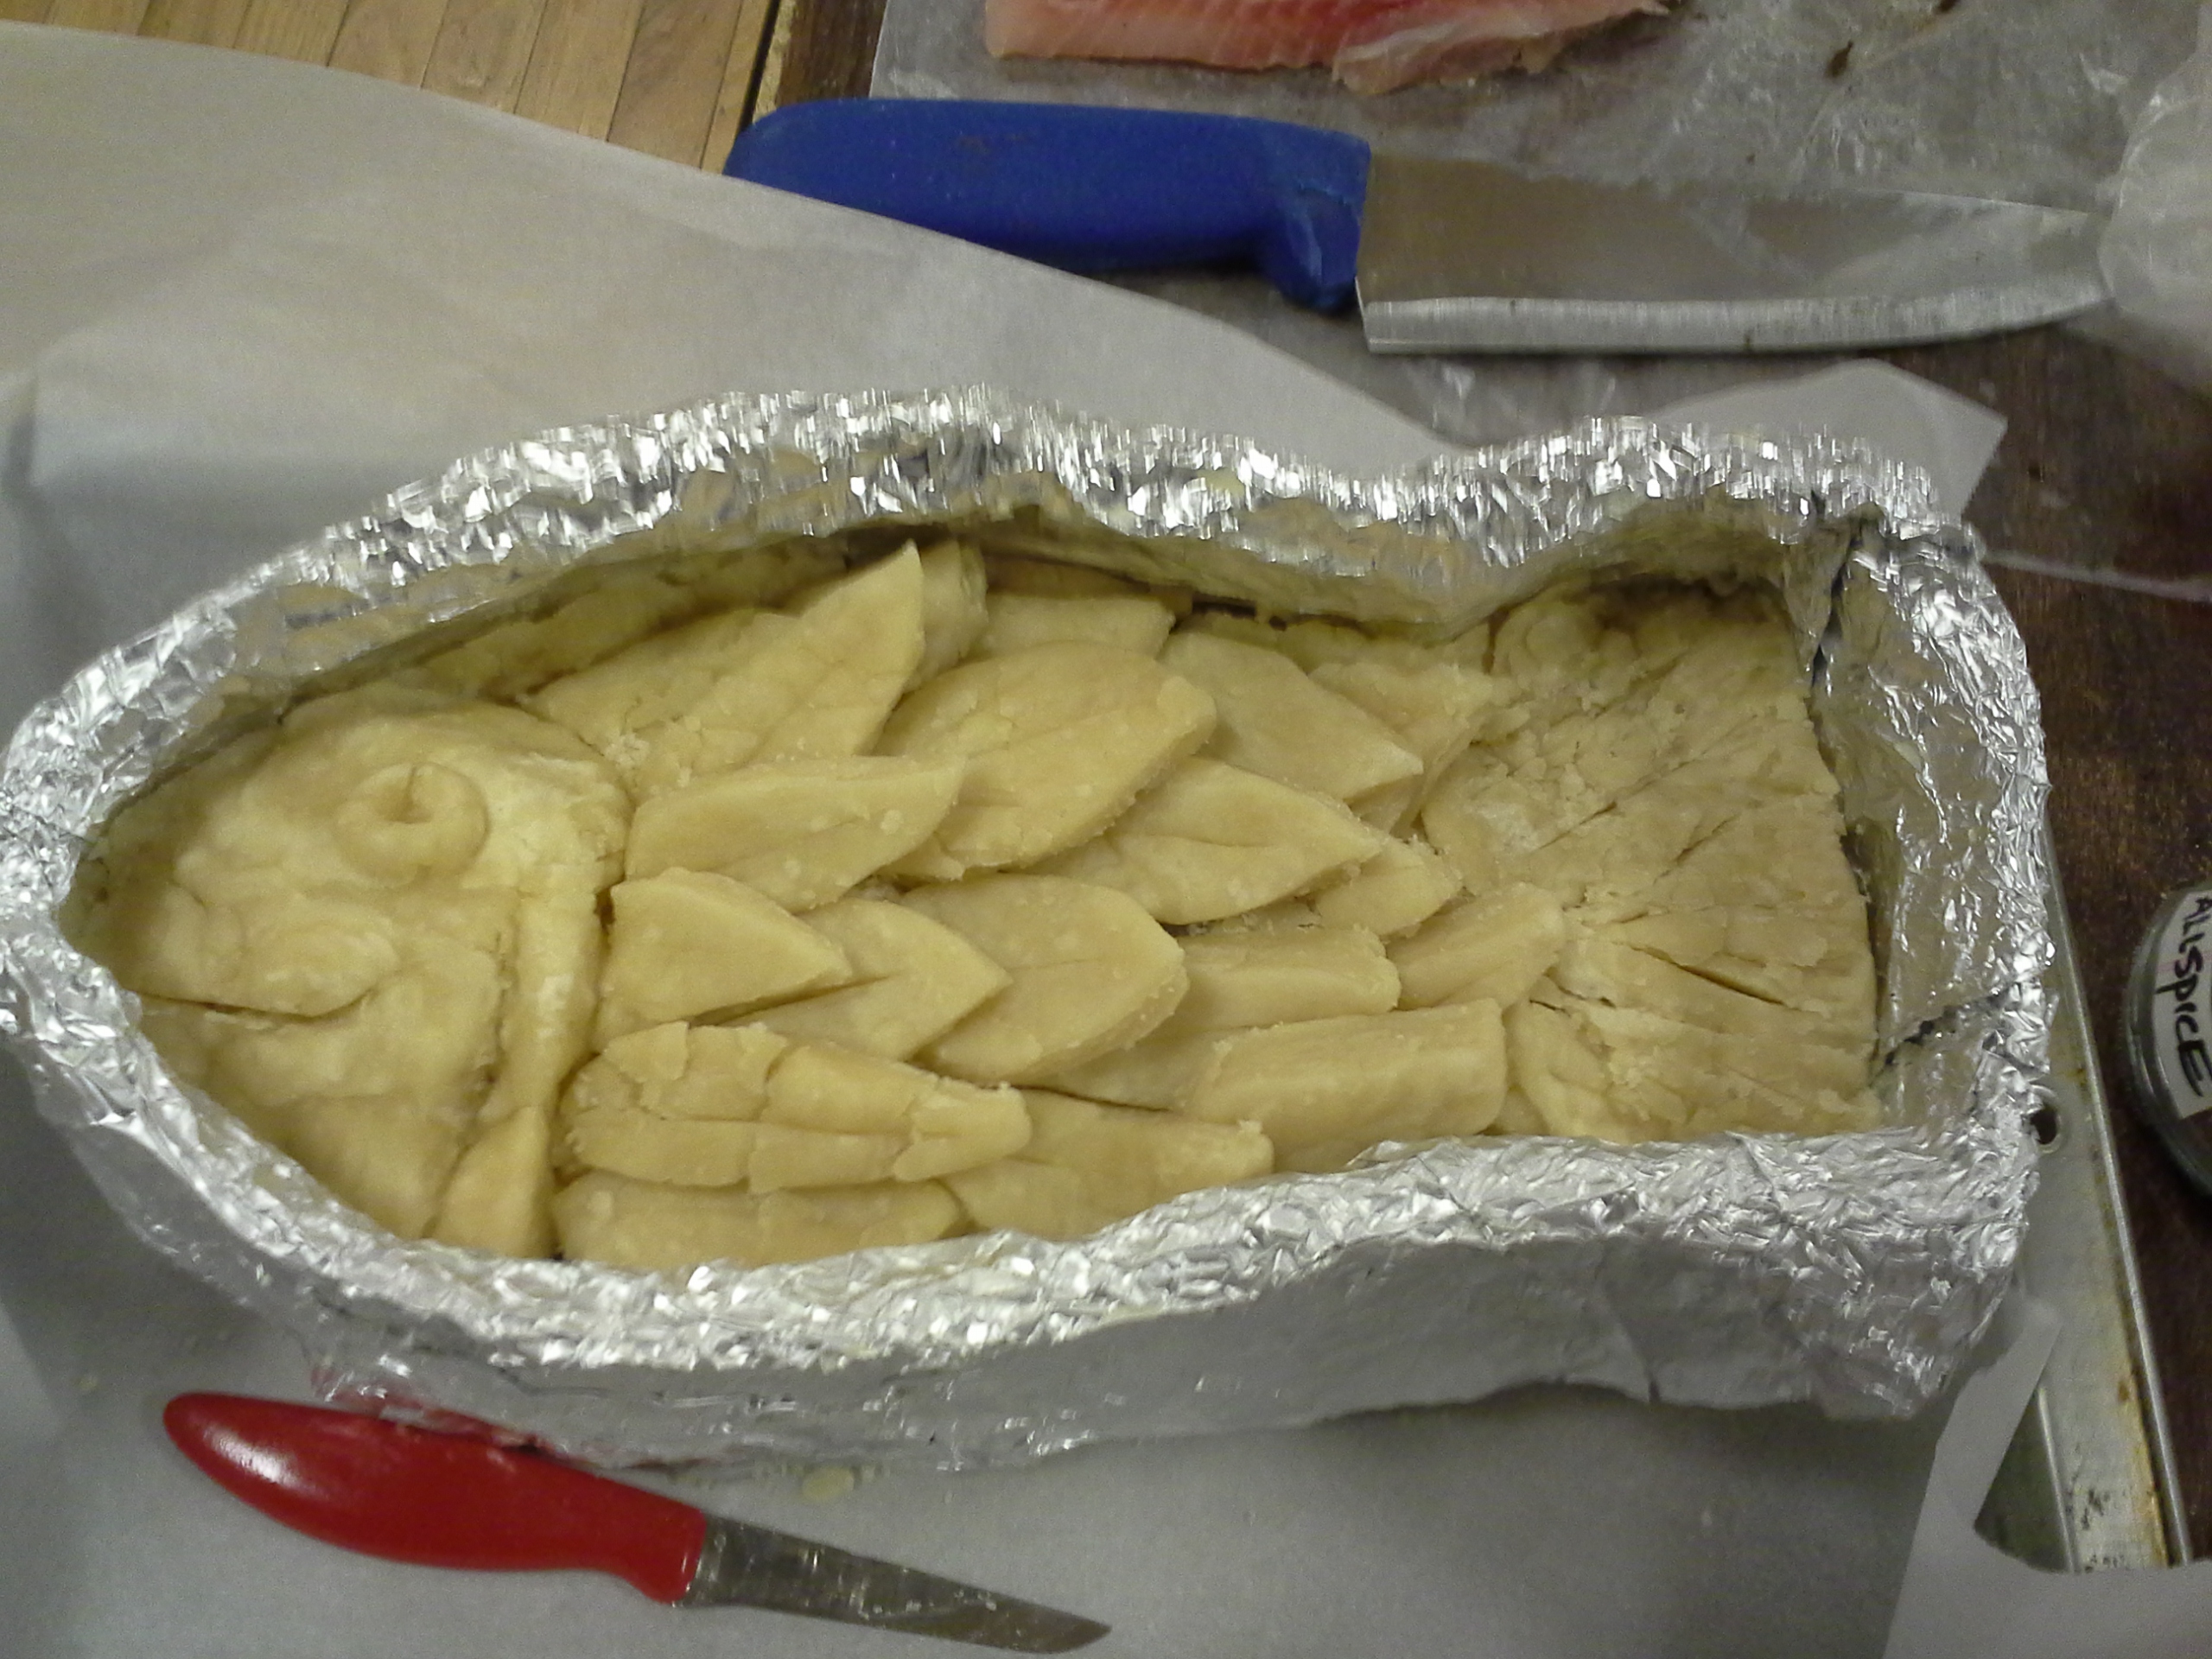
I went with the No-Rolling-Pin Pastry because I felt that it would be the easiest to work with while fitting the pie to my mold. That part definitely turned out to be true – the oil-based pastry worked wonderfully with my cardboard and aluminum mold, allowing me almost play-doh like control over my pastry so I could design and implement the base structure.

The filling was simple and easy. It is a tried and true recipe I’ve cooked for dinner before, and I thought the light, cheesy flavors would sincerely compliment the baked pastry. I layered the seafood, sauce, and cheese so that all ingredients were symmetrically arranged and even the cross-section may be beautiful. This idea was further led by the fact that many towering medieval pies also contained layers of ingredients.

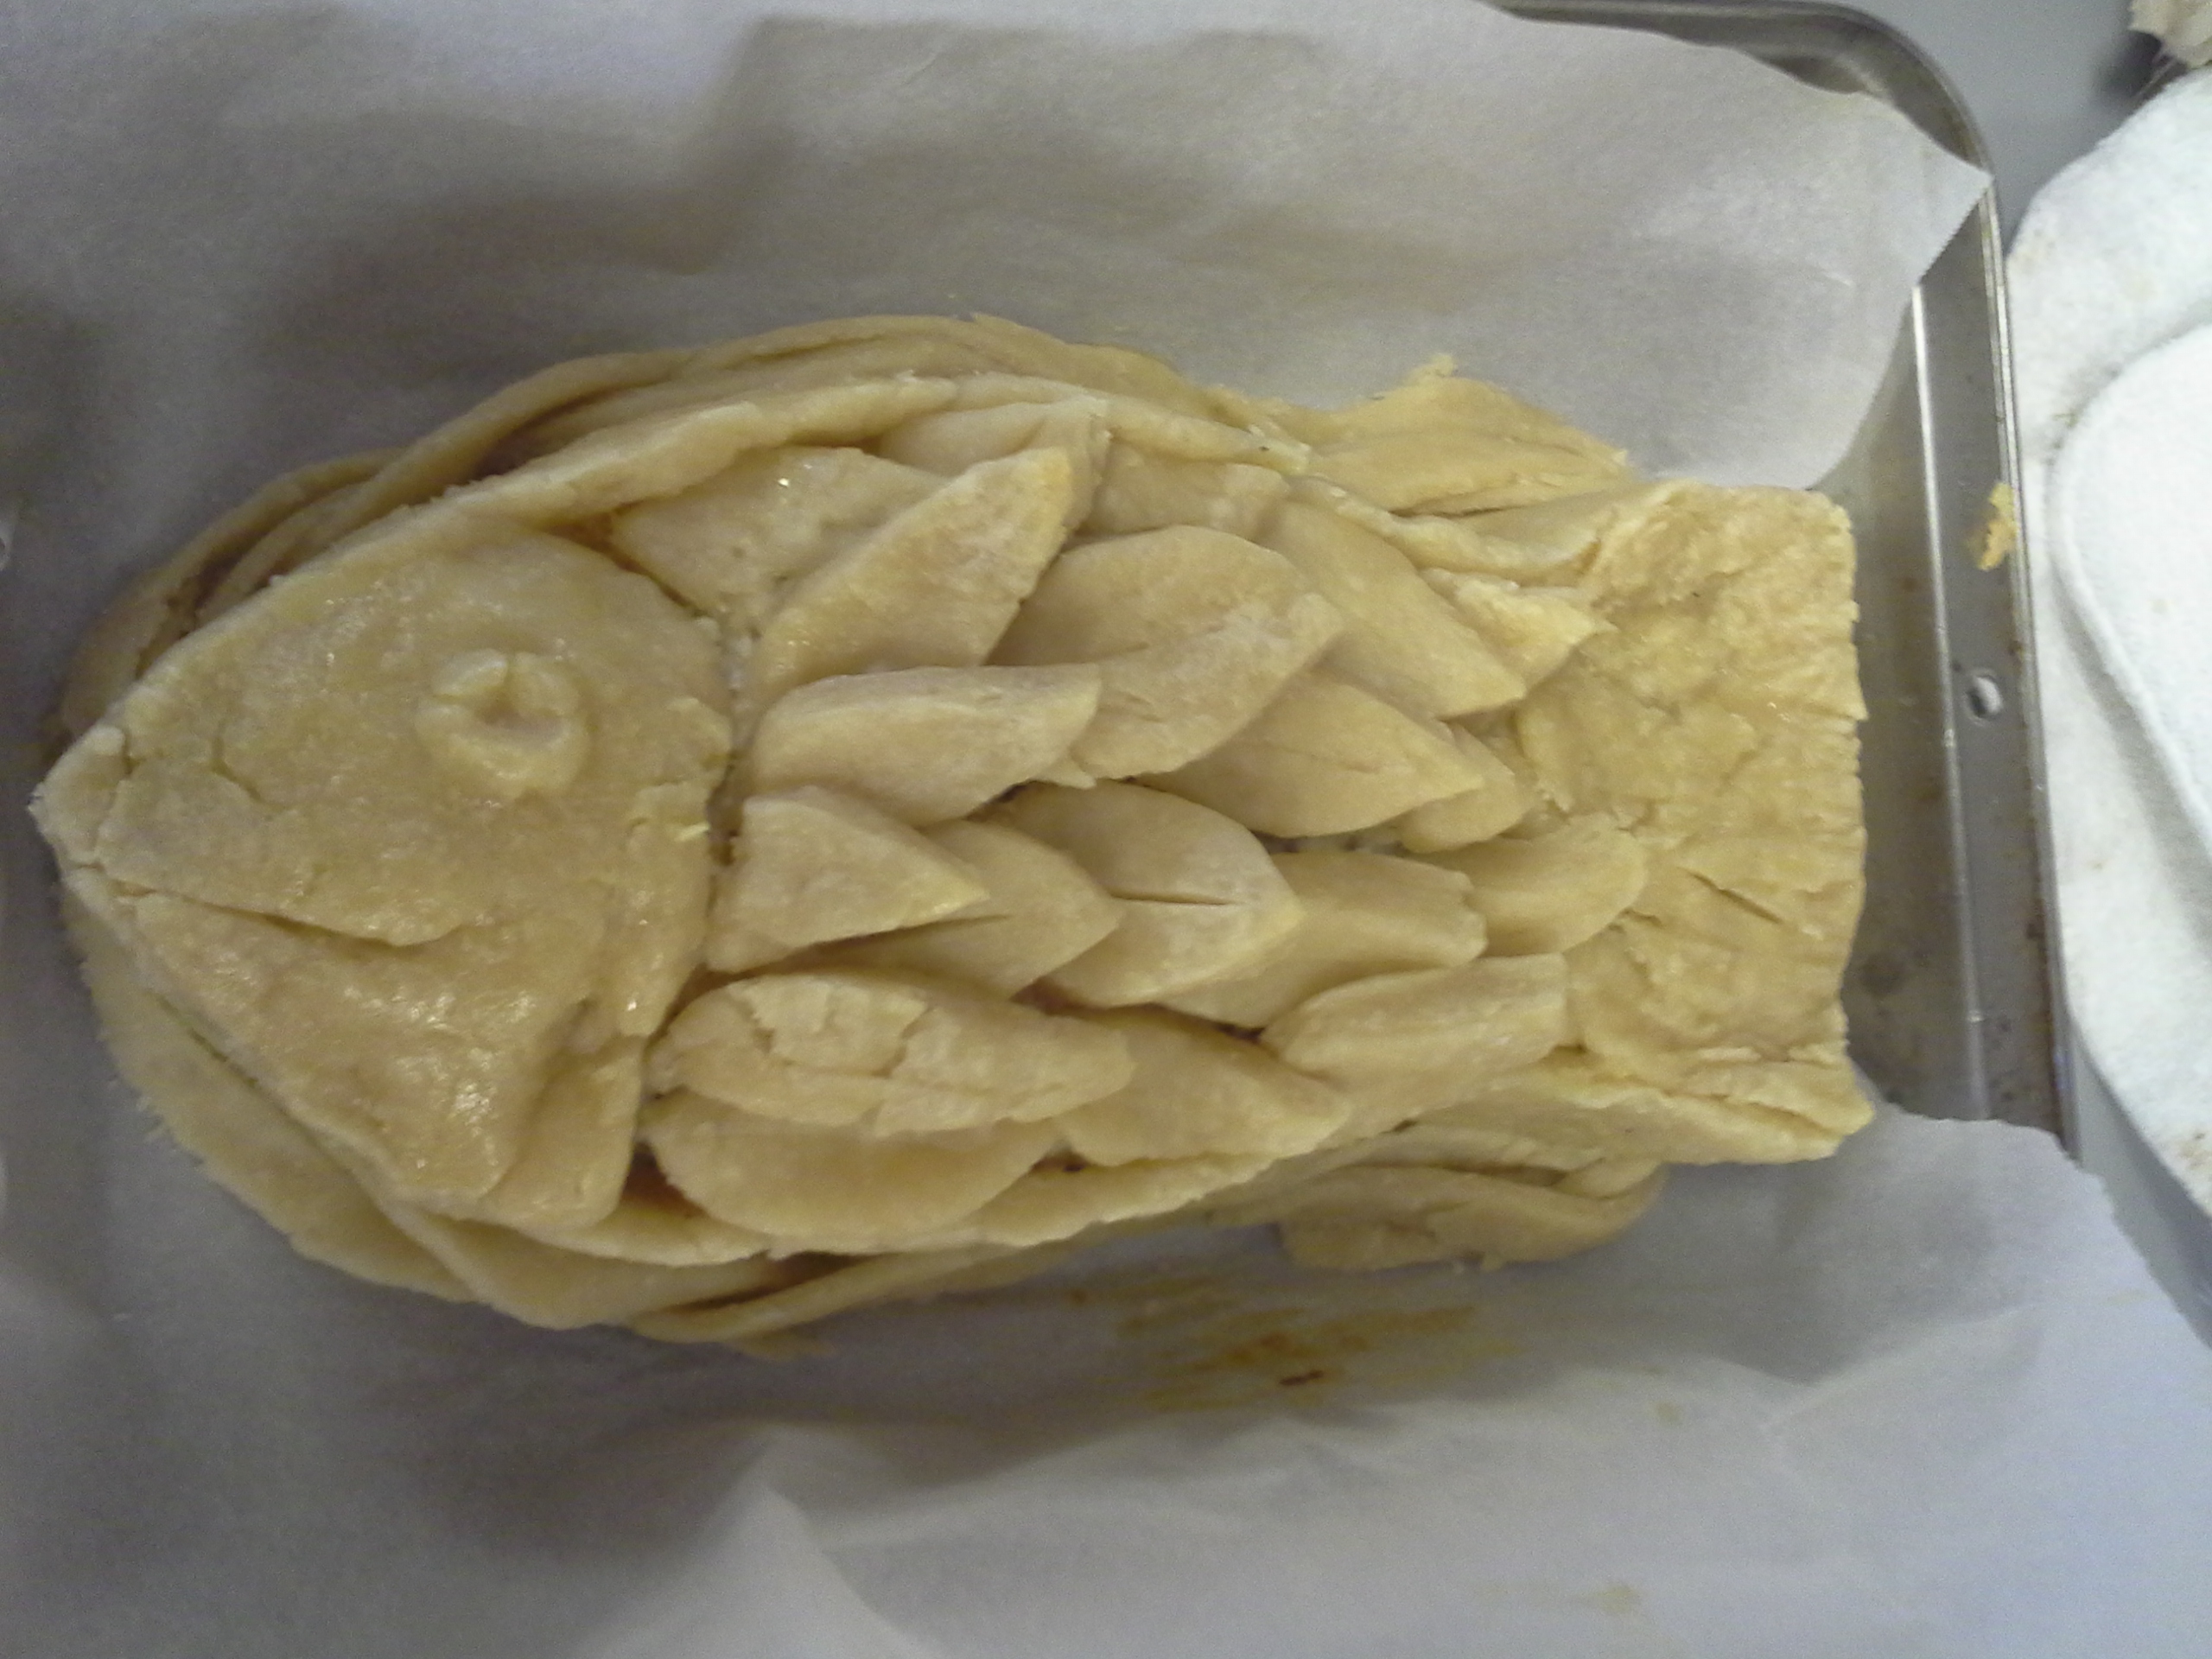
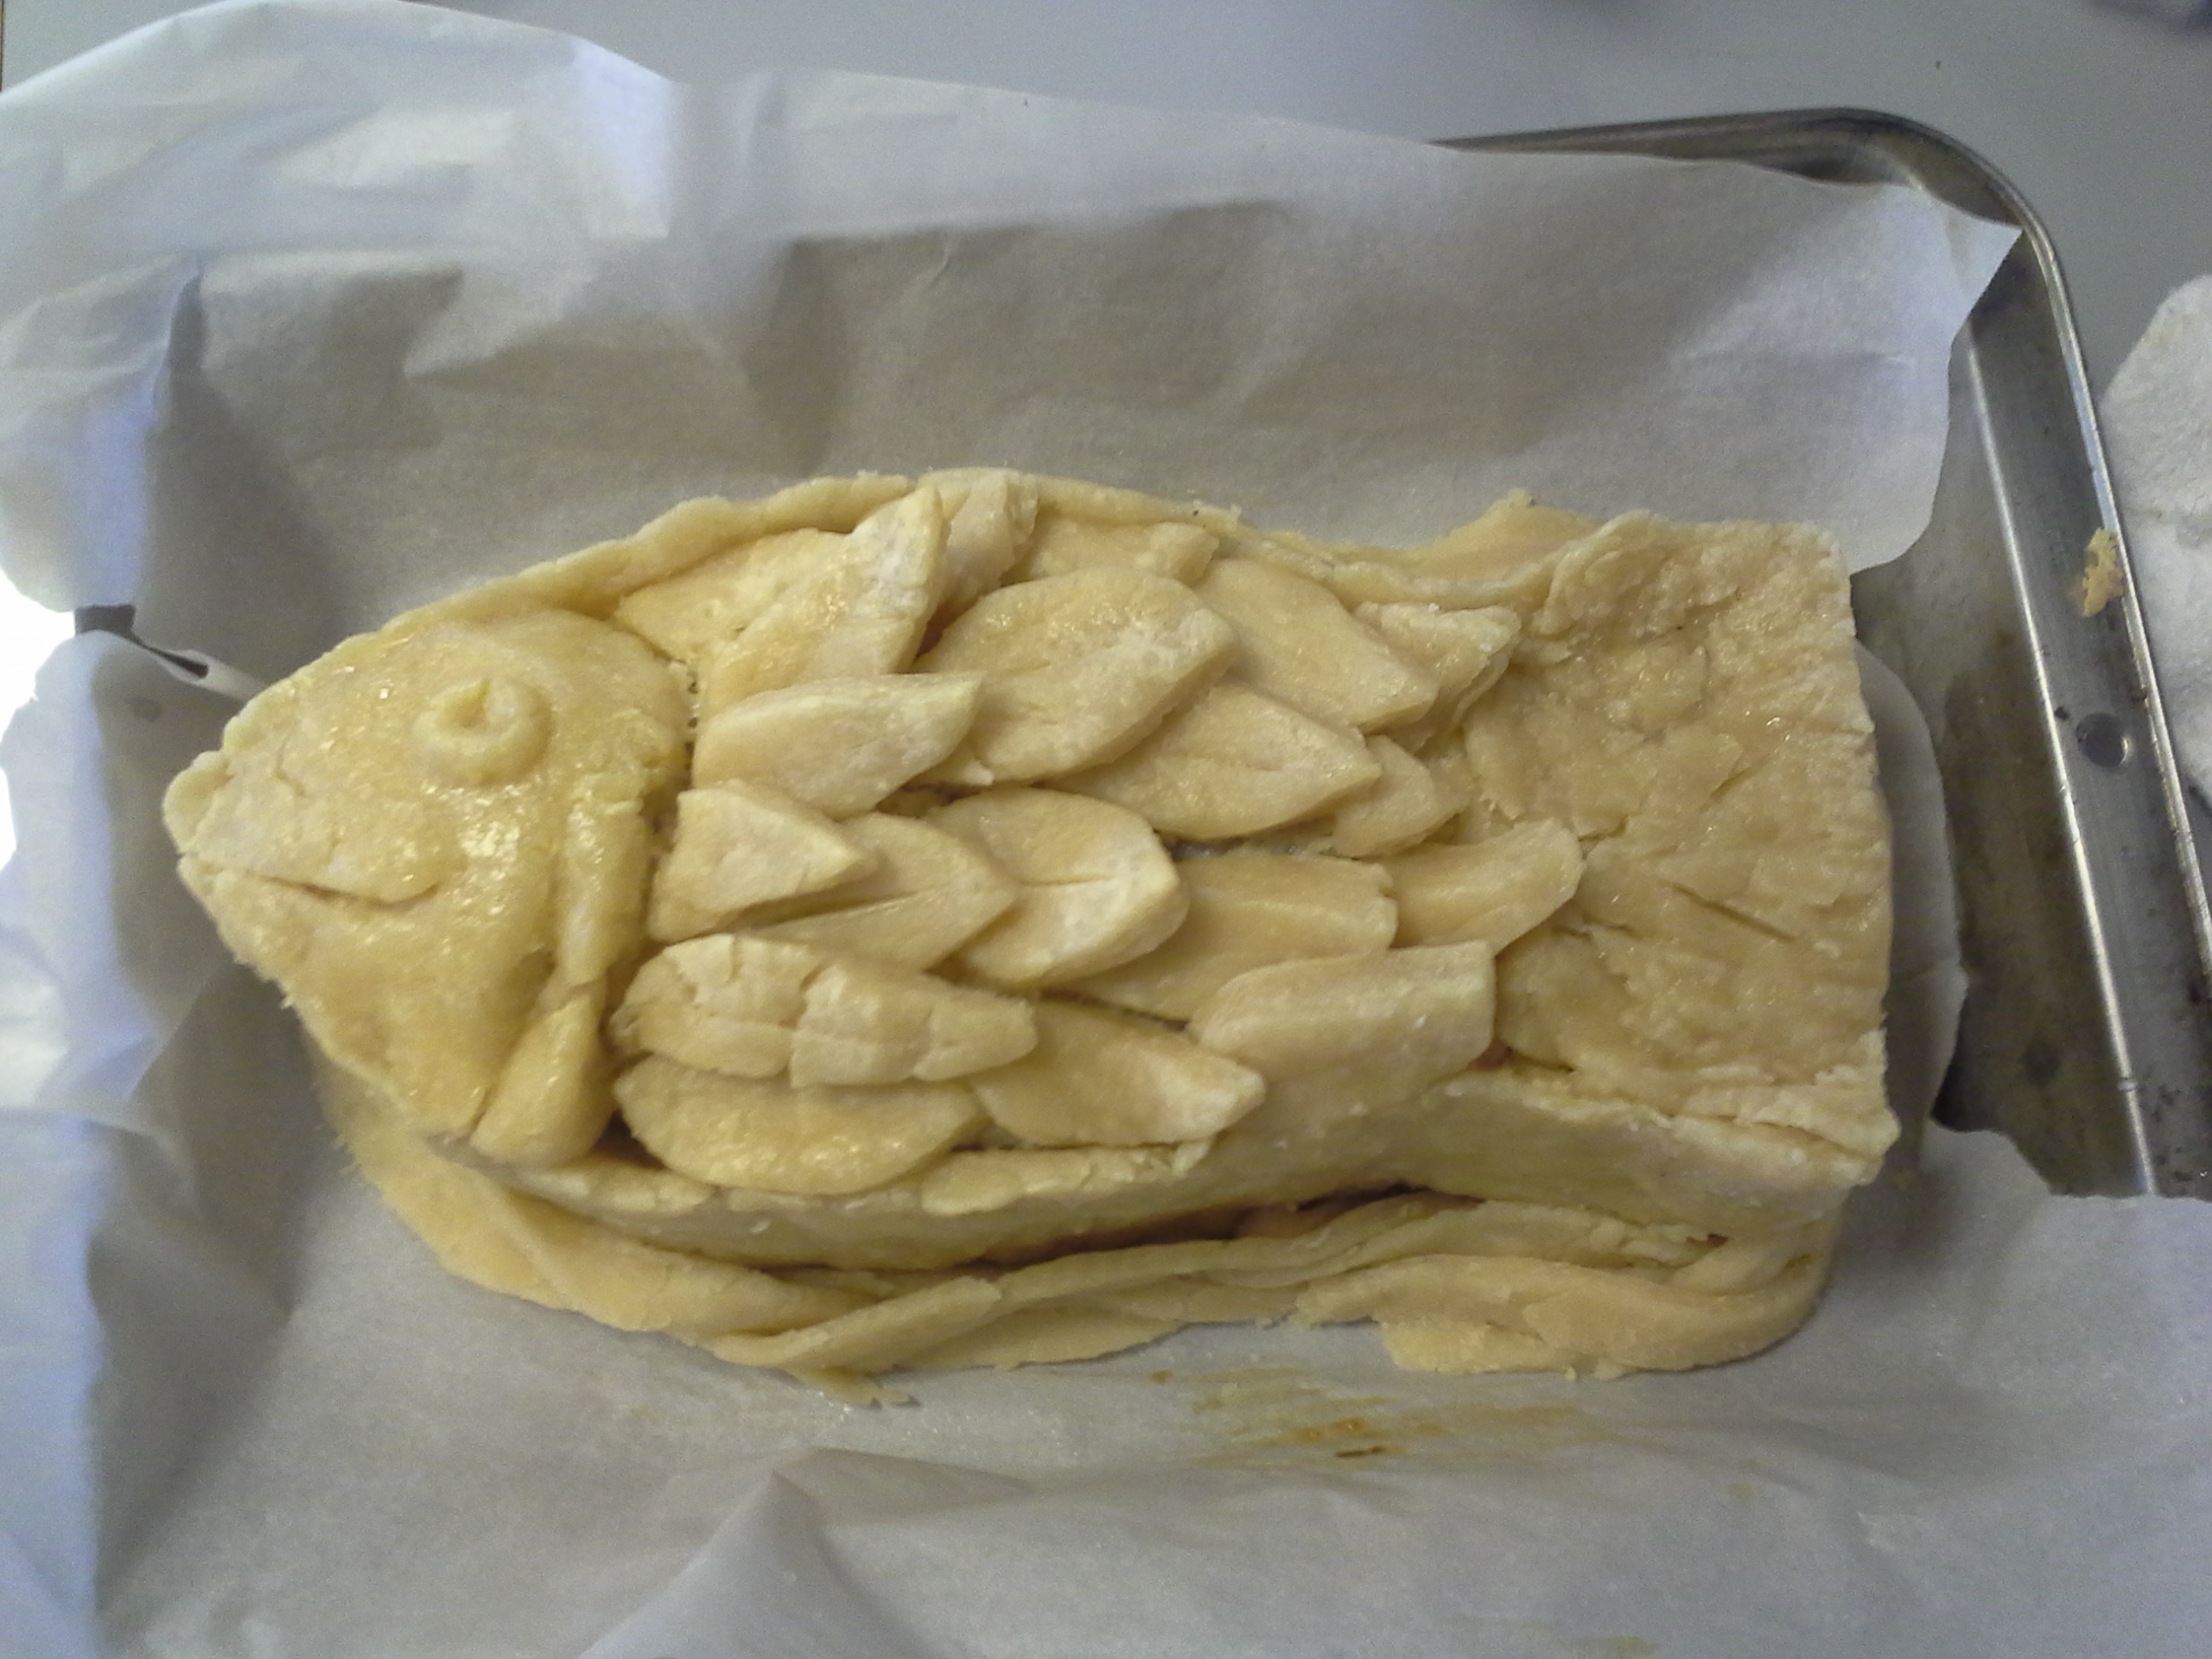
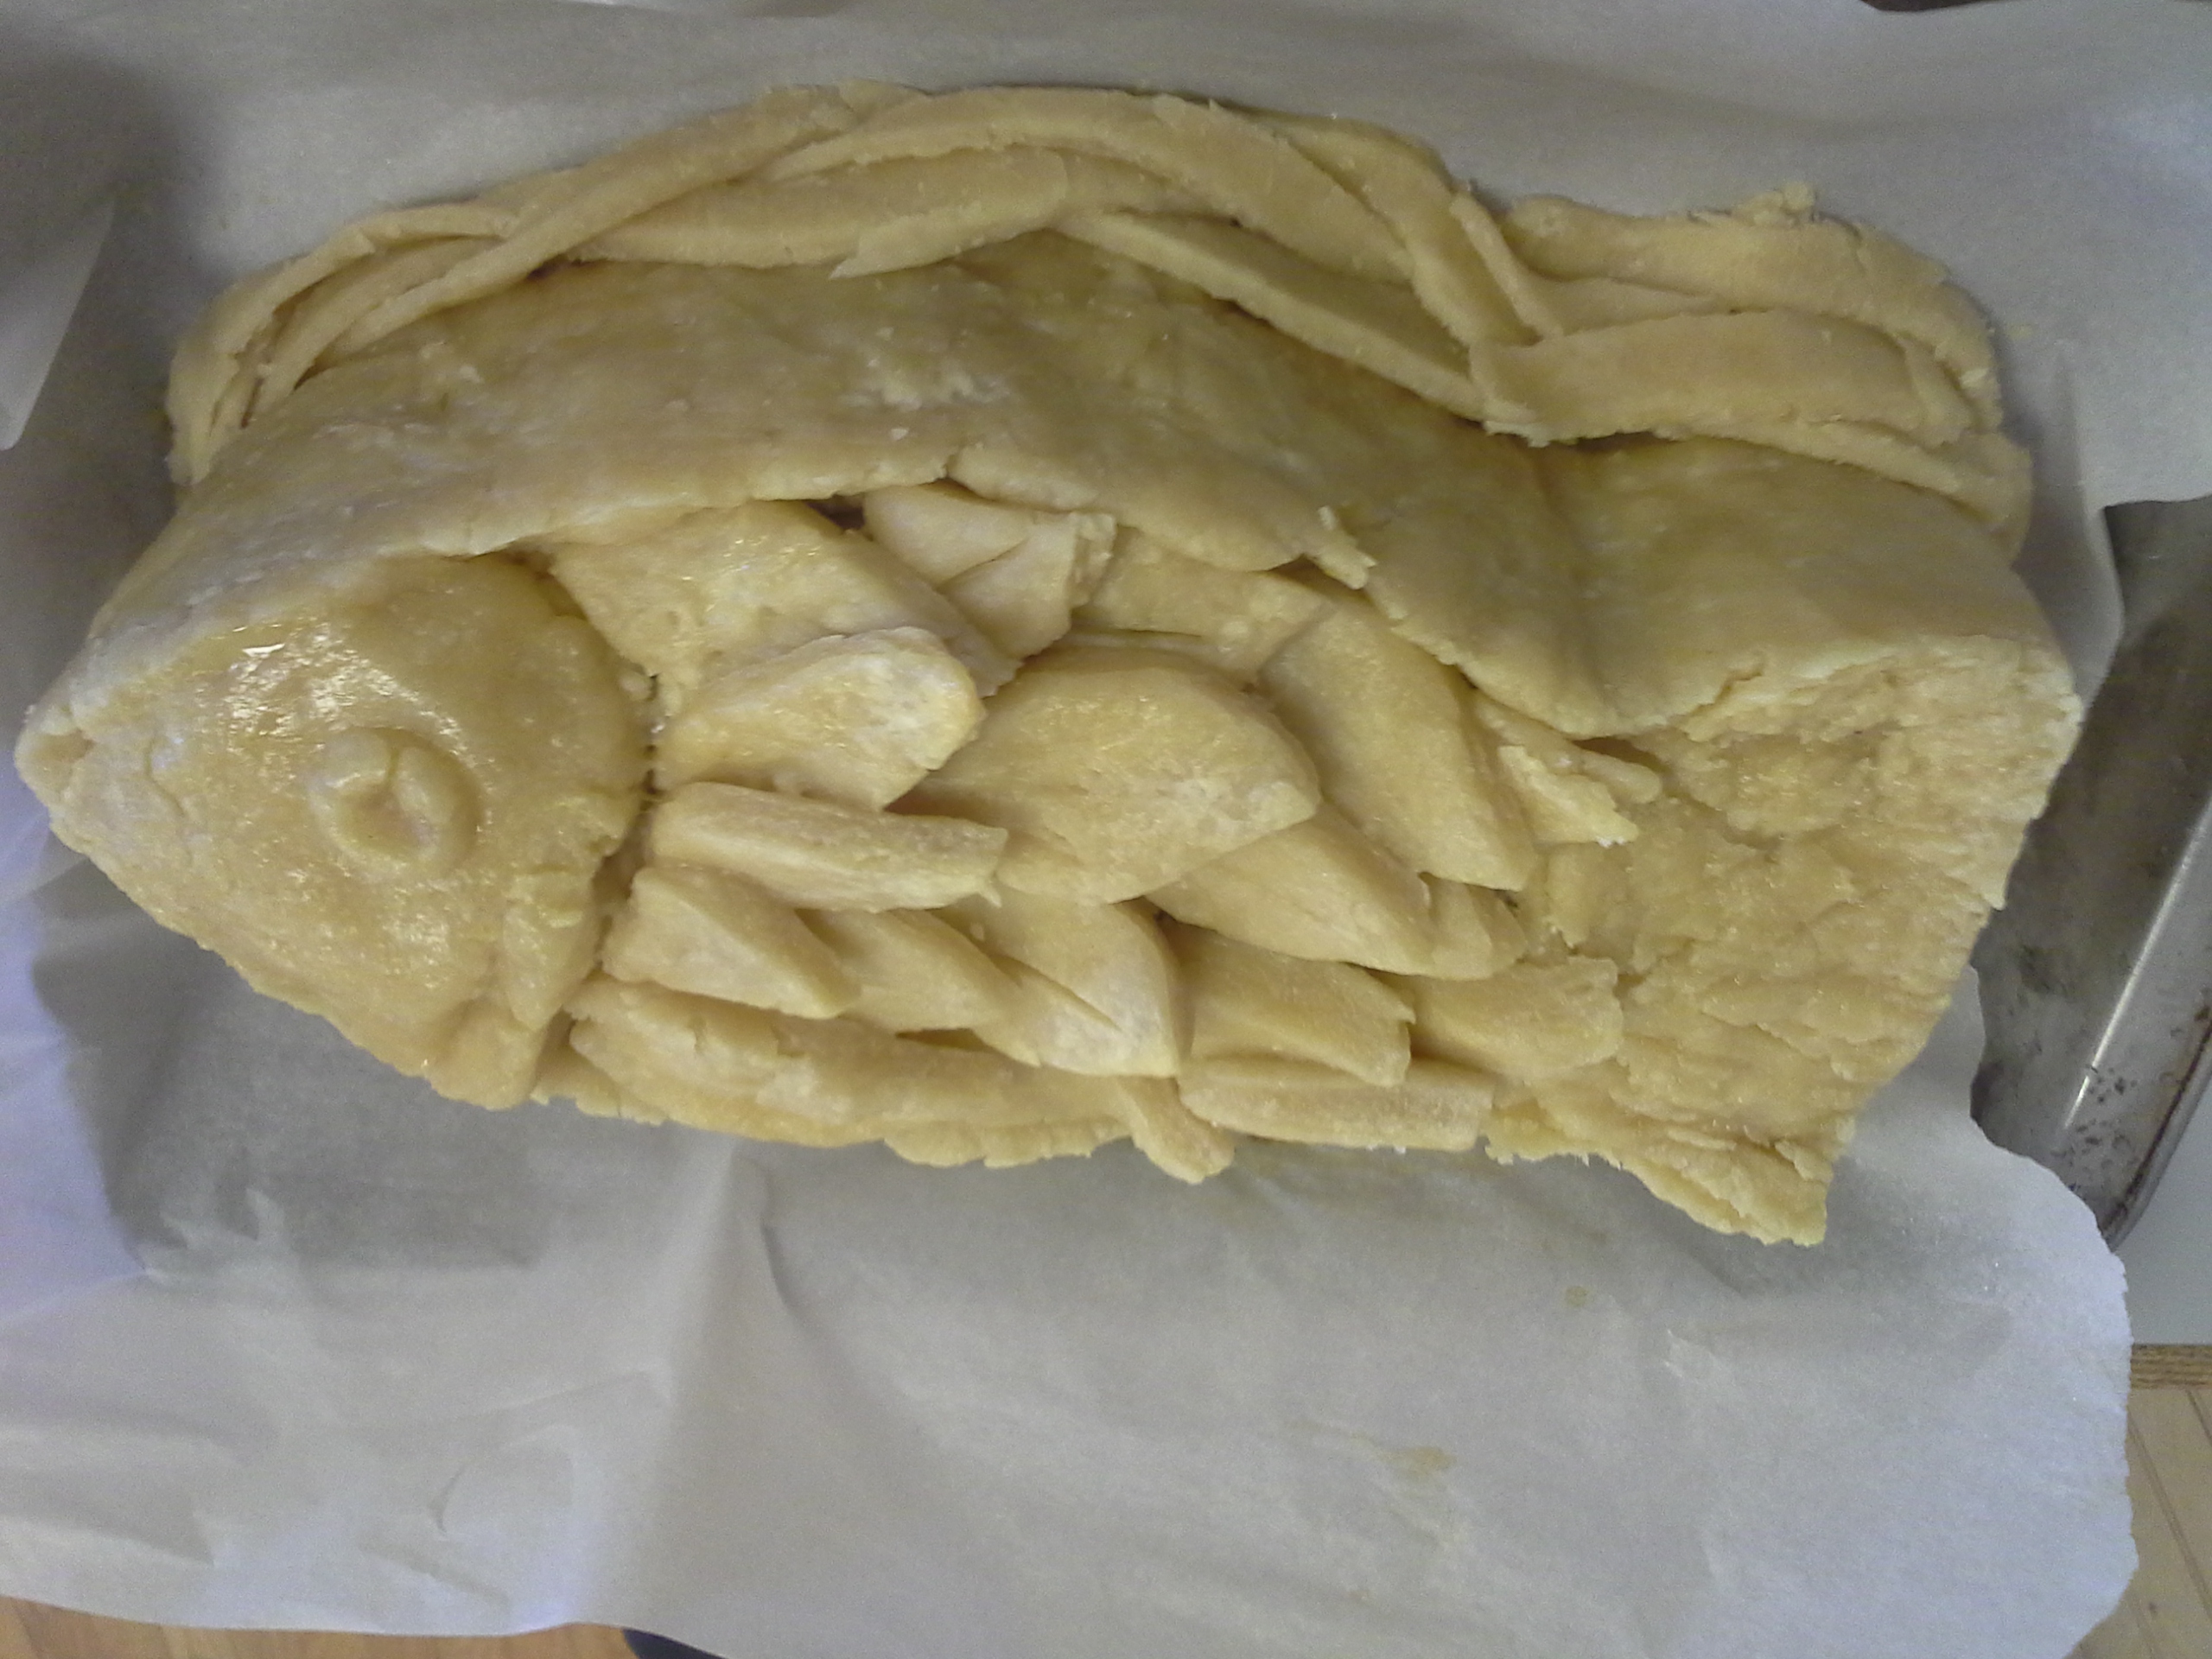
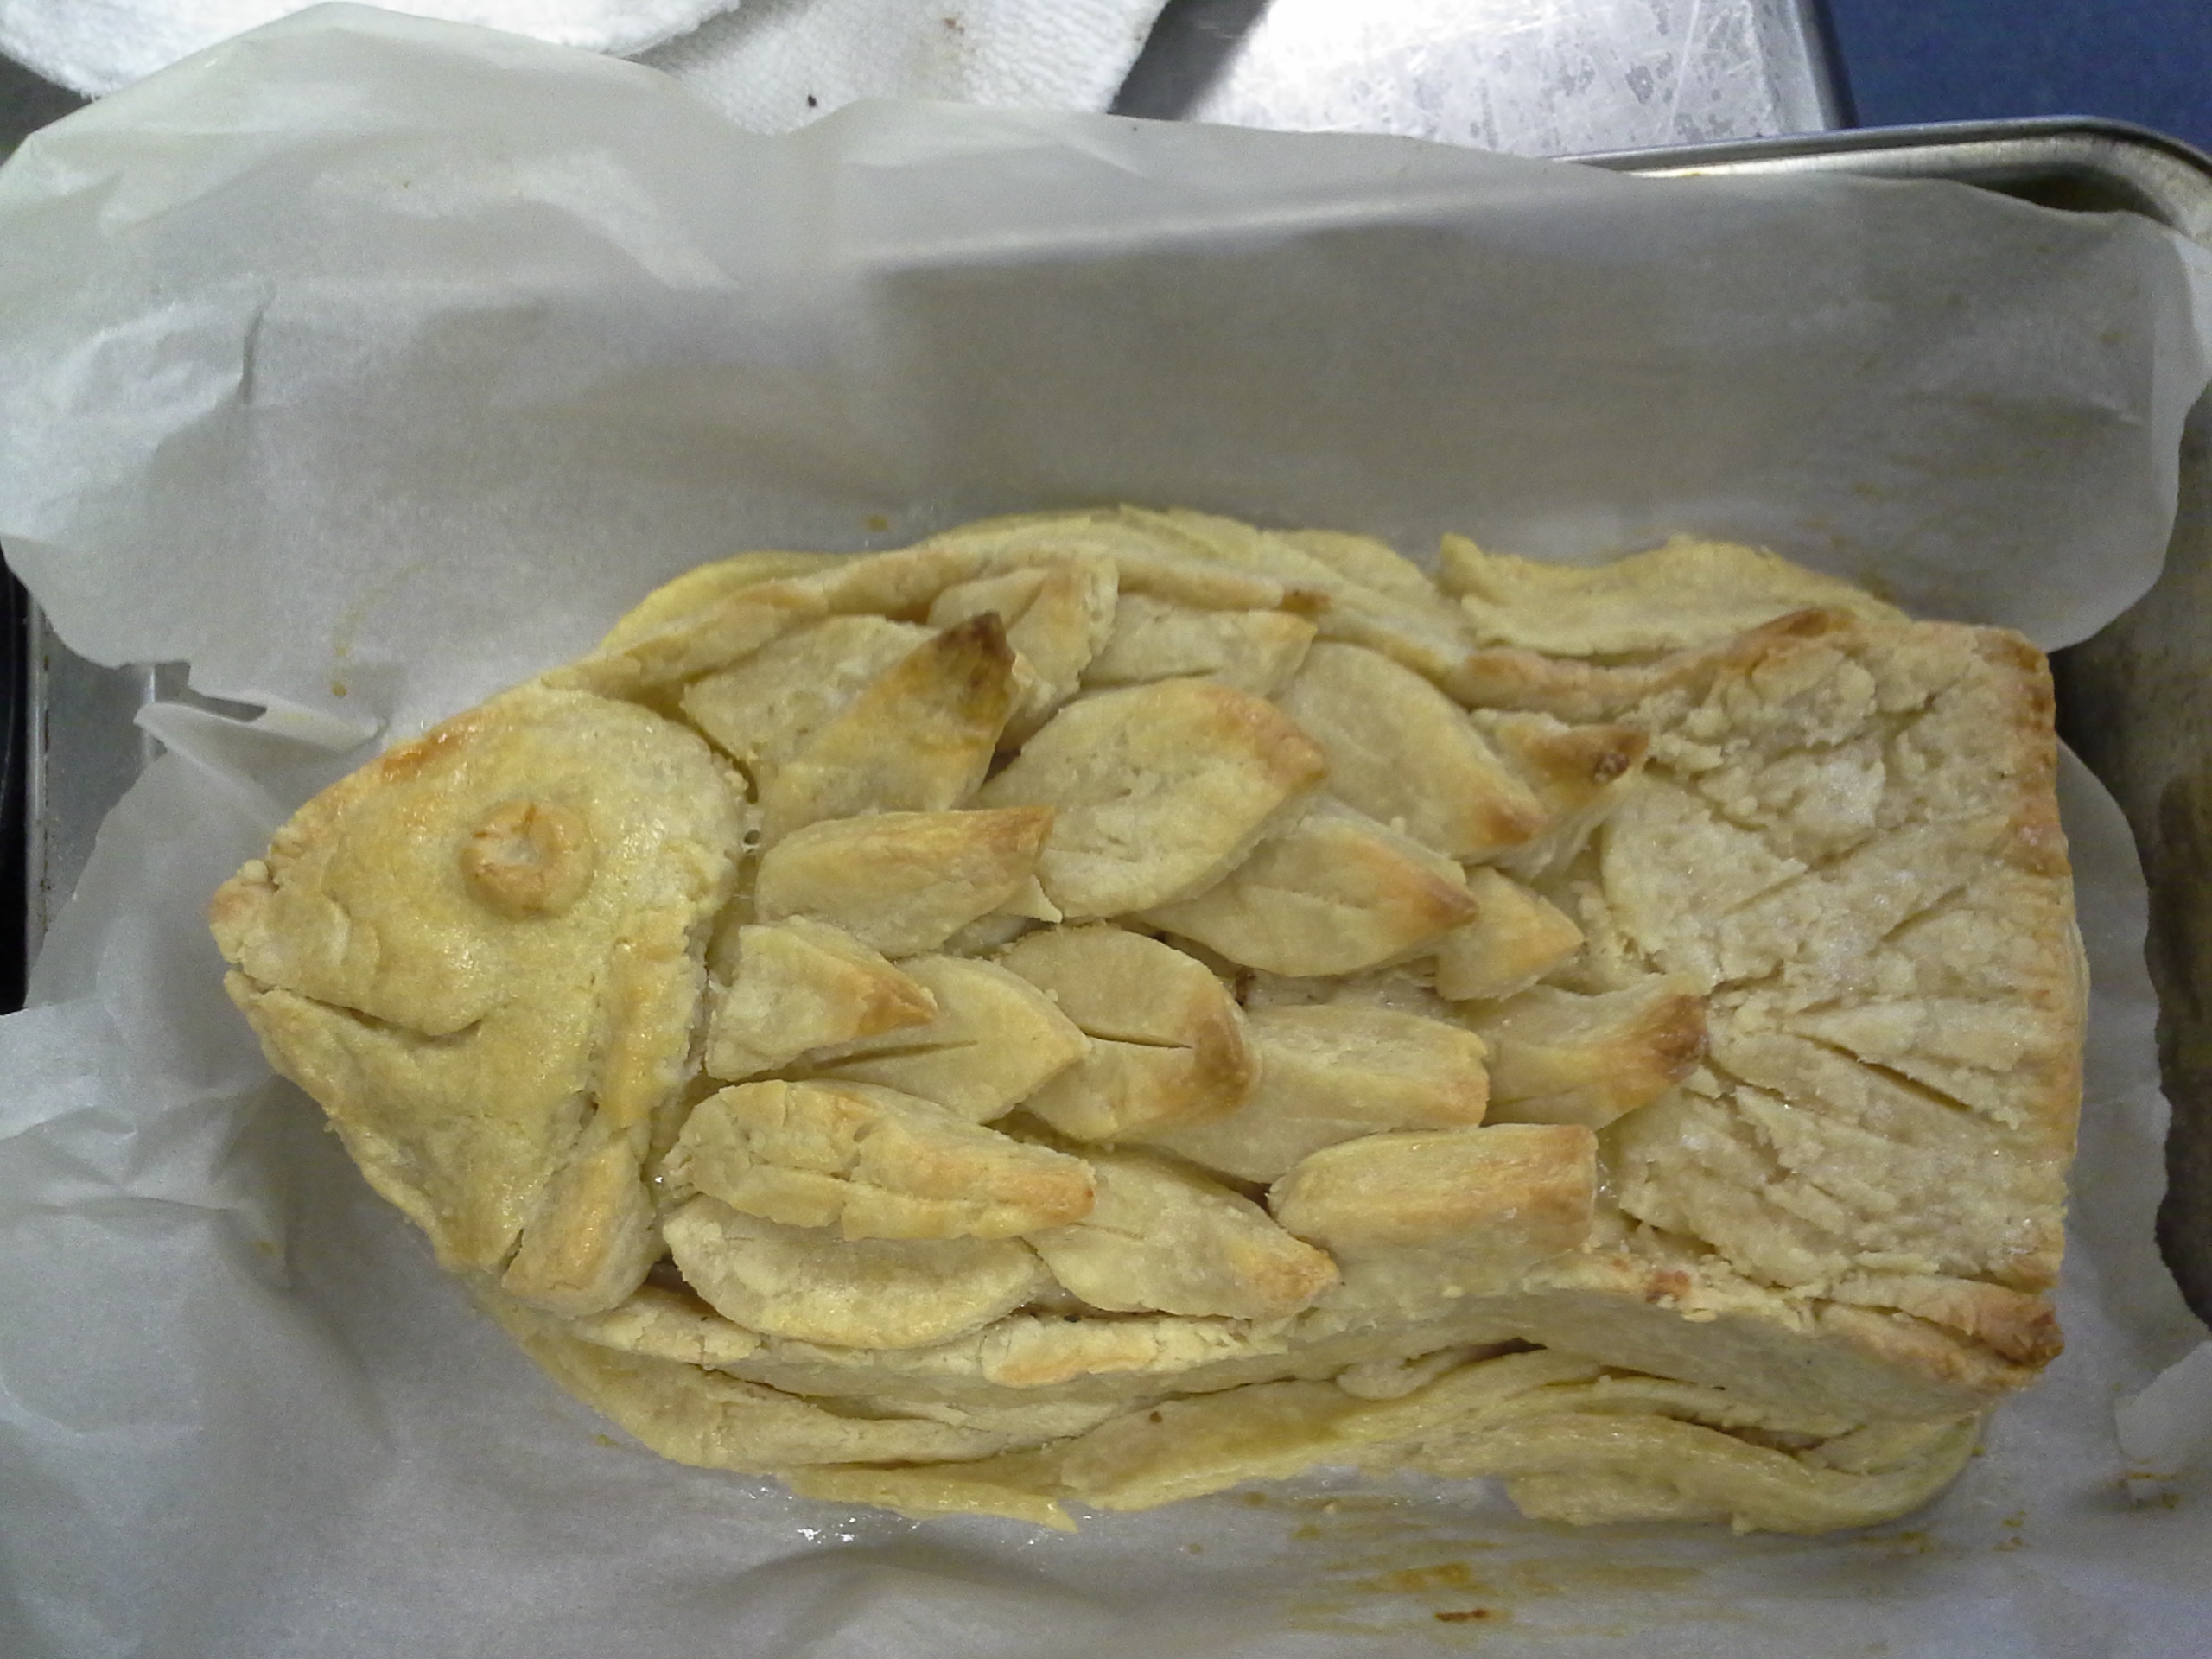
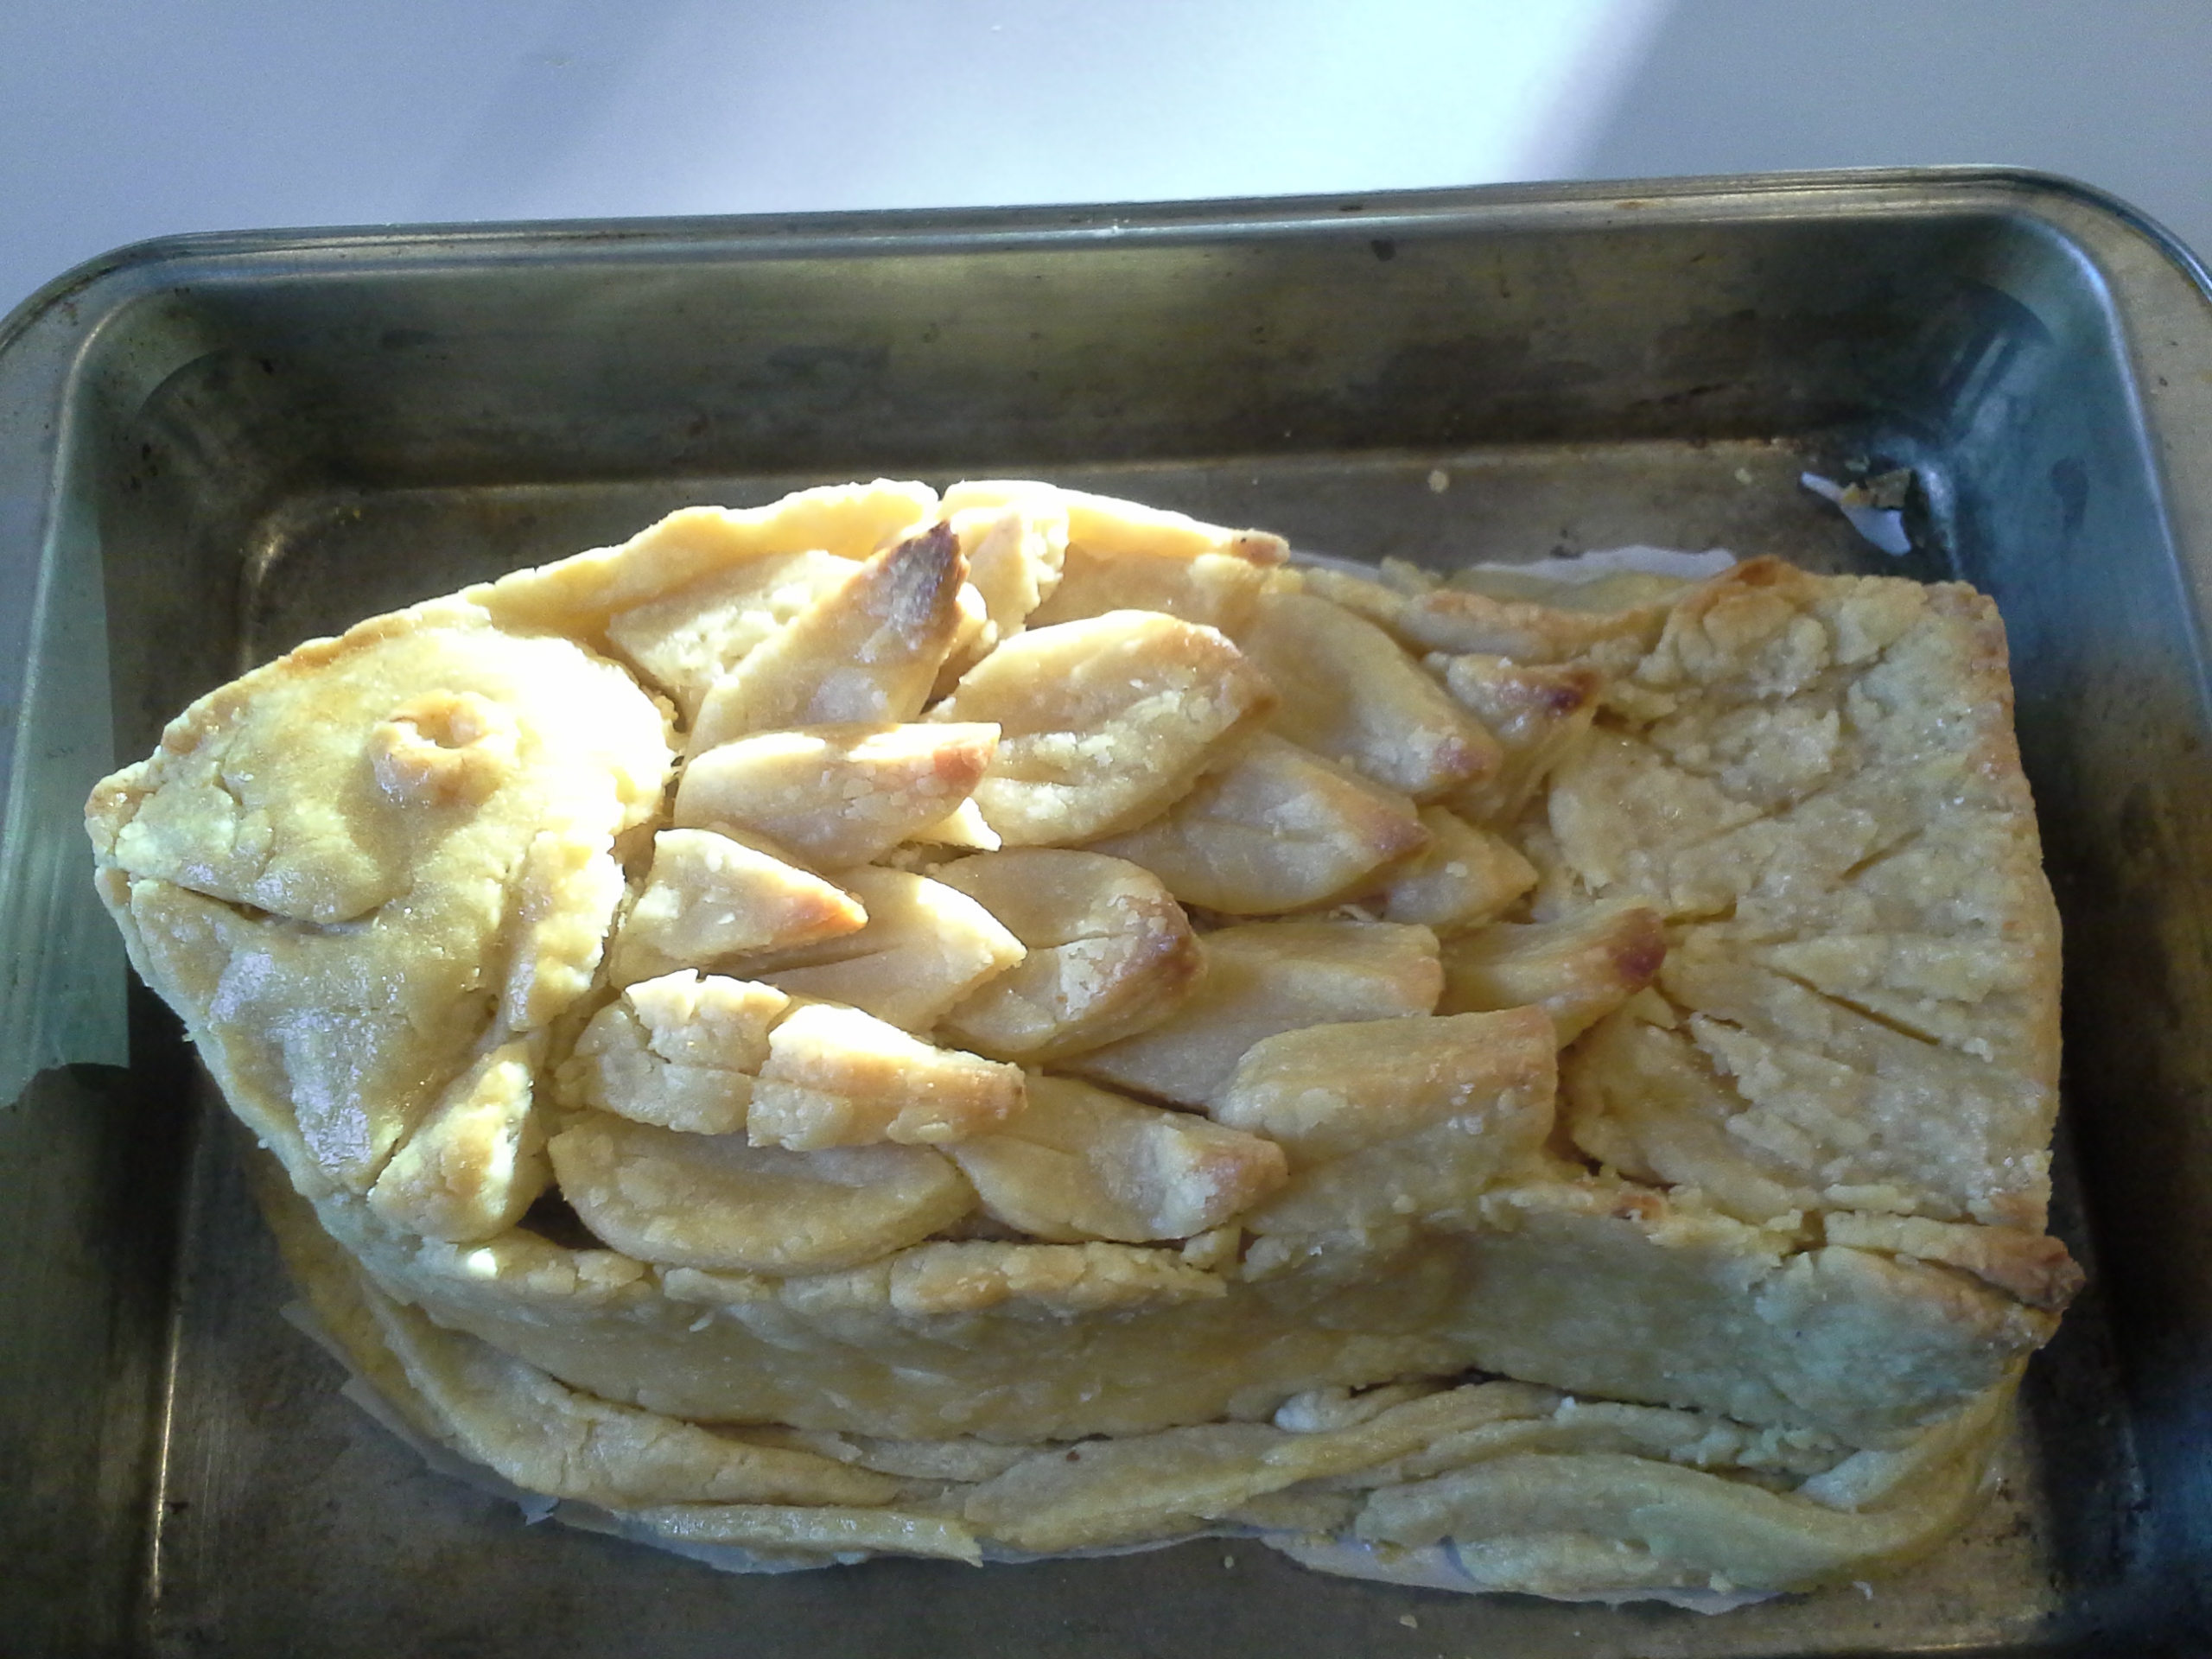
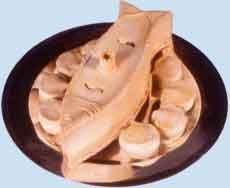
Finally, the top crust was made in three parts: first, a fish head, onto which I molded a raised eye and cut in a gill and a smile, for good measure. Then, came the fish tail, which was simply a layer of pastry shaped to the mold of the tail. Onto that, I cut in lines to represent the tail fins. Finally, I created a series of individual scales onto which I cut in small, either single-line or triple-line striations. I thought this leaf-shaped design would look better than the cloud-shaped scales I displayed in my previous post, and I believe the gamble paid off. Furthermore, to achieve proper browning, I used egg yolk on the head (for a yellow tint as well as a lighter color), egg white on the scales (to impart a glistening sheen), and sugar water on the tail fins (to cause a golden brown).

With a hunk of additional dough I had left over, I added a braided border along the bottom. This was attached after about 40 minutes of cooking, when the mold was removed. This invokes a rippling effect, as if the fish is swimming through water. I also added an egg wash on that to cause browning.

The biggest gripe I had with this piece is how brittle and hard to work with the pastry became. It was initially good for the structure, and fitting to the mold, but next time, I would use a different pastry for the top crust as well as the braid – likely a flaky all-butter pastry. The use of the other pastry just caused some issues with designs staying as well as the crust flaking in unusual places, marring the design.

Another issue involved browning – the effect of a dark tail, shiny scales, and a slightly brown/yellow head was not achieved. Overall, it turned out well though.

Take a look and judge for yourself!

20140121_143809
[The Mold in the shape of a Fish]

20140121_174001 [Raw Pie – the Crust as well as Filling is all in – take note of the Designs cut into the Top Crust]

20140122_152602
[After Pre-Baking in the Oven with the Braided Border around – some of the glisten and color from the Wash can be seen]

20140122_152609
[Another Angle]

20140122_152620
[This side came out well – note the Ripple Effect created by the Braid]

20140122_161804
[All done Cooking!]

20140123_152729
[After Reheating – the Final Presentation]

Questions? Comments? Post them below!

Blueberry Custard Pie

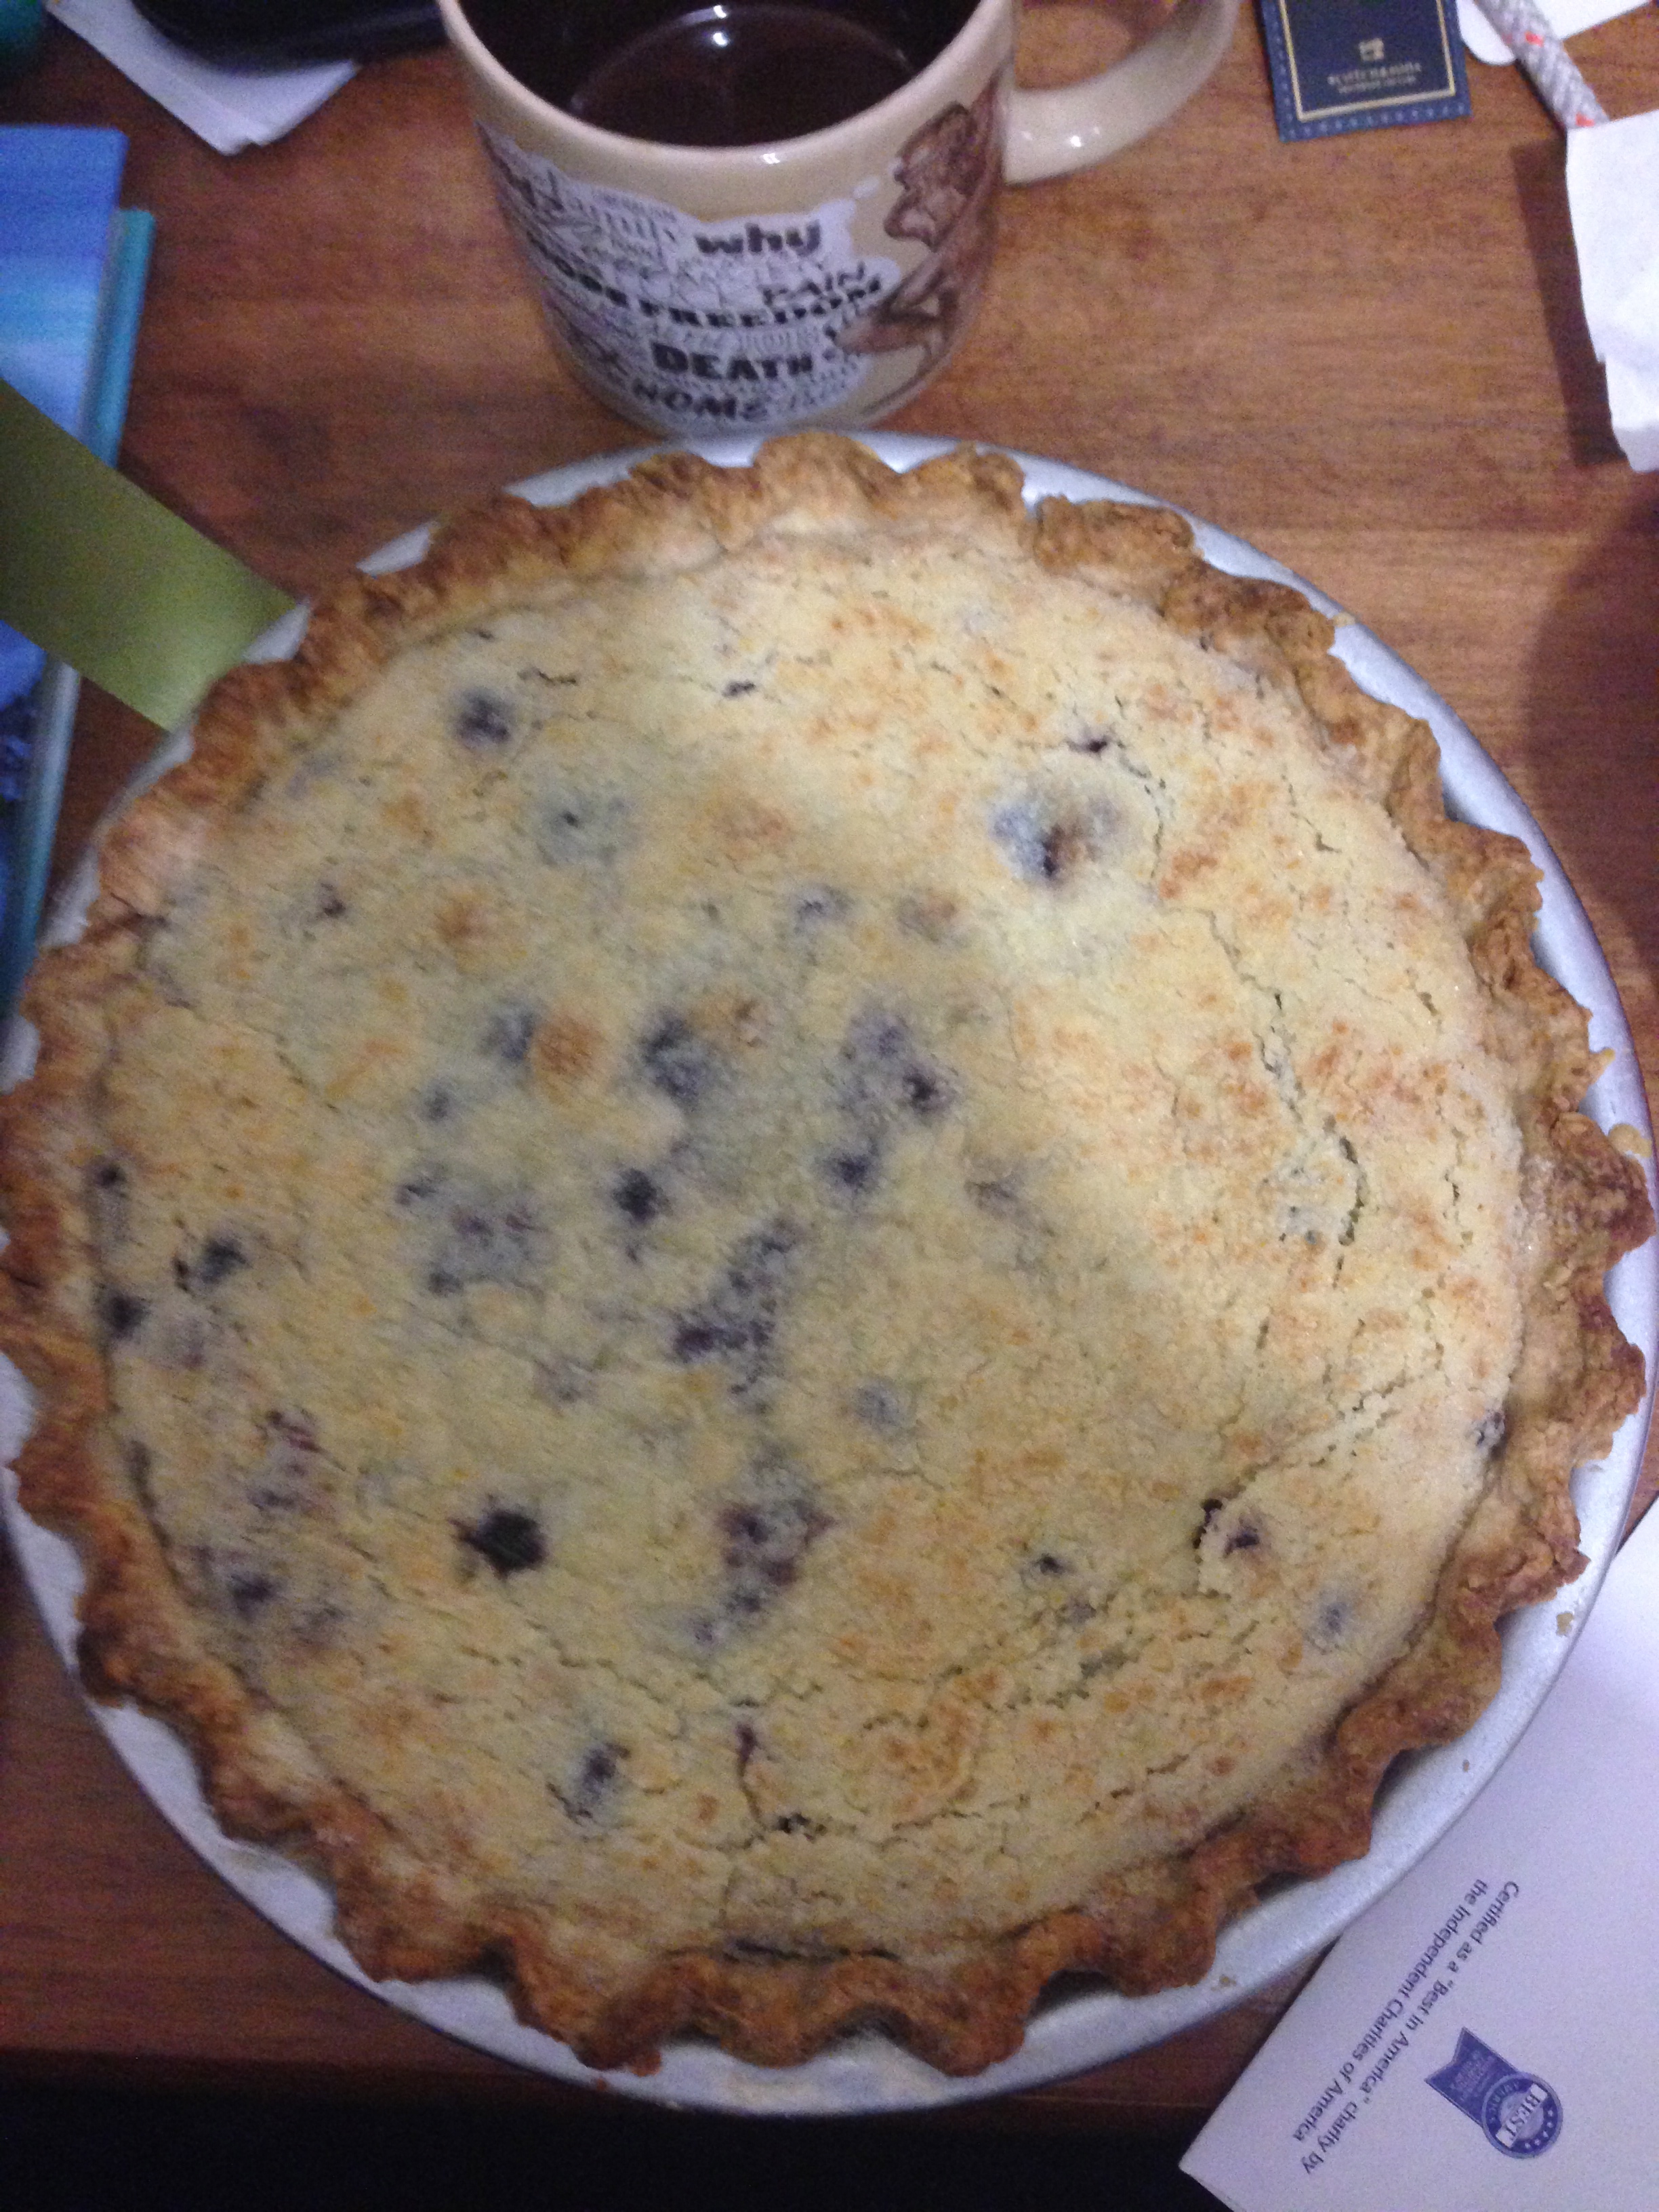
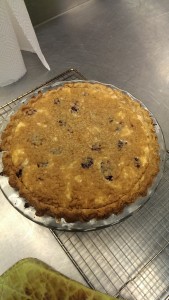
This one I just made for fun this week because I thought it looked good. I baked it back at my place on Tuesday and made the mistake of leaving it out in my room… Most of it has been devoured at this point by friends and roomates, so I’ve opted to just present my apple caramel goat cheese pie this week. This pie was a really easy pie to make and I definitely recommend grabbing some frozen blueberries and throwing it together in your spare time. It’s really good especially with the sour cream and sugar custard, and with the streusel top. IMG_1390

Currant Custard Cream Pie

20140122_170134

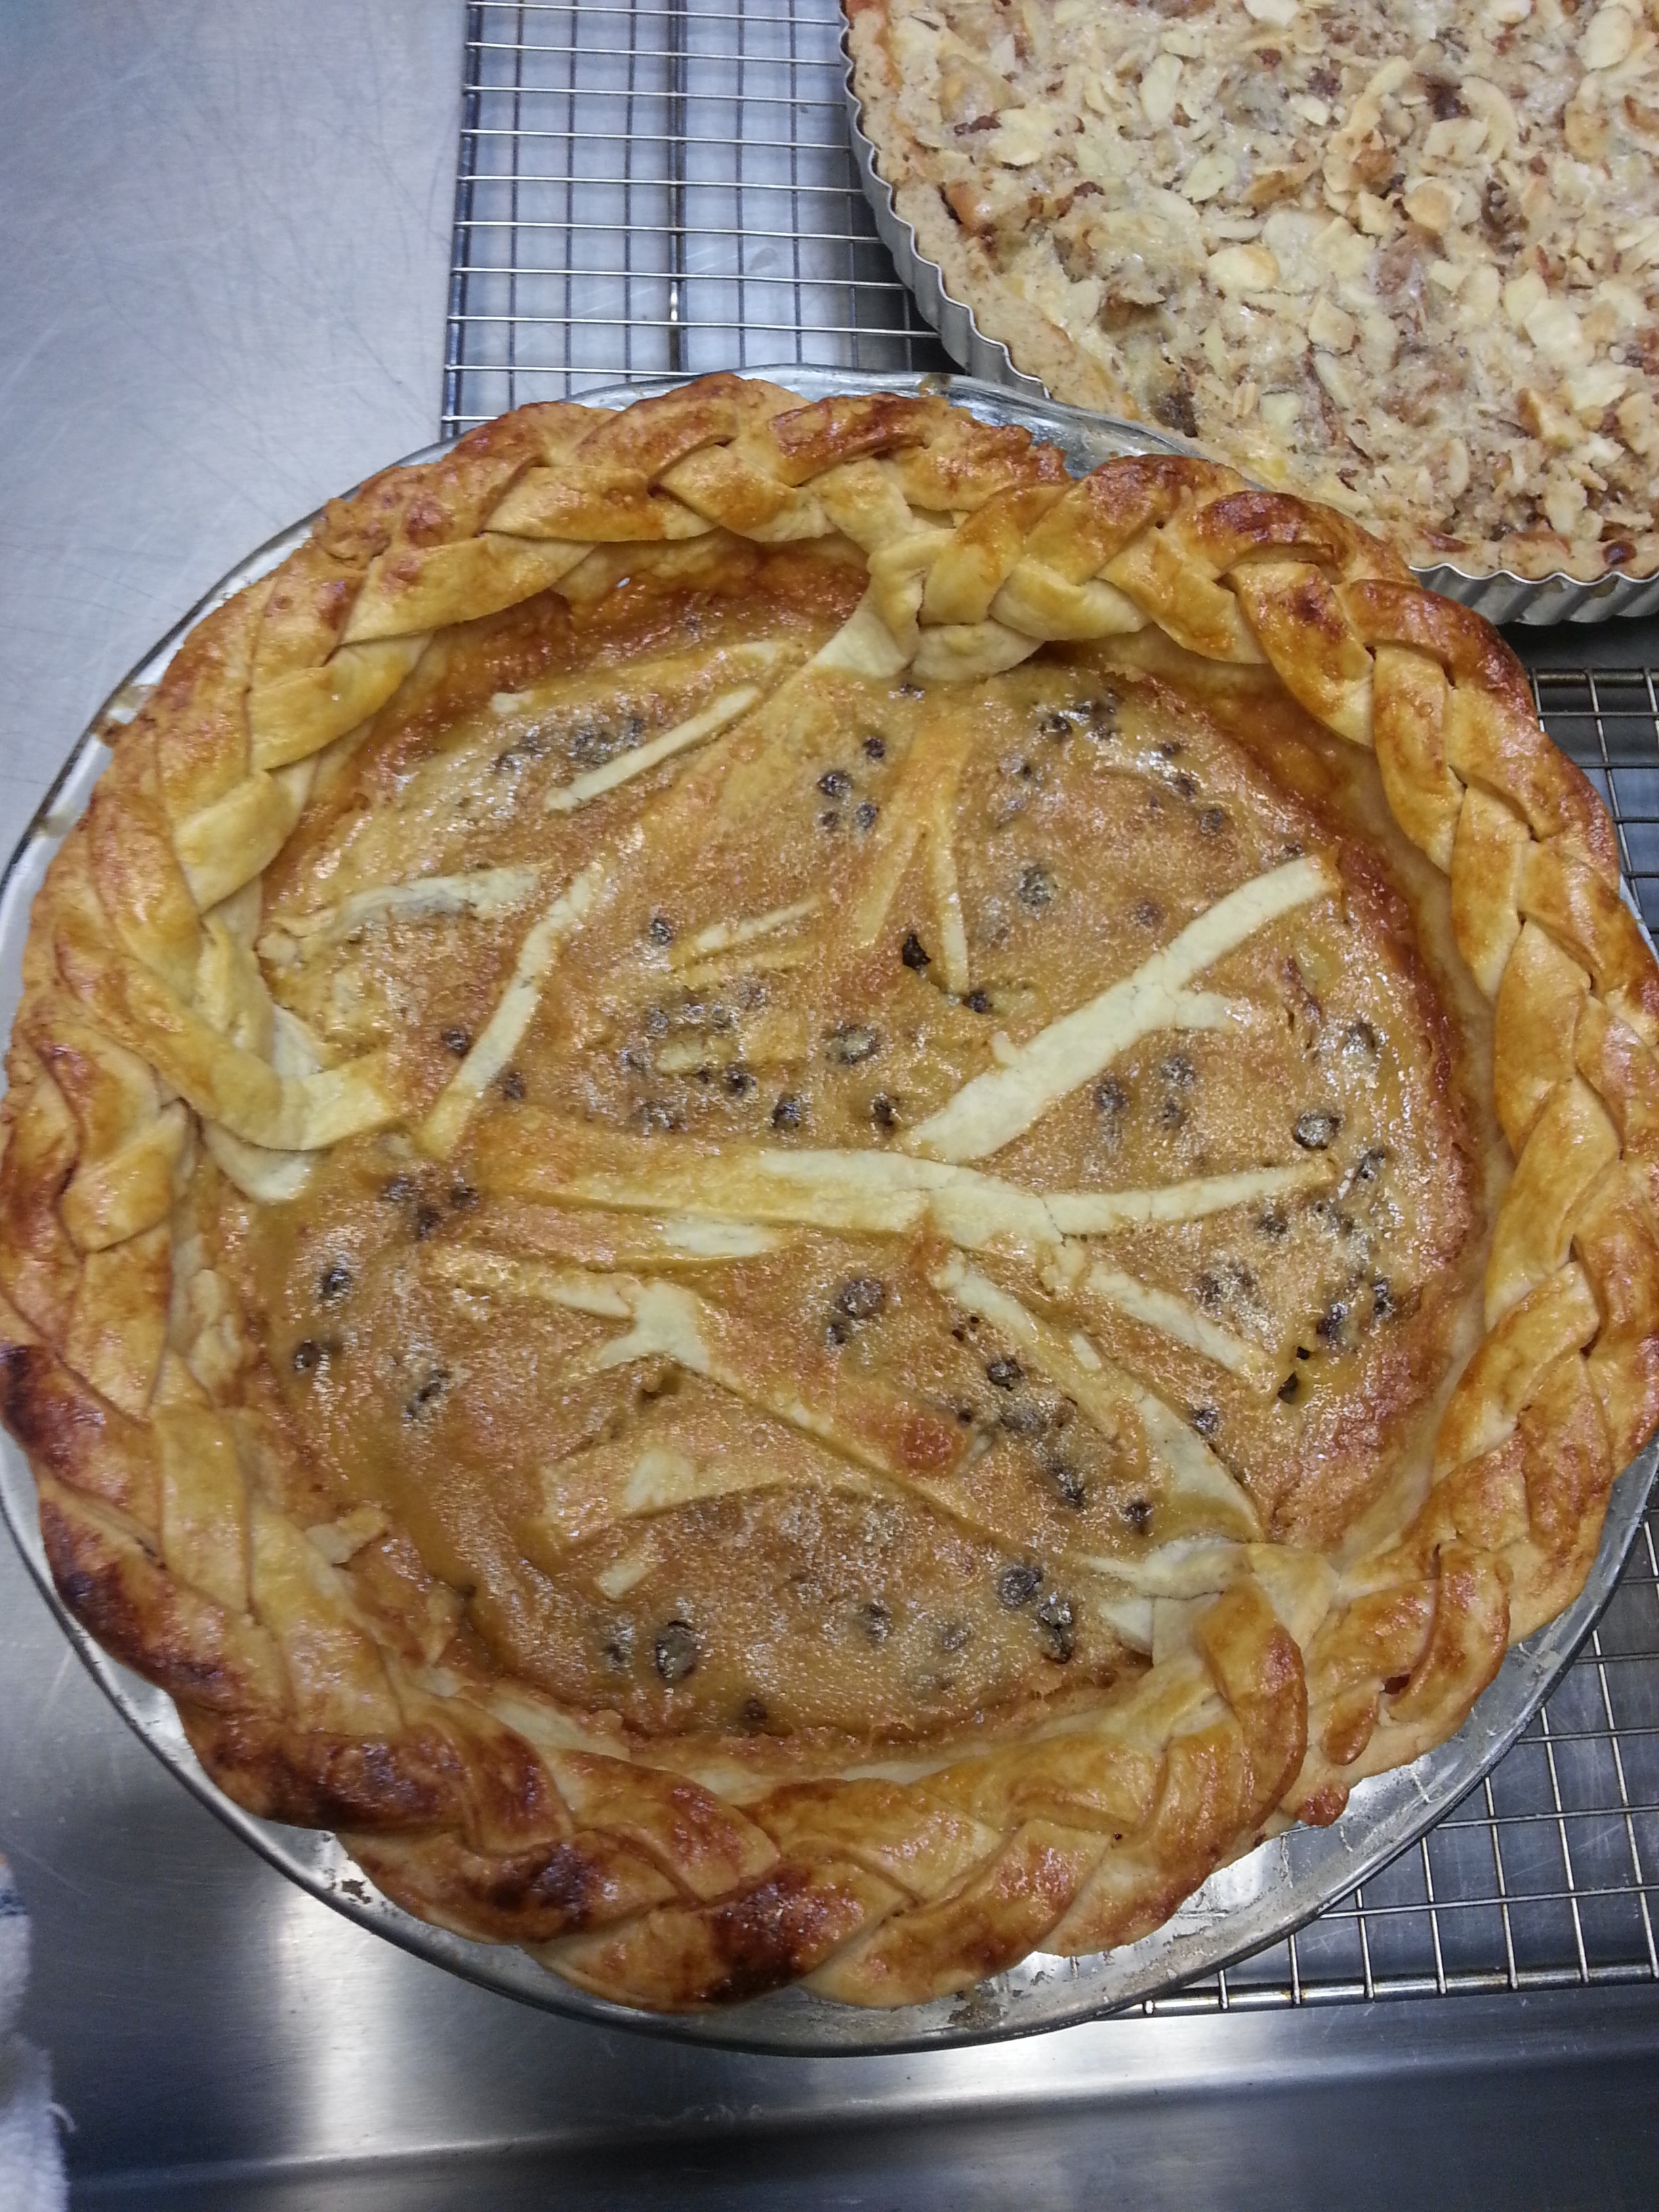
I had a lot of trouble with this pie. I had never made a custard pie before and there were a lot of factors in play. Custards have to cook at a low temperature while pie crusts have to cook at higher temperatures. And then I had thought to put this braid crust rim on the top, with the braids unfolding into tree branches. The branches fell into the custard, as you can see. I didn’t wait to put it in later because I was afraid that the braids wouldn’t’ have stuck to the edge of the pie. Luckily, the braids stick. Also, the custard browned a lot more than I expected. If I knew that were the case, I would have not glazed the rim with an egg wash.

I made this pie crust with a vodka trick with about 5 tbsp each of water and vodka. Besides that, it was the usual flaky crust. I edited the custard recipe from Purdy’s Perfect Pie book and used dried currants instead of fresh currants. Let’s hope it works out today when we taste them.

The Design Aesthetic

This week, the assignment is a design challenge; we have been tasked with “mak[ing] a pie of your choice with a focus on the decoration, shape, and overall presentation of the final product.” First off, obligatory ‘Challenge Accepted!’ Second, what in the world does that mean?

To help us understand this, we were shown two demonstrations in class. One for a nifty Spinach pie which displays the filling beautifully (found here) and another step-by-step on how to create a woven lattice crust (such as this). Further tasked with coming up with an idea as well as a list of ingredients by the end of class, I decided to go ahead with the Fish Pie idea I had been knocking around in my head over the weekend.

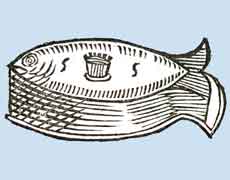
What makes this pie a worthy contender for accomplishing this week’s goal? First, the base concept is a Fish Pie…shaped like a fish. It will be a free-standing pie with a baked fish filling as well as a fish-like exterior (see here for an example of a creative free-standing pie). Essentially, something similar to this:

fish-pie-bw

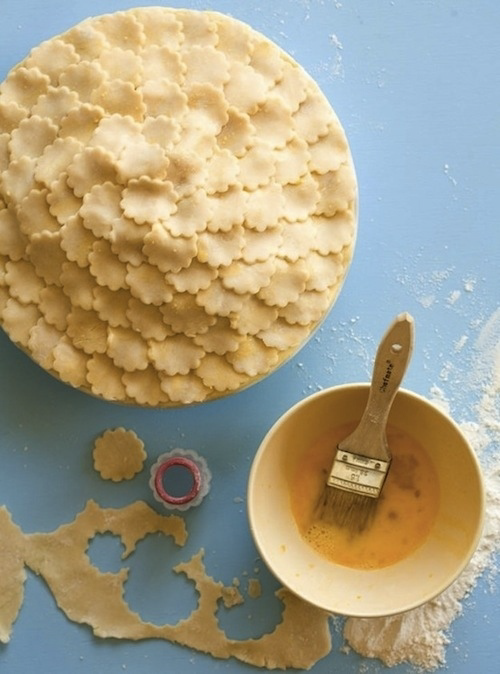
Another technique the pie will employ is the use of scales in the top crust, made with pastry. The scales will look similar to those in the following picture:
fefeefe

Furthermore, extra details such as the eye and fin will be created by shaped pastry added to the pie proper. Striations in the tail will be added by the liberal application of a fork. The pie will be erected through the help of a cardboard and aluminum mold, and be presented in all its free-standing glory!

Further considerations that were made but not implemented are as follows: The use of food coloring (specifically black) to make the outlines more vivid so they could ‘pop!’ This was struck down as black might be an unappetizing color. The idea that was suggested instead was to coat the parts that I wanted to make distinct in something like sugar water, so further browning would achieved.
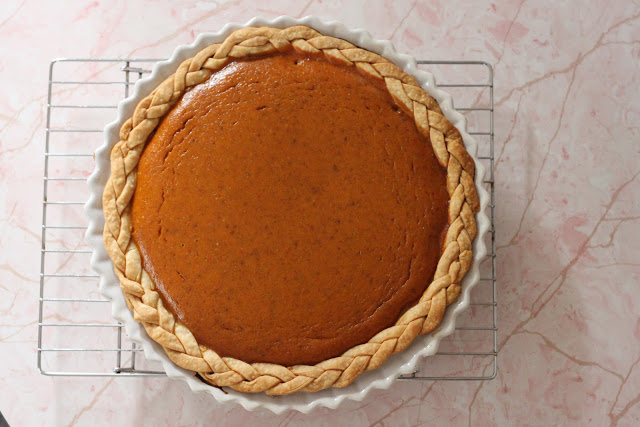
Another idea I haven’t completely thrown out yet is to create a braided border around the top and bottom crusts. While it doesn’t lend specifically to the fish-themed pie, it does add to the overall beauty of the final product as it is something more pleasing to see than a simple line and more technically intricate. The major consideration for the implementation of this idea is time. (See braid example below)

IMG_7511

It will be a difficult task to bake the Fish-shaped Fish Pie, but I am excited to take on this endeavor. Hopefully, the use of a no-rolling pin crust as well as a three-stage crust process serves to aid in making this endeavor a reality. Tune in over the weekend to see the final product! Hopefully, it looks something like this:

fish-piethmb


An Experiment in Recipe Synthesis: The Thanksgiving Pie

When we were throwing around the idea of ‘an entire Thanksgiving dinner baked into a pie’ in class, I laughed and appreciated the ridiculousness along with the rest of my baking buddies. But something about the idea took root in that part of my brain where thoughts like ‘how awesome would it be to make a  giant kit-kat bar’ and ‘I wonder if you can take cats for walks?’ flourish. Or it might have been the fact that I missed the traditional turkey, mashed potatoes, green vegetables, something orange, and pie Thanksgiving while I was away in Turkey. Either way, the idea stuck, and even though no recipe for this existed online yet, I was not going to let that stop me.

First, I had to do a bit of research. That meant looking up every vaguely related recipe to this concept and picking up ideas from them. The first mockup of my internal schema for the grand design for this pie contained a layer of bacon mac & cheese. Upon consultation with my idea guy (read: girlfriend), that part was shot down as the flavor could be too overpowering in relation to the others, it could make the pie soggy, and layers of filling was something to be avoided, if at all possible. Onto Step 2…

I found the perfect approximation of what I wanted for my pie here. Unfortunately, they did not also offer a recipe. So, it was back to the drawing board to create my own. After viewing a few more recipes, I decided on the following concept:

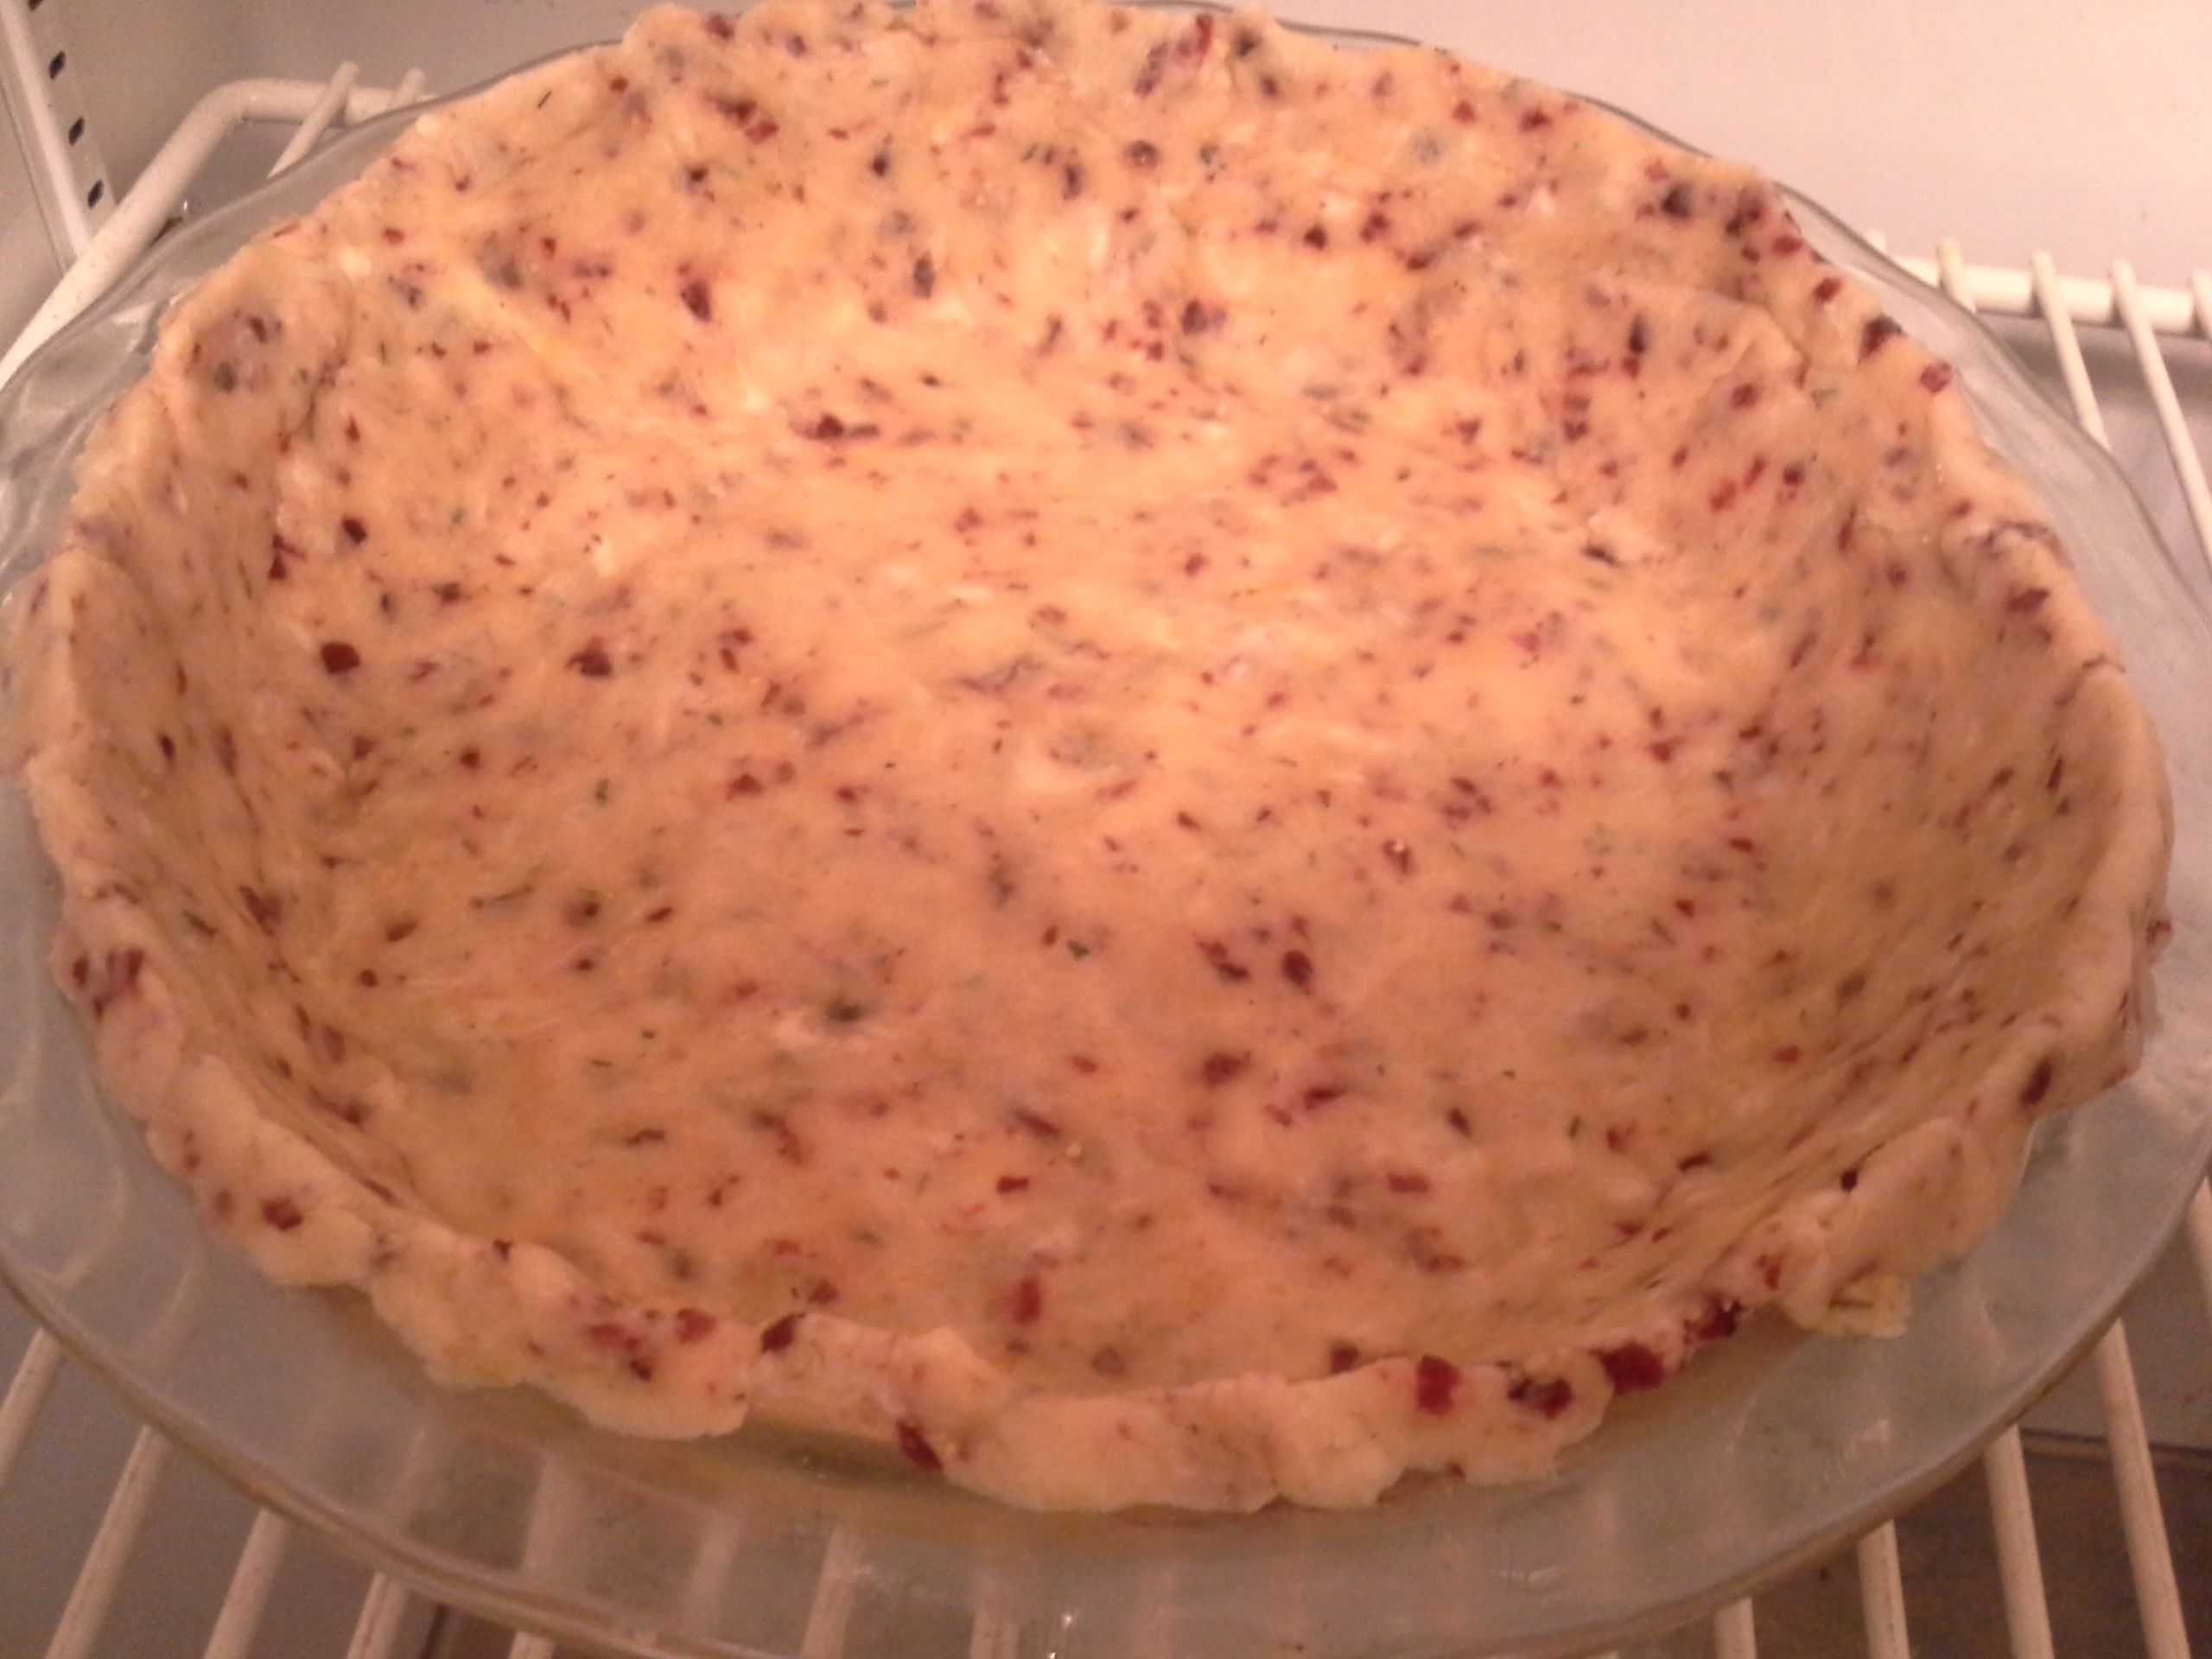
  • A butter and shortening crust that would include craisins, savory herbs, and a bit of chicken stock baked in.
  • A filling consisting largely of mashed potatoes, with the other ingredients suspended within. (An excellent recipe can be found here).
  • Turkey, green beans, and sweet potatoes all simmered in a bit of stock, then mixed into the mashed potatoes.
  • A crumb-top crust of cornbread stuffing for the upper layer.
  • A bit of brown gravy to be poured over each slice upon serving.

Basically, doing that worked! The following is a series of pictures I took while baking that idea into life:
*Note: The measurements as well as rough directions are listed in the recipe section of this post.

20140115_160809
[The Crust, while it was cooling in the fridge; note the the Cranberries]

20140115_160728
[The Mashed Potatoes]

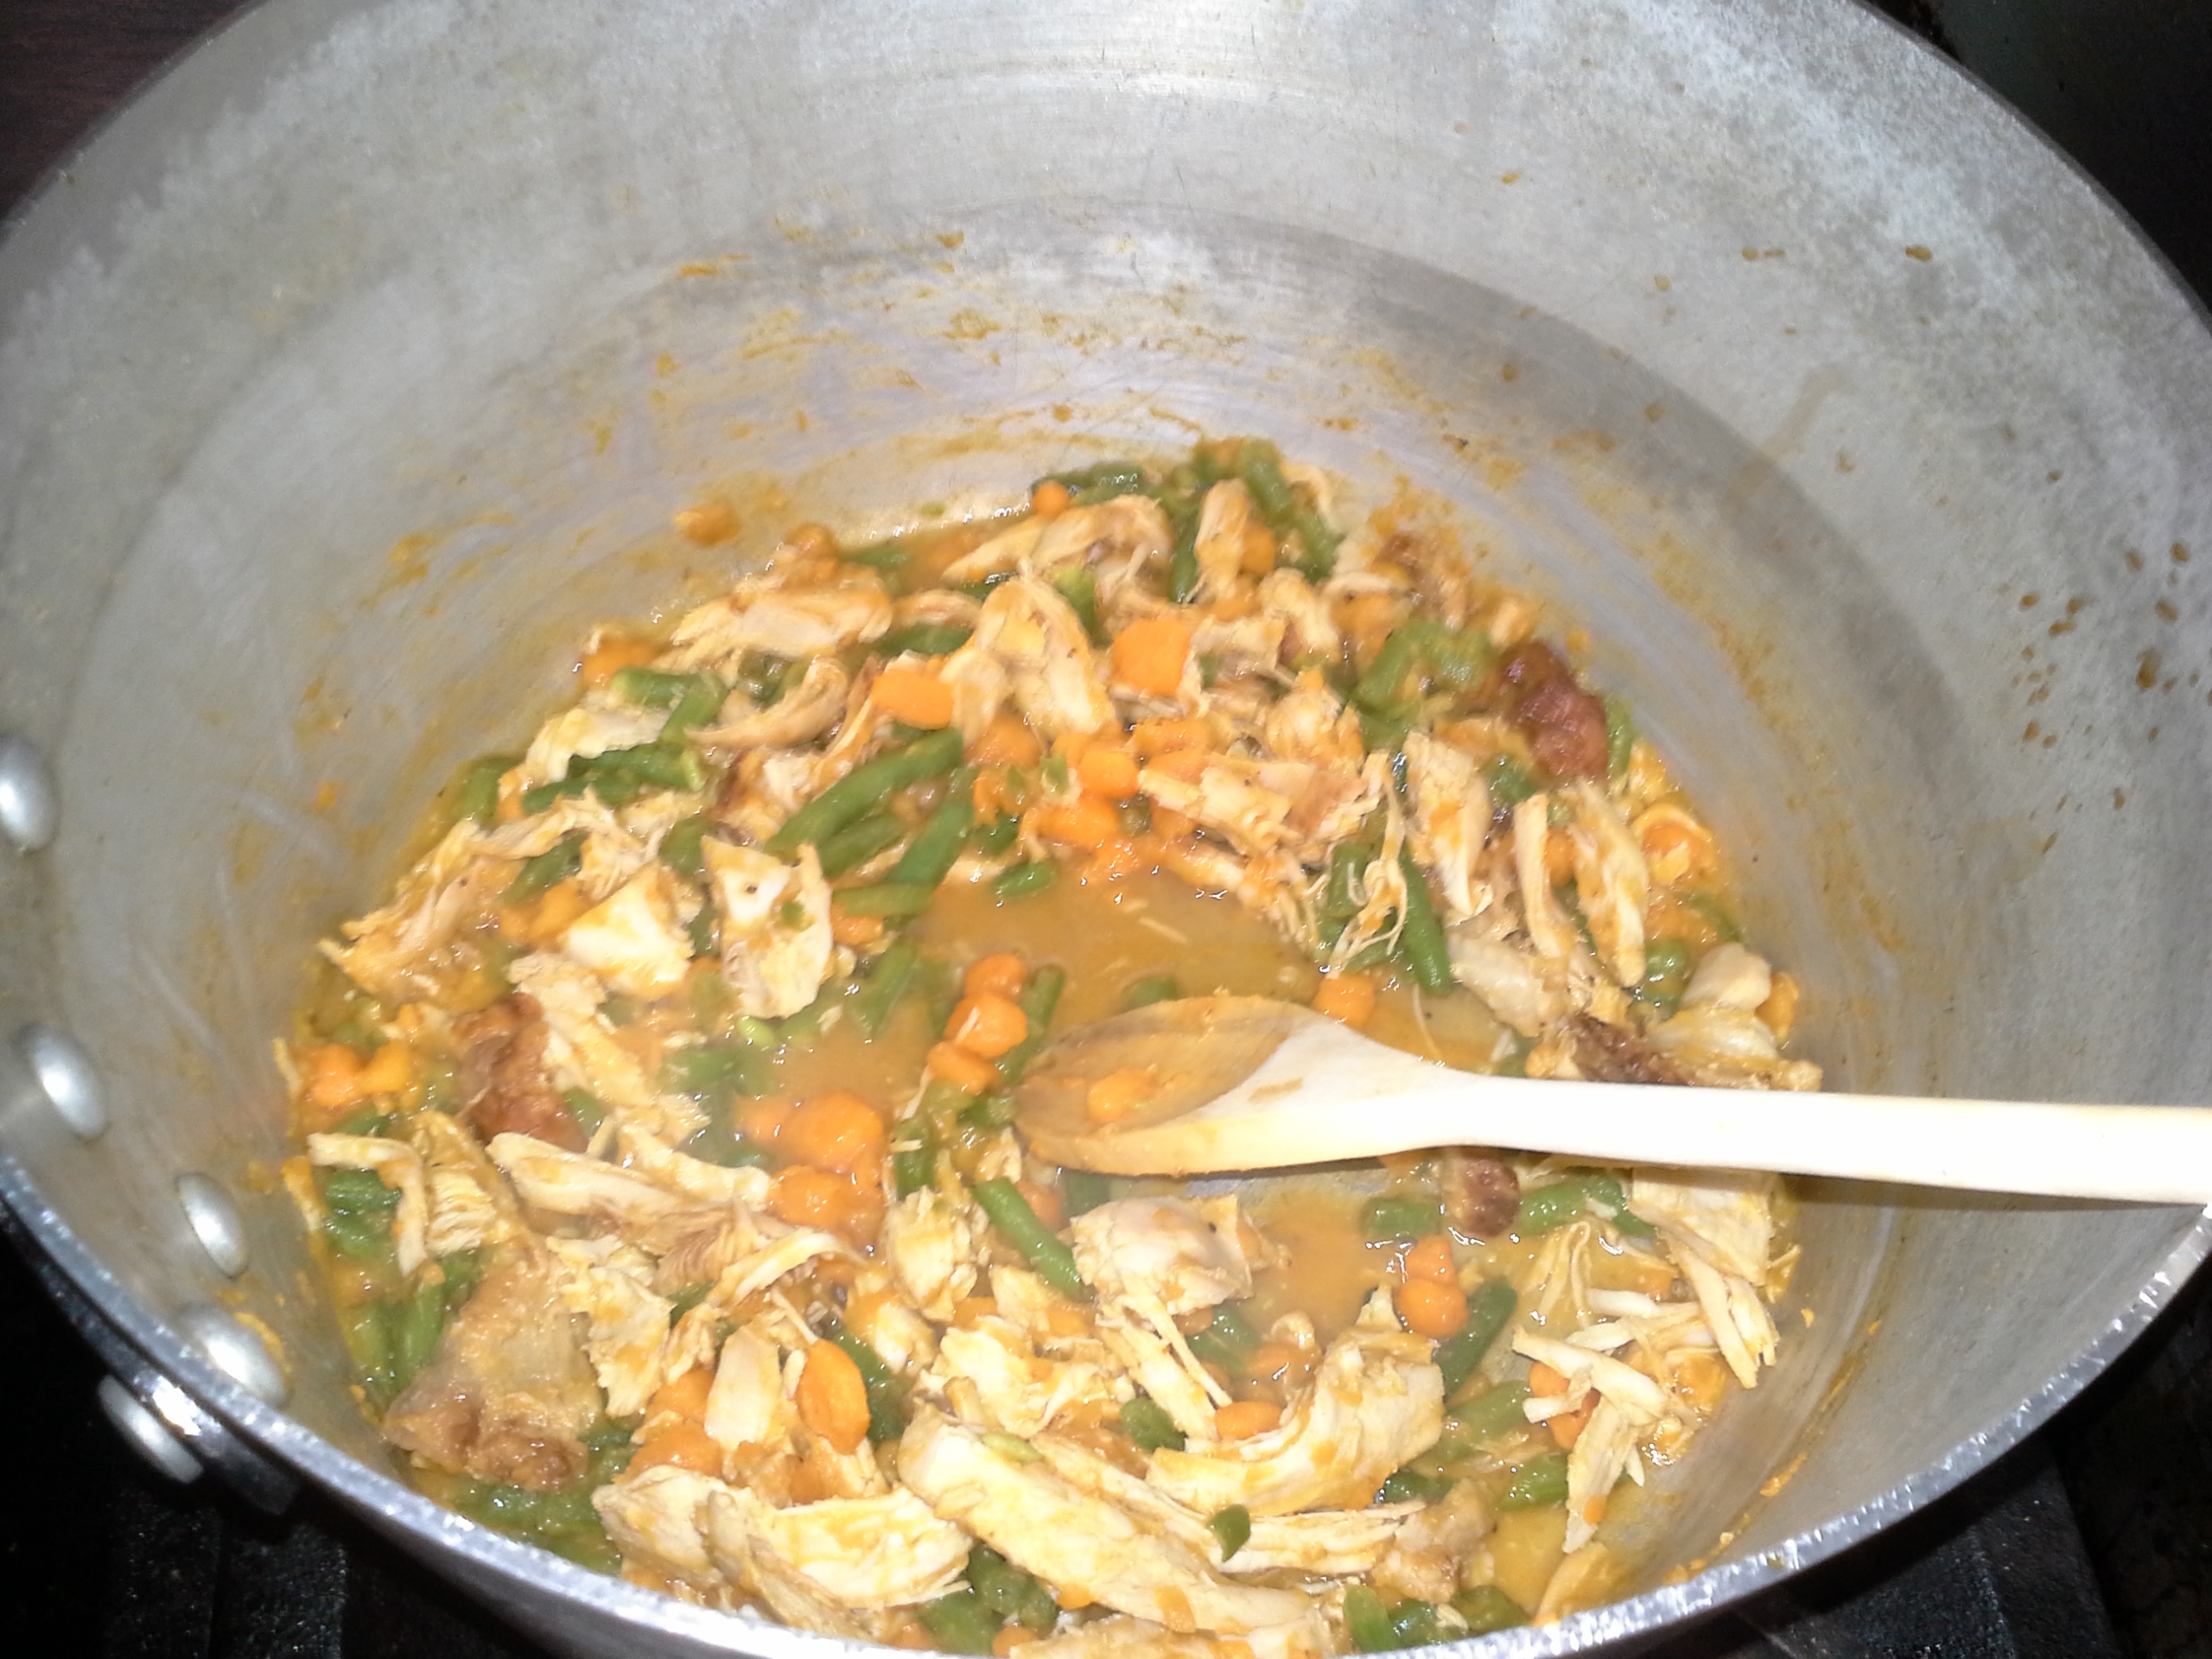
20140115_160748
[The Green Beans, Turkey, and Sweet Potatoes stew; note the small bit of thick Gravy]

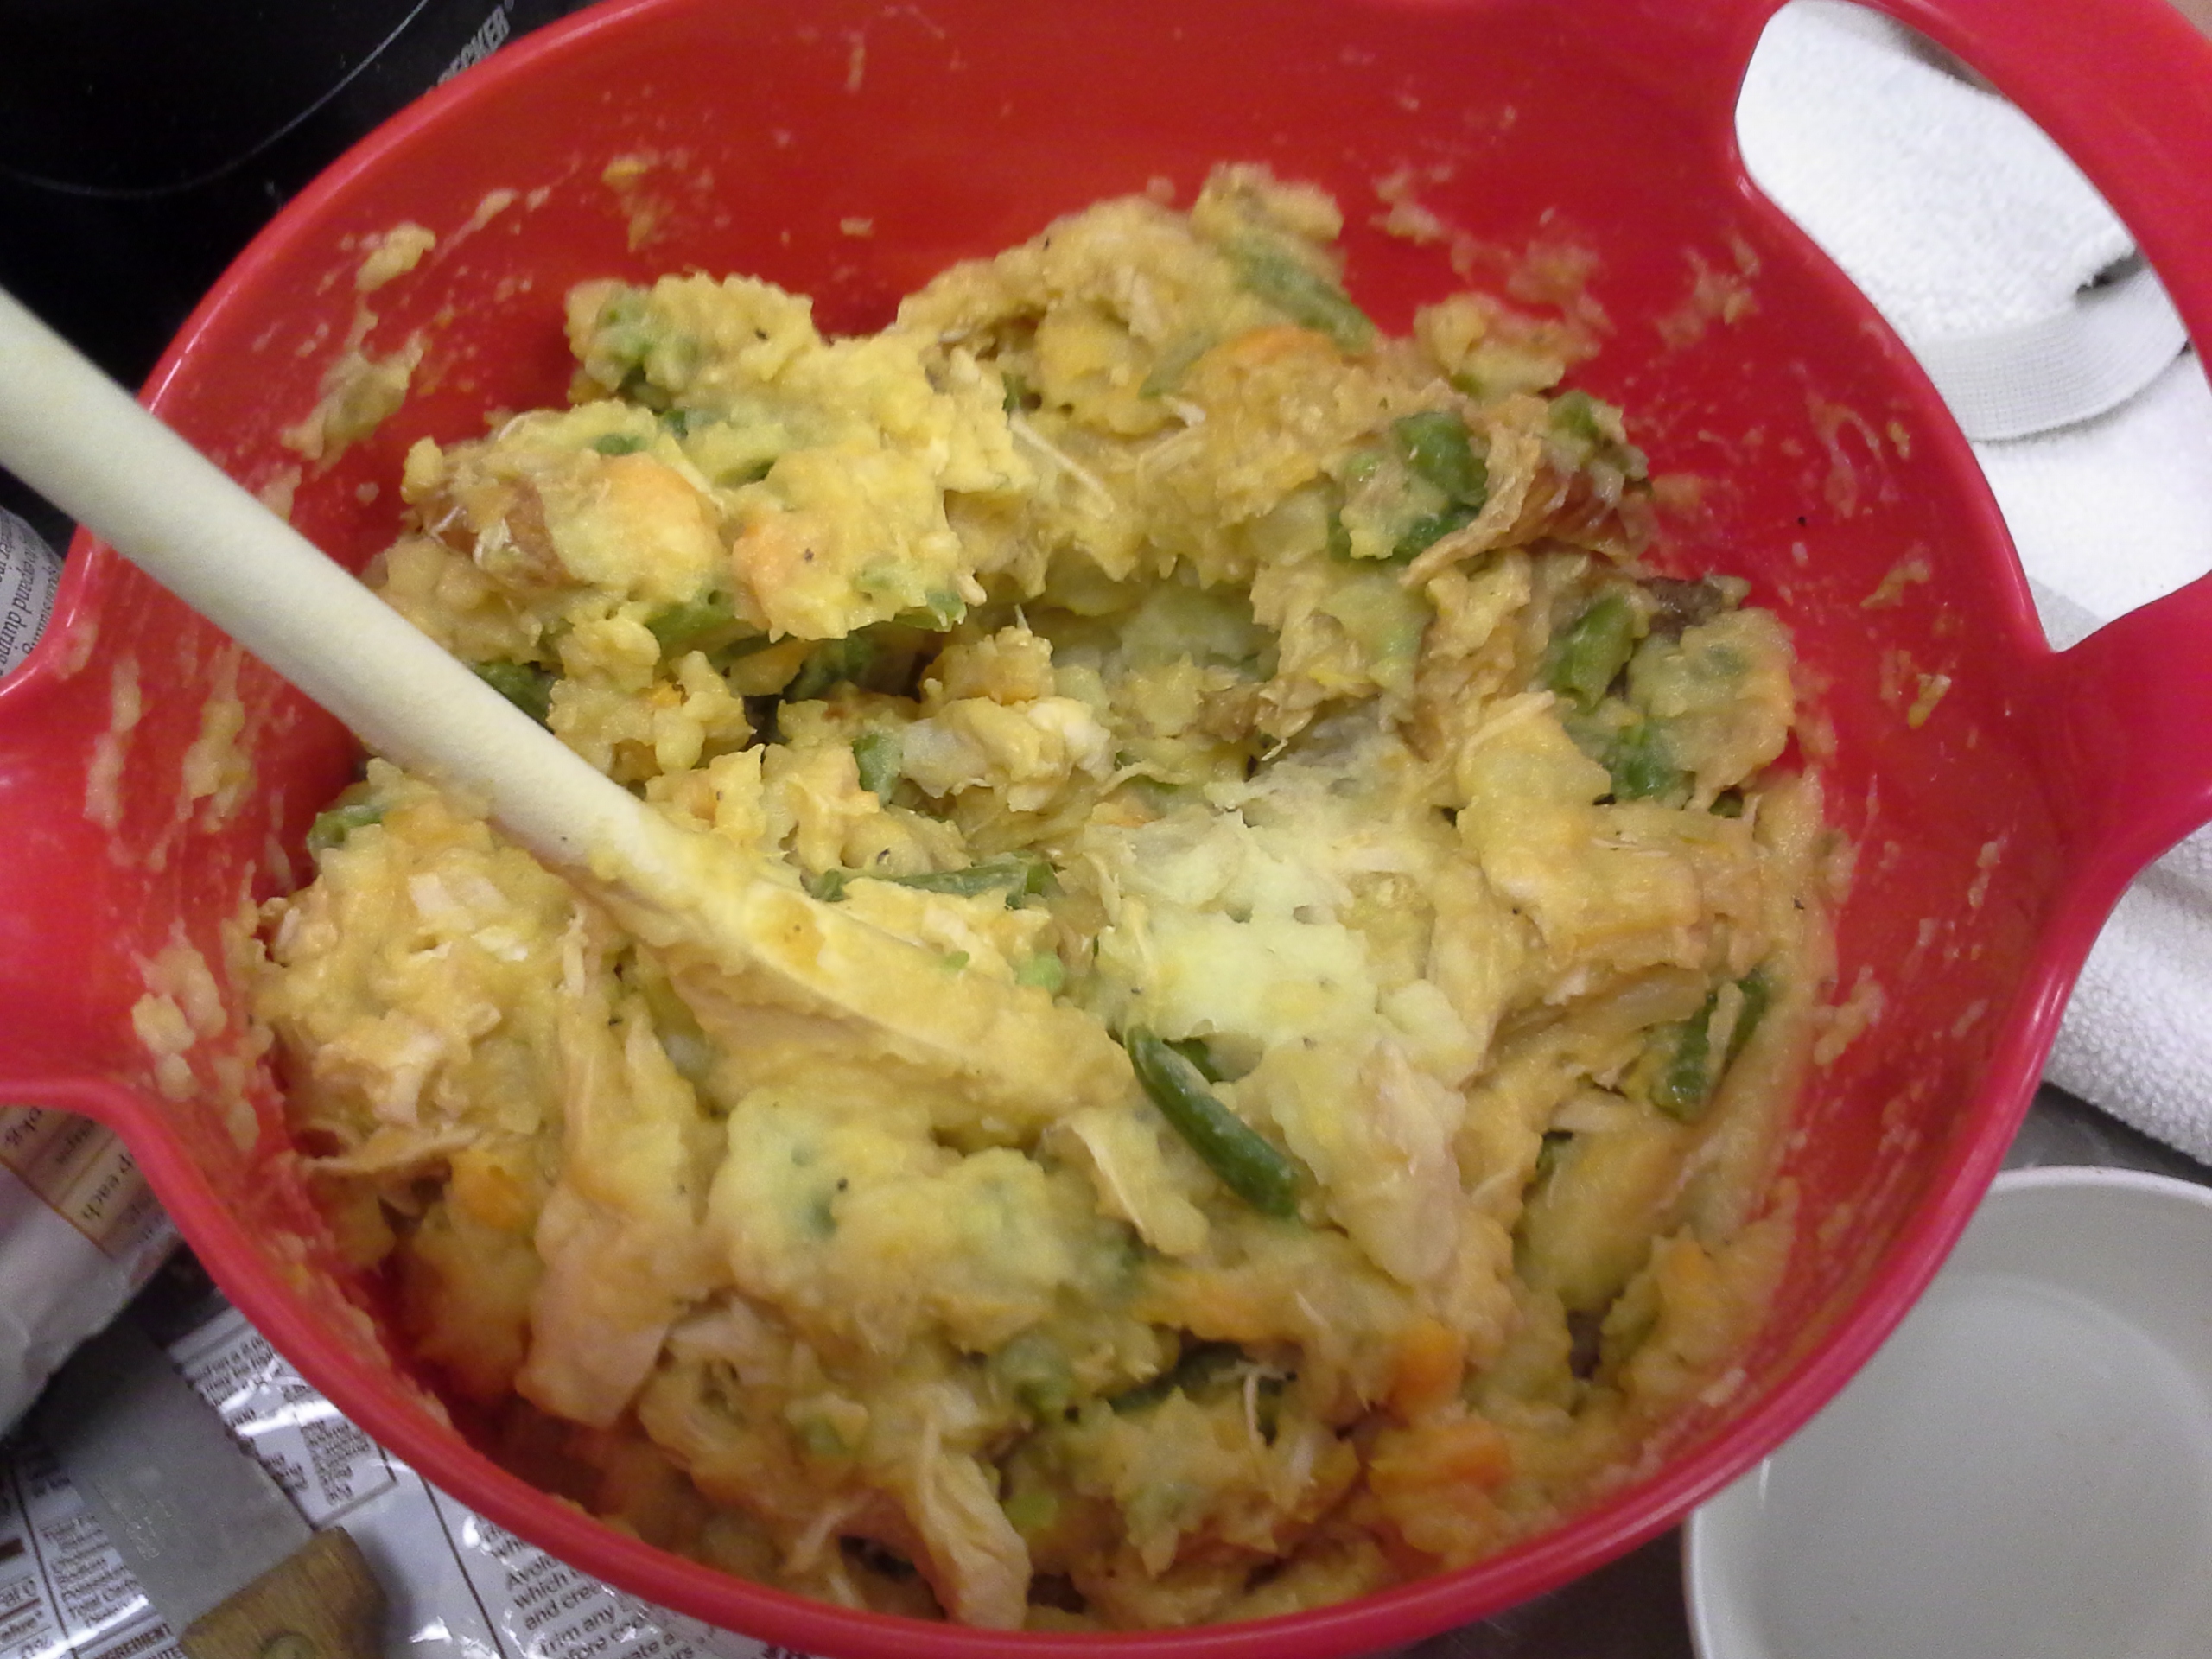
20140115_161550
[The previous two items combined; this will be the Filling]

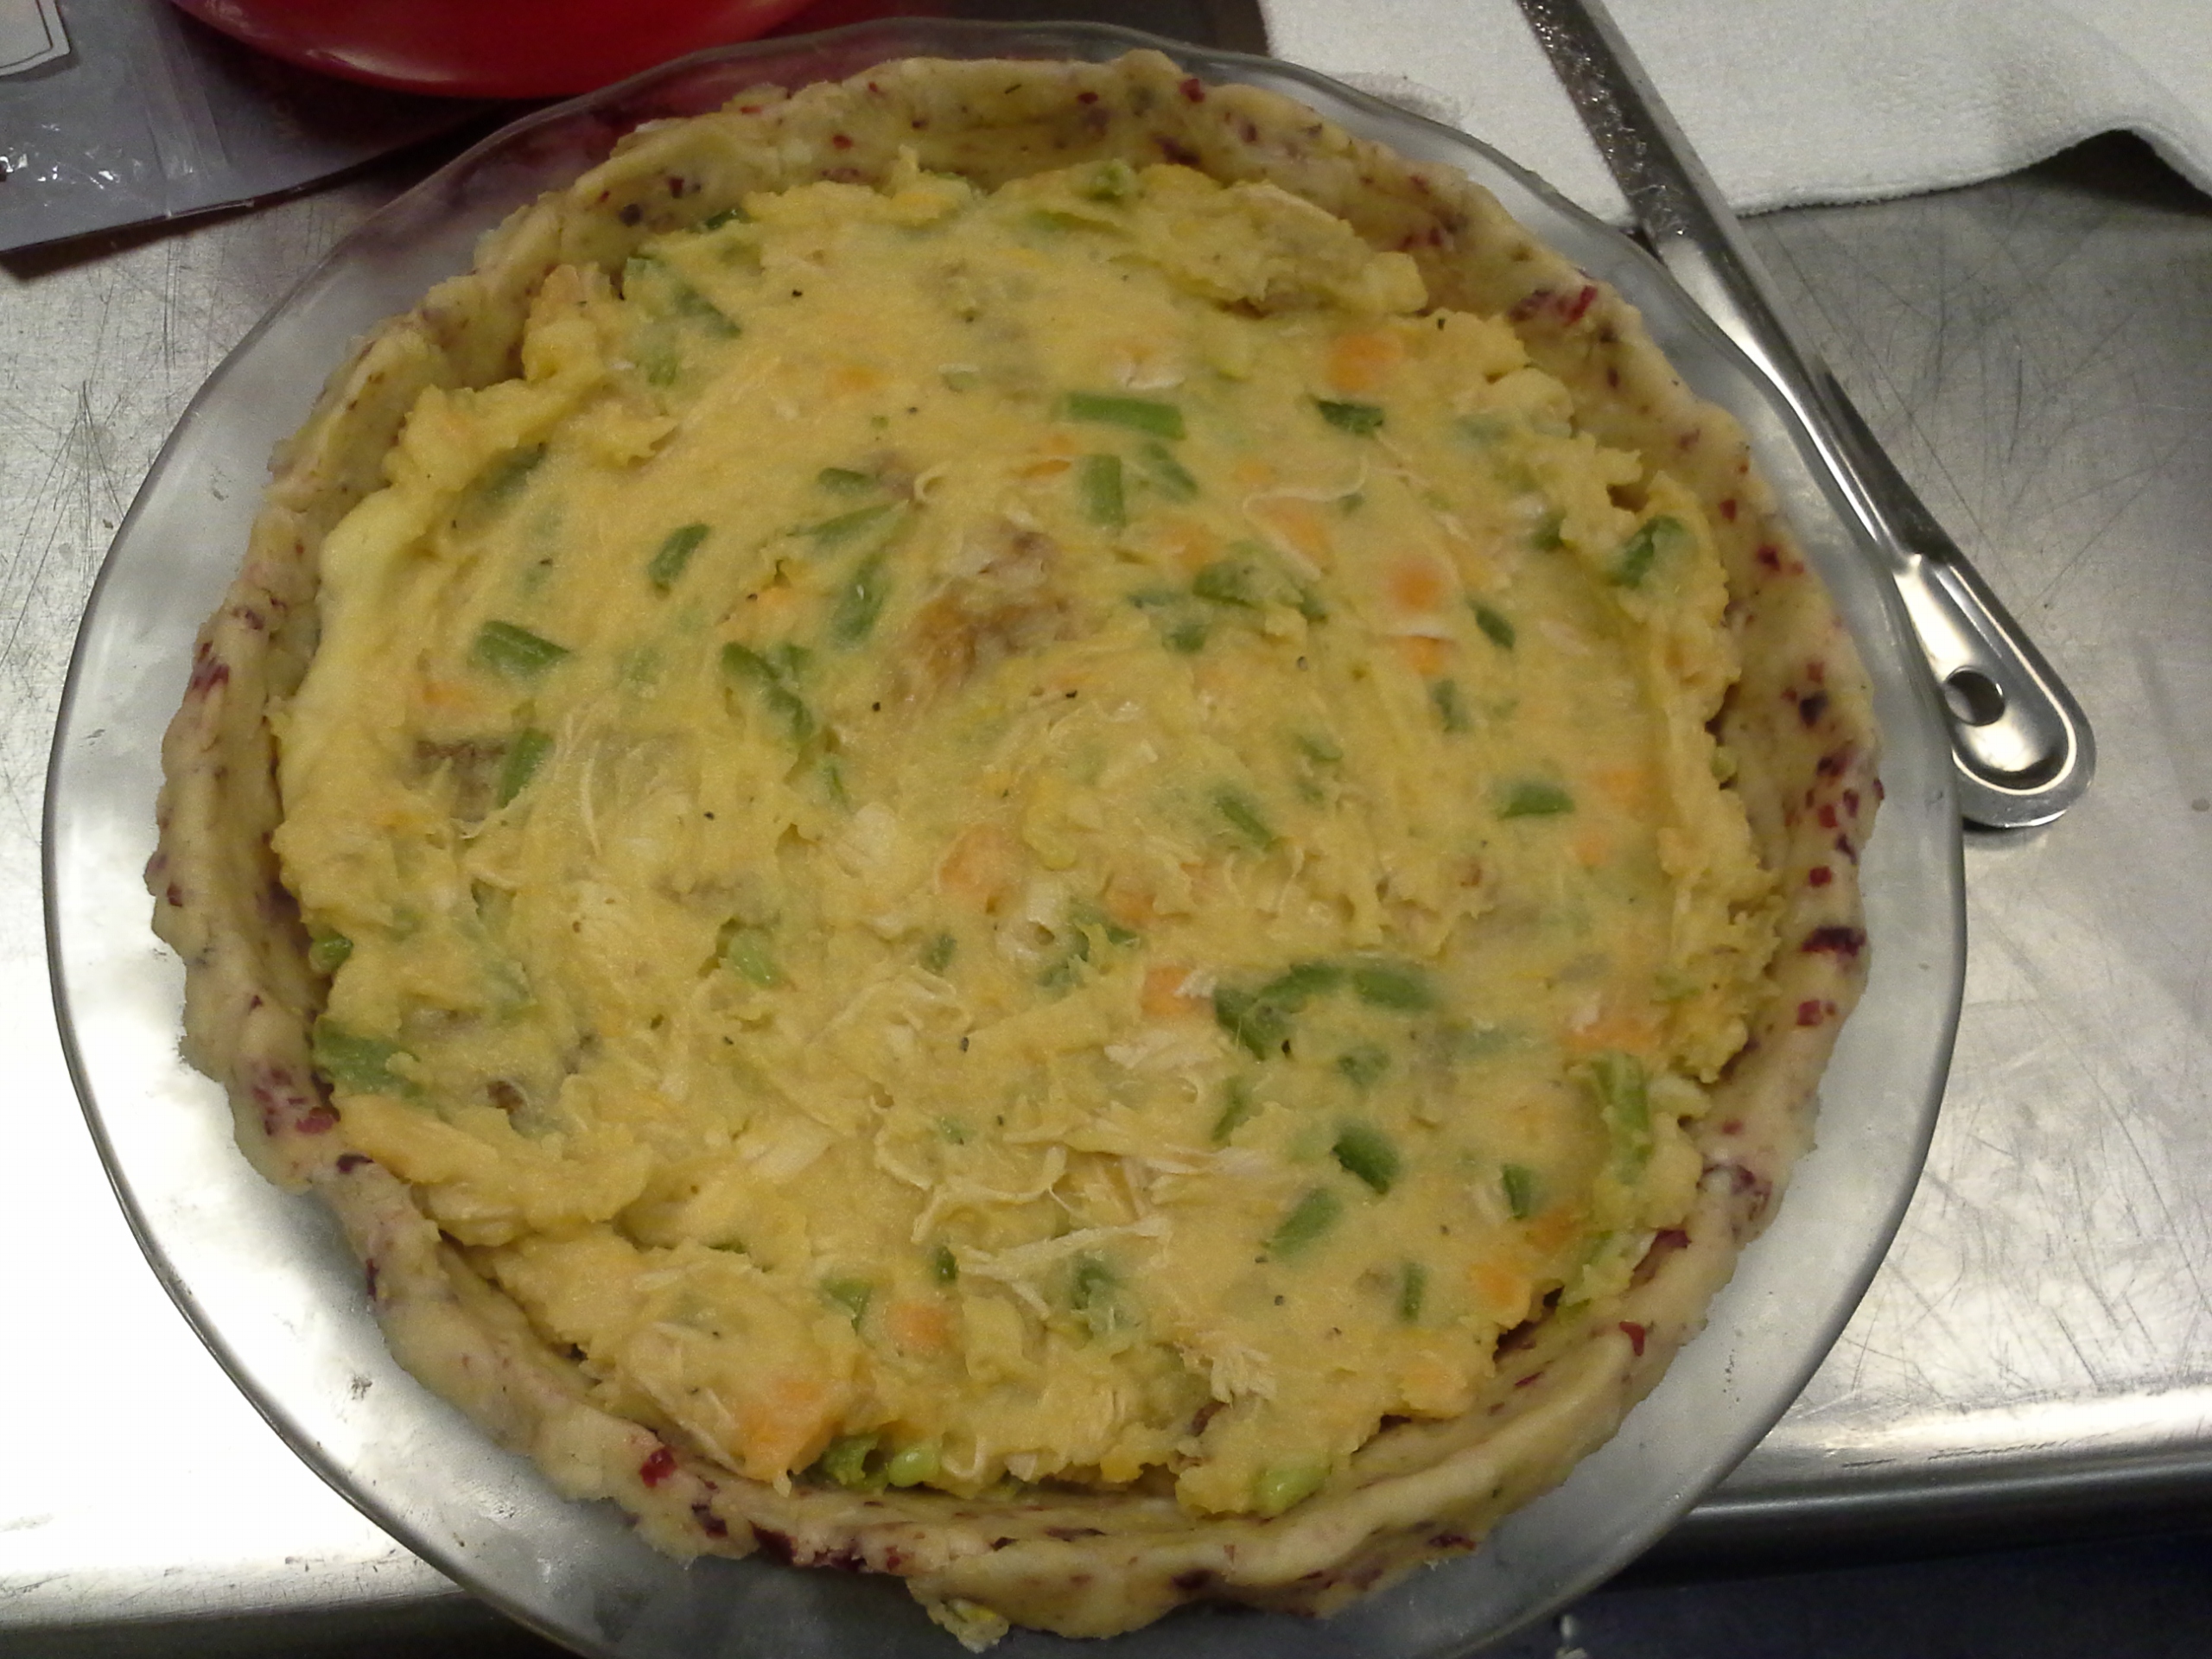
20140115_165052
[Raw Pie with Filling]

20140115_171257
[Raw Pie with Filling and Cornbread Stuffing Crumb Coat]

20140116_142758
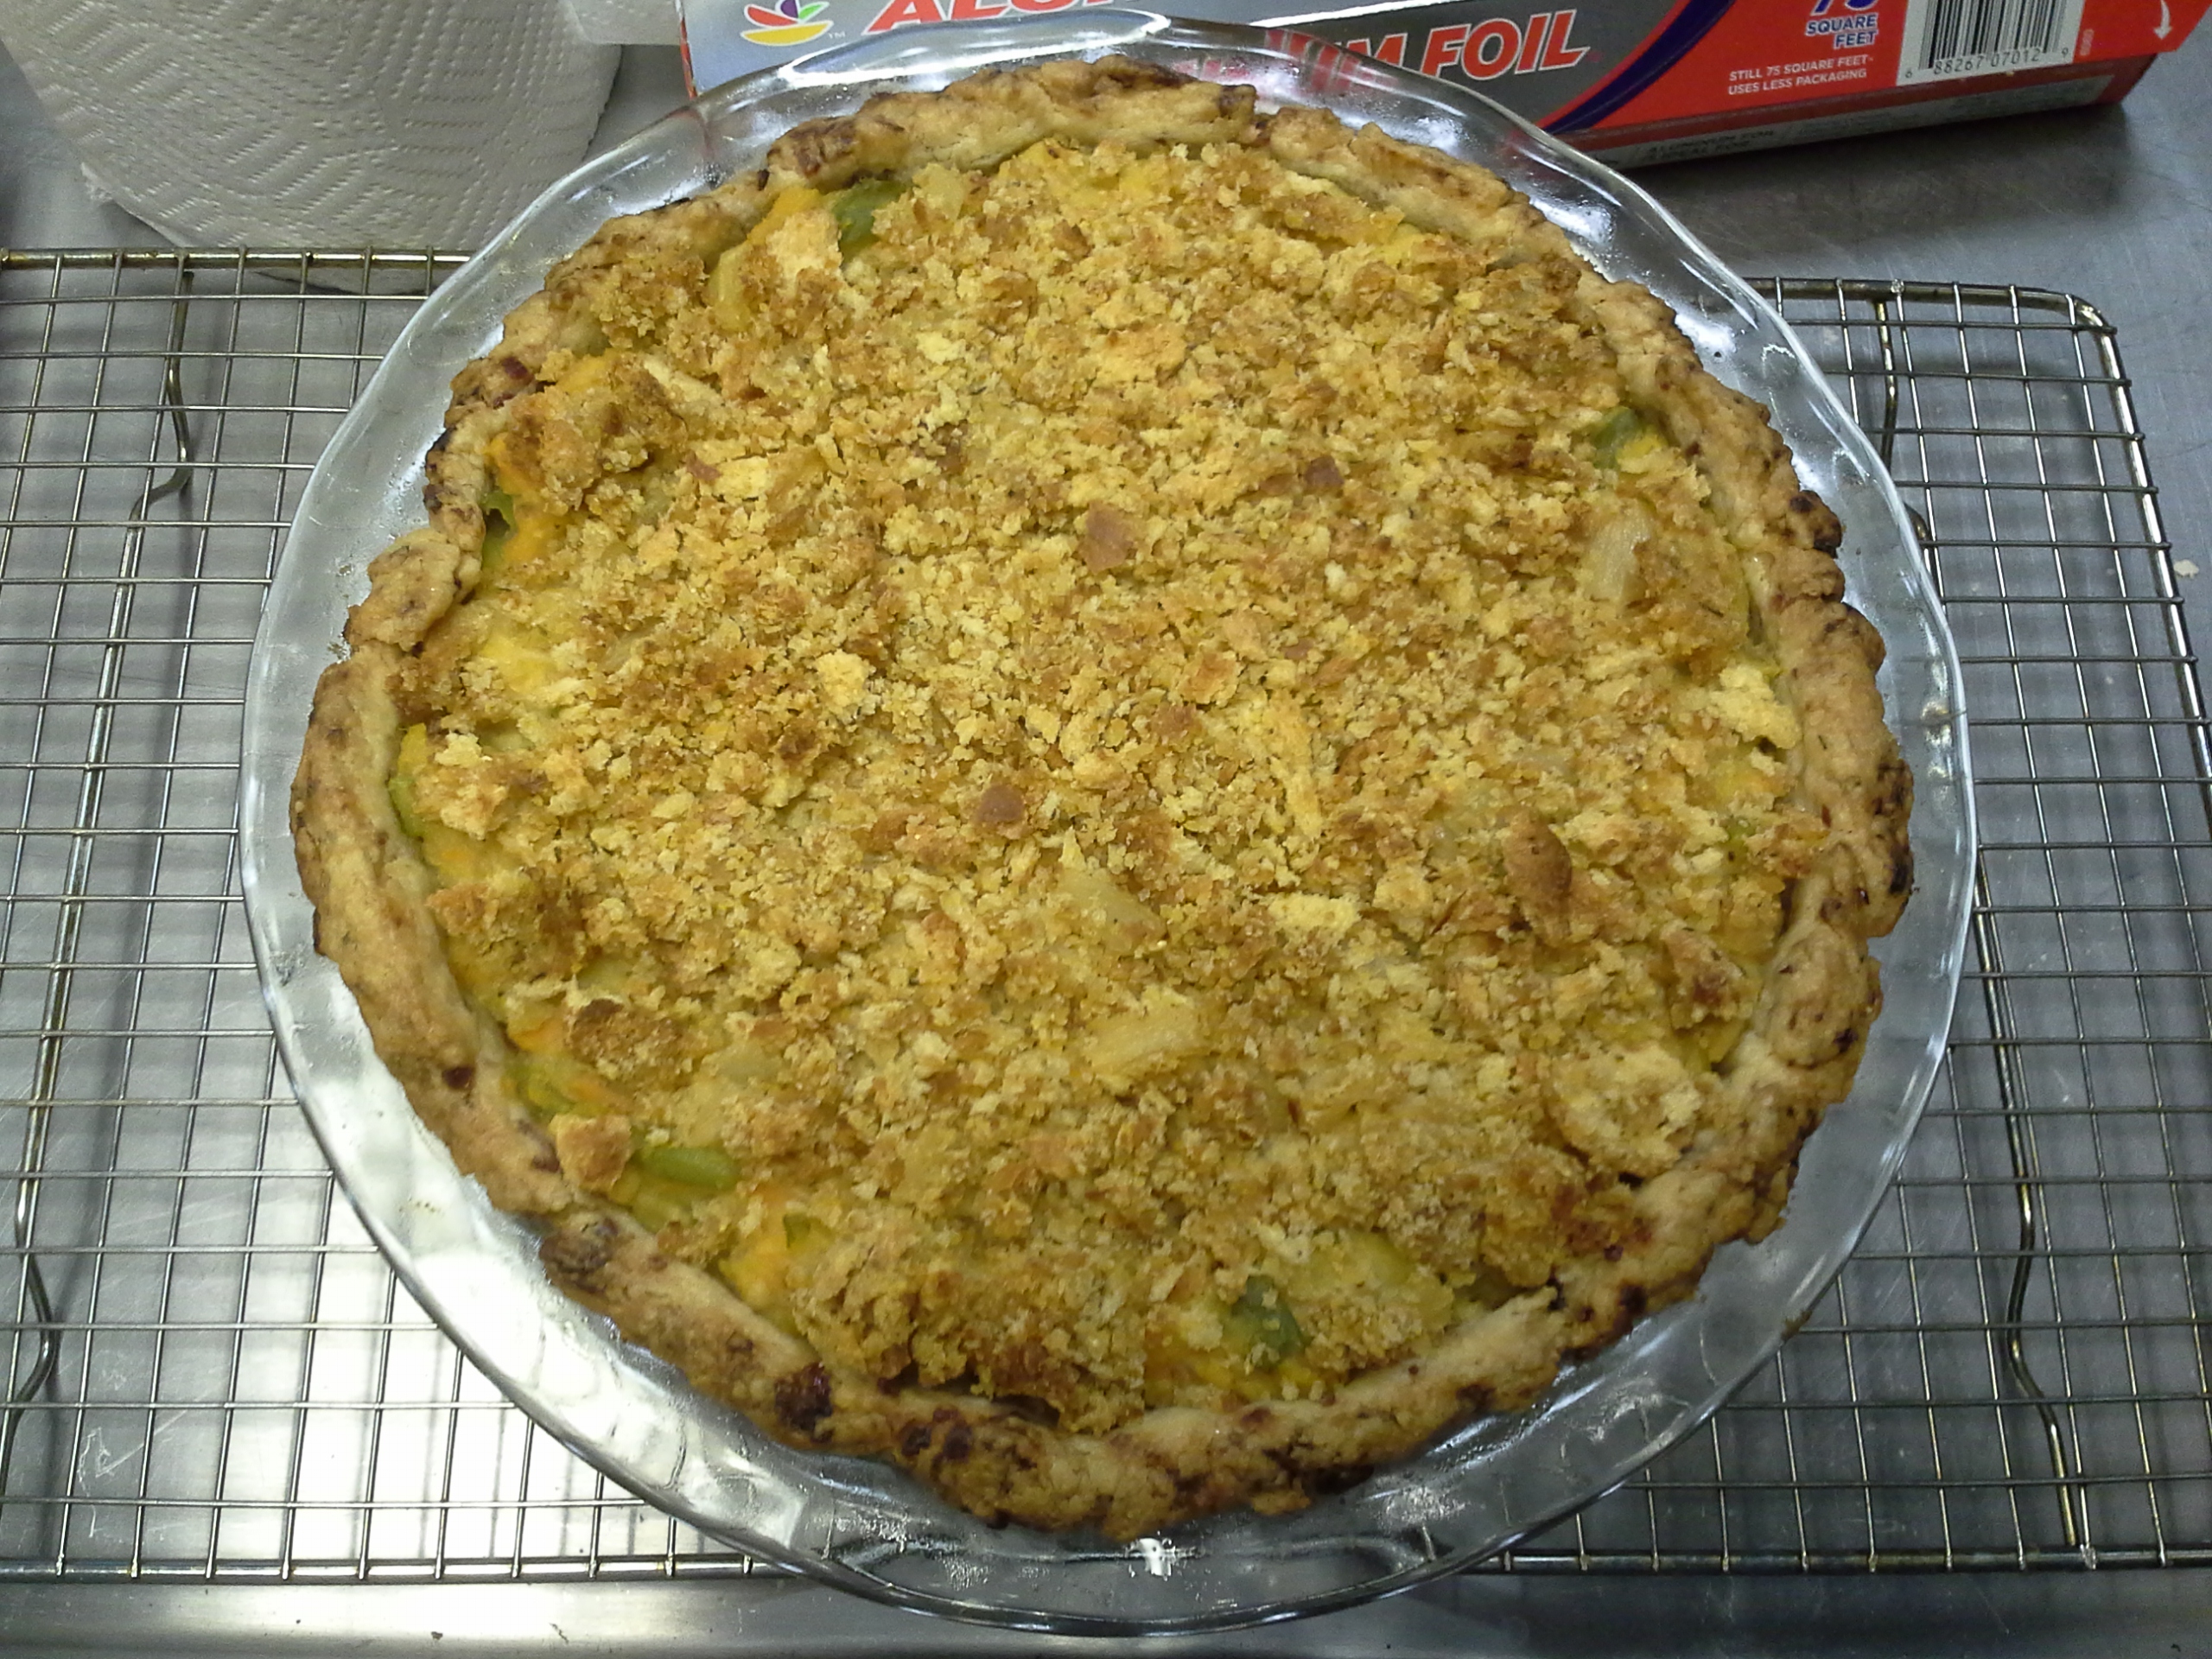
[Freshly Baked Thanksgiving Pie]

20140116_140948
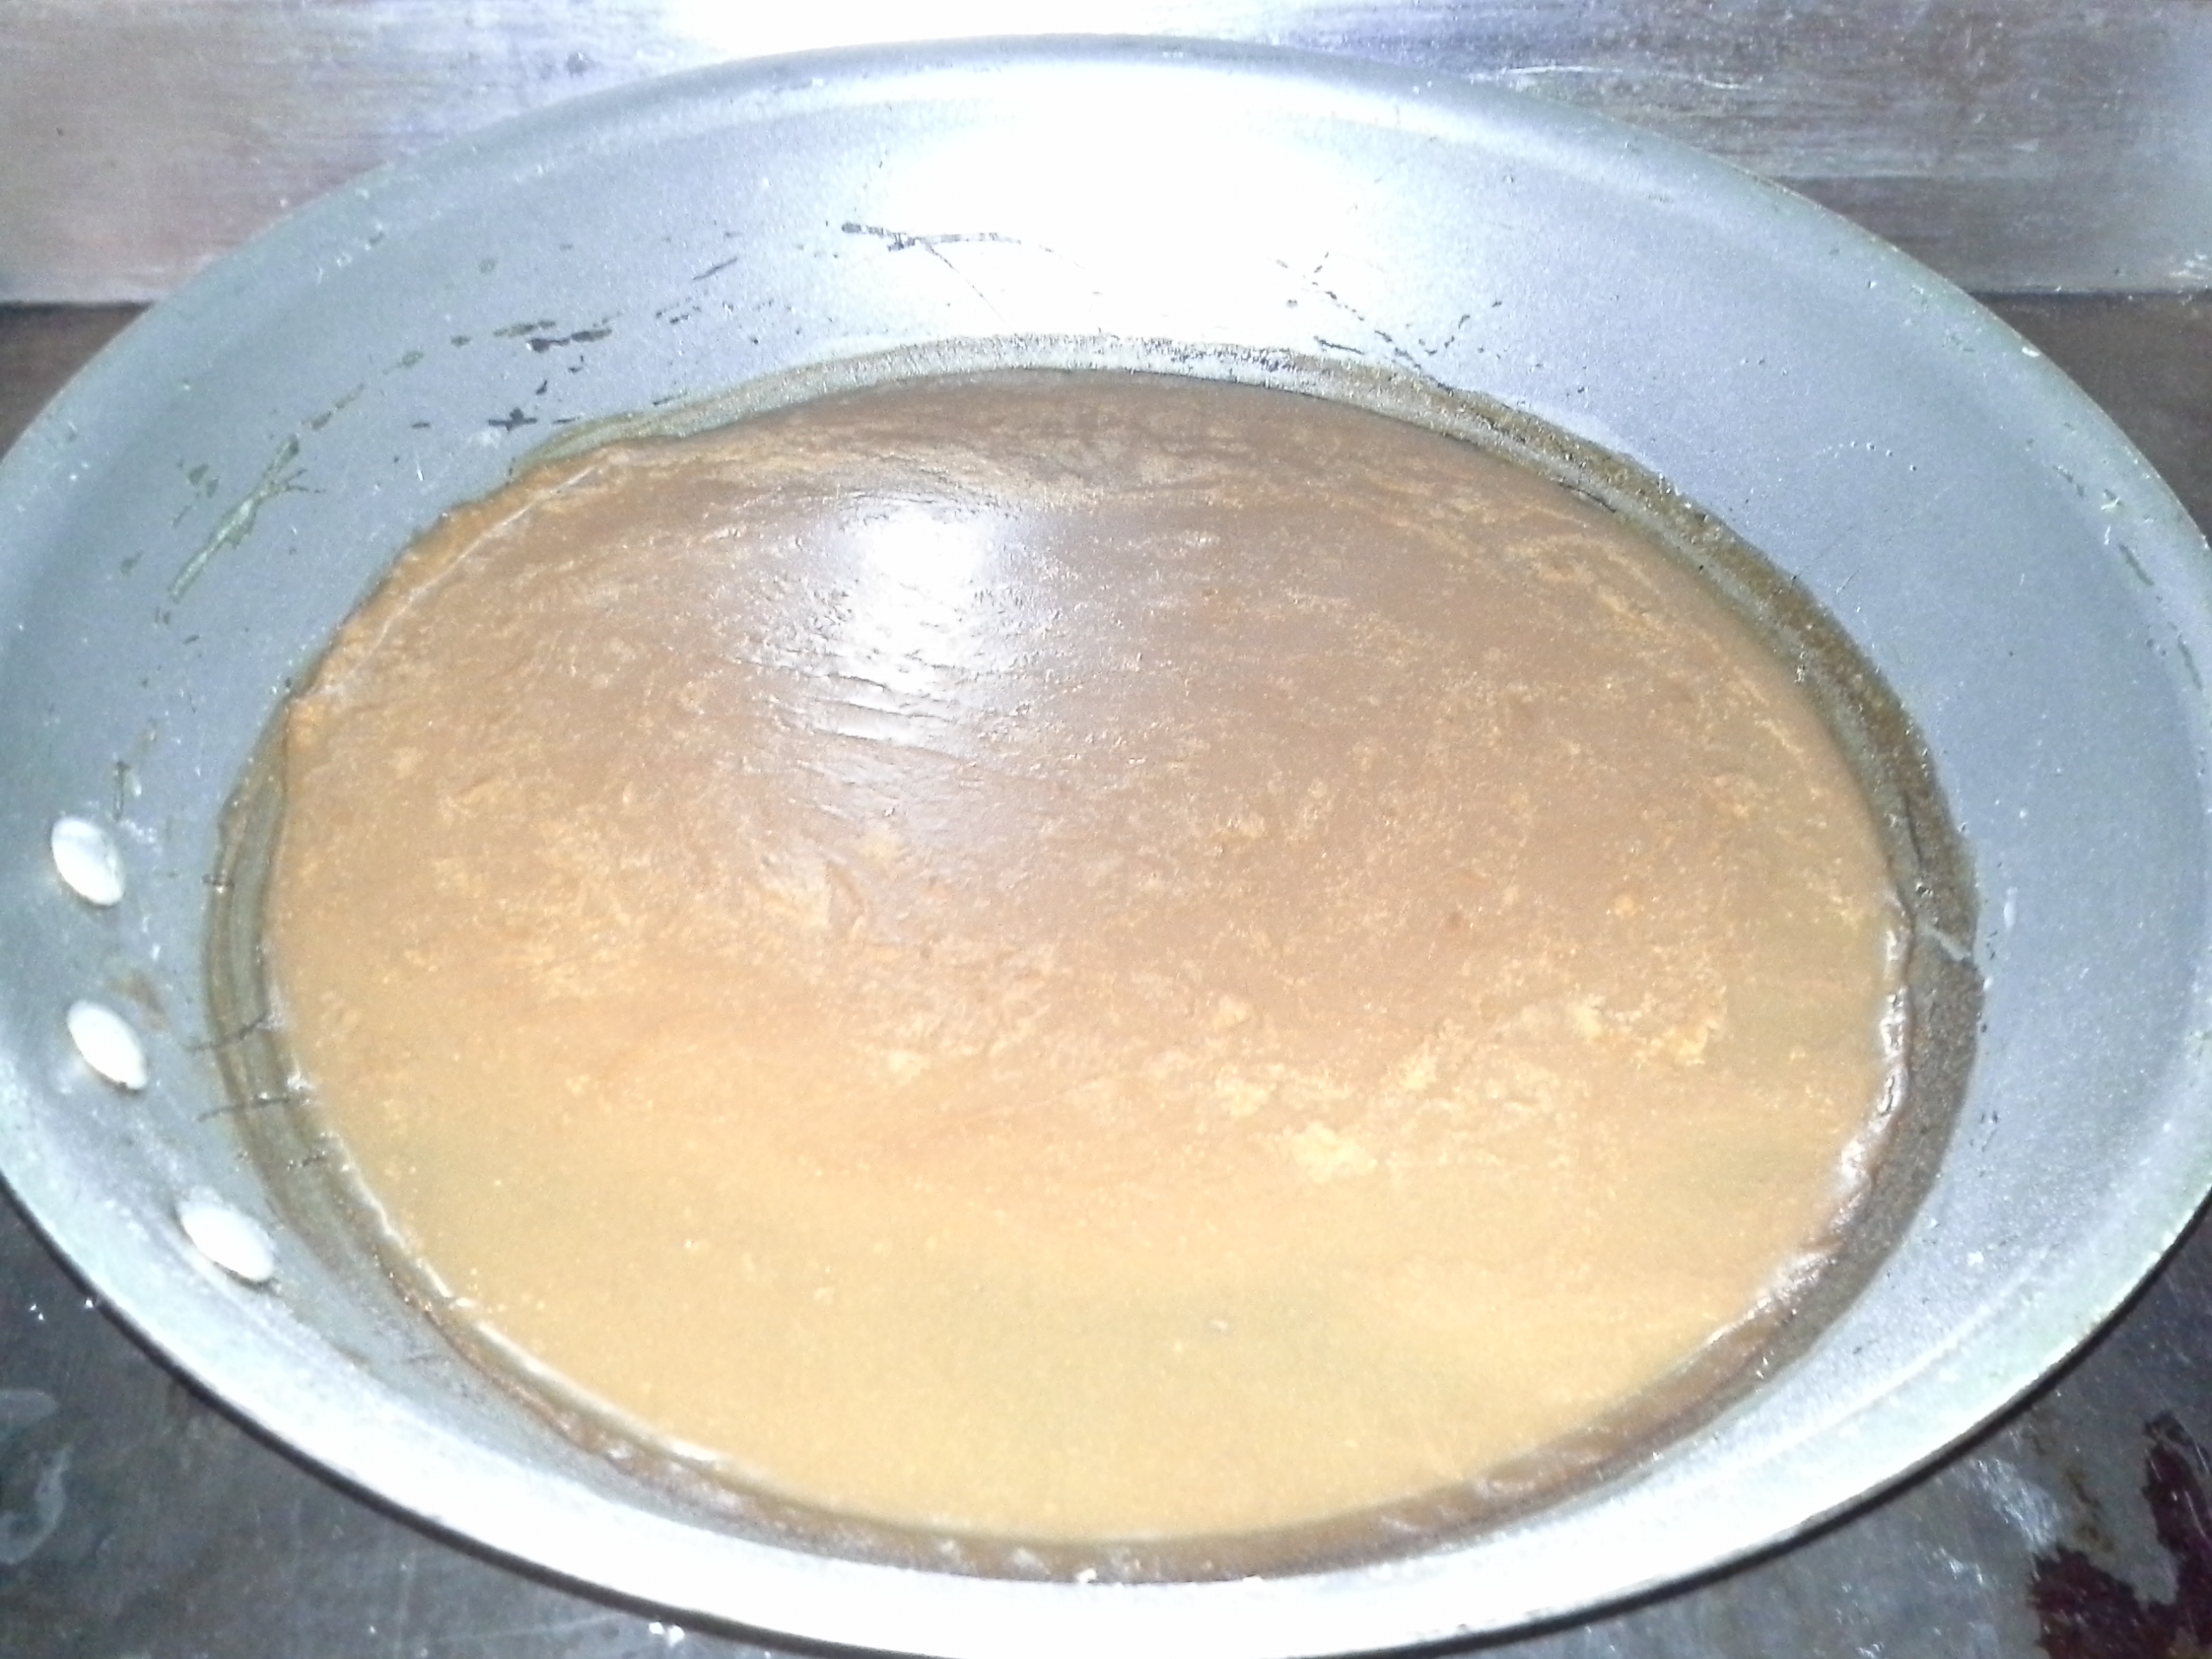
[Brown Gravy to Serve with the Pie]

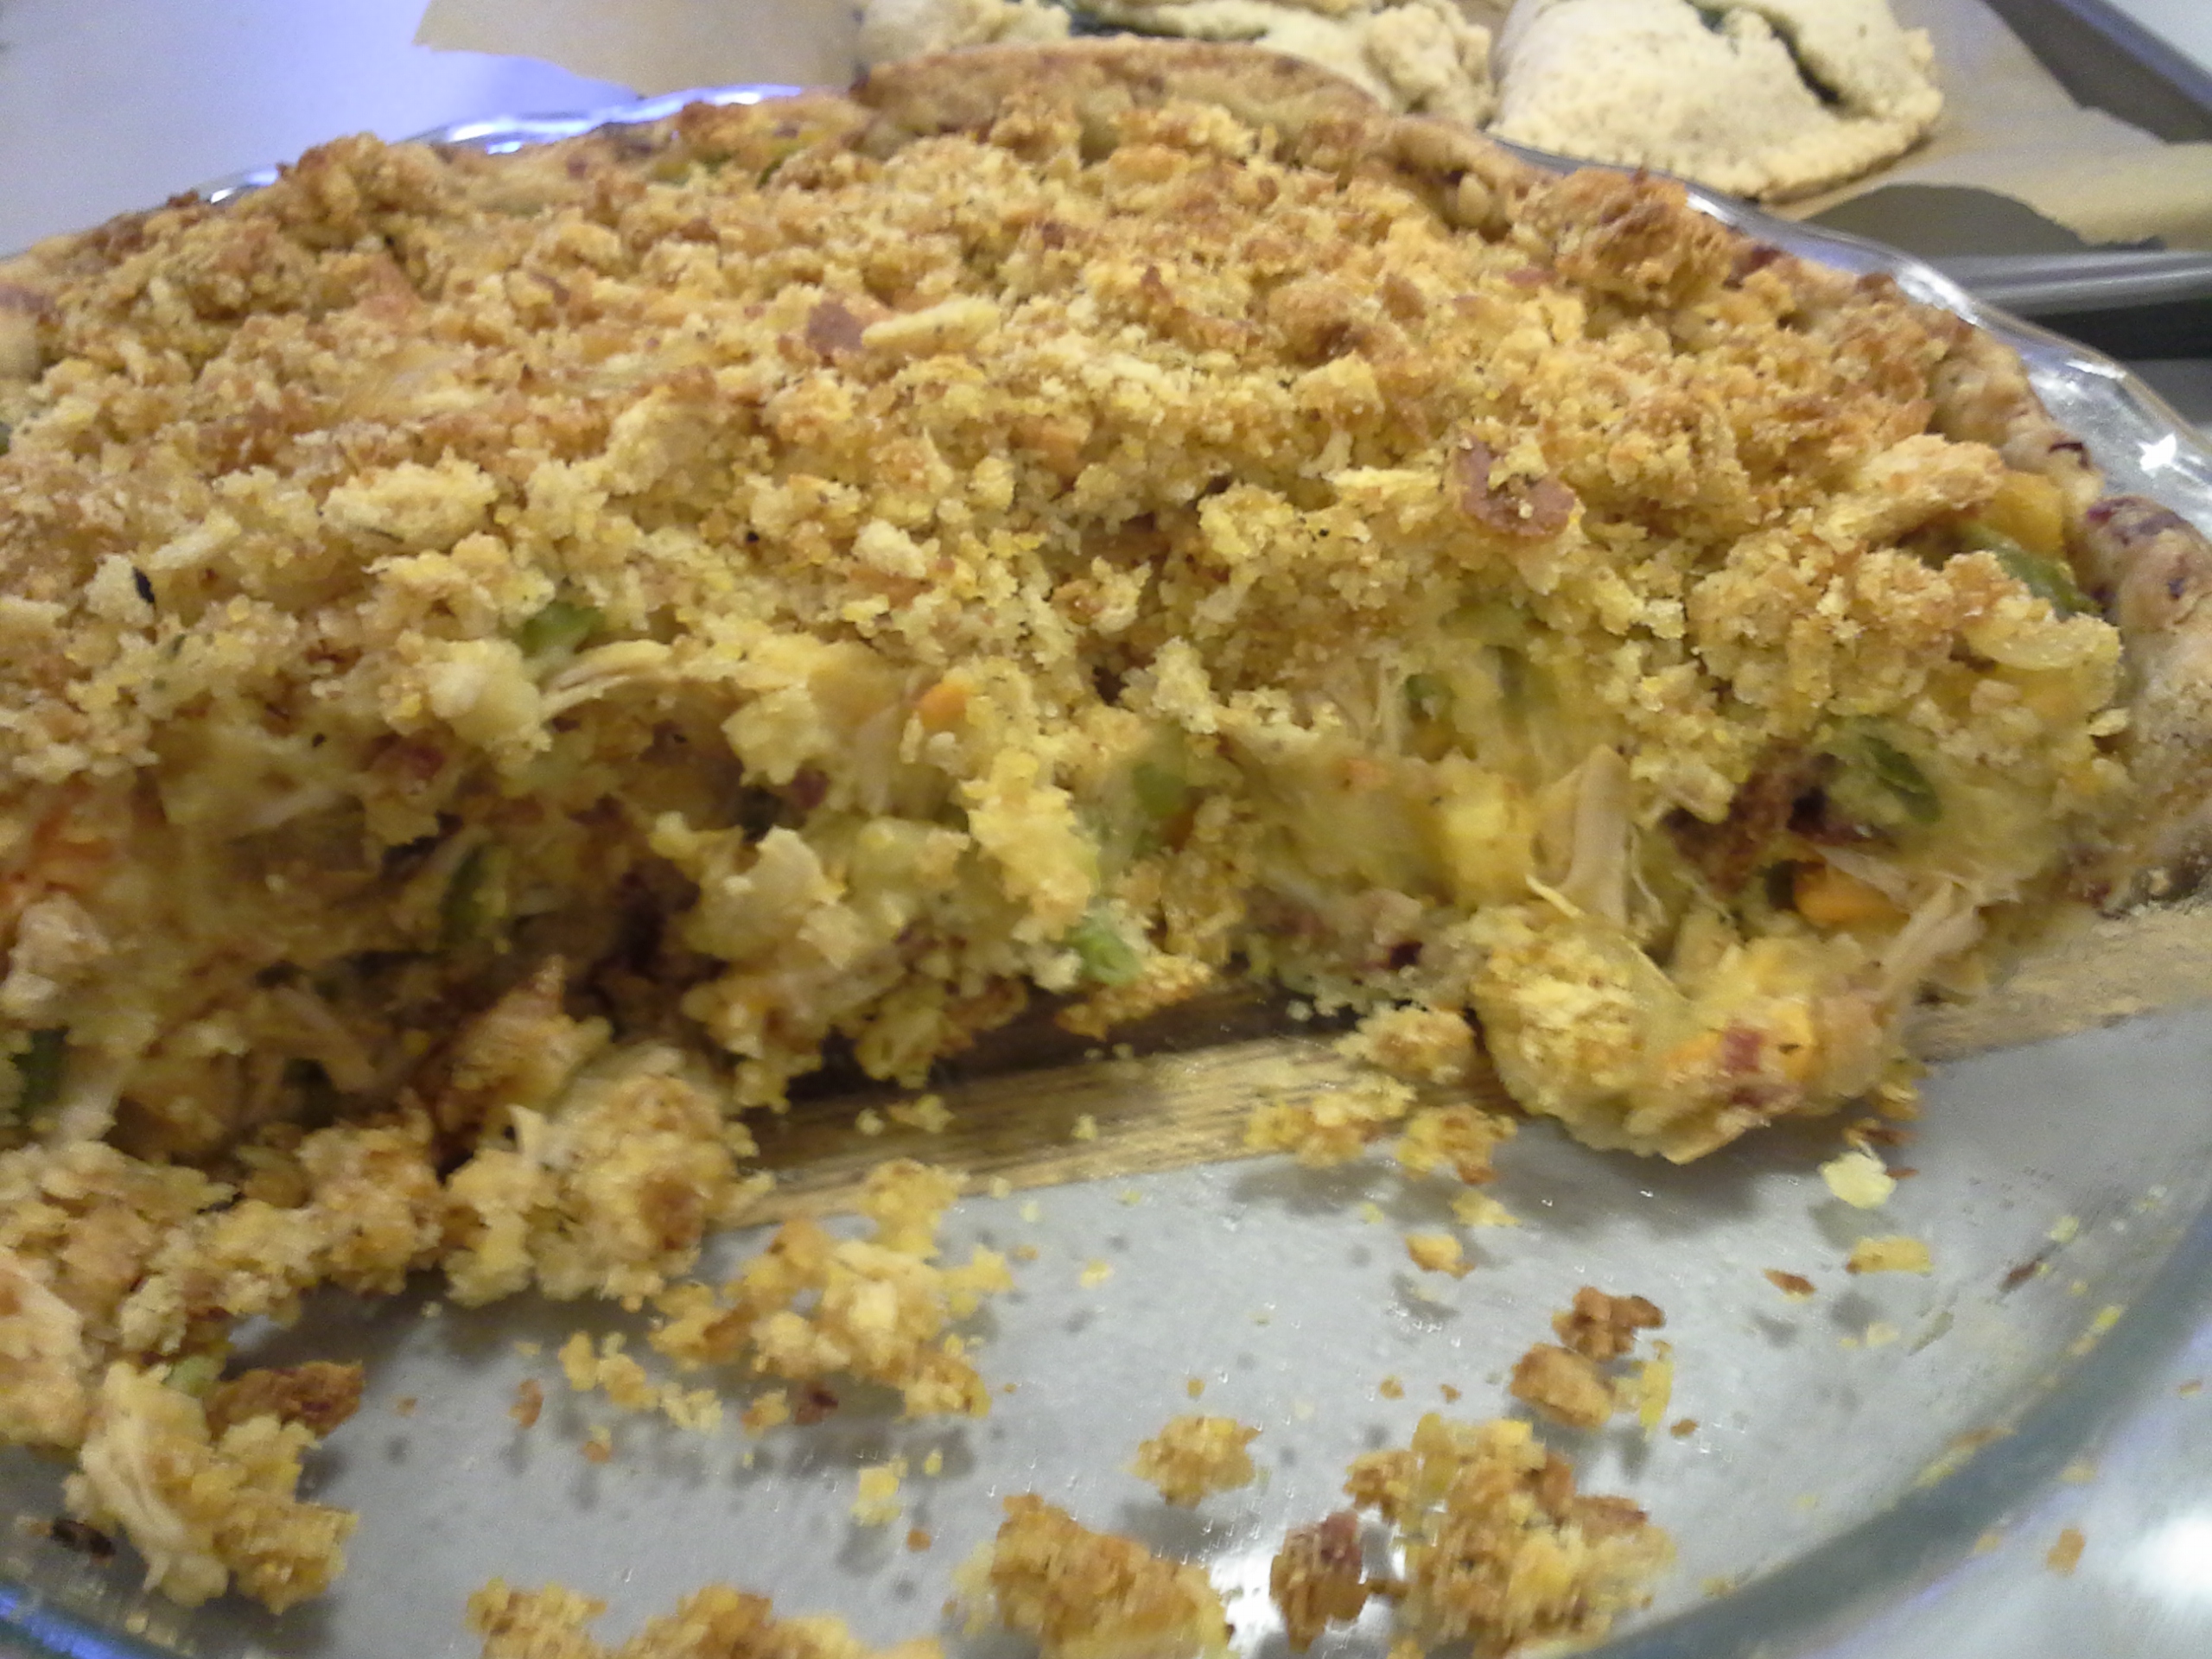
20140116_153112
[Cross-Sectional View of the Finished Product]

Reflections: This experiment turned out pretty great, actually! I was a little worried that the crust would be too soggy, especially after a lot of it kept sticking to my utensils as well as the wax paper, but good flakiness was achieved. Next time I try the Vodka Trick, I think I’ll use slightly less liquid, haha. Other than that, another thing I might try differently is to not put in the filling and top crumb coat crust and leave it overnight. Perhaps doing both right before baking it in the oven would have achieved a flakier crust. Either way, it worked out, and the pie tasted delicious!

Week 1: Sweet pies — complete!

6 sweet pies for sampling on Thursday noon.

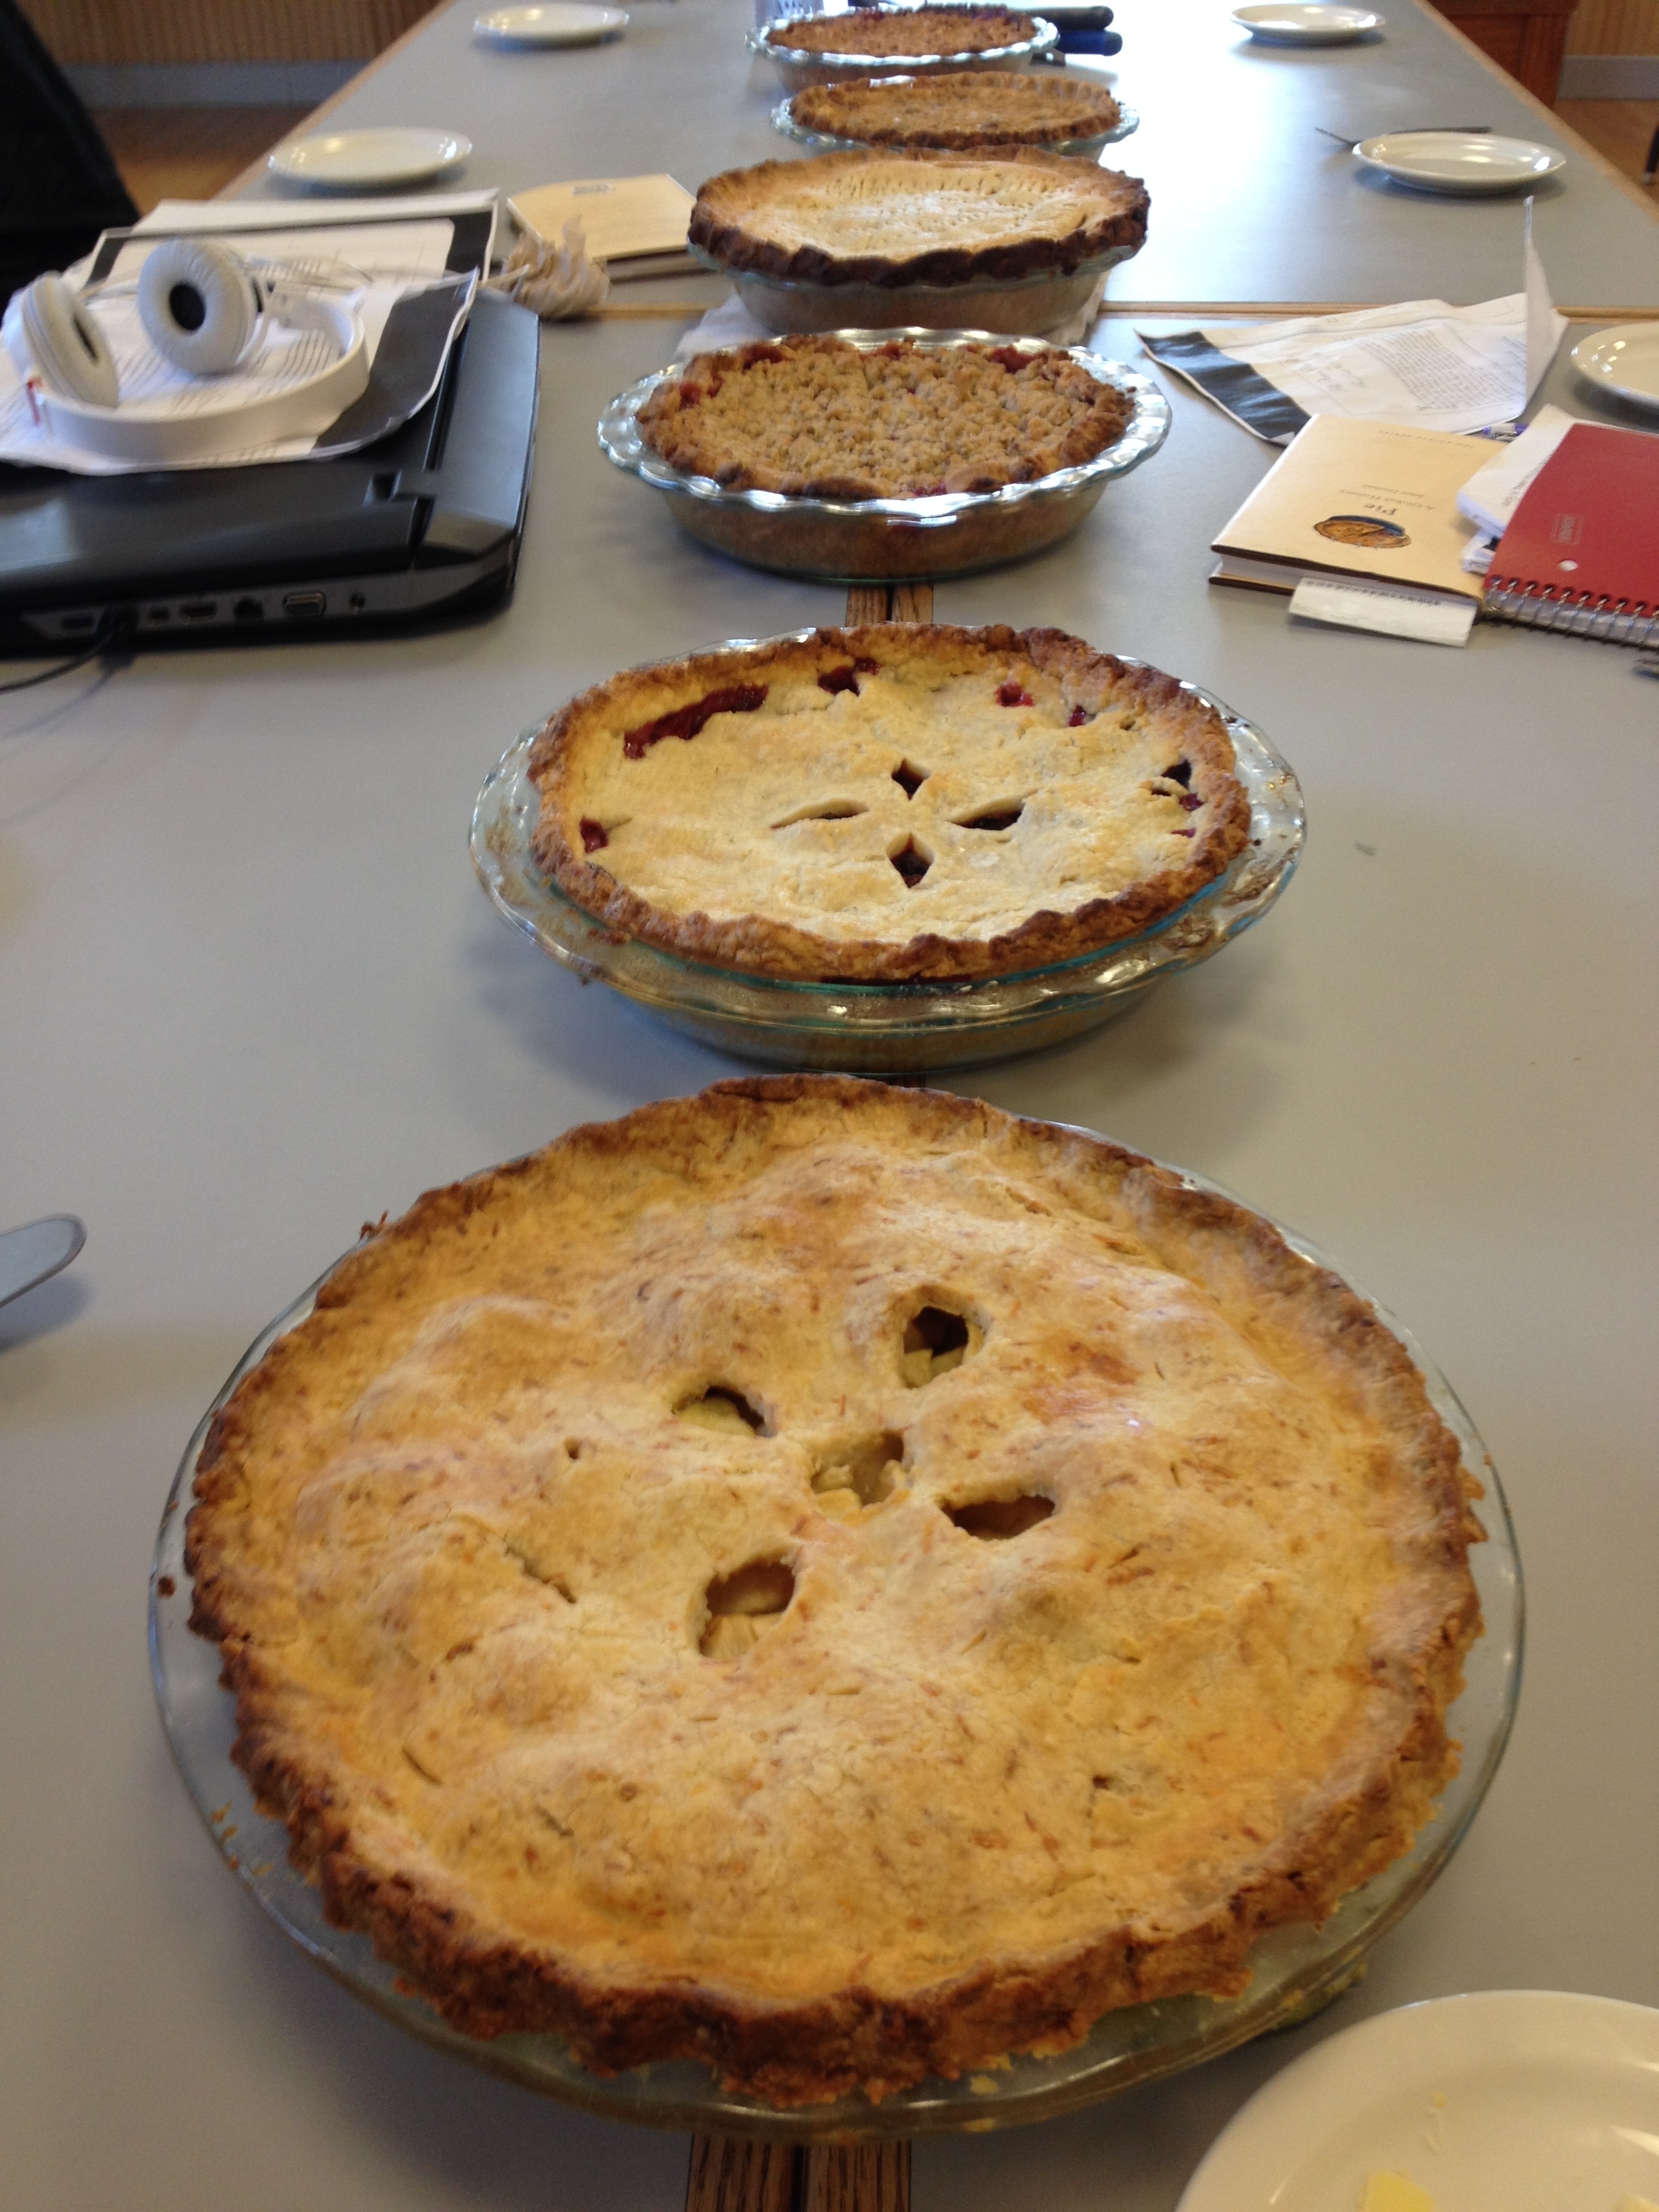
IMG_7019

That would be, from bottom to top: Apple-Pear in Cheddar Crust Pastry (served with melted sharp cheddar on top); Mixed Berry; Very Cranberry Pear; Cider-Infused Apple; Sour Cream Blackberry; and Cranberry Apple Crumb-top pie.

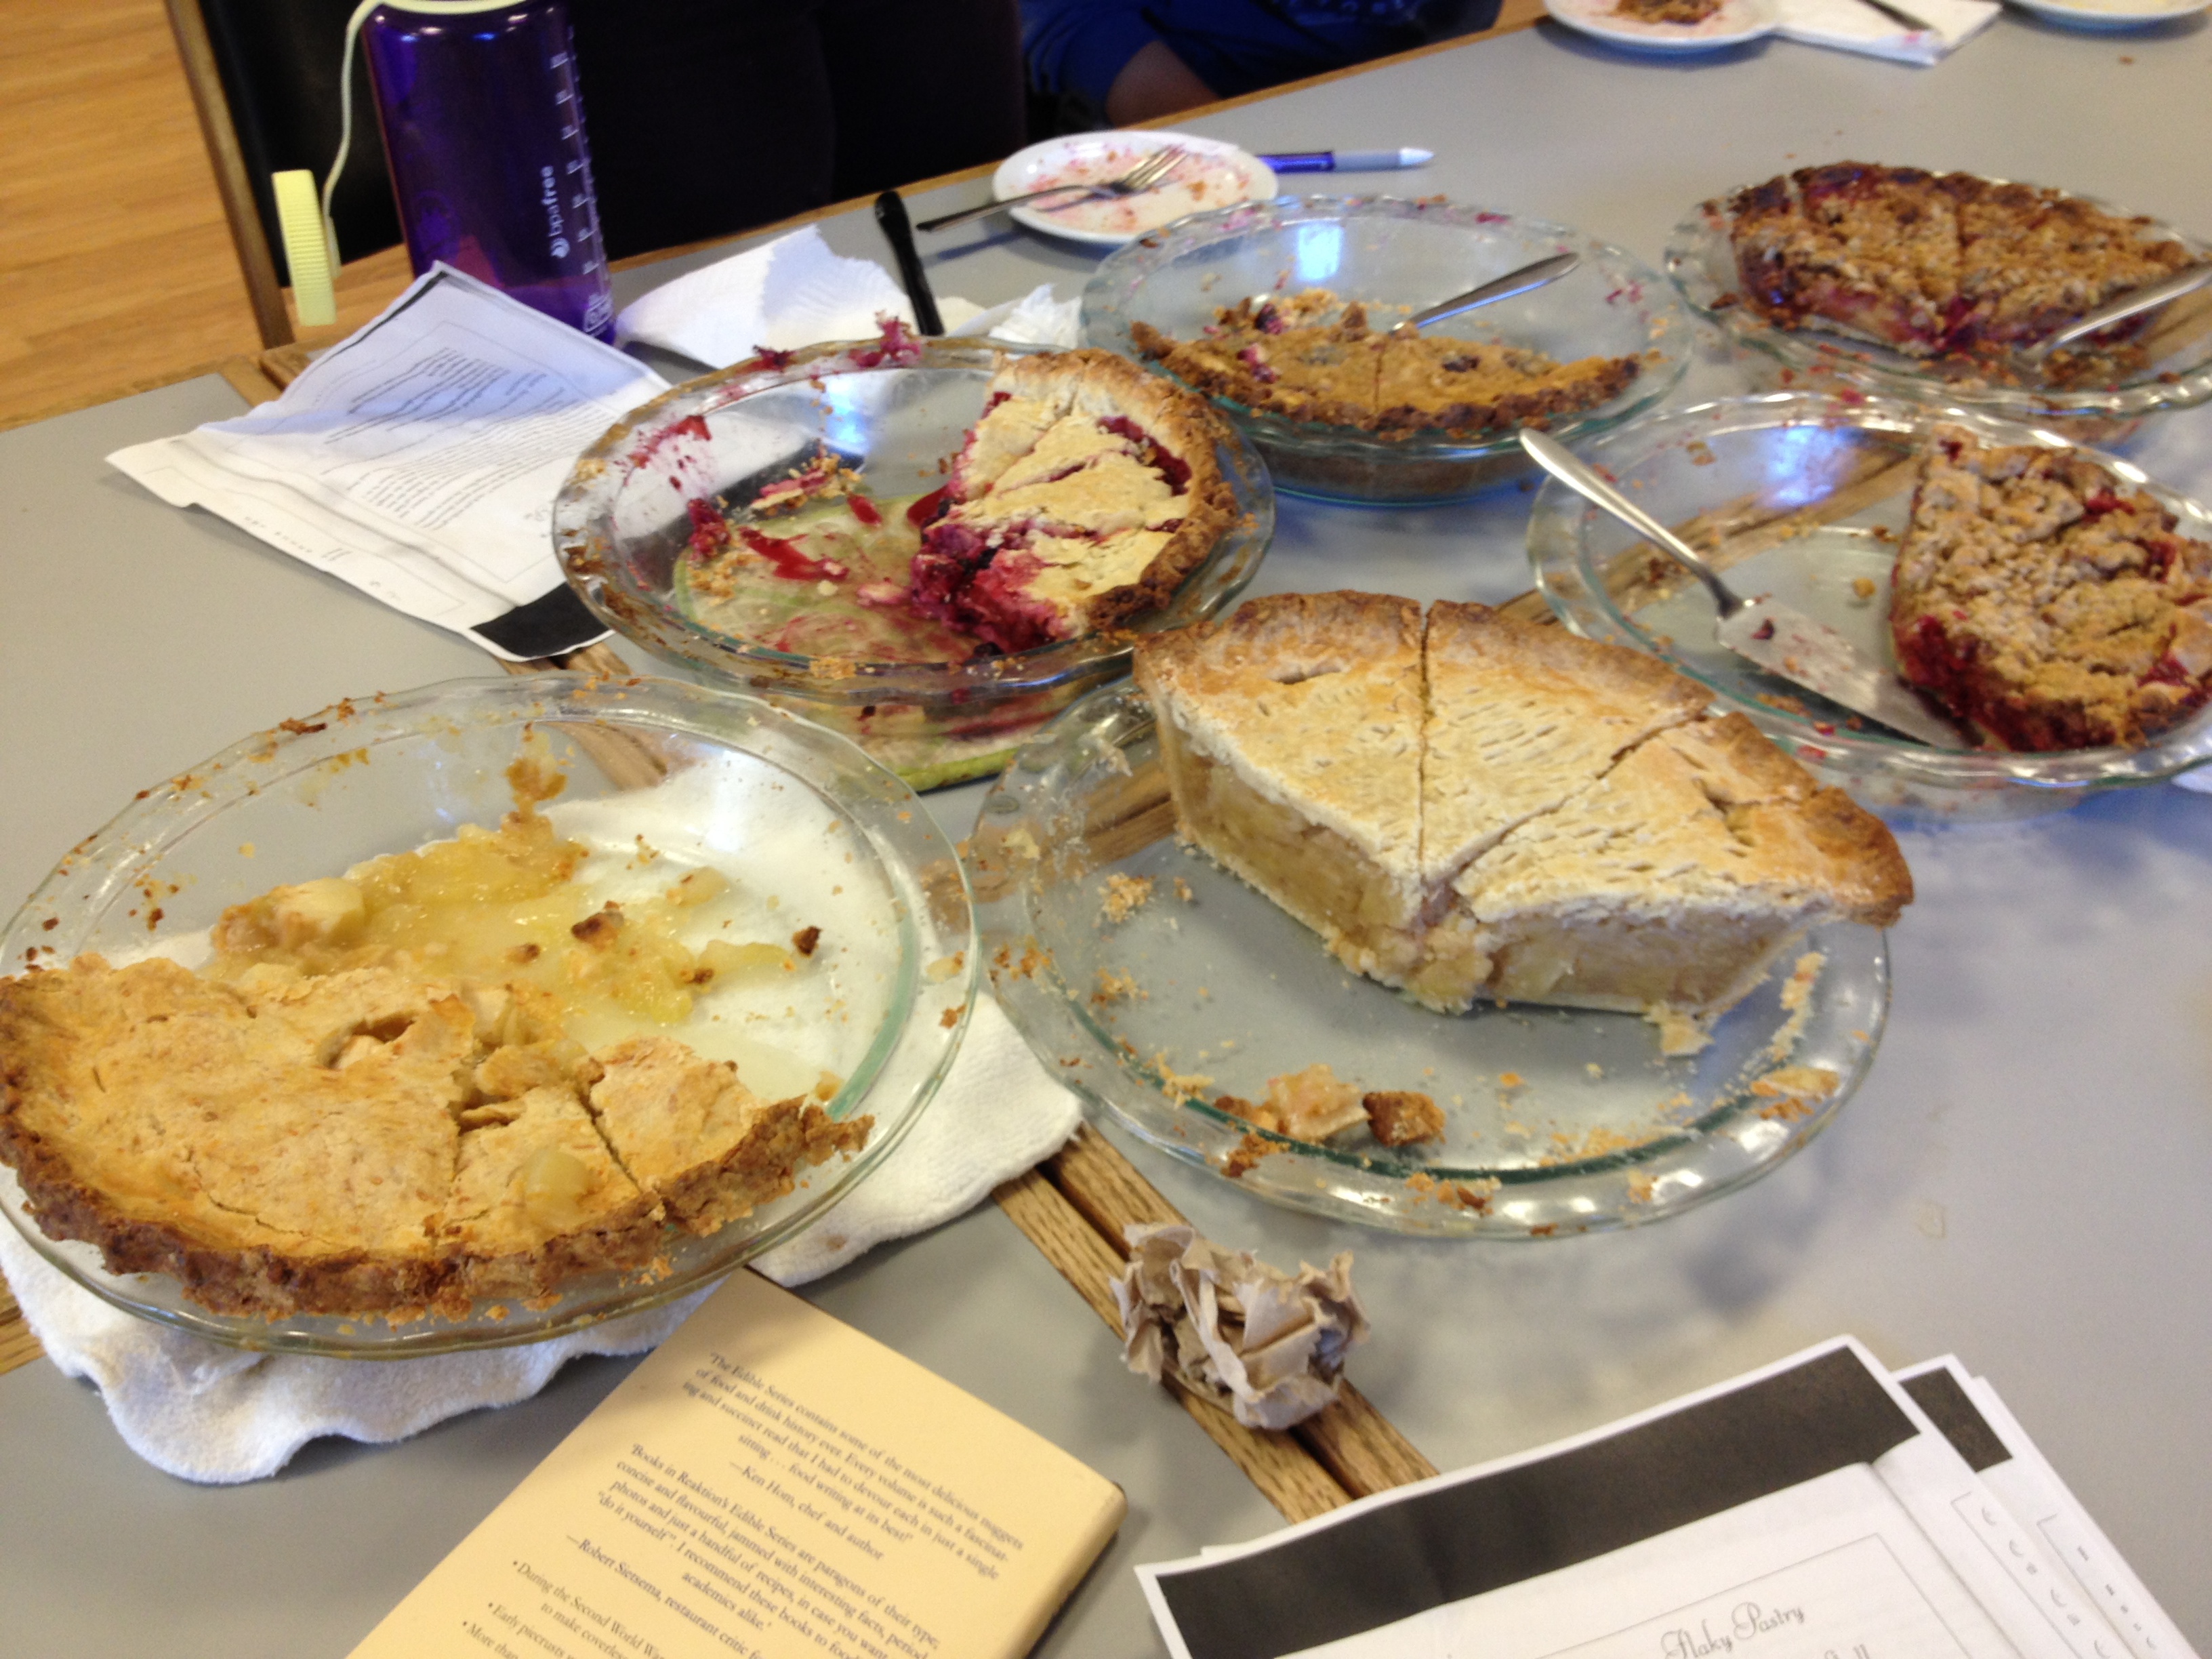
IMG_7023

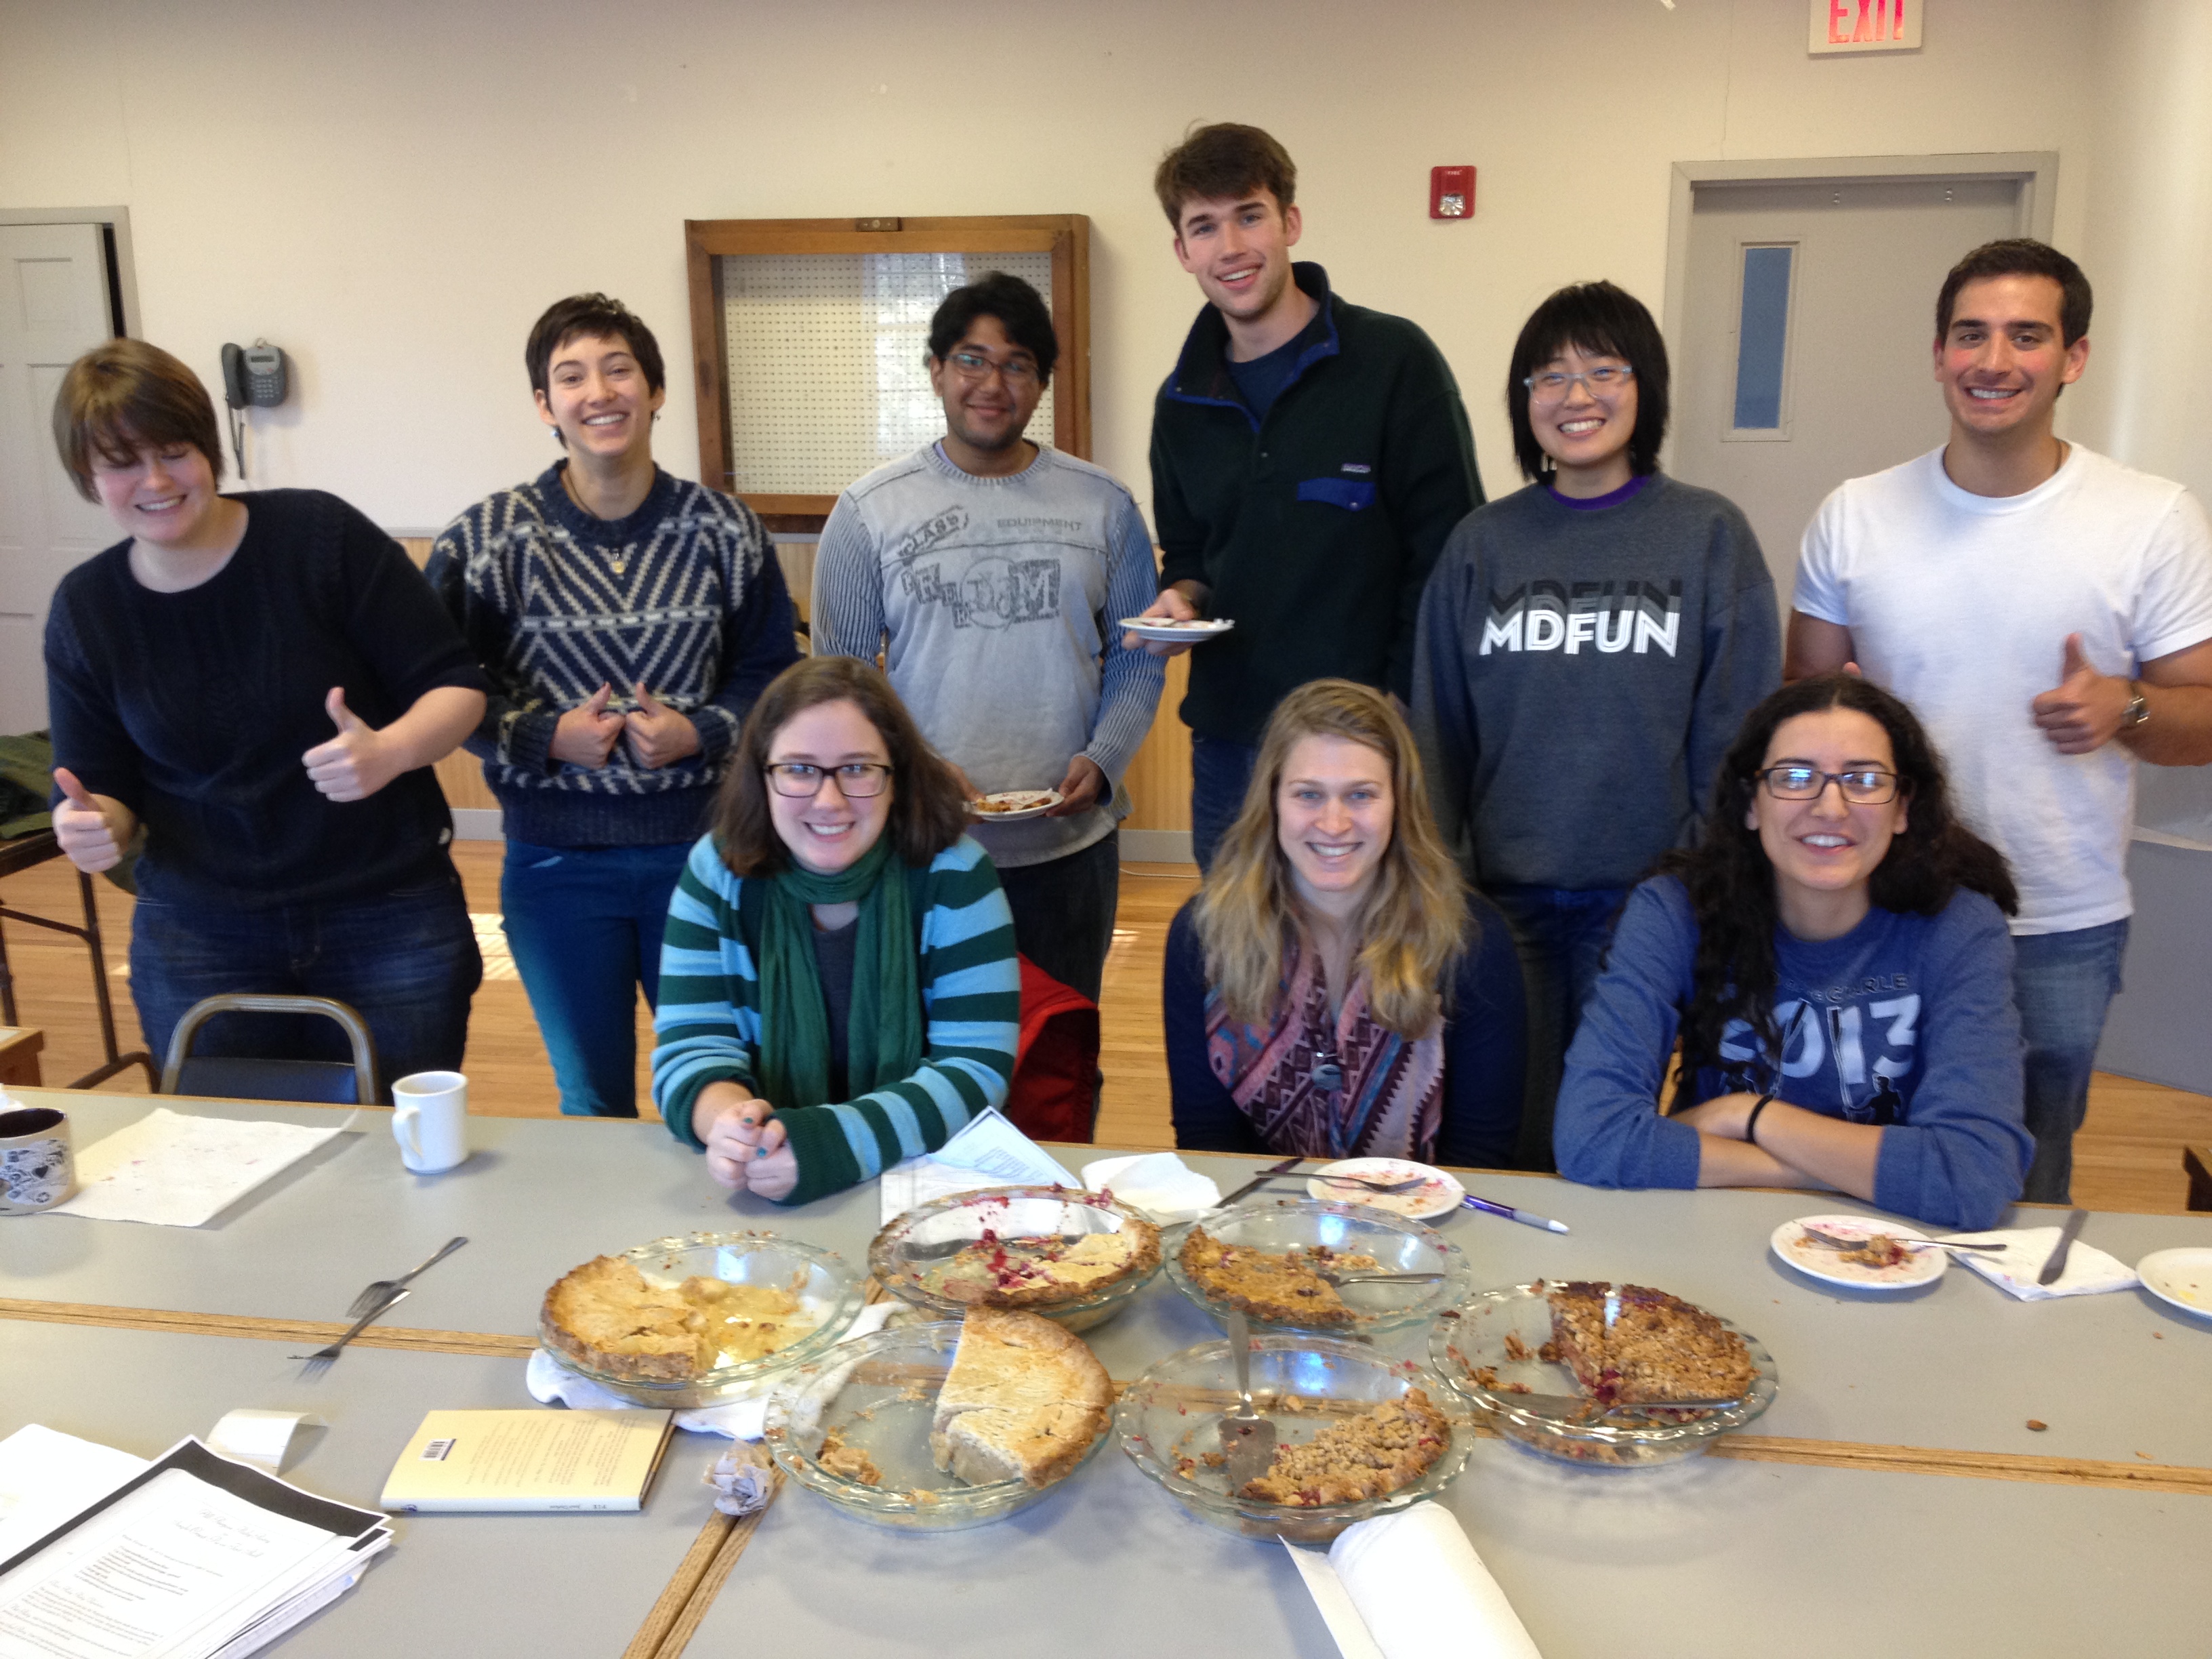
We seriously questioned whether we would be able to make it through sampling 6 pies—and that was even with half-size slices (1/16 of the whole pie, rather than 1/8). We need to strategize about this for upcoming weeks, when we’ll have 10 pies to sample (or more if people make more than one!)

IMG_7027

Next week: savory pies!

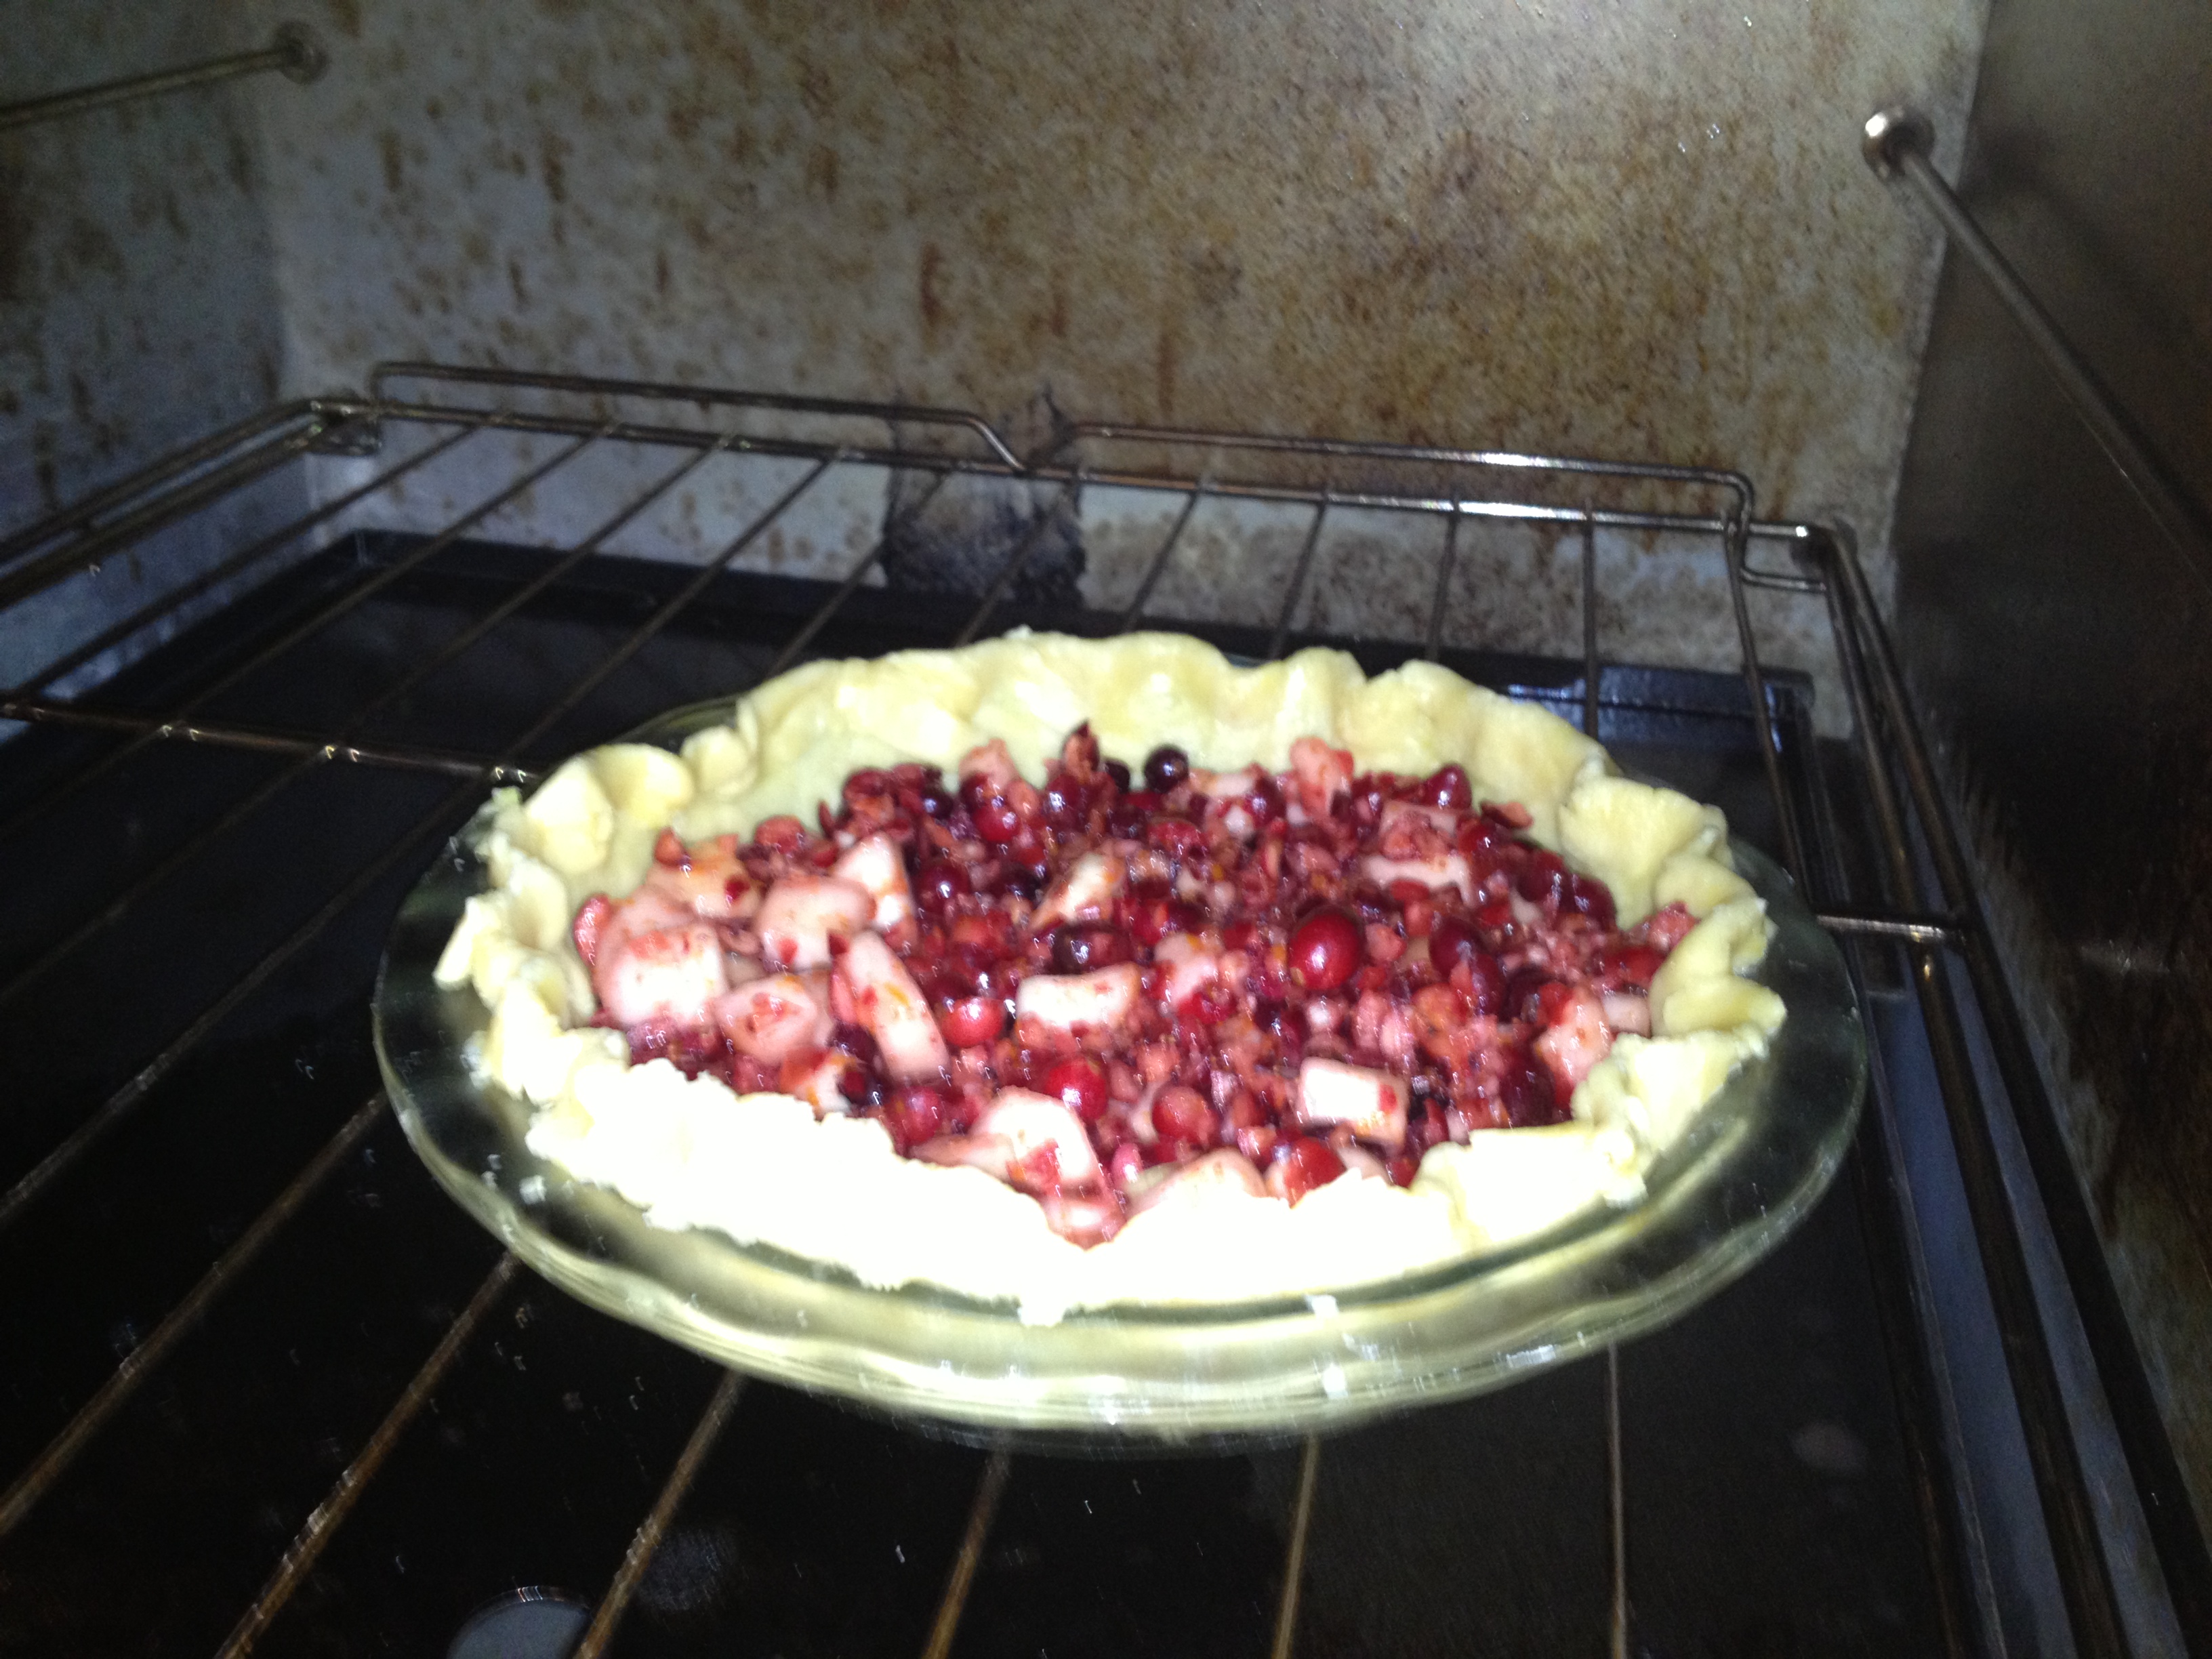
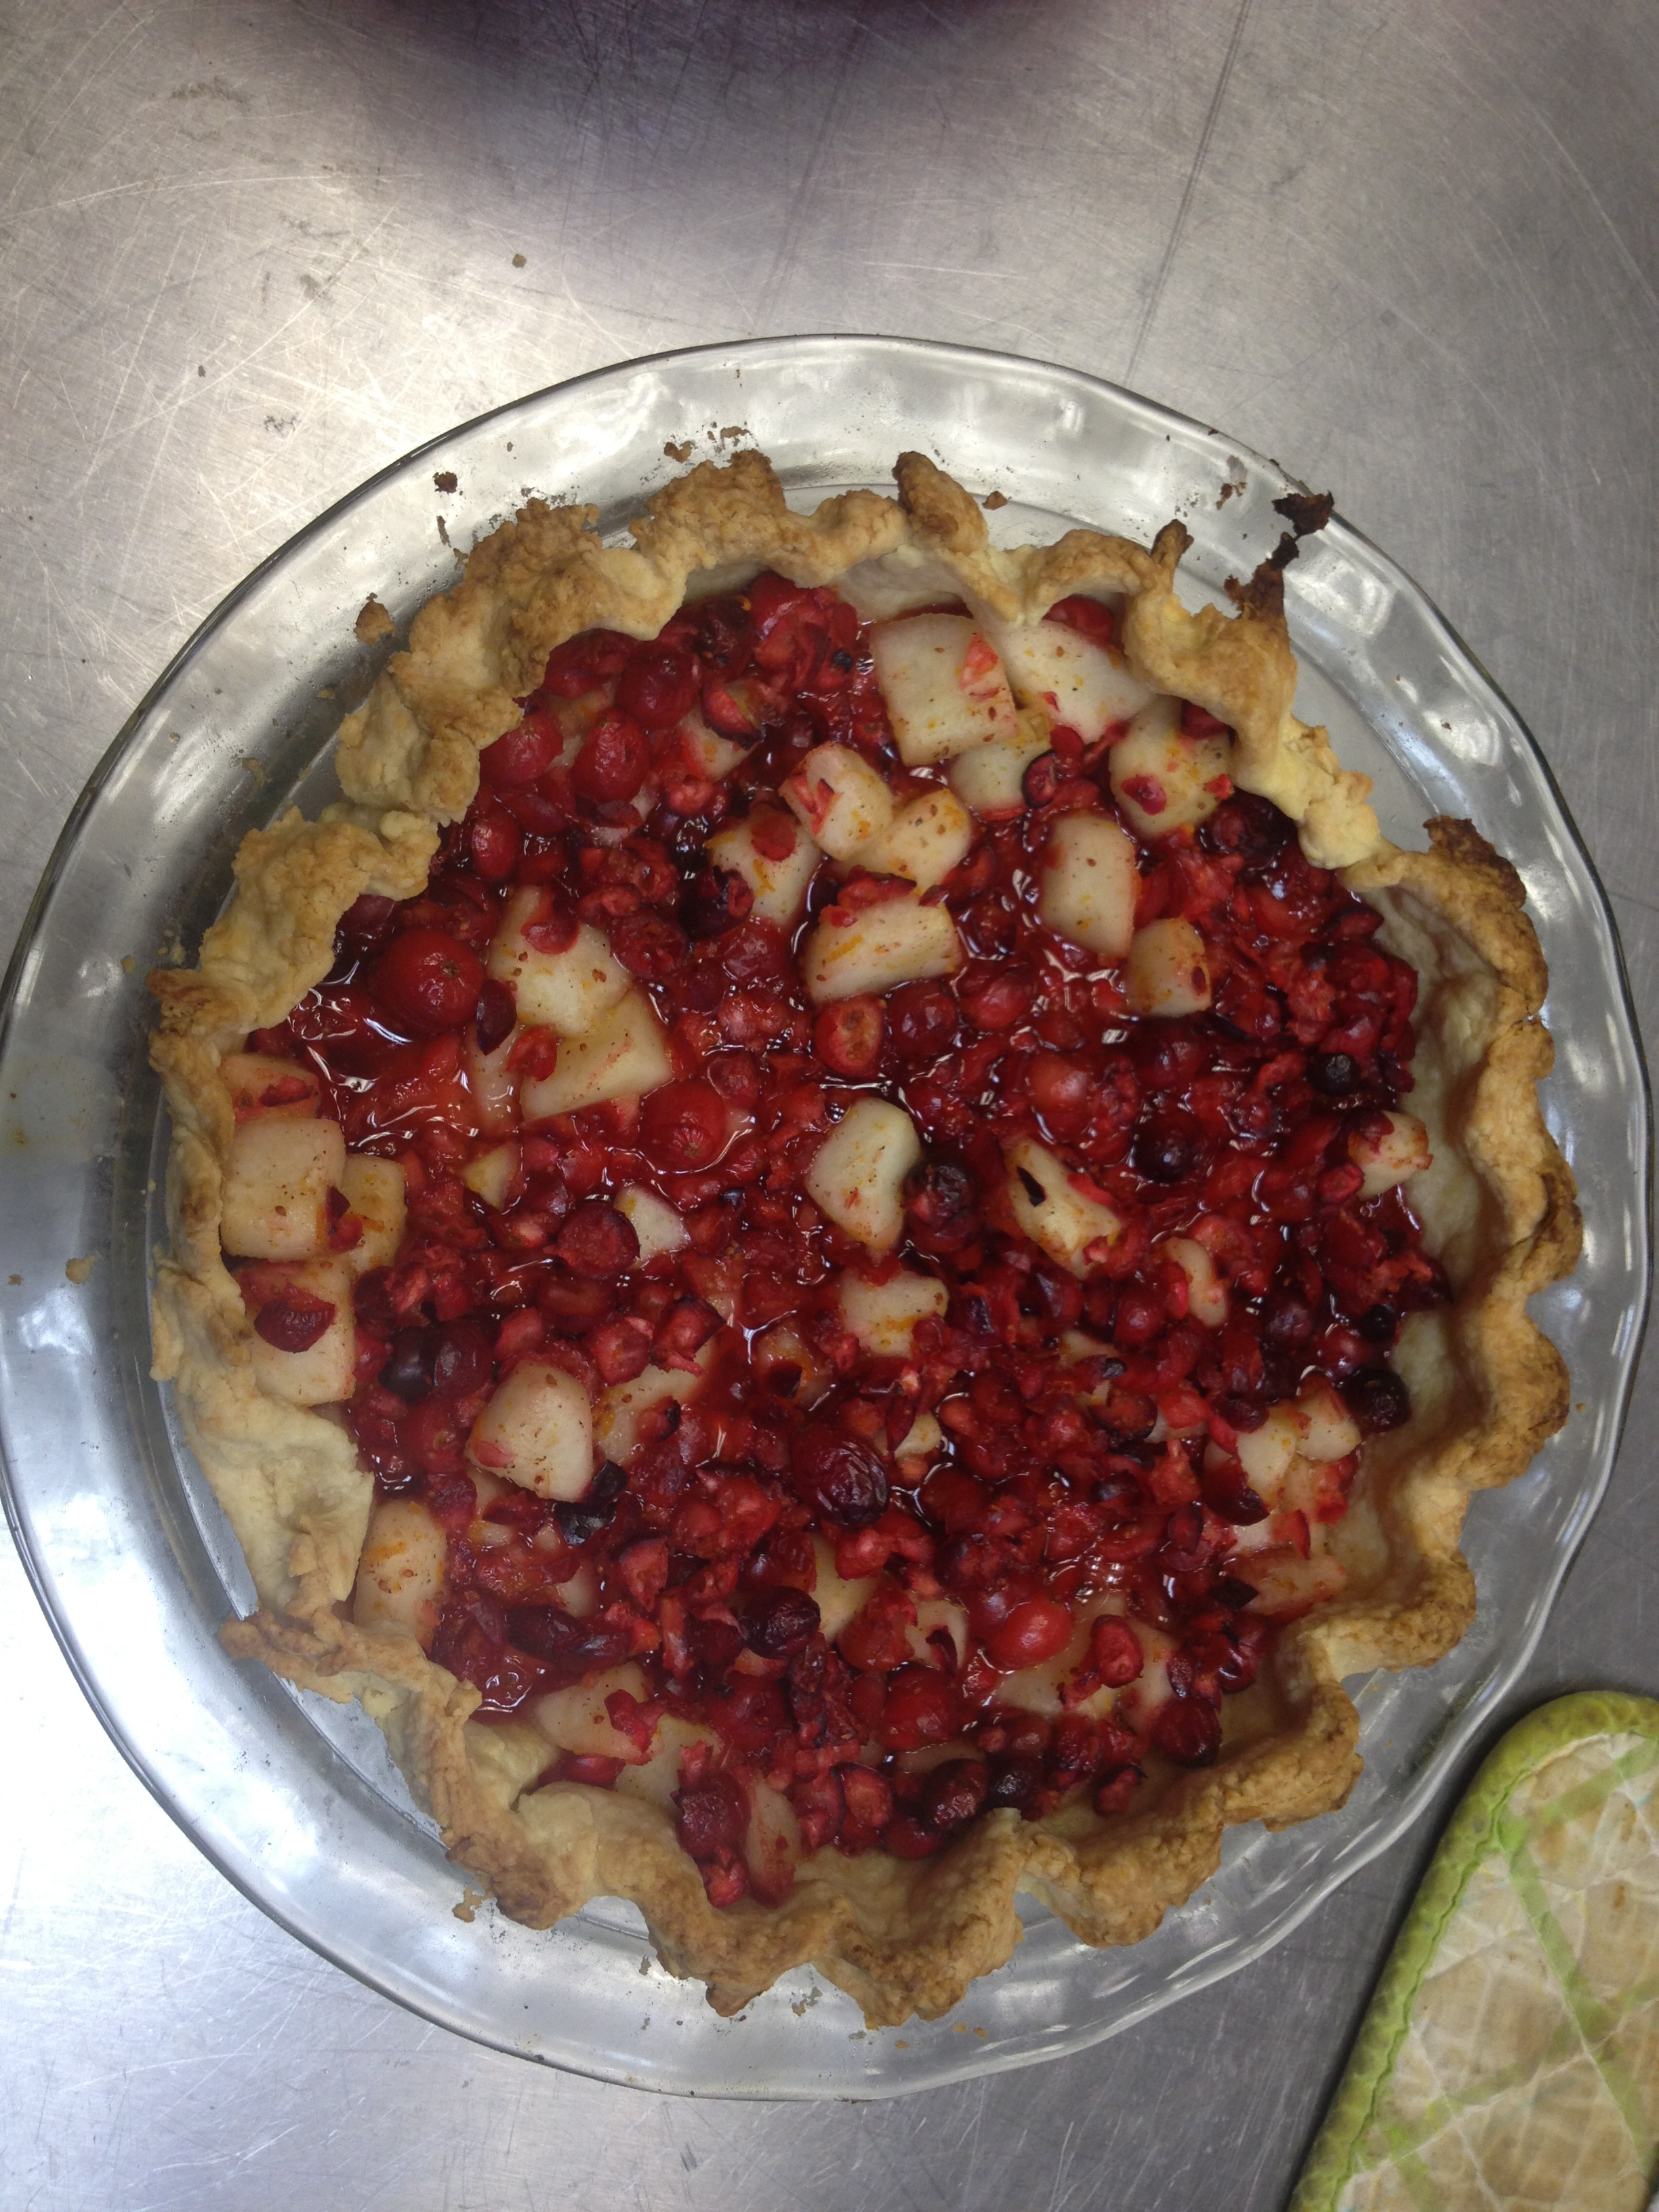
Very Cranberry-Pear Pie

IMG_1551

IMG_1552

IMG_1554

Considering that everyone says the difficult part of baking is that you have to be so precise, recipes use very imprecise wording. How much larger is a “large… crumb” than a “medium-fine crumb?” Because this was for my topping, it was not as problematic figuring out the “large” crumb, but I did have a difficult time figuring out when to stop pulsing my ingredients. The same was true for cutting up the cranberries. It said only to pulse five or six times until they were cut up well, but five or six times mostly just chopped them in half. Haven’t never baked with cranberries before, I wasn’t sure how small they should be in the pie filling.

Making the actual pastry wasn’t as hard as I expected. However, I think it’ll definitely be several more times before I can recognize the proper consistency on my own.

I was very excited to see it bubbling nicely at the end! (I can’t believe it cooked for 65 whole minutes.) I wasn’t sure how to tell if it was done, but I guess it’s just a lot easier when filling is sticking out a little than when it is completely covered with another pastry. In the notes, it said something about how cranberries can be bitter but balanced with the right amount of sugar. I have never had cranberry or pear pie, so I’m excited to taste it. I also discovered that I don’t like the smell of cardamon very much…

Sour Cream Blackberry Pie

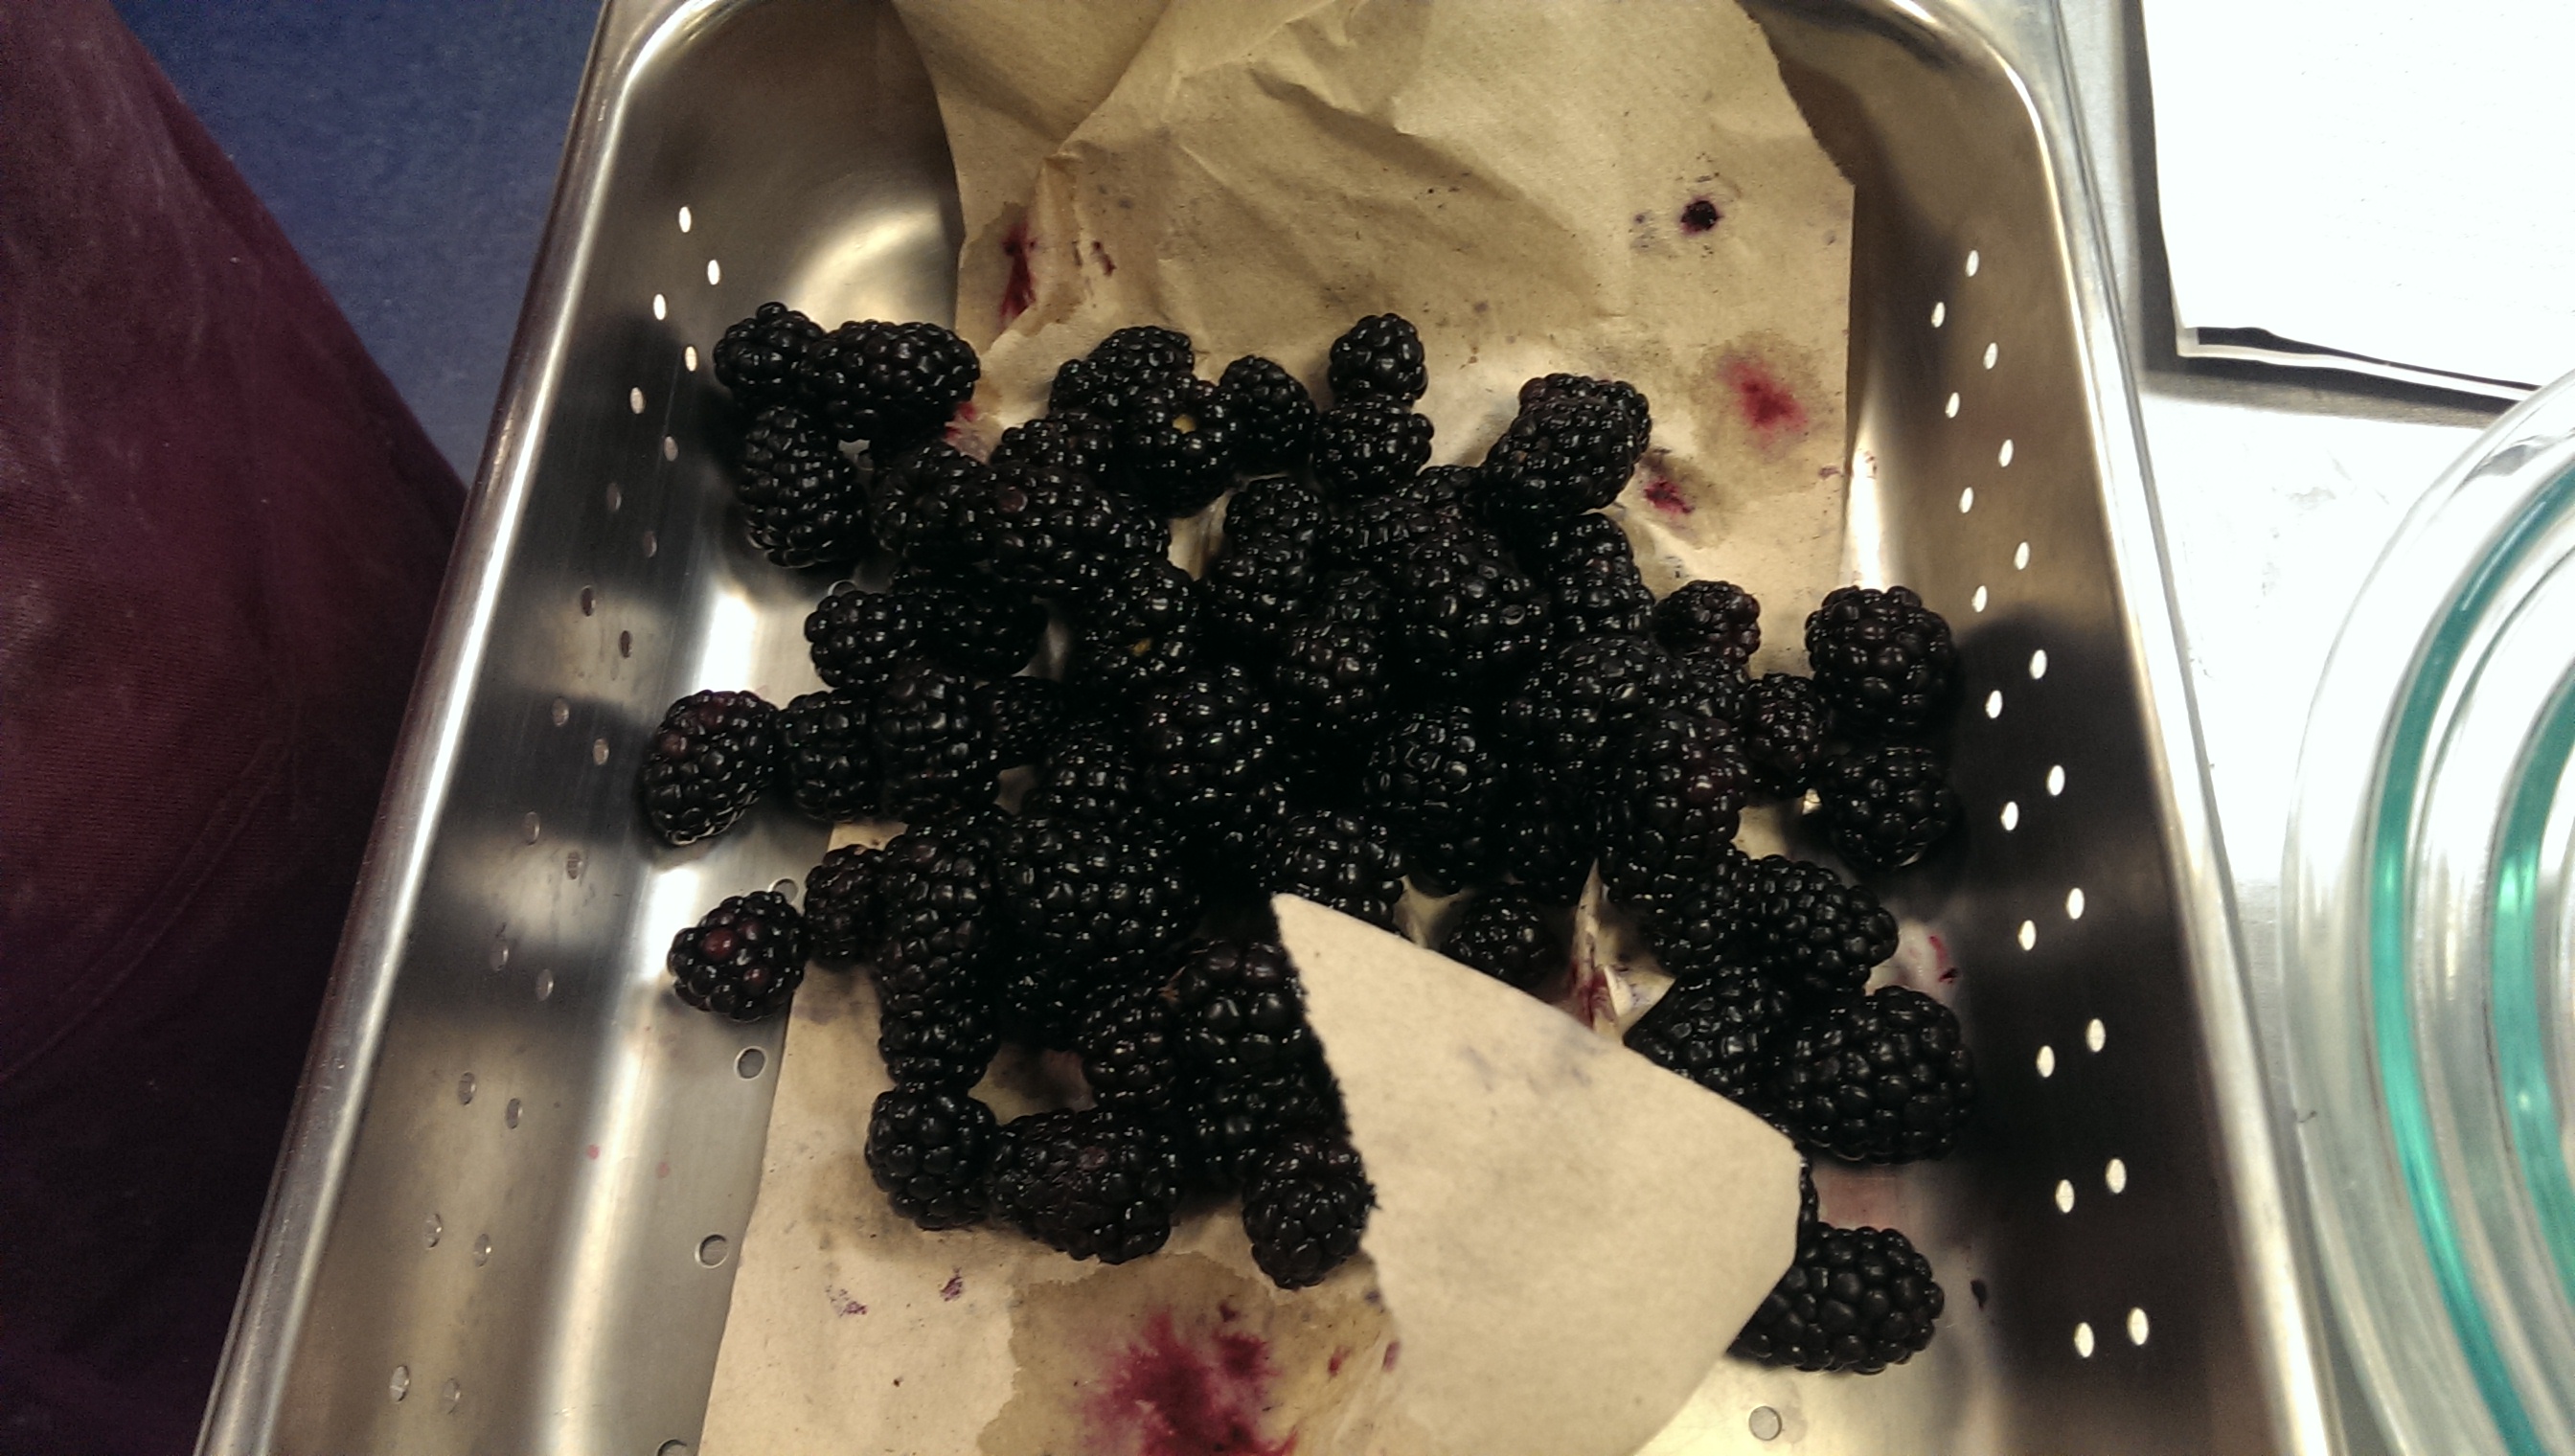
Blackberries are my favorite fruit. They are sweet yet pack a tartness that can’t be beat. In turn, it is only natural that my favorite pie is blackberry. When Tala and I came across a recipe for Sour Cream Blackberry Pie, we knew we had to bake it. For we were guided by my older sister Julianne’s rationale: that if you have great ingredients and you put them together, the finished product, or in this case pie has to rock.

Unlike our apple cider infused pie, I am confident that the crust was in good working order, primarily since Tala was the one that made this crust, not me. We had to pre bake the crust, poking holes in the bottom, and then covering it with aluminum foil and chickpeas as a weight. Then, we had to bake it again with egg white wash to seal in the very same holes that we had made. While the pre baking was a little bit annoying, the remaining steps were pretty easy.

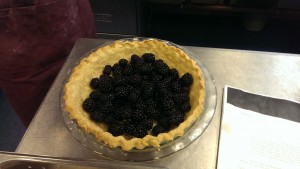
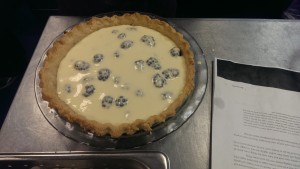
Afterwards, all we had to do was put the washed blackberries in the pie, cover it with the easy to make sour cream mixture, and then top it all off with a delicious streusel topping. With that said, you have to make sure the pie mixture is solid, easier said than done. It took us a little longer than expected (5-10 minutes of extra baking) for the pie to become firm. It looked great, smells awesome, and hopefully it will be a crowd pleaser tomorrow!

Blackberries

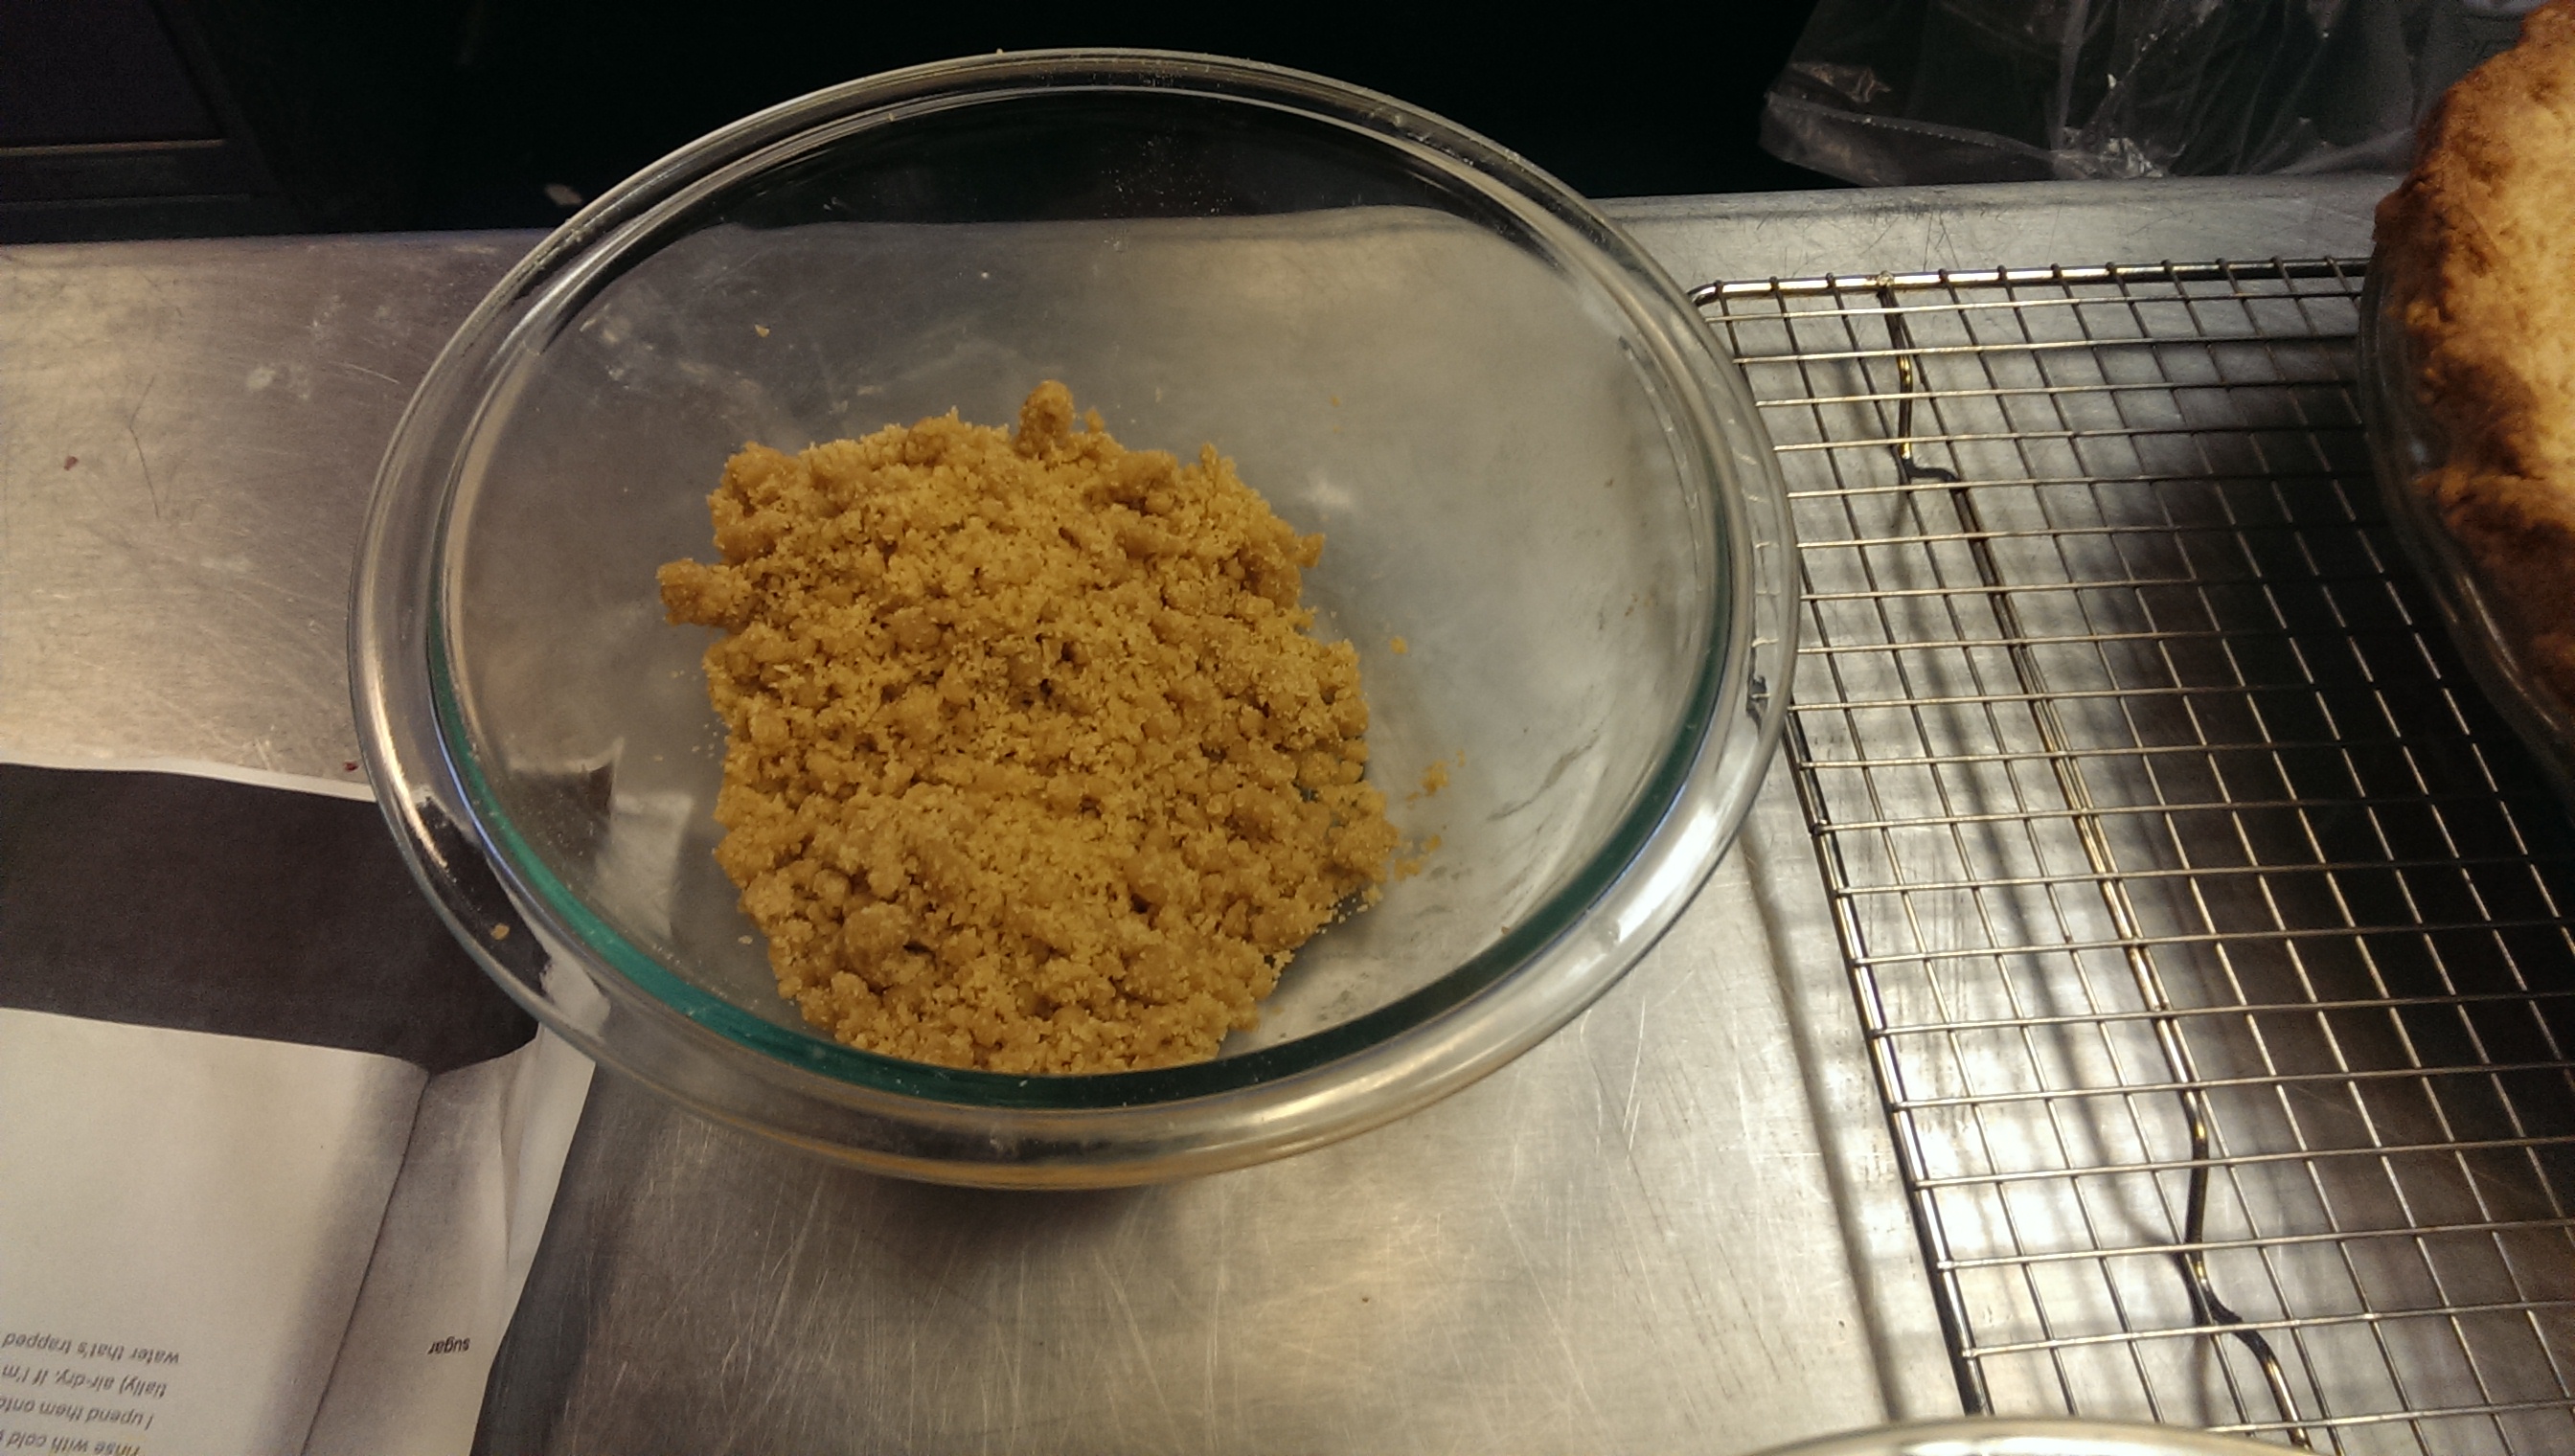
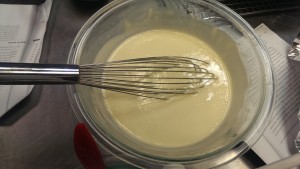
Streusel ToppingSourcream mixBlackberries in Pie Crust

Blackberry Sourcream pie pre ovenSourcream Blackberry Pie Baked

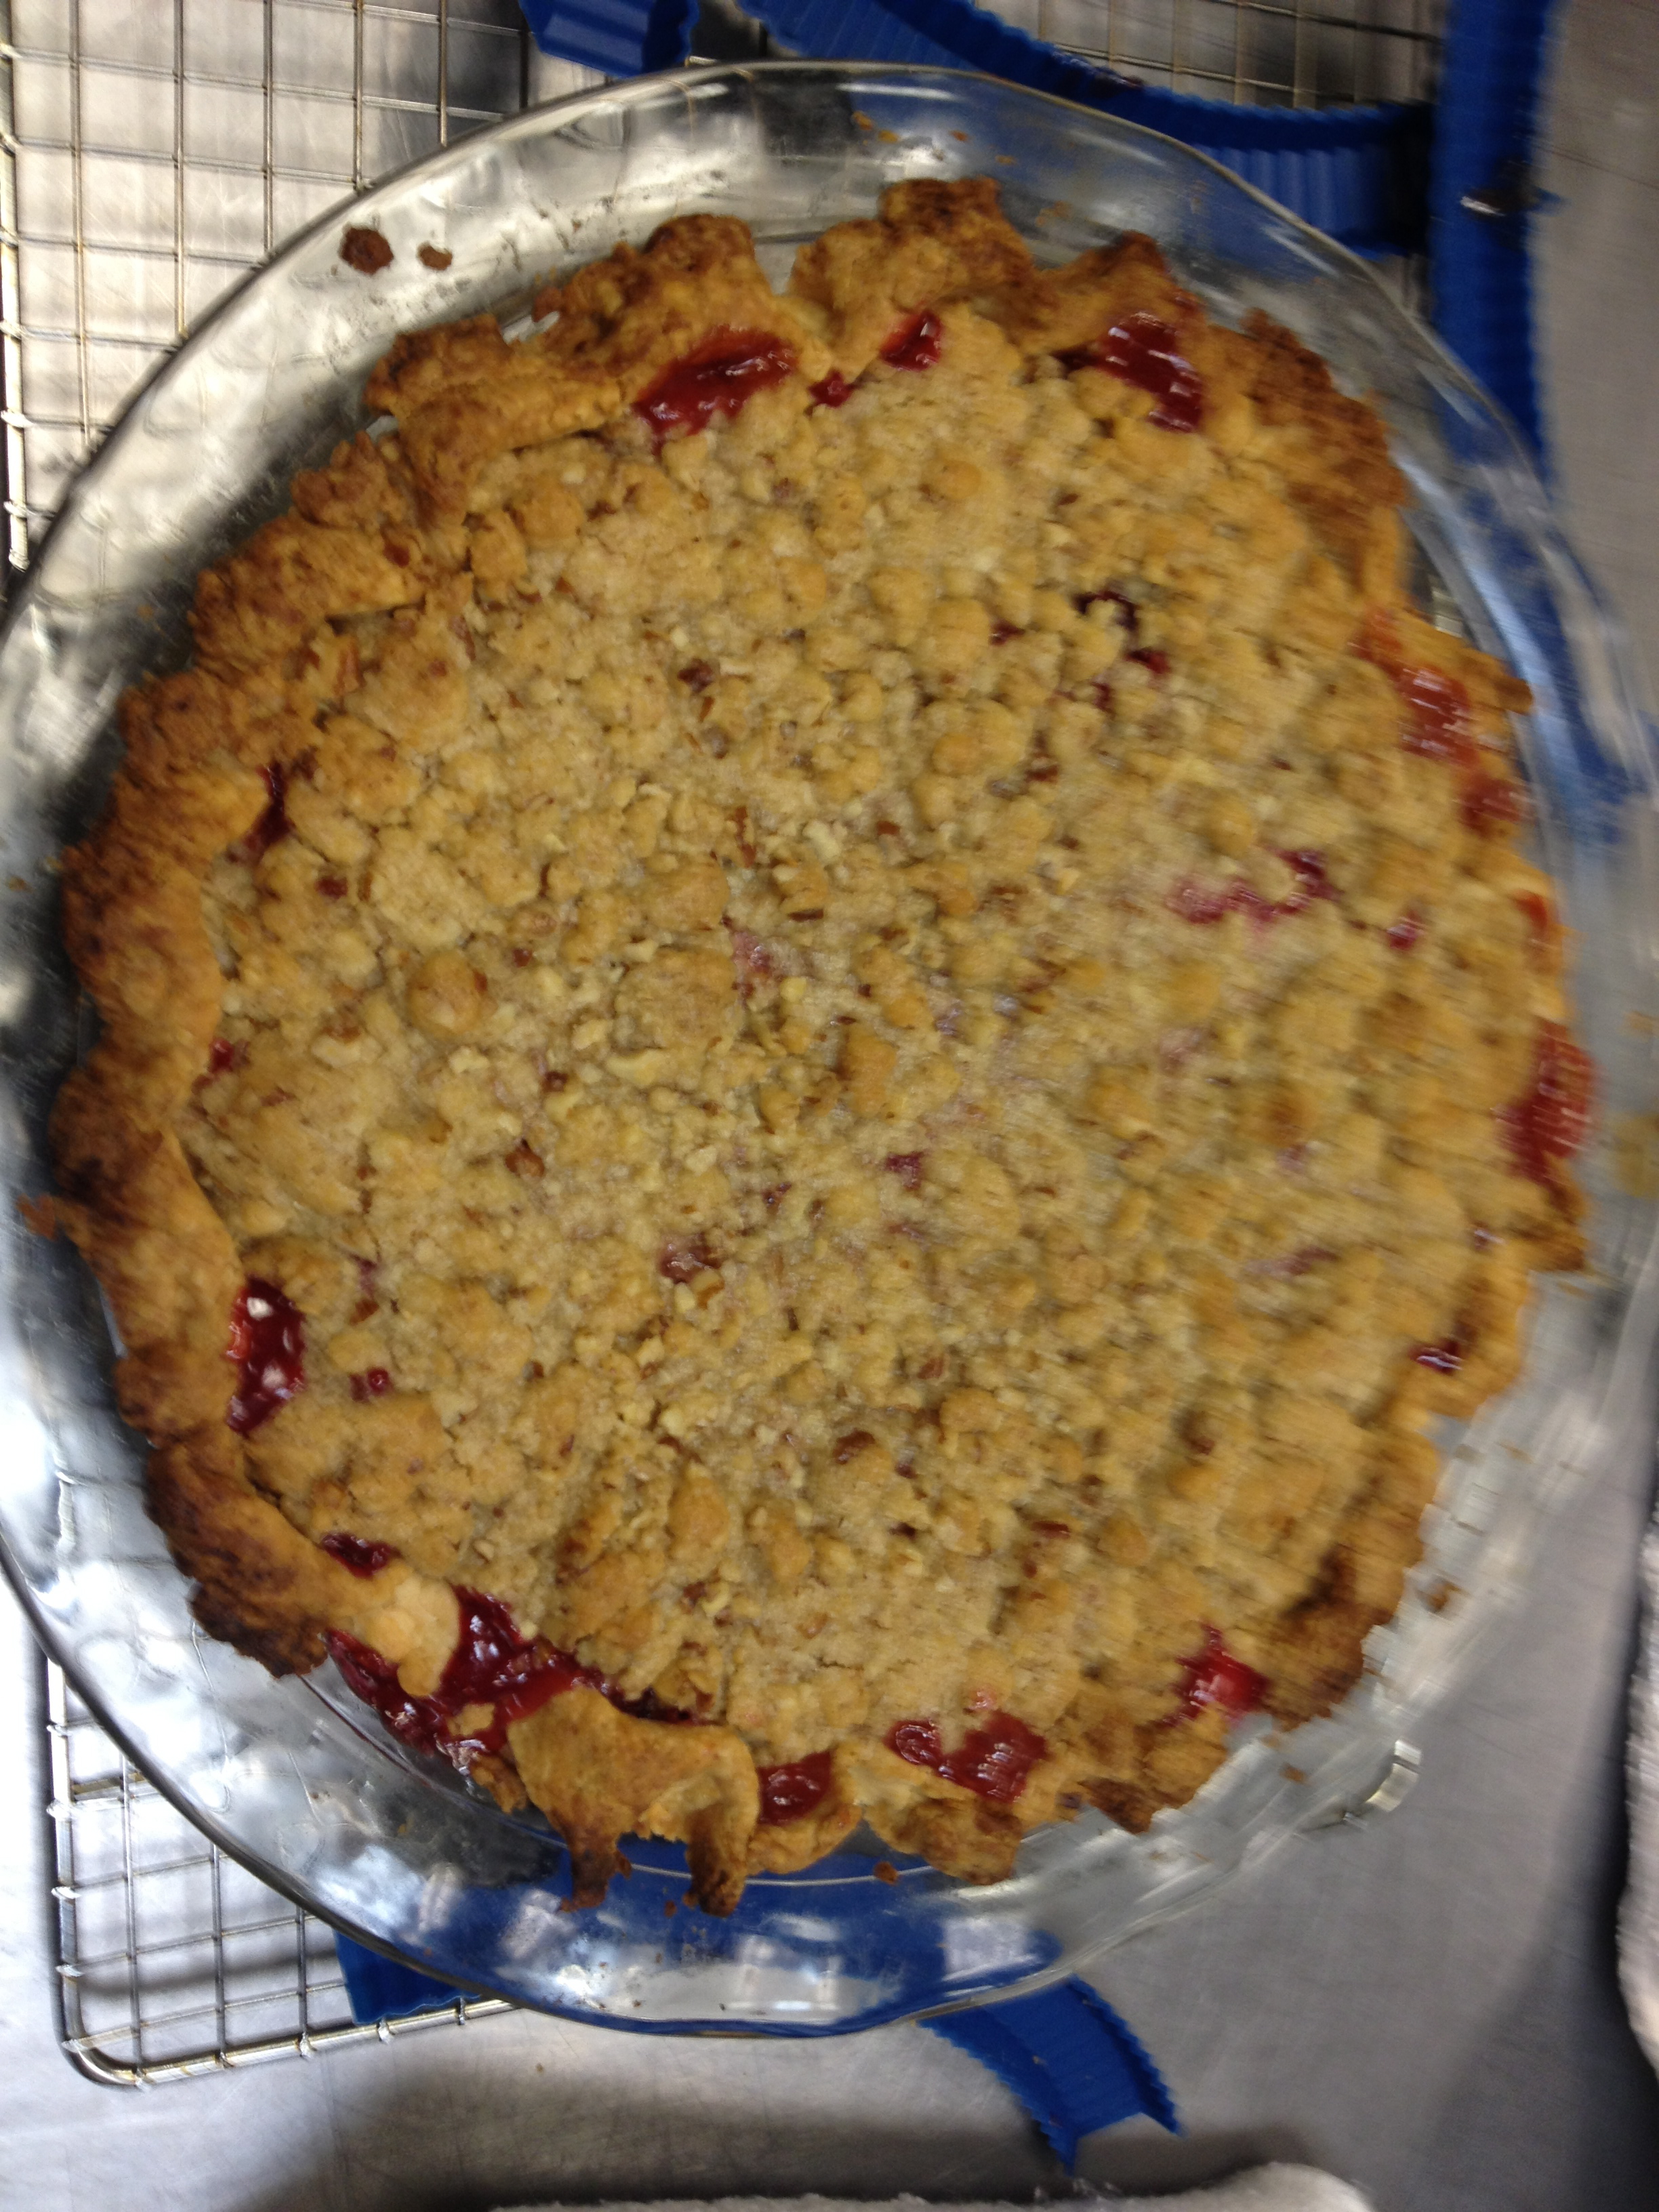
Preparing the Cranberry Apple Crumb Pie

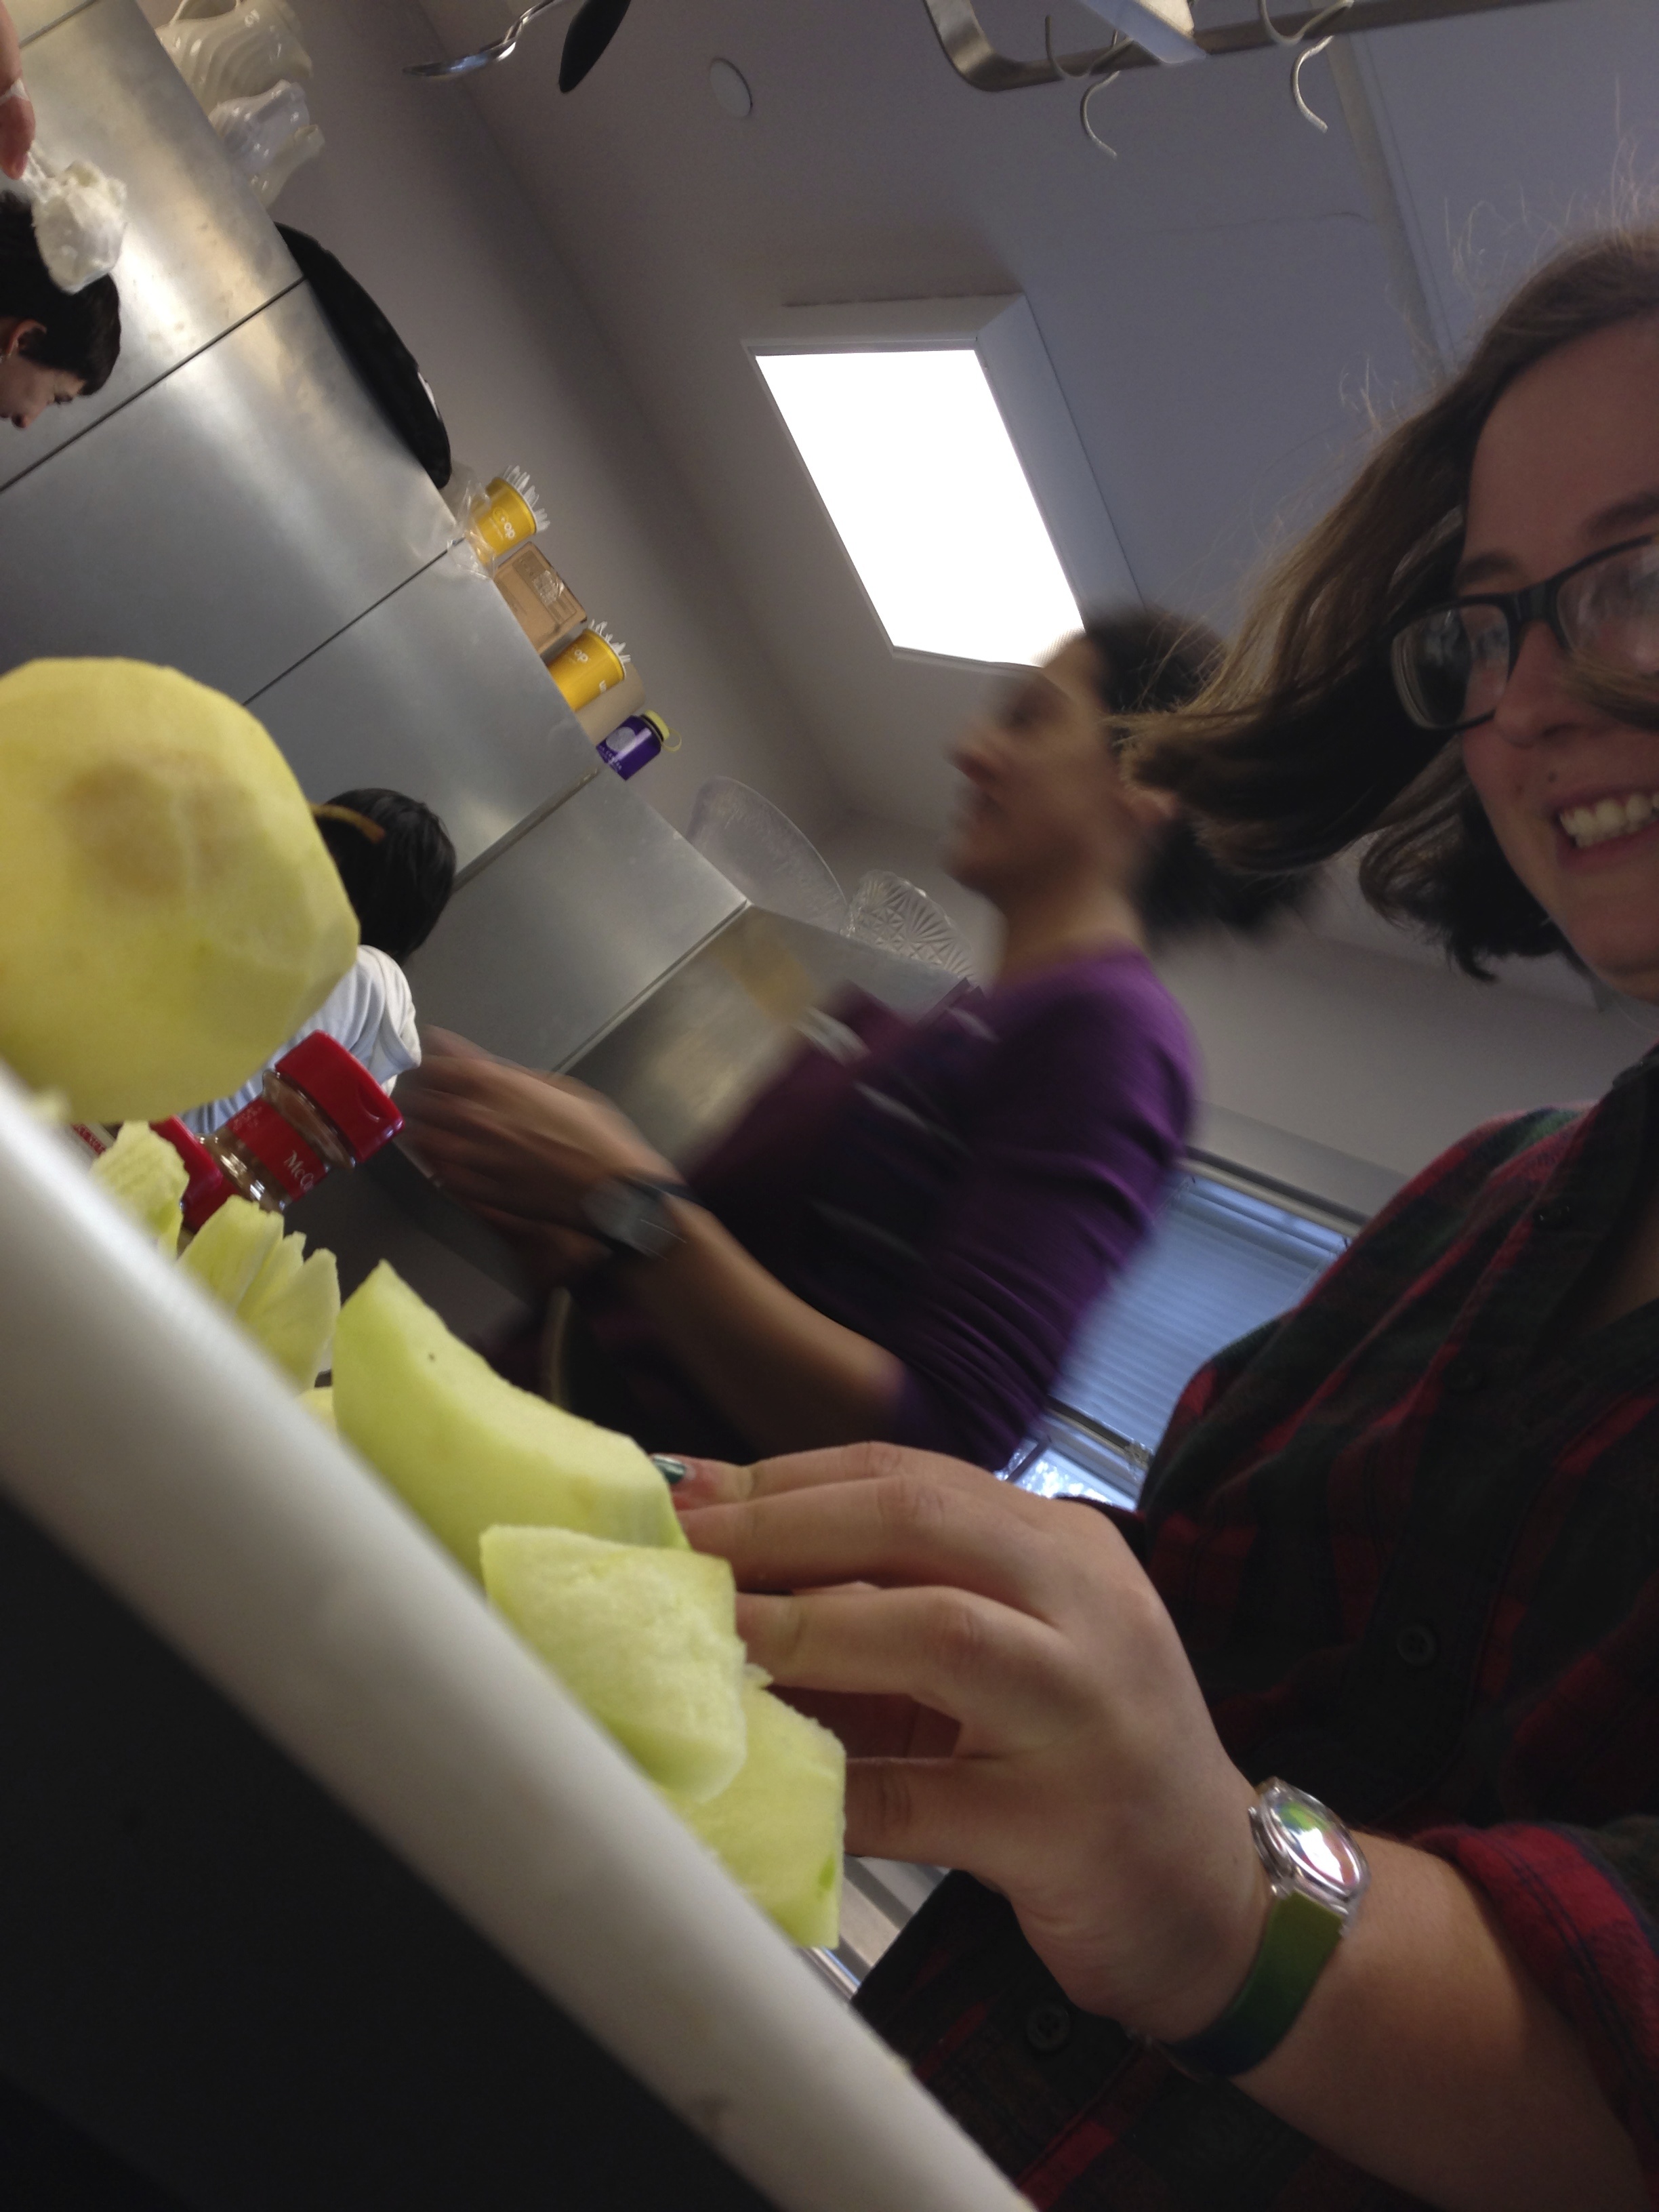
Ali skillfully slicing apples peeled by Conor for our Apple, Cranberry, Crumb Pie

Ali skillfully slicing apples peeled by Conor for our Apple, Cranberry, Crumb Pie


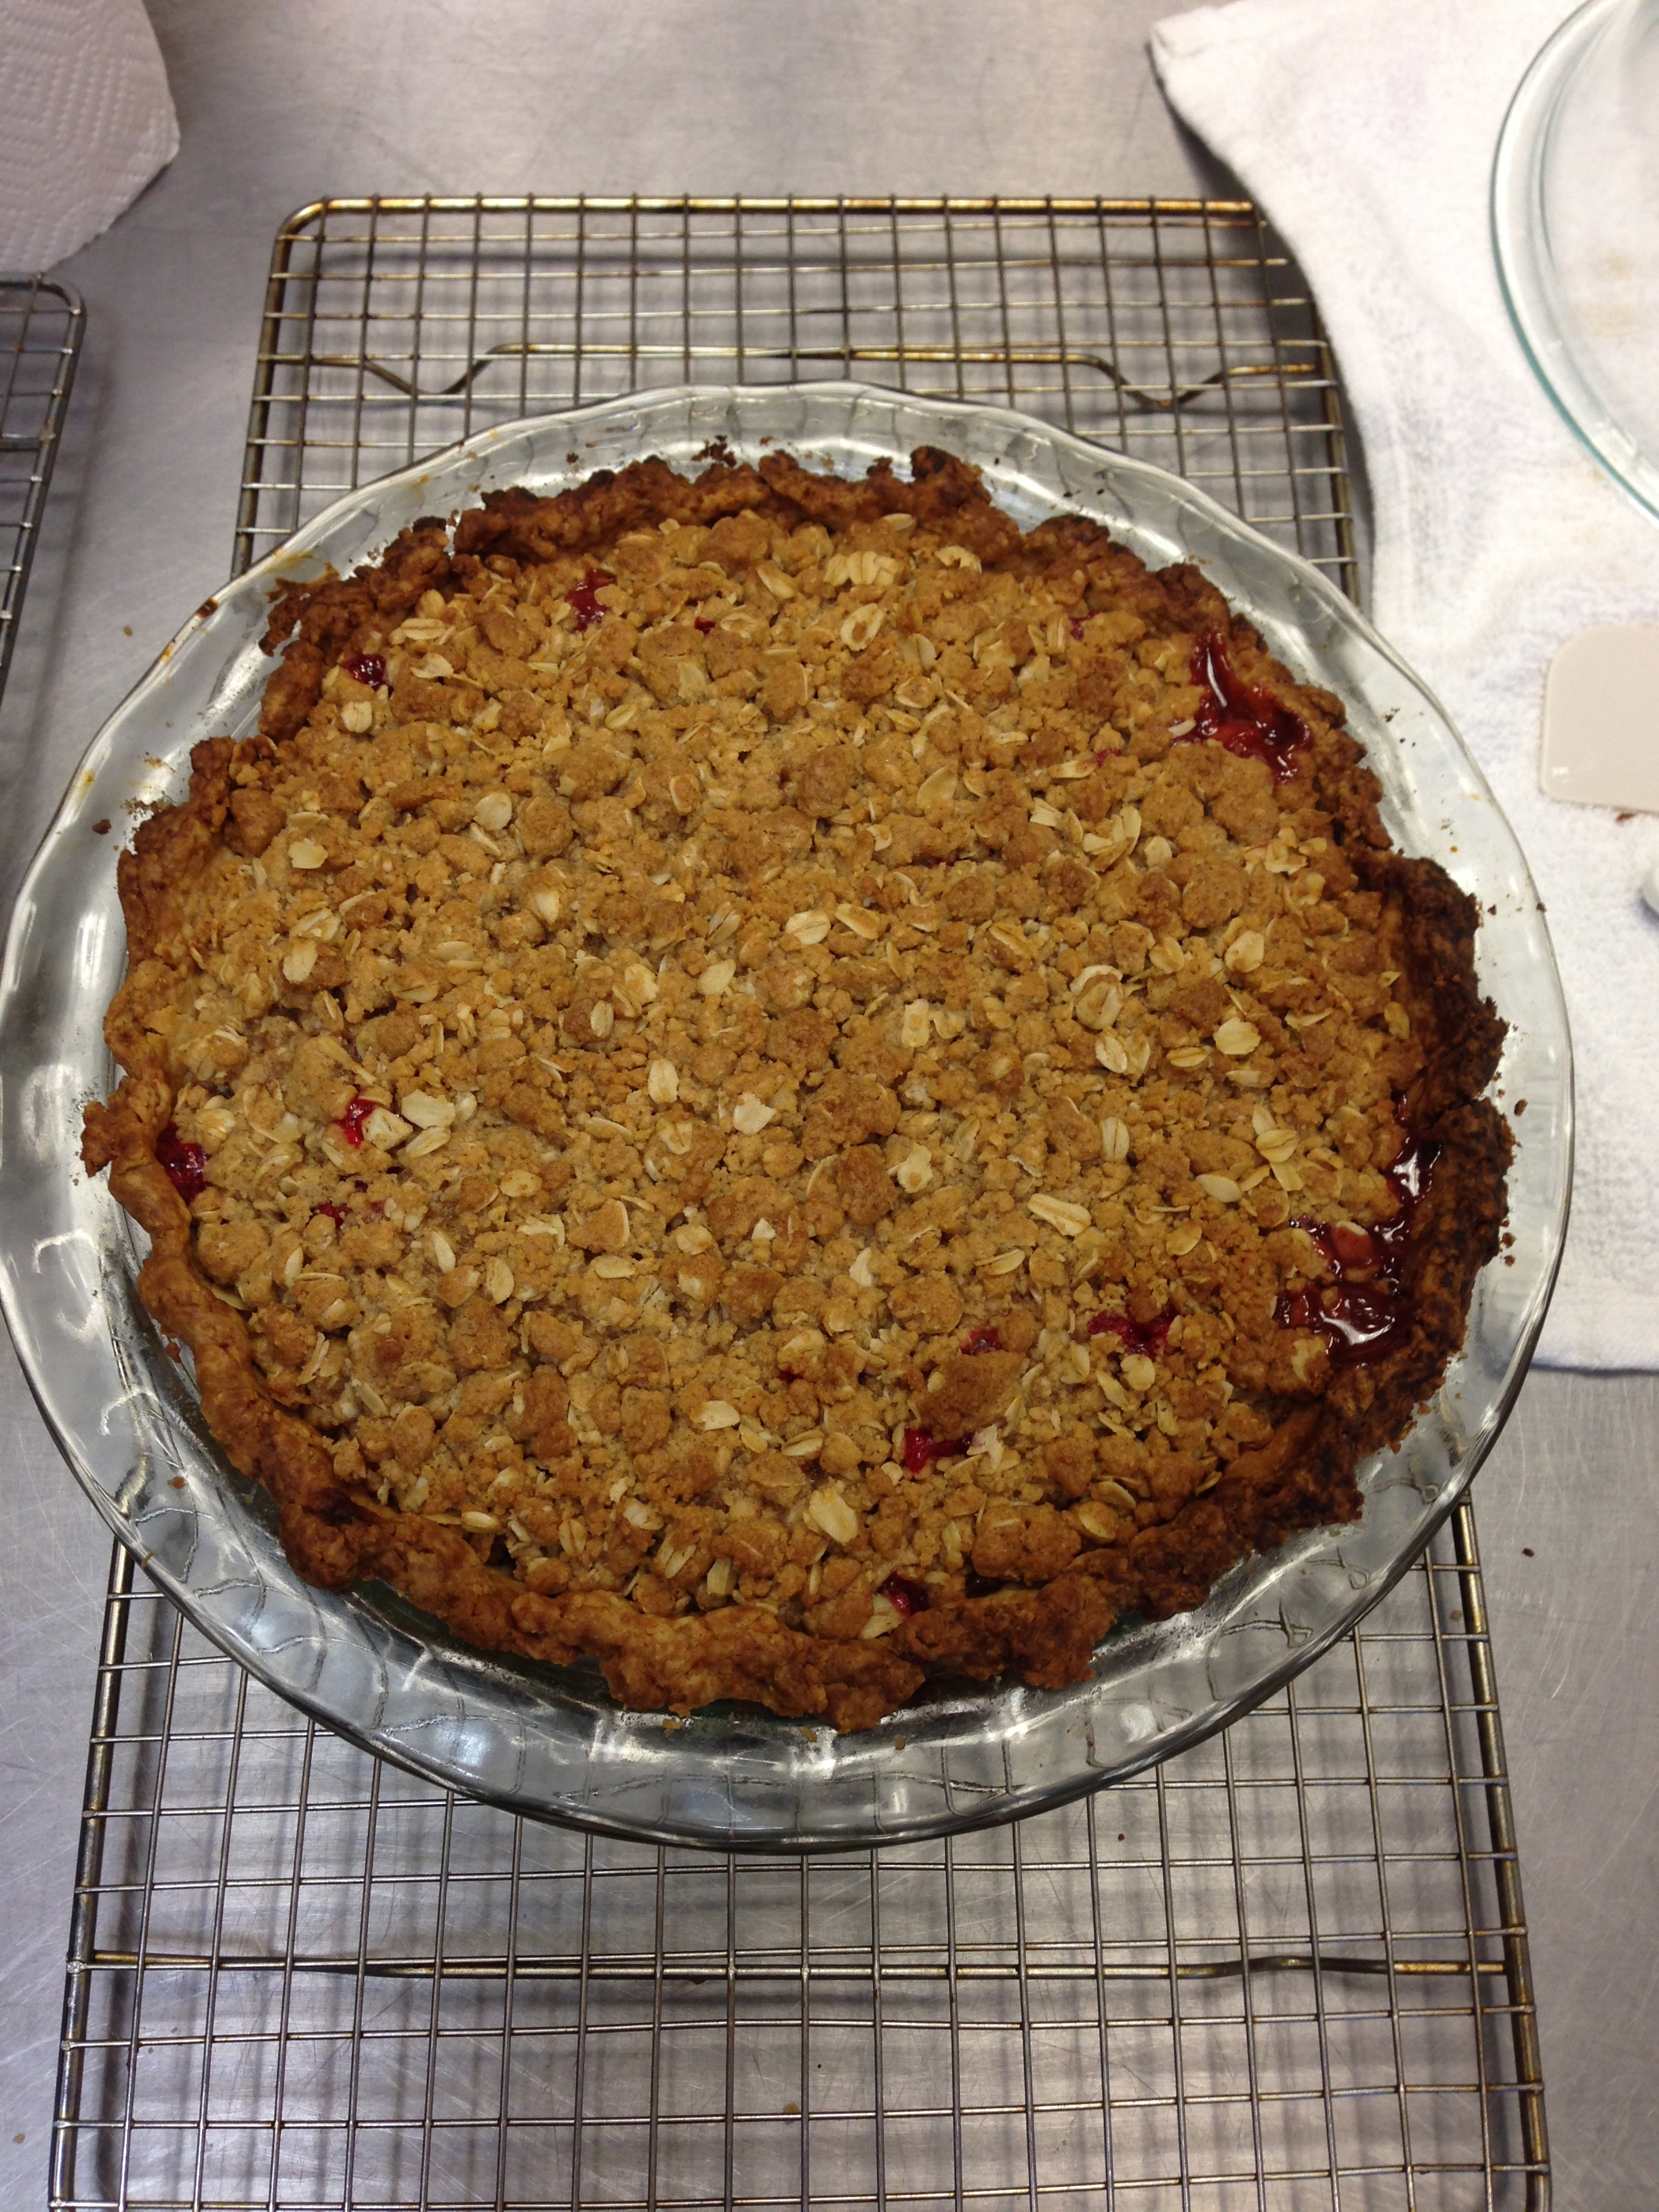
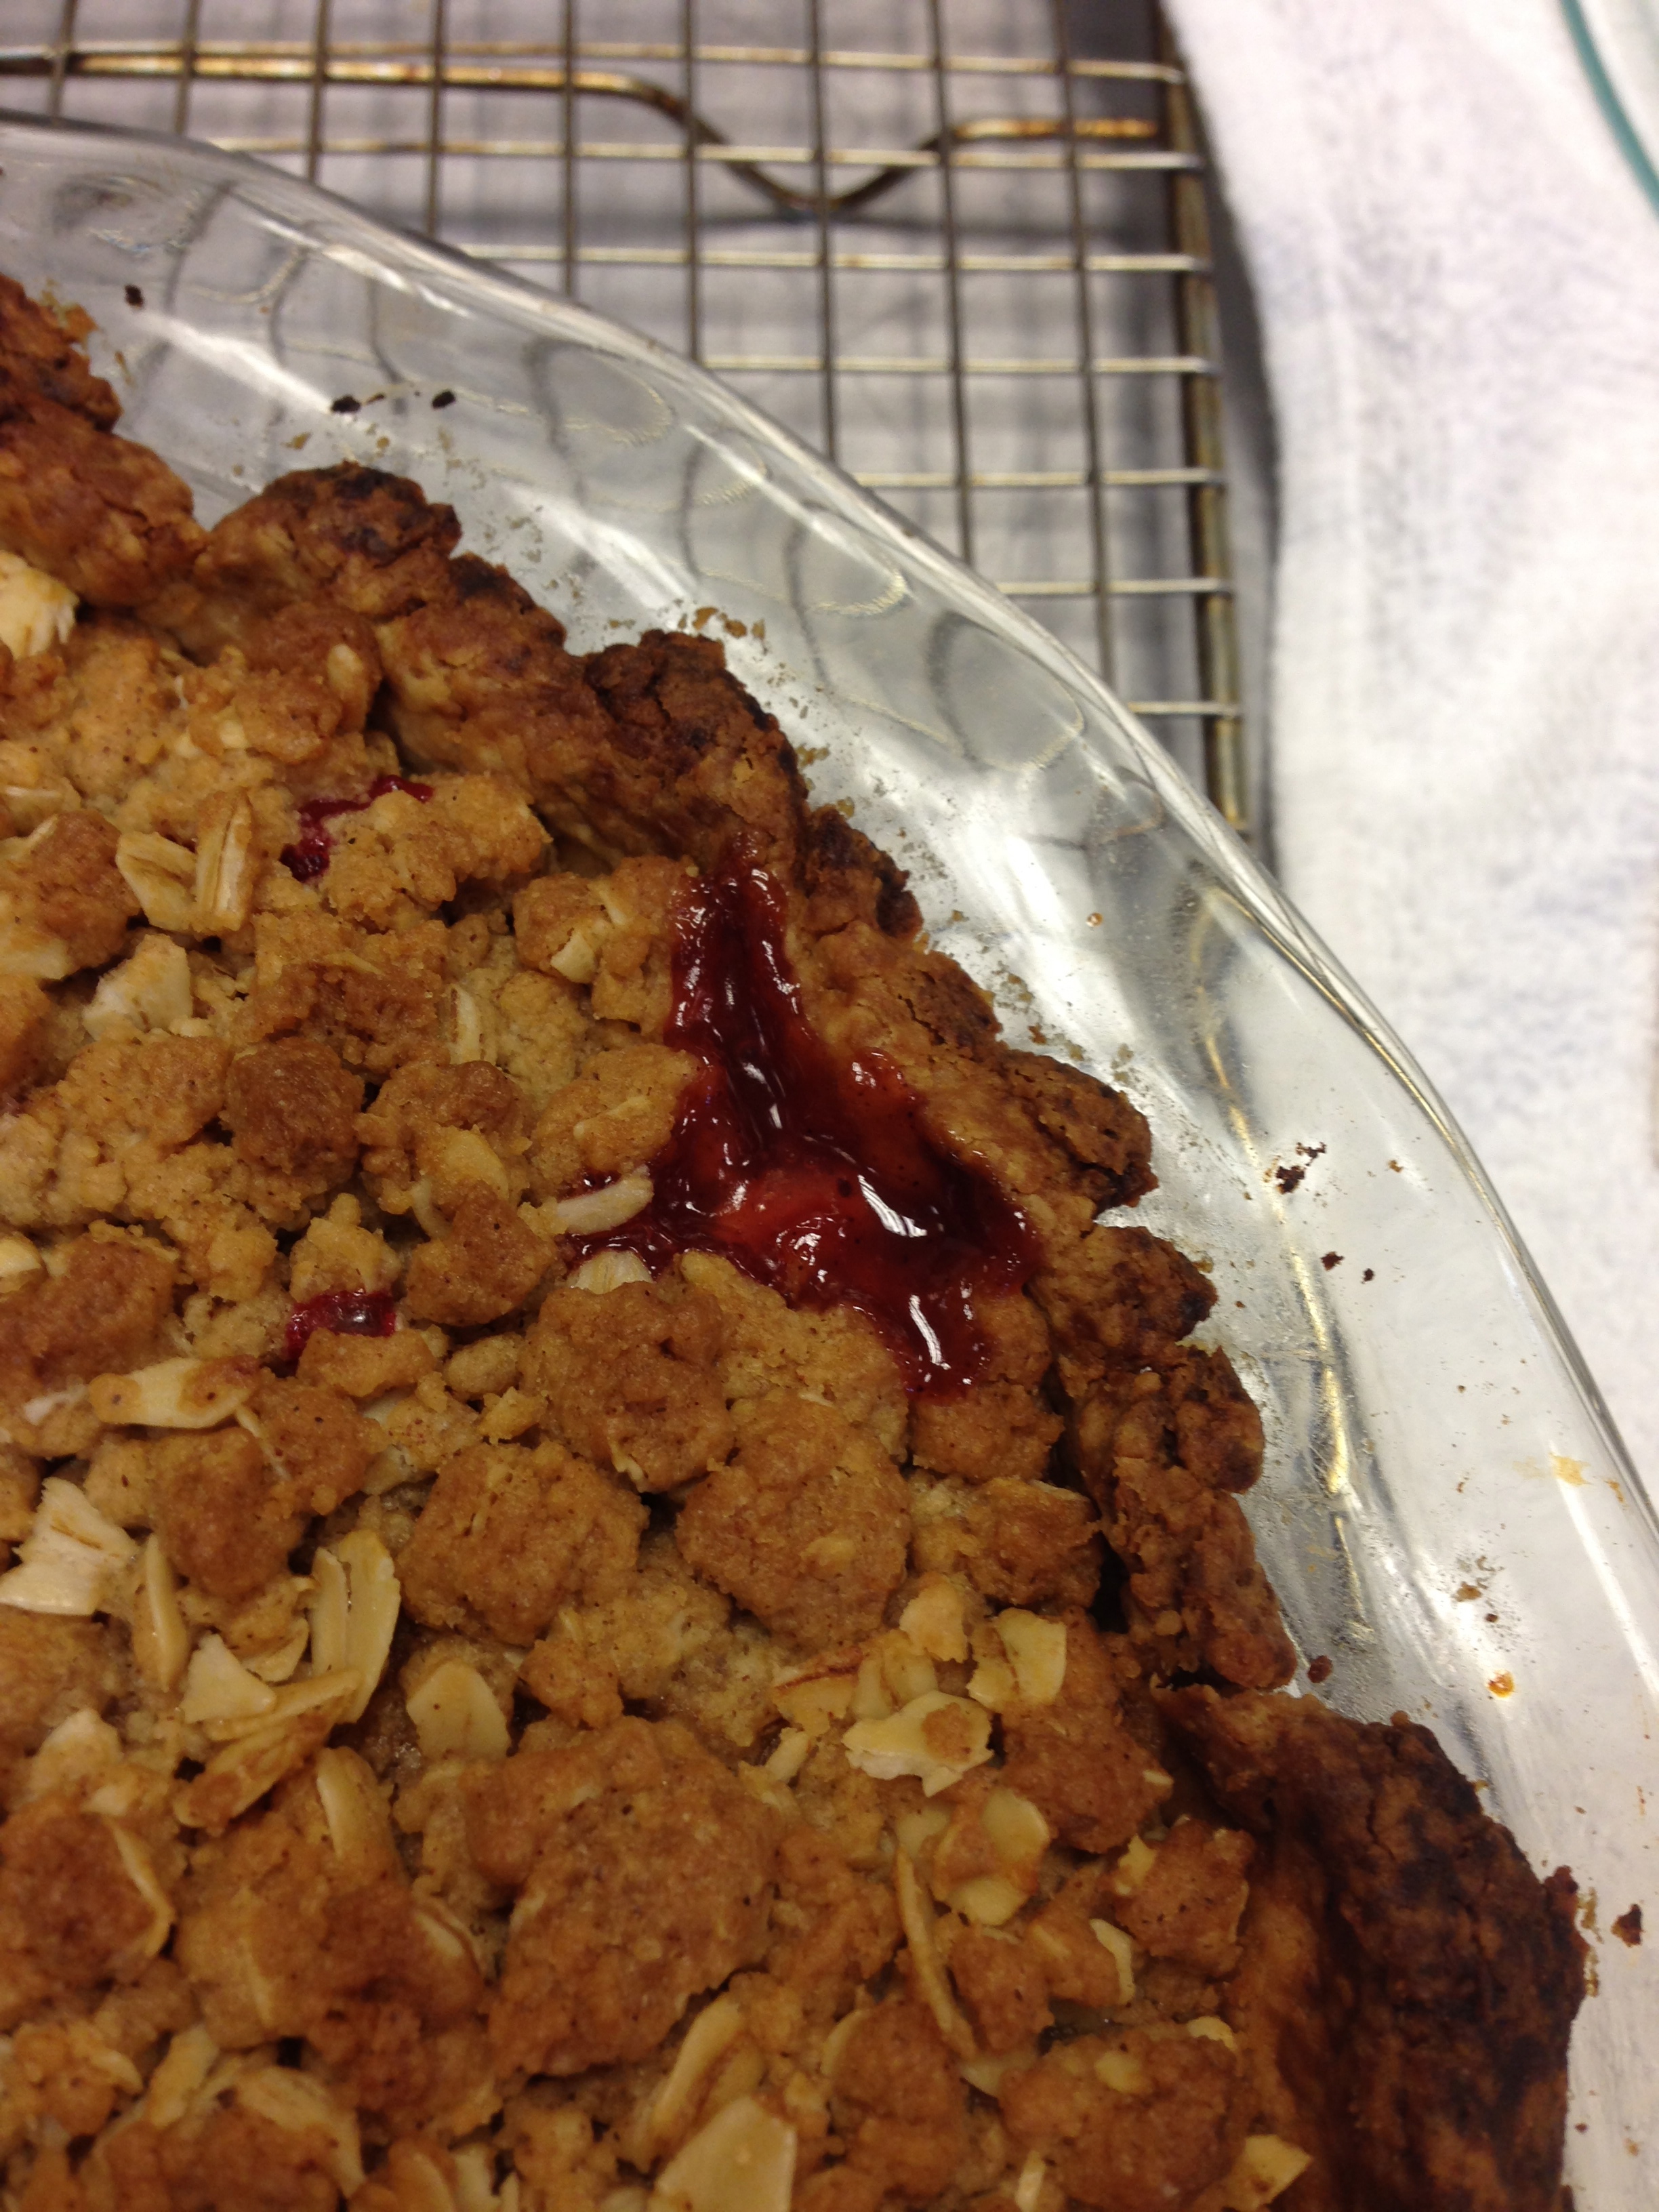
IMG_1361 IMG_1362 IMG_1364This pie was our first foray into making our own pastry, and honestly as I sit here waiting for my pie to come out of the oven I have no idea how well that went. The pie smells pretty good, which I think is a pretty good sign. Rather than doing a double crust we decided to use a crumb top rather than a second pastry crust on top. The recipe for our pie asked for this type of topping, but we decided to tweak the recipe by using brown sugar and oats along with loads of butter. The filling looks very good as the cranberries seem to have exploded and are bubbling red juices up through the crumb top.

I have now pulled the pie out of the oven and it has begun to cool. The cranberry juices are still bubbling and it looks delicious! The only problem I’m seeing is that since the recipe called for cooking the bottom crust with the filling before the crumb top was added. I decided to put the silicon crust edge protector things once I added the crumb and this led to the edges of the pastry becoming too dark. Next time I will put the protectors on the pie at the beginning. Anyway I think the pie is going to be delicious because the pie is a pie and pie is always good.

–Conor’

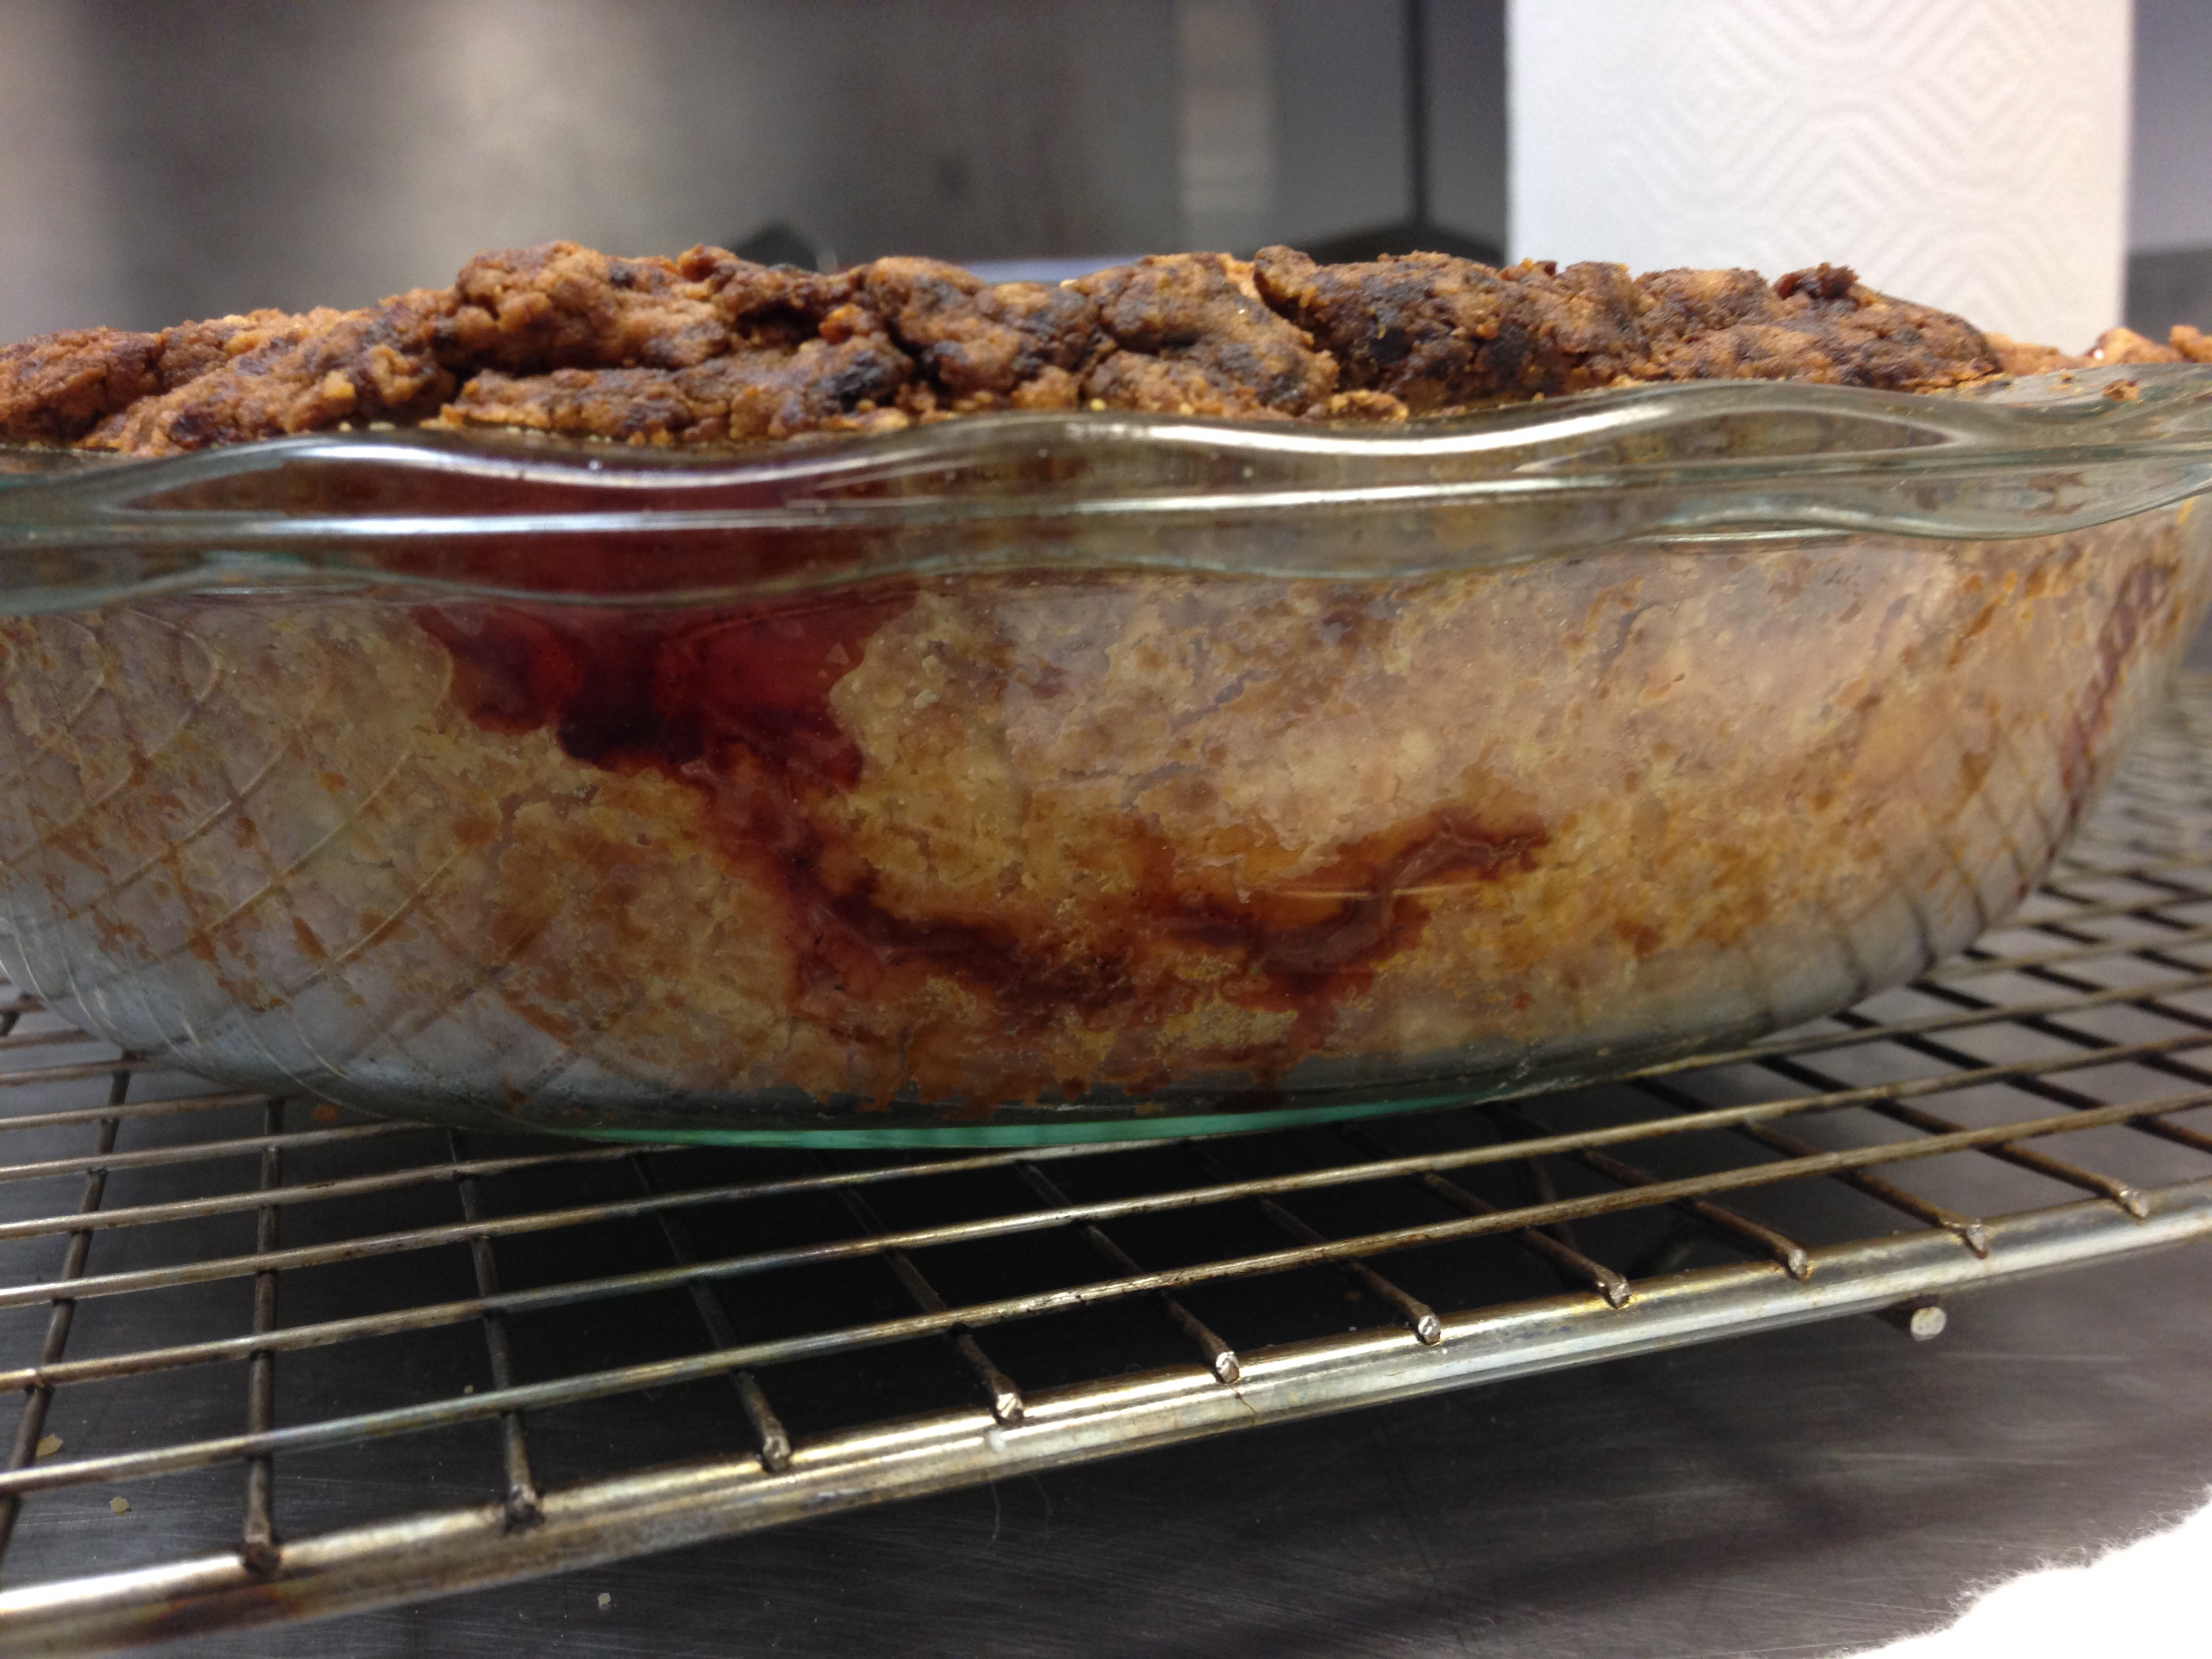
Apple butter pumpkin pie, test run

I wanted to try something different for the holiday pumpkin pies this year, beyond the tried and true Libby’s recipe. Found this one that uses apple butter, which sounded pretty brilliant. I love apple butter.

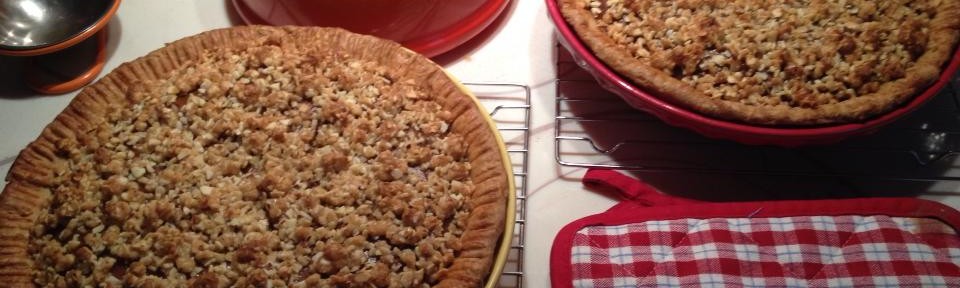
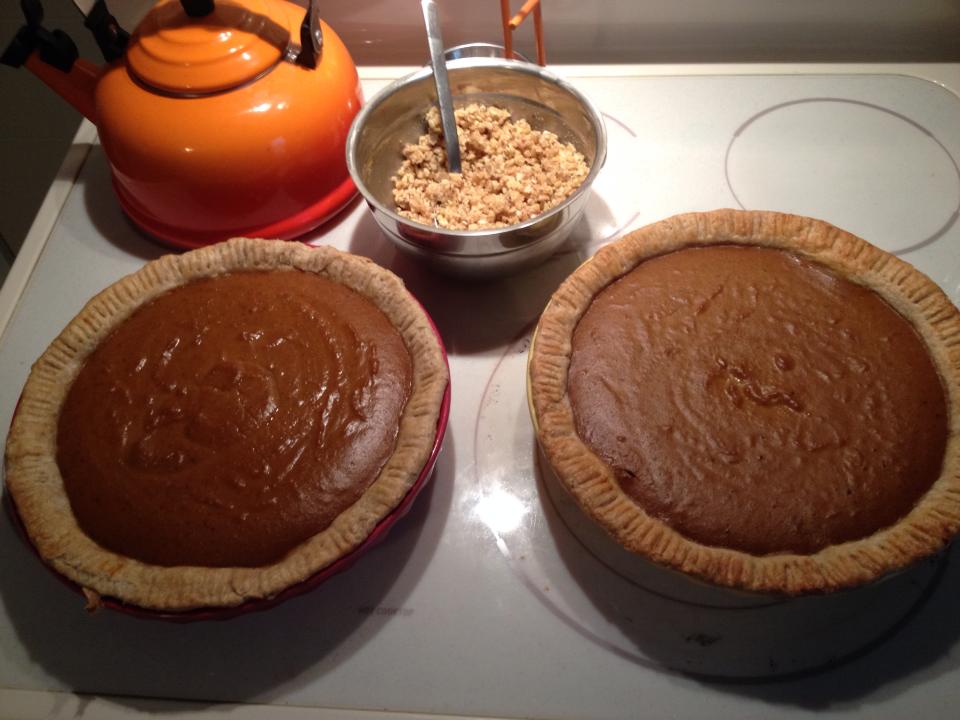
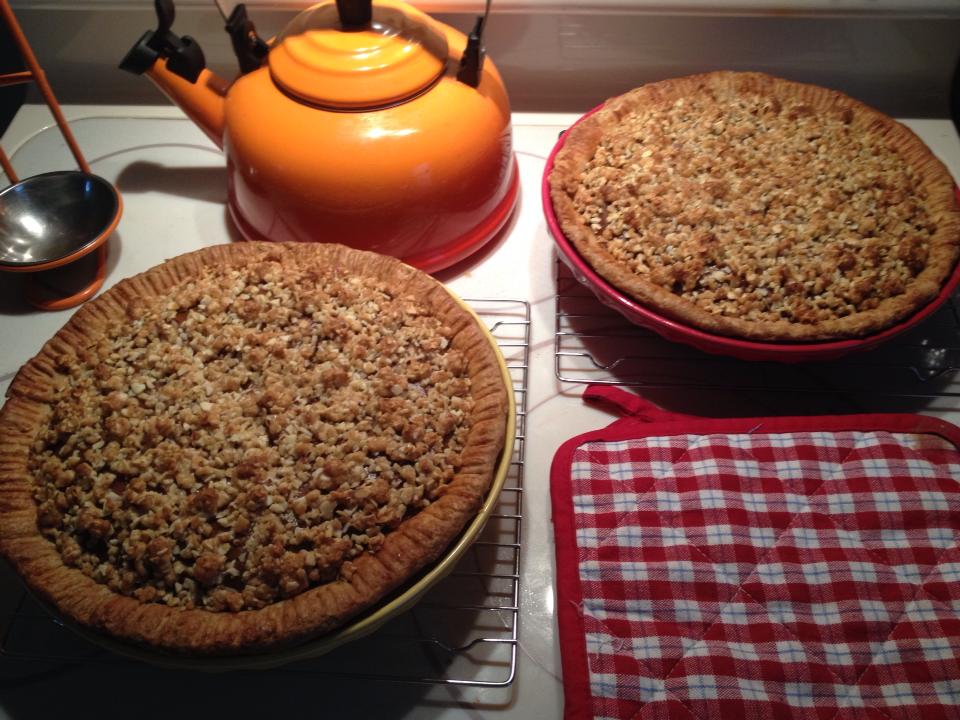
The original recipe called for a nut crust (which I skipped, opting for Purdy’s basic flaky pastry instead) and a walnut streusel topping (which I kept—that’s called compromising with one’s food allergies.)

Baked the pies 2/3 of the way, then took out of the oven to add a walnut streusel topping

Baked the pies 2/3 of the way, then took out of the oven to add a walnut streusel topping

After another bit of baking, the final product

After another bit of baking, the final product