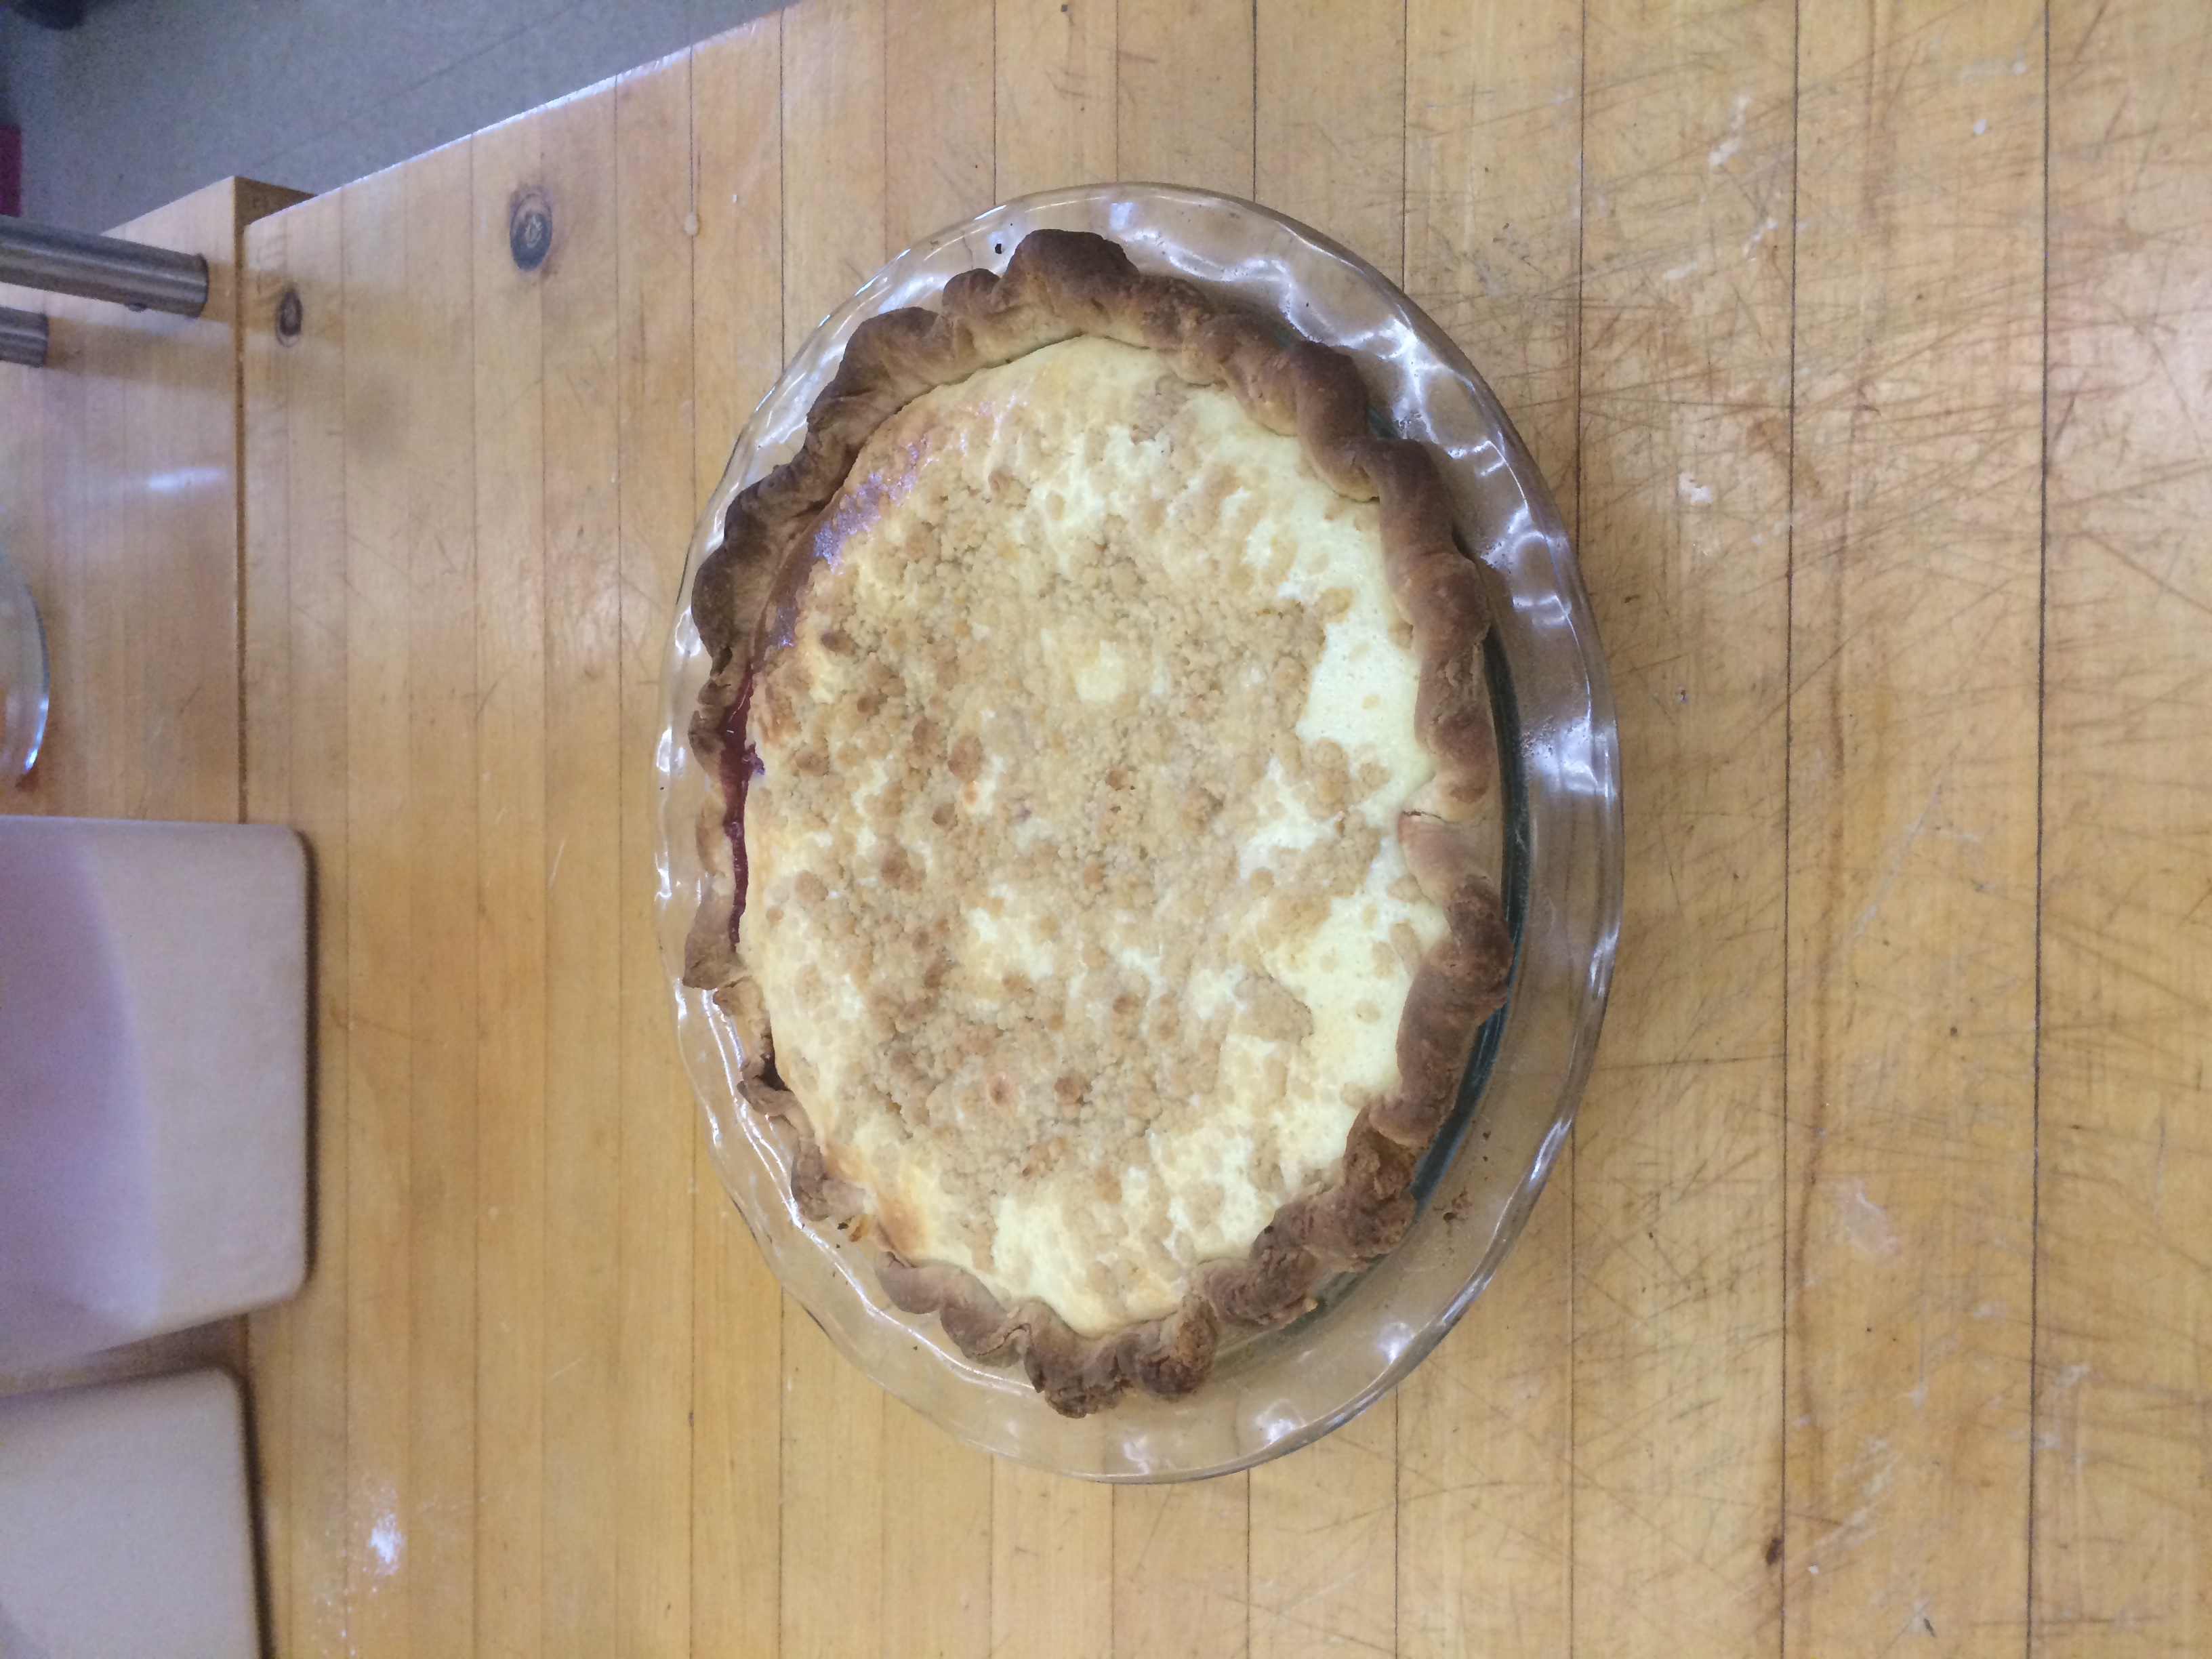
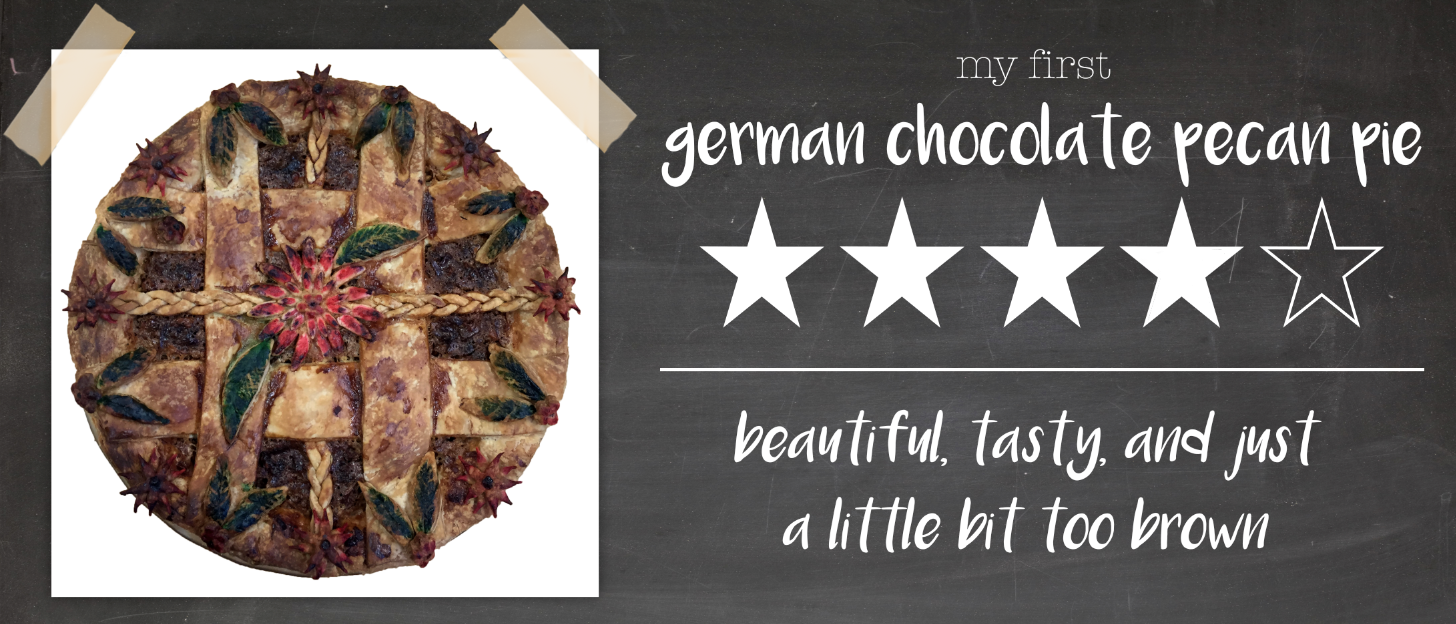
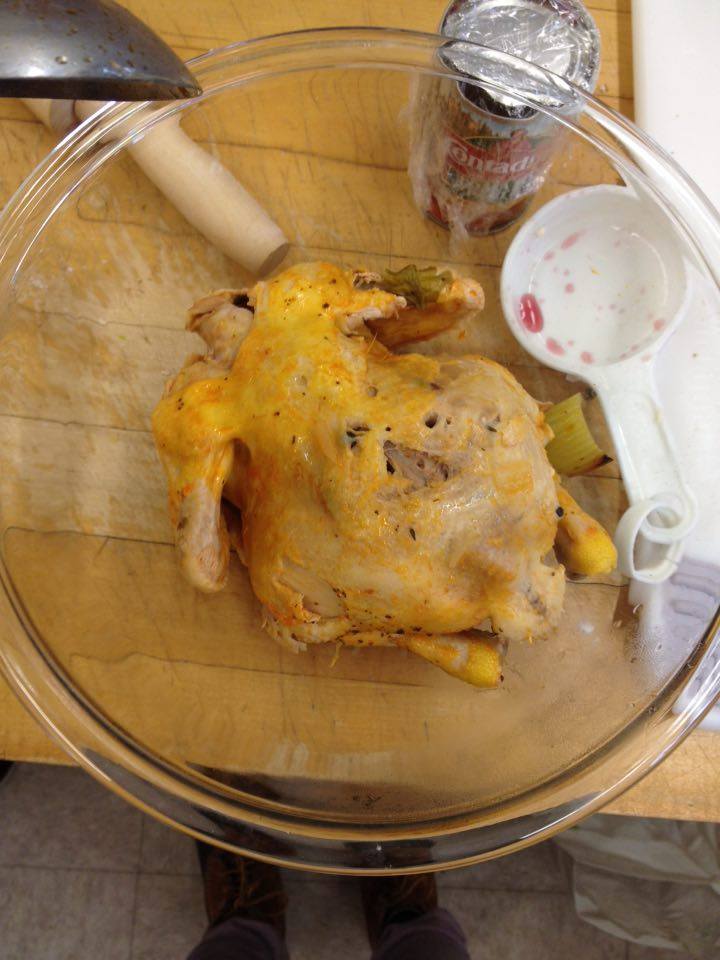
This week, we made sweet pies.
After settling ourselves into pairs, we set off to make pastry, filling, and a plan for the next three days.
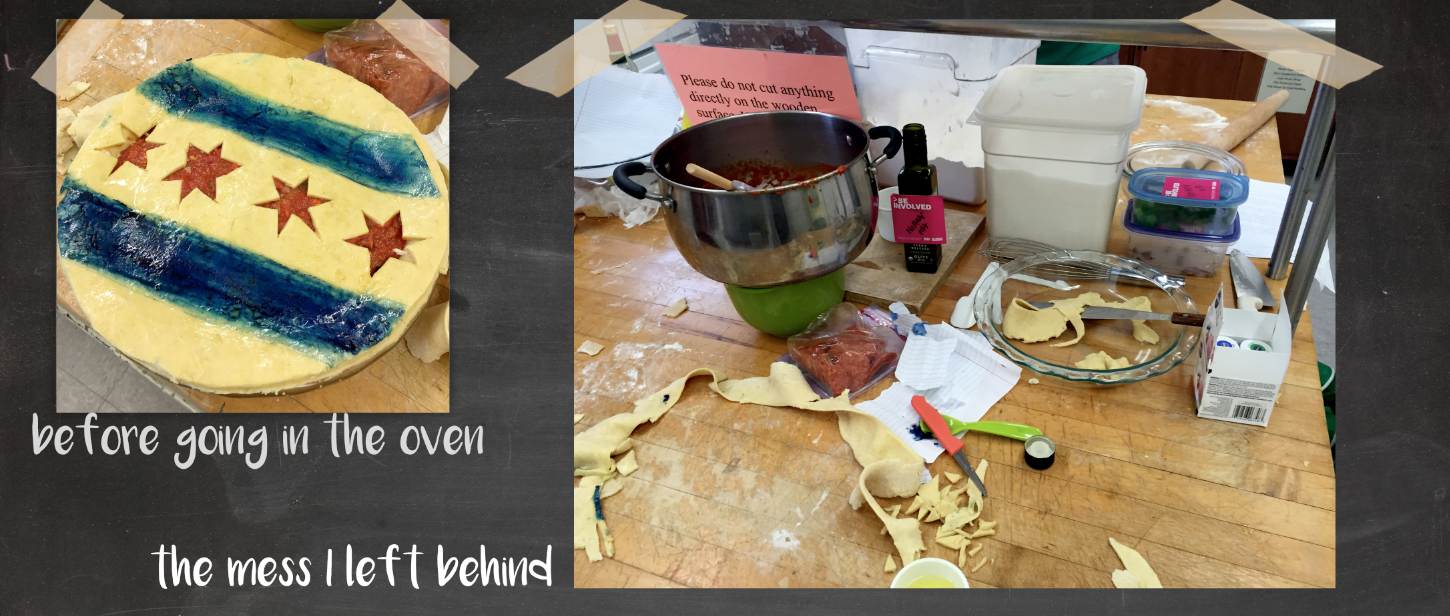
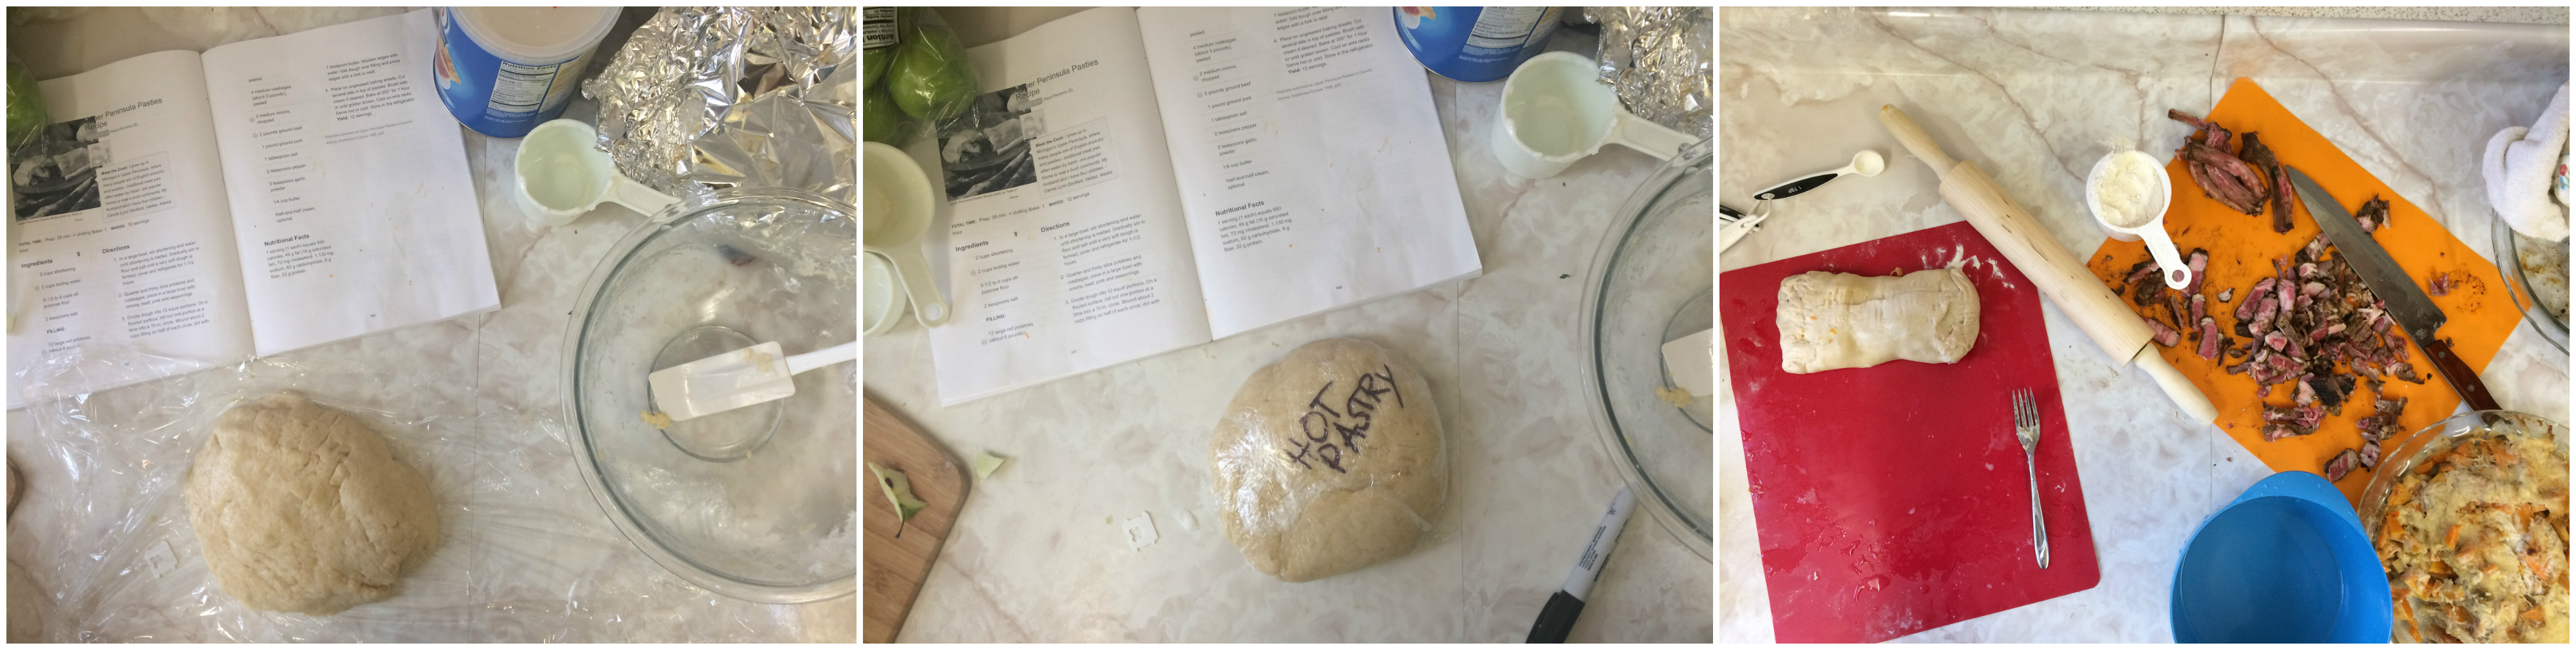
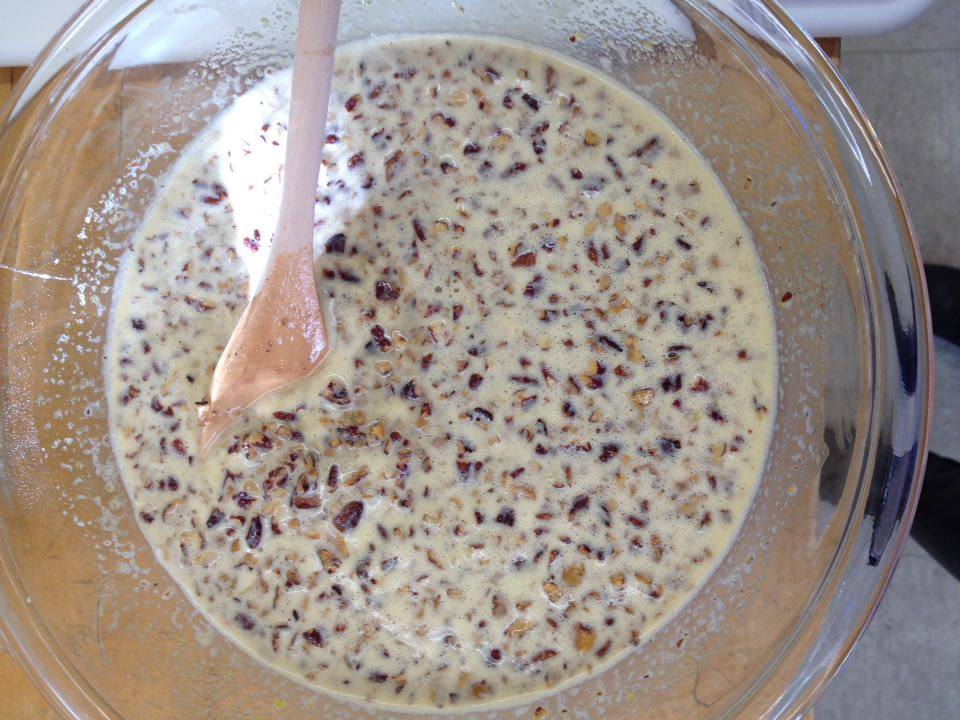
I worked with Katie and we decided that, with pies, three is better than two. Our intention was to make a chocolate raspberry pie, a pear cranberry pie, and some apple hand pies. The two full-sized pies were to have all butter crust, and the hand pies were to have a butter-shortening mix.
We selected no specific recipes, and instead opted to work off of taste alone.
Raspberry Chocolate Filling

Pear Cranberry Filling
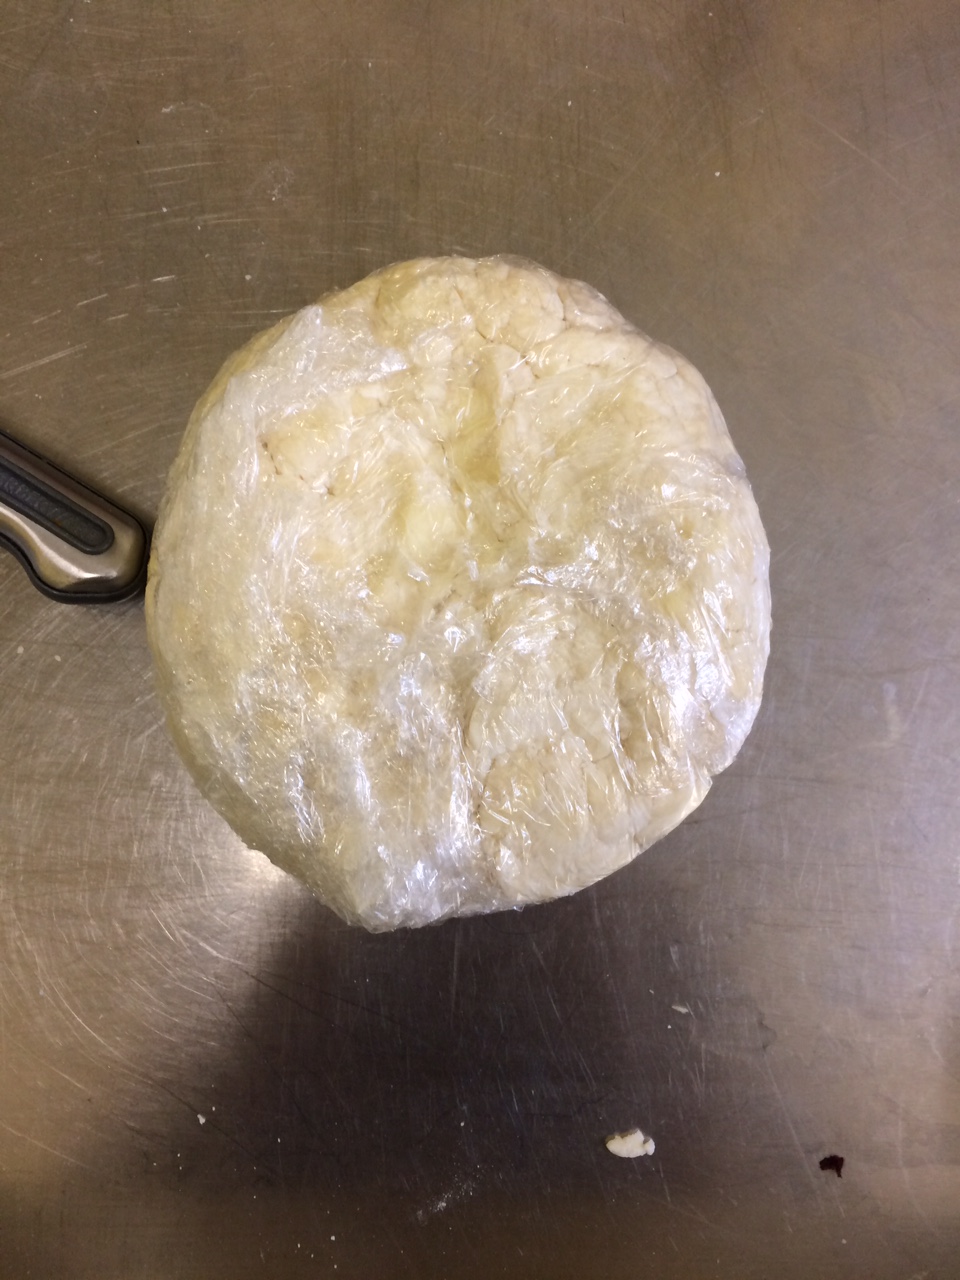
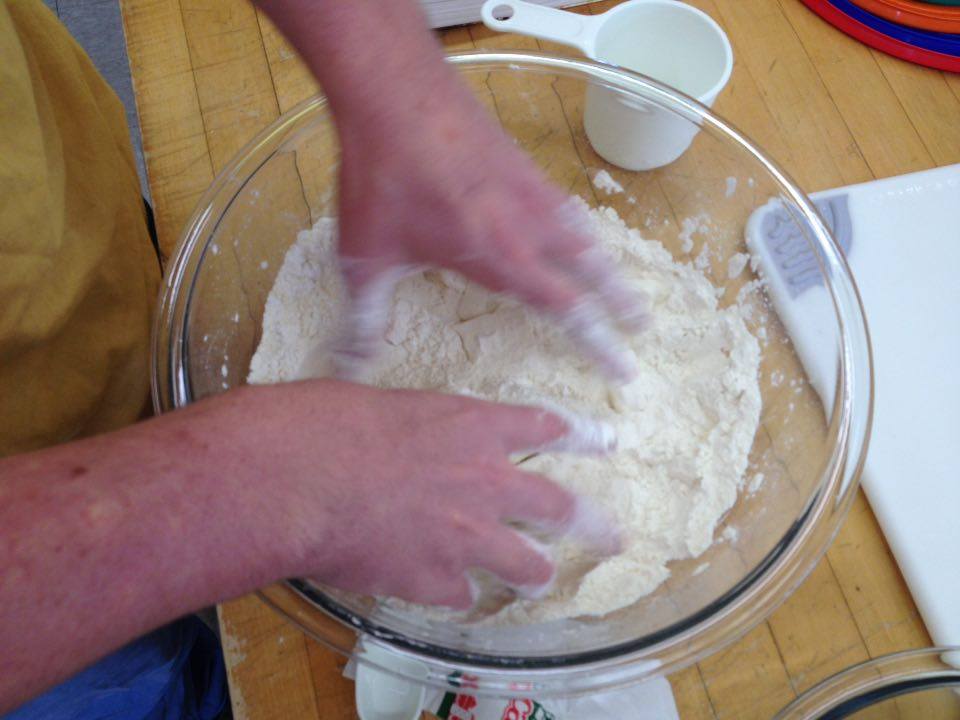
Katie made the butter-shortening crust, and I made the all-butter crust, so I’m just going to be listing the ingredient list for that pastry.
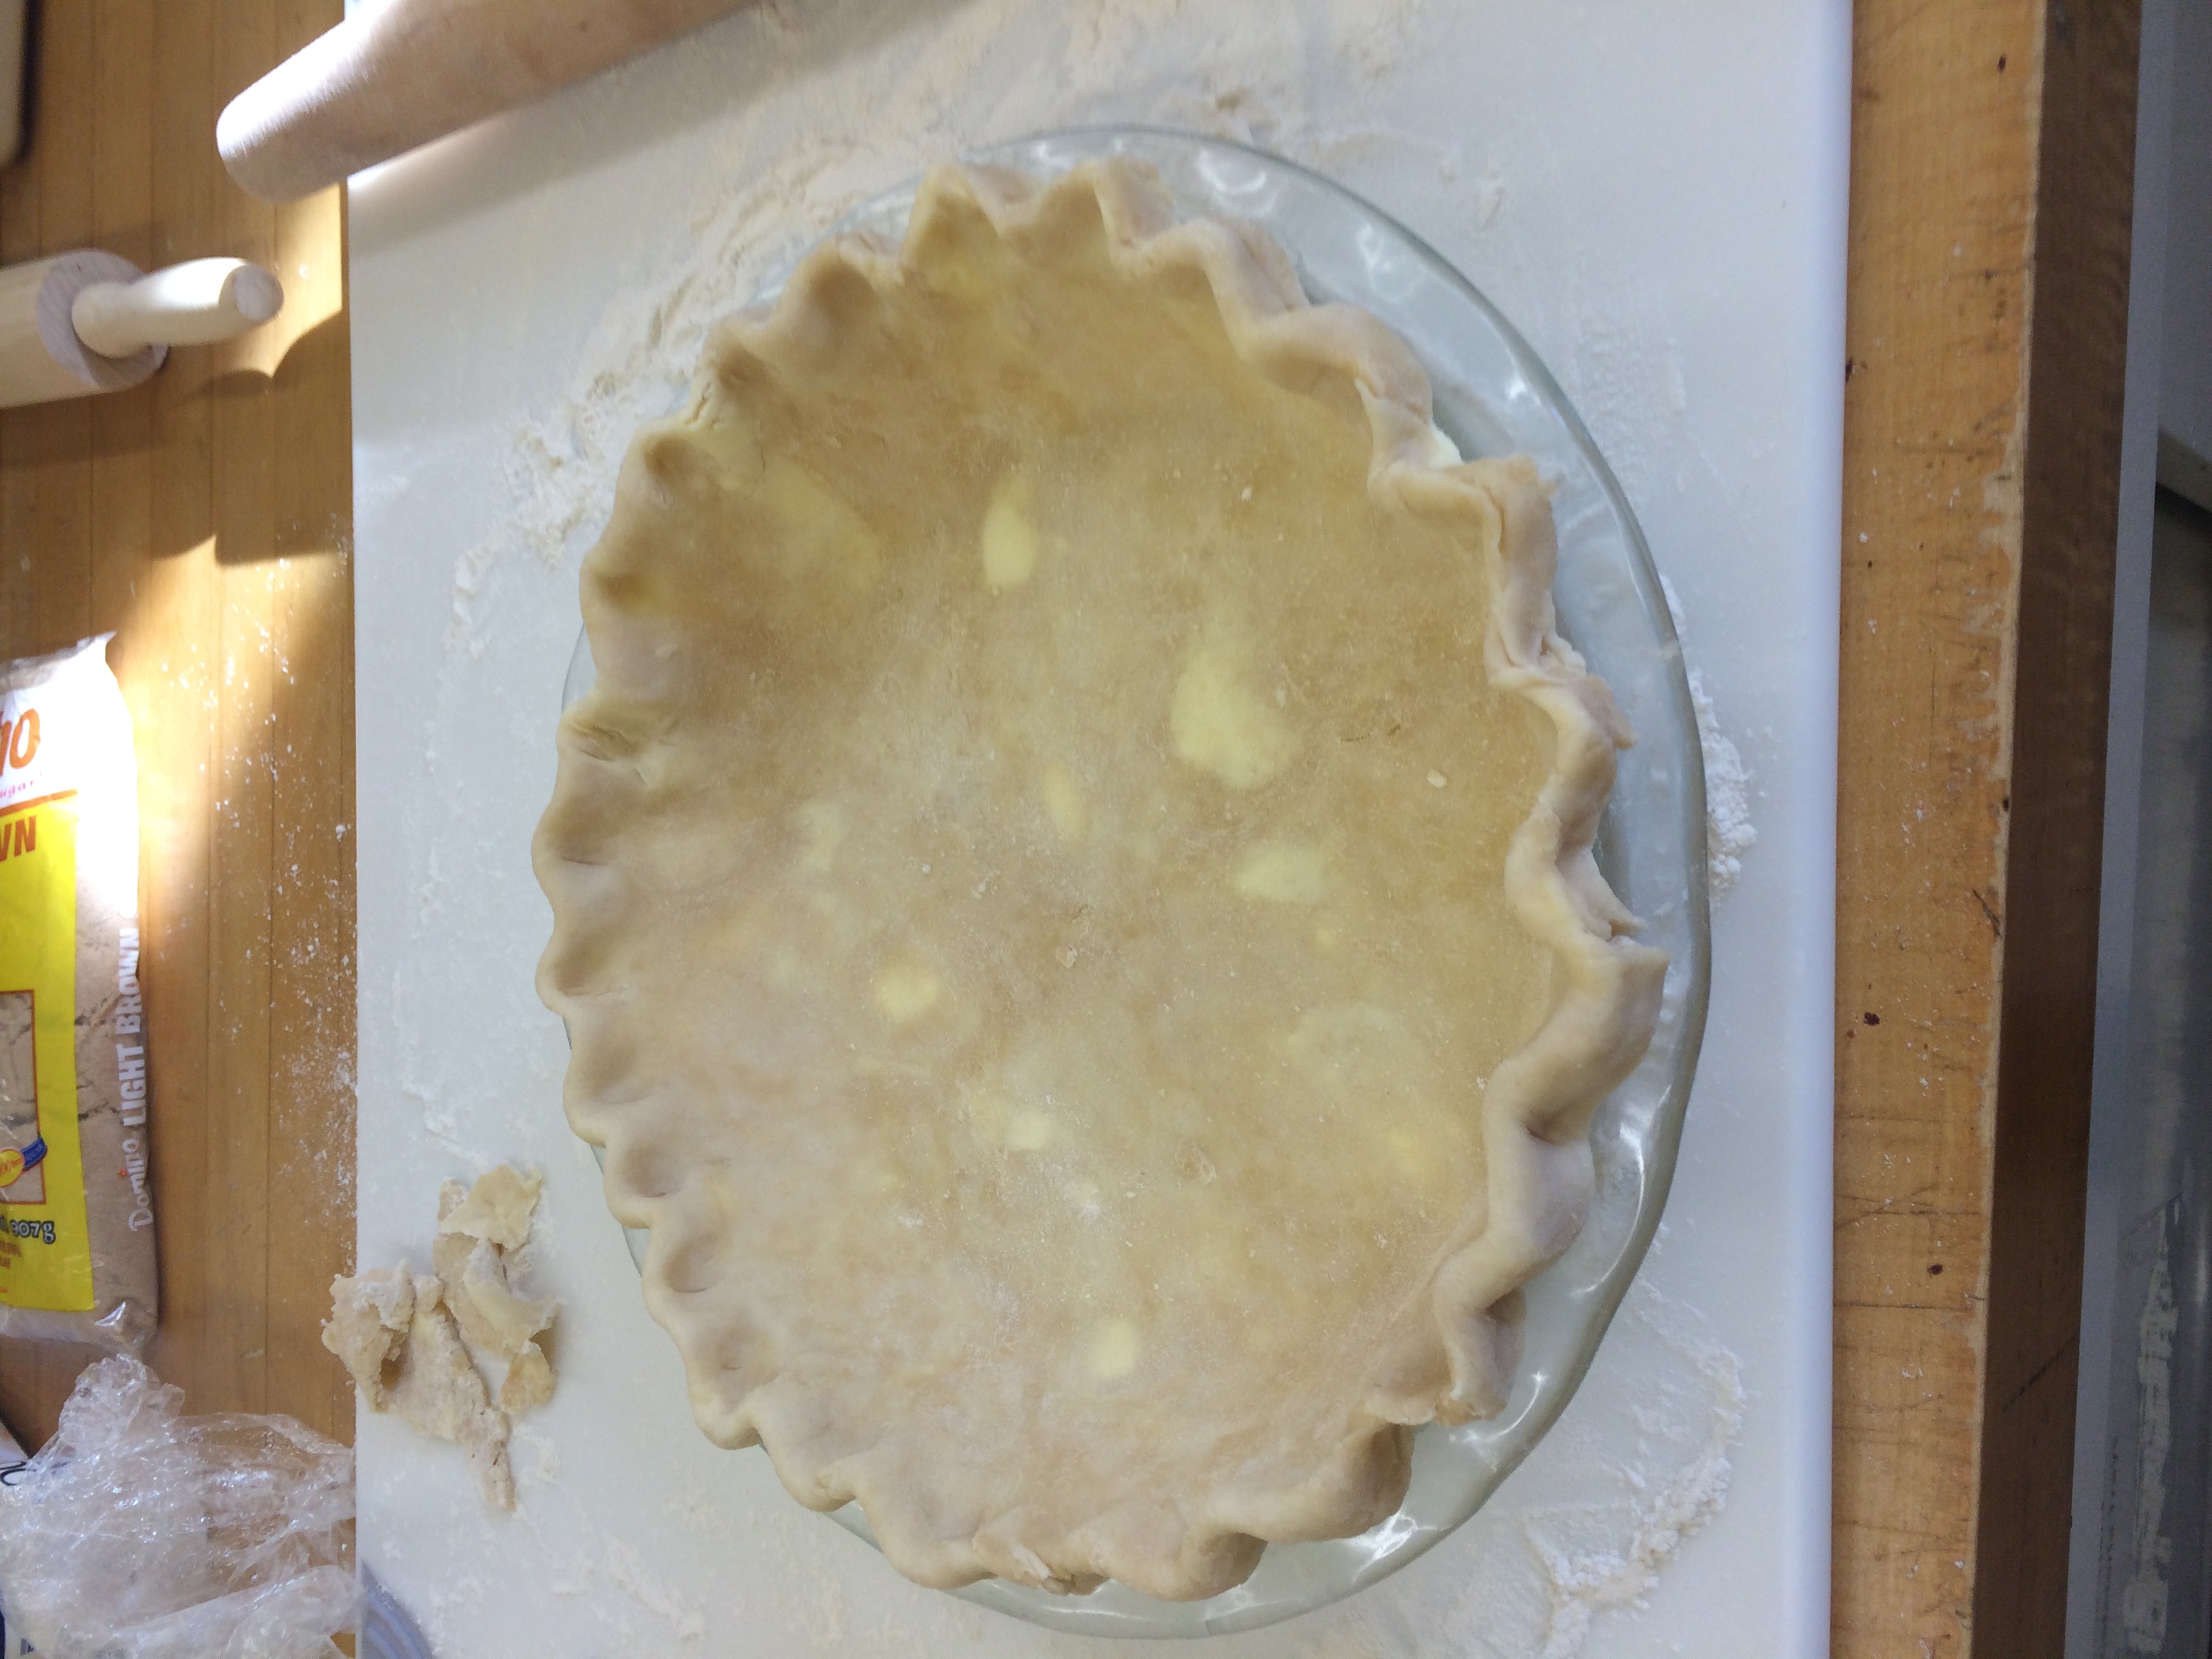
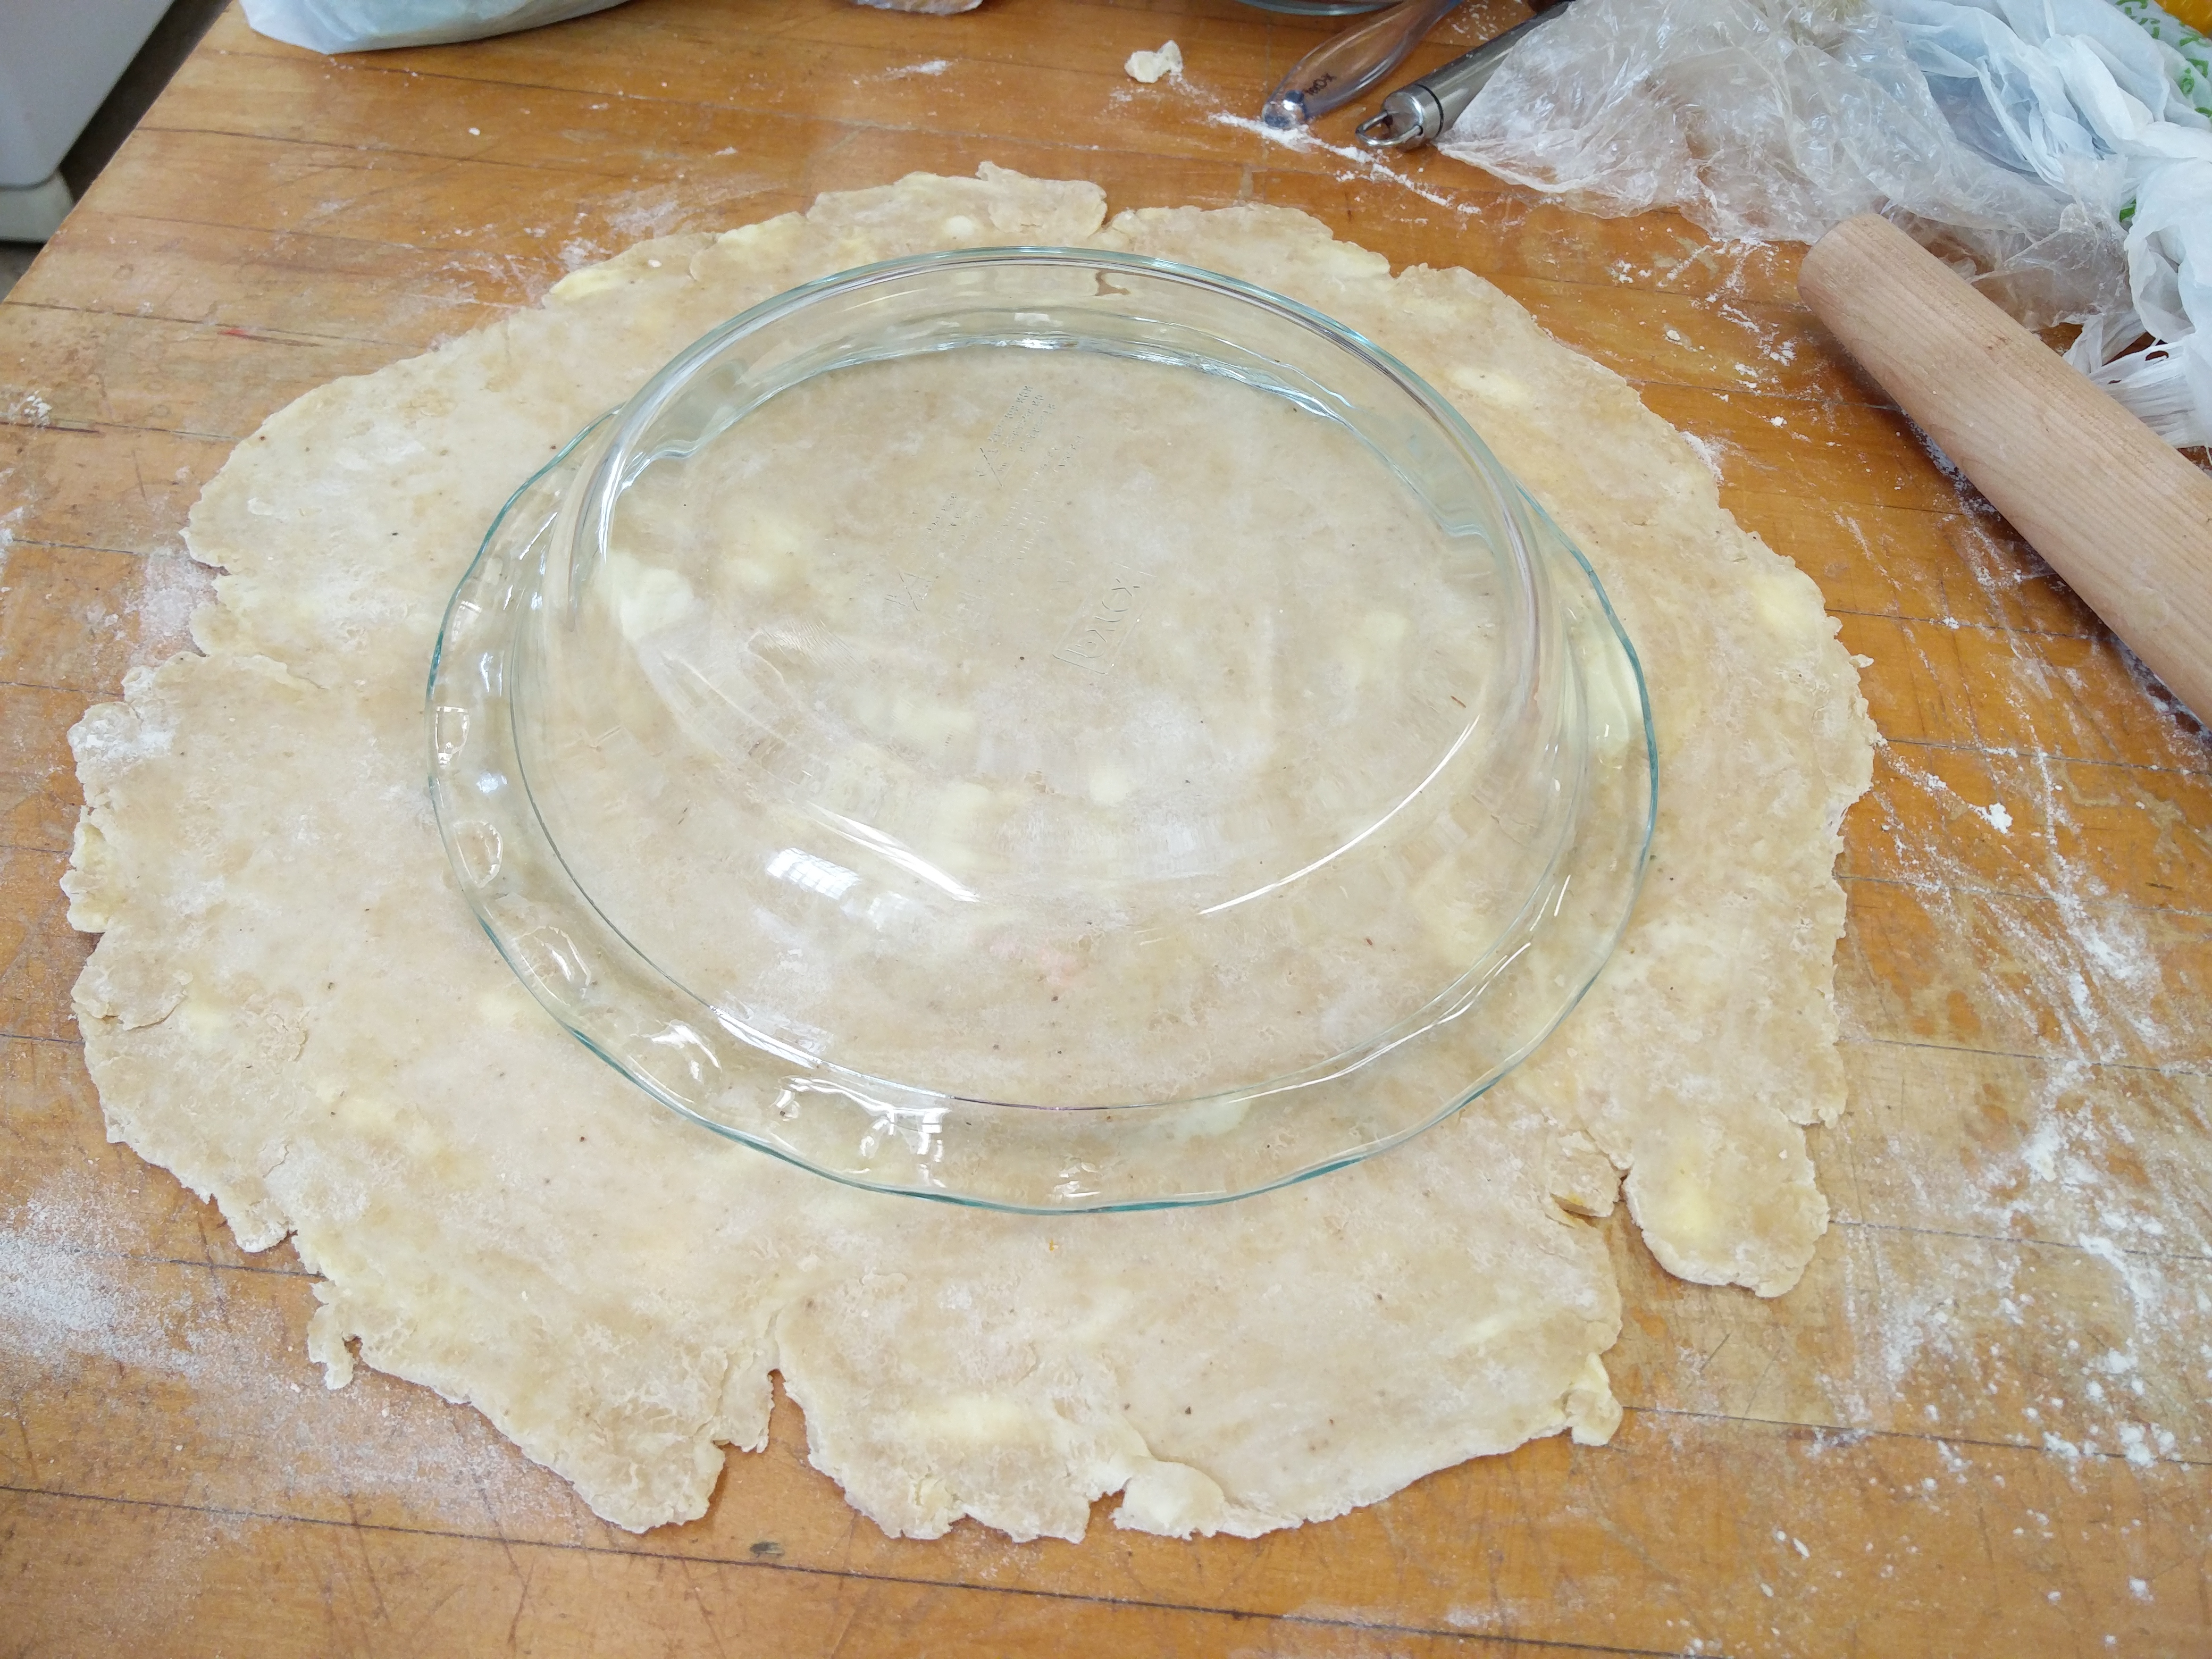
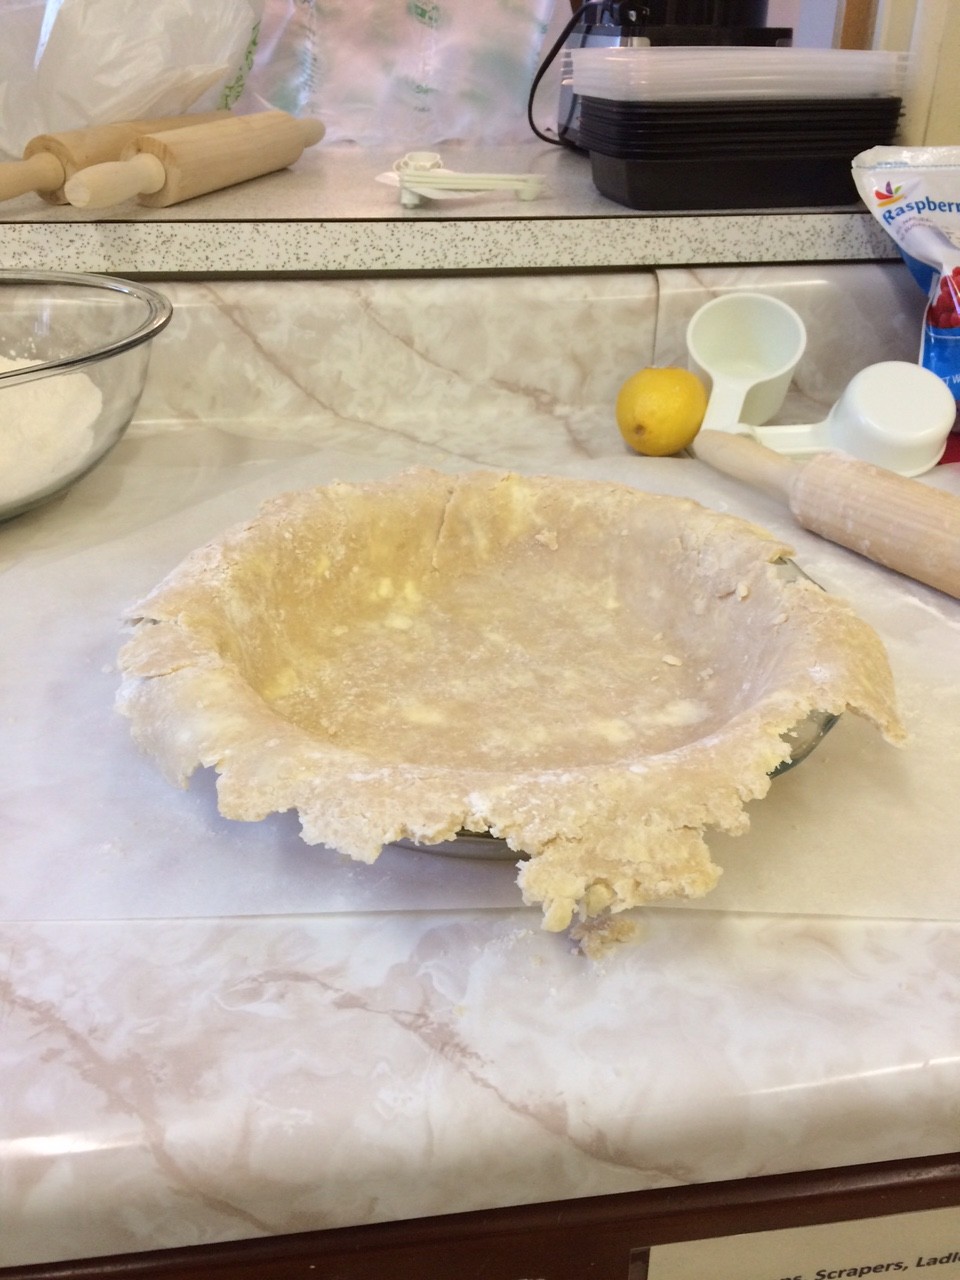
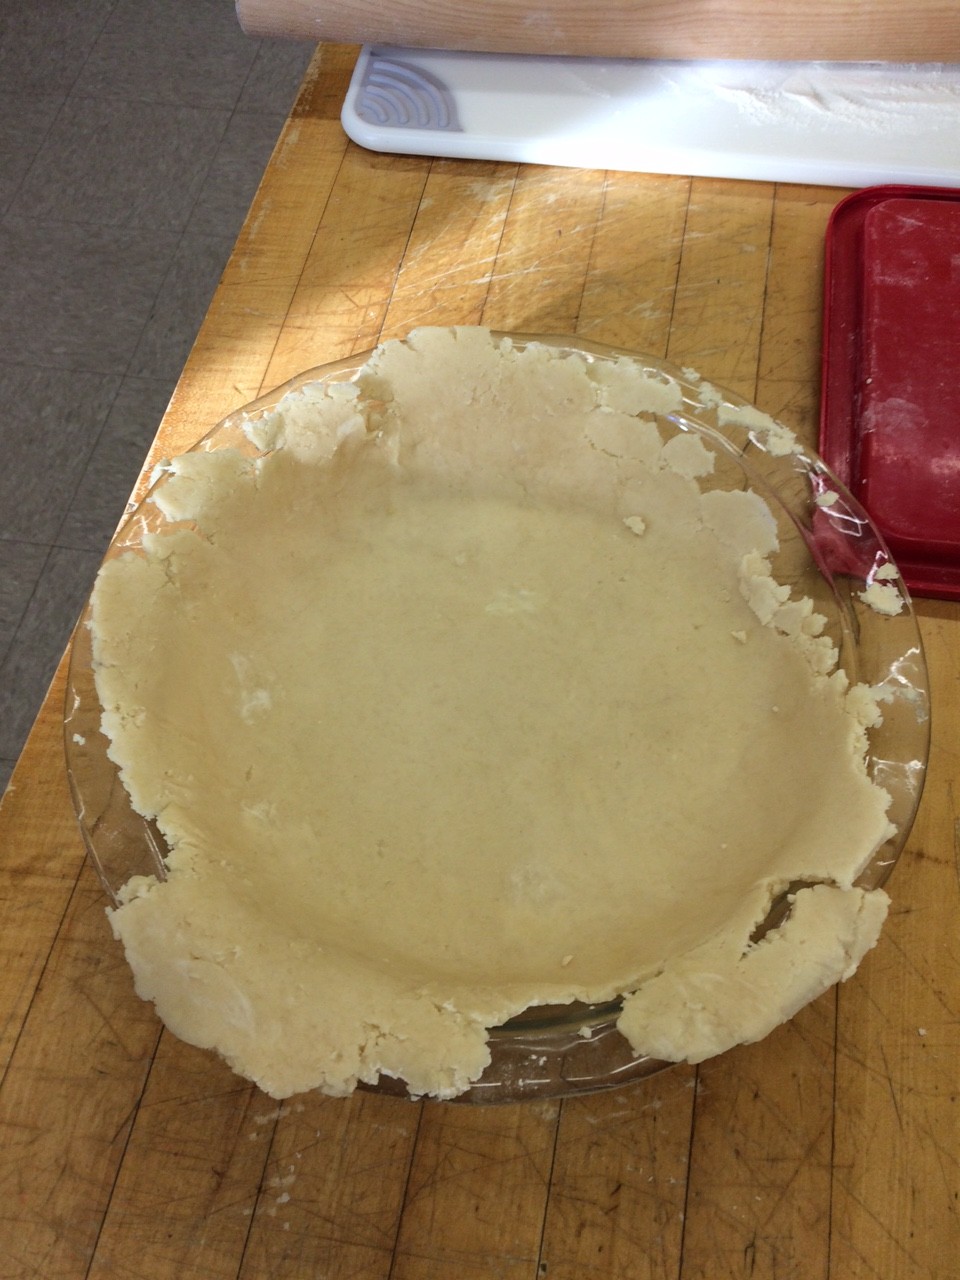
All-Butter Pie Crust
2 ¼ cups flour
5 tbsp sugar
1 tsp salt
2 sticks butter, cold and cubed
ice water
I prefer an all-butter crust because a) I think it tastes better, and b) shortening freaks me out. It’s nothing more than that.
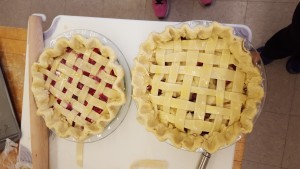
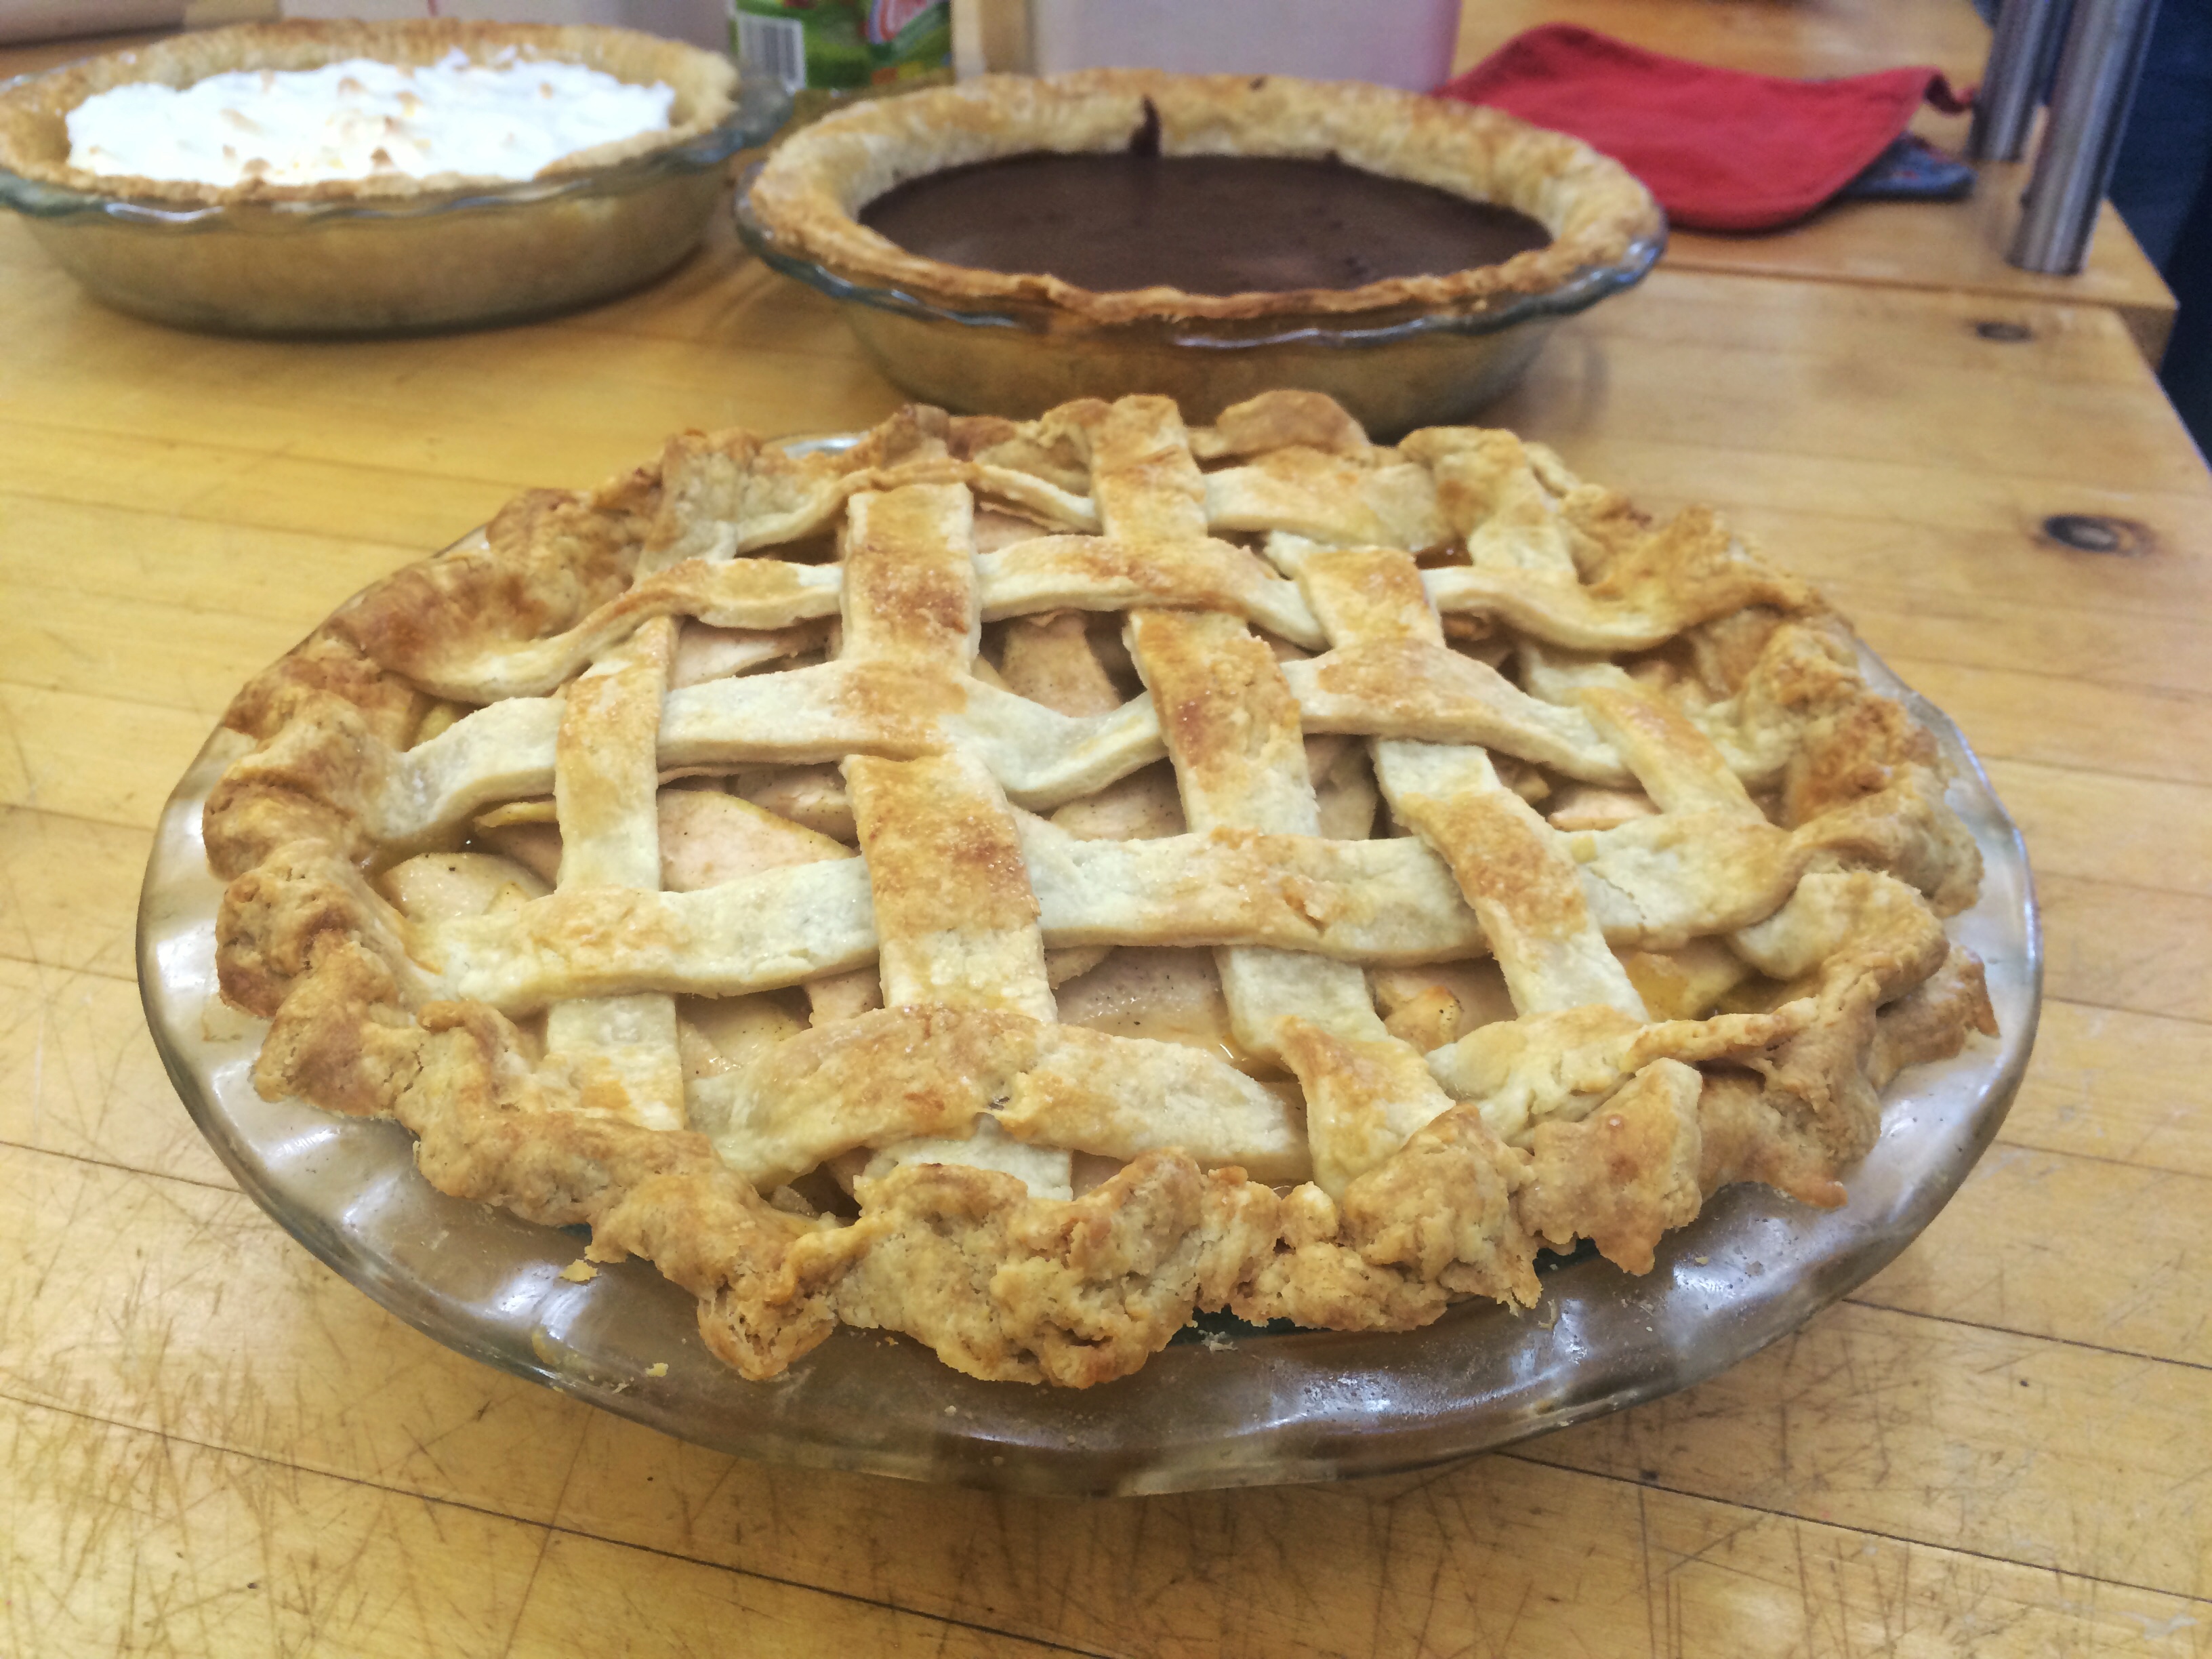
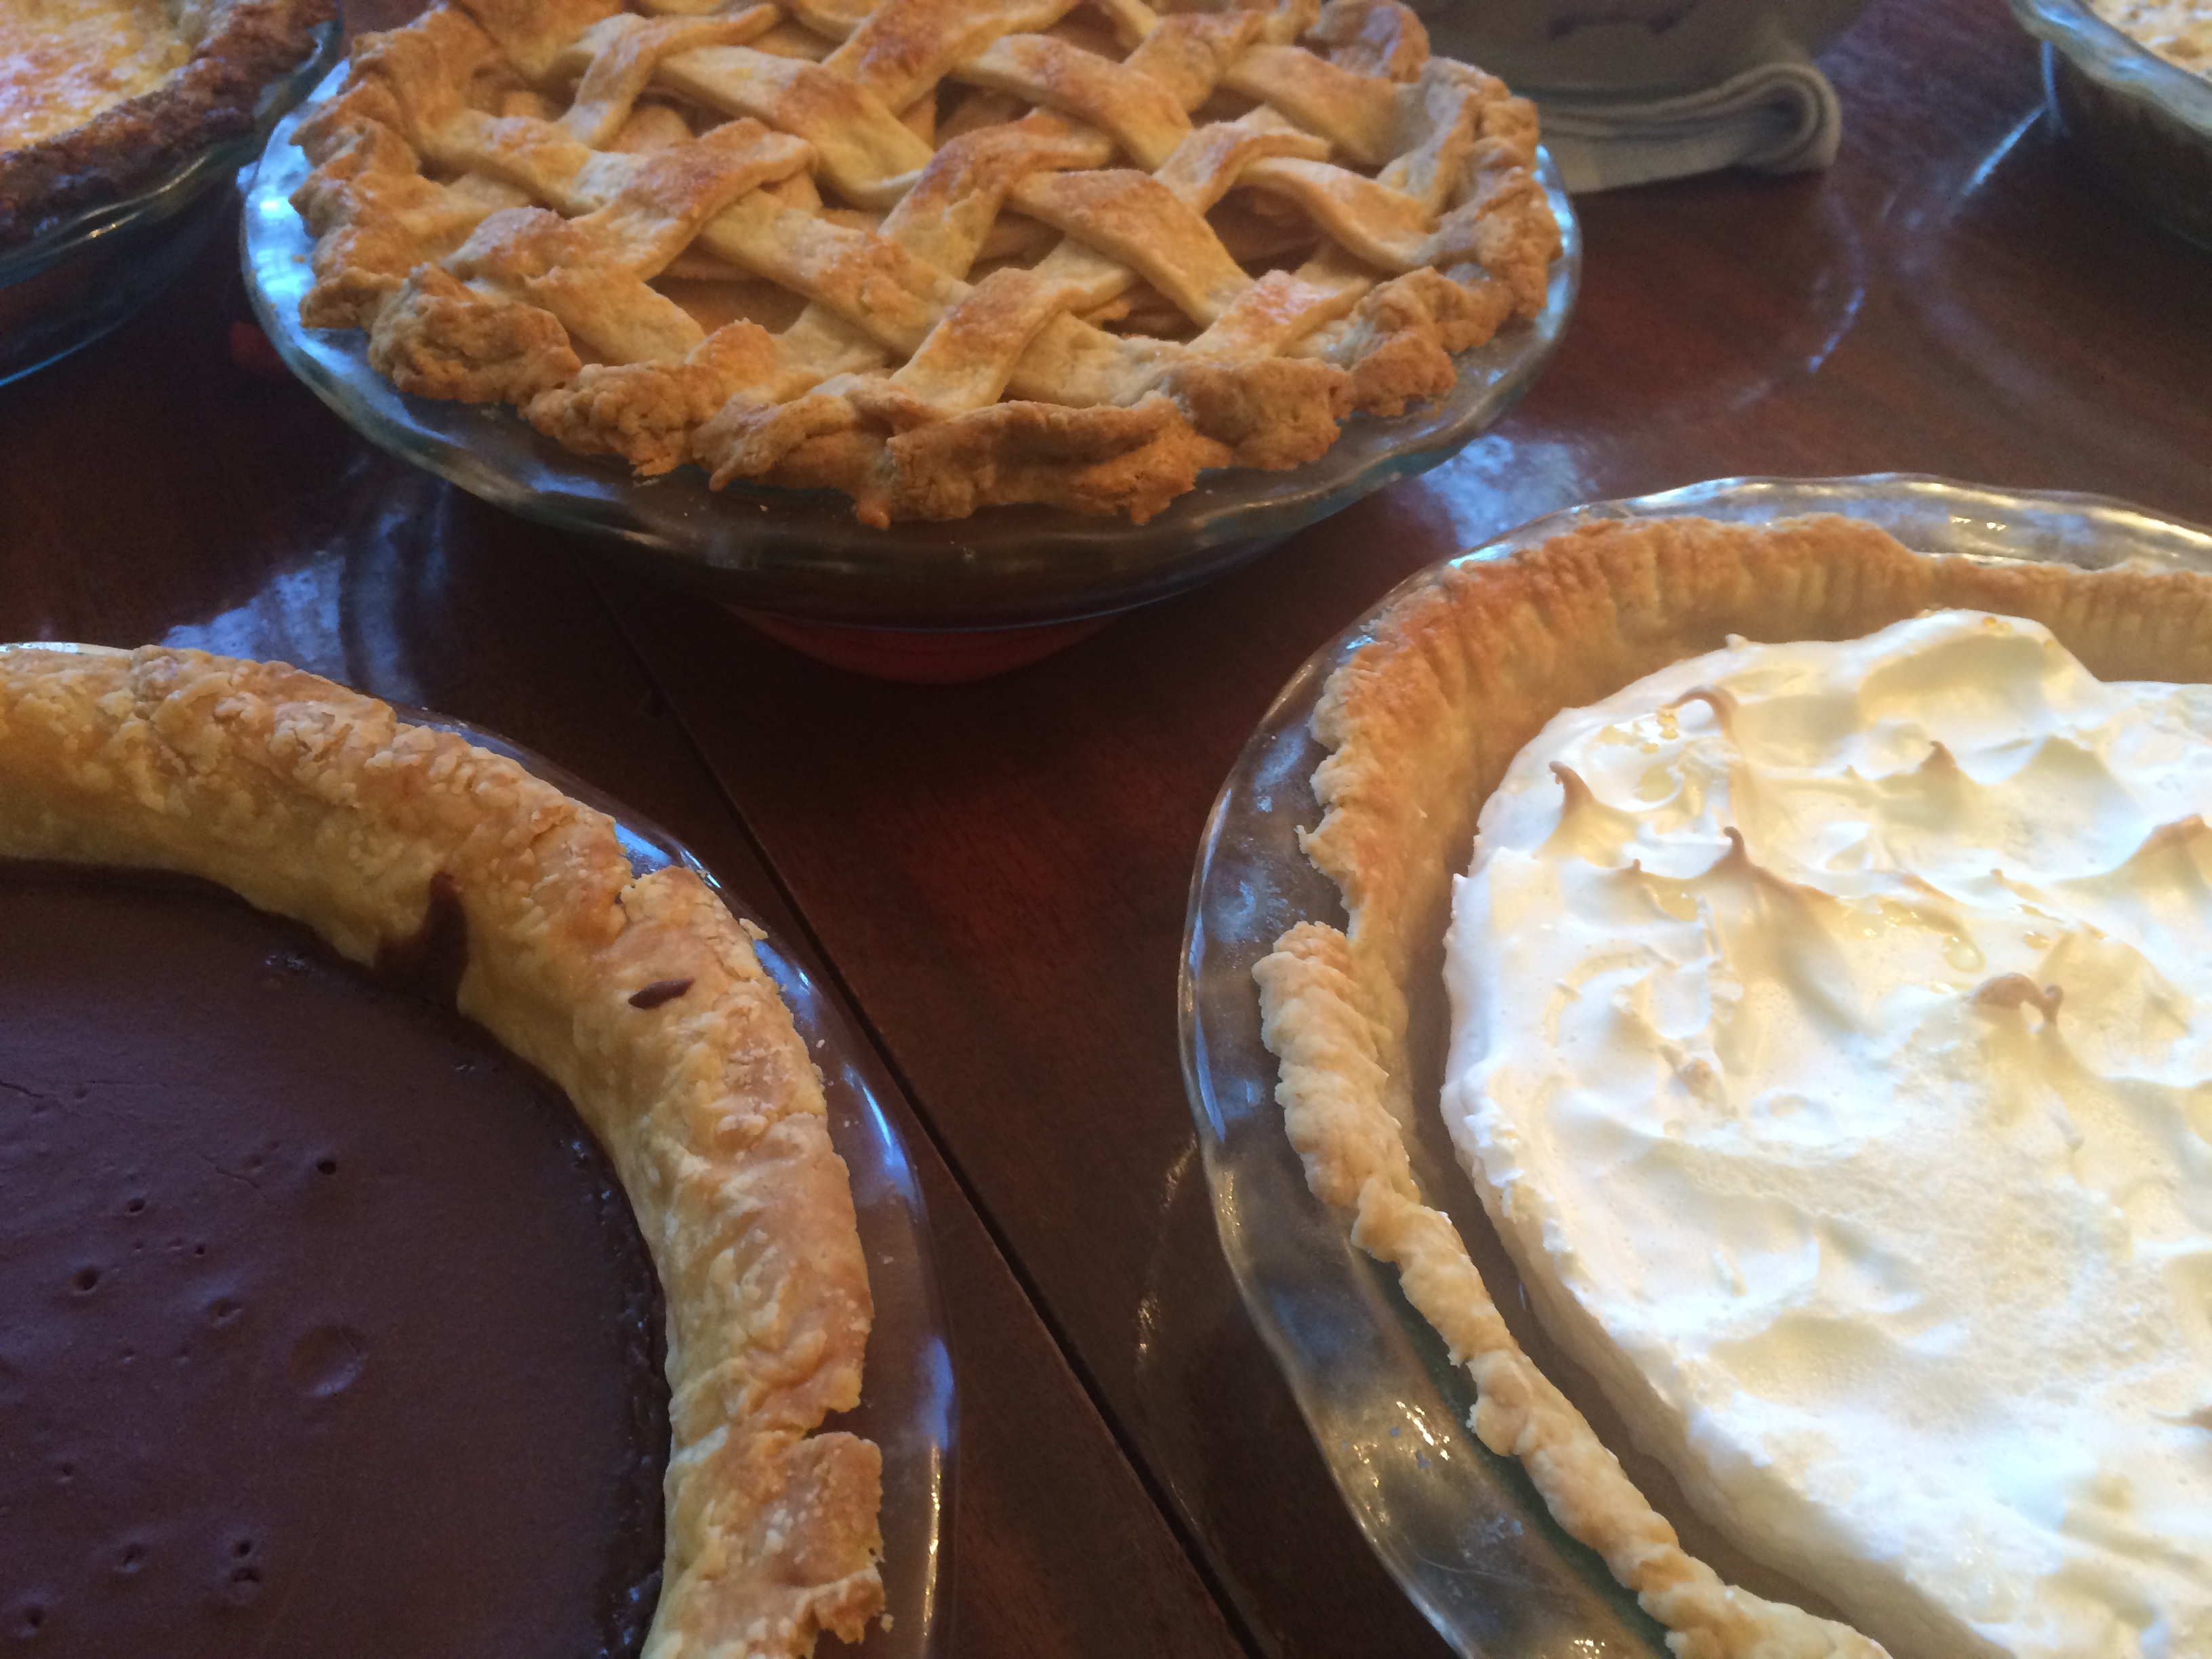
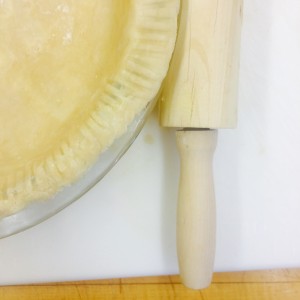
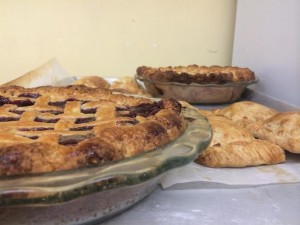
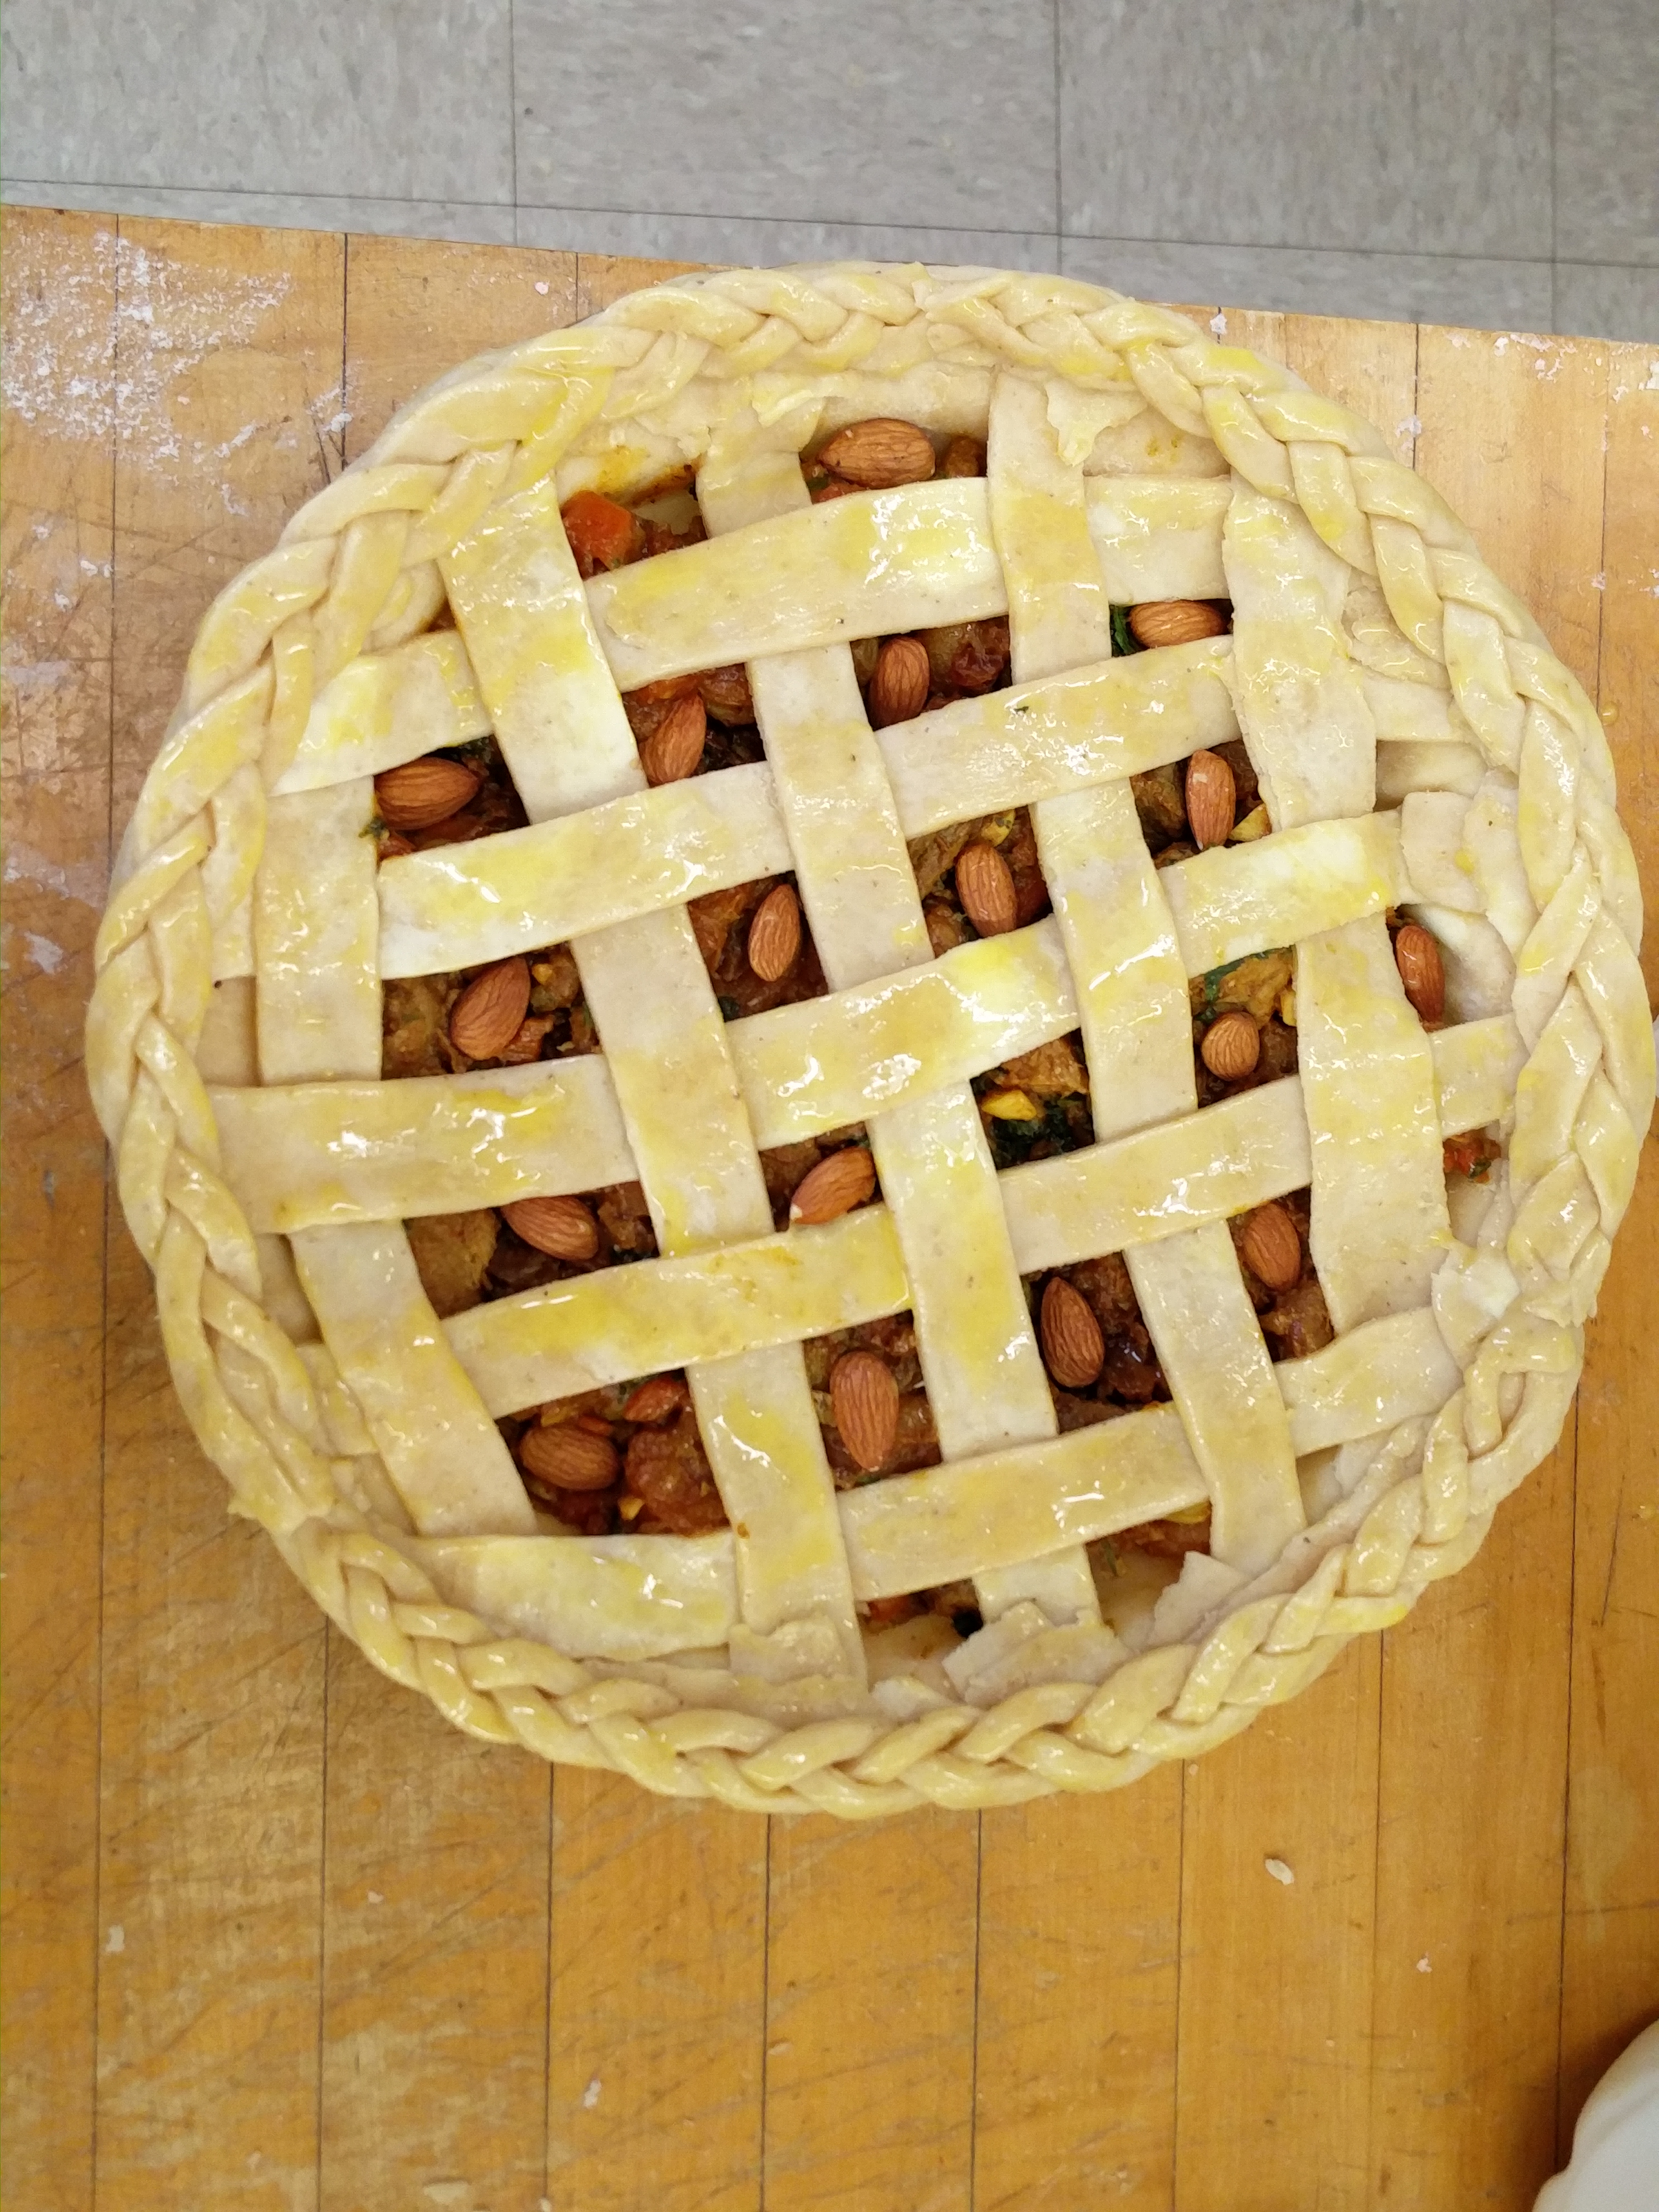
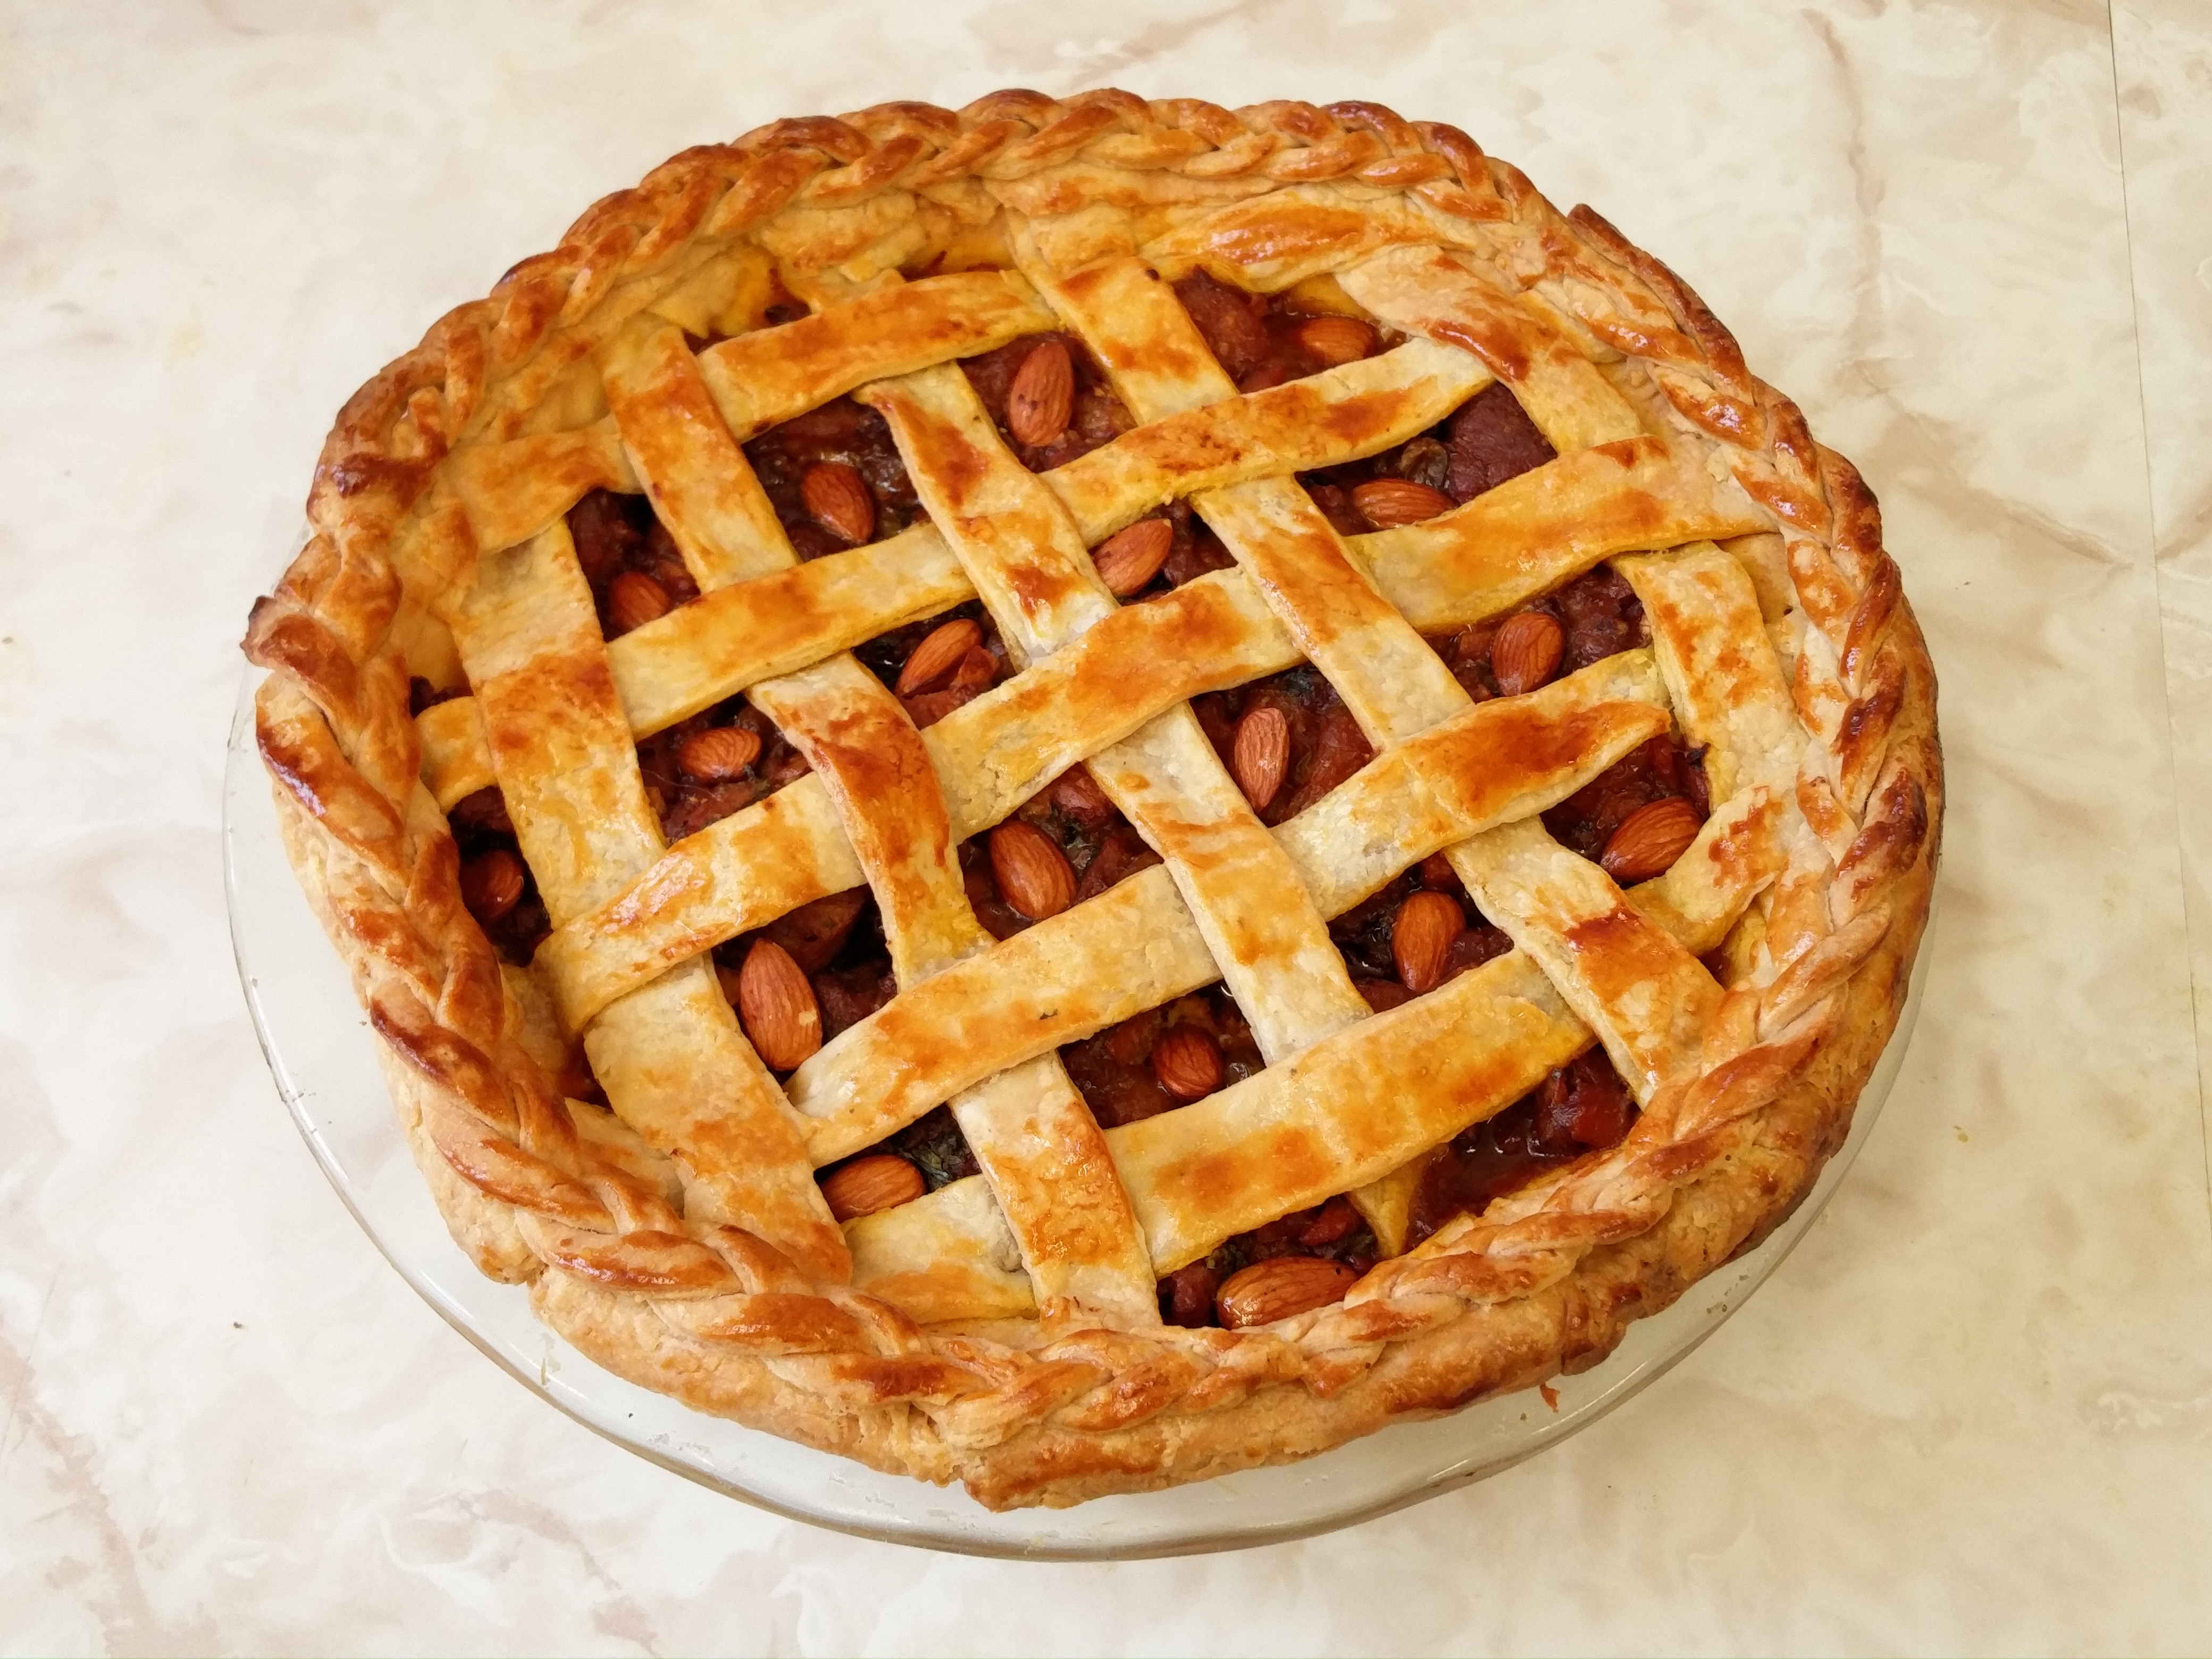
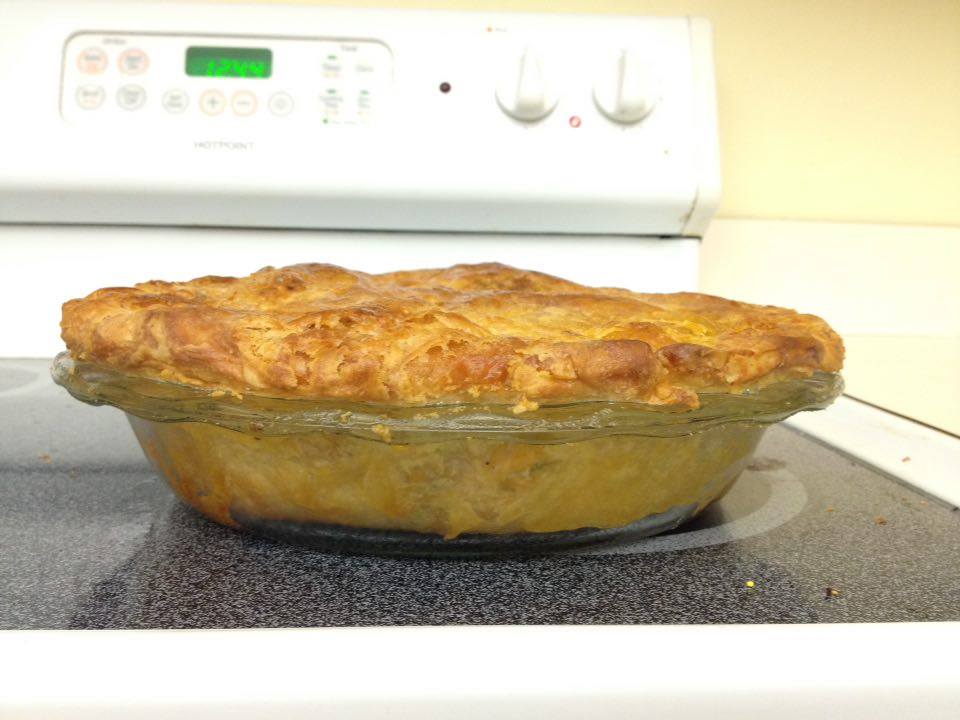
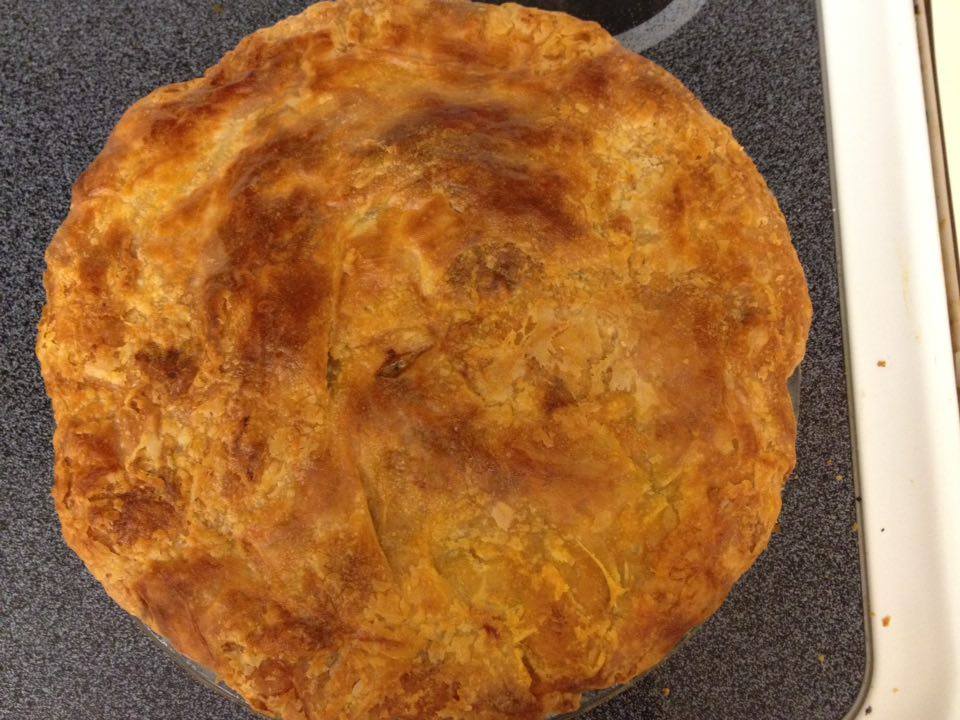
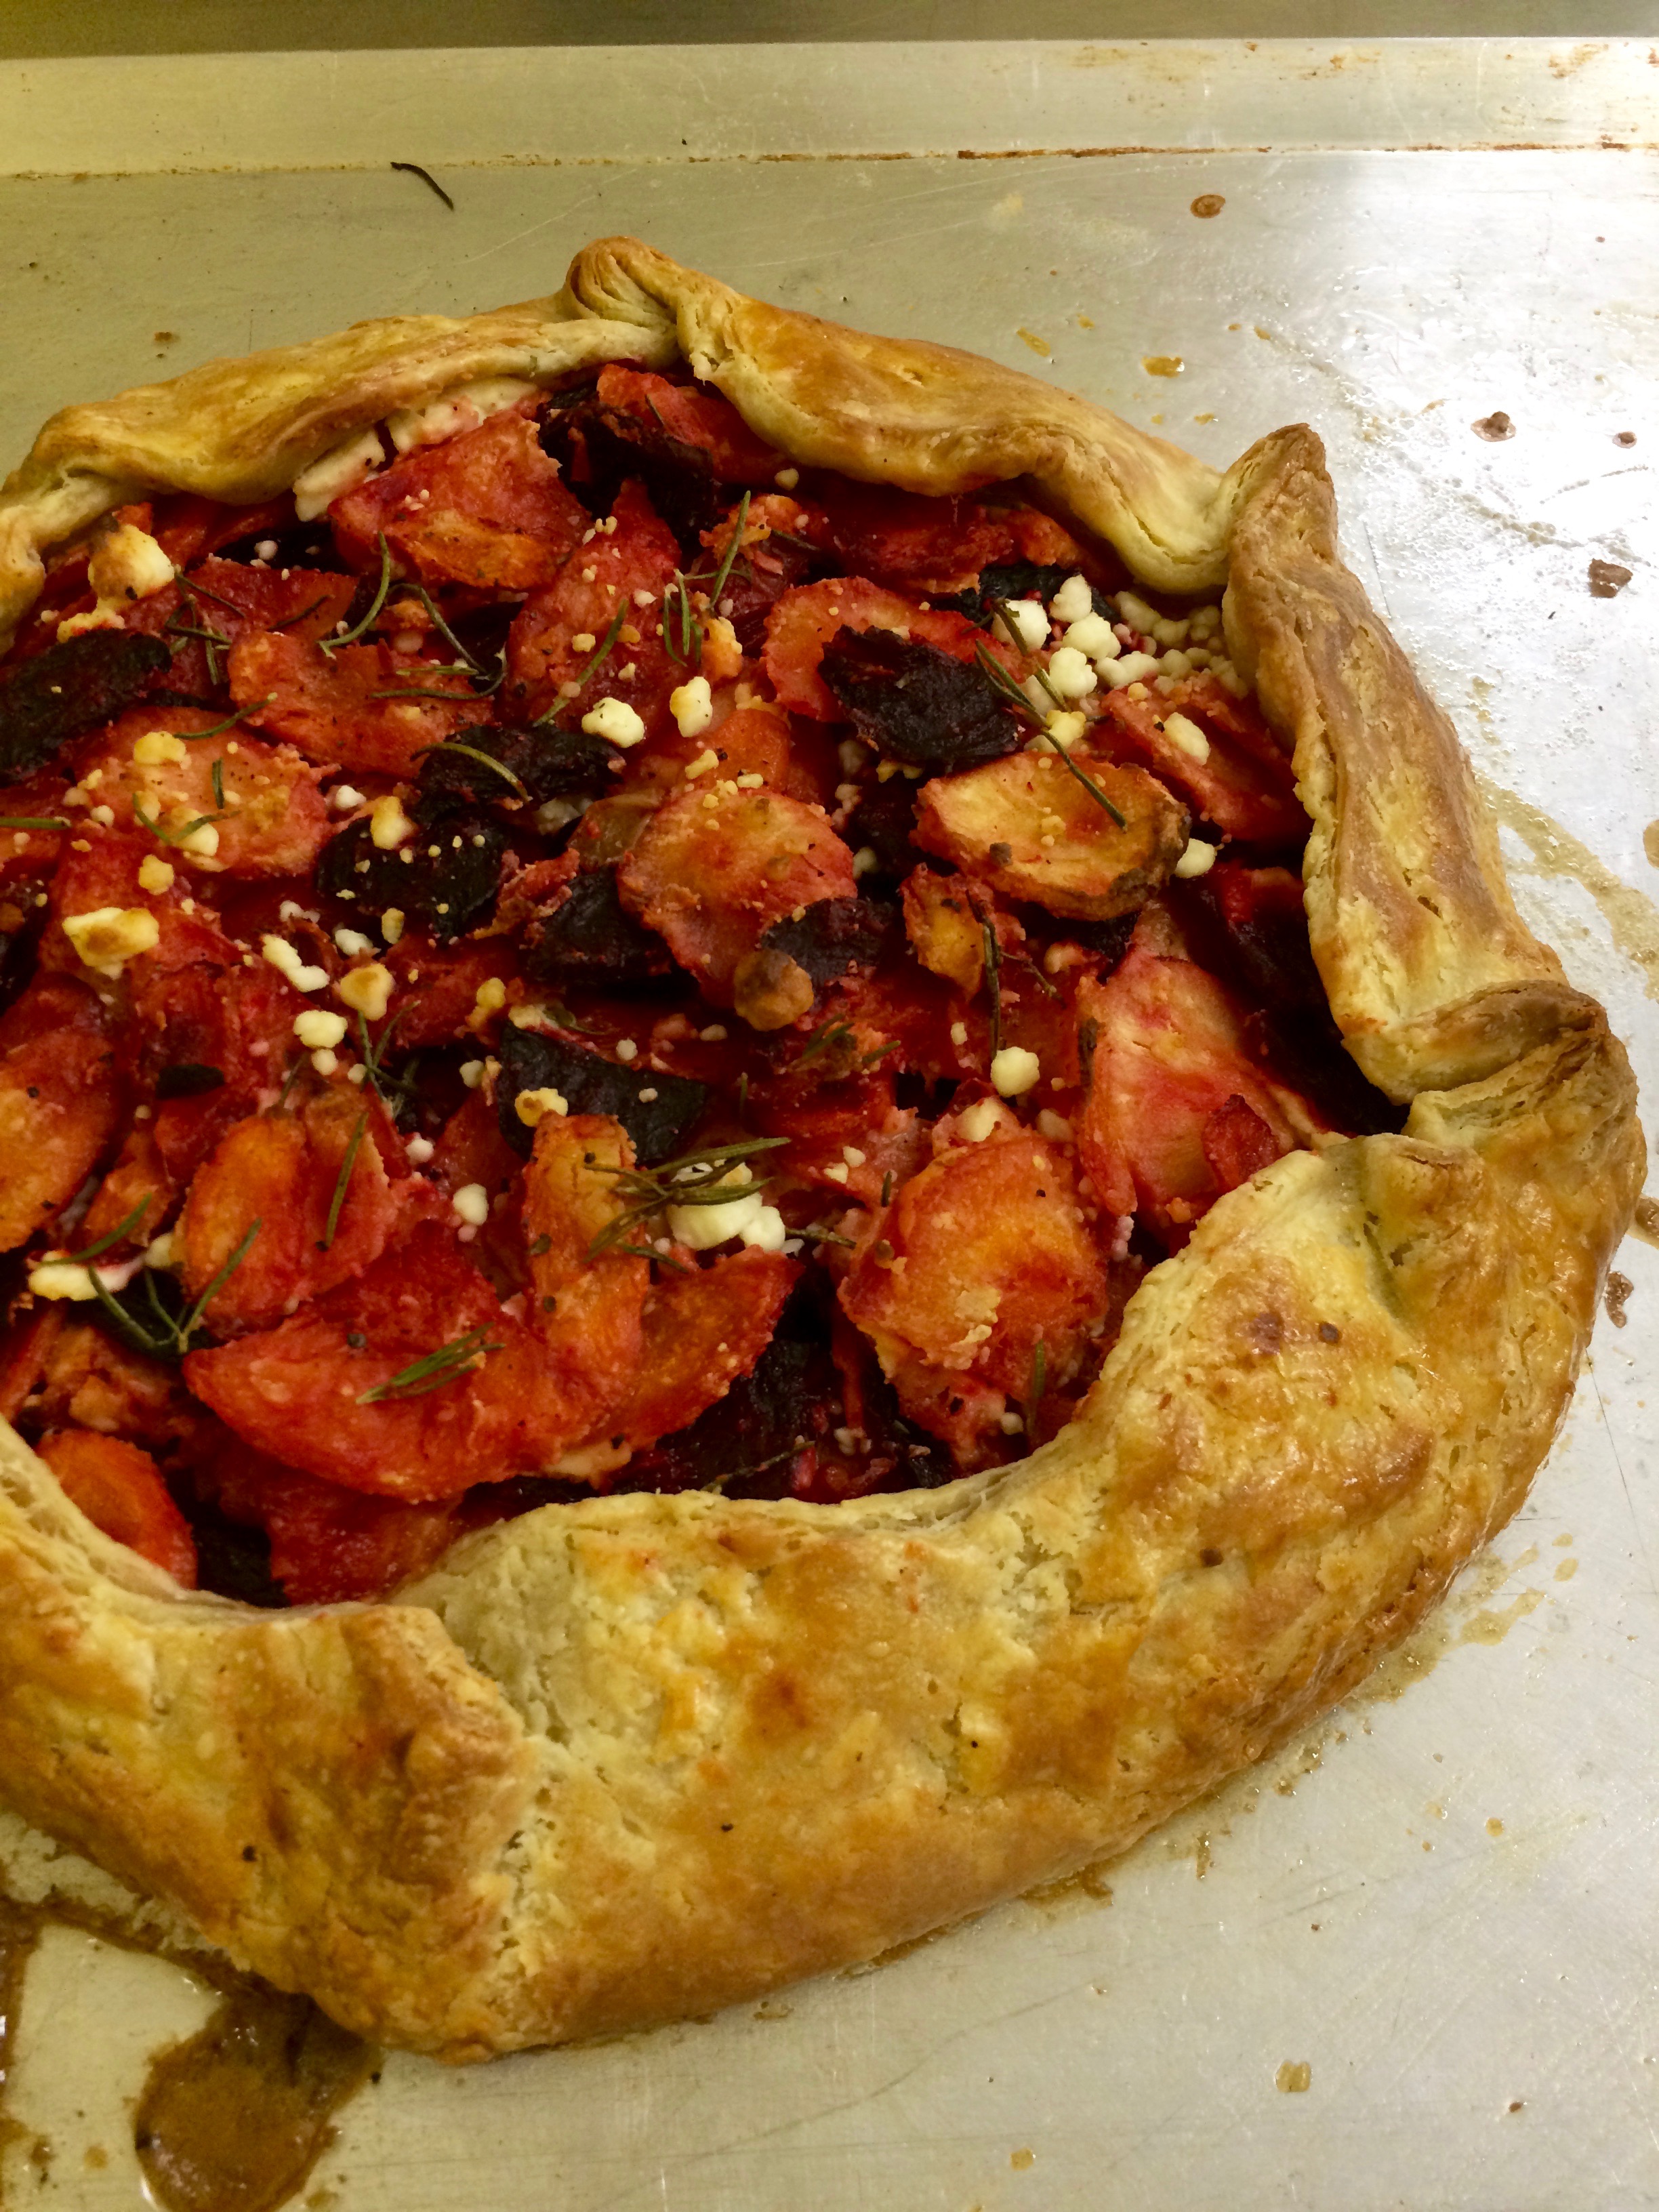
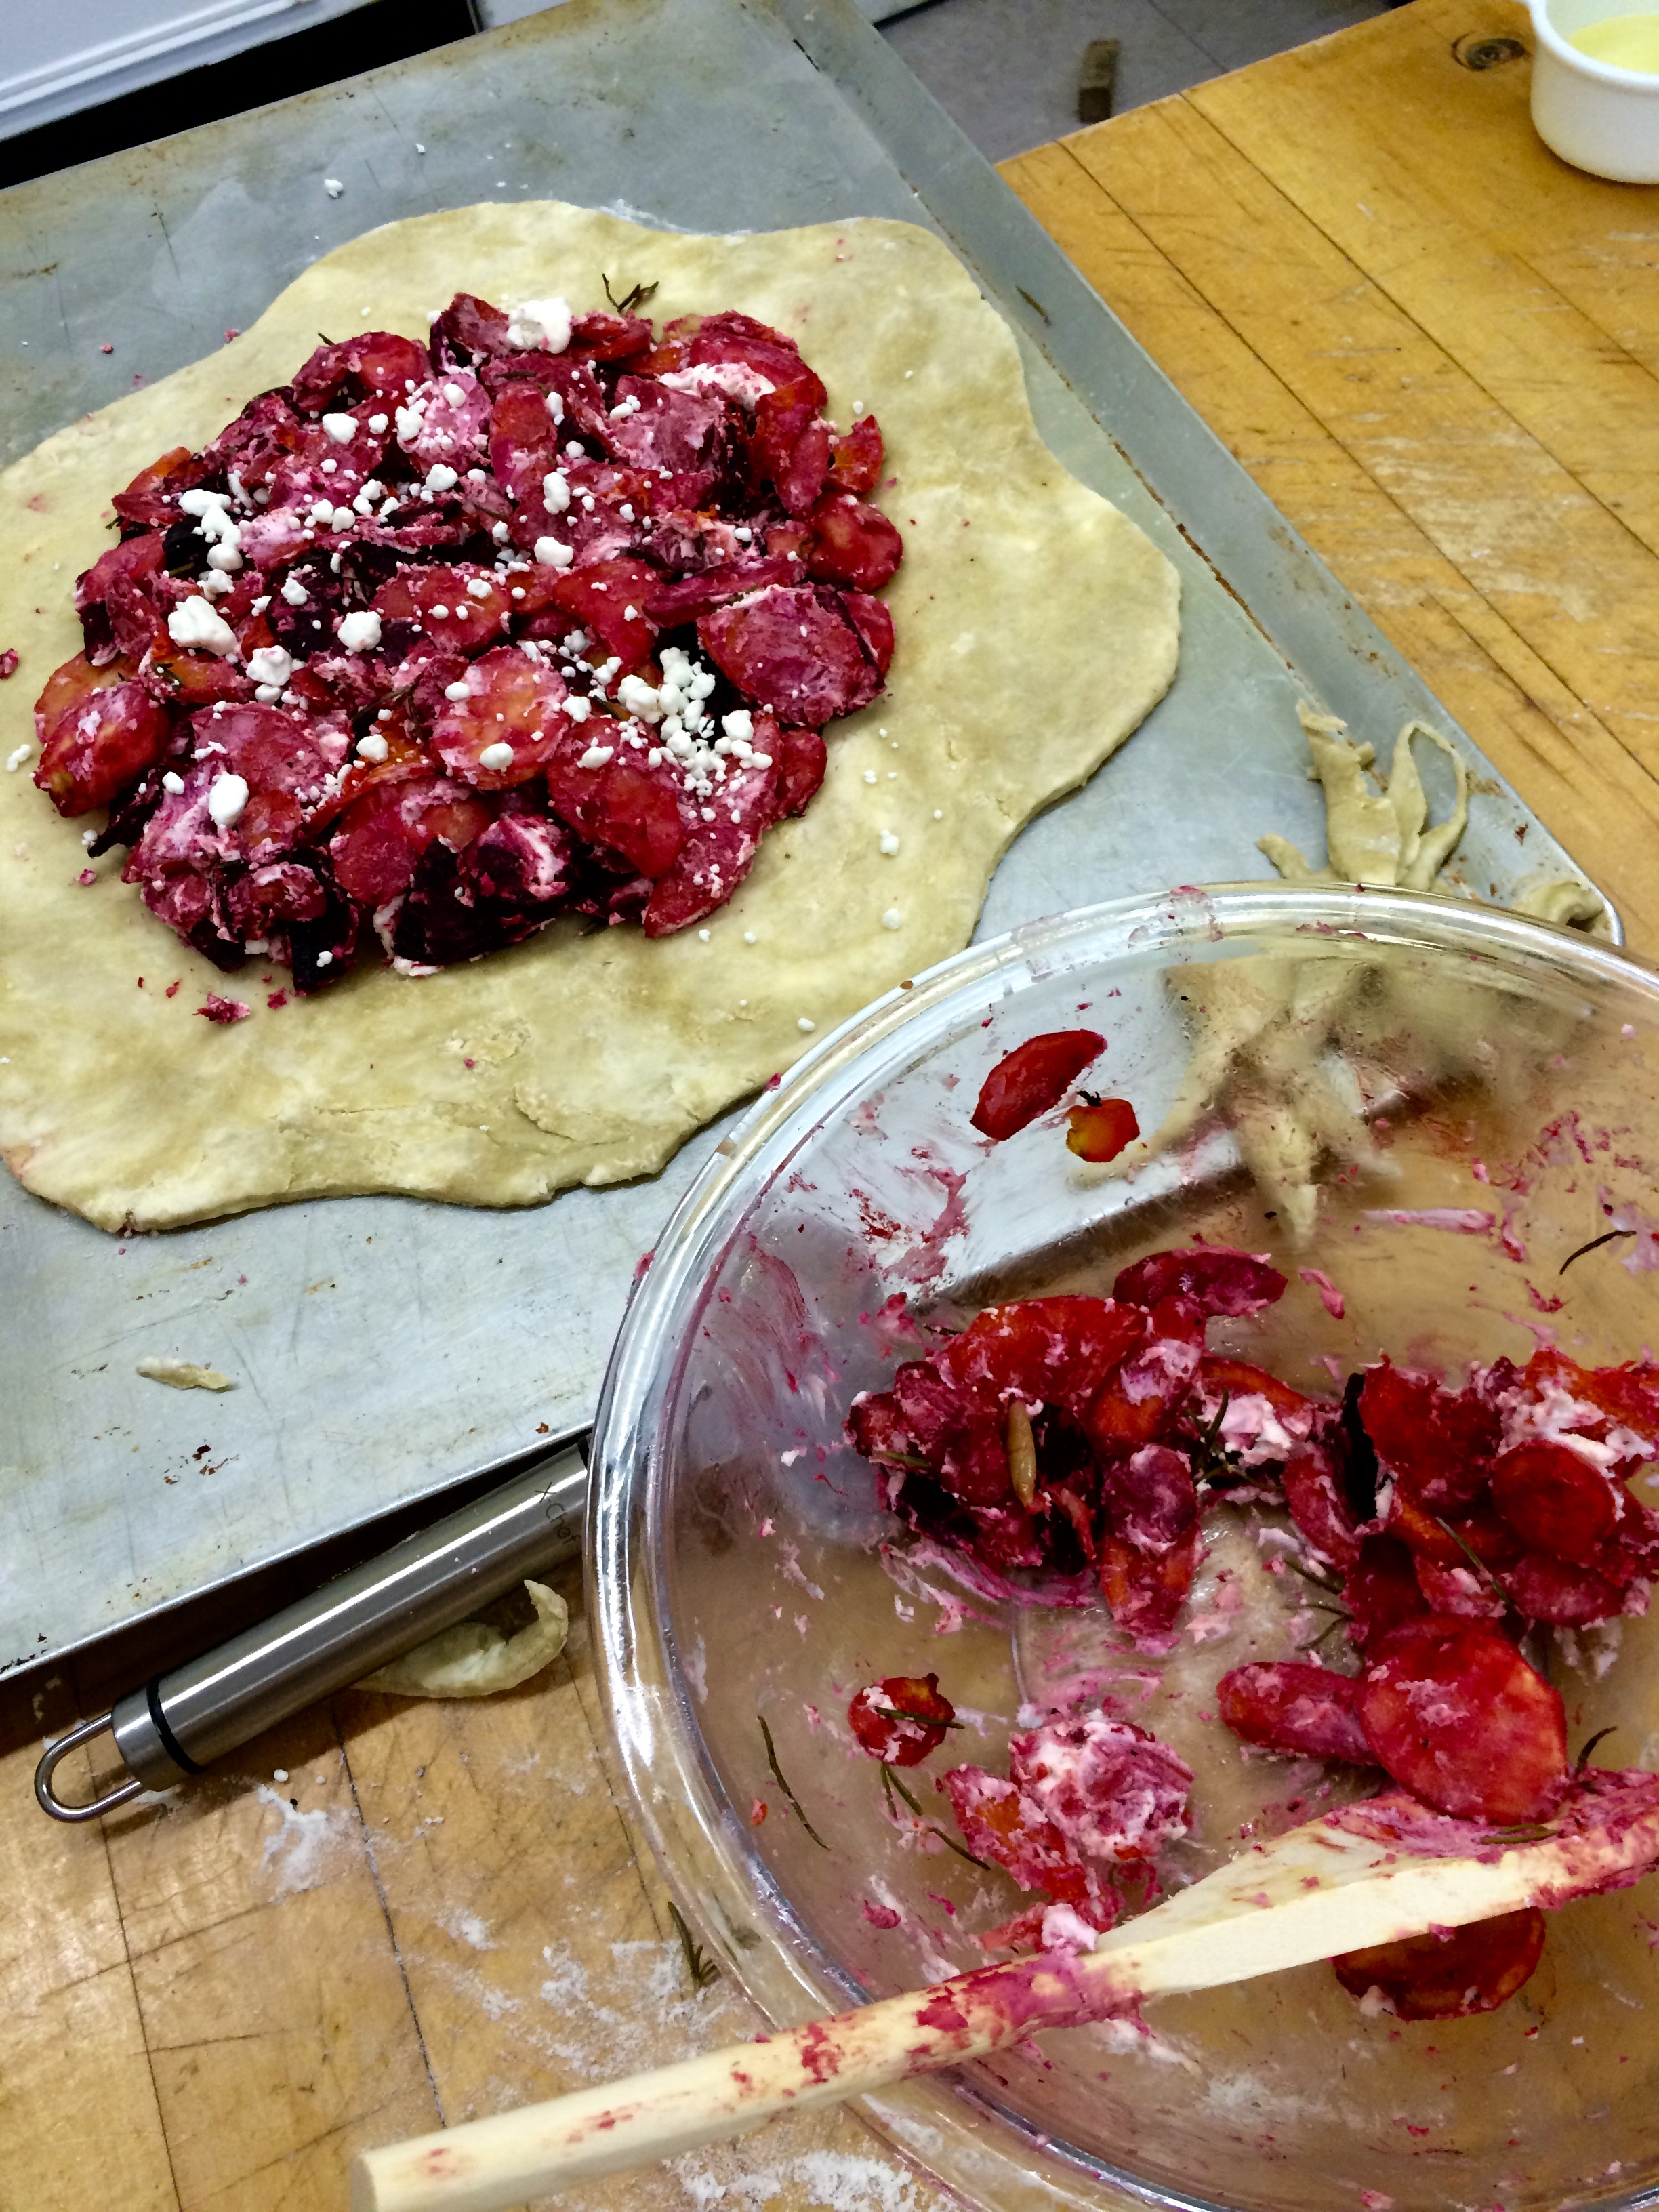
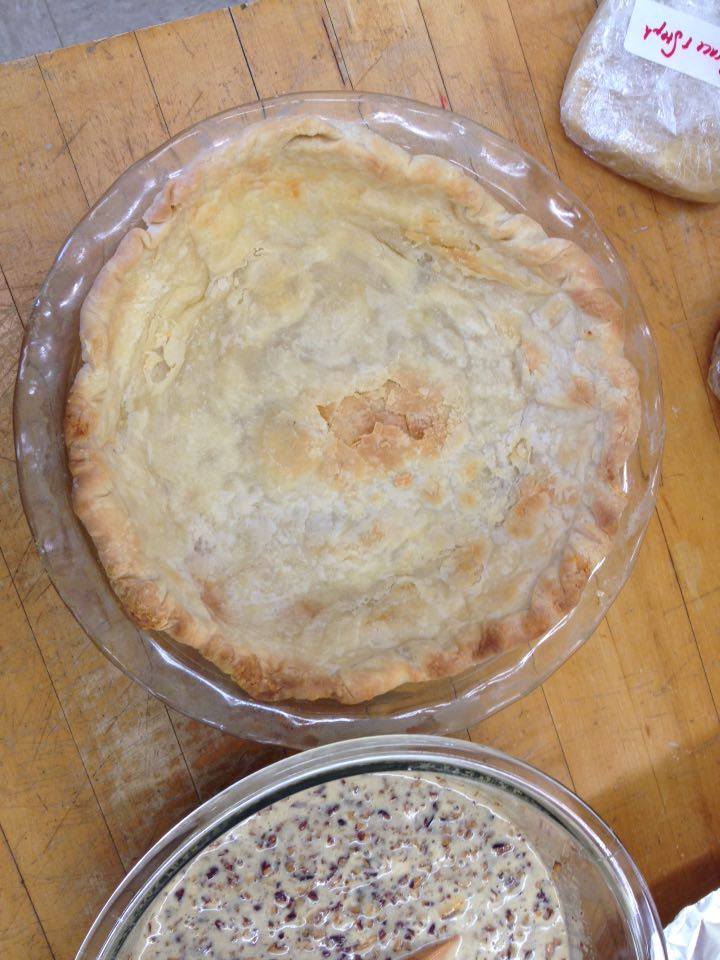
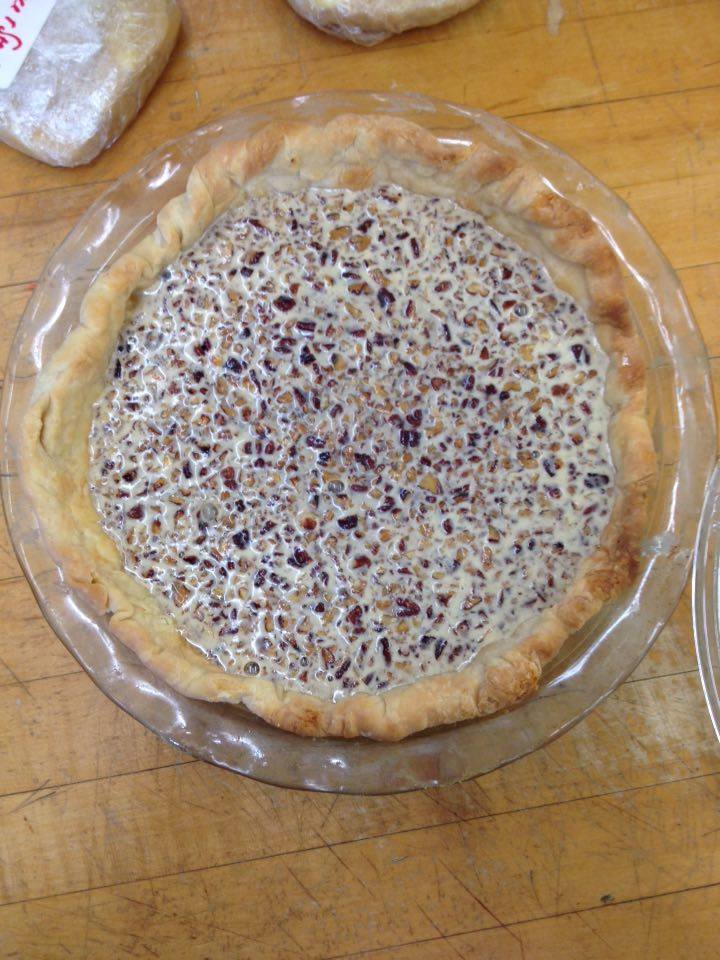
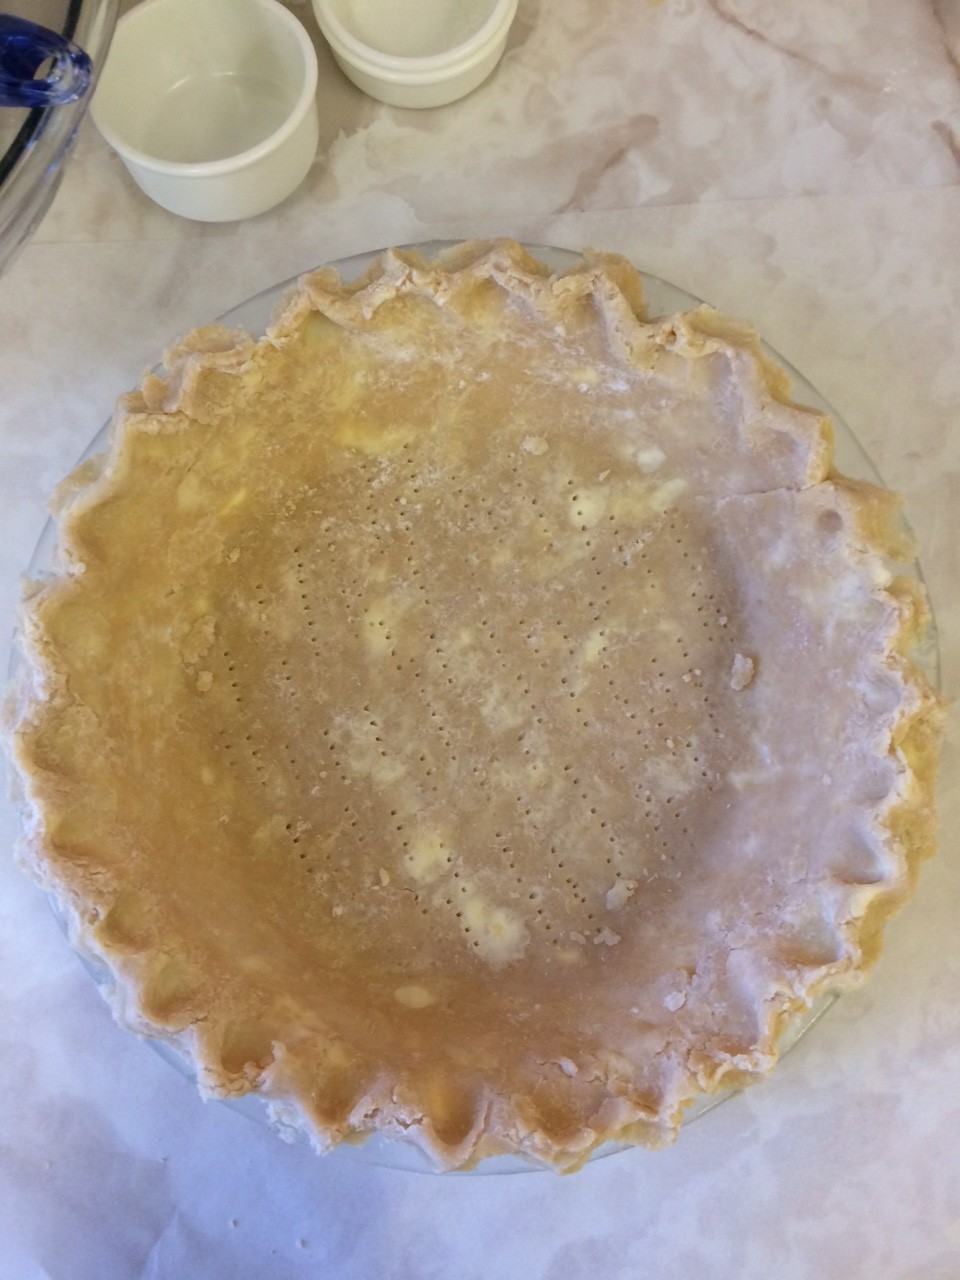
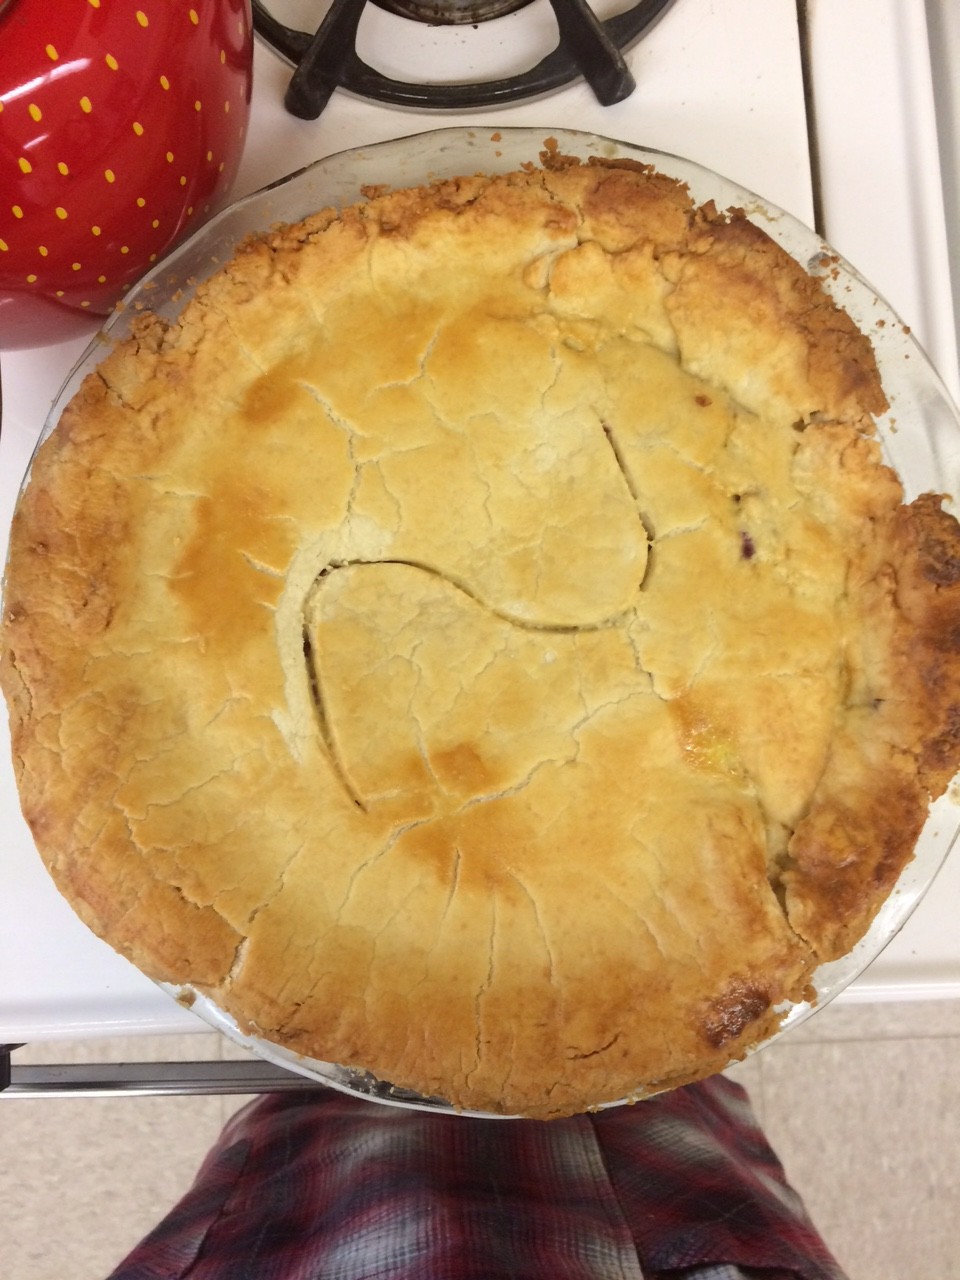
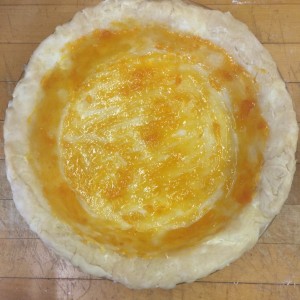
Full-sized pies, pre-bake
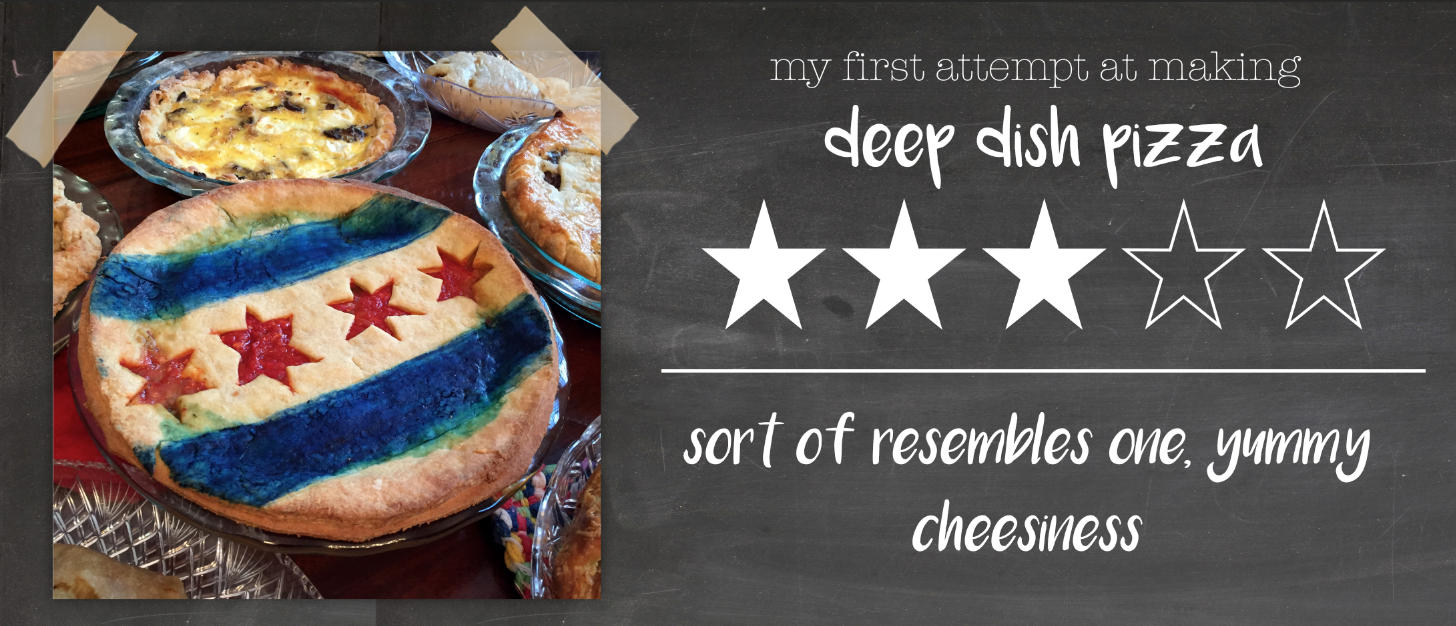
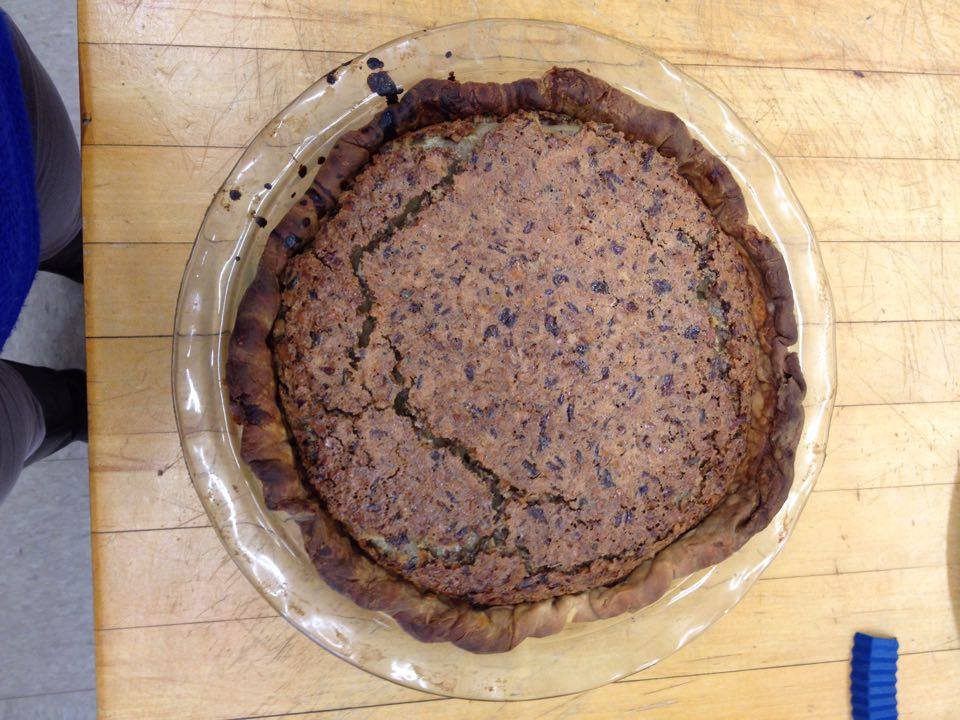
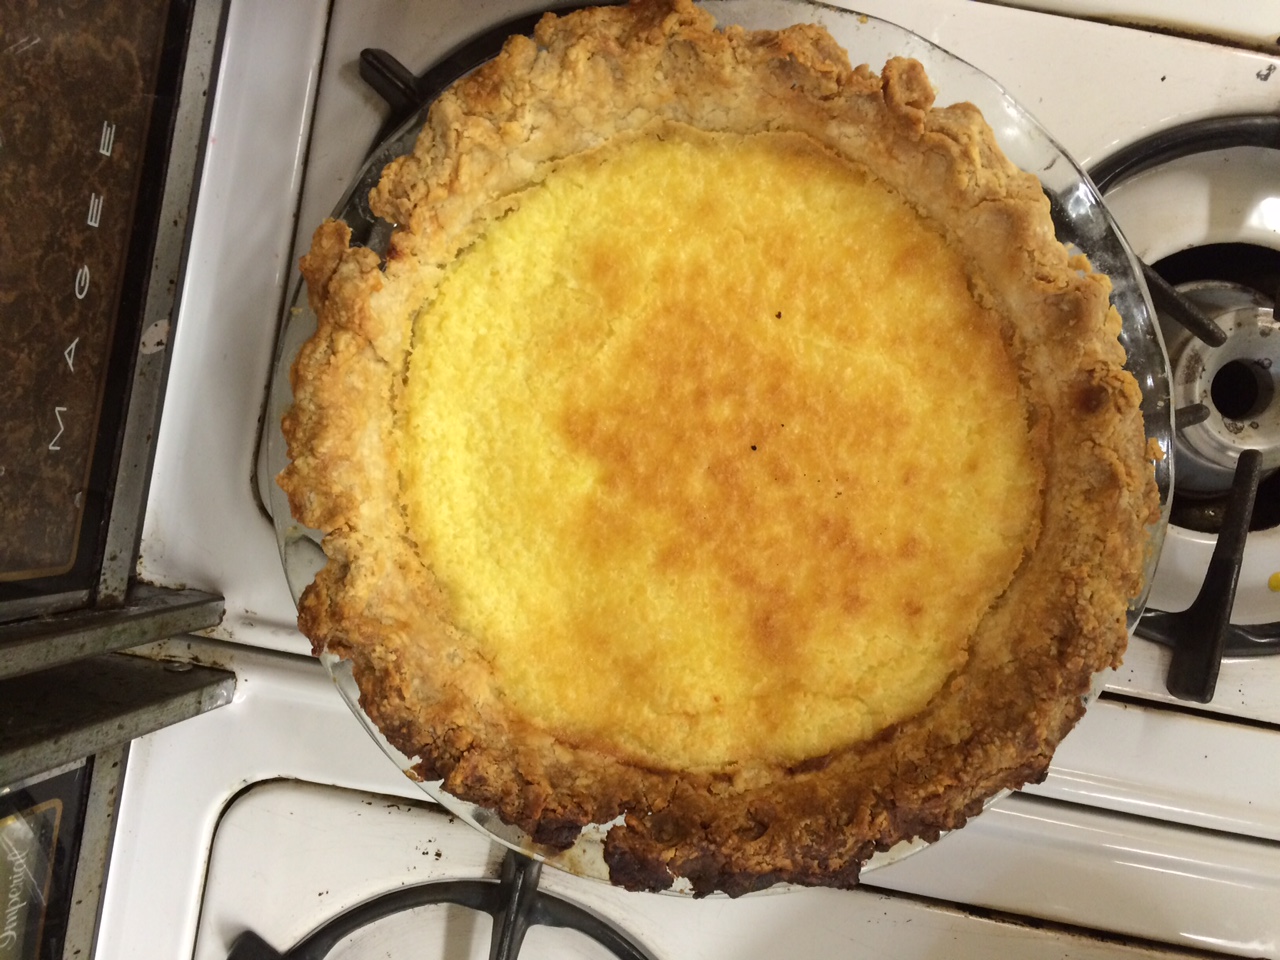
The pie baking took, in total, around 3 ½ hours (plus the time spent making pastry two days before), and I think that for the first week, everything turned out pretty well. My only qualms with our pies had to do with some slightly over-browned crust, and a lack of suitable ice cream.
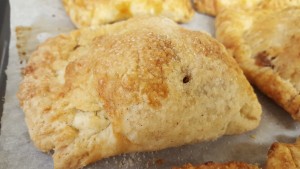
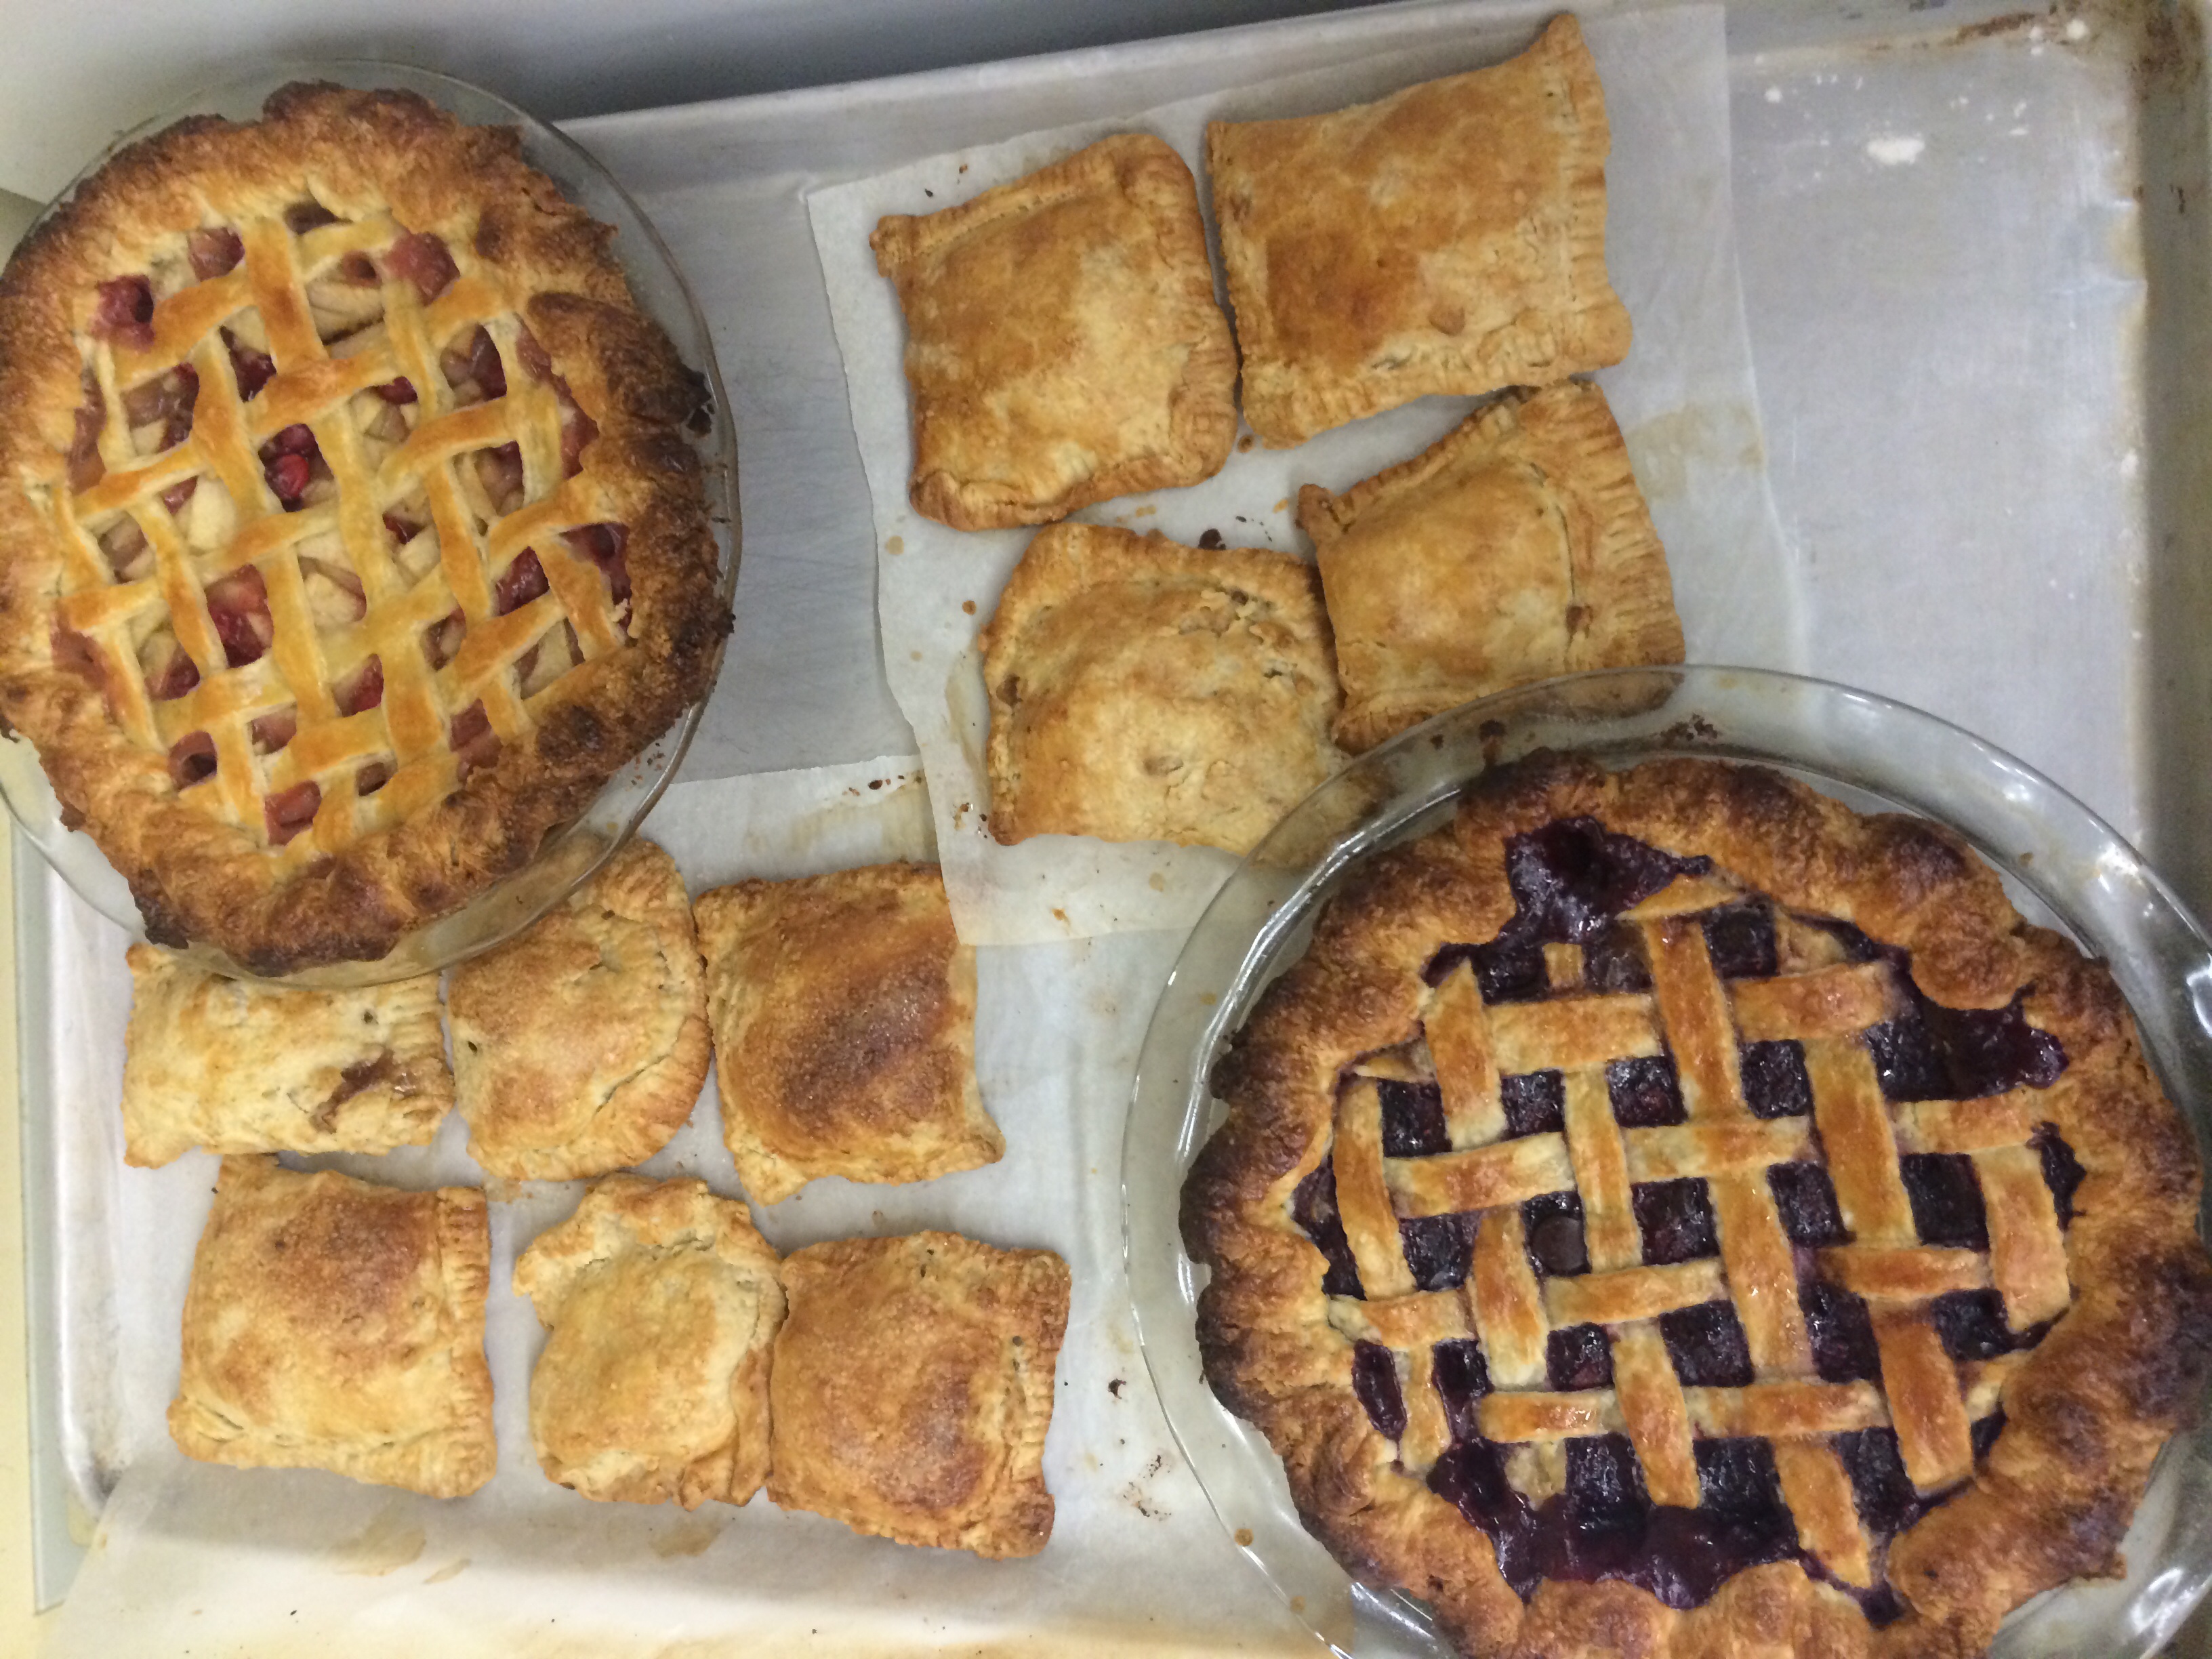
Golden Apple Hand Pies
The crust issue can be solved by adding silicone crust covers earlier in the baking process, and the ice cream issue was presumably just a fluke. I’ve never seen ice cream behave quite like that before, but as I prefer my ice cream to be neither icy, nor liquid, I think perhaps I will choose another brand in the future.
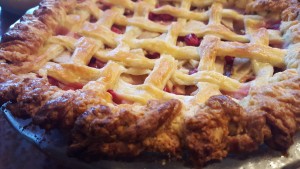
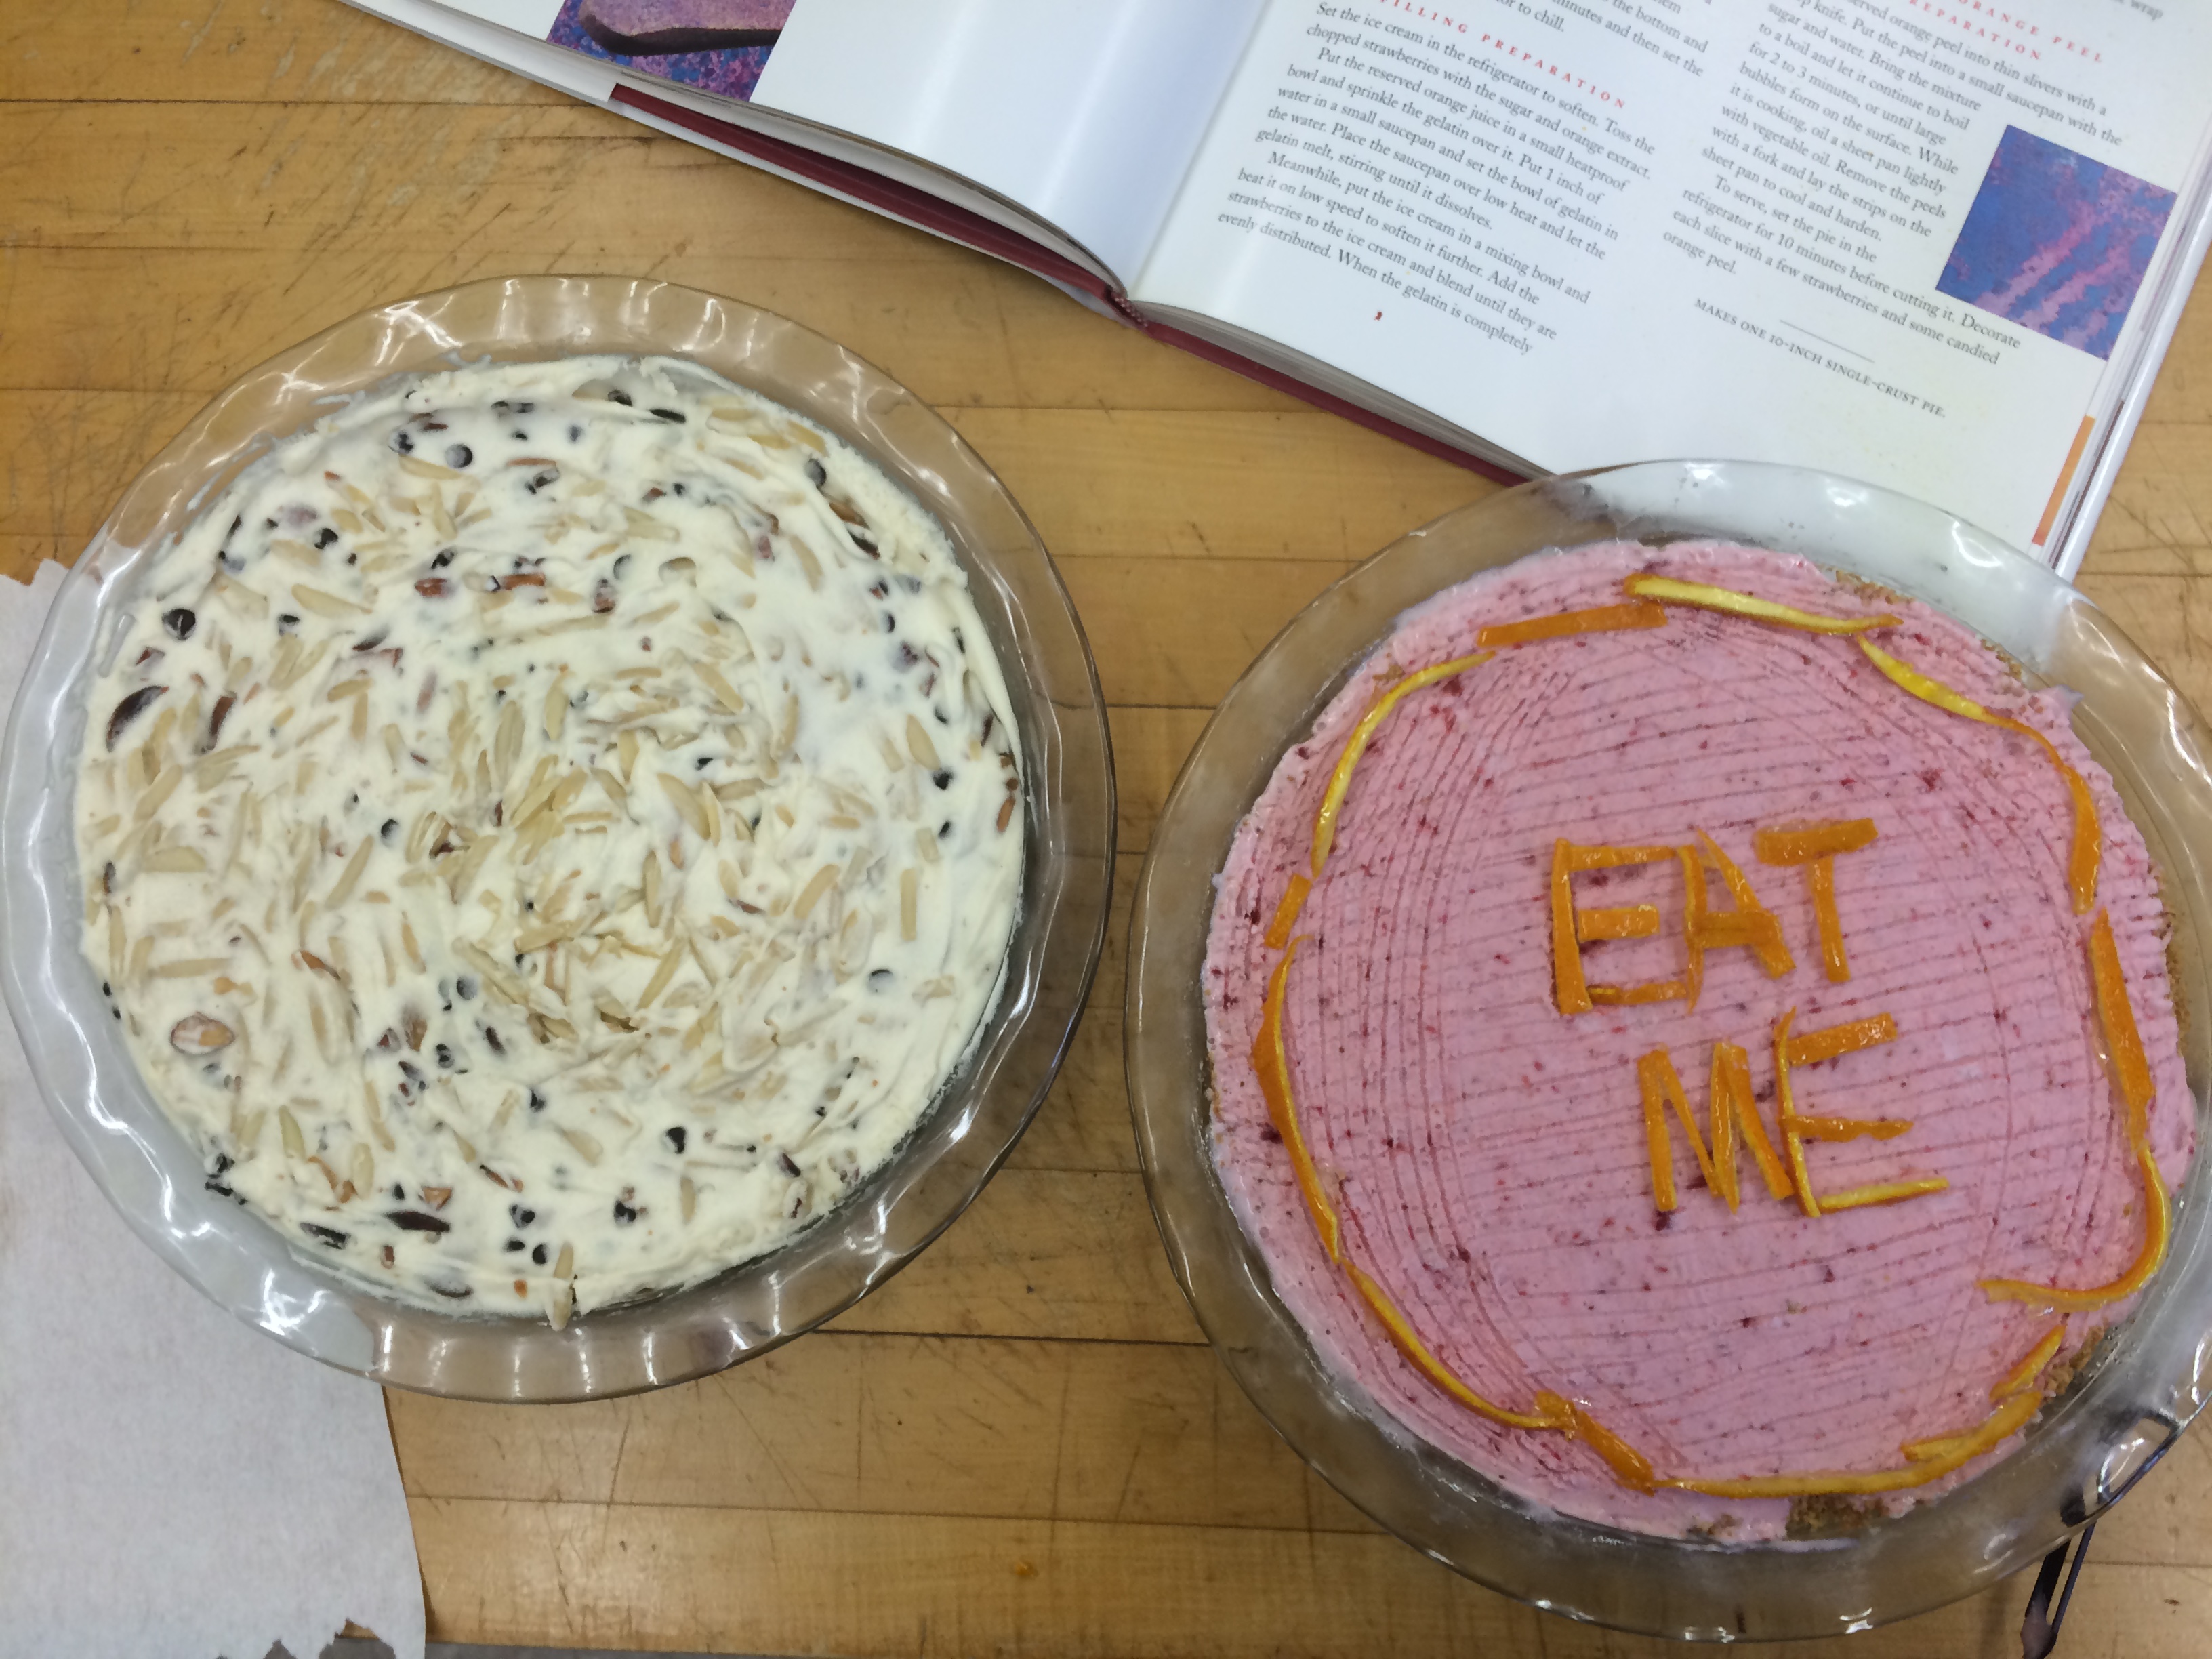
Pear Cranberry
All of the recipes are listed at the bottom of this post, but for now, I’m going to take a short jump to talk about tasting.
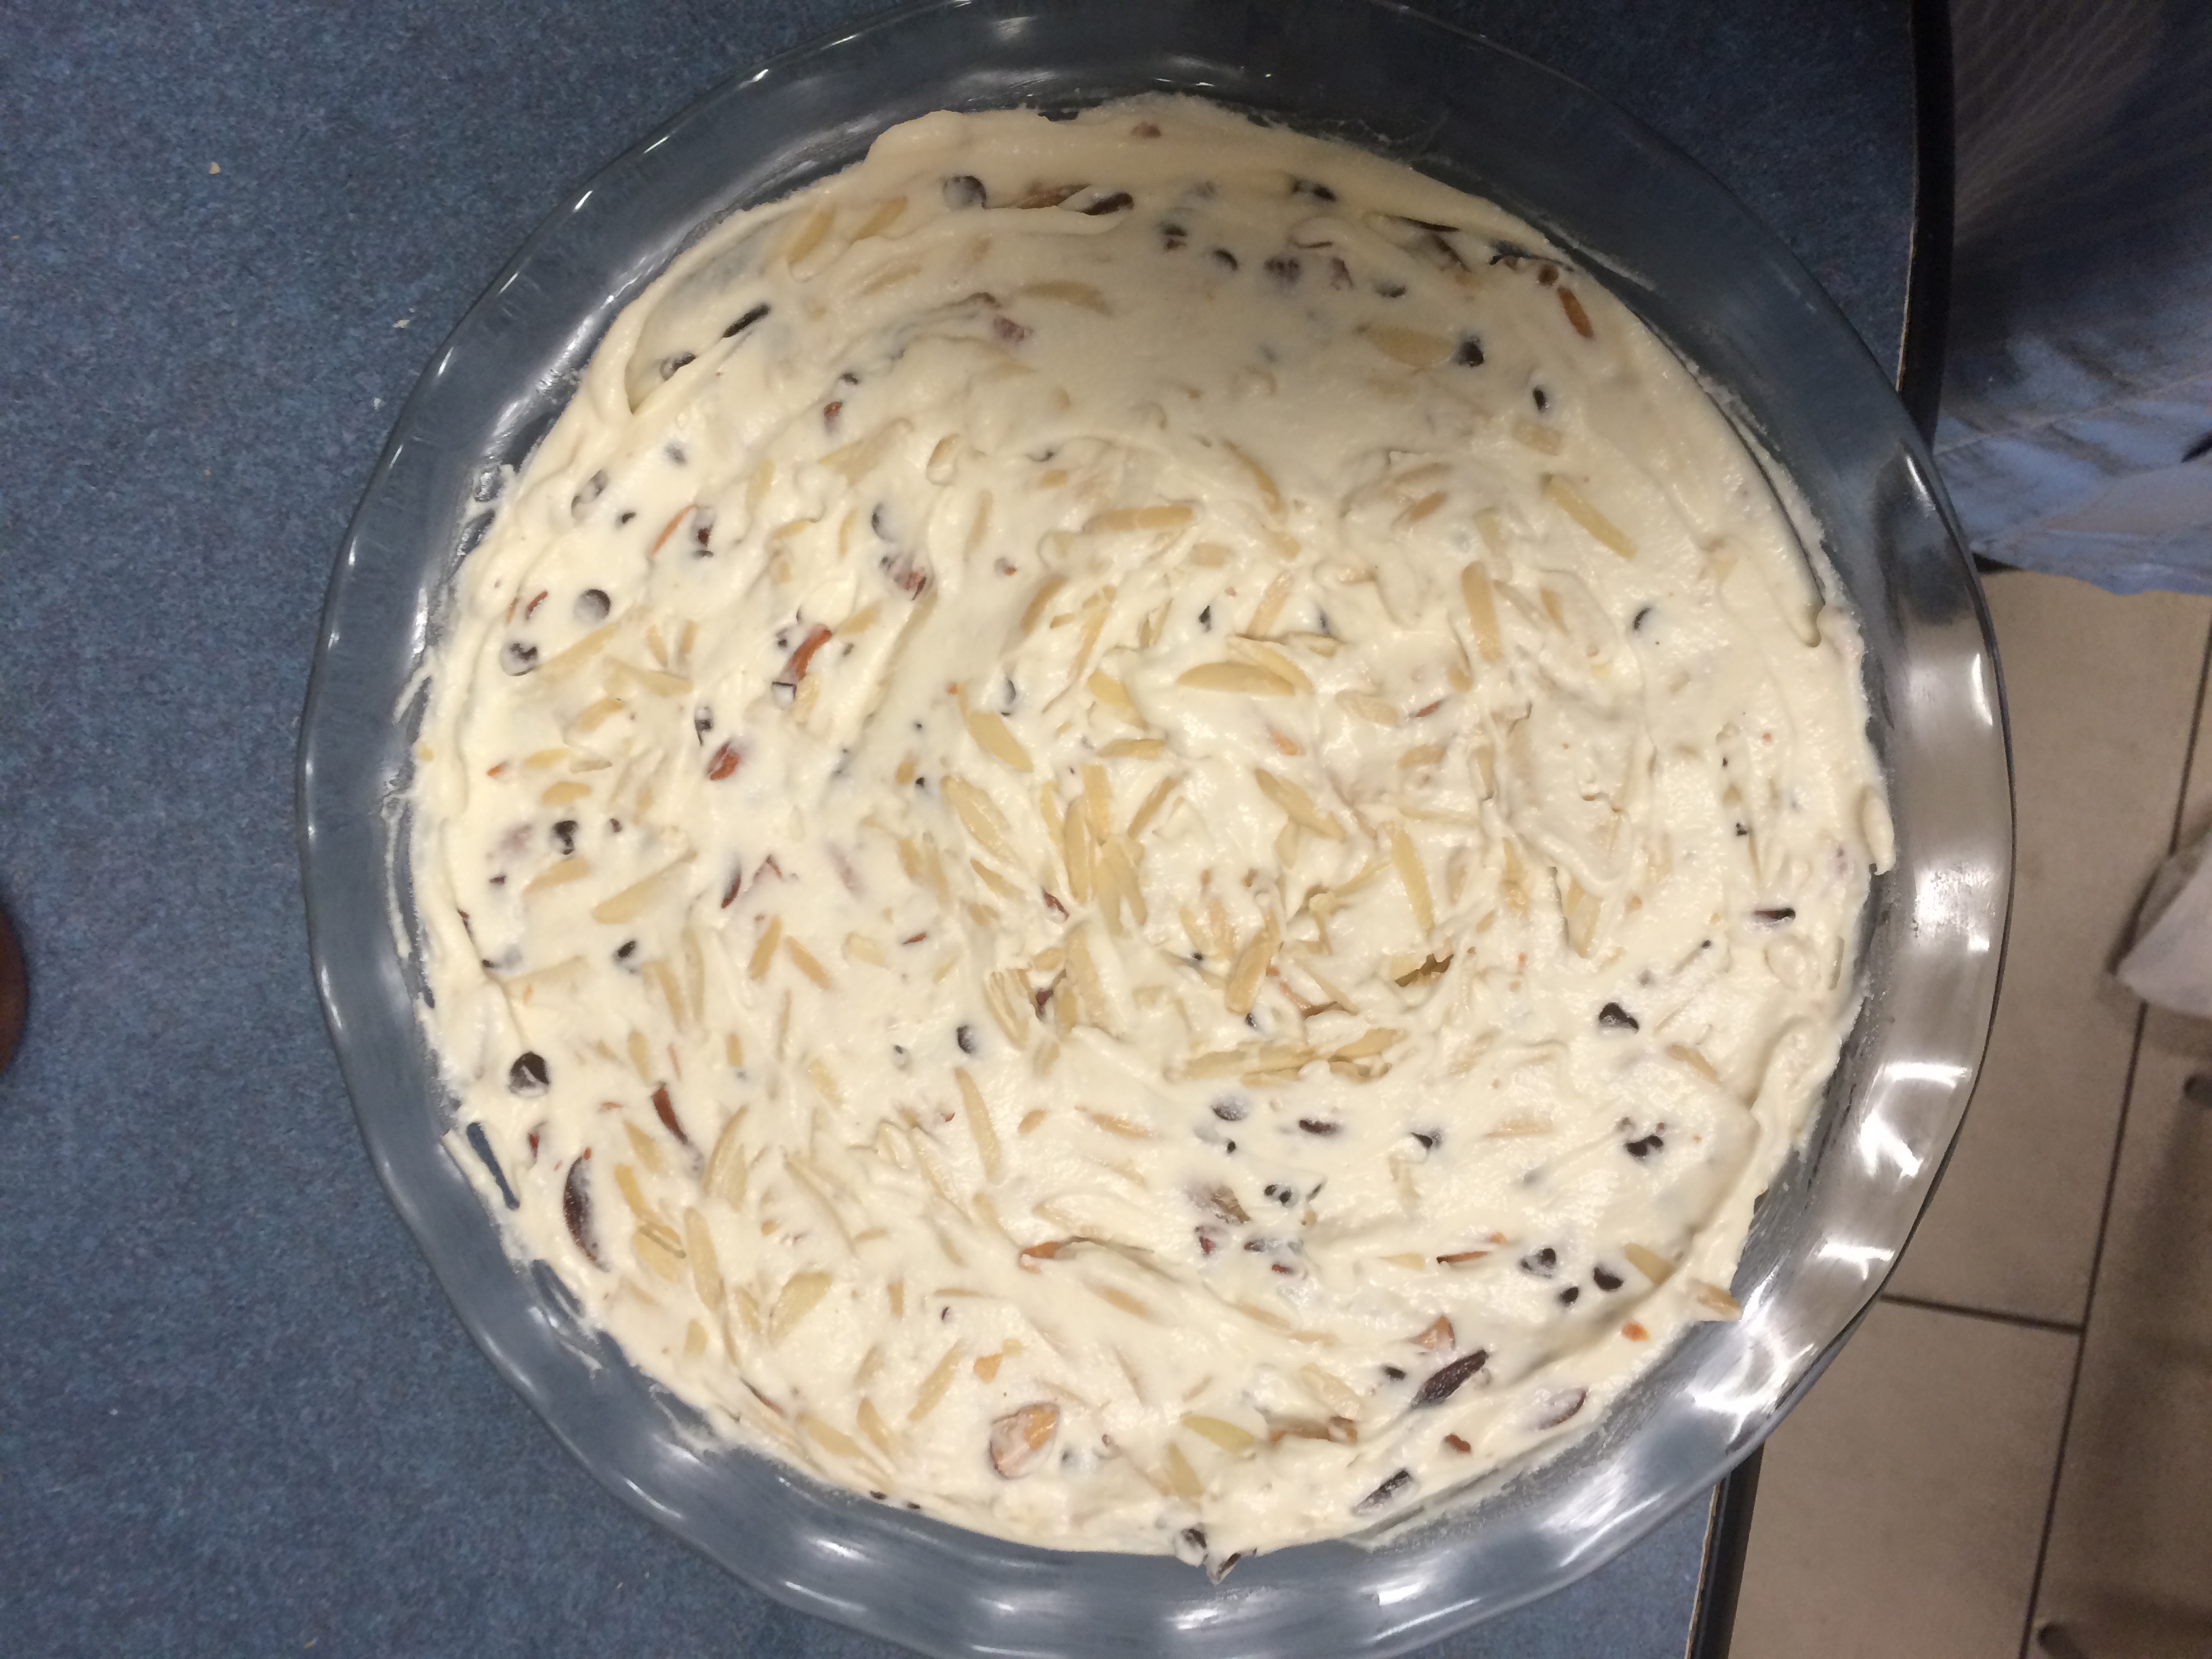
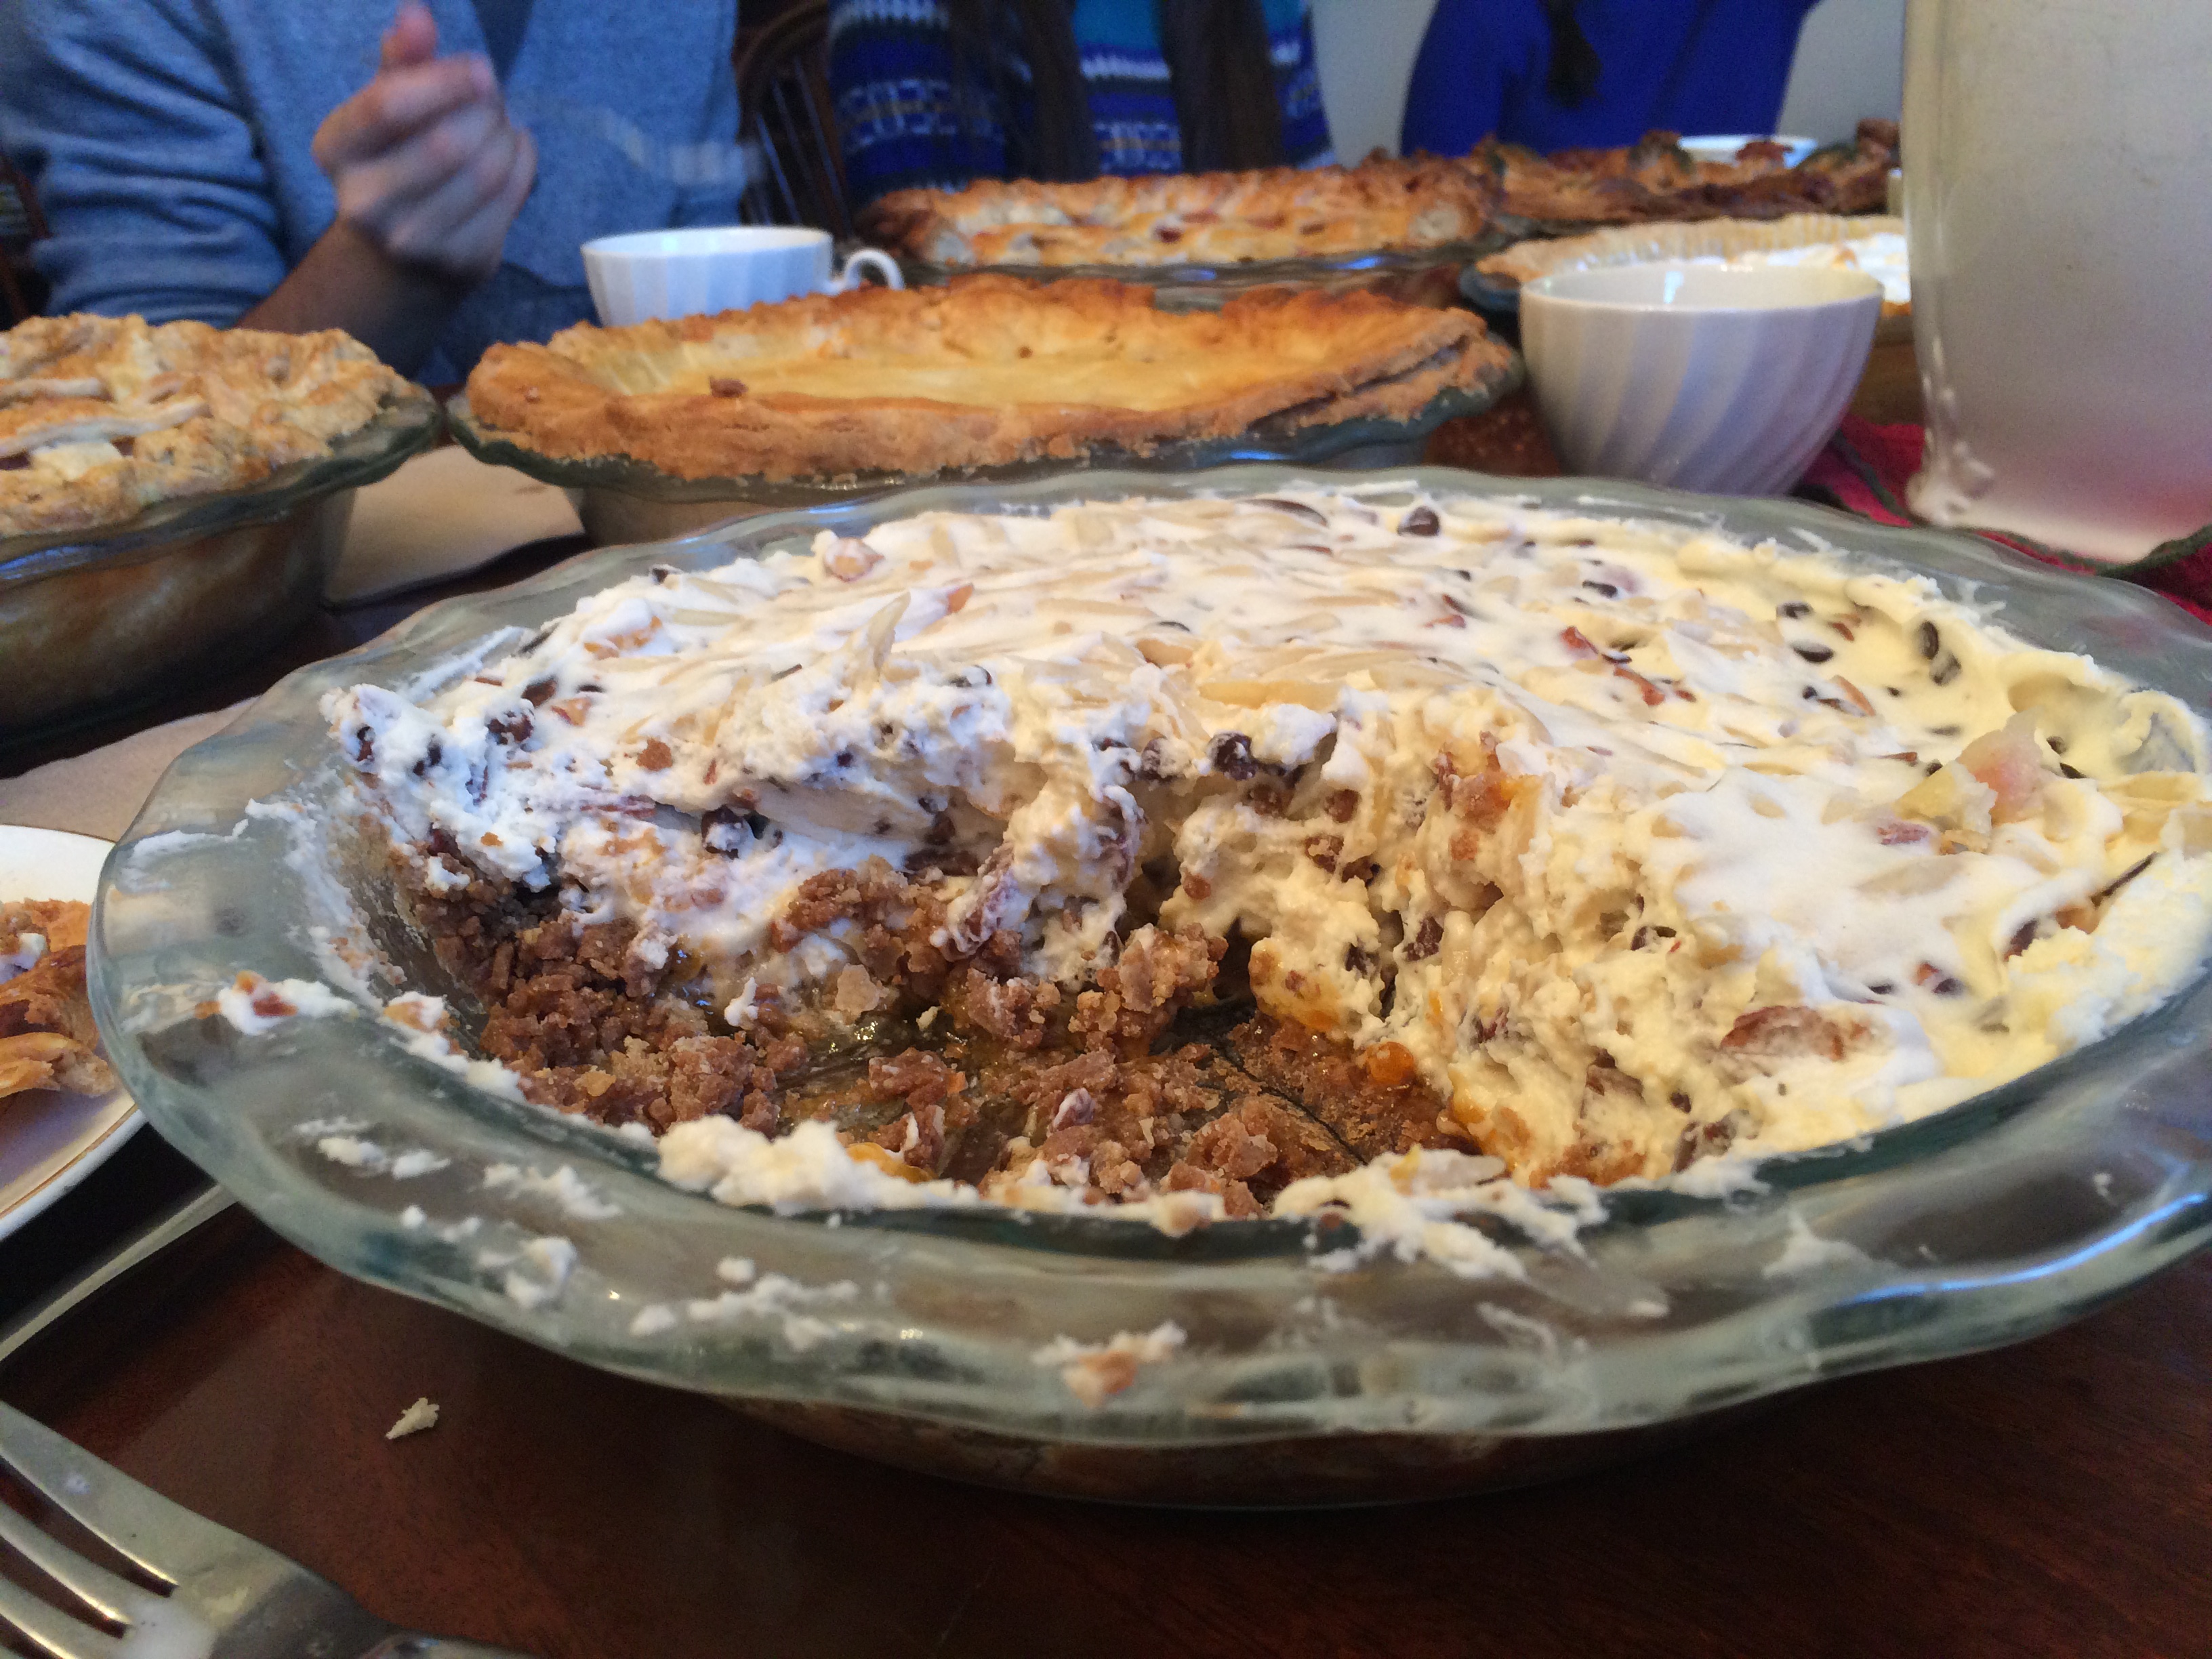
I’ve never been asked to try 14 pies before.
I will be totally honest: going into this, I thought it would be a breeze. I now question my lack of foresight, as fourteen pies – even if all quite well-made and delicious, and totally, 100% overwhelming.
I left with a very full stomach, an ache in my head, and a new understanding of the weeks to come.

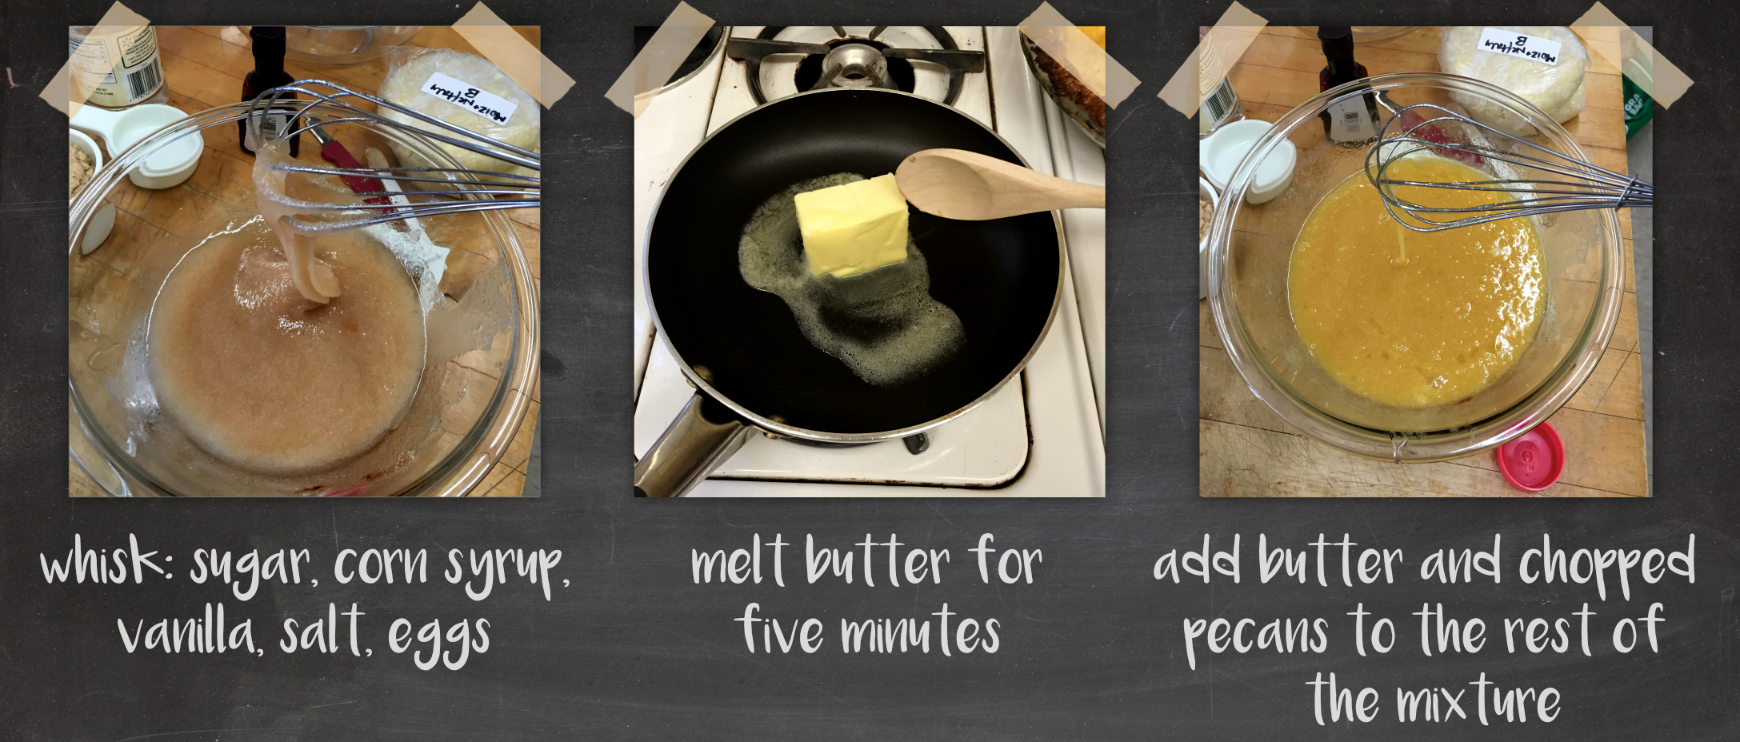
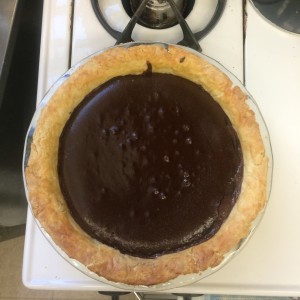
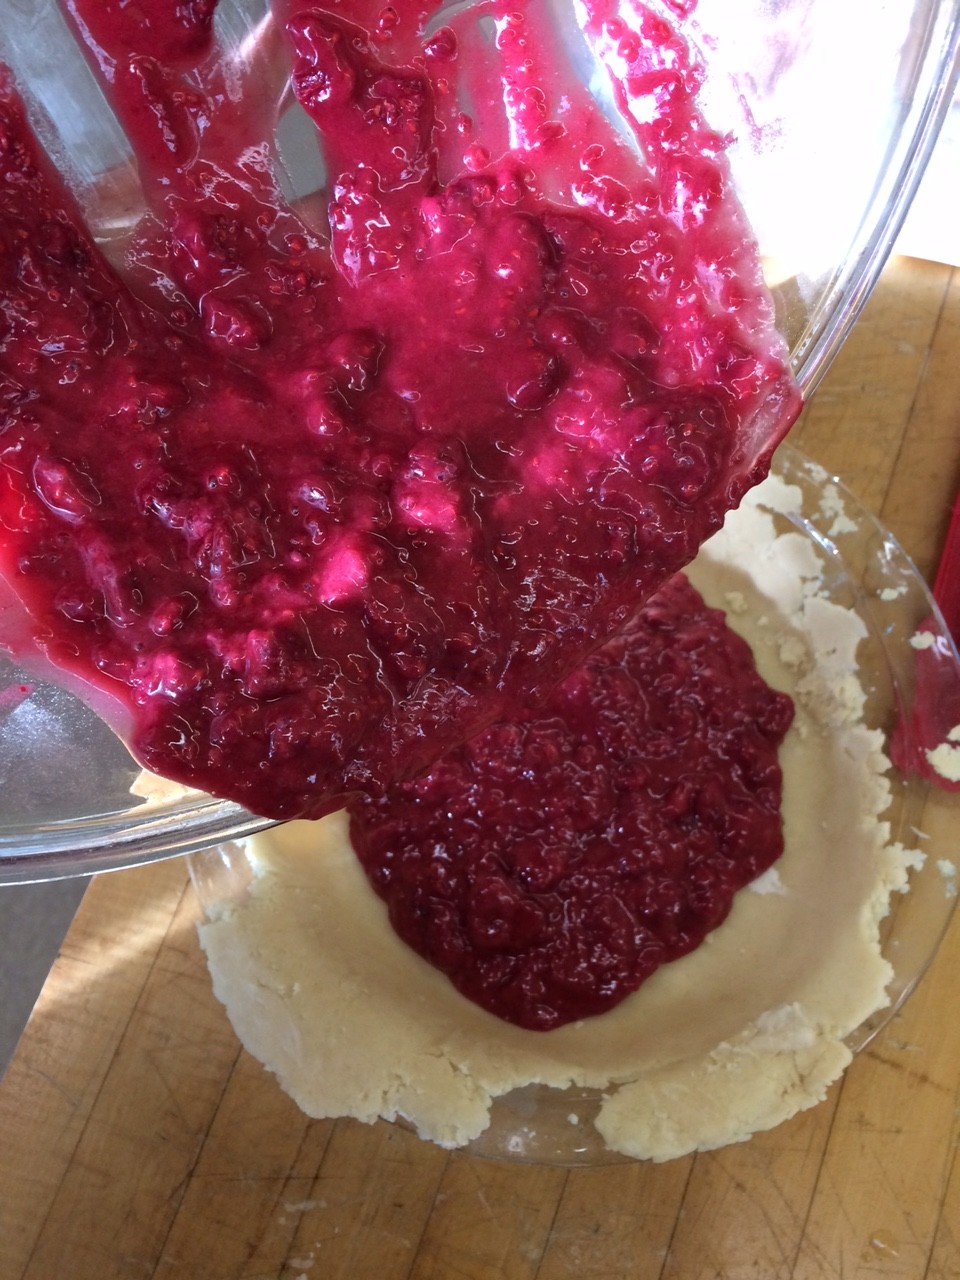
Chocolate-Raspberry Pie
Ingredients:
1 12-oz bag dark chocolate chips
2 12-oz bags of frozen raspberries, thawed
1 pear
¾ tsp almond extract
1 ½ tsp vanilla extract
⅓ lemon, juiced
¼ cup cornstarch
5 tbsp white sugar
1 egg, beaten
1 double pie crust
Instructions:
Preheat oven to 425°F
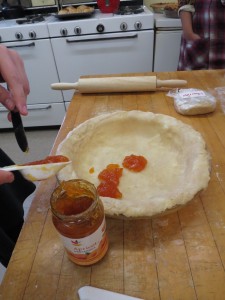
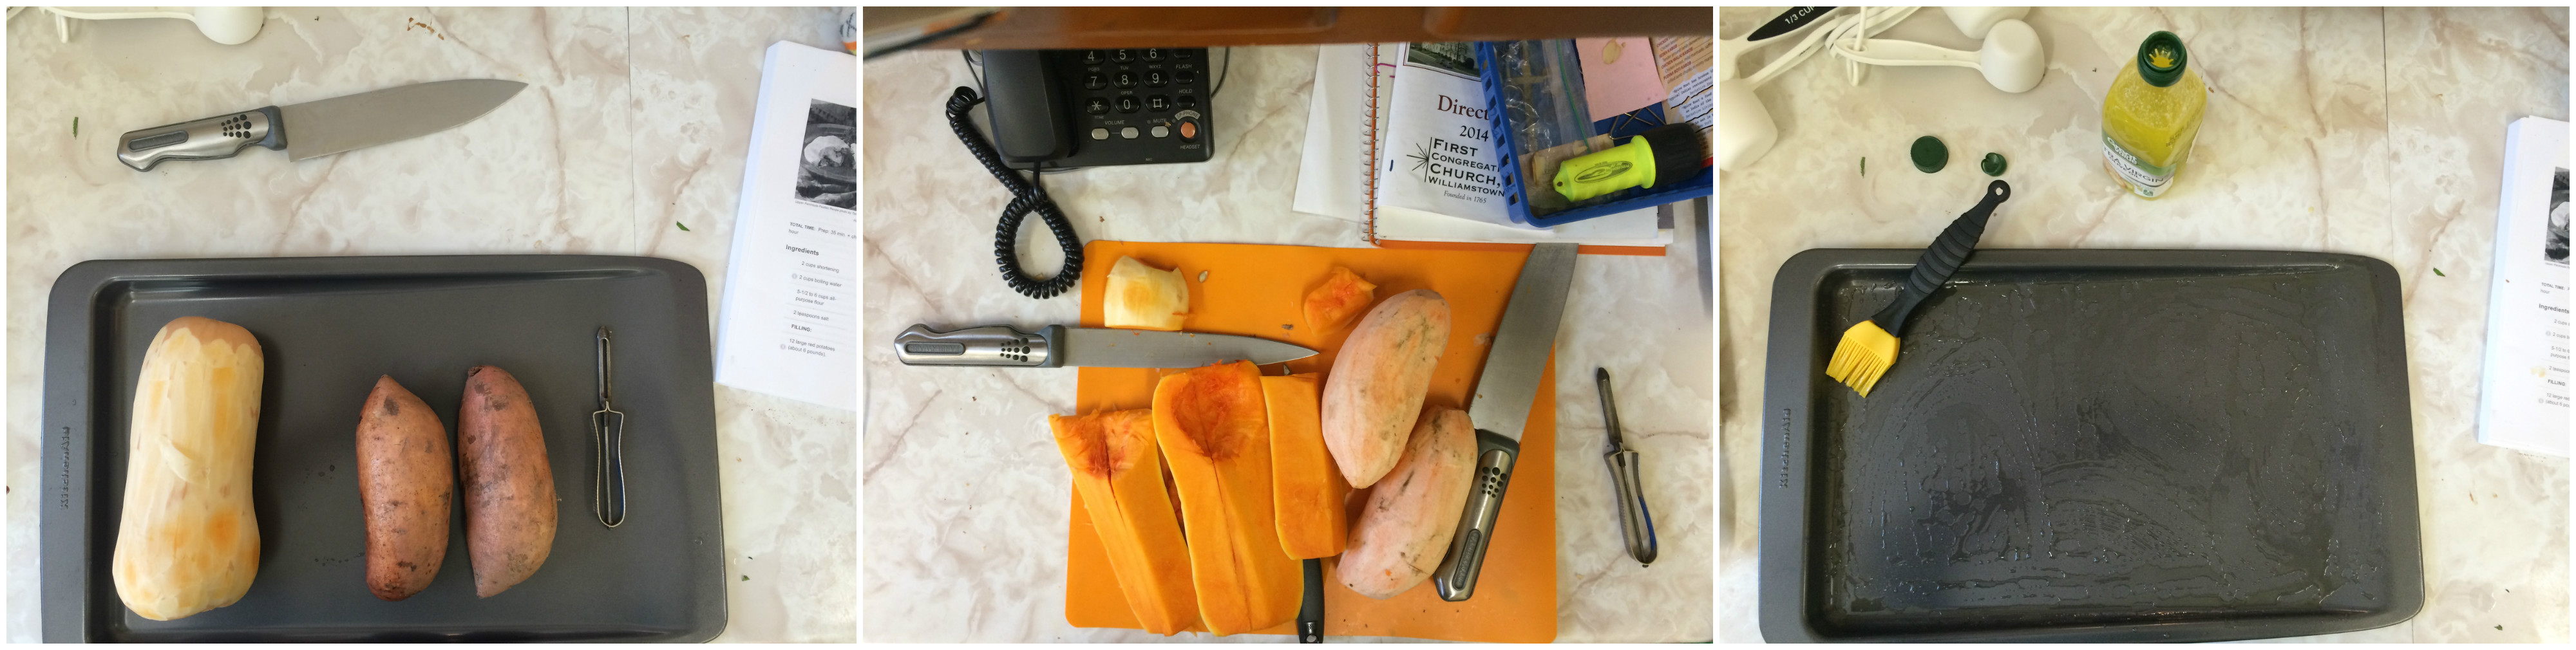
Strain excess liquid from raspberries, and prepare pear by peeling and finely chopping the fruit.
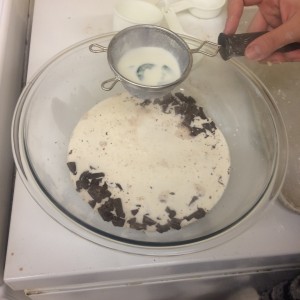
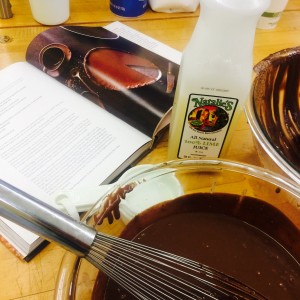
Mix fruits, chocolate, extracts, lemon juice, cornstarch and sugar in a large bowl. Stir and allow to marinate.
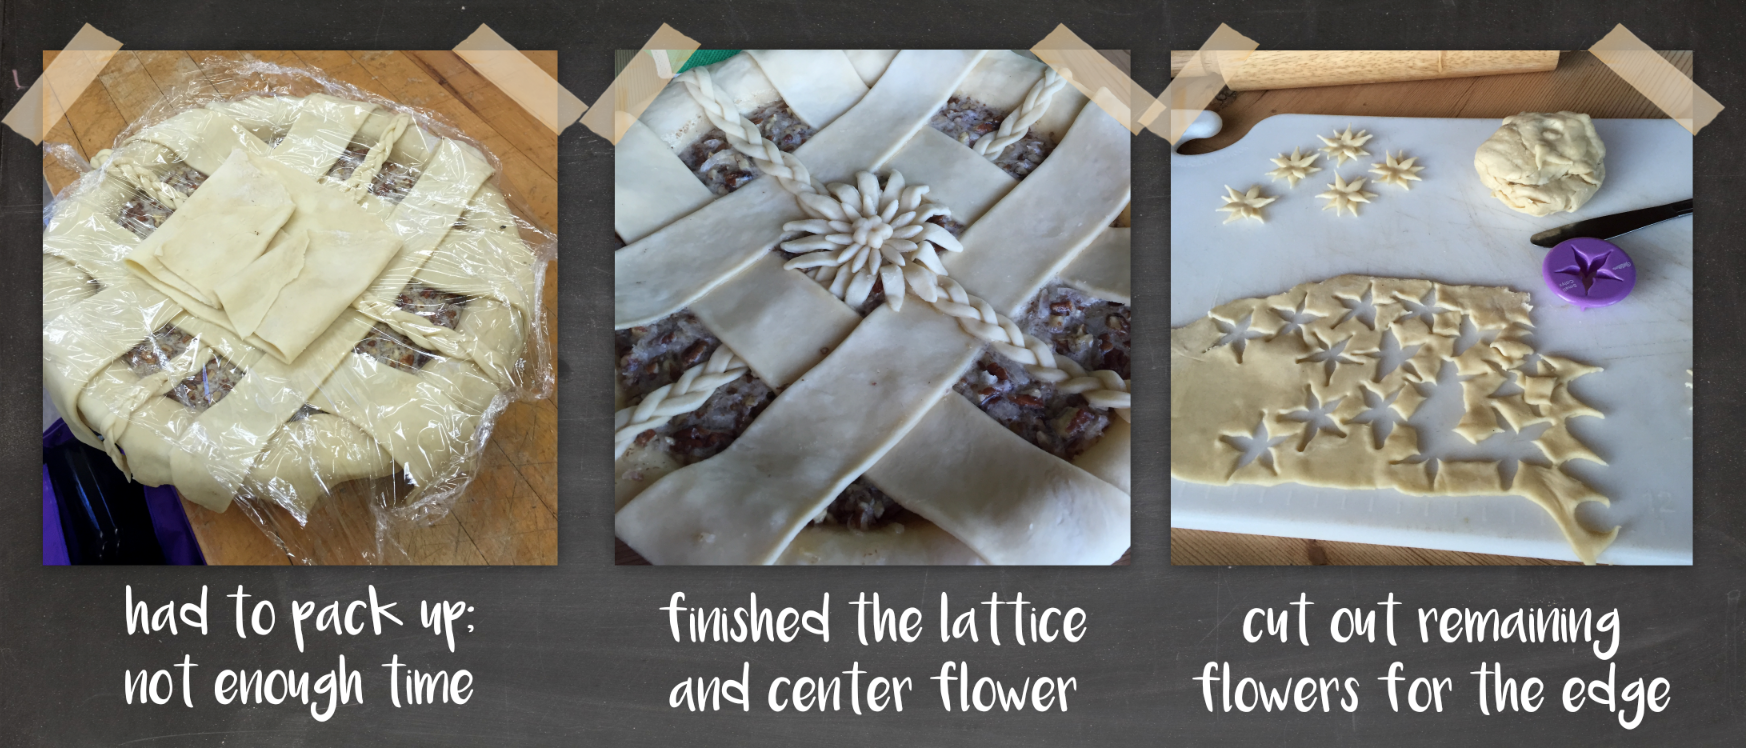
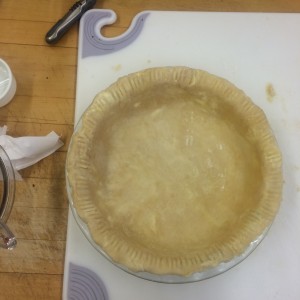
Roll out one pie crust, and place into a buttered pie plate. Allow to cool in the fridge.
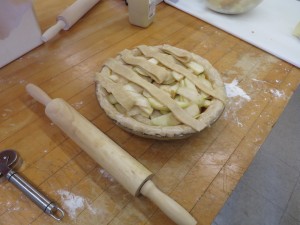
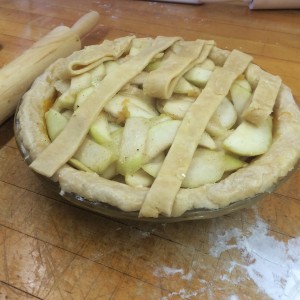
Roll out the second crust into a rectangle and slice for a lattice.
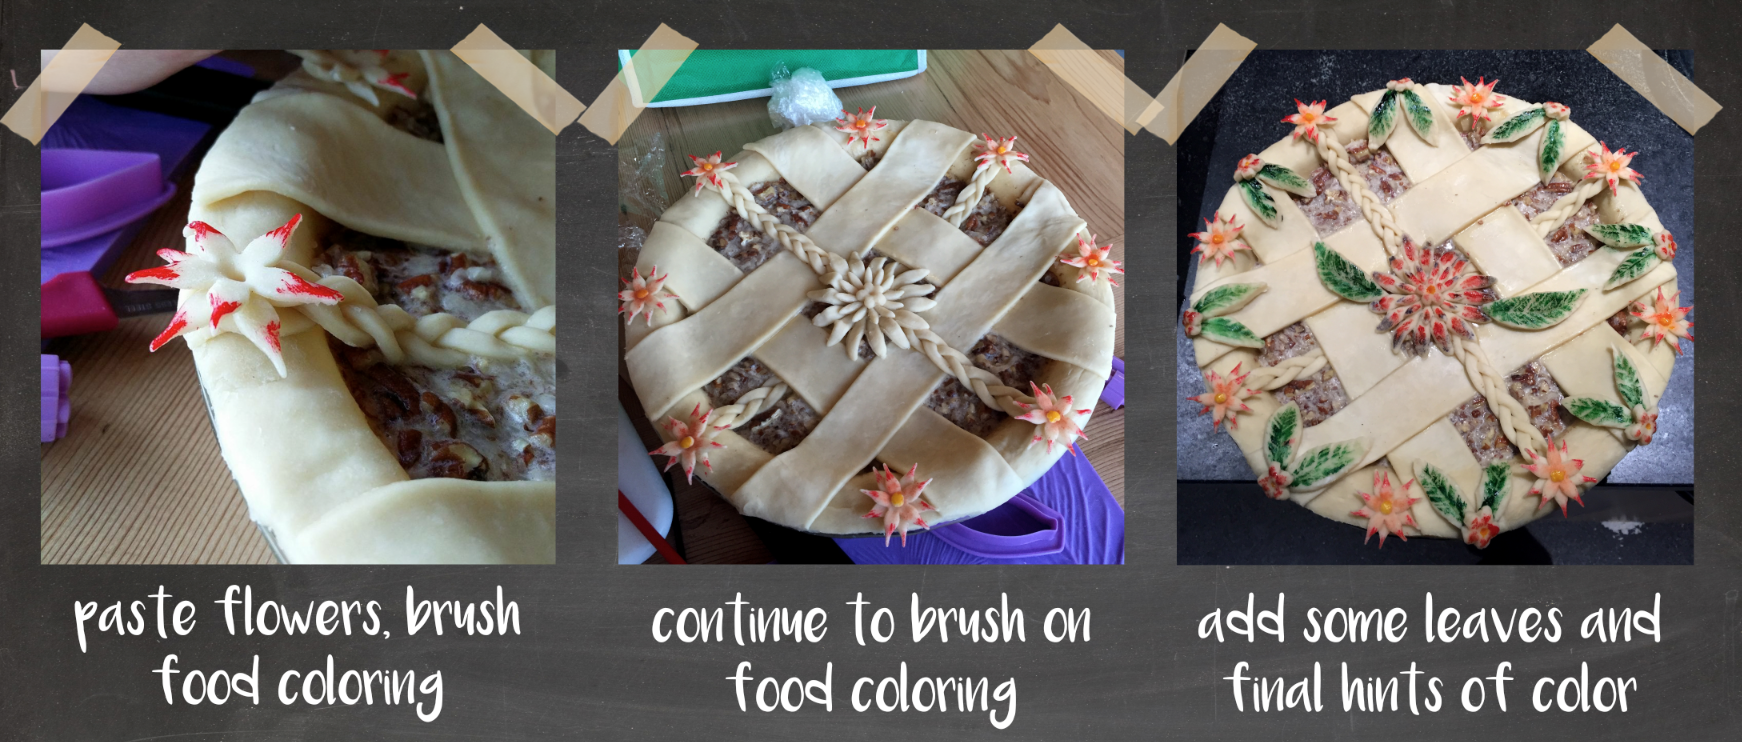
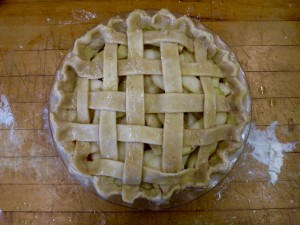
Remove the bottom crust from the fridge, fill with filling, and form lattice on top of filling. Arrange crust as desired, and brush pie with egg wash.
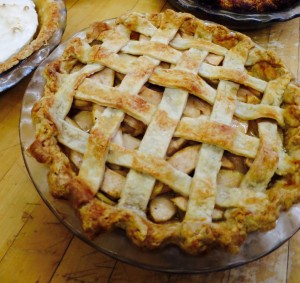
Bake at 425°F for 20 minutes and then lower oven temperature to 350°F for around 50 minutes, or until pie is golden brown on all sides.
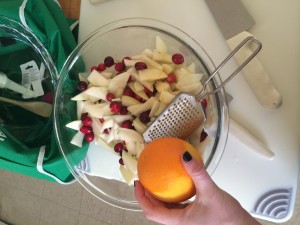
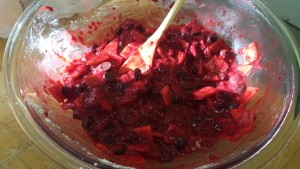
Pear-Cranberry Pie
Ingredients:
1 orange
1 8-oz bag of cranberries
4 pears
½ tsp ground ginger
3 tbsp bourbon
6 tbsp cornstarch
6 tbsp white sugar
1 egg, beaten
1 double pie crust
Instructions:
Preheat oven to 425°F
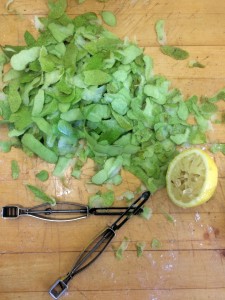
Zest and juice the orange, setting aside all of the zest and ⅓ of the juice in a large bowl. The rest can be discarded.
Peel, thinly slice and then halve those slices for each of the pears.
Add fruits, spices, bourbon, cornstarch and sugar to the juice and zest. Stir and allow to marinate.
Roll out one pie crust, and place into a buttered pie plate. Allow to cool in the fridge.
Roll out the second crust into a rectangle and slice for a lattice.
Remove the bottom crust from the fridge, fill with filling, and form lattice on top of filling. Arrange crust as desired, and brush pie with egg wash.
Bake at 425°F for 20 minutes and then lower oven temperature to 350°F for around 50 minutes, or until pie is golden brown on all sides.
Apple Hand Pies
Ingredients:
4 apples
2 tsp ground cinnamon
¾ tsp ground ginger
¾ tsp allspice
½ lemon, juiced
3 tbsp cornstarch
5 tbsp white sugar
1 egg, beaten
1 double pie crust
Instructions:
Preheat oven to 400°F
Peel and thinly slice the apples, then cutting the slices into thirds.
Mix fruit, spices, juice, cornstarch, and sugar in a medium bowl and allow to marinate.
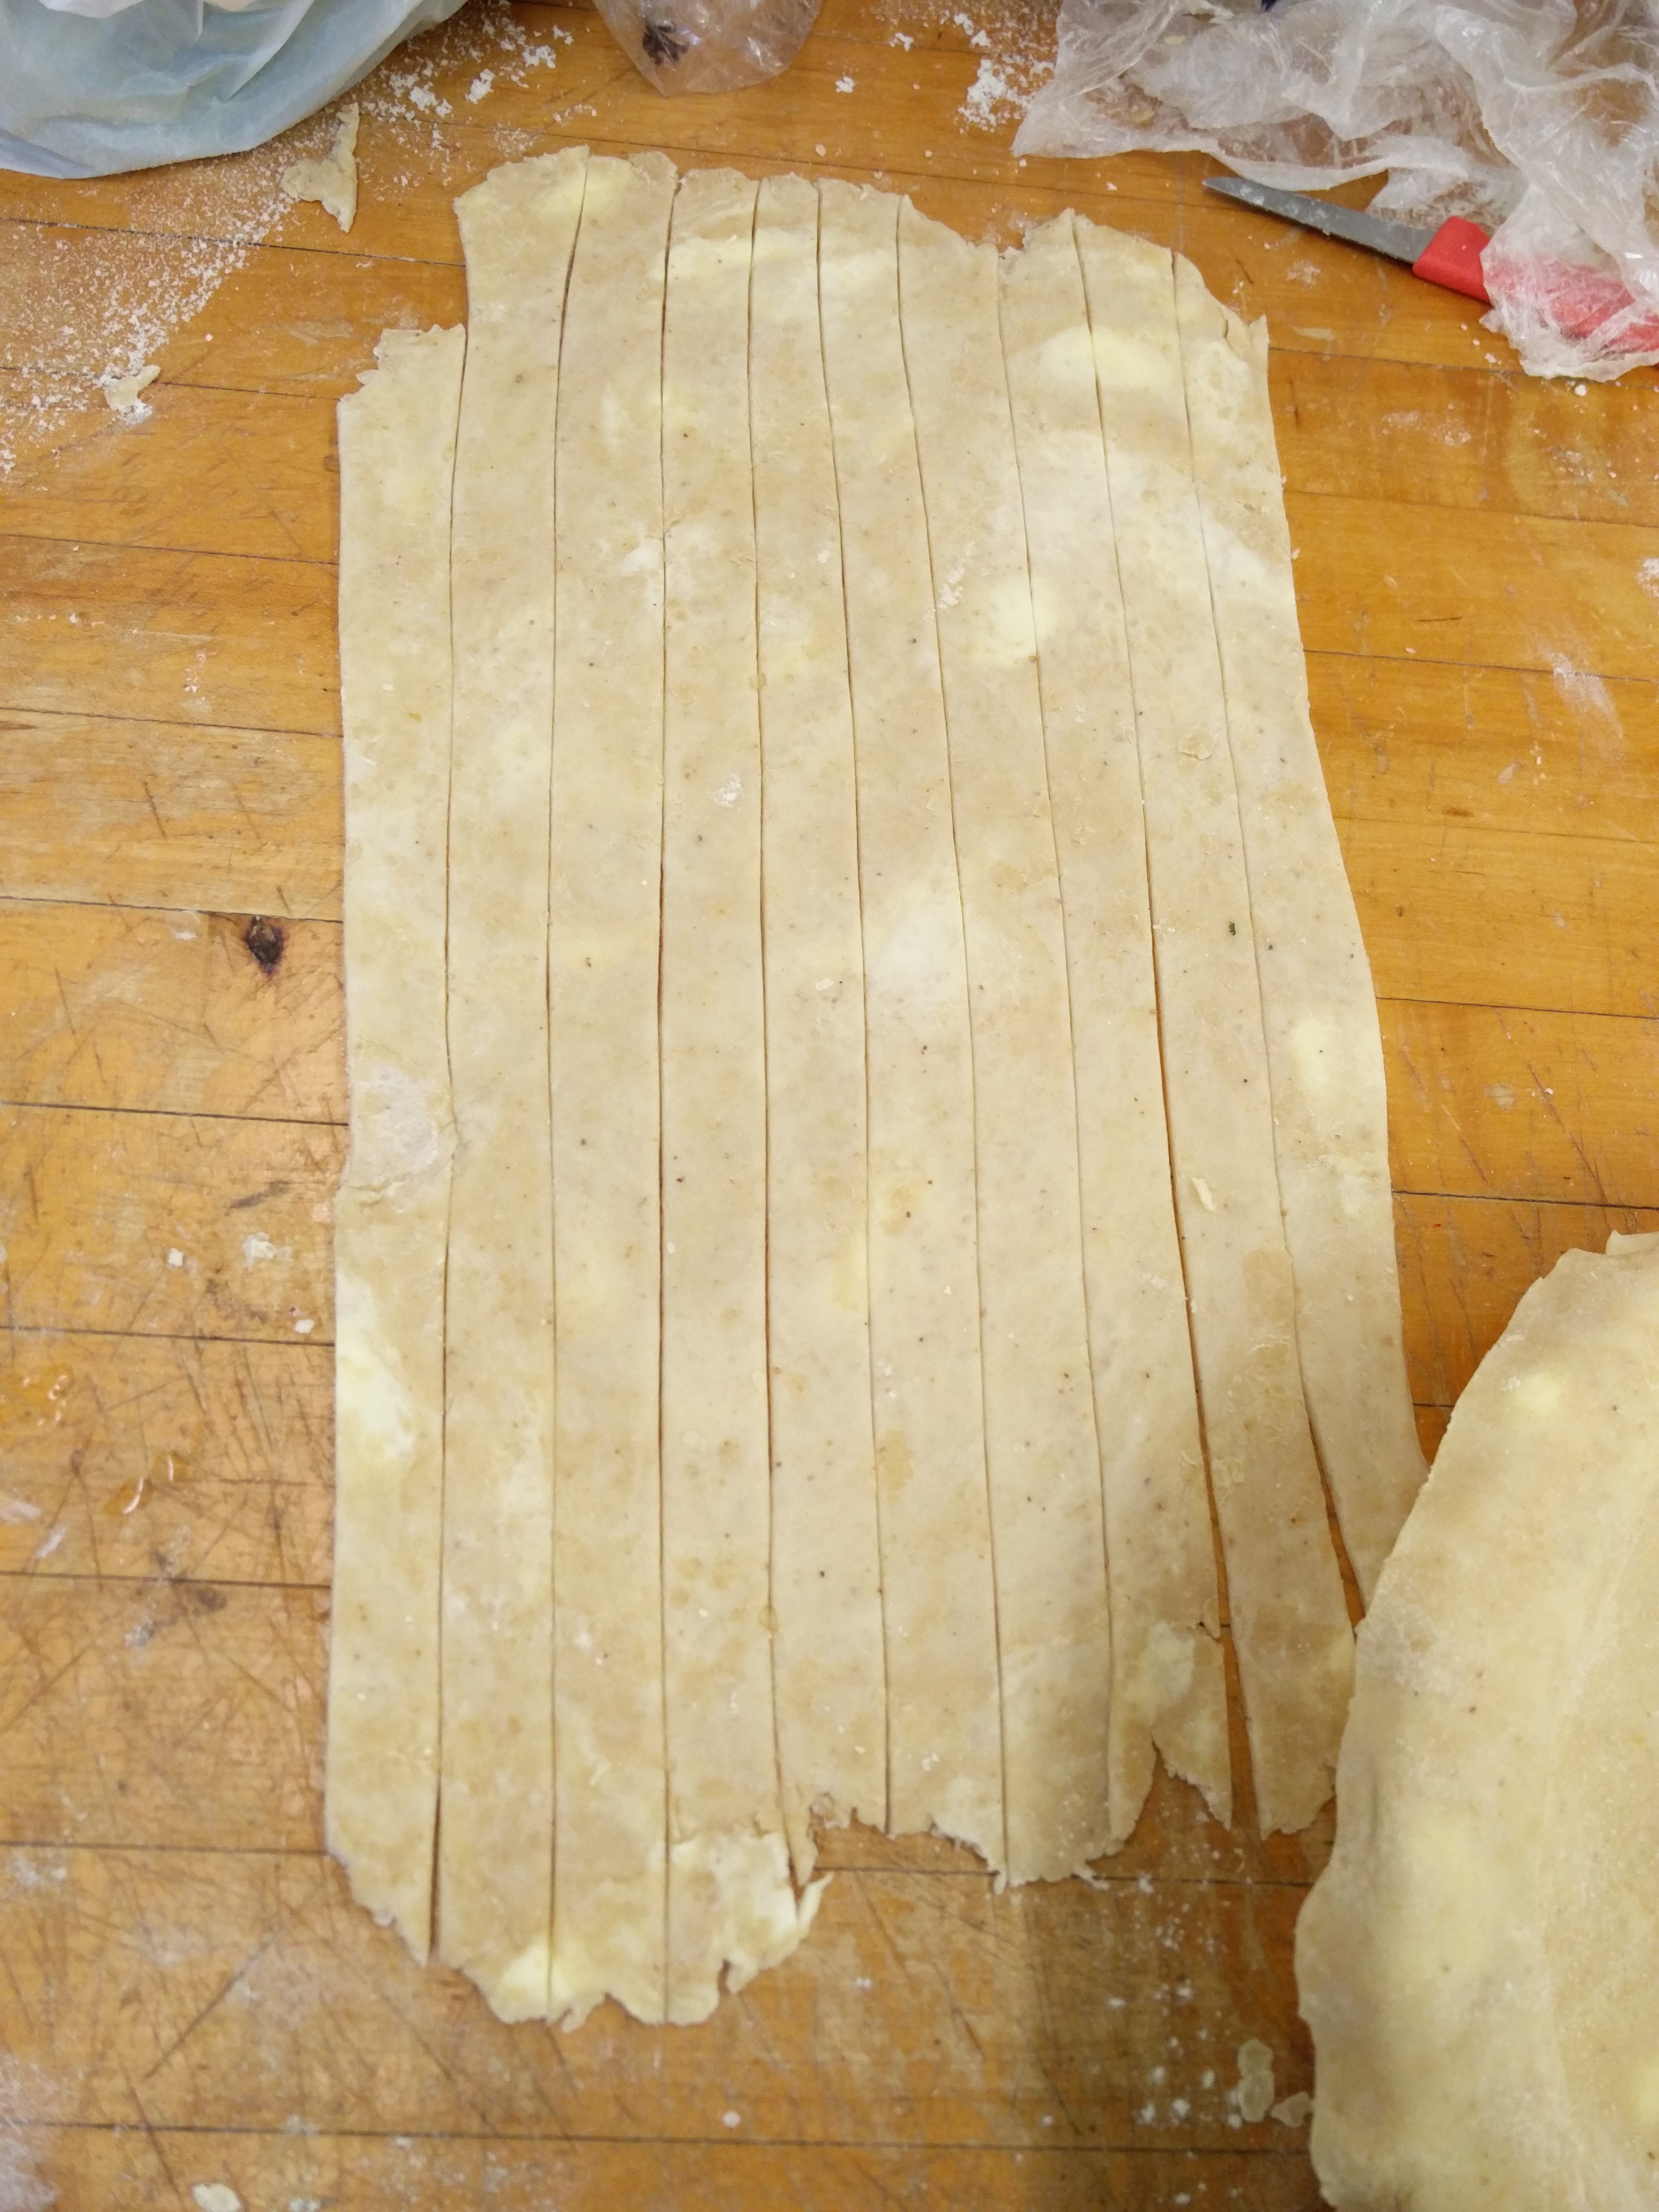
Roll out your pie crust into a large rectangle. Slice into desired number of smaller rectangles (10 works well).
Putting filling on half of each rectangle, leaving a 1 centimeter border around the entire edge (and leaving half of the rectangle empty).
Fold the empty half over the full half, and use water, or some of your beaten edge to hold the two edges together.
Crimp, fold, or fork your edges so that no juices will leak out during the cooking process.
Place hand pies on a parchment lined baking pan and brush with egg wash. Bake for around 30 minutes, or until golden brown.


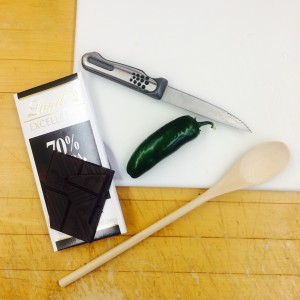
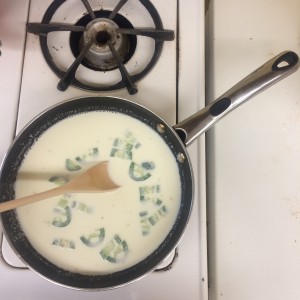
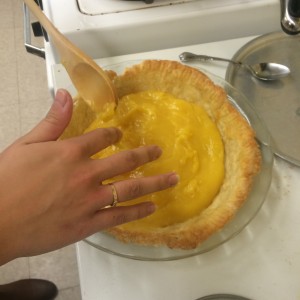
 This green chili chocolate pie was taken from the Four and Twenty Blackbirds pie cookbook. For the pie, the jalapeño and ginger were simmered in milk and cream in order to give a spicy kick to the chocolate. This cream mixture was later strained and poured into the chocolate in order to melt it. We found this idea intriguing, but in reality the spice was too overpowering. The jalapeño pepper outside of the actual spicy taste was a bit too prominent and the chocolate was too dark to be sweet. This made the pie savory and spicy If I were to try this recipe again, I would have added more sugar and perhaps a whipped cream topping as well. There was also cardamom in the recipe, but I couldn’t taste it in the final pie. We partially baked the crust beforehand using beans in order to weigh the crust down and keep the pastry from puffing up with air bubbles. This was the first time I had partially baked the crust using this technique.
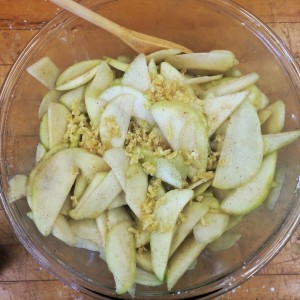
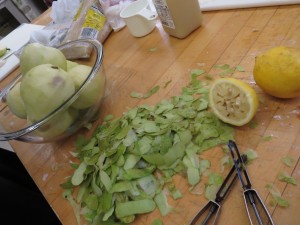
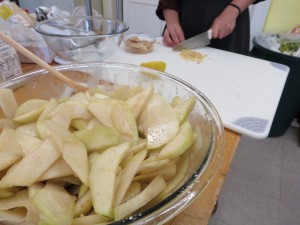
 The pear ginger pie was an adaptation from a fresh pear pie in our course packet. It called for crystallized ginger and apricot jam which were twists from the typical pear pie. It was interesting to try and overall quite good. The pears themselves ended up a little undercooked, probably as a product of being under ripe. Additionally, the filling was a little on the runny side. The recipe called for cornstarch or tapioca to thicken the filling and we tried cornstarch, but it would have been interesting to see if there was any substantial difference with using tapioca. The crystallized ginger was a good idea, but I would have liked a little more to make the flavor a bit more prominent. In order to combat the under ripe pears, it might have been good to cook them in a saucepan with the ginger and all the spices before putting the filling in the pie. I’ve done this with apple pie, and it has worked pretty well.
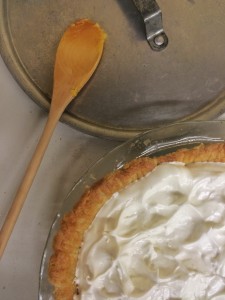
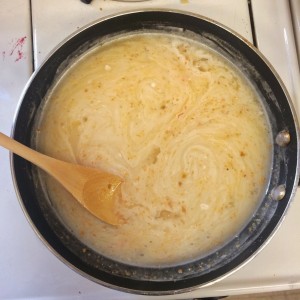
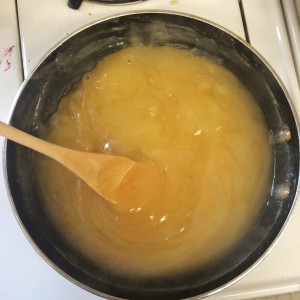
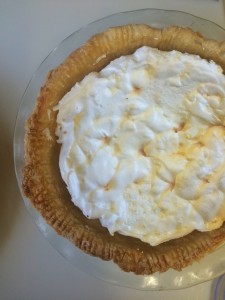
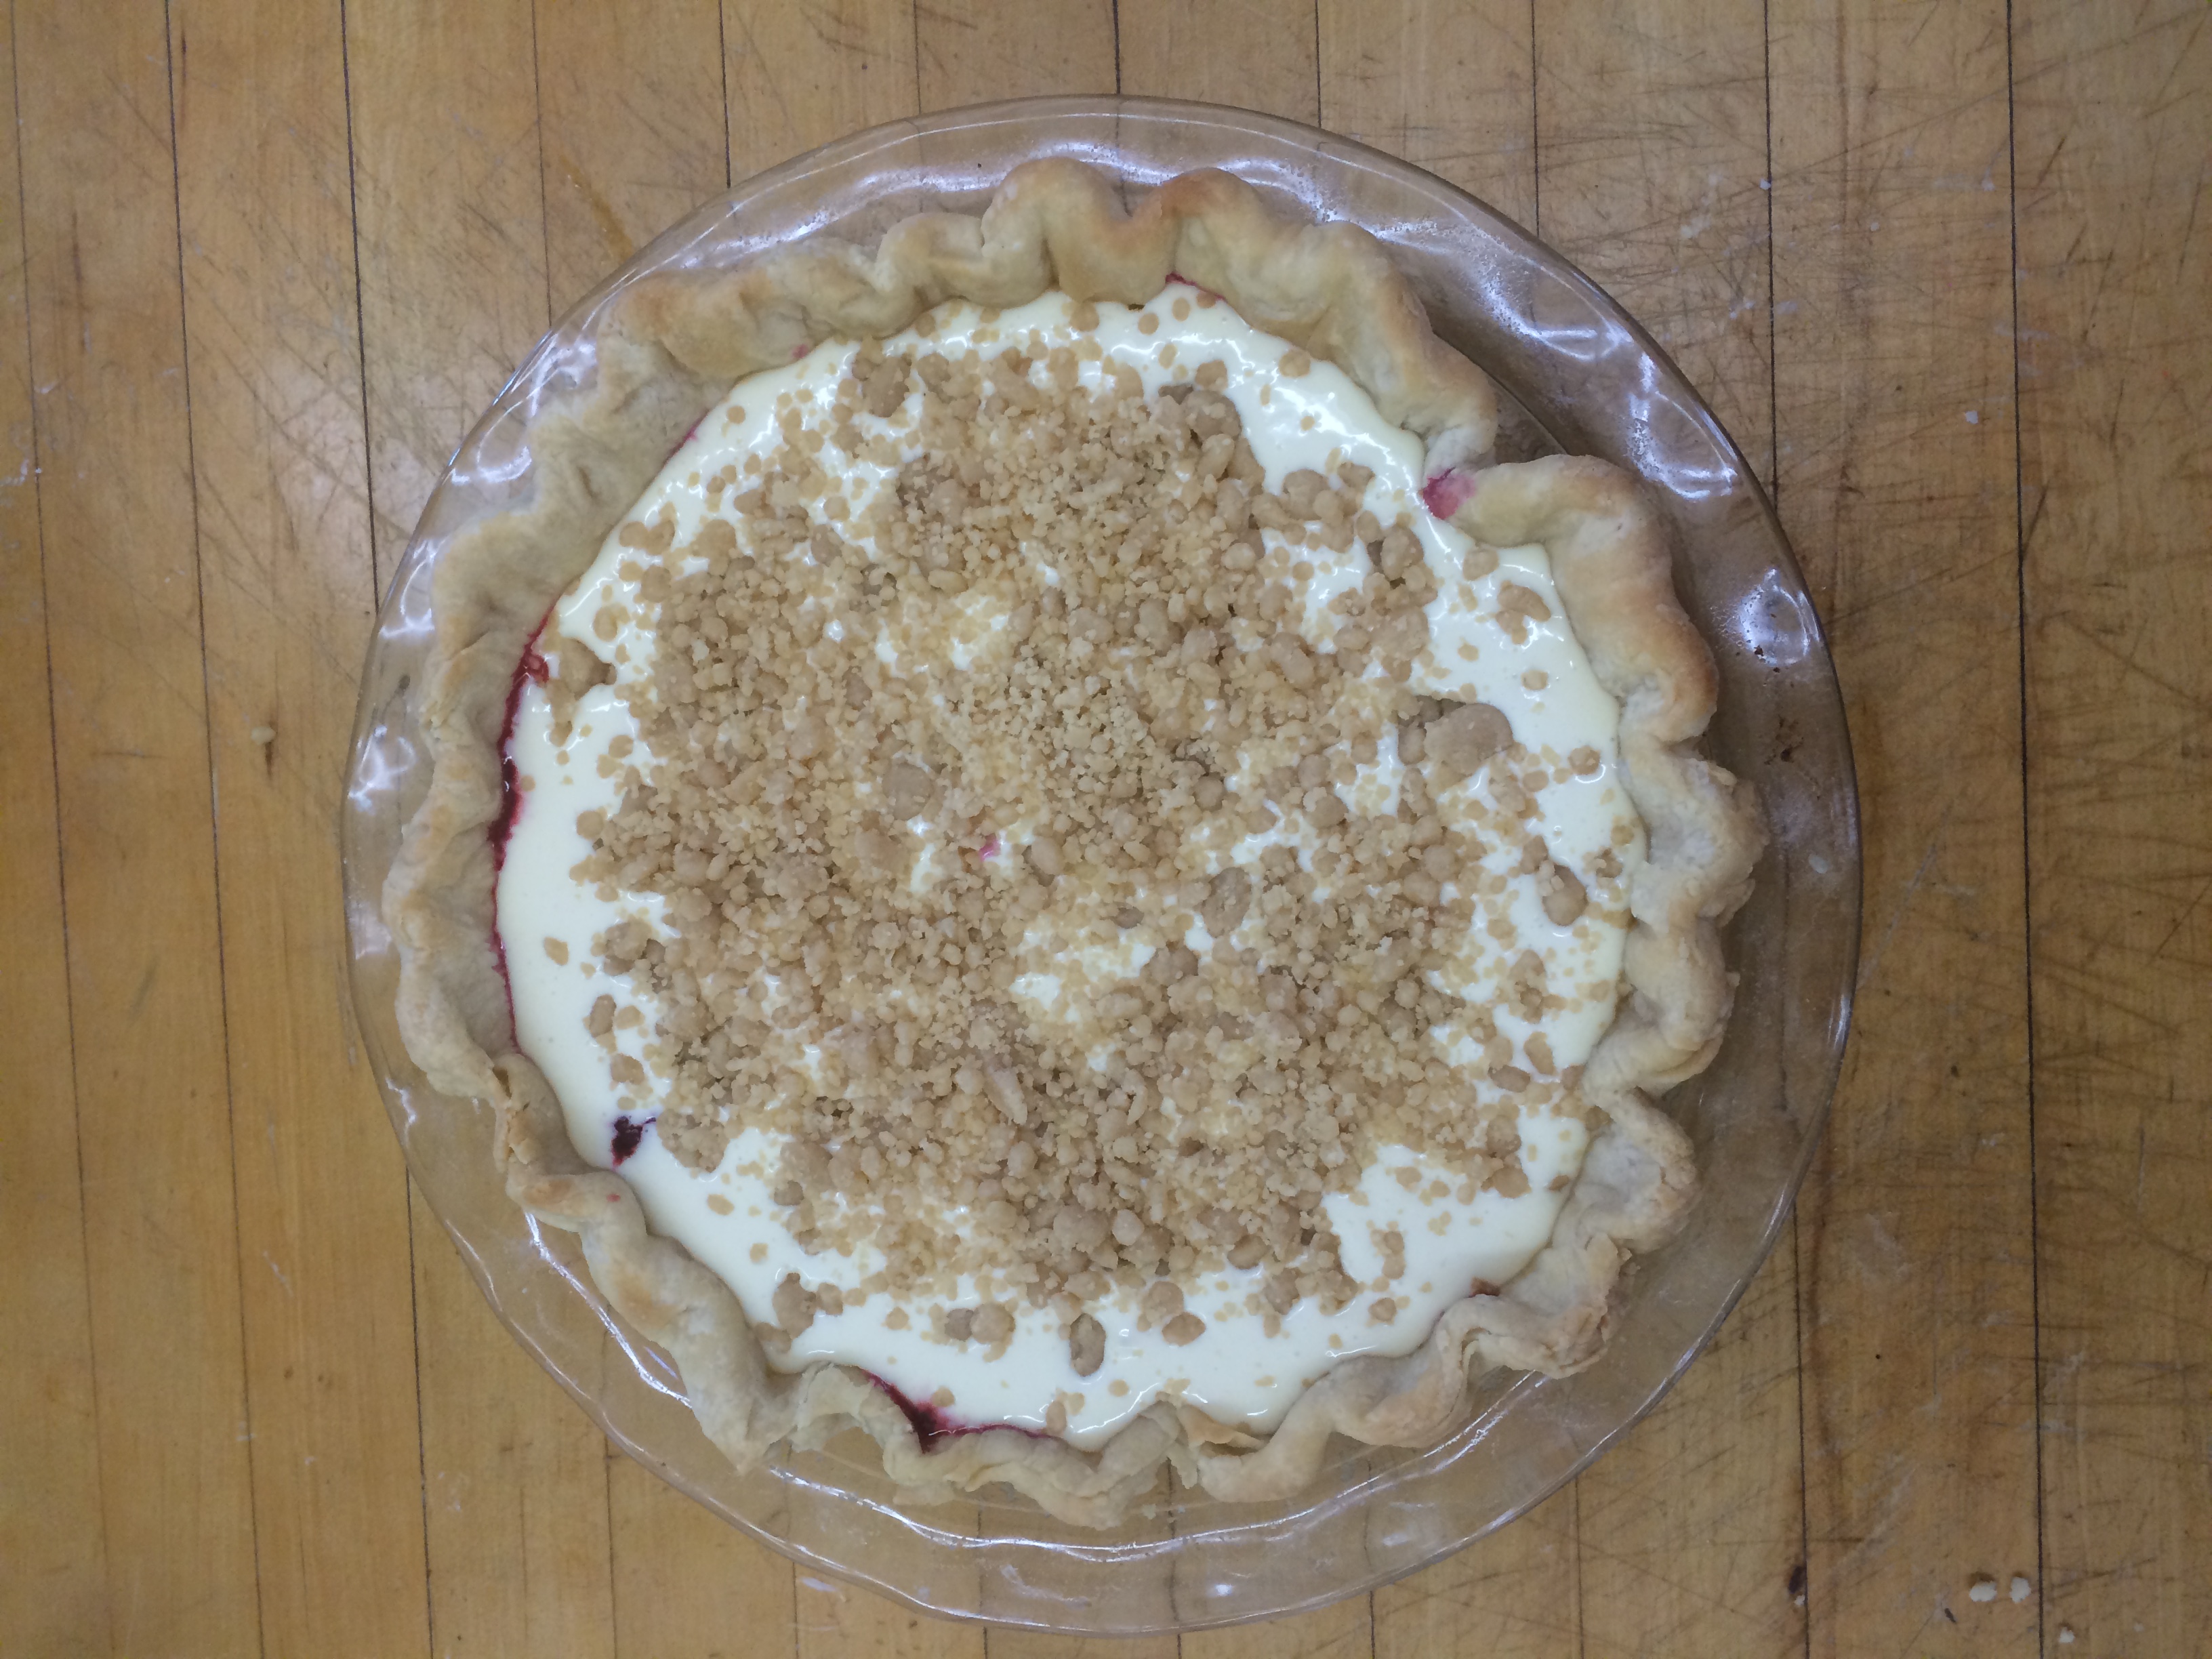
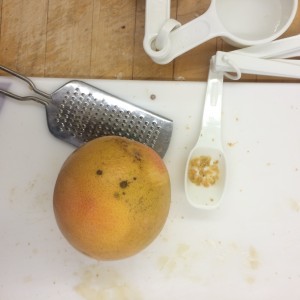
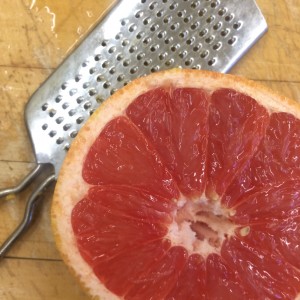
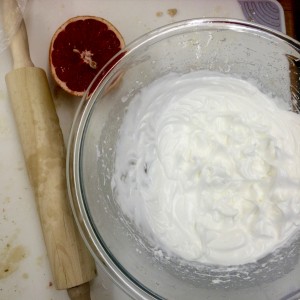
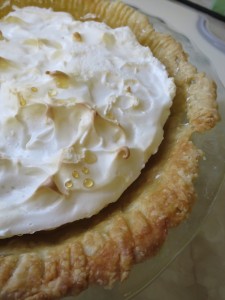
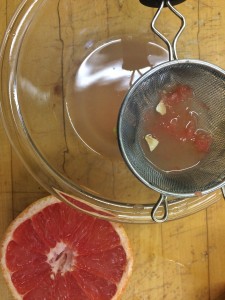 We found the recipe for the grapefruit meringue on a cooking blog called Sweet and Savory. I was intrigued by this because lemon meringue is one of my favorite pies and this was an interesting substitution. I was a little hesitant because grapefruit has the tendency to be quite bitter, but this recipe was surprisingly successful. The filling was boiled on the oven and it thickened surprisingly well and quickly, so it was important to have beaten the meringue topping earlier rather than later. One small tweak I would have made is to add some lemon or lime juice to the recipe. I found it to be a little too sweet especially with the addition of the sweet meringue topping. When the pie came out of the oven, it was gorgeous, but as it cooled, the meringue shrunk from the topping. This could have been because we put it in the refrigerator before it completely cooled and there was a large drop in temperature.