Category Archives: single-crust pie

Puff Pastry, Meat, and Lava

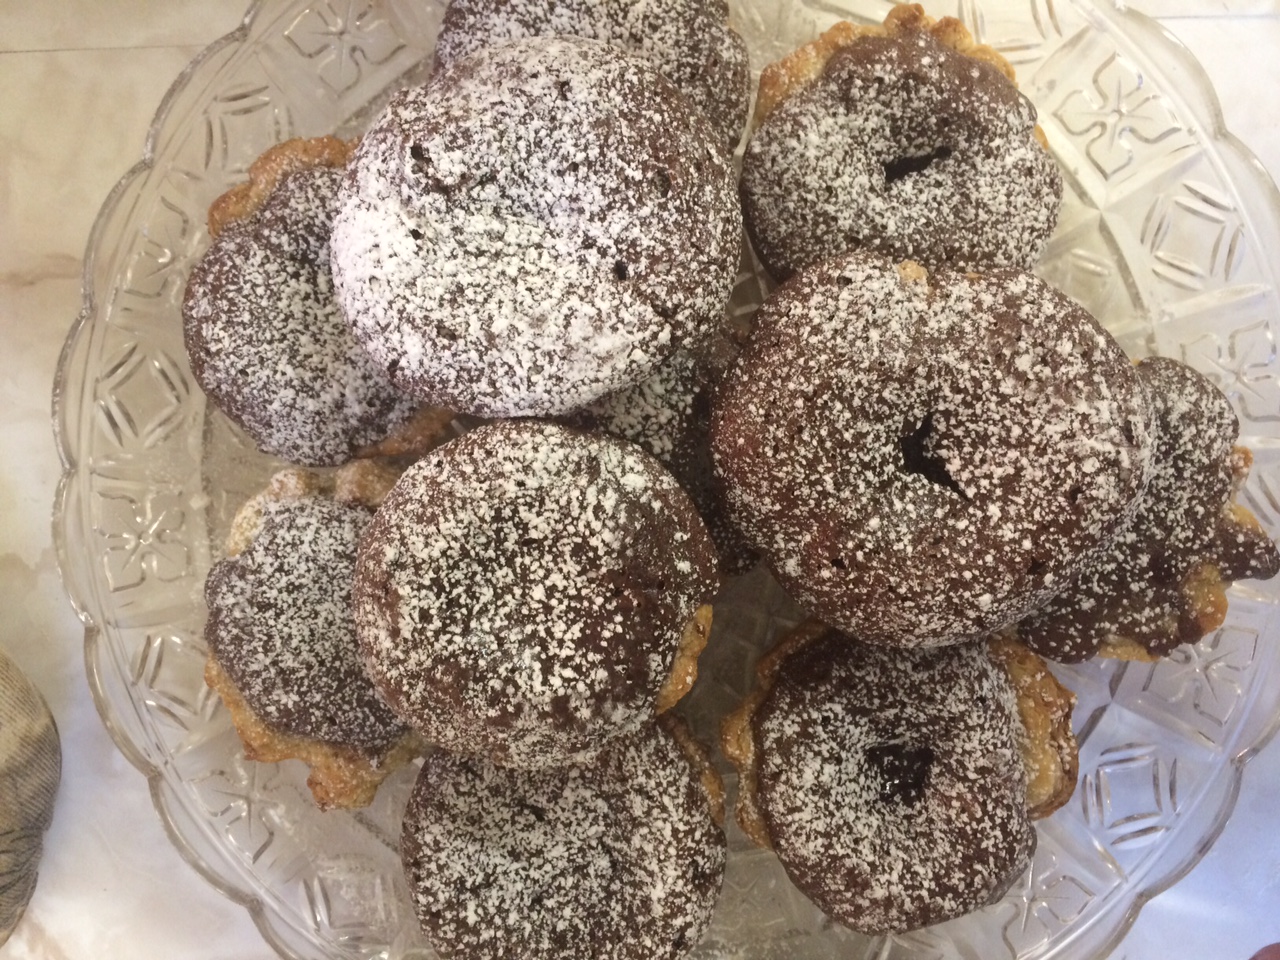
Unfortunately, we have reached the end. We all knew this was coming, the pie that is the month of January has run out of slices. It was a wonderful month full of wonderful pies that ended spectacularly with our banquet. For the banquet we had to make two pies one sweet, one savory,  and I decided to make a pie I had wanted to make during savory week, a beef short rib pot pie, and one inspired by a friend, chocolate lava mini pies.

I knew there would be challenges with these pies, but I figured it was the last week, so why not go out with a bang, either a blaze of glory or with the actual flames of a burnt pie. With the savory pie I was concerned about the fact that I would be doing actual cooking, as the filling had to be cooked before being put into the pie, and by the fact that I had somehow got it into my head that puff pastry would greatly improve the pie. With the sweet pie I was concerned with just how exactly it would work. I knew it would have a bottom shell and the lava-y cake part would fill it, but I wasn’t convinced I could actually make the lava happen. Nevertheless, I sallied onward as this was the last week for pie baking and was not a time to be meek.

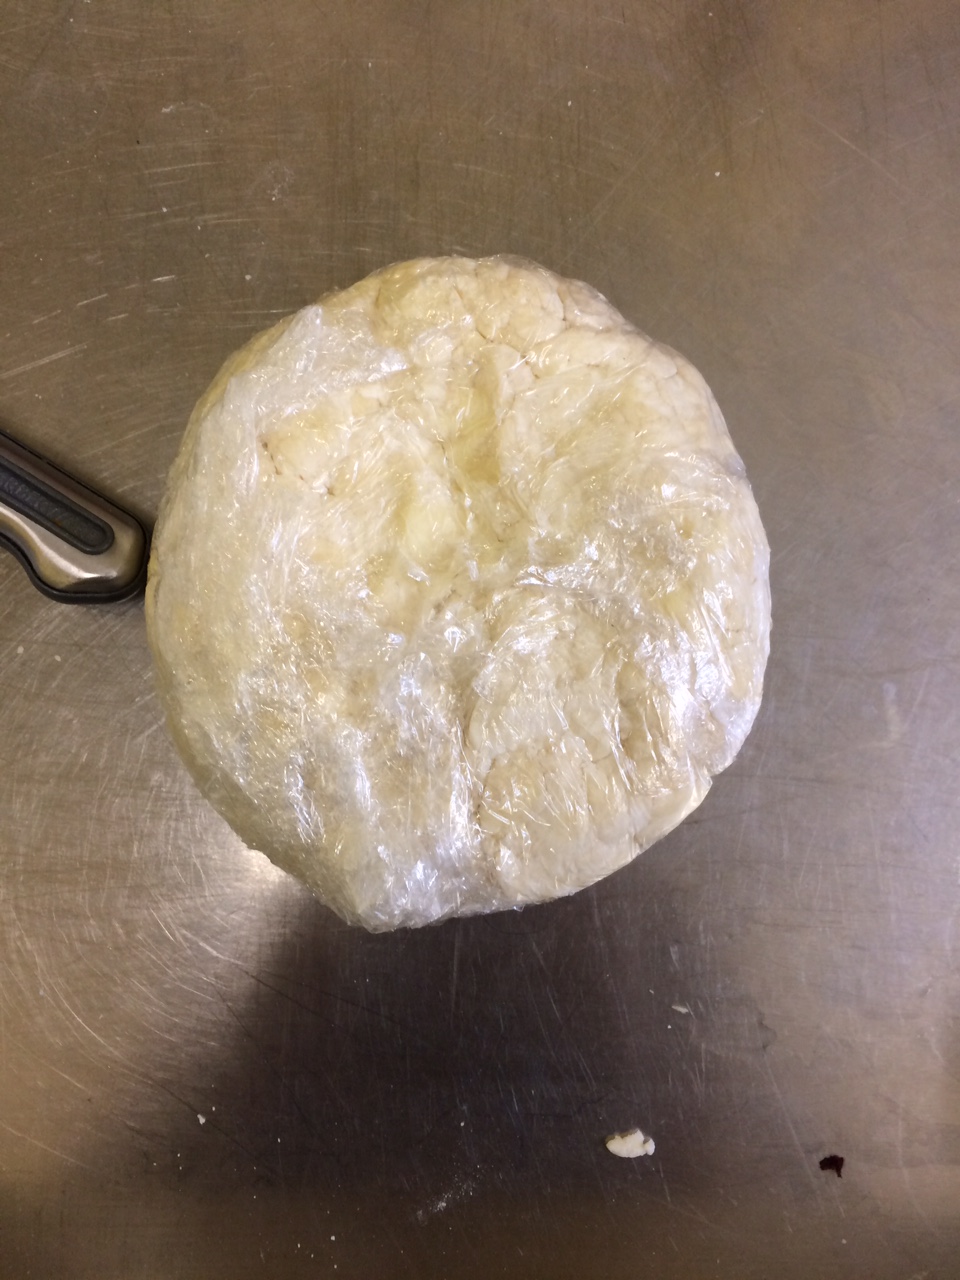
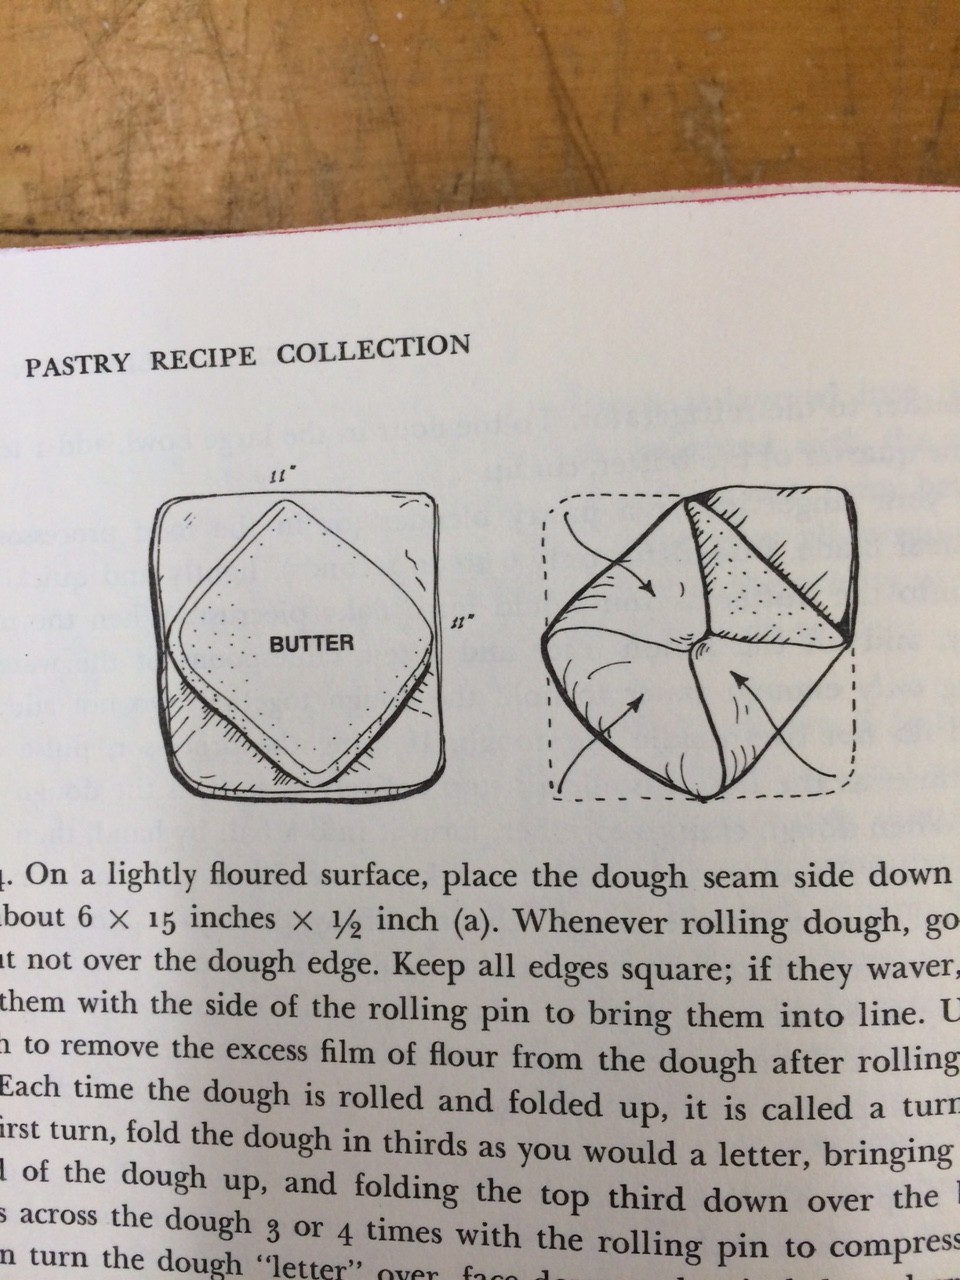
The puff pastry was the first obstacle I set out to conquer using the recipe for puff pastry outlined in Susan Purdy’s As Easy As Pie. Reading the recipe itself was daunting as it was three pages long, with an additional three pages of introduction, because puff pastry is not something one just blindly walks into, puff pastry is serious. So serious, that to make it you need diagrams and internal notation systems. 
IMG_1358IMG_1376

So complex!

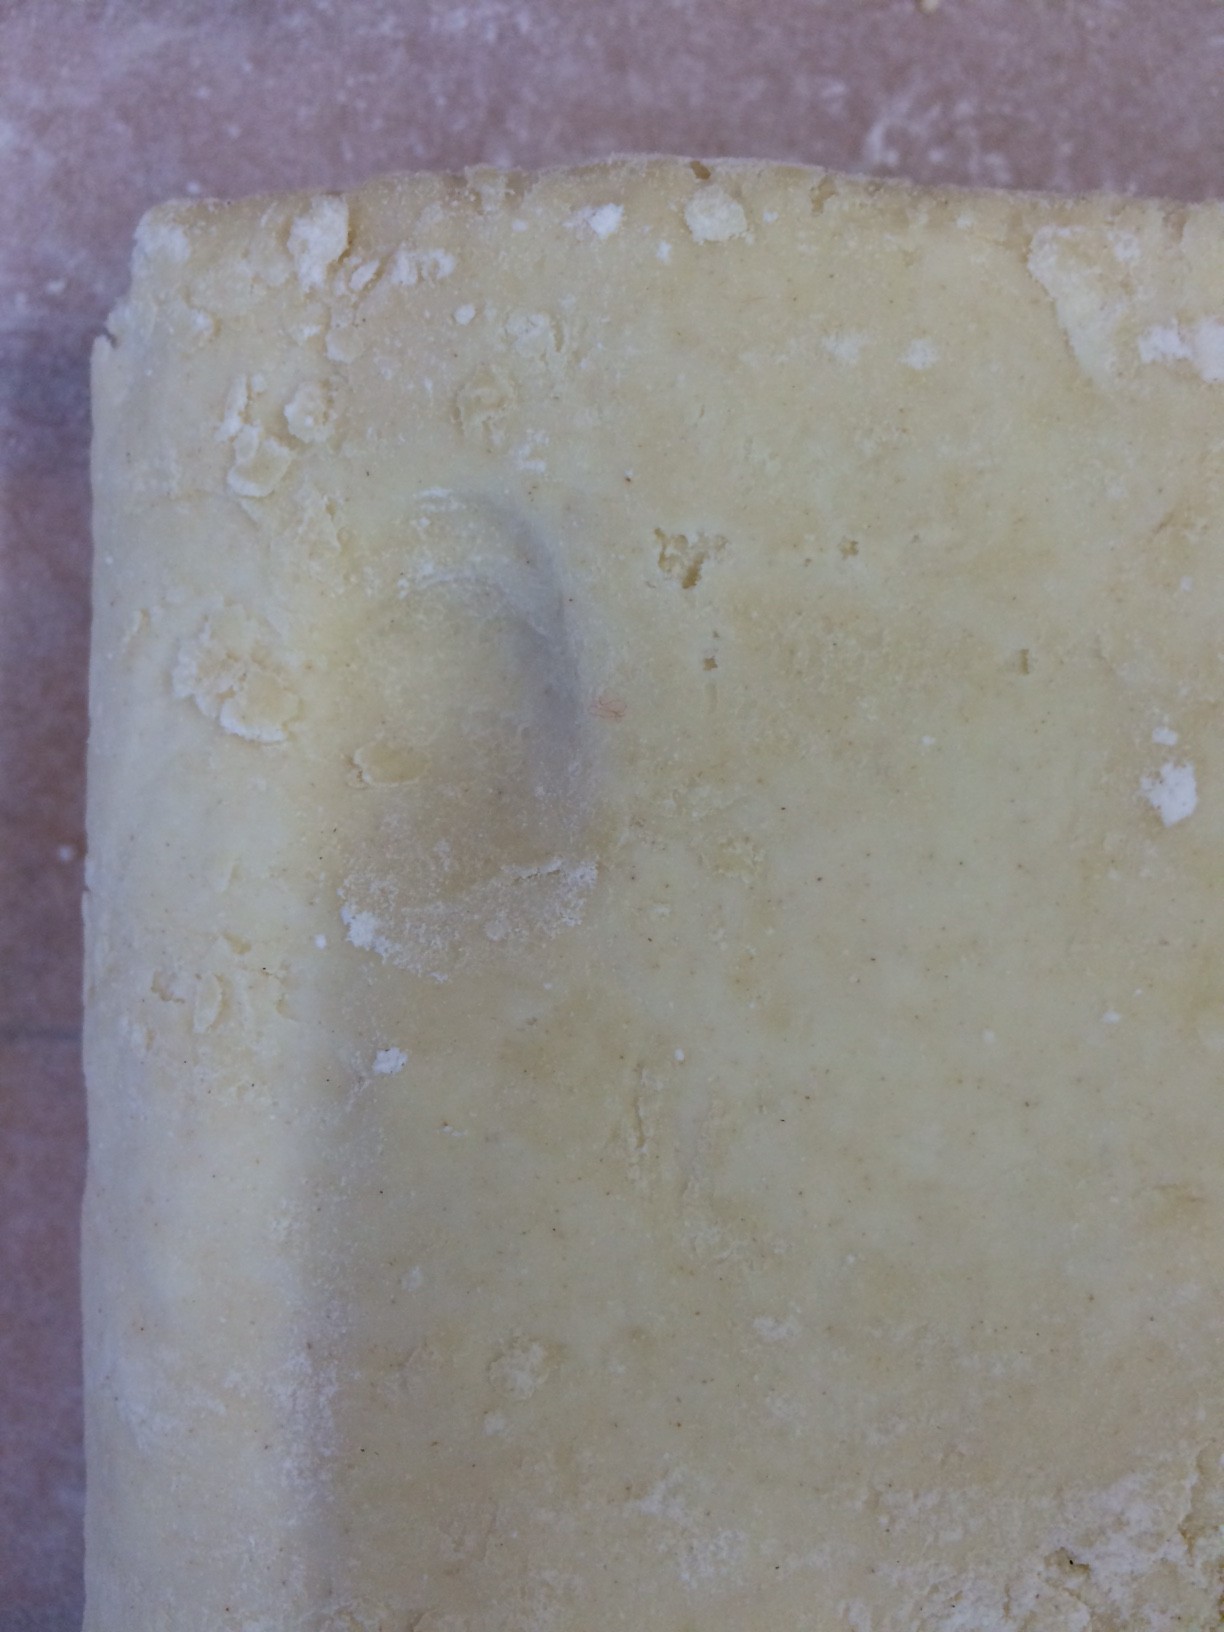
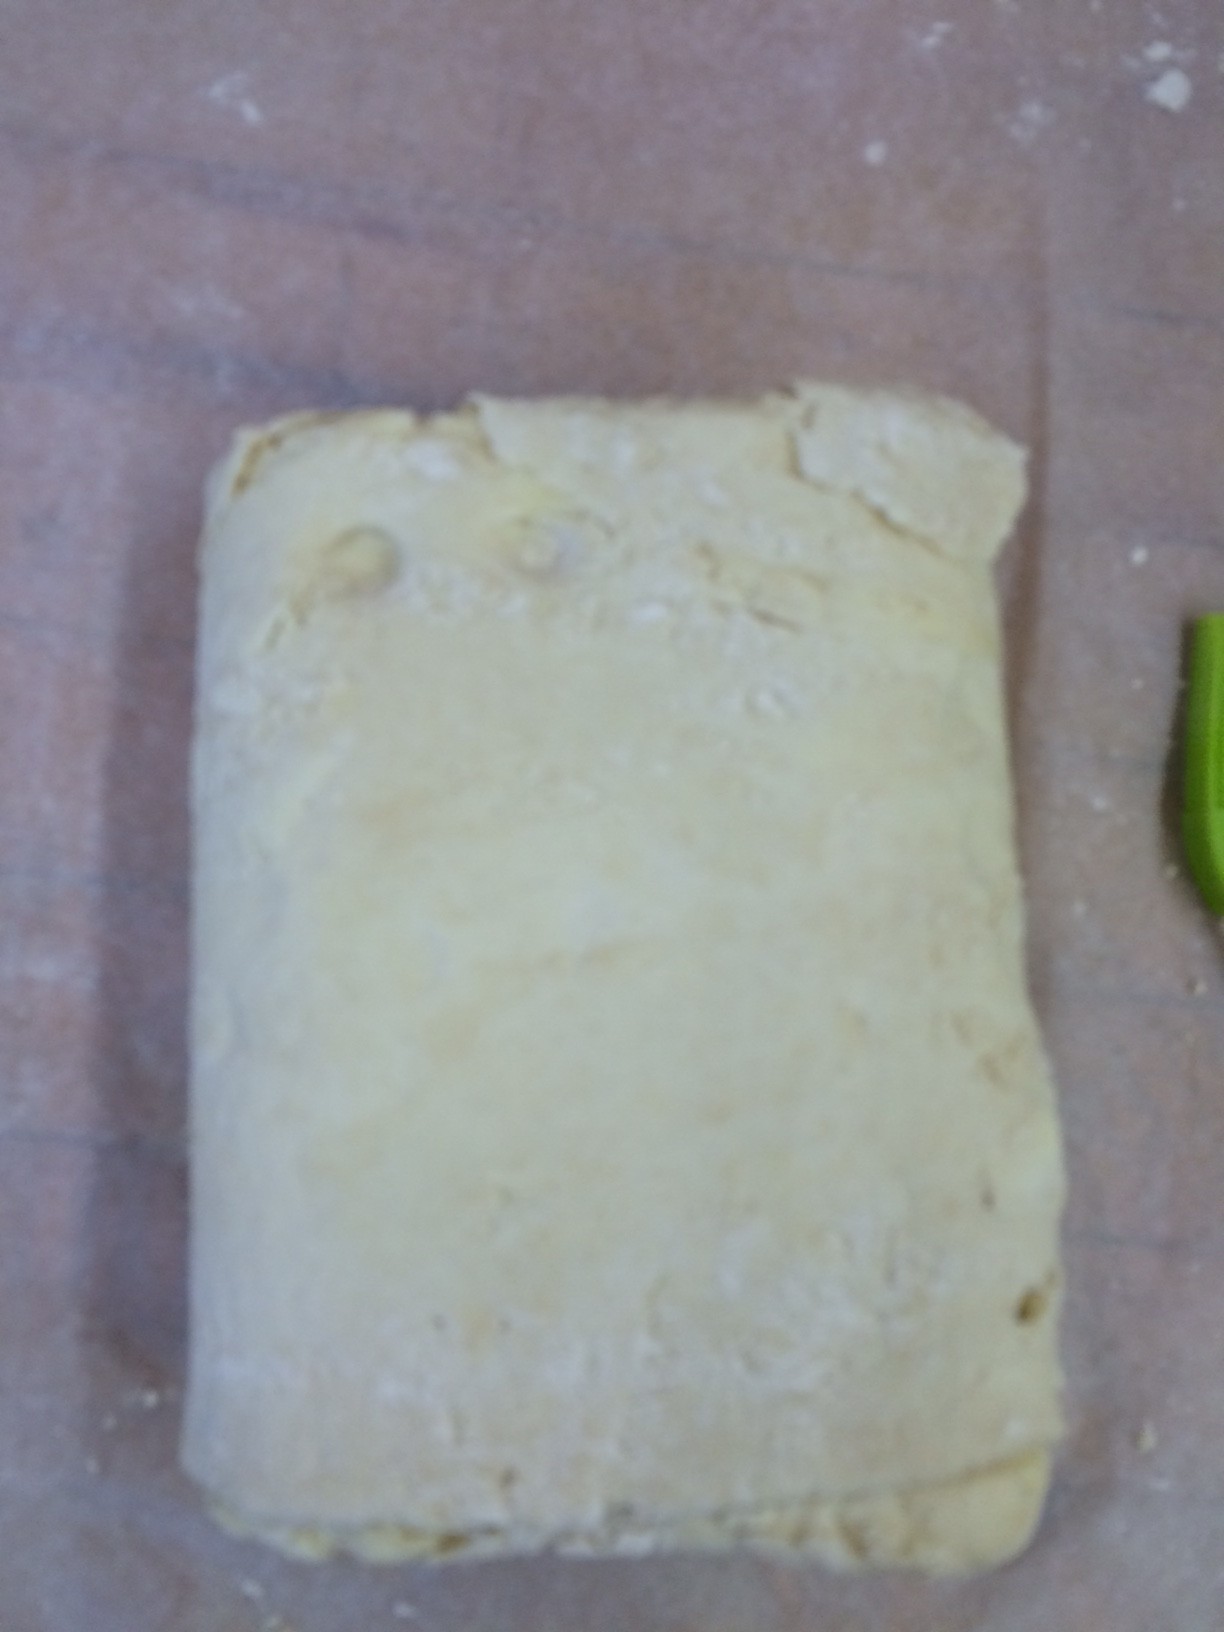
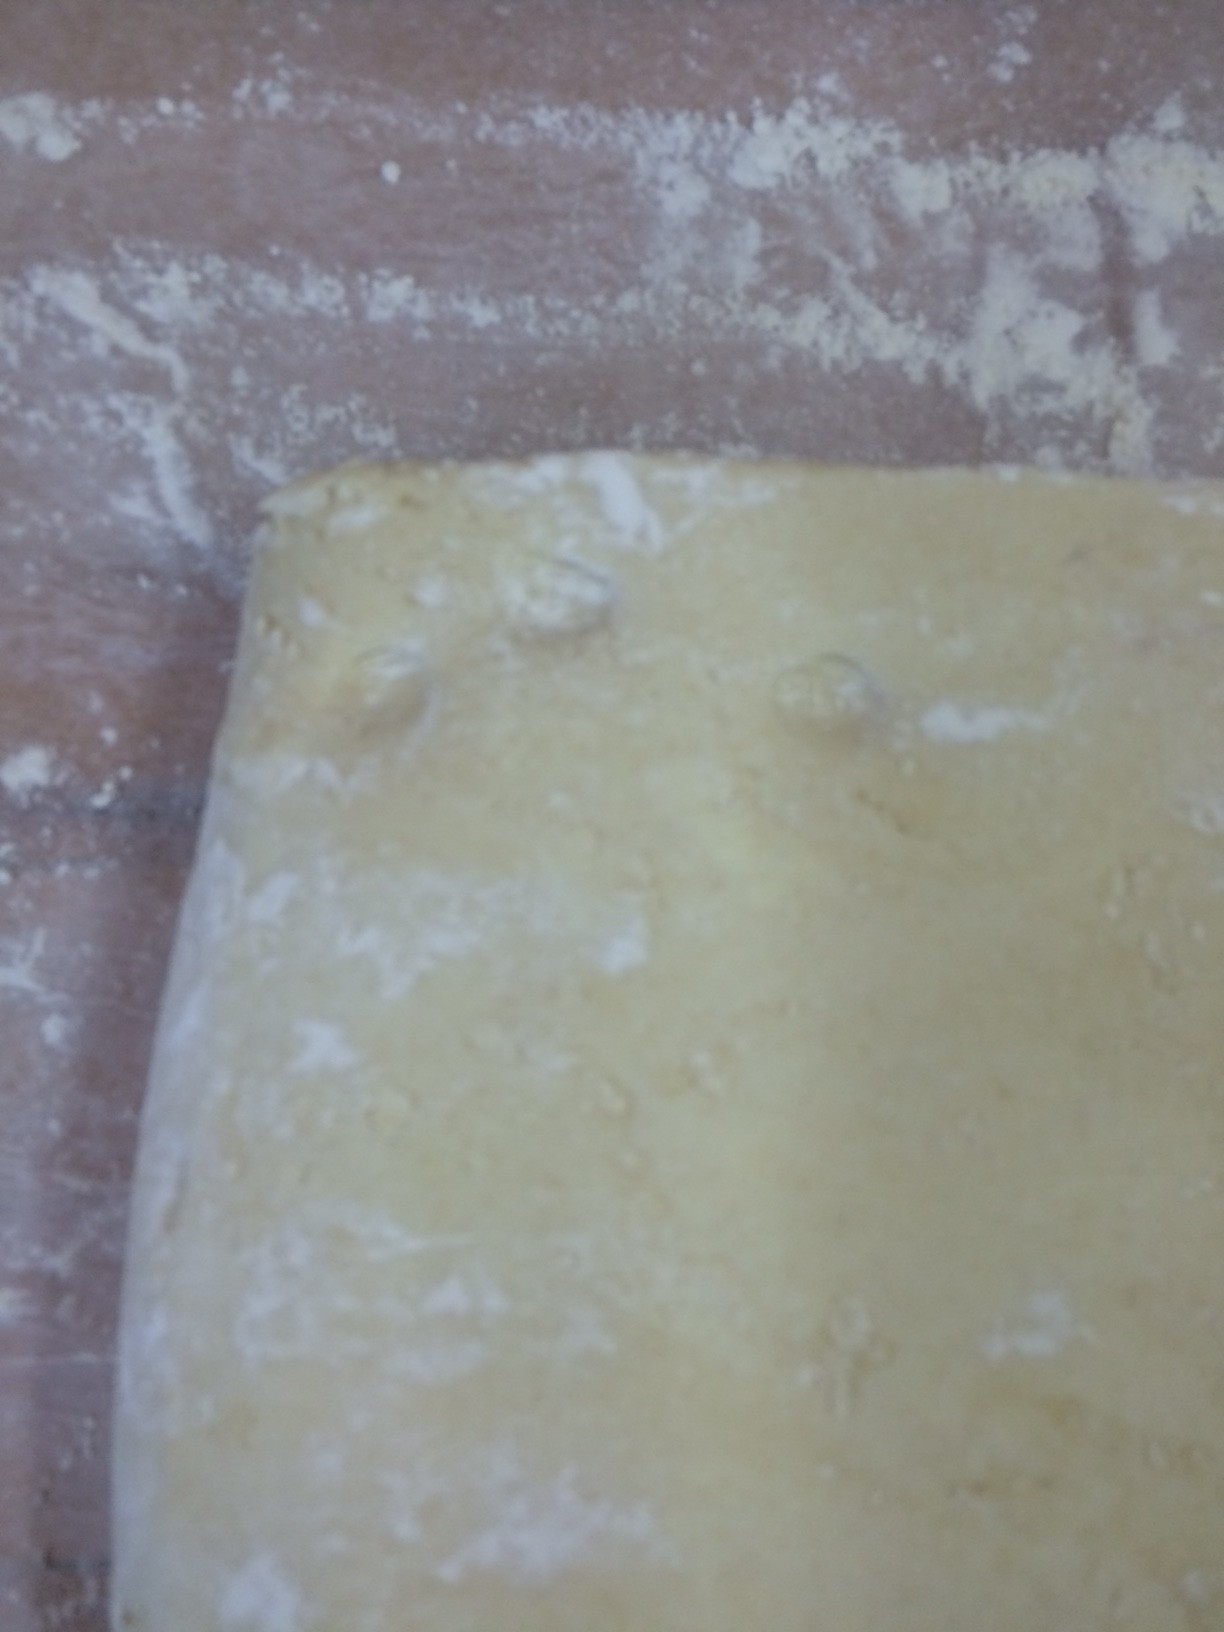
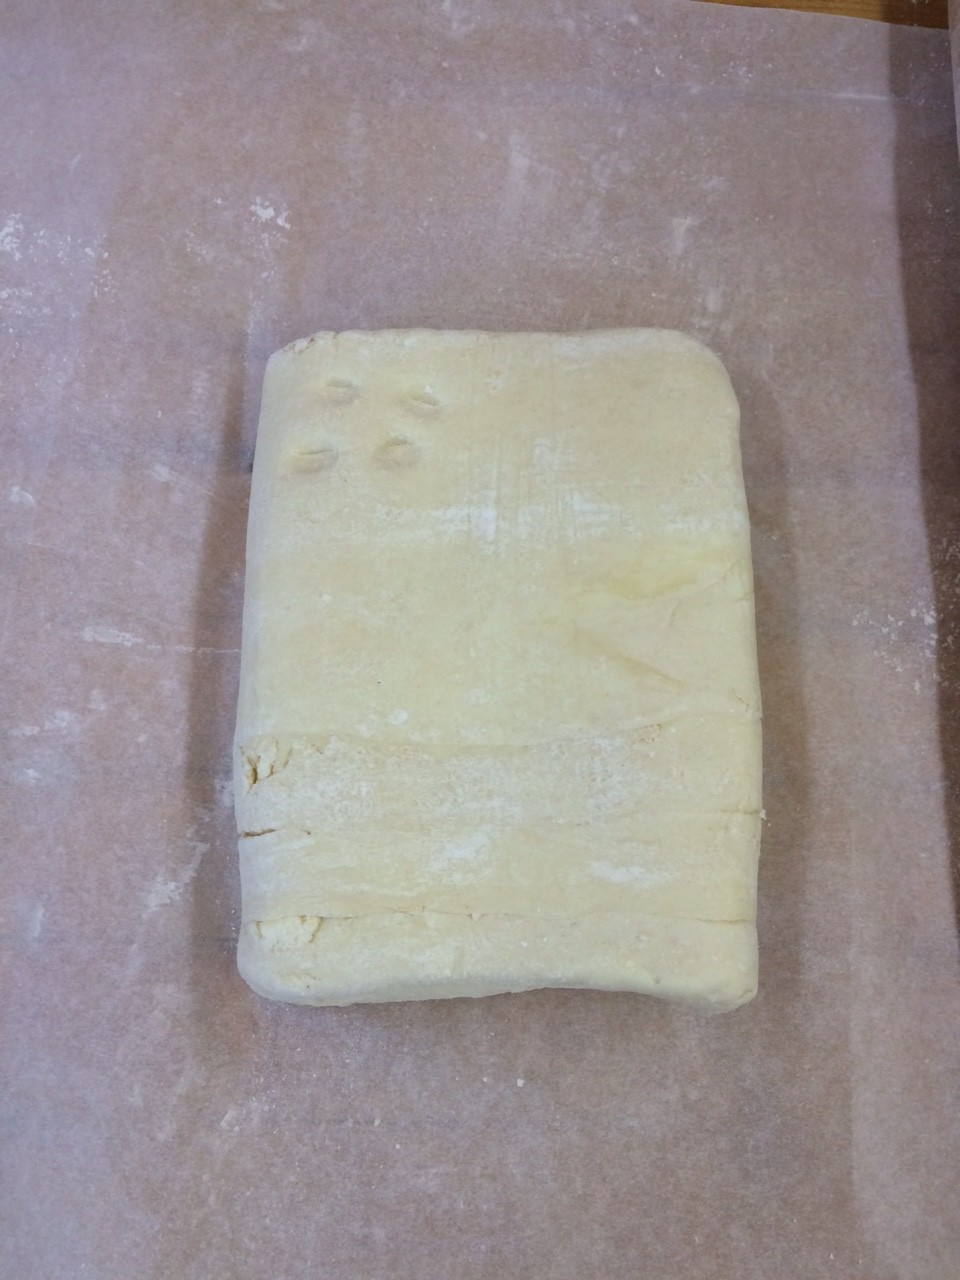
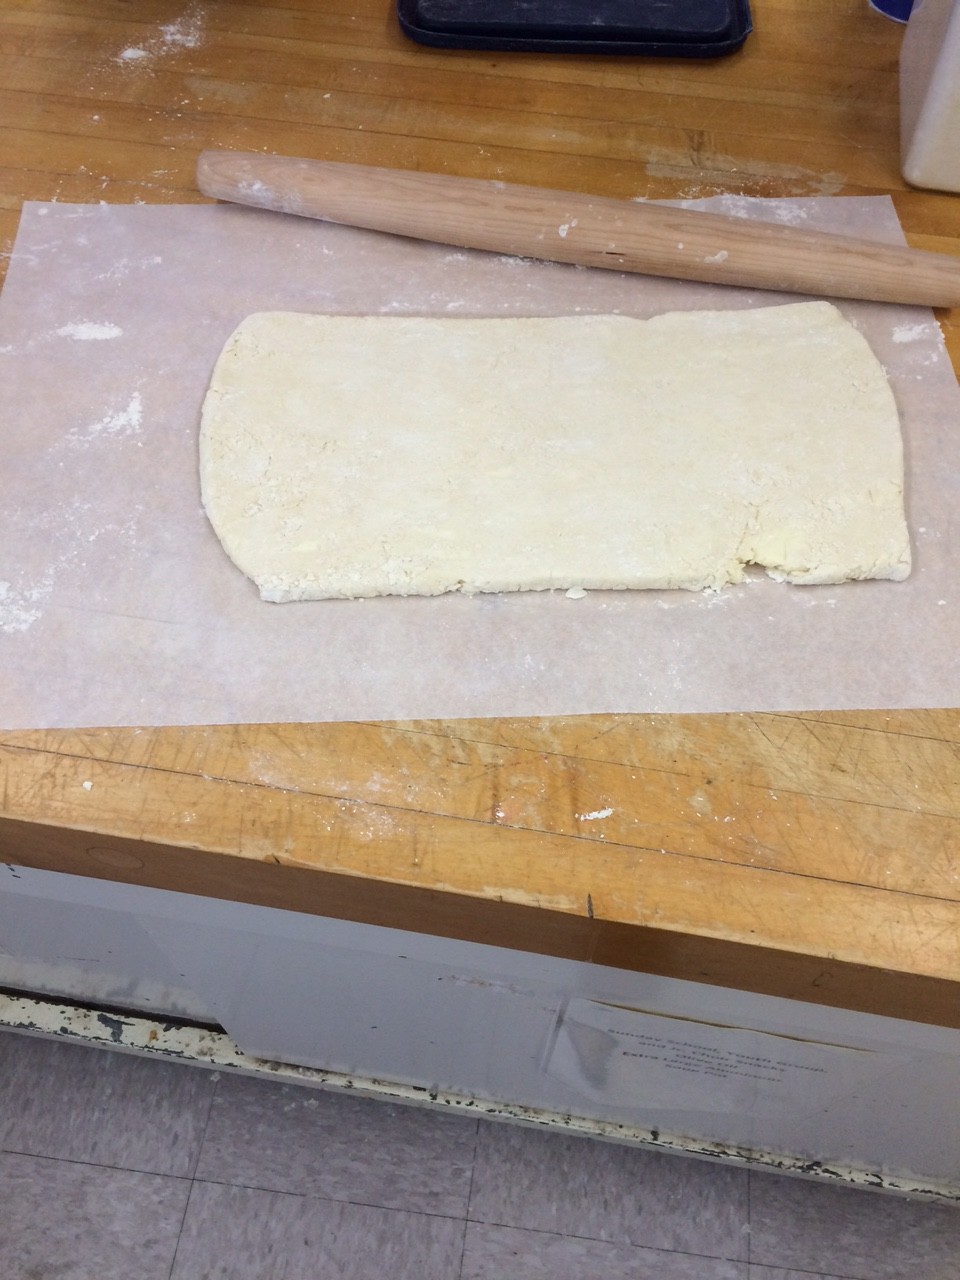
But I did it so I guess I will outline the key steps. First, you must make a what is essentially a basic all-butter pastry, which you then wrap, like wrapping paper, around a slab of butter that had been mixed with a smidge of flour. Then, you roll it out into a rectangle that is precisely 6in x 15in x 1in, fold it in thirds like an envelope, orient it so the top is the unfolded side with the flap oriented to the right, and then you mark it with a finger print for every turn of the pastry you have done. You do this 6 times. Chilling for 25 minutes in between each step.
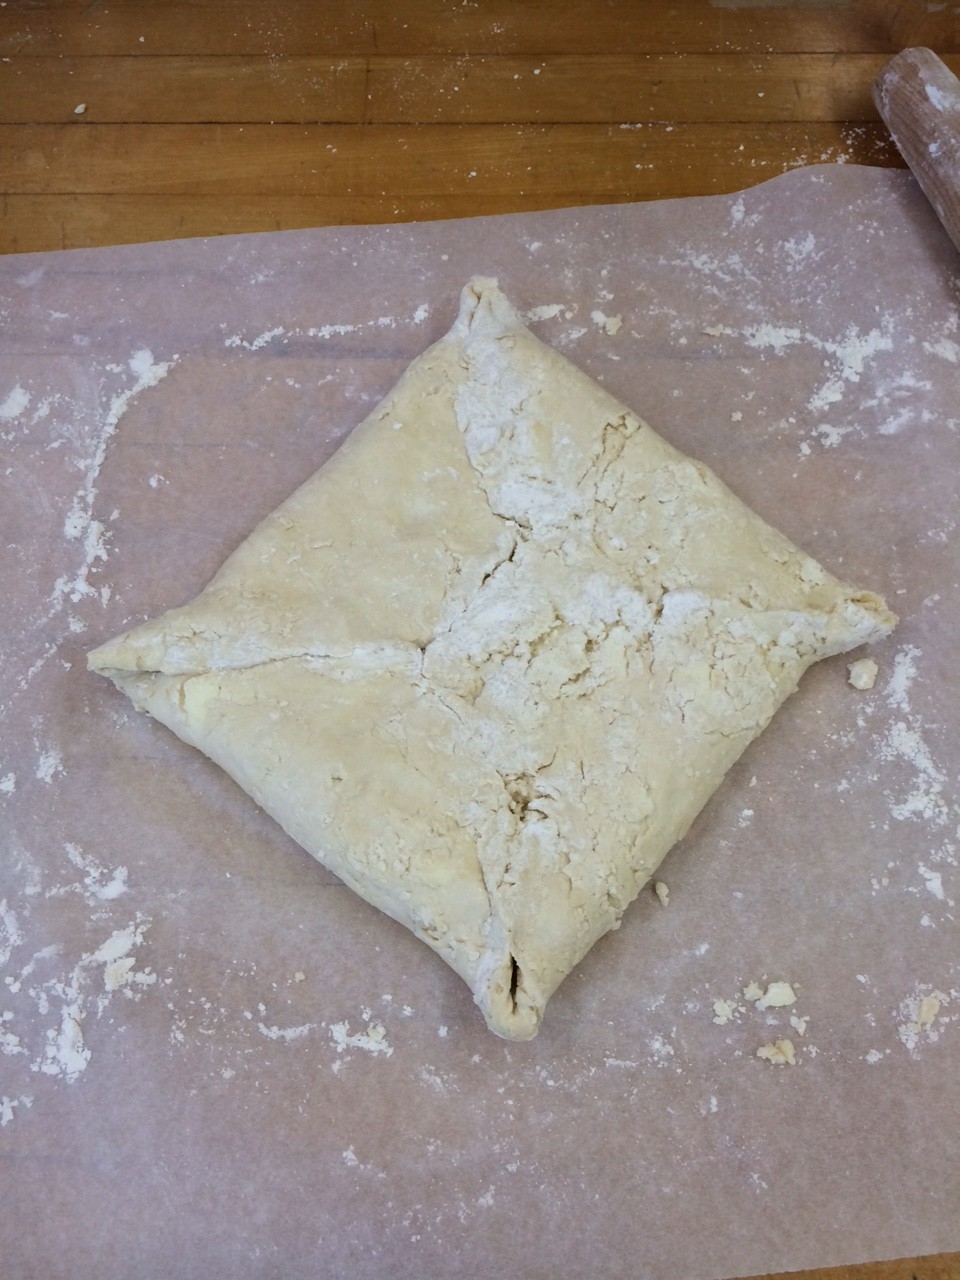
pastry wrapped butter present
pastry wrapped butter present

then you roll it out
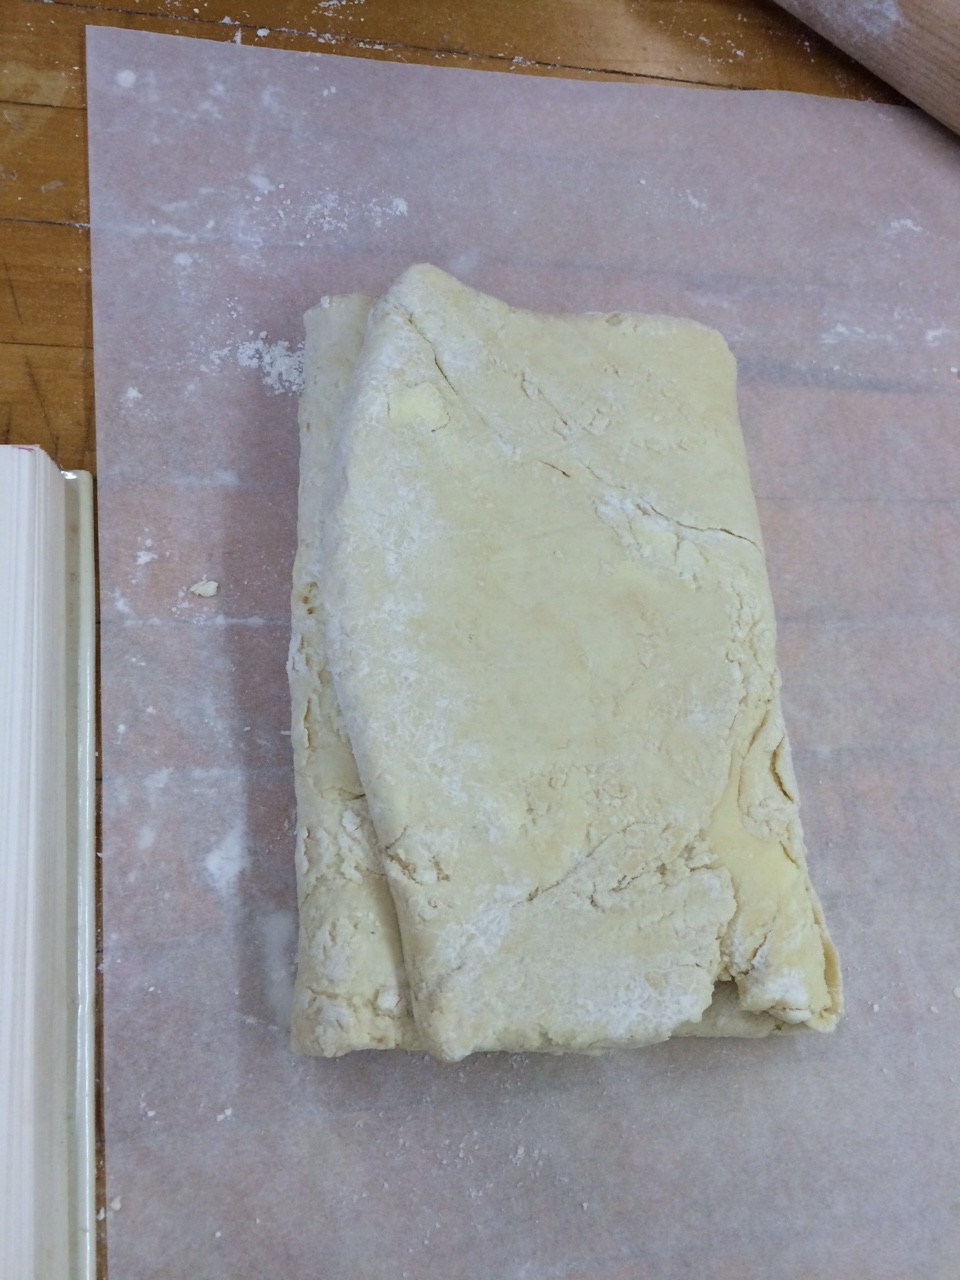
then you roll it out

fold in thirds
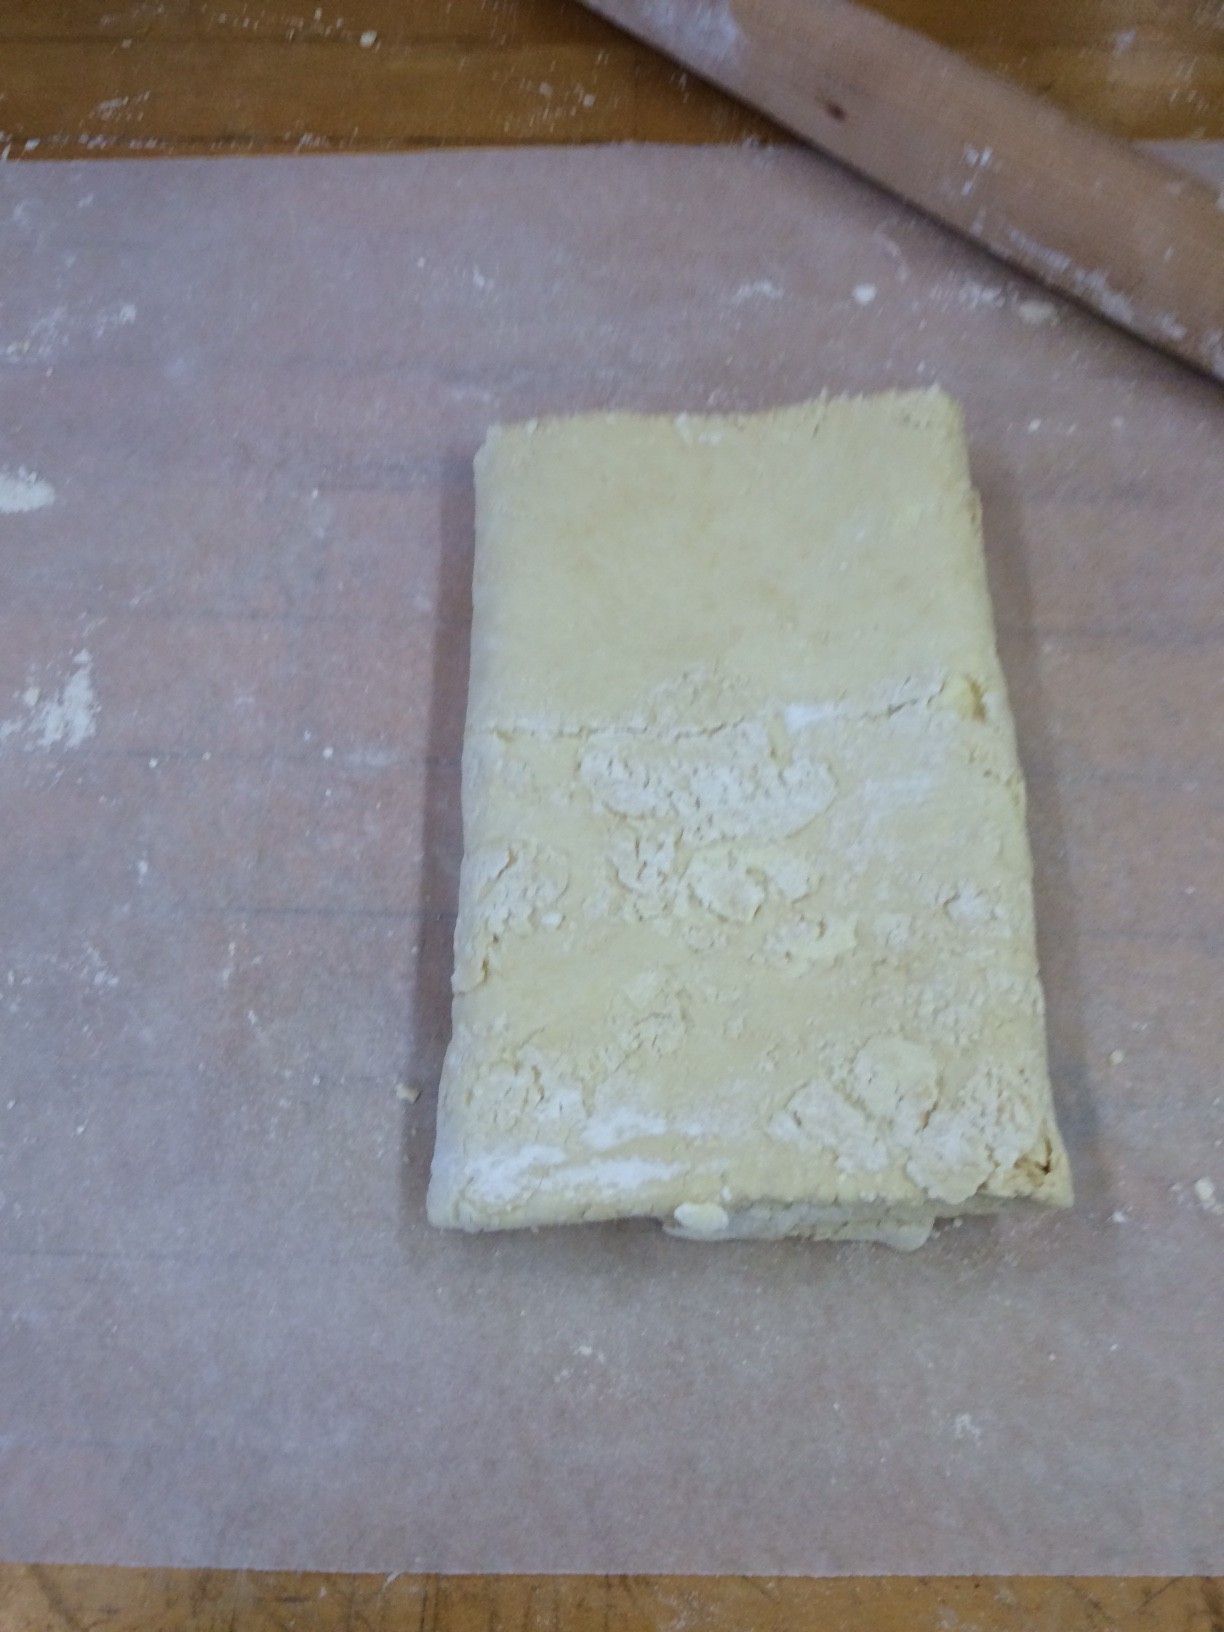
fold in thirds

flip it

flip it

mark it with your finger

mark it with your finger

and then

and then

do it again

do it again

and again

and again

and again

and again

until you have six dots

until you have six dots

And there you have it, puff pastry. In four short hours!

So the puff pastry was done and the next obstacle was tackling the filling of the pie, I approached it very methodically, setting out all my ingredients cooking-show-style in bowls before I began.
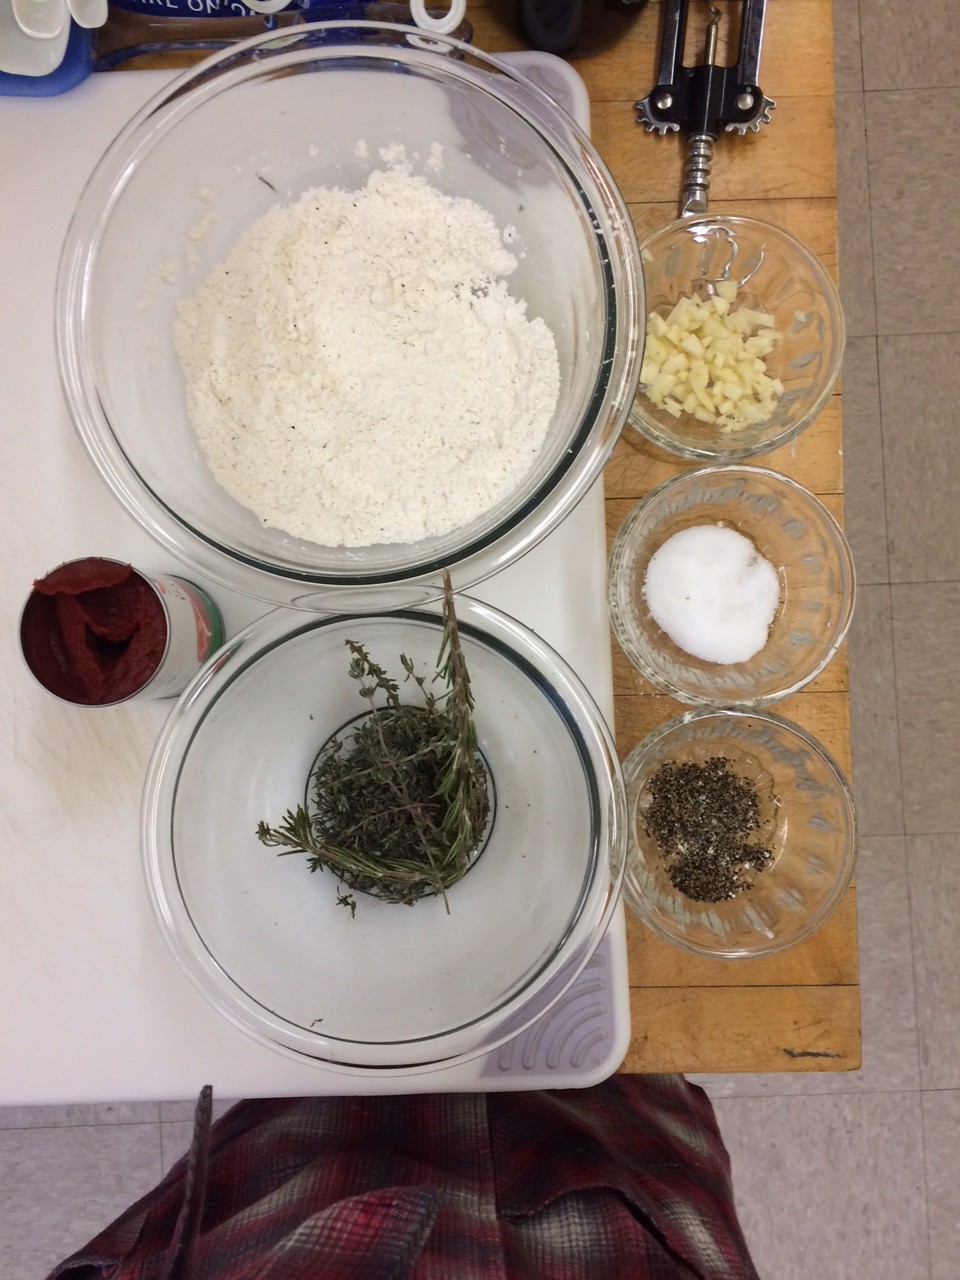
So organized

So organized

in the end the recipe I had ended up being very easy to follow, the only challenge was again how long it took. I began prep at 9am started cooking at 10 am, but didn’t officially take things off the burner until 2:30pm!
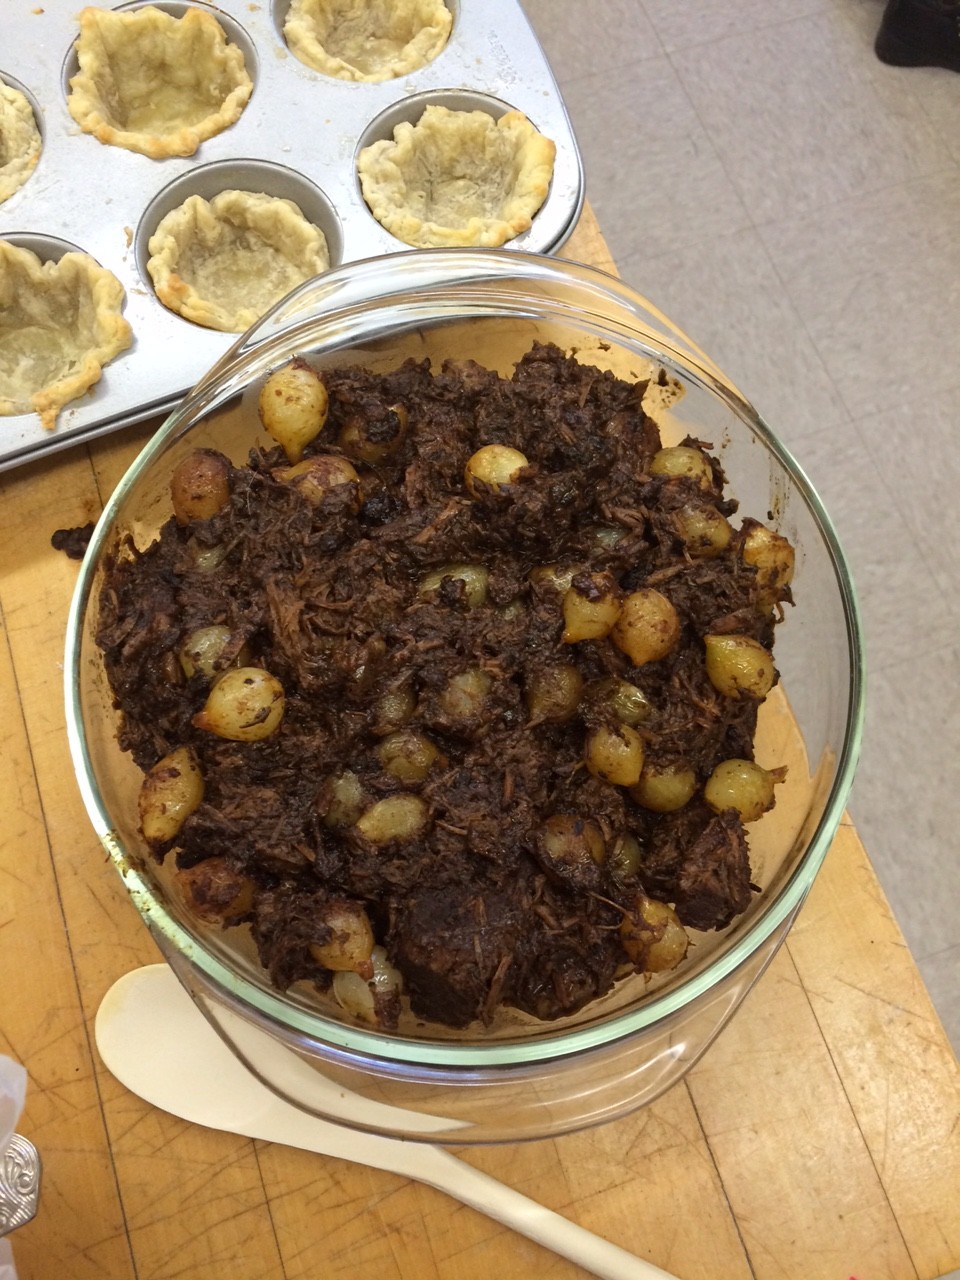
the final product of 5.5 hours of cooking

the final product of 5.5 hours of cooking

Luckily, 3 hours of that time was just letting it sit in a pot doing its thing. So while that was happening I made the bottom shell for my chocolate lava mini pies (featured in the background of the above photo), and I mixed the filling. The shells for these pies were the first time I have to blind bake a pie crust, so that was a fun adventure.
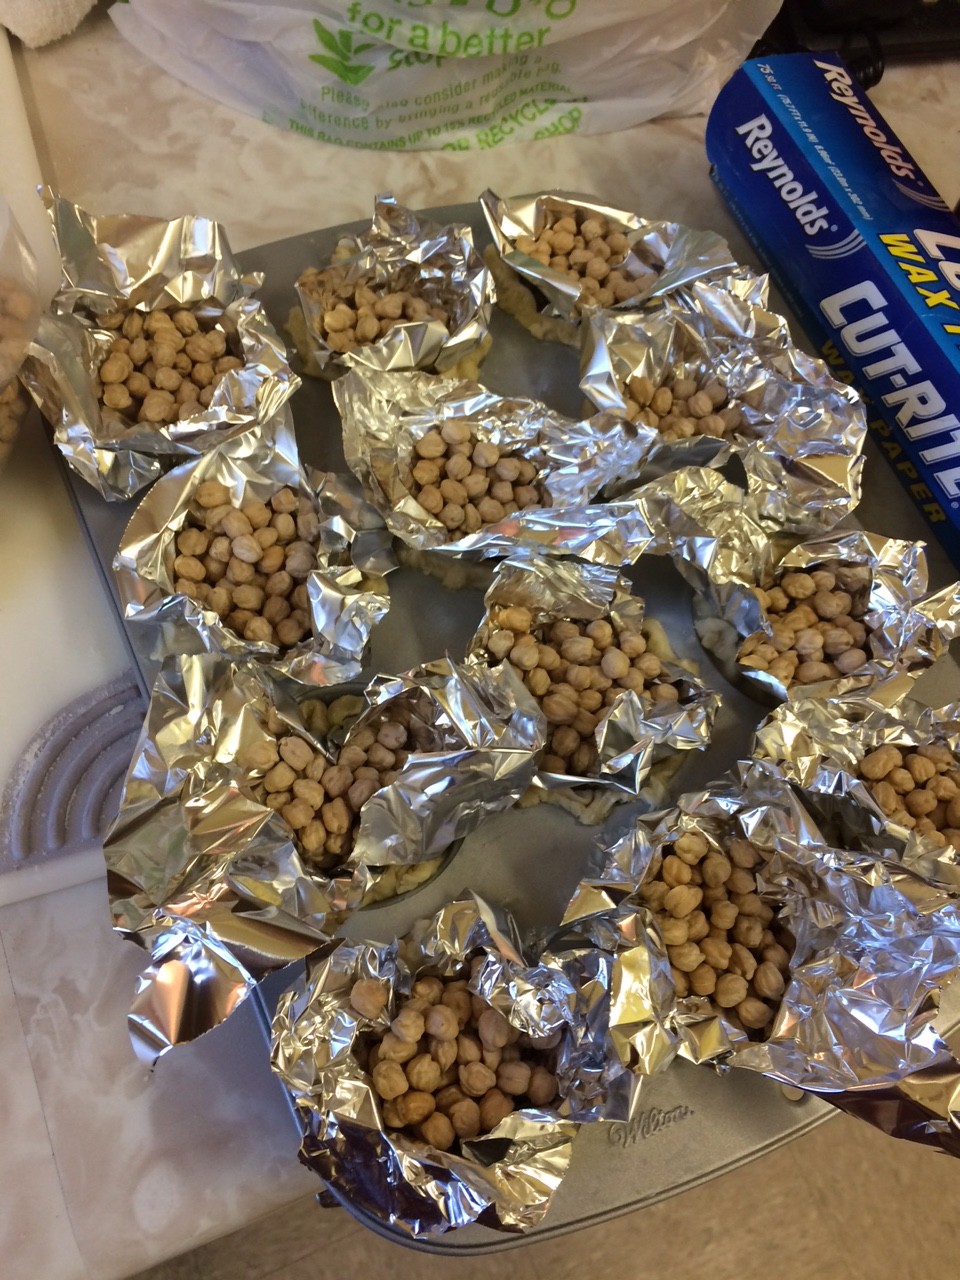
So much tin foil!

So much tin foil!

The only regret I had was buttering the muffin cups. I was really concerned about it sticking, but since the pastry already had so much butter in it, I got little buttery pools in the bottom of my cups that I had to wipe up. Aside from that my first attempt at blind baking was okay.
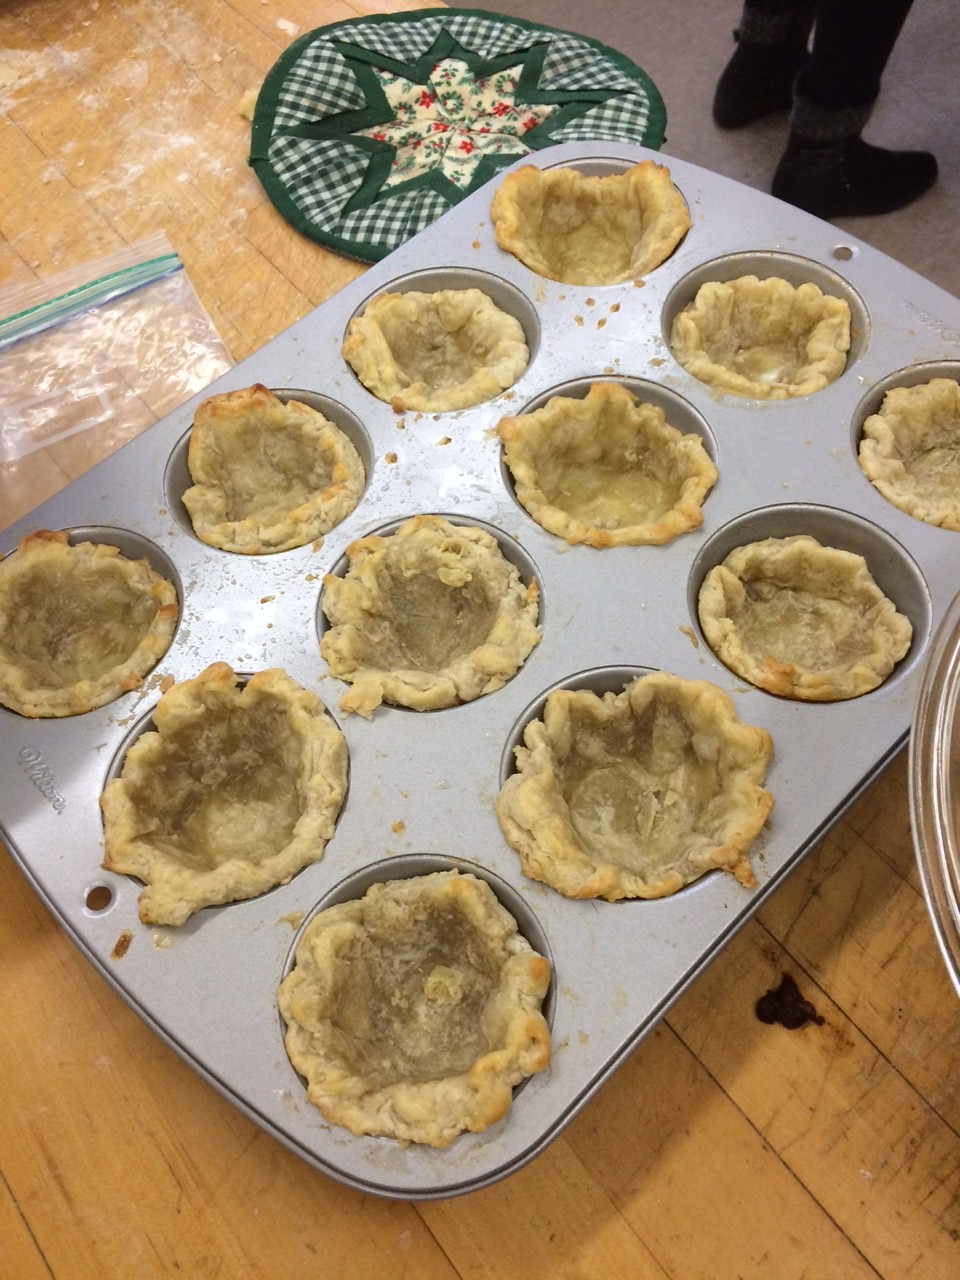
Pretty okay

Pretty okay

I set about doing all of this the first day of cooking, and the next I did a test lava cake, along with the real batch, and assembled and baked my pot pie. The lava cake pies were the major concern as I knew I could make pie and I knew I could make cake, but could I make the lava flow. In the end it was a lot of guess work. I found a recipe for a chocolate lava pie, but this was a whole pie not mini ones so any questions about timing were up in the air. In the end I just had to do a lot of checking, like every 3 minutes, but…..
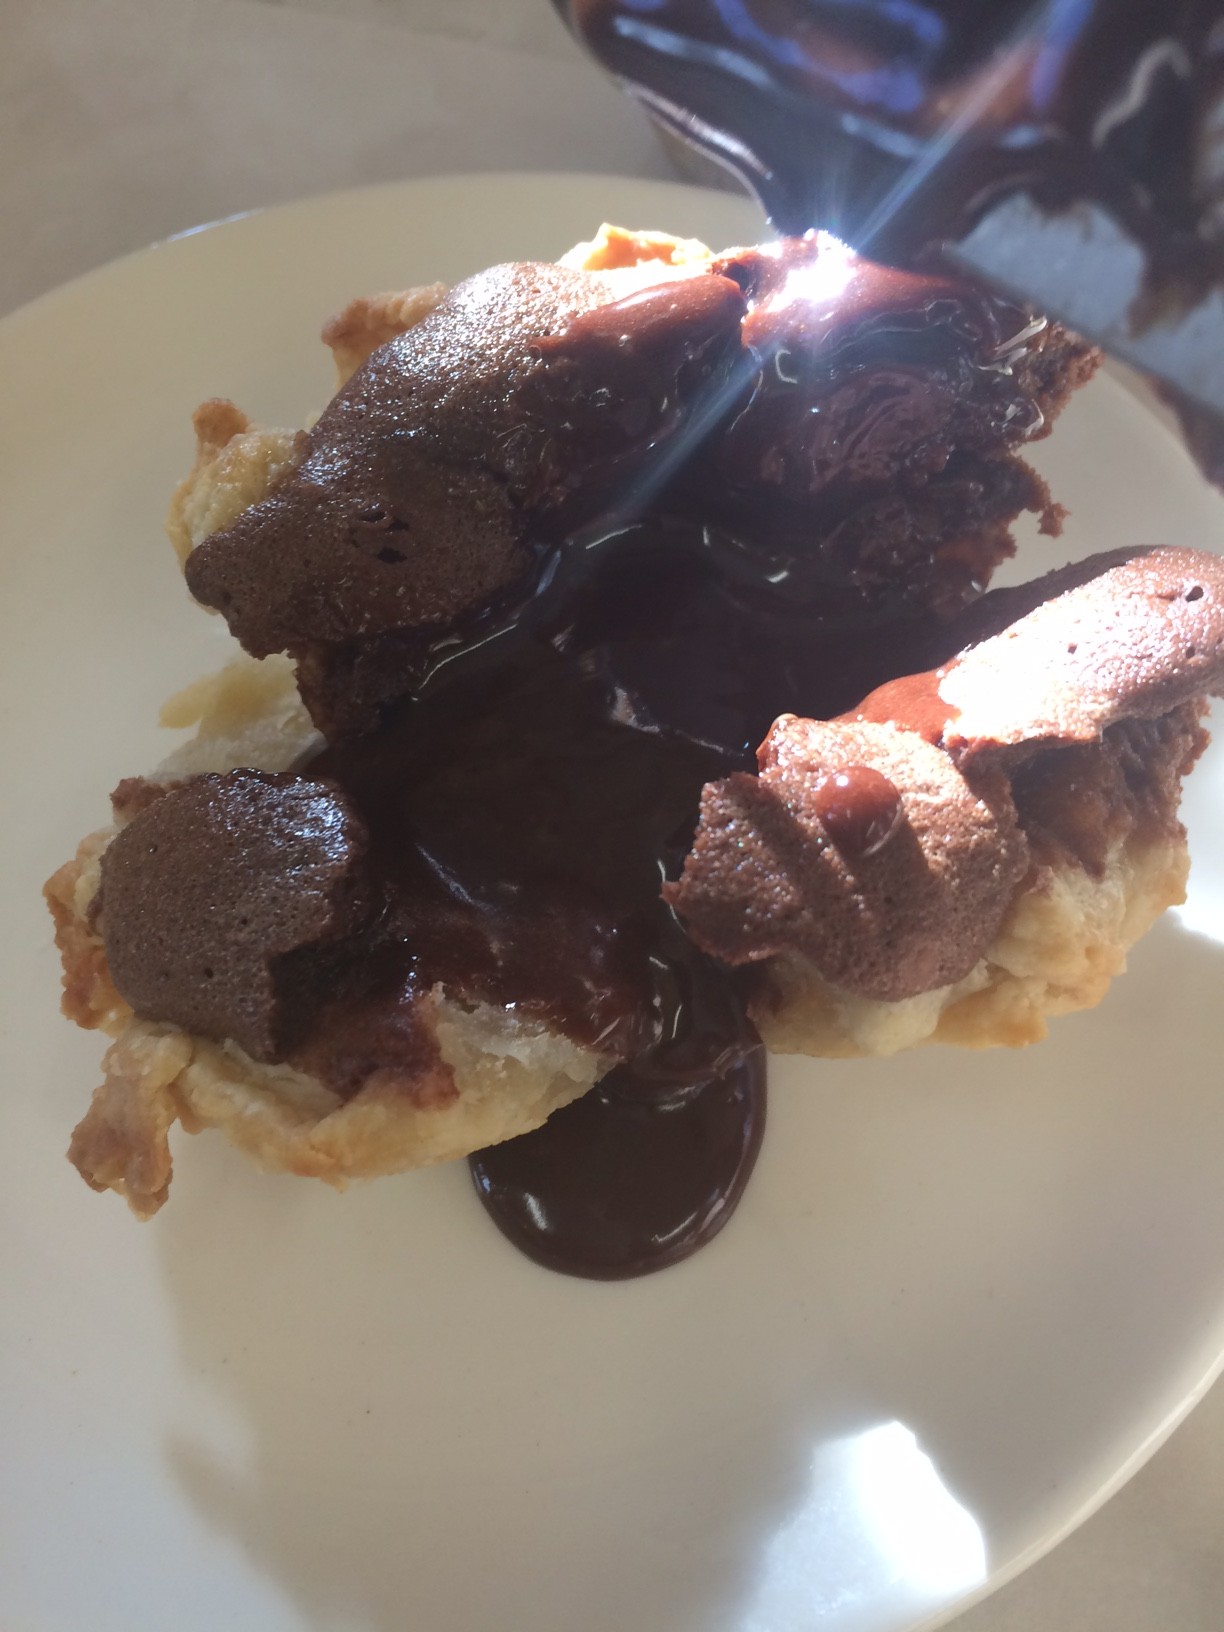
IT WORKED!

IT WORKED!

and so I made the rest!

IMG_1459

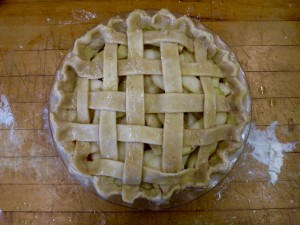
Then came assembling the pot pie. Last minute I decided to add some Boursin cheese into the pie because I felt it was a little to wine-y tasting and I thought it would mellow that out some. I also decided to go with a lattice crust because I hadn’t done that yet, but because I was concerned about how the puff pastry would puff I made a wider lattice, a very wide lattice.
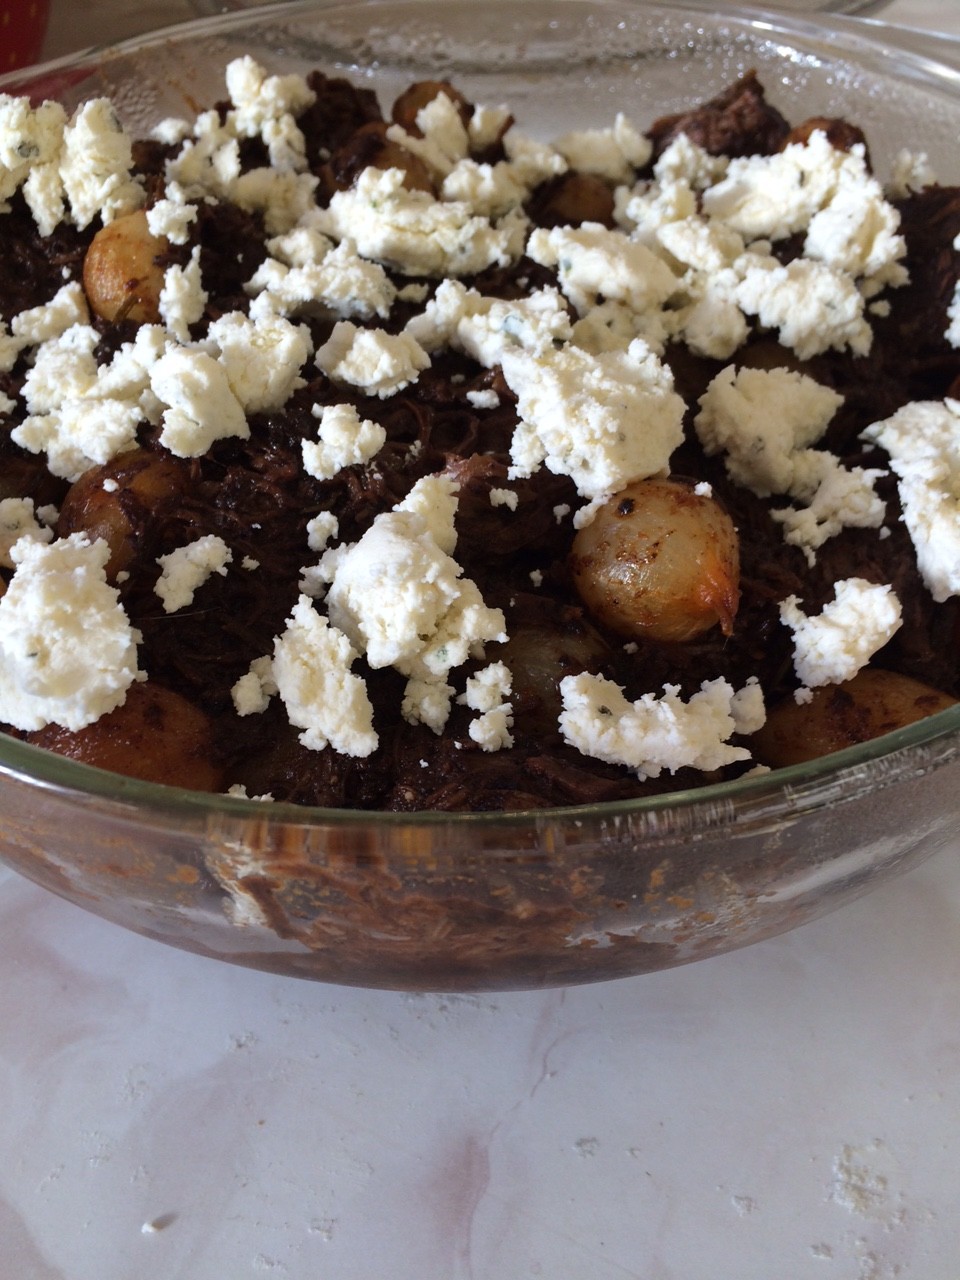
mmmmm cheese
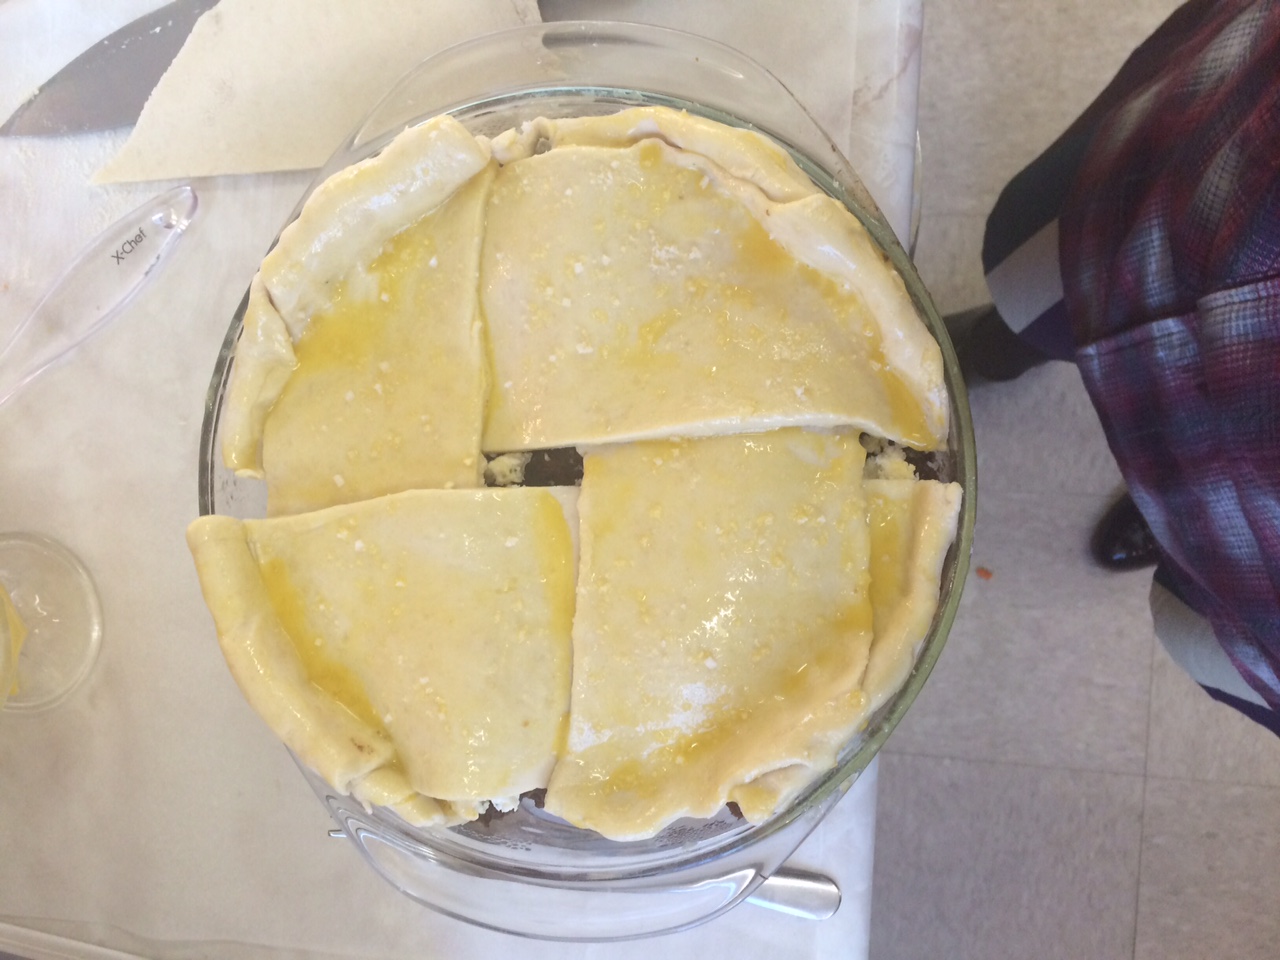
mmmmm cheese

I'm not even sure we can call this a lattice
I’m not even sure we can call this a lattice

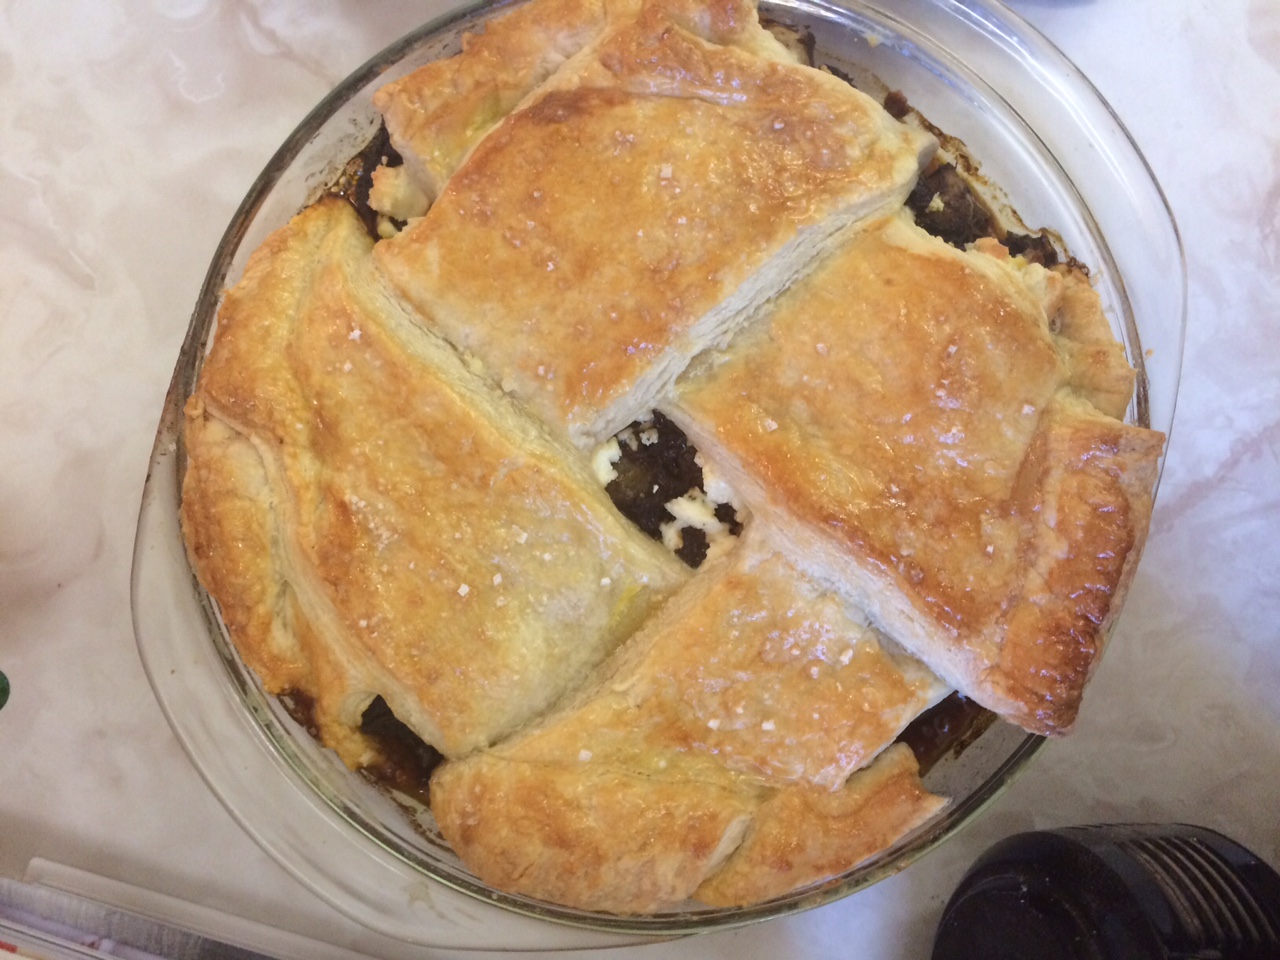
The finished pie!

The finished pie!

So that’s it! I made my pies. Unfortunately the time between the lava pies coming out of the oven and there being consumed was a tad longer than expected, so the lava didn’t happen, but all of them were eaten in the end, so apparently they were good. The pot pie was successful as well, as the cheese worked as planned.

I definitely learned a lot over these past few weeks. I can make pie crust and not just on kind. I can make it with cream cheese, canola oil, just butter, butter and shortening, and I can make puff pastry. I can make sweet pies, I can make savory pies, I can make the various things that go into these pies, I can say I have eaten 14 different pies in one sitting, I can boast about being the proud owner of my own Pyrex mixing bowls, I know more than the average person about the history of pie, I am now a fan of The Great British Bake Off. I can say I can make a pretty tasty pie, and I can say I learned a valuable skill.
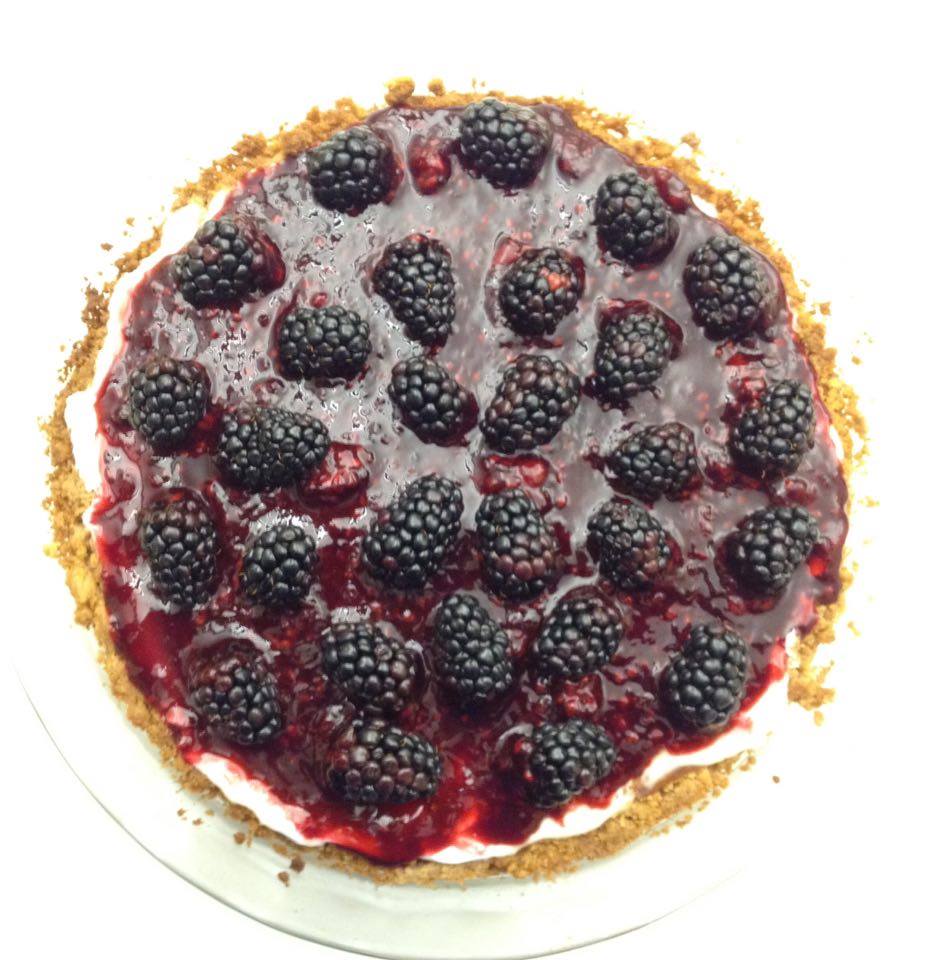
Blackberry Cheesecake & Spinach, Ham, Feta Quiche

Blackberry Cheesecake Pie

12659701_10208998232936345_55449488_n


This is thanks to Hussain’s recipe.

Crust:

2 – 2 1/2 cups of graham cracker crumbs

8-10 tablespoons unsalted butter (or however much until the crumbs stick together)

Filling:

2 cups fresh or frozen blackberries (I used fresh), thawed and drained if necessary

1 pound cream cheese, softened at room temperature

1/2 cup sugar

1/4 teaspoon salt

2 large eggs plus 1 large egg yolk

1 teaspoon lemon juice, freshly squeezed

Topping:

1 cup sour cream

2 tablespoon sugar

1 teaspoon vanilla

Blackberry glaze:

2 tablespoons sugar

1 tablespoon cornstarch

1 -2 tablespoon lemon juice, freshly squeezed

2 cups fresh or frozen, drained if necessary, blackberries (you could probably get away with 1 1/2 cup)


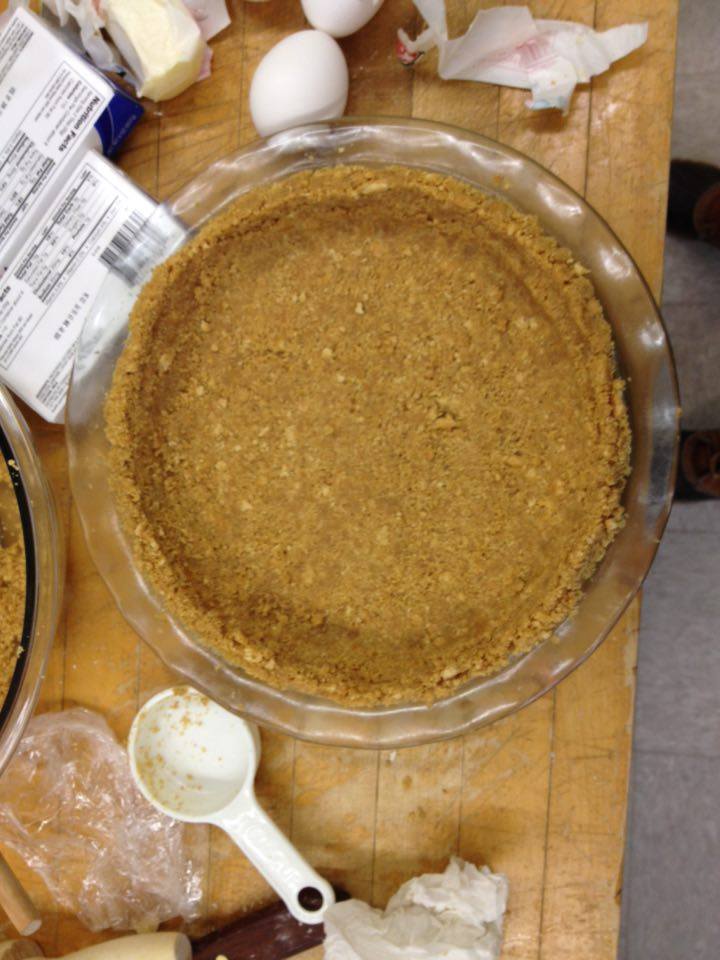
1. Crust

12659734_10208998234216377_528935142_n

Bam. Pretty straightforward.

I made the crust slightly thicker than usual, about 1/4- 1/3 an inch.


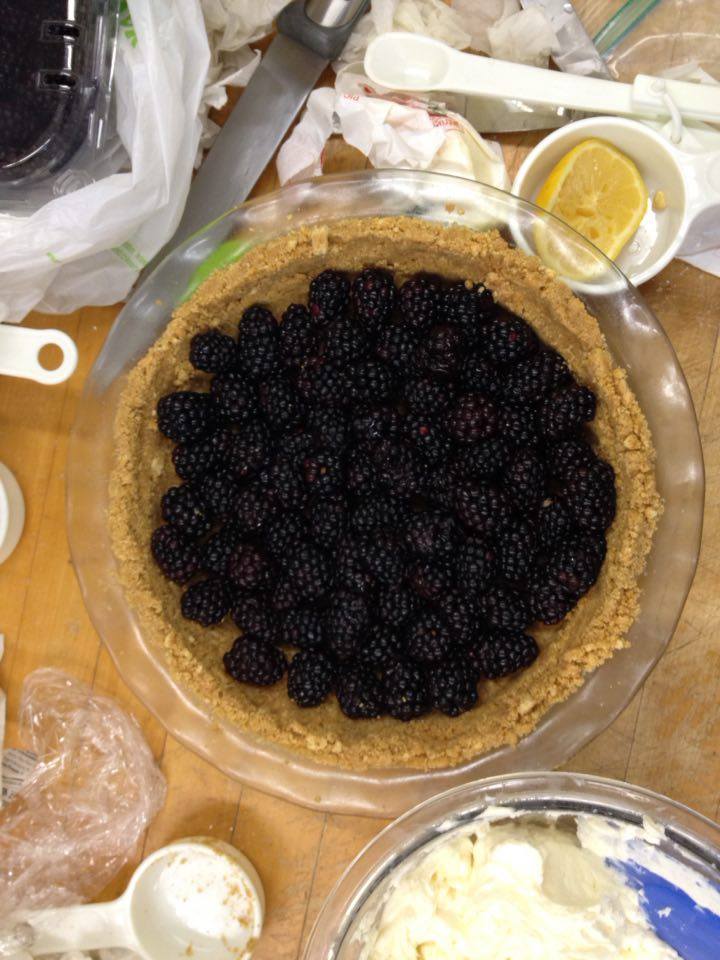
2. Fill with blackberries!

12650518_10208998234136375_157525930_n


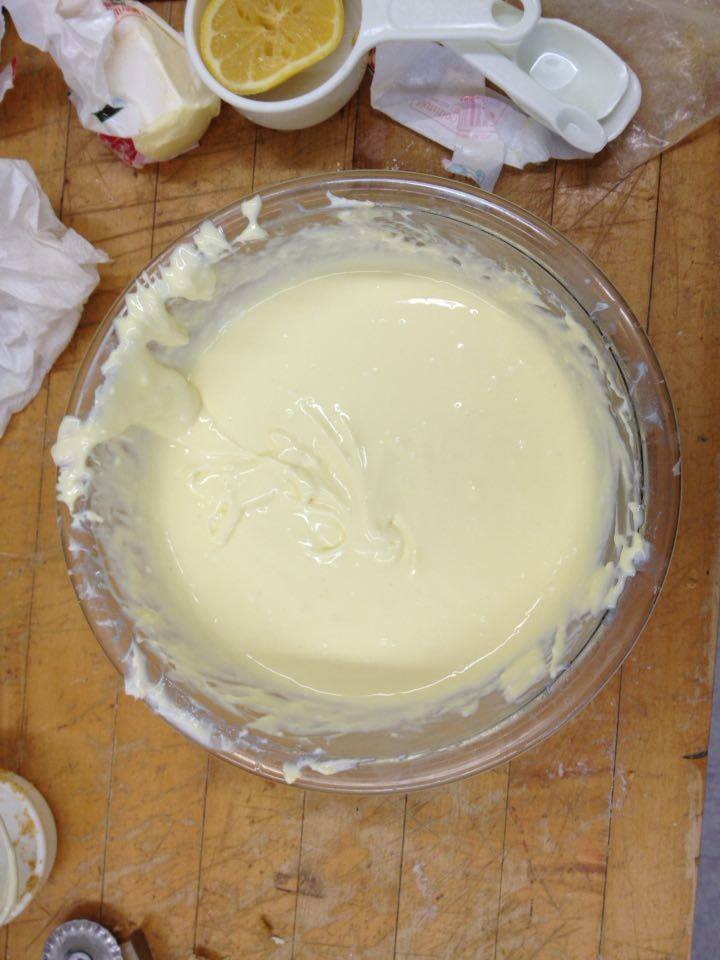
3. Filling & Topping

12650588_10208998233936370_572879256_n

Preheat oven to 375 degrees F. Beat the cream cheese, sugar, and salt until absolutely smooth. Beat in the eggs, egg yolk, and lemon juice. Pour the batter over the berries.

Bake the pie for 25 minutes. While the pie is baking, stir together the sour cream, sugar, and vanilla for the top layer.

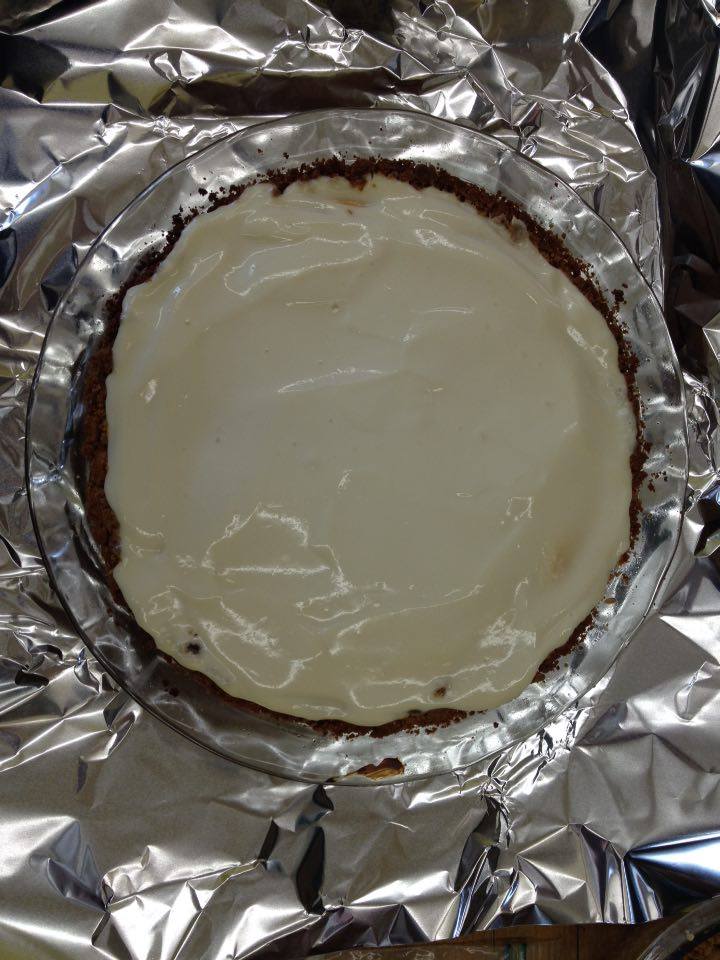
Remove the pie from the oven. Increase oven temperature to 450 degrees F. Spoon the sour cream mixture over the top of the pie as evenly as possible and smooth gently with a rubber spatula. Return the pie to the oven for an additional 5 minutes.

12626024_10208998233696364_577298256_n


Cool the pie at room temperature for about 30 minutes and refrigerate it until completely cold, at least 2 hours. Once cold, the pie should be loosely wrapped with plastic until it is served.


4. Glaze preparation

If possible, prepare the blackberry glaze about 1 hour before serving the pie. It is best at room temperature. If you must make it further ahead, refrigerate it.

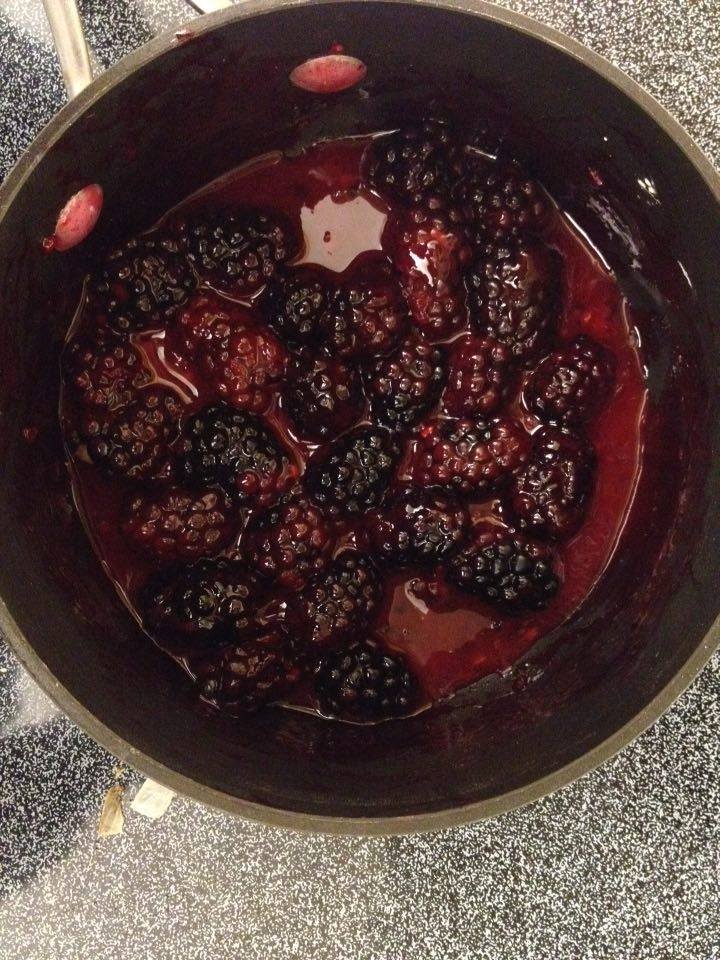
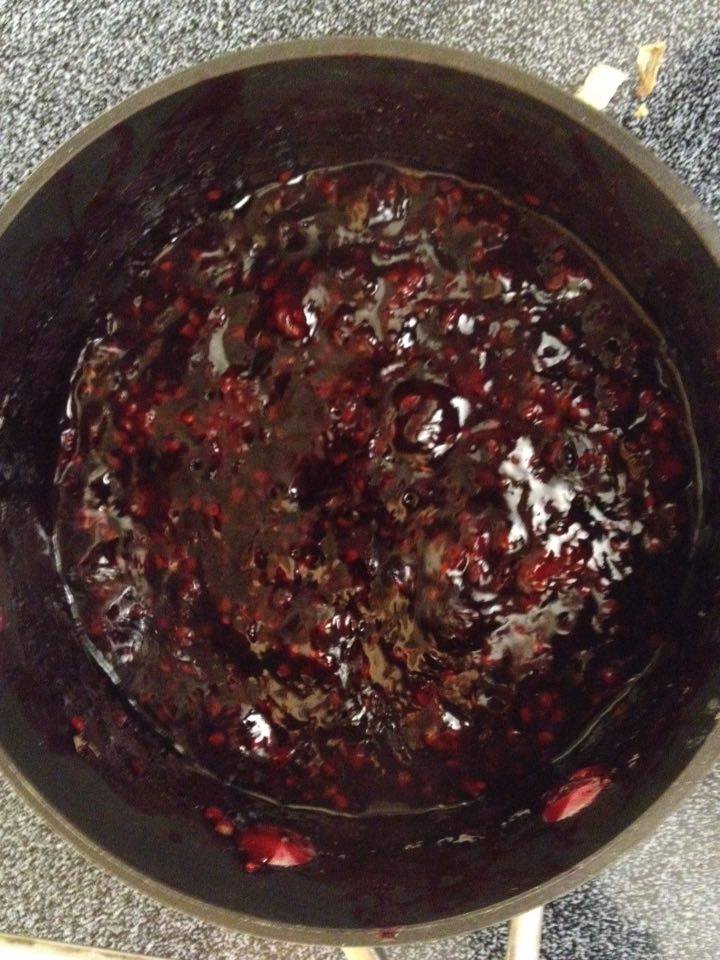
In a small saucepan, stir together sugar, cornstarch and lemon juice. Gently stir in 1 cup of the berries. Place the pan over medium heat and bring the glaze to a simmer, stirring constantly, until it is thick. (This took about 20-25 minutes.) Remove it from the heat. (Add 1 to 2 tablespoons of water if too thick.) Press the mixture through a sieve. Gently stir in the remaining 1 cup berries. (Optional – stir in this 1 cup earlier in the process to make glaze more even.)

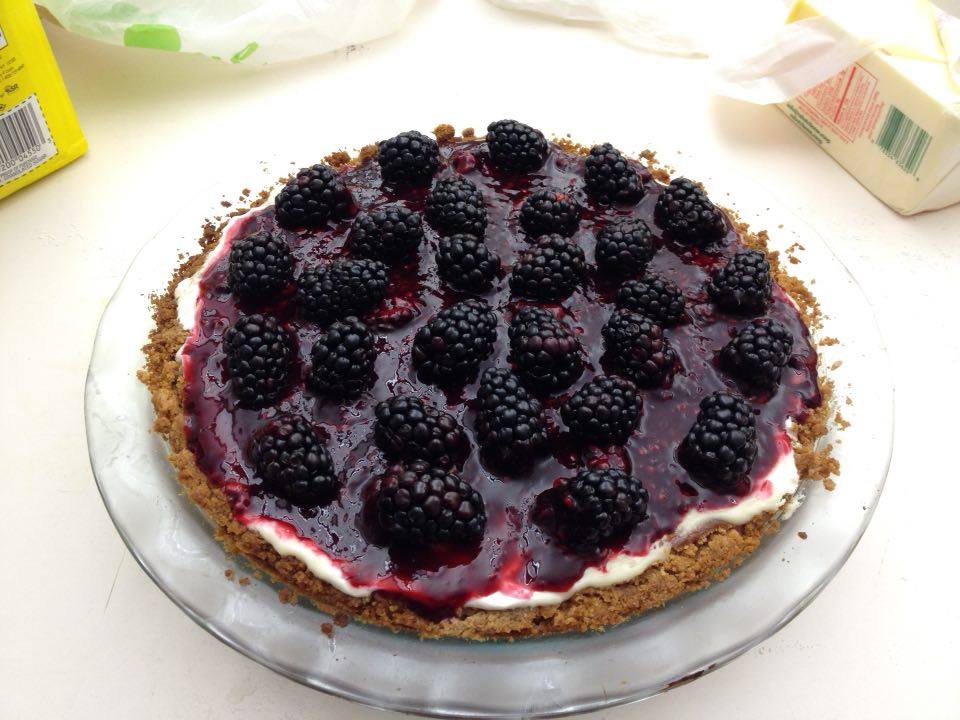
Just before serving, top the pie with the blackberry glaze.

12607388_10208998233176351_247049857_n 12665785_10208998233016347_349882295_n


I had about 1 1/2 cups of blackberries left over, so I decorated the top with them.

12665867_10208998232856343_912129155_n


Spinach, Ham, and Feta Quiche

Ingredients:

6-8 cups of baby spinach

1/2 a large white onion, coarsely chopped, and lightly sautéed

1 pound of ham, coarsely chopped. This amount is flexible. I used a pre-cooked ham so it reduced the cooking time.

6 eggs

Coarsely ground black pepper & kosher salt to taste


Steps:

Make the crust as you normally would – enough for 1 single crust (bottom)

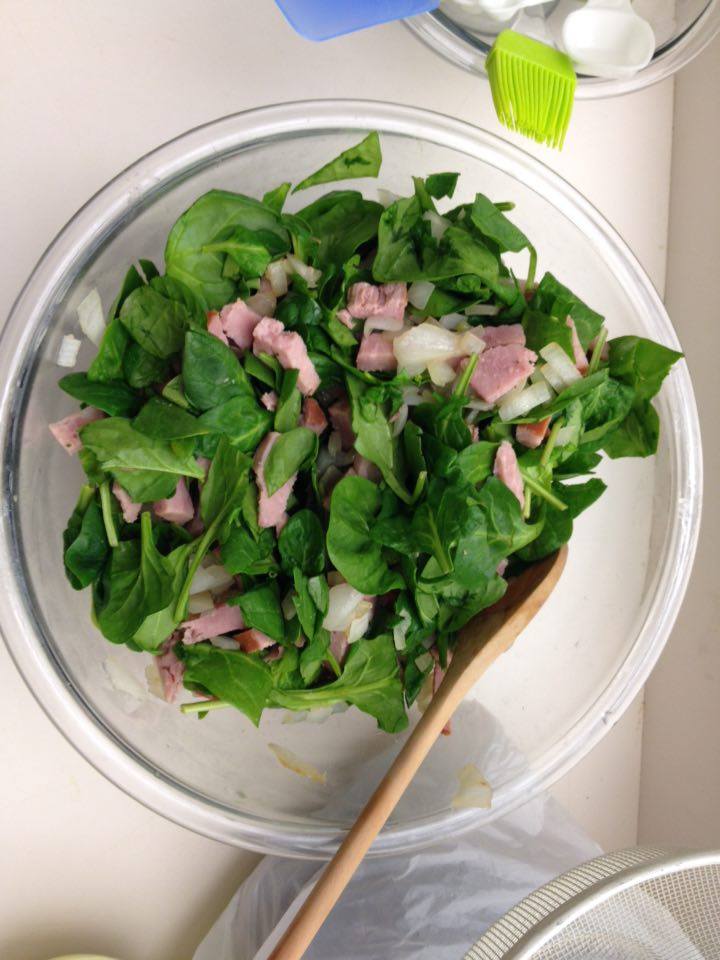
In a large bowl, combine the spinach, ham, and sautéed onions. Beat the eggs, salt, and pepper, and pour in the mixture.

12659698_10208998233576361_926616527_n

Pour the filling into the crust, and gently press down until tightly packed.

12660394_10208998233456358_1538187595_n

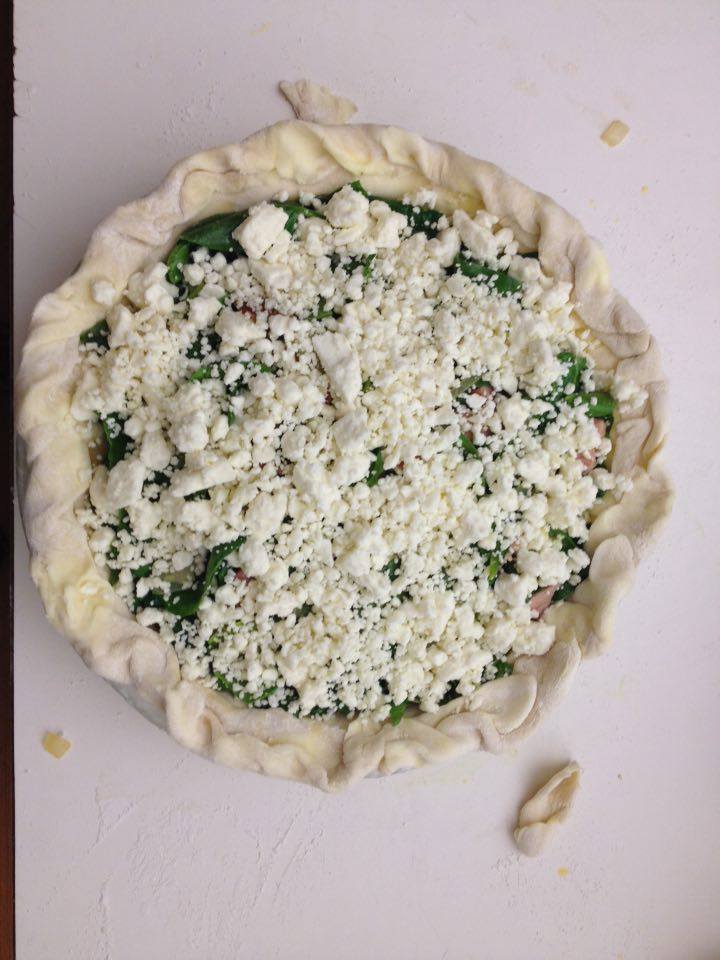
Feta cheese sprinkled on top


I improvised for this pie, and didn’t follow a real recipe, so there were some things that were experimental. For one, the filling wasn’t as firmly packed together as it should have been, and when the pie was cut, it tended to crumble.

Second, the feta cheese should have been sprinkled AFTER baking. I didn’t know this, but the feta became thoroughly burned black after 50-60 minutes of baking.

Lo How a Rose

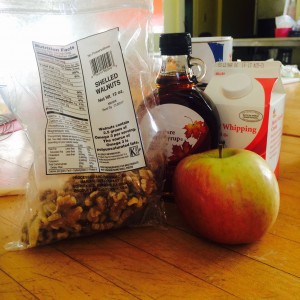
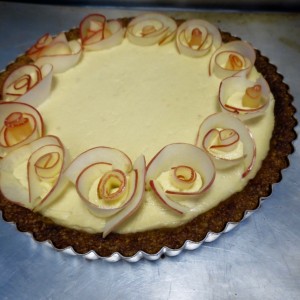
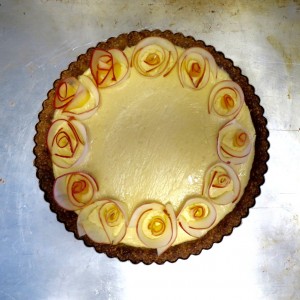
In honor of this week’s decorative theme, I decided to tackle a baking feat I’ve been meaning to master for a while –apple roses. I’ve tried to make apple roses in the past without any success so I went into this week determined to master the perfect apple flower décor to top a maple custard tart with a walnut crust.


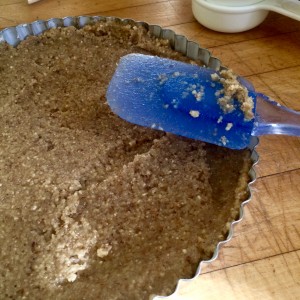
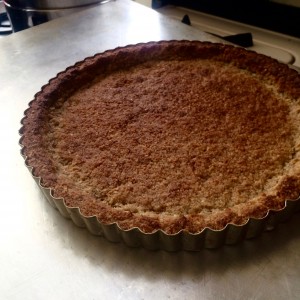
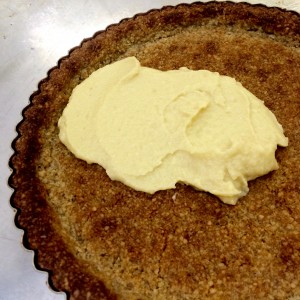
The recipe for the tart was quite simple. I learned how to use a food processor for the walnuts, and how to properly press the crust into the tart pan. The crust only needed about 15 minutes to bake, and it turned out perfectly browned all the way around which I was happy about.

IMG_9237IMG_9235IMG_9242

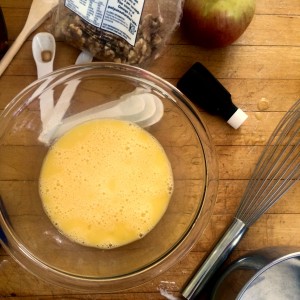
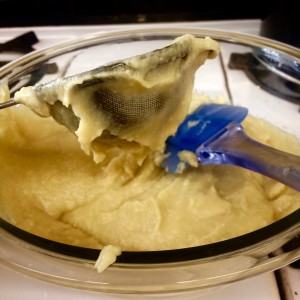
The custard was also very straightforward. It just involved whisking and heating eggs, cream, maple syrup, and cornstarch into a pudding-like consistency. The recipe said to push the custard through a mesh sieve to reduce clumps, but that didn’t go very smoothly so I skipped that step. But there weren’t any clumps when I tasted it, so I think it was probably unnecessary.

IMG_9238IMG_9250IMG_9251

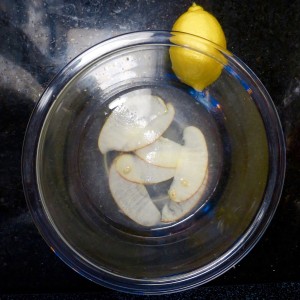
After 45 minutes of practicing slicing apples incredibly thin I was ready to try my hand at the rose-decoration. The most difficult part was definitely getting thin enough slices, but I found using a peeler was very effective. I soaked the pieces in lemon juice to prevent browning and then warmed them up in the microwave for about ten seconds made them more pliable. I then rolled them and arranged them into the cooled maple custard.

IMG_9264IMG_9268IMG_9267

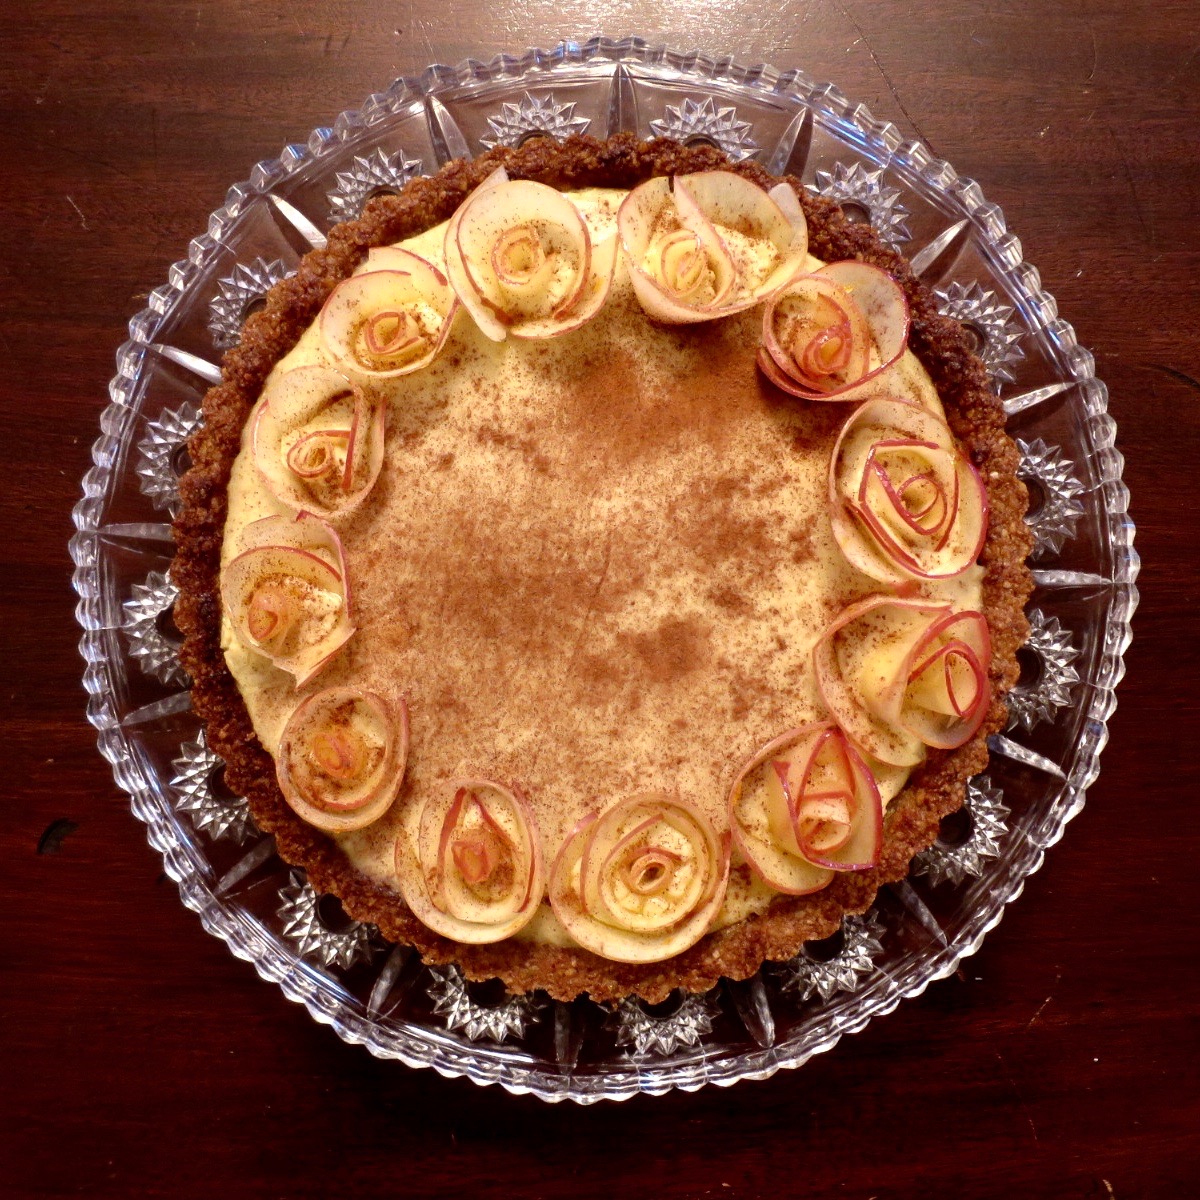
After all the roses were arranged around the pie, I sprinkled the entire thing with cinnamon as a little added decoration and for a bit more flavor.


The final product was dainty, creamy, nutty, and quite lovely. Very happy with the end result, I will definitely make this pie again in the future!


IMG_9275

Don’t Crowd the Mushrooms!


This week we ventured into savory pies! I was very excited for this week; I was ready to cook big hunks of meat for a big hearty pie. Unfortunately, this was the week I decided to sprain my ankle. So, I settled for a quiche, something that could be made in one day, relatively quickly. With my savory pie, I still wanted to push myself a bit even though I had physically constraints. So, I decided to try out a cream cheese crust and decided to transform for my favorite omelette contents into a quiche.

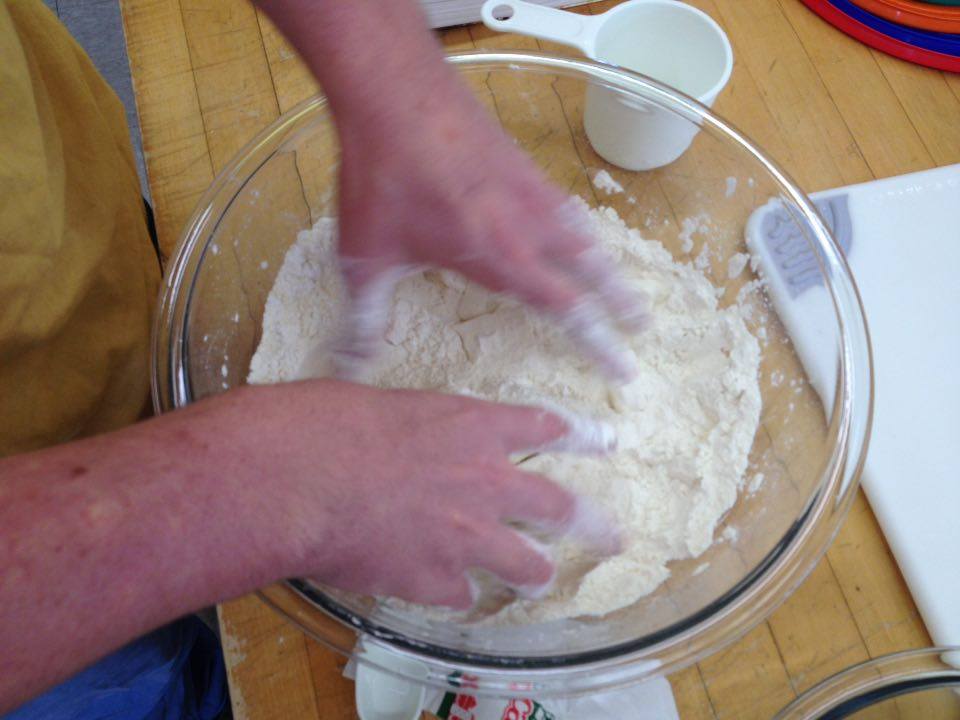
The cream cheese crust was something I stumbled across while looking on the internet for alternative fats in pastry dough. I used a mish-mosh of a couple different crust recipes and mostly I was surprised at how little flour (only 1 cup!) it used in comparison to the butter and cream cheese. Albeit this was the first single crust pie I have made, so things are already halved from what I was used to , but still there was a lot of fat in comparison to flour. Also the water was mostly optional in recipes I looked at, I definitely needed it; they must live in some ridiculously humid places. Once everything was sorted out, it mixed fine and rolled out nicely.

Cream Cheese Pastry


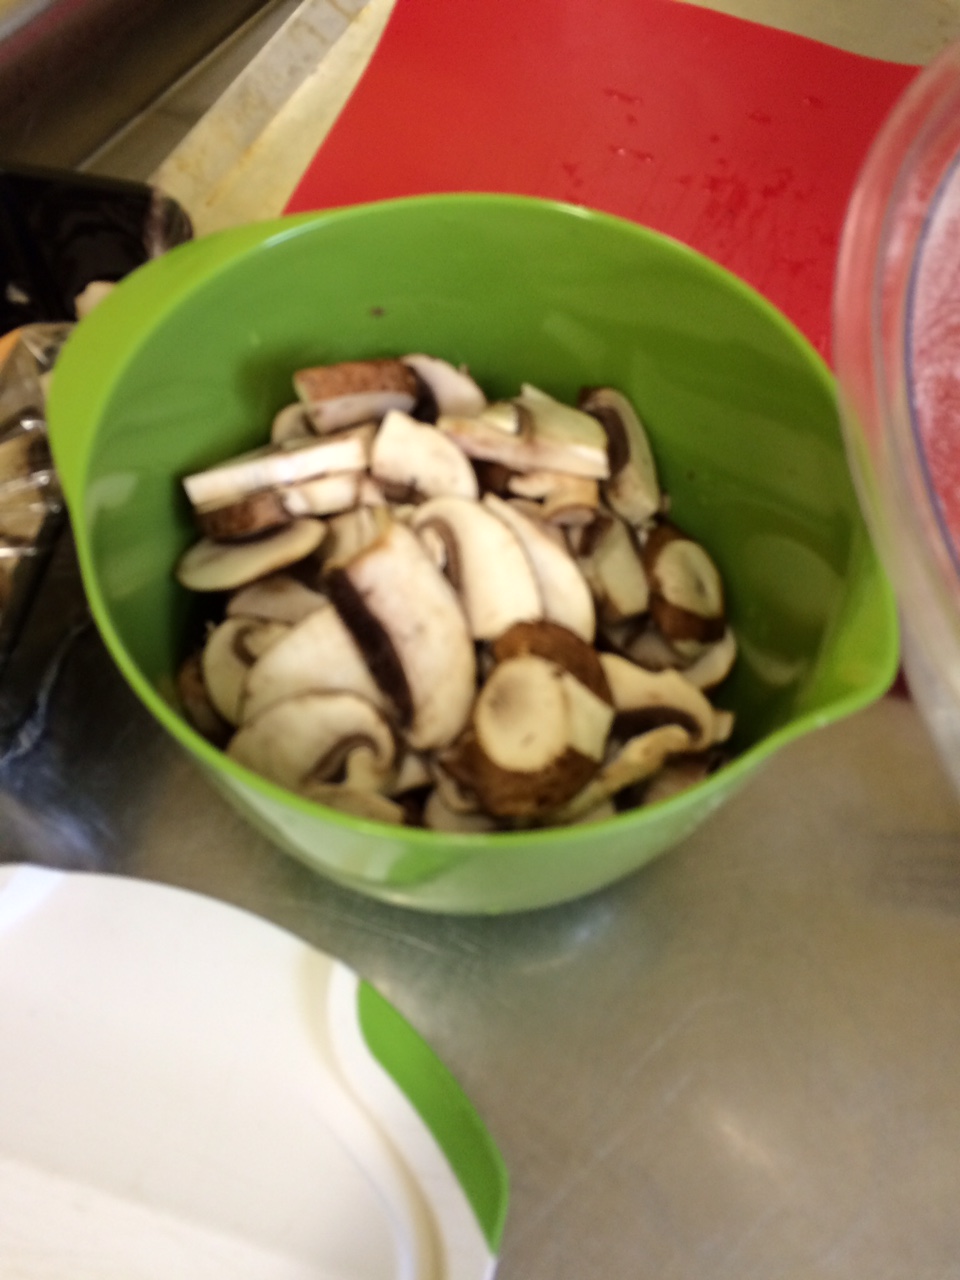
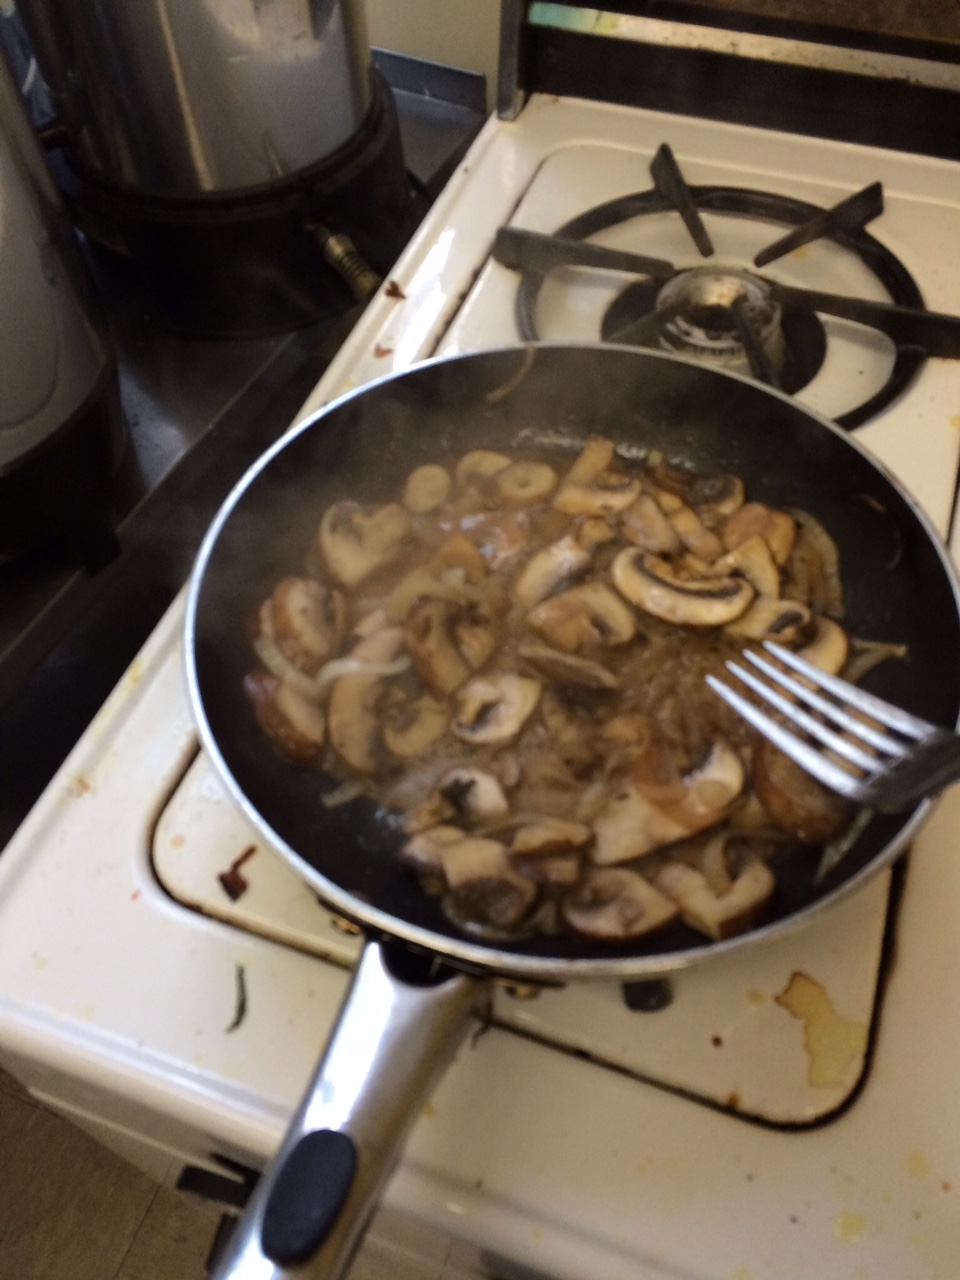
Next, on to all the things going on inside of the quiche. I chopped up my mushrooms and my onions (Moment of pride: I evaded watery eyes through some miracle) and set about cooking them. I had to make them in two batches because they couldn’t all fit in one pan, and because I was terribly afraid of crowding the mushrooms. Both Julia Child’s and my mother’s voice keep saying the mantra “don’t crowd the mushrooms” over and over again in my head. The first batch went well, but I guess the second one was slightly larger and they definitely got a little too much steam from their own juices.


mushrooms all chopped

I crowded the mushrooms


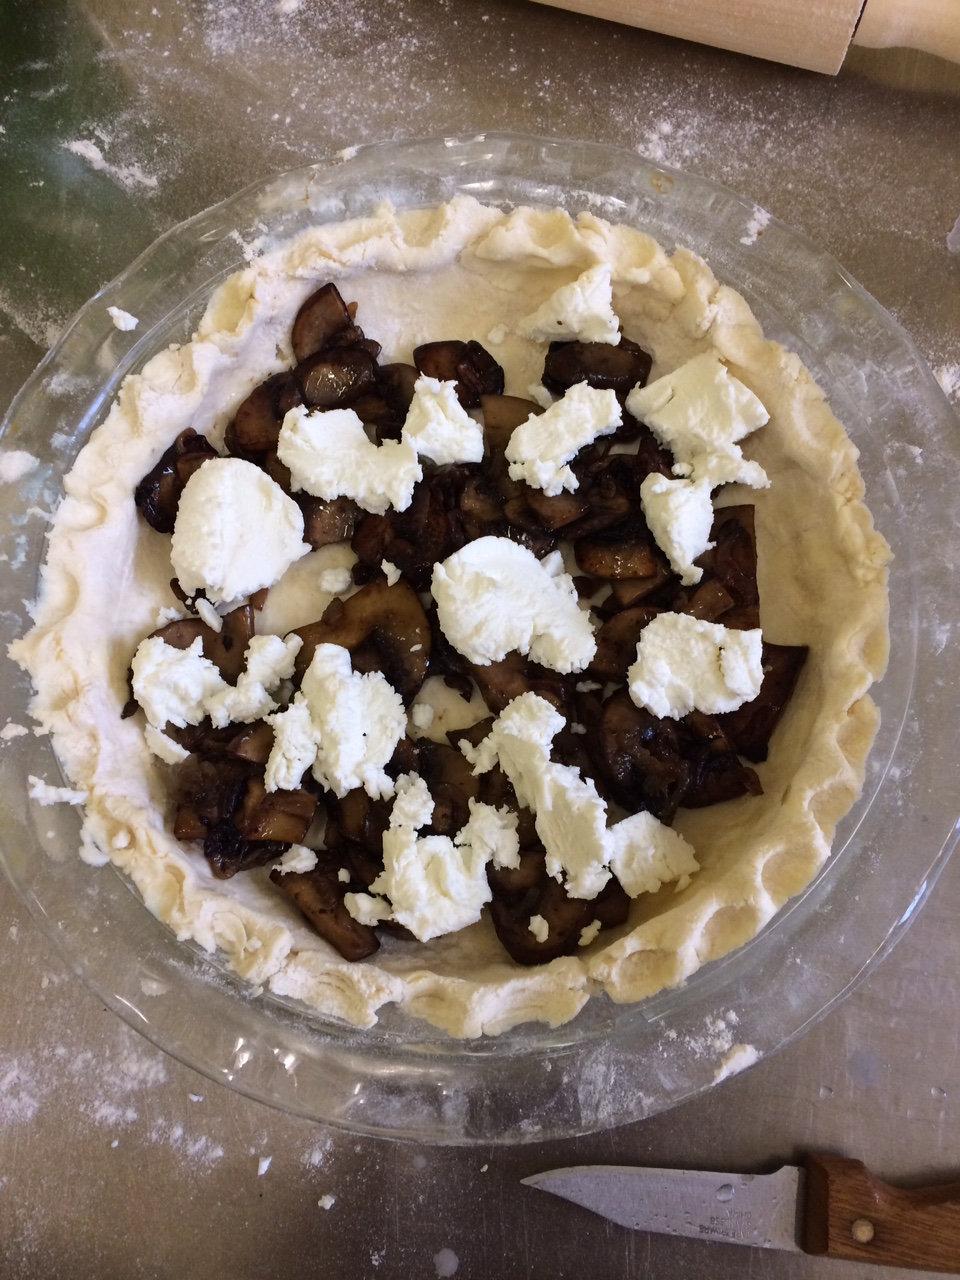
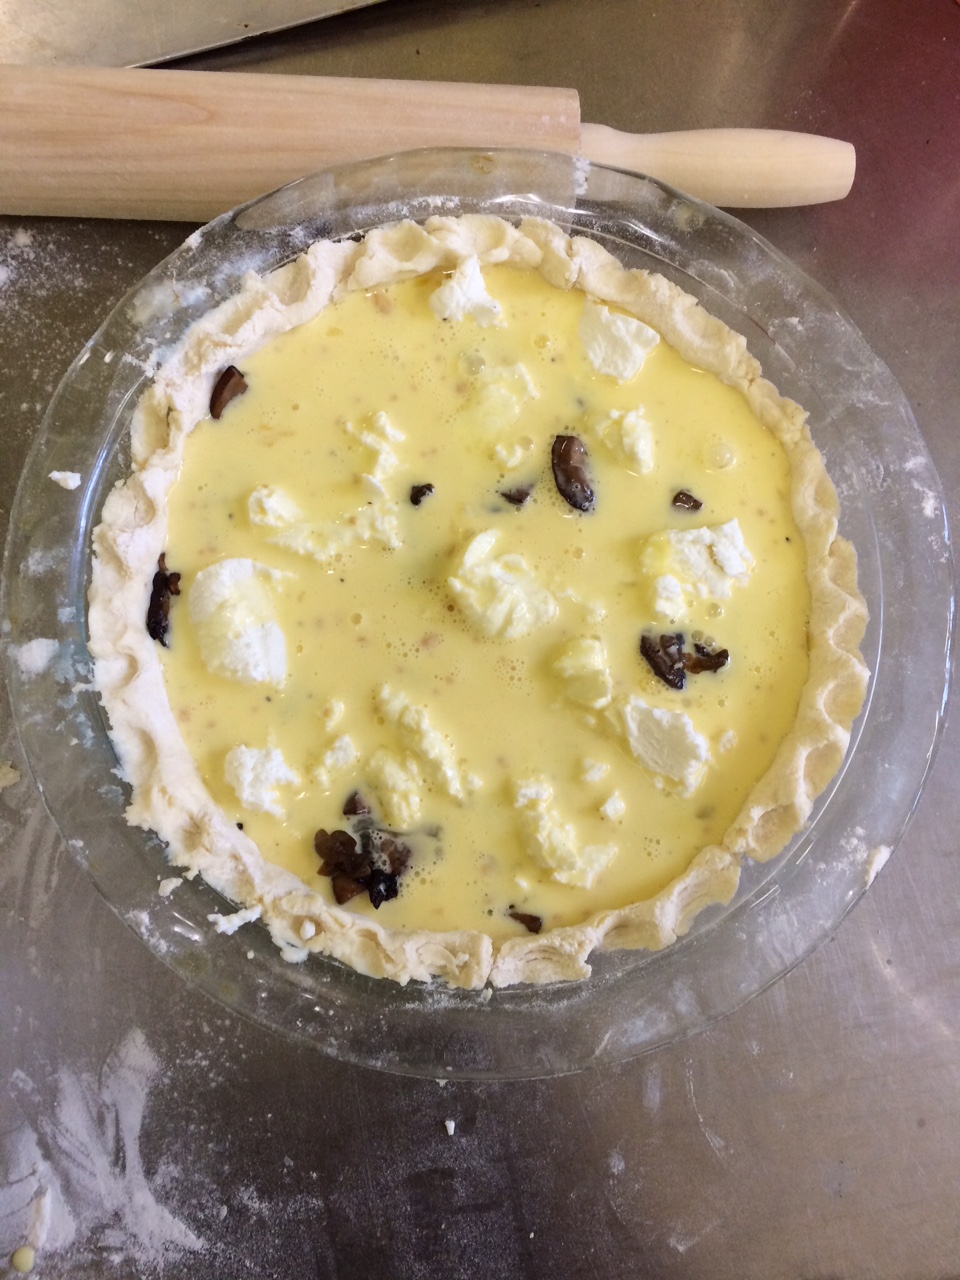
But we must move on. Assembling the pie was super easy. The mushrooms, onions, and goat cheese all went in the bottom and then I just poured in the egg mixture, filling in the crust quite nicely.

crust with mushrooms and cheese

almost done quiche


Then into the oven it went.

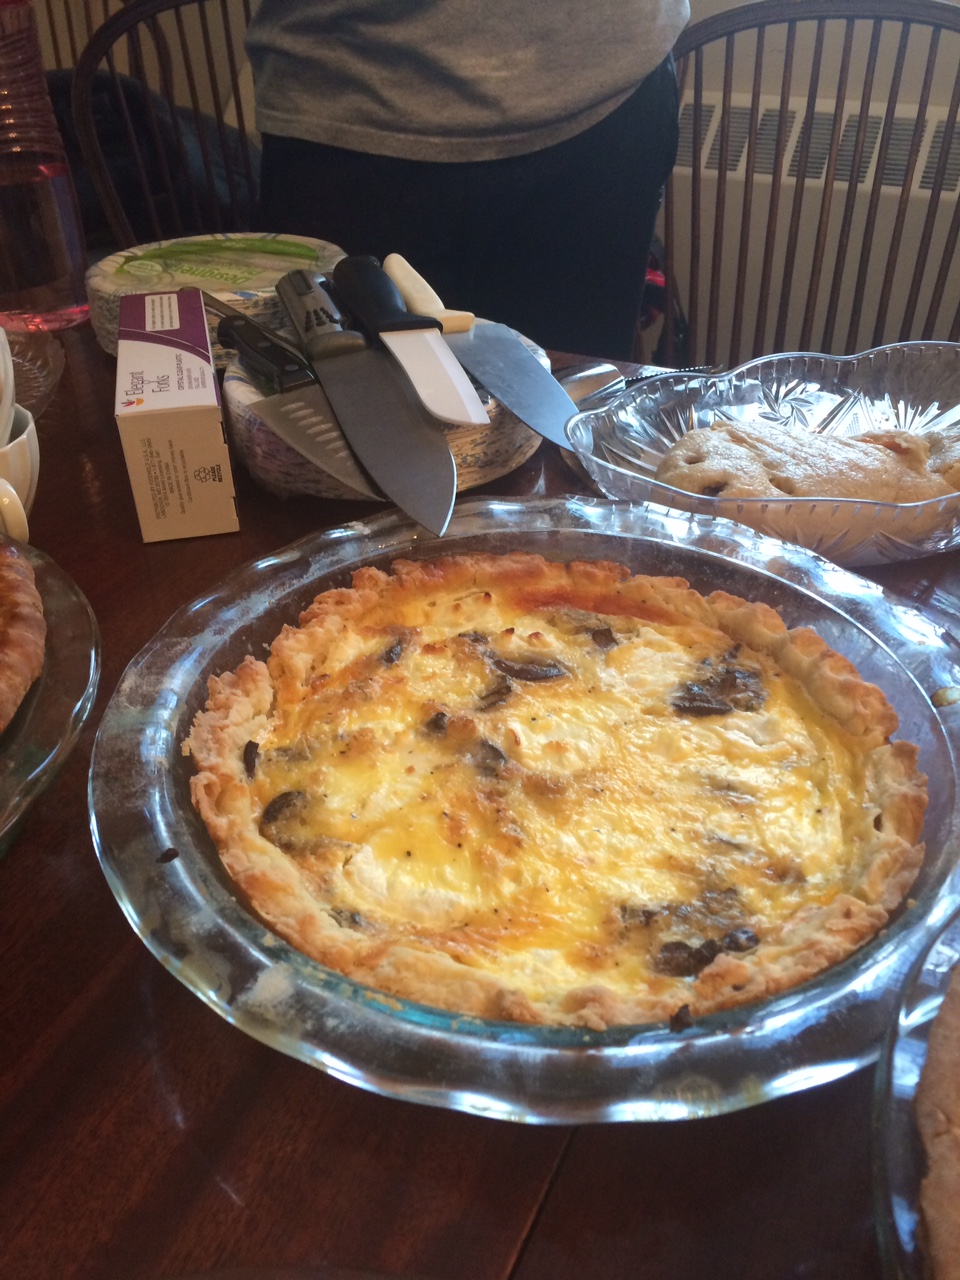
mushroom, onion, and goat cheese quiche


I think, aesthetically, this is the best pie I have made yet (this is my third pie, so there is a low bar). Everything is evenly golden and delicious looking. The only thing I might have changed was to perhaps add some chives into the egg mixture, so that I might have a pop of green. Unfortunately the forces at be made it so that I couldn’t actually taste the quiche I made. Hopefully it was good? I’ll have to make it again for myself sometime so I can see if I actually succeeded.

Katie’s 2nd Pie Ever: Butterscotch Pecan Custard

For the first week of David’s class, I decided to attempt a Butterscotch Pecan Custard Pie – Yum.

The ingredients:

1 cup pecan halves

3/4 cup butterscotch chips

1 cup heavy or whipping cream

3/4 cup light cream or half-and half

3 large eggs

2 large egg yolks

1/2 cup granulated sugar

1/2 cup firmly packed light brown sugar

1 teaspoon vanilla extract


Step 1:

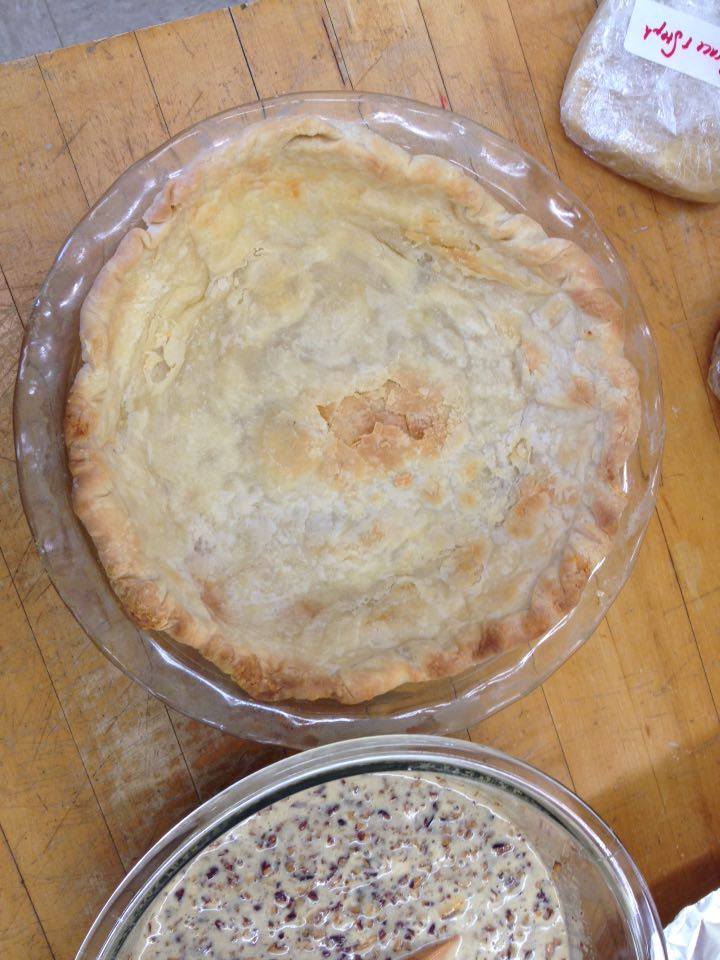
The day before, Nico and I handmade the pastry crusts and had left them overnight in the fridge. On the morning of the pie-making, we took them out, rolled, and prebaked the pie crusts. They looked like this:

12527963_10208848877122543_296453485_n

12498821_10208848875402500_584823620_n


Looks pretty good!


Step 2:

I prepare the filling. First I preheated the oven to 350 degrees. On a large baking sheet (aluminum foil), I spread out all the pecans and put them in the oven for about 10 minutes- which actually turned out to be a few minutes too long for this oven. Next time I would try it for 6-7 minutes first. 

When they were “lightly” toasted, I took them out and set them on the table to cool on a cutting board. When they were cool, I chopped them into small bits using a kitchen knife and set them aside.


Step 3:

I put the butterscotch chips in a large heat-resistant mixing bowl. I pour the heavy and light cream into a small saucepan over medium and stir a little, until they near a boil. This took around 5-6 minutes. Then I poured the cream over the butterscotch chips, and left them to melt for around 5 minutes while I prepared the eggs.

In another large bowl, I beat the eggs, egg yolks, and sugars with a whisk until they were frothy.

*At this point the eggs still looked pretty watery, so I think part of it step I missed here was getting it to a thicker, consistent state. This might’ve been done with a hand mixer.

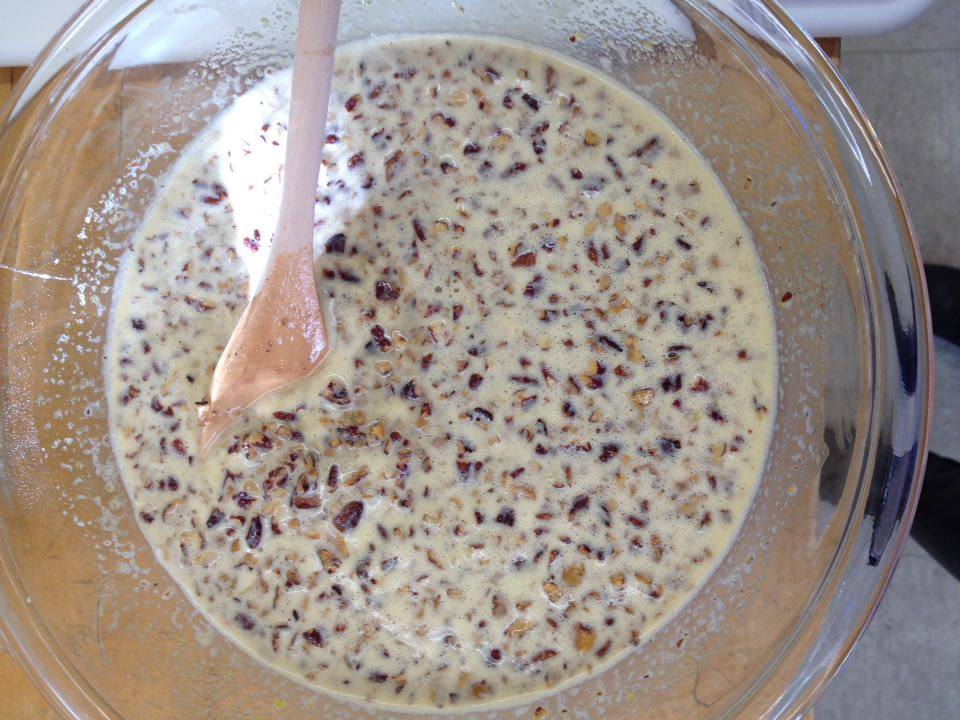
I added the melted butterscotch chips/cream mixture and the vanilla, and used a spatula to gentle mix it. Lastly I poured in the chopped pecan.


12226386_10208848875602505_1201665979_n


Step 4:

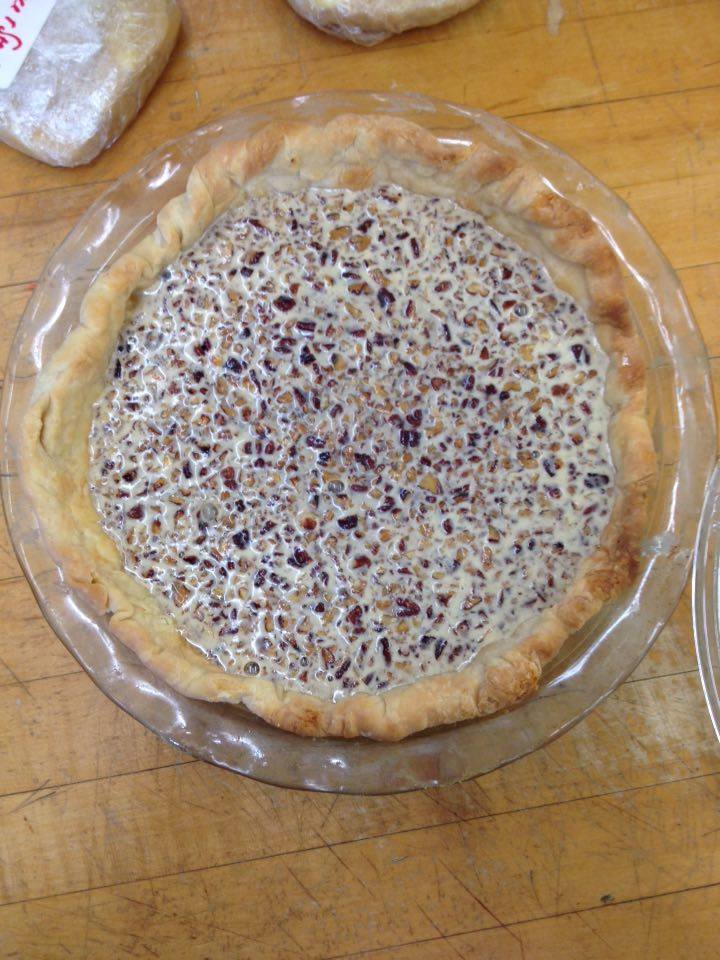
The filling was poured into the prebaked pie crust, using a small ladle to distribute the pecans evenly.


12527752_10208848875282497_1729520130_n


Step 5:

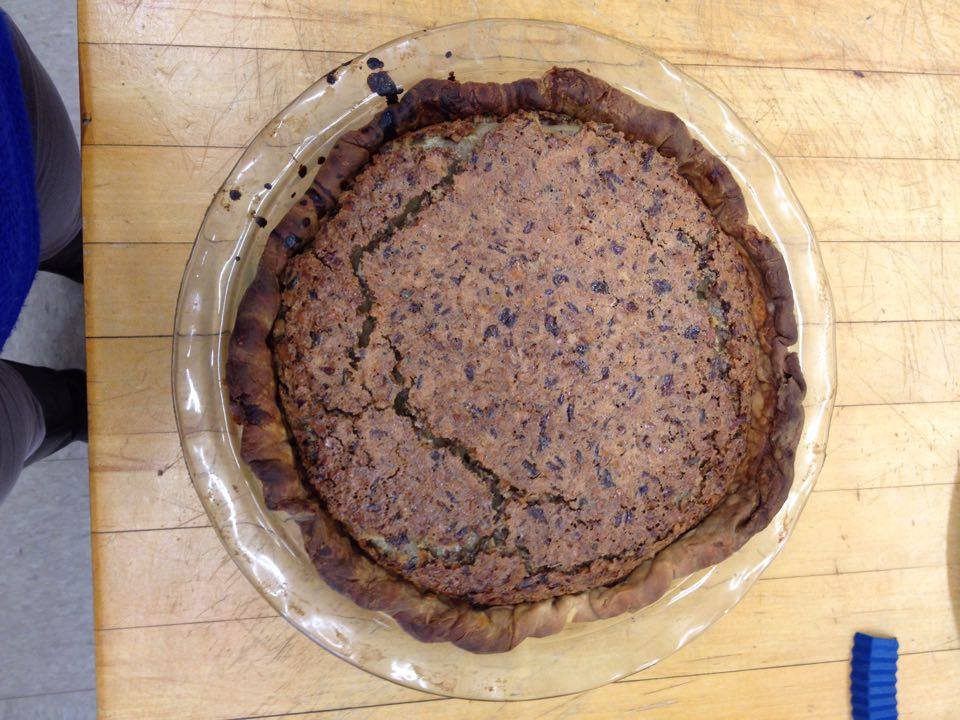
The oven was preheated to 350, and the pie was left in to bake for about 50-53 minutes. About halfway I checked on it and rotated it 180 degrees to even out the baking.

What happened was the crust began to look a little over-baked by the 30 minute mark, so I put crust-savers over them. In the end they still came out a little darker than they should’ve, but they still tasted okay.

Next time: Maybe put the crust savers on the pie crust during the prebake, and in the early stages of the final bake.


12511900_10208836621656164_1709819980_n

The end pie!

Apart from the slightly burnt crust, pecans, and top of the pie, the custard was decent!

Stay tuned for Katie’s 3rd Pie Ever next week when I attempt savory.


So Many Pies, So Little Time

This first week I feel like we were all overwhelmed with the sheer number of possibilities when it comes to pie; I know I definitely was. It’s a big question, what pie to make, and with sweet pies there are so many options. Am I doing a fruit pie, a custard, ice cream? And that is just the filling. What kind of crust is a whole other question. In class on Monday we prepared a butter and shorting crust, but I learned that there are so many more options! It was a real dilemma. What did I want to say with my first pie? What did I want it to say about me?

In an attempt to deal with these problems I figured it would be best to make two pies, my great grandmother’s raspberry pie and a pie I only just discovered, buttermilk pie. My great grandmother’s raspberry pie is my favorite pie and I definitely wanted to take a stab at it at some point during this course, just didn’t expect to make it so early on. The buttermilk pie was something I encountered while thumbing through some cookbooks. I was initially interested because I had never heard of it before, but in doing some research I found out that it is actually quite popular in the south. It is similar to chess pie, another pie I had never heard of.

I began with the buttermilk pie which I made using this recipe and the butter-shortening crust we made in class. The crust had chilled in the fridge all night and was a little hard, but ended up rolling out quite nicely.

Pie crust

rolled out crust

I even had the chance to get a little fancy with the edges.

IMG_1108

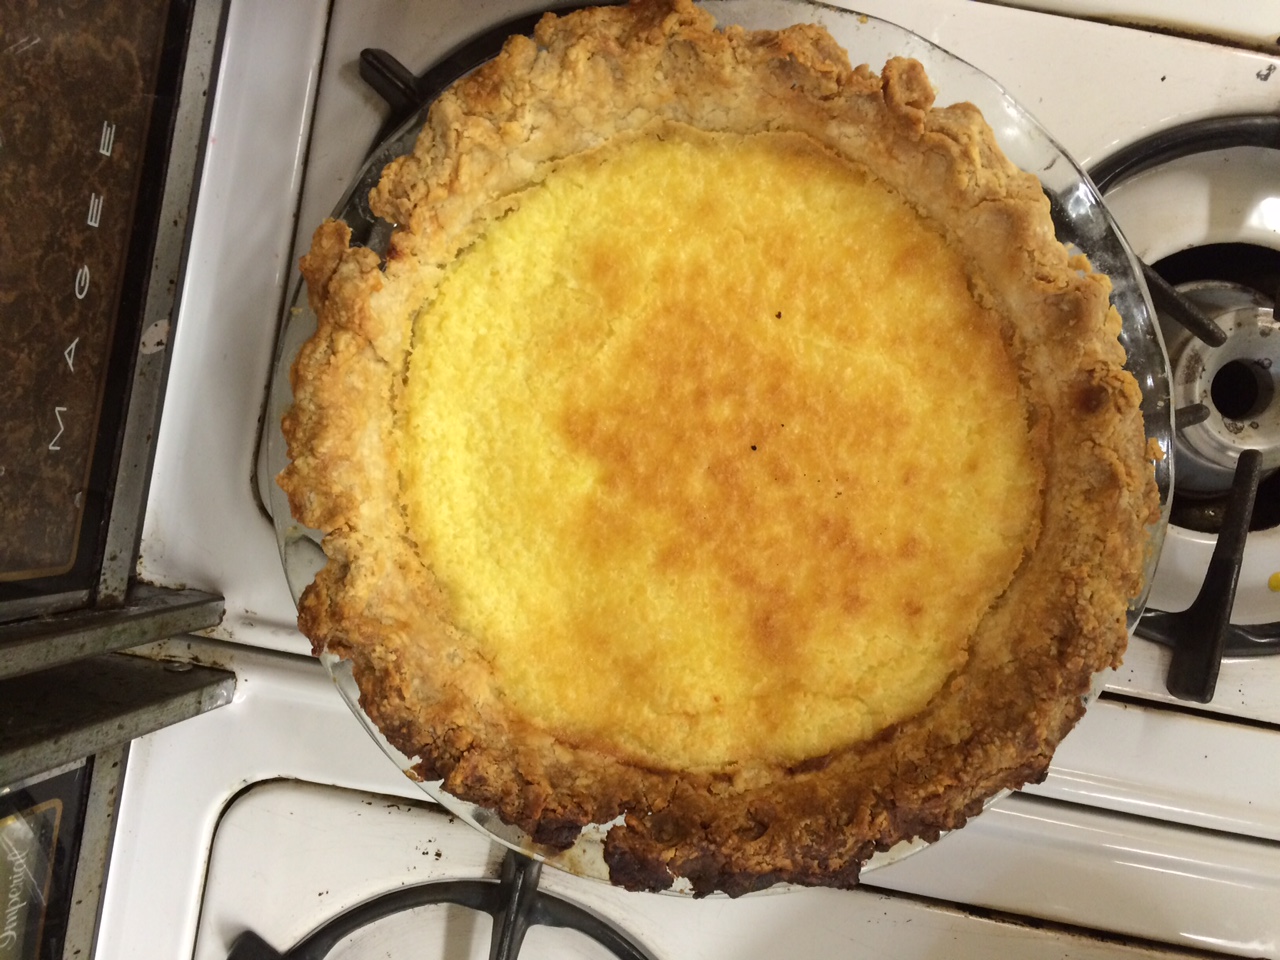
The filling was super easy to make too. I just whisked it all together and poured it in. the popped it into the oven and low and behold my first pie was made.

IMG_1111

buttermilk pie!

The buttermilk pie was super easy to make. The only stressful thing about it was not having any clue what it would taste like. In the end it was pretty good. Like a slightly lemony pudding with crust.

The raspberry pie on the other hand was not as easy to make. The first challenge was getting the recipe out of my great grandmother, who was more than happy to share it with me, but I’m pretty sure she was not wearing her hearing aids, and her caption phone was not working that day. Once I got the recipe making it, specifically the crust was just as hard.

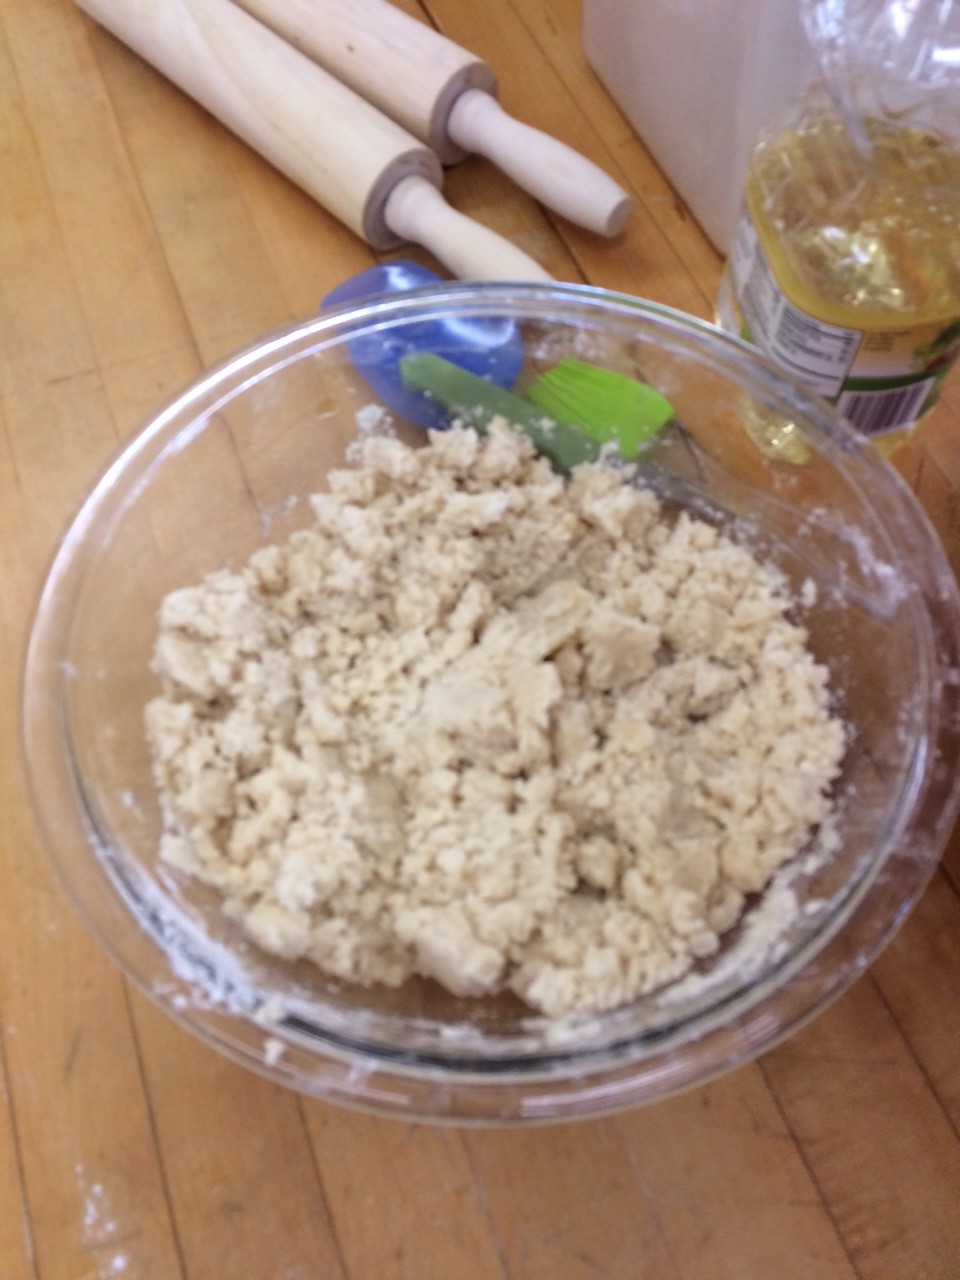
My great grandmothers pie crust is an all oil crust, canola oil to be specific. This means that the gluten fibers are very short and prone to cracking and just generally being unpleasant. It mixed easily and looked like pie crust should.

crust from hell


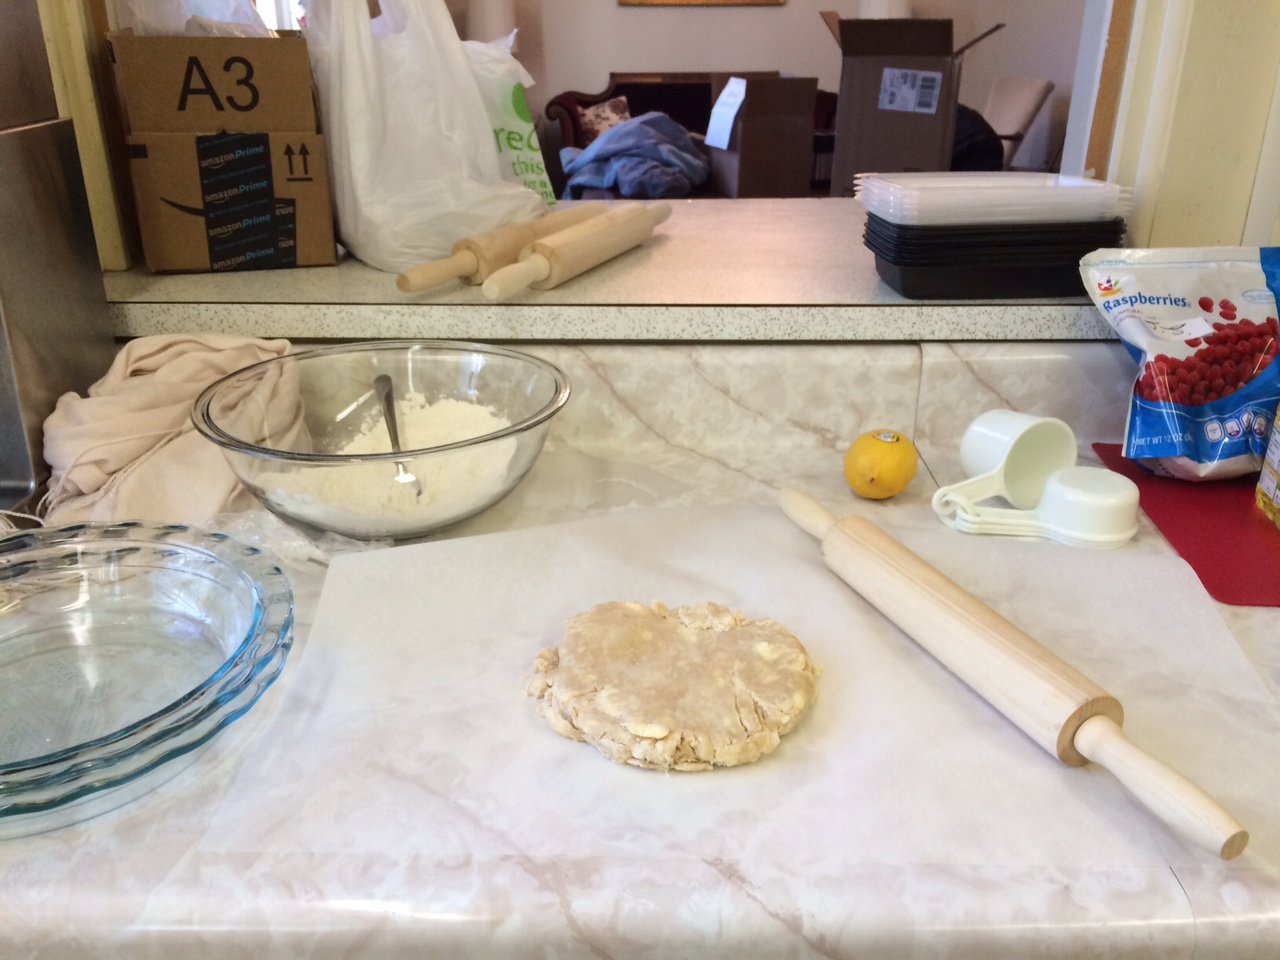
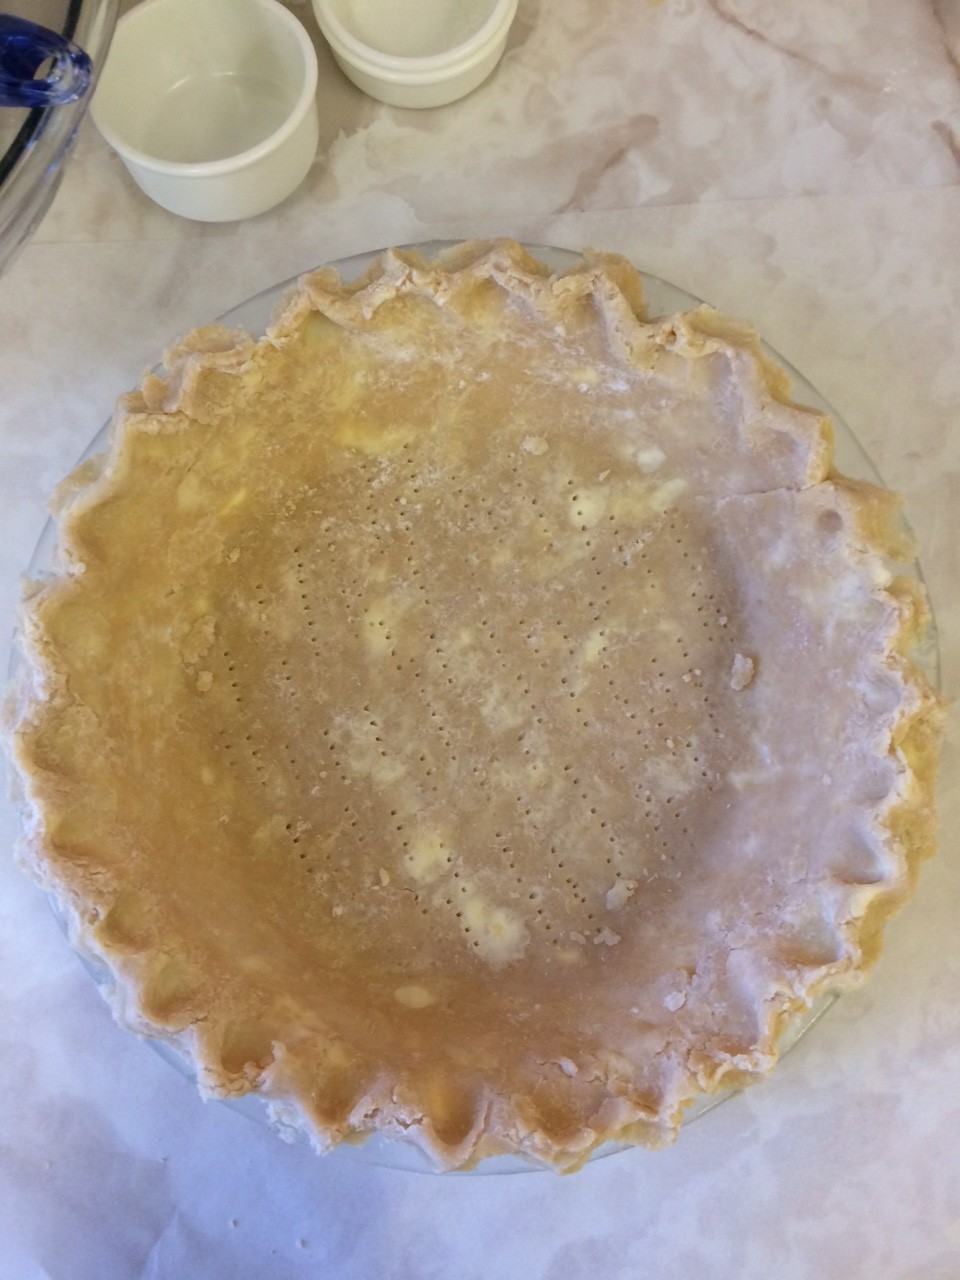
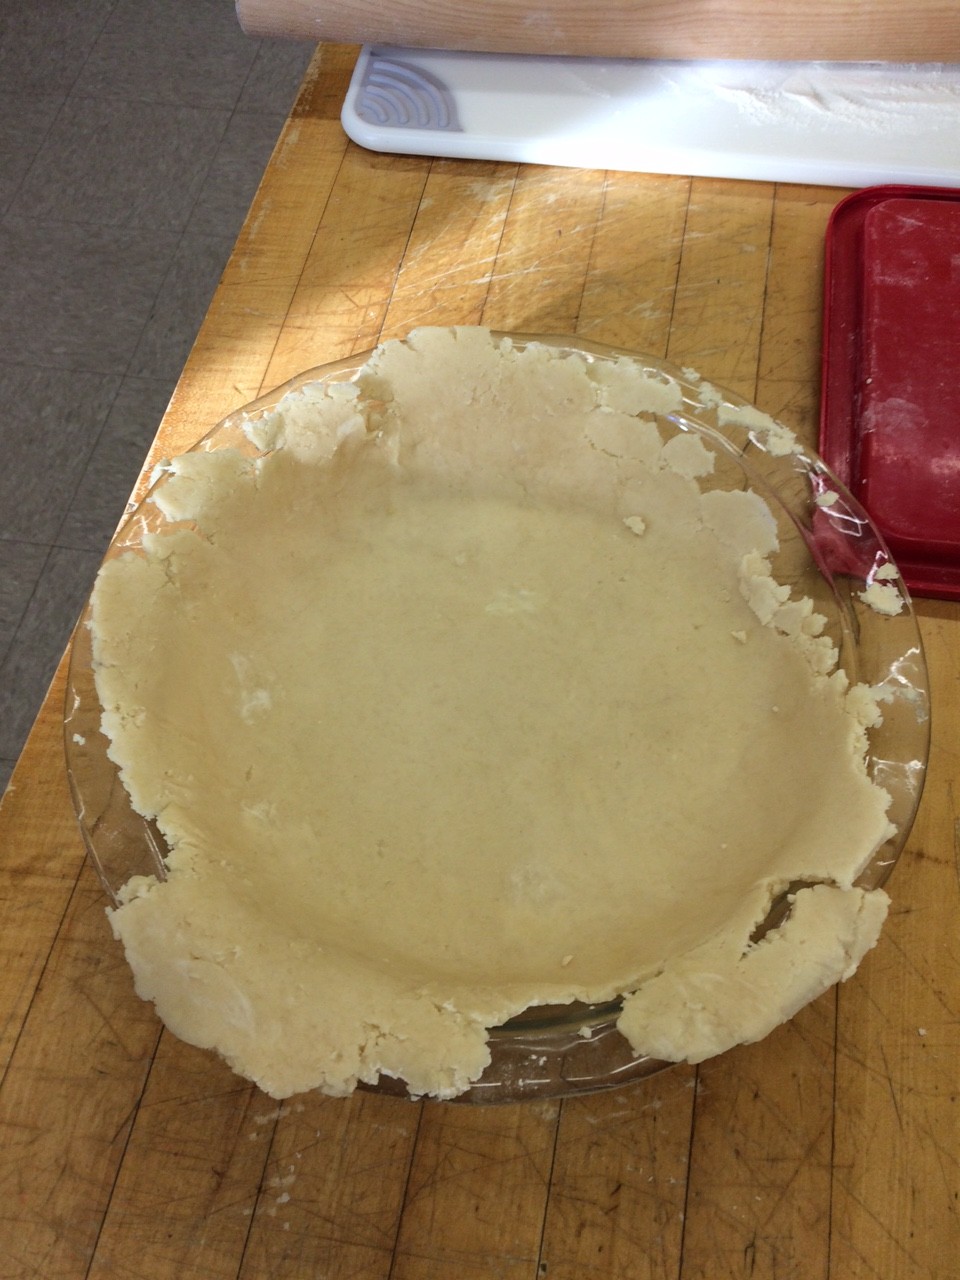
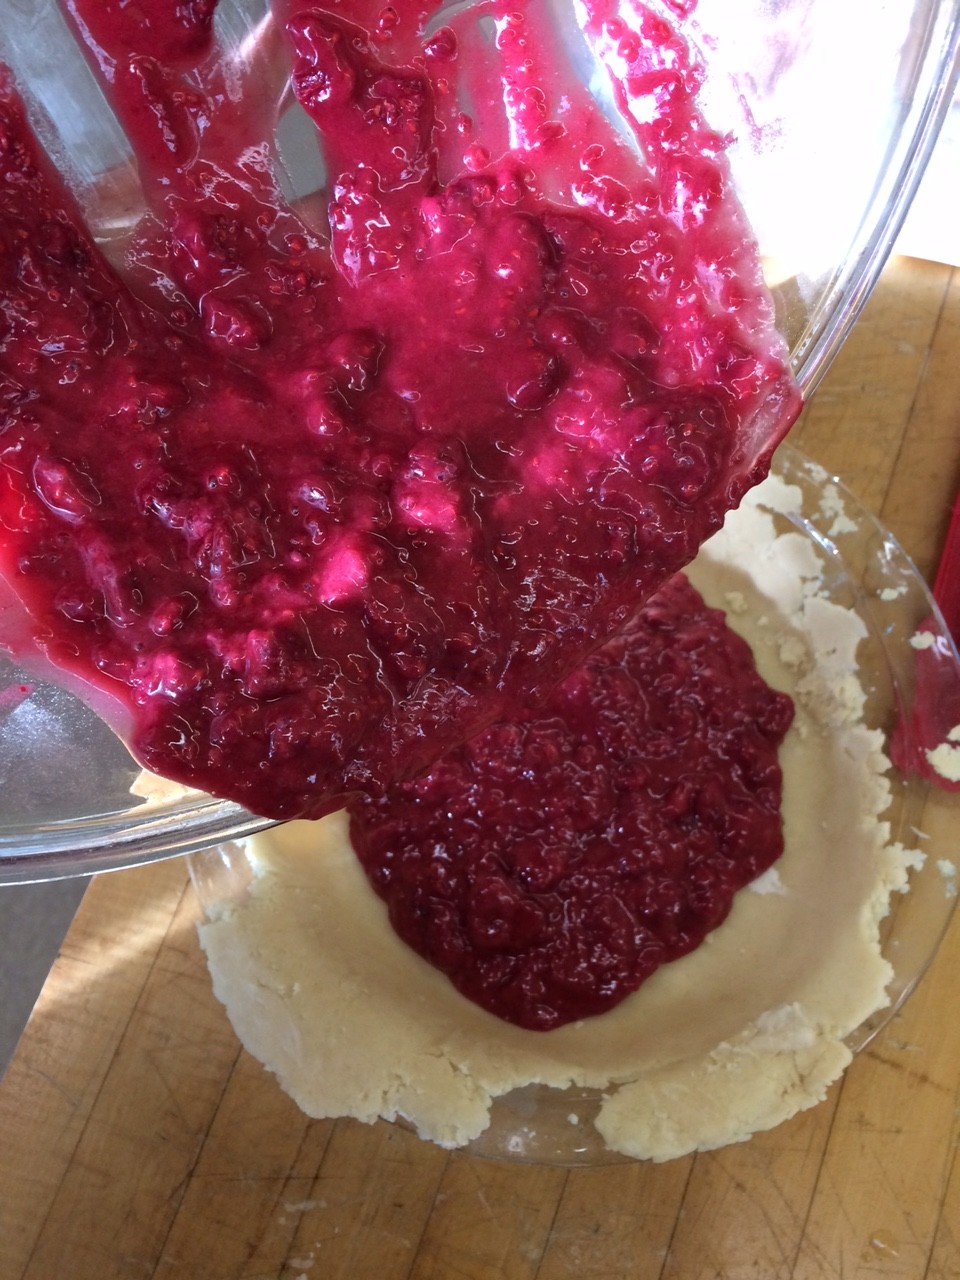
However rolling it out proved to be quite challenging. She said to roll it out between two sheets of wax paper, but we only had parchment paper when I was making the pie and I thought that it would suffice, but when I attempted to put the crust into the pie plate I learned otherwise. It was bad, cracking, crumbling, and sticking to the parchment. So I made the filling and put it in the fridge and decided to try the crust again the next day this time with wax paper. And it worked kind of.


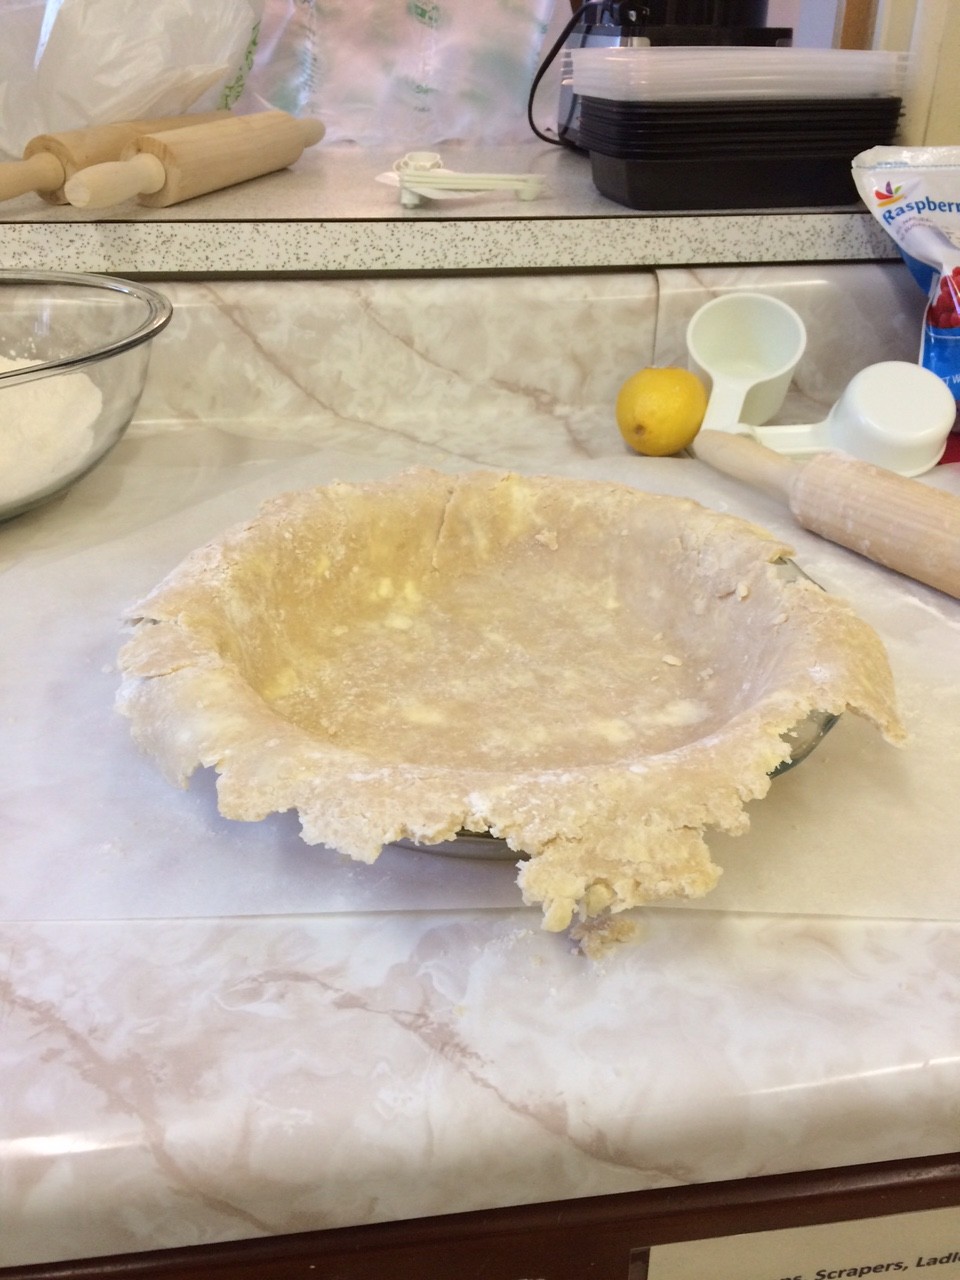
its not pretty but at least its in the plate

might as well pour it in


Getting the top crust on was a whole other issue, and in the end I just ended up tossing it on and doing some repair with water.

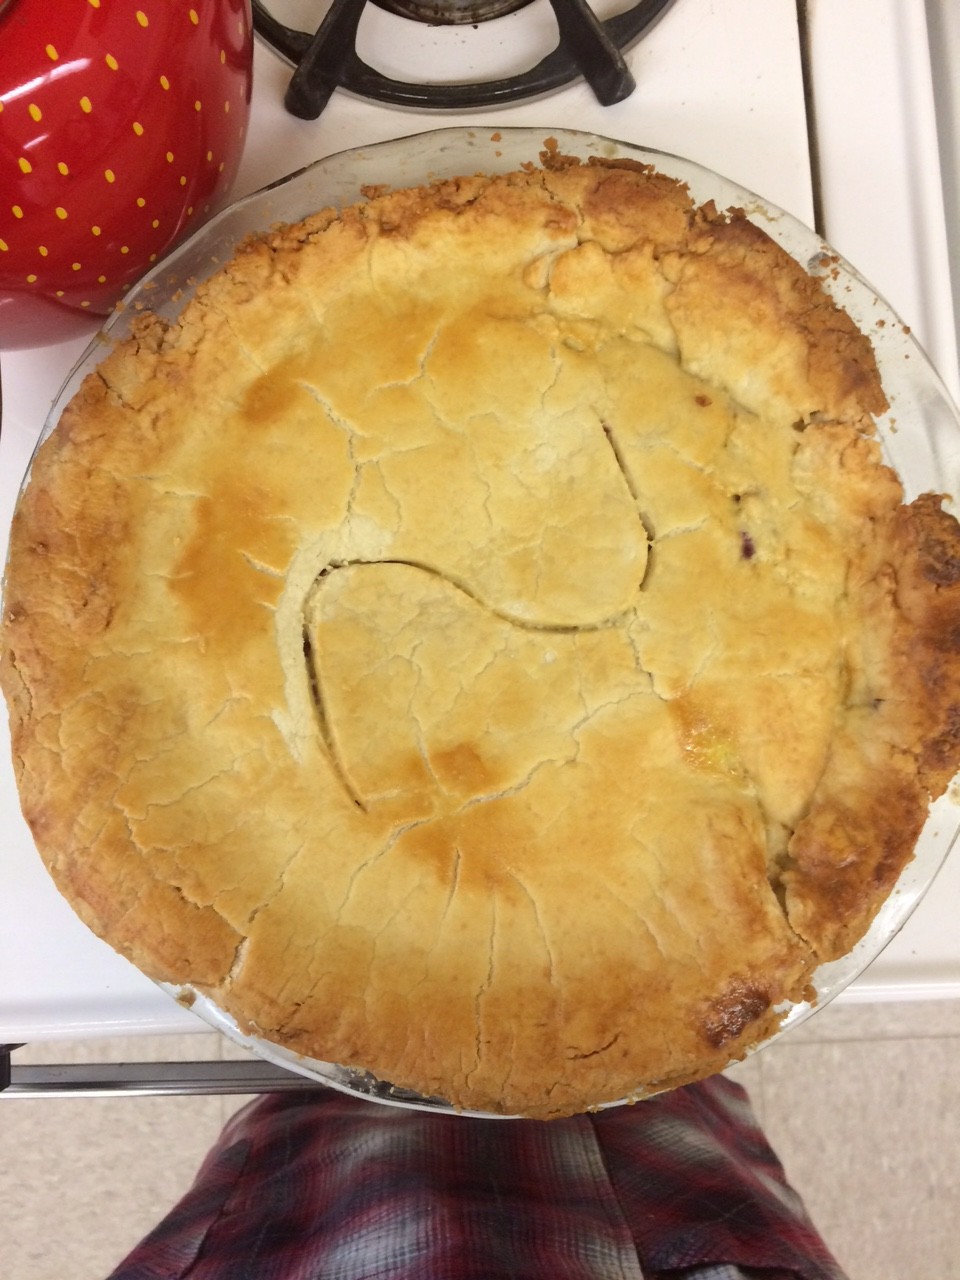
raspberry pie


In the end I think it turned out alright. The crust definitely tasted like my great grandmothers crust, perhaps a bit too thick. The filling was a little disappointing. It had the right texture and firmness, but was not as tart as it could be. This, however, could be because I used frozen raspberries and my great grandmother hand-picks berries from a local farm at the peak of raspberry season. There is probably a slight difference in quality.

All in all I think it was a good first attempt, and I look forward to what next week has in store.

Better Late Than Never

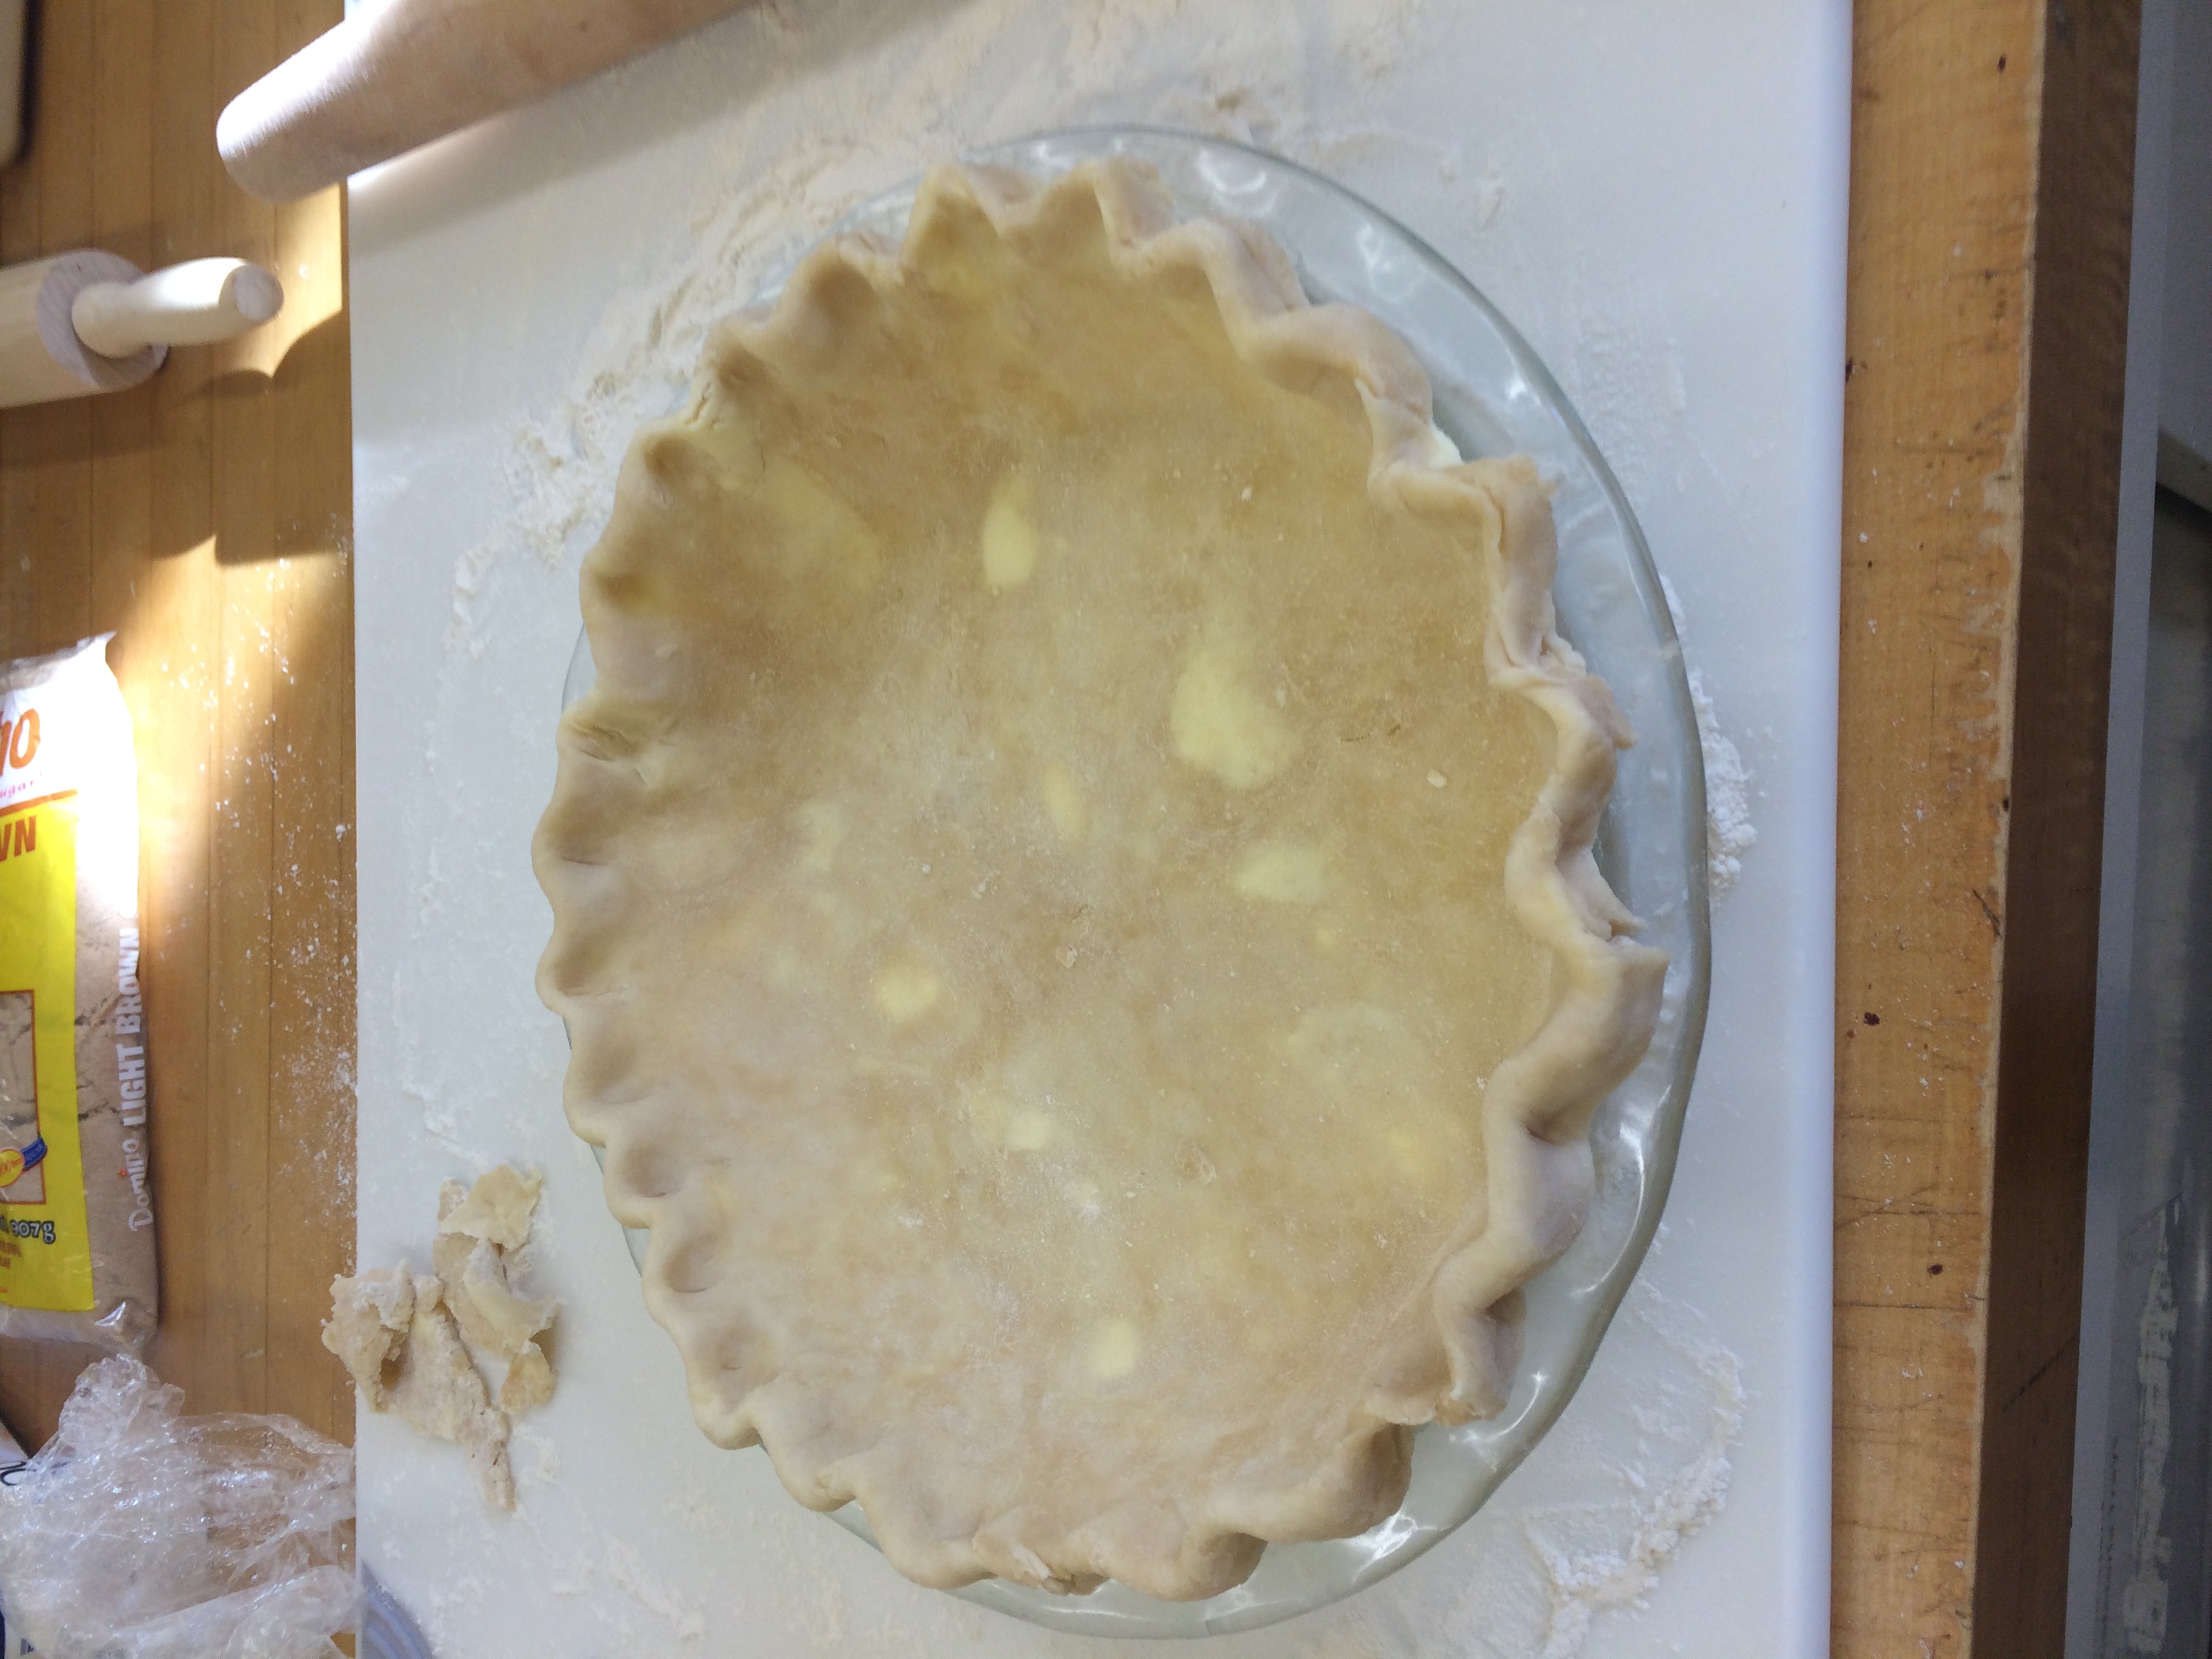
My first blog post for this class is overdue by far, but as the title suggests, at least I’m getting to it before the second week begins. The first week was a little hectic, seeing as I got to Williams slightly after midnight on Wednesday. But even so, I got to work right away the next day making crusts with my fantastic partner Katie Shao (who you would never know hadn’t made more than one pie before this class–she is seriously talented). We decided to make Sour Cream-Blackberry and Pecan-Butterscotch-Custard Pies. That day marked my first time making a pie crust by hand (previously I have always used a food processor), but it turned out to be much easier than expected. Not only that, there is something very satisfying about working the dough with your hands and getting to feel the butter and shortening congeal around the flour. Here is the dough when actually put into the pie dish the next day (apologies for the sideways orientation):

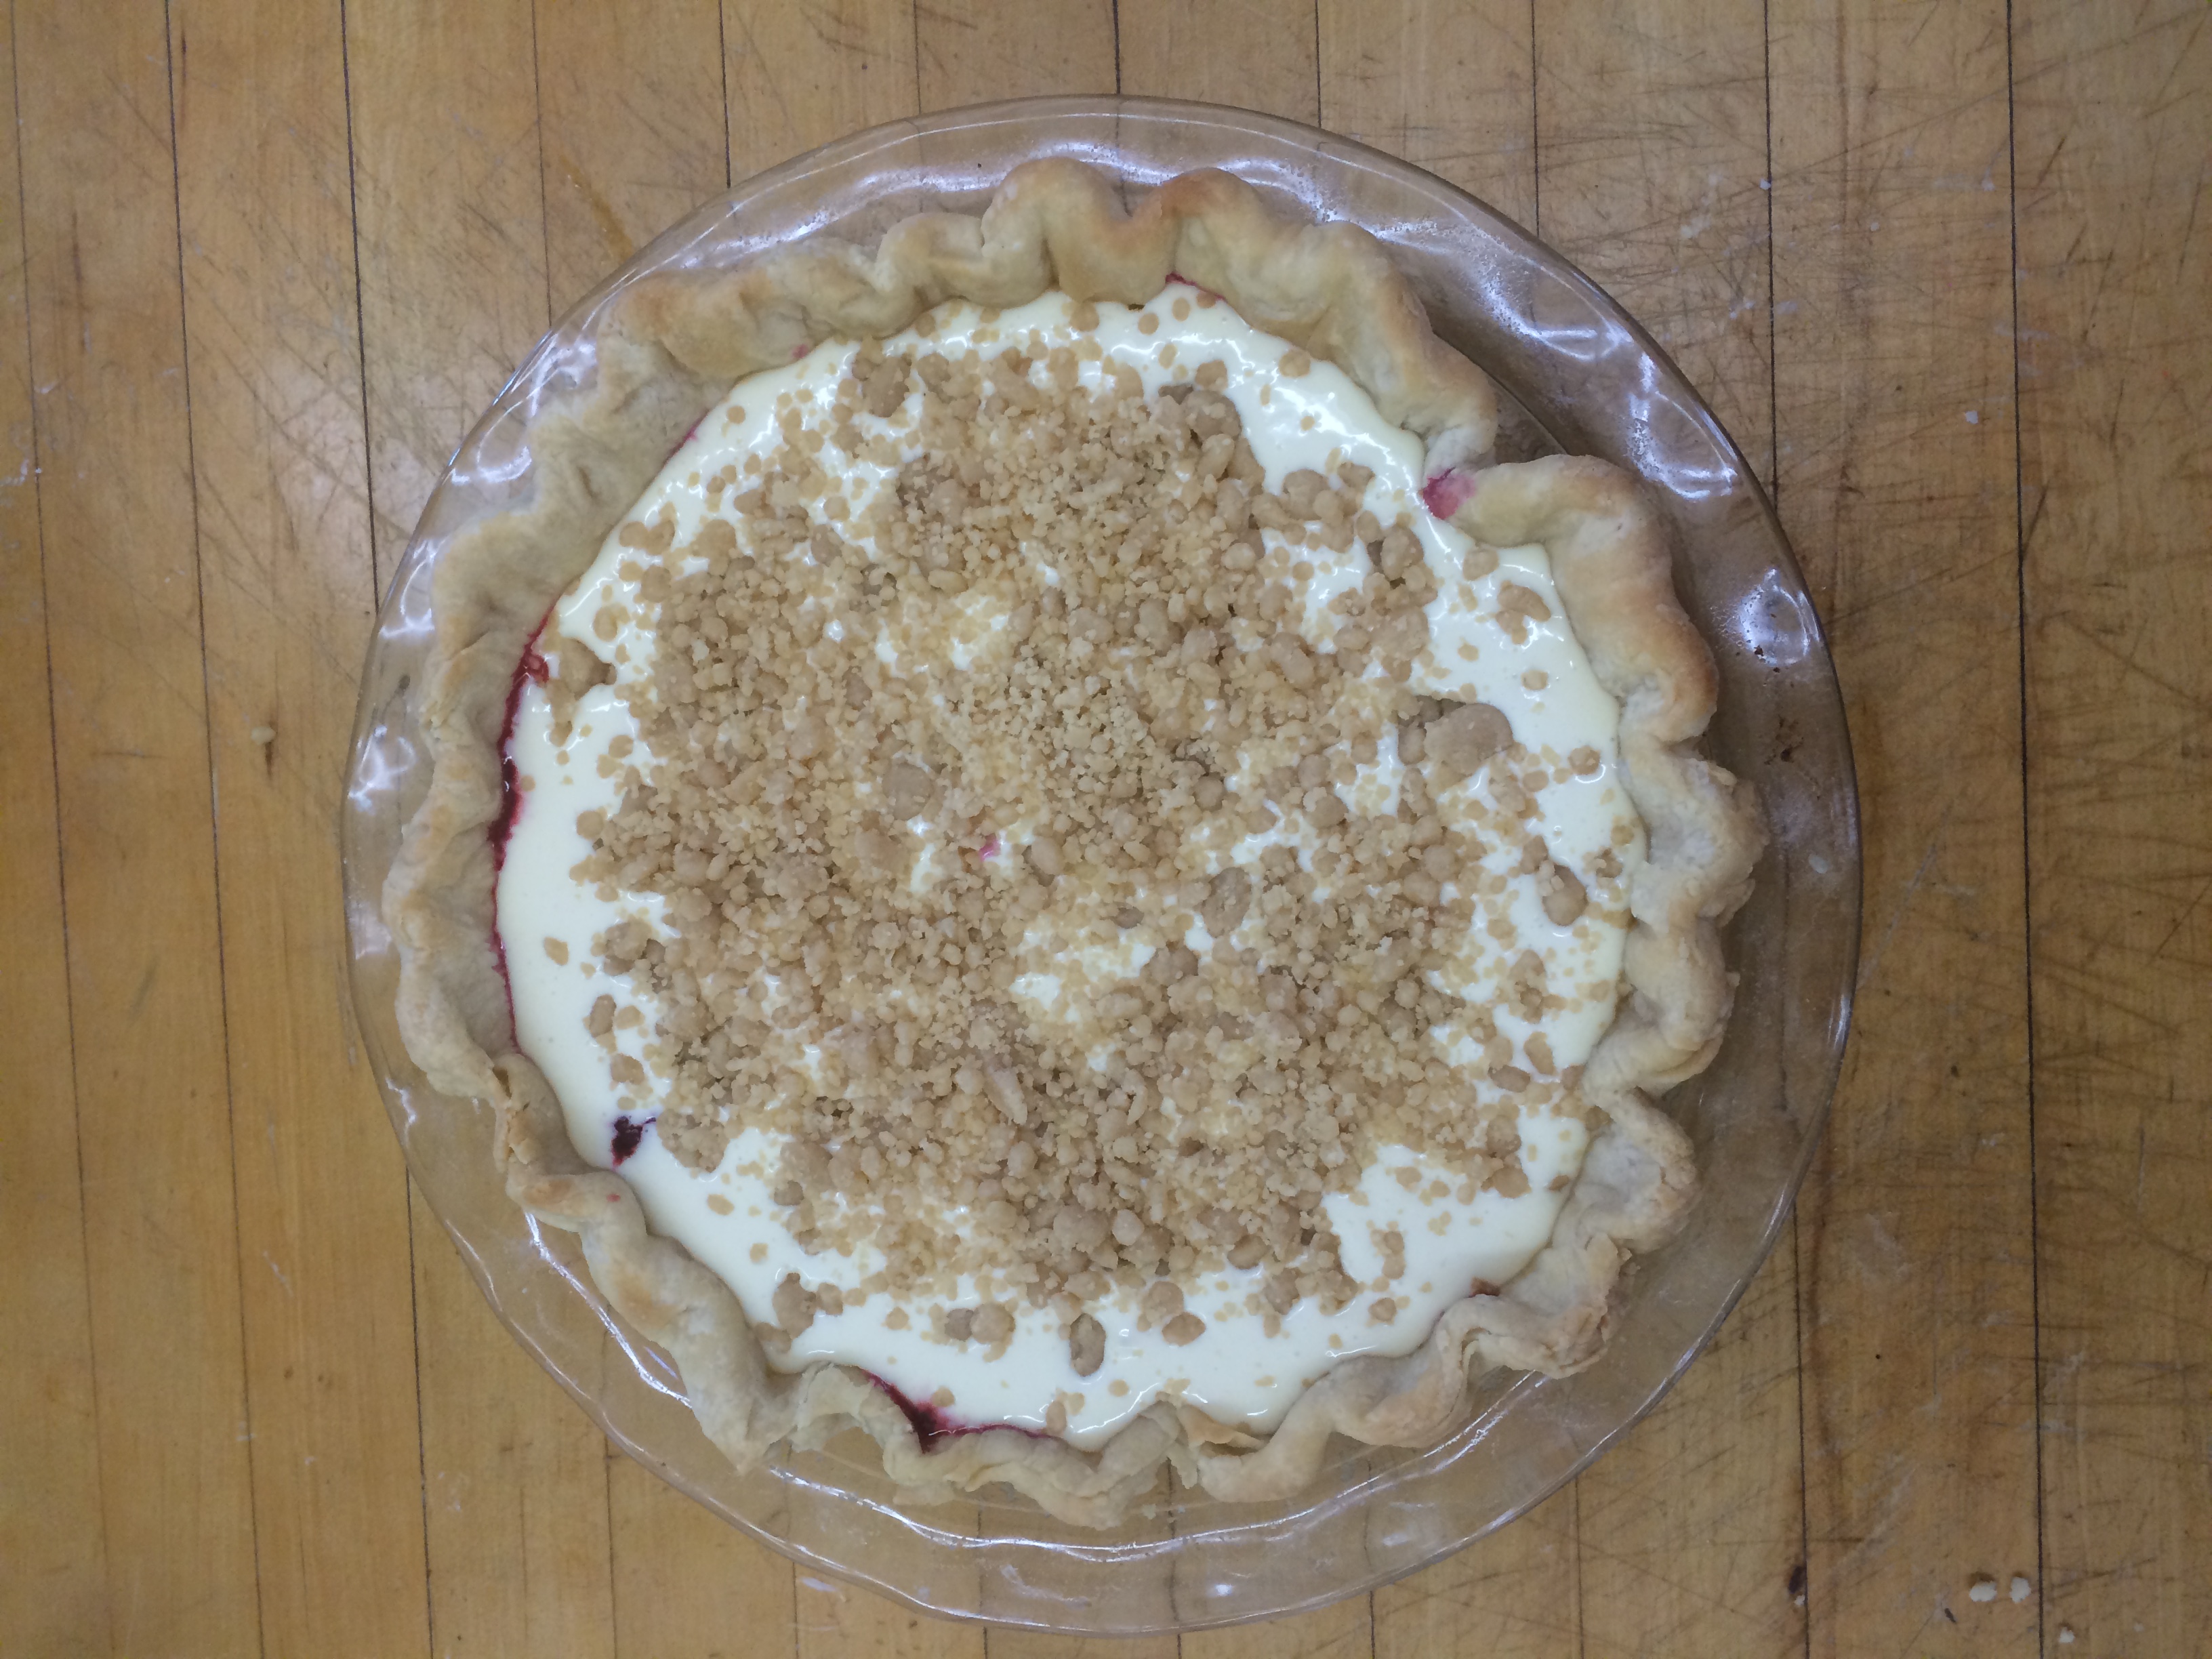
Making the filling was pretty simple, it just involved whisking together all the ingredients except for the blackberries. The slightly more challenging part was making the streusel, but this was only because I needed more than double the amount of butter than the recipe called for. Other than that, this recipe was fairly simple. Here is the pie immediately prior to baking:

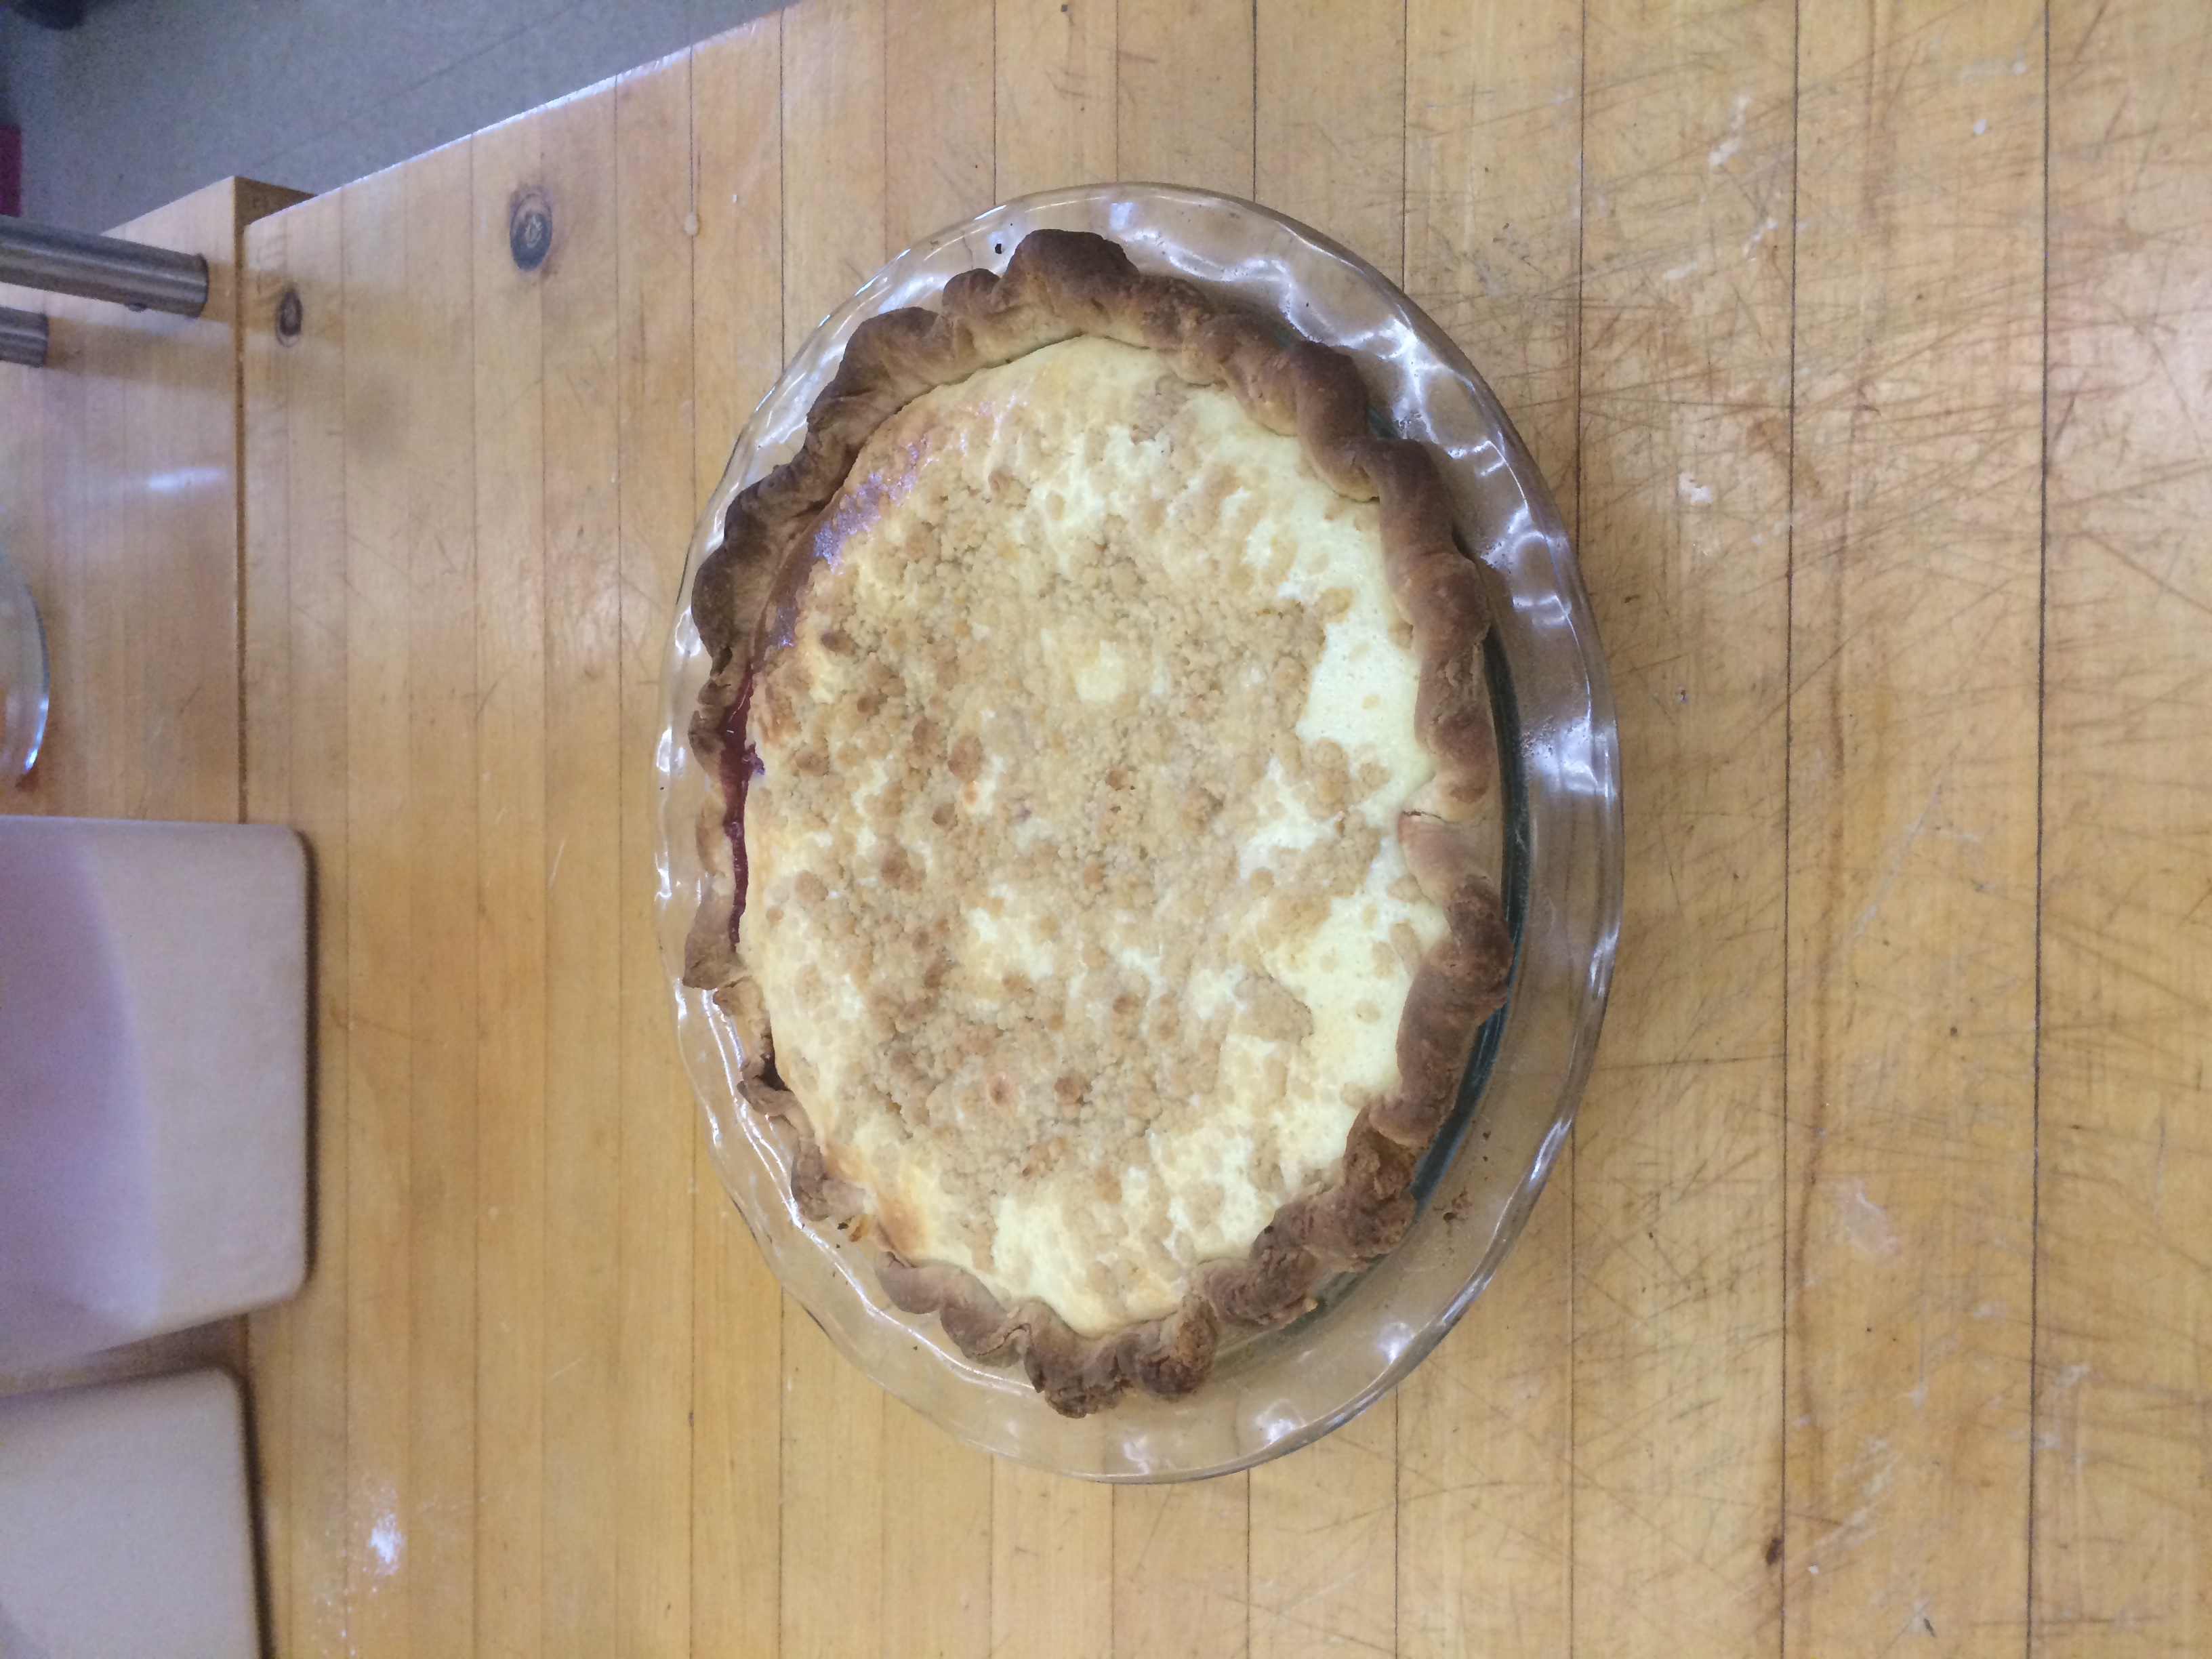
Baking went off without a hitch, despite the temperature fluctuating fairly significantly in the oven that was used. Here is the finished pie immediately after being taken out of the oven:

The edges of the crust got a little darker than I would have wanted but I imagine that could have been rectified with some edge protectors. I will make a note to try that out next time.

Well that’s all for this week. Next week: savory pies!

These too are Pies.

The readings for this week said that a filling needs to be surrounded by pastry to become a pie. I disagreed with this declaration and hence decided that both my pies would not use pastry dough, instead they would use biscuit crumbs. Upon my foray into the world of pie recipes, I discovered that many kindred spirits agreed with me, and fell upon multiple examples of pies with crusts that deigned pastry crusts unnecessary.

The first pie I decided to  make was a Strawberry Frappe Pie with a kick of orange. This pie looked very visually appealing when I first fell upon it my taste buds, in the vein of surely many before, screamed,”NOW.” The crust was made out of 21 graham cracker squares, which in retrospect should have been 25. The crust was a fiasco to make and could have turned out better if the butter was more cooperative. It turns out for some microwaves the melt button means coat the top of the microwave. With a calmer mind the crust making went well. I wish I had used more crackers so the crust could have been better spread. The filling was easy to make, it was fun to work with gelatin and ice cream. I was sad that I had to use frozen strawberries, I am sure the pie would have been even better if I’d gotten fresh strawberries somehow.

Butter is evil.

IMG_7752

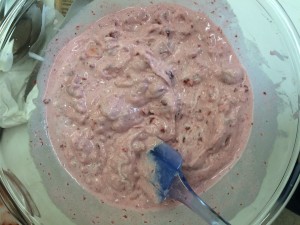
Ice cream, and strawberries (The only time I wished a spatula had taste buds I was connected too).


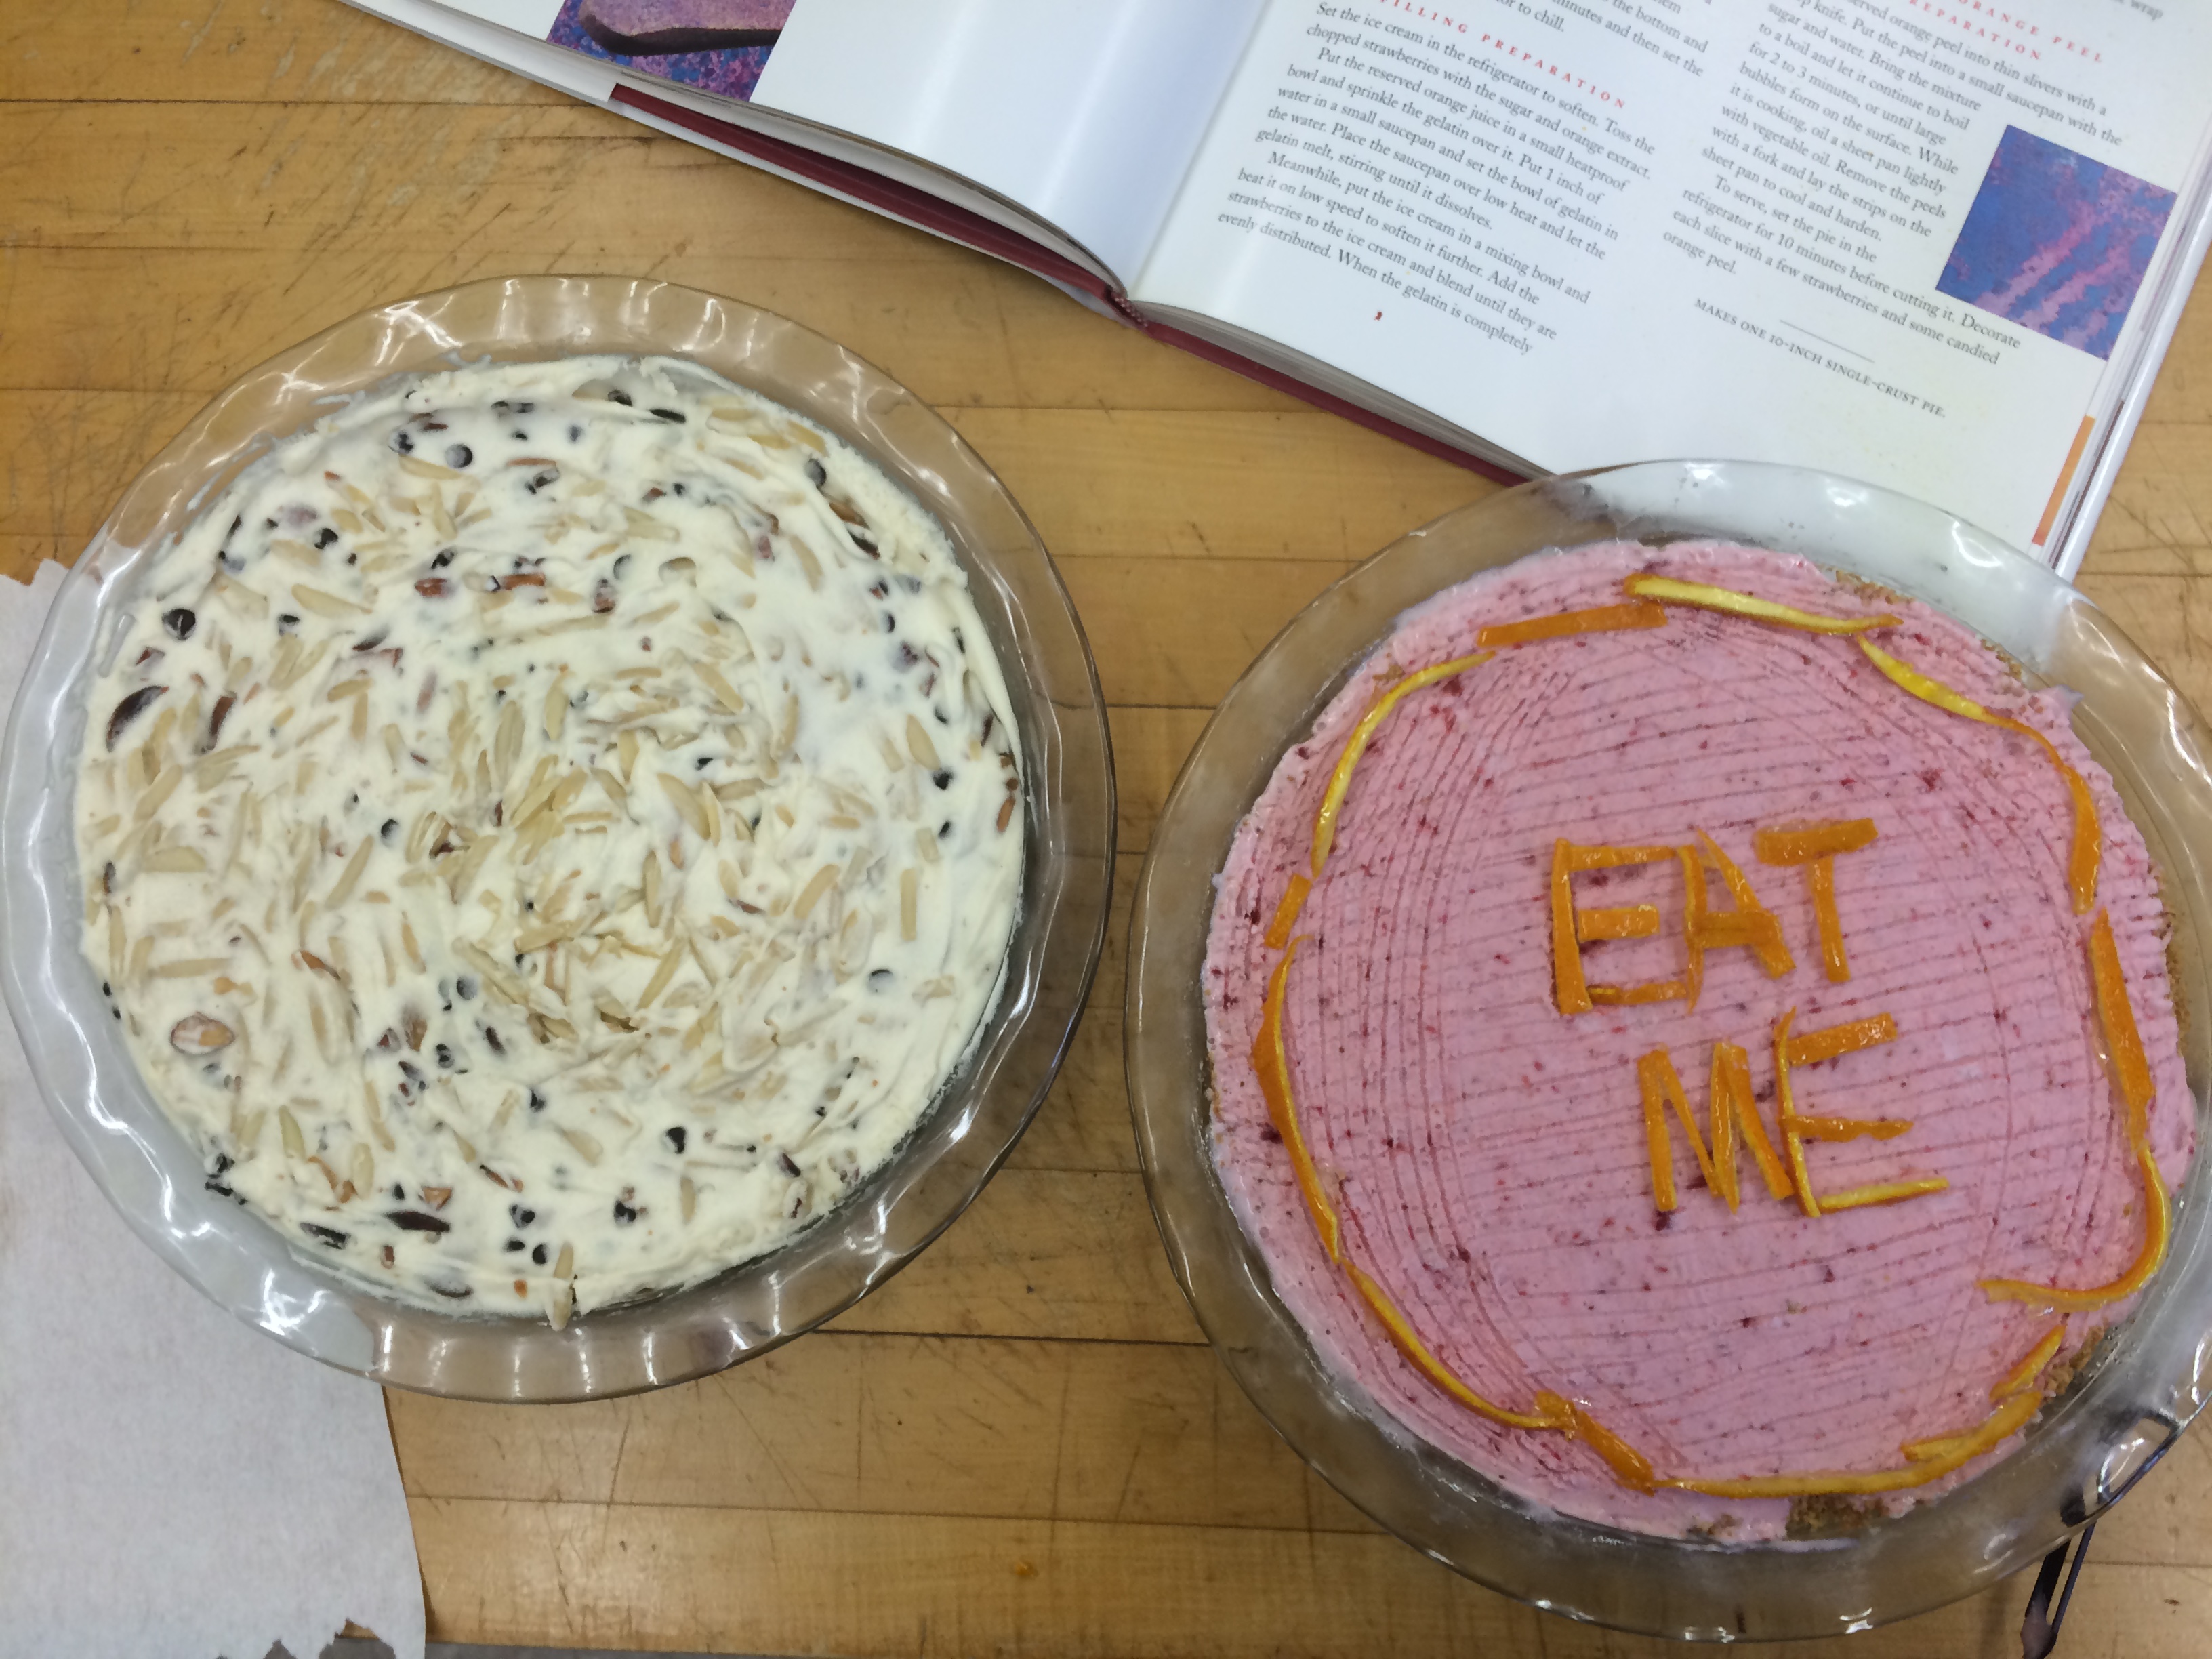
The pie came out well. I should have taken it out of the freezer earlier. The candied orange peels used to make the decorative aspect and accent the orange flavor were easy and fun to make, nothing like working with hot sugar. They came out well, and thanks to Neftaly formed a very nice message for the eater.

IMG_7806

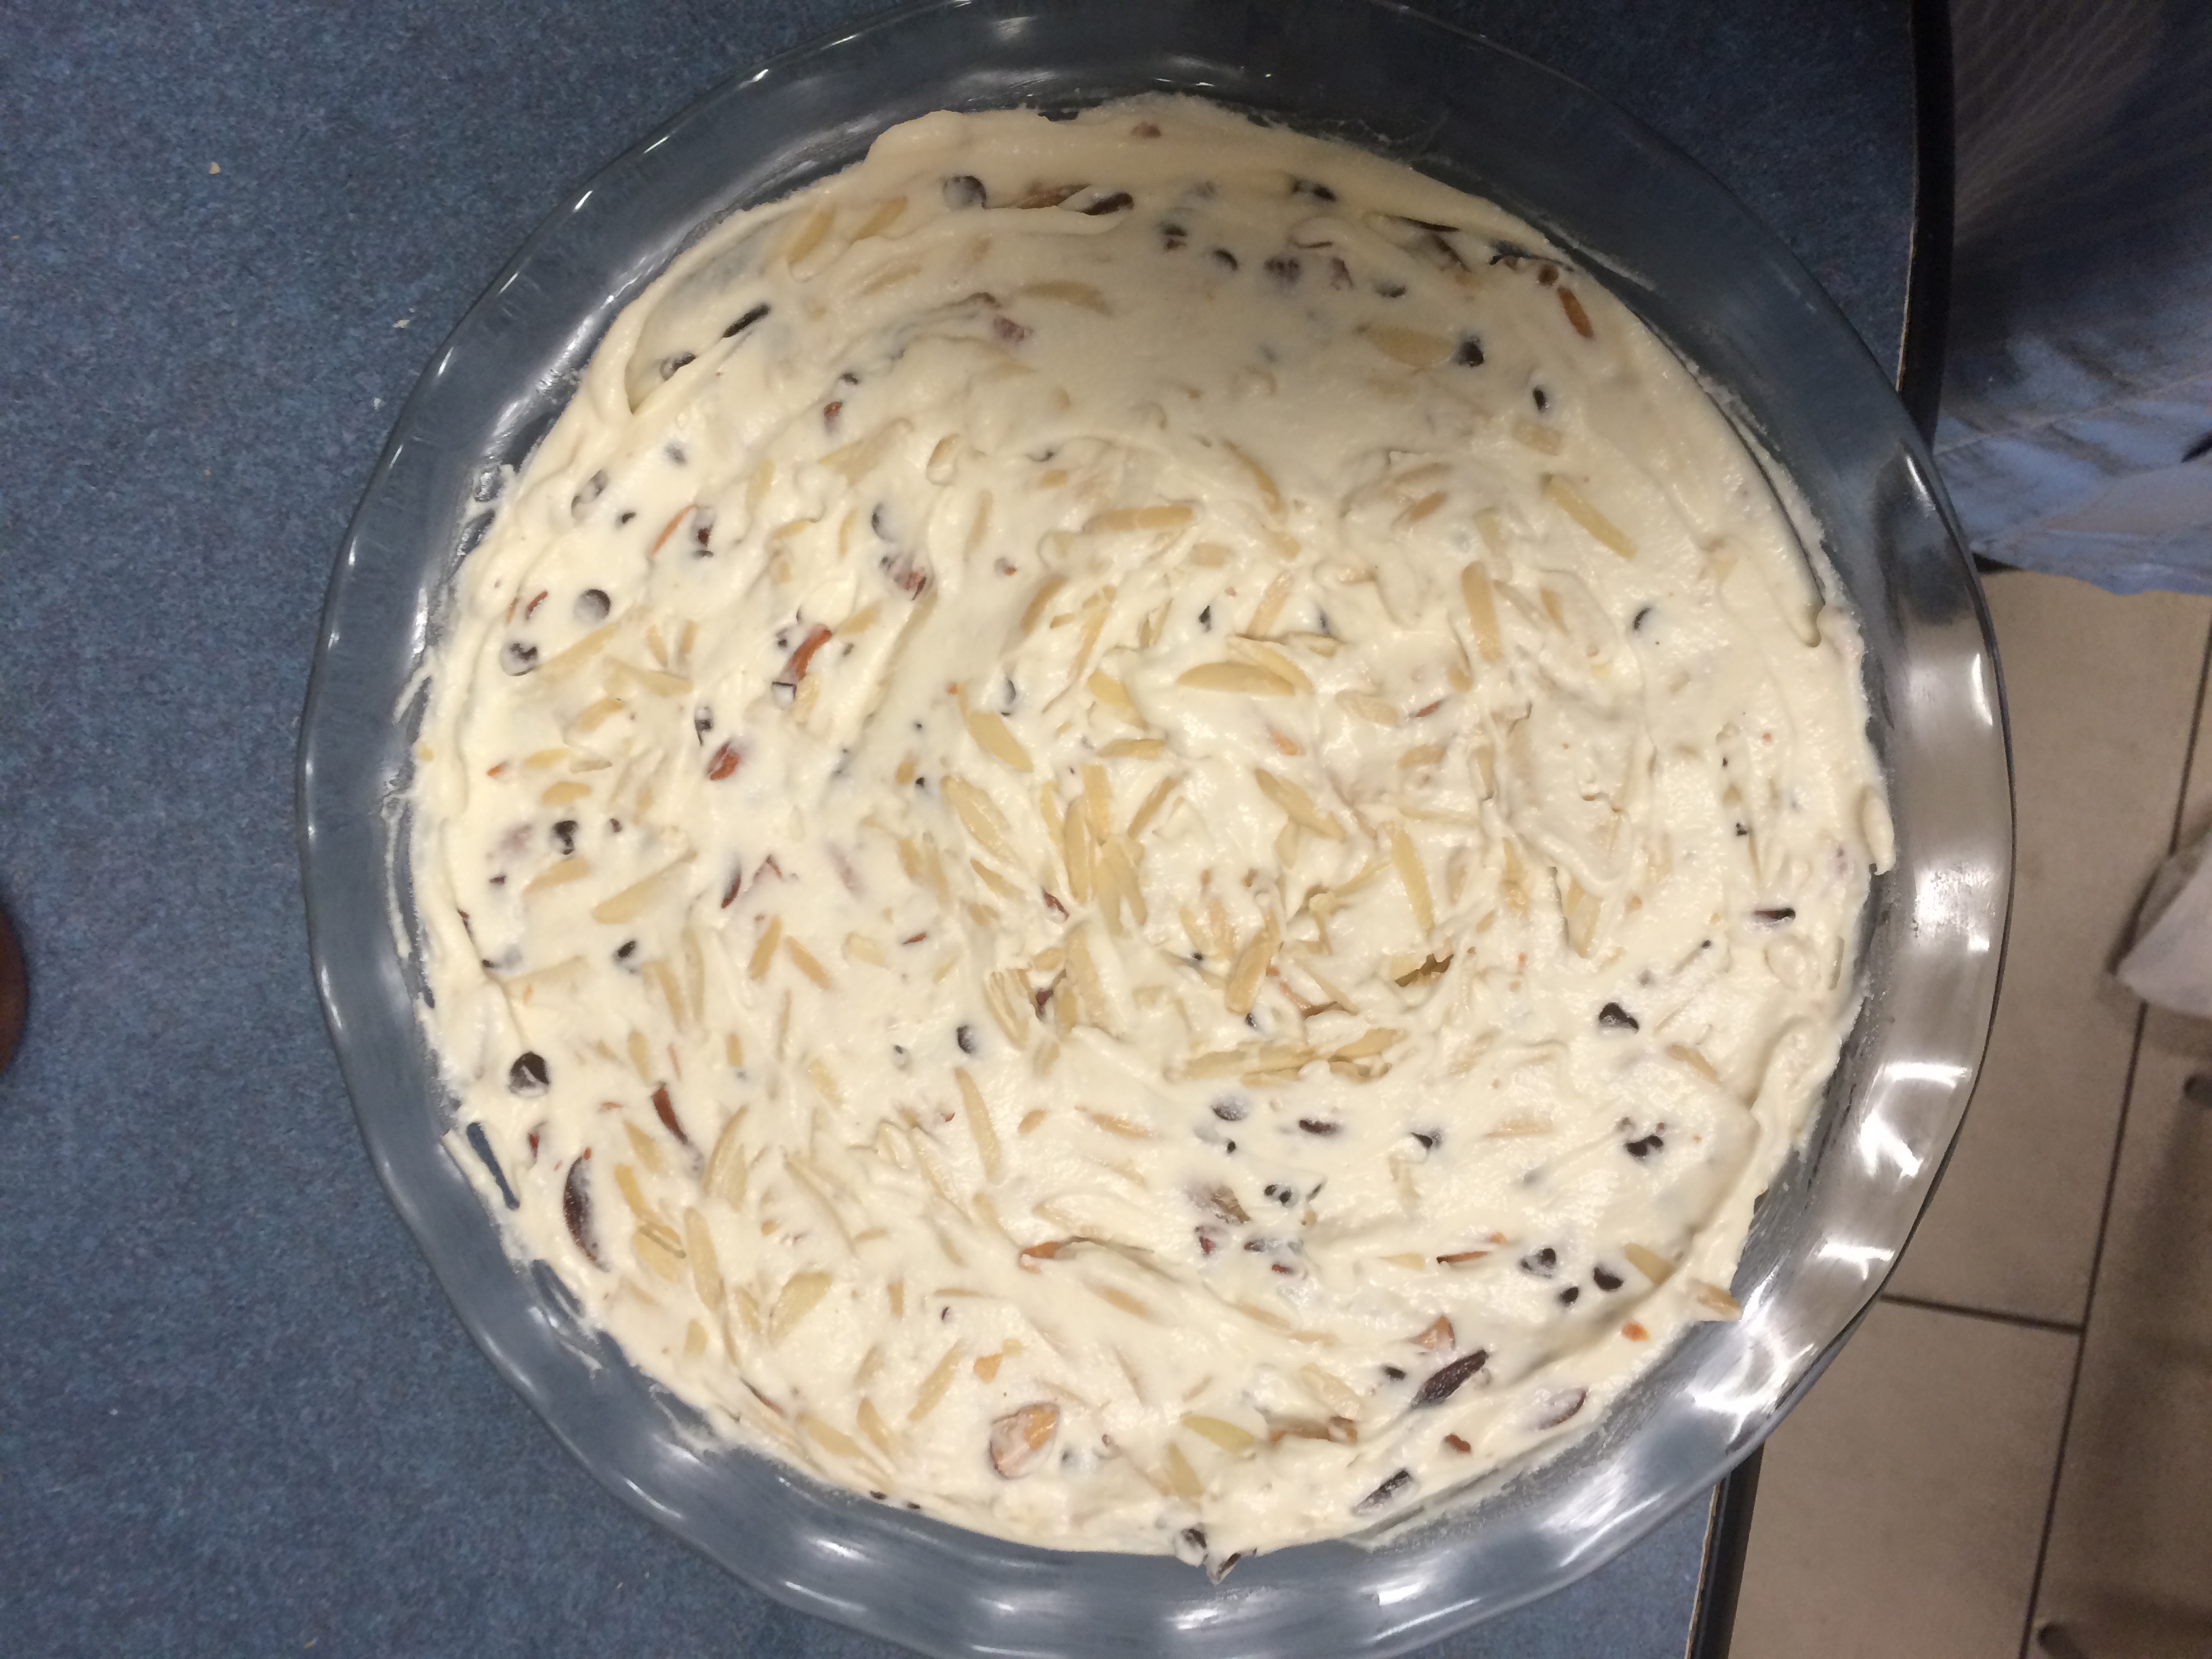
The second pie was a Ricotta Nut Crunch Pie. I loved the texture of this pie, and love ricotta cheese so this seemed very appealing. The crust asked for Amaretti almond cookies, I decided to use almond thins instead because Stop n Shop was not well stocked. I used almond nuts, dried apricots, and chocolate folded into ricotta cheese and heavy cream for the filling. The texture of the filling turned out to be lovely.

Julia Cancio, my pie muse and great human biscuit crumbler.

Julia Cancio, my pie muse and great human biscuit crumbler.

IMG_7786

“I may look plain but I taste great.”

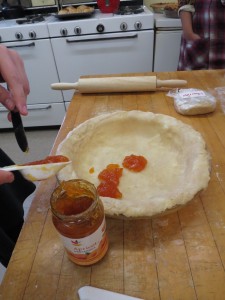
One regret with this pie was that I should have spread the apricot preserve on the base at a better time, or used a hotter spoon to do it. It turned out well nonetheless.

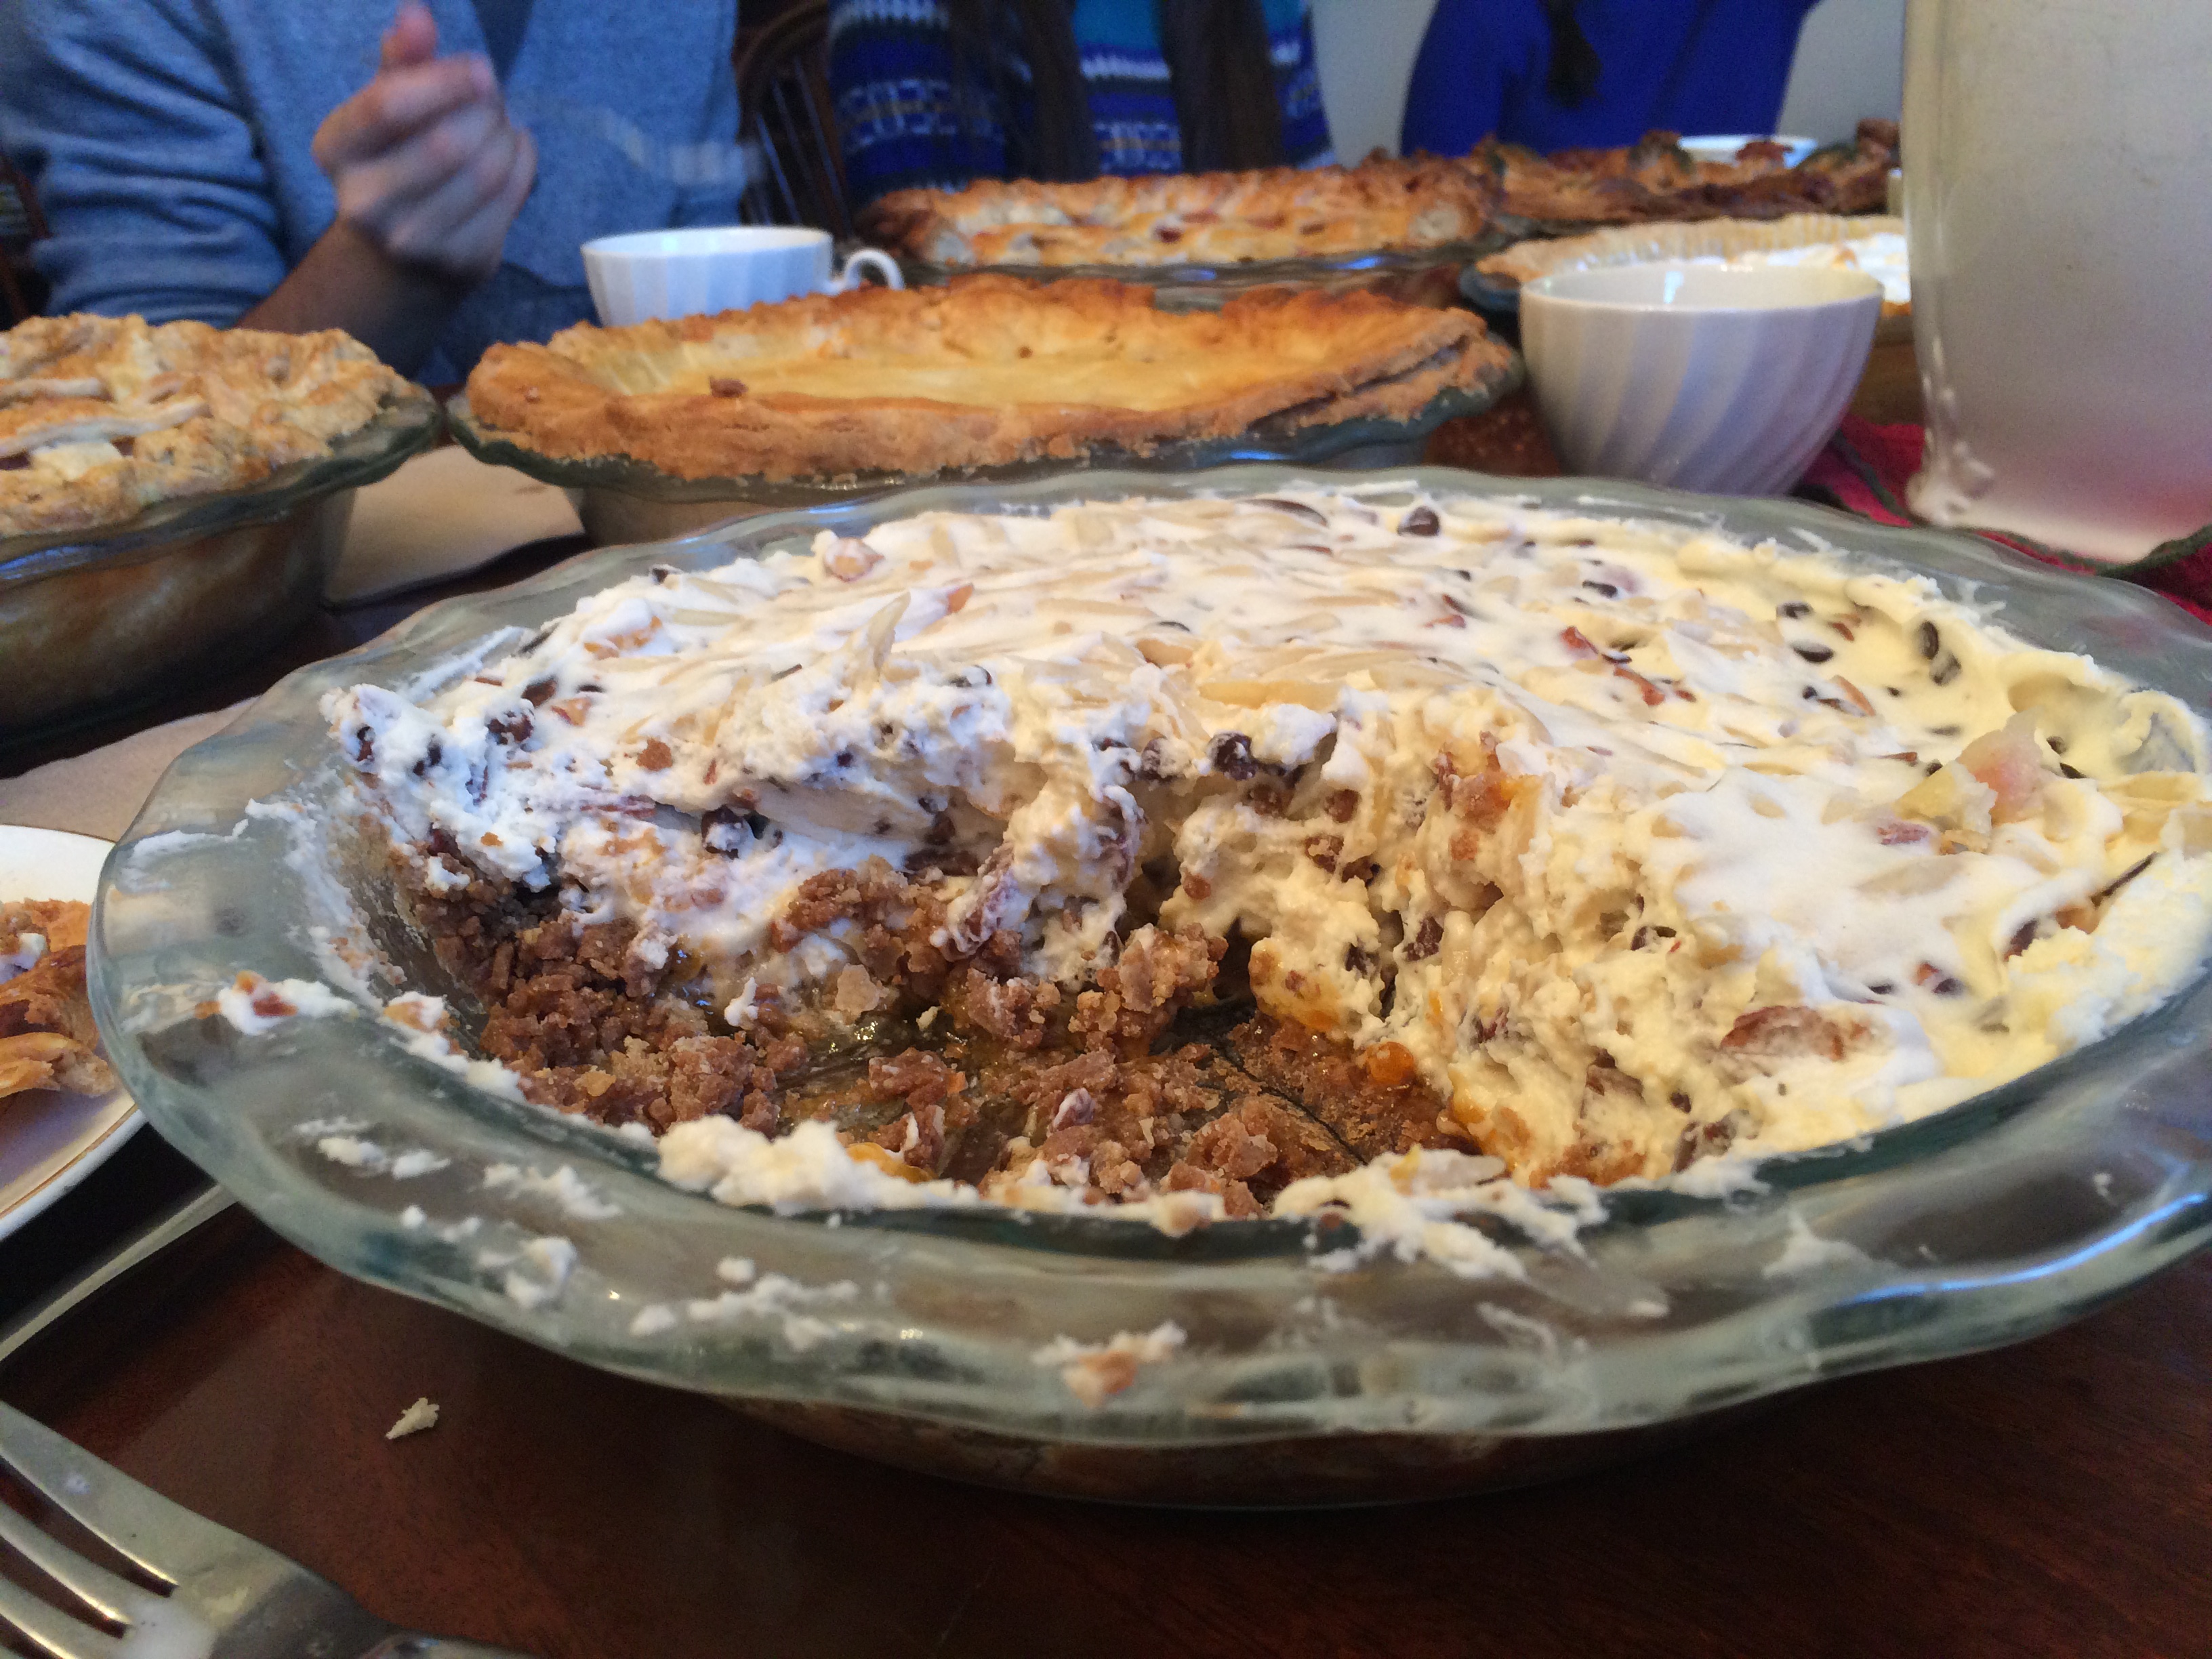
Overall,  I think I had a good first week. Things to do for the coming weeks are to be more mindful about the quantities when experimenting with non-traditional crusts and being more careful when it comes to storing pies. Also, I should learn how to cut pies better as demonstrated by photos below.

-Hussain


"I sure wish he knew what he was doing with a knife..."

“I sure wish he knew what he was doing with a knife…”


A Sweet Start to Winter Study

After much deliberating and drooling over cook books, Stephanie and I finally decided on three sweet pies to tackle this week: chili chocolate pie, grapefruit meringue pie, and ginger-pear pie.


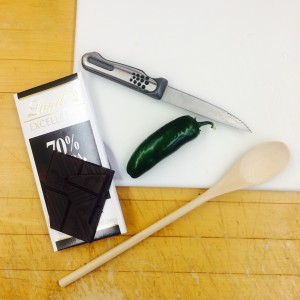
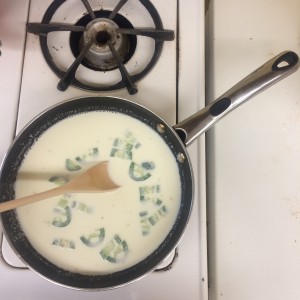
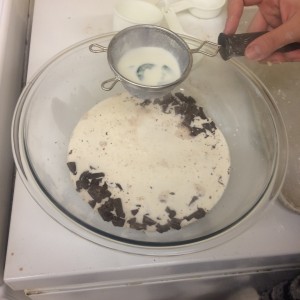
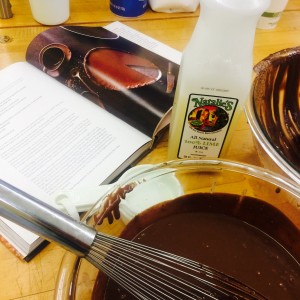
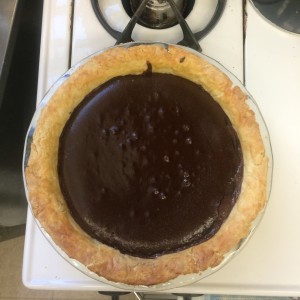
I was particularly excited to bake the chili chocolate pie, because not only am I a chocolate addict, I love spicy foods and the combination of the sweet and spicy sounded heavenly. Making the filling was relatively easy –it involved steeping the milk and cream with green jalapeno pieces to achieve the chili flavor and then using the hot cream mixture to melt the chocolate pieces. I’m glad Steph is as big of a chocolate snob as myself, because she had the great idea of using delicious 70% Lindt chocolate bars. Although the recipe called for a chocolate curst, we used a single butter and shortening crust which was, in my opinion, a smart tweak to the recipe because otherwise the already very rich, dense pie would have been absurdly decadent.

IMG_9069IMG_9070IMG_9076IMG_9080 IMG_9086IMG_9099

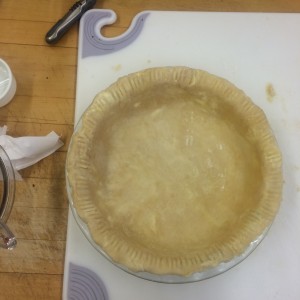
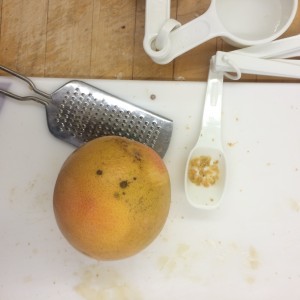
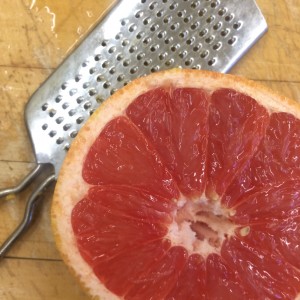
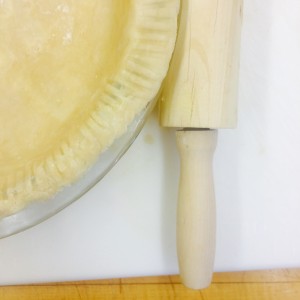
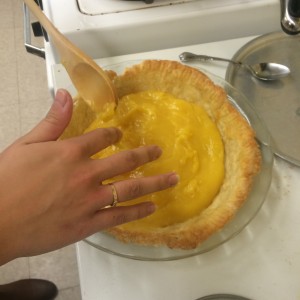
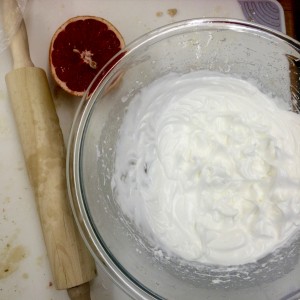
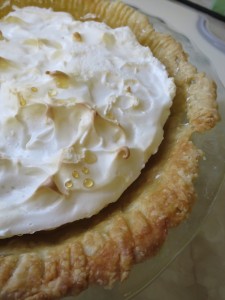
The grapefruit meringue pie was a bit more complicated to prepare, because it involved prebaking the crust, cooking the grapefruit filling, and I didn’t do a very good job rolling out the dough and as a result the crust edges were thin, crispy, and not all that attractive. Also, the morning of the taste test we discovered the meringue had shrunk, separating from the crust and creating a weird gap. We think this might be from transferring the pie from the oven to the fridge too quickly, but we can’t be sure. I loved the texture of this pie because it was light and airy, but if I were to bake it again I would add less sugar to the grapefruit base to create a more tart flavor, complimented by the sweet meringue topping.

IMG_9090IMG_9093IMG_9087IMG_9106IMG_9109IMG_9144

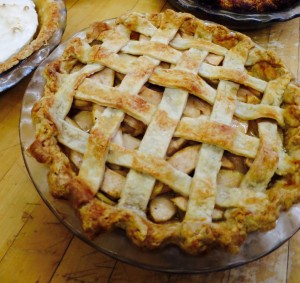
The pear-ginger pie was probably the easiest to make, because it only involved filling a double crust with a pear, sugar, ginger mixture. The ginger flavor was not a strong as I would have liked, and if I make this pie in the future I will definitely add more, or perhaps let the filling soak in the ginger pieces for a while before adding them to the crust. The crust of the pear pie was definitely the most successful of all three pies –it was nicely latticed, the edges were firm and golden, and the bottom tasted great with the apricot preserve layer. However, the inside was quite runny and the pears were still a bit crunchy.

IMG_9132IMG_9134IMG_9136IMG_9138IMG_9141IMG_9163

Overall, I think Steph and I picked three contrasting pies that gave us great experience in the sweet-pie making field, and I can’t wait to delve into savory pies next week!

Bacon Egg and Cheese Bacon Lattice Breakfast Pie and Sweet Potato Pie

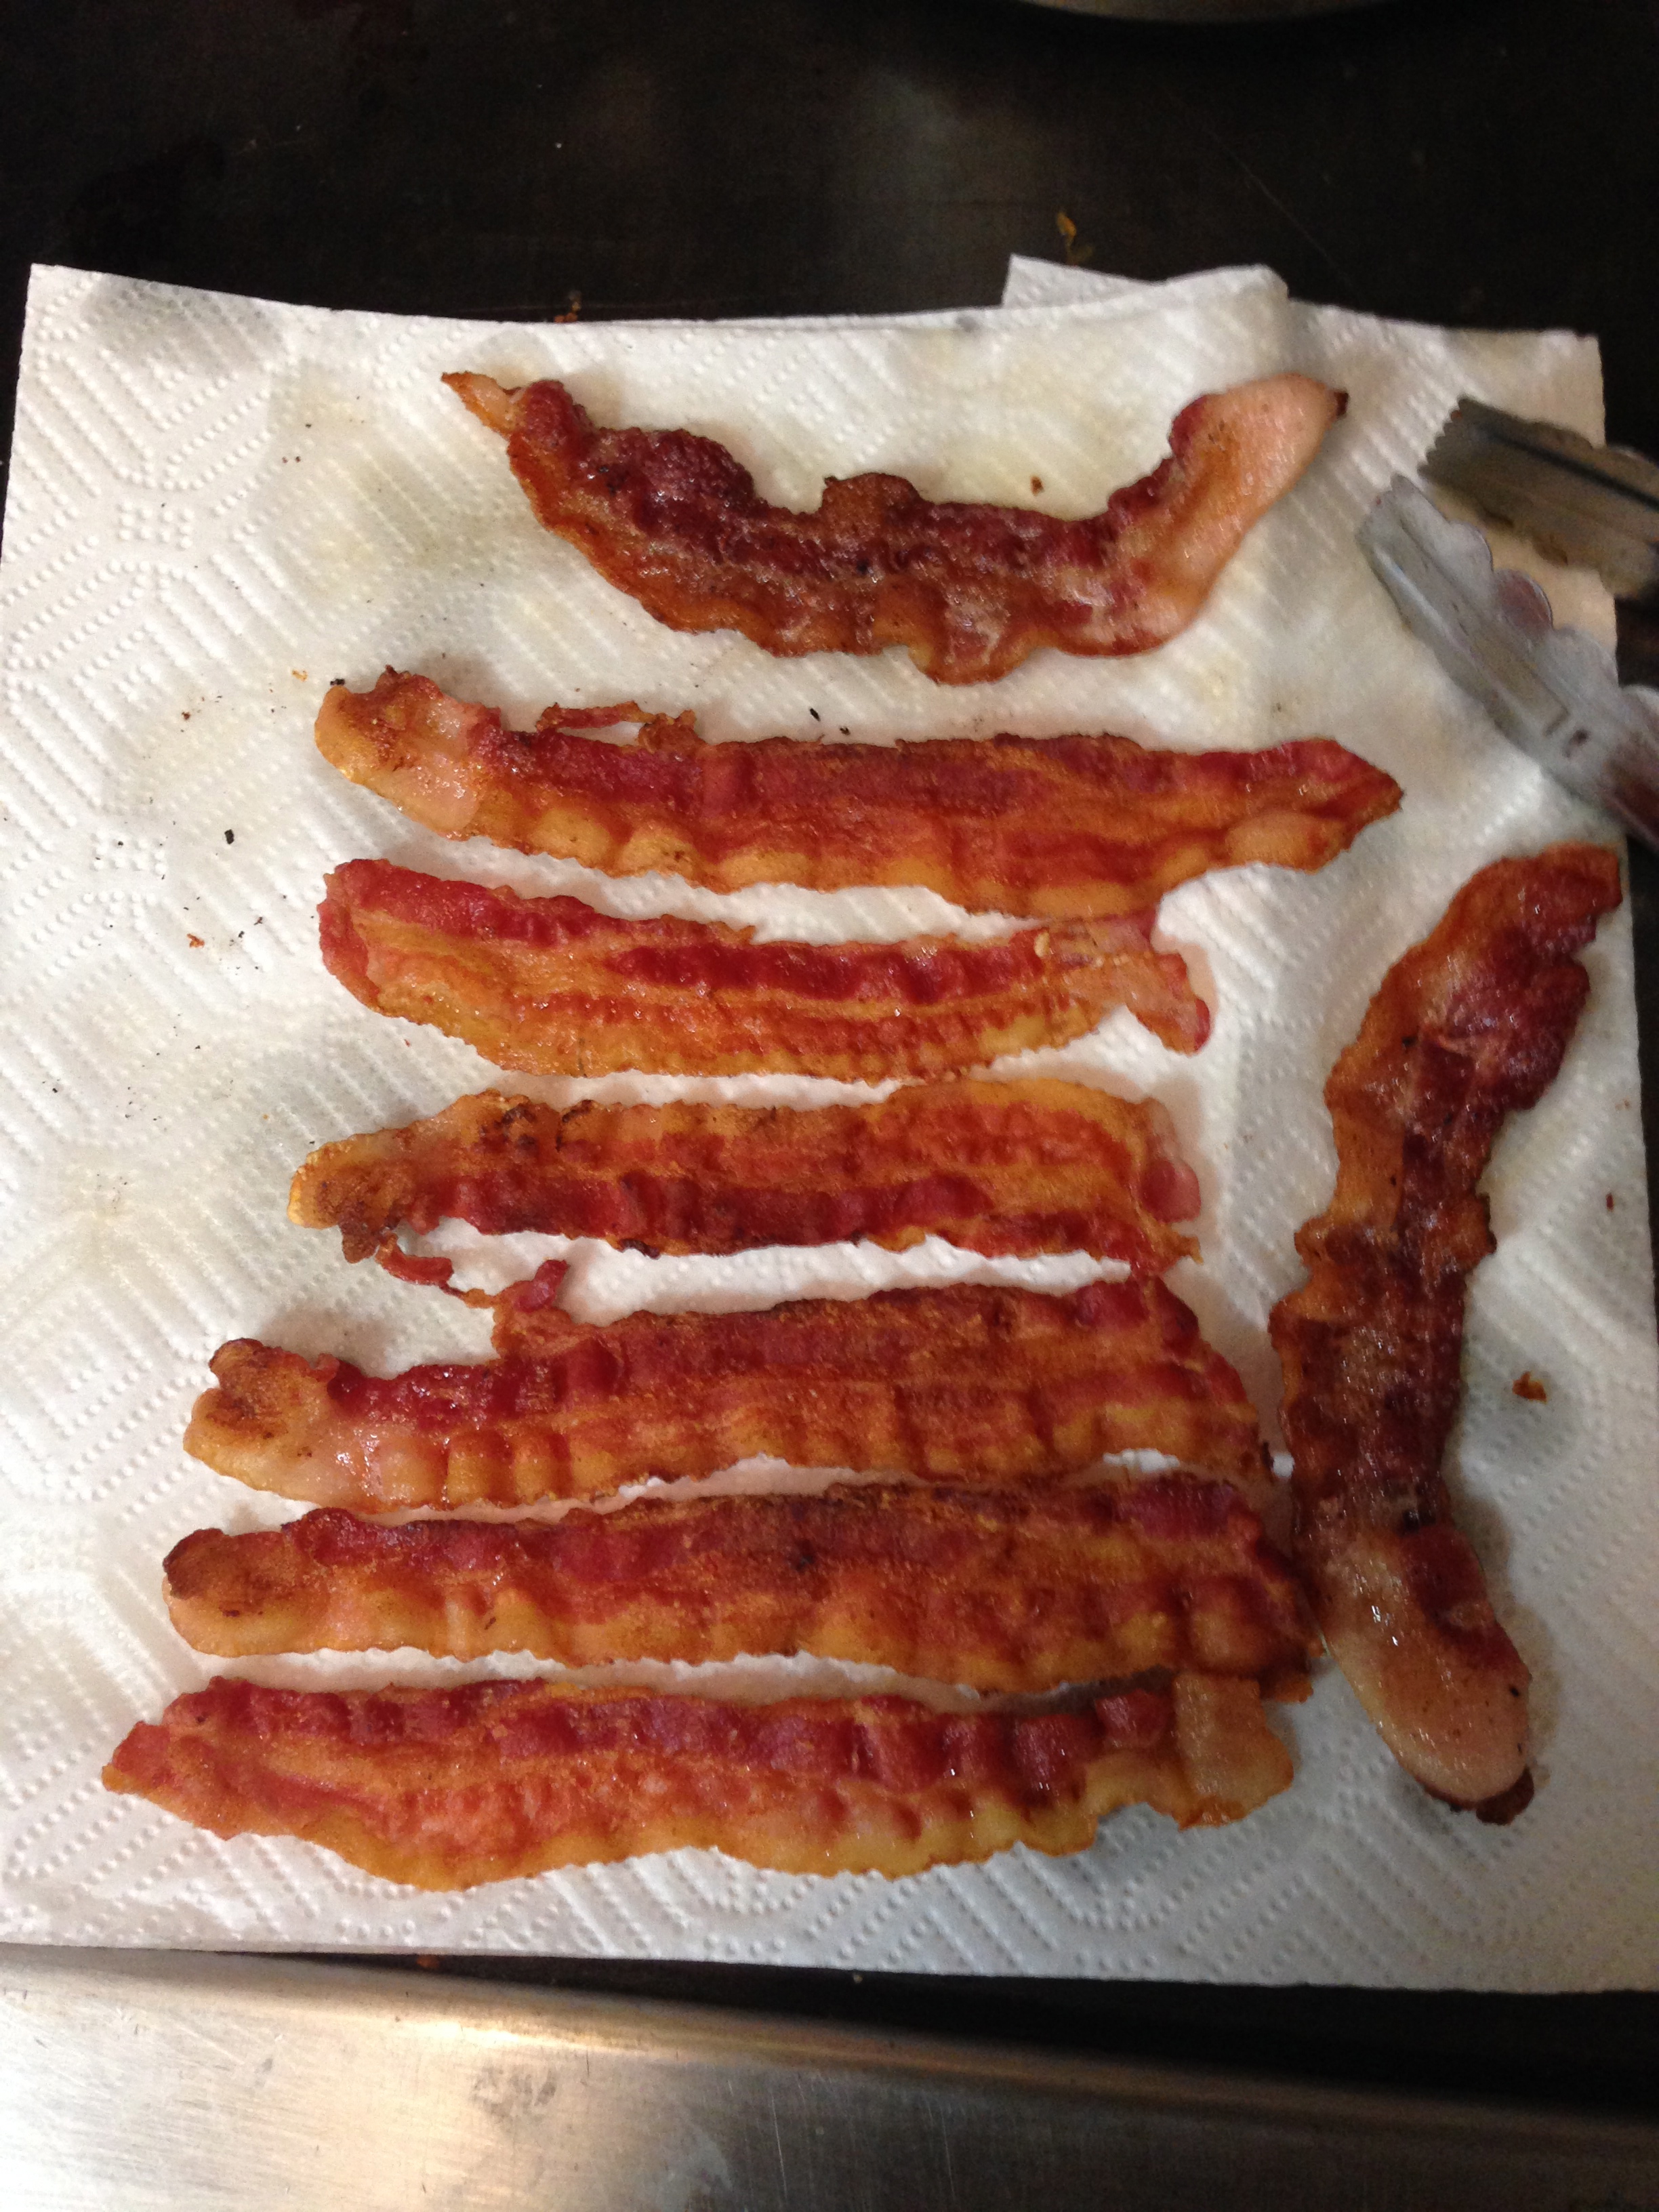
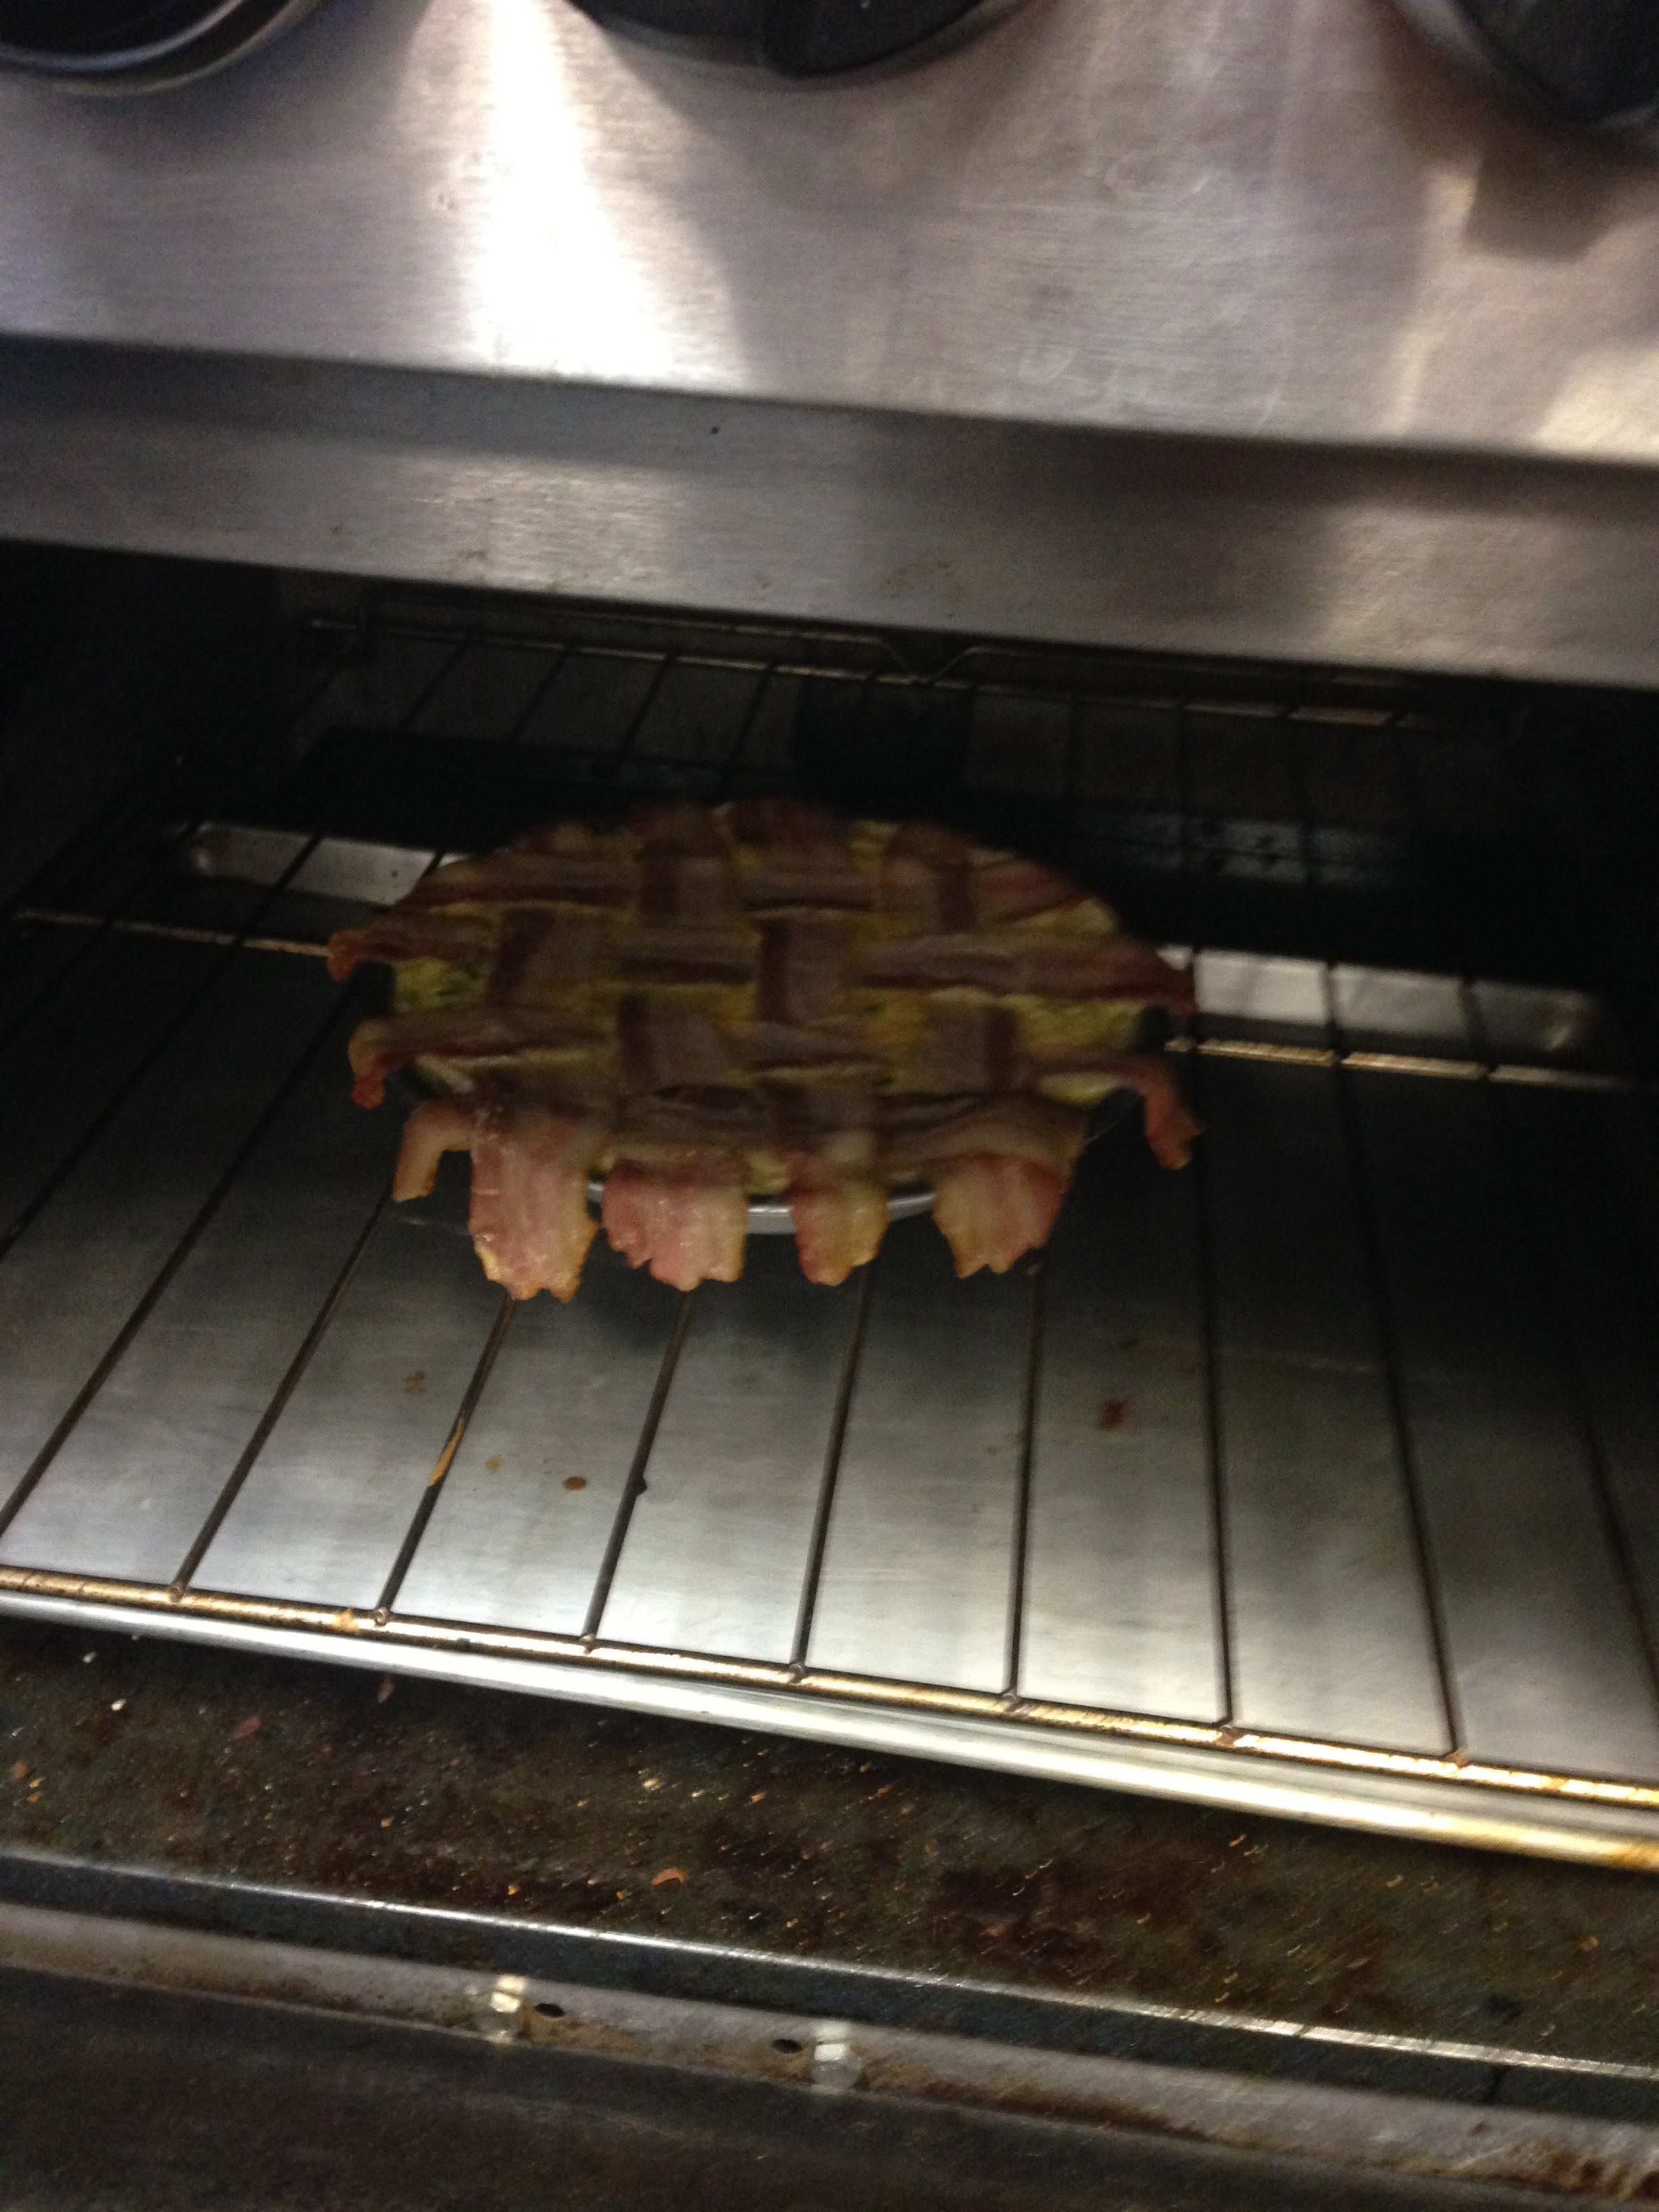
I really enjoyed making both of these pies because they were so different! A bacon lattice top and a marshmallow top are pretty dissimilar, but somehow I managed to make both of them work out. I think the breakfast pie was the biggest success mostly because I think there is something inherently appetizing about a bacon lattice!
IMG_1410
The challenge with the breakfast pie was figuring out how to cook the bacon lattice entirely without overcooking the pie filling (essentially a quiche). I decided to prebake the crust then add the filling and cook it for 15-20 minutes before adding the bacon. The bacon was added early enough that the egg was still a little runny so the bacon drippings could contribute to the flavor of the filling, but not so early that it overcooked in the oven. As it turns out the middle of the bacon strips cooked more slowly I assume because the filling was thickest there.
IMG_1417
Overall, though, I think the pie went pretty well! At least I enjoyed eating it. Forgive me for not including the final picture of the pie. The wordpress site refuses to upload it!

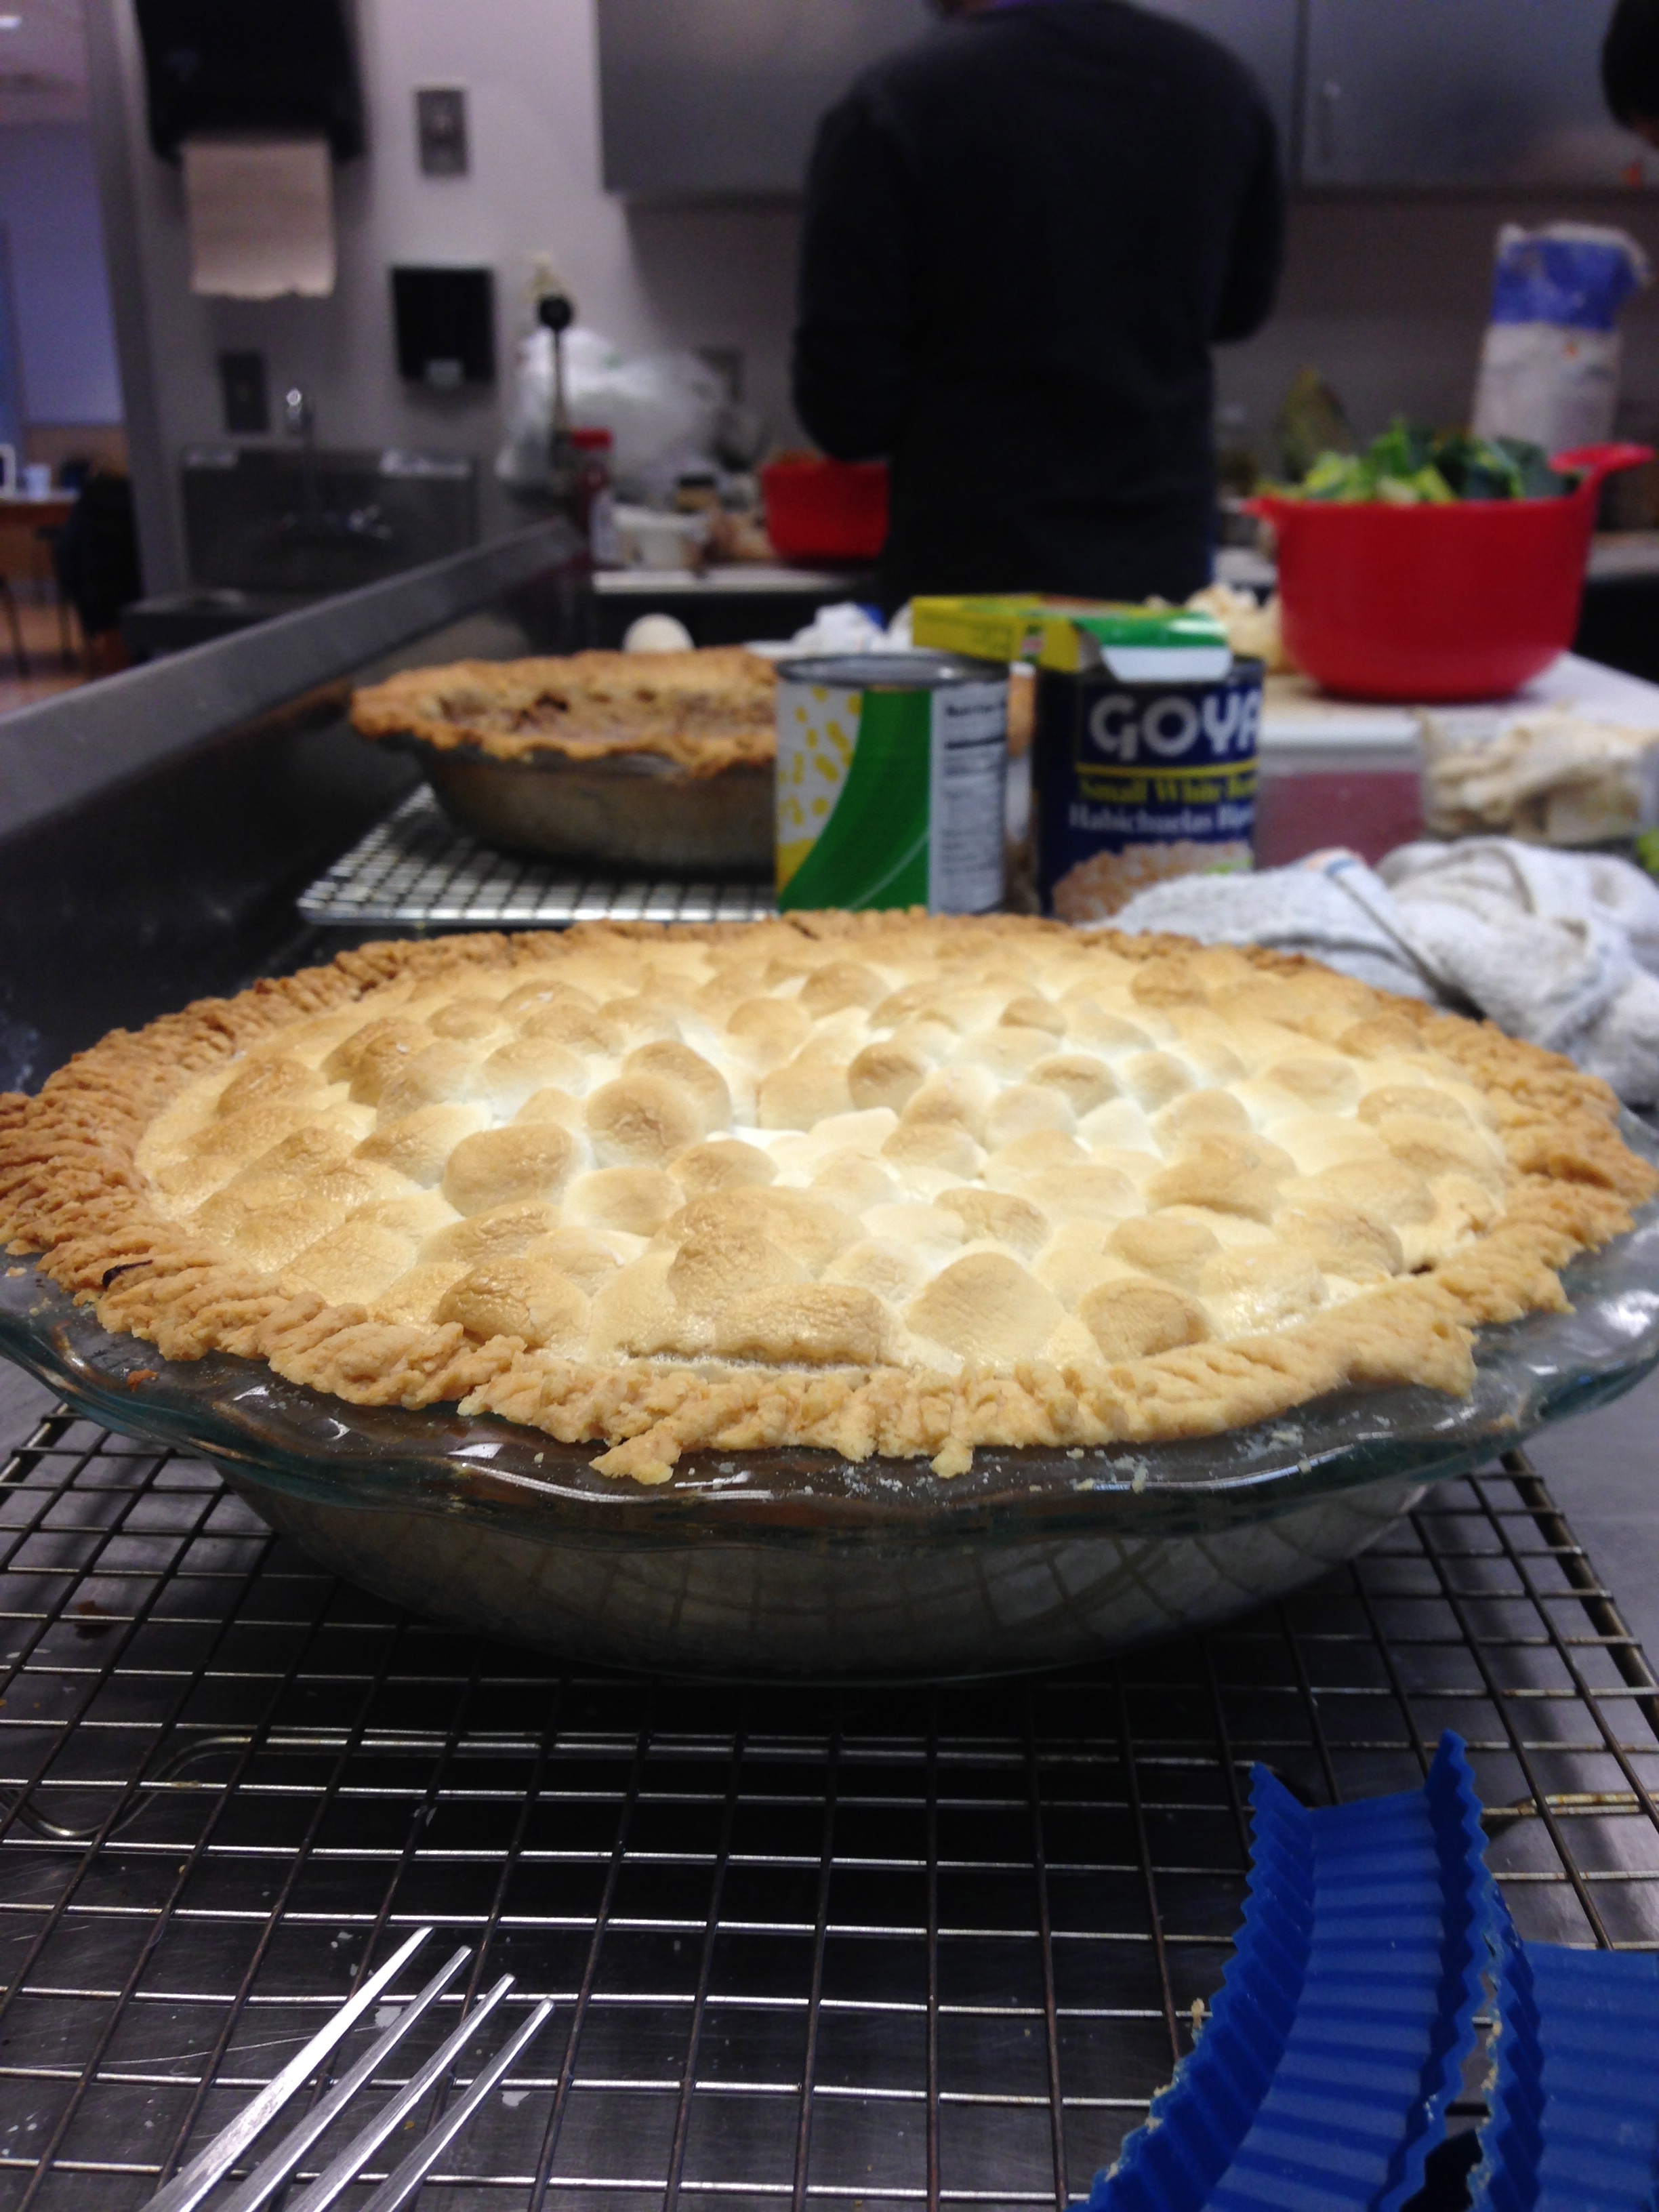
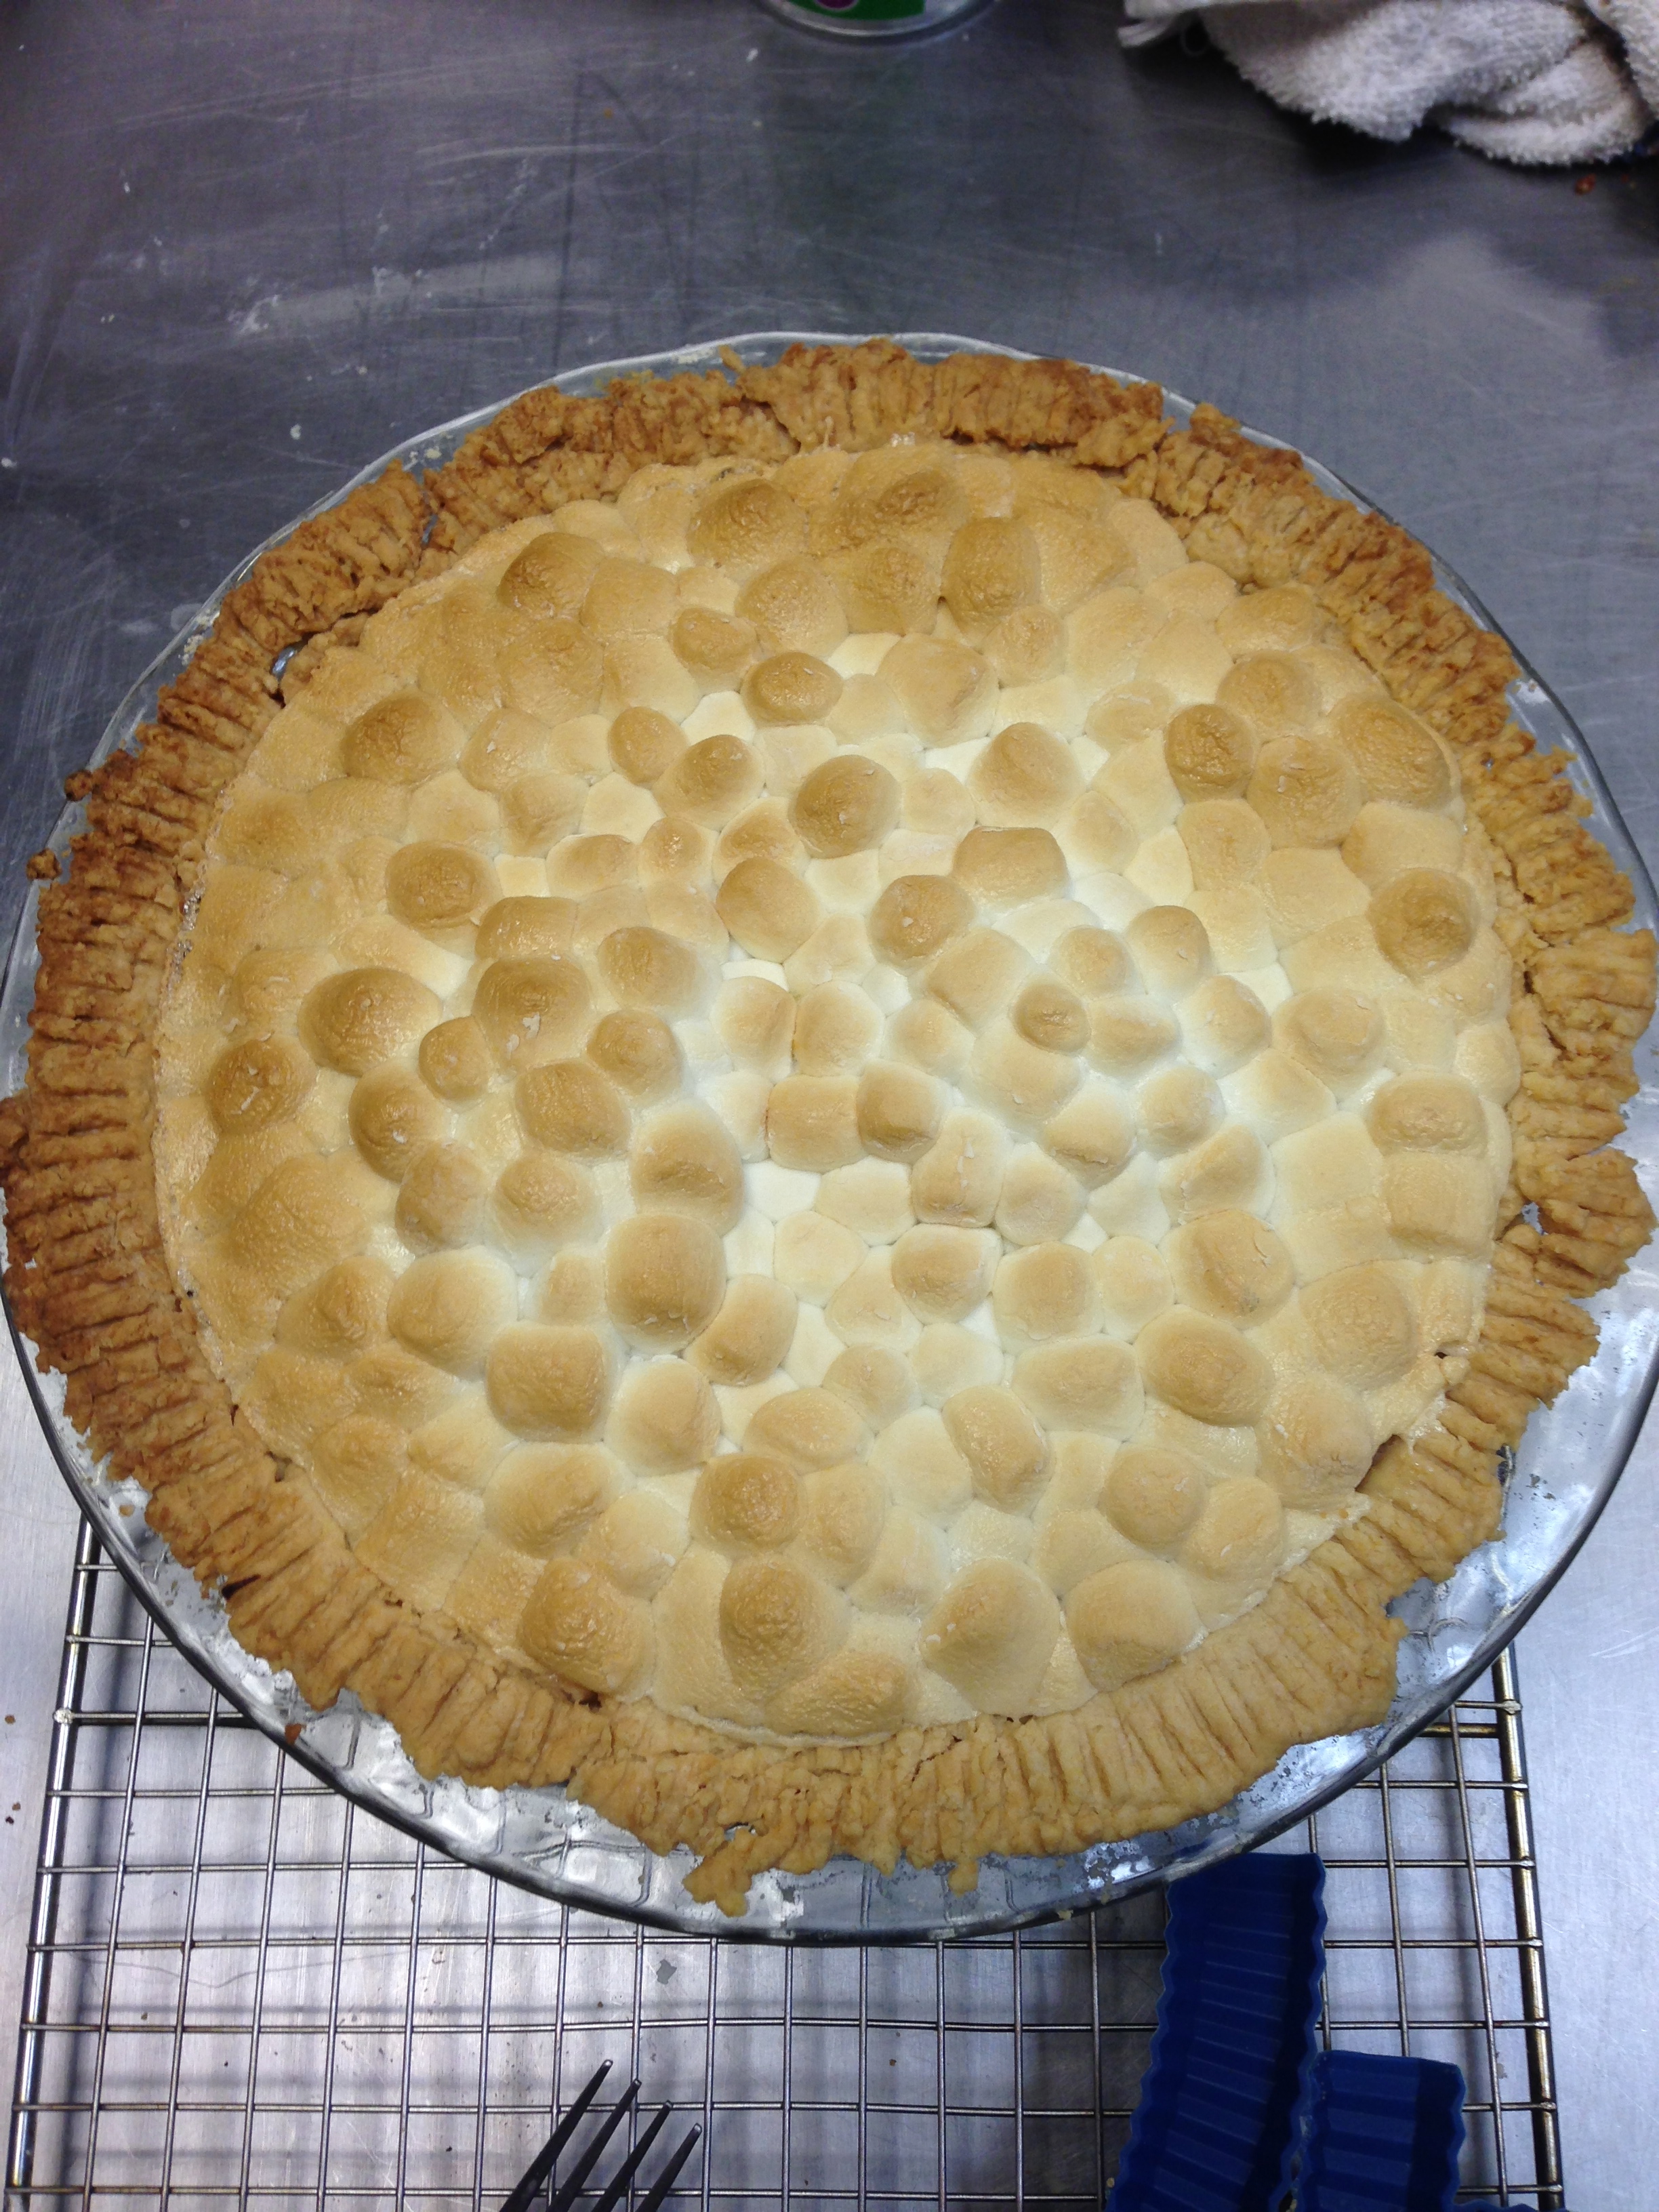
The sweet potato pie went pretty well too. I was working off of two recipes. One for sweet potato pie and one for marshmallow toped sweet potatoes, so I had to be a little inventive. This was the first time I’d done a pie with a runny liquid filling rather than chunks of fruit and meat. The main issue I had to tackle here was also with the top. I had to figure out how to prevent the marshmallows from sinking into the liquid of the filling, so I cooked the filling in the pie crust until it began to set a bit then I pilled the marshmallows on top. The other thing I didn’t foresee was the the marshmallows expanding in the oven and then contracting upon cooling so that the top of the pie actually pulled away from the edges of the crust. It looked a little strange and made it hard to cut well, but I think the flavor wasn’t effected.
Here is the completed pie complete with marshmallow-y bubbles:
IMG_1413

IMG_1412

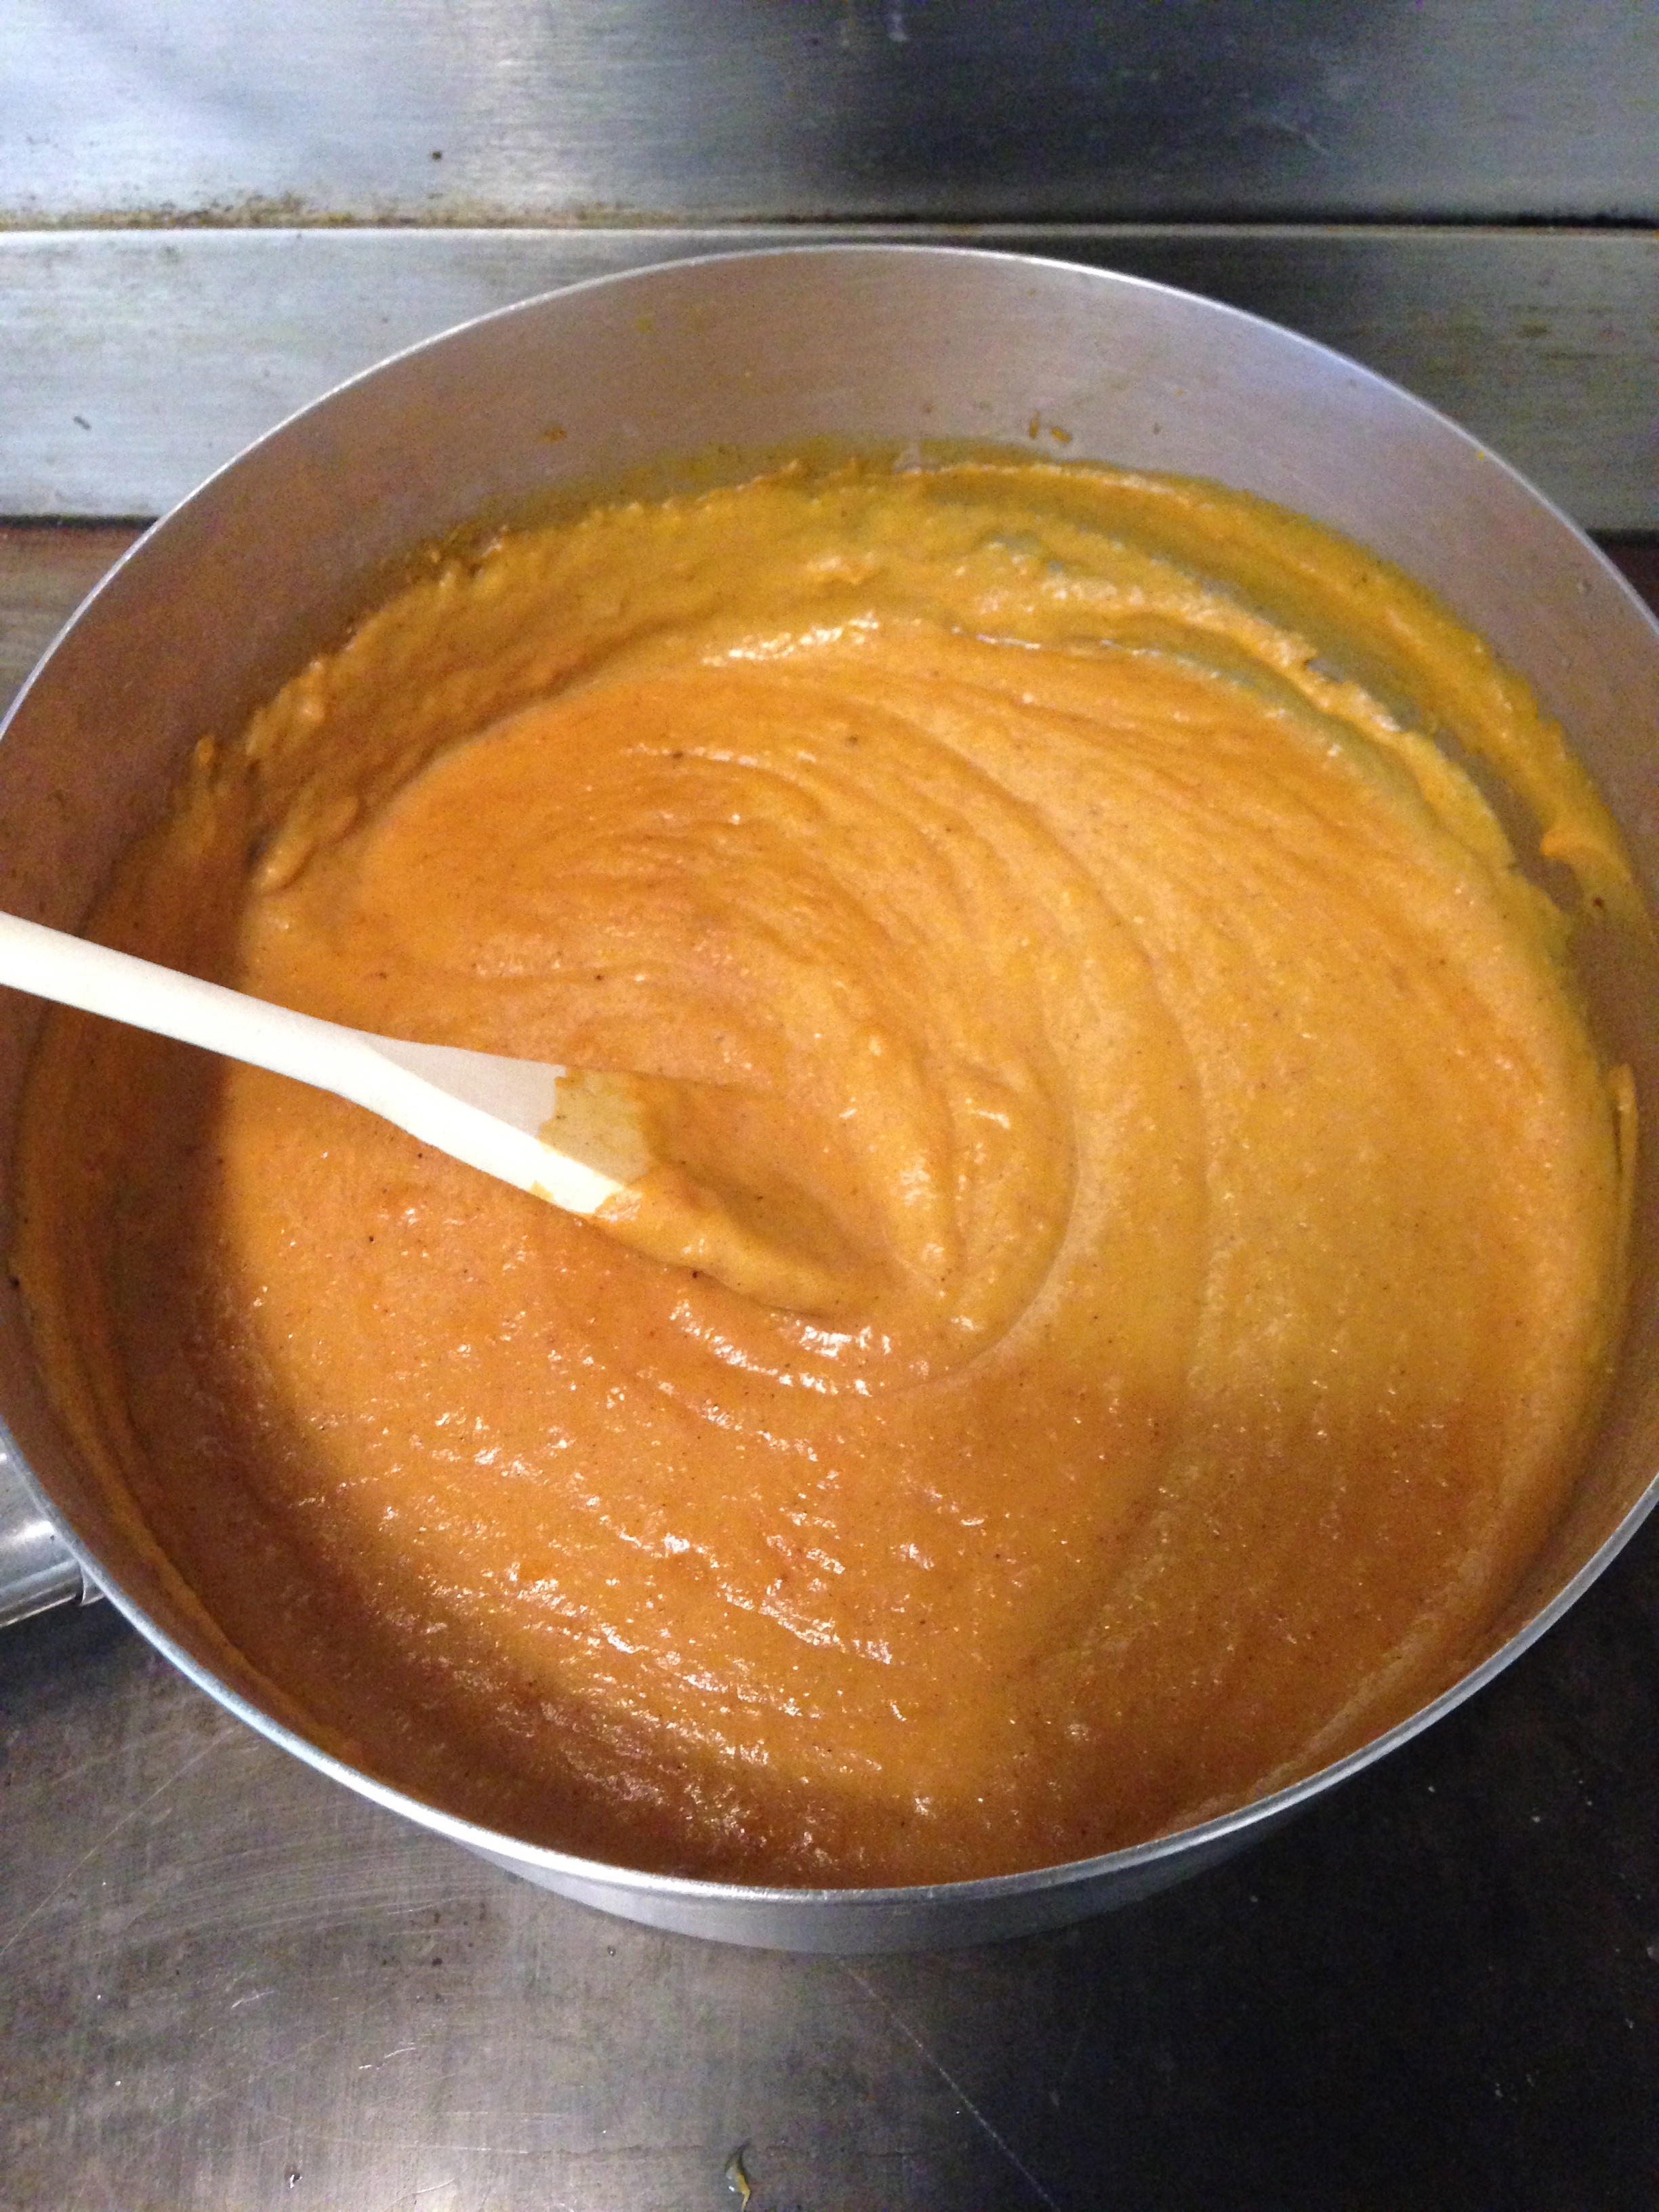
And here is the sweet potato filling while being cooked on the stove:
IMG_1411

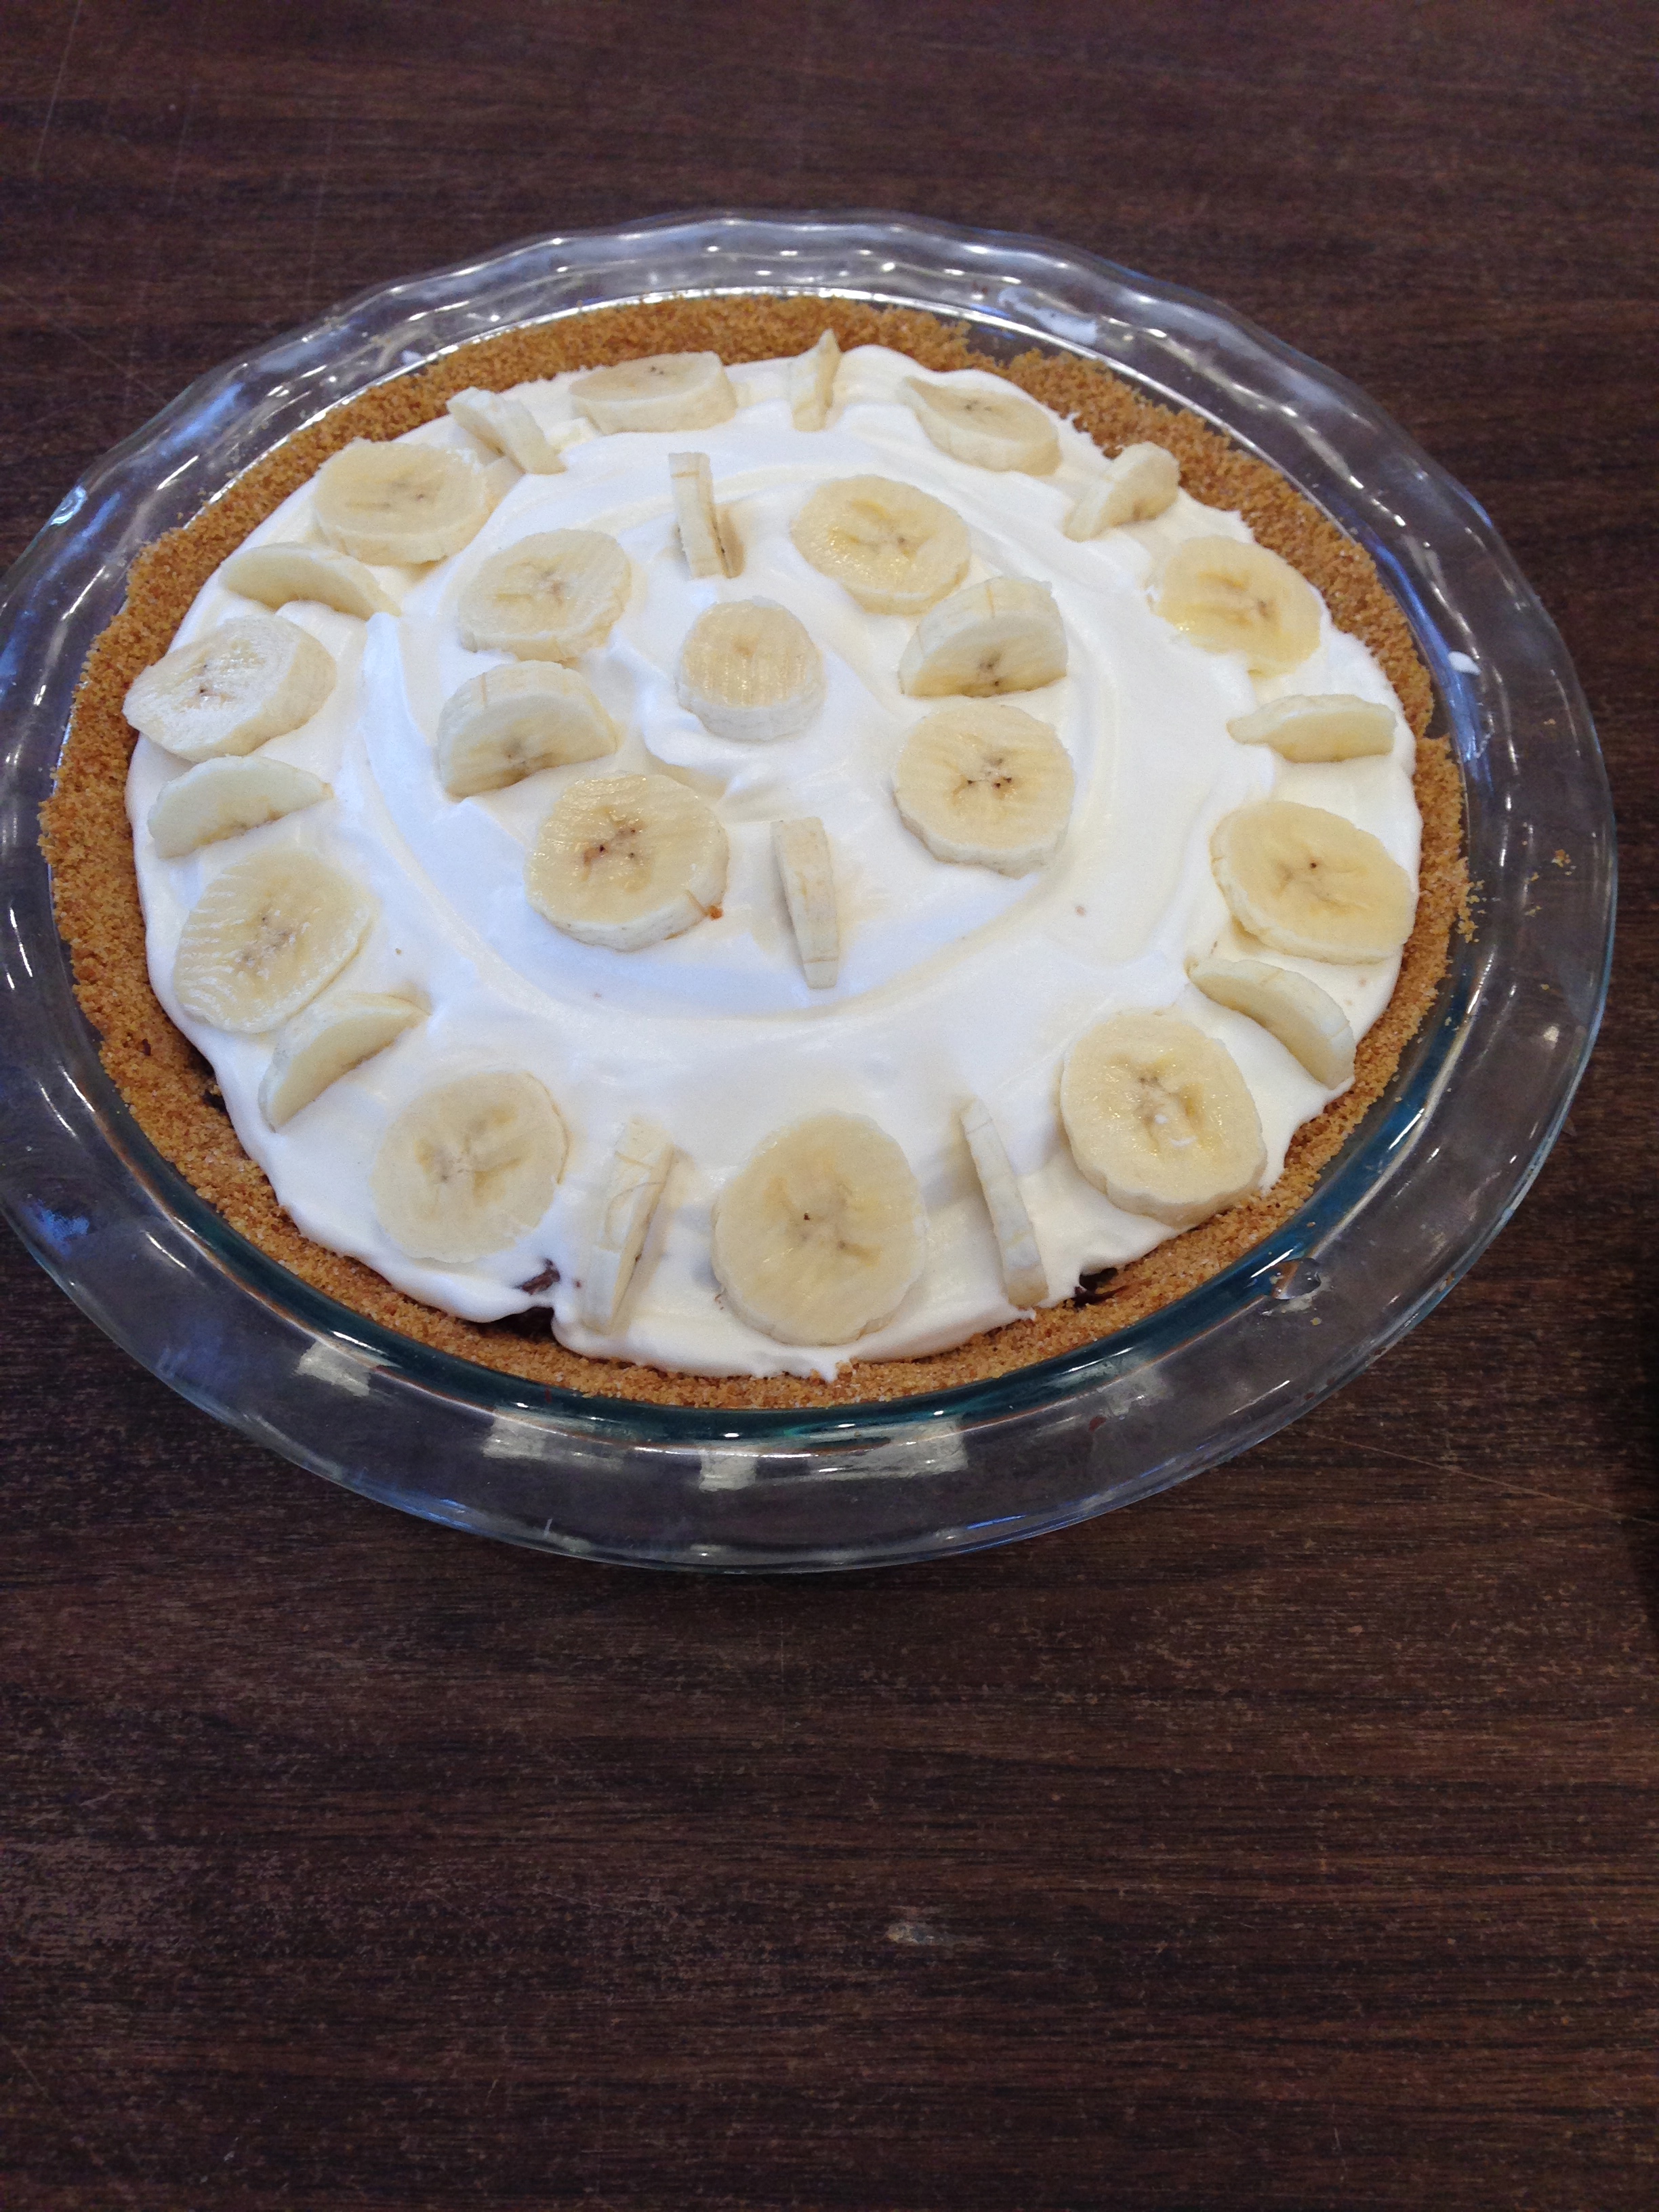
Peanut Butter and Chocolate Banana Cream Pie

IMG_1047


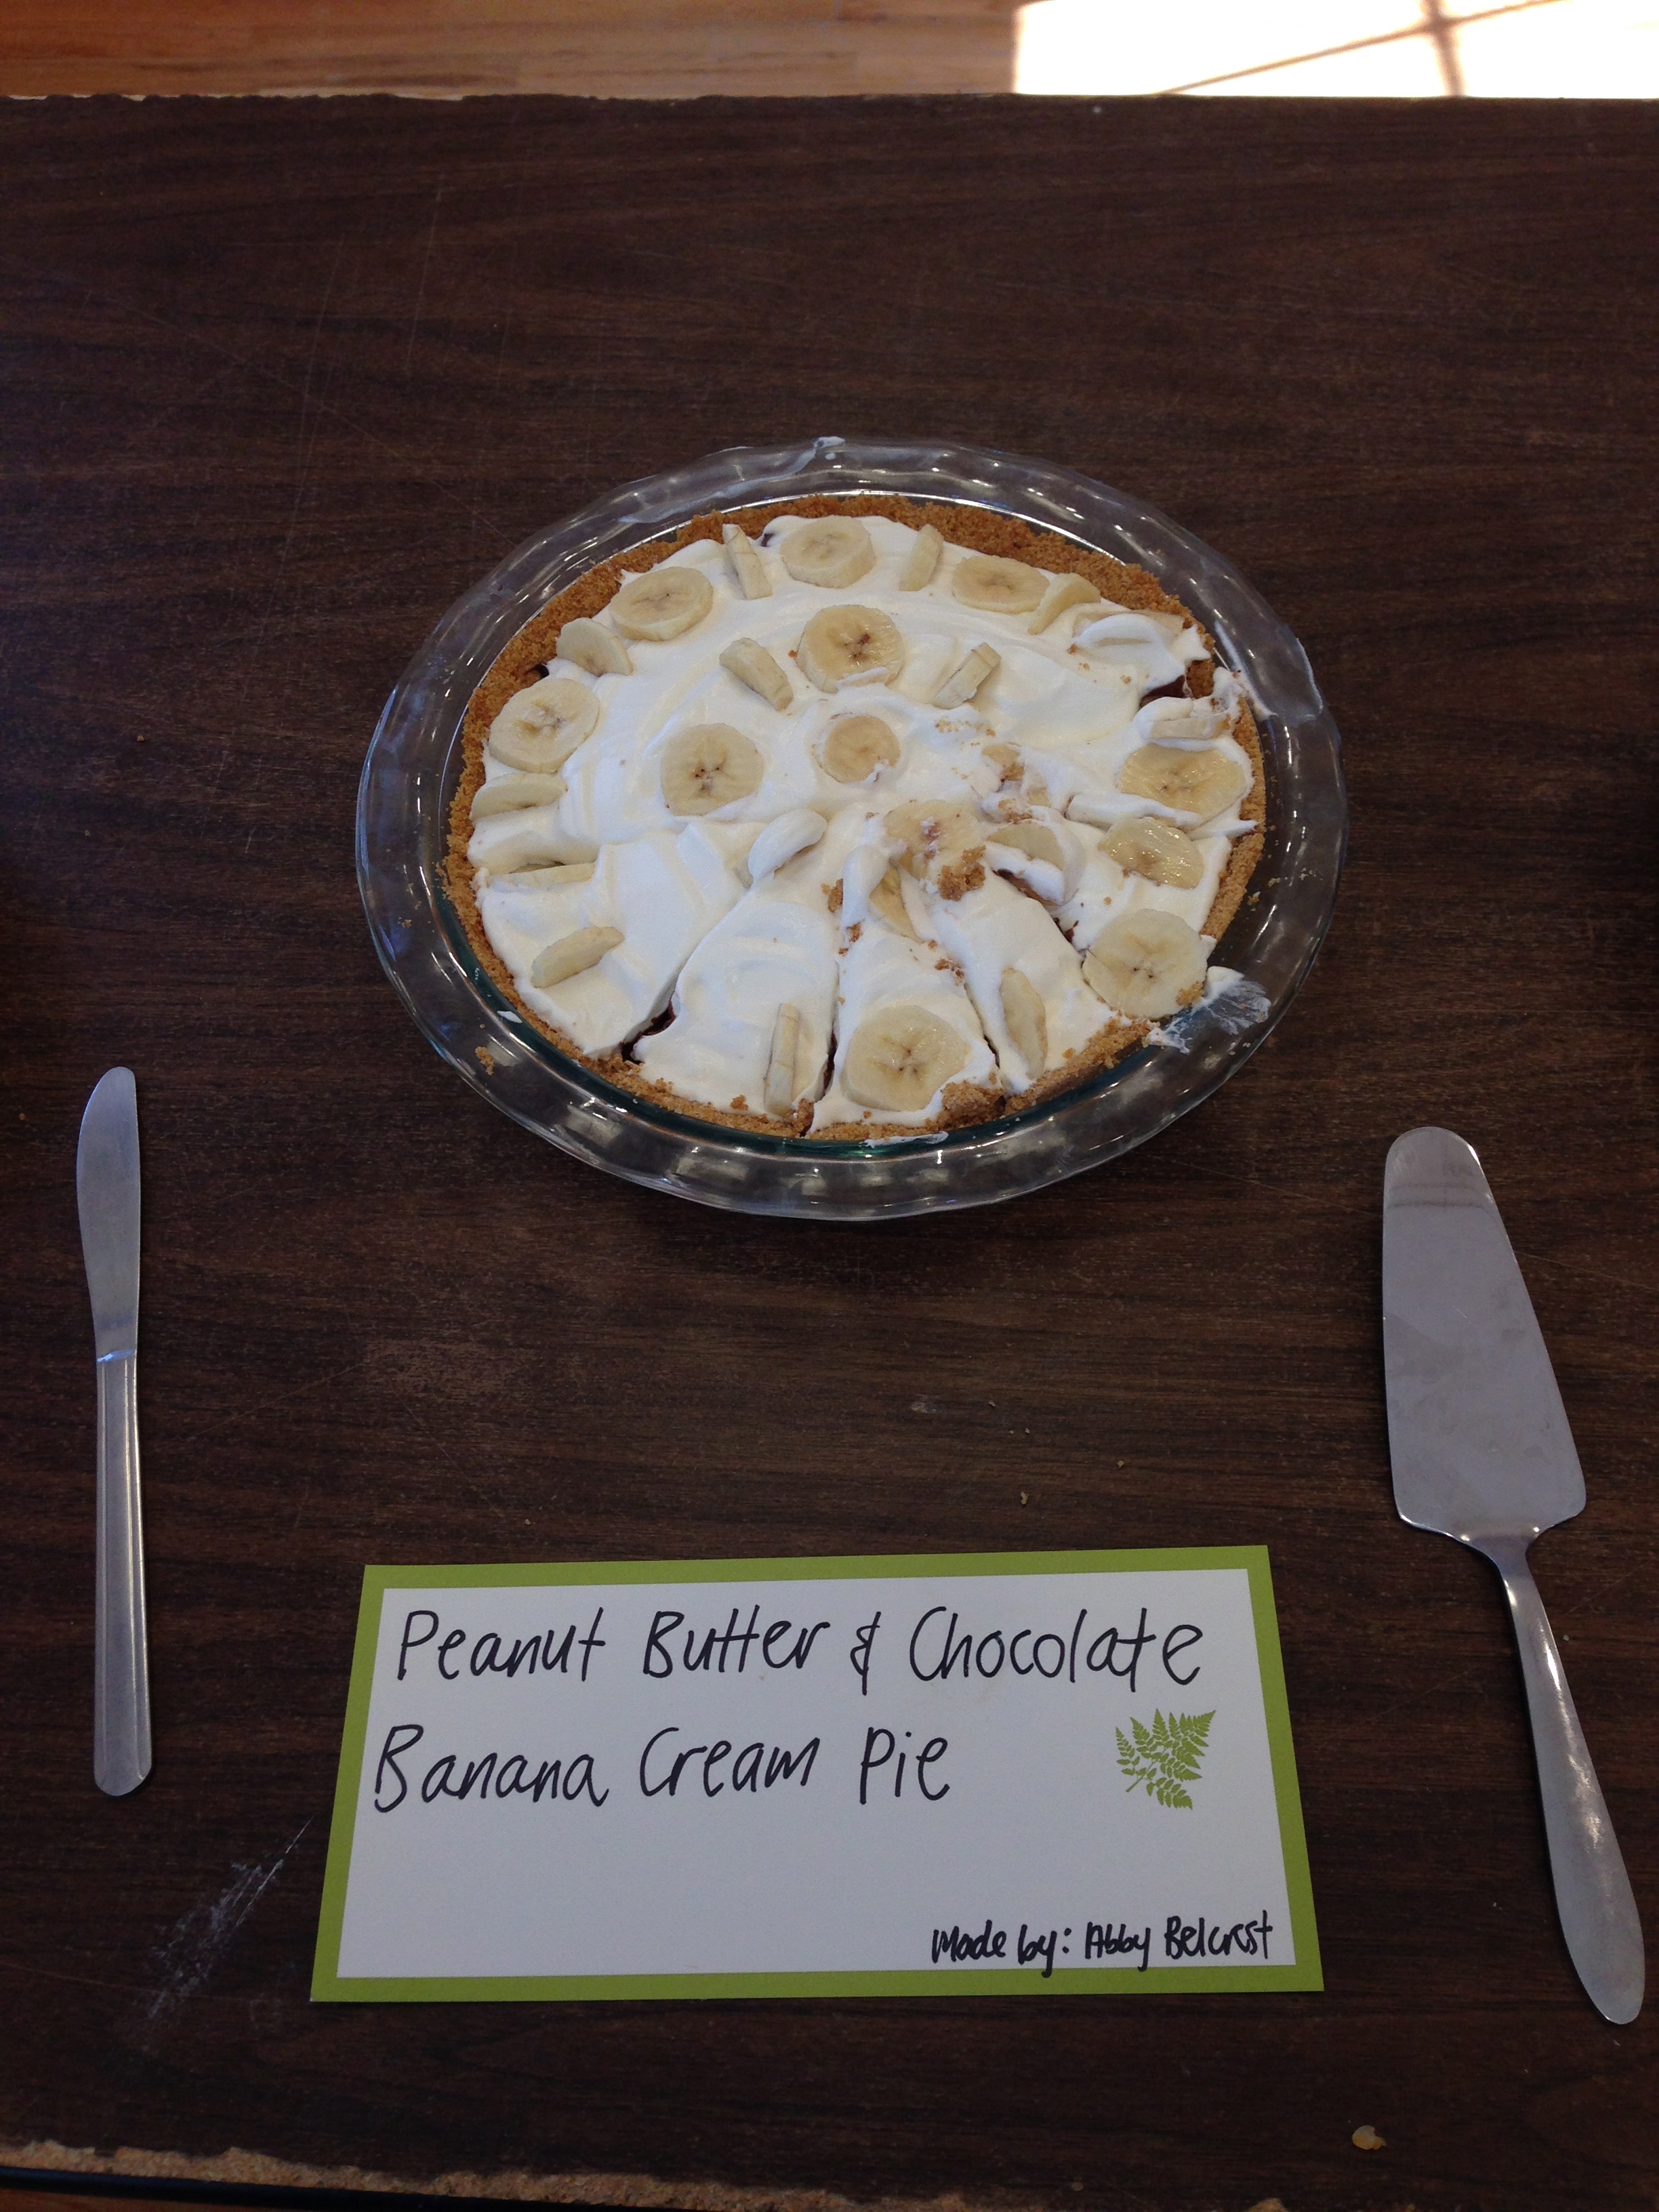
Chocolate. Peanut butter. Banana cream. Love. What else do you need?! Nothing! This was one of my favorite pies, and, according to the meager bit I had left at the end of the banquet, an overwhelming success. Best of all, it was super easy to make. You can follow any recipe for homemade graham cracker crust. The graham cracker crust has definitely become my new go-to. Graham cracker crumbs, sugar, melted butter, and a tad bit of baking and you’re all set! No worries about the crust woes that befall your typical pastry. The one thing I would recommend is buttering your pan thoroughly before pre baking/pressing in your crust. I had many crusts of the graham cracker variety, and too often they stuck to the pan, and I couldn’t get enough!

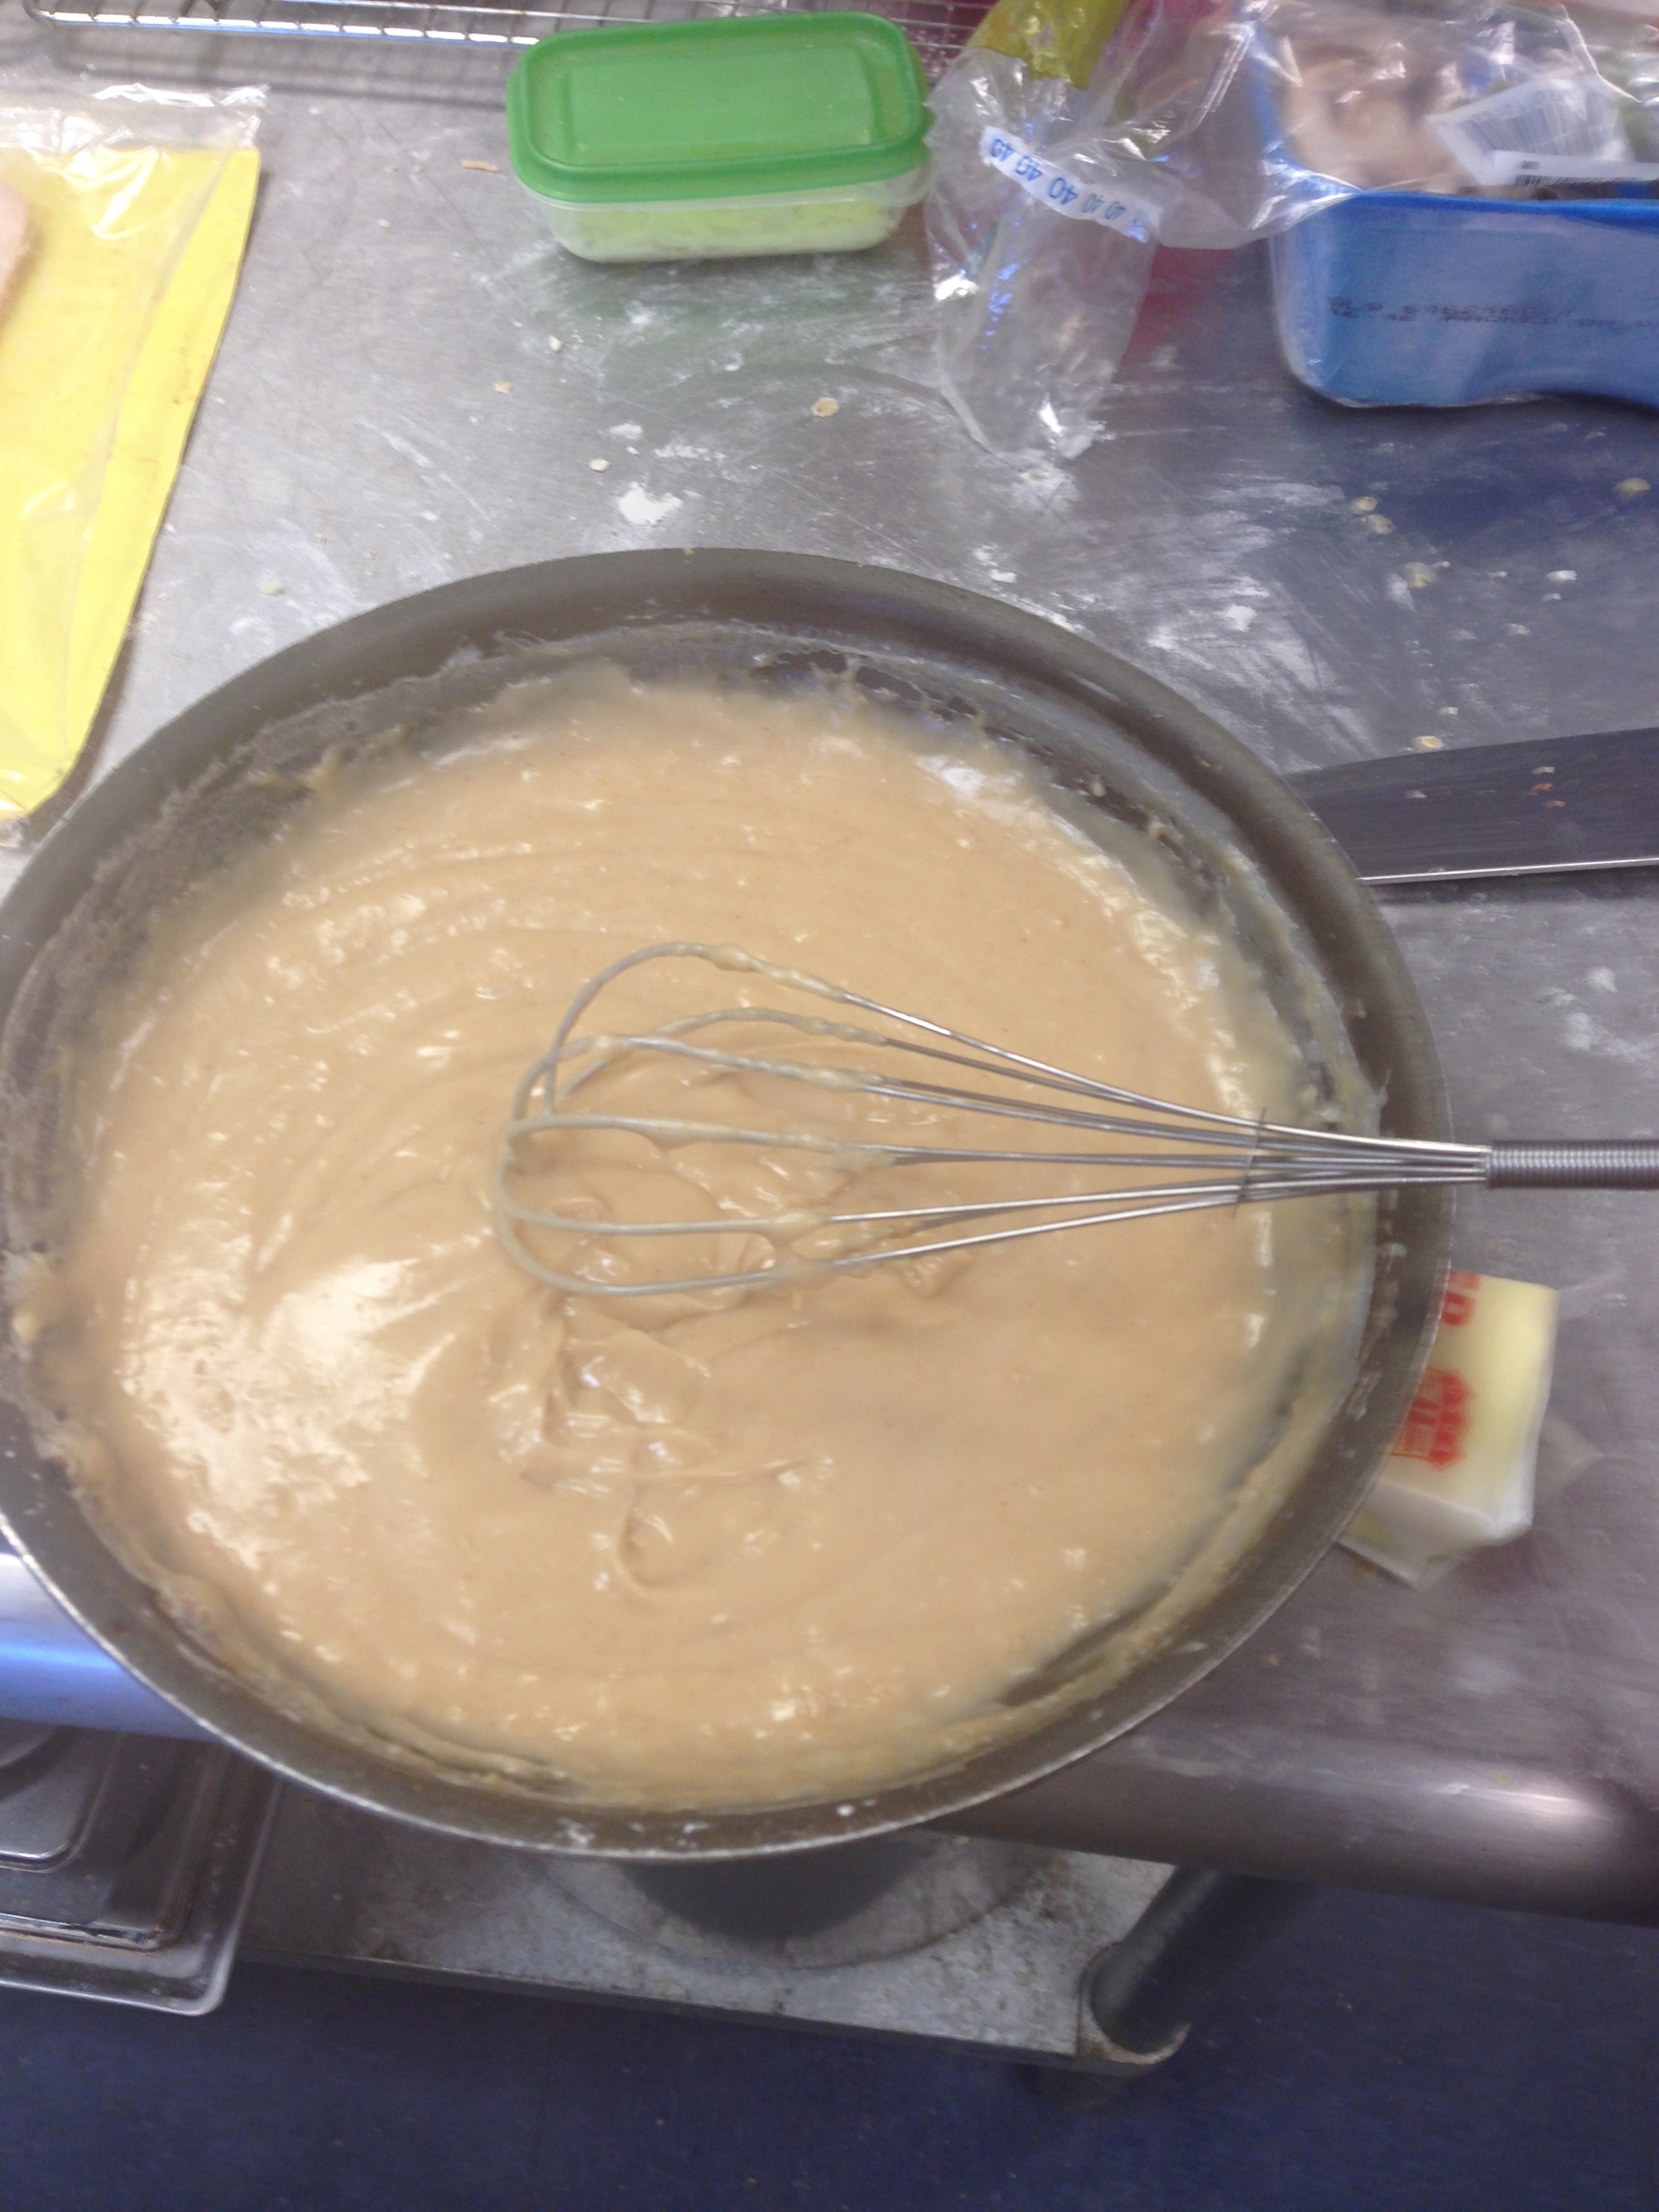
Anyway, after my crust was prepared and chilling, I  started with the peanut butter pudding:

IMG_1037


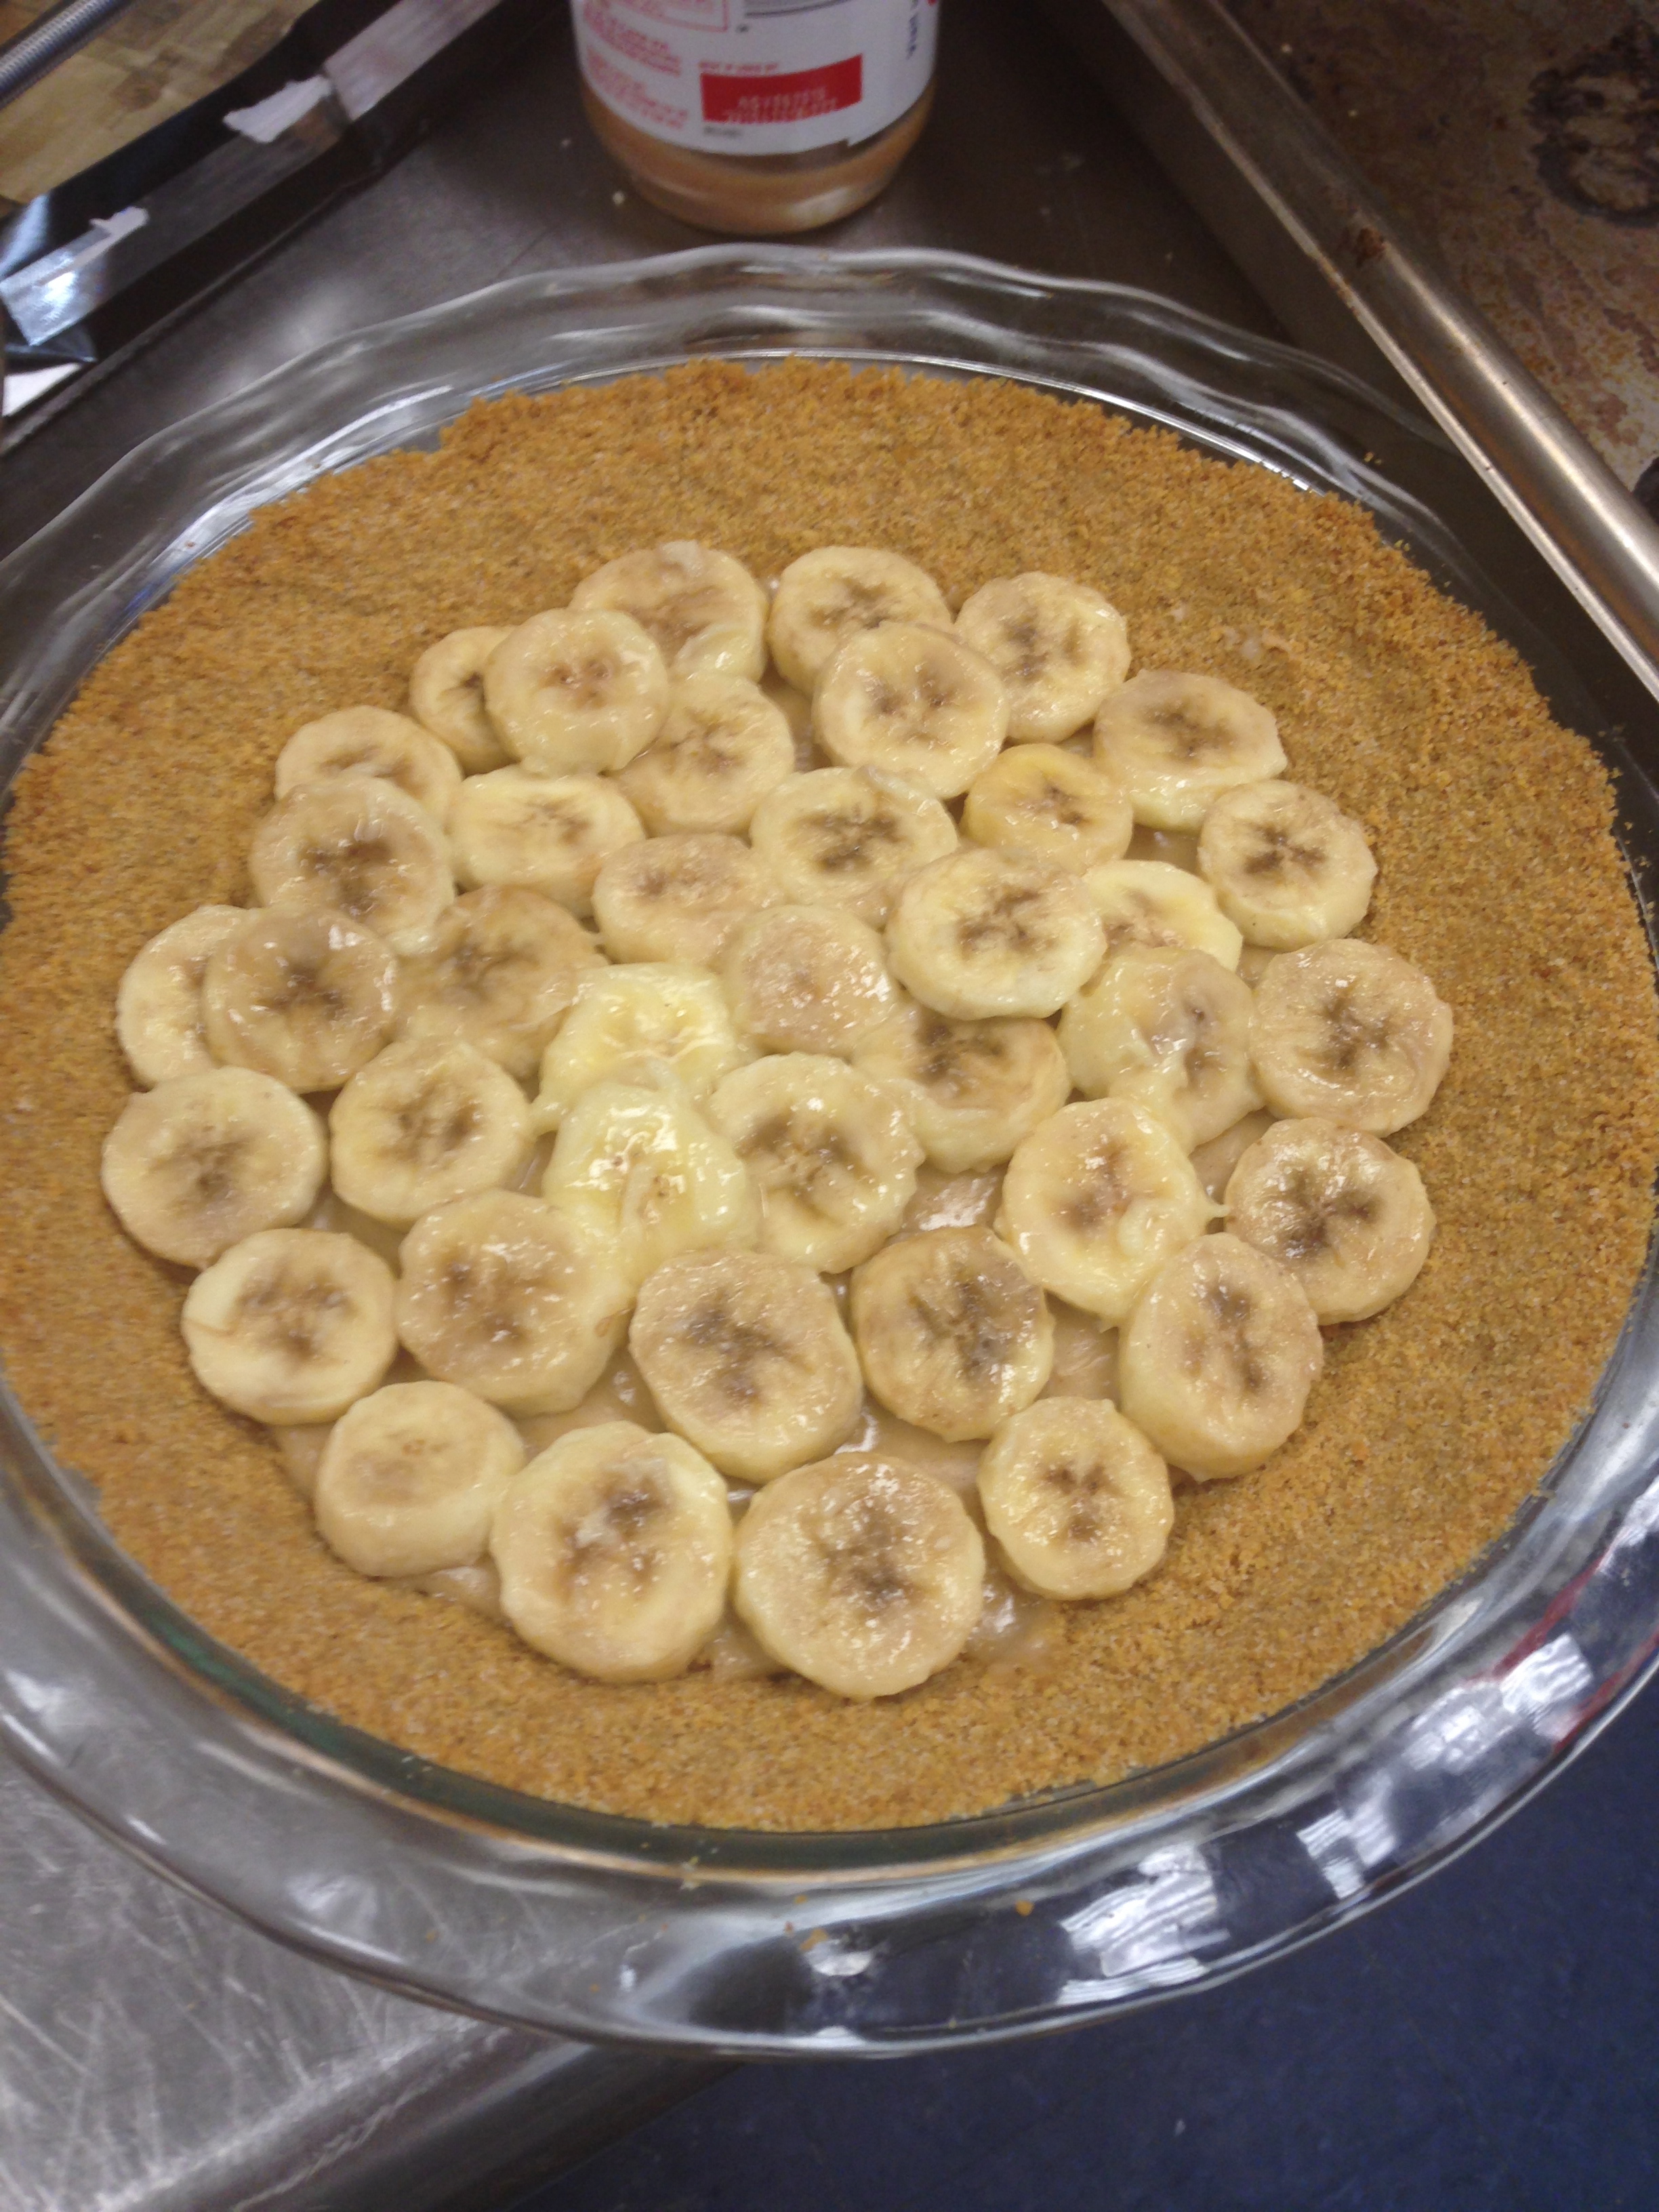
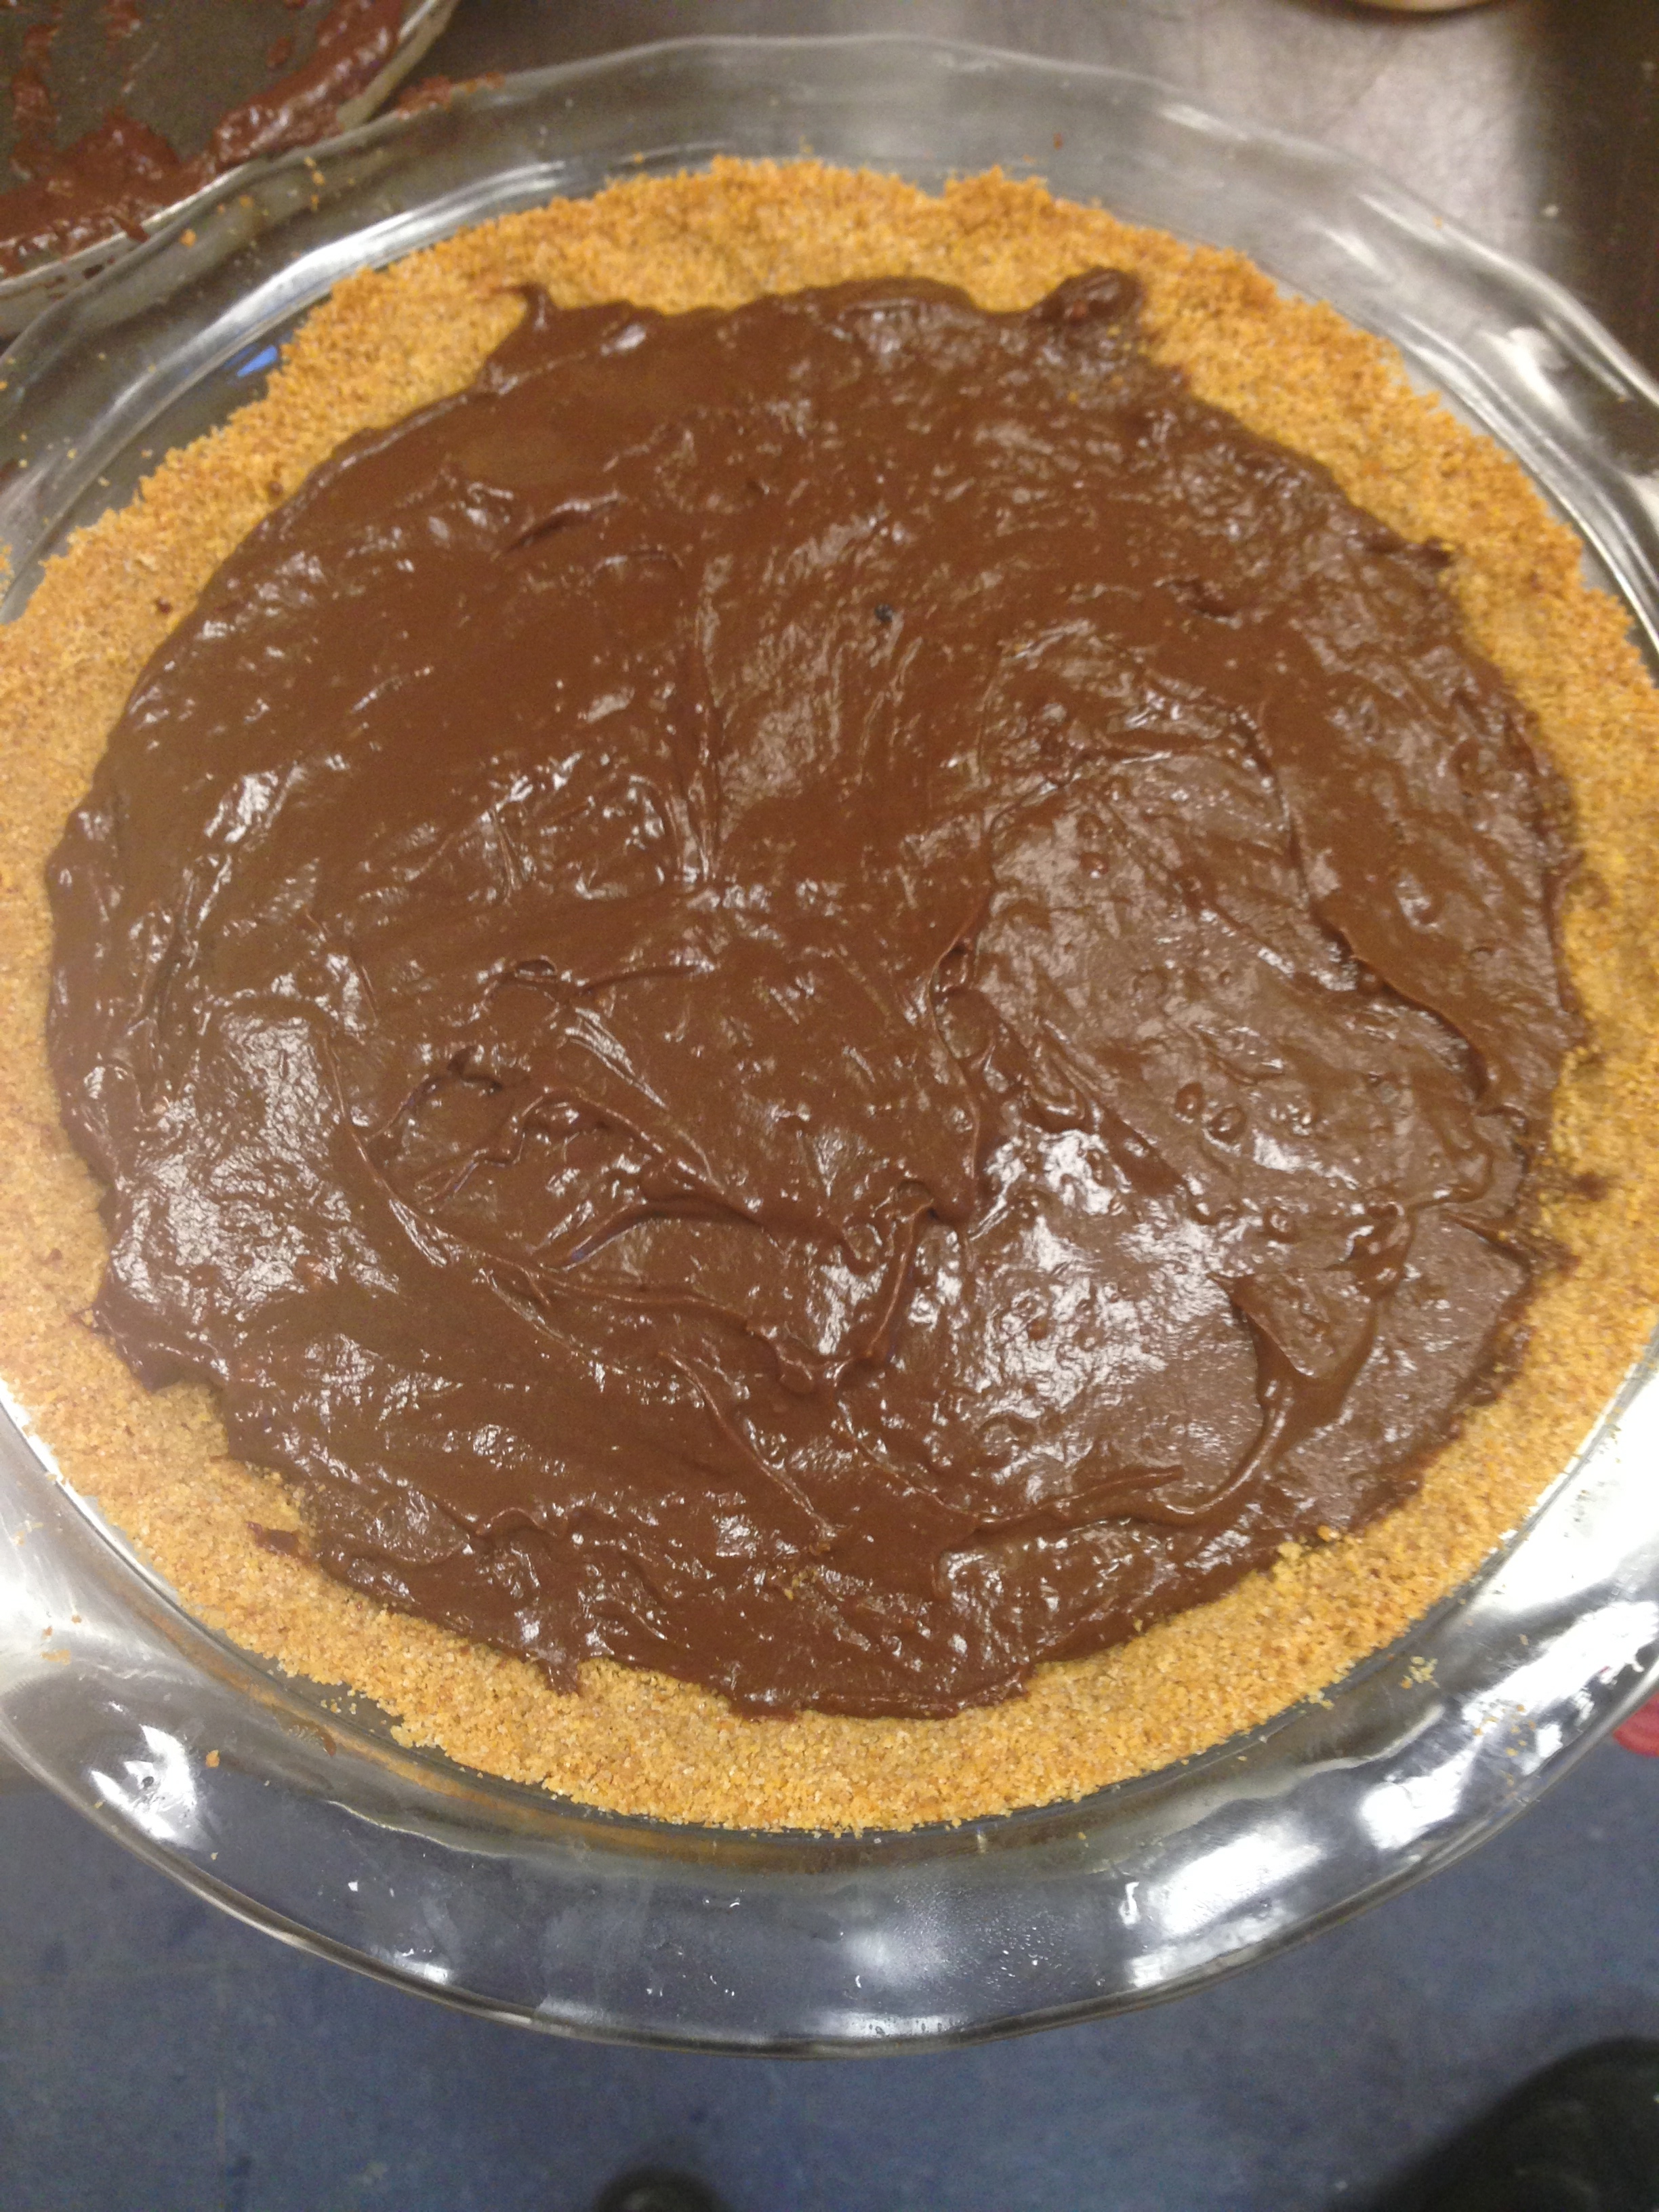
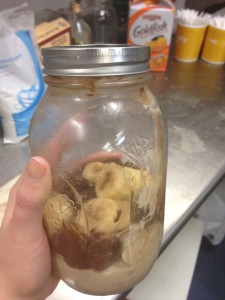
It was phenomenal. I had never had homemade peanut butter pudding (I’m accustomed to the Jell-O variety), and it was terrific! I had no idea puddings were so simple; corn starch, sugar (of course), and some heavy whipping cream/whole milk, and I was all set! I figured I’d follow the same strategy for the chocolate pudding and I got ahead of myself…turns out chocolate pudding only calls for 2 tbsp of cornstarch, as opposed to the 5 tbsp in the peanut butter pudding…whoops! I could definitely tell that it was a little less liquid than typical pudding, but it still tasted great! I filled a layer of banana in over the peanut butter and then covered that with a layer of chocolate pudding. Then, I put my leftovers in a mason jar to give some friends a taste-test before the big next day.

IMG_1041IMG_1042IMG_1043


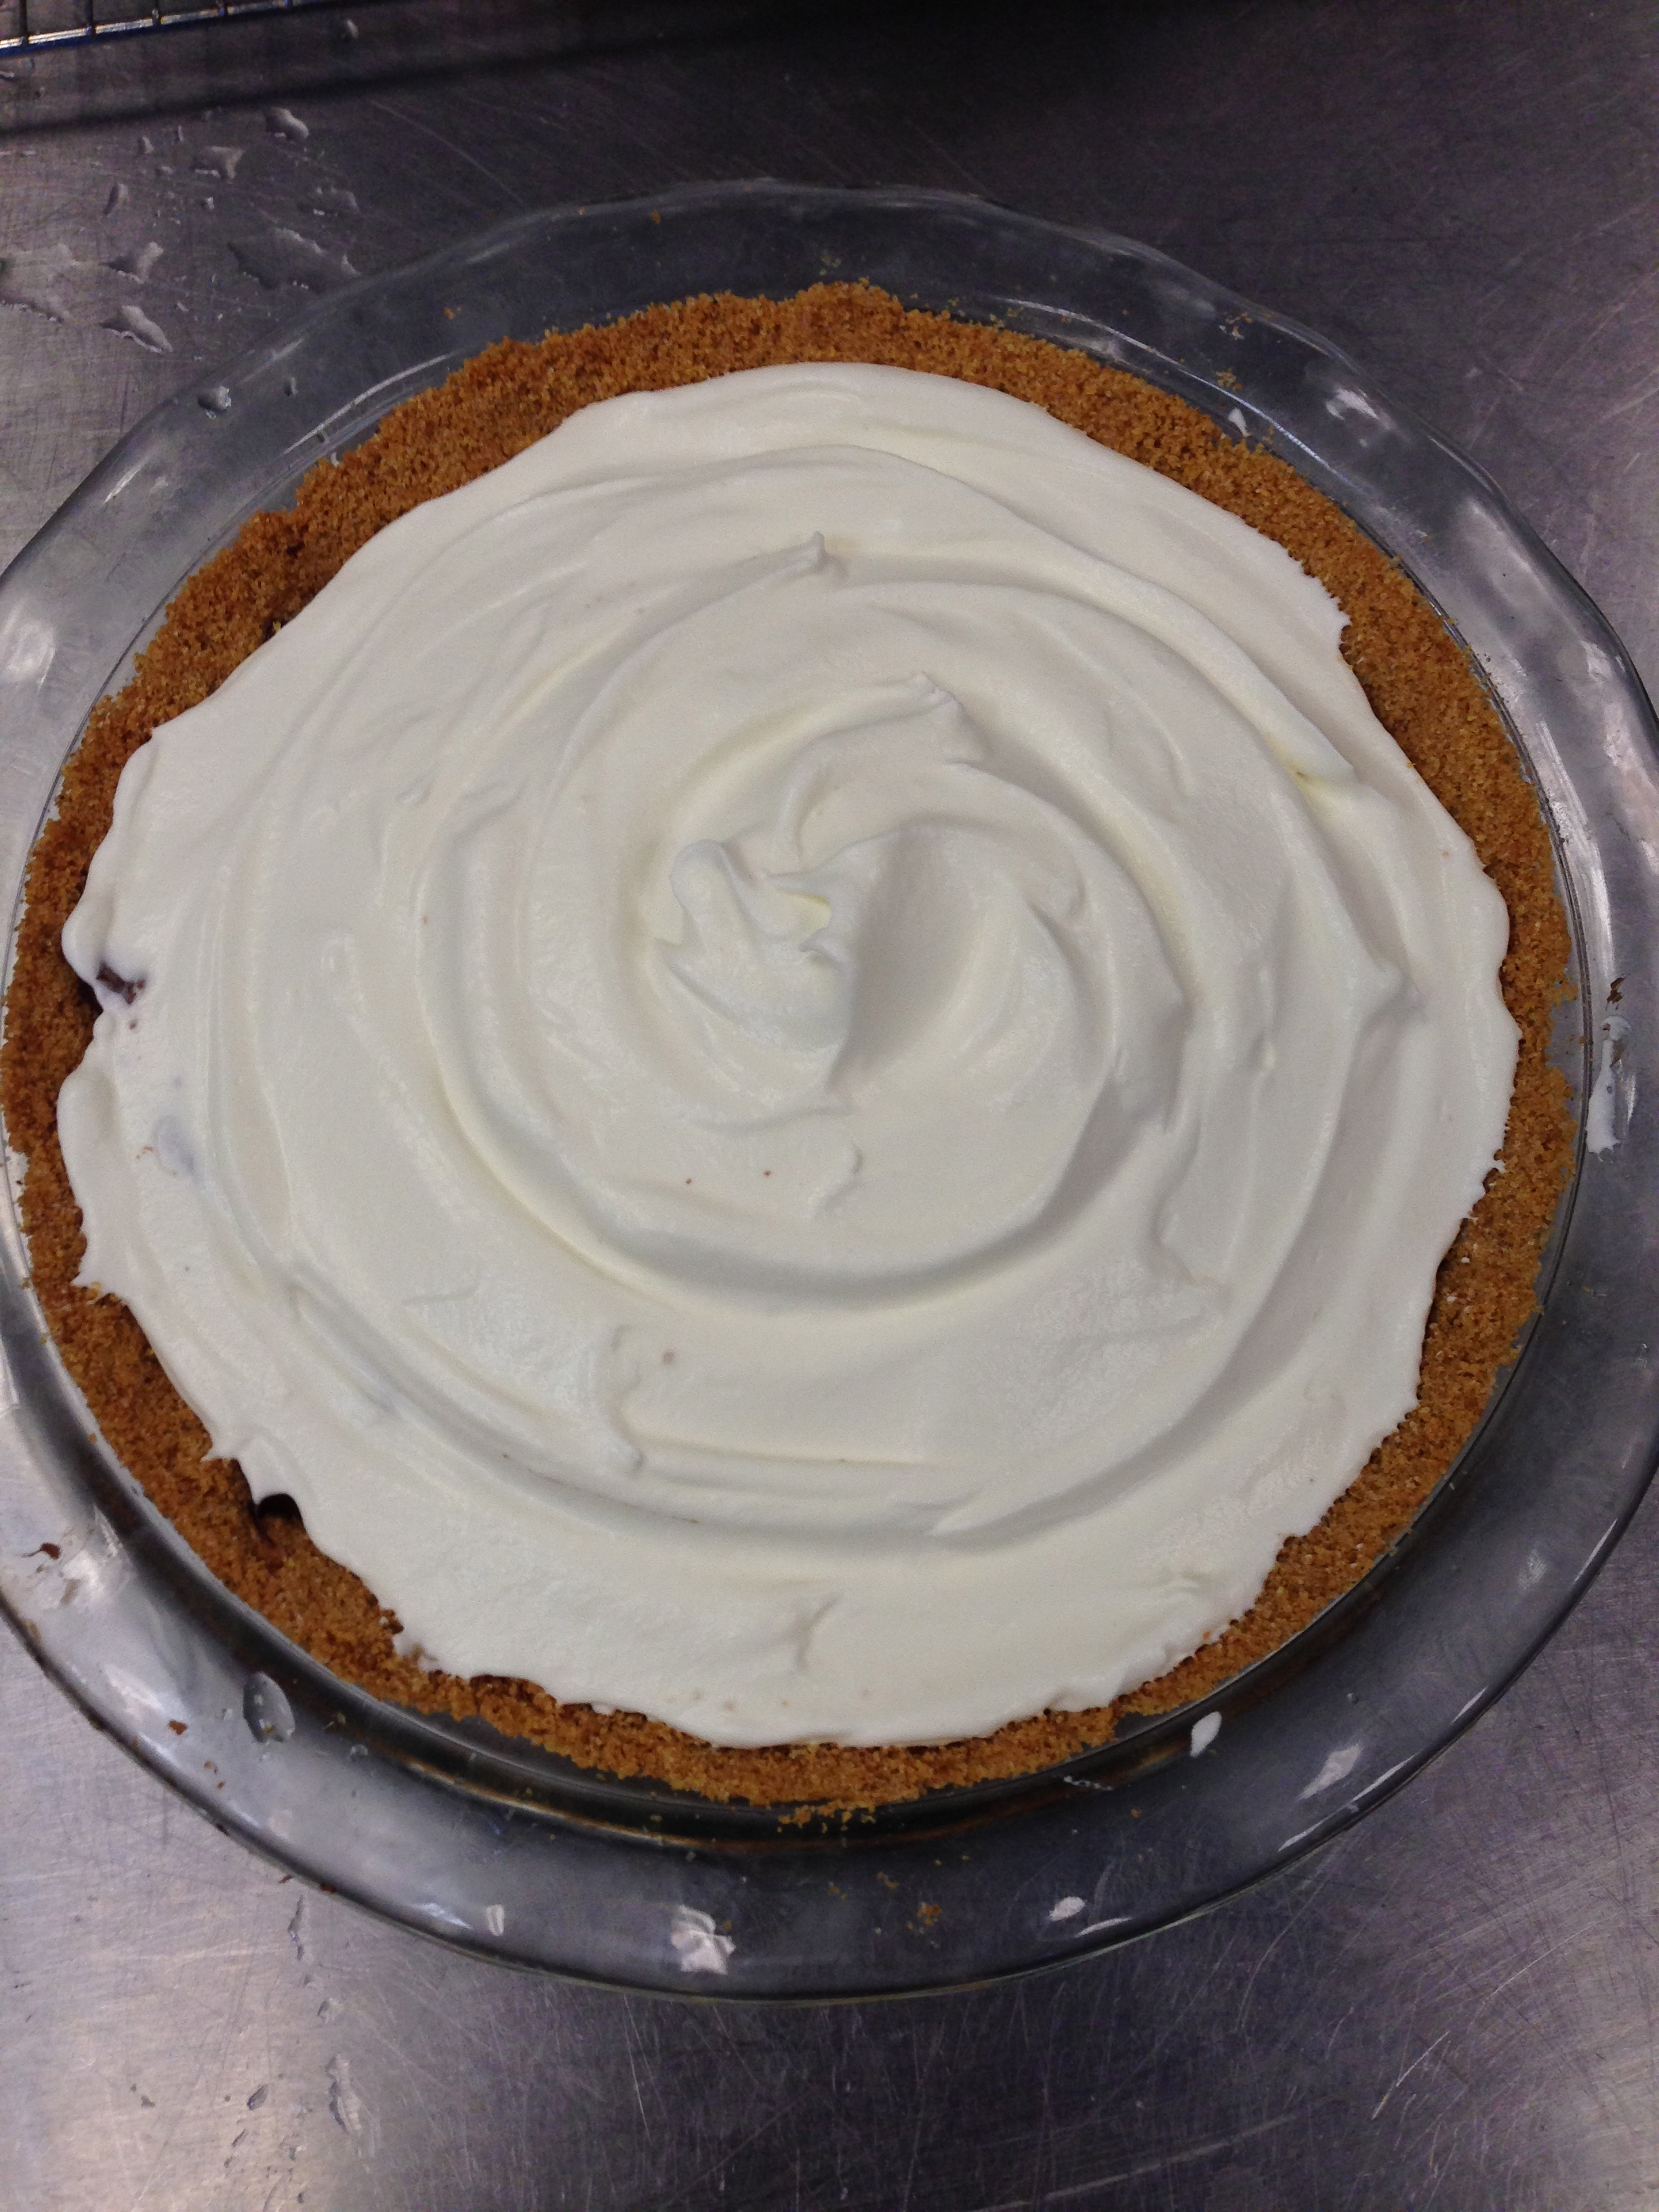
After the puddings were in the crust, it was time to chill them both. I wrapped up my little treat, and popped it in the refrigerator overnight. The next day, I came in about an hour early to prepare our space and whip up some homemade whipped cream…After making my own, I have to say, it will be pretty darn hard to go back to the store-bought stuff.

IMG_1044


It was wonderfully light and sweet. To finish, I sliced up one more banana to complete the presentation. As I’ve said, it was super sweet and delicious, and not too heavy! In retrospect, I think I’d like a little more banana cream, rather than the chocolate/peanut butter/whipped cream with bananas thrown in. Nikki also made a coconut whipped cream that was spectacular, and would be great with the flavors in this pie.

And so comes the end of my month of pies. It was quite the journey in our industrial kitchen–Lord knows I learned how to manage a 10-lb skillet. Let’s see, what else have I learned…not to be such a wimp in the face of pastry adversity, how to not connect a pastry braid to a bottom crust, you can never chill your dough enough…Yep, I’ve definitely learned some life lessons…how could I not while watching Sweeney Todd and Pushing Daisies? But honestly, I had such a lovely month with great new friends making great food. It’s going to be hard to compare this course to my other classes come spring semester!

IMG_1048

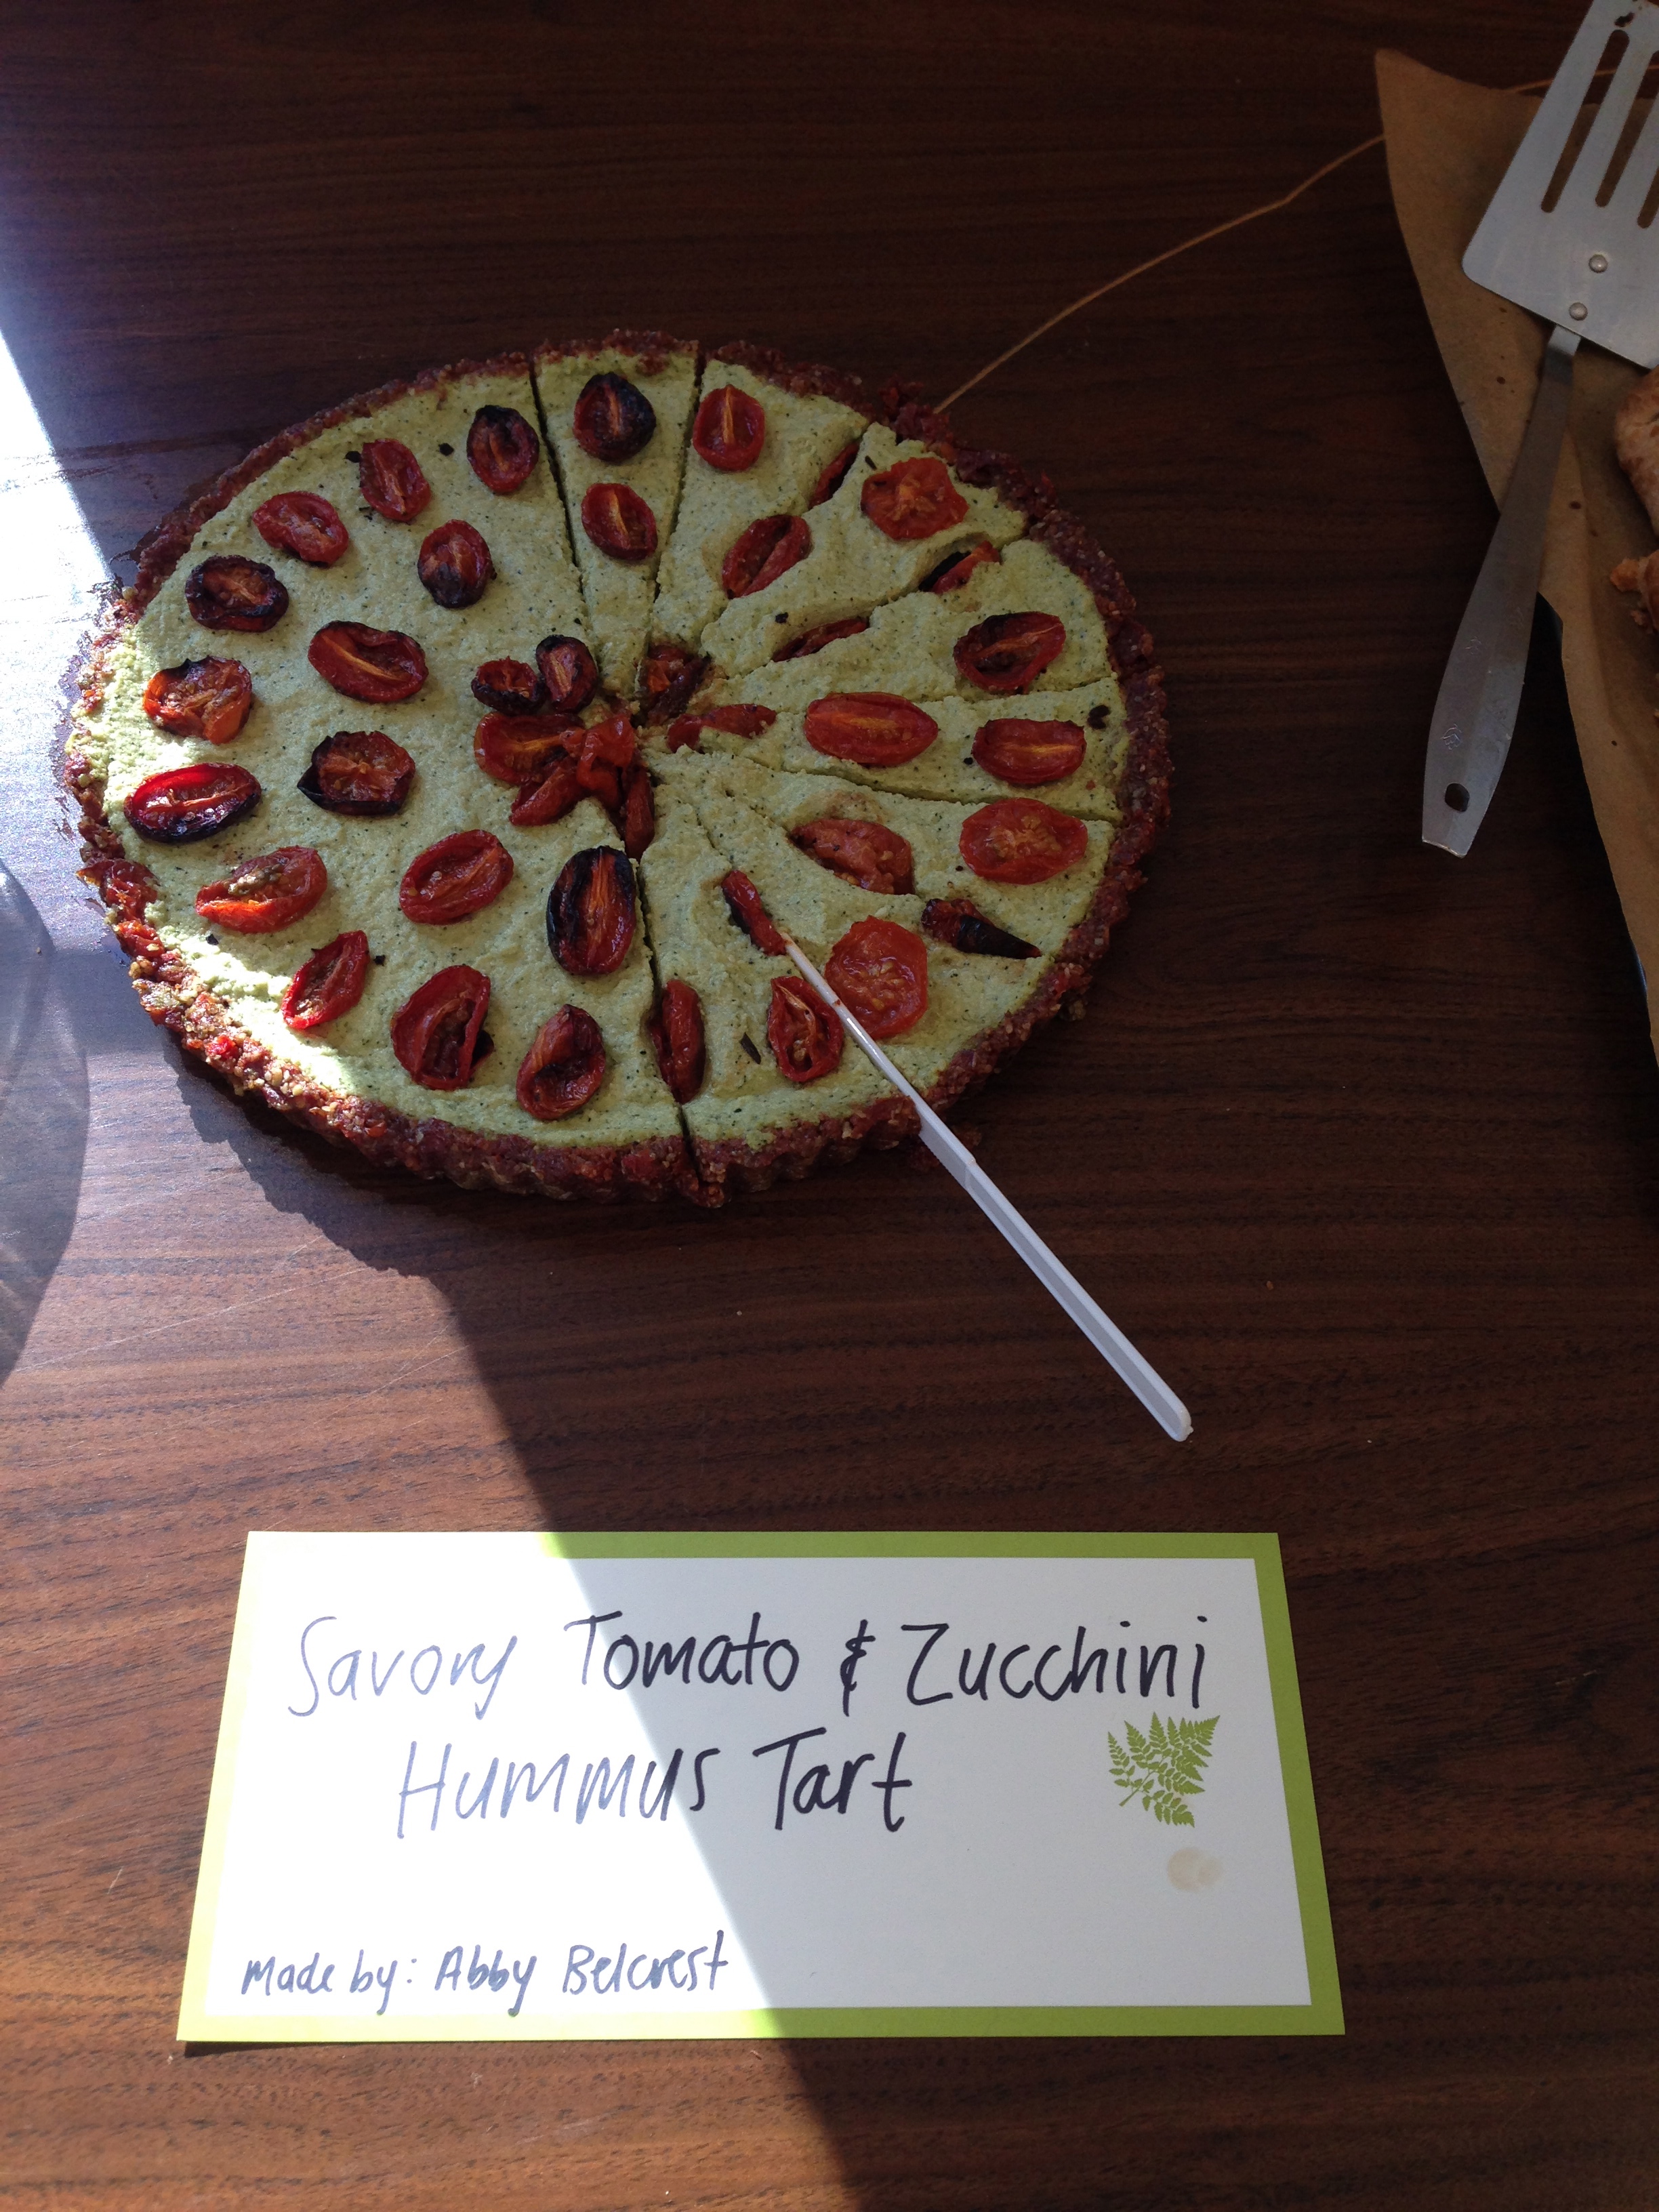
Savory Tomato and Zucchini Hummus Tart

IMG_1046

Another week, another pie. This week I decided to switch things up for my savory pie and delve into the vegan world for my inspiration. I had tried my hand at being a vegan about a year ago and because of a jam-packed schedule and limited resources, had given up on the venture after approx. 3 months–not to mention, vegan cheese didn’t really cut it for me. Ideally, I loved the idea of veganism–if you stick to local and seasonal ingredients, it’s a super eco-friendly and healthy lifestyle. So, I decided why not pie? Well, friends, I have to admit, this pie wasn’t my proudest venture. It was bursting with flavor from the strong garlic and sun-dried tomatoes, but I think the flavors were overwhelming and stood out too much, rather than creating the deep layers of satisfying flavor I was hoping for. Additionally, I think cold nature of the dish and the lack of flakiness rubbed me the wrong way in comparison to all of the other pies I was consuming on banquet day. Still, though, it was pretty cool to make an entire pie with veggies, nuts, and seeds, and if you’re into that kind of thing, by all means here’s how to do it!

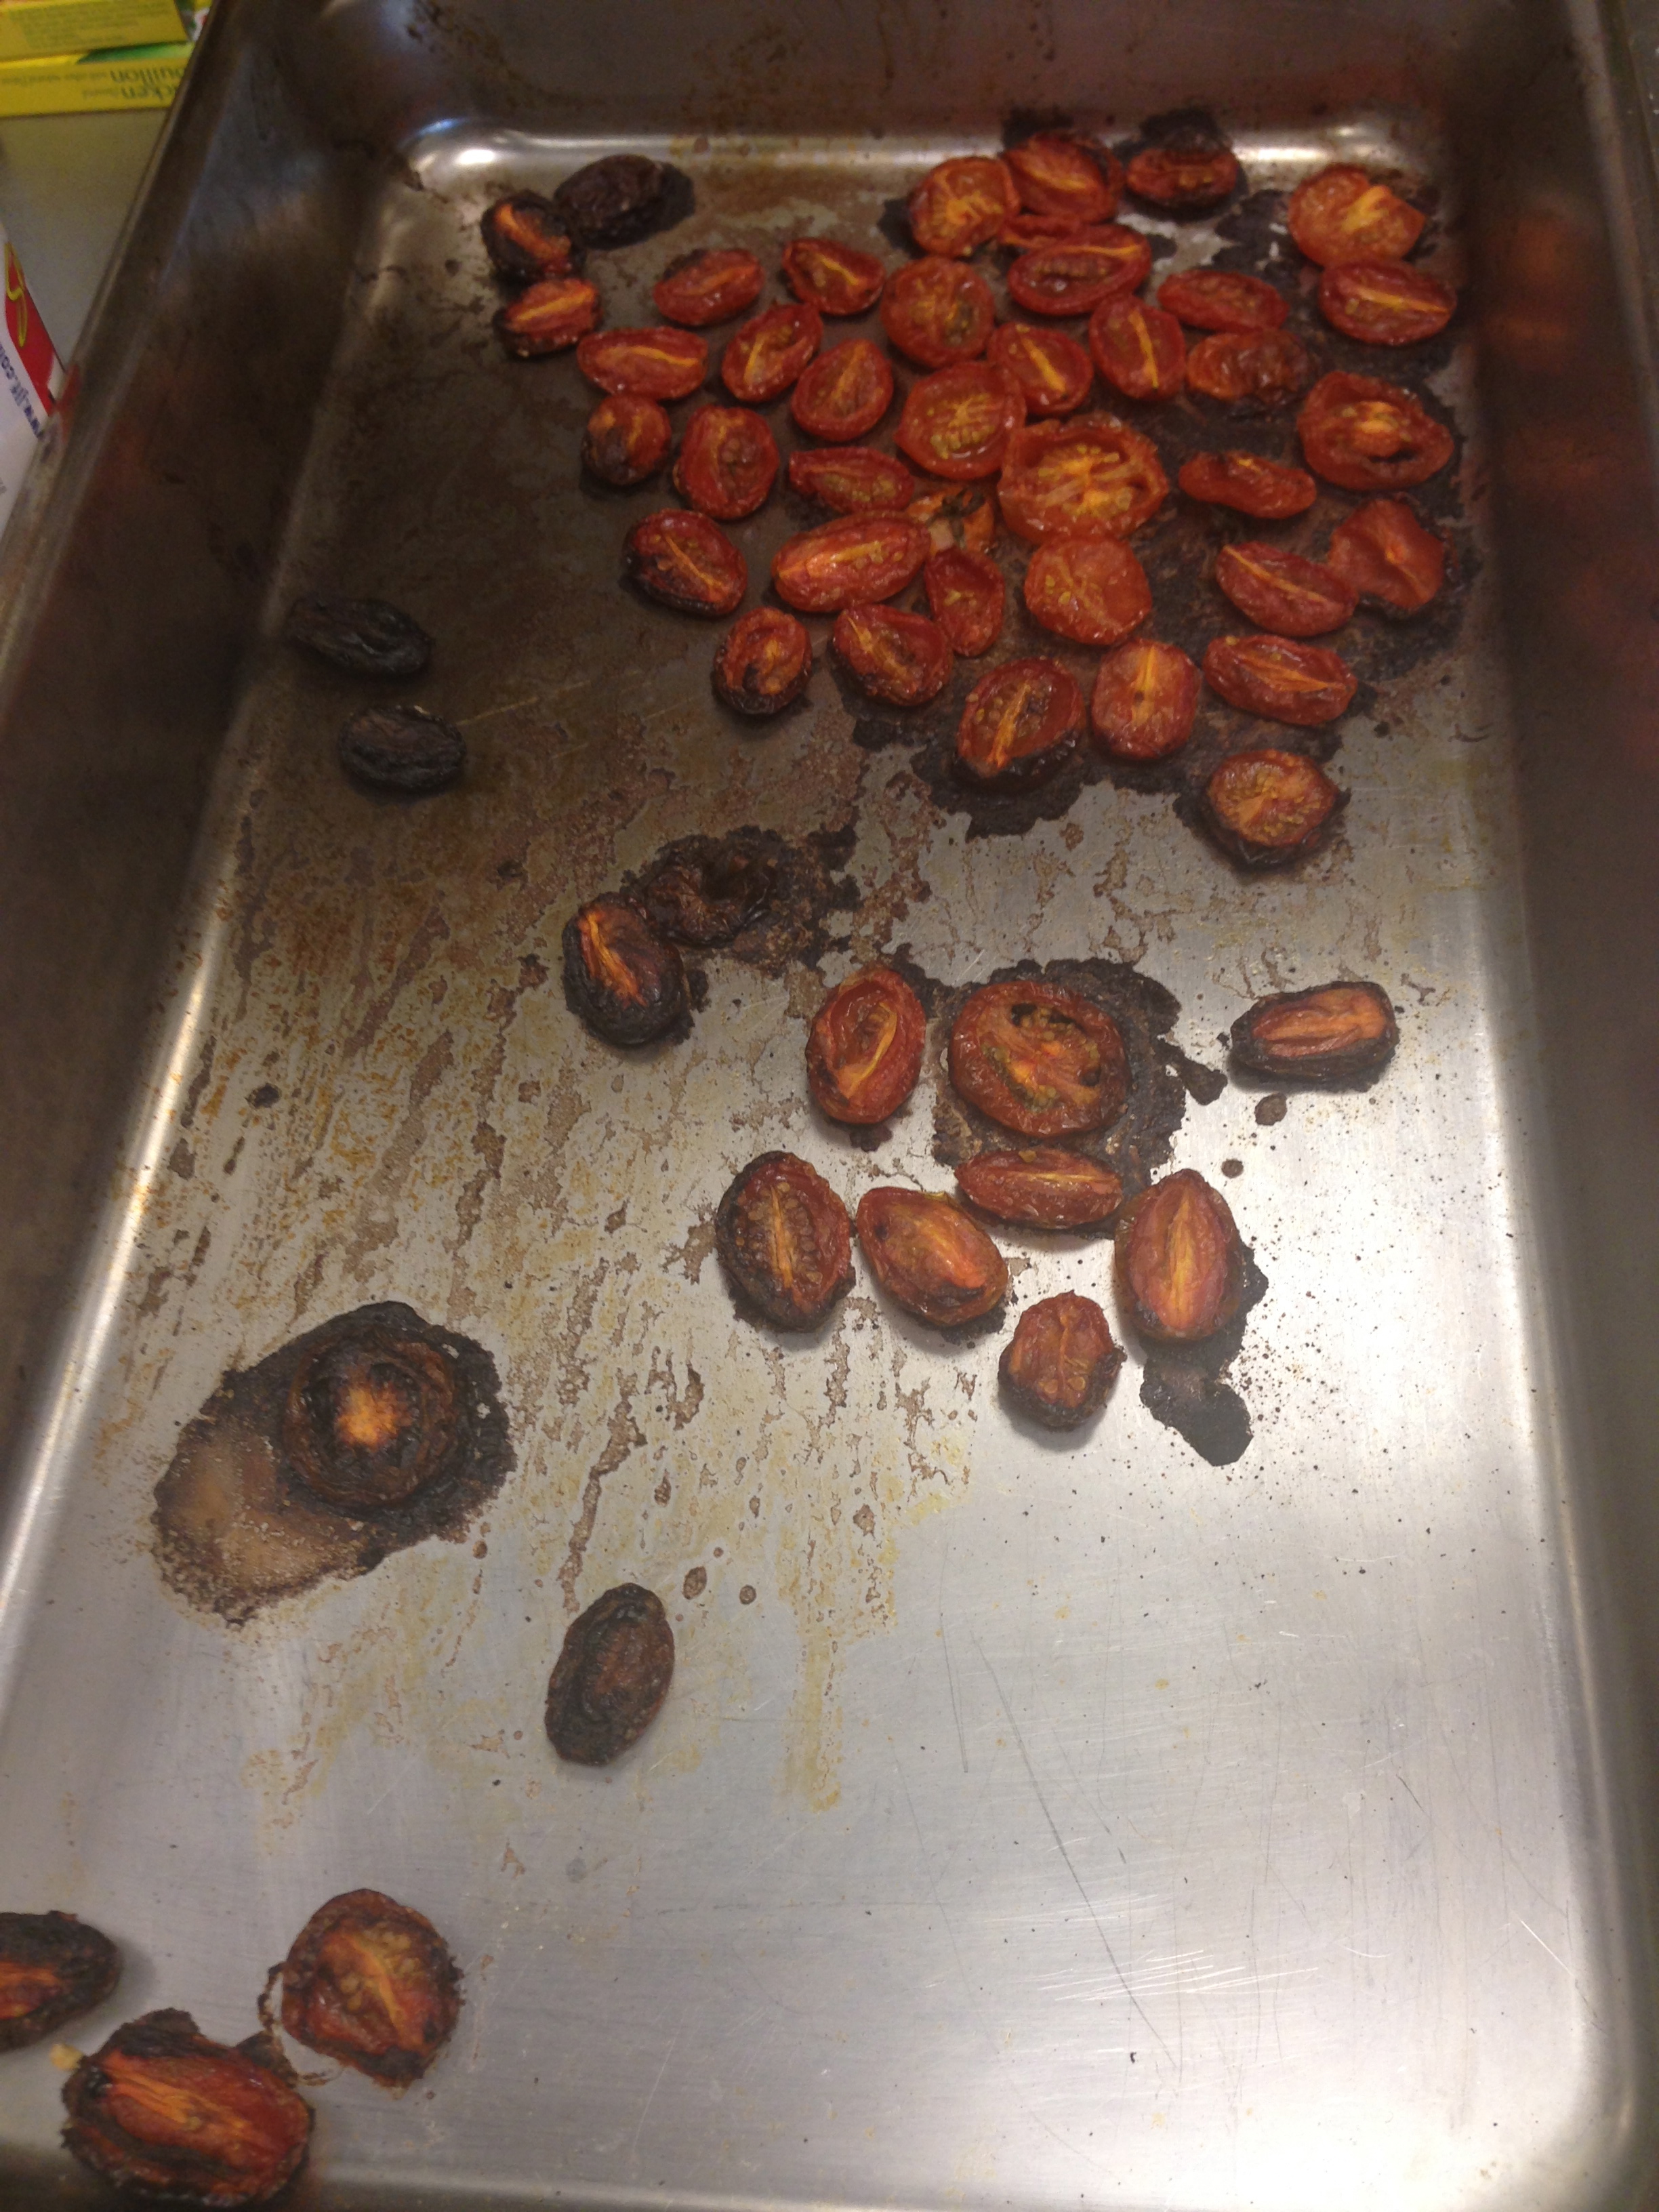
The first thing I did coat the tomatoes with some salt and olive oil and throw them in the oven. The recipe said to dehydrate them at the lowest temperature for 4-5 hours…Well, that amount of time seemed like forever, so I just cranked up the heat to a whopping 375 and decided that would knock off a couple hours…little did I know…

IMG_1038


Yes. This is what happens when you forget about the tomatoes…Luckily, I ended up having just enough to make a pretty topping!

Making the tart “crust” was super simple. All there really was to it was processing and pressing. No big shakes. The filling was ridiculously easy, as well. Process and spread. I found that the sesame seeds didn’t particularly turn into sesame “butter”, but that didn’t seem to make a difference! The final picture of this tart on banquet day is picture below…I had about half of it left at the end, sadly, but I don’t blame anyone…I’d say it would be much better suited to a hot summer day.

IMG_1049

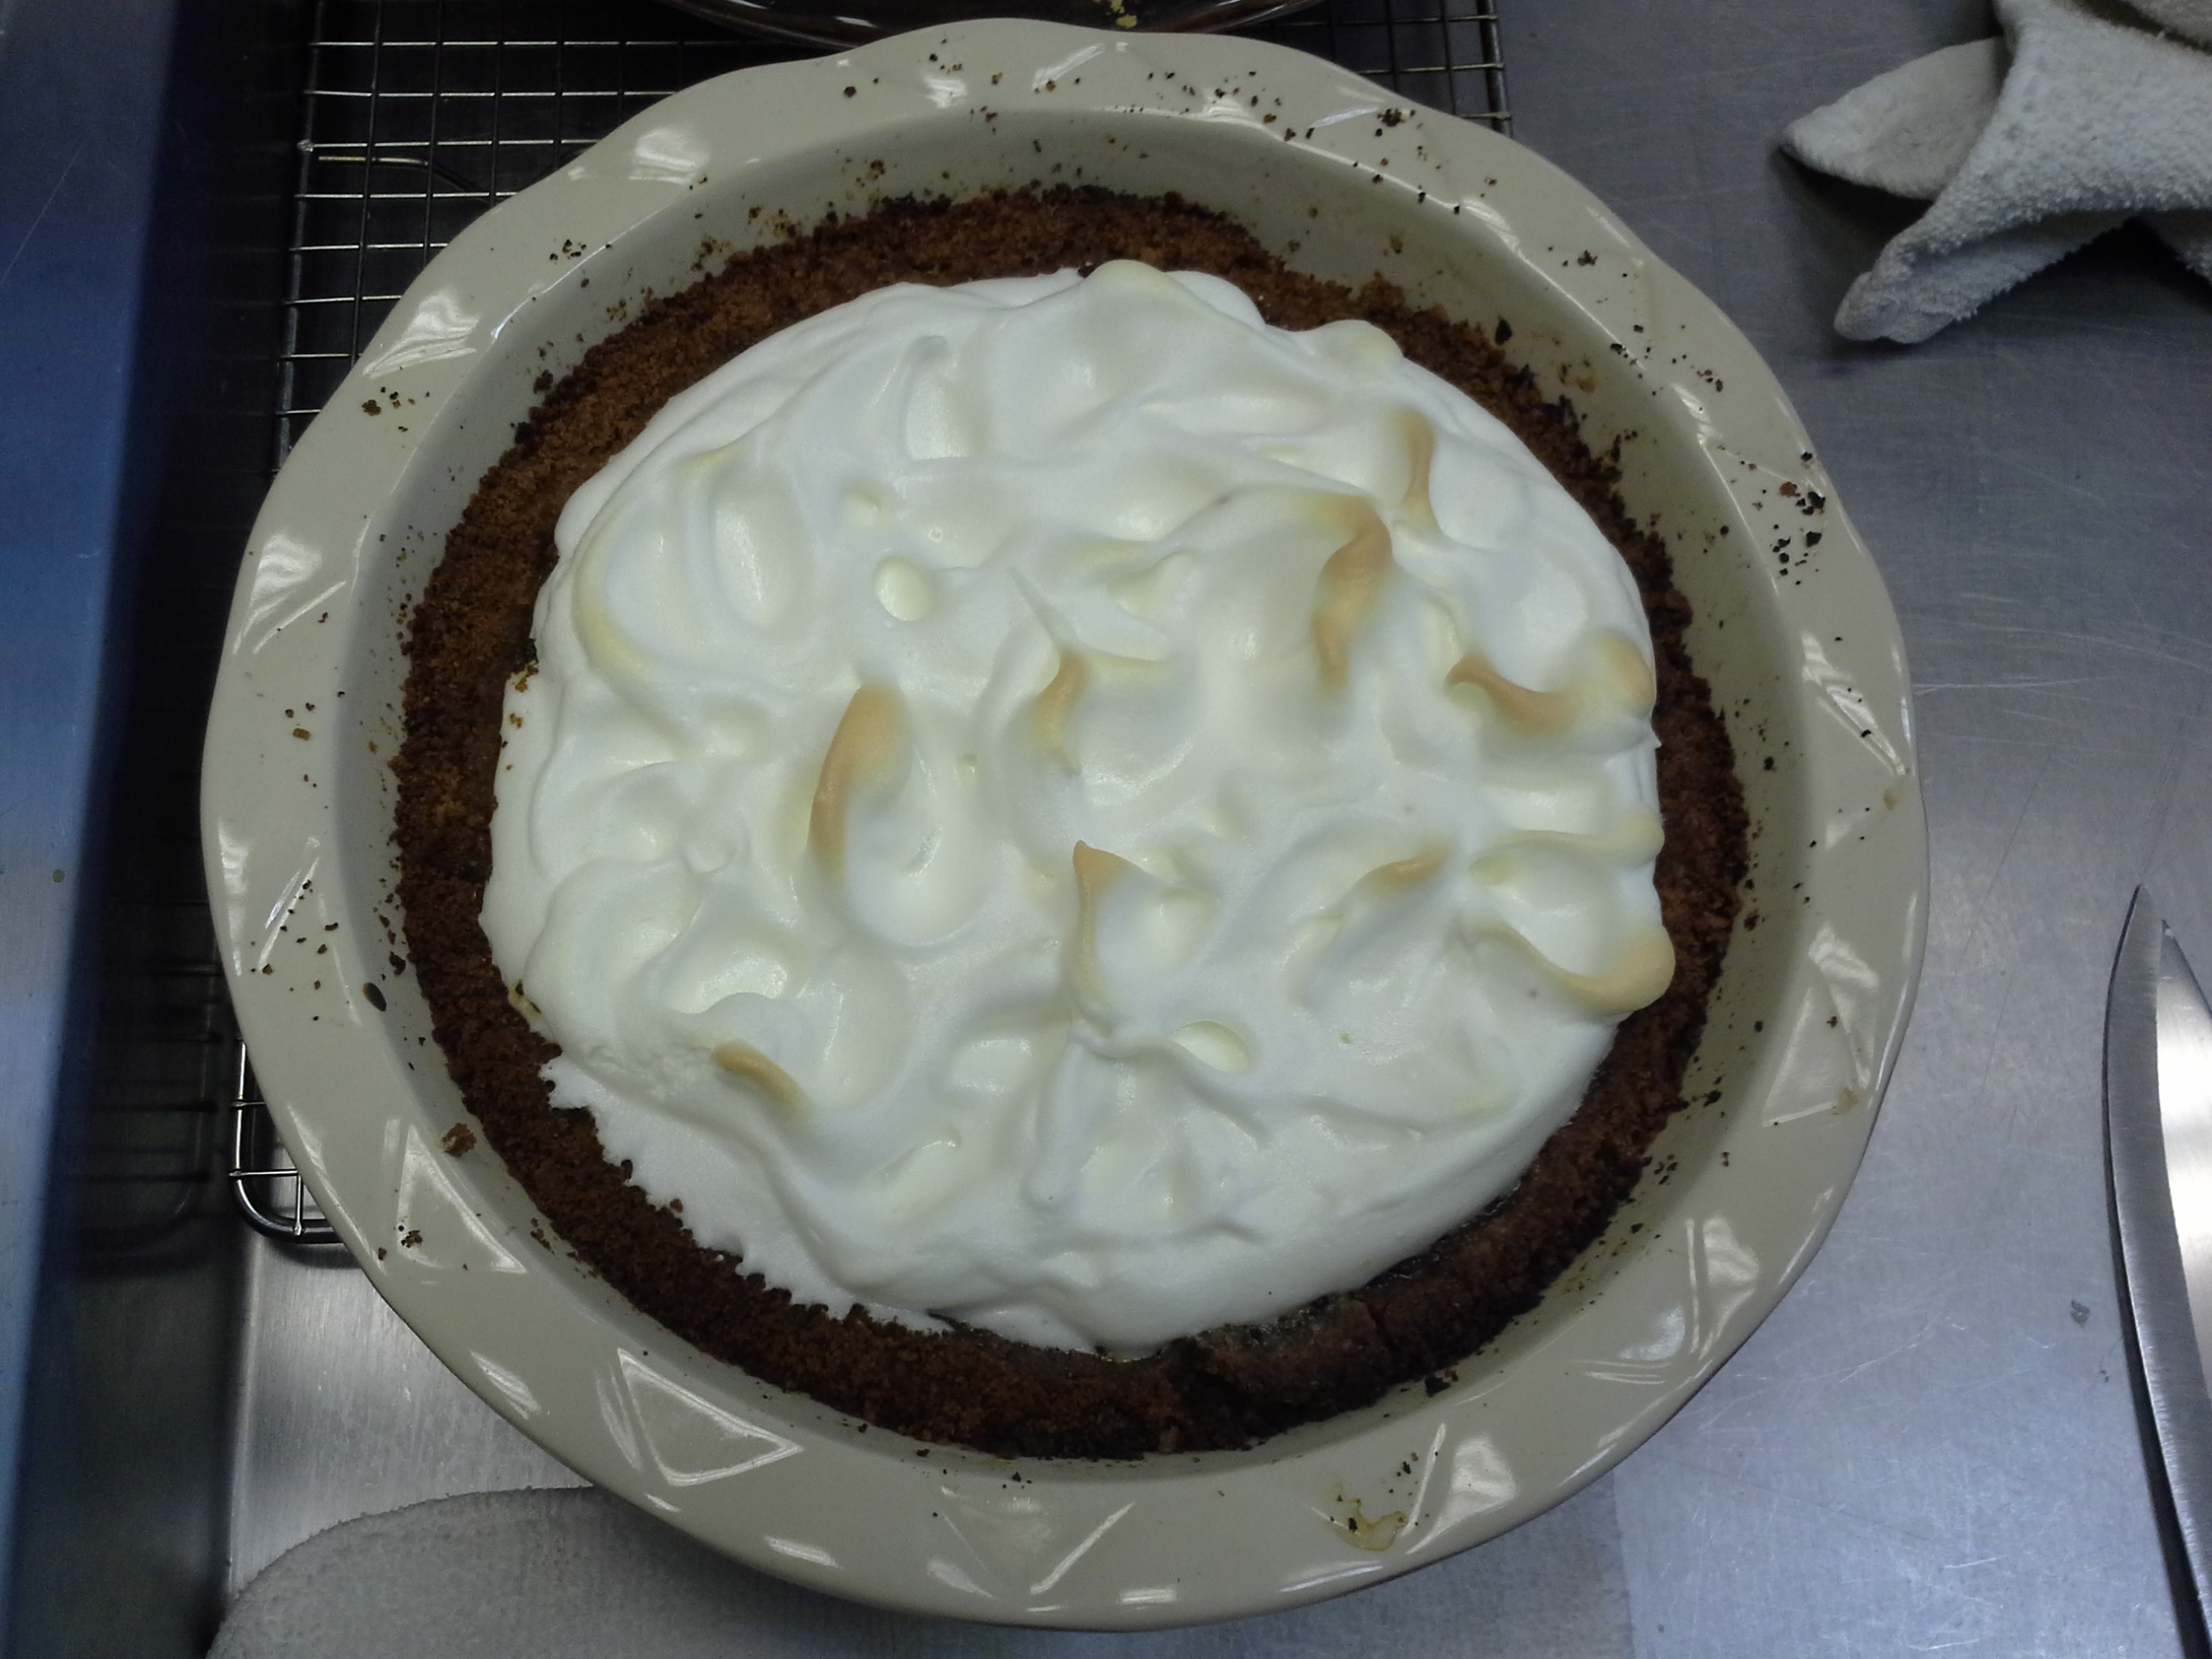
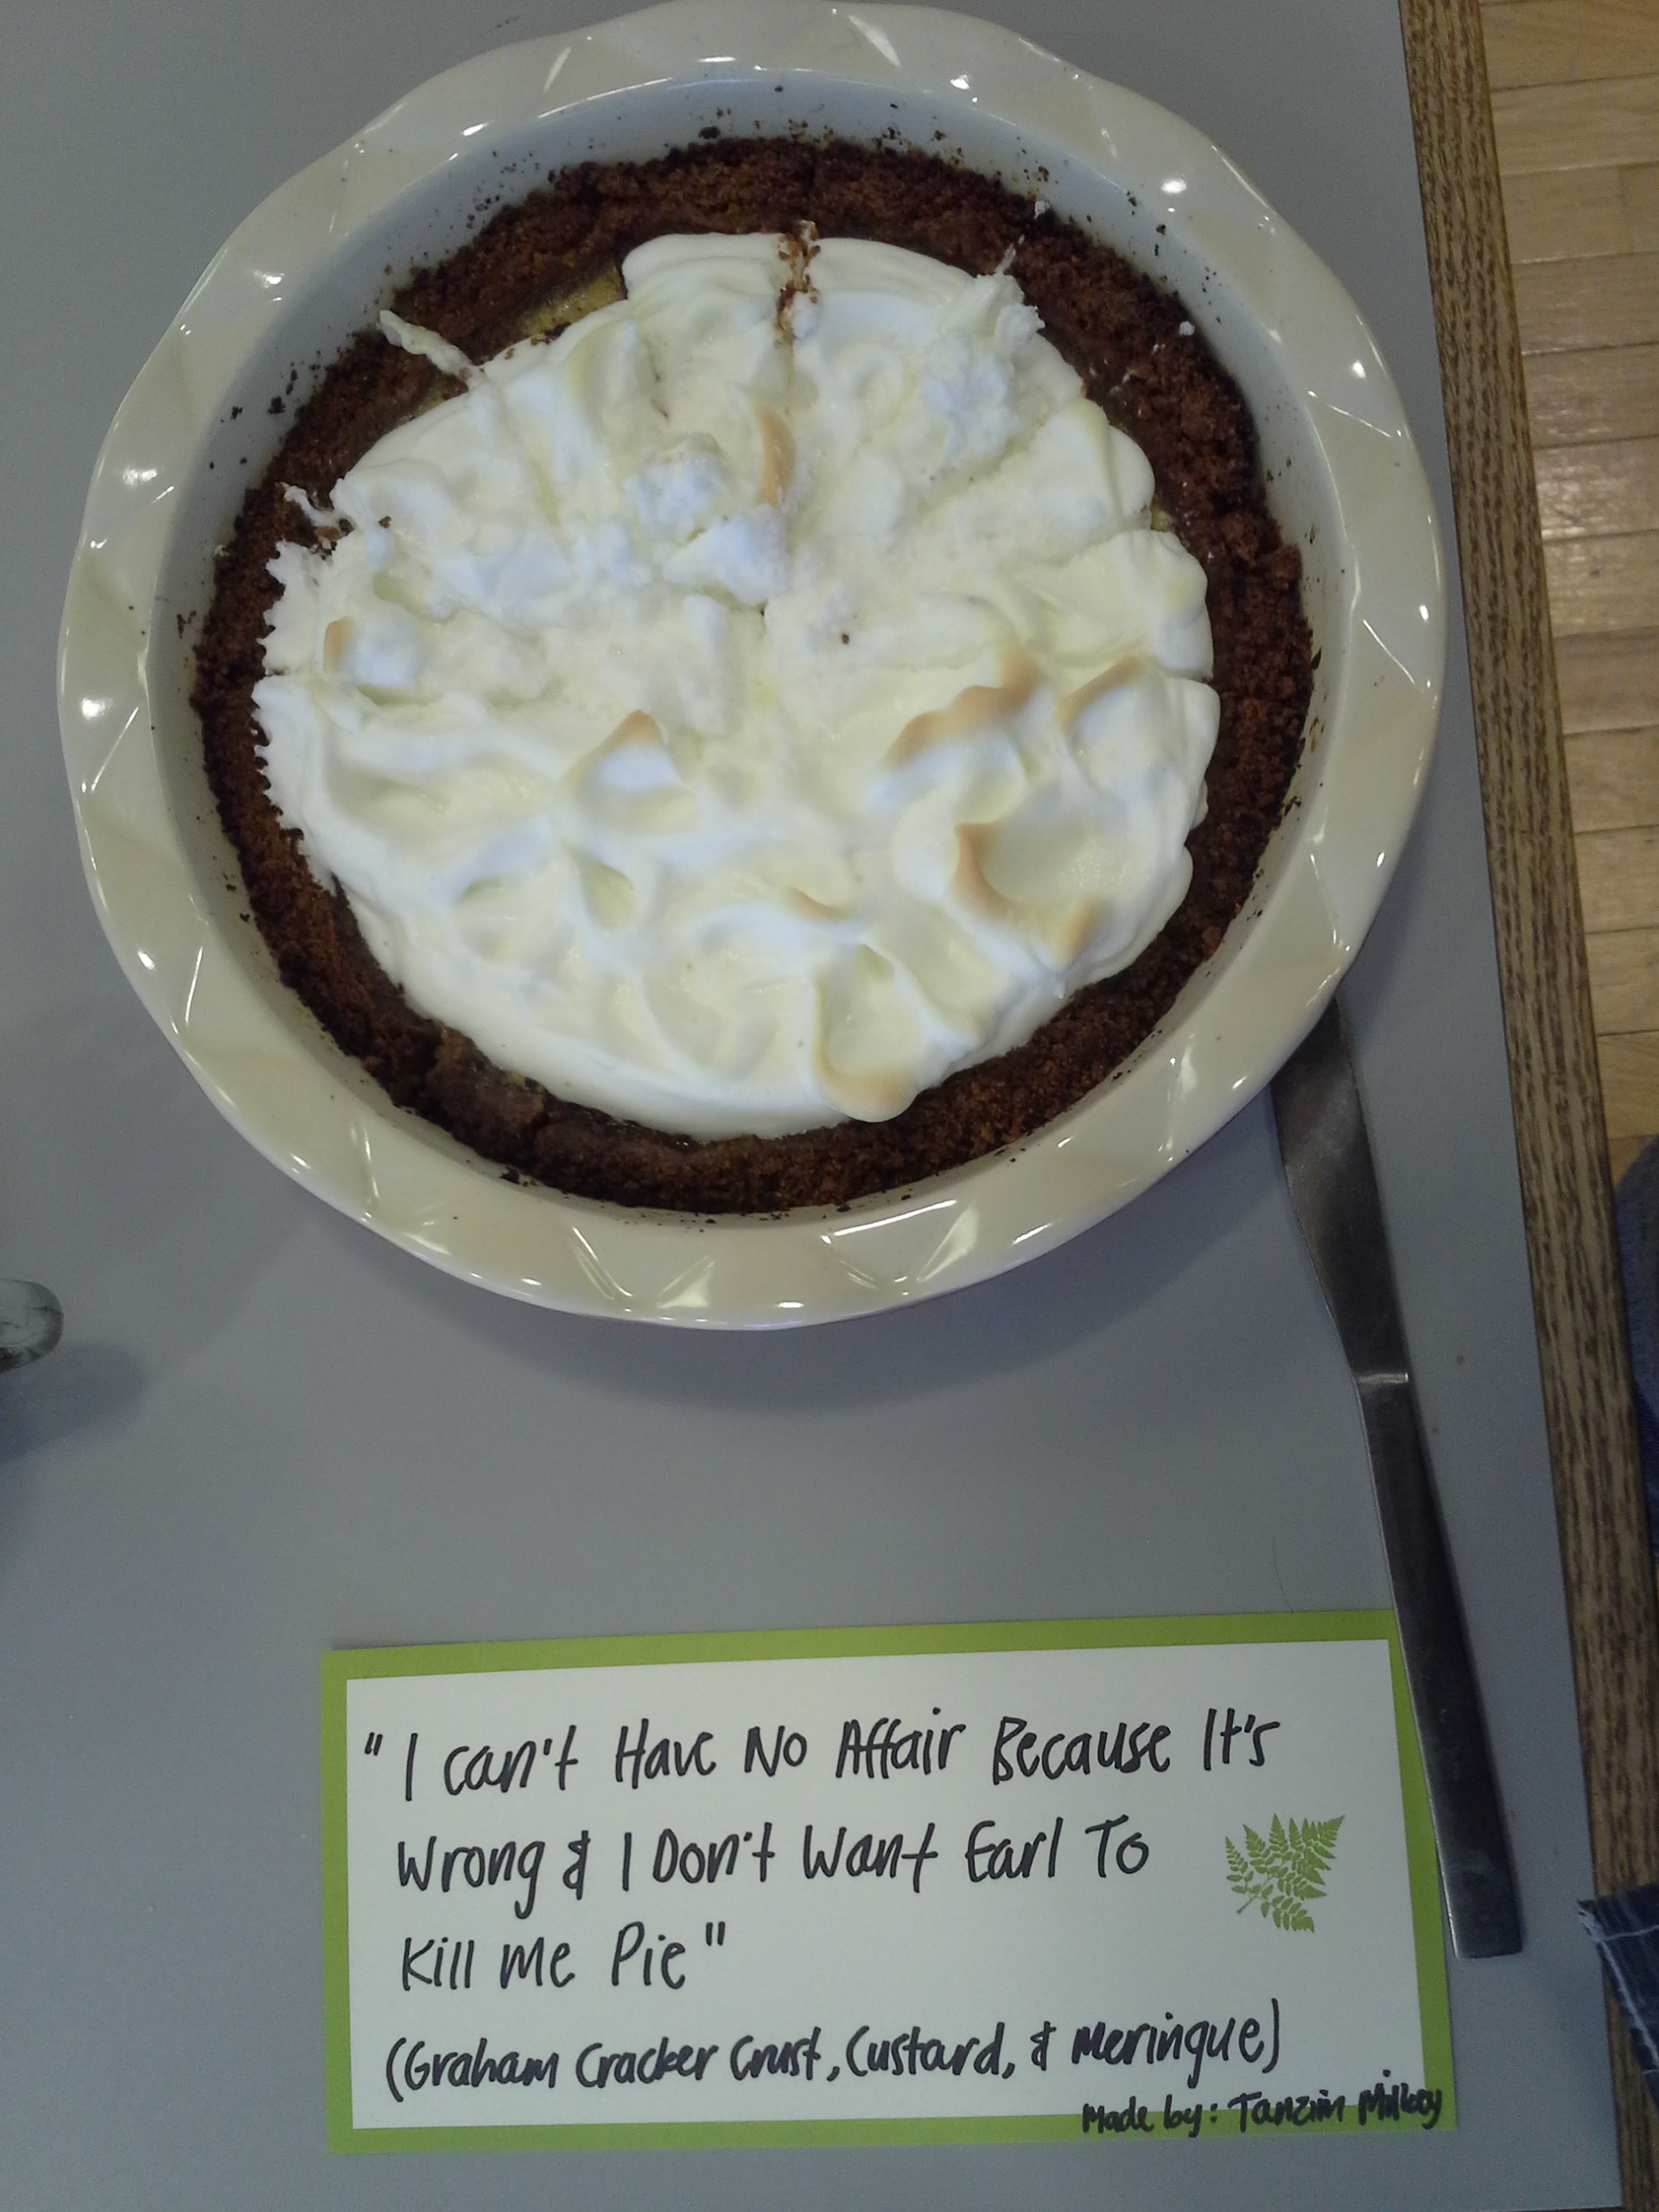
I Can’t Have No Affair Because It’s Wrong & I Don’t Want Earl to Kill Me Pie

http://www.recipegirl.com/2007/09/28/waitress-pie/

For my savory addition this week, I created the above pie exactly as the recipe stated. It was my first time working with Meringue, and although the recipe called for beating it manually, it took forever even with an electric mixer; I could not imagine having to do it otherwise! It was also my first time working with a Graham Cracker Crust, and although it wasn’t terribly difficult to form the loose crumbs into a solid pie crust, it was difficult gauging how cooked it was. While forming a solid crust, I actually a burned a bit of my pie…BUT, the end result did not have a burny aftertaste! Just something to note for next time – graham cracker crusts take less time than you think they will.
Check out the pictures below:

20140129_145019
[Pie with Baked Crust and Custard, chilling in the fridge]

20140130_113312
[Pie with freshly baked and browned Meringue]

20140130_114719
[Plated and sliced Final Pie]

Sunday Night TV Dinner Pie

http://allrecipes.com/recipe/meat-loaf-pie/

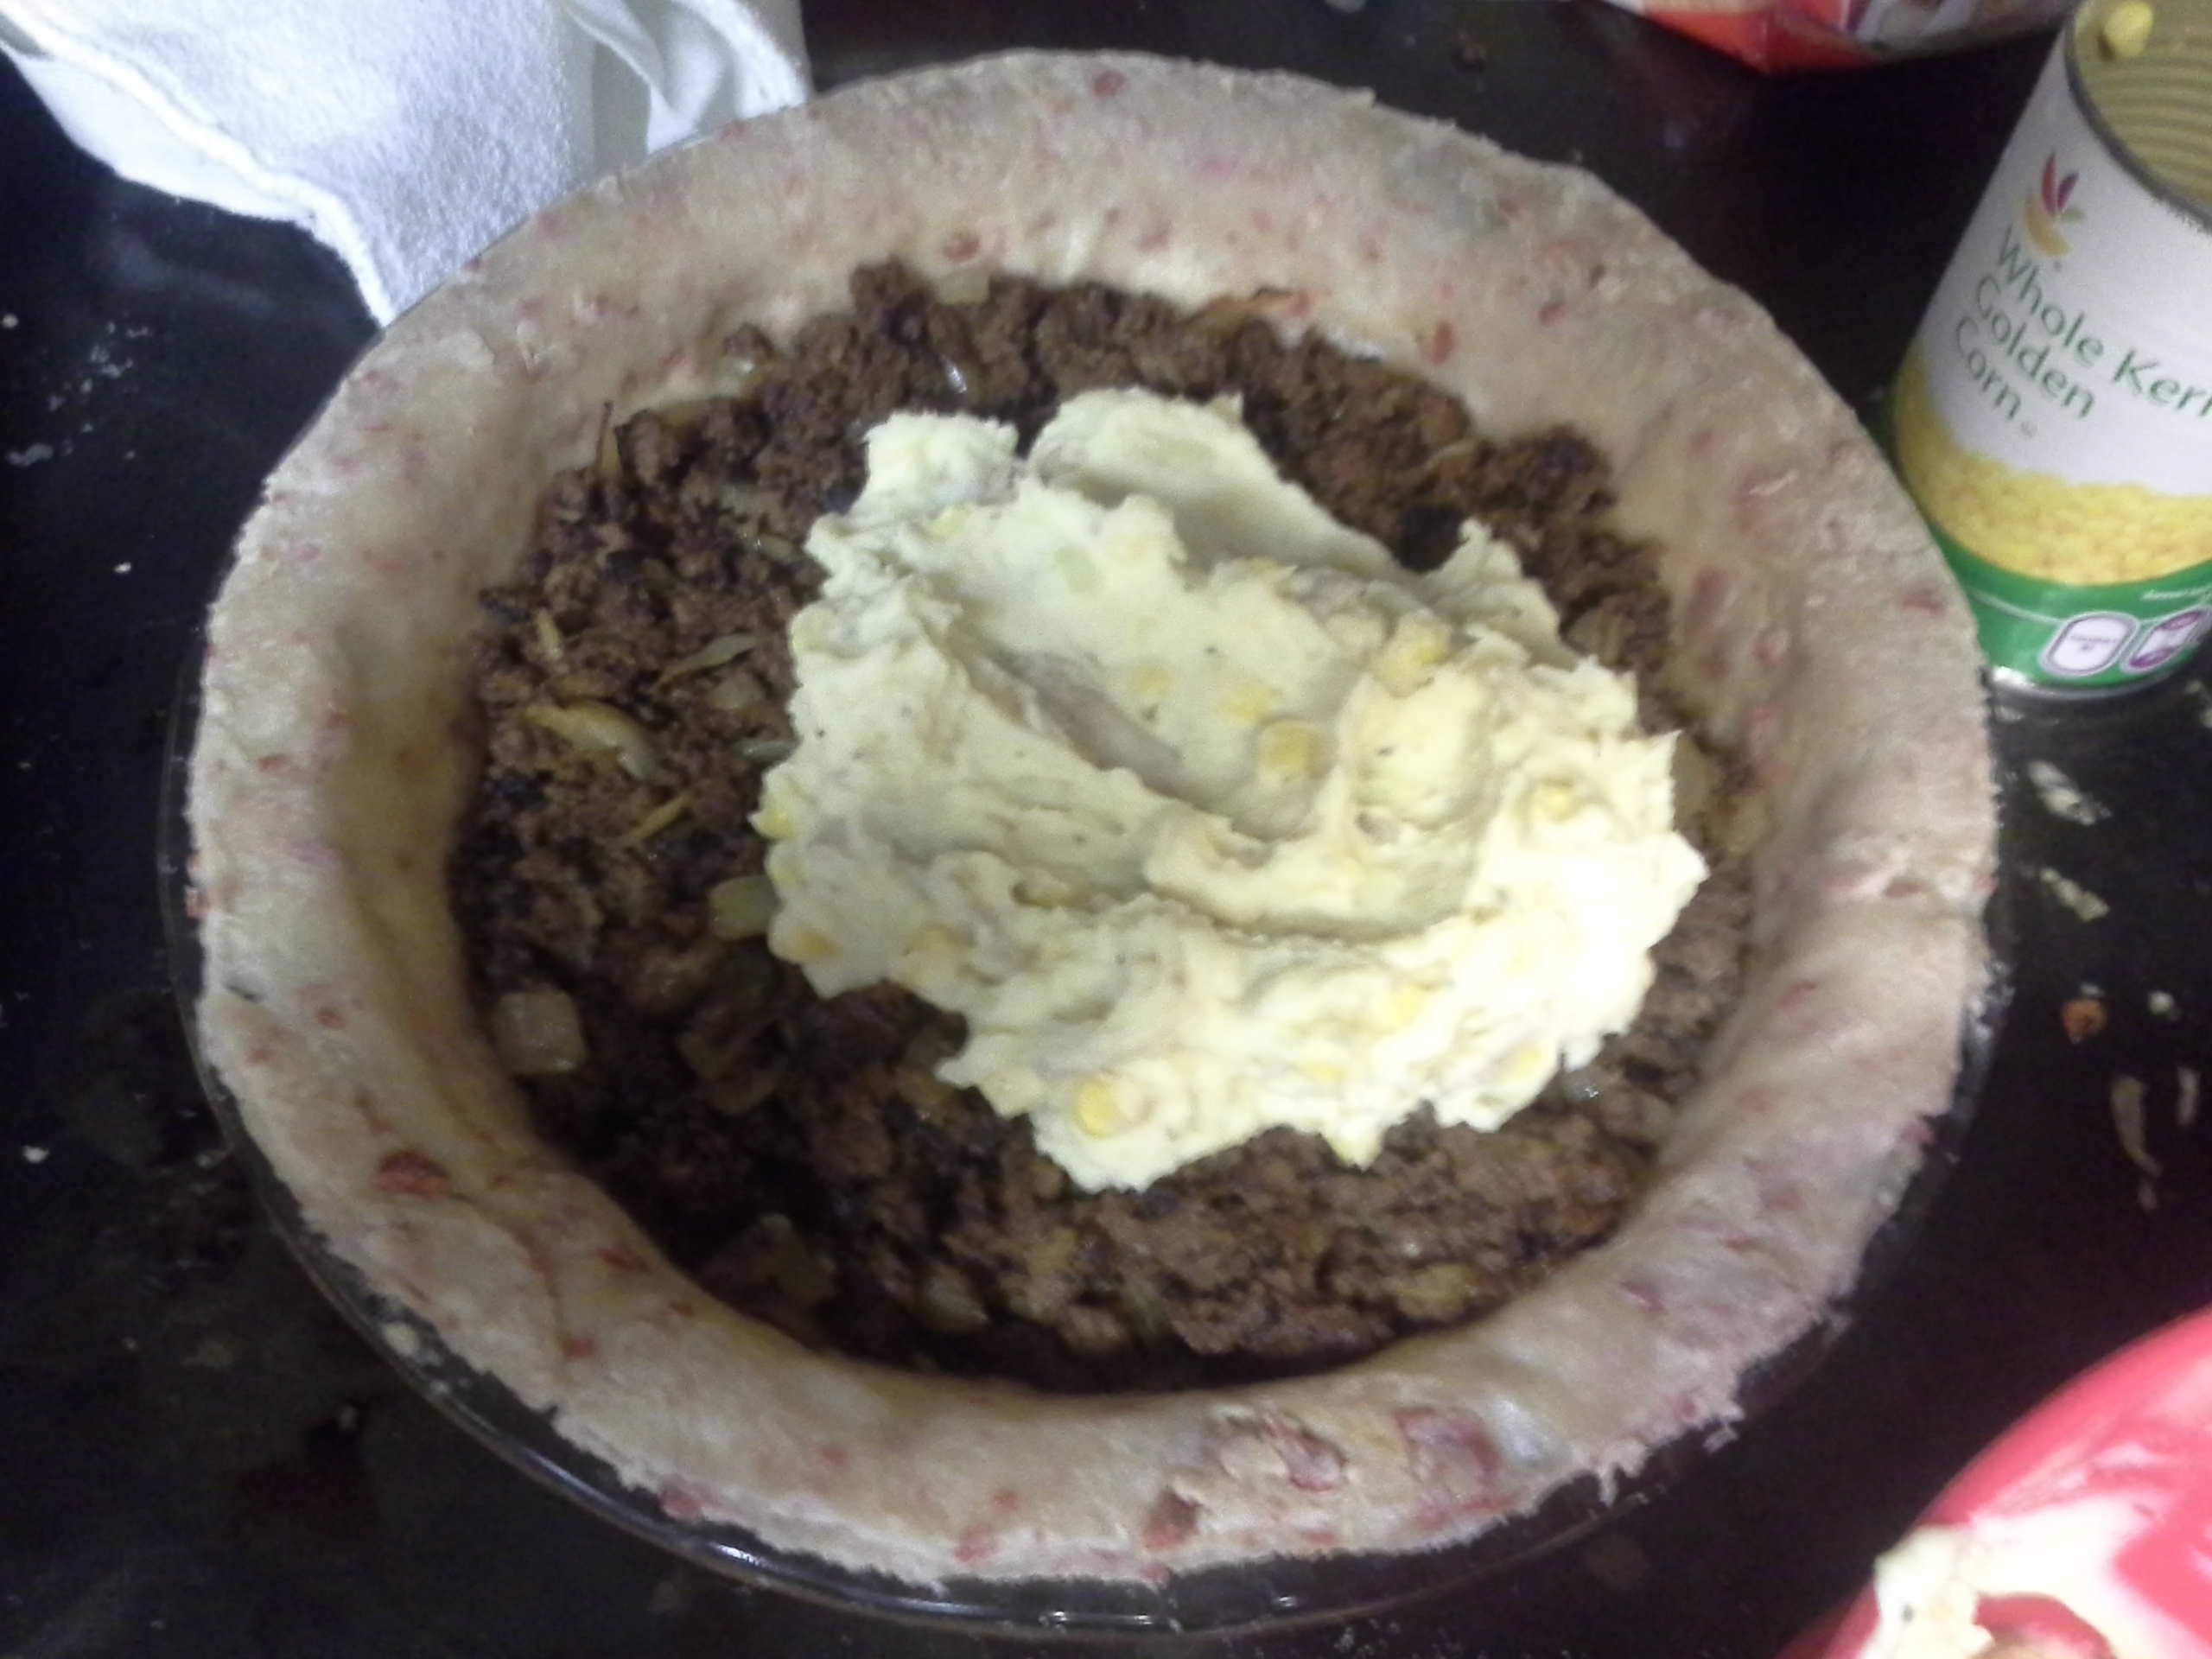
For my savory entry this week, I went with a classic dinner recipe in pie form. In the style of the English, “anything you can put on a plate, you can bake into a pie.” I mostly stuck to the recipe above, but of course, throwing in the classic Tanzim twists.
First, the crust, which was made with butter and crisco, was also baked with bacon flakes.
Second, rather than have a layer of sweet corn, I added half the corn called for in the recipe to the mashed potatoes.
Third, the meatloaf was cooked using this recipe for added flavor.
Fourth, the cheese crust was done with two different kinds of cheddar: mild and sharp.
Additionally, the mashed potatoes were made using this recipe.

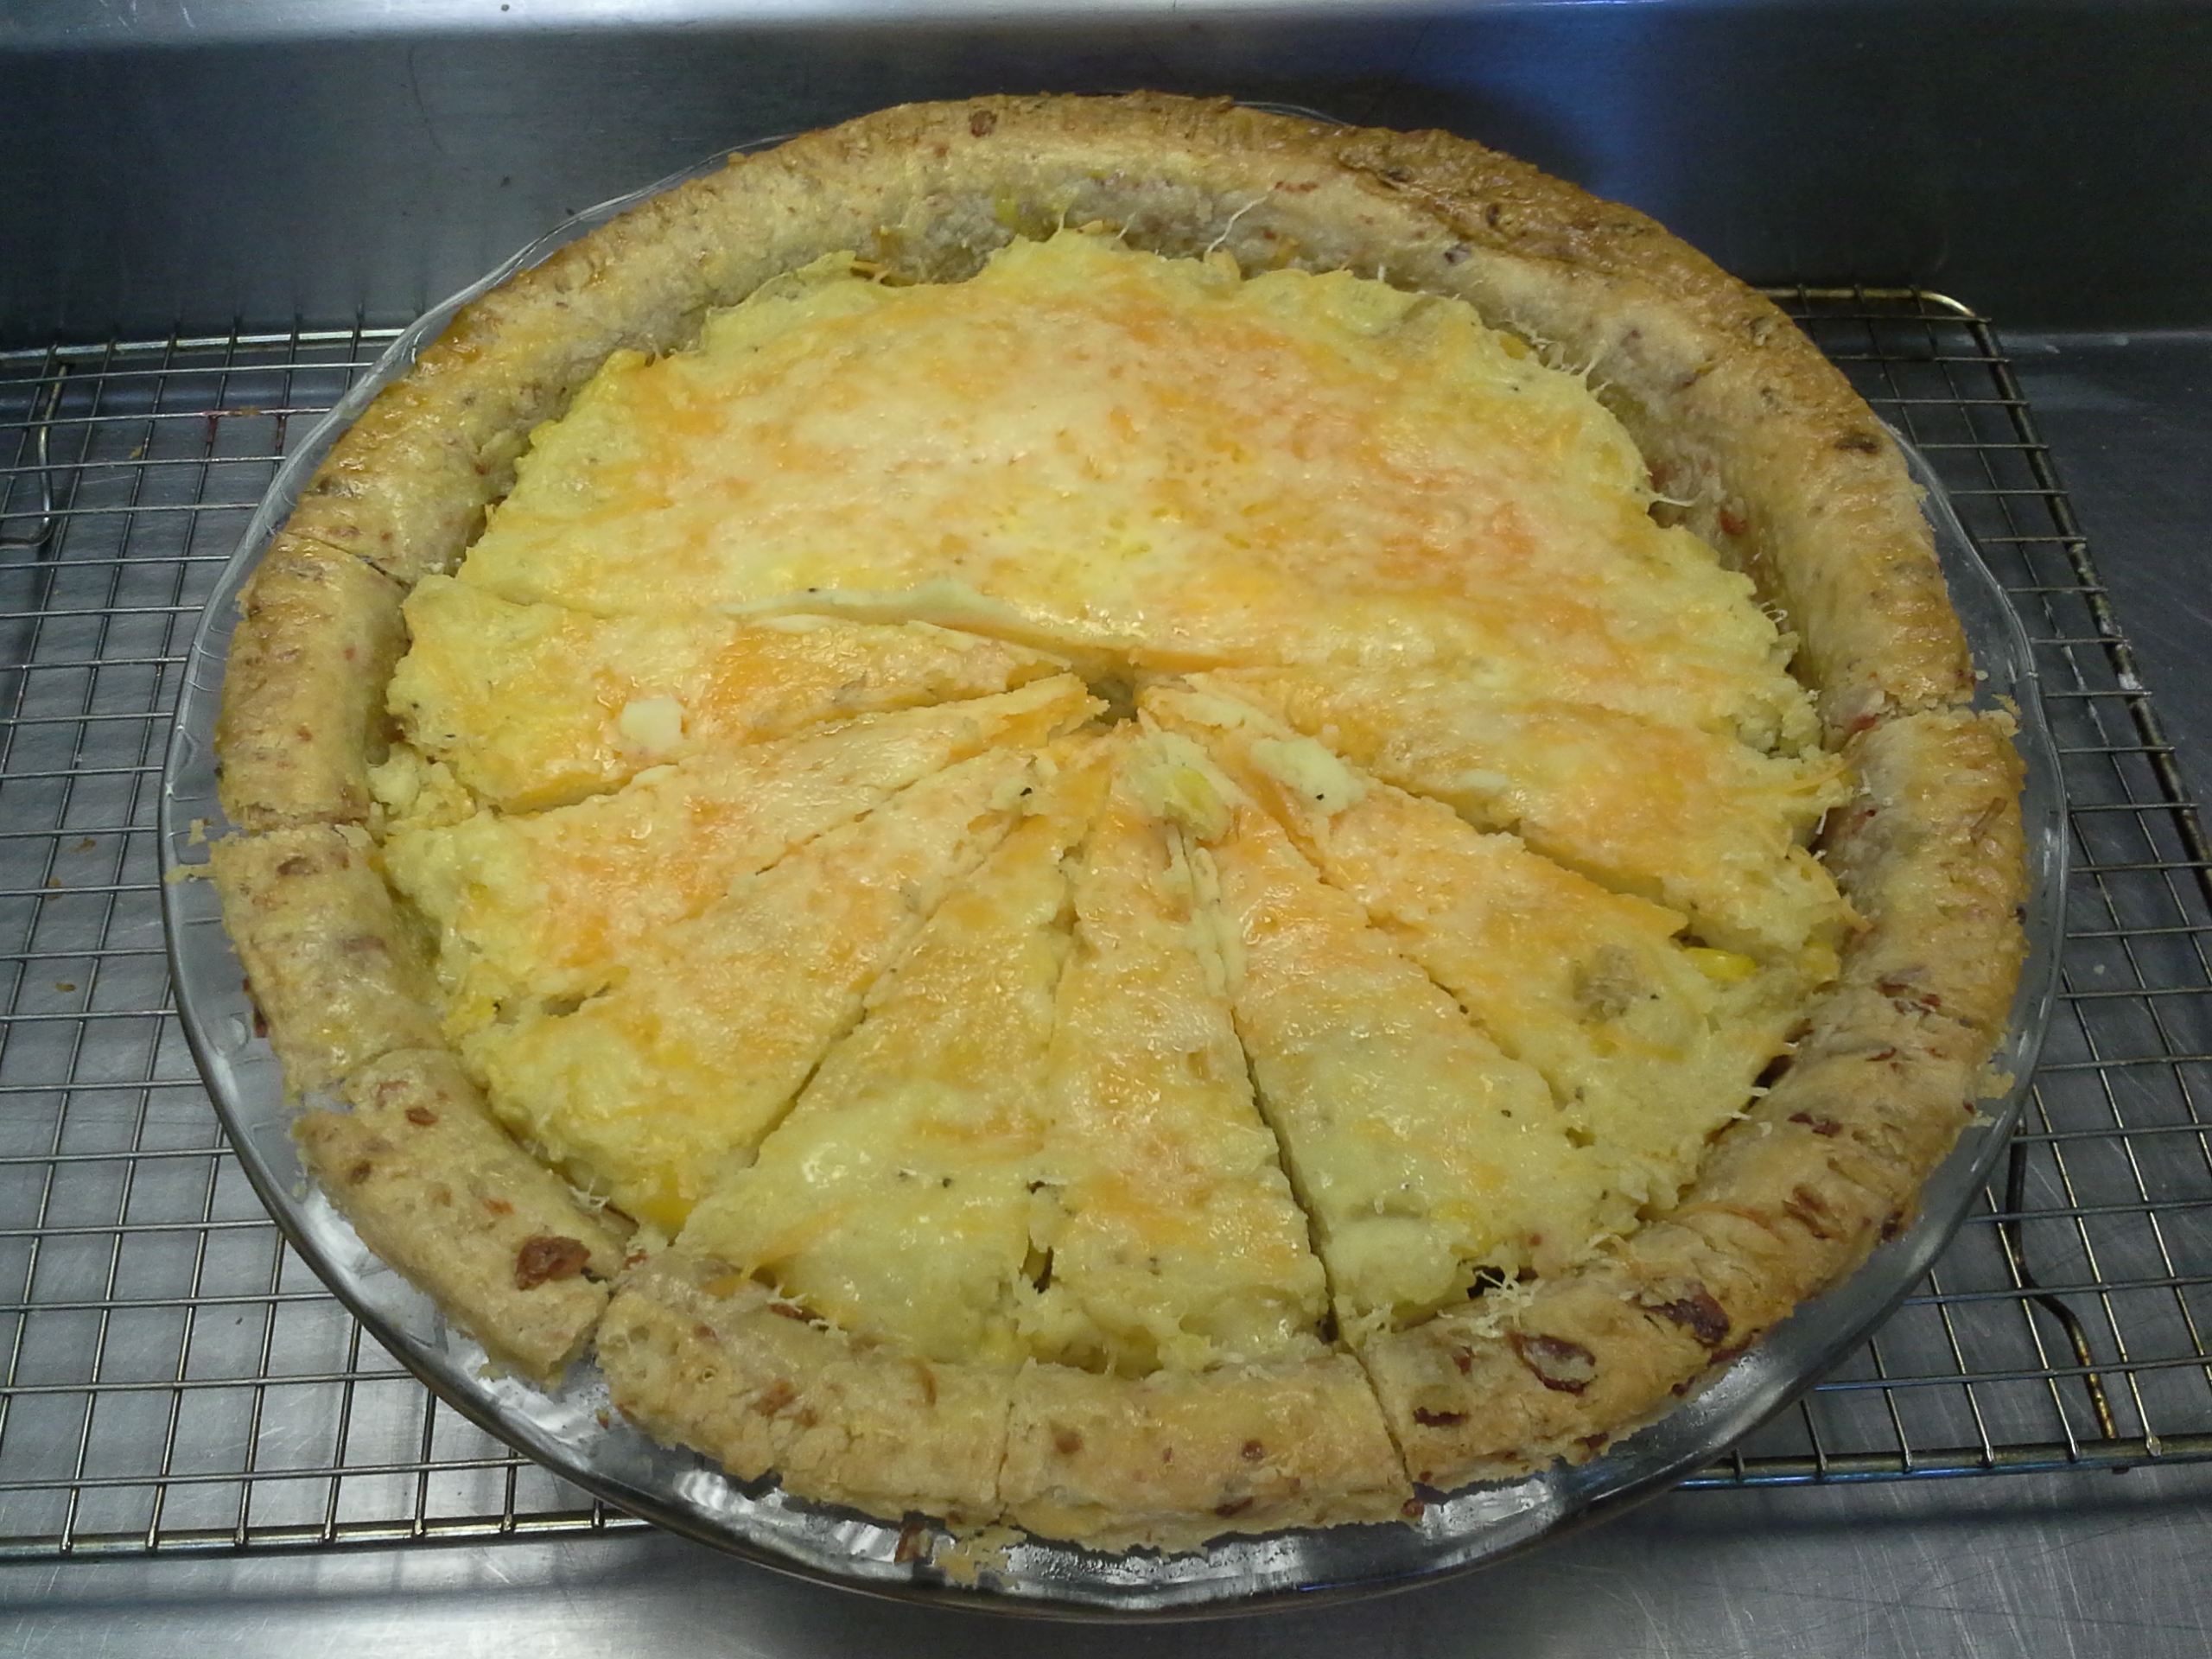
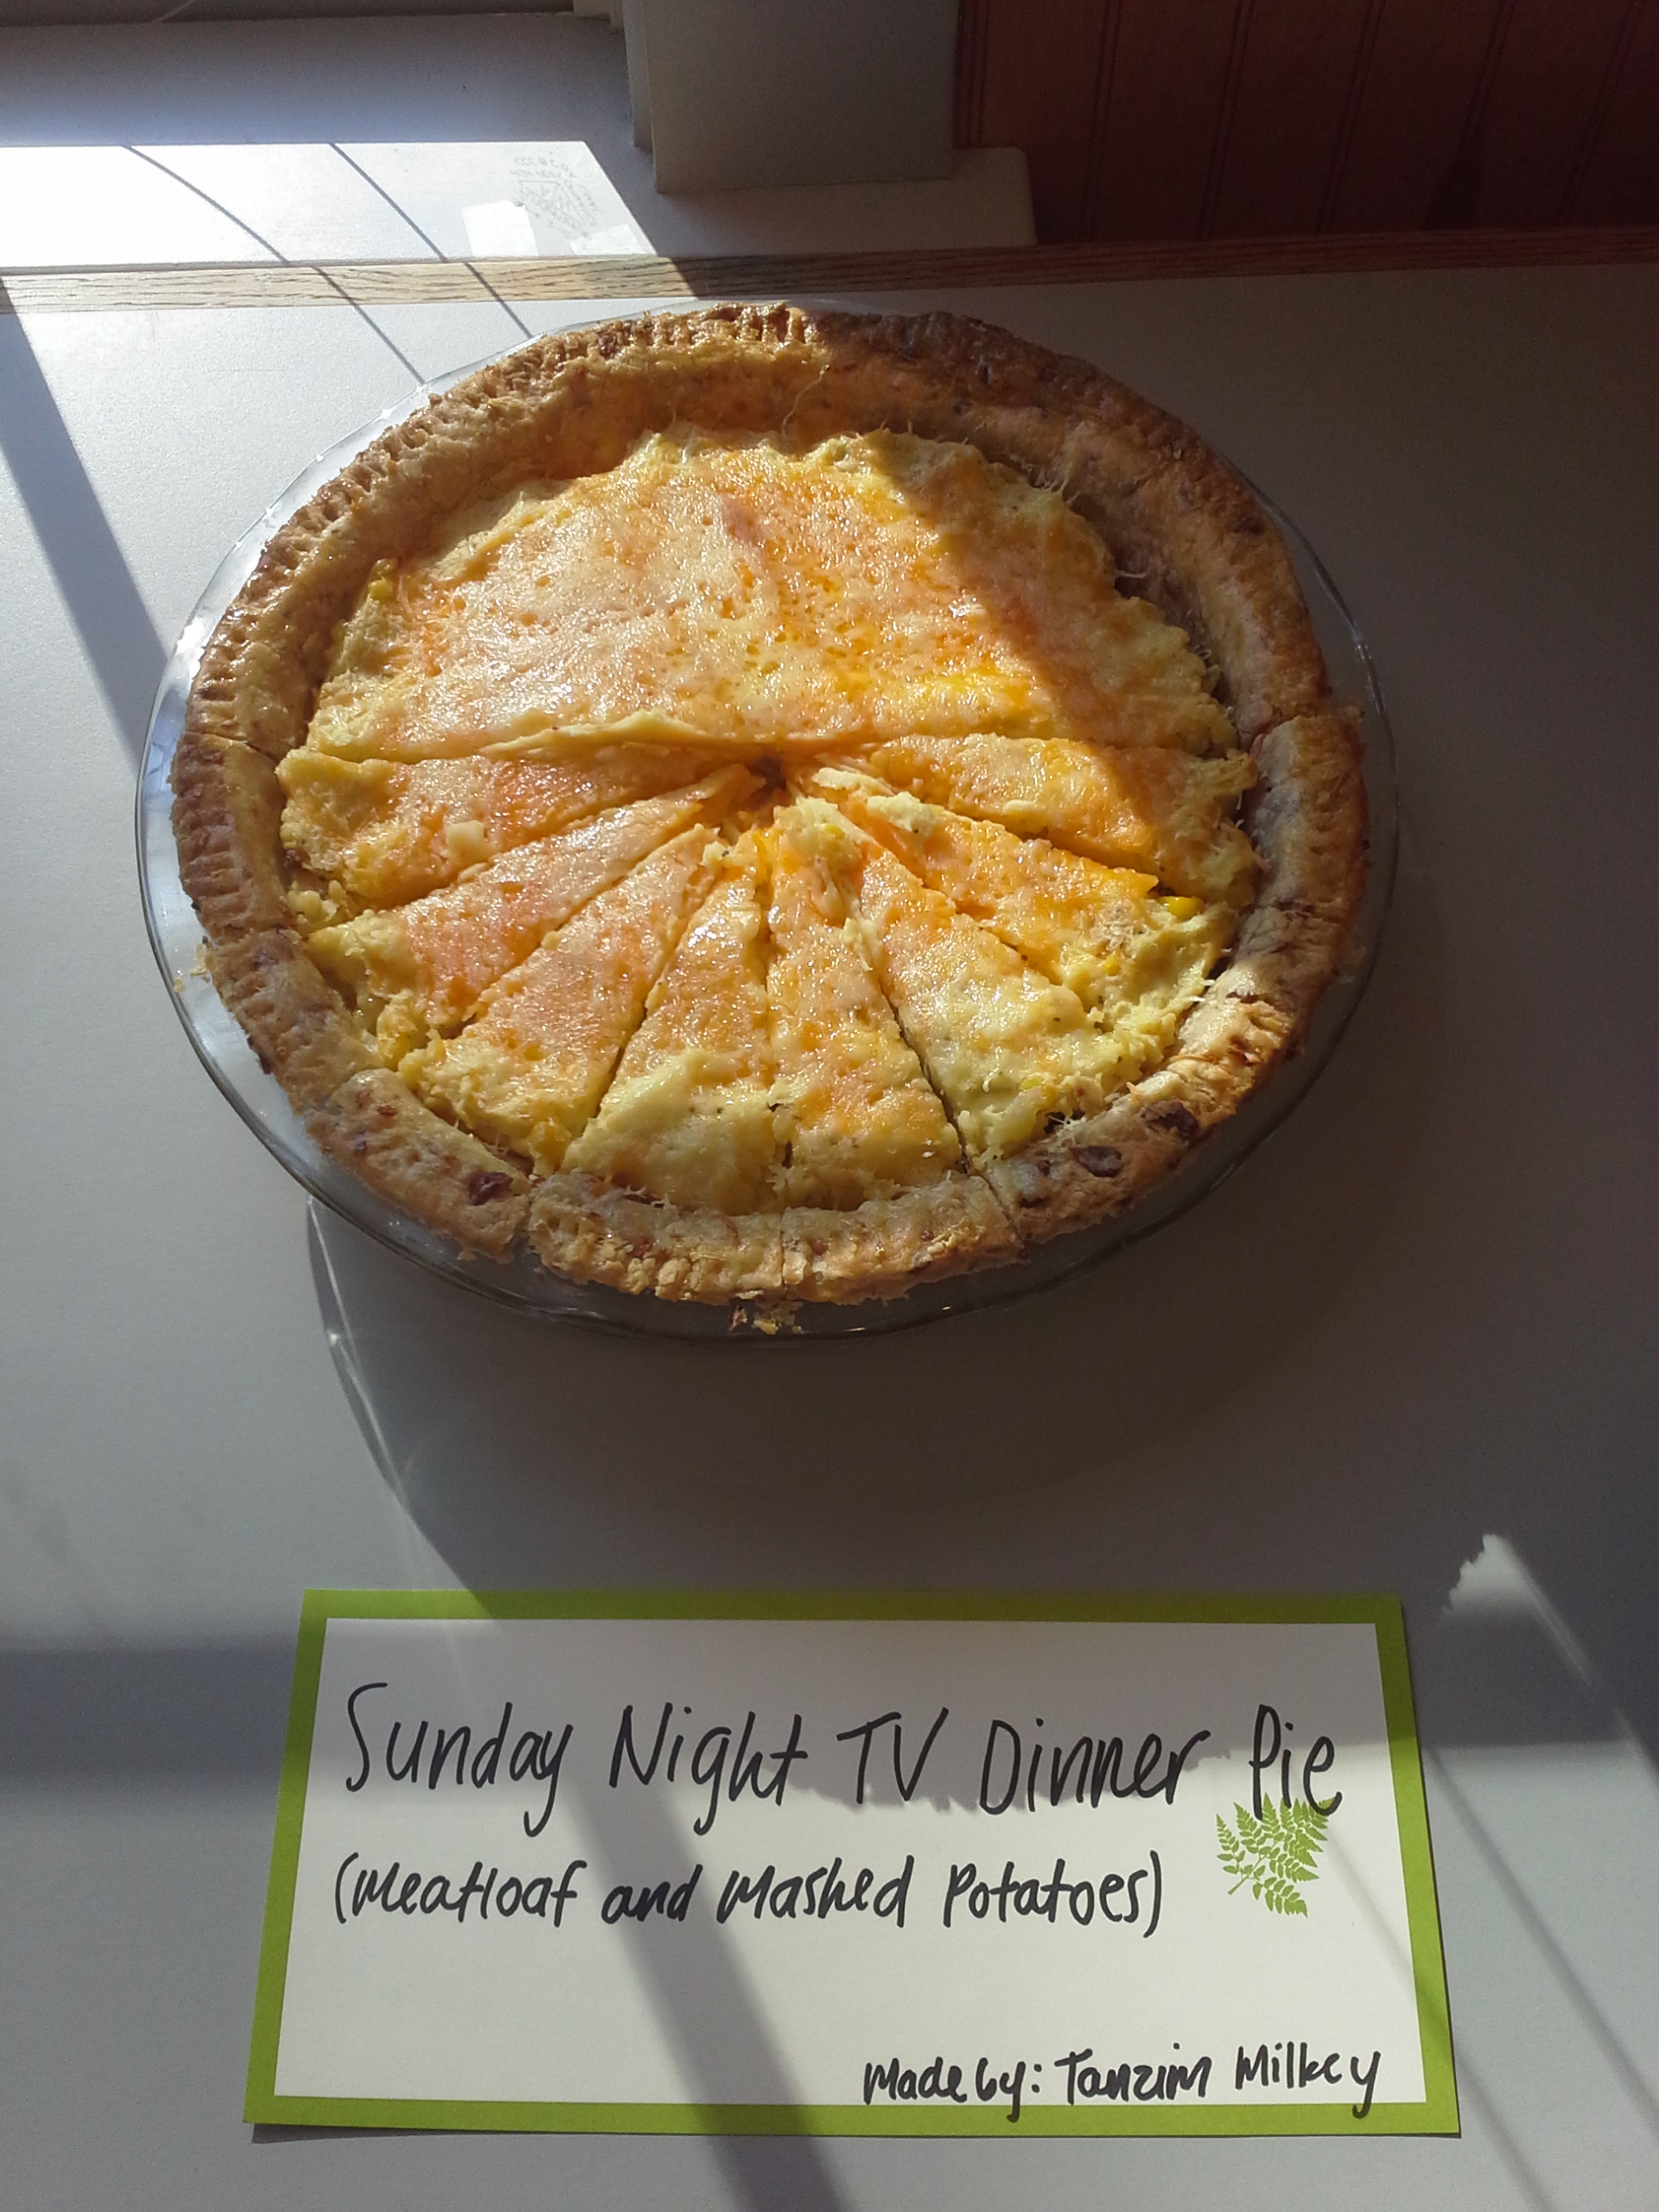
The pie turned out very well! I think the changes I made added a lot to the dish. The layer of corn on the bottom would have been a distracting taste, and it worked nicely with the potatoes. The cheese on the top also baked into a nice, crispy crust, which added an extra dimension of texture.

Check it out!

20140129_173740
[Raw Pie with Meatloaf filling and some Mashed Potatoes with Corn]

20140130_112919
[Fresh Baked Pie – sliced into Eights]

20140130_114751
[The Final Presentation]


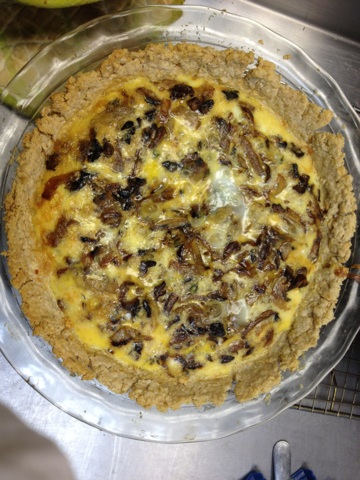
Caramelized onion, mushroom, and gruyere quiche with oat crust

http://www.foodnetwork.com/recipes/ellie-krieger/caramelized-onion-mushroom-and-gruyere-quiche-with-oat-crust-recipe.html

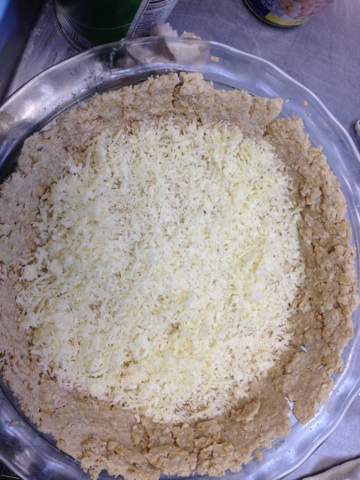
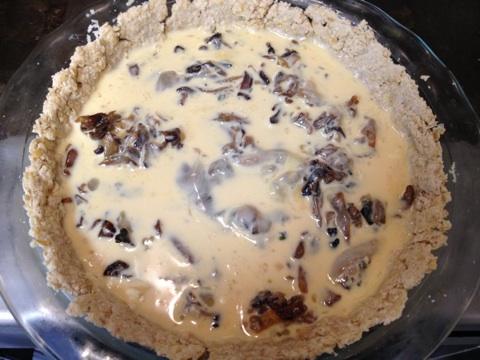
I think the most perplexing thing about this recipe was the crust.  There were two issues I saw with it.  The first is that the recipe really did not seem to make enough to cover the pie dish.  When I got it as thin as possible, it still probably only covered about 3/4 of the pie pan. I ended up making a double recipe and used nearly all of it.  Additionally, there wasn’t much liquid in the recipe, and it broke apart very easily.  I ended up putting the crust in piece by piece instead of all in one piece, and it split some in the oven.  As someone pointed out, fortunately the egg probably fills in the crevices.

IMG_1607

IMG_1608

IMG_1609

I was surprised by just how much the quiche cooked down.  Because I am still having some trouble wrapping my mind around savory pies more generally (although I have loved trying them all so far!), I thought quiche was a nice middle ground. I was surprised how little mushroom was really in the quiche; although once it cooked, there certainly seemed to be a lot more in there.  I’m excited to see how it comes out.  I feel like there might be a fine line in quiche for texture, so I hope I got the line right!