Tag Archives: chocolate

Puff Pastry, Meat, and Lava

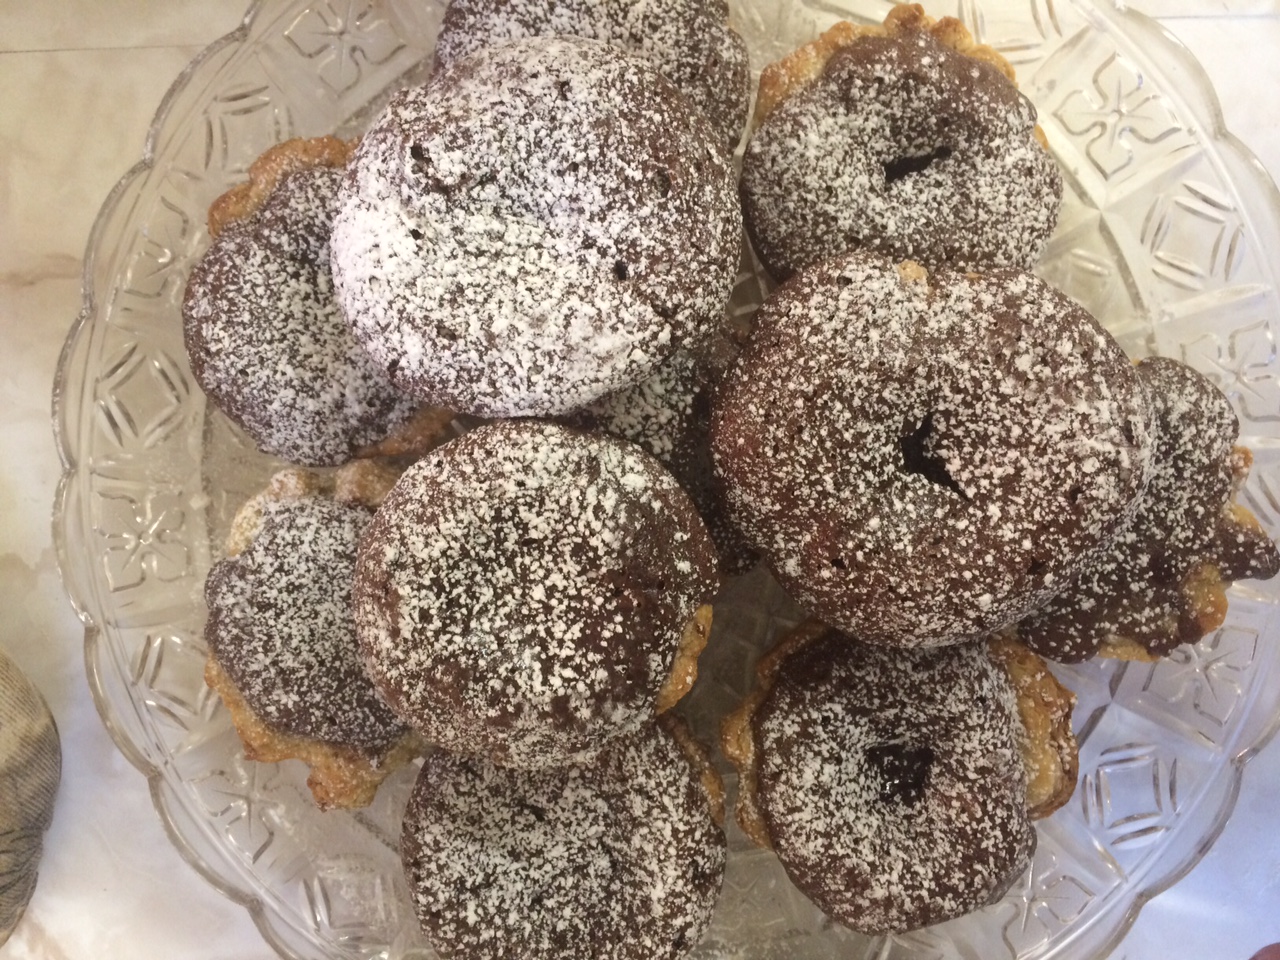
Unfortunately, we have reached the end. We all knew this was coming, the pie that is the month of January has run out of slices. It was a wonderful month full of wonderful pies that ended spectacularly with our banquet. For the banquet we had to make two pies one sweet, one savory,  and I decided to make a pie I had wanted to make during savory week, a beef short rib pot pie, and one inspired by a friend, chocolate lava mini pies.

I knew there would be challenges with these pies, but I figured it was the last week, so why not go out with a bang, either a blaze of glory or with the actual flames of a burnt pie. With the savory pie I was concerned about the fact that I would be doing actual cooking, as the filling had to be cooked before being put into the pie, and by the fact that I had somehow got it into my head that puff pastry would greatly improve the pie. With the sweet pie I was concerned with just how exactly it would work. I knew it would have a bottom shell and the lava-y cake part would fill it, but I wasn’t convinced I could actually make the lava happen. Nevertheless, I sallied onward as this was the last week for pie baking and was not a time to be meek.

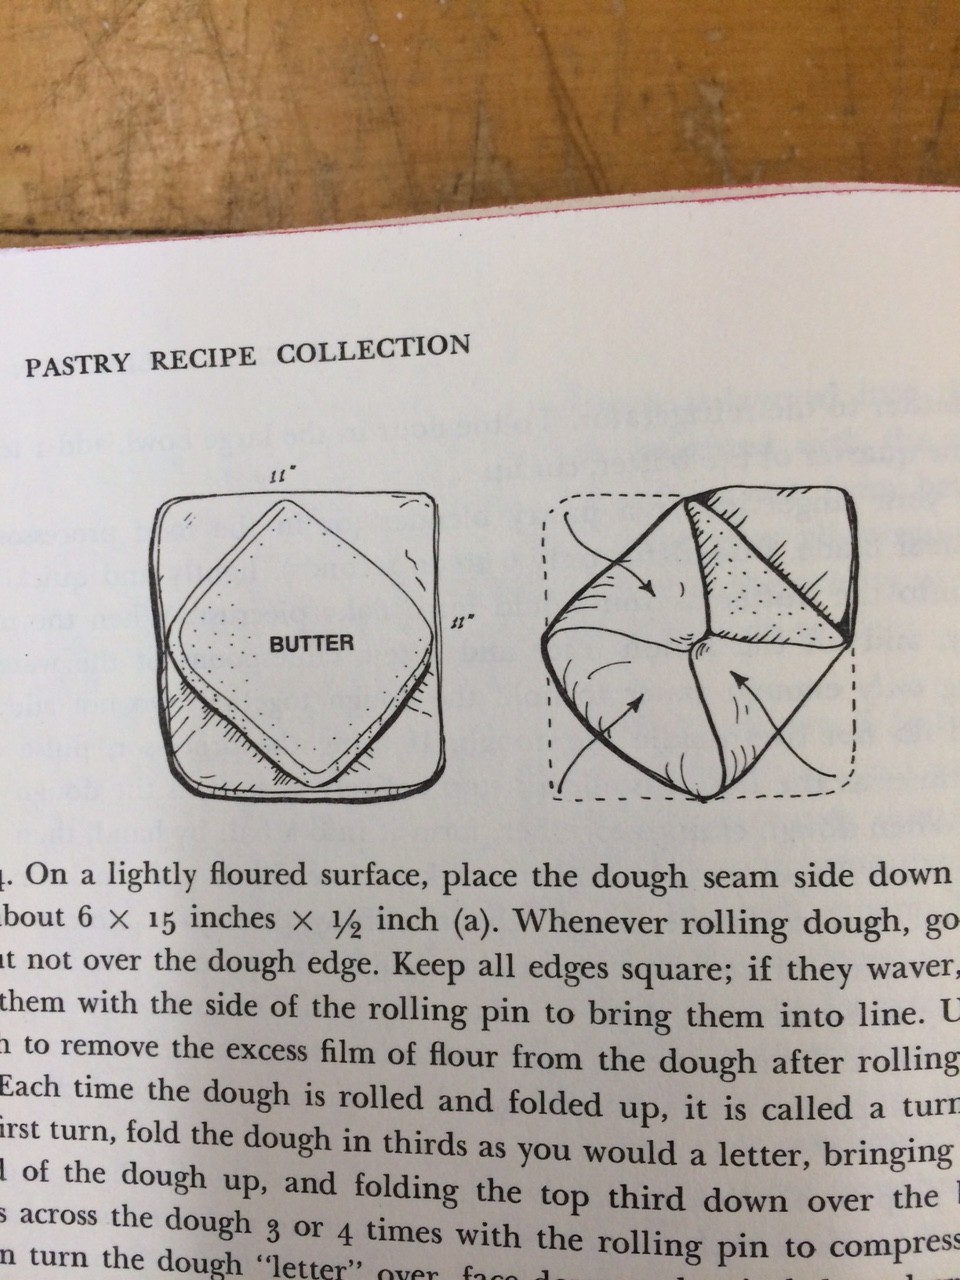
The puff pastry was the first obstacle I set out to conquer using the recipe for puff pastry outlined in Susan Purdy’s As Easy As Pie. Reading the recipe itself was daunting as it was three pages long, with an additional three pages of introduction, because puff pastry is not something one just blindly walks into, puff pastry is serious. So serious, that to make it you need diagrams and internal notation systems. 
IMG_1358IMG_1376

So complex!

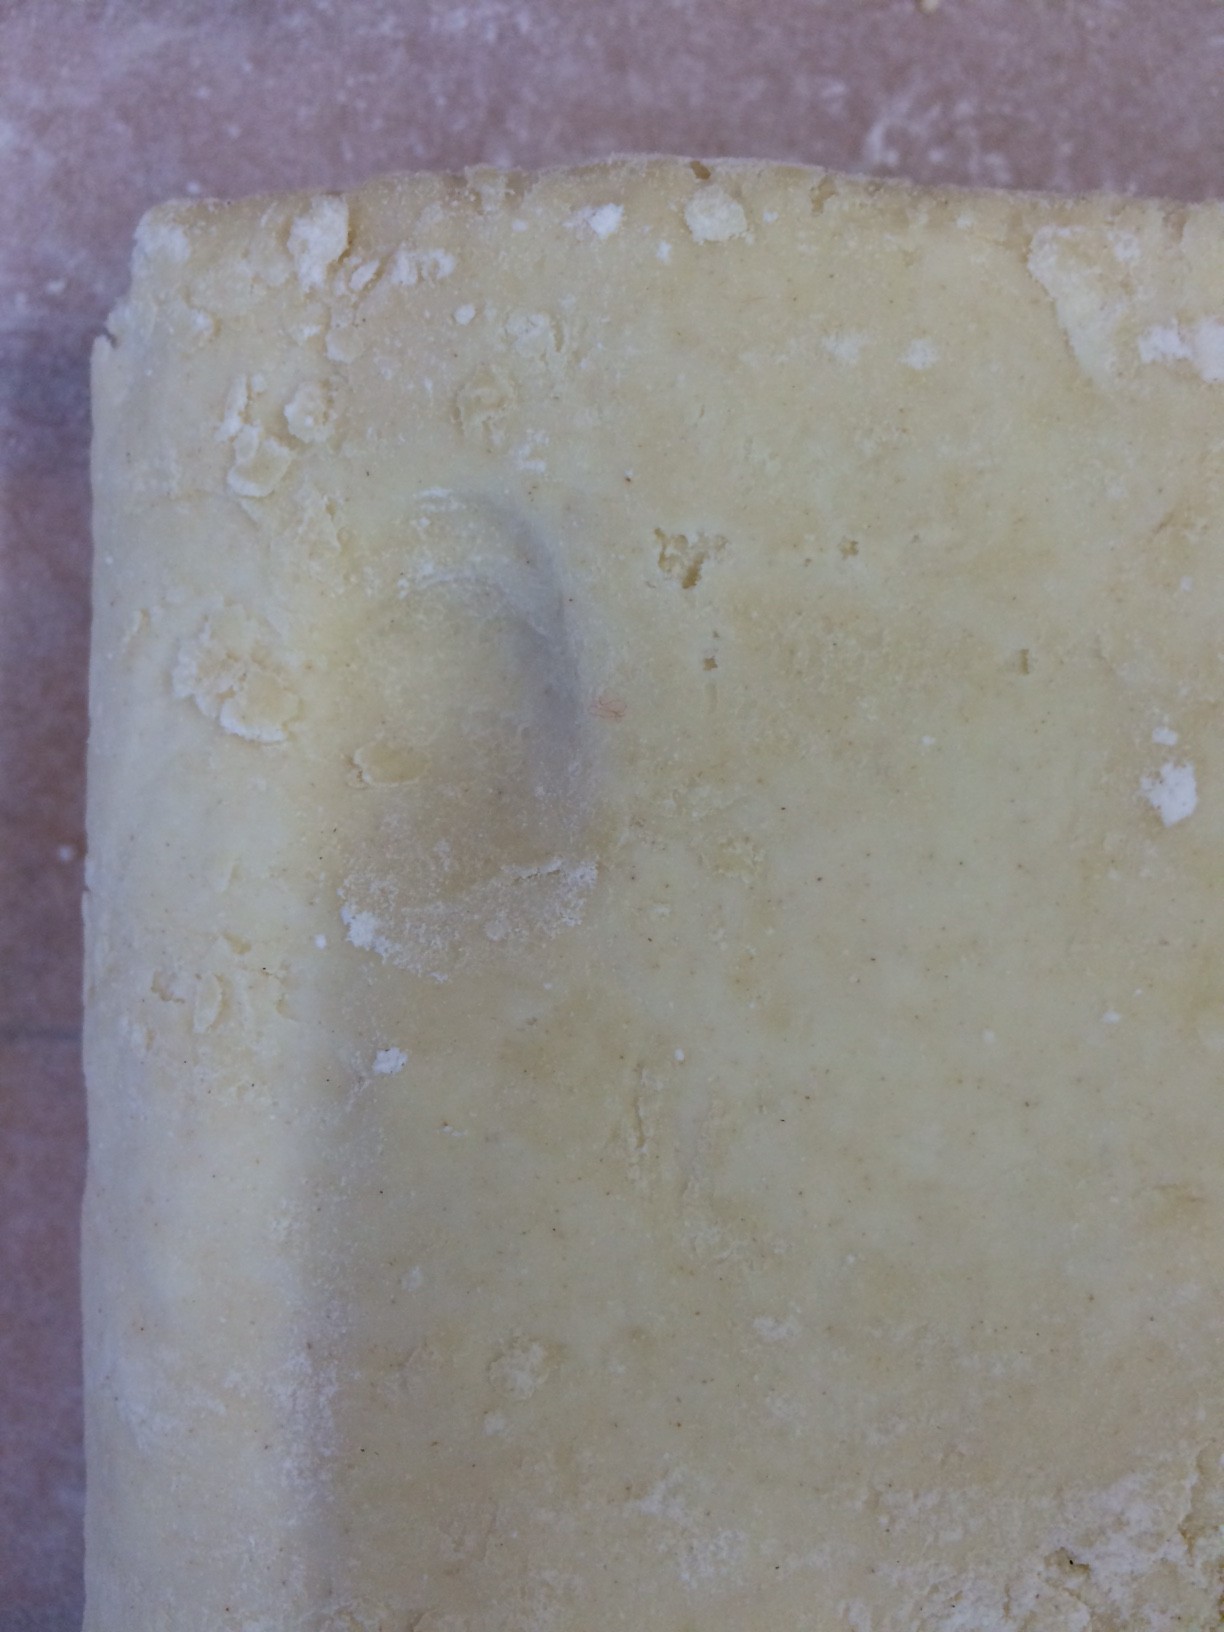
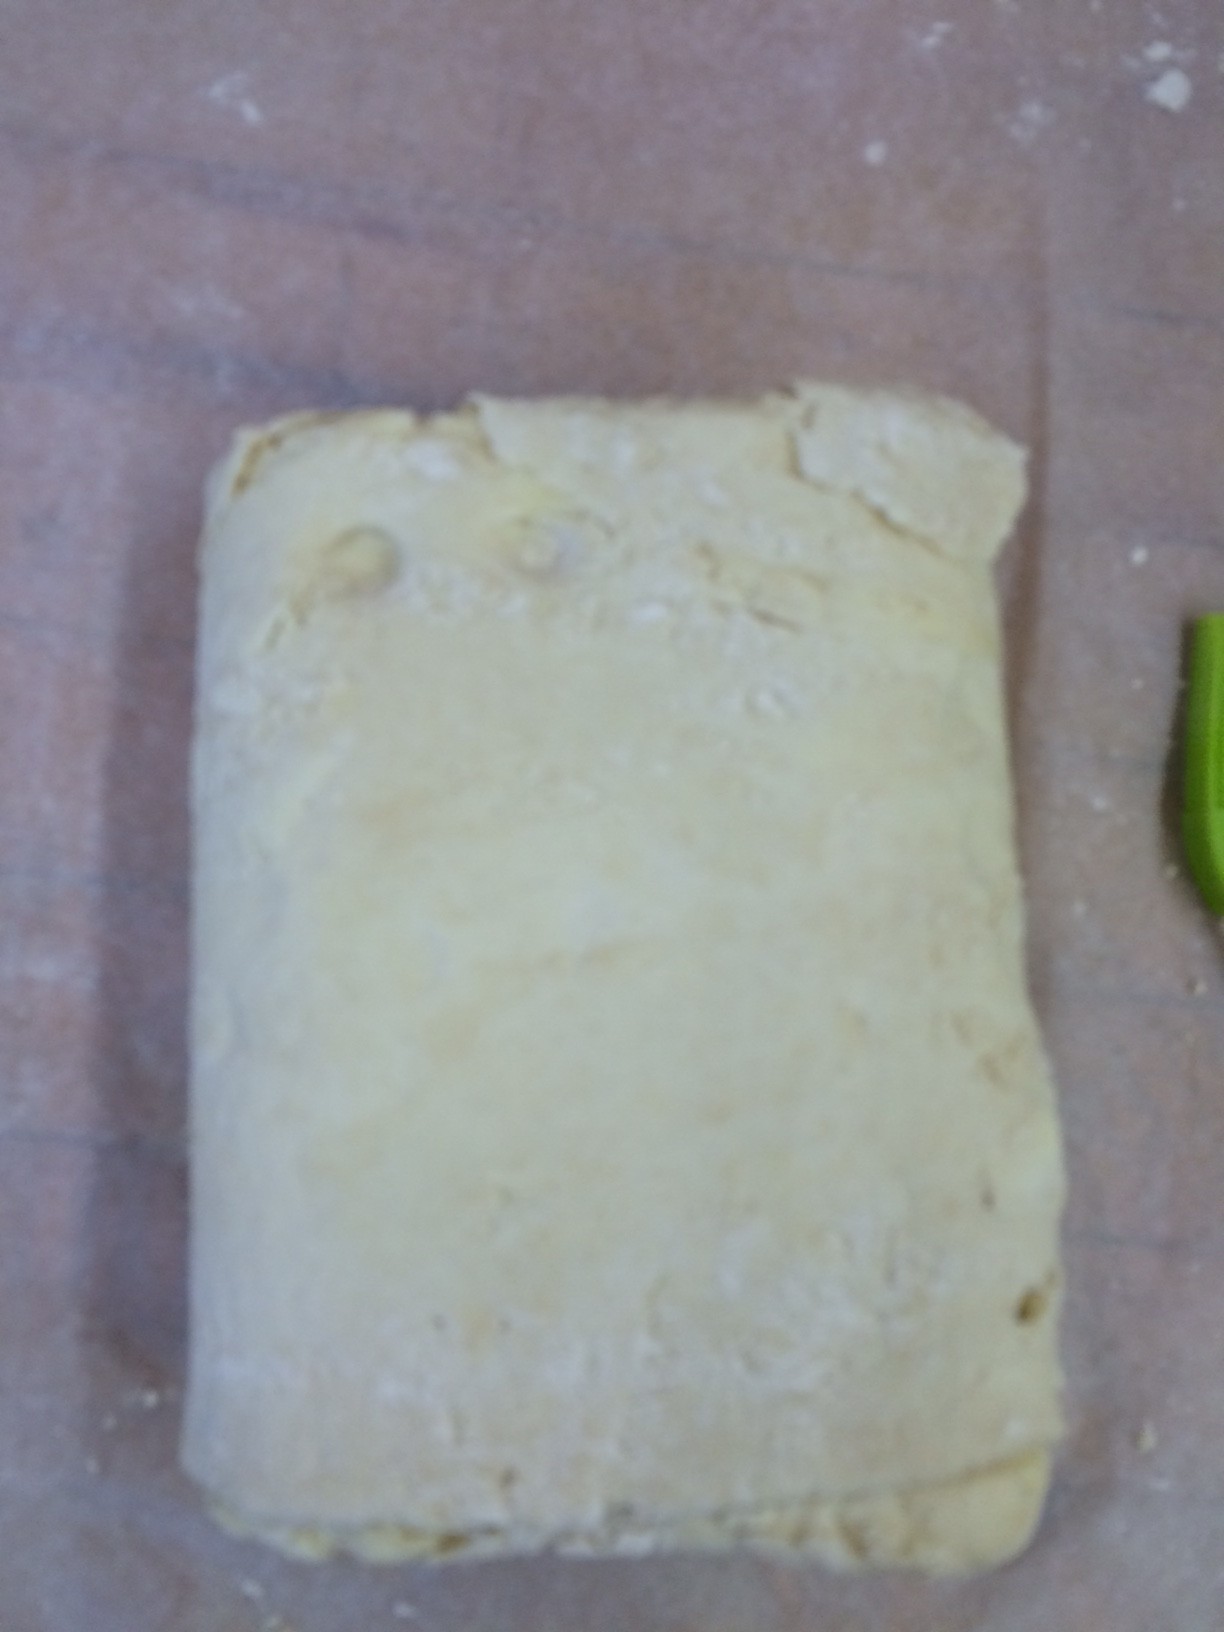
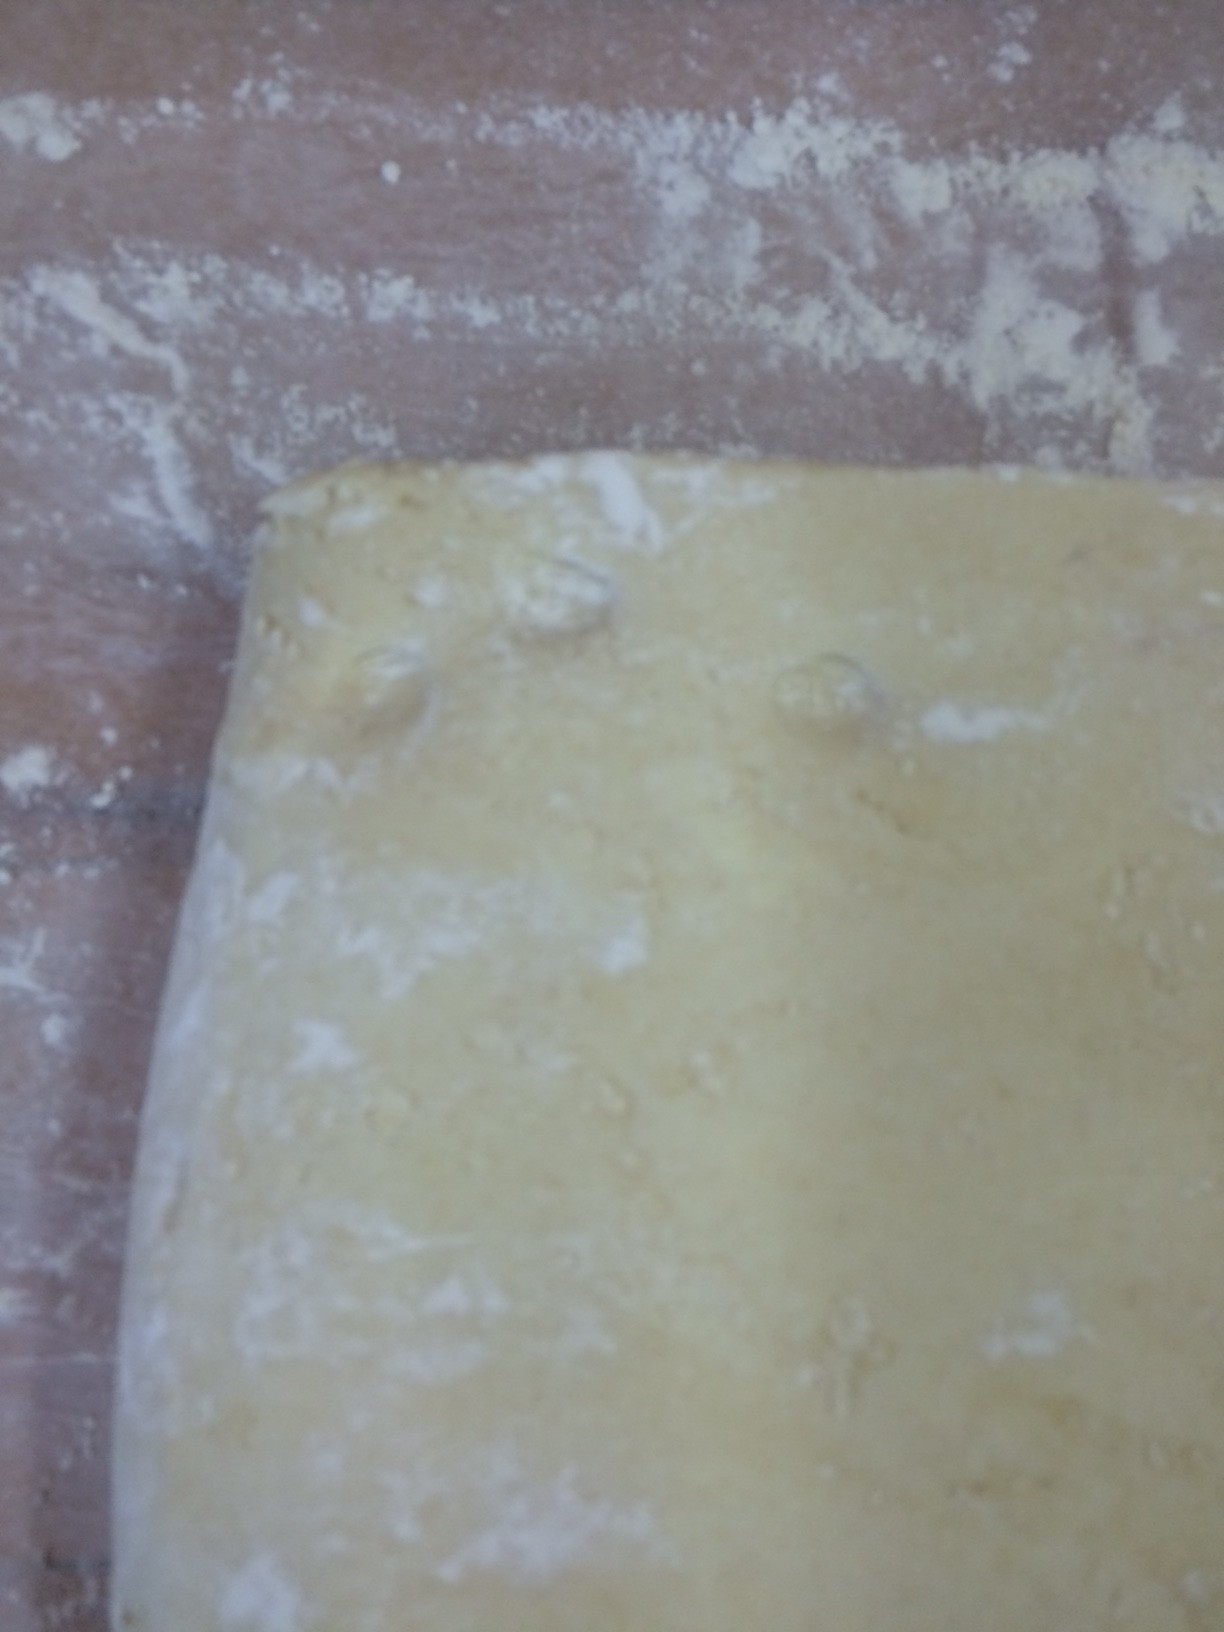
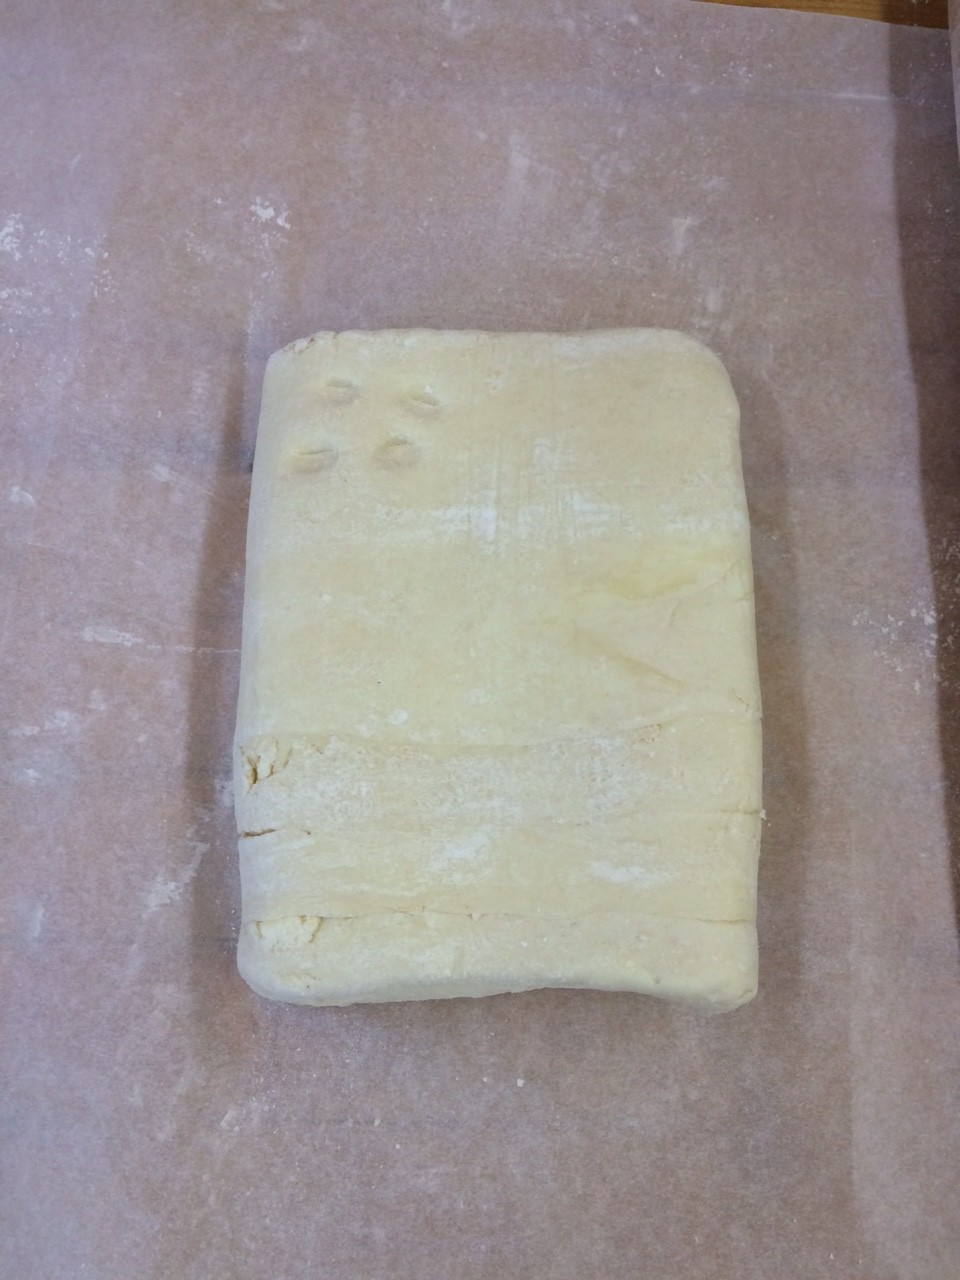
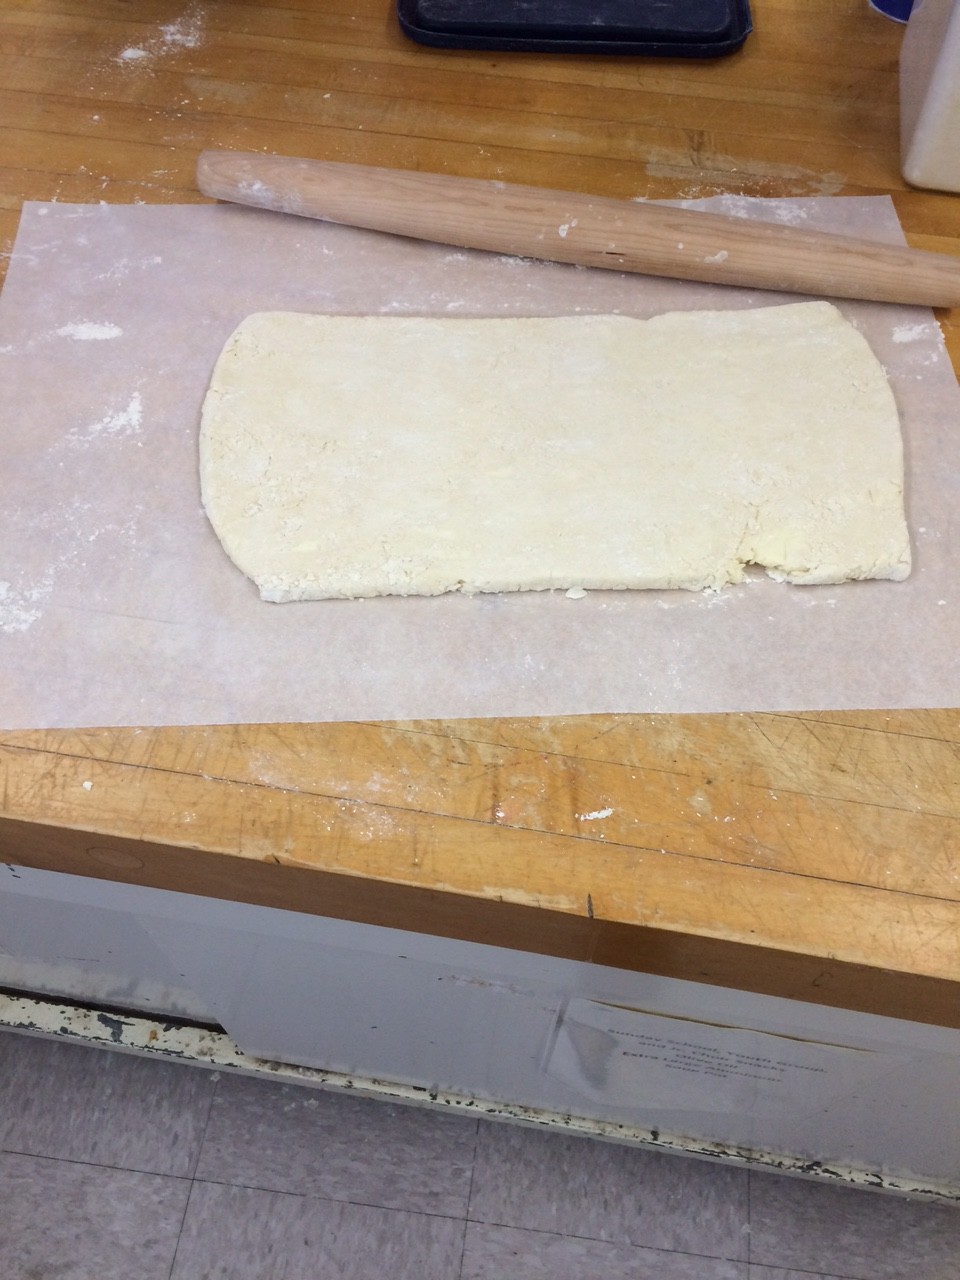
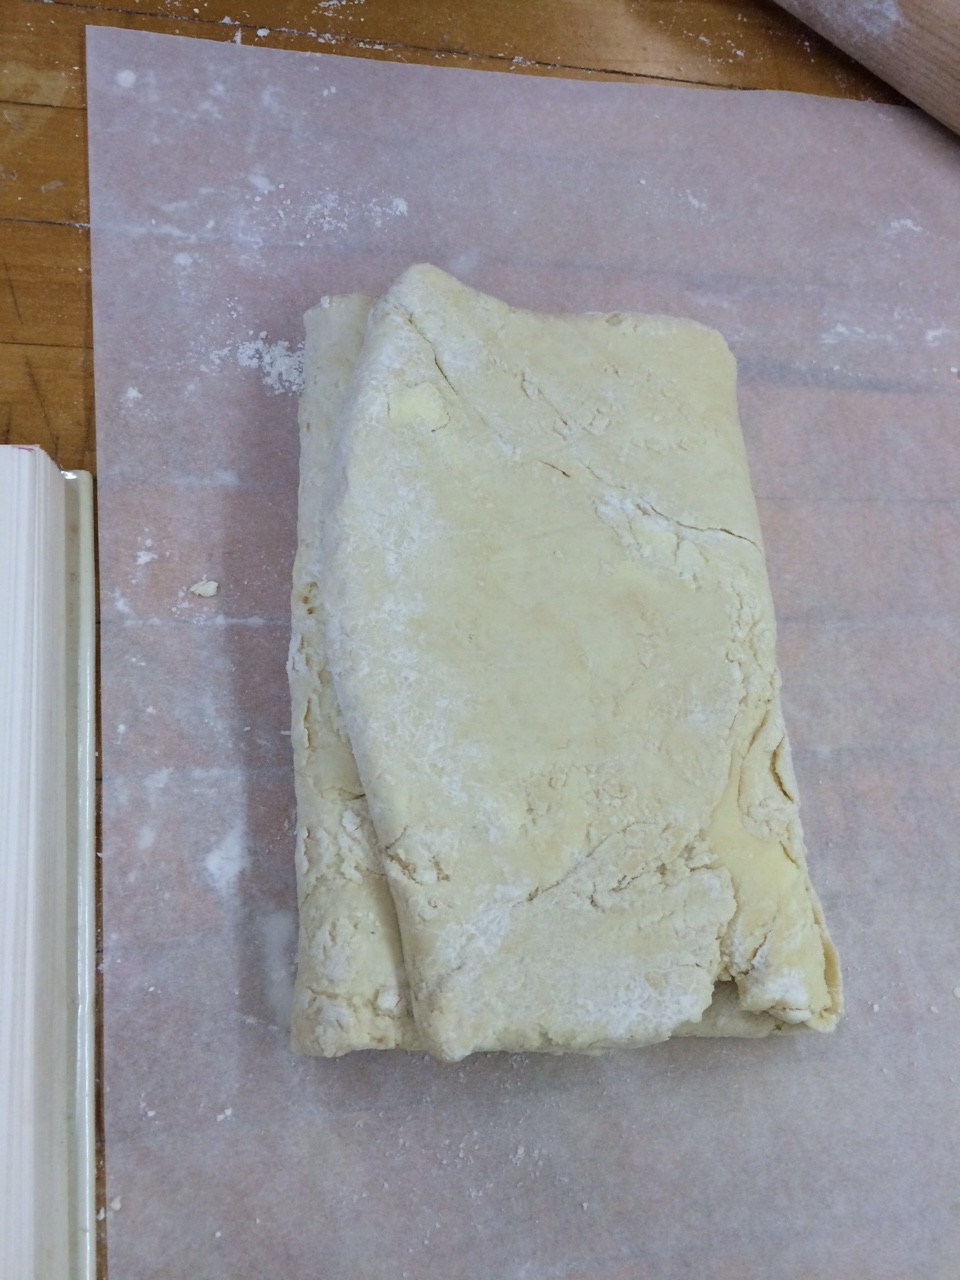
But I did it so I guess I will outline the key steps. First, you must make a what is essentially a basic all-butter pastry, which you then wrap, like wrapping paper, around a slab of butter that had been mixed with a smidge of flour. Then, you roll it out into a rectangle that is precisely 6in x 15in x 1in, fold it in thirds like an envelope, orient it so the top is the unfolded side with the flap oriented to the right, and then you mark it with a finger print for every turn of the pastry you have done. You do this 6 times. Chilling for 25 minutes in between each step.
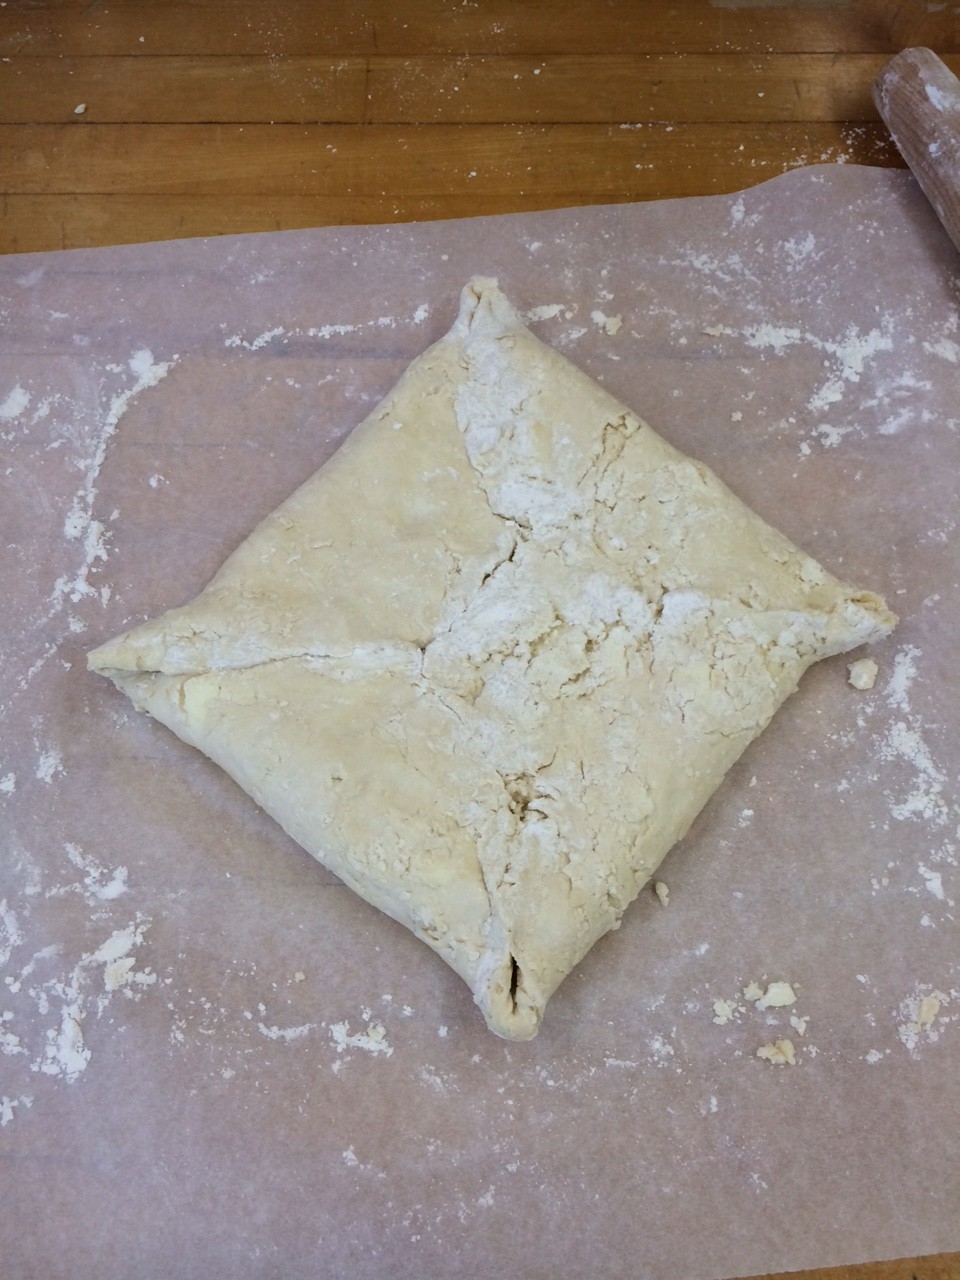
pastry wrapped butter present
pastry wrapped butter present

then you roll it out
then you roll it out

fold in thirds
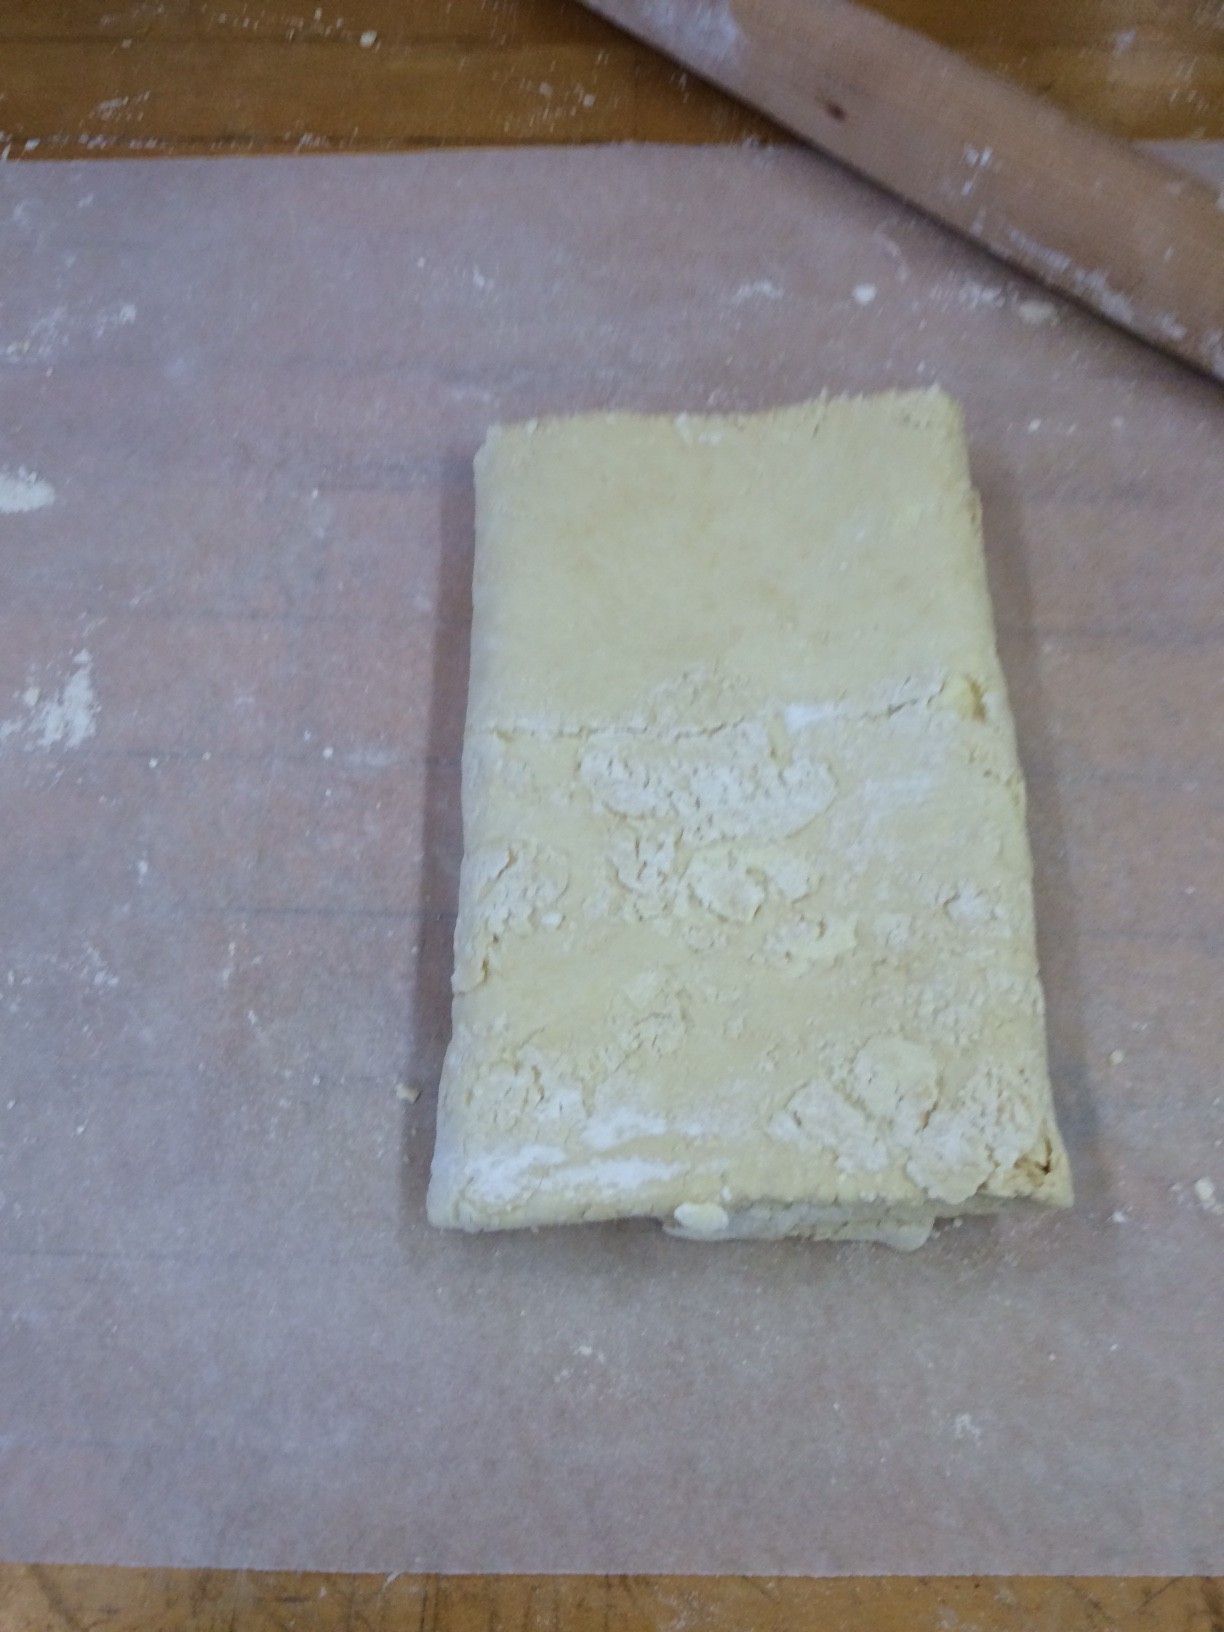
fold in thirds

flip it

flip it

mark it with your finger

mark it with your finger

and then

and then

do it again

do it again

and again

and again

and again

and again

until you have six dots

until you have six dots

And there you have it, puff pastry. In four short hours!

So the puff pastry was done and the next obstacle was tackling the filling of the pie, I approached it very methodically, setting out all my ingredients cooking-show-style in bowls before I began.
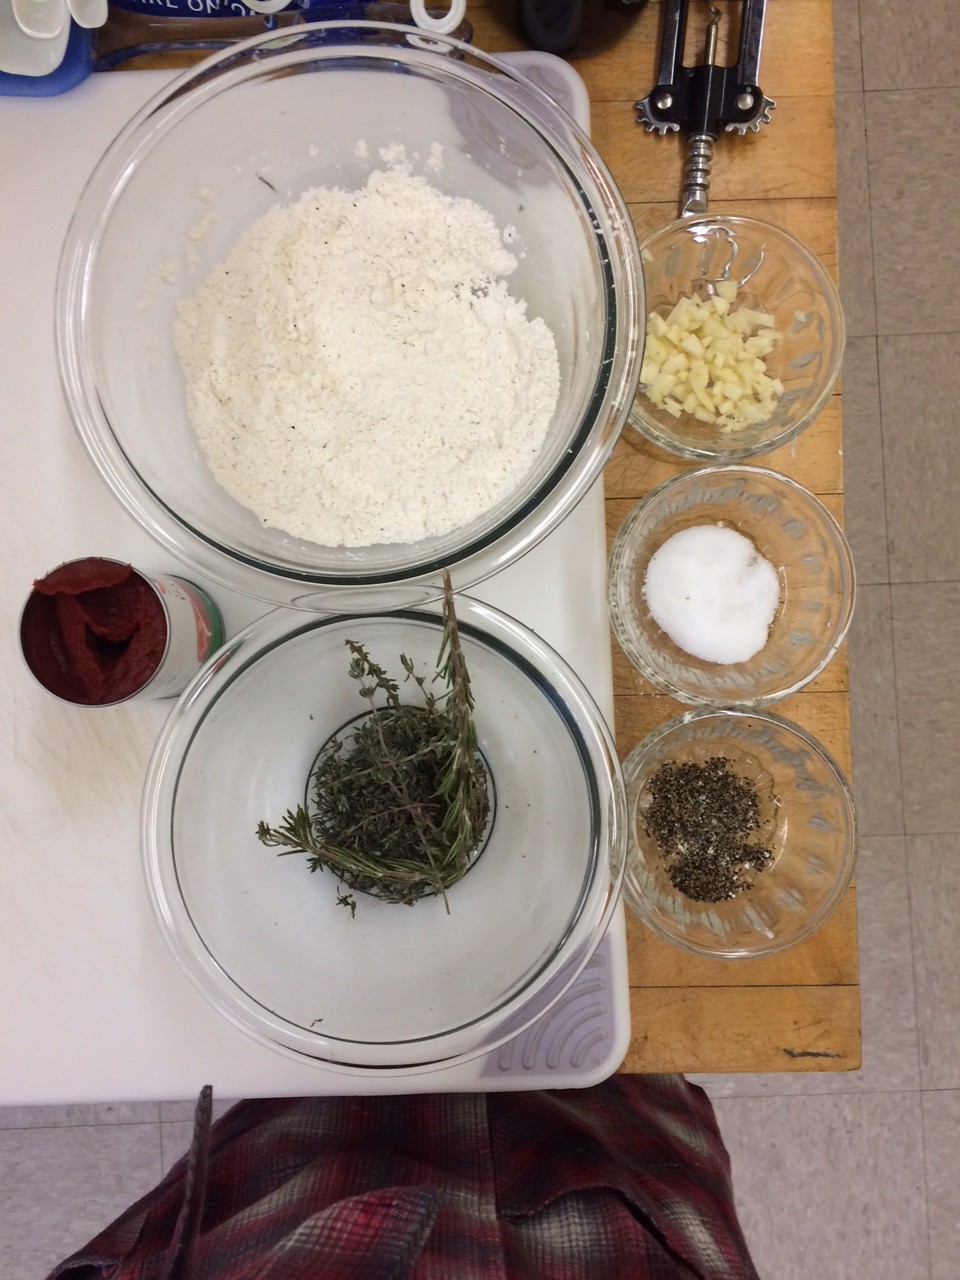
So organized

So organized

in the end the recipe I had ended up being very easy to follow, the only challenge was again how long it took. I began prep at 9am started cooking at 10 am, but didn’t officially take things off the burner until 2:30pm!
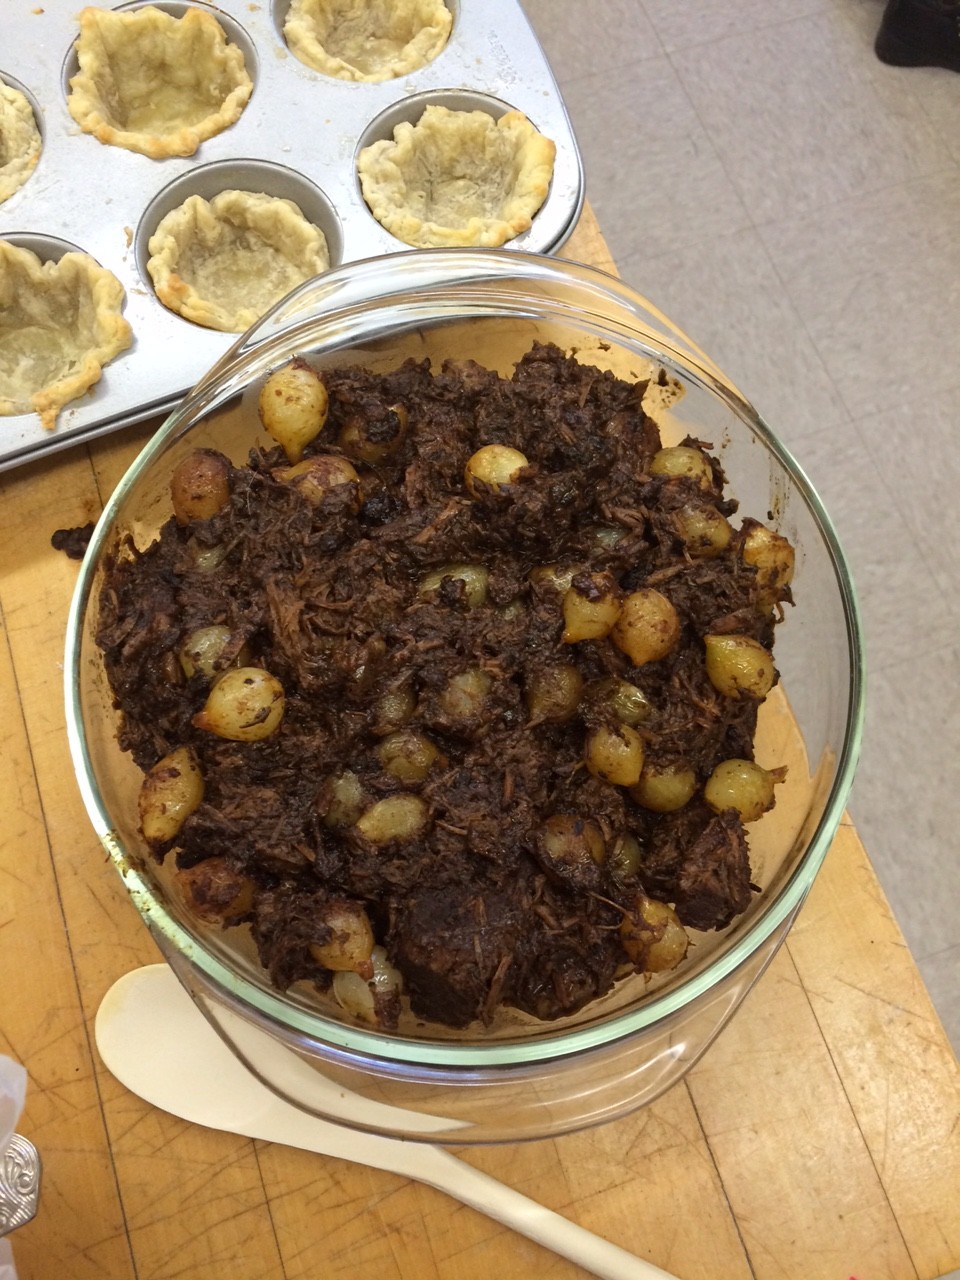
the final product of 5.5 hours of cooking

the final product of 5.5 hours of cooking

Luckily, 3 hours of that time was just letting it sit in a pot doing its thing. So while that was happening I made the bottom shell for my chocolate lava mini pies (featured in the background of the above photo), and I mixed the filling. The shells for these pies were the first time I have to blind bake a pie crust, so that was a fun adventure.
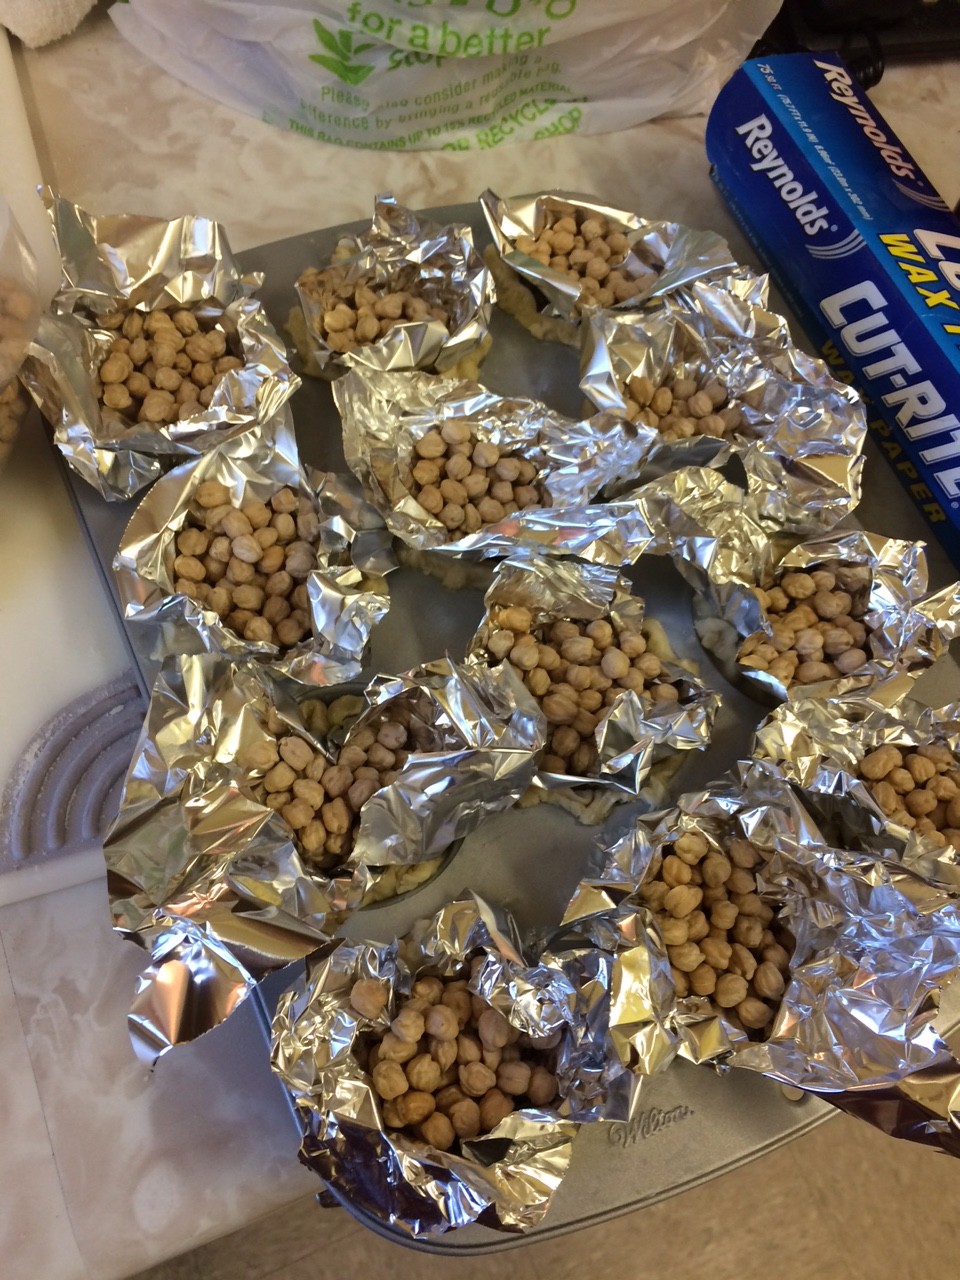
So much tin foil!

So much tin foil!

The only regret I had was buttering the muffin cups. I was really concerned about it sticking, but since the pastry already had so much butter in it, I got little buttery pools in the bottom of my cups that I had to wipe up. Aside from that my first attempt at blind baking was okay.
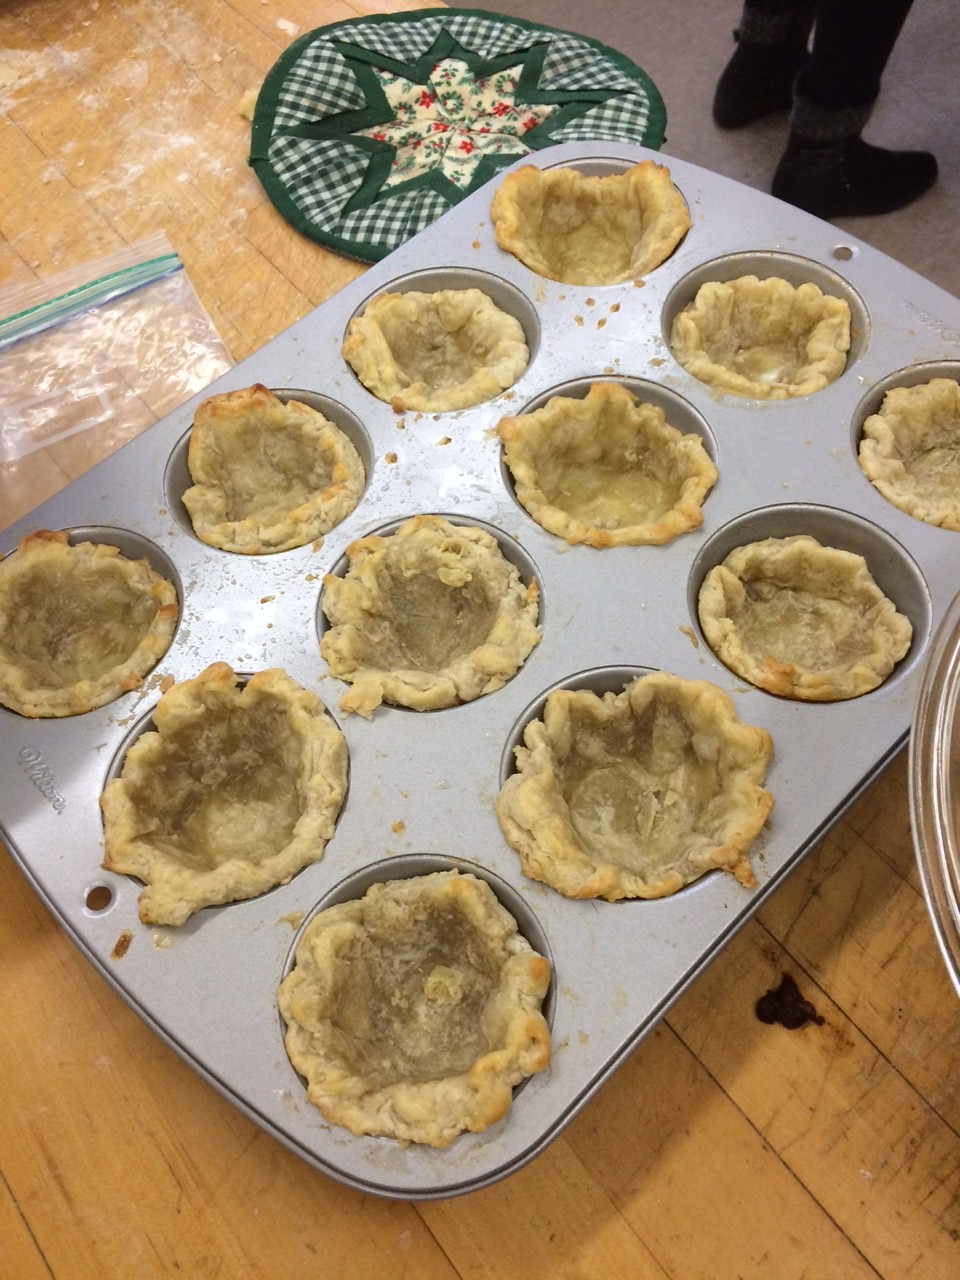
Pretty okay

Pretty okay

I set about doing all of this the first day of cooking, and the next I did a test lava cake, along with the real batch, and assembled and baked my pot pie. The lava cake pies were the major concern as I knew I could make pie and I knew I could make cake, but could I make the lava flow. In the end it was a lot of guess work. I found a recipe for a chocolate lava pie, but this was a whole pie not mini ones so any questions about timing were up in the air. In the end I just had to do a lot of checking, like every 3 minutes, but…..
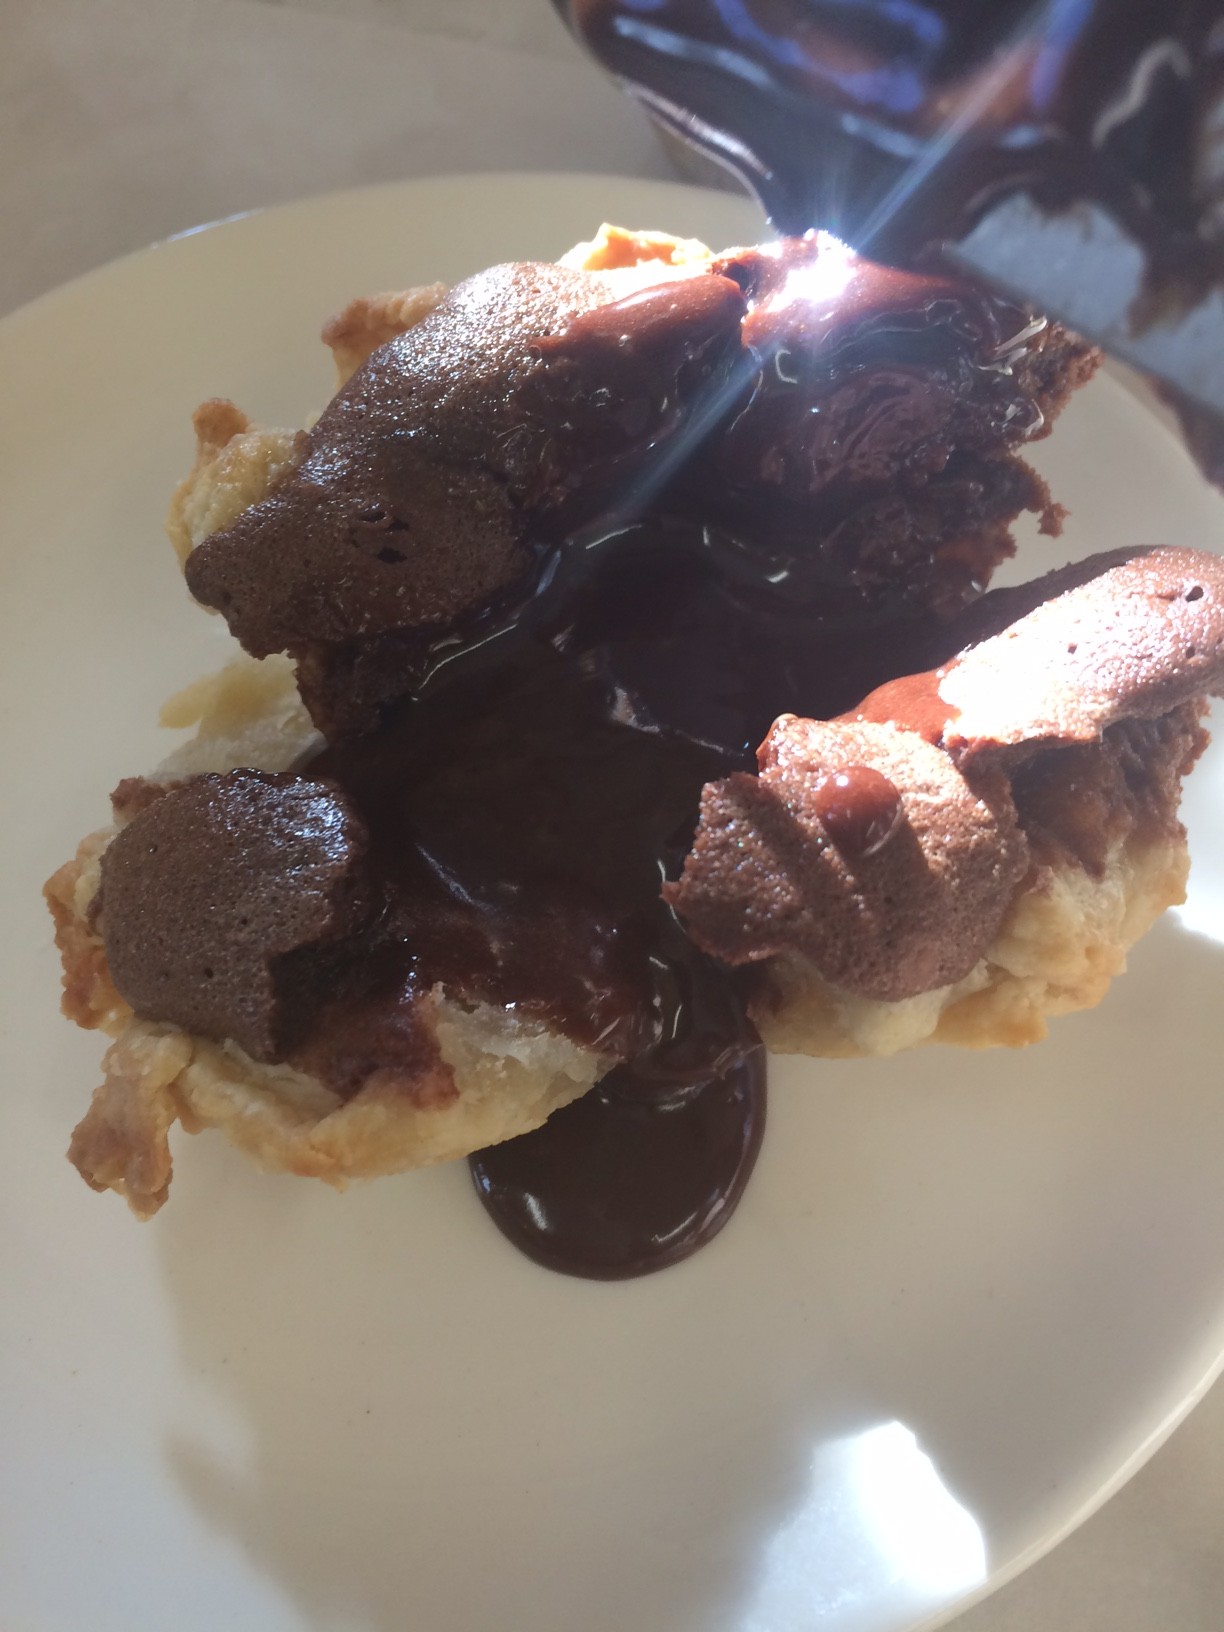
IT WORKED!

IT WORKED!

and so I made the rest!

IMG_1459

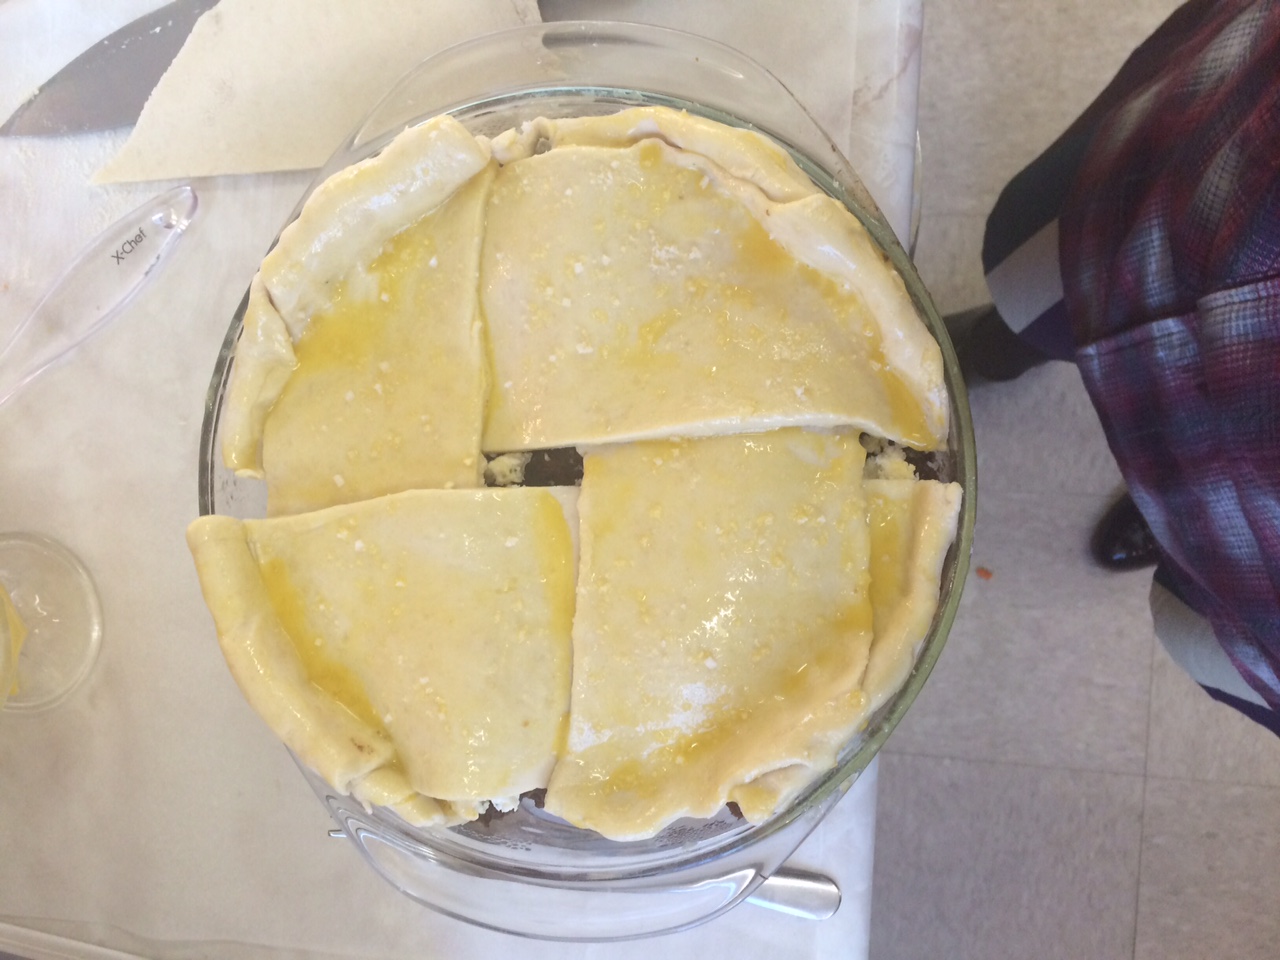
Then came assembling the pot pie. Last minute I decided to add some Boursin cheese into the pie because I felt it was a little to wine-y tasting and I thought it would mellow that out some. I also decided to go with a lattice crust because I hadn’t done that yet, but because I was concerned about how the puff pastry would puff I made a wider lattice, a very wide lattice.
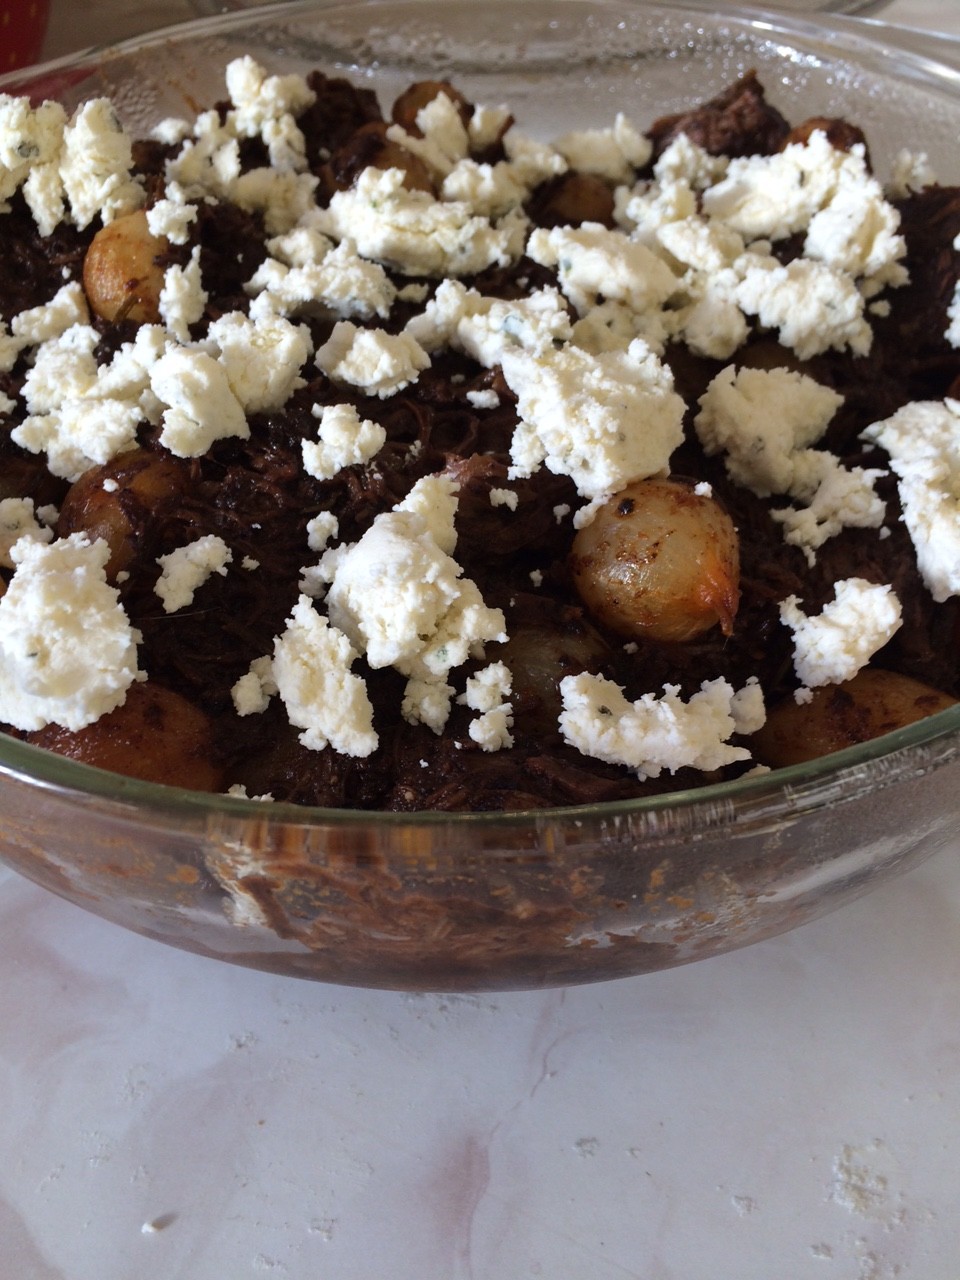
mmmmm cheese
mmmmm cheese

I'm not even sure we can call this a lattice
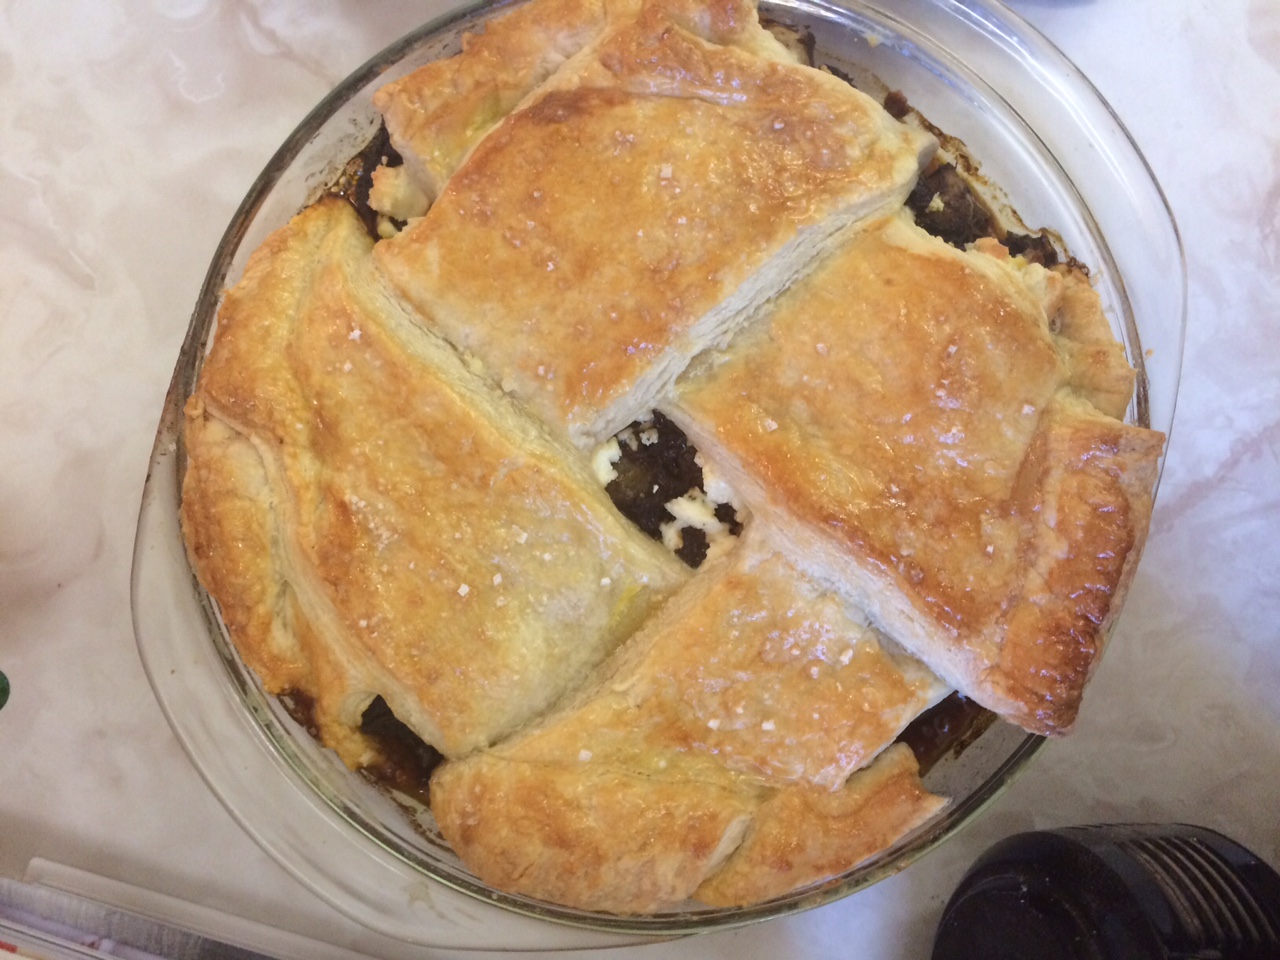
I’m not even sure we can call this a lattice

The finished pie!

The finished pie!

So that’s it! I made my pies. Unfortunately the time between the lava pies coming out of the oven and there being consumed was a tad longer than expected, so the lava didn’t happen, but all of them were eaten in the end, so apparently they were good. The pot pie was successful as well, as the cheese worked as planned.

I definitely learned a lot over these past few weeks. I can make pie crust and not just on kind. I can make it with cream cheese, canola oil, just butter, butter and shortening, and I can make puff pastry. I can make sweet pies, I can make savory pies, I can make the various things that go into these pies, I can say I have eaten 14 different pies in one sitting, I can boast about being the proud owner of my own Pyrex mixing bowls, I know more than the average person about the history of pie, I am now a fan of The Great British Bake Off. I can say I can make a pretty tasty pie, and I can say I learned a valuable skill.
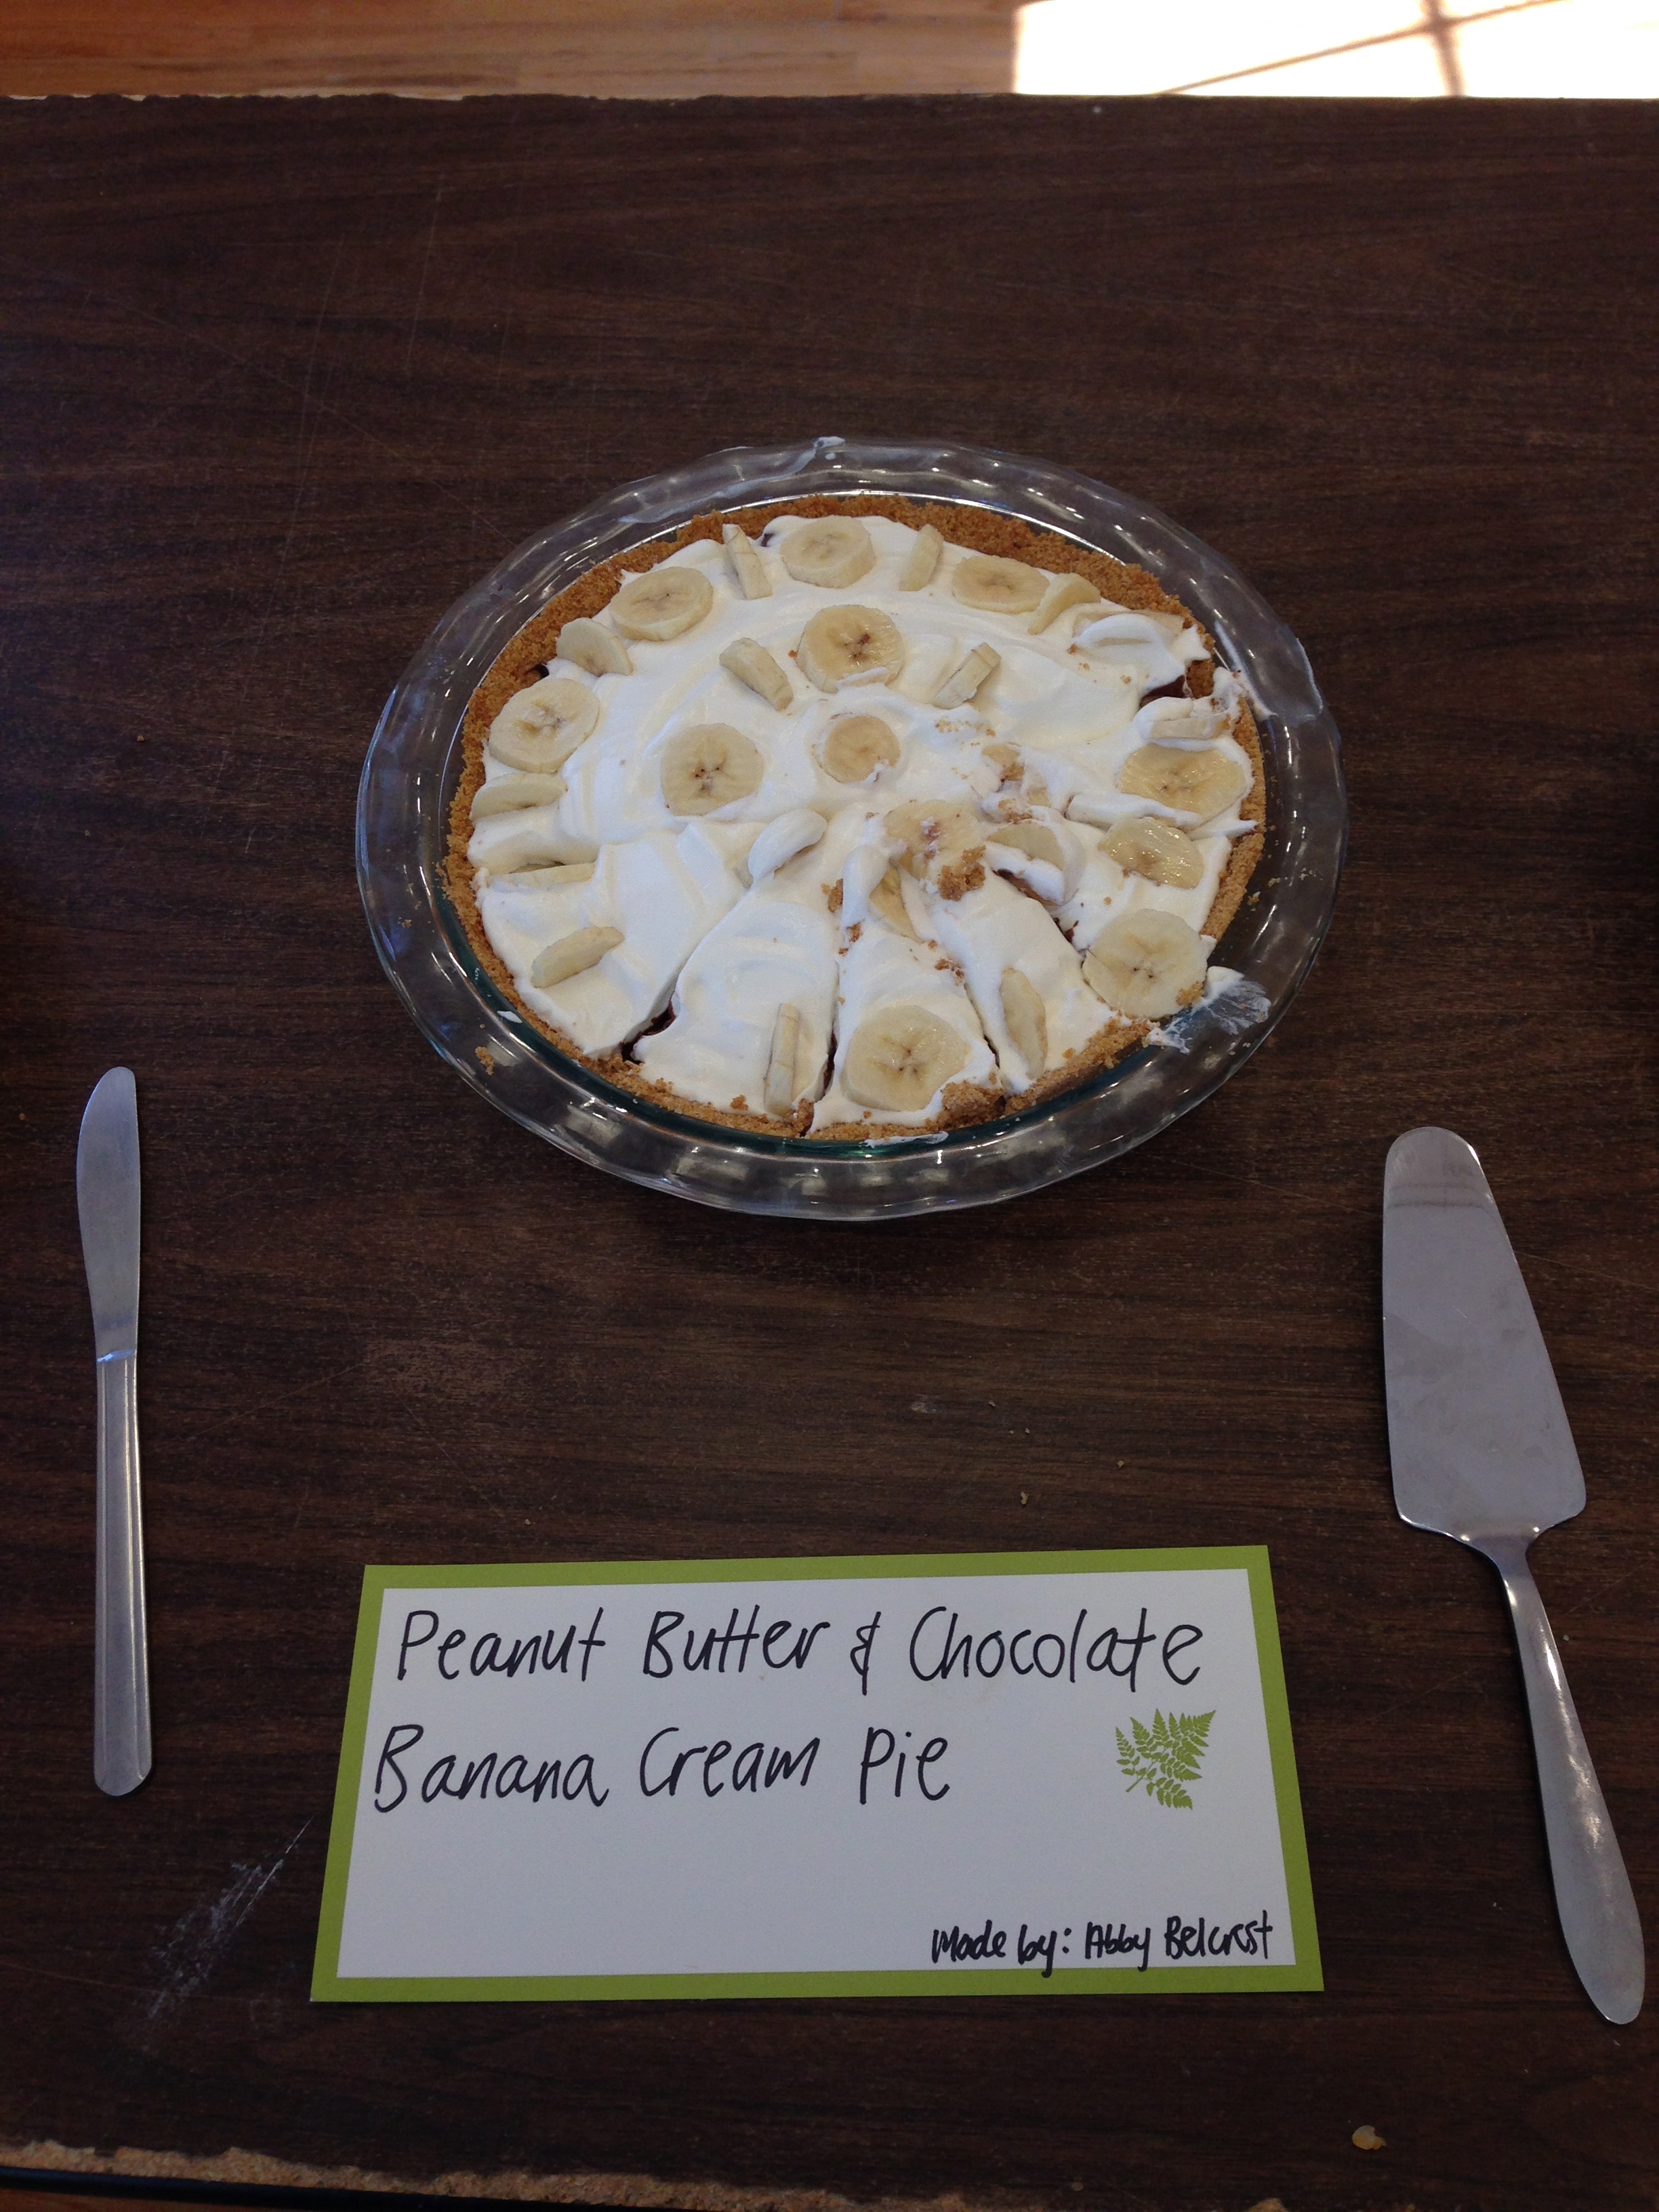
Peanut Butter and Chocolate Banana Cream Pie

IMG_1047


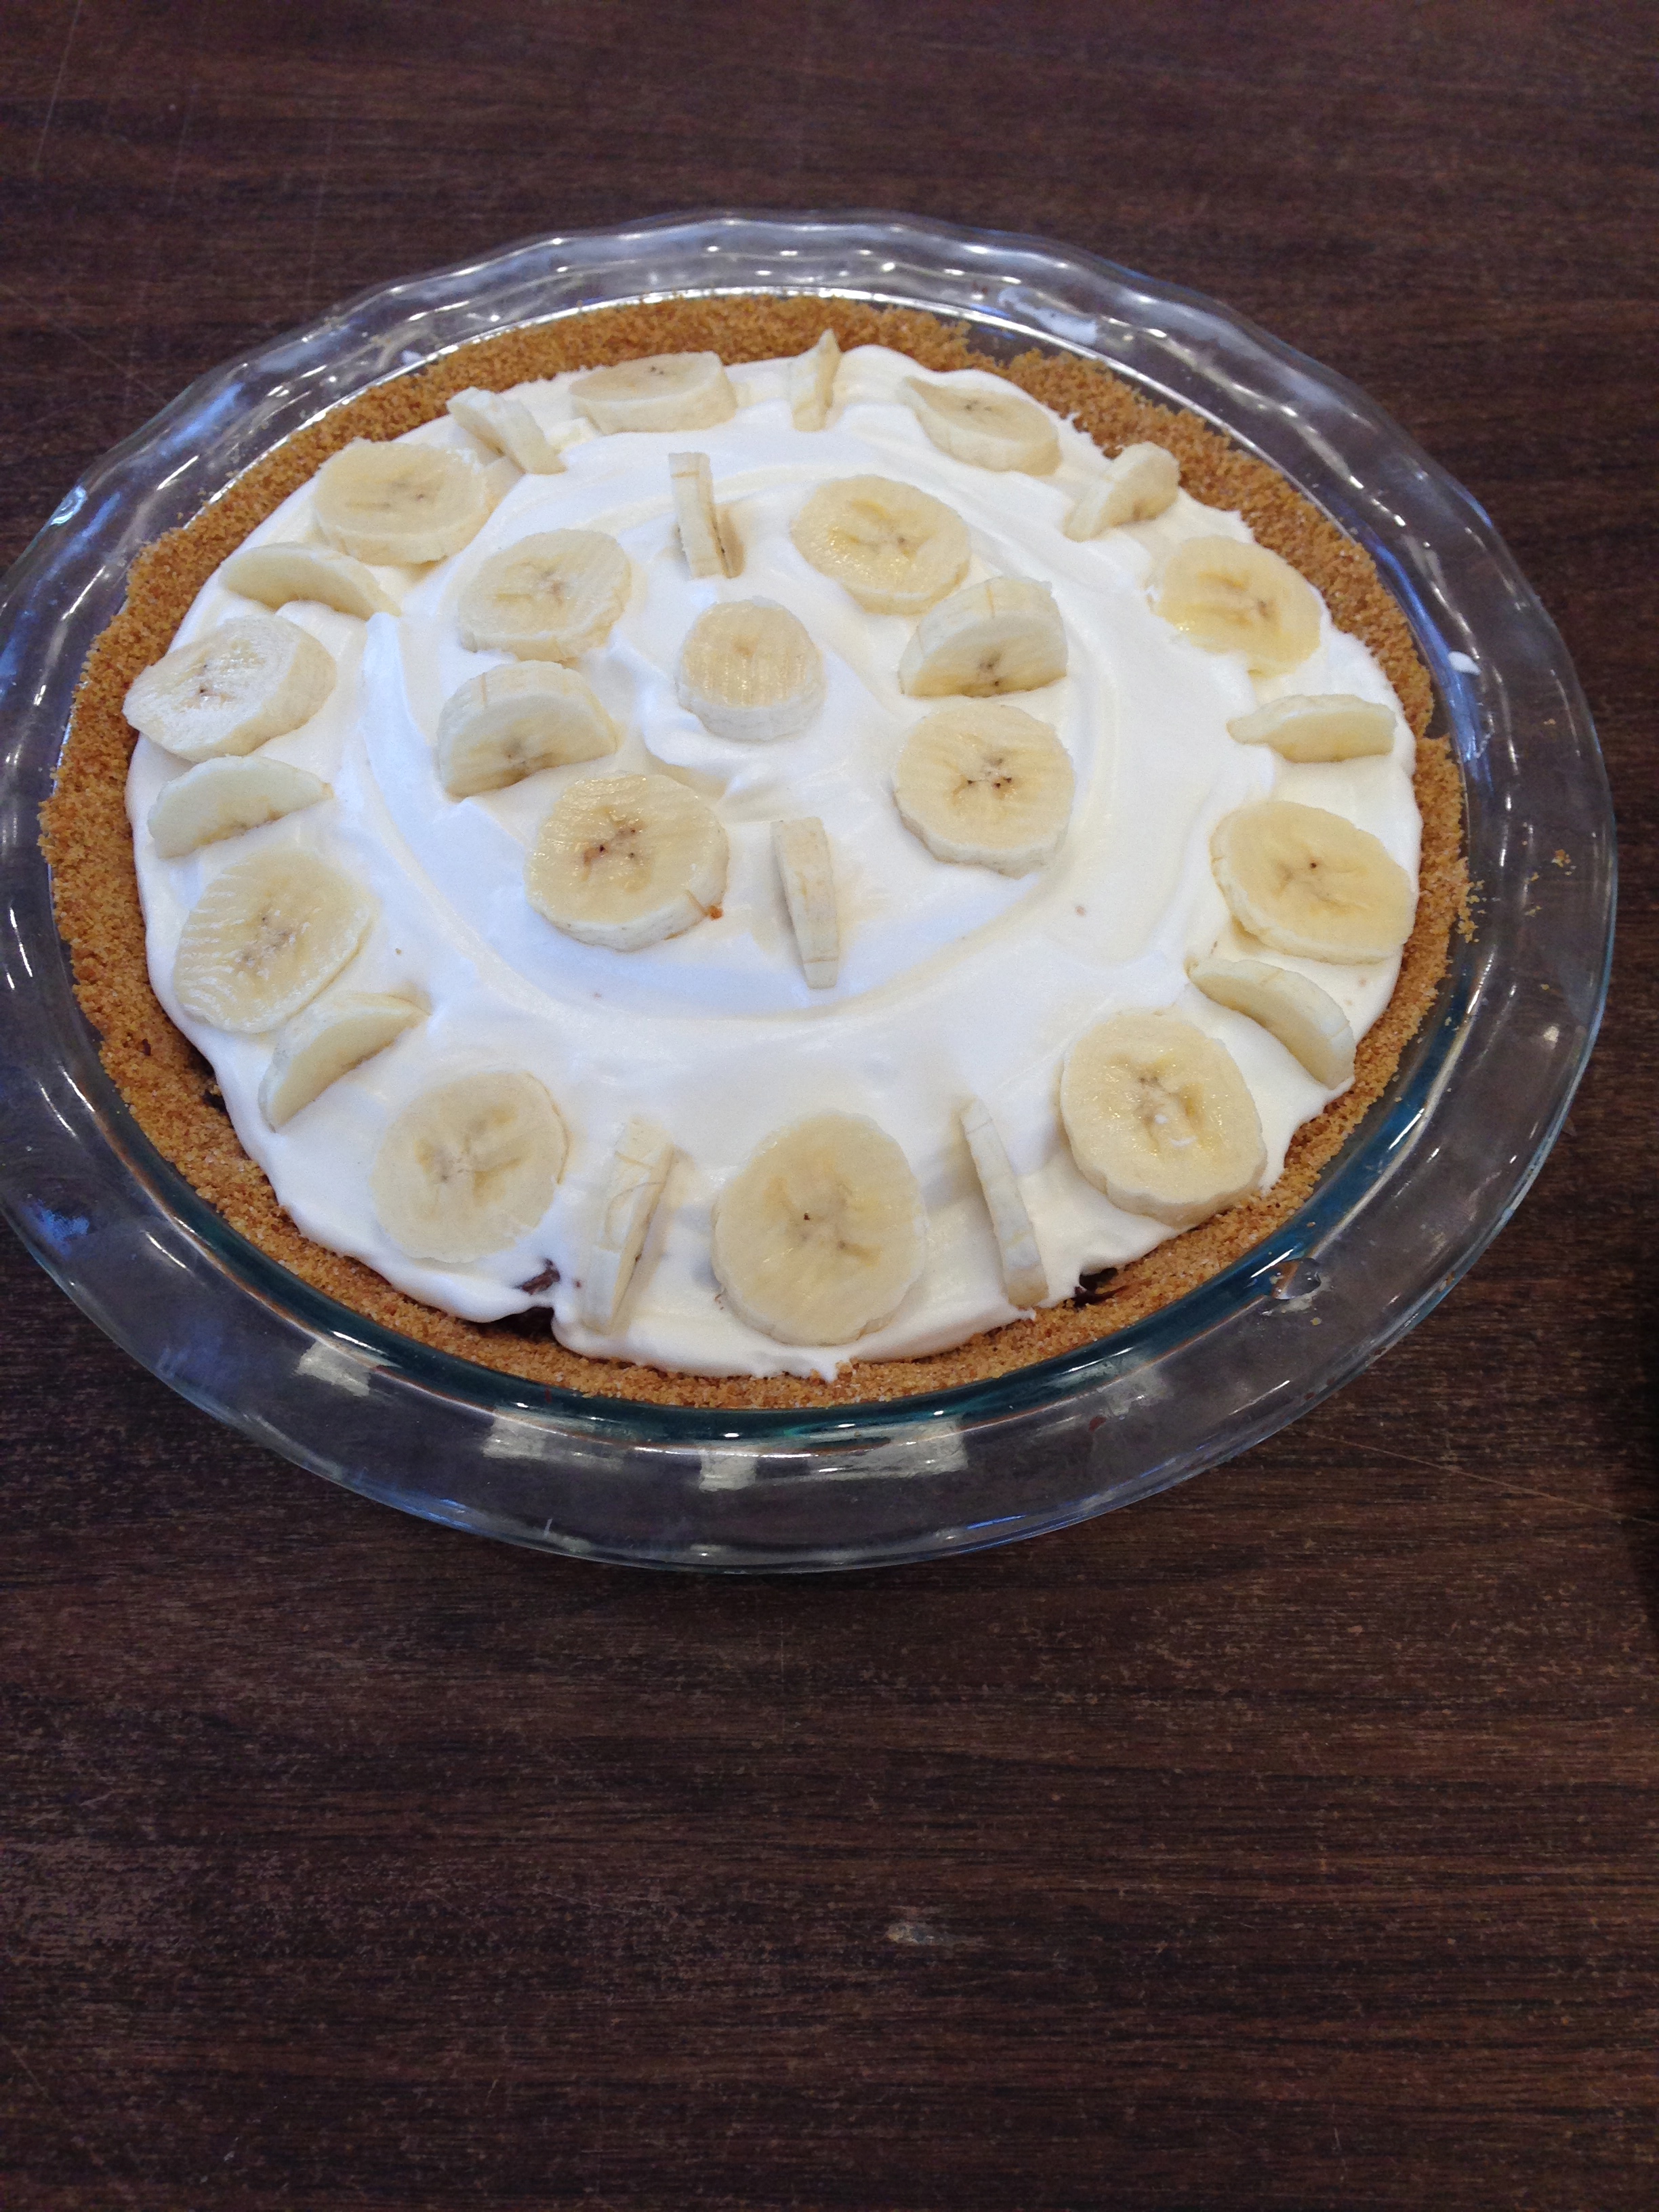
Chocolate. Peanut butter. Banana cream. Love. What else do you need?! Nothing! This was one of my favorite pies, and, according to the meager bit I had left at the end of the banquet, an overwhelming success. Best of all, it was super easy to make. You can follow any recipe for homemade graham cracker crust. The graham cracker crust has definitely become my new go-to. Graham cracker crumbs, sugar, melted butter, and a tad bit of baking and you’re all set! No worries about the crust woes that befall your typical pastry. The one thing I would recommend is buttering your pan thoroughly before pre baking/pressing in your crust. I had many crusts of the graham cracker variety, and too often they stuck to the pan, and I couldn’t get enough!

Anyway, after my crust was prepared and chilling, I  started with the peanut butter pudding:

IMG_1037


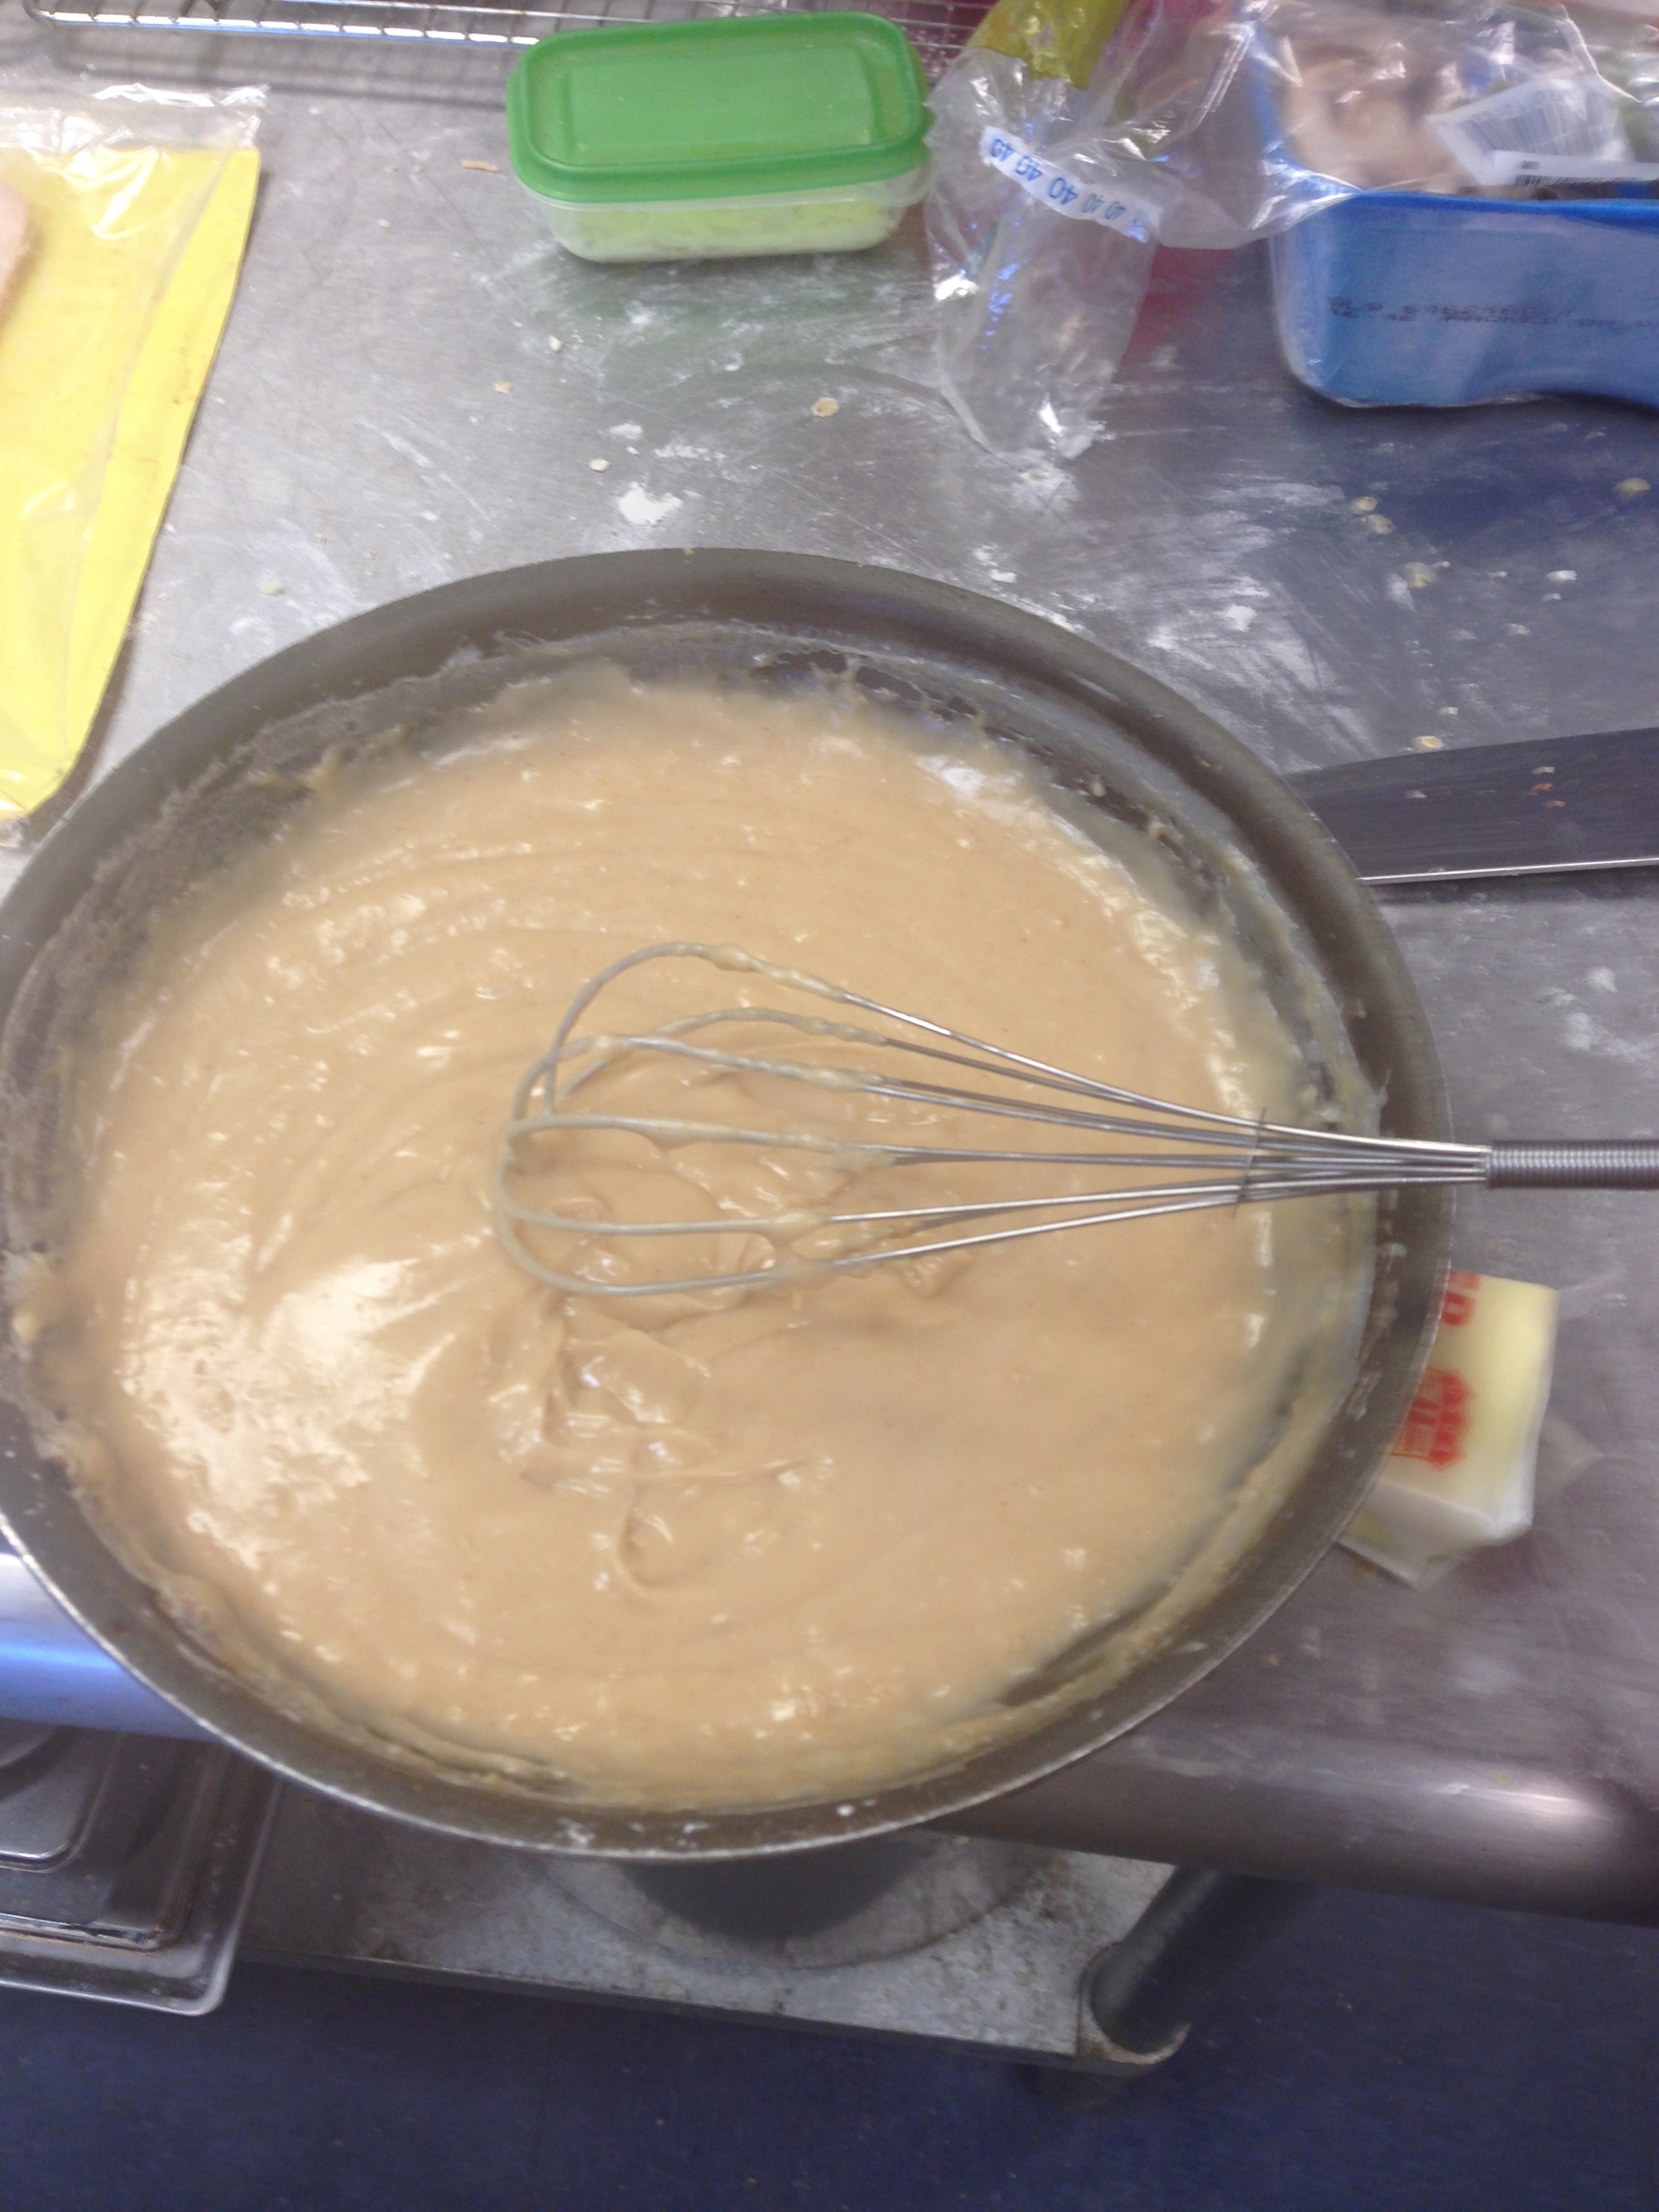
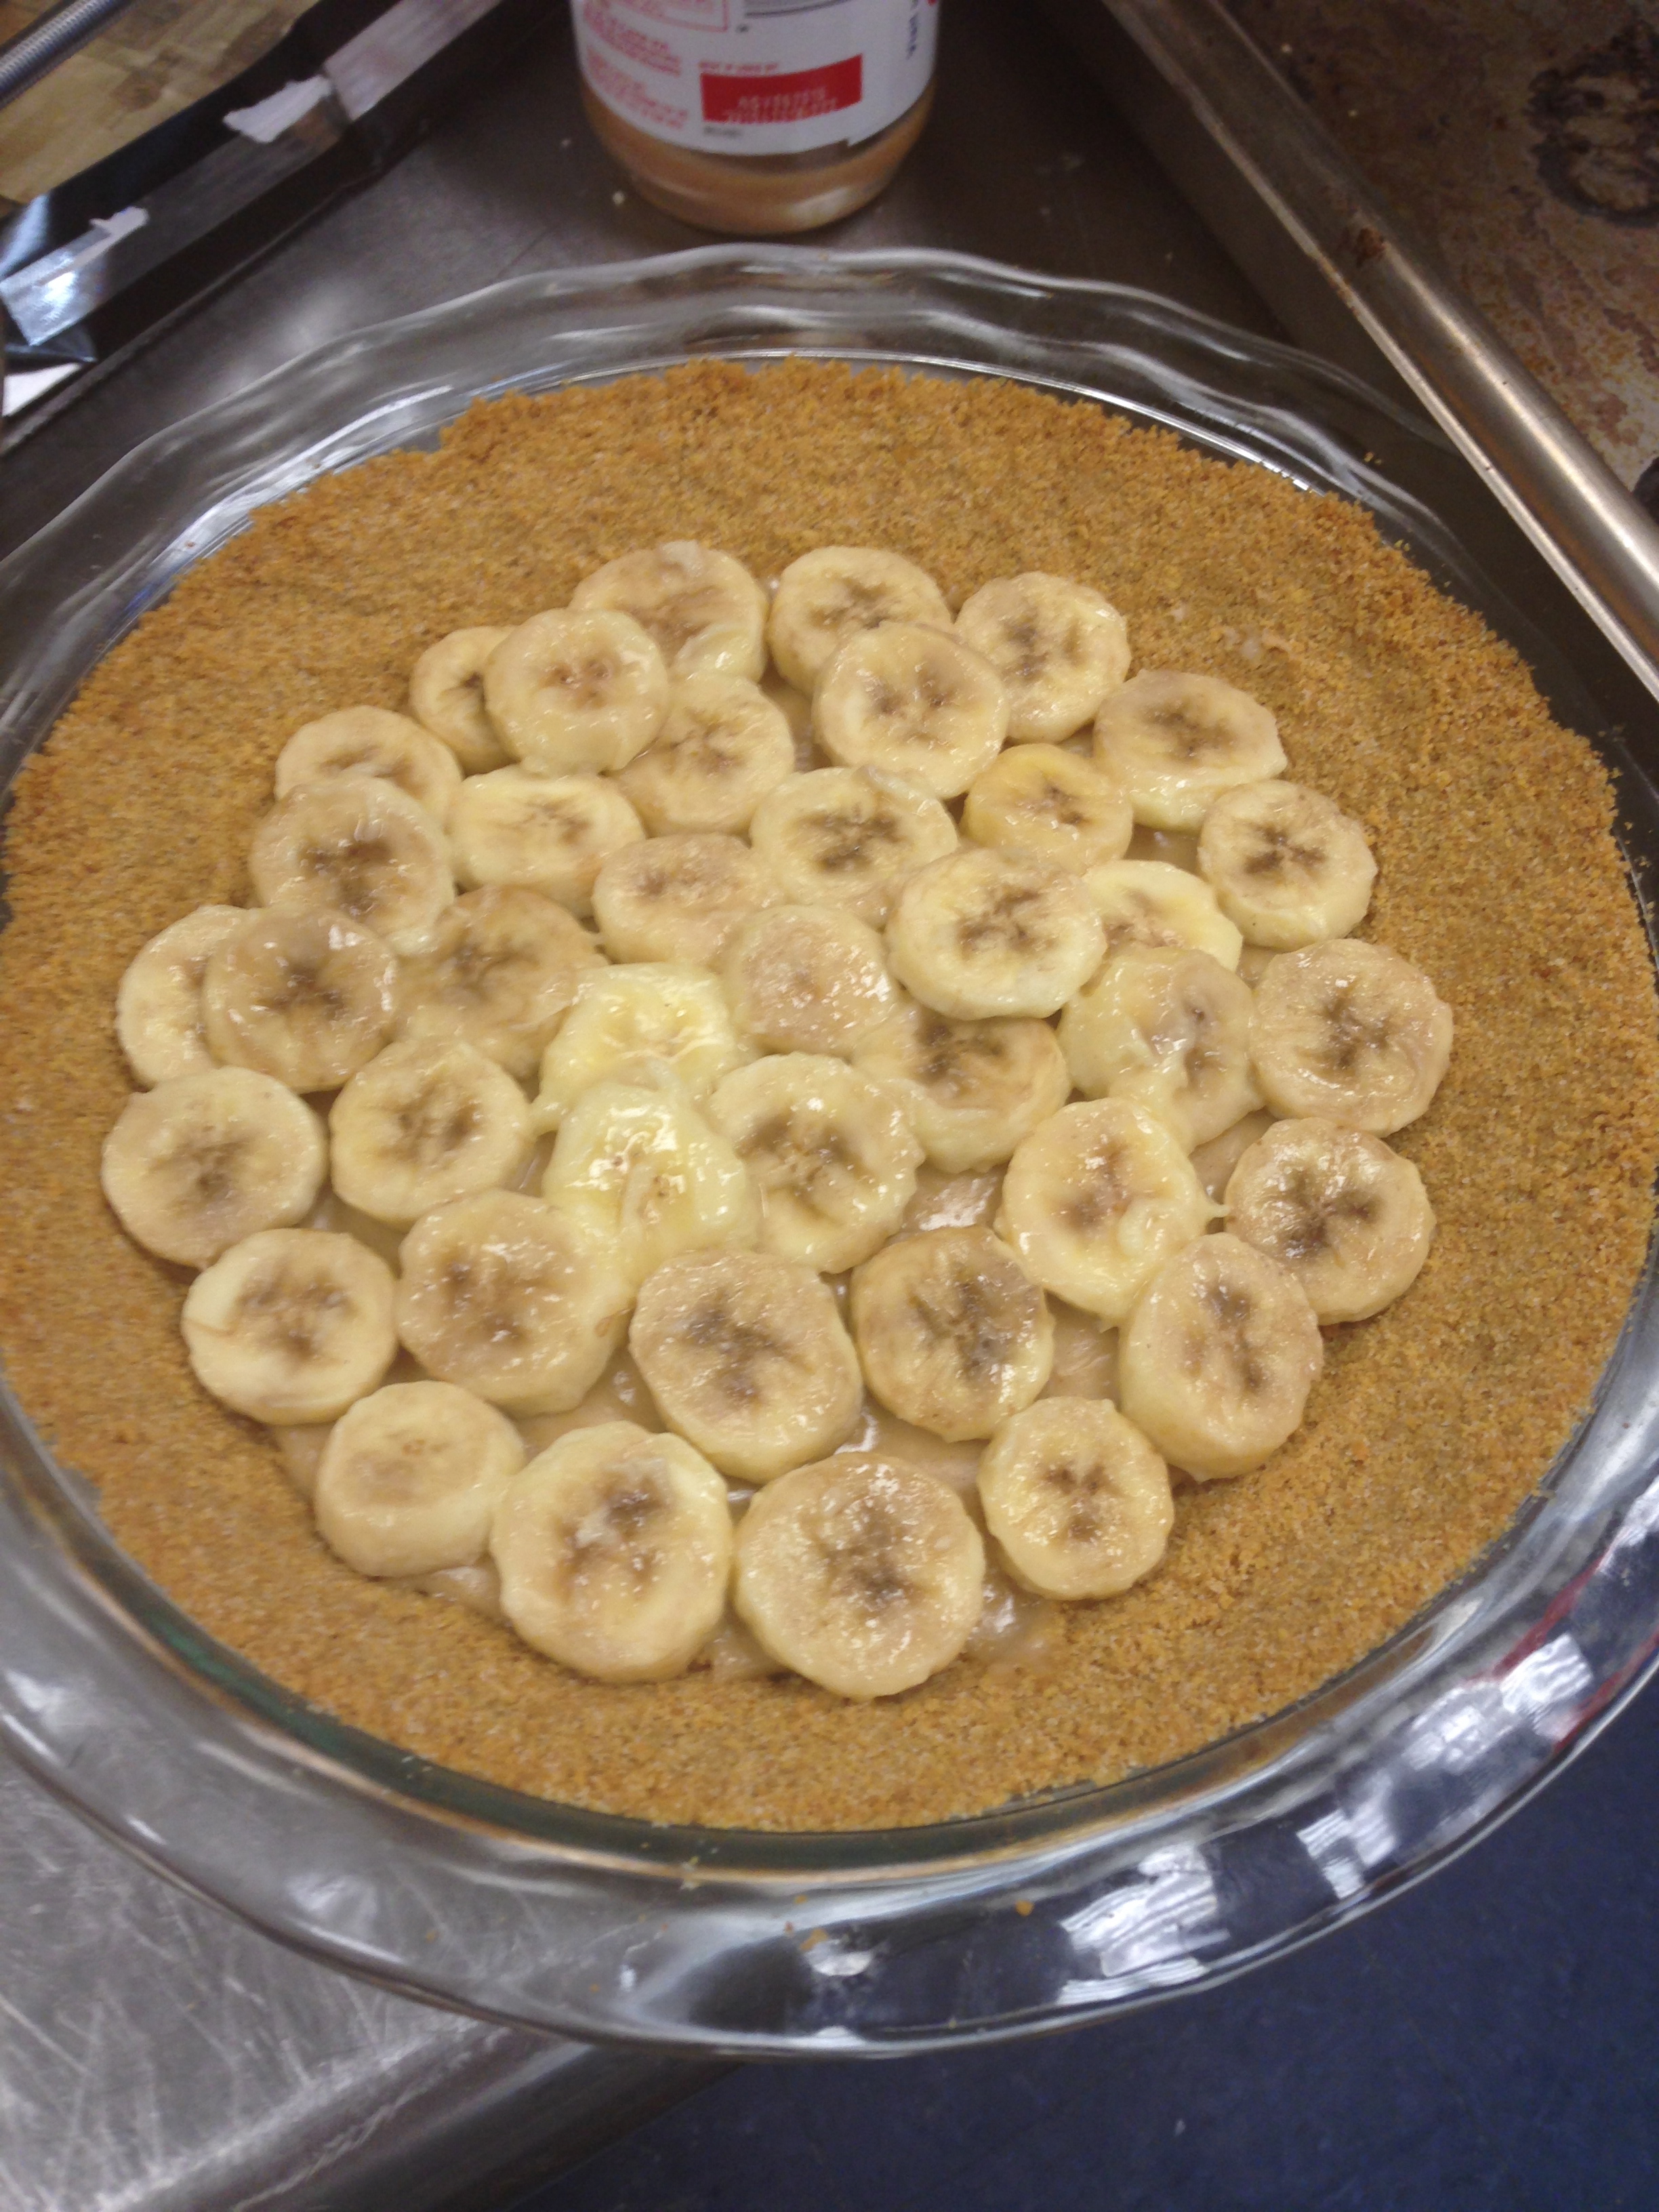
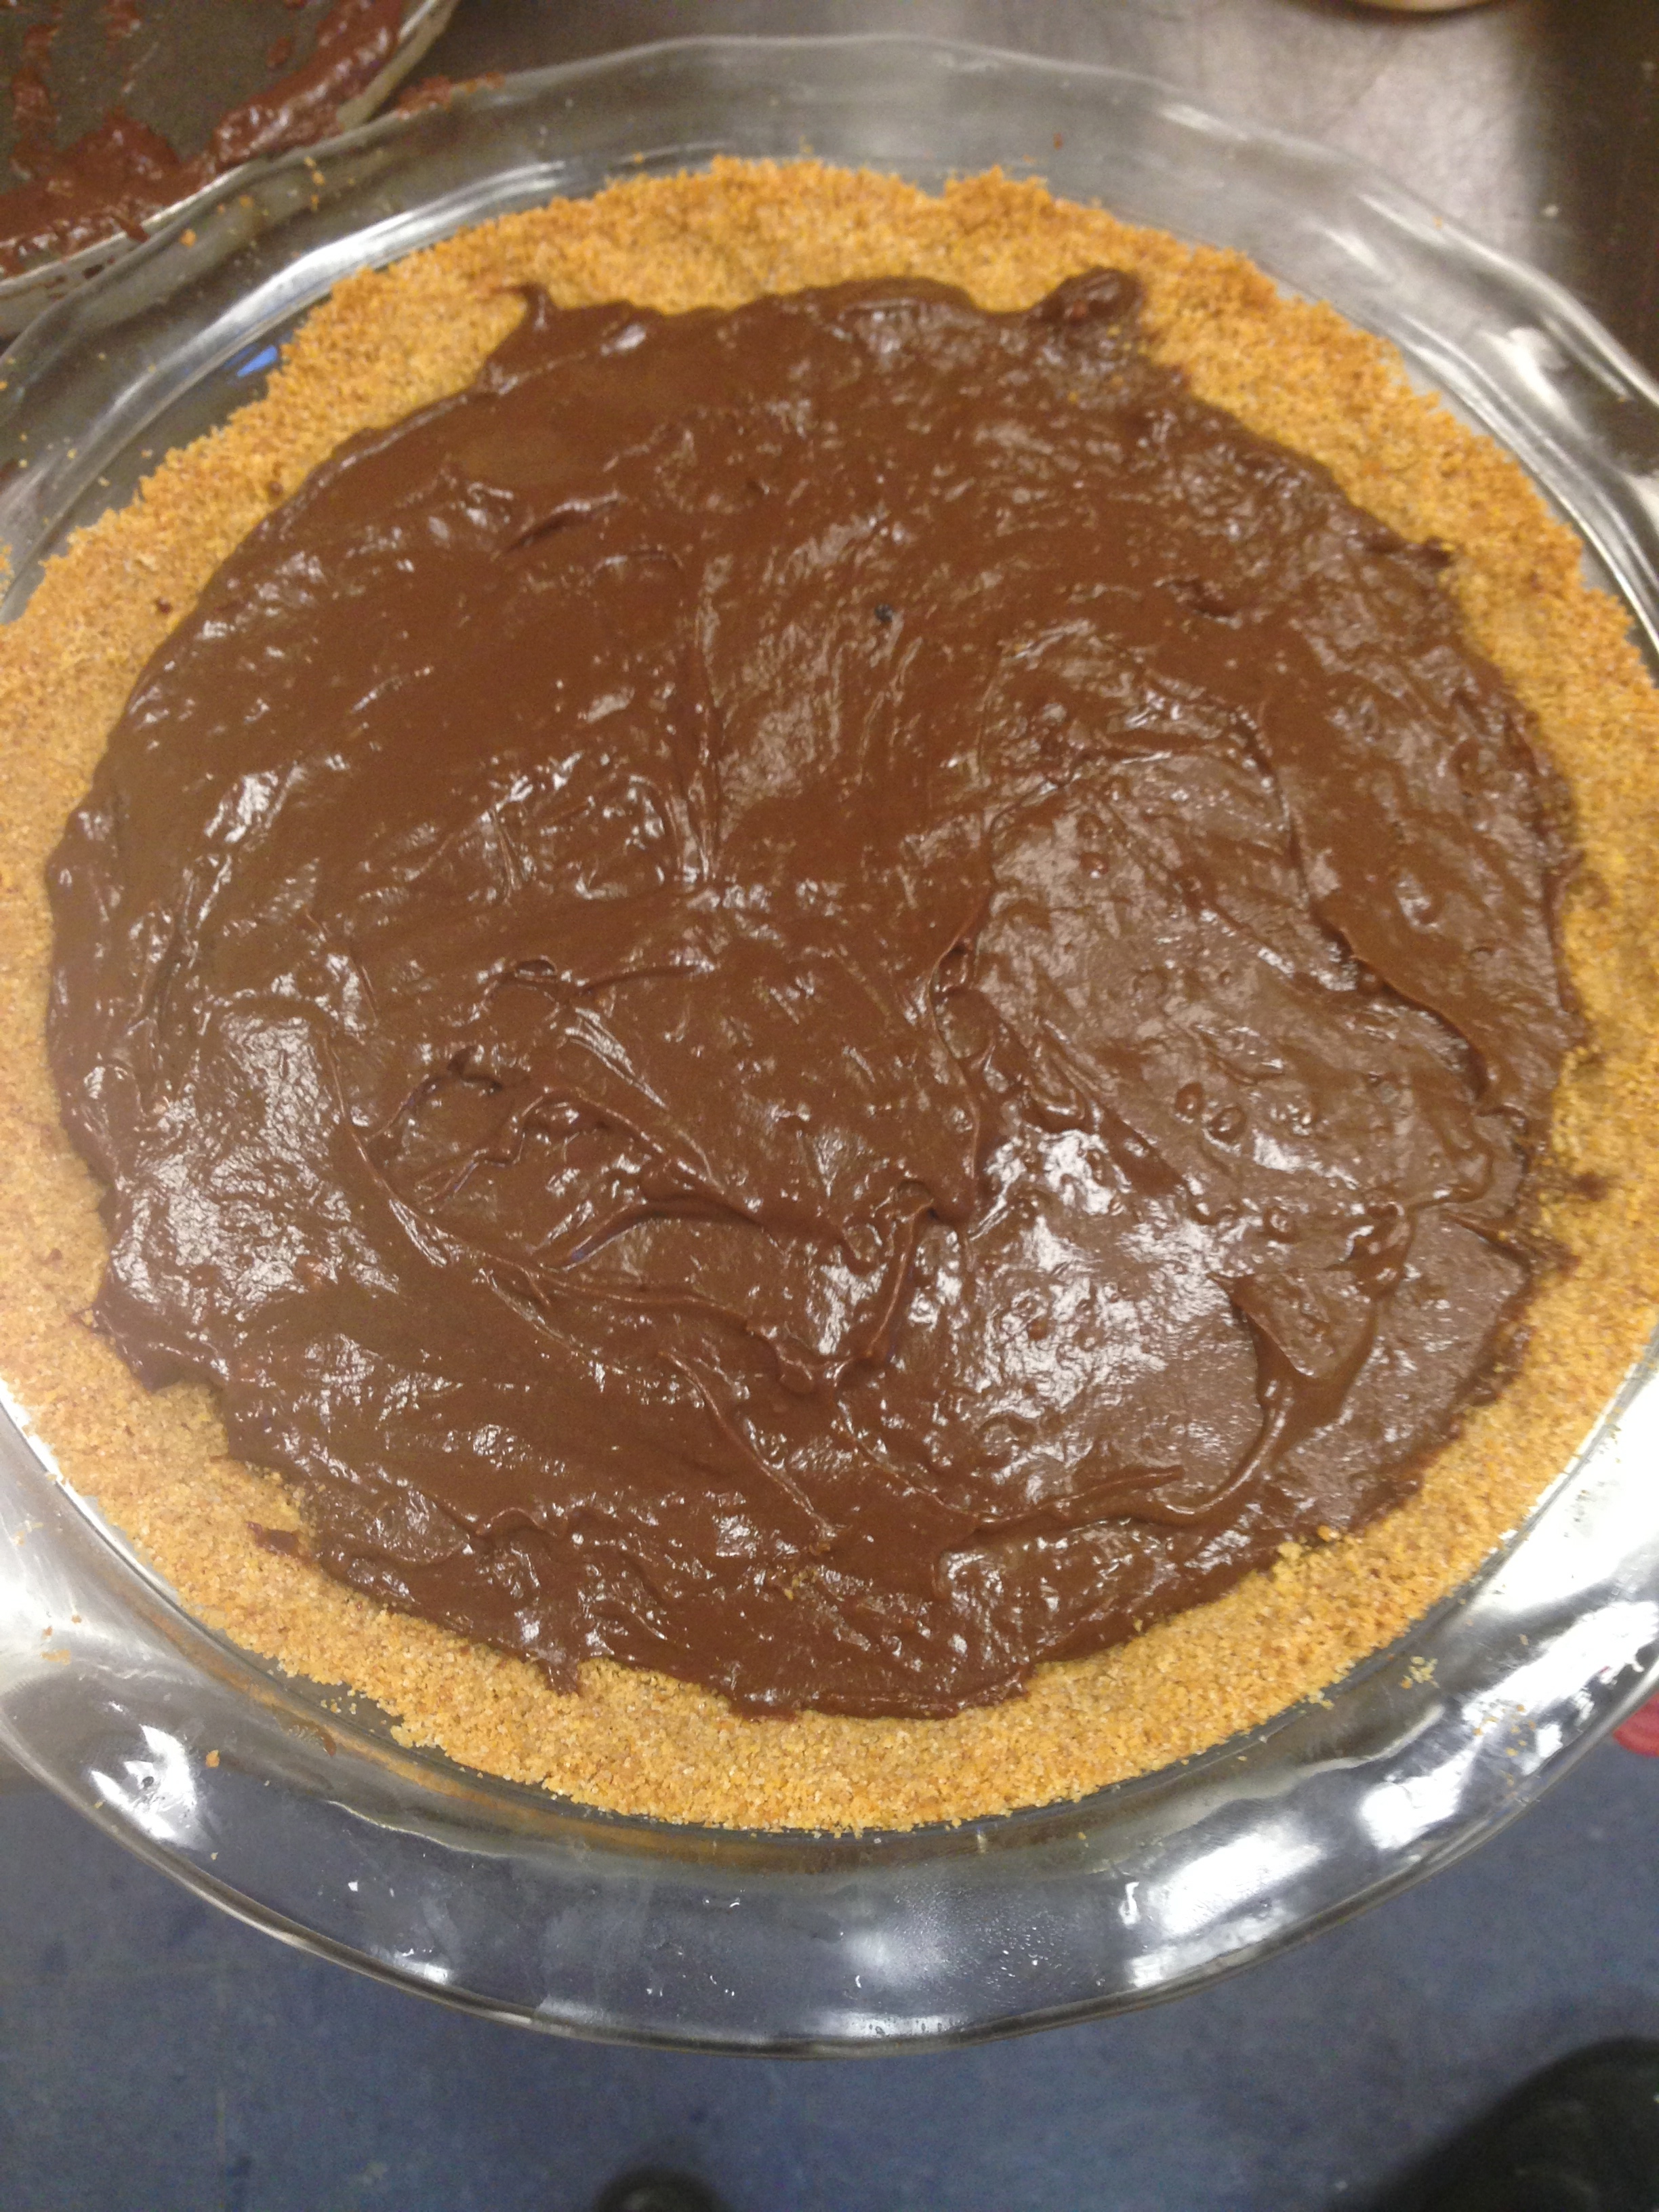
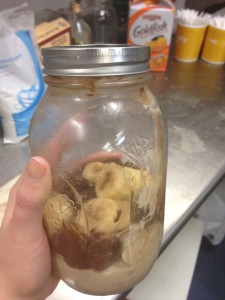
It was phenomenal. I had never had homemade peanut butter pudding (I’m accustomed to the Jell-O variety), and it was terrific! I had no idea puddings were so simple; corn starch, sugar (of course), and some heavy whipping cream/whole milk, and I was all set! I figured I’d follow the same strategy for the chocolate pudding and I got ahead of myself…turns out chocolate pudding only calls for 2 tbsp of cornstarch, as opposed to the 5 tbsp in the peanut butter pudding…whoops! I could definitely tell that it was a little less liquid than typical pudding, but it still tasted great! I filled a layer of banana in over the peanut butter and then covered that with a layer of chocolate pudding. Then, I put my leftovers in a mason jar to give some friends a taste-test before the big next day.

IMG_1041IMG_1042IMG_1043


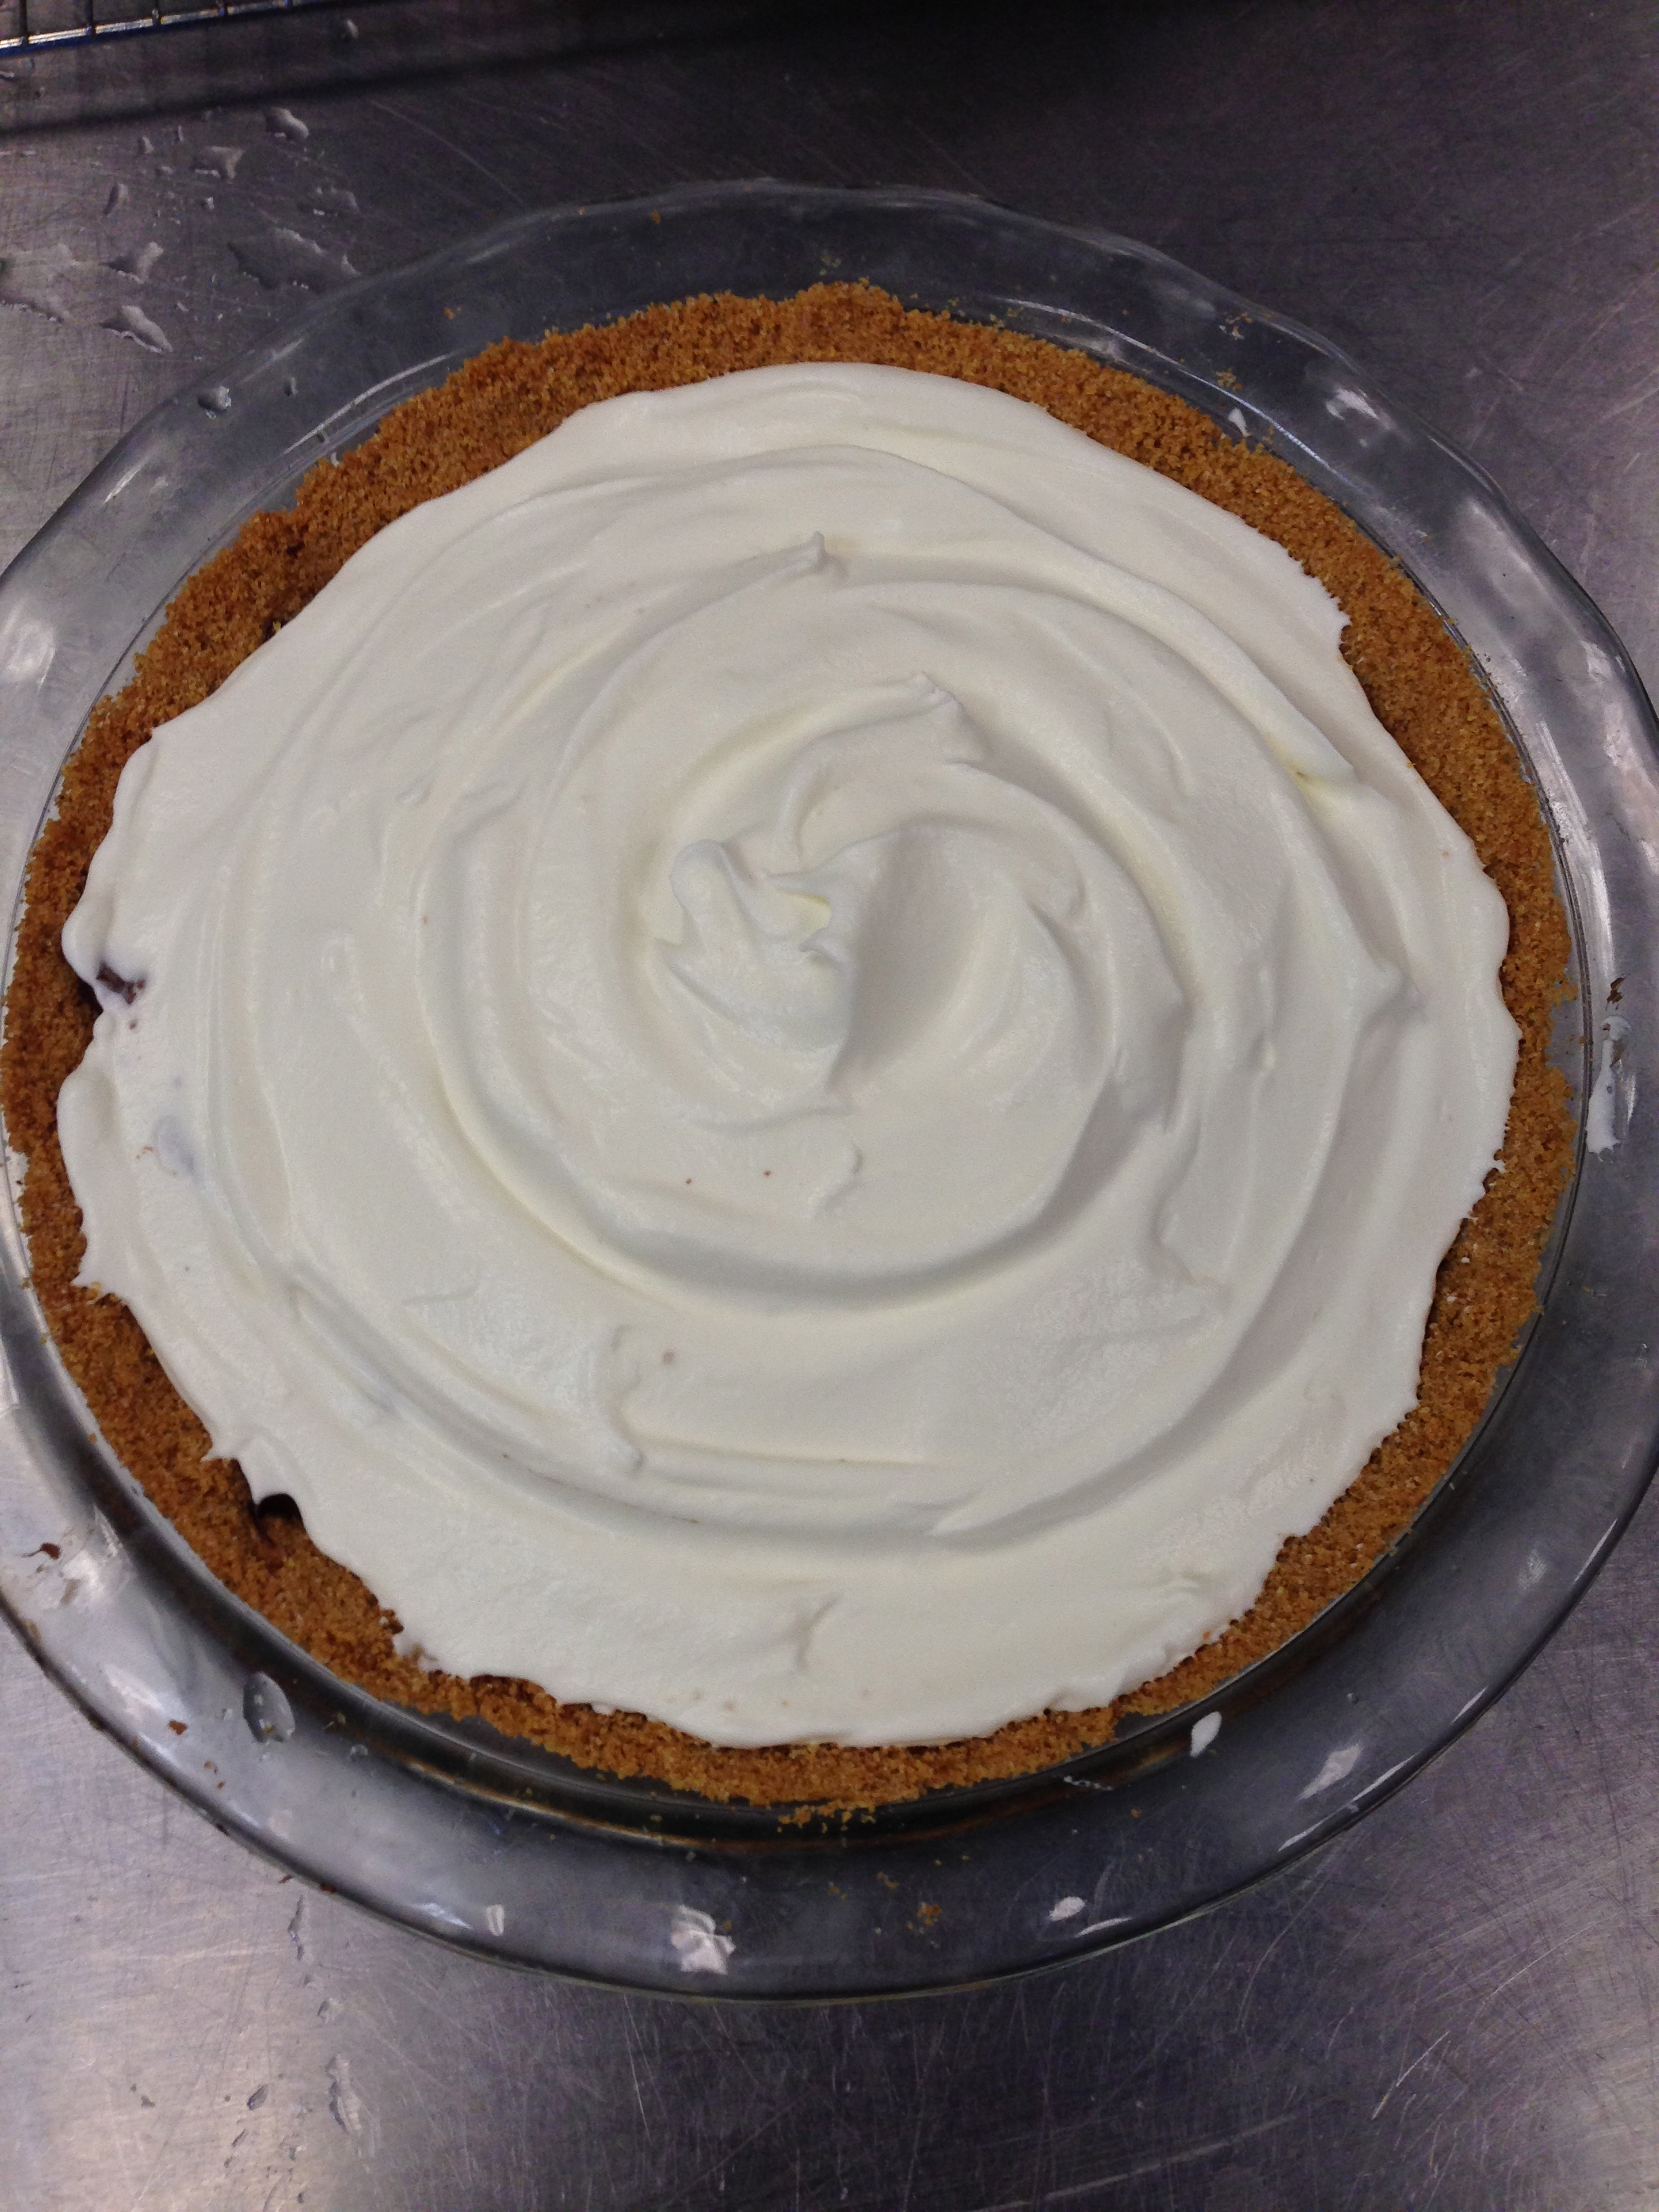
After the puddings were in the crust, it was time to chill them both. I wrapped up my little treat, and popped it in the refrigerator overnight. The next day, I came in about an hour early to prepare our space and whip up some homemade whipped cream…After making my own, I have to say, it will be pretty darn hard to go back to the store-bought stuff.

IMG_1044


It was wonderfully light and sweet. To finish, I sliced up one more banana to complete the presentation. As I’ve said, it was super sweet and delicious, and not too heavy! In retrospect, I think I’d like a little more banana cream, rather than the chocolate/peanut butter/whipped cream with bananas thrown in. Nikki also made a coconut whipped cream that was spectacular, and would be great with the flavors in this pie.

And so comes the end of my month of pies. It was quite the journey in our industrial kitchen–Lord knows I learned how to manage a 10-lb skillet. Let’s see, what else have I learned…not to be such a wimp in the face of pastry adversity, how to not connect a pastry braid to a bottom crust, you can never chill your dough enough…Yep, I’ve definitely learned some life lessons…how could I not while watching Sweeney Todd and Pushing Daisies? But honestly, I had such a lovely month with great new friends making great food. It’s going to be hard to compare this course to my other classes come spring semester!

IMG_1048

Chocolate Pecan Bourbon Pie

With the final banquet fast approaching, I needed a recipe for a sweet and a savory pie. Last week I had come across a recipe for a chocolate pecan bourbon pie. The recipe sounded and looked amazing. I mean bourbon and chocolate, what’s not to like people? While I am more of a scotch man, I thoroughly enjoy some bourbon on occasion, especially the great but undervalued “pickle back shot” (a shot of bourbon followed by a shot of pickle juice.

Although I really really really wanted to make it at the time, I figured two pies is ambitious. Yet needing to make two pies this week around, I knew that this was going to be the recipe for at least one of my two pies. I got the recipe off of the humorously entitled ezra pound cake blog which I have included here: http://www.ezrapoundcake.com/archives/18097

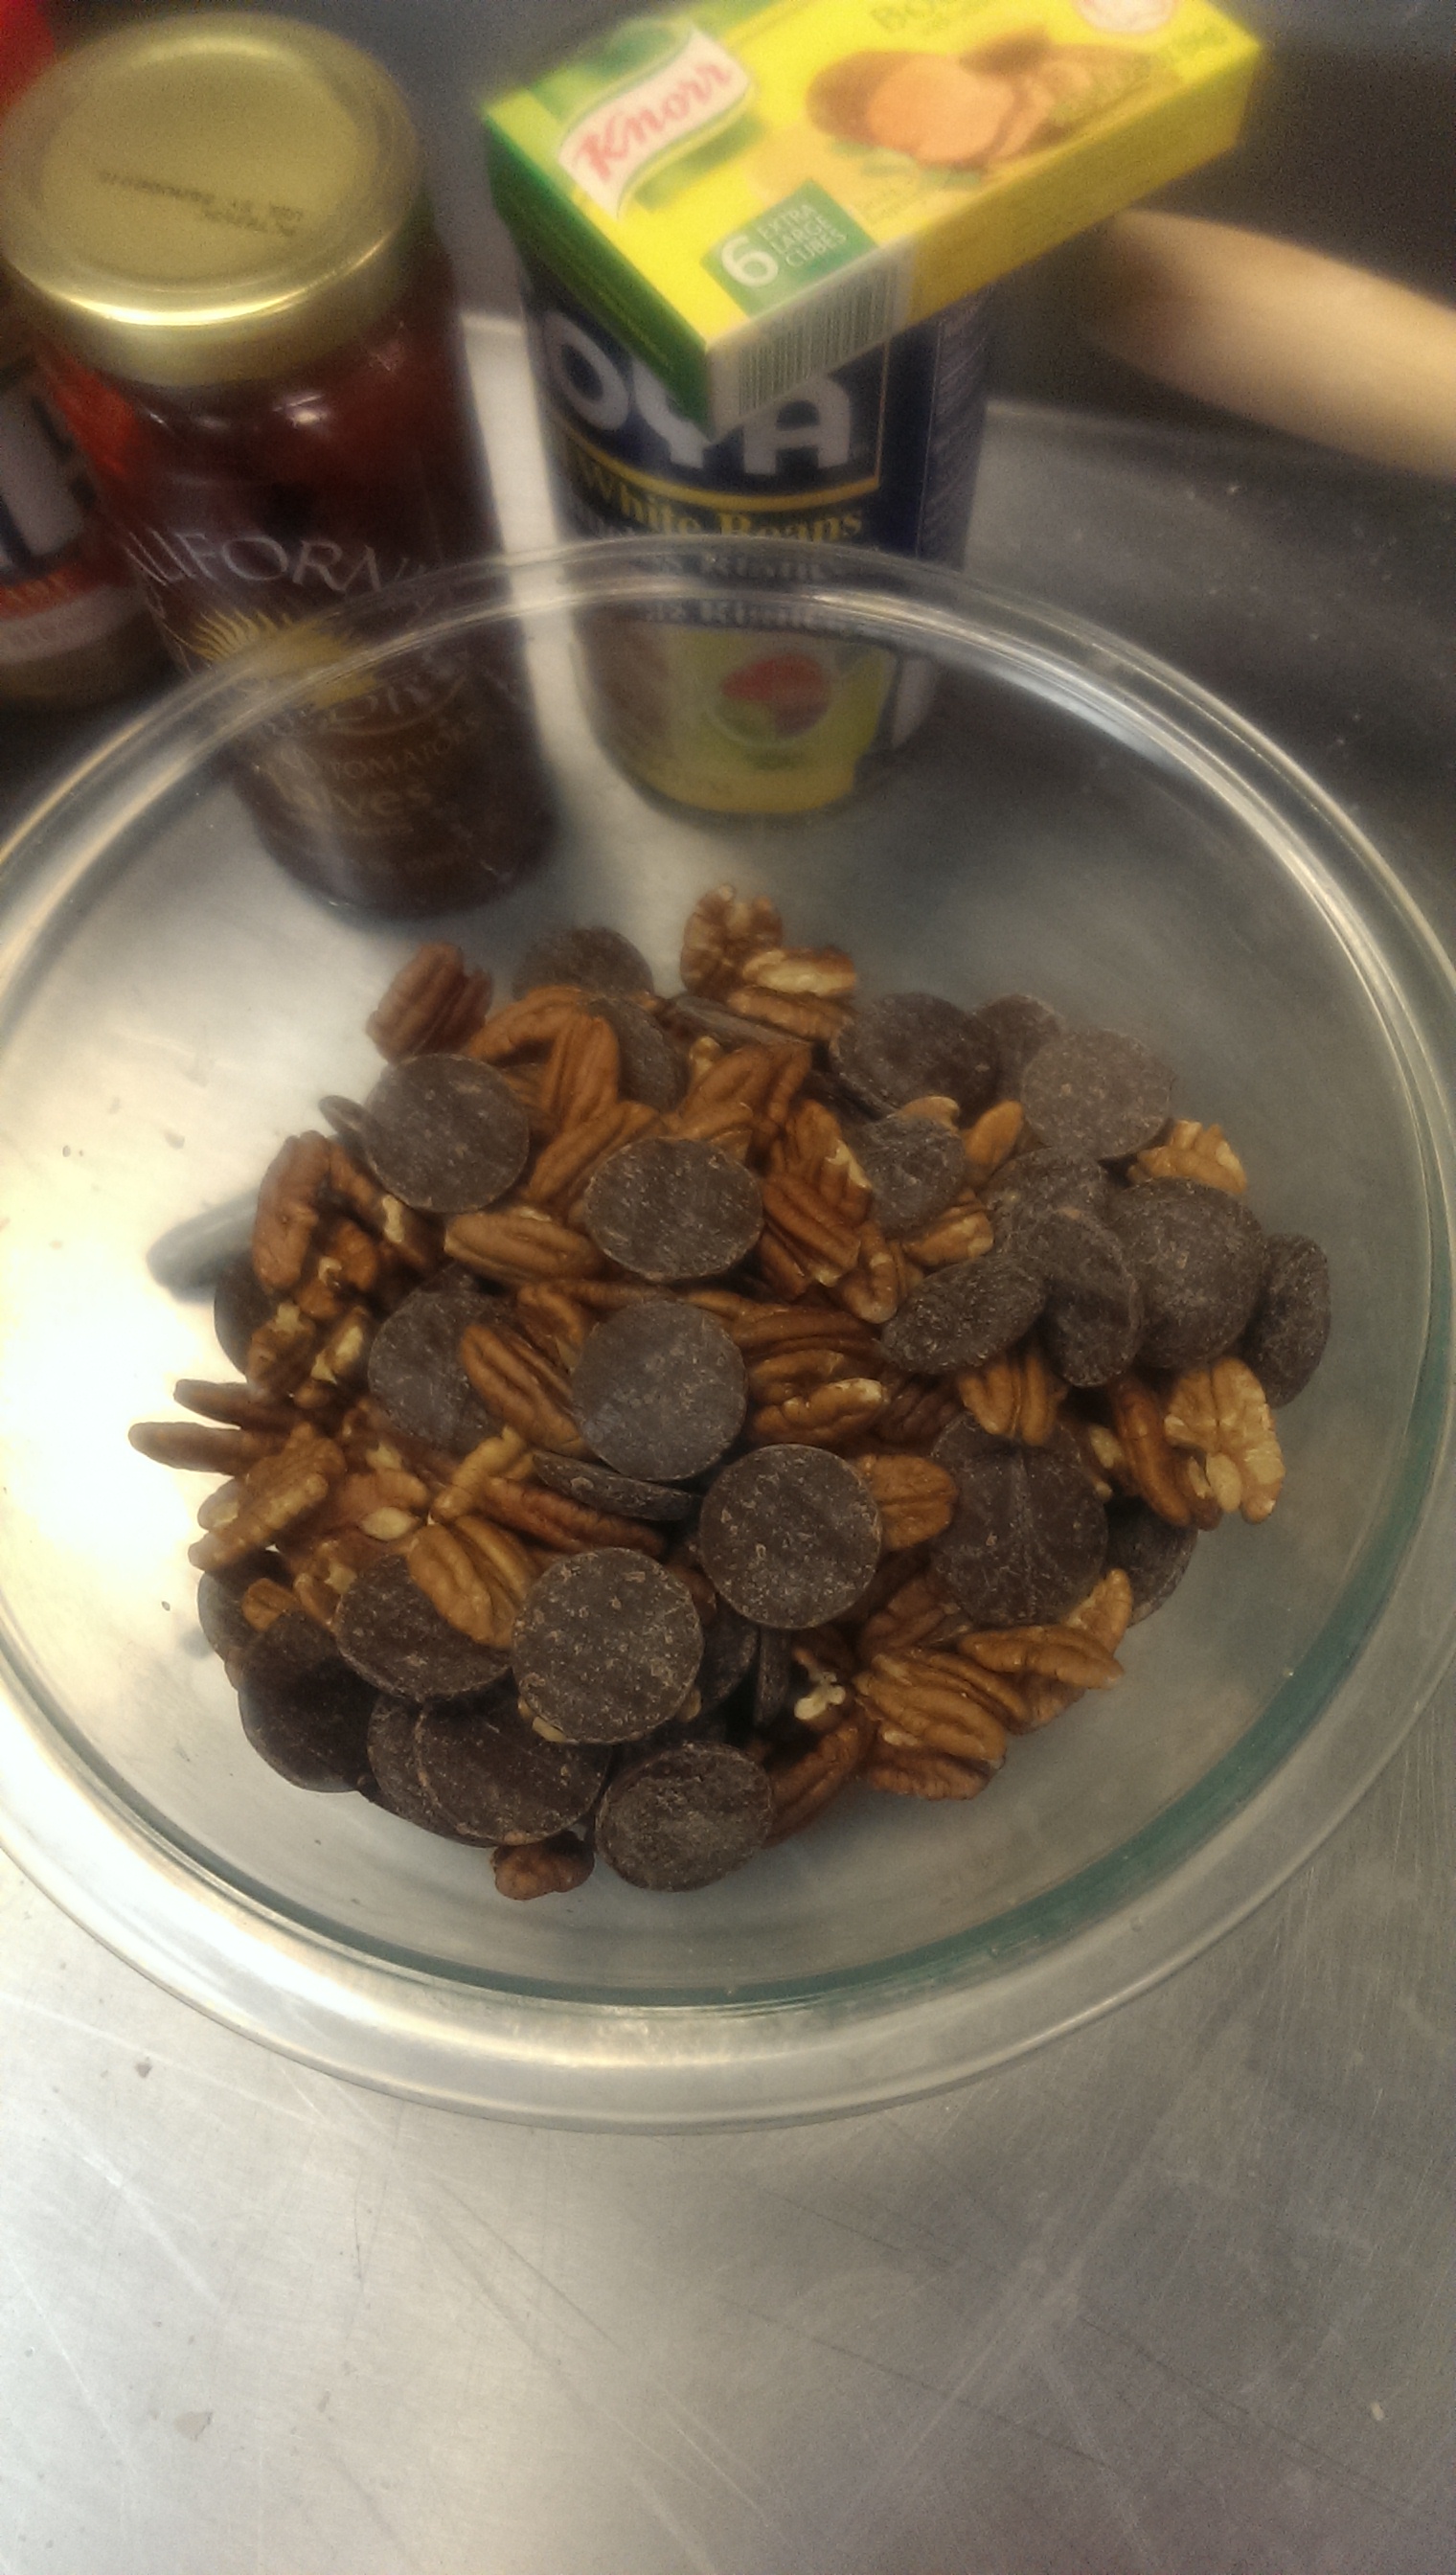
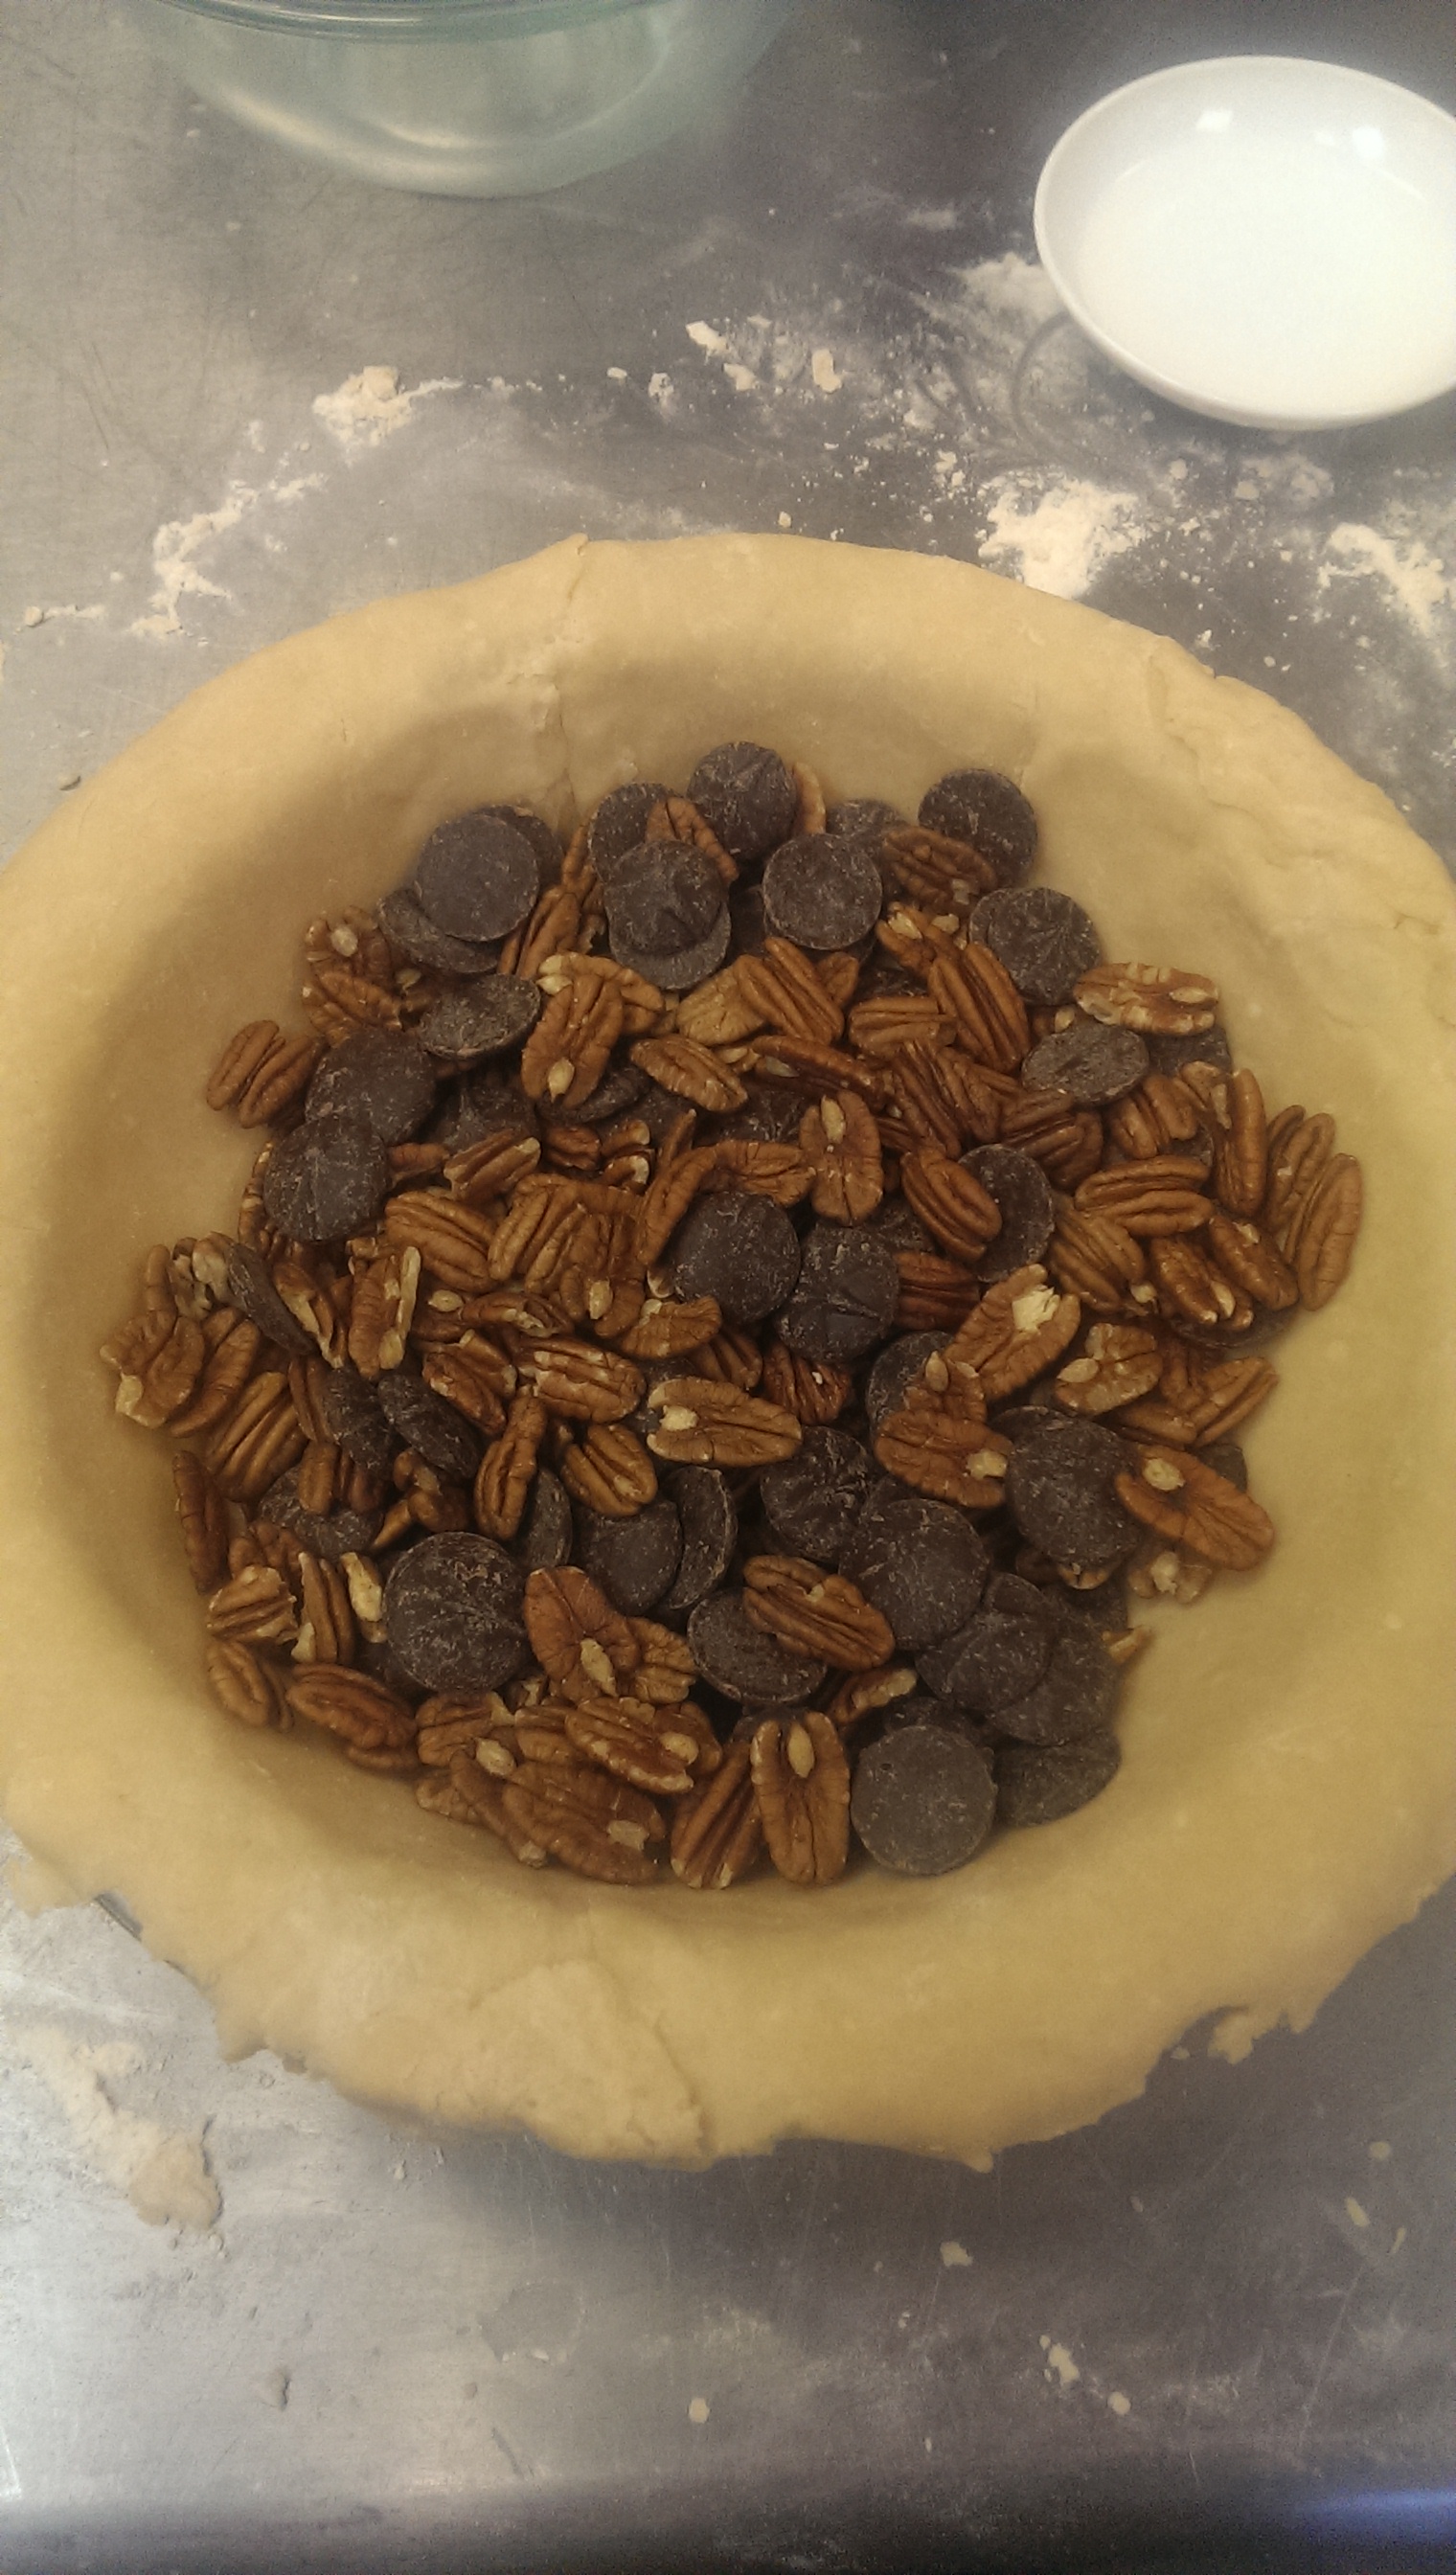
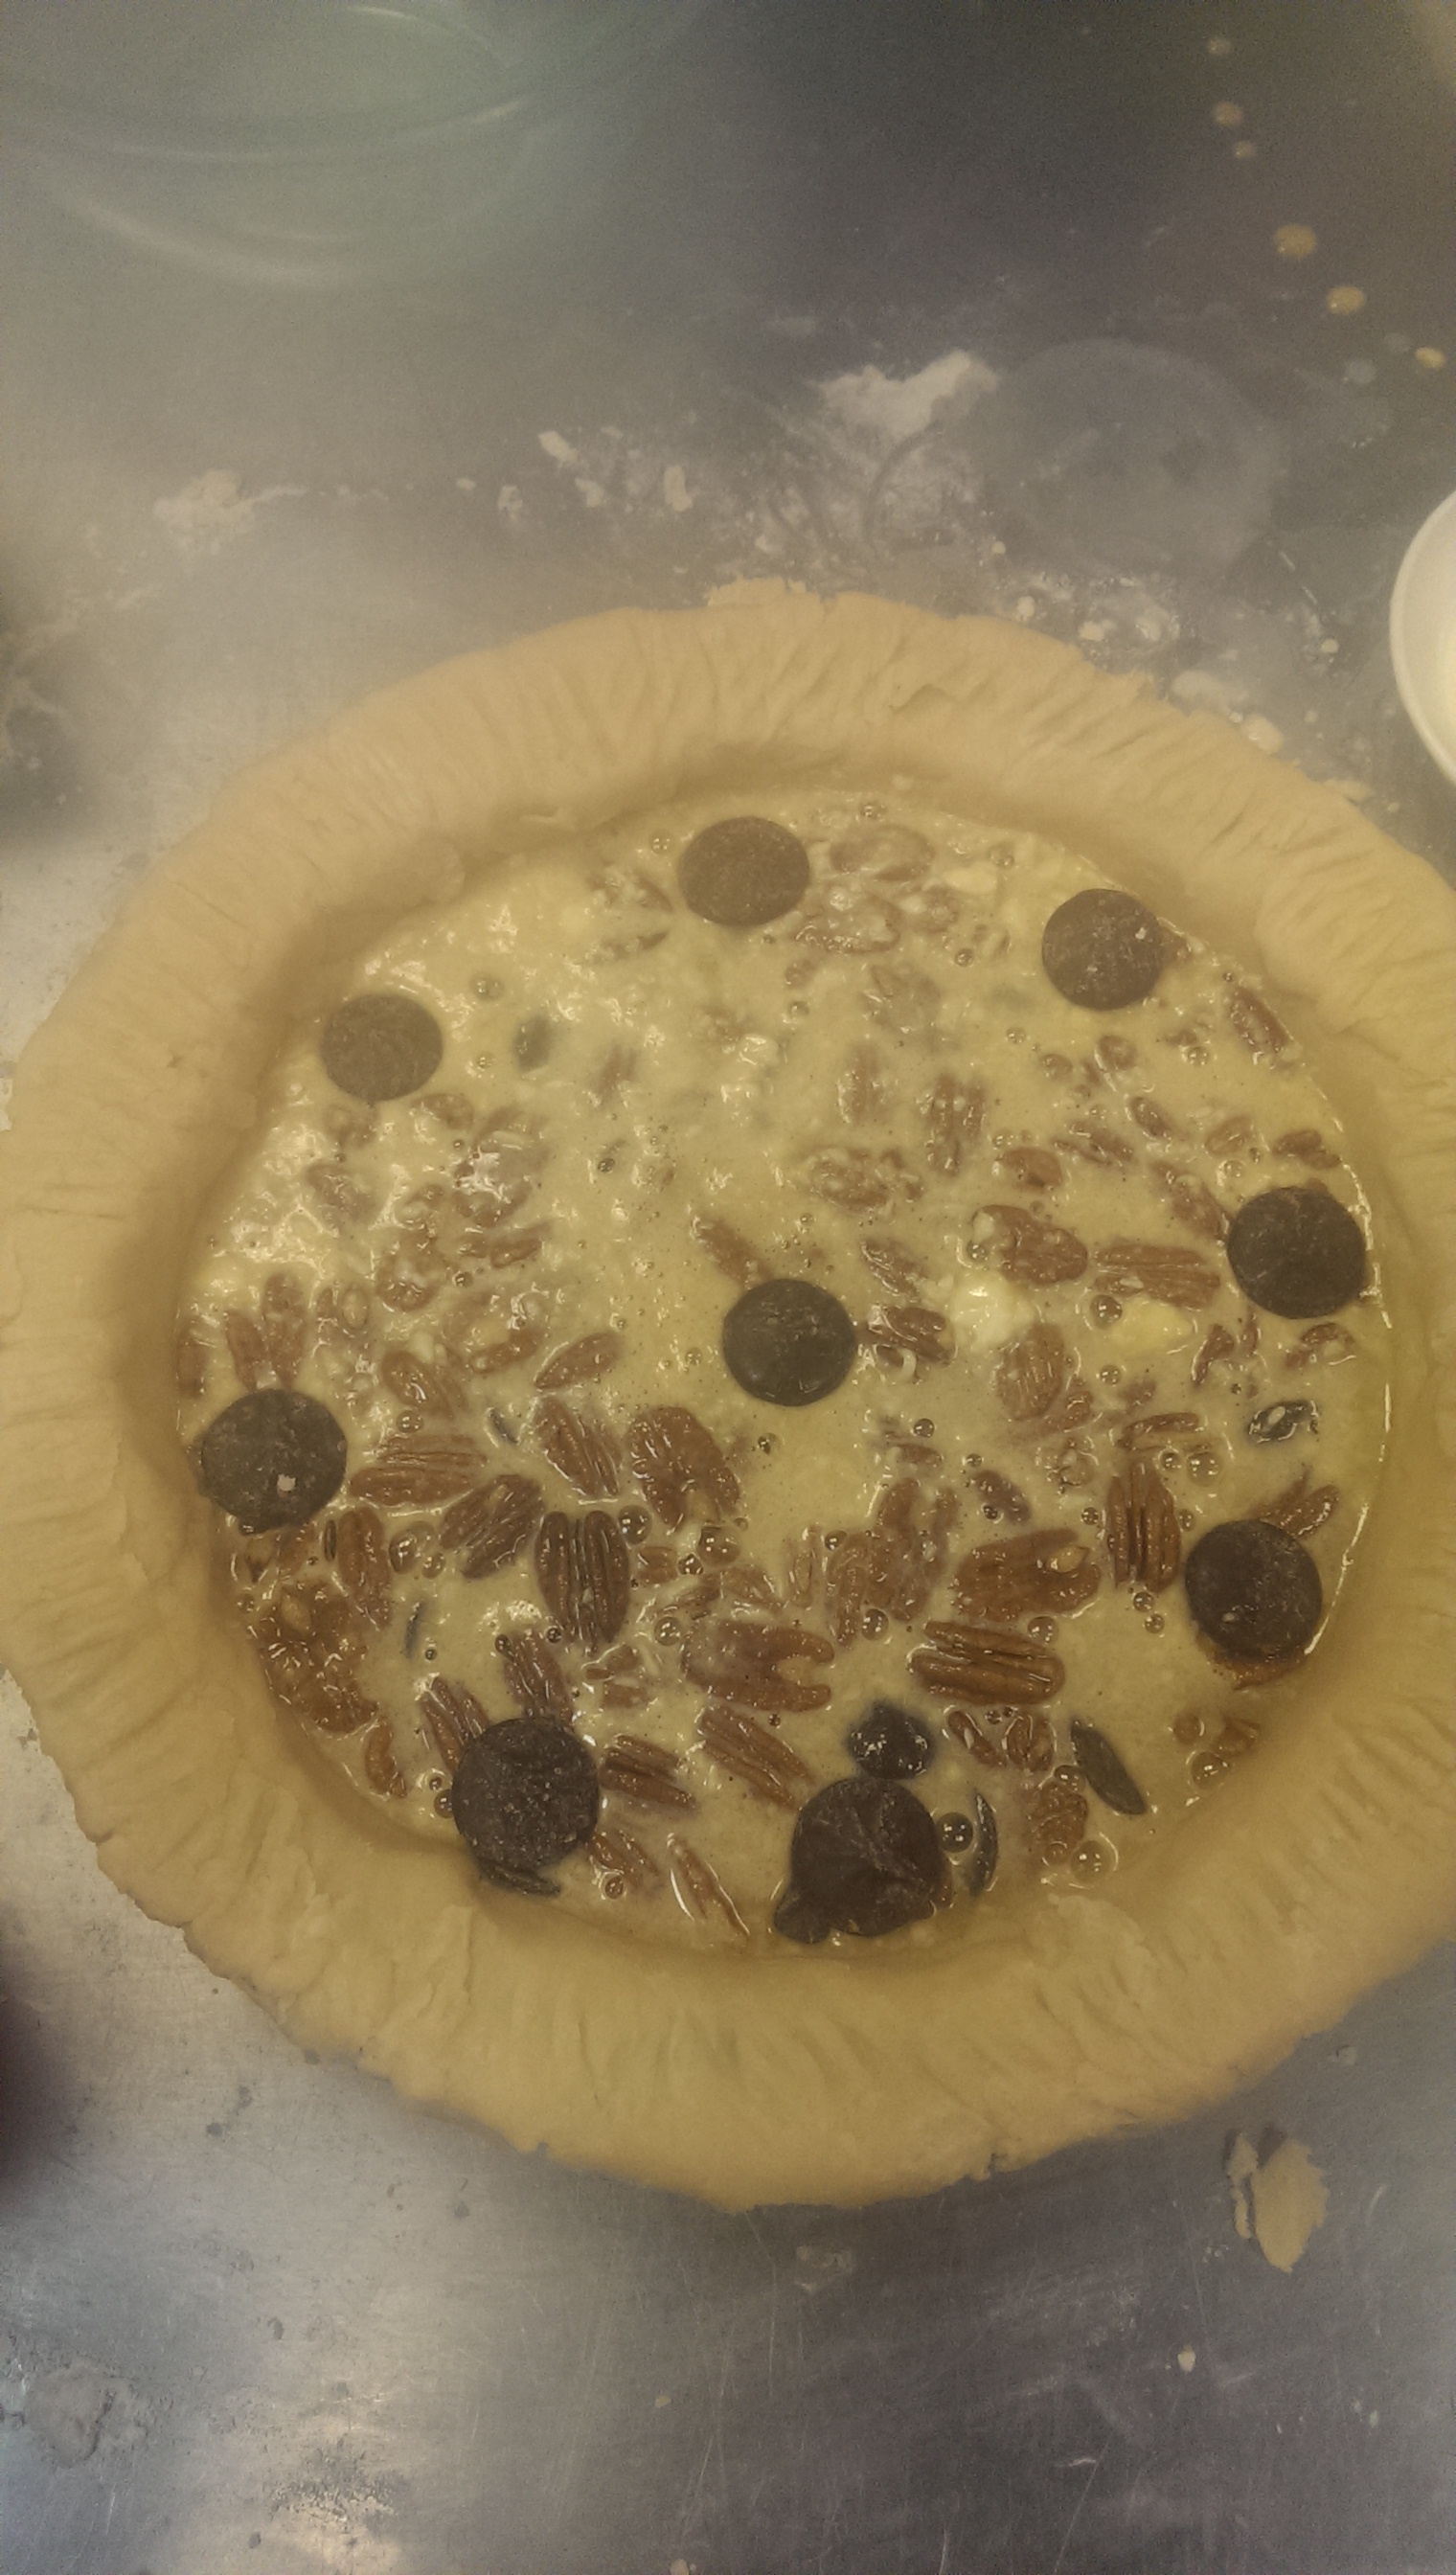
The recipe itself is very simple, at least based on the opinion of this pie maker. I began by rolling out my pie dough and putting it in the tin. Then I assembled the pecans and chocolate morsels which I proceeded to put in that very same pie tin. That is step one, of what I calling a three step process.

.Chocolate and PecansIMAG0171

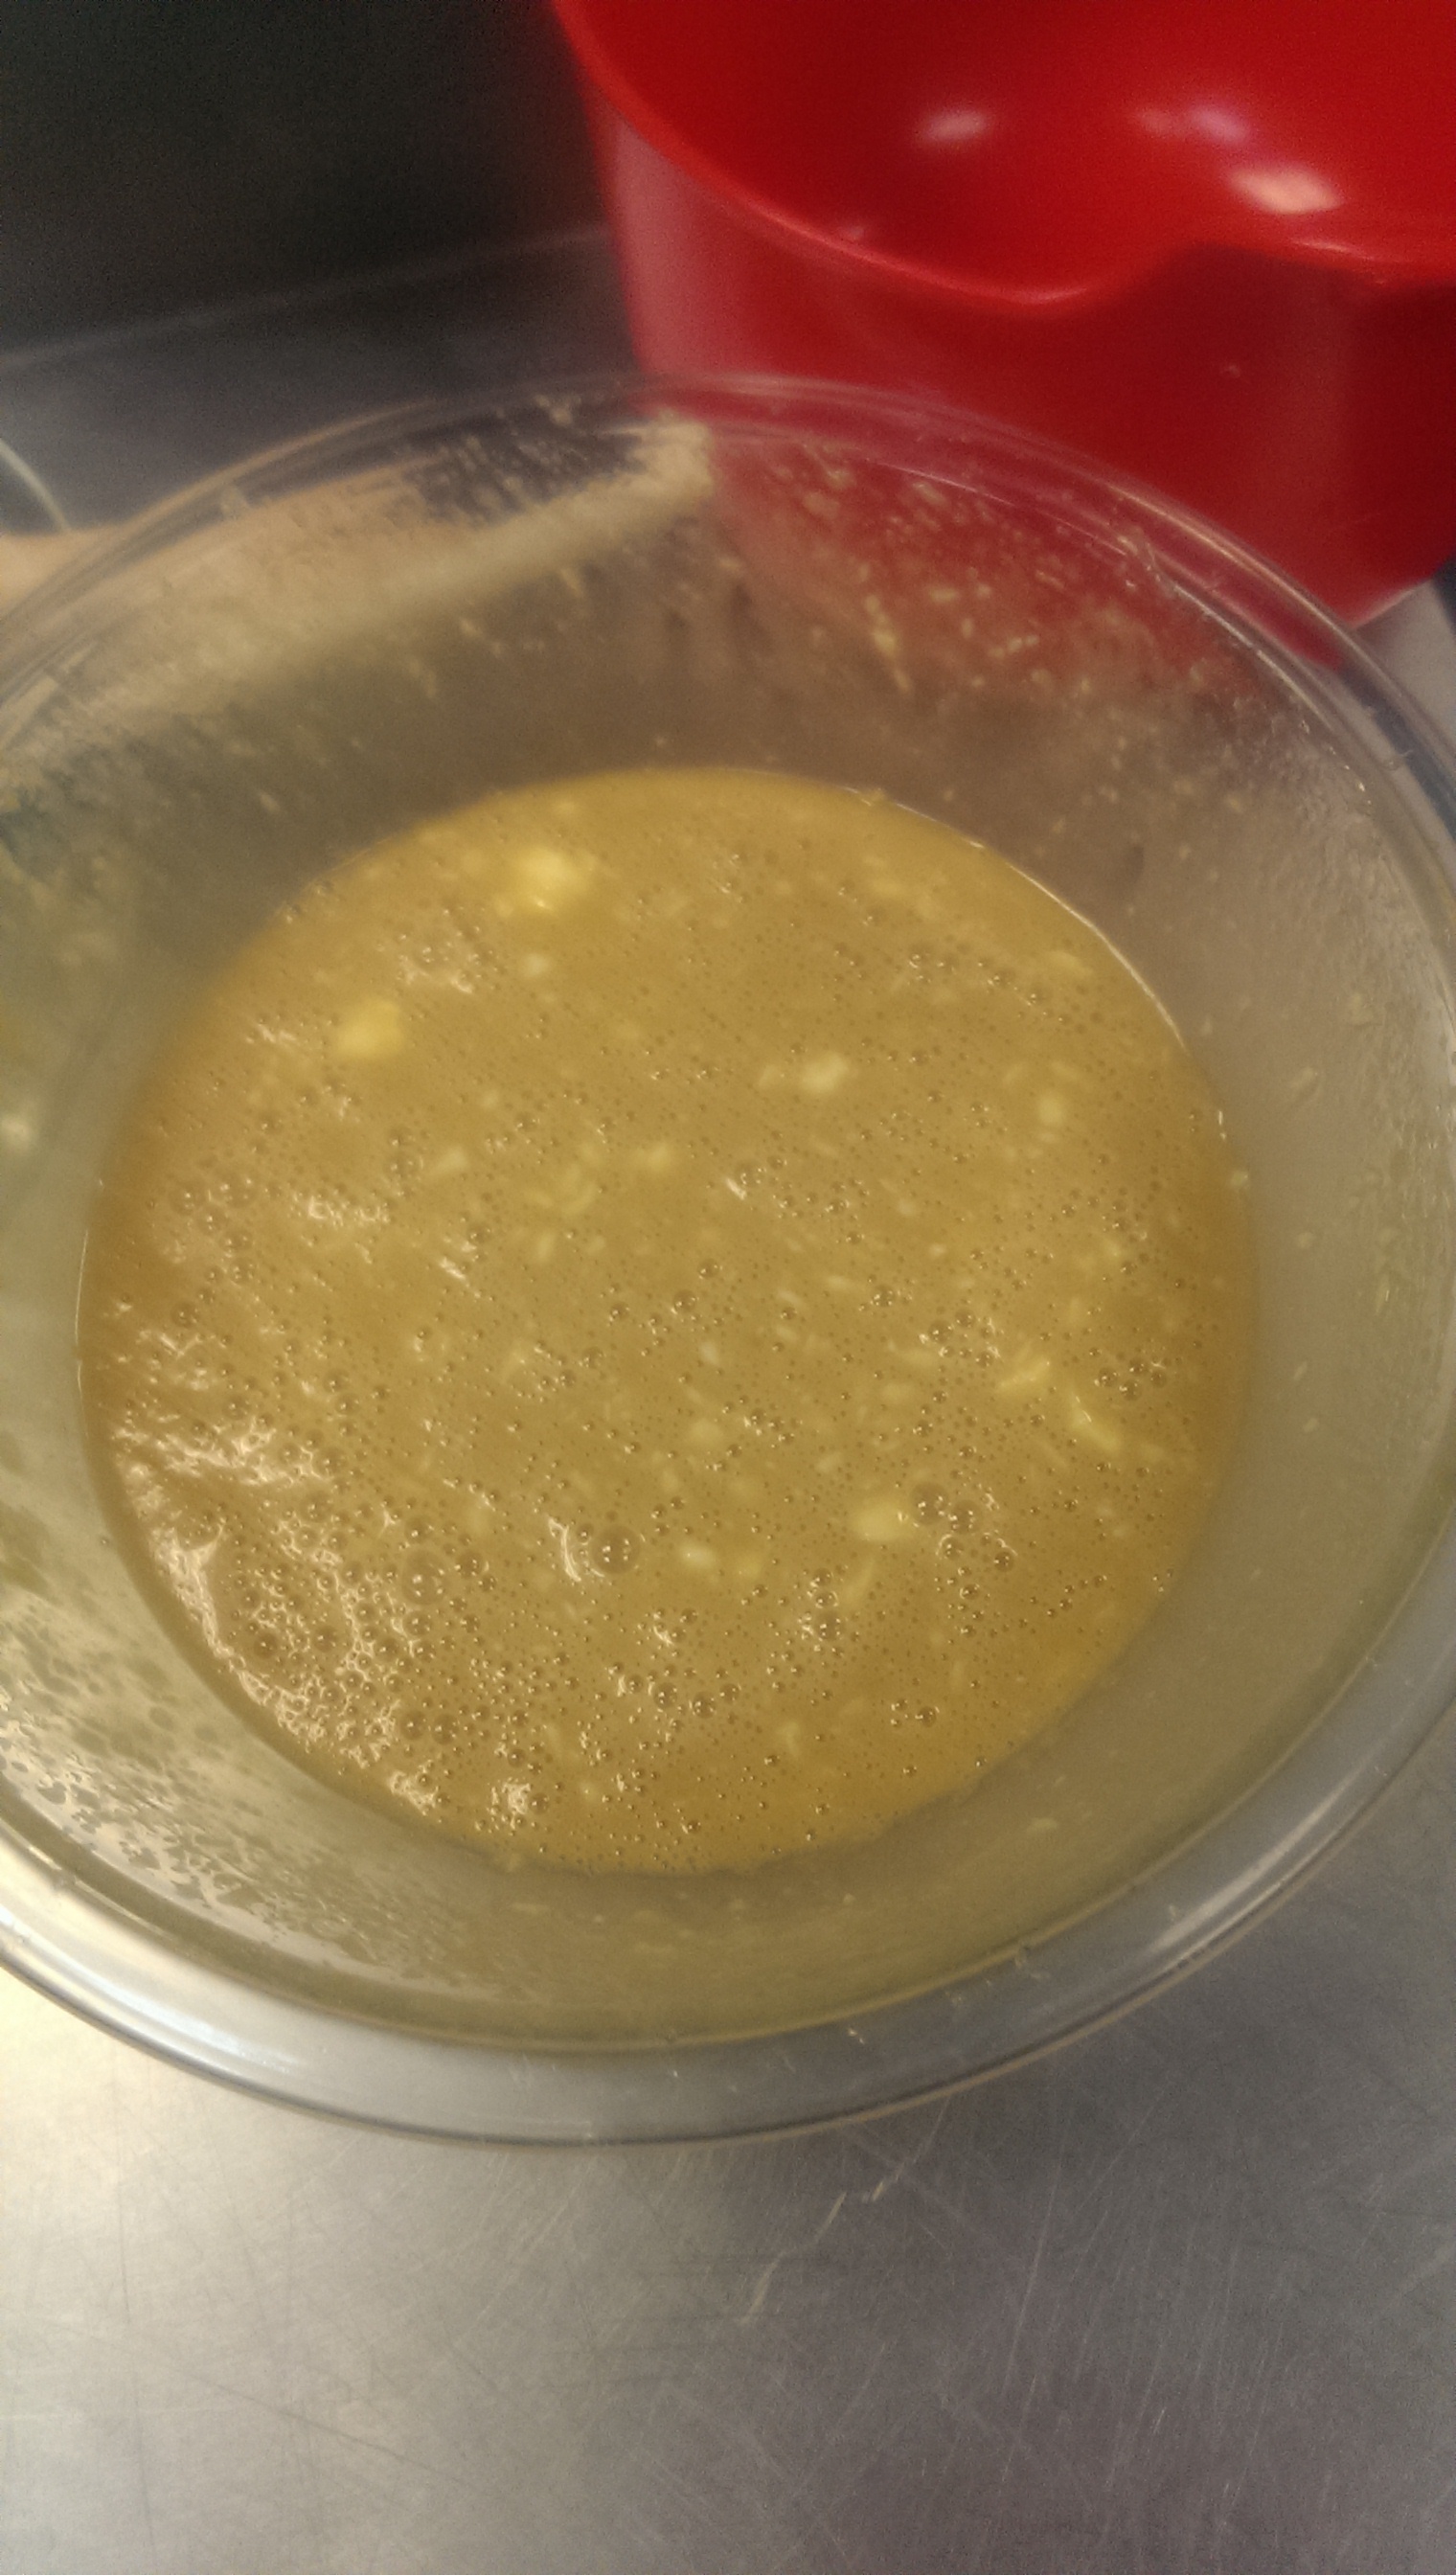
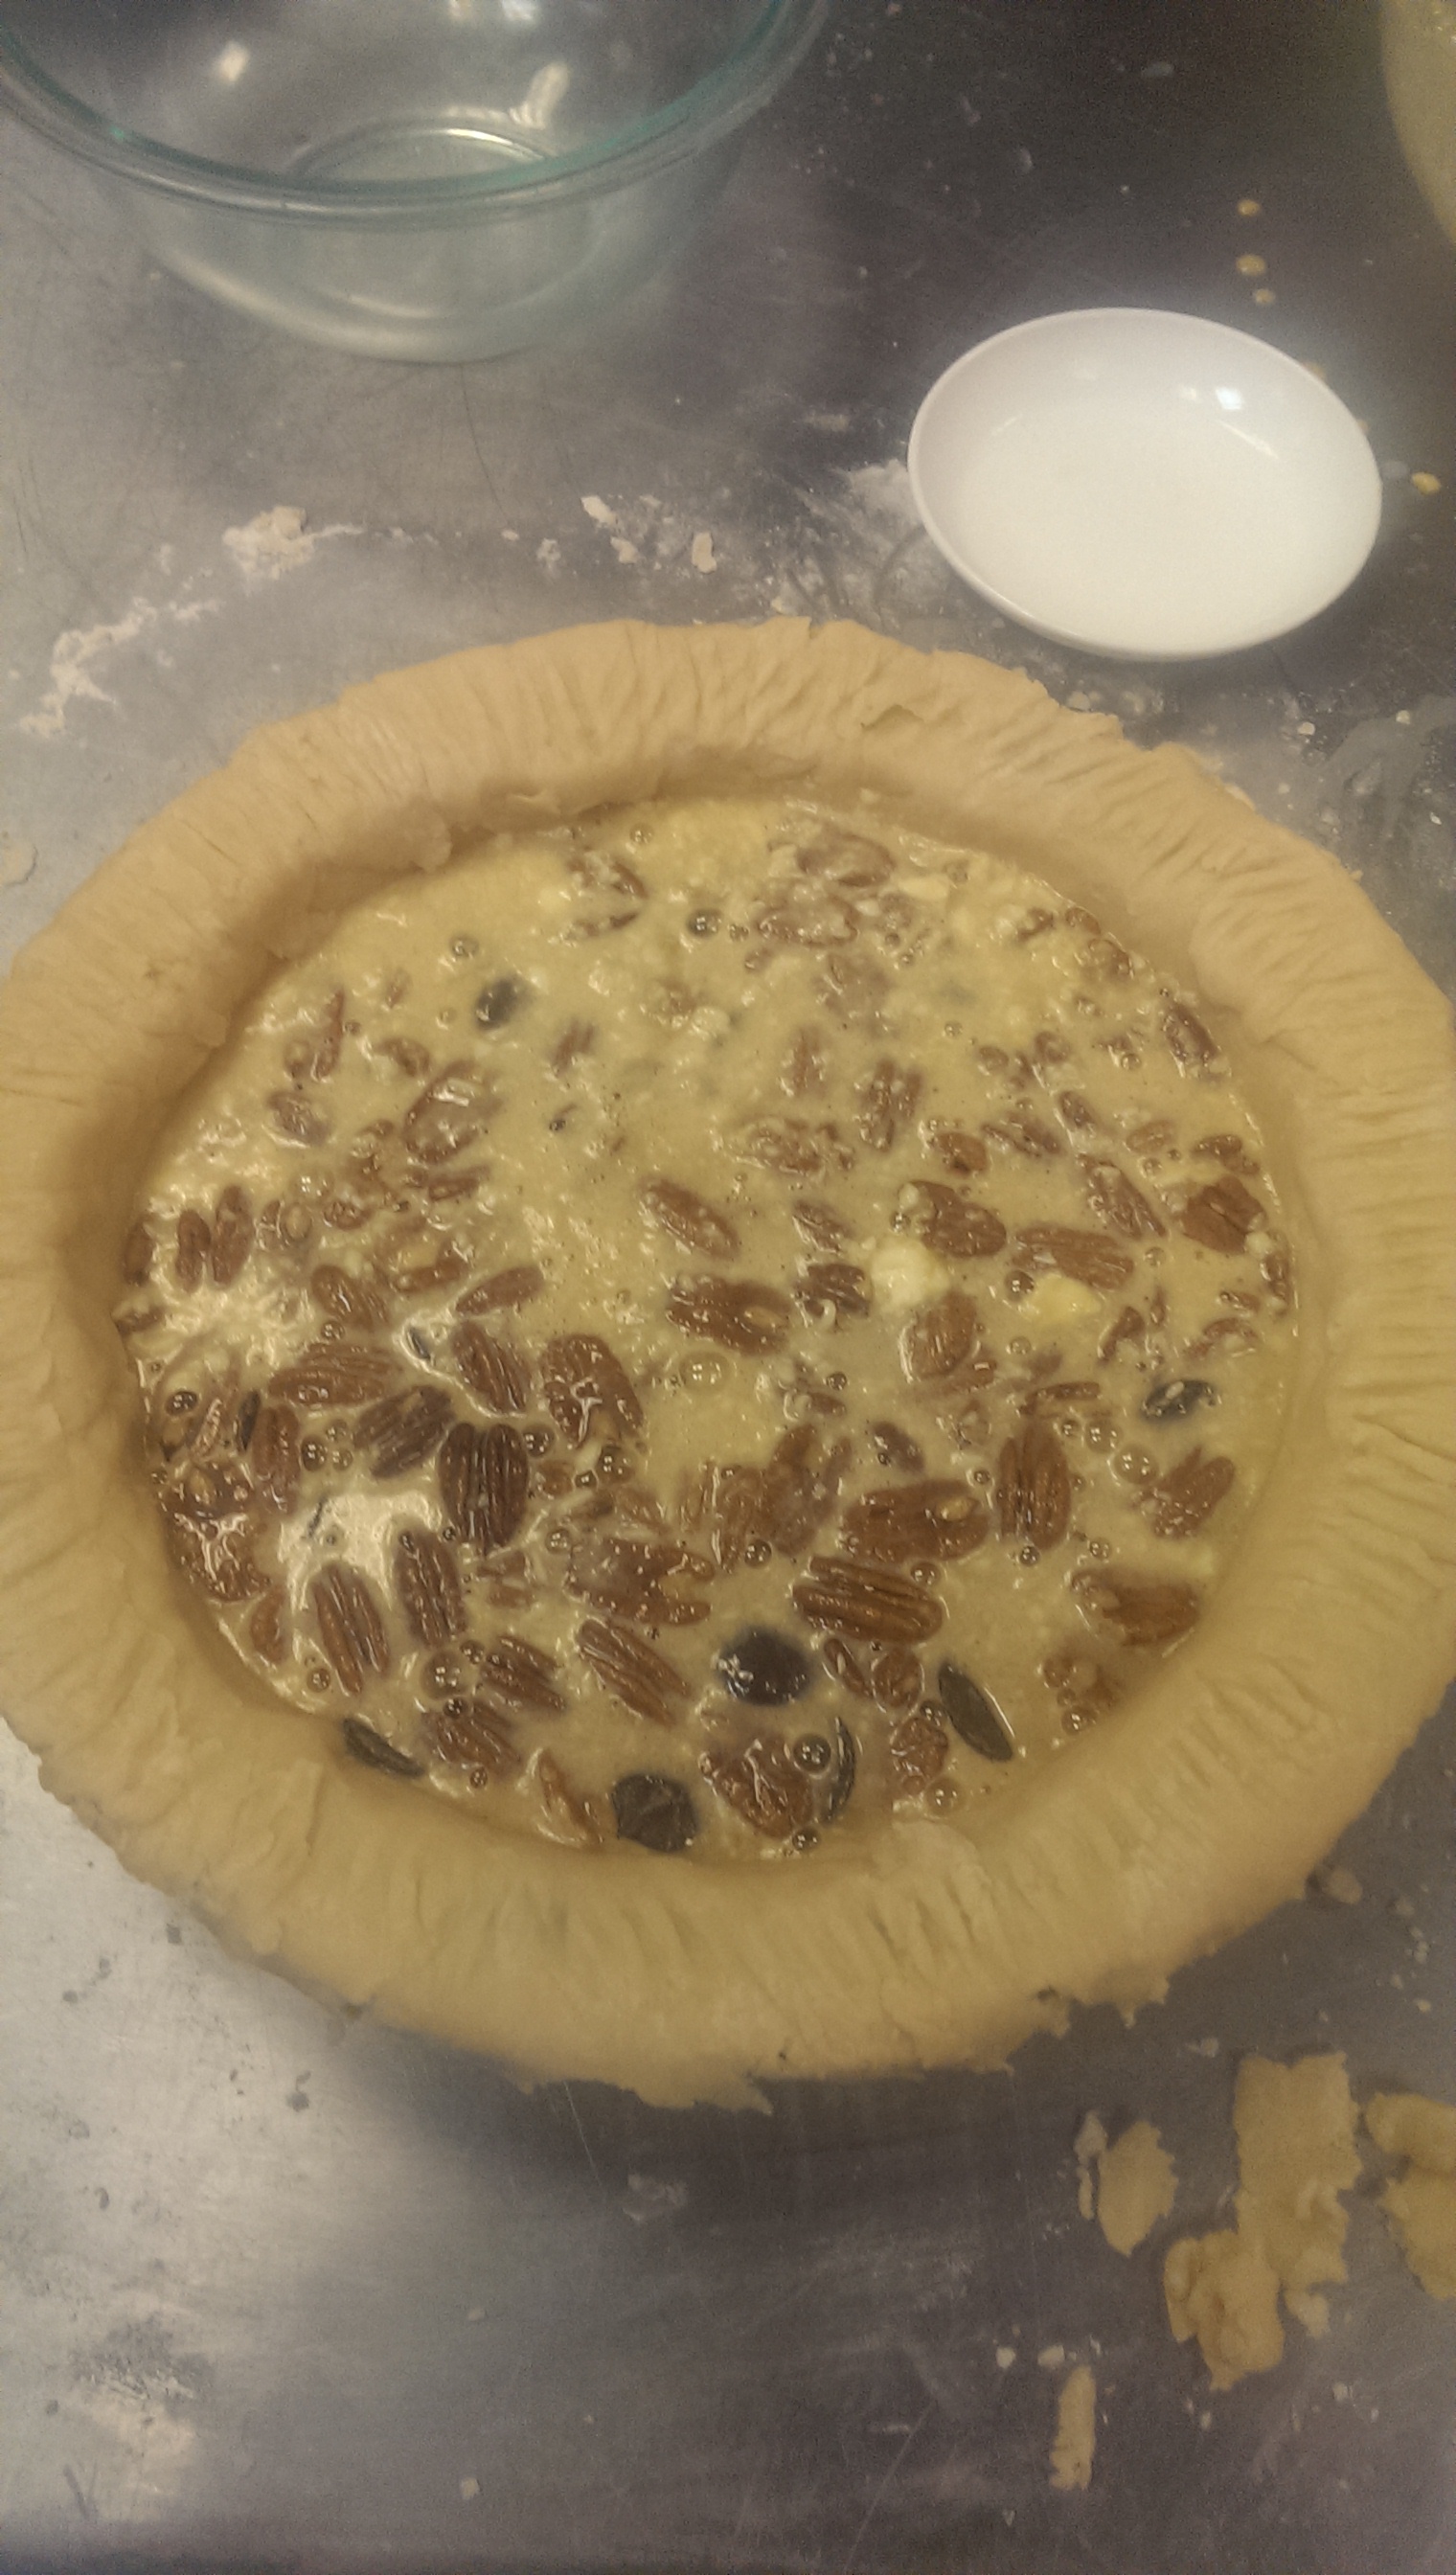
Afterwards I mixed together the filling that consisted of eggs, dark corn syrup, sugar, melted butter, and of course BOURBON! I then proceeded to pour this mixture over the pecans and chocolate, as the recipe called for.

Bourbon MixtureIMAG0172

In the recipe, it claims that the pecans and chocolate magically rise to the top while the filing makes a decadent bottom layer. I tried a spoonful and with all of that sugar, butter, and bourbon, it did not disappoint. You might want to get your sugar levels tested afterwards…

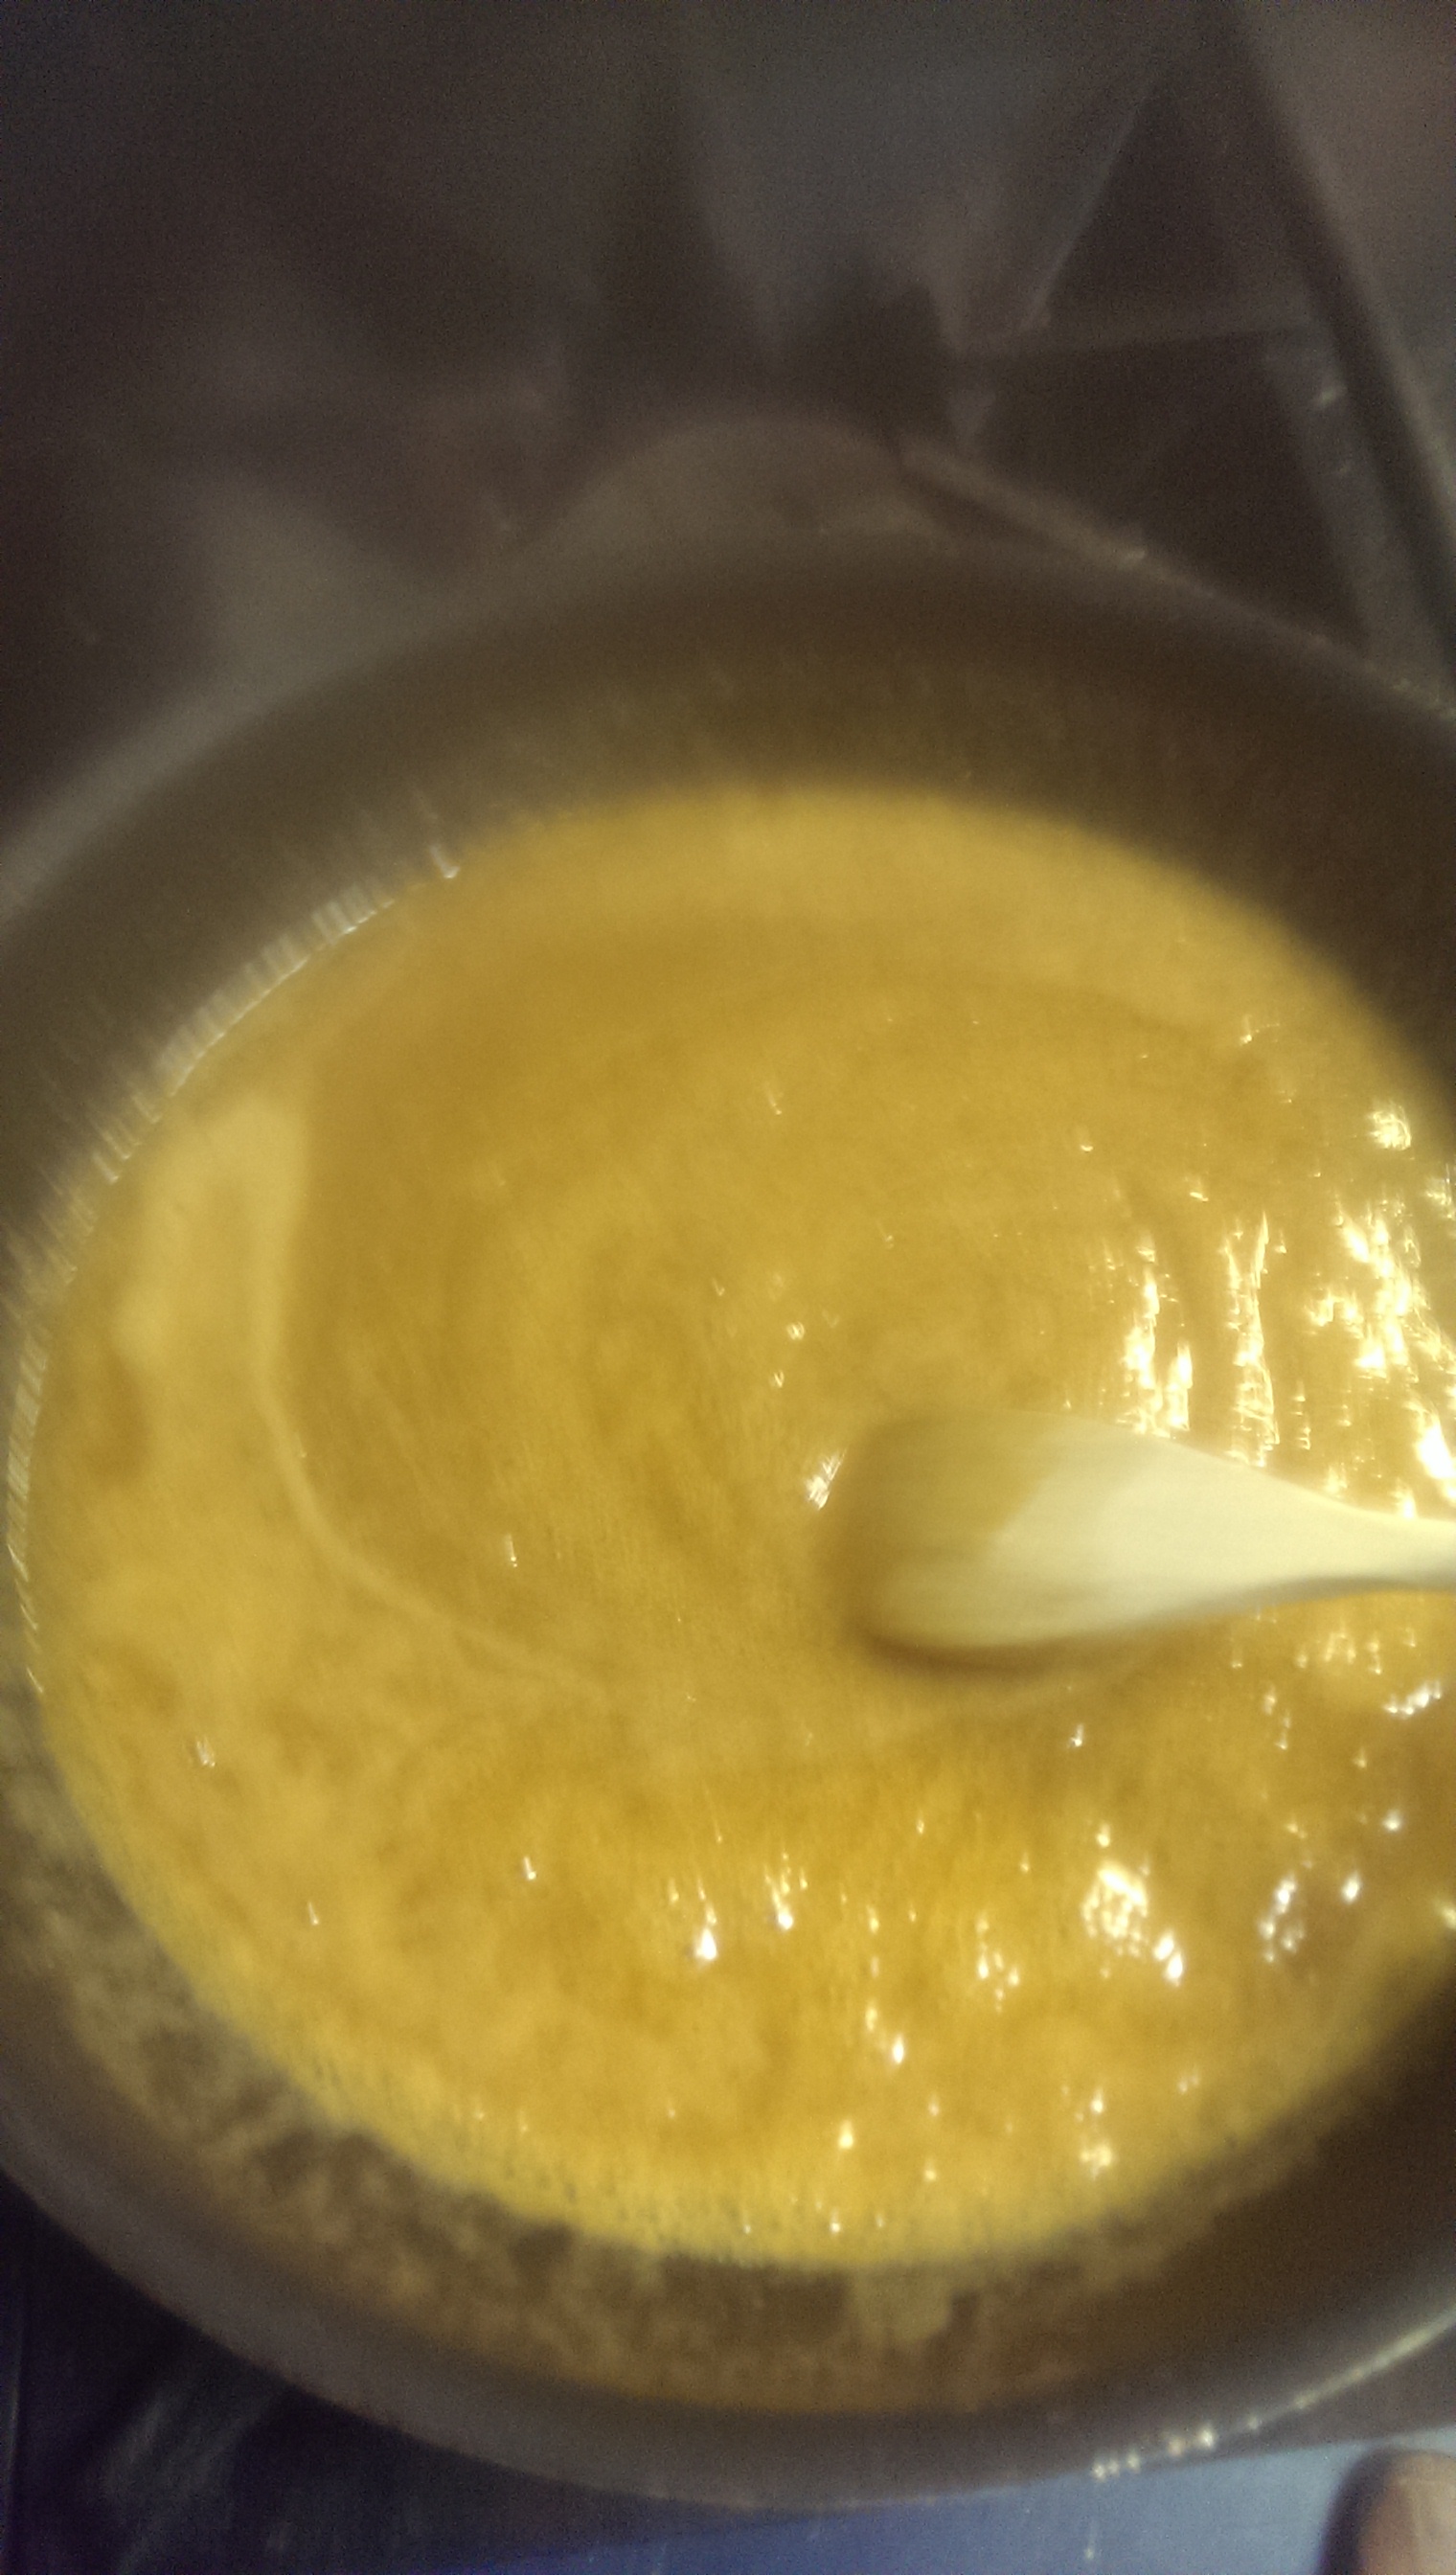
I then proceeded to “decorate” my pie with a couple of chocolate chips and then I popped into the oven at 350 F for 45 minutes. While I was waiting, I made the bourbon sauce (the recipe is also in the link). I melted the brown sugar and butter, then when it was a dark brown I added the heavy cream, and the bourbon last. As someone who hates caramel I can attest that this is a far better alternative and you can actually taste the bourbon!

IMAG0173IMAG0175

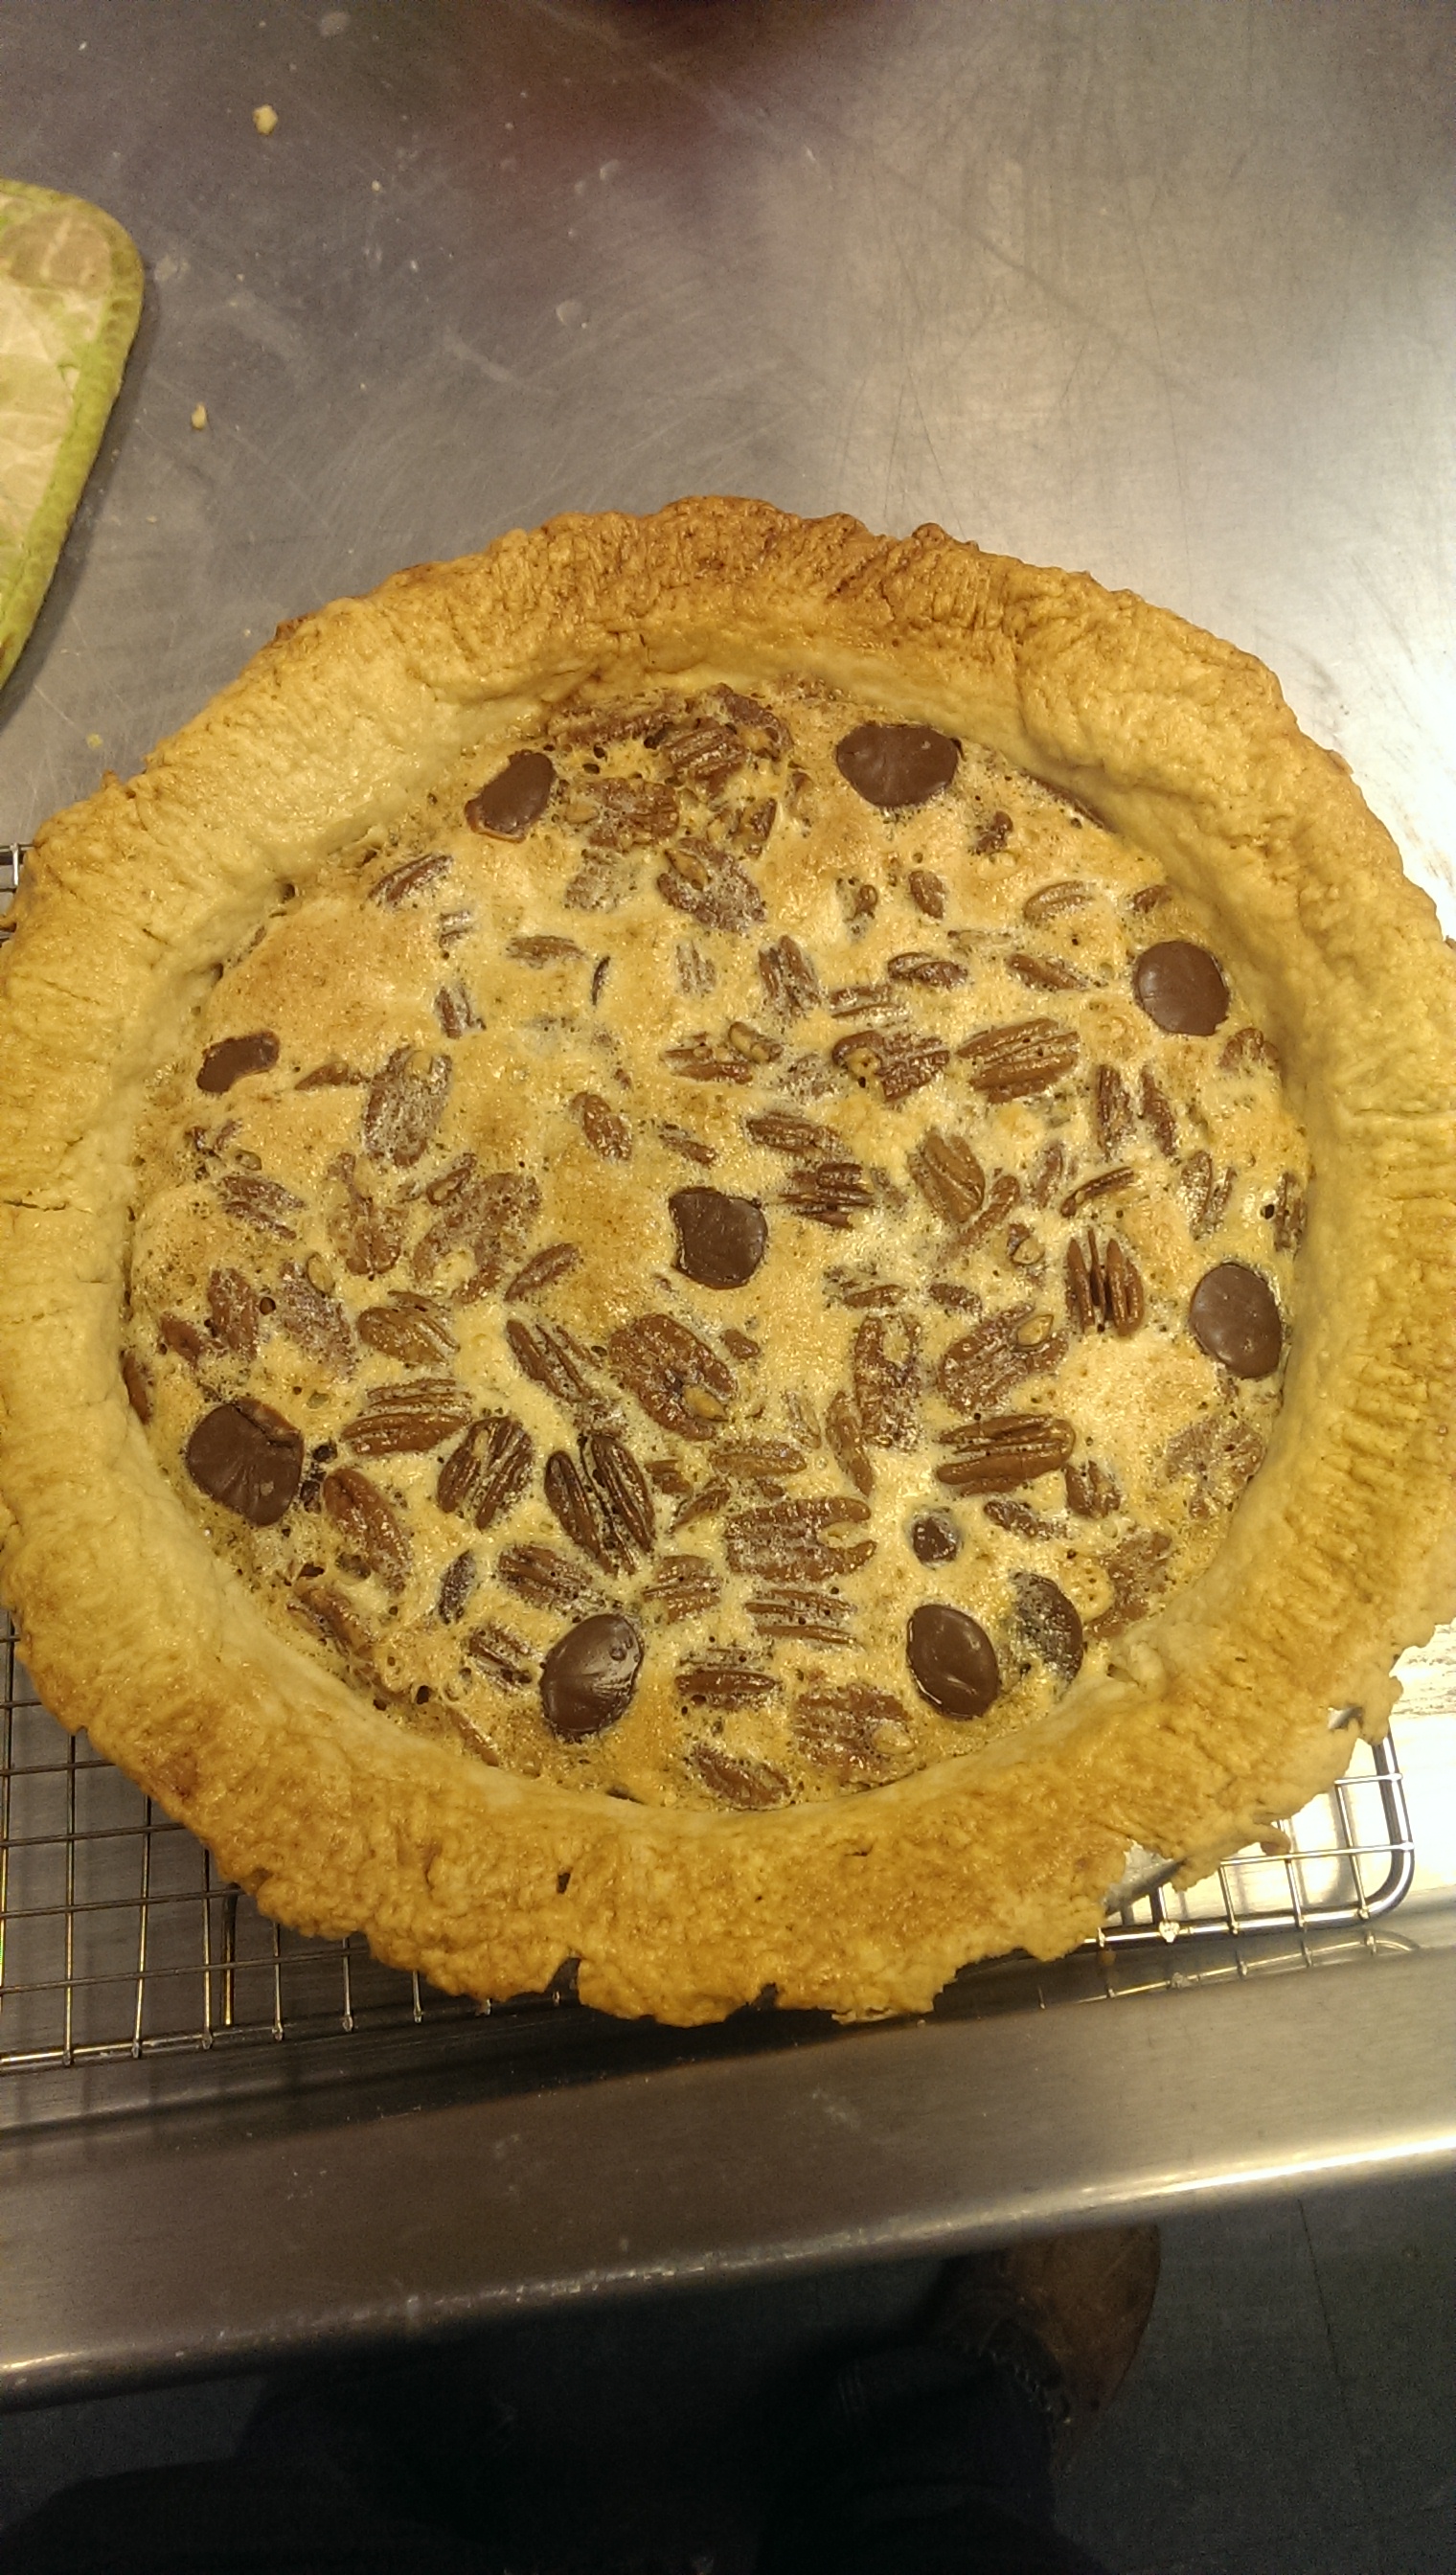
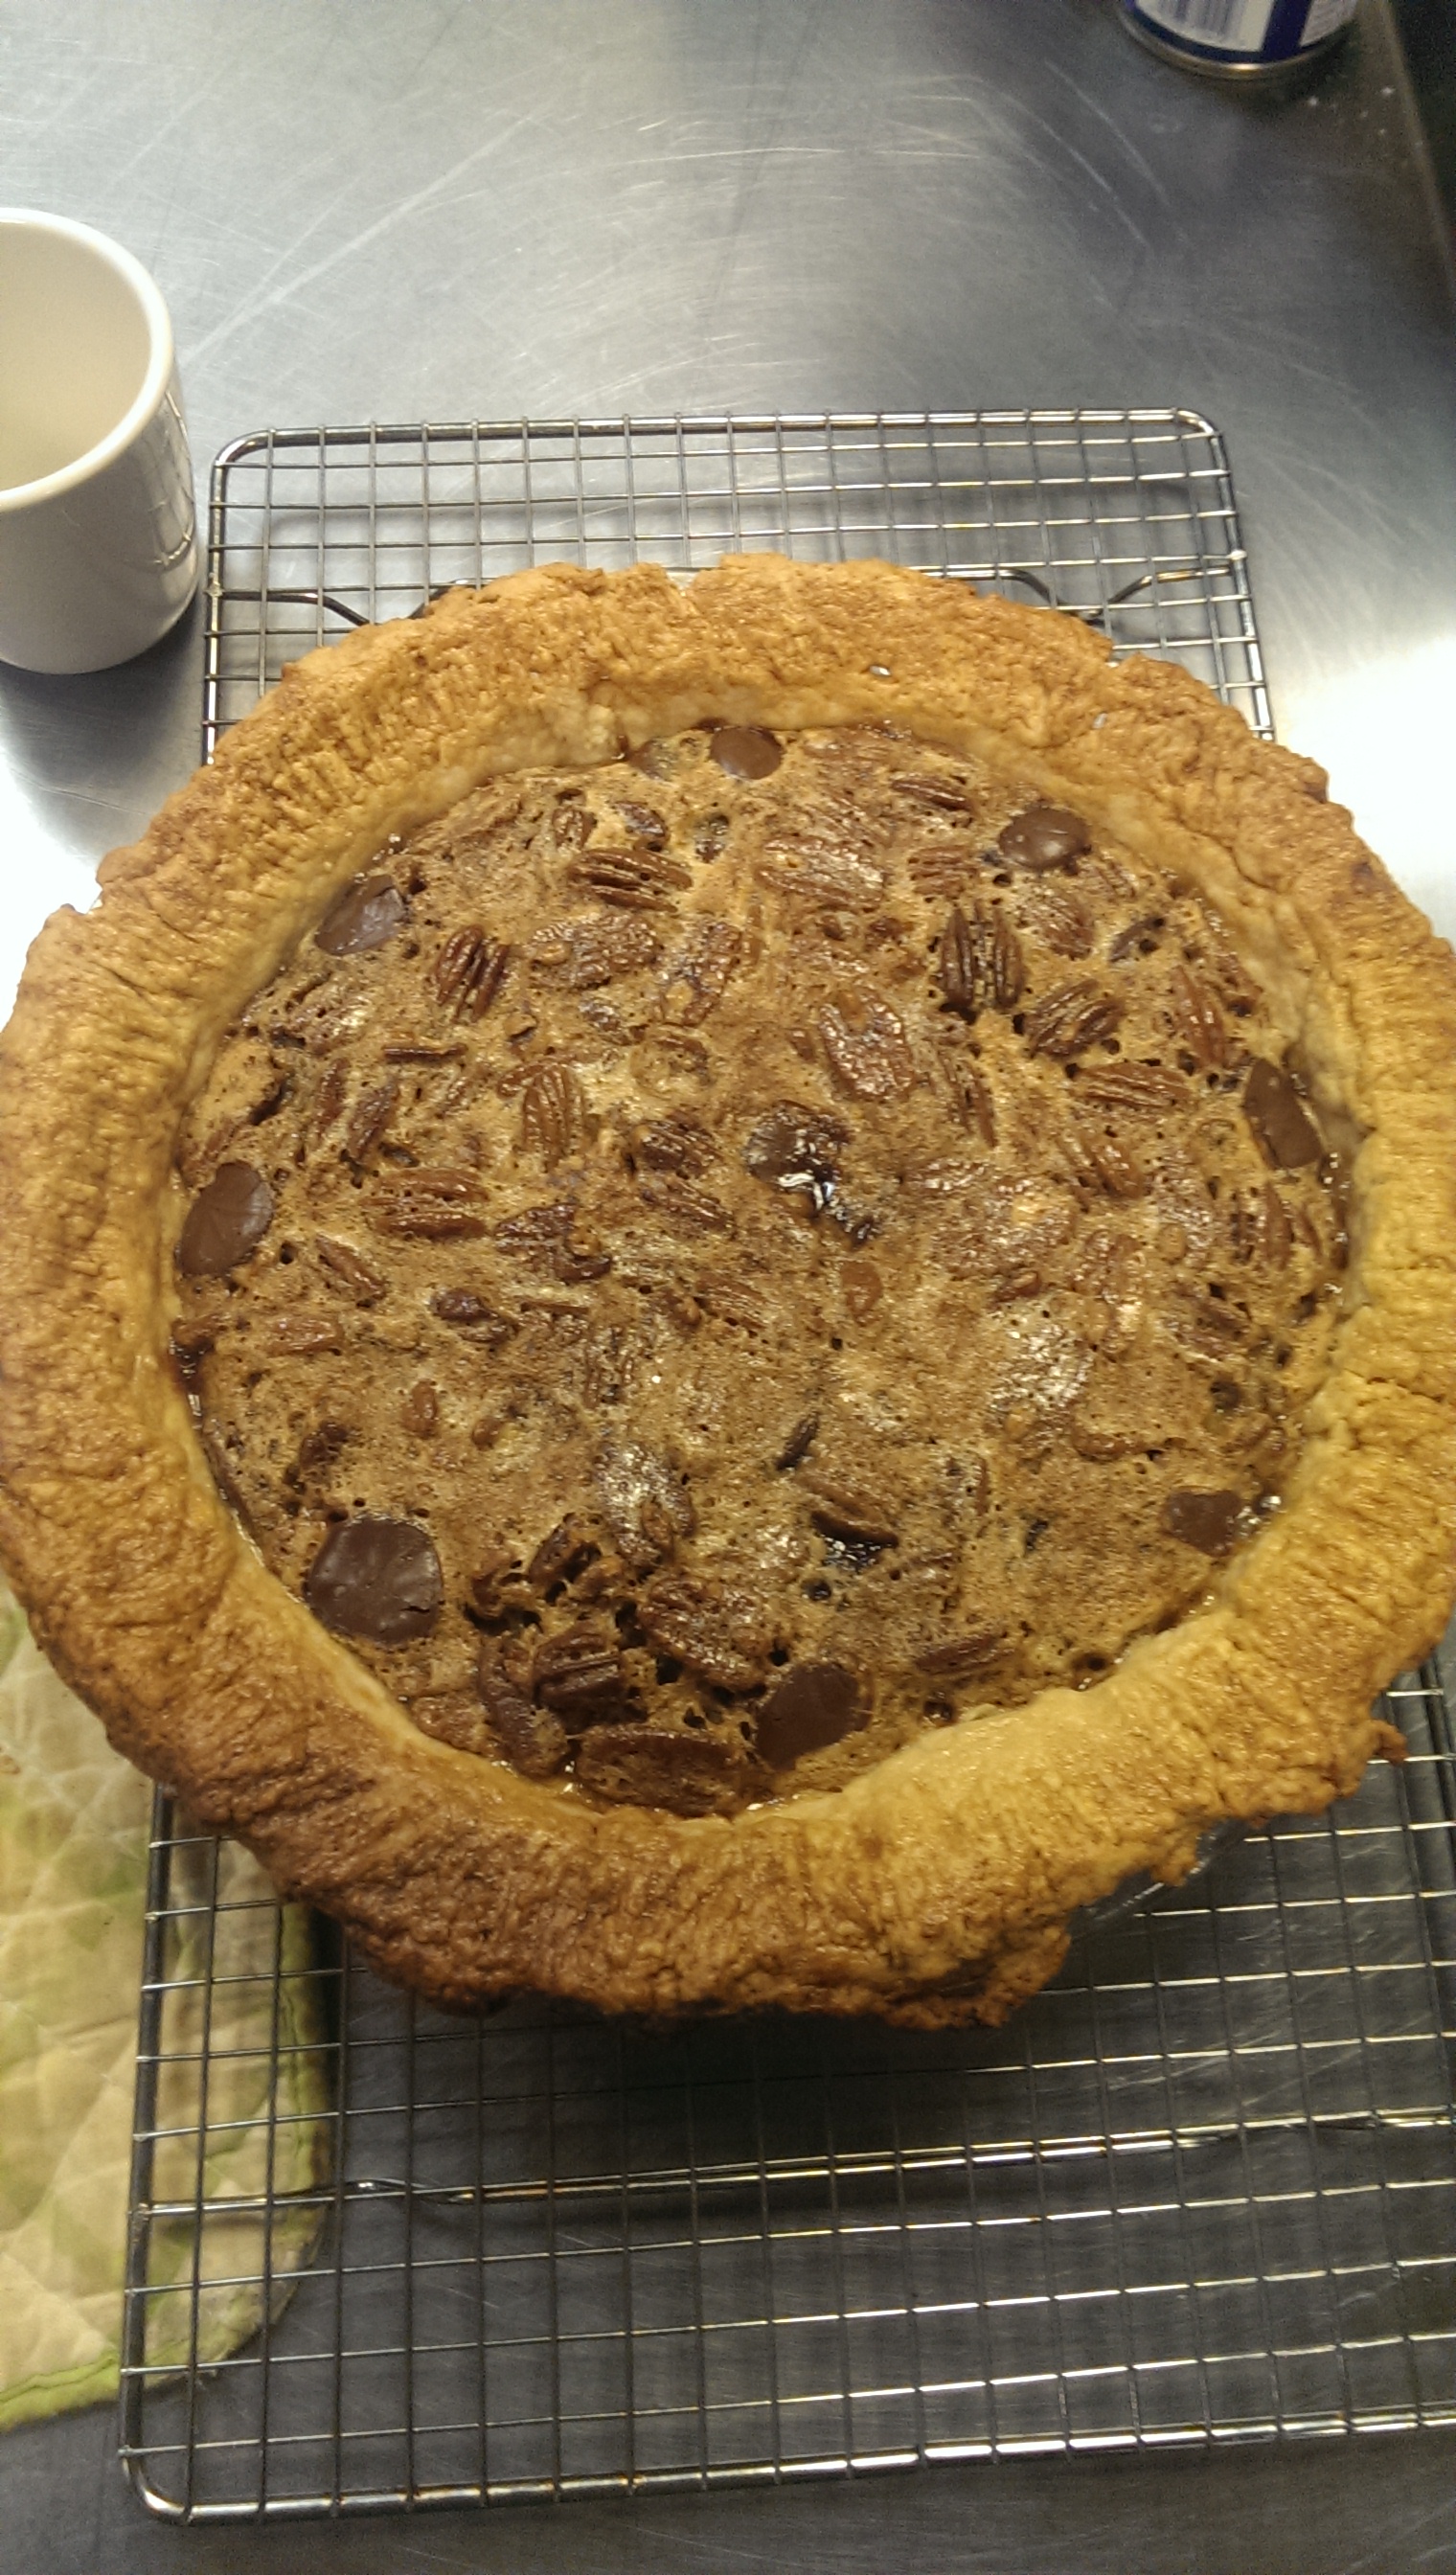
The recipe is very easy and straightforward. The only thing I will say is that when I took the pie out of the oven it did not have the dark brown color I was looking for. In turn, I popped it back in the oven for an additional 10-15 minutes. Then it turned out the way I wanted it to.

IMAG0178   IMAG0179

I cannot wait to try this pie tomorrow. With some freshly made bourbon sauce it should be rockin!