Category Archives: Tala Abujbara

Strawberry White Chocolate Mousse Tart

I made my first ever tart this week!

The first thing I did was make the crust. It was a variation of the basic flaky pastry that we’ve been using so far. I also tried my hand at the vodka trick; the liquid in the crust was made my substituting half of the water for vodka. It’s a good thing I did this, because I think I might’ve added a little too much liquid to the pastry.

It was surprisingly easy to roll out the pastry. I then pressed it into the tart pan and folded over the edges in order to make a doubly-thick crust around the sides, as seen here:
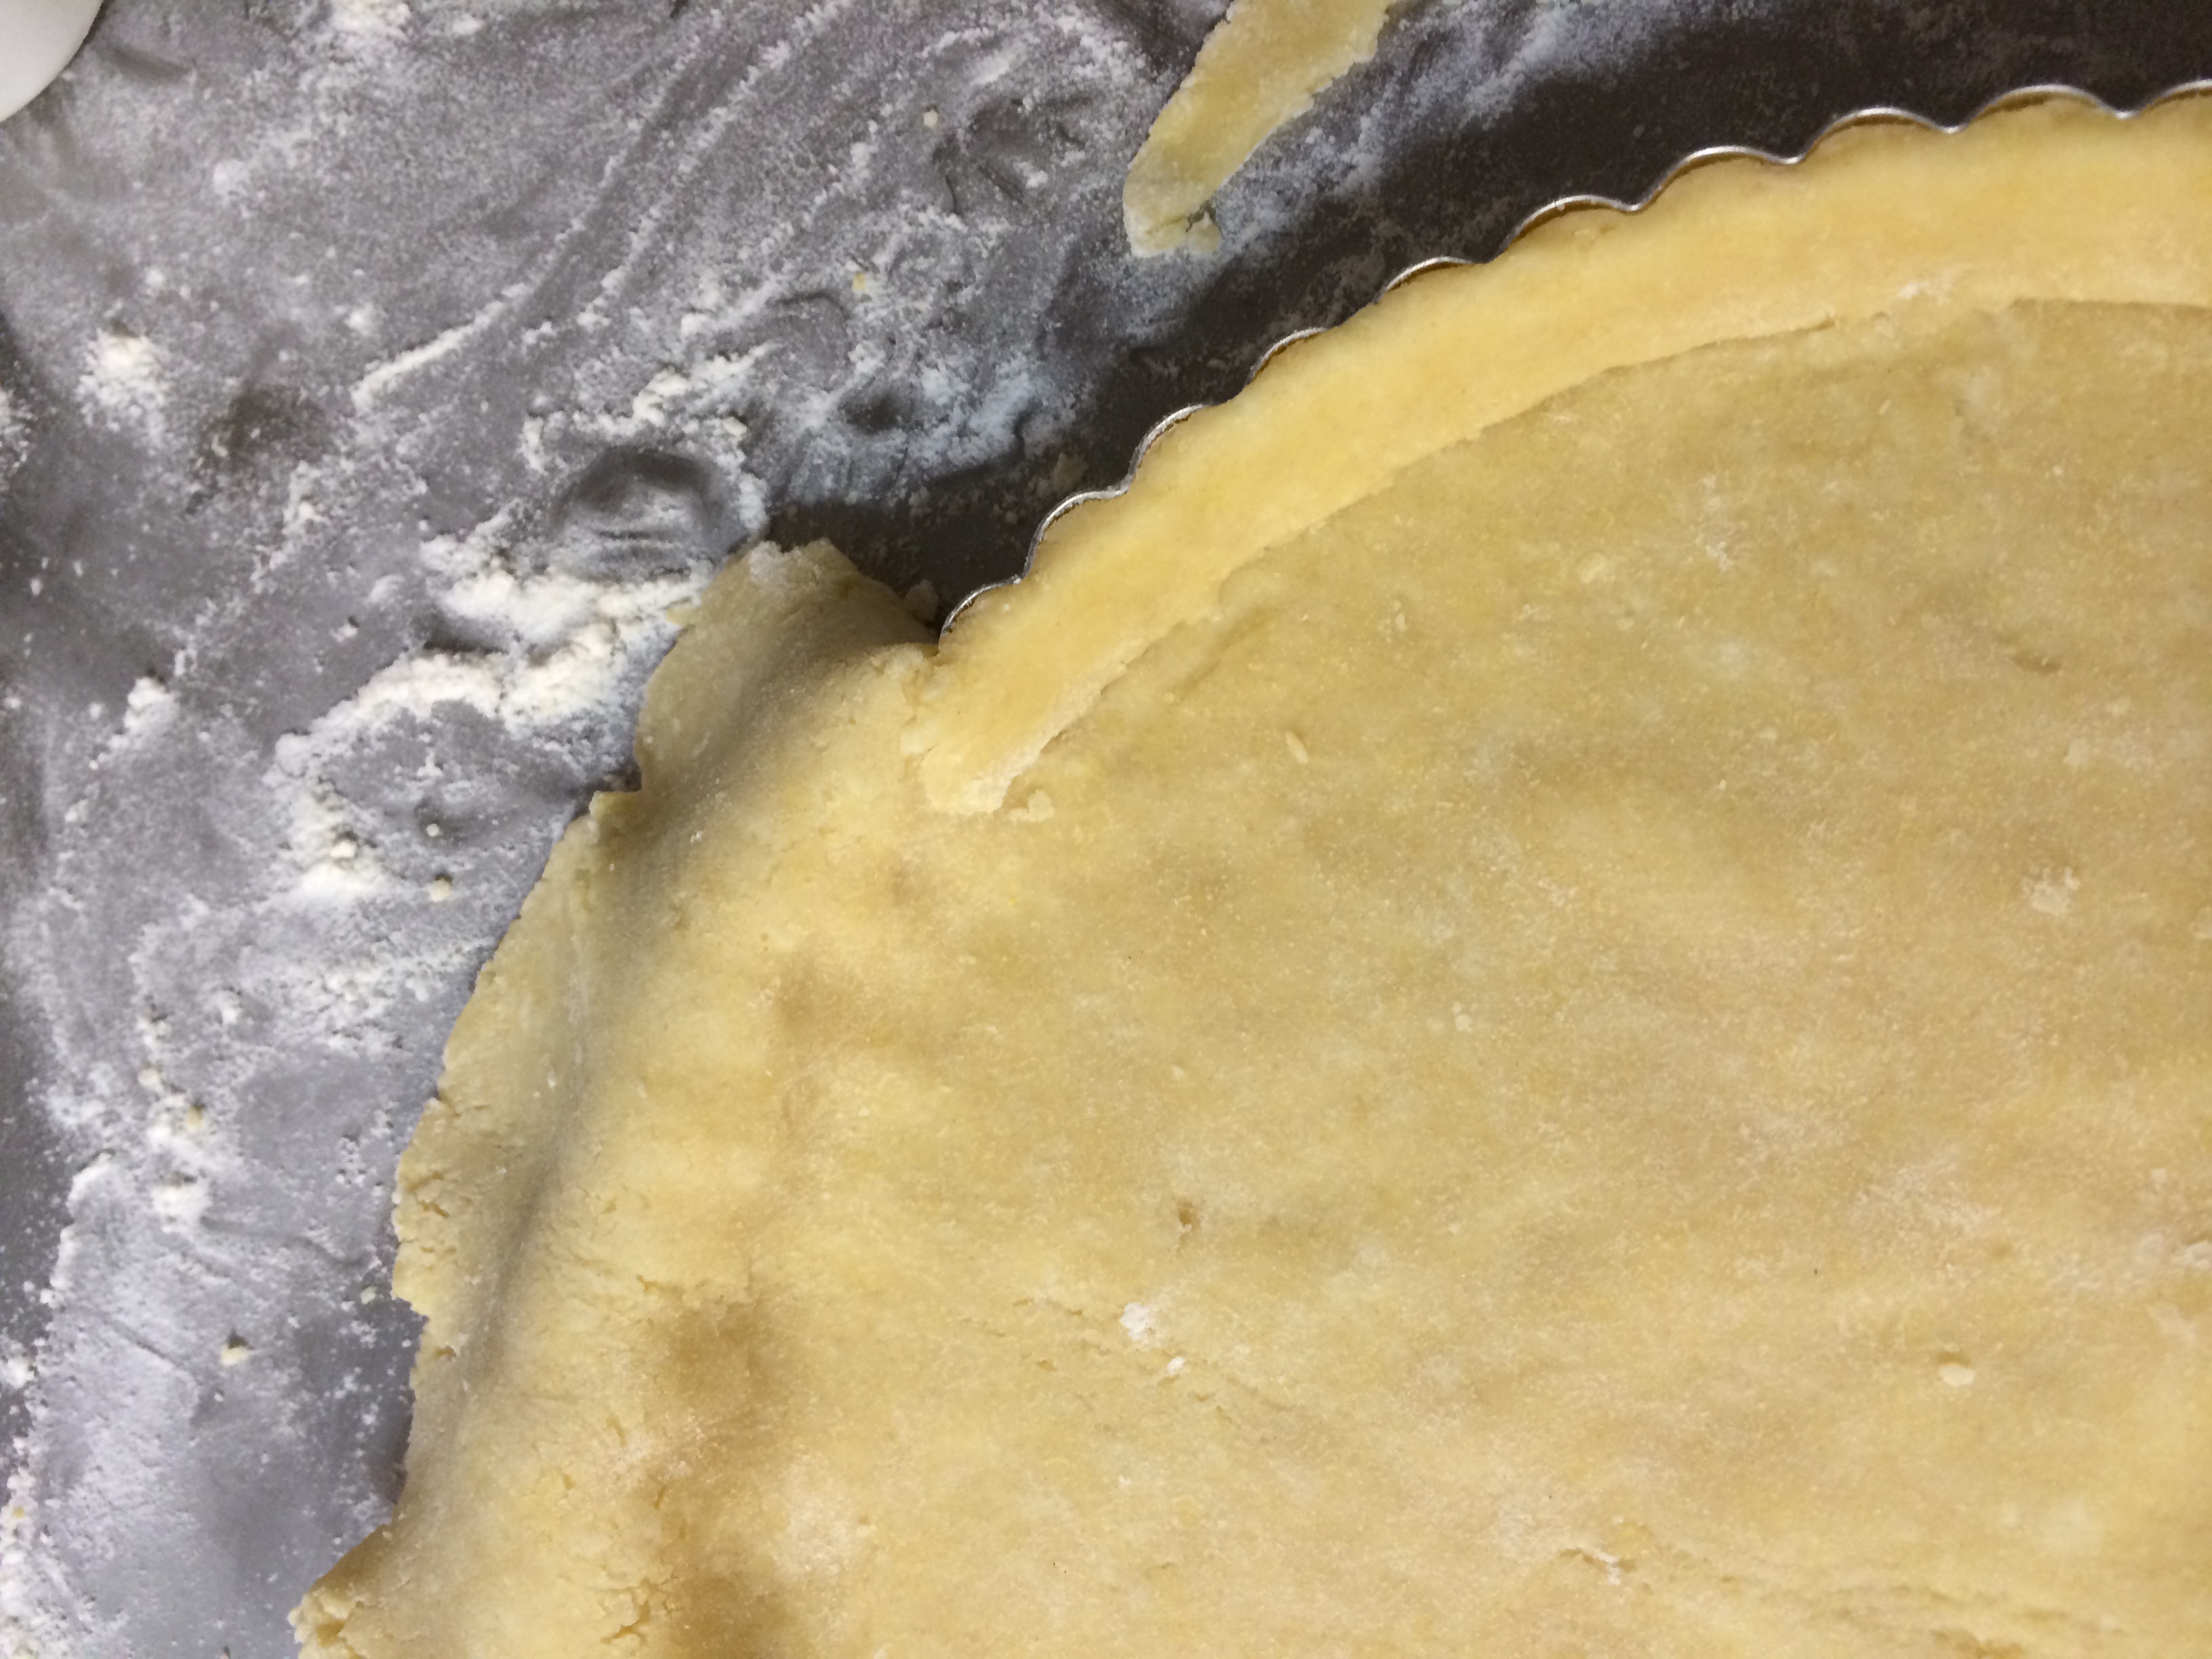
IMG_1305

The crust was frozen for half and hour and then pre-baked for 45 minutes. Boom:
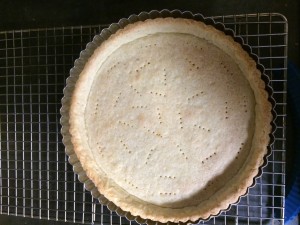
 

IMG_1308

The next part of the process was to make the white chocolate mousse. I used a double boiler method to prevent scorching while melting the white chocolate. After melting, the white chocolate mixture was set aside to cool.
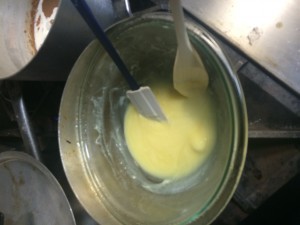
IMG_1309

In the meantime, I beat the egg whites and the whipping cream mixture.IMG_1310
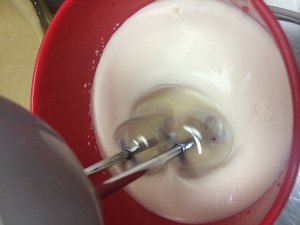
 

These were each folded into the melted white chocolate. This mousse was then poured into the tart shell and left in the fridge to chill.
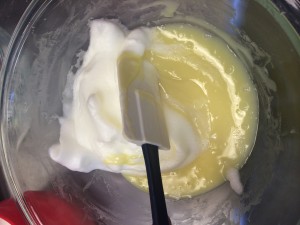
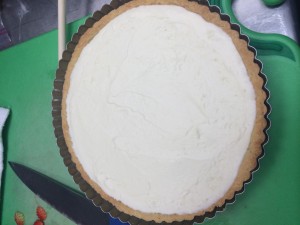
IMG_1311


IMG_1318

This is where the decoration part of the tart began. I cut the 16 oz of strawberries into thin slices and carefully arranged them into concentric circles on top of the mousse.
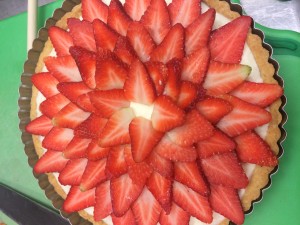
IMG_1319

I thought that the tart needed a little contrast in color, so I thought it would be a good idea to put some dark chocolate on there. I’ve always wanted to try making decorations out of chocolate drizzle, so I melted some semi-sweet chocolate pieces with shortening over a double boiler and made a makeshift piping bag.IMG_1315
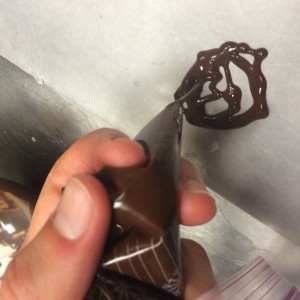
I played around with some shapes and left them to cool/harden.IMG_1316
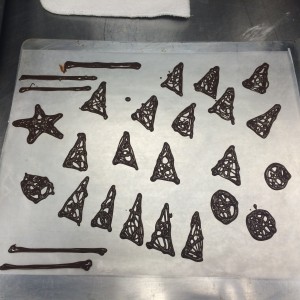
 

And then arranged them on top of the tart. I finished it off with the tart strawberry-jam-and-lemon-juice glaze, which gave the tart a shiny look.
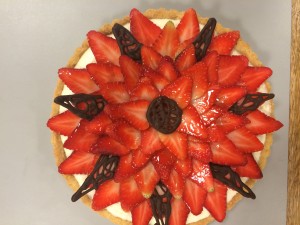
IMG_1324

I’m happy with how it turned out!I was a little nervous about it, but everything went pretty smoothly and I think the final product looks nice. I hope it tastes good. I tasted the chocolate mousse and it was super sweet, so I’m hoping that the strawberries and the glaze add a little tartness to counteract the overwhelming sweetness.


Decorative Thoughts

While researching pie decorations this weekend, I have found that pastry is often used to make decorative crusts and pie toppers and designs and the like. The alternative is NOT using pastry to make decoration. I have a few thoughts for both:

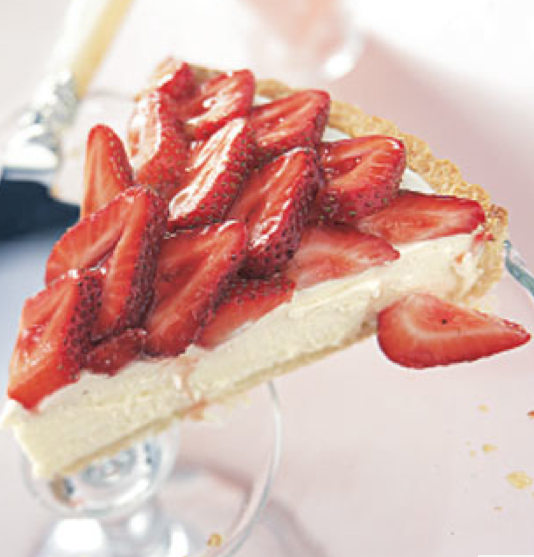
I found a Bon Appetit recipe for Strawberry and White Chocolate Mouse Tart, which looks amazing to me. I really want to eat it, so I think I’m going to make it.

Screen shot 2014-01-20 at 12.27.09 PM

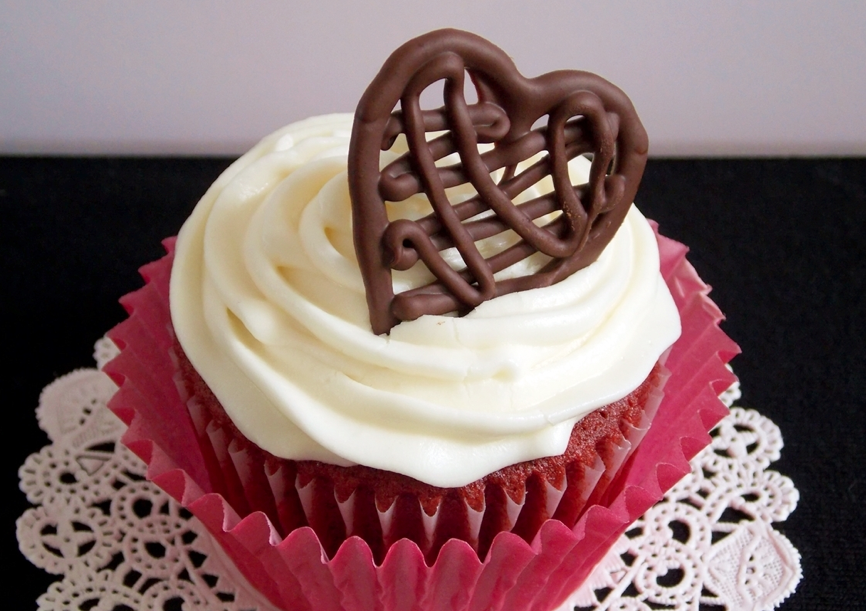
I think it would be cool to arrange the strawberries into concentric circles. The strawberries themselves are made to look especially appetizing because they are brushed with a melted-strawberry-jam-and-lemon-juice mixture. I would like to experiment with chocolate drizzle designs to make to little dark chocolate pieces to incorporate into the circular strawberry design. Something along the lines of these little hearts:

Screen shot 2014-01-20 at 12.31.53 PM

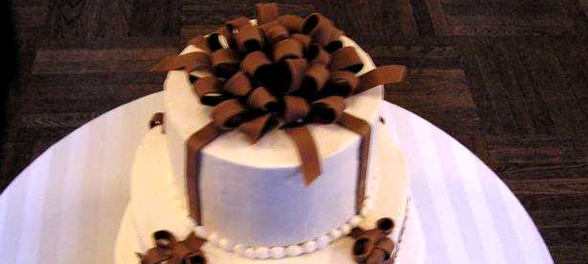
Or maybe make a chocolate ribbon to place in the middle. Seemingly impossible, but I need to do more research to see whether or not this would be feasible.

Screen shot 2014-01-20 at 12.31.26 PM

The other option would be to make a pie and manipulate pastry for decoration. Here are just a few of the really cool things I found while poking around in Pintrest.

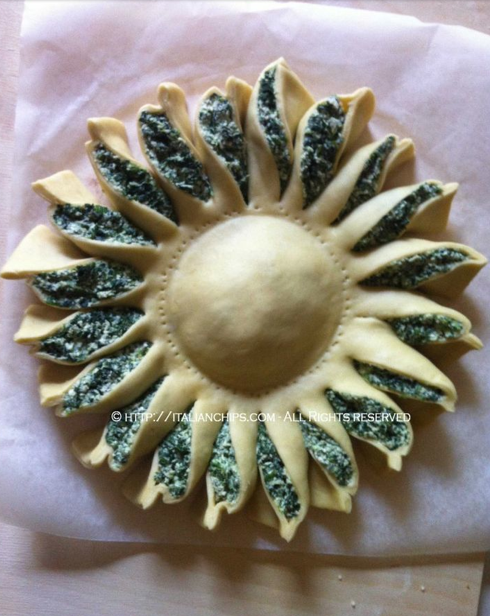
This sunny, yummy looking spinach thing. Wow.

Screen shot 2014-01-20 at 12.58.10 AM

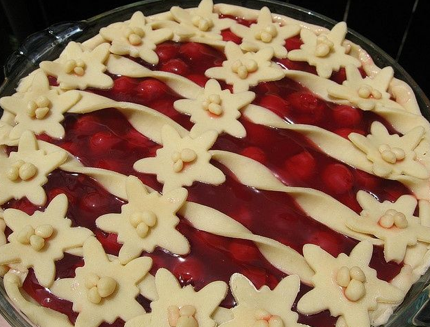
This work of art!

Screen shot 2014-01-20 at 1.13.53 AM

An interesting take on a lattice-top-esque prebaked thing that is apparently set atop a pie like a lid.

Screen shot 2014-01-20 at 1.15.06 AM

And this use of color. I’d never really thought about dying pastry before…

Screen shot 2014-01-20 at 12.42.53 AM

Yep, just a few thoughts of mine. I am leaning towards the tart at the moment. I’ve never made one before and would really like to try!

Steak and Stilton Pie

It was very difficult to choose a single recipe to try this week. I am quite unfamiliar with savory pies, but so many recipes were making me salivate. I narrowed it down to a mushroom pie (I am a sucker for mushrooms) and a steak and Stilton pie (which looked so fun to make). I made my decision by literally flipping a coin.

I made several changes to the original recipe. First of all, instead of using a store-bought, frozen puff pastry, I made my own. I used Susan Purdy’s recipe for Quick Puff Pastry. There was also the option of making a Classic Puff Pastry, but that would’ve taken me fifteen years to finish. So Quick Puff Pastry it is. The ingredients were very similar to those in the basic flaky pastry which we’ve been making. The difference is in the procedure.

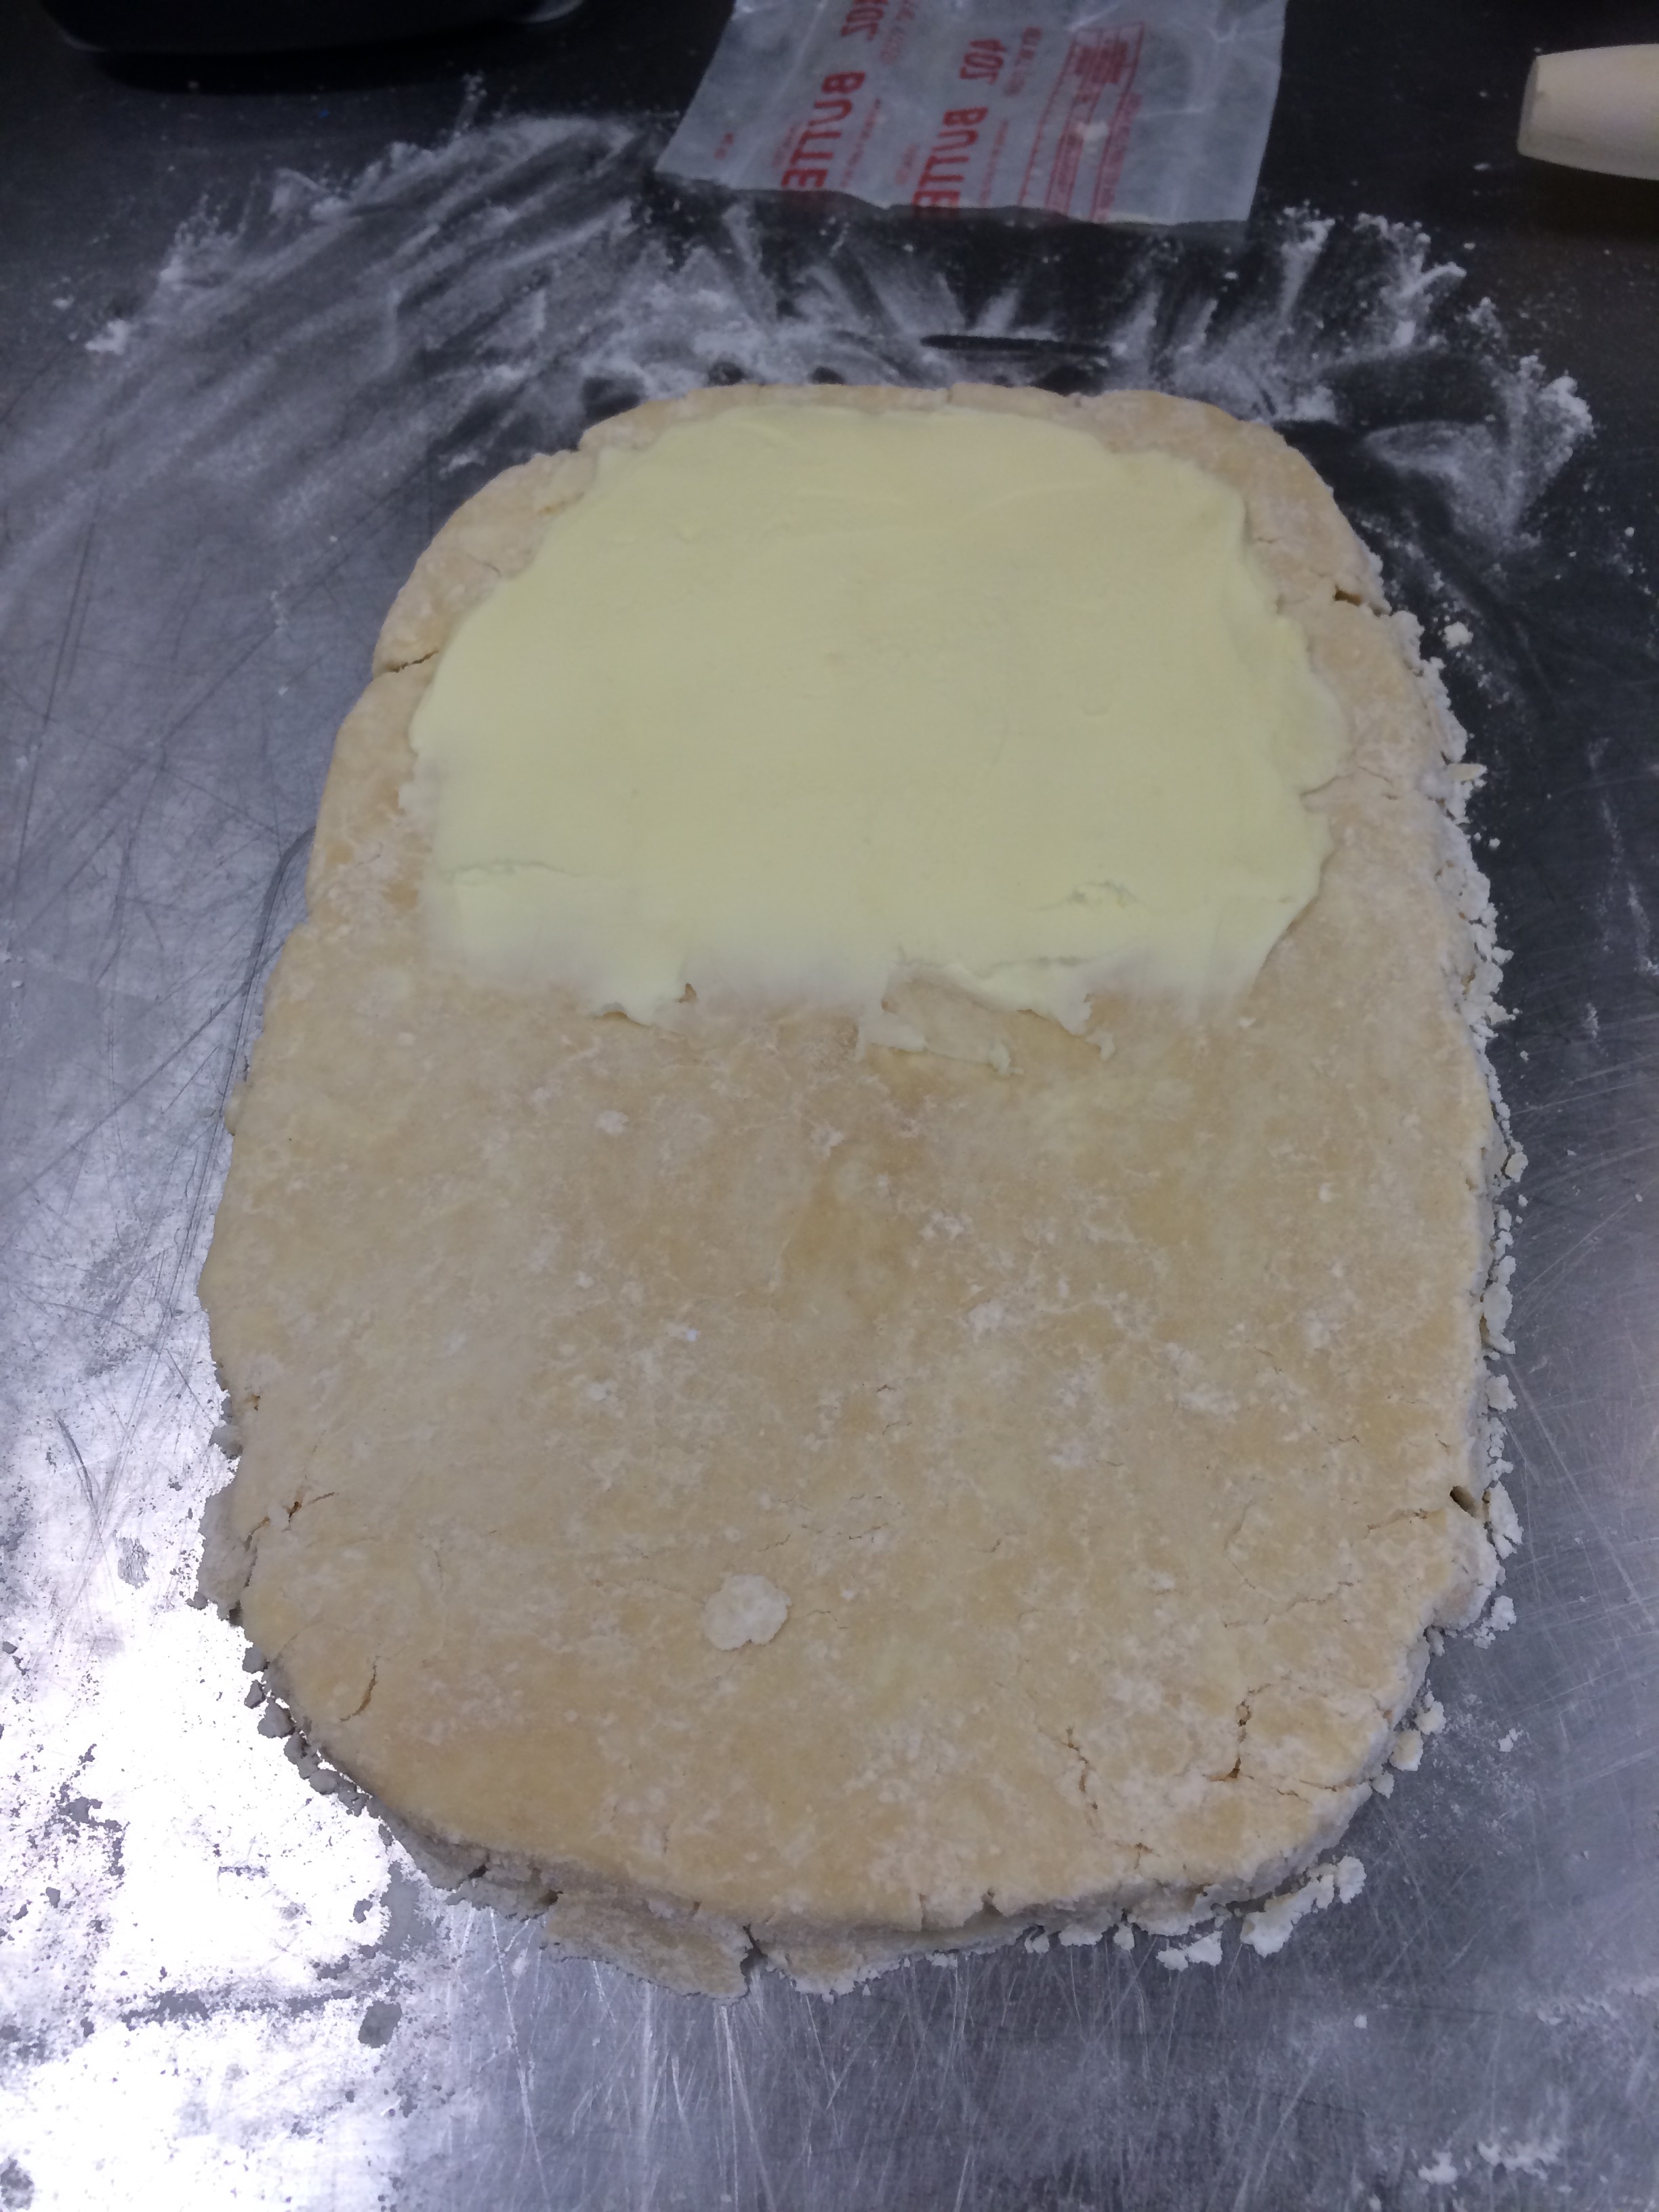
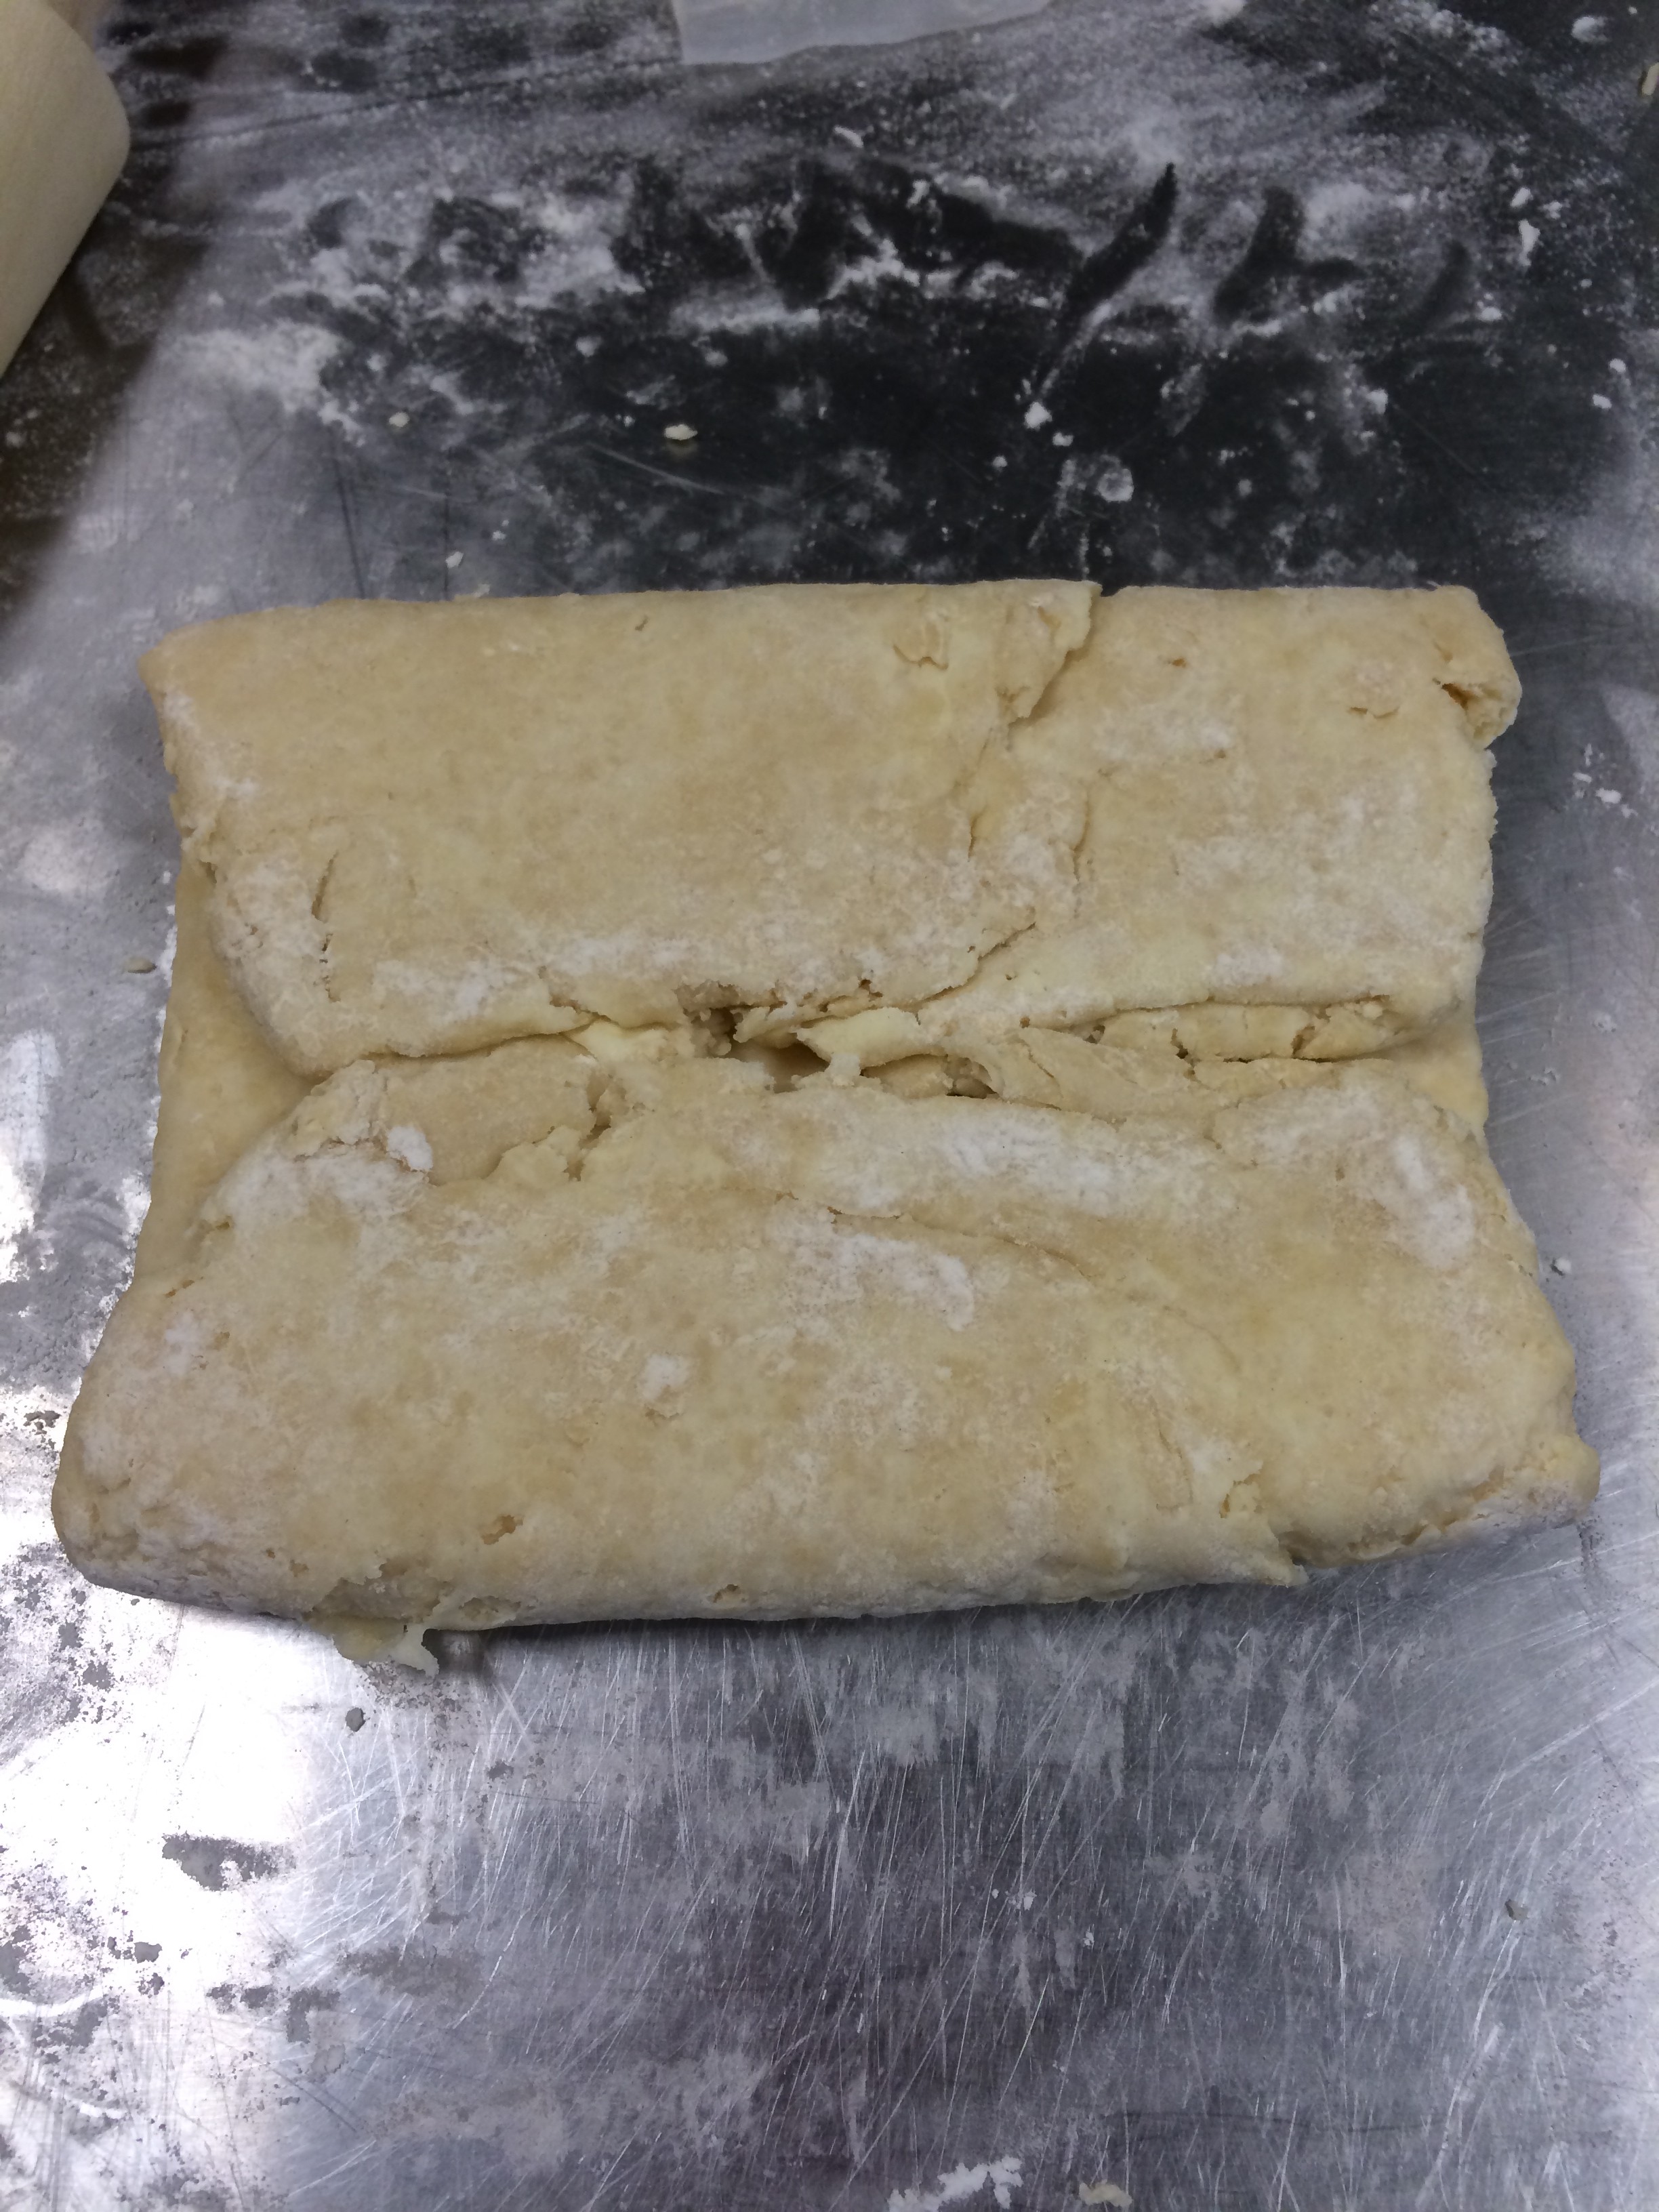
First of all, you roll the pastry out, then slather it with a nice layer of butter, as seen here:

IMG_1287
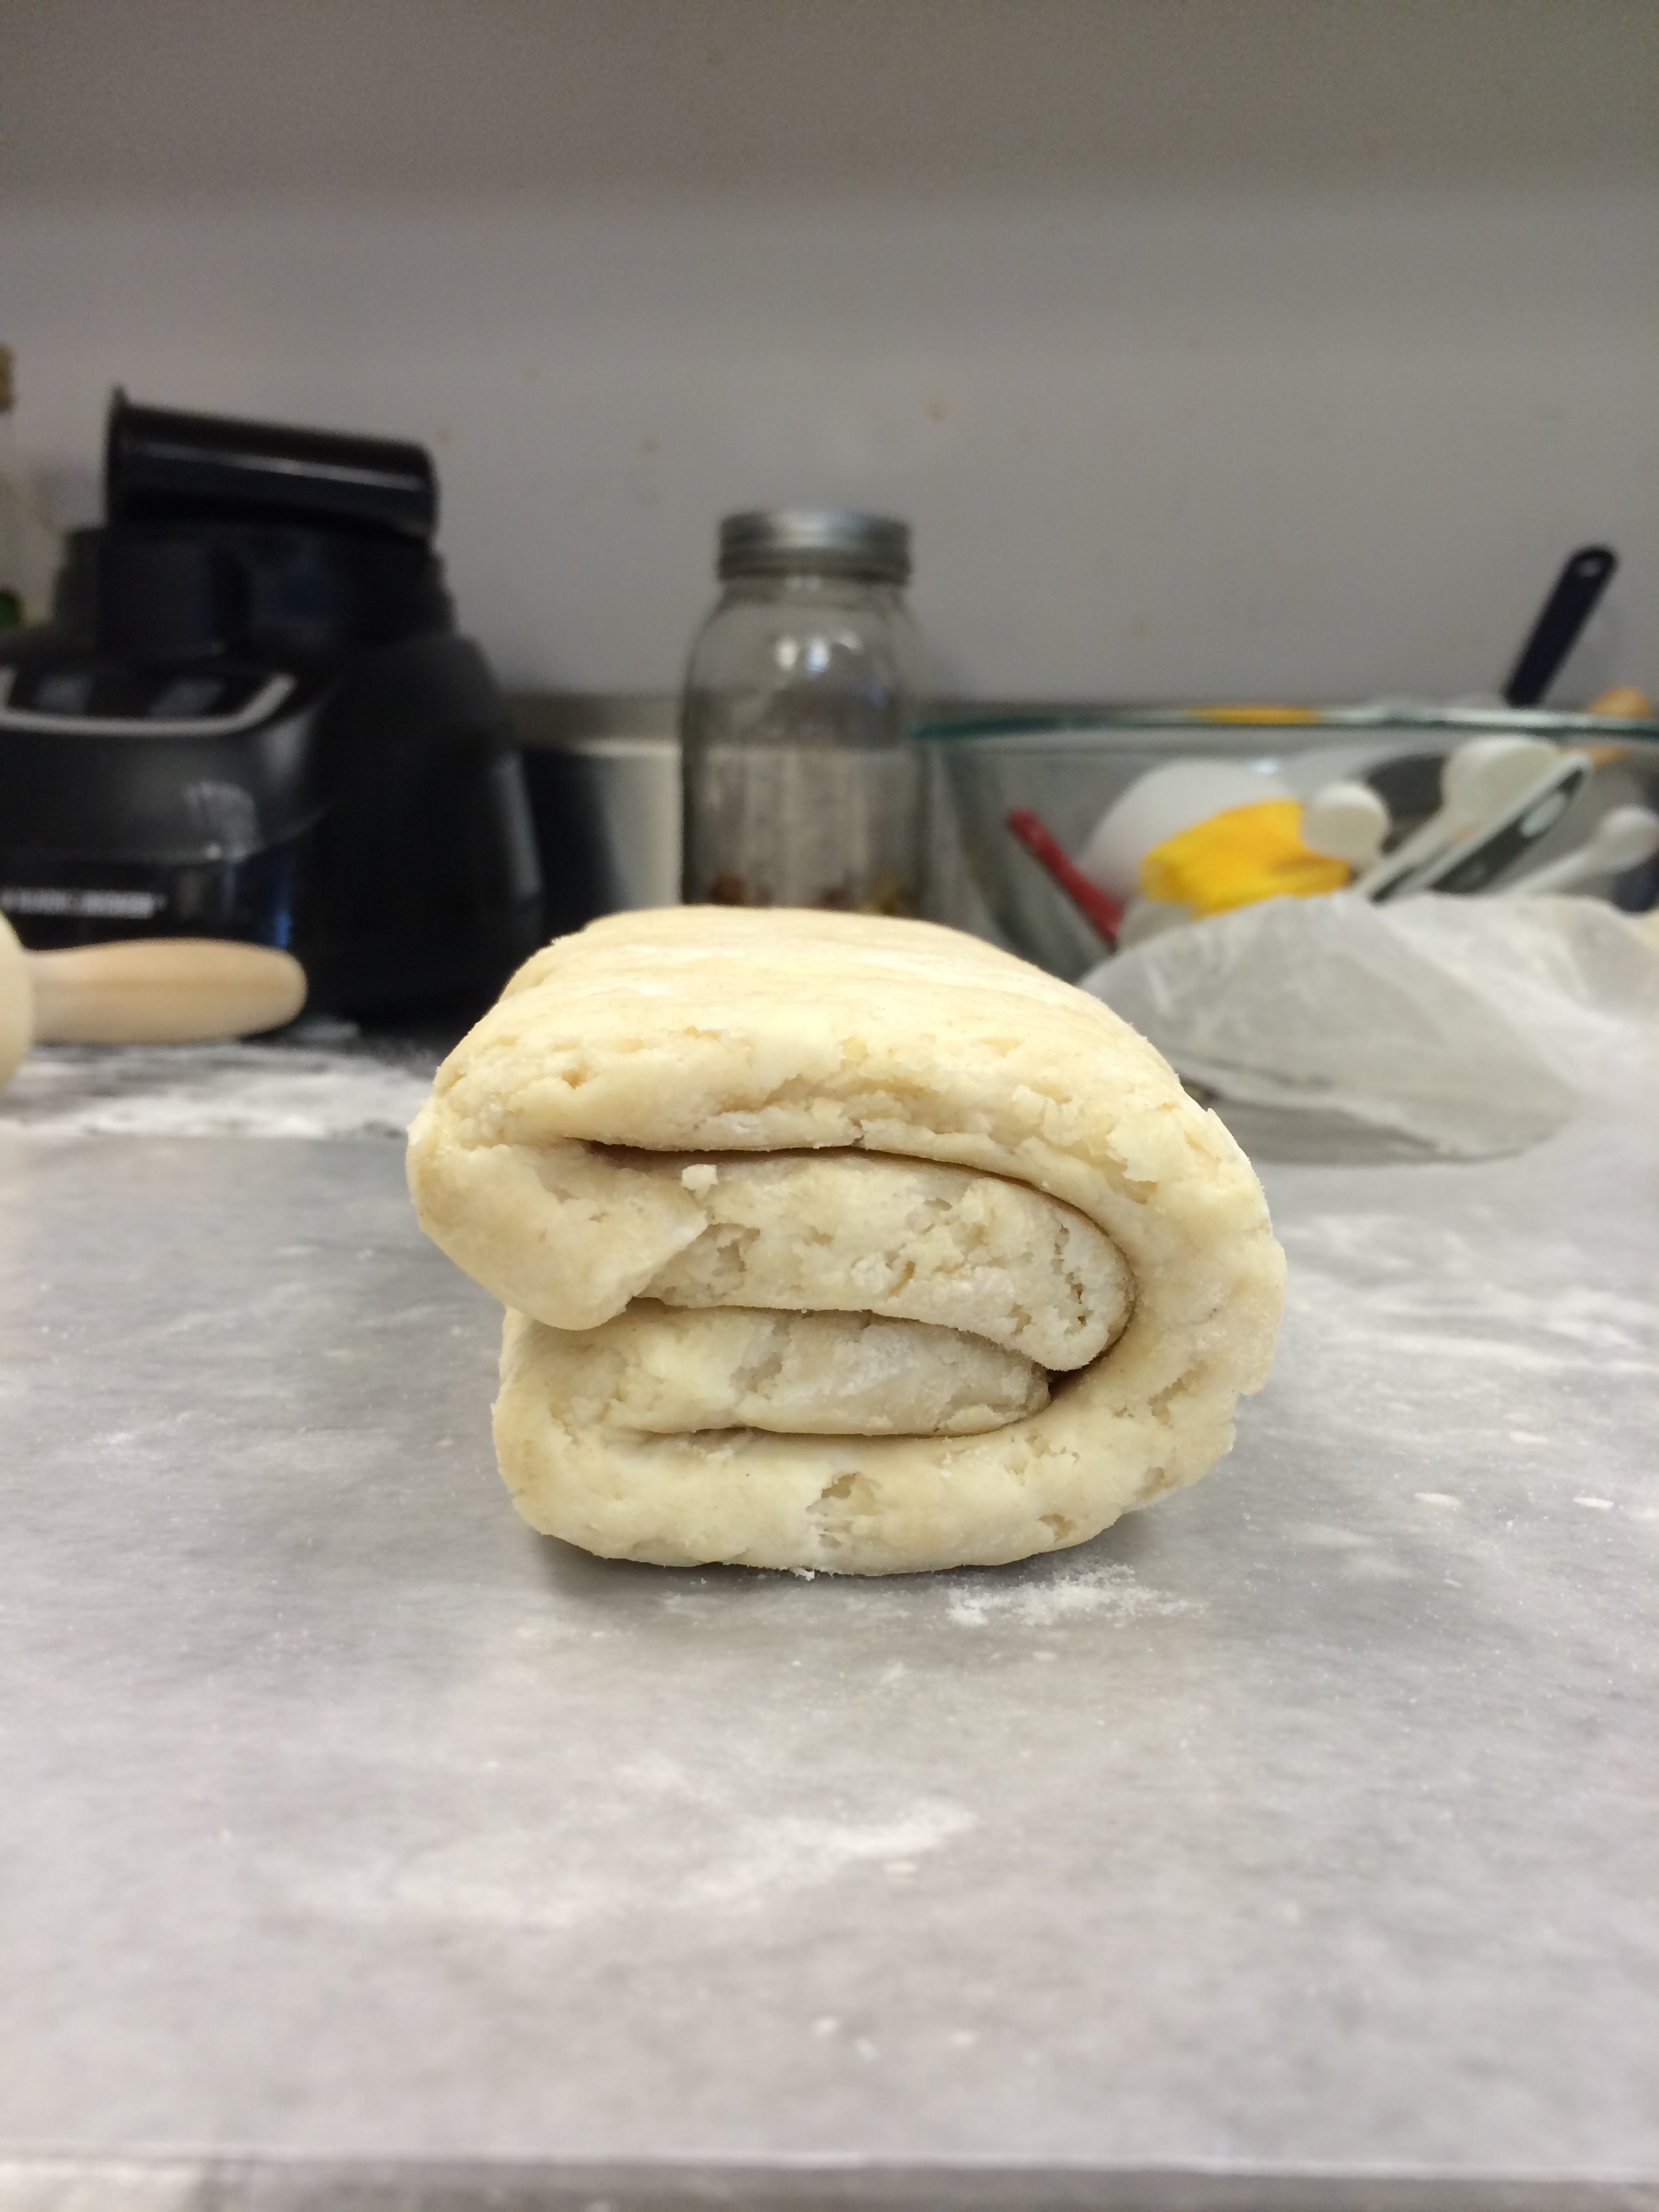
Then you use things like the “letter fold” and the “book fold” to layer the dough. The latter is featured in the picture below.

IMG_1289

Then you fold, then roll, then fold, then roll, then fold, then chill, then roll, then fold, etc. For a long time. And then your puff pastry is ready! Here it is, awaiting to be chilled overnight in the fridge:


IMG_1290

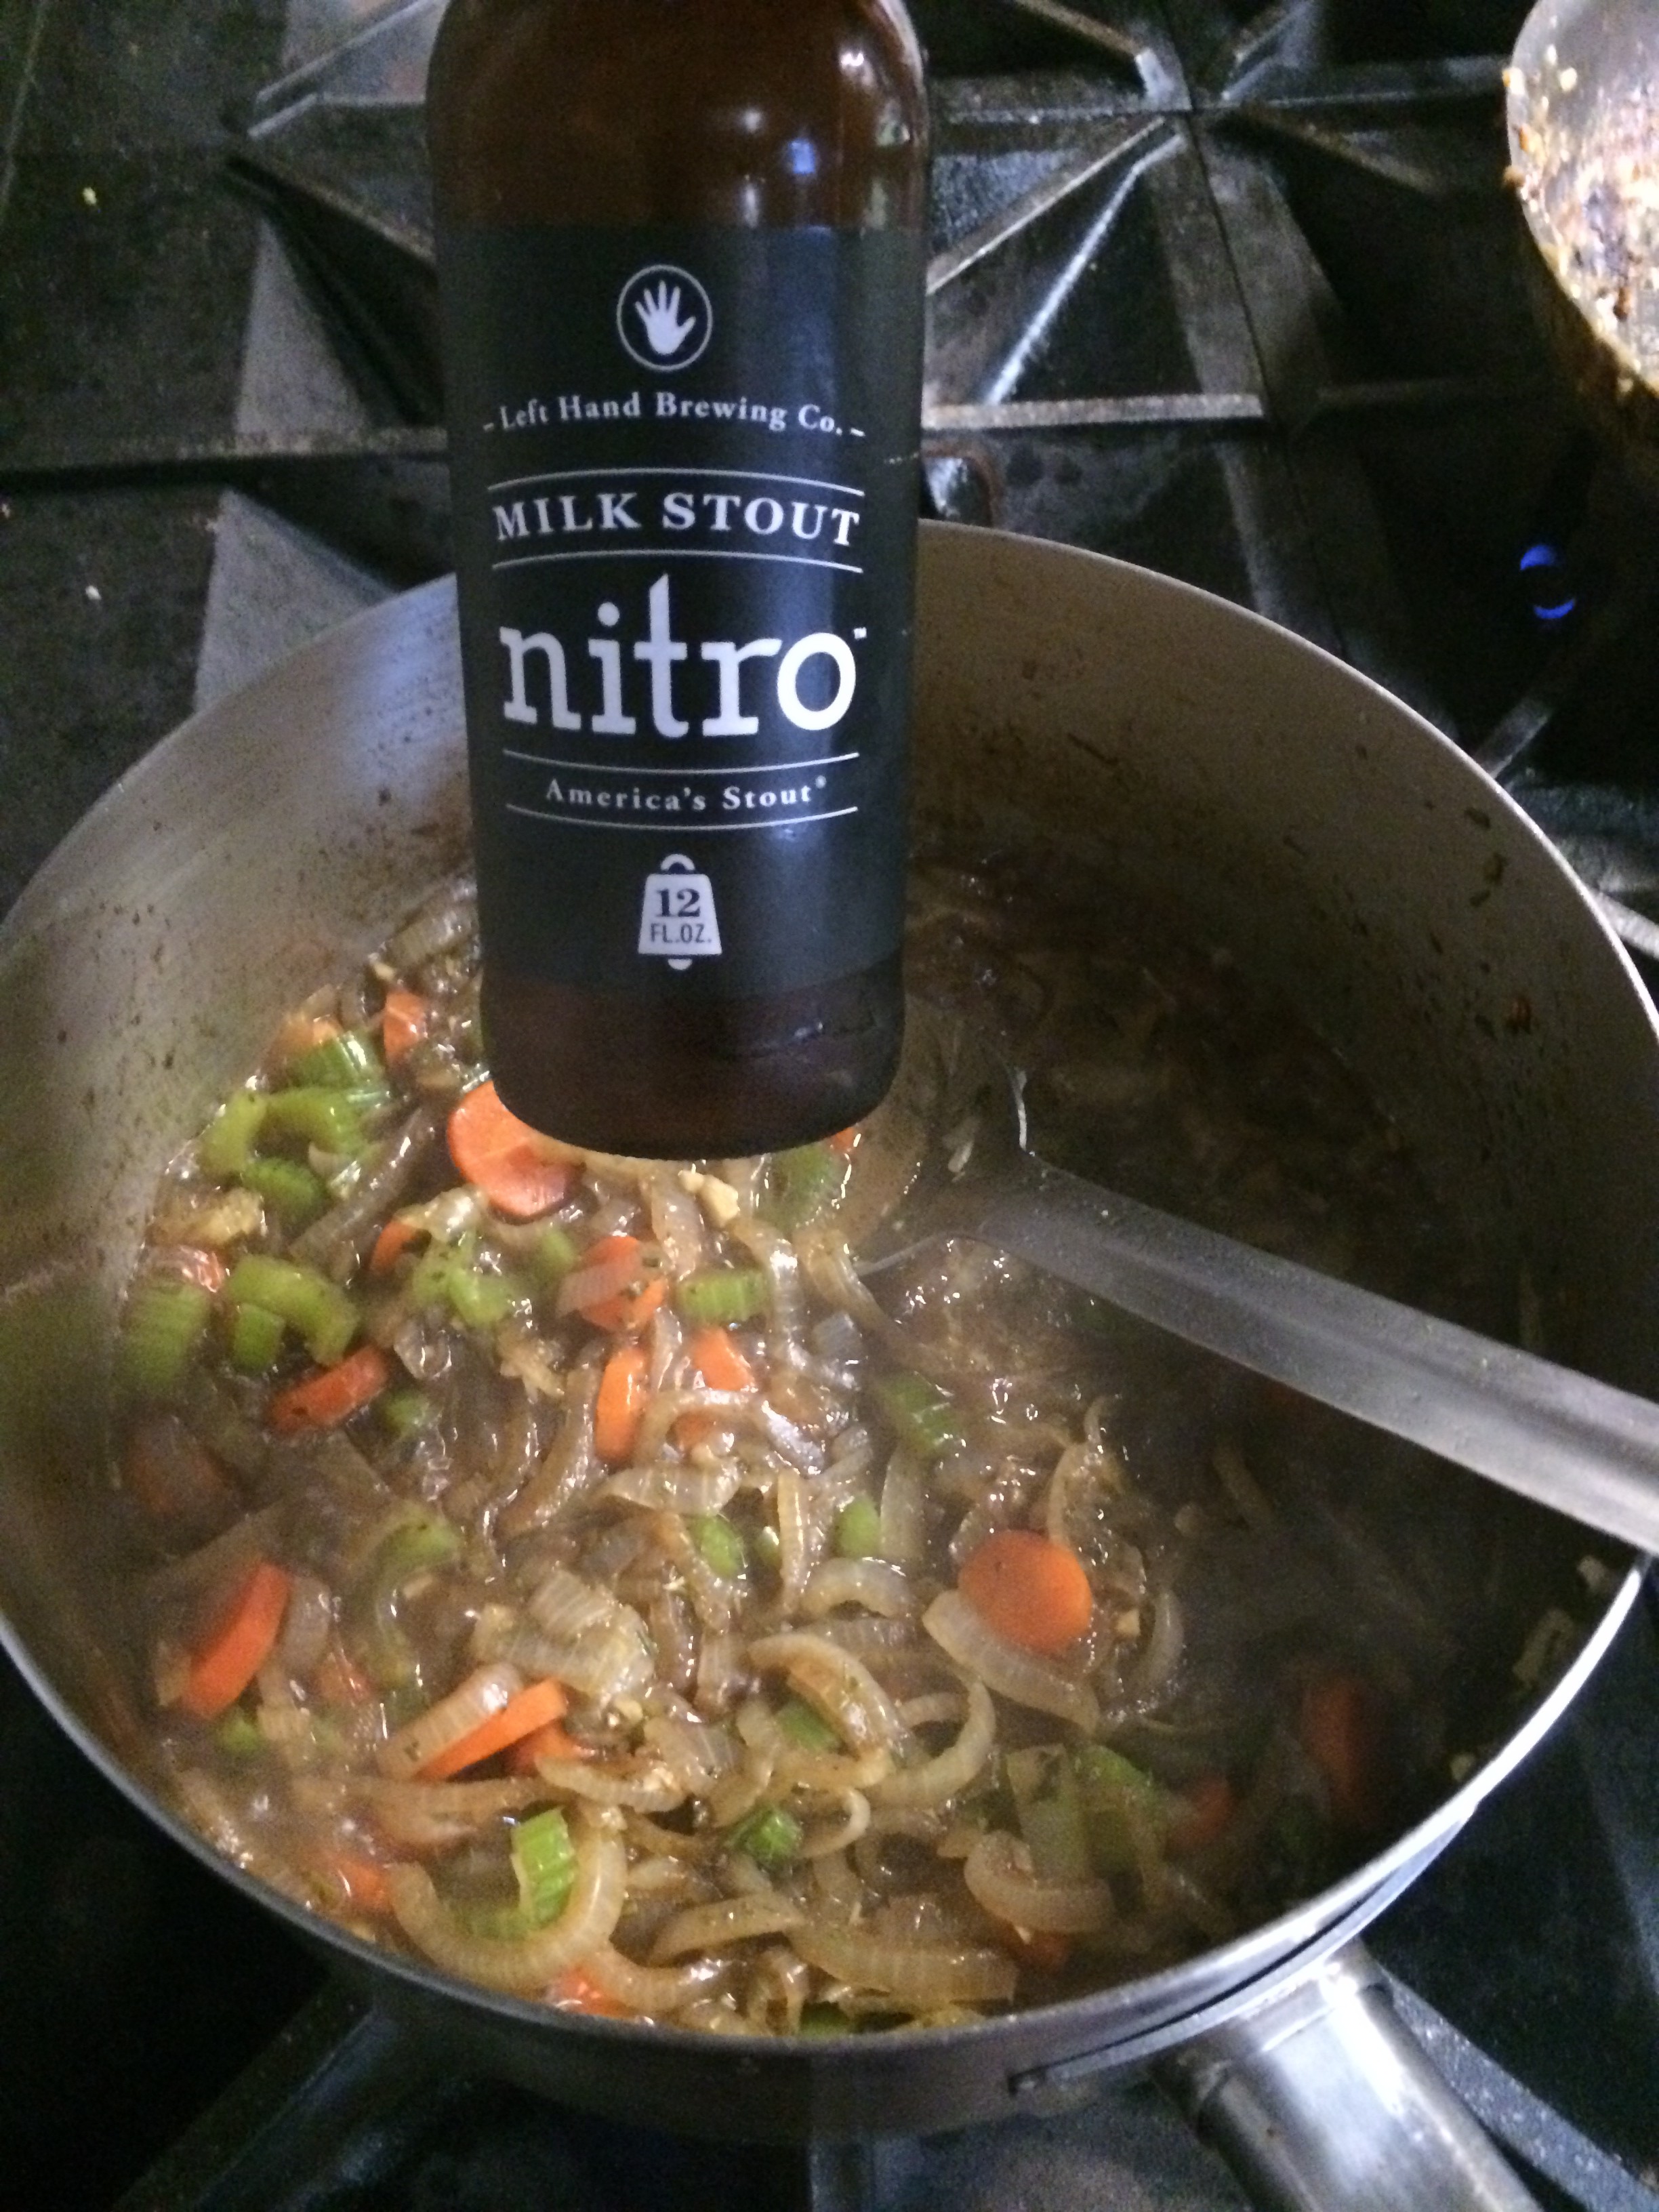
With the puff pastry done, it was time to begin on the pie filling. This is an English style pie, so it doesn’t have a bottom crust. The original recipe was supposed to make four individual pies, but I adapted it to make one 9-inch pie. The recipe said to brown the meat first, then work on the vegetables. The most exciting part of this recipe was adding a bottle stout beer to the vegetables and leaving them to simmer for 1.5 hours.

IMG_1292

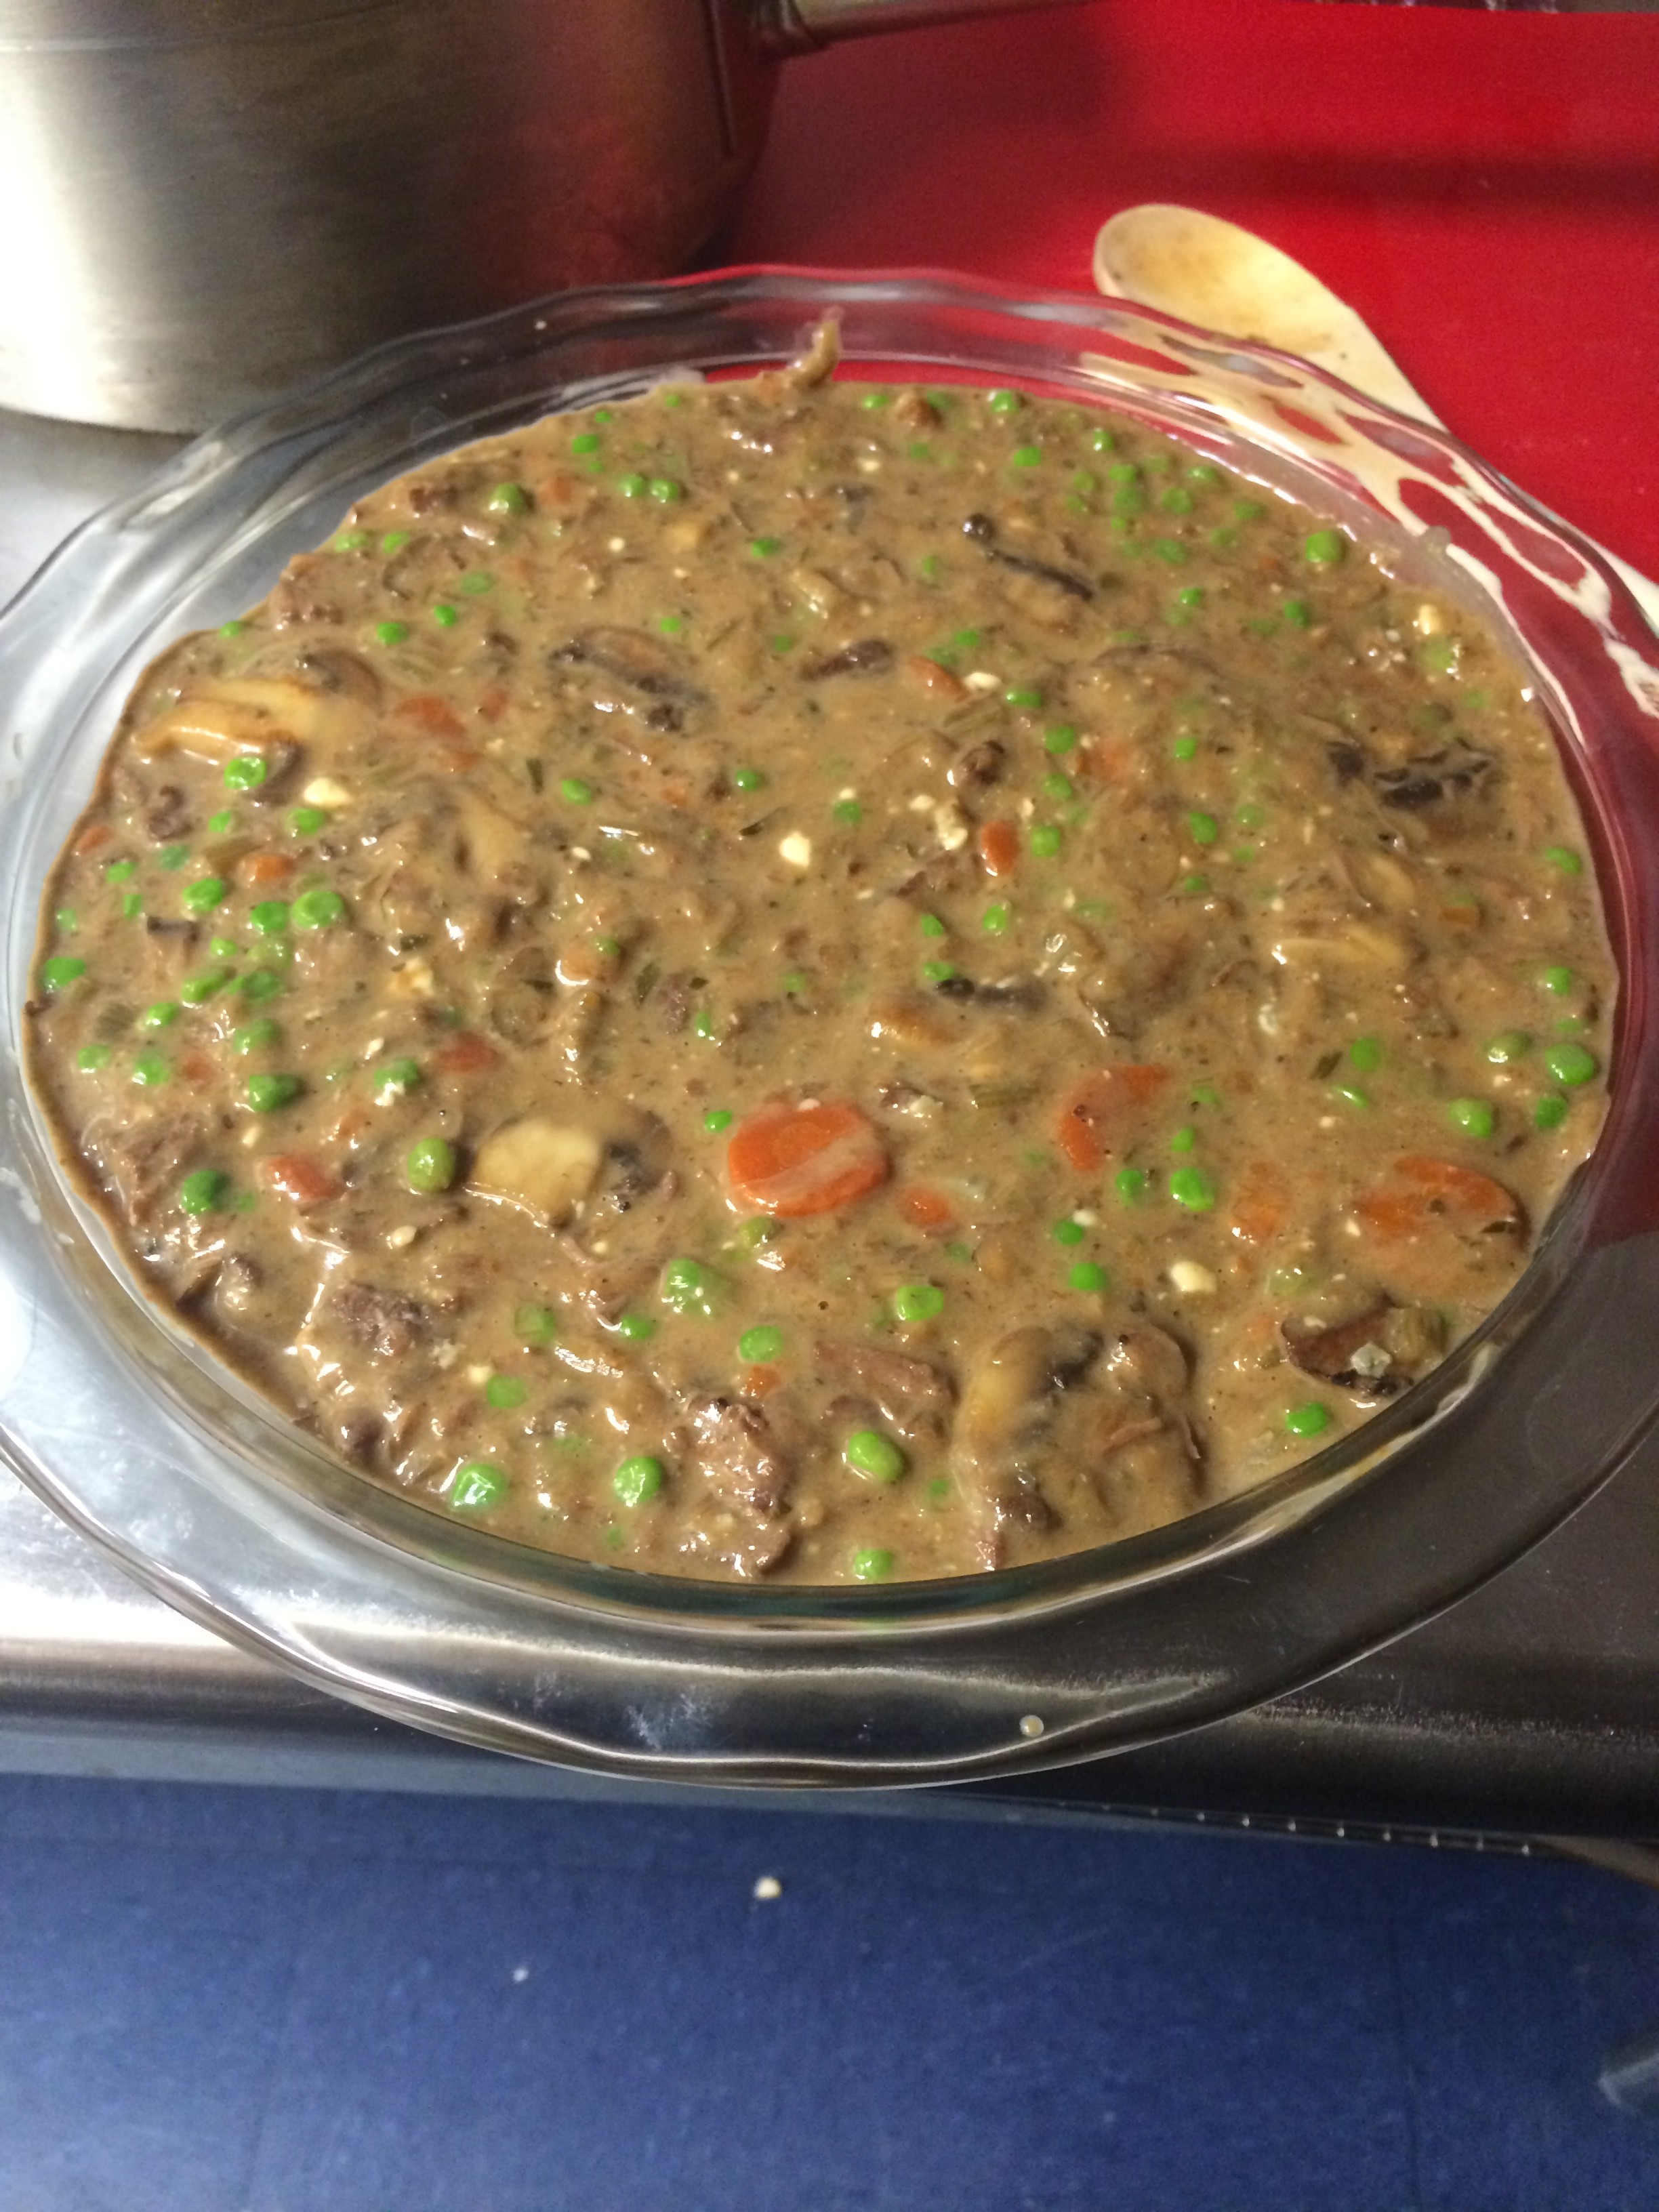
Once that was done, the steak and mustard powder and cheese were combined with the rest of the filling. The original recipe calls for English Stilton cheese, which was unavailable at Stop and Shop, so a more generic blue cheese was used instead. I also cut down on the amount of blue cheese; the recipe called for 6oz, but I used 3-4oz instead. I know that here are some diehard blue cheese lovers out there, but I like mine in moderation. A taste test suggests that the pie should be good. It needed a little seasoning with salt and pepper, but I think I got it right. Here’s a picture of the filling, waiting patiently for its top crust.

IMG_1295

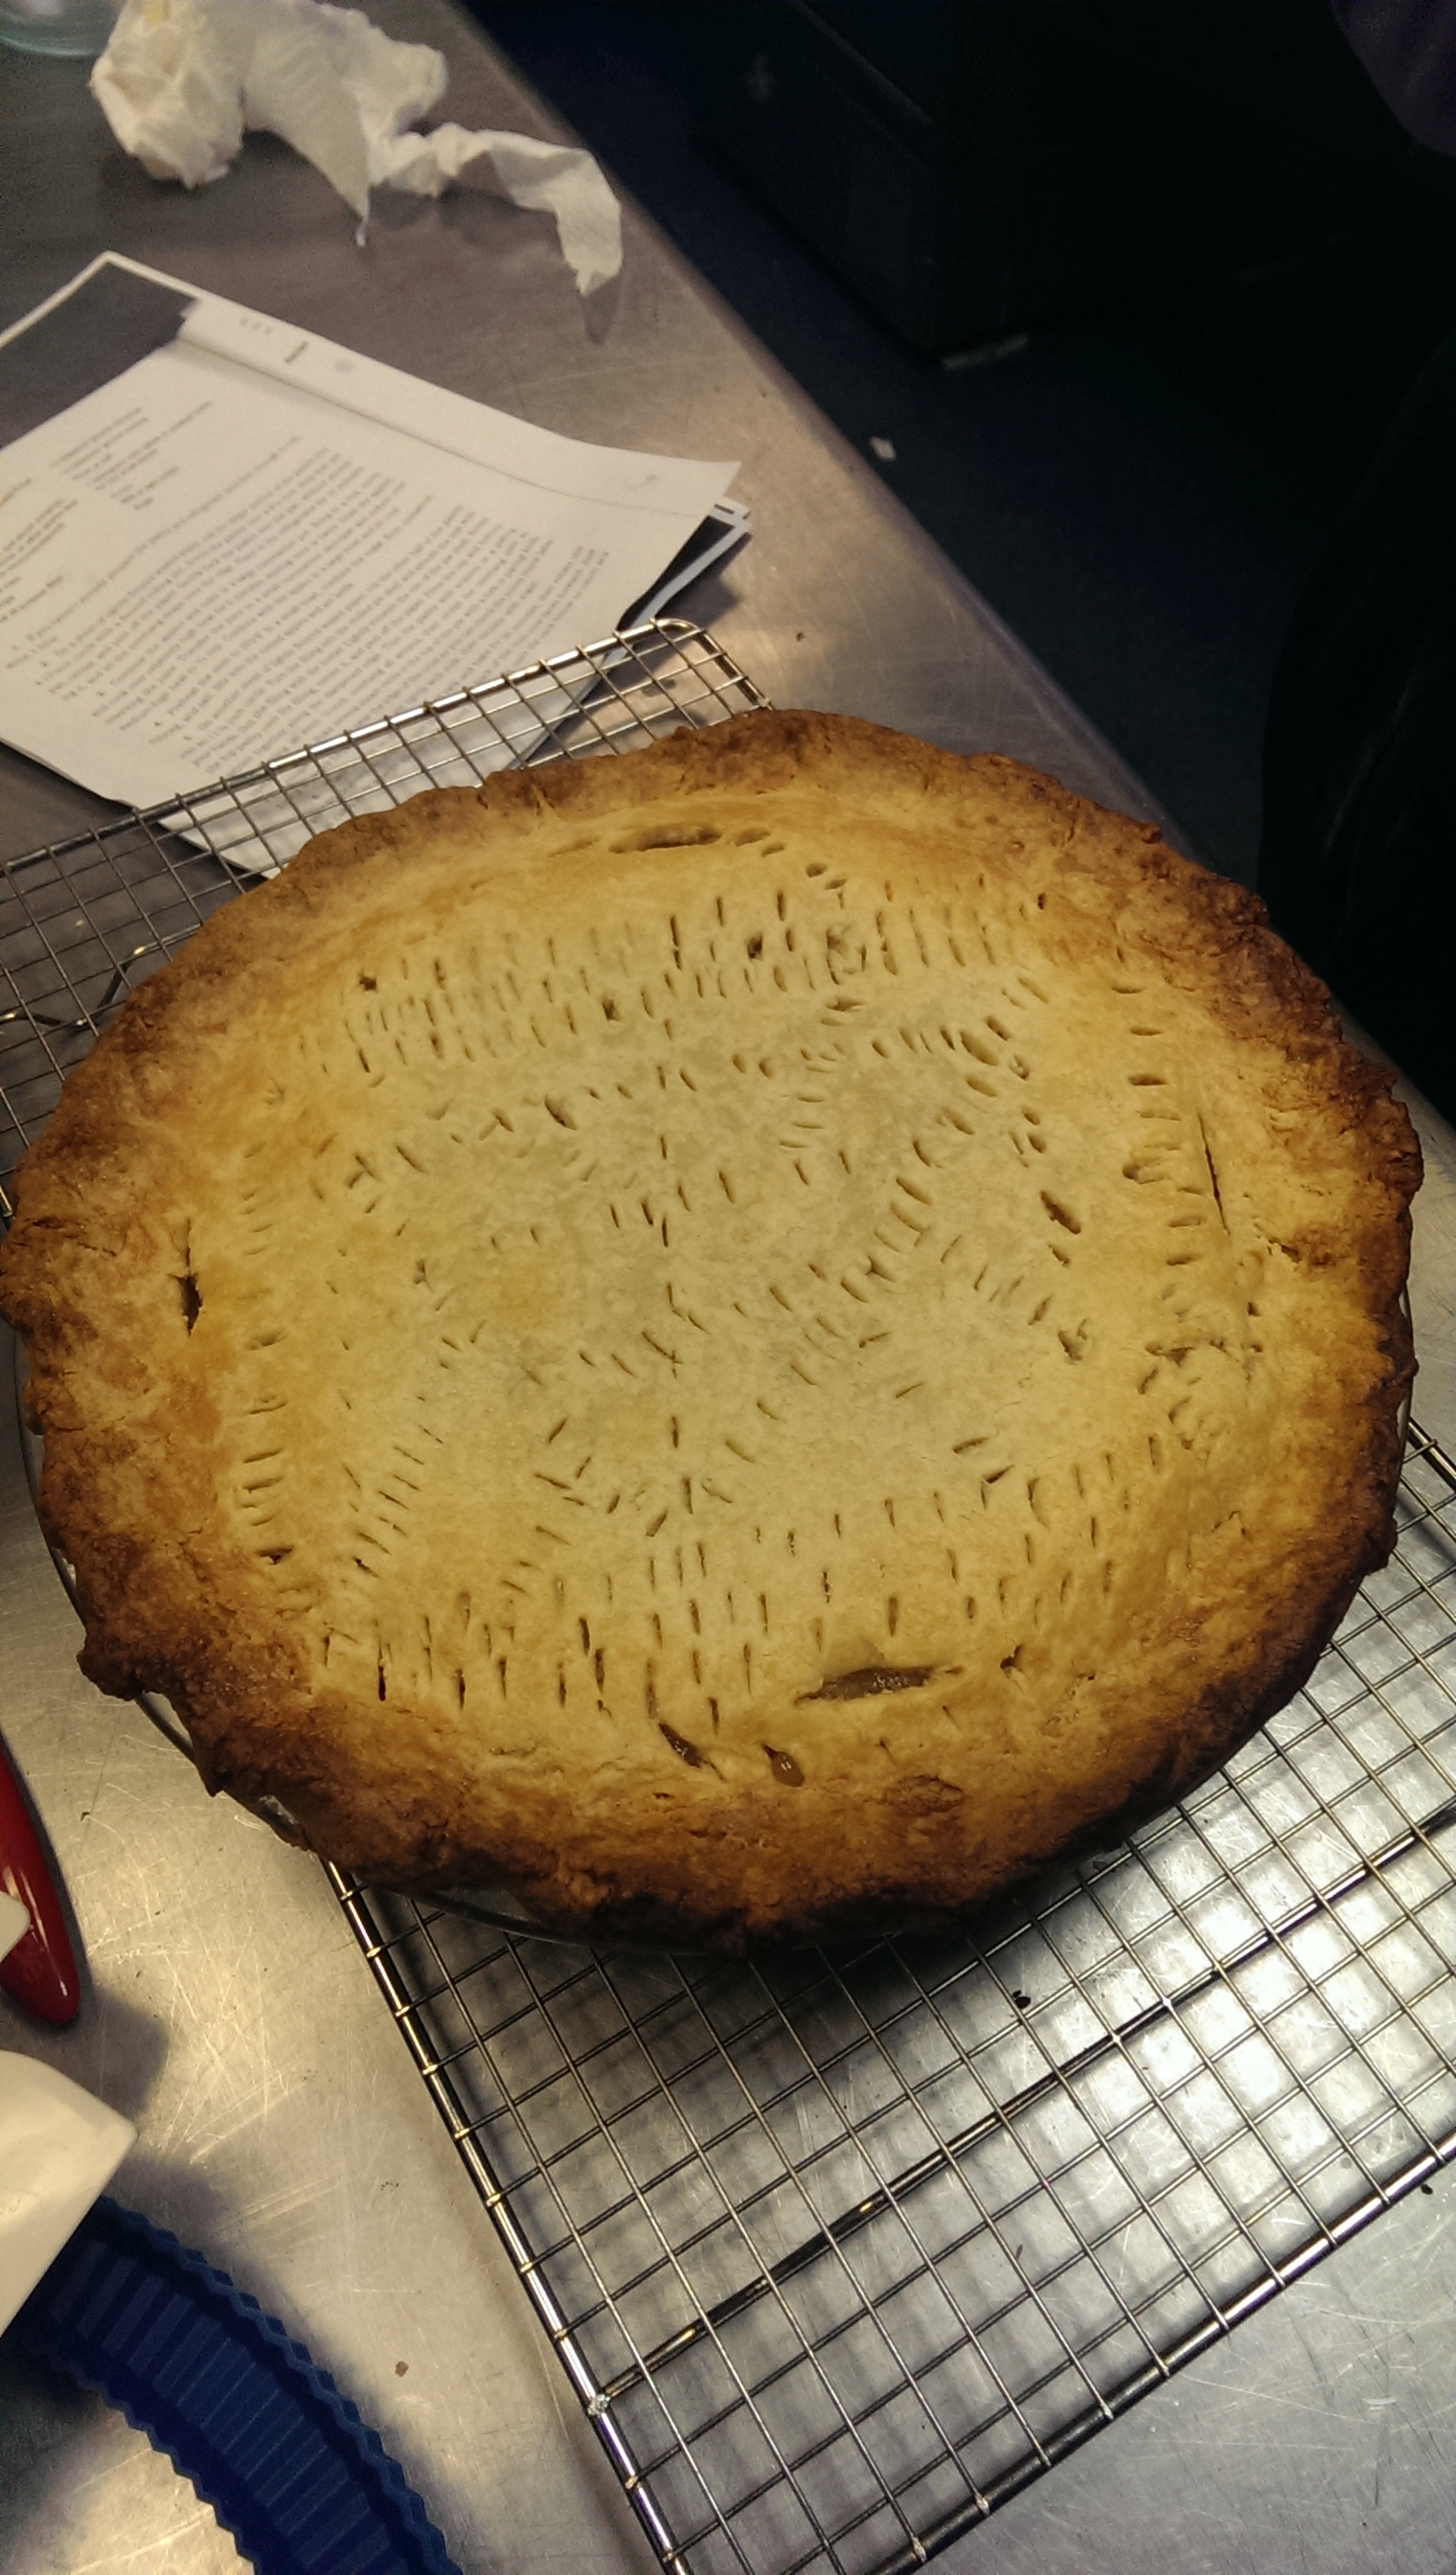
The puff pastry was surprisingly easy to roll out/work with. I made a very simple design on it. Man, I’m going to have to up my game for next week.

IMG_1297

Here’s the final product. There was some bubbling-over happening, so not the prettiest thing, but should still taste good! I guess we’ll see 🙂


Week 1: Sweet pies — complete!

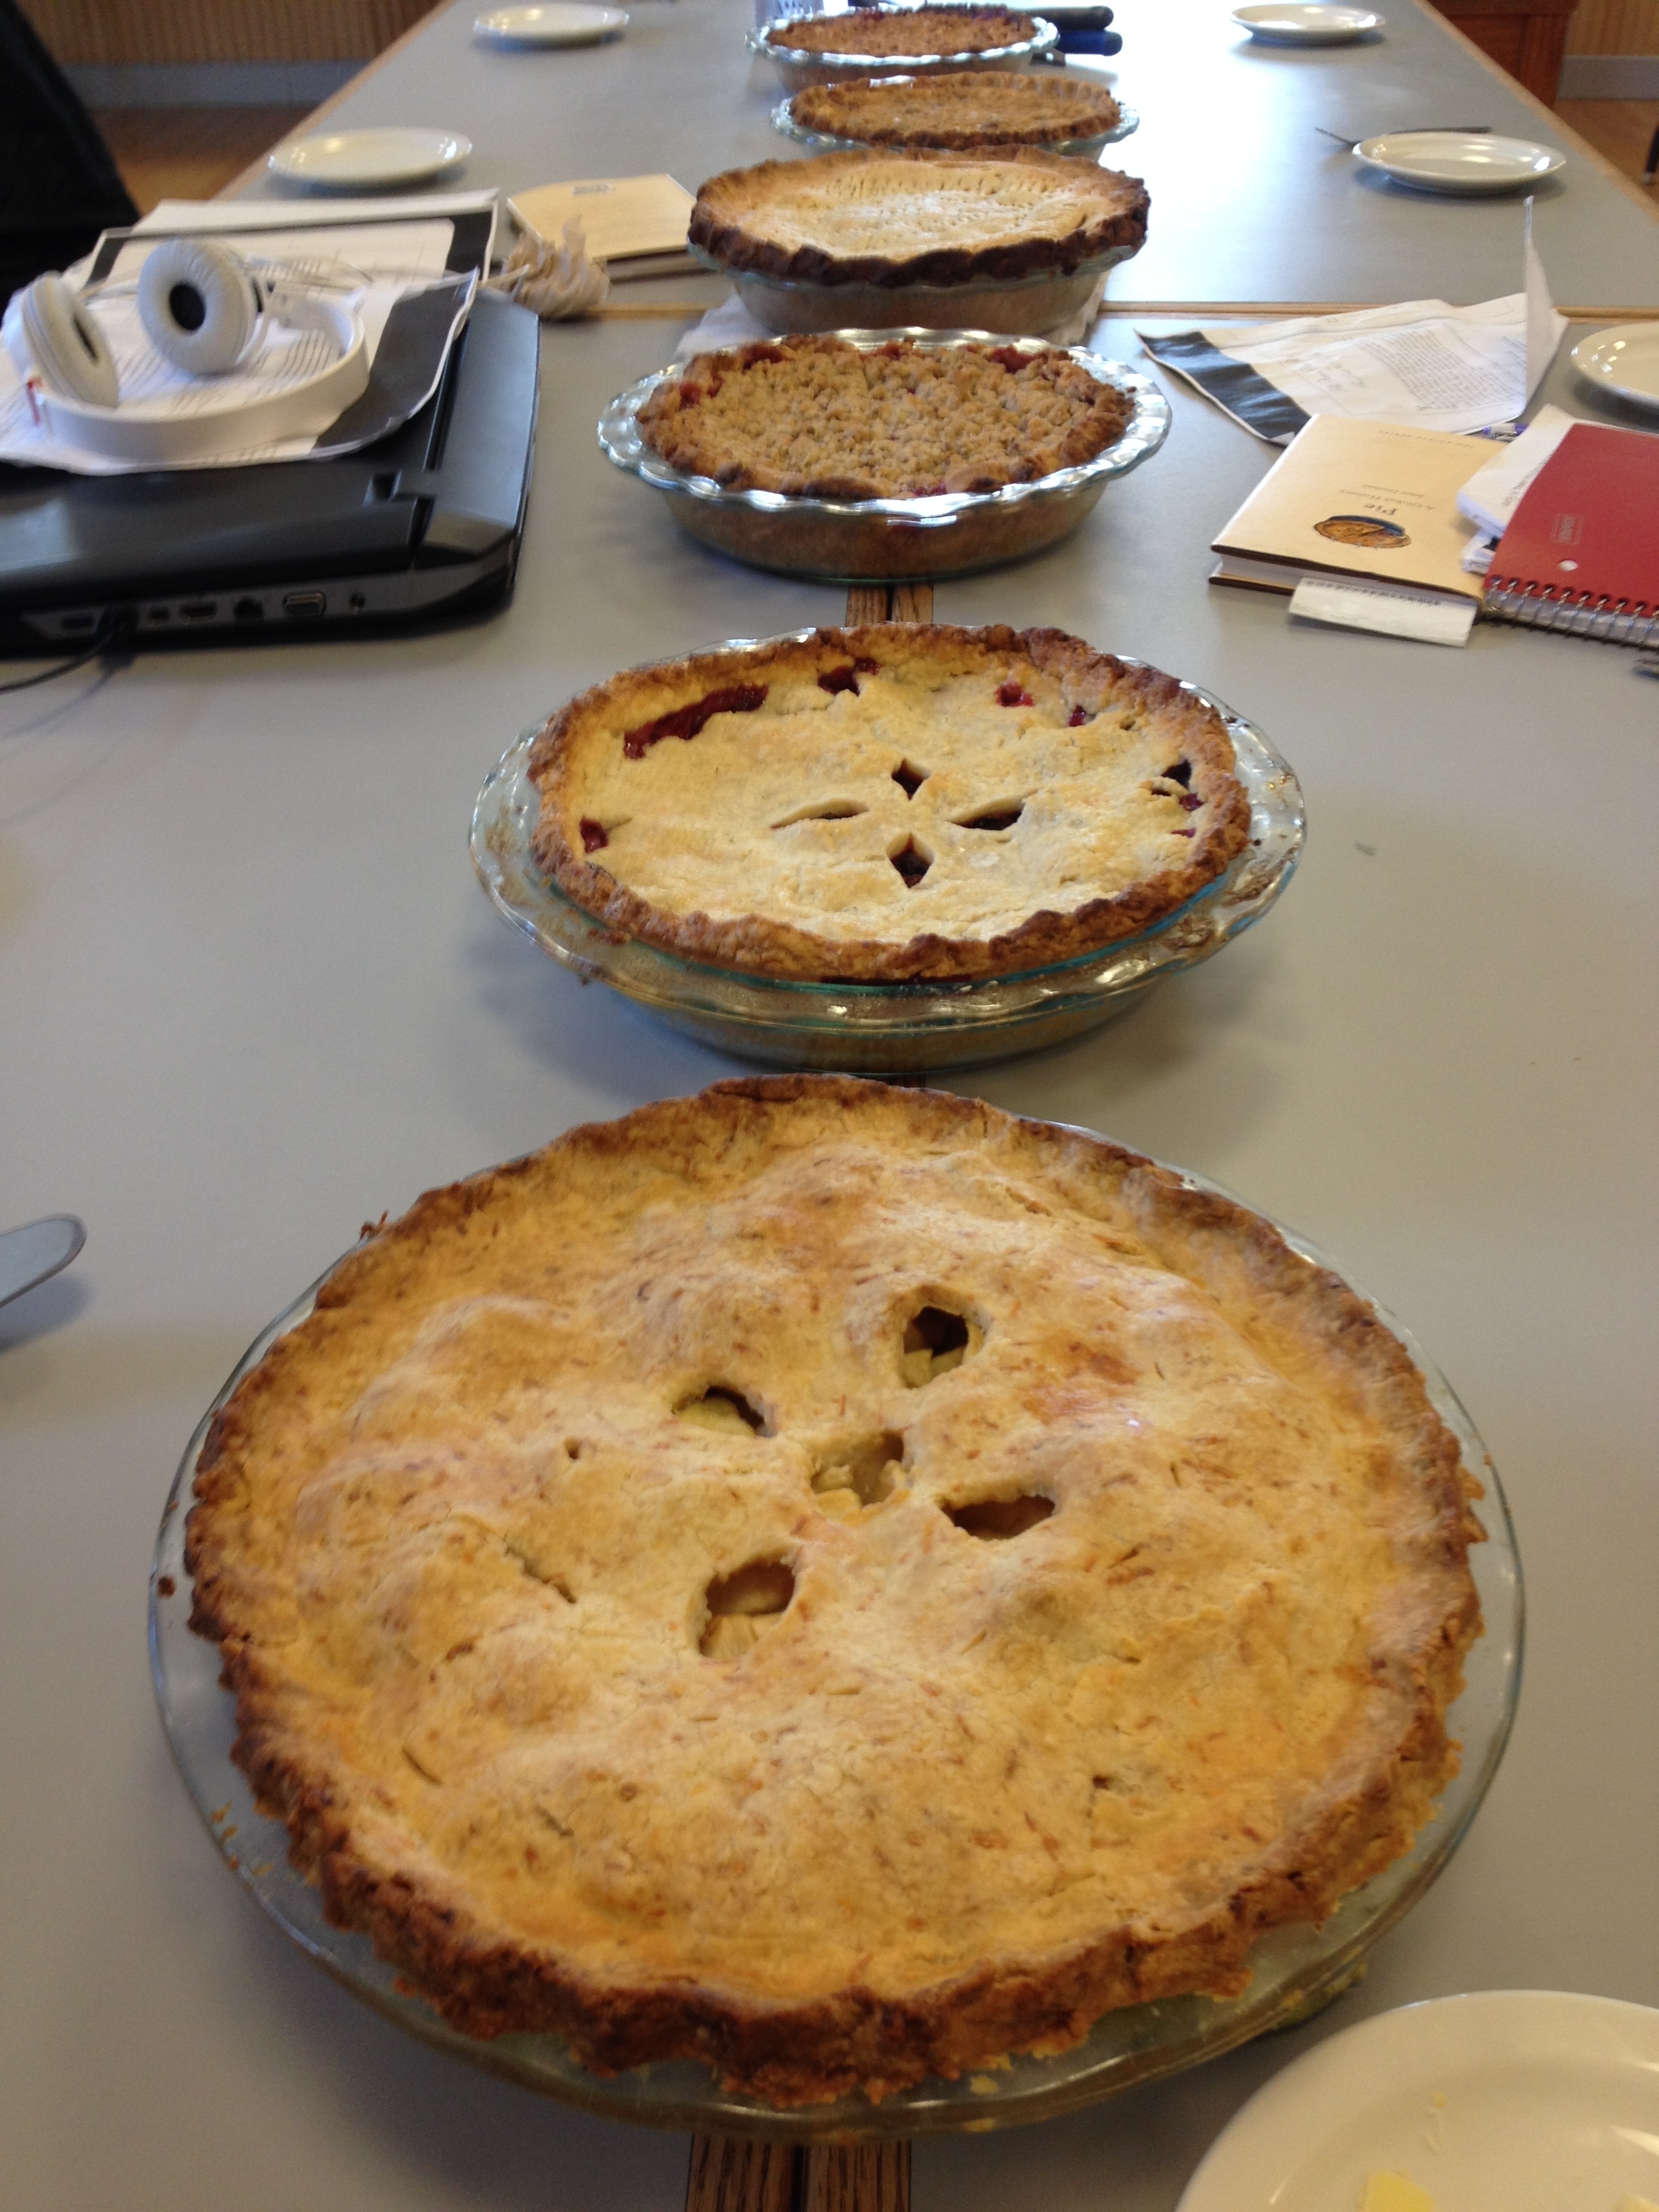
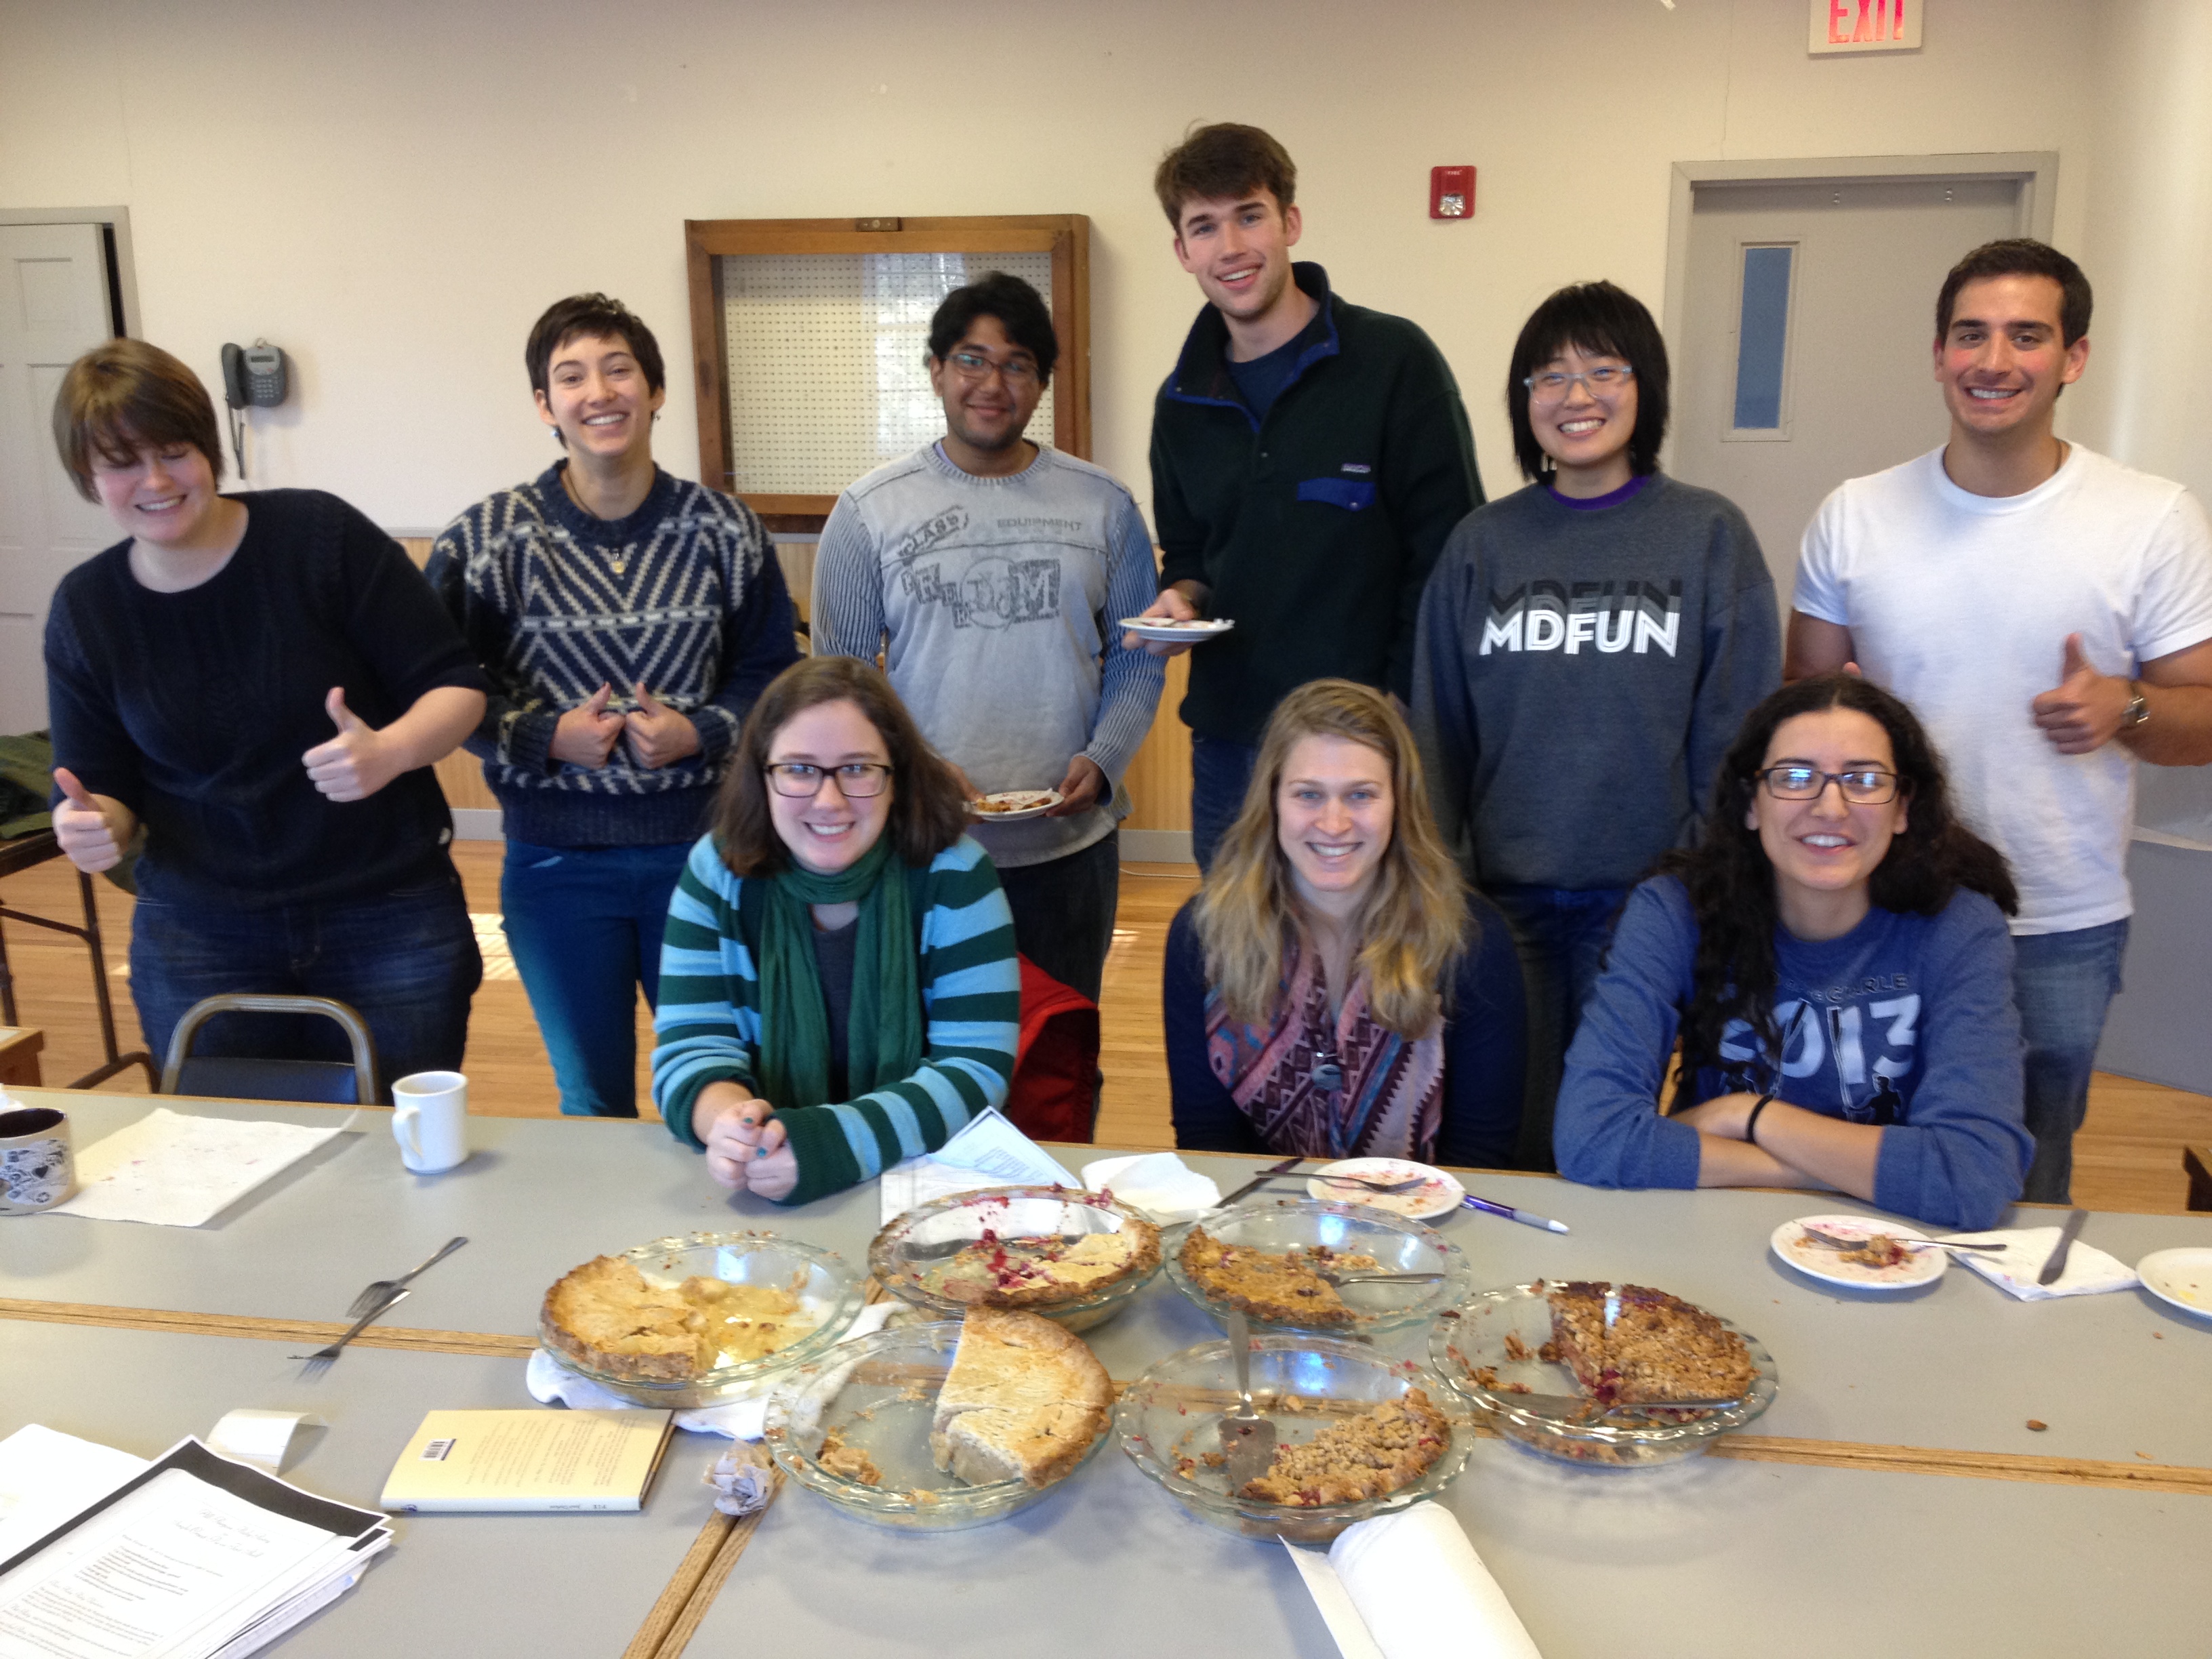
6 sweet pies for sampling on Thursday noon.

IMG_7019

That would be, from bottom to top: Apple-Pear in Cheddar Crust Pastry (served with melted sharp cheddar on top); Mixed Berry; Very Cranberry Pear; Cider-Infused Apple; Sour Cream Blackberry; and Cranberry Apple Crumb-top pie.

IMG_7023

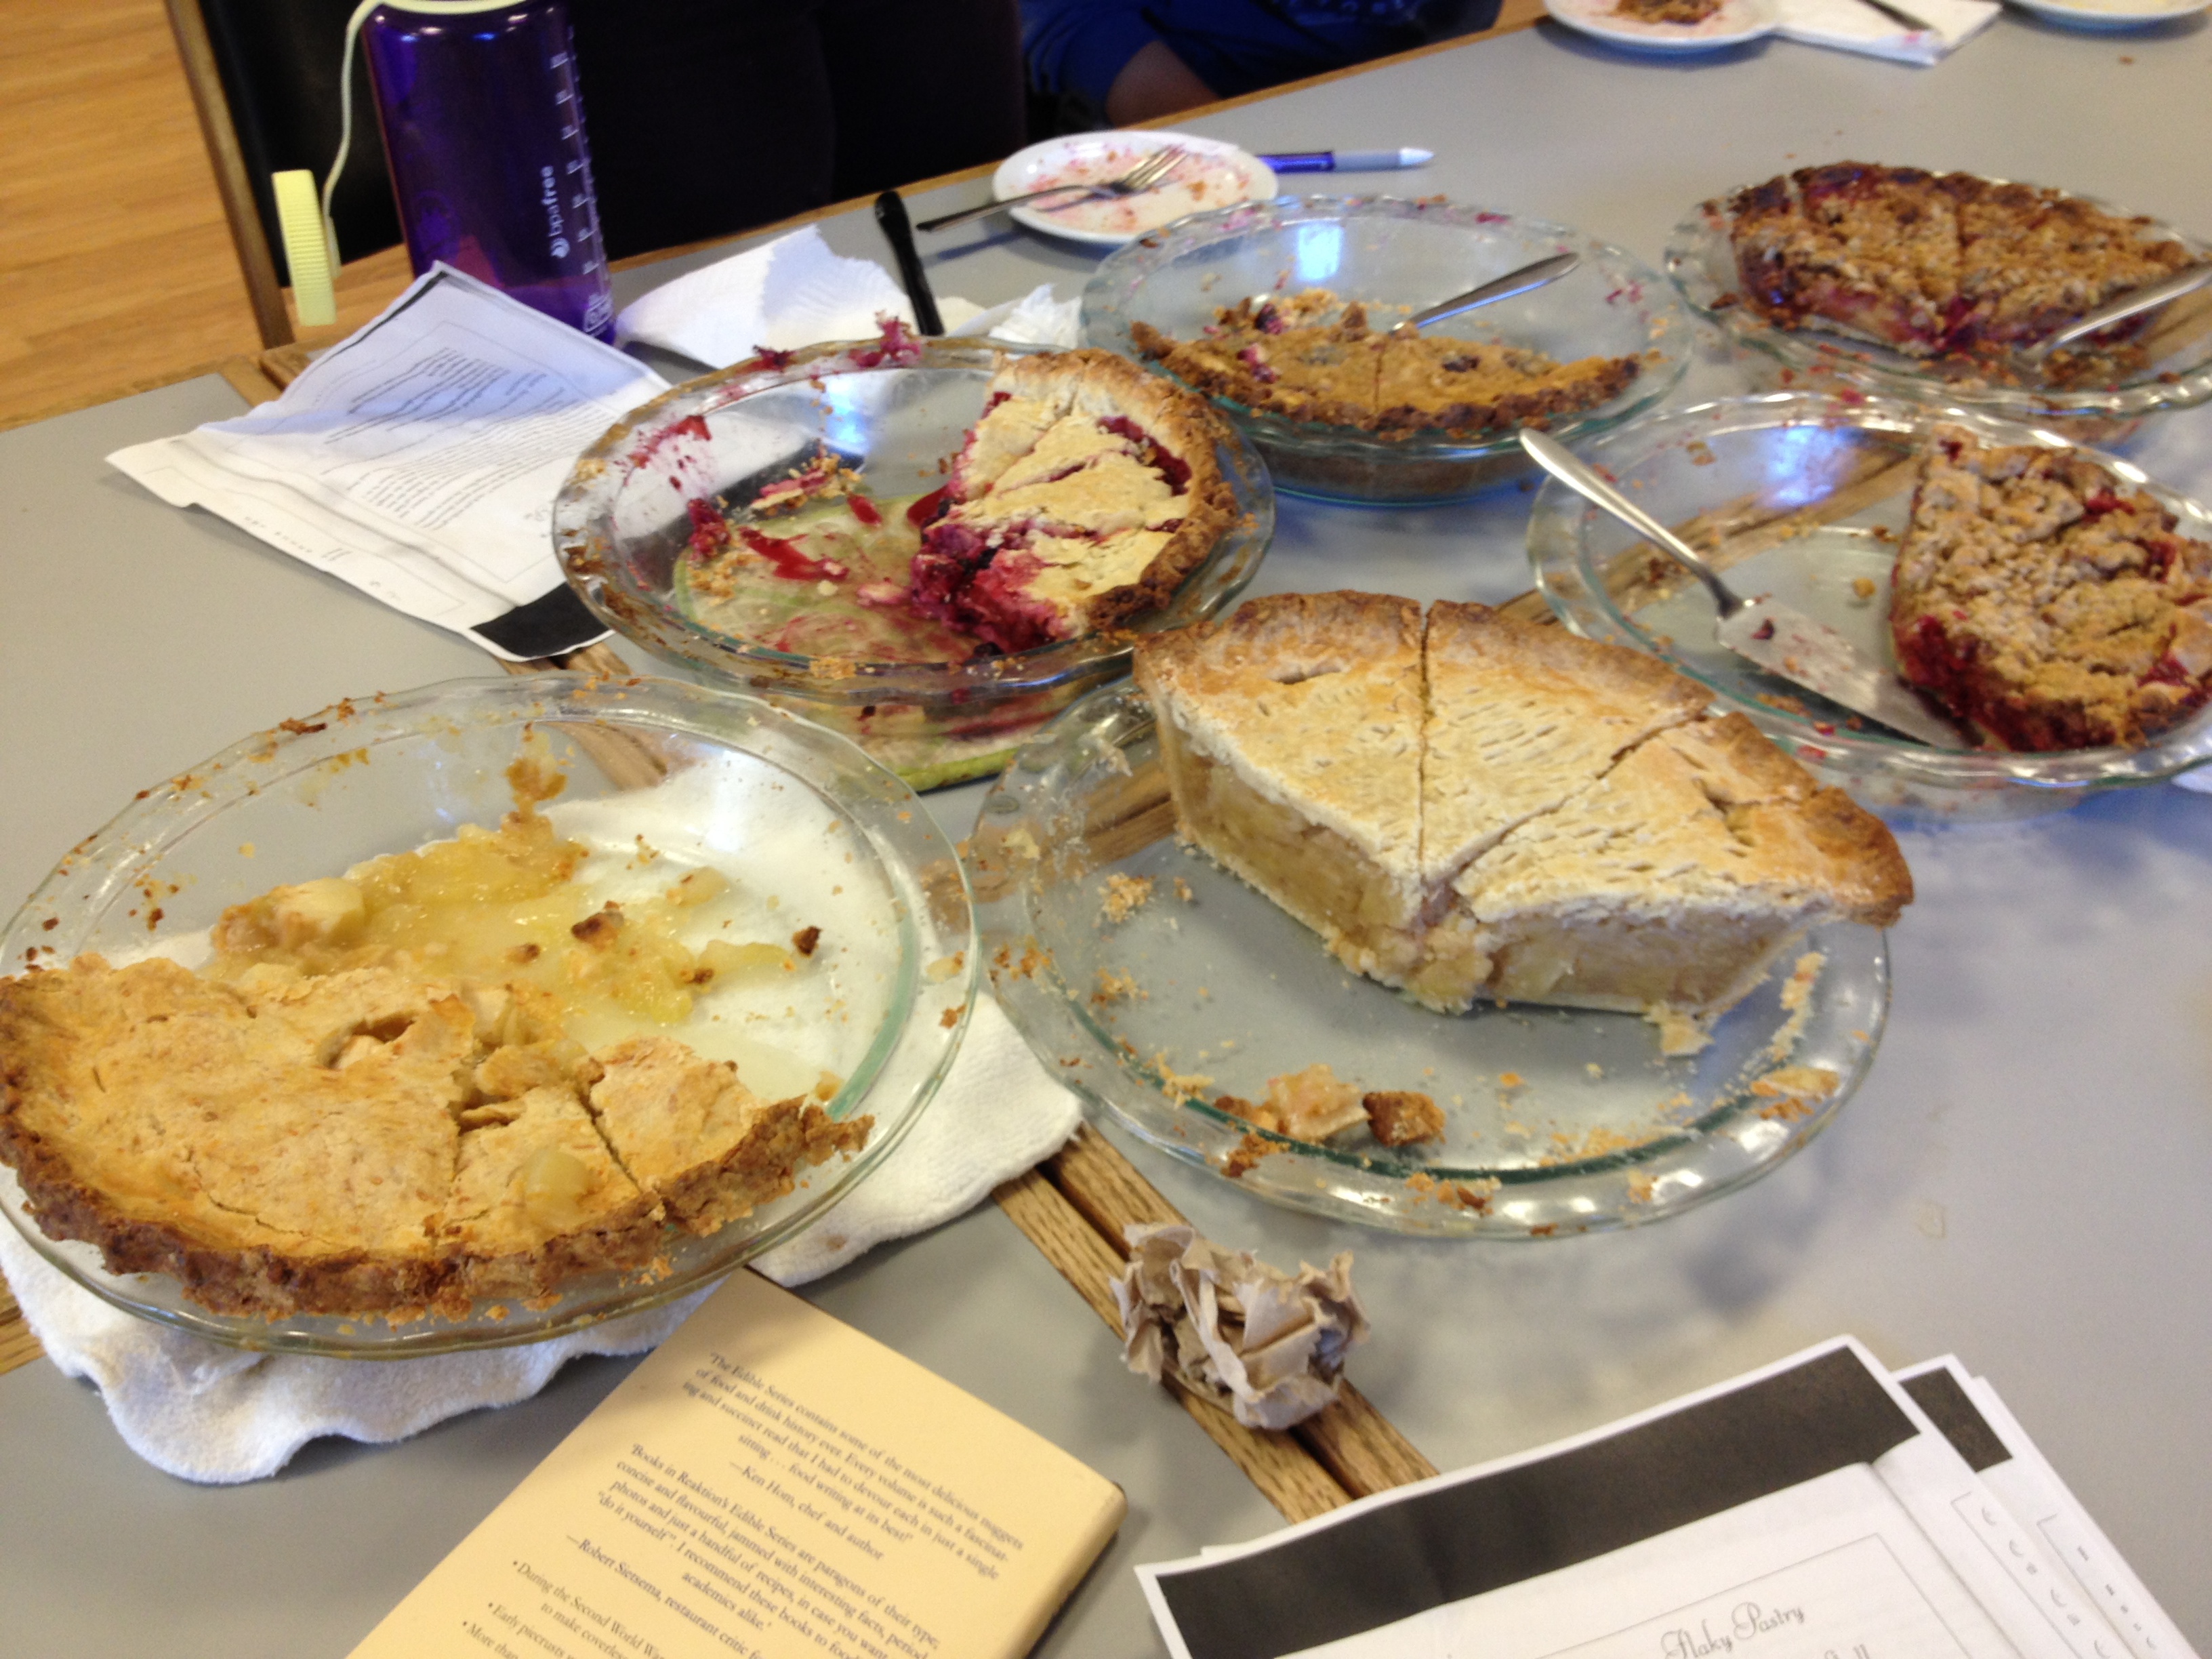
We seriously questioned whether we would be able to make it through sampling 6 pies—and that was even with half-size slices (1/16 of the whole pie, rather than 1/8). We need to strategize about this for upcoming weeks, when we’ll have 10 pies to sample (or more if people make more than one!)

IMG_7027

Next week: savory pies!

Cider-Infused Apple Pie and Sour-Cream Blackberry Pie

Be forewarned: I have no idea why these pictures are coming in upside-down/sideways. I need to figure that one out and will edit when I do haha.

When Robbie and I were choosing our recipes for this week, the sour cream-blackberry pie sounded fantastic. I’ve never had a blackberry pie before, but anything with sour cream in it is sure to be good. As lovers of apple cider, the cider-infused apple pie sounded too good to NOT bake, so we went for it.

I’ll break down our pie-baking experience into three parts:

1)   THE PASTRY

The great thing about making two pies this week is that Robbie and I each got to attempt making a pie crust from start to finish. I was extremely intimidated by crust, but the process was actually pretty painless, save one little issue: determining how much water to add! I was paranoid about adding too much water and thereby loosing the pastry’s flakiness, but too little water turned out to be a bad thing.

When it came to rolling out my pastry, some huge cracks formed along the edges. It was pretty difficult to handle and almost fell apart while trying to transfer it from the counter to the pan. In the end, the pie crust wasn’t terrible, but I gained the following knowledge:

Crust Learning Point #1: One must not be too stingy with water while making the pastry.

Crust Learning Point #2: One must not be too stingy with flour. Too little flour on the counter before rolling out the pastry makes it nearly impossible to lift it off the counter without creating huge rips.

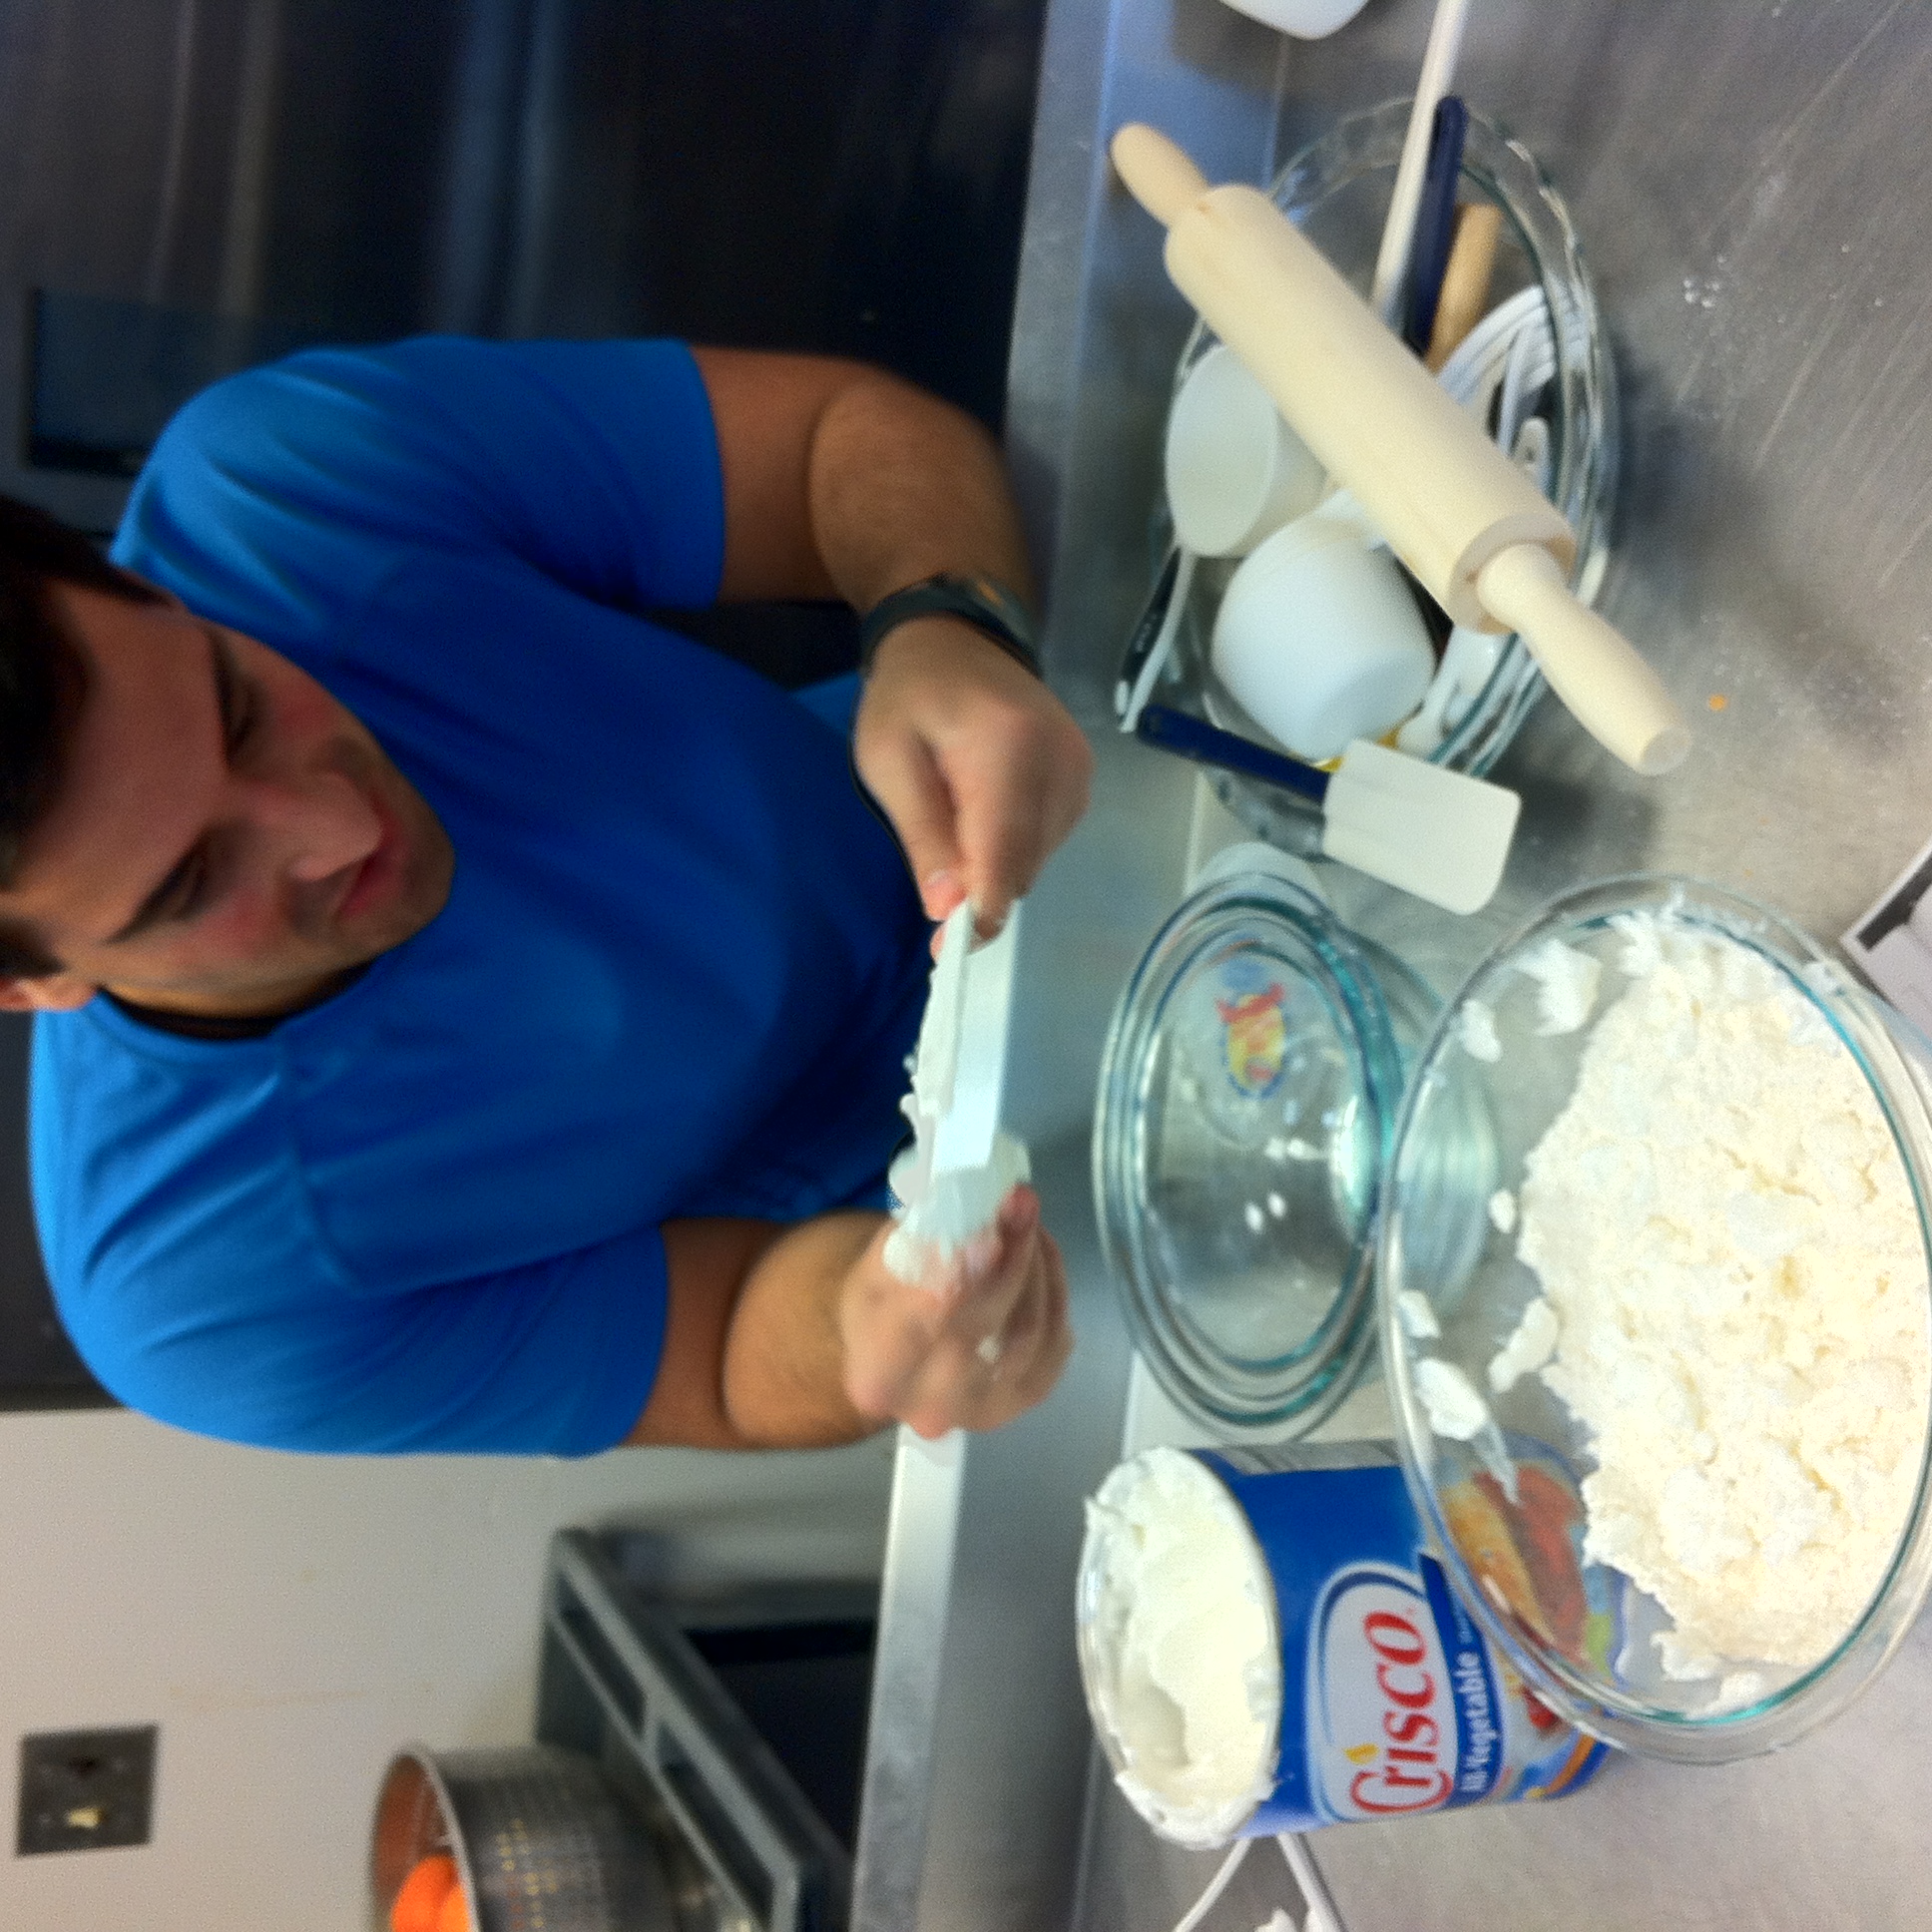
A photo of my lovely partner tackling large amounts of Crisco:

IMG_1287


2)   CREATING THE APPLE PIE

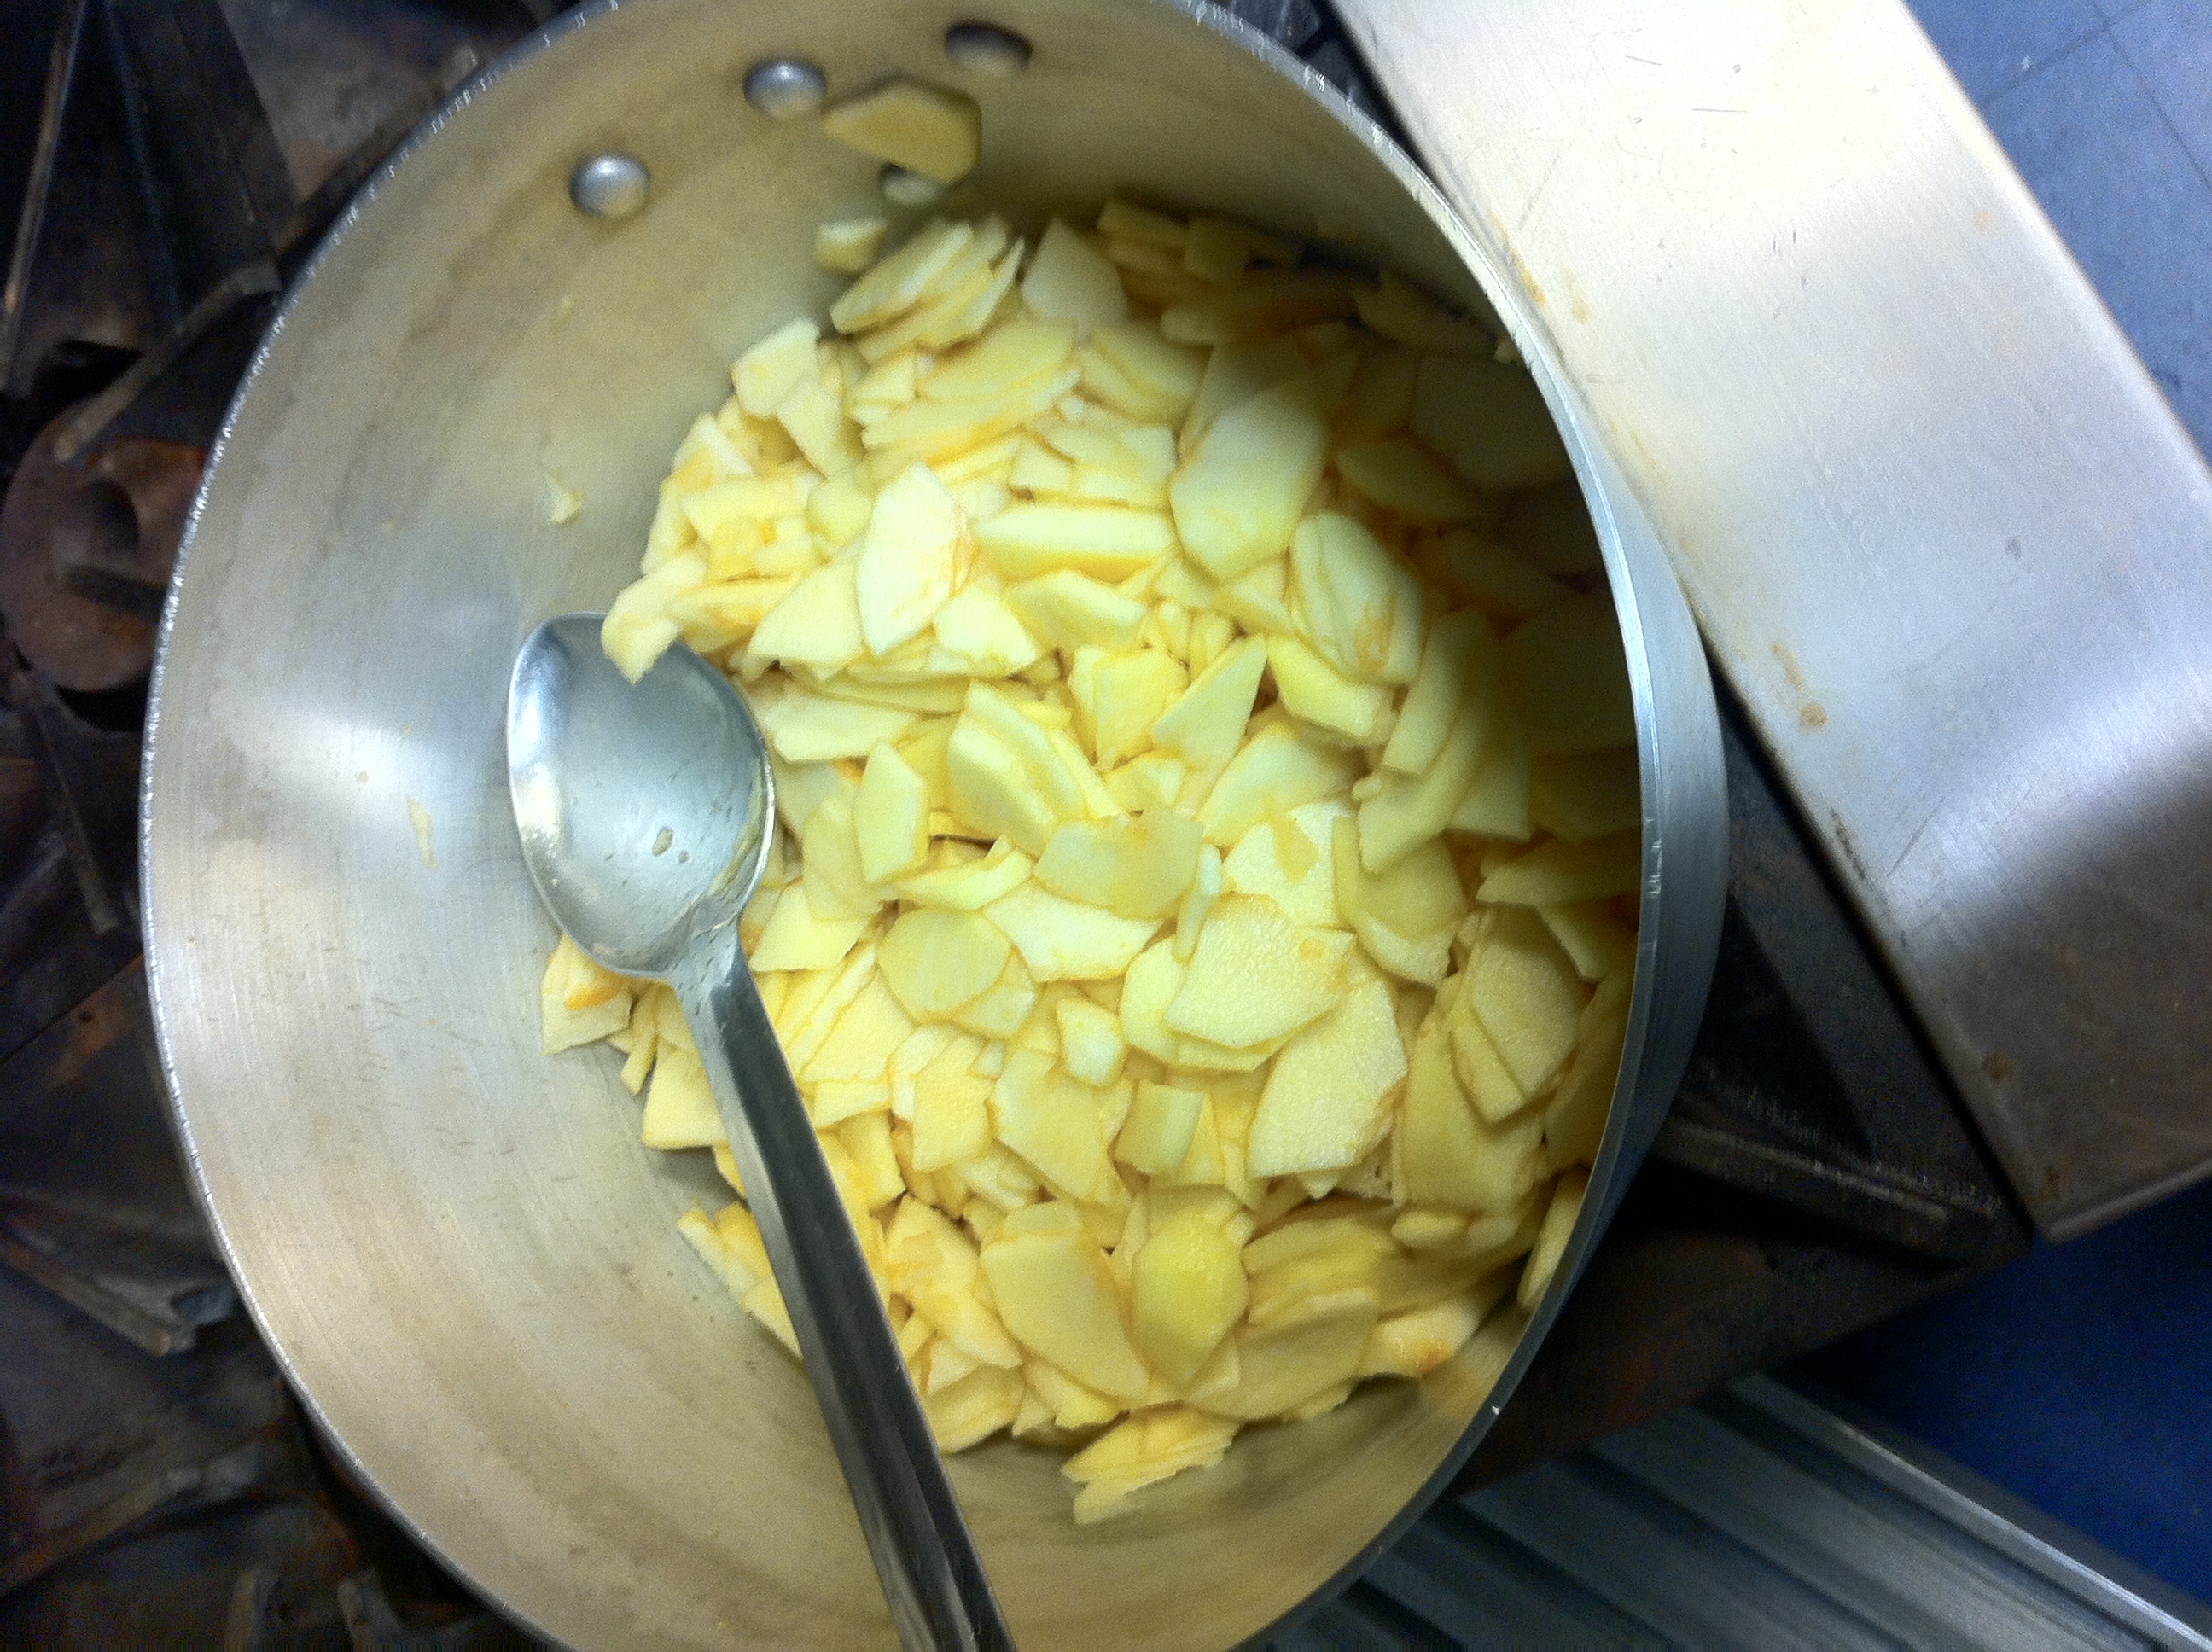
The most difficult part about the filling of the cider infused apple pie was peeling/coring/slicing TWELVE CUPS of apples by hand!

IMG_1289

The rest was easy. We stewed the apples for in ¾ cup of cider (a seemingly miniscule amount of cider given the number of apples) for five minutes.

IMG_1291

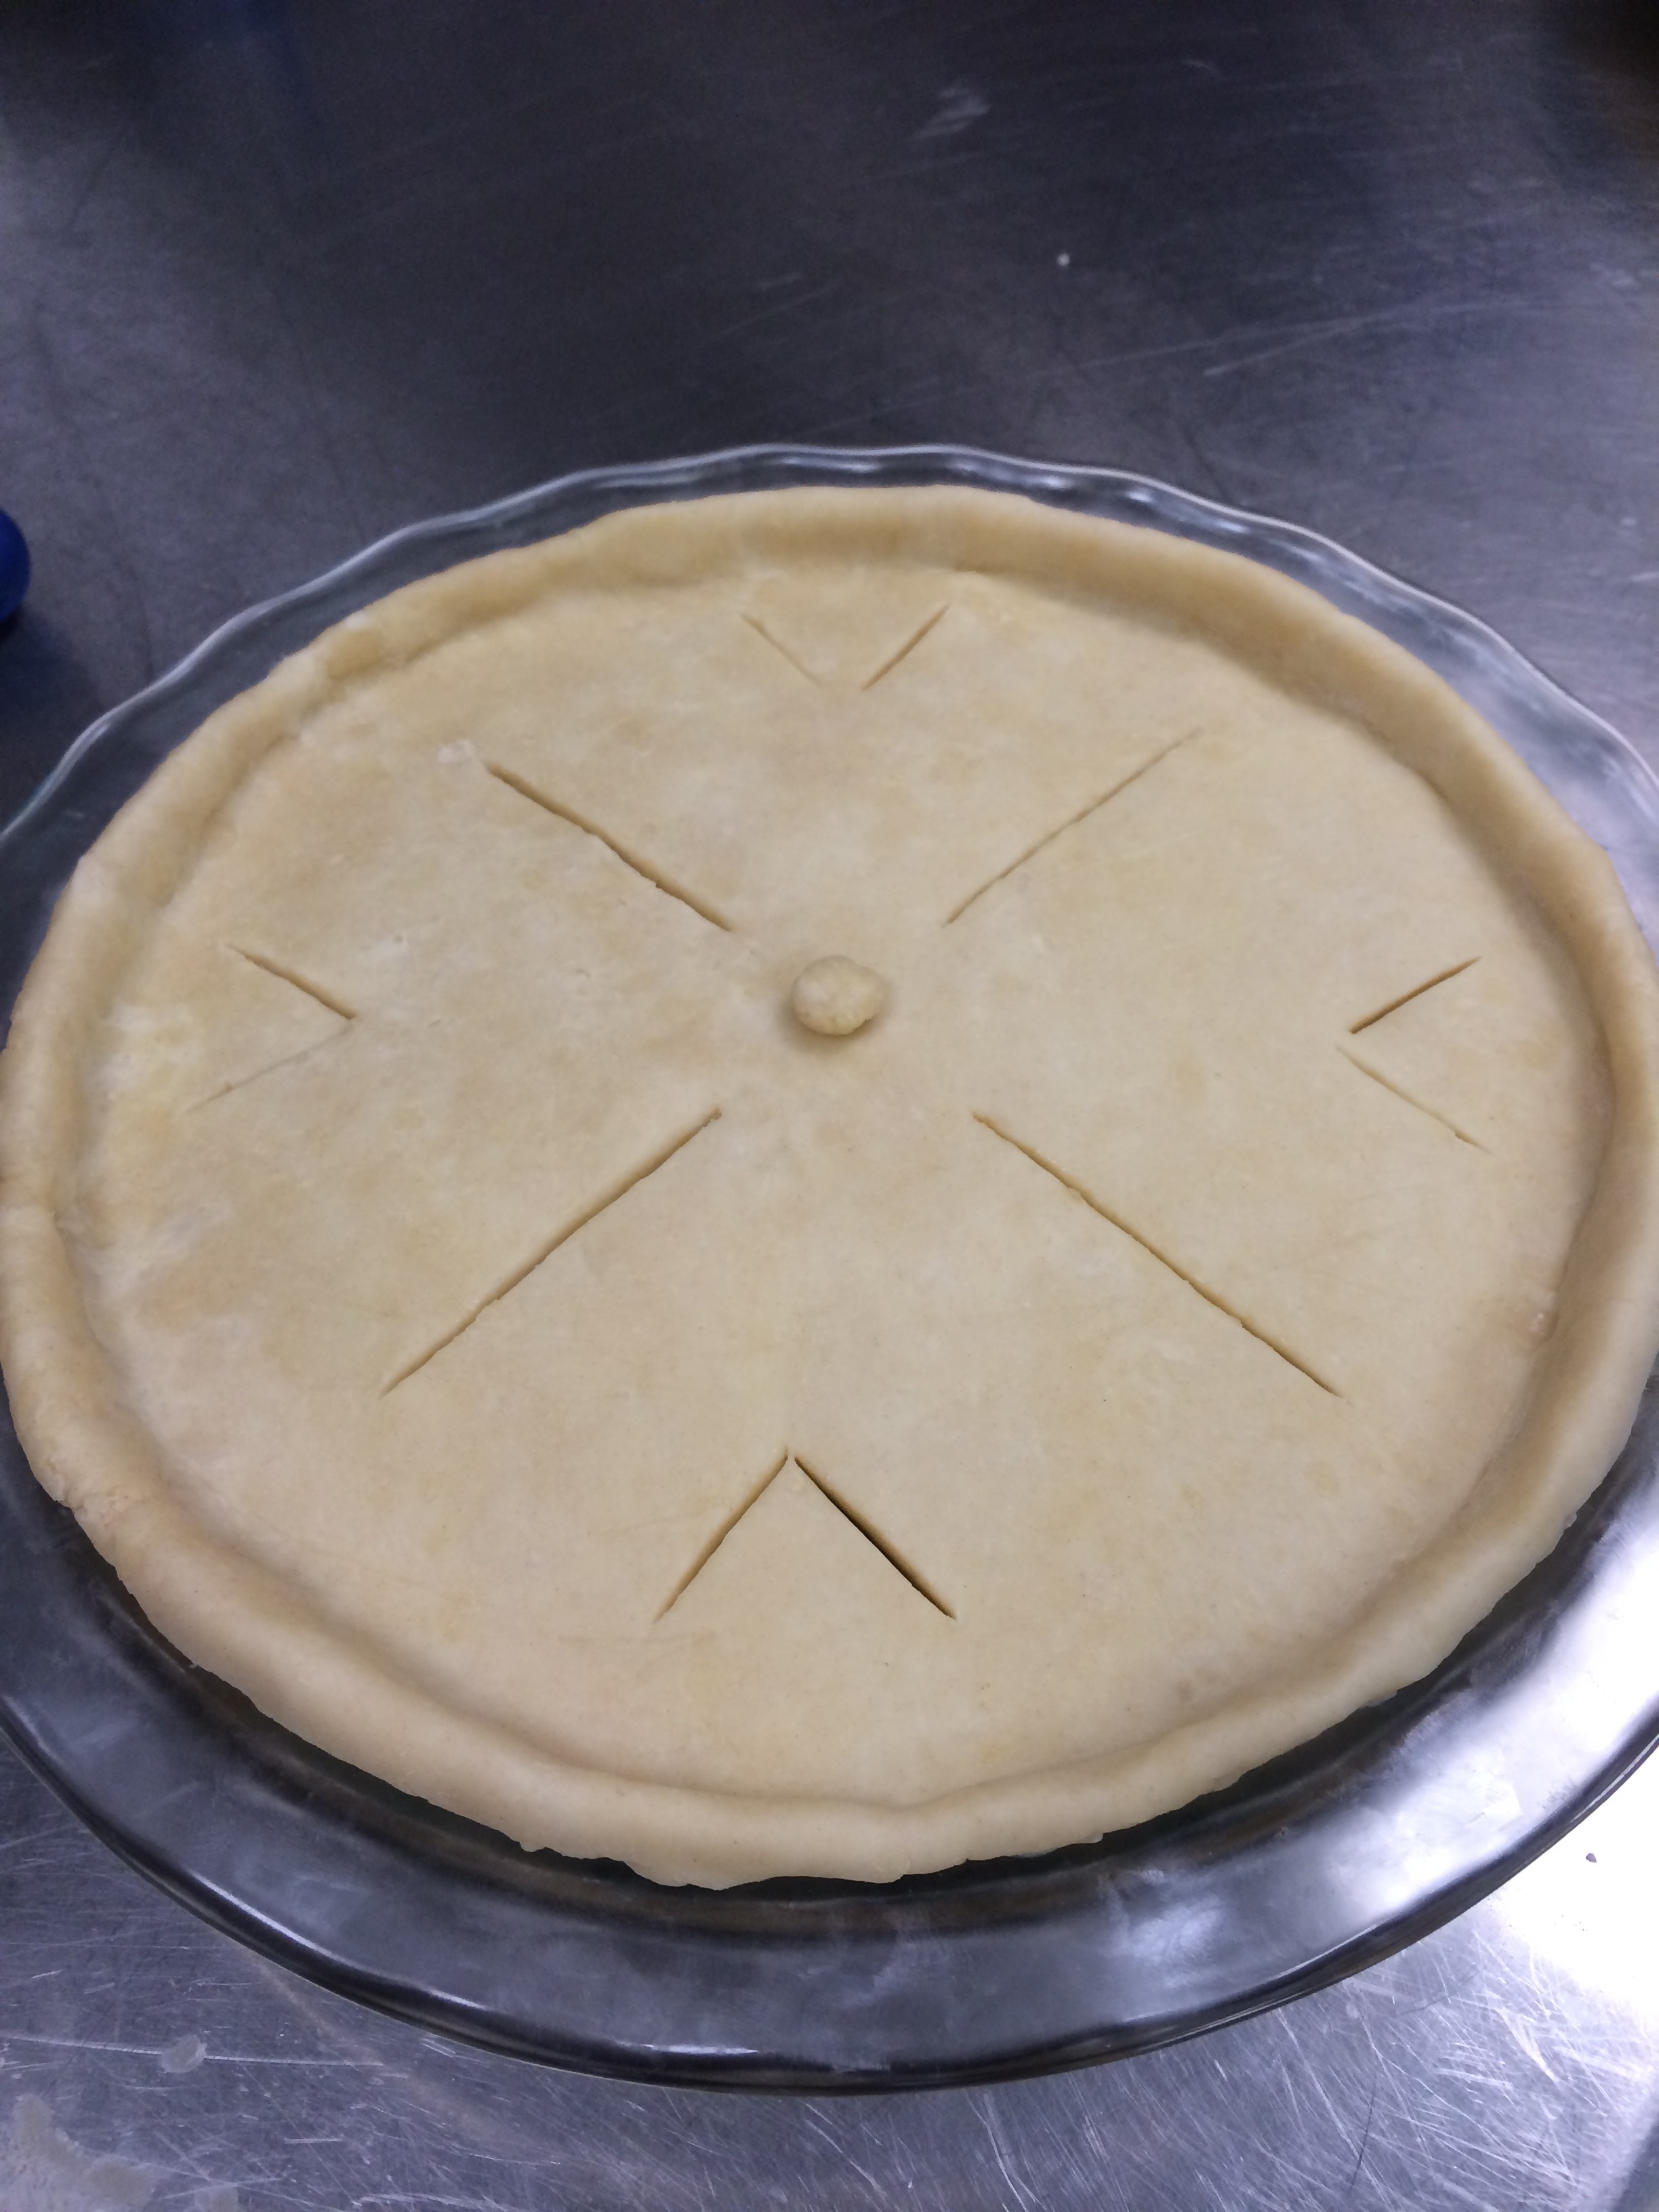
We then added a little sugar, spice, other nice things, and threw them into Robbie’s pie crust. He made a beautiful design on the top crust with an impressive amount of vent holes.

IMG_1295

I’m curious to see how the texture turned out. The apples got pretty mushy and we were bordering on applesauce-status. But it smelled so good while cooking; it’s got to taste good, at the very least 🙂


3)   CREATING THE BLACKBERRY PIE

This pie filling was very straightforward. The only finicky thing was prebaking the pie crust. The crust was hopping back and forth between the oven and the “freezer” (i.e. sitting on the open window sill), being baked with weights, without weights, with crust-browning-protector-things and without them, being stabbed by a fork, whose holes were then sealed up with egg whites, etc. It was a saga.

An hour later: BEHOLD, our prebaked pie crust:

IMG_1297

The rest of the pie was a breeze. We changed the recipe slightly by doubling the amount of streusel topping (you can never have too much streusel, I am told).

The sour cream mixture being poured over the blackberries:

IMG_1301

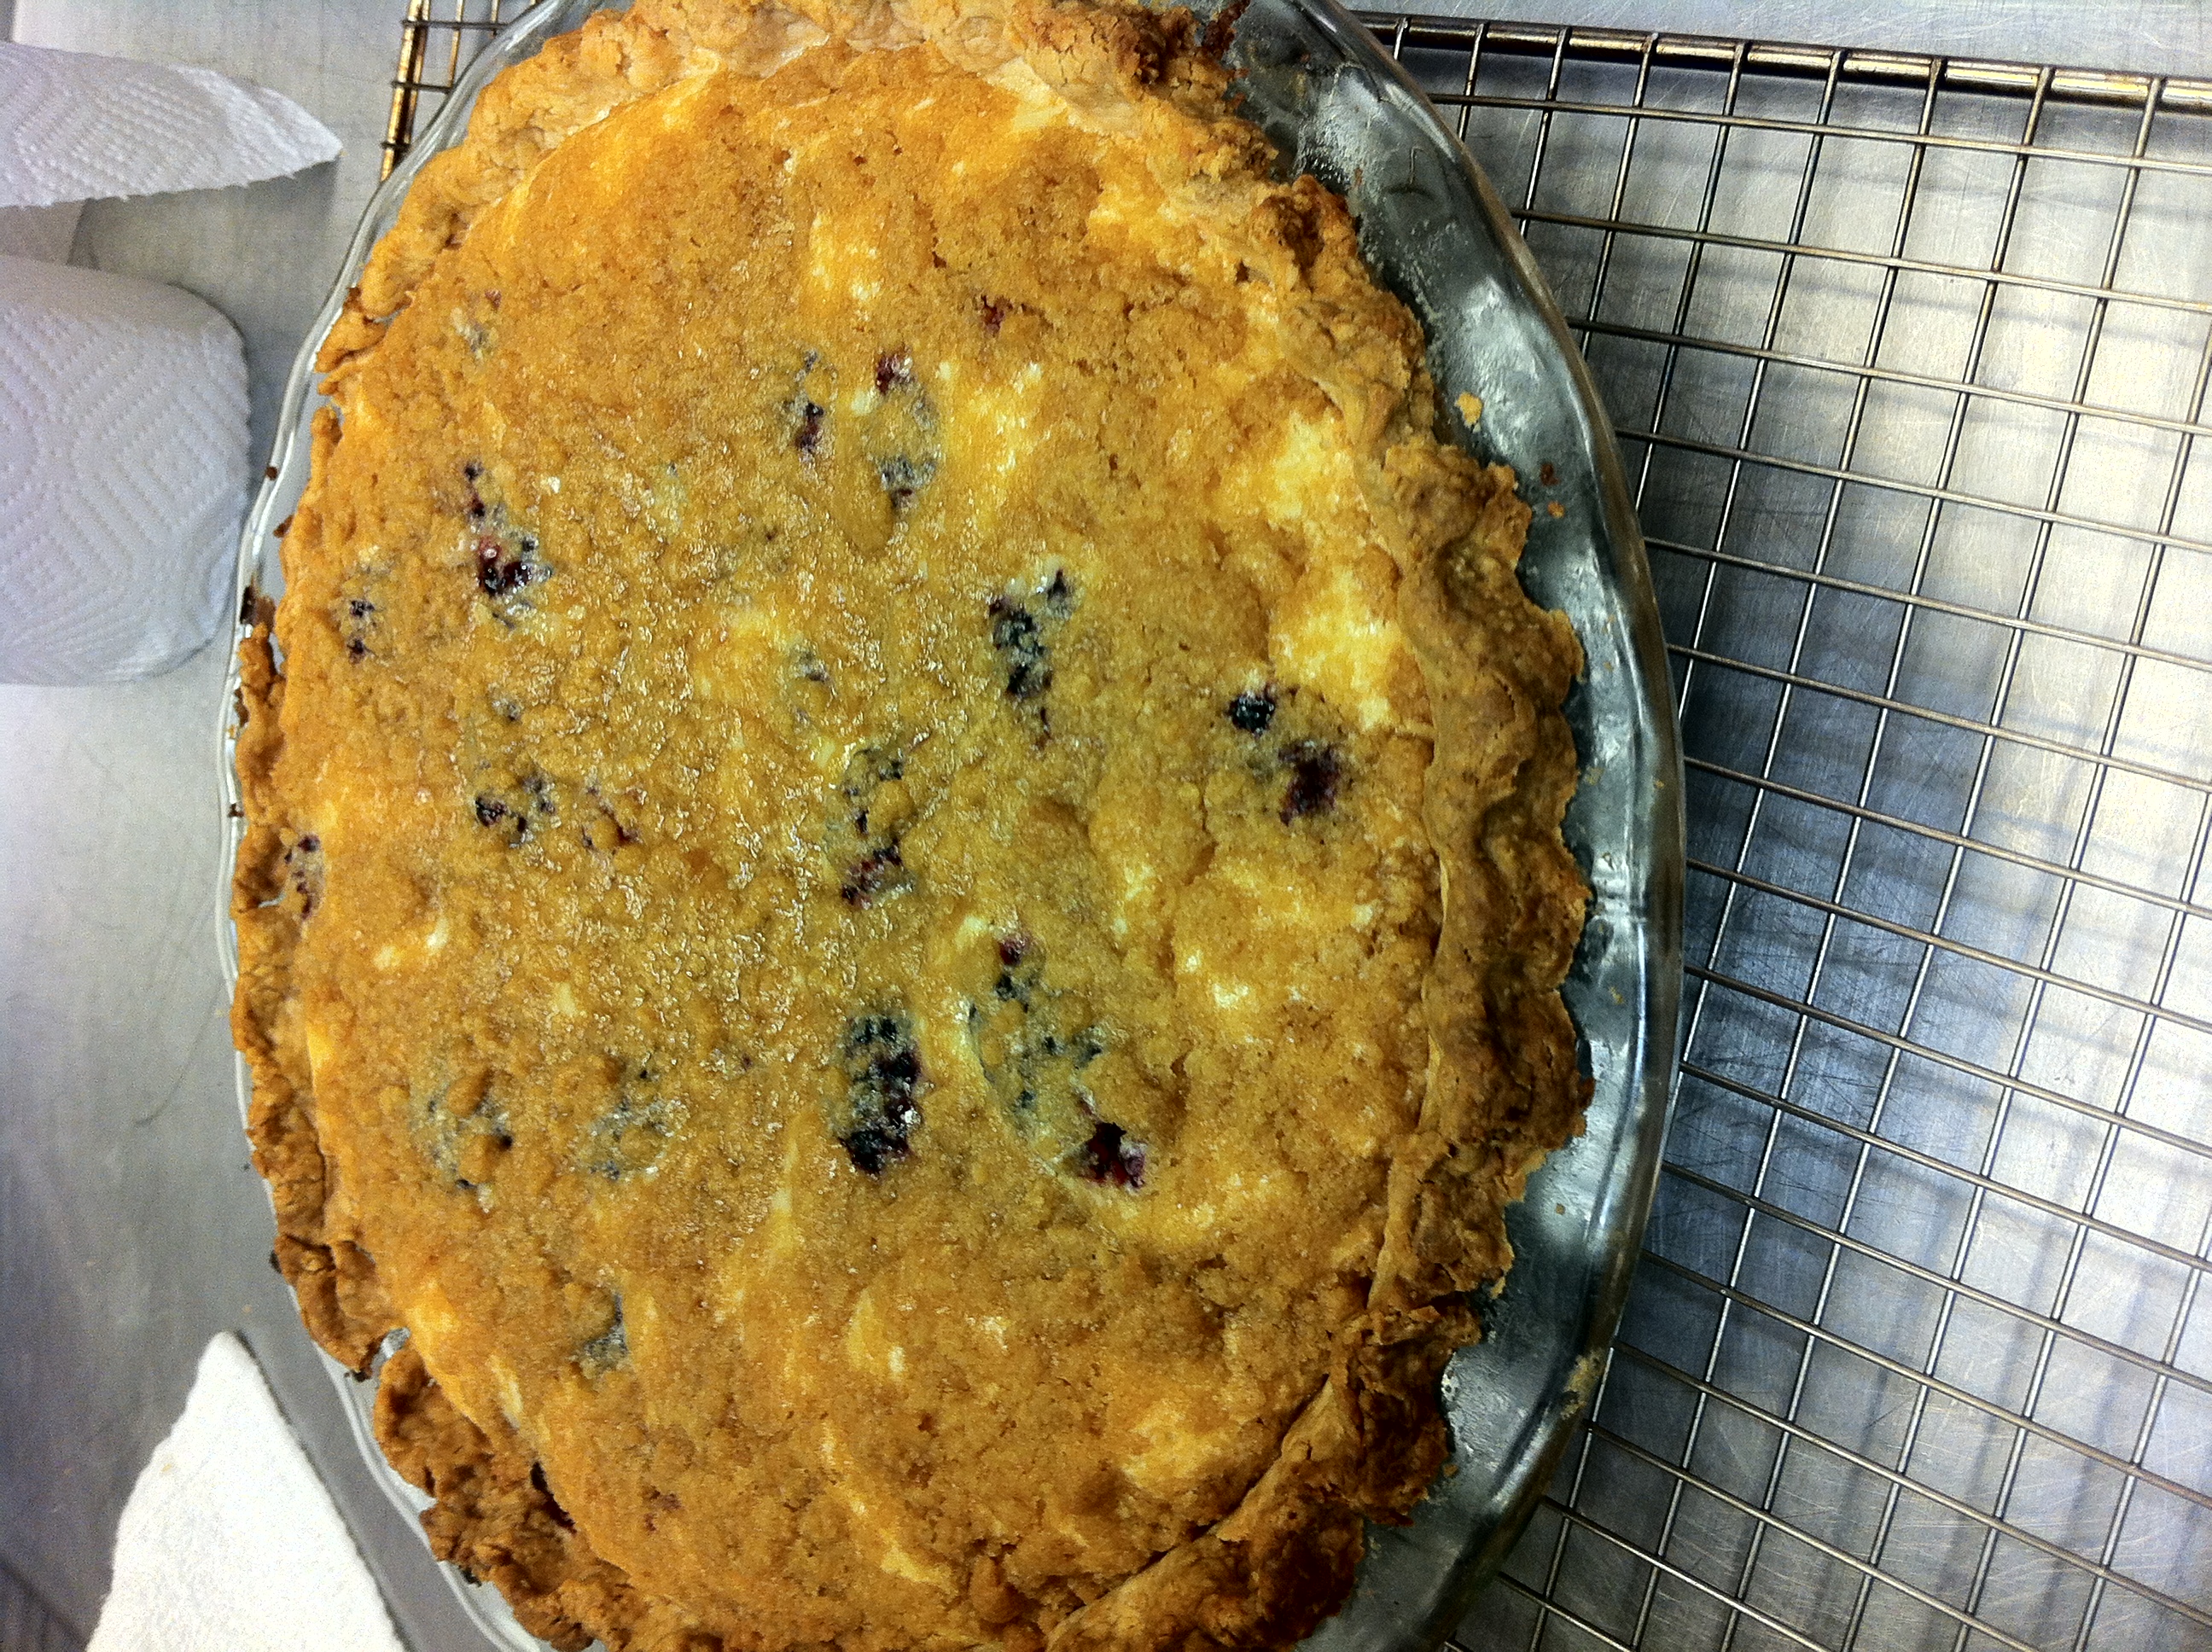
Our streusel-topped final product! Can’t wait to taste…I have no idea what to expect.

IMG_1307


Sour Cream Blackberry Pie

Blackberries are my favorite fruit. They are sweet yet pack a tartness that can’t be beat. In turn, it is only natural that my favorite pie is blackberry. When Tala and I came across a recipe for Sour Cream Blackberry Pie, we knew we had to bake it. For we were guided by my older sister Julianne’s rationale: that if you have great ingredients and you put them together, the finished product, or in this case pie has to rock.

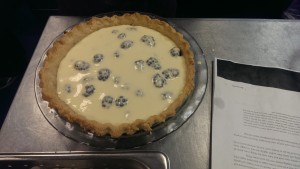
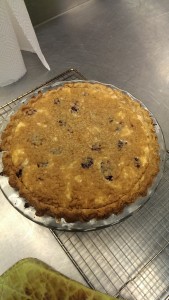
Unlike our apple cider infused pie, I am confident that the crust was in good working order, primarily since Tala was the one that made this crust, not me. We had to pre bake the crust, poking holes in the bottom, and then covering it with aluminum foil and chickpeas as a weight. Then, we had to bake it again with egg white wash to seal in the very same holes that we had made. While the pre baking was a little bit annoying, the remaining steps were pretty easy.

Afterwards, all we had to do was put the washed blackberries in the pie, cover it with the easy to make sour cream mixture, and then top it all off with a delicious streusel topping. With that said, you have to make sure the pie mixture is solid, easier said than done. It took us a little longer than expected (5-10 minutes of extra baking) for the pie to become firm. It looked great, smells awesome, and hopefully it will be a crowd pleaser tomorrow!

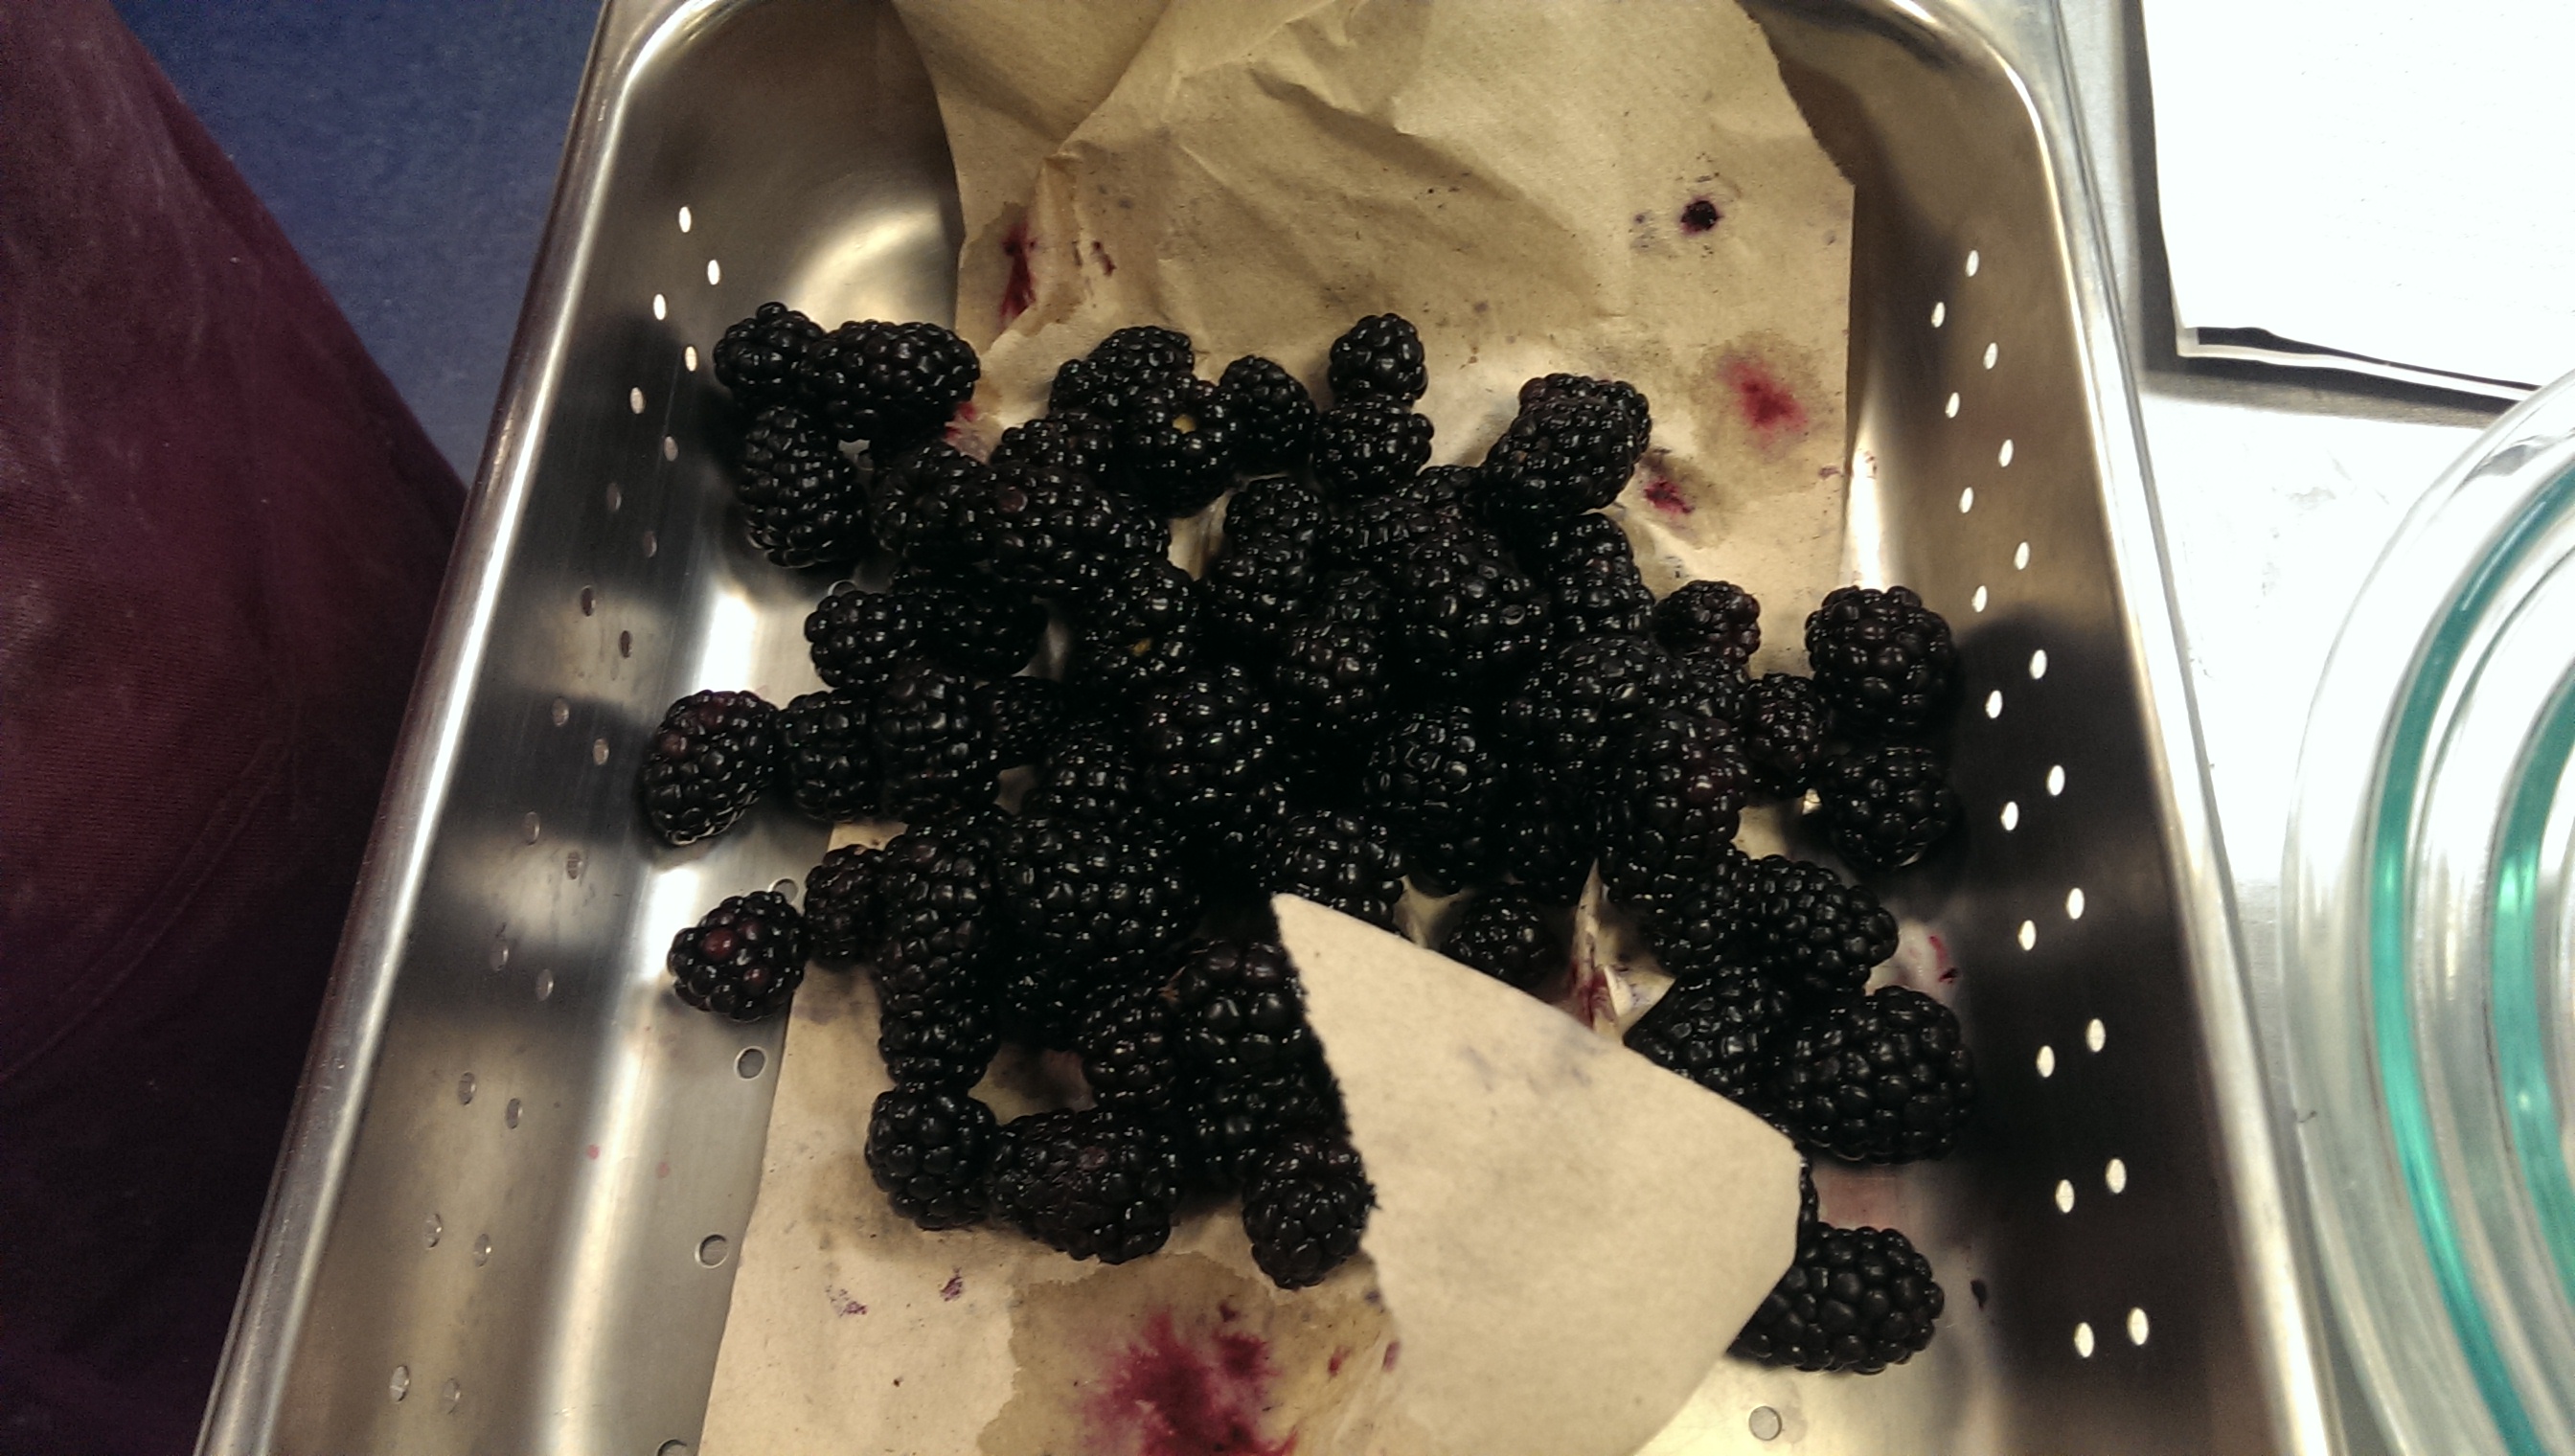
Blackberries

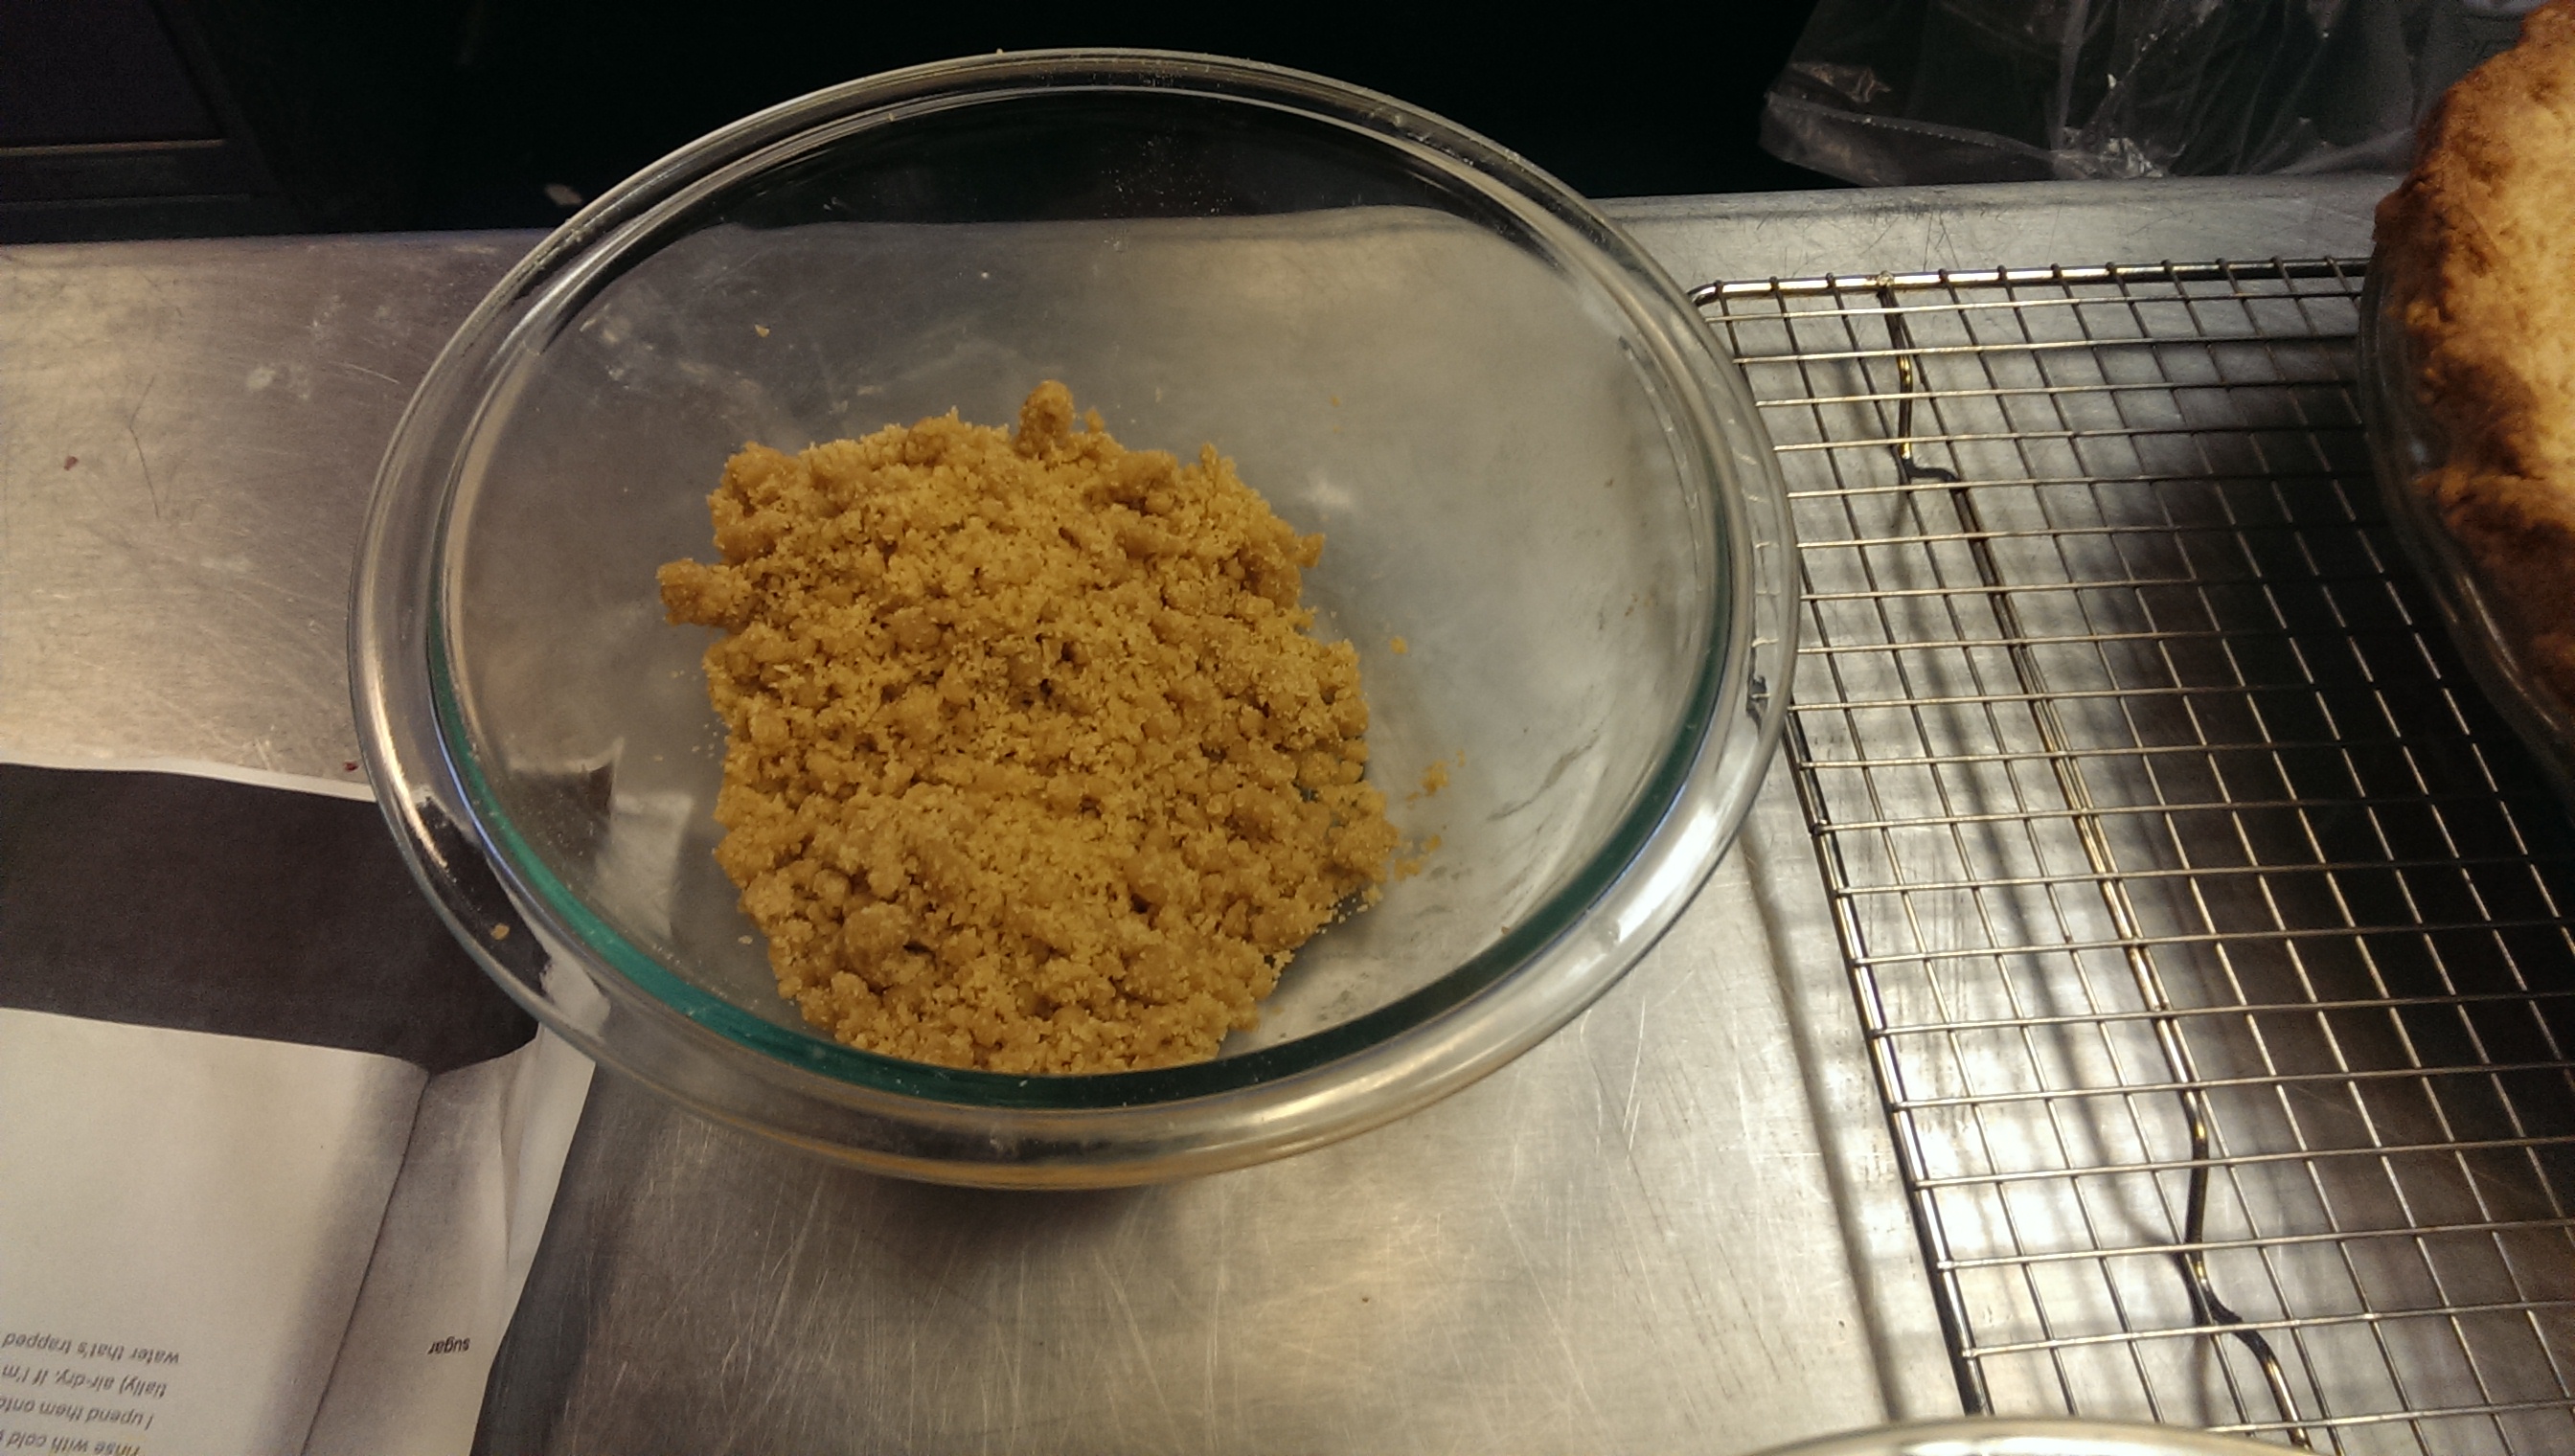
Streusel ToppingSourcream mixBlackberries in Pie Crust

Blackberry Sourcream pie pre ovenSourcream Blackberry Pie Baked

Apple Cider Infused Apple Pie

Apple Cider Infused Apple PieAs Derek Zoolander once said, “water is the essence of moisture, moisture is the essence of life.” Indeed, one of my first lessons as a pie maker is that water is a very important part of the process. For when I took my dough out of the refrigerator and tried to roll it, I found it tough and flaky. Having difficulty rolling out the pie crust, it was recommended that I added a little bit of water. But alas, the right amount of water before and if needed after is key. For while I added too little water initially, I added too much water in trying to correct the problem the next day and my pastry took on the consistency of cookie dough. In turn, it stuck to my hands, a big no no. We still used the pie crust as the bottom crust and hopefully it will turn out well tomorrow.

I also foolishly tried to decorate the pie but my design looks more like something Jackson Pollock would do, since I have no artistic ability whatsoever.

Fortunately, the filling is beyond awesome! It is what apple sauce wants to be. We infused our apples for five minutes in a boiling bath of apple cider. The mixture on its own was the cat’s pajamas, but mixed with cinnamon, sugar, etc. how could it not be even better? Indeed, the filling rocks. This is in no small part to having Tala as a great partner.

Hopefully it will be the filling, not the crust that shines tomorrow.