Author Archives: Abigale Belcrest

Peanut Butter and Chocolate Banana Cream Pie

IMG_1047


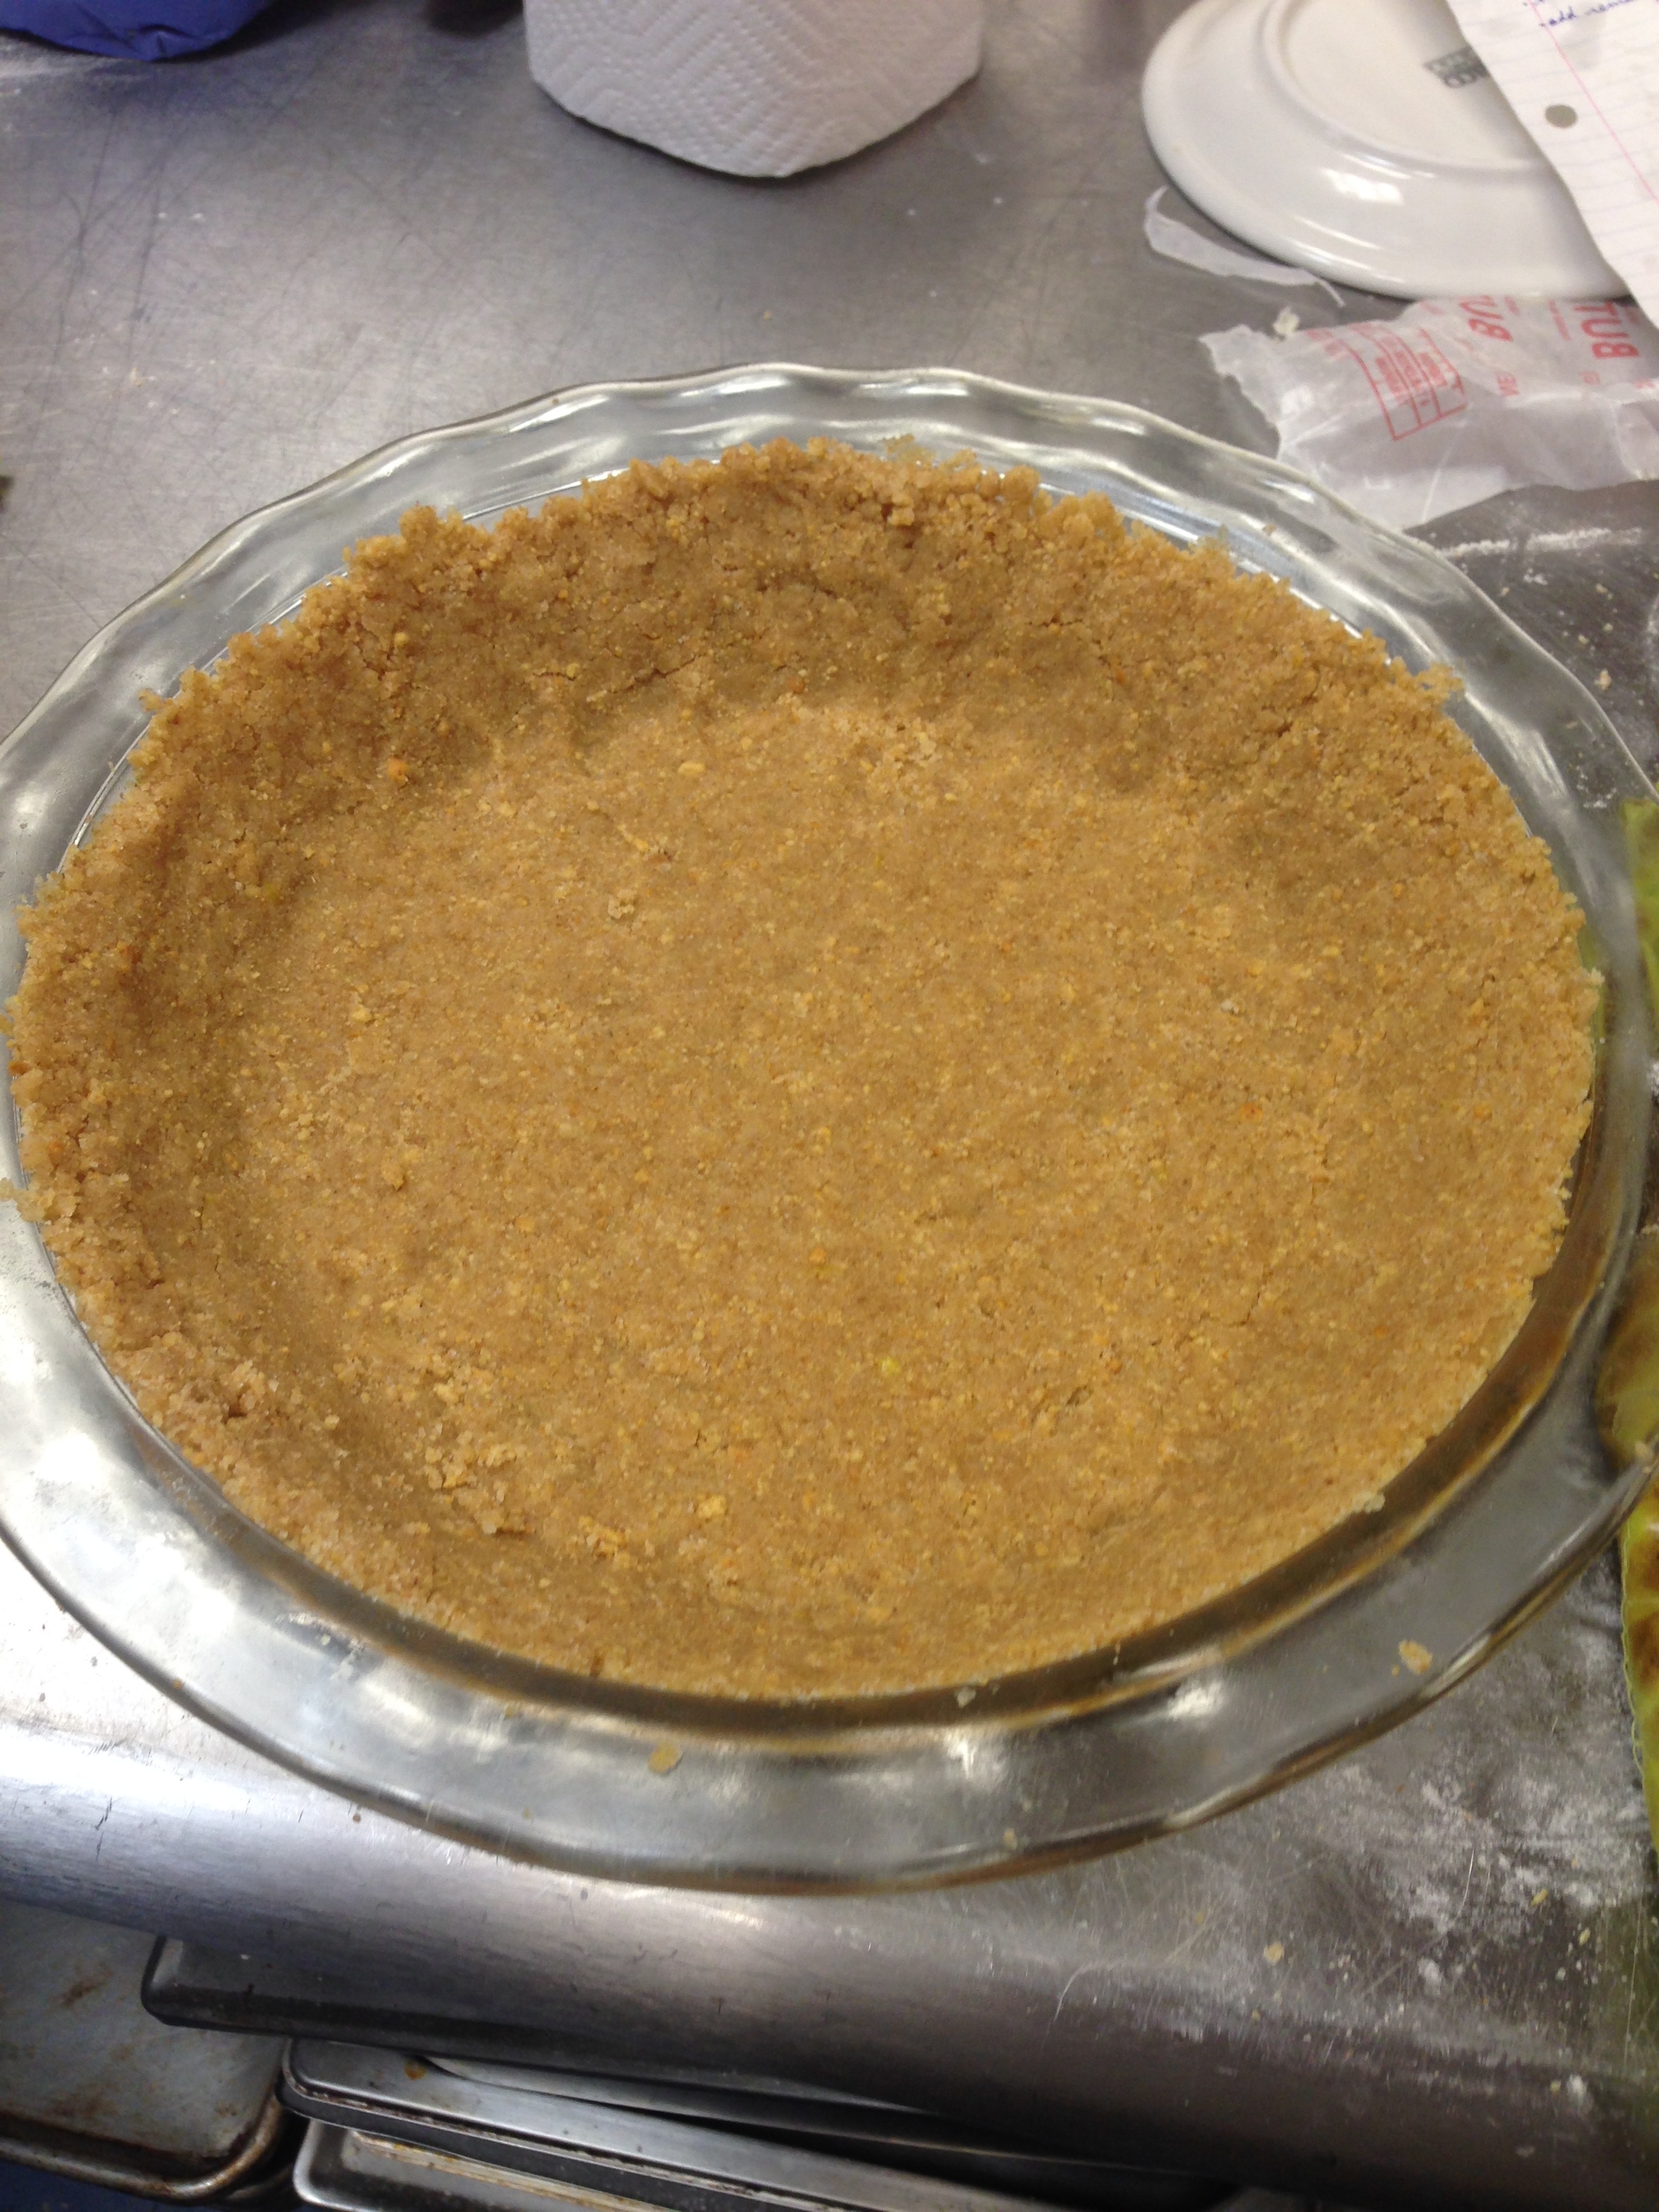
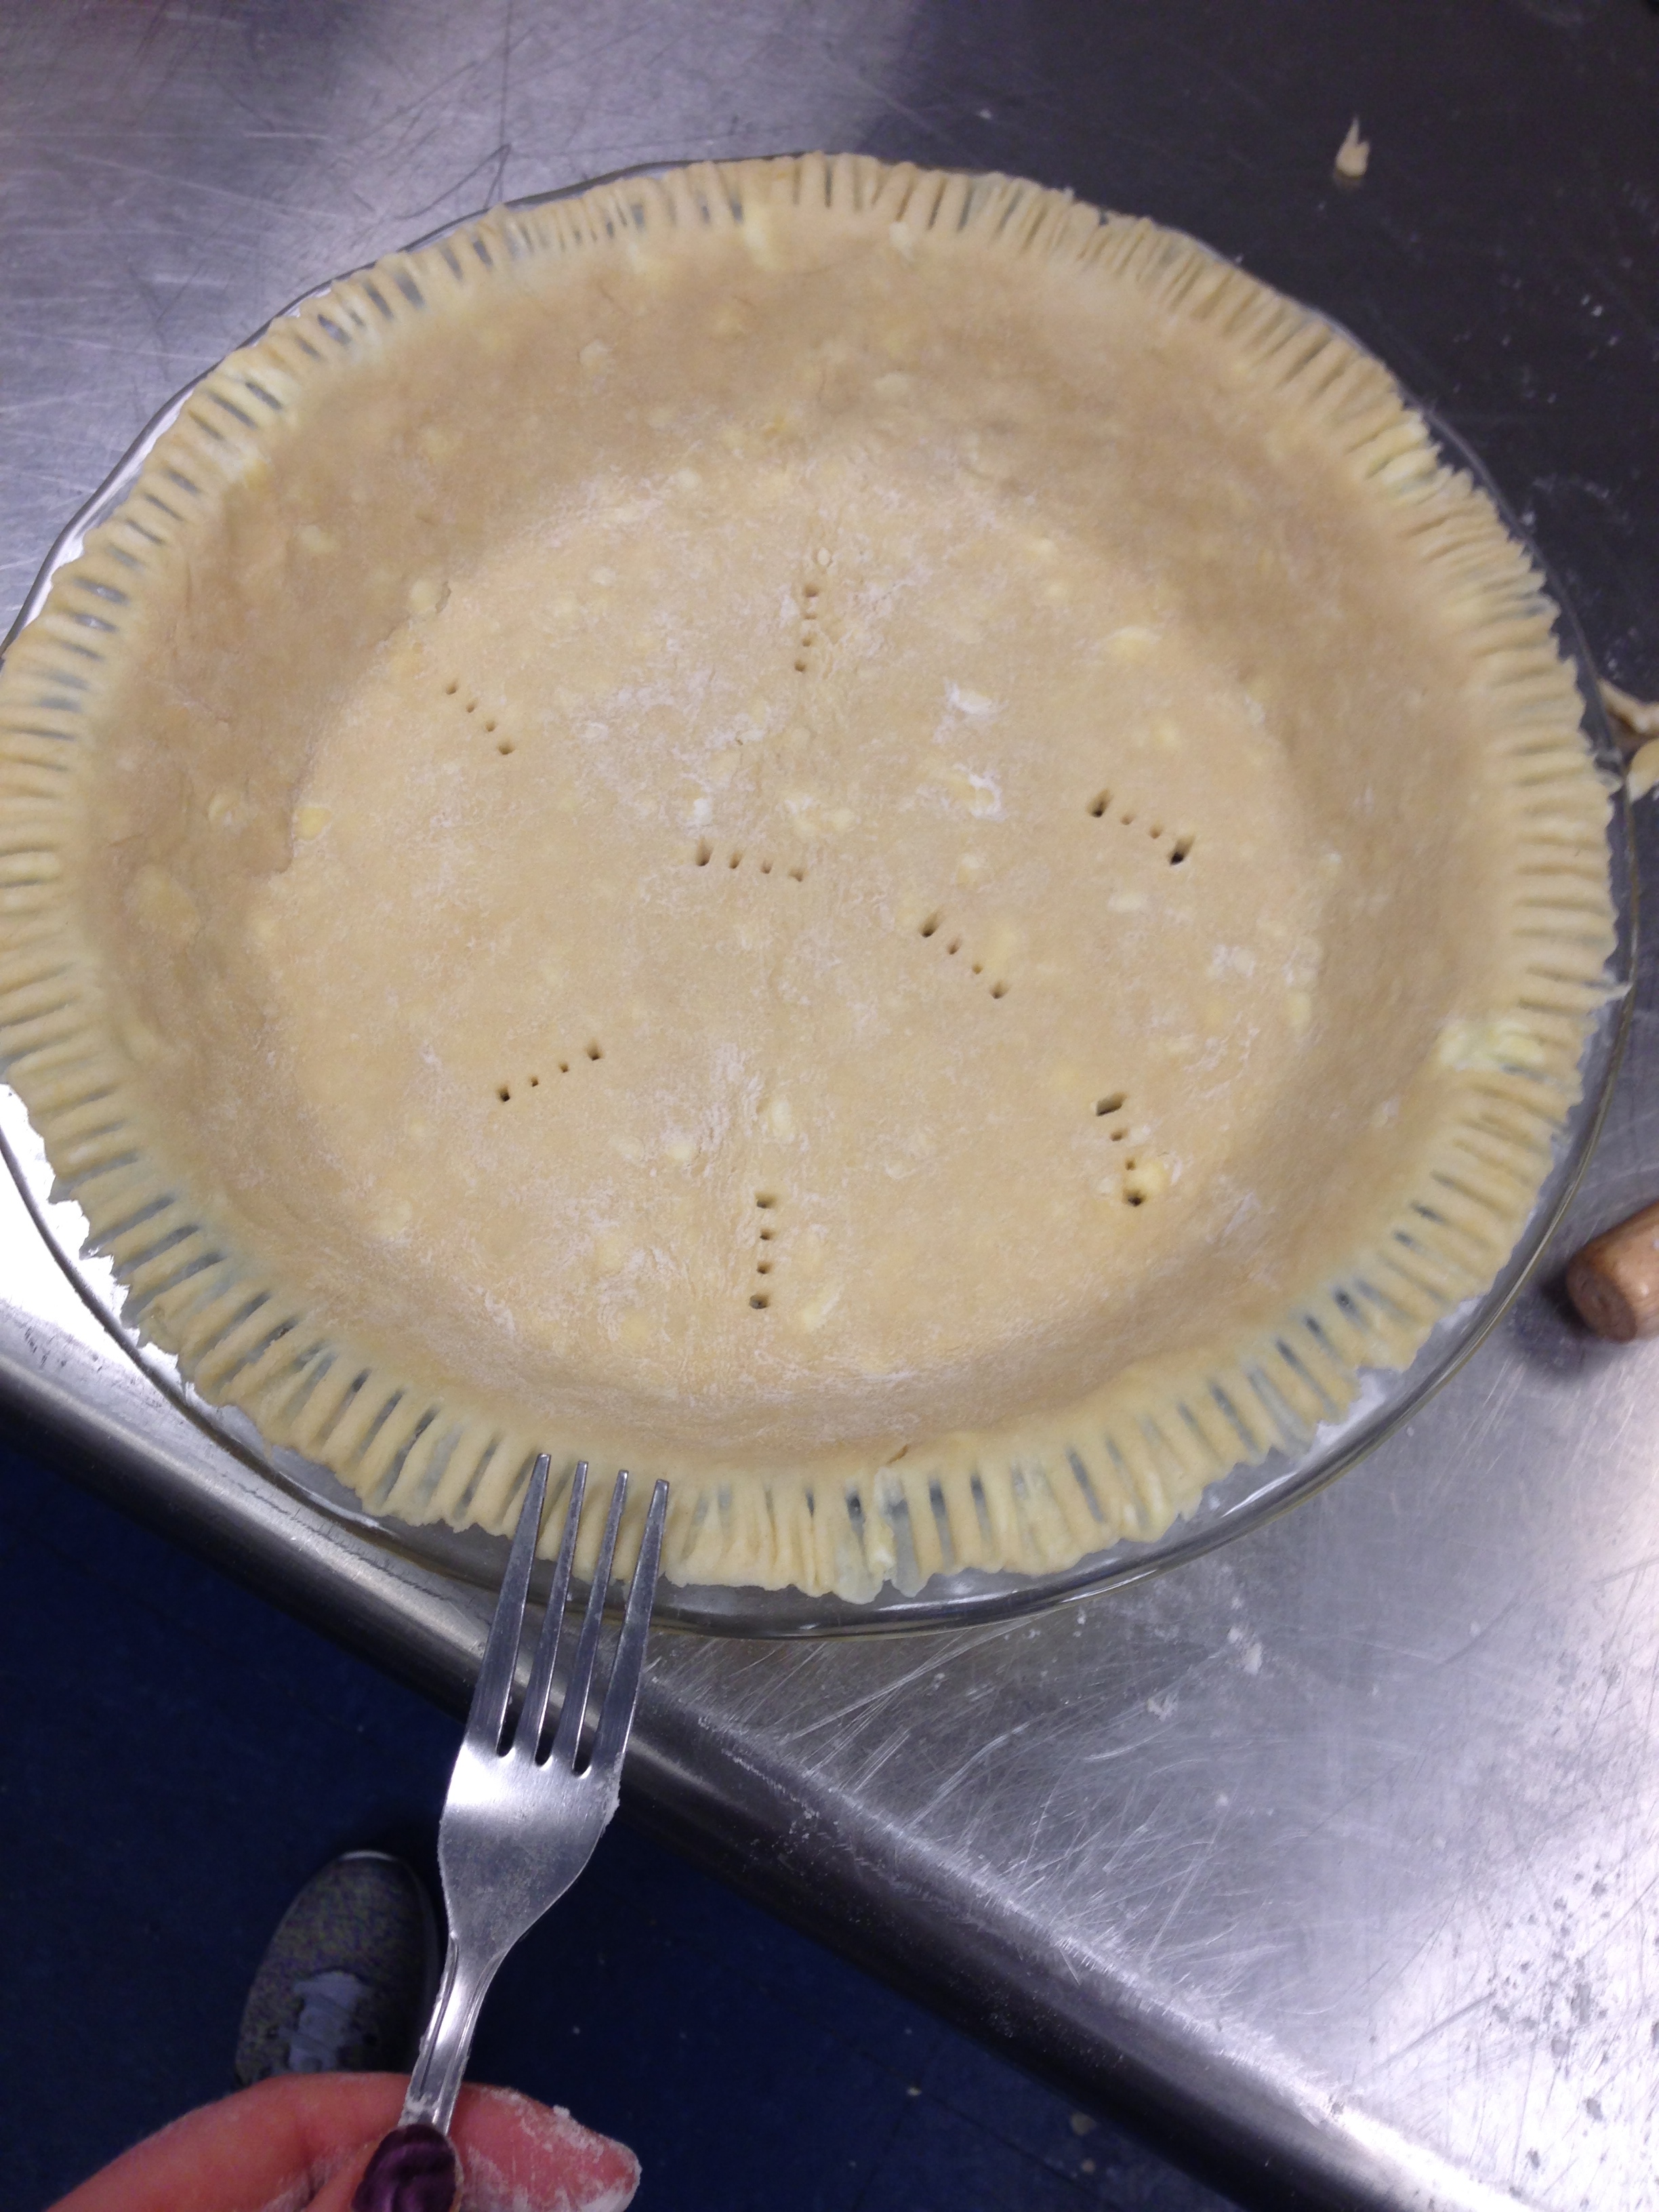
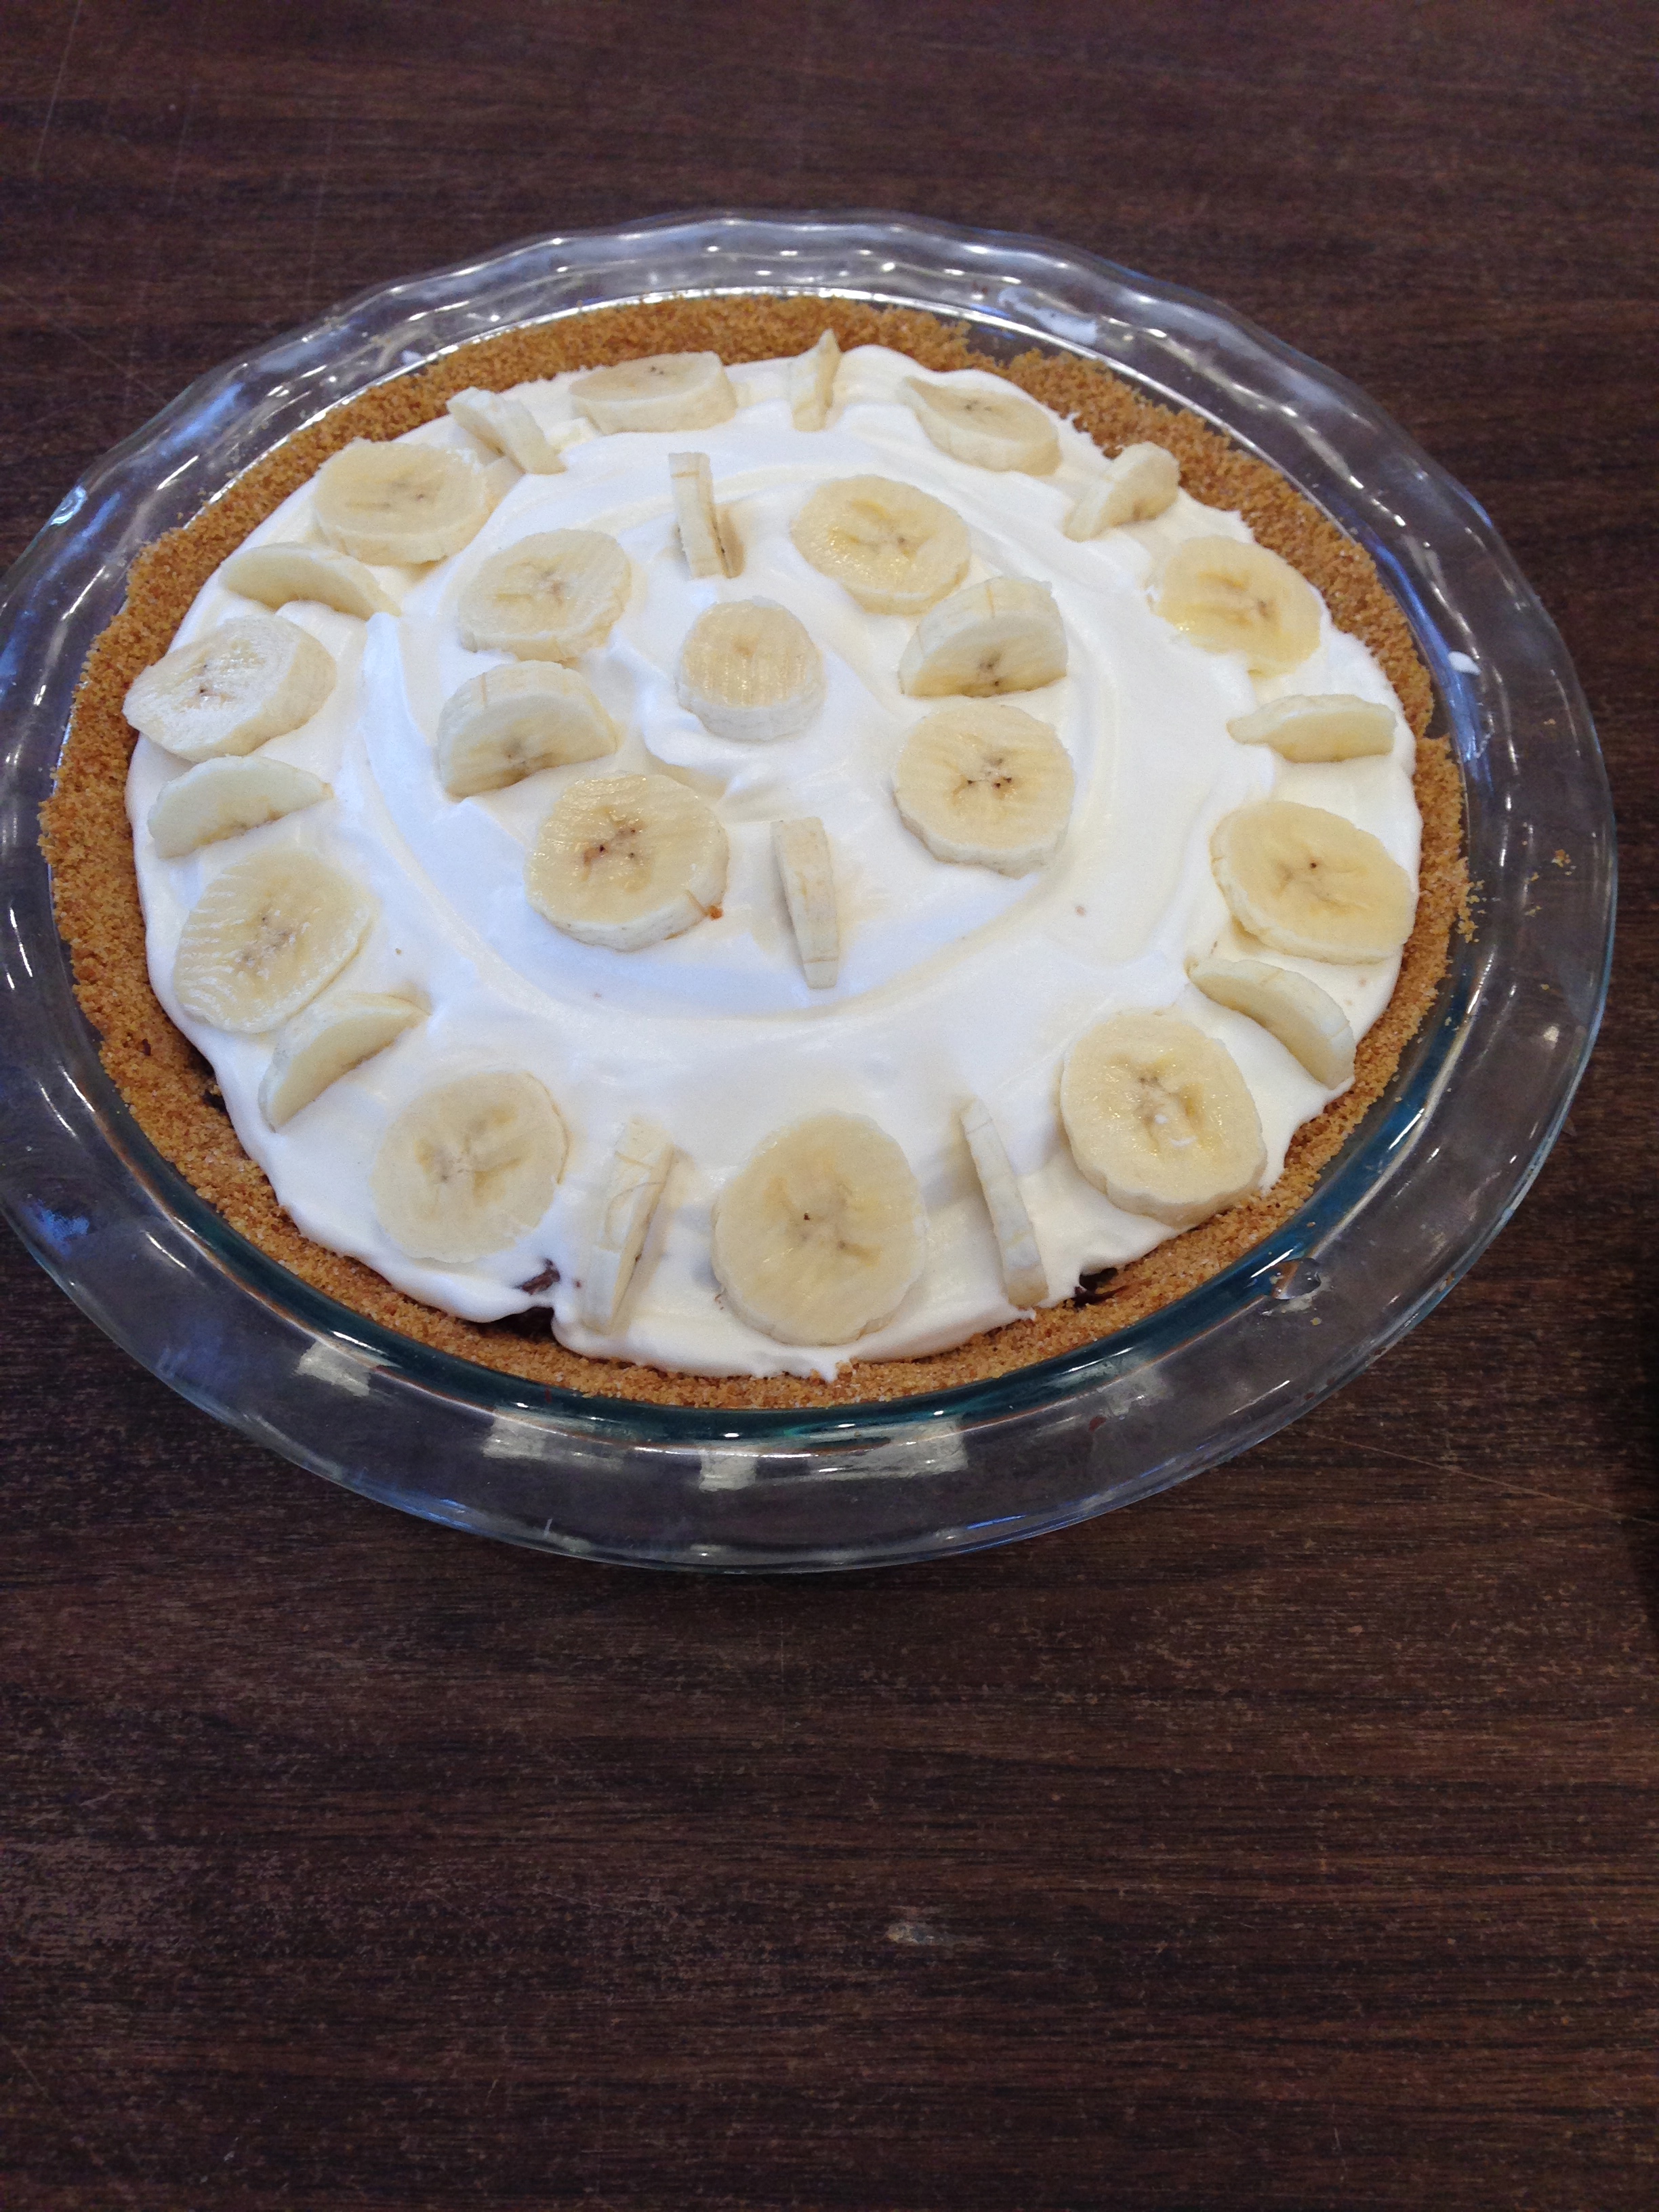
Chocolate. Peanut butter. Banana cream. Love. What else do you need?! Nothing! This was one of my favorite pies, and, according to the meager bit I had left at the end of the banquet, an overwhelming success. Best of all, it was super easy to make. You can follow any recipe for homemade graham cracker crust. The graham cracker crust has definitely become my new go-to. Graham cracker crumbs, sugar, melted butter, and a tad bit of baking and you’re all set! No worries about the crust woes that befall your typical pastry. The one thing I would recommend is buttering your pan thoroughly before pre baking/pressing in your crust. I had many crusts of the graham cracker variety, and too often they stuck to the pan, and I couldn’t get enough!

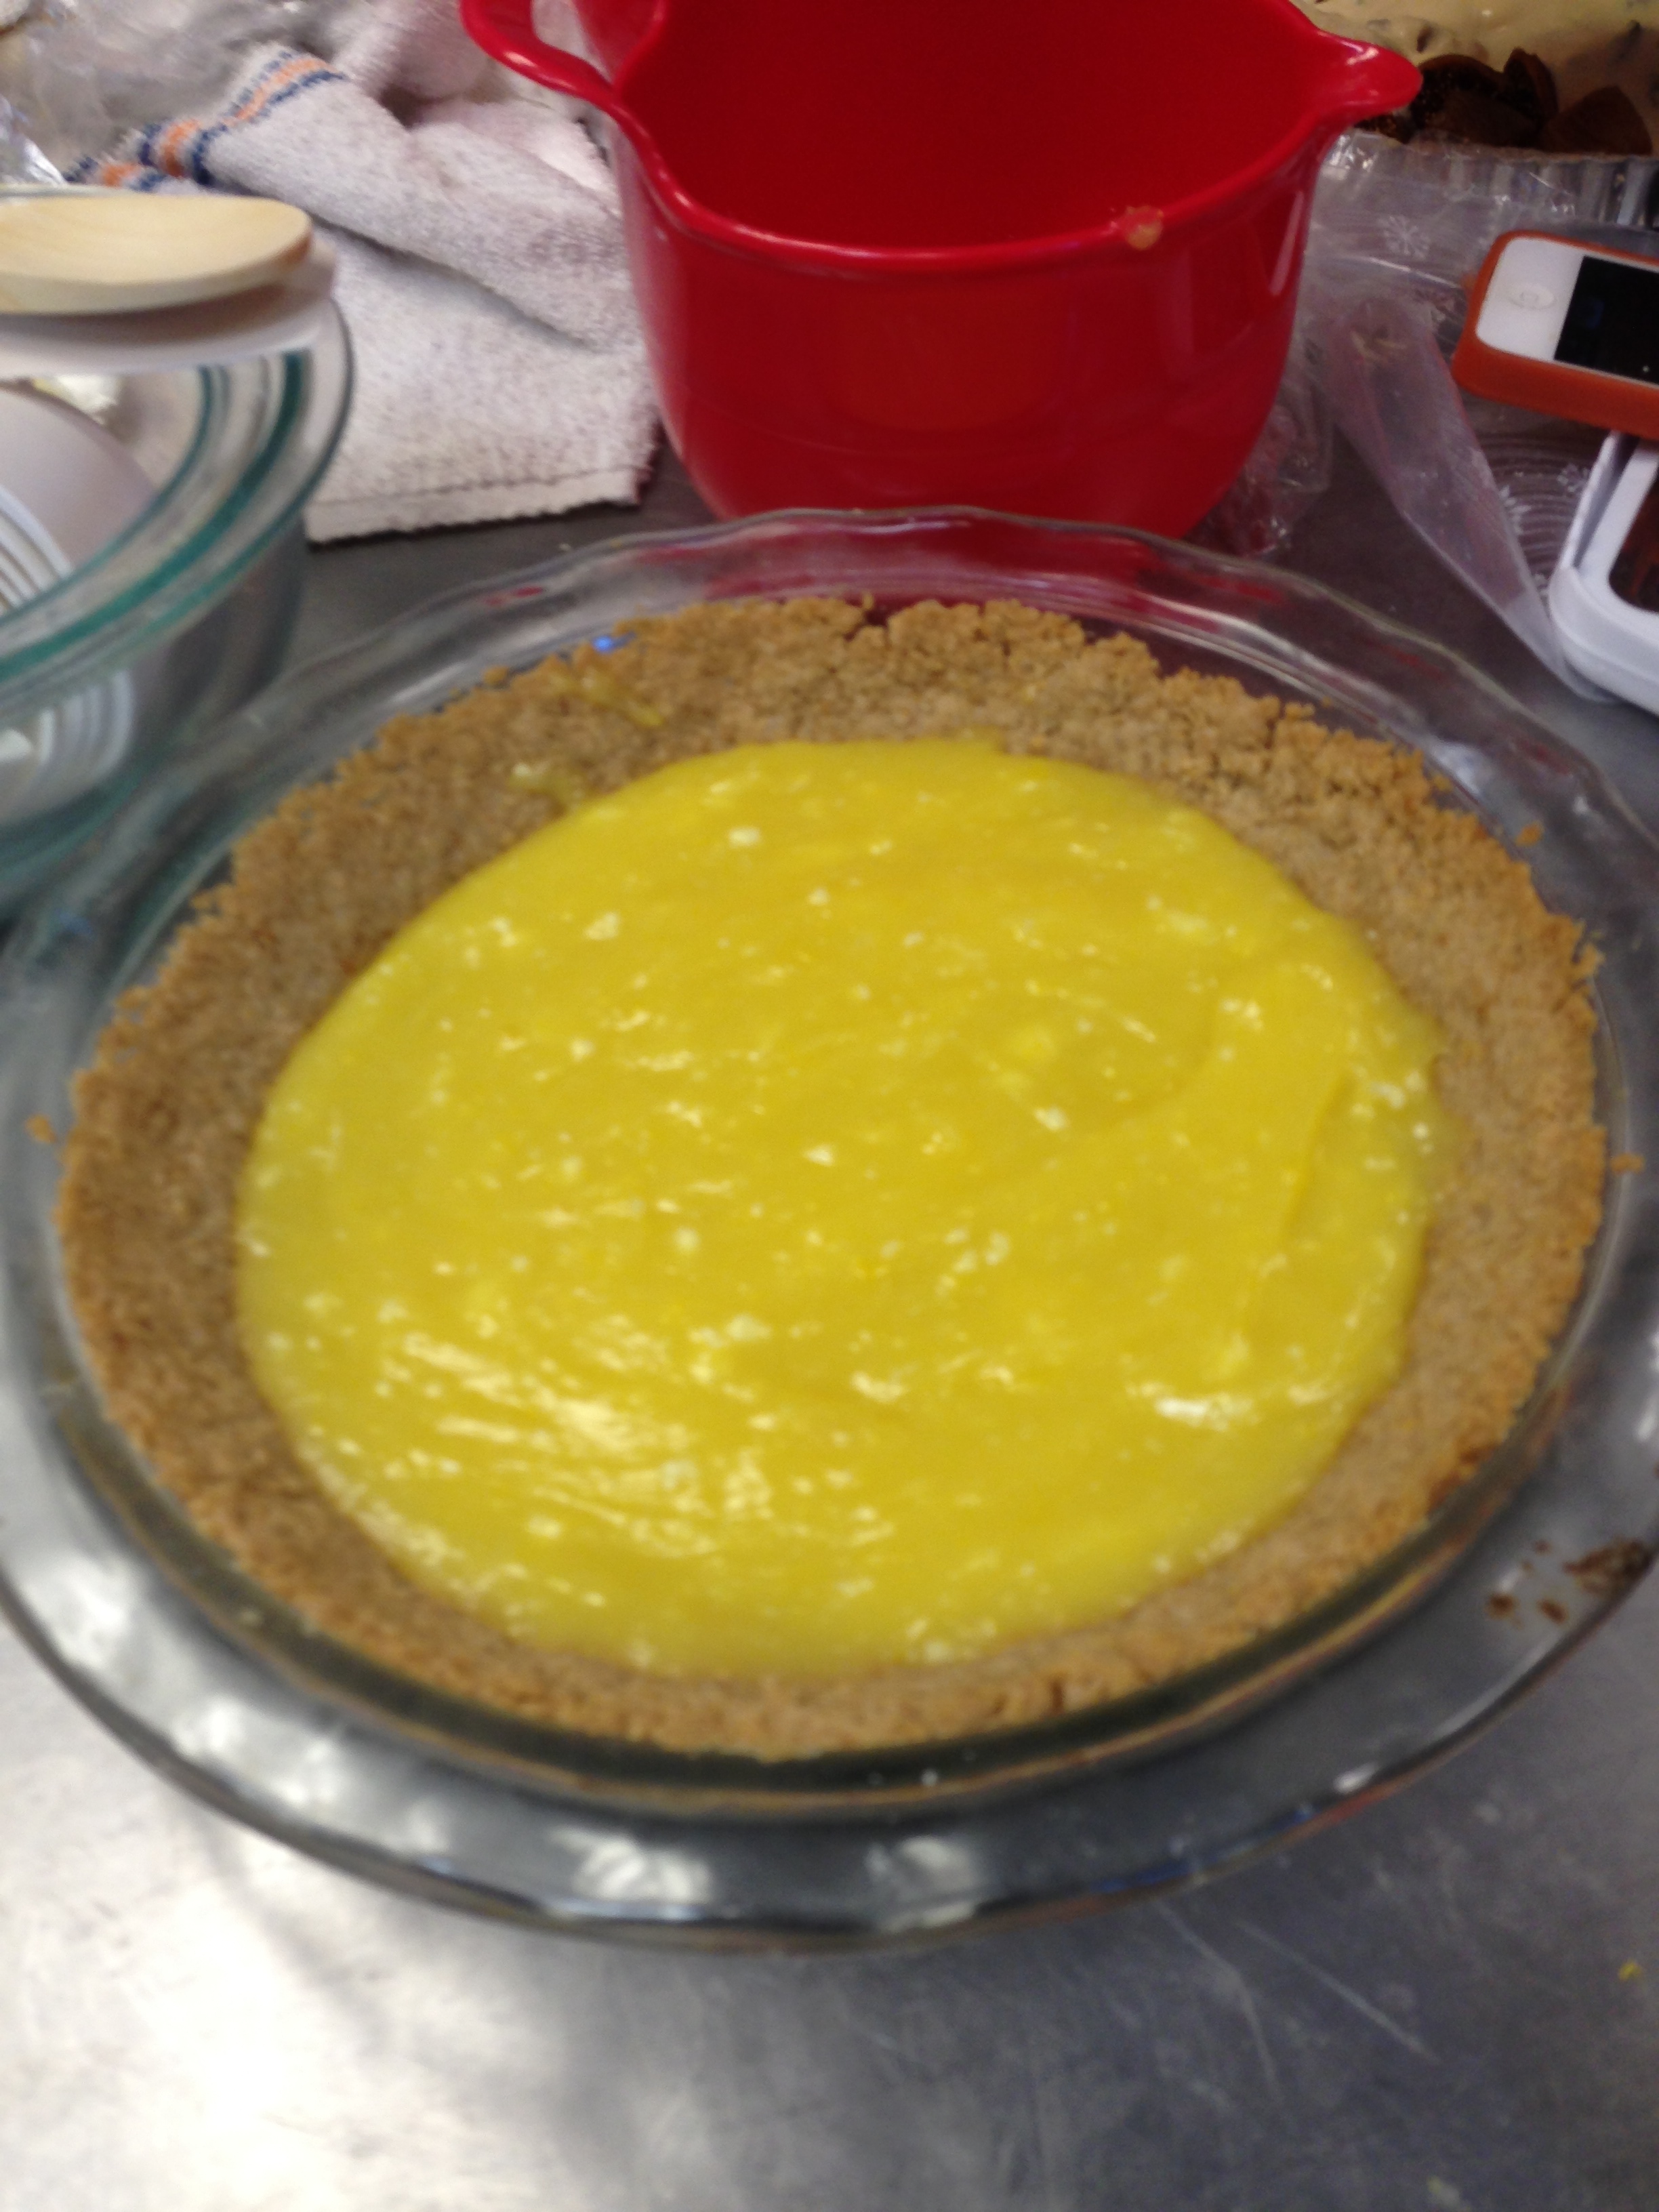
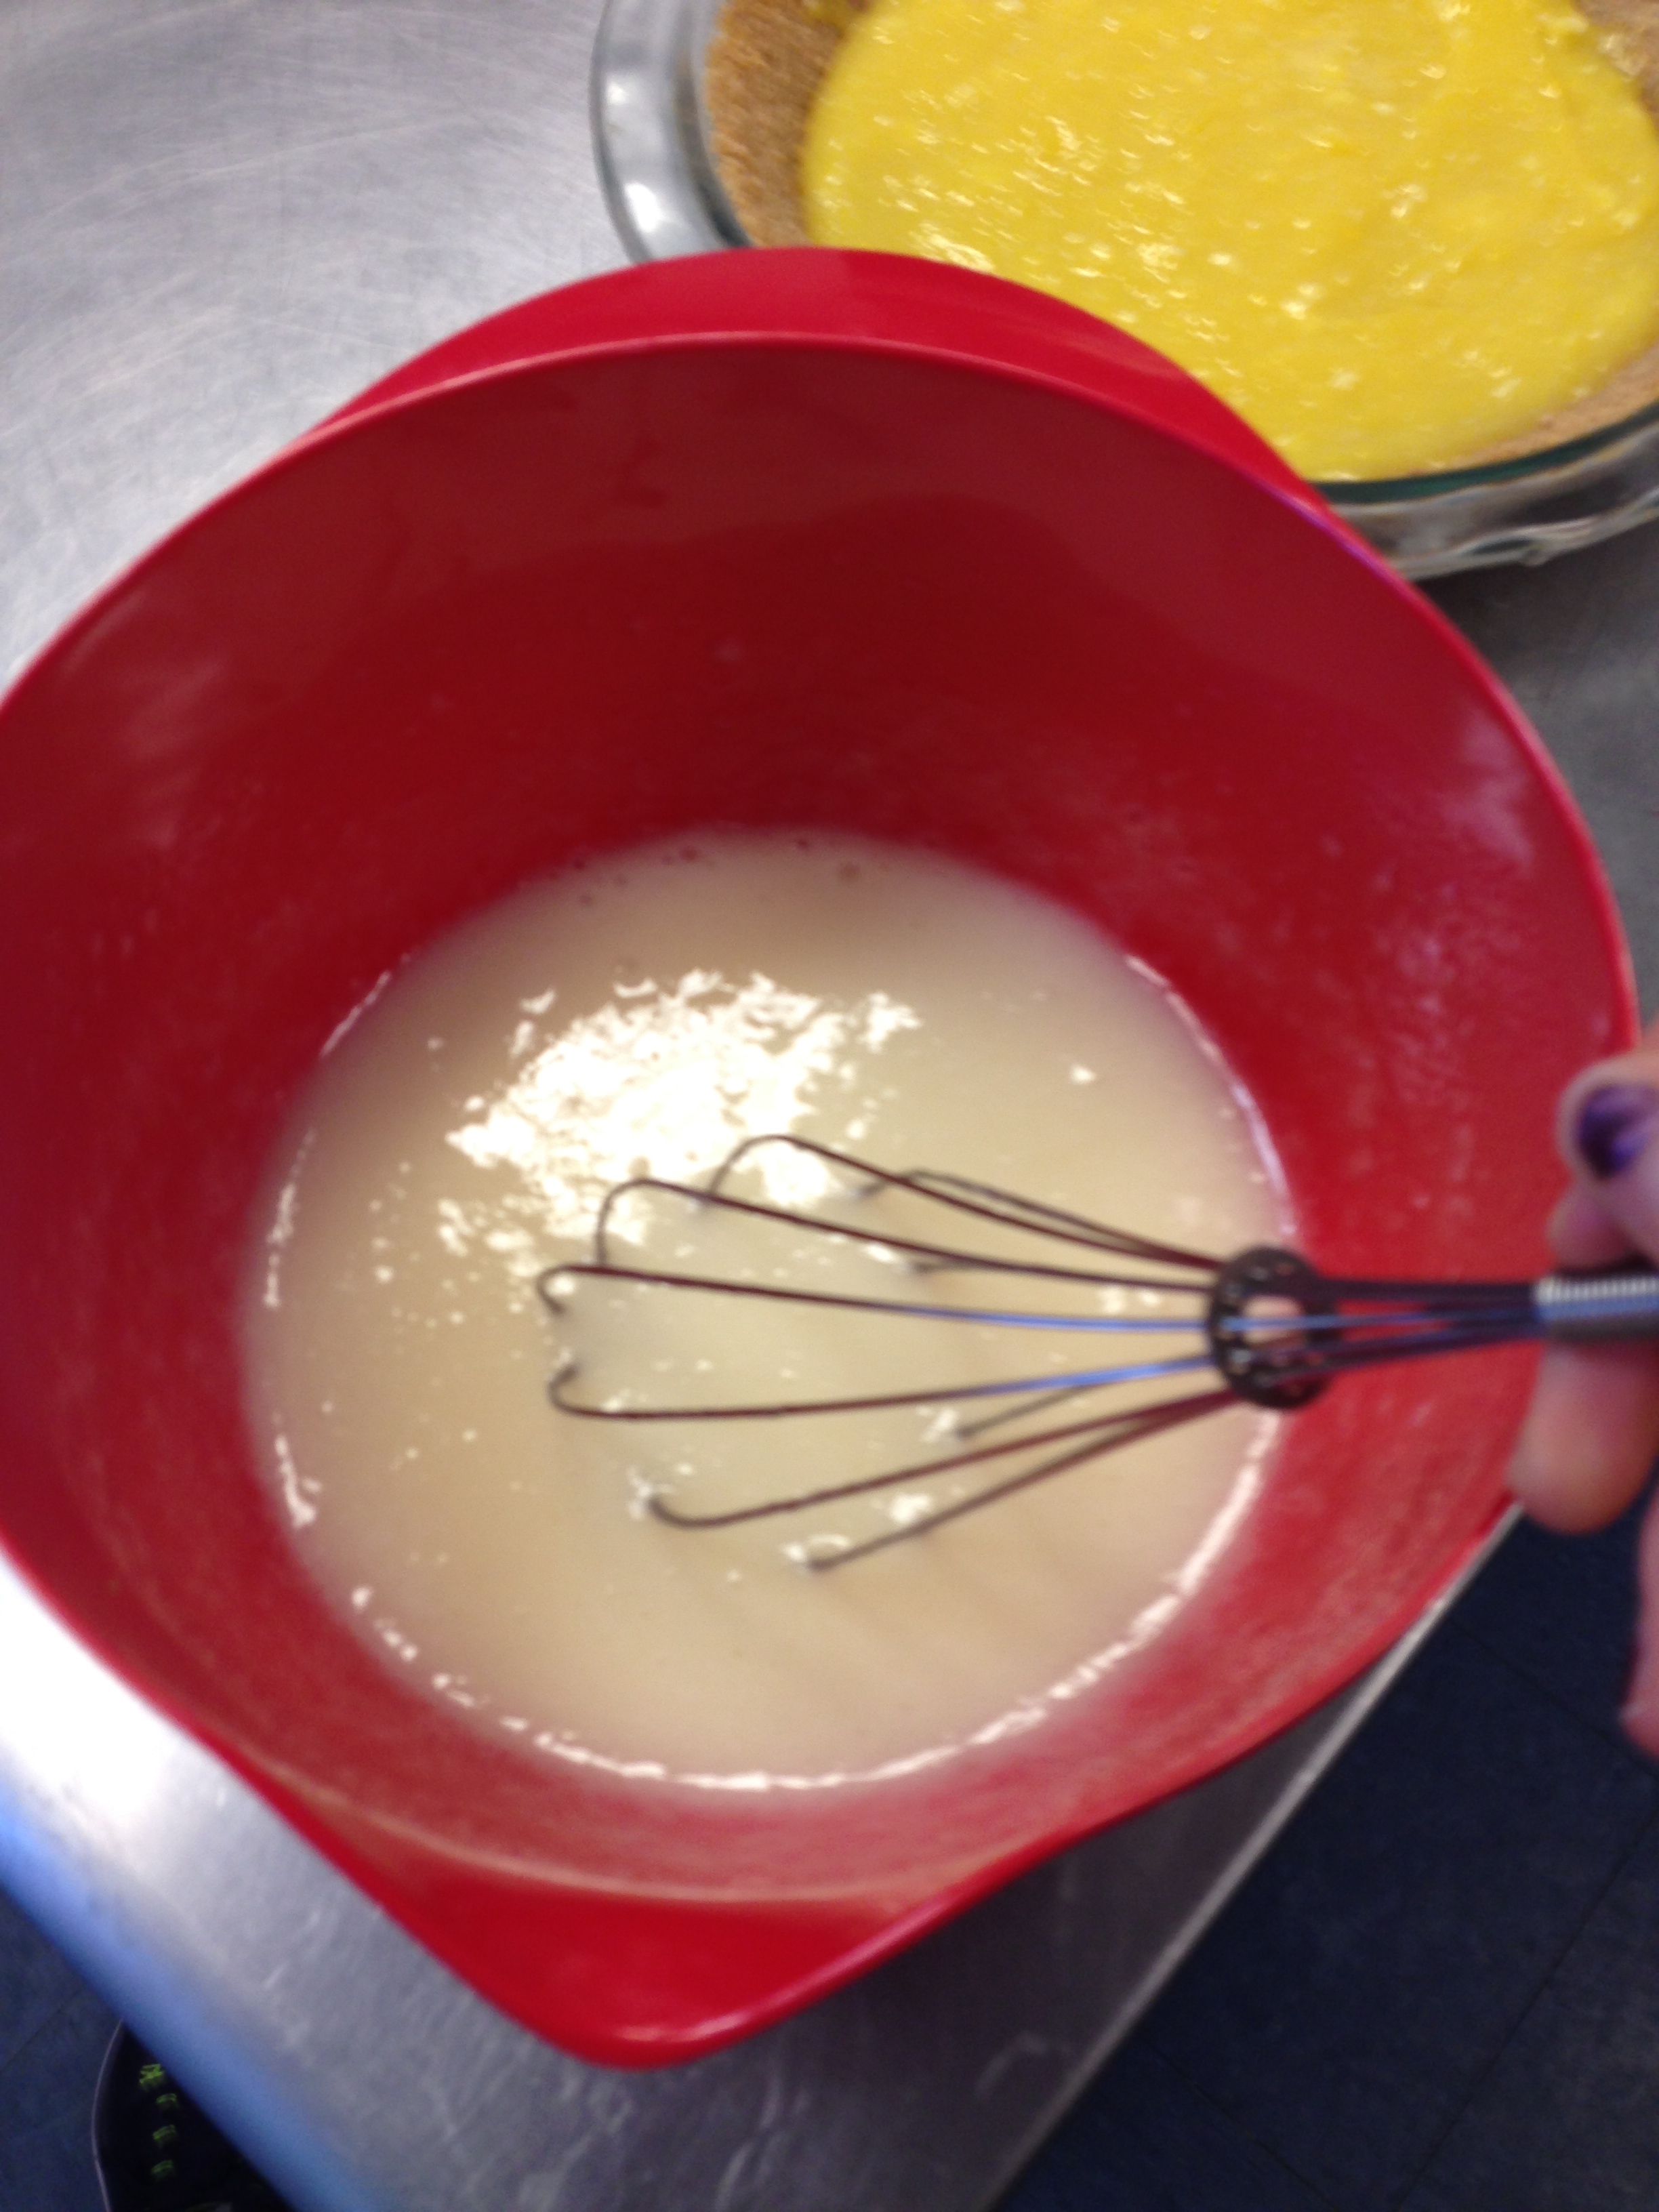
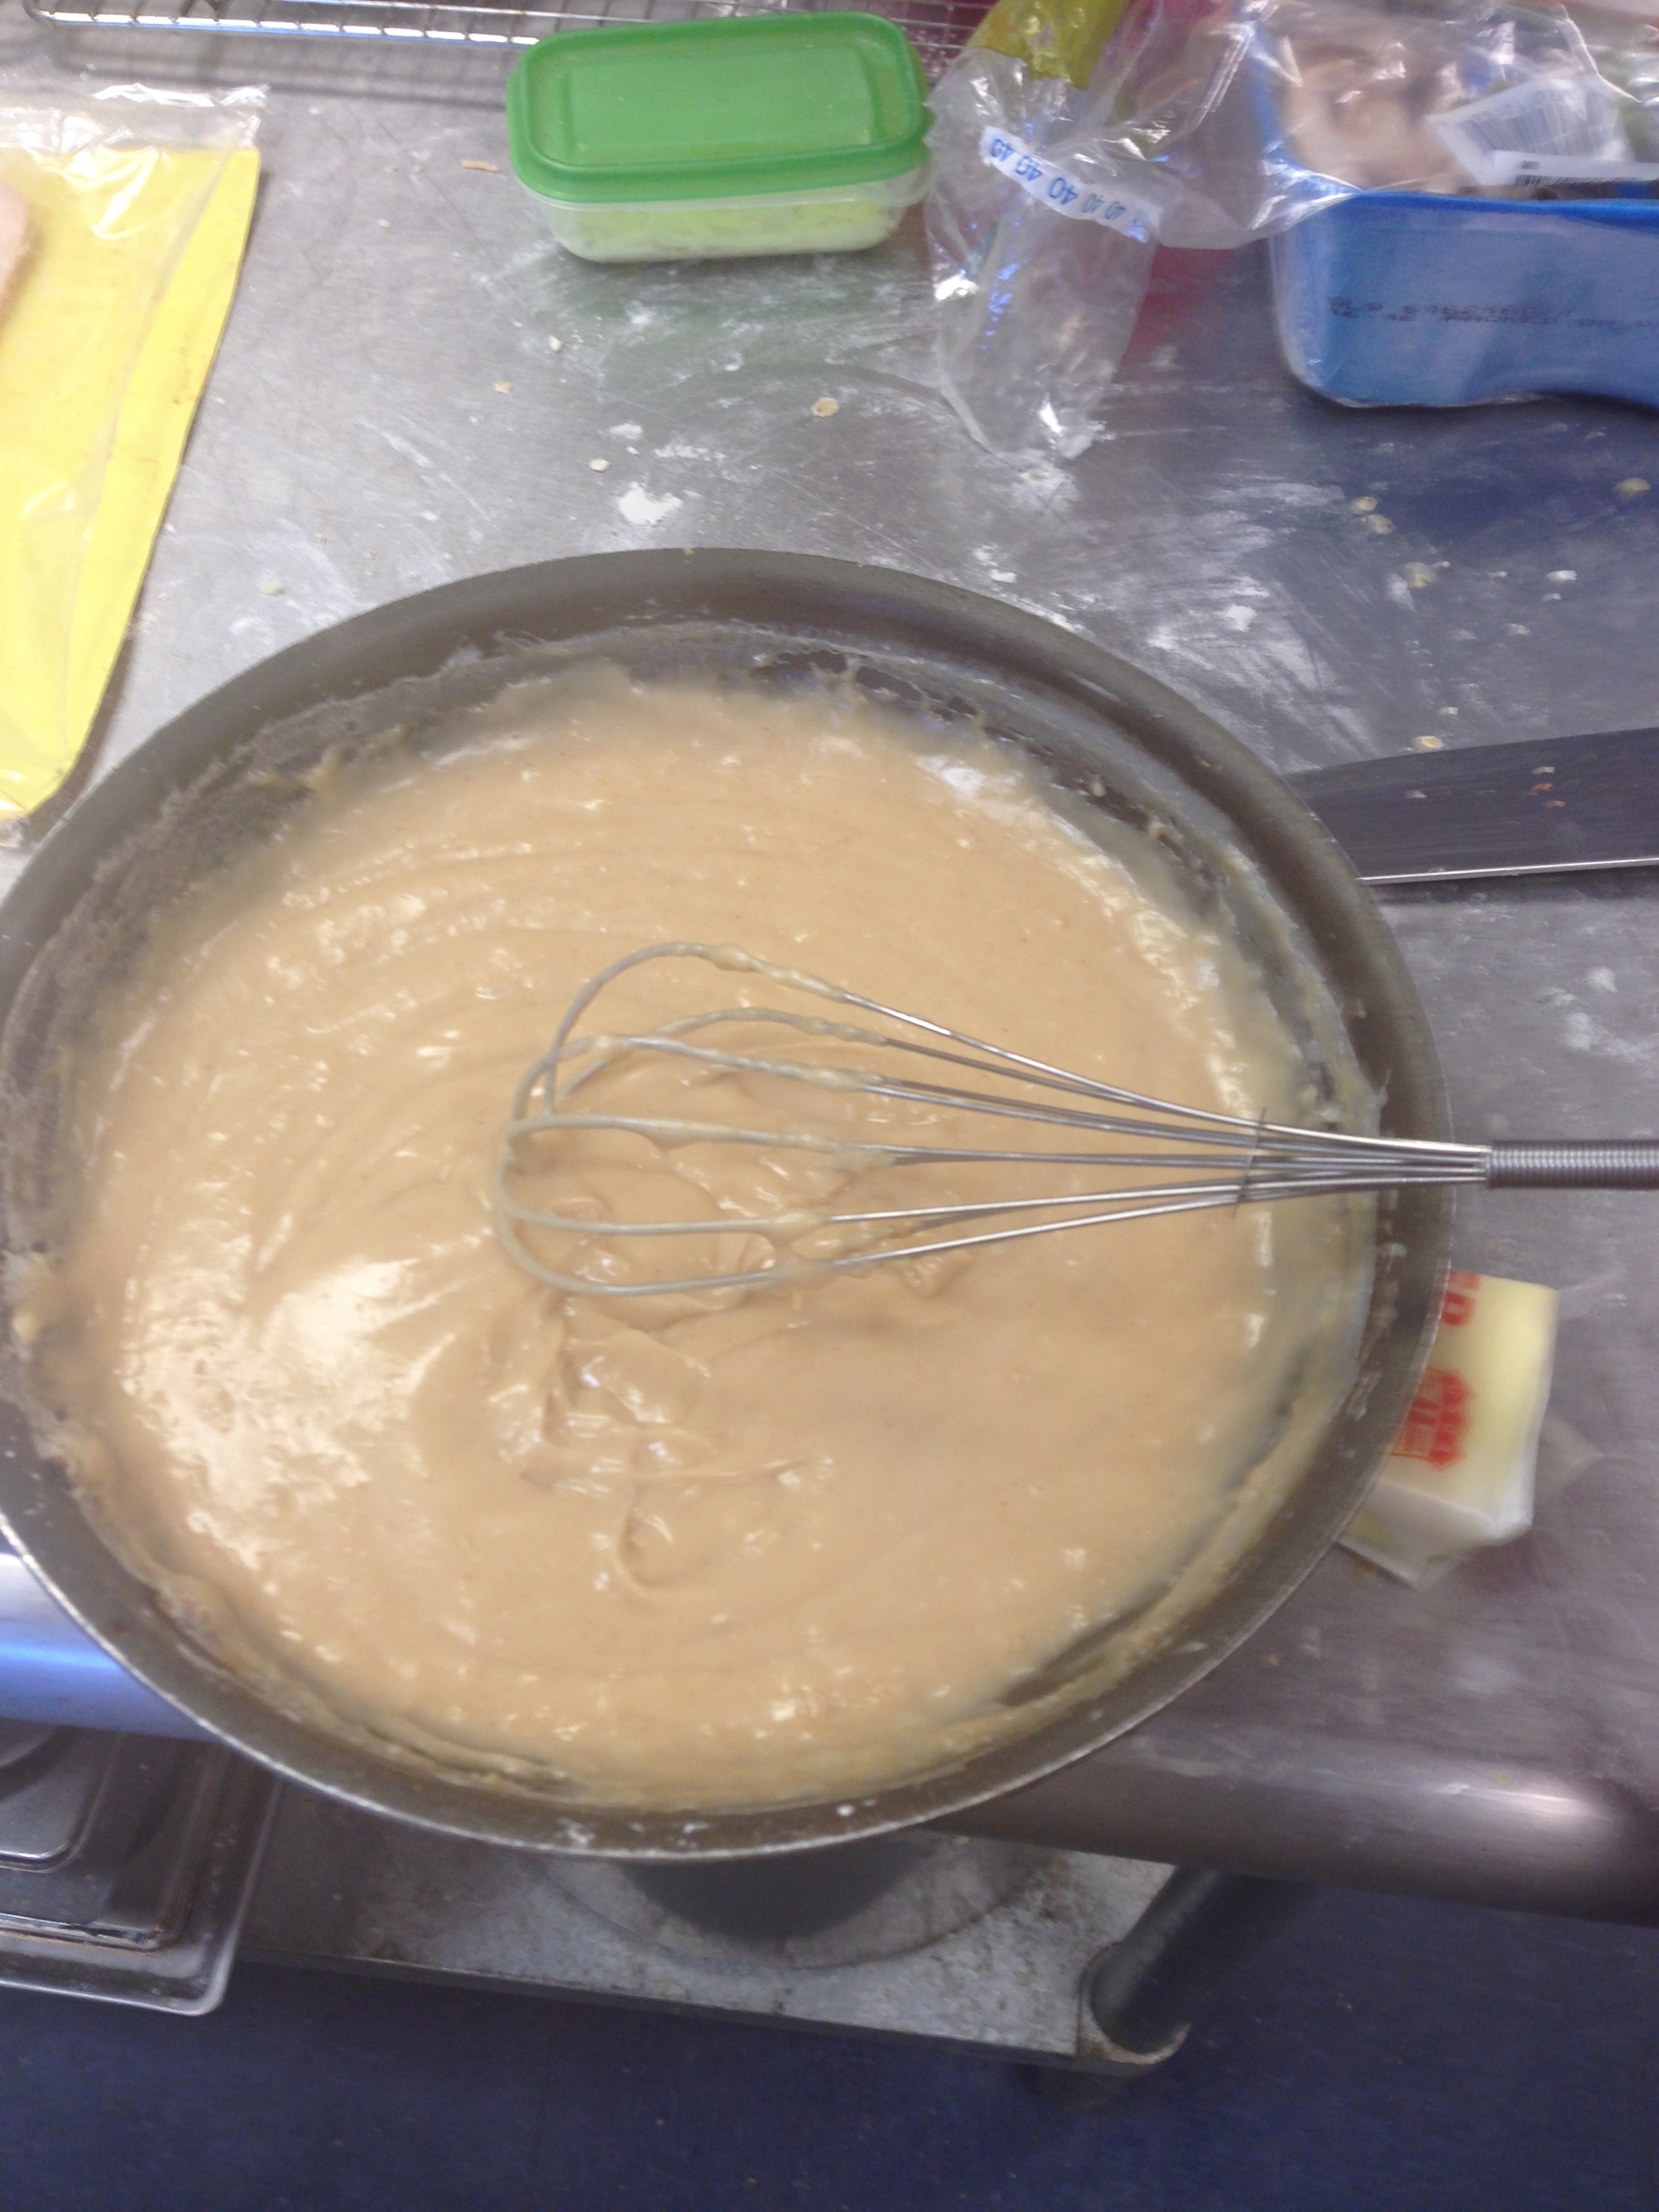
Anyway, after my crust was prepared and chilling, I  started with the peanut butter pudding:
IMG_1037


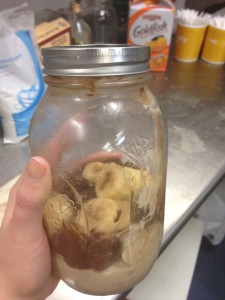
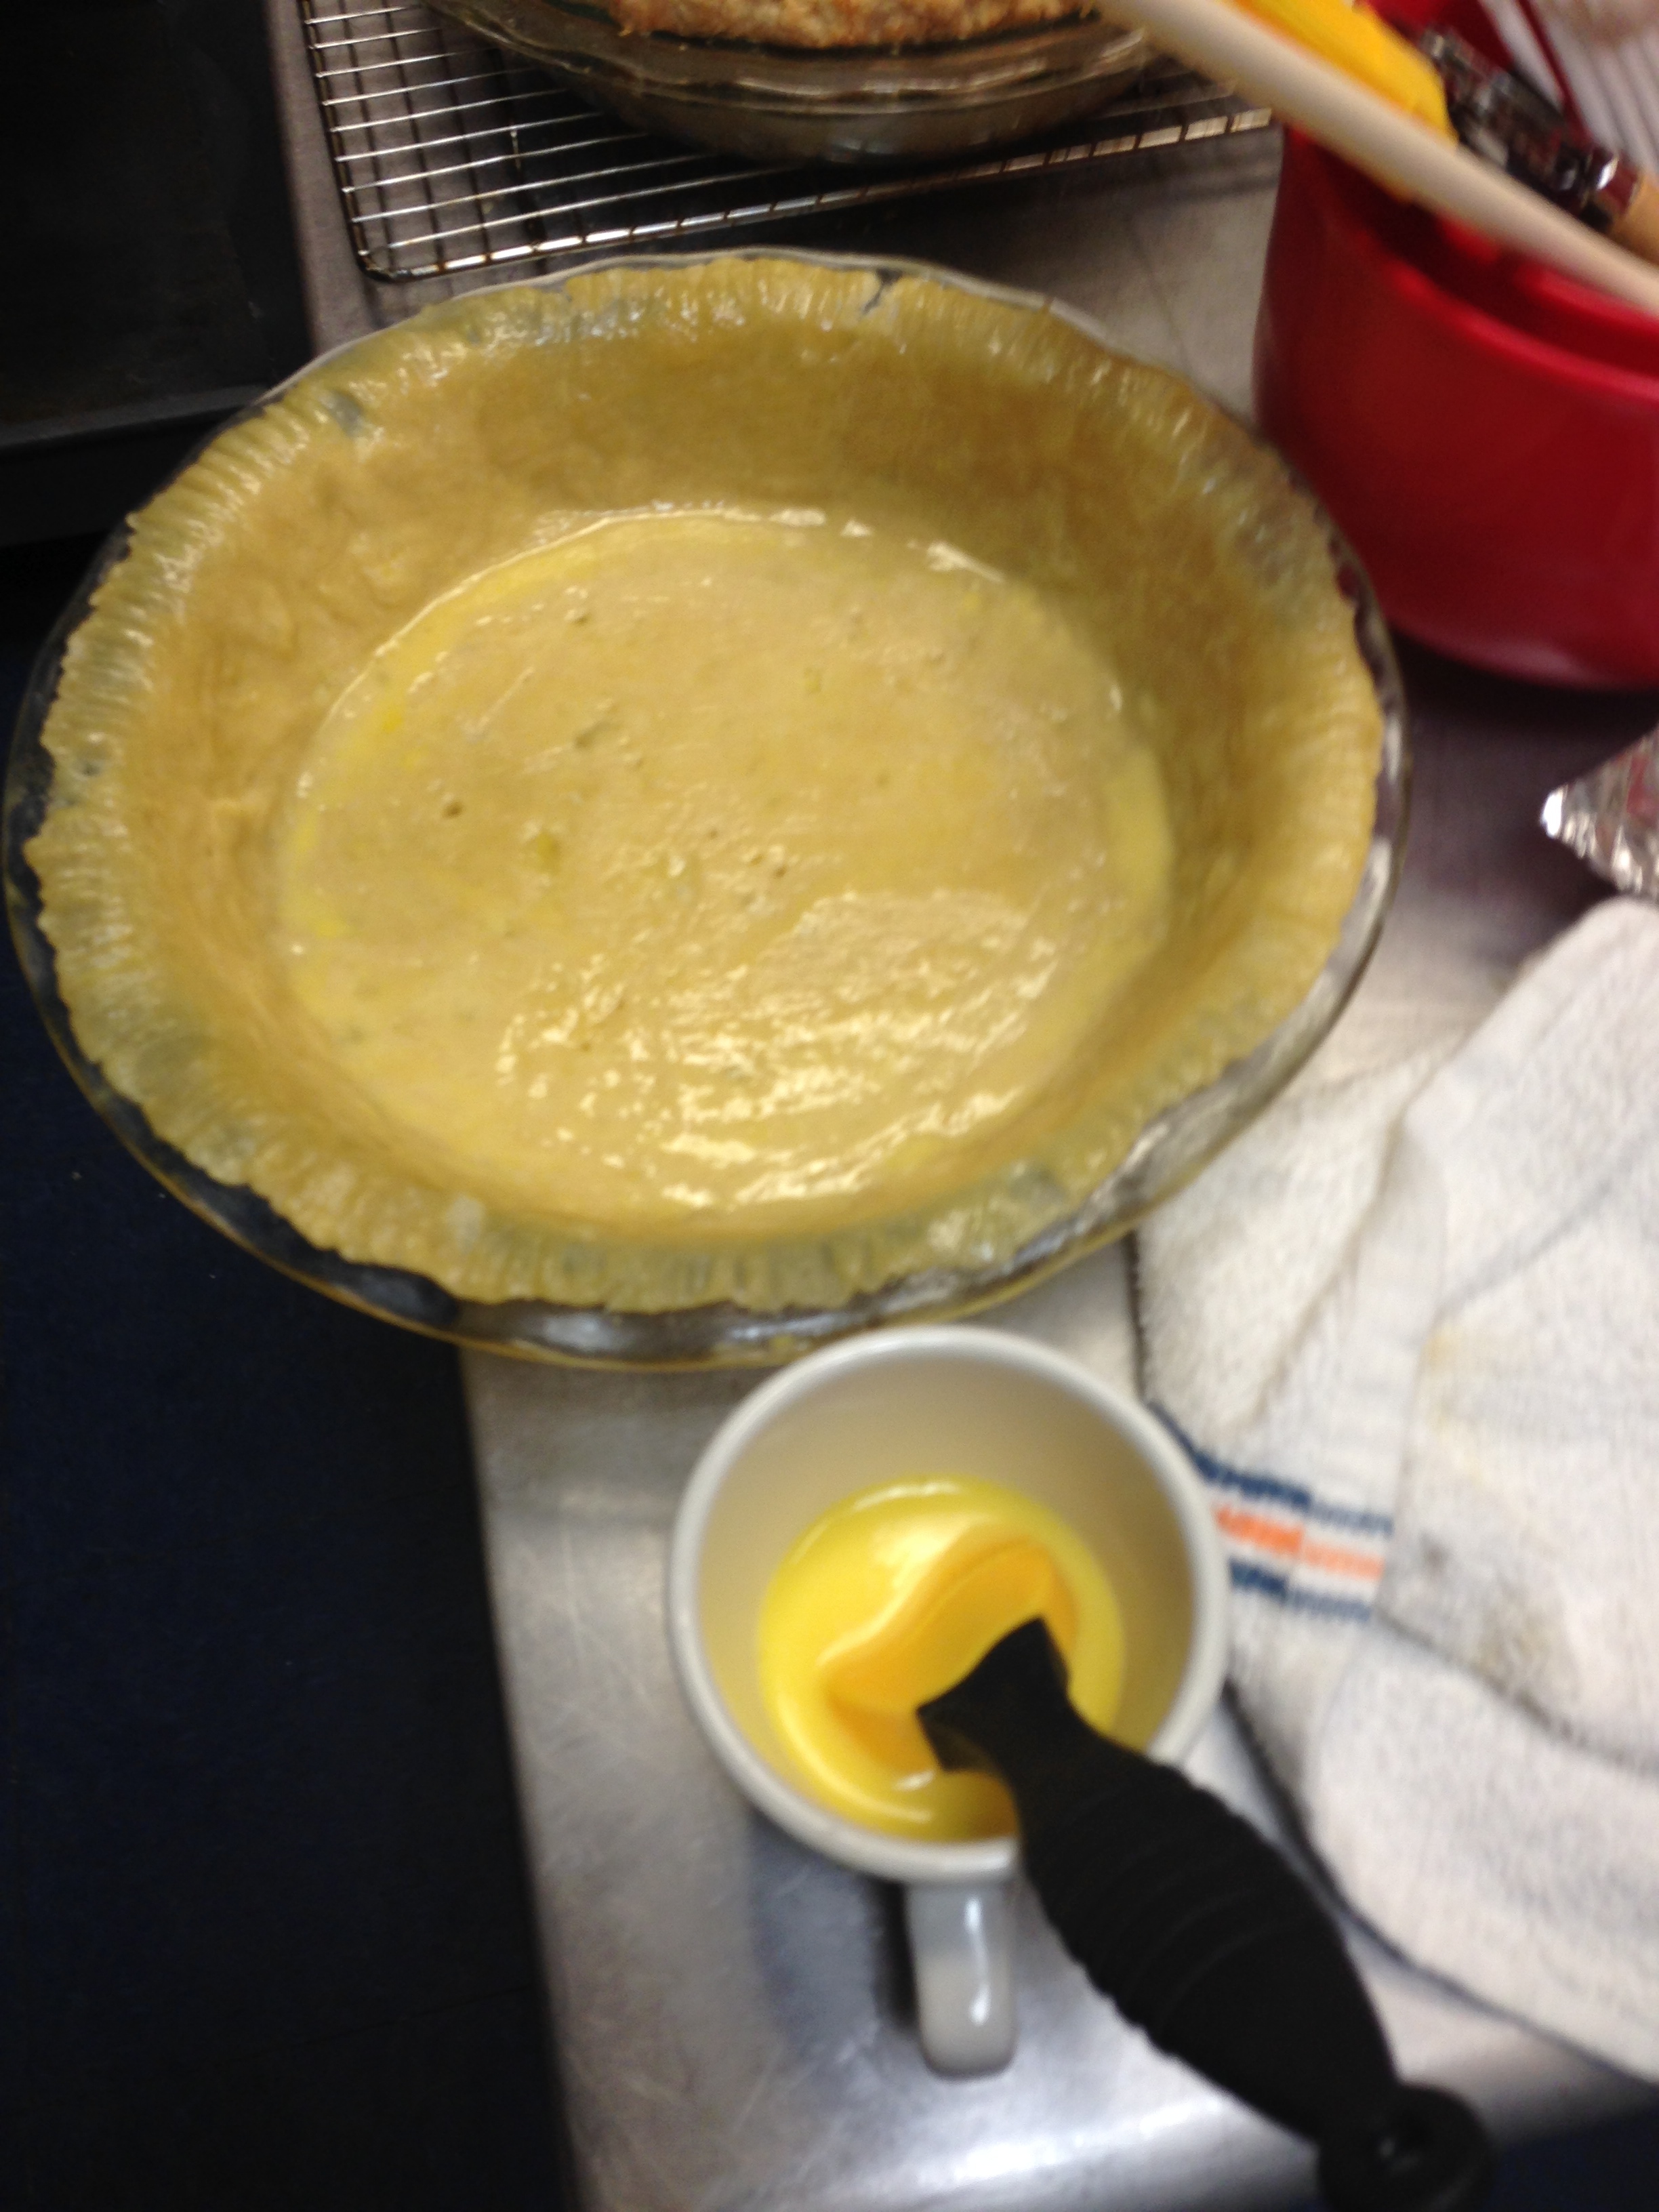
It was phenomenal. I had never had homemade peanut butter pudding (I’m accustomed to the Jell-O variety), and it was terrific! I had no idea puddings were so simple; corn starch, sugar (of course), and some heavy whipping cream/whole milk, and I was all set! I figured I’d follow the same strategy for the chocolate pudding and I got ahead of myself…turns out chocolate pudding only calls for 2 tbsp of cornstarch, as opposed to the 5 tbsp in the peanut butter pudding…whoops! I could definitely tell that it was a little less liquid than typical pudding, but it still tasted great! I filled a layer of banana in over the peanut butter and then covered that with a layer of chocolate pudding. Then, I put my leftovers in a mason jar to give some friends a taste-test before the big next day.
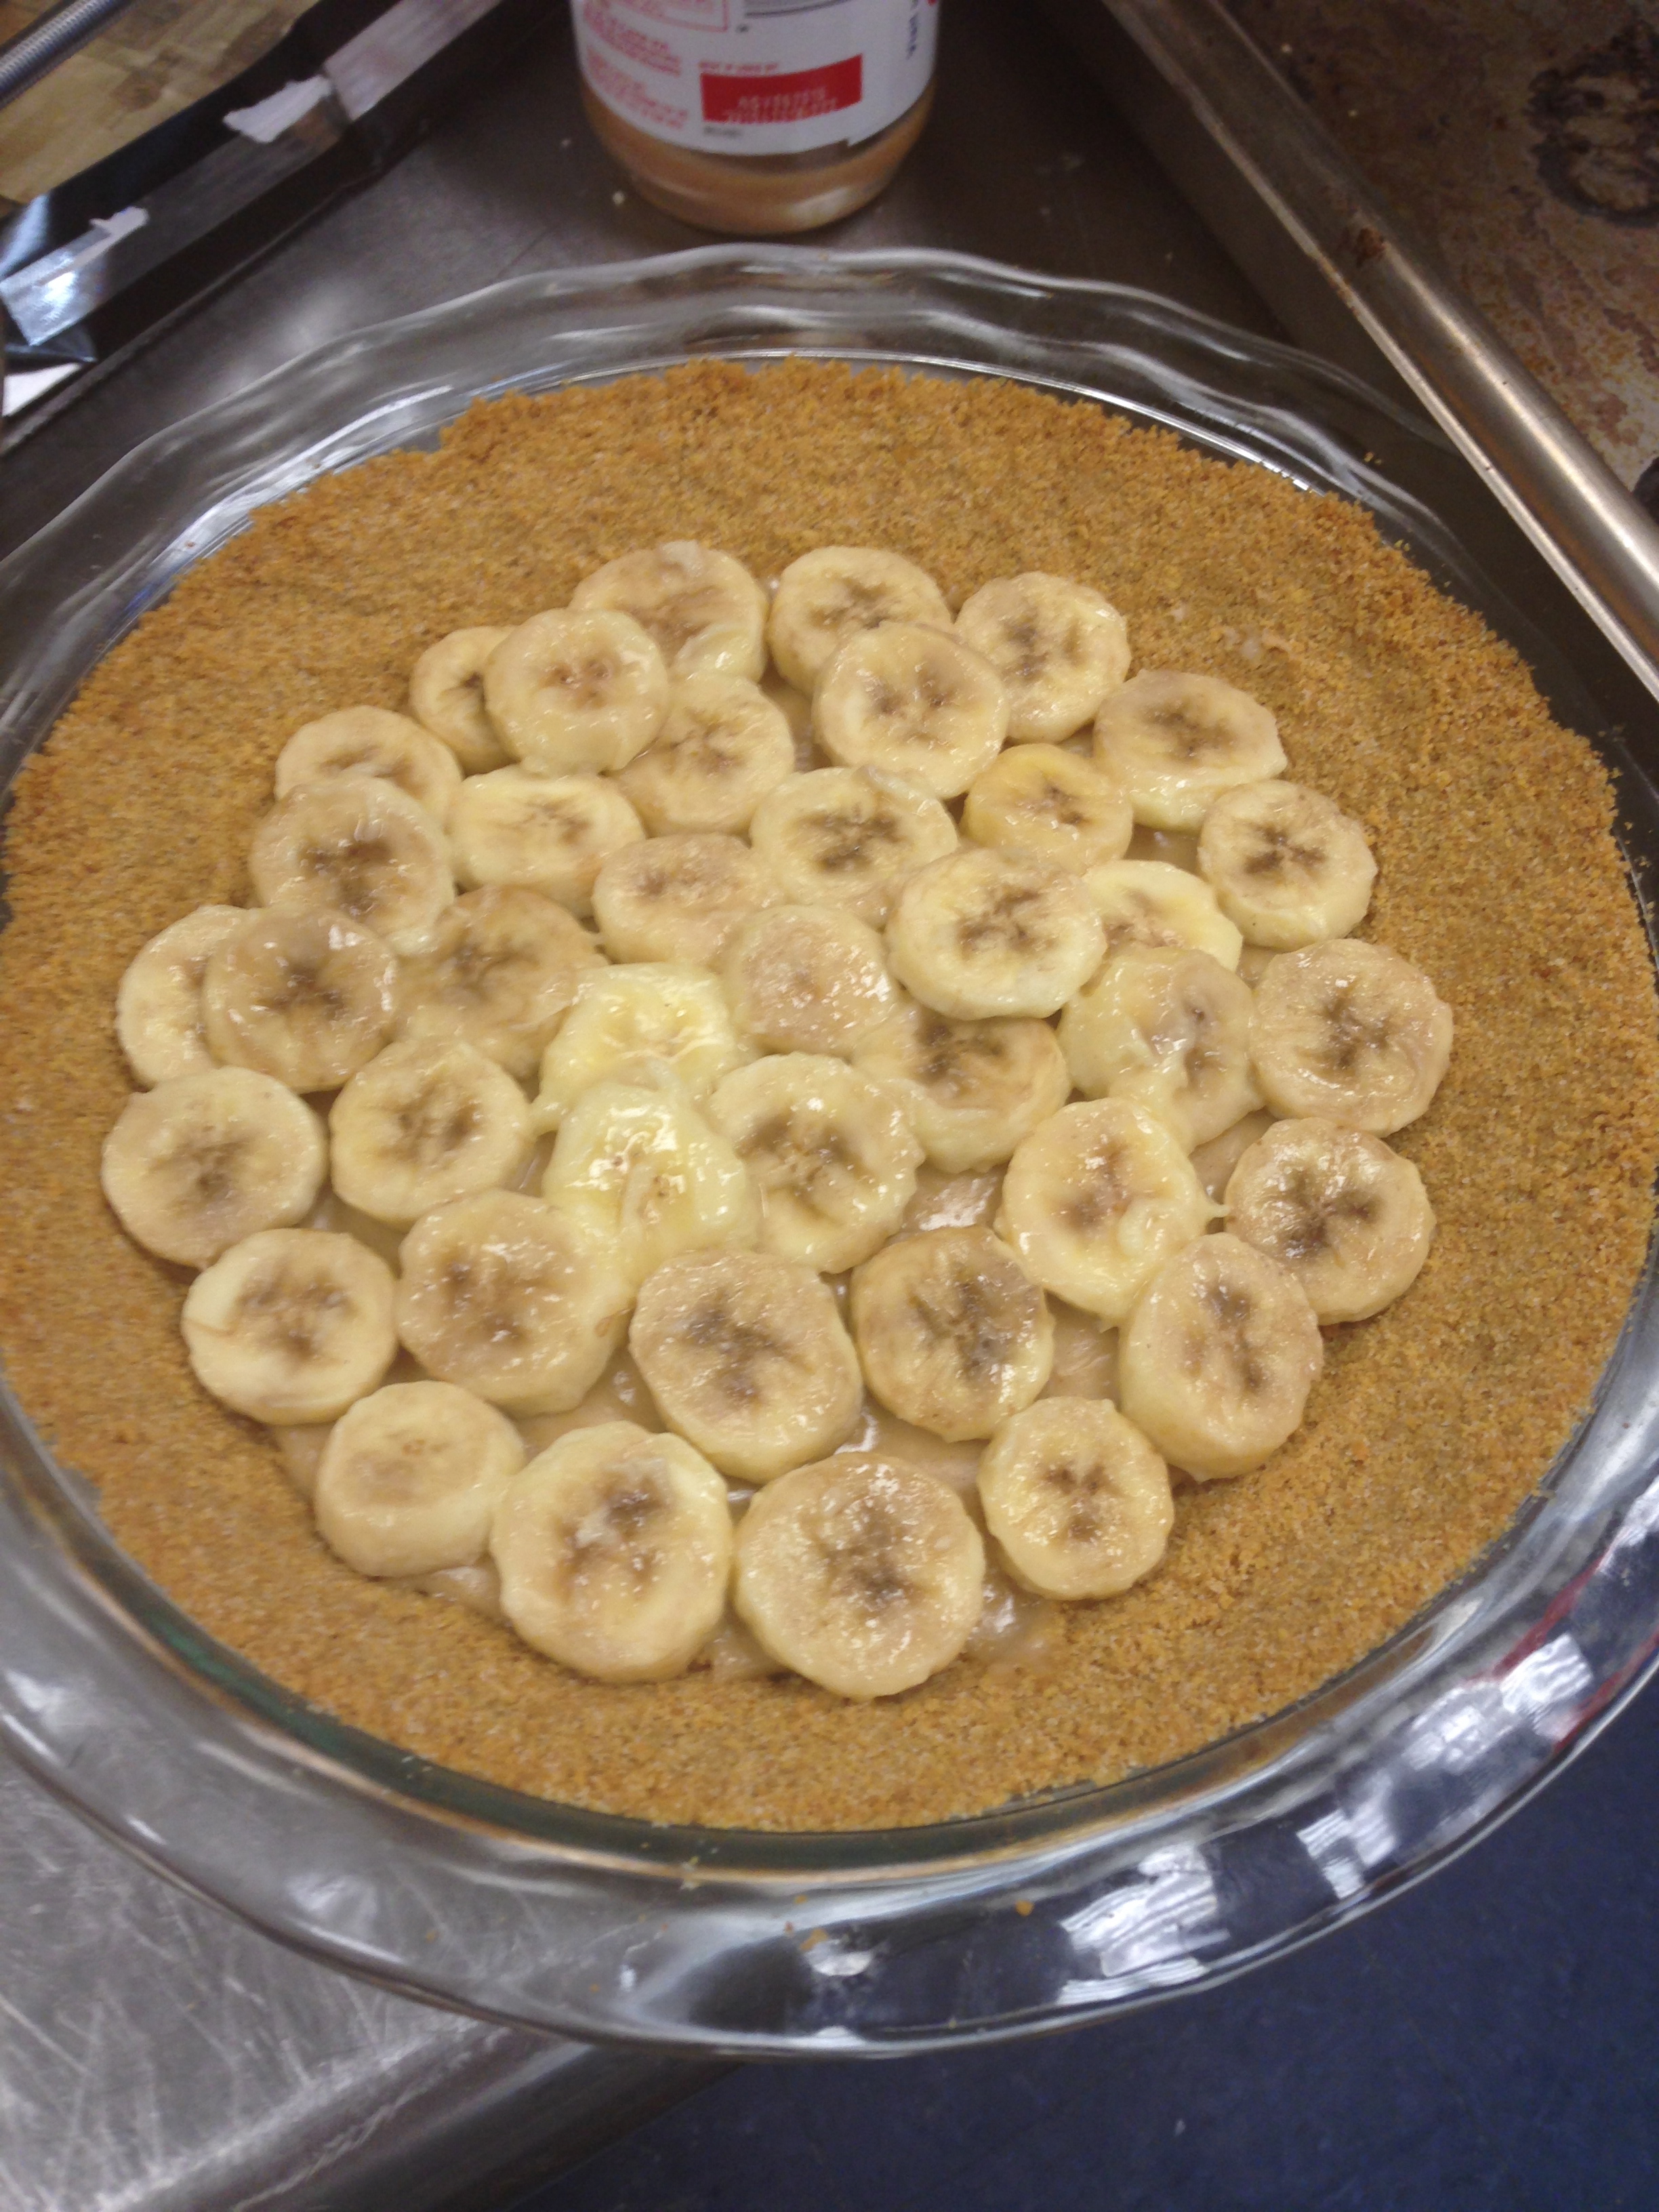
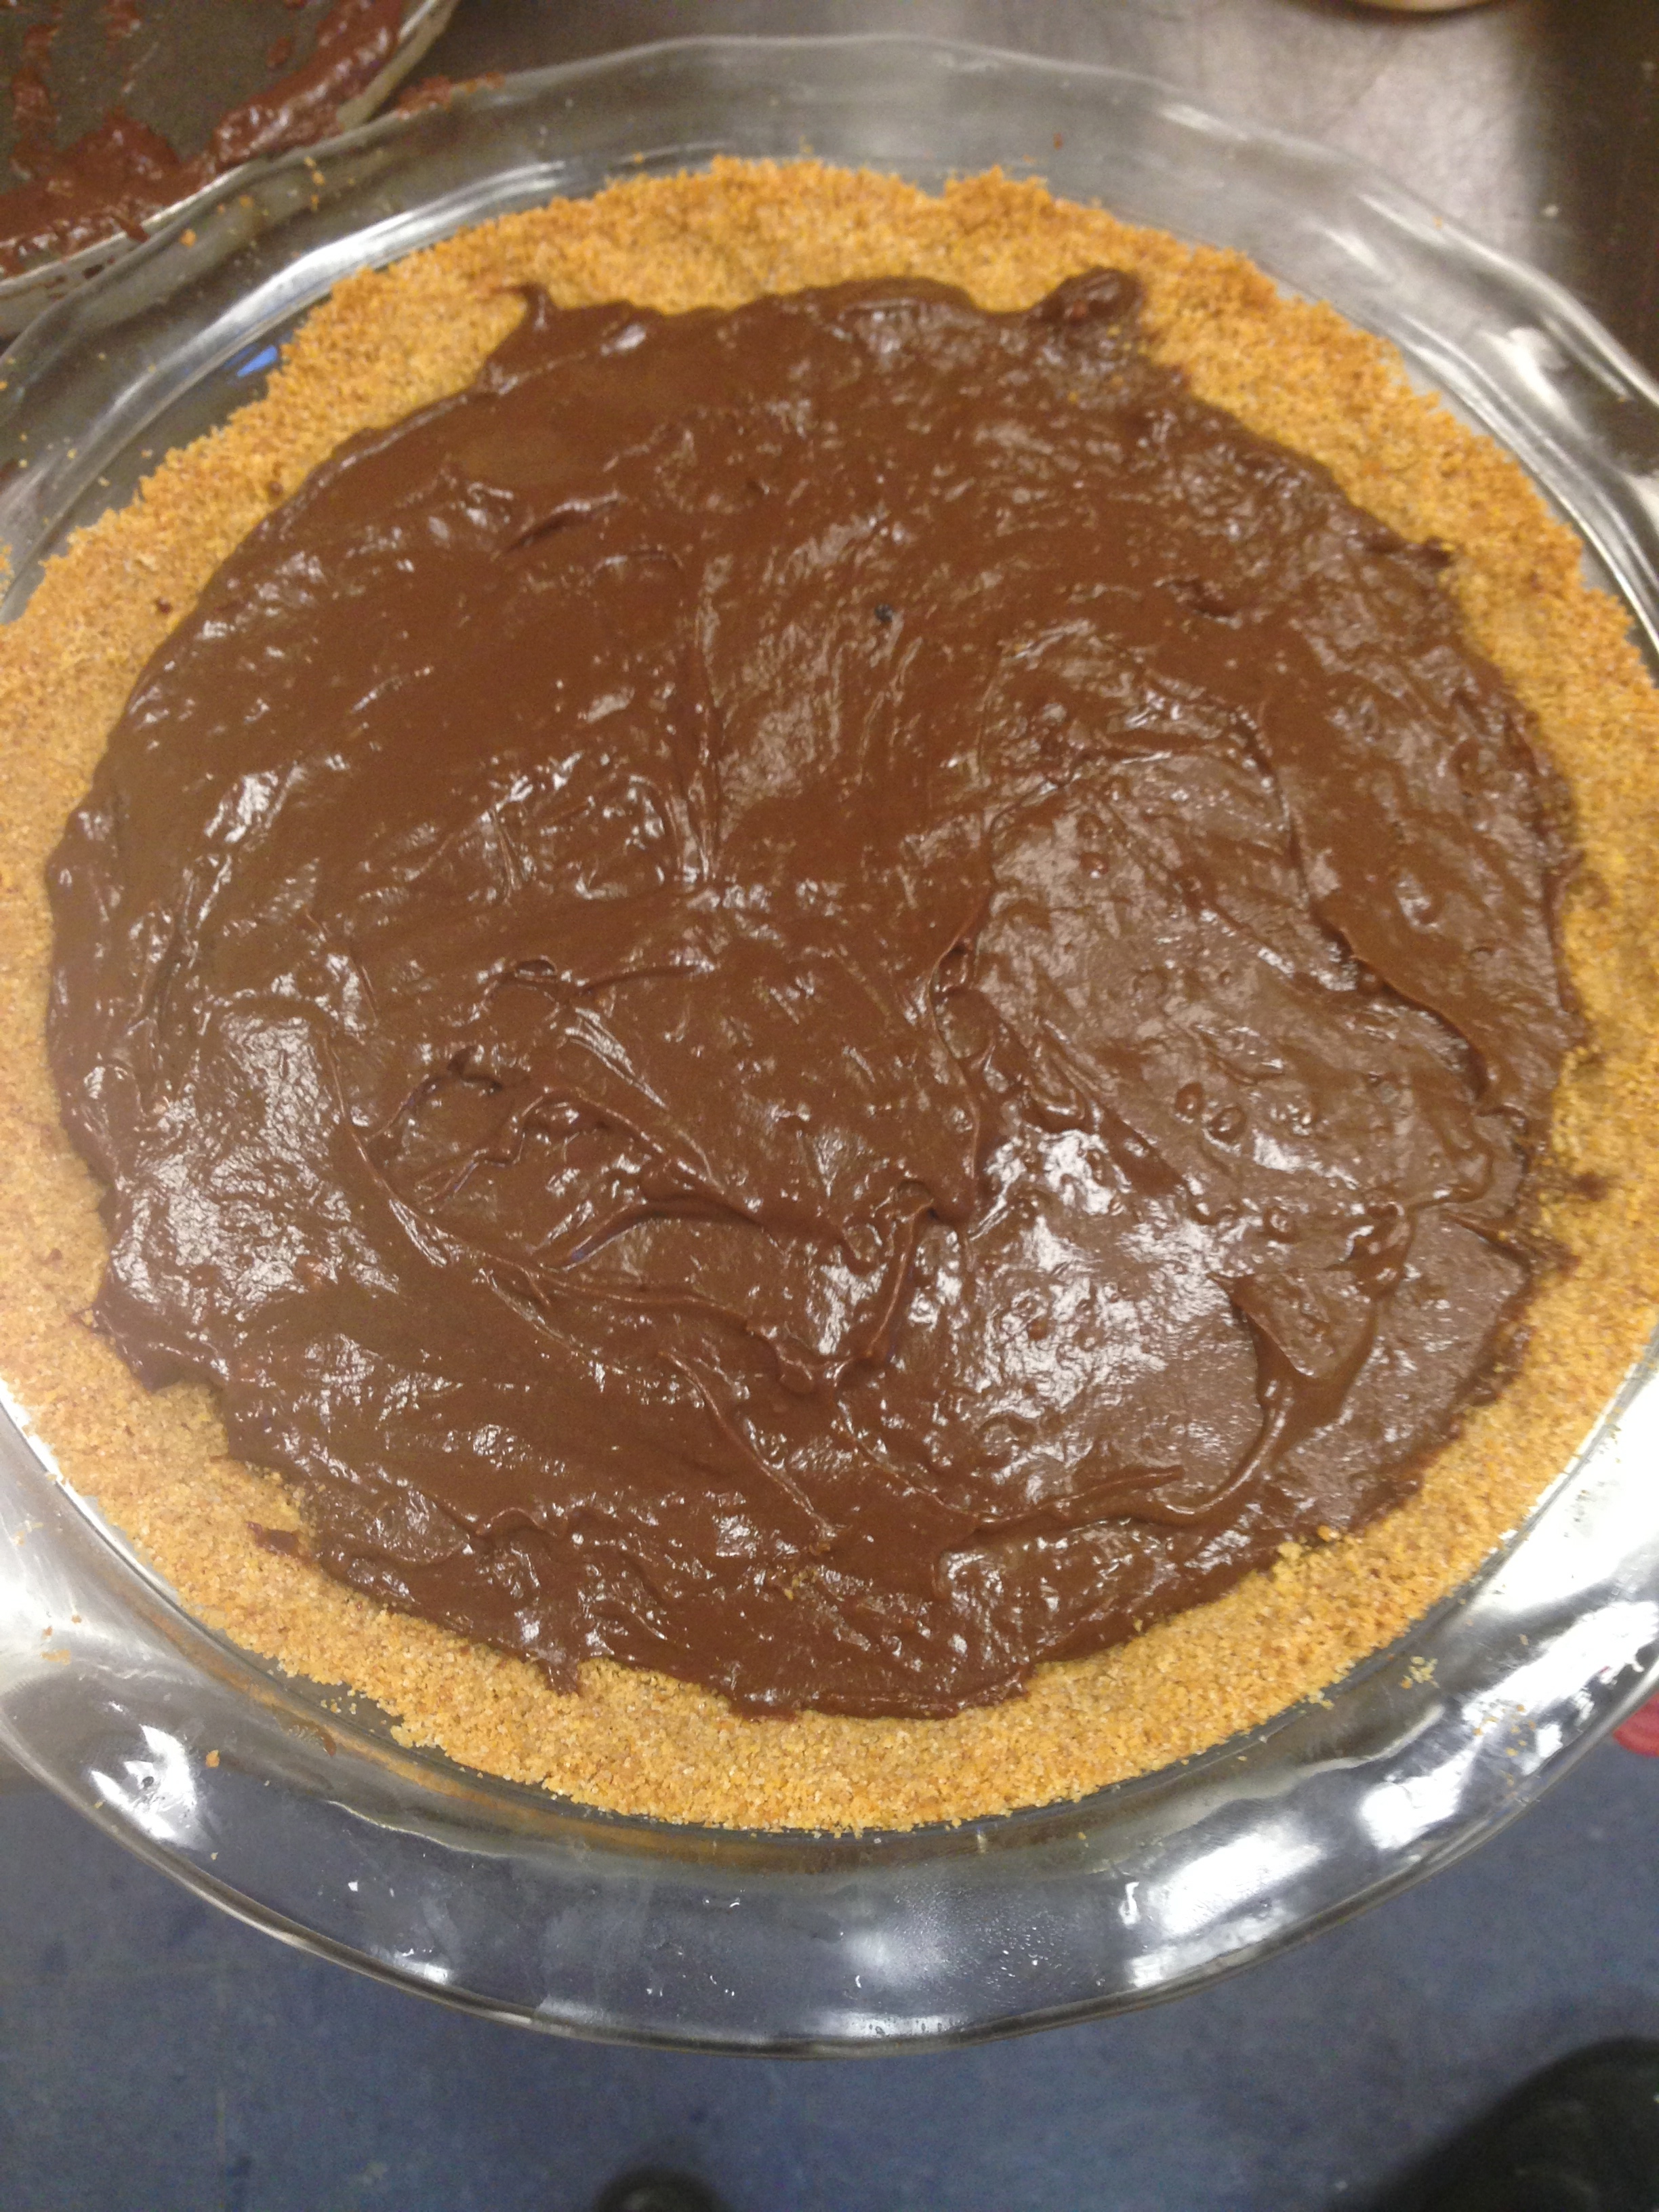
IMG_1041IMG_1042IMG_1043


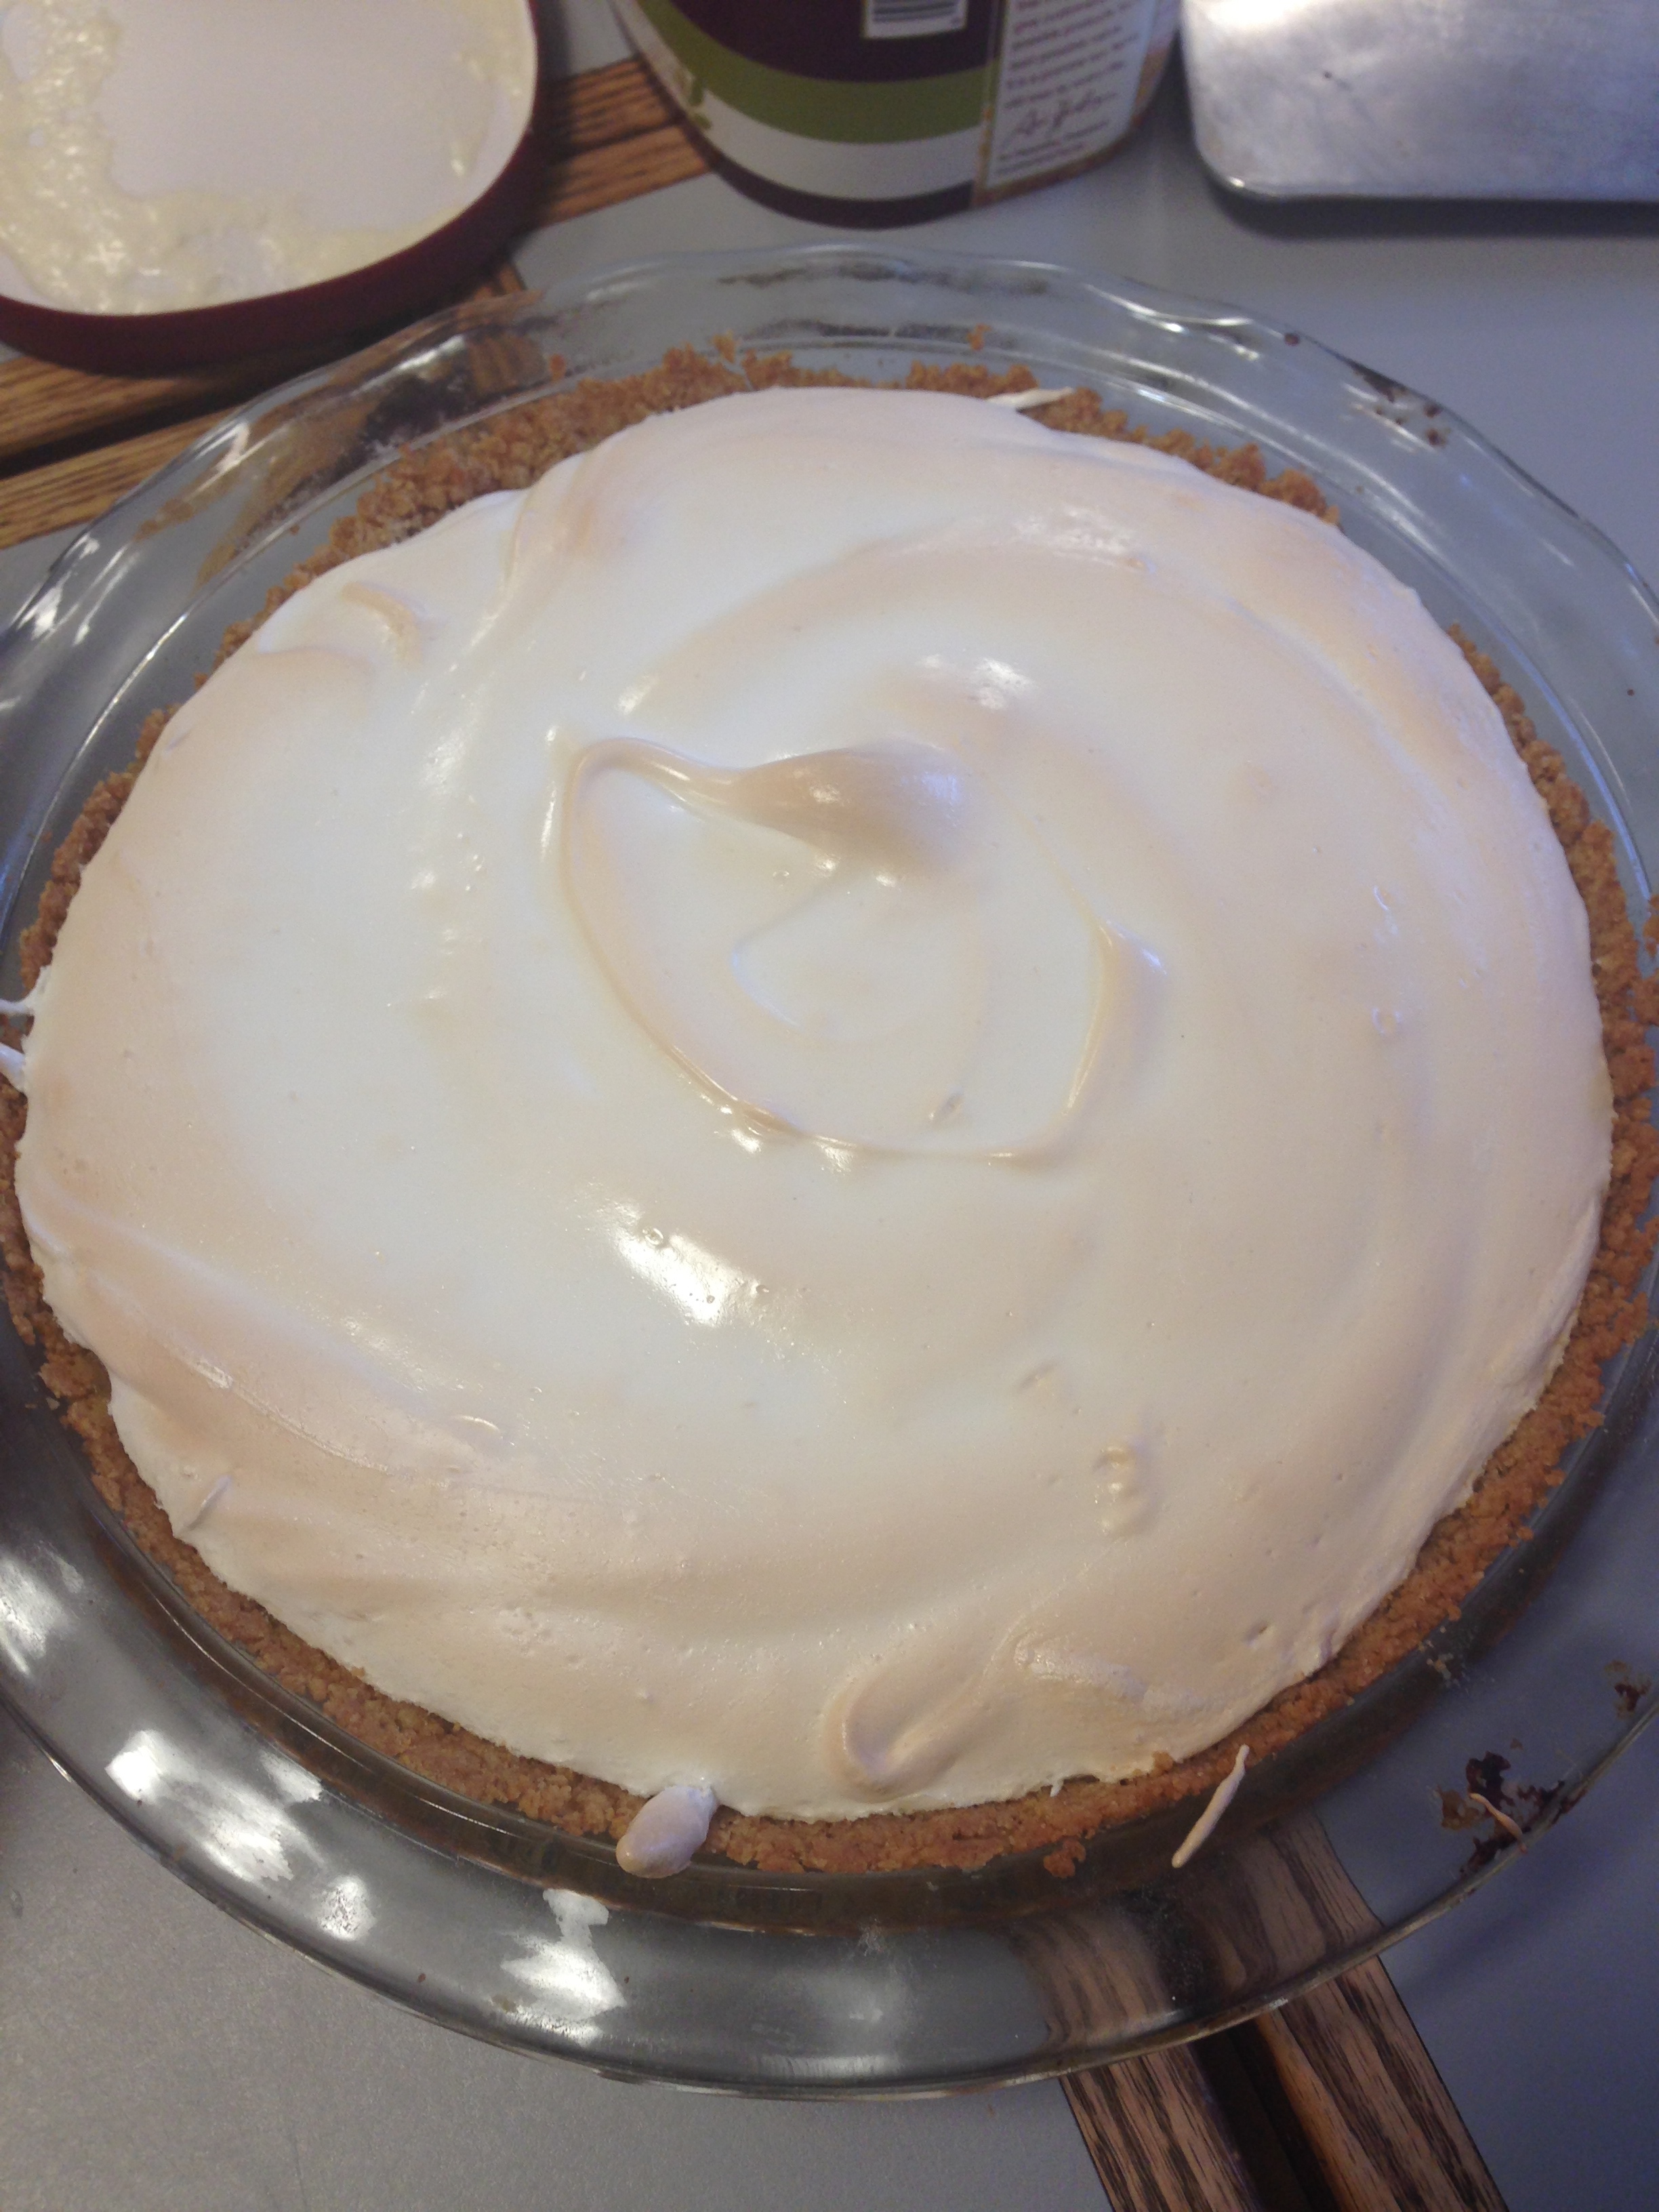
After the puddings were in the crust, it was time to chill them both. I wrapped up my little treat, and popped it in the refrigerator overnight. The next day, I came in about an hour early to prepare our space and whip up some homemade whipped cream…After making my own, I have to say, it will be pretty darn hard to go back to the store-bought stuff.
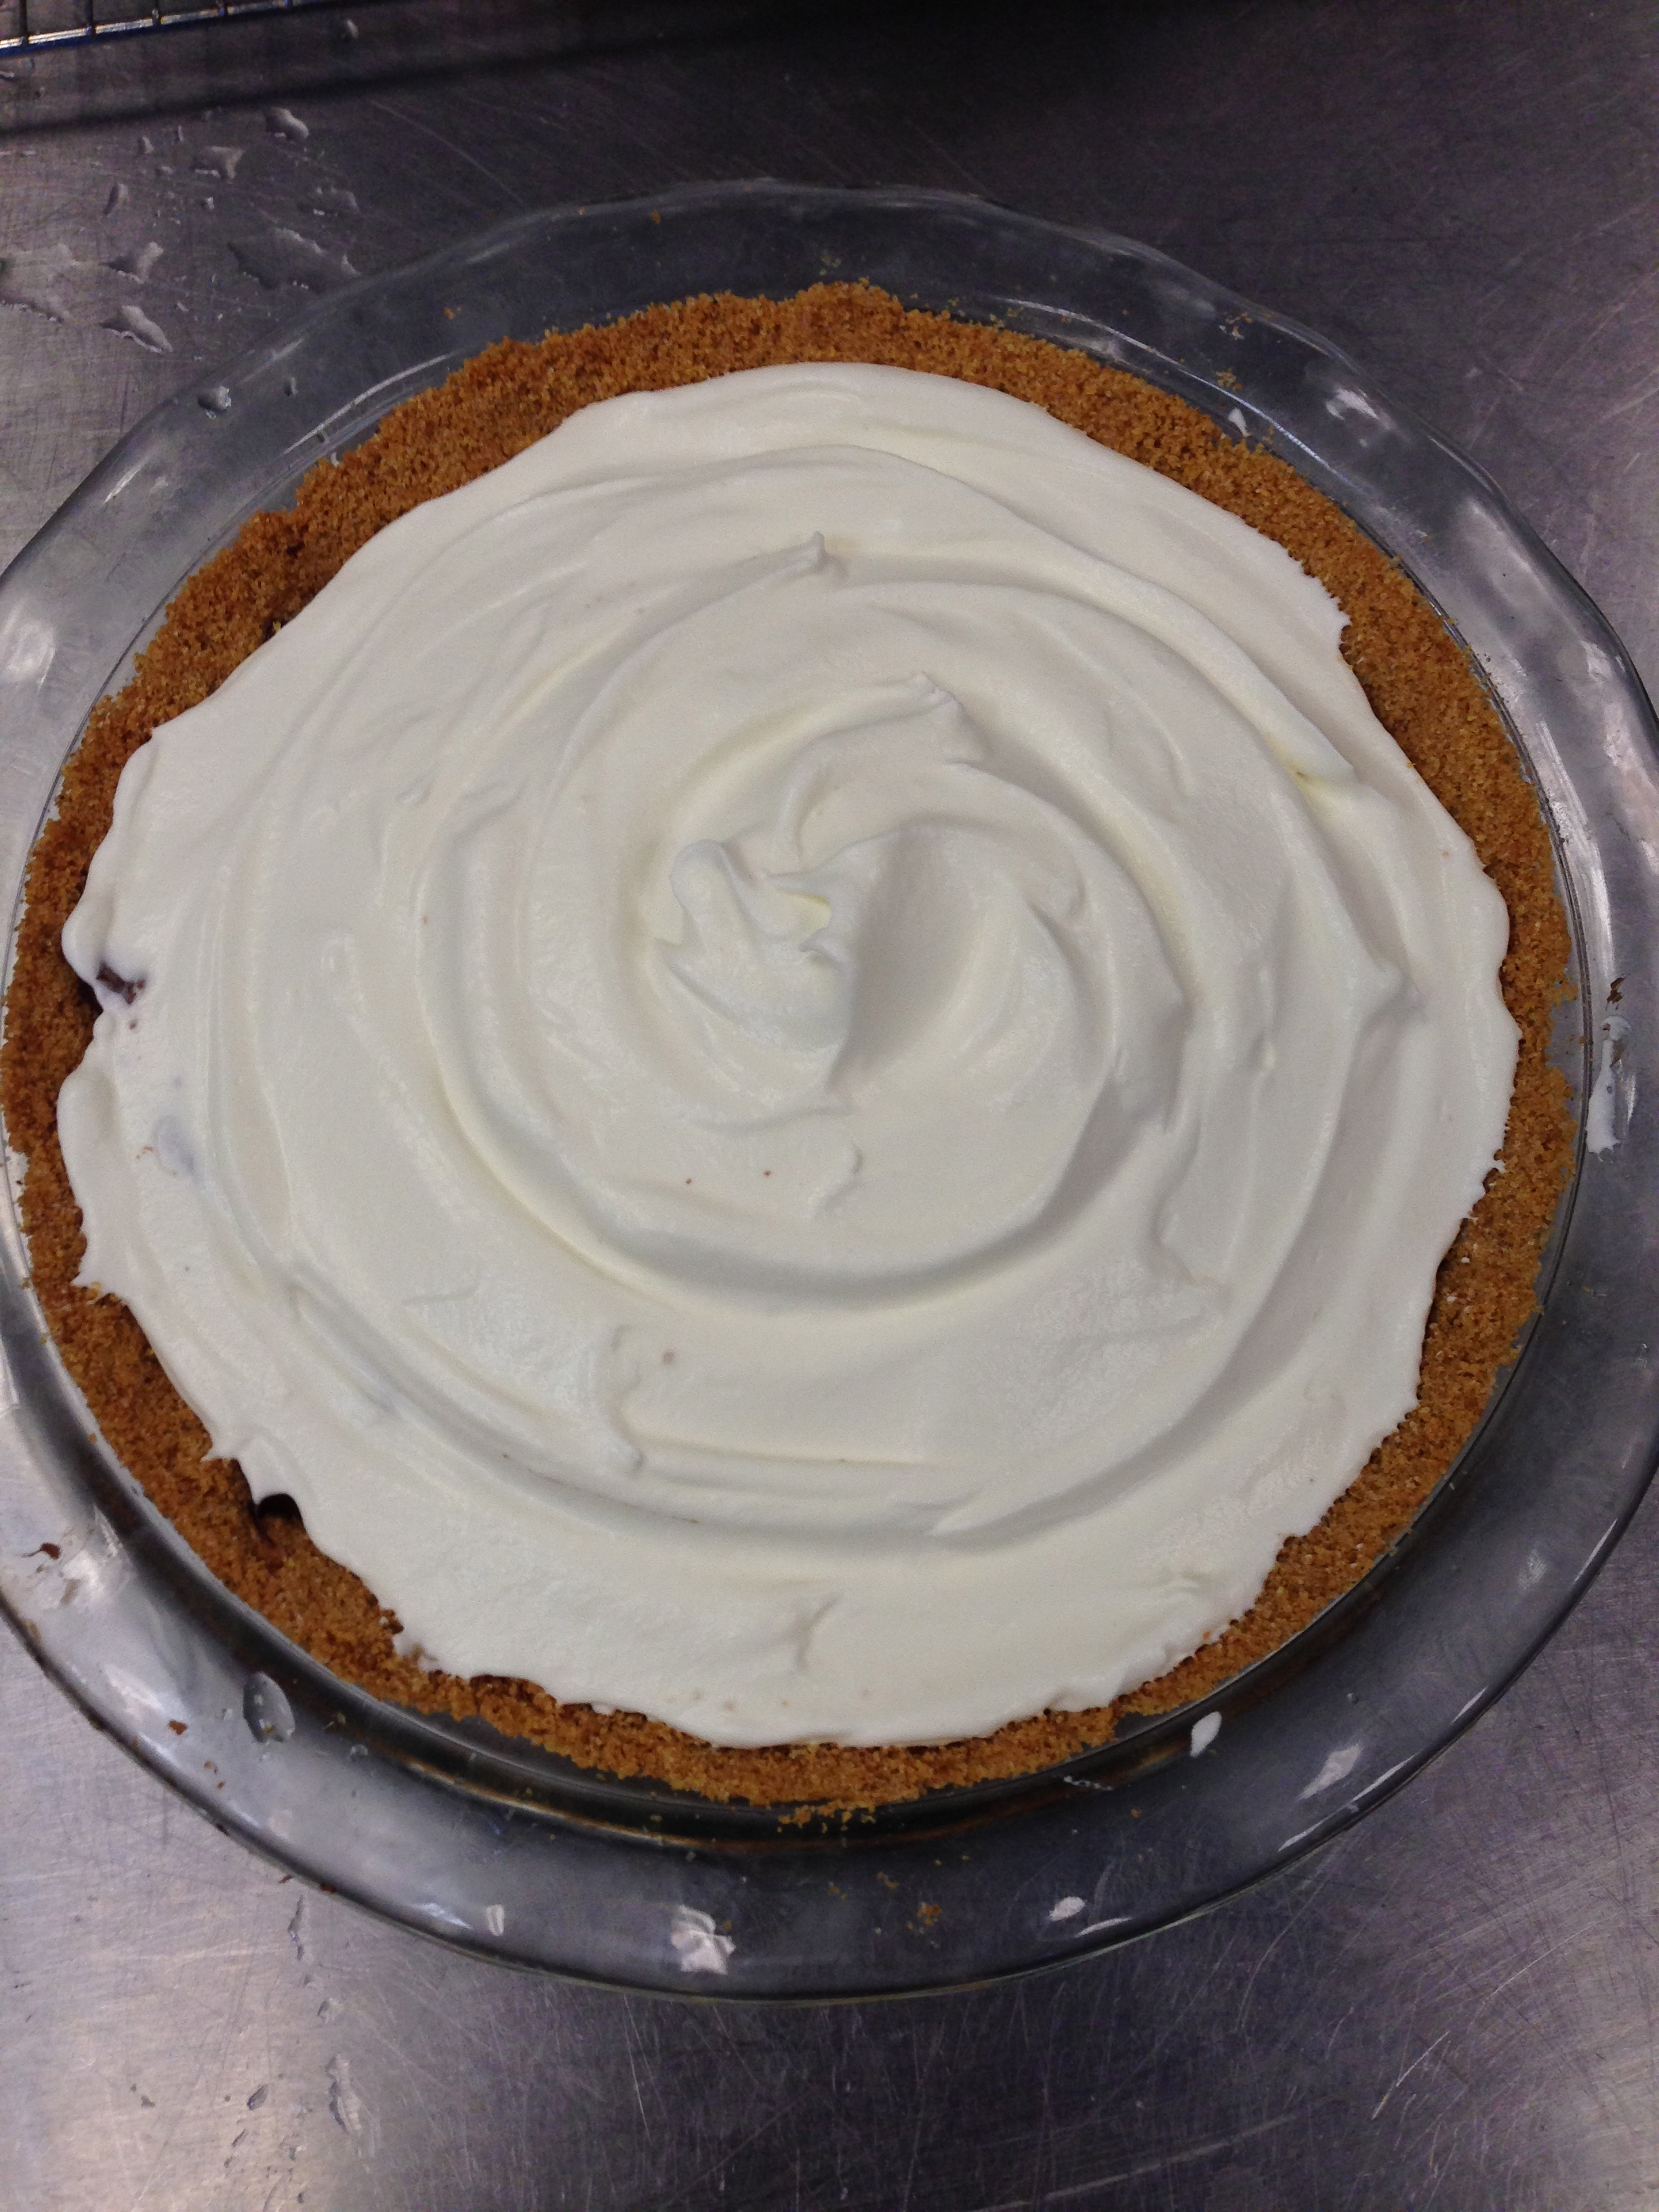
IMG_1044


It was wonderfully light and sweet. To finish, I sliced up one more banana to complete the presentation. As I’ve said, it was super sweet and delicious, and not too heavy! In retrospect, I think I’d like a little more banana cream, rather than the chocolate/peanut butter/whipped cream with bananas thrown in. Nikki also made a coconut whipped cream that was spectacular, and would be great with the flavors in this pie.

And so comes the end of my month of pies. It was quite the journey in our industrial kitchen–Lord knows I learned how to manage a 10-lb skillet. Let’s see, what else have I learned…not to be such a wimp in the face of pastry adversity, how to not connect a pastry braid to a bottom crust, you can never chill your dough enough…Yep, I’ve definitely learned some life lessons…how could I not while watching Sweeney Todd and Pushing Daisies? But honestly, I had such a lovely month with great new friends making great food. It’s going to be hard to compare this course to my other classes come spring semester!
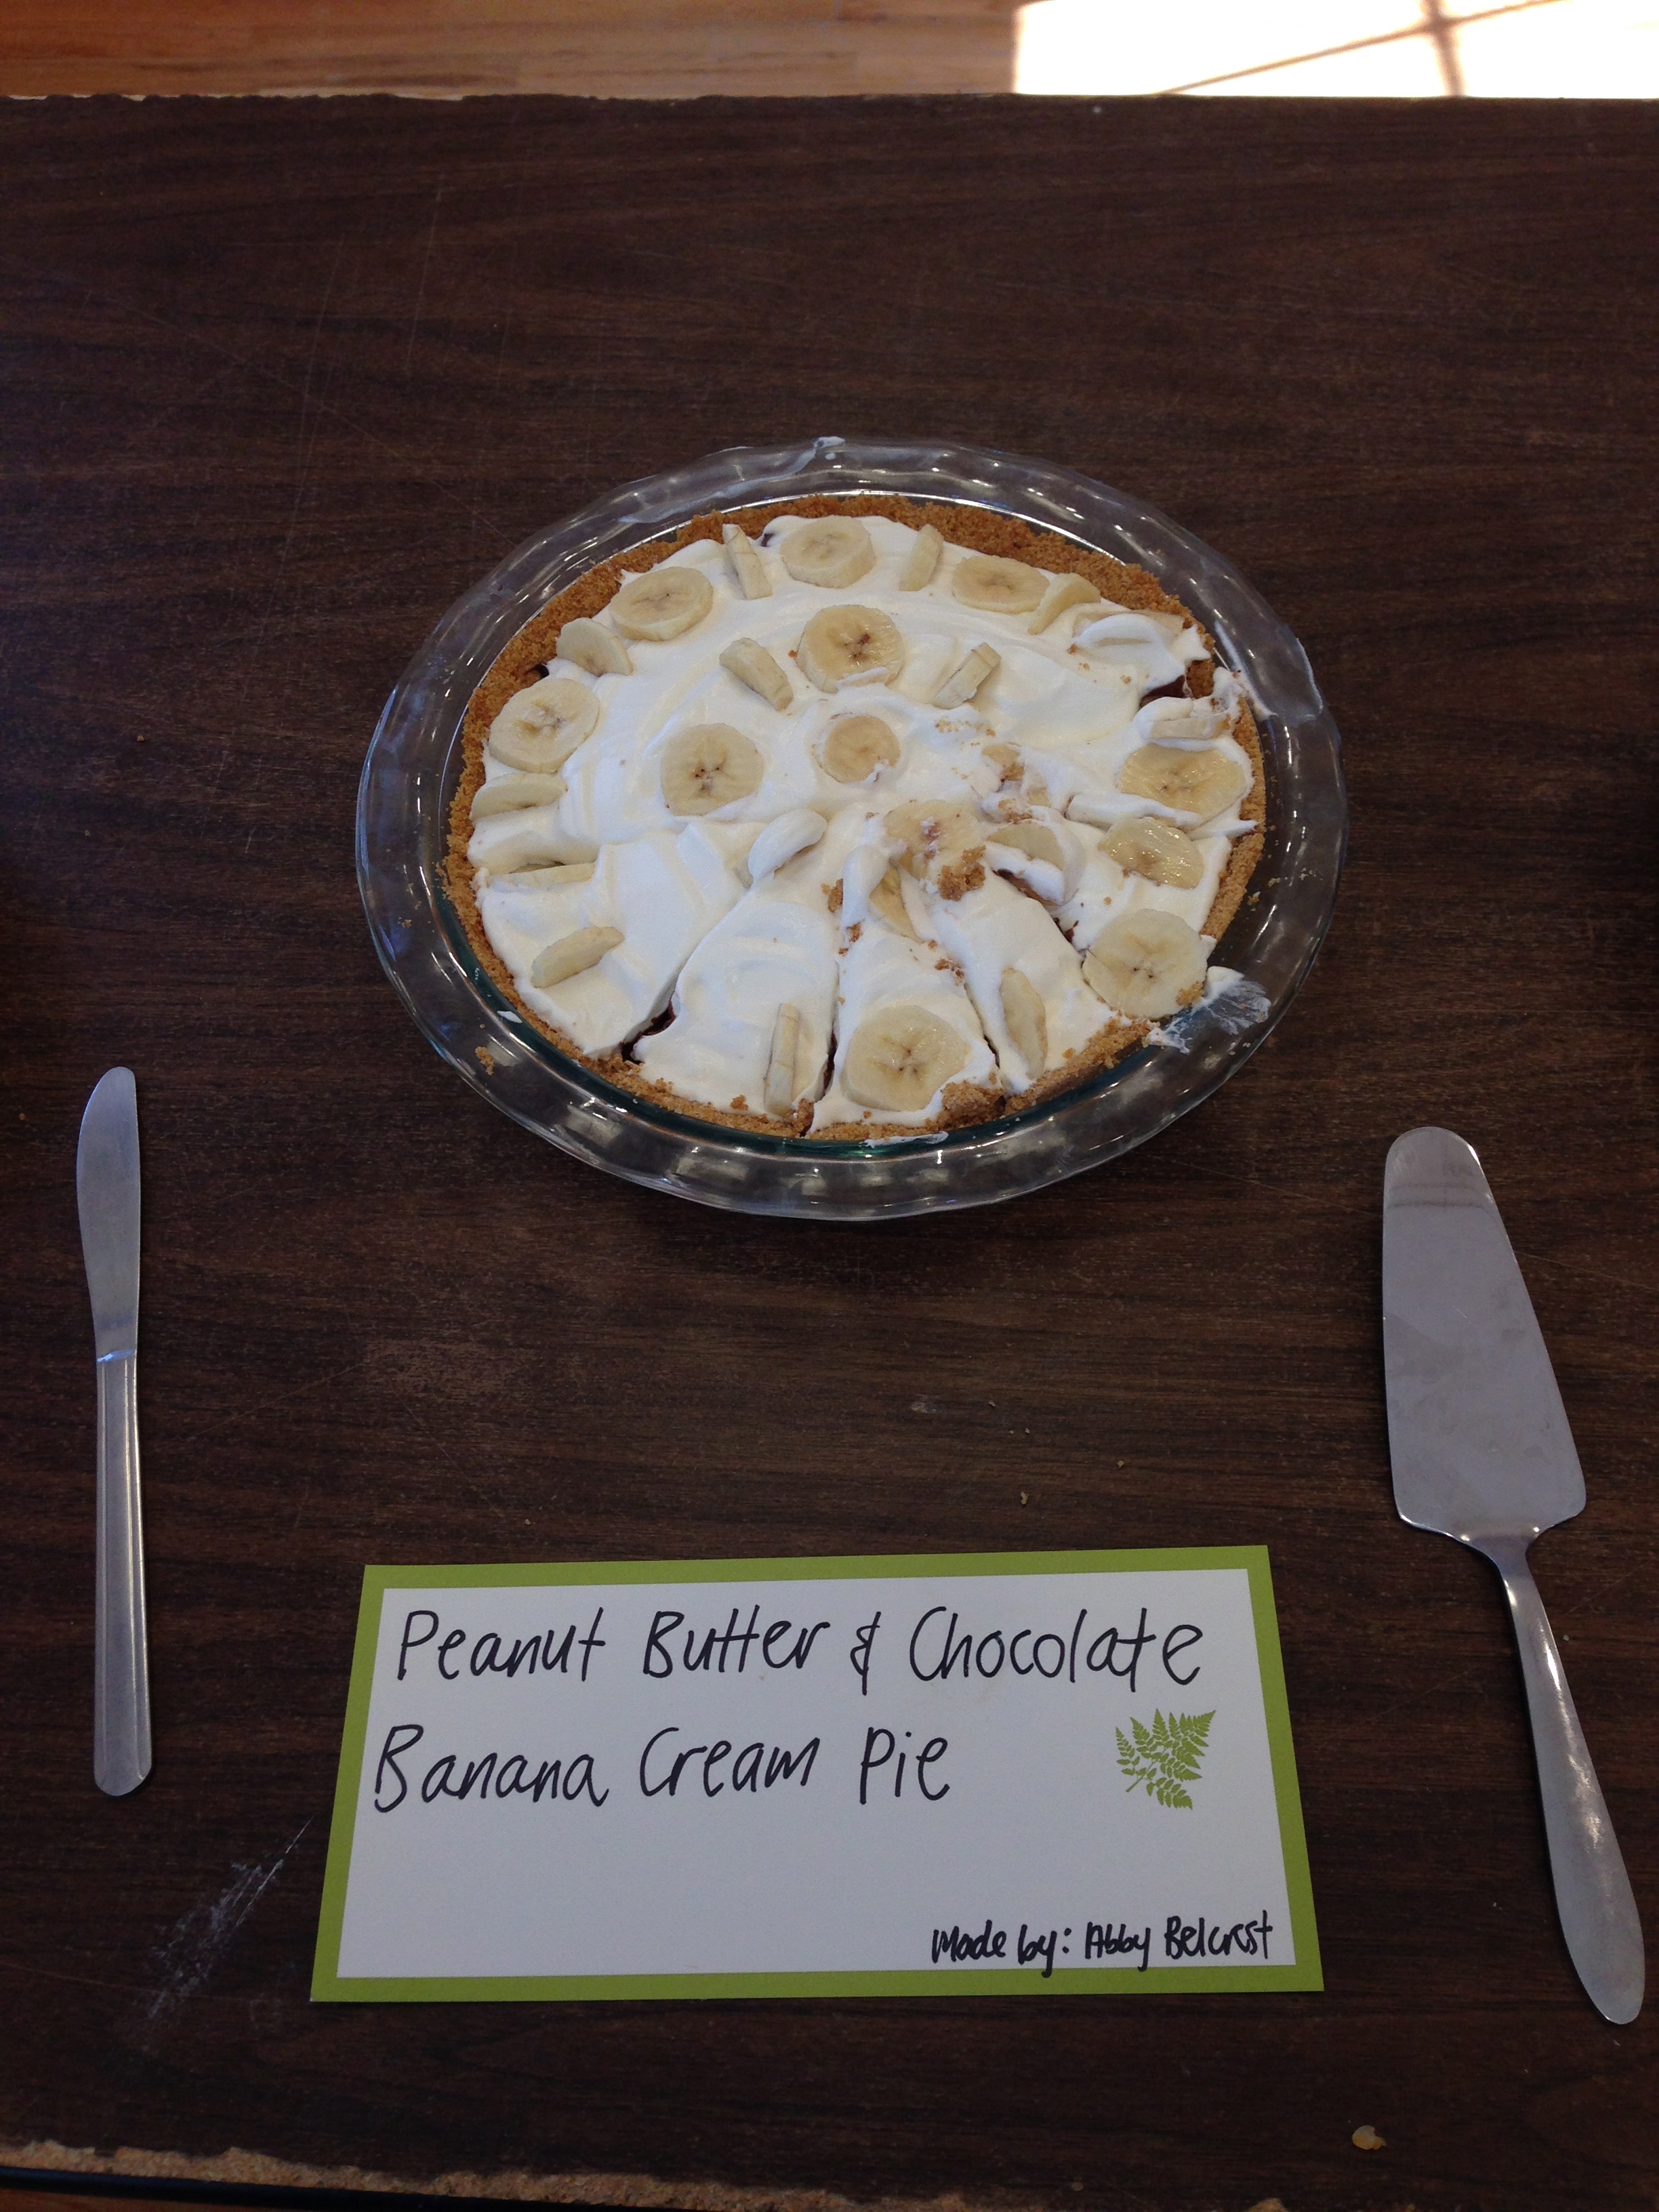
IMG_1048

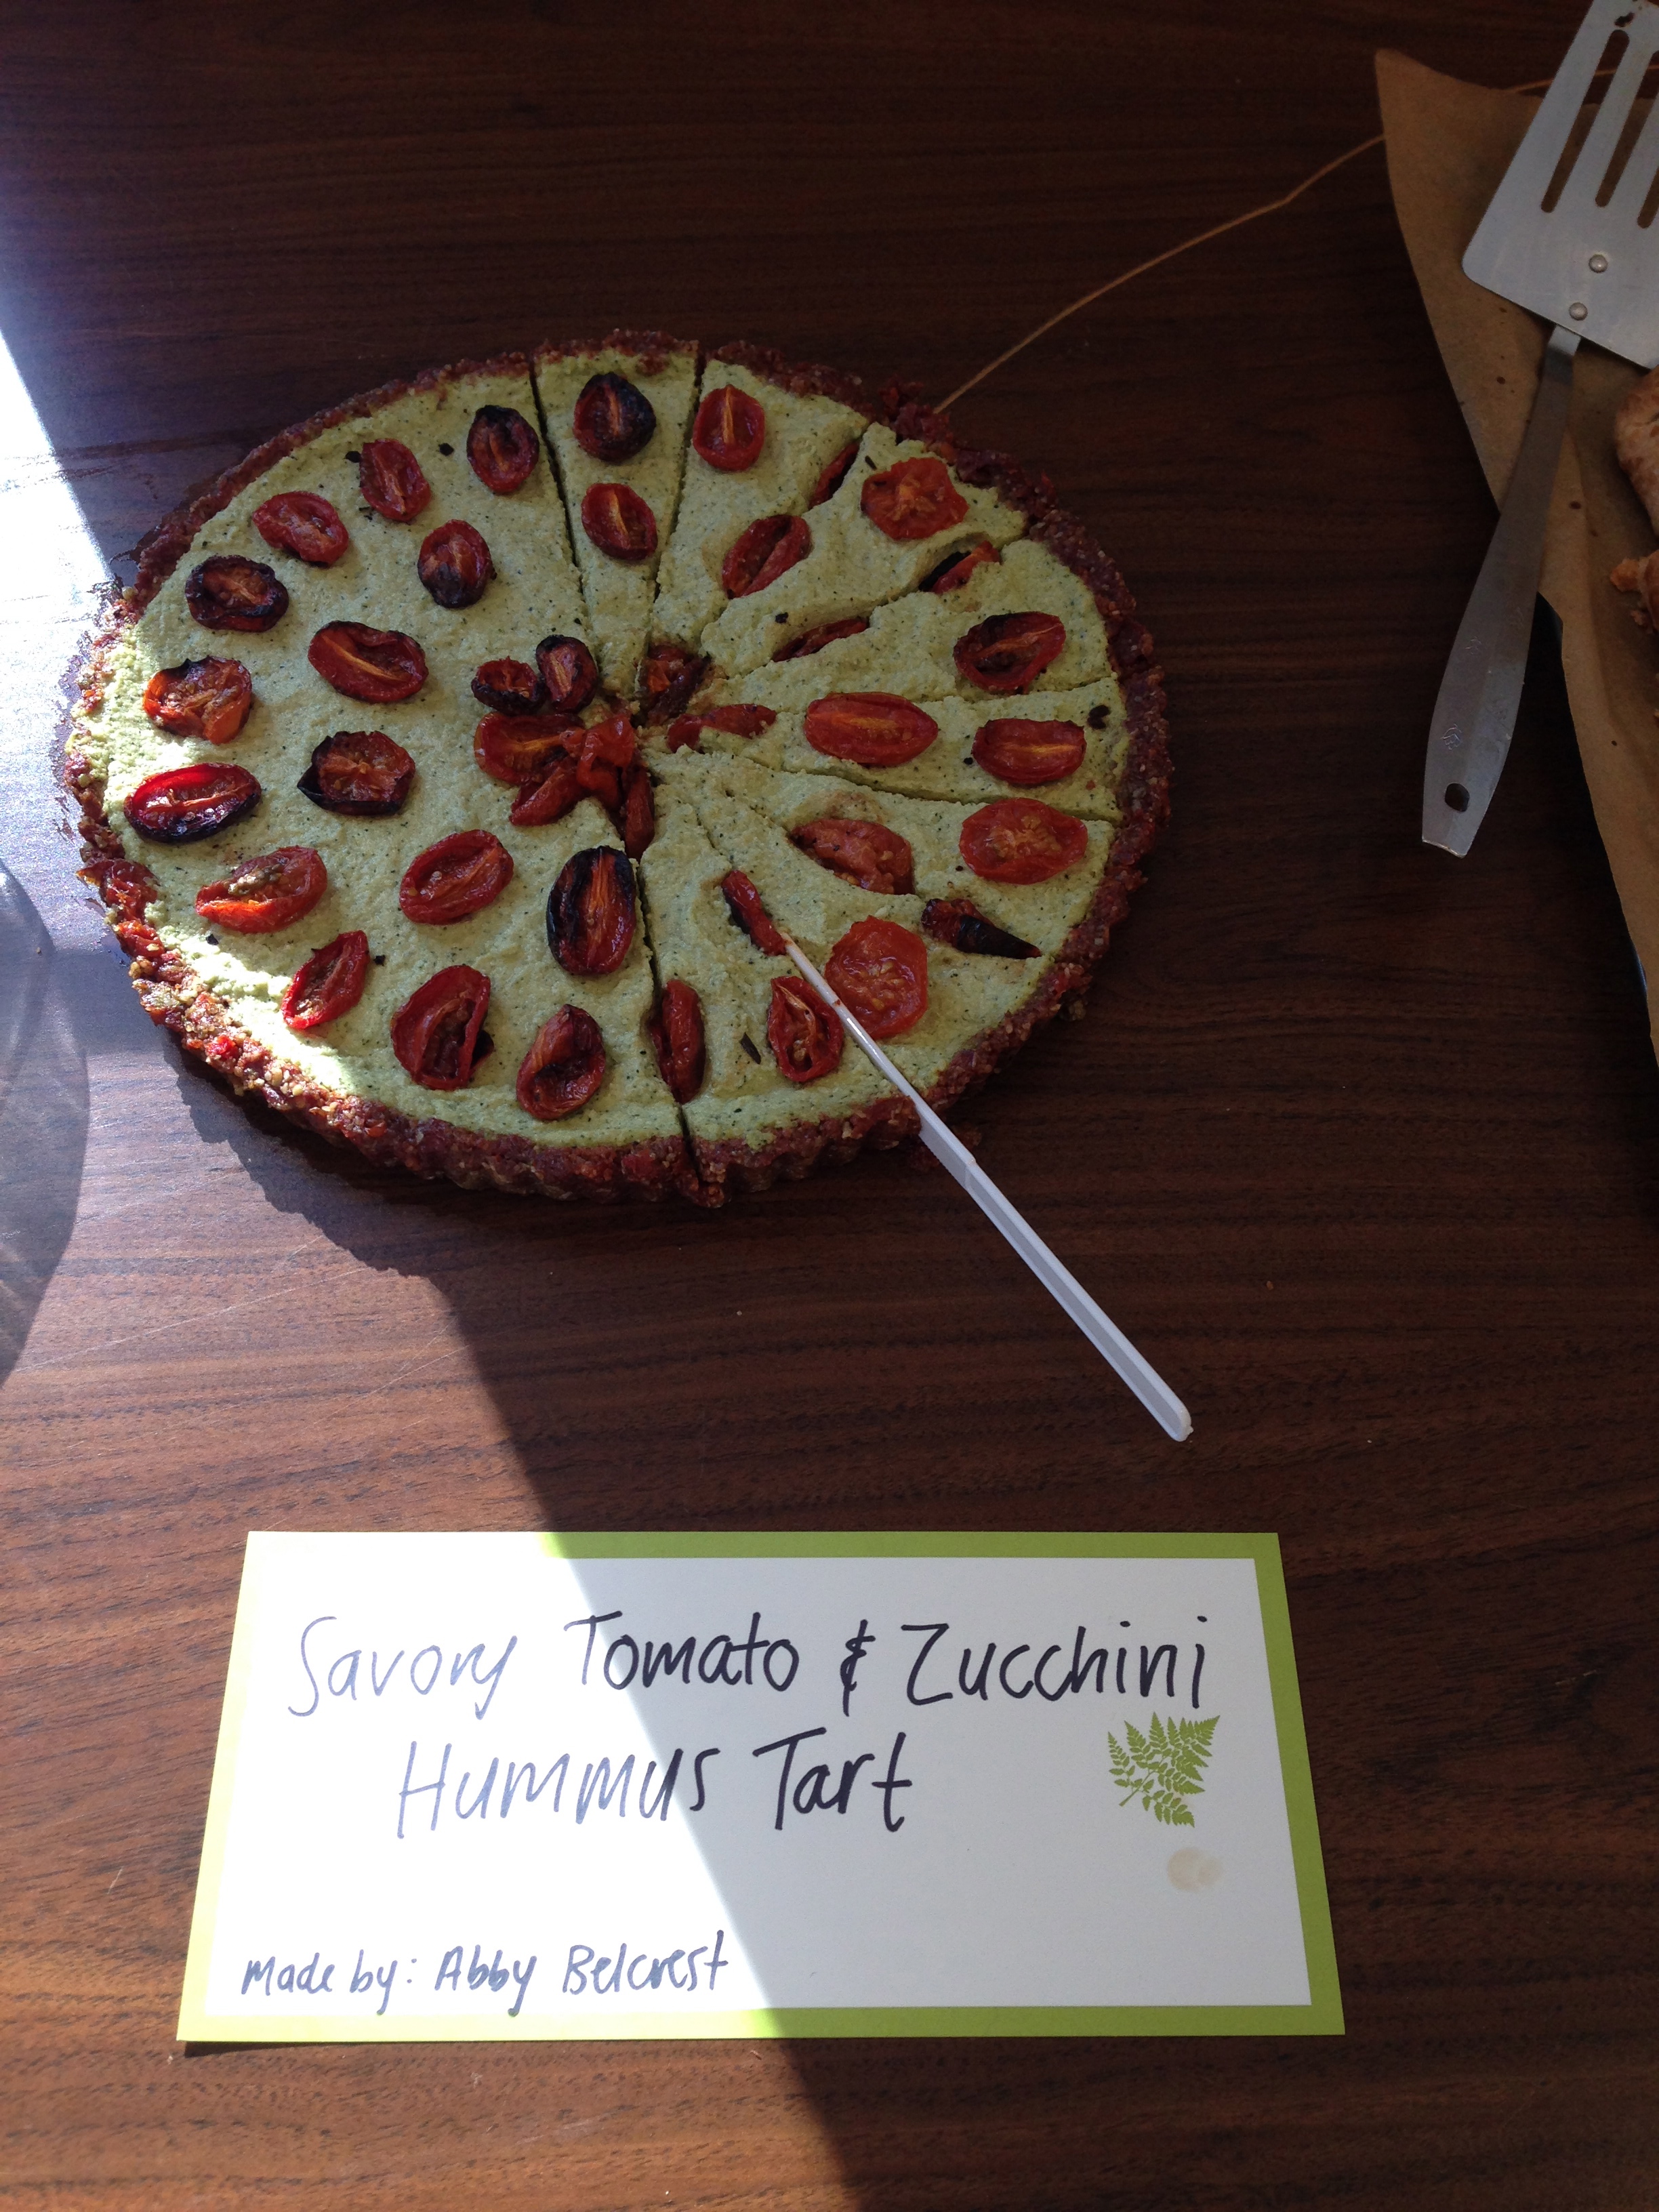
Savory Tomato and Zucchini Hummus Tart

IMG_1046

Another week, another pie. This week I decided to switch things up for my savory pie and delve into the vegan world for my inspiration. I had tried my hand at being a vegan about a year ago and because of a jam-packed schedule and limited resources, had given up on the venture after approx. 3 months–not to mention, vegan cheese didn’t really cut it for me. Ideally, I loved the idea of veganism–if you stick to local and seasonal ingredients, it’s a super eco-friendly and healthy lifestyle. So, I decided why not pie? Well, friends, I have to admit, this pie wasn’t my proudest venture. It was bursting with flavor from the strong garlic and sun-dried tomatoes, but I think the flavors were overwhelming and stood out too much, rather than creating the deep layers of satisfying flavor I was hoping for. Additionally, I think cold nature of the dish and the lack of flakiness rubbed me the wrong way in comparison to all of the other pies I was consuming on banquet day. Still, though, it was pretty cool to make an entire pie with veggies, nuts, and seeds, and if you’re into that kind of thing, by all means here’s how to do it!
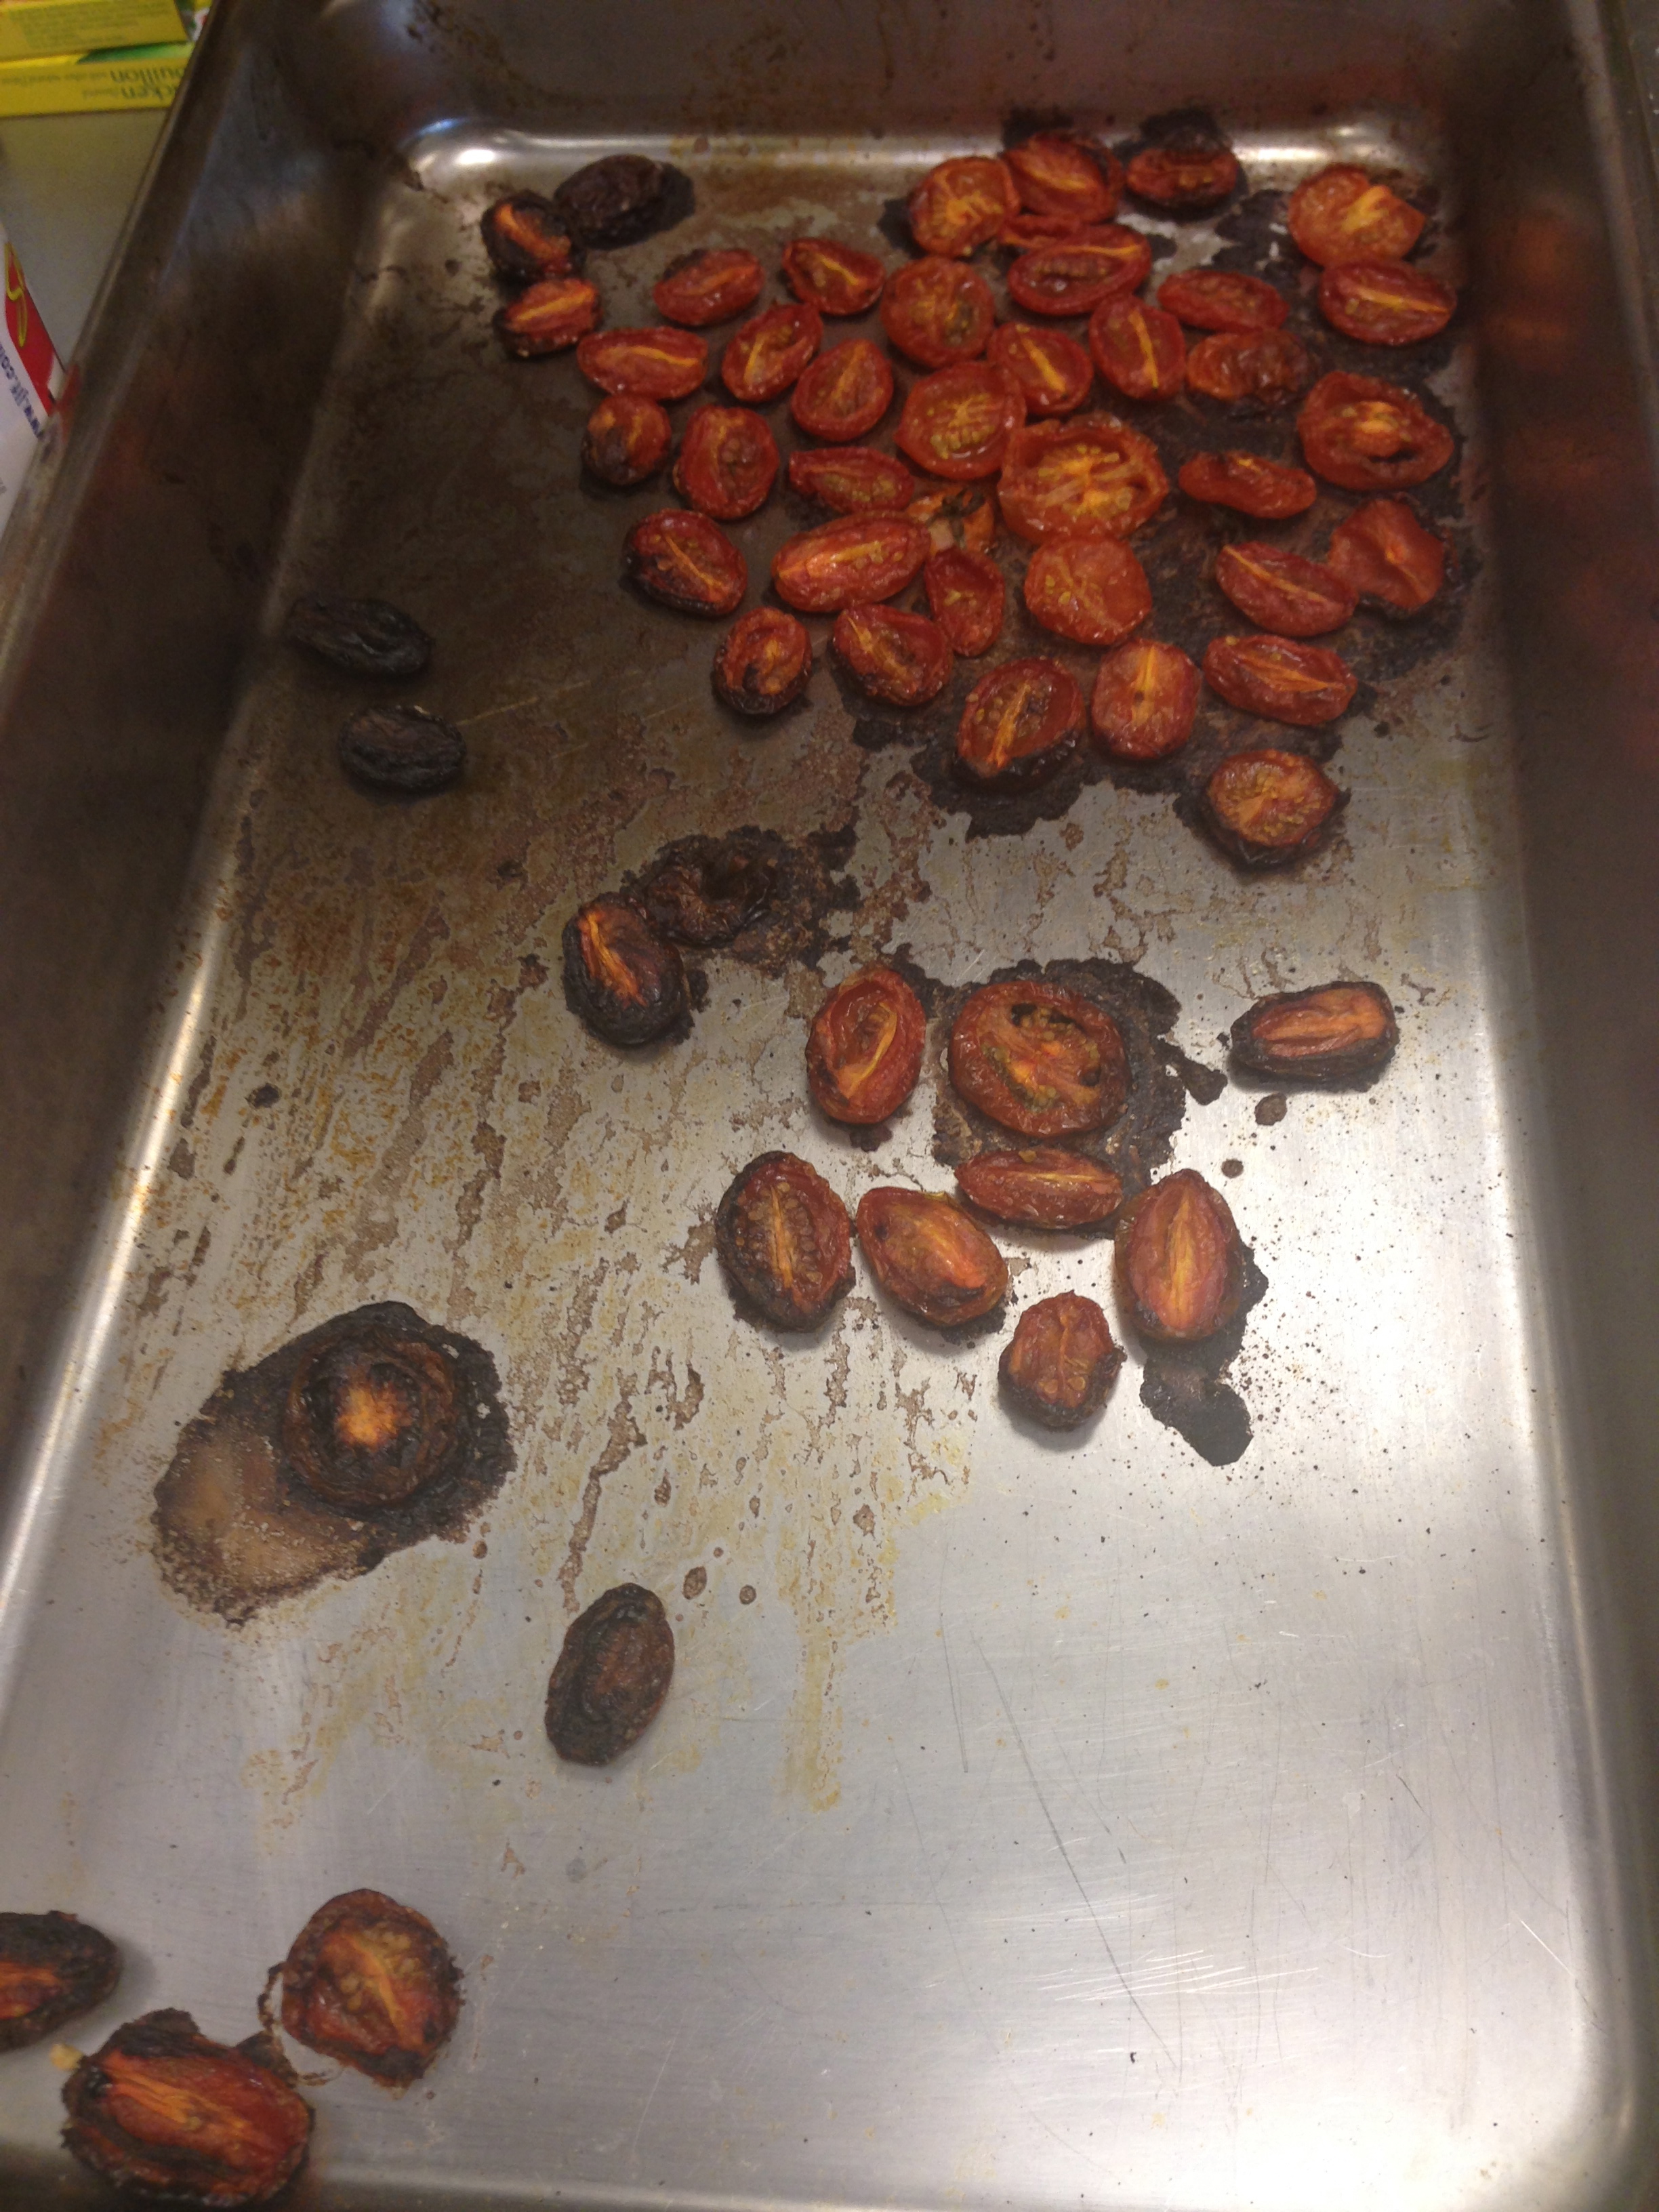
The first thing I did coat the tomatoes with some salt and olive oil and throw them in the oven. The recipe said to dehydrate them at the lowest temperature for 4-5 hours…Well, that amount of time seemed like forever, so I just cranked up the heat to a whopping 375 and decided that would knock off a couple hours…little did I know…

IMG_1038


Yes. This is what happens when you forget about the tomatoes…Luckily, I ended up having just enough to make a pretty topping!

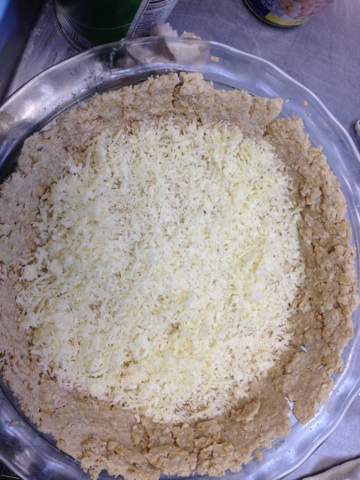
Making the tart “crust” was super simple. All there really was to it was processing and pressing. No big shakes. The filling was ridiculously easy, as well. Process and spread. I found that the sesame seeds didn’t particularly turn into sesame “butter”, but that didn’t seem to make a difference! The final picture of this tart on banquet day is picture below…I had about half of it left at the end, sadly, but I don’t blame anyone…I’d say it would be much better suited to a hot summer day.

IMG_1049

Caramelized onion, mushroom, and gruyere quiche with oat crust

http://www.foodnetwork.com/recipes/ellie-krieger/caramelized-onion-mushroom-and-gruyere-quiche-with-oat-crust-recipe.html

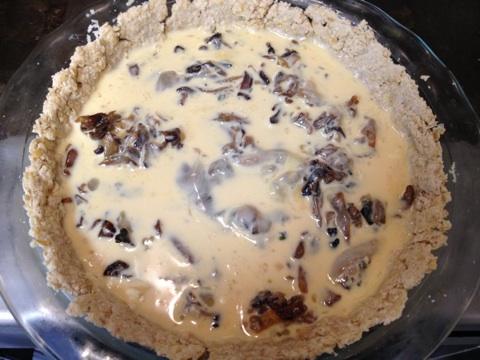
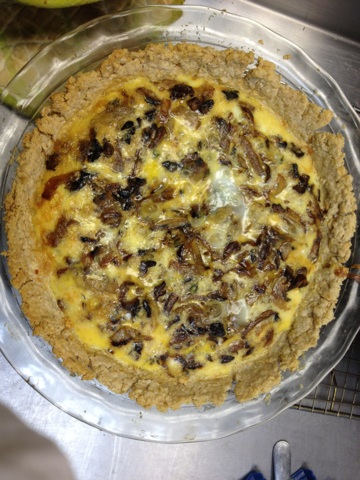
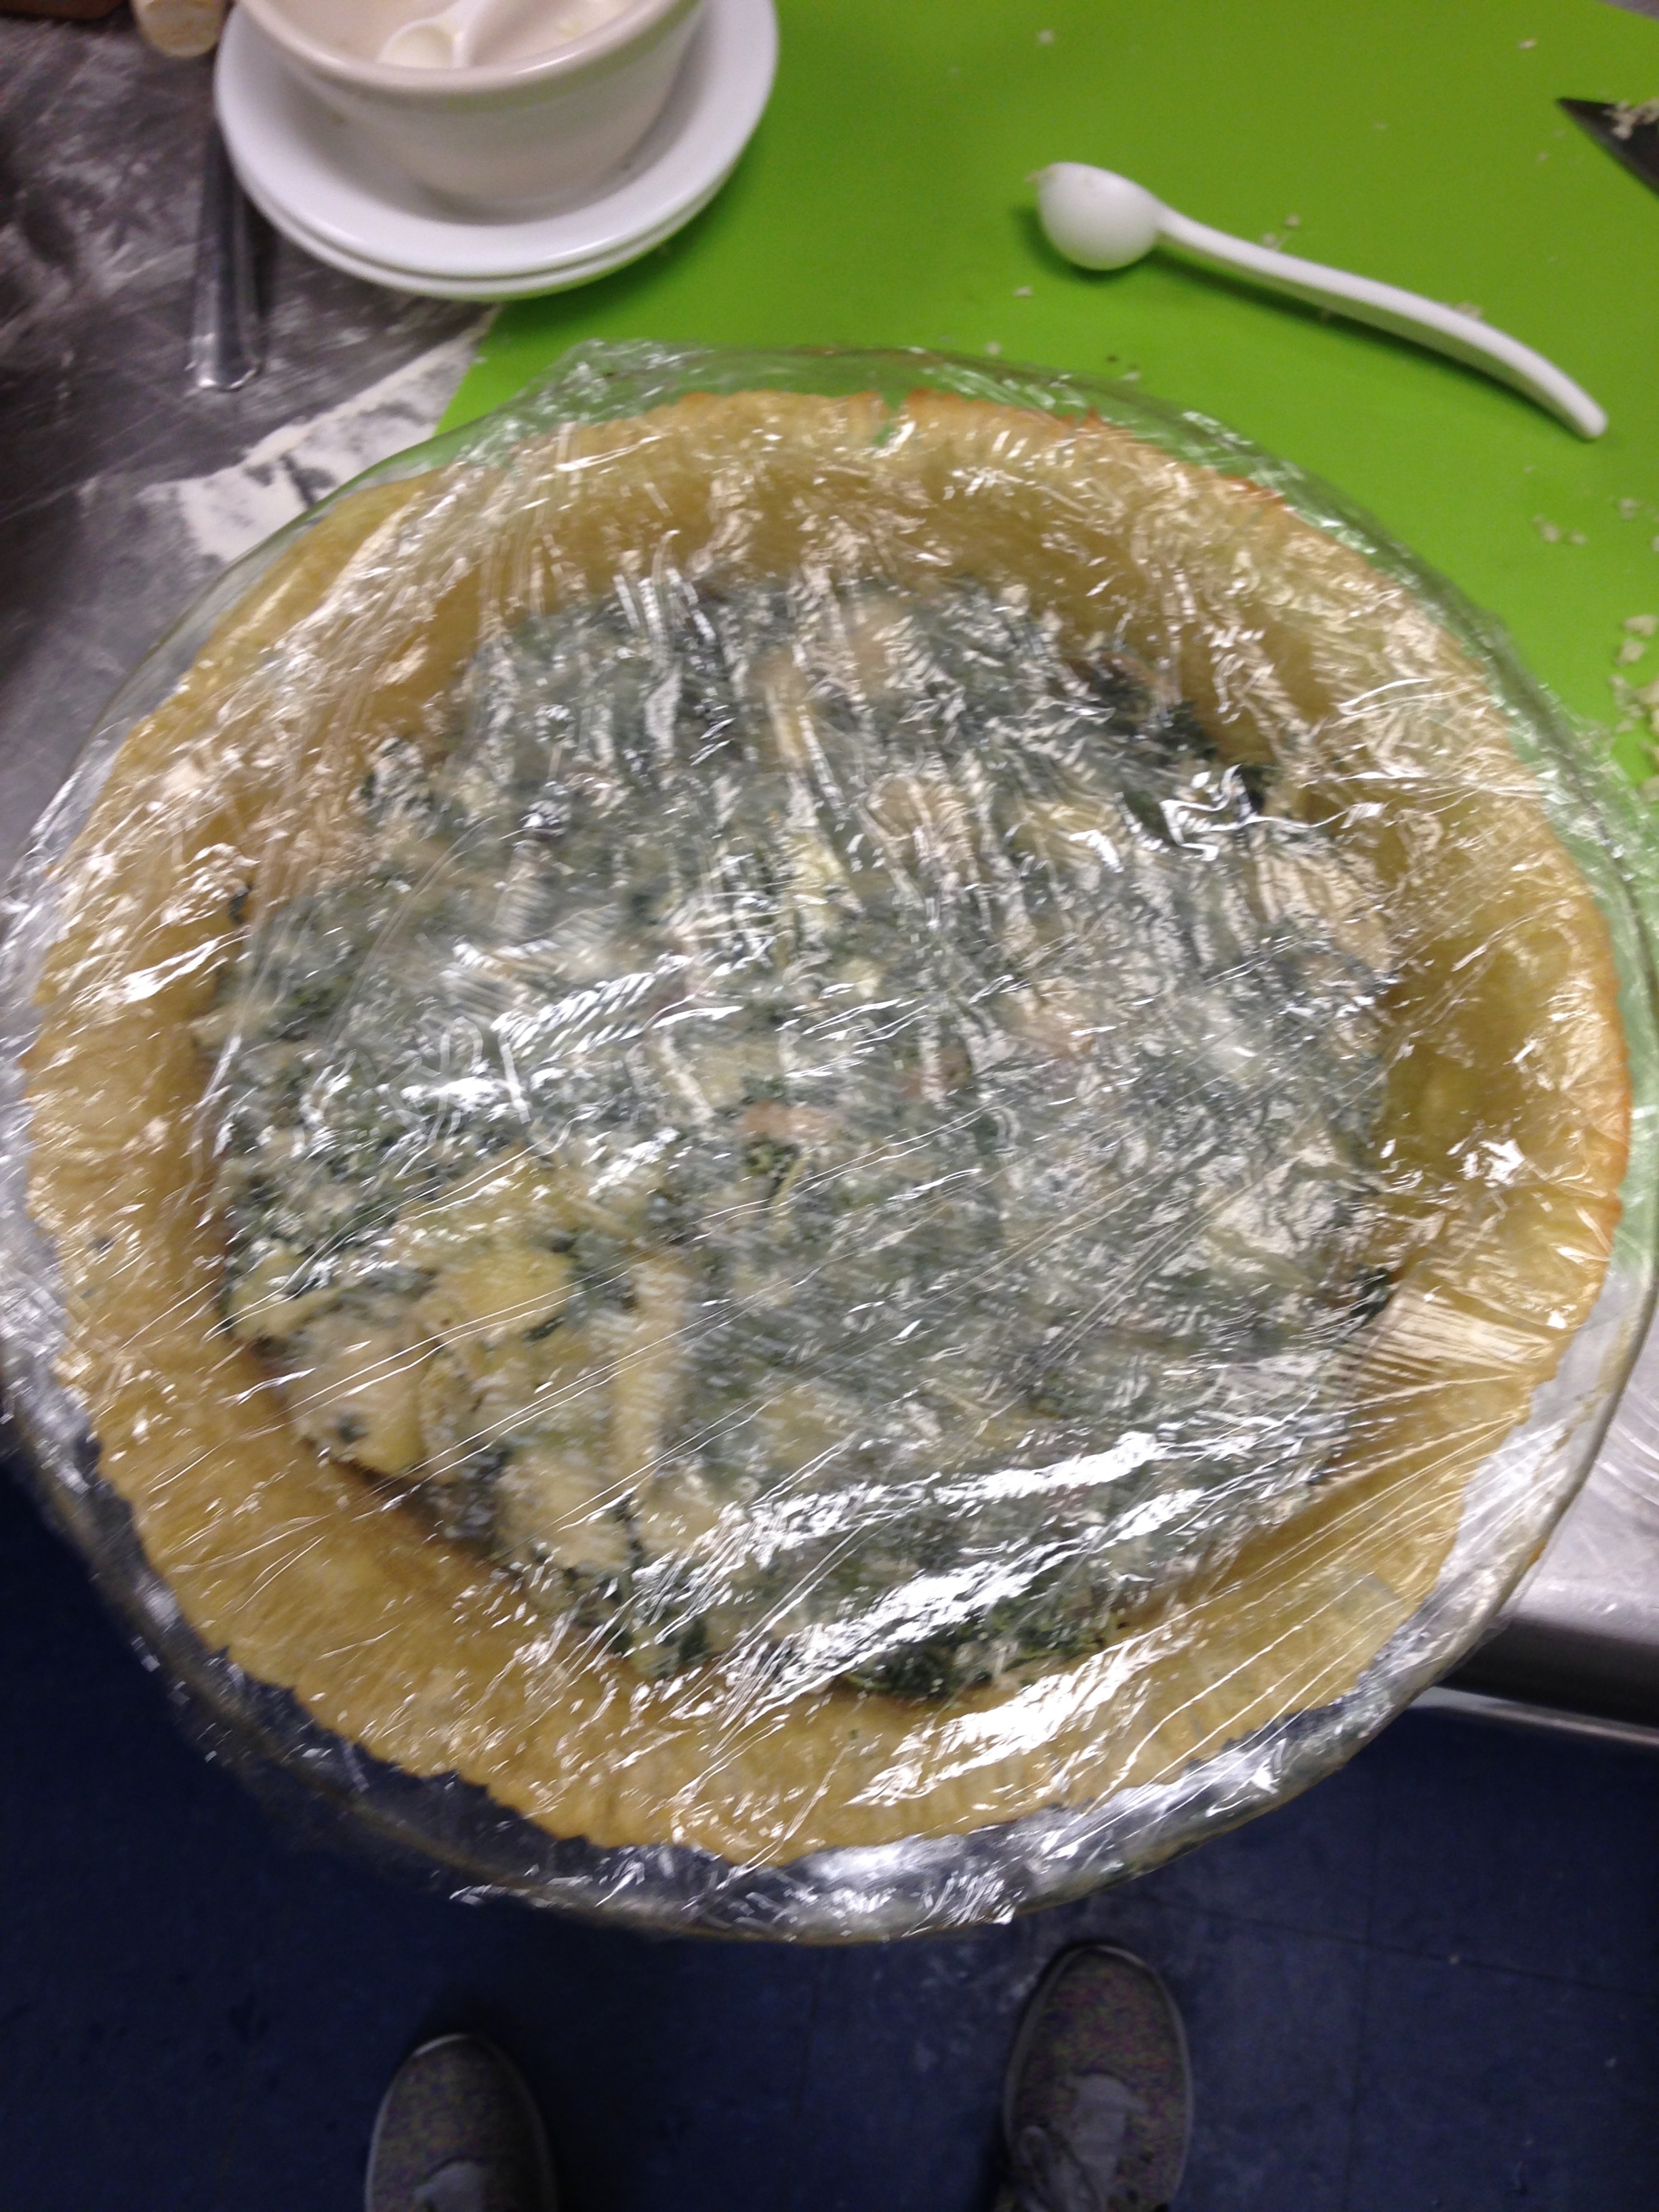
I think the most perplexing thing about this recipe was the crust.  There were two issues I saw with it.  The first is that the recipe really did not seem to make enough to cover the pie dish.  When I got it as thin as possible, it still probably only covered about 3/4 of the pie pan. I ended up making a double recipe and used nearly all of it.  Additionally, there wasn’t much liquid in the recipe, and it broke apart very easily.  I ended up putting the crust in piece by piece instead of all in one piece, and it split some in the oven.  As someone pointed out, fortunately the egg probably fills in the crevices.

IMG_1607

IMG_1608

IMG_1609

I was surprised by just how much the quiche cooked down.  Because I am still having some trouble wrapping my mind around savory pies more generally (although I have loved trying them all so far!), I thought quiche was a nice middle ground. I was surprised how little mushroom was really in the quiche; although once it cooked, there certainly seemed to be a lot more in there.  I’m excited to see how it comes out.  I feel like there might be a fine line in quiche for texture, so I hope I got the line right!

Blackberry-Apple Pie

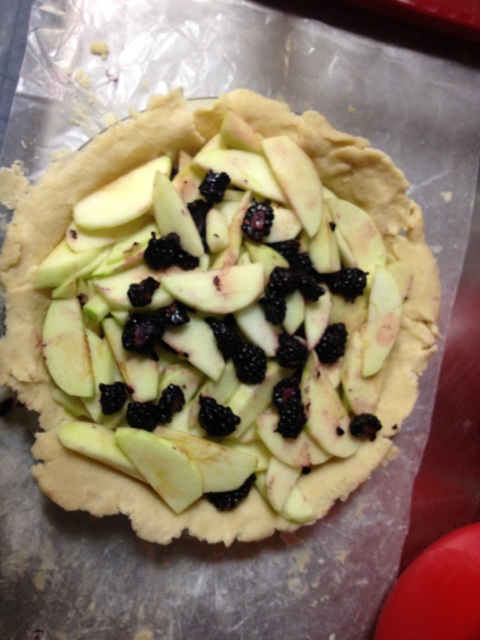
I was excited about this pie because I really enjoyed the blackberry pie we had earlier this semester (my first blackberry pie), and I love a good old-fashioned apple pie.  I thought this pie was interesting because there was no soaking of the apples in advance.  I simply laid the the apples and the blackberries into the crust.  There was no suggestion on how to place the apples and blackberries into the crust, so I tried to layer them some. I wonder how much of a difference in taste there is depending on the fruit layers.  I was happy that I learned my lesson with the sauce to turn it down really low.  Last time I allowed something to stay on the heat as suggested by the recipe, it burned. If you turned it off all the way, it did thicken a bit too much to pour over, so if taken off the heat, it should be placed back over heat again before spooning over pie.

IMG_1610

This was my first attempt at a lattice, so I was slightly intimidated. My crust was being a little temperamental (I think it sat out of the fridge too long before rolling initially), and peeling off the slices was difficult (despite using the trick of making sure the crust came up on the rolling pin).  I was happy with how the lattice turned out.

IMG_1611

I will say, this one the only pie I’ve made thus far that has taken less time to bake then the recipe said. Although it was only a few minutes less, the pie was certainly bubbling and browning by the 30-minute mark after I turned down the oven.  I’m excited to see how putting the sauce on top affects the tastes since normally it’s mixed first!

IMG_1614

http://allrecipes.com/recipe/apple-blackberry-pie/


Lemon Meringue Pie with Blackberry Lemon Sauce

IMG_1007IMG_1011IMG_1013

Although I would like to say my second pie of presentation week was smooth sailing after the myriad of annoyances that accompanied my Utterly Deadly Southern Pecan Pie, I have to say the stress level that accompanied my lemon meringue pie was equivalent to its partner this week. Perhaps my focus wasn’t quite on point. Perhaps I was trying to be too bold with my presentation. Musings aside, there is one lesson I learned with this pie that I will never forget…it is impossible to create a meringue by hand. Impossible. Think you can do it? Want to prove me wrong? Don’t. Honestly. It’s miserable. I spent about an hour vigorously whipping those egg whites and that sugar and that dash of cream of tartar to no avail. I stirred so much my arm was more sore the next day than it was after my lift on Friday. The best I could achieve was a marshmallowy goo that, although tasty, was still, well, goo. Even when Tala valiantly brought the electric hand mixer from home and I had beaten the goo for about 15 minutes and I had added way more sugar than the recipe called for, it remained slightly lighter, slightly tougher goo. Absent were the so-called “peaks” that were supposed to have appeared ages ago. Serves me right, I suppose, having the audacity to attempt the elegant meringue with nothing but a whisk…

IMG_1010

Aside from the melty meringue (which firmed up a bit after baking, and really did taste terrific), the rest of the pie was wonderful. I created my own take on whole wheat graham flour (which BonAppetit.com requested) by combining whole wheat flour with graham cracker crumbs, and it did the trick just fine.

IMG_0989

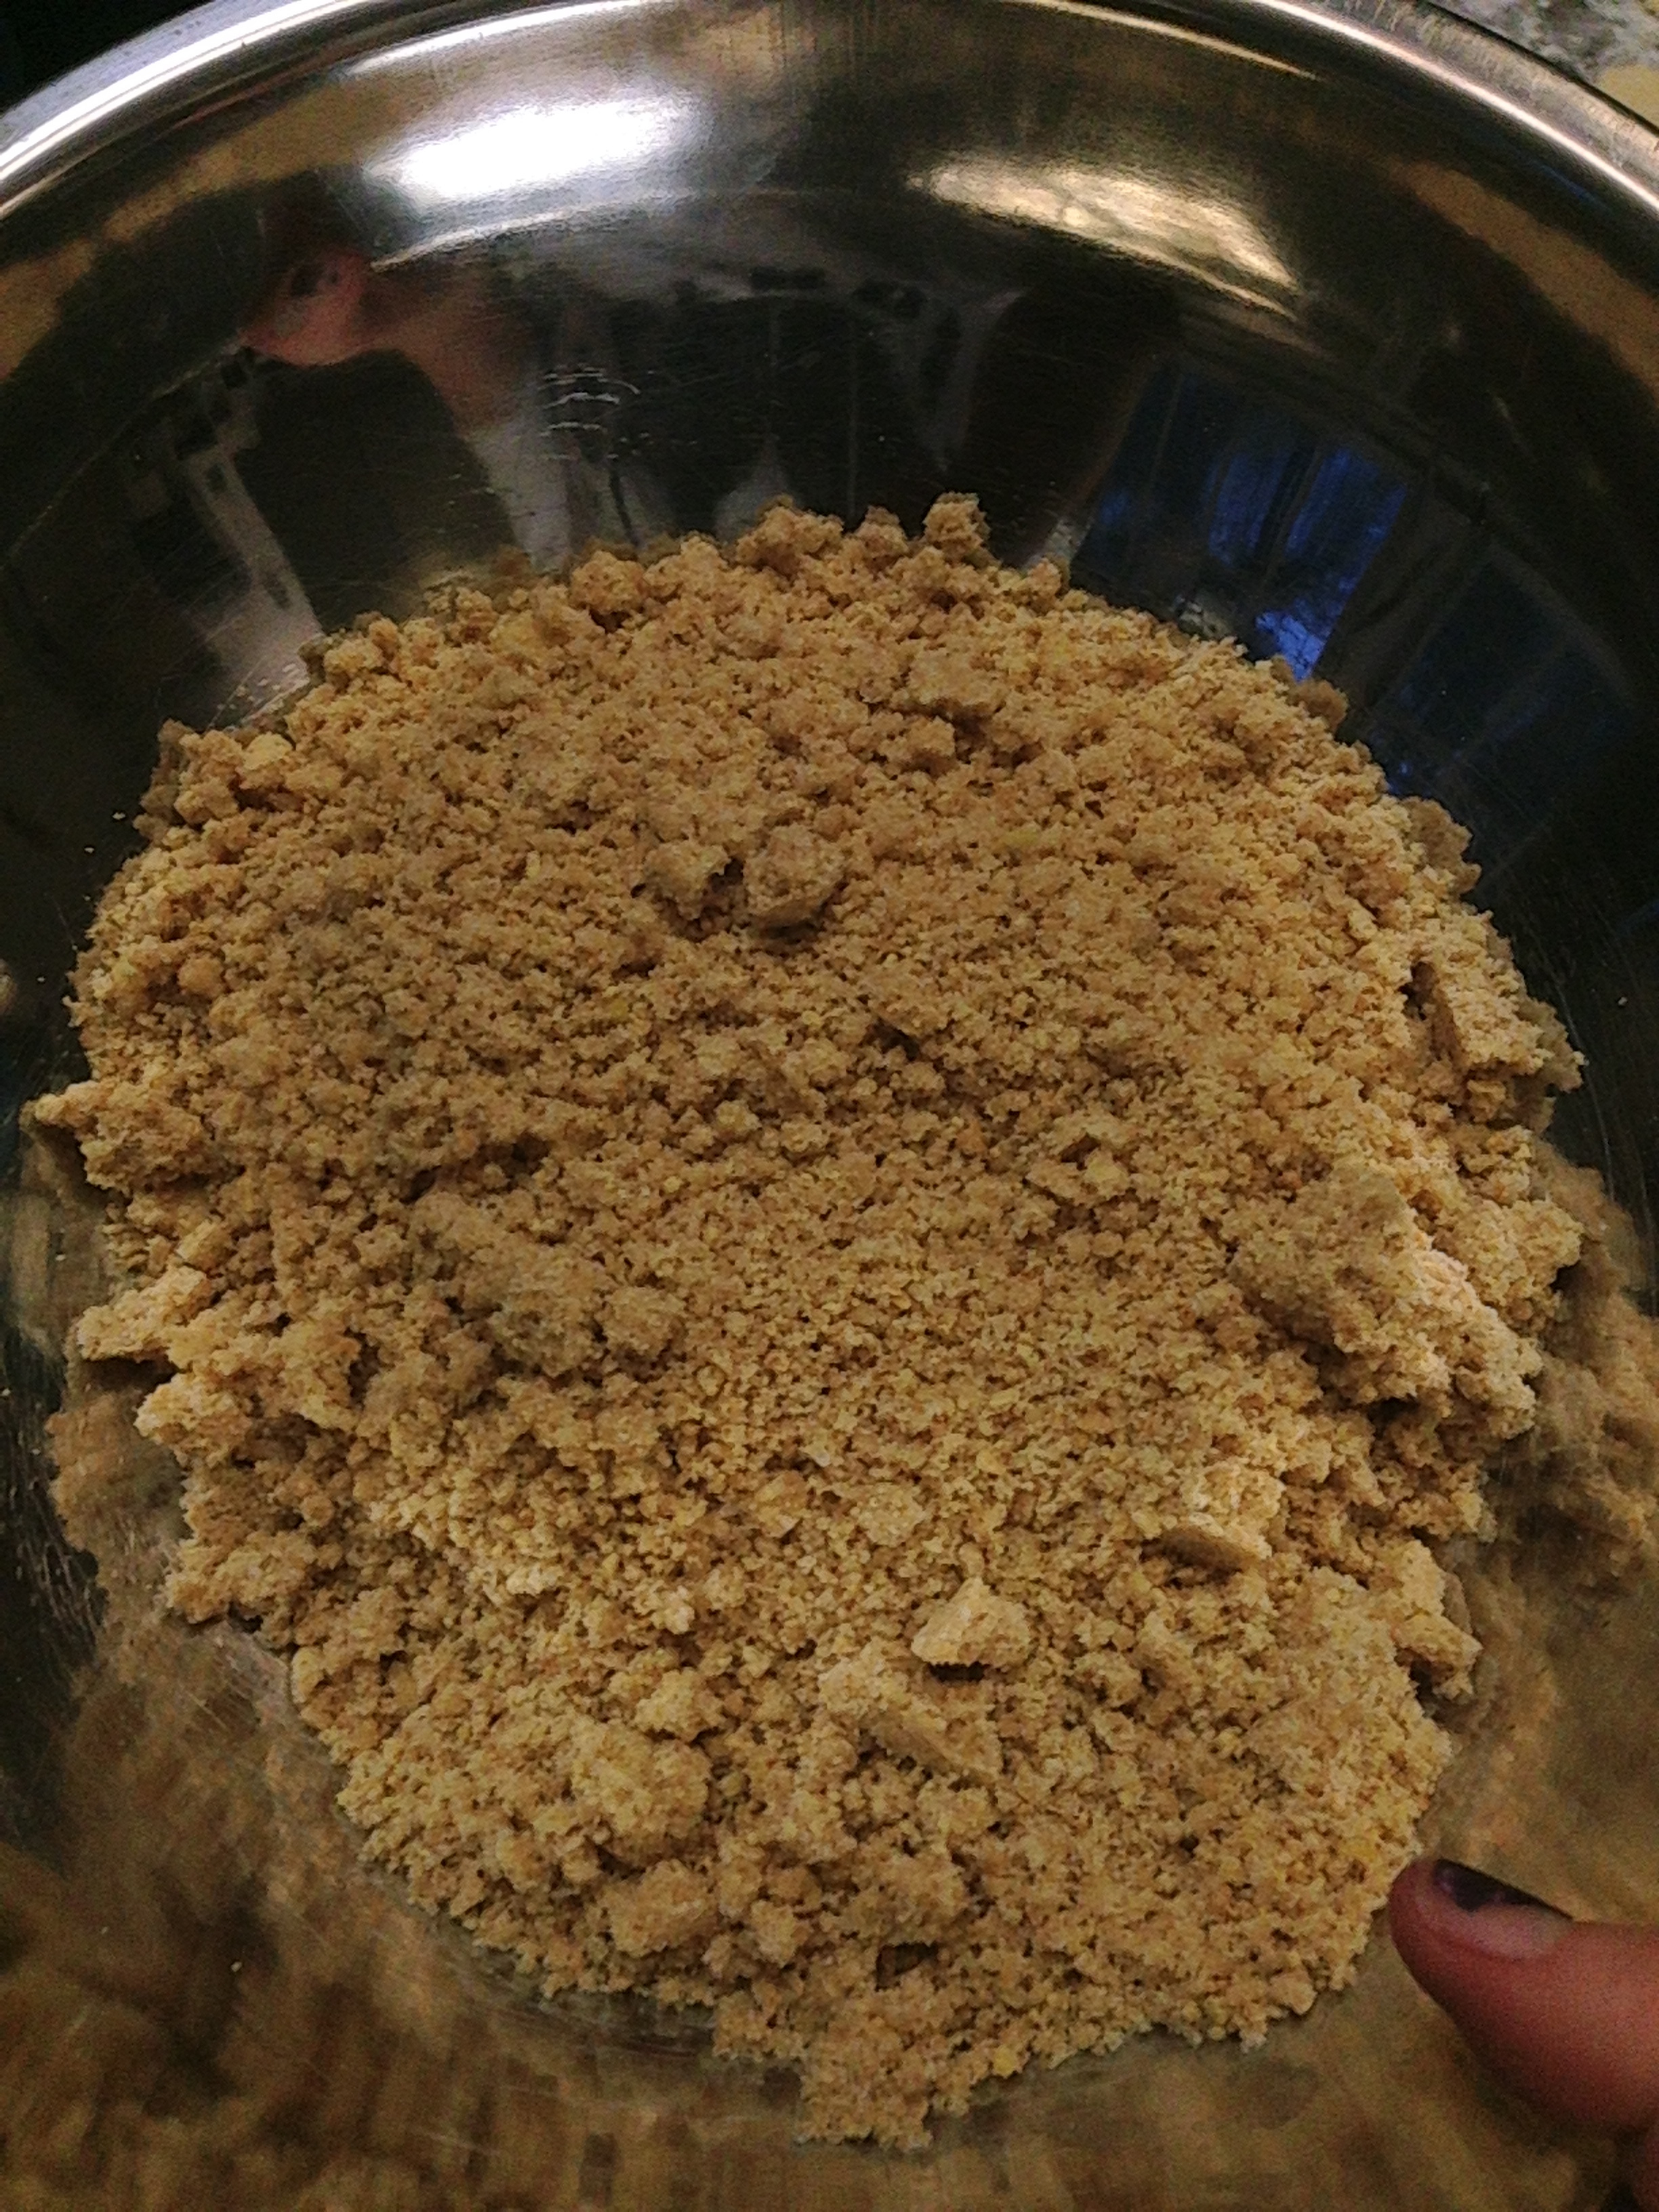
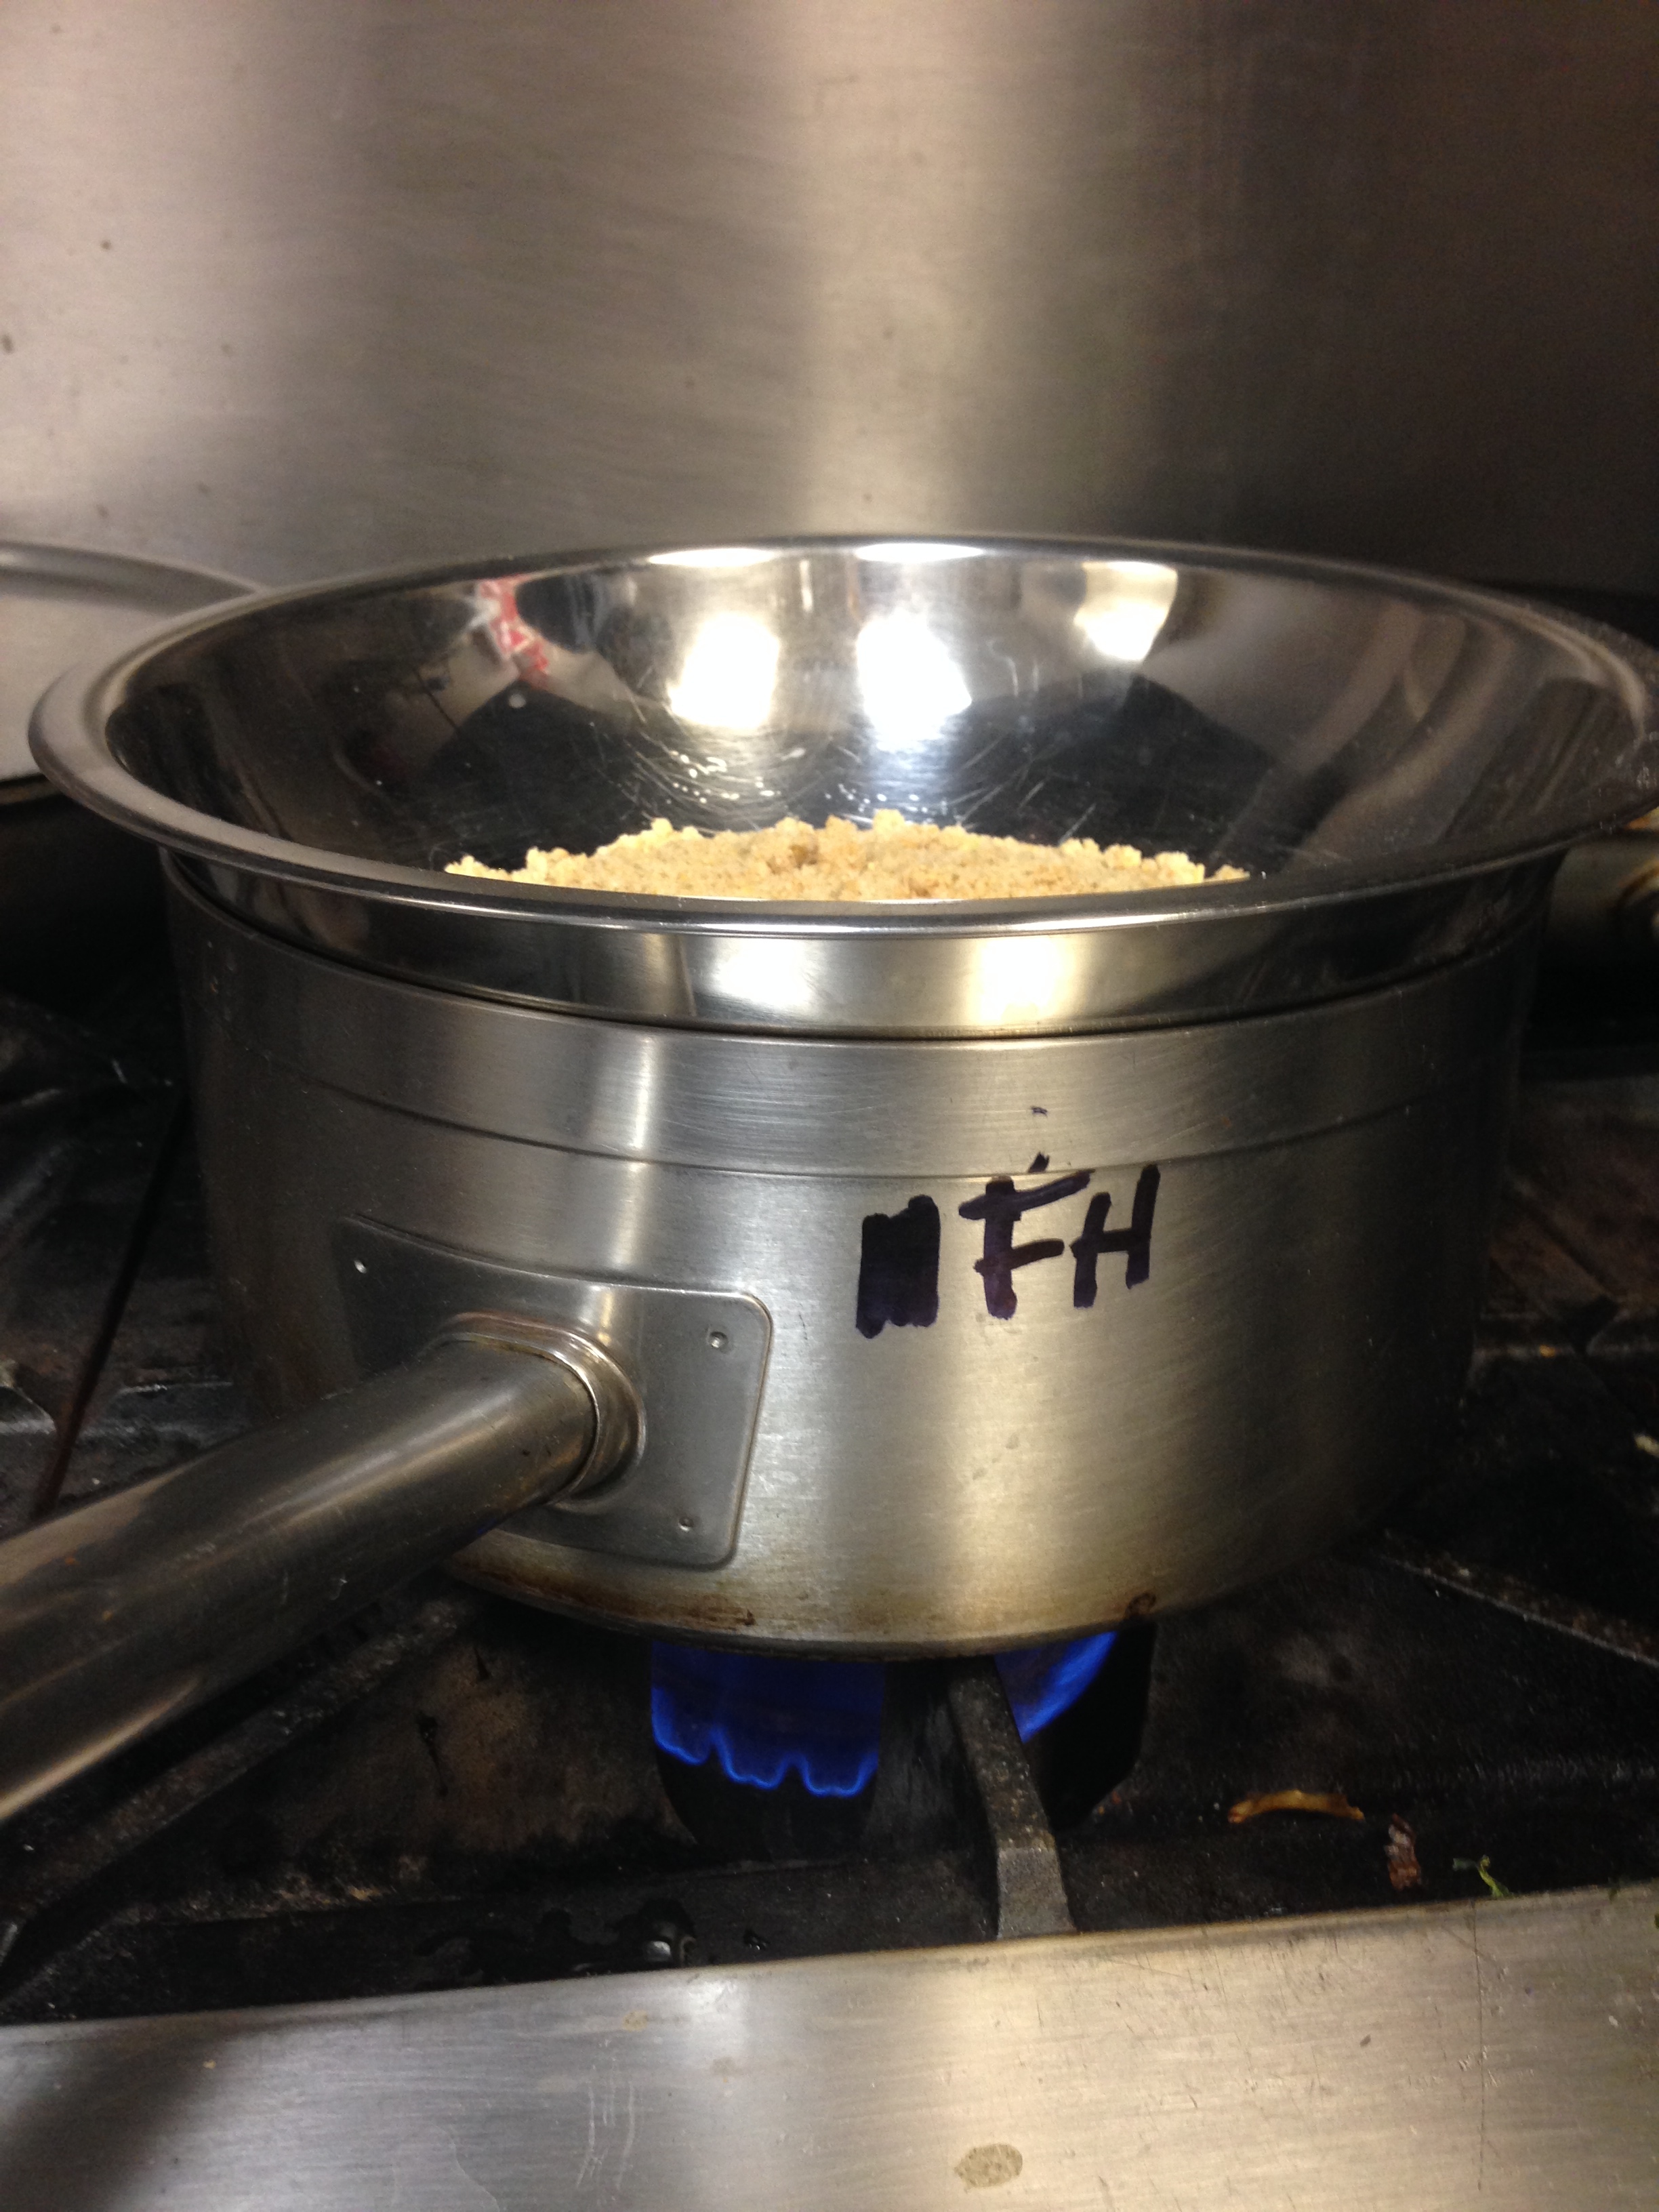
What a good-looking crust, right?!One problem–the butter that I ever-so-lovingly worked in by hand was supposed to be melted an act as the connecting agent. I was preparing to mourn yet another irreparable mistake, when David saved the day with a nifty trick. We put my concoction in a bowl over a pot of boiling water to create a makeshift double-boiler and melted the butter without burning anything in the process! It was quite the success, and the dough came together really well.

IMG_0990IMG_0991


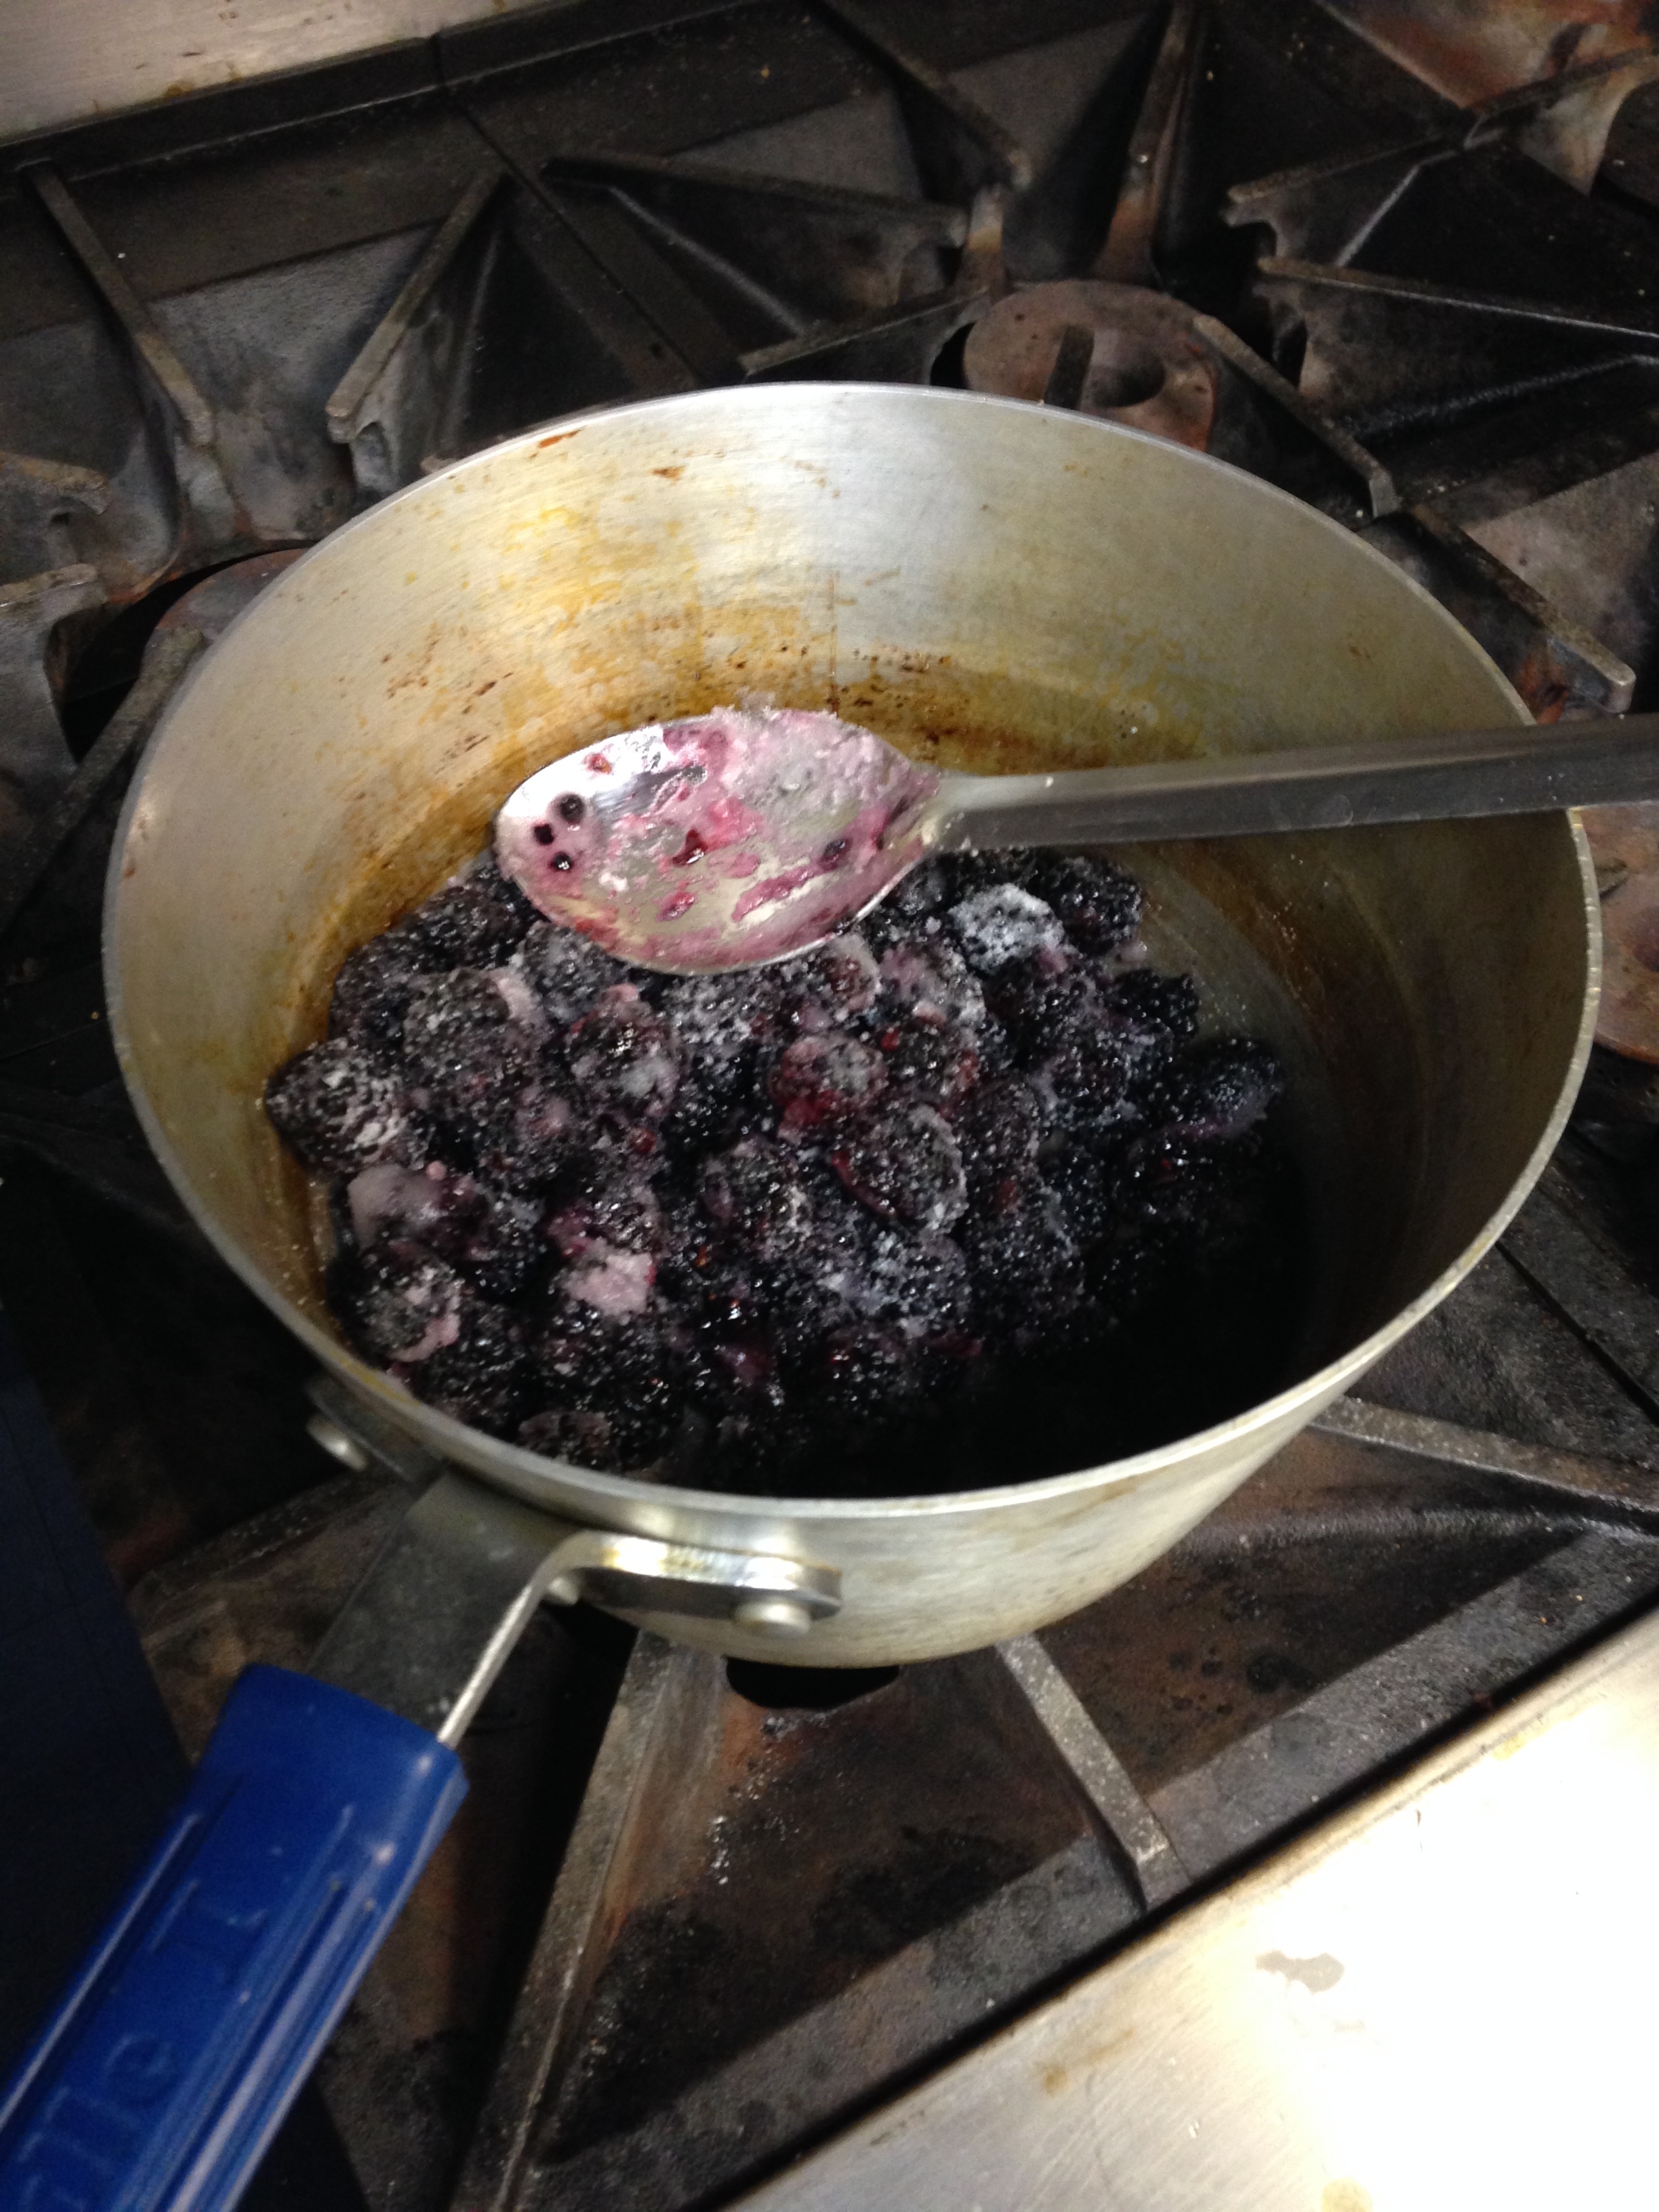
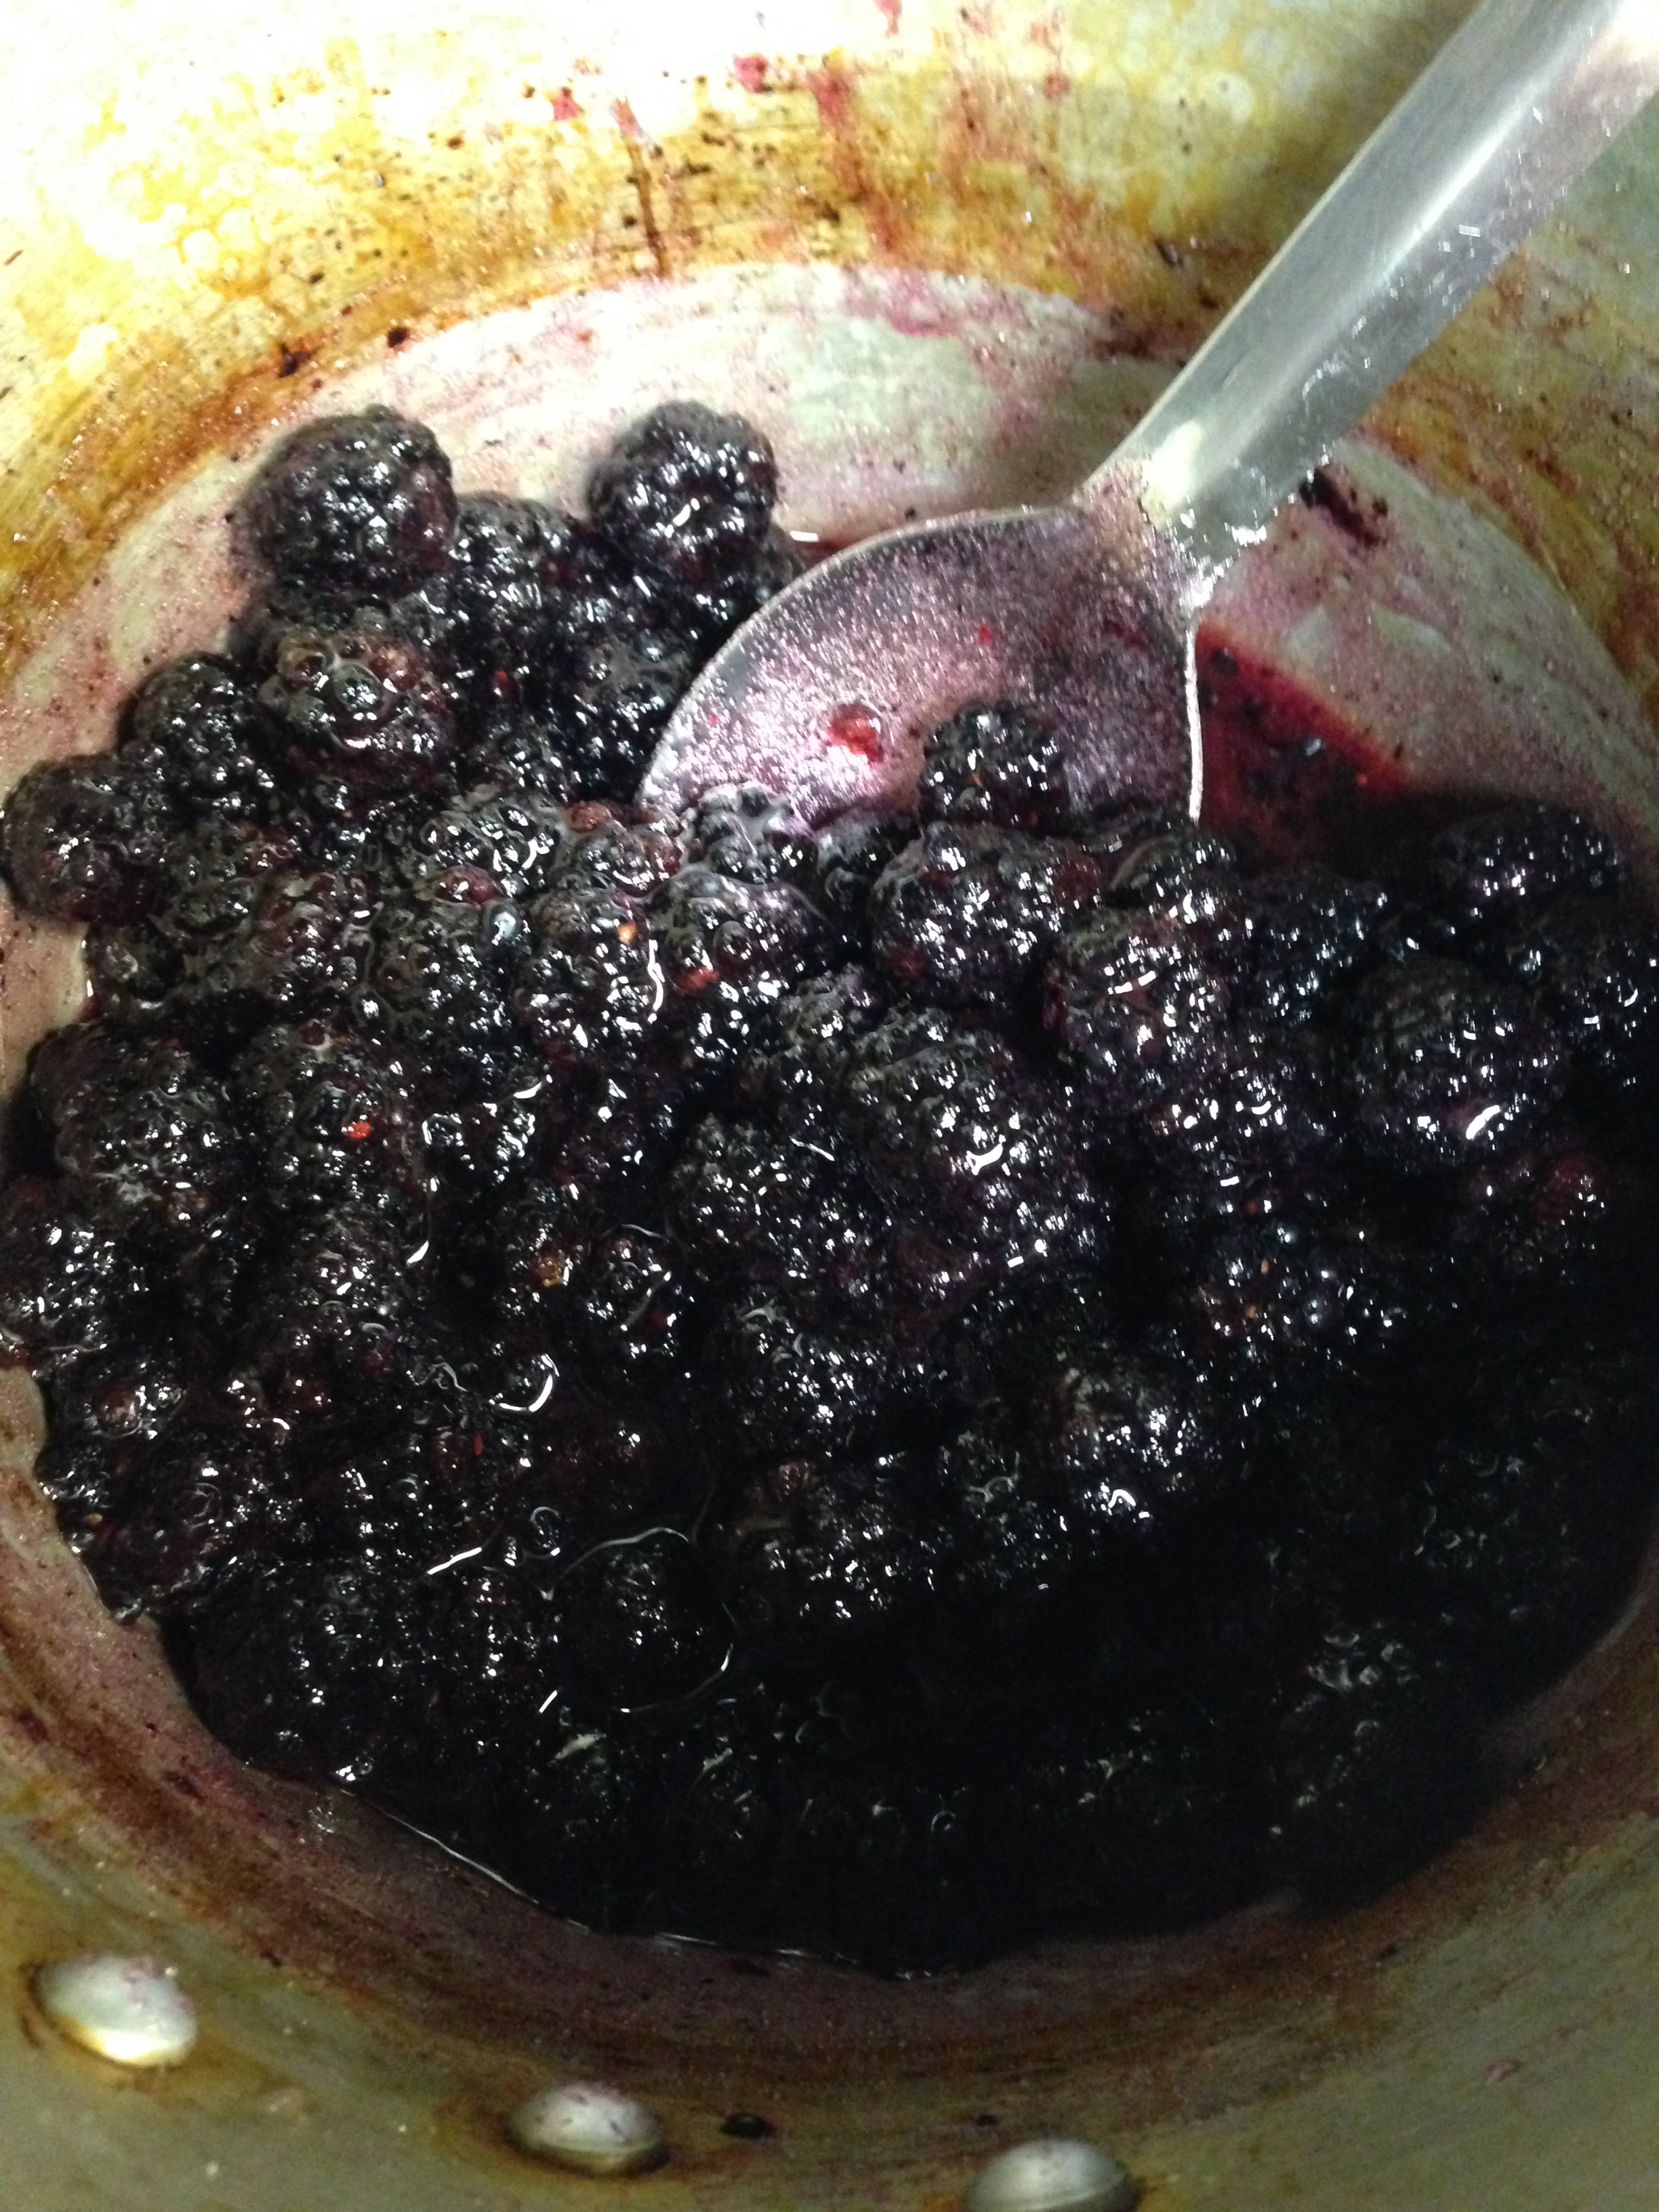
The lemon-blackberry sauce also turned out beautifully:

IMG_0985IMG_0986


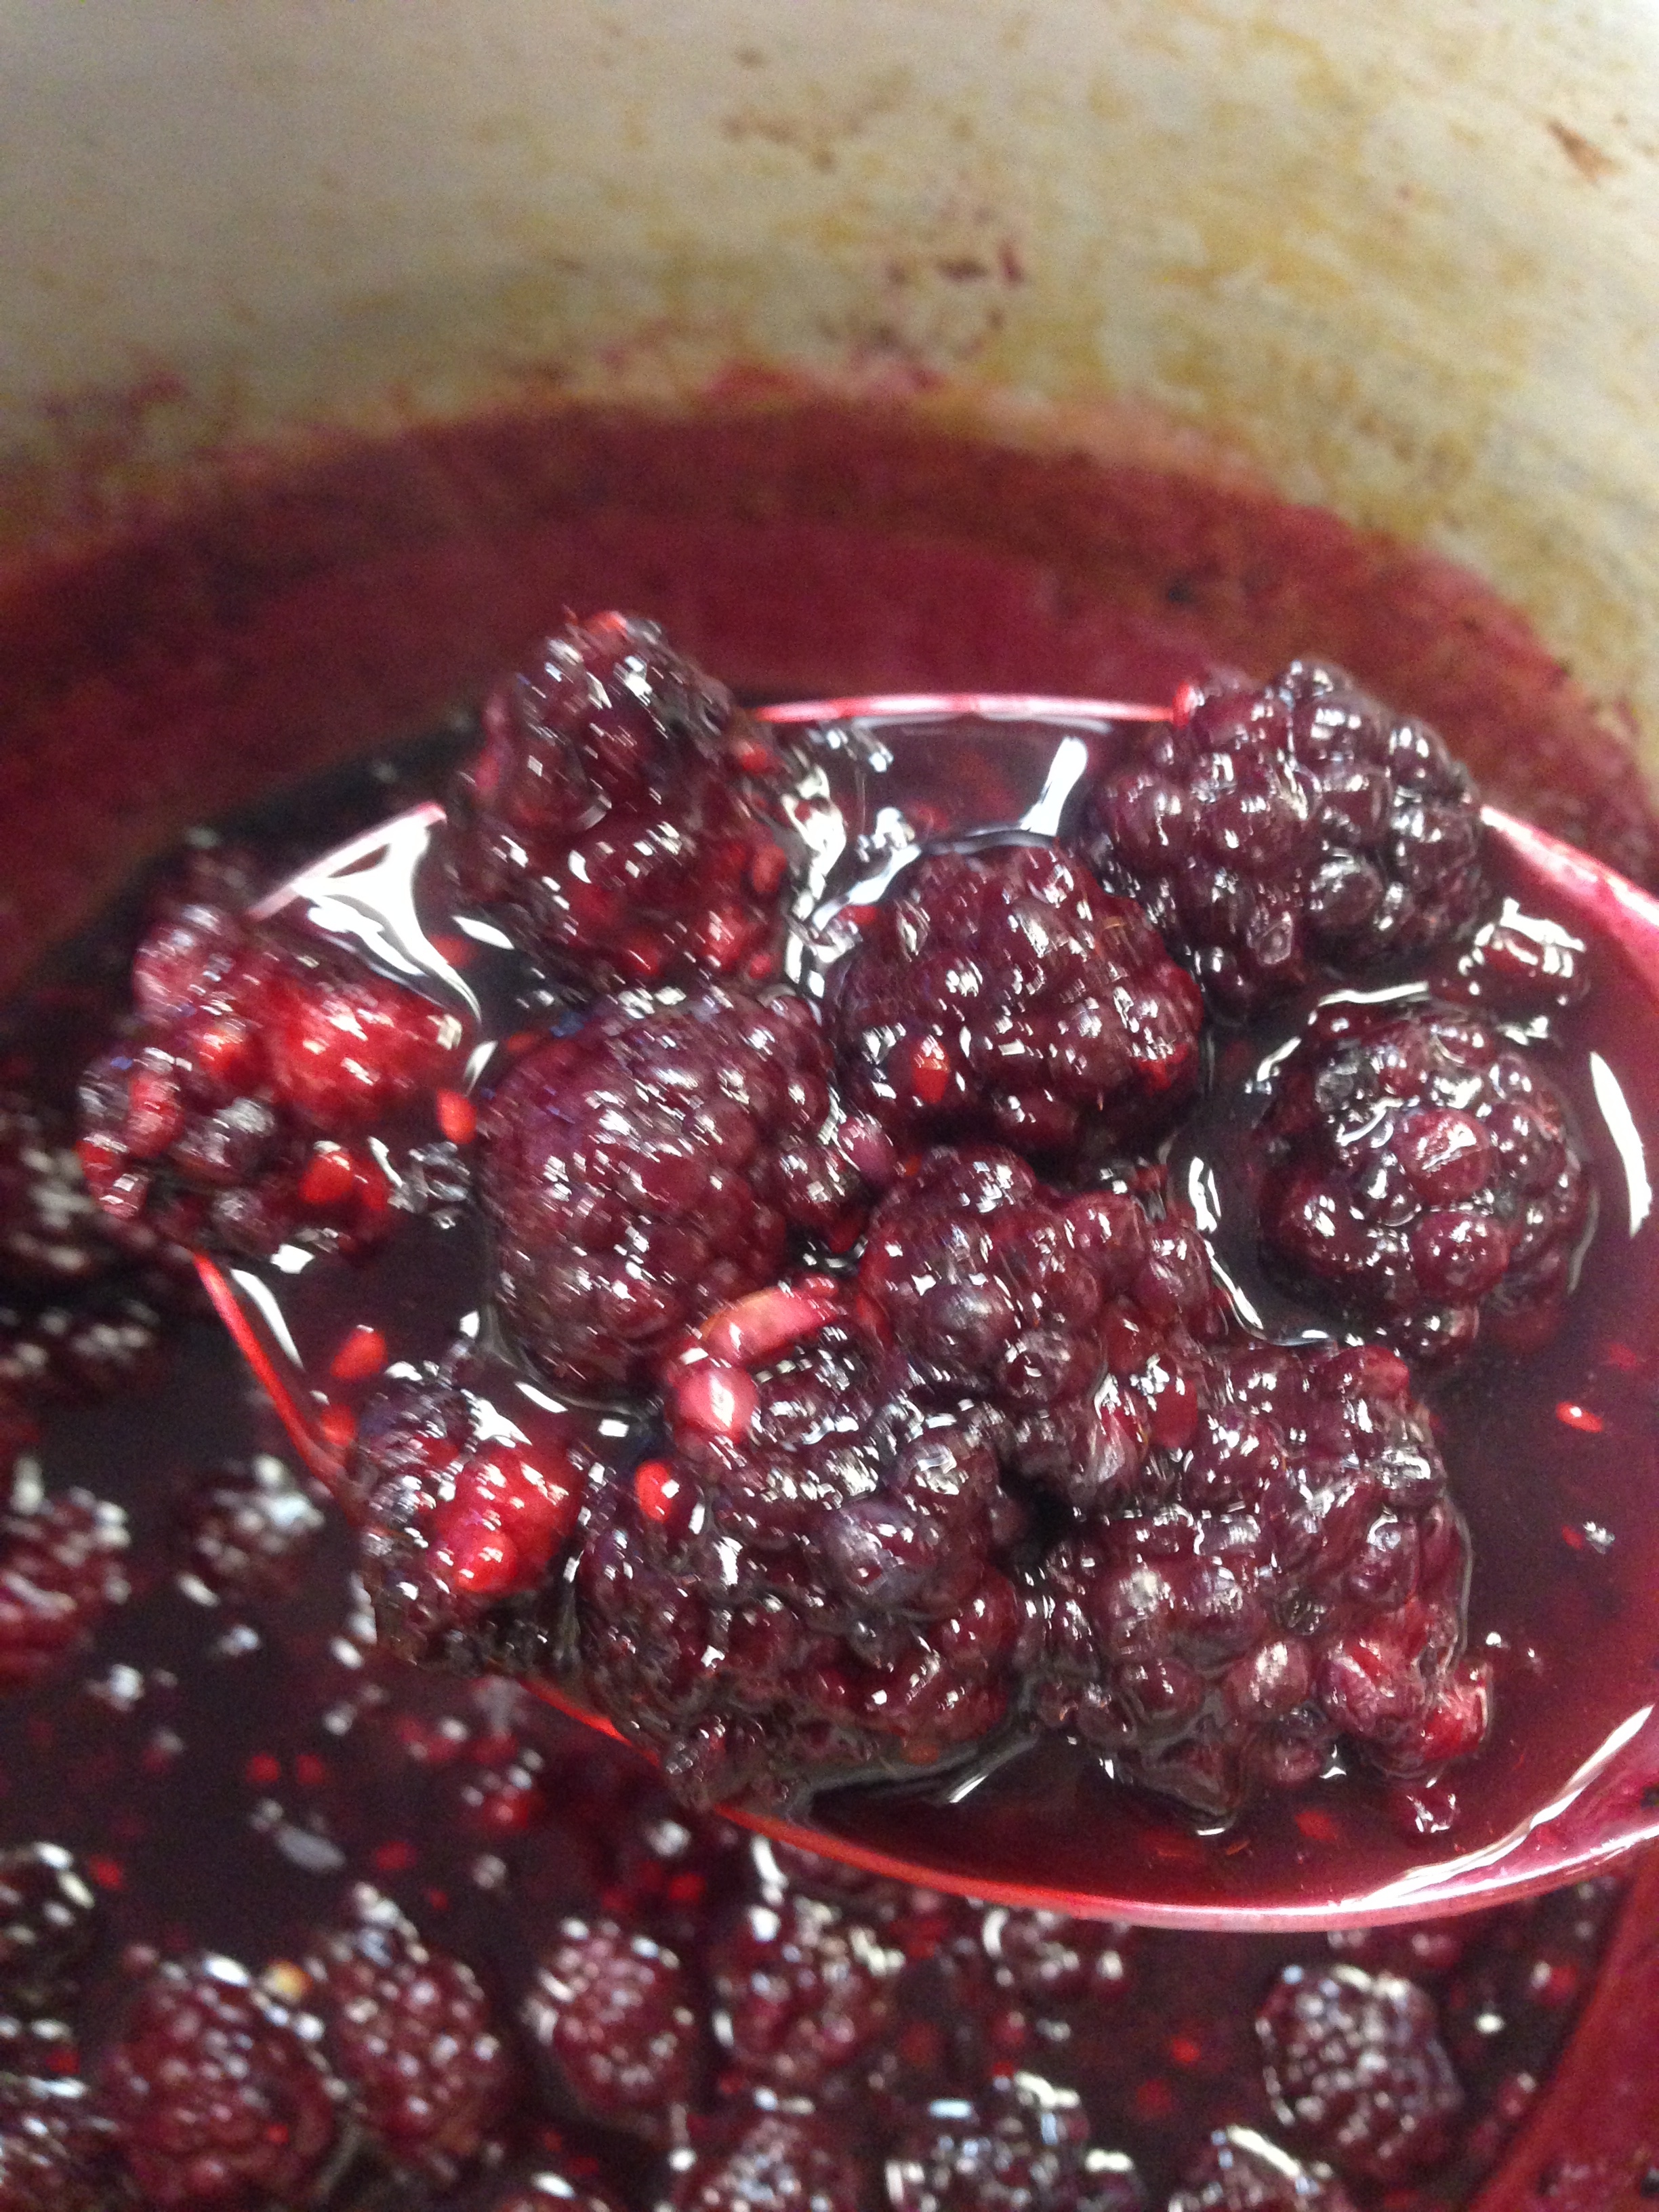
And one more close up for good measure:

IMG_0987


There we go…the good stuff.

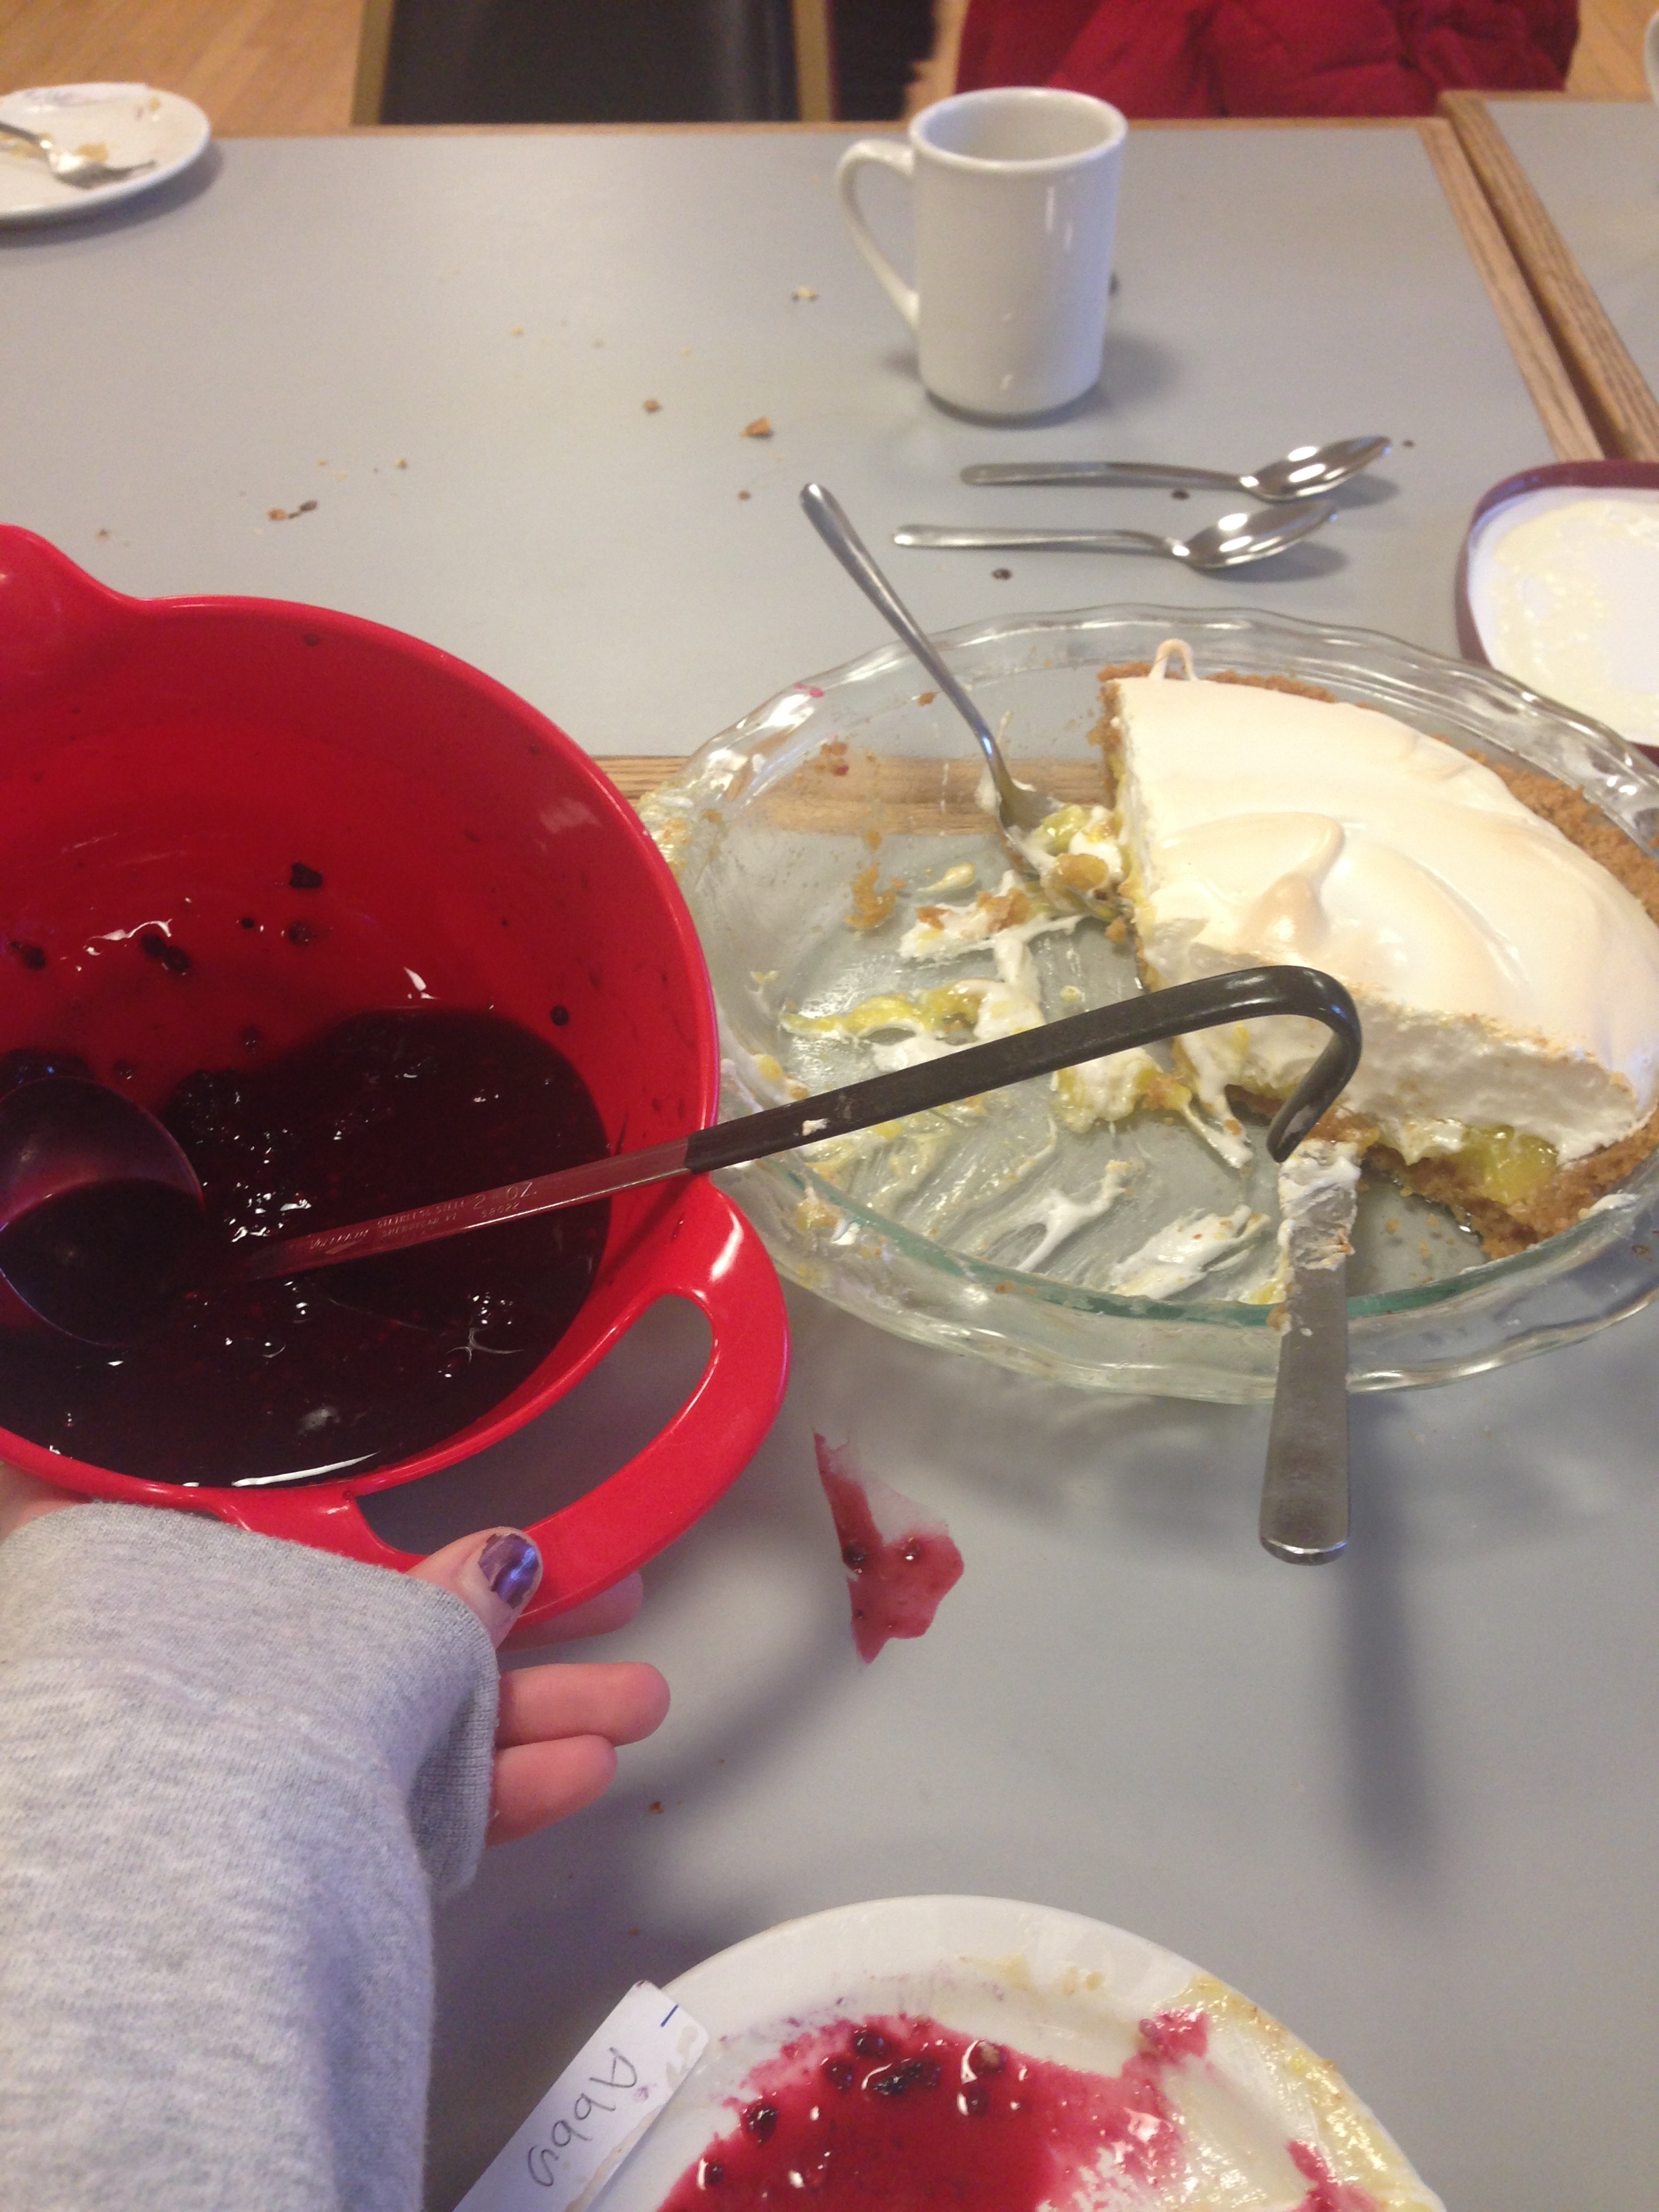
Lemon and blackberry is a stellar combination, and I owe many of the laudations my pie received to that wonderful sauce. I think the fresh blackberries really made it, despite the recipe calling for frozen. Also, I did not use fresh lemon juice because the stuff was really in demand this week, but still got lovely results with using lemon juice from the bottle and fresh lemon zest.

IMG_1012

Utterly Deadly Southern Pecan Pie

IMG_1003 IMG_1008

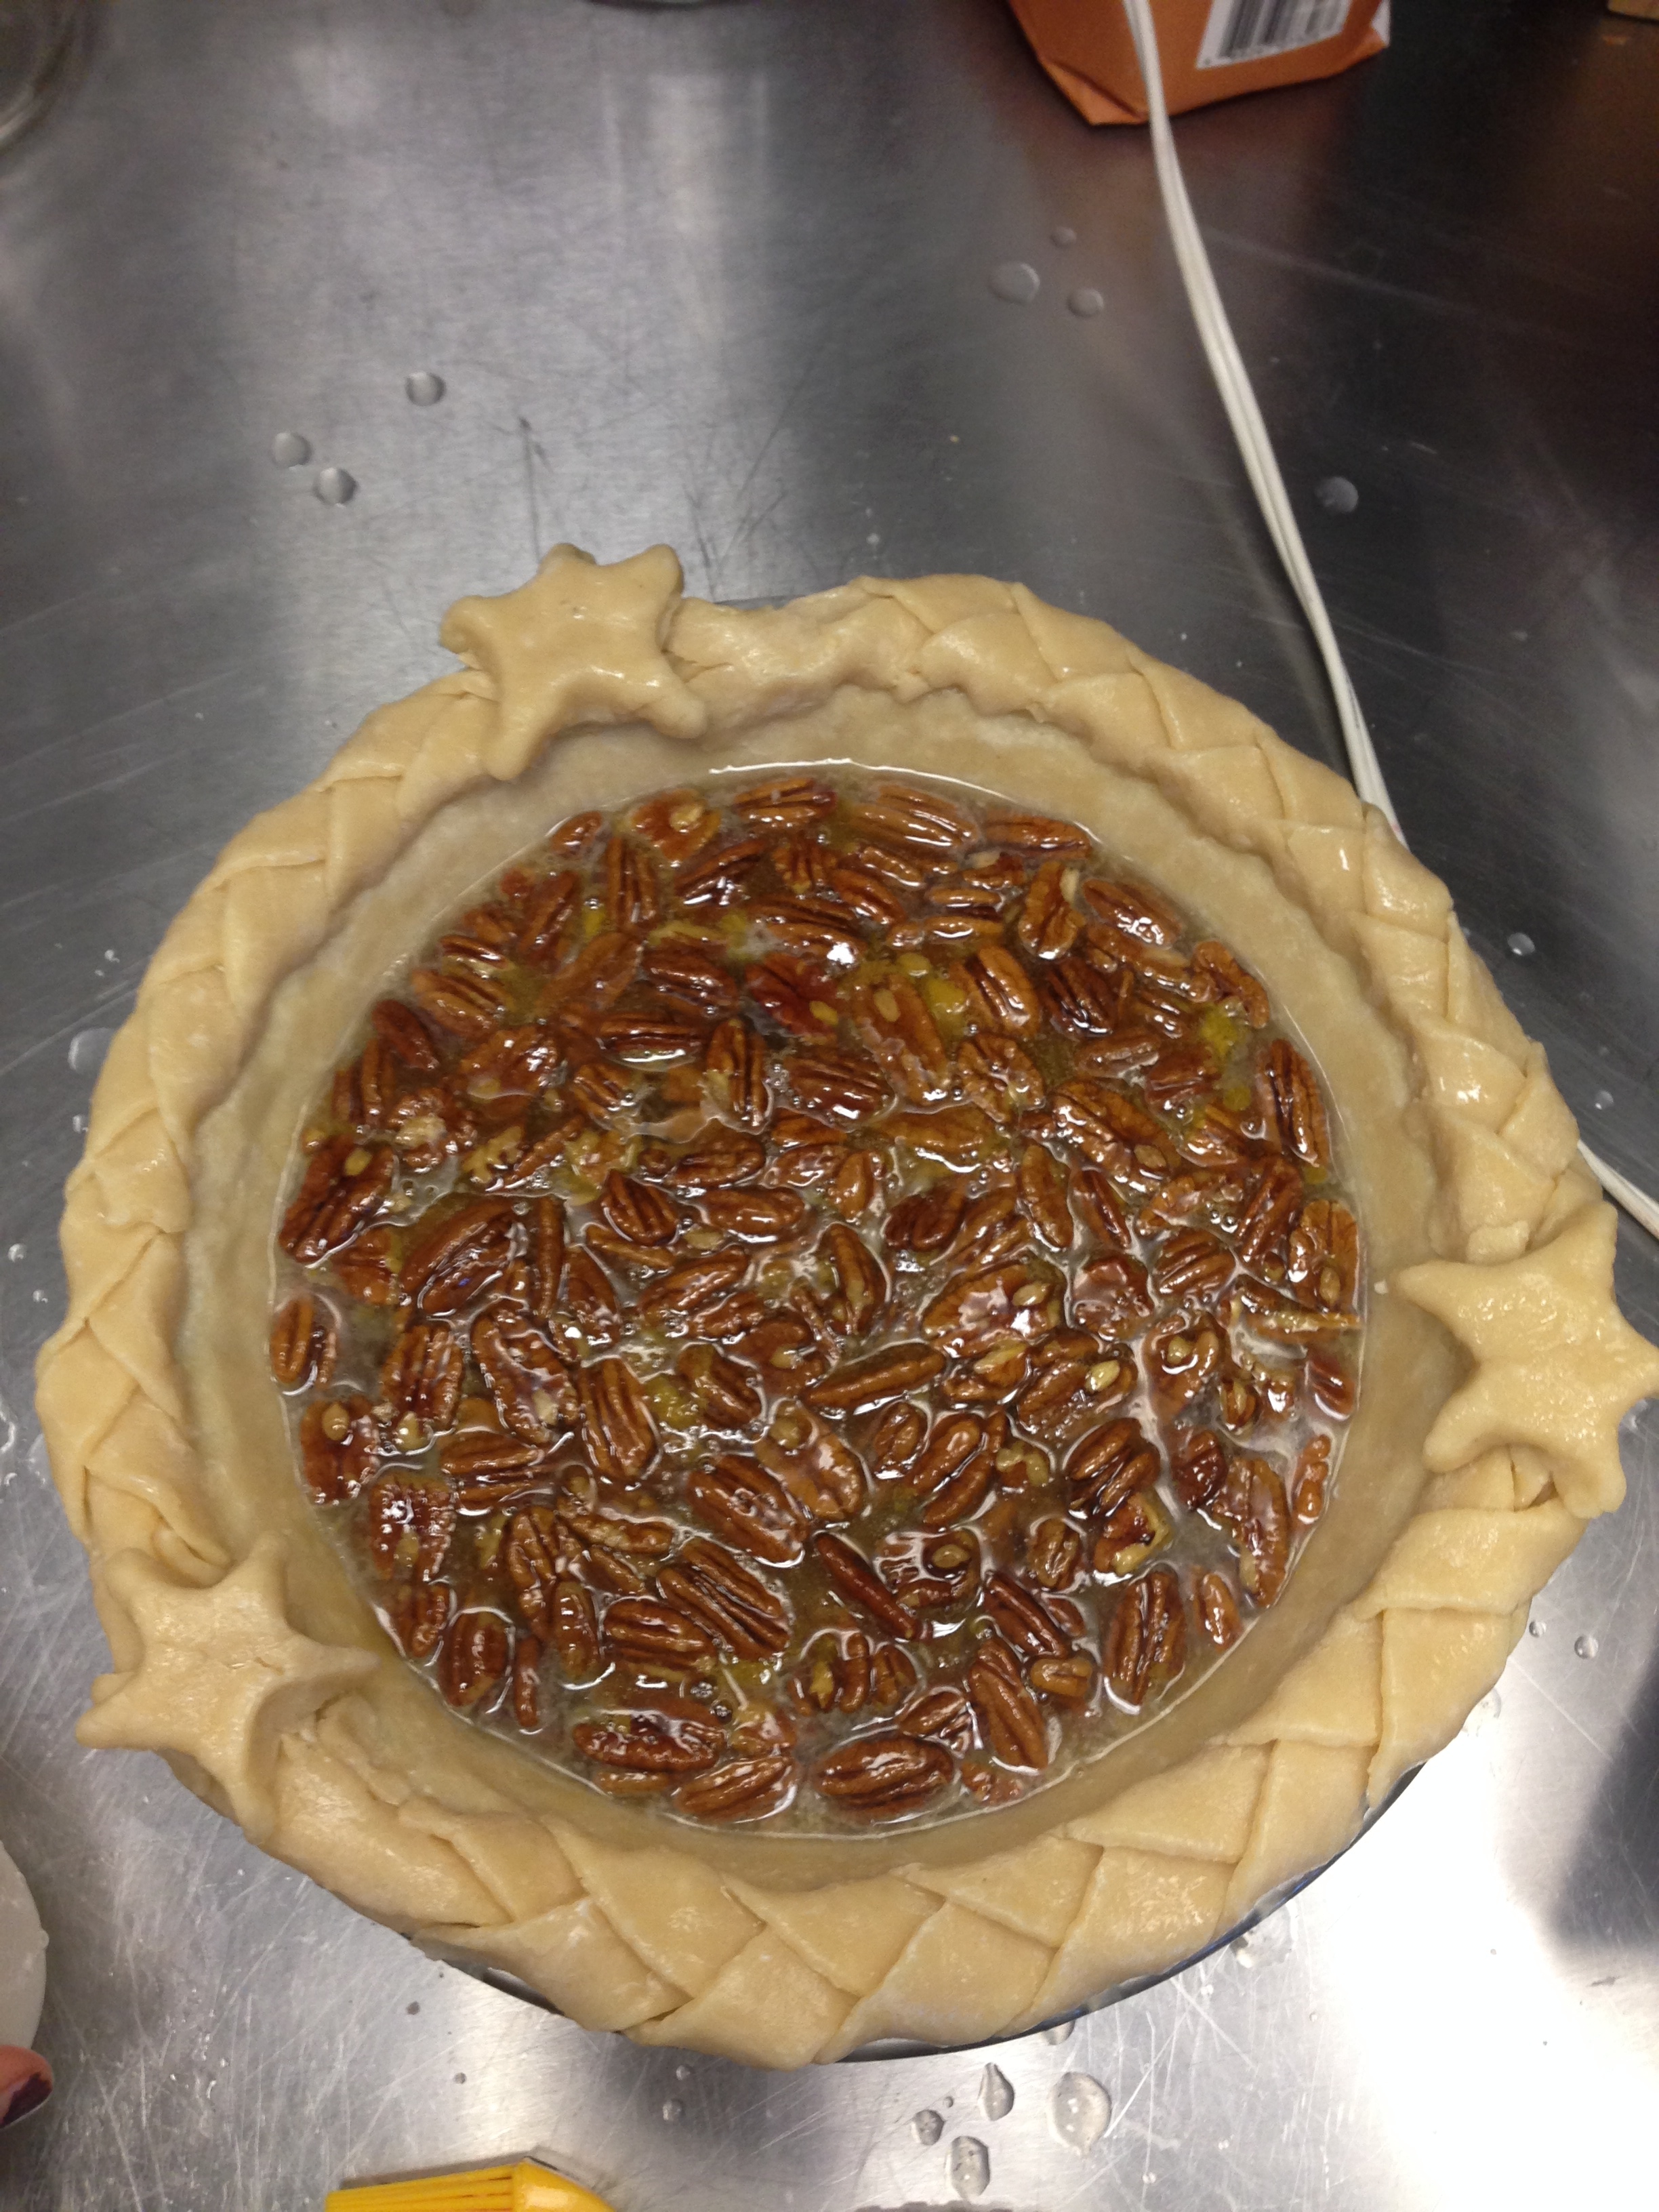
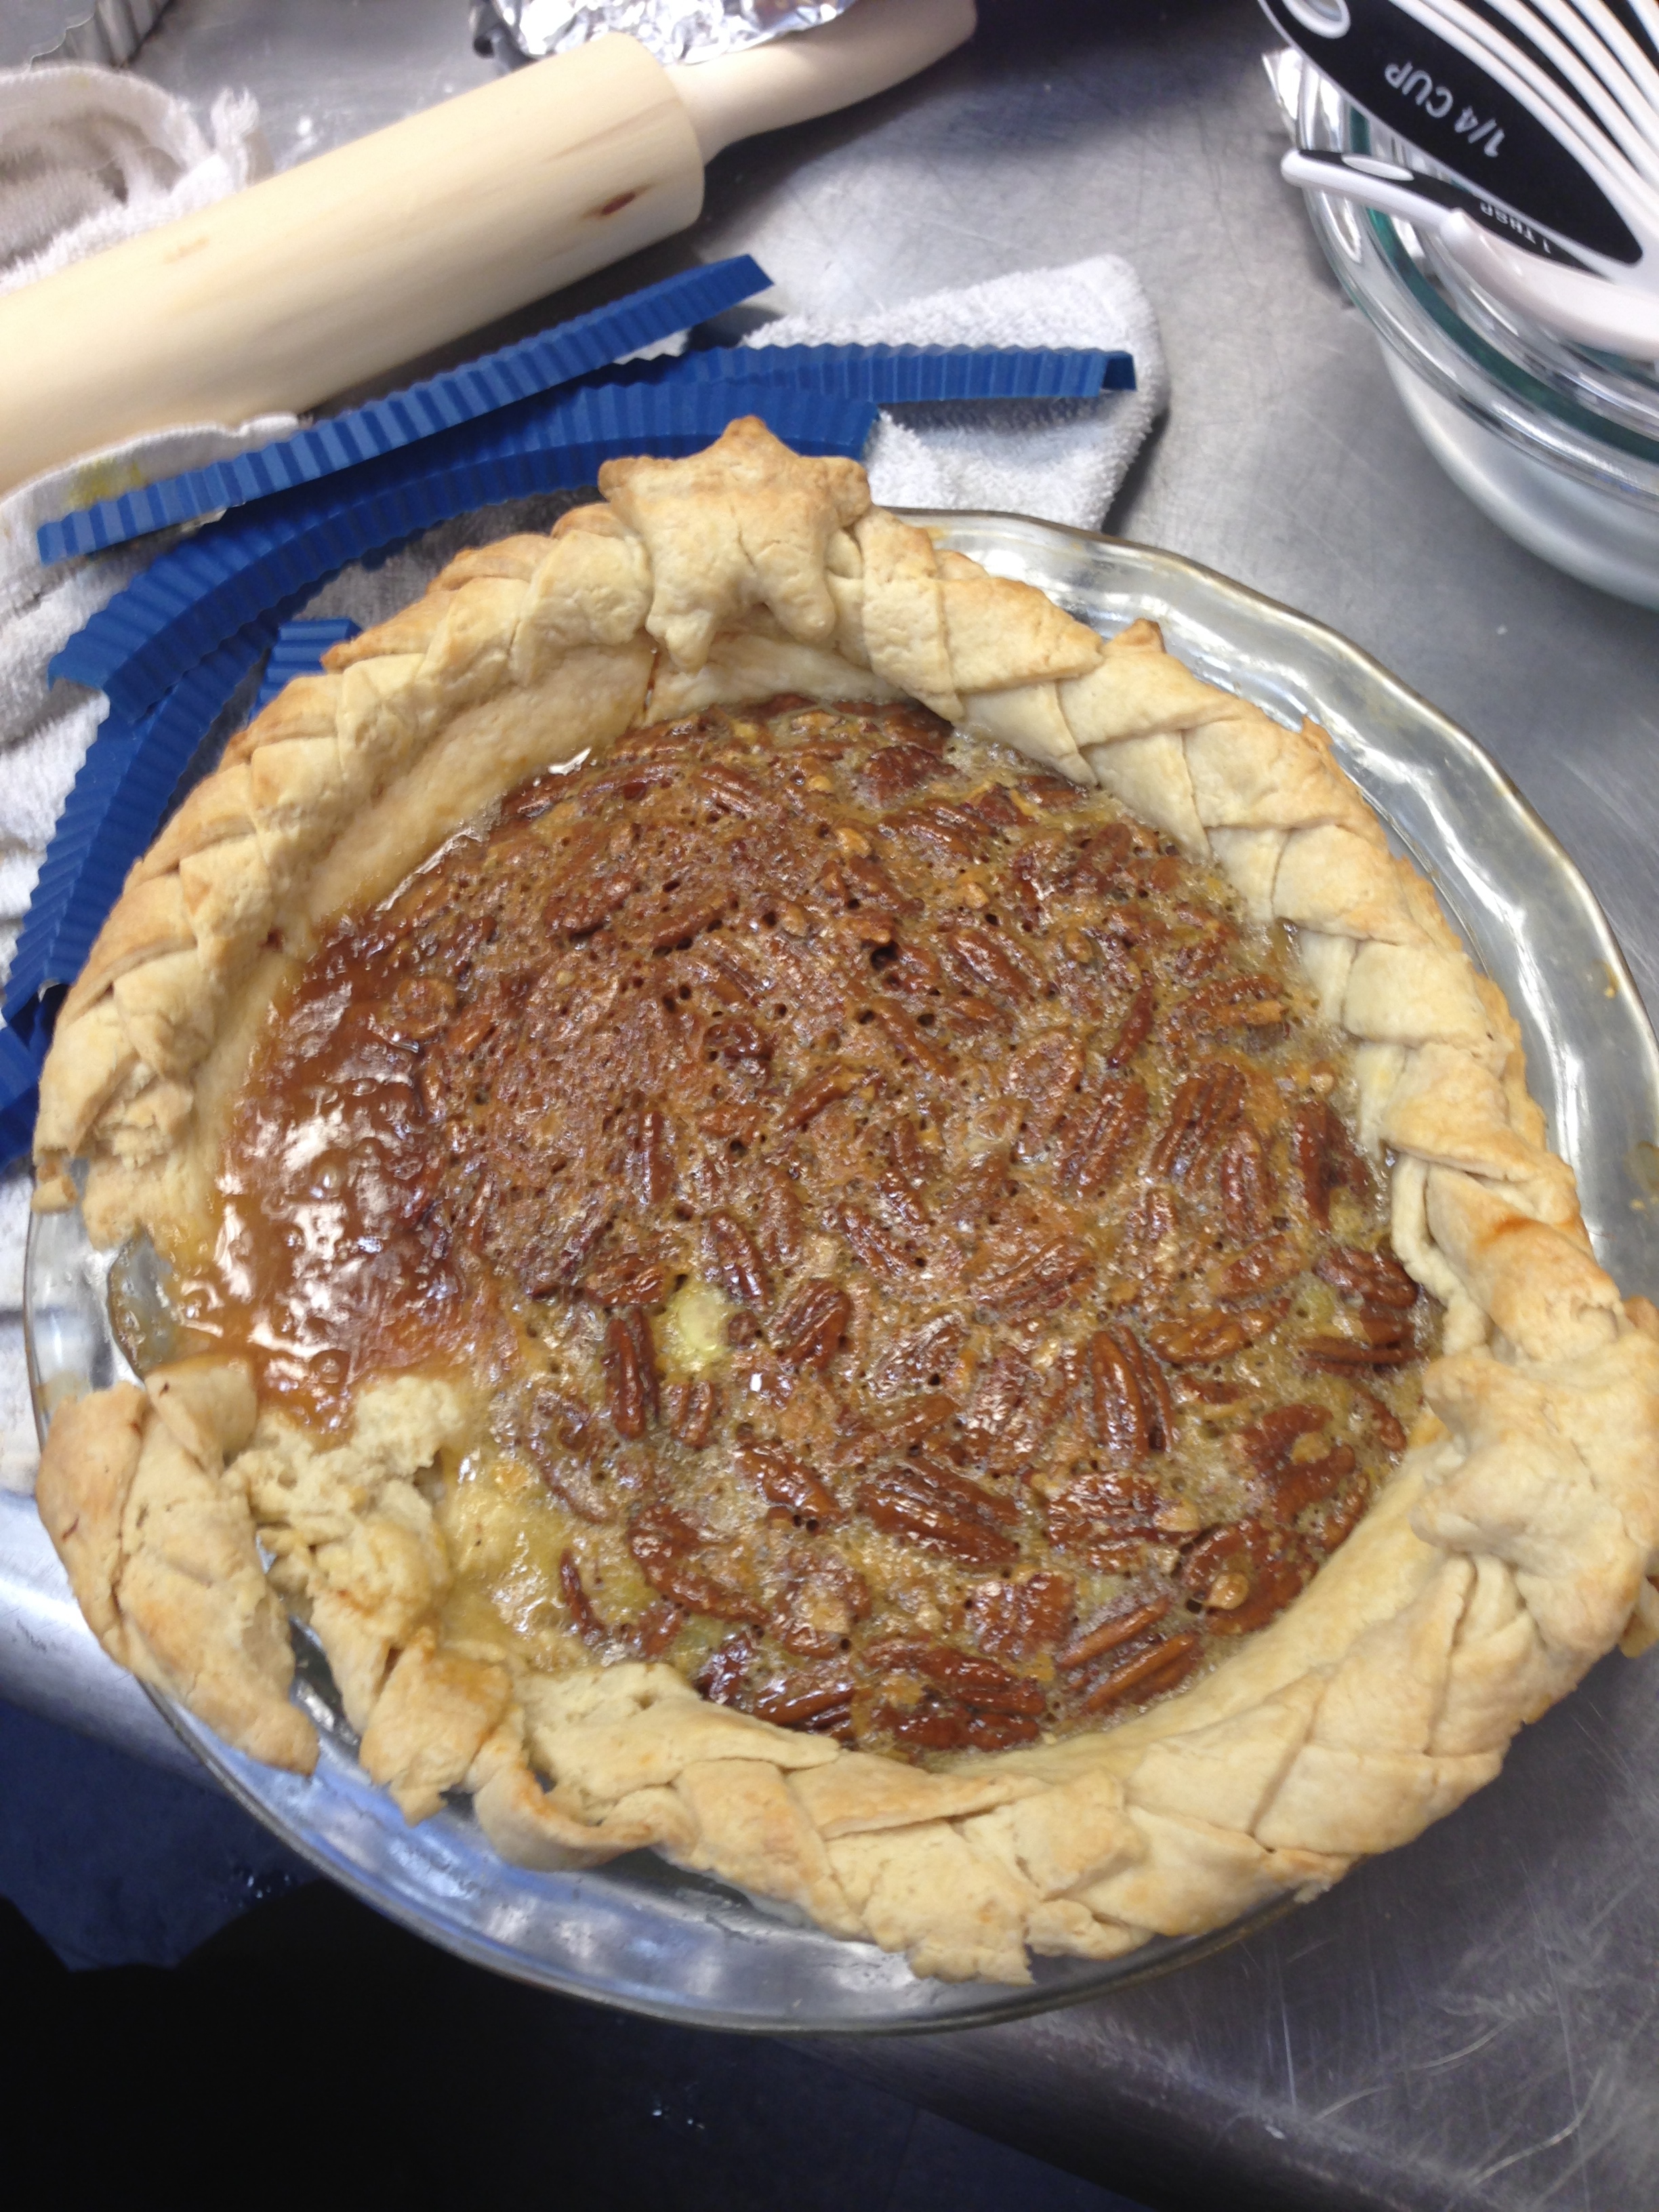
This was my first disaster pie. Although one would think the “utterly deadly” portion of the title comes from the abundance of delicious sugar and butter in the recipe (which I assume it originally did, as that was the name I found for this recipe online), the deadly attributes of this pie took on an entirely different meaning during the baking process. Now don’t get me wrong–this pie was fantastically delicious. I had three self-proclaimed pecan pie aficionados (from the South, no less) tell me this was one of the best pecan pies they had ever tasted. I kid you not. However, it was a long and perilous road creating the tasty, yet horrifyingly ugly final product pictured above. The picture to the left of the horribly ugly final pie illustrates my pie pre-baking in all of its braided glory…but I’ll get to that.

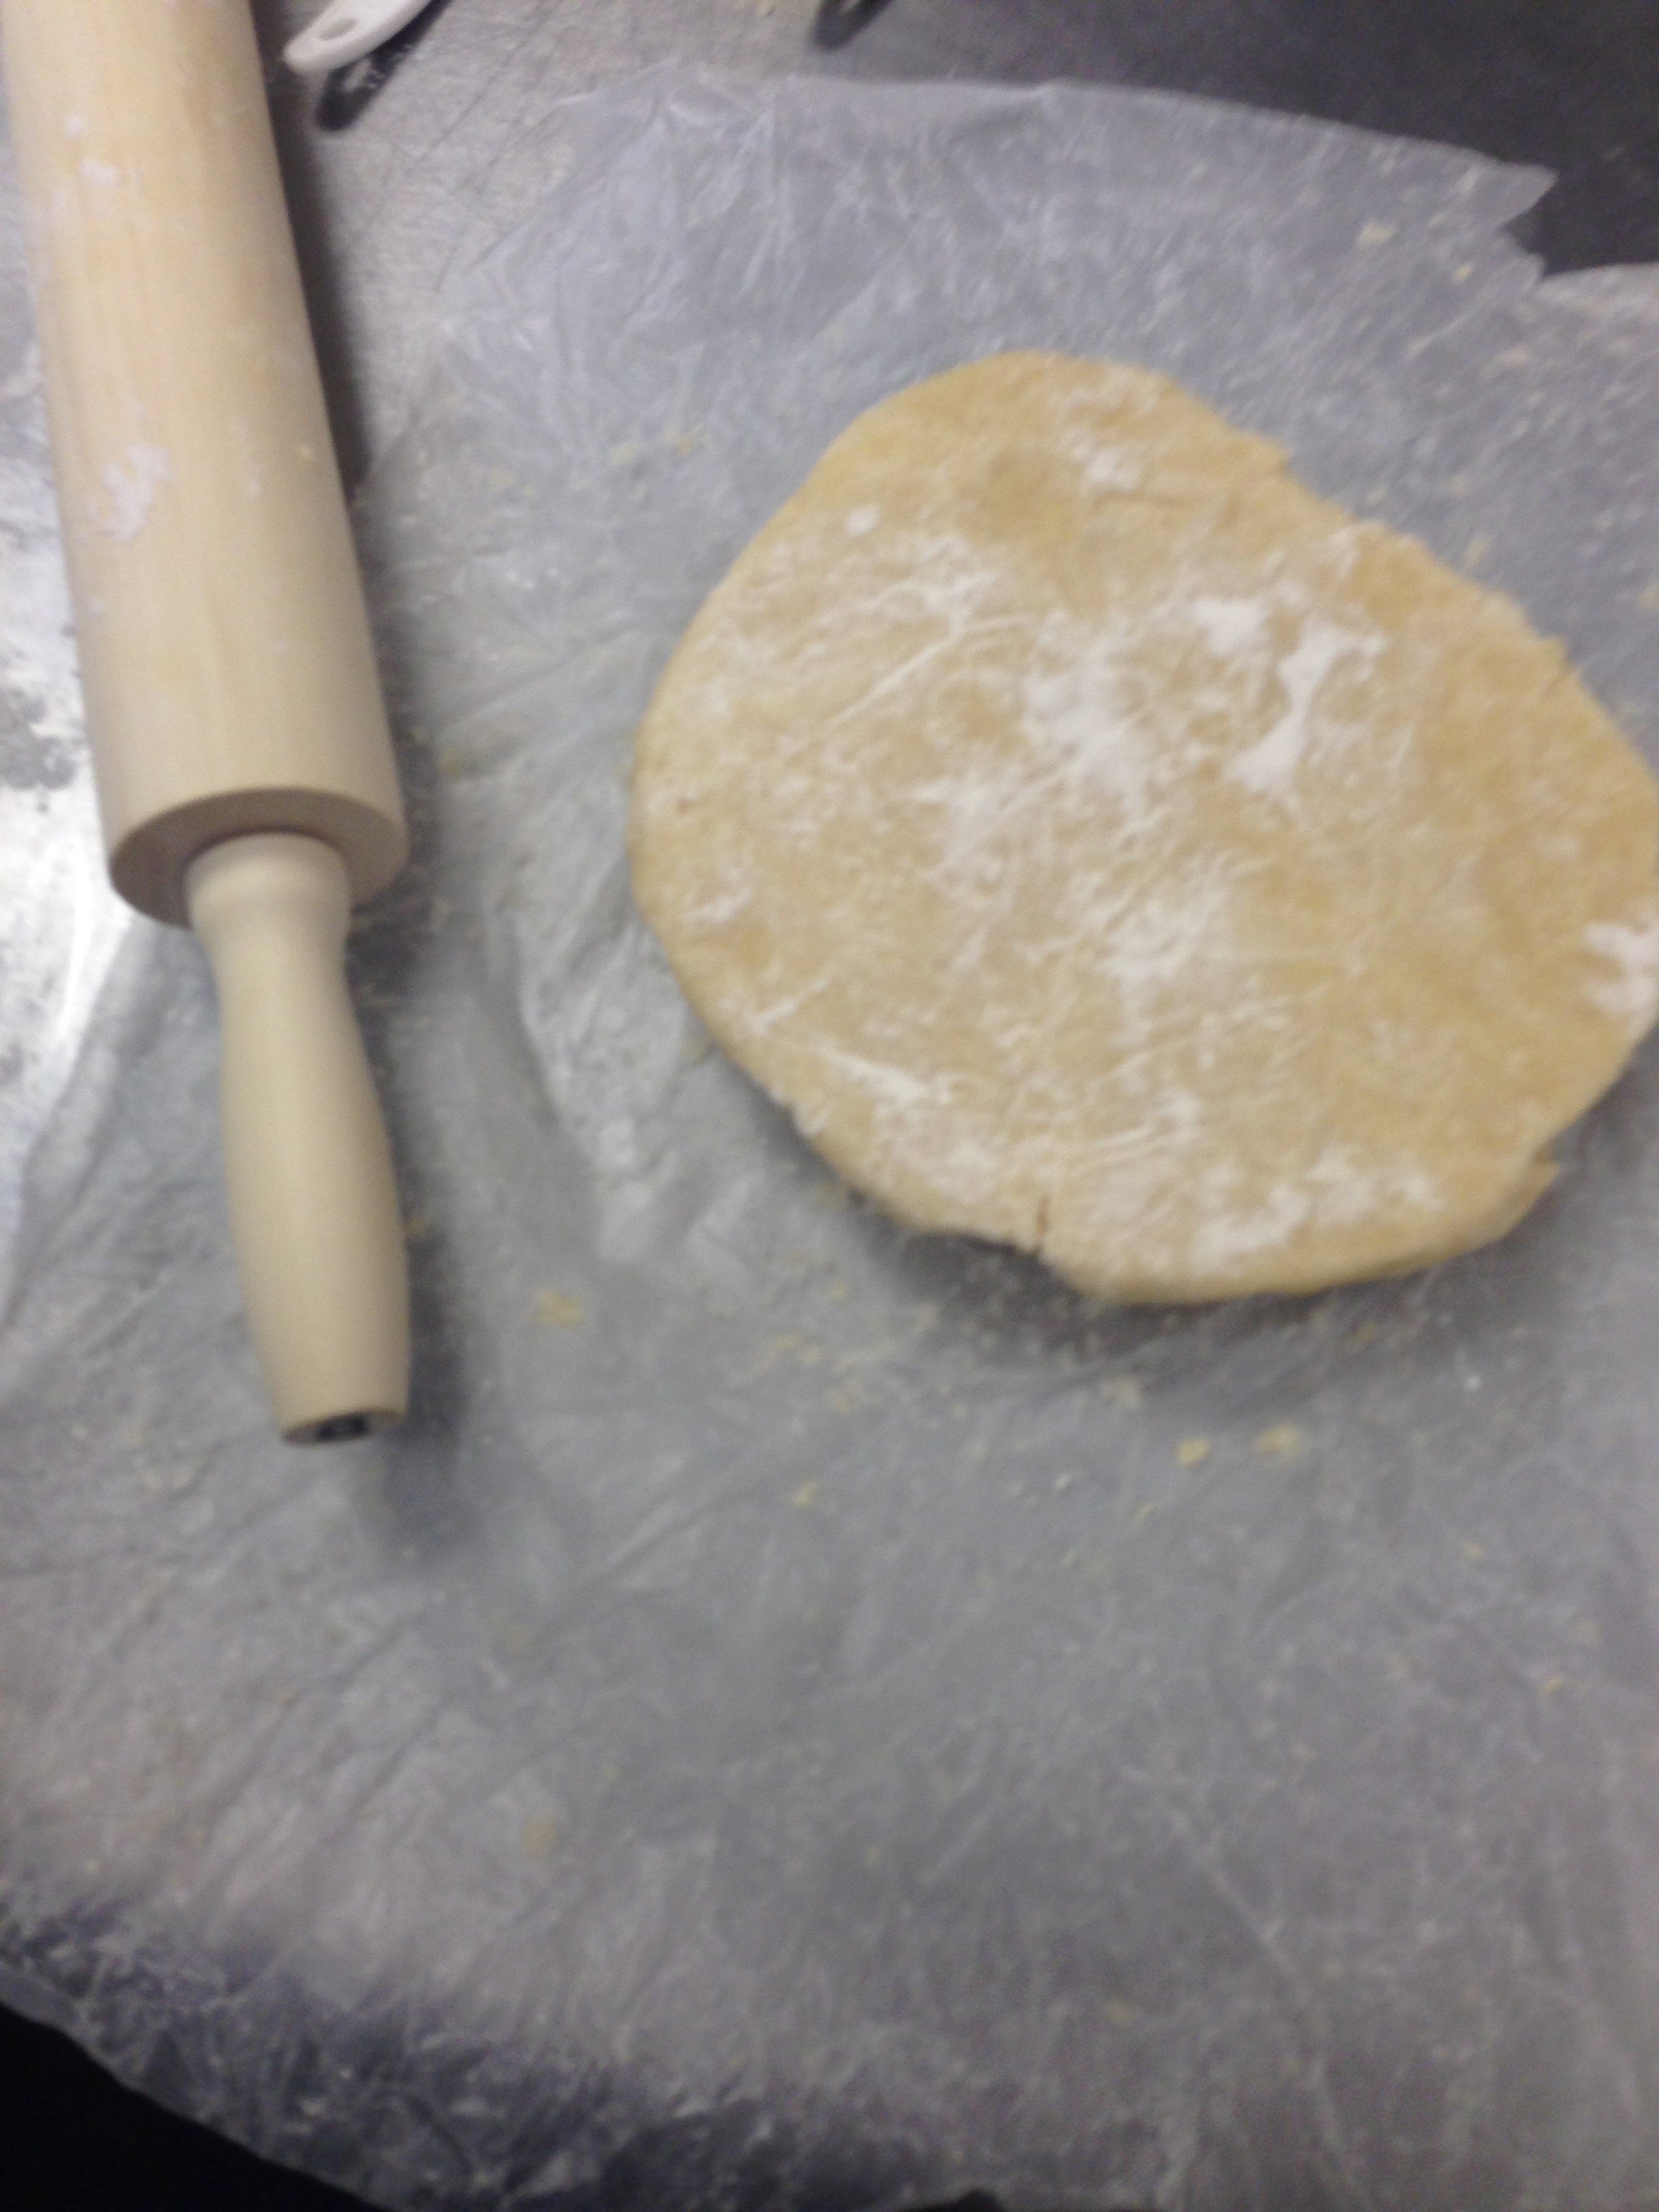
To begin, I decided to use the food processor and vodka trick that everyone was raving about for my pie crust. Previously, my dough was a little too moist, so I was looking forward to avoiding the doughy mess, and simplifying my crust-working with the processor.  Lesson of the week: shortcuts are not always so short. First of all, I had some issues with the food processor. While the dough was relatively pea-sized on top, the majority of the butter clumped at the bottom. Then, when I was working in the water/vodka, I think I overworked the dough because it was difficult to handle. Later, when I was rolling out the pastry, it kept cracking.

IMG_0988IMG_0992IMG_0993

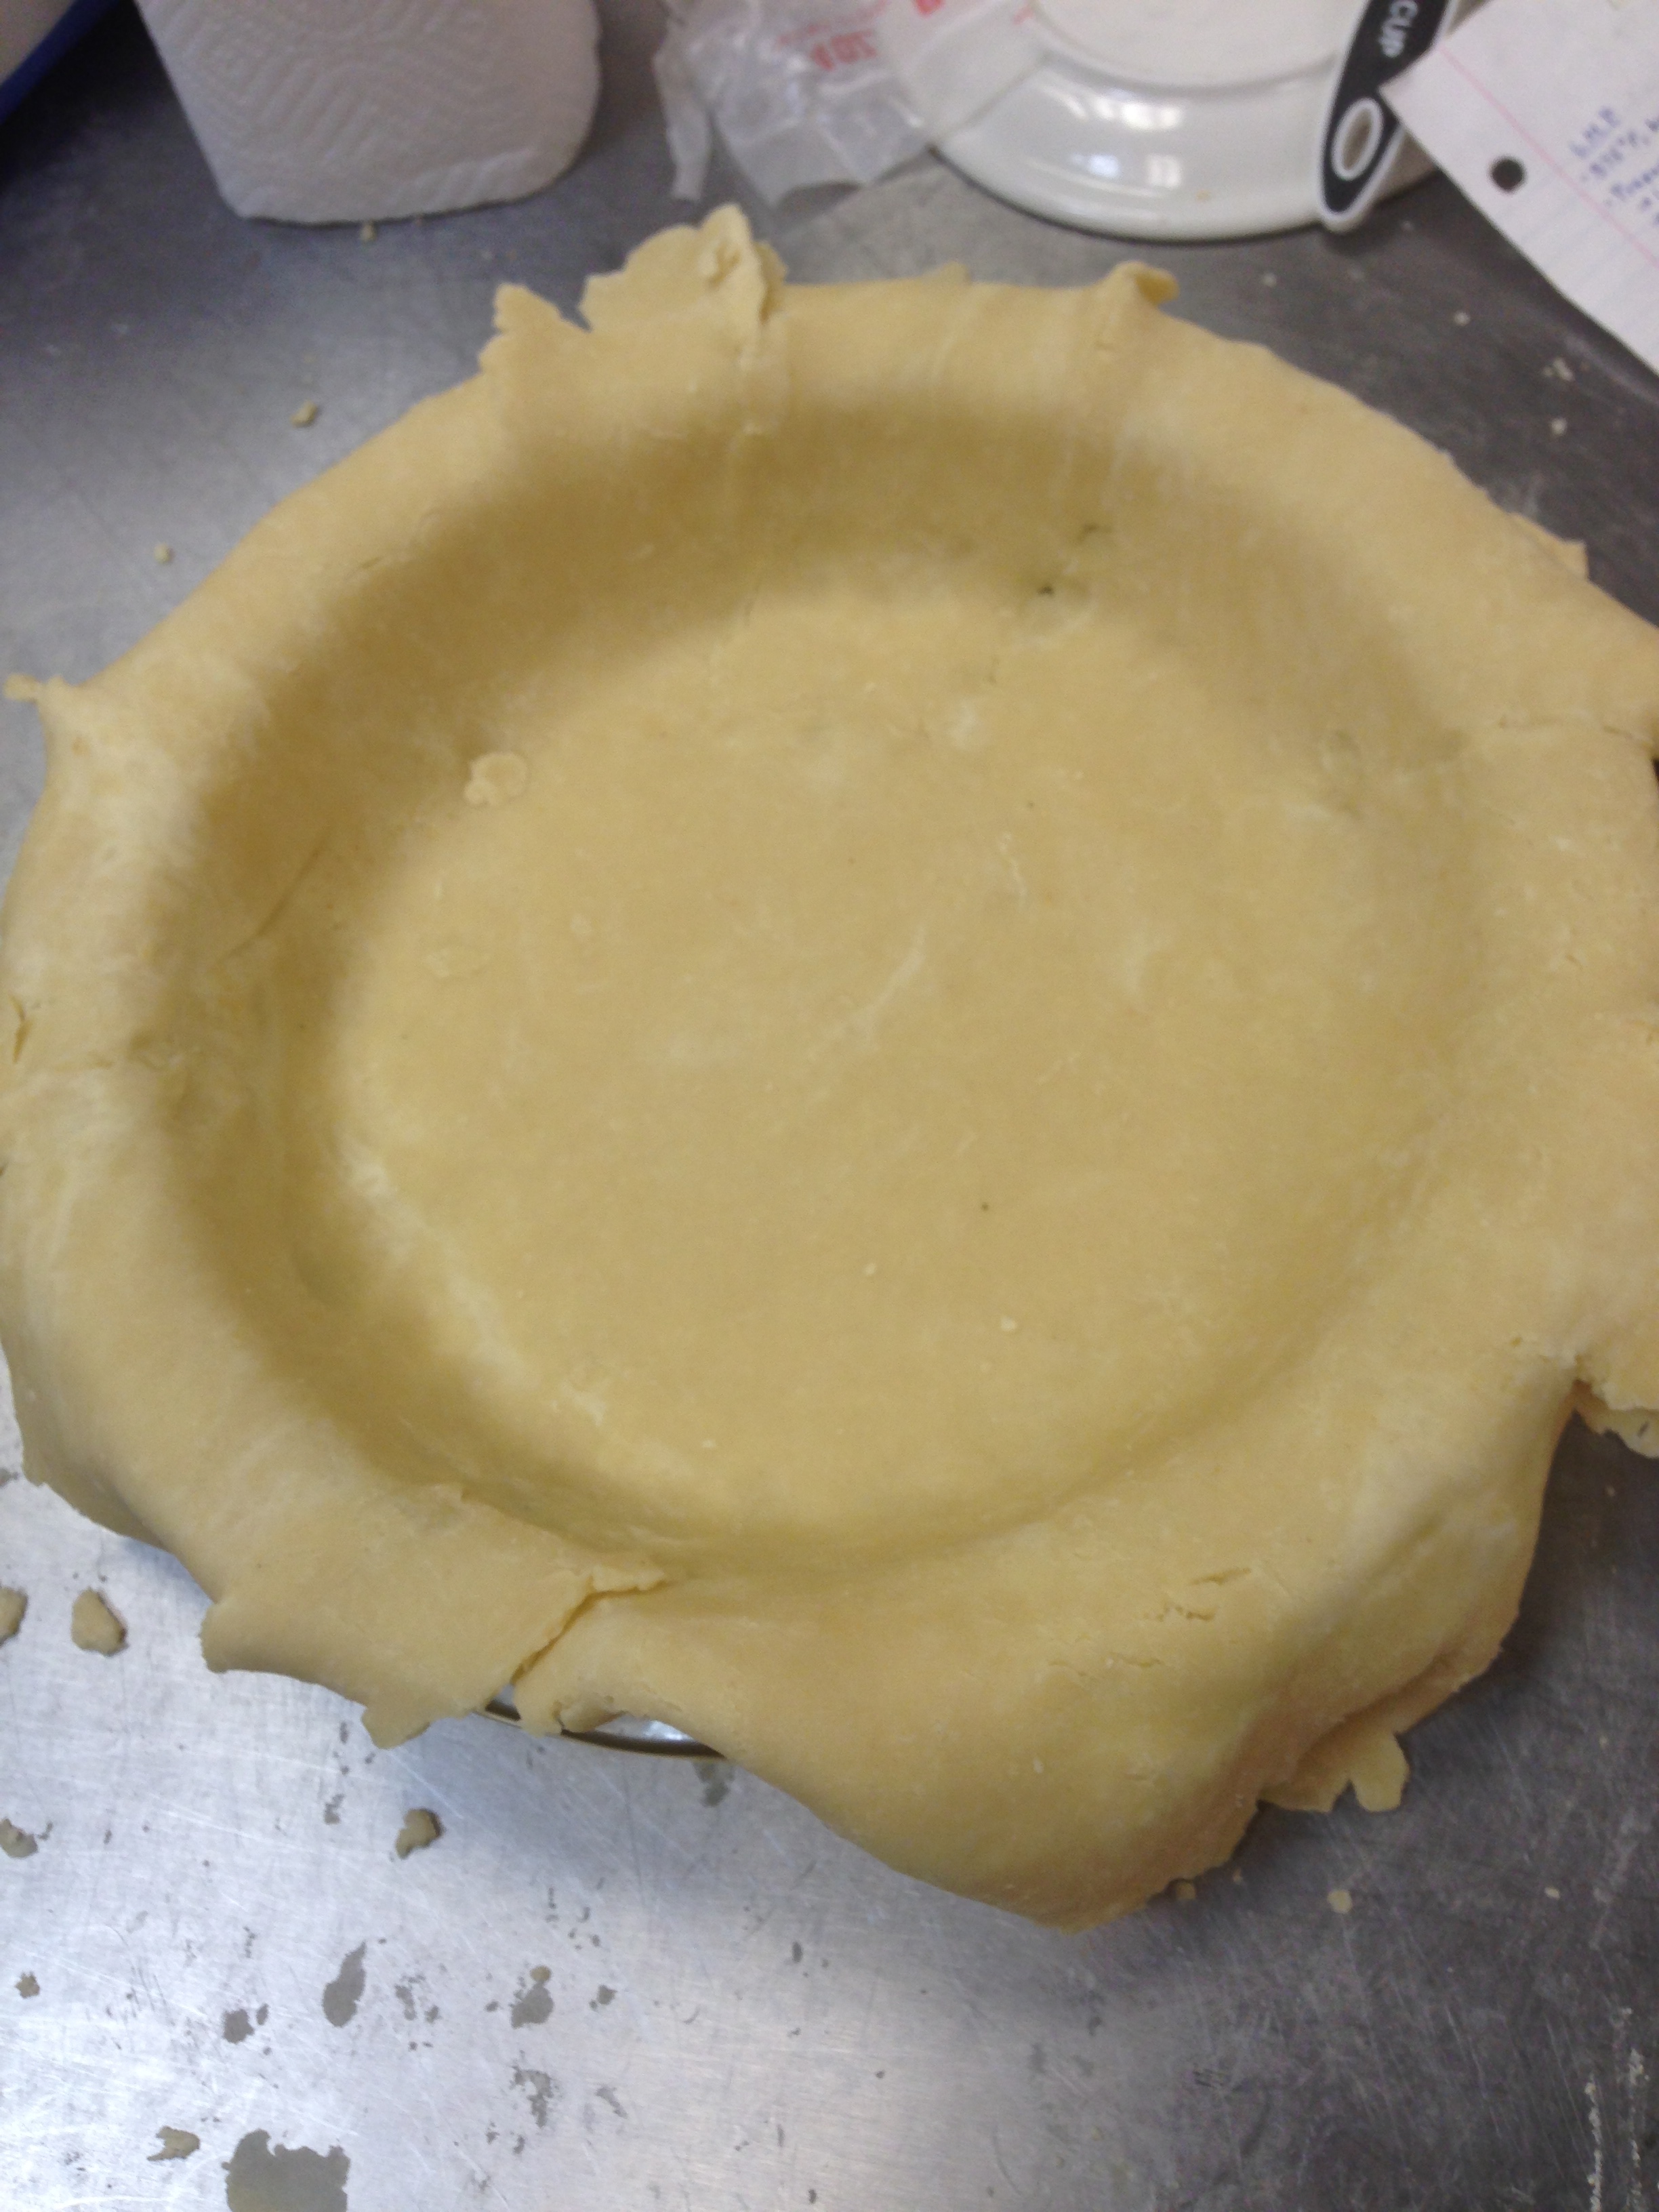
Although I knew I needed to wait for the dough to warm a bit, I was afraid of overworking it and having it end up too tough. The process of rolling and mending, rolling and mending continued until the dough was finally large enough to fit the pie plate. After cutting off the excess, I worked it together and rolled that out as well. I cut this dough into long strips and braided it together to make a pretty crust. Connecting the three braids wasn’t easy, but I finally figured I could just put some additional decorations around the connection points…in my case, stars. After all of the dough working, I was ready to shift away from the gluten and focus on the filling.

The first folly: I confused corn starch and corn syrup and mistakenly tried to boil the former with sugar–both obviously solid together in a pan.

IMG_0998

Big whoops. After starting again, I saw the results I was looking for, and I threw in the butter, pecans, vanilla, and eggs to complete the filling. Word to the wise–although the final product tasted wonderful, I advise anyone who plans on washing their dishes by hand to stay away from the corn syrup…the excess transformed in to this horrifying dried rubber meets plastic consistency all over the pan.

Finally, though, I was ready to complete the beautiful union of filling and crust. I thought I secured the delicate crust fairly well with water and egg yolk, but…well we all saw how that turned out. When I opened the oven to check on my pie, I was shocked and mortified to see the pathetic crust slumping into the filling. My braid! All of that time! All of that patience! Filled with woe, I removed the pie a tad bit earlier than the recipe suggested. As a result, my crust had more of a shortbread texture, but it was commended by many which leads me to think…blessing in disguise?…but no. Absolutely not. I would have readily sacrificed the tasty, slightly under-baked crust for even an over-crunchy, yet pretty crust.

Alas. The disaster pie was finished. Quite literally. I brought home about a piece and a half, and my friends annihilated my ugly pecan pity party with their voracity…success? You can try out the recipe and decide for yourself.


Quiche Qrave (Spinach, Artichoke, Goat Cheese, and Mushroom Quiche!)

IMG_0936 IMG_0945 IMG_0934IMG_0933 IMG_0941 IMG_0946 IMG_0947 IMG_0948 IMG_0950 IMG_0952

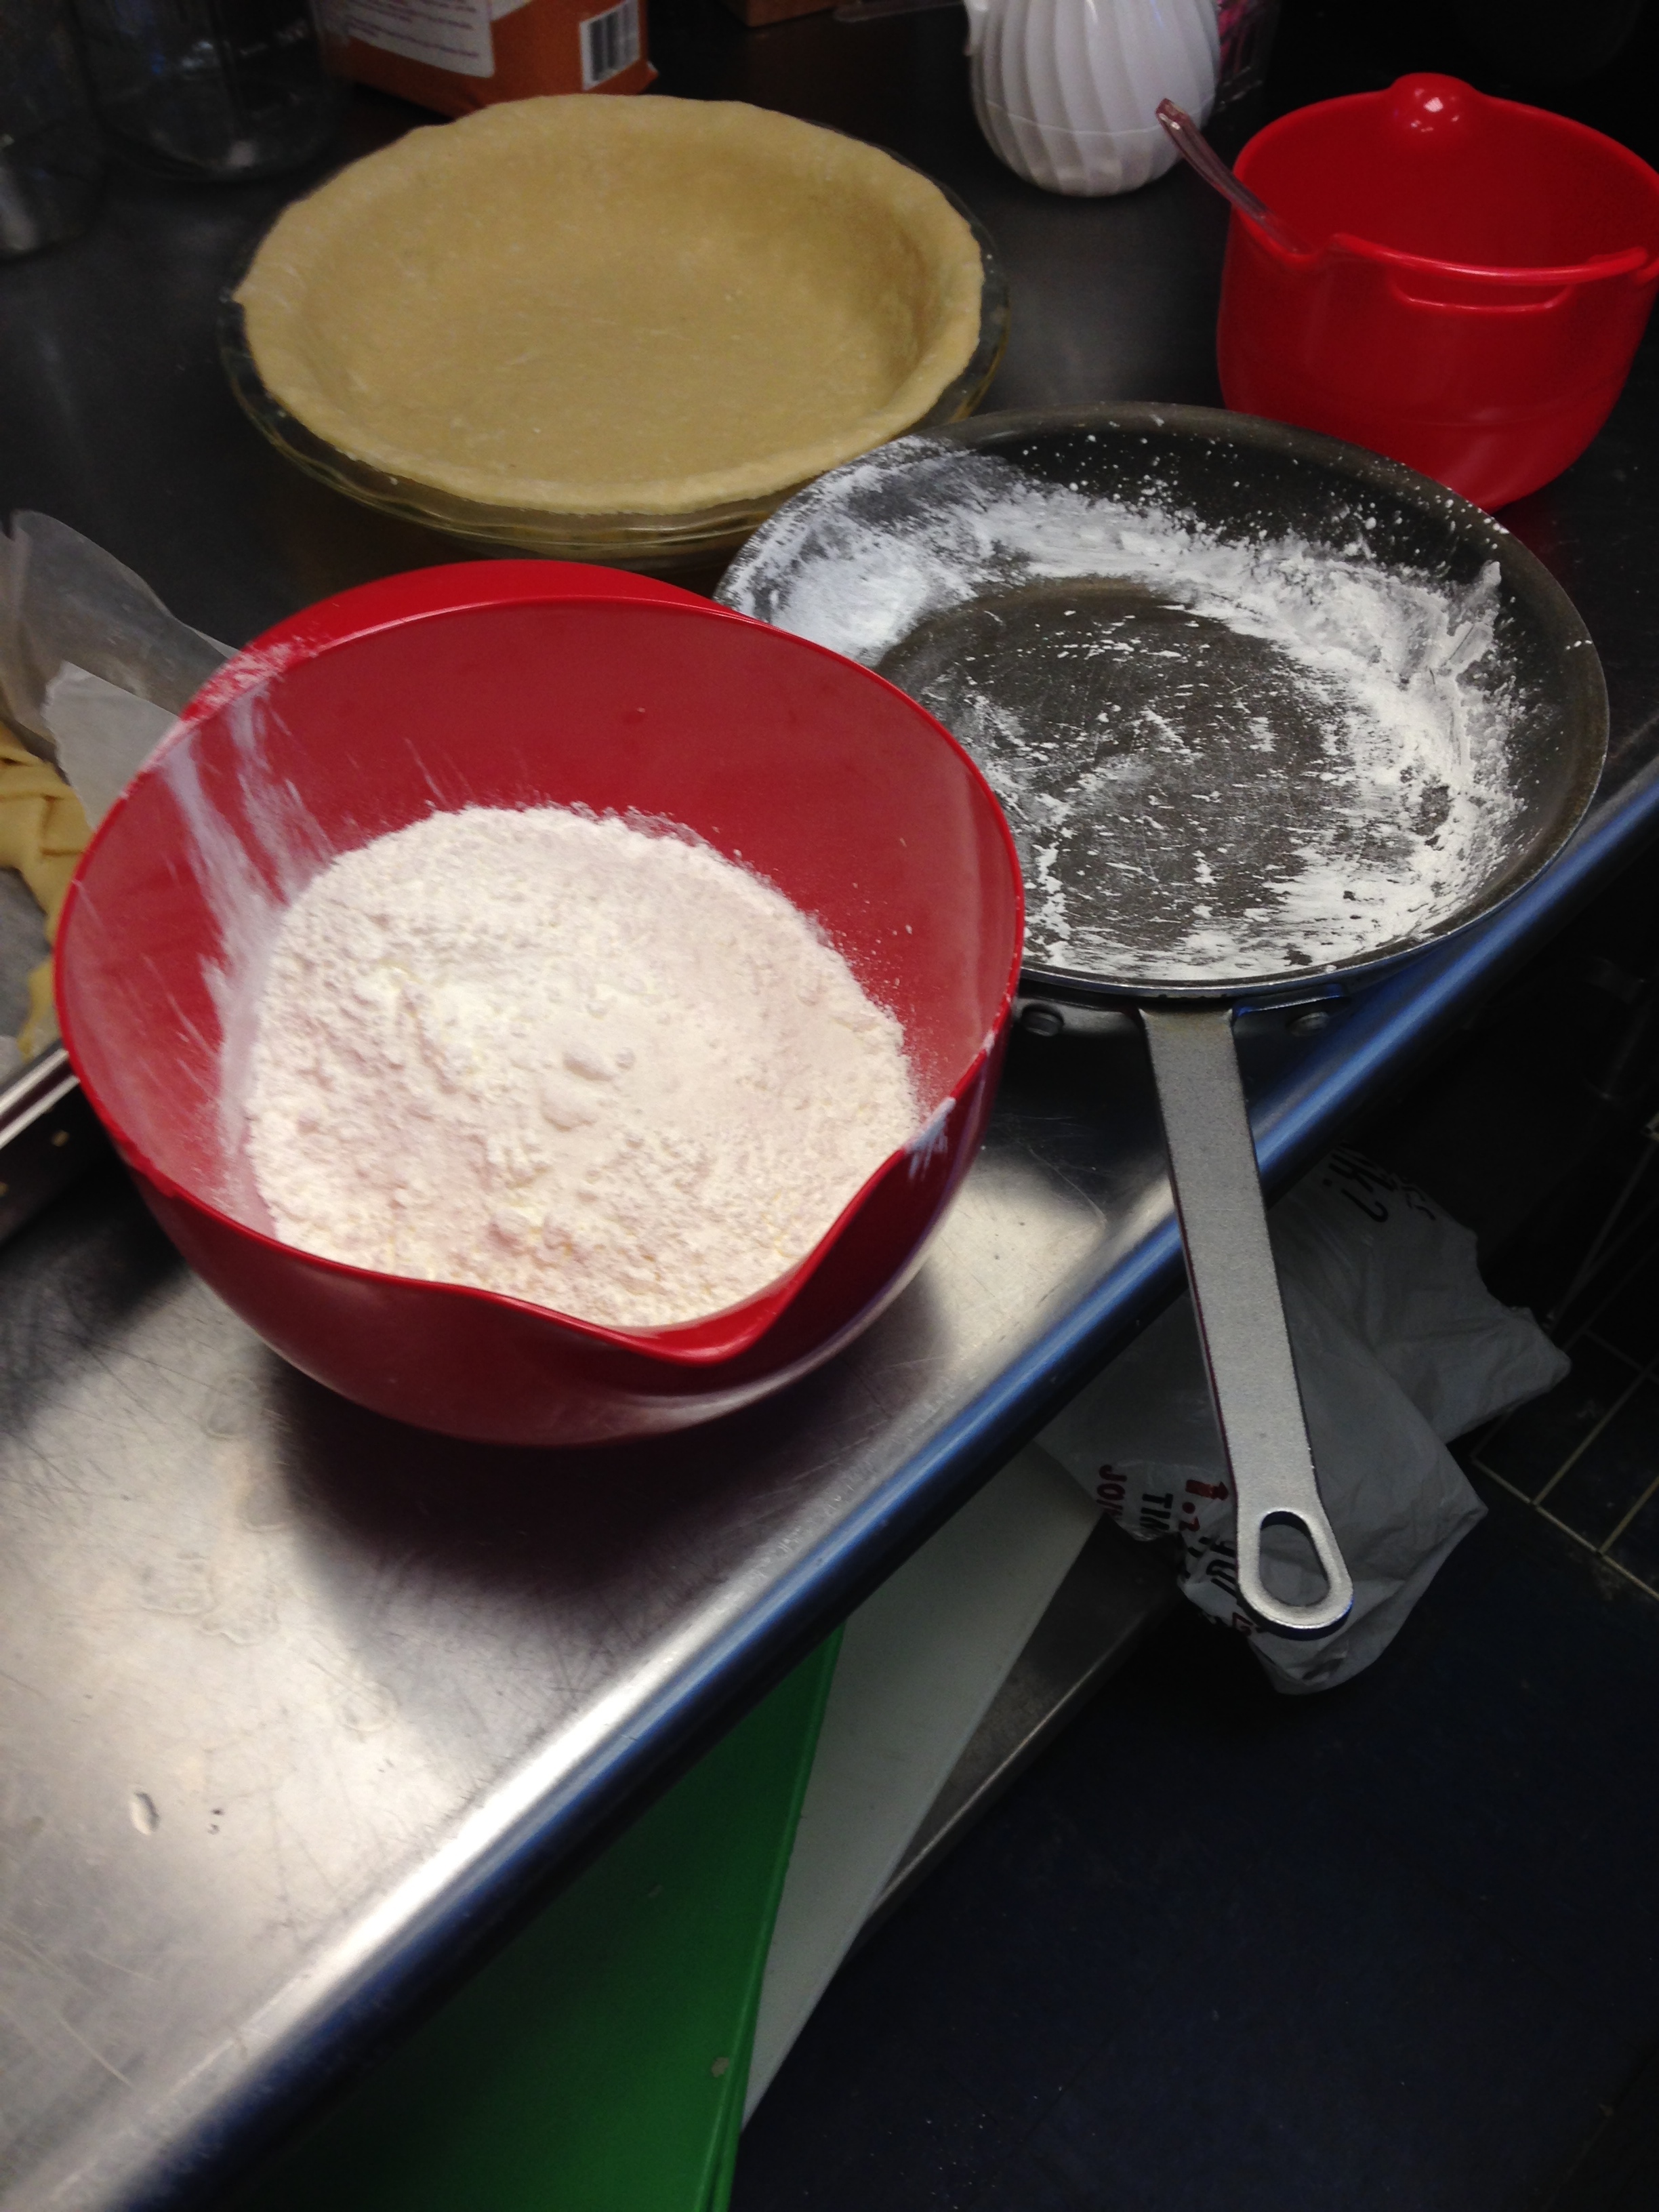
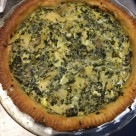
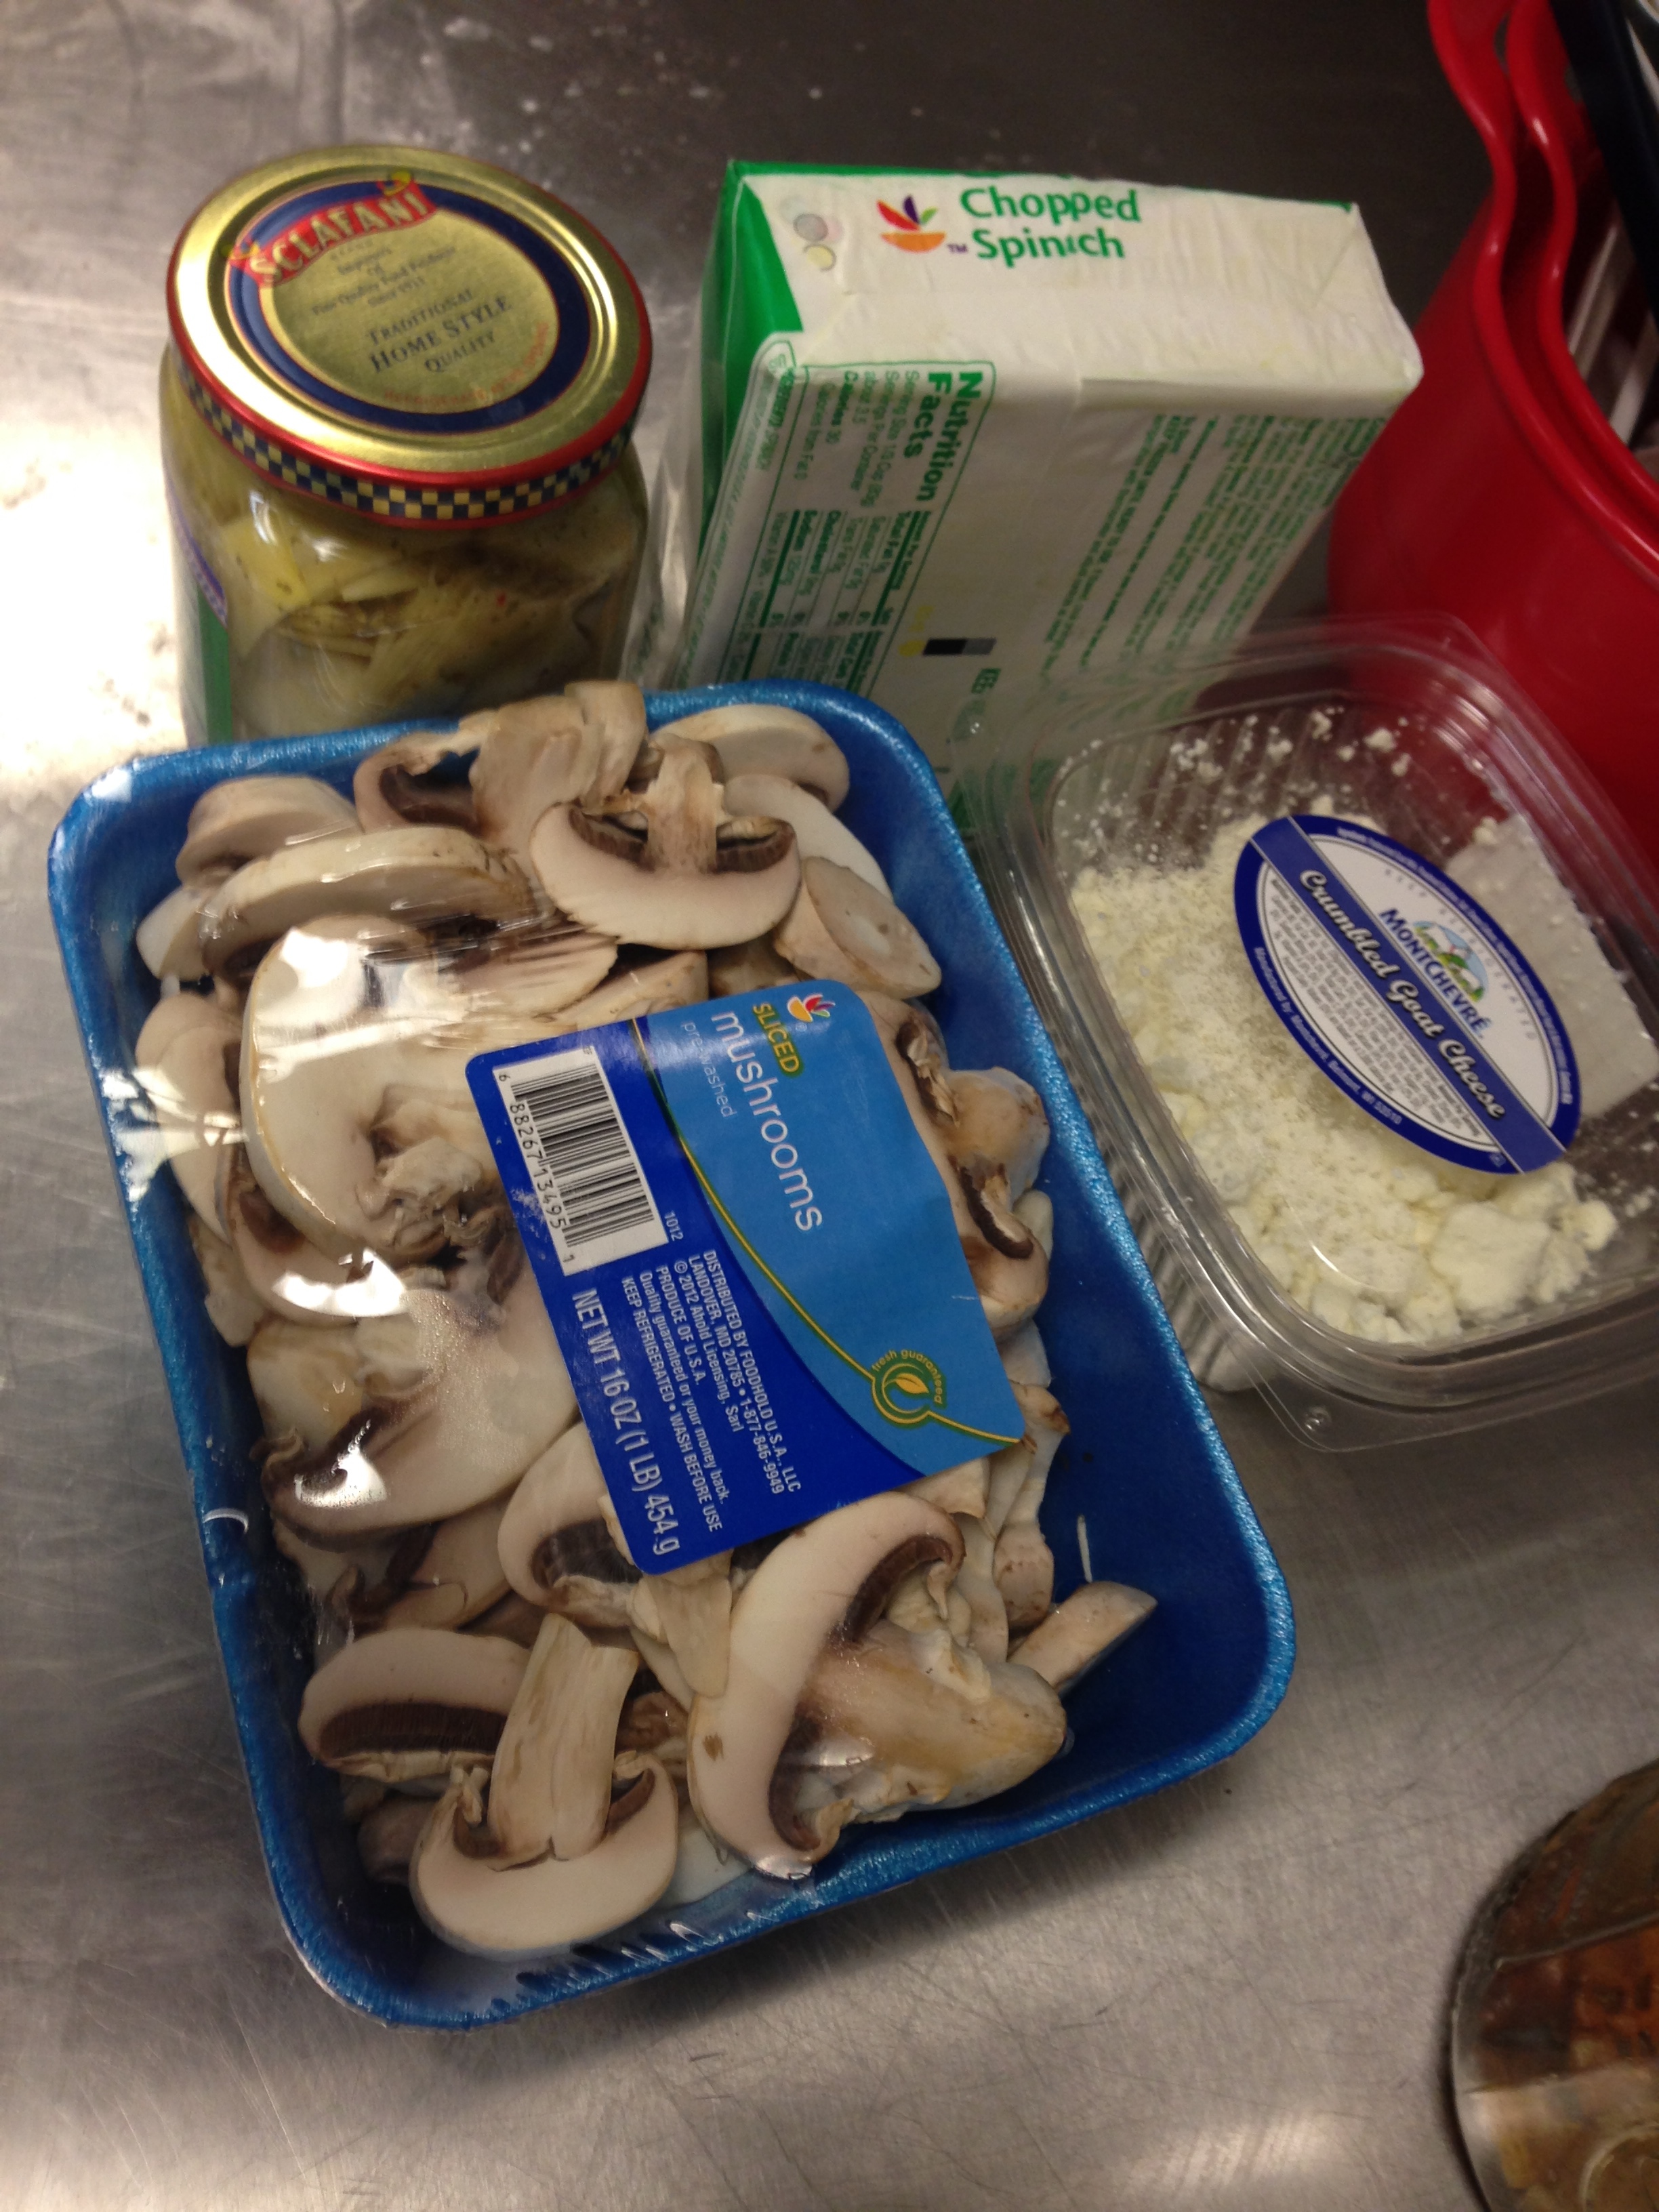
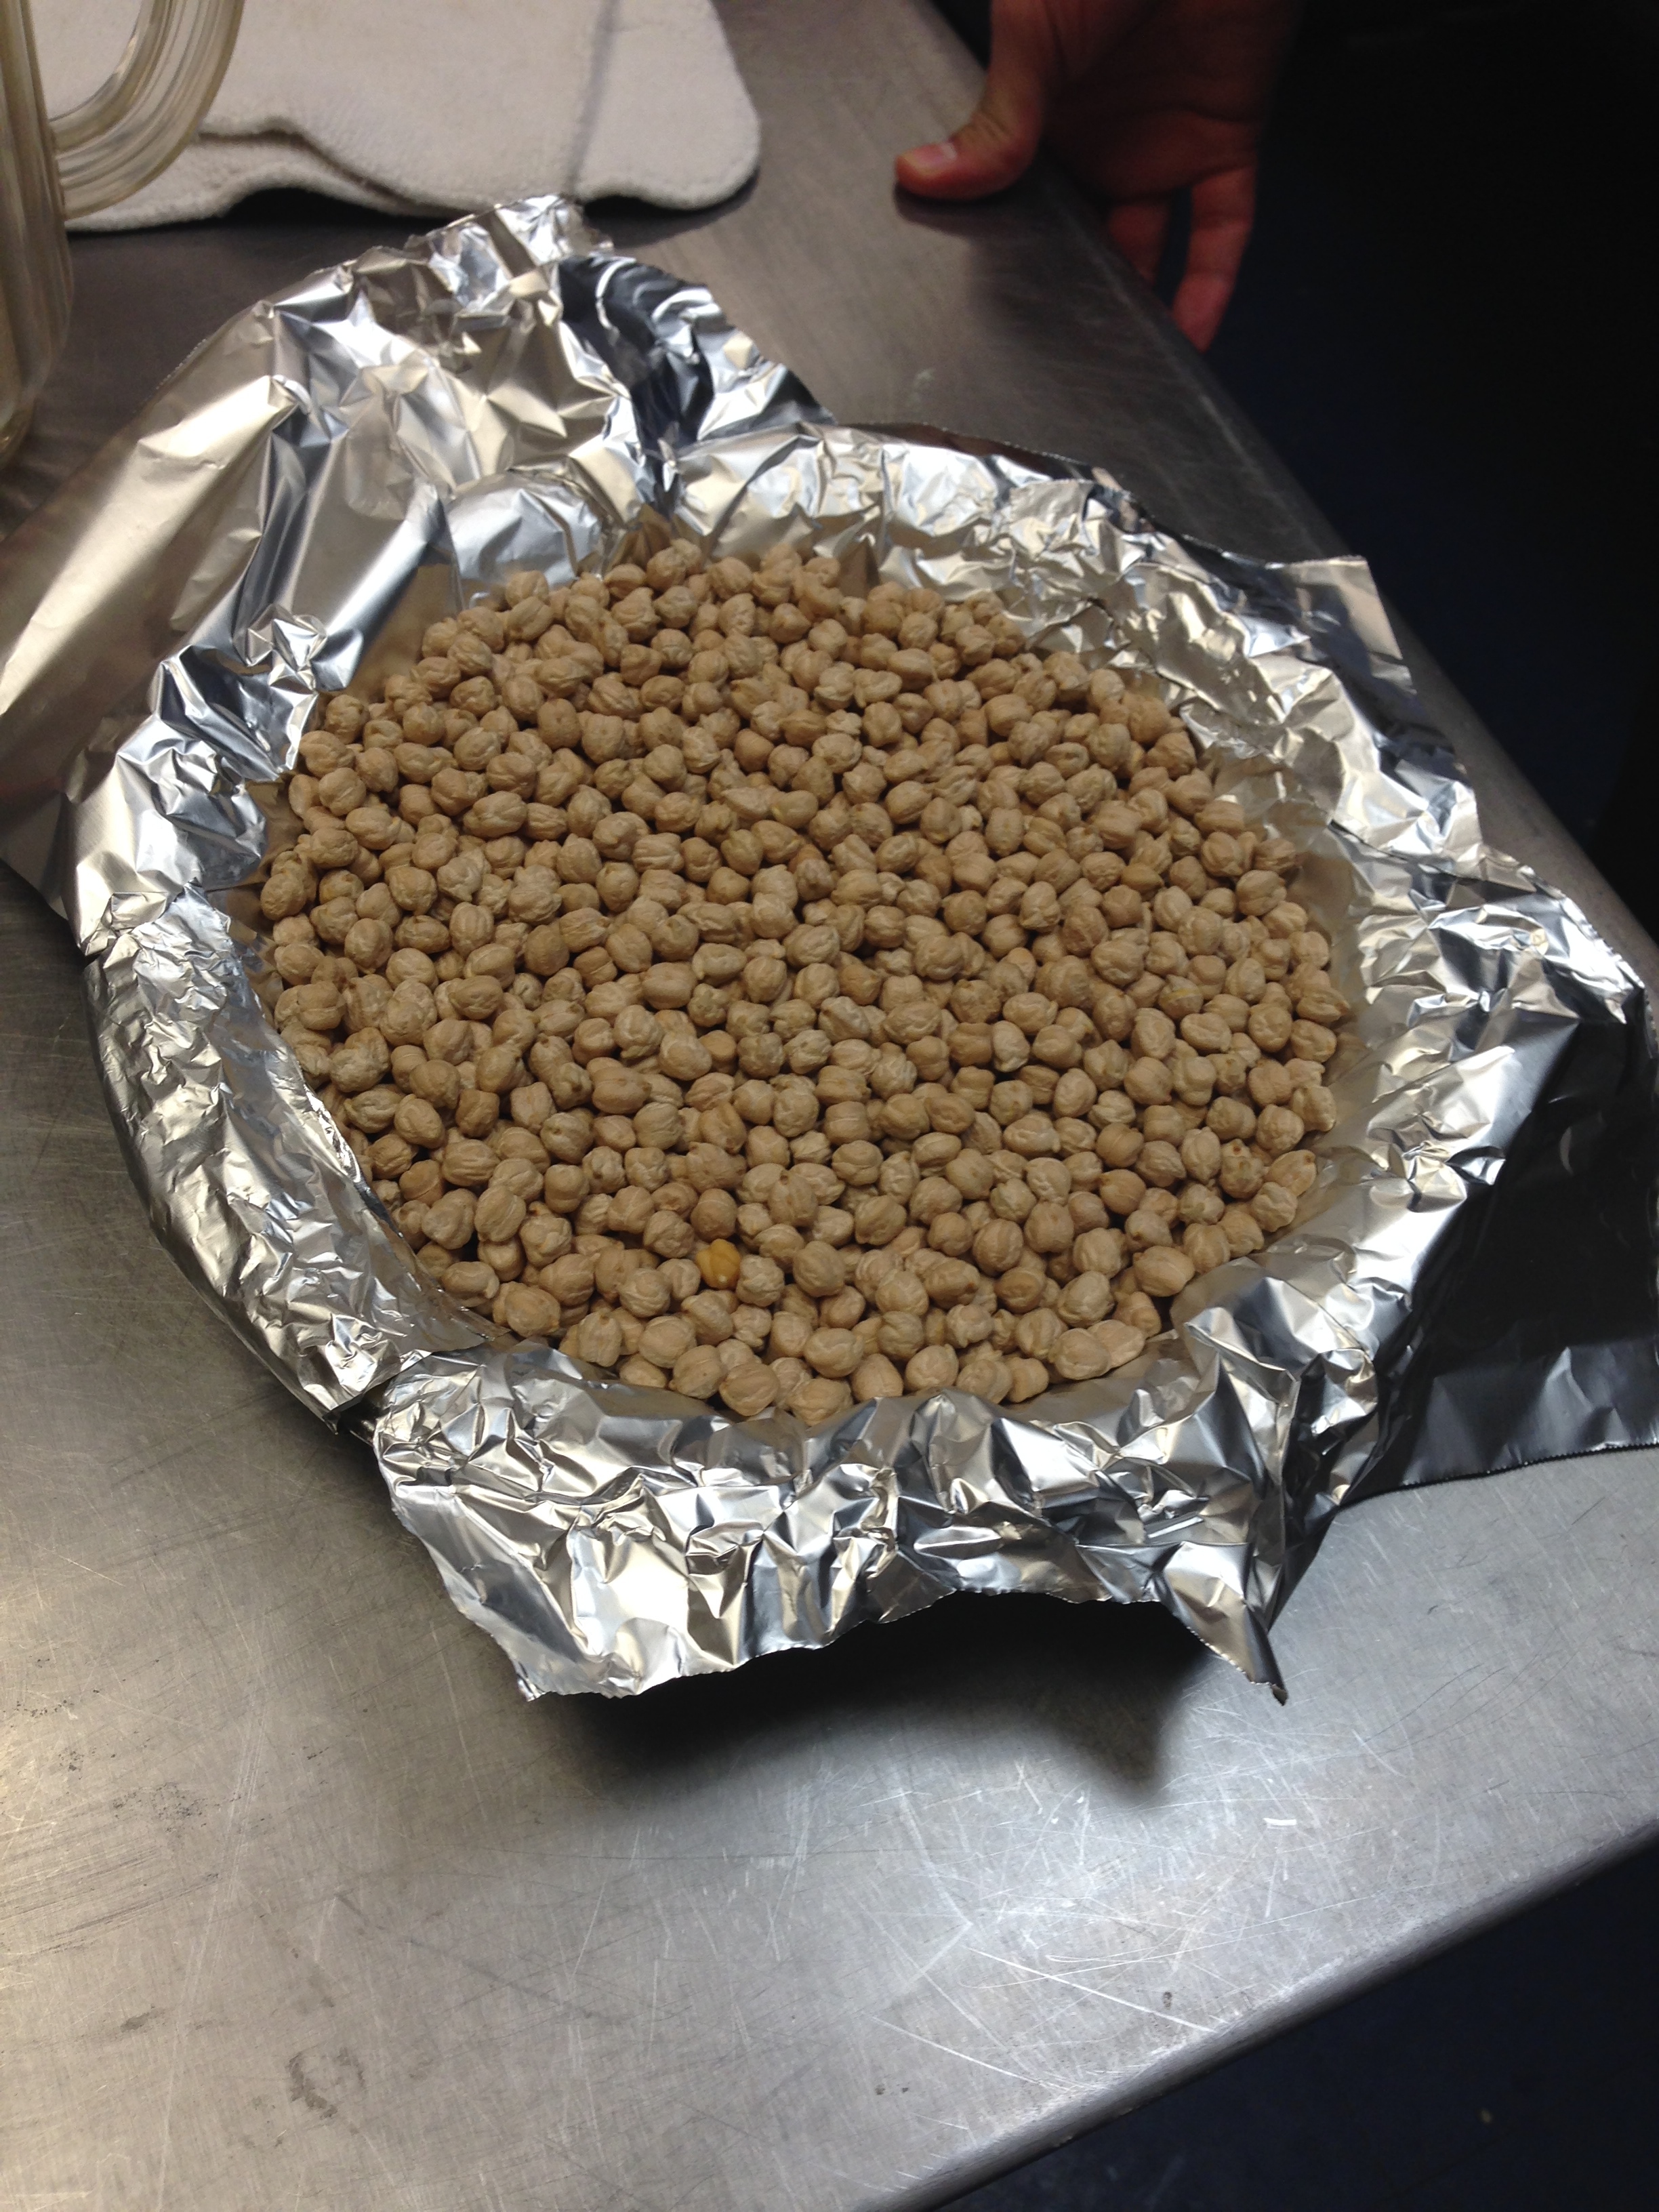
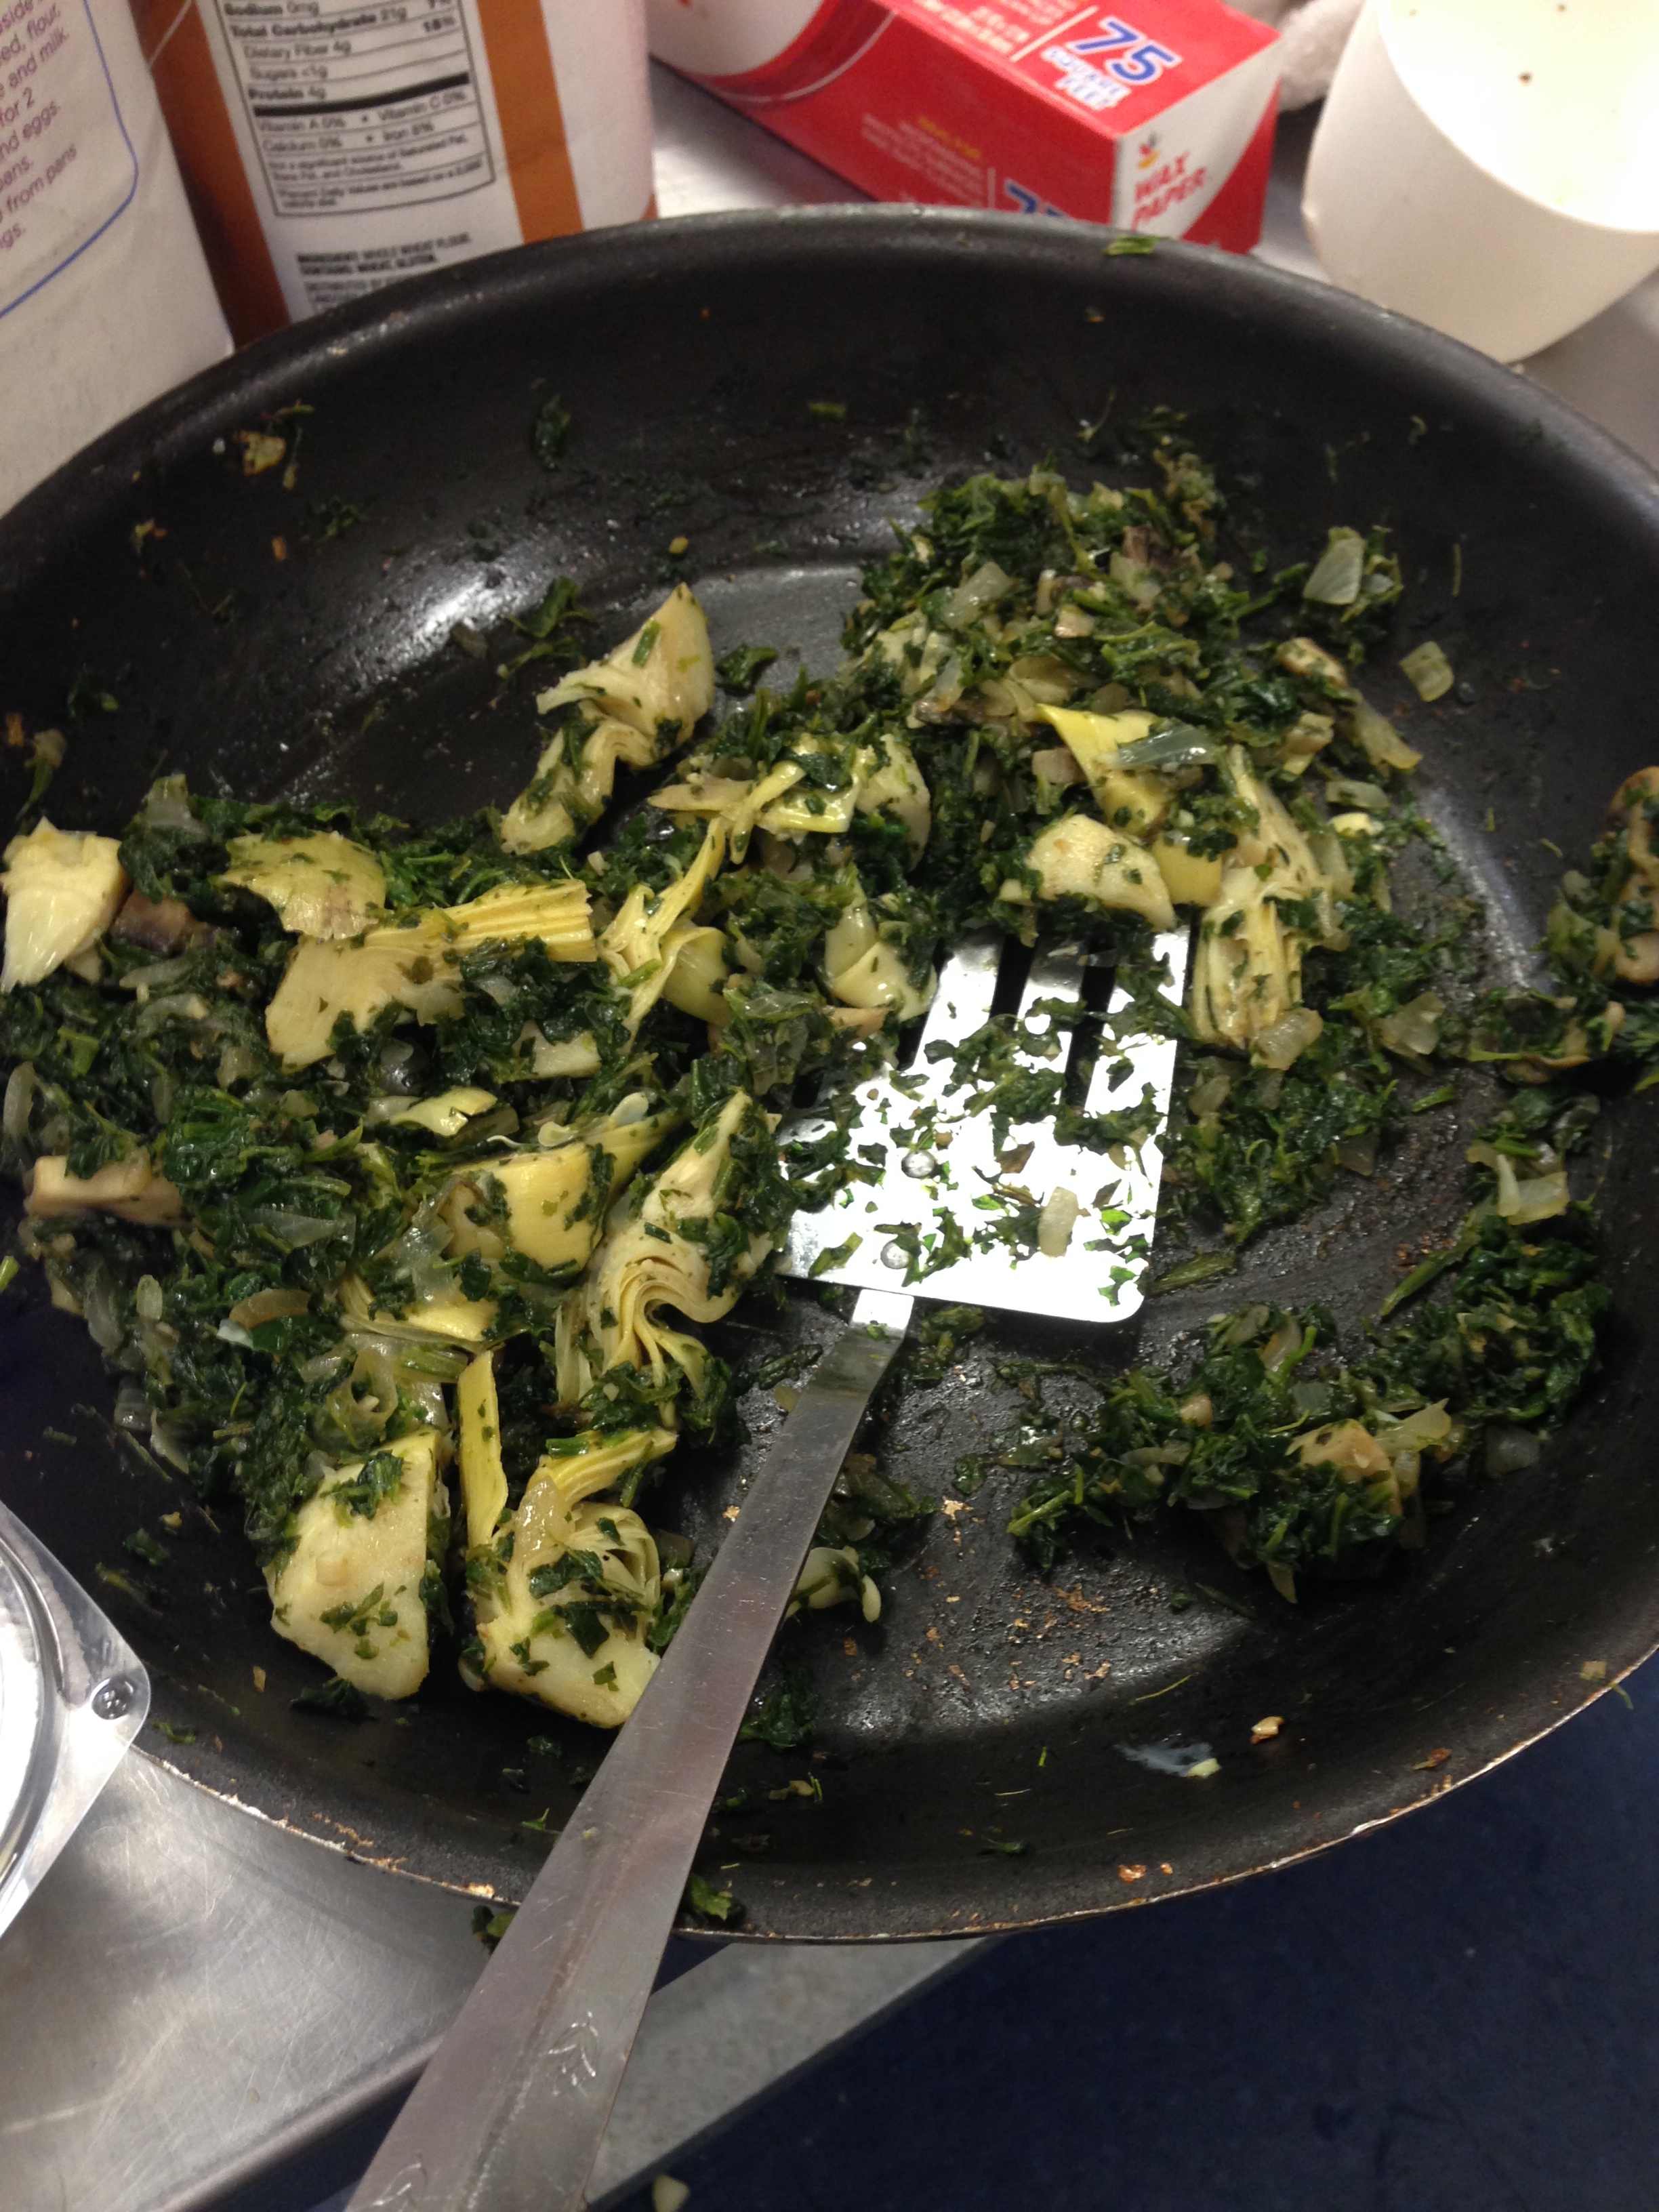
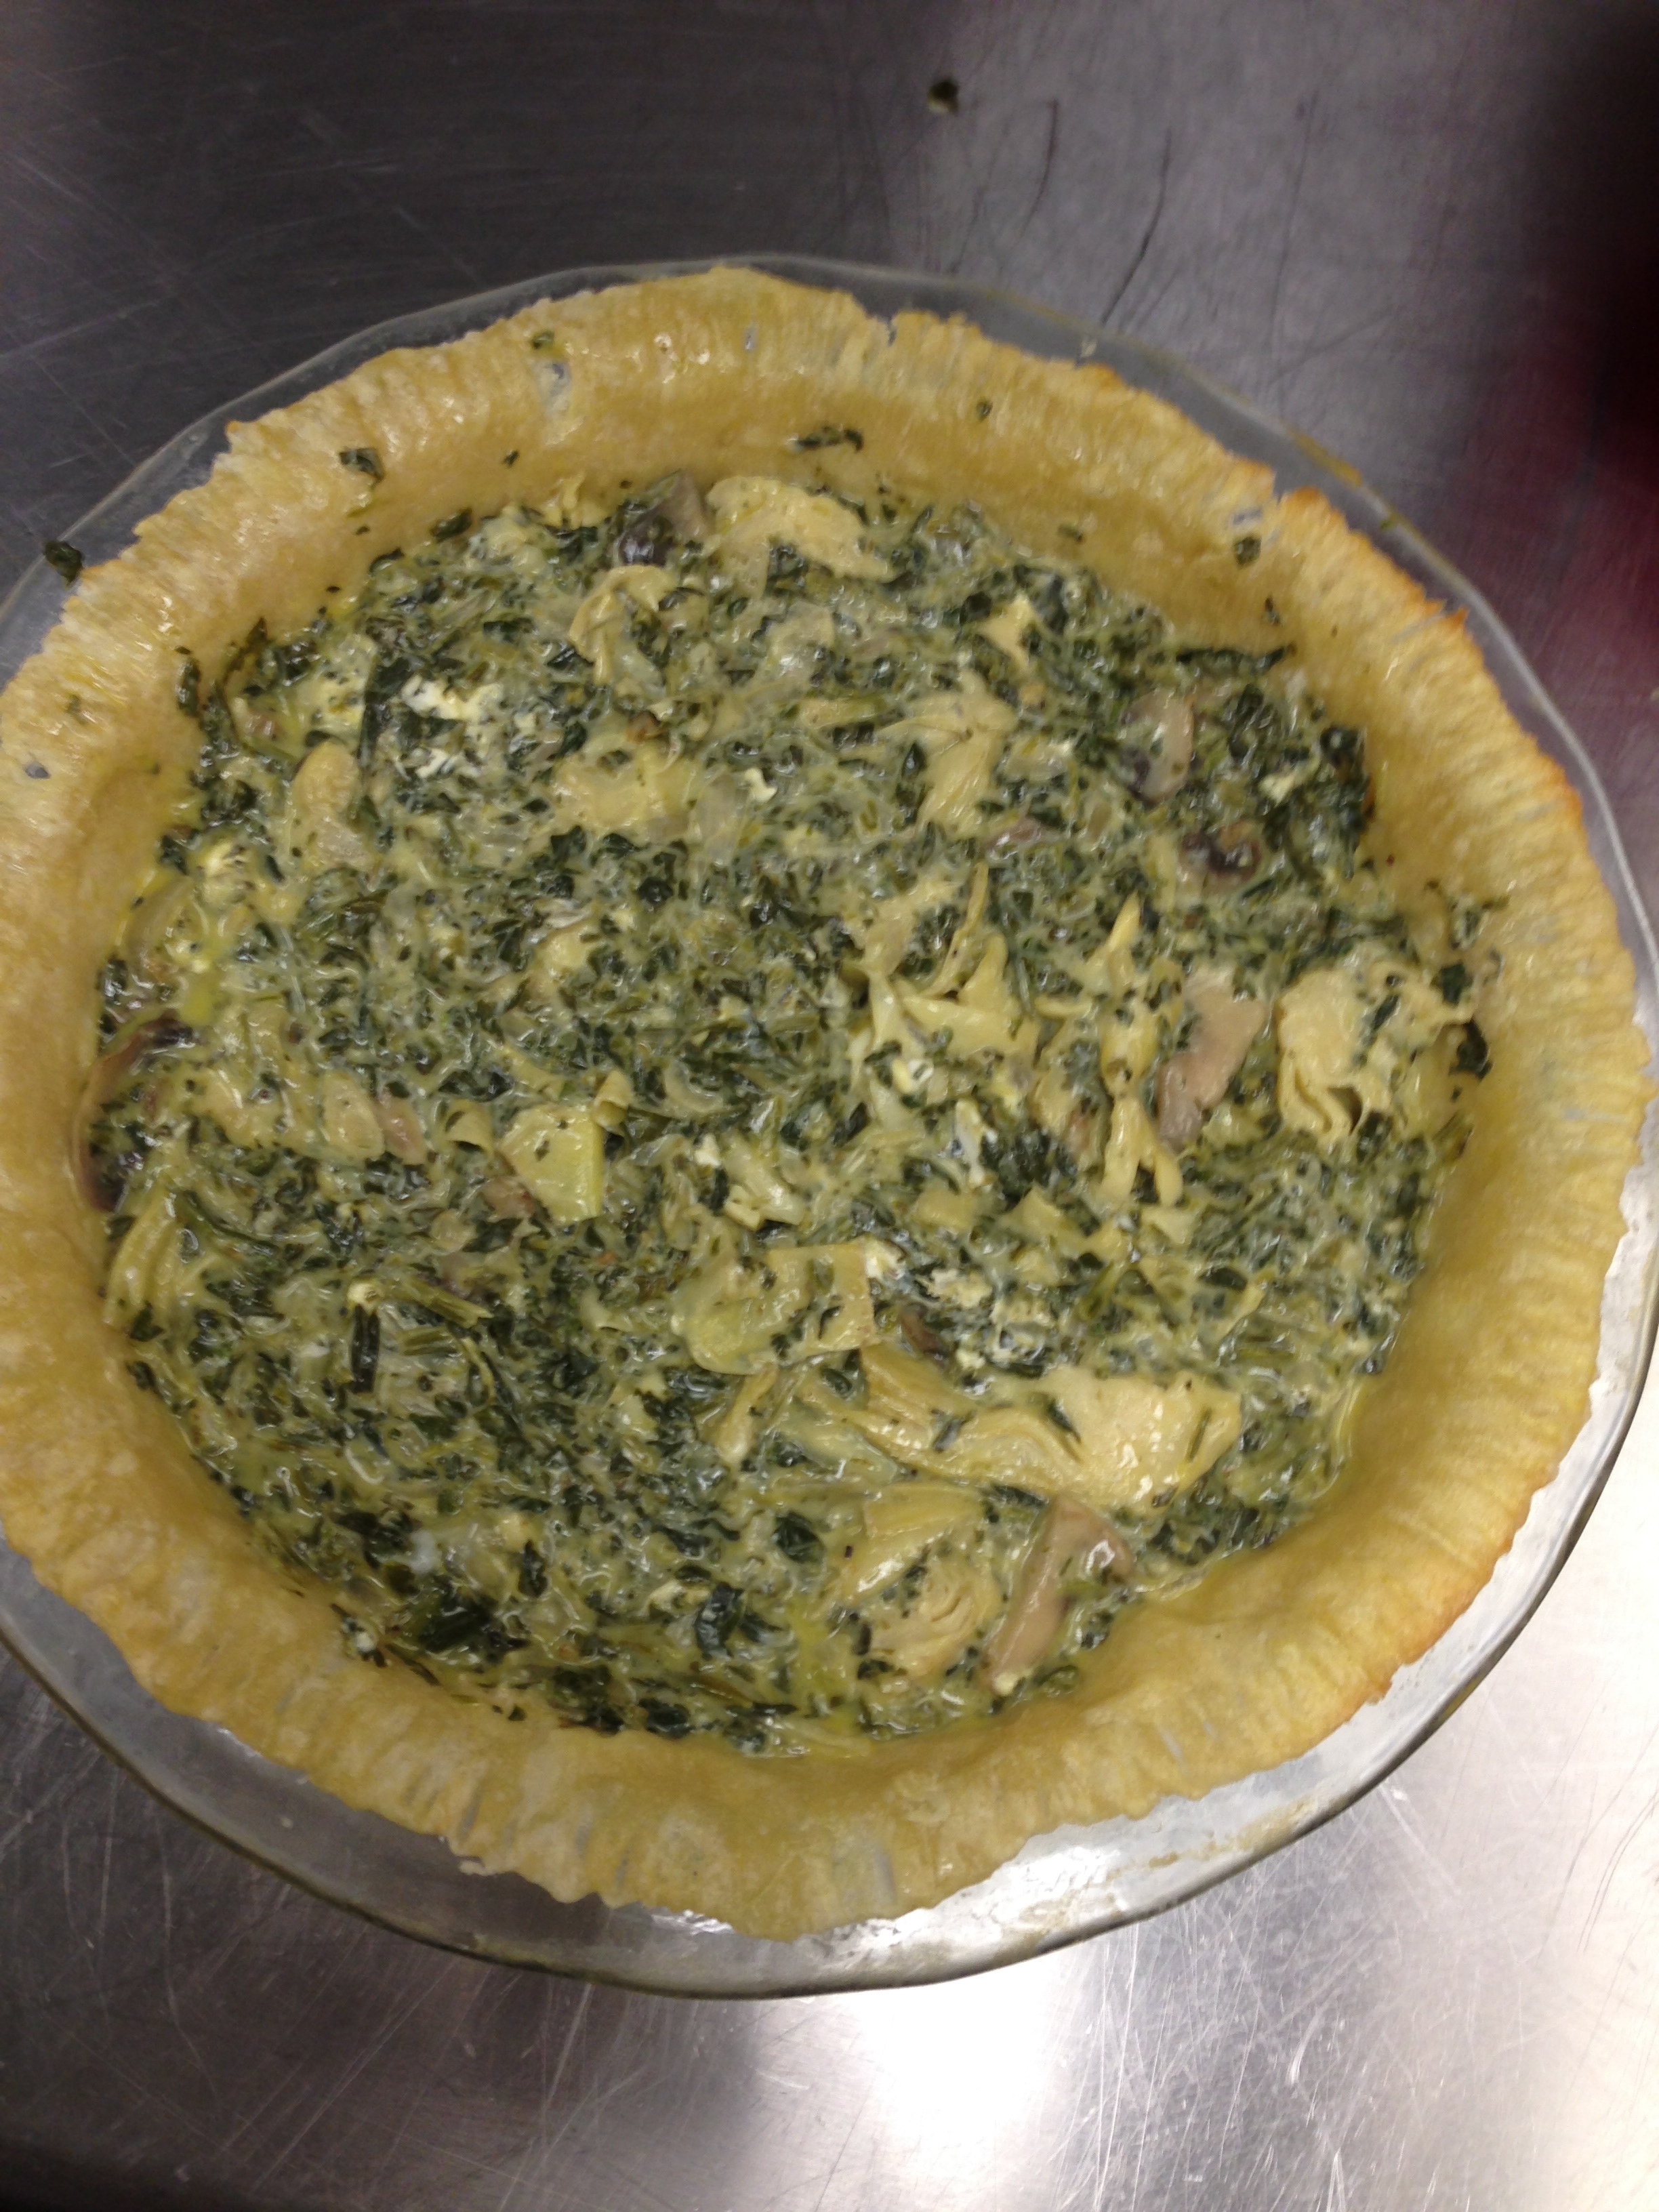
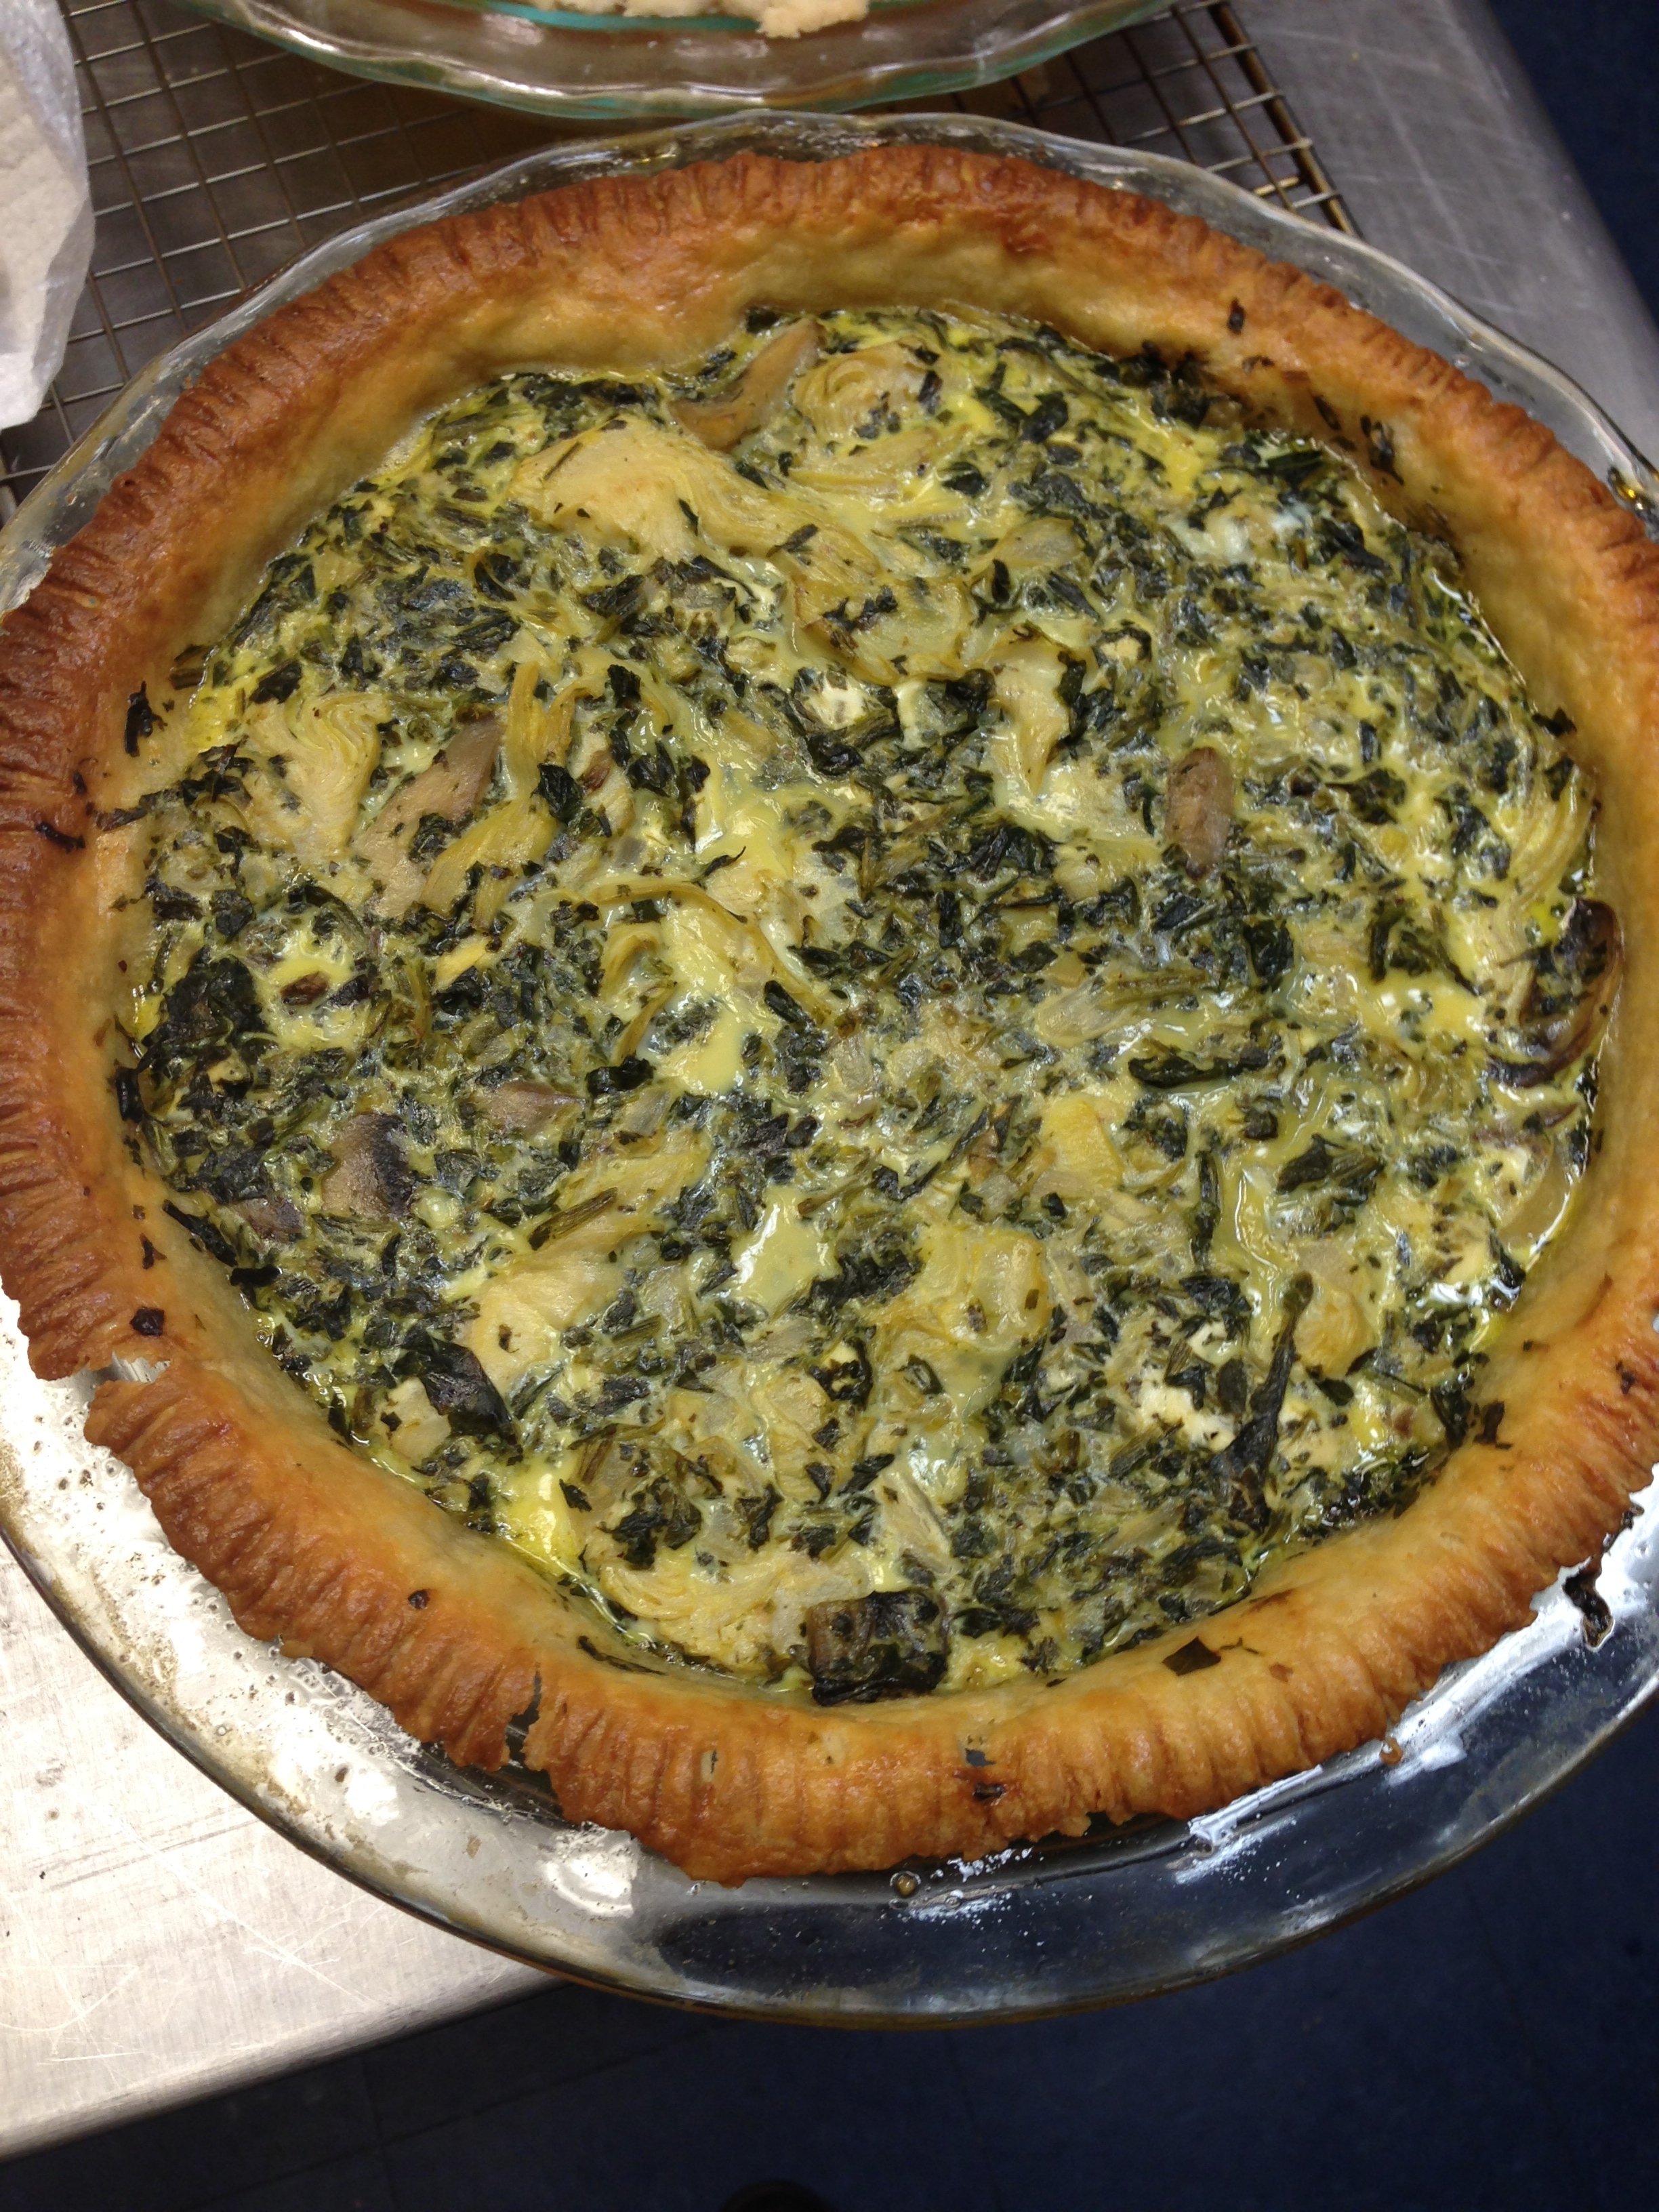
Although I’m a little late to the blogging scene, I figured I start out at the beginning… After a perilous stretch in the airport (nearly a week of full days, although I sleep at home), I arrived on campus, recuperated for a few days and walked in class on Monday, January 13, ready to get to work. David quickly brought me up to speed with Pastry Dough 101, and that day I made my first successful pastry dough. I say successful because I was able to form it to the pan with very little angst (little did I know the horrors that would befall me in the upcoming week). However, my pastry was a little too moist and had the consistency close to cookie dough. Needless to say, I was pleasantly shocked at the workable dough a solid amount of chilling time could produce. The smooth sailing continued on through pre-baking, and before I knew it, I had a lovely crust in my pie dish. Next came the filling. My idea for a filling sprung from a craving I was experiencing that Monday afternoon. After a bit of Internet surfing, Qraving Quiche (if one can forgive the lousy forced alliteration) was born. It was a delightful combination of spinach, artichoke, mushroom, onion, goat cheese, and egg that came together quickly and simply. All I did sauté the ingredients, mix them together directly in the pie, bake it all for the exact time listed on the recipe and voilá: a beautiful pie complete. My first pie was an overwhelming victory in my book; it was almost completely finished by the end of tasting (and the last piece served as a super midnight snack). Although some may consider my quiche a cheating spin off the traditional double crust creation, I like to think that I was easing myself into the kitchen, rather than diving headfirst into the treacherous waters of potentially fallen crusts and confidence. Week 1 (but actually 2): success.

Fig Goat Cheese Tart

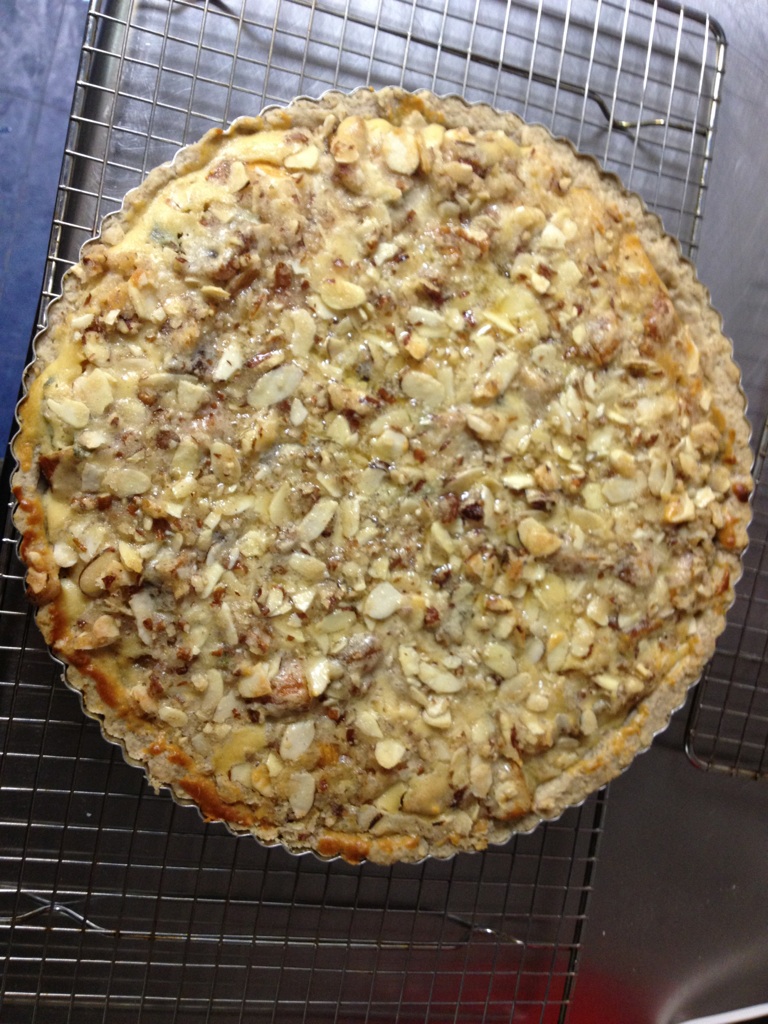
I have been super into figs recently, and I love cheese, so I decided this would be a perfect pie for me to try.  I decided for a little umph I’d put some nuts into the crust since the topping called for nuts..  Unfortunately, I combined the recipe for the nutty pie crust and the one for the vodka trick, which called for significantly more shortening.  By the time I added the liquid, it was much too wet to be able to roll out, so I decided to make a push-in  tart instead. I’m not totally sure what went wrong with the pastry, but I hope it still tastes good.

I followed the recipe pretty much exactly except with the dried figs, I reconstituted them by pouring boiling water over them and letting them in a bowl for fifteen minutes.  We also didn’t have enough almond slices for the topping, so I ended up putting some pecans in there as well.  I think the topping is sort of interesting because it’s not quite a crumb but it’s made with all crumb-like ingredients with the exception of the slices for little pieces. I also find this pie interesting because it obviously has a lot of sweet components (such as the topping) but also has the basil, so it’s clearly not supposed to be completely dessert-y.  I’ll be interested in seeing how all the flavors come together.

Doing the tart made me slightly confused on the decorative piece. How was I going to do decorations with a tart? I decided to try to lay out the figs in a way that would be decorative.

IMG_5134-2

But by the time the cheese batter was poured on top and the crumb added, it was hard to see the attempt at some special lay-out…

IMG_9252-2

We’ll see how it tastes tomorrow!

IMG_1326-1

http://alwayswithbutter.blogspot.com/2011/11/fig-goat-cheese-pie-with-basil.html

Possible Decorations

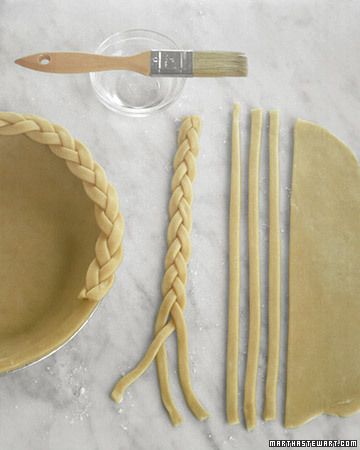
A lot of the recipes I’ve been looking at for this week are single-crust recipes. I have been thinking about adapting the recipes to a double-crust recipe for decoration purposes, but I was excited to see that there are certainly some decoration options for single-crust pies as well. I liked this braid one from pinterest because I think it’s clean-cut while also adding some pizzazz to the pie at the same time.

f7b0e1fc906f14e4a58b6e50937e125e-2

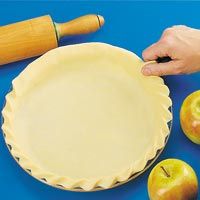
Obviously this one is less exciting because it is not adding on top, but I still think it makes it looks slightly nicer.

192c63b472e831625727f7a2e5321745

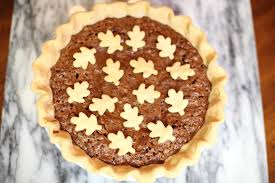
I was also thinking that if I did not want to do too much pastry on top, I could do cut outs in a similar way to this one.  I would do different designs, but I think it sort of accomplishes both – not too much pastry if it does not seem to go as well with the recipe but also still makes the pie look more festive. If I were to do something with just designs in the middle such as this, I would probably use a design similar to the one above around the edge.

images

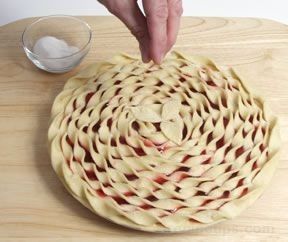
As far as having more pastry on top, I think either a regular lattice top or one that’s a little fancier such as this would be interesting.

6c78a489d8895e5a2ebc5d583be19fd6

I am curious if there were a crumb top on top, what types of decorations we could do with that.  Something I was thinking perhaps making them into discs and laying them out instead of just pouring it on top. I wonder if it’s important for bringing the pie together though to have all of it covered with crumb.


Portobello Pot Pie

http://allrecipes.com/Recipe/Portobello-Pot-Pie/

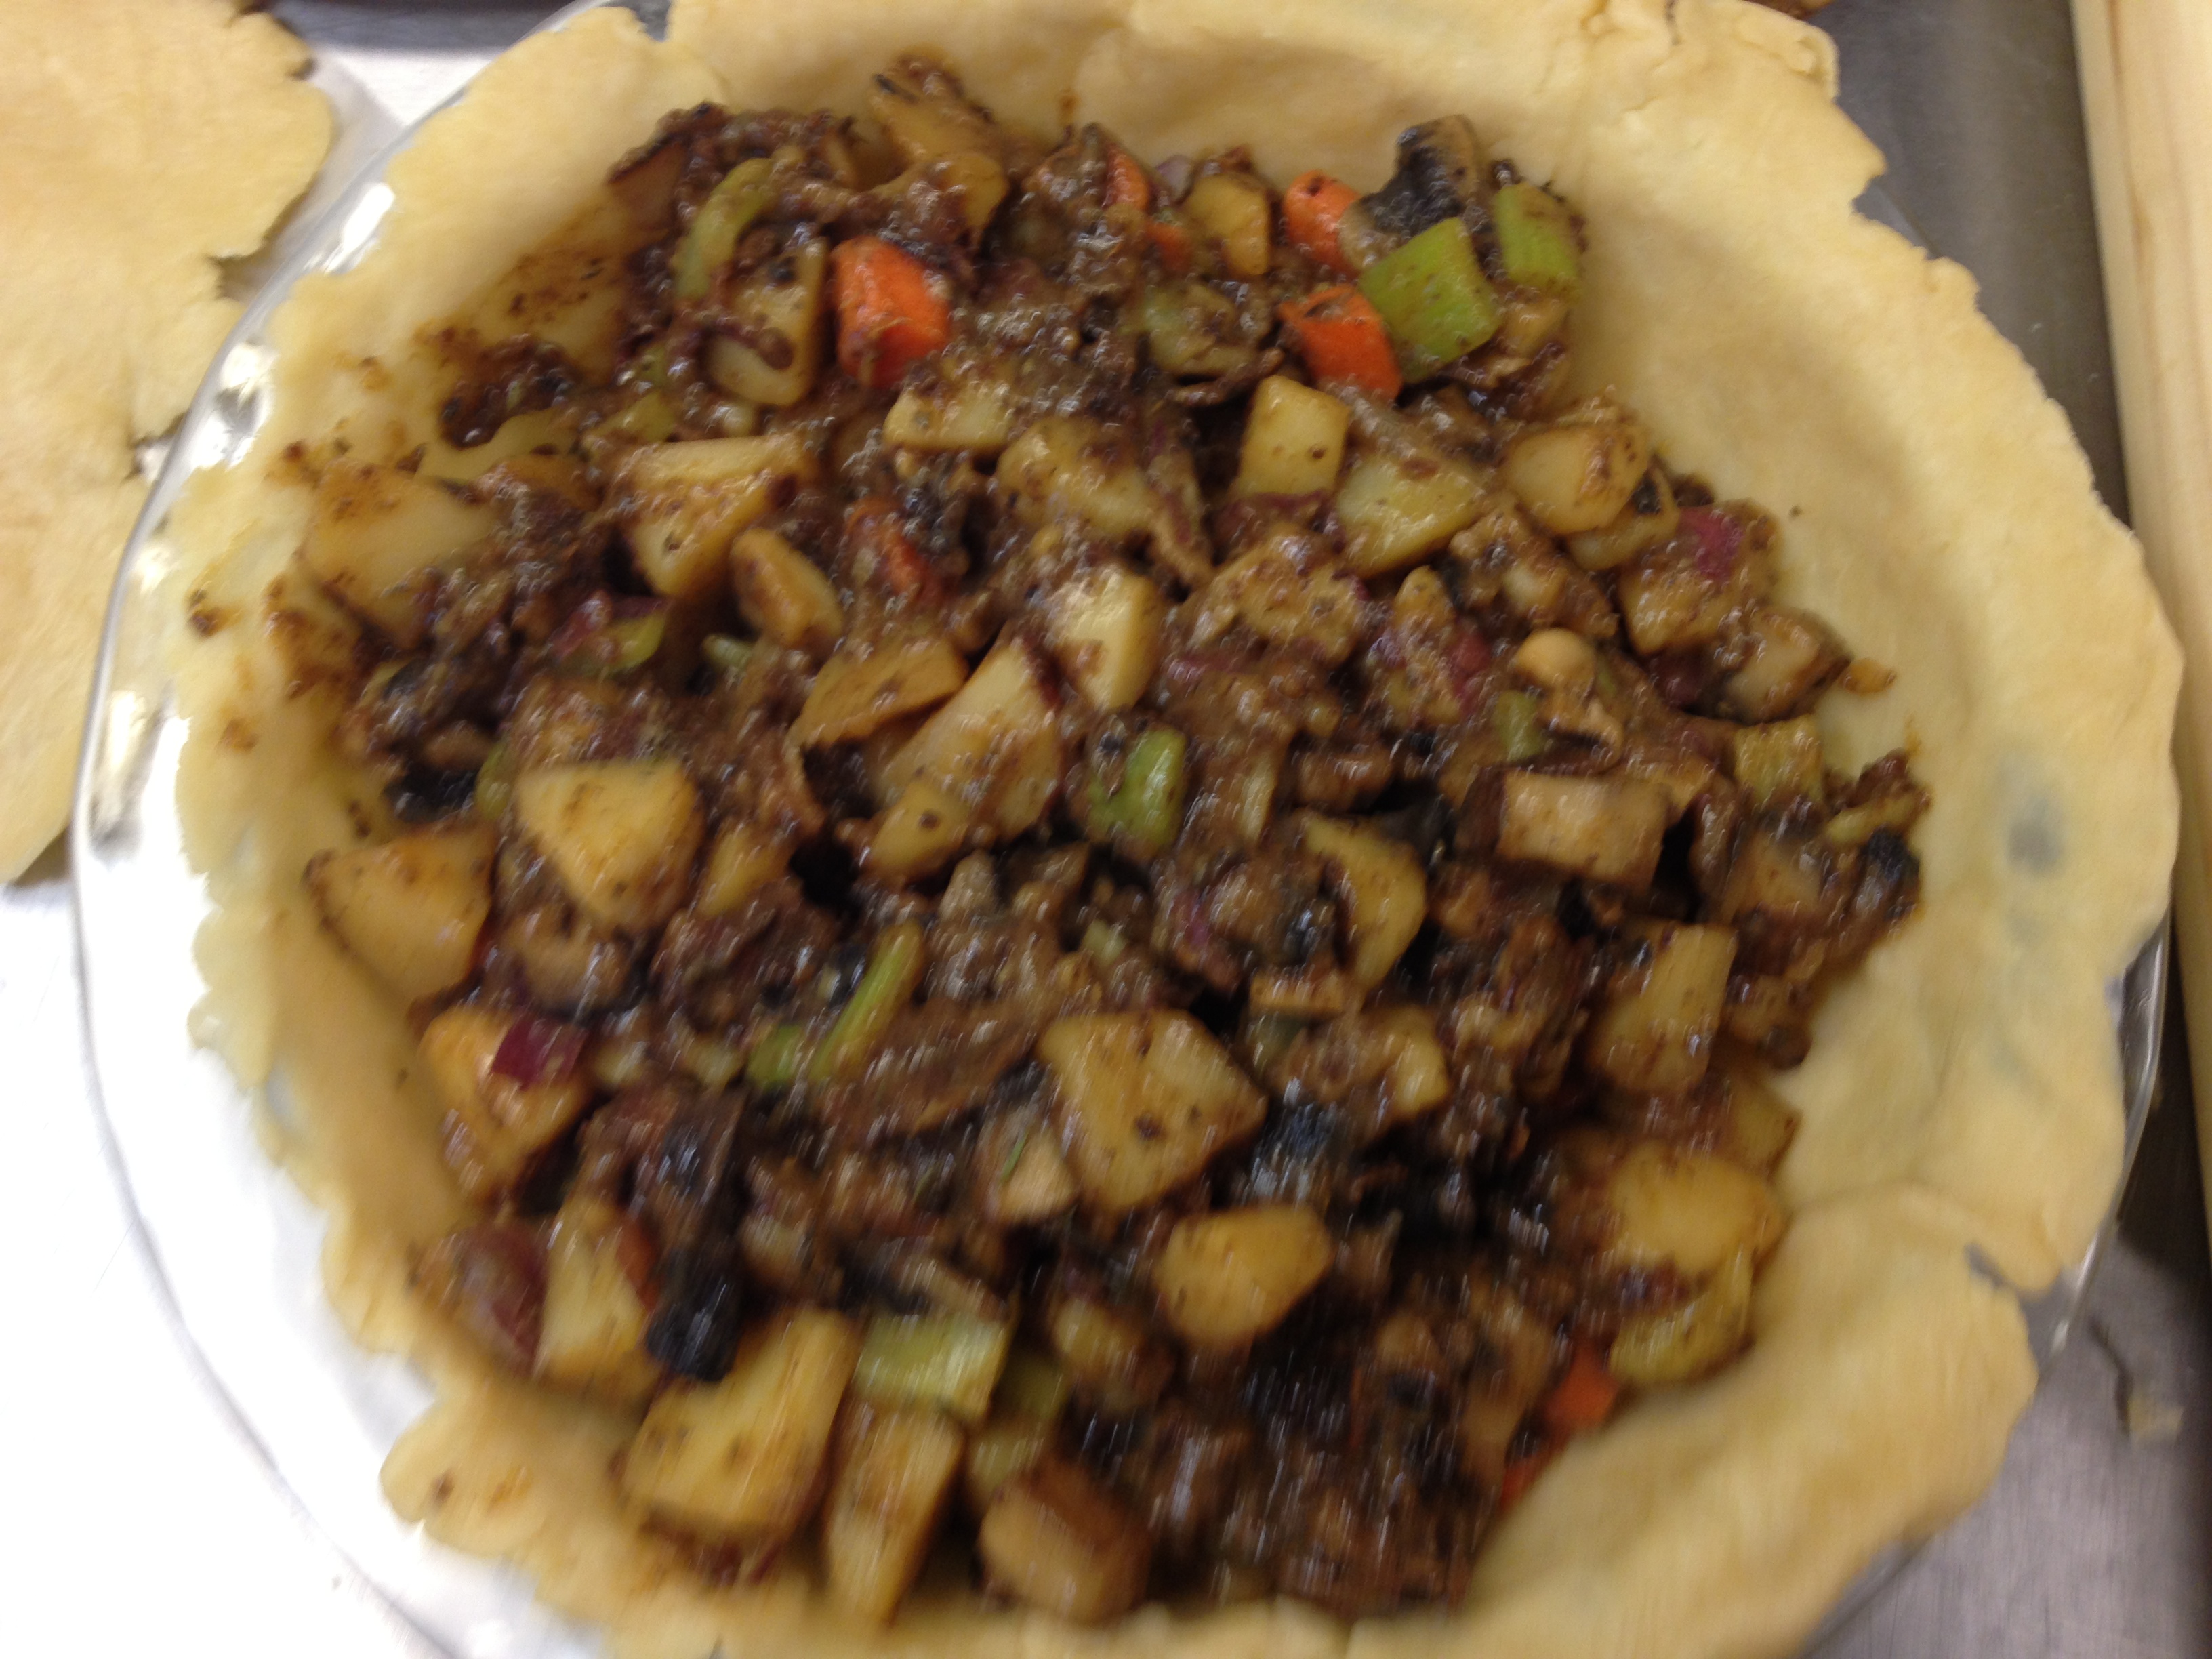
From start to finish, this pie caused me some difficulties (but I’m crossing my fingers that it will still taste good tomorrow!).  I tried the vodka trick. When I first did my pastry, it seemed a little dry, so I put it back in and put a little tiny bit of liquid in.  It proved that even that little bit was too much.  It was sort of dough-like.  Hopefully enough of the vodka burned off that it is more pastry-like.

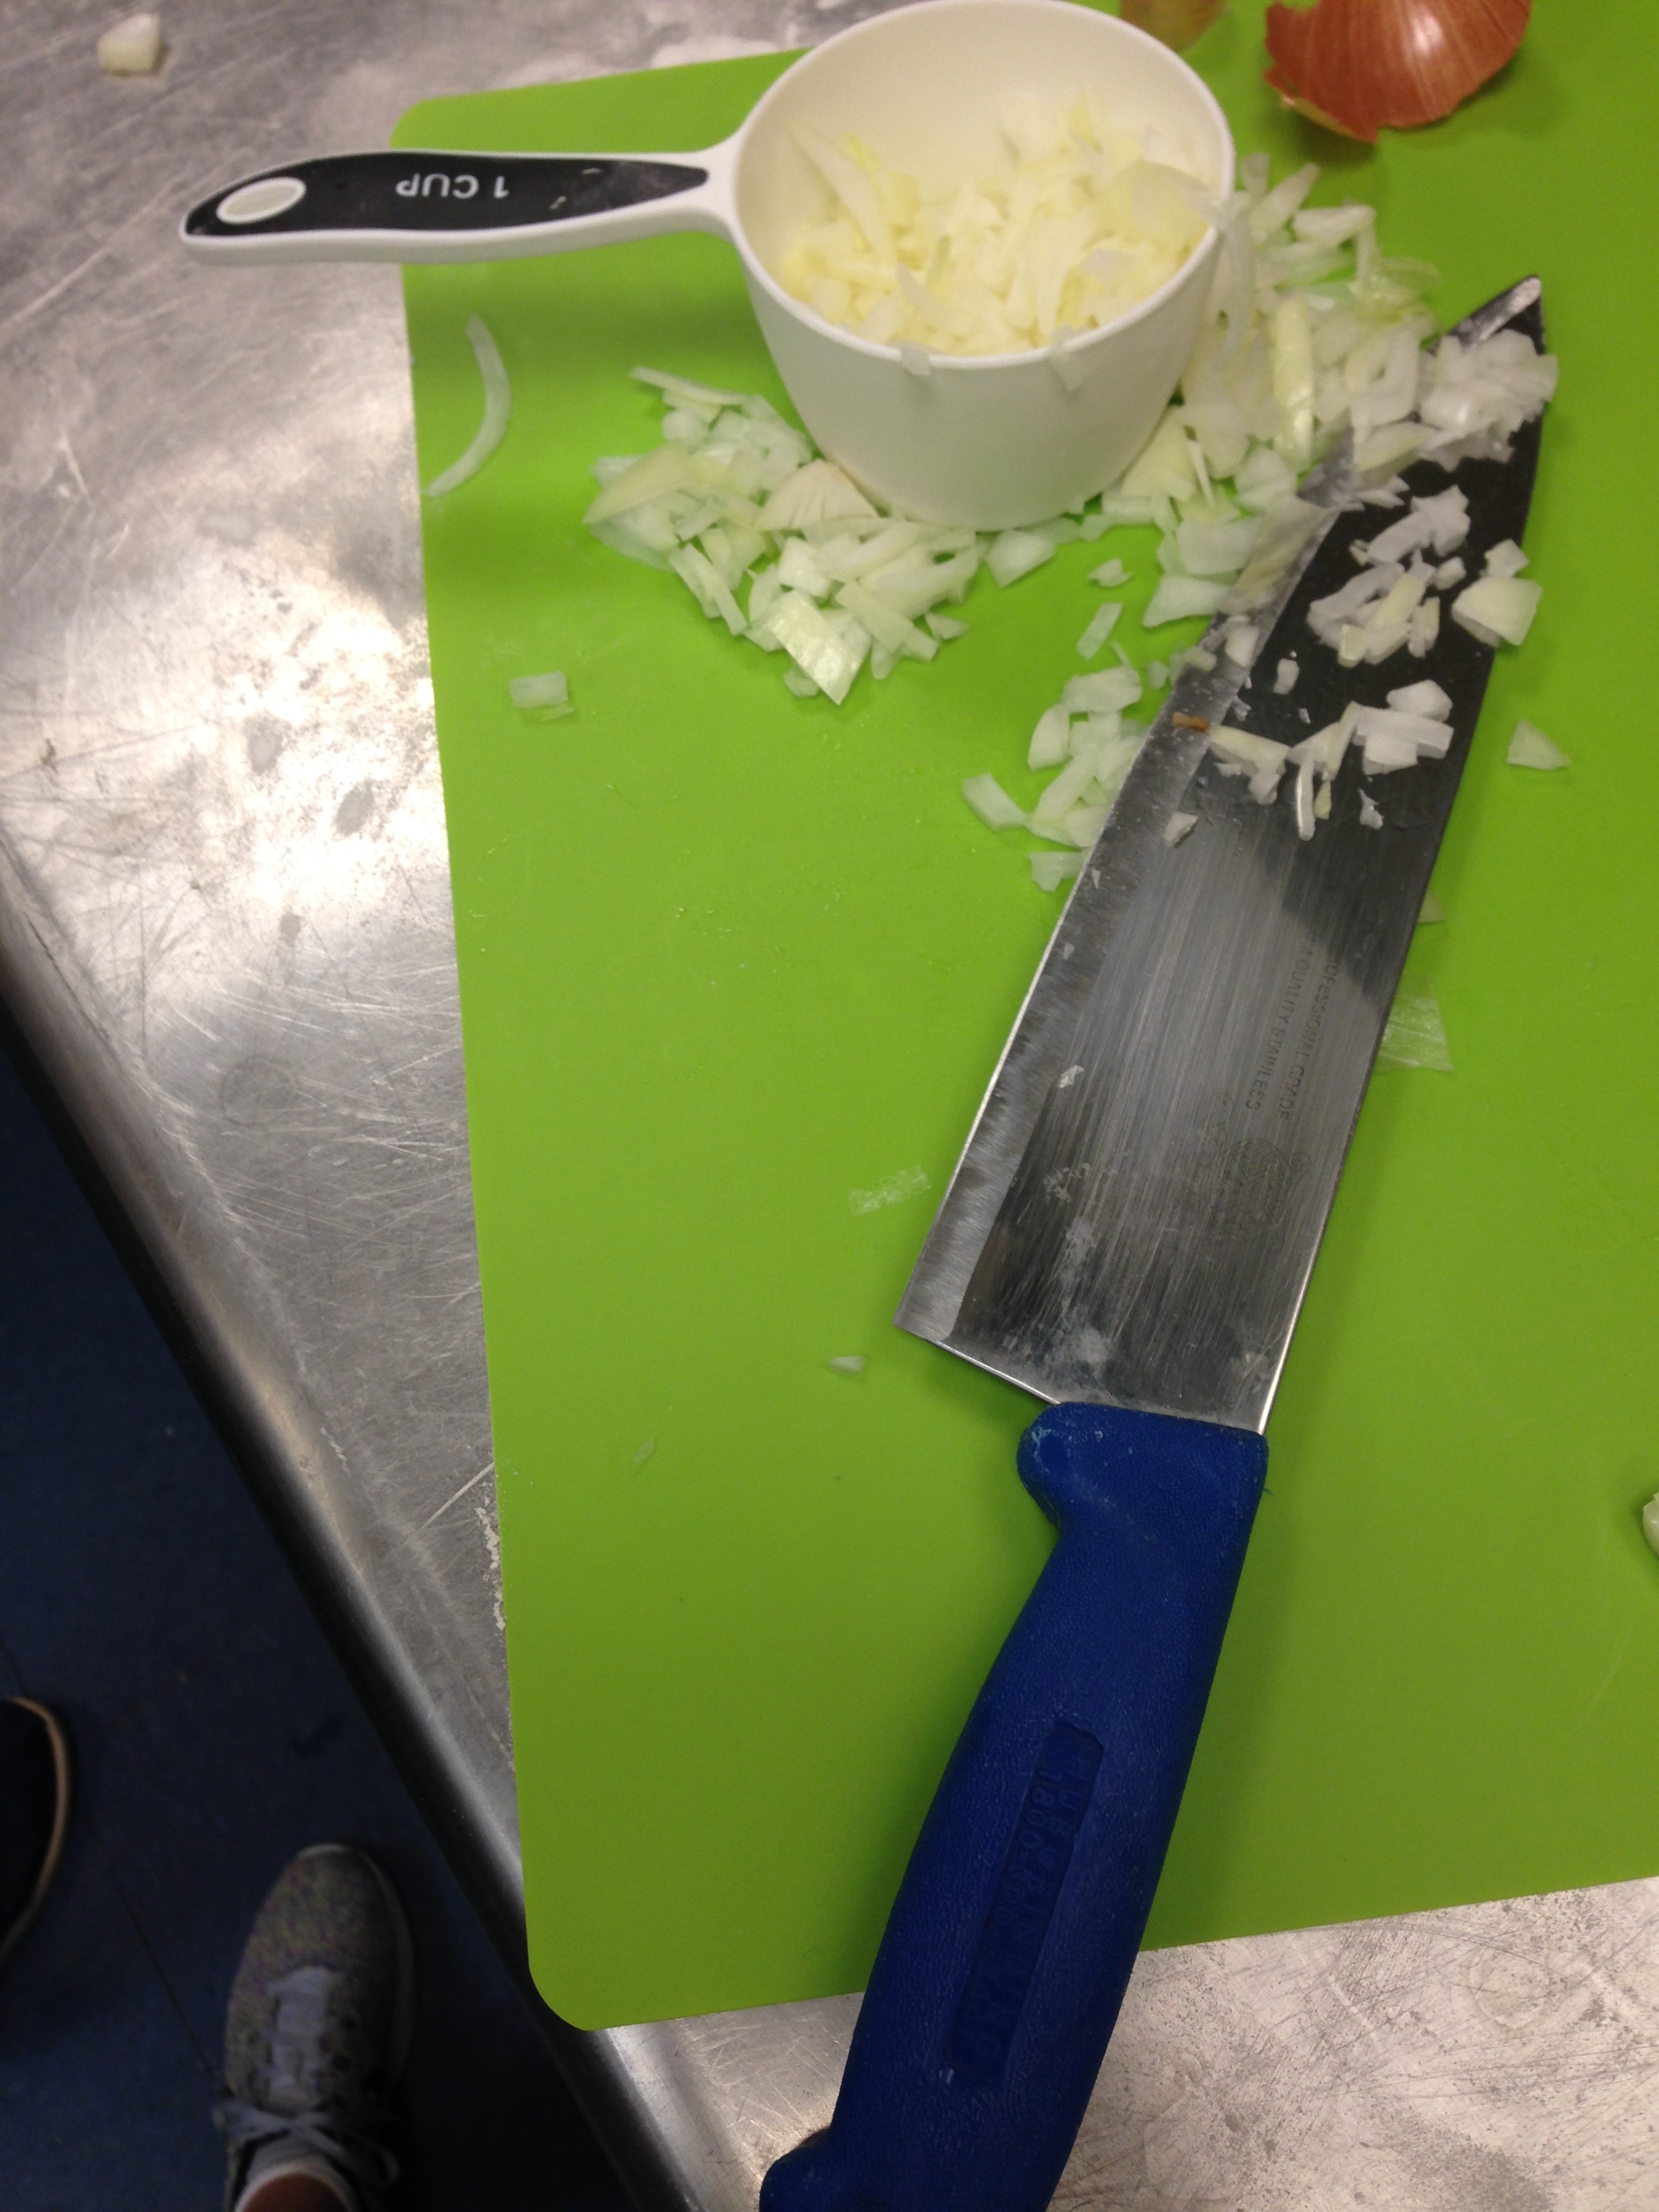
I think the timing with the recipe was very underestimated.  It took me over an hour-and-a-half or so to prepare everything, and it said it would be thirty minutes (I may just be a slow chopper).  When I did the step of letting the gravy simmer, I actually think it should’ve been taken off the heat.  It burned a little by the time the portobello mushrooms were added.  I wish it had said how long to simmer for.  I may also have been too slow to add, but I wasn’t quite sure how long it should simmer.  I ended up making additional gravy with cooking wine and flour from the burned parts in the pan.  Hopefully it will not taste too burned as the majority of ingredients were not burned.

photo-3

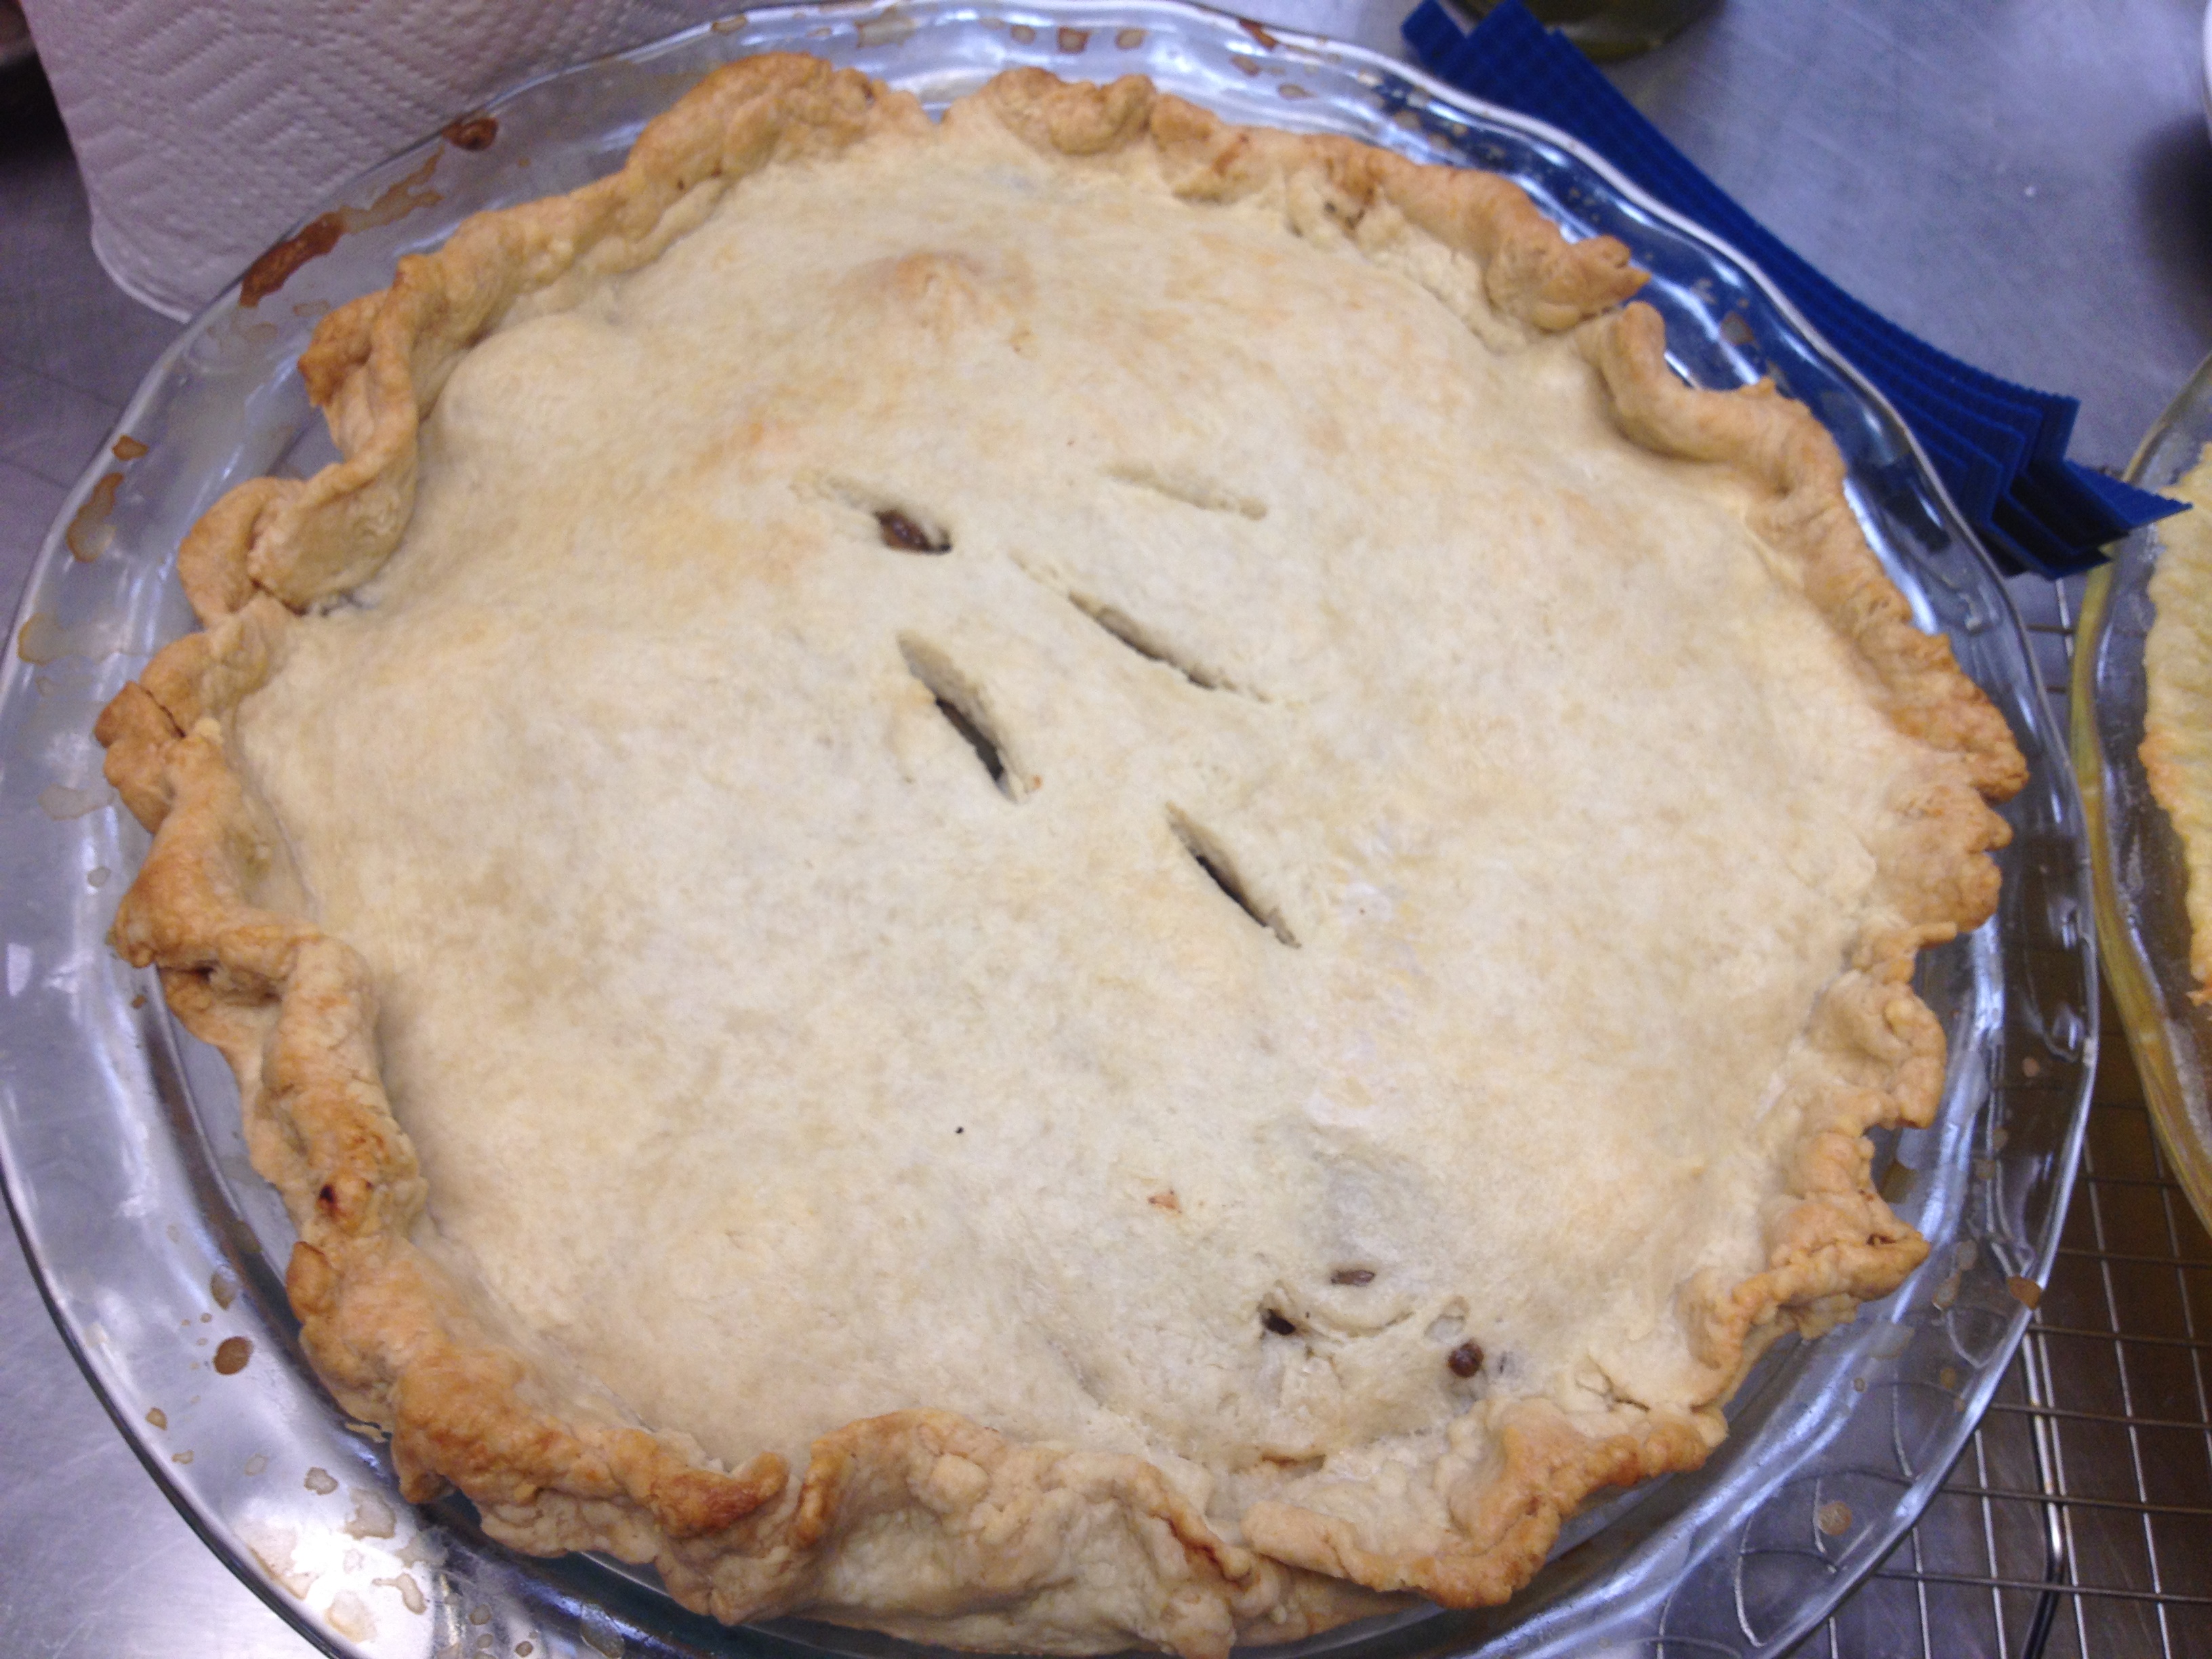
I left it in the oven for over sixty minutes – twenty minutes longer than expected.  It still did not seem golden brown to me by the end. I was surprised at how much longer it took.

photo-1

I think it is interesting how the mushrooms simply act as a substitute for the chicken here.  I’ll be interested to see how the combination tastes all together because I do not typically think of mushrooms and potatoes together.  Initially when I was looking for a recipe this week, I had a difficult time because I have not had many meat pies other than chicken pot pie. I’m excited to taste everyone’s tomorrow so I can wrap my mind around it better and start to figure out how to bake them my own!


Very Cranberry-Pear Pie

IMG_1551

IMG_1552

IMG_1554

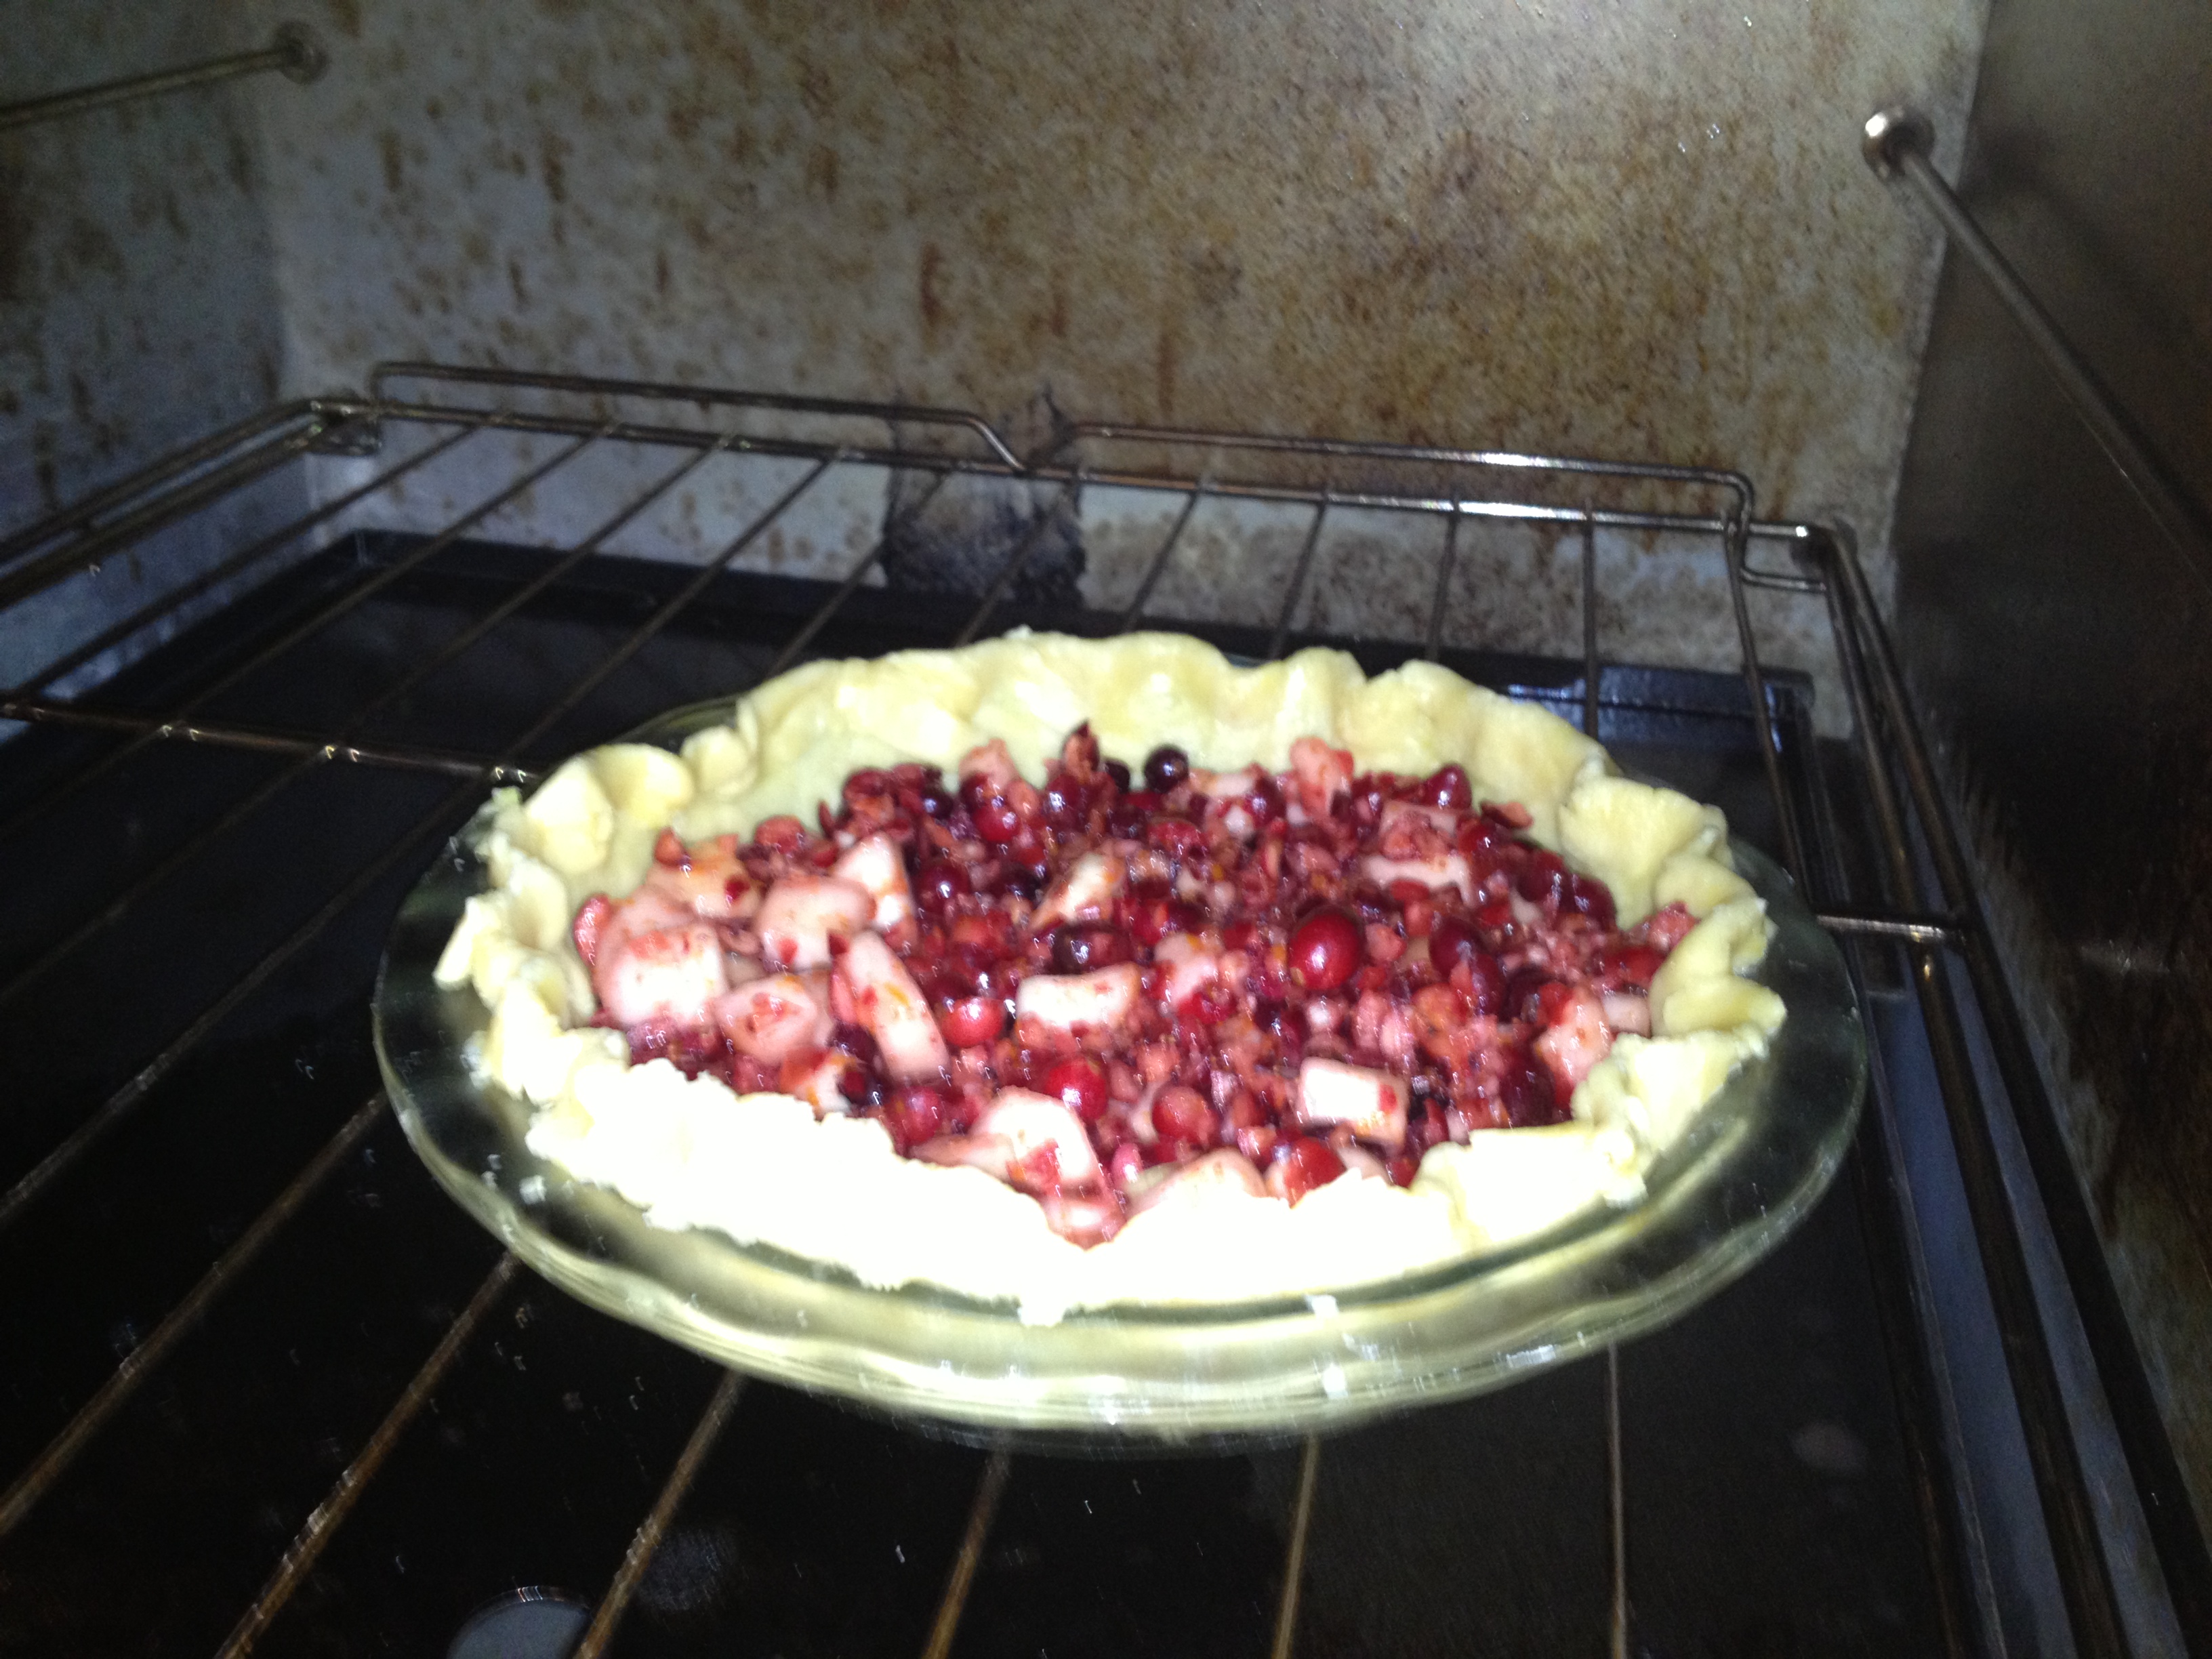
Considering that everyone says the difficult part of baking is that you have to be so precise, recipes use very imprecise wording. How much larger is a “large… crumb” than a “medium-fine crumb?” Because this was for my topping, it was not as problematic figuring out the “large” crumb, but I did have a difficult time figuring out when to stop pulsing my ingredients. The same was true for cutting up the cranberries. It said only to pulse five or six times until they were cut up well, but five or six times mostly just chopped them in half. Haven’t never baked with cranberries before, I wasn’t sure how small they should be in the pie filling.

Making the actual pastry wasn’t as hard as I expected. However, I think it’ll definitely be several more times before I can recognize the proper consistency on my own.

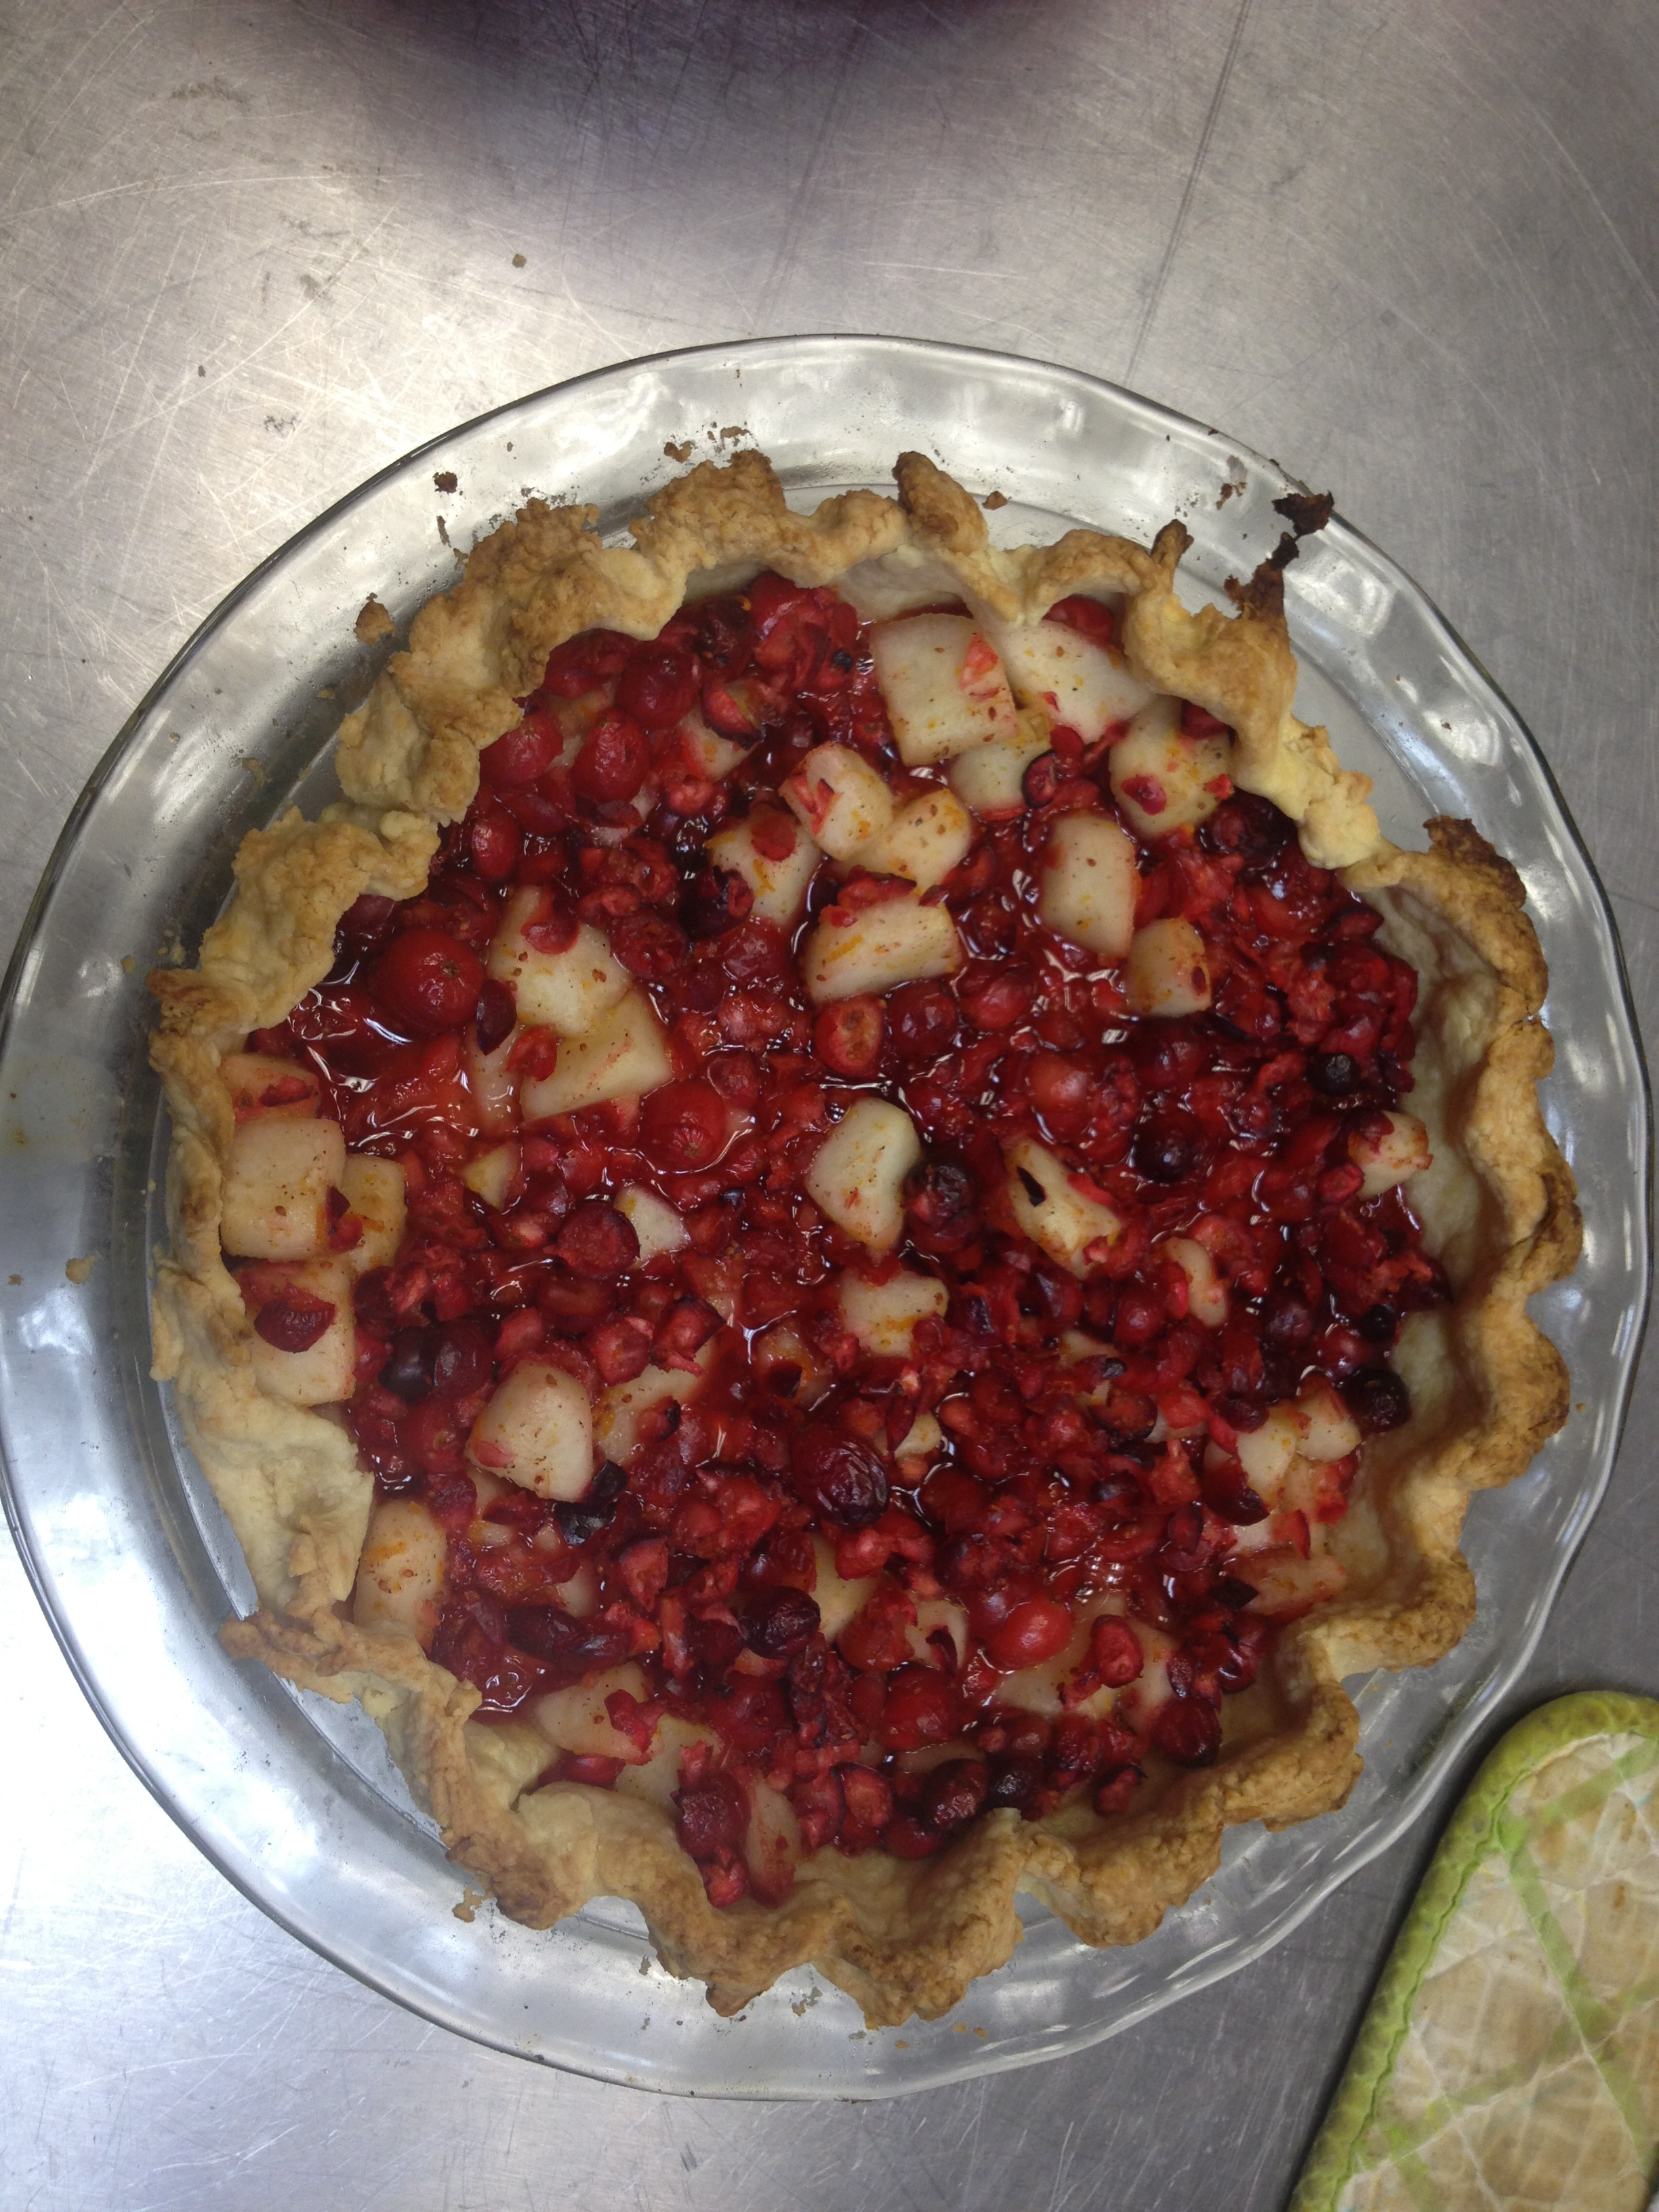
I was very excited to see it bubbling nicely at the end! (I can’t believe it cooked for 65 whole minutes.) I wasn’t sure how to tell if it was done, but I guess it’s just a lot easier when filling is sticking out a little than when it is completely covered with another pastry. In the notes, it said something about how cranberries can be bitter but balanced with the right amount of sugar. I have never had cranberry or pear pie, so I’m excited to taste it. I also discovered that I don’t like the smell of cardamon very much…