
Summary: This page will help you get started with your survey design. Here is the first of a series of steps which will help you design your first psych study on Qualtrics. This is a simplified how-to for Qualtrics surveys. The more complicated aspects, which you will certainly become accustomed with eventually, have their own pages too (e.g. Random Assignment, Branch Logic, etc.). Refer to these pages and the FAQ for in depth explanations of these resources.
To begin, click “Create Project.”
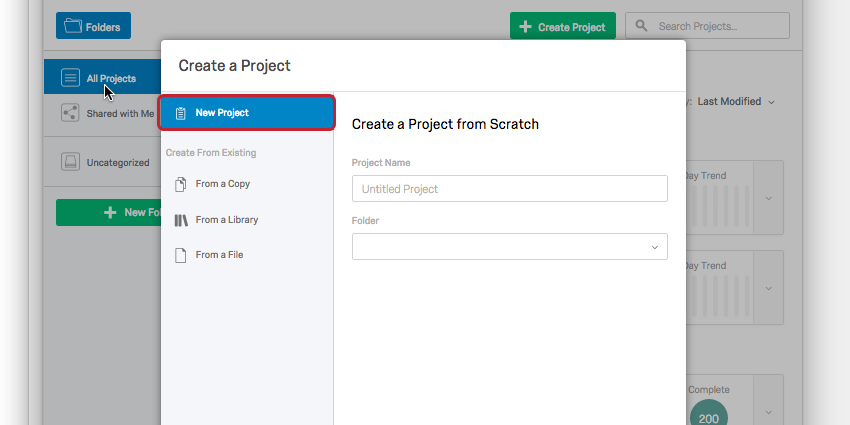
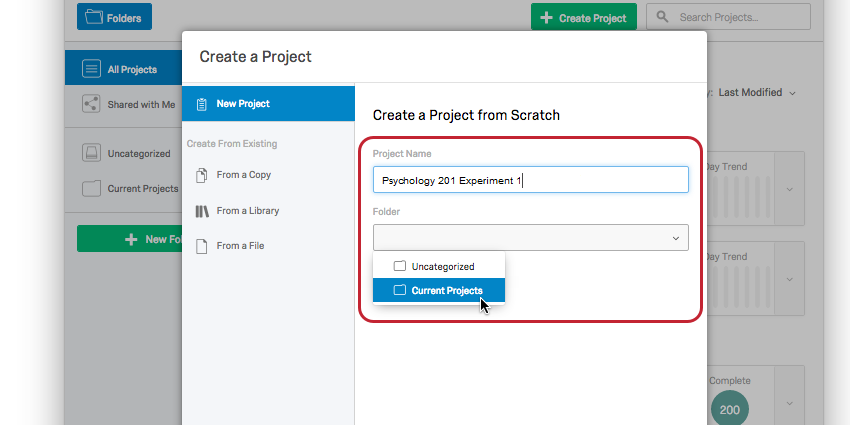
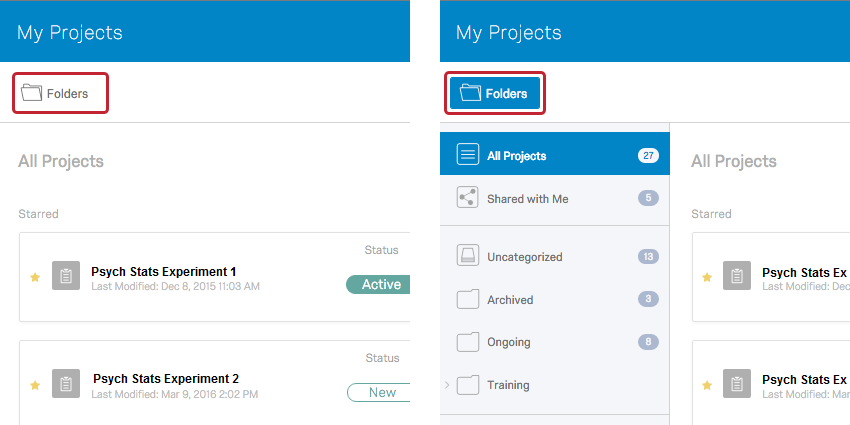
Give your project a name (this is not what participants will see as the survey’s title) and you can store it in a folder to keep it organized within your Qualtrics account.
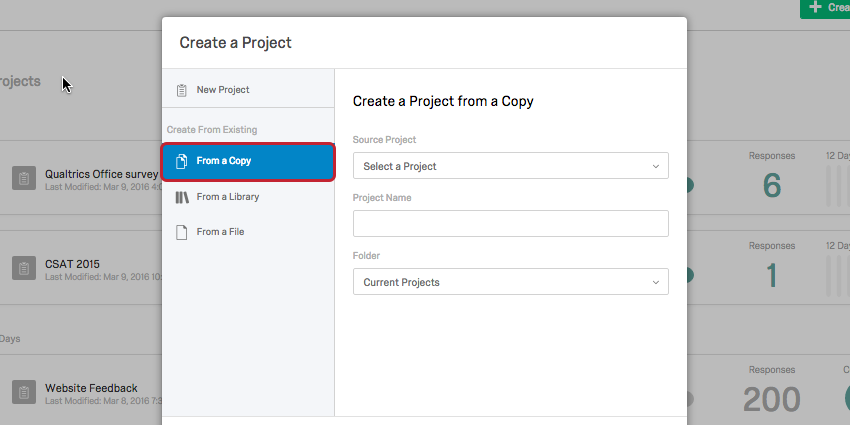
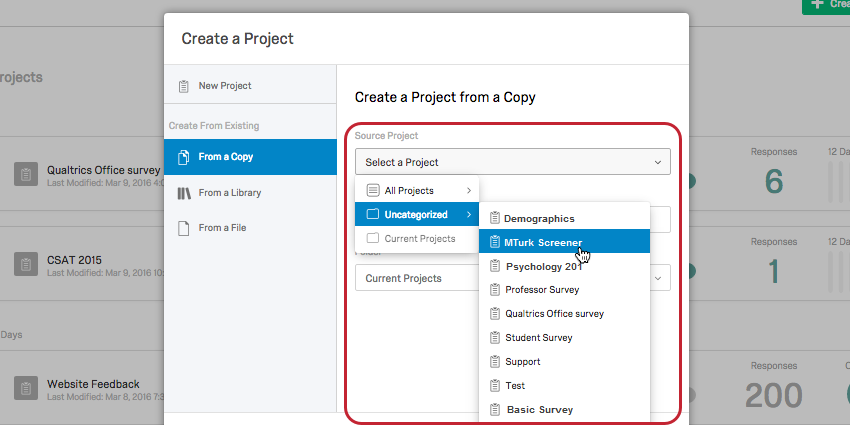
You can also create your survey from an existing or previously used survey template by clicking “From a Copy” …
or “From a Library.”
After you have copied or created your project, you will be taken to the study in the folder you placed it in. From here you will see its survey status, date modified, creation date, number of responses, and a drop down menu labeled “Actions.” In this menu, you can share, rename, and copy your project. You can also edit, preview, translate, and distribute the survey, see the data & analysis, and view reports. While you’re creating your survey, these actions may not be important, but they will become useful once you’ve launched a study or are collaborating on a project with another student, for example.
The next page to visit is “Step 2: Customizing Survey Pathways.”
For more information and a succinct video tutorial, visit these Qualtrics support links:
Qualtrics Support Site – Step 1: Creating a Project
Creating a Project Video Tutorial
This 4 minute “Getting Started” video from Qualtrics Support provides a general, introductory overview of the survey creation and distribution process.