Category Archives: sweet pies

Bacon Egg and Cheese Bacon Lattice Breakfast Pie and Sweet Potato Pie

I really enjoyed making both of these pies because they were so different! A bacon lattice top and a marshmallow top are pretty dissimilar, but somehow I managed to make both of them work out. I think the breakfast pie was the biggest success mostly because I think there is something inherently appetizing about a bacon lattice!
IMG_1410
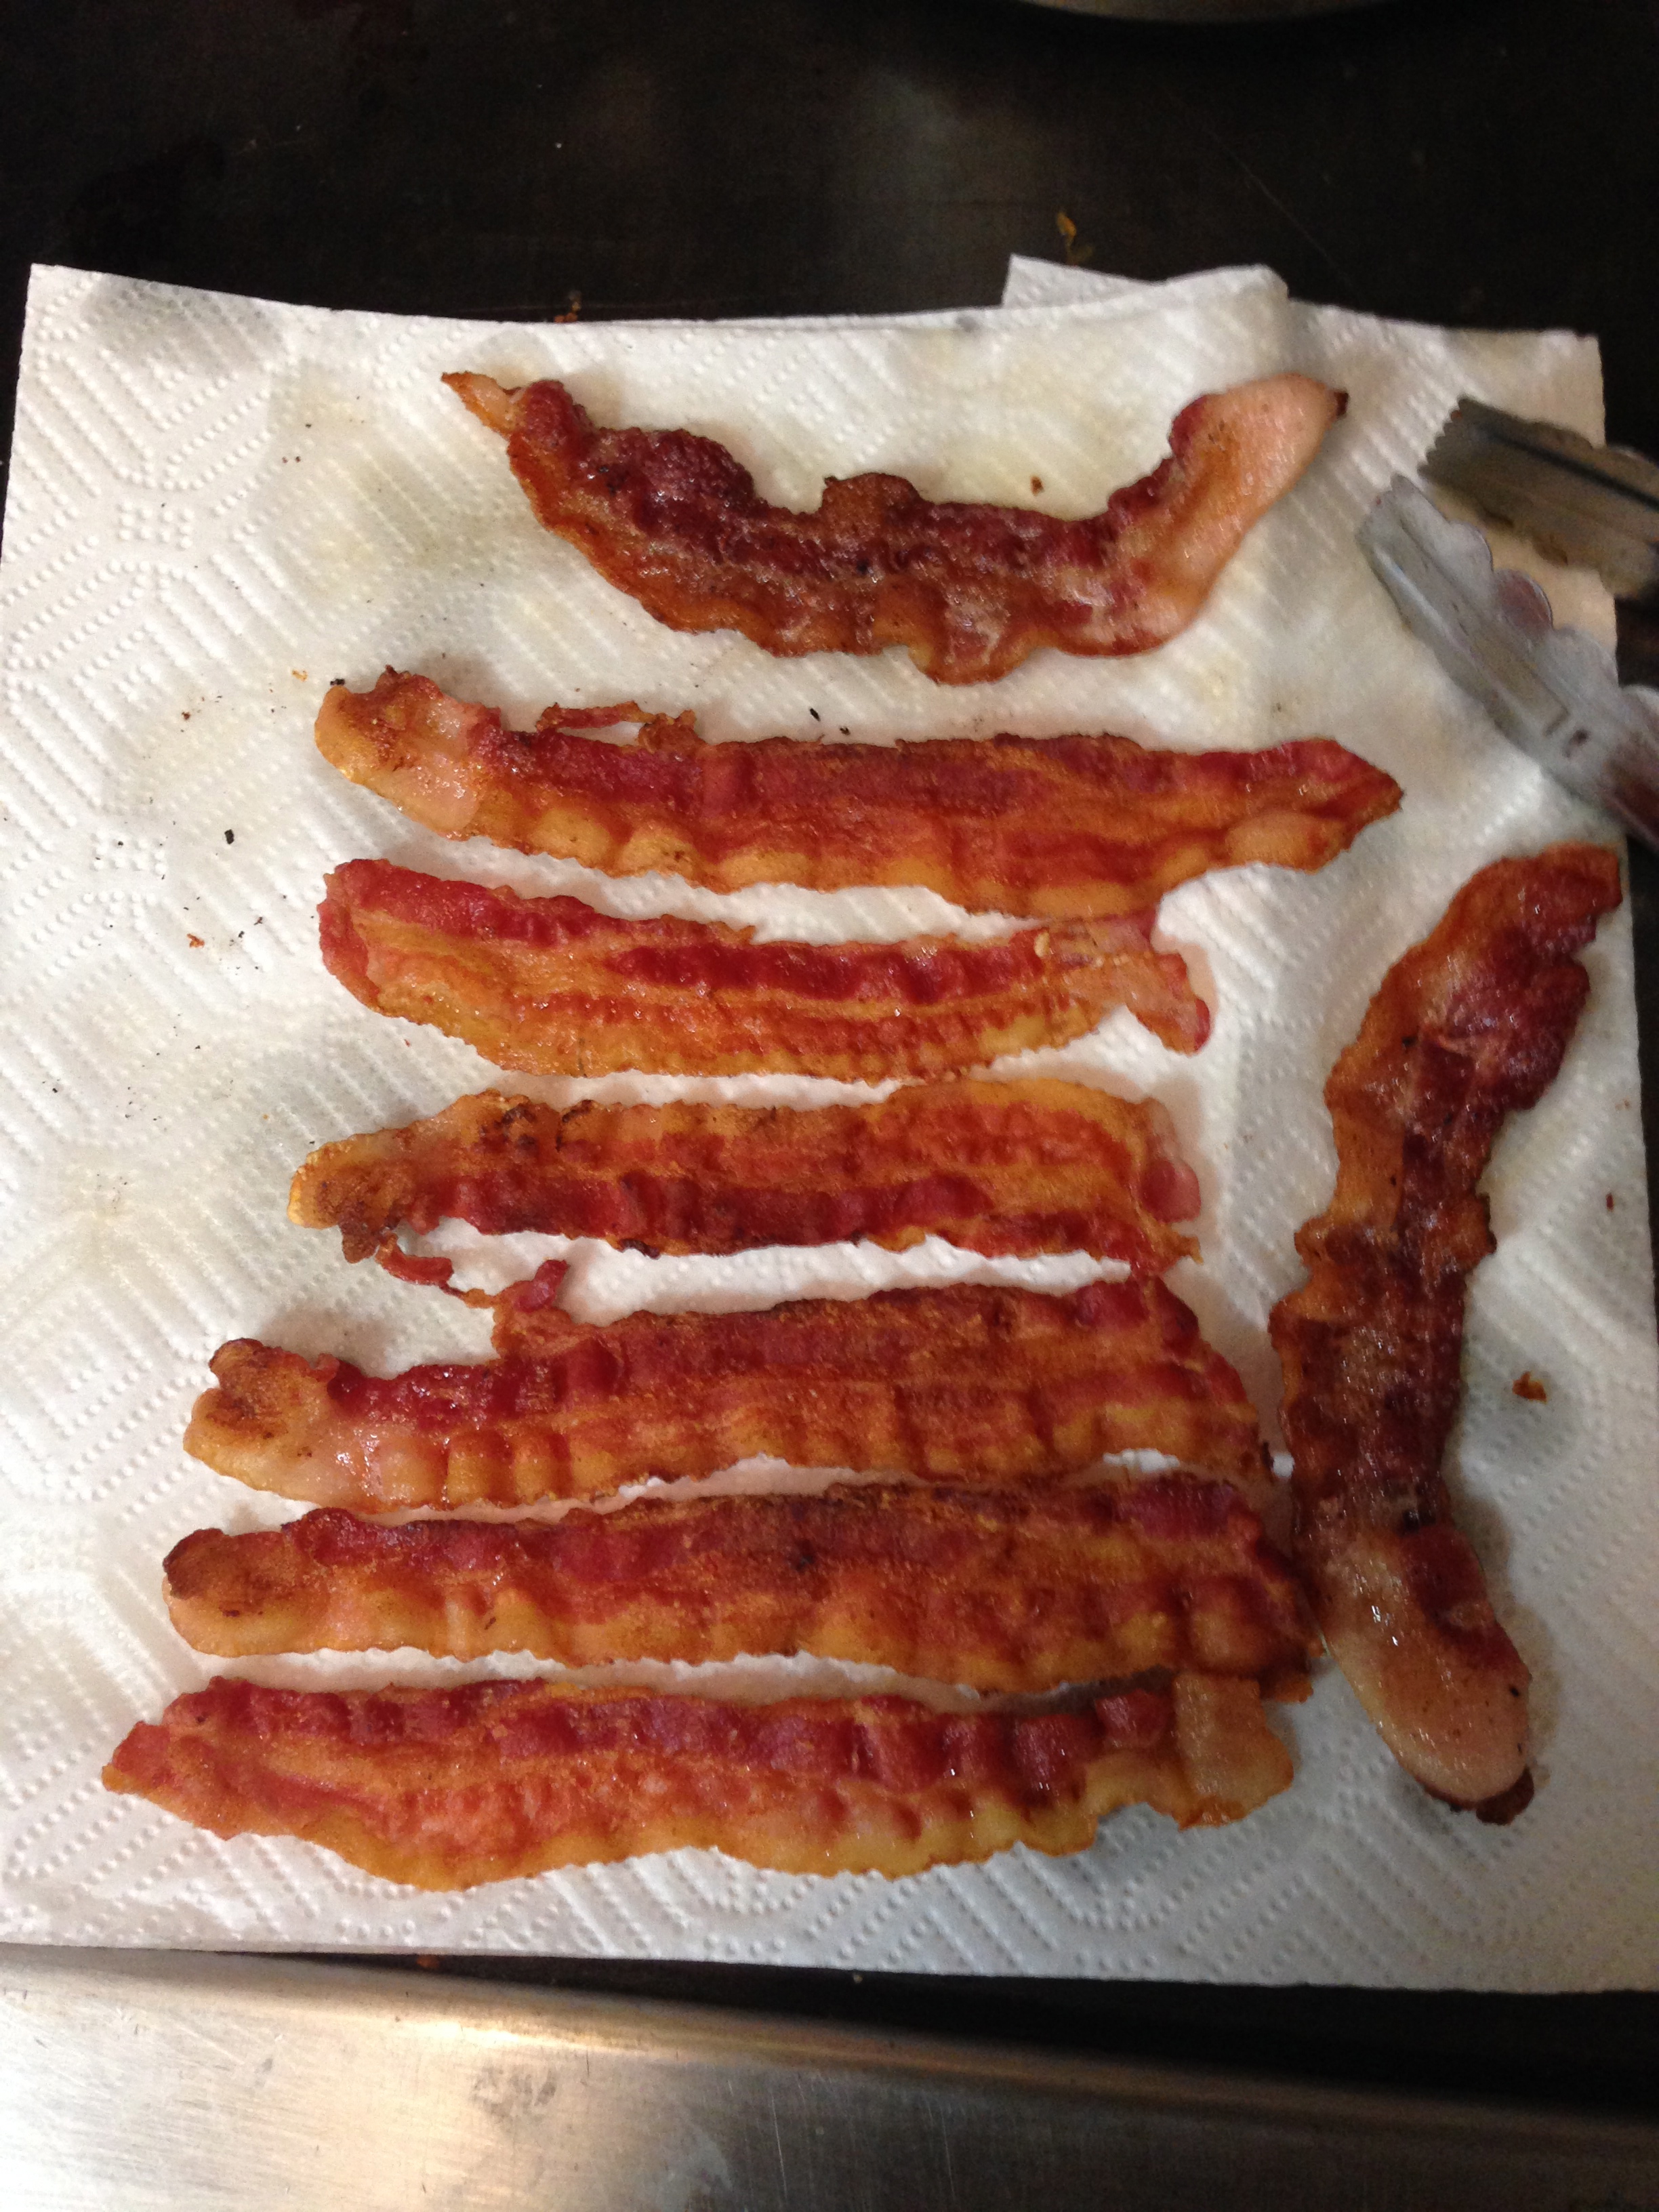
The challenge with the breakfast pie was figuring out how to cook the bacon lattice entirely without overcooking the pie filling (essentially a quiche). I decided to prebake the crust then add the filling and cook it for 15-20 minutes before adding the bacon. The bacon was added early enough that the egg was still a little runny so the bacon drippings could contribute to the flavor of the filling, but not so early that it overcooked in the oven. As it turns out the middle of the bacon strips cooked more slowly I assume because the filling was thickest there.
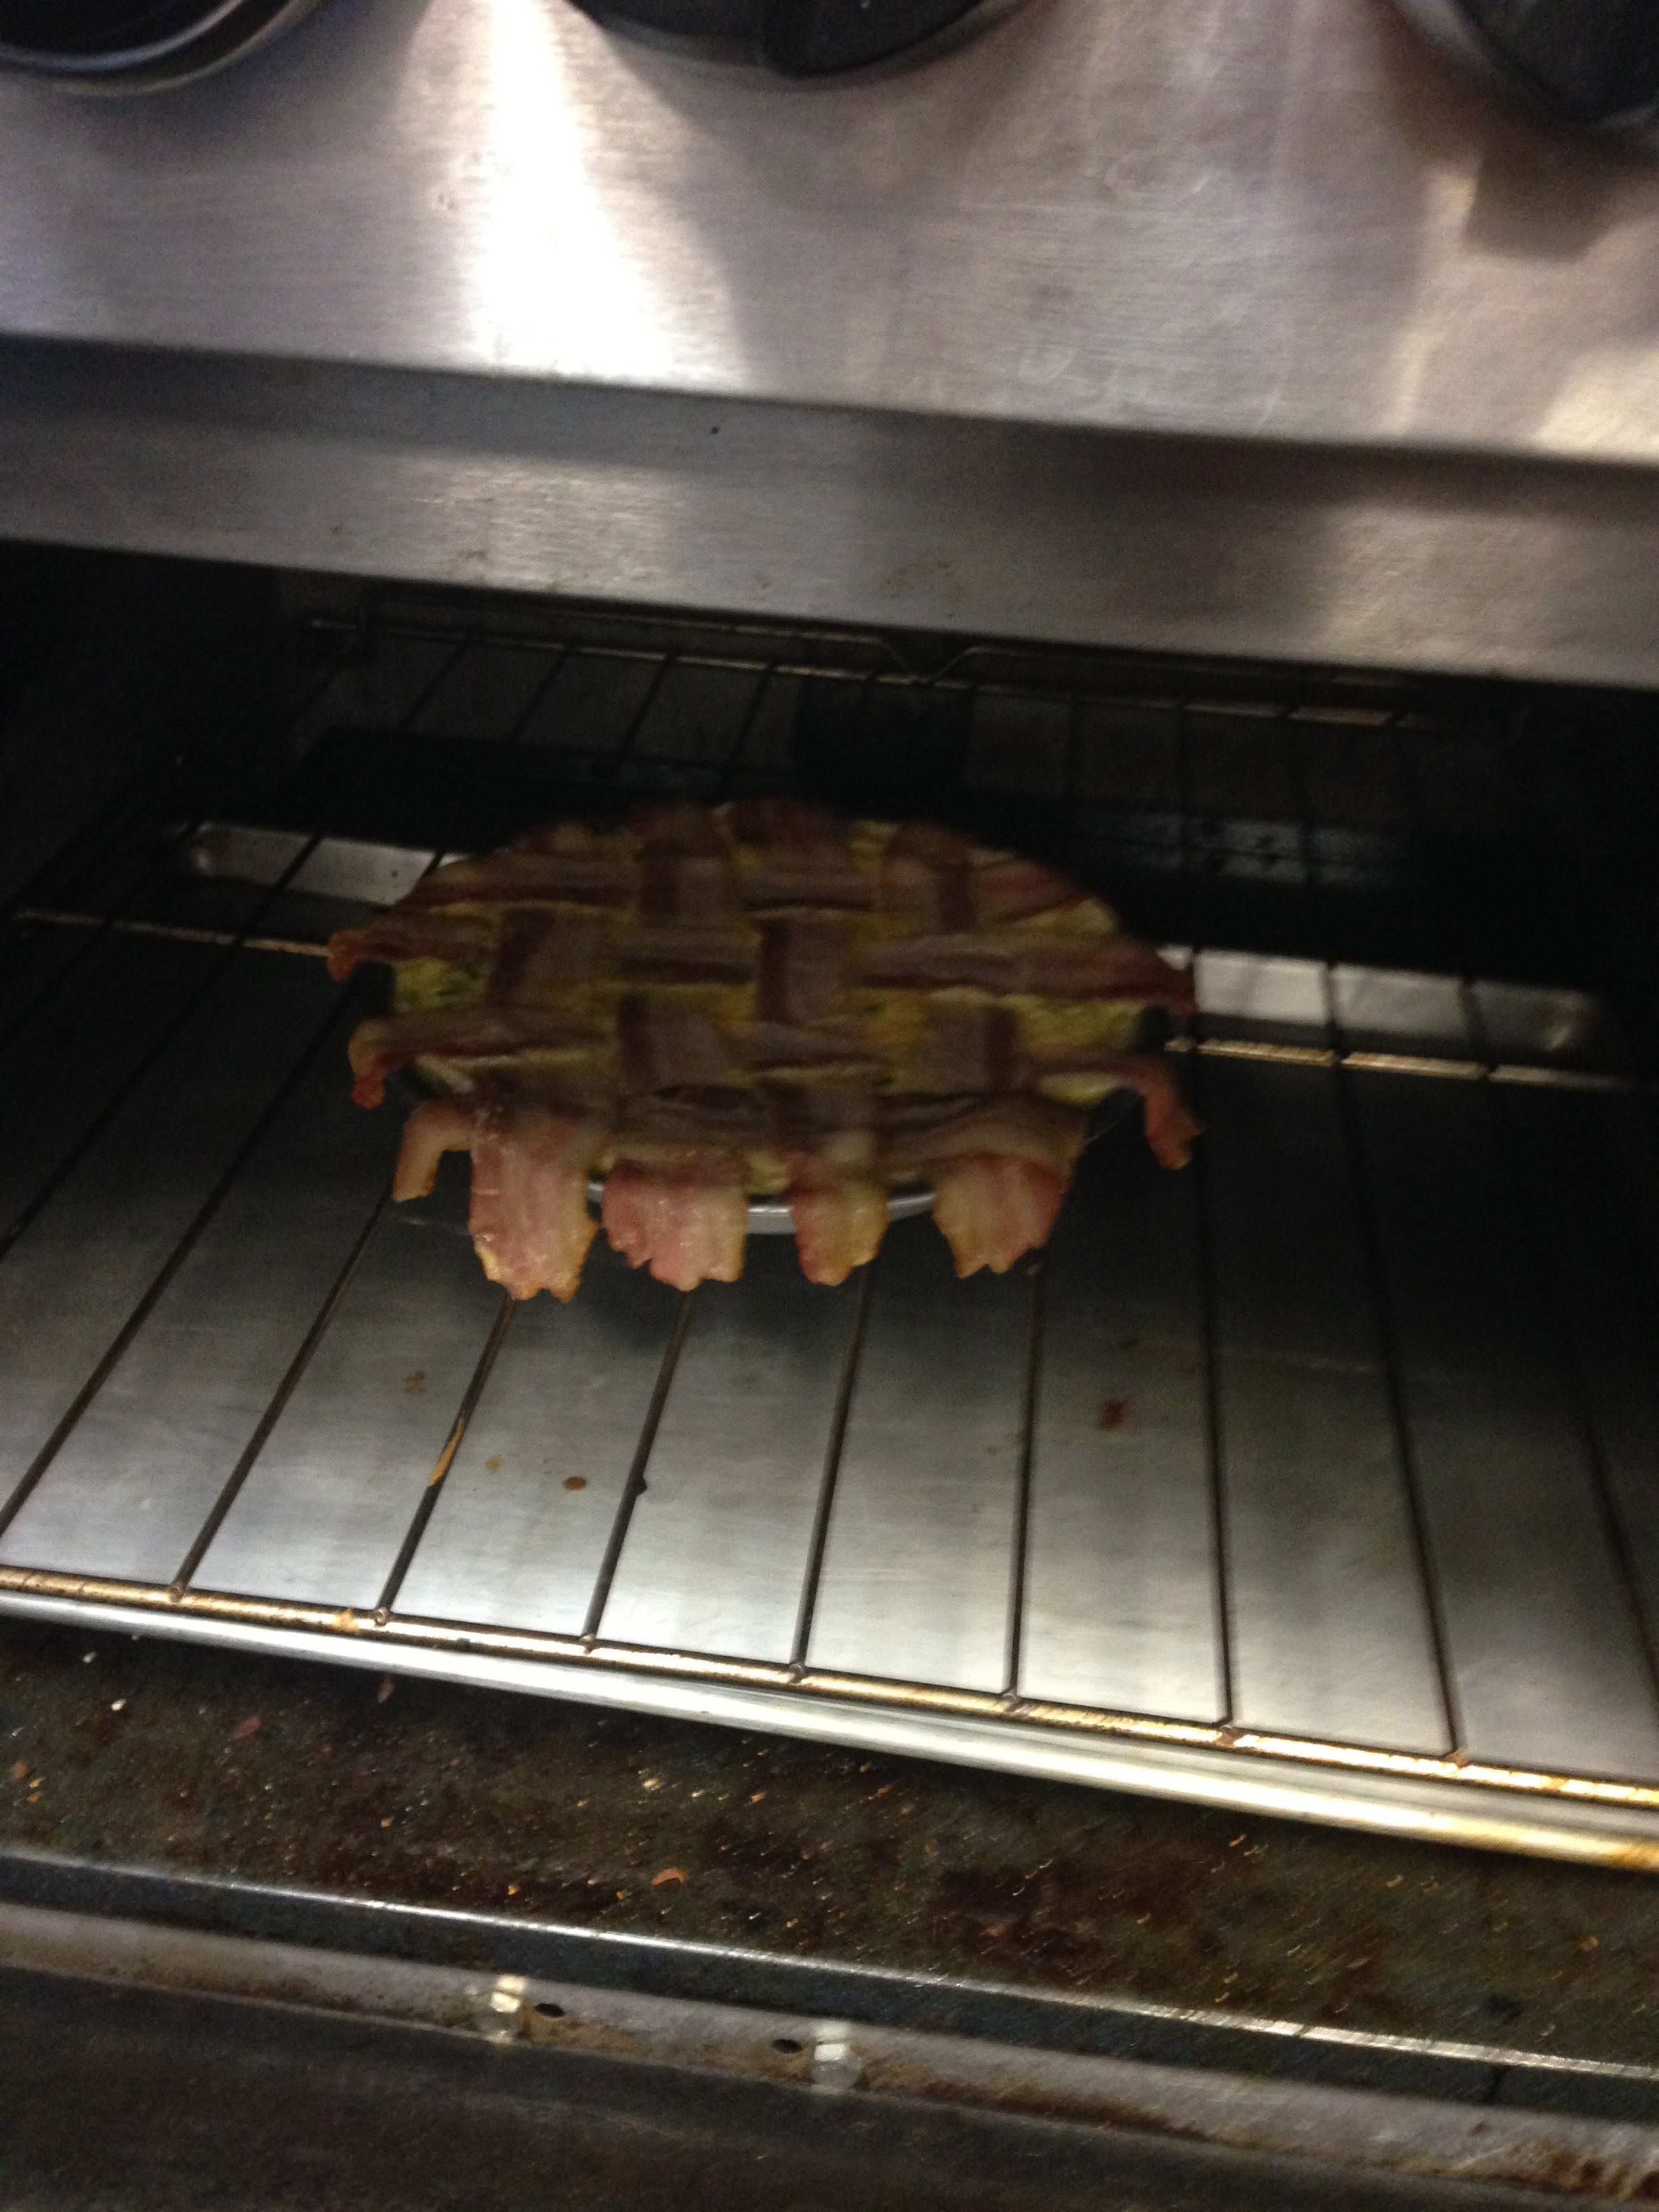
IMG_1417
Overall, though, I think the pie went pretty well! At least I enjoyed eating it. Forgive me for not including the final picture of the pie. The wordpress site refuses to upload it!

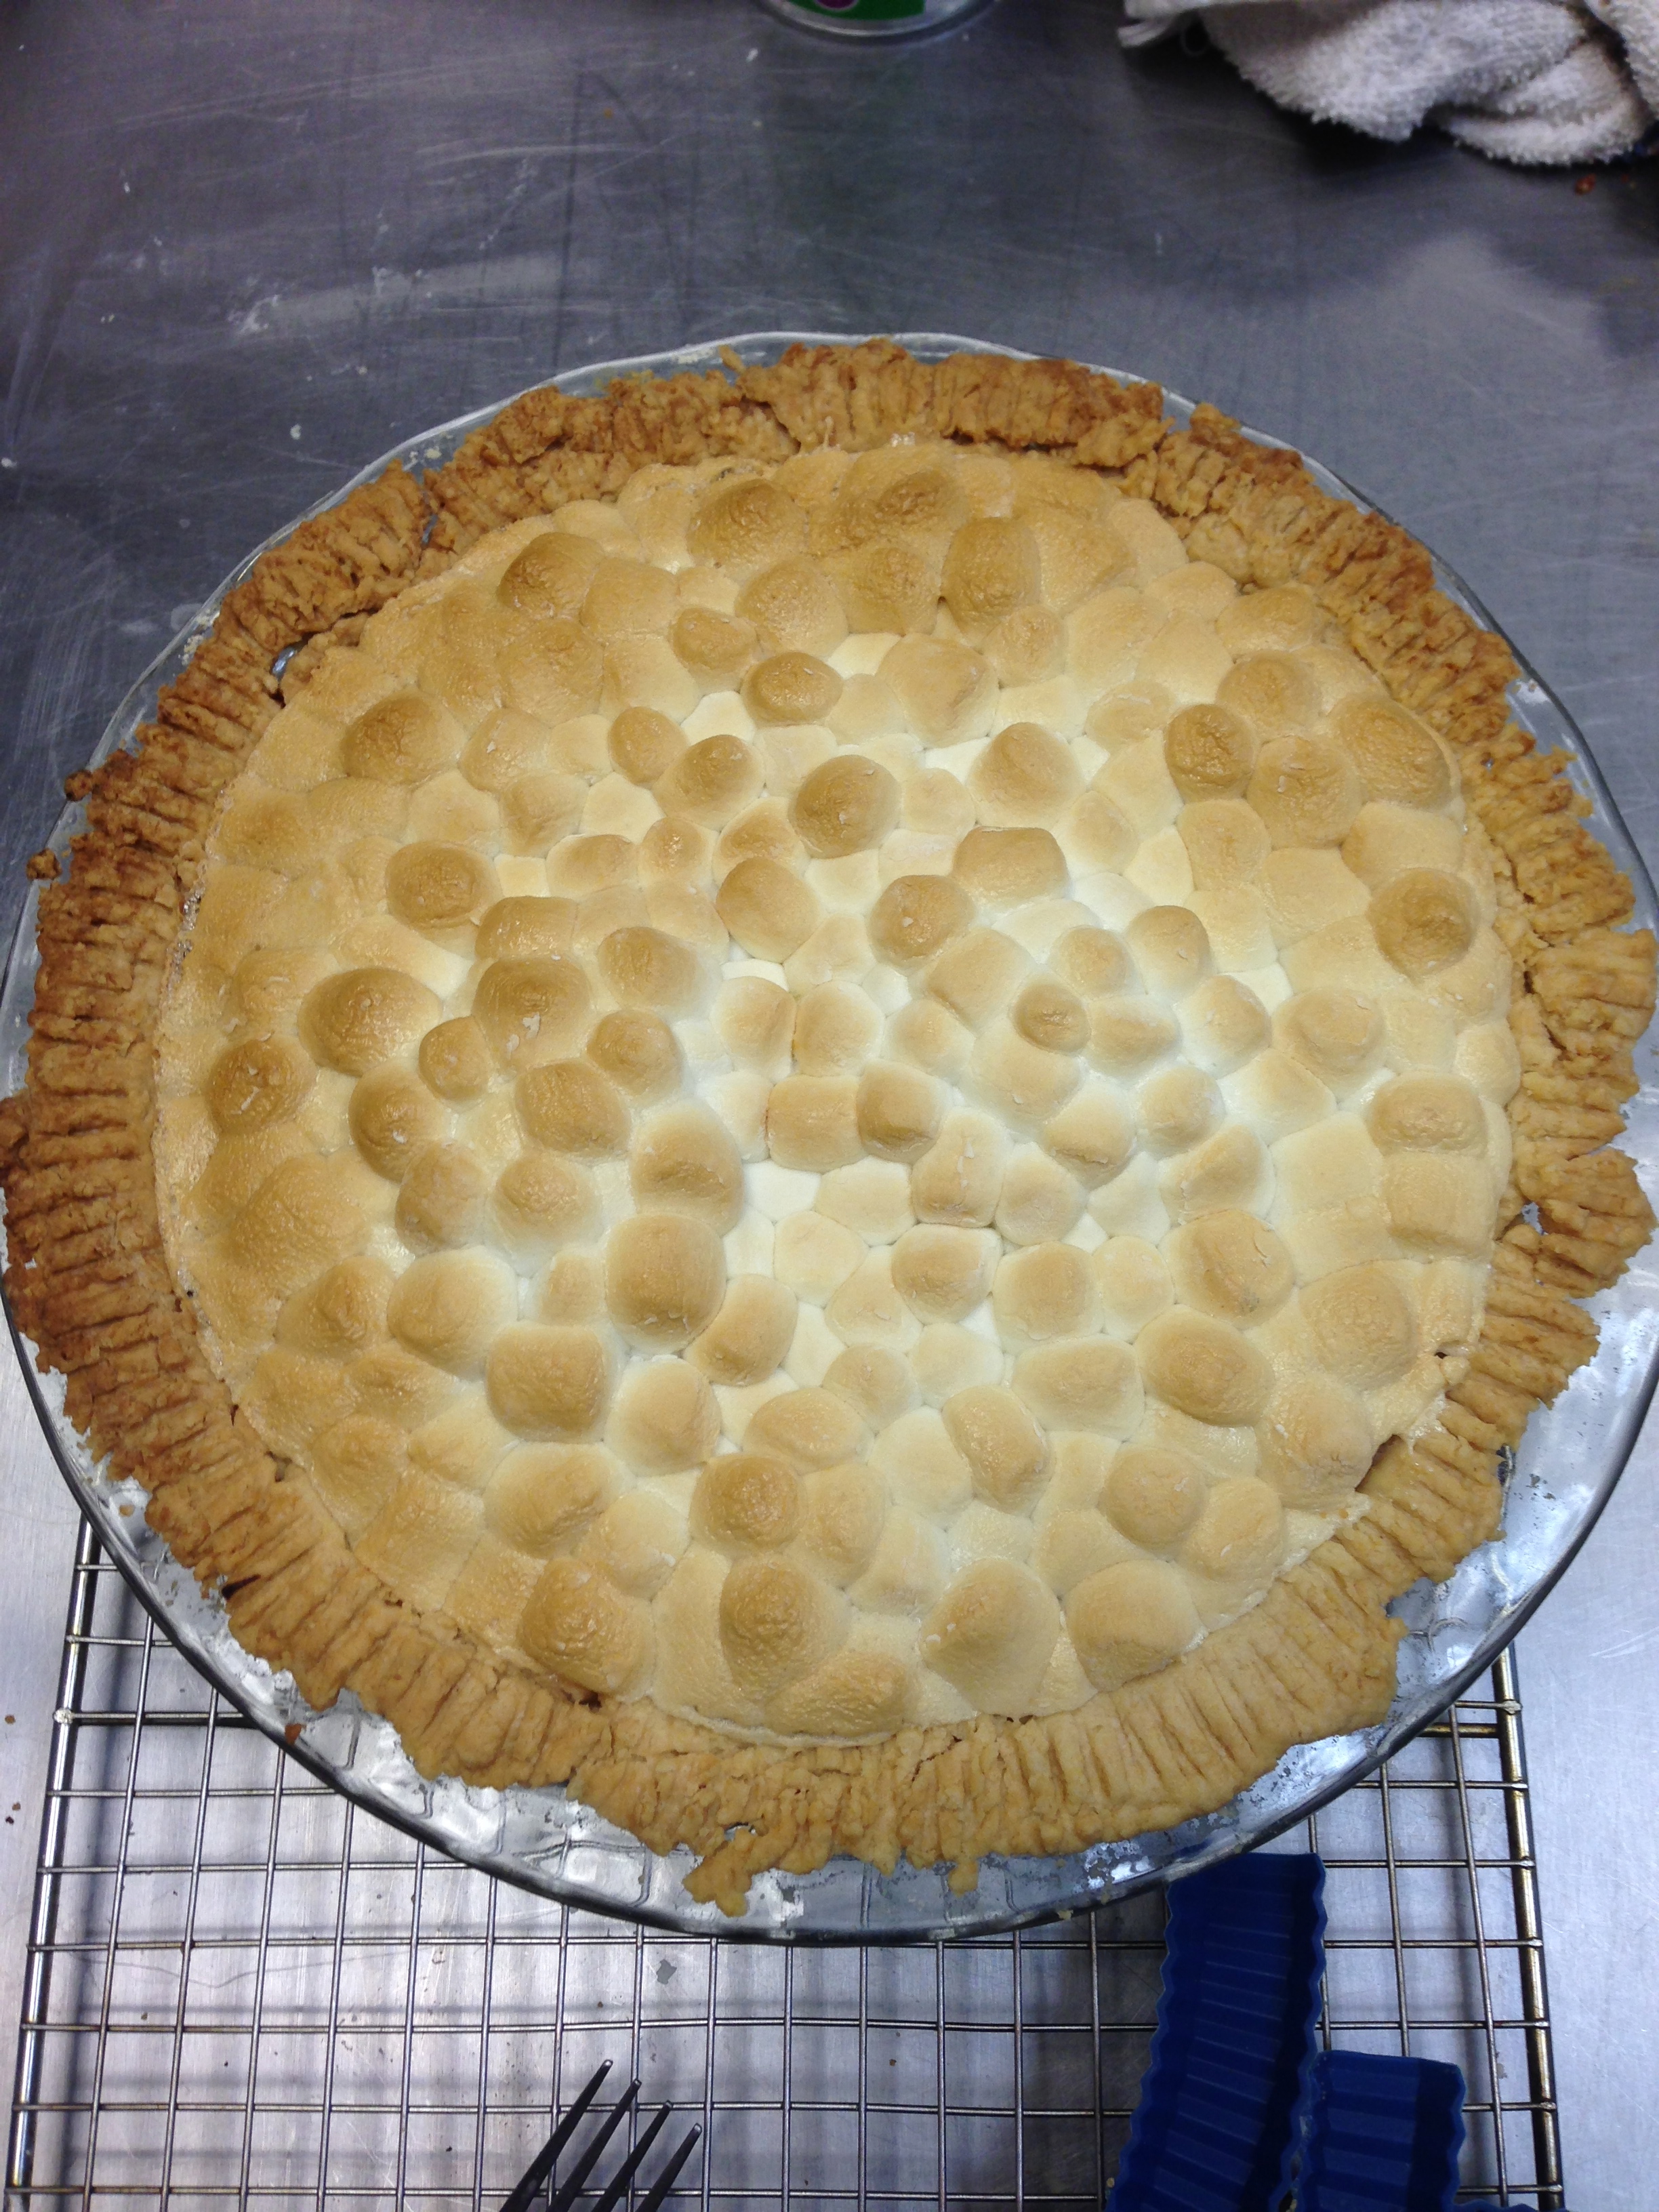
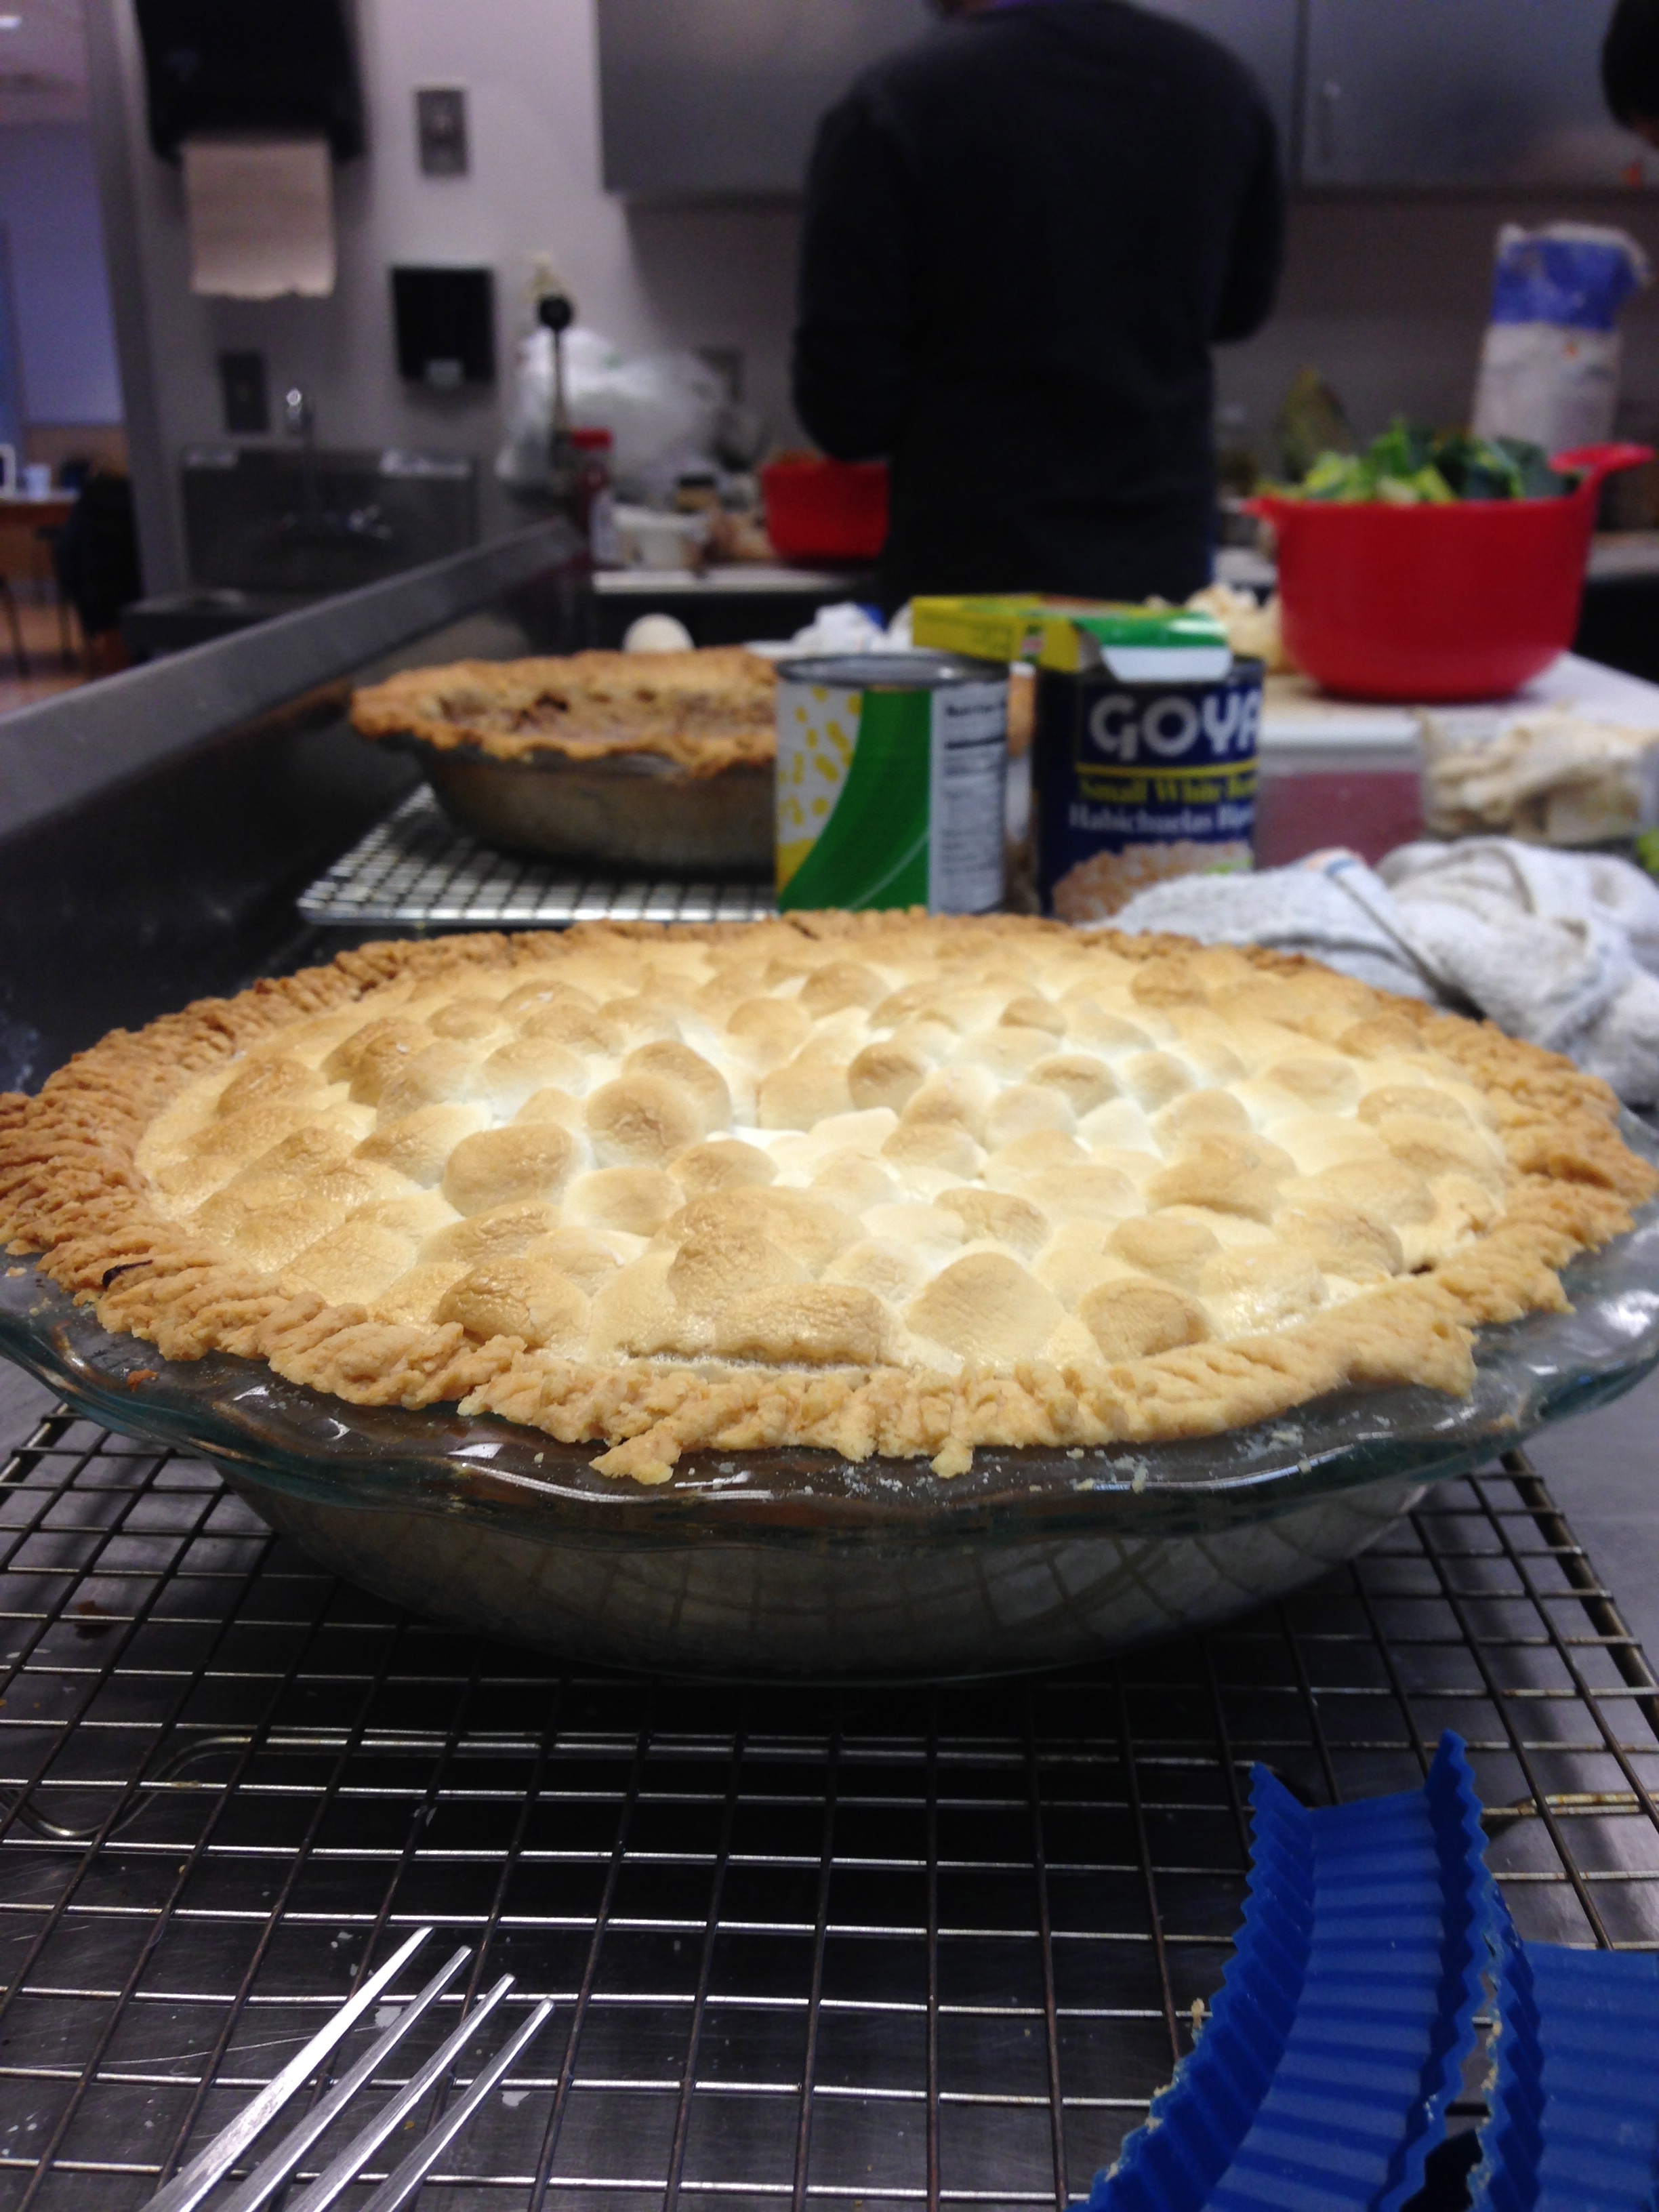
The sweet potato pie went pretty well too. I was working off of two recipes. One for sweet potato pie and one for marshmallow toped sweet potatoes, so I had to be a little inventive. This was the first time I’d done a pie with a runny liquid filling rather than chunks of fruit and meat. The main issue I had to tackle here was also with the top. I had to figure out how to prevent the marshmallows from sinking into the liquid of the filling, so I cooked the filling in the pie crust until it began to set a bit then I pilled the marshmallows on top. The other thing I didn’t foresee was the the marshmallows expanding in the oven and then contracting upon cooling so that the top of the pie actually pulled away from the edges of the crust. It looked a little strange and made it hard to cut well, but I think the flavor wasn’t effected.
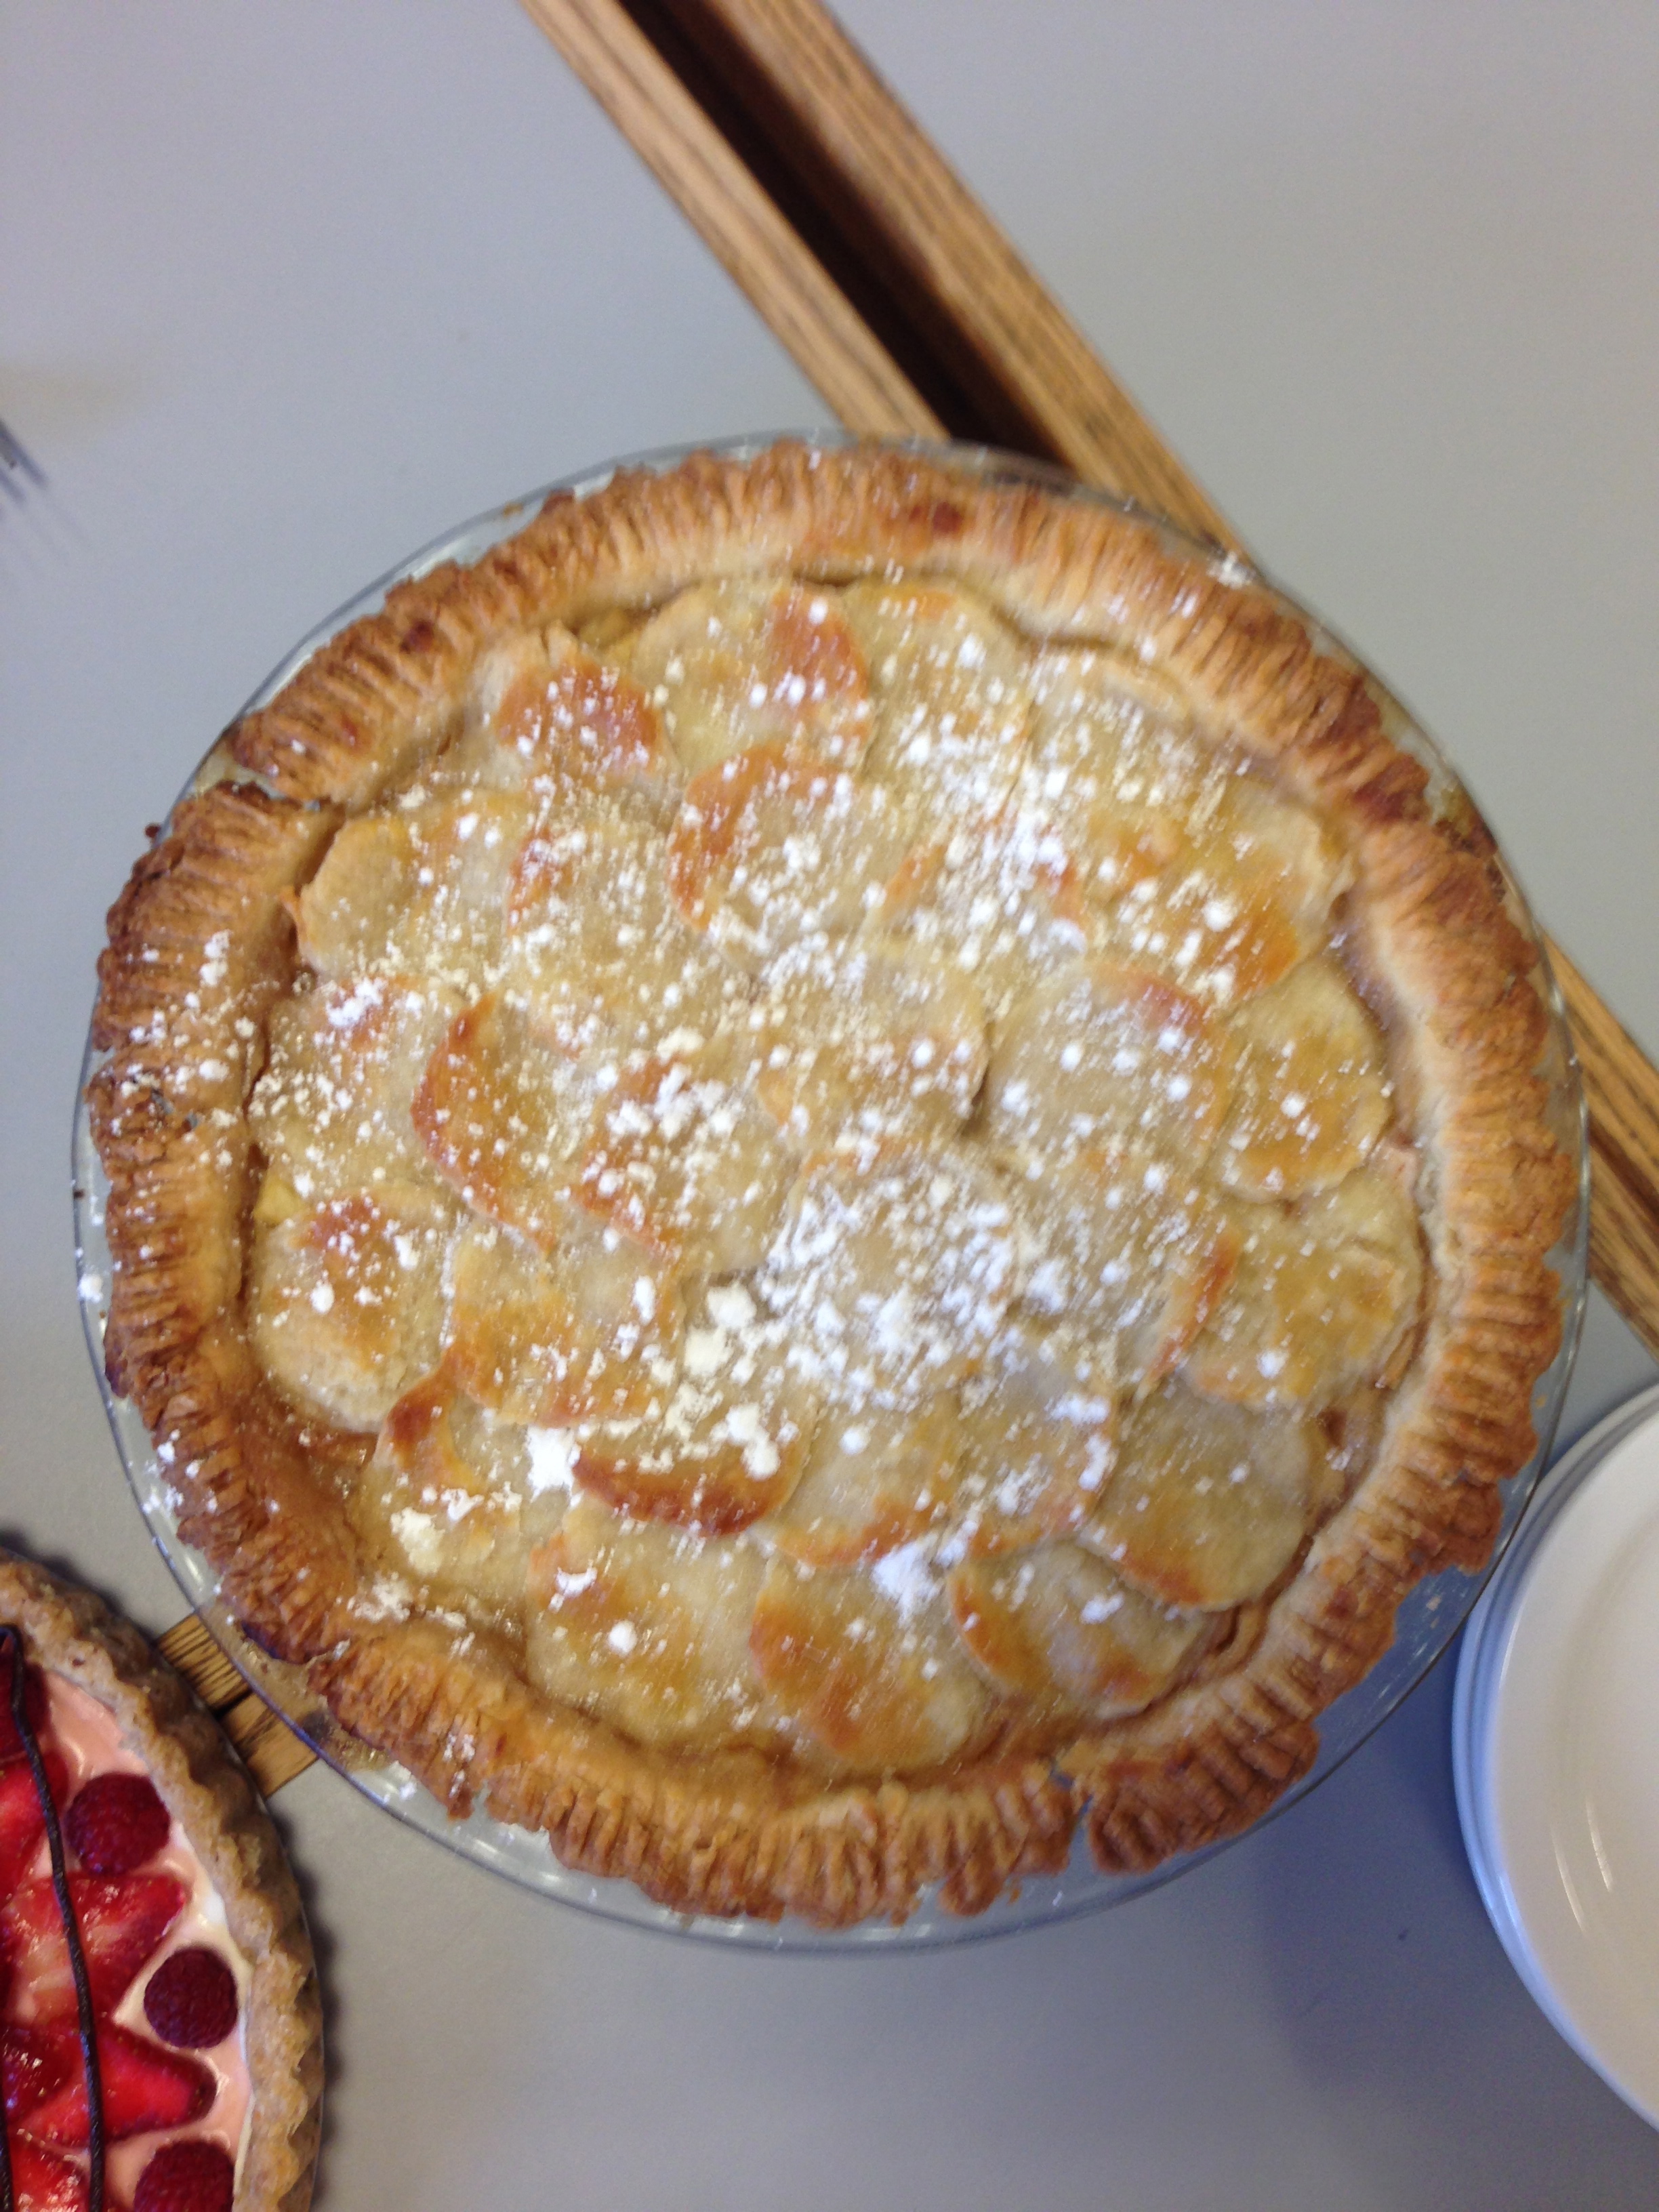
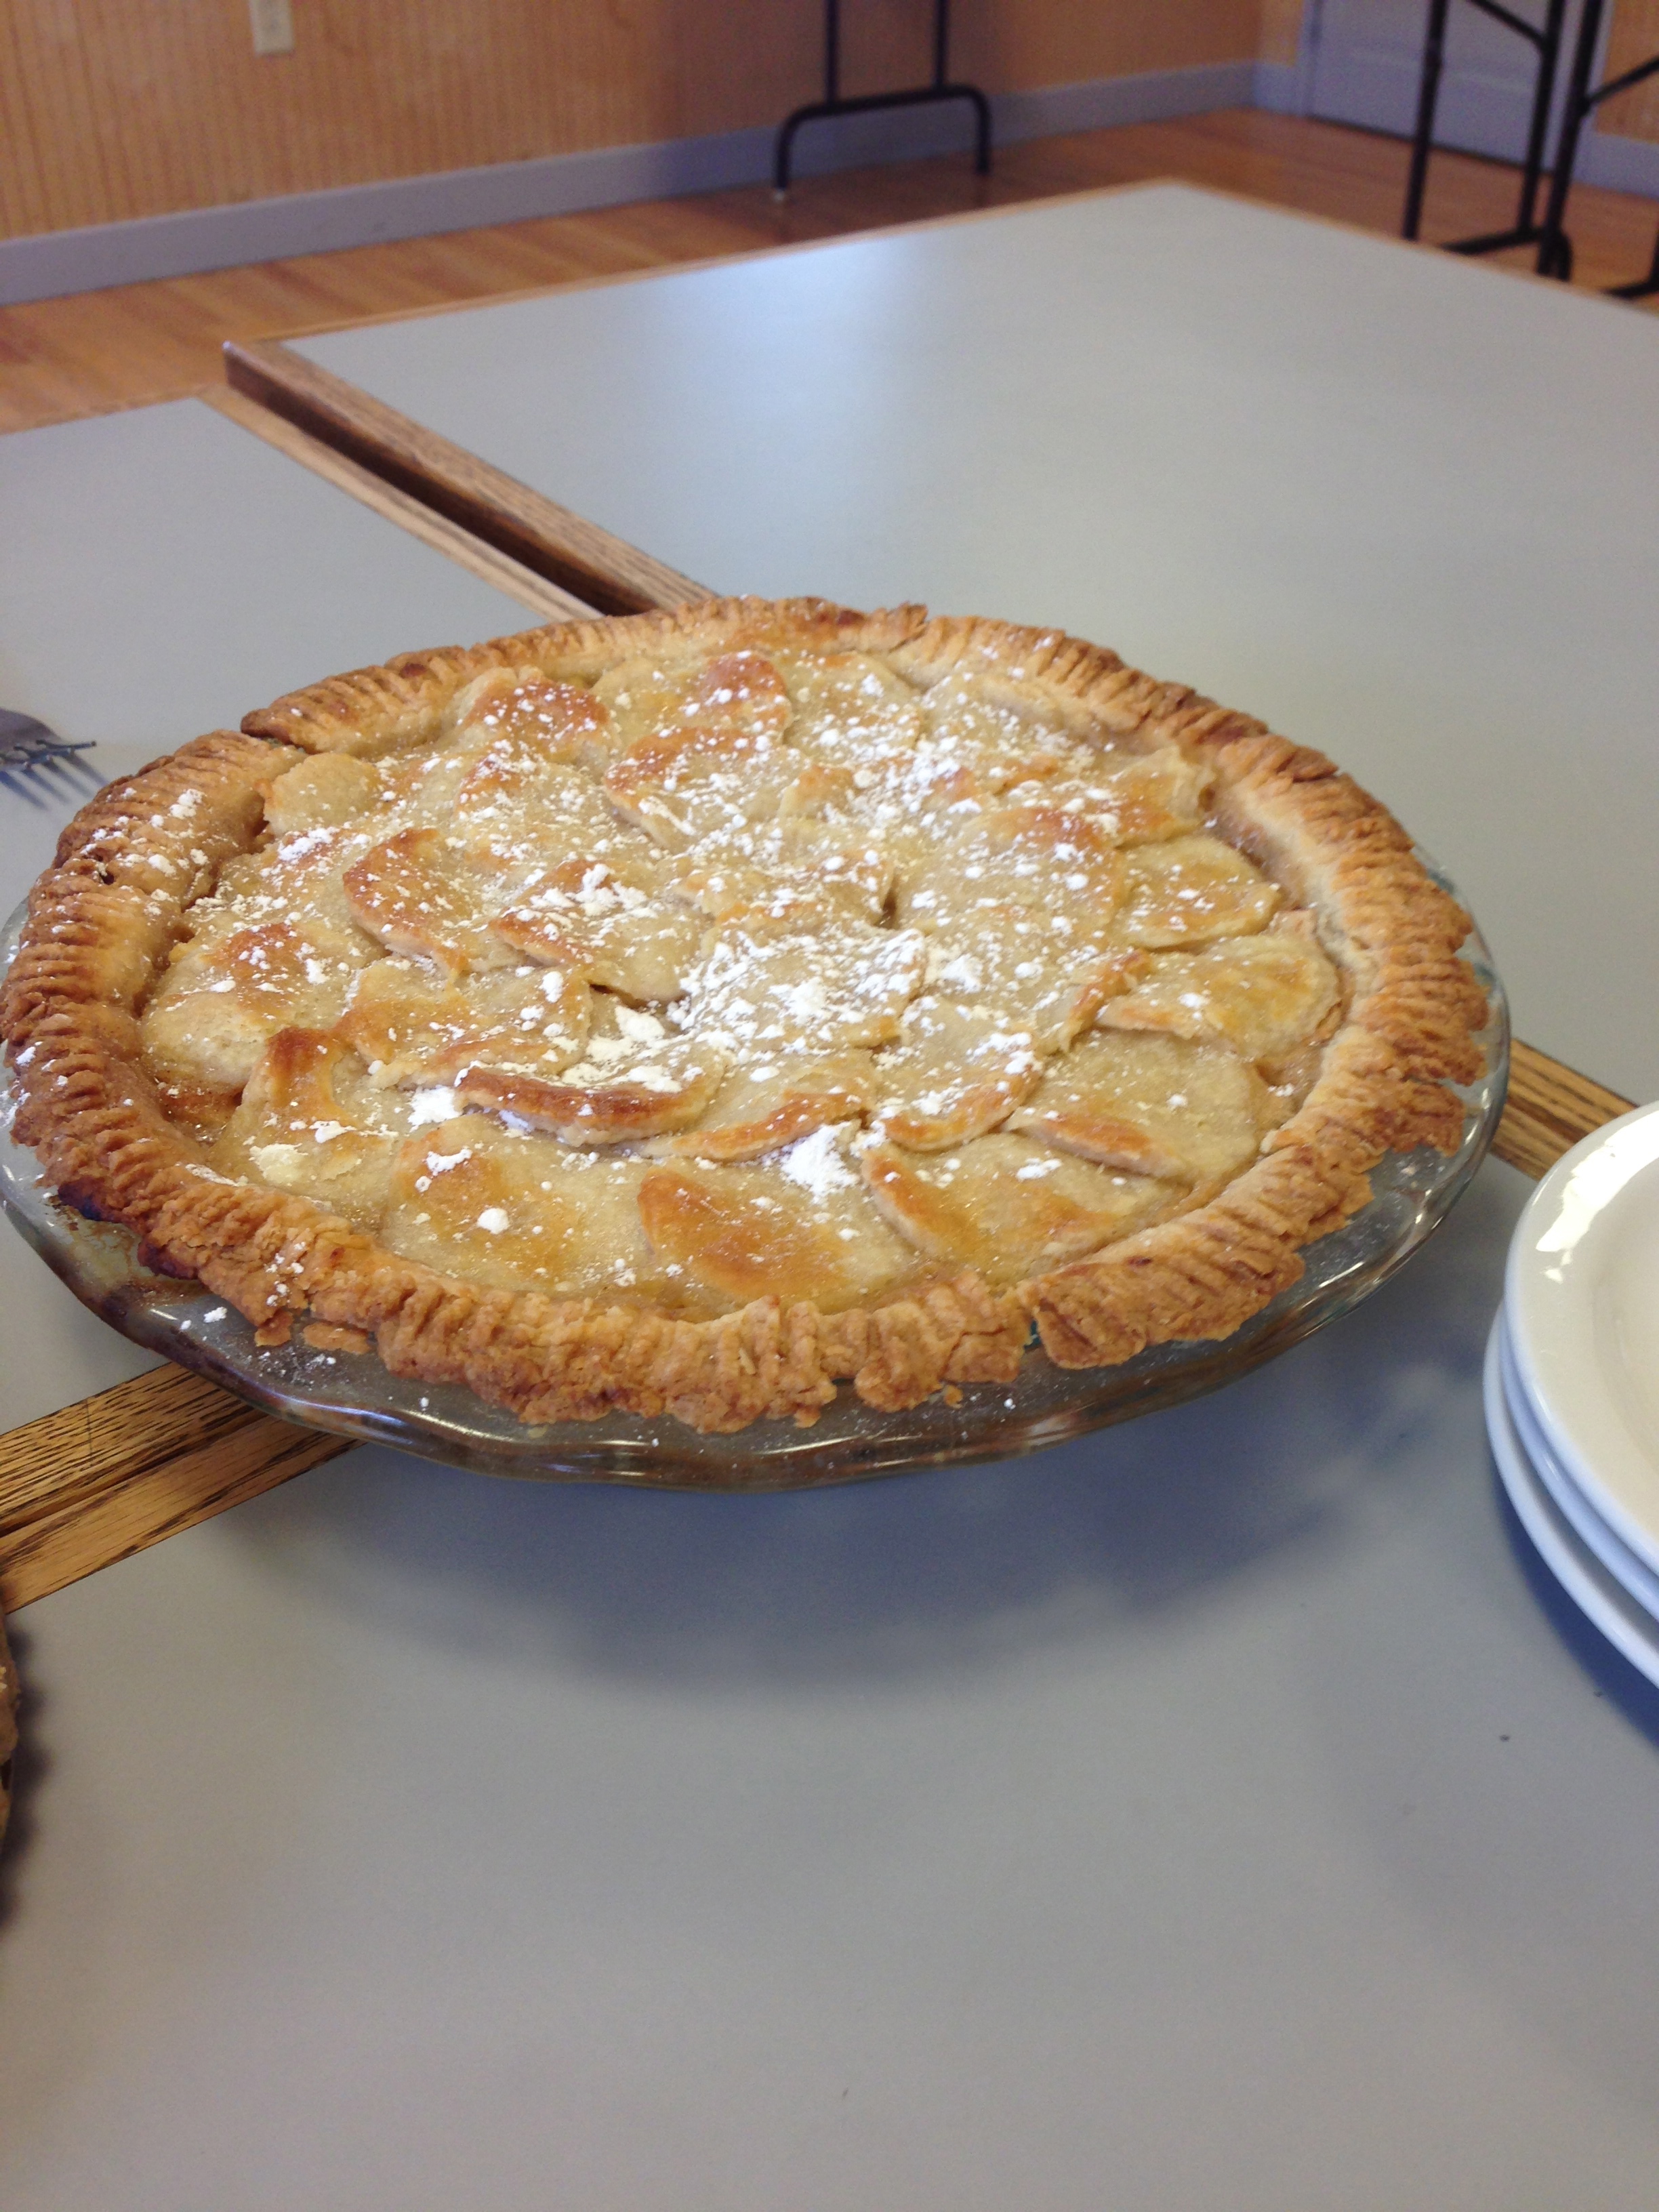
Here is the completed pie complete with marshmallow-y bubbles:
IMG_1413

IMG_1412

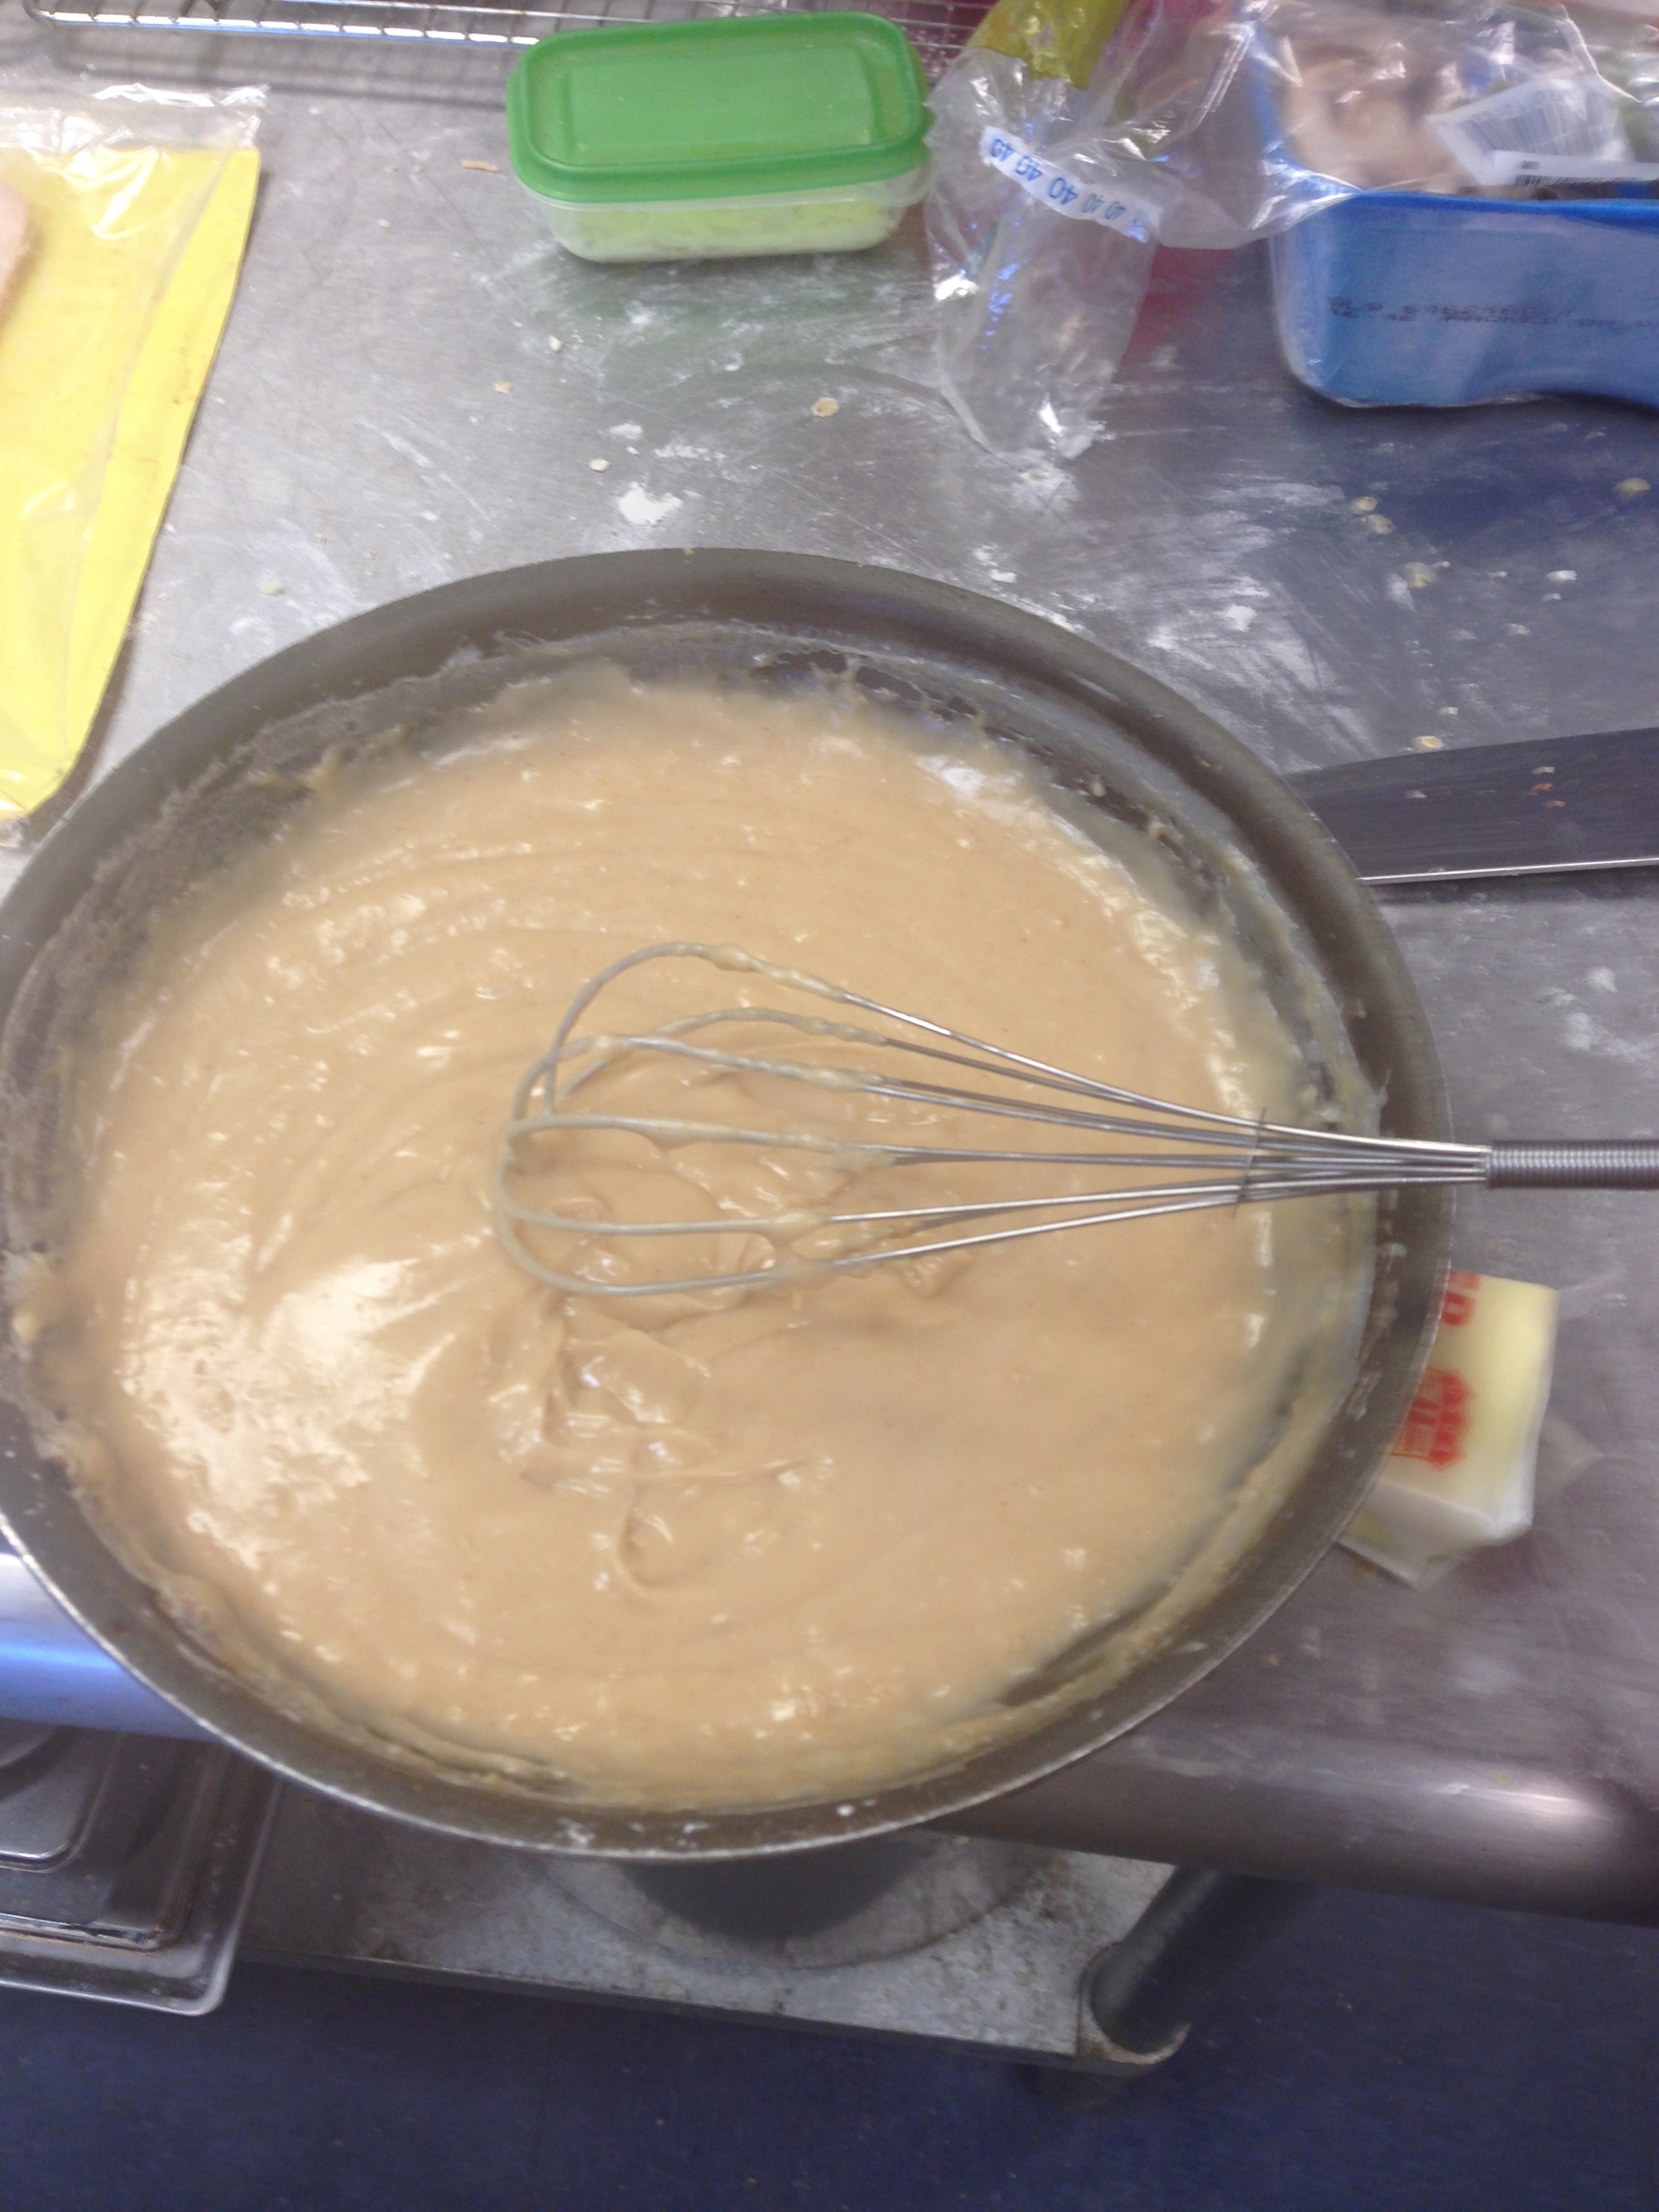
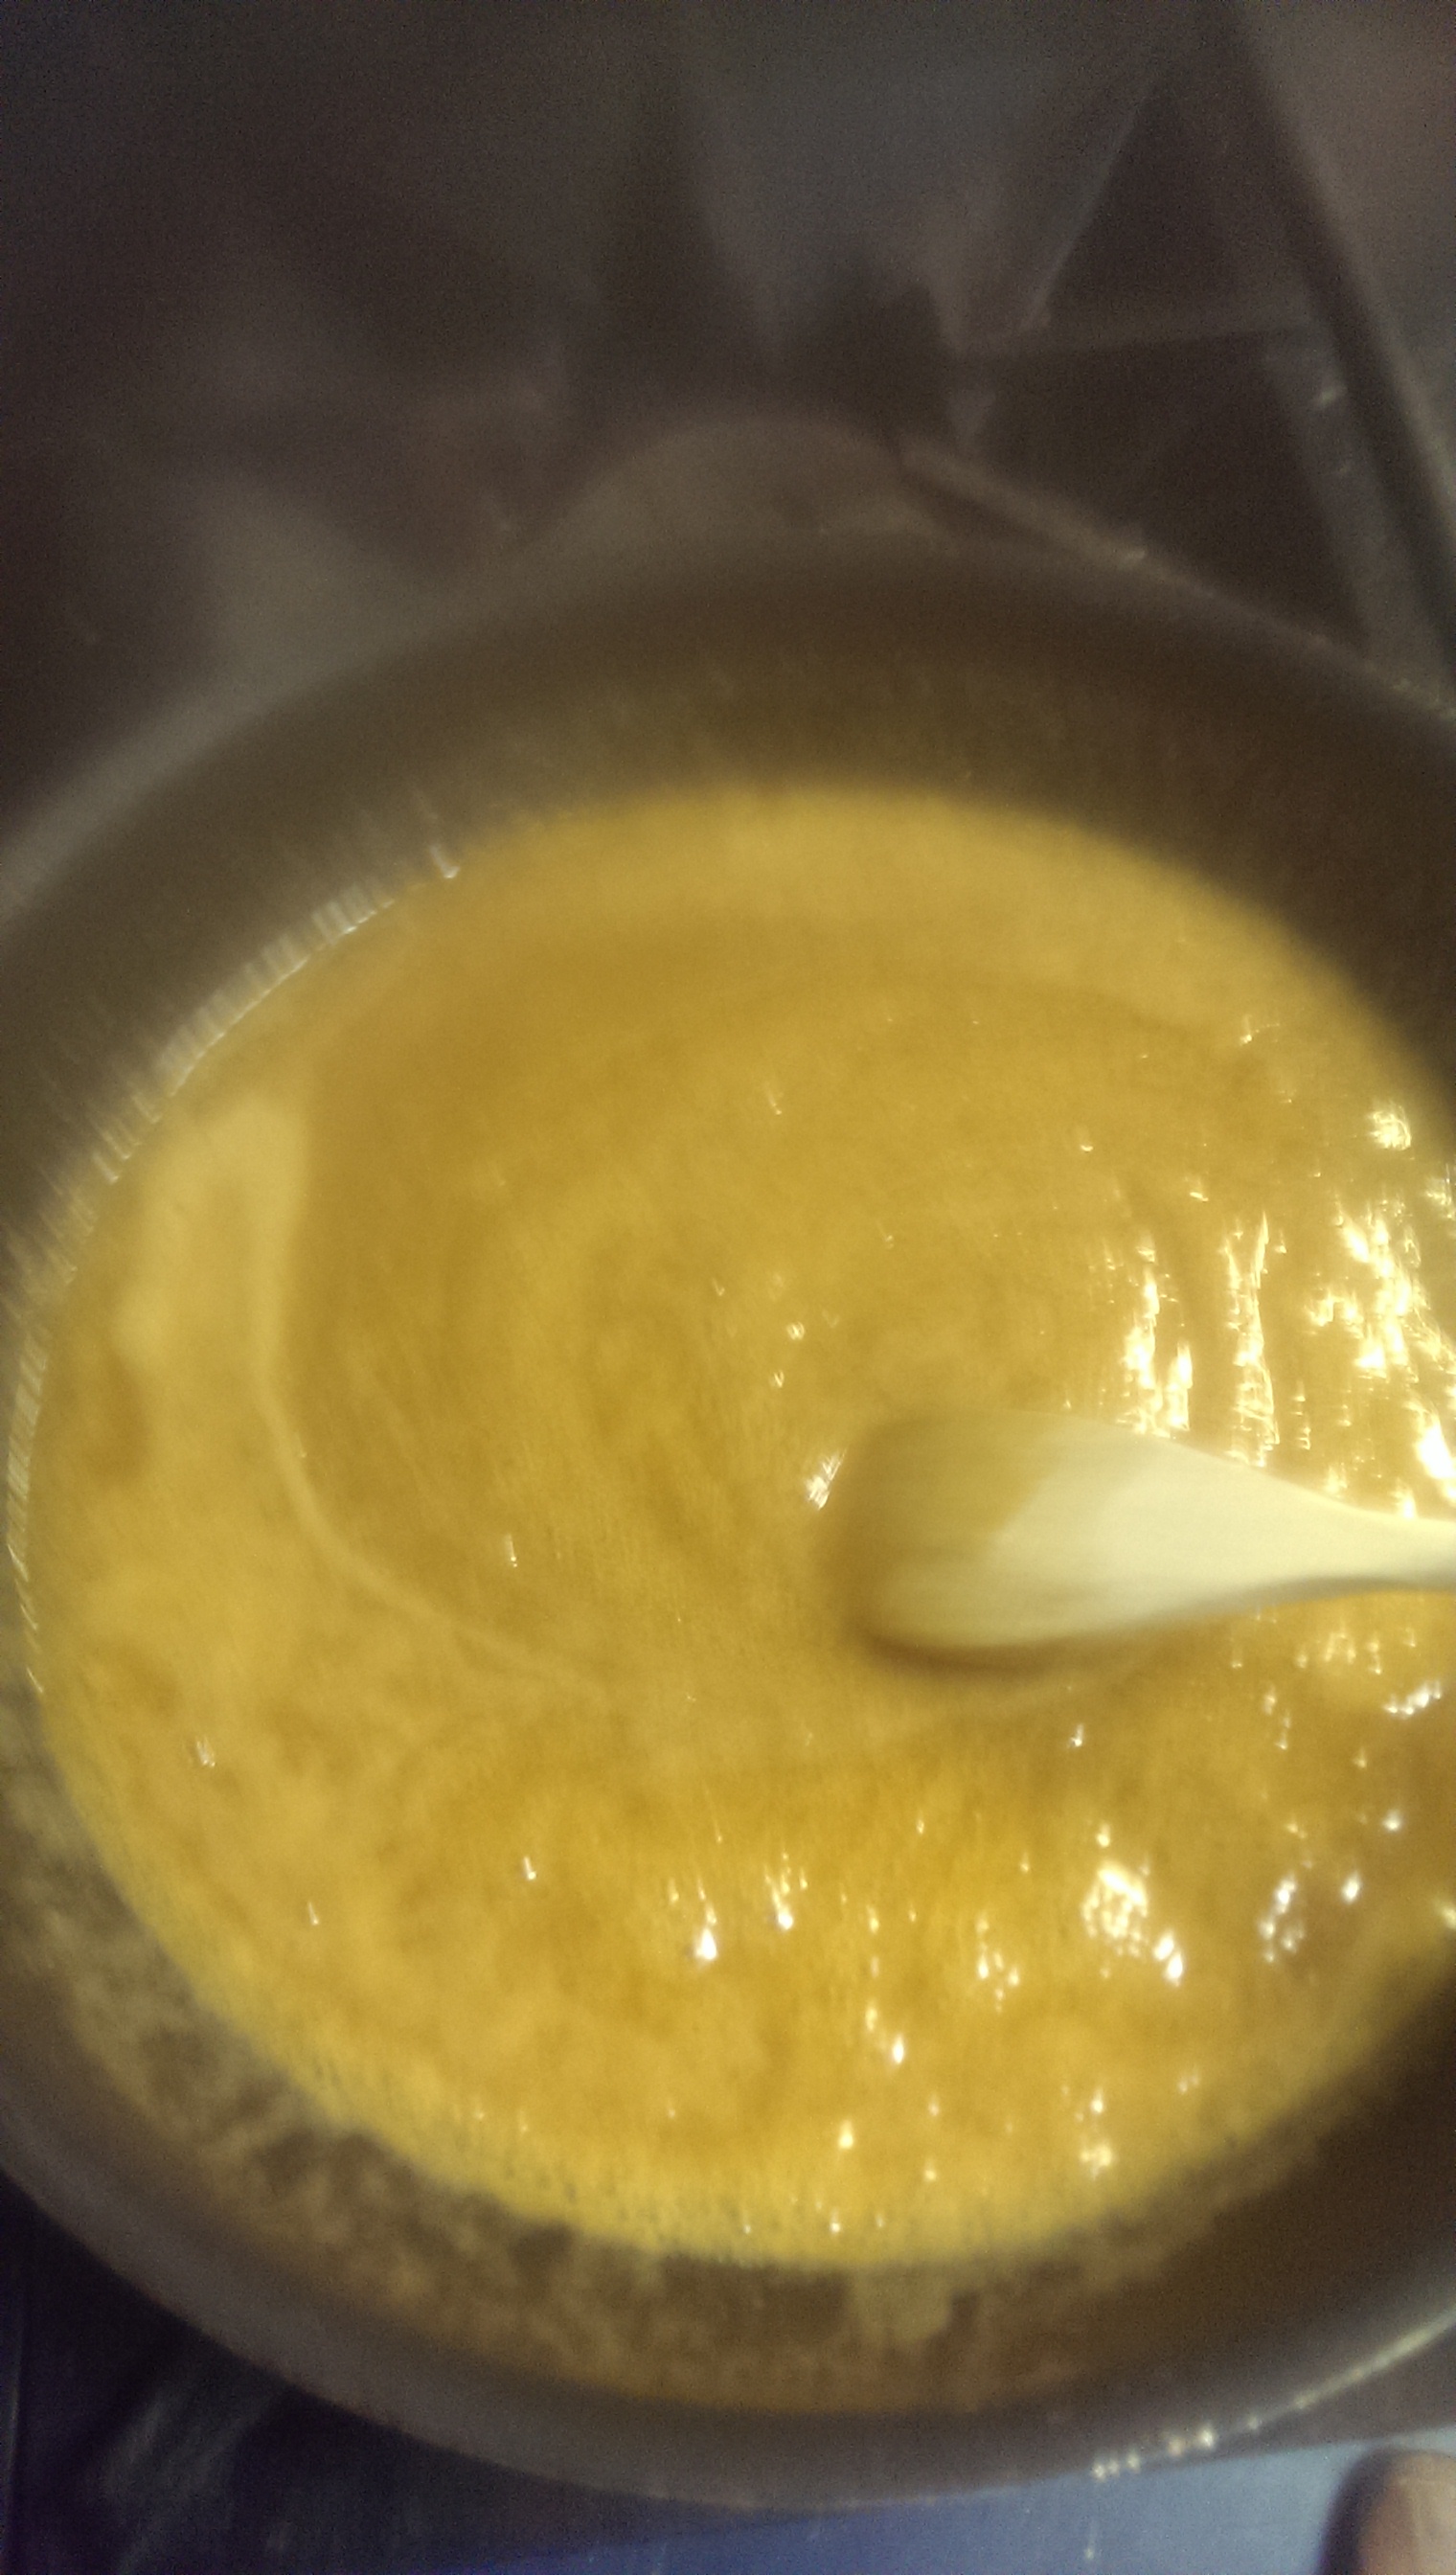
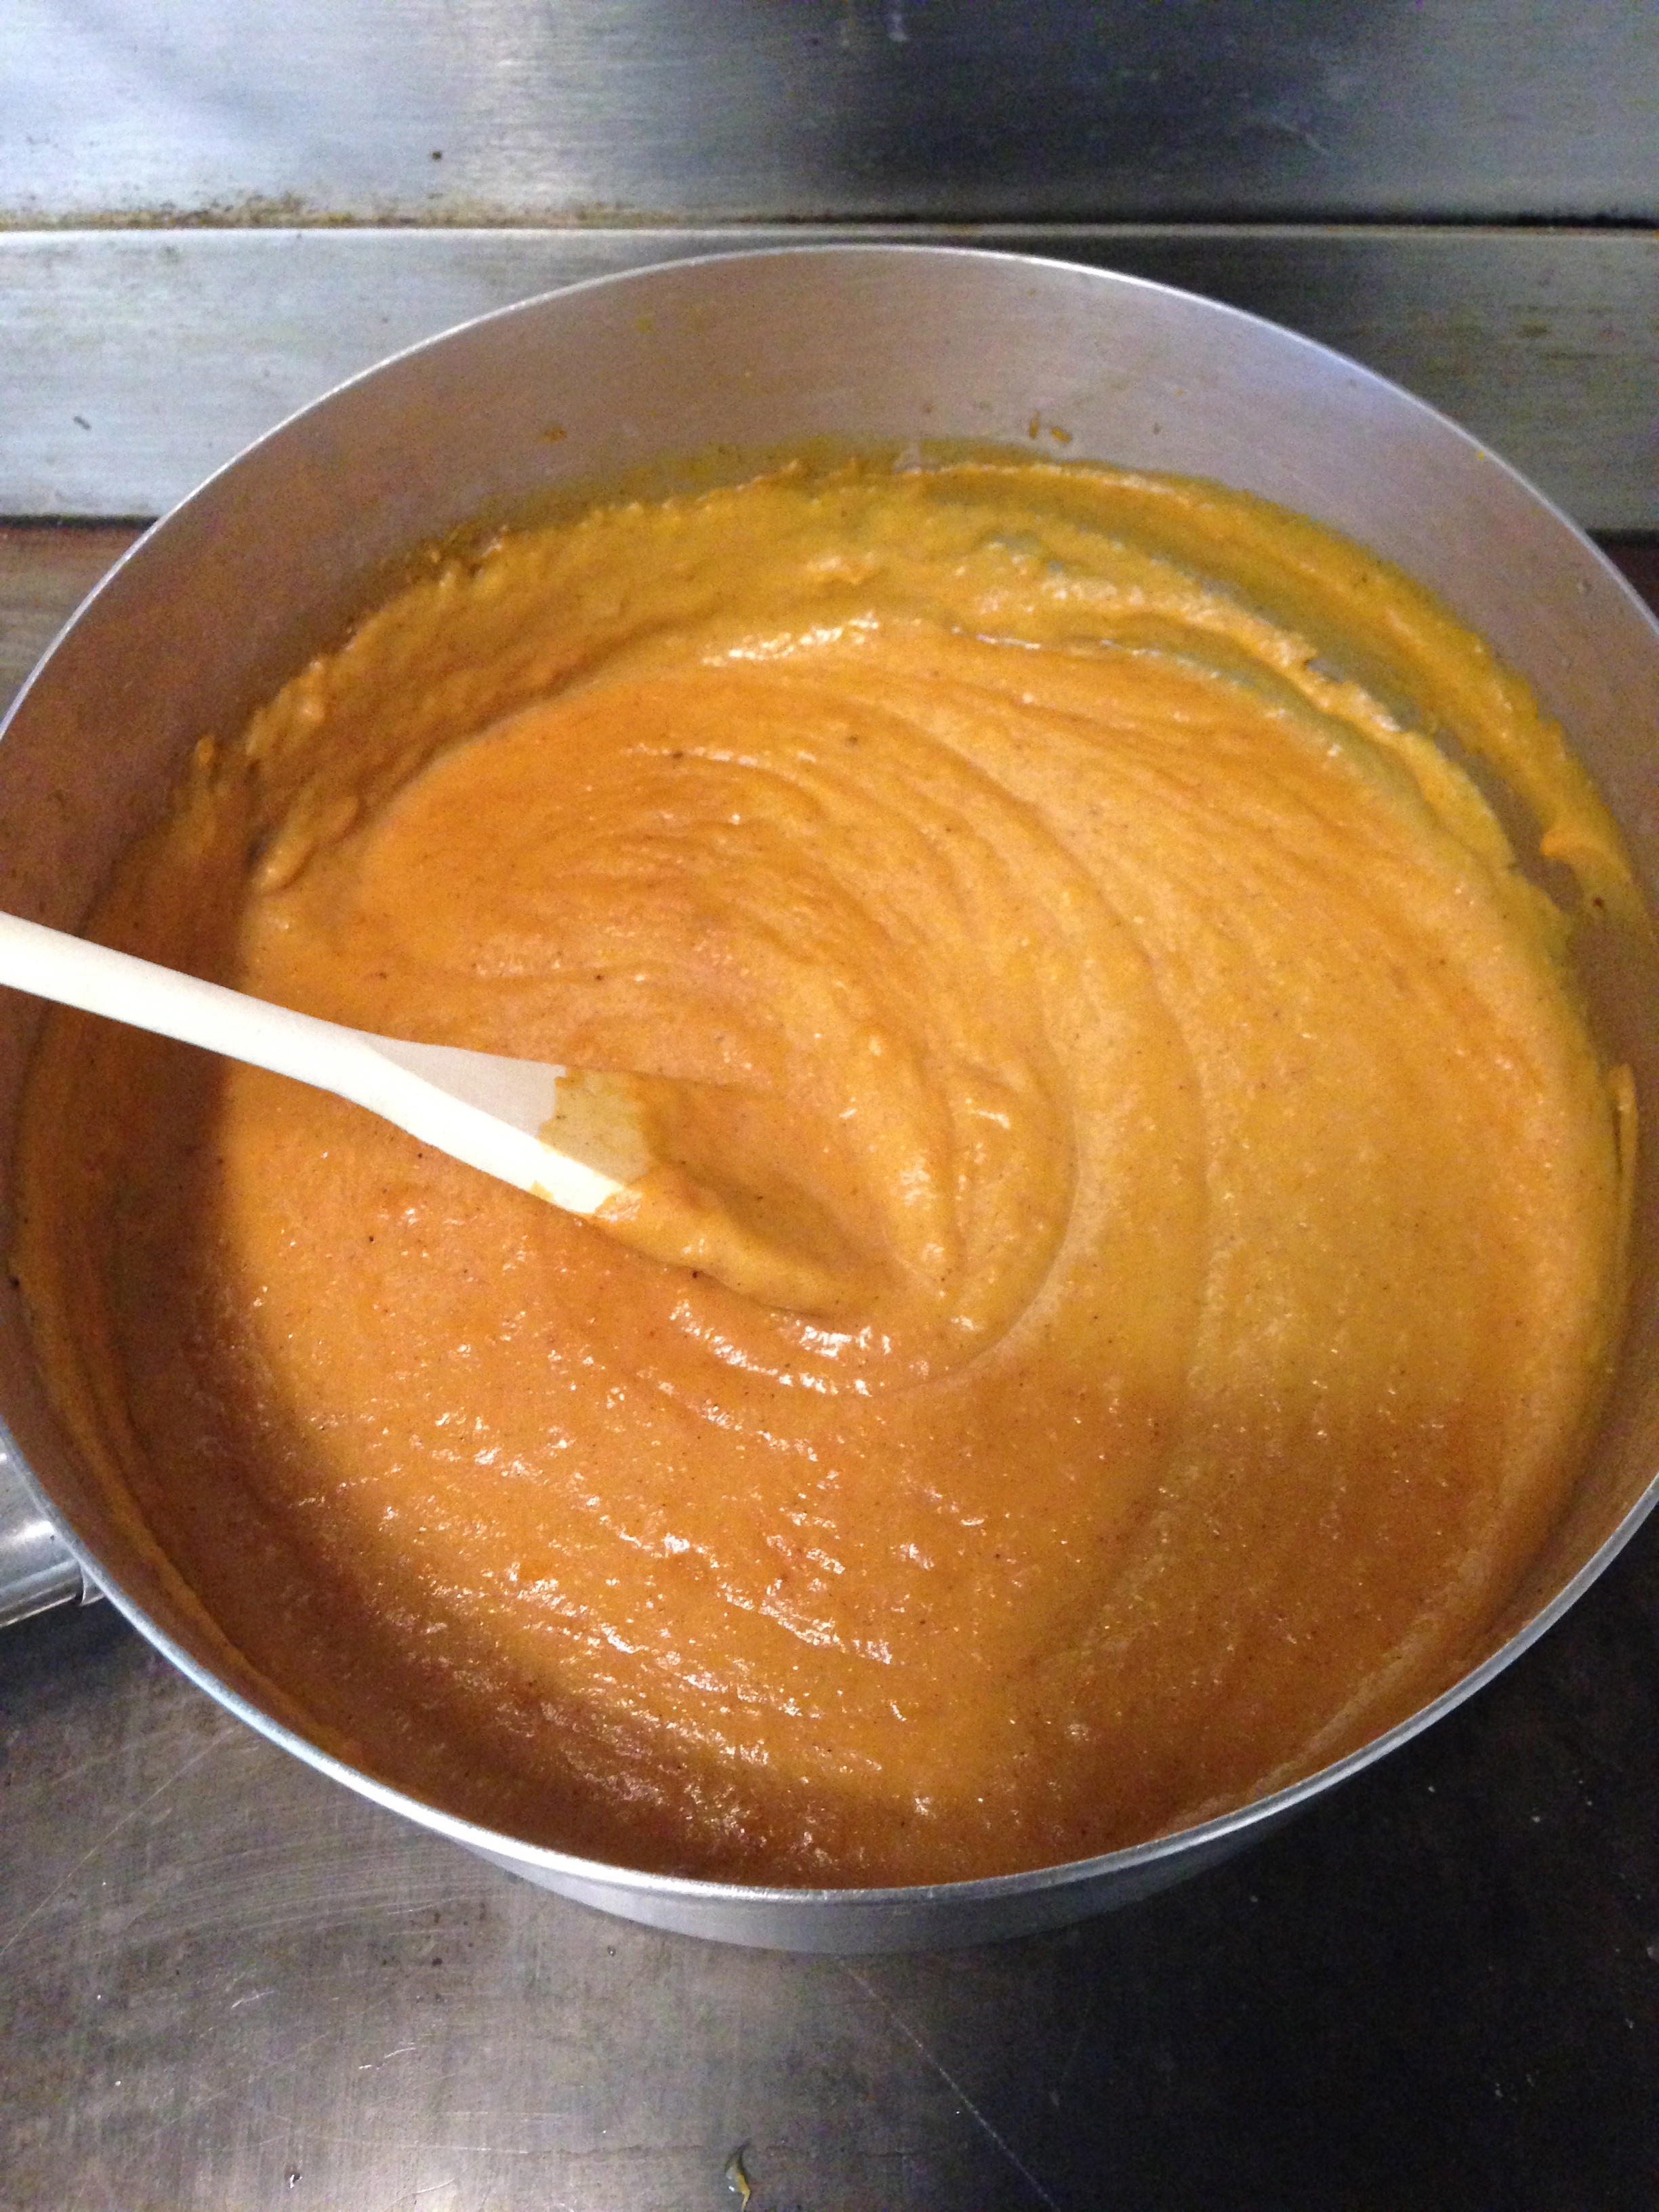
And here is the sweet potato filling while being cooked on the stove:
IMG_1411

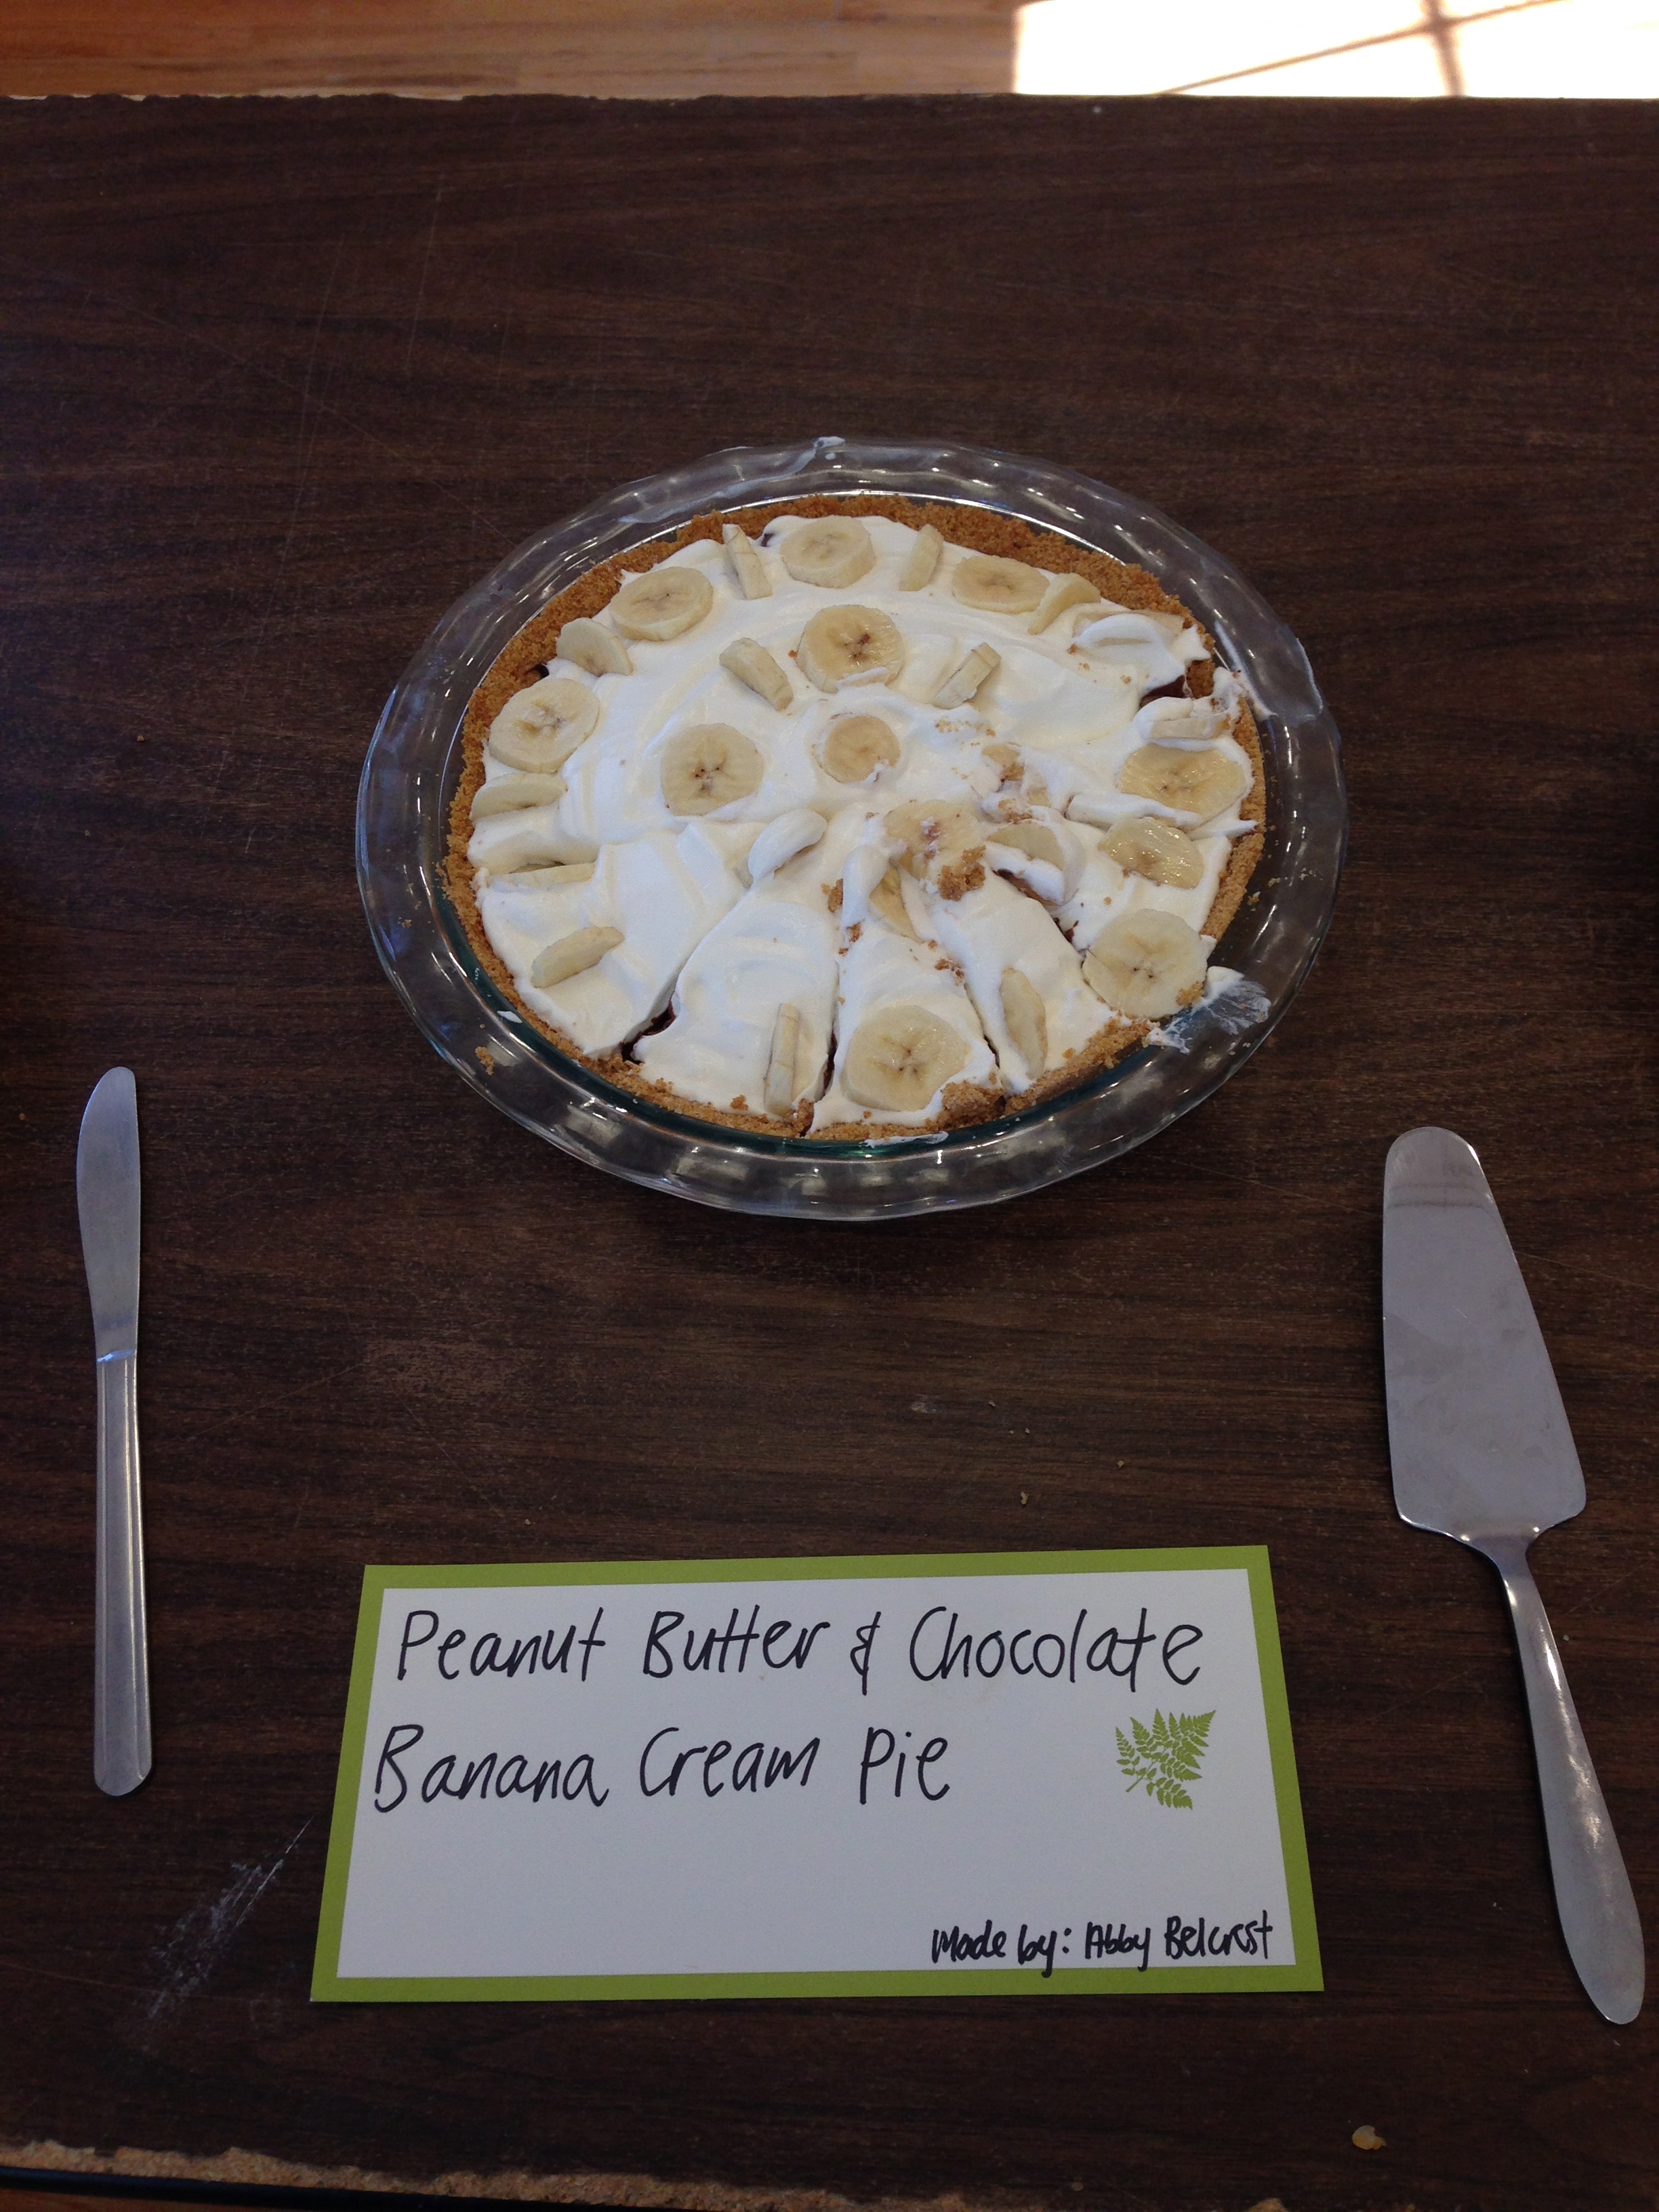
Peanut Butter and Chocolate Banana Cream Pie

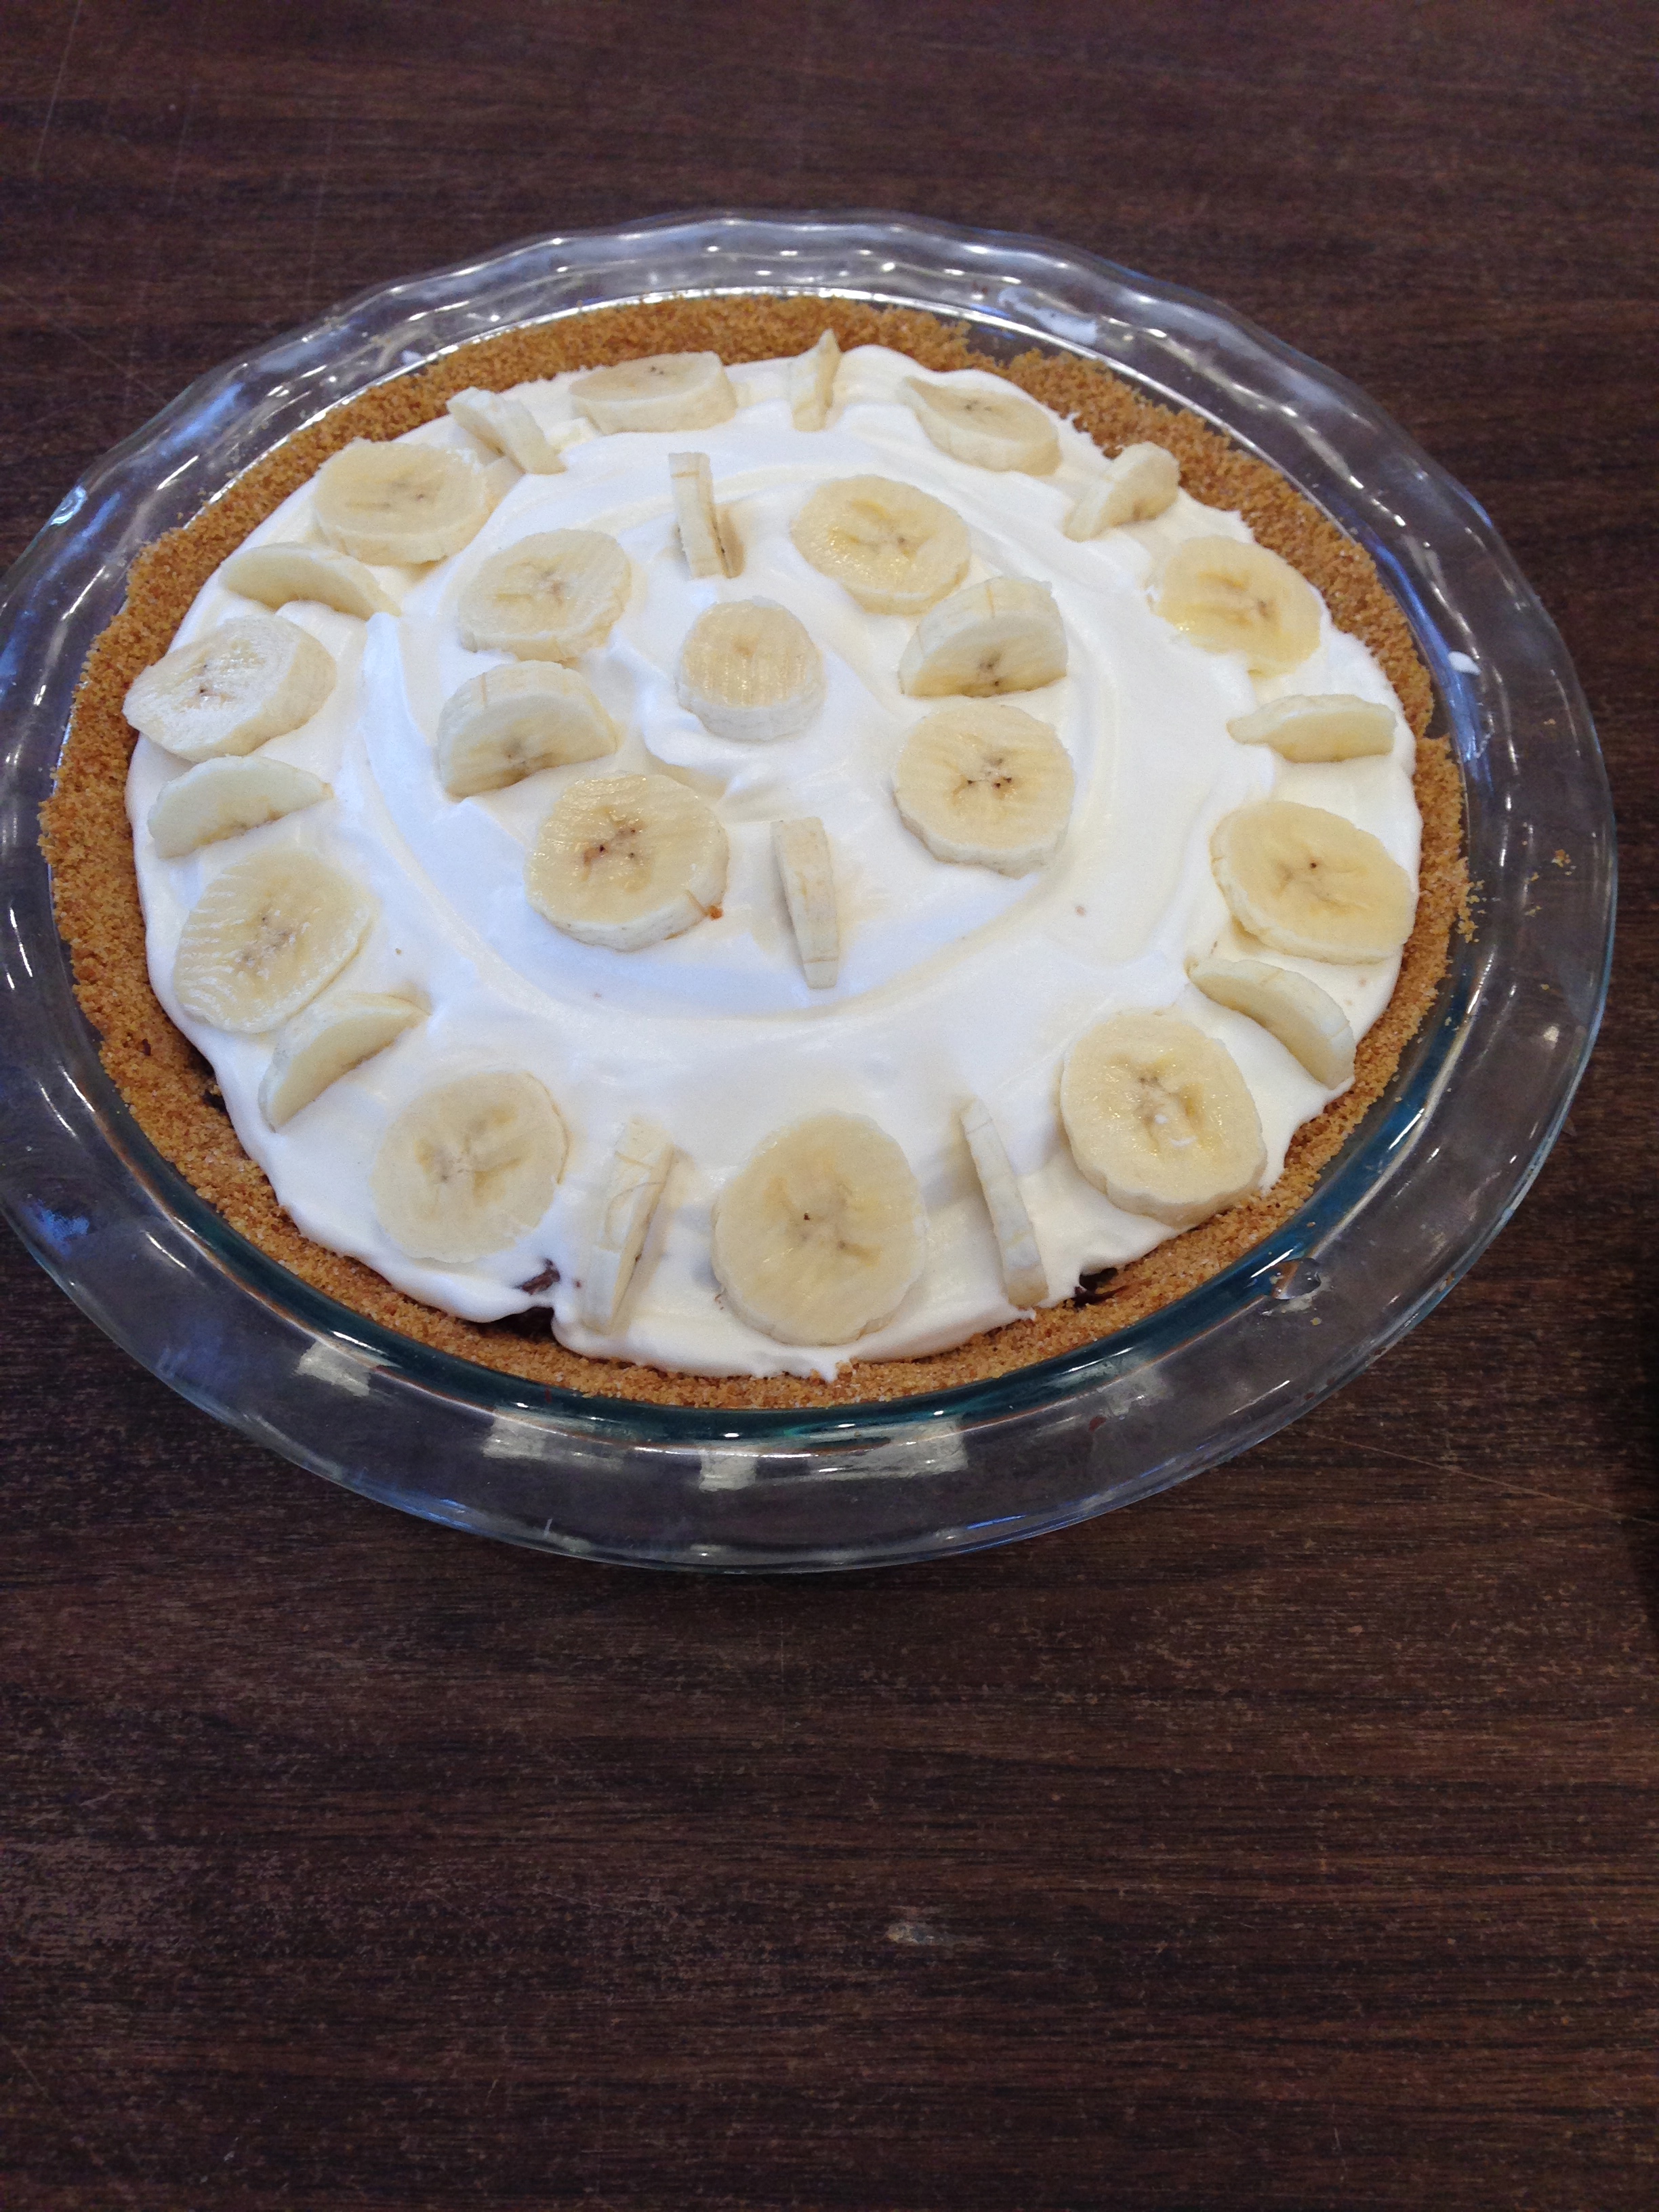
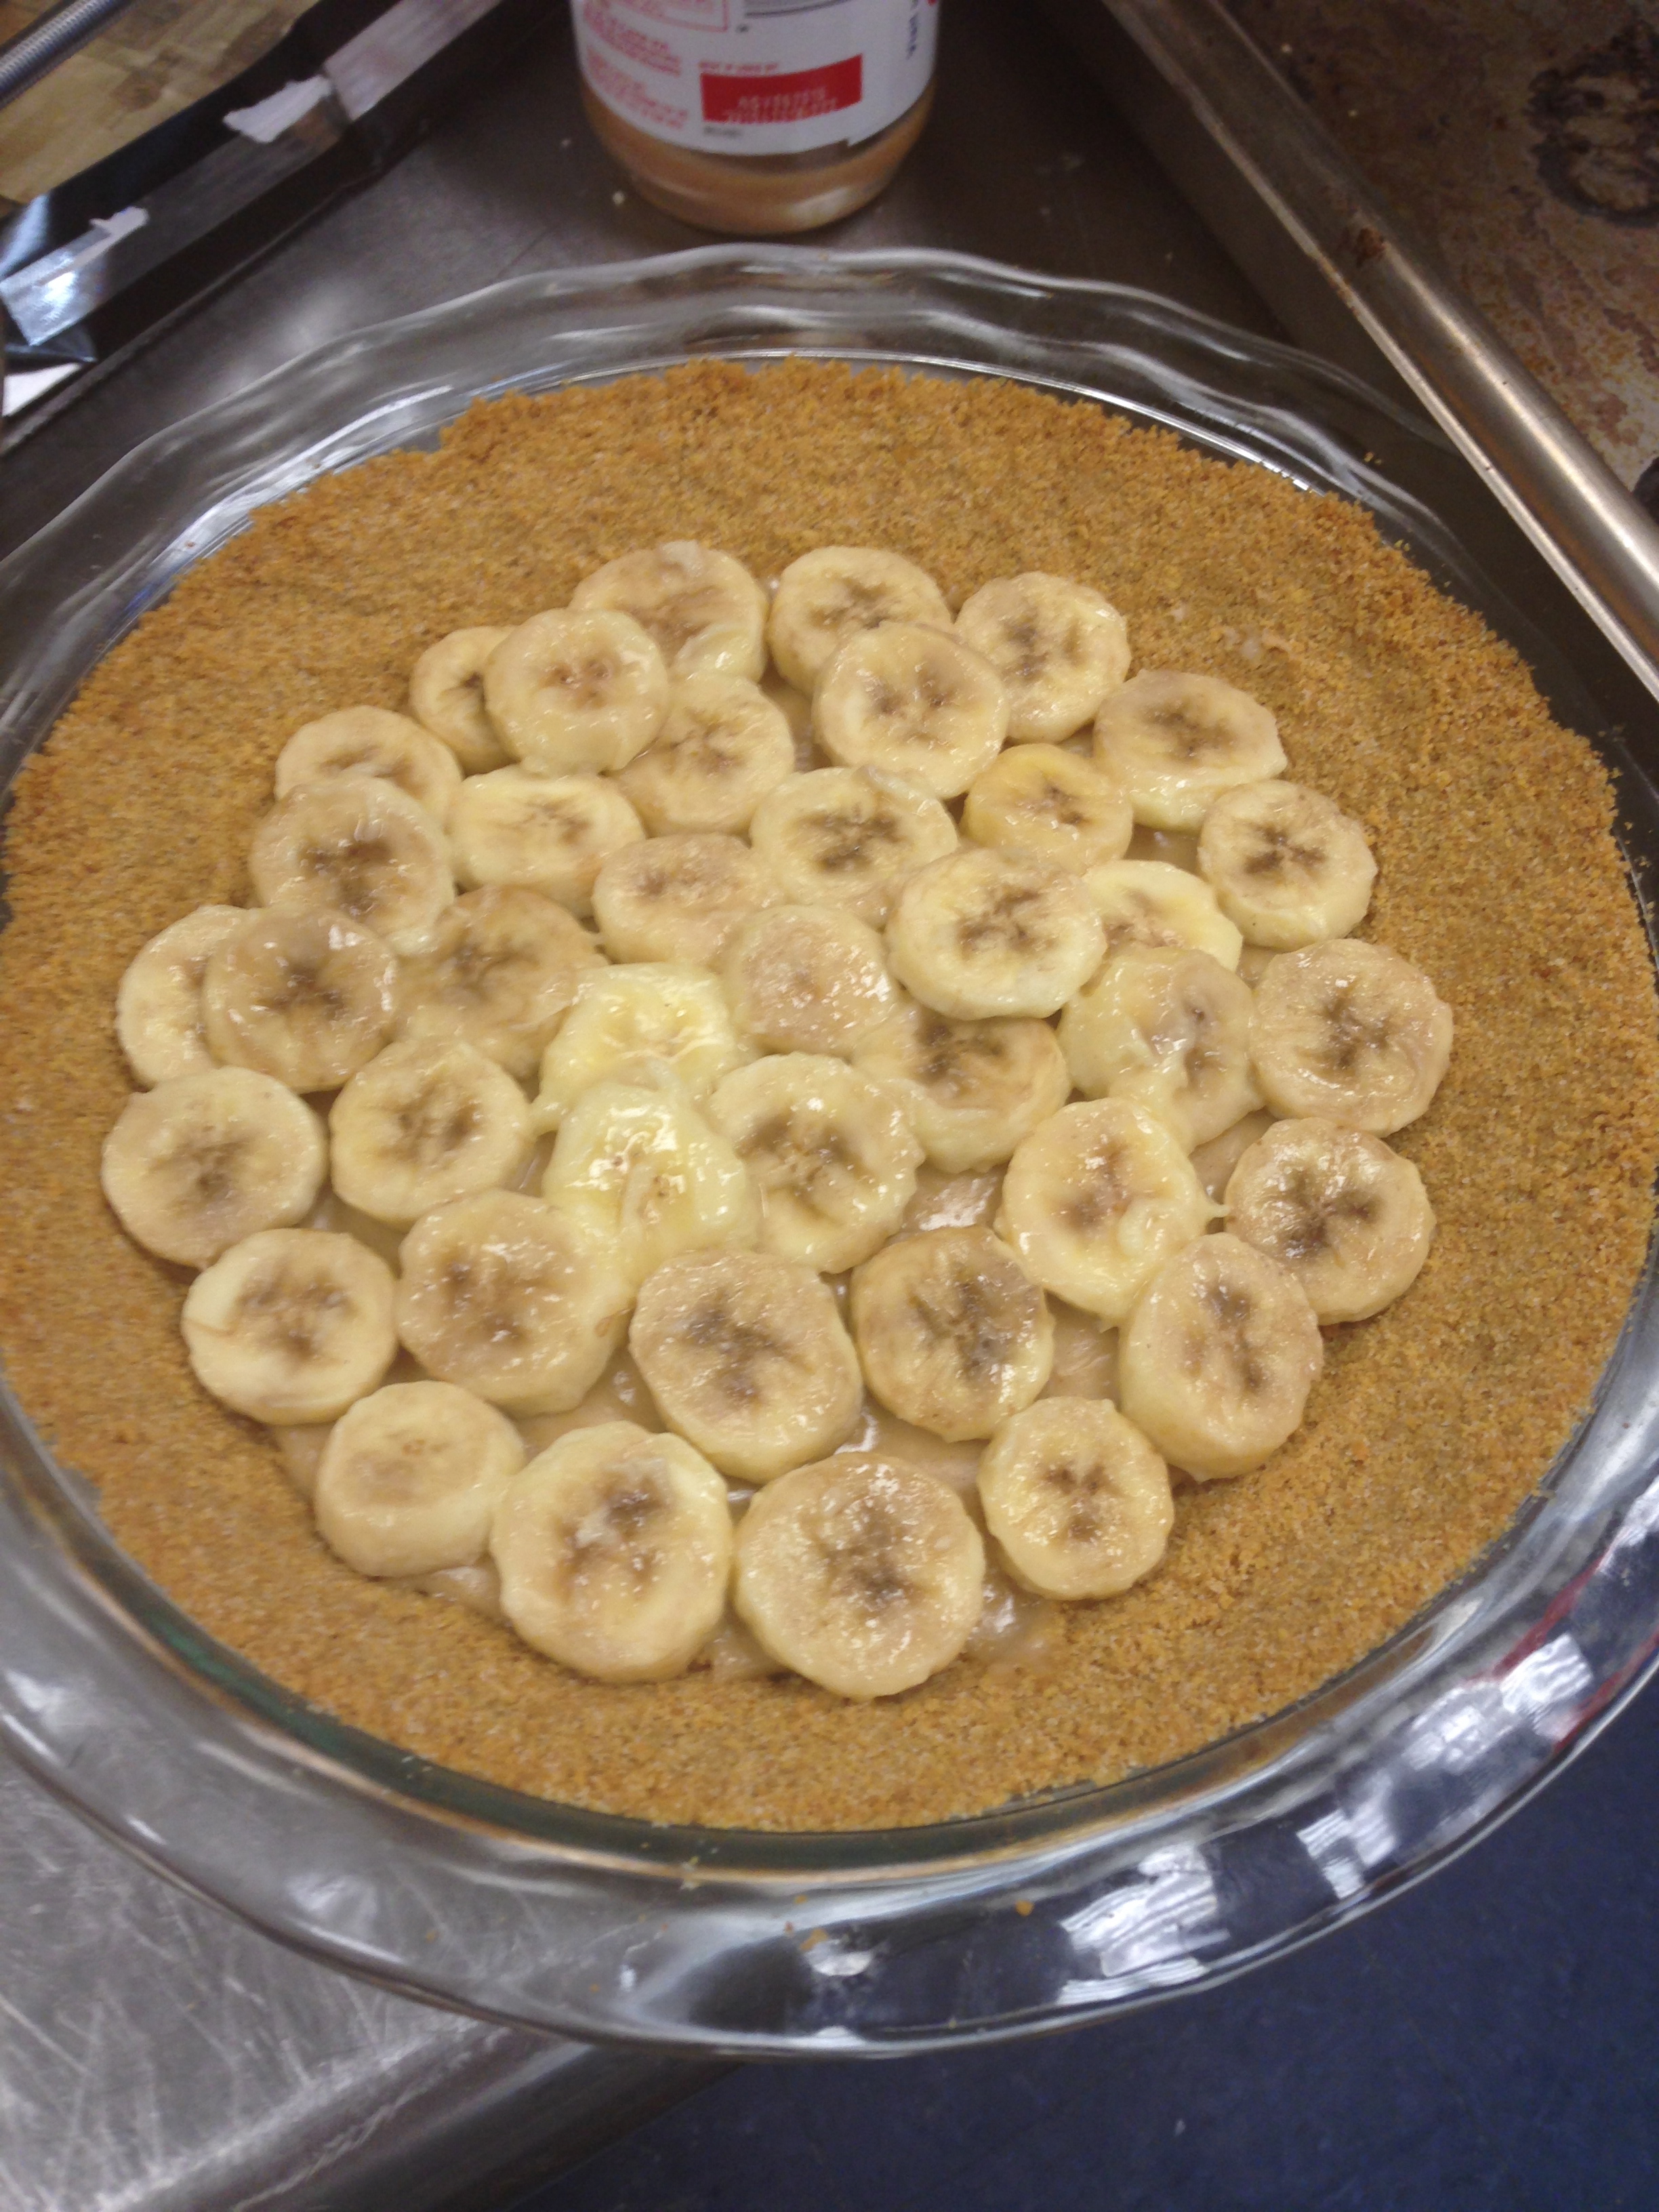
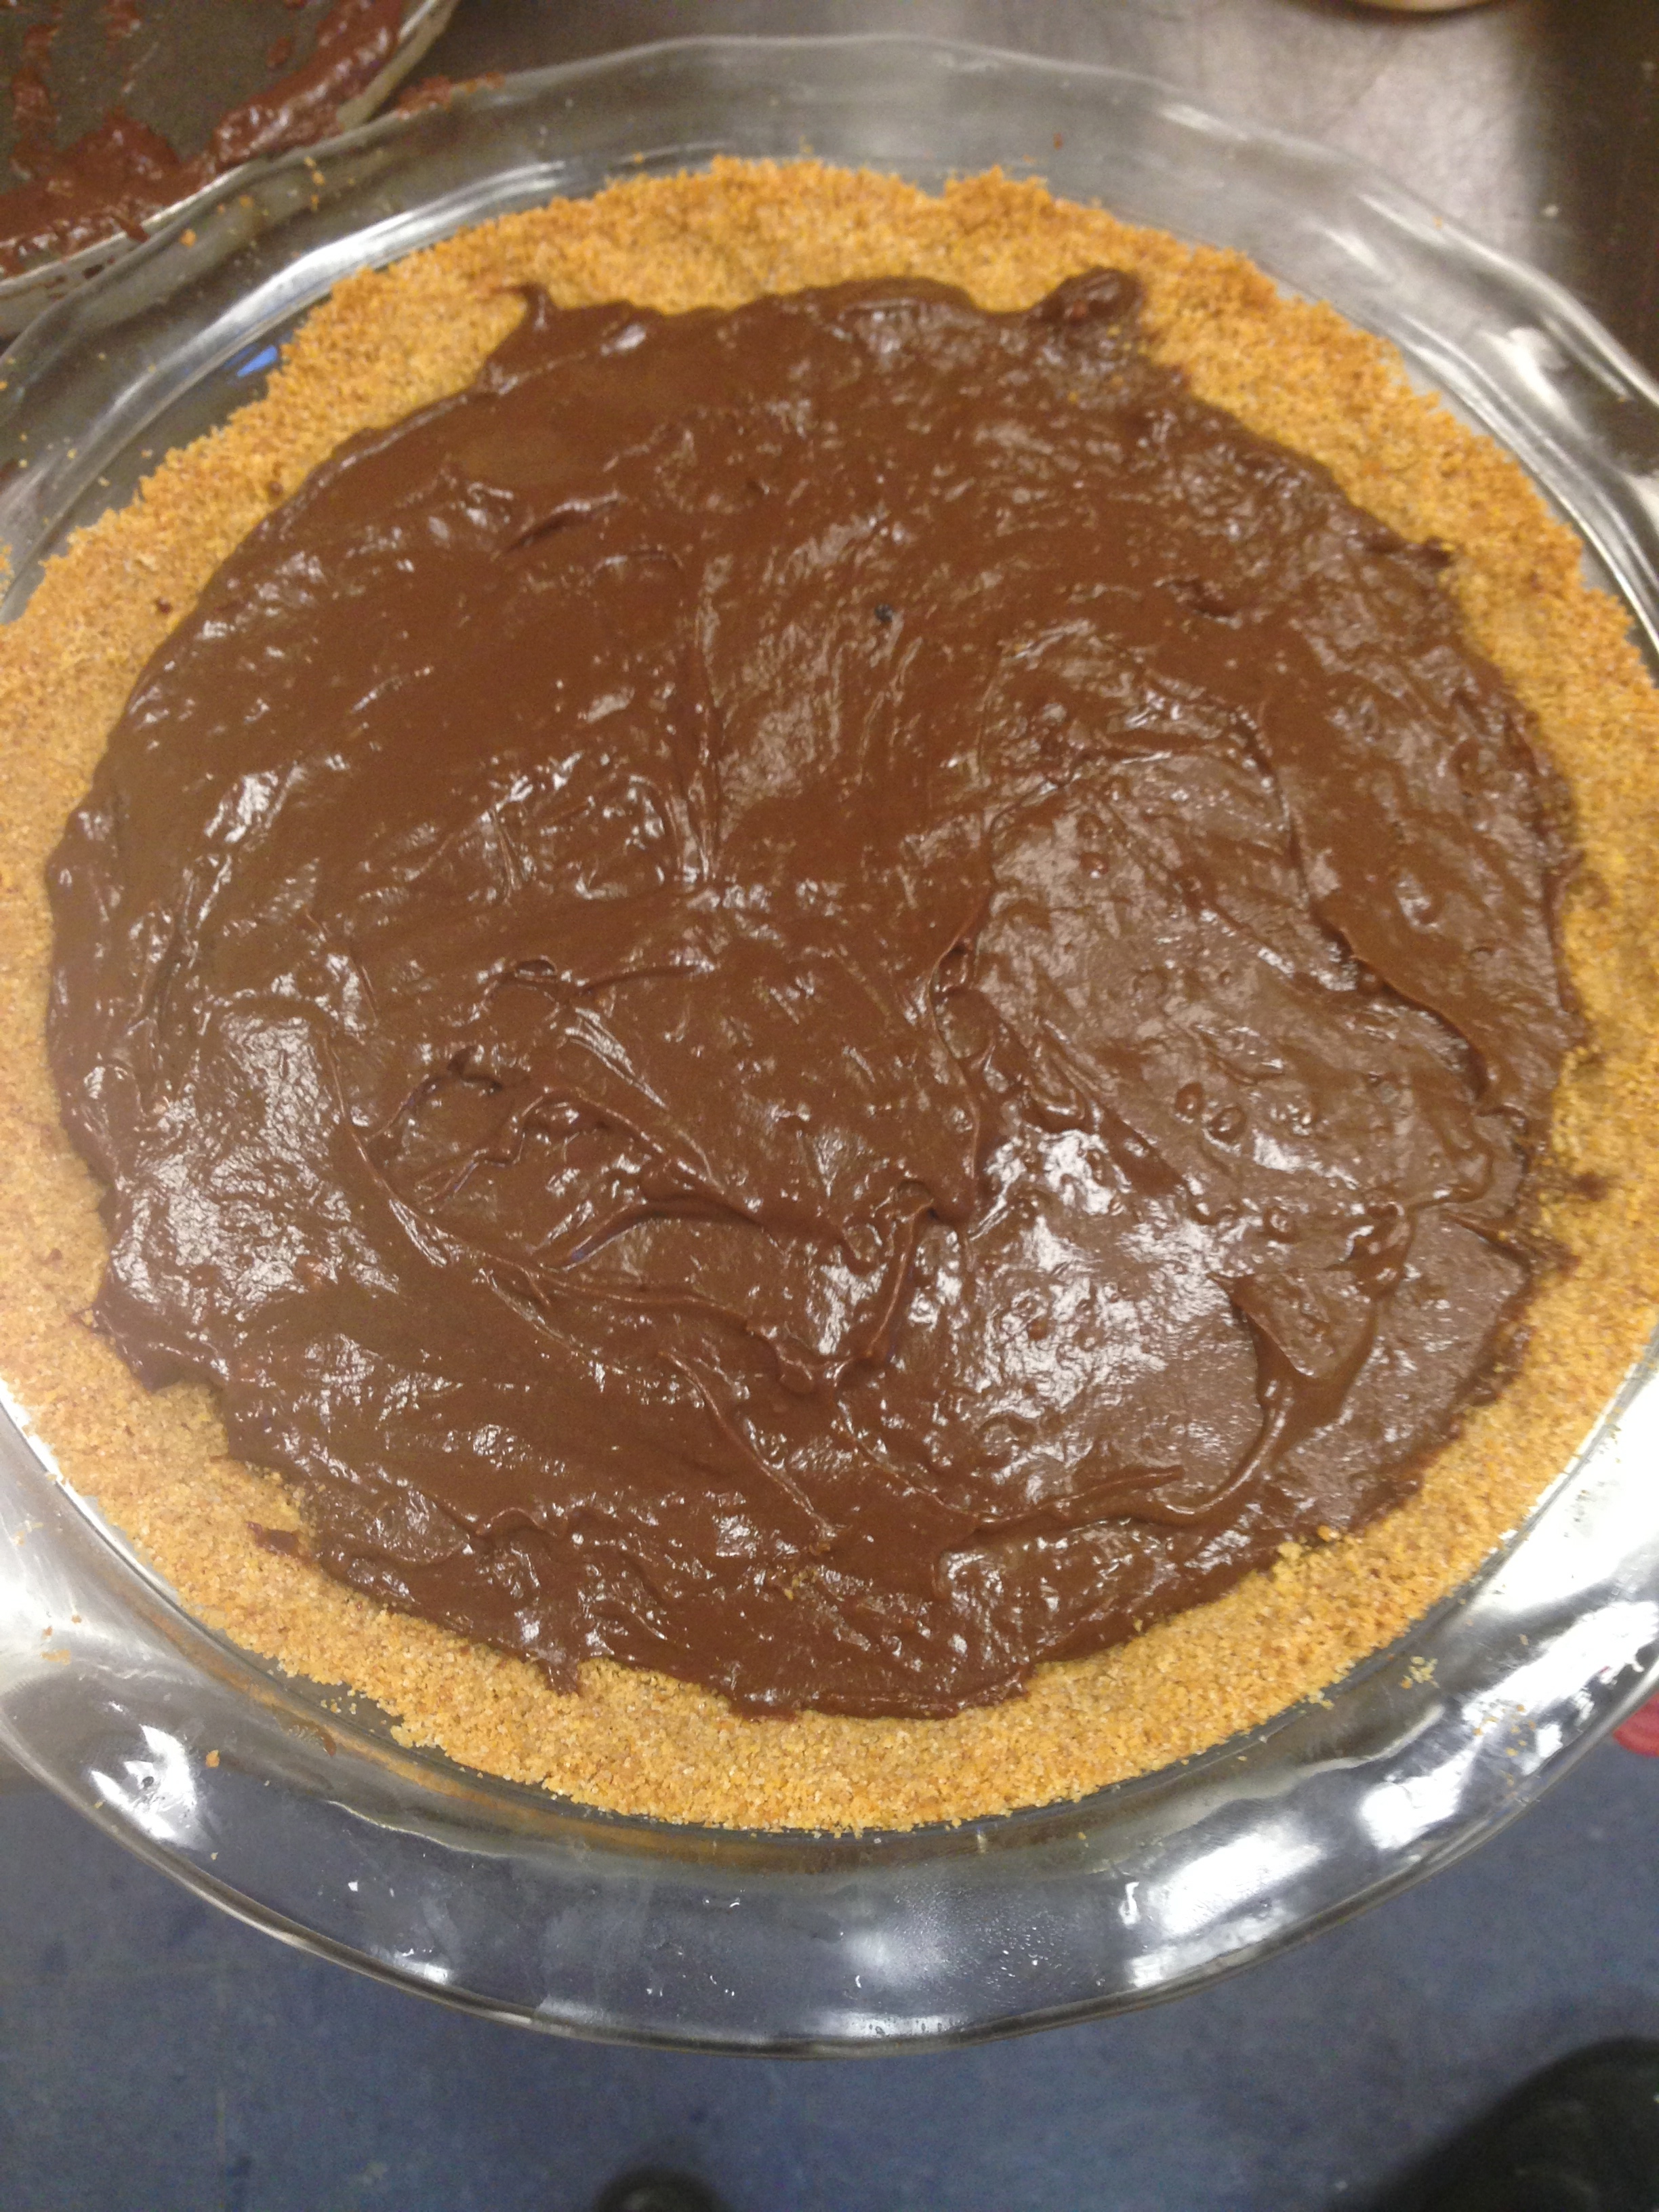
IMG_1047


Chocolate. Peanut butter. Banana cream. Love. What else do you need?! Nothing! This was one of my favorite pies, and, according to the meager bit I had left at the end of the banquet, an overwhelming success. Best of all, it was super easy to make. You can follow any recipe for homemade graham cracker crust. The graham cracker crust has definitely become my new go-to. Graham cracker crumbs, sugar, melted butter, and a tad bit of baking and you’re all set! No worries about the crust woes that befall your typical pastry. The one thing I would recommend is buttering your pan thoroughly before pre baking/pressing in your crust. I had many crusts of the graham cracker variety, and too often they stuck to the pan, and I couldn’t get enough!

Anyway, after my crust was prepared and chilling, I  started with the peanut butter pudding:

IMG_1037


It was phenomenal. I had never had homemade peanut butter pudding (I’m accustomed to the Jell-O variety), and it was terrific! I had no idea puddings were so simple; corn starch, sugar (of course), and some heavy whipping cream/whole milk, and I was all set! I figured I’d follow the same strategy for the chocolate pudding and I got ahead of myself…turns out chocolate pudding only calls for 2 tbsp of cornstarch, as opposed to the 5 tbsp in the peanut butter pudding…whoops! I could definitely tell that it was a little less liquid than typical pudding, but it still tasted great! I filled a layer of banana in over the peanut butter and then covered that with a layer of chocolate pudding. Then, I put my leftovers in a mason jar to give some friends a taste-test before the big next day.

IMG_1041IMG_1042IMG_1043


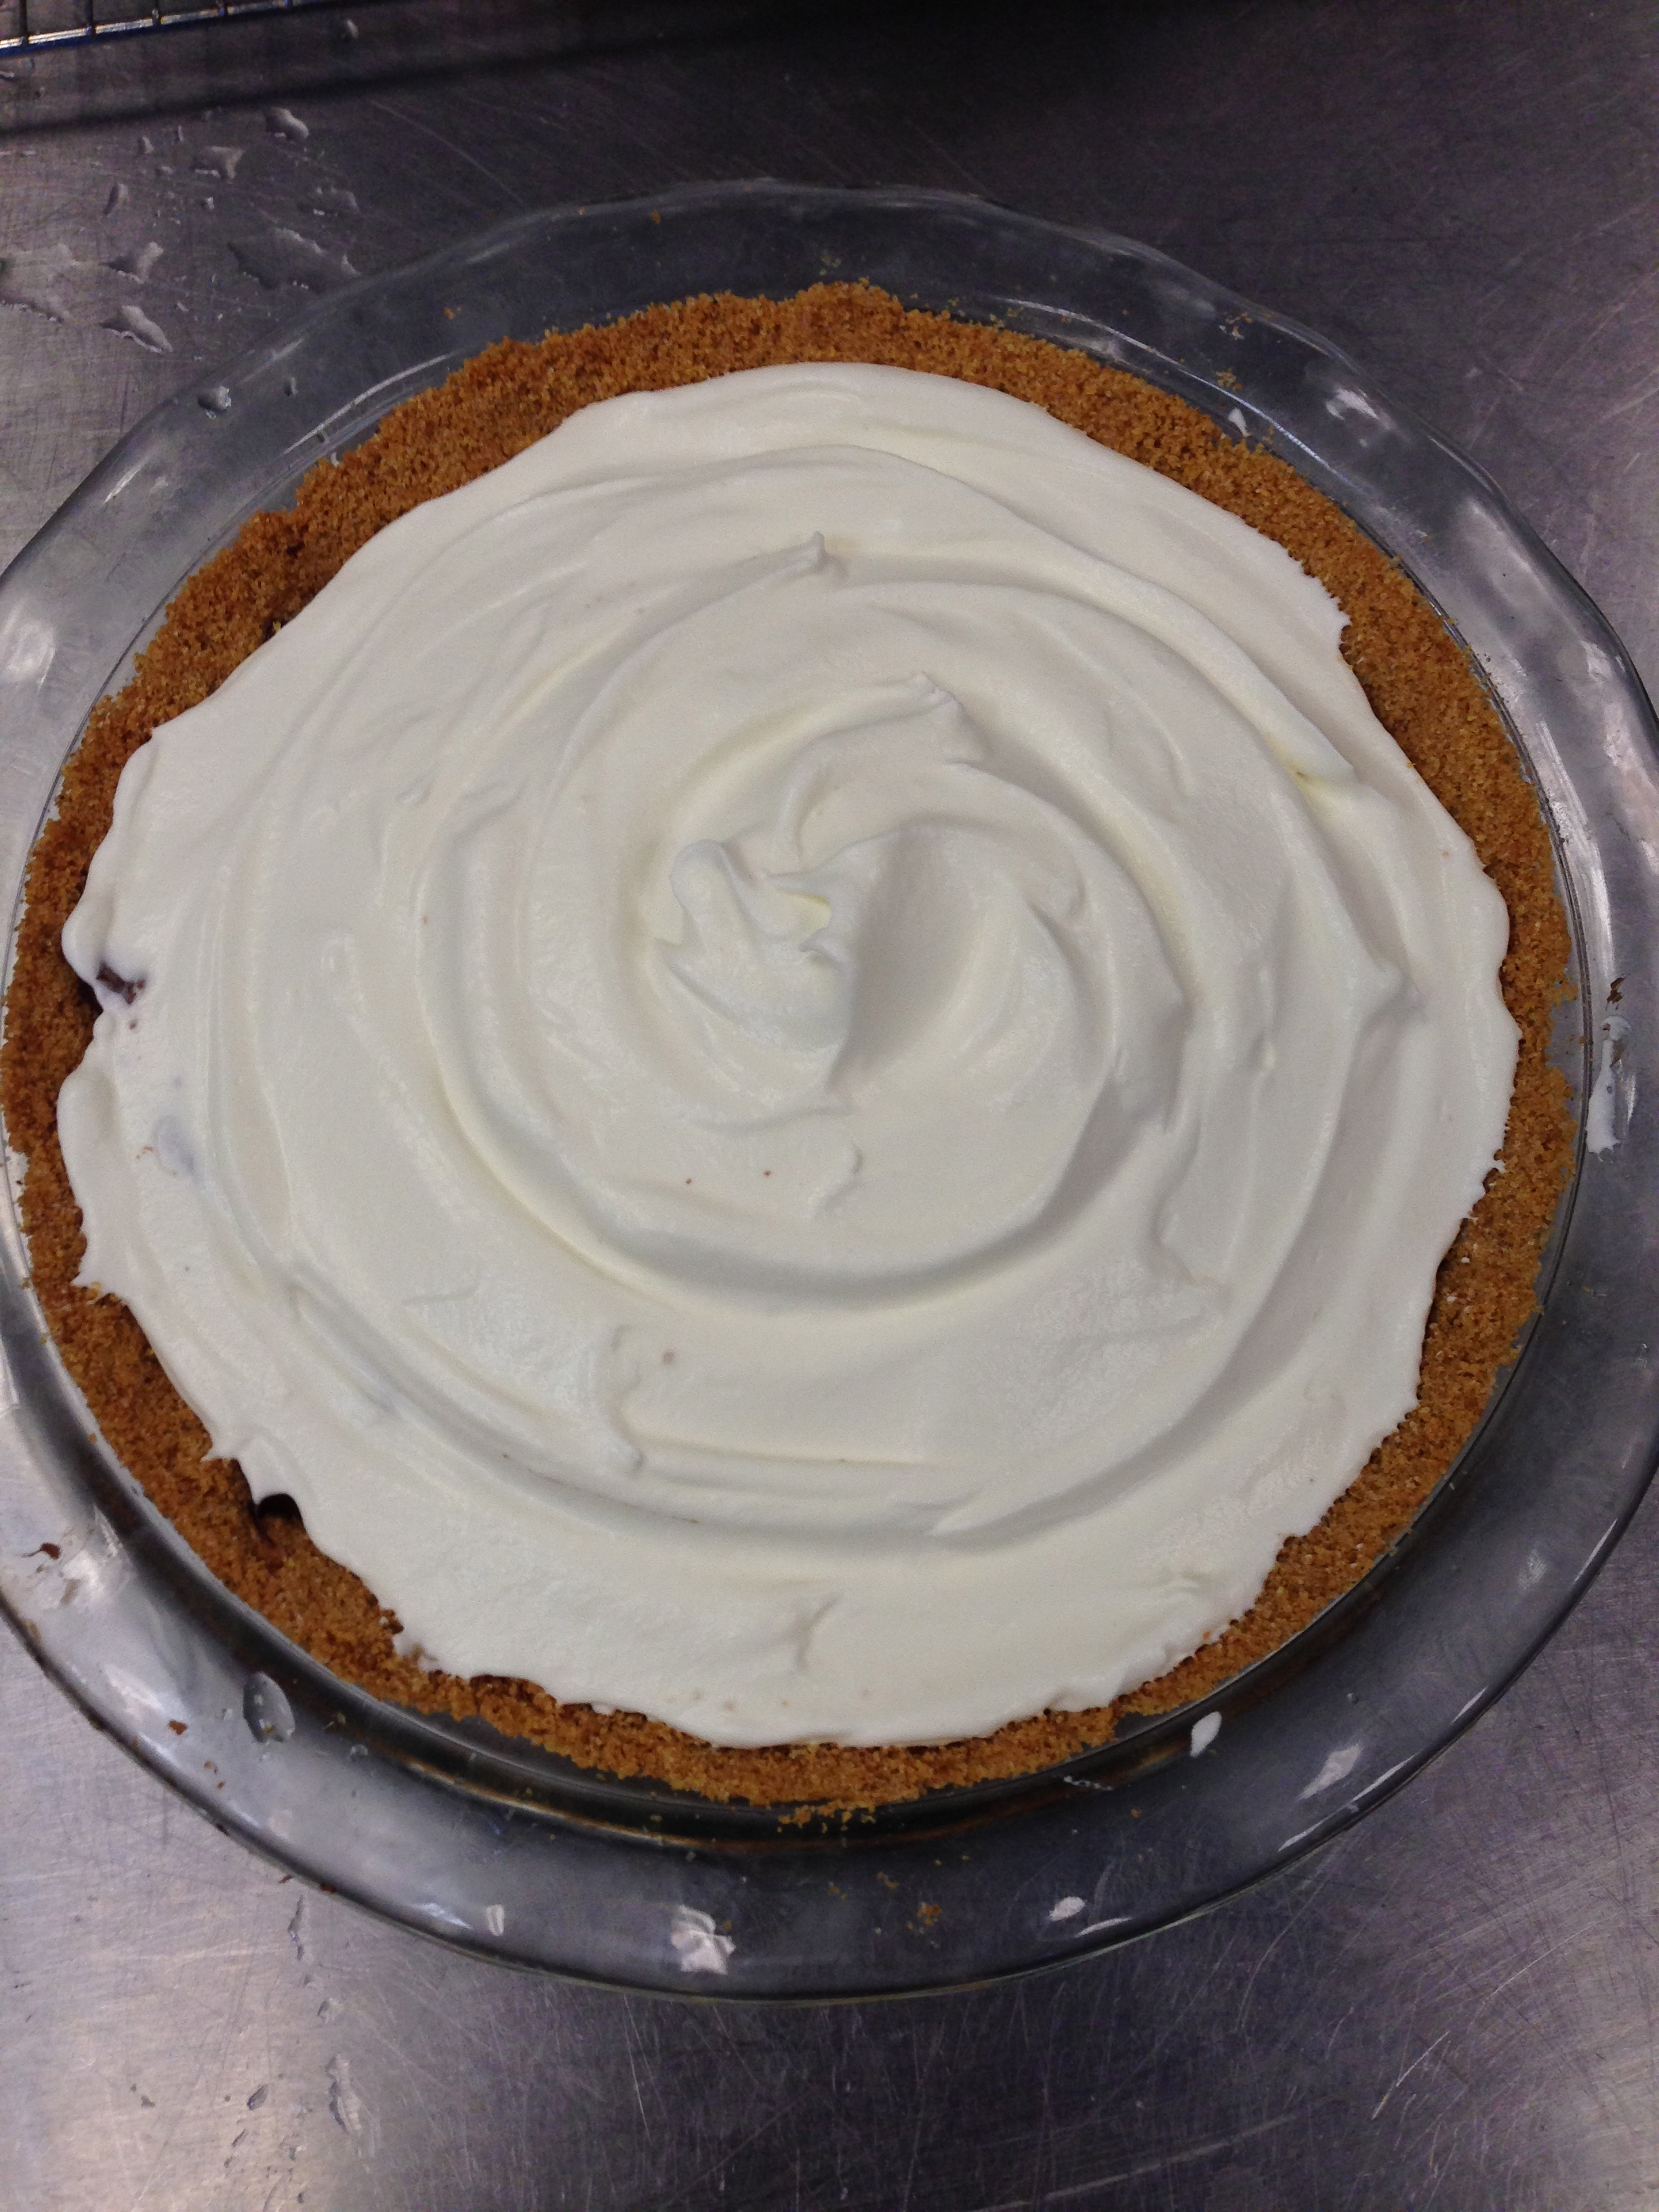
After the puddings were in the crust, it was time to chill them both. I wrapped up my little treat, and popped it in the refrigerator overnight. The next day, I came in about an hour early to prepare our space and whip up some homemade whipped cream…After making my own, I have to say, it will be pretty darn hard to go back to the store-bought stuff.

IMG_1044


It was wonderfully light and sweet. To finish, I sliced up one more banana to complete the presentation. As I’ve said, it was super sweet and delicious, and not too heavy! In retrospect, I think I’d like a little more banana cream, rather than the chocolate/peanut butter/whipped cream with bananas thrown in. Nikki also made a coconut whipped cream that was spectacular, and would be great with the flavors in this pie.

And so comes the end of my month of pies. It was quite the journey in our industrial kitchen–Lord knows I learned how to manage a 10-lb skillet. Let’s see, what else have I learned…not to be such a wimp in the face of pastry adversity, how to not connect a pastry braid to a bottom crust, you can never chill your dough enough…Yep, I’ve definitely learned some life lessons…how could I not while watching Sweeney Todd and Pushing Daisies? But honestly, I had such a lovely month with great new friends making great food. It’s going to be hard to compare this course to my other classes come spring semester!

IMG_1048

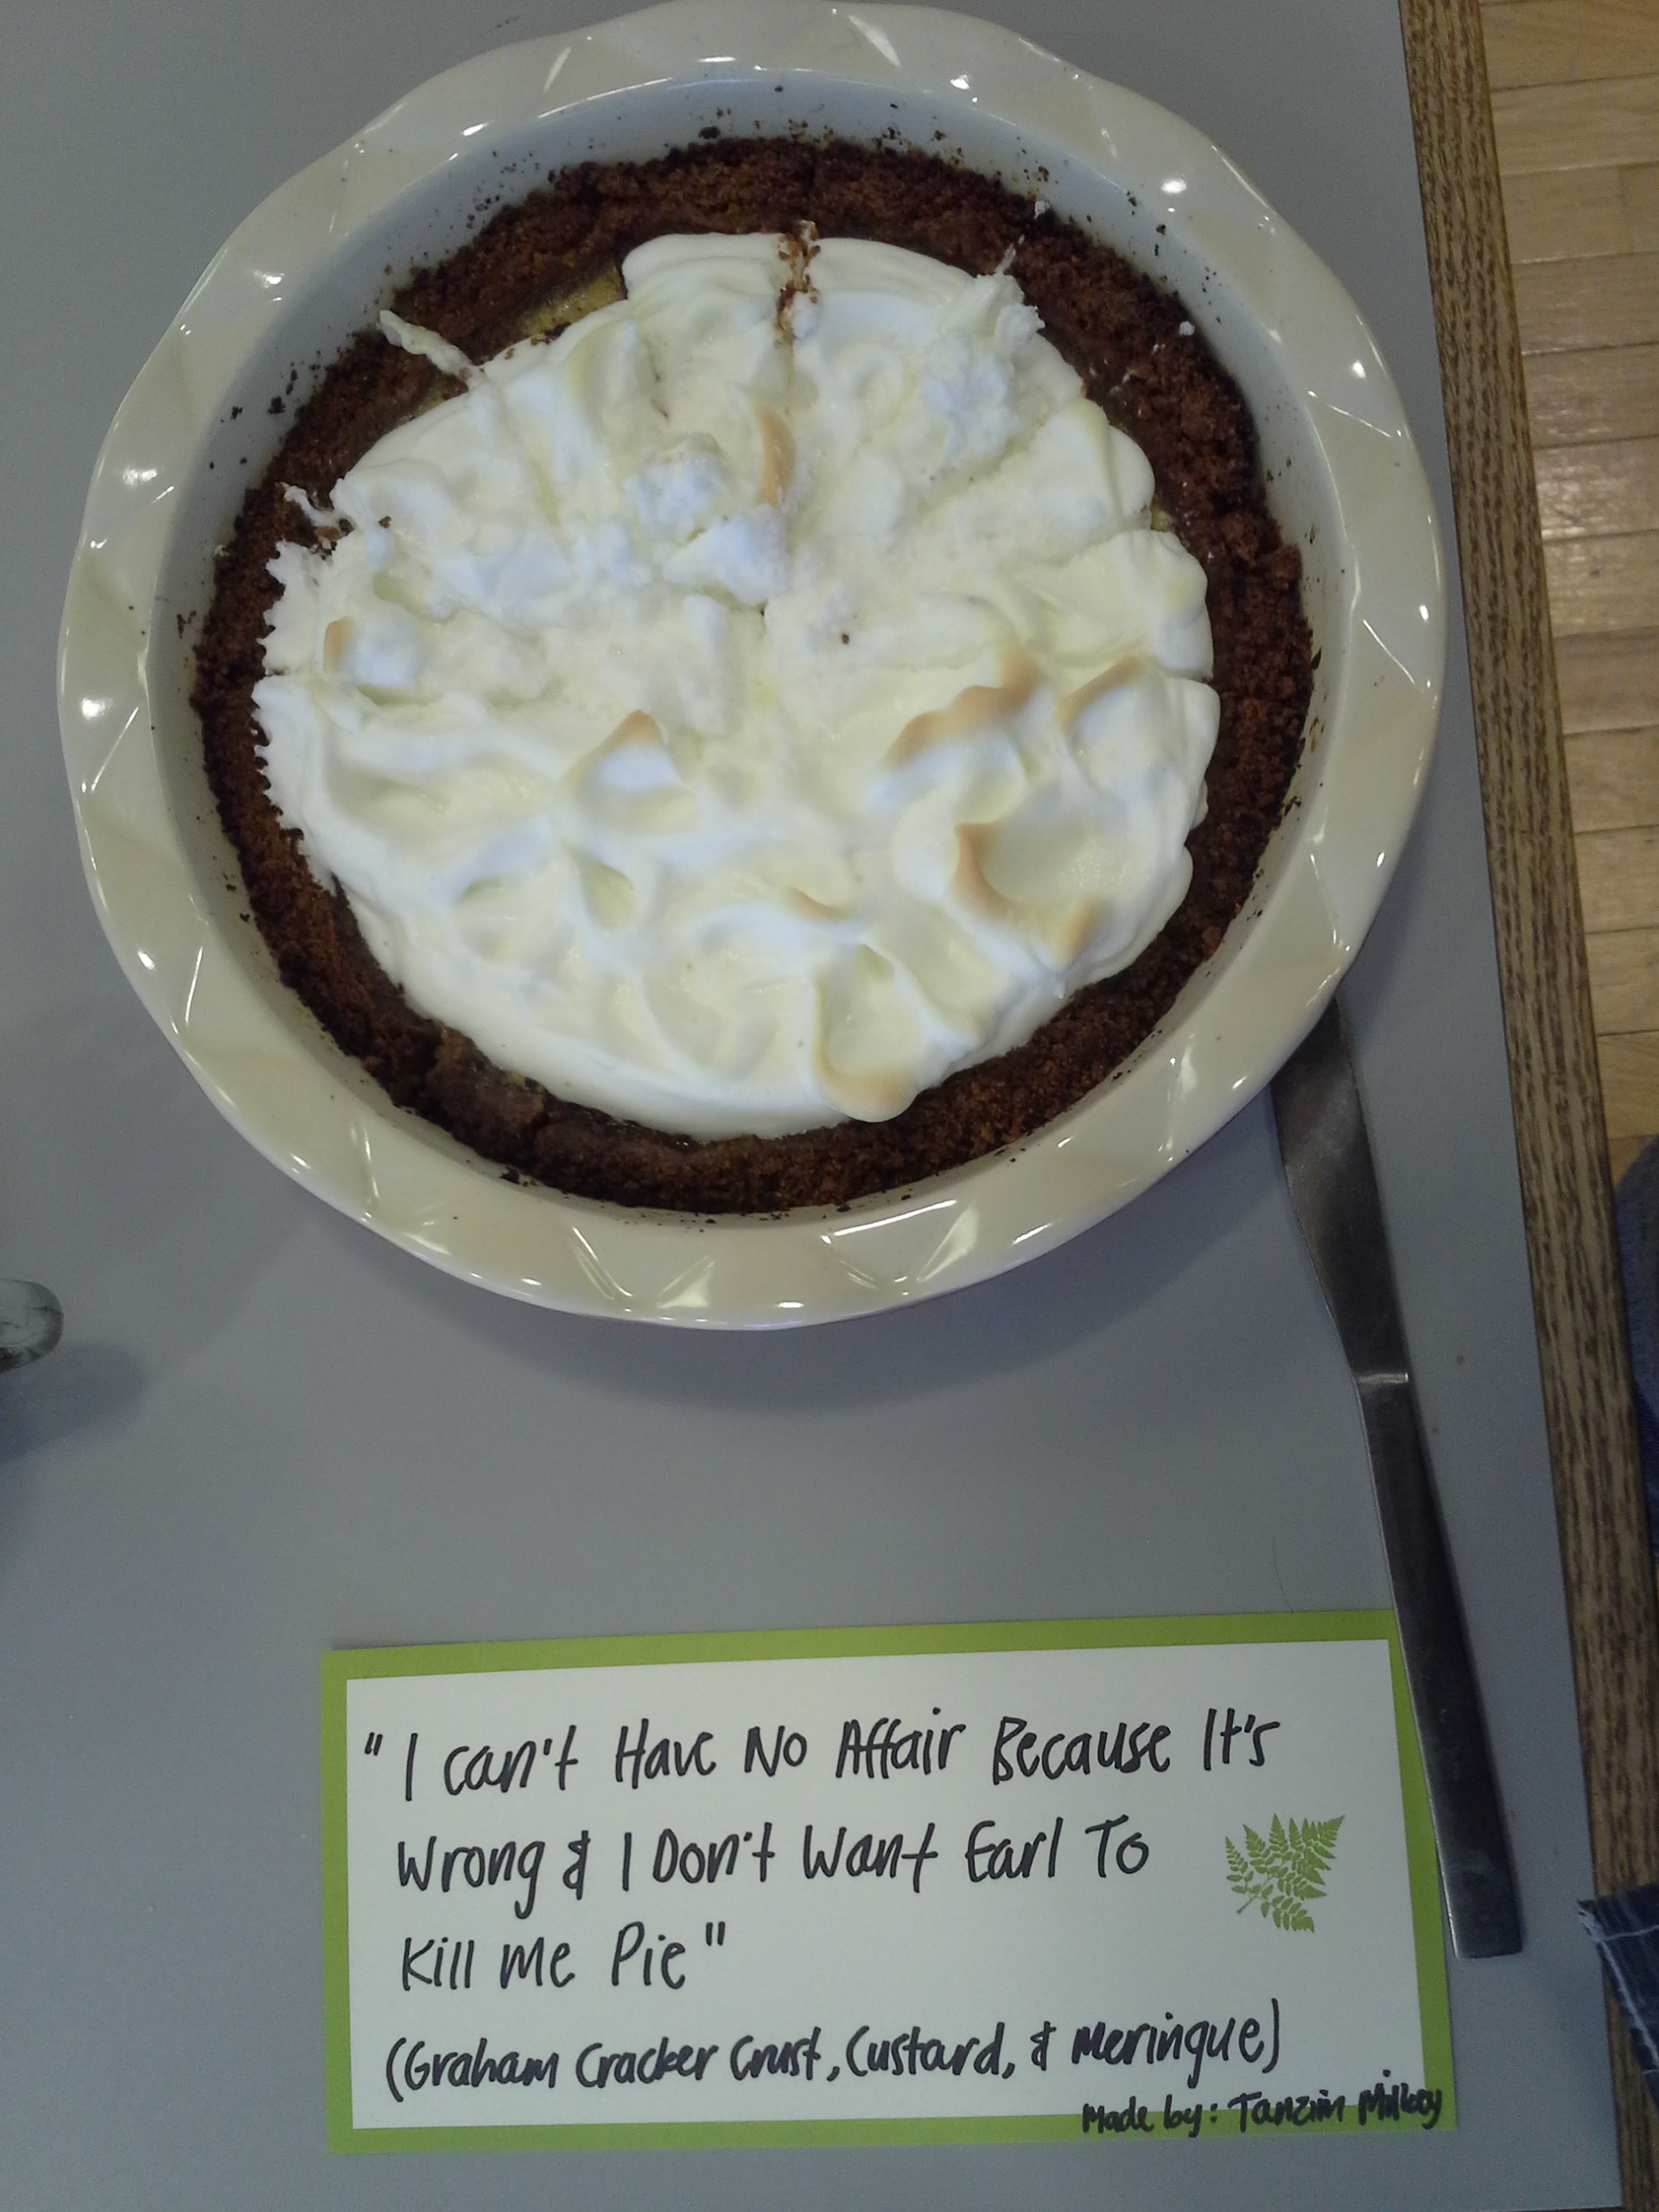
I Can’t Have No Affair Because It’s Wrong & I Don’t Want Earl to Kill Me Pie

http://www.recipegirl.com/2007/09/28/waitress-pie/

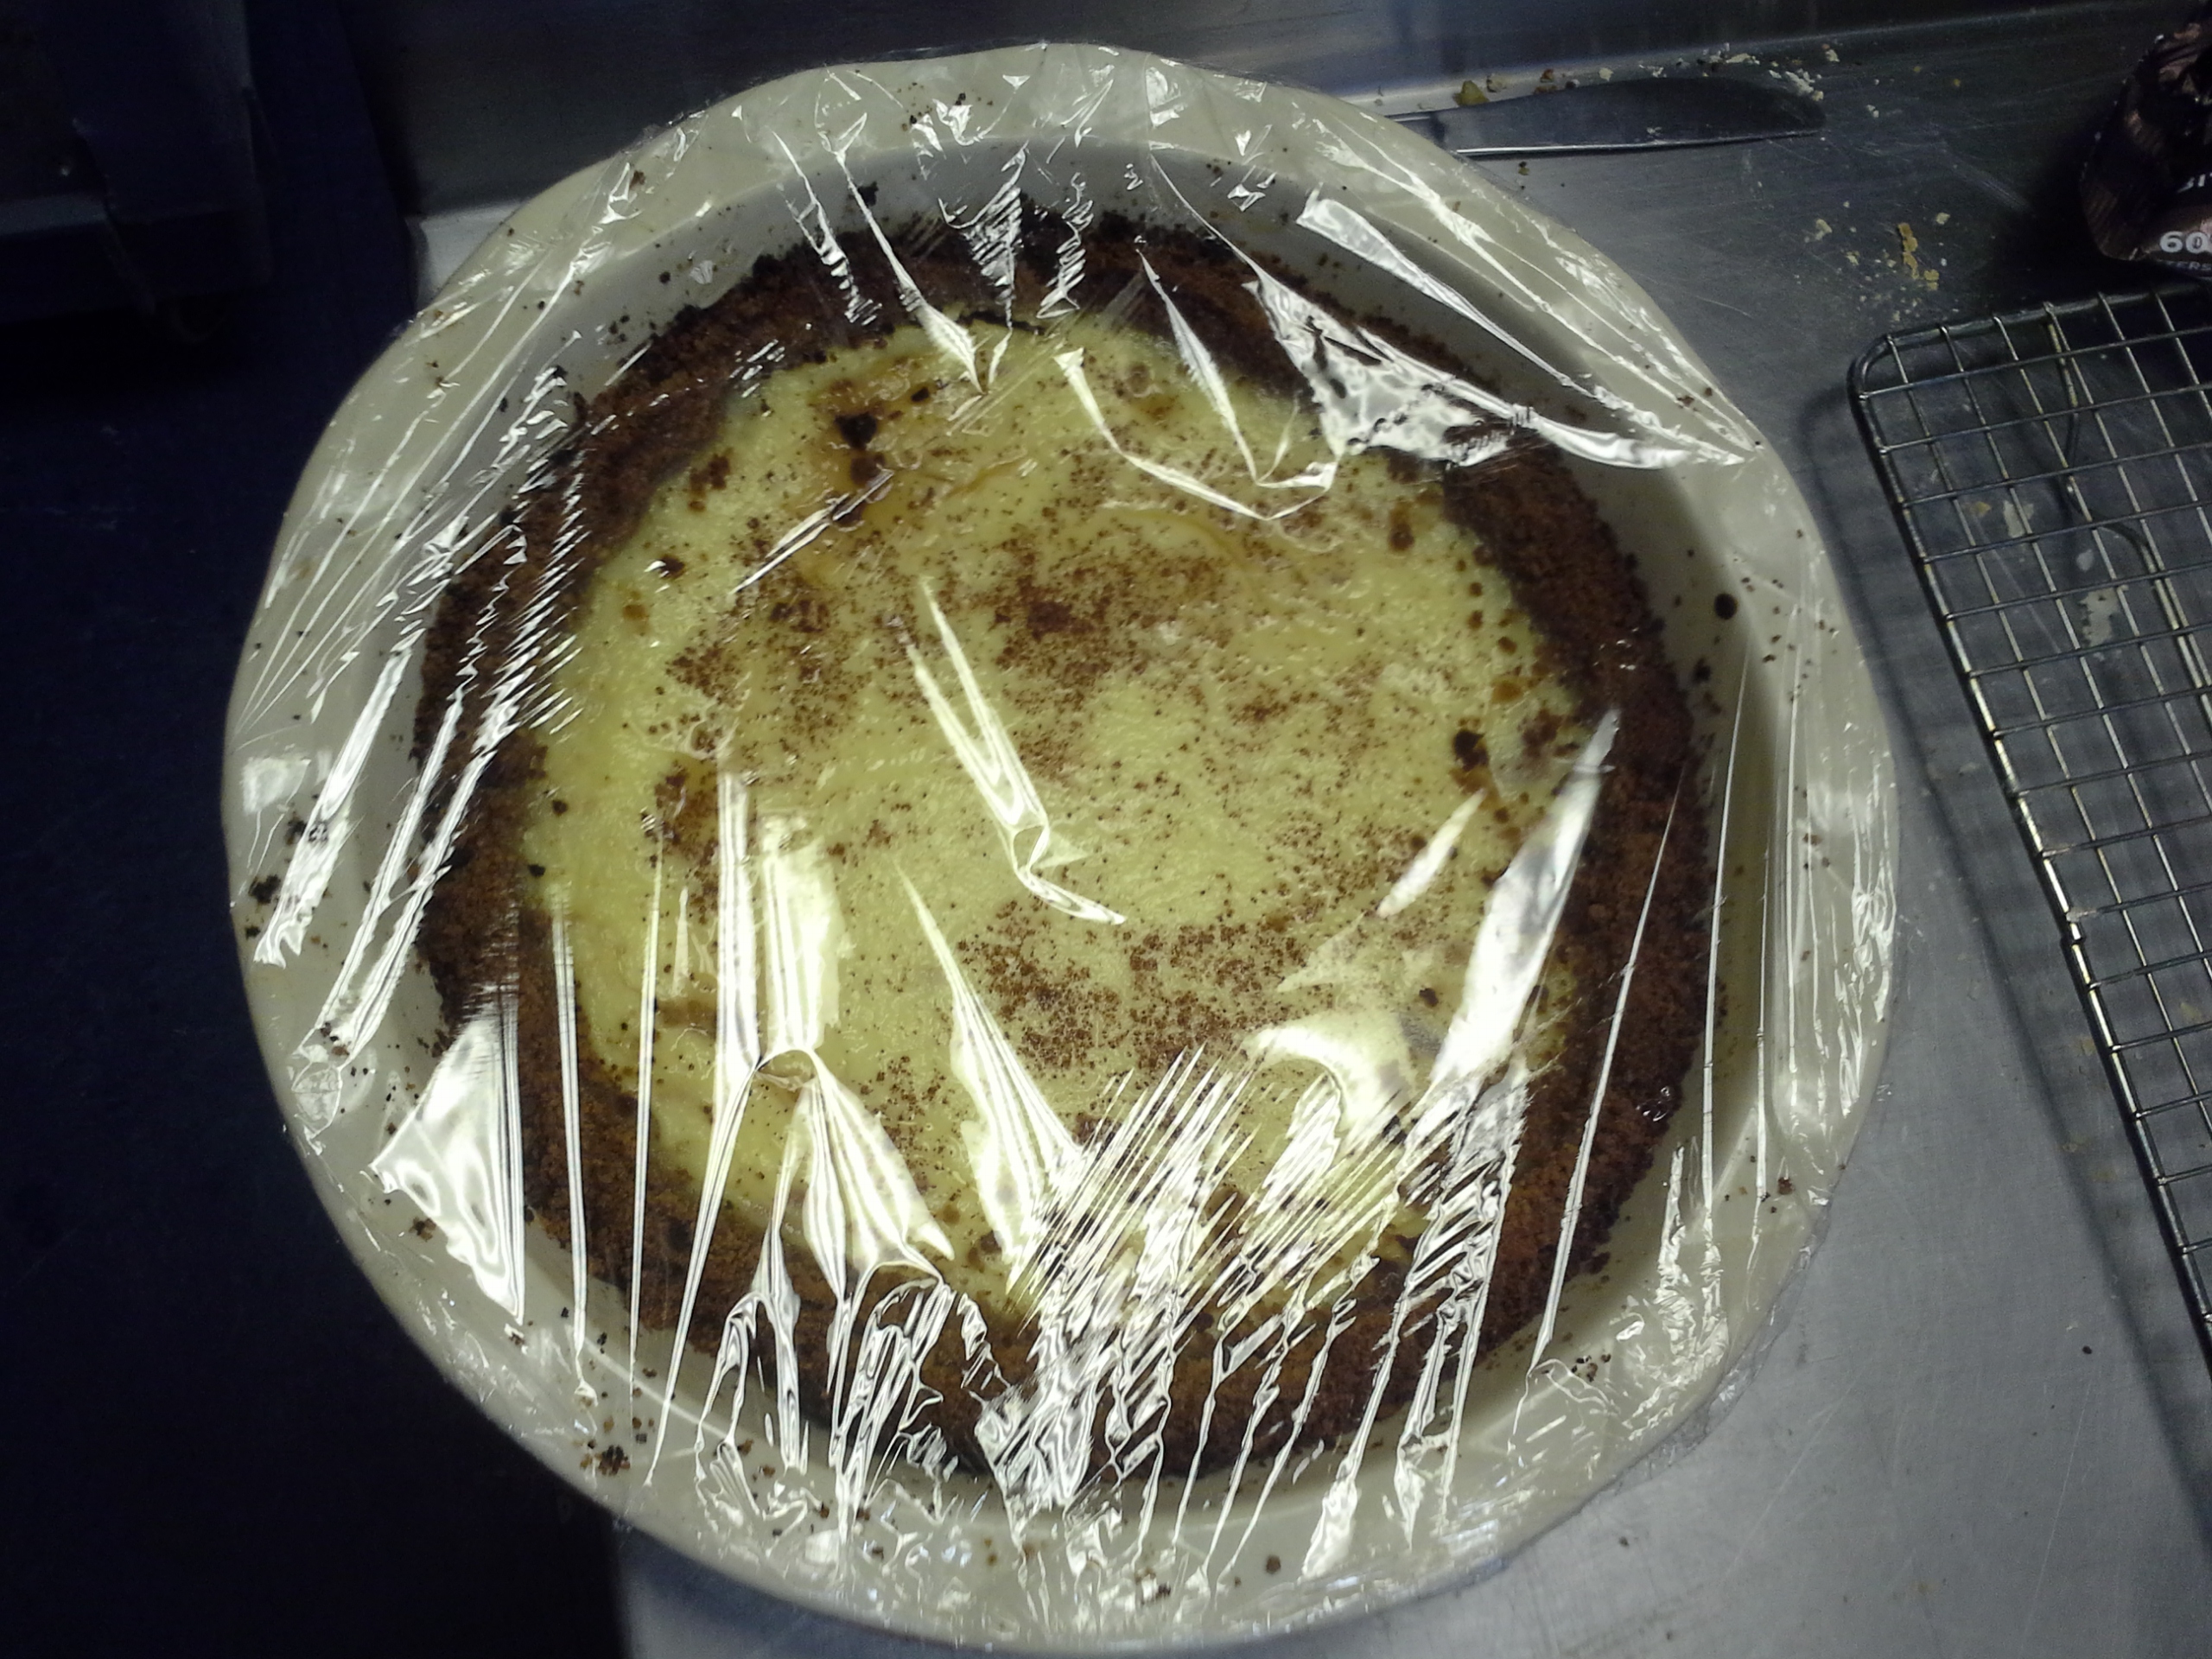
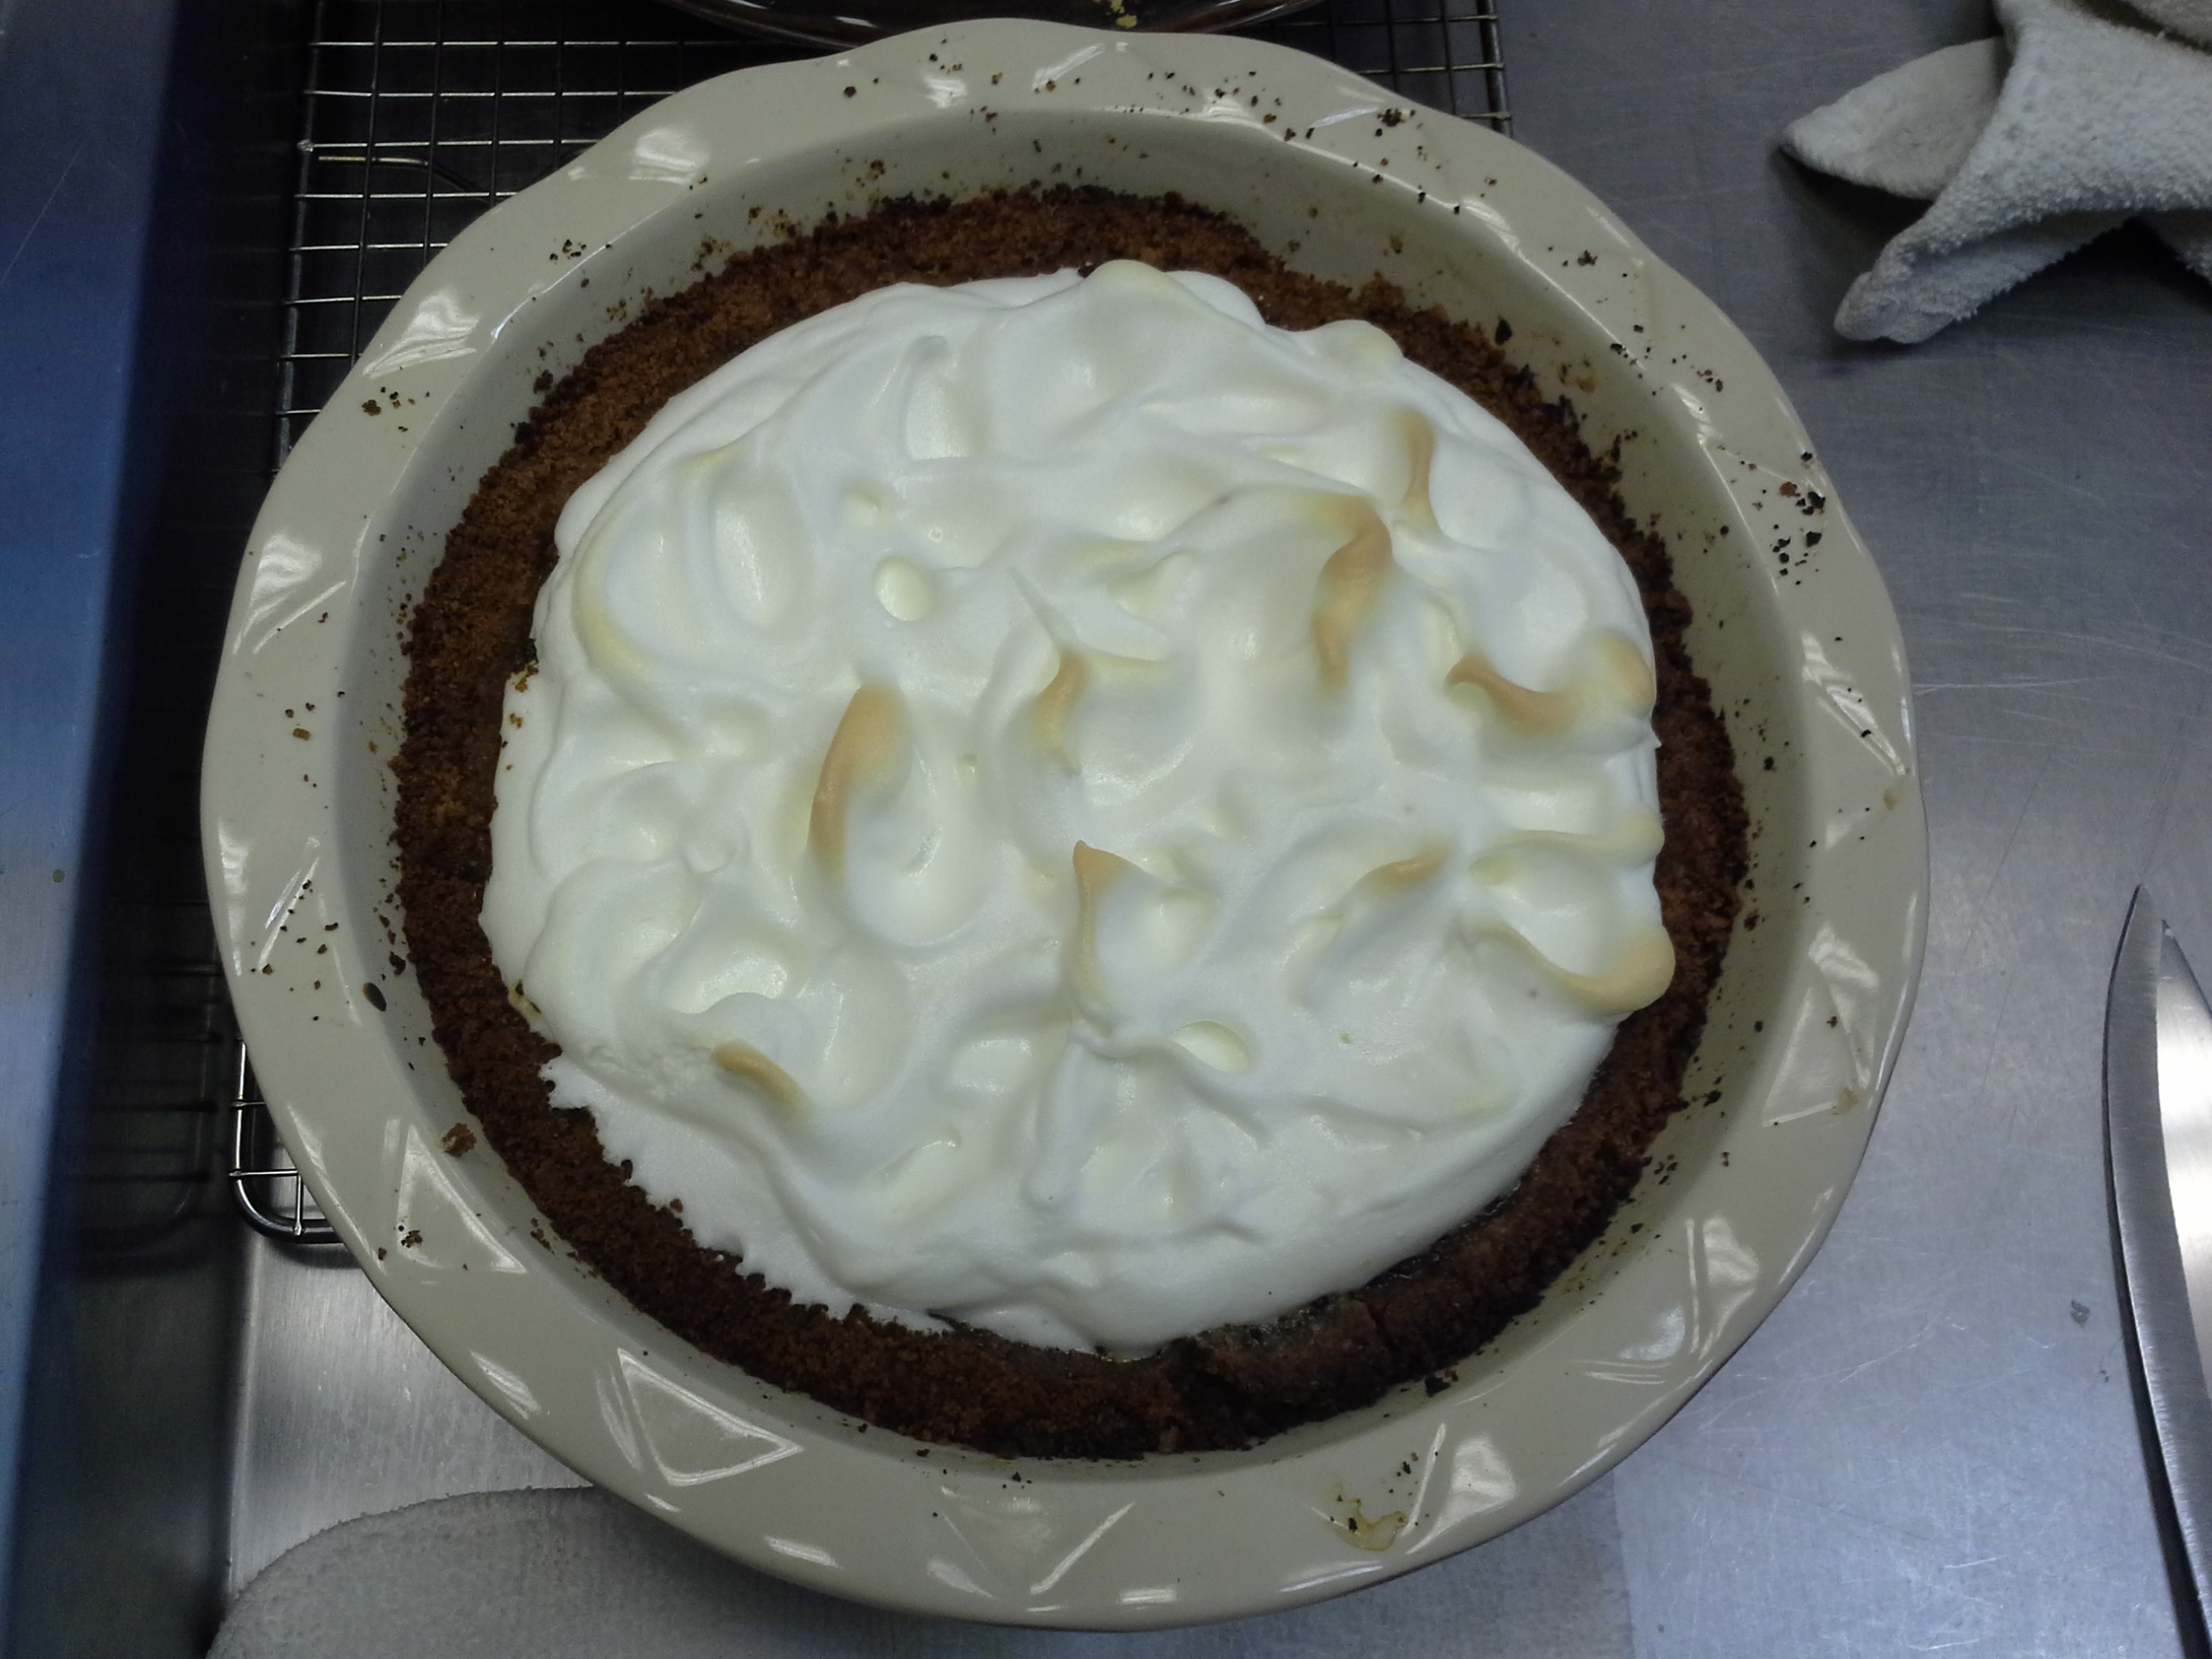
For my savory addition this week, I created the above pie exactly as the recipe stated. It was my first time working with Meringue, and although the recipe called for beating it manually, it took forever even with an electric mixer; I could not imagine having to do it otherwise! It was also my first time working with a Graham Cracker Crust, and although it wasn’t terribly difficult to form the loose crumbs into a solid pie crust, it was difficult gauging how cooked it was. While forming a solid crust, I actually a burned a bit of my pie…BUT, the end result did not have a burny aftertaste! Just something to note for next time – graham cracker crusts take less time than you think they will.

Check out the pictures below:

20140129_145019
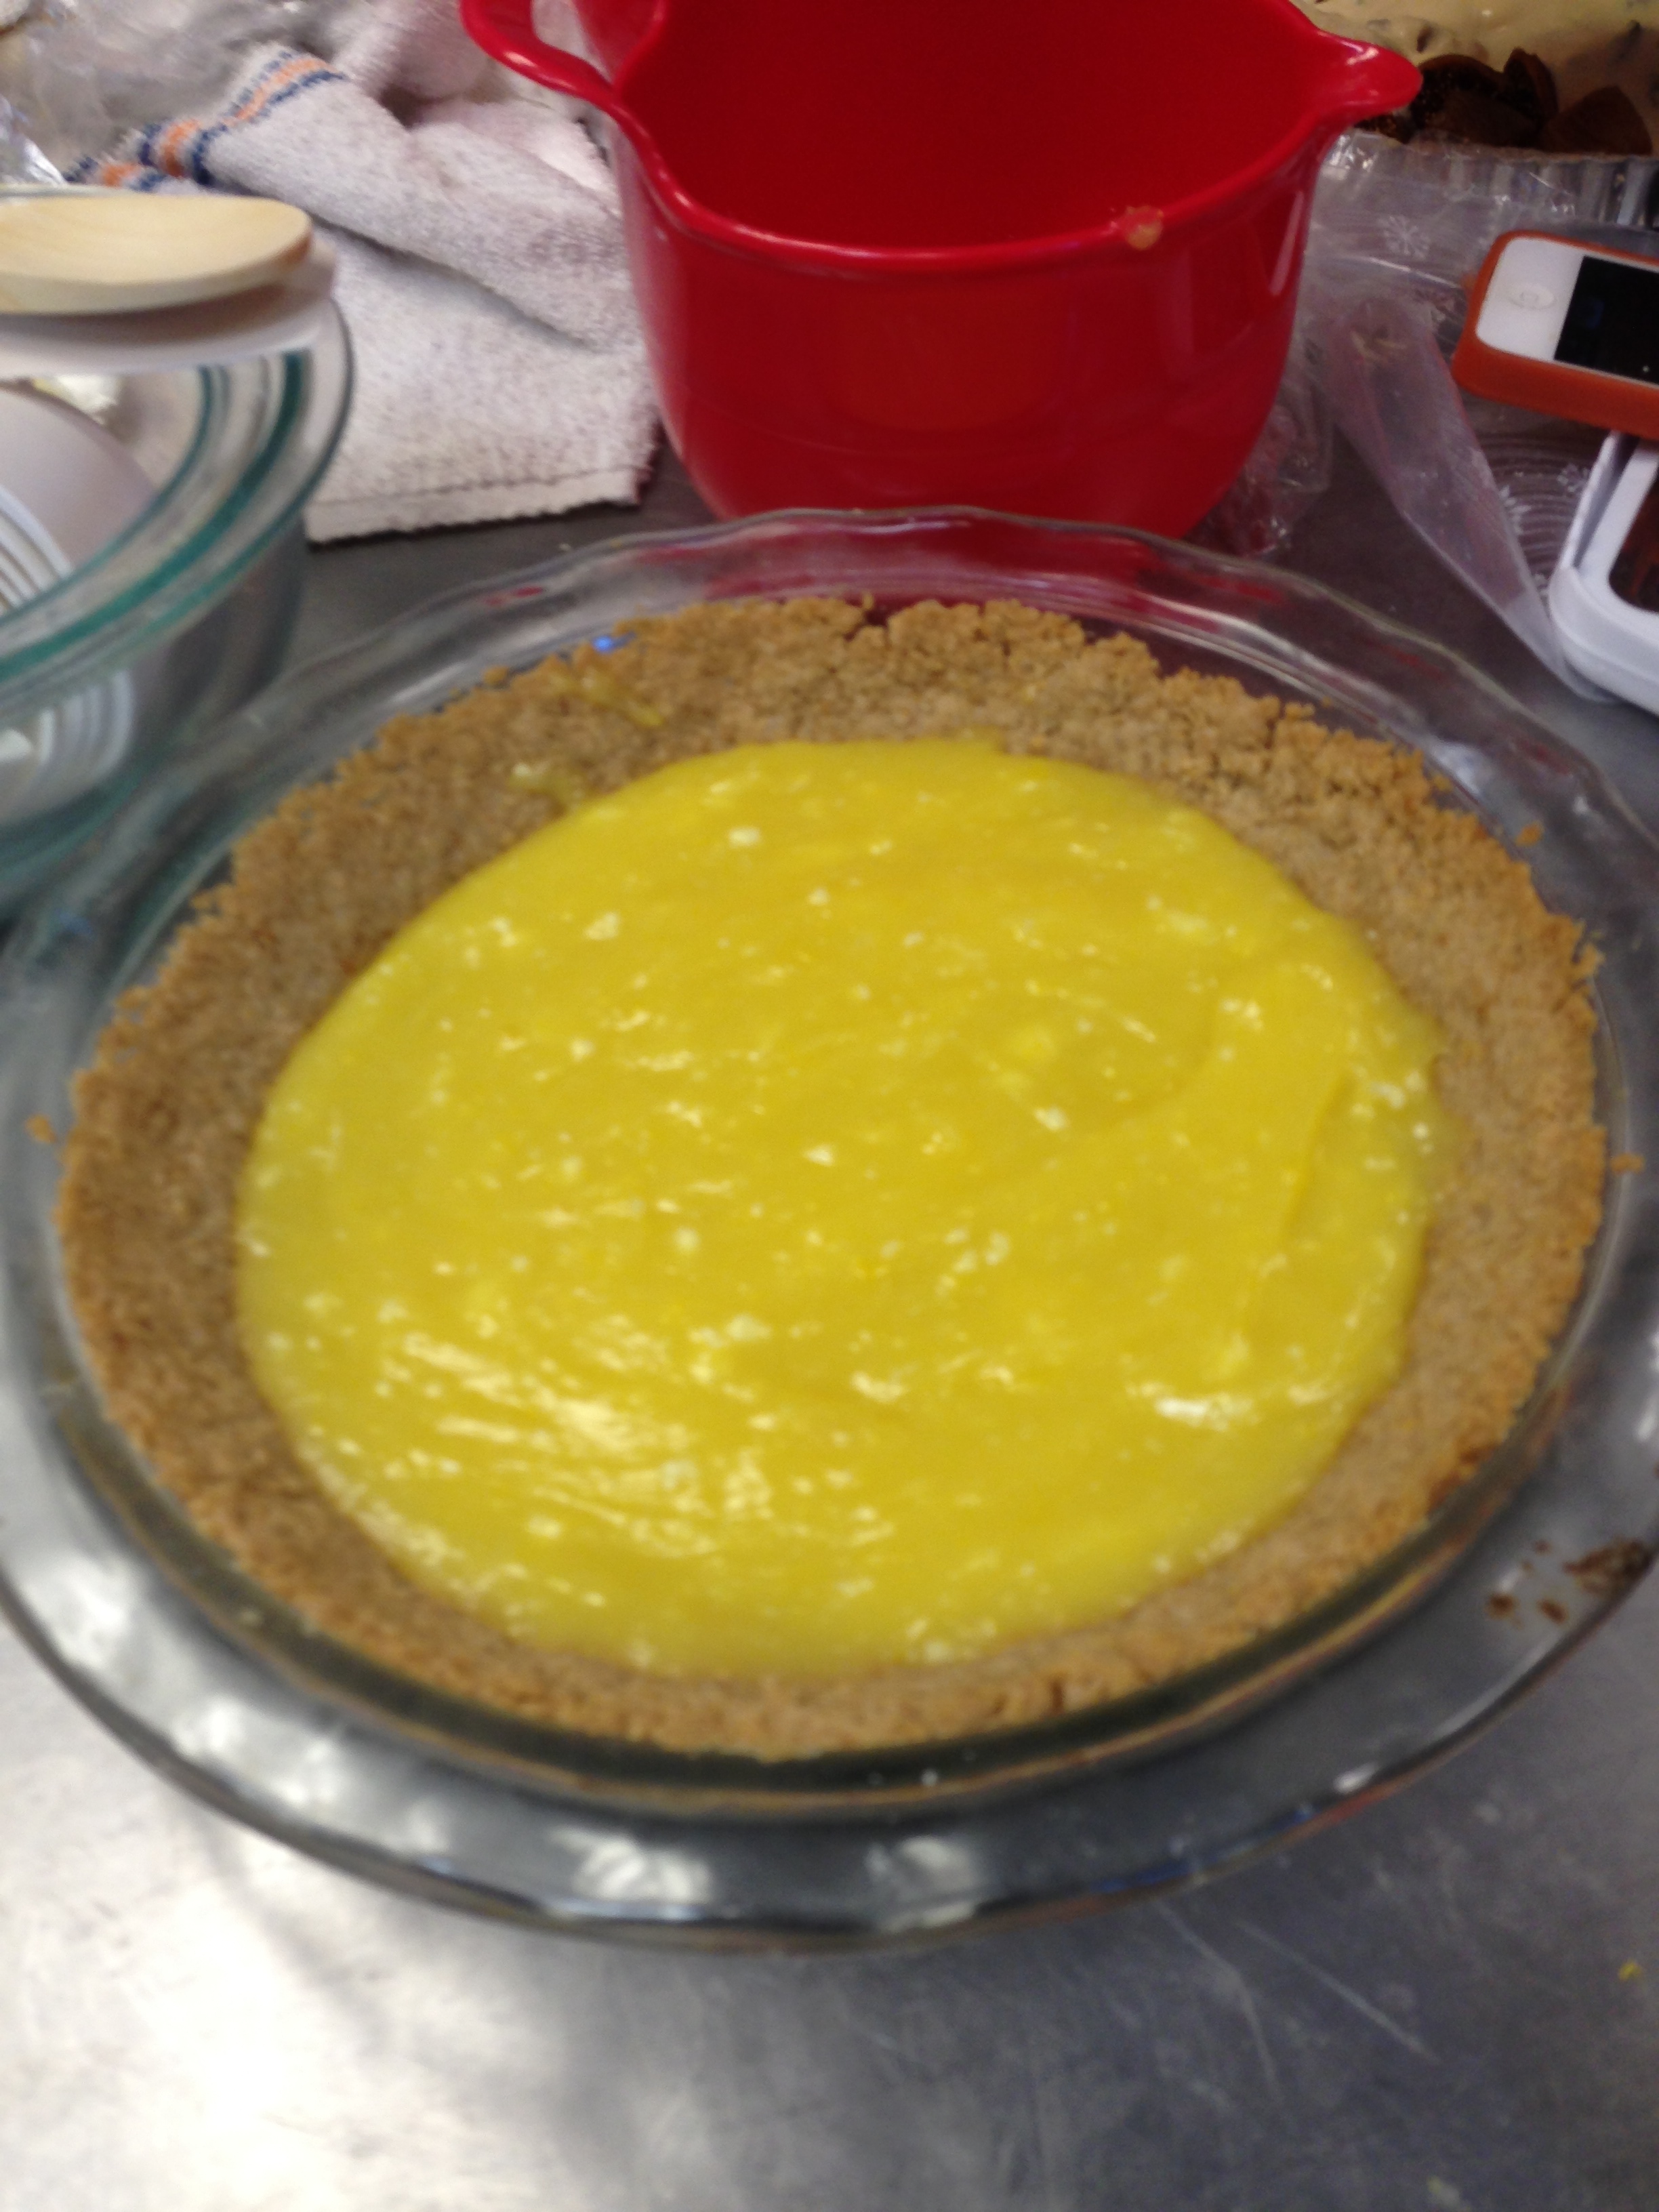
[Pie with Baked Crust and Custard, chilling in the fridge]

20140130_113312
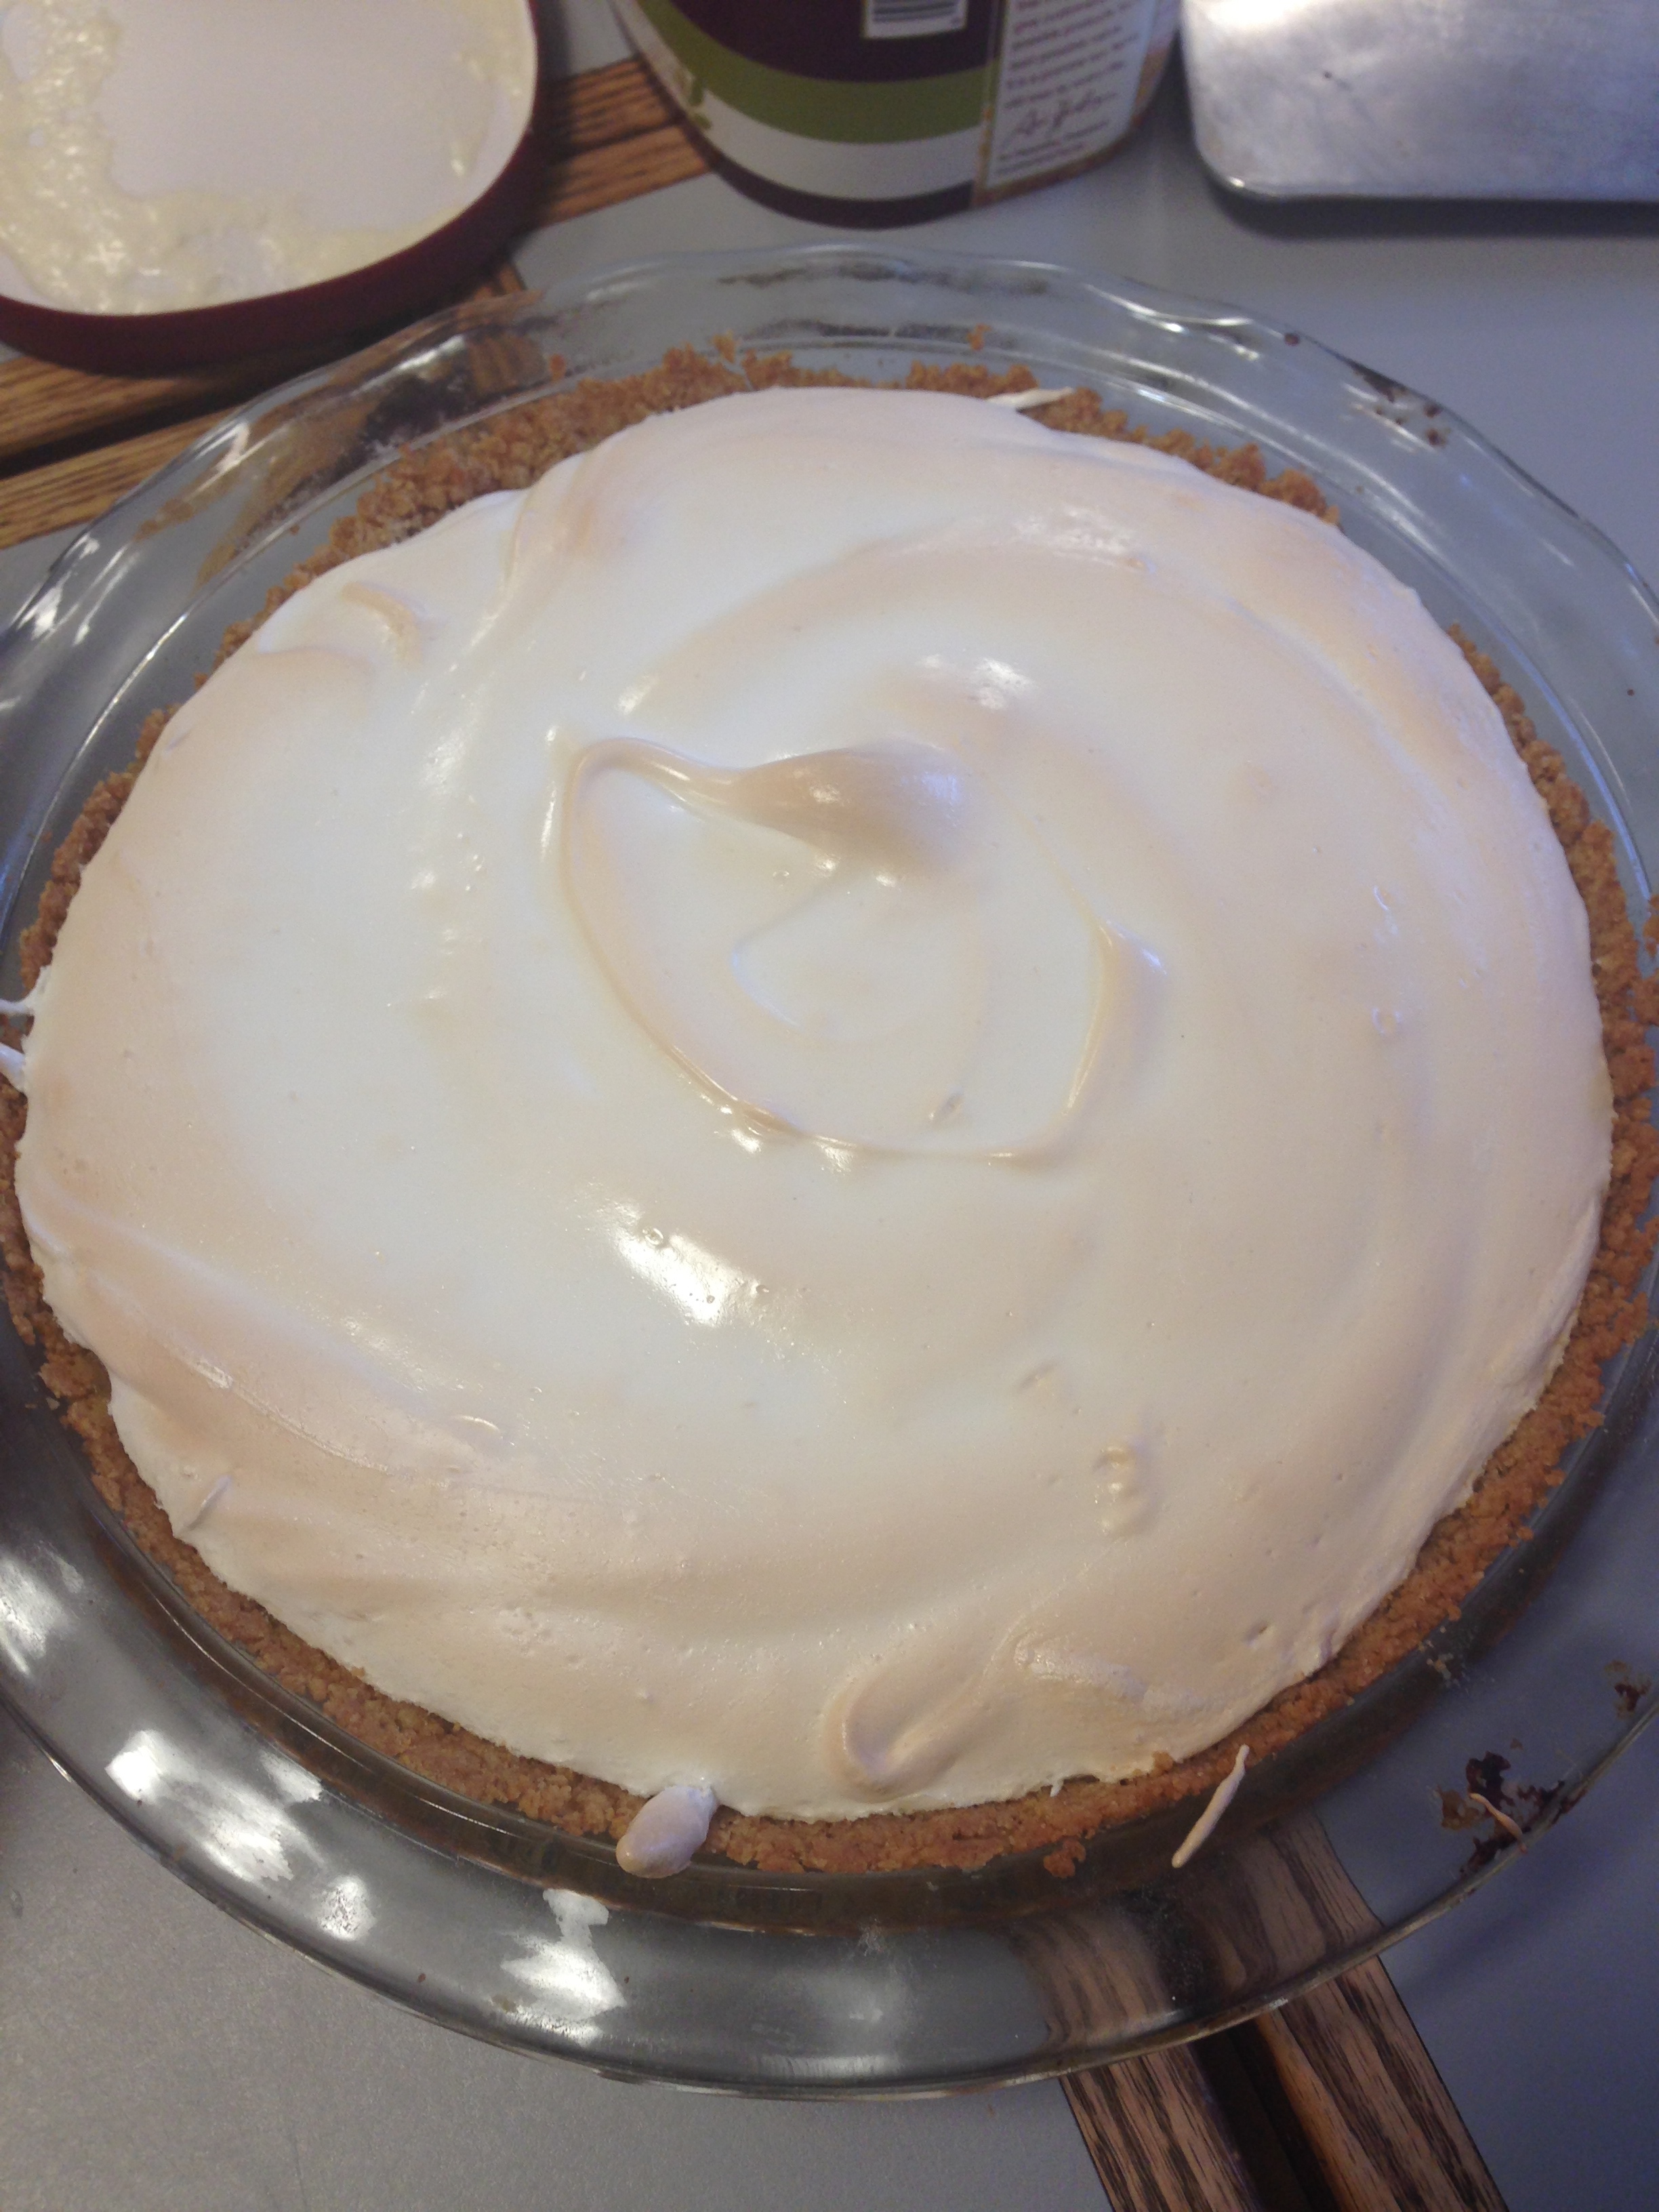
[Pie with freshly baked and browned Meringue]

20140130_114719
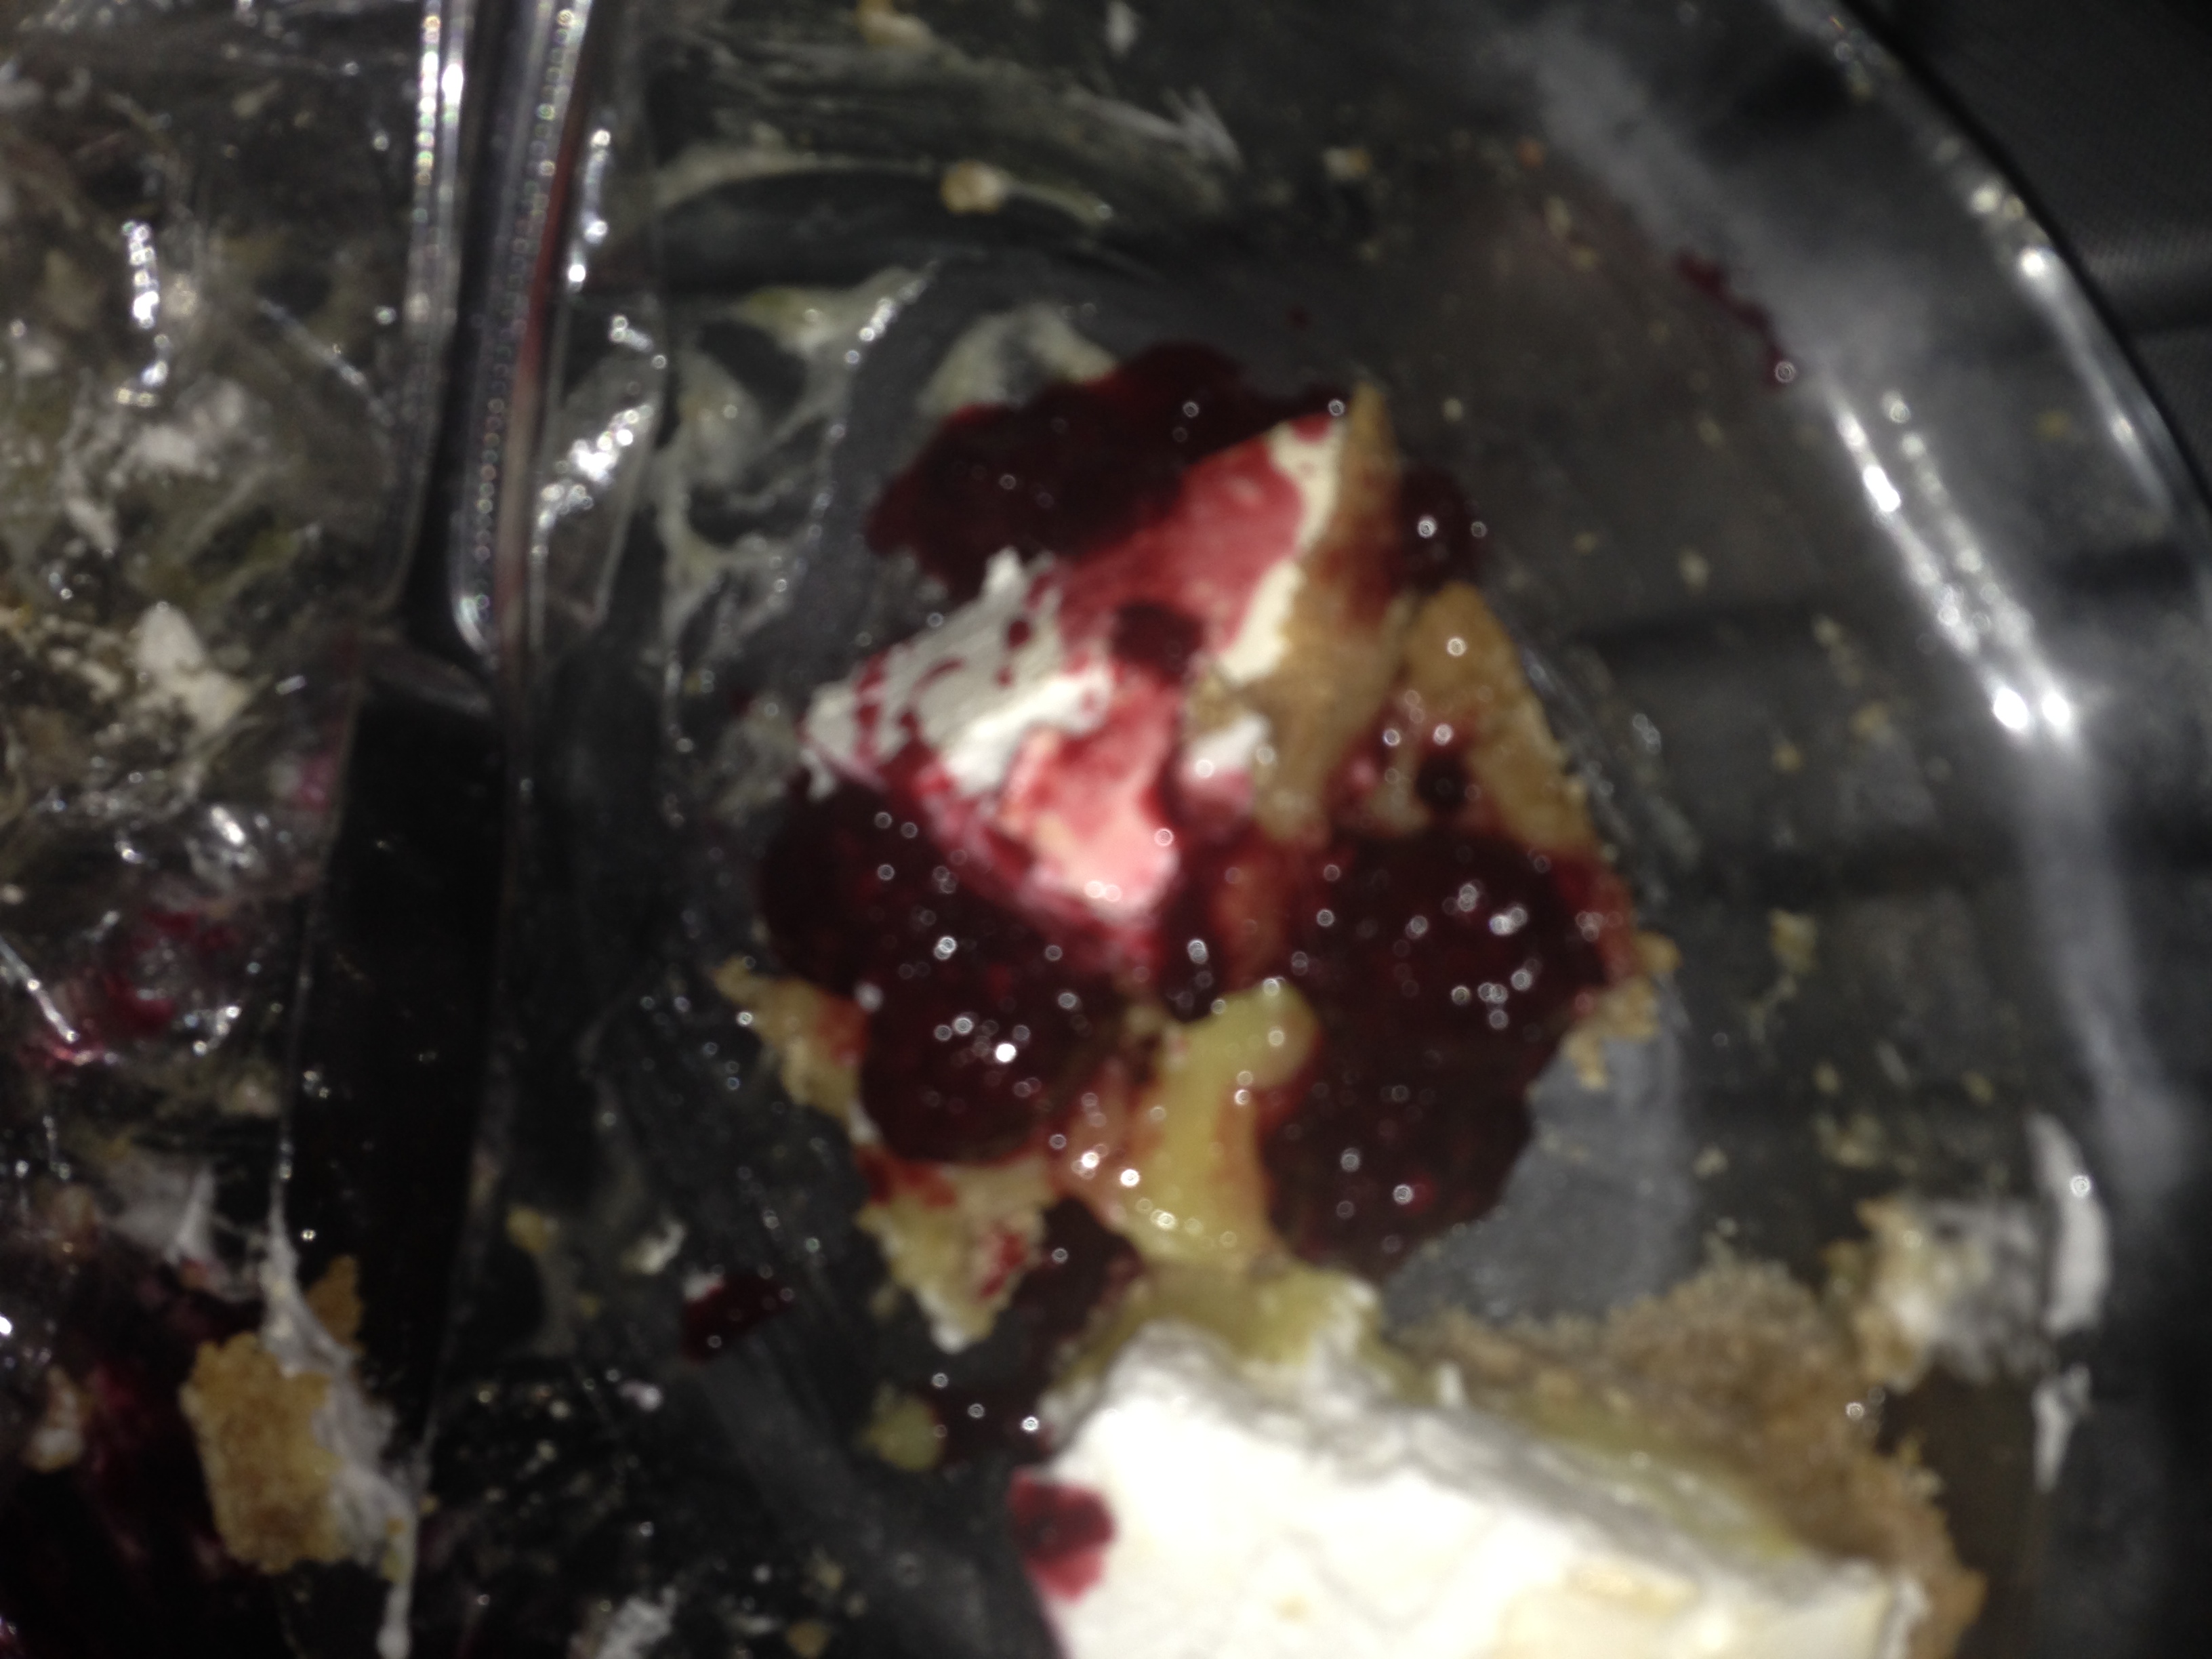
[Plated and sliced Final Pie]

Blackberry-Apple Pie

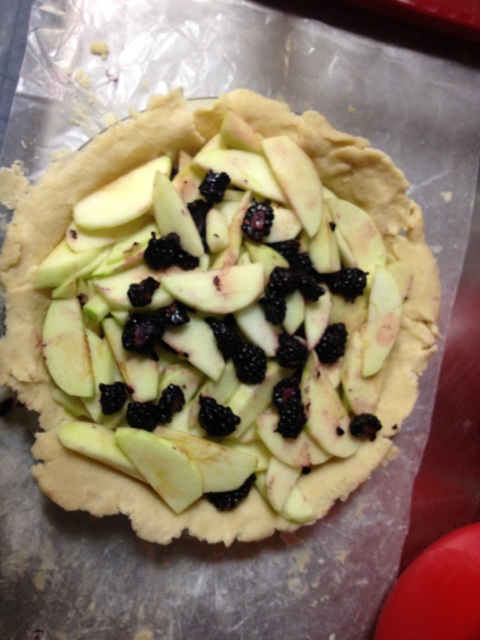
I was excited about this pie because I really enjoyed the blackberry pie we had earlier this semester (my first blackberry pie), and I love a good old-fashioned apple pie.  I thought this pie was interesting because there was no soaking of the apples in advance.  I simply laid the the apples and the blackberries into the crust.  There was no suggestion on how to place the apples and blackberries into the crust, so I tried to layer them some. I wonder how much of a difference in taste there is depending on the fruit layers.  I was happy that I learned my lesson with the sauce to turn it down really low.  Last time I allowed something to stay on the heat as suggested by the recipe, it burned. If you turned it off all the way, it did thicken a bit too much to pour over, so if taken off the heat, it should be placed back over heat again before spooning over pie.

IMG_1610

This was my first attempt at a lattice, so I was slightly intimidated. My crust was being a little temperamental (I think it sat out of the fridge too long before rolling initially), and peeling off the slices was difficult (despite using the trick of making sure the crust came up on the rolling pin).  I was happy with how the lattice turned out.

IMG_1611

I will say, this one the only pie I’ve made thus far that has taken less time to bake then the recipe said. Although it was only a few minutes less, the pie was certainly bubbling and browning by the 30-minute mark after I turned down the oven.  I’m excited to see how putting the sauce on top affects the tastes since normally it’s mixed first!

IMG_1614

http://allrecipes.com/recipe/apple-blackberry-pie/


Chocolate Pecan Bourbon Pie

With the final banquet fast approaching, I needed a recipe for a sweet and a savory pie. Last week I had come across a recipe for a chocolate pecan bourbon pie. The recipe sounded and looked amazing. I mean bourbon and chocolate, what’s not to like people? While I am more of a scotch man, I thoroughly enjoy some bourbon on occasion, especially the great but undervalued “pickle back shot” (a shot of bourbon followed by a shot of pickle juice.

Although I really really really wanted to make it at the time, I figured two pies is ambitious. Yet needing to make two pies this week around, I knew that this was going to be the recipe for at least one of my two pies. I got the recipe off of the humorously entitled ezra pound cake blog which I have included here: http://www.ezrapoundcake.com/archives/18097
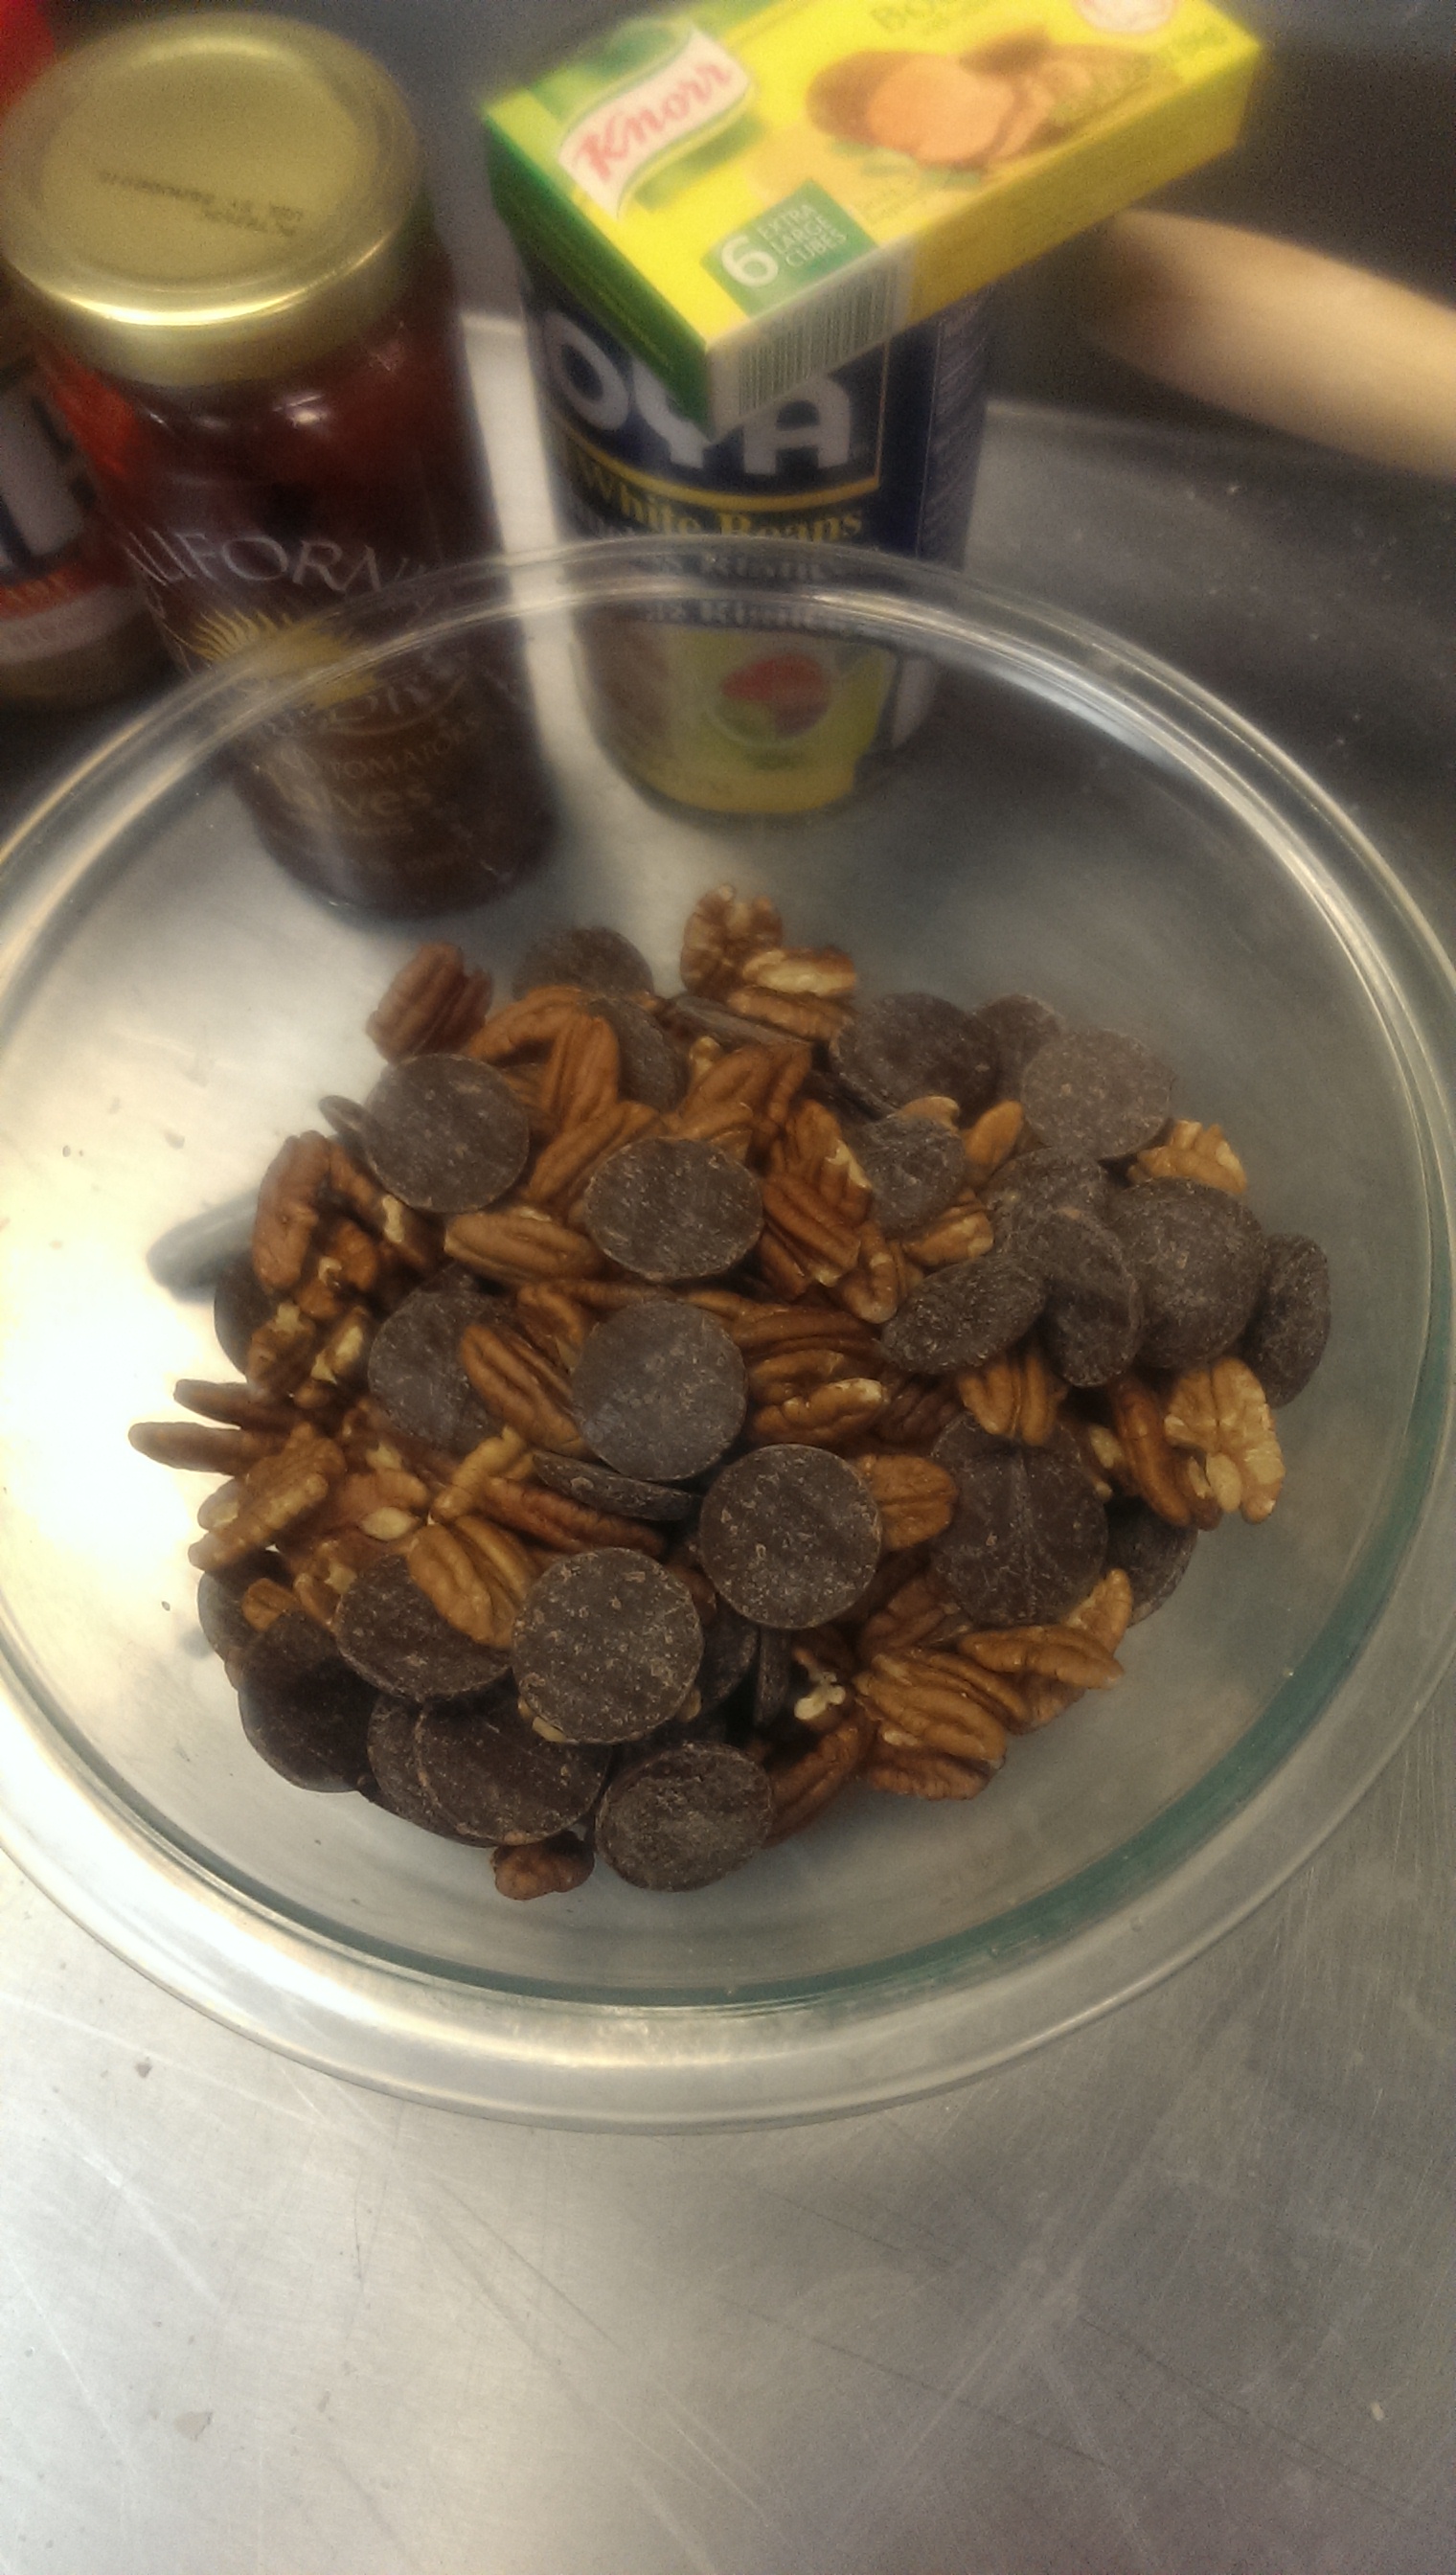
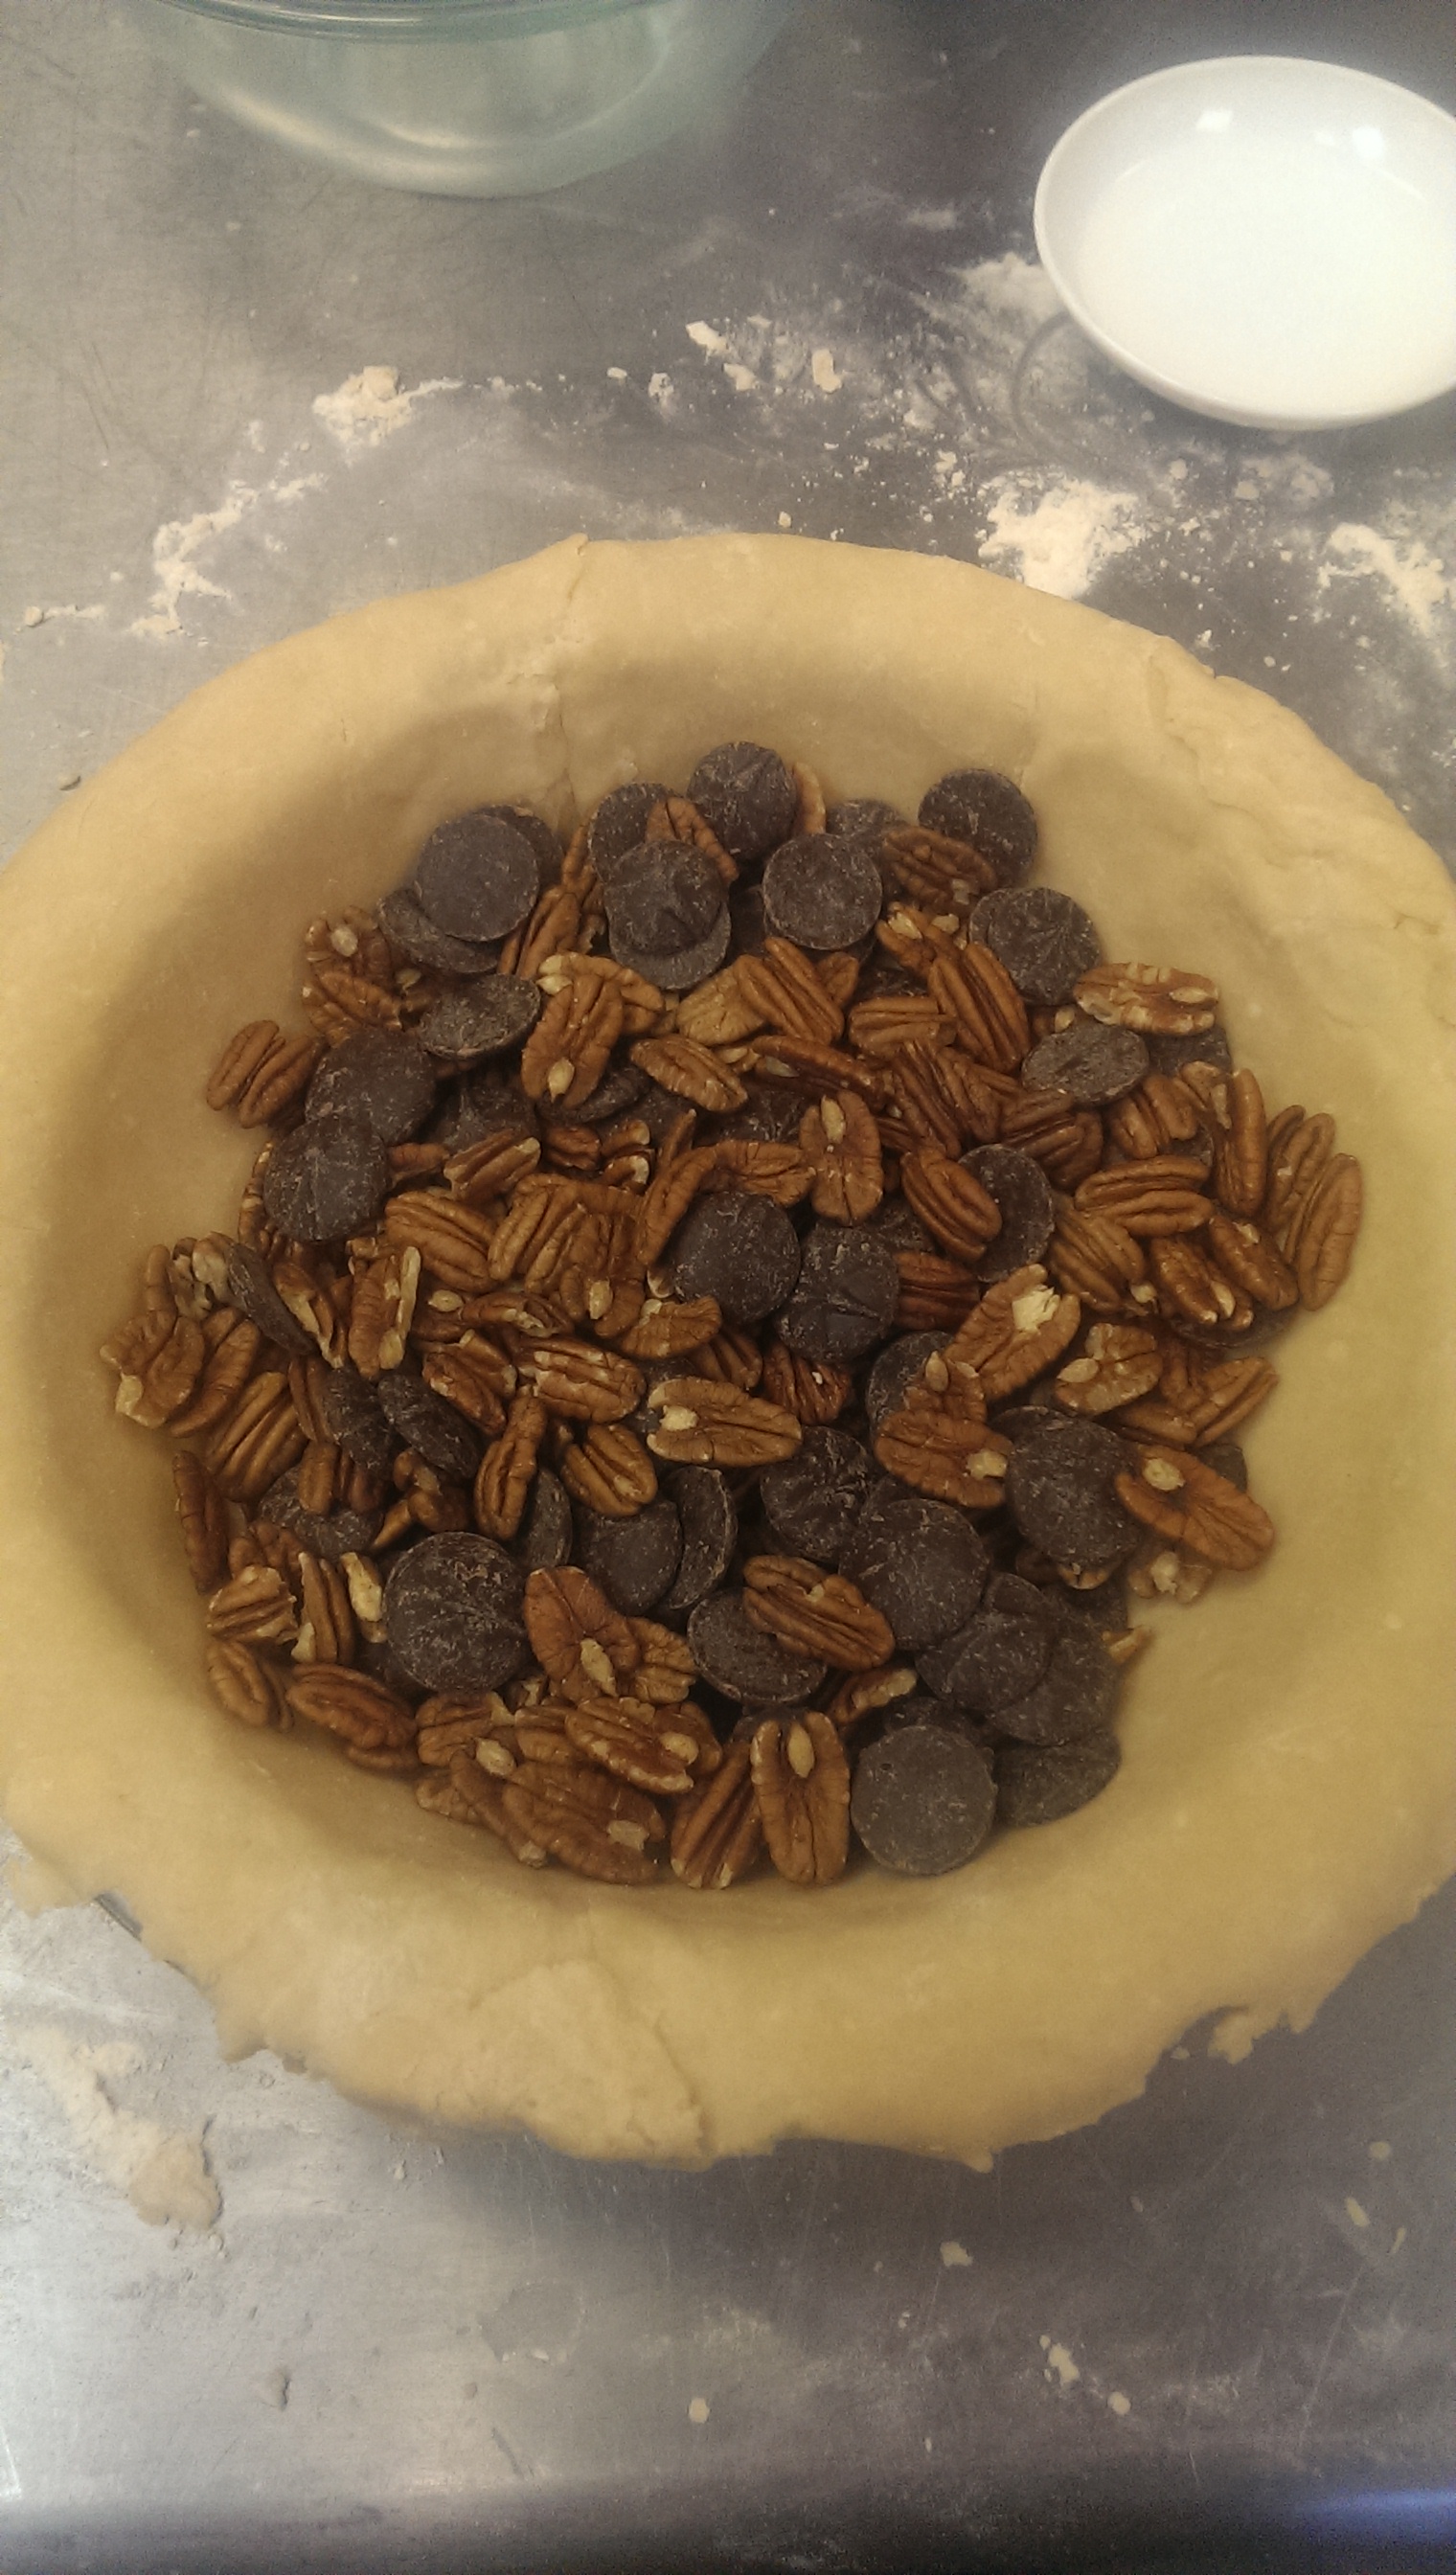
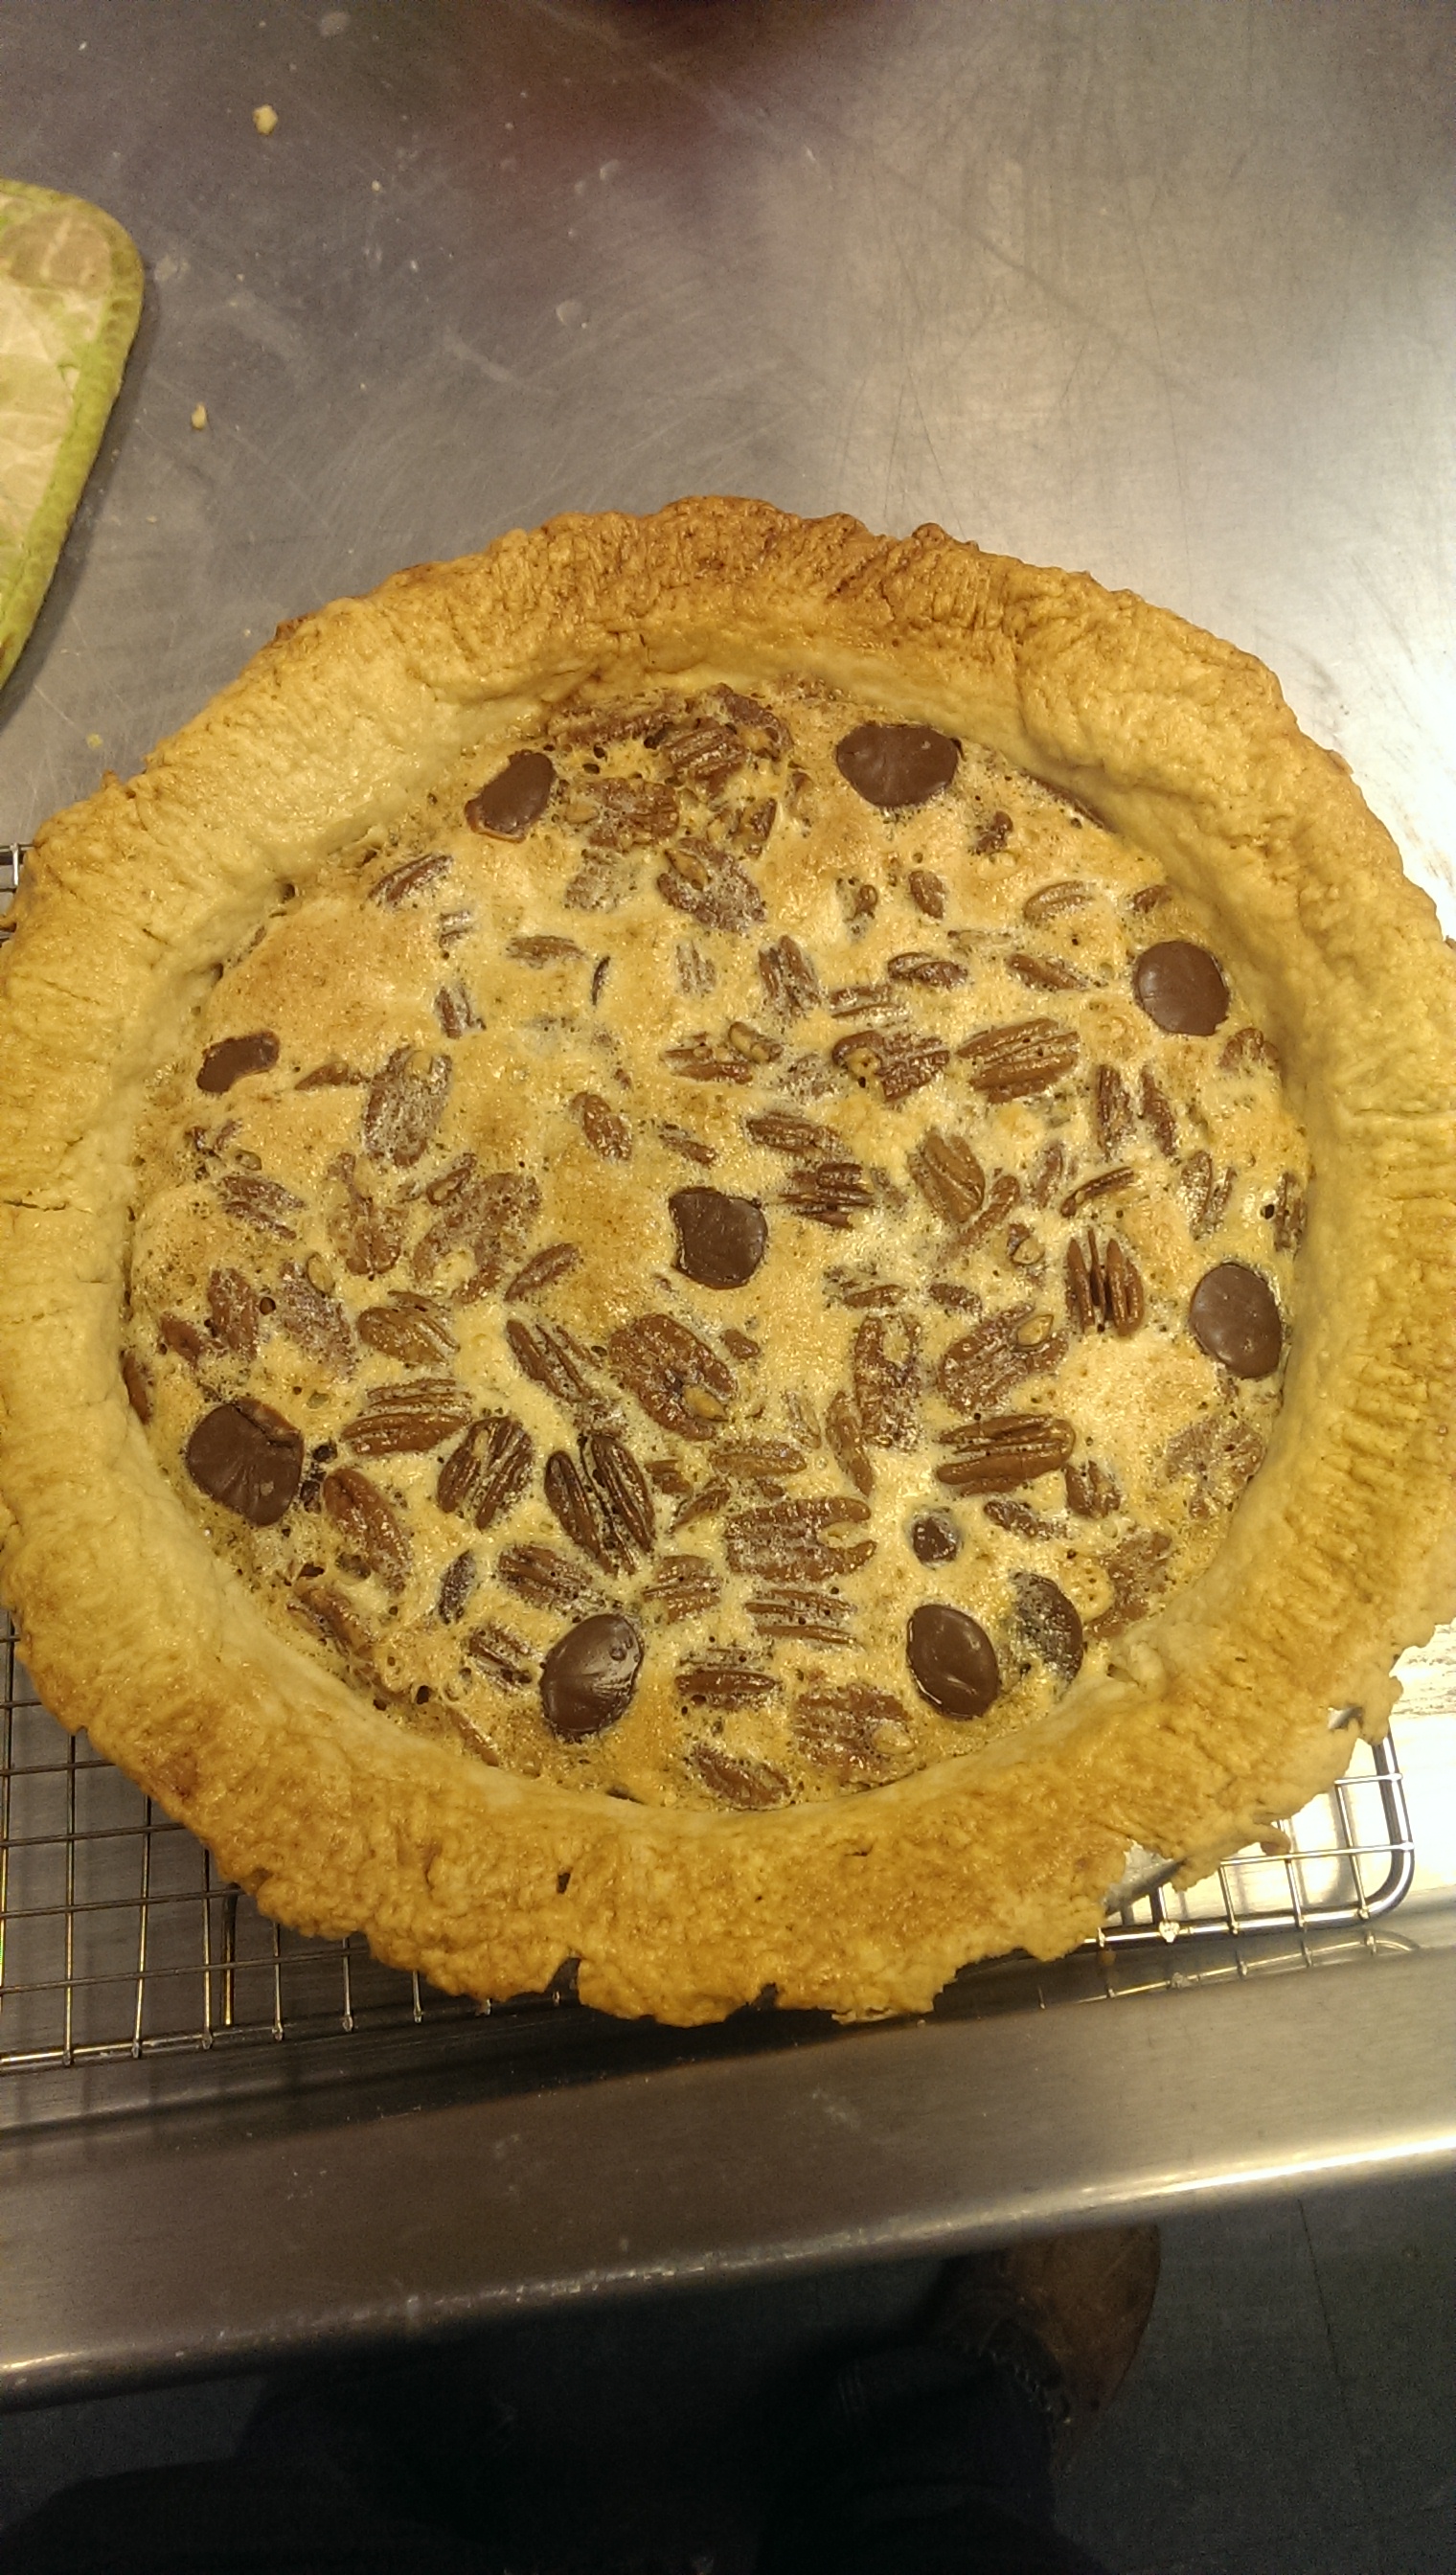
The recipe itself is very simple, at least based on the opinion of this pie maker. I began by rolling out my pie dough and putting it in the tin. Then I assembled the pecans and chocolate morsels which I proceeded to put in that very same pie tin. That is step one, of what I calling a three step process.

.Chocolate and PecansIMAG0171

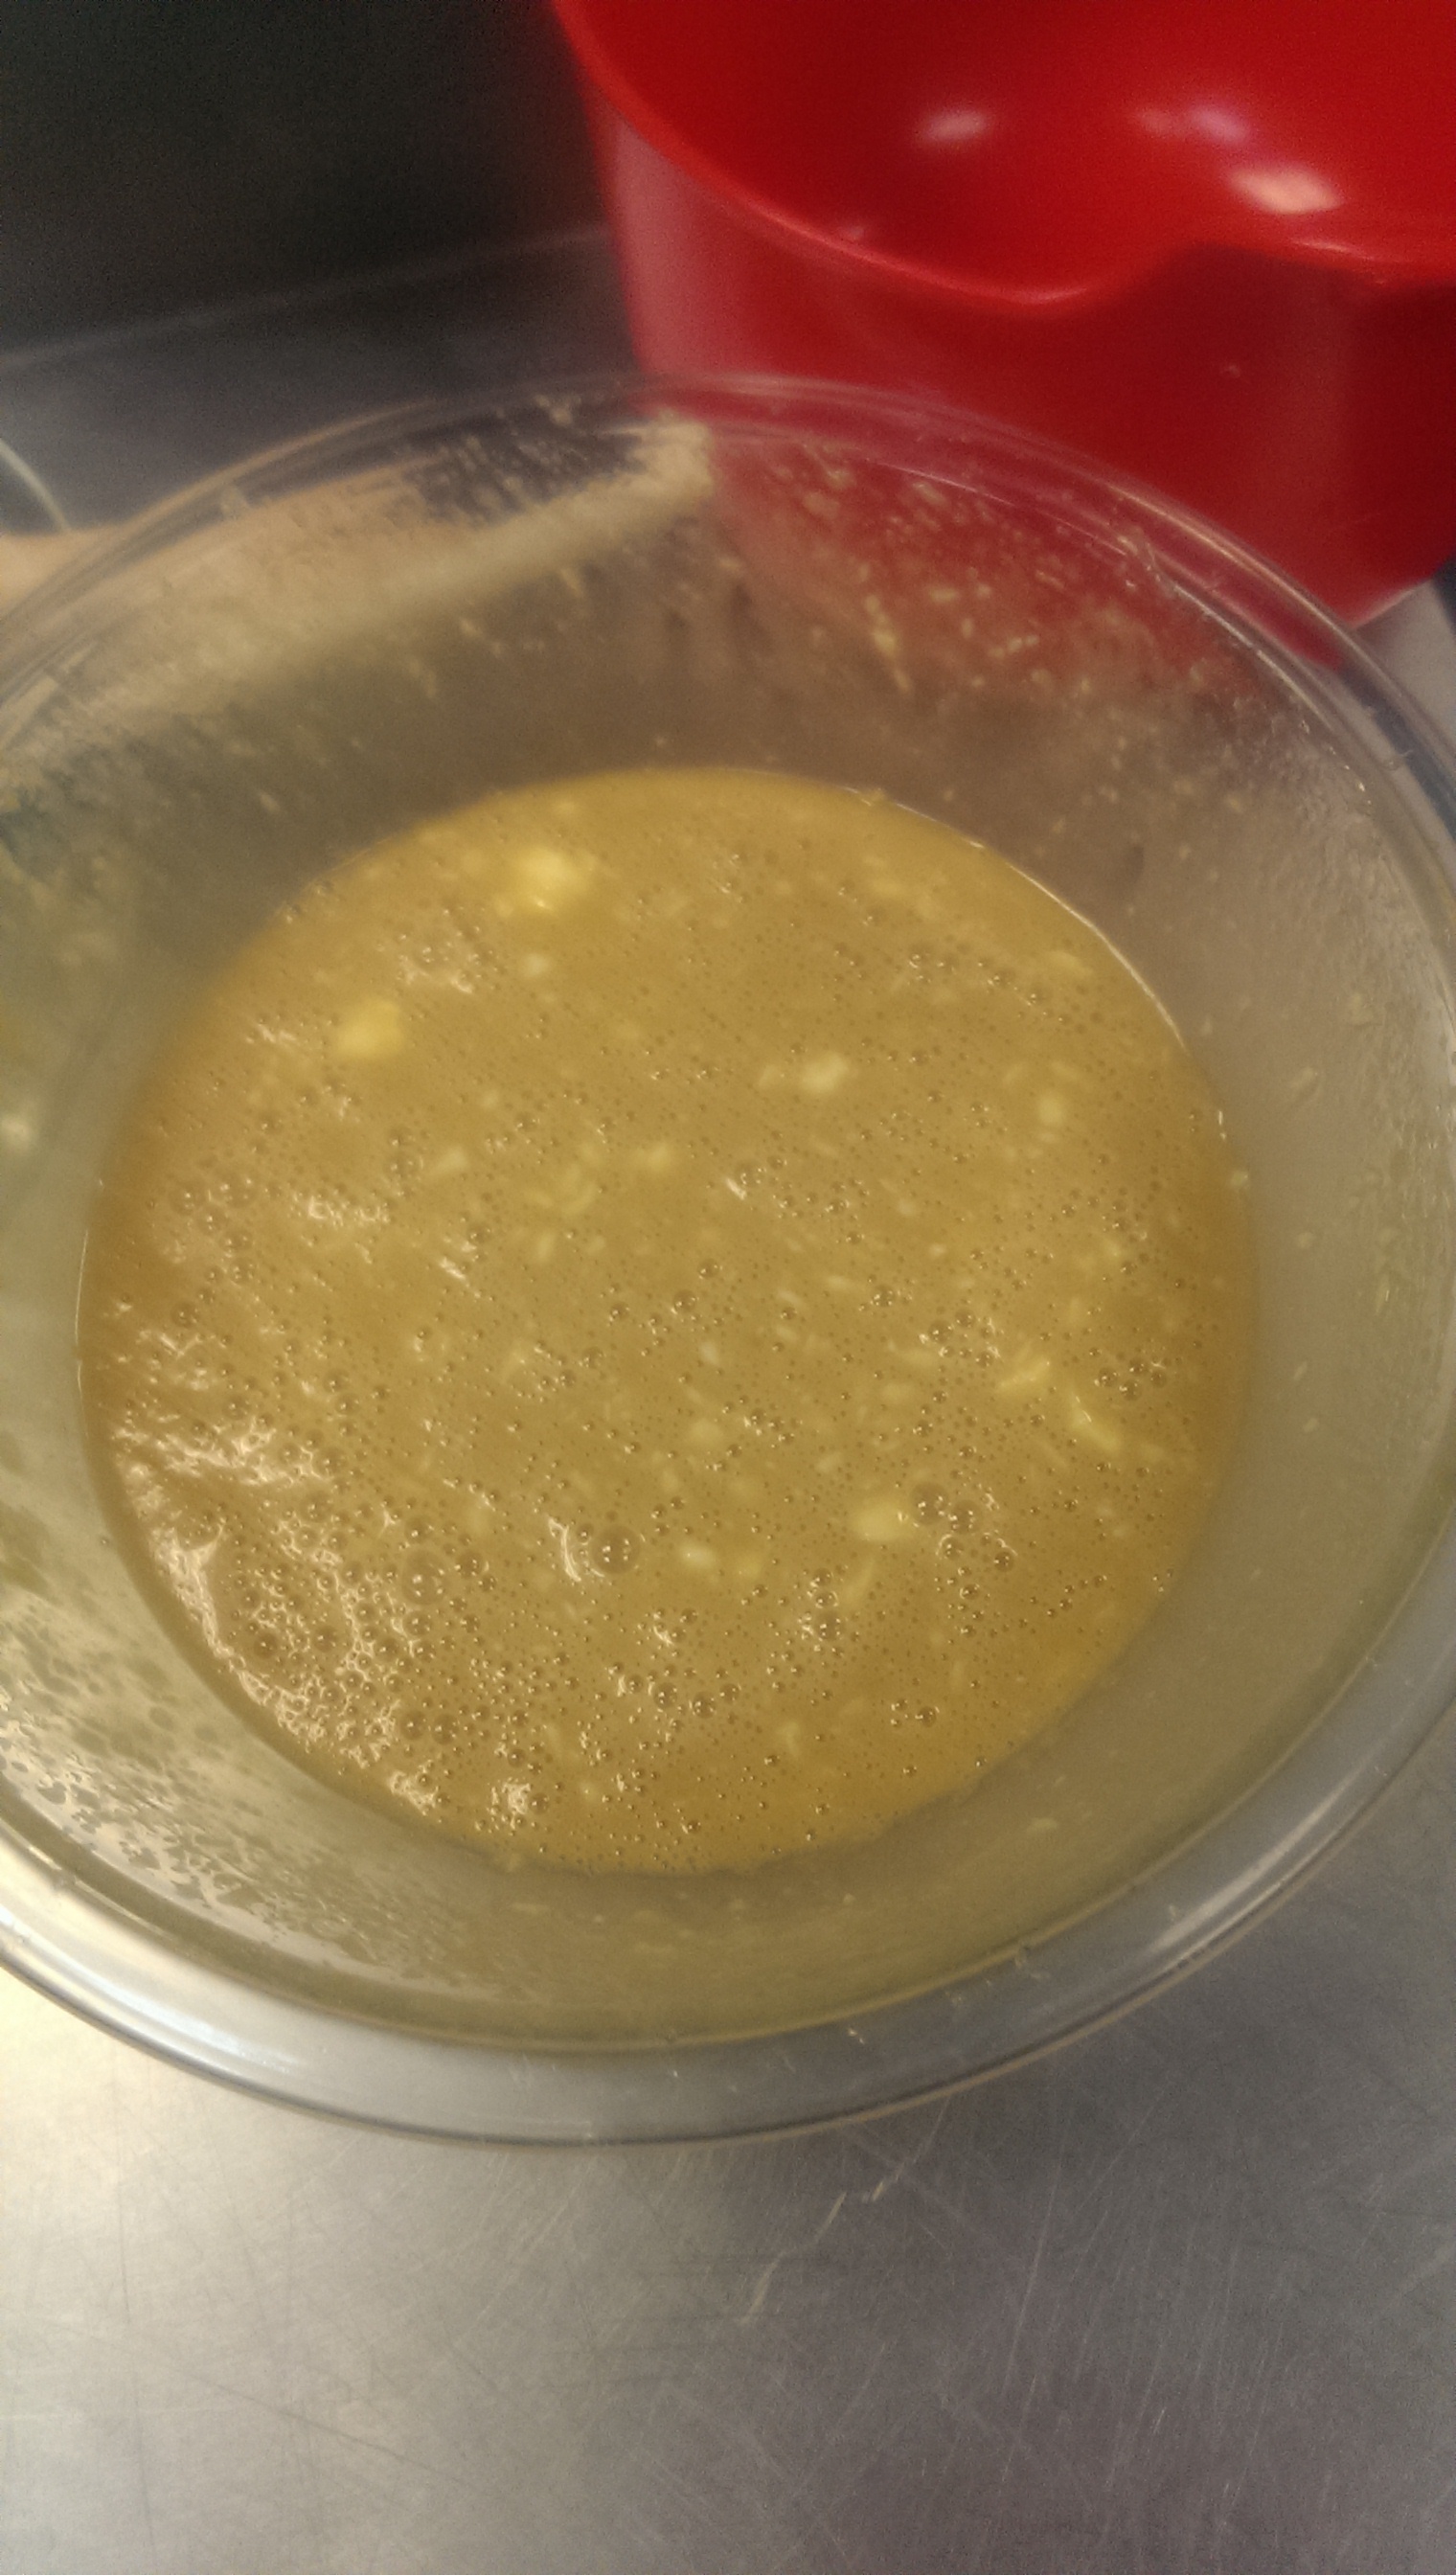
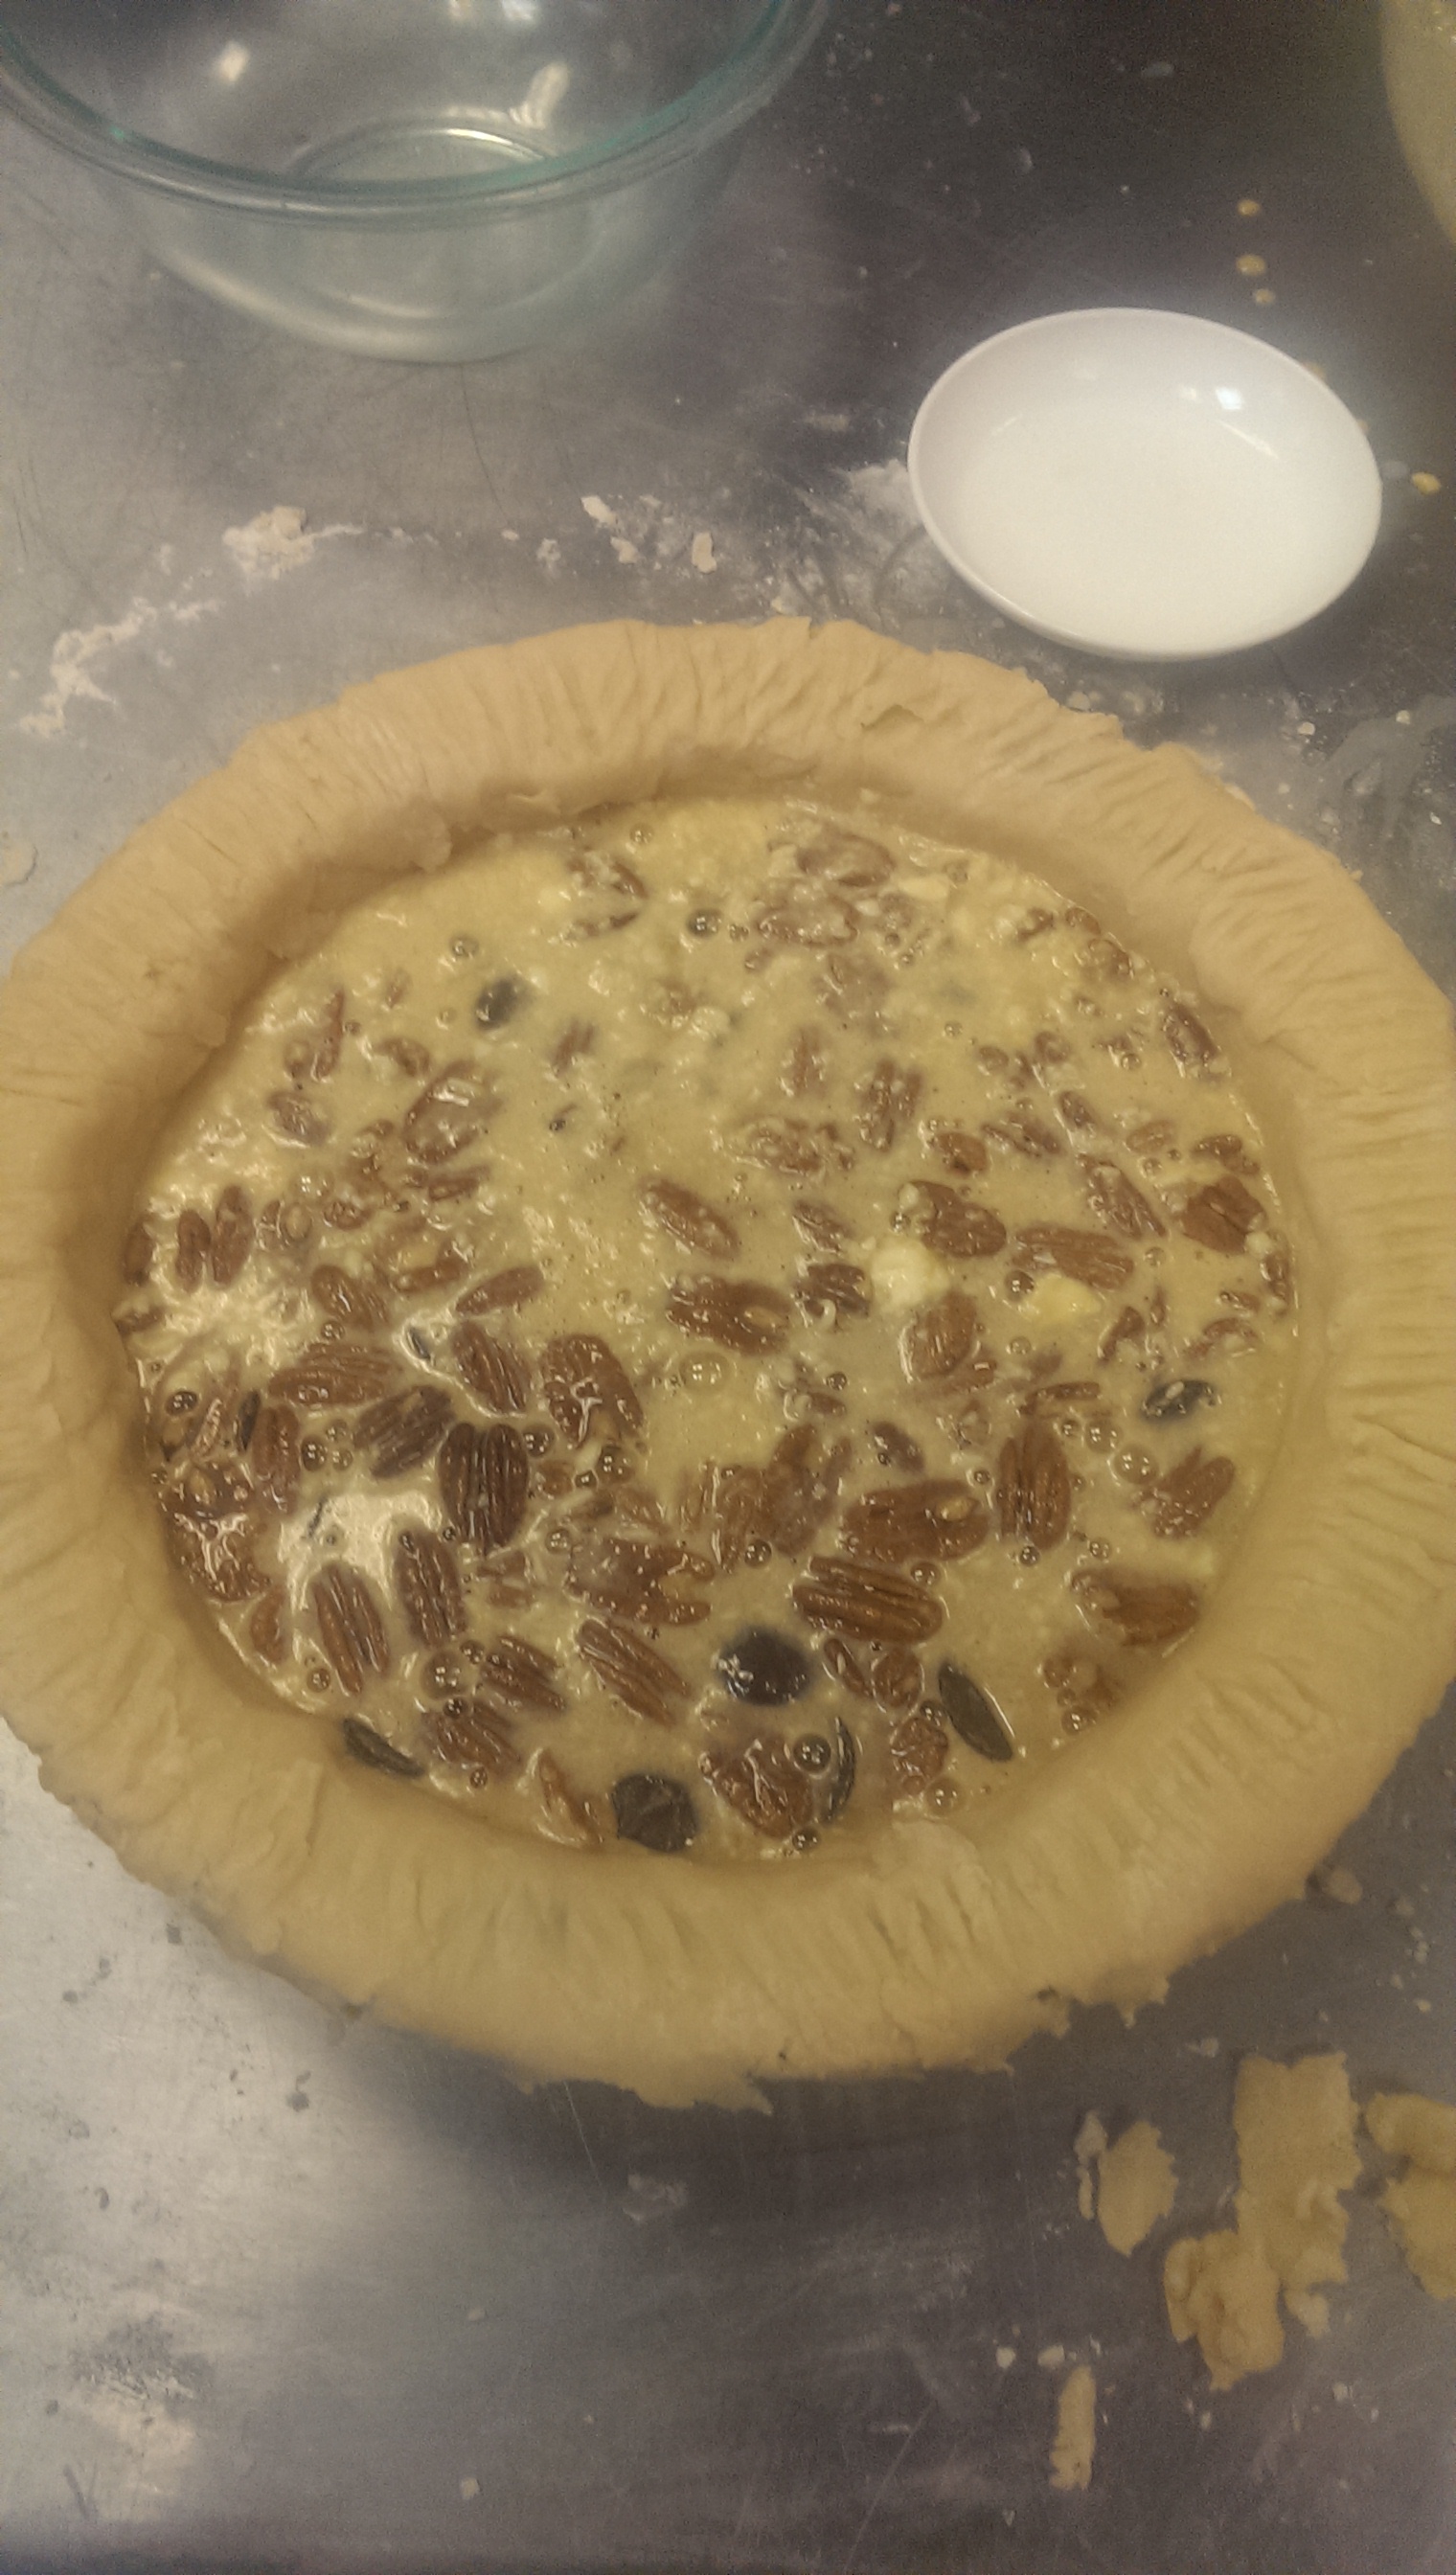
Afterwards I mixed together the filling that consisted of eggs, dark corn syrup, sugar, melted butter, and of course BOURBON! I then proceeded to pour this mixture over the pecans and chocolate, as the recipe called for.

Bourbon MixtureIMAG0172

In the recipe, it claims that the pecans and chocolate magically rise to the top while the filing makes a decadent bottom layer. I tried a spoonful and with all of that sugar, butter, and bourbon, it did not disappoint. You might want to get your sugar levels tested afterwards…

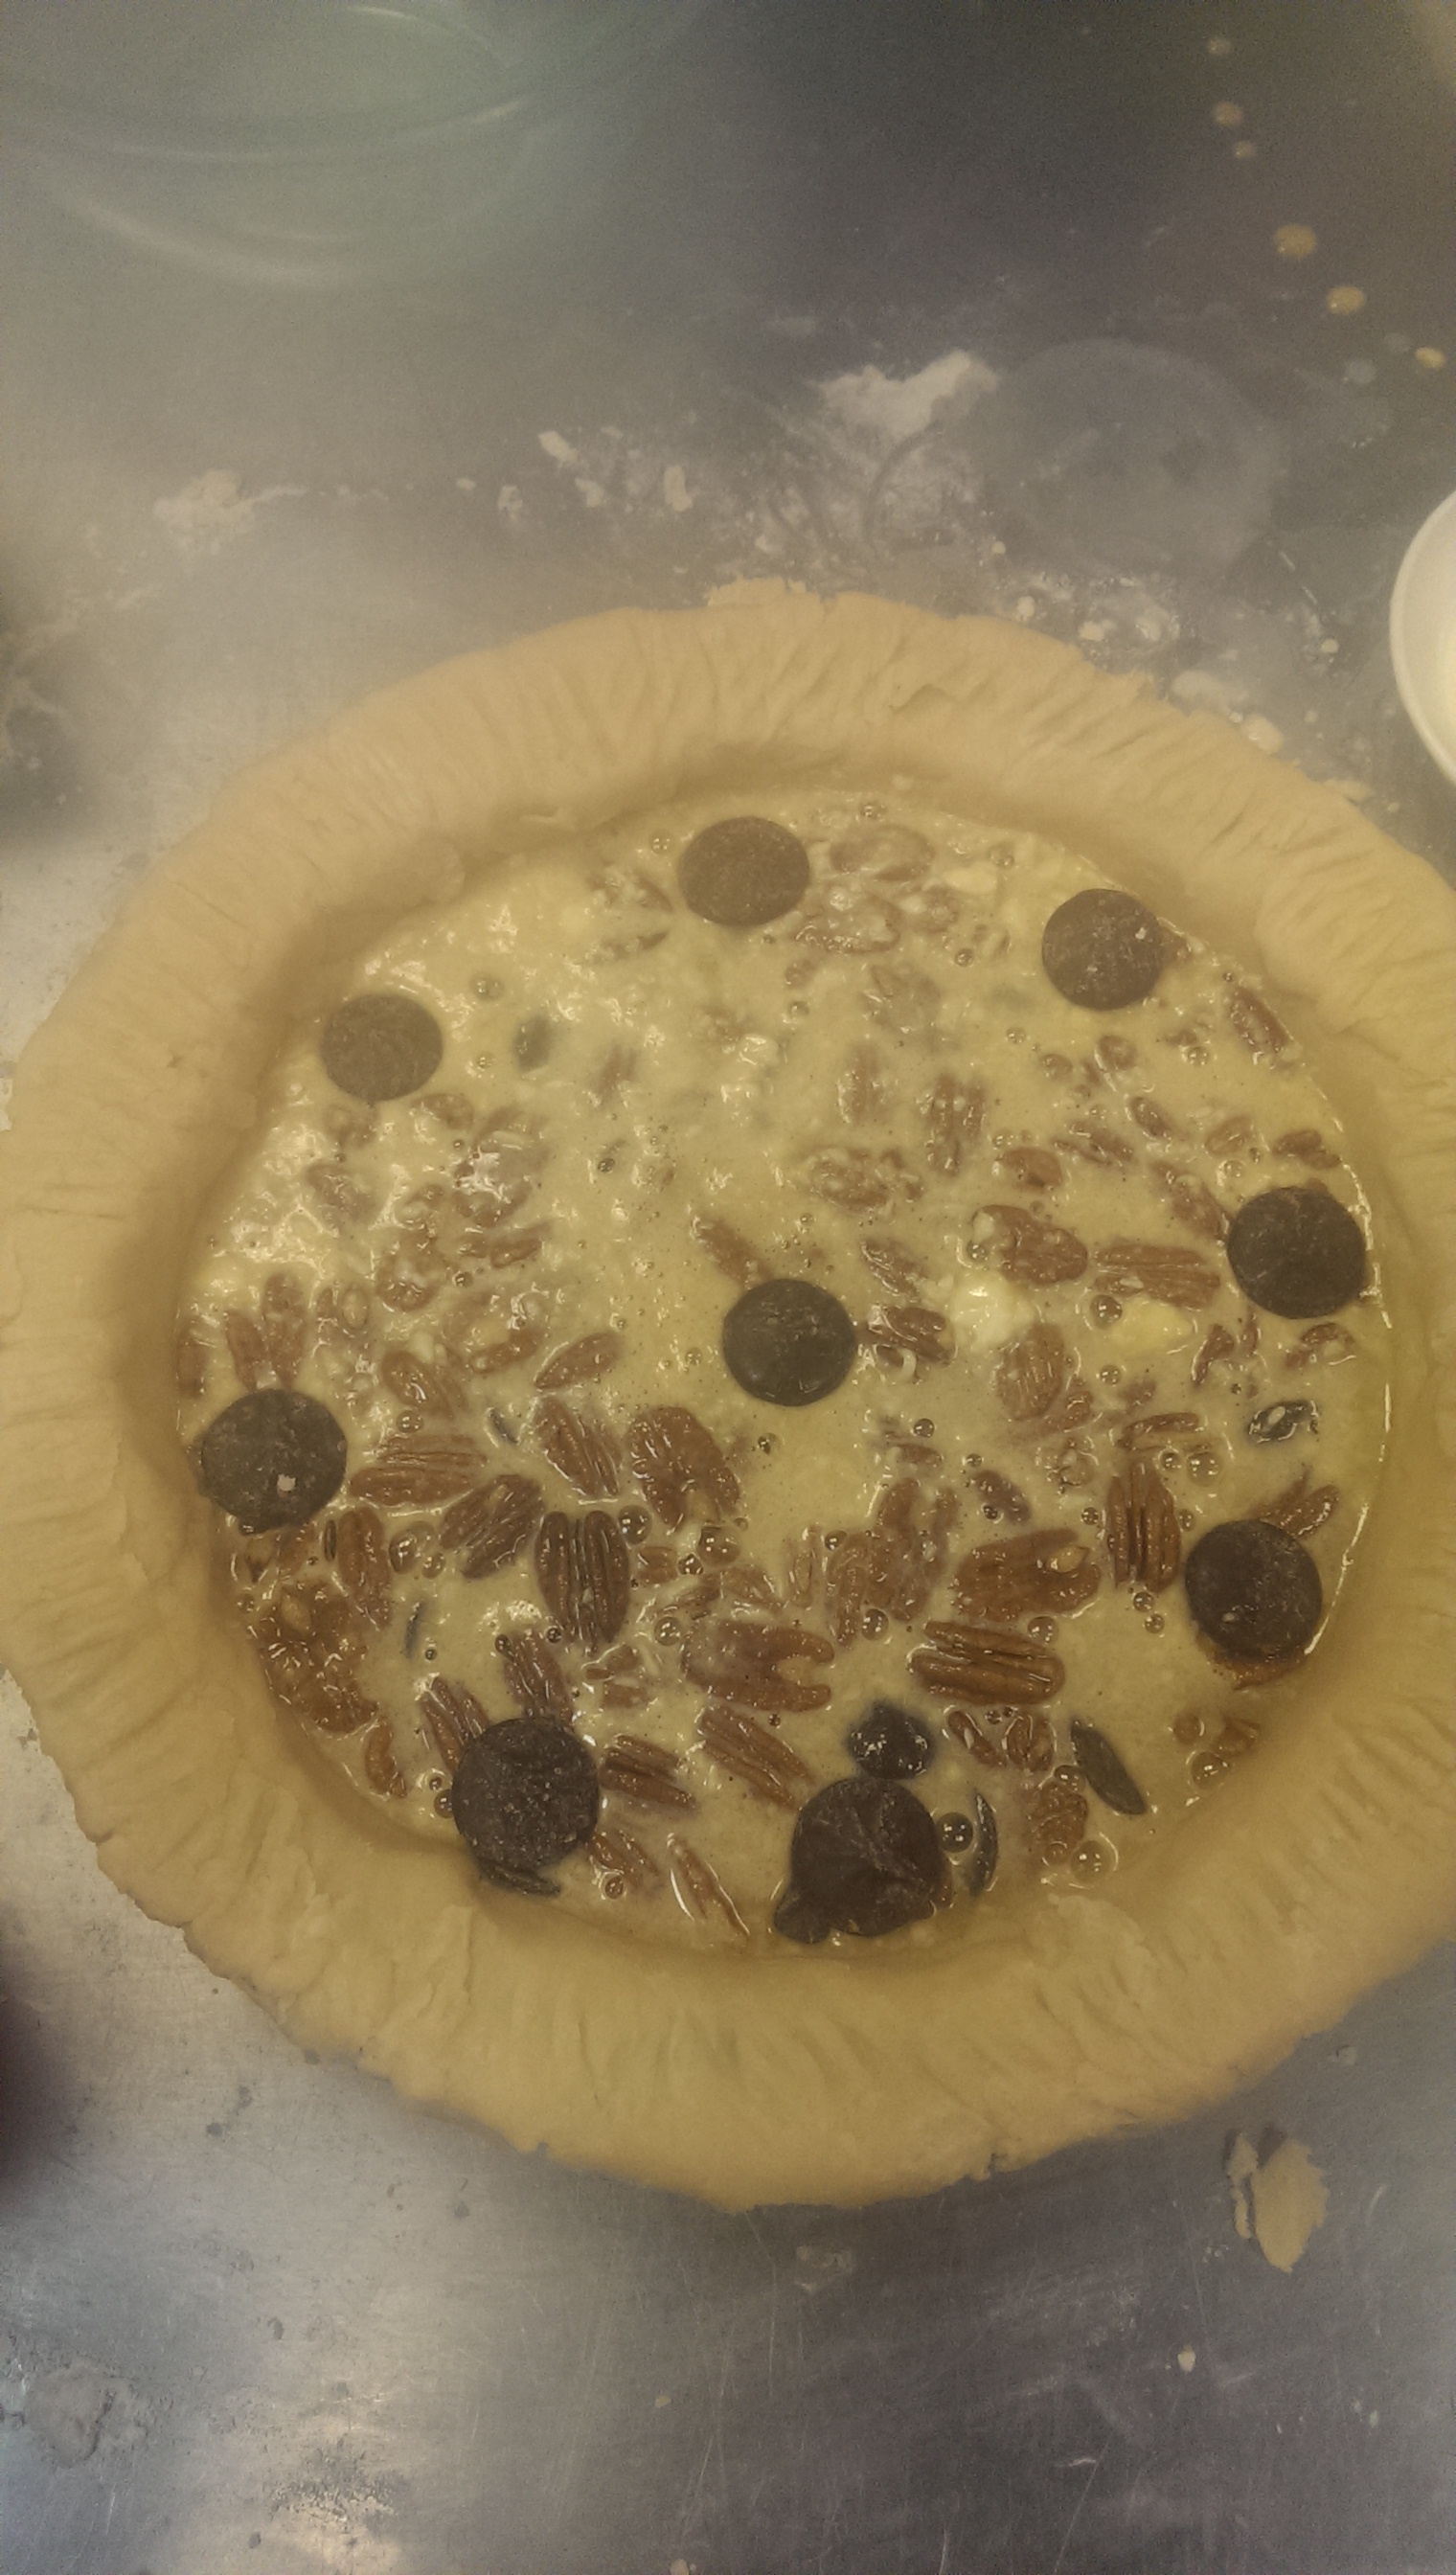
I then proceeded to “decorate” my pie with a couple of chocolate chips and then I popped into the oven at 350 F for 45 minutes. While I was waiting, I made the bourbon sauce (the recipe is also in the link). I melted the brown sugar and butter, then when it was a dark brown I added the heavy cream, and the bourbon last. As someone who hates caramel I can attest that this is a far better alternative and you can actually taste the bourbon!

IMAG0173IMAG0175

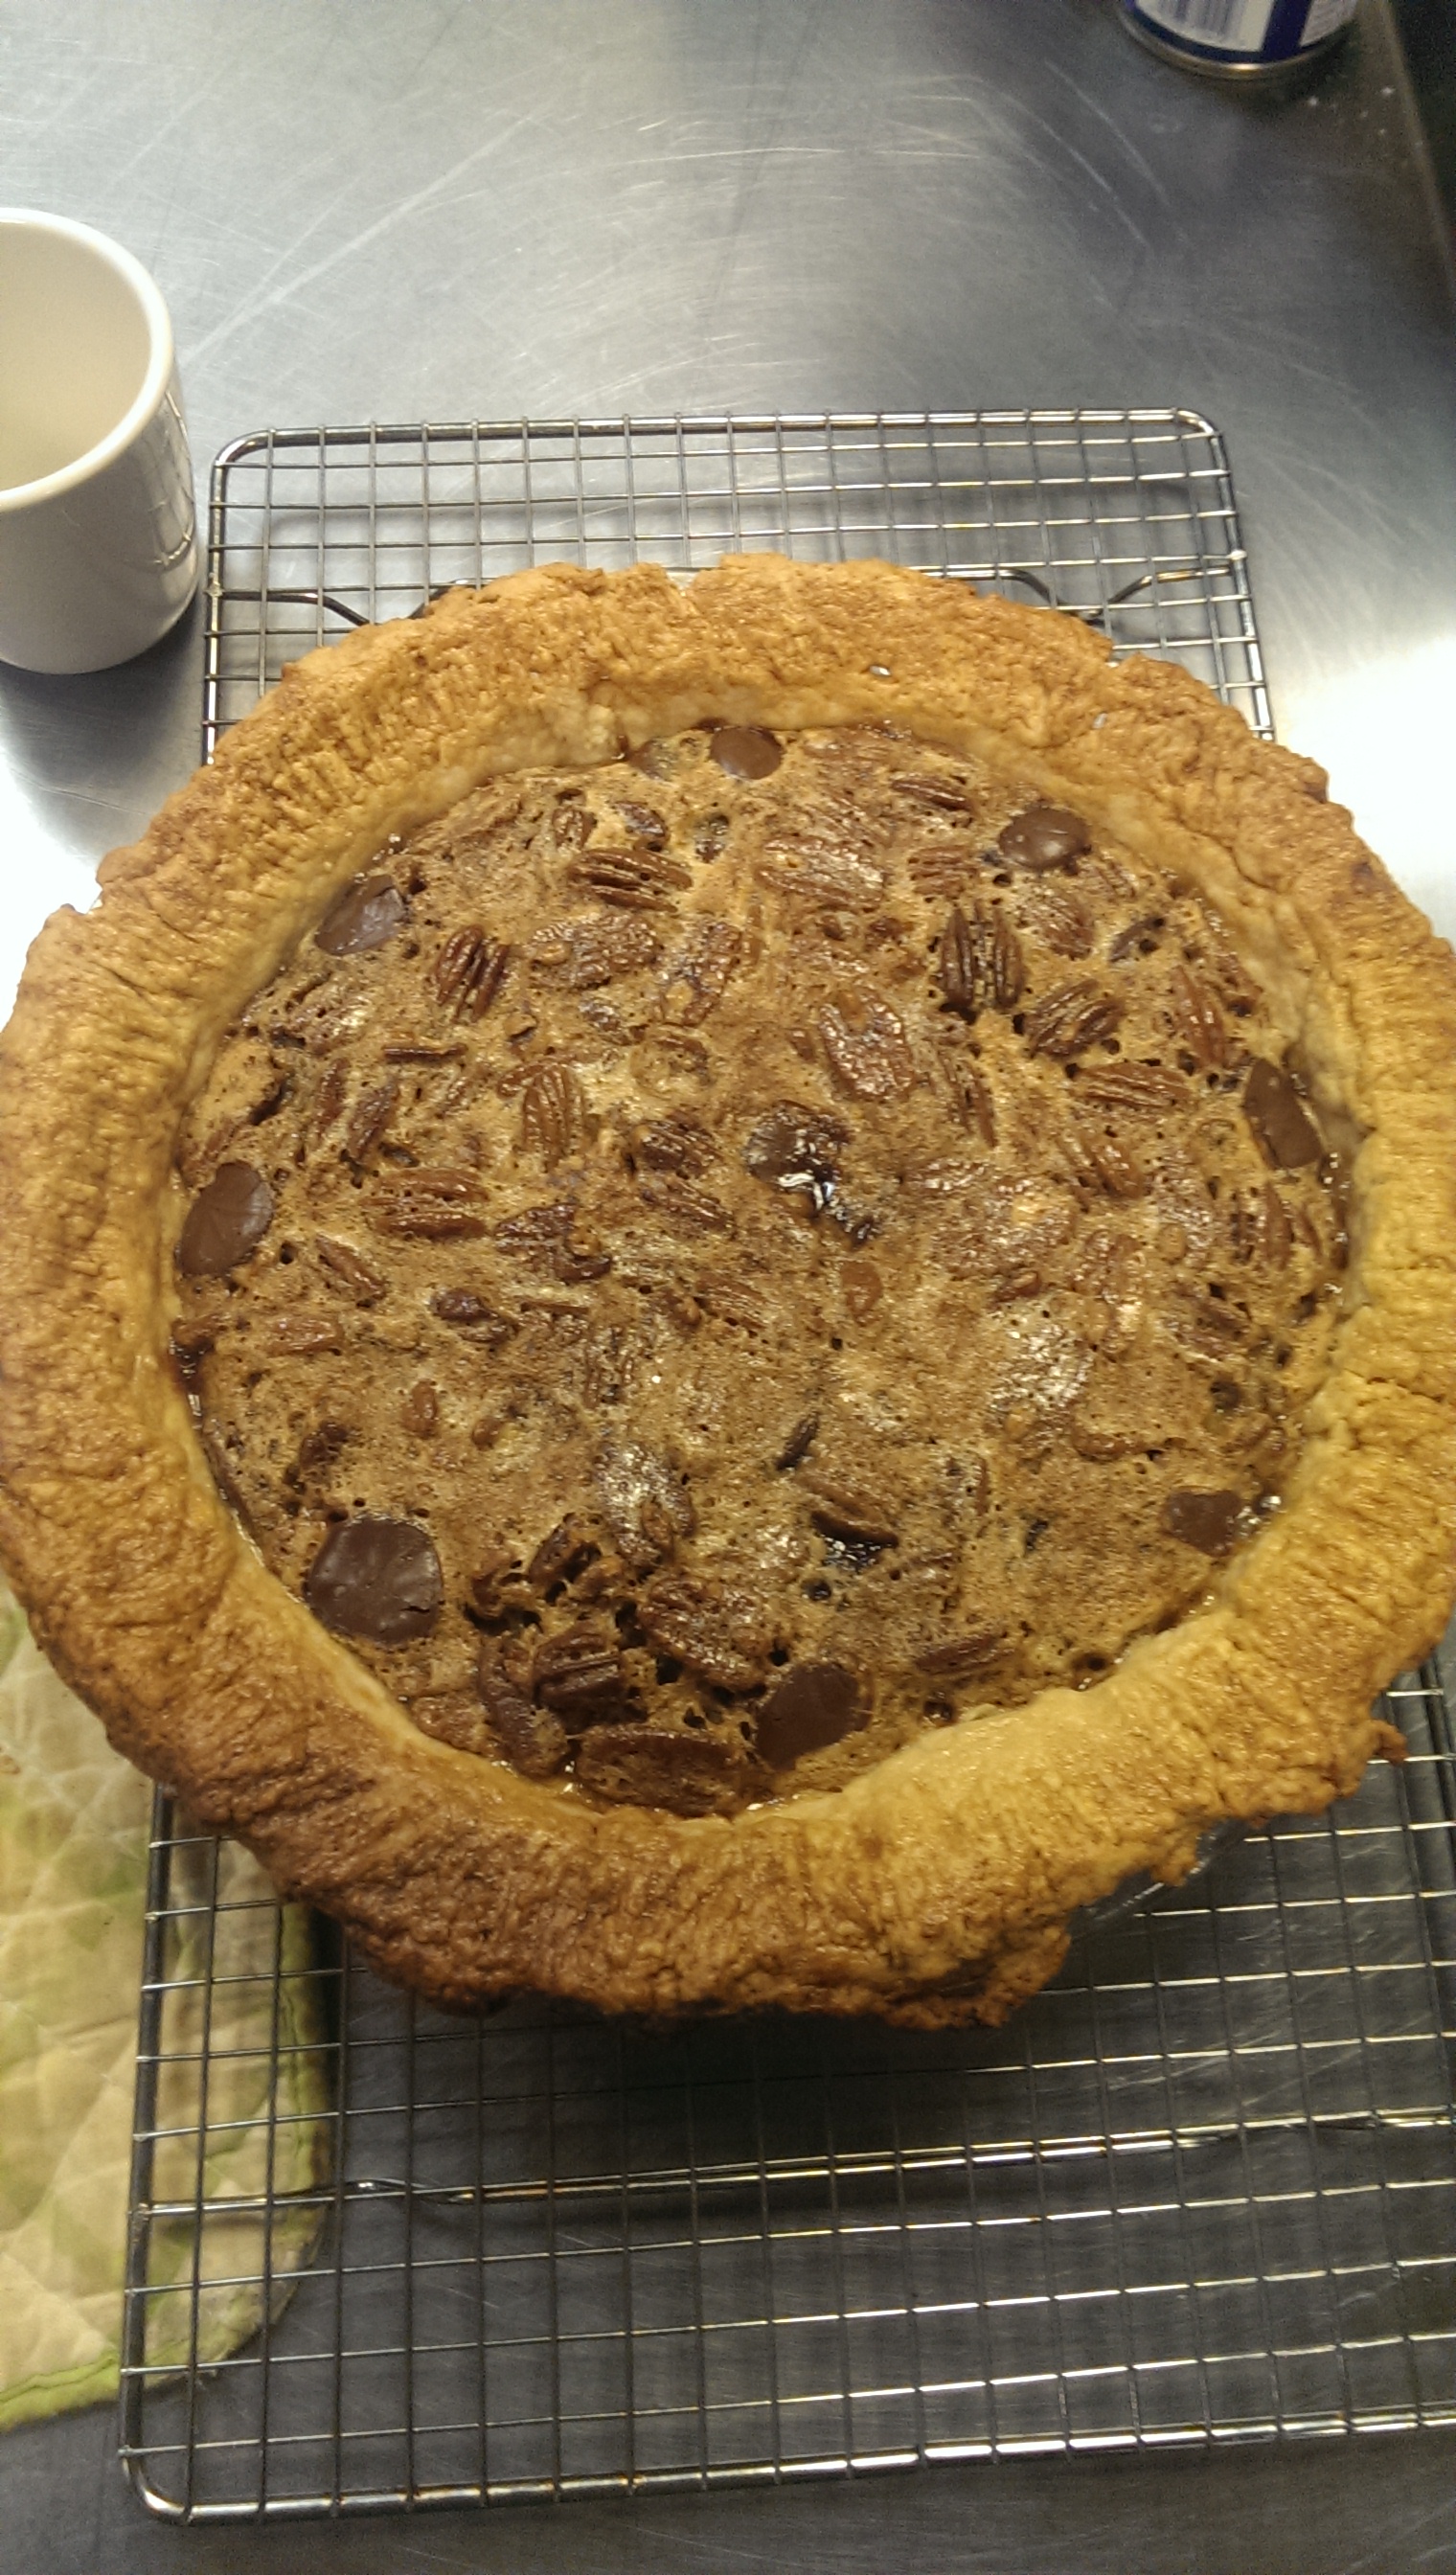
The recipe is very easy and straightforward. The only thing I will say is that when I took the pie out of the oven it did not have the dark brown color I was looking for. In turn, I popped it back in the oven for an additional 10-15 minutes. Then it turned out the way I wanted it to.

IMAG0178   IMAG0179

I cannot wait to try this pie tomorrow. With some freshly made bourbon sauce it should be rockin!

Chocolate Peanut Butter Bacon Pie

I actually don’t have any pictures of this pie. Unfortunately, the day I made this pie, I had a huge stomach ache and I just didn’t want to do anything to exacerbate it. All I can say about this pie is that it’s freakin dense! I don’t know if it was because I had eaten 6 other slices of pies before I tried my own but it was very very dense. The chocolate sauce is way too runny that after I cut a slice, the sauce would run into the plate. Well, lesson learned. No more condensed milk or sugar in that chocolate sauce!

Lemon Meringue Pie with Blackberry Lemon Sauce

IMG_1007IMG_1011IMG_1013

Although I would like to say my second pie of presentation week was smooth sailing after the myriad of annoyances that accompanied my Utterly Deadly Southern Pecan Pie, I have to say the stress level that accompanied my lemon meringue pie was equivalent to its partner this week. Perhaps my focus wasn’t quite on point. Perhaps I was trying to be too bold with my presentation. Musings aside, there is one lesson I learned with this pie that I will never forget…it is impossible to create a meringue by hand. Impossible. Think you can do it? Want to prove me wrong? Don’t. Honestly. It’s miserable. I spent about an hour vigorously whipping those egg whites and that sugar and that dash of cream of tartar to no avail. I stirred so much my arm was more sore the next day than it was after my lift on Friday. The best I could achieve was a marshmallowy goo that, although tasty, was still, well, goo. Even when Tala valiantly brought the electric hand mixer from home and I had beaten the goo for about 15 minutes and I had added way more sugar than the recipe called for, it remained slightly lighter, slightly tougher goo. Absent were the so-called “peaks” that were supposed to have appeared ages ago. Serves me right, I suppose, having the audacity to attempt the elegant meringue with nothing but a whisk…

IMG_1010

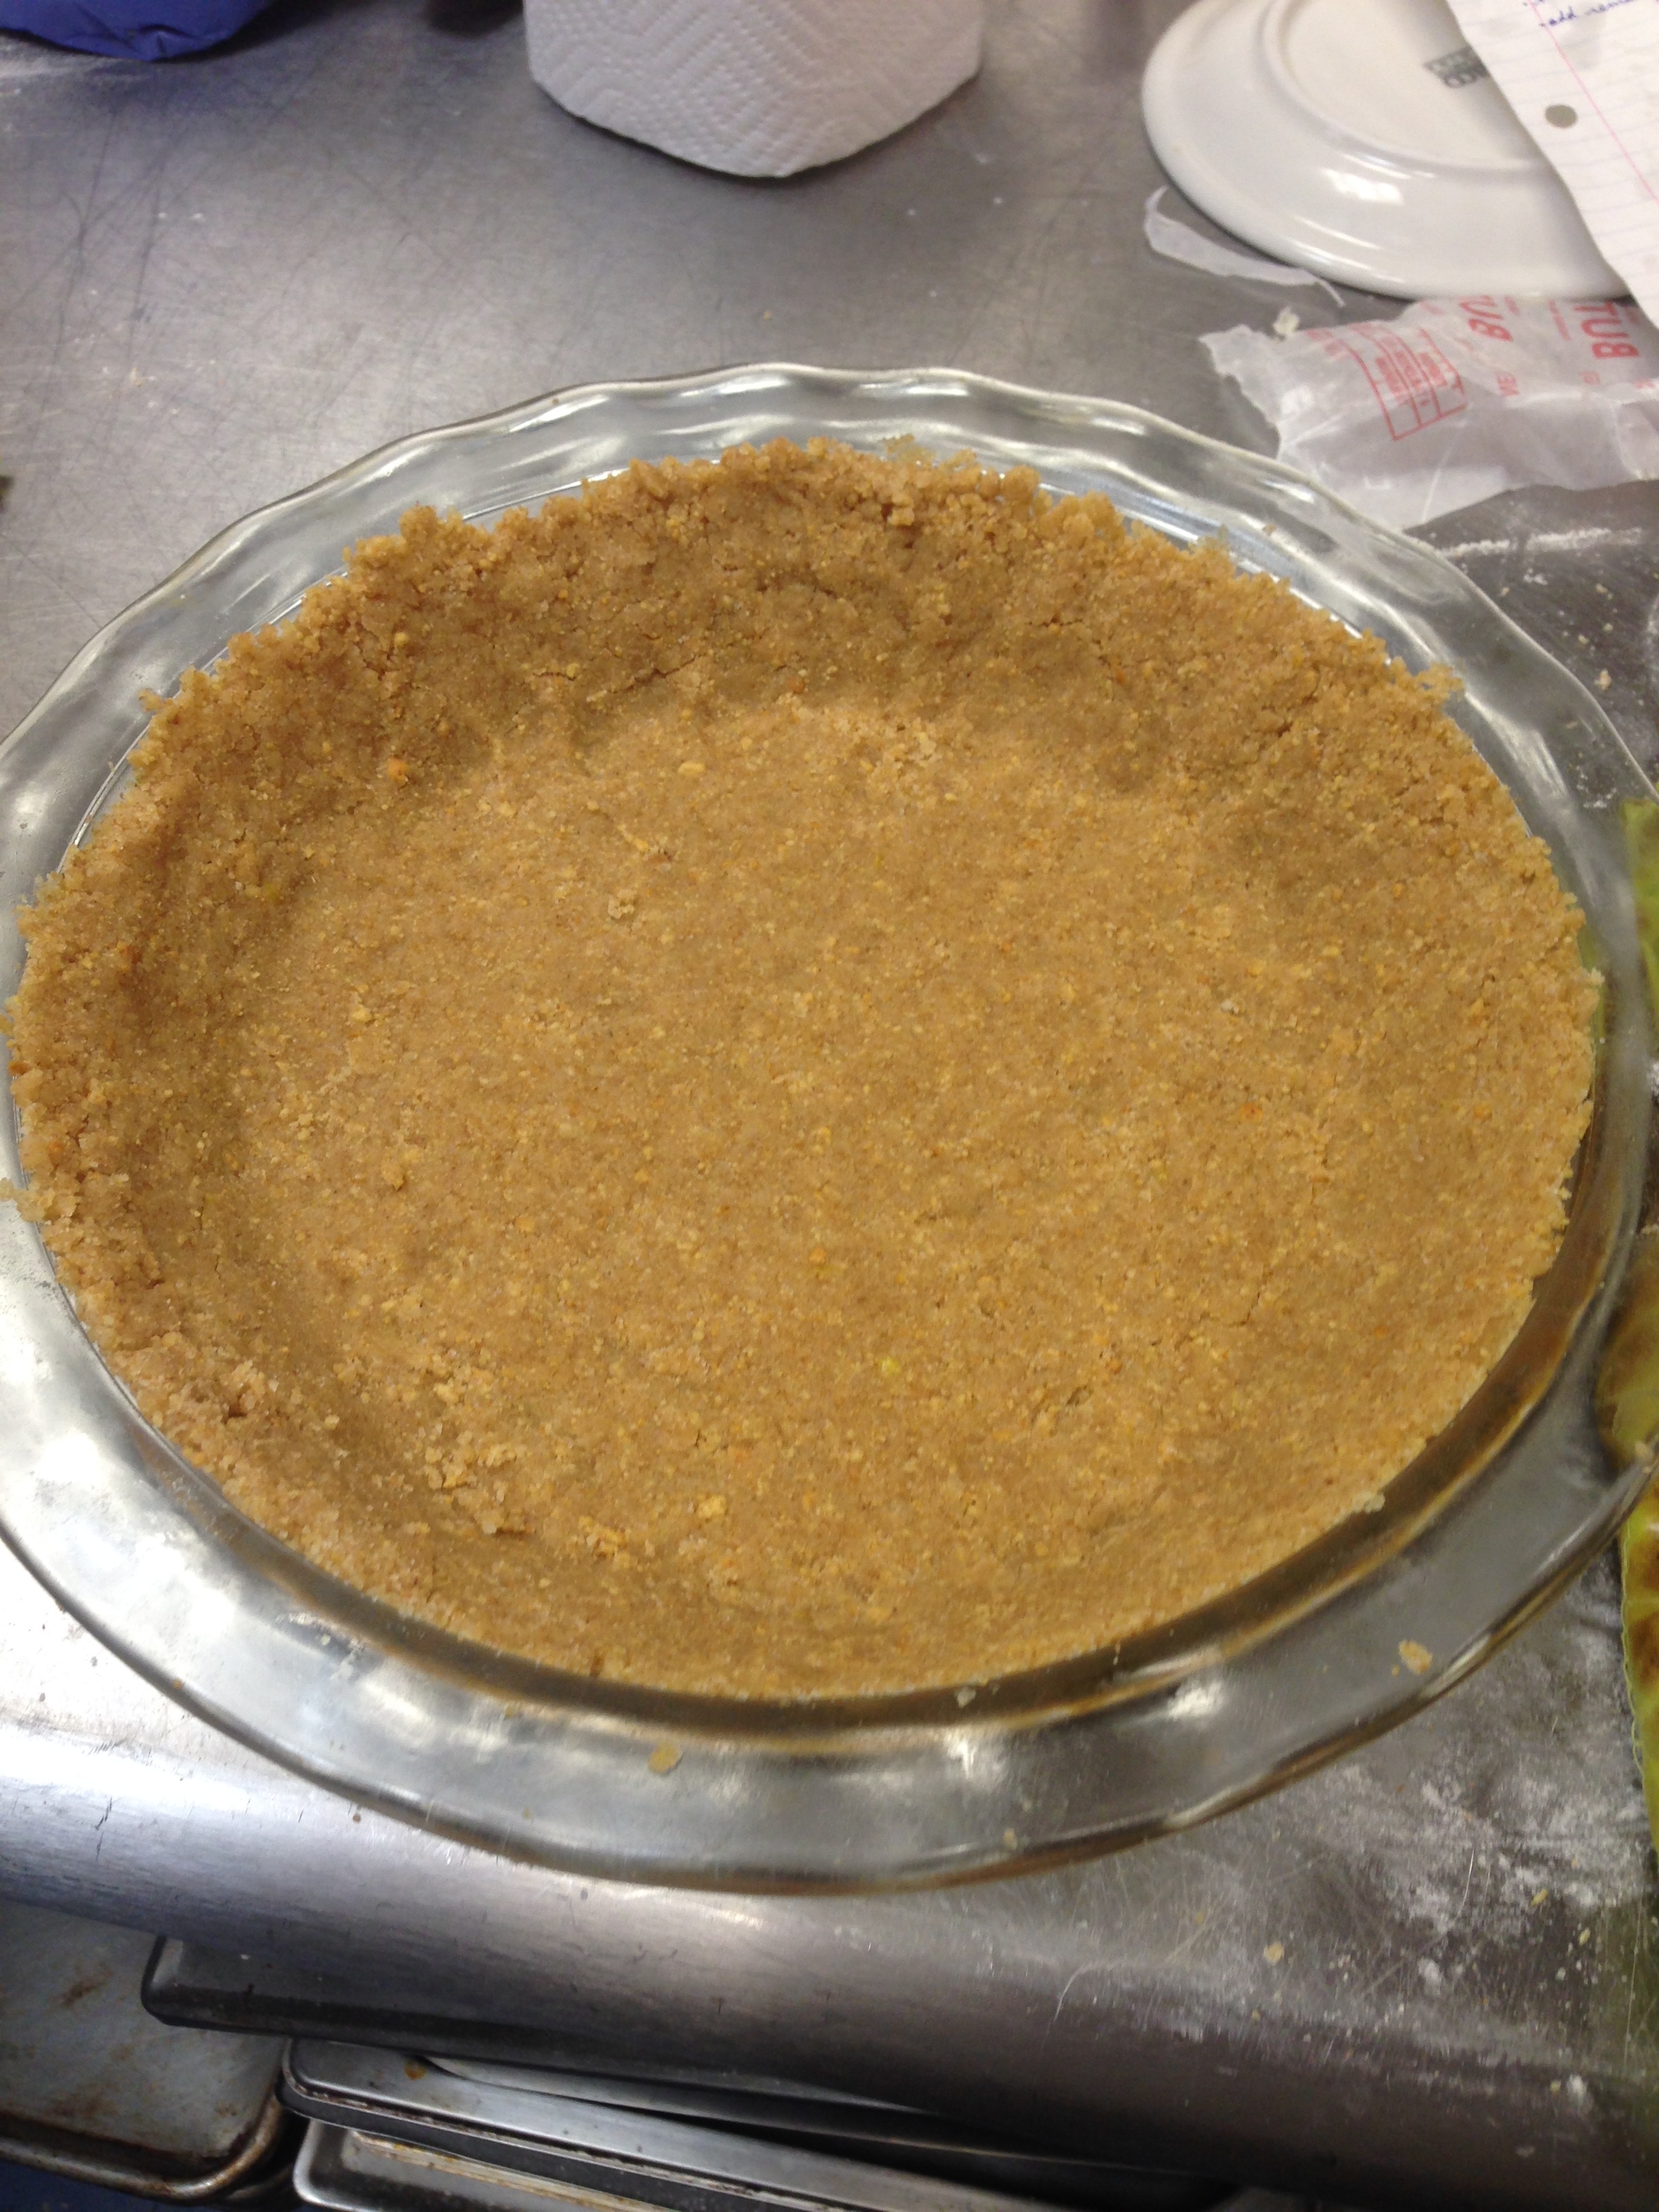
Aside from the melty meringue (which firmed up a bit after baking, and really did taste terrific), the rest of the pie was wonderful. I created my own take on whole wheat graham flour (which BonAppetit.com requested) by combining whole wheat flour with graham cracker crumbs, and it did the trick just fine.

IMG_0989

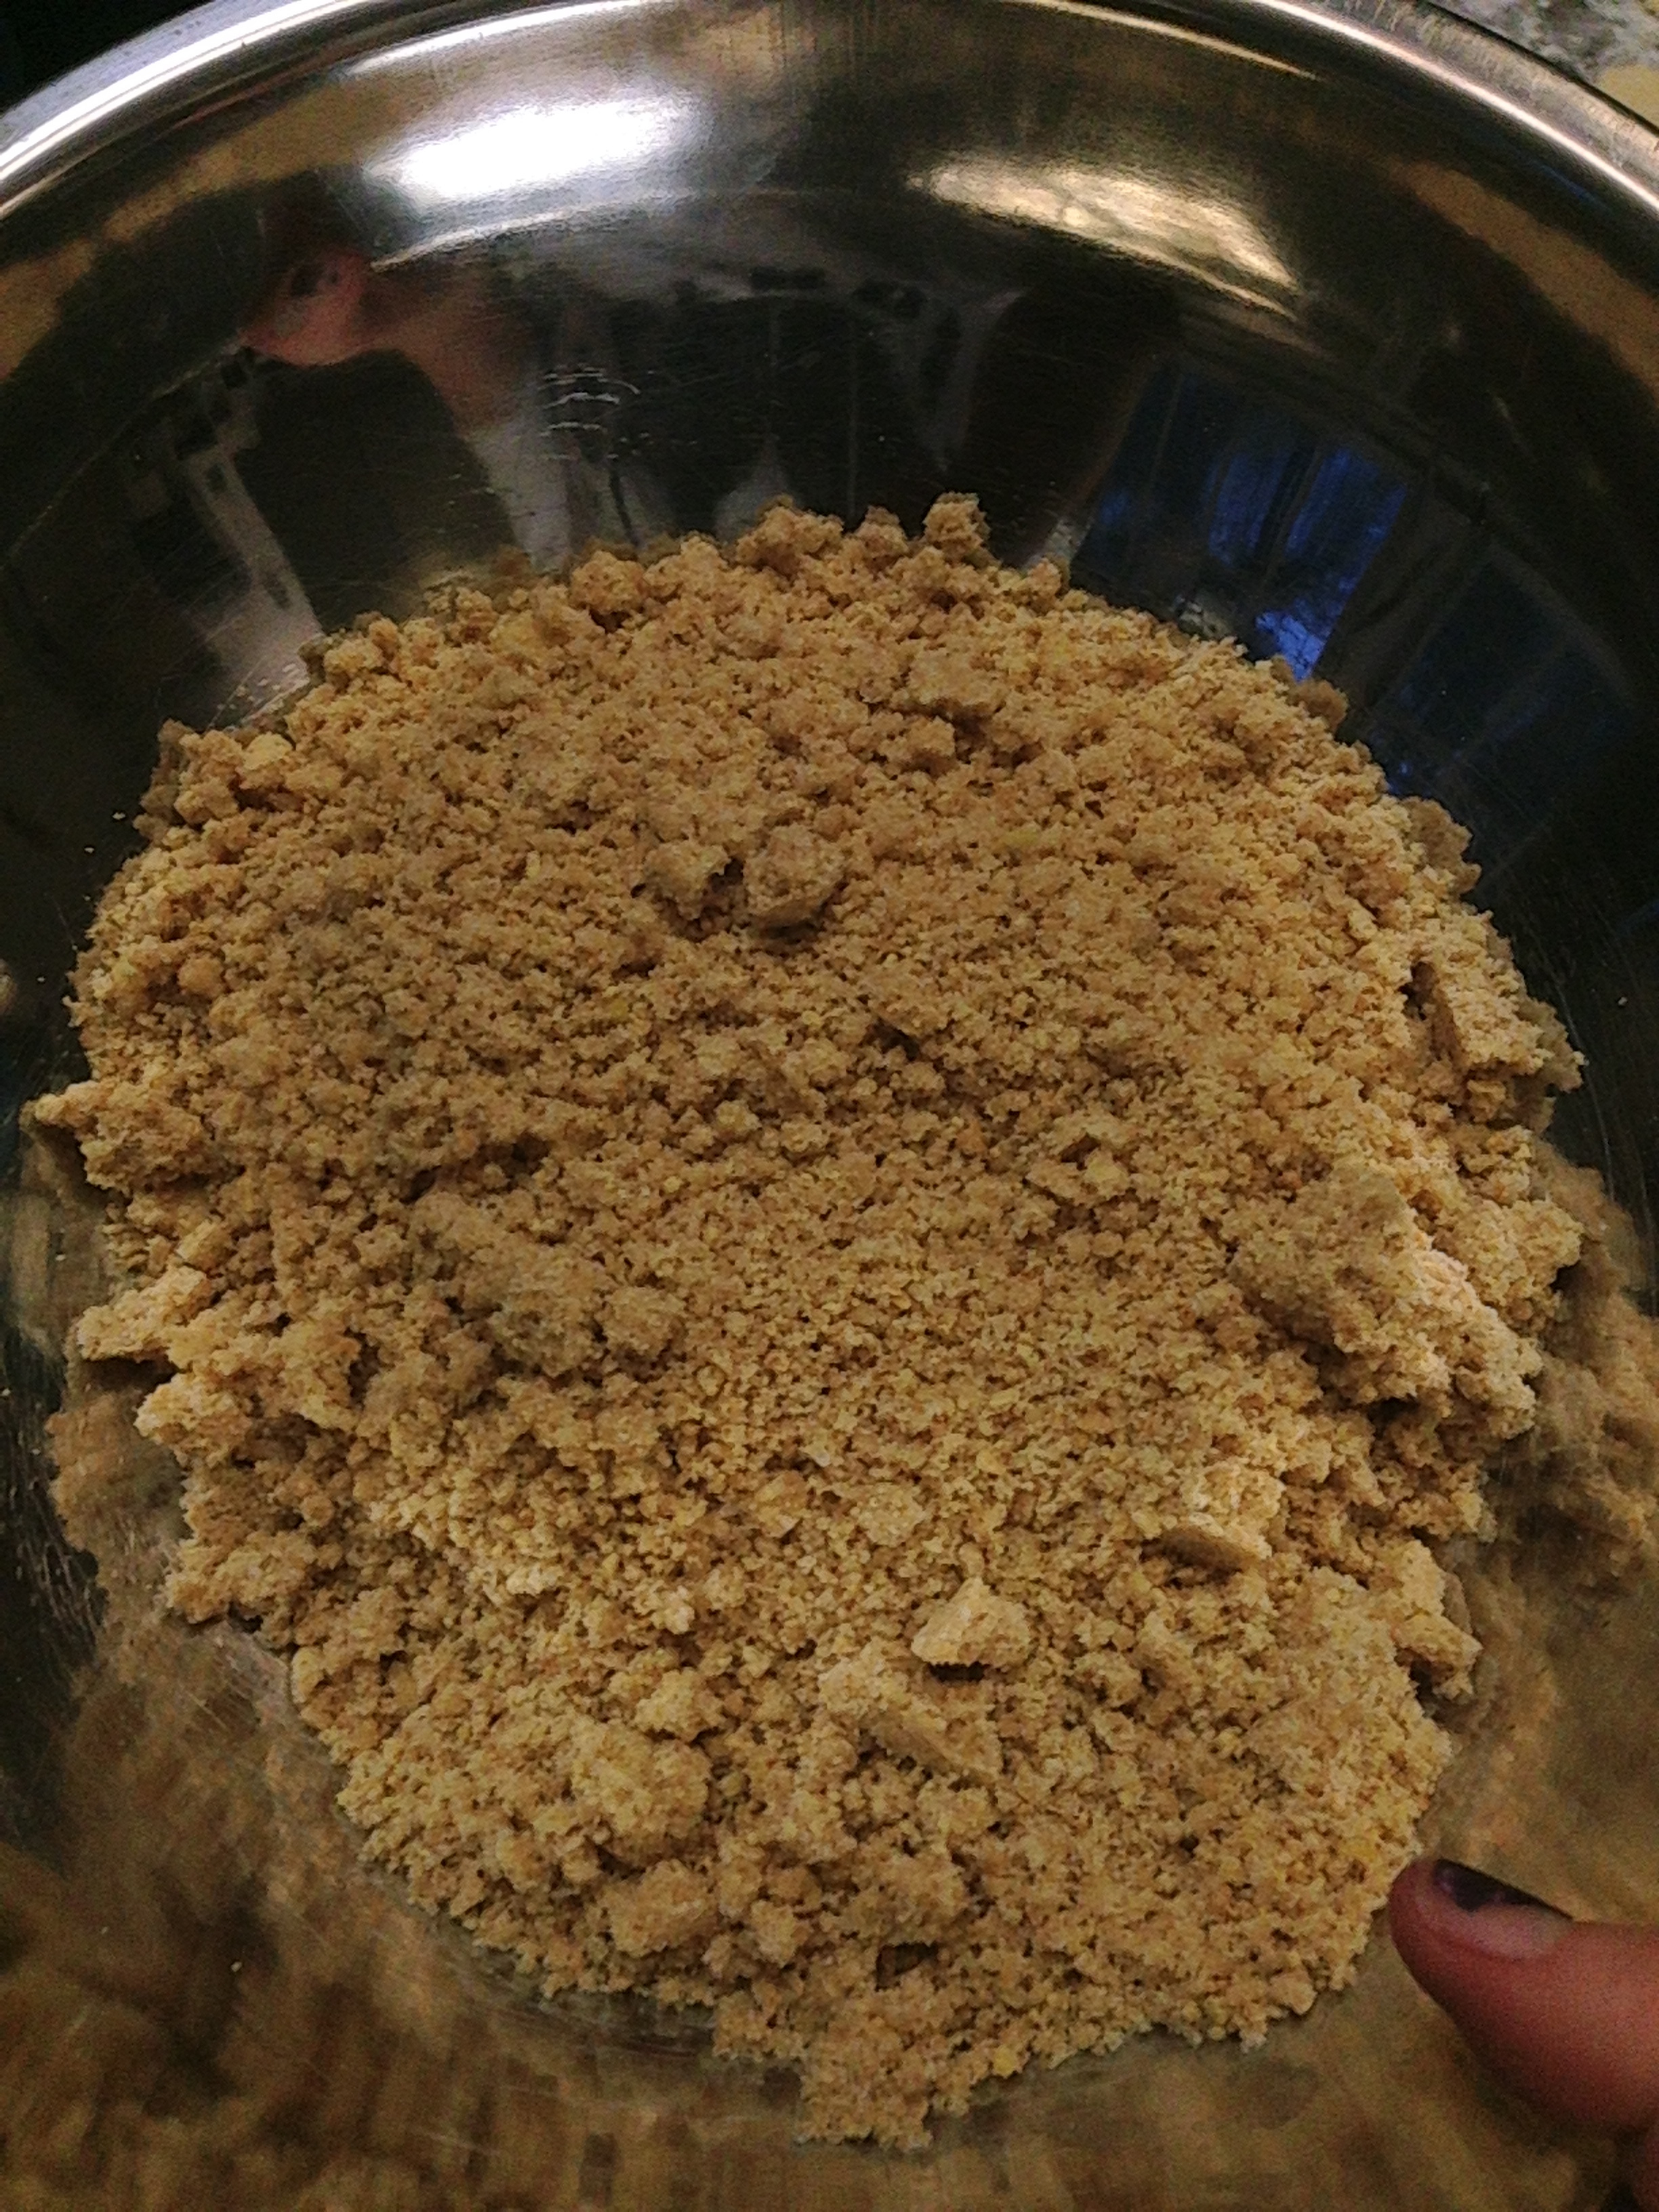
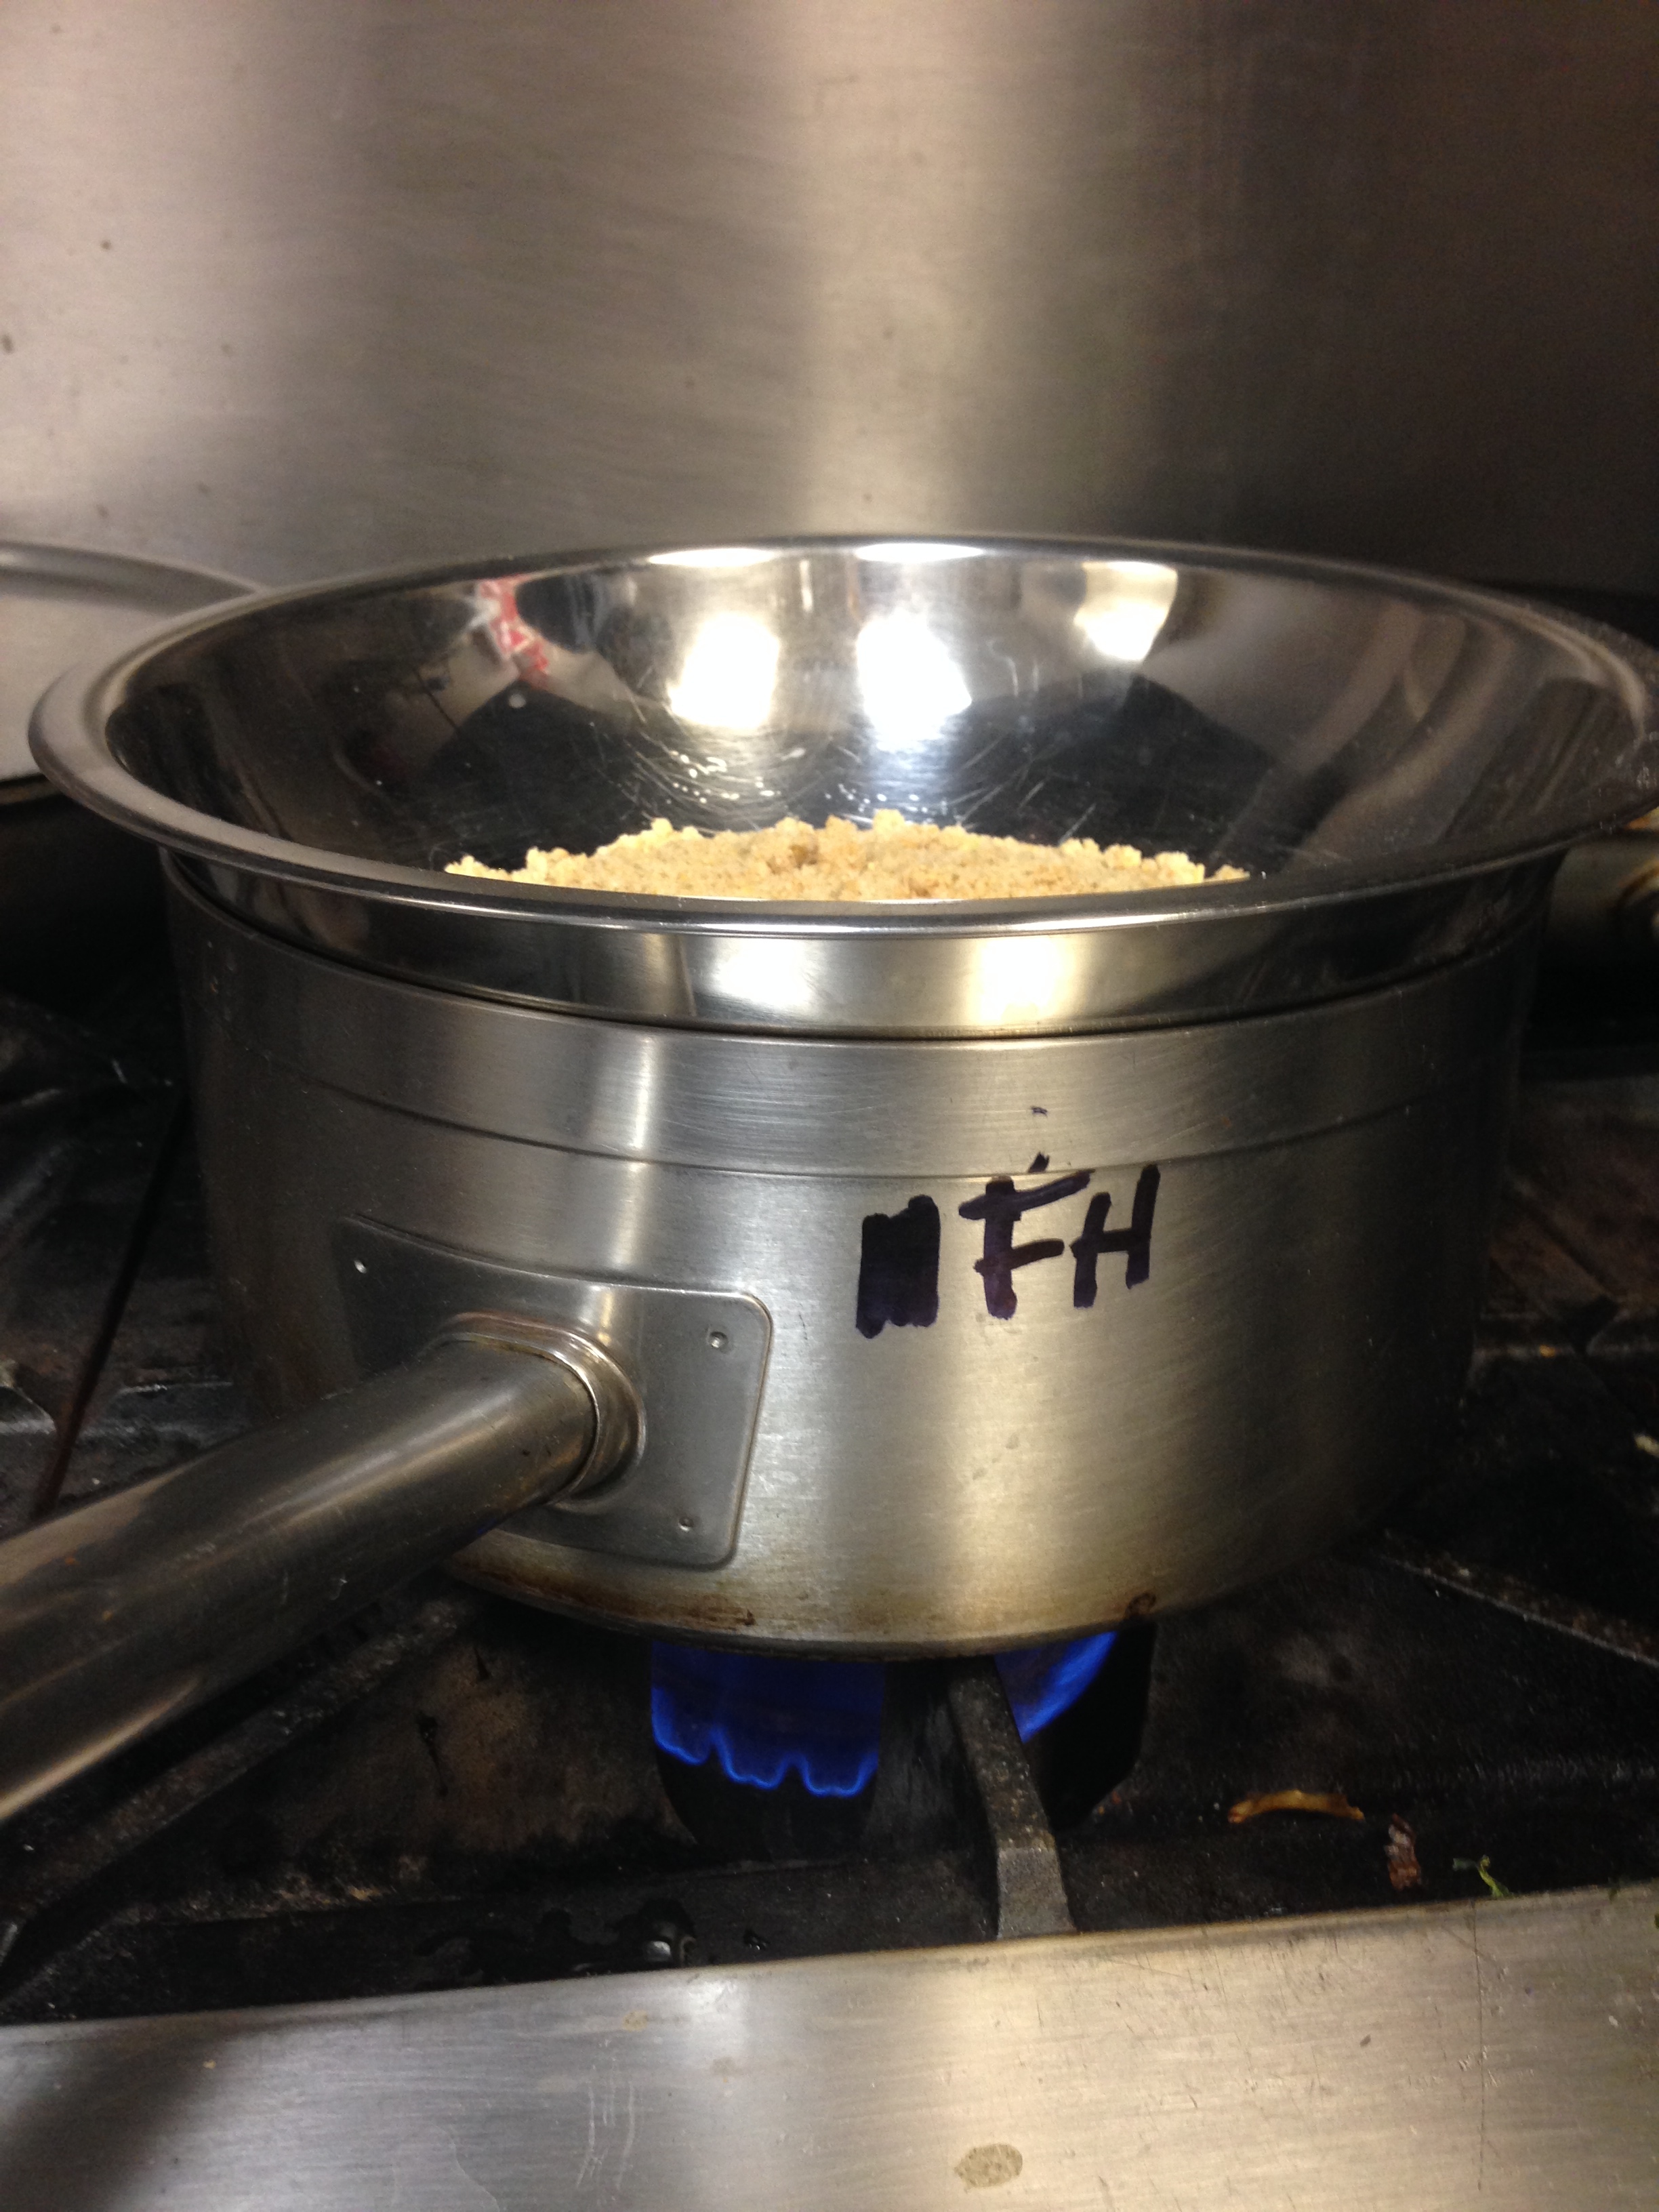
What a good-looking crust, right?!One problem–the butter that I ever-so-lovingly worked in by hand was supposed to be melted an act as the connecting agent. I was preparing to mourn yet another irreparable mistake, when David saved the day with a nifty trick. We put my concoction in a bowl over a pot of boiling water to create a makeshift double-boiler and melted the butter without burning anything in the process! It was quite the success, and the dough came together really well.

IMG_0990IMG_0991


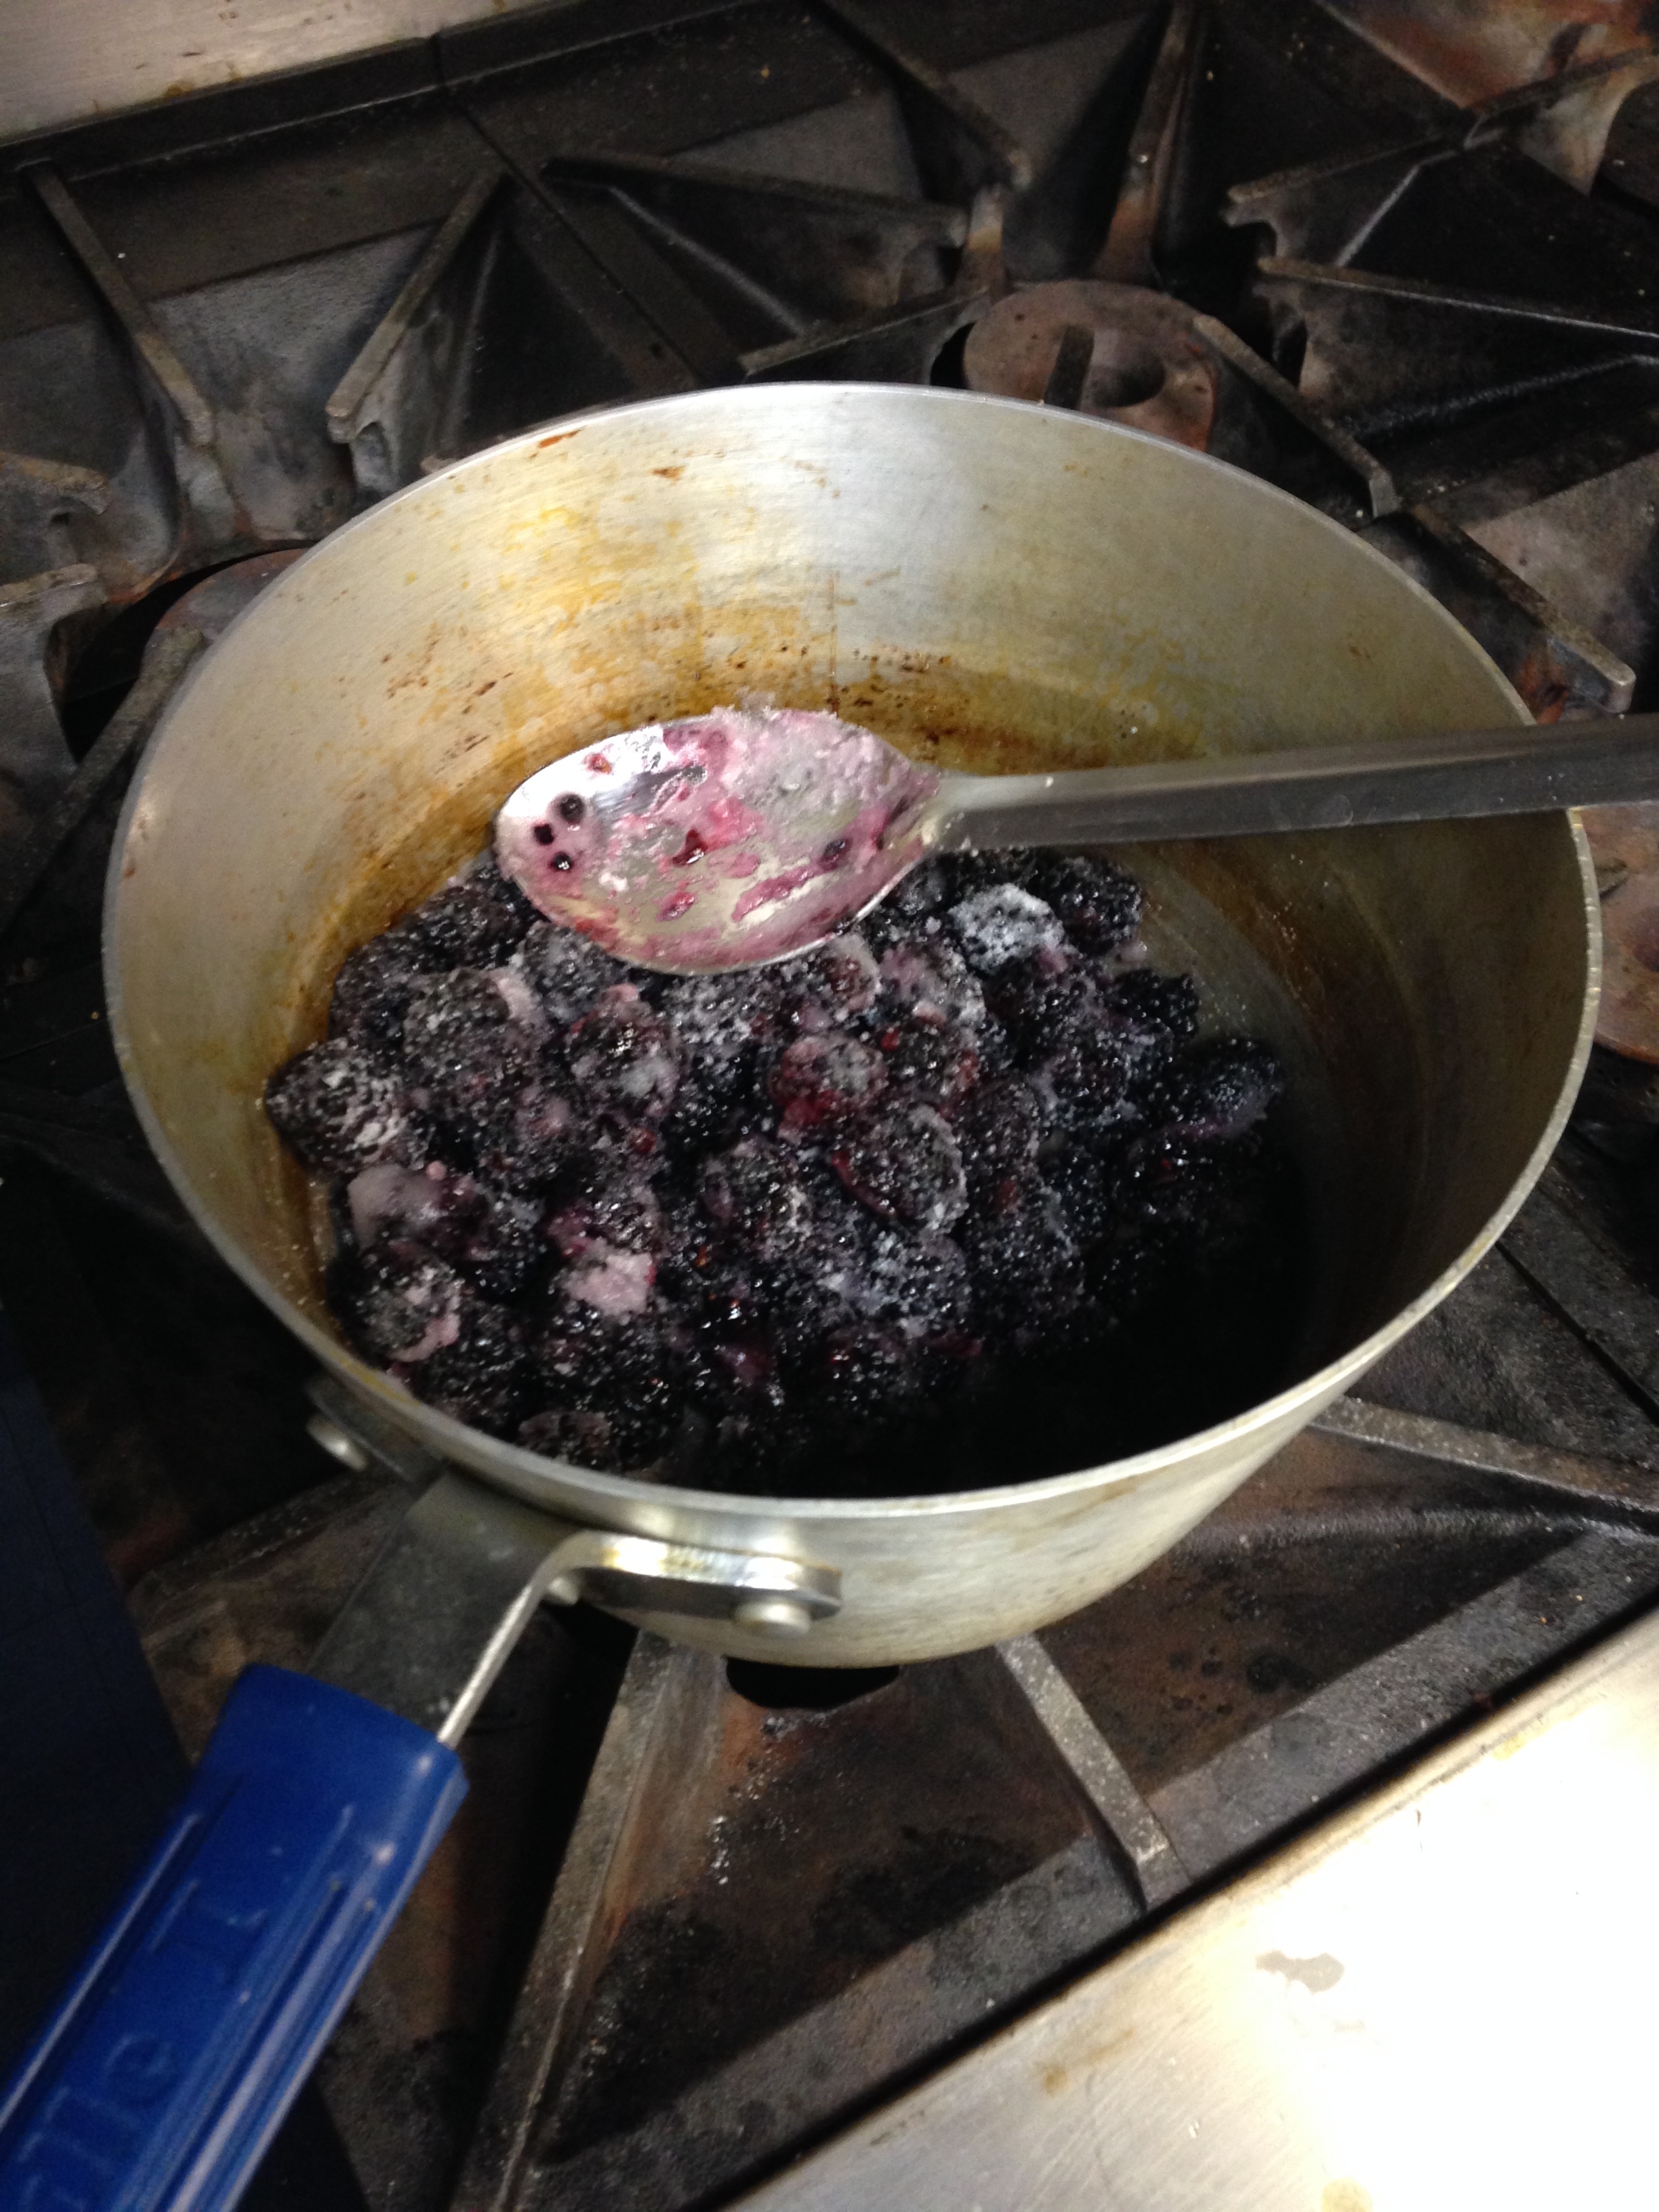
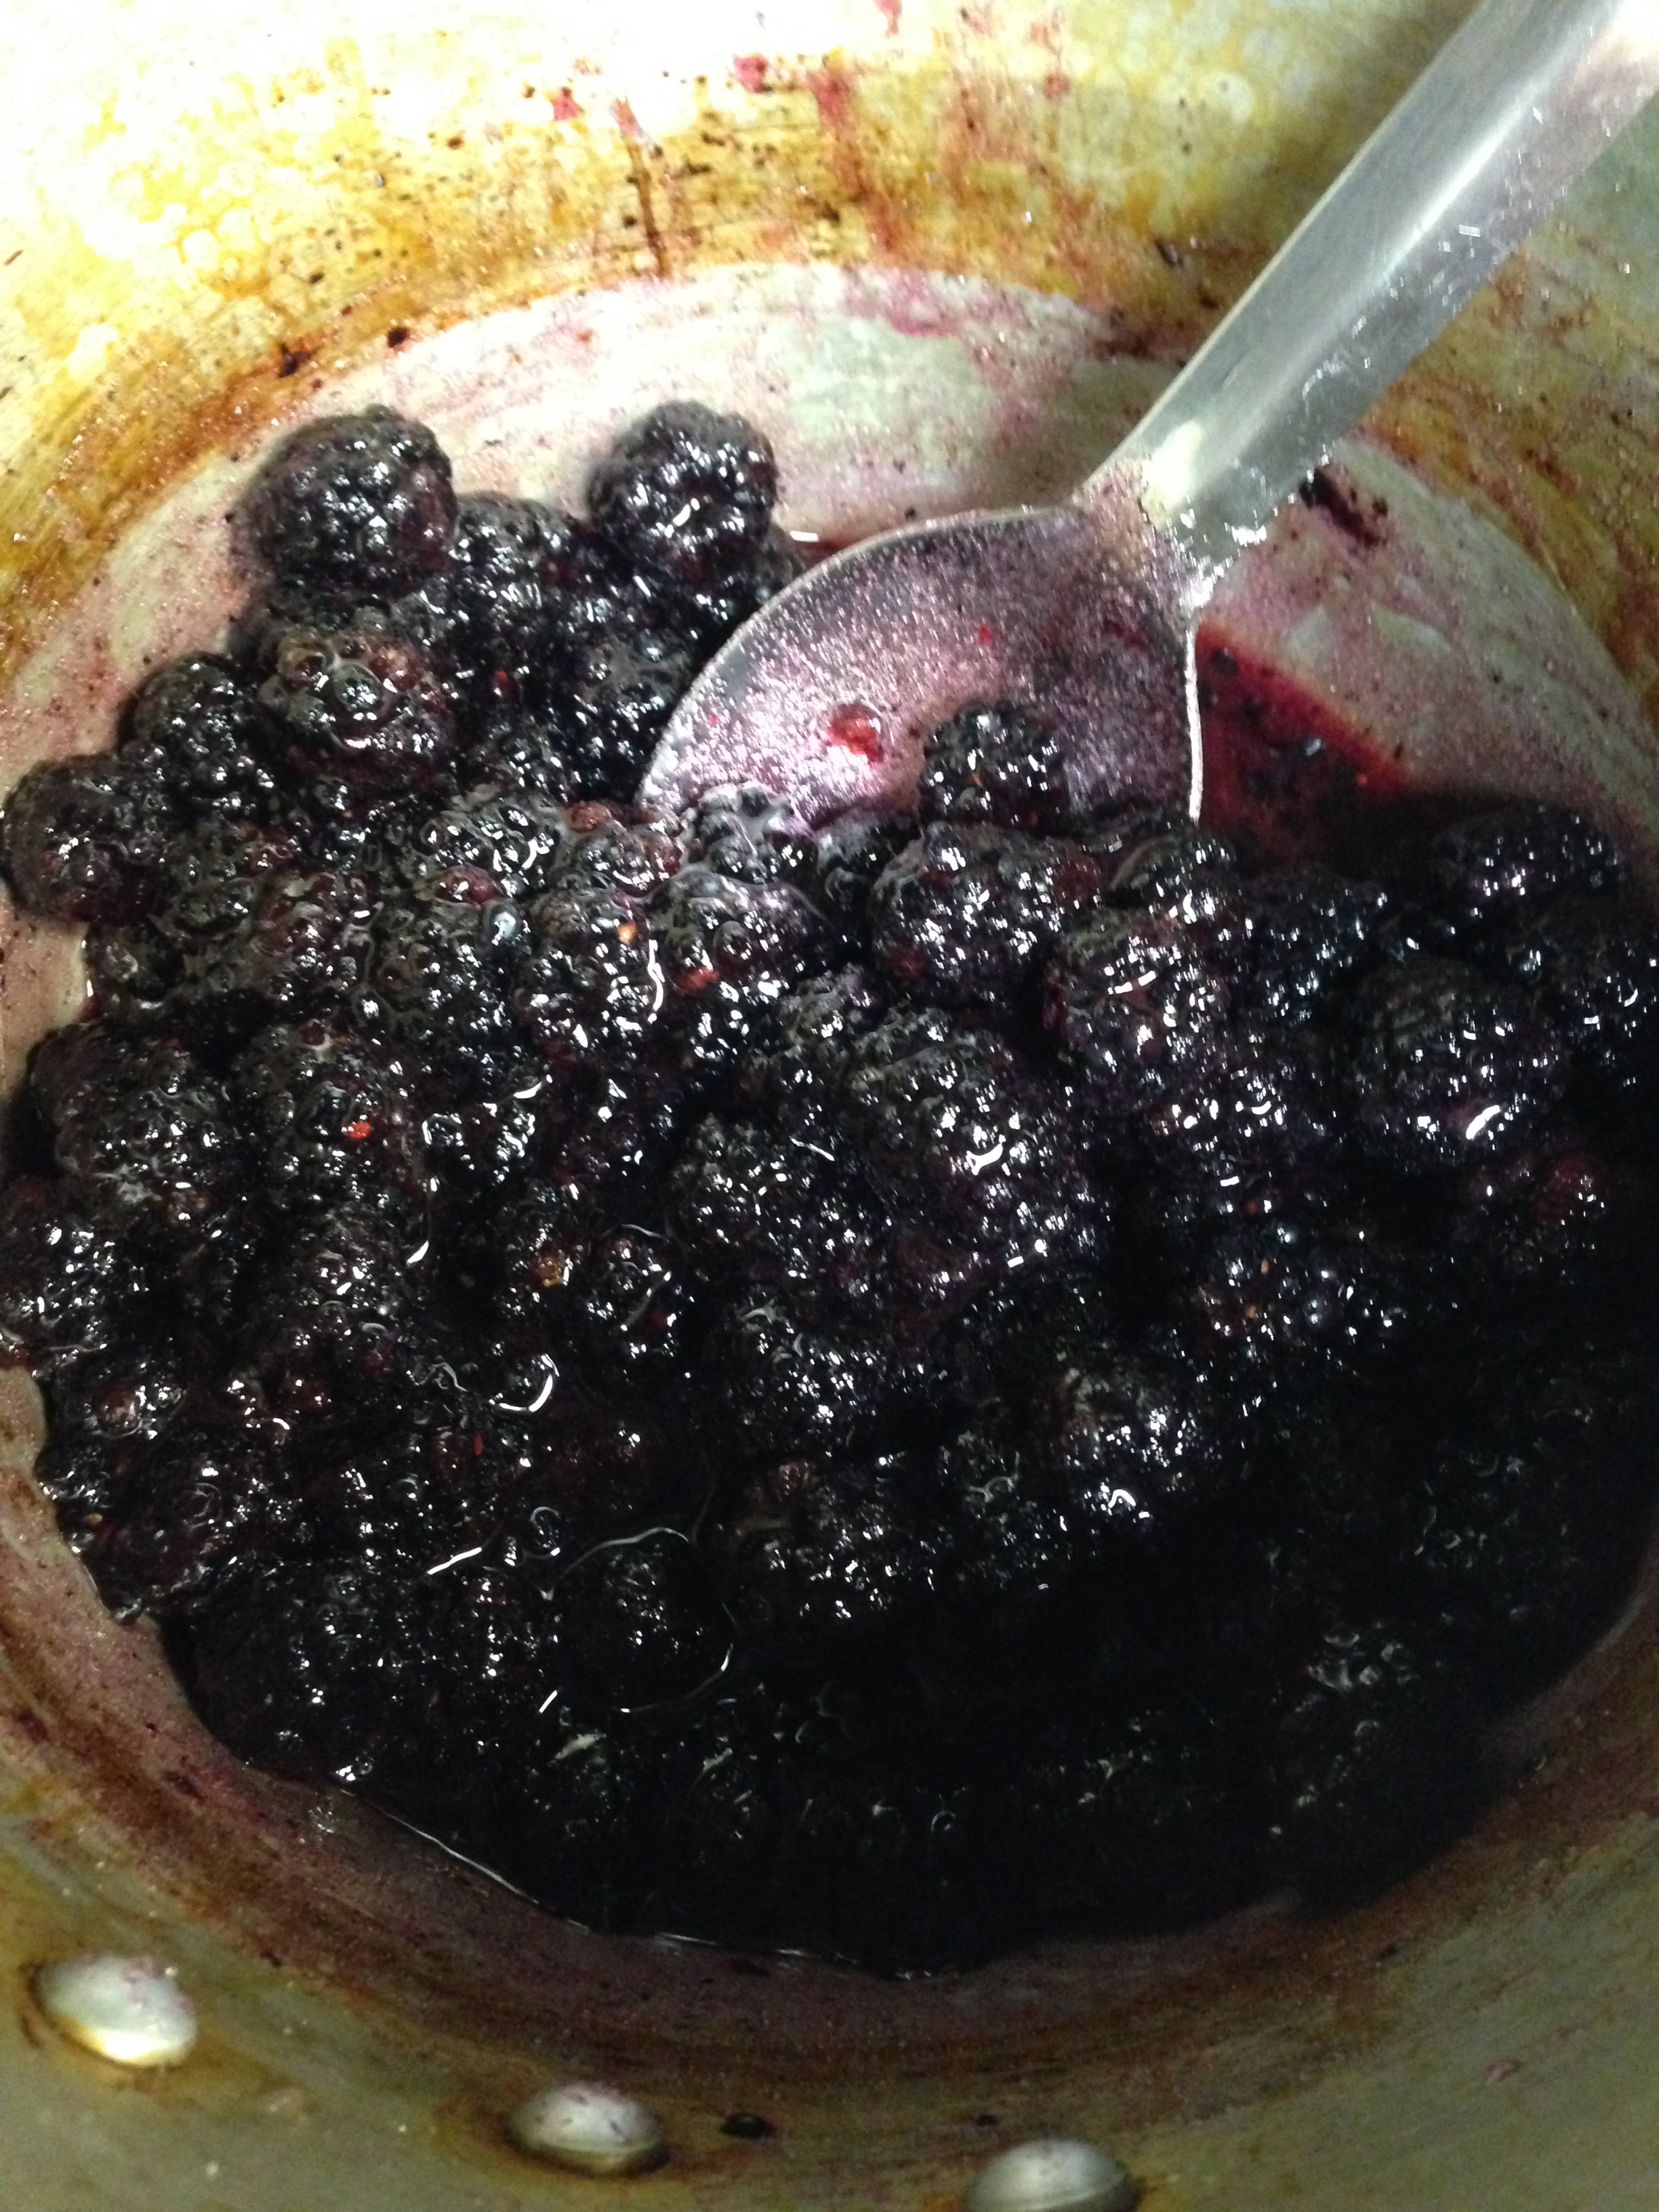
The lemon-blackberry sauce also turned out beautifully:
IMG_0985IMG_0986


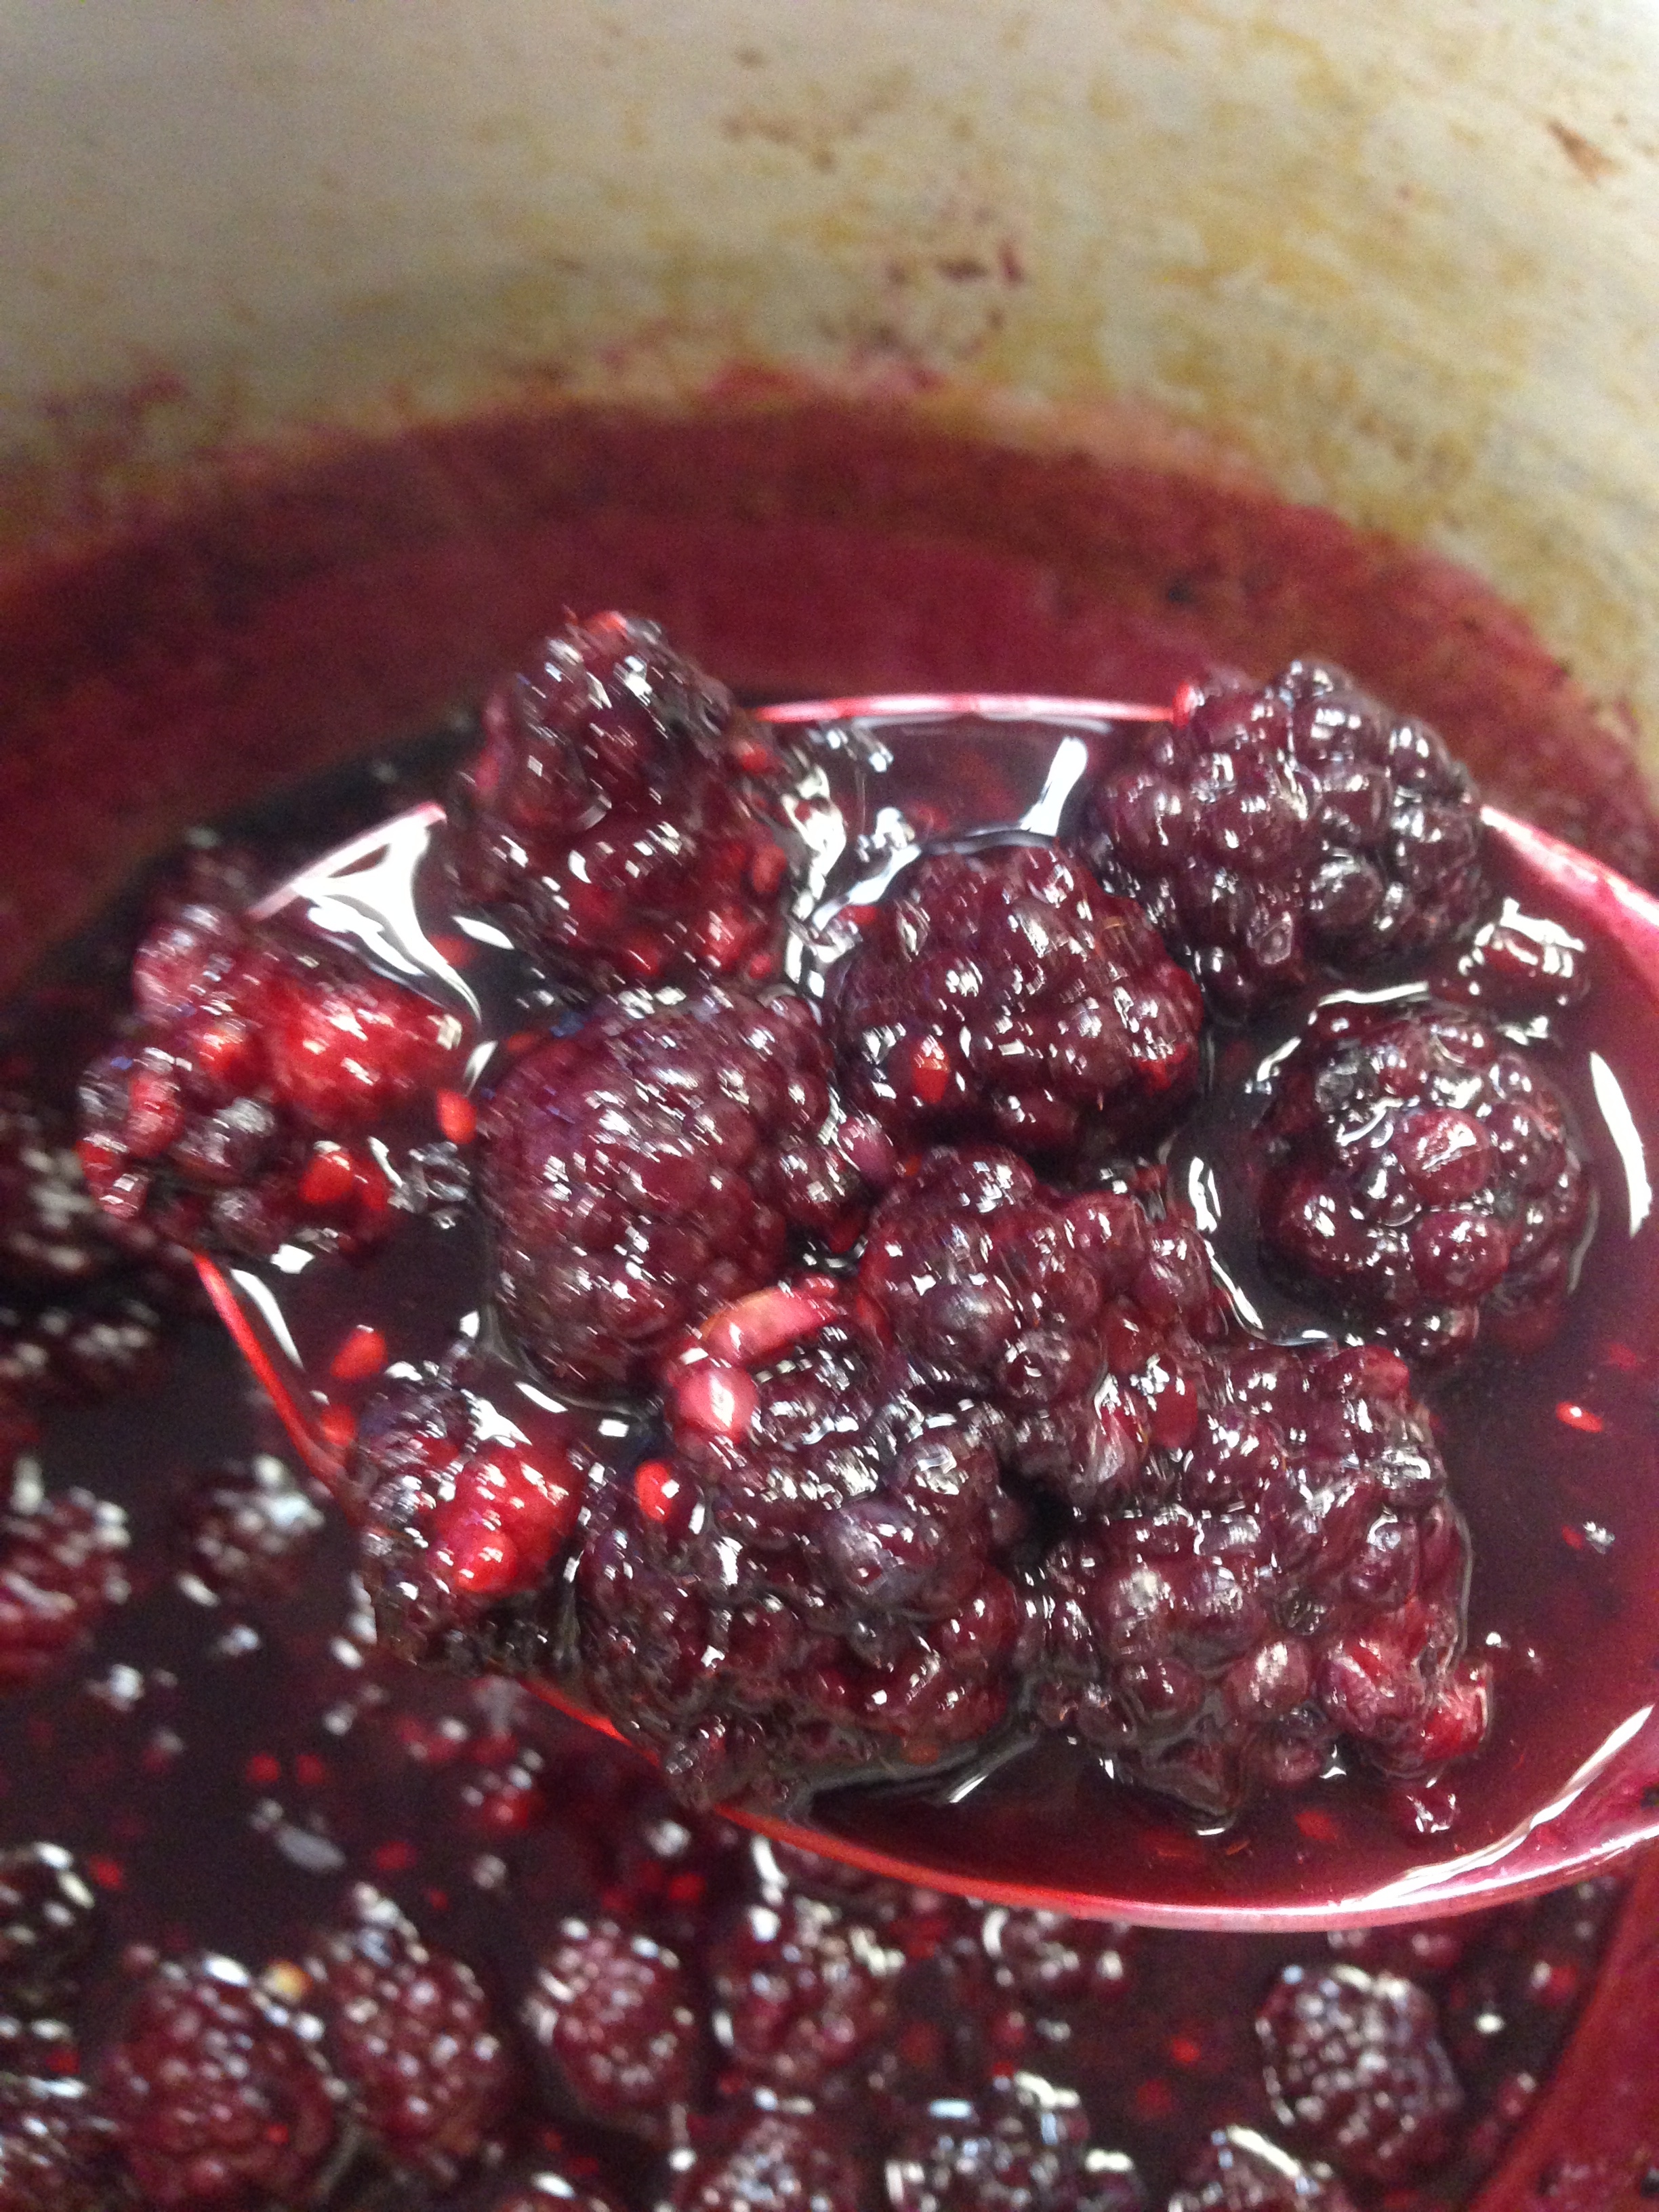
And one more close up for good measure:

IMG_0987


There we go…the good stuff.

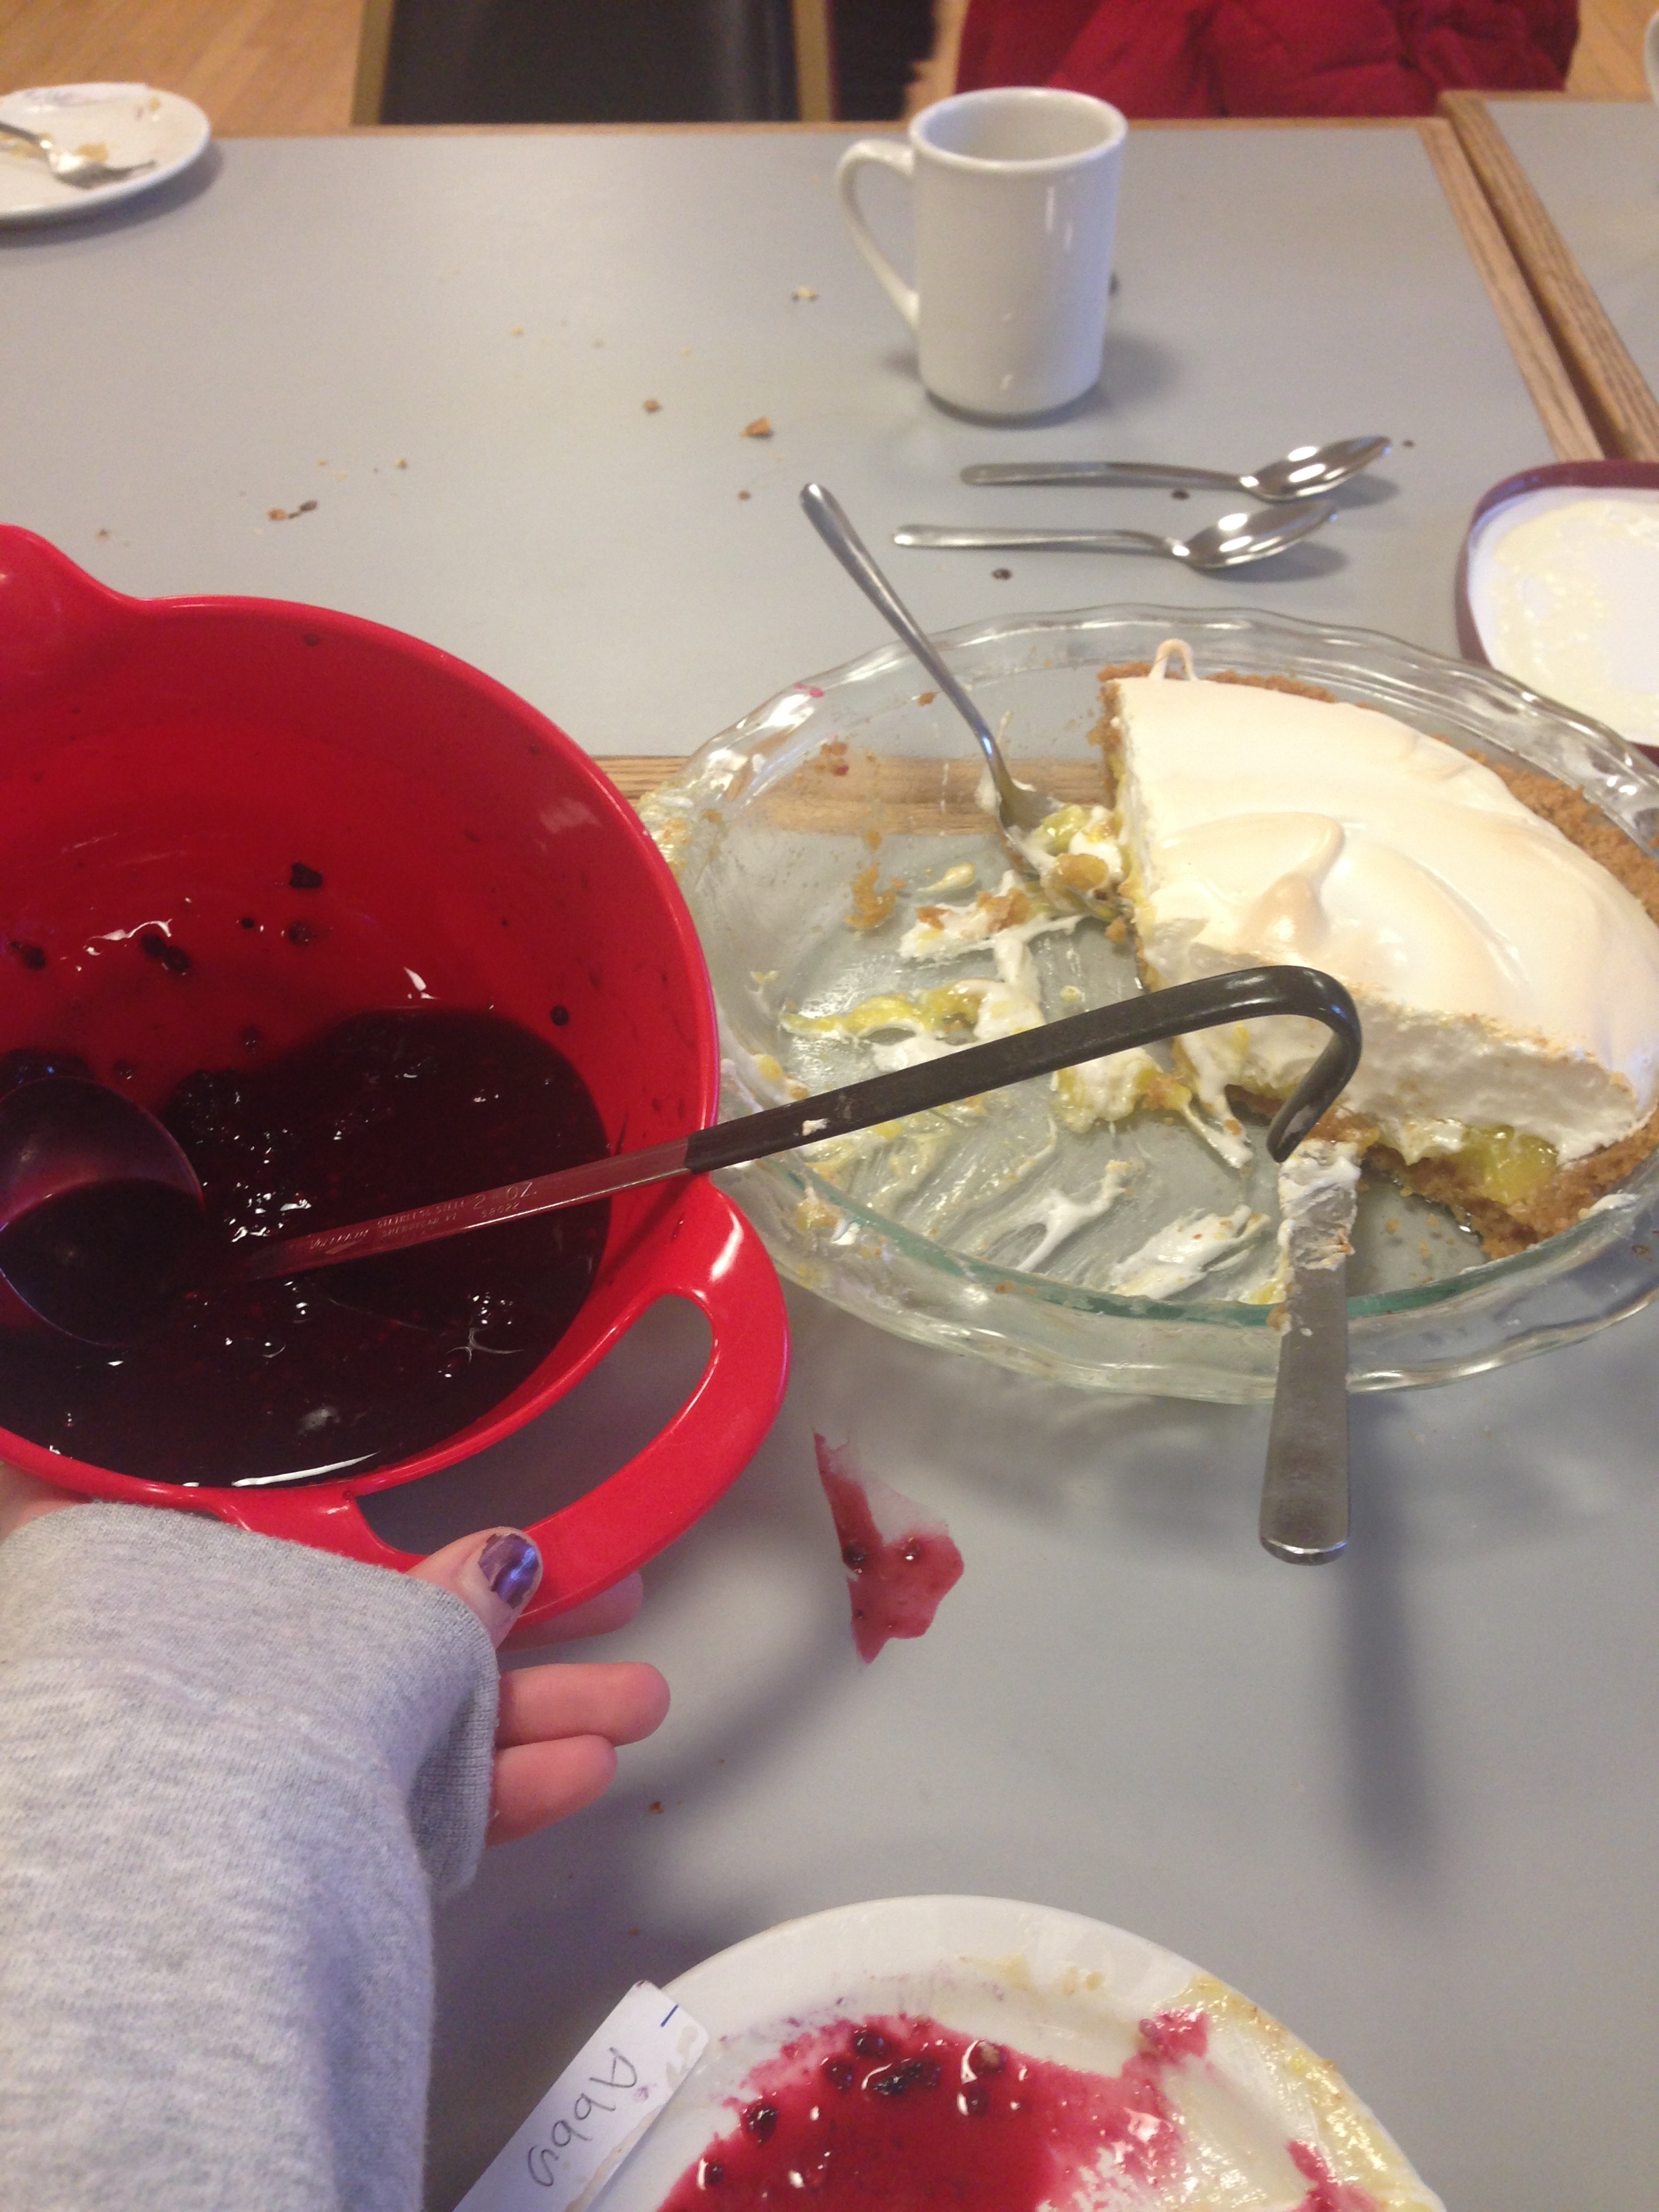
Lemon and blackberry is a stellar combination, and I owe many of the laudations my pie received to that wonderful sauce. I think the fresh blackberries really made it, despite the recipe calling for frozen. Also, I did not use fresh lemon juice because the stuff was really in demand this week, but still got lovely results with using lemon juice from the bottle and fresh lemon zest.

IMG_1012

Utterly Deadly Southern Pecan Pie

IMG_1003 IMG_1008

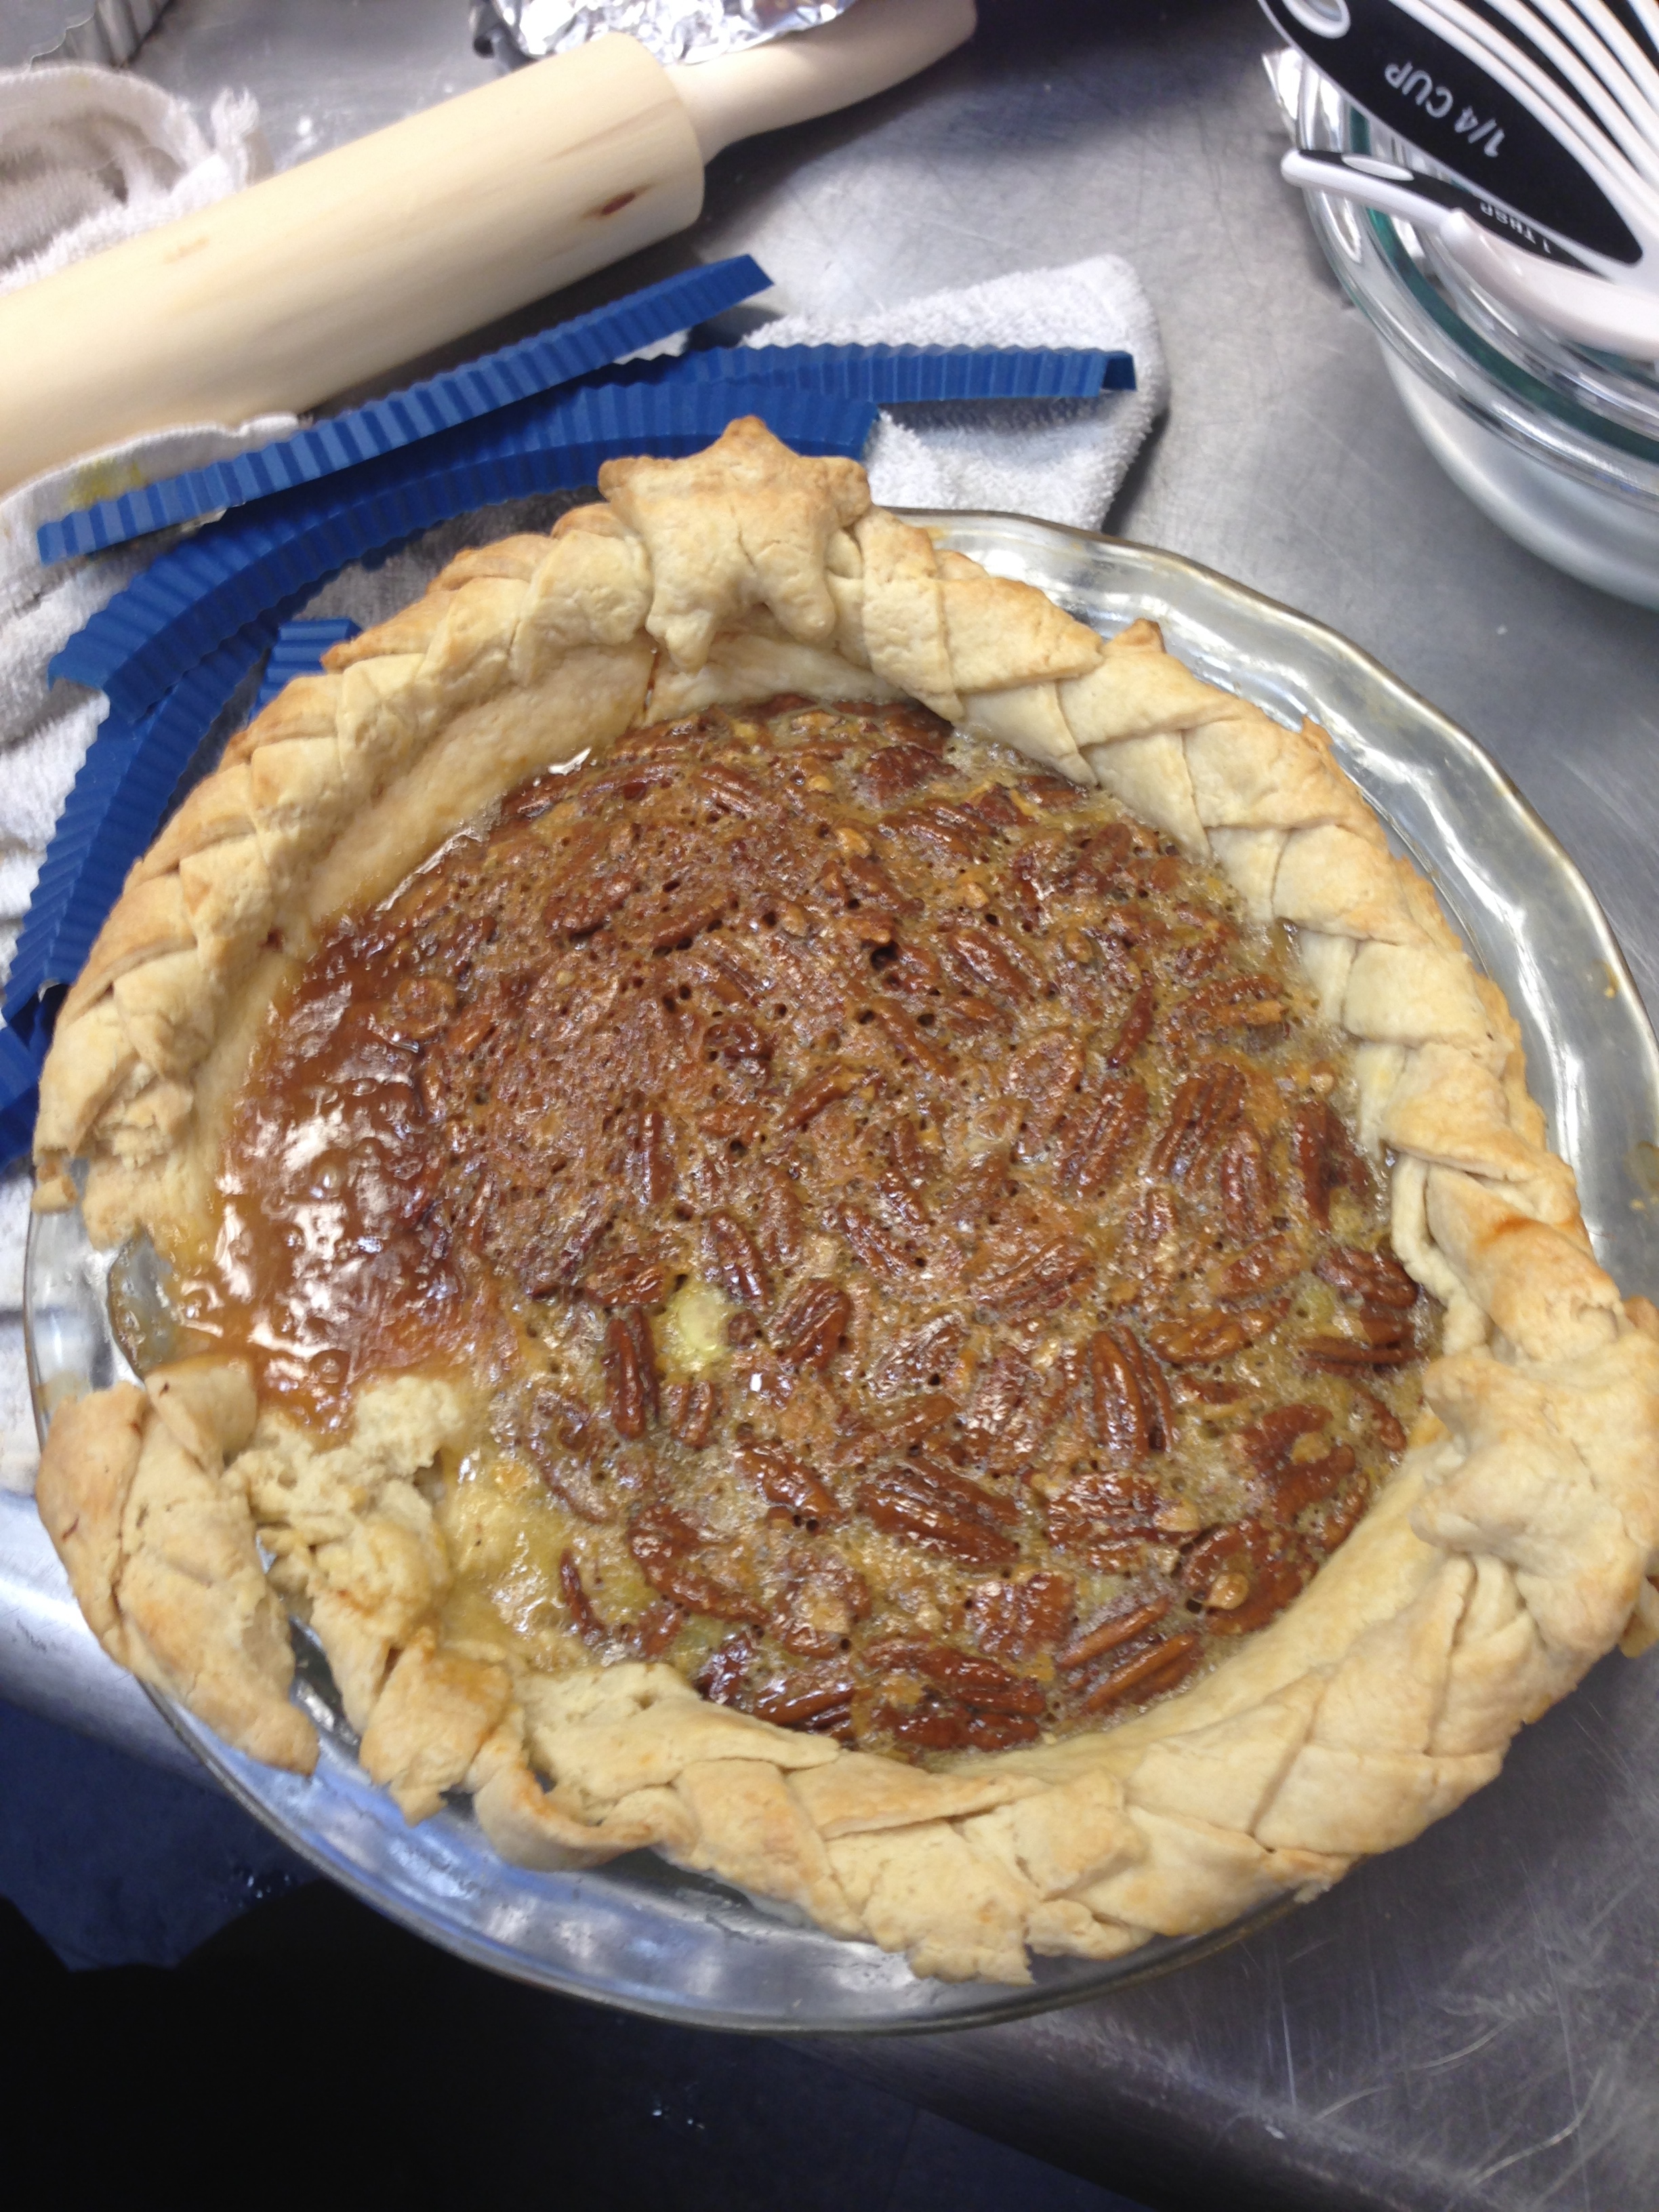
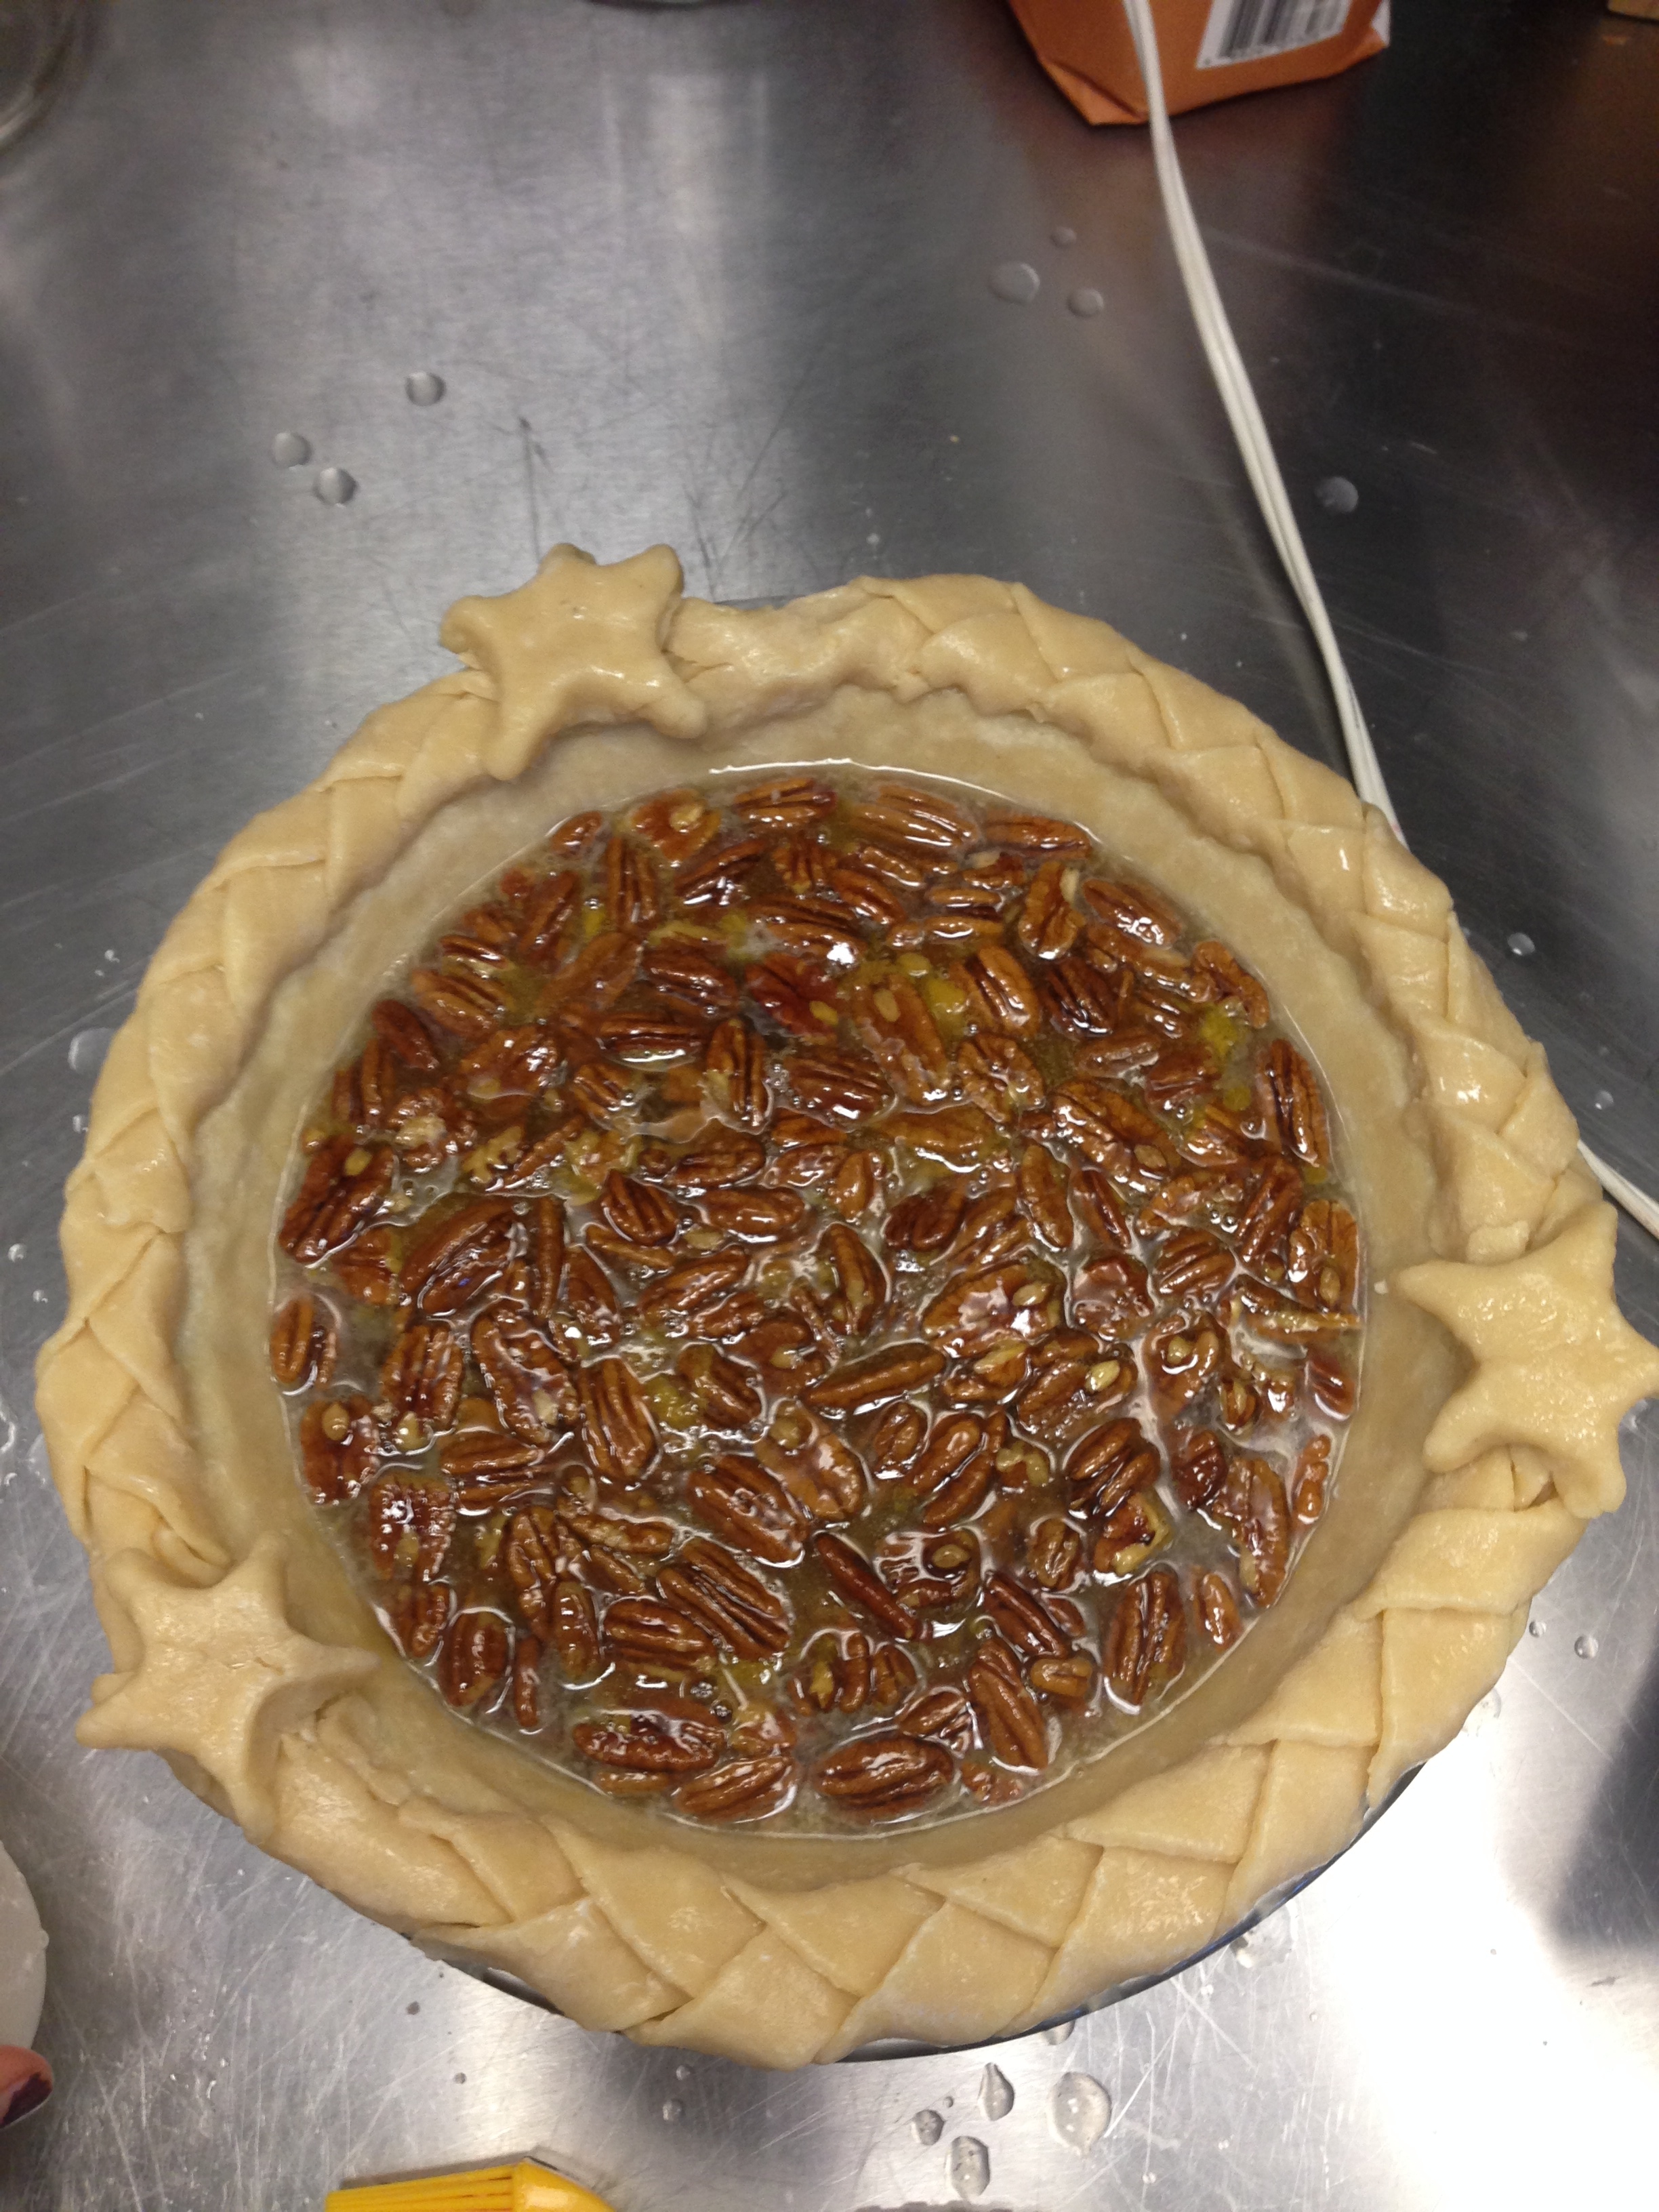
This was my first disaster pie. Although one would think the “utterly deadly” portion of the title comes from the abundance of delicious sugar and butter in the recipe (which I assume it originally did, as that was the name I found for this recipe online), the deadly attributes of this pie took on an entirely different meaning during the baking process. Now don’t get me wrong–this pie was fantastically delicious. I had three self-proclaimed pecan pie aficionados (from the South, no less) tell me this was one of the best pecan pies they had ever tasted. I kid you not. However, it was a long and perilous road creating the tasty, yet horrifyingly ugly final product pictured above. The picture to the left of the horribly ugly final pie illustrates my pie pre-baking in all of its braided glory…but I’ll get to that.

To begin, I decided to use the food processor and vodka trick that everyone was raving about for my pie crust. Previously, my dough was a little too moist, so I was looking forward to avoiding the doughy mess, and simplifying my crust-working with the processor.  Lesson of the week: shortcuts are not always so short. First of all, I had some issues with the food processor. While the dough was relatively pea-sized on top, the majority of the butter clumped at the bottom. Then, when I was working in the water/vodka, I think I overworked the dough because it was difficult to handle. Later, when I was rolling out the pastry, it kept cracking.

IMG_0988IMG_0992IMG_0993

Although I knew I needed to wait for the dough to warm a bit, I was afraid of overworking it and having it end up too tough. The process of rolling and mending, rolling and mending continued until the dough was finally large enough to fit the pie plate. After cutting off the excess, I worked it together and rolled that out as well. I cut this dough into long strips and braided it together to make a pretty crust. Connecting the three braids wasn’t easy, but I finally figured I could just put some additional decorations around the connection points…in my case, stars. After all of the dough working, I was ready to shift away from the gluten and focus on the filling.

The first folly: I confused corn starch and corn syrup and mistakenly tried to boil the former with sugar–both obviously solid together in a pan.

IMG_0998

Big whoops. After starting again, I saw the results I was looking for, and I threw in the butter, pecans, vanilla, and eggs to complete the filling. Word to the wise–although the final product tasted wonderful, I advise anyone who plans on washing their dishes by hand to stay away from the corn syrup…the excess transformed in to this horrifying dried rubber meets plastic consistency all over the pan.

Finally, though, I was ready to complete the beautiful union of filling and crust. I thought I secured the delicate crust fairly well with water and egg yolk, but…well we all saw how that turned out. When I opened the oven to check on my pie, I was shocked and mortified to see the pathetic crust slumping into the filling. My braid! All of that time! All of that patience! Filled with woe, I removed the pie a tad bit earlier than the recipe suggested. As a result, my crust had more of a shortbread texture, but it was commended by many which leads me to think…blessing in disguise?…but no. Absolutely not. I would have readily sacrificed the tasty, slightly under-baked crust for even an over-crunchy, yet pretty crust.

Alas. The disaster pie was finished. Quite literally. I brought home about a piece and a half, and my friends annihilated my ugly pecan pity party with their voracity…success? You can try out the recipe and decide for yourself.


Pear and Almond Cream Pie with Chocolate Crust

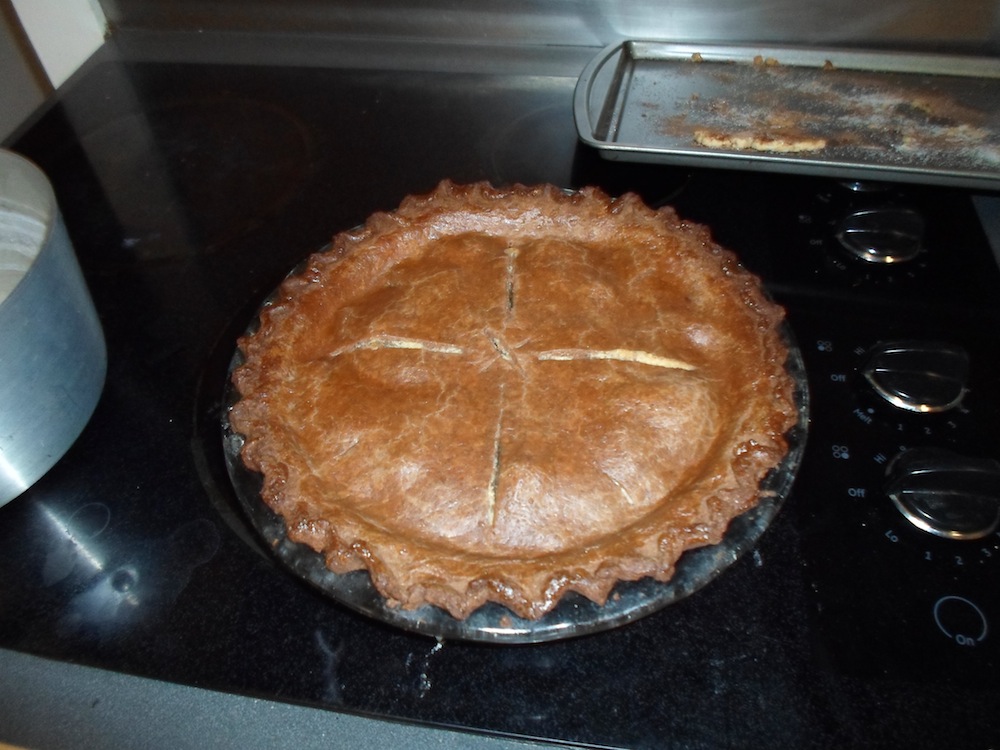
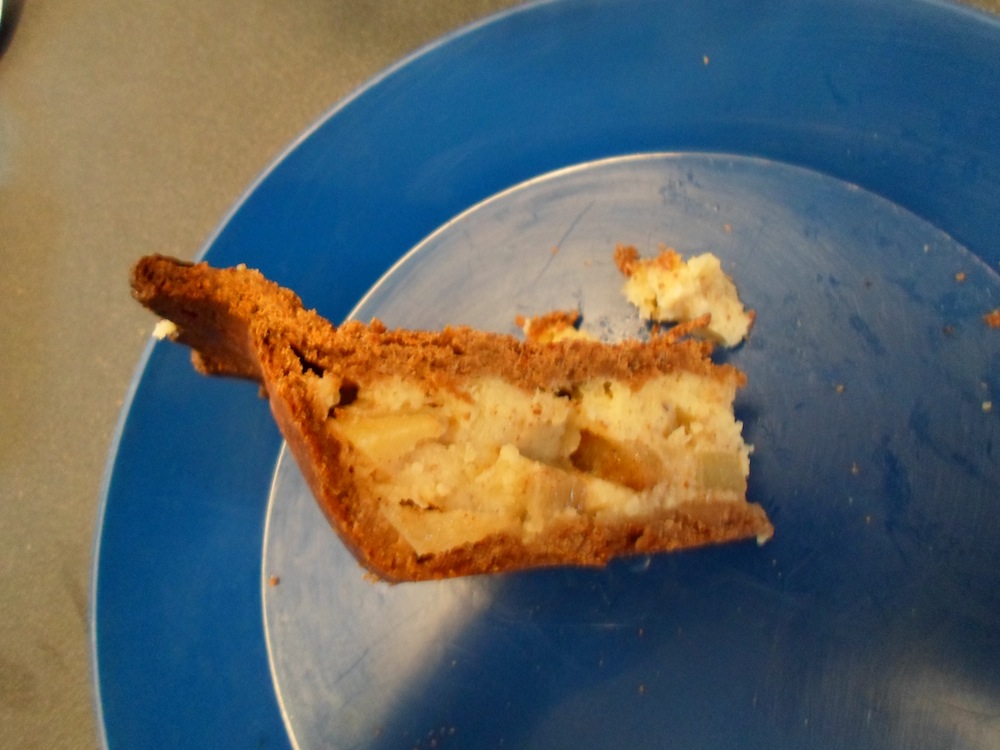
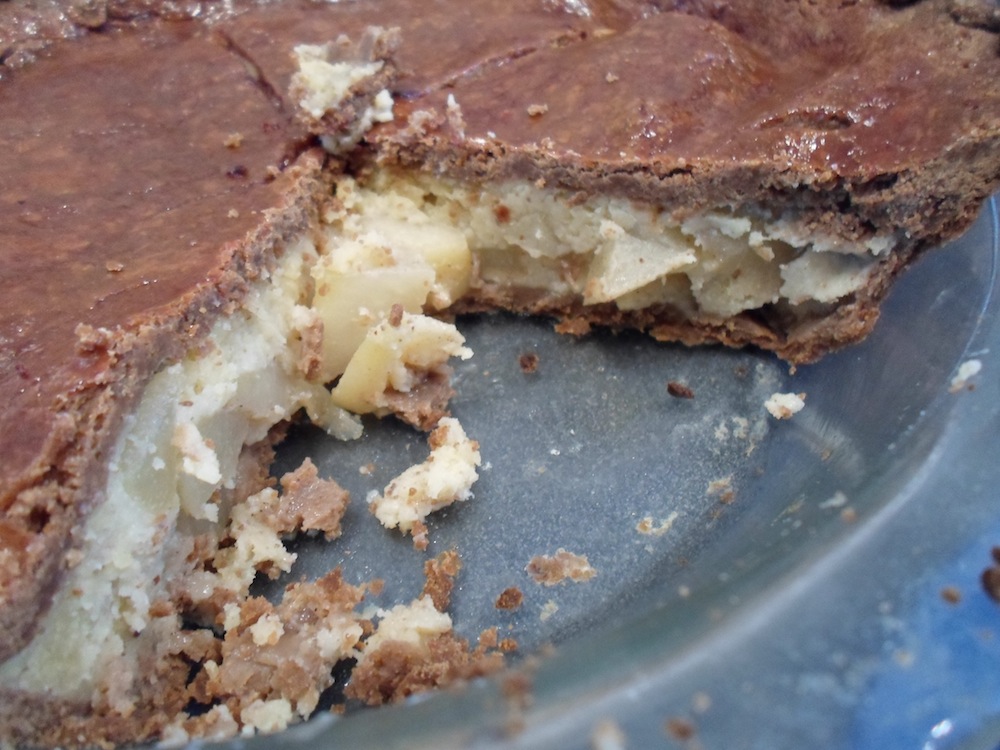
So I found this recipe online, originally calling for canned pears, but decided to use fresh ones instead. It was also originally meant to make a tart, rather than the double crust pie you see in the photos, but the crust recipe (7 egg yolks!) made enough for two crusts, even though there was barely enough almond cream for one pie, so after I made the mistake of trying to pour the almond cream over the pears instead of settling the pears into a layer of almond cream, I put the top crust on it in an attempt to protect the texture somehow. So you can’t see the artful arrangement of the pears, but it still looks okay. The crust was weird. The recipe I had said it required kneading prior to rolling out, unlike normal pastry, and it was correct. When I pulled the pastry out of the fridge, it was super crumbly and chalky looking and hard, but after a few seconds of kneading, the dough came together into what I would expect chocolate pastry to look like. I hope it tasted okay too, but sadly this pie was not destined for eating. One day I’ll give it another go.


SAM_1400 SAM_1401 SAM_1402 SAM_1403

Mincemeat Pie!

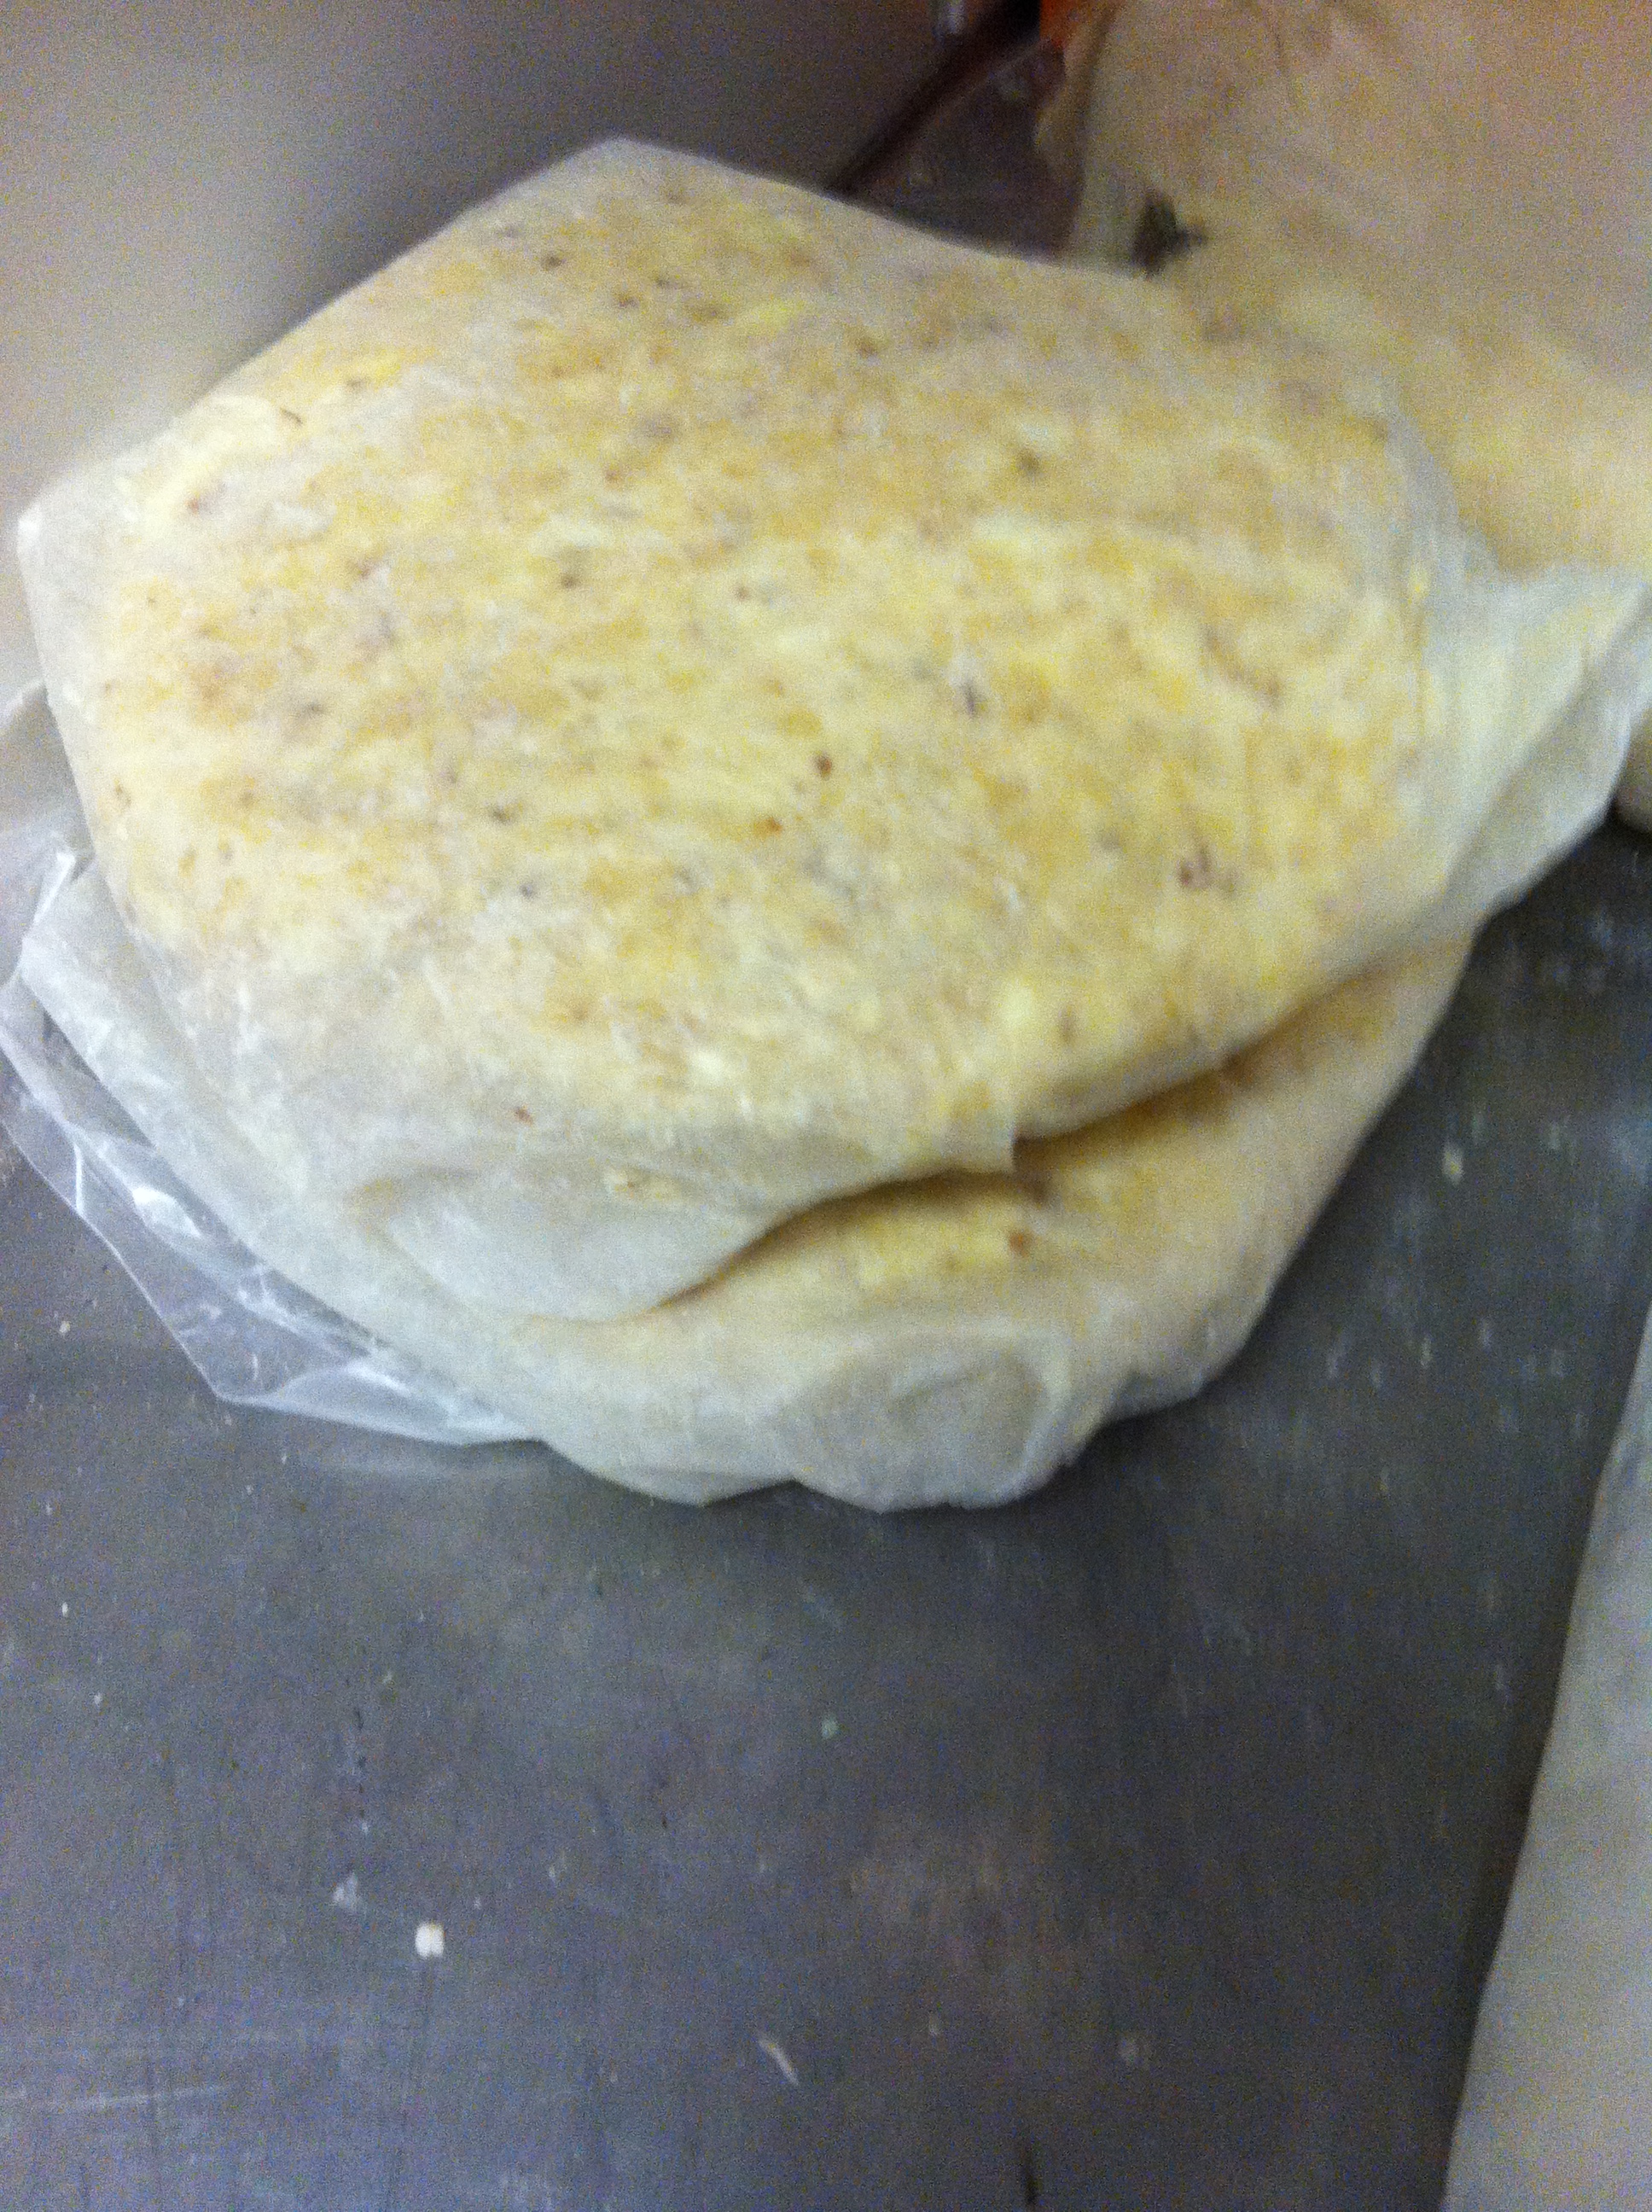
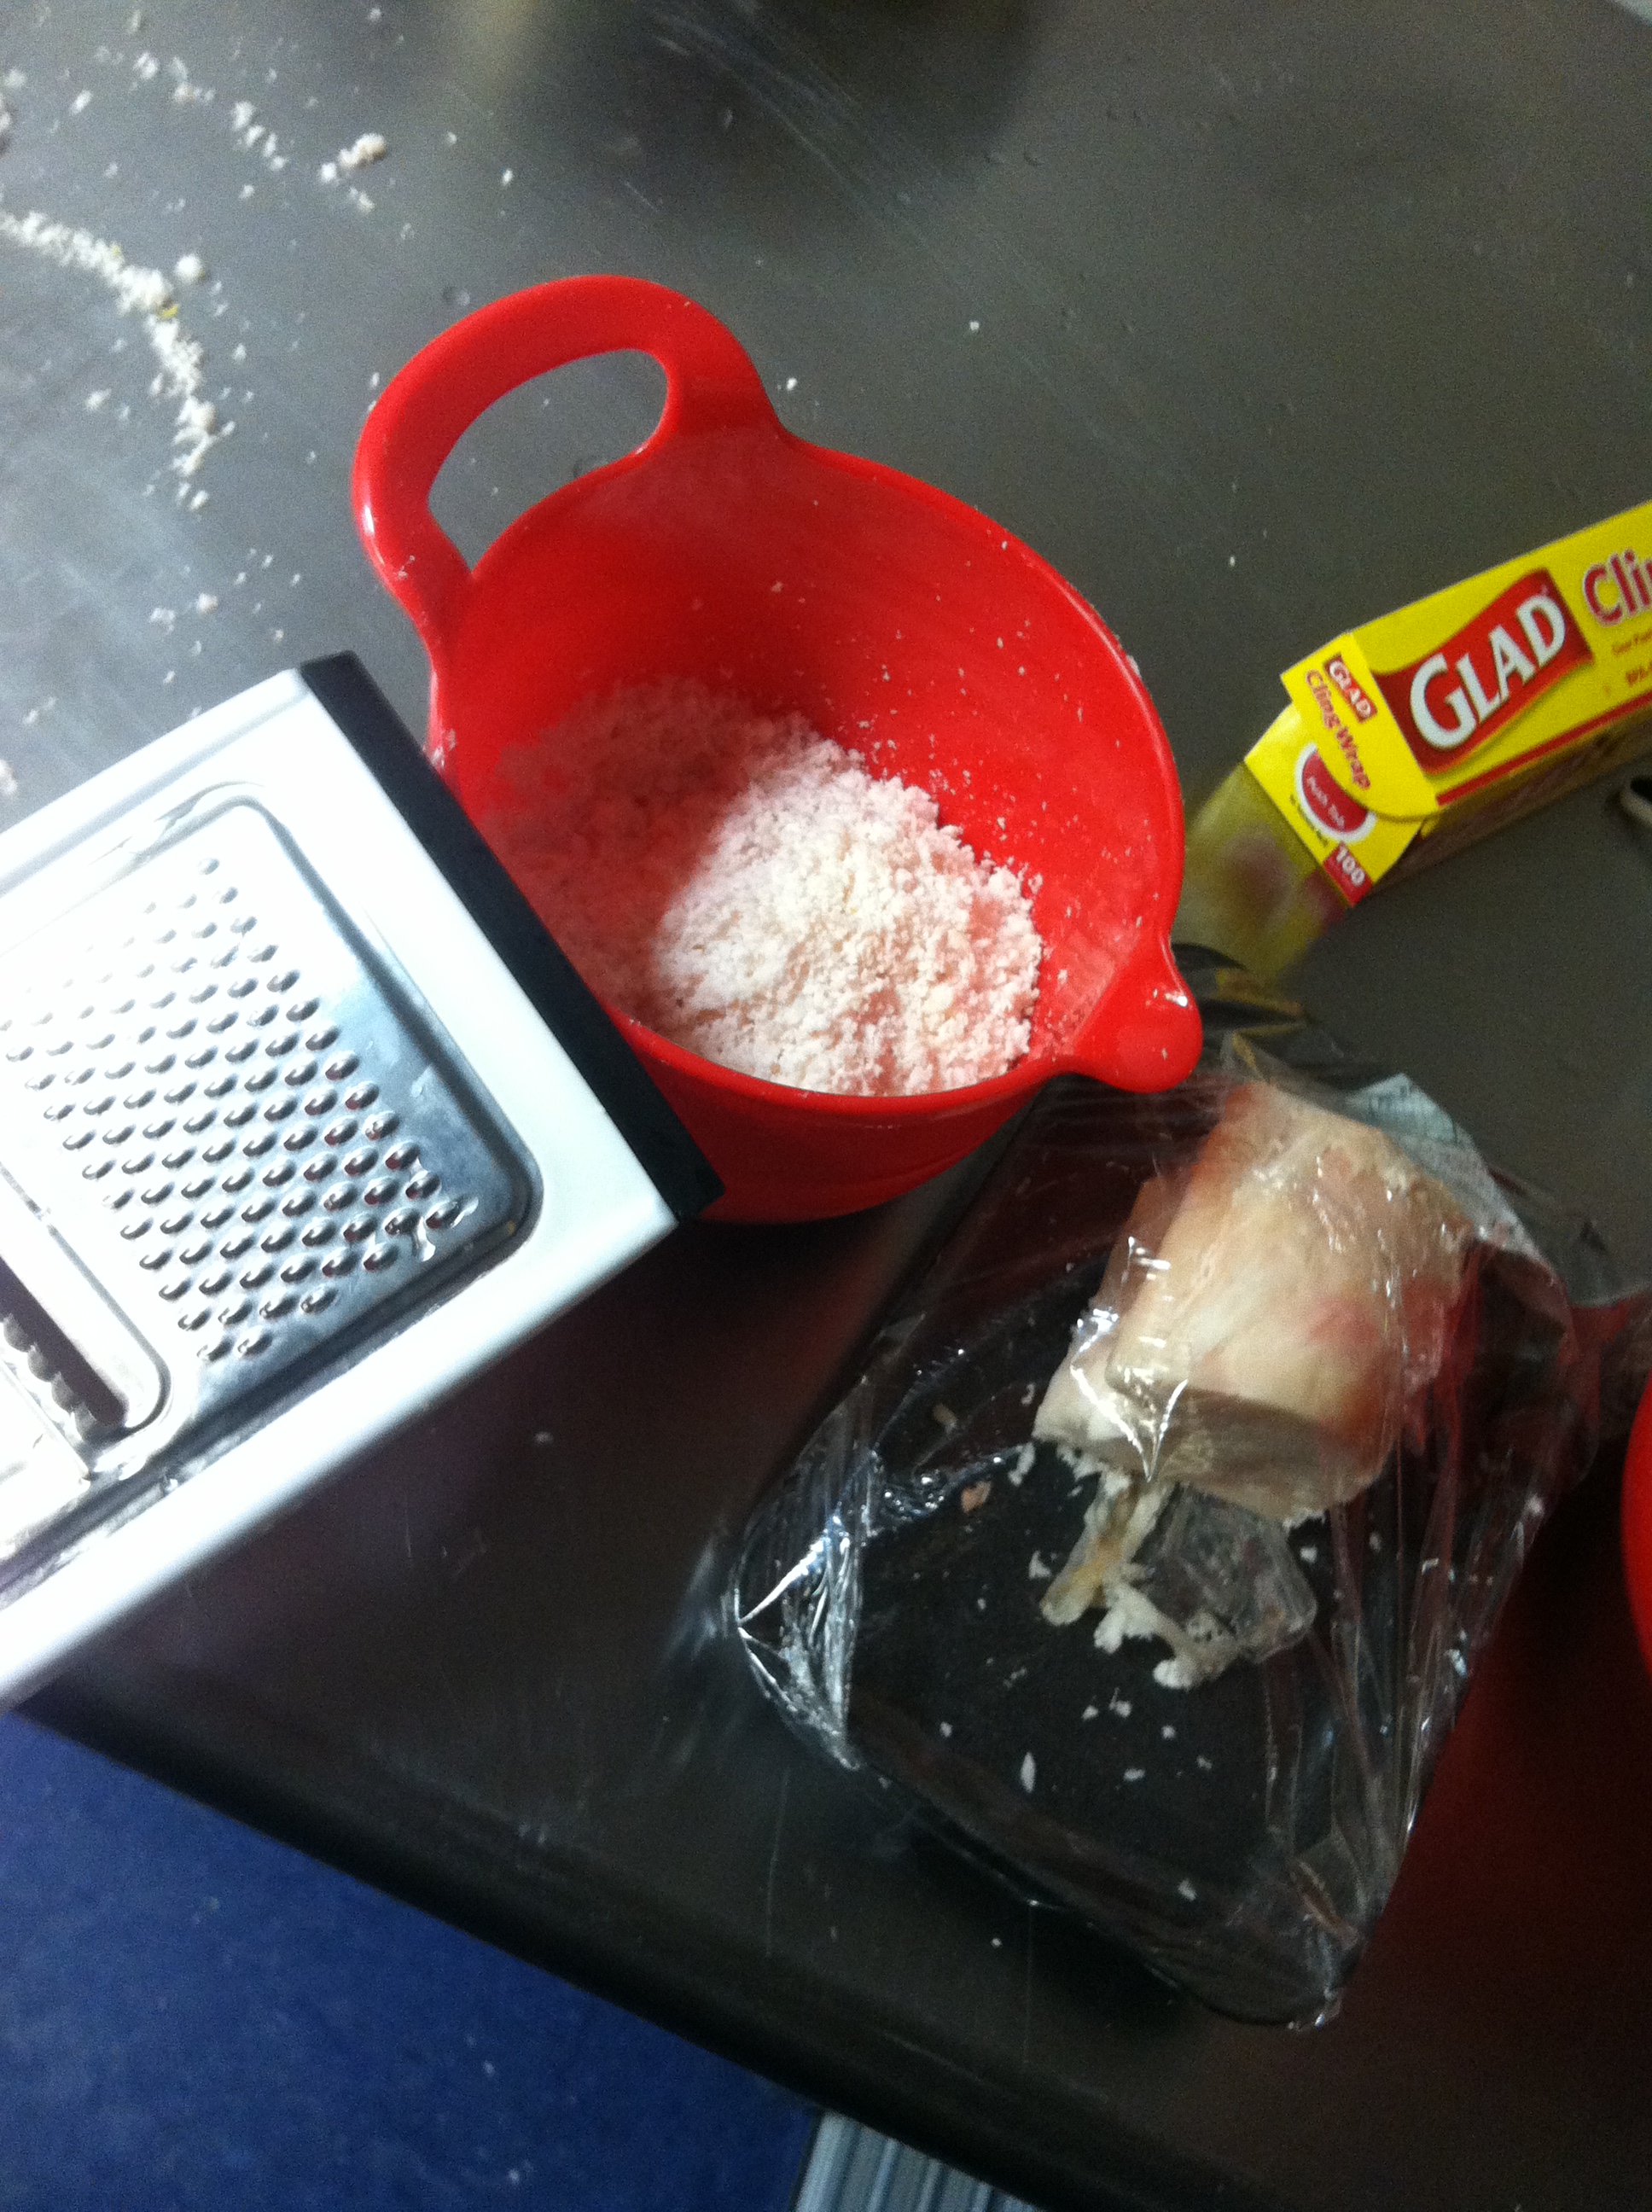
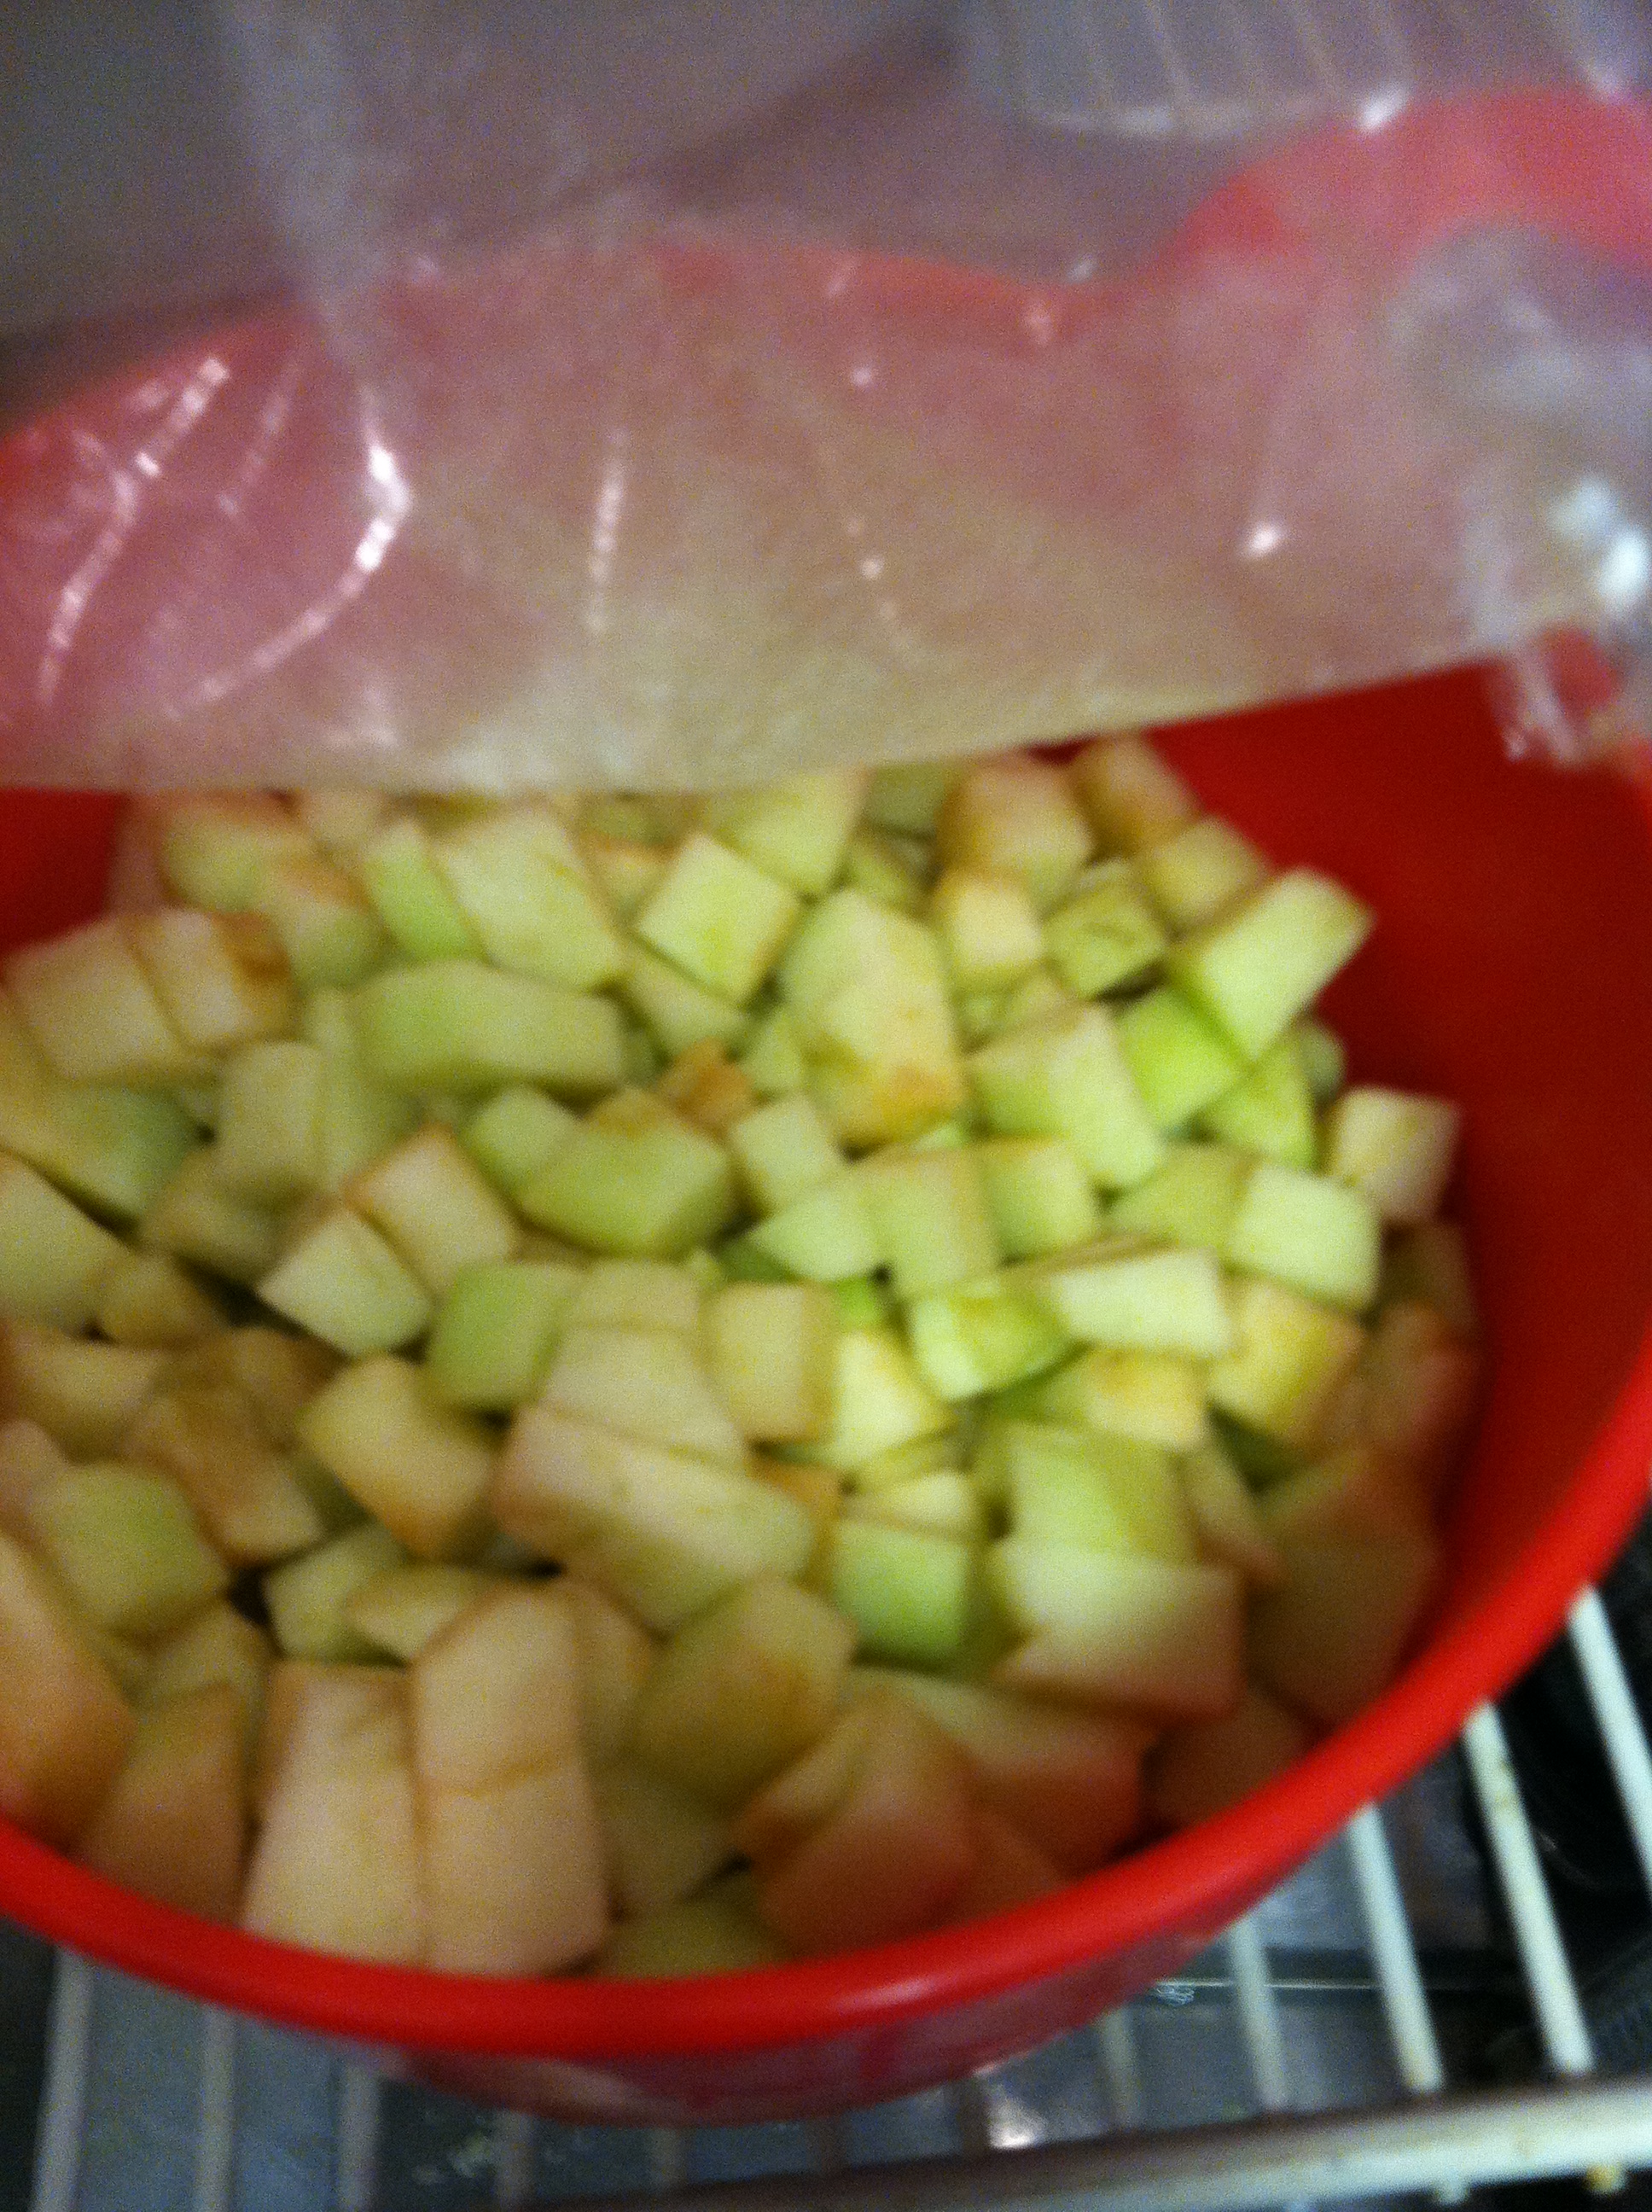
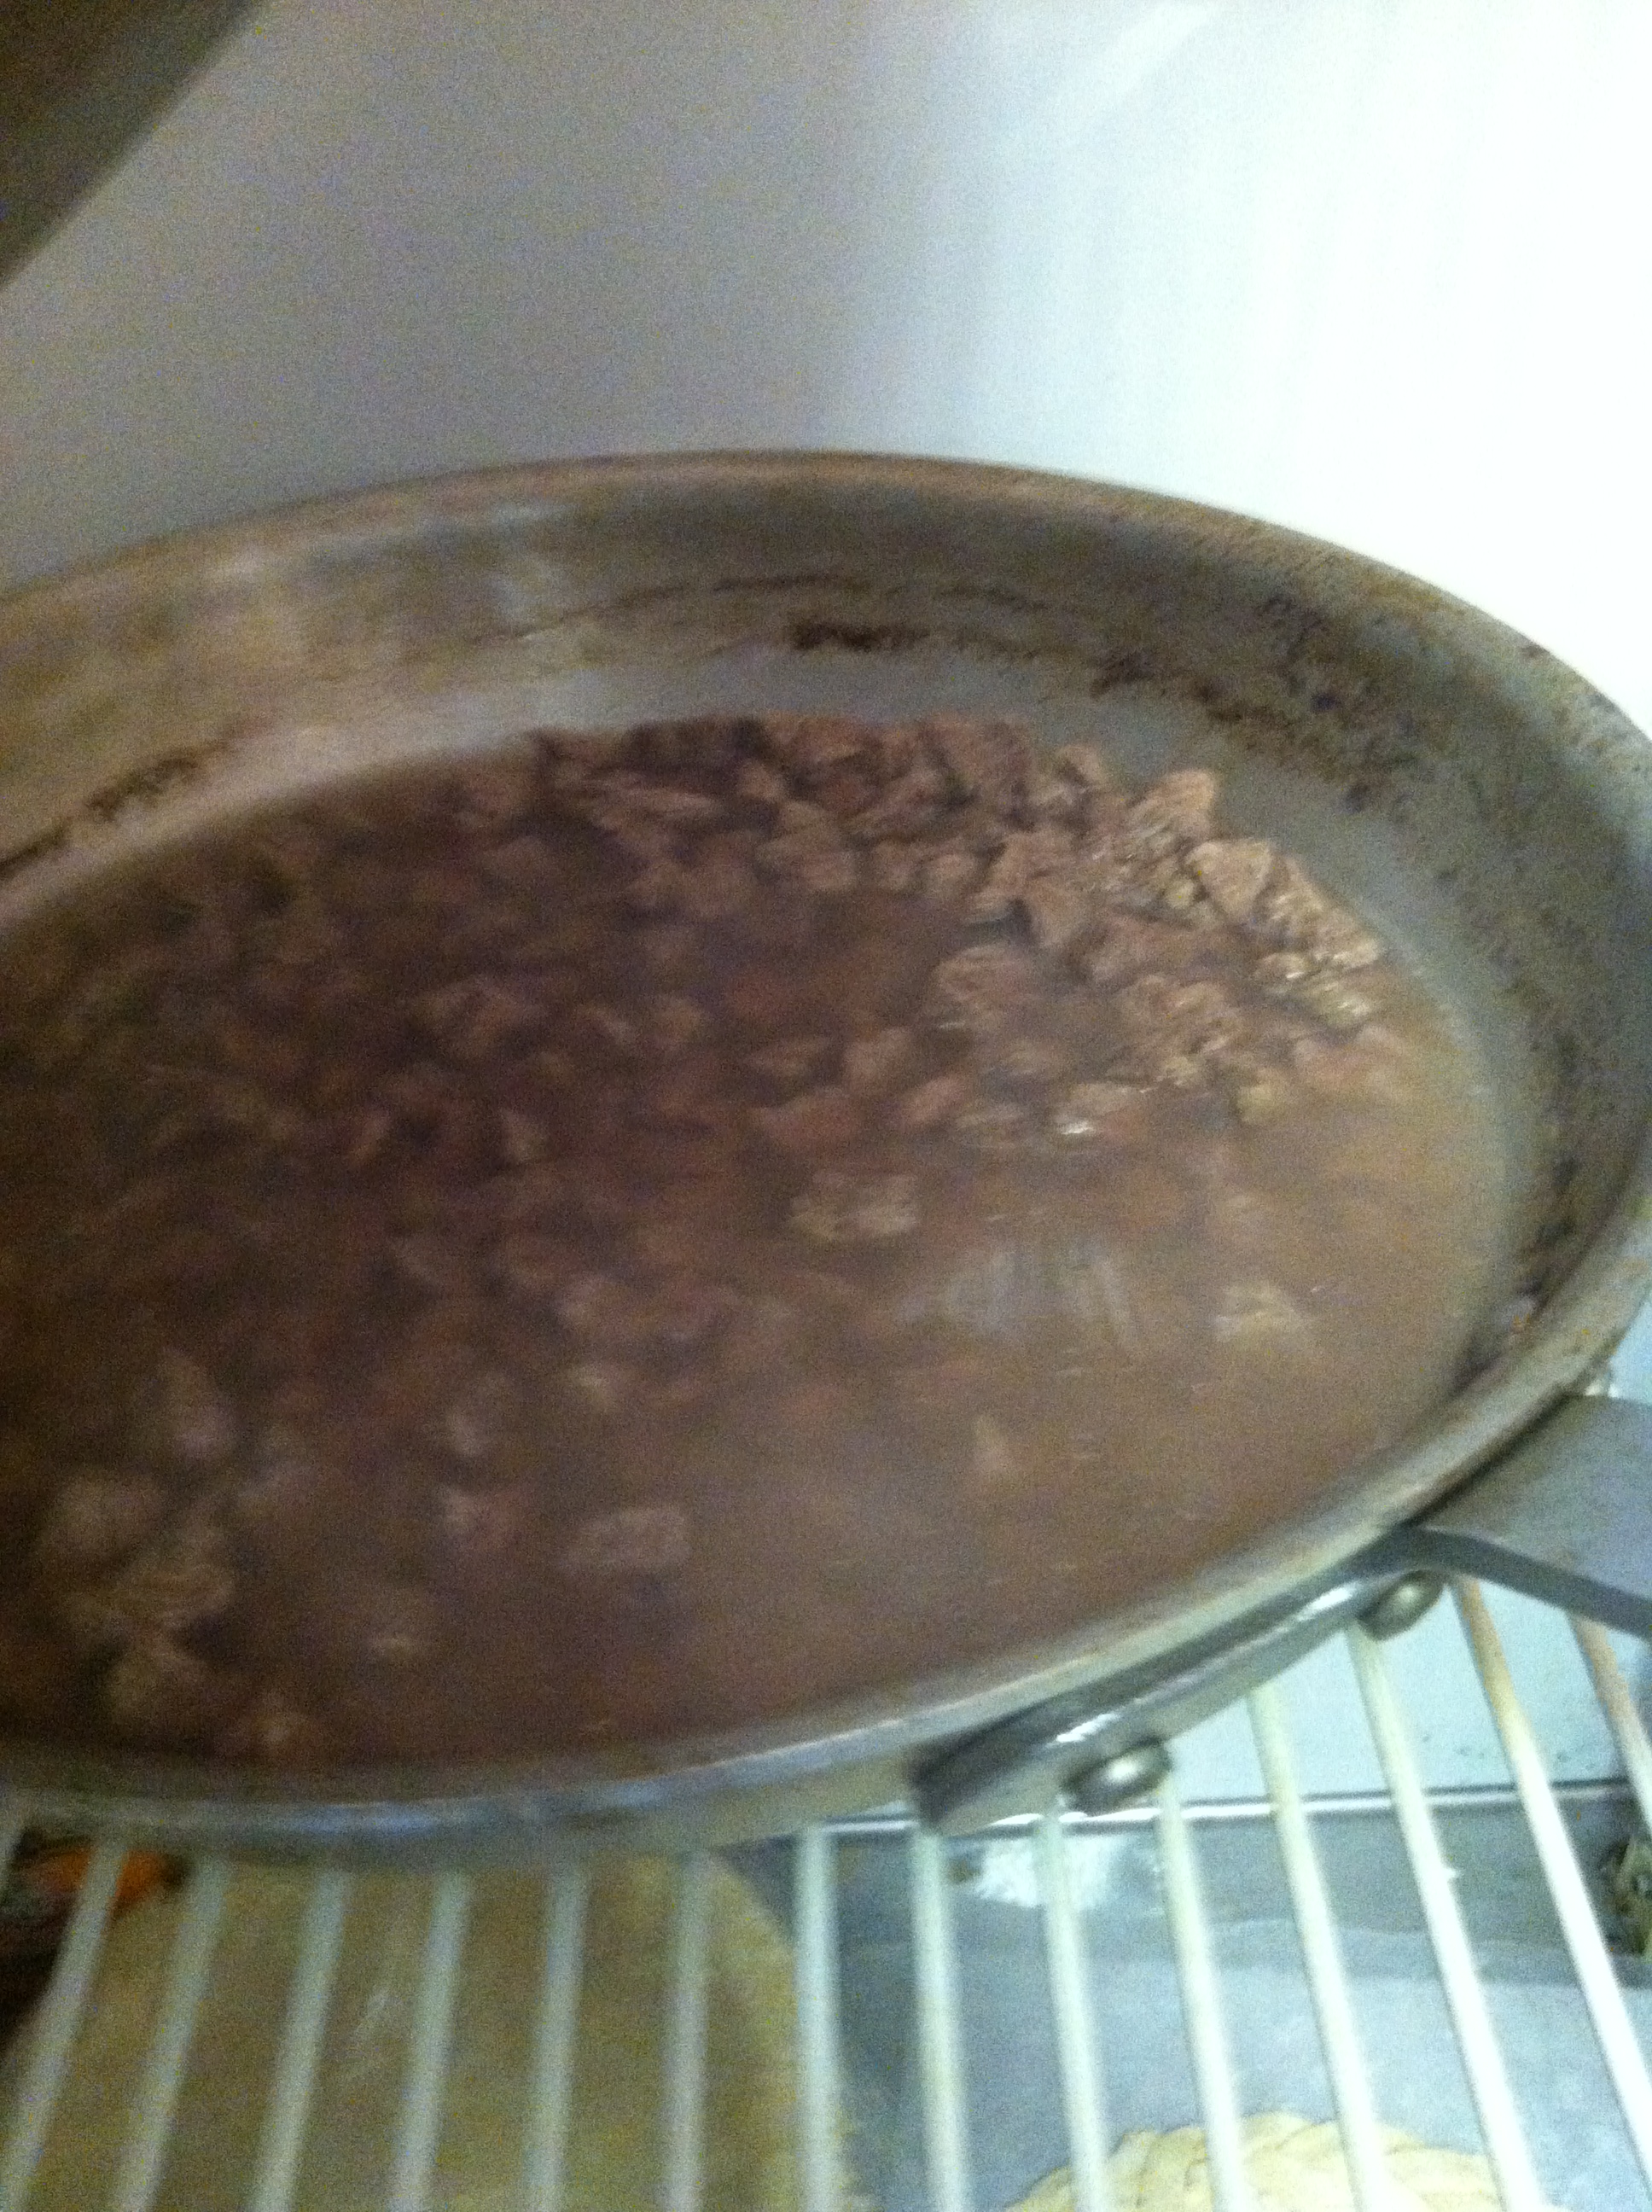
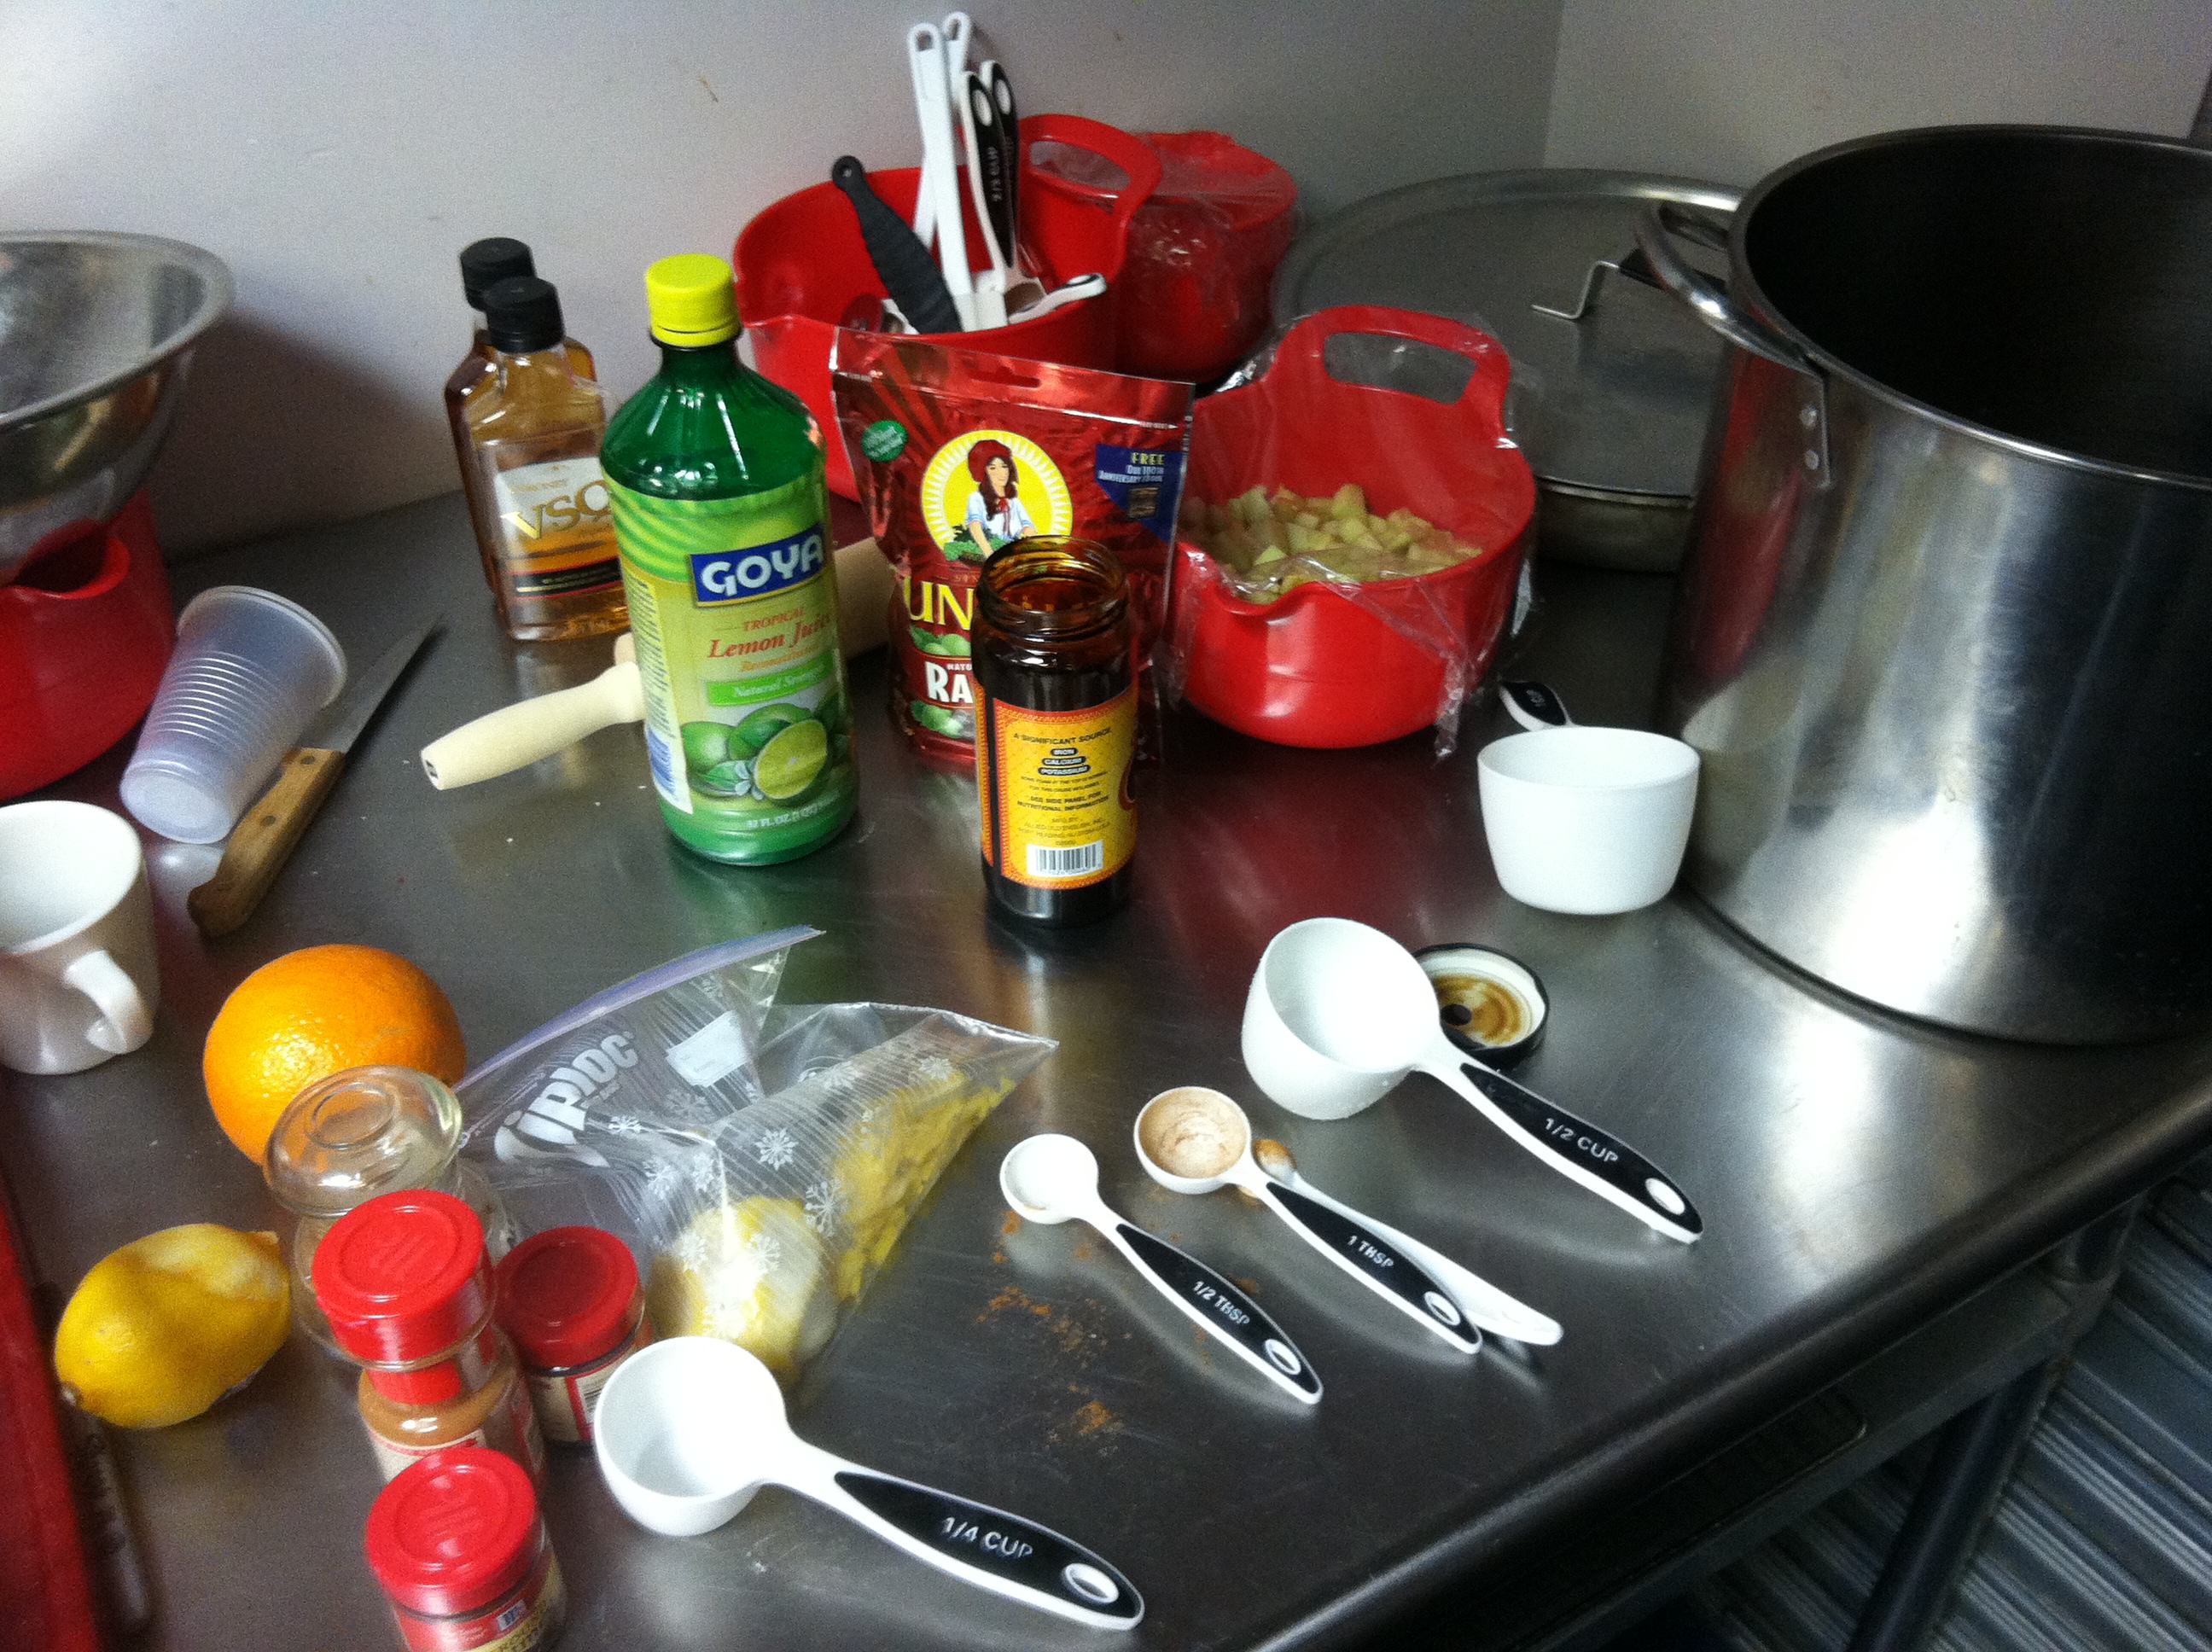
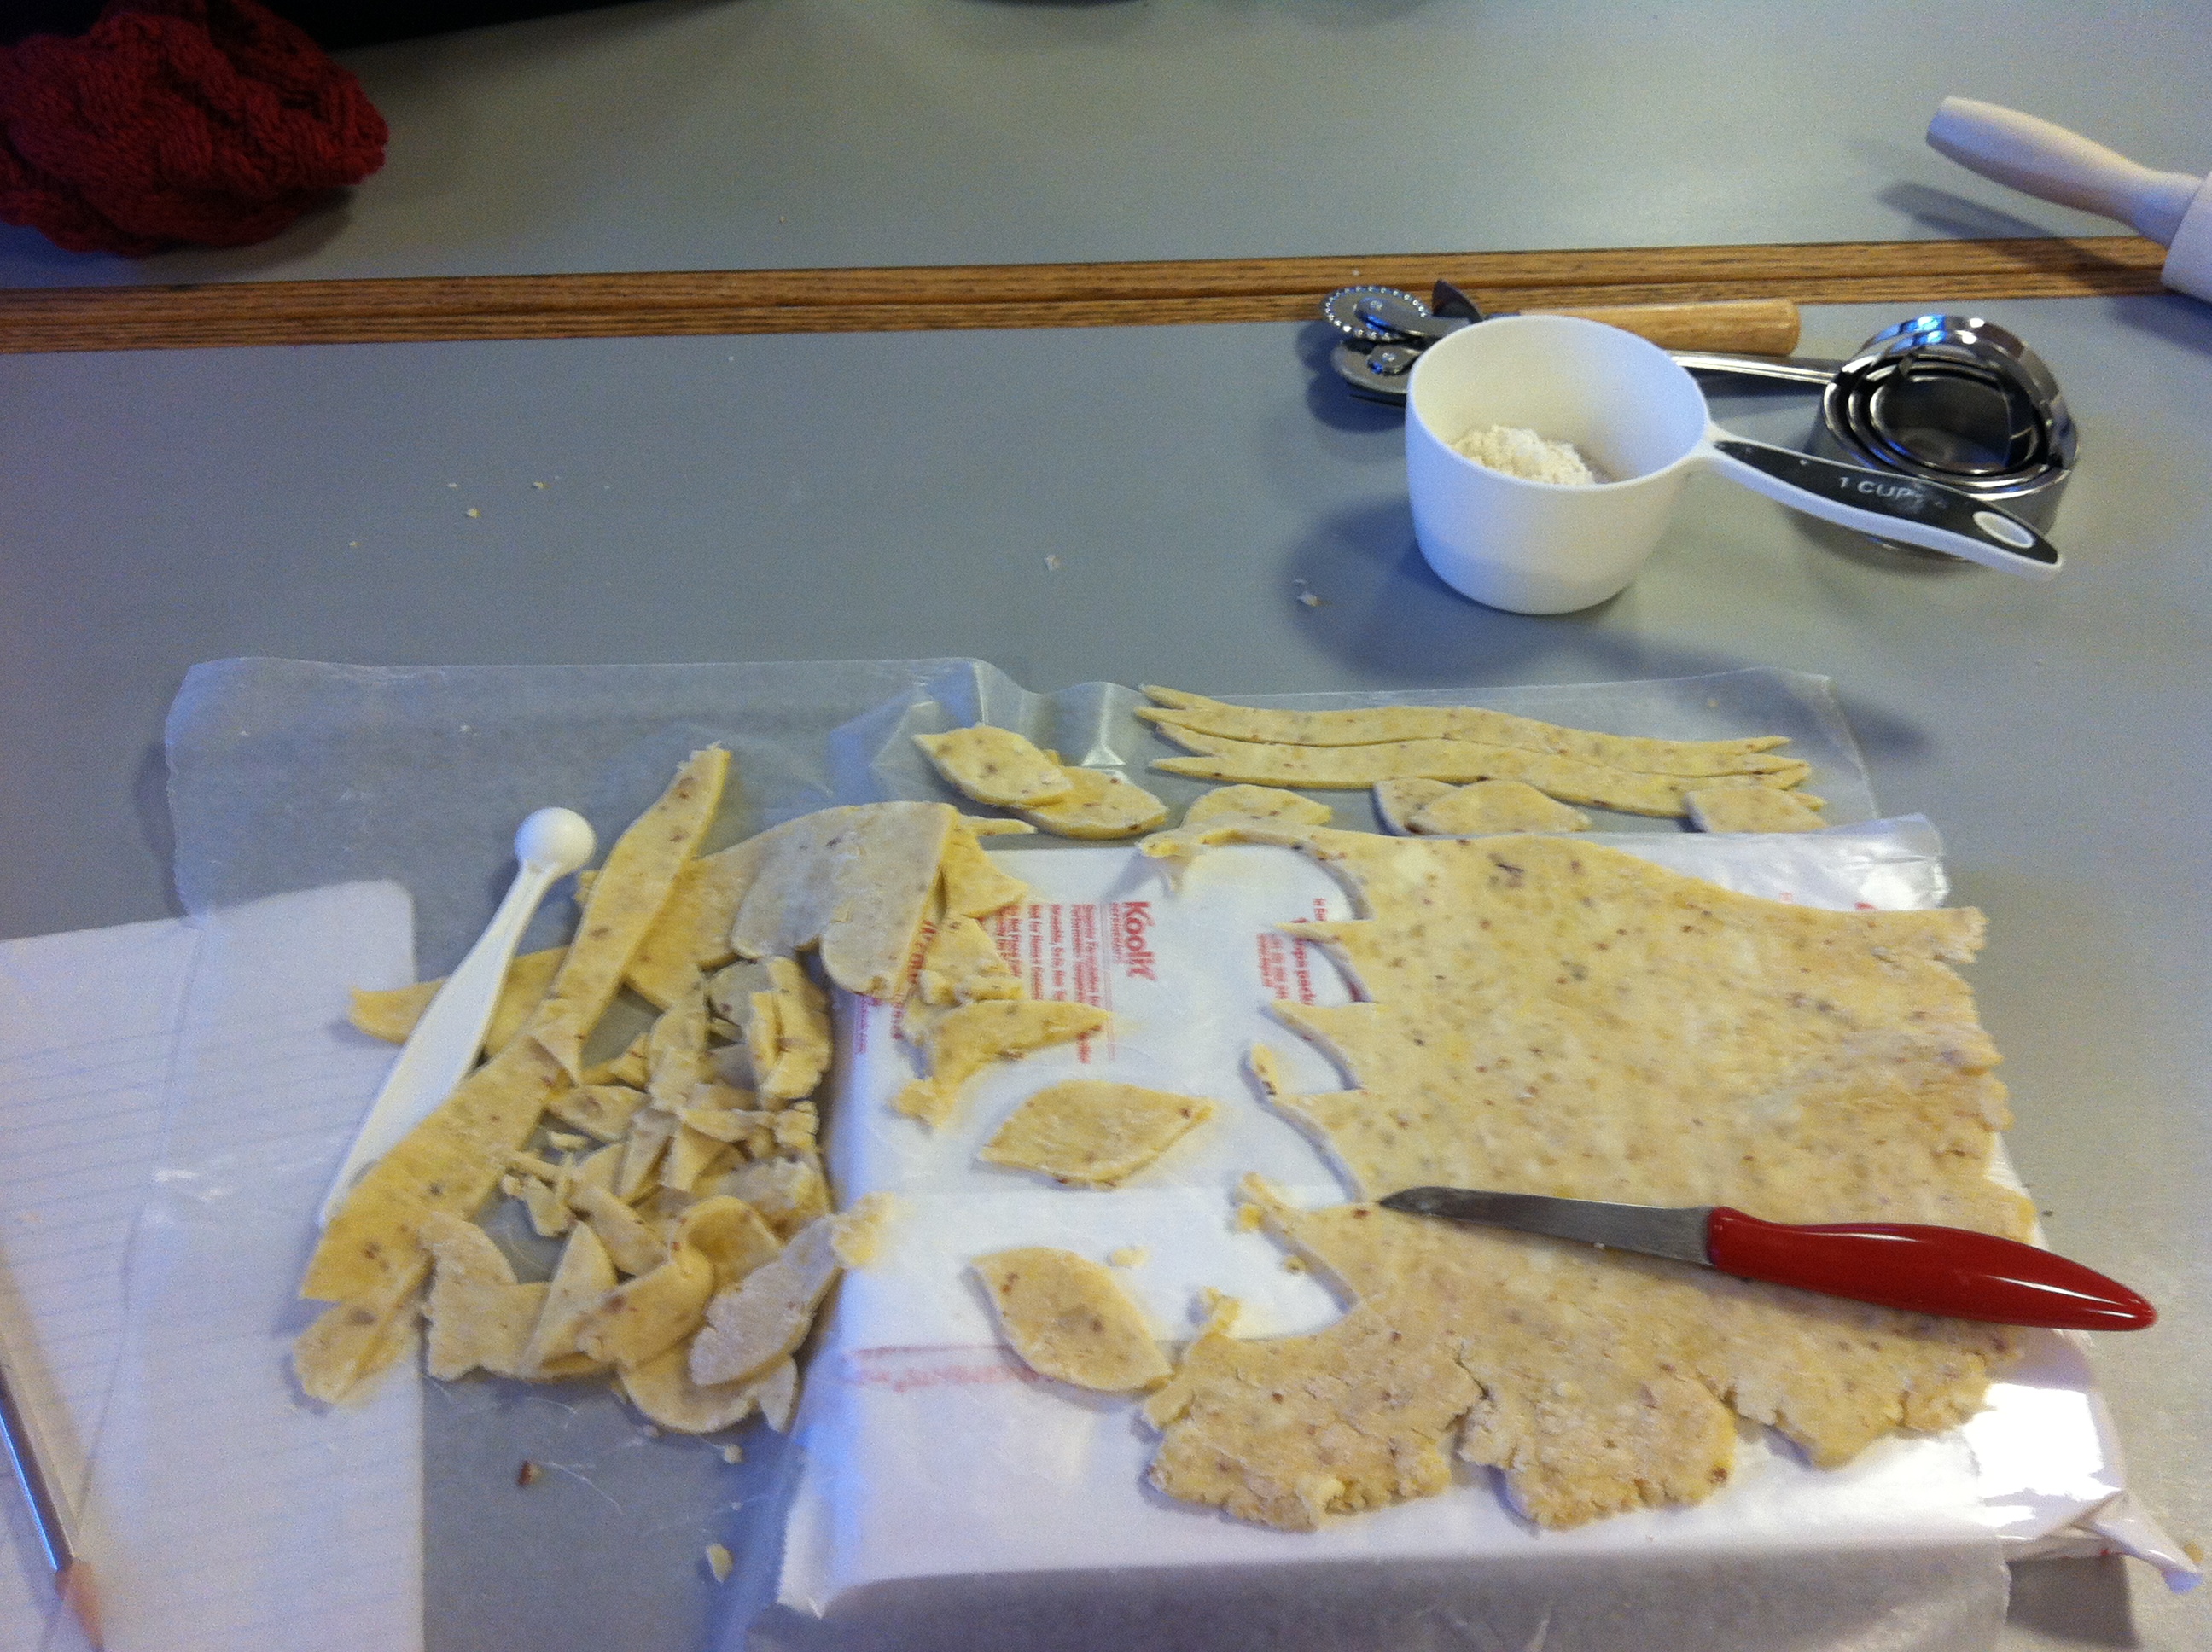
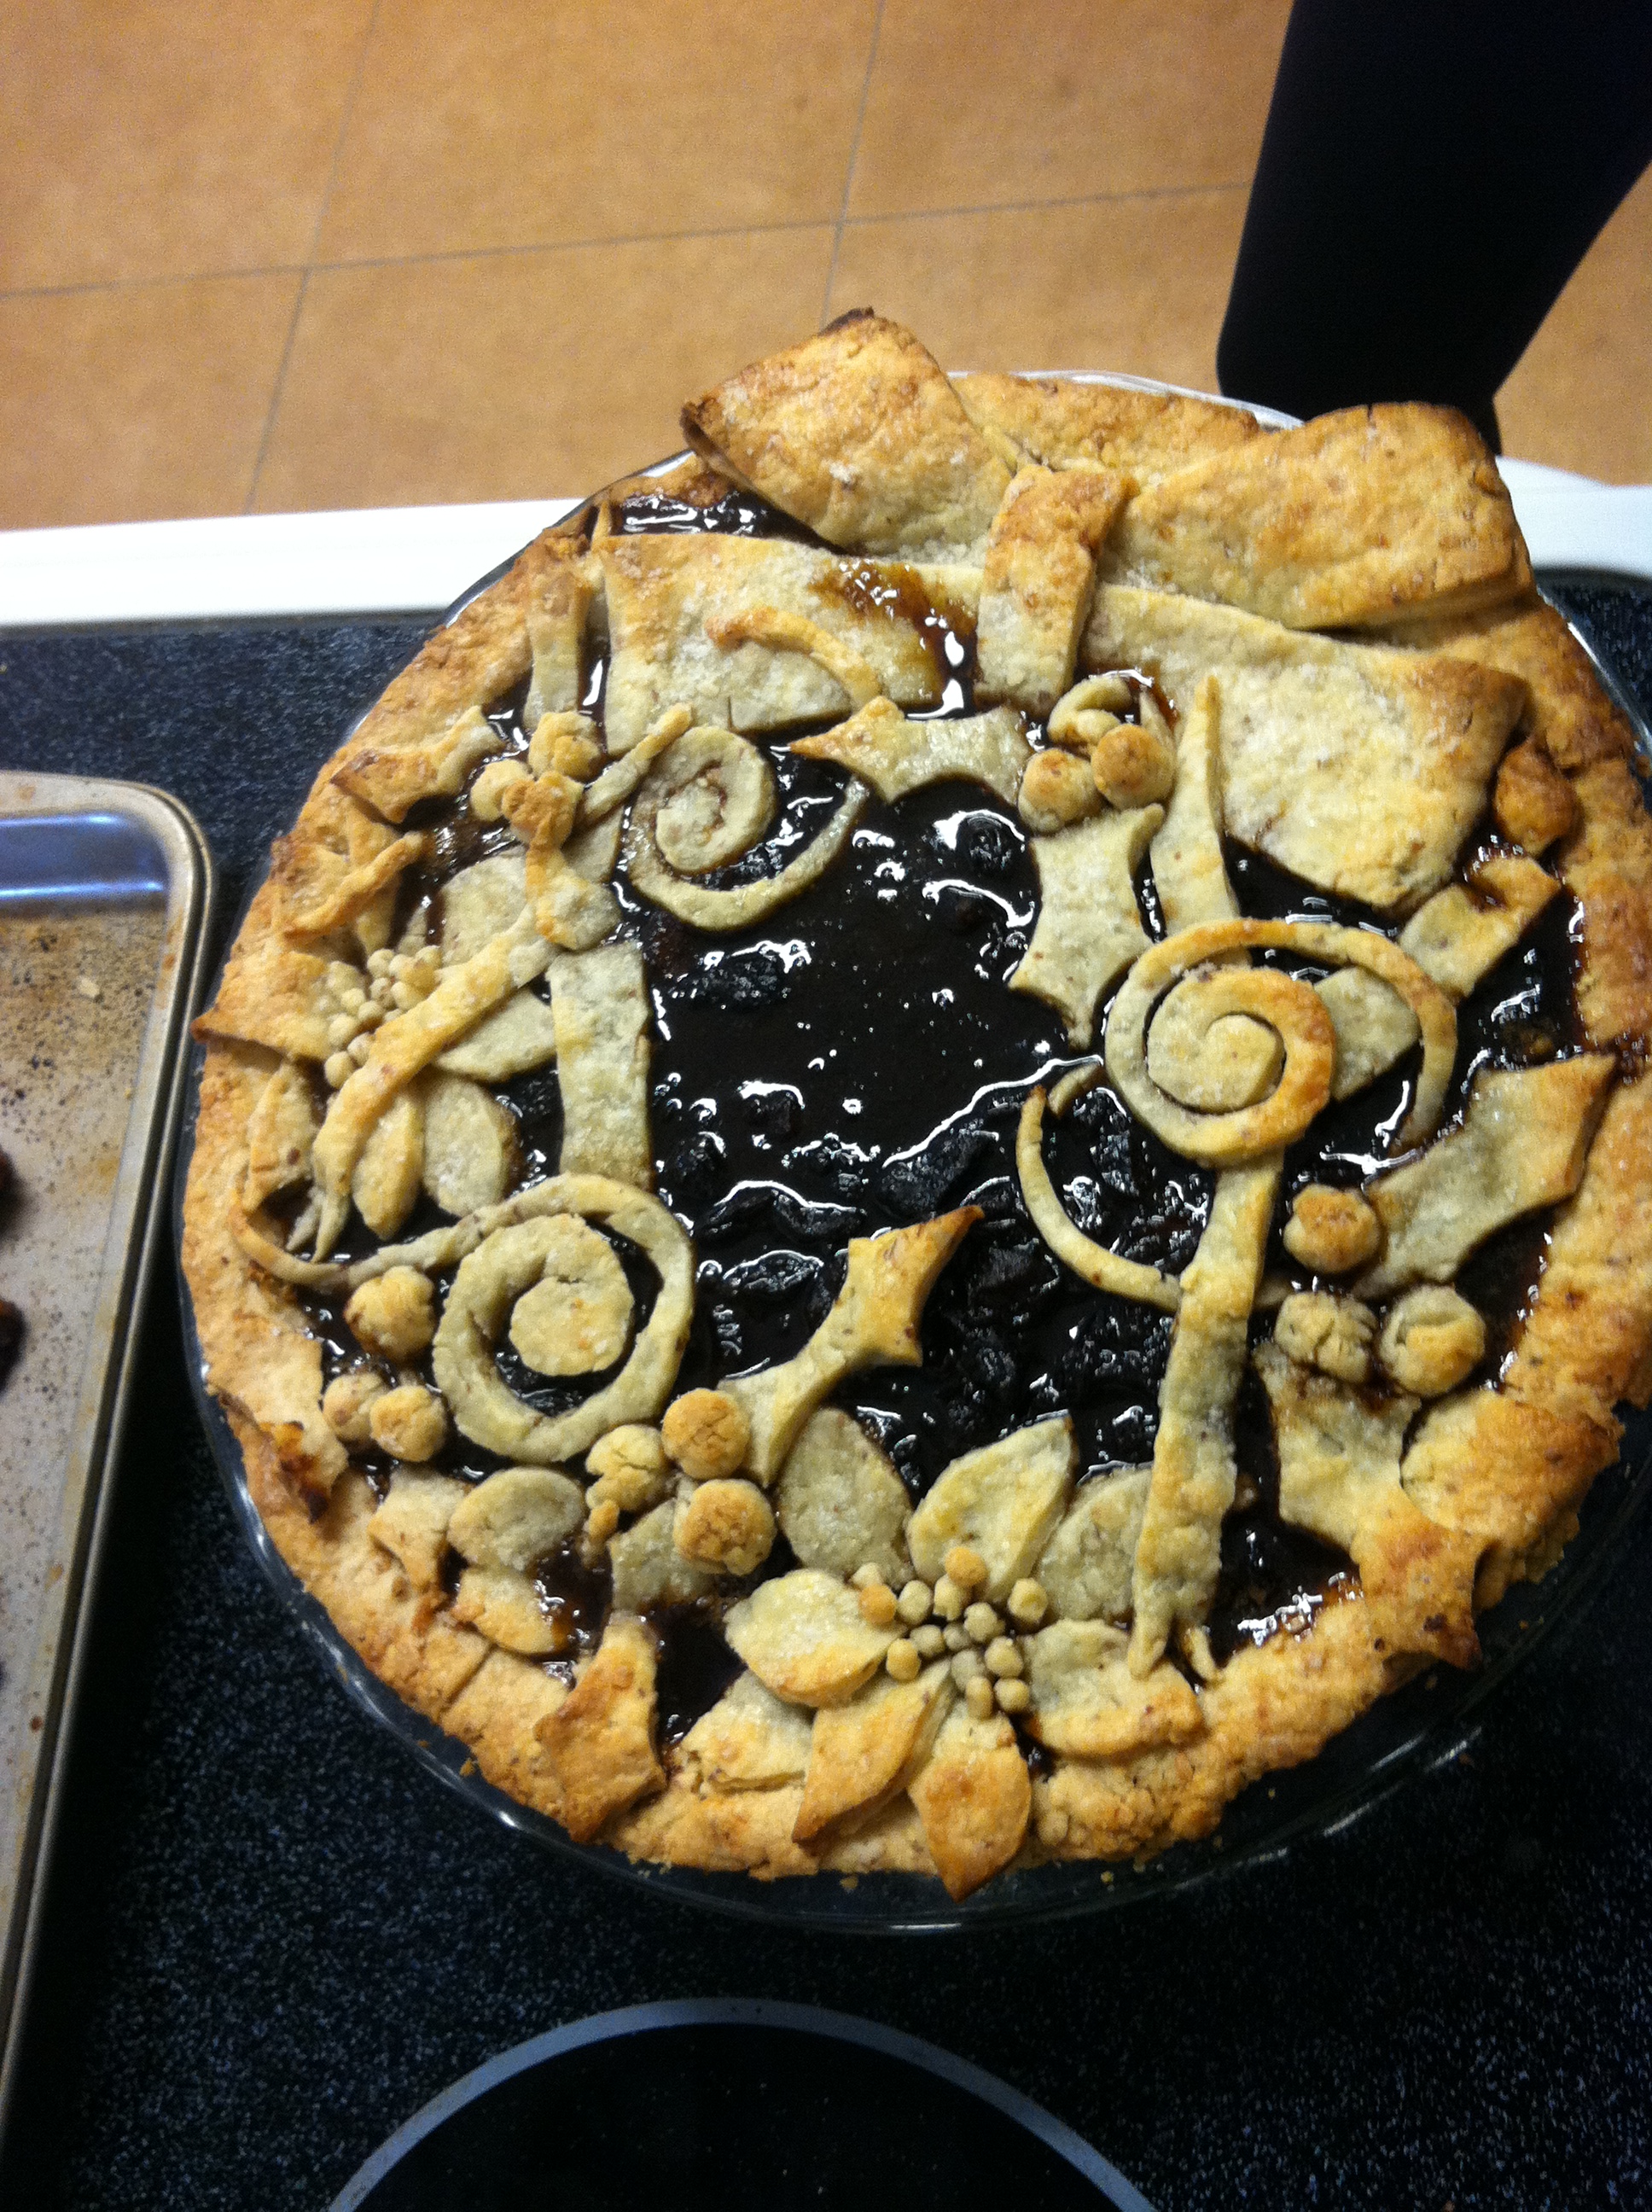
(Nikki here) To begin this week’s pie, on Tuesday I did mostly prep work. As I had decided to cut shapes out of the dough for the topping in spirit of decoration week, and to facilitate the actual making of the crust, I used a larger recipe than in previous crust attempts, using ratios relative to 3 cups of flour and 2 and a 1/4 sticks of butter. I also added about a 1/2 cup of almonds to mix it up (and they seemed like they would go well with the mincemeat).  Further prep work included looking incredulously at the chunk of fat (formally called suet) I was supposed to grate, which looked incredibly like mozzarella (but was sadly just white, slimy little slivers of animal goo. Too descriptive? My apologies to the weak stomached and the vegans). I also chopped up some apples while I waited for the 2 lbs of beef to simmer to tenderness in a small layer of water (roughly 20 min, covered in a large fry pan).

photo 1 (2) photo 4 (2) photo 3 (2) photo 2 (2)

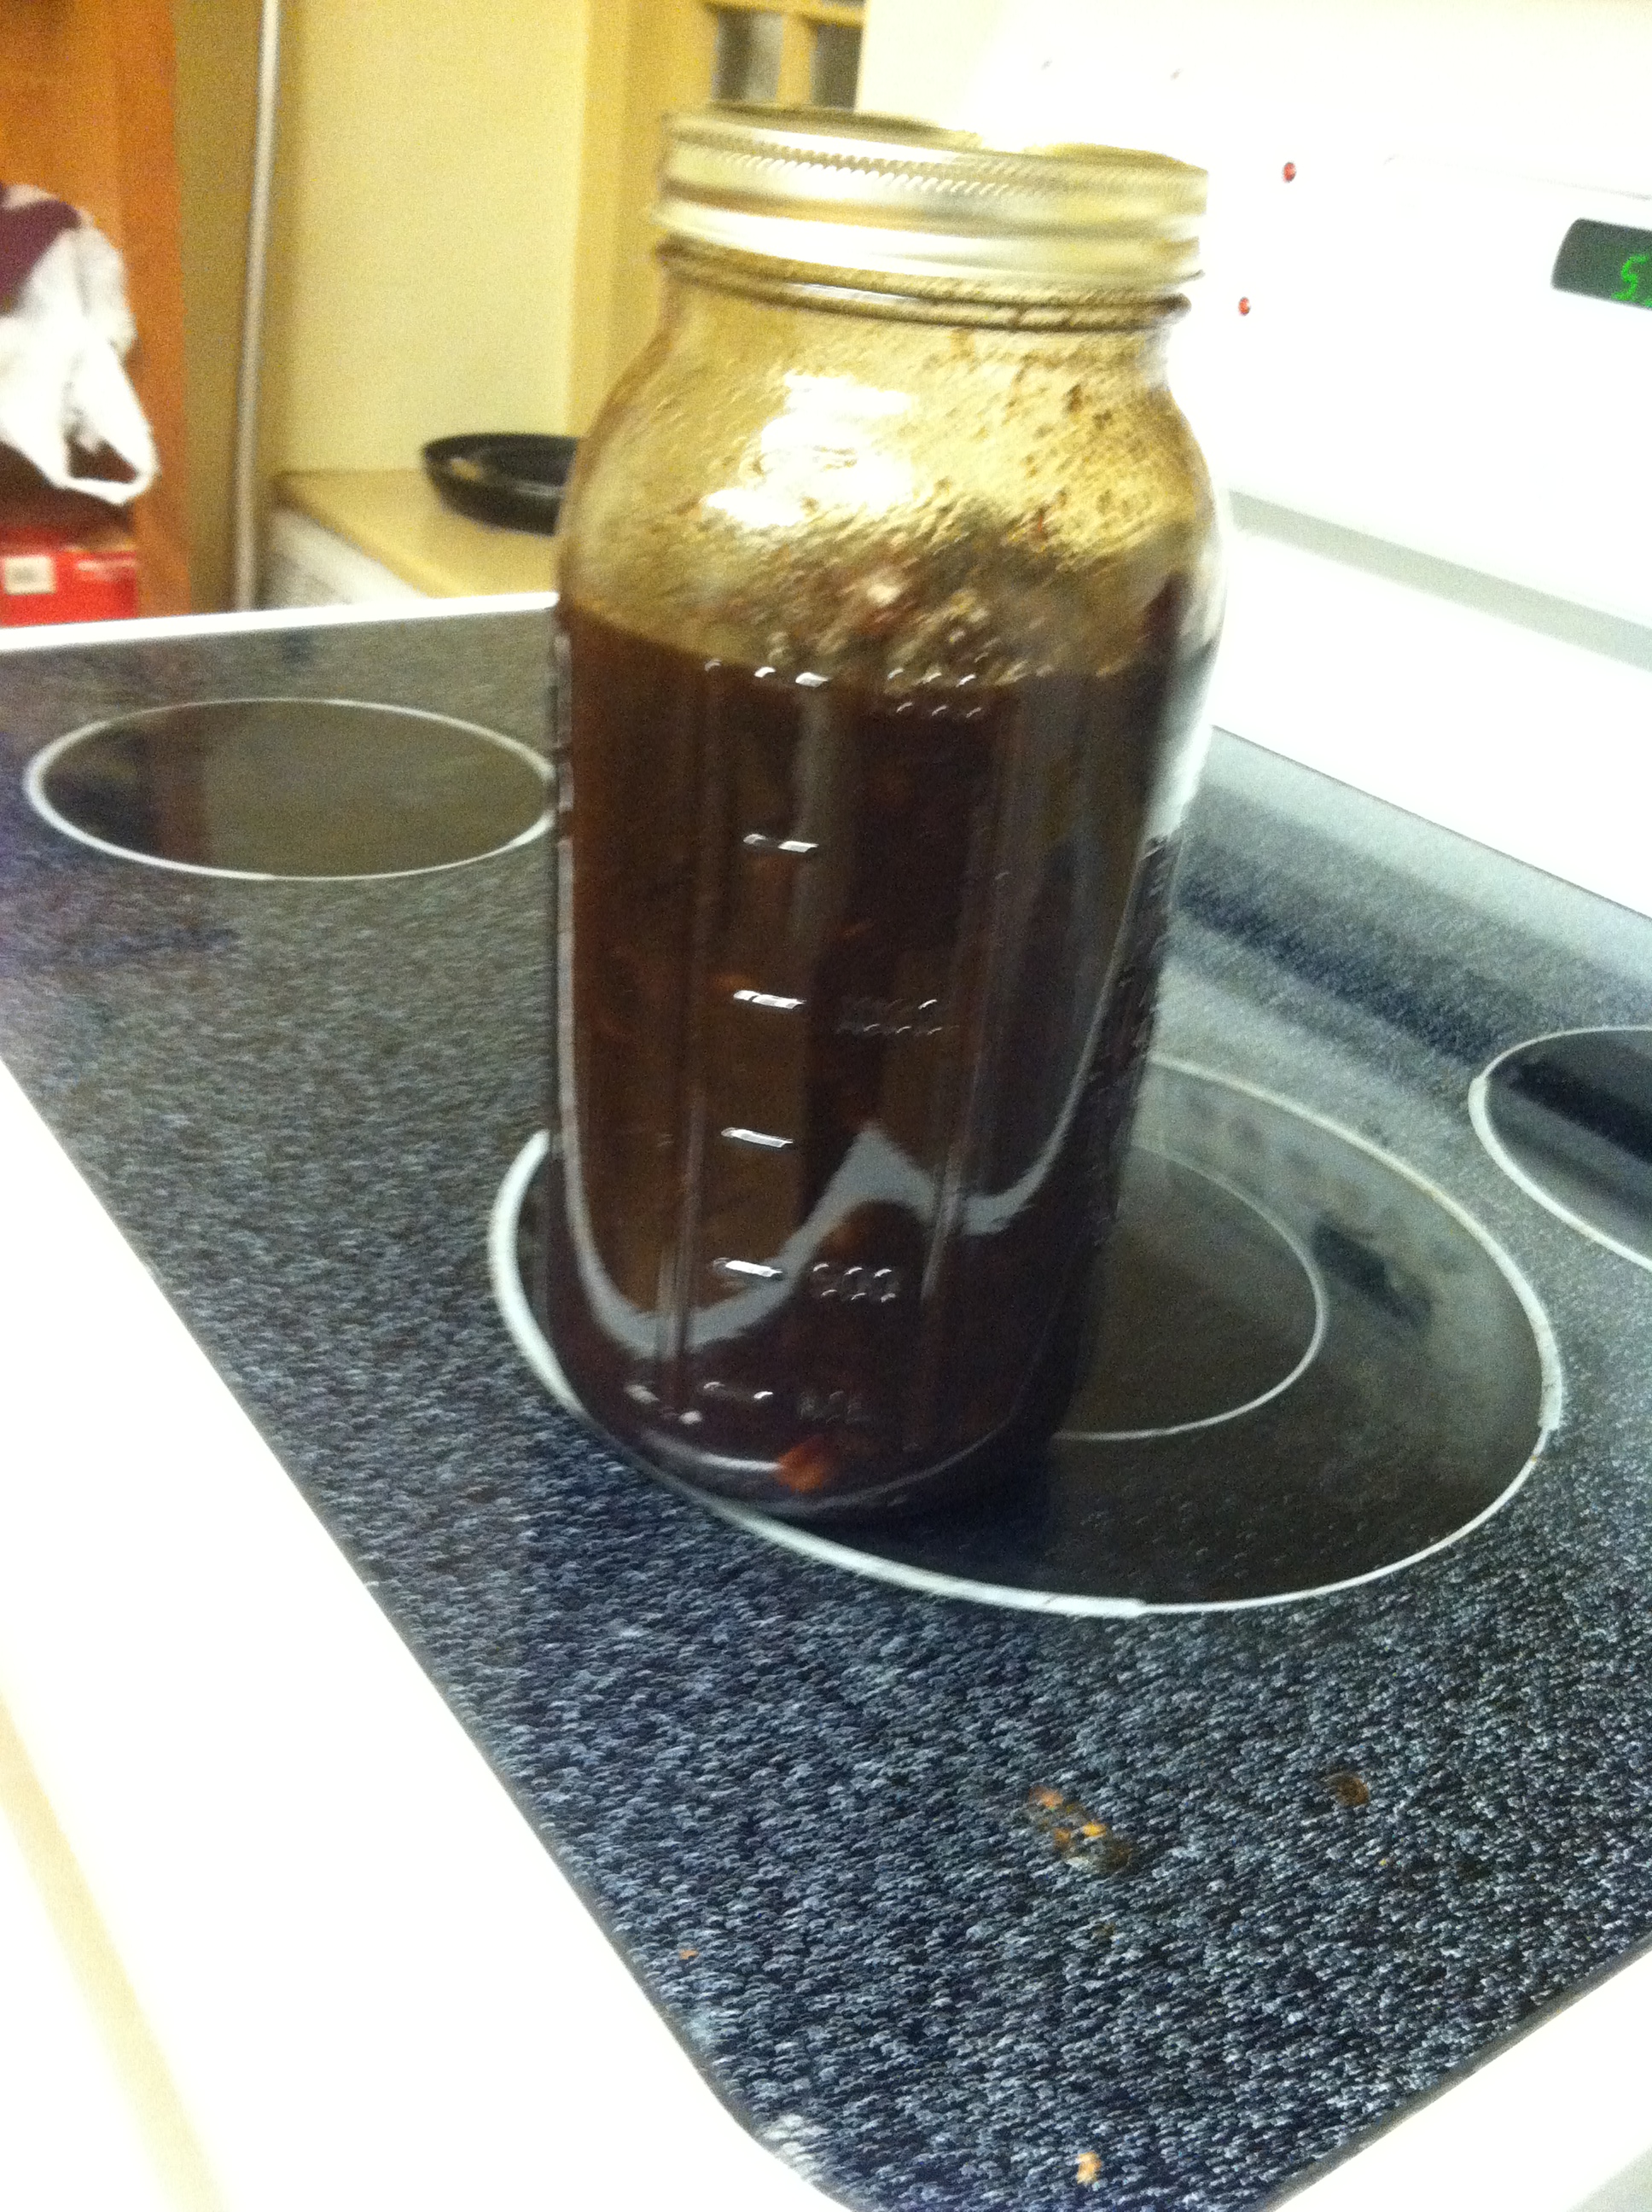
The meat had to cool in its liquid overnight, so I waited for the next day to assemble the ingredients and throw it all together. The filling had quite a lot of flavors: juice from a fresh orange and a fresh lemon, molasses (I think I would opt for a about 3/4 or 2/3 of what the recipe called for, but that’s just personal taste), cinnamon, nutmeg, allspice, cloves, apple vinegar, apple cider, suet, meat-water from the cooking of the meat, and of course the actual edible stuff: apples, beef, and raisins. Simmer for 2 hours or until the liquid mostly goes away, add a bit of brandy, and store for a few weeks in a large jar! (I of course didn’t store for a few weeks, since the pie was due the next day). While I waited once again for the simmering filling I cut holiday-themed shapes, rather poorly, I might add,  with a small paring knife and a pastry cutter.

photo 1photo 3 photo 2

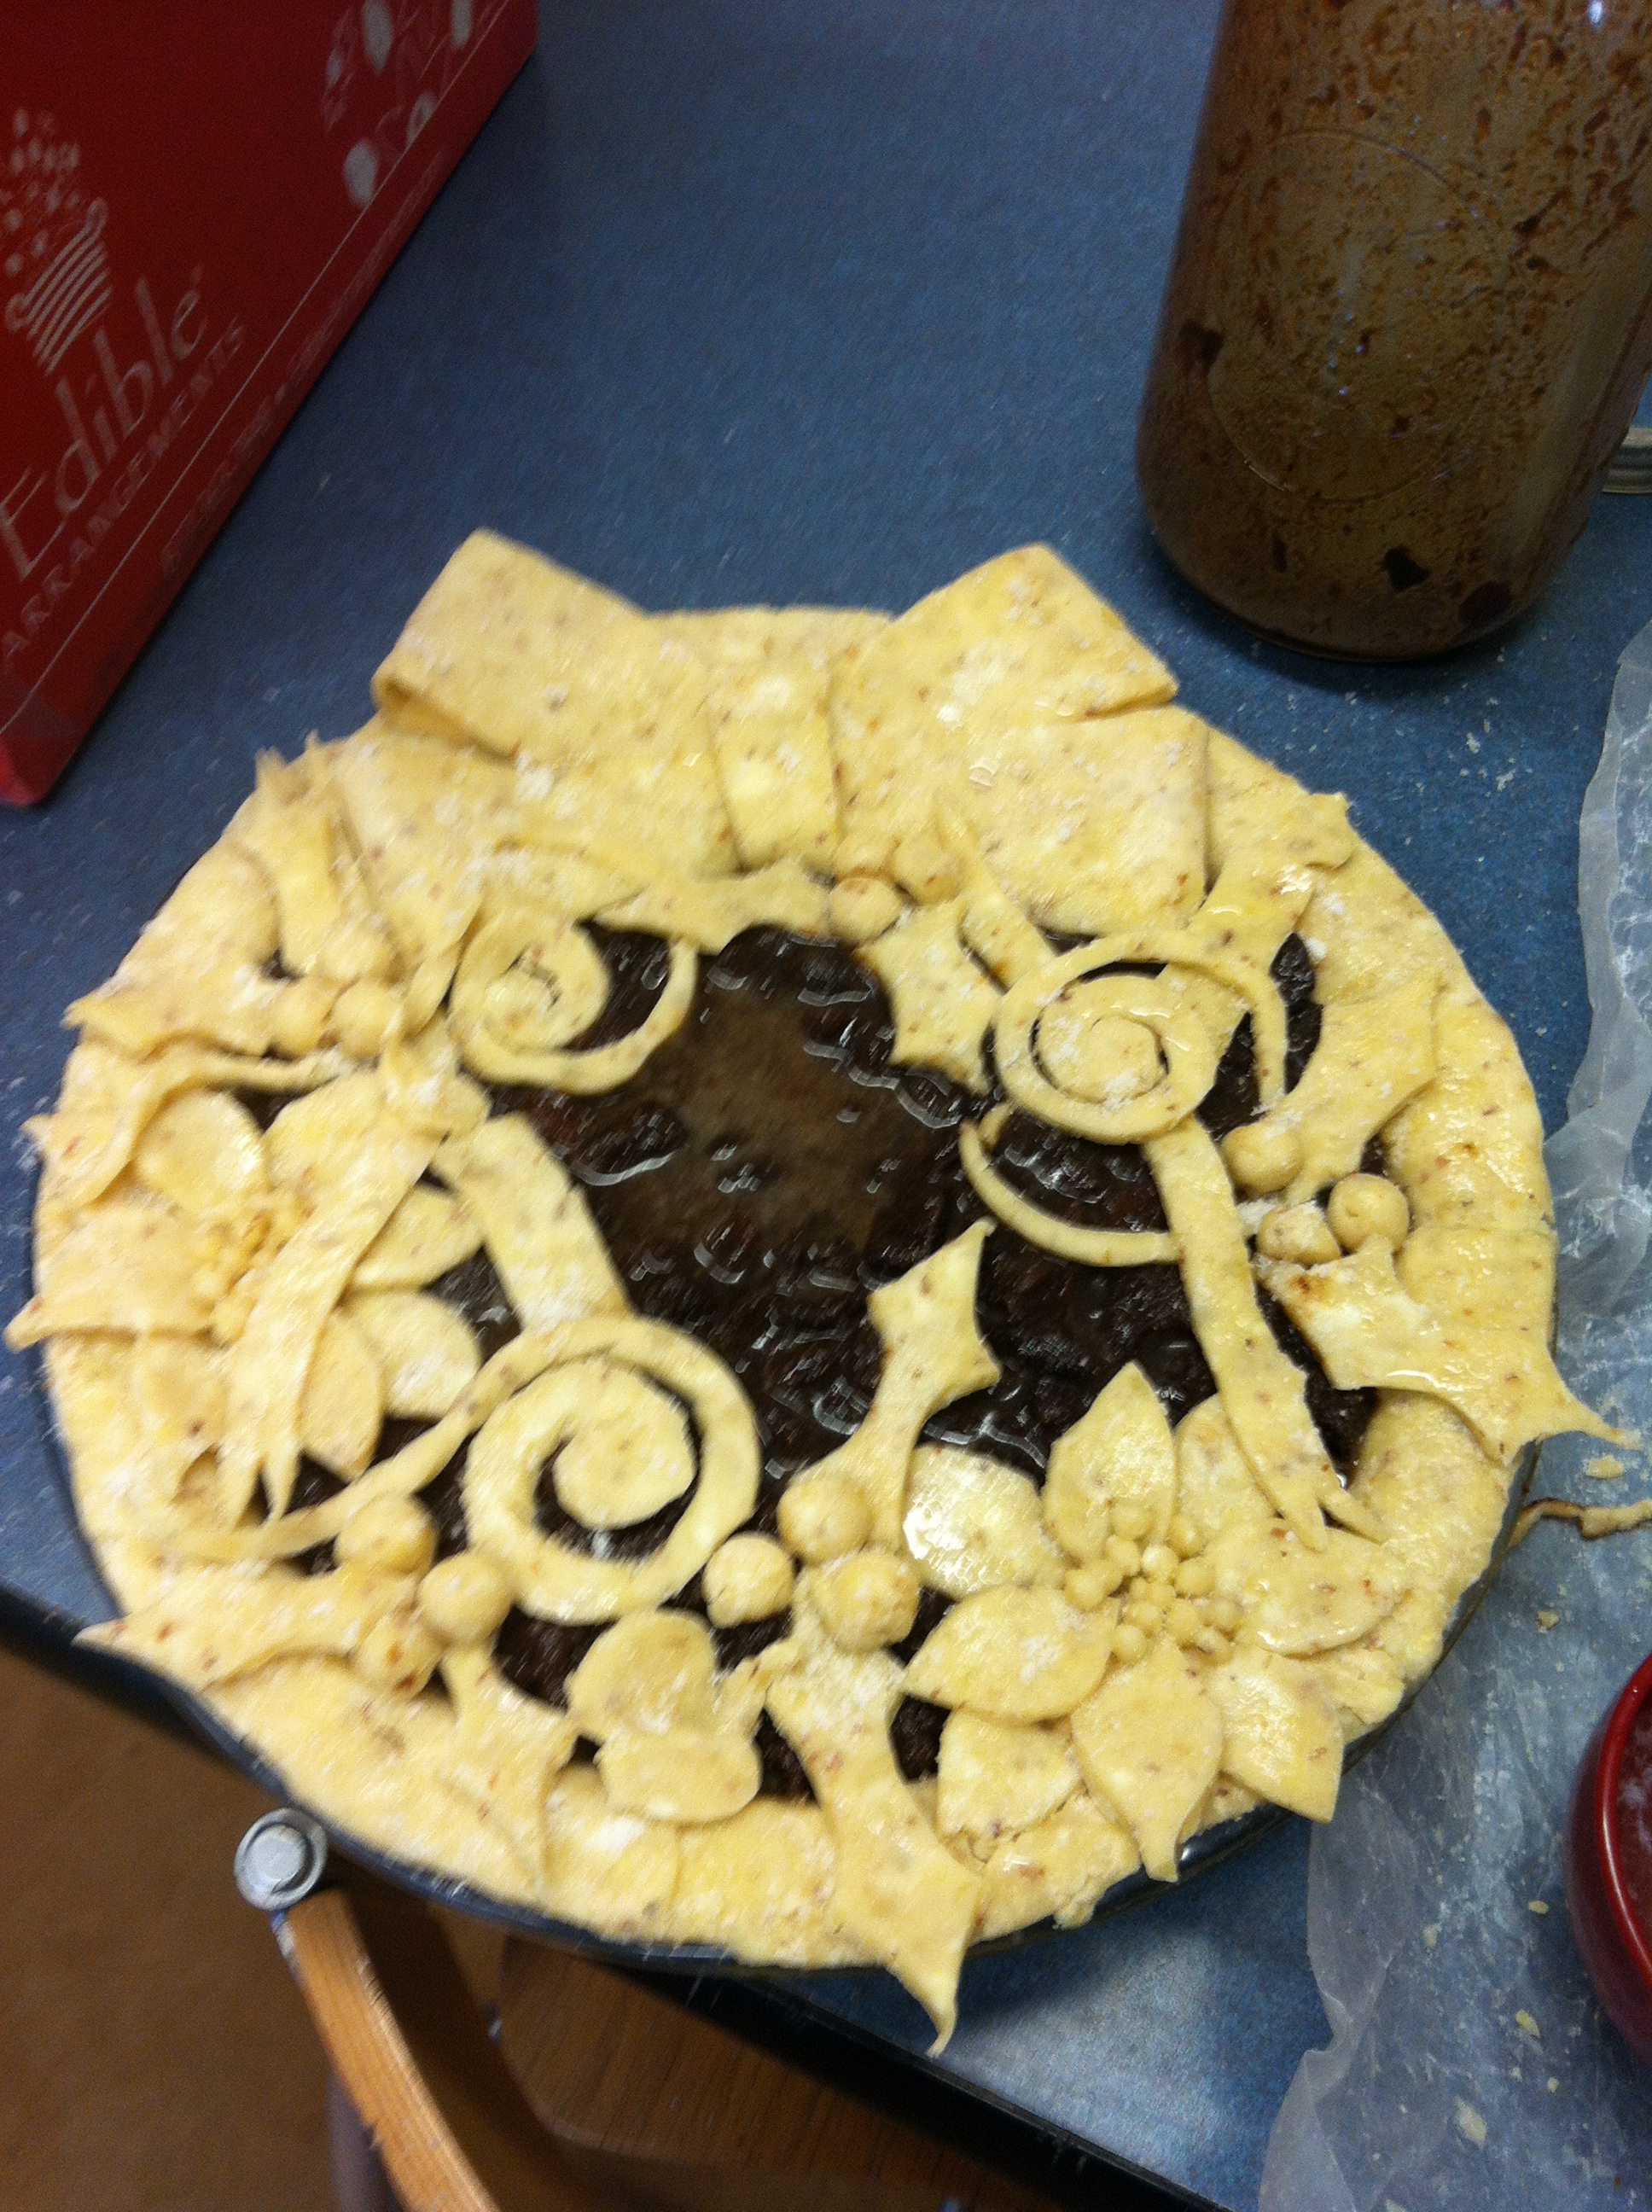
I let the mincemeat filling sit overnight to further let the spices infuse the meat and fruit. I could hardly wait to put it all together I had been waiting and anticipating so long! I loved how the poinsettias and the ribbon turned out. How holiday-ish!

My only issues, I would say, involved slightly burning the molasses while the filling was simmering, forgetting to add the brandy until I had already dumped in the filling and lain on the topping, and forgetting to line the edges with tinfoil to prevent excessive darkening.

All in all, however, it turned out pretty well! I loved how the meat became somewhat candied, and the crust was really yummy. It was a very rich pie. 🙂 Perhaps not my favorite, but certainly a keeper! I think I might ask David for his recipe though, as I think his was even more delicious.


photo 4 photo 5


Apple Goat Cheese Pie with Maple Caramel

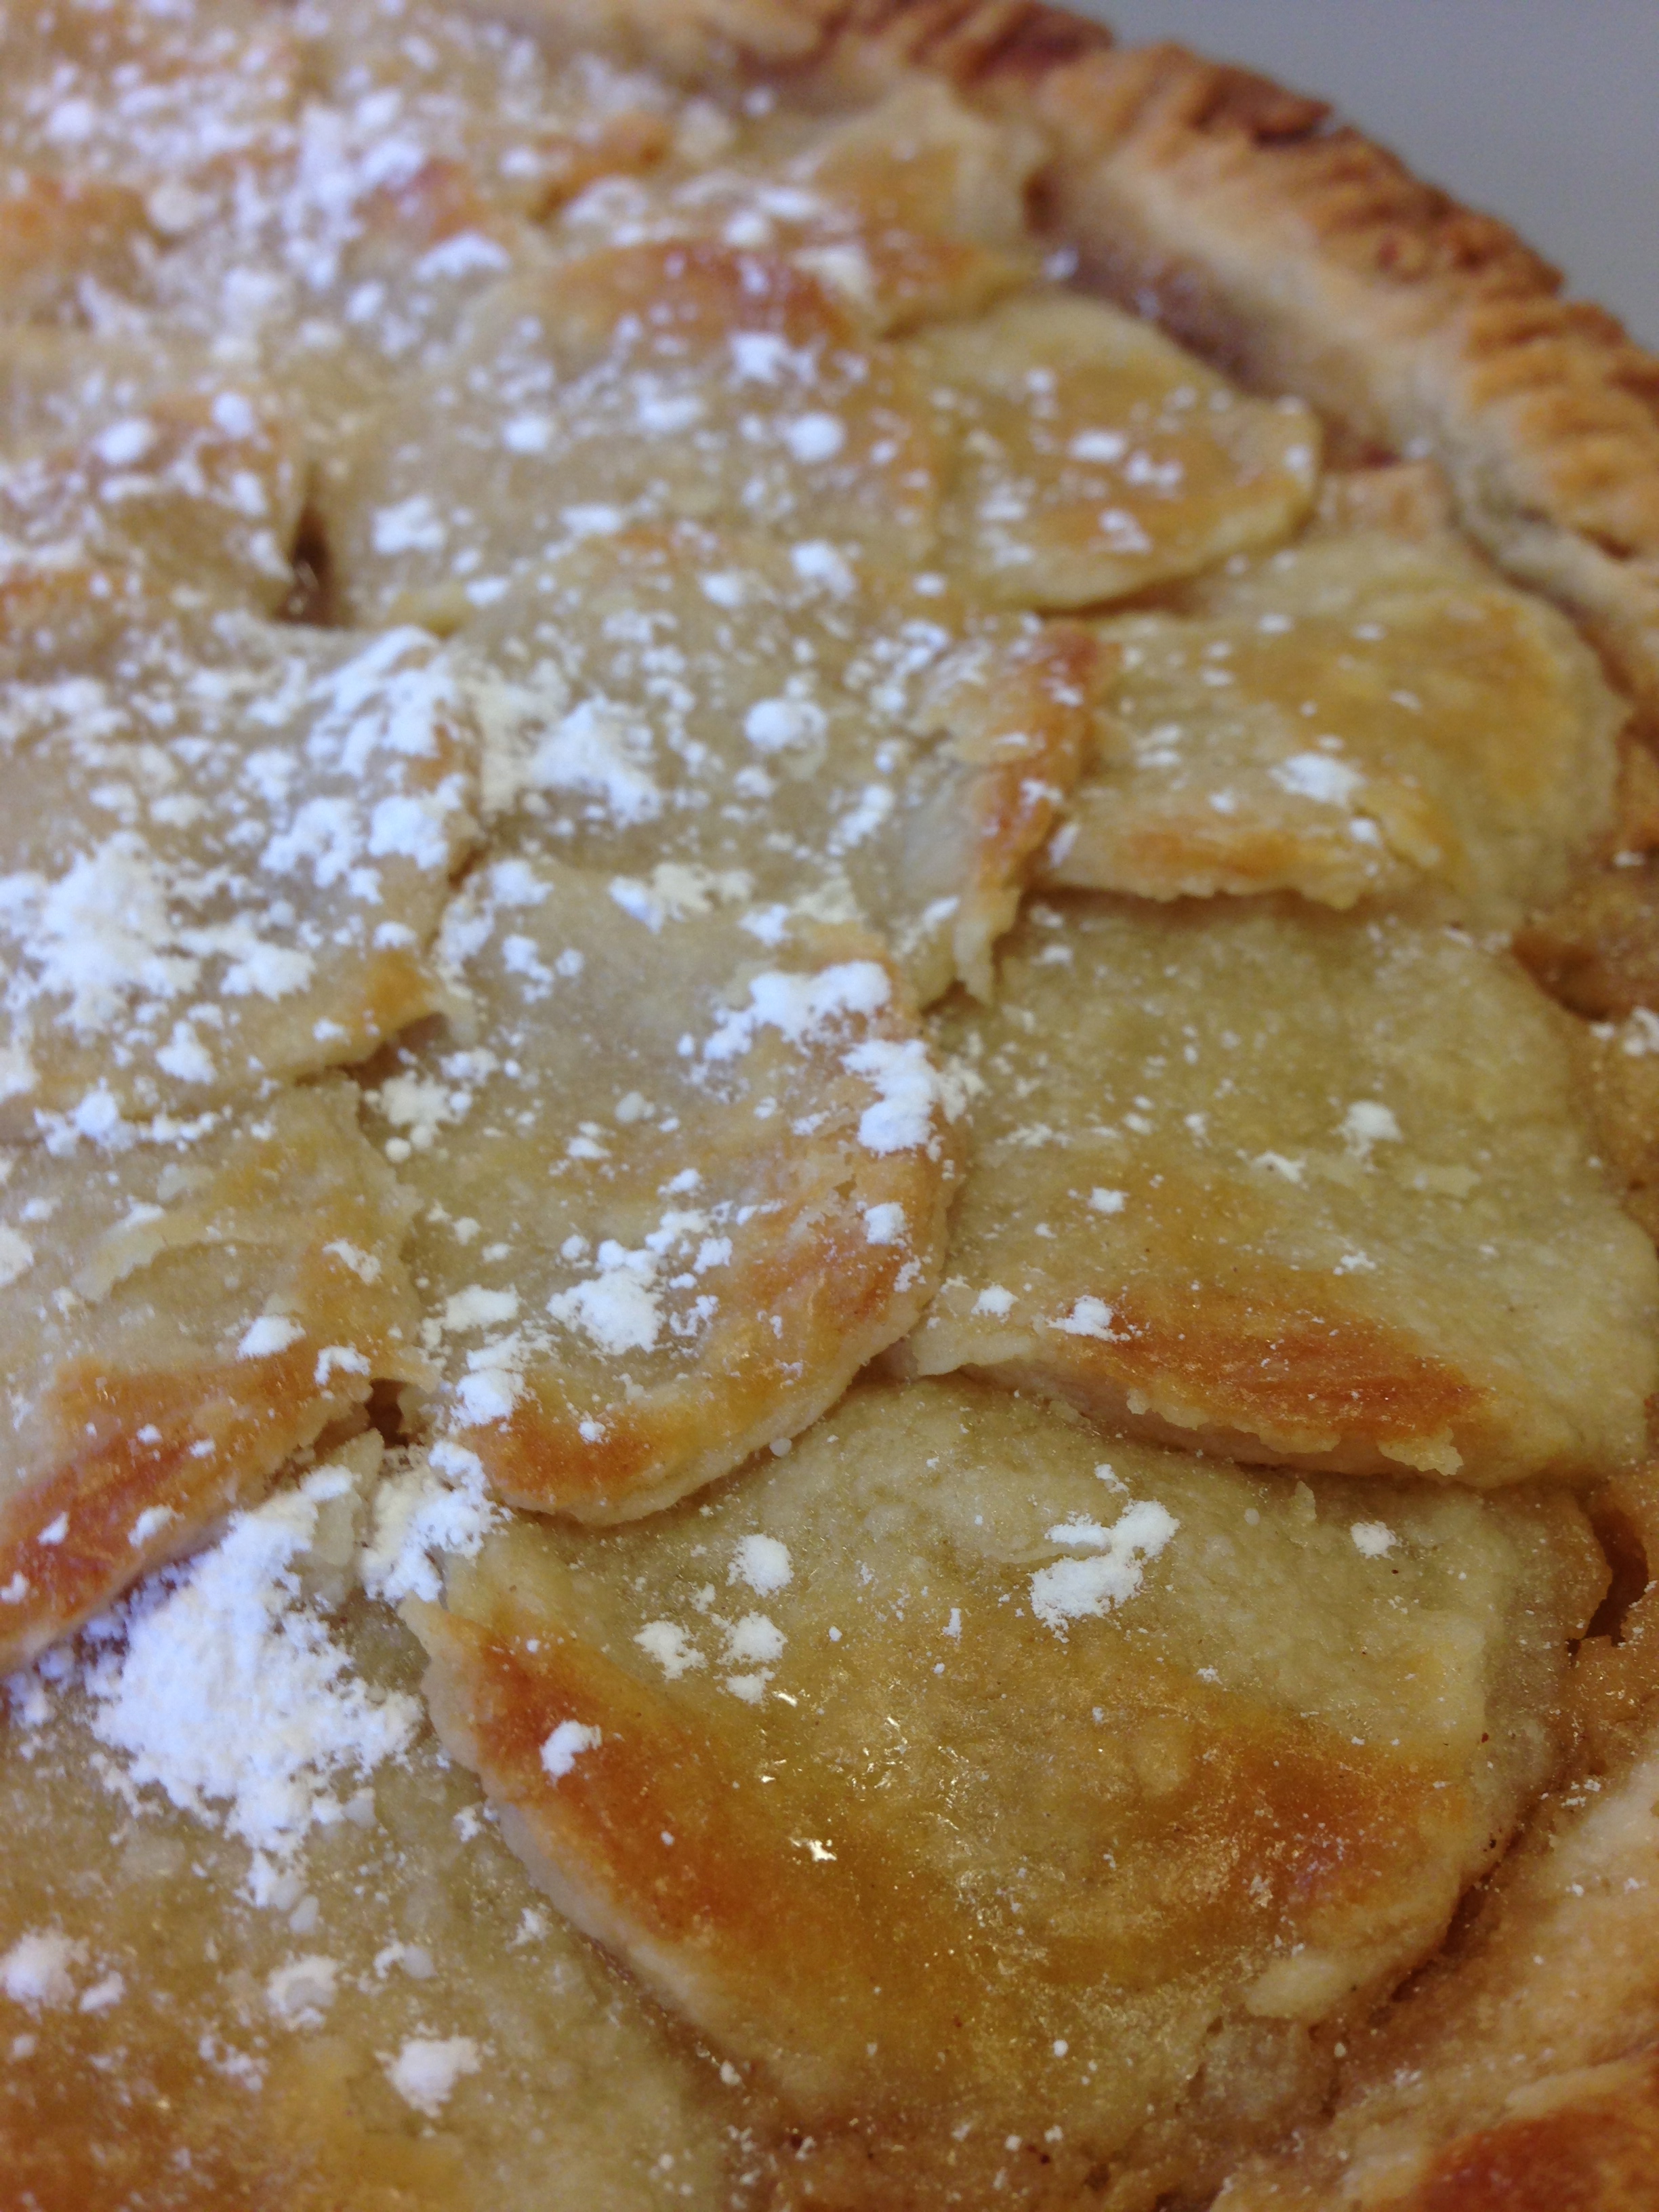
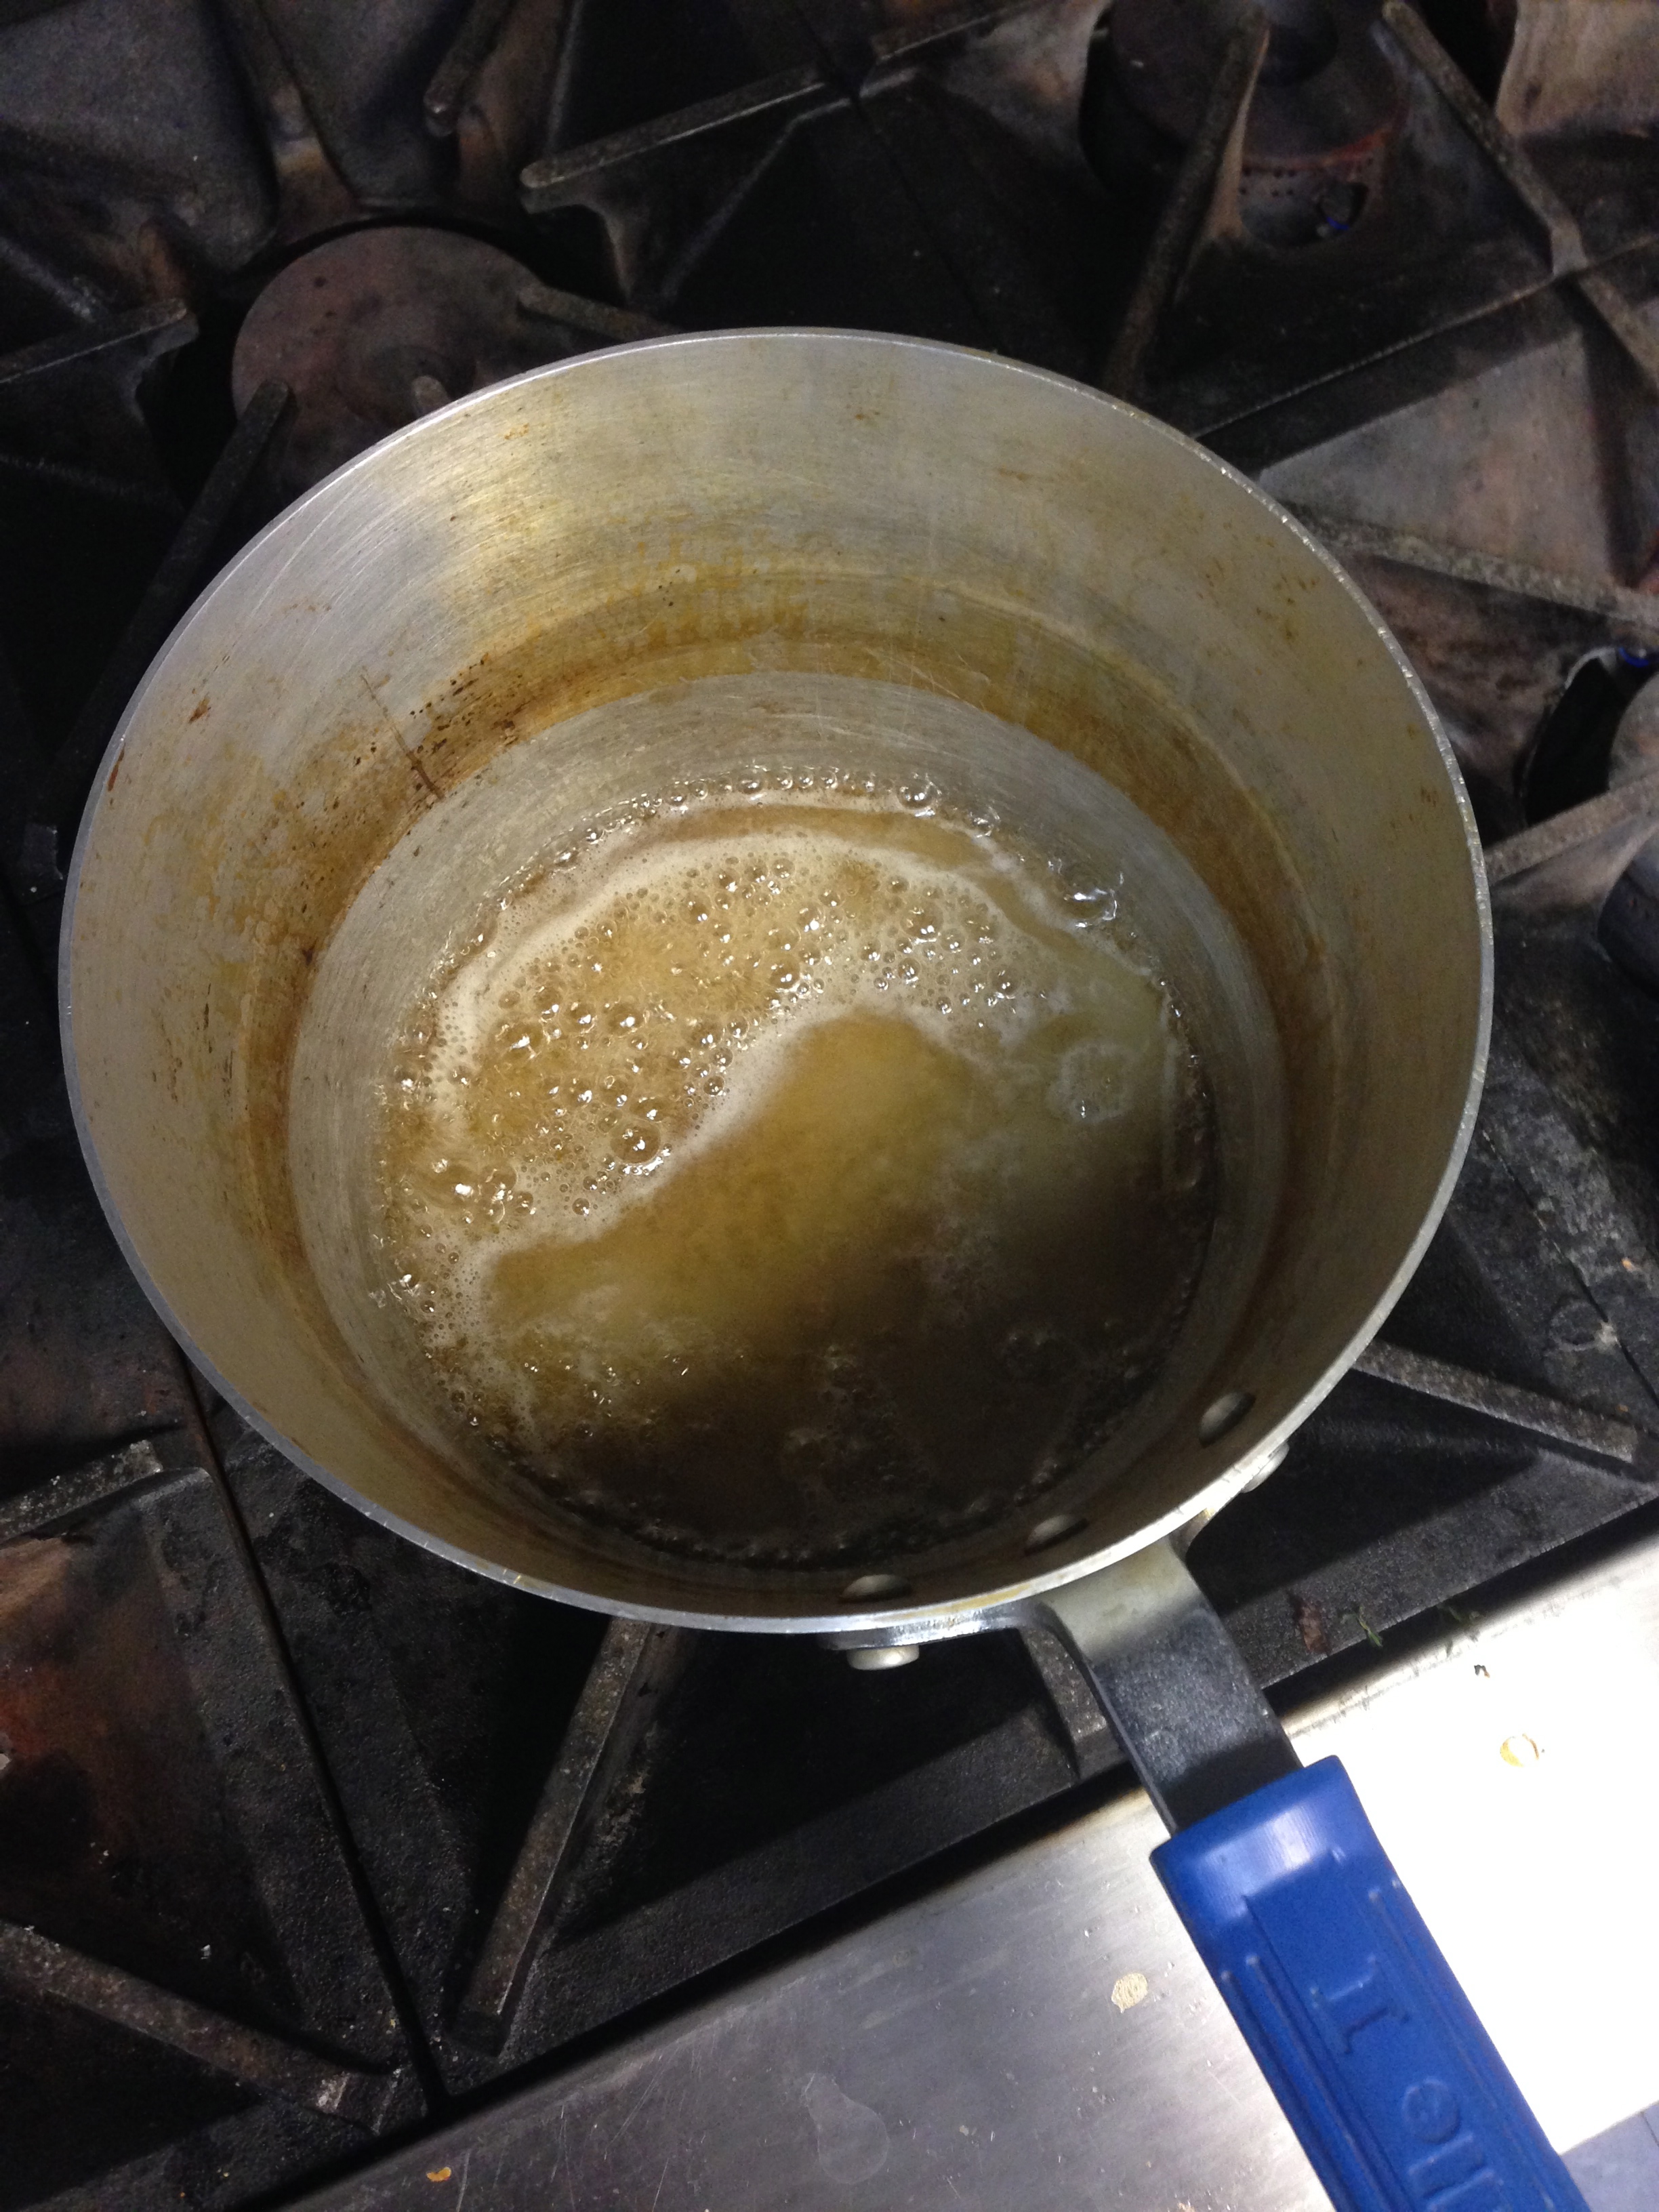
So I seem to have deviated from my original plan to make a tart, but I hope the choices I made in the presentation of this pie come across as interesting! I just though the idea of maple syrup caramel and goat cheese sounded too delicious to be missed out on. The pie was challenging to make especially because it called for special pastry that used cream as the liquid in the pastry rather than water (which required 3 hours in the fridge rather than just 1 before rolling it out…), the caramel was challenging in both preparation and maintenance before it could be put in the crust (caramel that was too hot would melt the pastry, but caramel that was too hard wouldn’t pour…), and finally tackling the presentation aspect itself required quick precision to cut the pastry before it got too warm. I decided that rather than using the standard single, unified piece of circular pastry for the top of the pie I would cut the pastry up and make a sort of pastry mosaic for the top crust. This turned out to be both an aesthetic and functional decision in that the mosaic of concentric layered circles of pastry was both pretty and provided little gaps to serve as steam vents in this very bubbly pie. Before serving it I’m going to throw some granulated sugar on top and warm it. Then I’ll add some confectioners sugar.
IMG_1392

IMG_1393

IMG_1394

Making Caramel!  Just cooked maple syrup and sugar!!!

Making Caramel! Just cooked maple syrup and sugar!!!

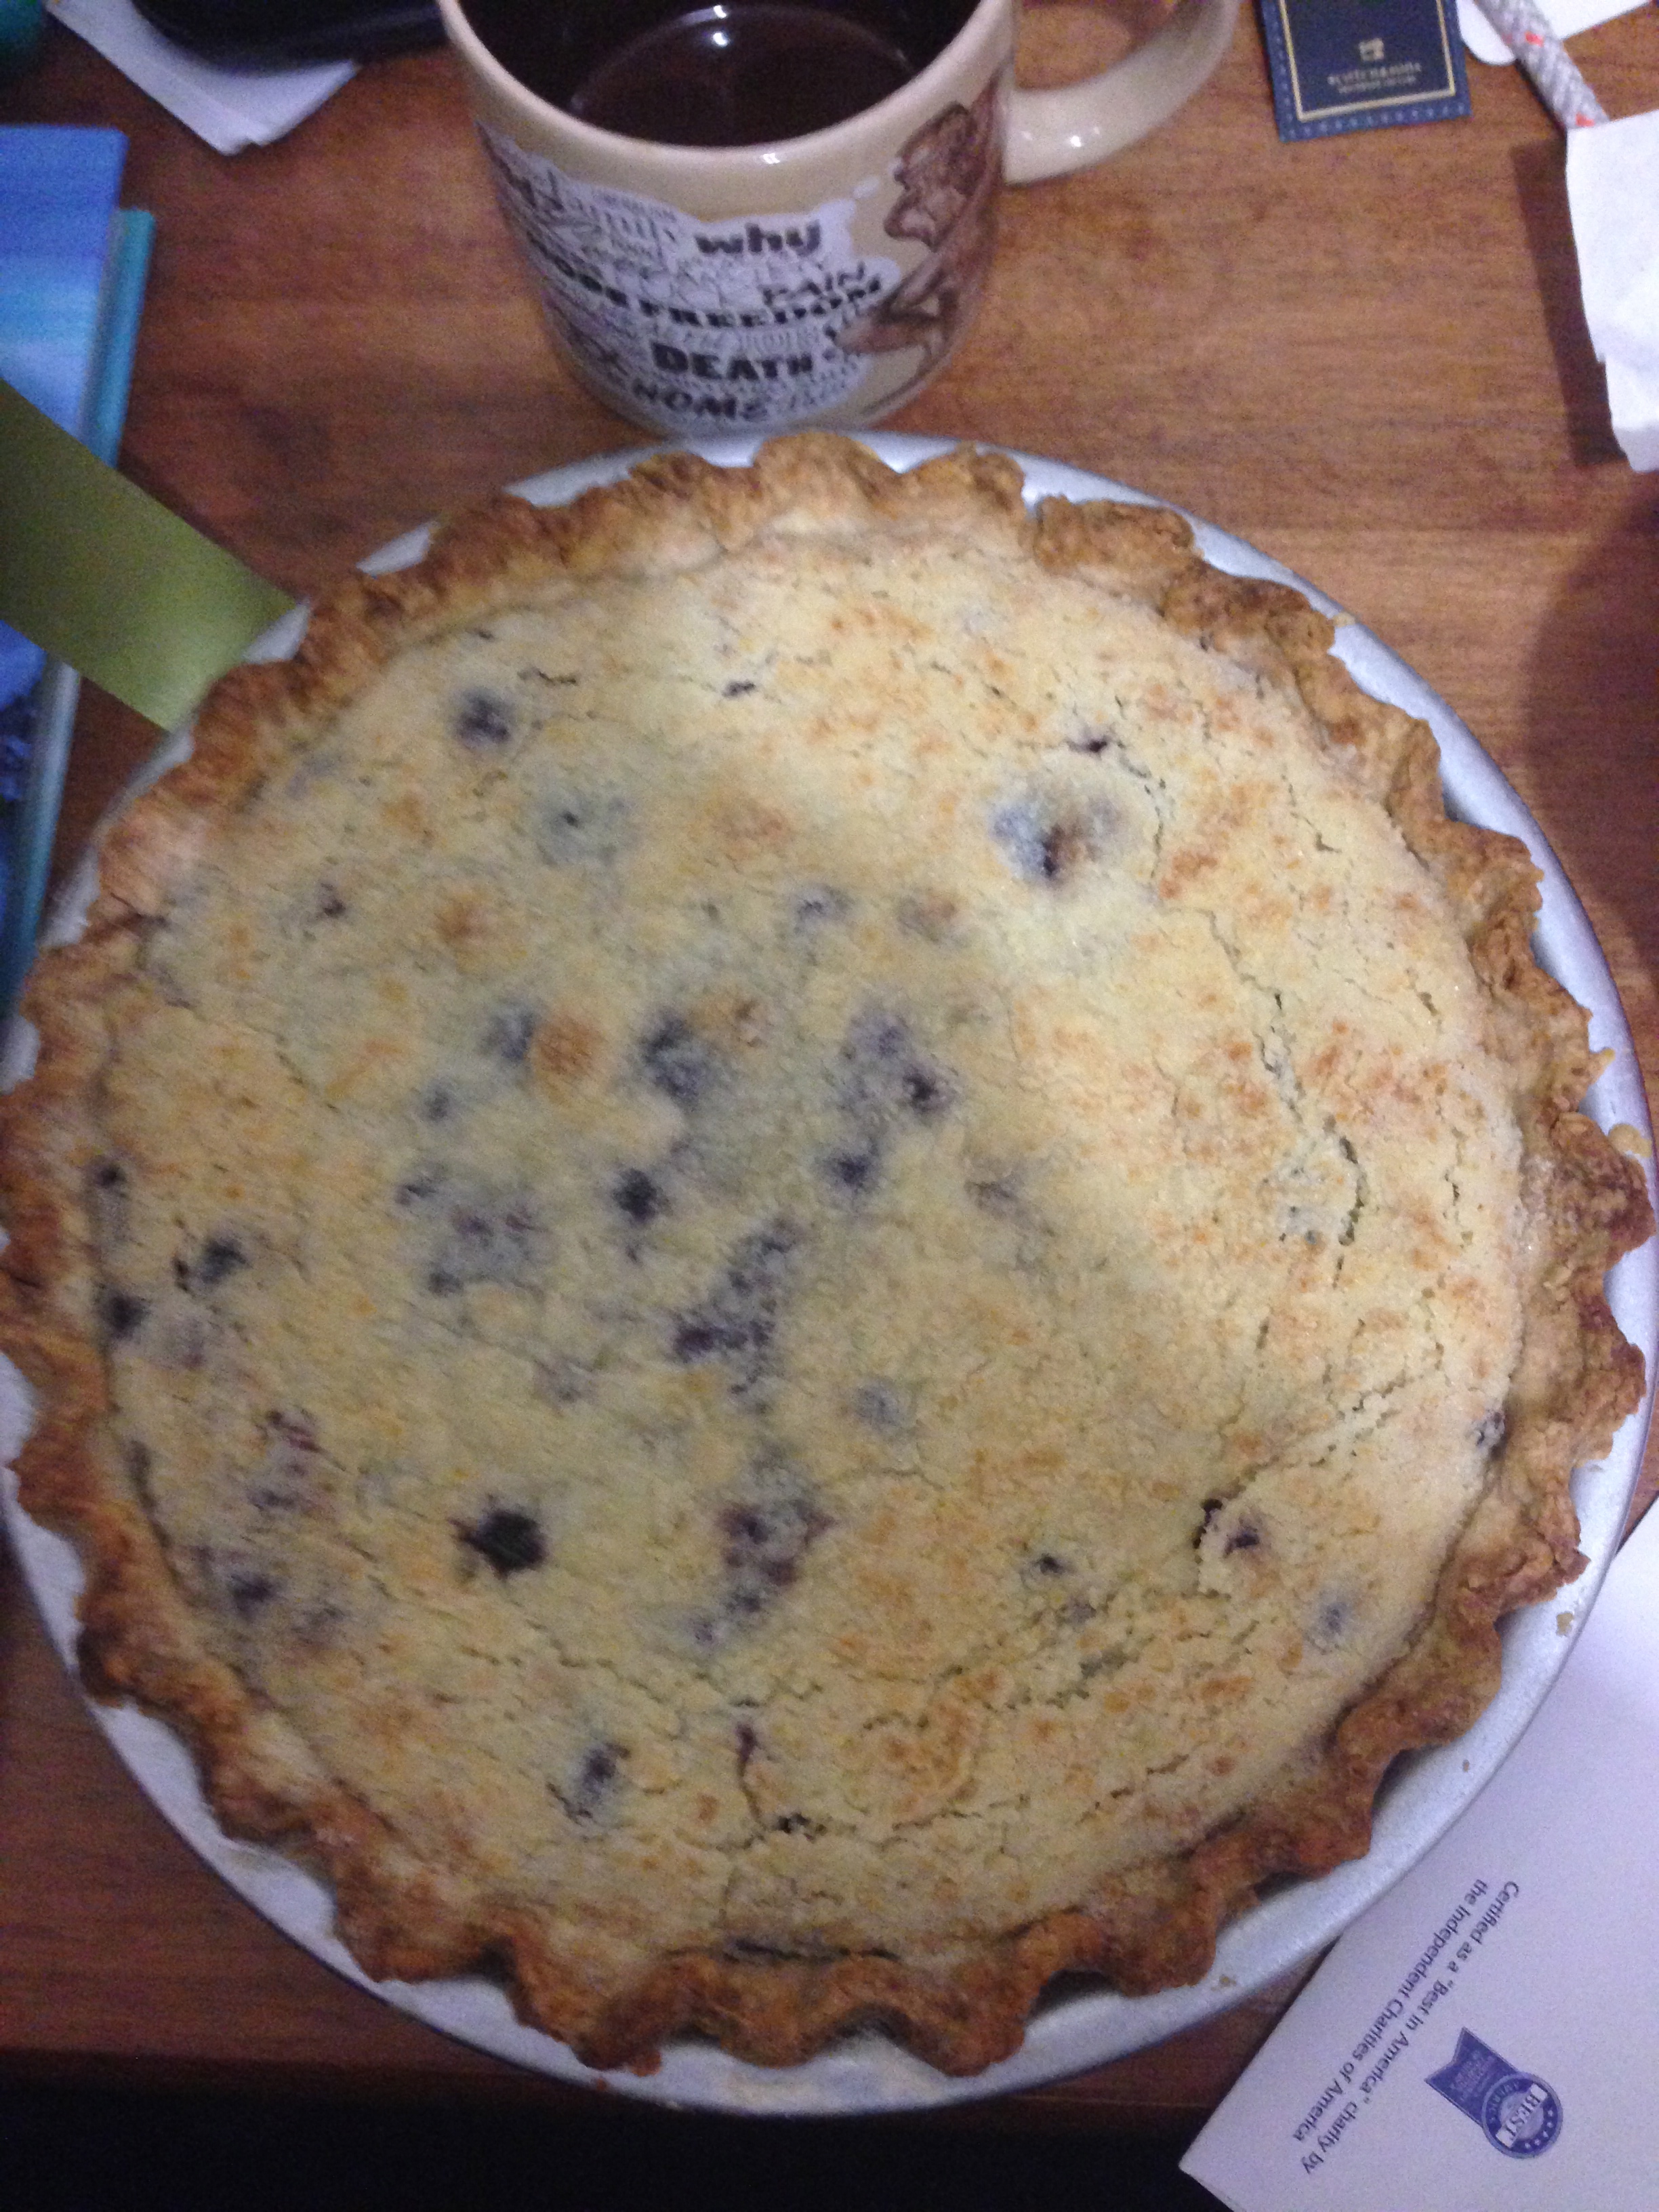
Blueberry Custard Pie

This one I just made for fun this week because I thought it looked good. I baked it back at my place on Tuesday and made the mistake of leaving it out in my room… Most of it has been devoured at this point by friends and roomates, so I’ve opted to just present my apple caramel goat cheese pie this week. This pie was a really easy pie to make and I definitely recommend grabbing some frozen blueberries and throwing it together in your spare time. It’s really good especially with the sour cream and sugar custard, and with the streusel top. IMG_1390

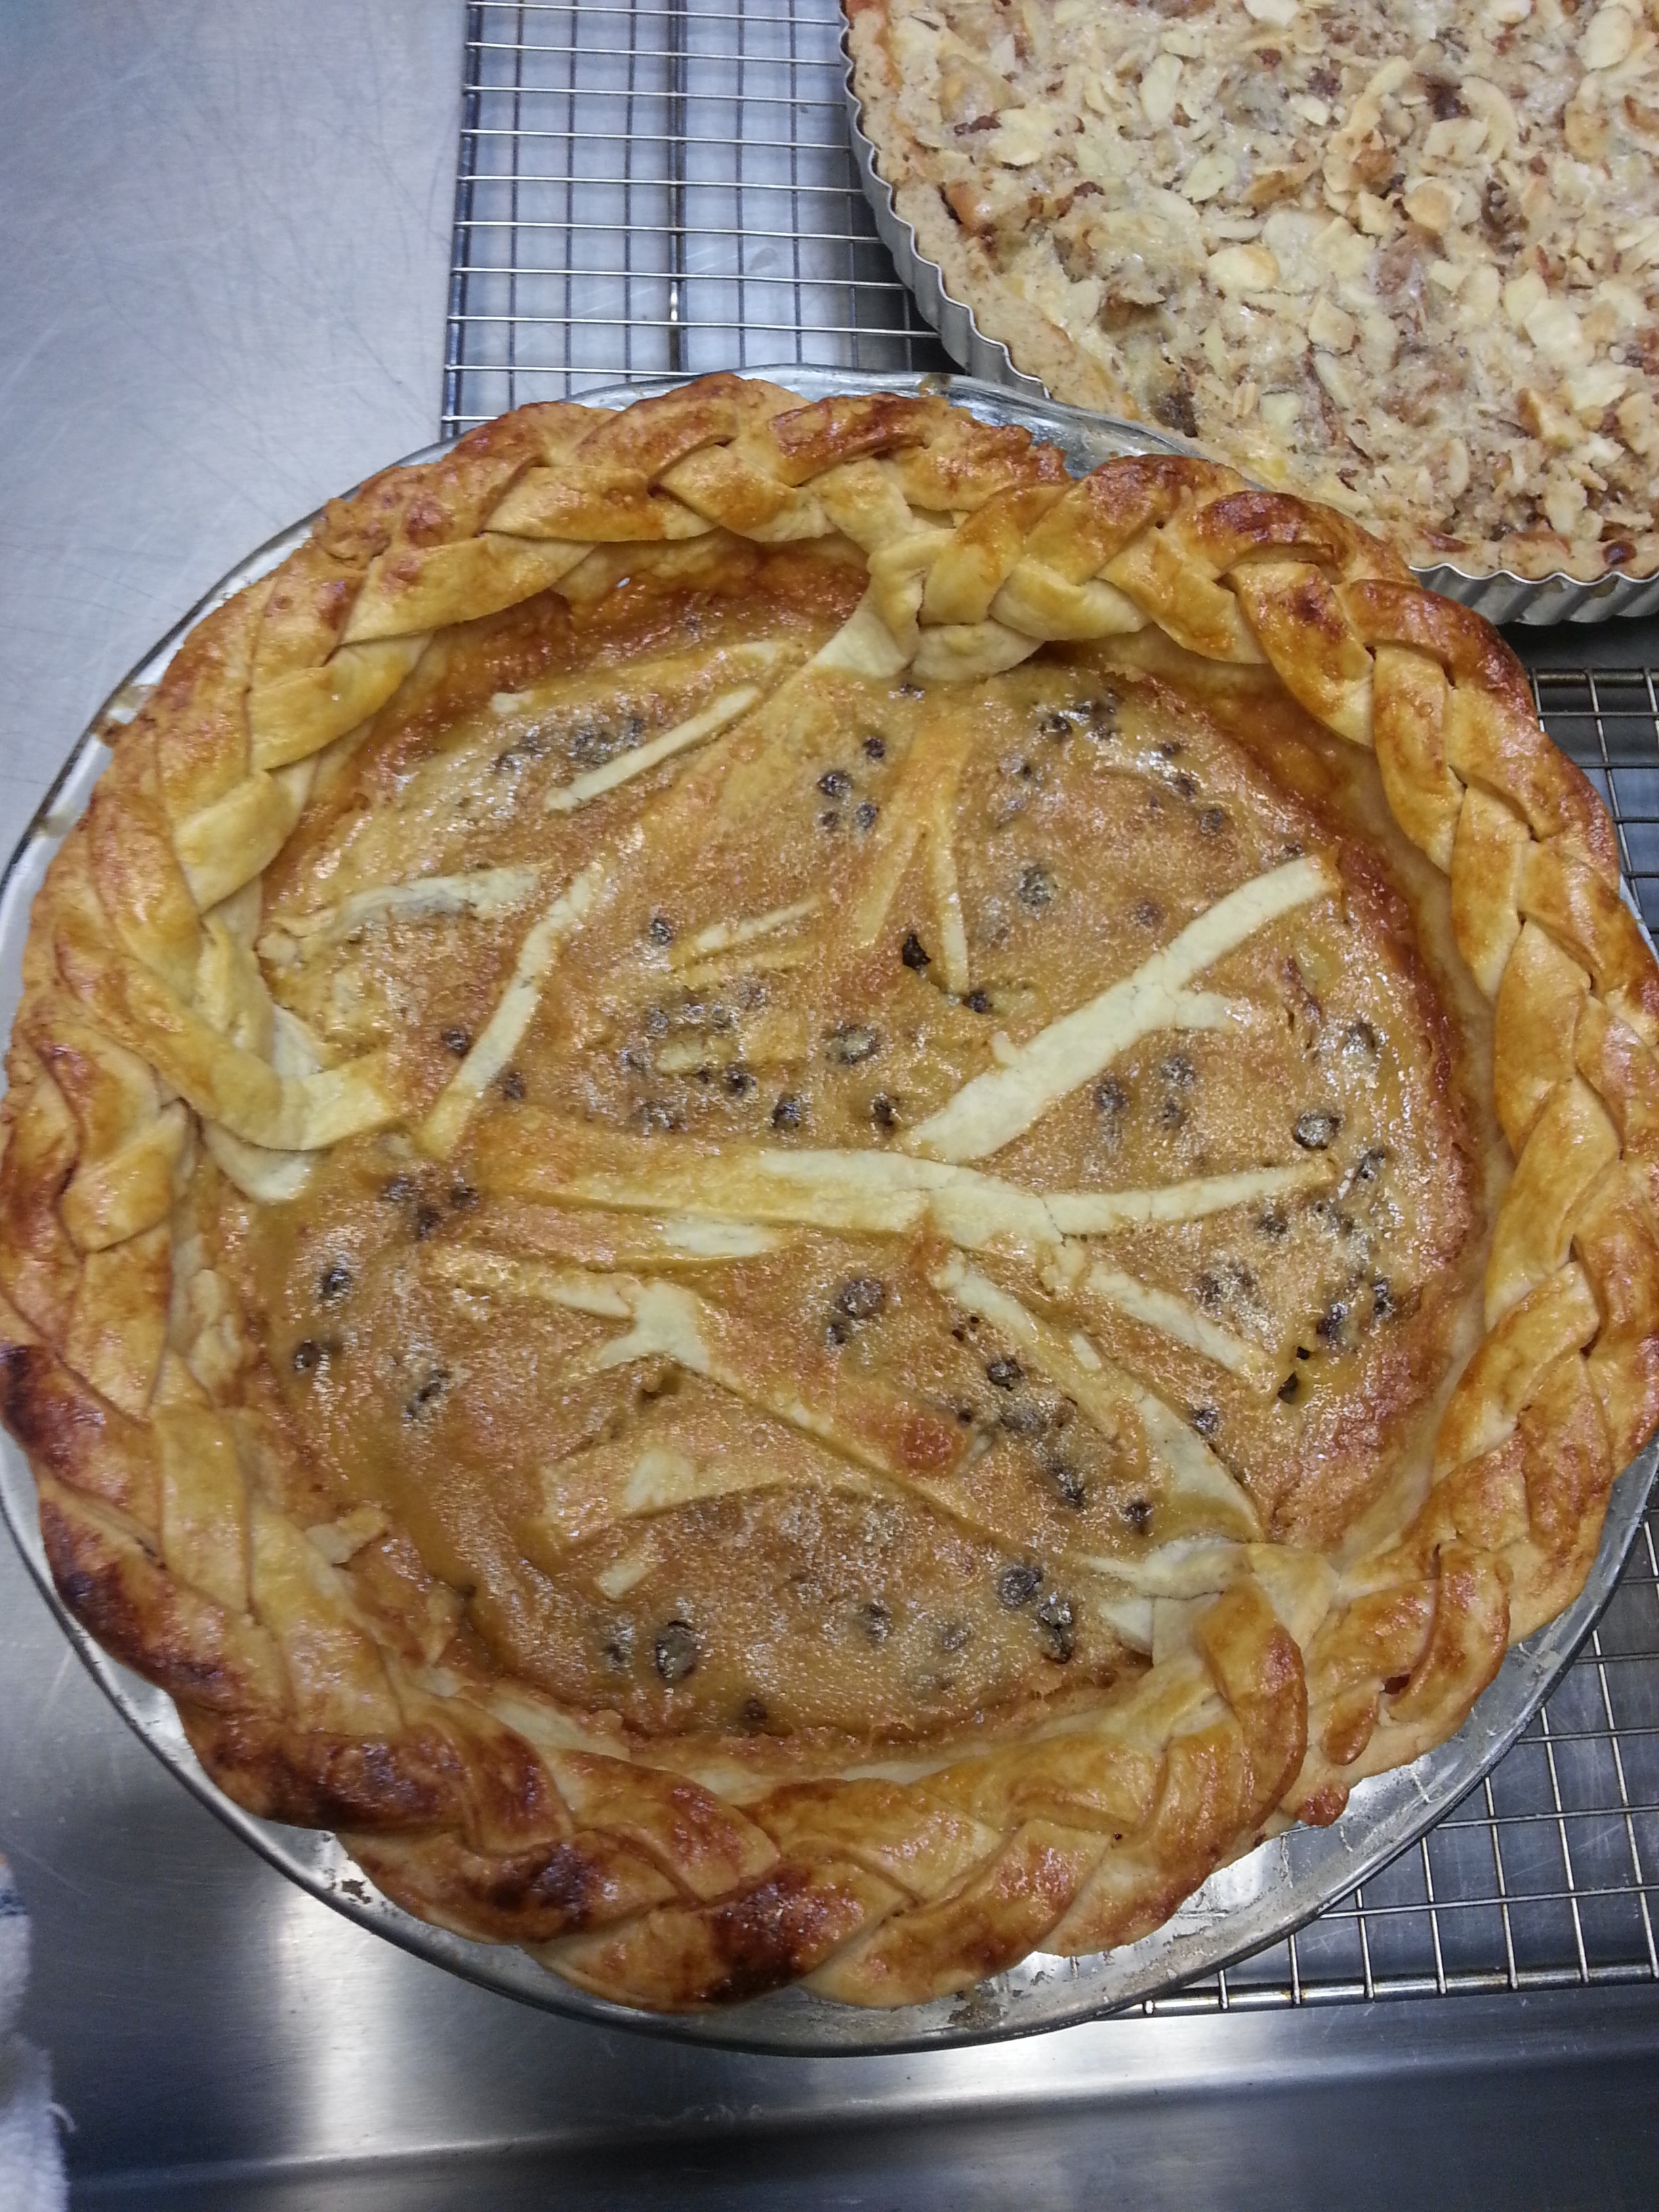
Currant Custard Cream Pie

20140122_170134

I had a lot of trouble with this pie. I had never made a custard pie before and there were a lot of factors in play. Custards have to cook at a low temperature while pie crusts have to cook at higher temperatures. And then I had thought to put this braid crust rim on the top, with the braids unfolding into tree branches. The branches fell into the custard, as you can see. I didn’t wait to put it in later because I was afraid that the braids wouldn’t’ have stuck to the edge of the pie. Luckily, the braids stick. Also, the custard browned a lot more than I expected. If I knew that were the case, I would have not glazed the rim with an egg wash.

I made this pie crust with a vodka trick with about 5 tbsp each of water and vodka. Besides that, it was the usual flaky crust. I edited the custard recipe from Purdy’s Perfect Pie book and used dried currants instead of fresh currants. Let’s hope it works out today when we taste them.

Blueberry Pie with a Lattice Crust

Ever since it was announced that the third week of “Life of Pie” would be decoration, I was dreading the day it would come. While I was excited about the first two weeks, where we had to make a sweet and then a savory pie, in both instances I did not have to show craftsmanship of any sort. The reason that I was nervous about decoration is that I am artistically challenged. So much so, that when I was in an art class my freshman year in high school, my teacher made me draw circles while the other students drew self-portraits. While my Mom and two sisters are terrific artists, due to my terrible fine motor skills my best bet for something artistic is something abstract in the vein of Jackson Pollack. In fact, my handwriting has gotten worse since I was a little kid, not the other way around!

As a Pie maker whose father once proclaimed that his chicken scratch handwriting looked like Egyptian hieroglyphics, I thought to myself, “what could I bake this week that looks pretty, but is relatively easy to make/not screw up”? Enter the lattice topped pie. For whiling the weaving is intricate, to quote the Geico commercials, “it is so easy a caveman could do it.” With that in mind, I was set on my decorative style for this week.

But what of the pie itself? Last week I took English eloquence and bastardized it with American excess and opulence when I put a twist on the English pork pie. After eating all of those savory pies, not to mention the time it takes to actually make them, I figured I would go for something sweet and quicker to make. Although I am a major blackberry fan, for some reason, the idea for its berry cousin, blueberry, popped into my head. As George Clooney said in Wes Anderson’s terrific The Fantastic Mr. Fox when voicing the titular character, “Beagles love blueberries” and so do people as well! Unlike my beloved tart blackberry, I figured this would be a pie that is more user friendly, that everyone will like (hopefully). I got my recipe from: http://www.food.com/recipe/blueberry-pie-2452 which you can check out if you want to replicate it.

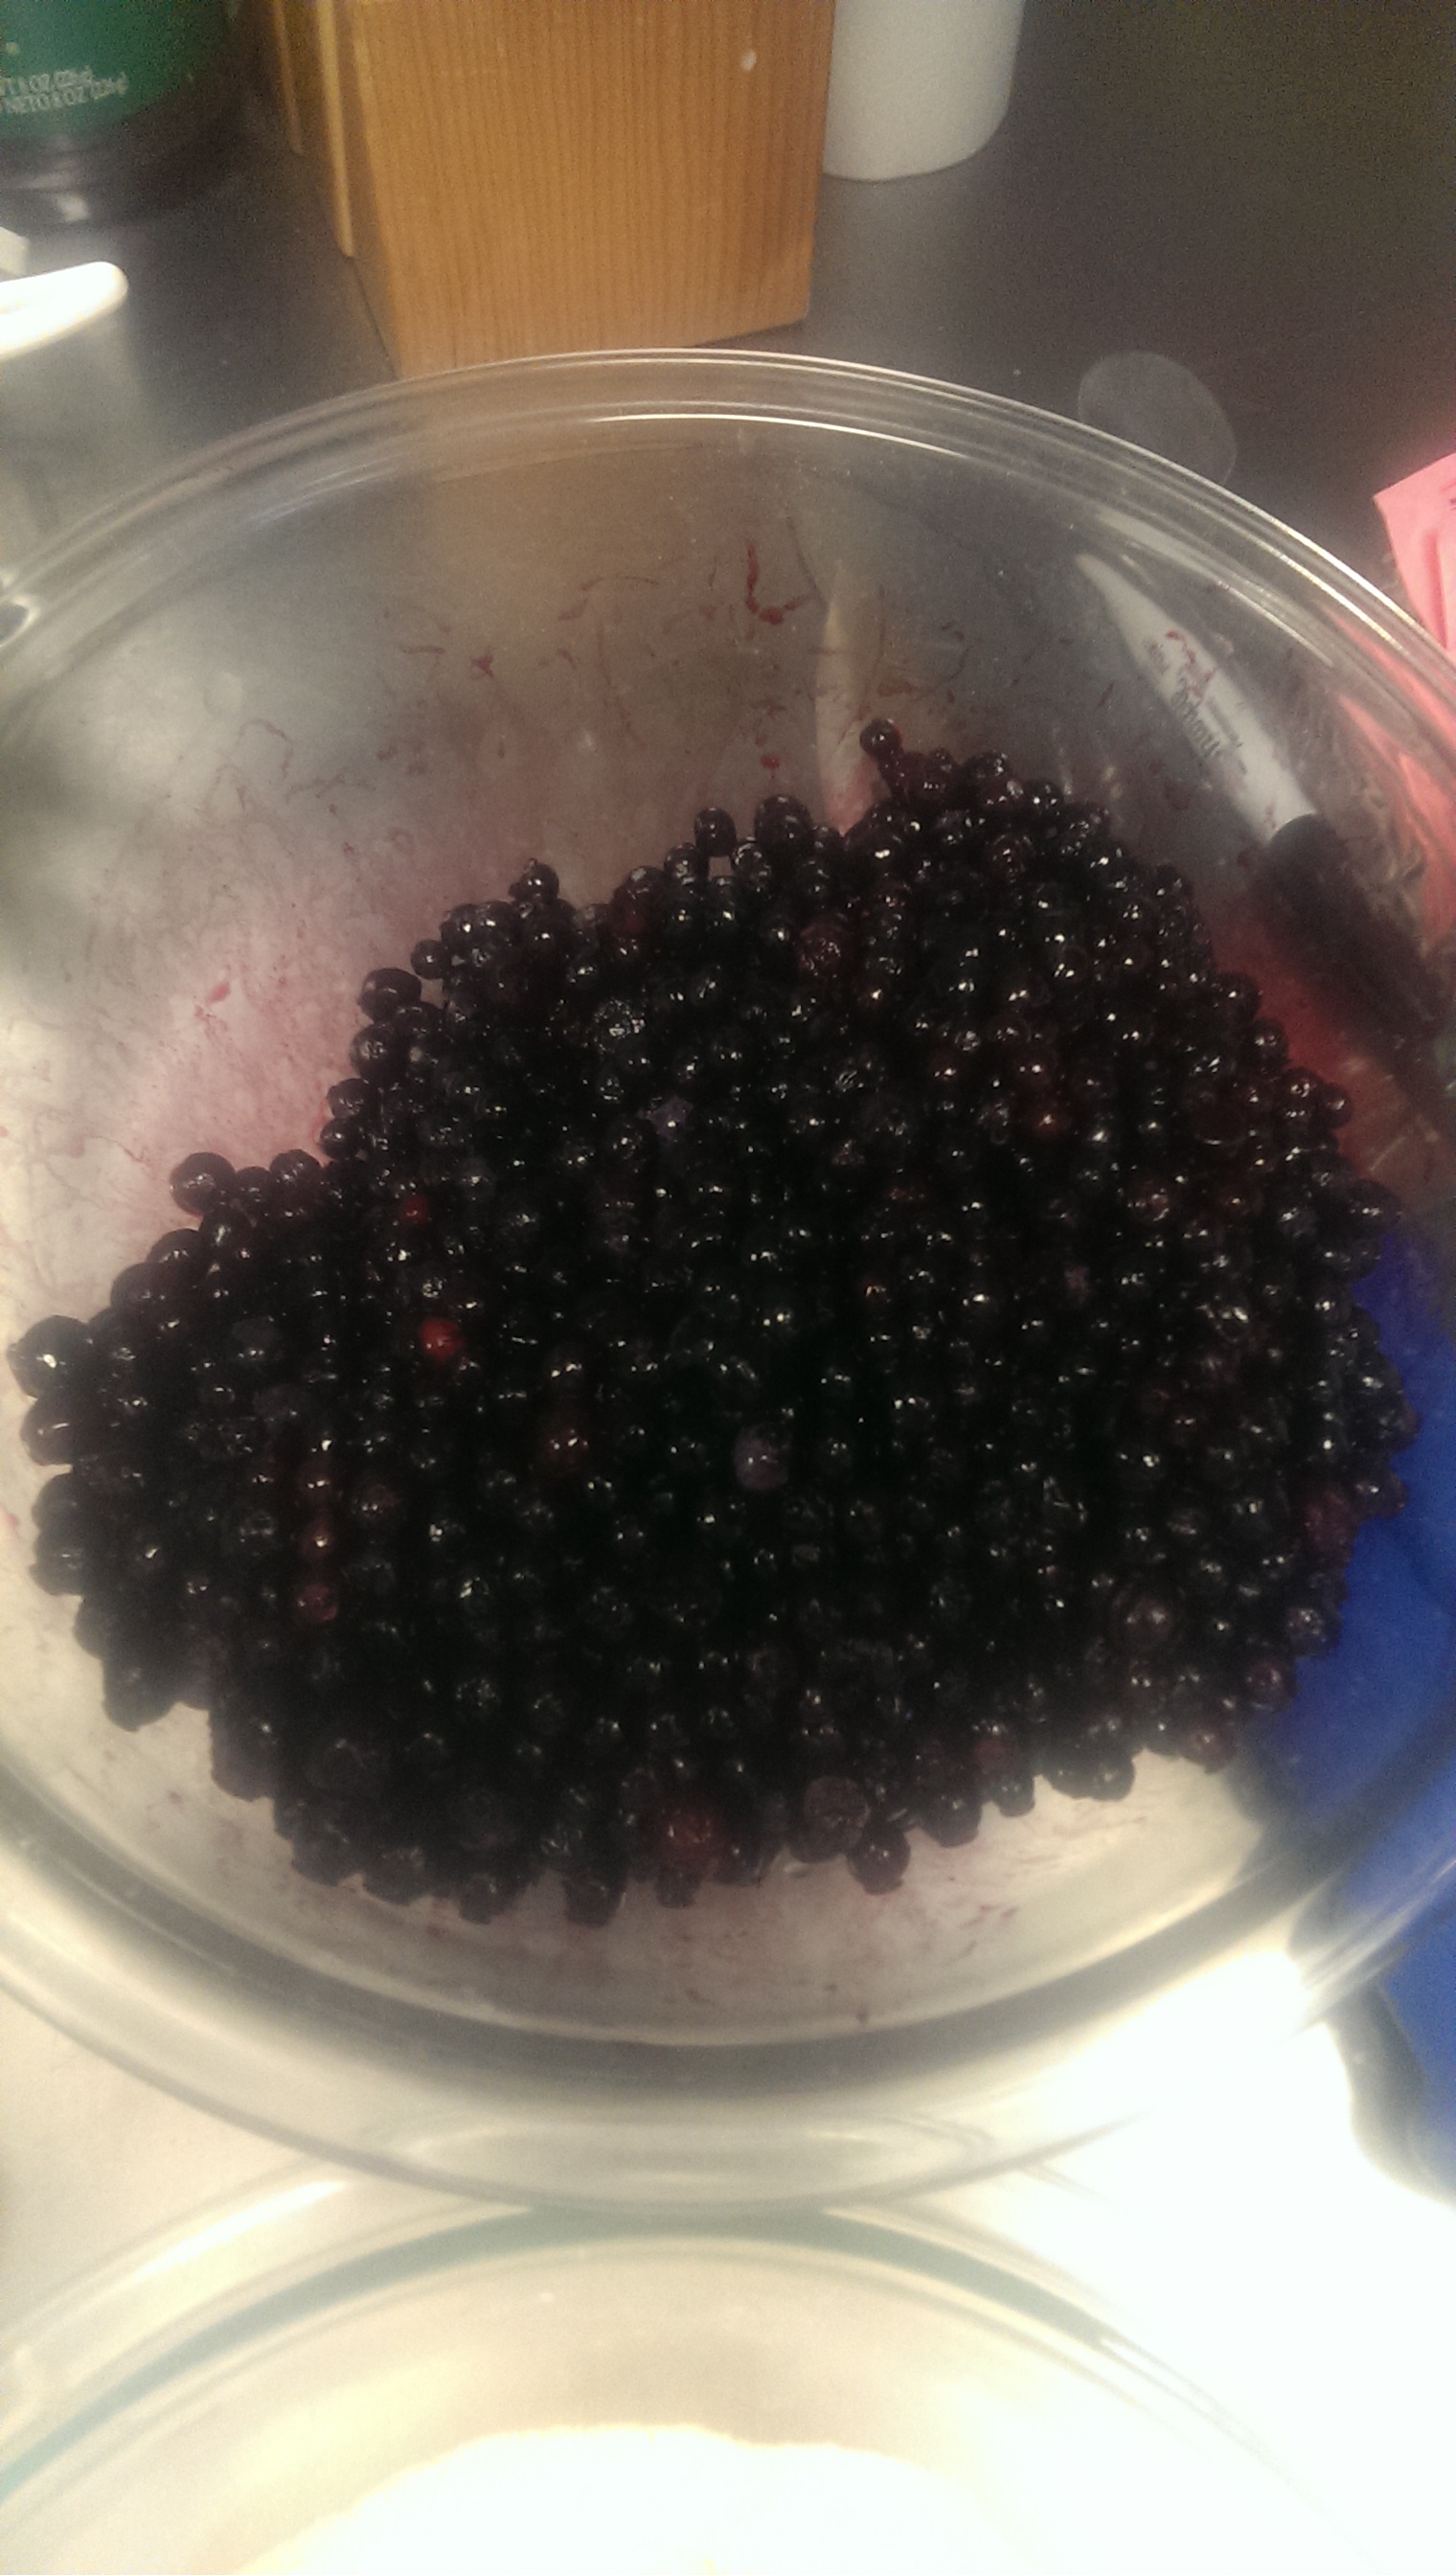
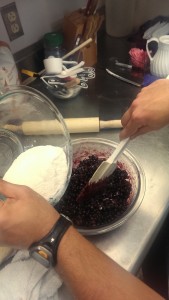
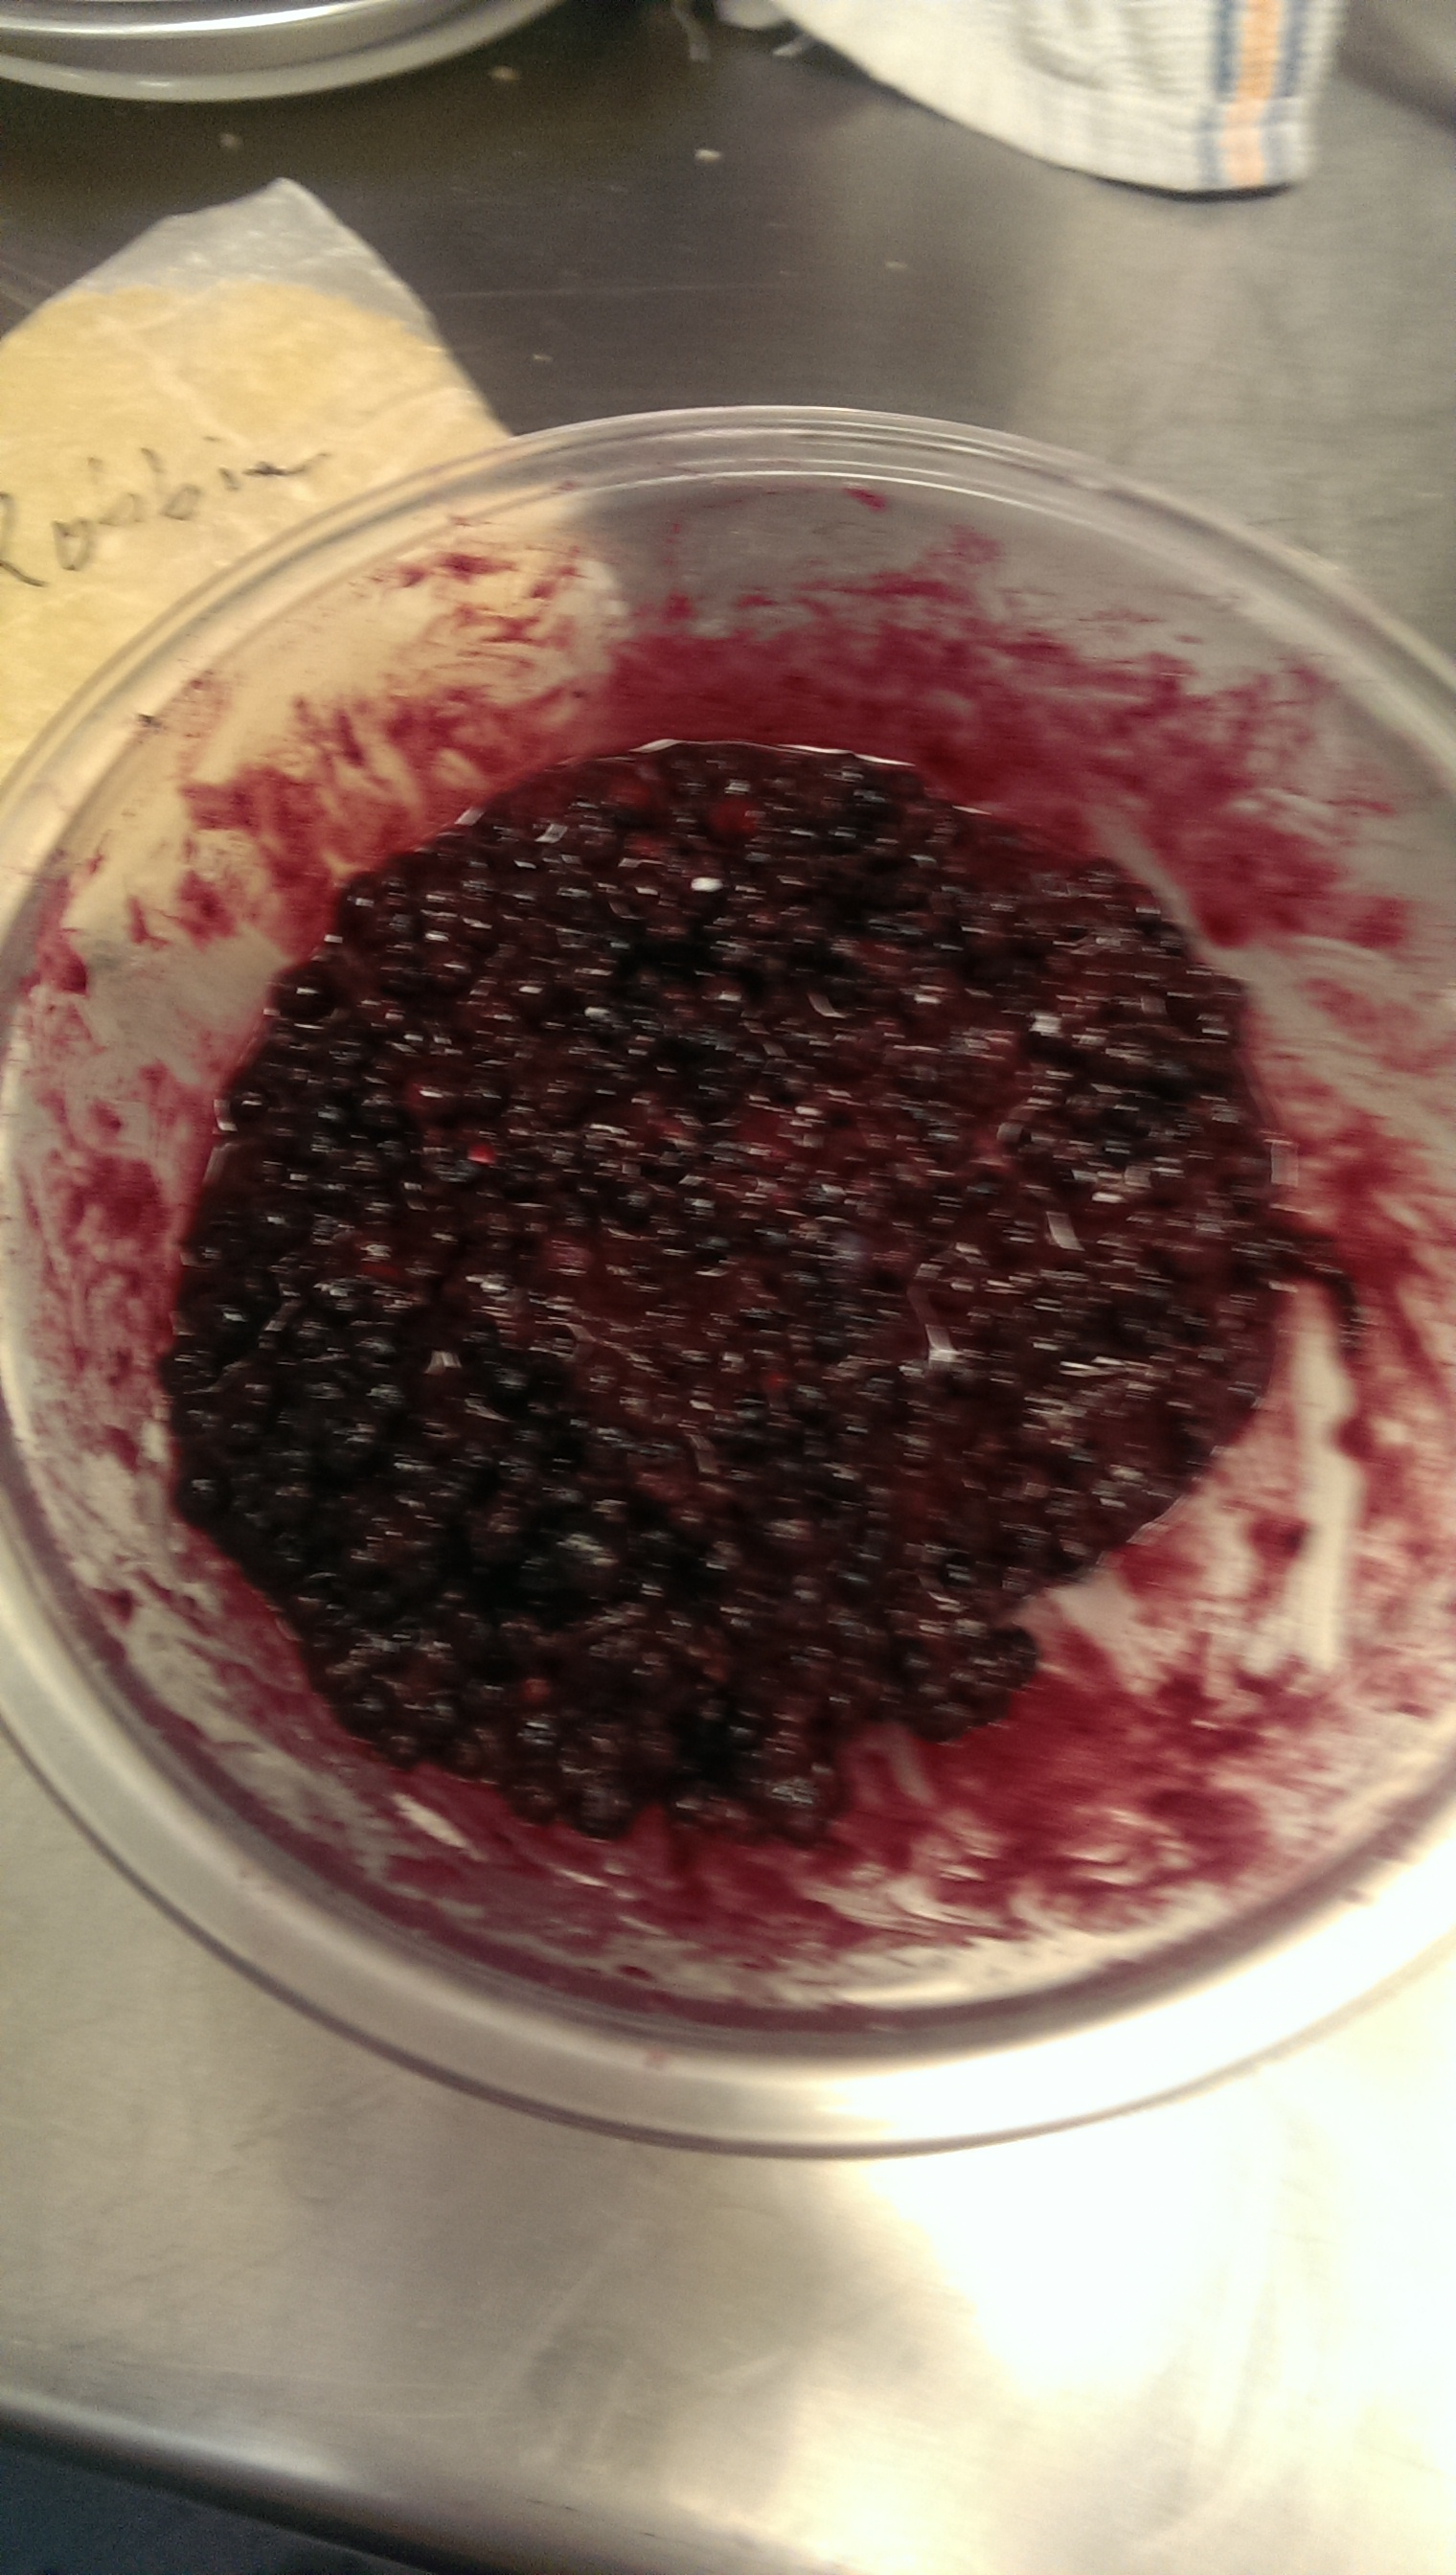
Blueberries Sugar Mixture

Unfortunately though, it is not blueberry season. Luckily I got Wymans terrific fresh then frozen blueberries which looked and tasted great. Notwithstanding the use of Wymans blueberries,  I liked this recipe in particular in that in calls for a cup of sugar. While that would seem to be more than usual, I thought it was useful for the winter, since it compensates for the lack of sweetness that would normally accompany these berries during blueberry season. After washing the berries and adding lemon juice, I proceeded to create the sugar/flour/cinnamon mixture which you can see in the recipe. Then I mixed the sugar mixture and the blueberries together until it reached an almost stew consistency. It looked and tasted great.

Blackberries and Sugar MixtureMixing in the Sugar MixtureStewed Blueberries

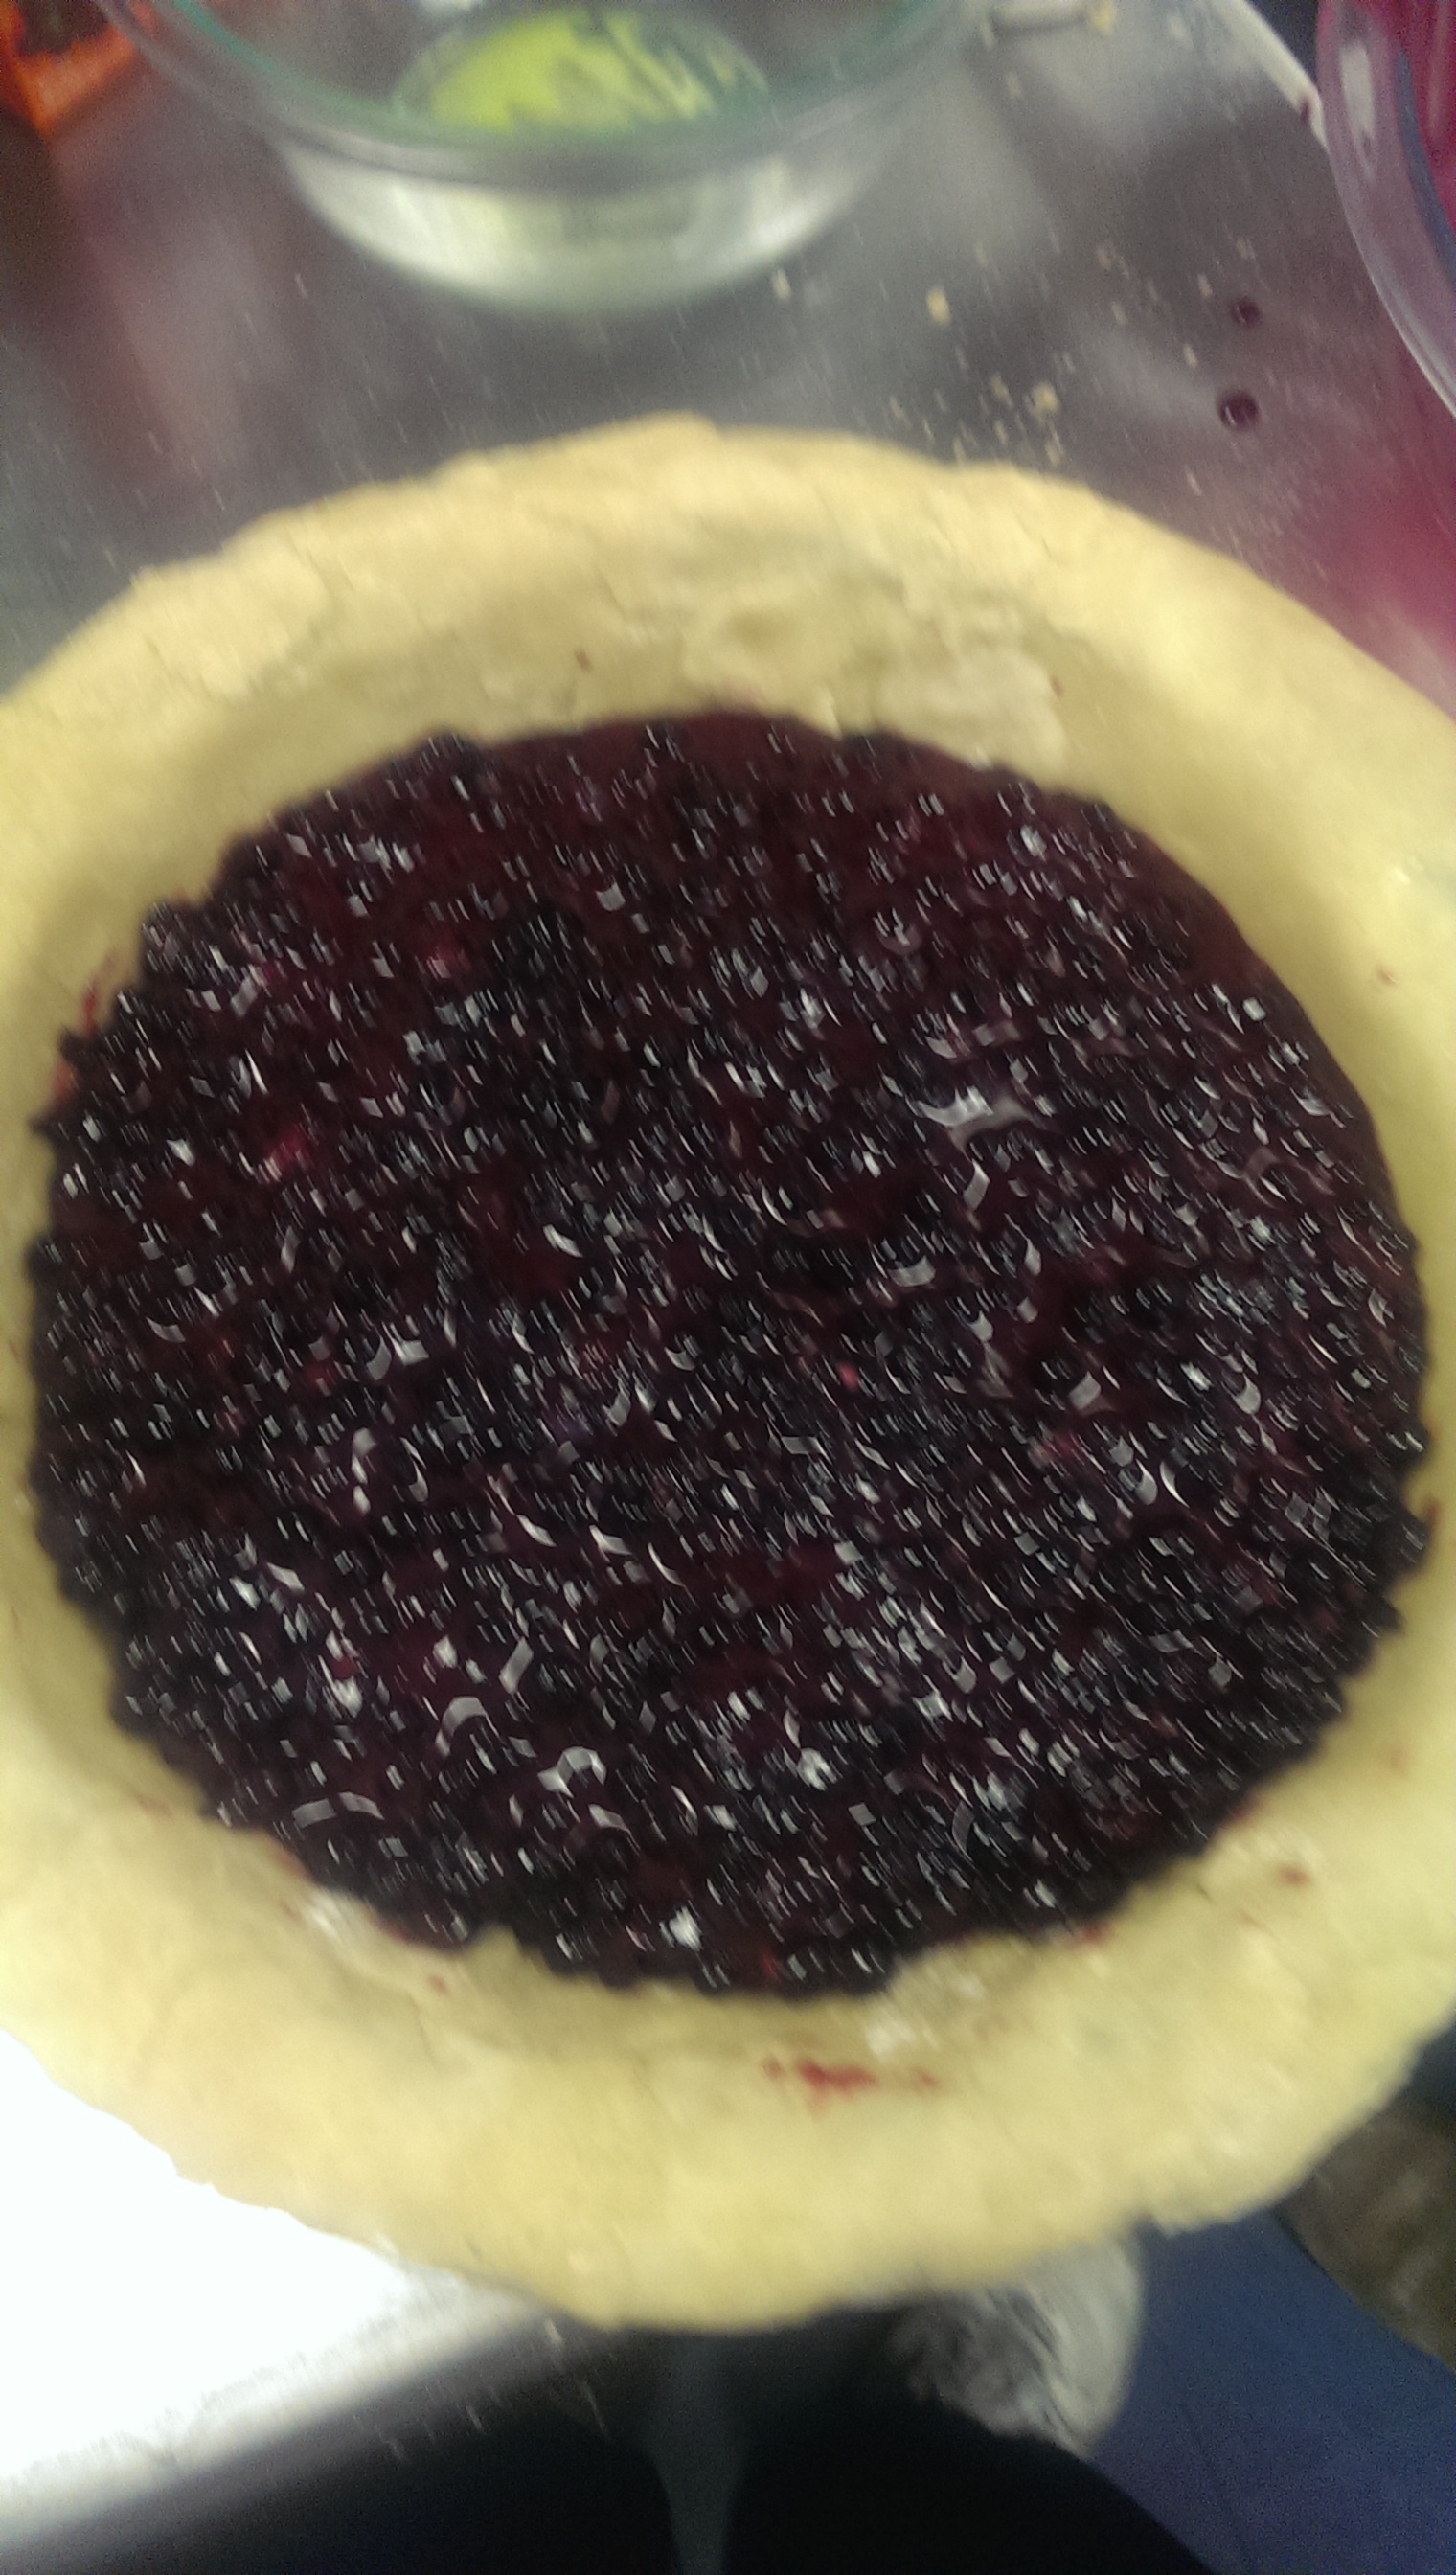
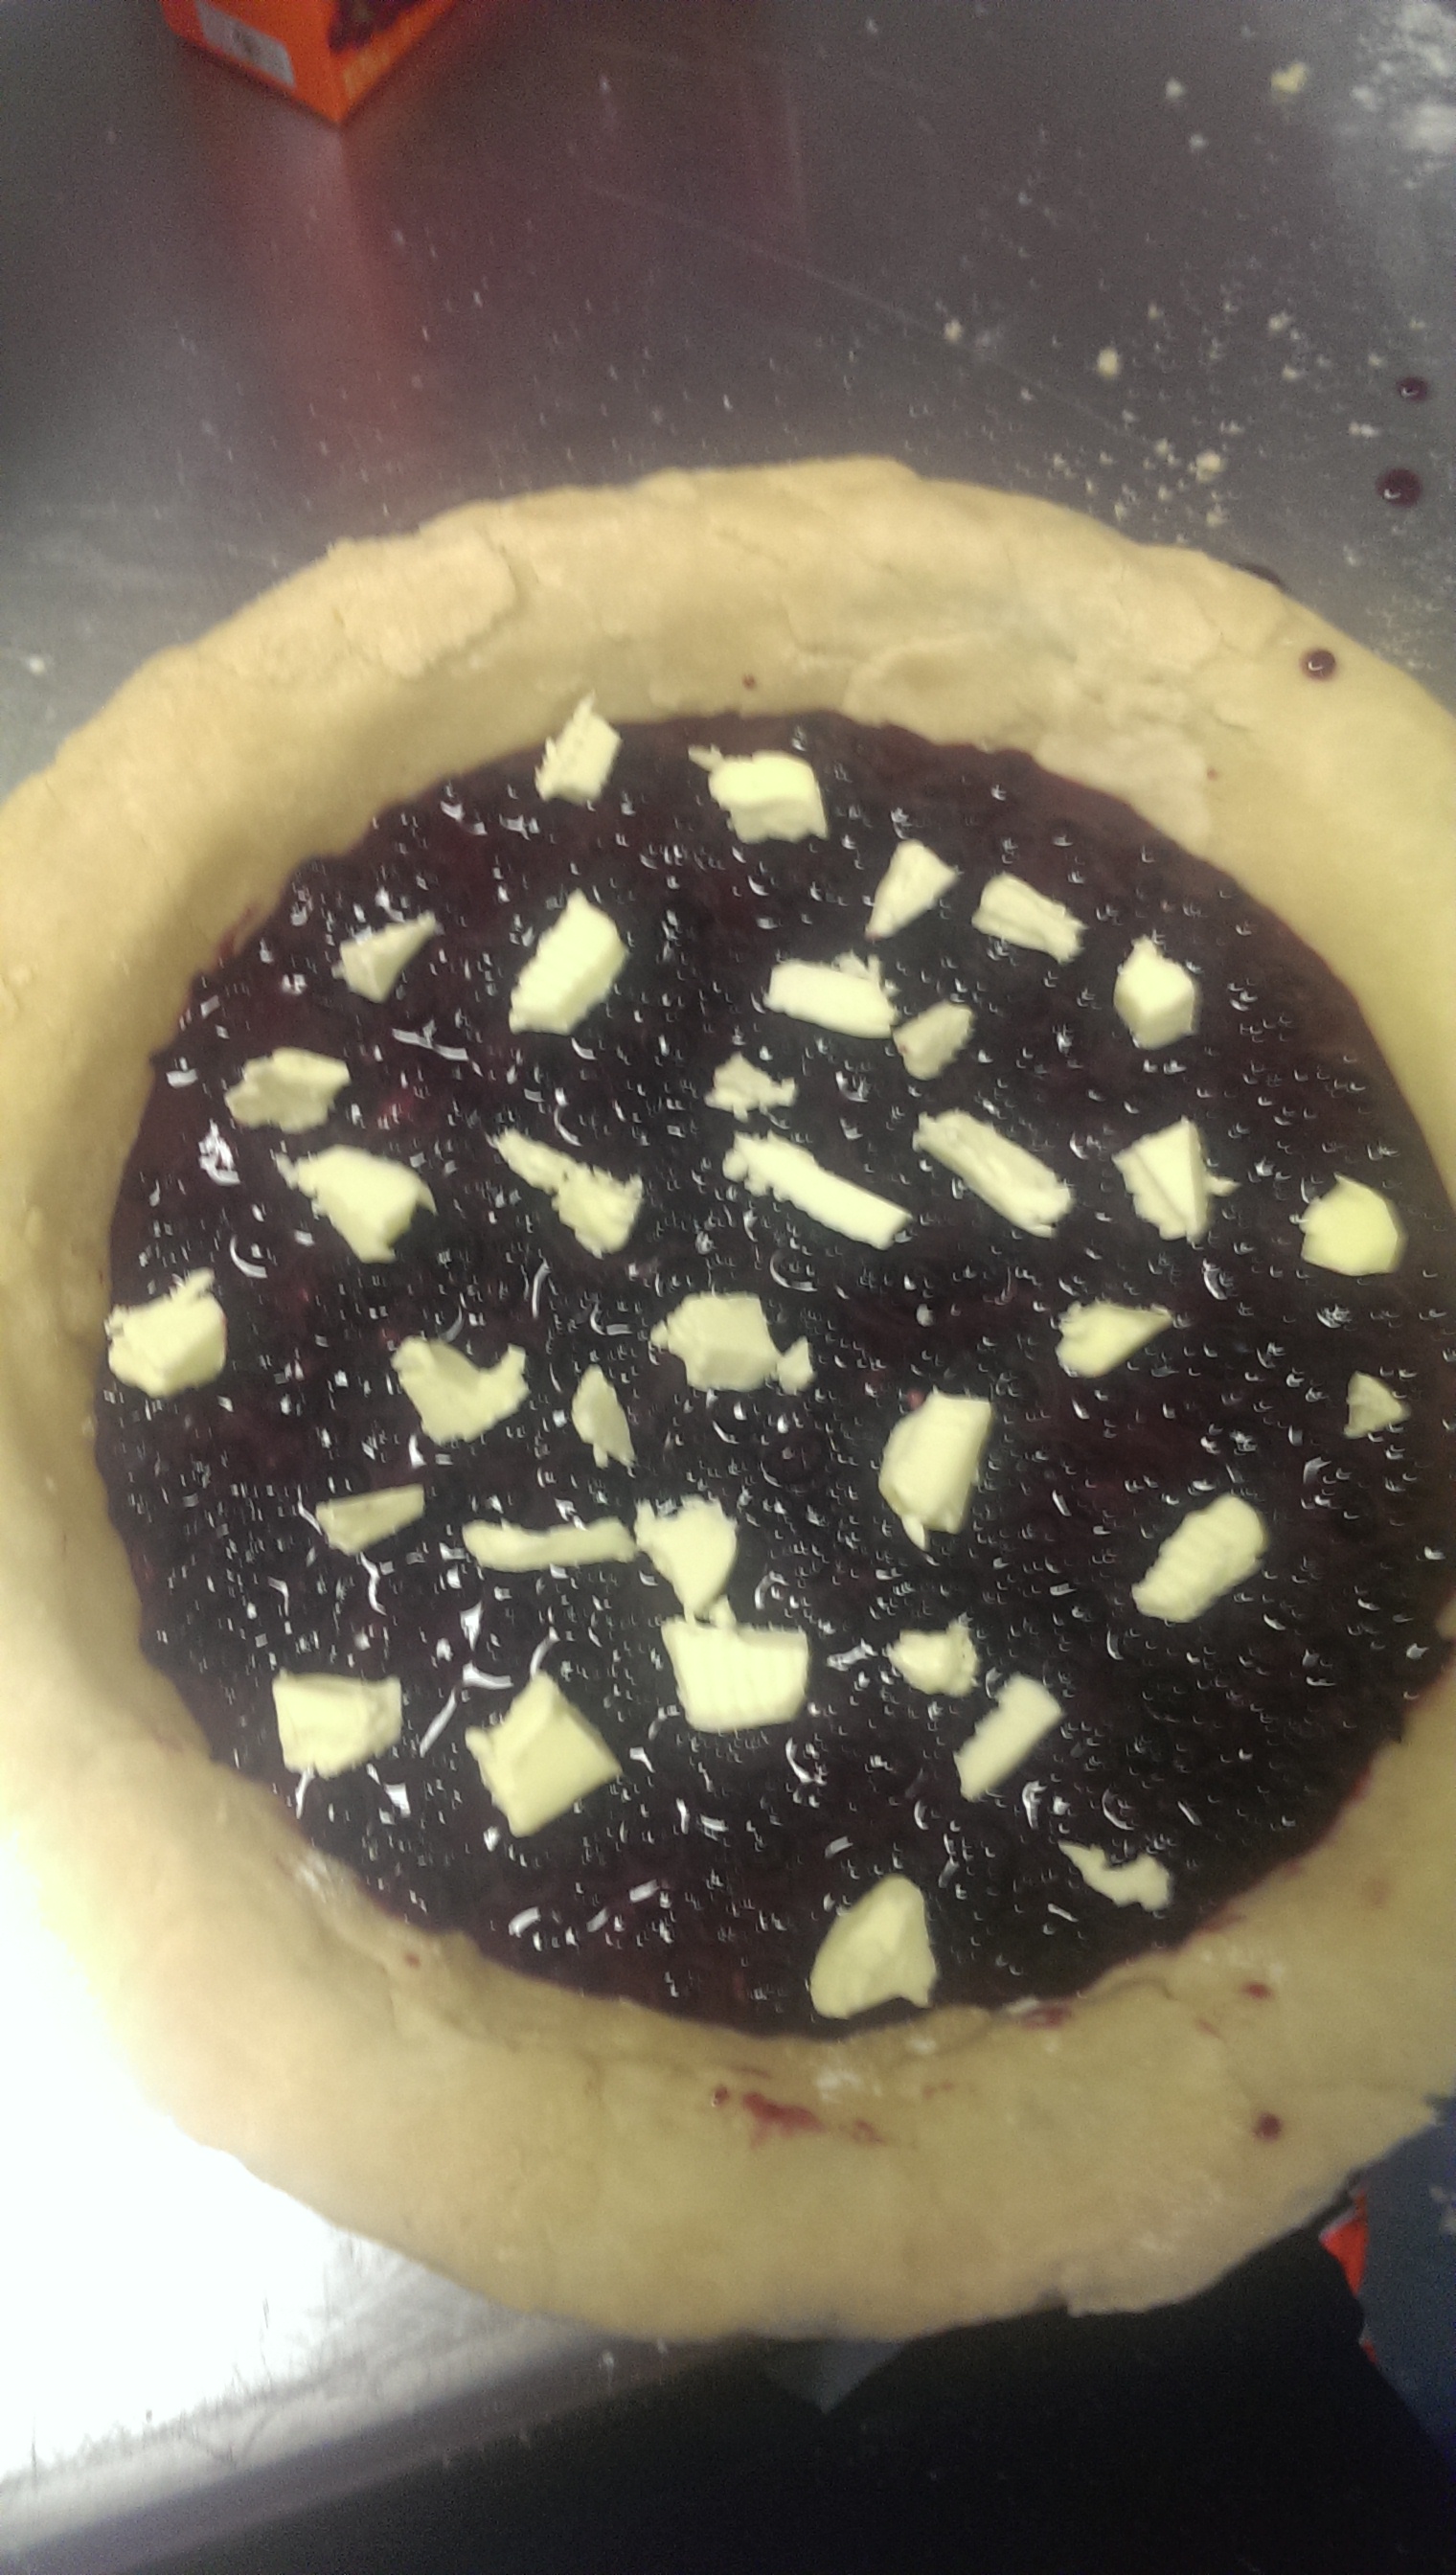
Then, I proceeded to put my filling in the pie tin that I had pressed my dough into. Afterwards I dotted the top of the pie with butter as the recipe called for. Between all of the sugar and the butter, I feel like I made a pie from one of Paula Deen’s shows! But hopefully all of that means the pie will turn out well.

Blueberries in Pie CrustDotting Blueberries with Butter


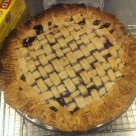
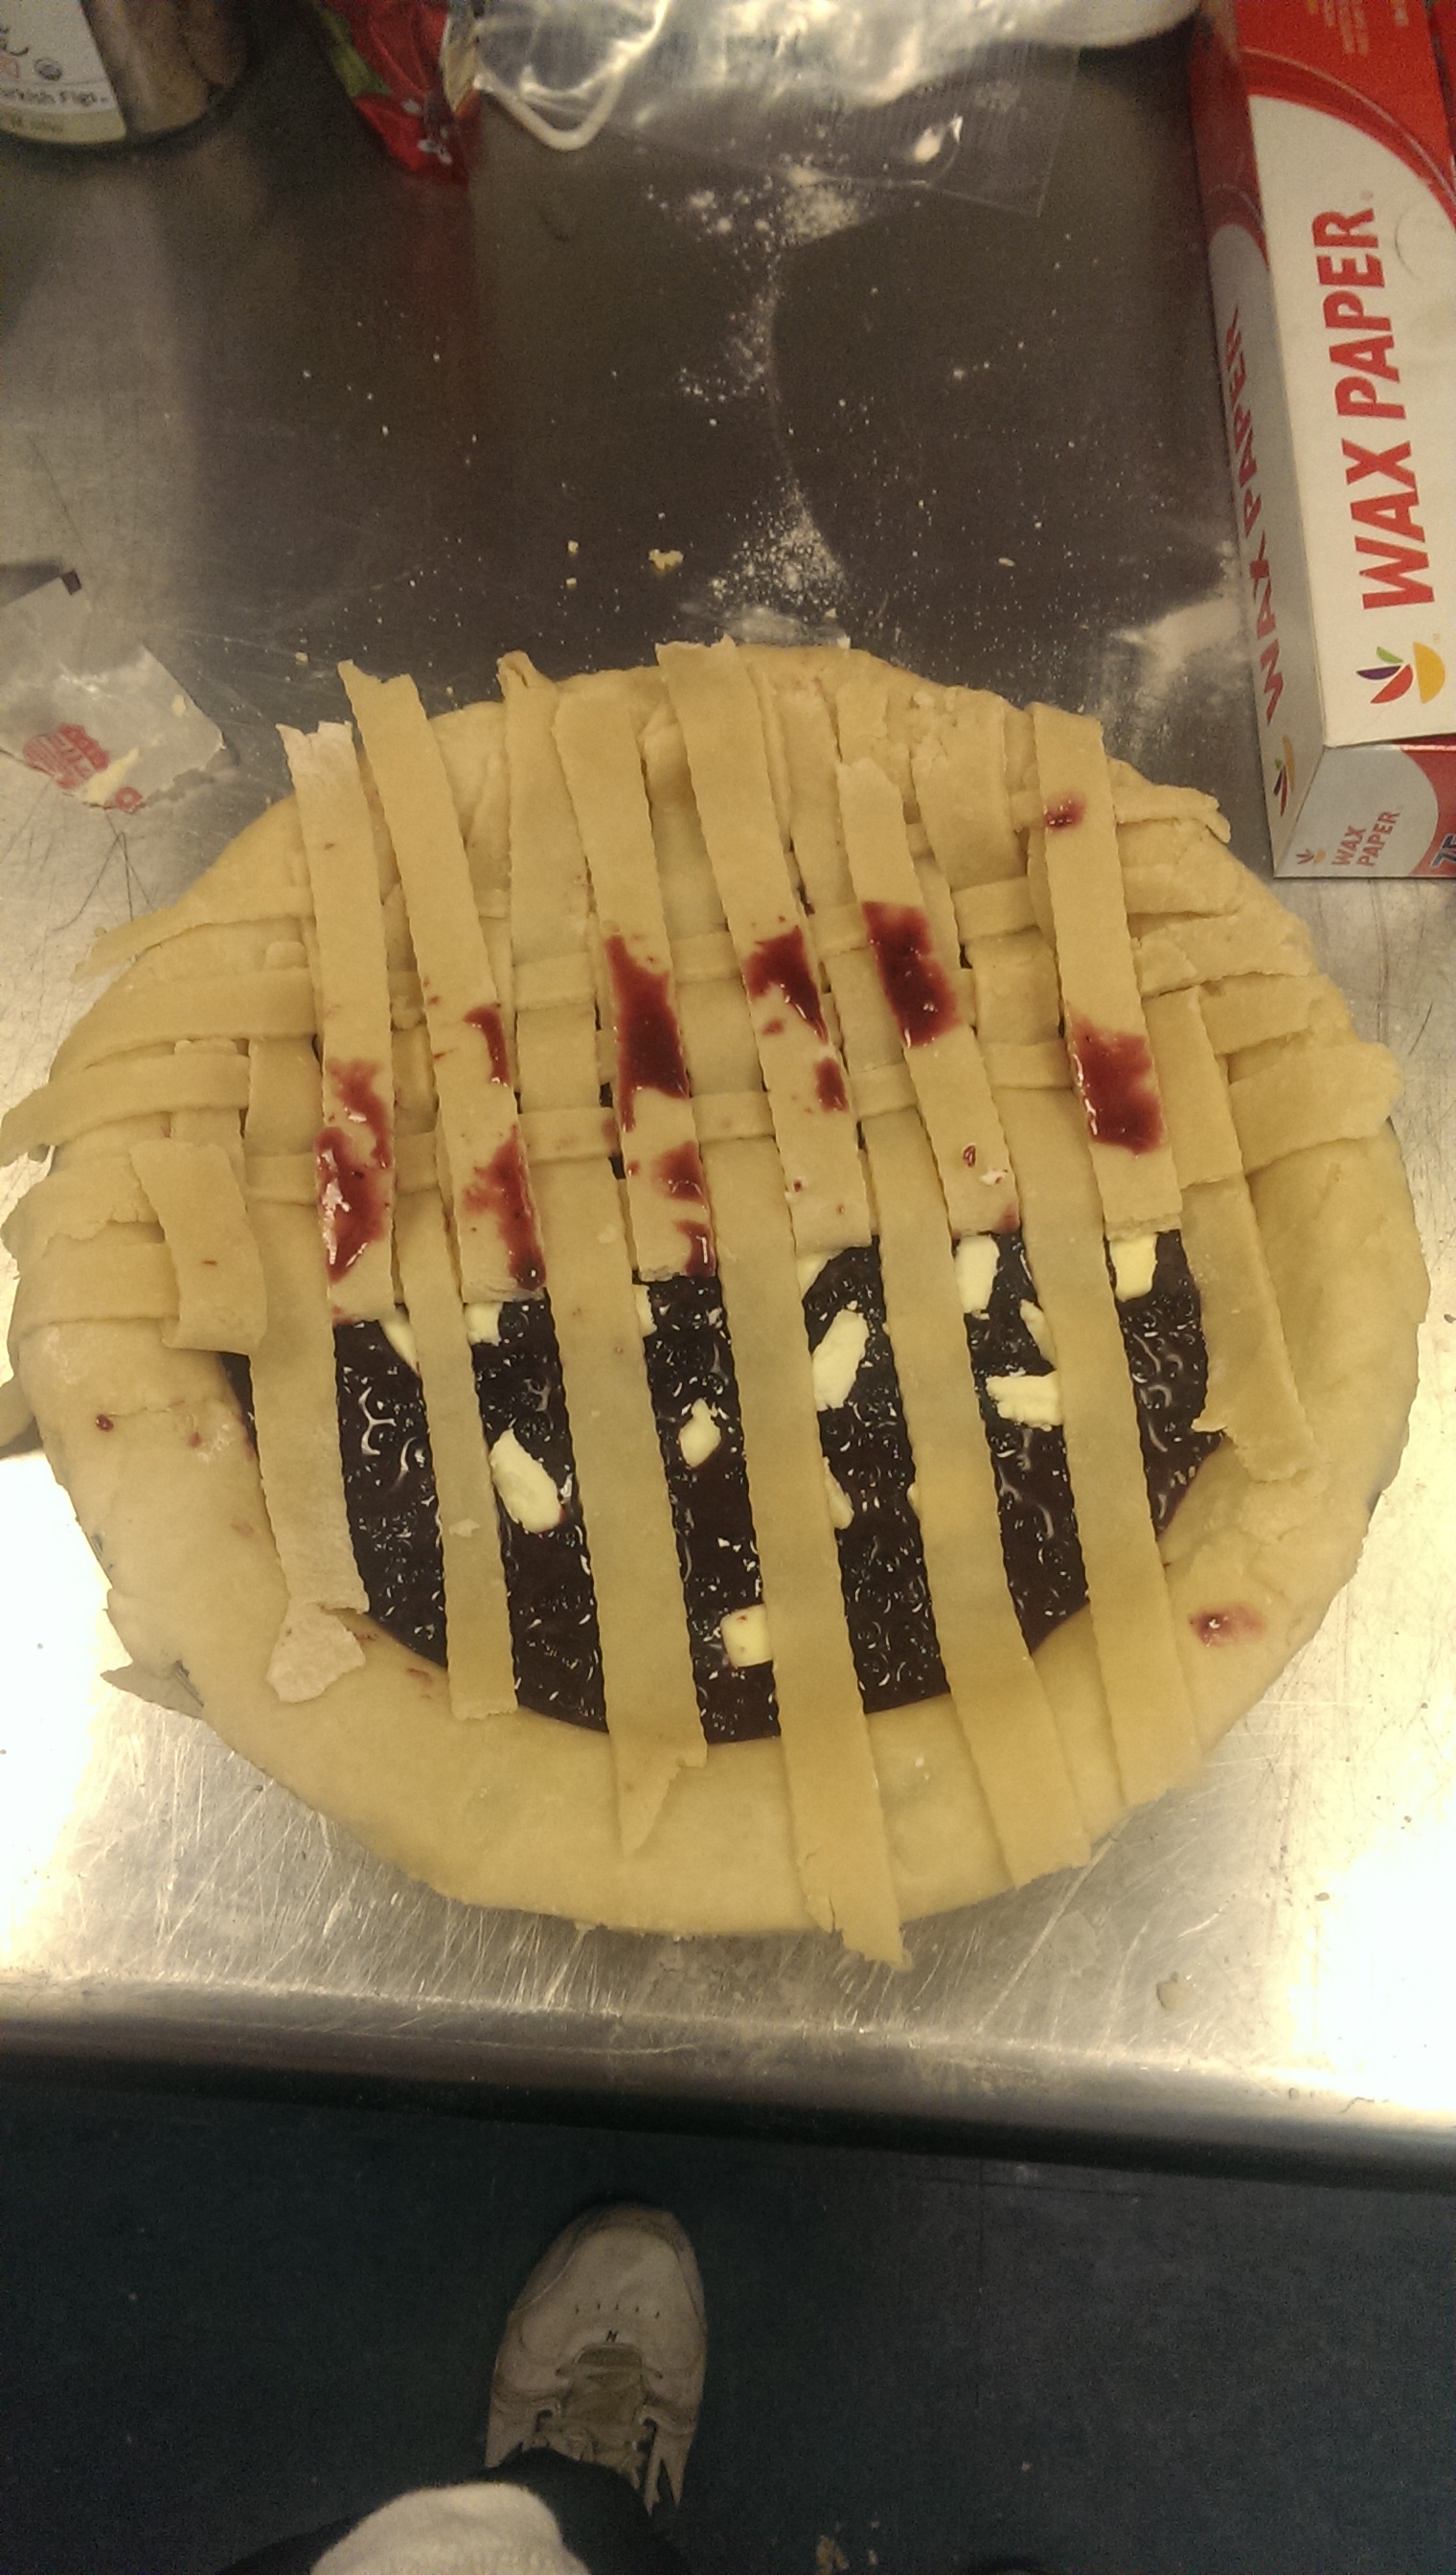
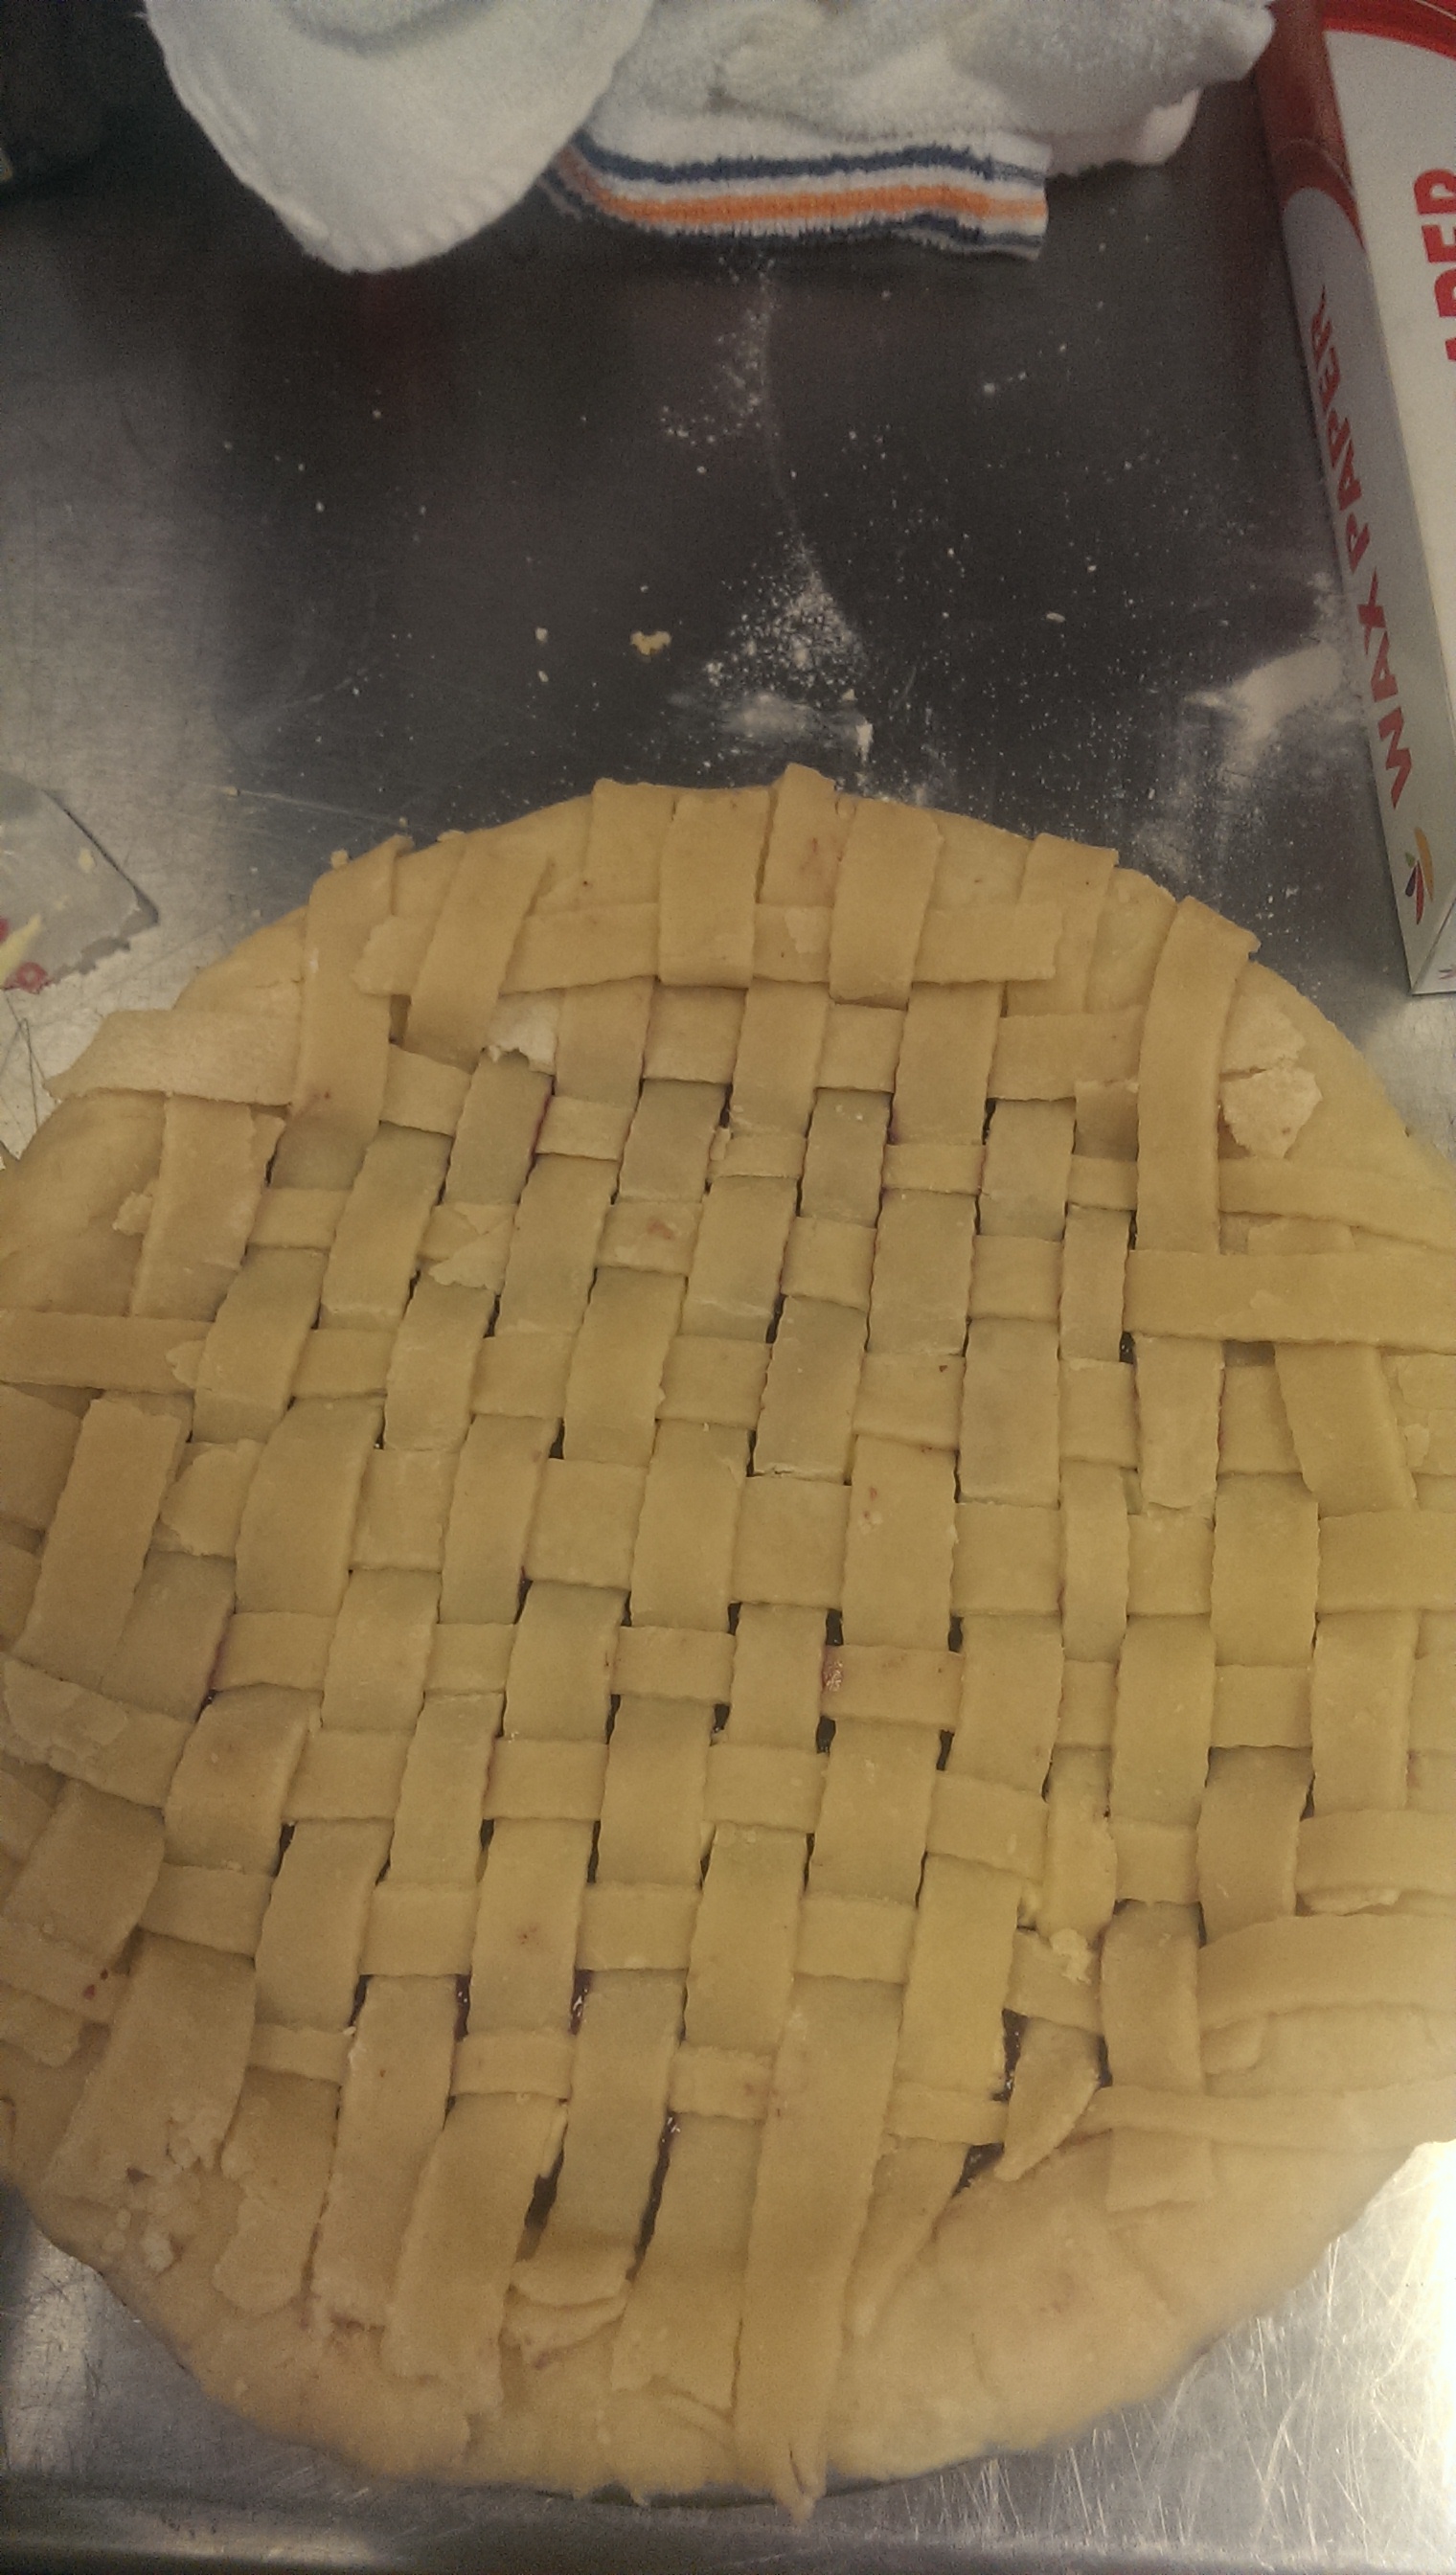
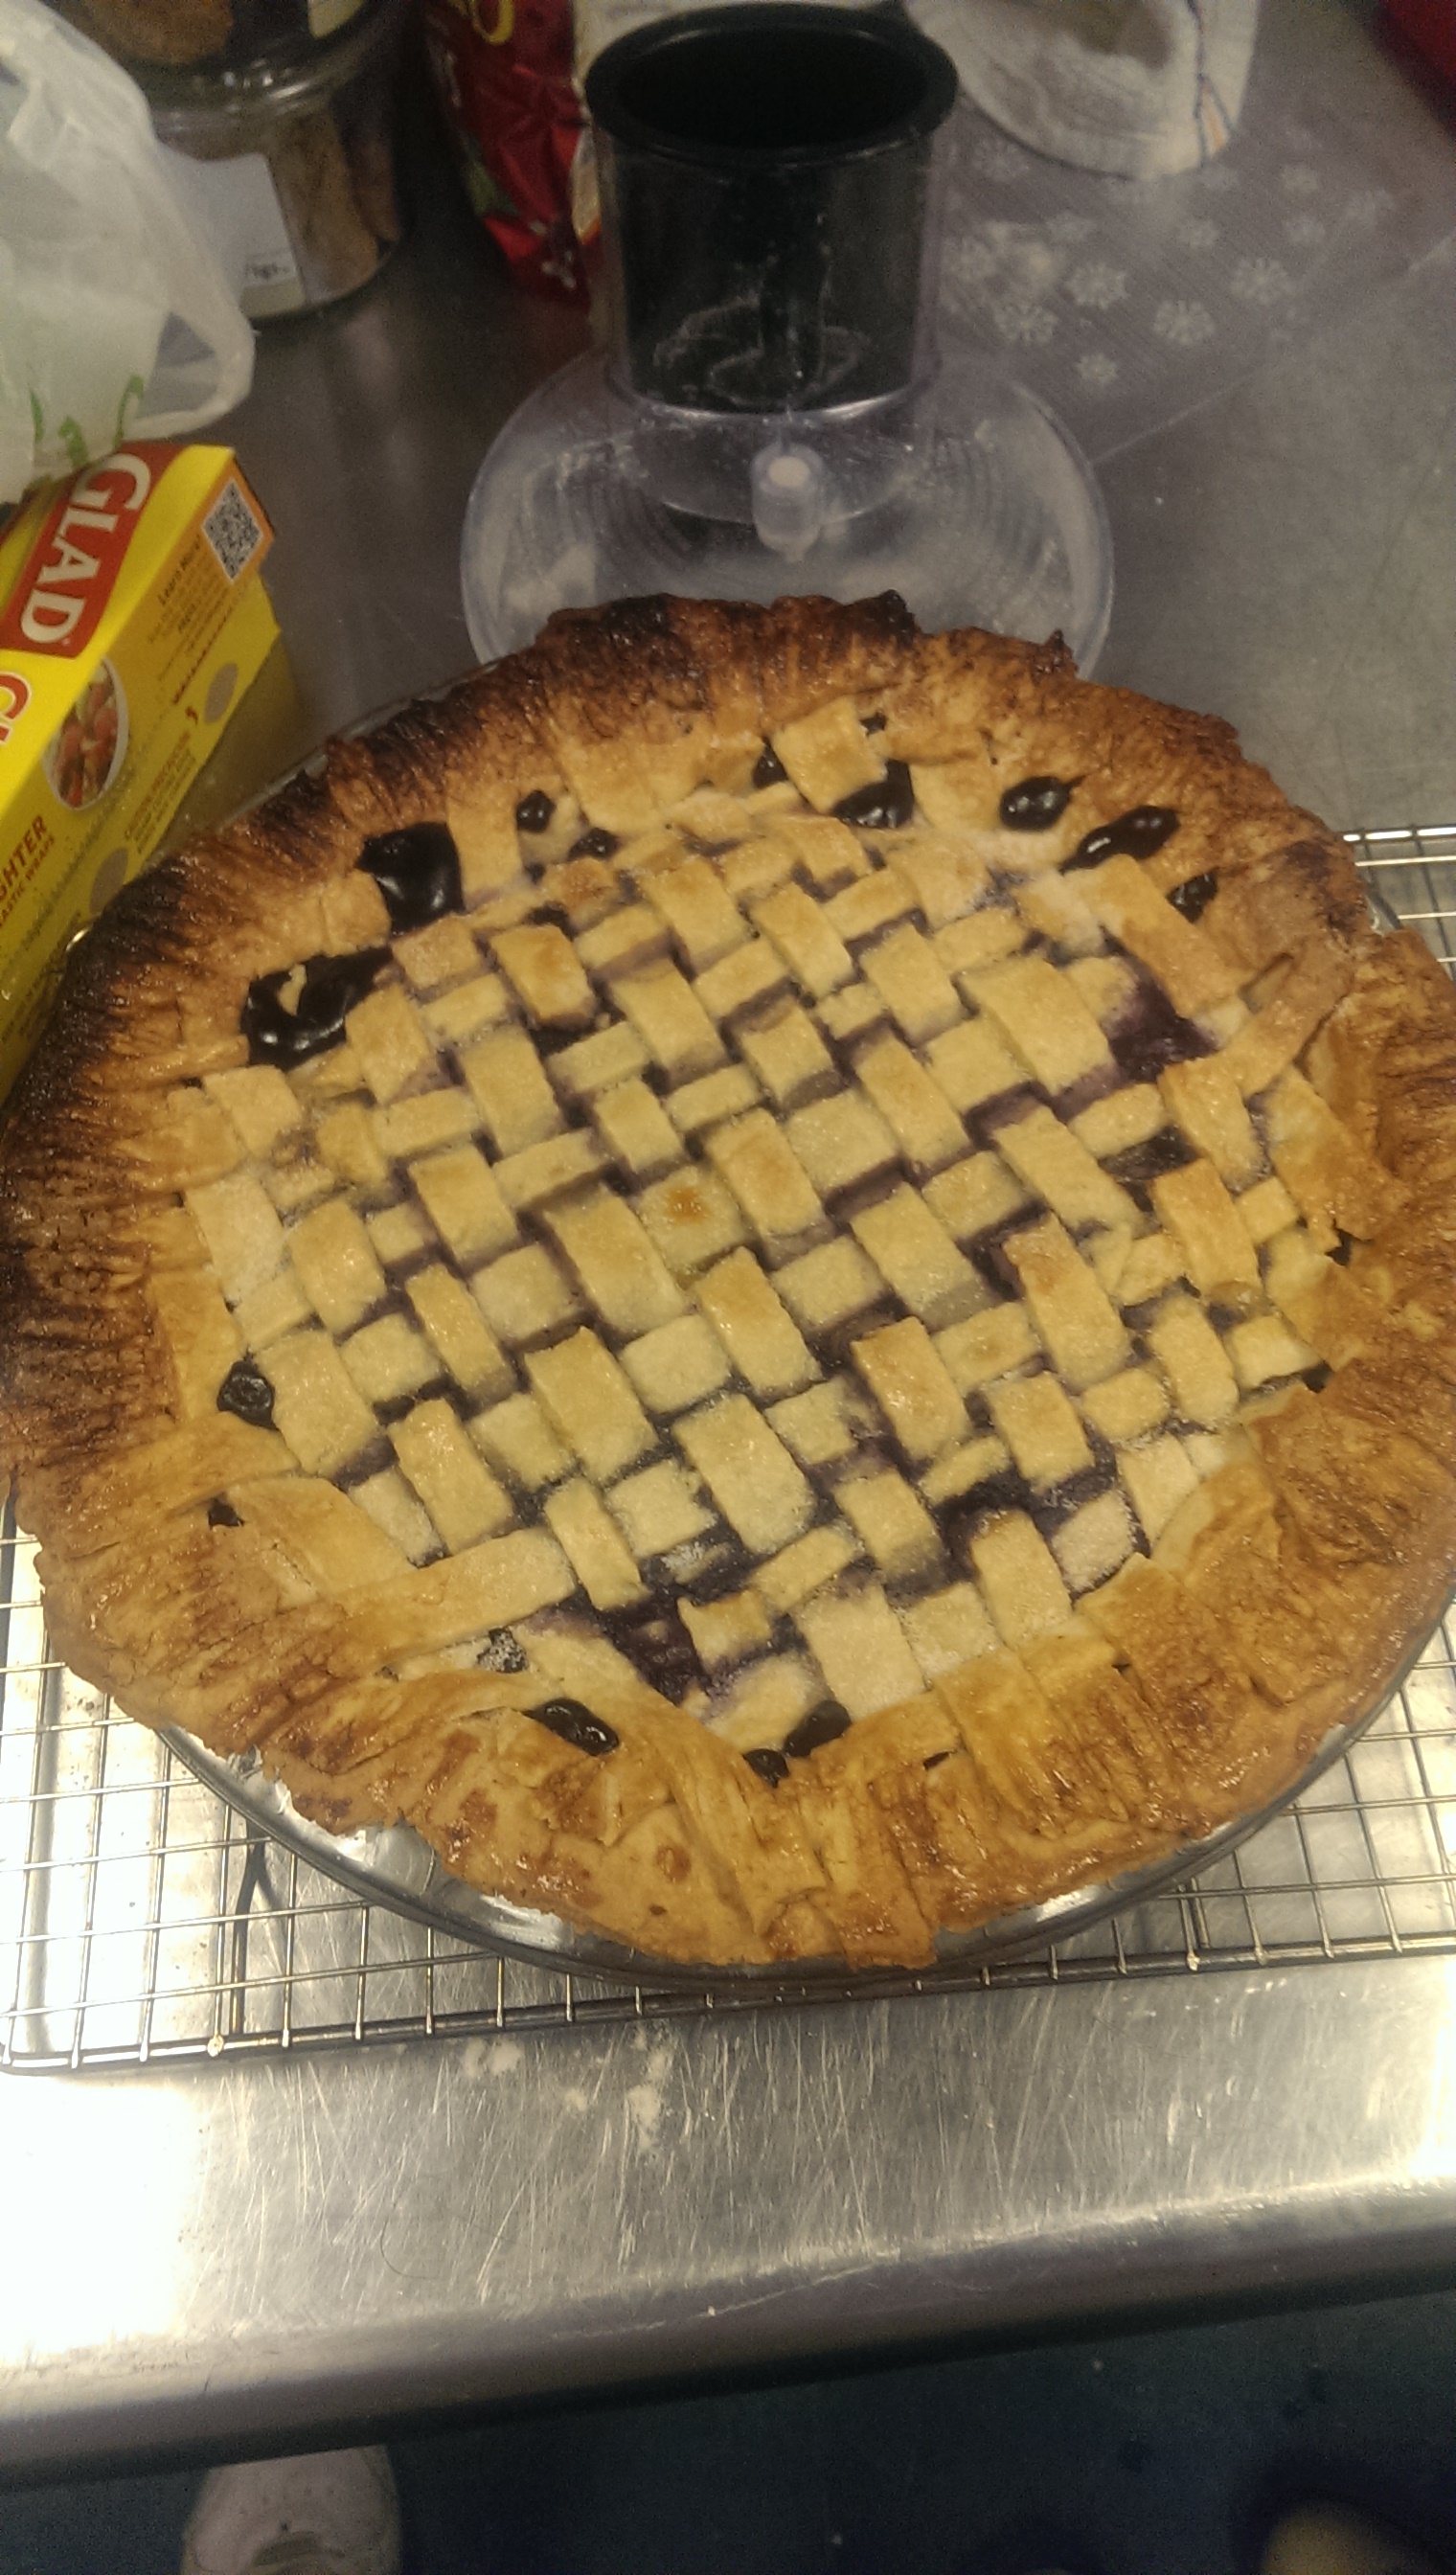
Then I proceeded to start my lattice crust. I have included a link: http://www.simplyrecipes.com/recipes/how_to_make_a_lattice_top_for_a_pie_crust/ that easily explains the process in depth. All in all, I got to say that while I was nervous of my ability to make a pie beautiful, even I could make a lattice, as evidenced by these pictures:

Beginning LatticeFinished Lattice Pre BakedBaked Blueberry Pie


The pie looked and smelled great when it came out of the oven. The recipe was very easy and straightforward. The only difficulty I found was that it required a greater cooking time to get the center a golden brown. Even then, it was much lighter than the crust.


Fig Goat Cheese Tart

I have been super into figs recently, and I love cheese, so I decided this would be a perfect pie for me to try.  I decided for a little umph I’d put some nuts into the crust since the topping called for nuts..  Unfortunately, I combined the recipe for the nutty pie crust and the one for the vodka trick, which called for significantly more shortening.  By the time I added the liquid, it was much too wet to be able to roll out, so I decided to make a push-in  tart instead. I’m not totally sure what went wrong with the pastry, but I hope it still tastes good.

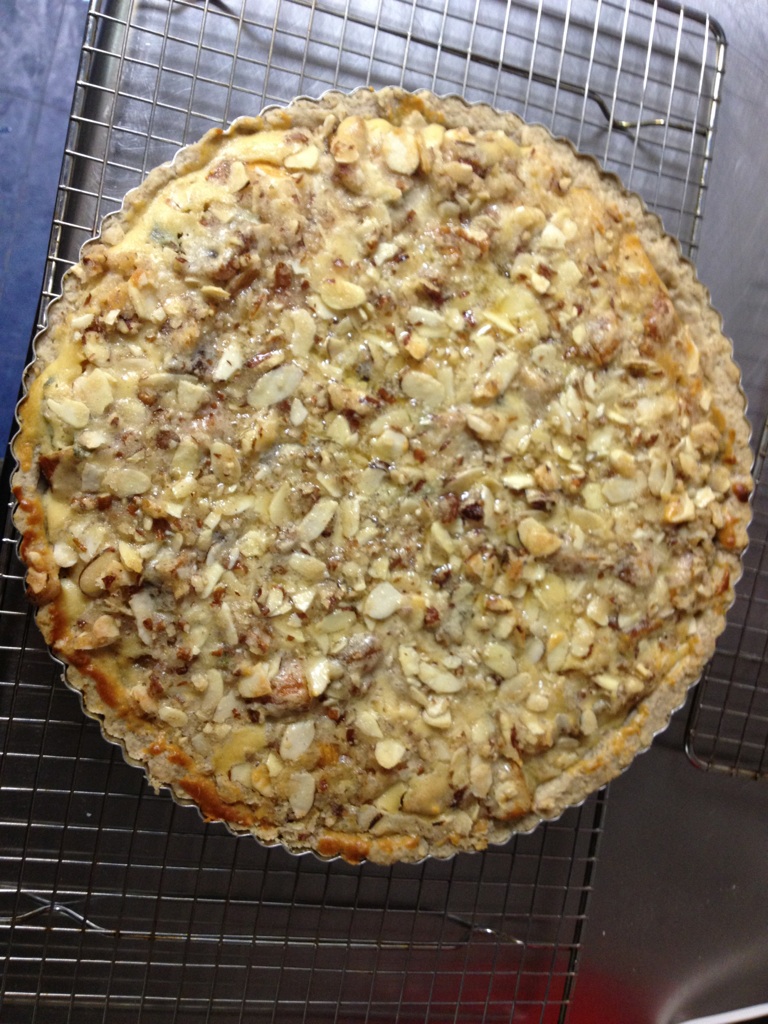
I followed the recipe pretty much exactly except with the dried figs, I reconstituted them by pouring boiling water over them and letting them in a bowl for fifteen minutes.  We also didn’t have enough almond slices for the topping, so I ended up putting some pecans in there as well.  I think the topping is sort of interesting because it’s not quite a crumb but it’s made with all crumb-like ingredients with the exception of the slices for little pieces. I also find this pie interesting because it obviously has a lot of sweet components (such as the topping) but also has the basil, so it’s clearly not supposed to be completely dessert-y.  I’ll be interested in seeing how all the flavors come together.

Doing the tart made me slightly confused on the decorative piece. How was I going to do decorations with a tart? I decided to try to lay out the figs in a way that would be decorative.

IMG_5134-2

But by the time the cheese batter was poured on top and the crumb added, it was hard to see the attempt at some special lay-out…

IMG_9252-2

We’ll see how it tastes tomorrow!

IMG_1326-1

http://alwayswithbutter.blogspot.com/2011/11/fig-goat-cheese-pie-with-basil.html