Author Archives: Tanzim Milkey

Final Banquet and Reflections

20140130_113323
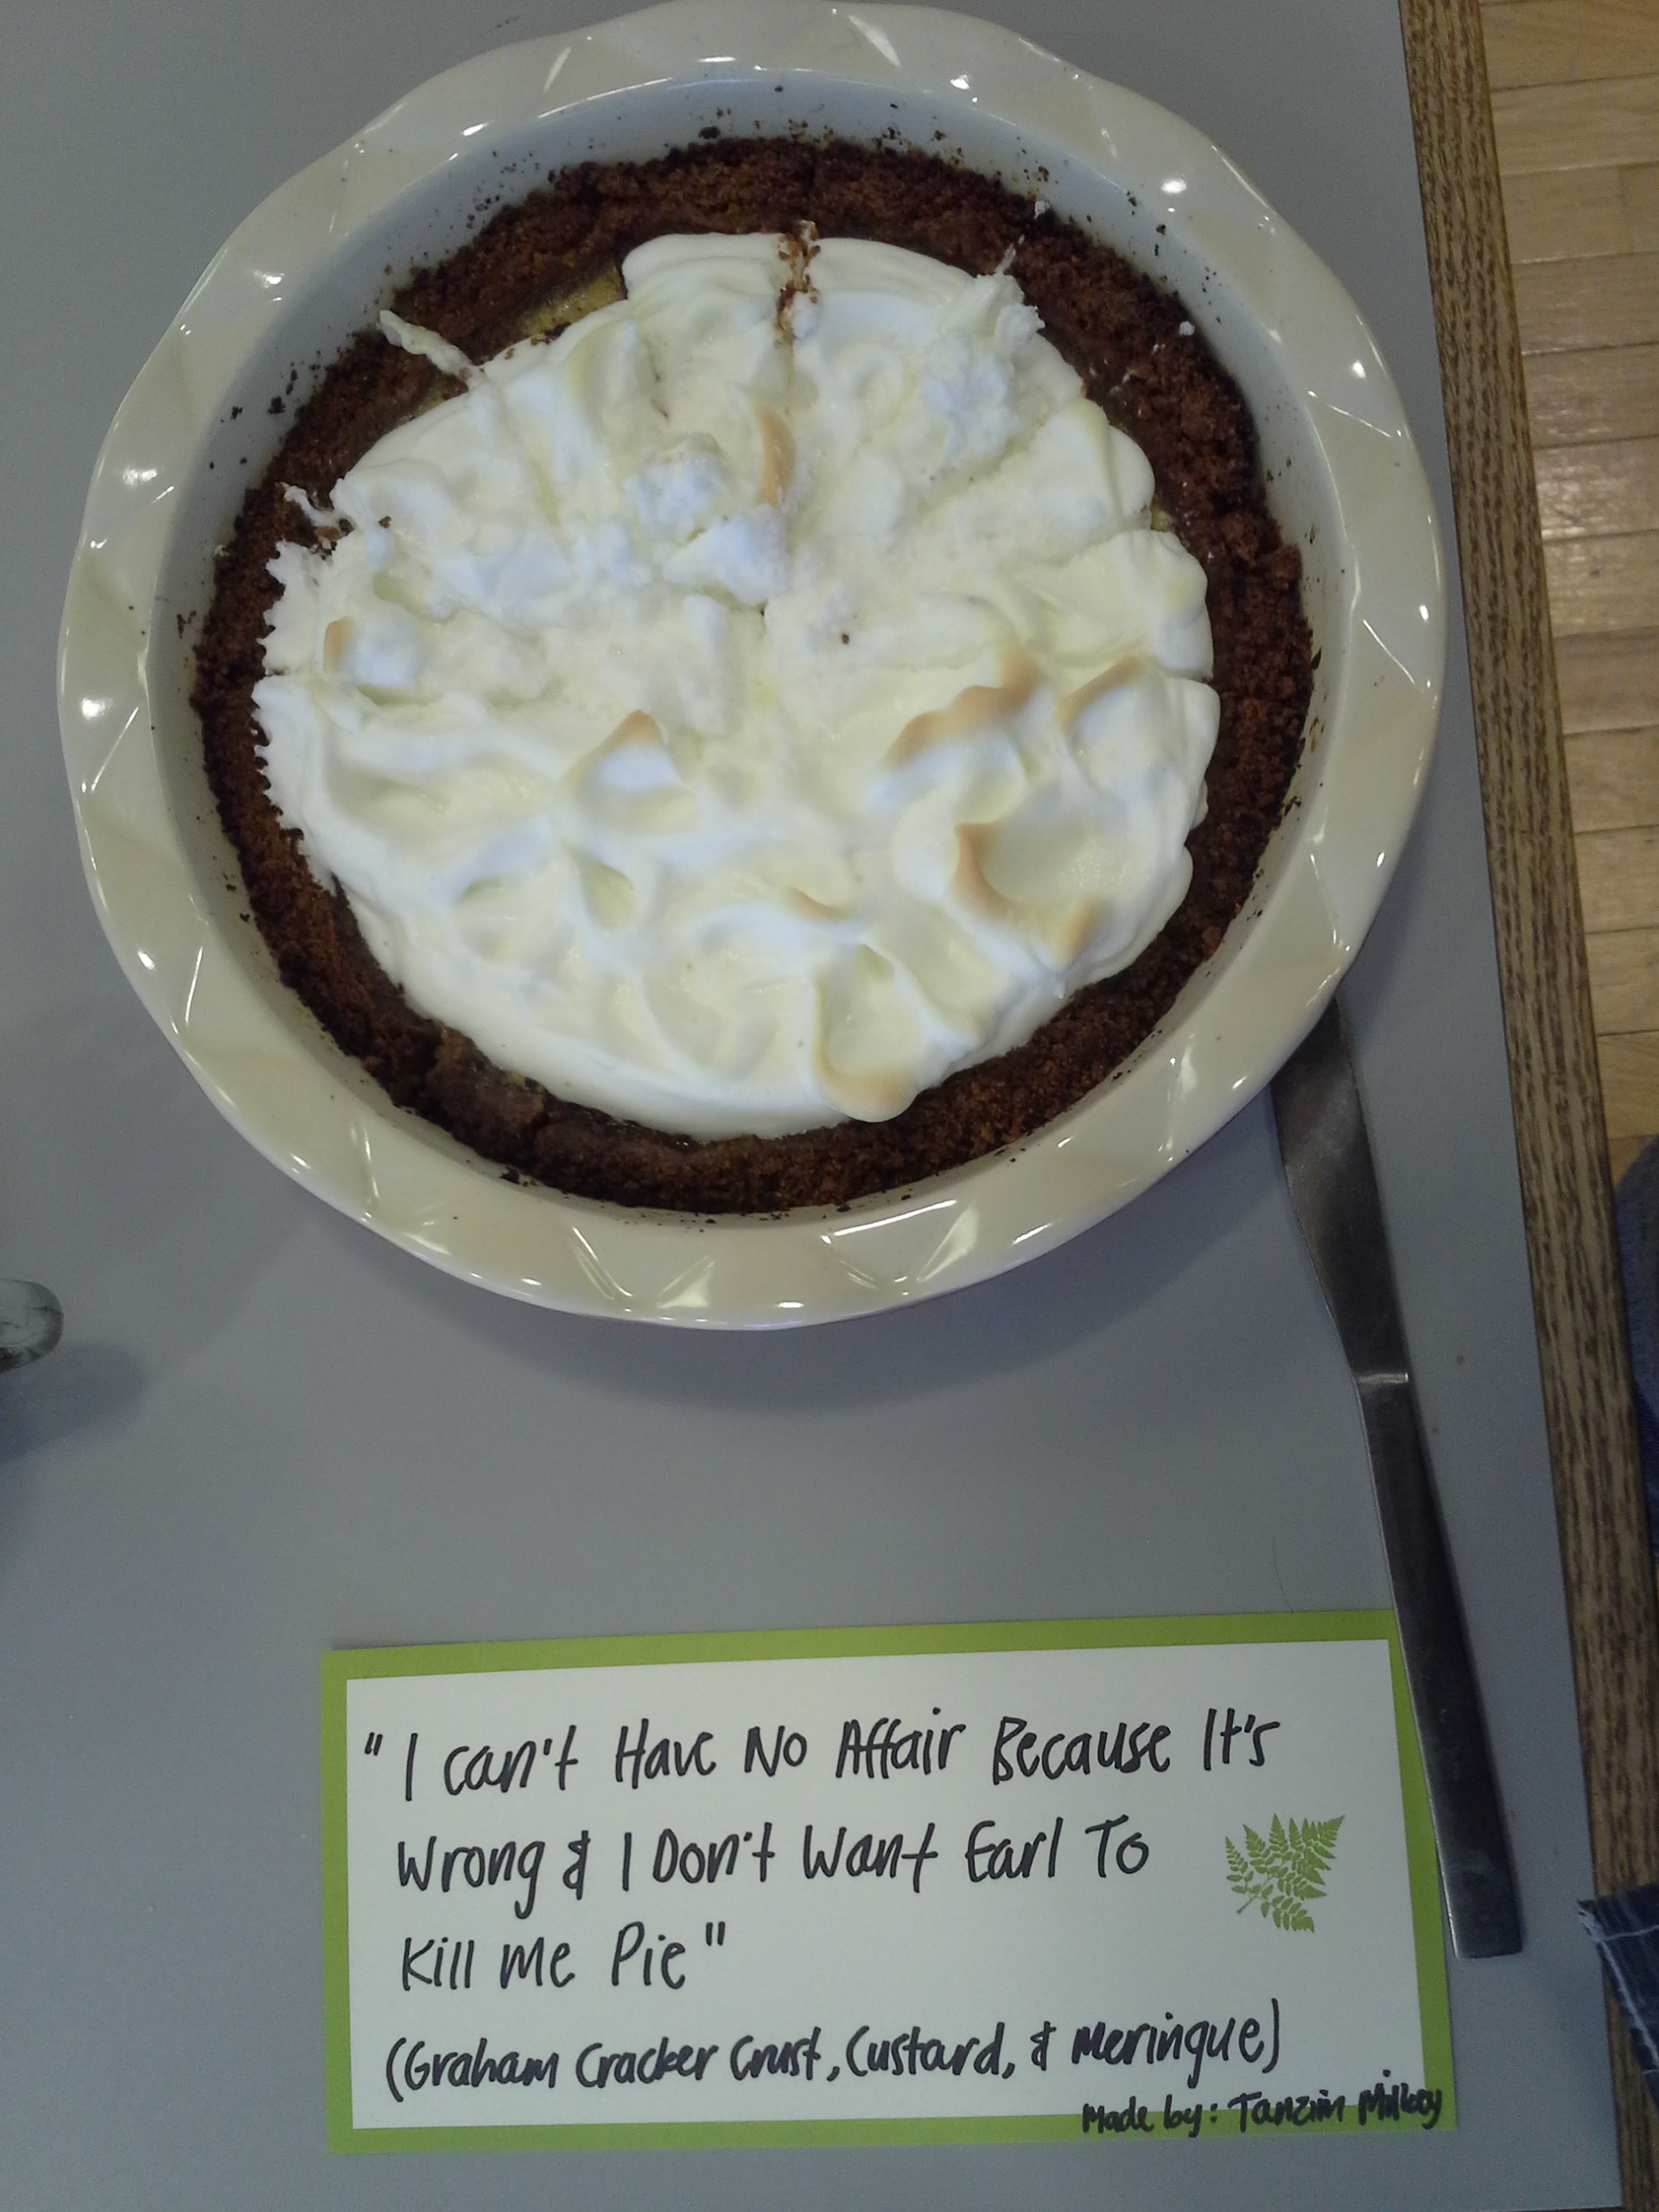
[My two babies before they were presented to the dining table]

With 5 pies under my belt and the Final Banquet over, I am at a loss this weekend. No longer am I figuring out new recipes for next week, no longer planning decorations or work shopping different combinations of ingredients. With the Sunday Night TV Dinner Pie and the I Can’t Have No Affair Because It’s Wrong & I Don’t Want Earl to Kill Me Pie prepped, baked, and eaten, what’s next?

Well first, I now know how to bake pies. And from scratch too. I have acquired a new “adult” life skill, and it feels awesome! To know that I can bake a delicious, symbolic food that humans have been enjoying for thousands of years with my own two hands (and brain) is amazing, and I absolutely can’t wait to share this skill with friends and family!

Second, I learned how to invent recipes. Even adding a little twist to a recipe through the addition of an extra ingredient can mean the difference between “mmm” and “oh. my. GAWD! This is fantastic!” There is a plethora of possible combinations for ingredients, and you are only limited by your imagination.

Third, I learned that presentation matters. To be especially appetizing, a pie must look the part, even though it may taste fine otherwise. In fact, a beautiful pie expands the pleasure of eating beyond simply the aesthetic, reaching down and elevating the experience from simply eating pie to consuming art.

Fourth, I’ve learned that a little help in the kitchen makes for a better time, and better pies. Discounting the many times my fellow bakers have opened up ovens for me, or helped me wash my own dishes, but simply being there, being encouraging, and having conversations to keep company made for a better baking experience – and thus better pies. Of course, David being a pie pro did not hurt much either, haha.

With all the things I learned from the class, I sincerely hope to keep baking (and eating) pies. I appreciated the lessons on its historical context, as well as the lessons on its cultural role. Hopefully you readers had a good time with my blog as well; happy baking!
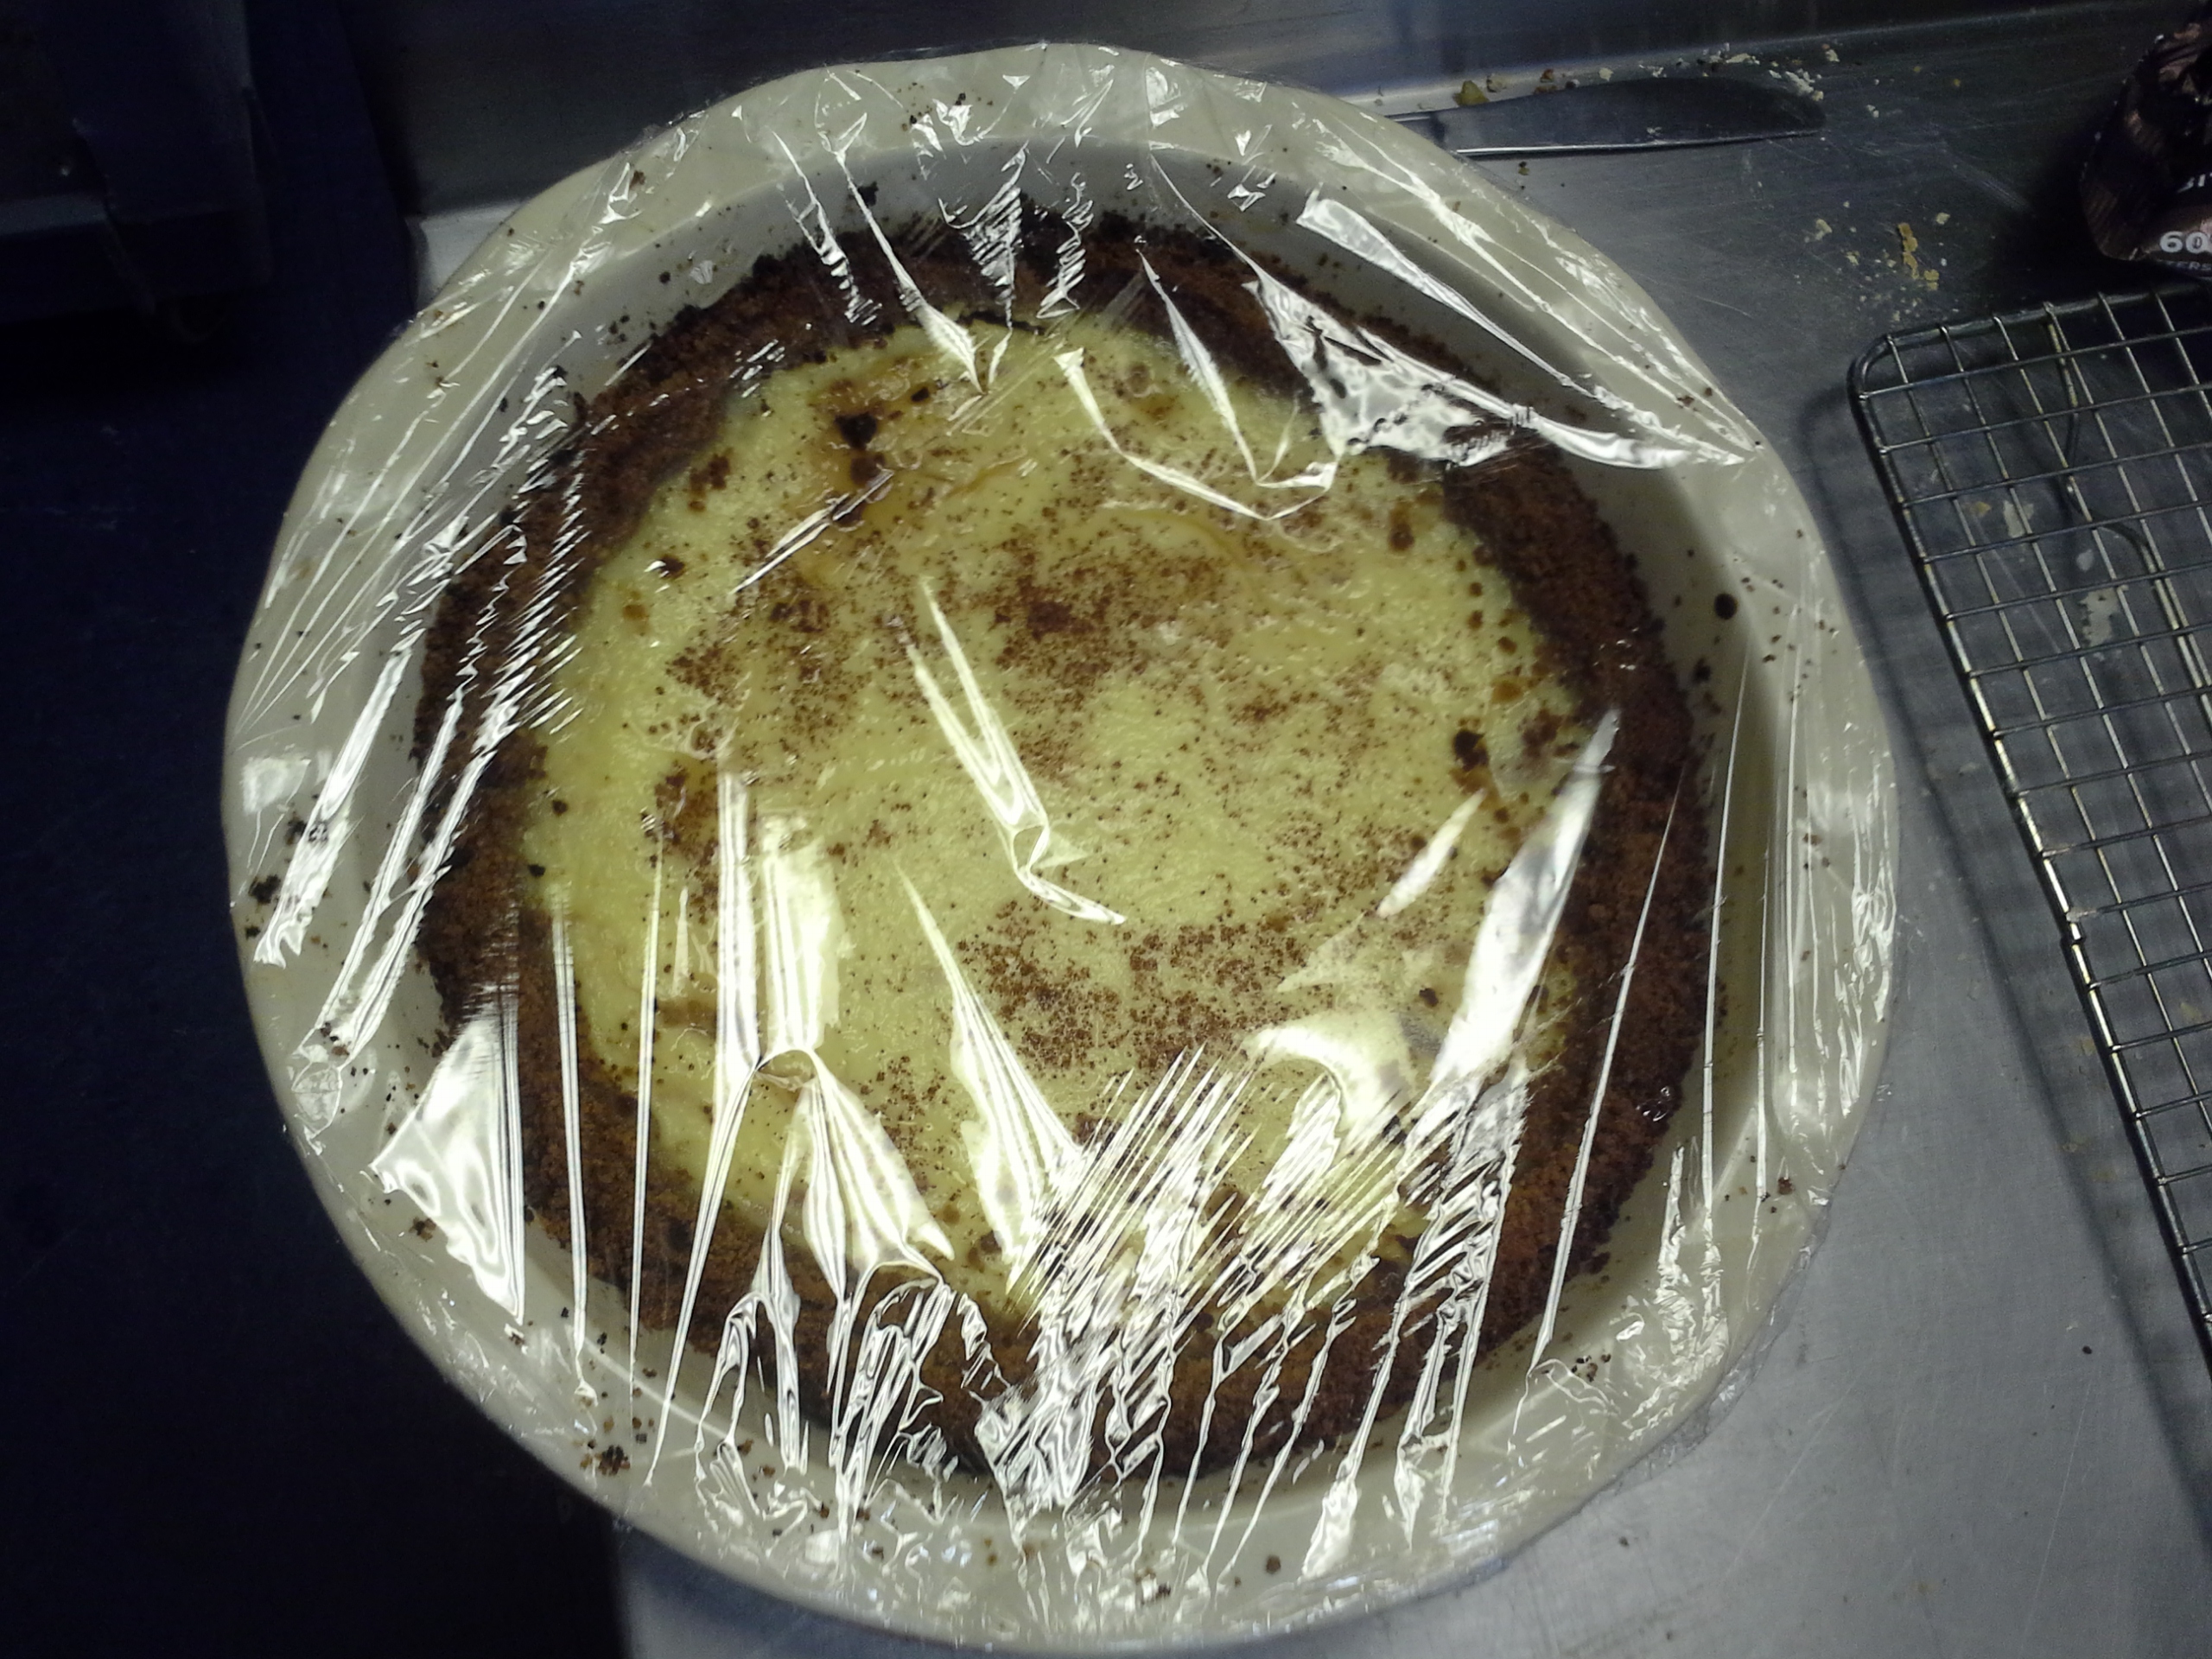
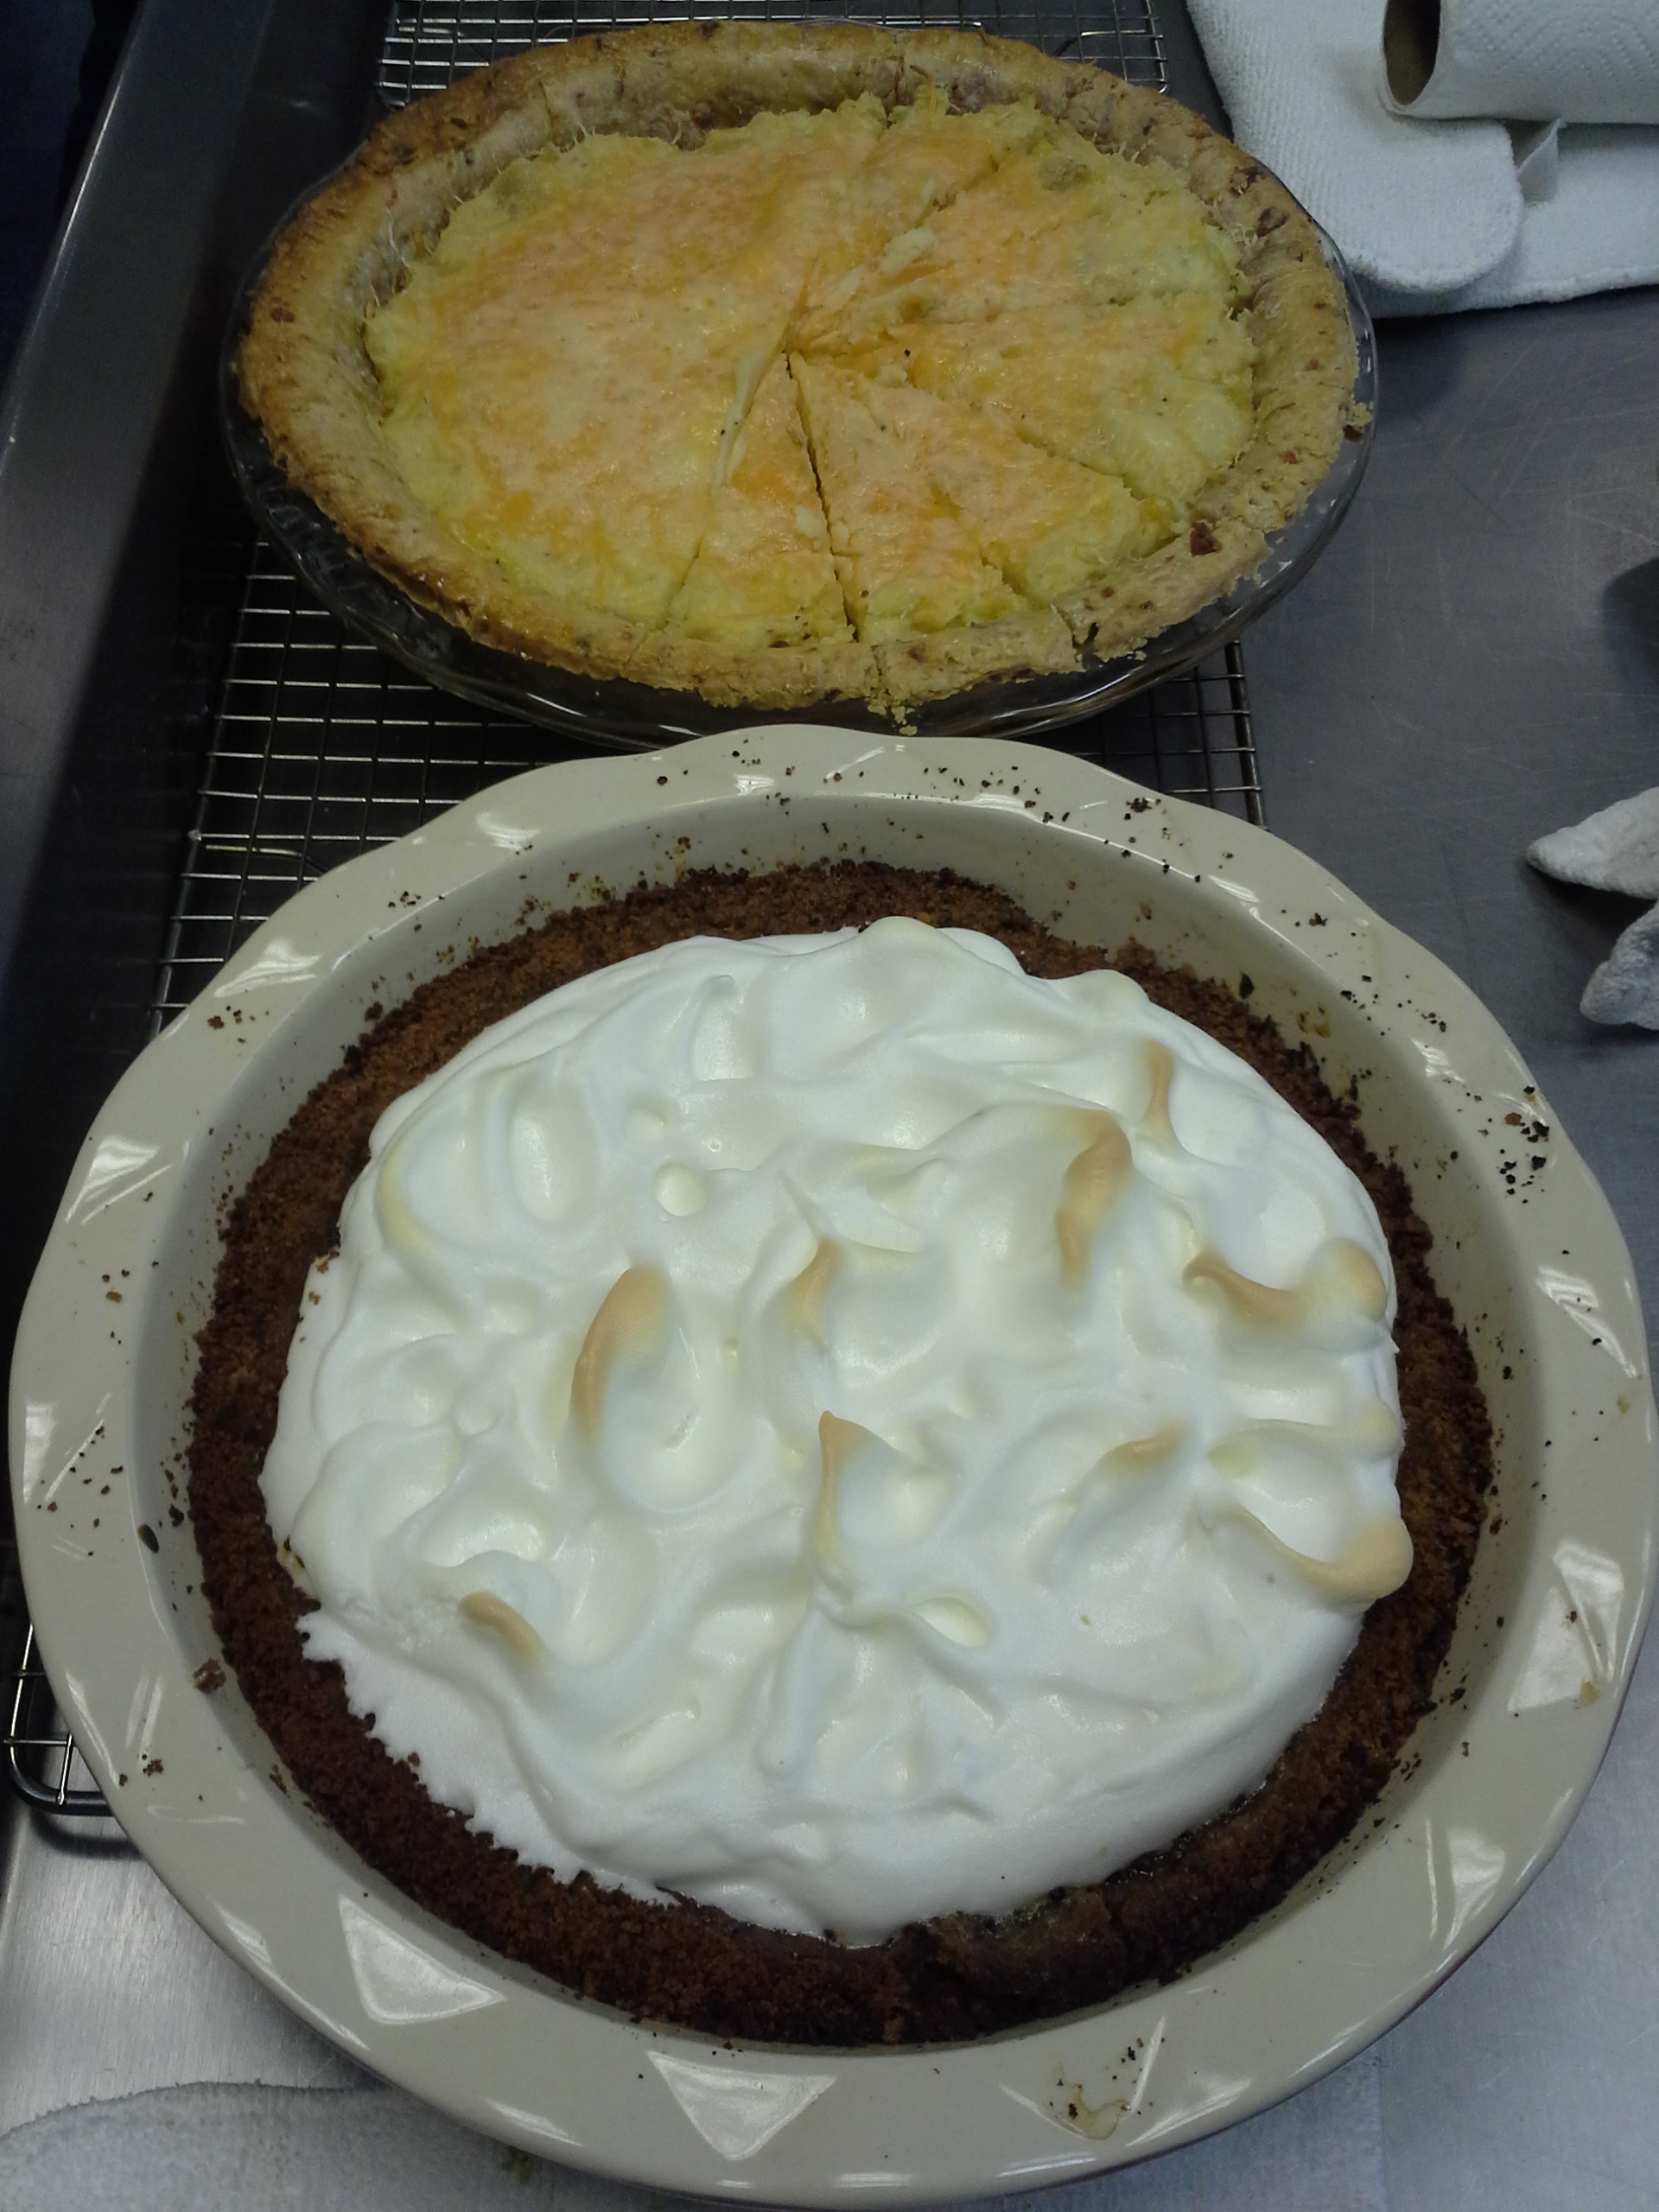
I Can’t Have No Affair Because It’s Wrong & I Don’t Want Earl to Kill Me Pie

http://www.recipegirl.com/2007/09/28/waitress-pie/

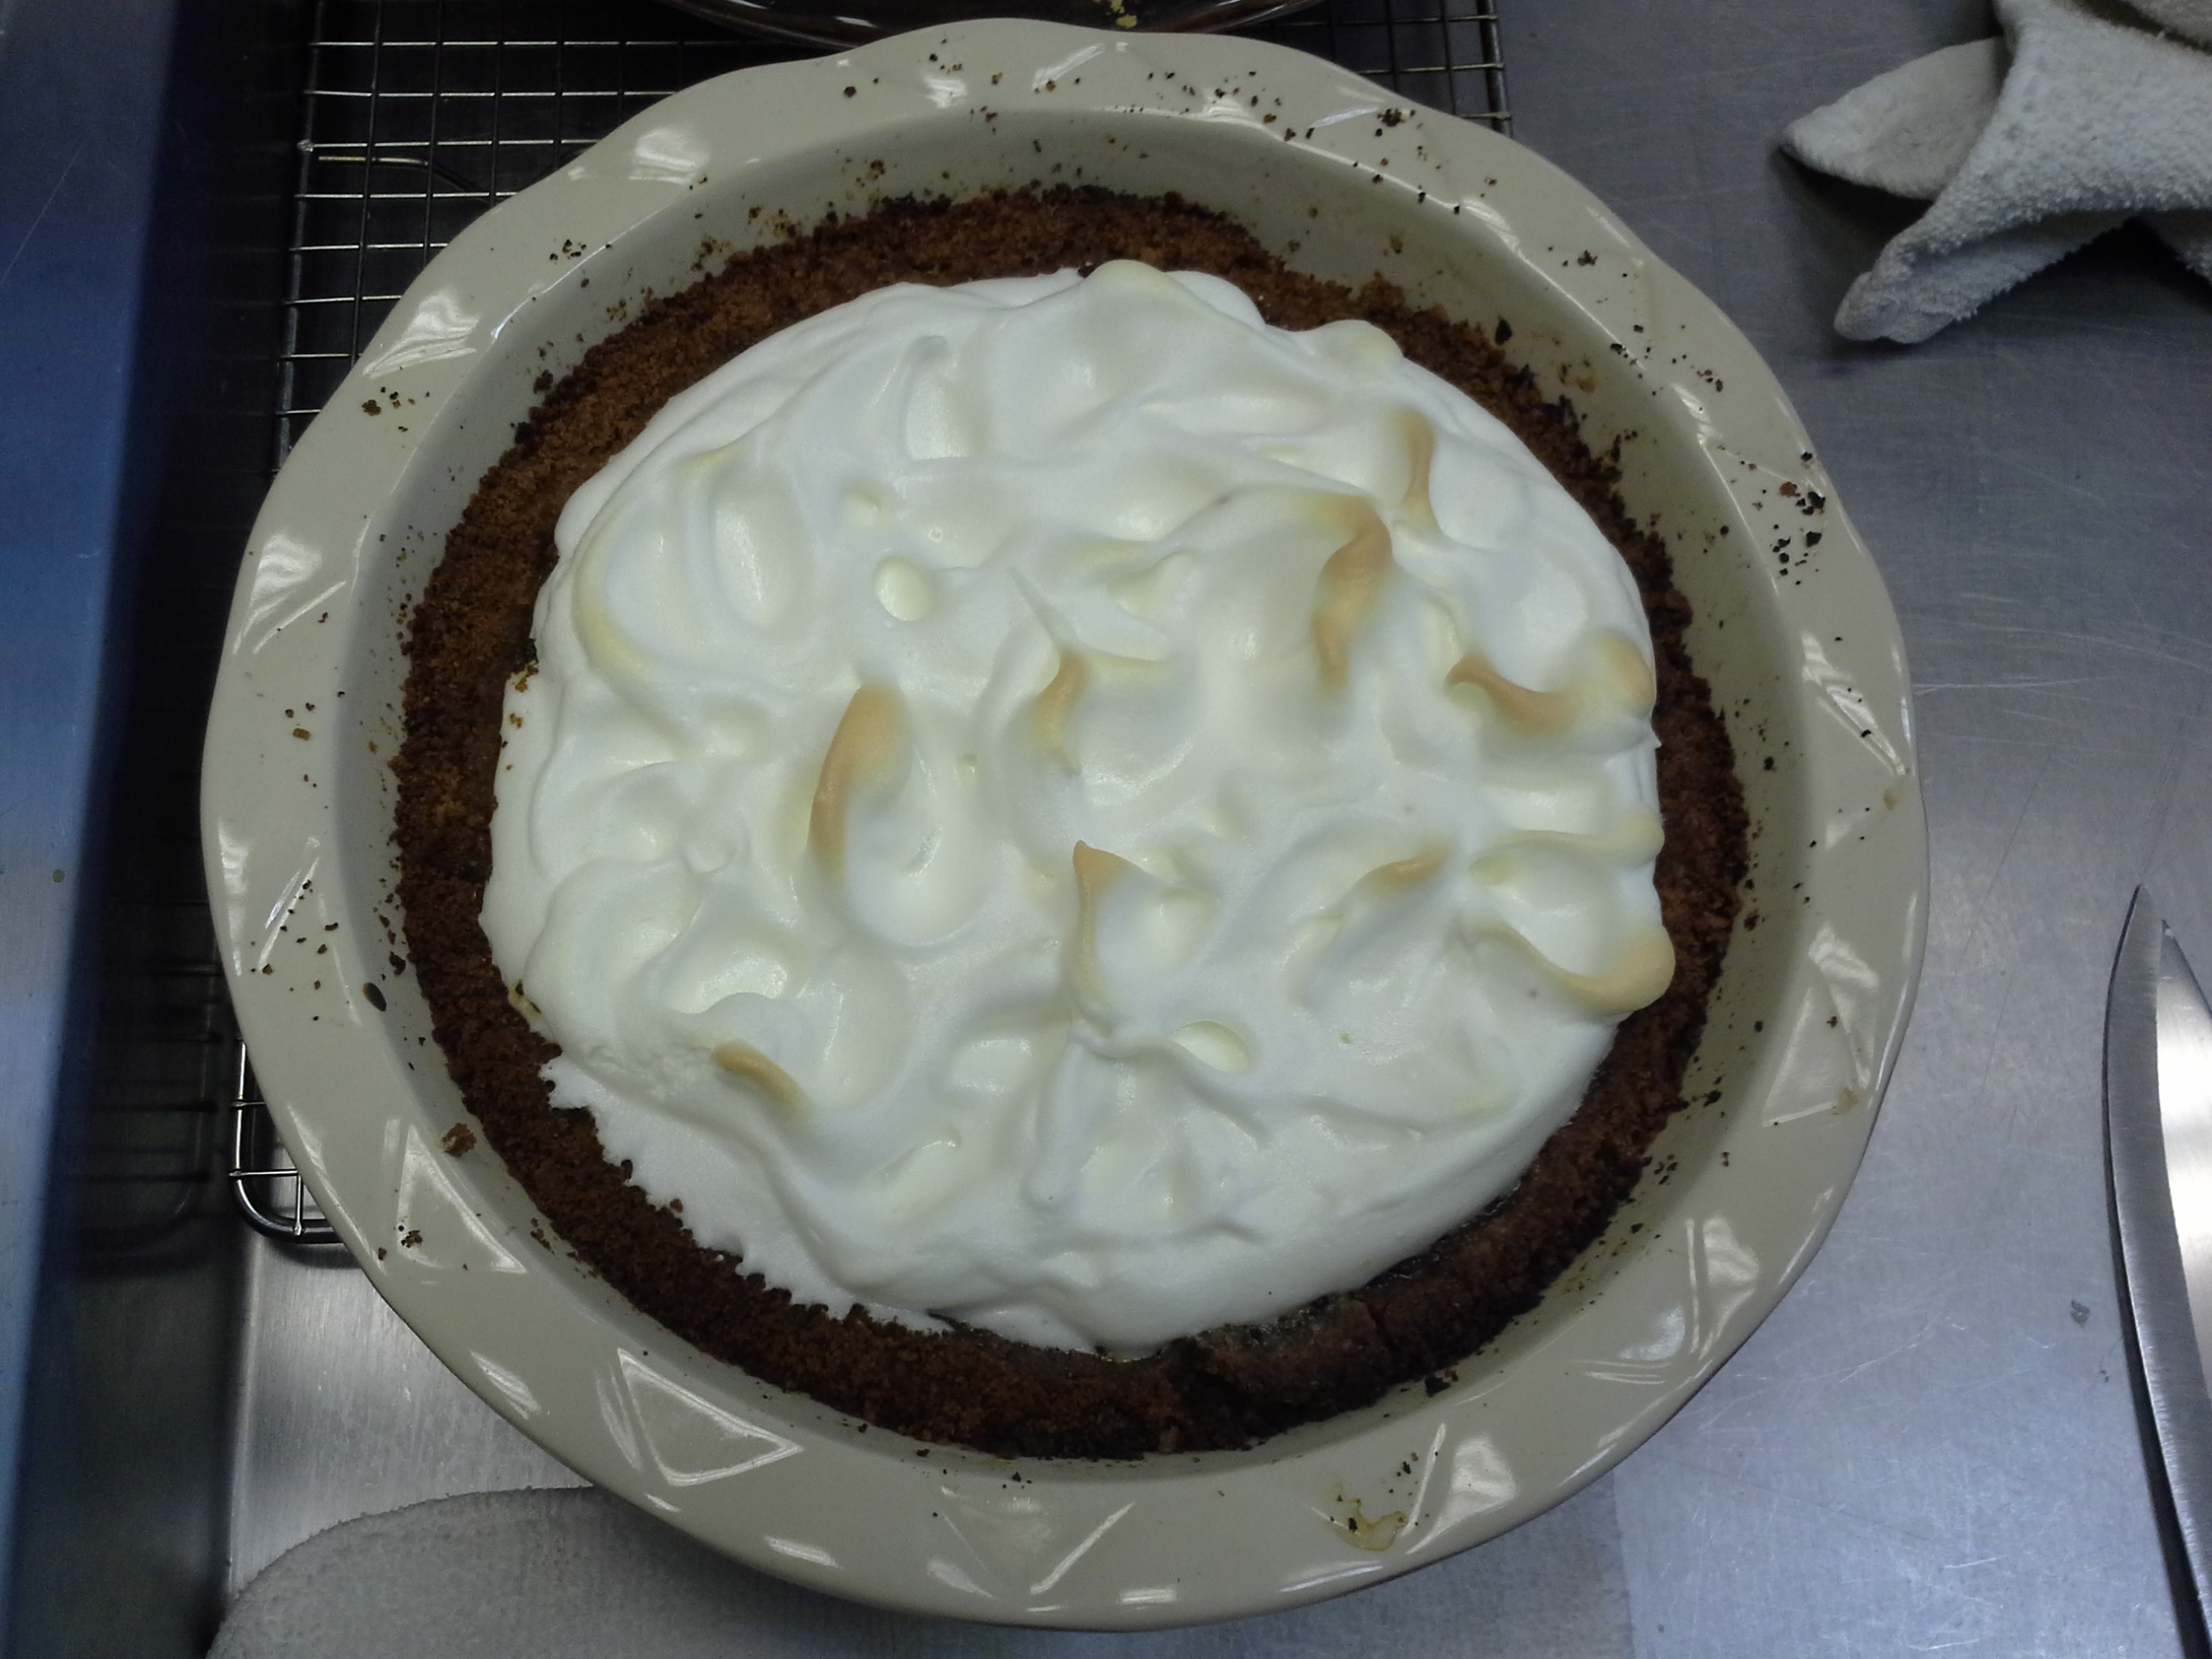
For my savory addition this week, I created the above pie exactly as the recipe stated. It was my first time working with Meringue, and although the recipe called for beating it manually, it took forever even with an electric mixer; I could not imagine having to do it otherwise! It was also my first time working with a Graham Cracker Crust, and although it wasn’t terribly difficult to form the loose crumbs into a solid pie crust, it was difficult gauging how cooked it was. While forming a solid crust, I actually a burned a bit of my pie…BUT, the end result did not have a burny aftertaste! Just something to note for next time – graham cracker crusts take less time than you think they will.

Check out the pictures below:

20140129_145019
[Pie with Baked Crust and Custard, chilling in the fridge]

20140130_113312
[Pie with freshly baked and browned Meringue]

20140130_114719
[Plated and sliced Final Pie]

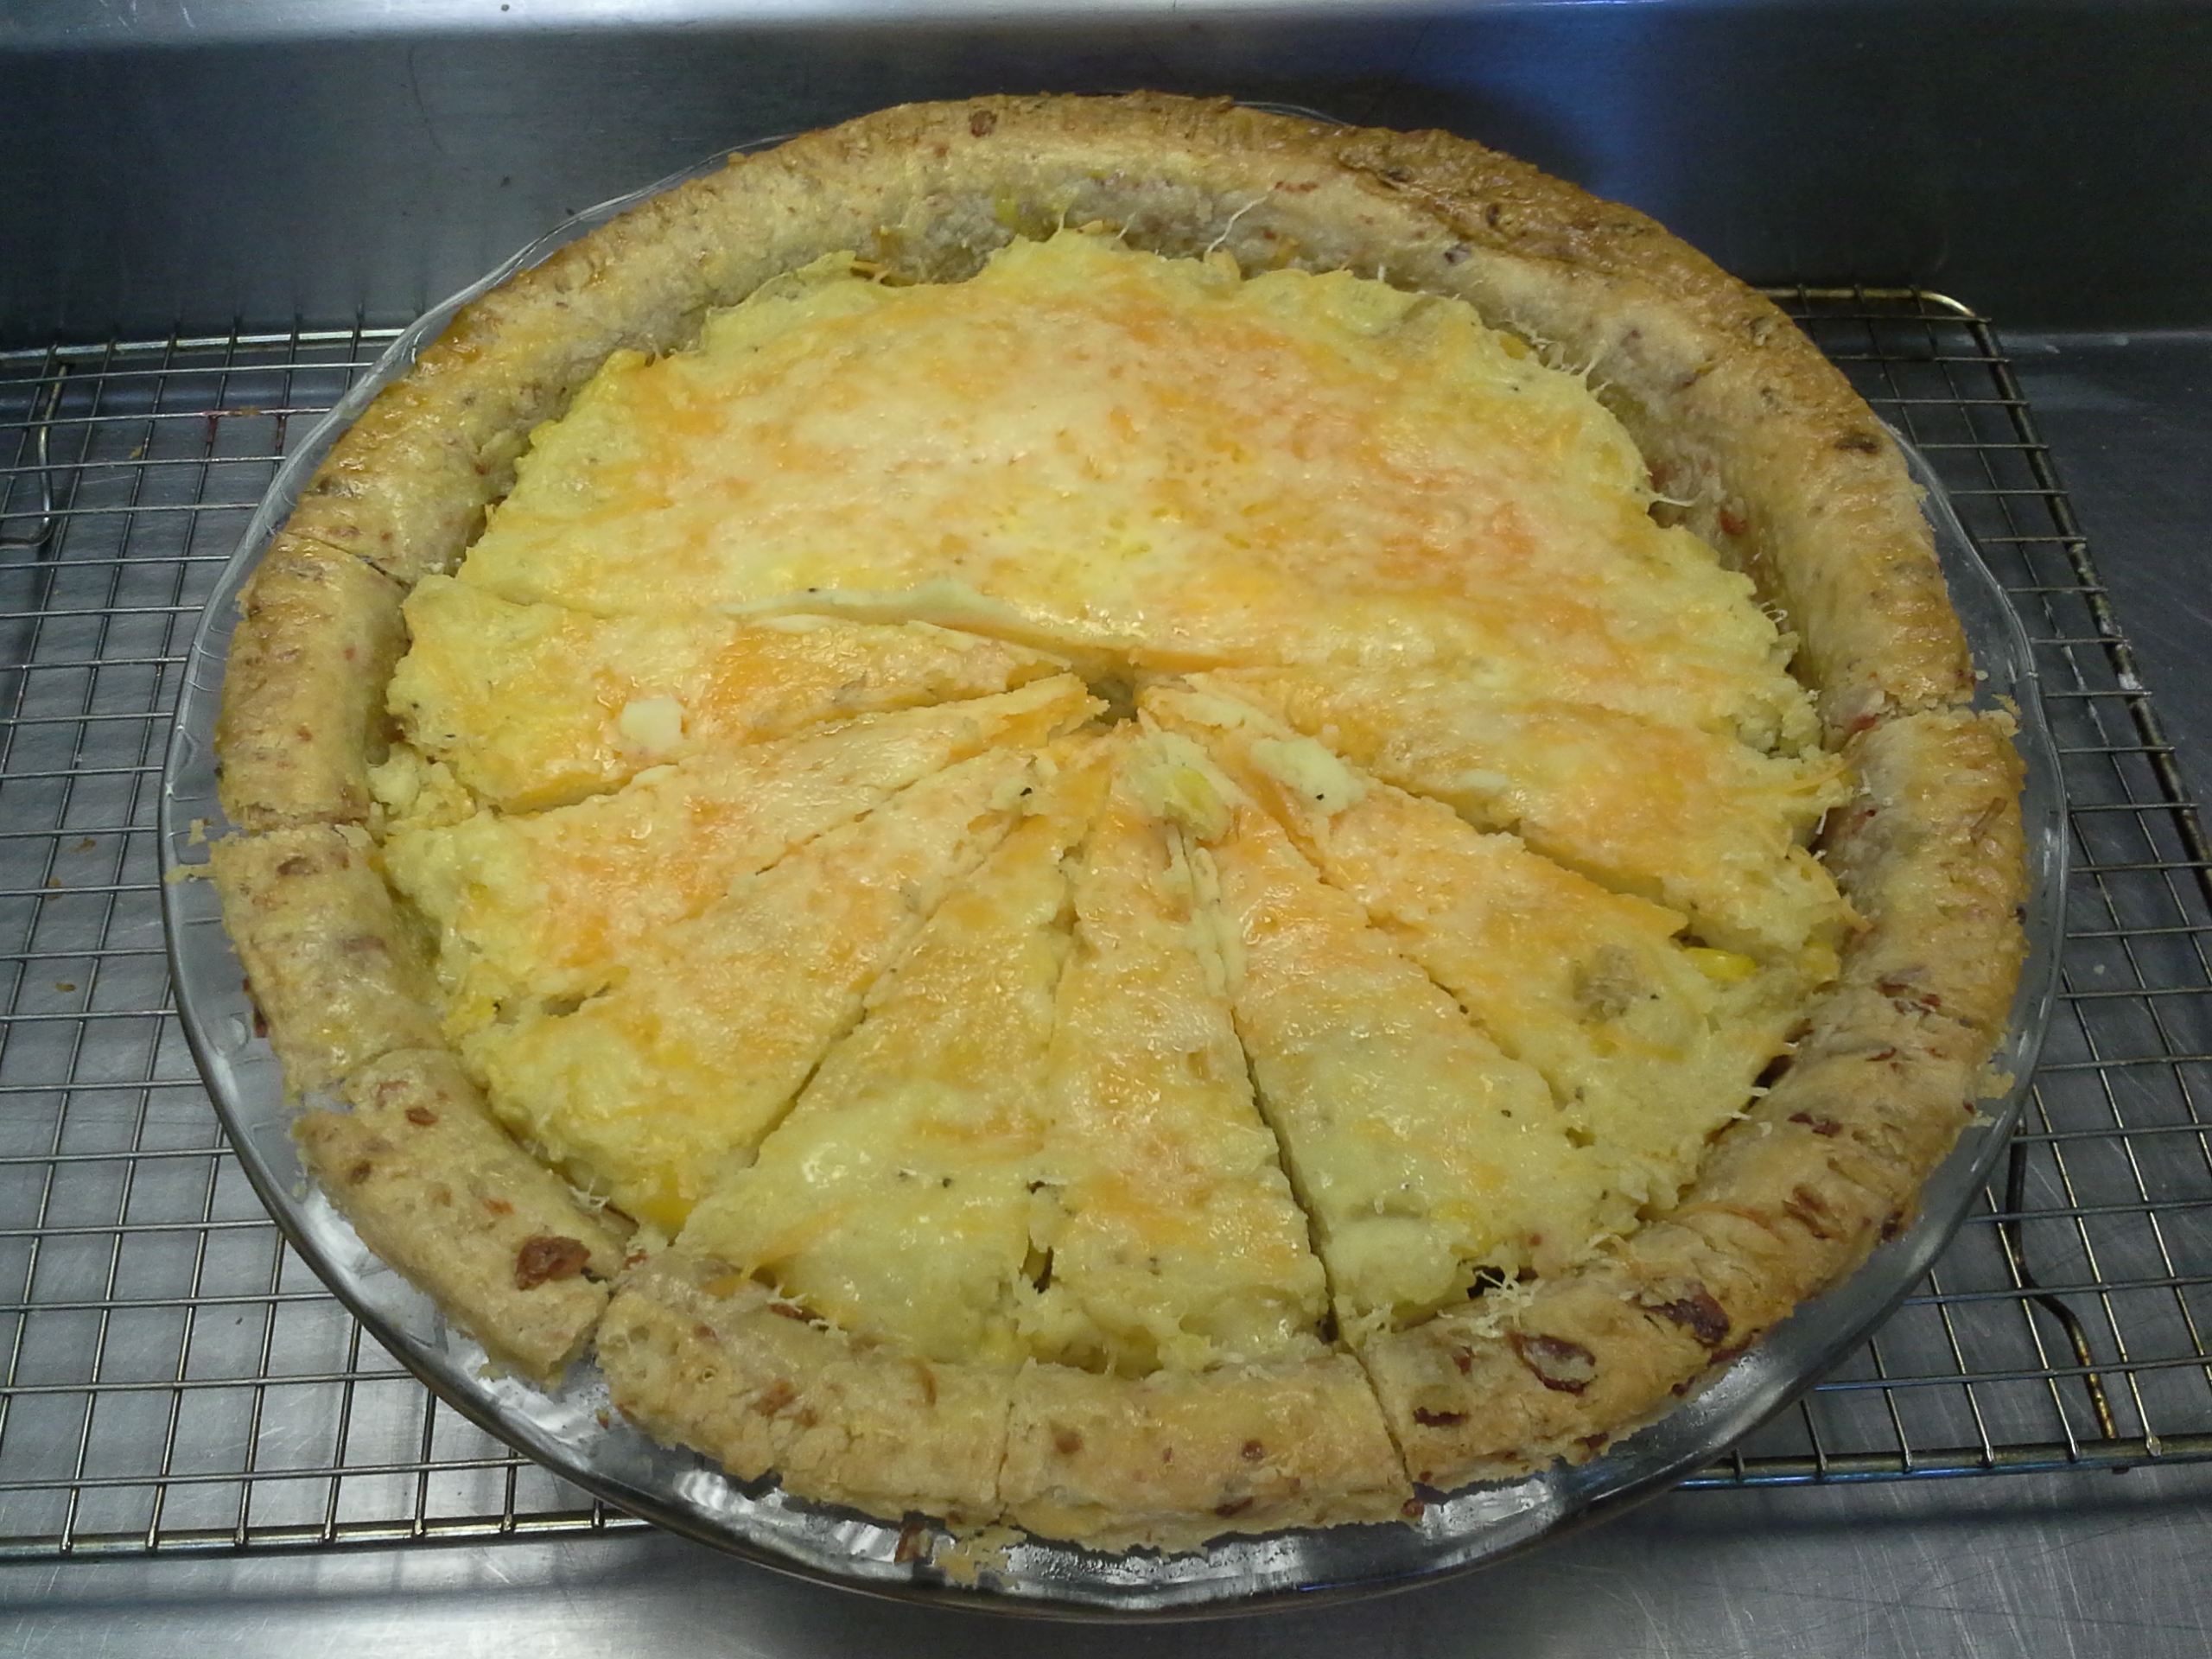
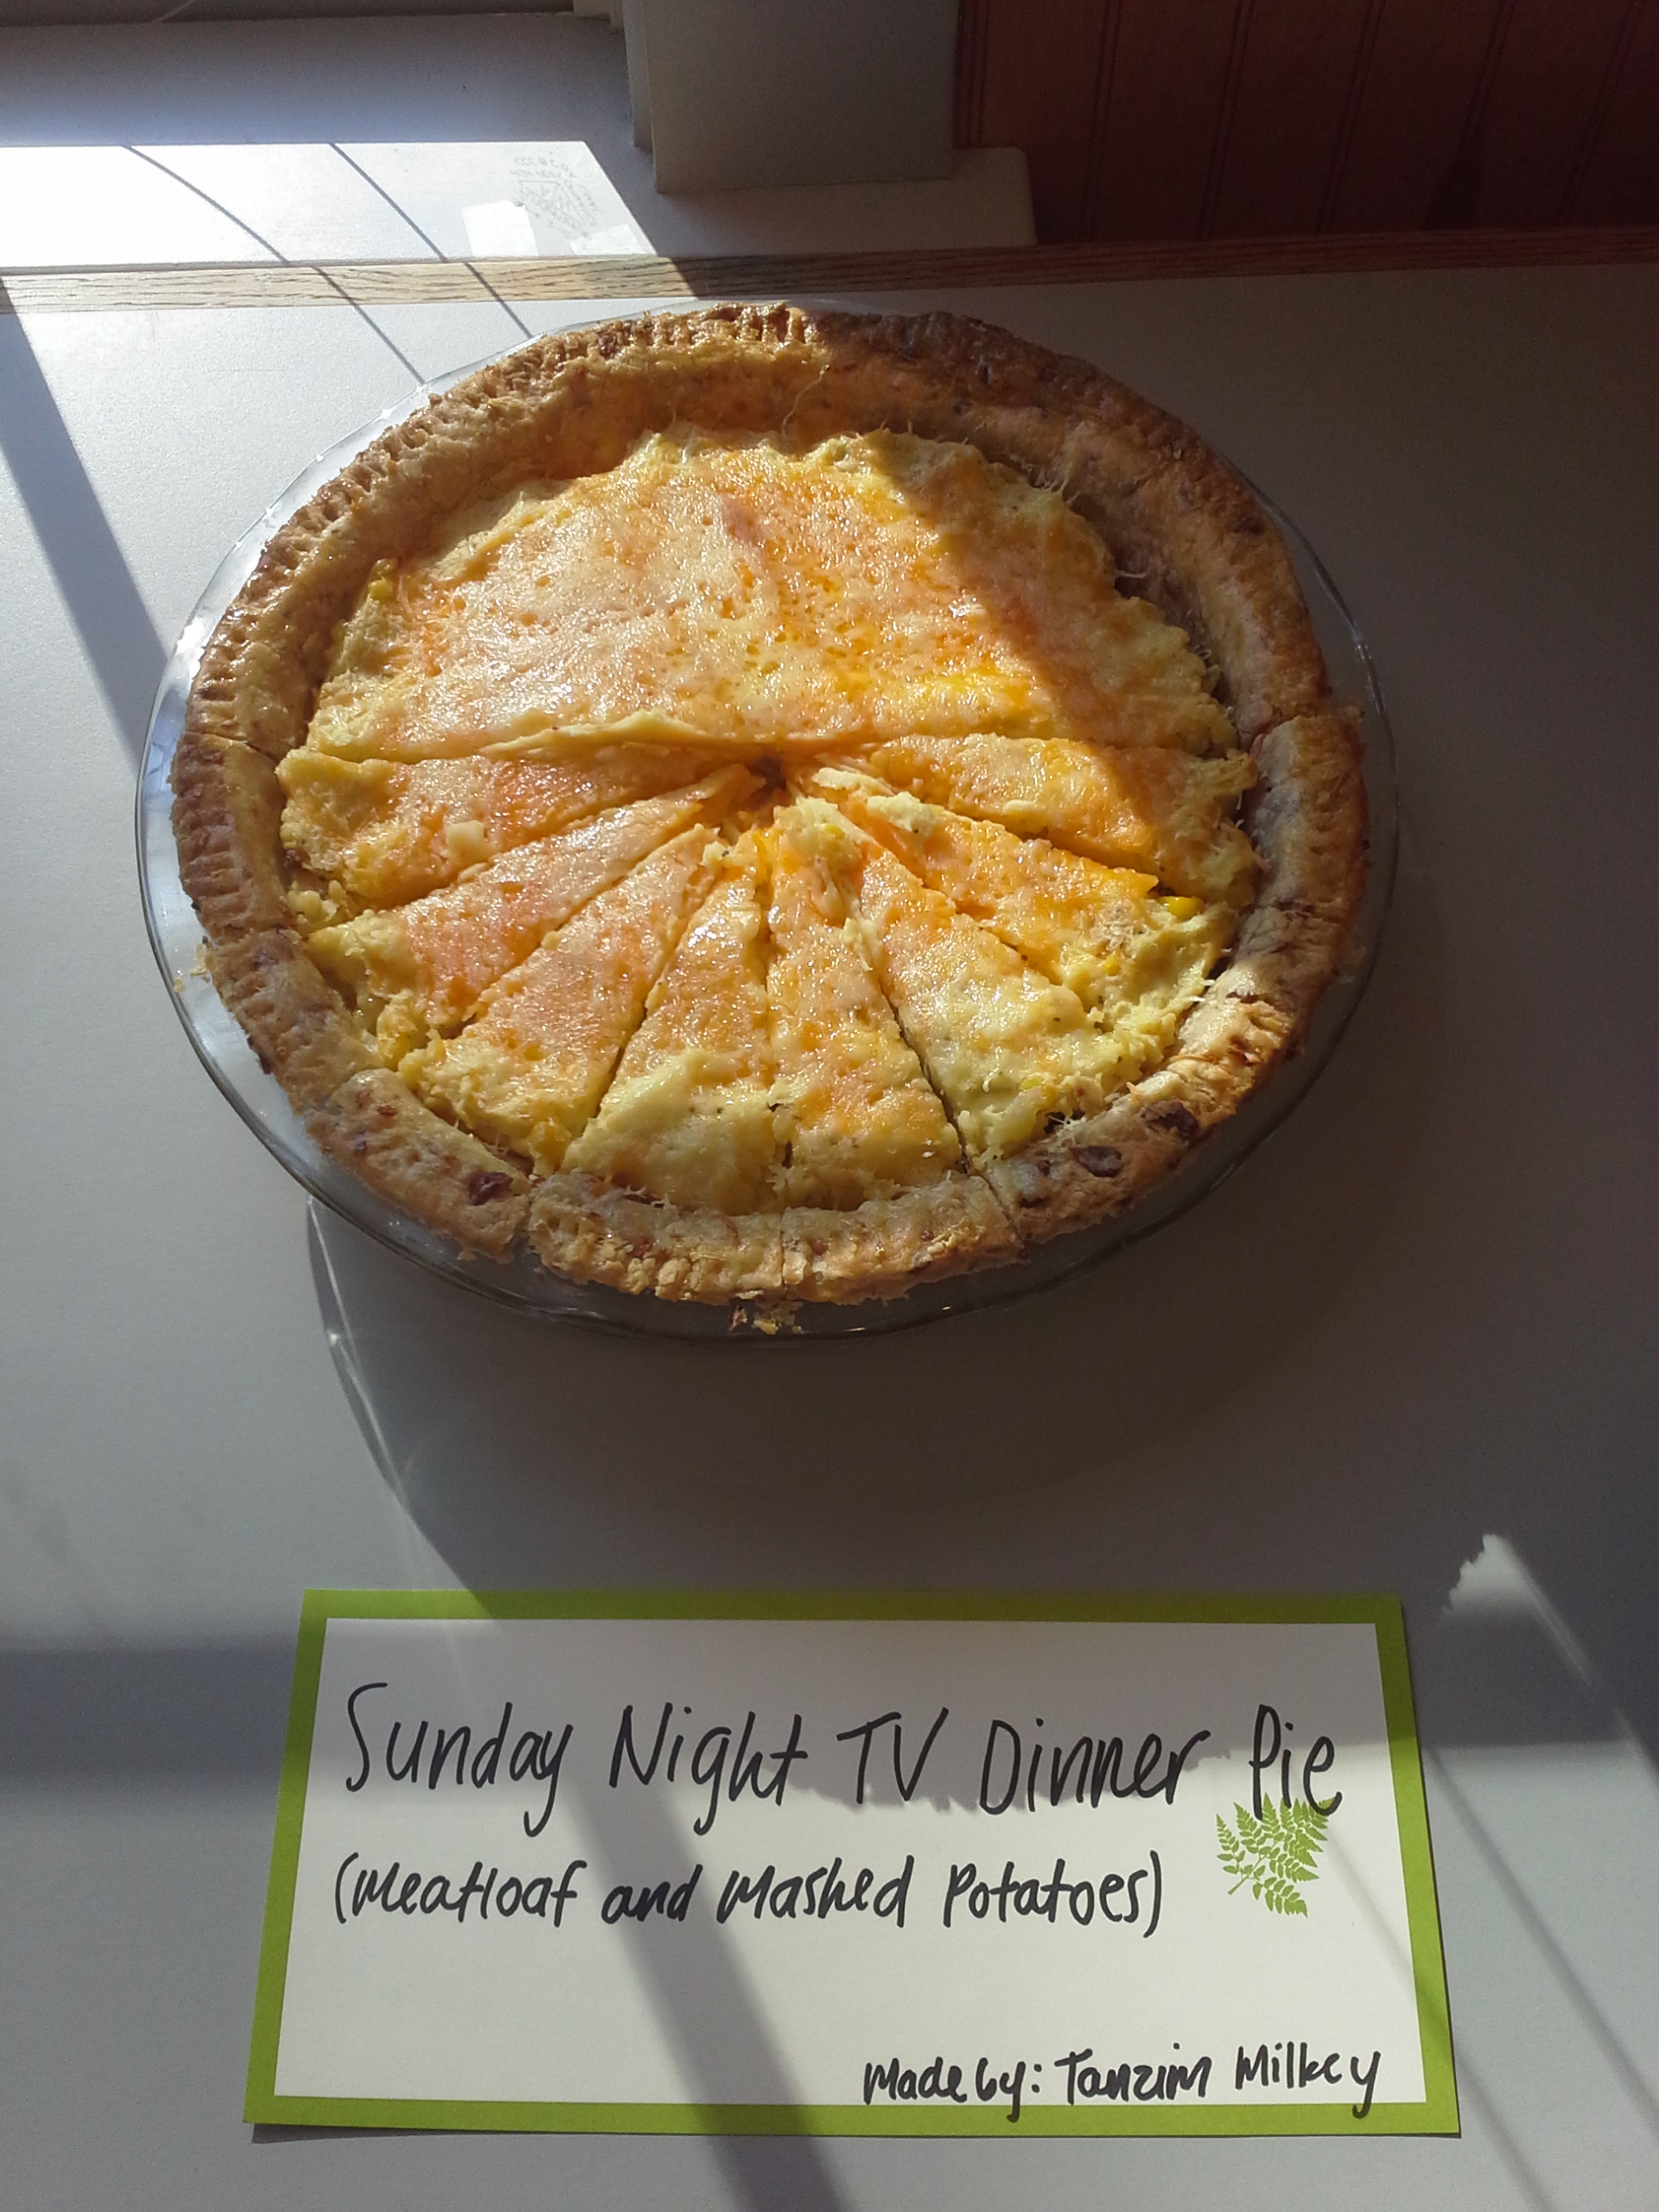
Sunday Night TV Dinner Pie

http://allrecipes.com/recipe/meat-loaf-pie/

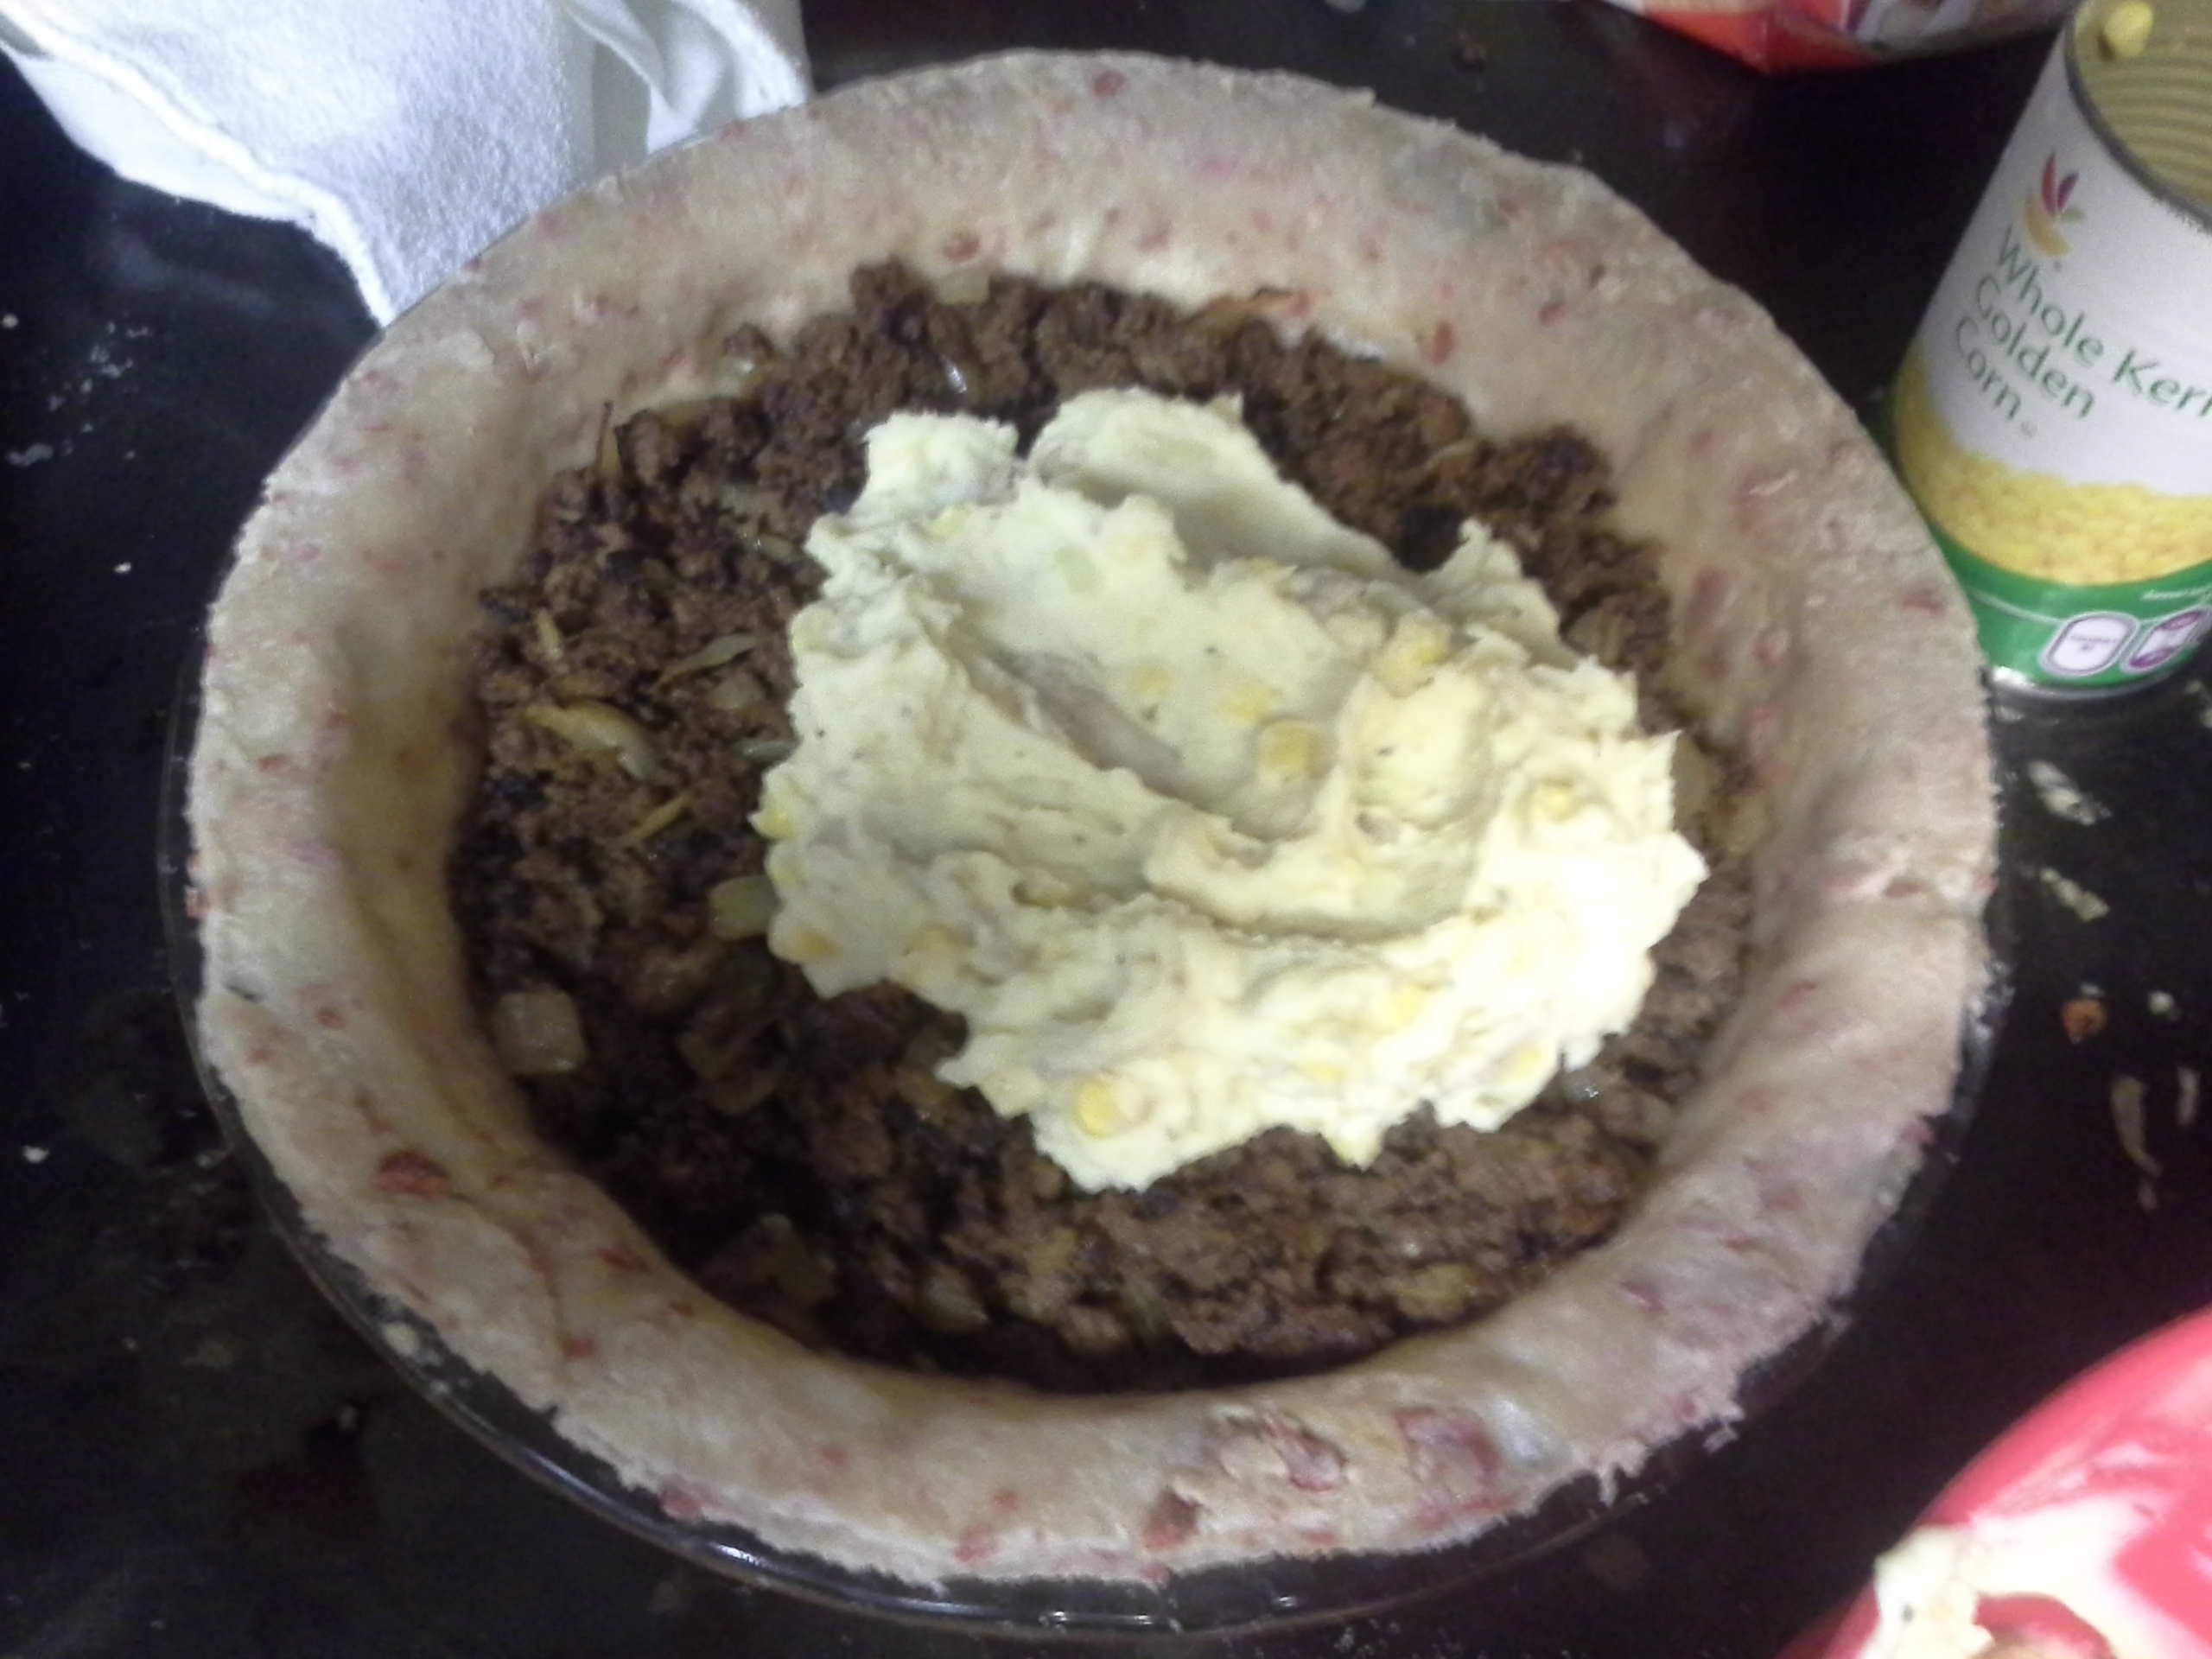
For my savory entry this week, I went with a classic dinner recipe in pie form. In the style of the English, “anything you can put on a plate, you can bake into a pie.” I mostly stuck to the recipe above, but of course, throwing in the classic Tanzim twists.

First, the crust, which was made with butter and crisco, was also baked with bacon flakes.
Second, rather than have a layer of sweet corn, I added half the corn called for in the recipe to the mashed potatoes.
Third, the meatloaf was cooked using this recipe for added flavor.
Fourth, the cheese crust was done with two different kinds of cheddar: mild and sharp.
Additionally, the mashed potatoes were made using this recipe.

The pie turned out very well! I think the changes I made added a lot to the dish. The layer of corn on the bottom would have been a distracting taste, and it worked nicely with the potatoes. The cheese on the top also baked into a nice, crispy crust, which added an extra dimension of texture.

Check it out!

20140129_173740
[Raw Pie with Meatloaf filling and some Mashed Potatoes with Corn]

20140130_112919
[Fresh Baked Pie – sliced into Eights]

20140130_114751
[The Final Presentation]


White Fish Pie

So, as a continuation of my previous post, today I finished baking the white fish pie. To my partial surprise, it turned out pretty solid; my biggest concern, that the structure wouldn’t hold and the filling would explode everywhere, did not come to pass, so that was spectacular, haha.

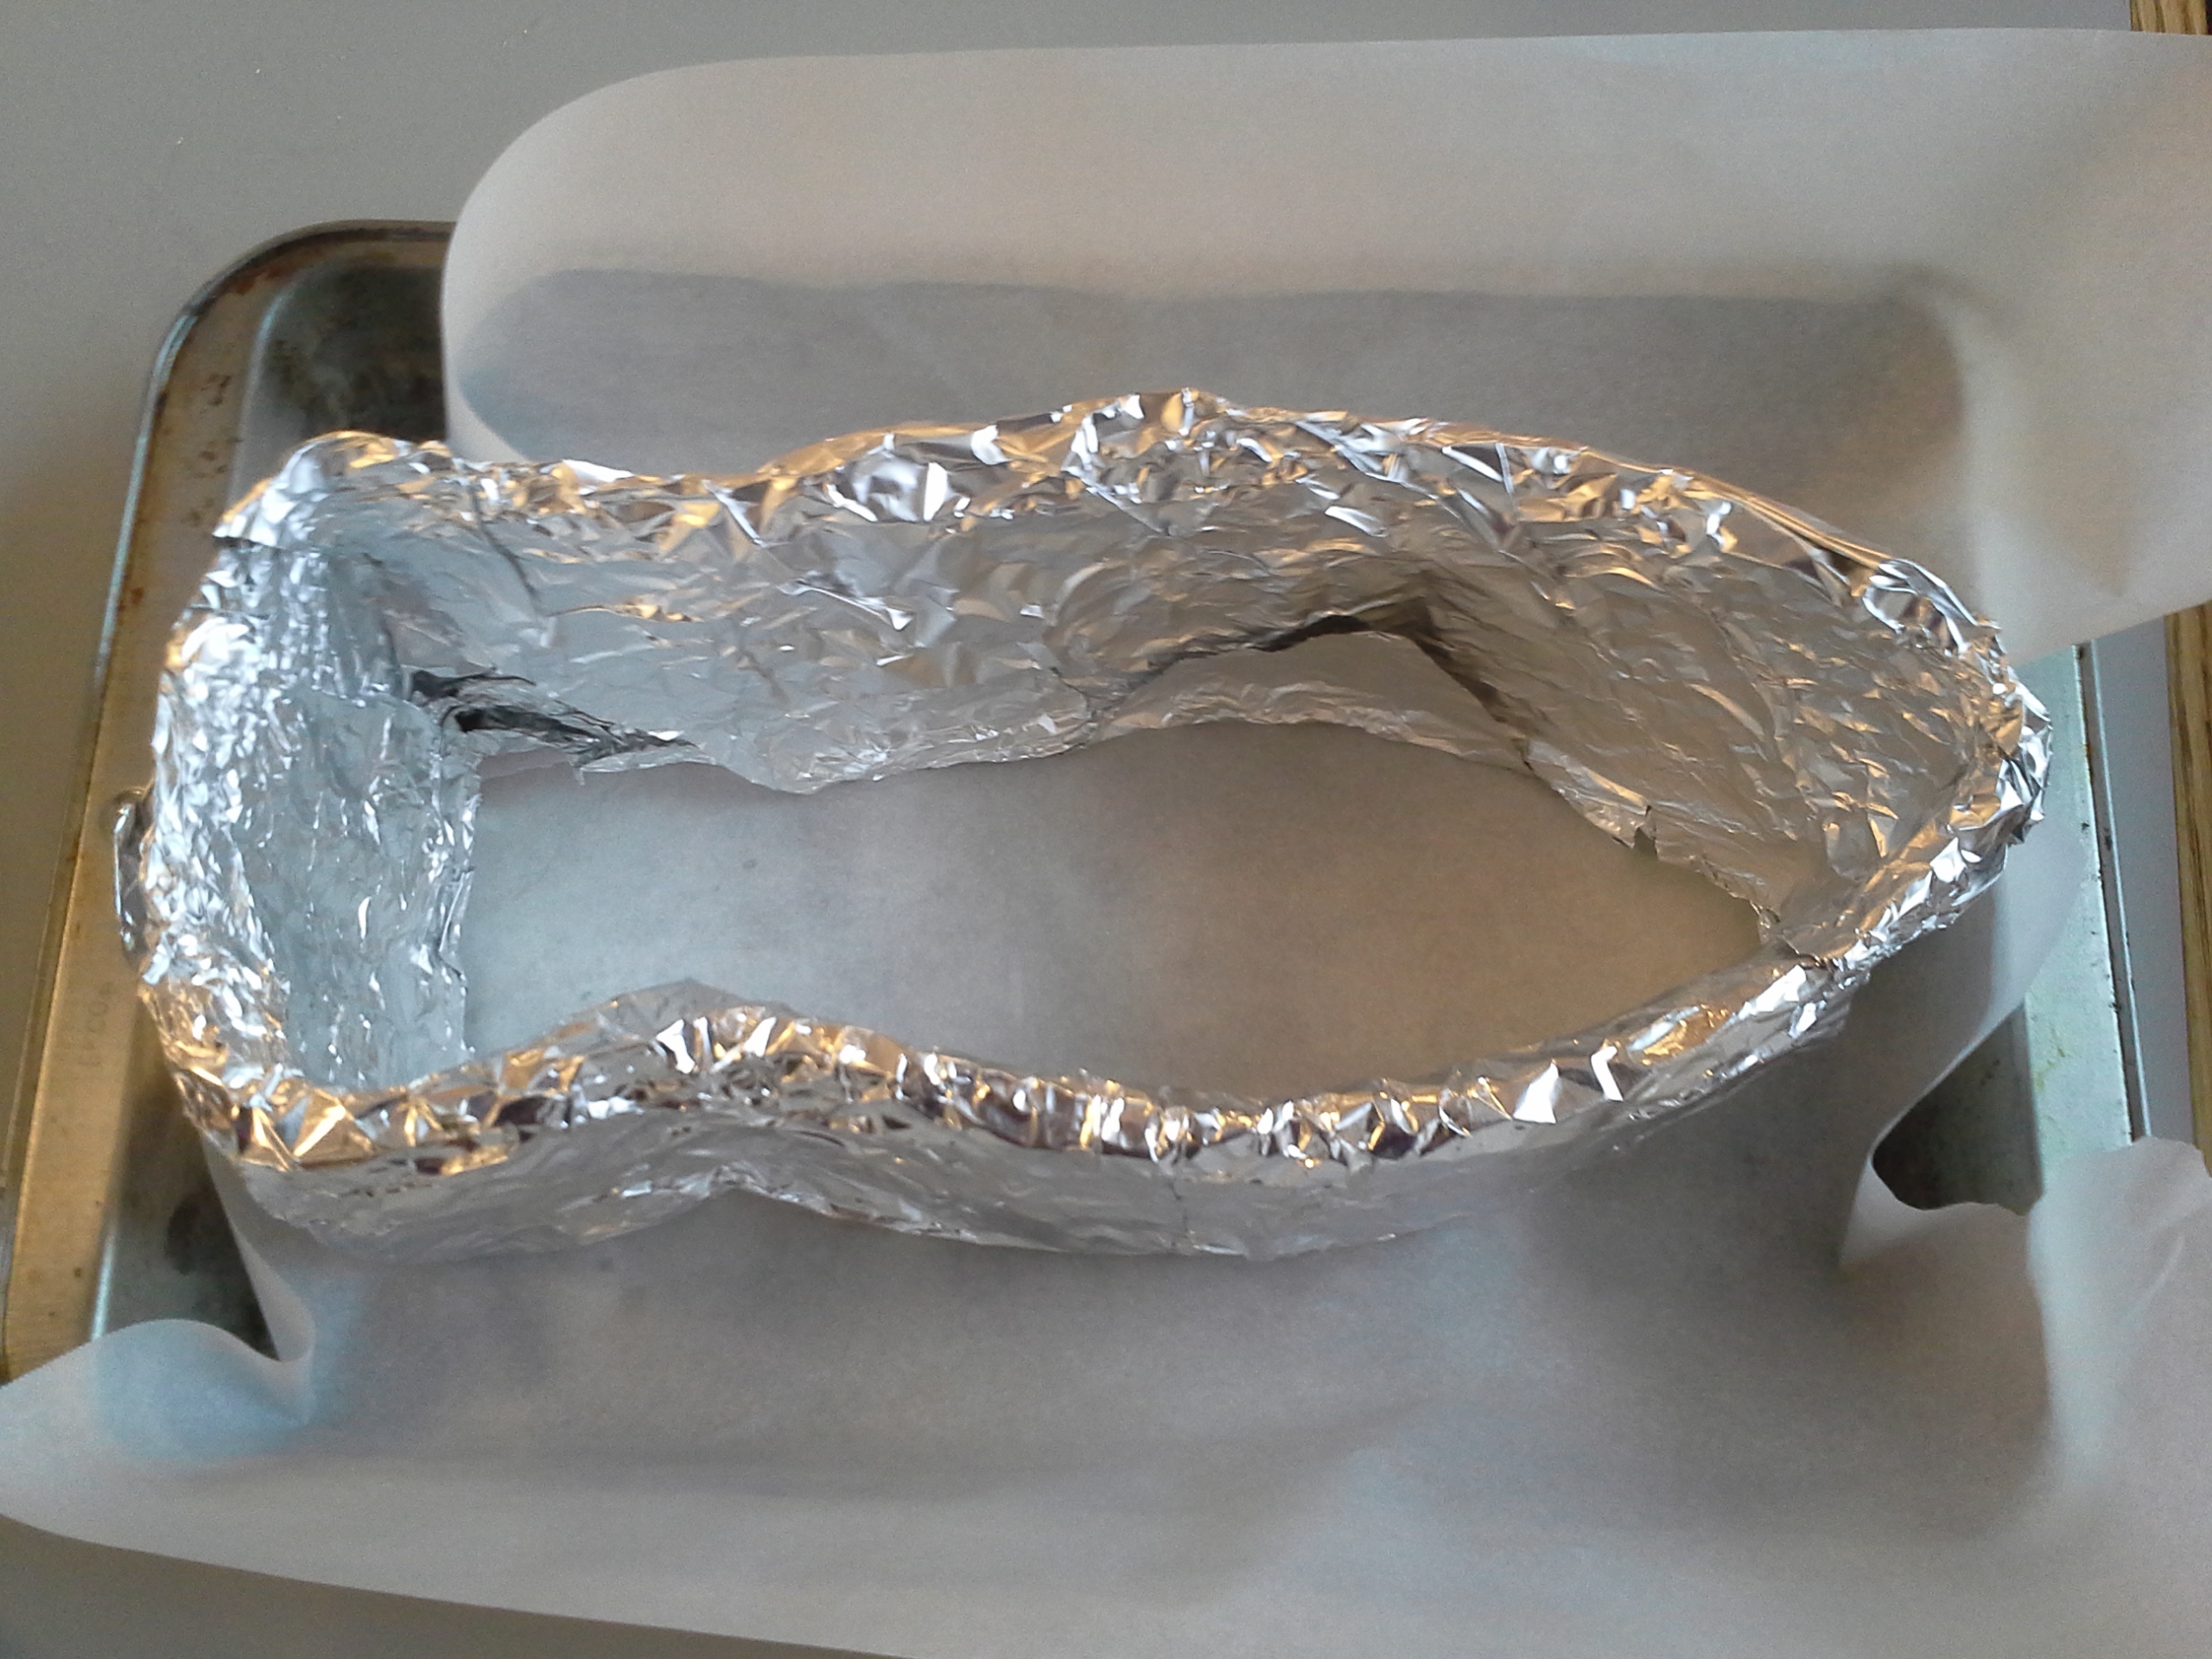
I went with the No-Rolling-Pin Pastry because I felt that it would be the easiest to work with while fitting the pie to my mold. That part definitely turned out to be true – the oil-based pastry worked wonderfully with my cardboard and aluminum mold, allowing me almost play-doh like control over my pastry so I could design and implement the base structure.

The filling was simple and easy. It is a tried and true recipe I’ve cooked for dinner before, and I thought the light, cheesy flavors would sincerely compliment the baked pastry. I layered the seafood, sauce, and cheese so that all ingredients were symmetrically arranged and even the cross-section may be beautiful. This idea was further led by the fact that many towering medieval pies also contained layers of ingredients.

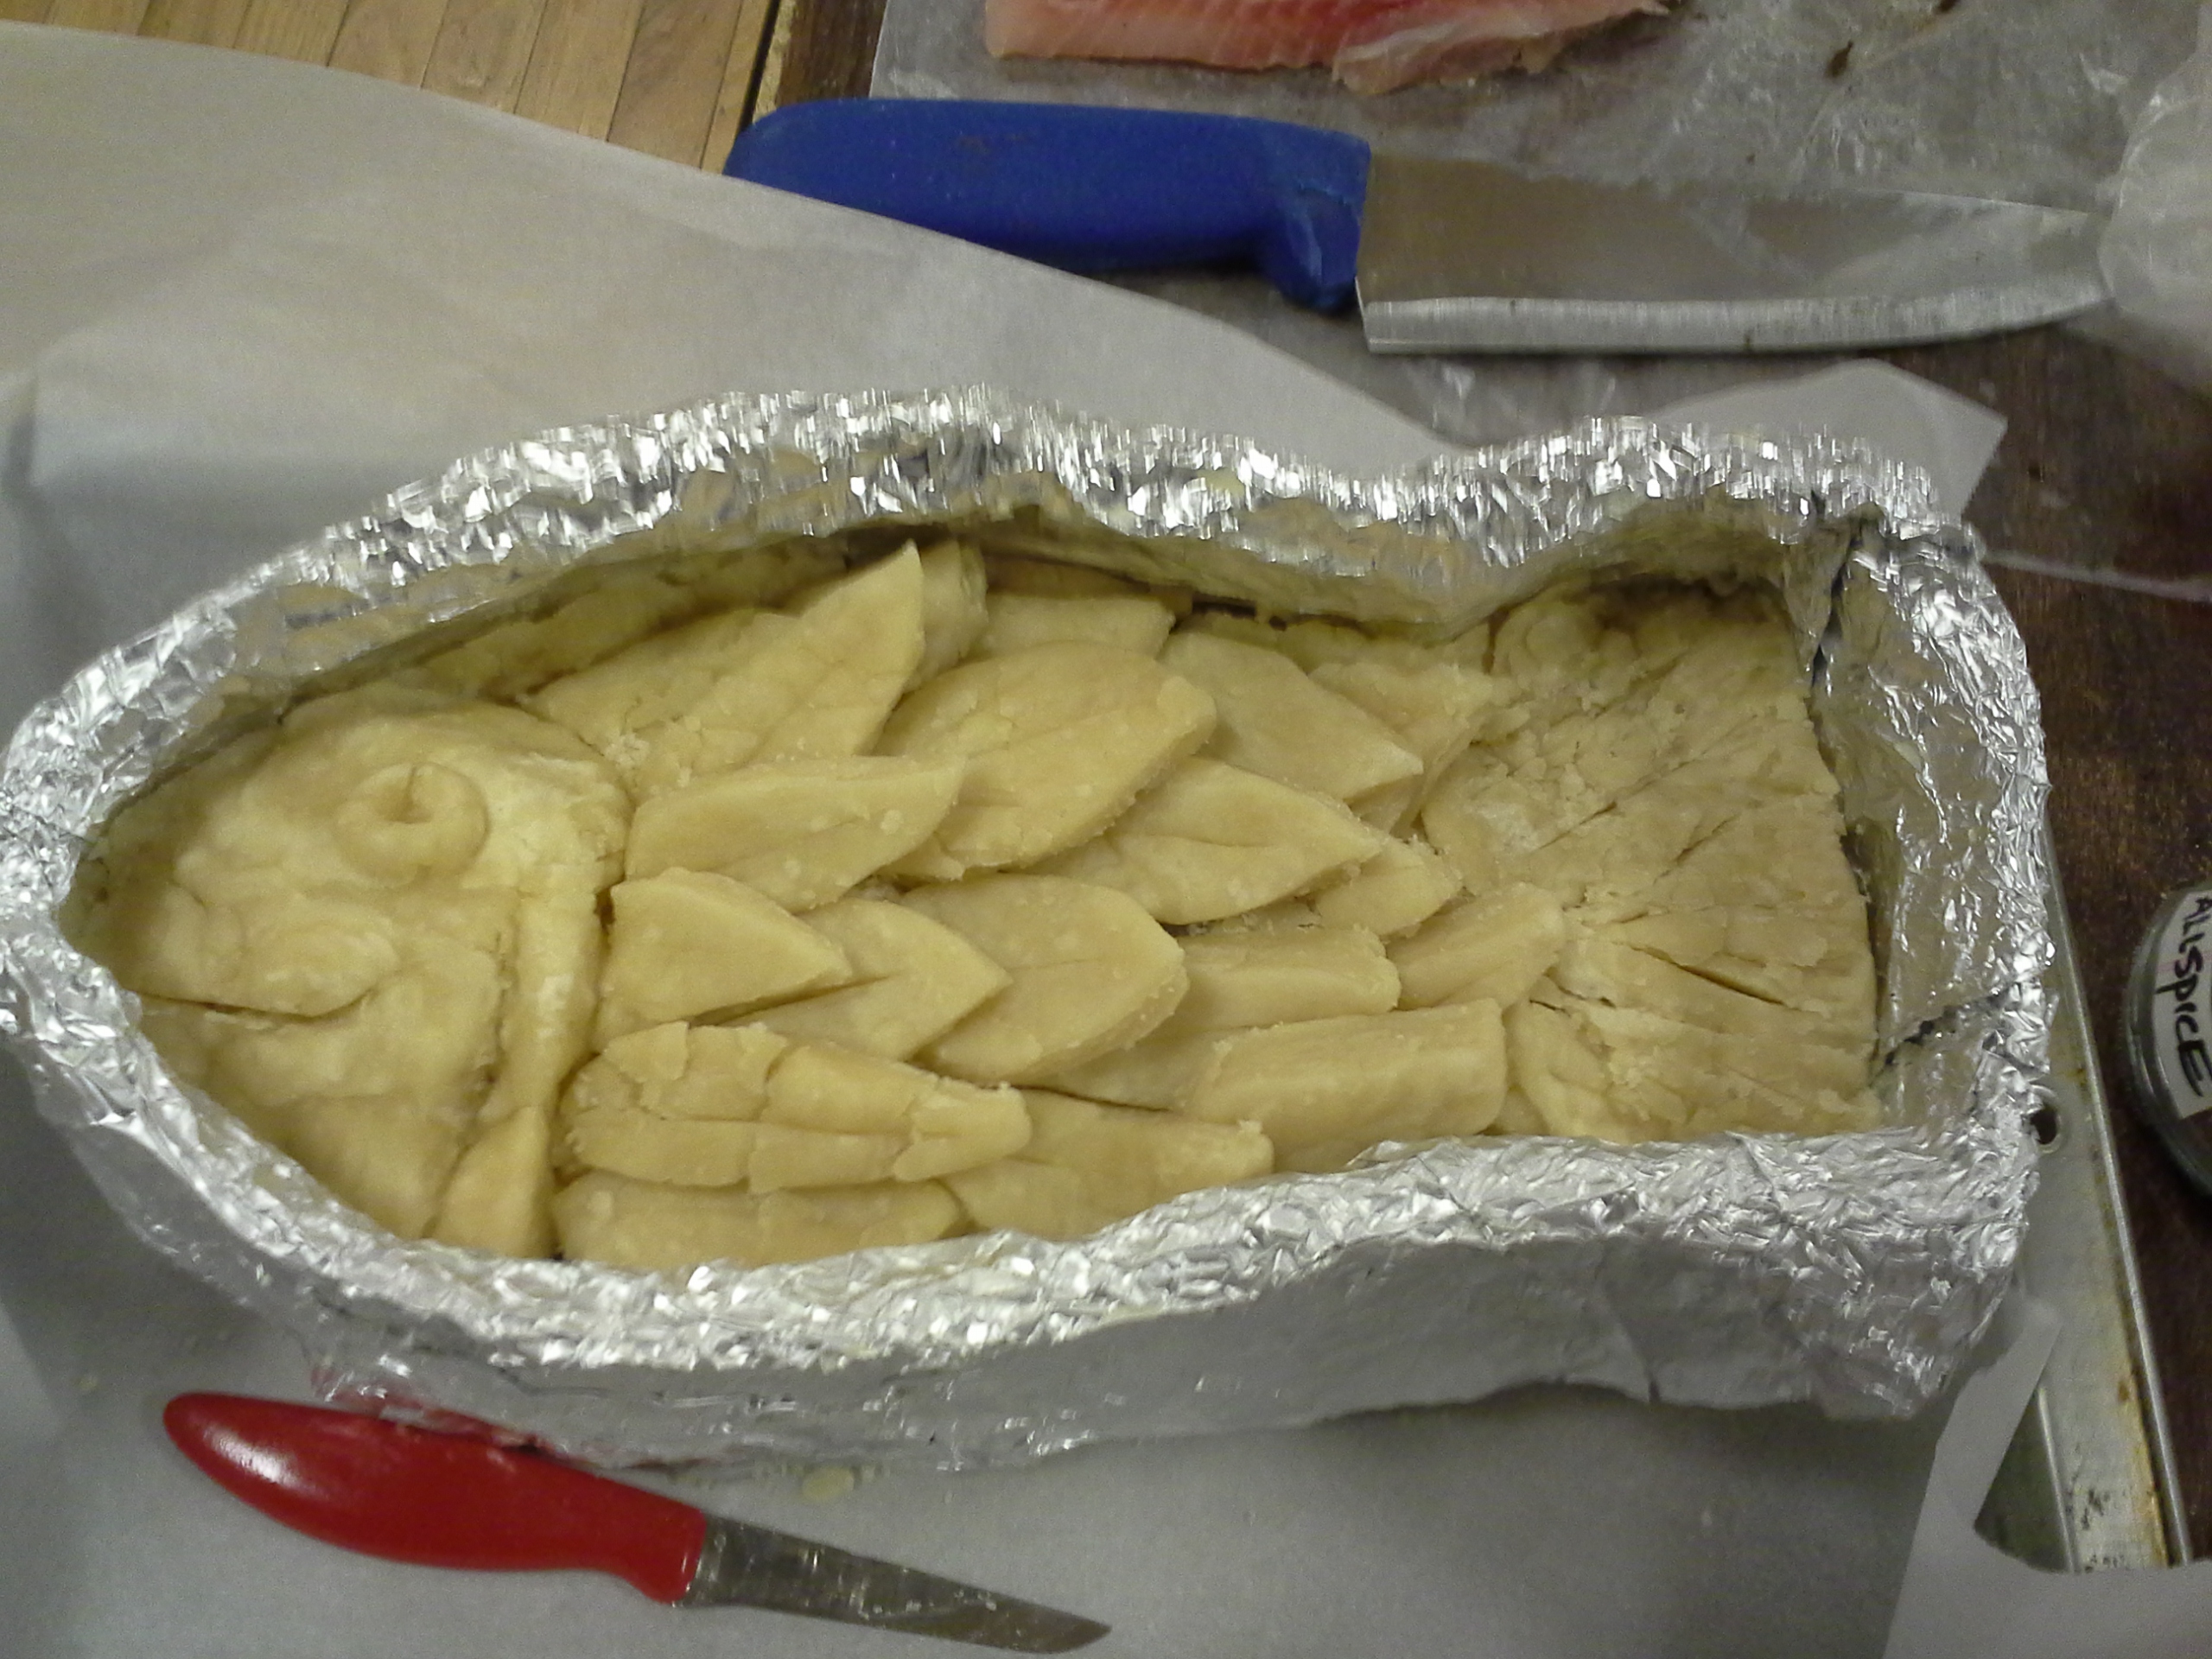
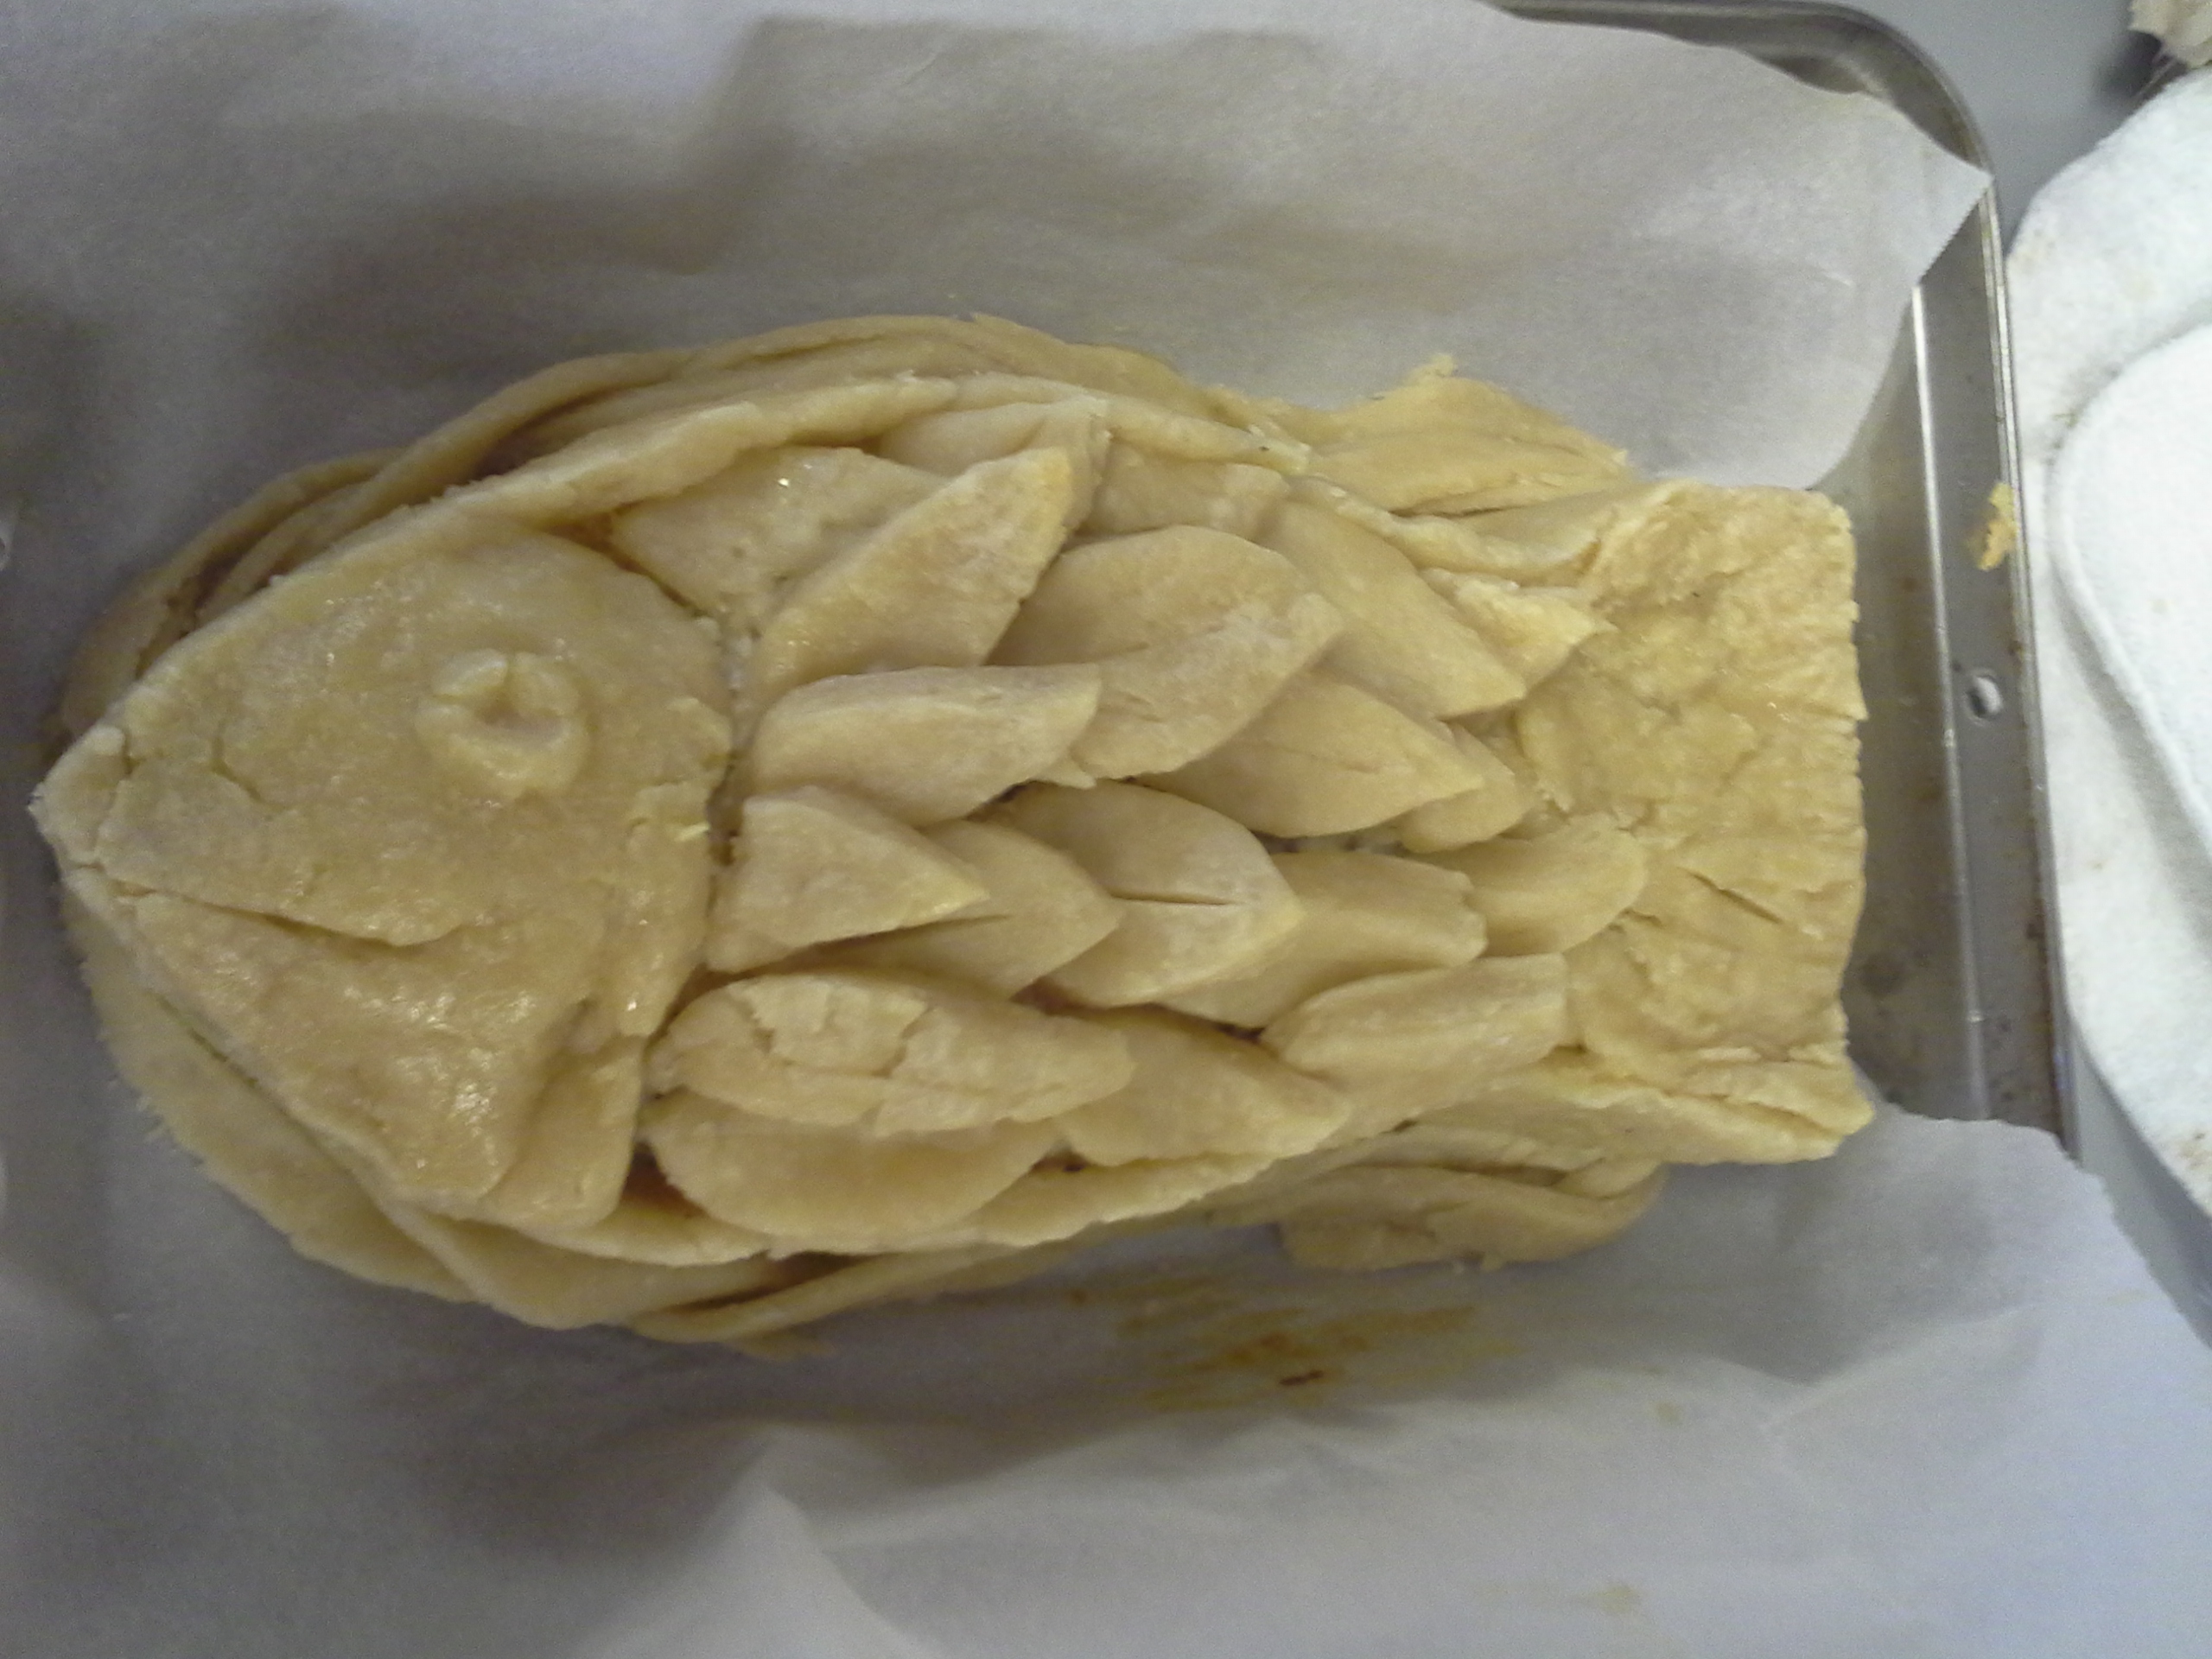
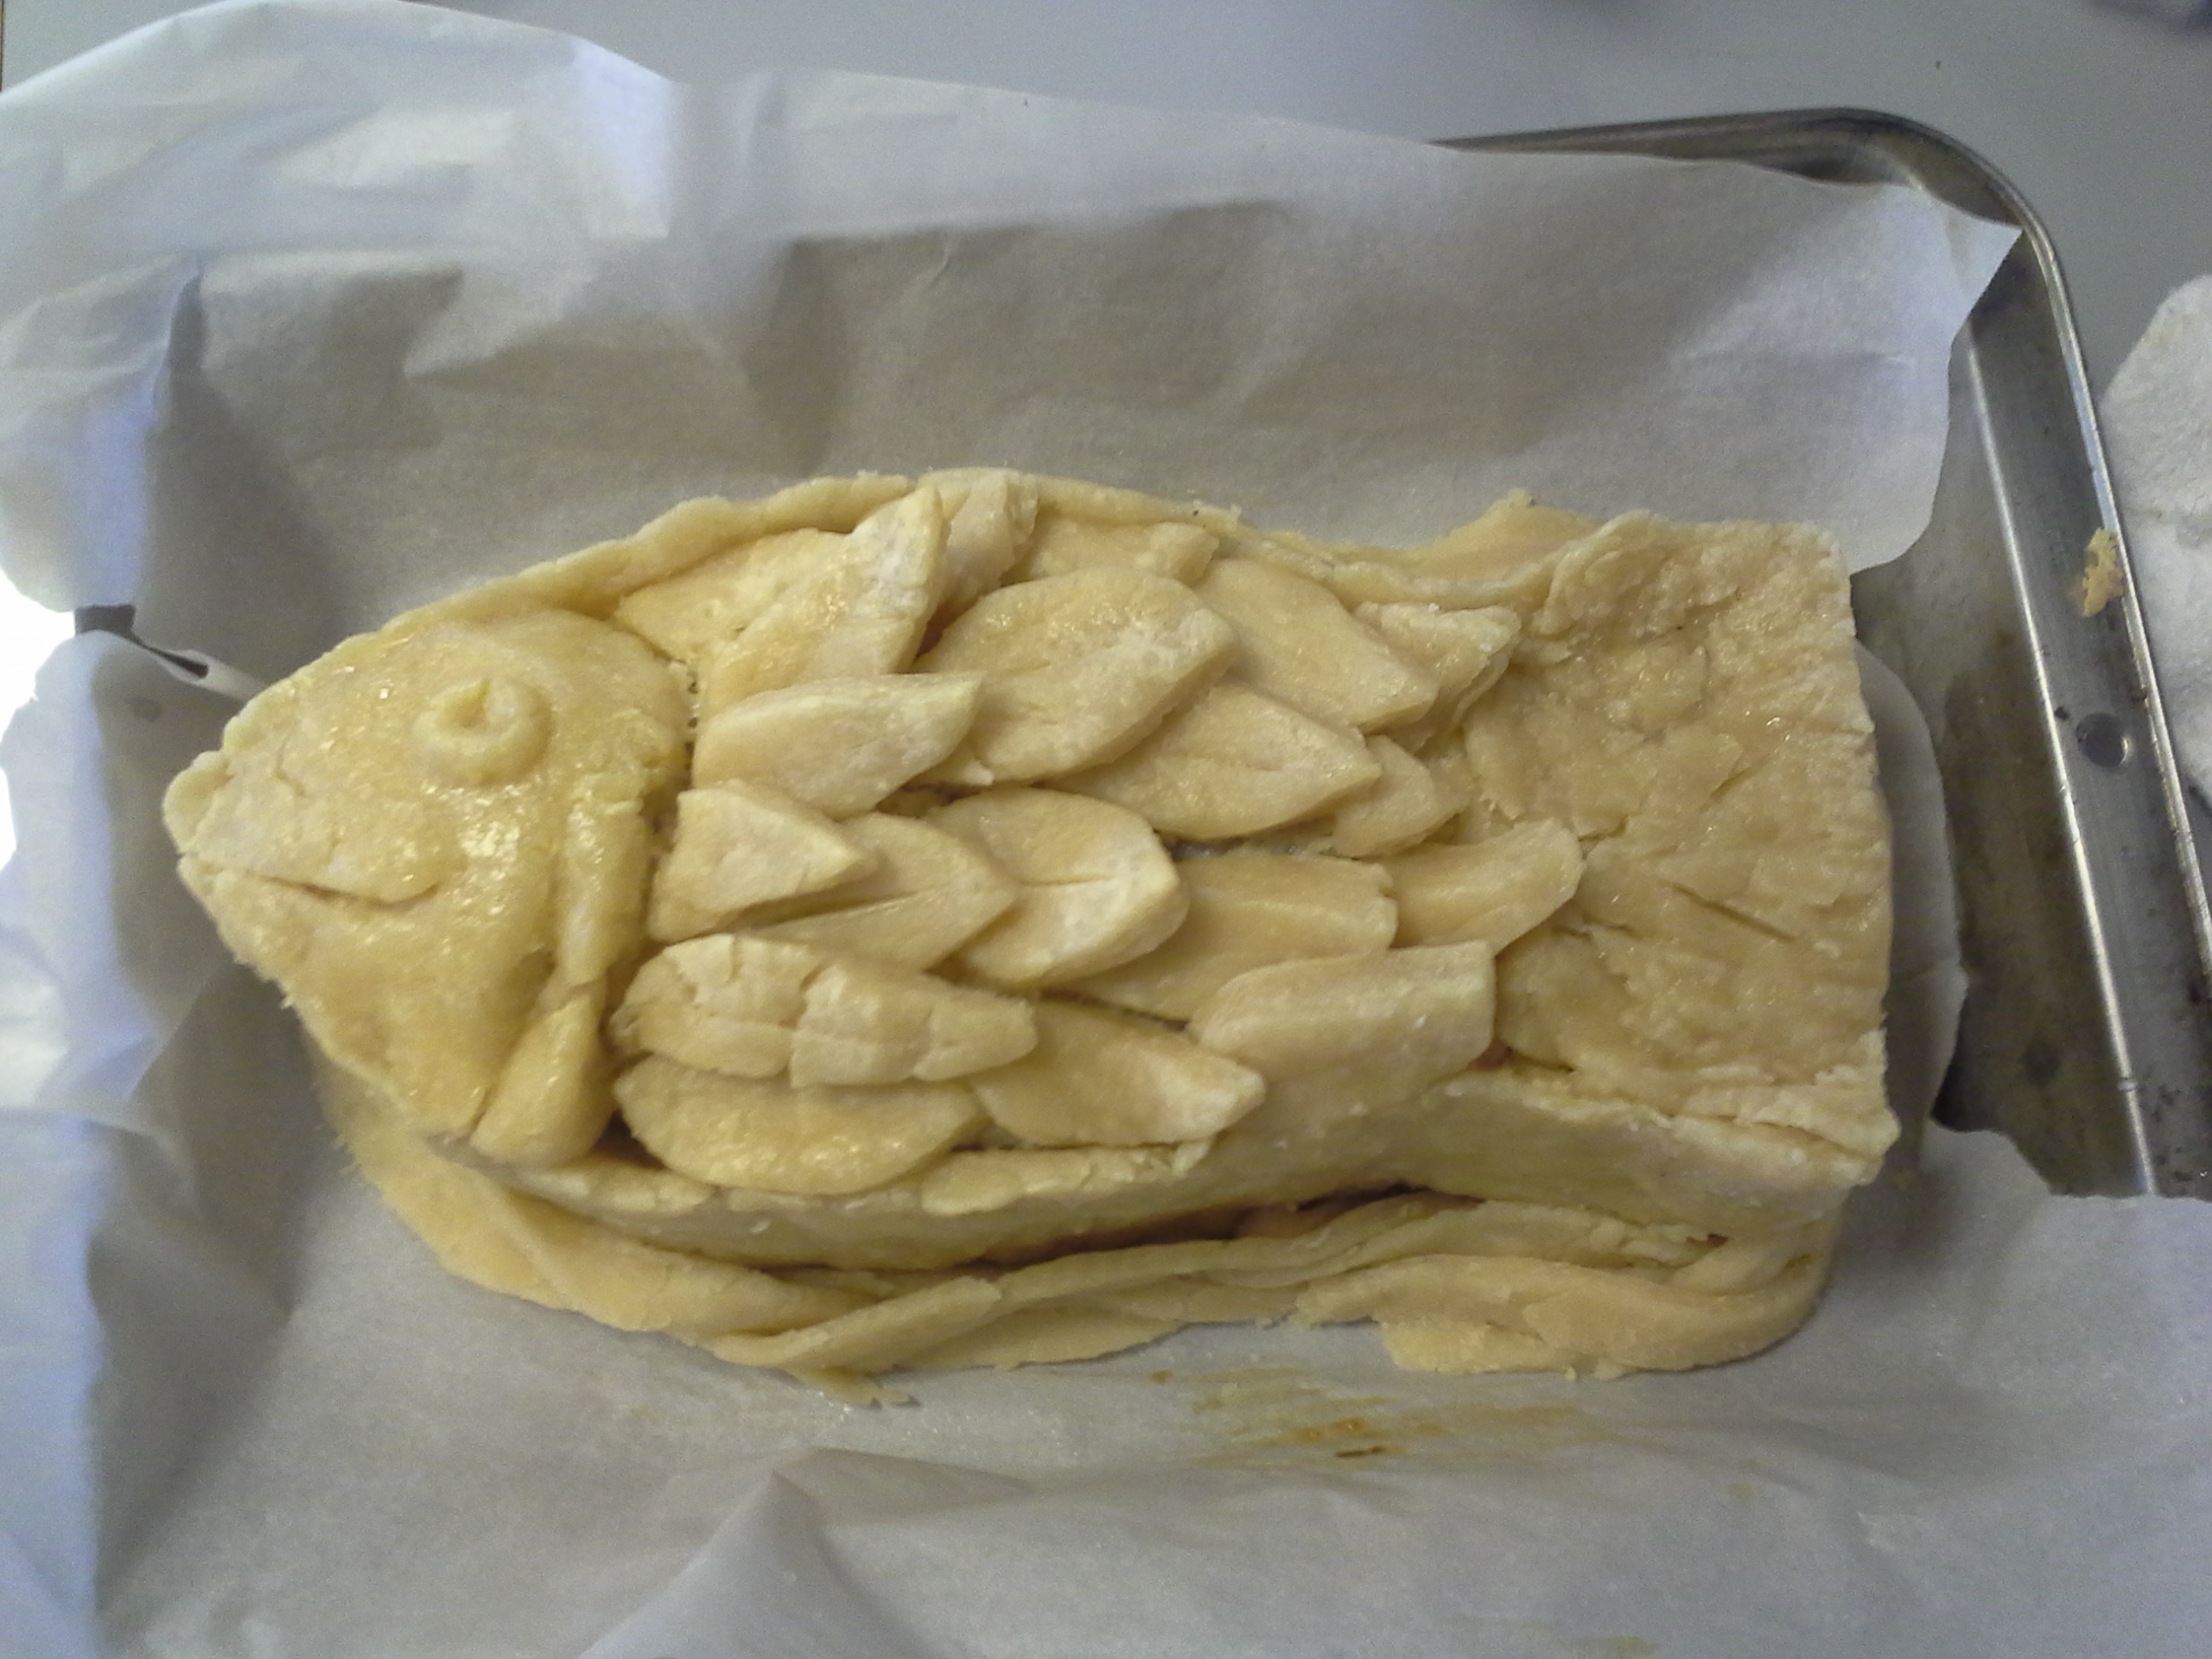
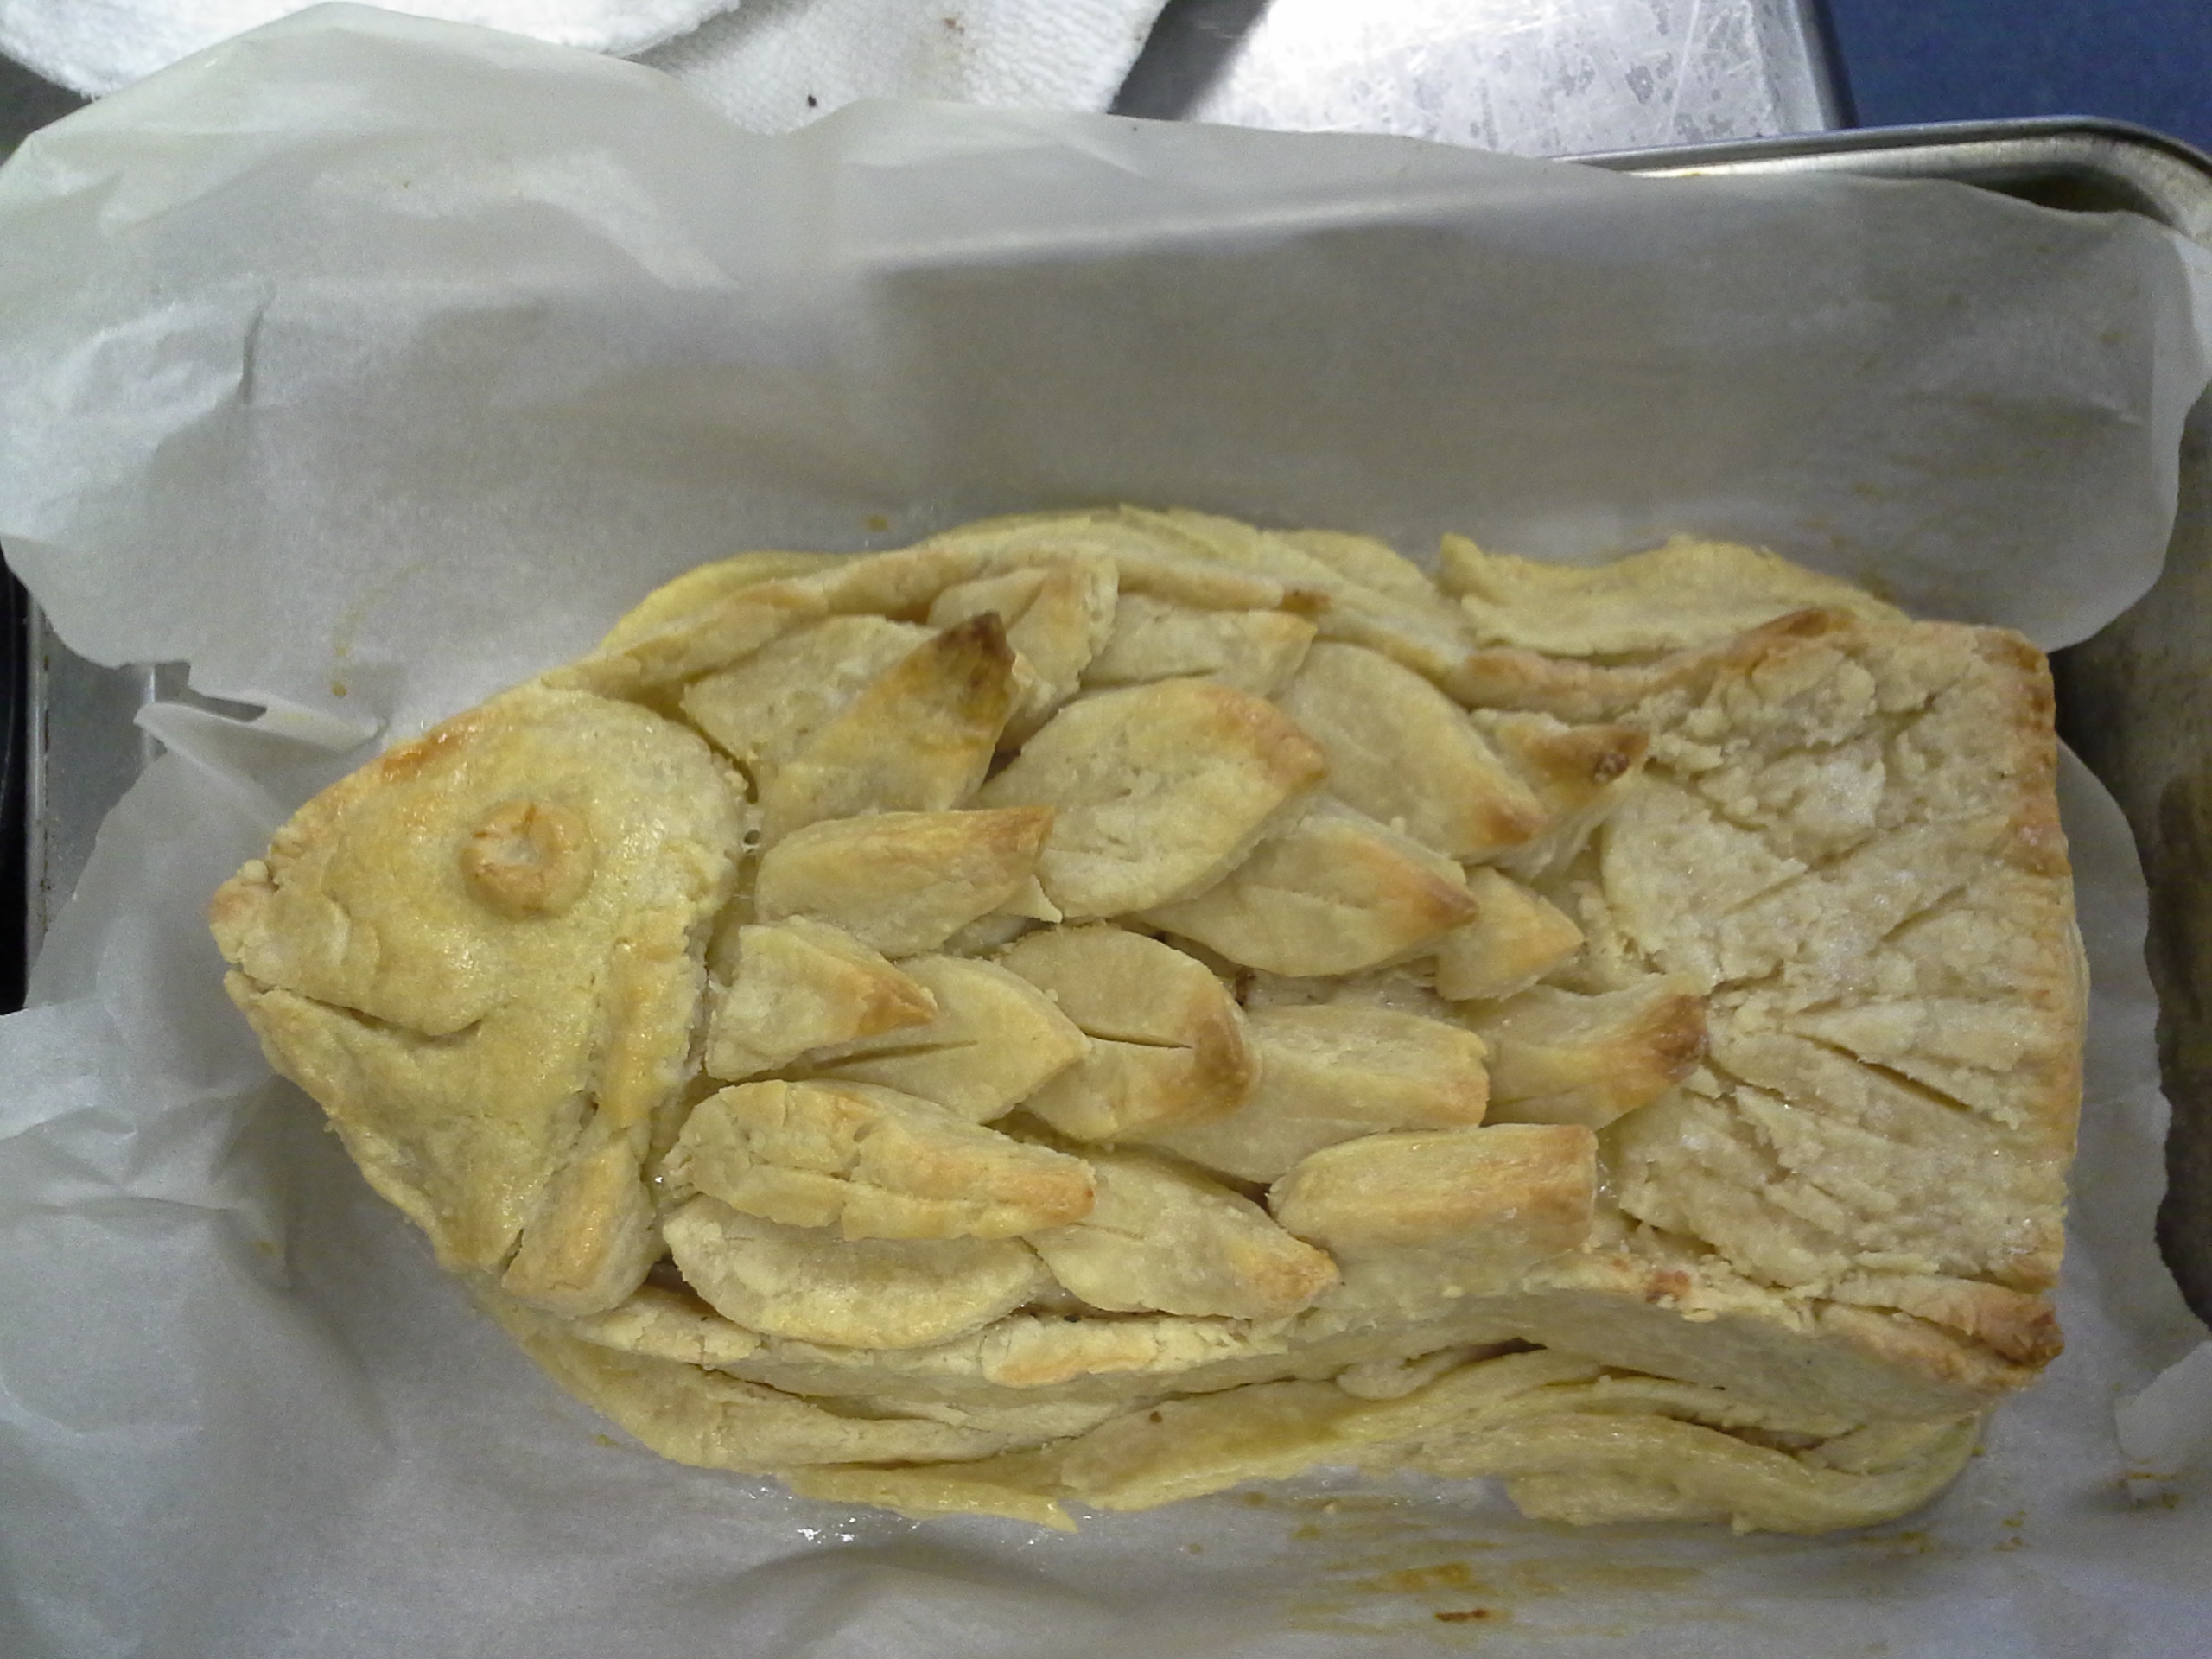
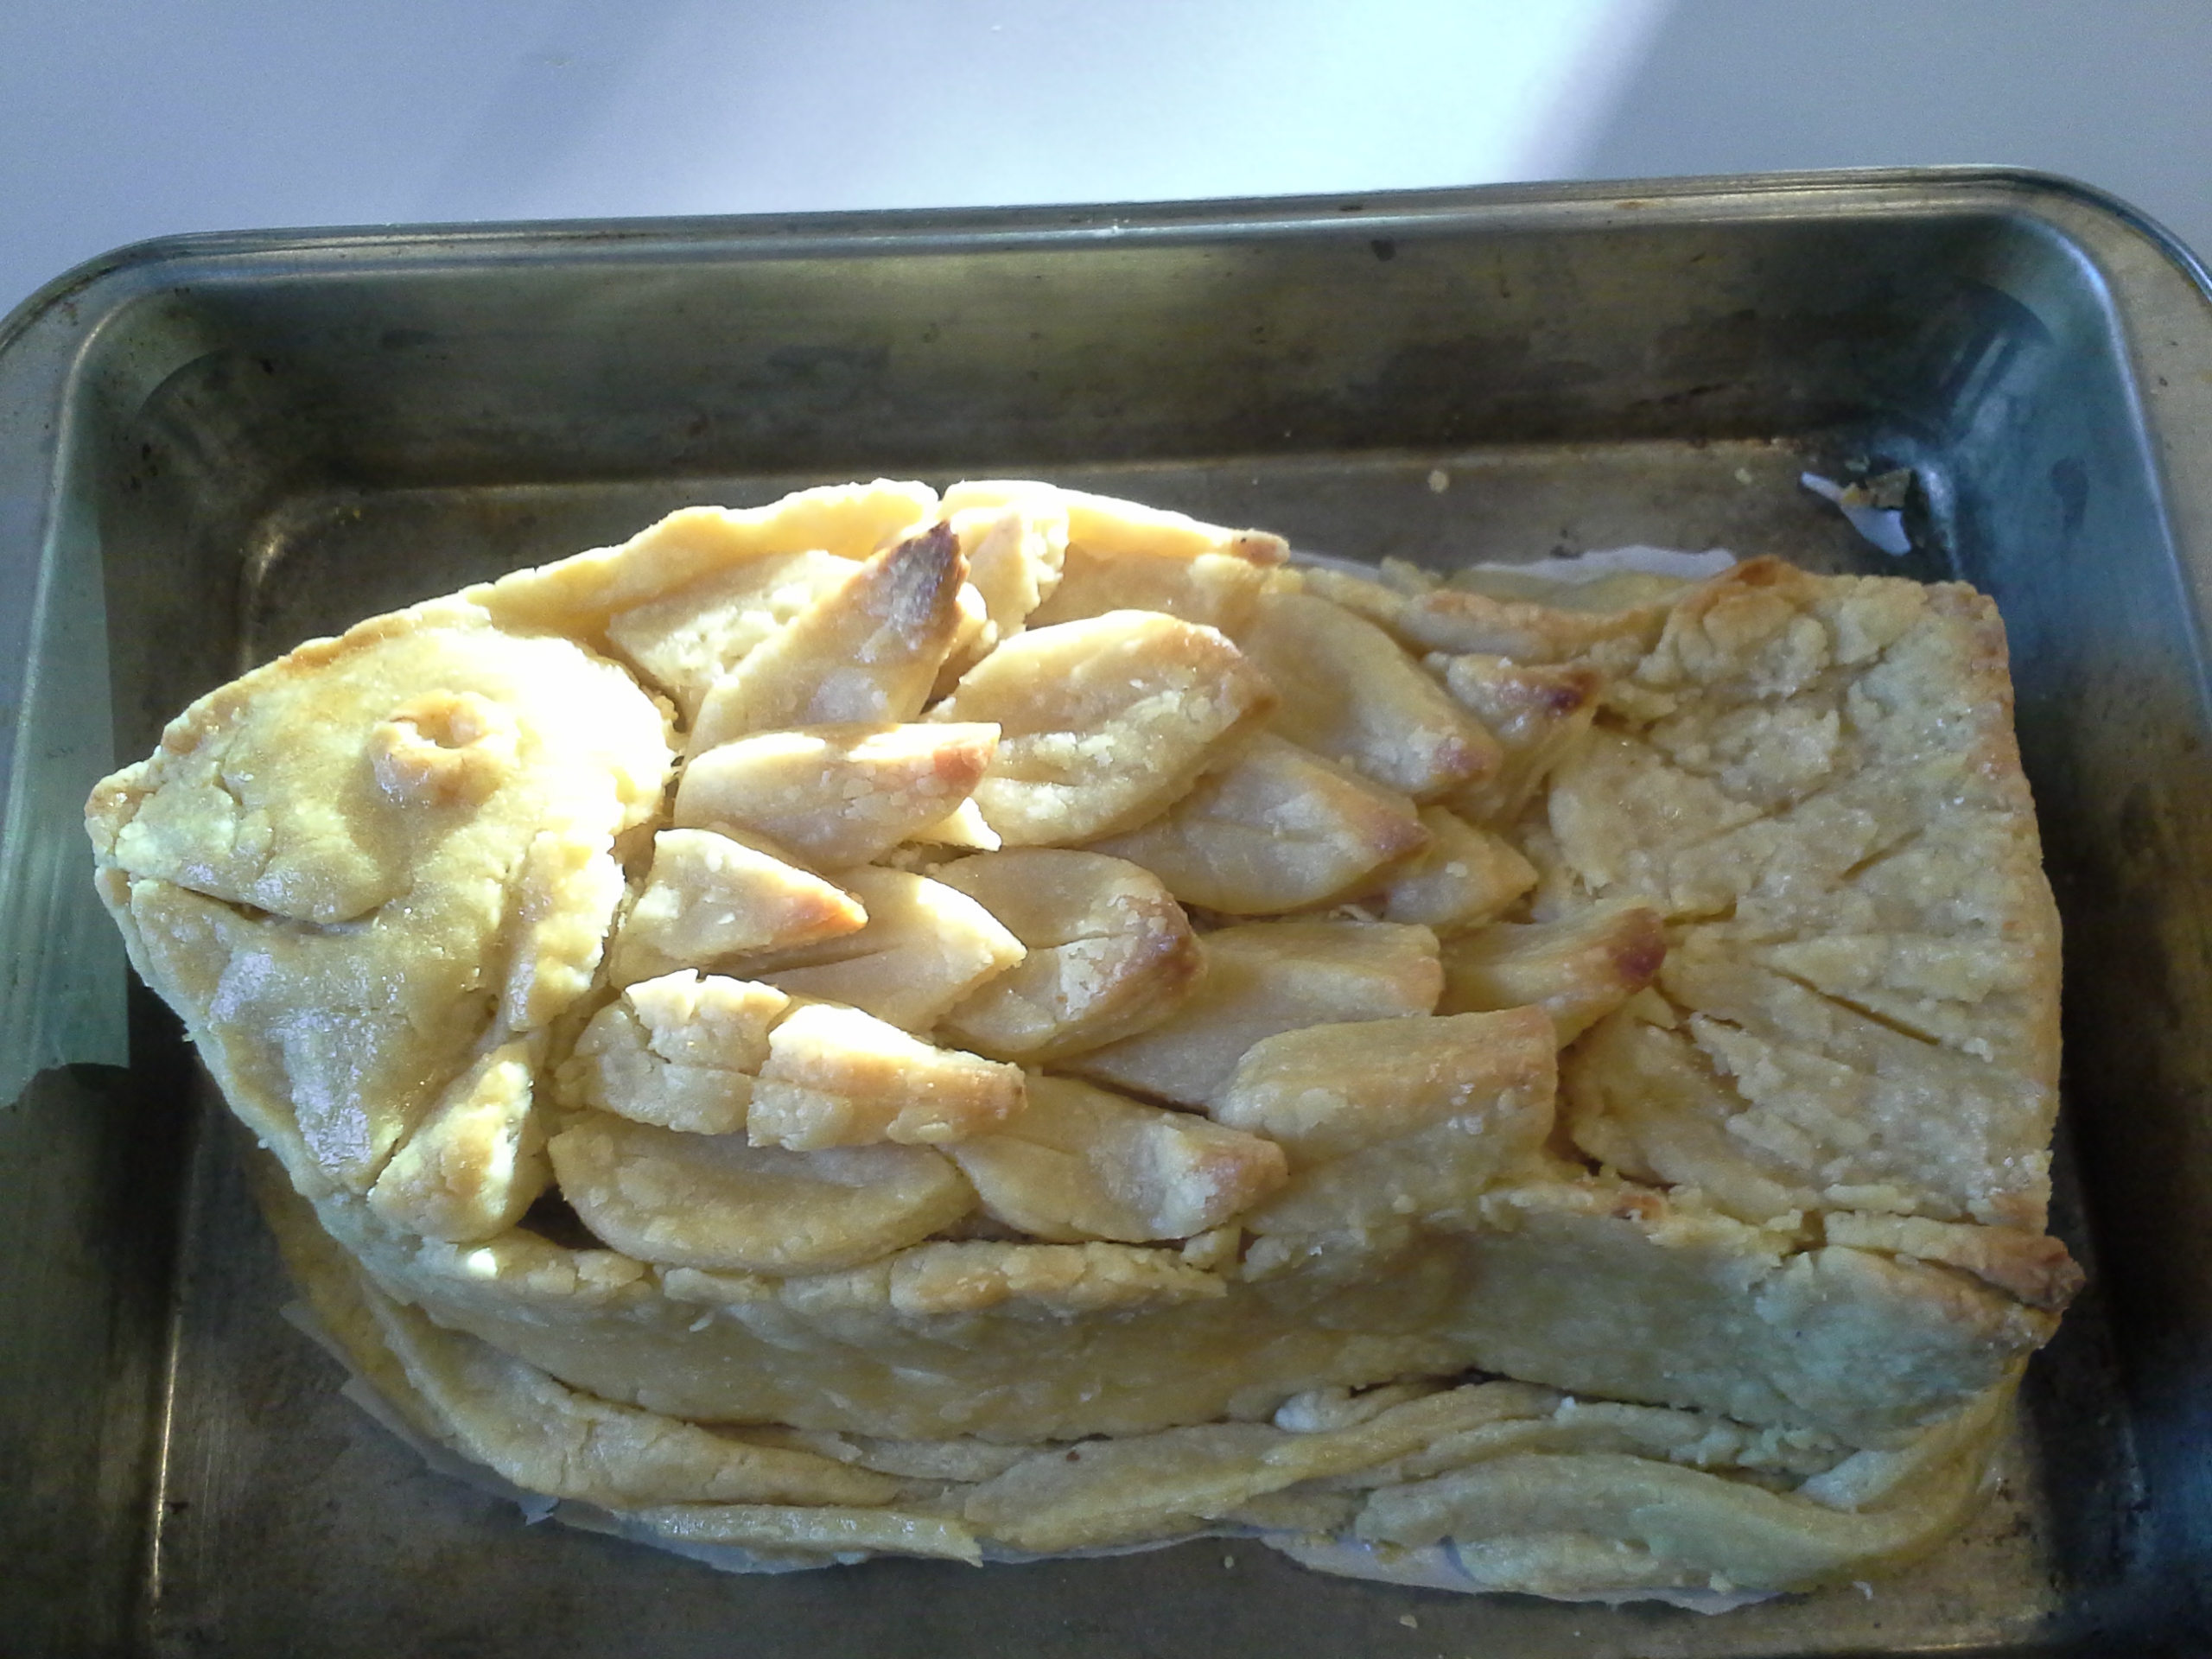
Finally, the top crust was made in three parts: first, a fish head, onto which I molded a raised eye and cut in a gill and a smile, for good measure. Then, came the fish tail, which was simply a layer of pastry shaped to the mold of the tail. Onto that, I cut in lines to represent the tail fins. Finally, I created a series of individual scales onto which I cut in small, either single-line or triple-line striations. I thought this leaf-shaped design would look better than the cloud-shaped scales I displayed in my previous post, and I believe the gamble paid off. Furthermore, to achieve proper browning, I used egg yolk on the head (for a yellow tint as well as a lighter color), egg white on the scales (to impart a glistening sheen), and sugar water on the tail fins (to cause a golden brown).

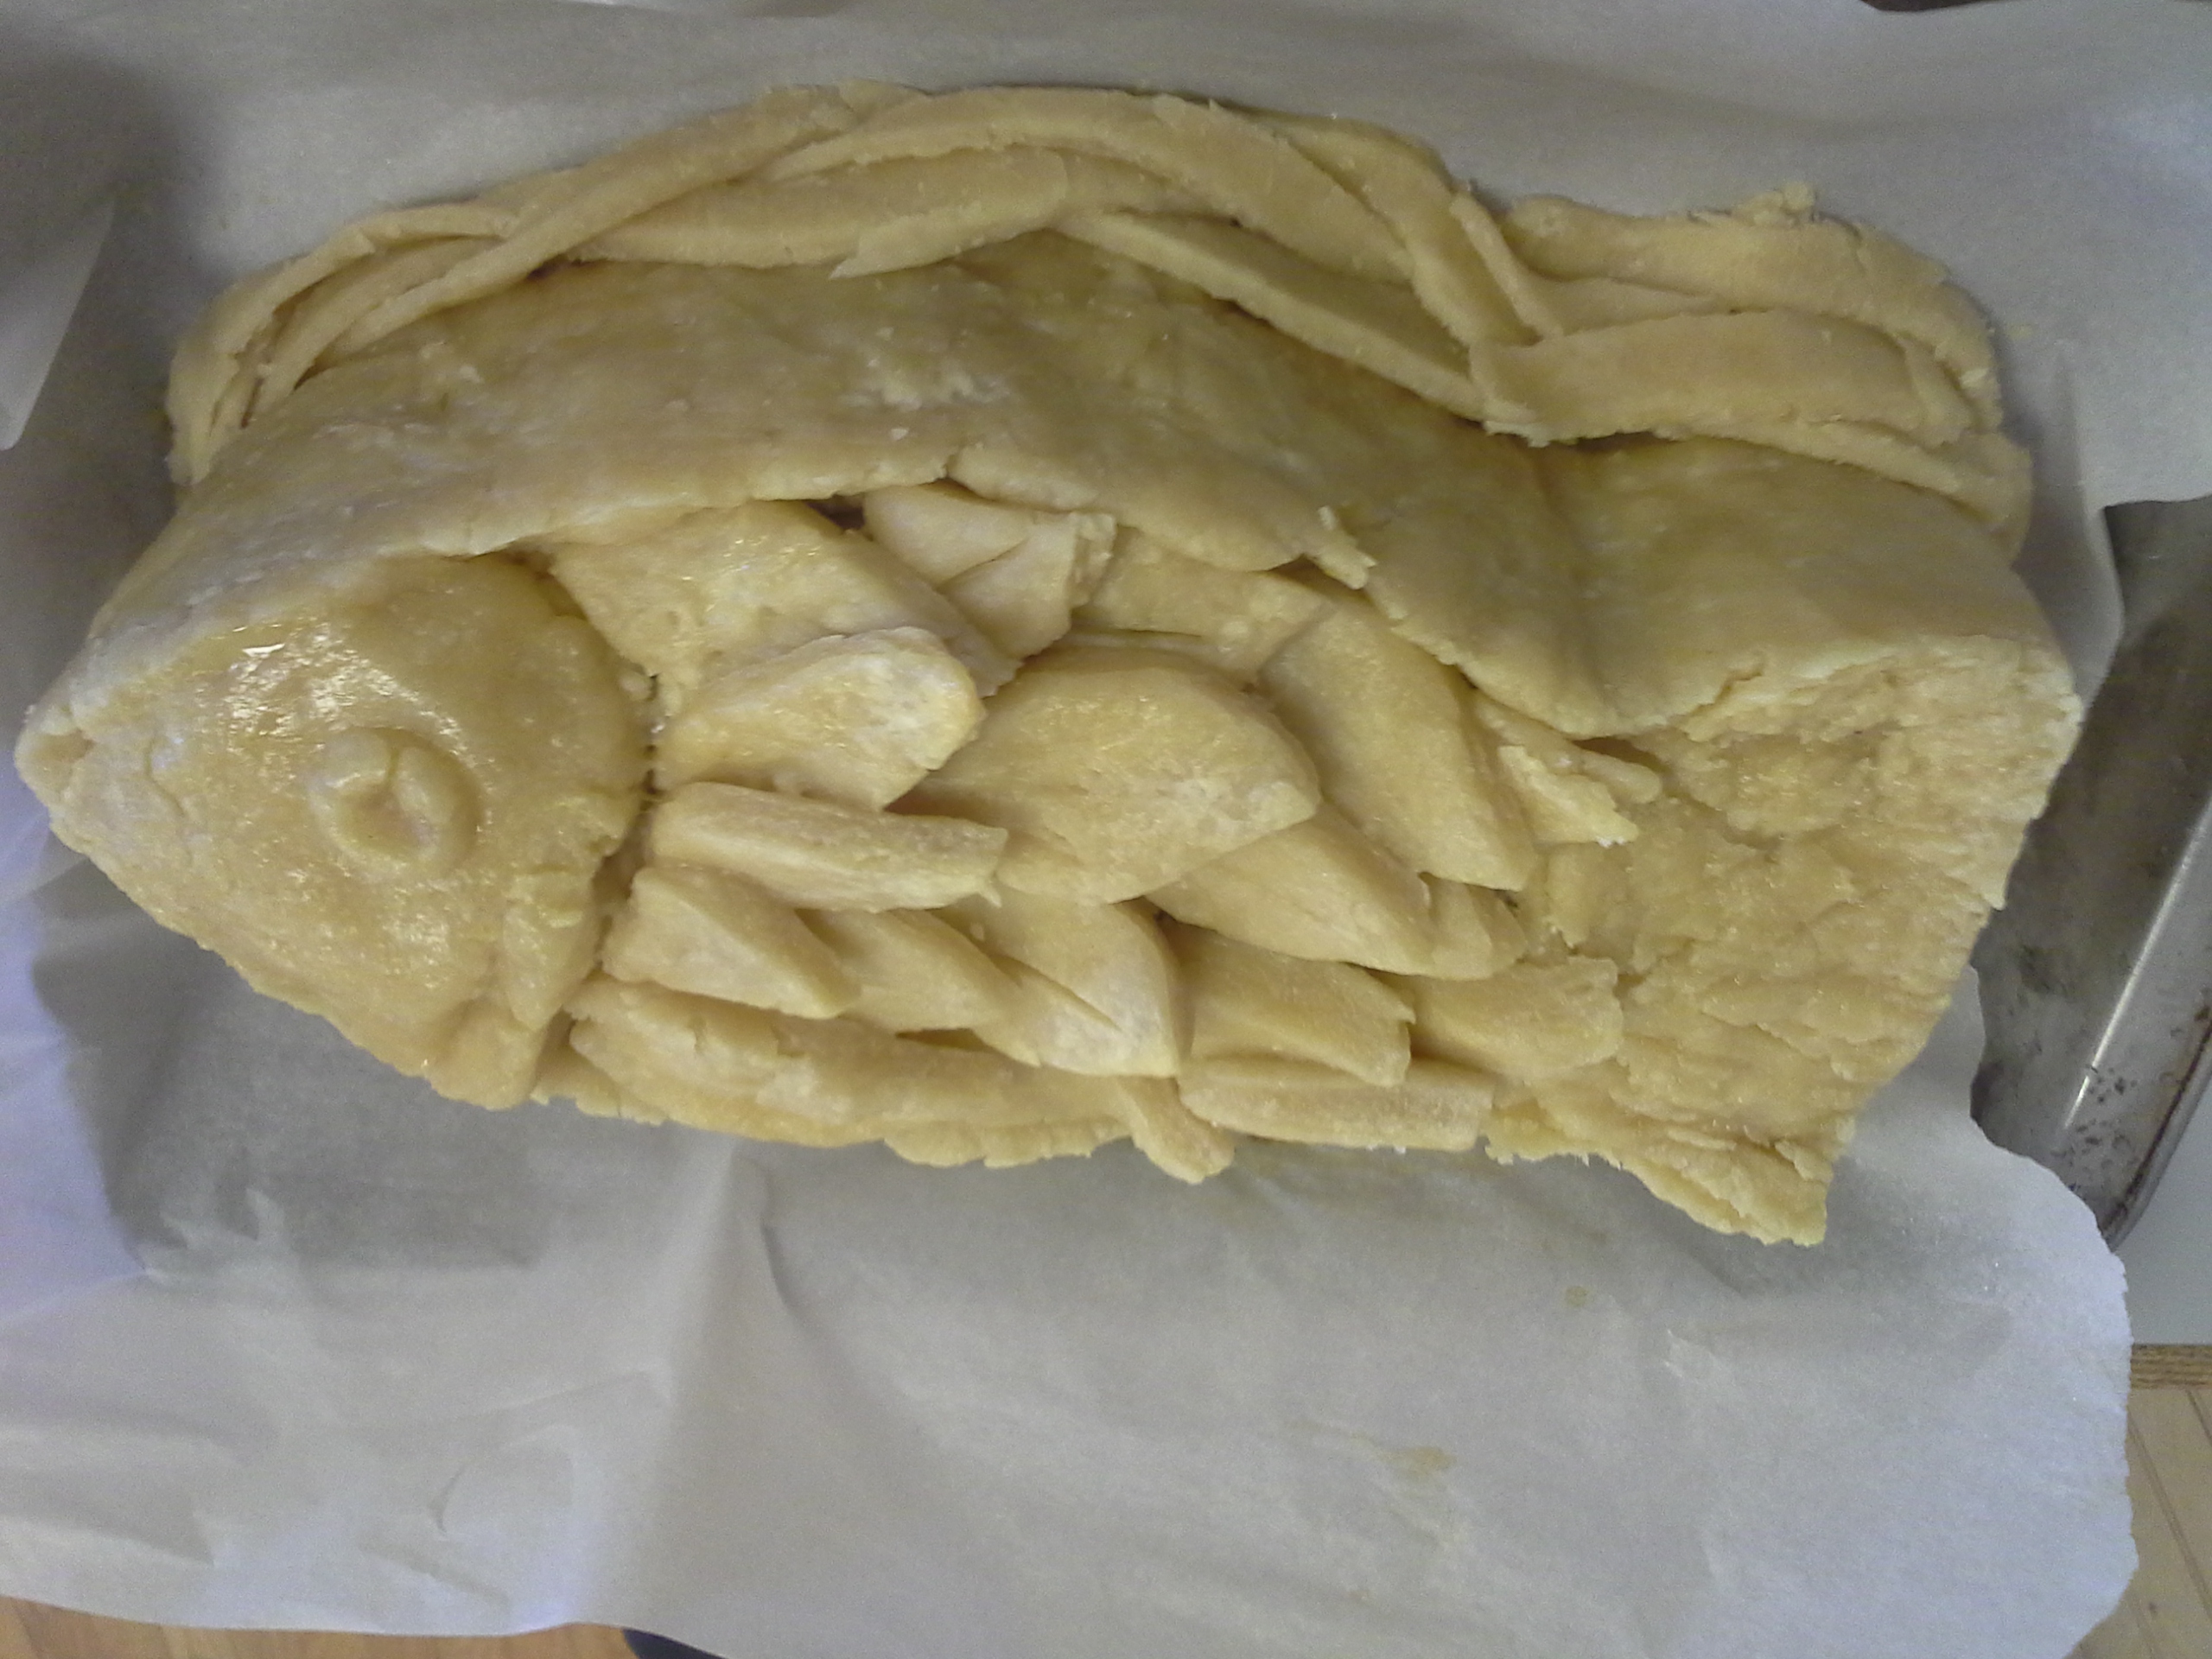
With a hunk of additional dough I had left over, I added a braided border along the bottom. This was attached after about 40 minutes of cooking, when the mold was removed. This invokes a rippling effect, as if the fish is swimming through water. I also added an egg wash on that to cause browning.

The biggest gripe I had with this piece is how brittle and hard to work with the pastry became. It was initially good for the structure, and fitting to the mold, but next time, I would use a different pastry for the top crust as well as the braid – likely a flaky all-butter pastry. The use of the other pastry just caused some issues with designs staying as well as the crust flaking in unusual places, marring the design.

Another issue involved browning – the effect of a dark tail, shiny scales, and a slightly brown/yellow head was not achieved. Overall, it turned out well though.

Take a look and judge for yourself!

20140121_143809
[The Mold in the shape of a Fish]

20140121_174001 [Raw Pie – the Crust as well as Filling is all in – take note of the Designs cut into the Top Crust]

20140122_152602
[After Pre-Baking in the Oven with the Braided Border around – some of the glisten and color from the Wash can be seen]

20140122_152609
[Another Angle]

20140122_152620
[This side came out well – note the Ripple Effect created by the Braid]

20140122_161804
[All done Cooking!]

20140123_152729
[After Reheating – the Final Presentation]

Questions? Comments? Post them below!

The Design Aesthetic

This week, the assignment is a design challenge; we have been tasked with “mak[ing] a pie of your choice with a focus on the decoration, shape, and overall presentation of the final product.” First off, obligatory ‘Challenge Accepted!’ Second, what in the world does that mean?

To help us understand this, we were shown two demonstrations in class. One for a nifty Spinach pie which displays the filling beautifully (found here) and another step-by-step on how to create a woven lattice crust (such as this). Further tasked with coming up with an idea as well as a list of ingredients by the end of class, I decided to go ahead with the Fish Pie idea I had been knocking around in my head over the weekend.

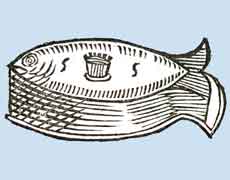
What makes this pie a worthy contender for accomplishing this week’s goal? First, the base concept is a Fish Pie…shaped like a fish. It will be a free-standing pie with a baked fish filling as well as a fish-like exterior (see here for an example of a creative free-standing pie). Essentially, something similar to this:

fish-pie-bw

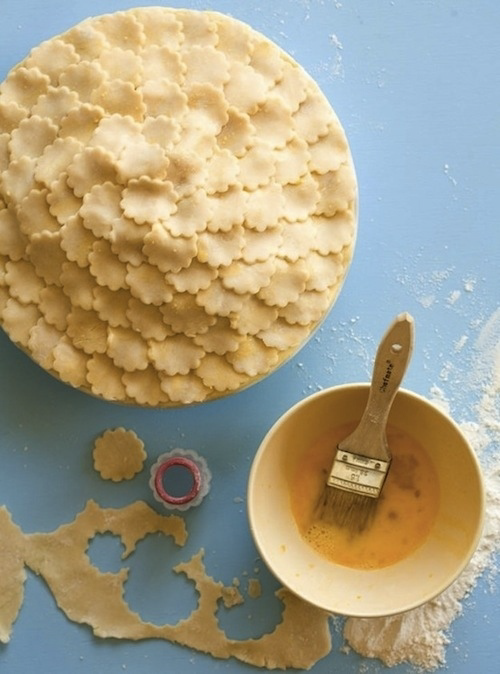
Another technique the pie will employ is the use of scales in the top crust, made with pastry. The scales will look similar to those in the following picture:

fefeefe

Furthermore, extra details such as the eye and fin will be created by shaped pastry added to the pie proper. Striations in the tail will be added by the liberal application of a fork. The pie will be erected through the help of a cardboard and aluminum mold, and be presented in all its free-standing glory!

Further considerations that were made but not implemented are as follows: The use of food coloring (specifically black) to make the outlines more vivid so they could ‘pop!’ This was struck down as black might be an unappetizing color. The idea that was suggested instead was to coat the parts that I wanted to make distinct in something like sugar water, so further browning would achieved.

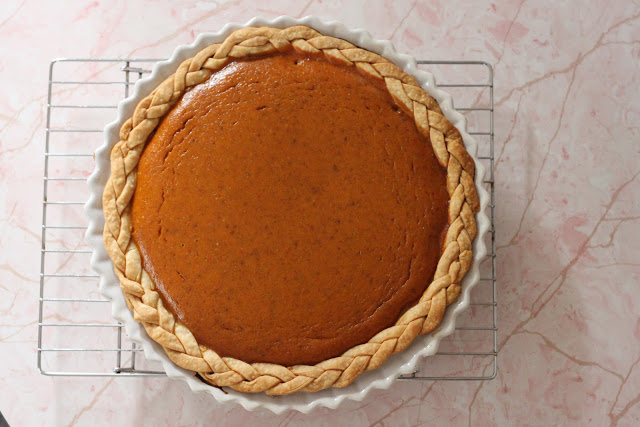
Another idea I haven’t completely thrown out yet is to create a braided border around the top and bottom crusts. While it doesn’t lend specifically to the fish-themed pie, it does add to the overall beauty of the final product as it is something more pleasing to see than a simple line and more technically intricate. The major consideration for the implementation of this idea is time. (See braid example below)

IMG_7511

It will be a difficult task to bake the Fish-shaped Fish Pie, but I am excited to take on this endeavor. Hopefully, the use of a no-rolling pin crust as well as a three-stage crust process serves to aid in making this endeavor a reality. Tune in over the weekend to see the final product! Hopefully, it looks something like this:

fish-piethmb


An Experiment in Recipe Synthesis: The Thanksgiving Pie

When we were throwing around the idea of ‘an entire Thanksgiving dinner baked into a pie’ in class, I laughed and appreciated the ridiculousness along with the rest of my baking buddies. But something about the idea took root in that part of my brain where thoughts like ‘how awesome would it be to make a  giant kit-kat bar’ and ‘I wonder if you can take cats for walks?’ flourish. Or it might have been the fact that I missed the traditional turkey, mashed potatoes, green vegetables, something orange, and pie Thanksgiving while I was away in Turkey. Either way, the idea stuck, and even though no recipe for this existed online yet, I was not going to let that stop me.

First, I had to do a bit of research. That meant looking up every vaguely related recipe to this concept and picking up ideas from them. The first mockup of my internal schema for the grand design for this pie contained a layer of bacon mac & cheese. Upon consultation with my idea guy (read: girlfriend), that part was shot down as the flavor could be too overpowering in relation to the others, it could make the pie soggy, and layers of filling was something to be avoided, if at all possible. Onto Step 2…

I found the perfect approximation of what I wanted for my pie here. Unfortunately, they did not also offer a recipe. So, it was back to the drawing board to create my own. After viewing a few more recipes, I decided on the following concept:

  • A butter and shortening crust that would include craisins, savory herbs, and a bit of chicken stock baked in.
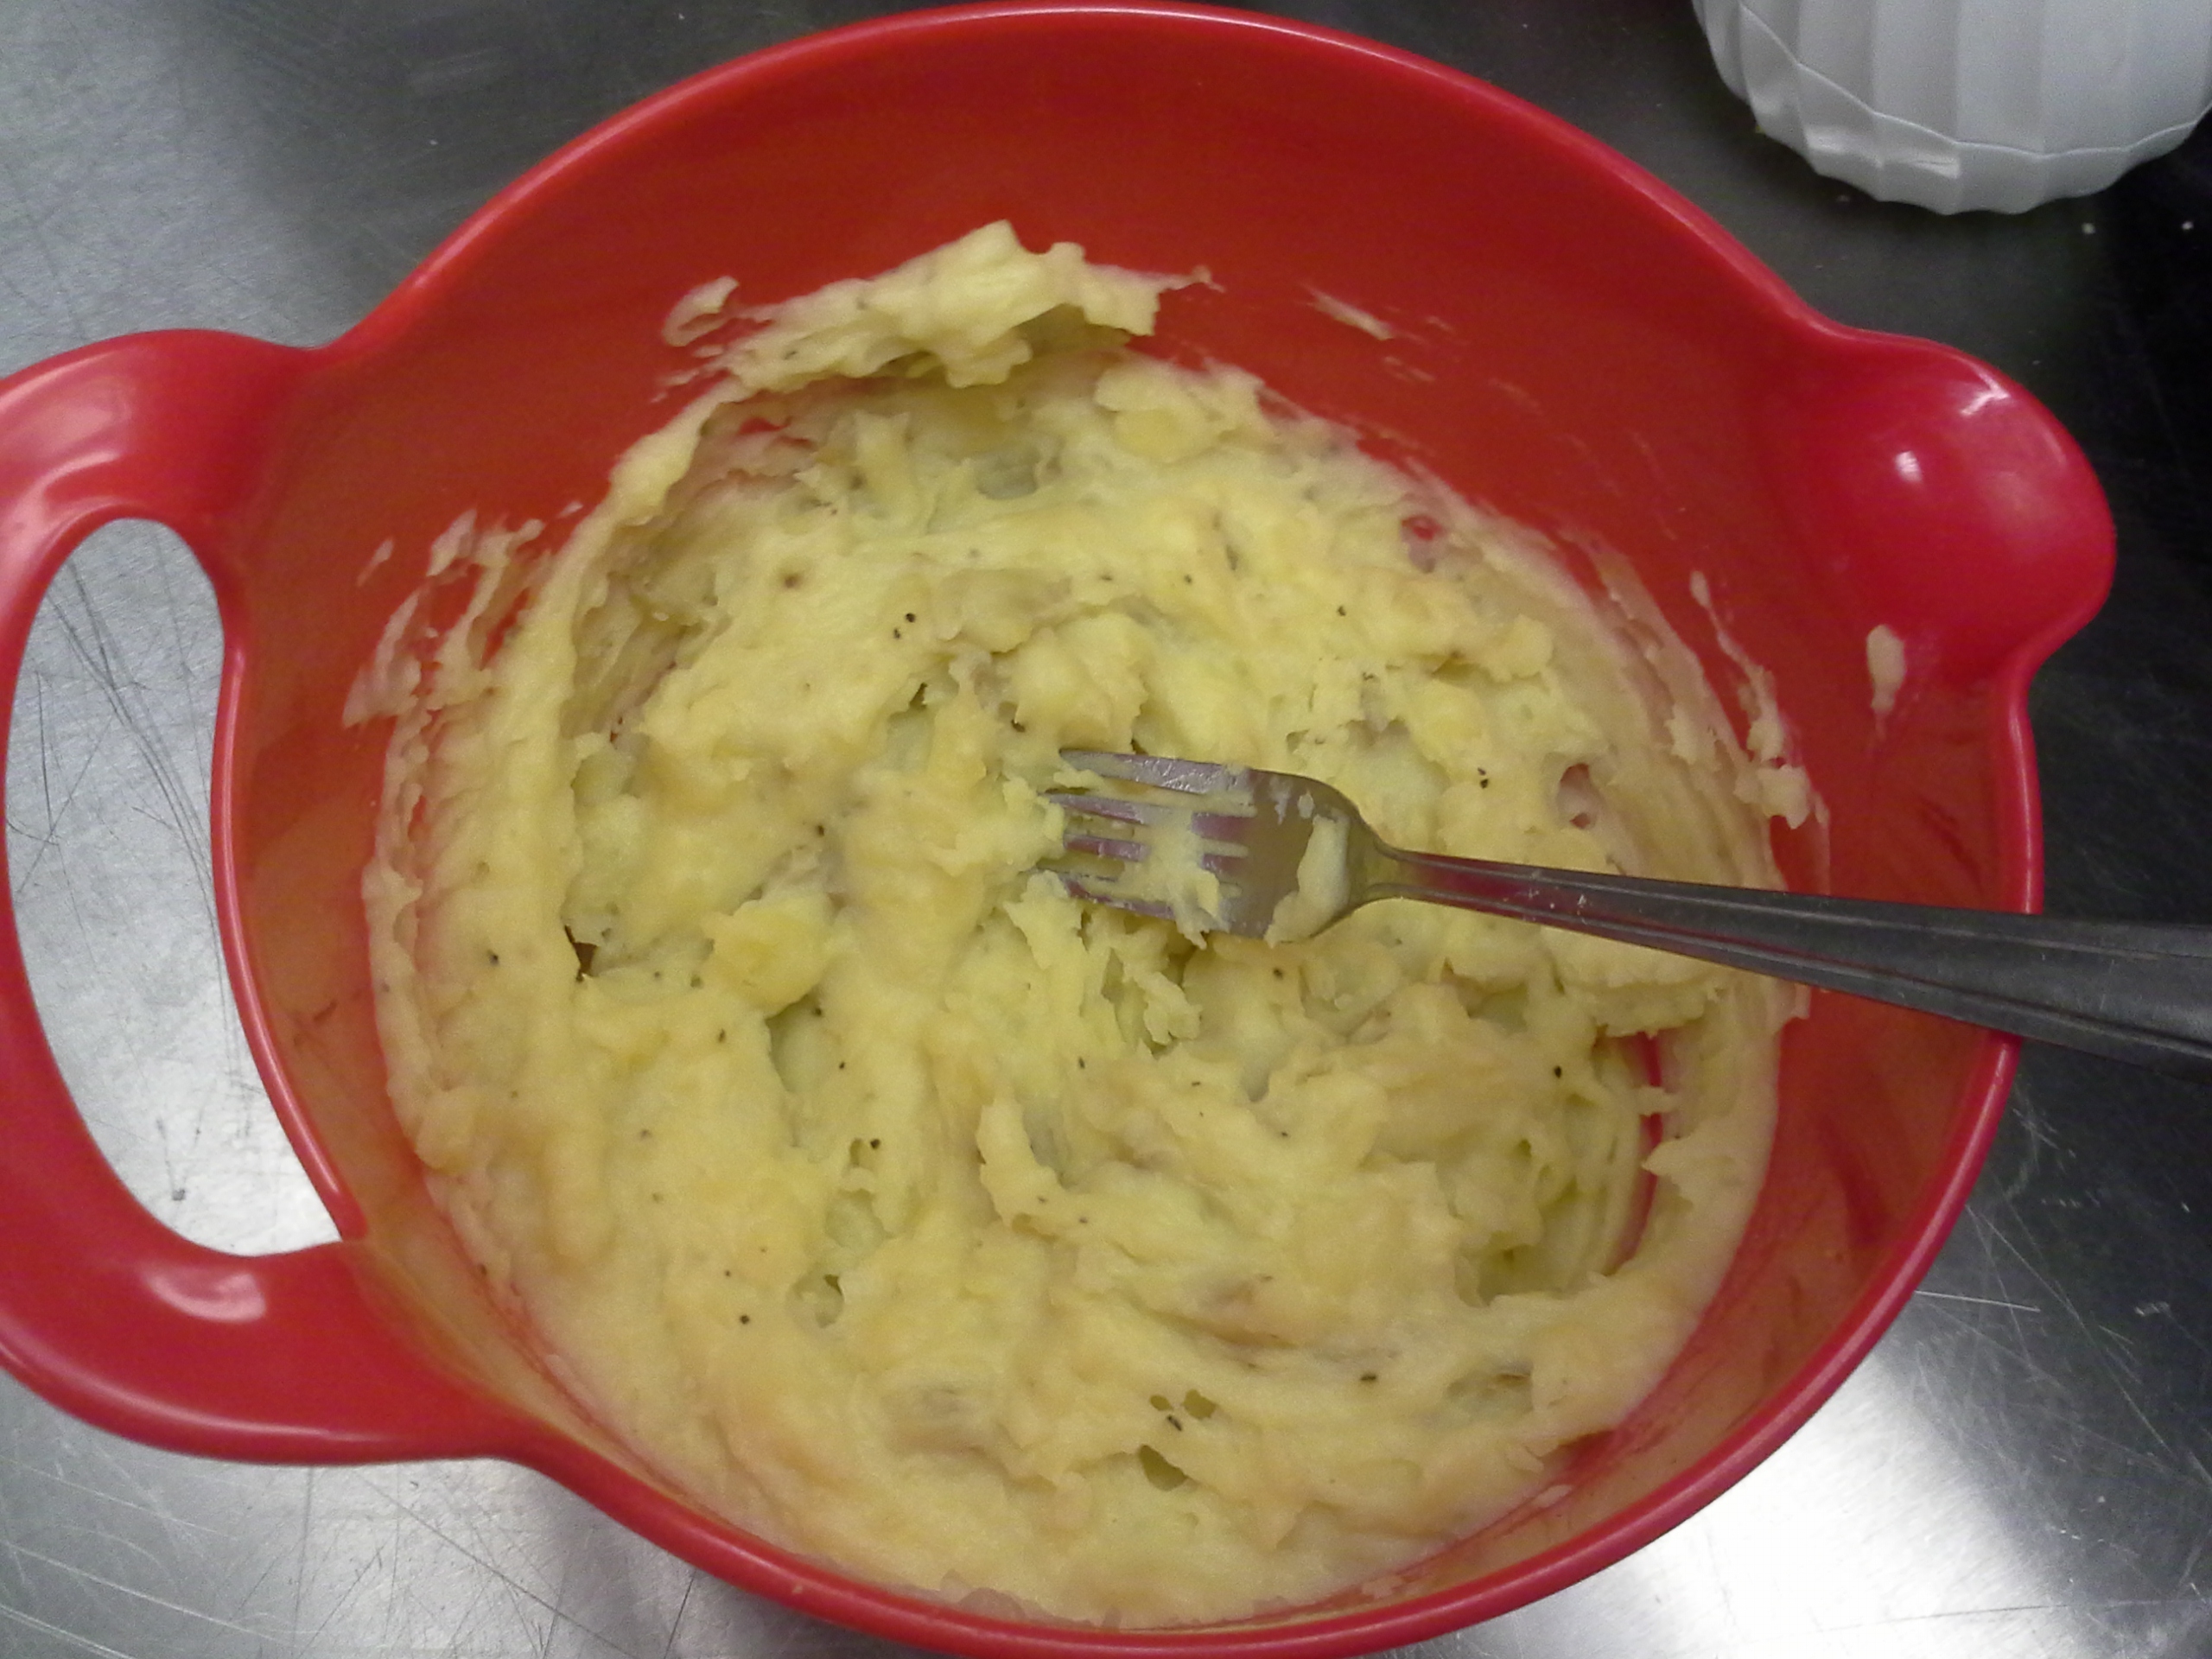
  • A filling consisting largely of mashed potatoes, with the other ingredients suspended within. (An excellent recipe can be found here).
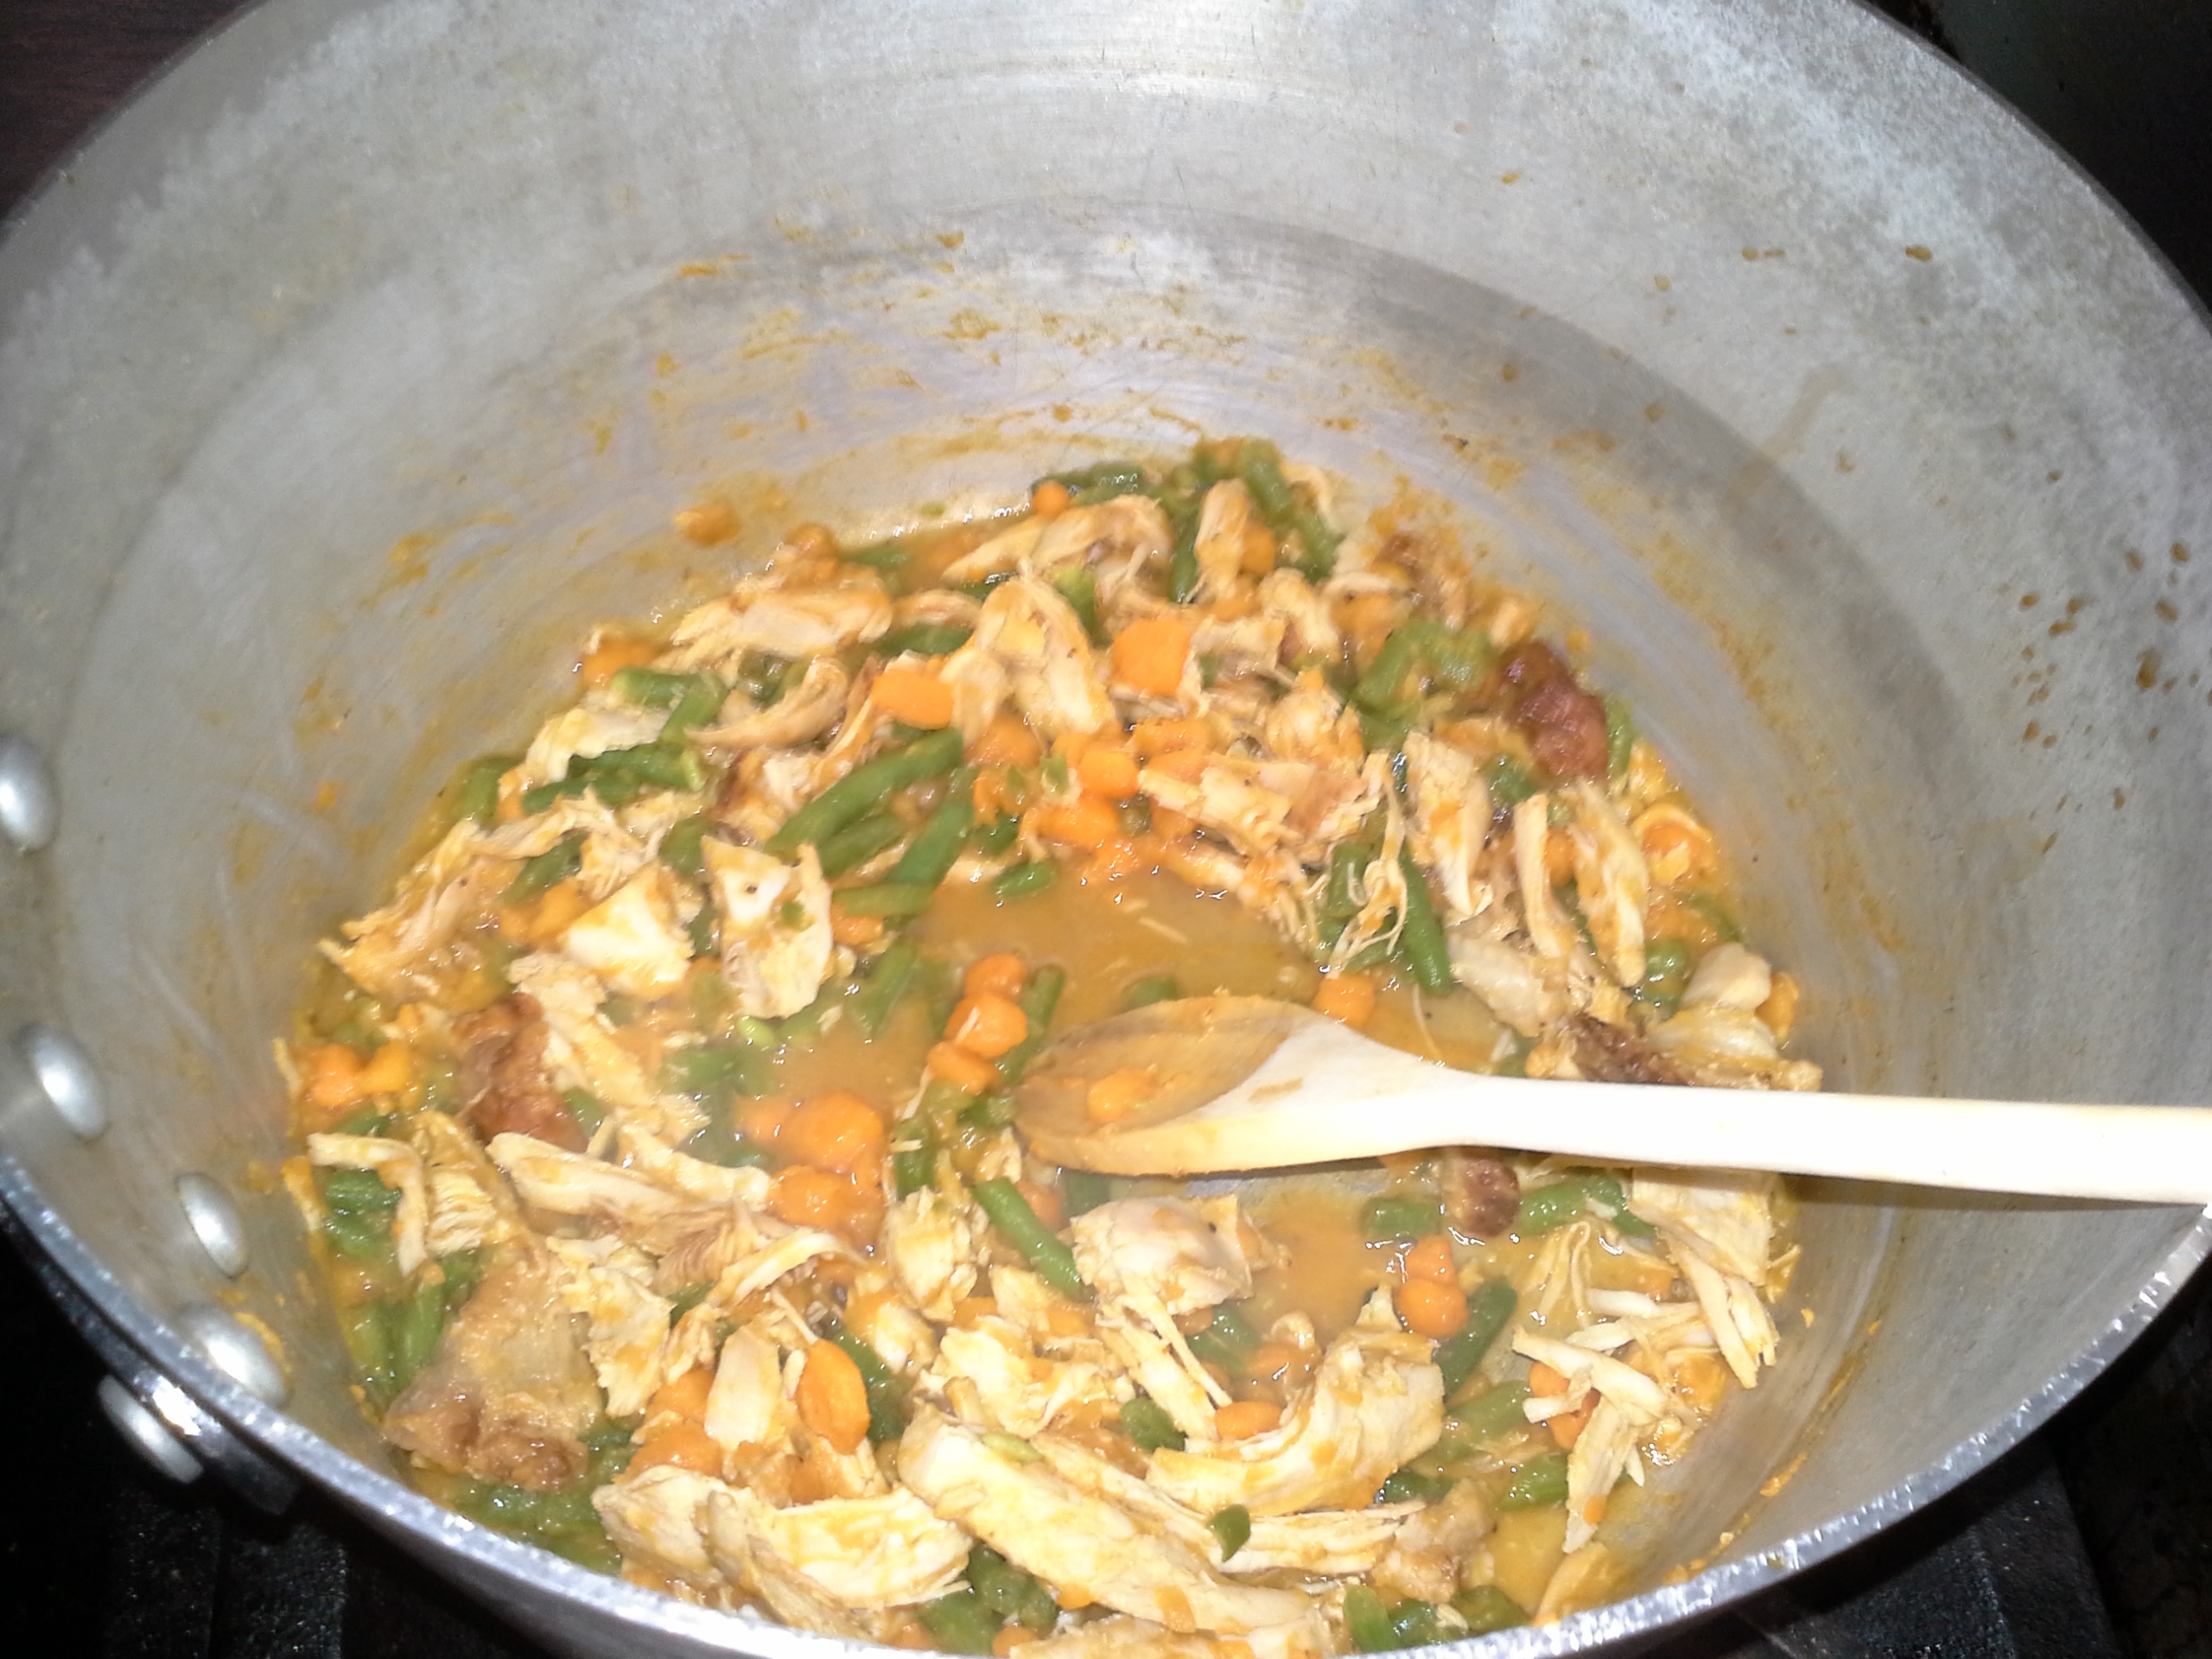
  • Turkey, green beans, and sweet potatoes all simmered in a bit of stock, then mixed into the mashed potatoes.
  • A crumb-top crust of cornbread stuffing for the upper layer.
  • A bit of brown gravy to be poured over each slice upon serving.

Basically, doing that worked! The following is a series of pictures I took while baking that idea into life:
*Note: The measurements as well as rough directions are listed in the recipe section of this post.

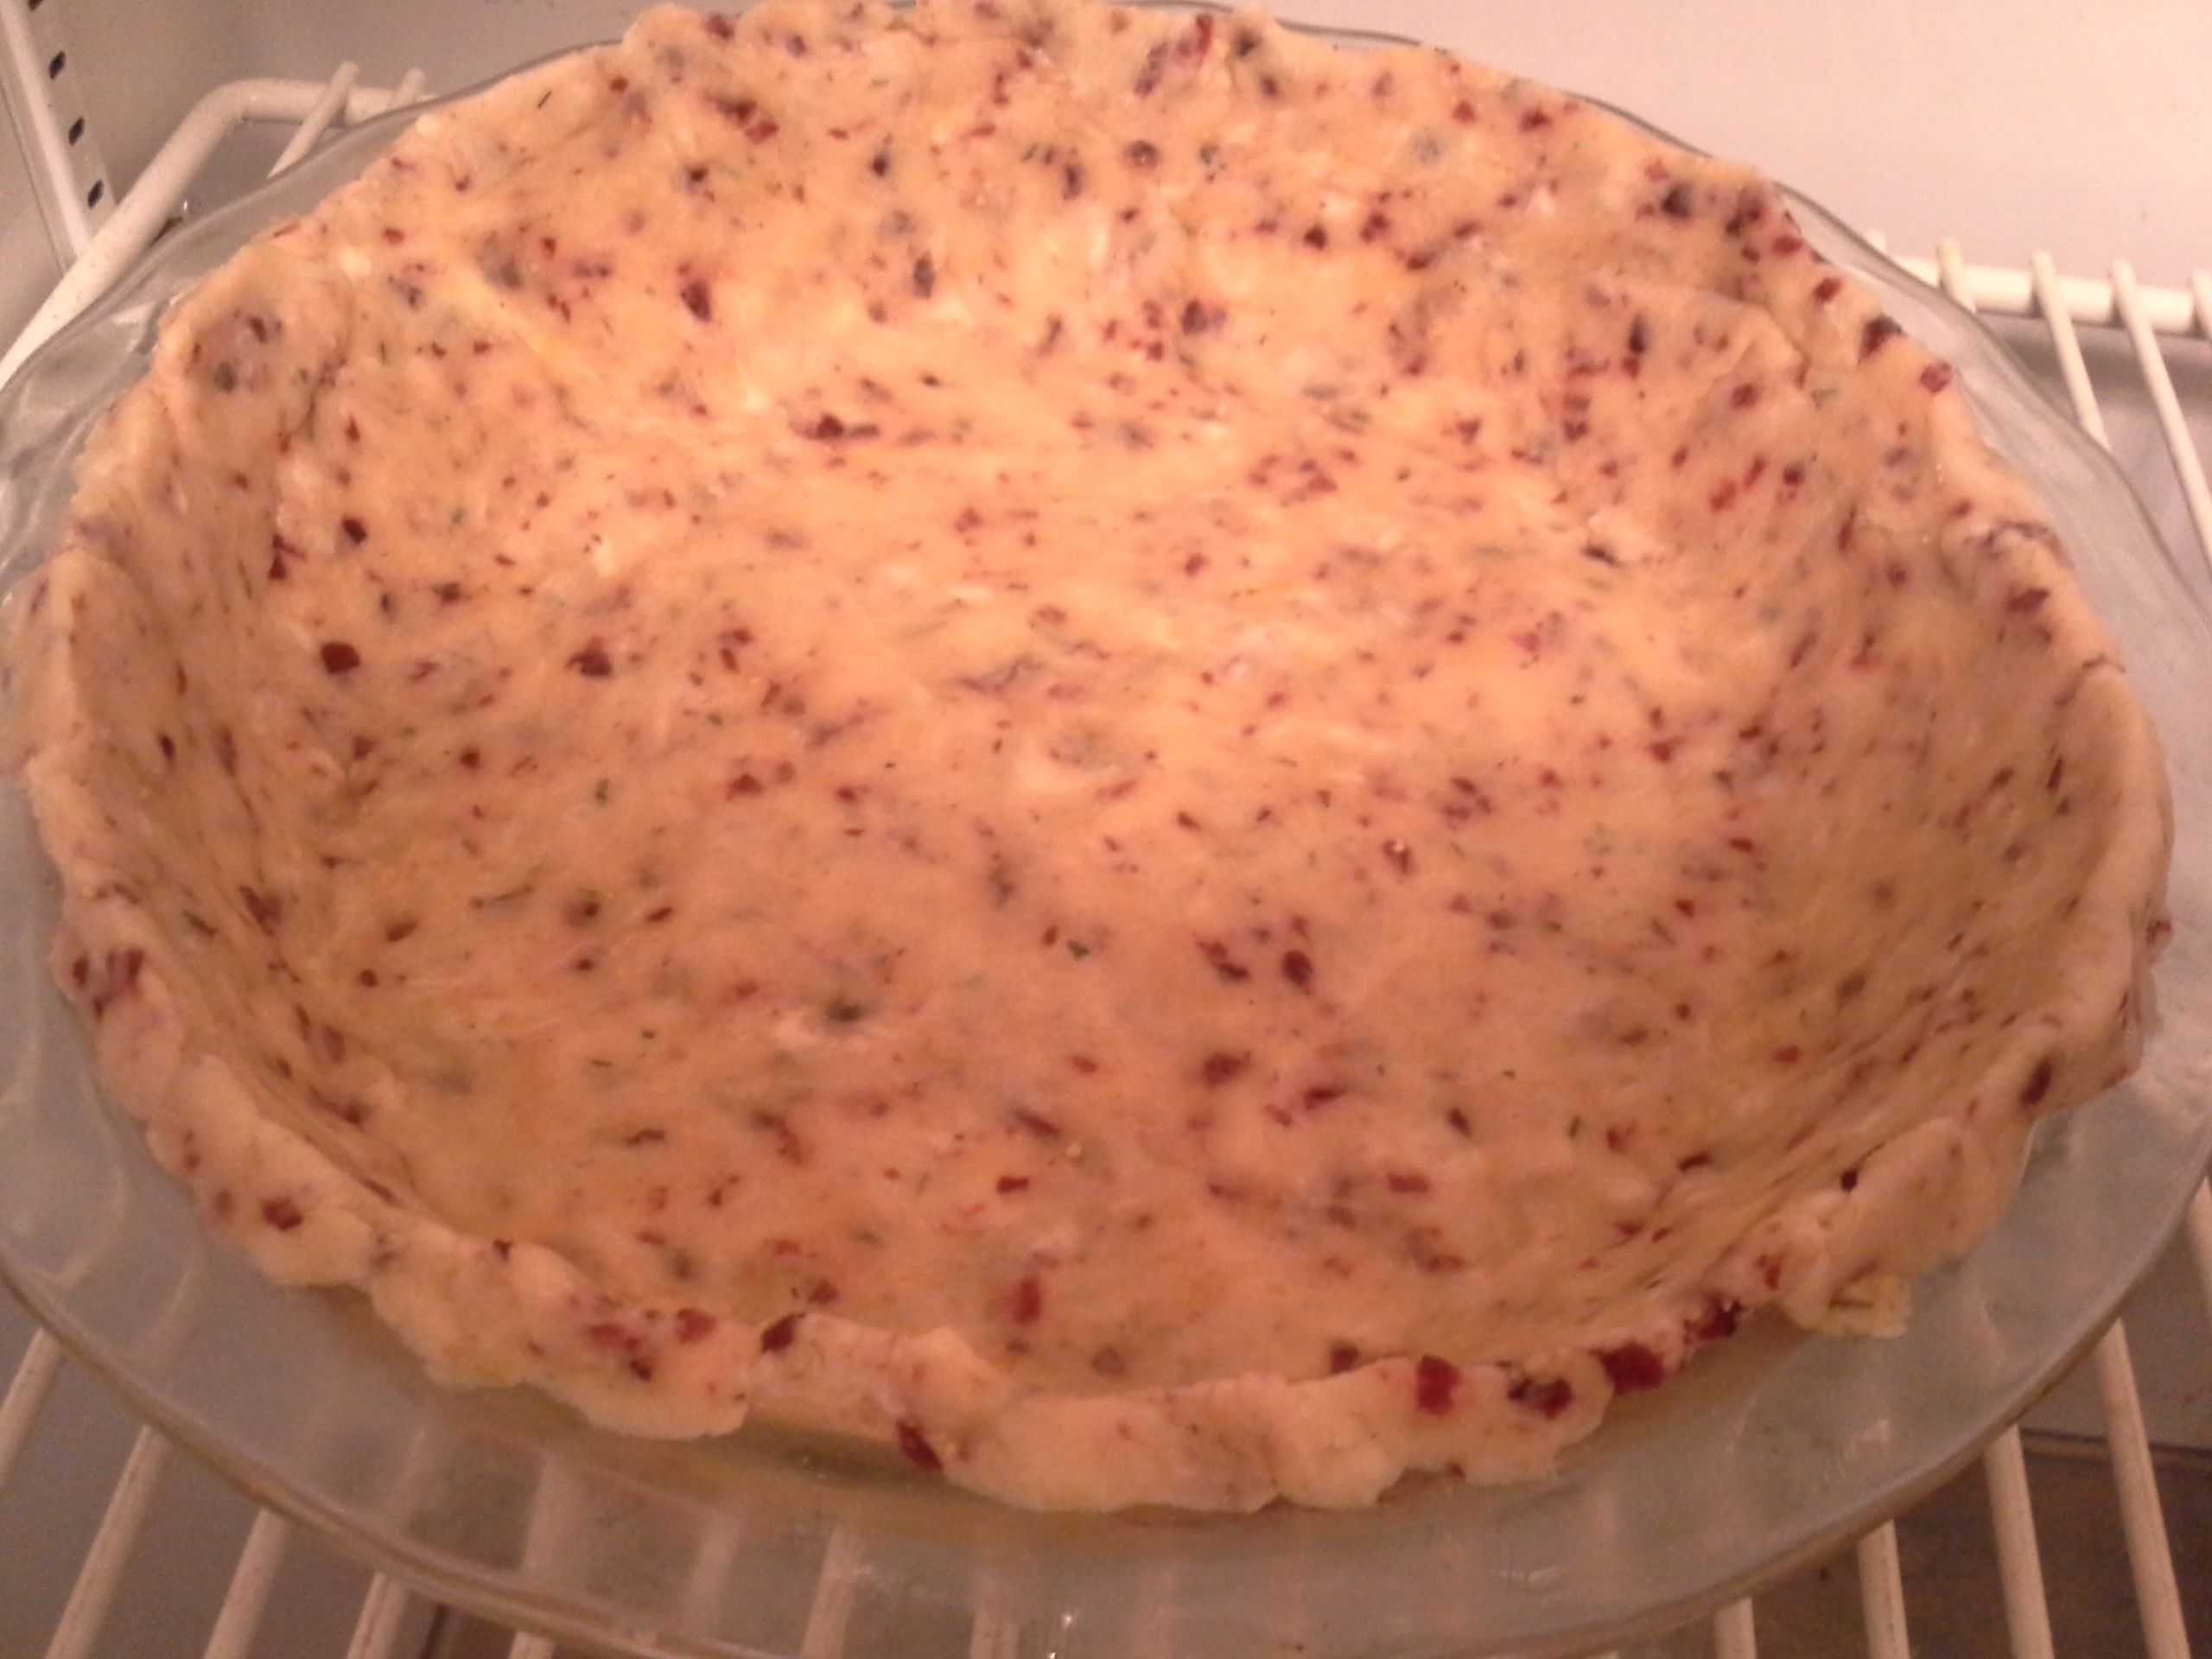
20140115_160809
[The Crust, while it was cooling in the fridge; note the the Cranberries]

20140115_160728
[The Mashed Potatoes]

20140115_160748
[The Green Beans, Turkey, and Sweet Potatoes stew; note the small bit of thick Gravy]

20140115_161550
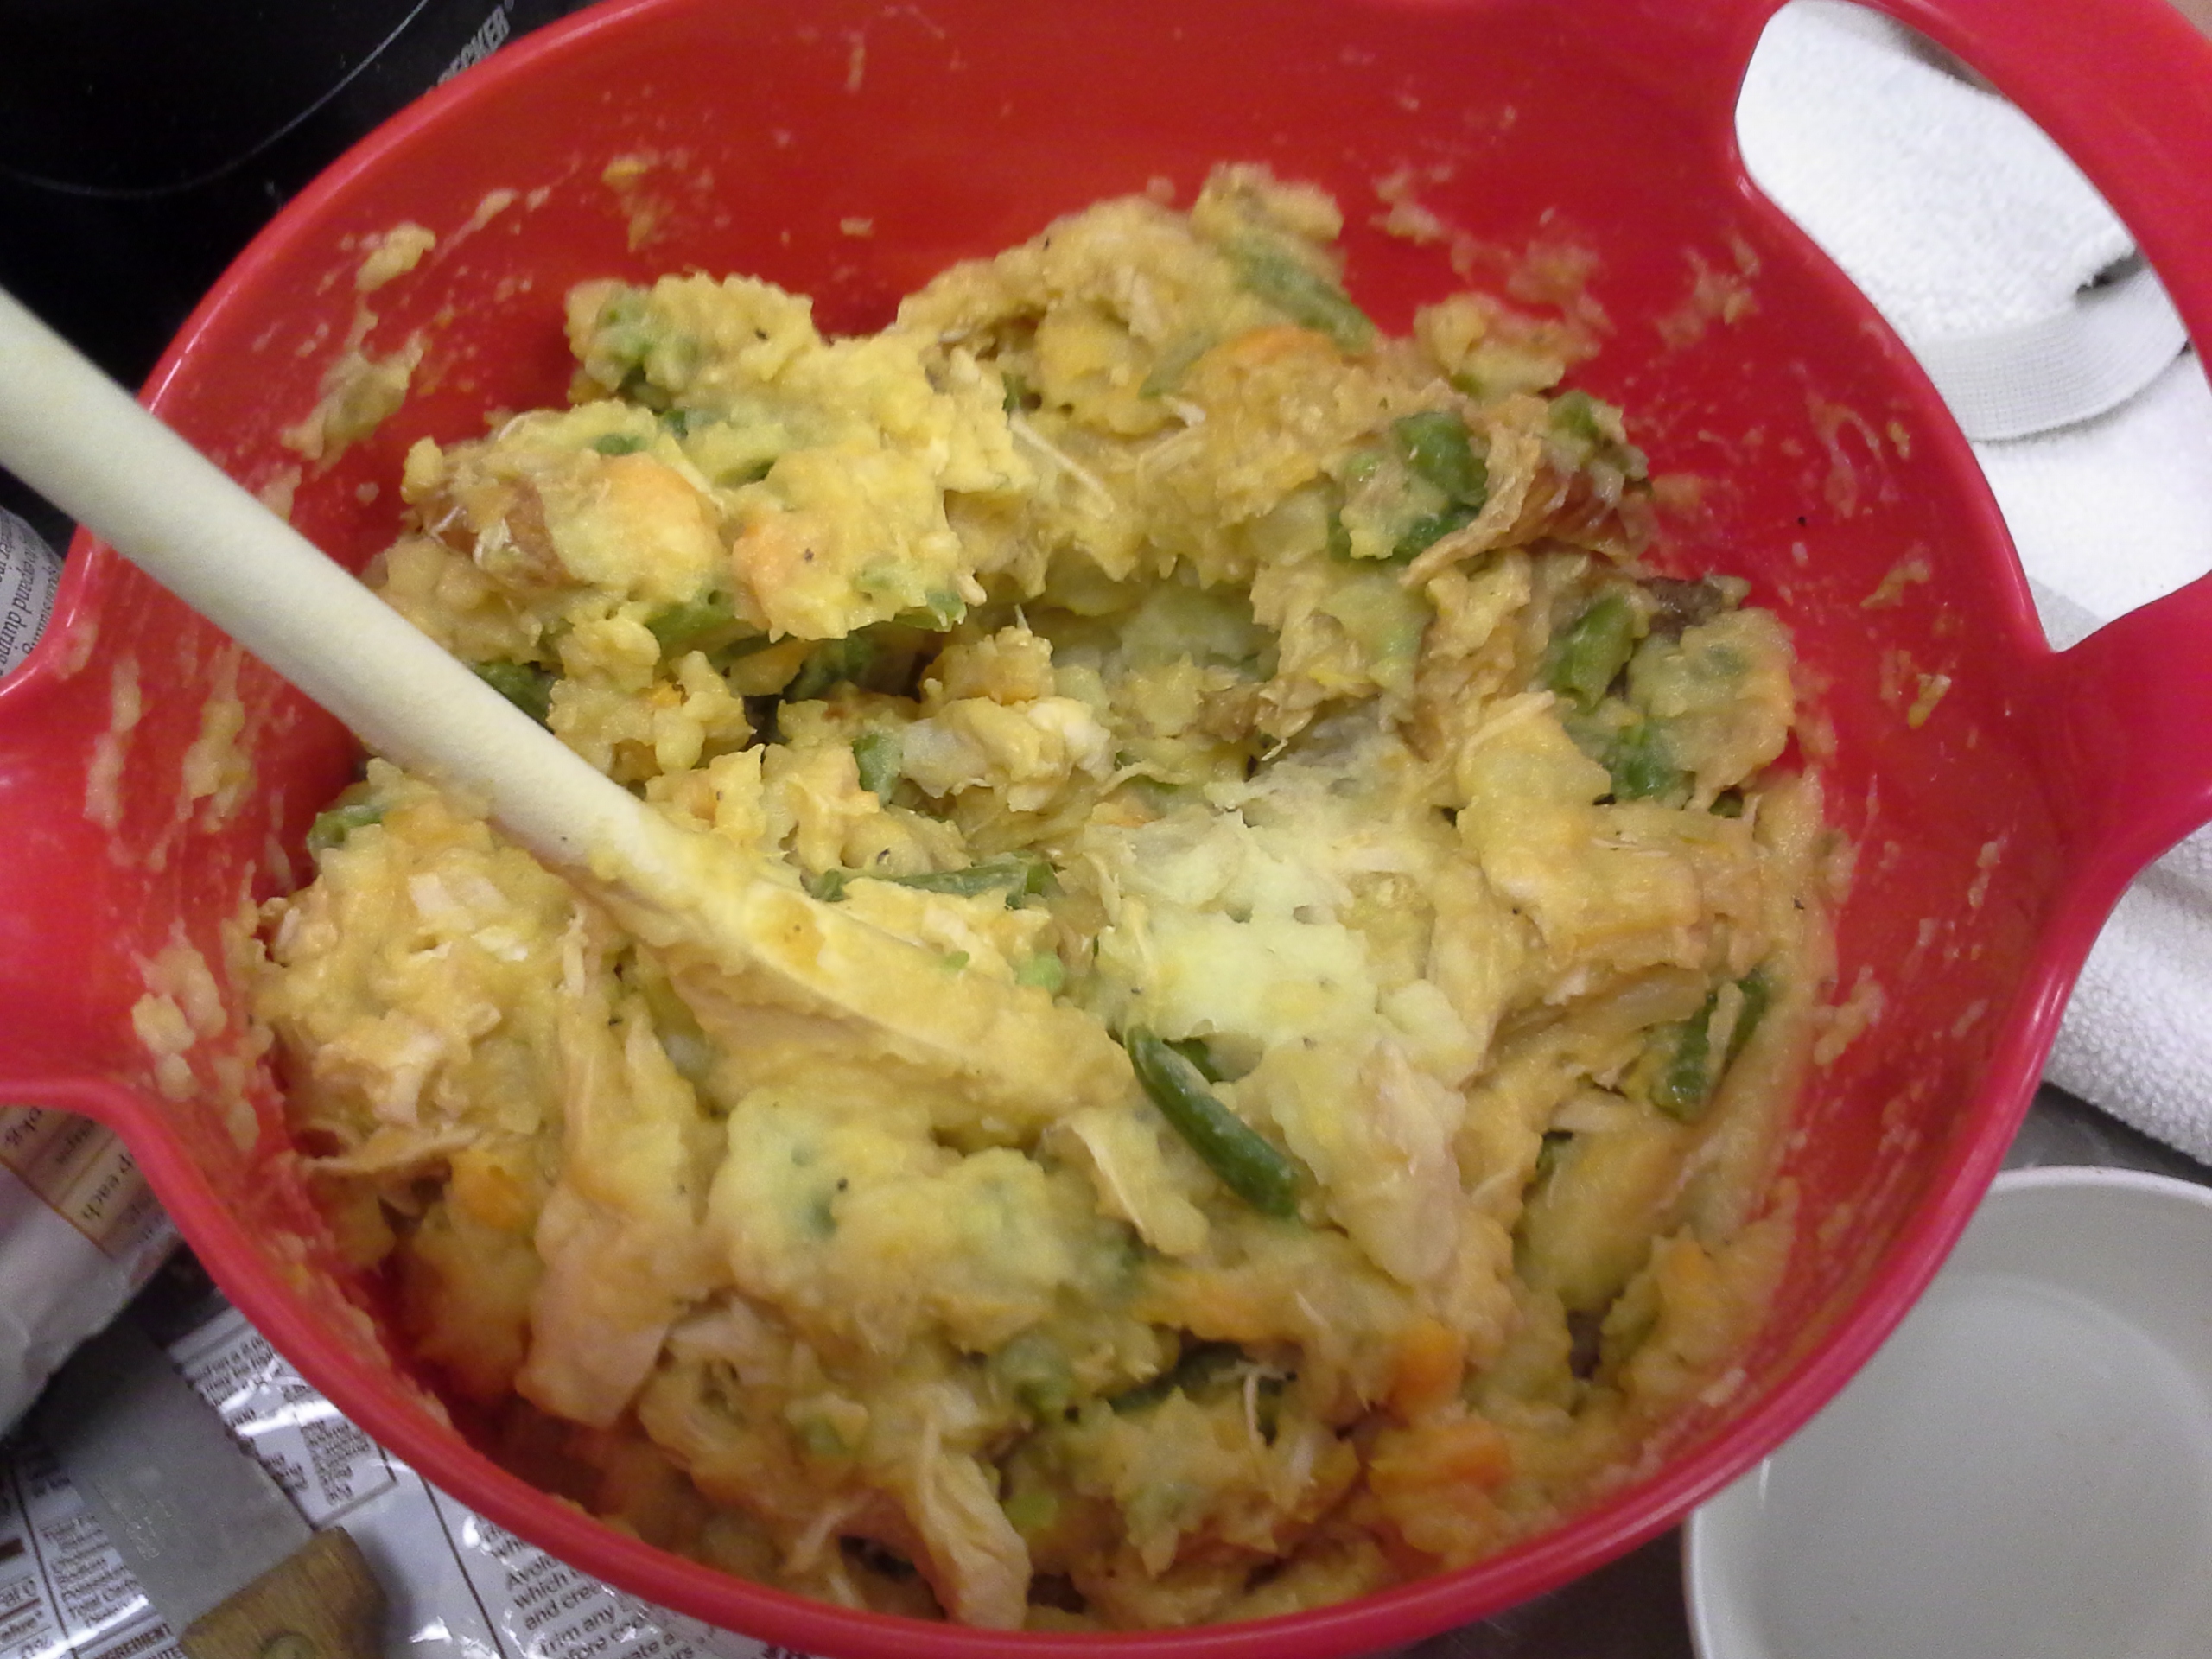
[The previous two items combined; this will be the Filling]

20140115_165052
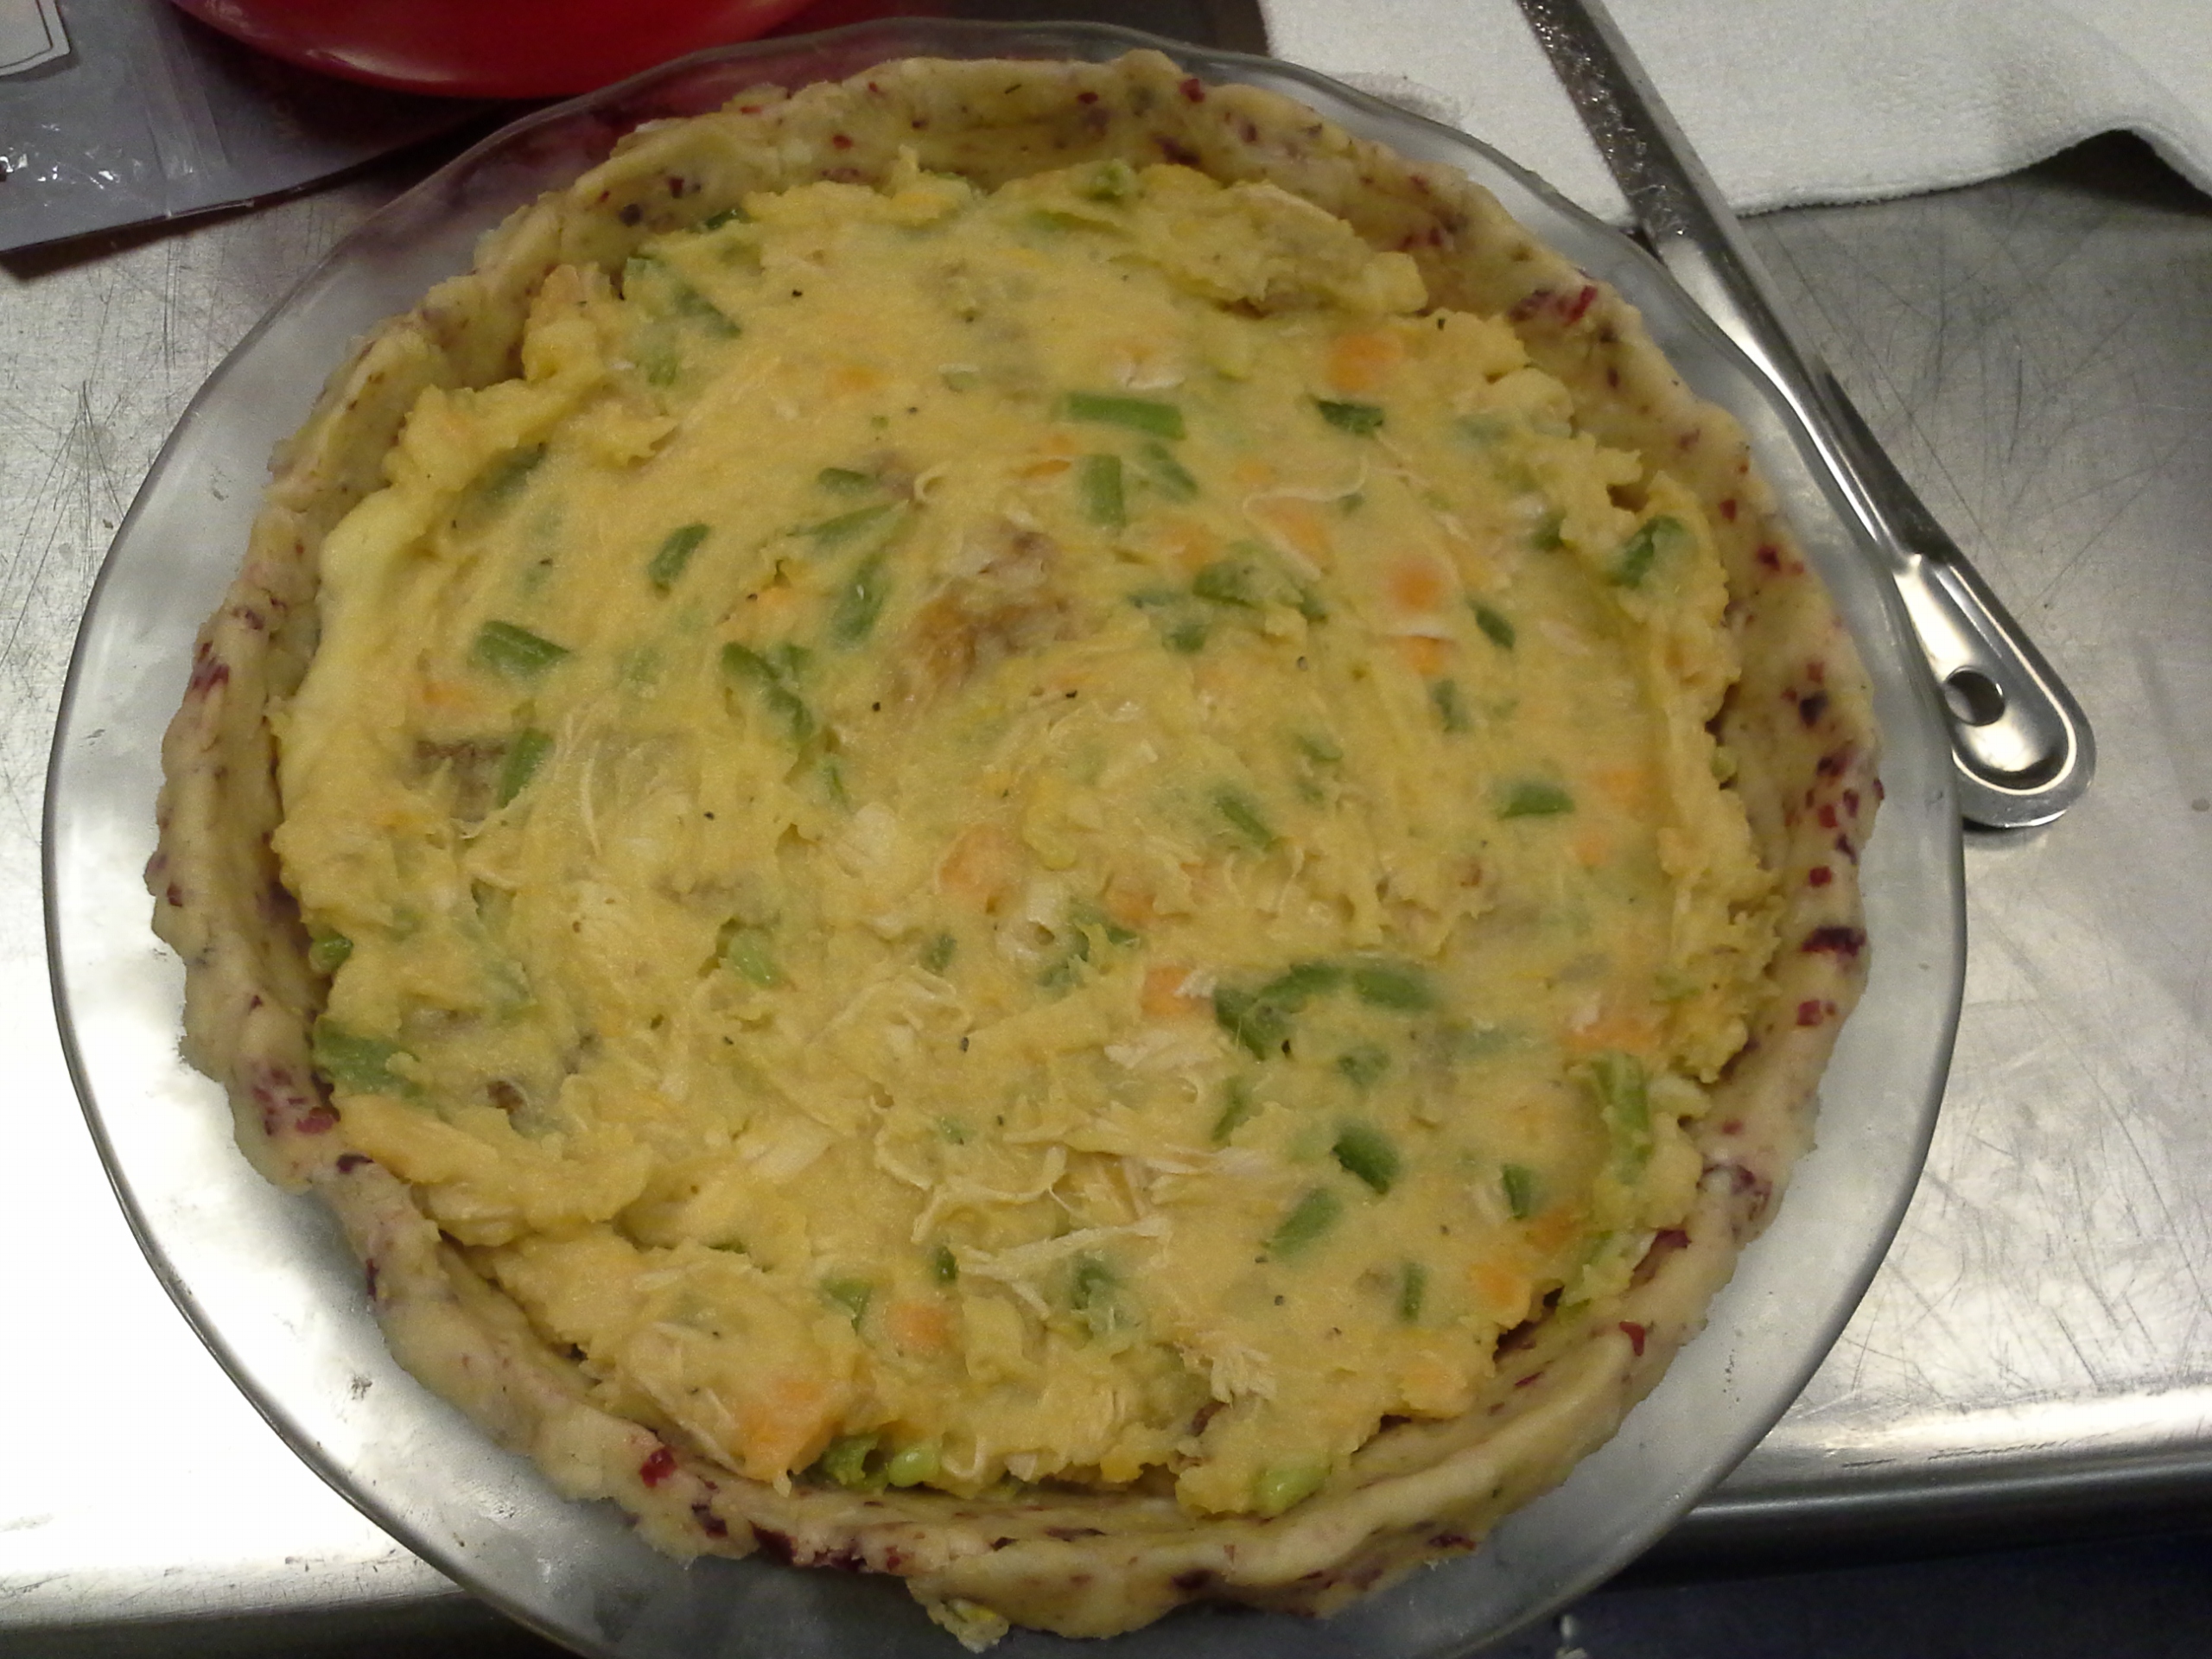
[Raw Pie with Filling]

20140115_171257
[Raw Pie with Filling and Cornbread Stuffing Crumb Coat]

20140116_142758
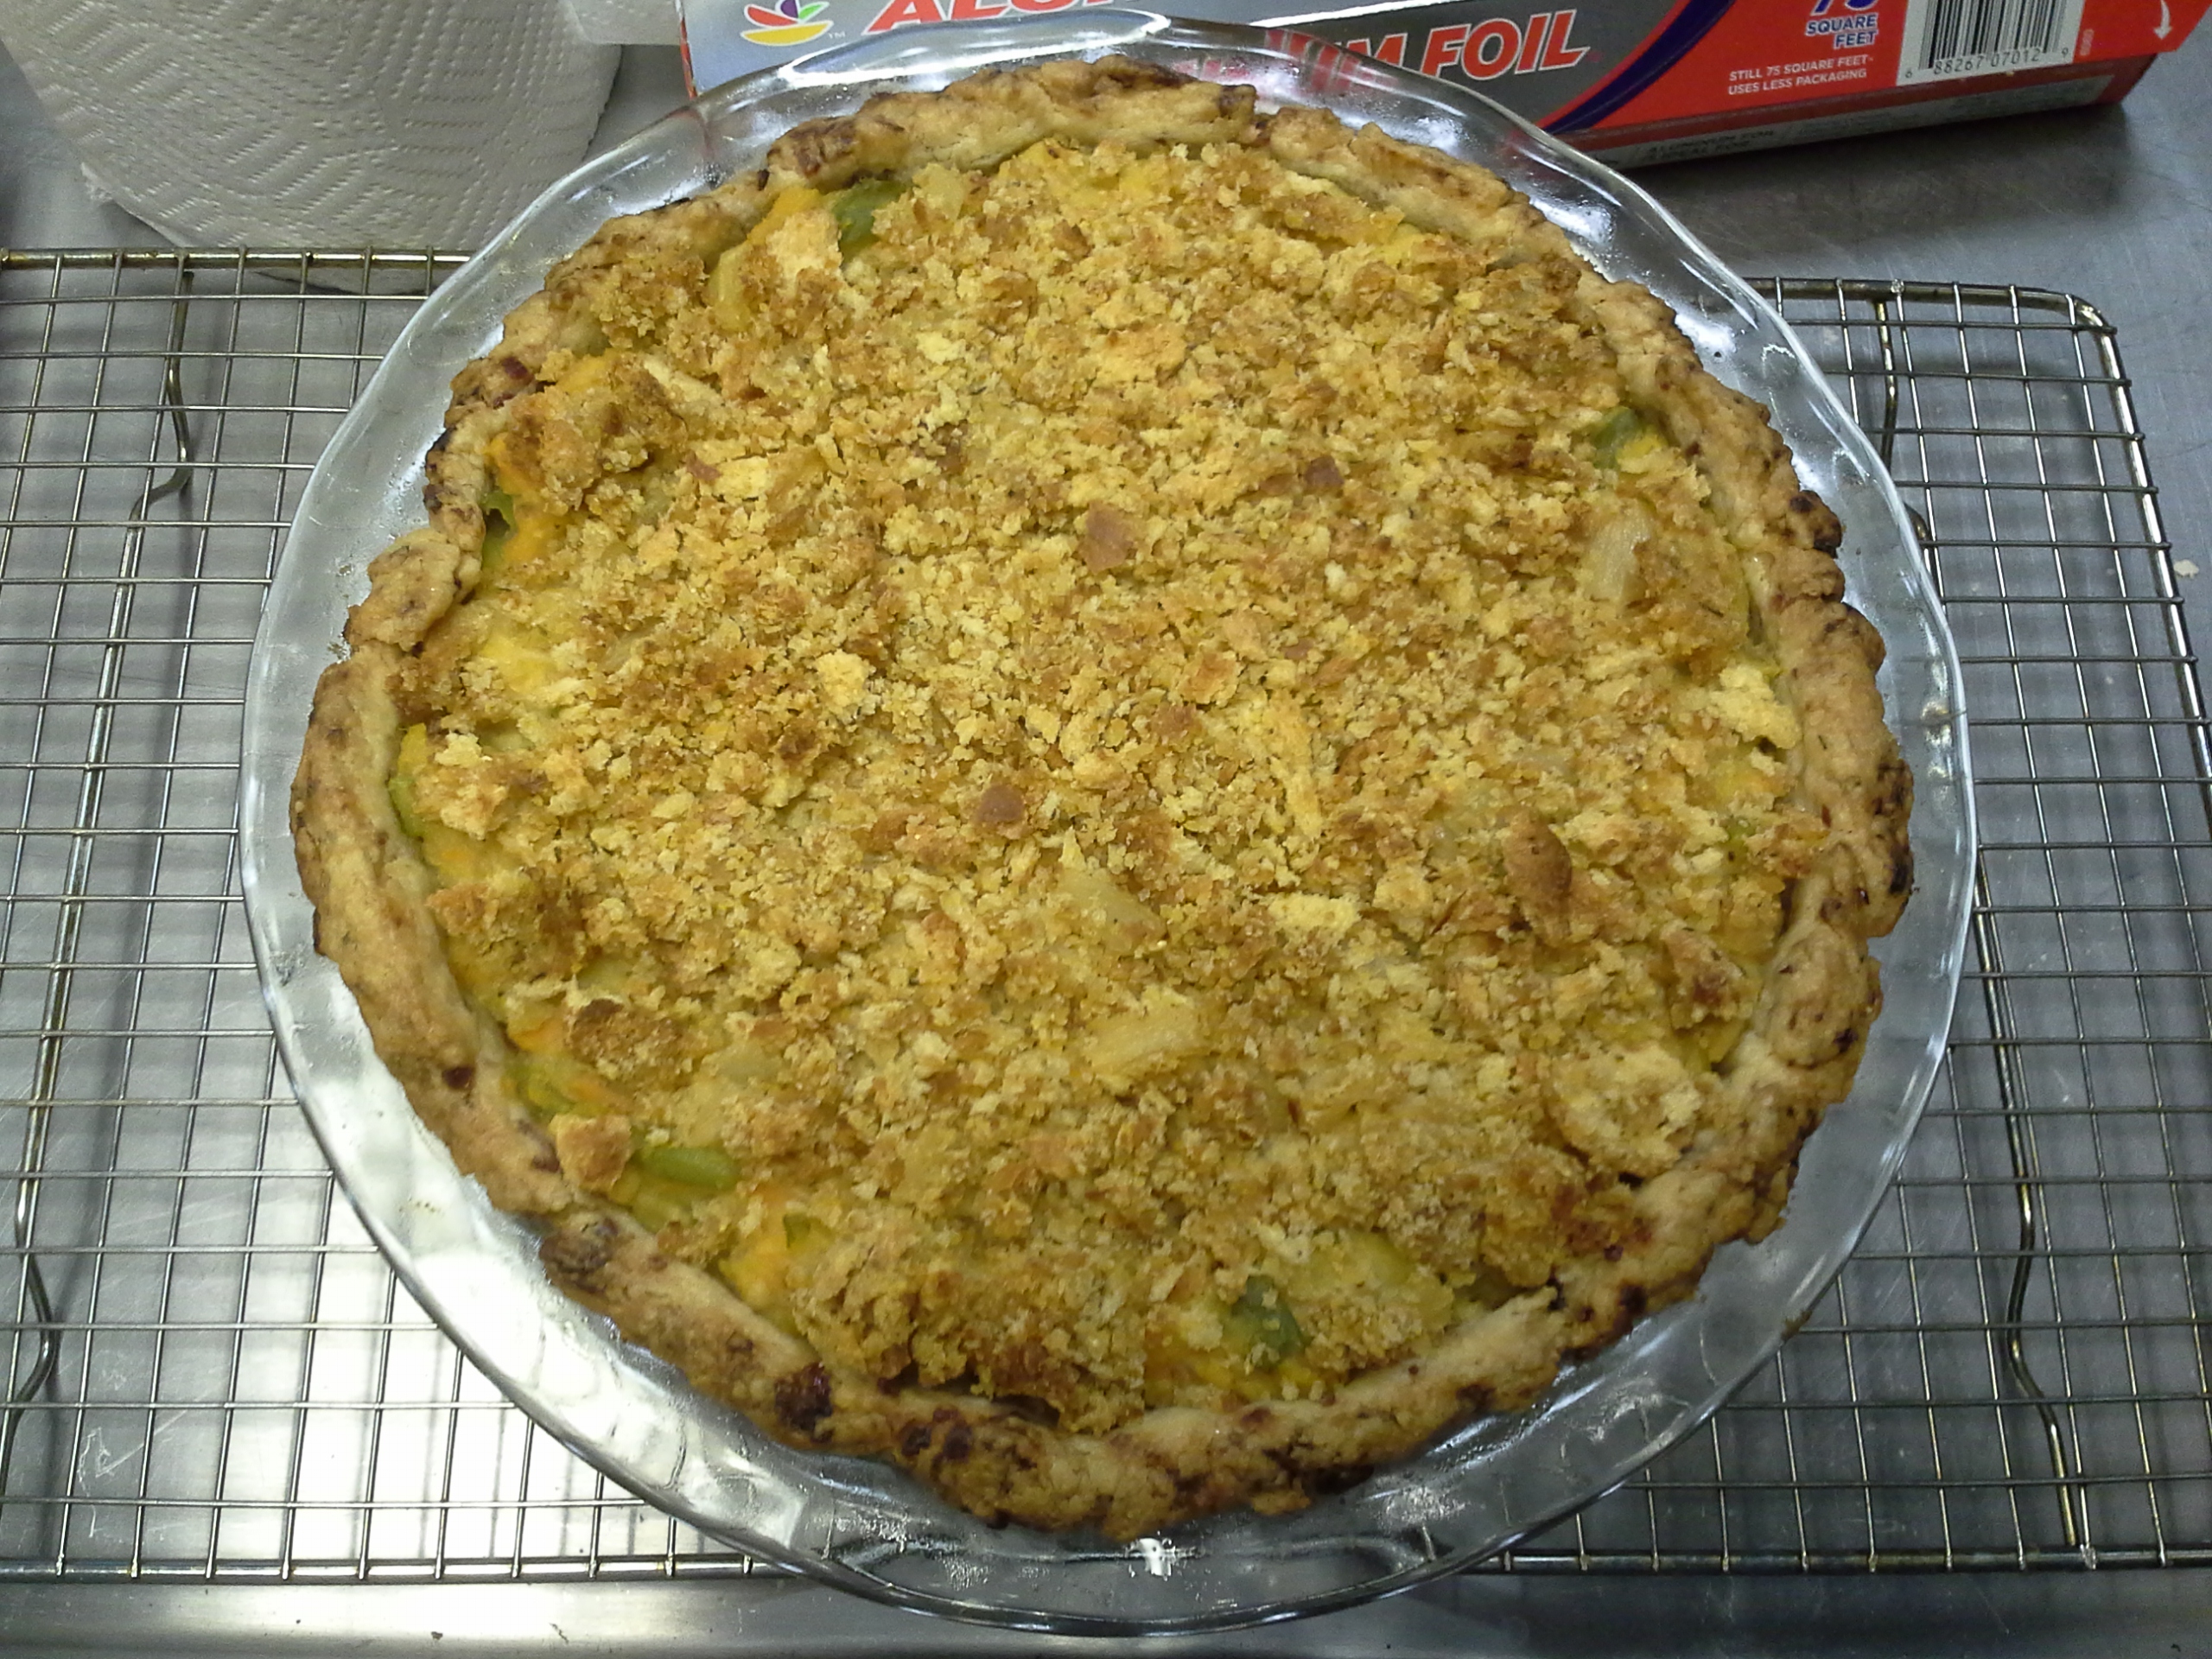
[Freshly Baked Thanksgiving Pie]

20140116_140948
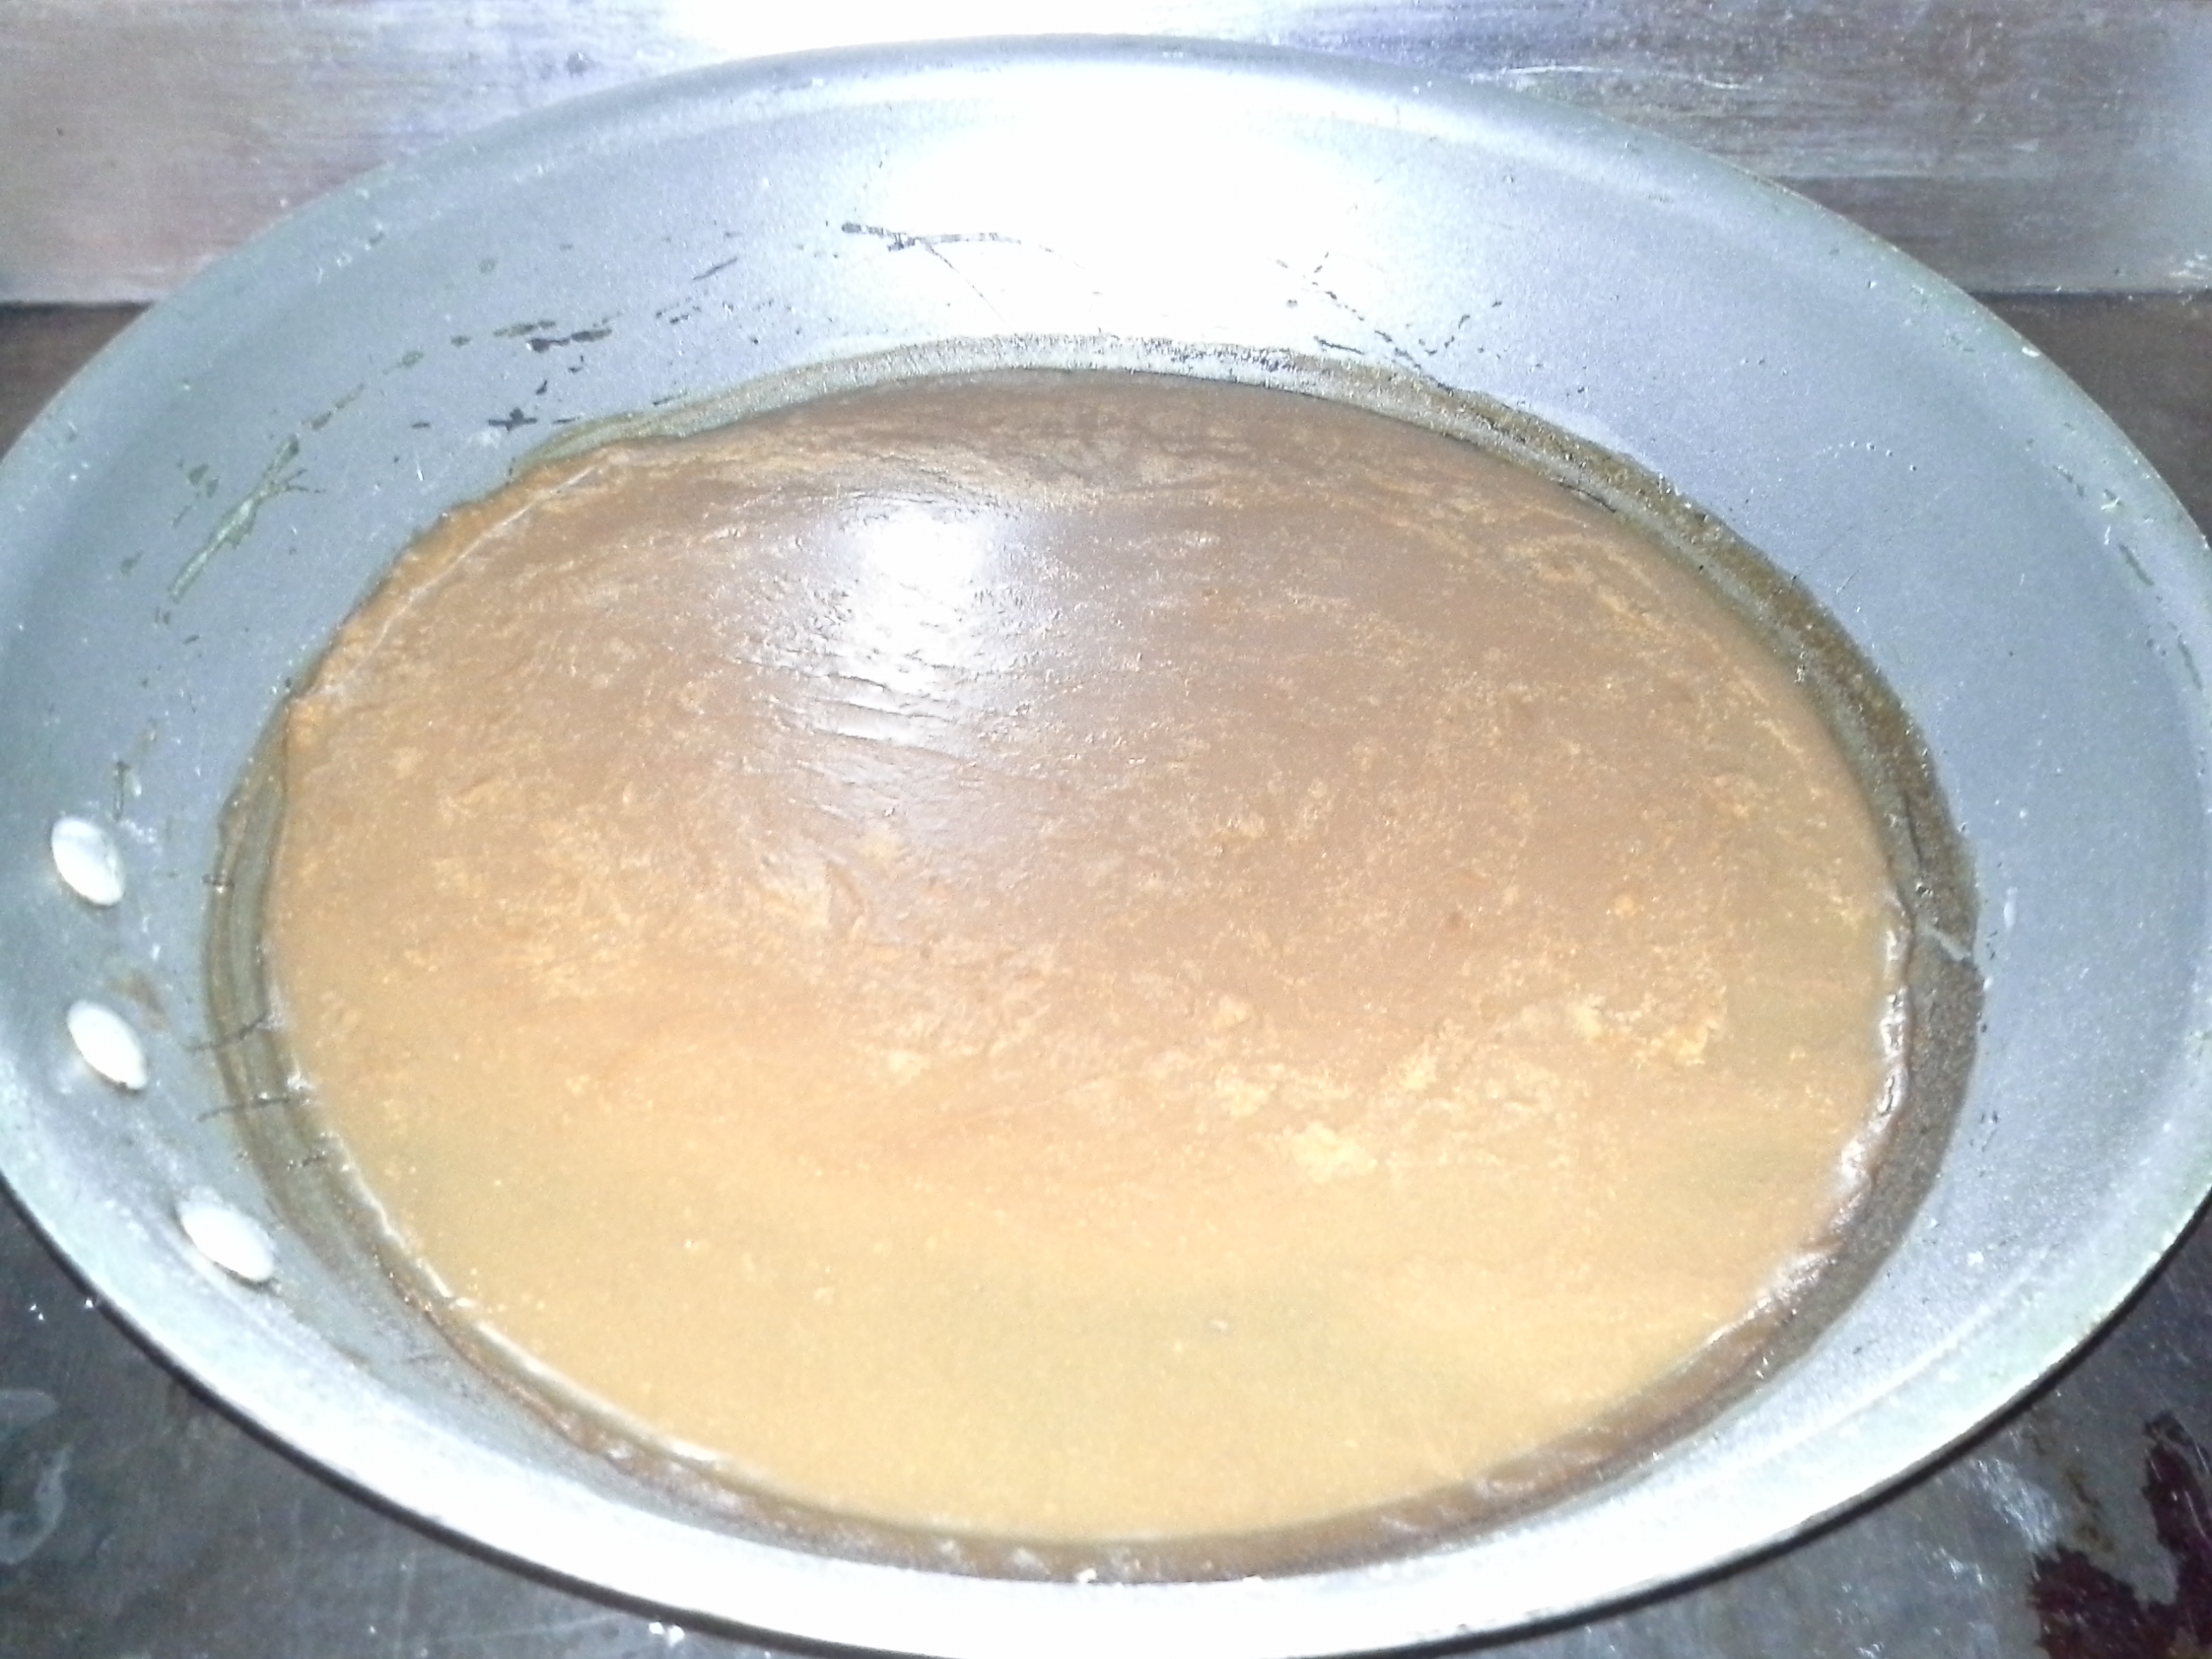
[Brown Gravy to Serve with the Pie]

20140116_153112
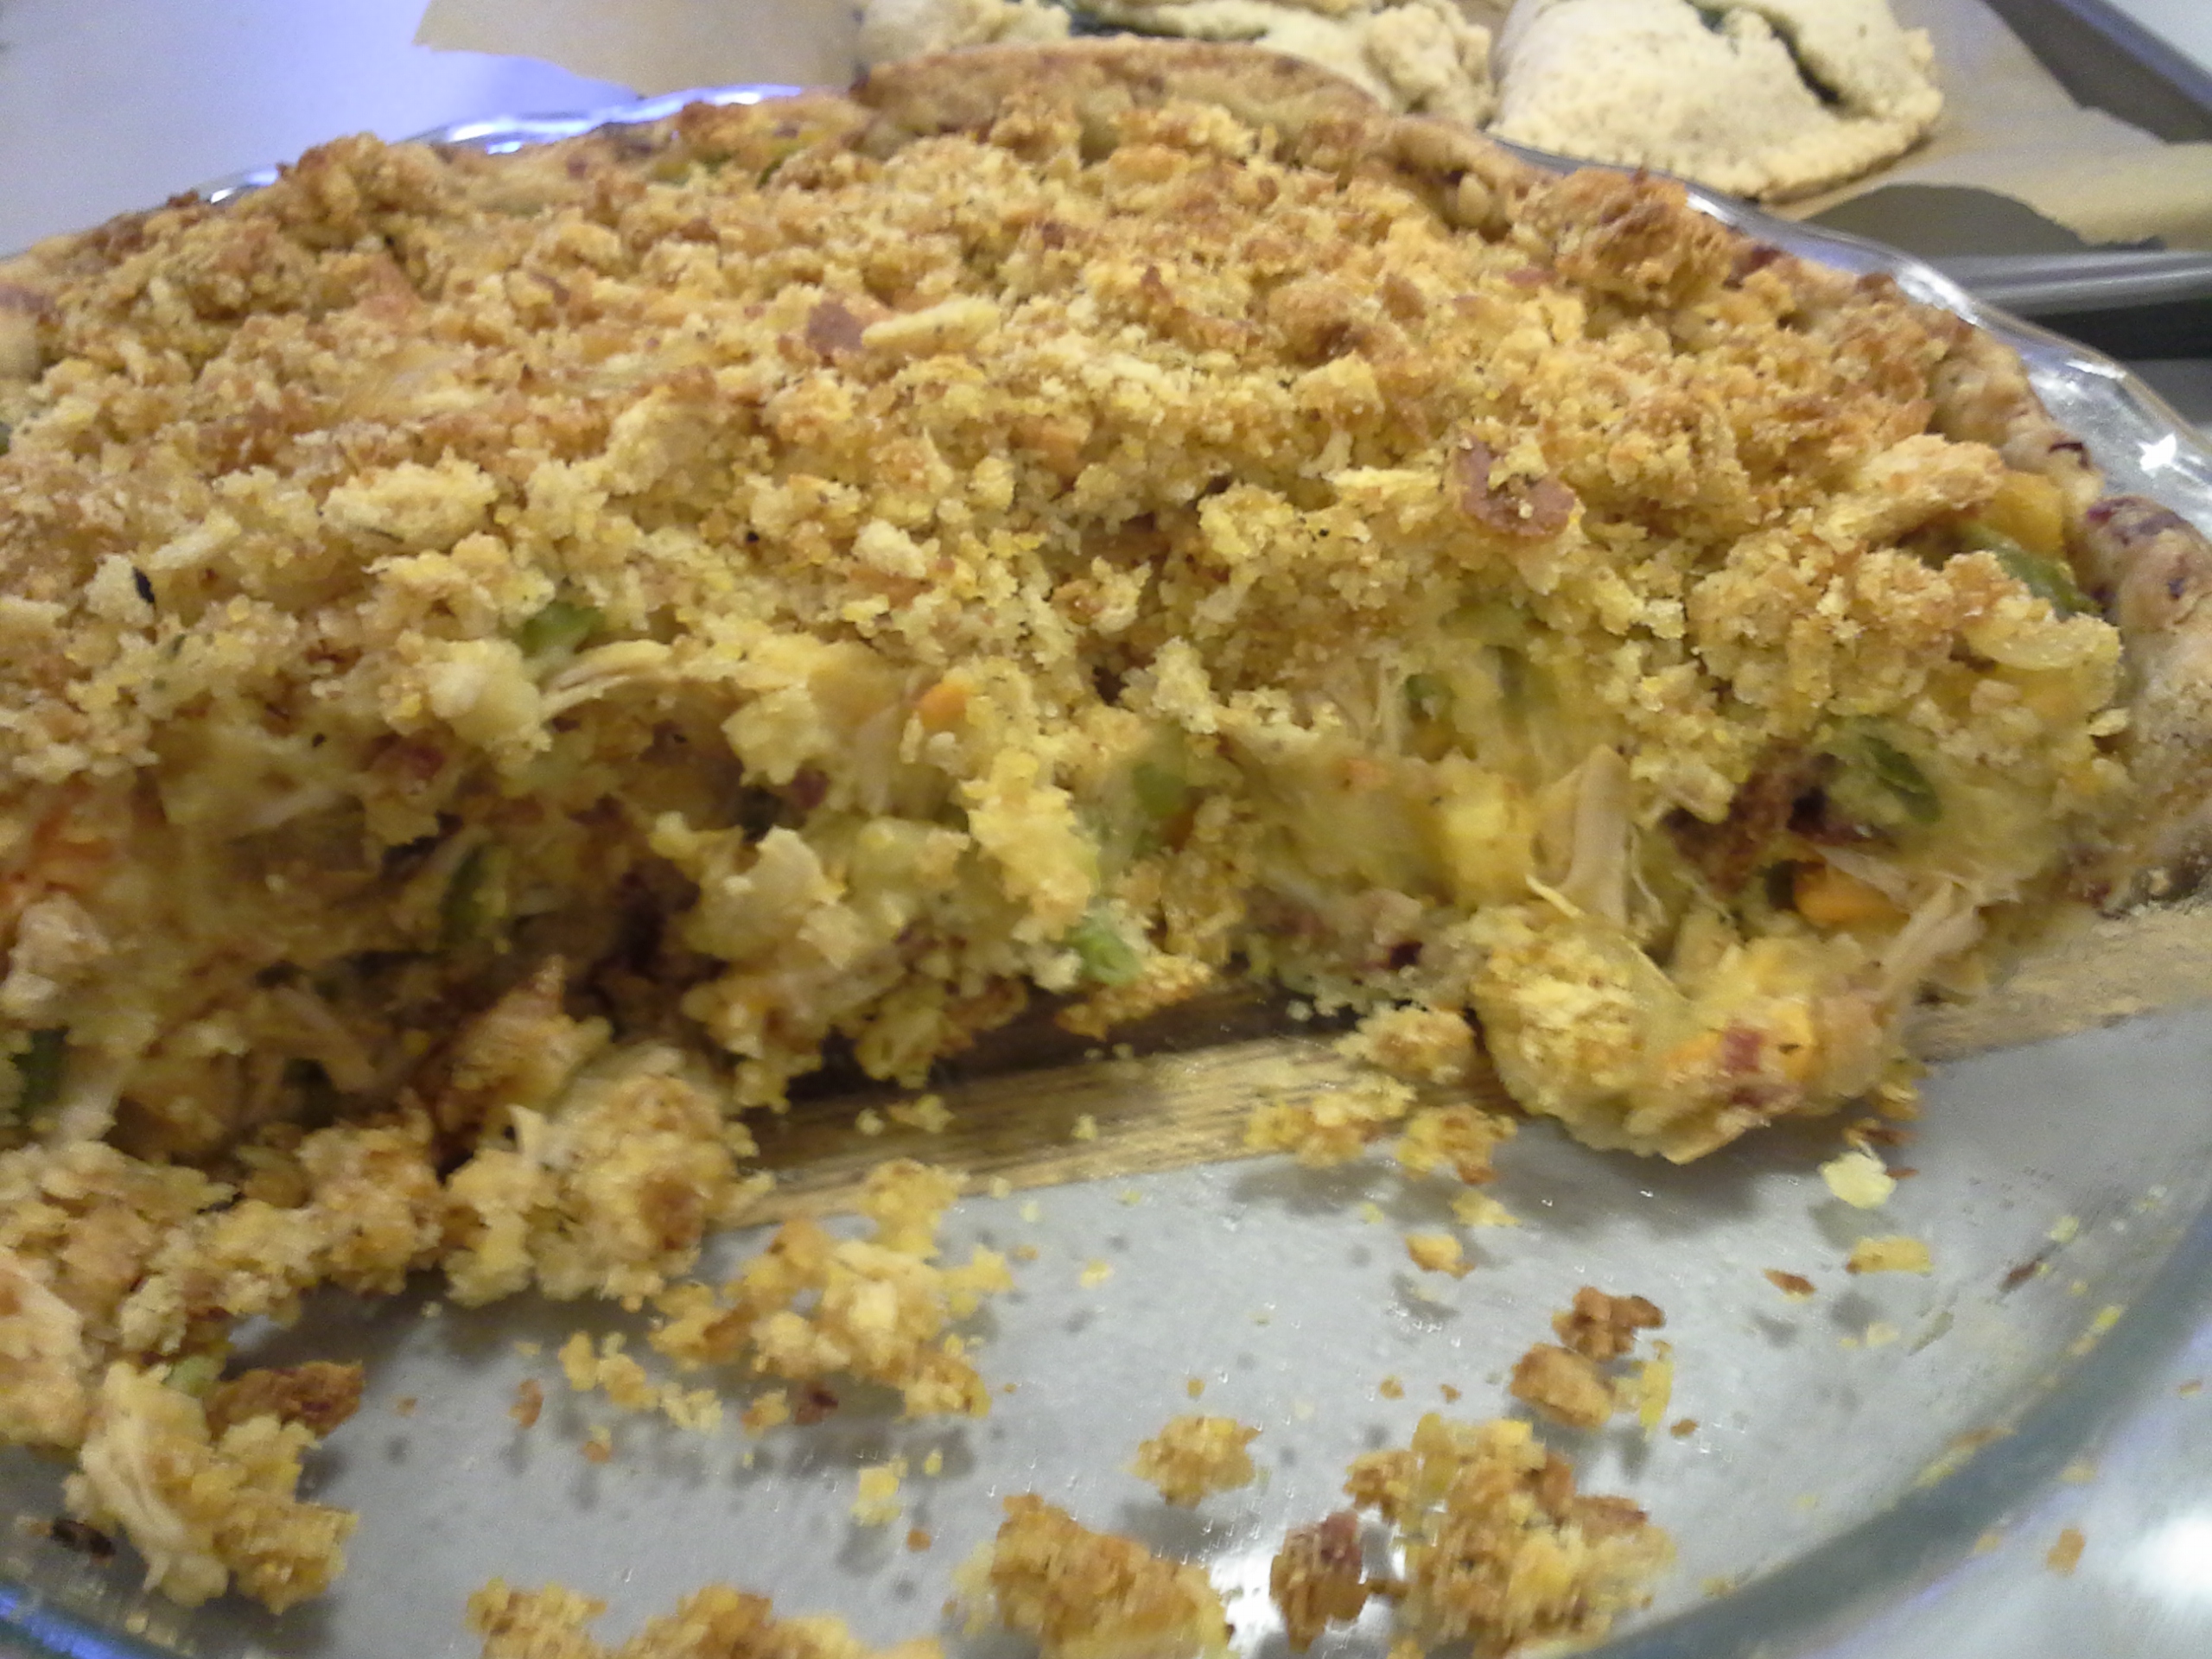
[Cross-Sectional View of the Finished Product]

Reflections: This experiment turned out pretty great, actually! I was a little worried that the crust would be too soggy, especially after a lot of it kept sticking to my utensils as well as the wax paper, but good flakiness was achieved. Next time I try the Vodka Trick, I think I’ll use slightly less liquid, haha. Other than that, another thing I might try differently is to not put in the filling and top crumb coat crust and leave it overnight. Perhaps doing both right before baking it in the oven would have achieved a flakier crust. Either way, it worked out, and the pie tasted delicious!

Sweet and Savory: The Cheddar-Crusted Apple-Pear Pie

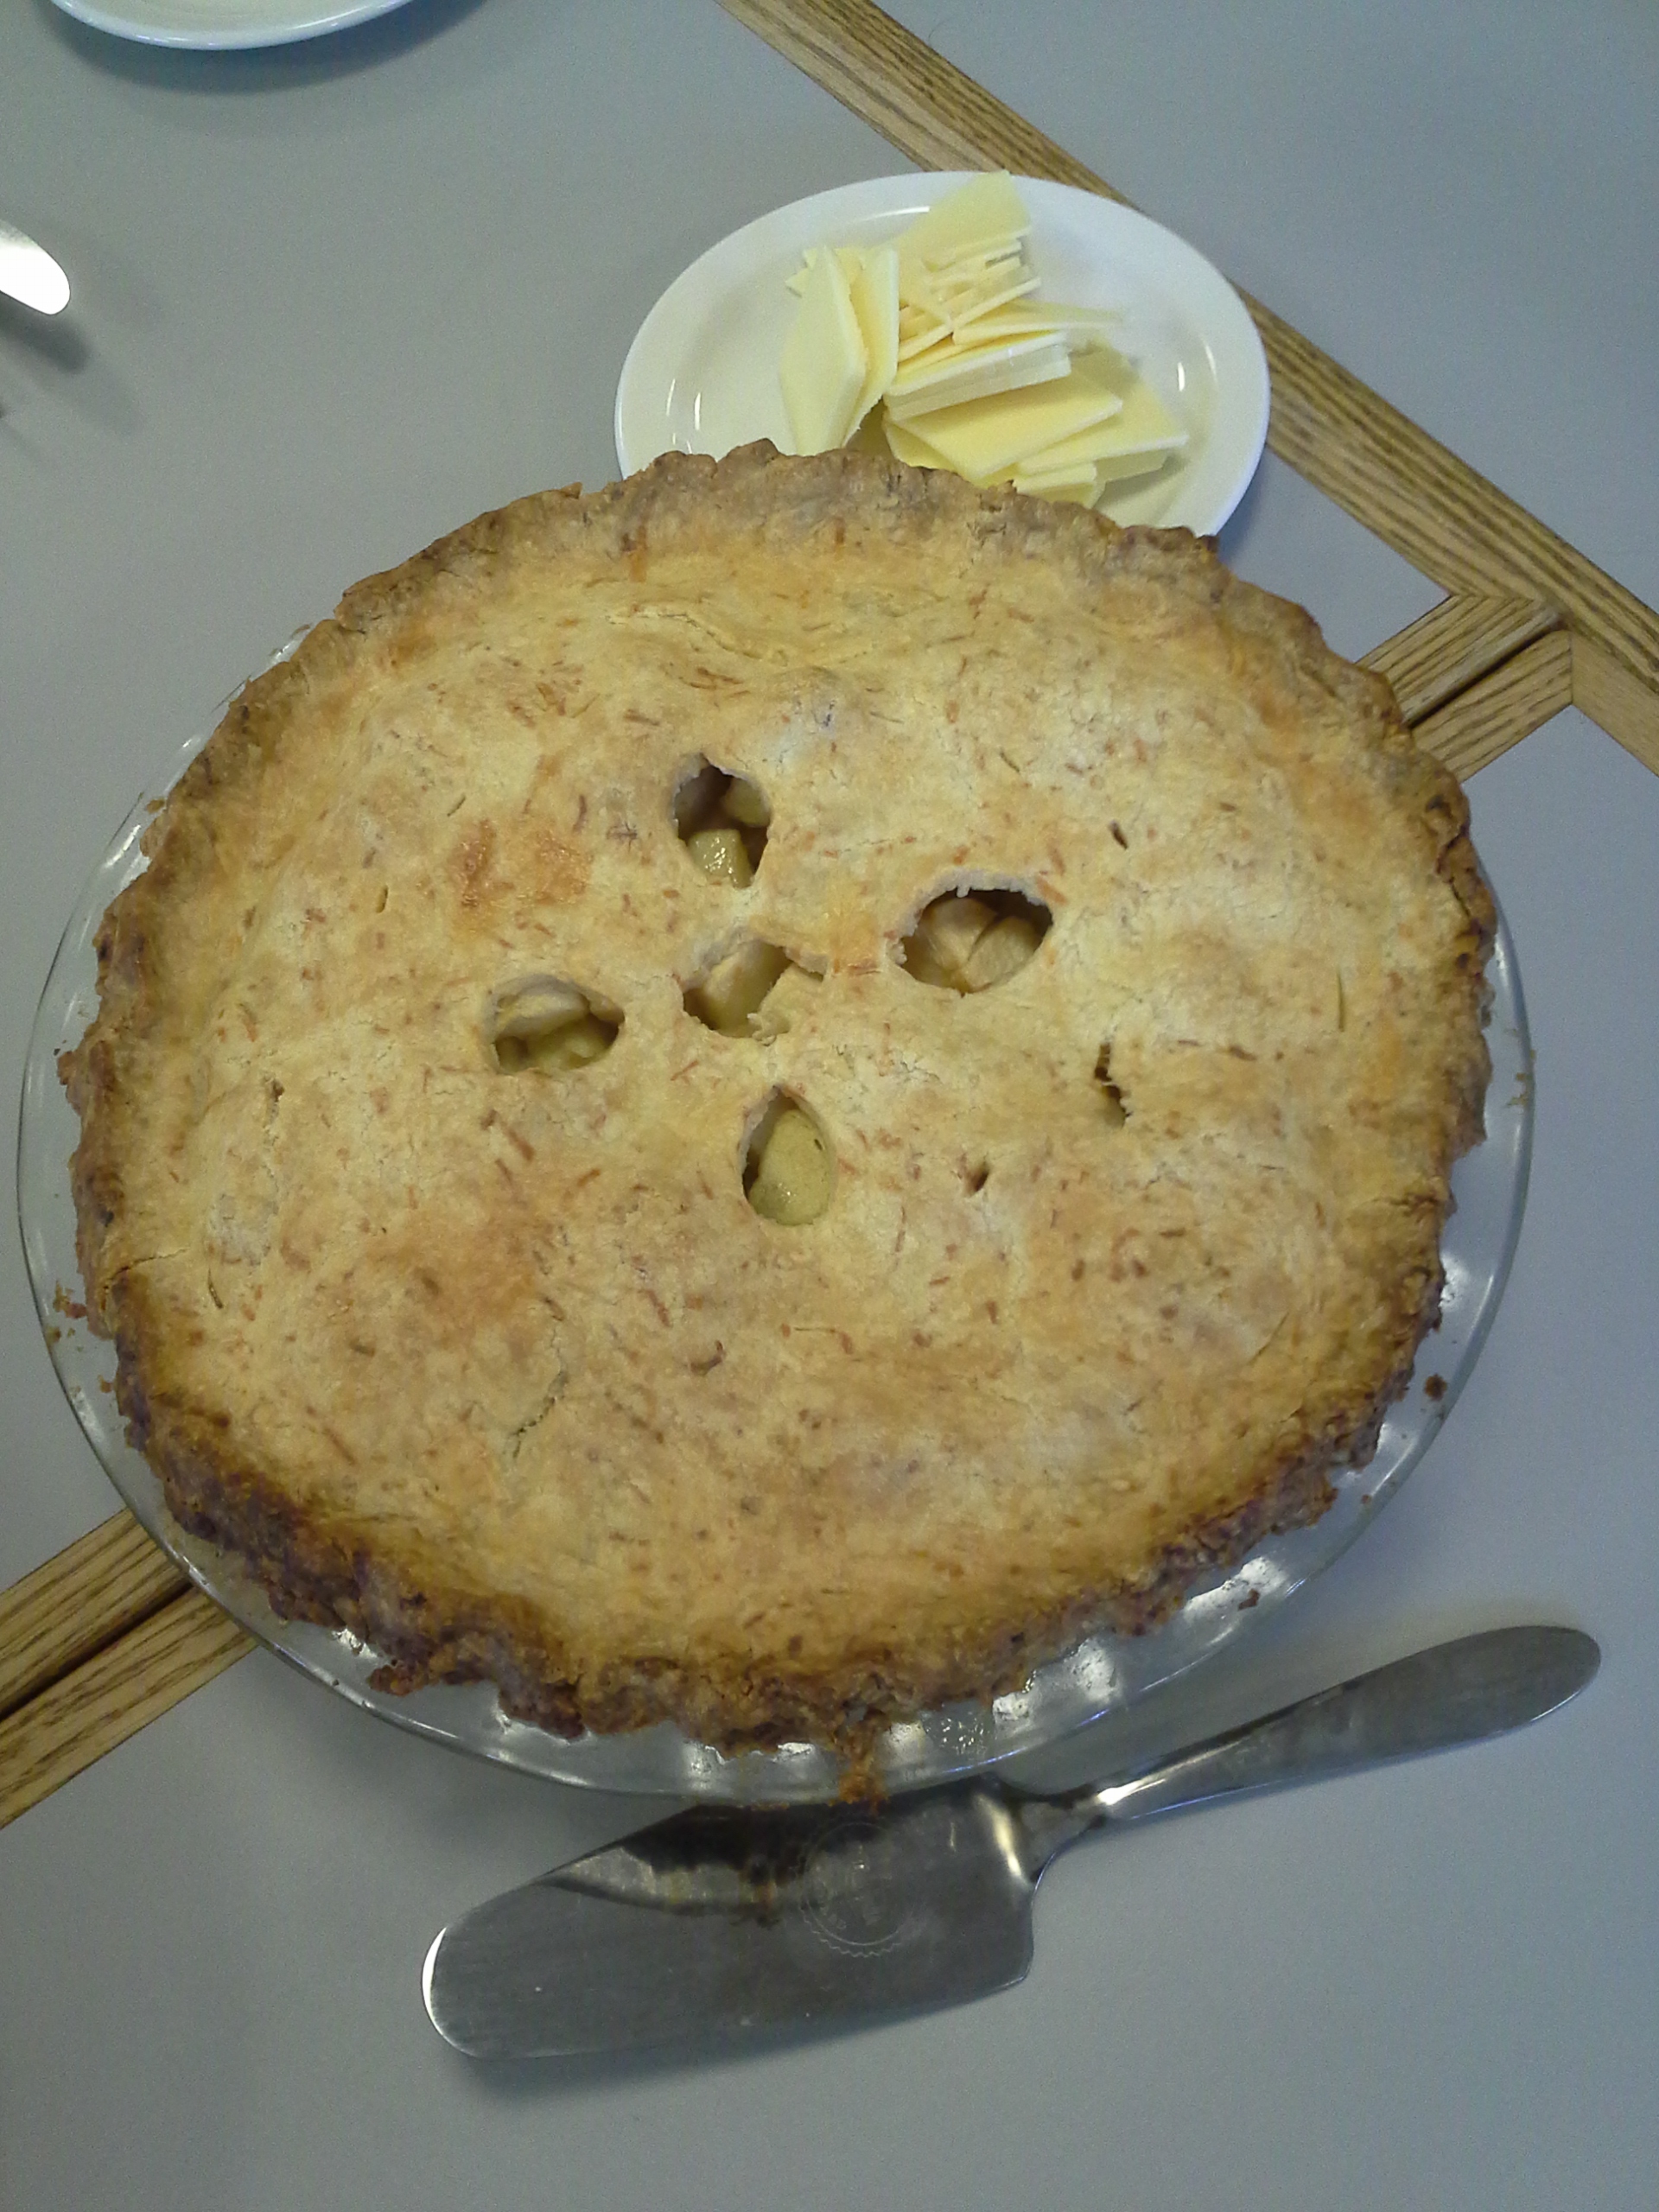
A sweet fruit pie with cheese? Classic with a twist! A little bit unconventional for my first foray into the pie-making game, but I figured, go big or go home, right? Plus, my favorite pie was apple, my partner’s was pear…it just seemed like the right call :).

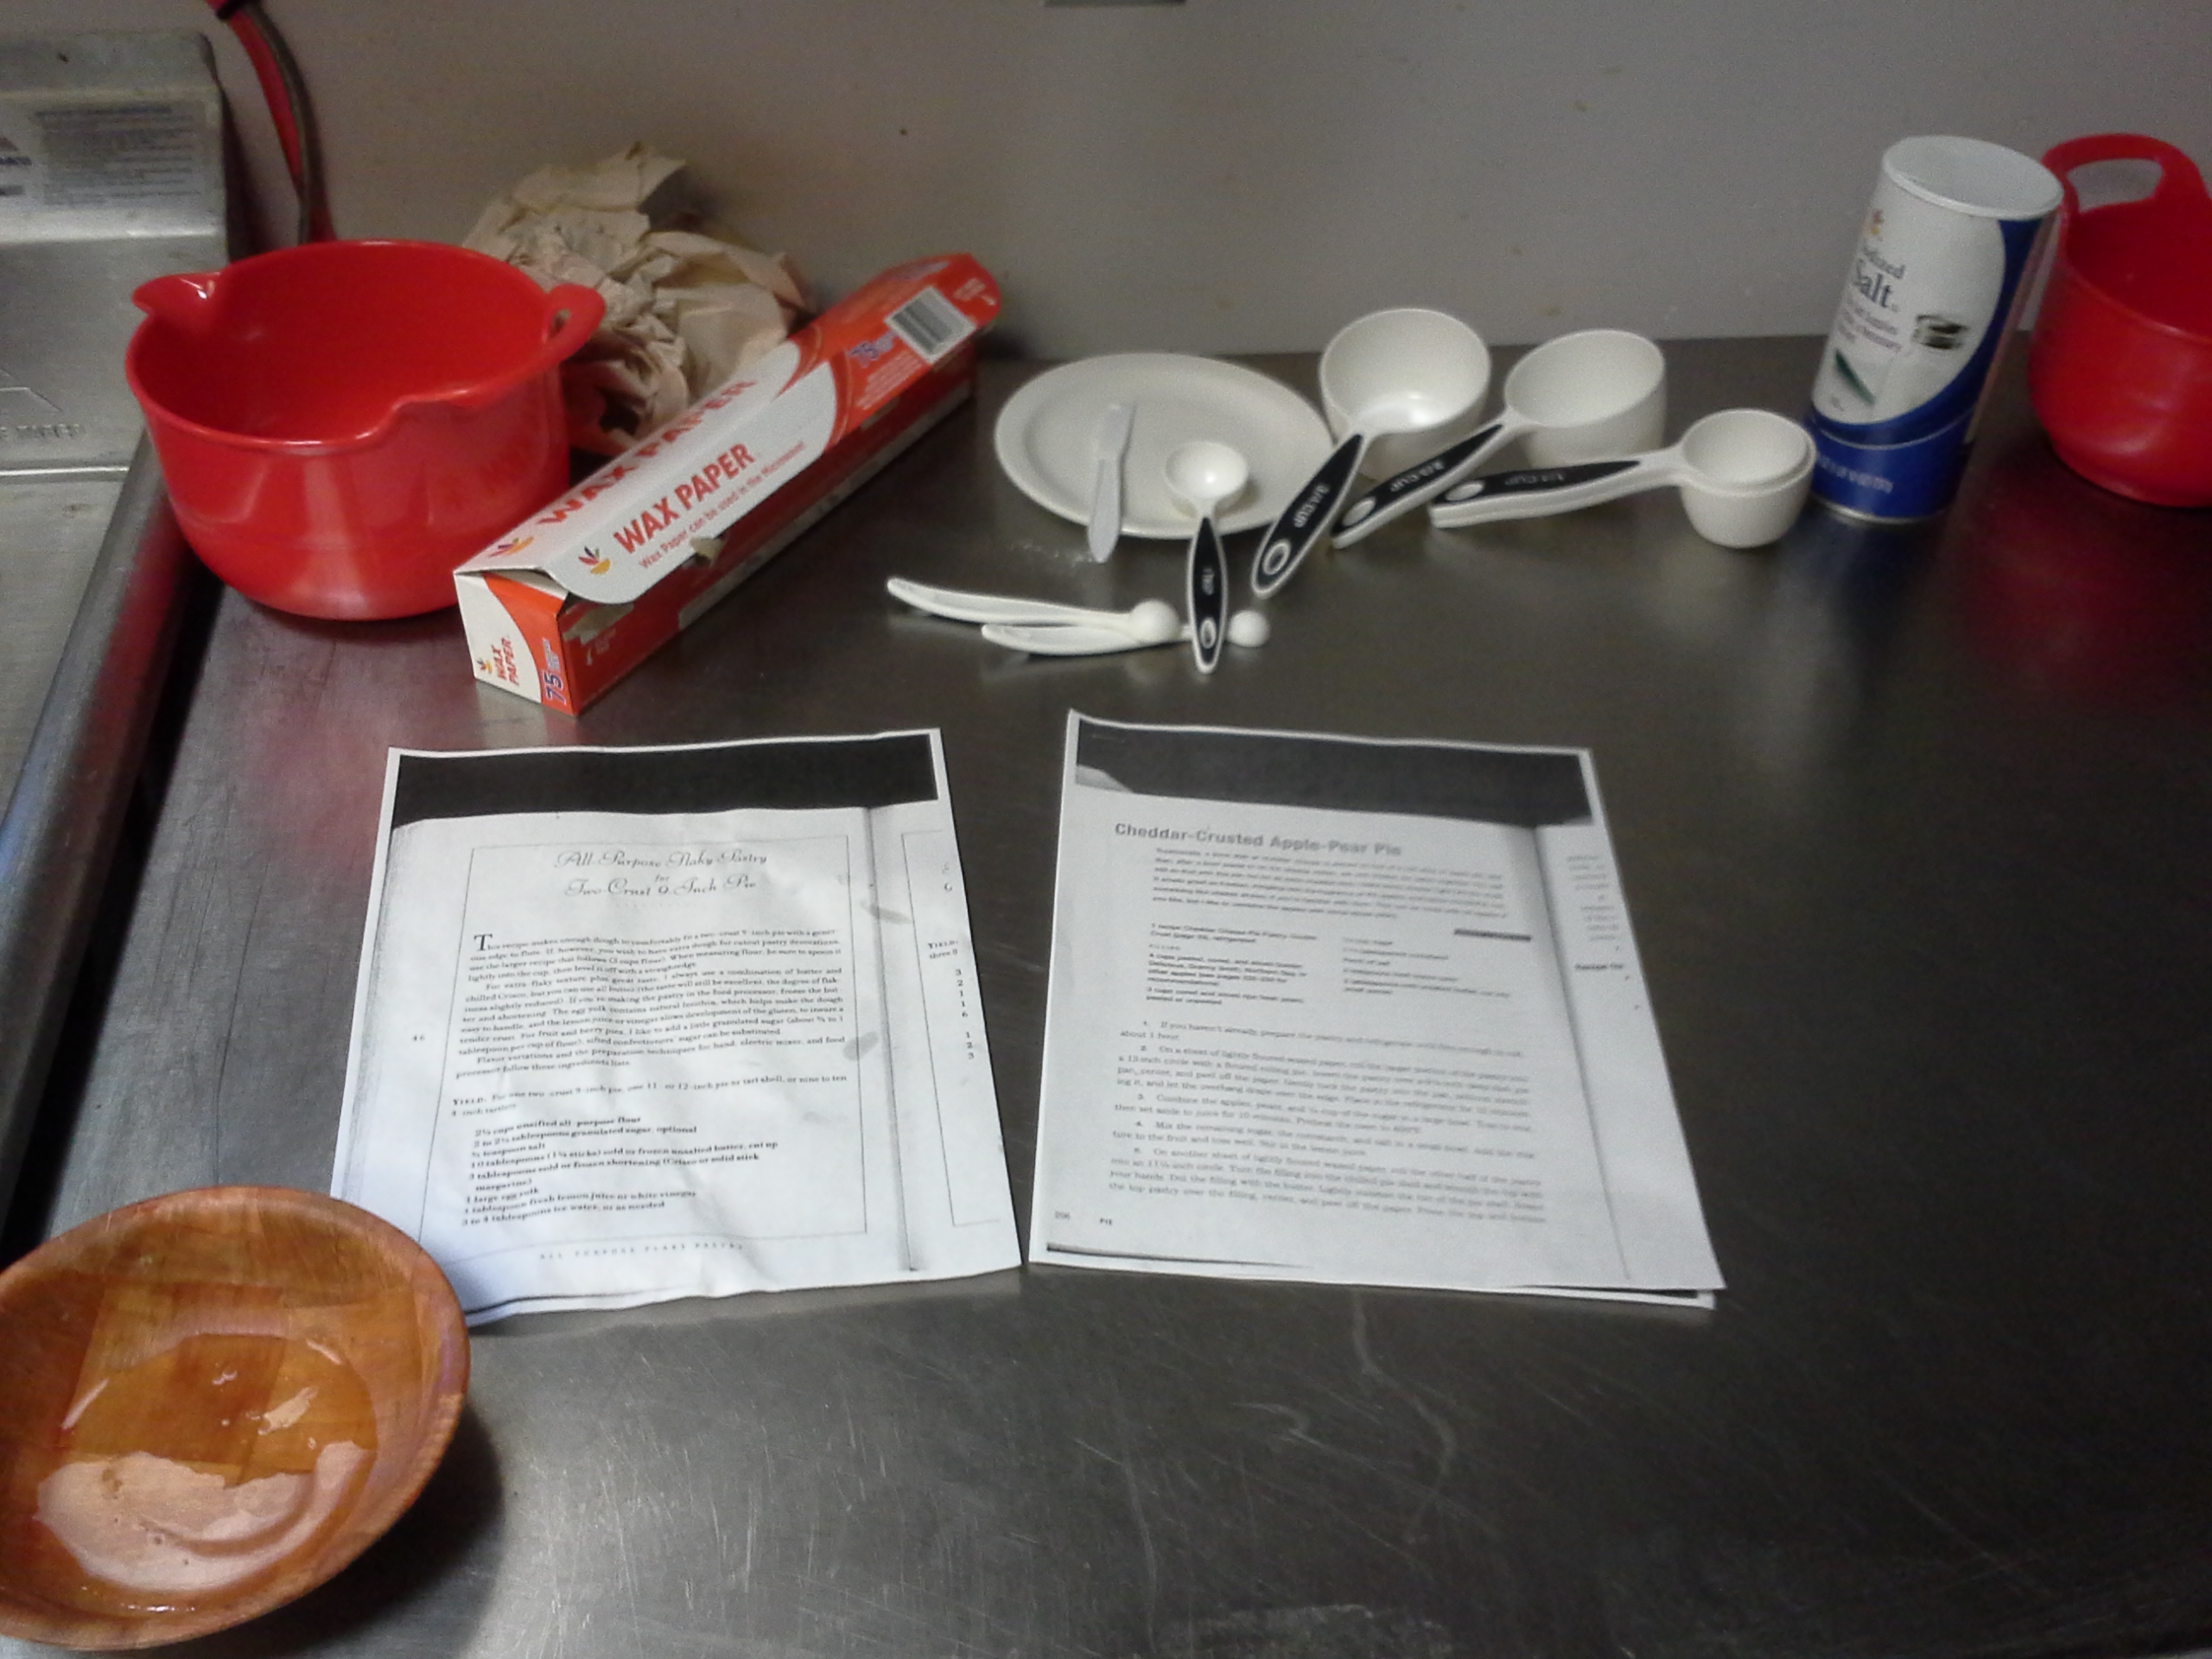
20140108_141011

[The Recipes along with some Tools of the Trade]

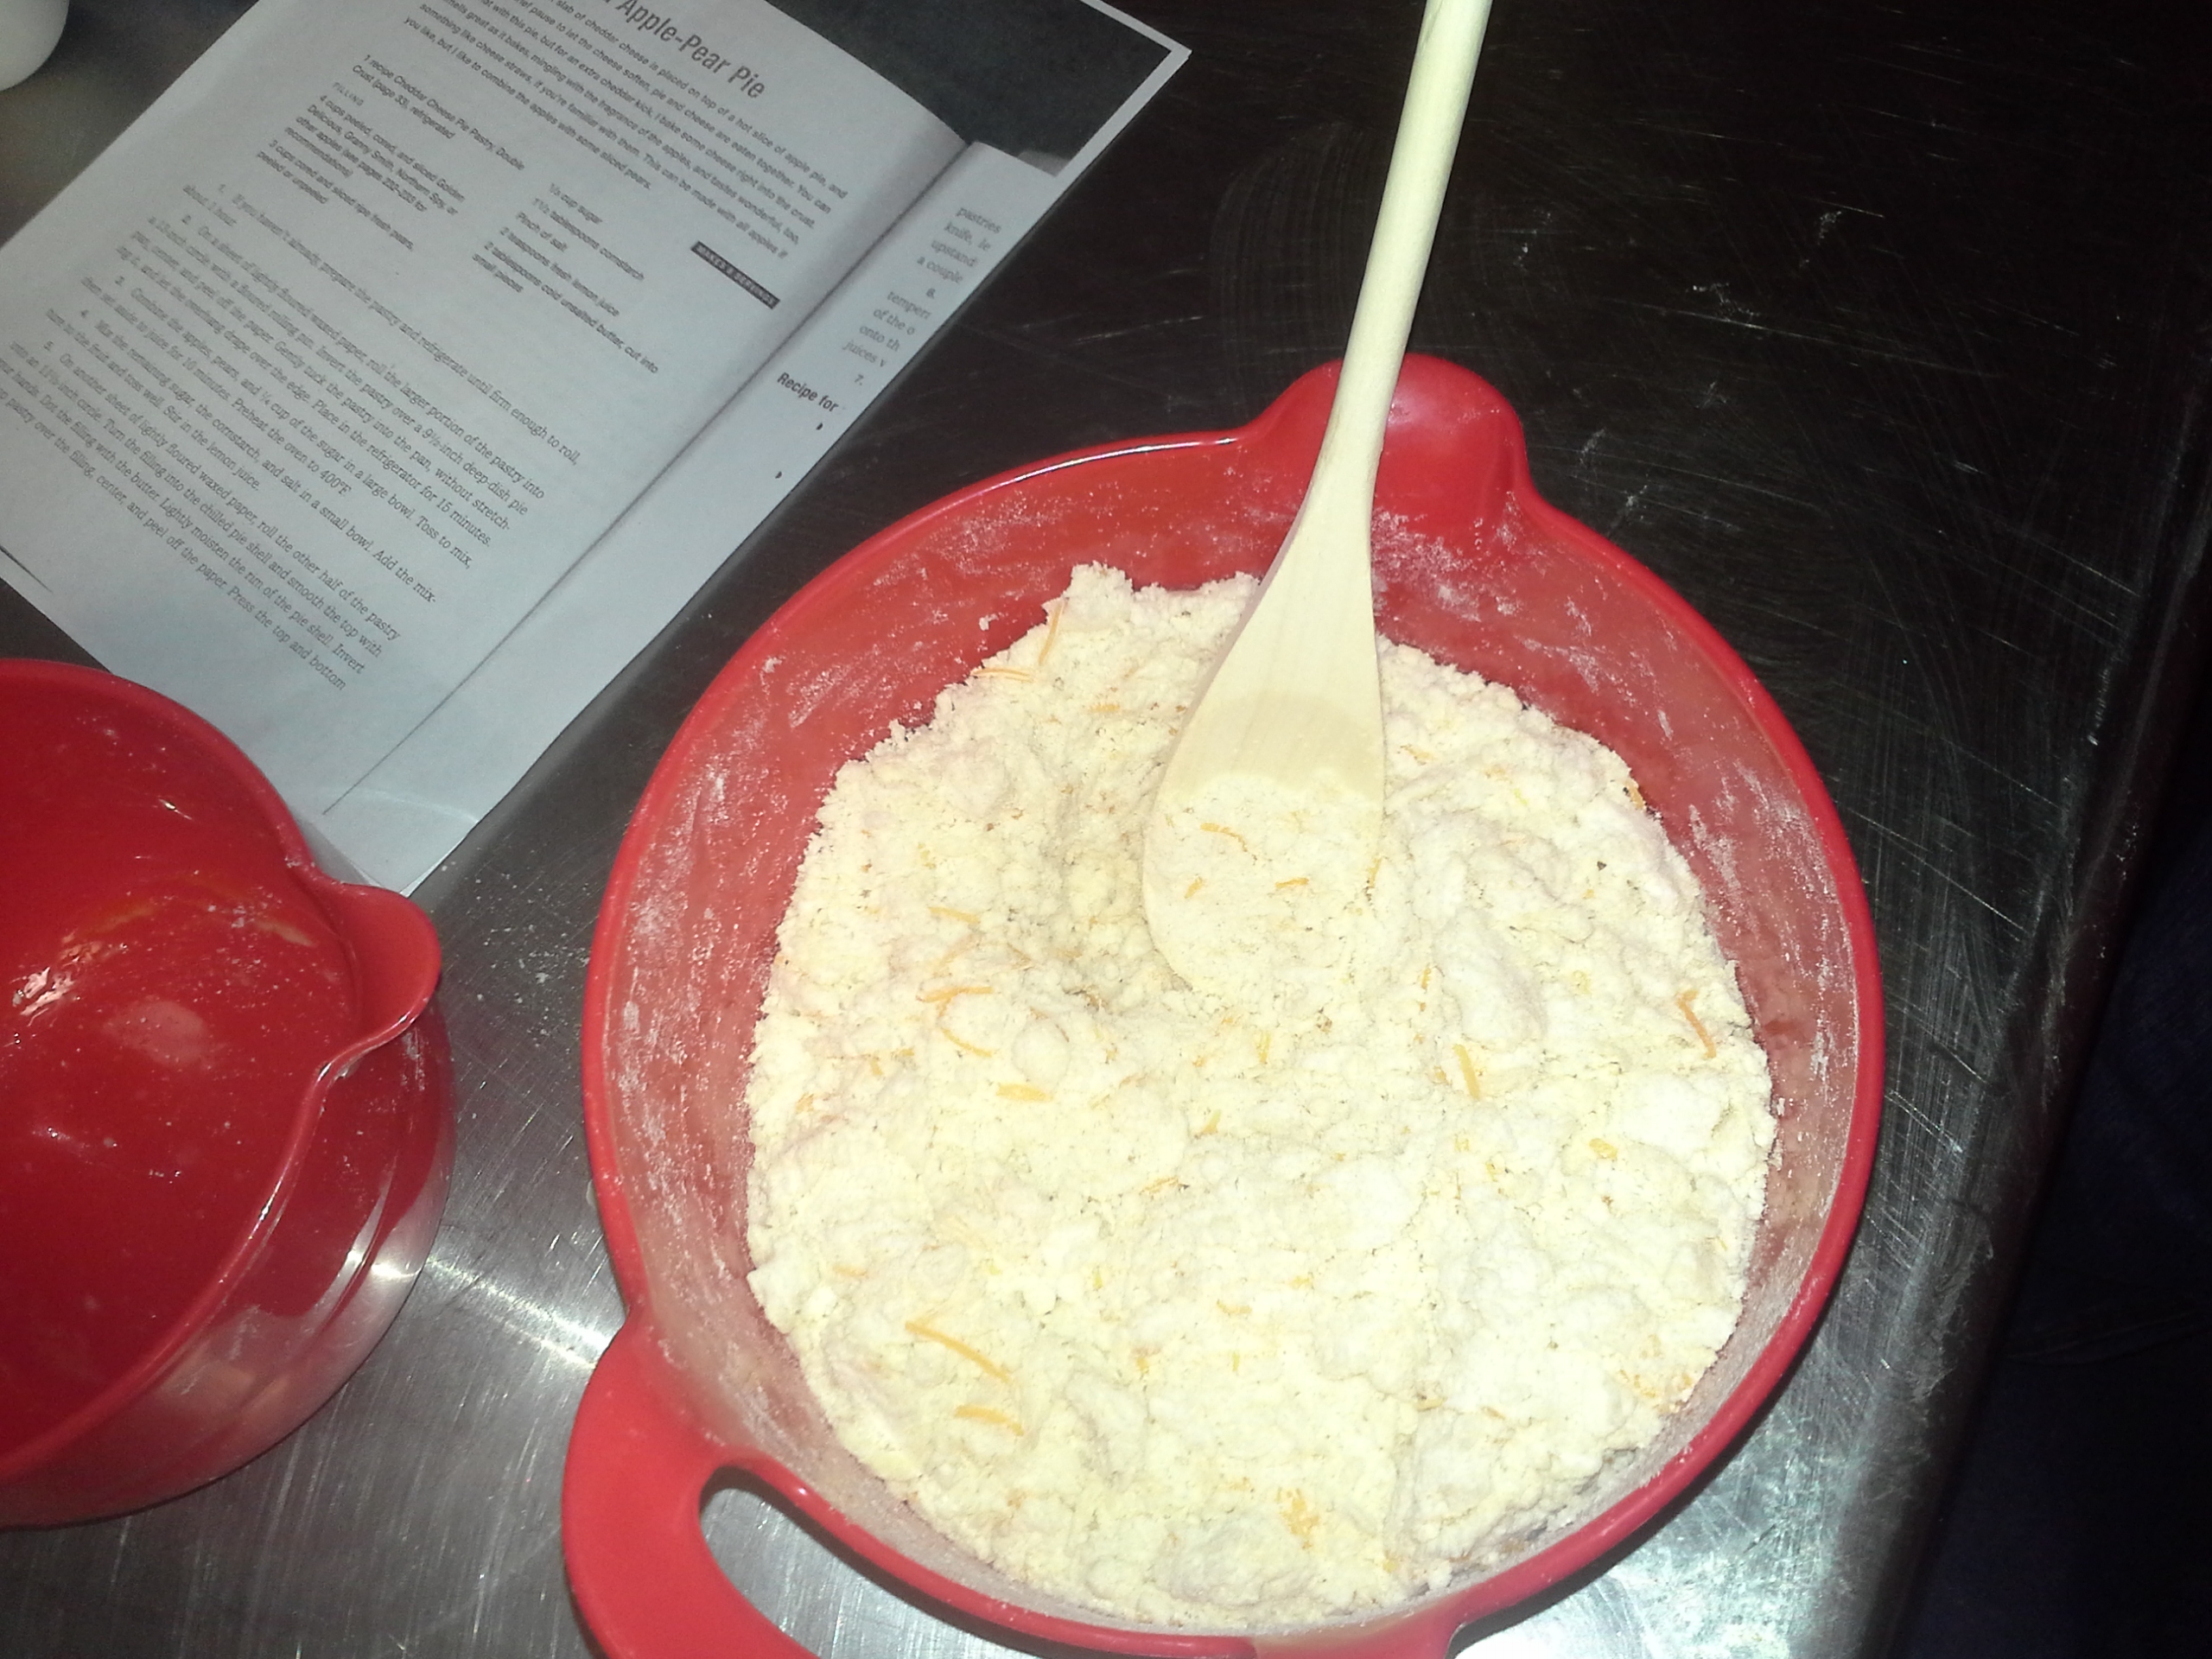
First, we began with a basic, flaky double-crust pastry for 9″ pies, BUT we included half a cup of shredded cheddar in there. BAM! The cheese was baked INTO the pie! 20140108_142653

[Pastry for Crust with Cheese before Rolling]

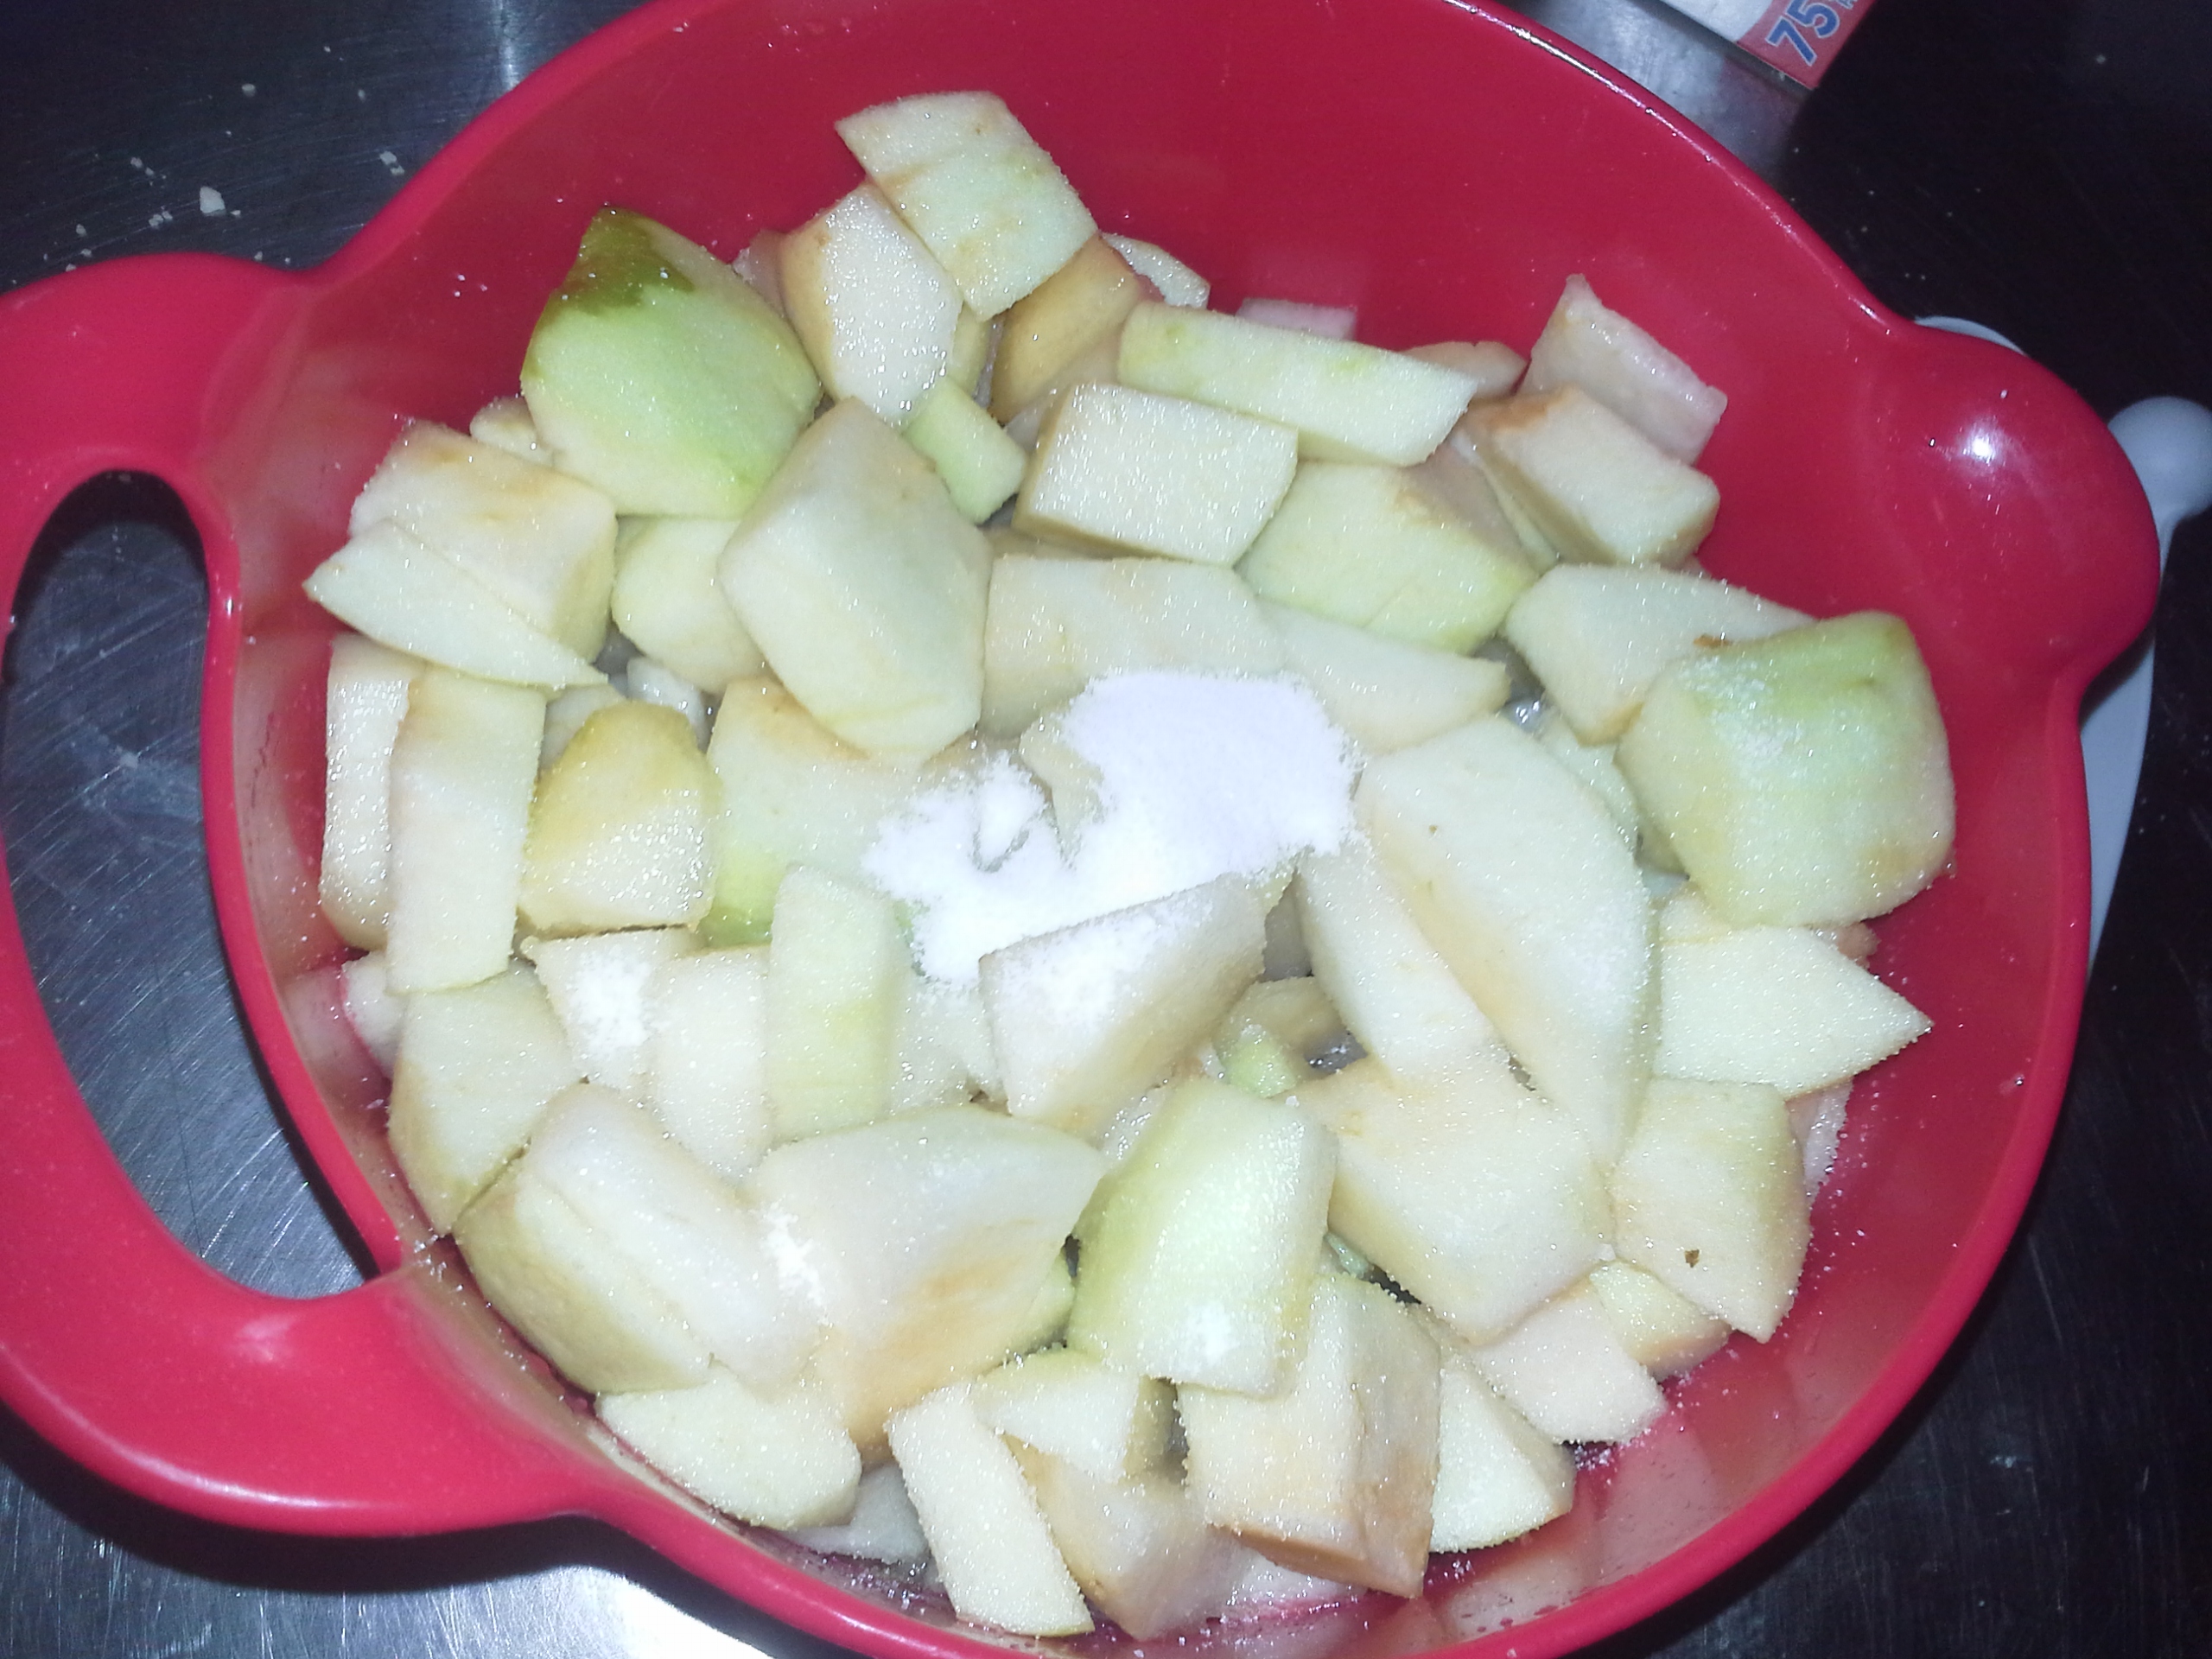
While that was chilling out, we worked on the filling. Apples and pears (oh my!) that were peeled and cut into medium-small chunks, mixed with the dry ingredients and lemon juice, then left out to juice.

20140108_154236

[The Fruit with Sugar]

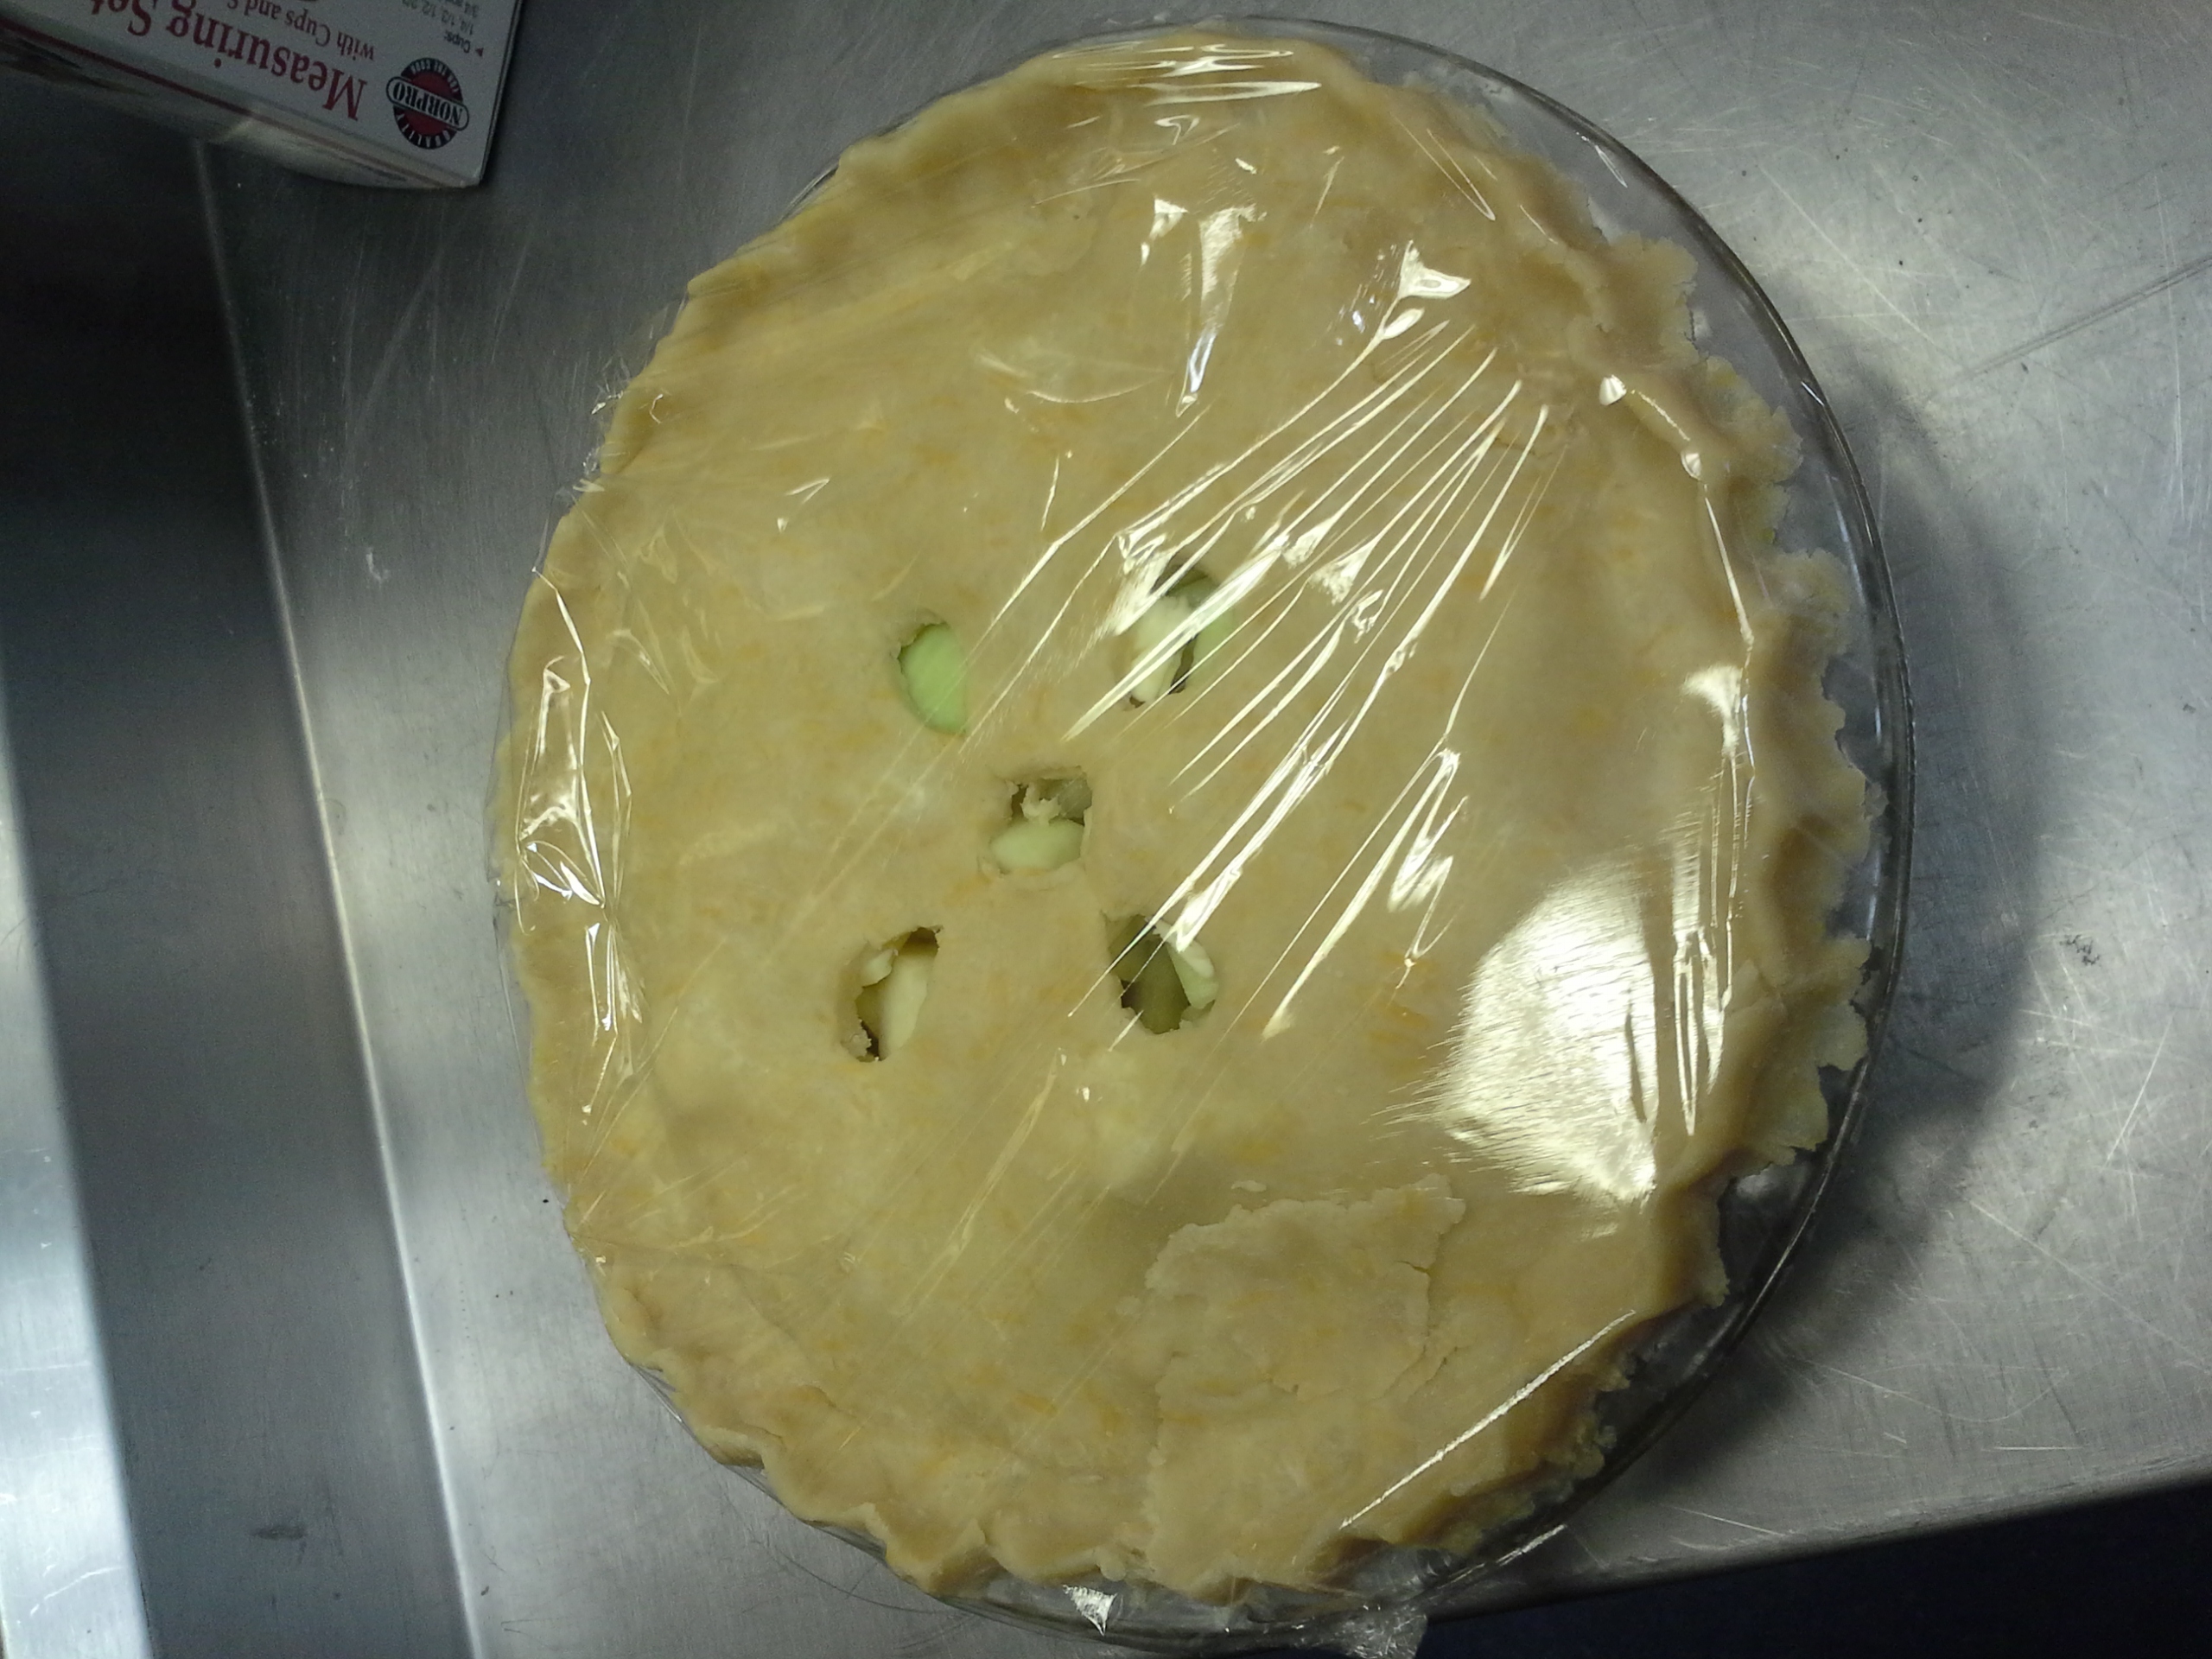
Finally, we created the bottom crust, poured the filling in, folded in the top crust, and cut into it a tear drop design with a hole in the center. Classic!

20140108_162938

[Raw Pie with Cling Wrap]

We then stored the pie overnight, baked it the next day, and served it with few slices of fresh-cut Sharp White Cheddar ontop. Mmm-mmm!

20140109_120647

[The Finished Product]

Reflections: The crust became very brittle and hard to work with at a point, fracturing very often. This may have been attributed to the fact that we did not consider the extra dry mass of the cheese in the recipe, calling for more liquid than normal. Oh well, a lesson for next time. Other than that, I would say everything else worked out splendidly – the browning was good, proper bubbling was achieved, the two crusts formed well, our design stayed intact, and, most importantly, it tasted FANTASTIC!

I look forward to trying this recipe again, perhaps with a more spiced kick during the filling preparation process so that the natural sweetness of the fruits as well as the savory flavor of the cheese can be better complimented.

Bake on, readers!