So, as a continuation of my previous post, today I finished baking the white fish pie. To my partial surprise, it turned out pretty solid; my biggest concern, that the structure wouldn’t hold and the filling would explode everywhere, did not come to pass, so that was spectacular, haha.
I went with the No-Rolling-Pin Pastry because I felt that it would be the easiest to work with while fitting the pie to my mold. That part definitely turned out to be true – the oil-based pastry worked wonderfully with my cardboard and aluminum mold, allowing me almost play-doh like control over my pastry so I could design and implement the base structure.
The filling was simple and easy. It is a tried and true recipe I’ve cooked for dinner before, and I thought the light, cheesy flavors would sincerely compliment the baked pastry. I layered the seafood, sauce, and cheese so that all ingredients were symmetrically arranged and even the cross-section may be beautiful. This idea was further led by the fact that many towering medieval pies also contained layers of ingredients.
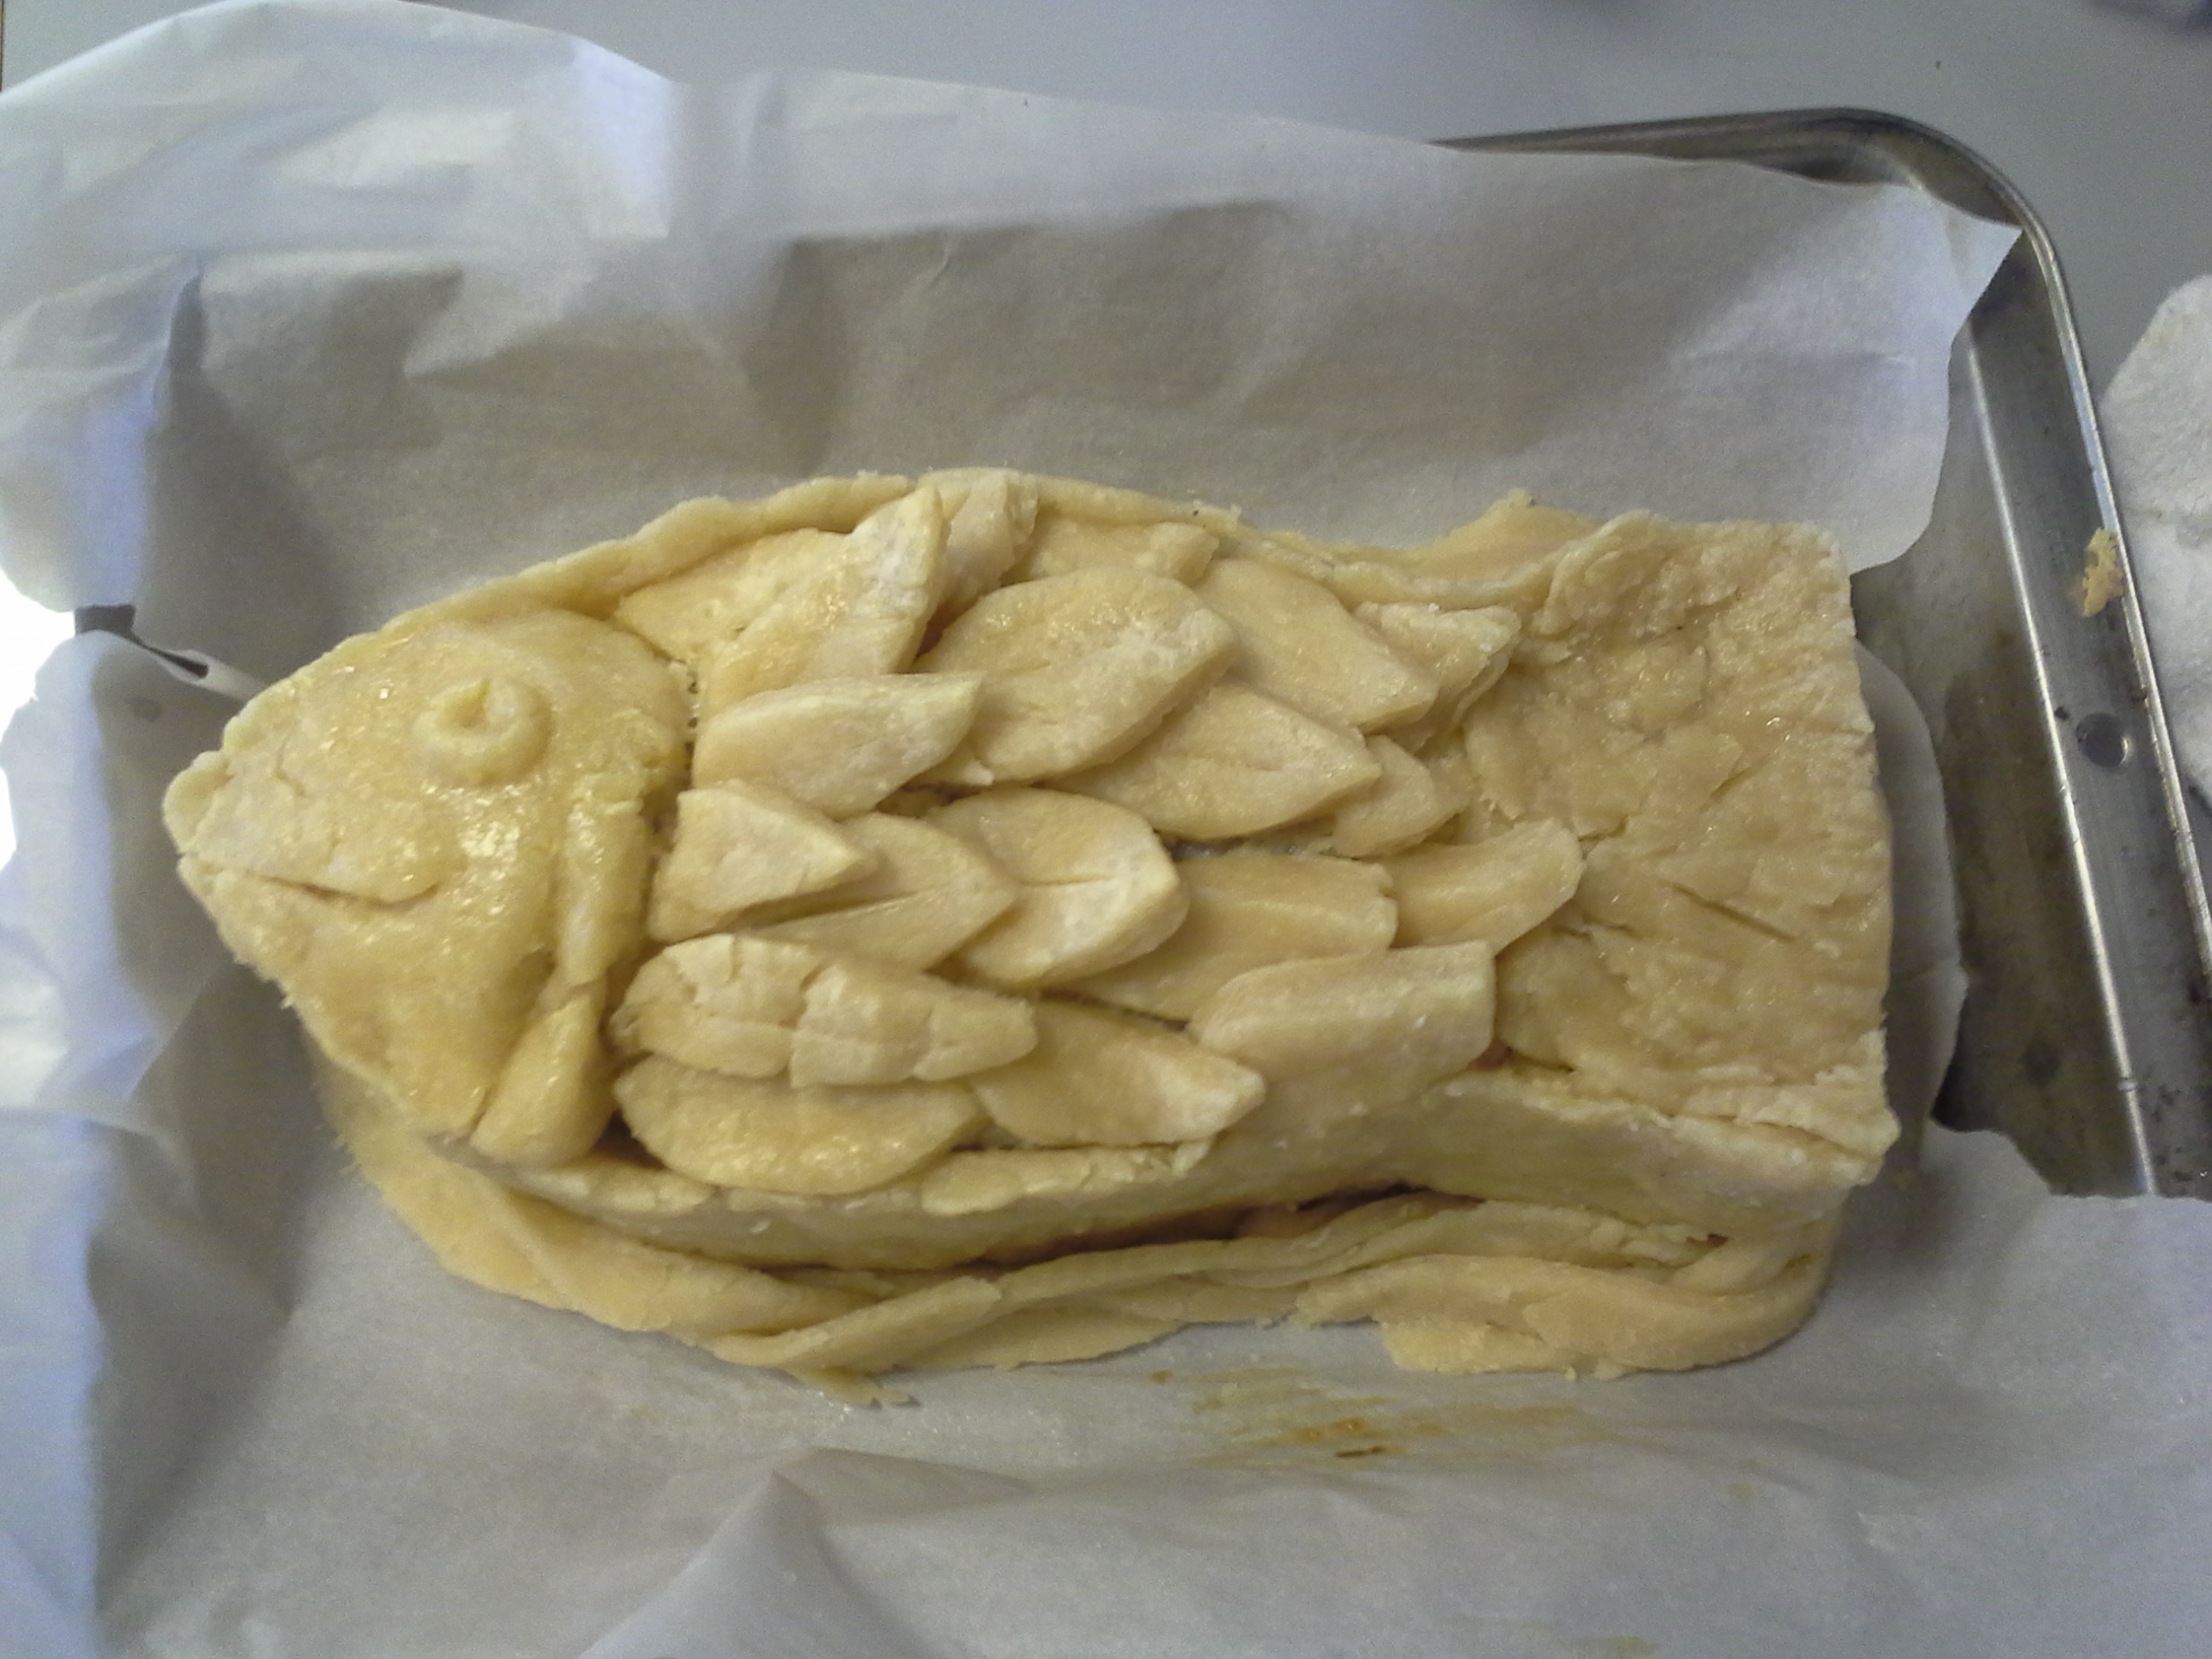
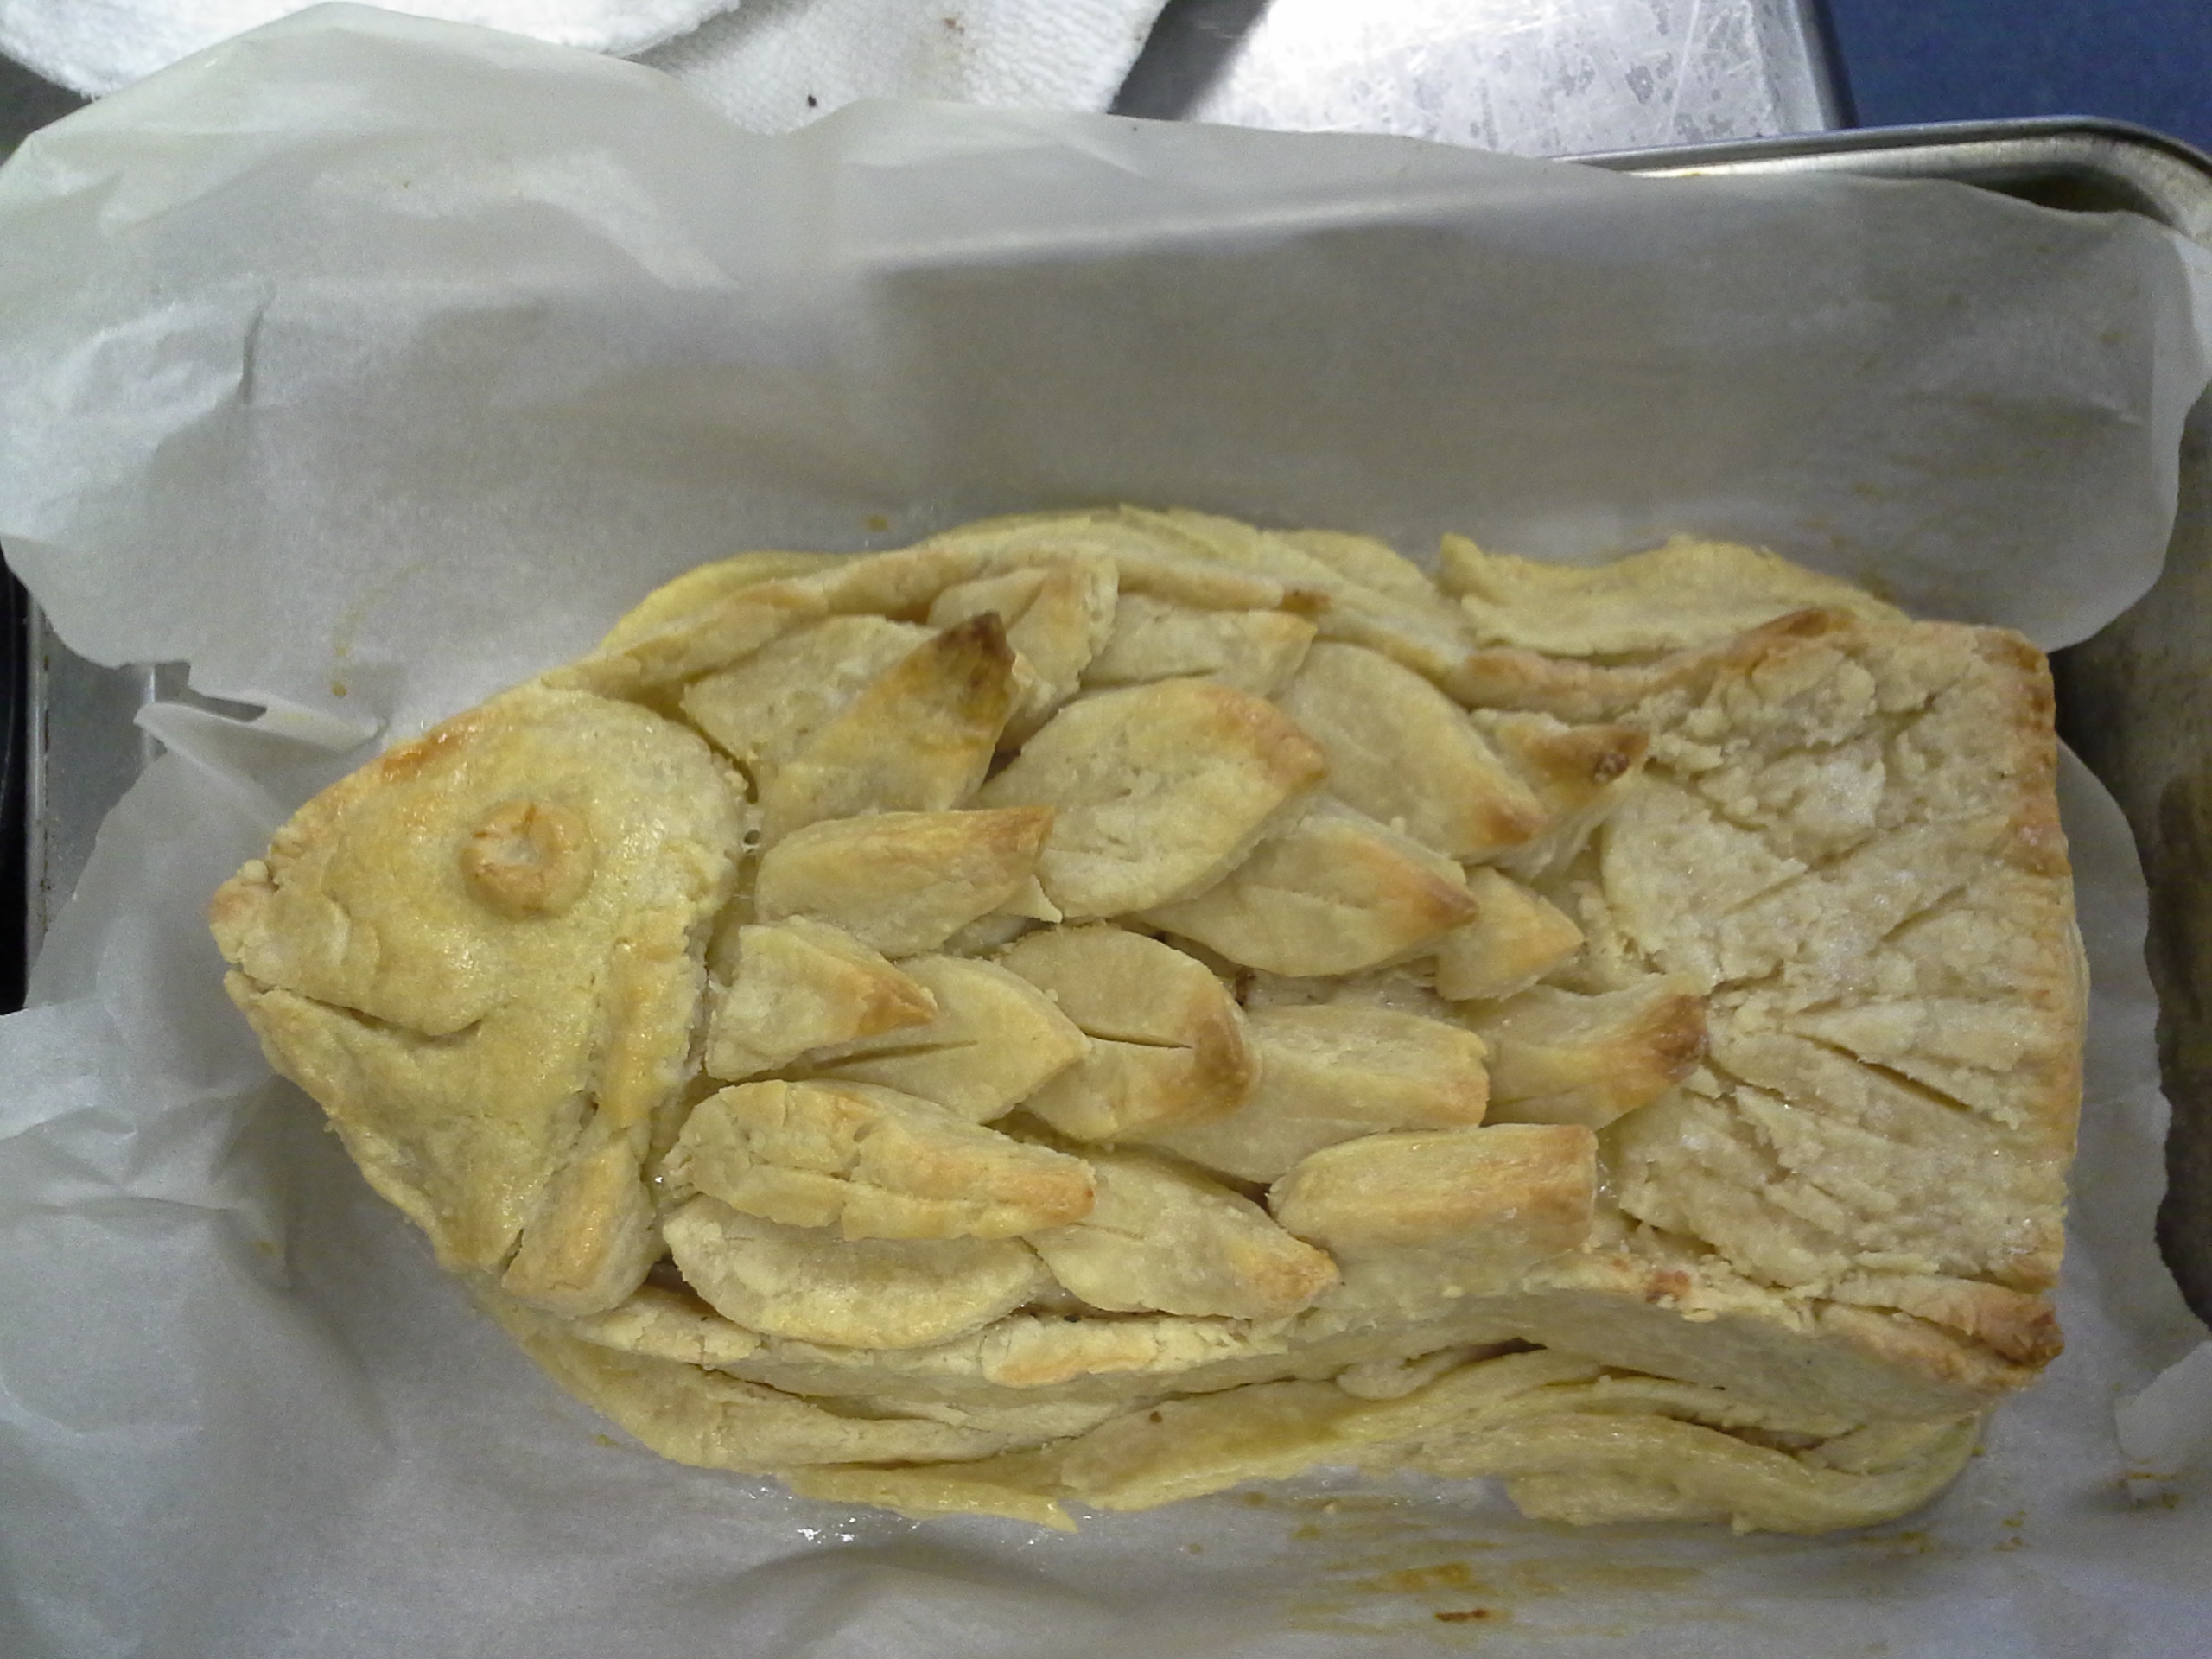
Finally, the top crust was made in three parts: first, a fish head, onto which I molded a raised eye and cut in a gill and a smile, for good measure. Then, came the fish tail, which was simply a layer of pastry shaped to the mold of the tail. Onto that, I cut in lines to represent the tail fins. Finally, I created a series of individual scales onto which I cut in small, either single-line or triple-line striations. I thought this leaf-shaped design would look better than the cloud-shaped scales I displayed in my previous post, and I believe the gamble paid off. Furthermore, to achieve proper browning, I used egg yolk on the head (for a yellow tint as well as a lighter color), egg white on the scales (to impart a glistening sheen), and sugar water on the tail fins (to cause a golden brown).
With a hunk of additional dough I had left over, I added a braided border along the bottom. This was attached after about 40 minutes of cooking, when the mold was removed. This invokes a rippling effect, as if the fish is swimming through water. I also added an egg wash on that to cause browning.
The biggest gripe I had with this piece is how brittle and hard to work with the pastry became. It was initially good for the structure, and fitting to the mold, but next time, I would use a different pastry for the top crust as well as the braid – likely a flaky all-butter pastry. The use of the other pastry just caused some issues with designs staying as well as the crust flaking in unusual places, marring the design.
Another issue involved browning – the effect of a dark tail, shiny scales, and a slightly brown/yellow head was not achieved. Overall, it turned out well though.
Take a look and judge for yourself!
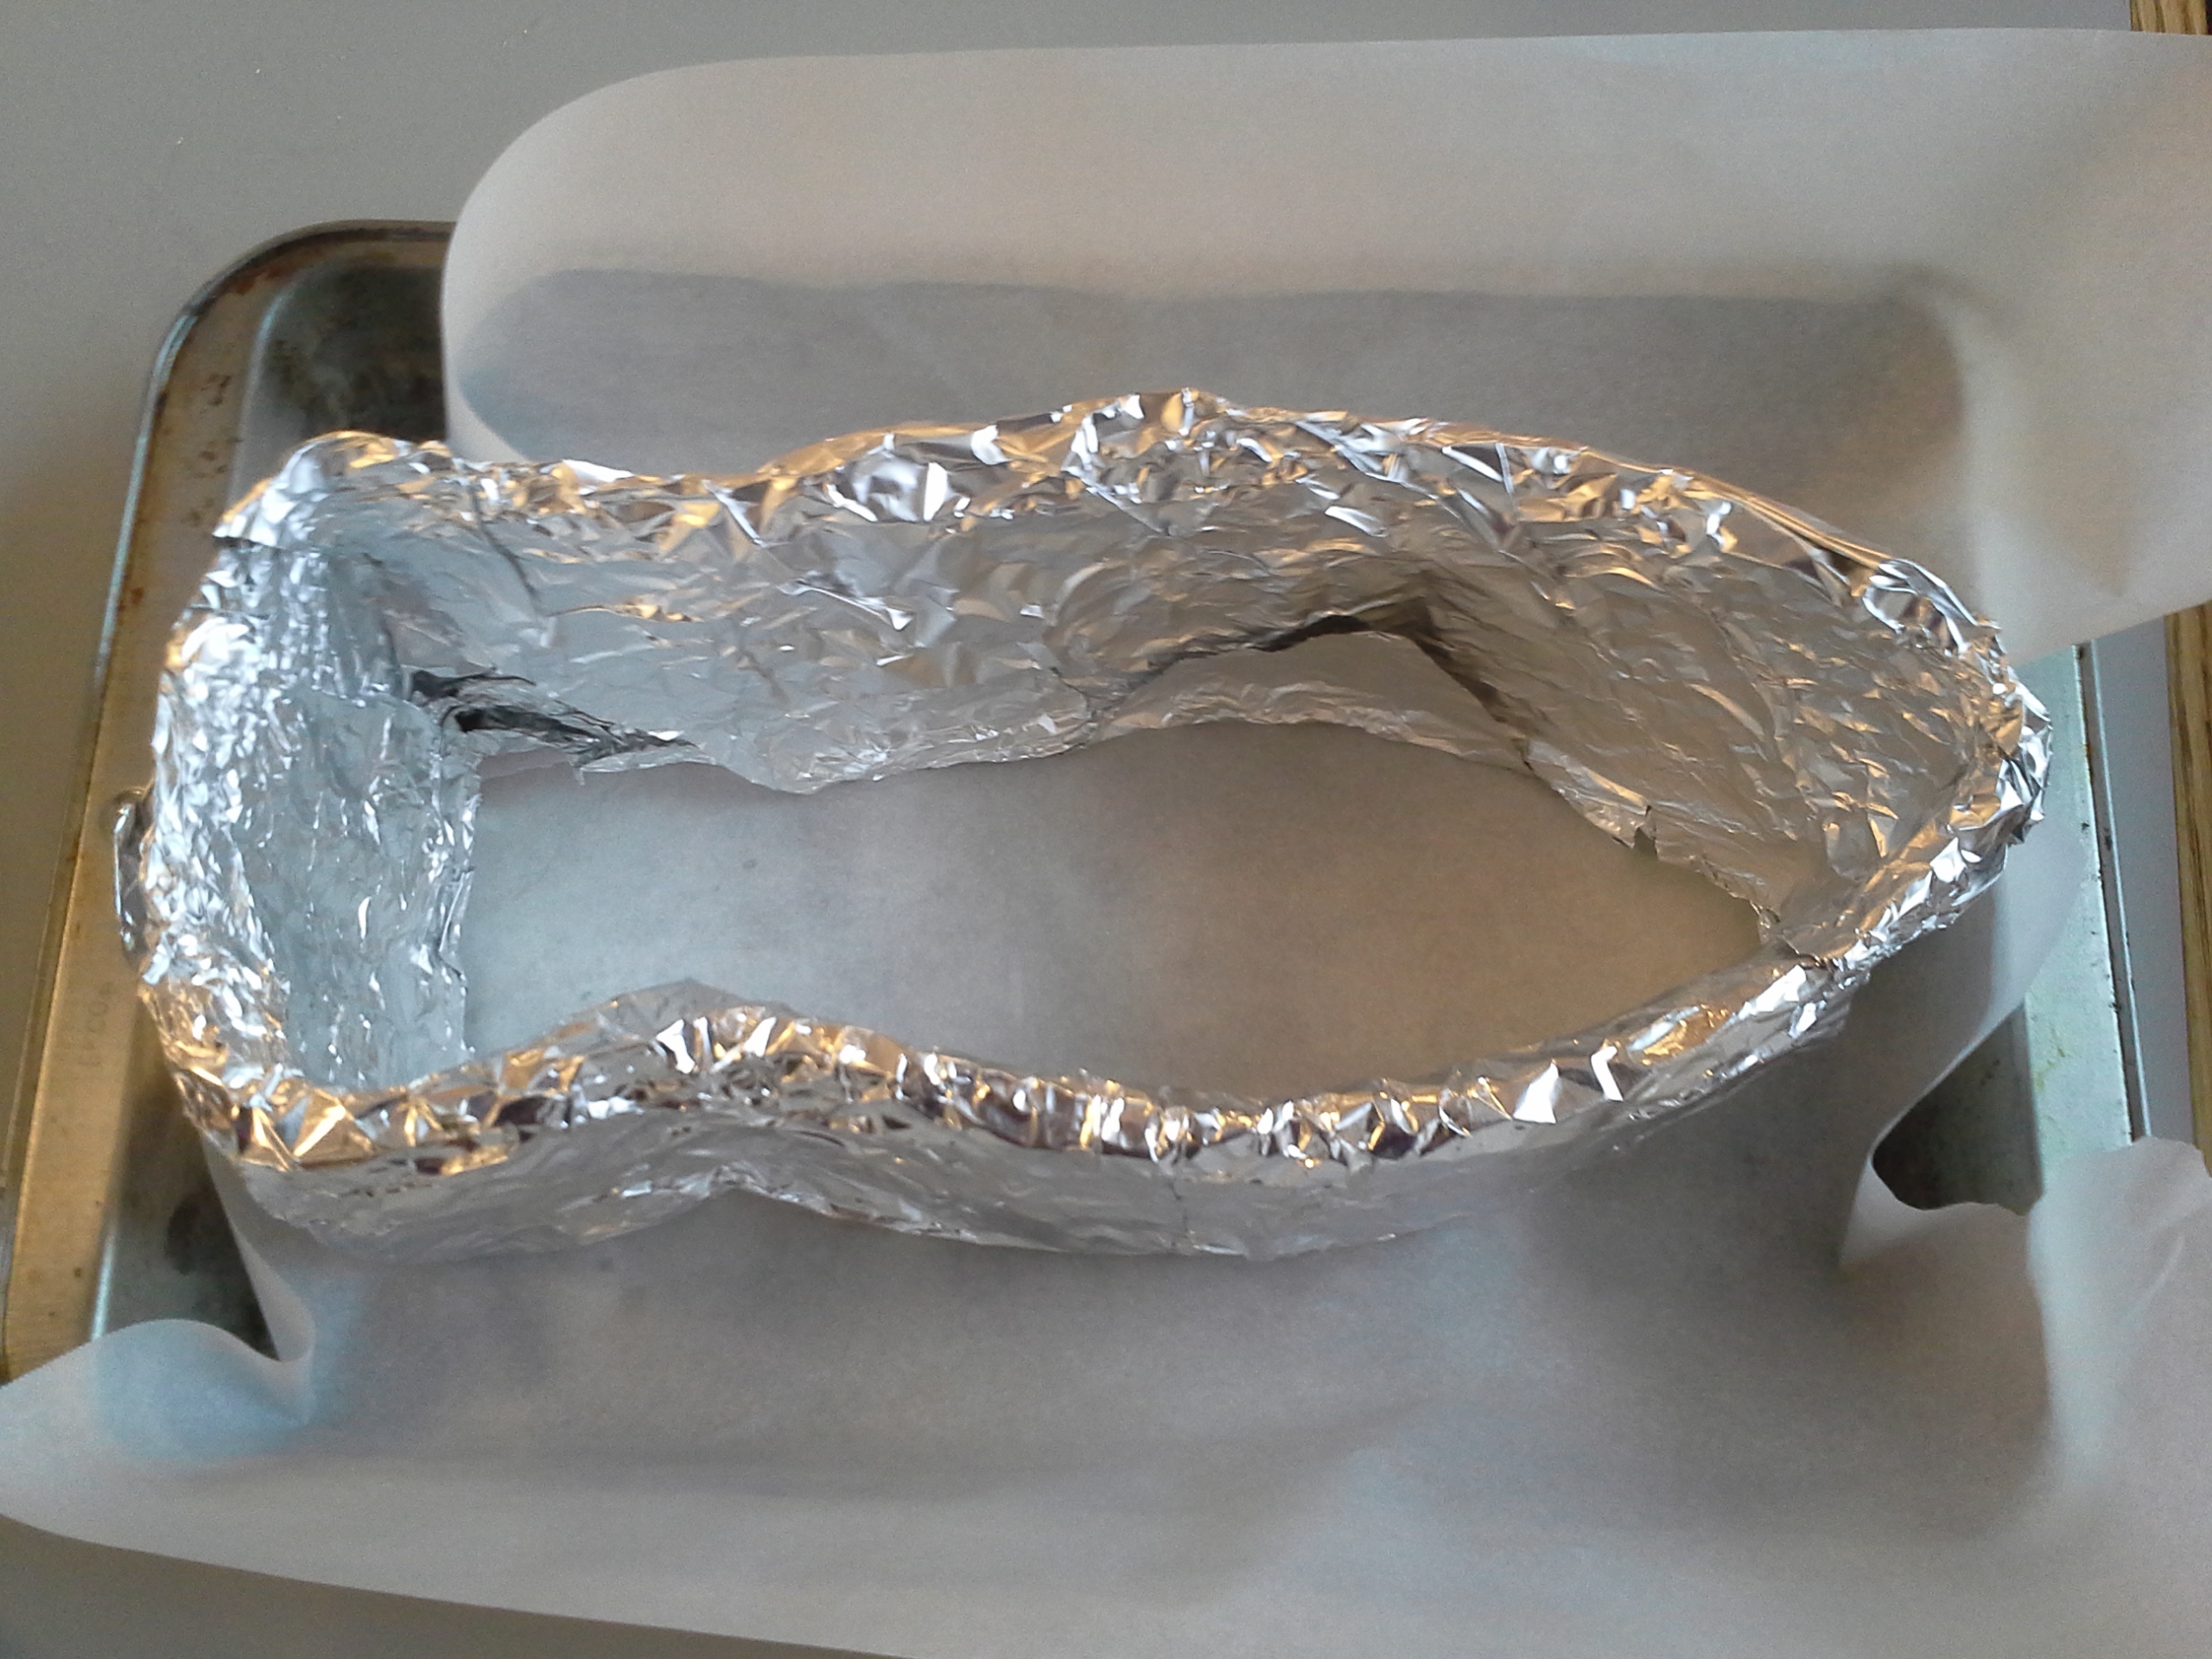
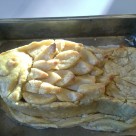
[The Mold in the shape of a Fish]
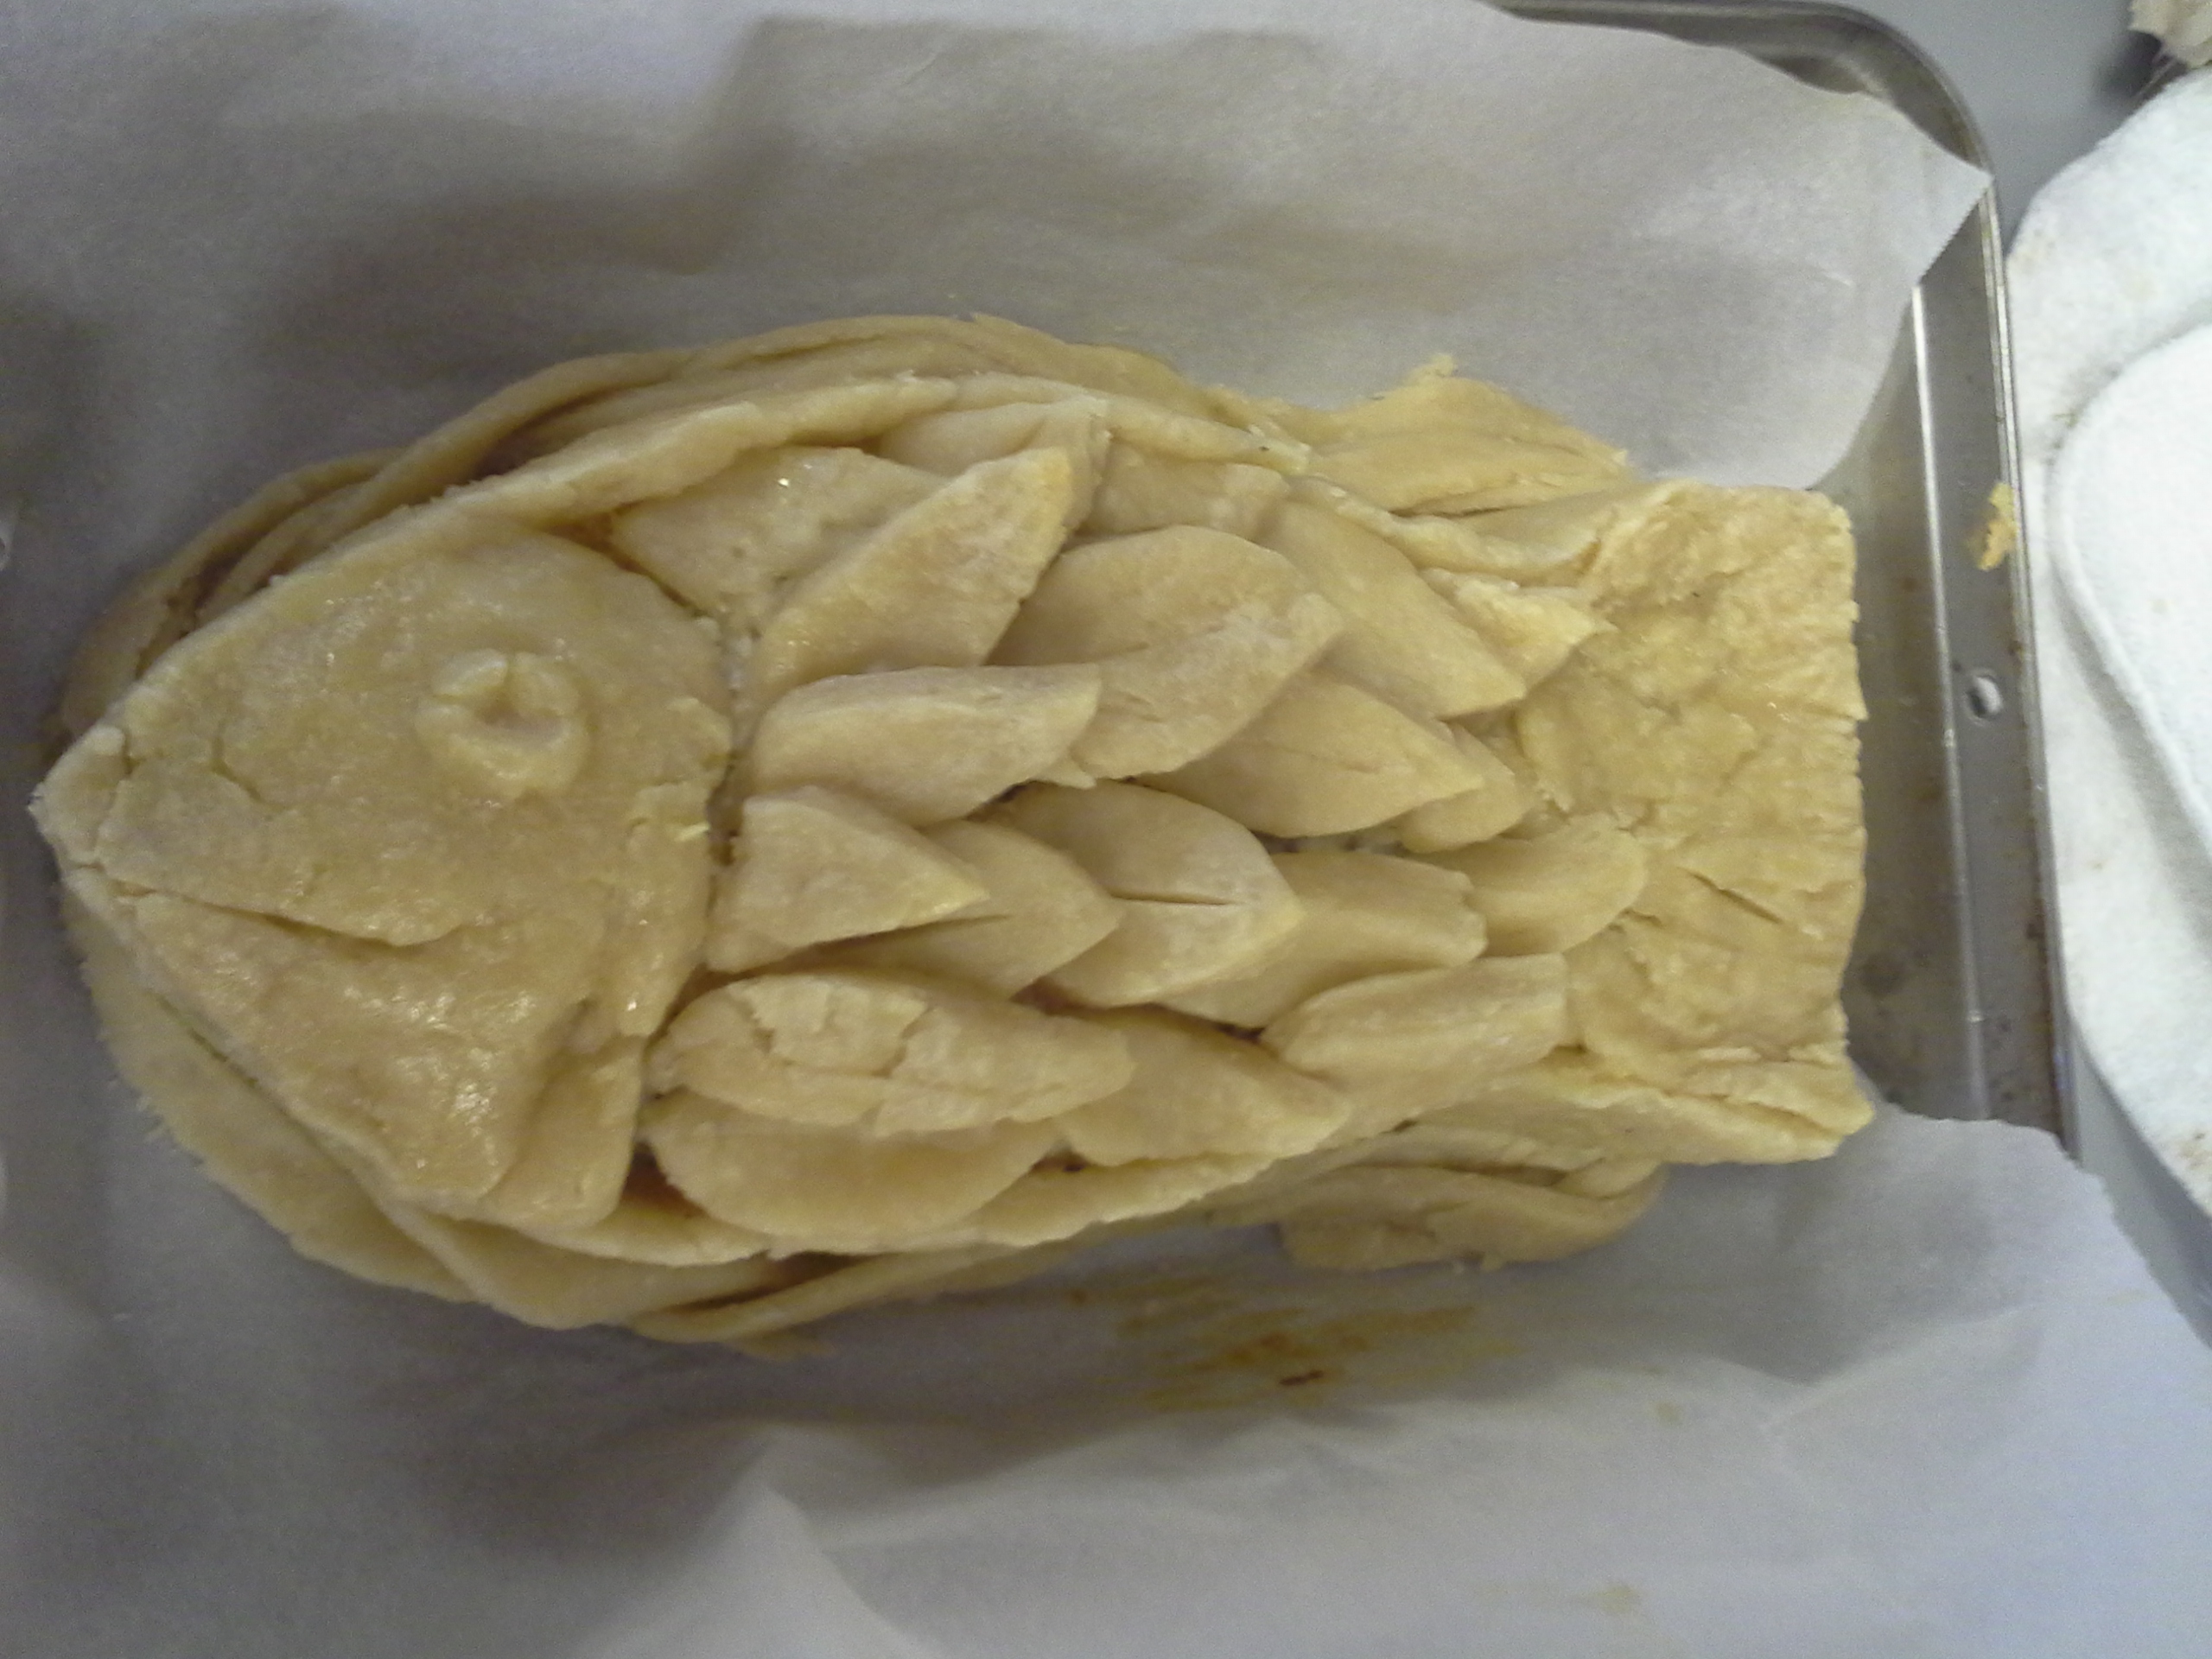
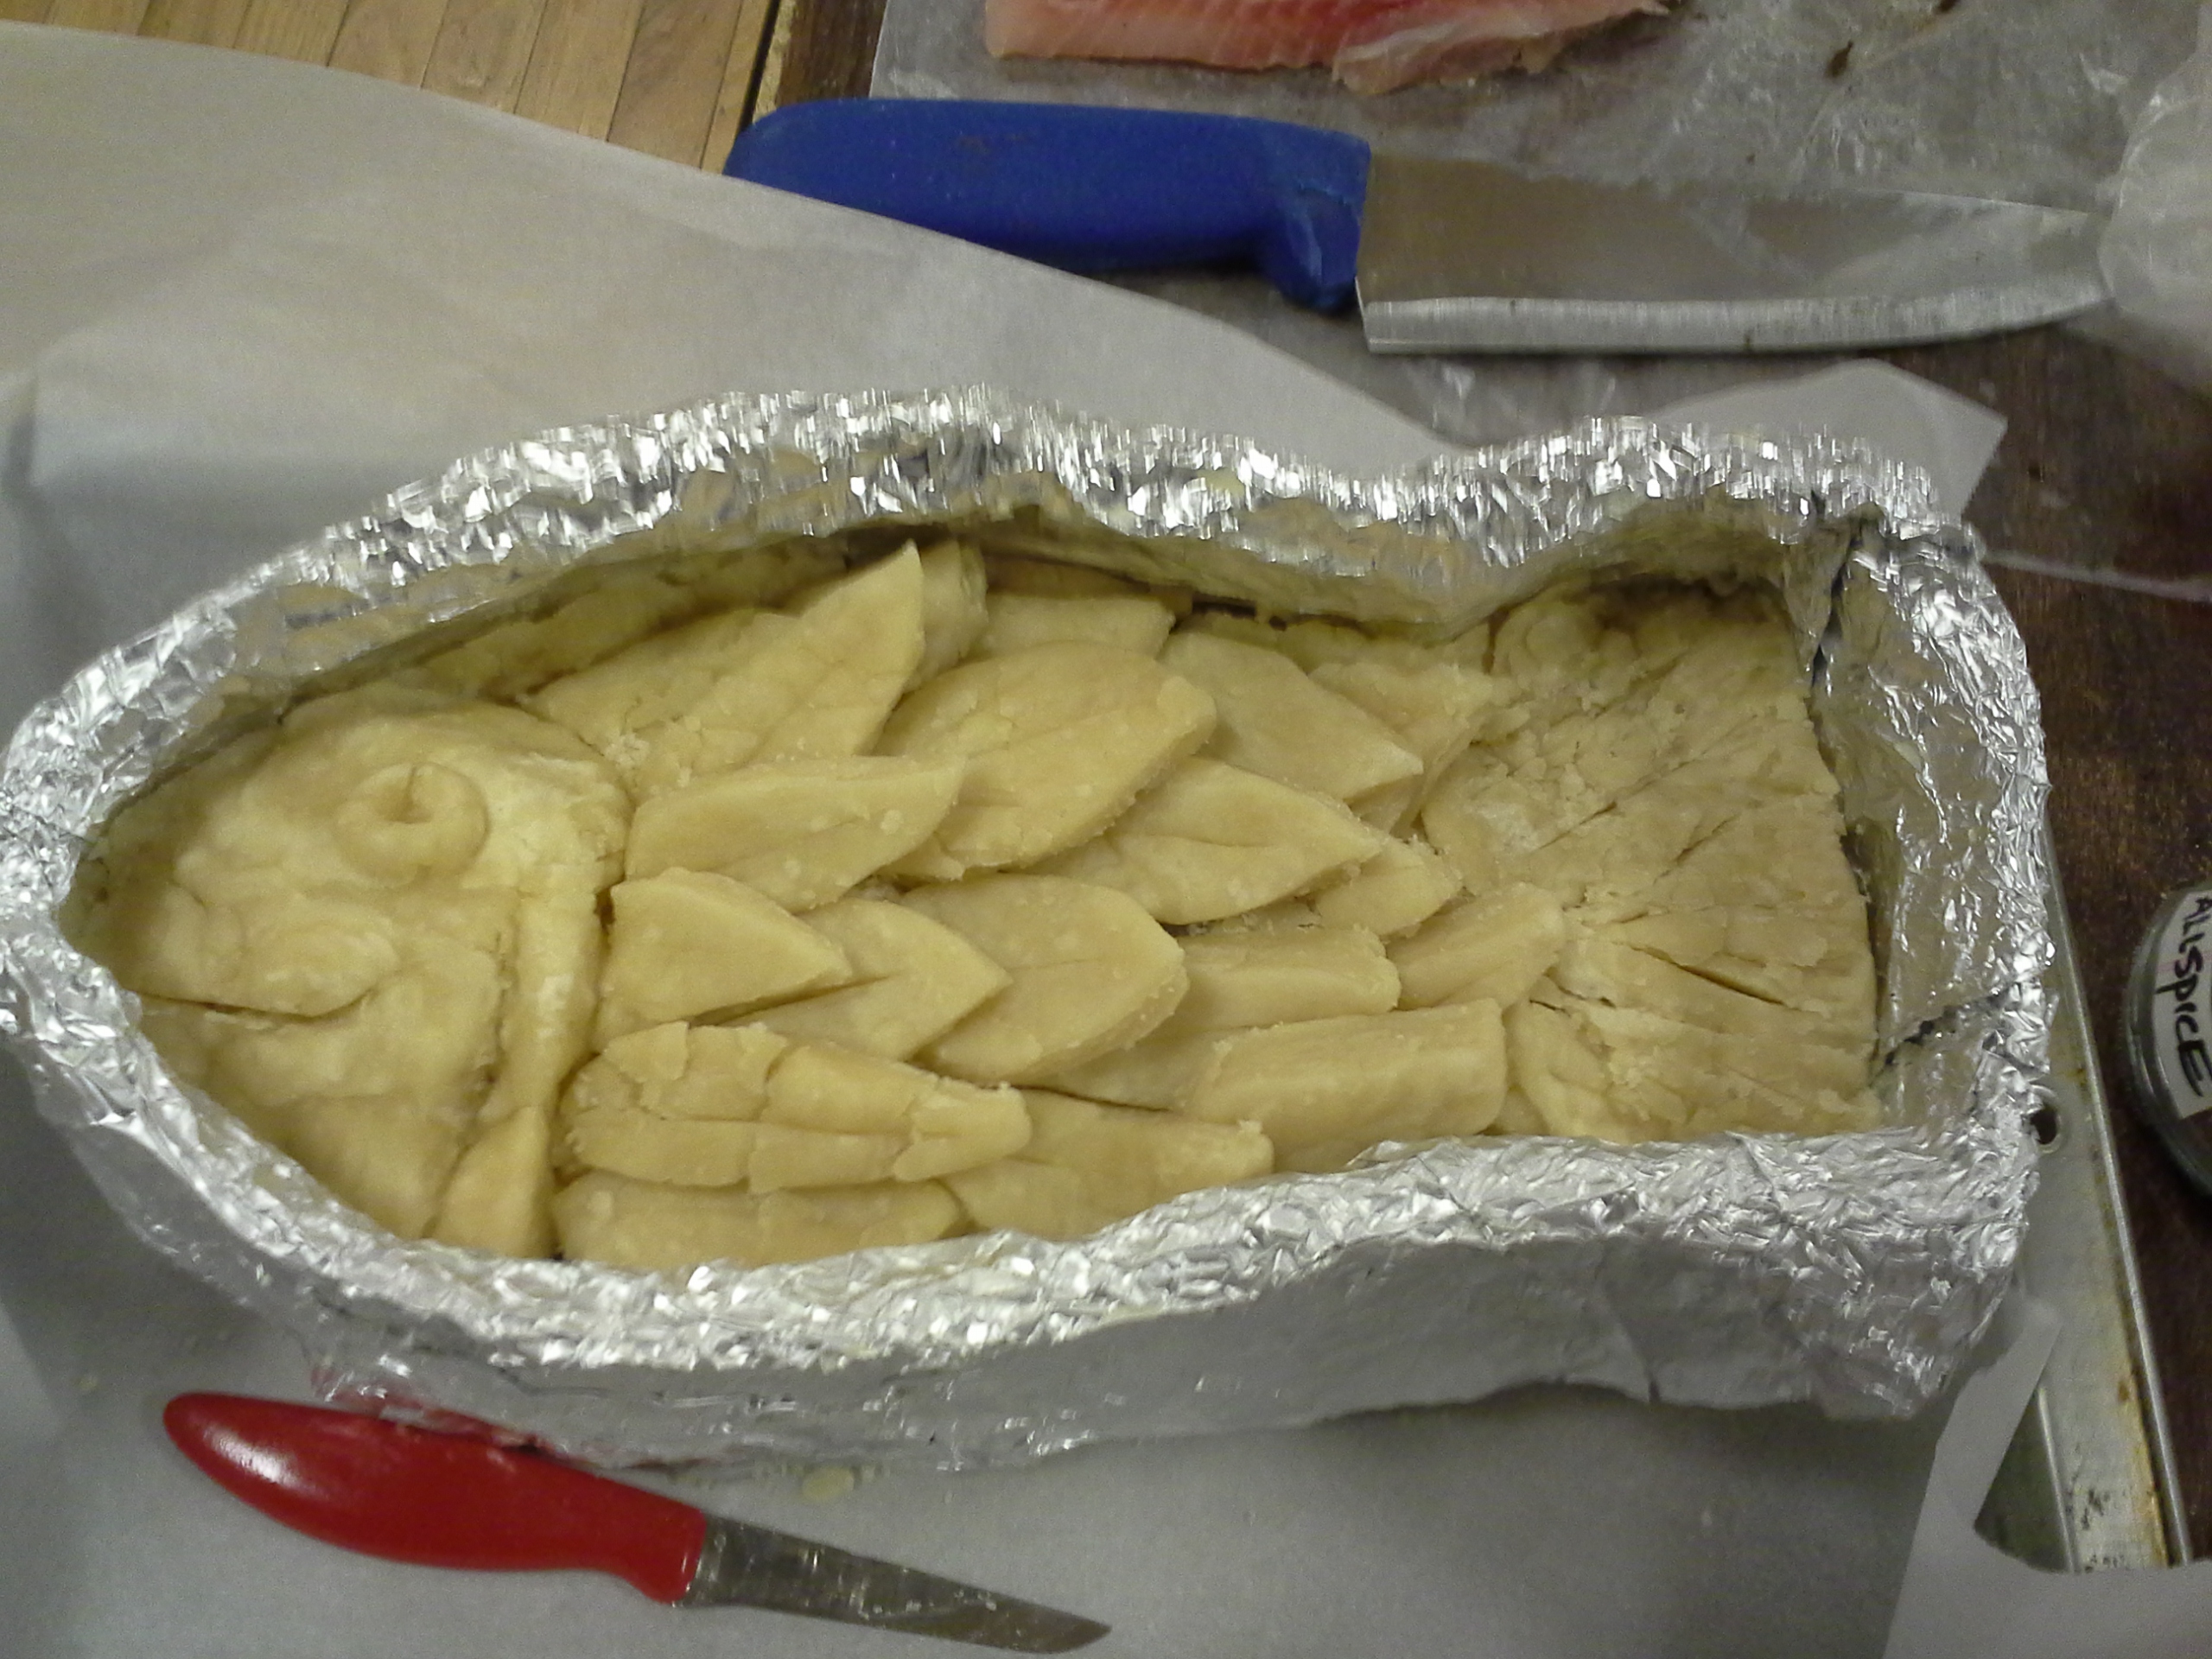 [Raw Pie – the Crust as well as Filling is all in – take note of the Designs cut into the Top Crust]
[After Pre-Baking in the Oven with the Braided Border around – some of the glisten and color from the Wash can be seen]
[Another Angle]
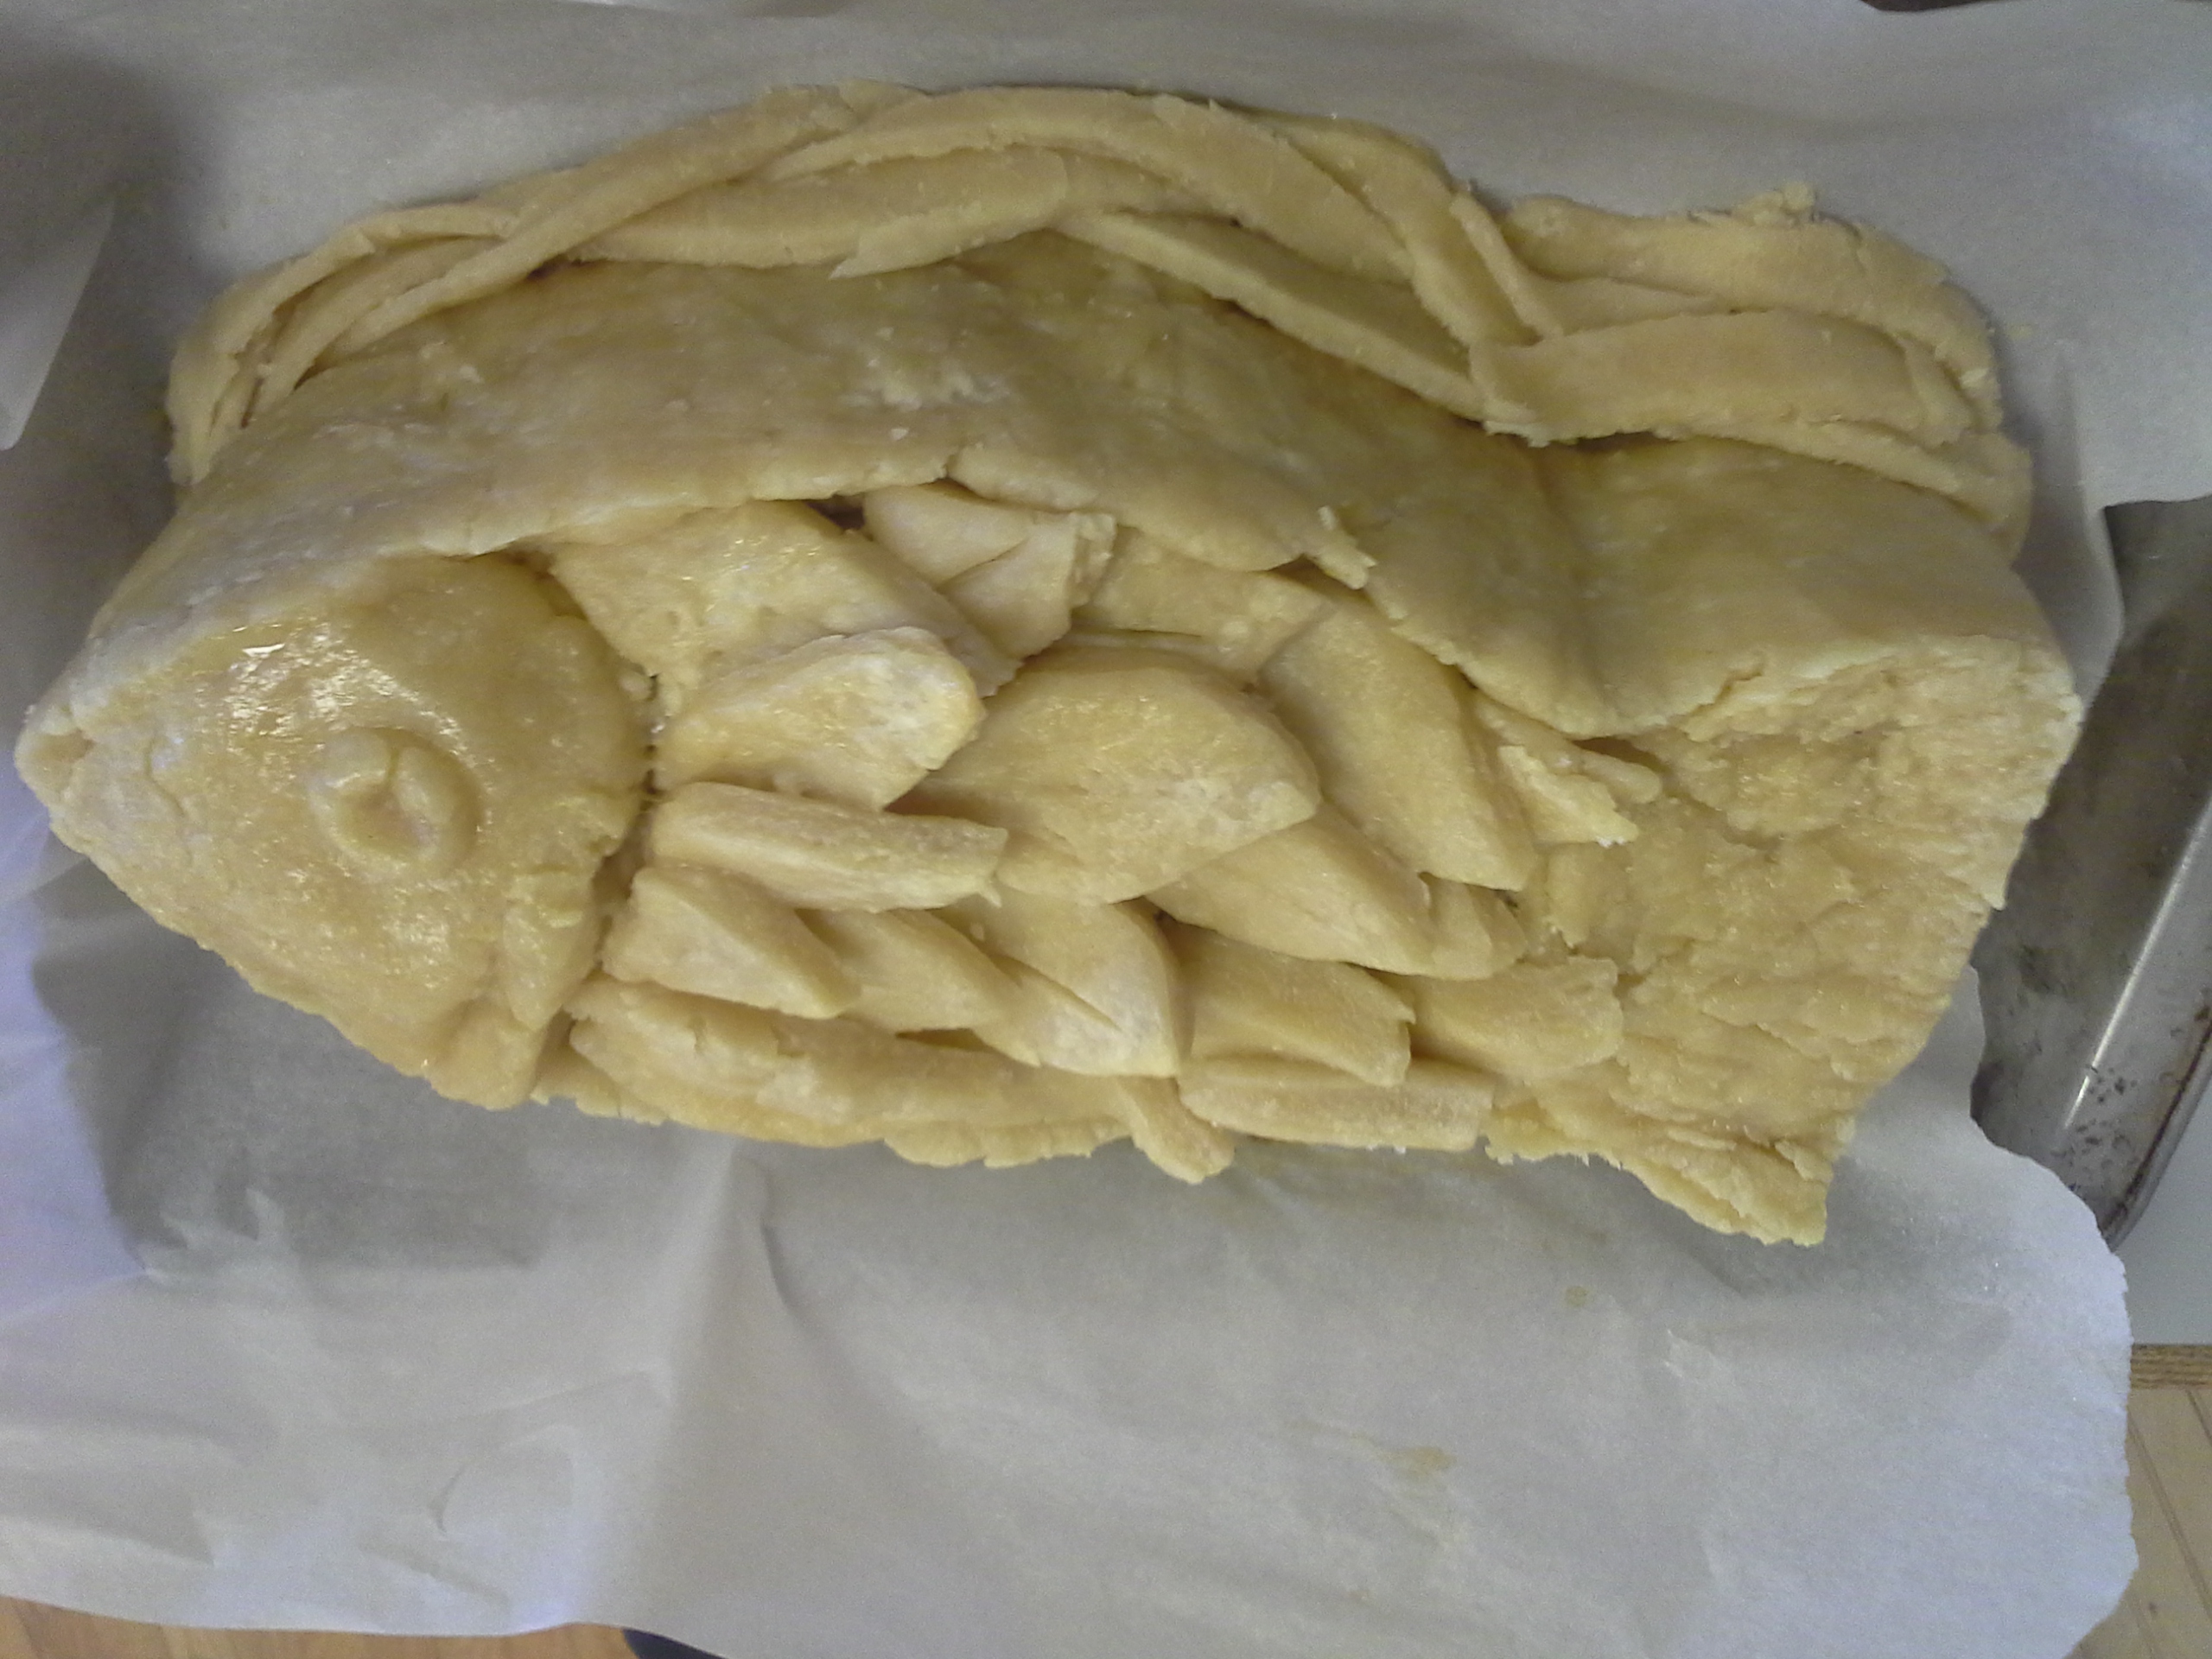
[This side came out well – note the Ripple Effect created by the Braid]
[All done Cooking!]
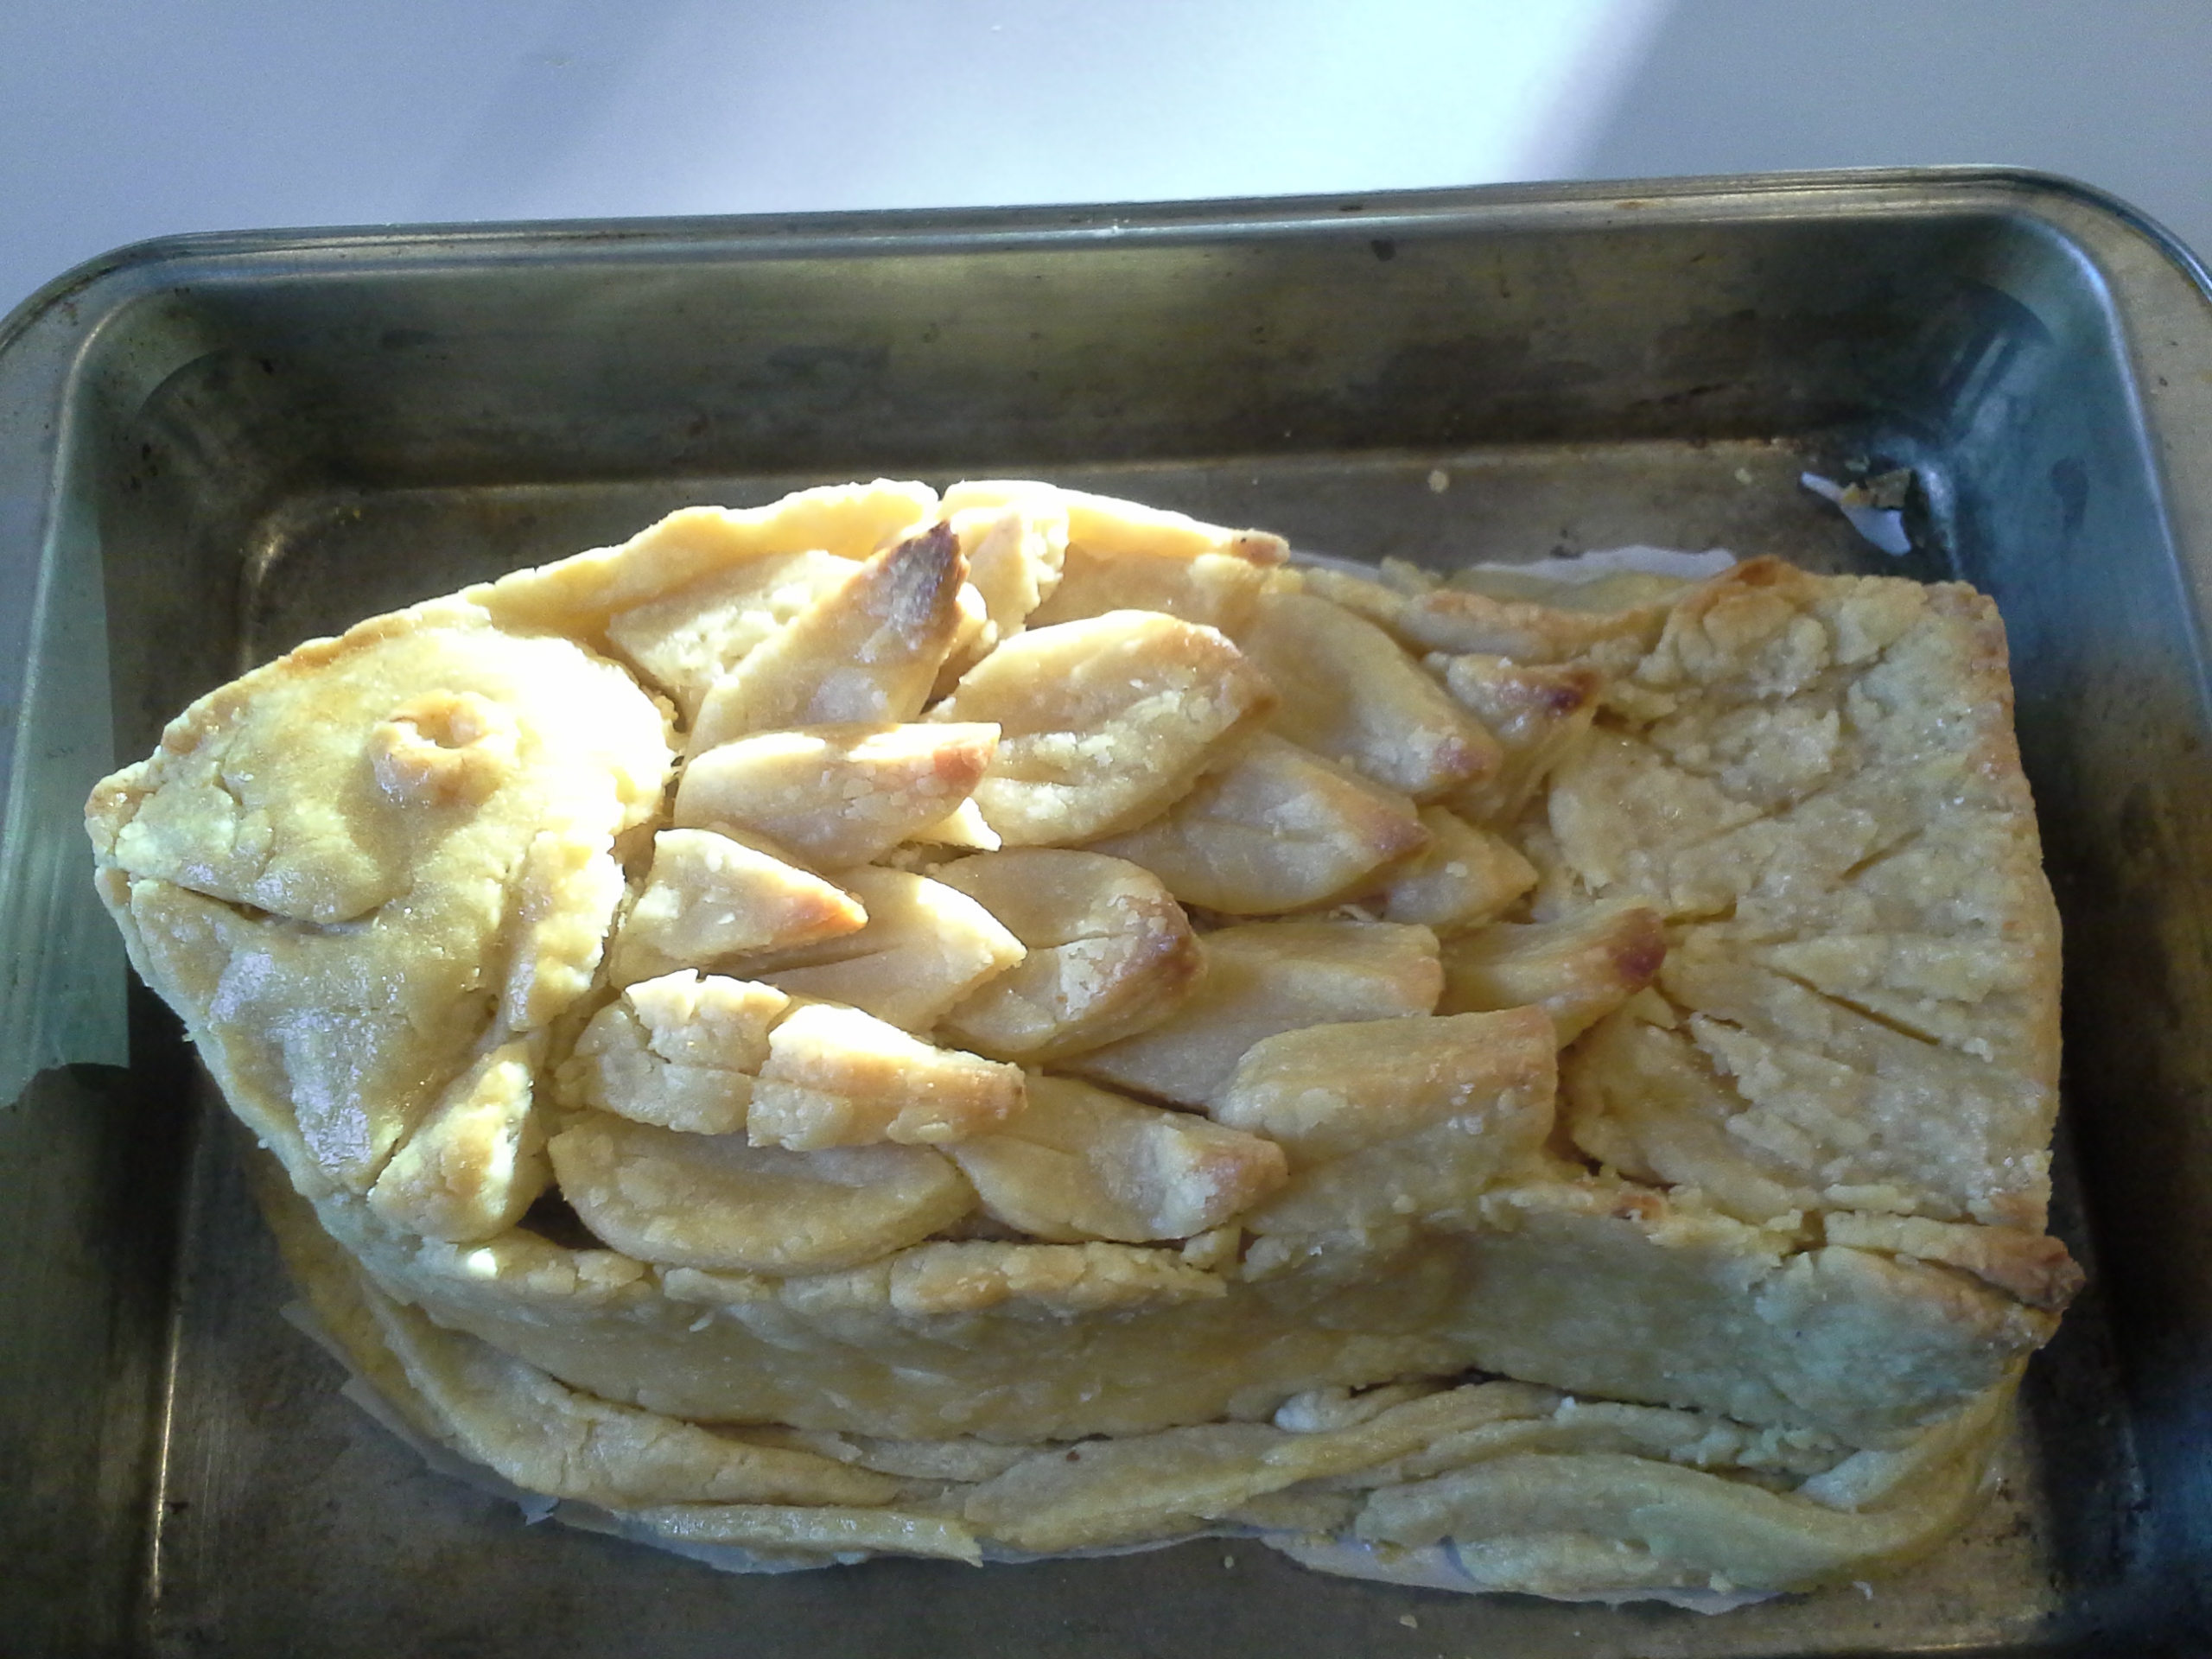
[After Reheating – the Final Presentation]
Questions? Comments? Post them below!