This first week I feel like we were all overwhelmed with the sheer number of possibilities when it comes to pie; I know I definitely was. It’s a big question, what pie to make, and with sweet pies there are so many options. Am I doing a fruit pie, a custard, ice cream? And that is just the filling. What kind of crust is a whole other question. In class on Monday we prepared a butter and shorting crust, but I learned that there are so many more options! It was a real dilemma. What did I want to say with my first pie? What did I want it to say about me?
In an attempt to deal with these problems I figured it would be best to make two pies, my great grandmother’s raspberry pie and a pie I only just discovered, buttermilk pie. My great grandmother’s raspberry pie is my favorite pie and I definitely wanted to take a stab at it at some point during this course, just didn’t expect to make it so early on. The buttermilk pie was something I encountered while thumbing through some cookbooks. I was initially interested because I had never heard of it before, but in doing some research I found out that it is actually quite popular in the south. It is similar to chess pie, another pie I had never heard of.
I began with the buttermilk pie which I made using this recipe and the butter-shortening crust we made in class. The crust had chilled in the fridge all night and was a little hard, but ended up rolling out quite nicely.

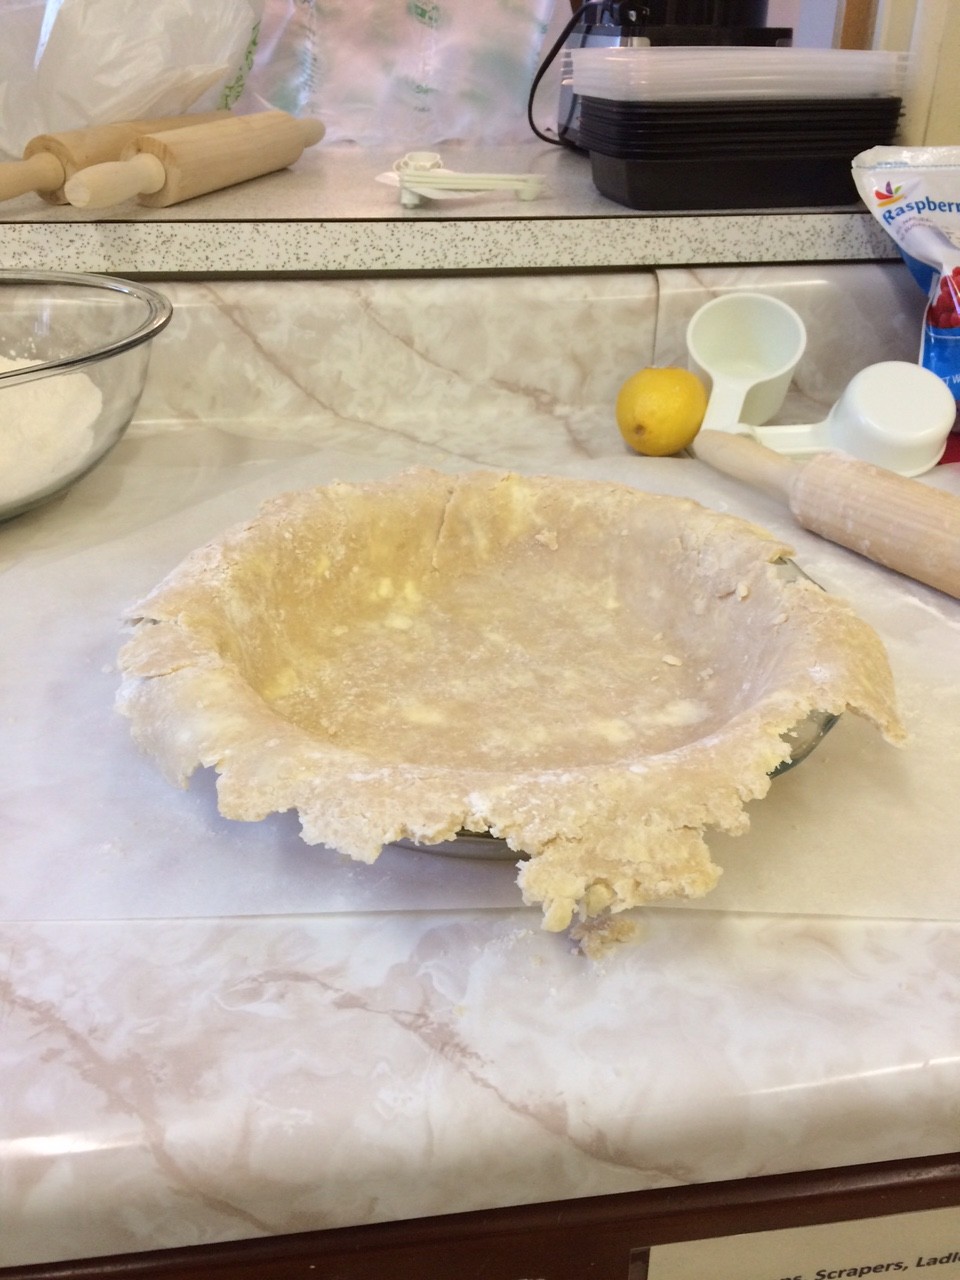
I even had the chance to get a little fancy with the edges.
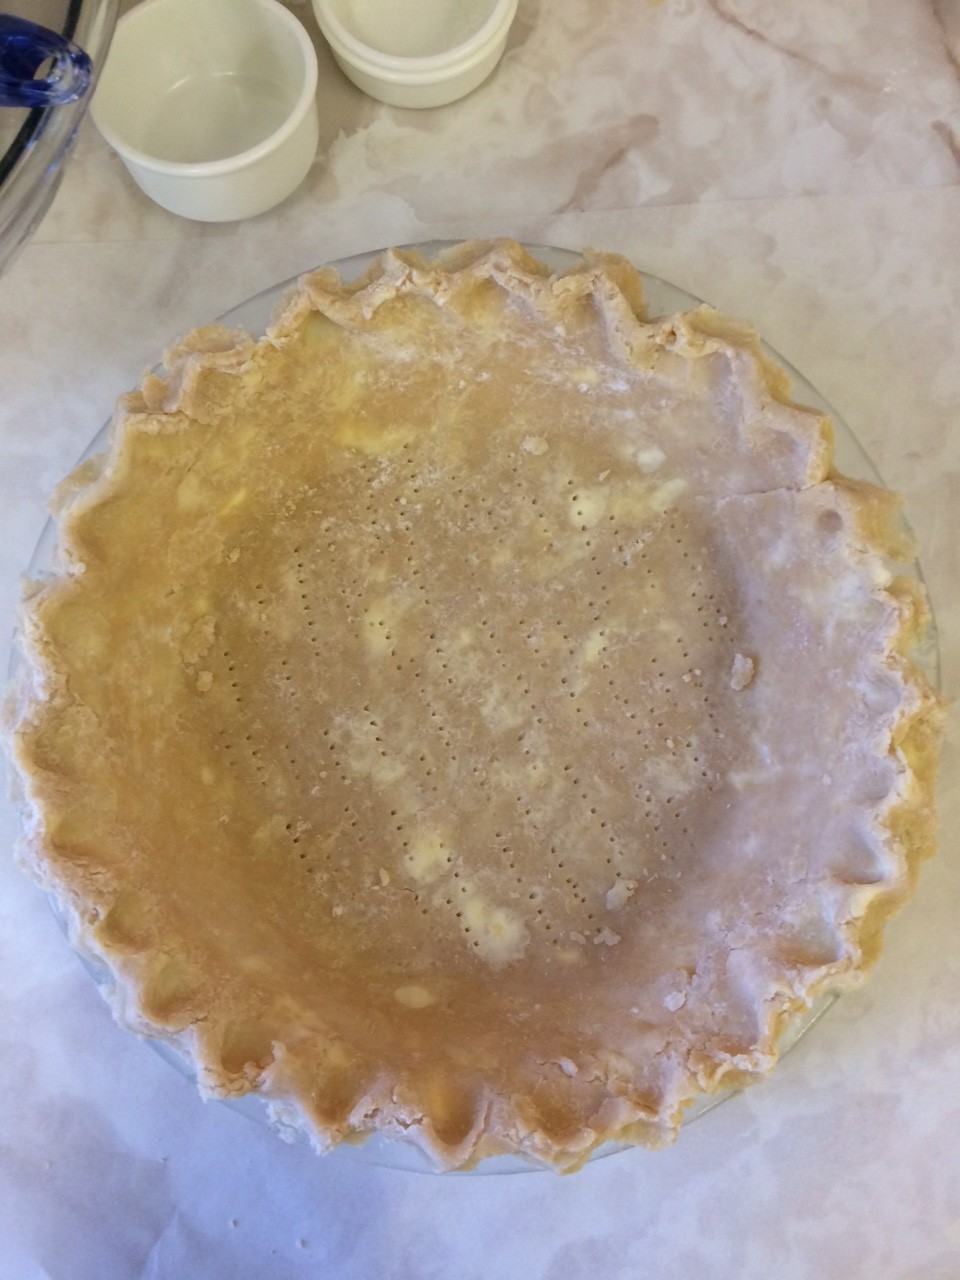
The filling was super easy to make too. I just whisked it all together and poured it in. the popped it into the oven and low and behold my first pie was made.

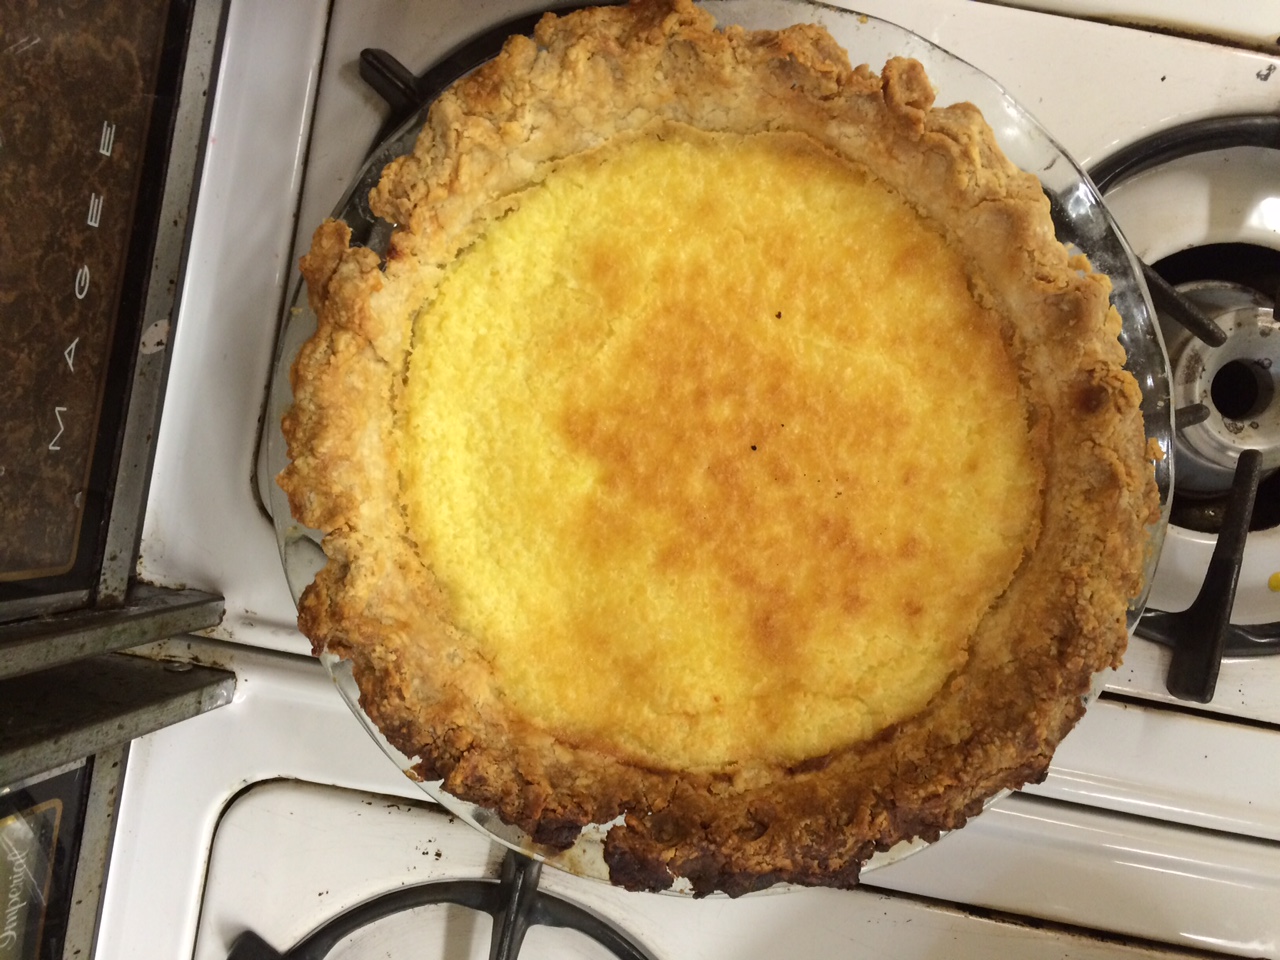
The buttermilk pie was super easy to make. The only stressful thing about it was not having any clue what it would taste like. In the end it was pretty good. Like a slightly lemony pudding with crust.
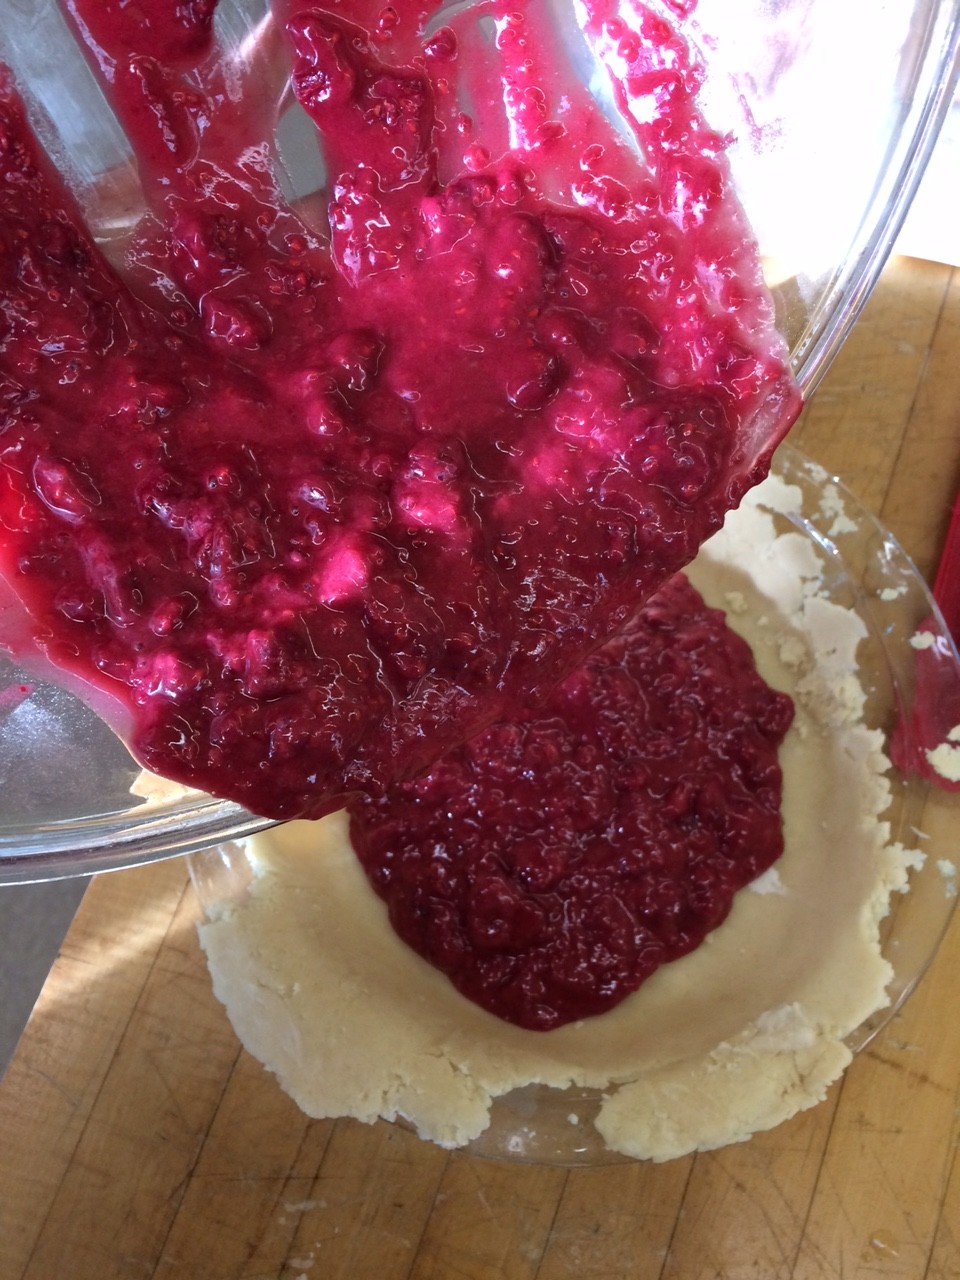
The raspberry pie on the other hand was not as easy to make. The first challenge was getting the recipe out of my great grandmother, who was more than happy to share it with me, but I’m pretty sure she was not wearing her hearing aids, and her caption phone was not working that day. Once I got the recipe making it, specifically the crust was just as hard.
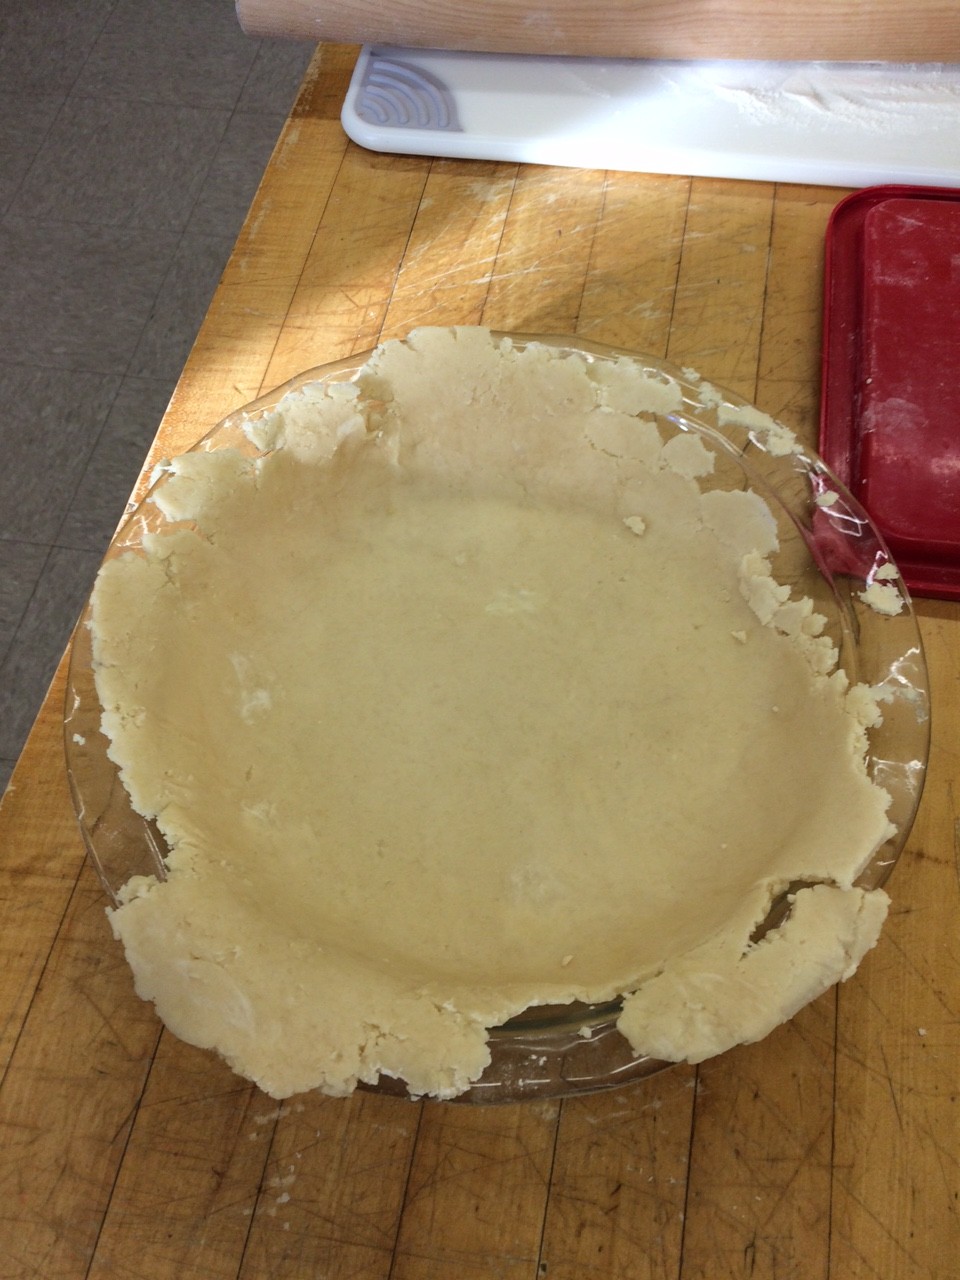
My great grandmothers pie crust is an all oil crust, canola oil to be specific. This means that the gluten fibers are very short and prone to cracking and just generally being unpleasant. It mixed easily and looked like pie crust should.

However rolling it out proved to be quite challenging. She said to roll it out between two sheets of wax paper, but we only had parchment paper when I was making the pie and I thought that it would suffice, but when I attempted to put the crust into the pie plate I learned otherwise. It was bad, cracking, crumbling, and sticking to the parchment. So I made the filling and put it in the fridge and decided to try the crust again the next day this time with wax paper. And it worked kind of.
Getting the top crust on was a whole other issue, and in the end I just ended up tossing it on and doing some repair with water.
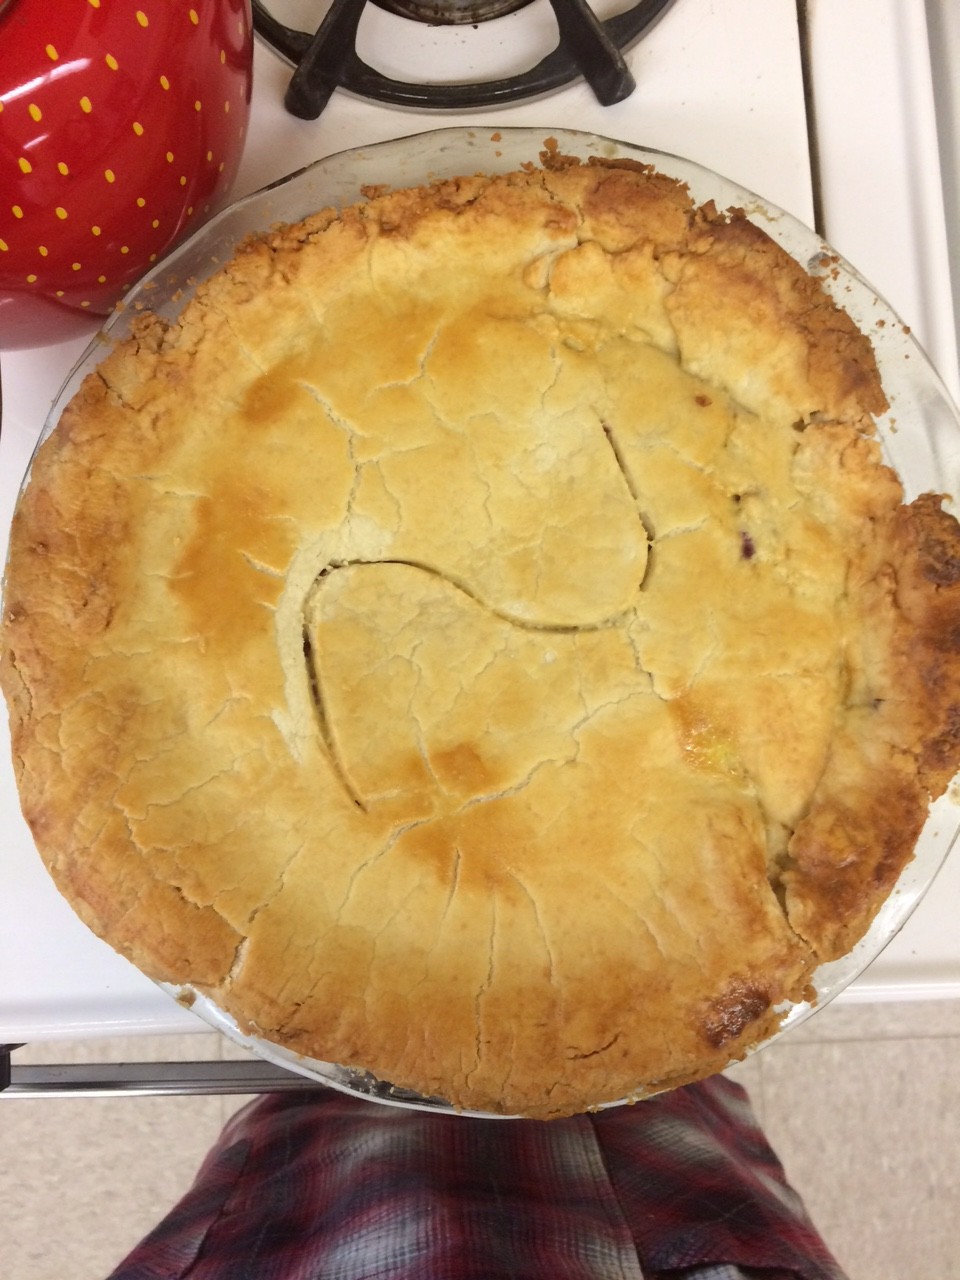
In the end I think it turned out alright. The crust definitely tasted like my great grandmothers crust, perhaps a bit too thick. The filling was a little disappointing. It had the right texture and firmness, but was not as tart as it could be. This, however, could be because I used frozen raspberries and my great grandmother hand-picks berries from a local farm at the peak of raspberry season. There is probably a slight difference in quality.
All in all I think it was a good first attempt, and I look forward to what next week has in store.