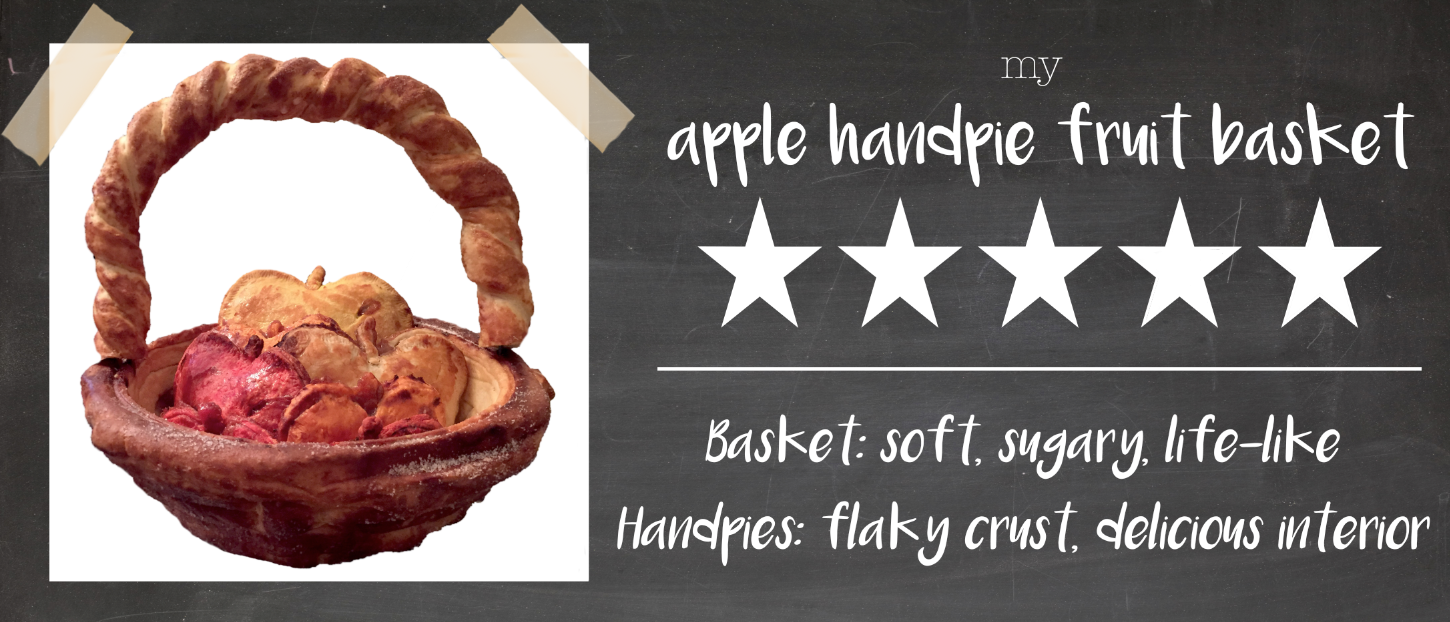
I knew right away that I wanted to go all-out for presentation week. My mind was overflowing with ideas (not many of them very feasible), but I chose to go with making the ultimate fruit basket. It took longer than I expected, but here’s a summary of what I did:
The Night Before
On Wednesday night, I decided to try to make pineapple-shaped pineapple hand pies and the basket. The filling was incredibly easy to make following this recipe. I rolled out the pastry, which I had made earlier that day, and cut out pineapple shapes. I sealed the hand pie together, decorated it, and put it in the oven. In the meantime, I tried to make the basket. I made pretzel dough, cut it into strips, and wove a basket on an upside-down metal mixing bowl.
The results? They weren’t so hot. I forgot to put butter on the mixing bowl and the baking sheet so both the hand pies and basket were stuck to their containers. Sigh.
The Day Of
Basket
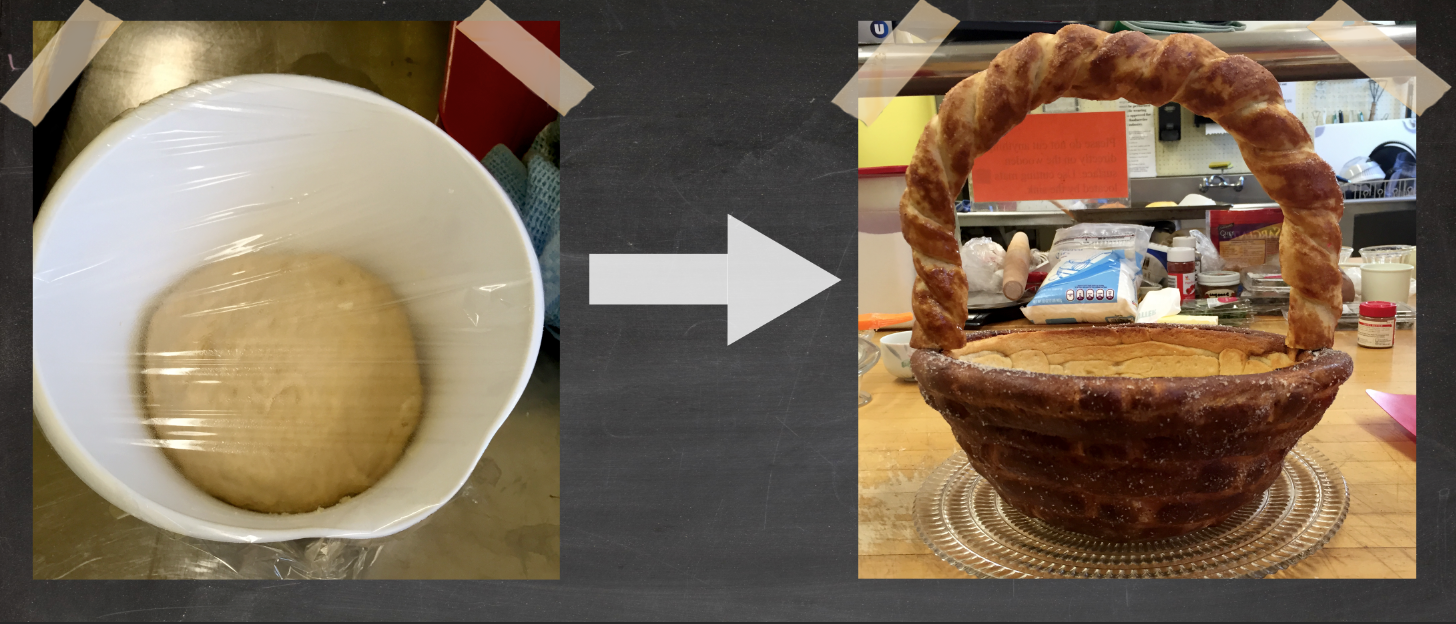
I came to the kitchen very early to make the pretzel dough. I have tried various recipes, but so far the best one is the one I made up:
Pretzel Dough
Ingredients:
2 cups of milk, 2 packets of active dry yeast, 7 tablespoons brown sugar, 4 tablespoons butter, 5 1/2 cups flour, 2 cups water, 1/2 cup baking soda
Directions:
- Warm the milk in a microwave-safe container. Stir in the yeast. Let it sit for a few minutes.
- Melt butter in a microwave-safe container.
- Add milk, brown sugar, melted butter, and flour in a large bowl. Mix with your hands (sorry, it’s going to get messy).
- Once you get a firm ball, place the dough in a greased container and wrap with greased foil or plastic wrap. Let rise for an hour.
- Start making the pretzels!
- Bake until the top is golden brown (temperature doesn’t matter, but the baking time will change).
While the pretzel dough was rising, I started making the filling for the hand pies. Instead of making different fruit fillings like I had originally planned to, I stuck with apples. I stole a couple from the dining hall and began chopping them up. I looked at multiple recipes for apple pie filling, but I chose to make my own. I didn’t measure anything exactly, but from what I can remember this is what I did:
Apple Pie Filling
- In a rather deep pan, melt a stick of butter (about 1/2 cup). Keep stove on.
- Add 1/3 cup of flour. The flour and butter will make a paste-like substance.
- Add 1 cup of white granulated sugar and 1 cup of brown sugar. Mix well.
- Add 4 teaspoons of cinnamon, 2 teaspoons of allspice, 2 teaspoons of nutmeg, and 2 teaspoons of vanilla extract. Mix well.
- Add 2 1/2 cups of water. Mix and bring mixture to a boil, constantly stirring.
- Once it has a thick/sticky consistency, add the apples. Mix well and bring to a boil again for about 1-2 minutes.
- It’s ready!
By the time I was finished with the filling, I started to weave the pretzel basket. This time, I buttered AND floured the mixing bowl. Once I finished weaving it, I put it in the oven. Since the mixing bowl was elevated, I was aware that it would take longer to bake. I wanted the basket to be soft, but a bit hard so that it would keep its shape. So I took the time to continue with the hand pies.
I rolled out the pastry. I had made different colors: yellow, orange, and red. Once they were rolled out, I cut out apple shapes, stuffed one half, brushed egg yolk and milk mixture on the edges, and sealed the hand pies. I brushed the egg yolk and milk mixture on the top as well. I made as many as I could and placed them in the oven.
As I had suspected, the basket took a while to bake. However, the butter and flour helped because it instantly came off of the mixing bowl! I had made the handle separately, so I simply used tooth picks to attach it to the basket. 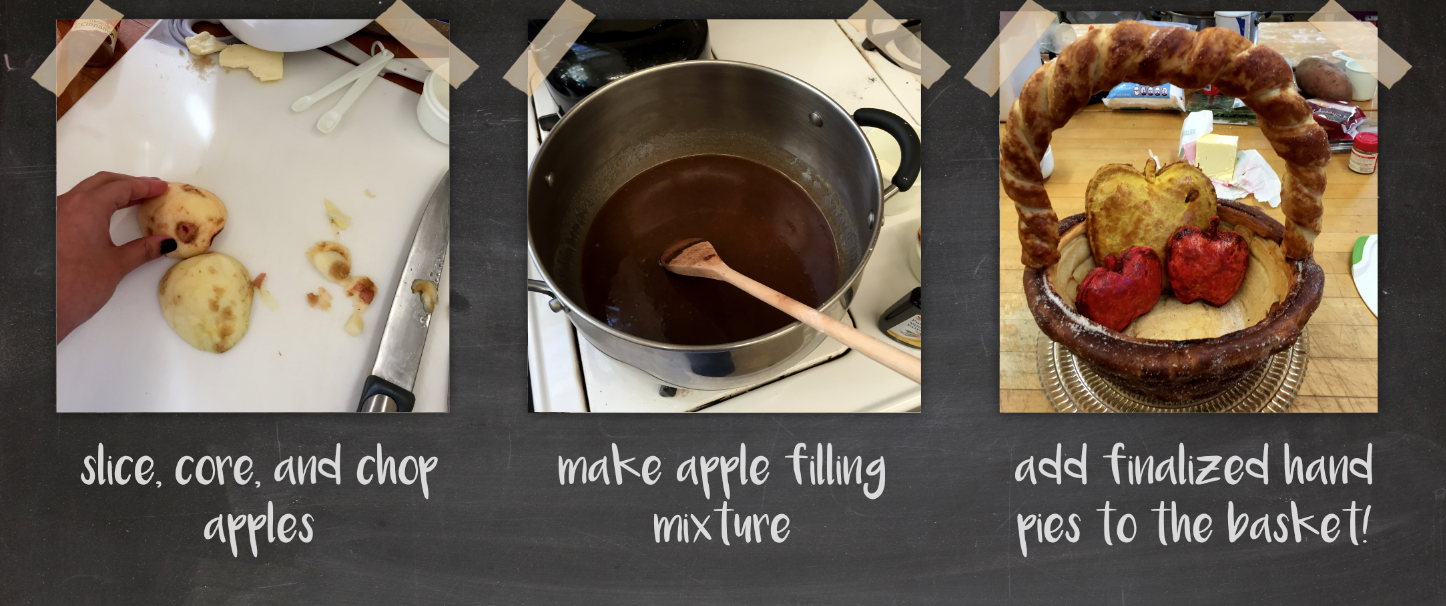
I am SO proud of how my fruit basket came out! The pretzel basket was delicious and the hand pies WERE SO ADDICTING. I took the leftover hand pies to my entry and they were devoured. Everything took chunks off of the basket, but eventually we decided to use the remaining basket as a bowl for an ice cream sundae!