
The past month of working in the Makerspace has been a period of learning as I started to explore a new part of the Makerspace I hadn’t before: learning how to take things apart in order to fix them. My experience last year was primarily learning how to 3D print properly, especially skills such as calibrating the printer for a print, slicing a print, and changing filaments for different prints. This semester, as we tried out new types of filaments (3D Printlife Eco-Friendly ProPLA and Filamentive rPLA) and new print styles, I got the opportunity to learn how the gears in the hot end and extruder of the 3D printer work and how to go about fixing clogging is/sues that come along while printing.
This month, I have focused most of my time on unclogging and fixing printer issues. Since our Makerspace currently has 10 workers, it’s common for one student to start a print, and for another student to complete the print or fix a clogged printer. Whether it is opening up the motor to take out a stuck filament, I gained a deeper understanding of how the internal parts of the printer were working together. I began to be able to visualize each small part working together to create beautiful prints on the build plate (images below).
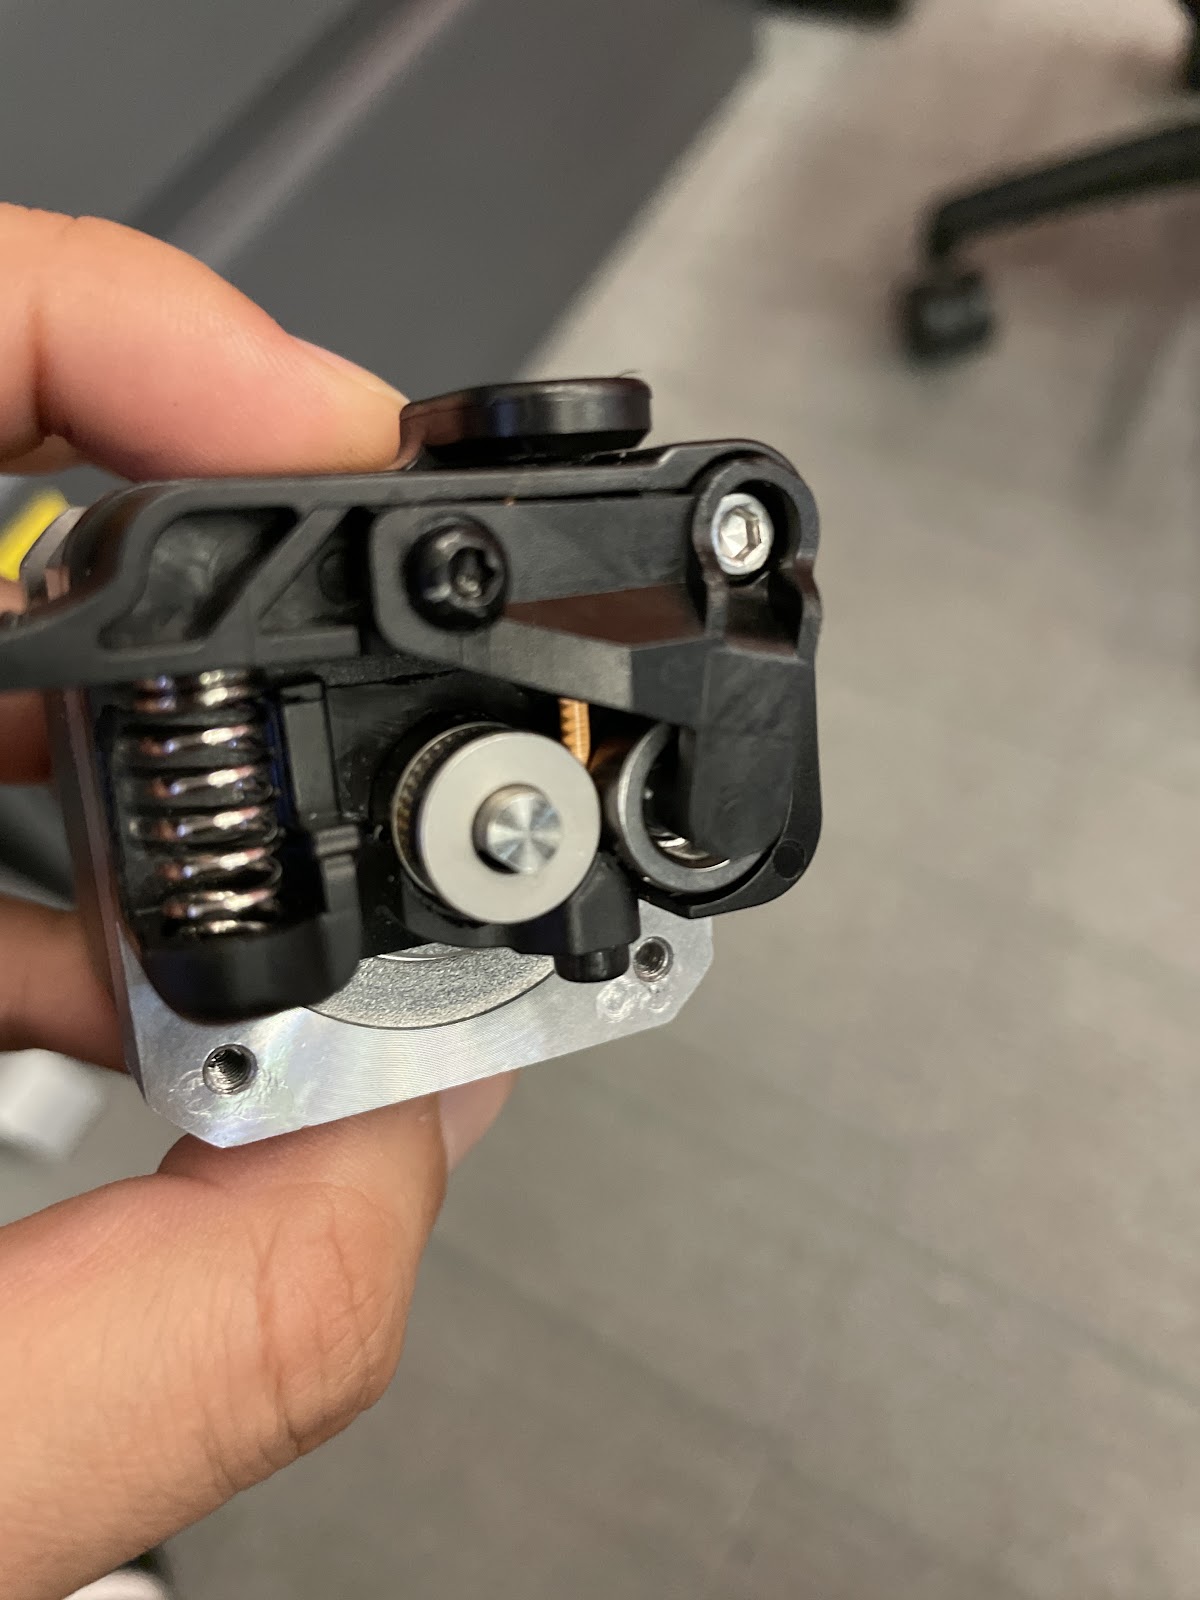
The first time I took a motor out to pull out a bit of broken orange filament stuck right in between the gears
This experience also allowed me to look deeper into the types of filaments we were using and how that was affecting the printer. For example, when we started using recycled filaments (1.75 mm Filamentive rPLA), it started to cause more issues with the Dremel Digilab 3D45 printer unlike some of the other types of filaments (3D Printlife Eco-Friendly ProPLA). Filaments with different tensile strengths (PLA has around 40-50 MPa, ABS has around 30 MPa) interacted with the hotend and extruder differently, since low tensile strength means it has less bend and needs more heat for it to print. This was the case when I tried using copper filament, as it started out normally but then would clog midway through the print. Changing the printing speed to 80%, the bed temperature to 10 degrees higher, and the fan speed to 100% to get the right proportion for the copper filament was key to making the printer print smoother. However, when it was the normal setting of 40-45 degrees bed temperature, 100% print speed, and 100% fan speed, the print wouldn’t stick to the bed and the printer was getting clogged more often. This experience allowed me to appreciate both the machine and the final product even more as a tiny tweak was able to create a much better print!
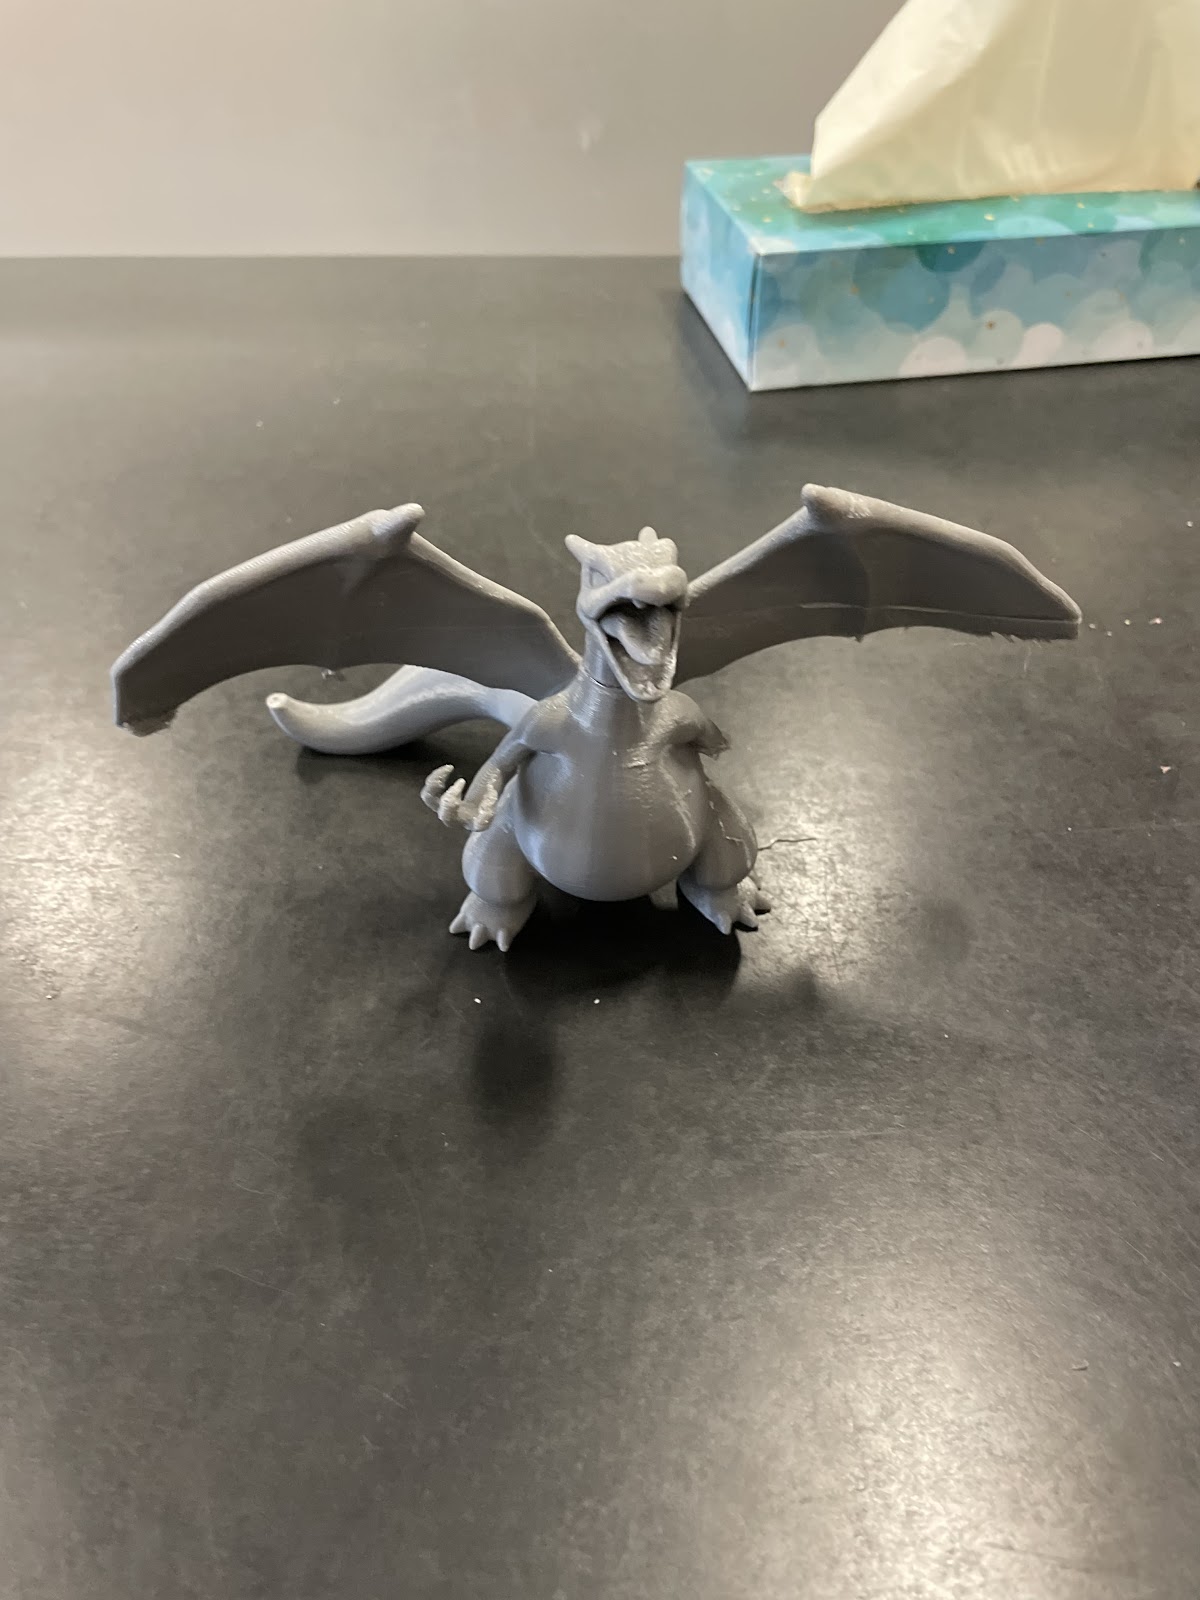
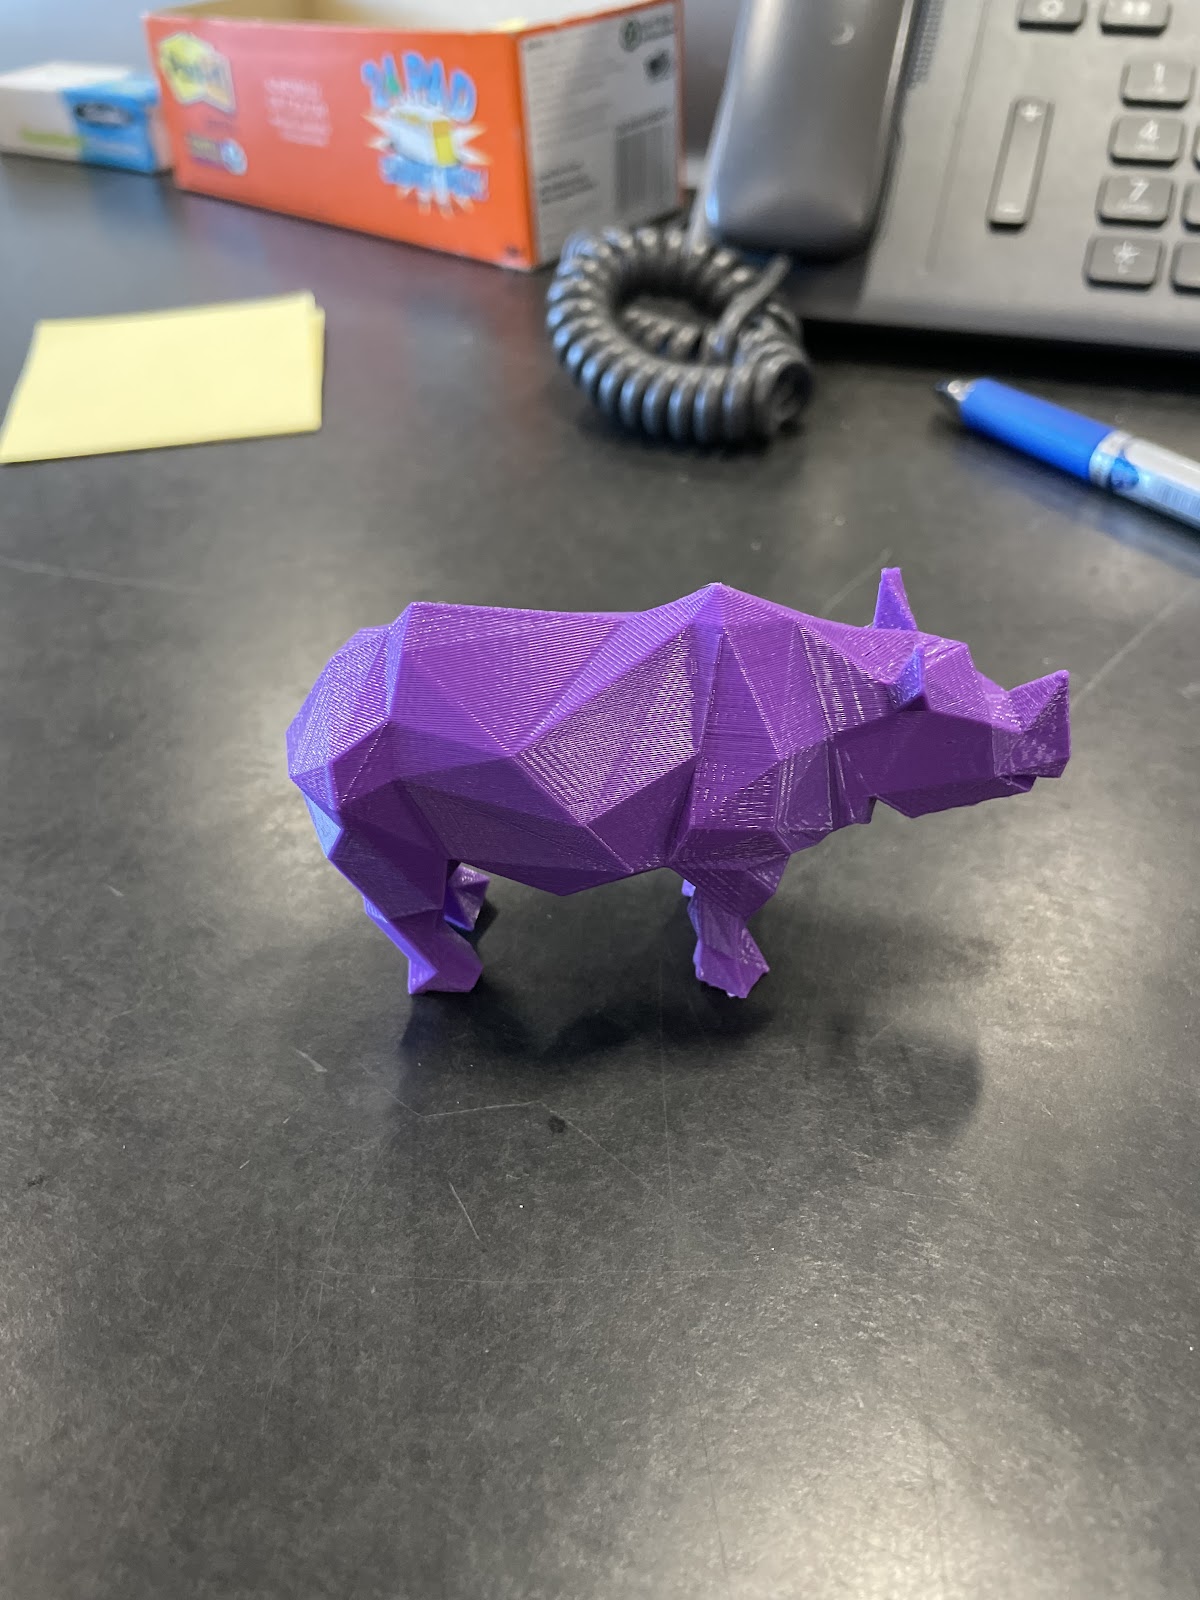
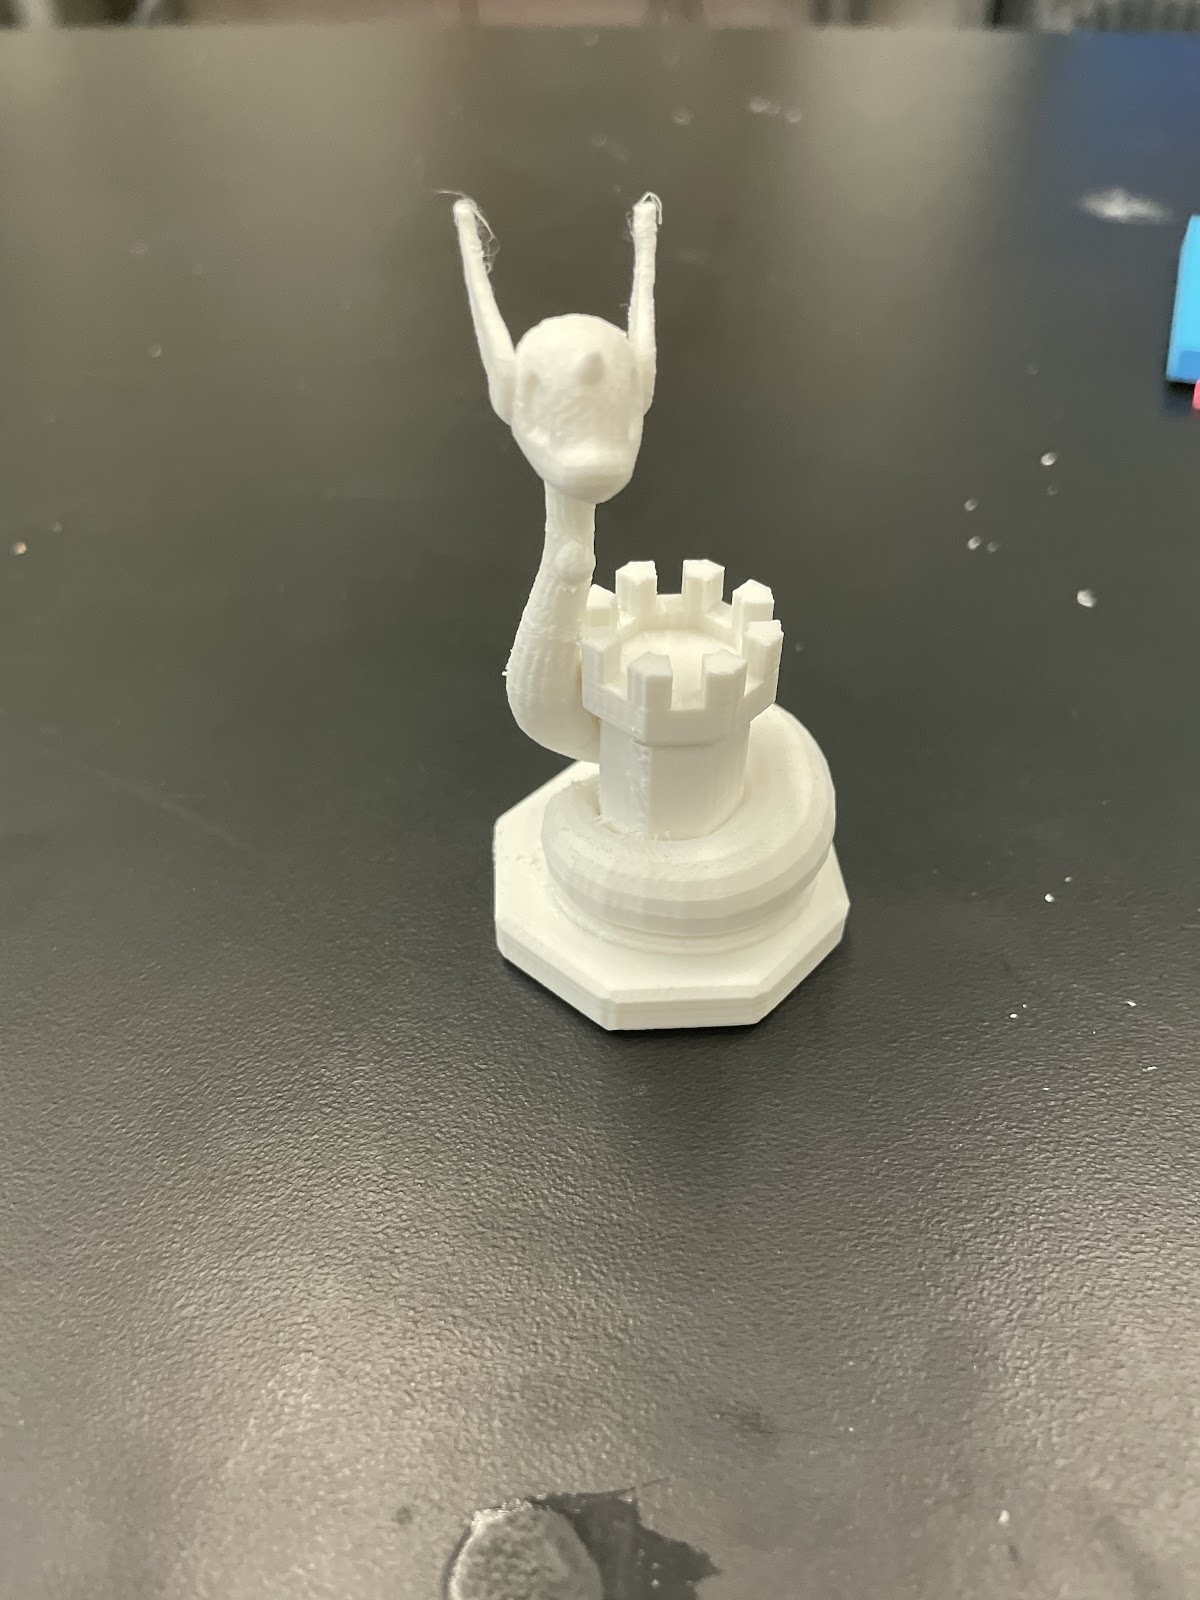
I also printed out various student requests for open-source 3D models available online. I sometimes found myself wishing the younger version of Himal had all these prints to explore when I was involved with 3D modeling in high school. The number of prints that are open-source today is huge. I’m glad I’m able to experience this joy today as part of the Makerspace, and I’m very grateful for this opportunity. Below are some of my favorite prints that I’ve printed and smoothened out by removing their support structures with pliers and using a precision knife to clean up smaller anomalies.

Overall, the start of this year has already been a lot of failing and learning. It couldn’t have been a better way to enjoy the work in the Makerspace. I’m glad to be able to share this joy with other students both by printing out their requests and showing them around the Makerspace!