
Pictured Above: Sam Samuel (left) and Nancy Macauley (right)
Route 2, a highway that cuts through campus, holds a degree of danger as students frequently cross to get to classes, dorms, extracurriculars, etc. Due to this, the campus provides three Rectangular Rapid Flashing Beacons (RRFB), yielding the right of way to pedestrians. Despite their ability to increase the awareness of drivers, it is common for students to neglect pushing crosswalk buttons with the assumption that drivers will stop regardless. However, as implied in the signs posted by Campus Security Services (CSS), the vision of drivers may be impaired due to solar glare or lack of lighting. This may present a danger to students who fail to push the button before crossing. Due to these concerns, Nancy Macauley, a Campus Safety Services Officer with CSS, reached out to the Makerspace with a project idea that she hoped might encourage more students to “press the button”.
The Project
When I was first introduced to this project, I struggled with the direction CSS wanted to take, so I quickly set up a meeting to get a better understanding. I had my first meeting on September 29th where we discussed purpose, goals, and I shared a fair amount of criticism on the project from my perspective as a student. From there I concluded that:
Example of a RRFB on Campus
- This project began in July with a previously 3D printed prototype button that CSS mentioned contained two holes and was purple; I took that information into consideration when designing a new button. Nancy had mentioned liking the previous design but, since several months had passed, she was unable to locate or show me the original prototype.
- An engraving that read either “push the button” or “press the button” was requested on the design and if possible painted yellow or gold once completed.
- A total of 50 buttons were requested as a starting point once design was settled.
- Students would receive free ice cream from the local ice cream shop after receiving 3 buttons and a pizza voucher after 5 buttons. Because of that, we concluded that we would need a design that could be easily collected on a keychain.
- Given that this project is just starting to get its footing it still needs to be approved within CSS.
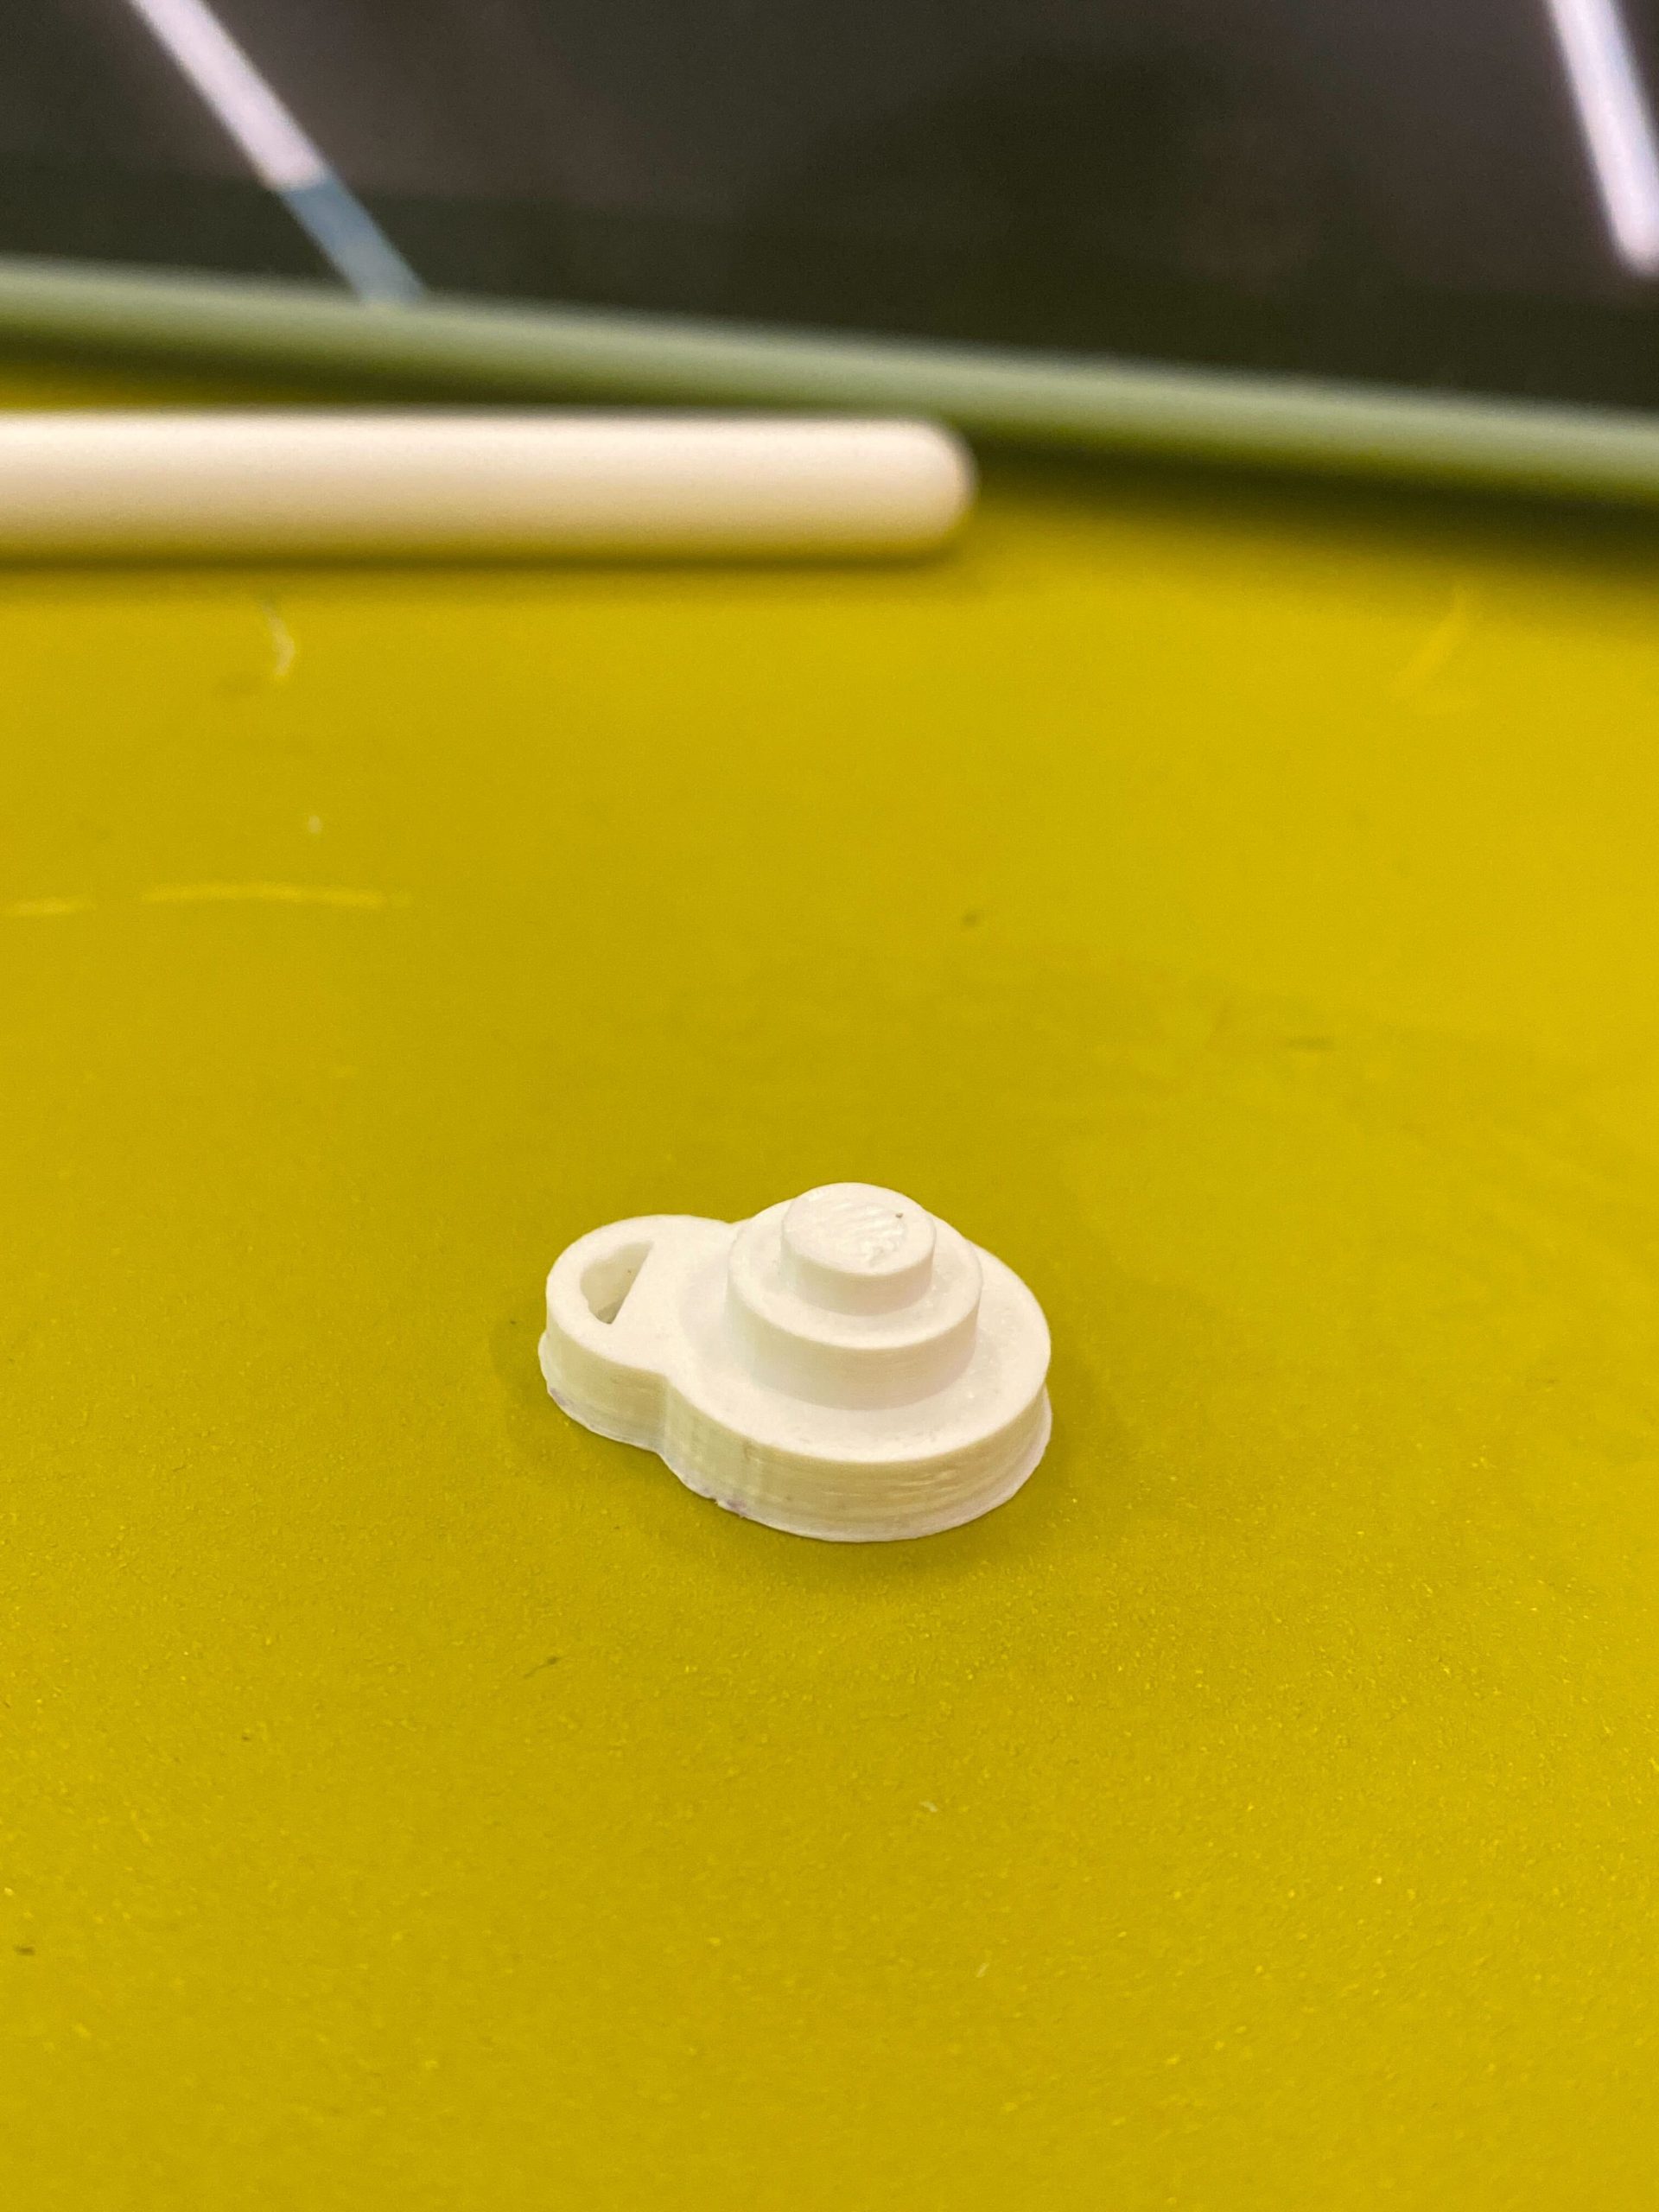
Figure 1. First Button Prototype
From there began the start of my journey. I first inquired with the Makerspace manager about the original prototype button from when this project was first pitched. Unable to locate it, I began researching appropriate sizes and other button designs for inspiration. After sketching in my notebook, I made four variations of my first design on Fusion360. I created multiple versions on Fusion360 because I wanted to test varying heights in extruding. I also attempted to approximate appropriate hole sizings that would accommodate a standard-sized keychain. I then attempted to add the text engraving and that was more challenging than I had expected. I was unable to include the engraving because of the relatively small size of the buttons. My first designs ranged in size from 23 mm to 34 mm, and were inspired by clothing buttons.
I decided to keep the small sized button because it would print quickly, requiring only 13 to 15 minutes each, and would reduce environmental waste as I anticipated students might throw away buttons or lose them. However, given some communication issues on my part, and due to me being sick for a period of time, there was an overall lack of in-person meetings. After a quick email interaction, I left multiple printed versions of my first prototype at the CSS office and later received Nancy’s overall feel on the design. Since she expressed reservations, I decided to build another design in Fusion360. This prototype attempted to replicate the look of the actual RRFB buttons students press at campus crosswalks.
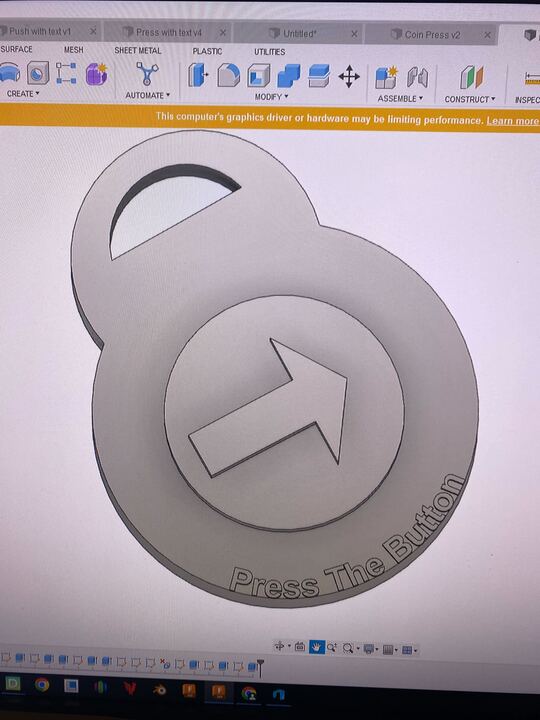
Figure 2. Fusion360 Design
My attempts at implementing the engraving on the design included manipulating different methods of extrusion. According to the application ArcGIS, “extrusion is the process of stretching a flat, 2D shape vertically to create a 3D object in a scene.” I first tried the inset and extrude combination method for the text which entails creating an inset on one of the object’s planar faces and extruding using that sketch to create a hole. When I extrude, I stretch it vertically inwards which cuts into the object. This would allow for the text to show as a hole. In the end, the surface area was too small for the Dremel DigiLab 3D45 printer to extrude, resulting in the text collapsing when I printed it. This also occurs when I stretch vertically outwards. This can be seen in figure 2 where the sketch of the text on the object’s planar face is raised by a height of about 1 mm. Extrusion actually occurs throughout the entirety of creation of the object! For example, to create the keychain portion of the object, a 2D sketch of an arc is needed to extrude the sketch outwards. Then the hole for the keychain is made by extruding inwards after making an inset on our previous sketch’s plane. Once printed on the Dremel, you are then able to insert physical objects (like a metal keyring) in and out of the hole, which was successfully done in each prototype.
Conclusion
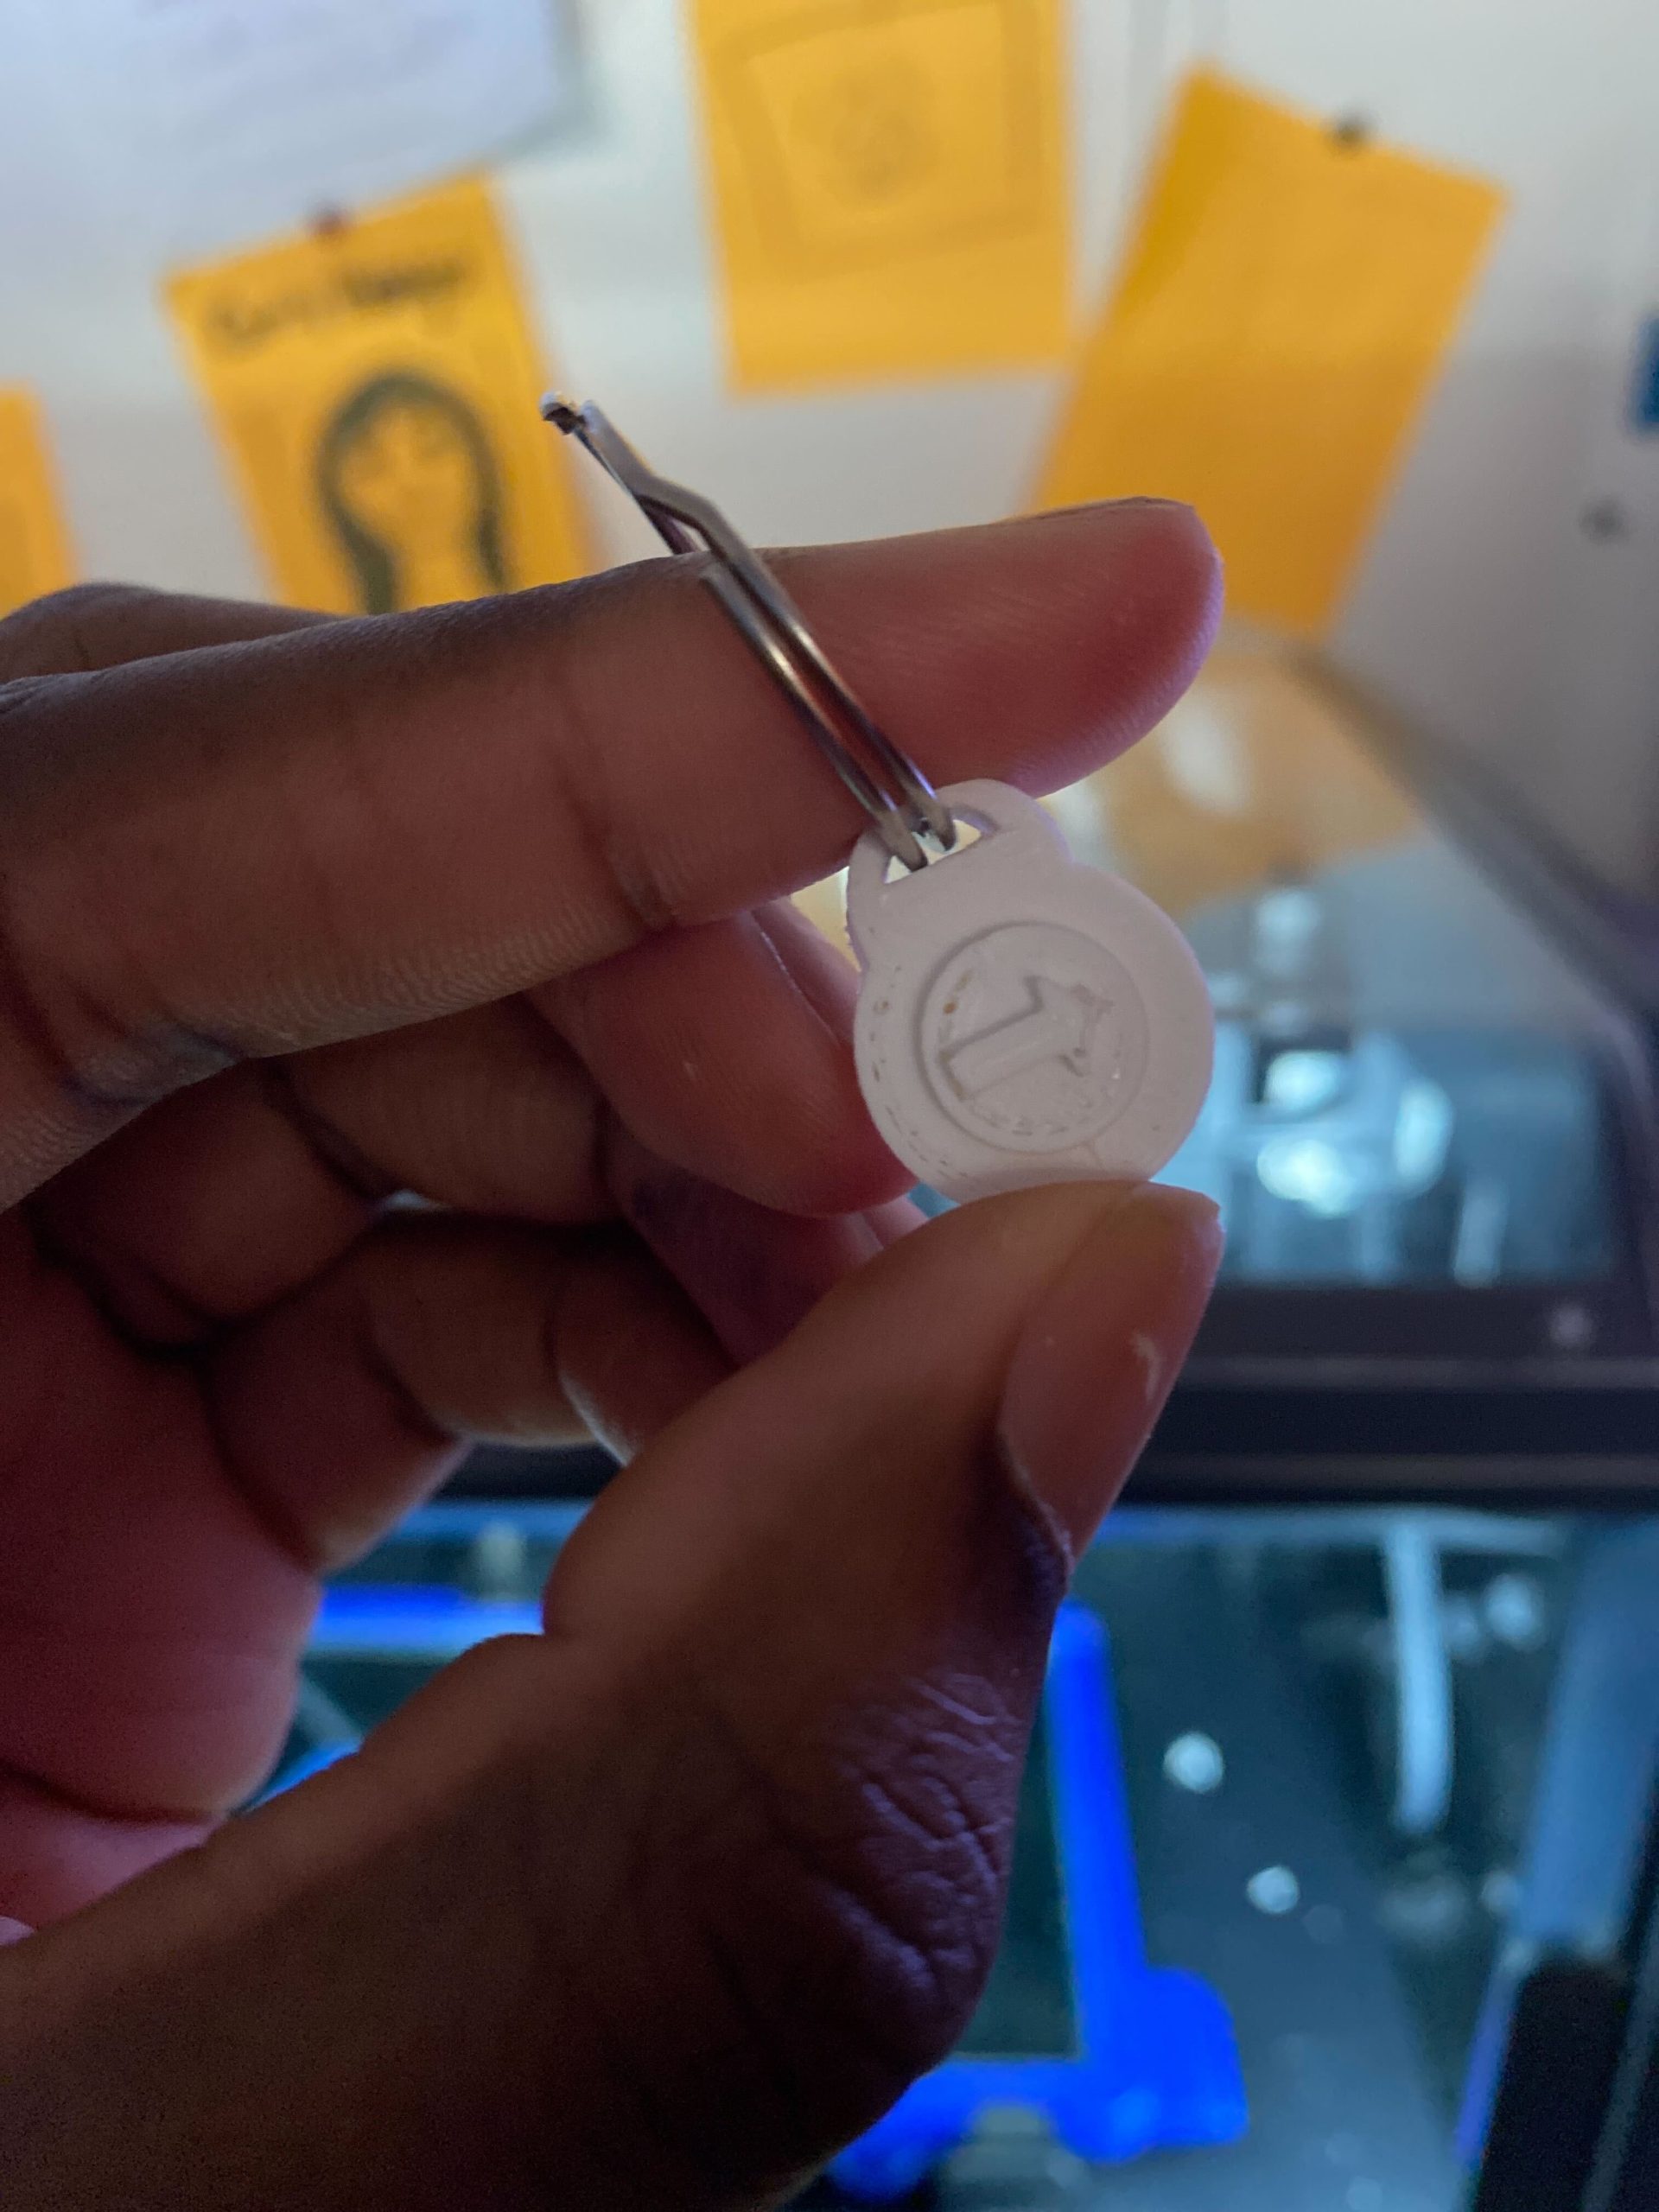
Figure 3. Printed Prototype
In my most recent meeting with Nancy, I learned that she had envisioned a larger button — one more similar to the silver-dollar sized prototype she had first received from the Makerspace last July. Hearing this from her helped me explain how the loss of the original prototype, combined with having scheduled only two in-person meetings, resulted in my providing her with prototypes that were both smaller and different in appearance from what she had been expecting. We ultimately decided to put a temporary pause on the project and meet in-person again at the start of the spring semester. During Winter Term, Nancy will share the current project and seek feedback from the rest of the CSS Staff. And I have many more ideas and experiments to try to prepare for CSS’s first launch of this initiative!