Author Archives: Moiz Rehan

The Madness Chicken Pot Pie

I have perhaps never experimented more with food than I did with this week’s pie. I wanted to take the idea of a chicken pot pie to the next level.and I was instantly attracted to the idea of layers. Each layer would contain an ingredient that normally goes into a pot pie, cooked separately in a different manner and then layered together. I didn’t really use a recipe for the whole pie but took inspiration from different recipes to make each layer.
Following is a breakdown of how I cooked the main ingredient in each layer followed by how I assembled everything. From beginning to end, I felt like a mad scientist trying to concoct something insane and I think I succeeded in doing just that.

Pastry

I used a basic flaky pastry with half butter and half shortening with a bit of dried thyme for added flavor.

Chicken 

Whole chicken, de-skinned it and cut it into pieces. Add the chicken to boiling water with sprigs of fresh thyme and rosemary,  two carrots cut into big chunks, a medium onion halved, stalks of one head of celery, salt and black pepper. Boil for almost 45-60 minutes till chicken is tender. Drain chicken pieces and reserve stock and put it on heat again. Boil until stock reduces to less than half the original quantity.
Prepare other ingredients while the boiling happens. Once chicken is cooled, take out the chicken pieces, shred using fingers or a fork and discard the solid vegetable/herb pieces.

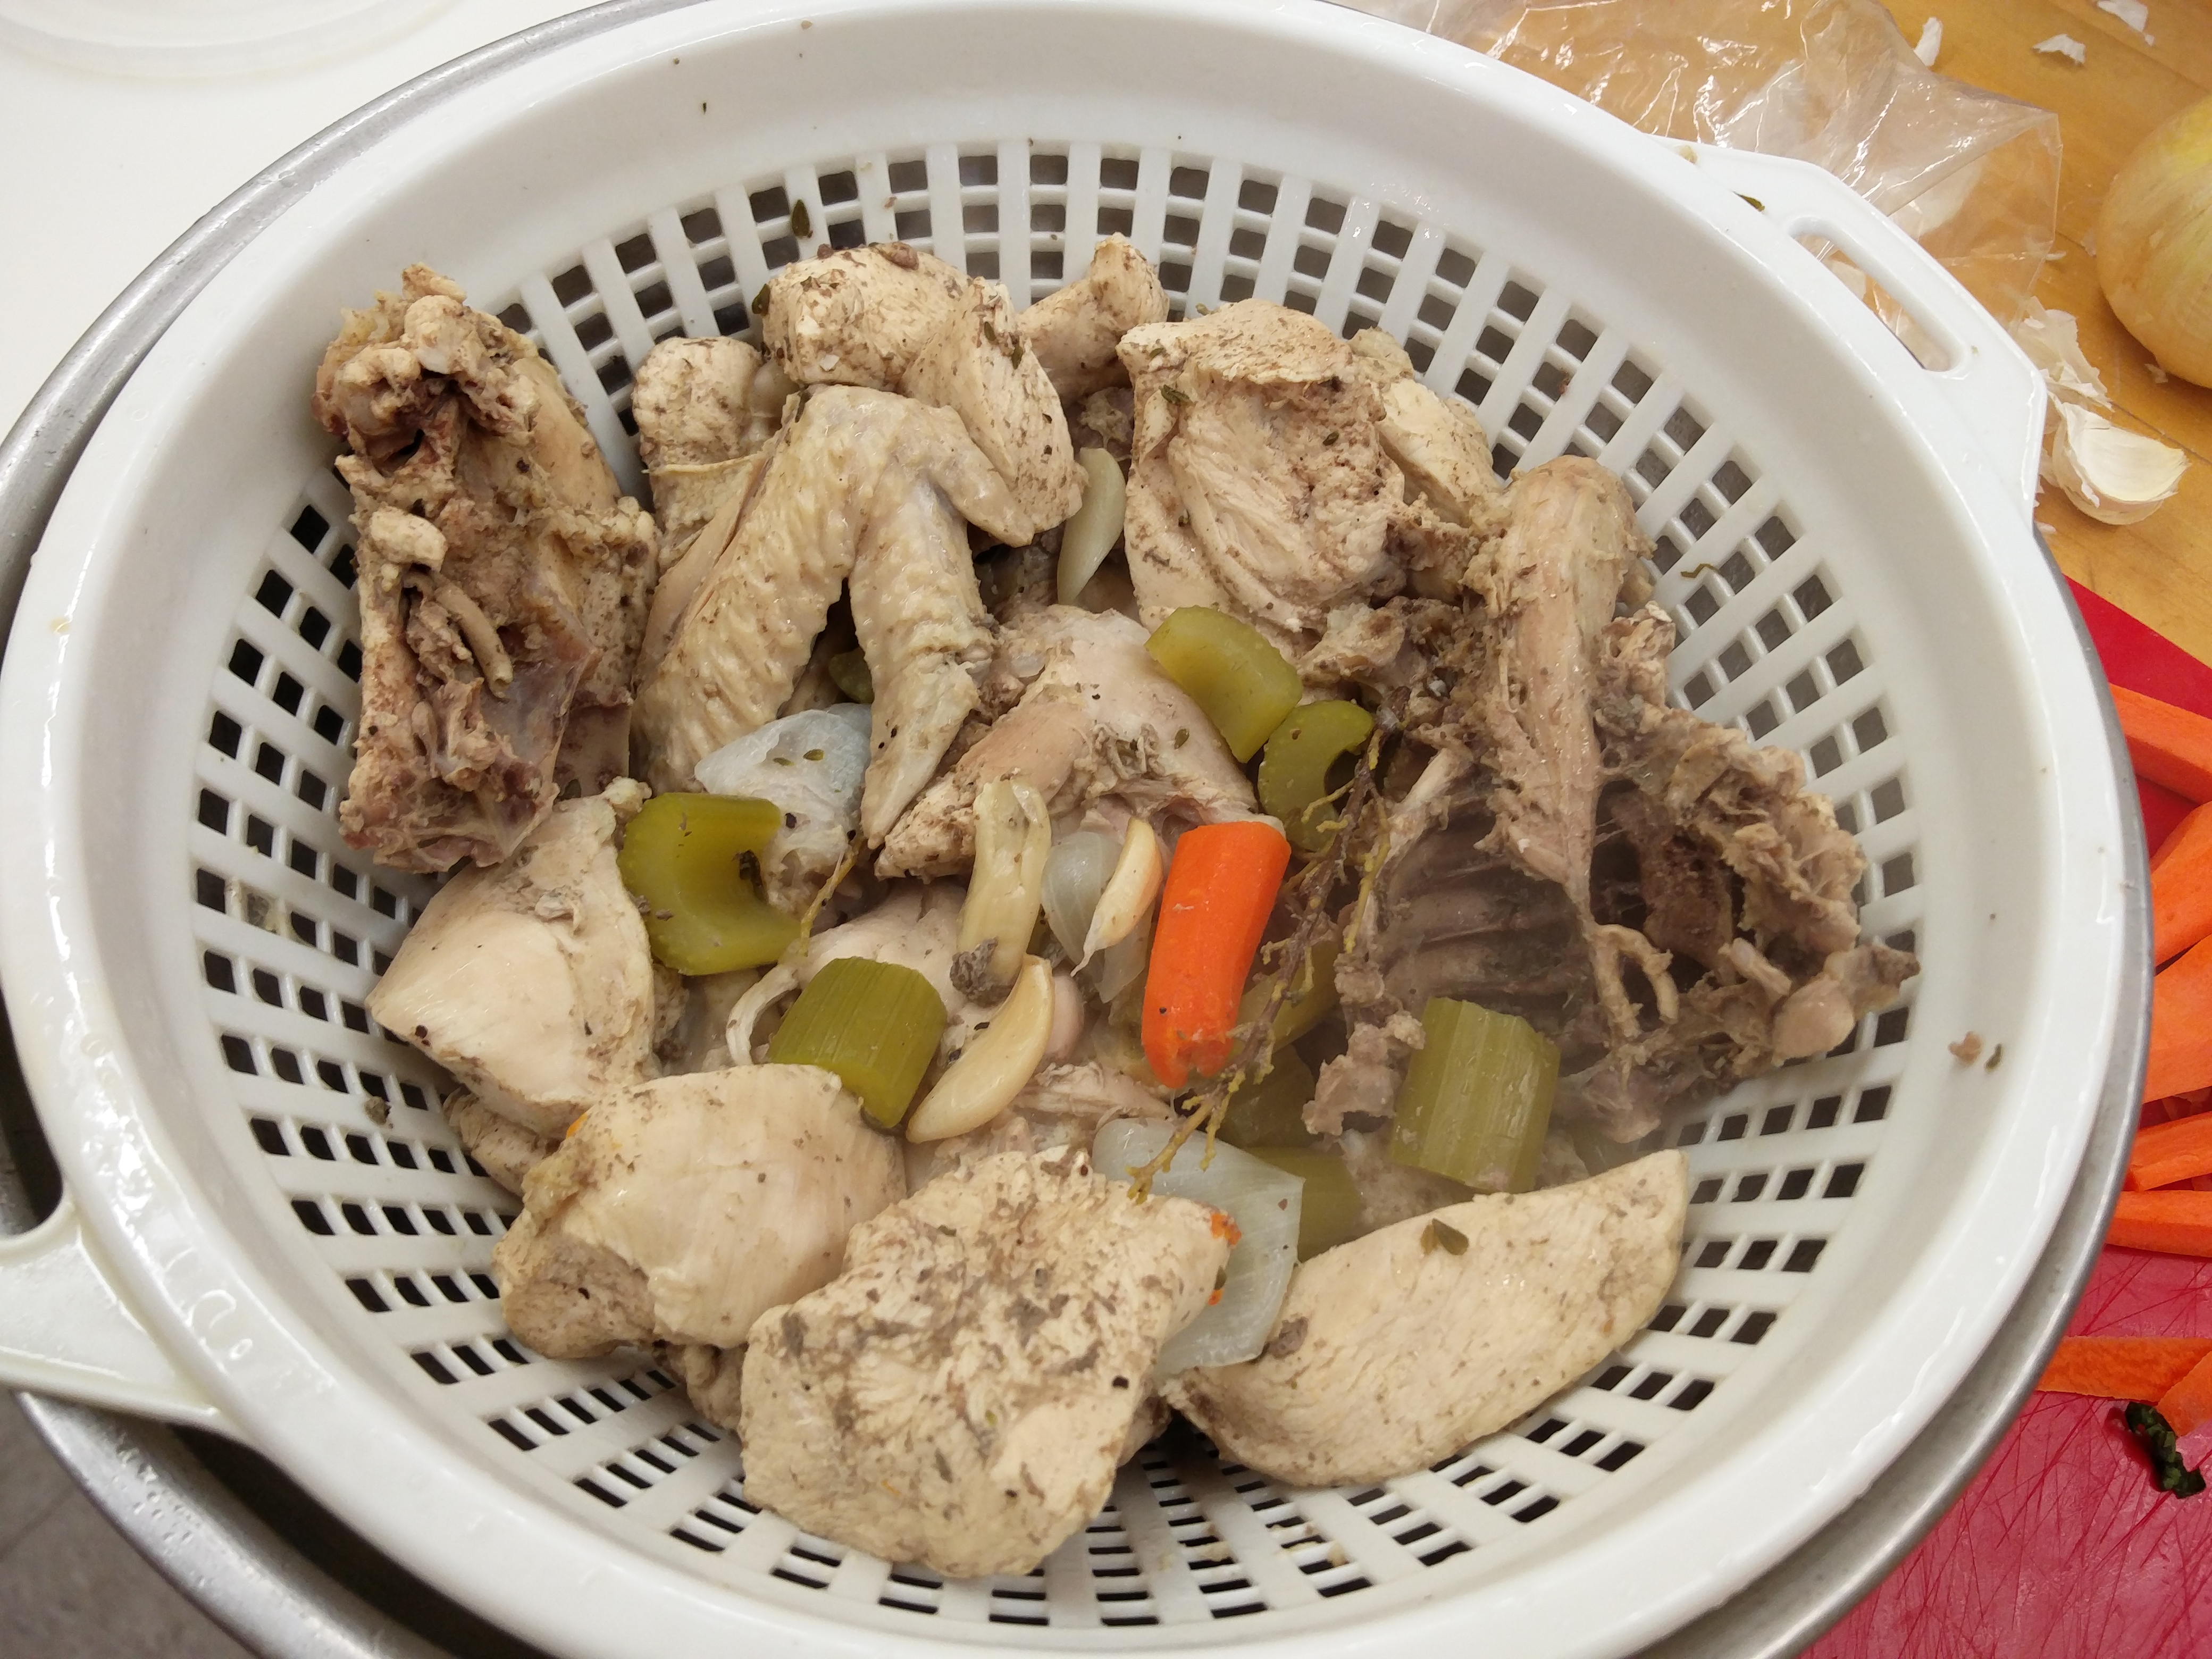
IMG_20160120_124116 IMG_20160120_135127

Mushrooms

Sliced 1 cup of white mushrooms, washed and patted dried. Heat butter in a pan, add four cloves of garlic chopped and add the mushrooms after a few seconds. Saute until the mushrooms turn brown and most of the water evaporates. Add a cup of sherry, seasons and simmer until most of the sherry evaporates. Reserve.
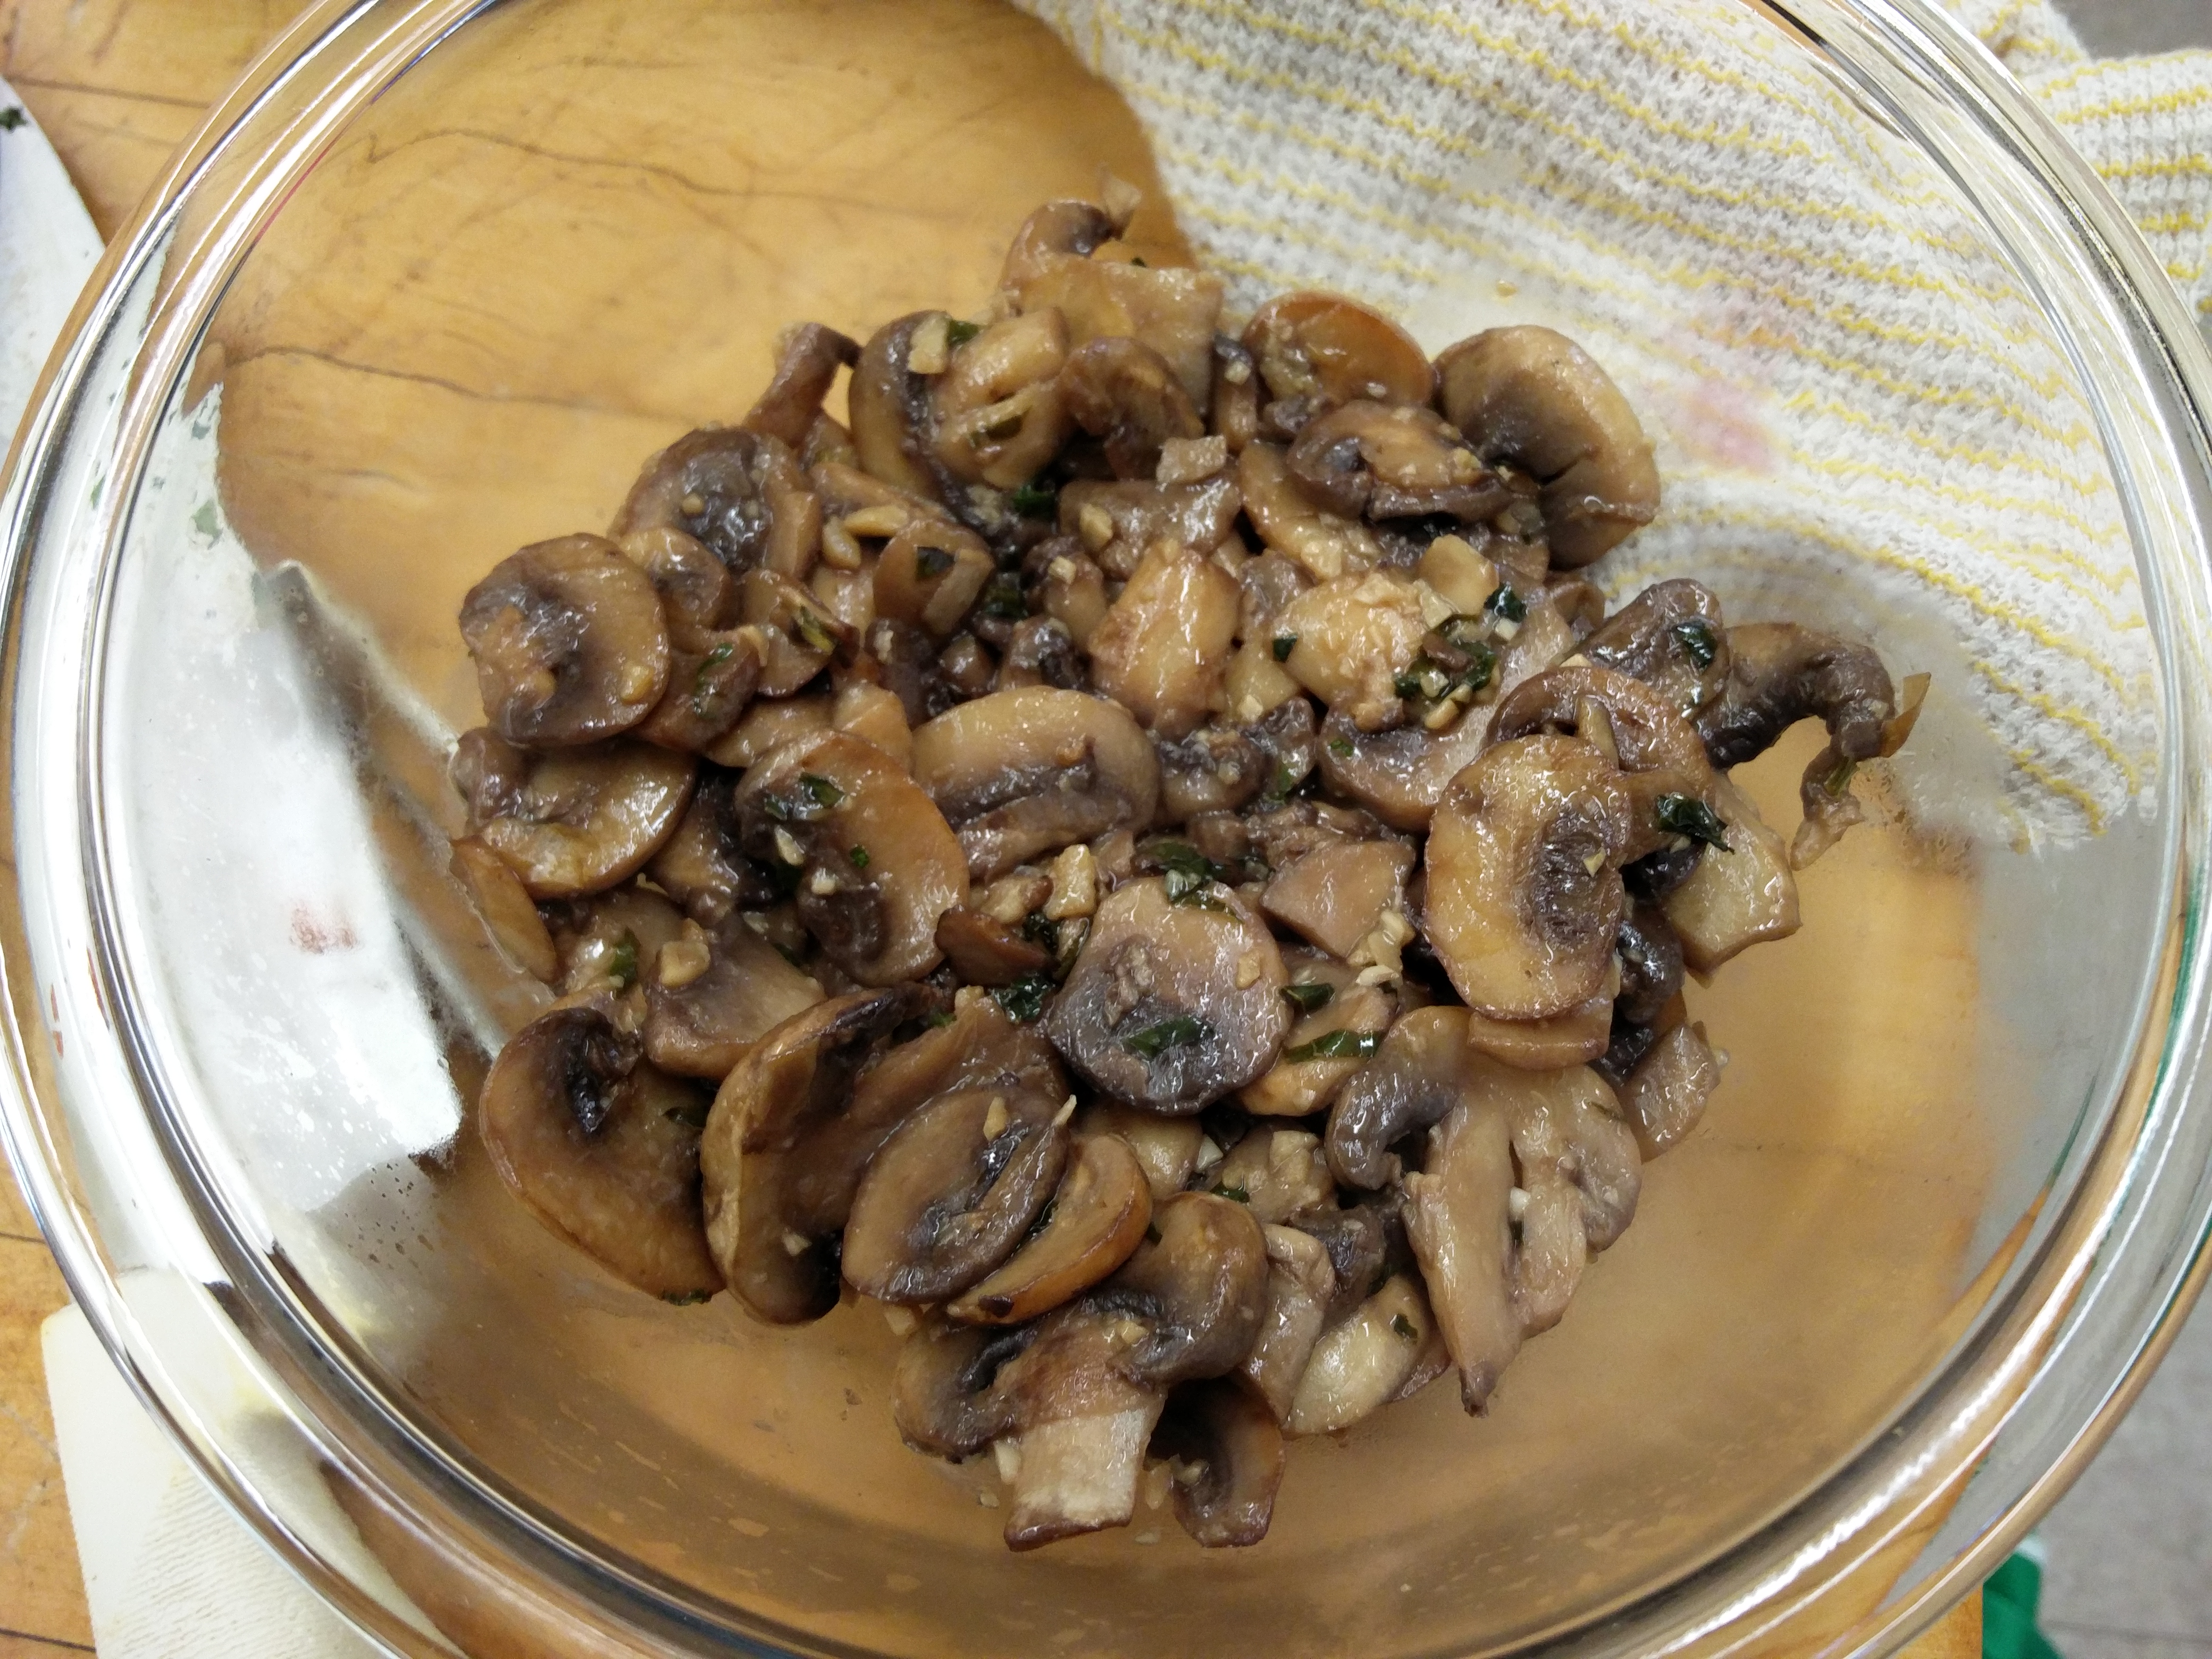
IMG_20160120_135125

Carrots

Using a peeler, peel thin ribbons of around 8 carrots. Heat butter in a pan. Add carrot ribbons and on a medium low flame, saute and stir until the carrots starts turning golden brown. Turn off the heat and reserve. Be very careful as the ribbons may burn if left unattended (this happened to me and I had to do the carrots again).
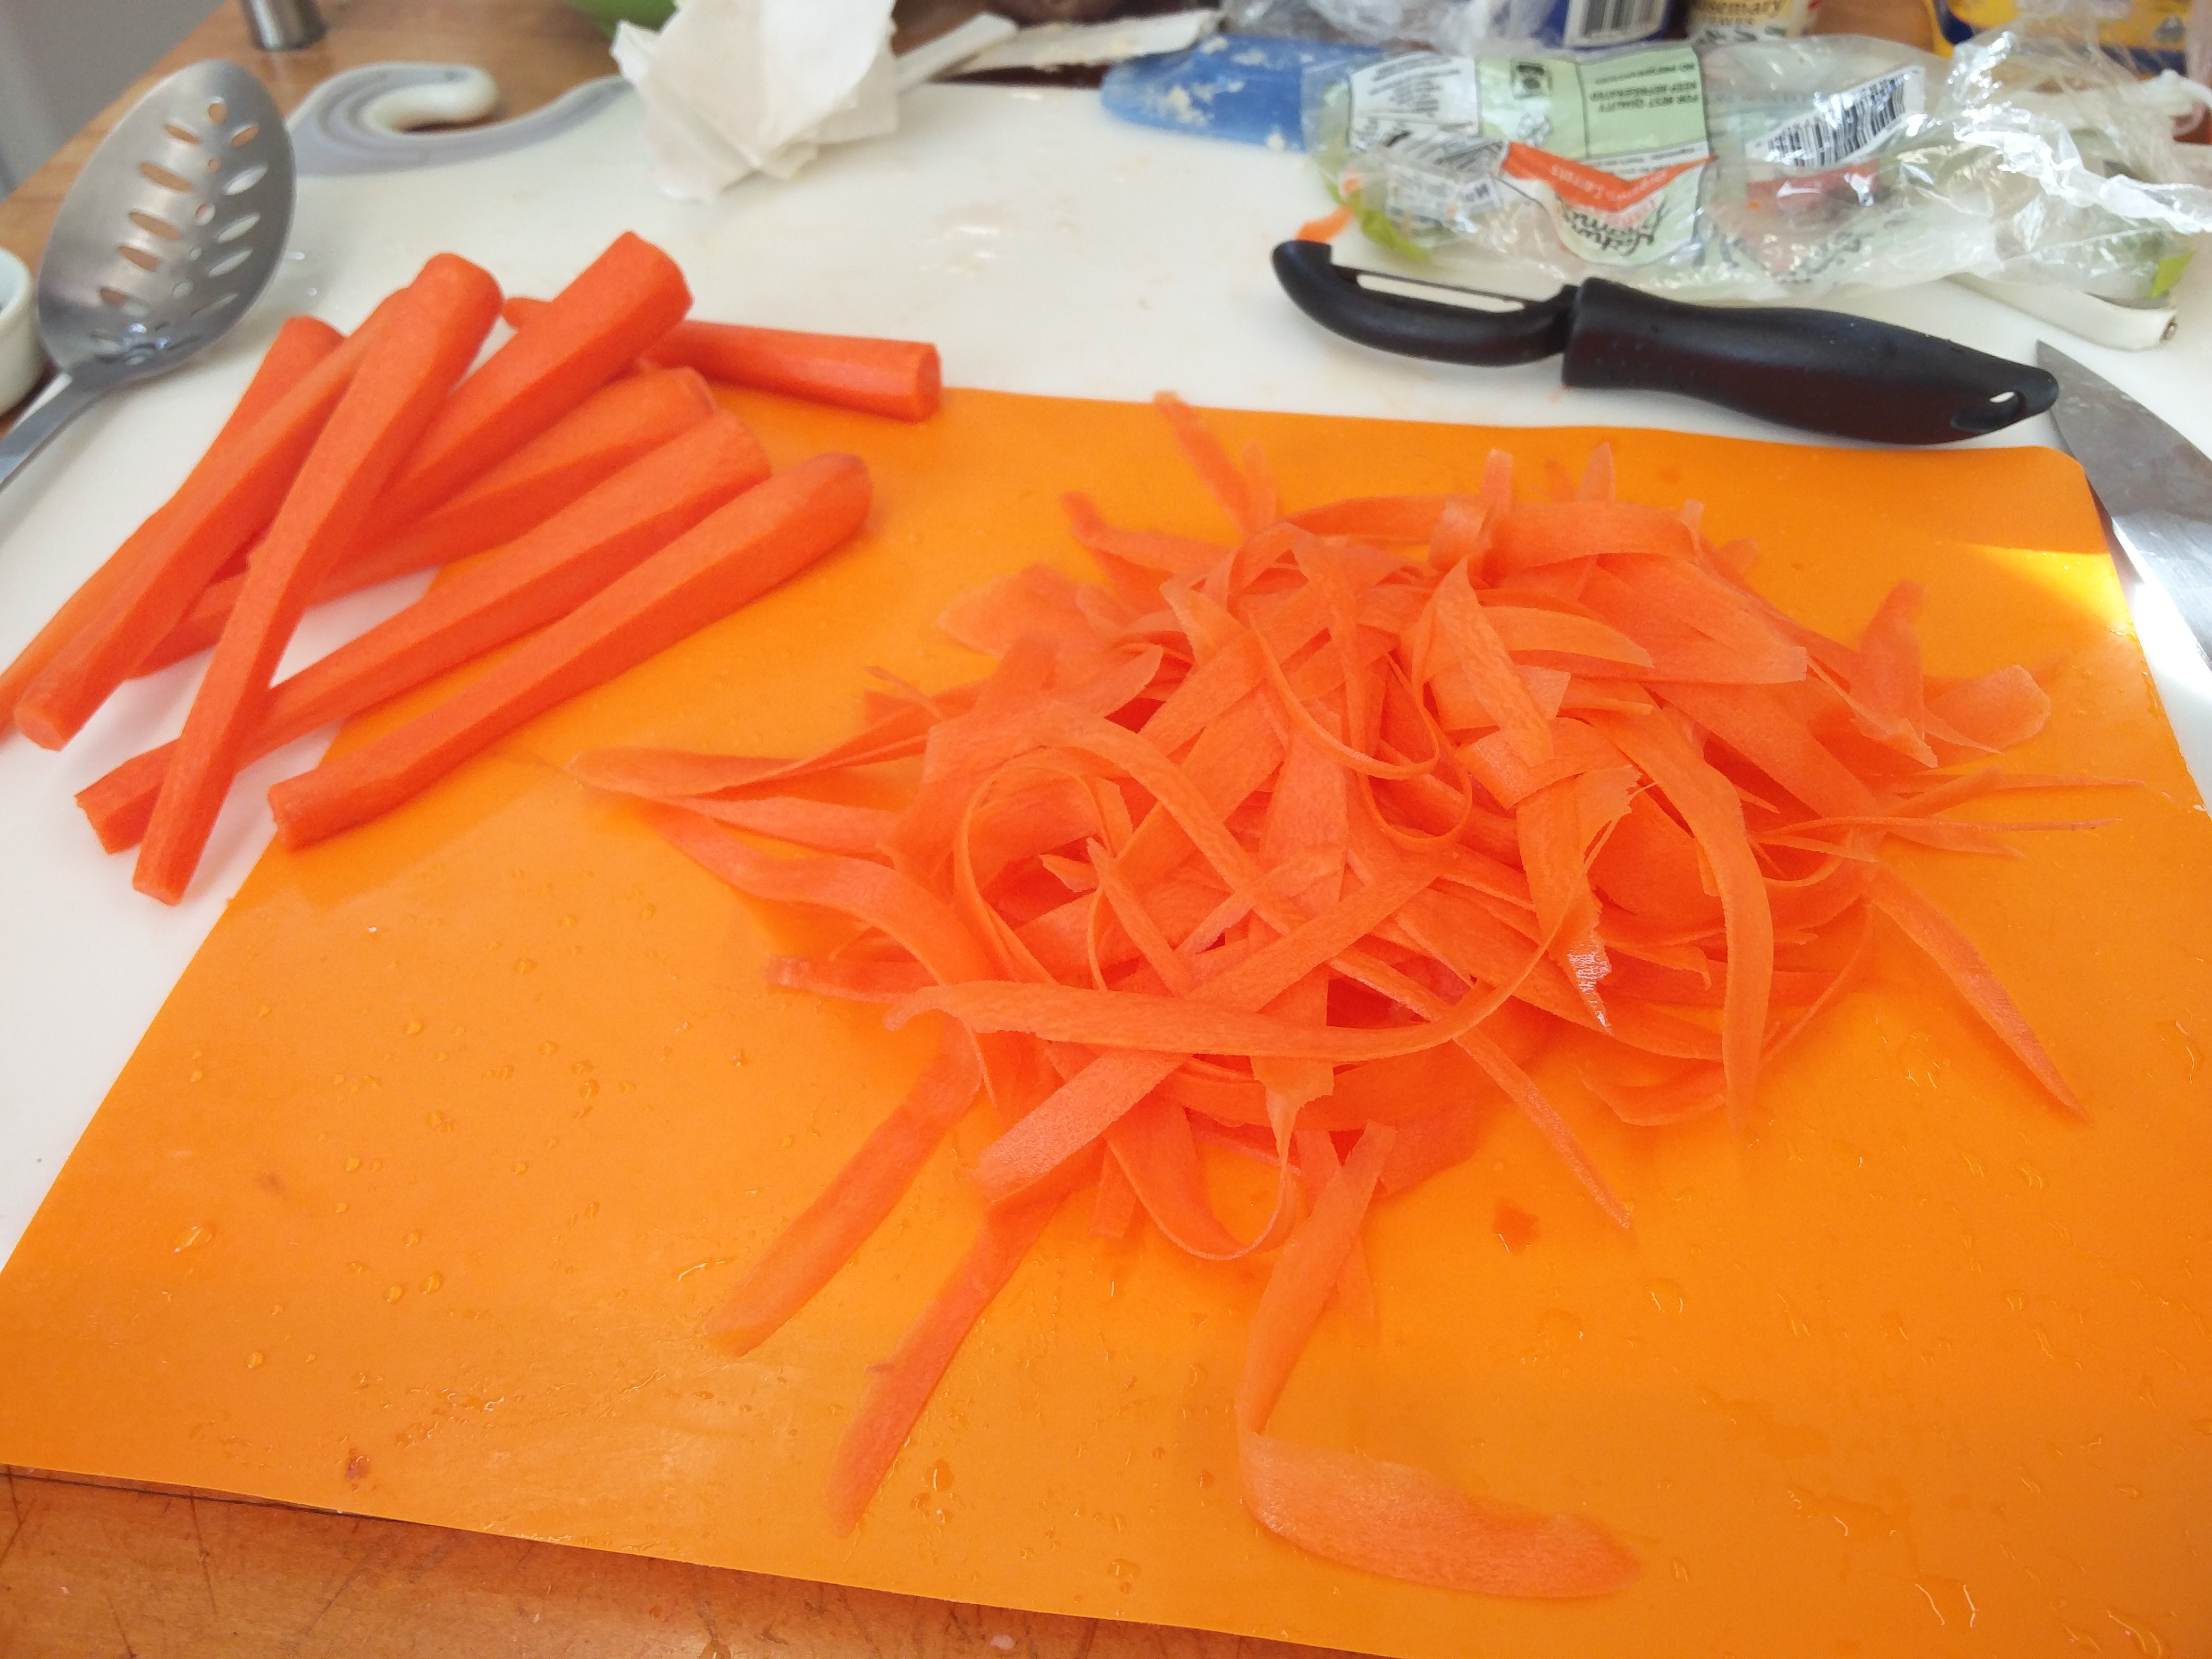
IMG_20160121_103527

Mashed Potatoes

Peel 4 red potatoes and cut in small cubes. Bring water to boil and boil the potatoes until a fork can easily break a cube of potato, around 20 minutes on a medium flame. Drain potatoes, add to a bowl and add a few tablespoons of whole milk and a few tablespoons of butter while mashing the potatoes with a fork. Avoid working the potatoes too much or else they will become gluey and elastic.
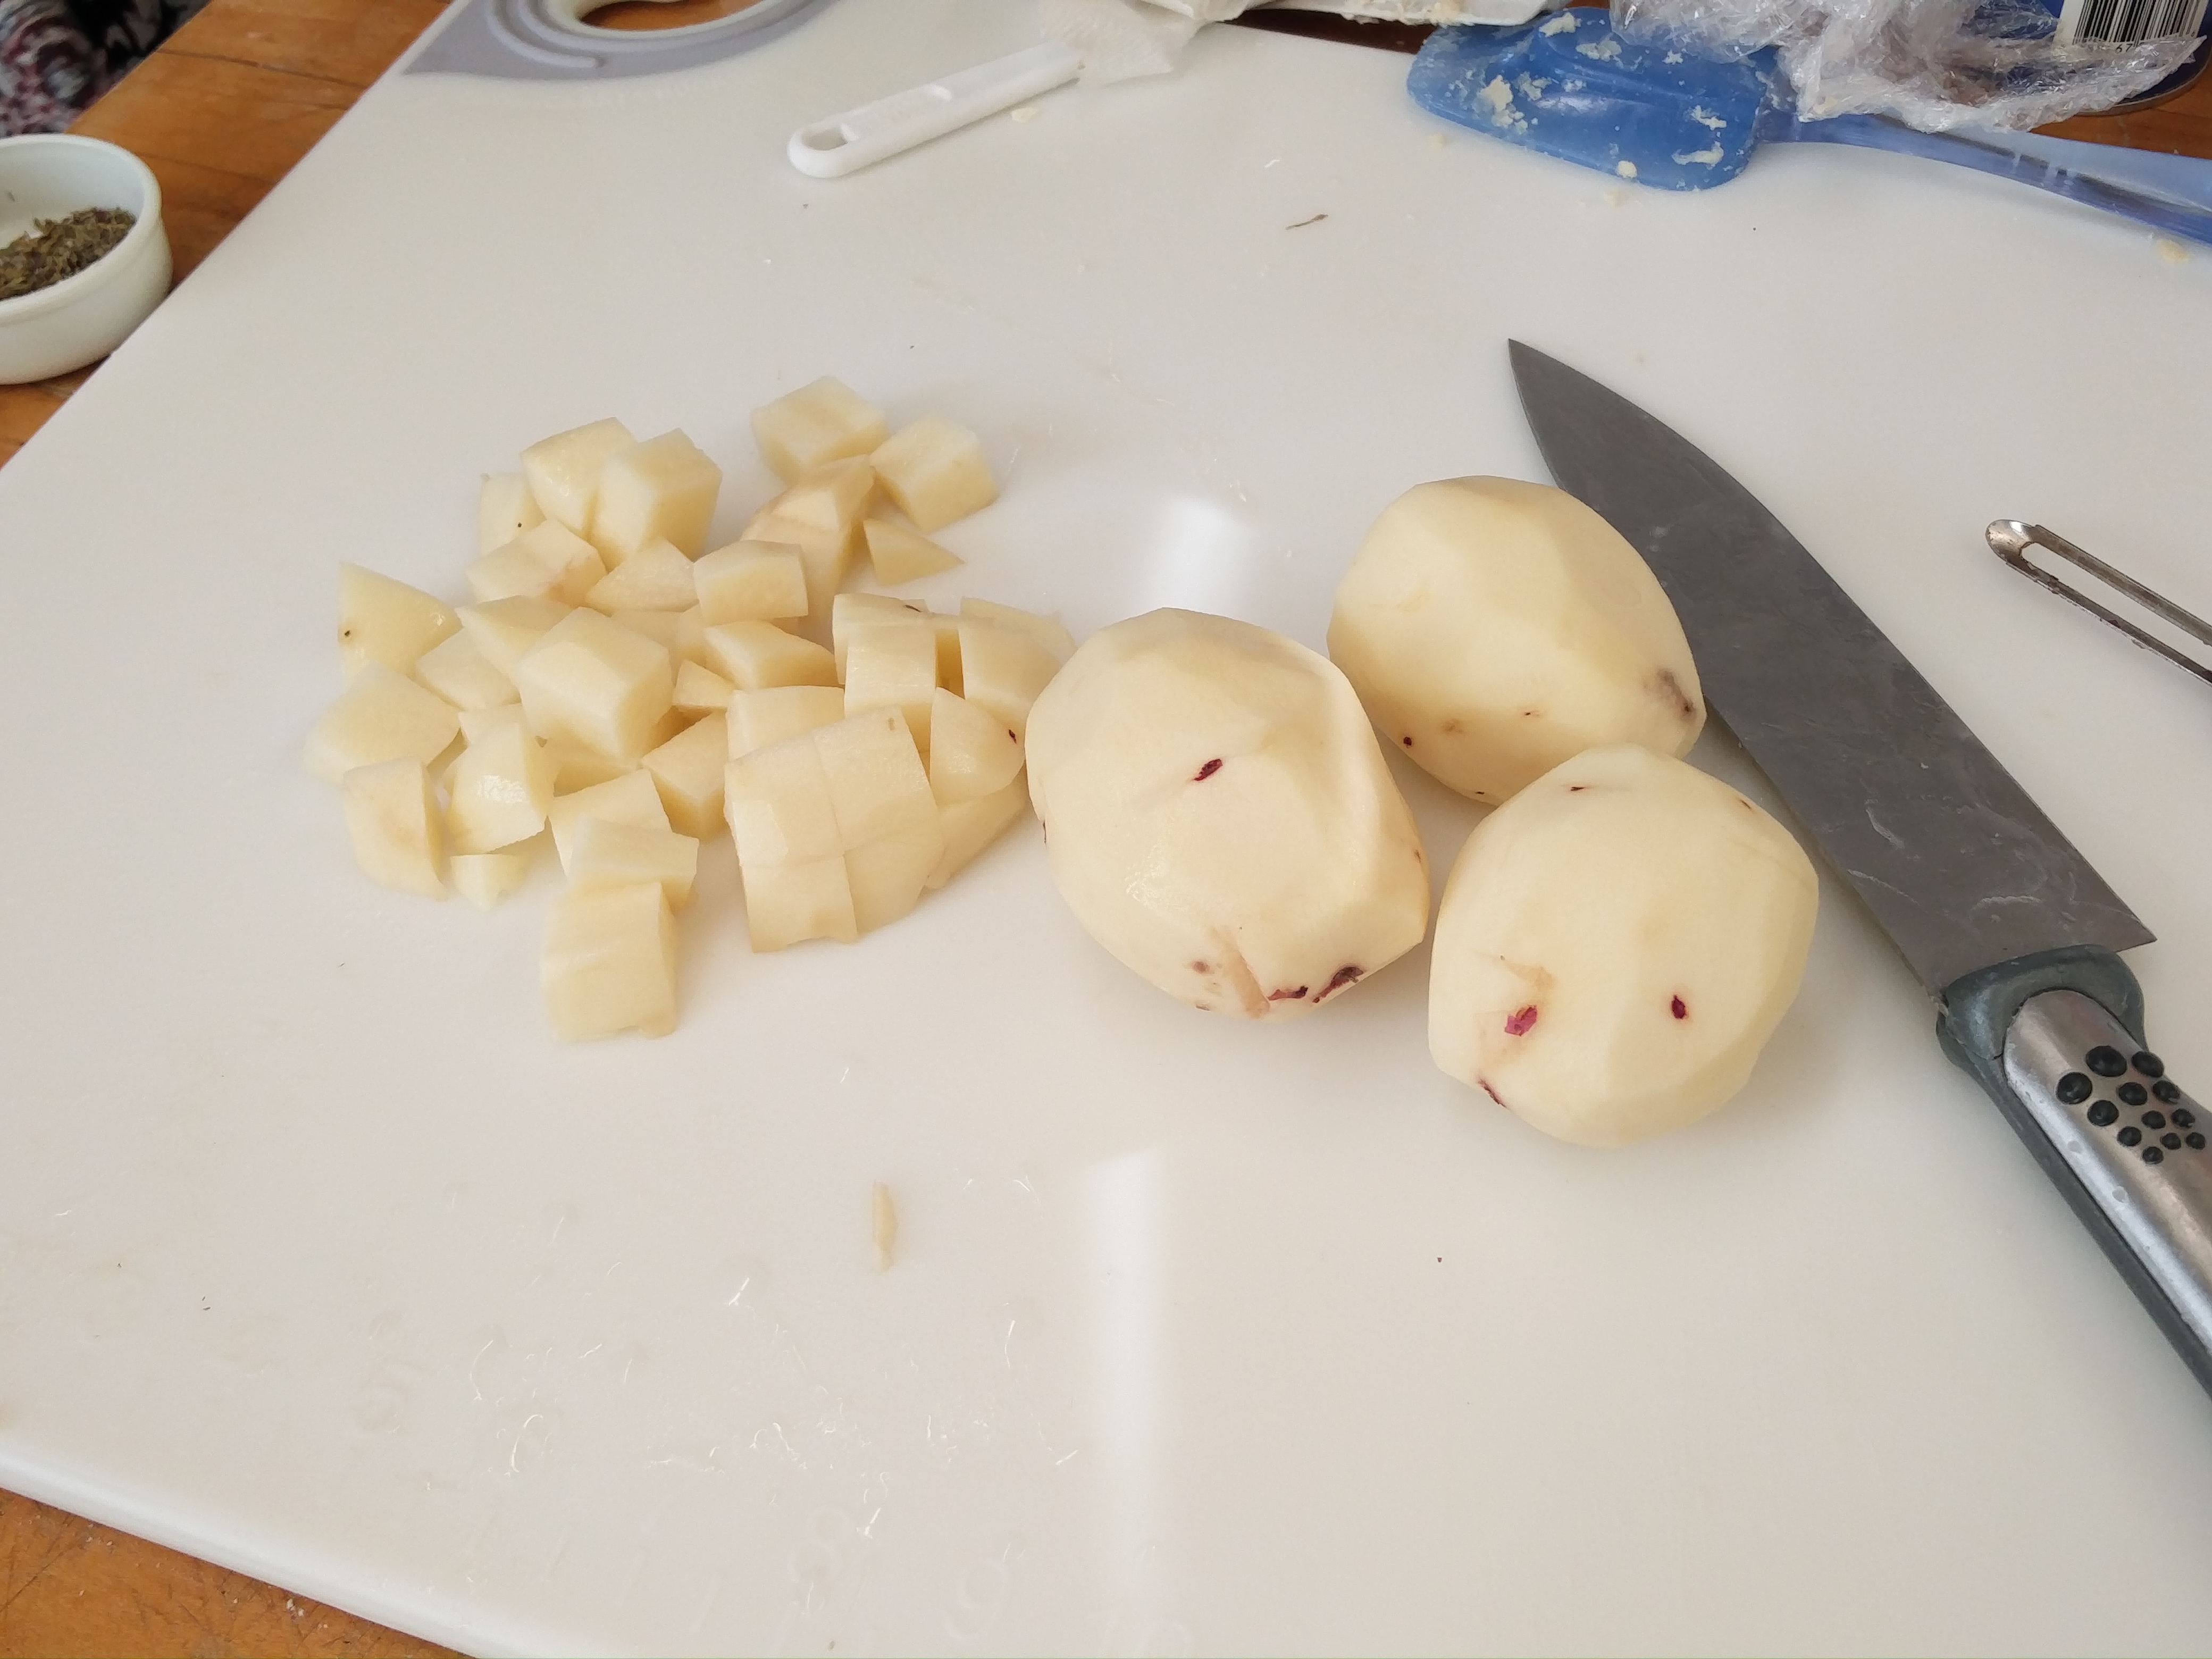
IMG_20160121_102430

Celery and Peas

Saute a small onion chopped in some butter and add chopped celery stalks from one head once onions turn translucent. Saute for a few minutes. Season and add 1 cup frozen peas. Simmer until all the water evaporates and the peas are tender.

Omelet 

Beat 4 eggs together with some salt and two tablespoons of whole milk. In a medium sized saucepans, add a knob of butter and pour a bit of the egg mixture to make a round omelet. Flip occasionally until omelet is cooked. Repeat until you have four omelets.

Gravy

Saute a medium chopped onion with some butter until onion changes color to brown. Add a few tablespoons of flour and mix with a wooden spoon for a minute or two to remove the rawness on a medium flame.. Add 3 tablespoons of heavy cream. Whisk and add a cup of hot stock and incorporate it in. Keep adding stock until the sauce attains a fairly thick consistency and retains it even after a few boils. Taste to check if any seasoning is needed in the gravy. However, it should be fairly well seasoned because of the stock.

Putting It Together

Roll out the pastry. Put in the pie platter and refrigerate for five minutes. Take it out and wash with egg white at the bottom to avoid sogginess. Following is the way I layered the pie but it can be in sequence:

Herbed Chicken – Omelette – Garlicky Mushrooms – Omelette – Caramelized Carrots – Omelette – 4 Cheese Mix + Peas & Celery – Omelette – Buttery Mashed Potatoes – Chicken
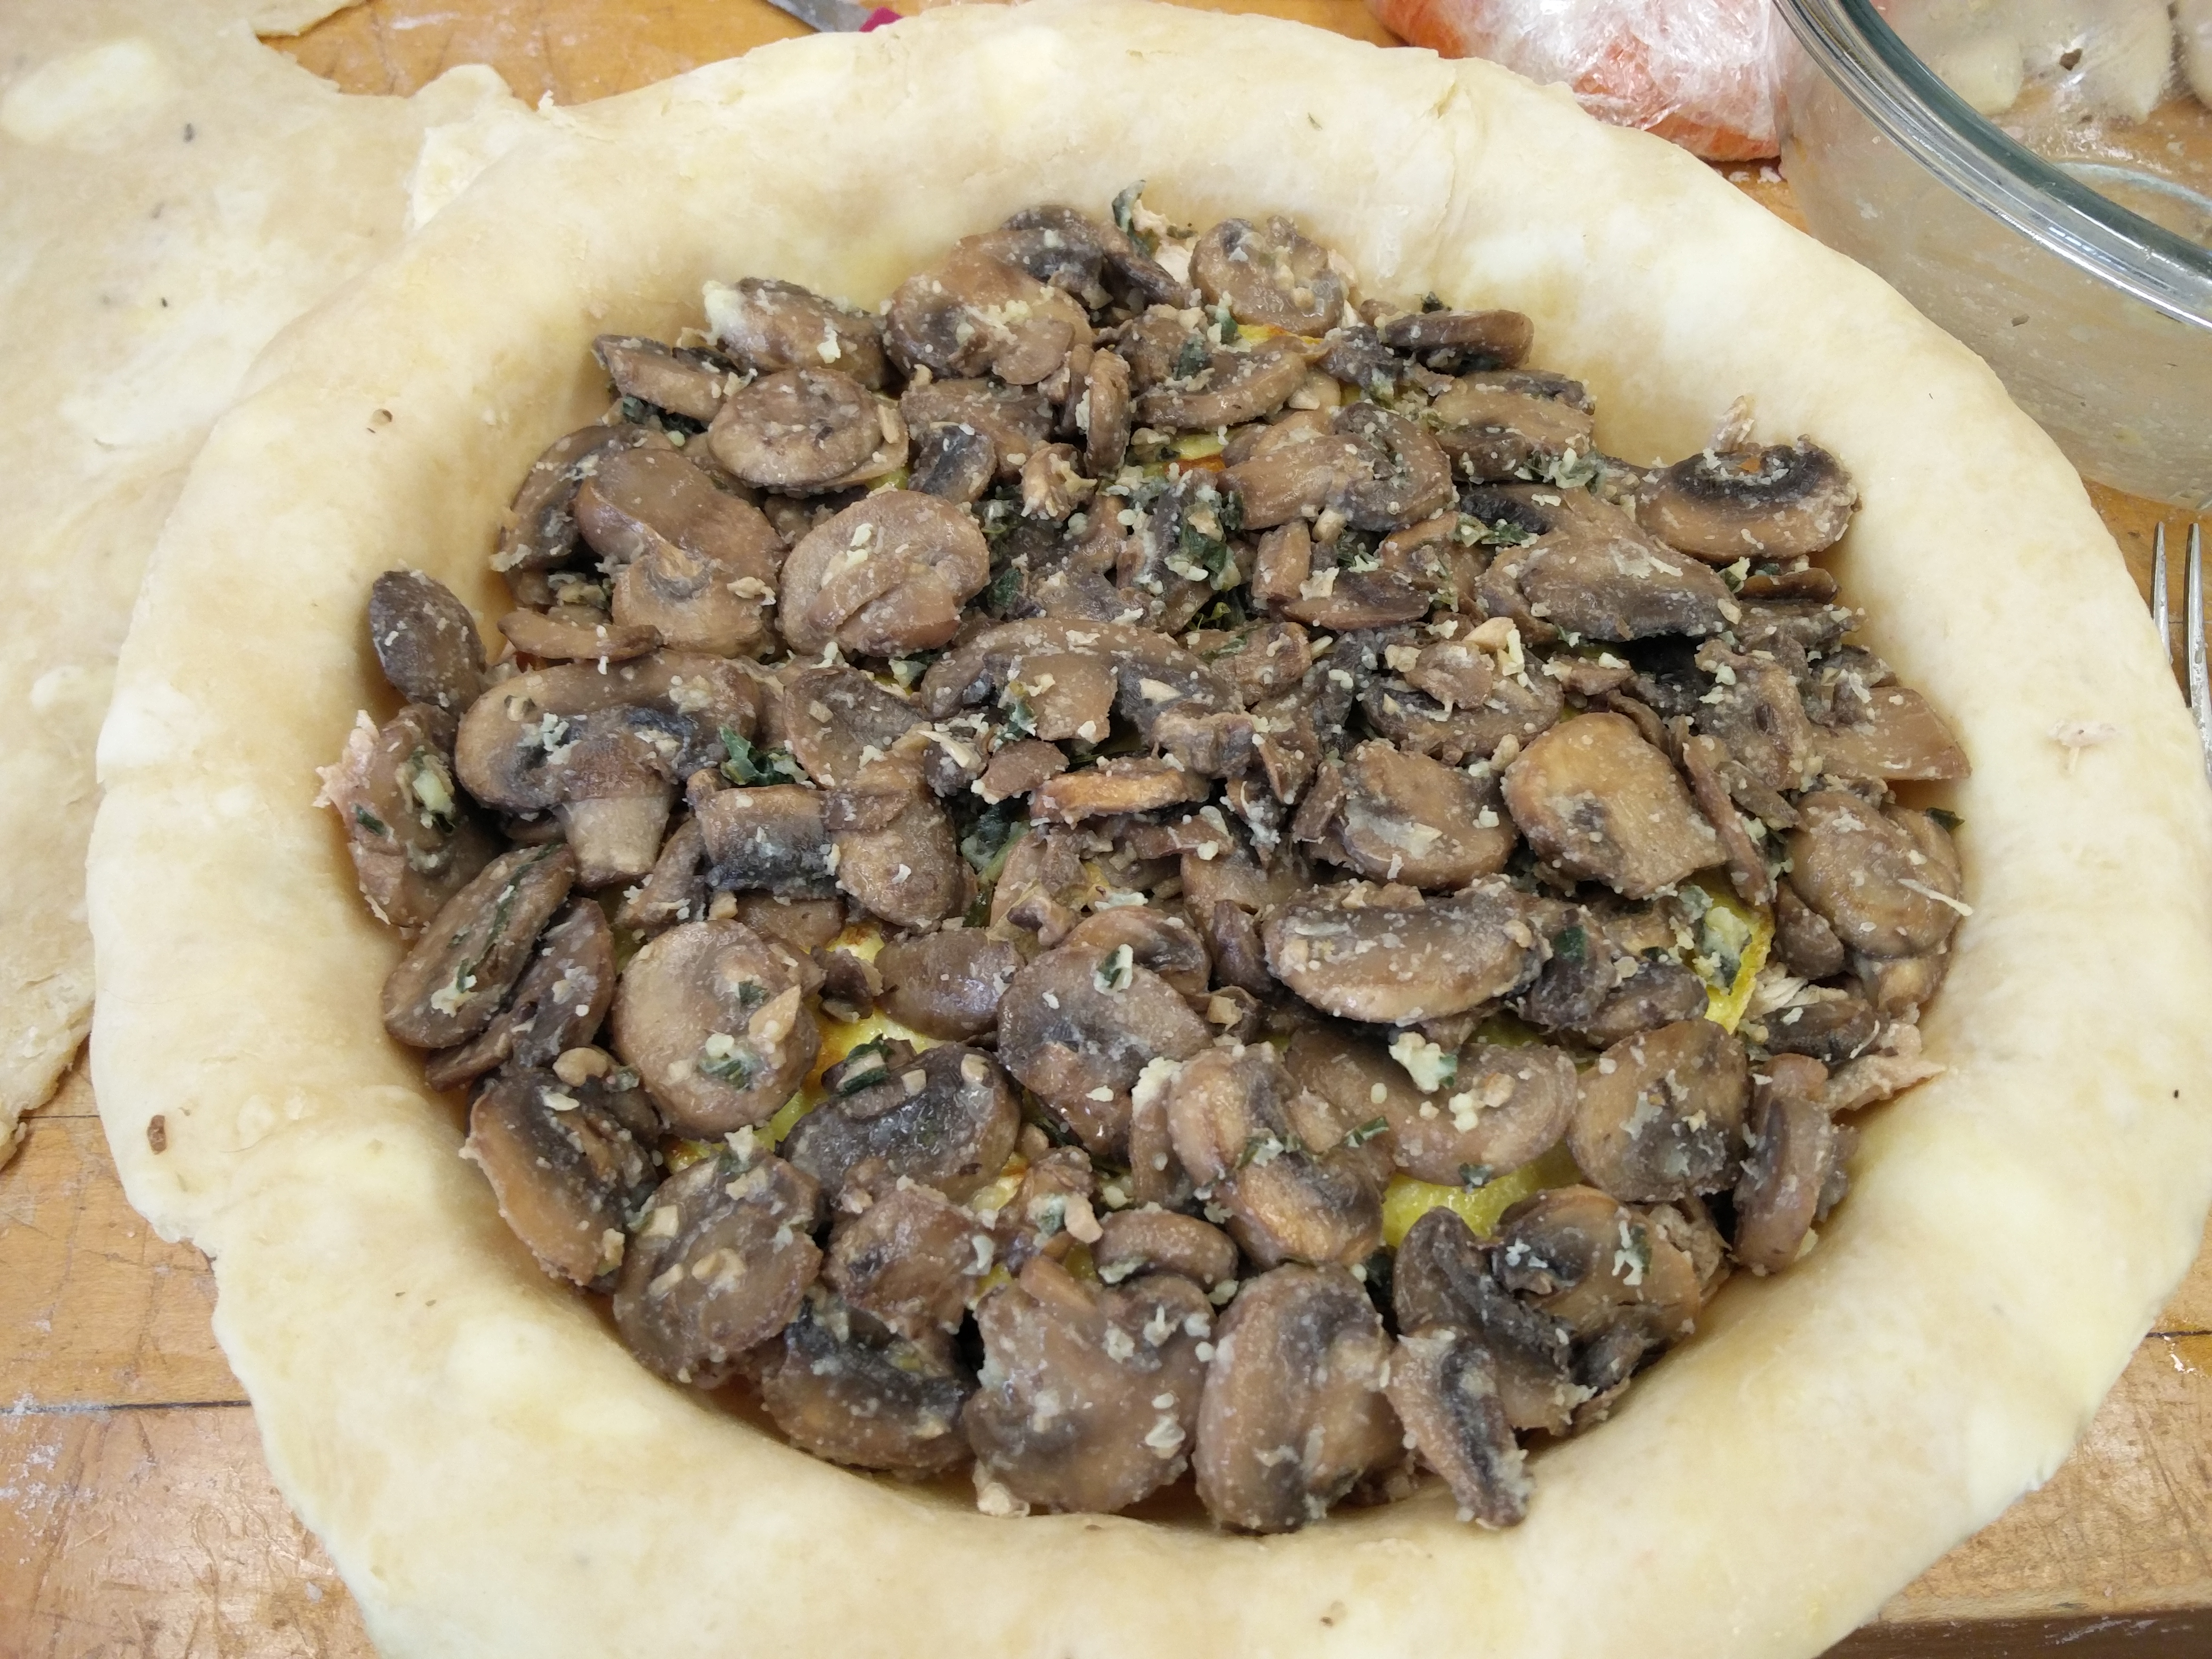
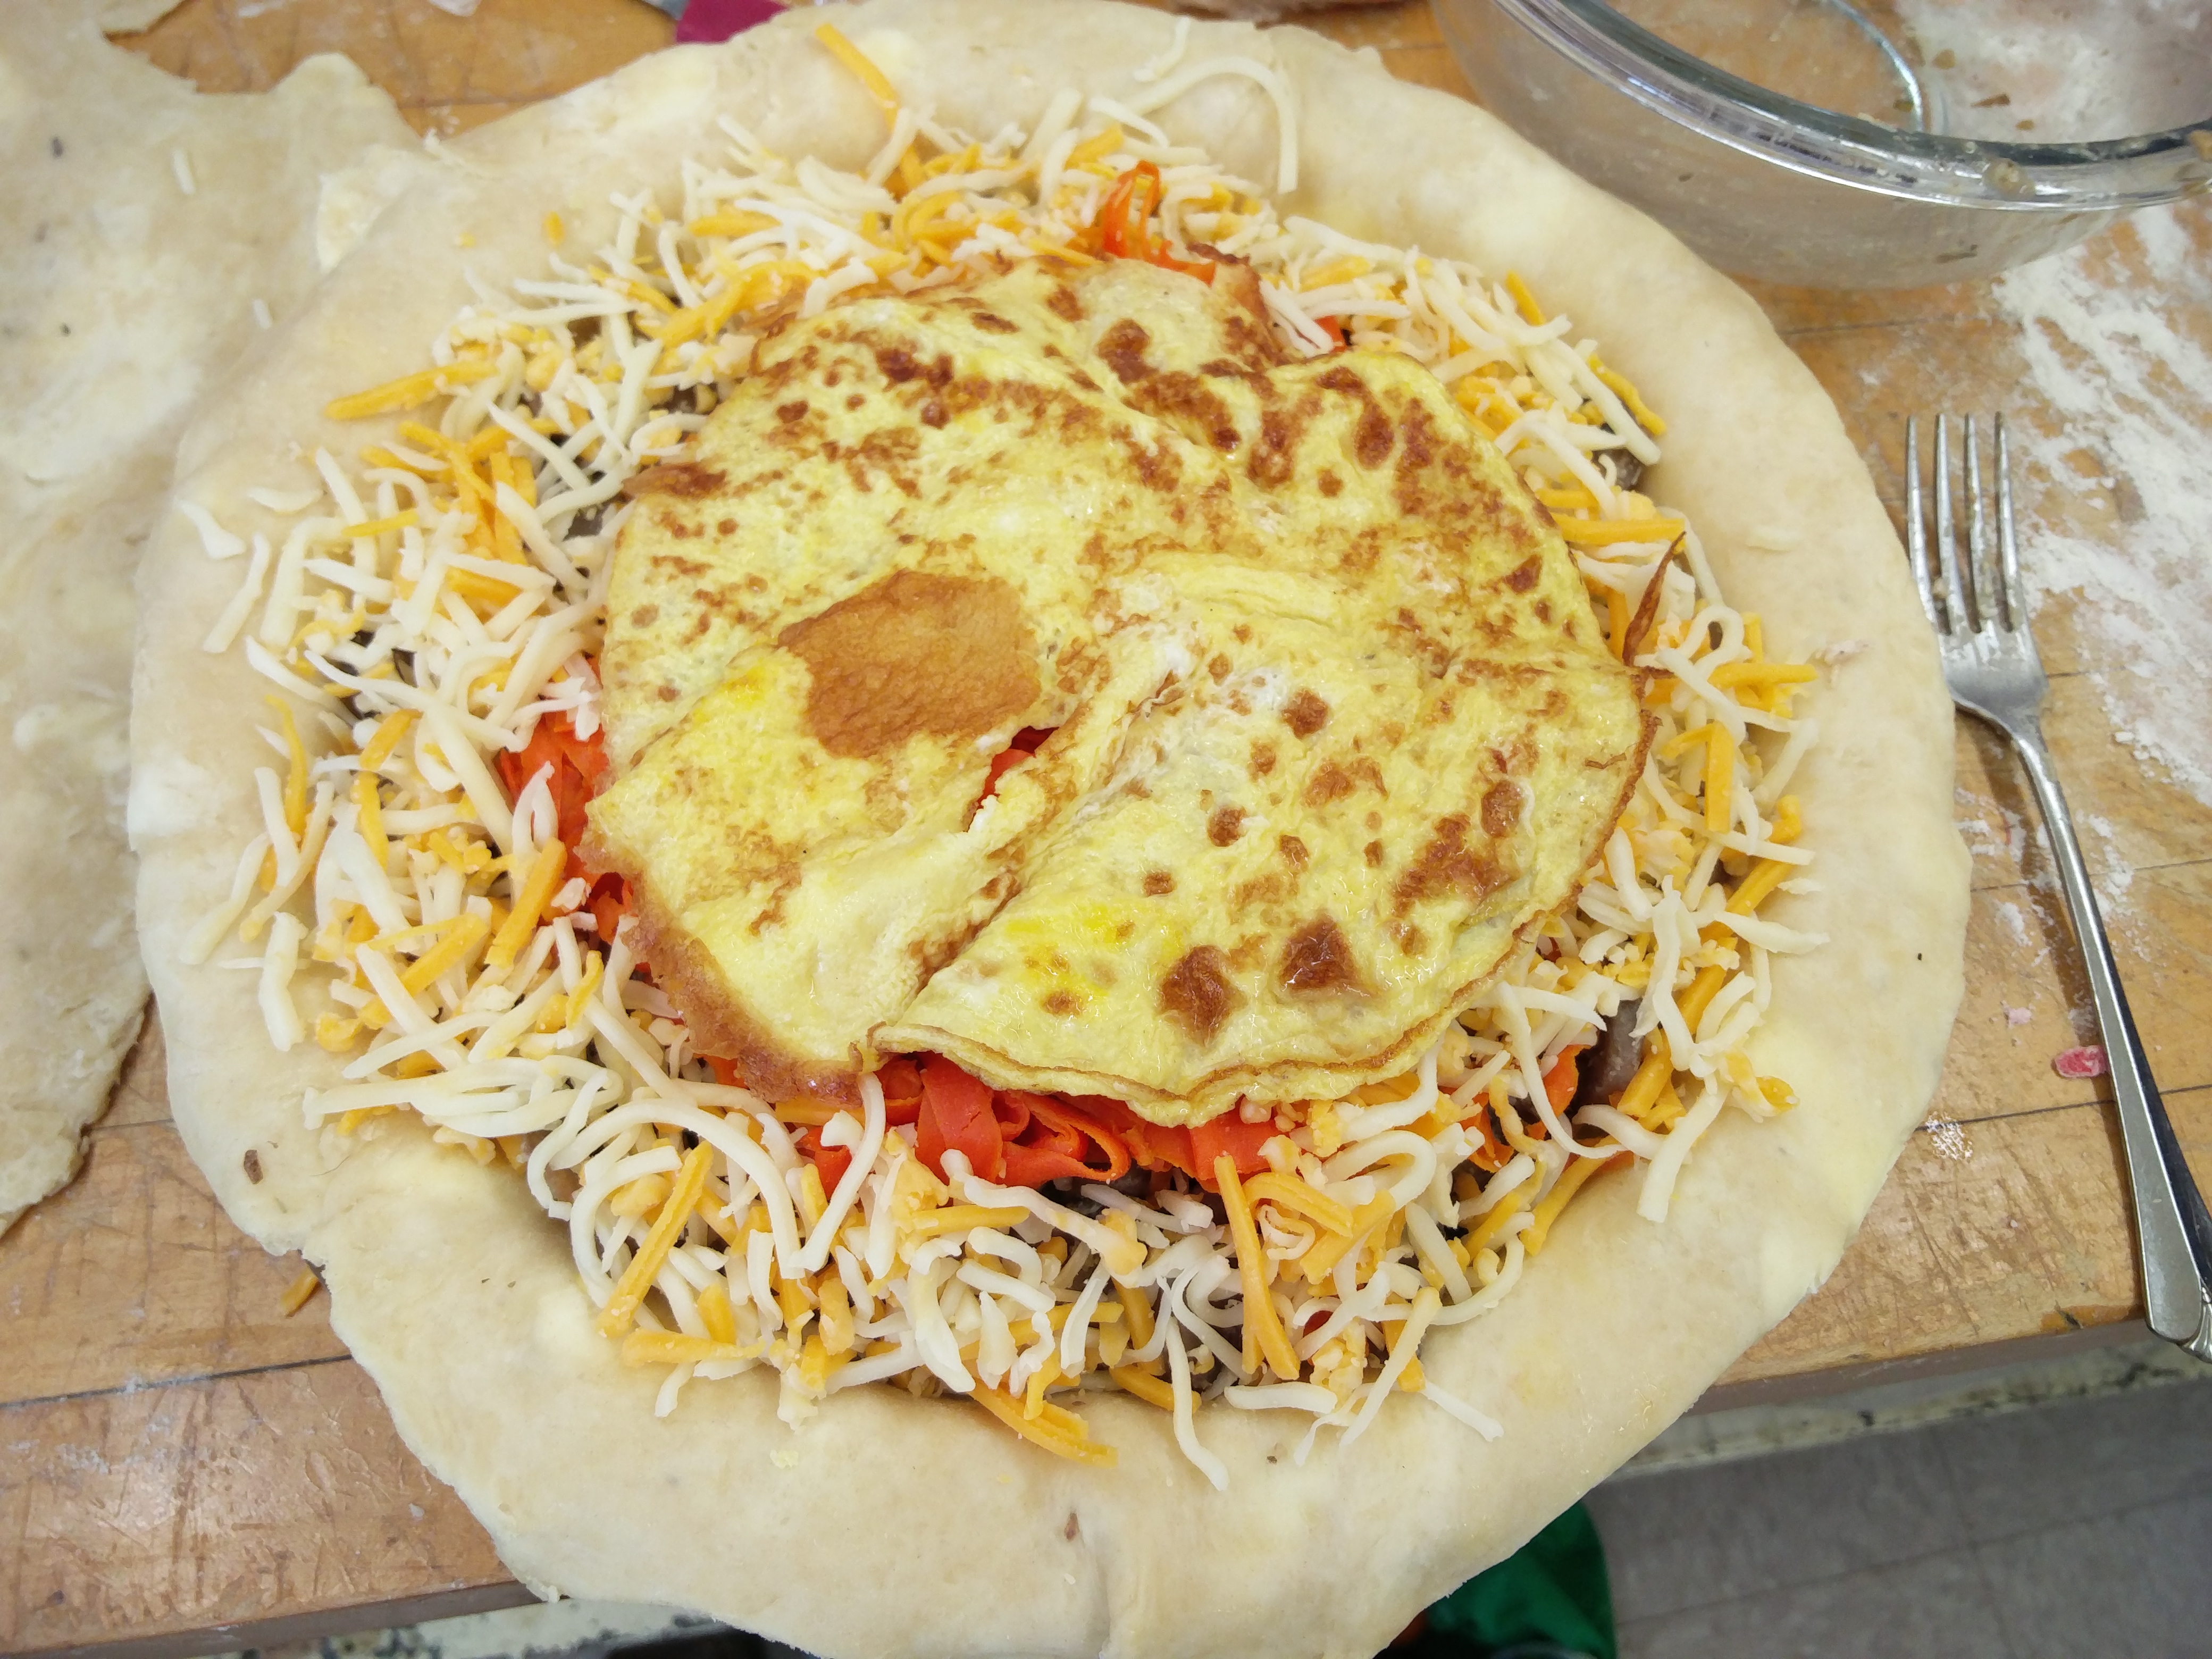
IMG_20160121_114532 IMG_20160121_114819 IMG_20160121_120041

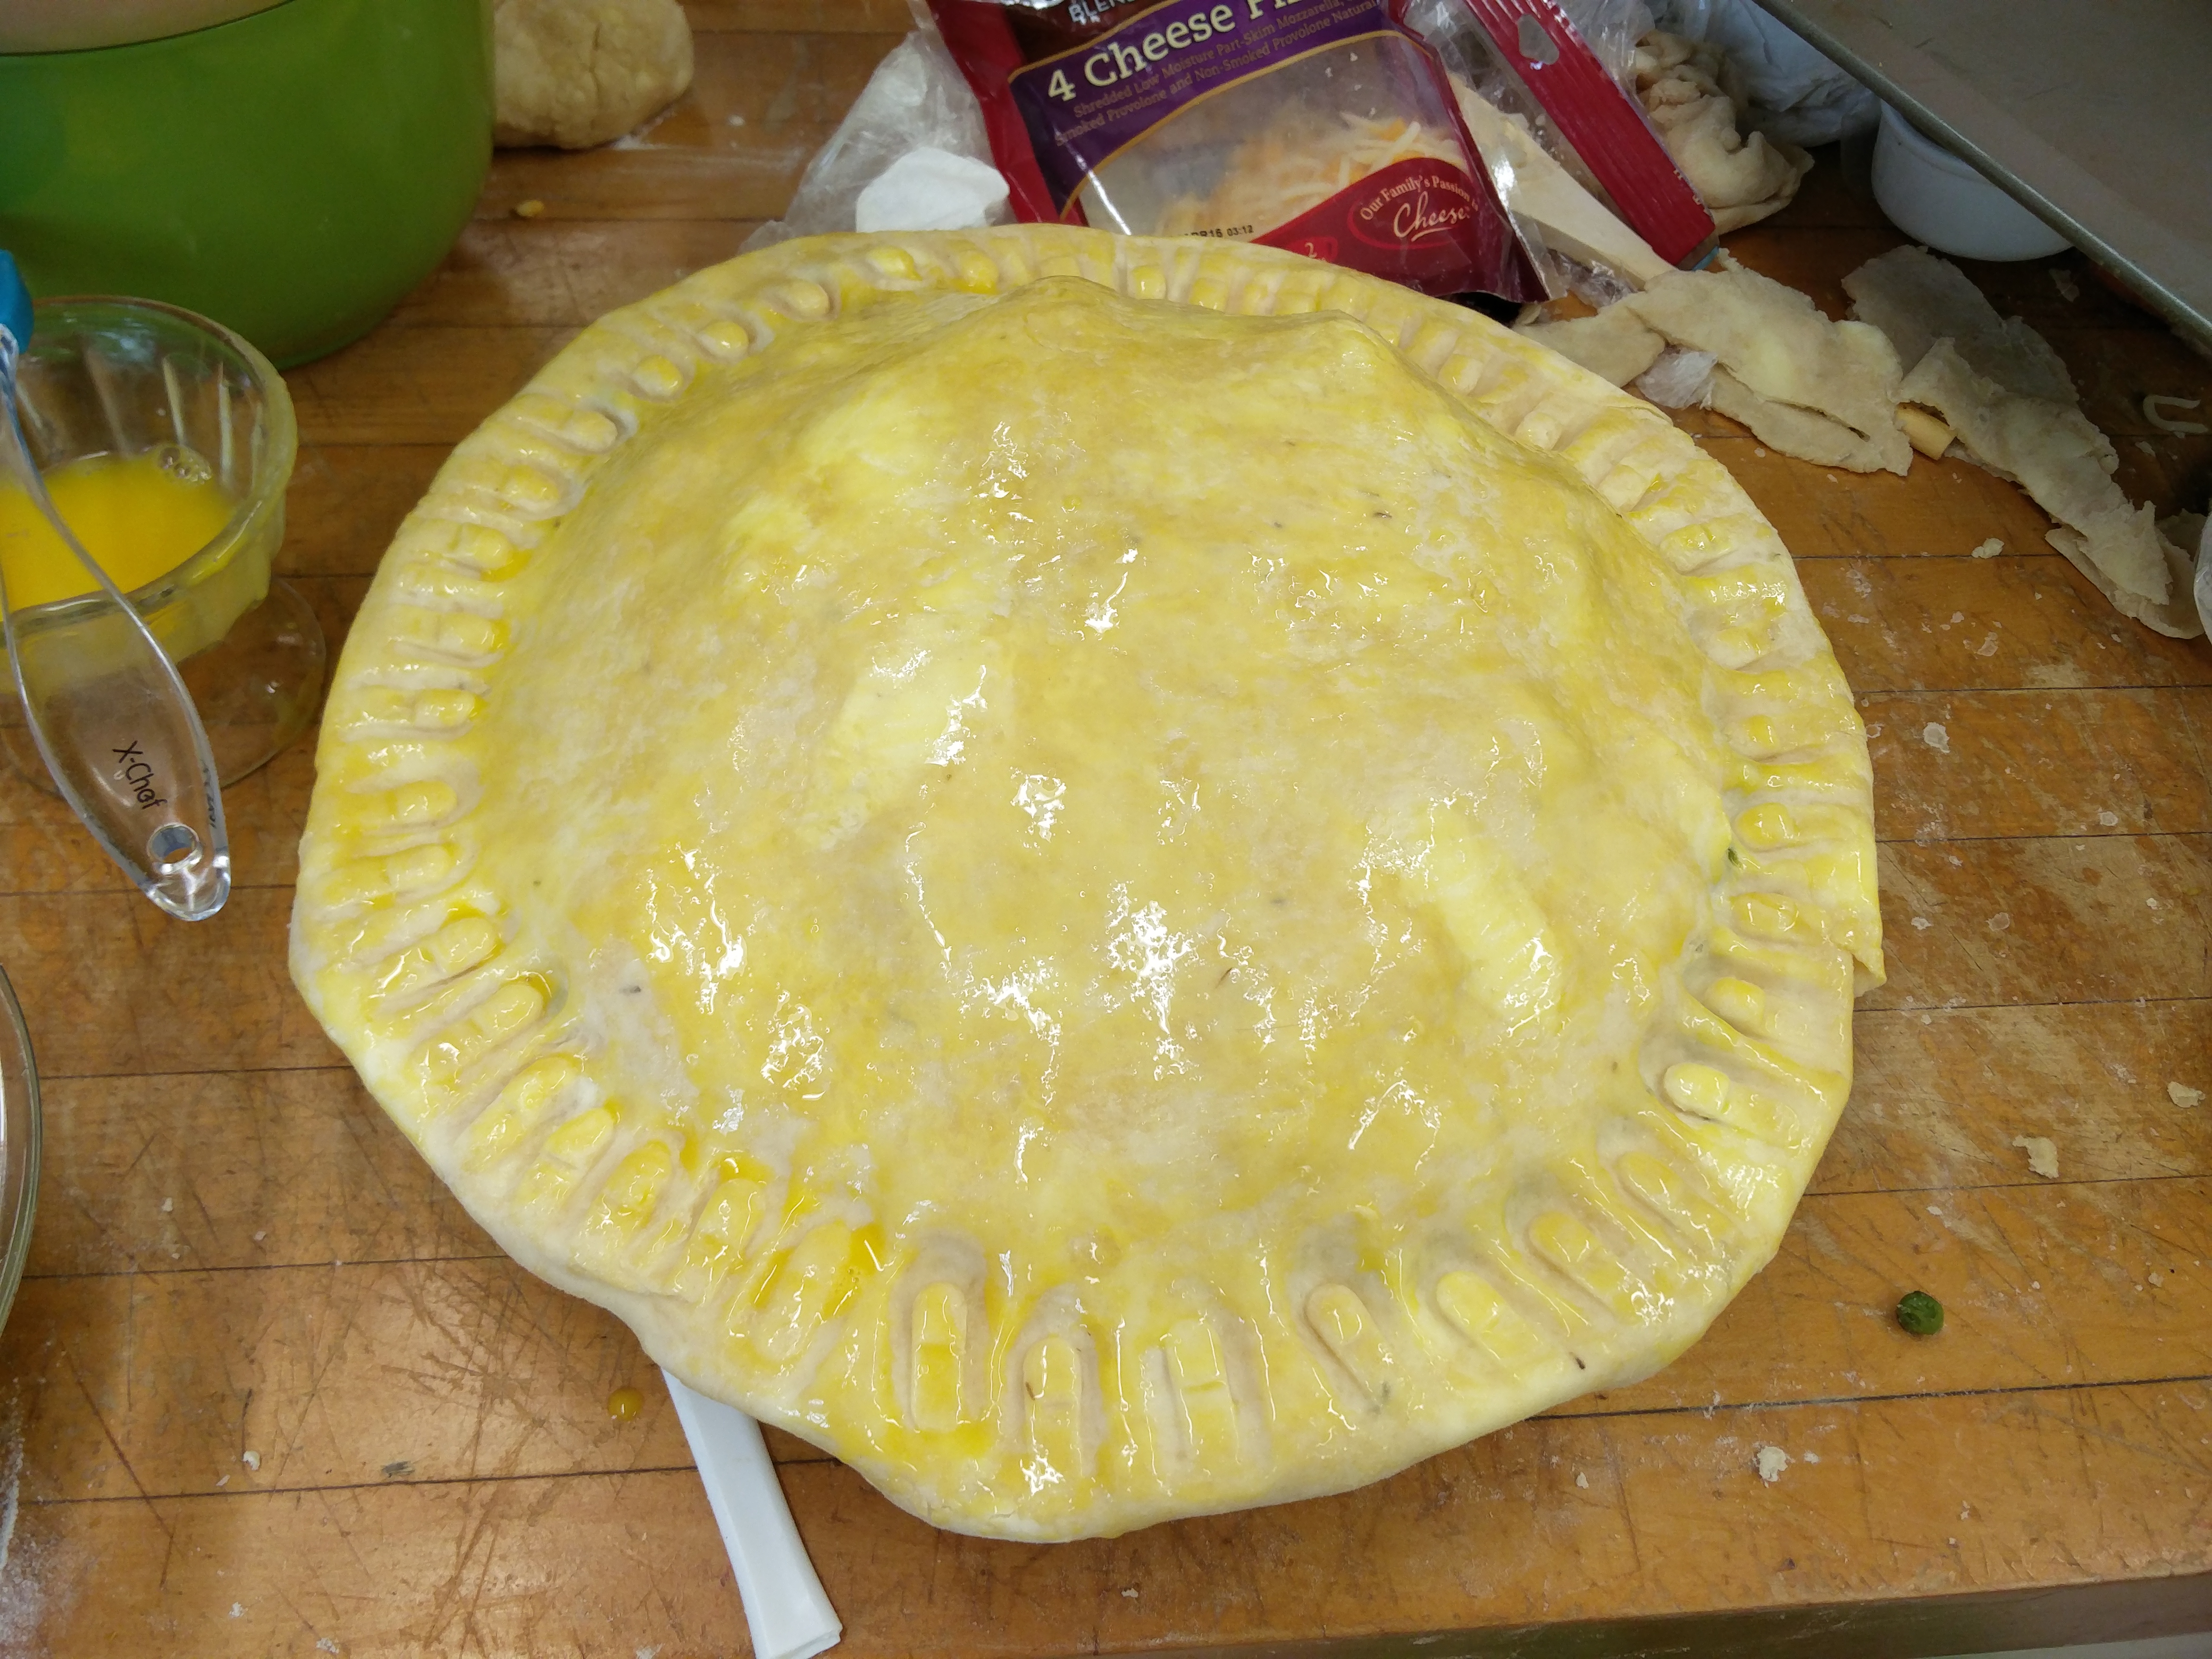
Roll out more pastry for the top crust. Seal it on top of the pie and wash with egg yolk and milk mixture and bake at 400F until crust is golden brown. Meanwhile, cut out roses or chickens or other decorative shapes to be baked separately until pastry is golden brown and then put separately on top of the pie once the pie is cooked. I used toothpicks to secure put the roses on top (thanks to Neftaly for showing me how to make IMG_20160121_131008-01
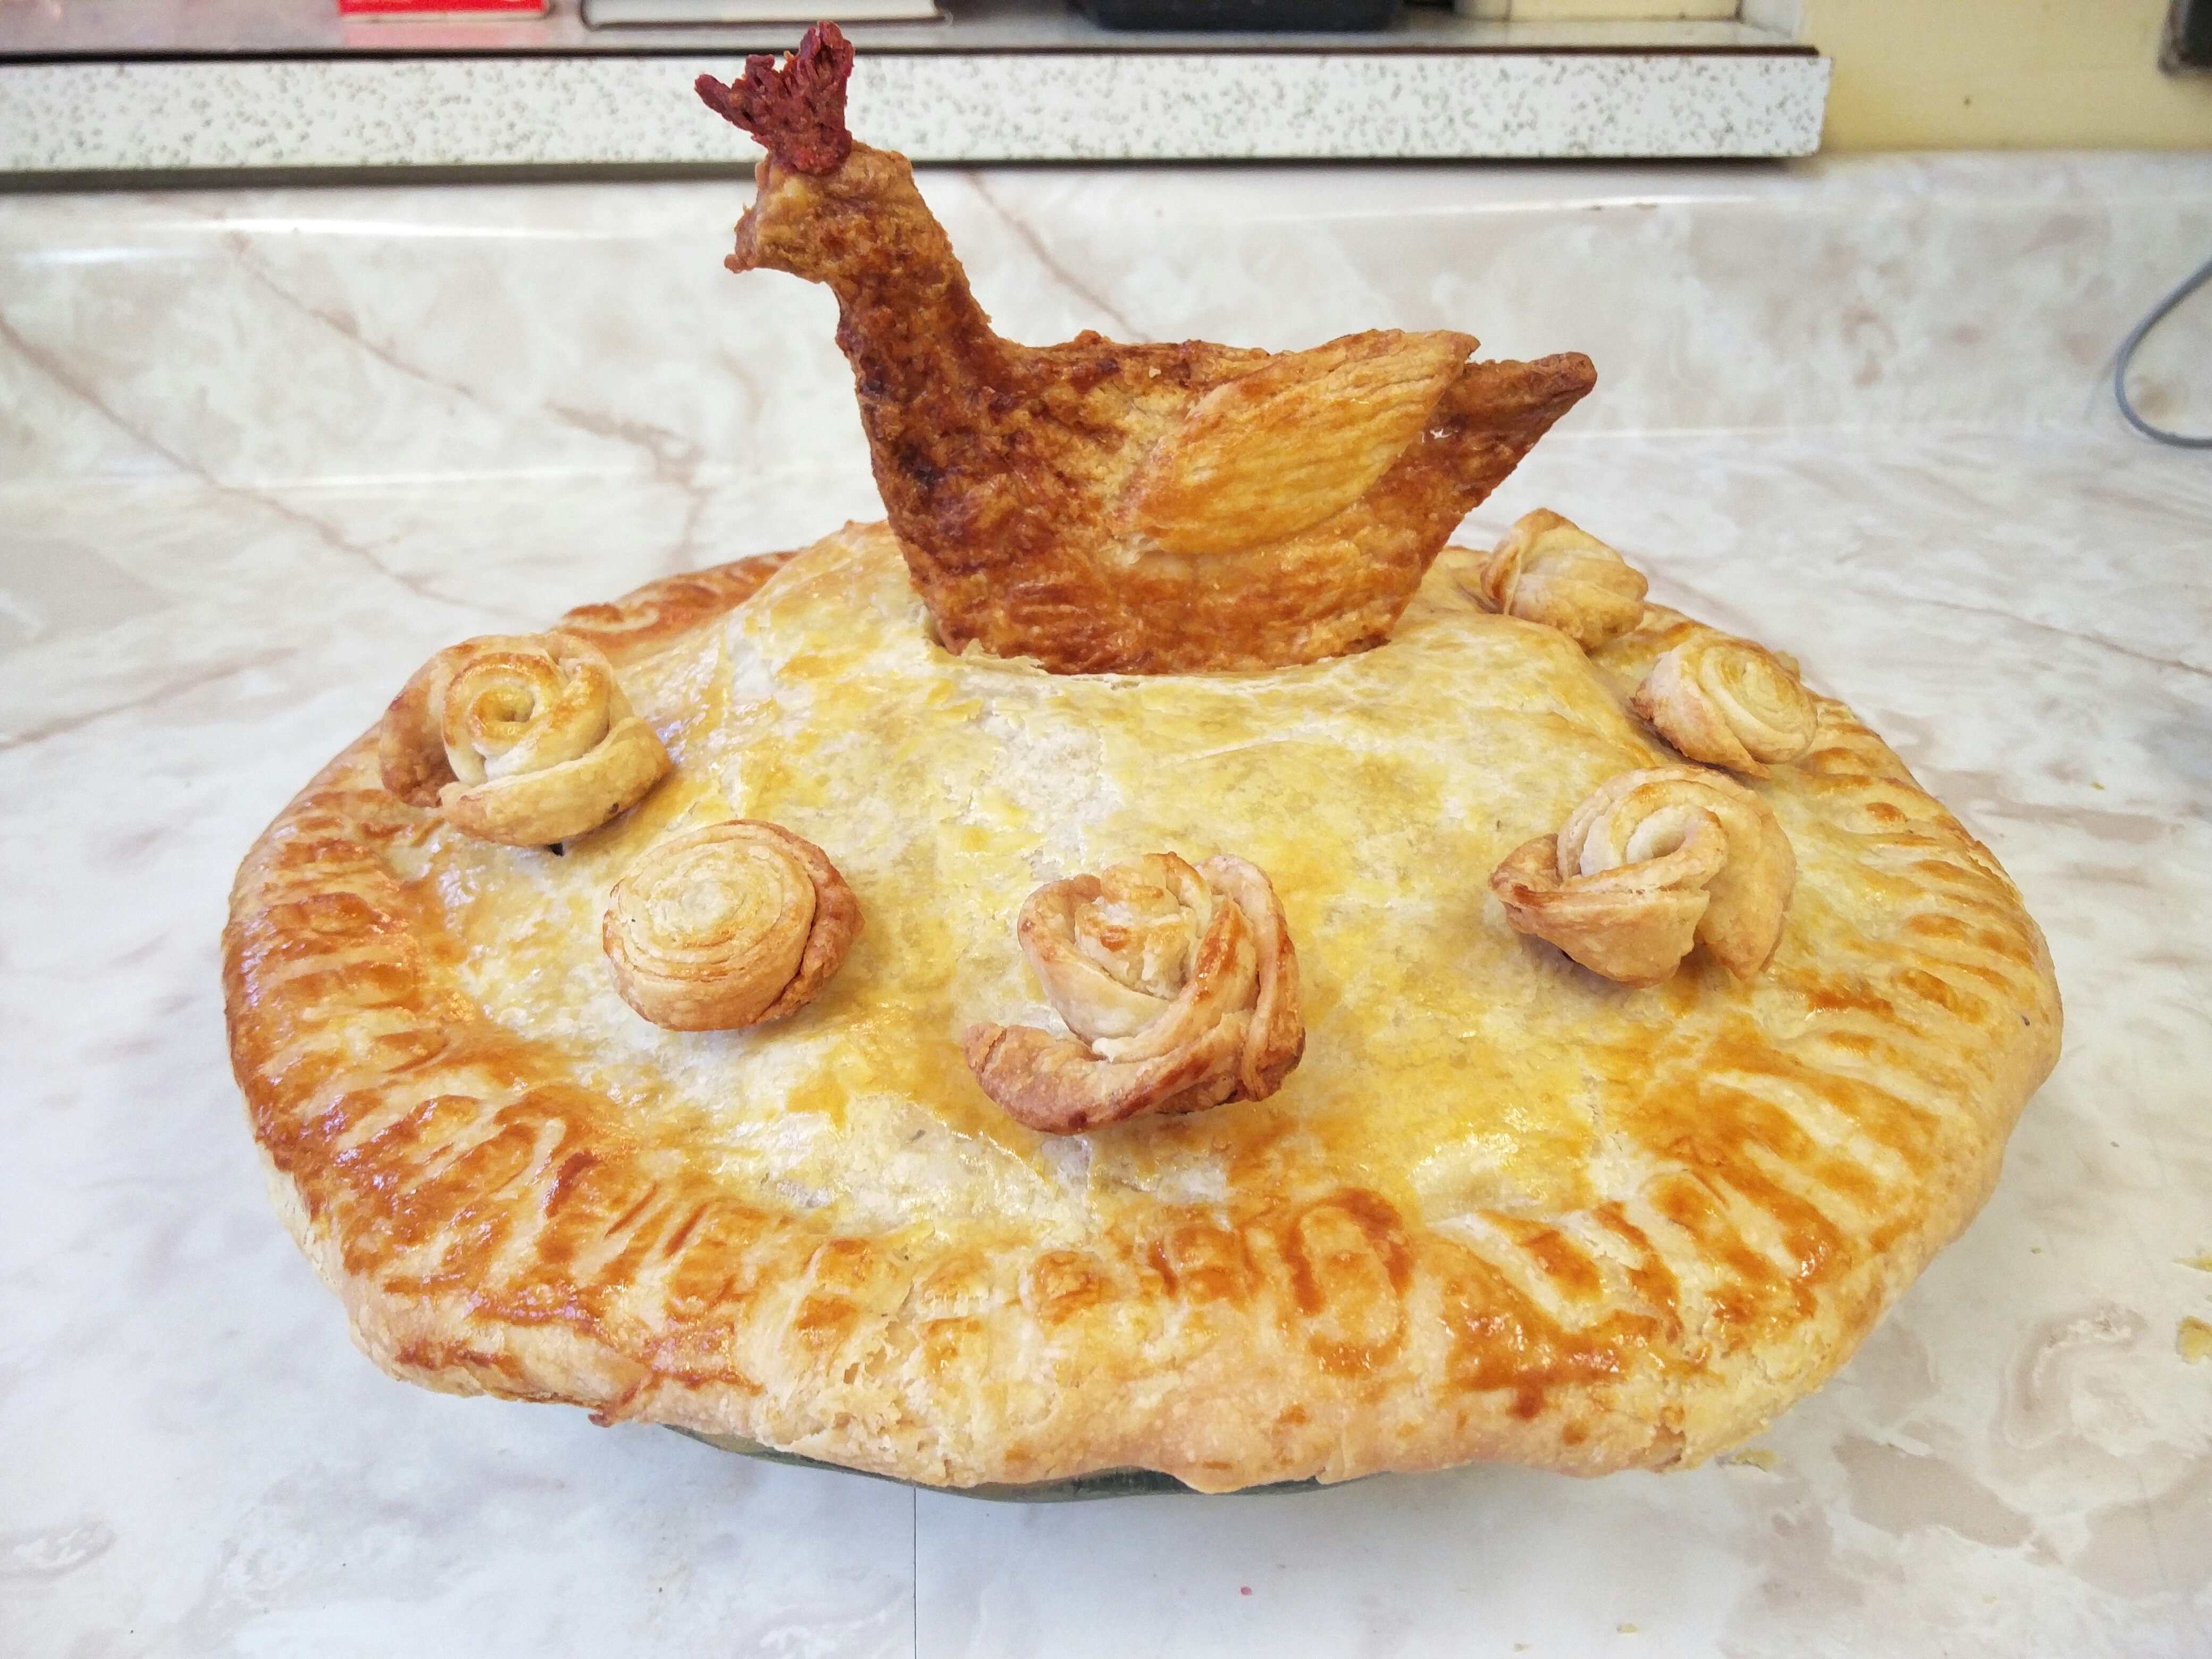
Madness achieved. Serve with warm gravy on the side.
An Exotic Moroccan Lamb Tagine Pie!

As soon as I realized that we were going to make a savory pie this week, I knew that it had to have bags of flavor. A filling with complex flavors and spices that would give the eater a different tasting experience on each bite. After much deliberation, I remembered a video I saw as a kid once: Nigella Lawson cooking a Moroccan Lamb Tagine. I looked for the video, saw it again and knew that I had to make a Moroccan Lamb Tagine Pie.

In my search for the maximum amount and complexity, I looked up two more Moroccan Lamb Tagine recipes and combined the ingredients and methods to what would hopefully become the “ultimate” Lamb Tagine Pie. In addition to these recipes I also added a touch of some Pakistani cooking techniques to the recipes to give it a personal touch. Here are the links to the three recipes I used for my pie followed by a breakdown of how I combined all three of them.

http://www.myrecipes.com/recipe/lamb-tagine-shepherds-pie

http://www.goodfood.com.au/good-food/cook/recipe/moroccan-lamb-pie-20121002-344vc.html

http://www.foodnetwork.com/recipes/nigella-lawson/lamb-olive-and-caramelised-onion-tagine-recipe.html

Pie Filling:

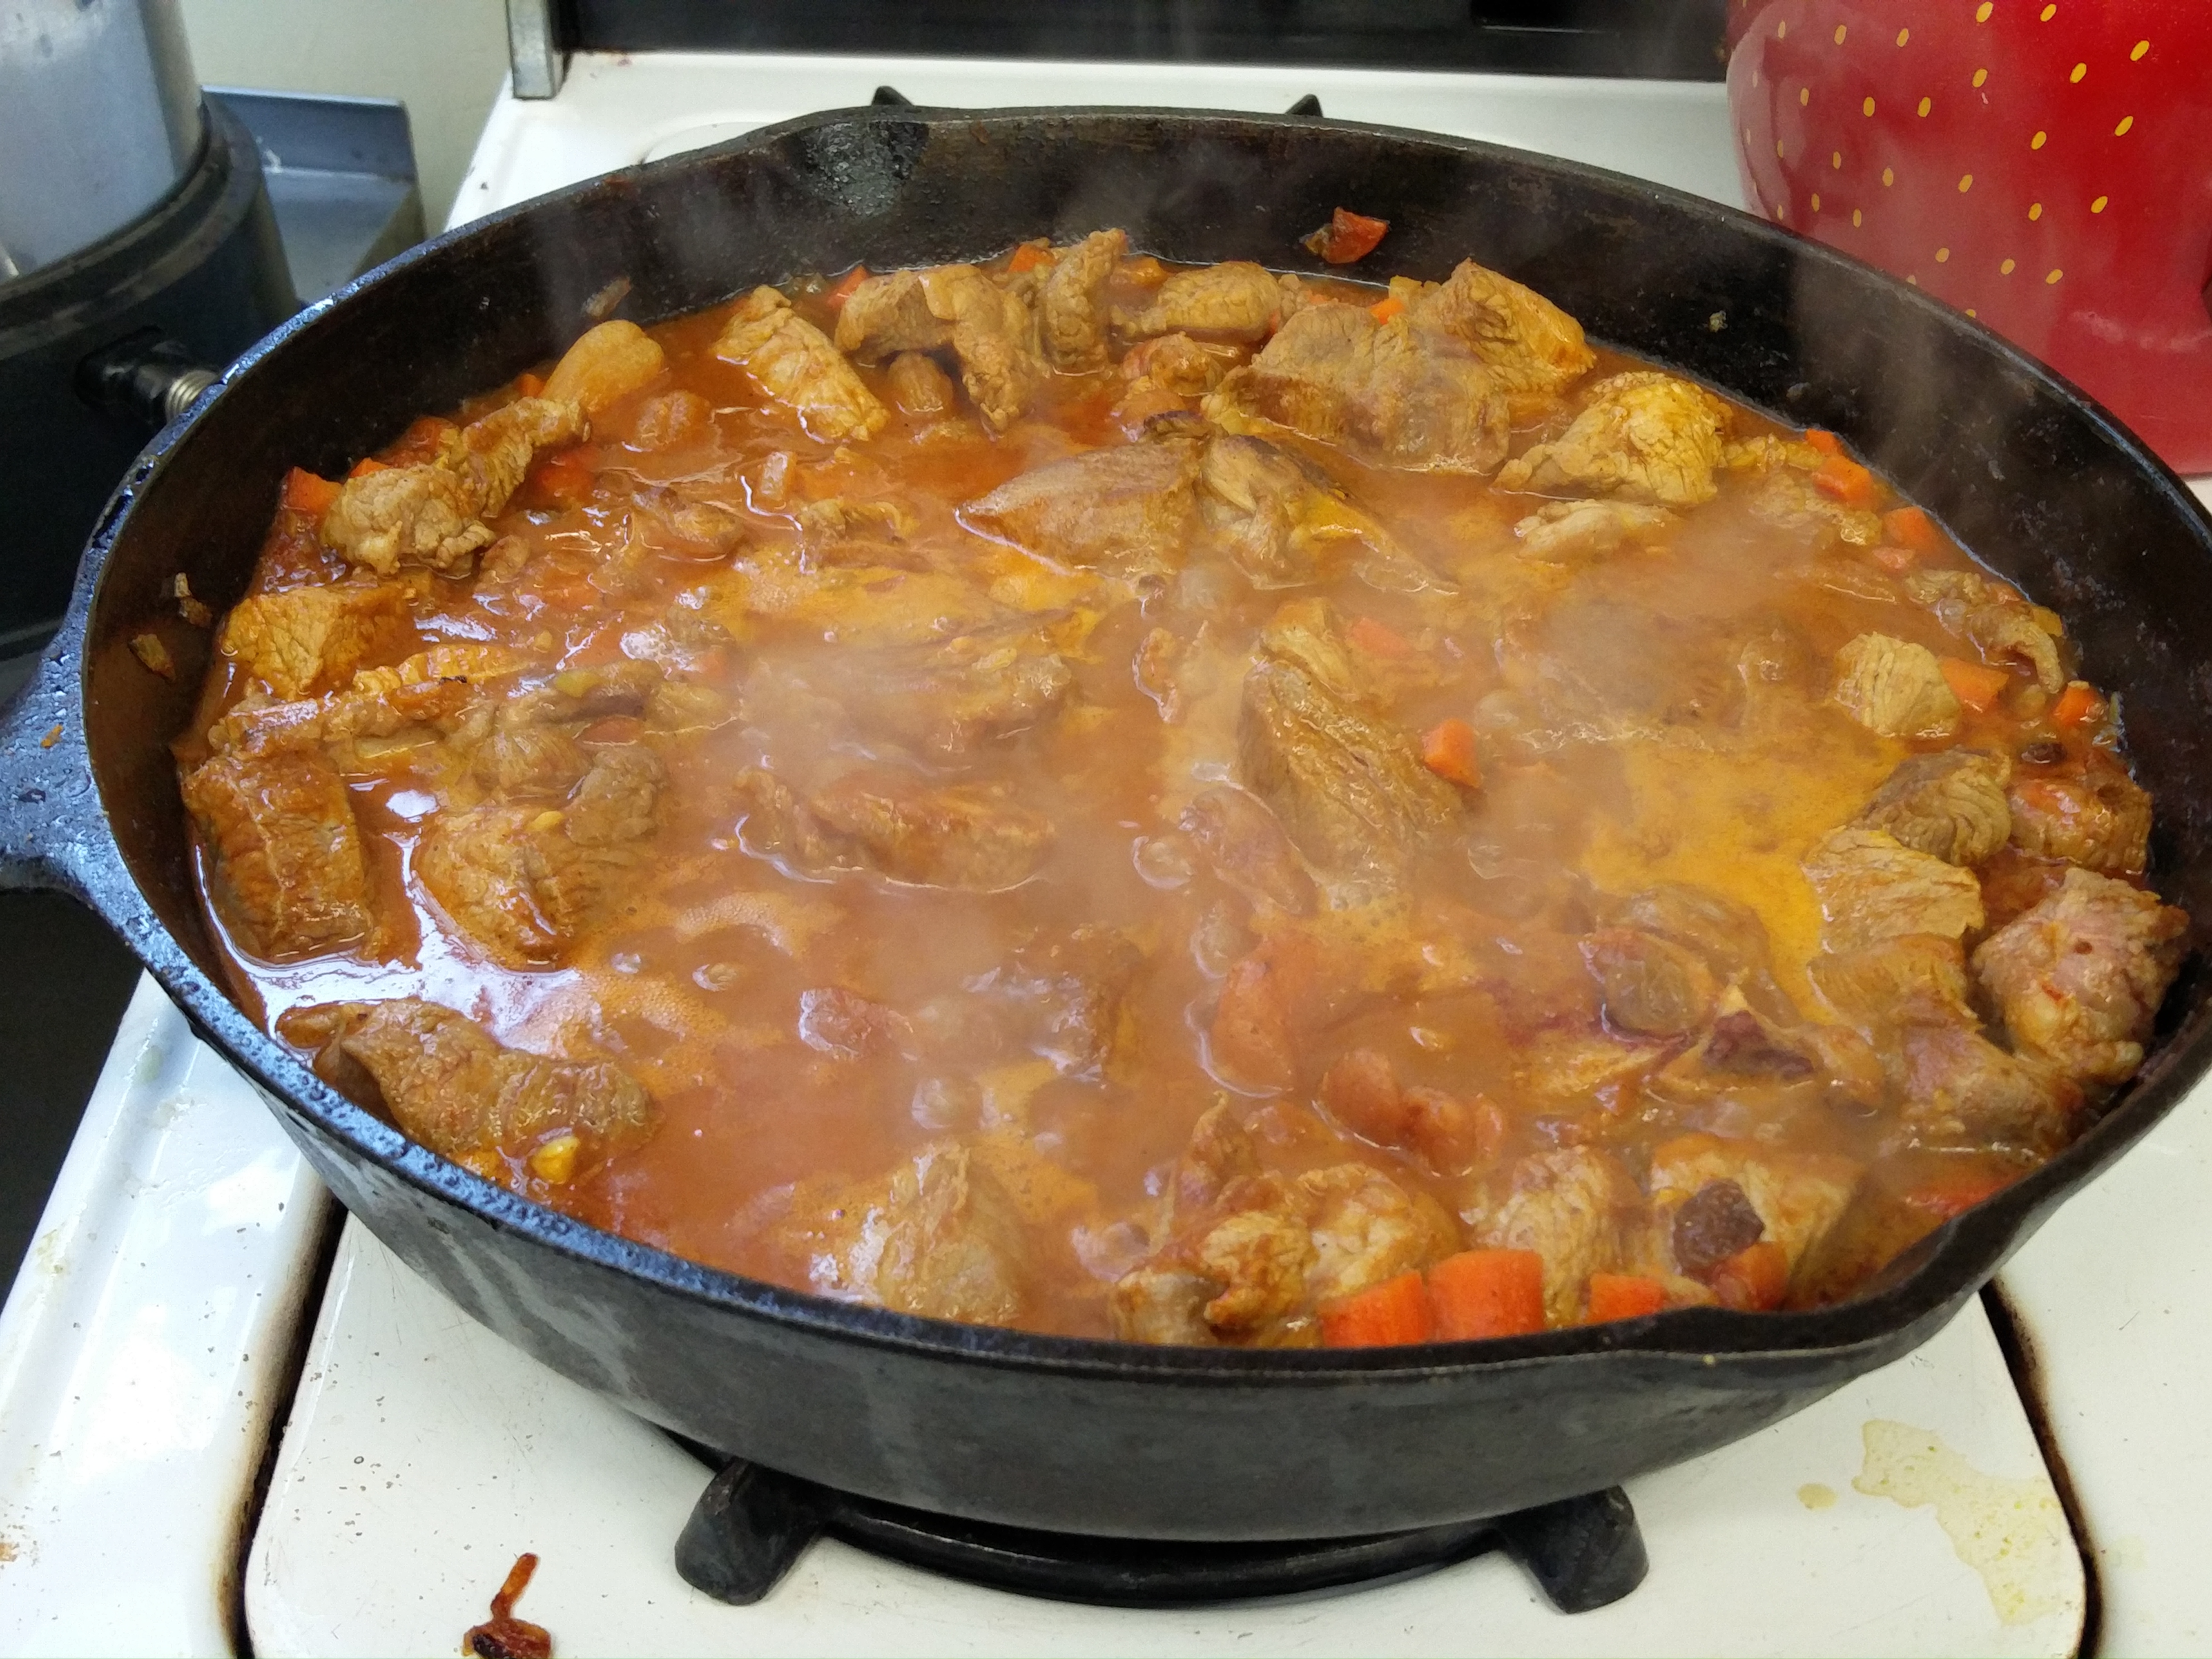
I started with caramelizing slices of one white onion in a mixture of butter and olive oil in a heavy-bottomed cast iron pan. A pinch of salt speeds up the process considerably. While this was happening, I prepared the meat by cutting it into small bite-size pieces. I used one packet of boneless lamb shoulder and used one packet of lamb leg pieces with bone. I deboned the lamb leg pieces and kept the bones to give some extra flavor to the tagine.

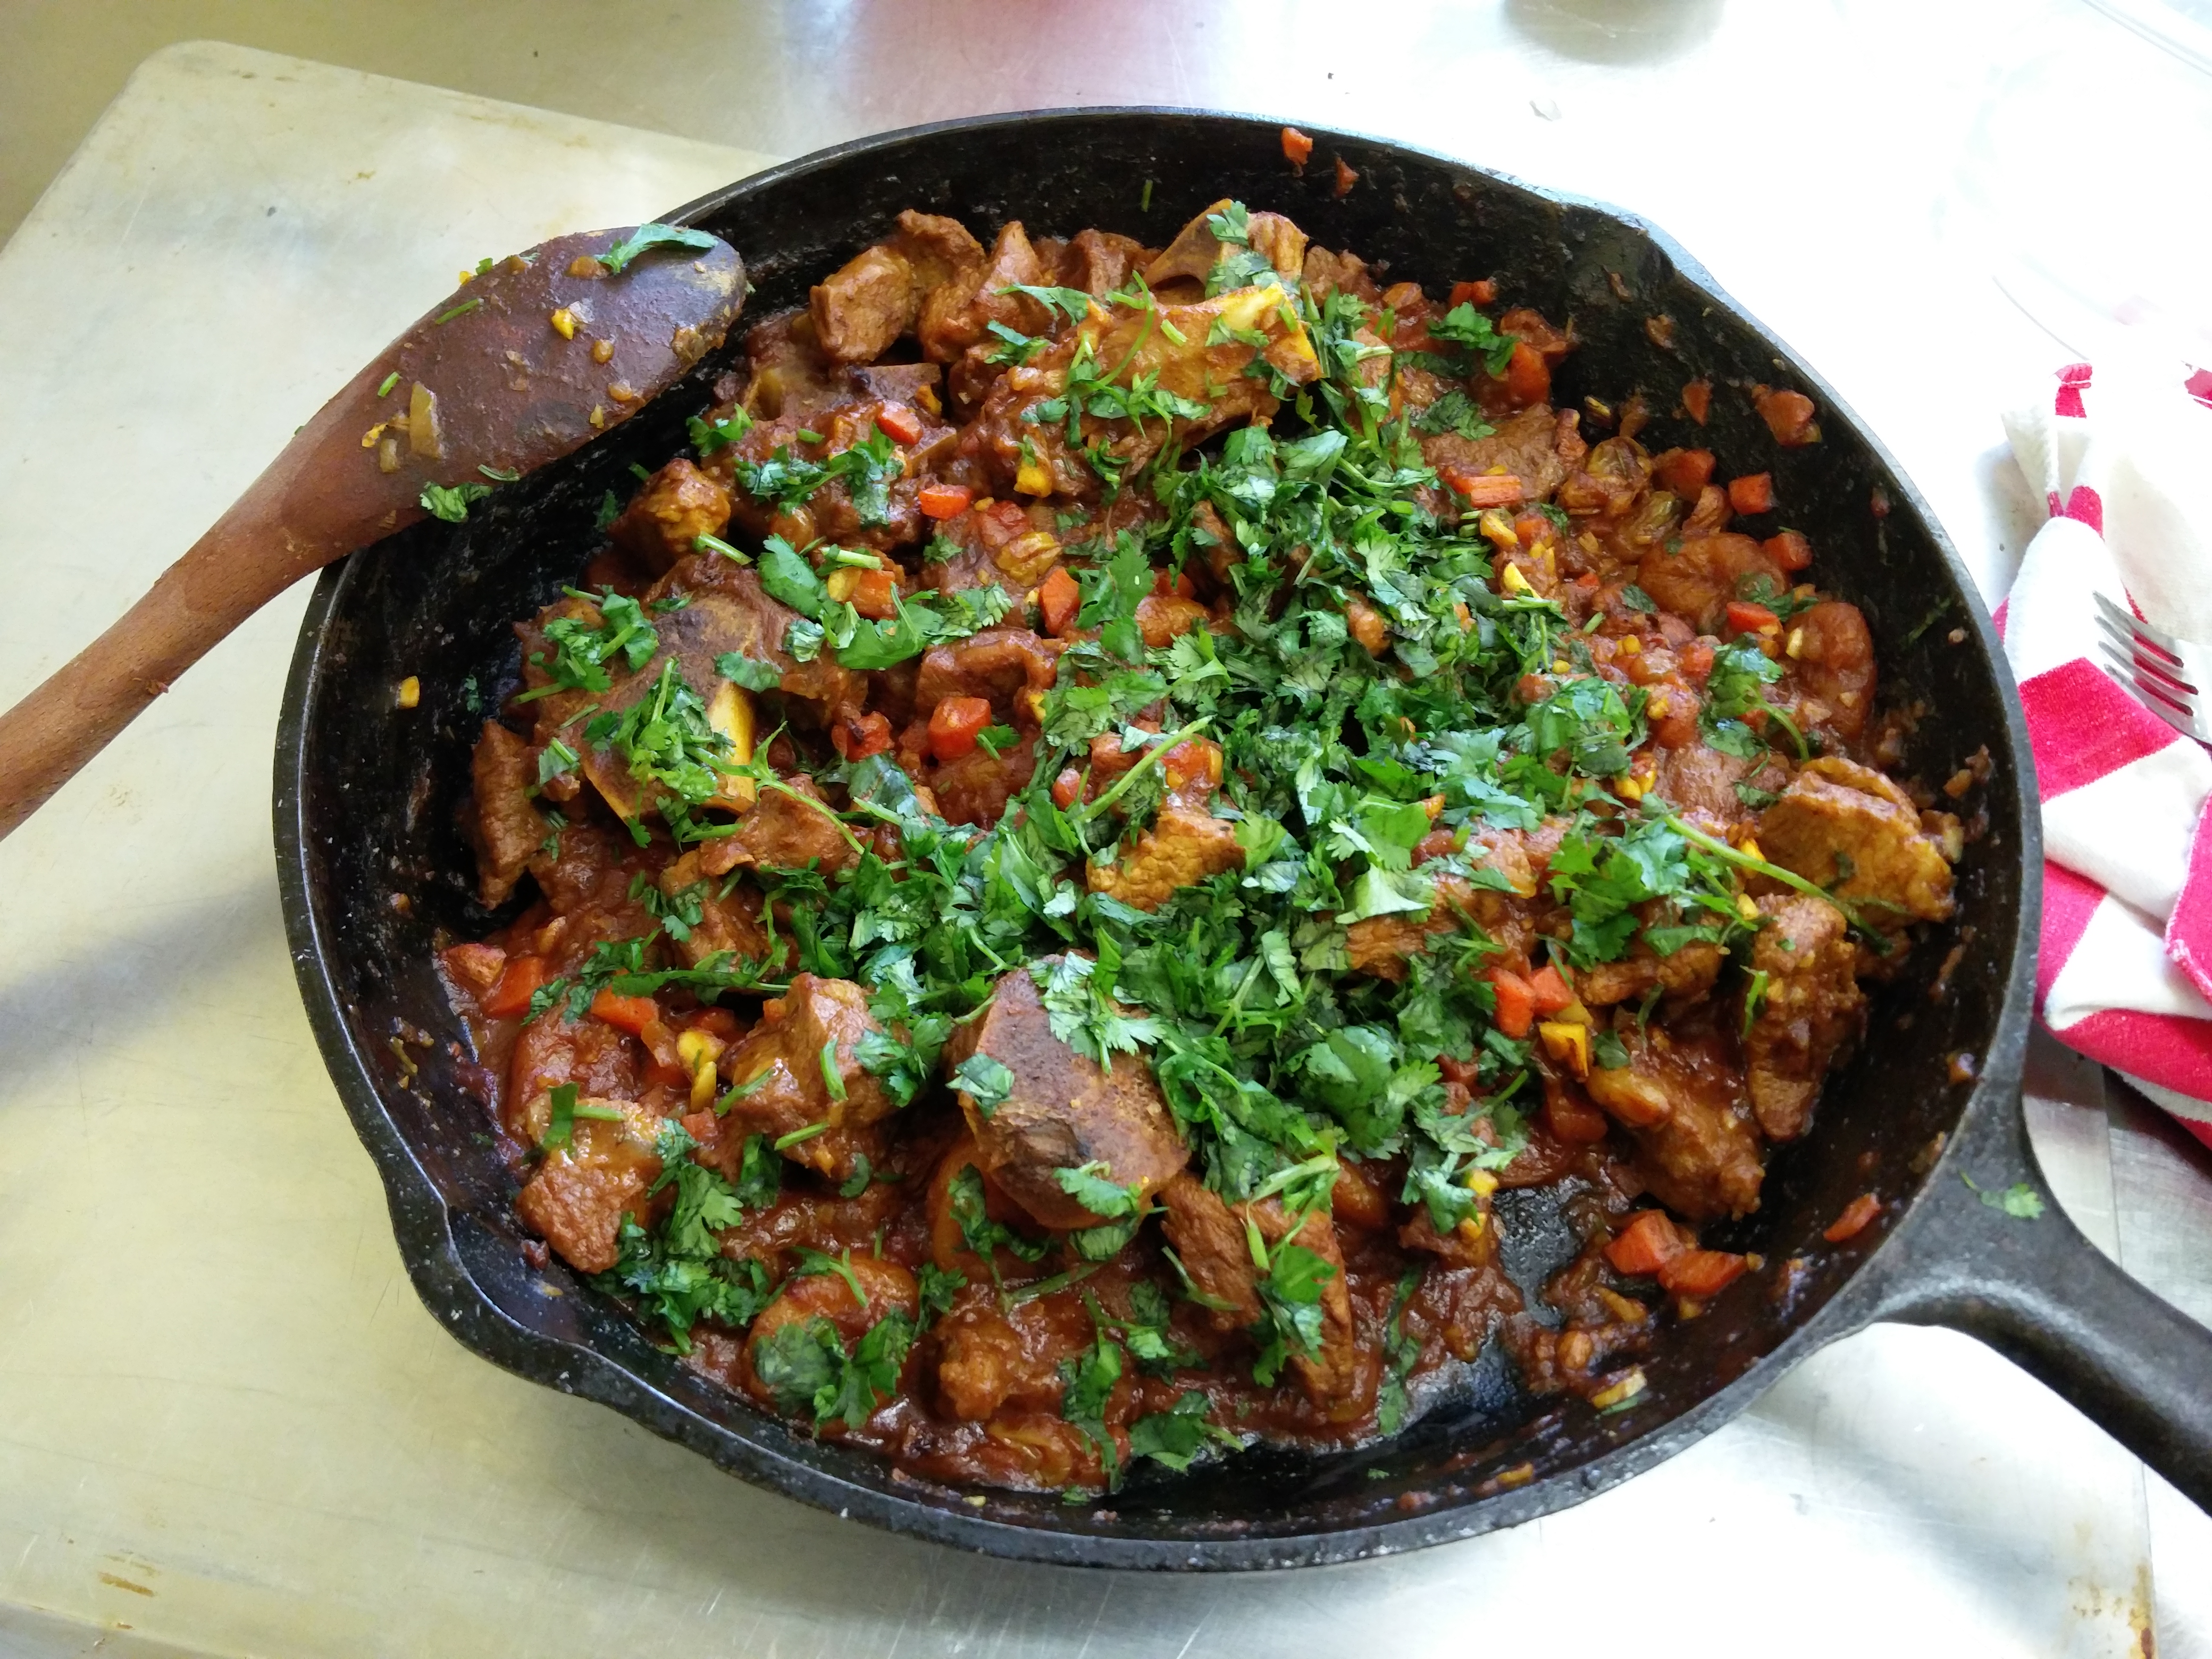
Once the onion was caramelized, I took the onion slices and in the same pan, I browned the lamb pieces and the bones in batches until they were golden brown on all sides about five minutes for each batch. In the same pan, I added a tiny bit more olive oil, waited for it to heat up and added a cup each of chopped onion and carrot. I sautéed this mixture for around 4 minutes and added a tablespoon chopped garlic followed by the salt, tomato paste, cumin powder, coriander powder, cinnamon powder, ginger powder, cayenne pepper, turmeric, and all-spice. After around 30 seconds, I added around half a cup of red wine and gave the pan a good stir to release all the bits stuck to the bottom of the pan. I added in the browned lamb pieces and bones, chicken stock, lemon zest, lemon juice, orange zest, orange juice, dried apricots, and golden raisins. I brought this mixture to a simmer, covered it and let it cook on a low flame for 30 minutes stirring occasionally.

IMG_20160113_123457

Then I added around half a cup of chopped almonds and cooked the meat for another 20 minutes till the sauce had thickened considerably. I turned off the heat and added 4 tablespoons of chopped cilantro. Before putting the filling in the pie, I took out the lamb bones and let the tagine come to room temperature.

IMG_20160113_133506

Pie Crust:

I followed the recipe for a basic flaky crust with both butter and shortening but had bigger chunks of butter this time for more flakiness and also flavored the pastry with cumin, black pepper and a bit of lemon zest.

Putting it together:

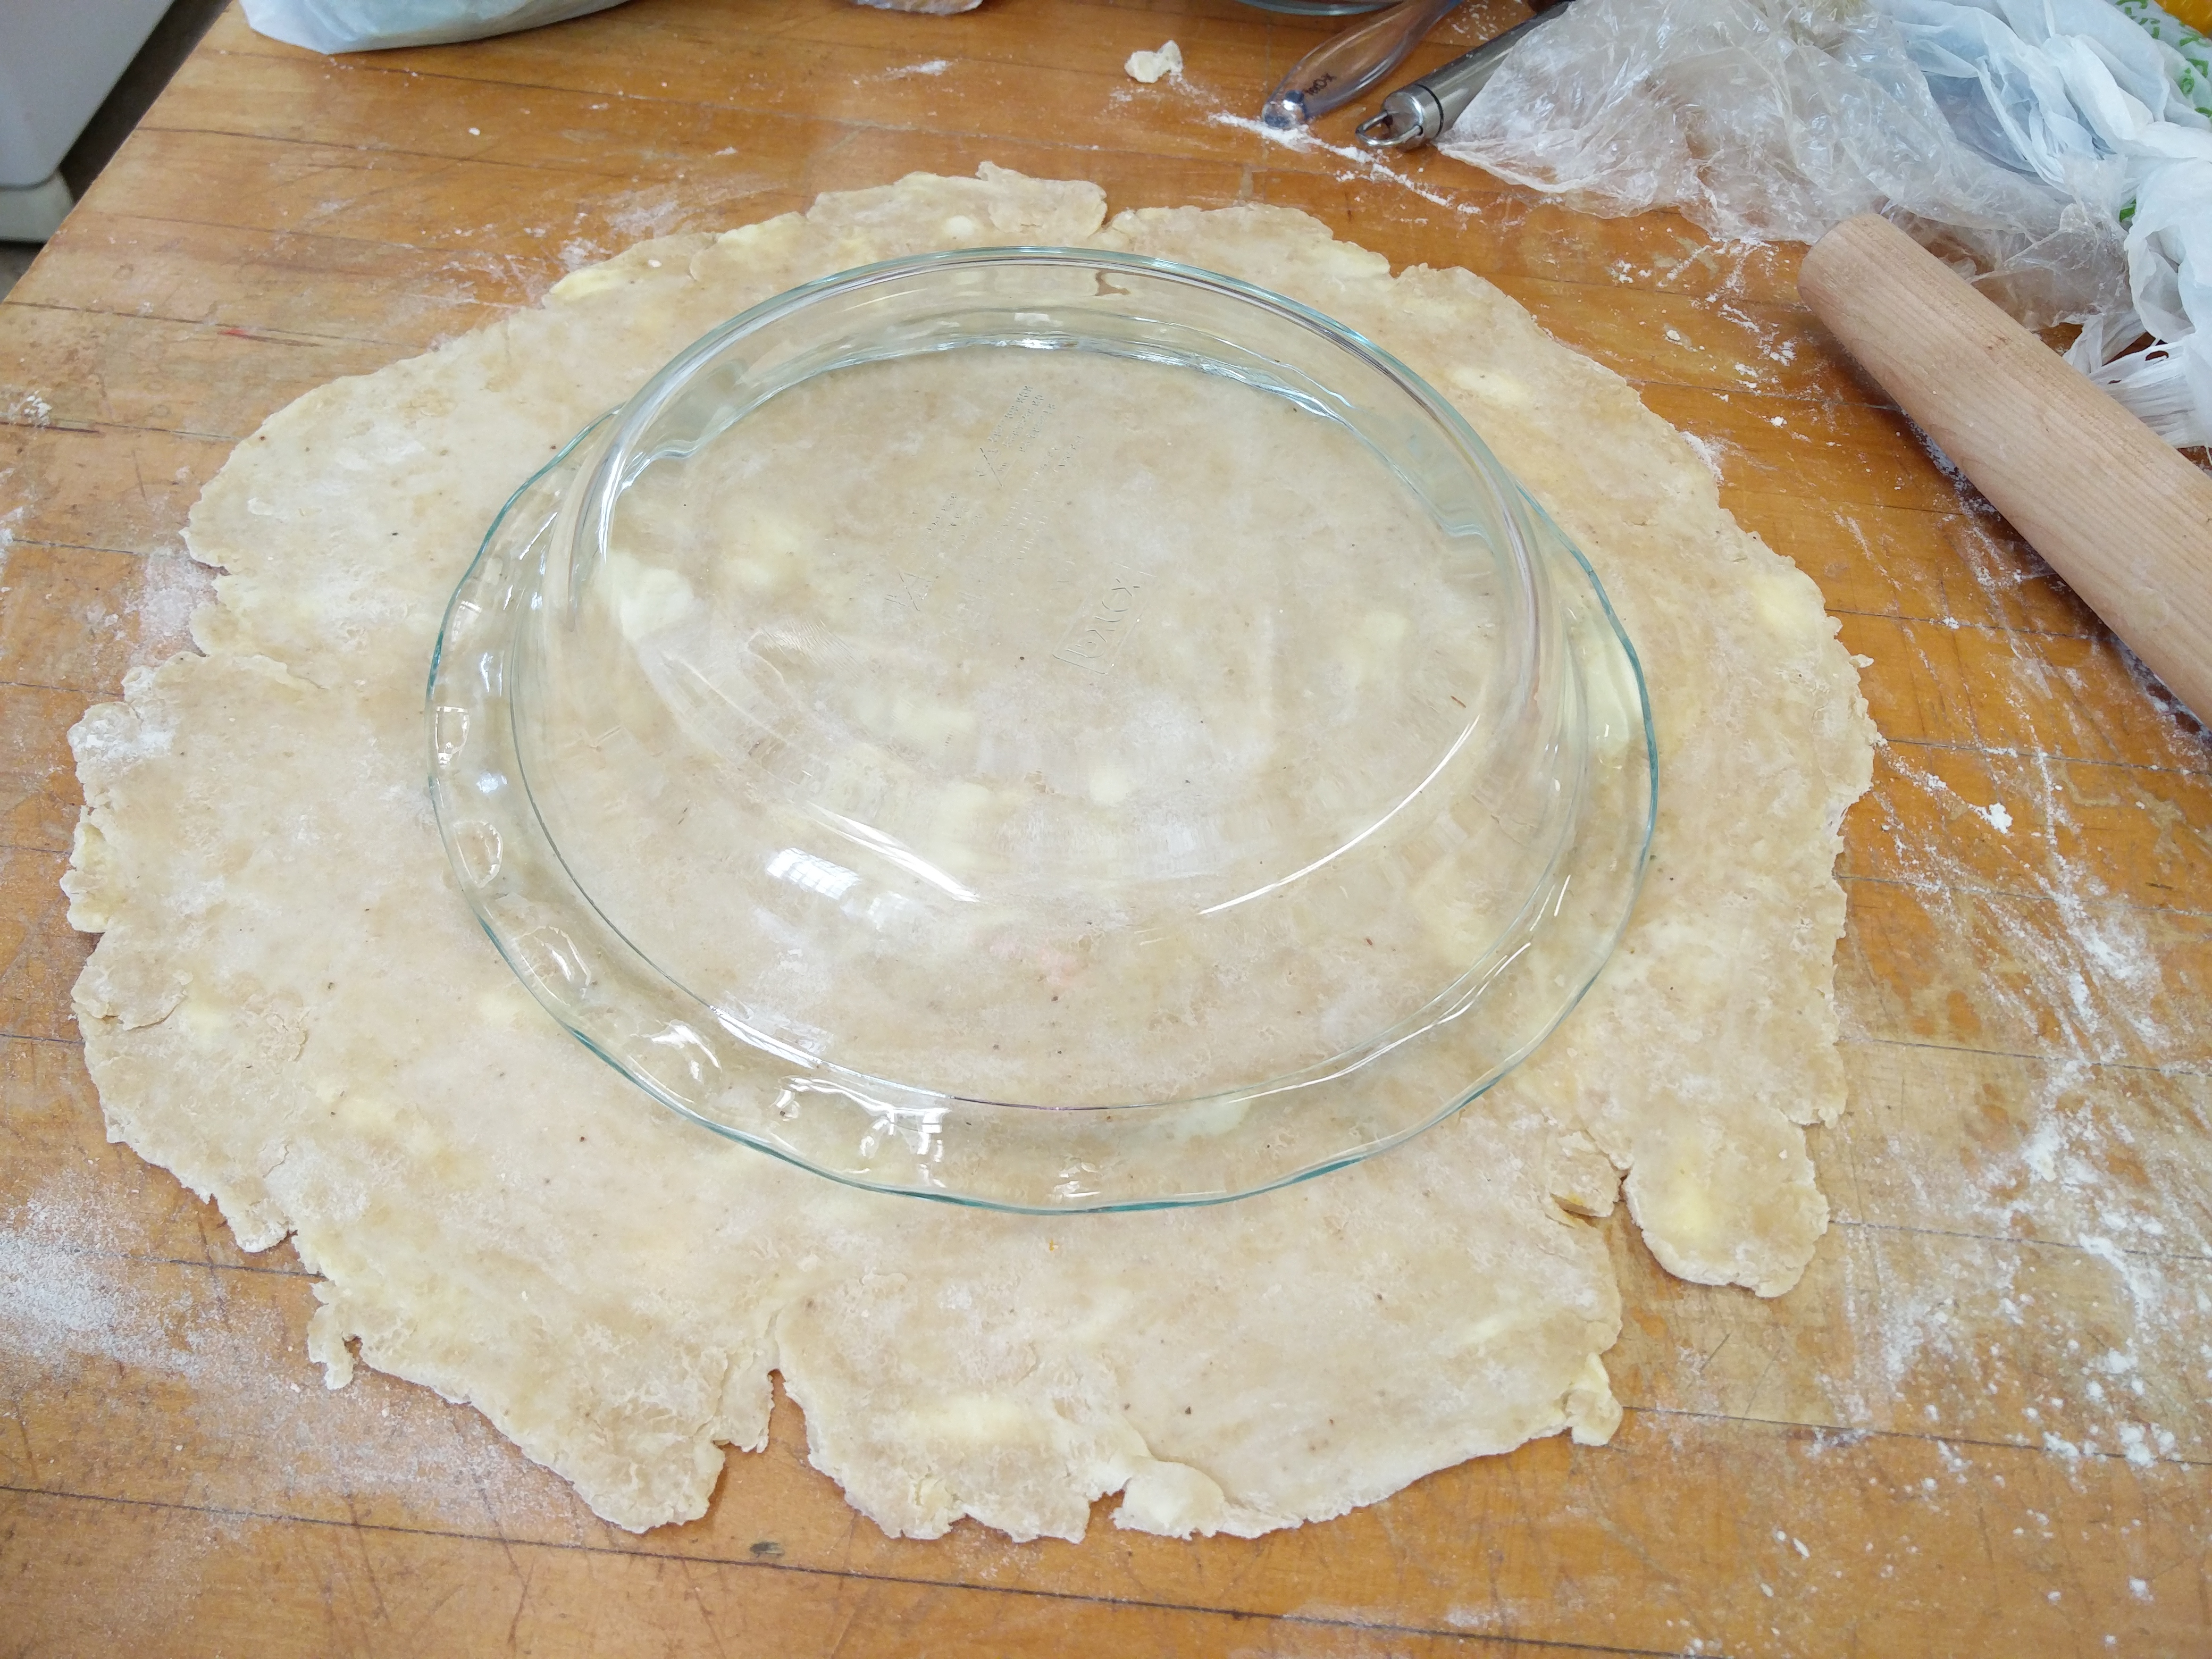
Same as last week, I rolled out the bottom crust to fit the 9-inch pie plate, left an inch of overhang and put it in the fridge for five minutes. After that, I brushed the bottom pie crust with an egg-white to prevent a soggy bottom and put the pie plate back in the fridge for another 10 minutes.

Gotta make it fit!

Gotta make it fit!

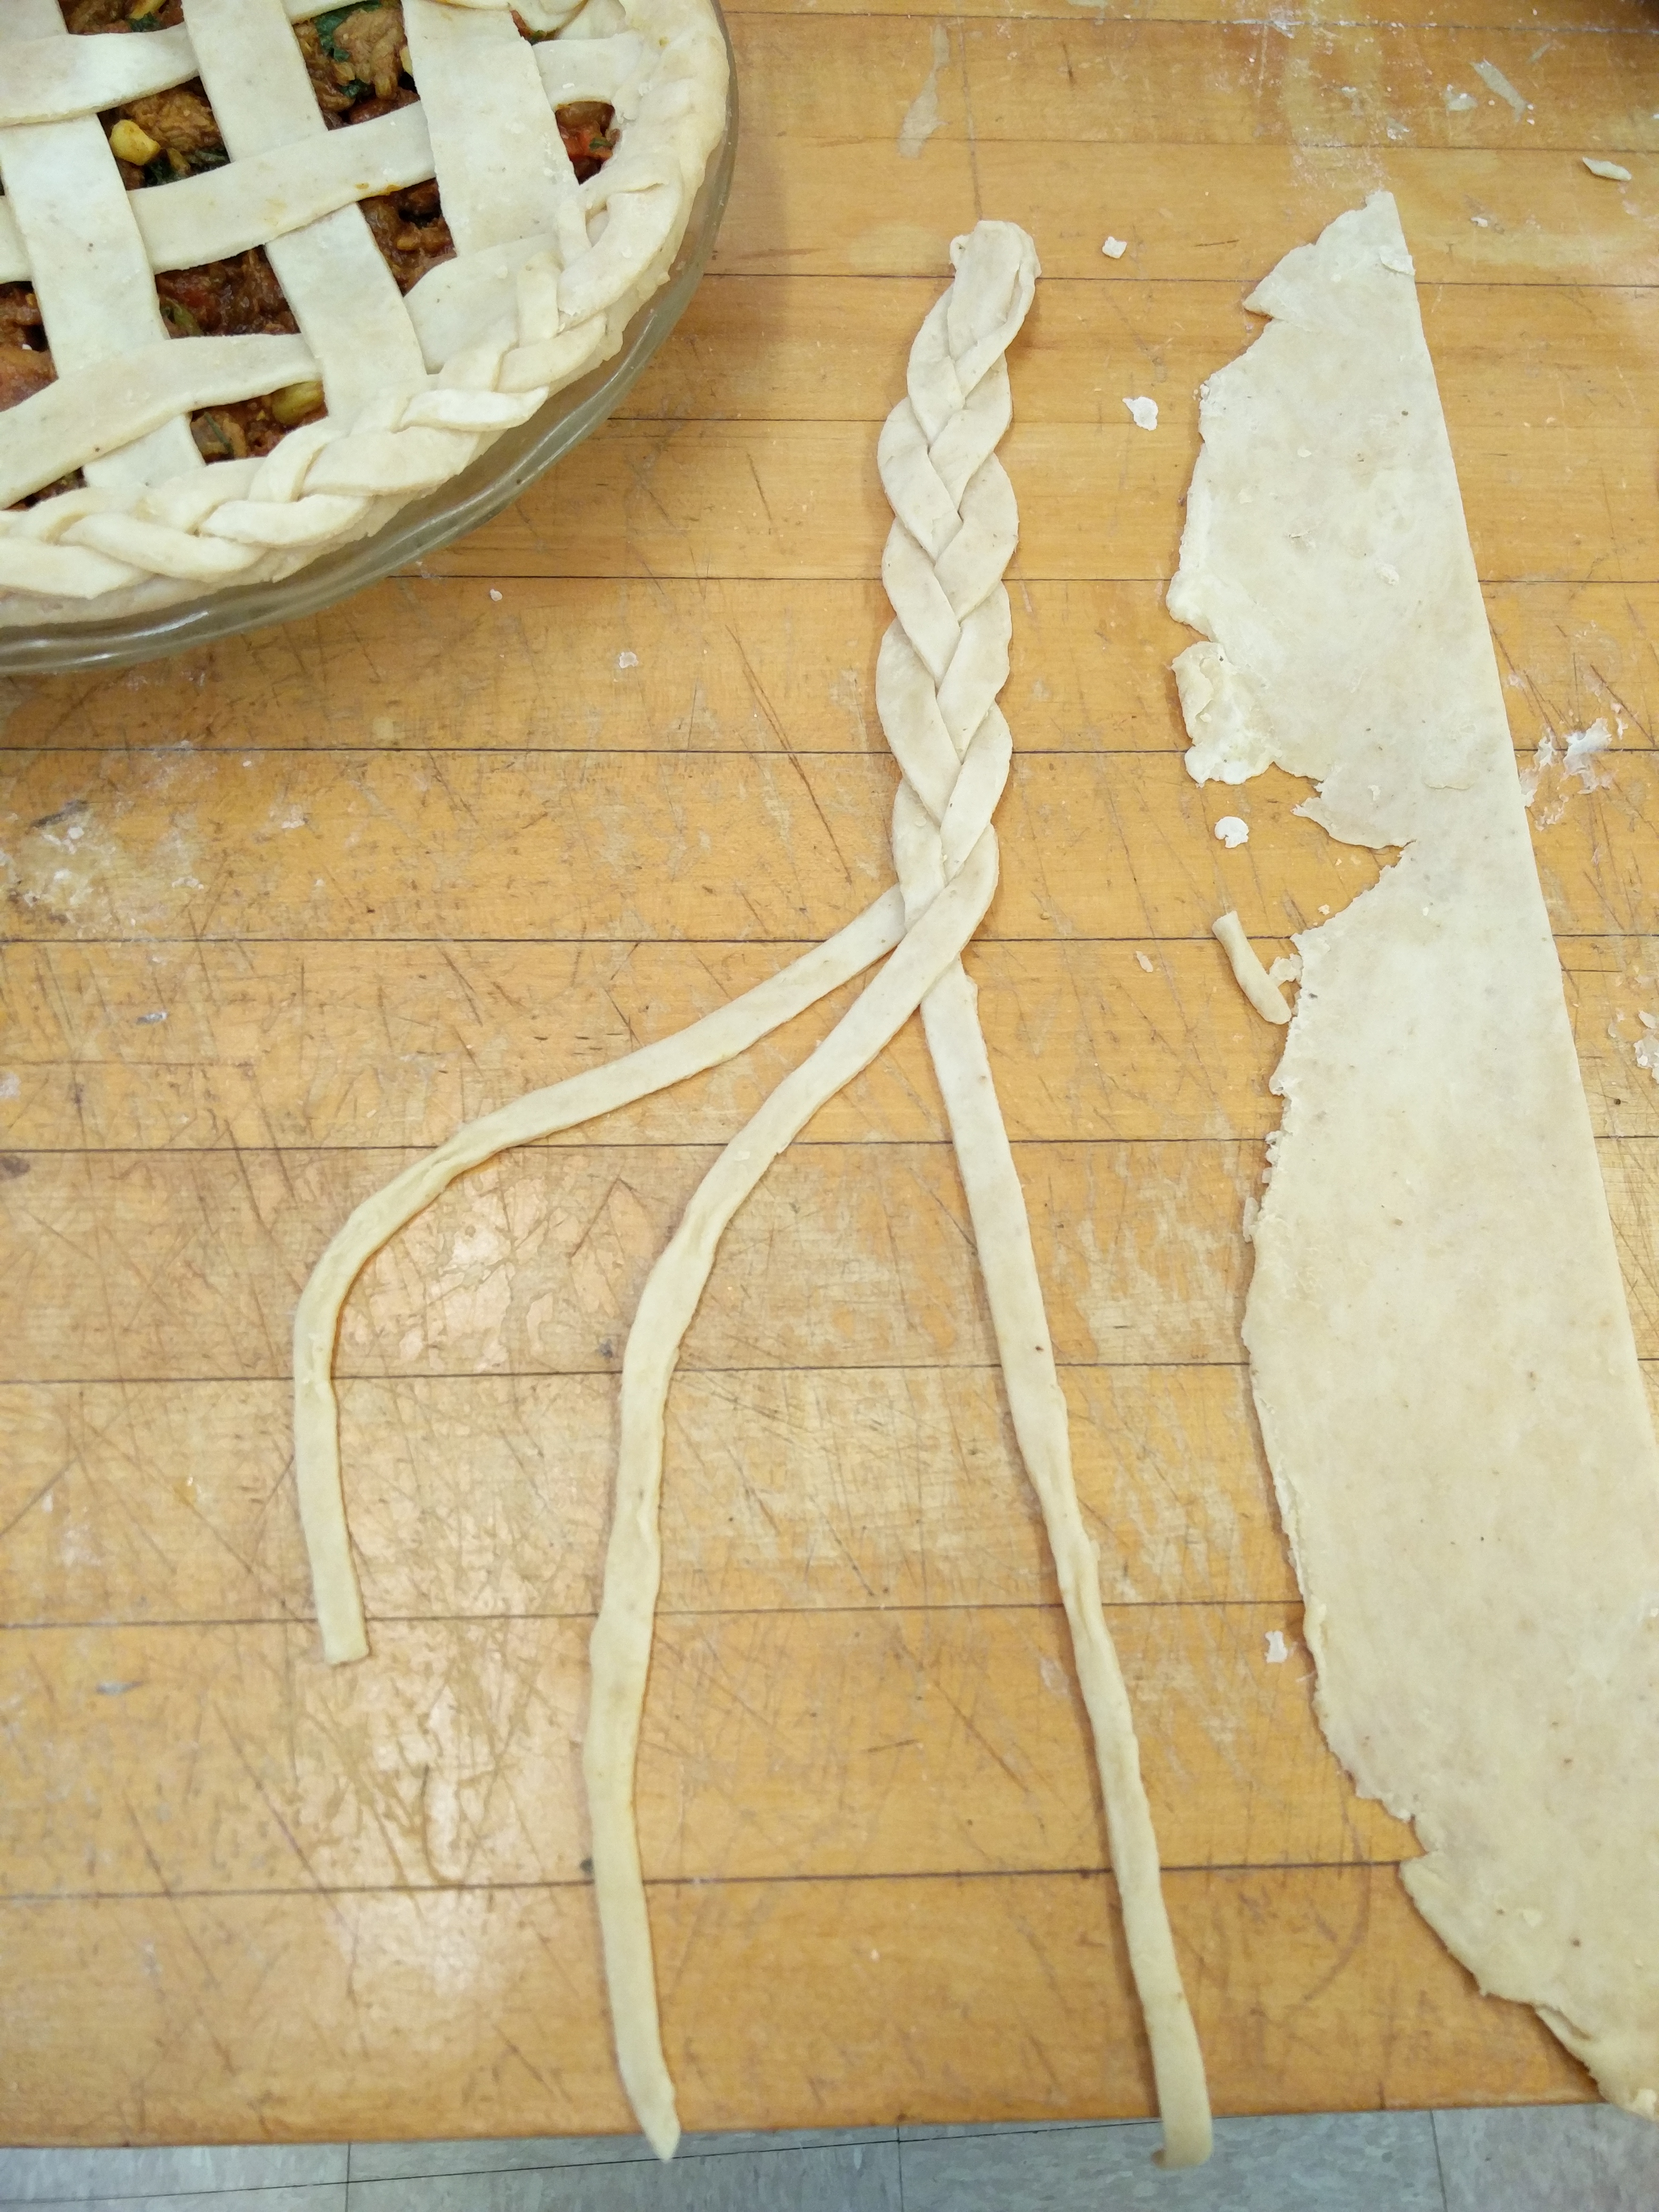
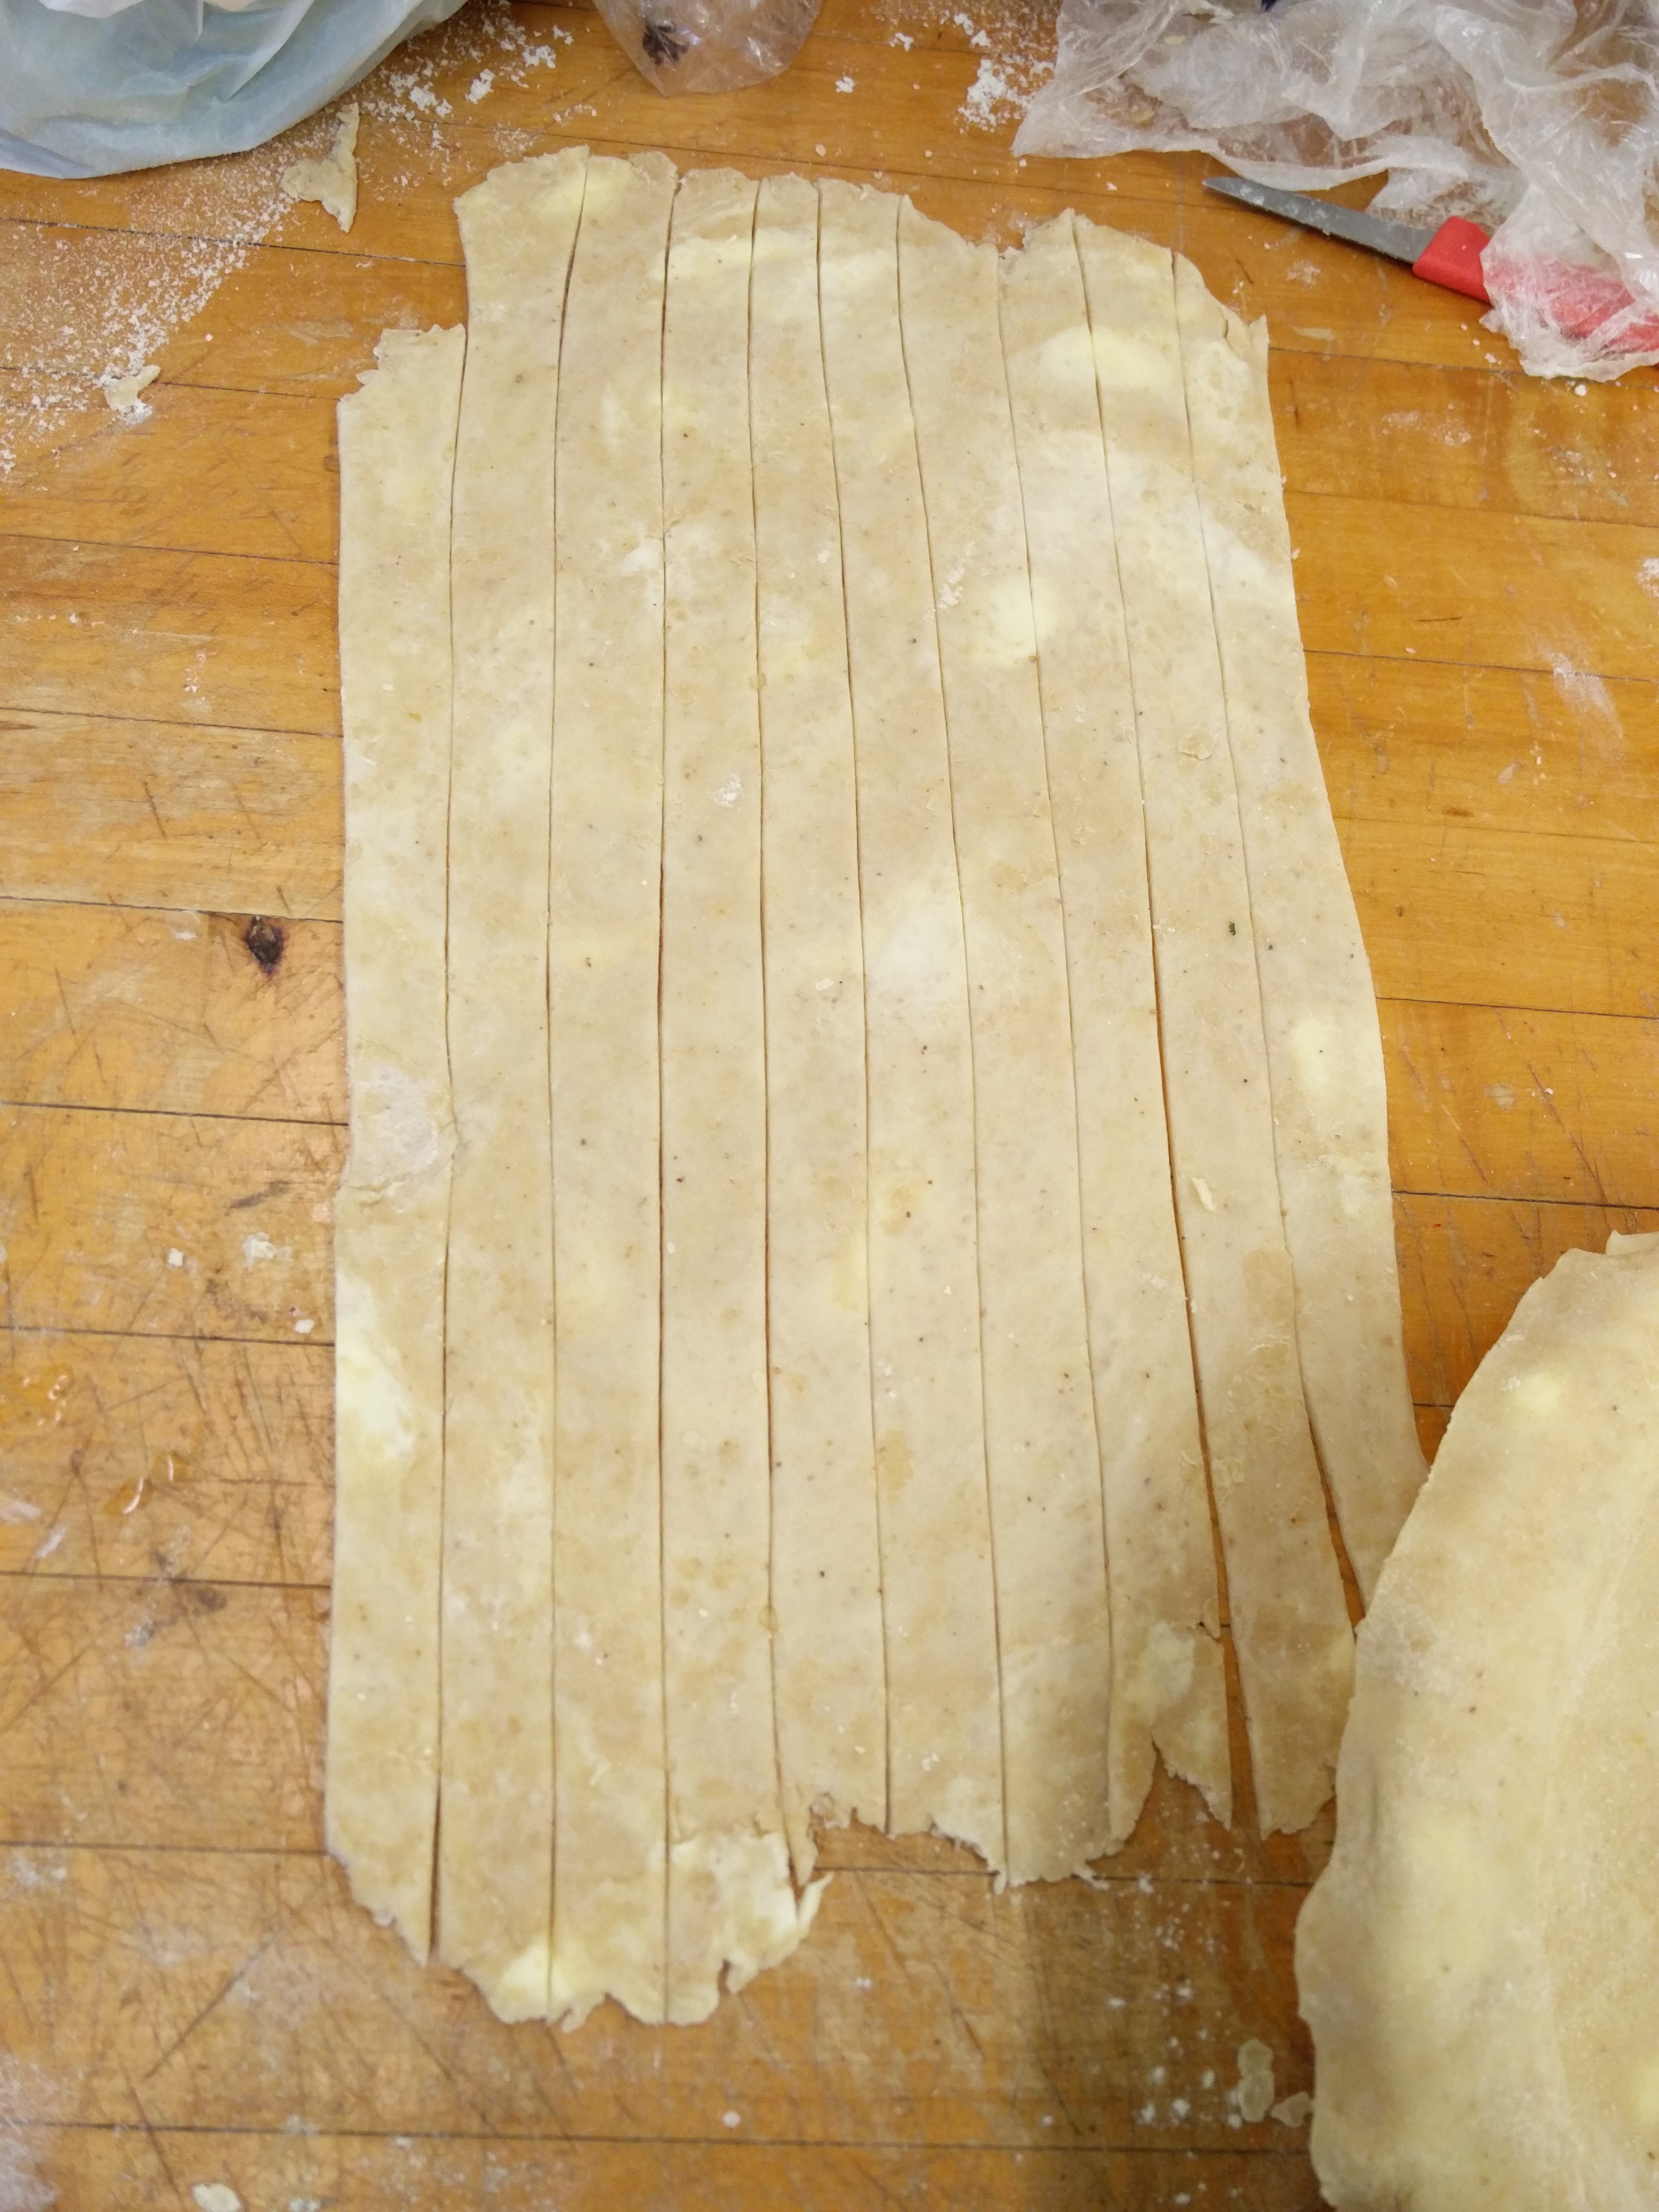
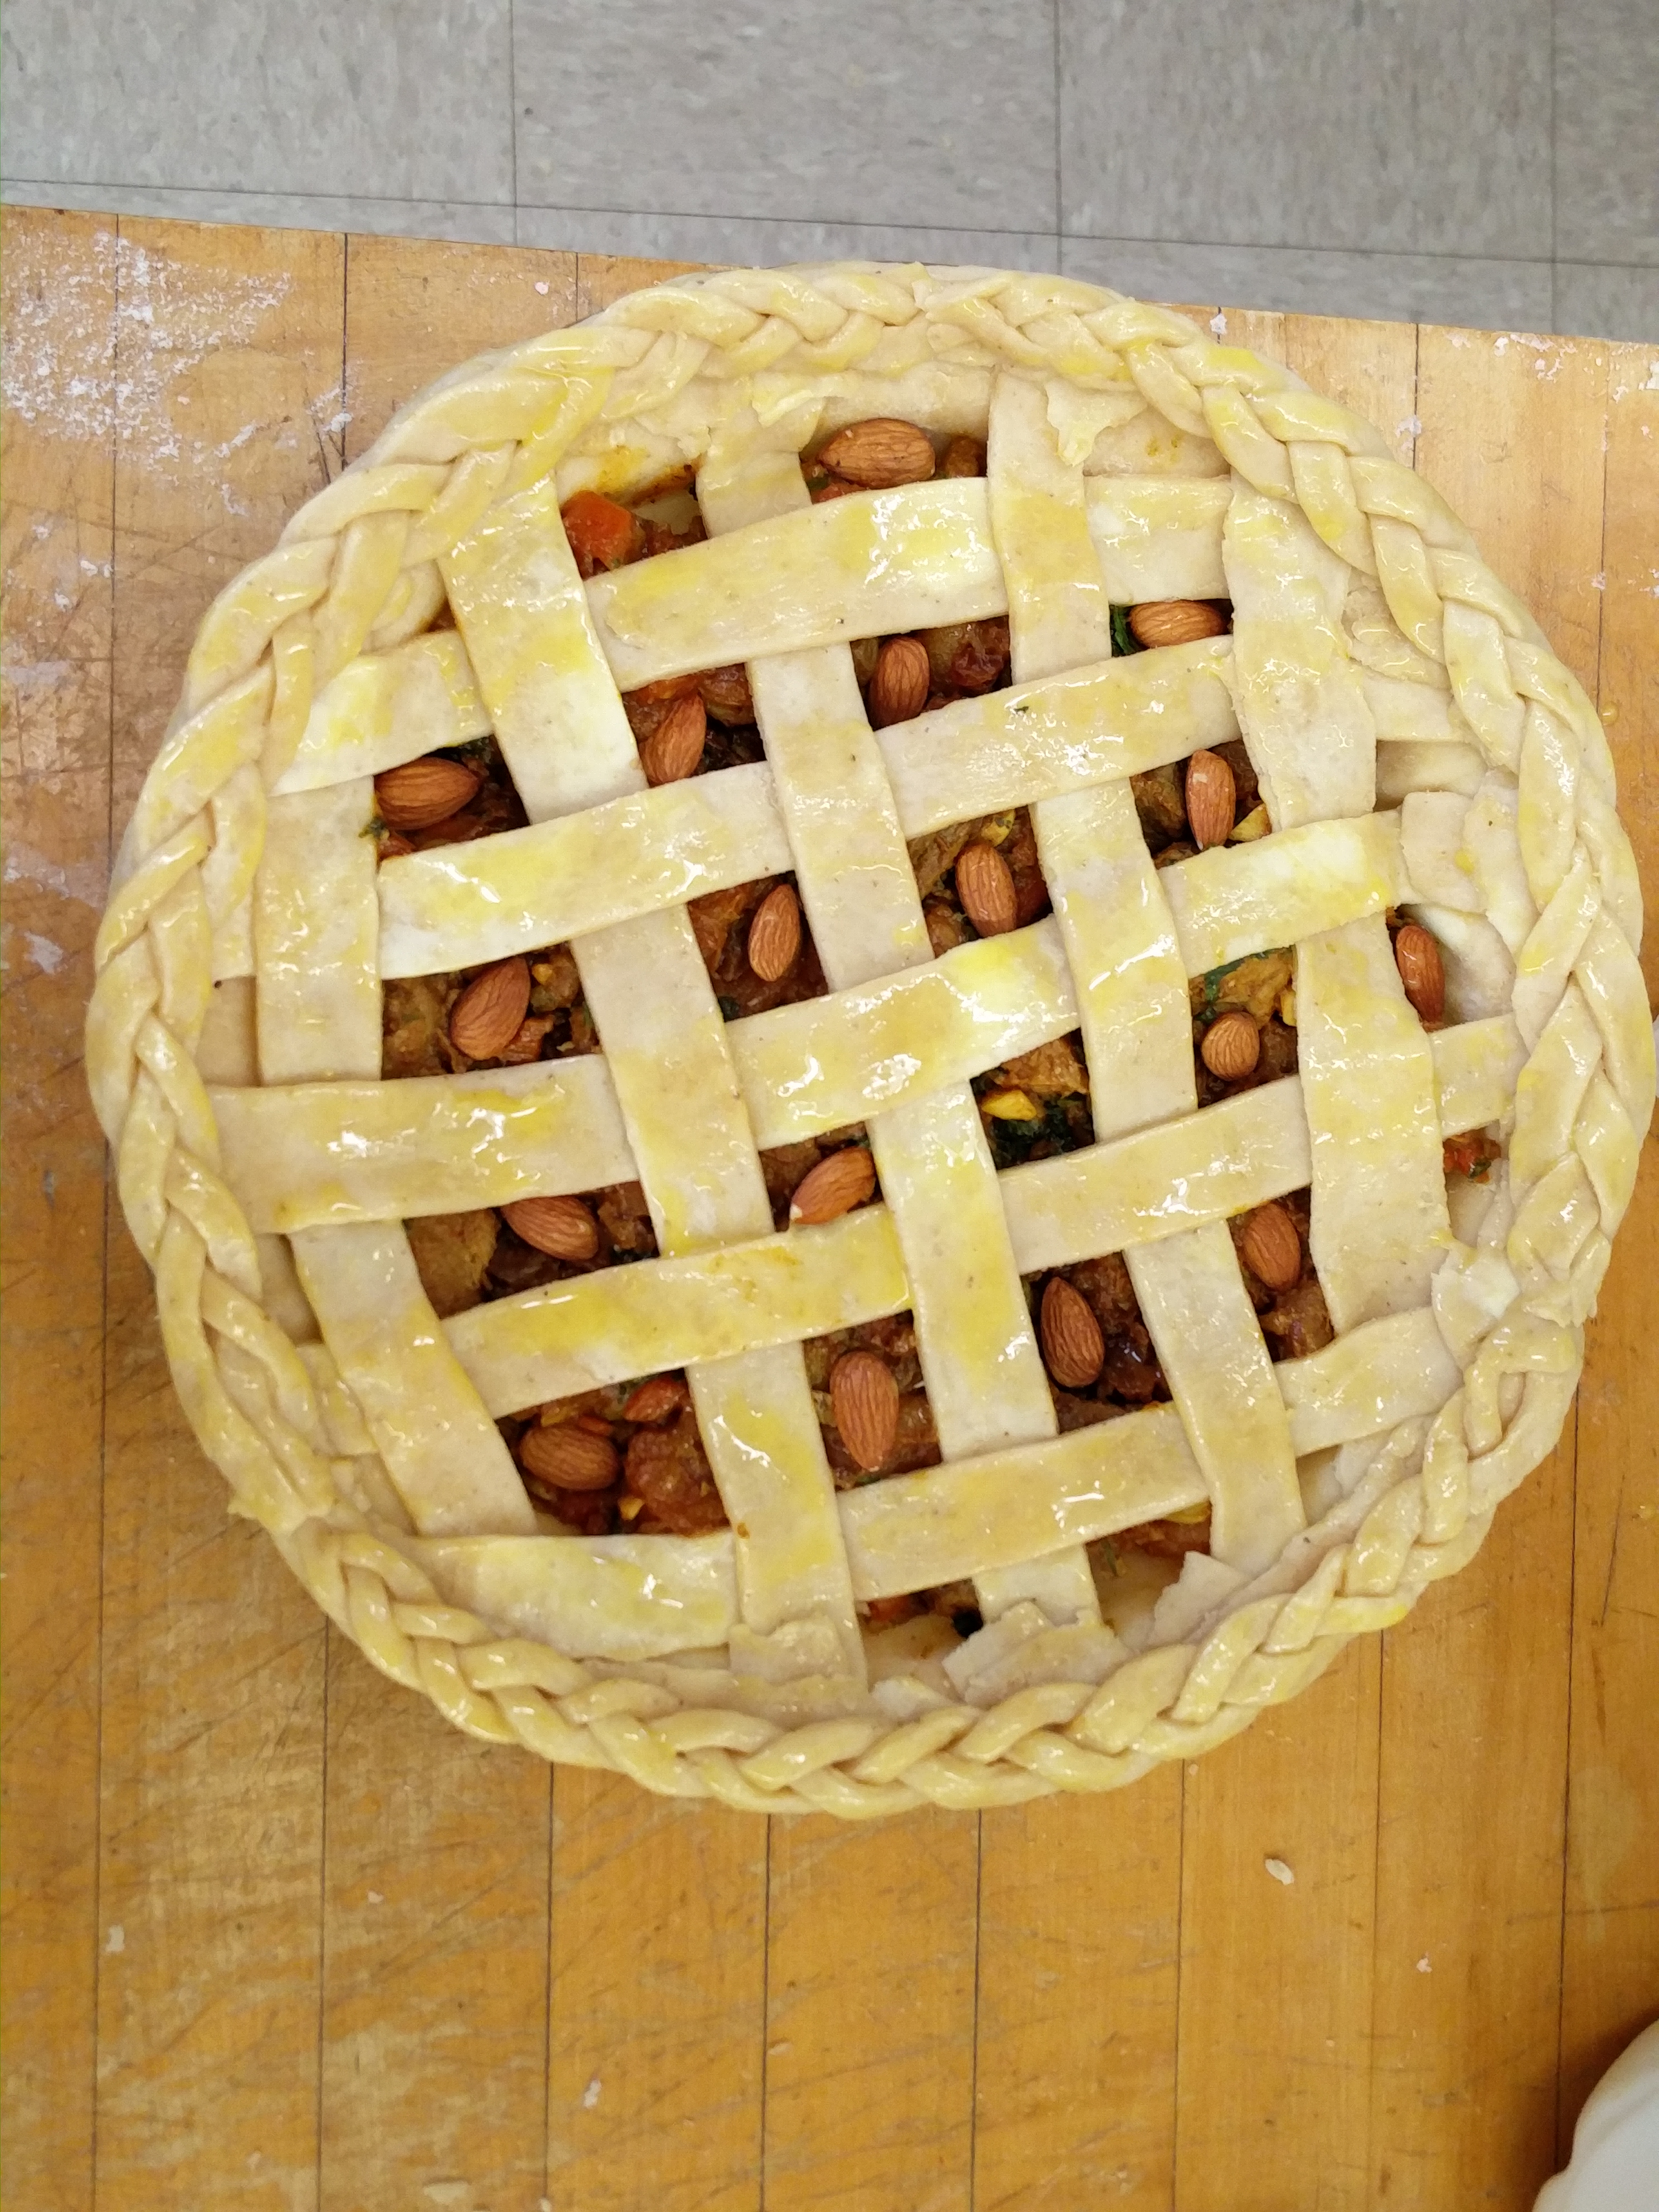
Meanwhile, I rolled out the second pie crust, cut it into strips and with help of Neftaly, made a lattice top as well as a braid to line the pie. For decoration purposes, I put an almond in each gap formed by the lattice. A generous wash with a mixture of an egg yolk and a tablespoon of milk followed.

IMG_20160114_120028 IMG_20160114_112700

Ready for the oven

Ready for the oven

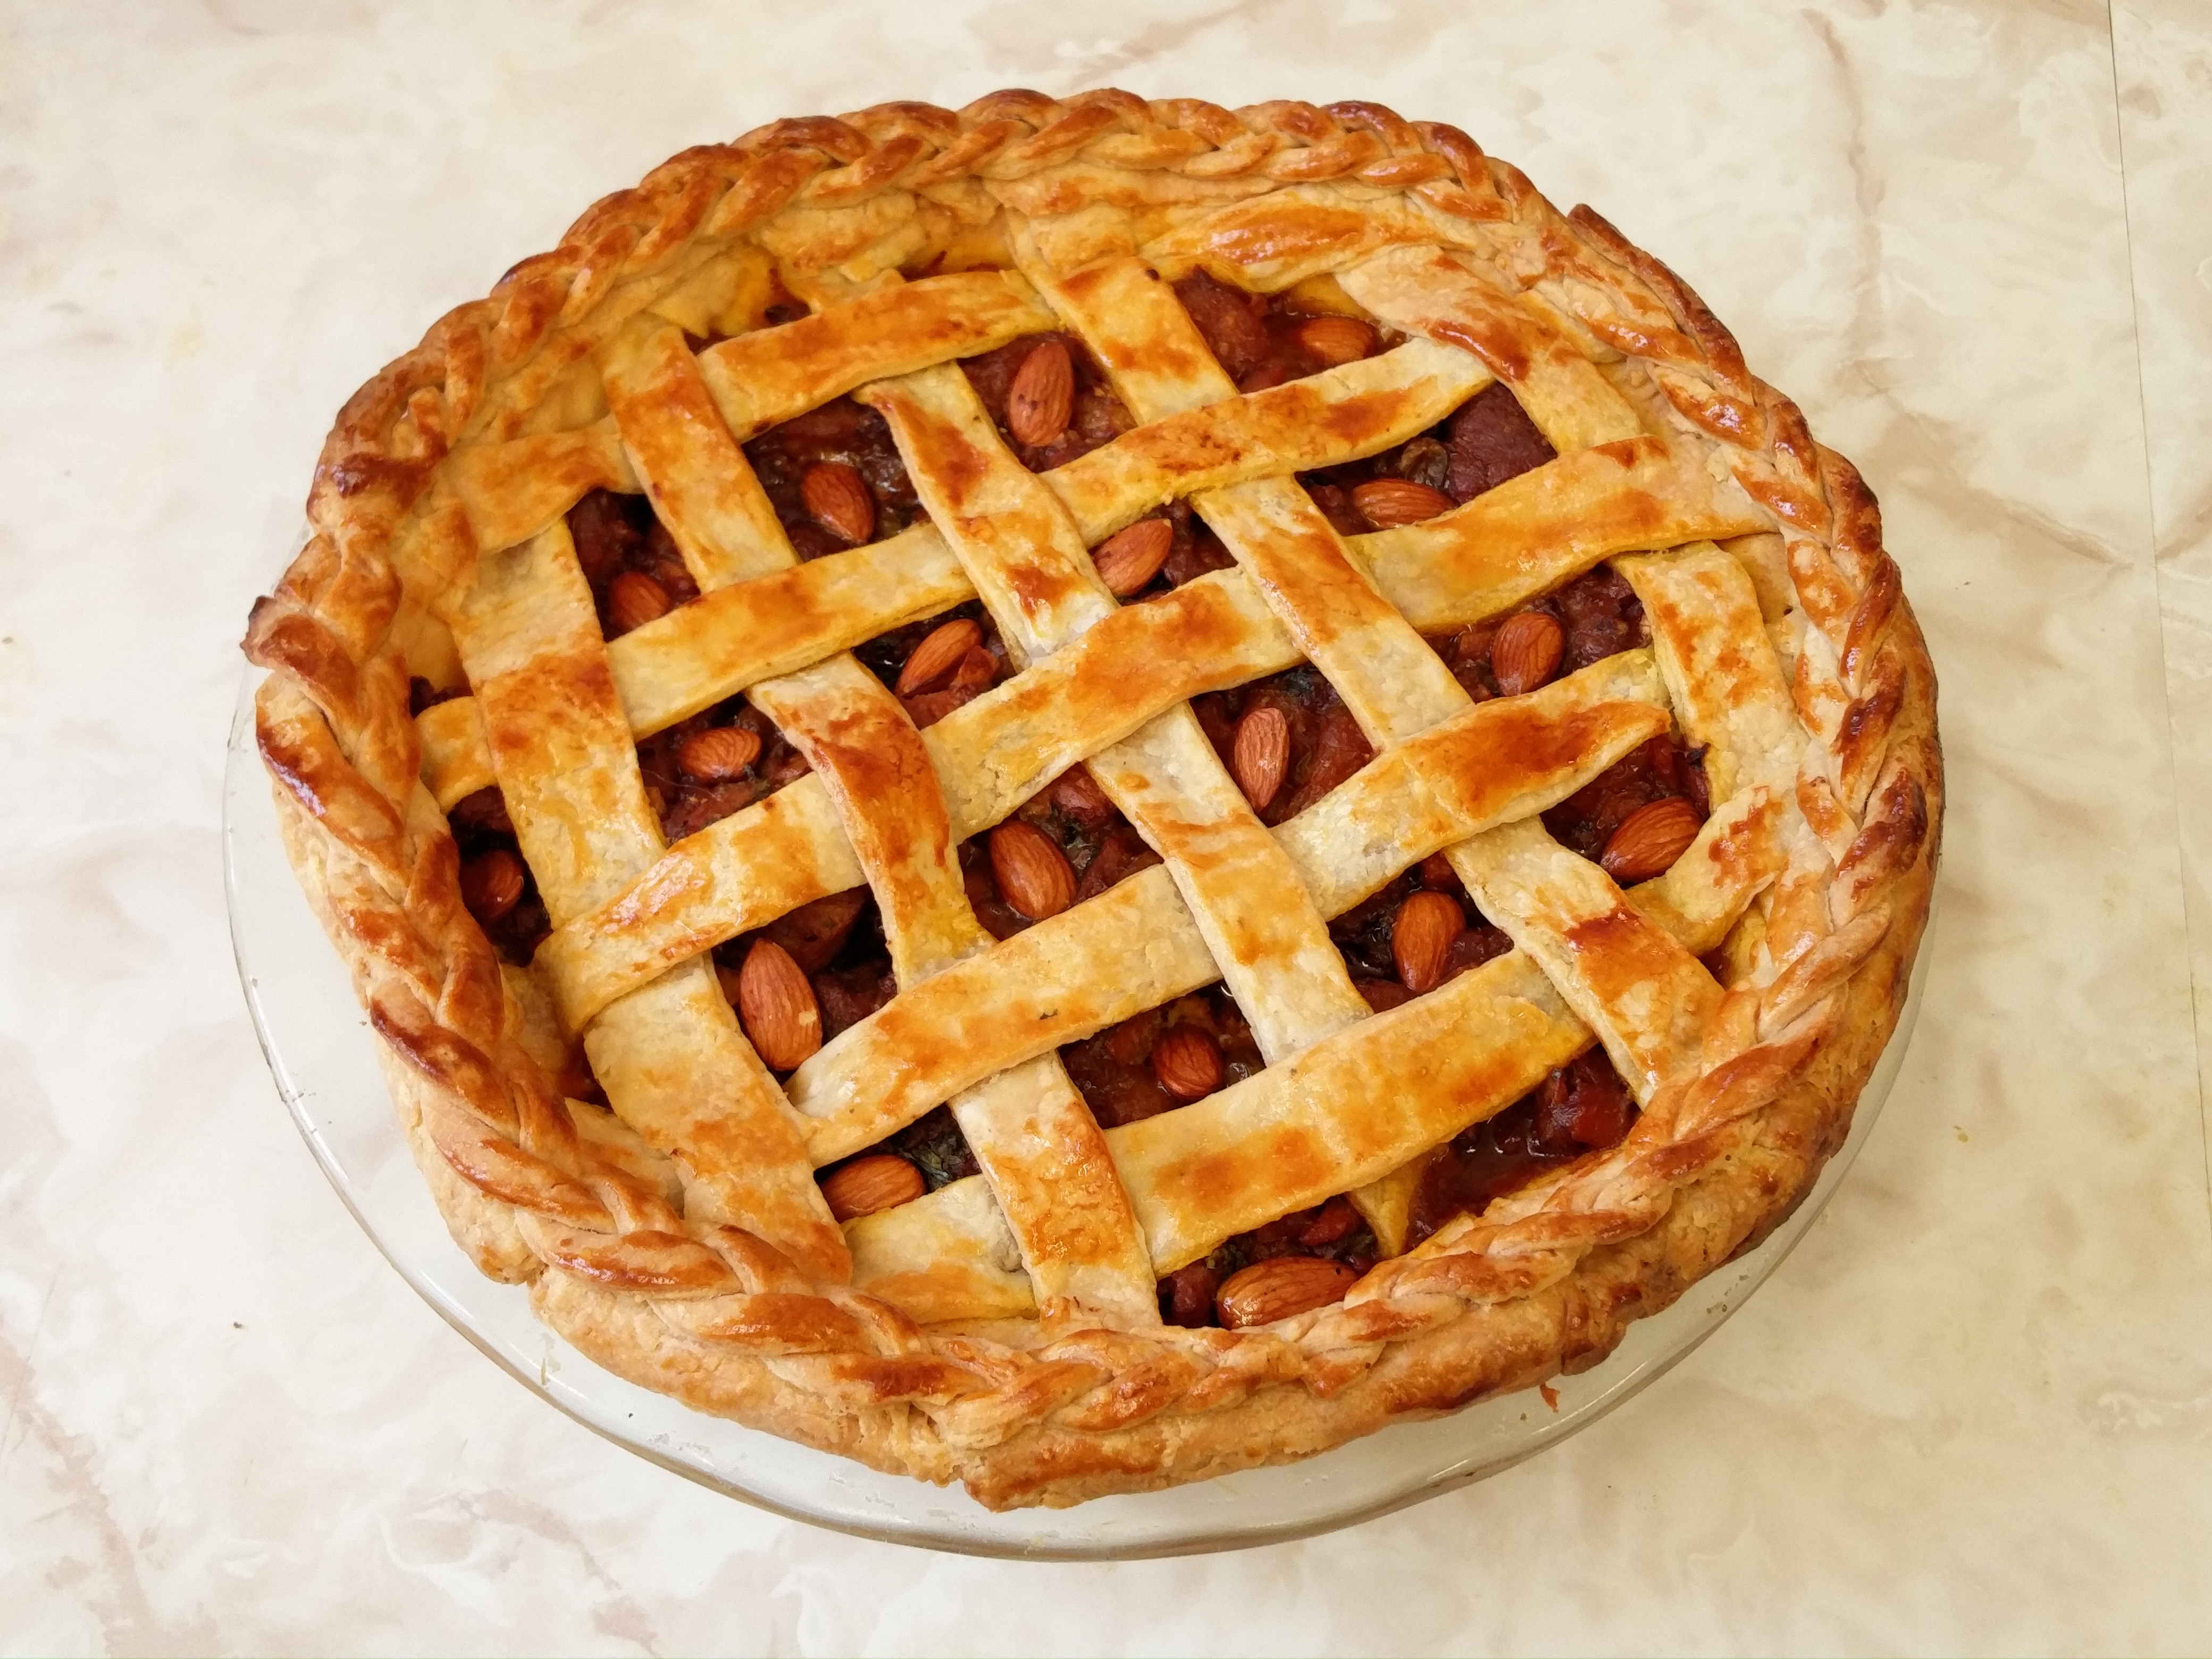
I baked the pie at 400F in the lower third rack for 20 minutes. After that, I took out the pie and put pie protectors on the rims of the pie and put the pie back in the oven in upper third rack for some extra coloration for another 30 minutes.

And then the pie was ready to serve! I am glad to report that it was all gone within an hour and I personally think, it turned out beautifully!

IMG_20160114_130202

My First Pie Ever: Rustic Pear and Raspberry Pie

As I entered the kitchen of the First Congregational Church on the first day of this year’s Life of Pie winter study, I knew I was in for a treat. For the record, I had never made a pie before prior to this week but I have been cooking and baking other things for a very long time. That said, the world of pie-making just lured me in – making pies is an intricate an art as painting or sculpting and I could not have been more excited to make my first ever pie this week.

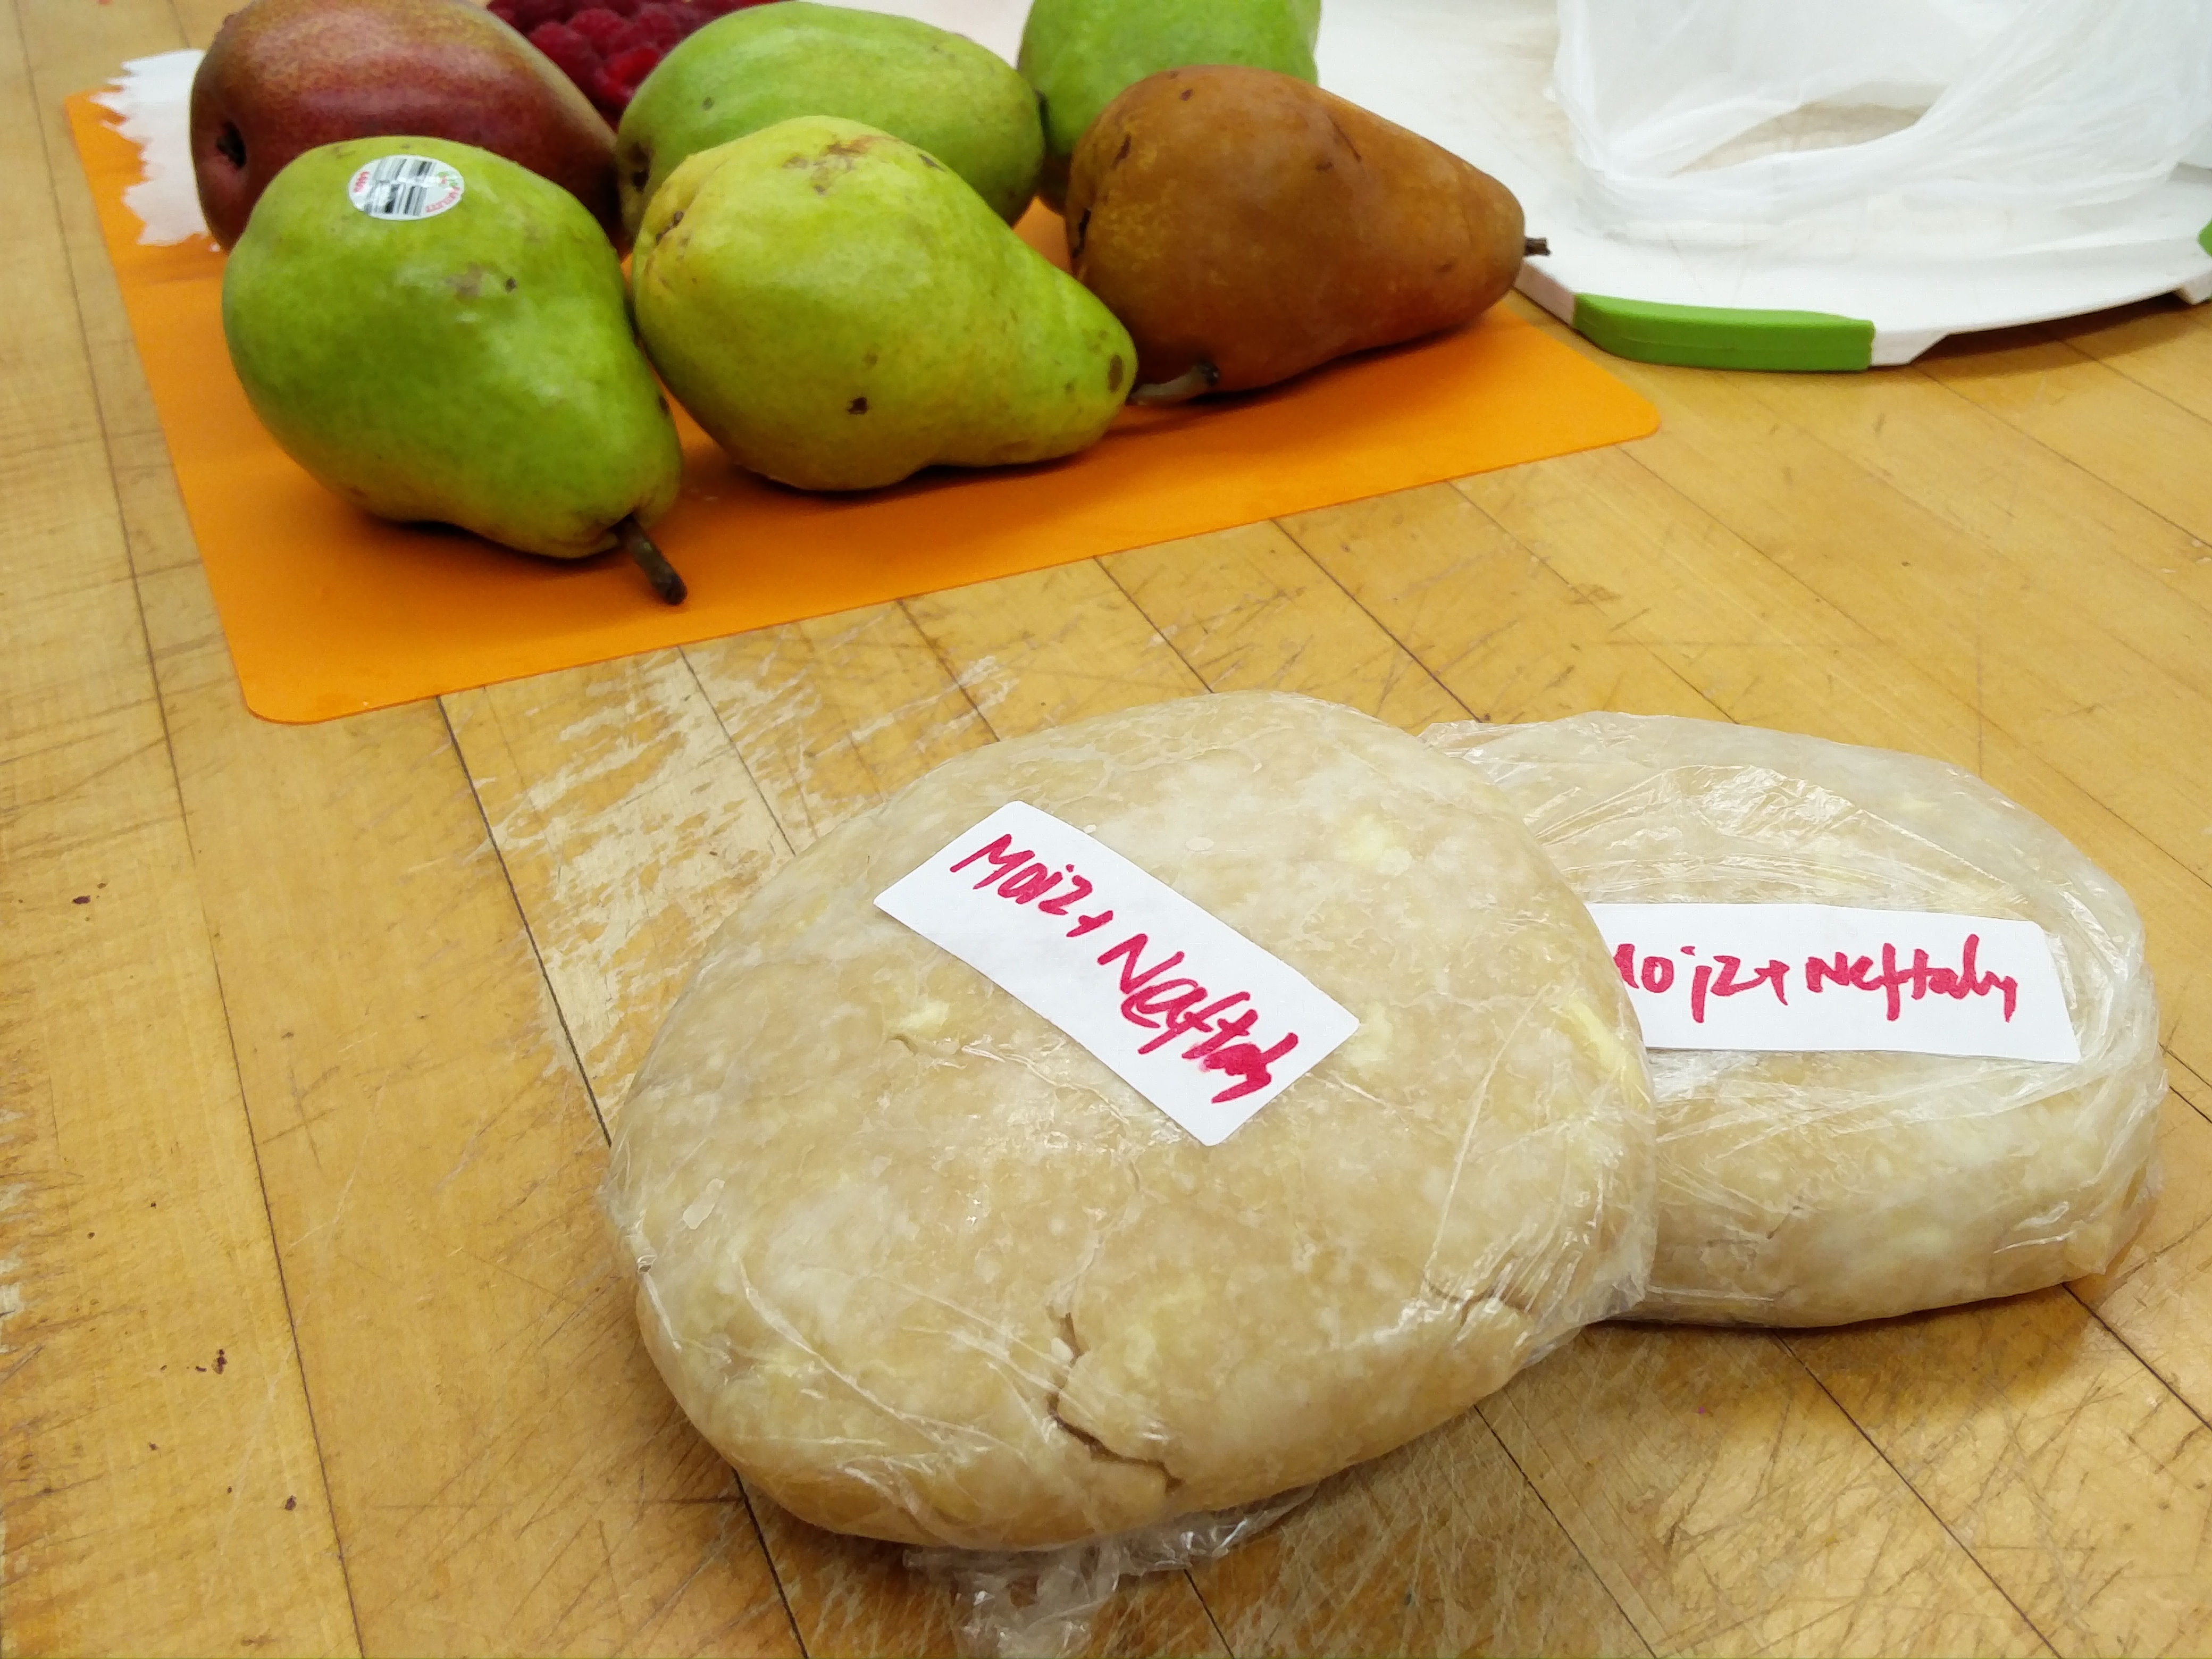
Earlier this week, we learned how to make a basic flaky pastry crust for our pies. My team mate, Neftaly, and I made both an all-butter and a half butter, half shortening pastry crust just to the difference we would get. Making the pastry was actually much easier than I thought it would be but having a tutorial from DGM was certainly the only reason it was so. Getting a feel for the texture of the pastry dough at different stages and understanding the chemistry behind keeping the fat cold and solid was fascinating.

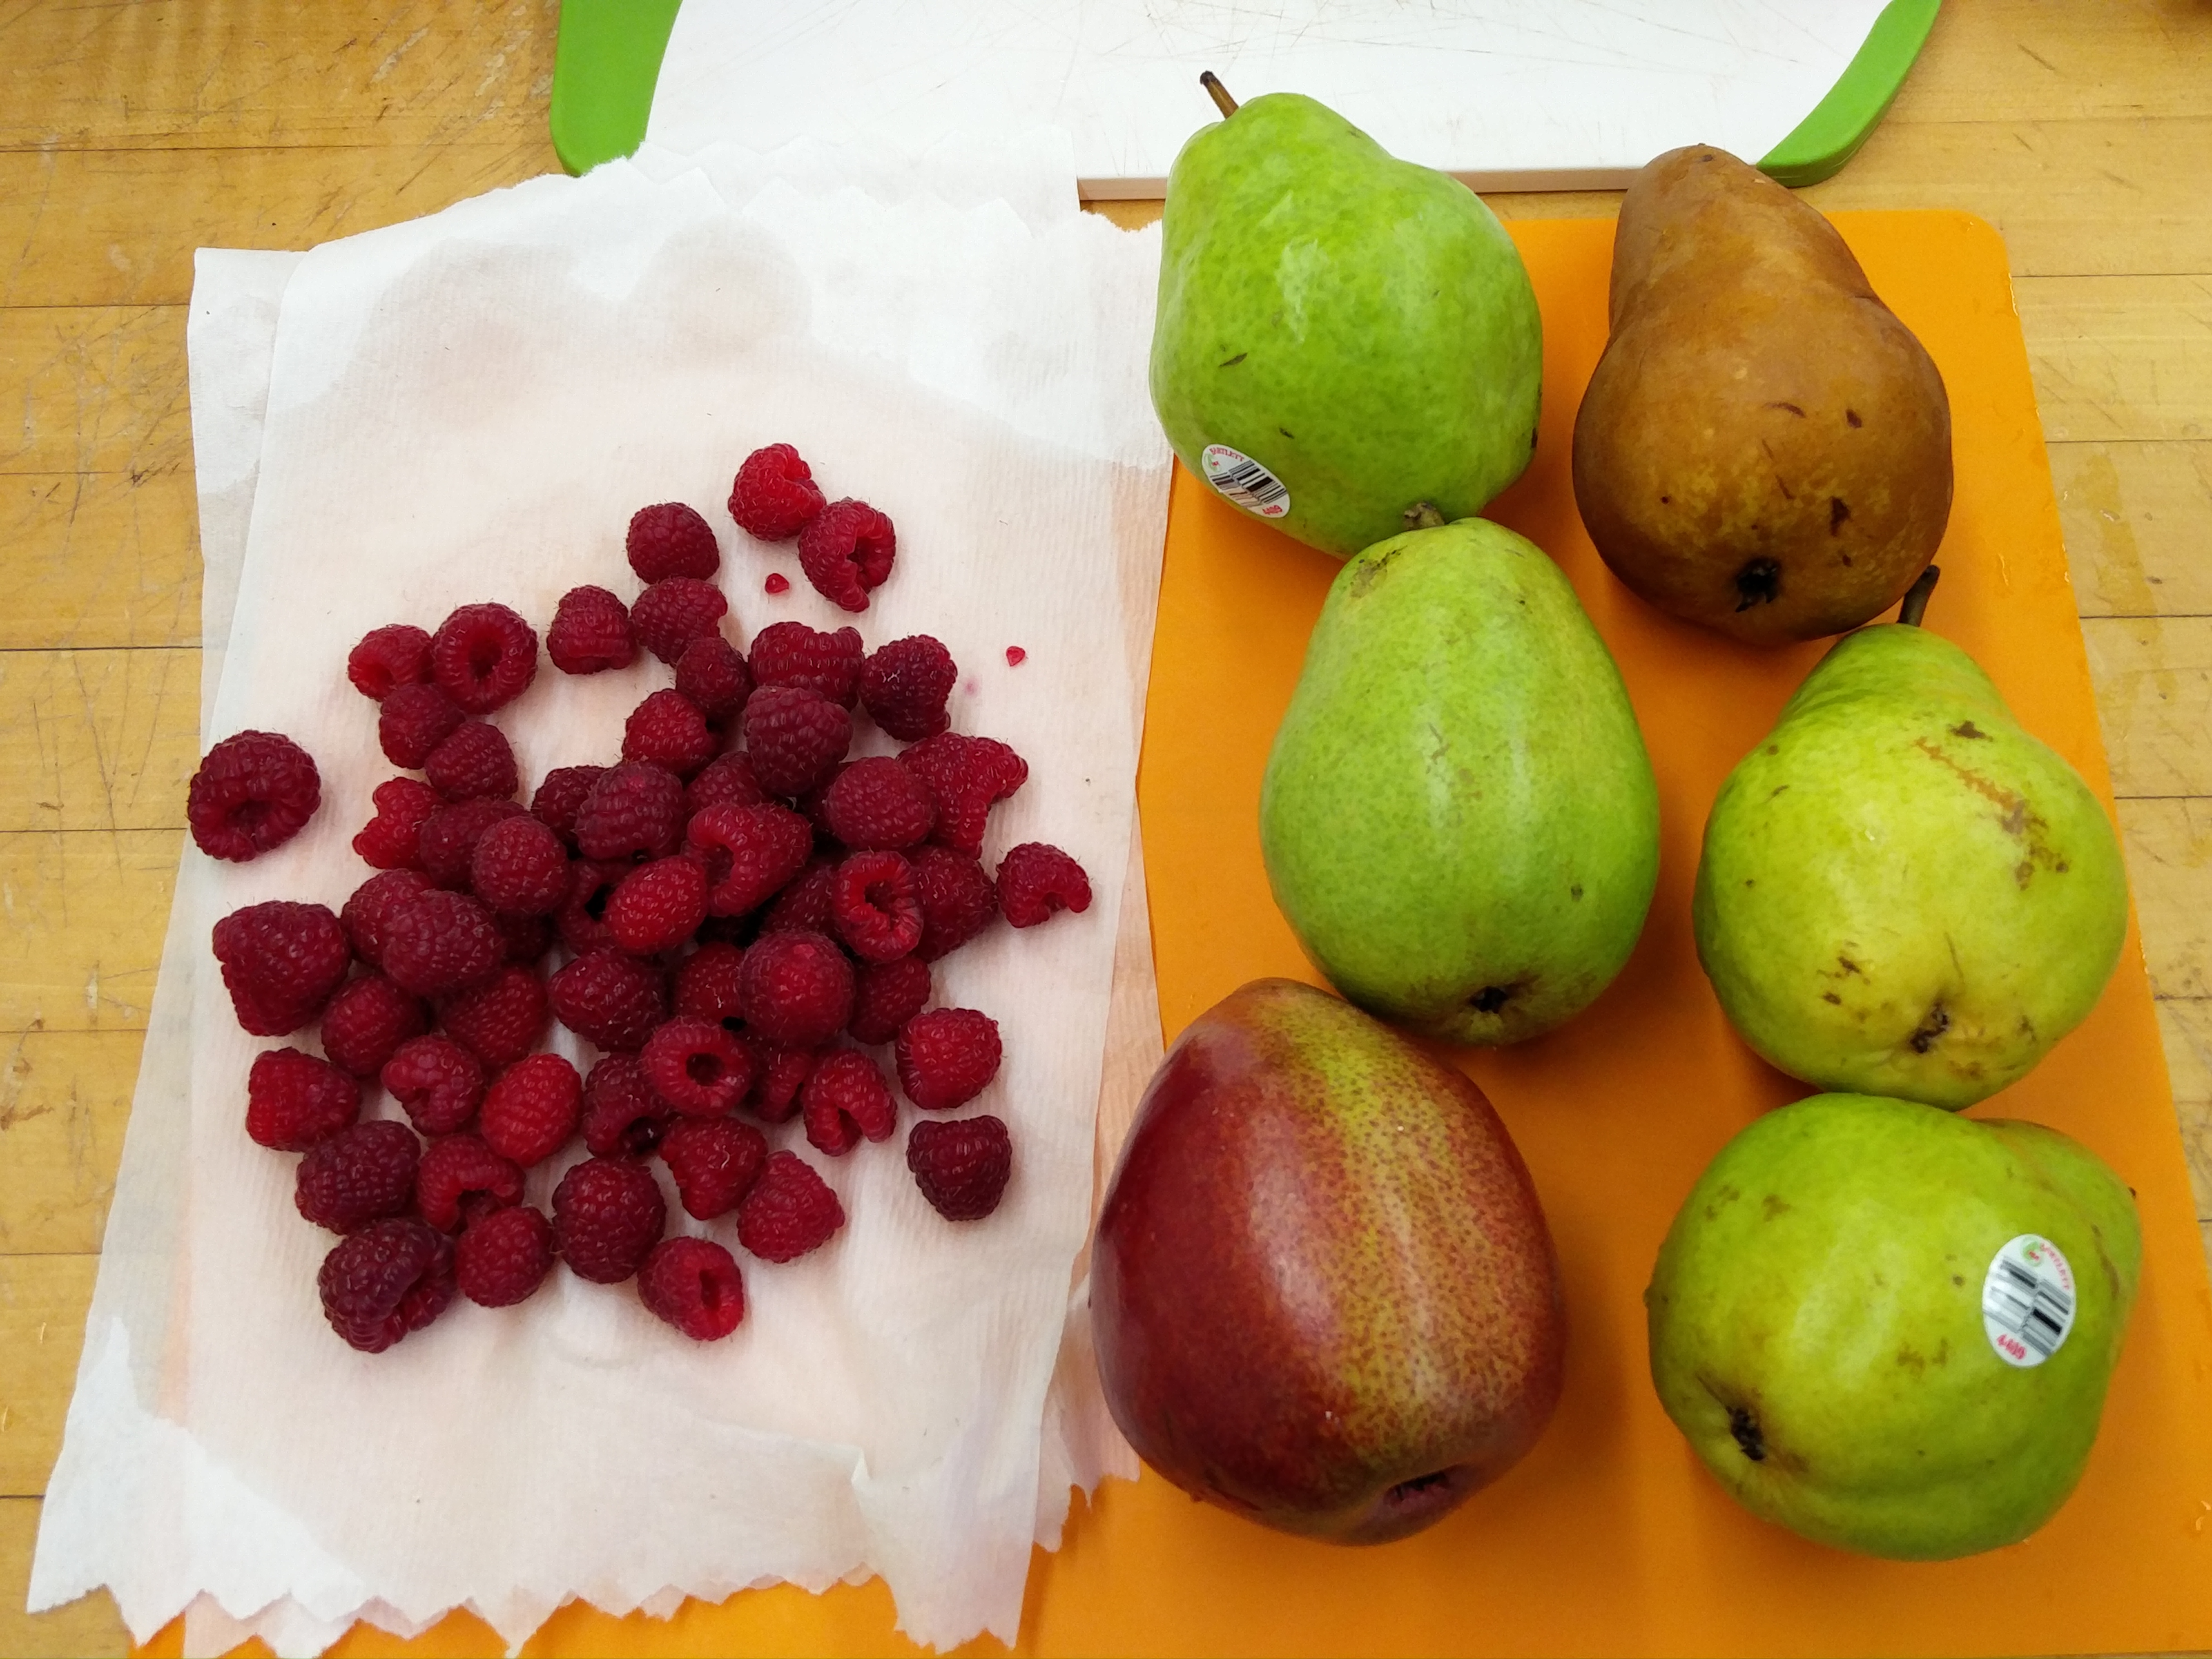
The next step, obviously, was deciding what pie I wanted to make. I had SO many choices. But I knew I wanted to make a double-crusted pie with fruit in it and I also wanted to use fruits that were in season. I looked up a few different recipes including a Pear and Raspberry pie, Peach and Blueberry, and Apple and Raspberry in hopes of finding the answer regarding which pie I should make once I went shopping. A trip to Stop & Shop (thanks to Steph for the ride!) helped me solved the dilemma as I walked through the fruit aisle and saw some gorgeous pears. The recipe I had called for only 6 Bartlett pears but for the sake of having a variety of textures, flavors, and aromas, I picked 3 Bartlett pears, 1 Red pear, 1 Anjou pear, and 1 Bosc pear. I also found some fresh organic raspberries and I knew making this pie was going to be interesting experience.

Overnight, I binge-watched a few pie-related episodes of The Great British Bake-Off and educated myself on how to avoid a soggy pie bottom due to a liquidy filling especially in fruit pies. Some research allowed me to learn that an egg-white wash, a chocolate wash, blind-baking, and adding cornstarch to the fruit, all seemed like viable options to avoid the disaster of a soggy bottom.

And then it was finally bake day! One thing I would say is that I really underestimated how much time it takes to make pies because it took almost four hours in total just to make one pie! Most of the time was probably spent because I was being as careful as possible and trying not to mess up and also because the baking time of the pie was almost 2 hours.

So I decided to follow the Pear and Raspberry pie recipe by Martha Stewart because it seemed like it would work. I started off by taking my pastry out of the fridge which had been in there for two days. Then I washed my raspberries and pears and dried them out.

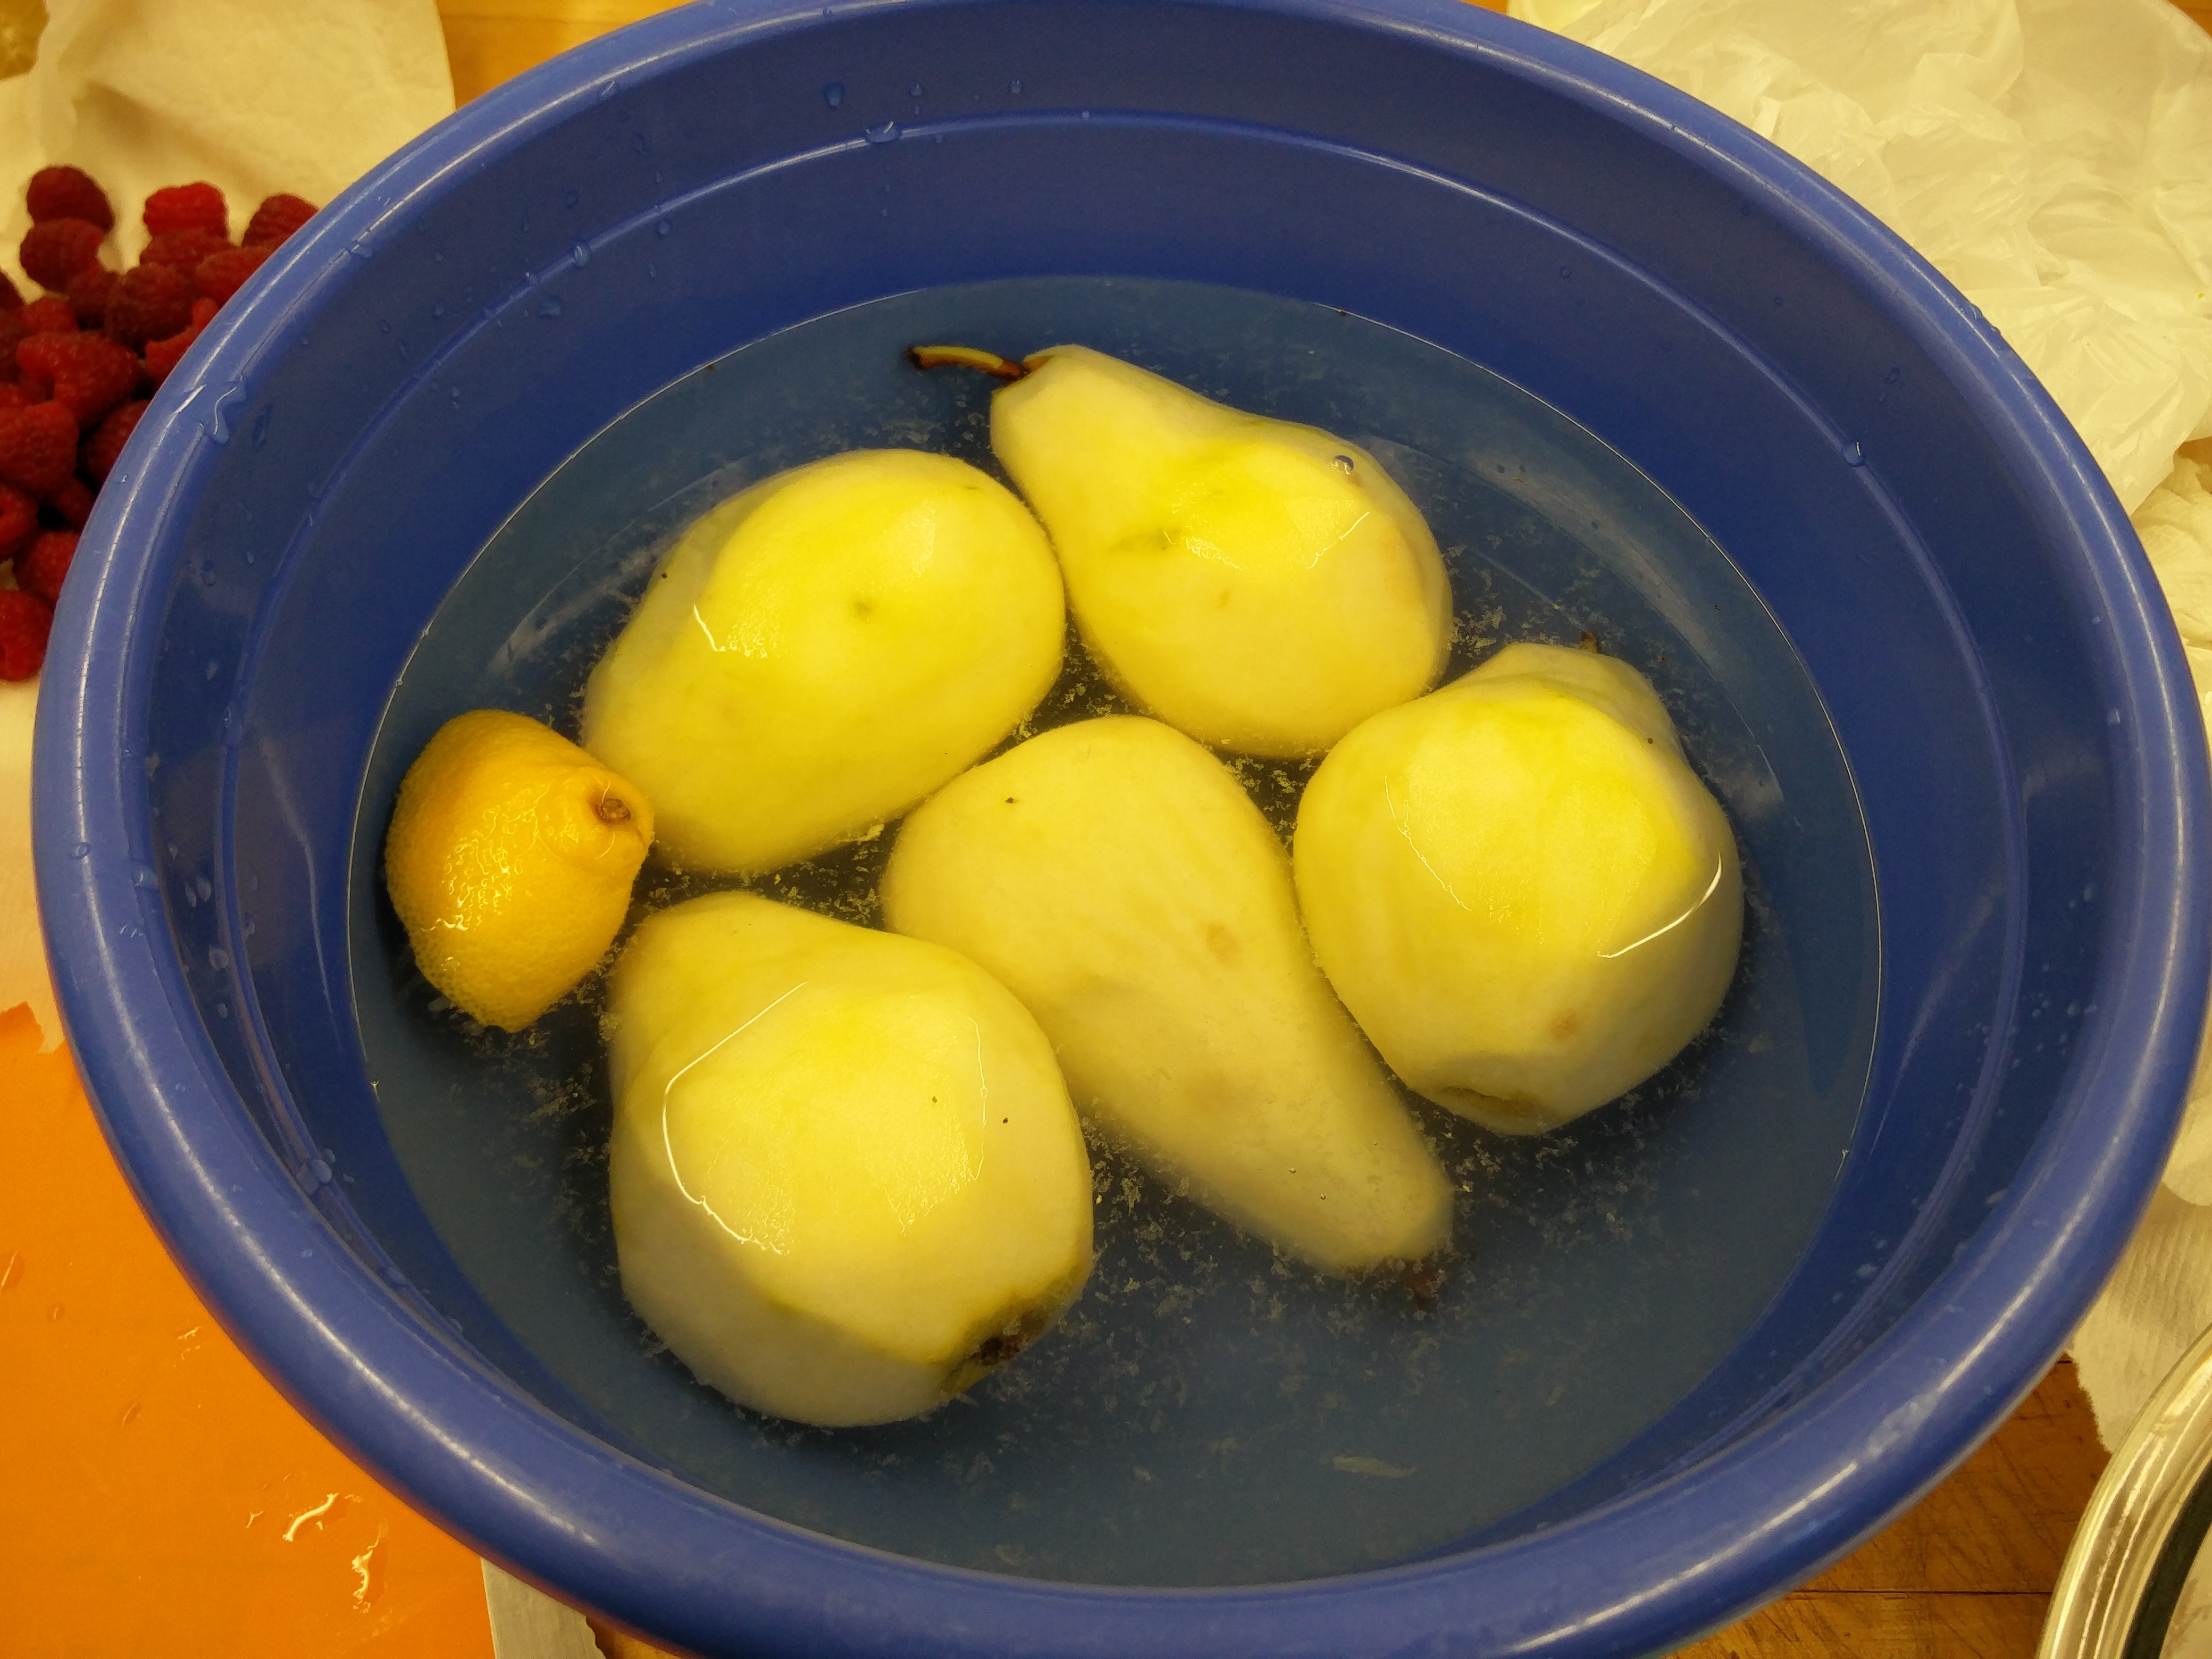
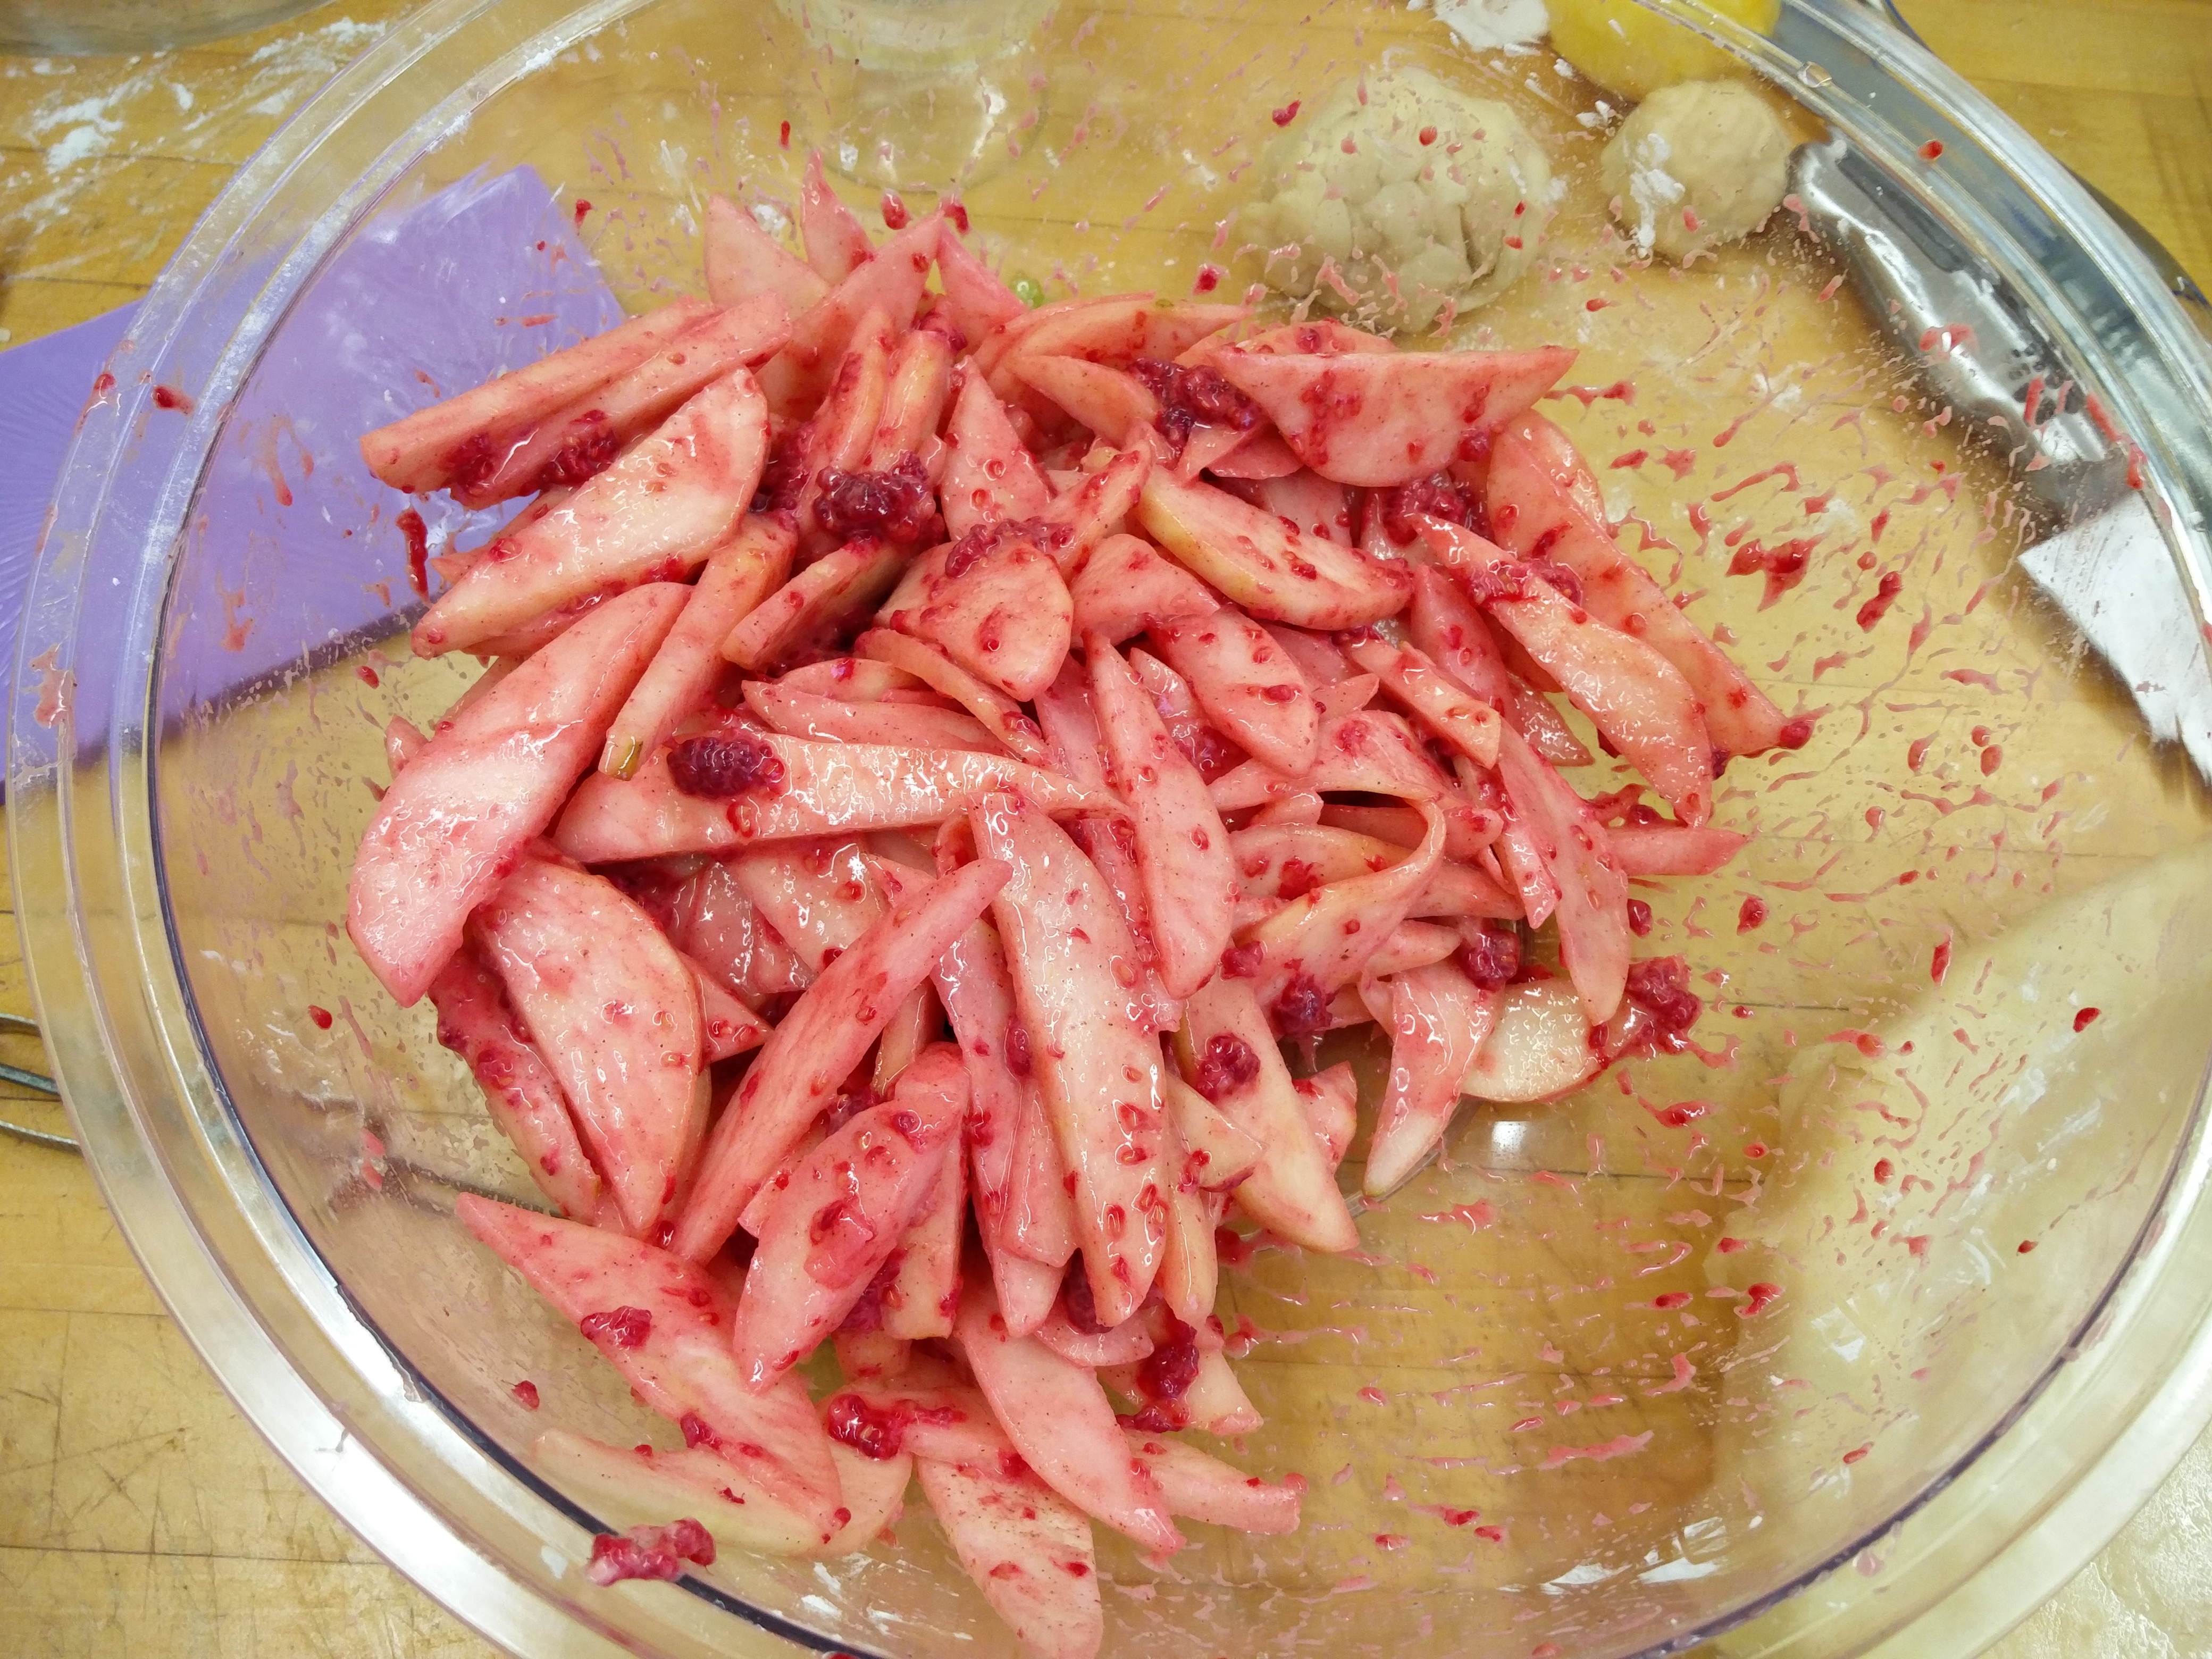
IMG_20160106_132017I set up a bowl with water and some lemon juice before I started peeling the pears in order to avoid browning. Once all the pears were peeled, I removed them from the acidified-water one-by-one and cut them in somewhat big slices. I was not entirely sure about the size of the slices but some advice from DGM helped me realize that it did not really matter as long as all the slices were similarly sized. I put the pear slices and the raspberries in a bowl and put in 1/2 cup of sugar. The recipe doesn’t call for this step but I wanted to remove as much juice as possible from the fruit so I just let the fruits and sugar sit for almost 30 minutes.

IMG_20160106_133406 IMG_20160106_135243

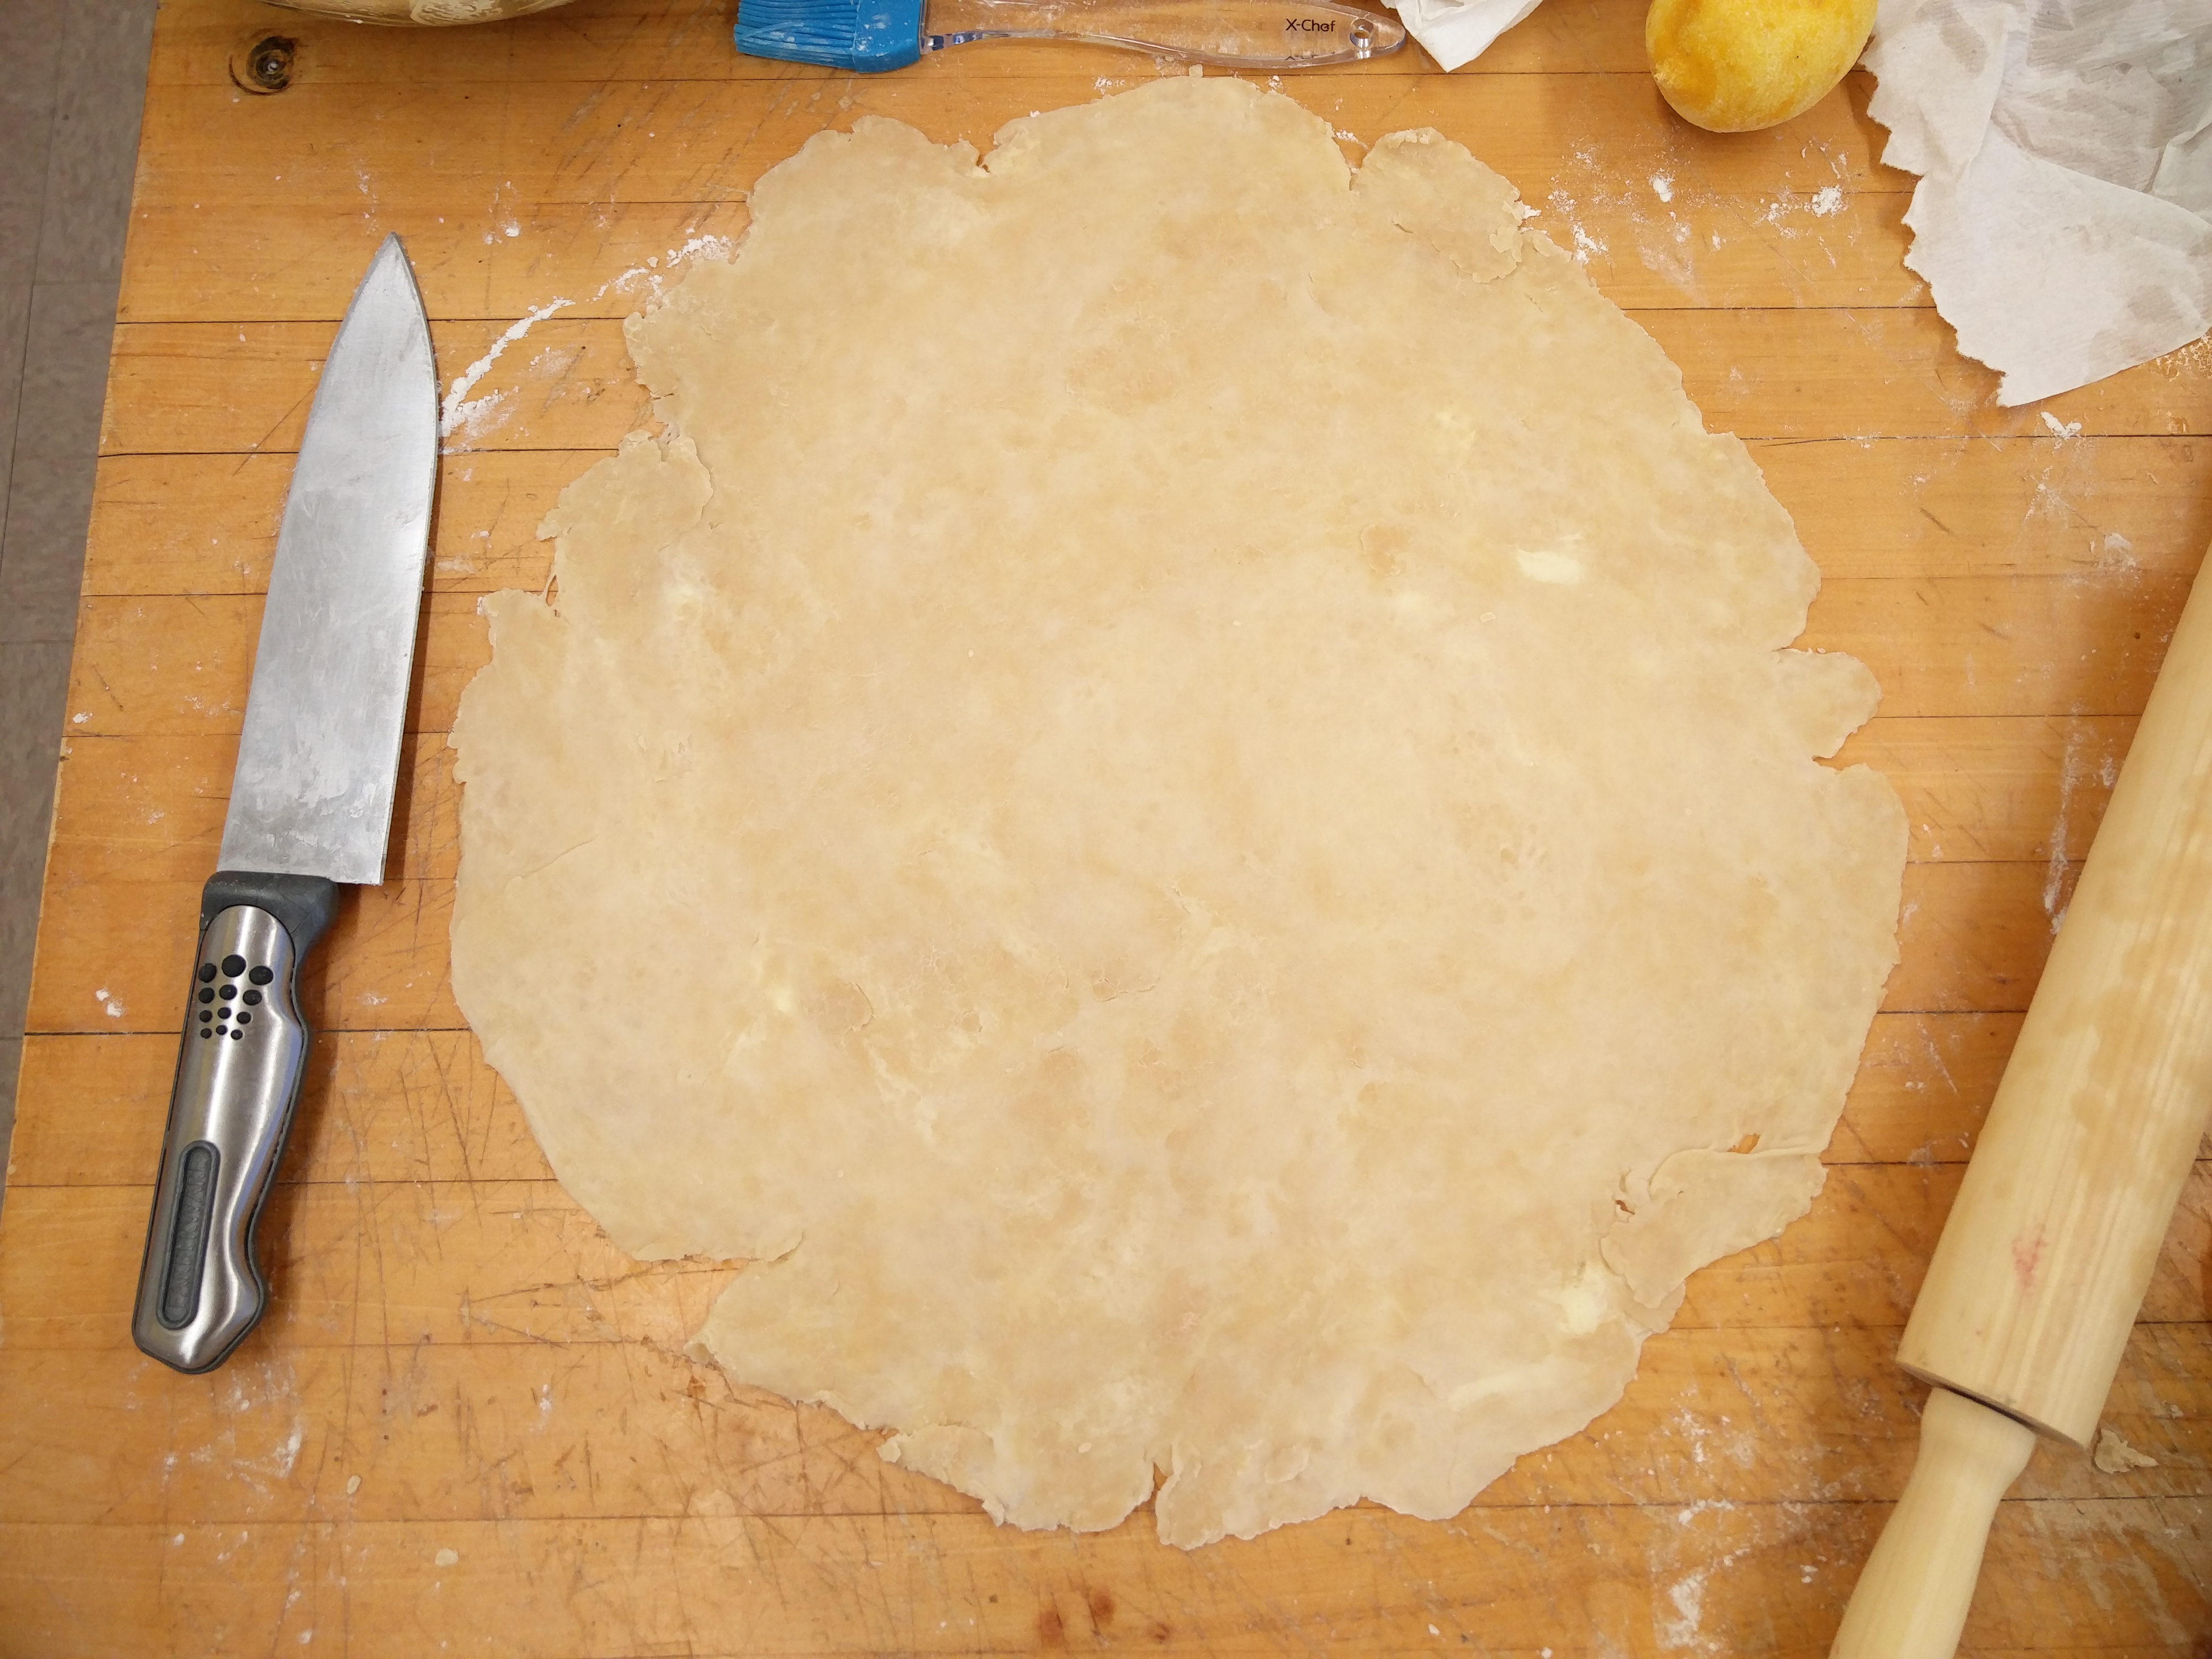
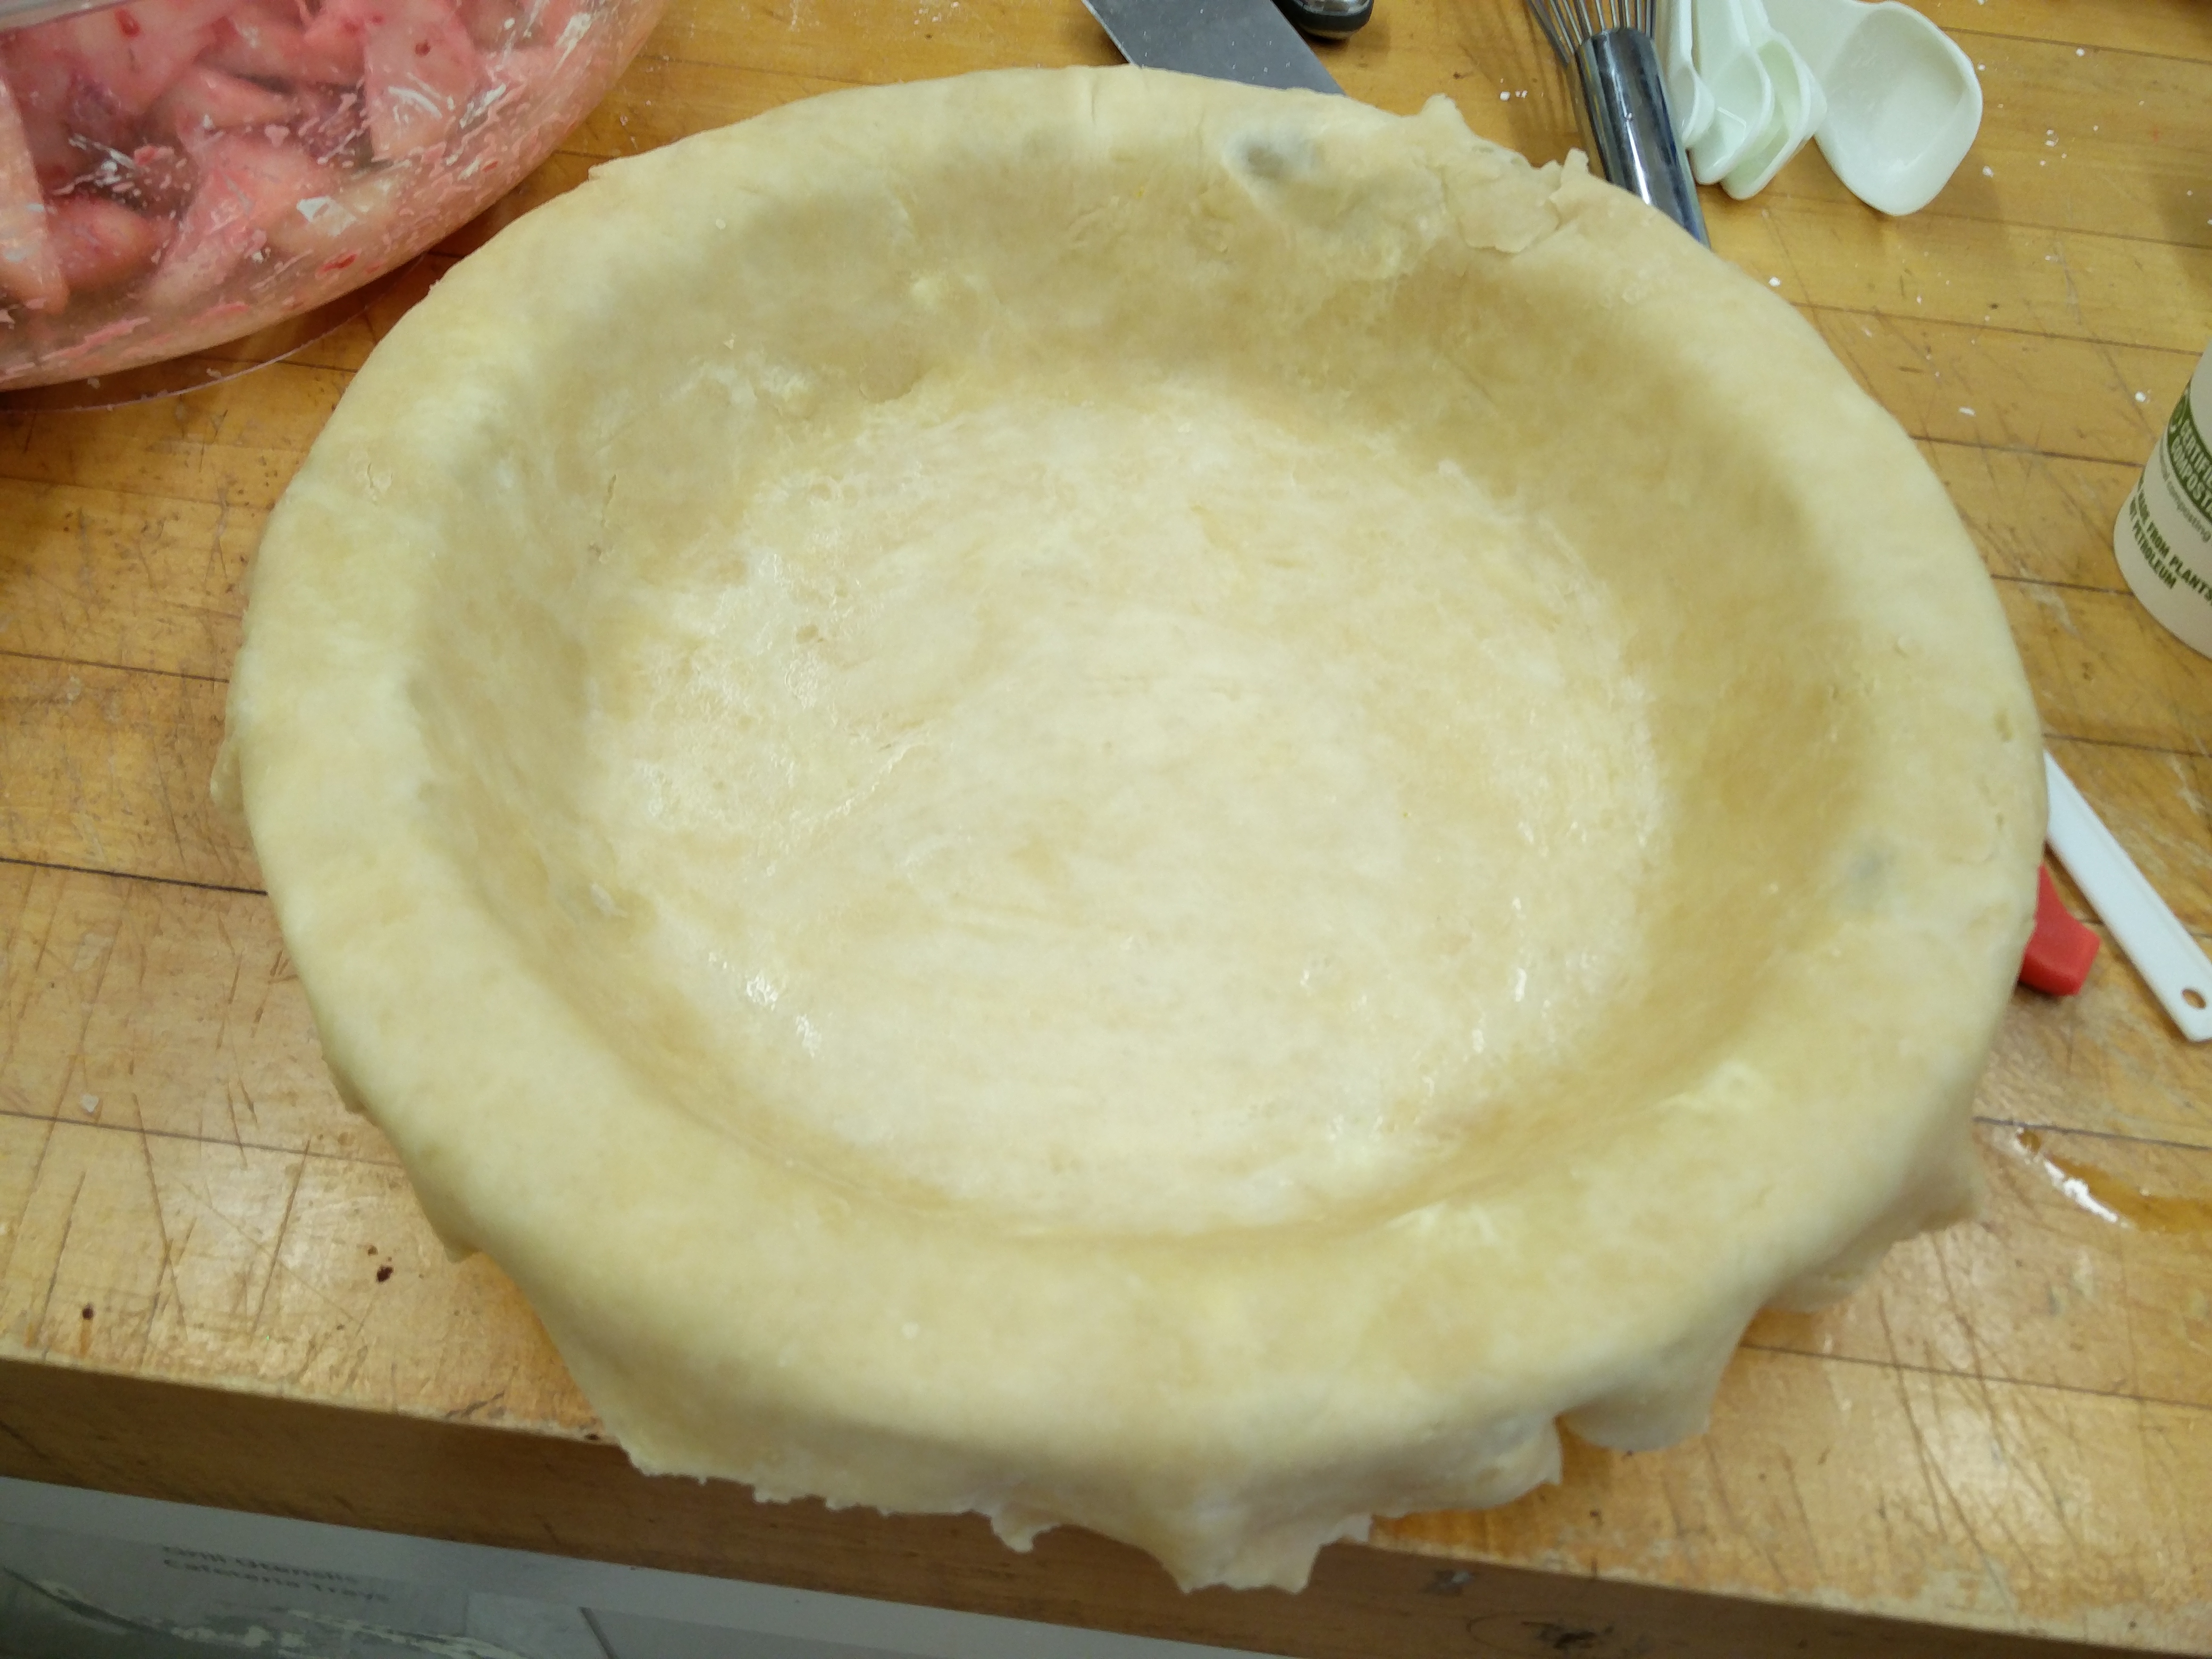
In the meantime, I rolled out my first pastry crust. Following a tip I found on the internet, I rolled only in one direction in order to avoid “confusing” the dough and to avoid forming gluten that would toughen up my crust. I placed the rolled out pastry in my pie plate, trimmed off the edges leaving some overhang and put it in the fridge to chill for a few minutes.

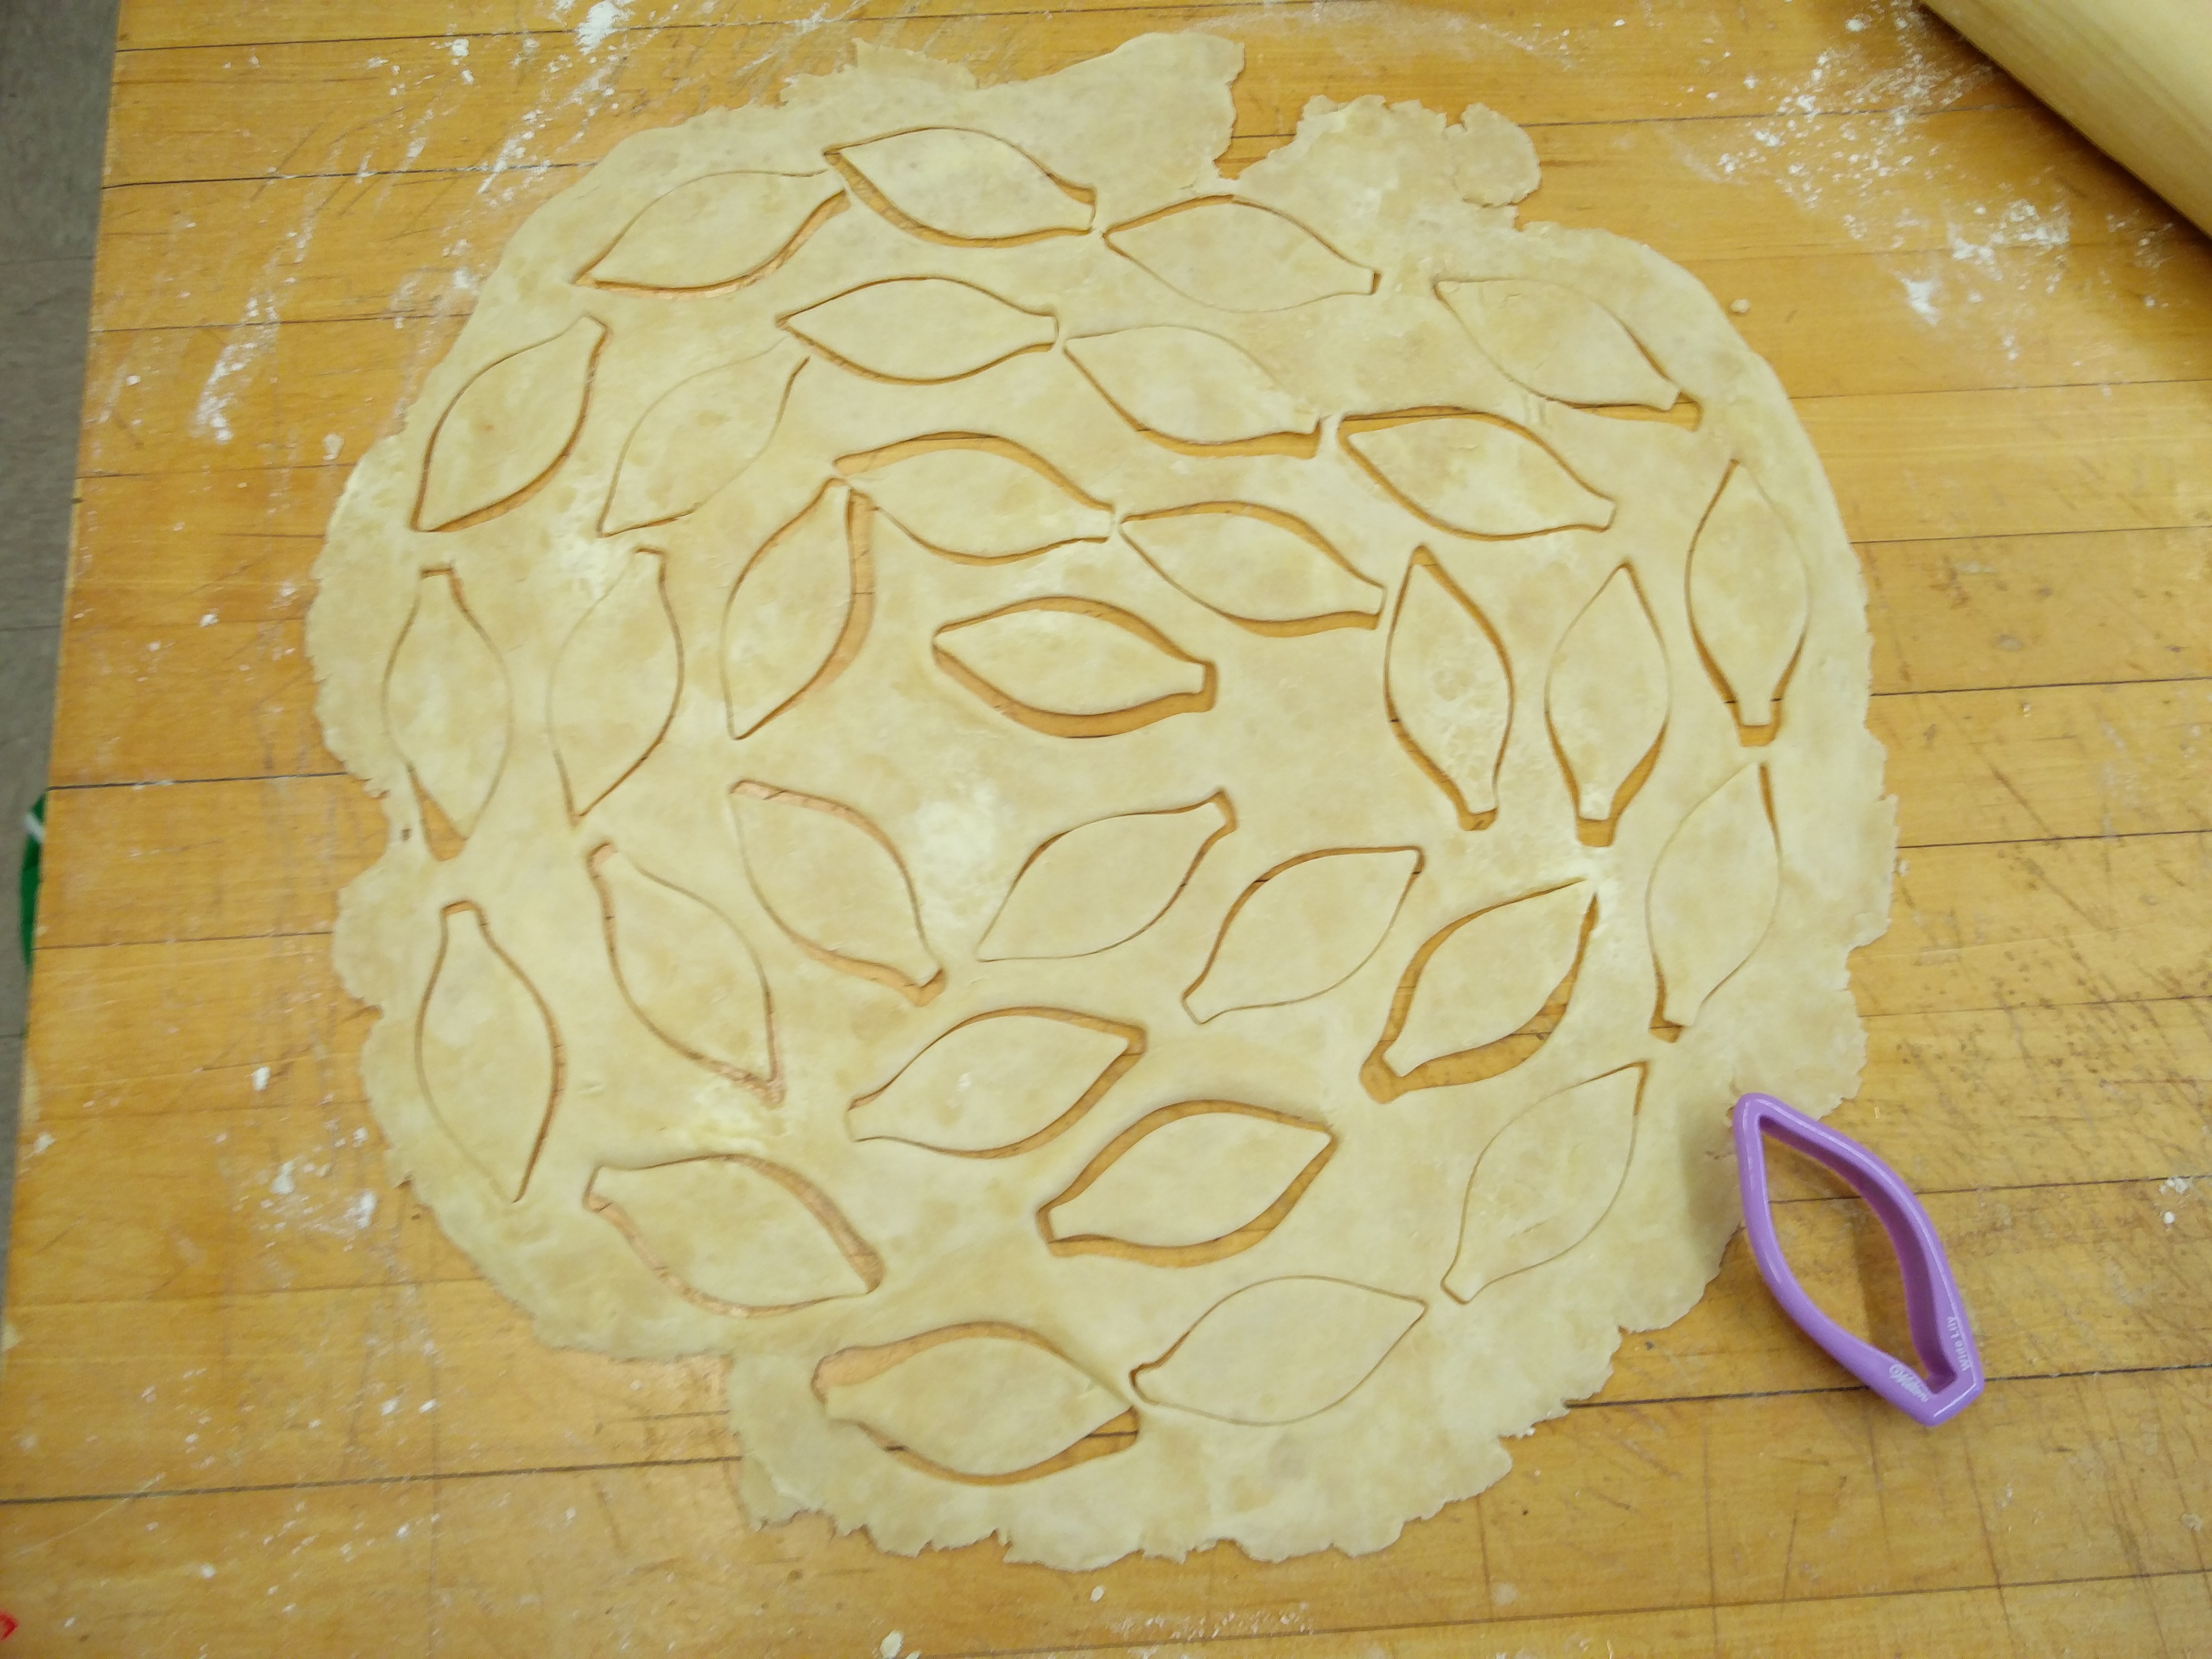
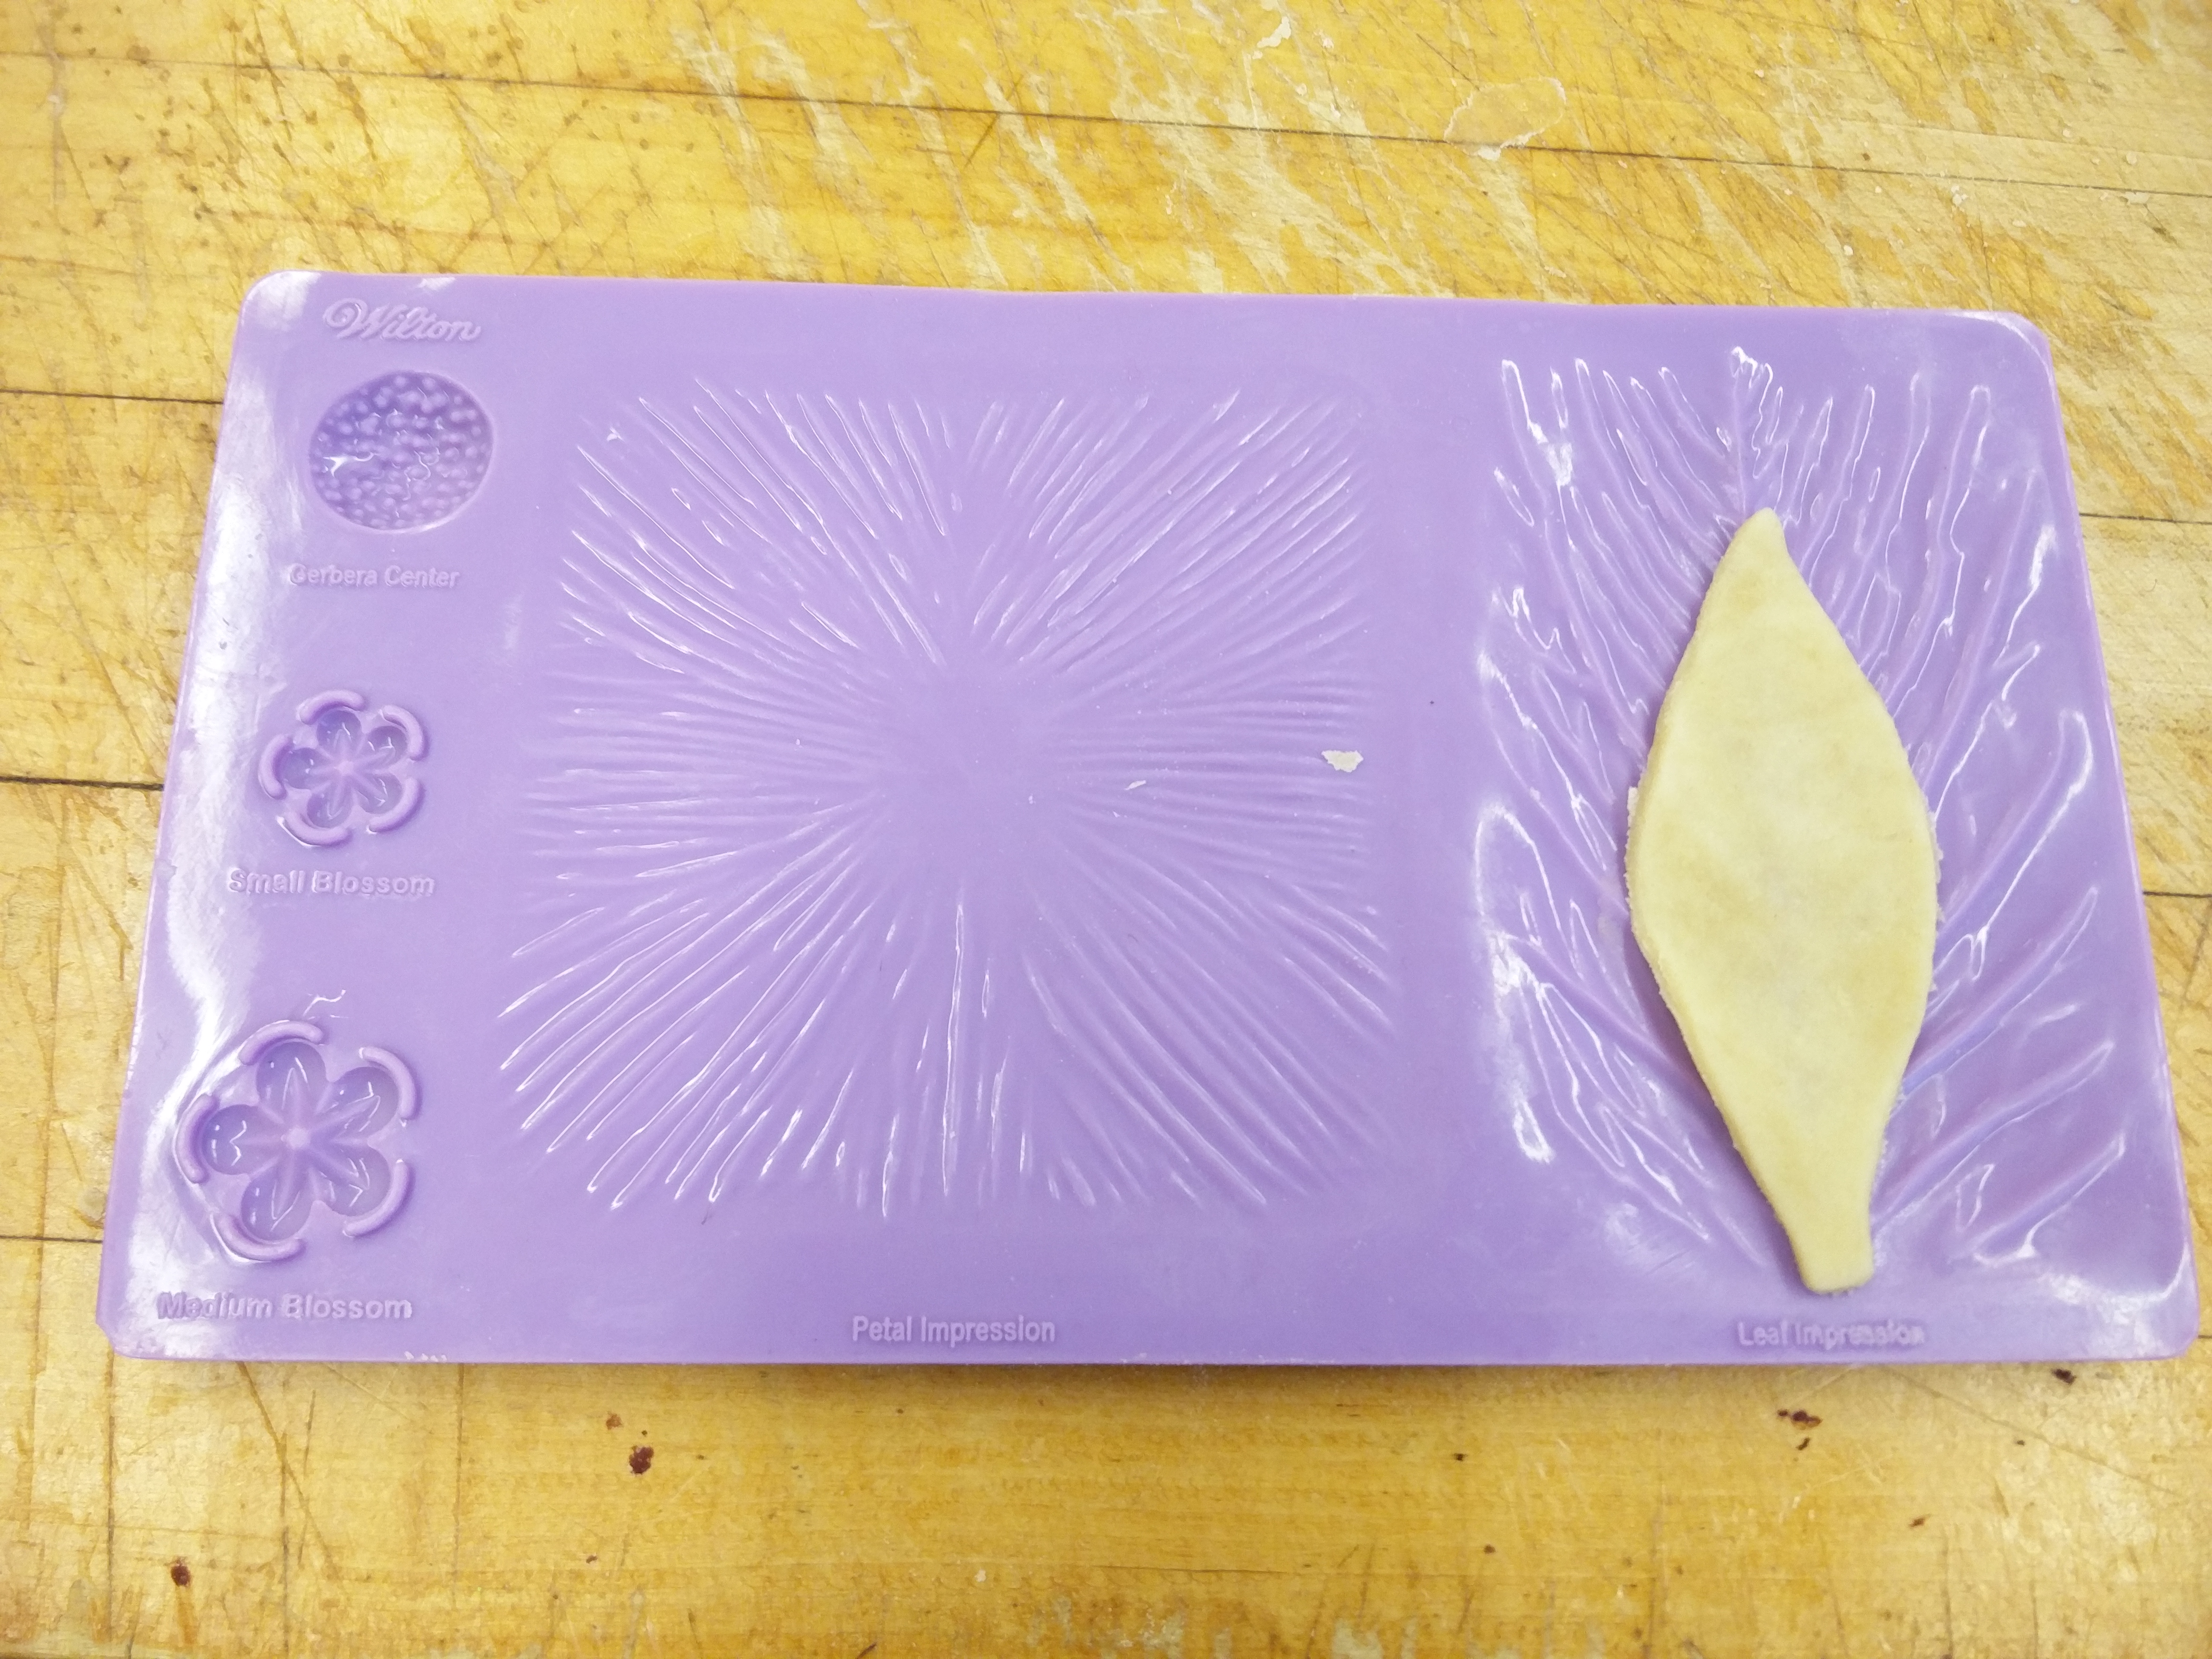
IMG_20160106_132034 IMG_20160106_140439Meanwhile I rolled out my second pastry dough and even the recipe called for heart-shaped pastry cut-outs, I did not have a heart-shaped cookie cutter but did have a leaf-shaped cutter and even a leaf pattern-maker (thanks to Neftaly!) so I decide to use that and cut out around 50 leaves. Jordan helped me put patterns on the leaves (thanks!).

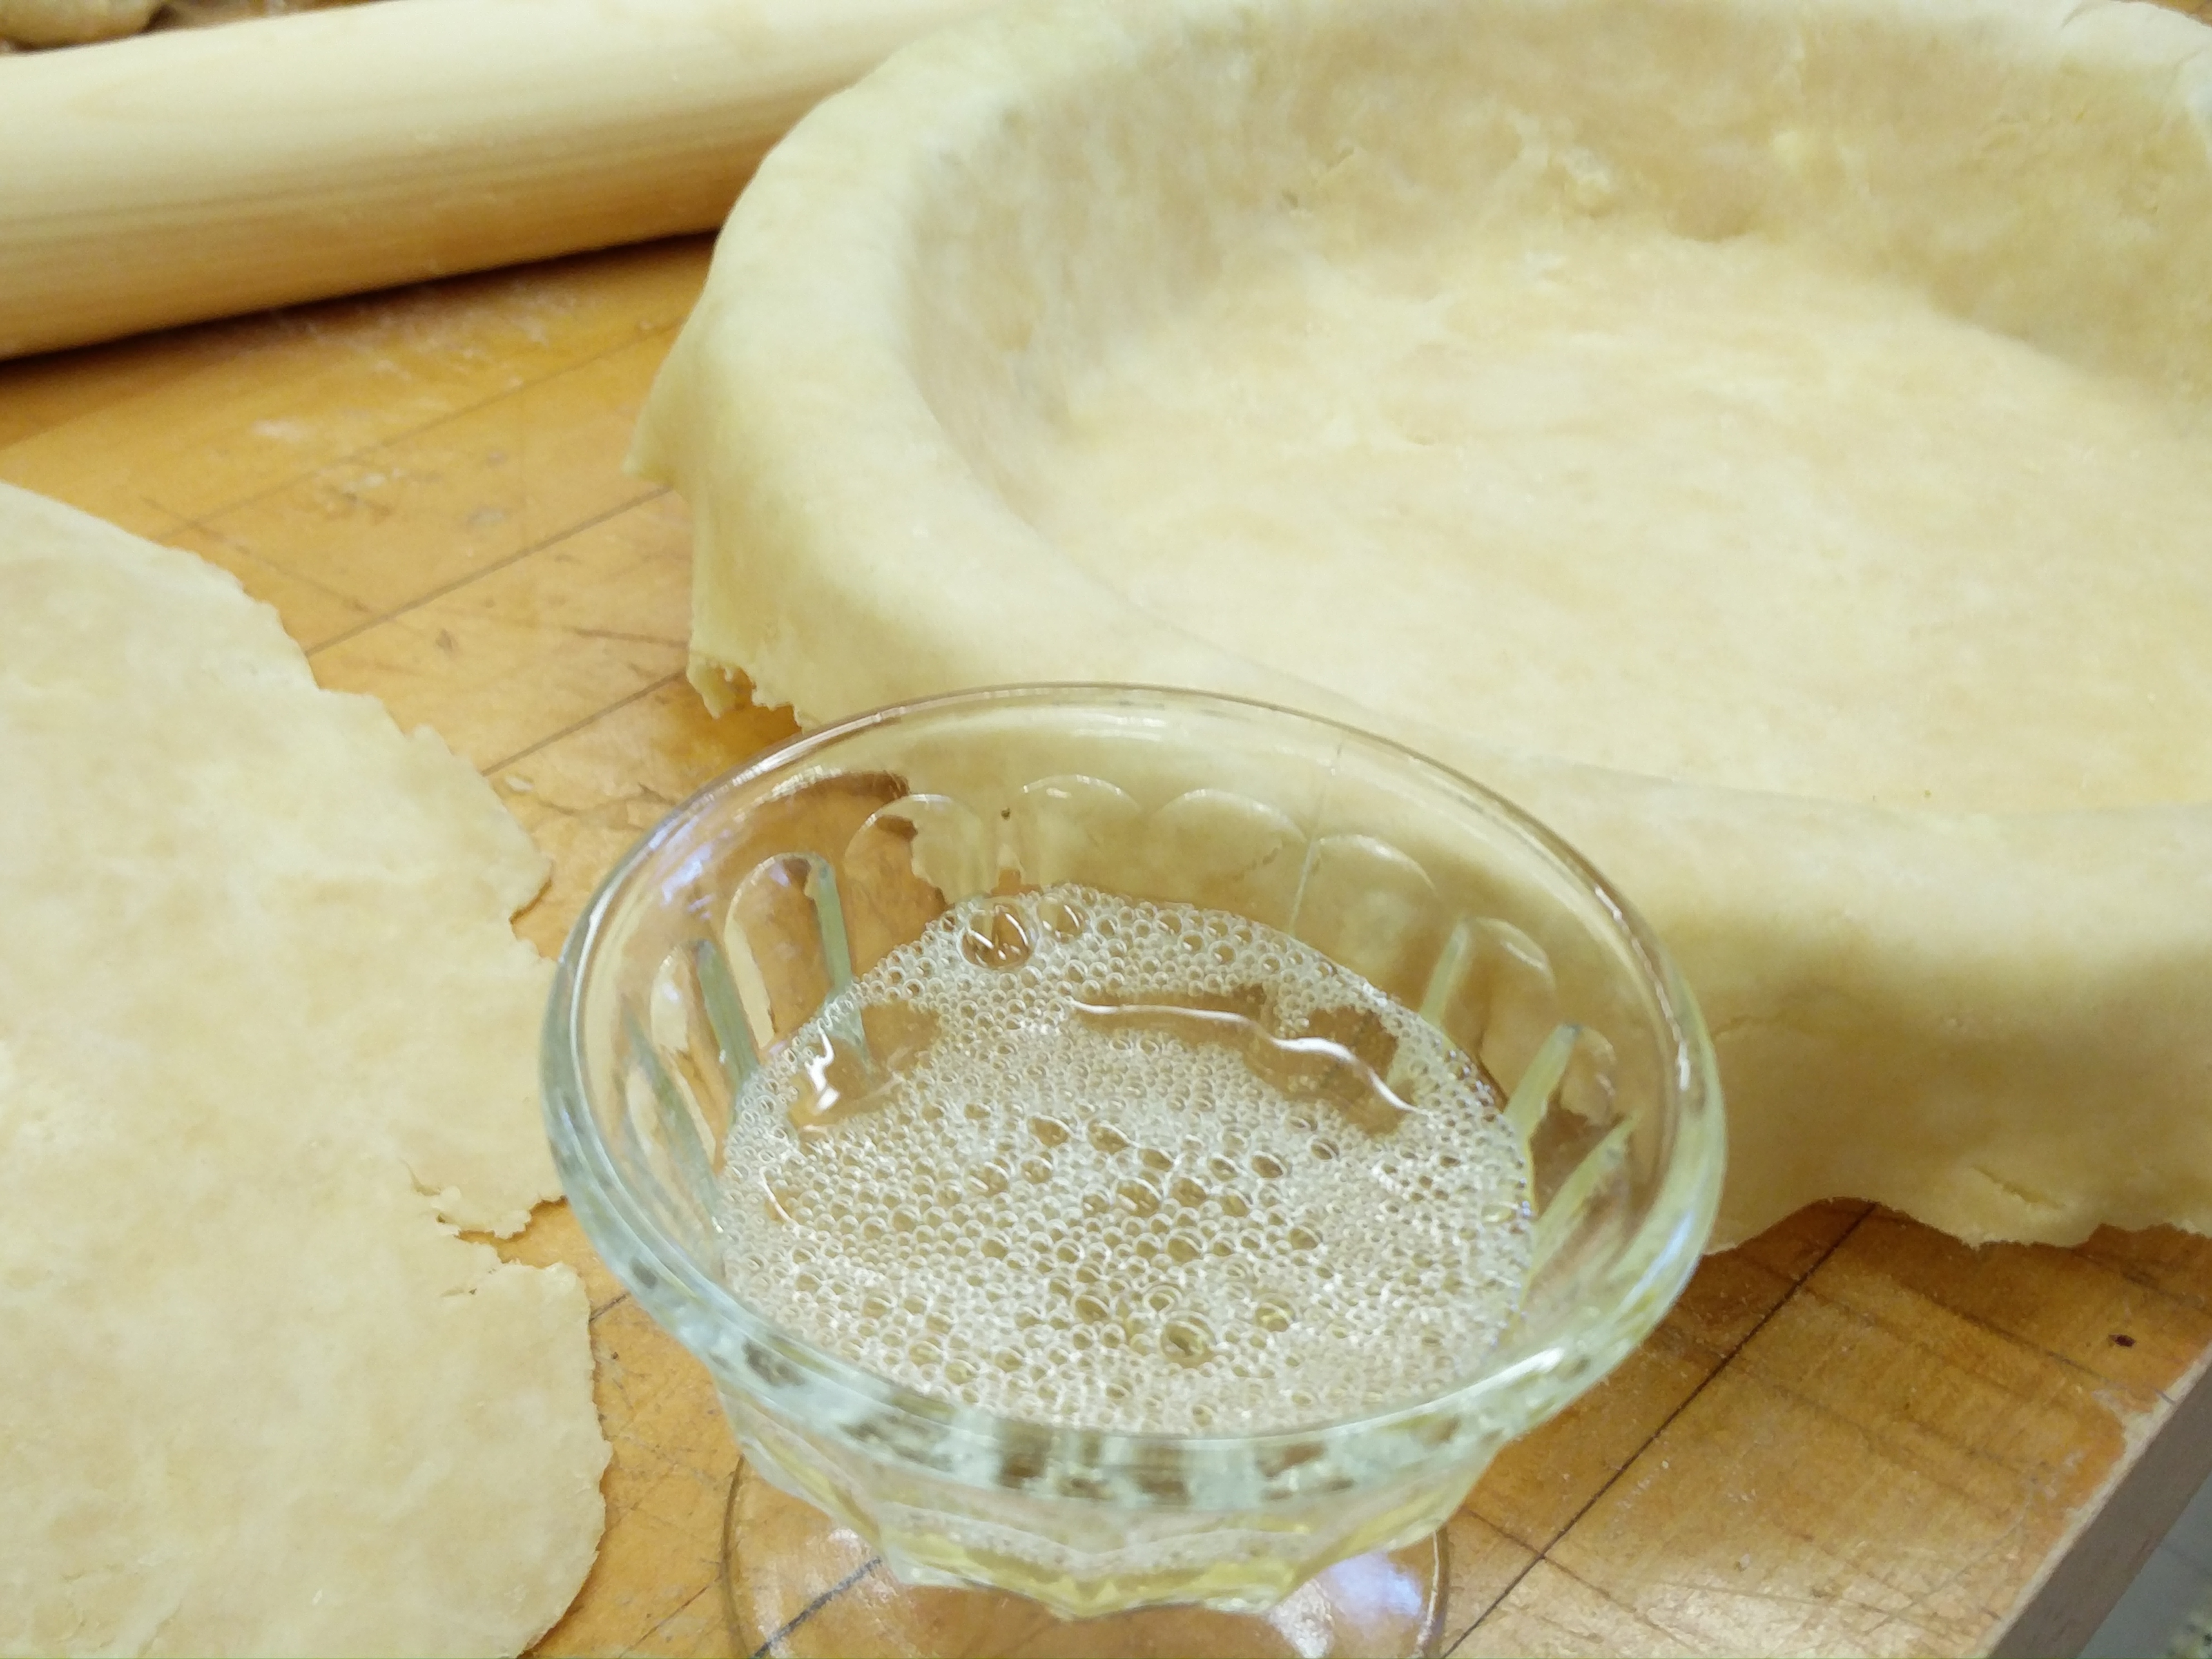
IMG_20160106_142916 IMG_20160106_144332 I took the pie plate out from the fridge and made an egg-white wash with a little bit of water and brushed a very thin layer of this on to the bottom of the pie. The egg wash contains proteins which do not interact with water and hence form a protective layer against the fruit juices while cooking. I put this pie plate back in the fridge to harden the egg wash. I also put the leaf cut outs on a baking sheet lined with parchment paper and put them in the fridge to harden.

IMG_20160106_142503

IMG_20160106_145026

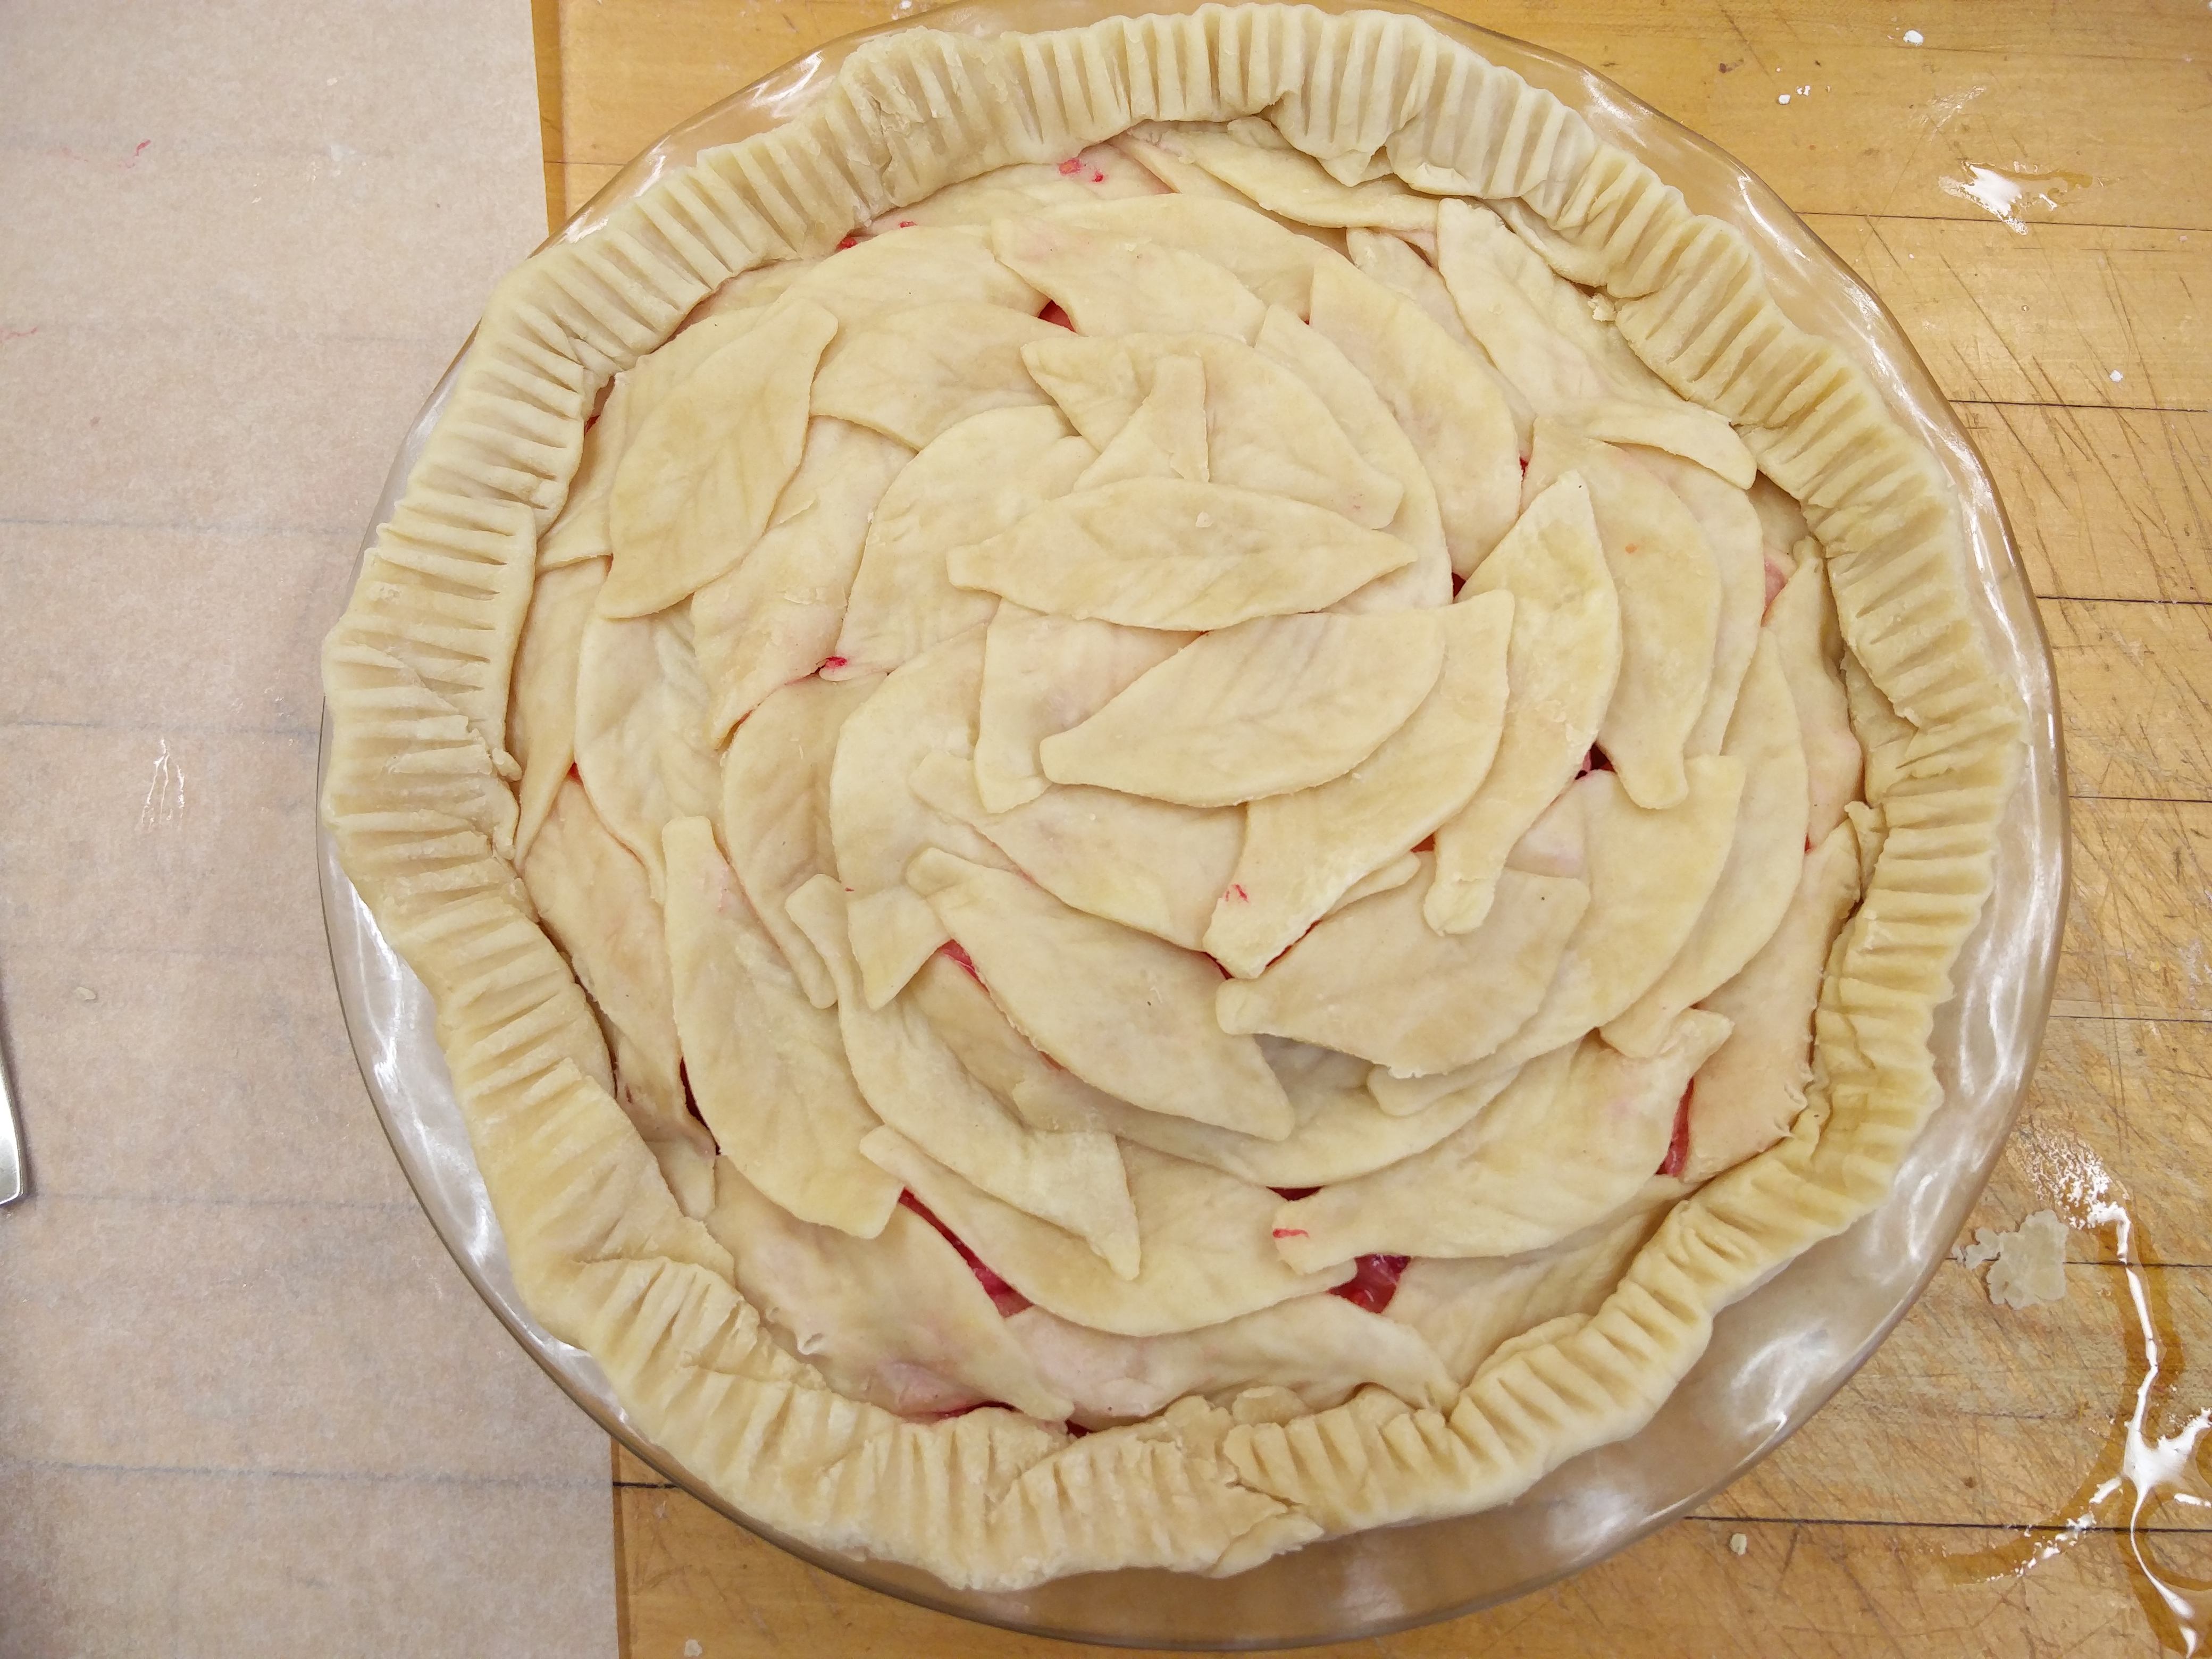
Now, I whisked together some corn starch, cinnamon and salt in a bowl and added the fruits which I had just drained over a colander. I reserved the fruit juice in hopes of making a sauce later. I tossed the fruits and corn starch mixture together. I took out the pie plate from the fridge and put in the pie filling. I forgot to put in dots of butter at this point but I remedied that later. I arranged the leaves in sort of a circular pattern until the whole pie was covered. The overlapping of the leaves created natural vents so there was no need to score the crust on top. I mixed together an egg yolk and some milk and brushed this wash on top of the pie.

IMG_20160106_145029 IMG_20160106_145909

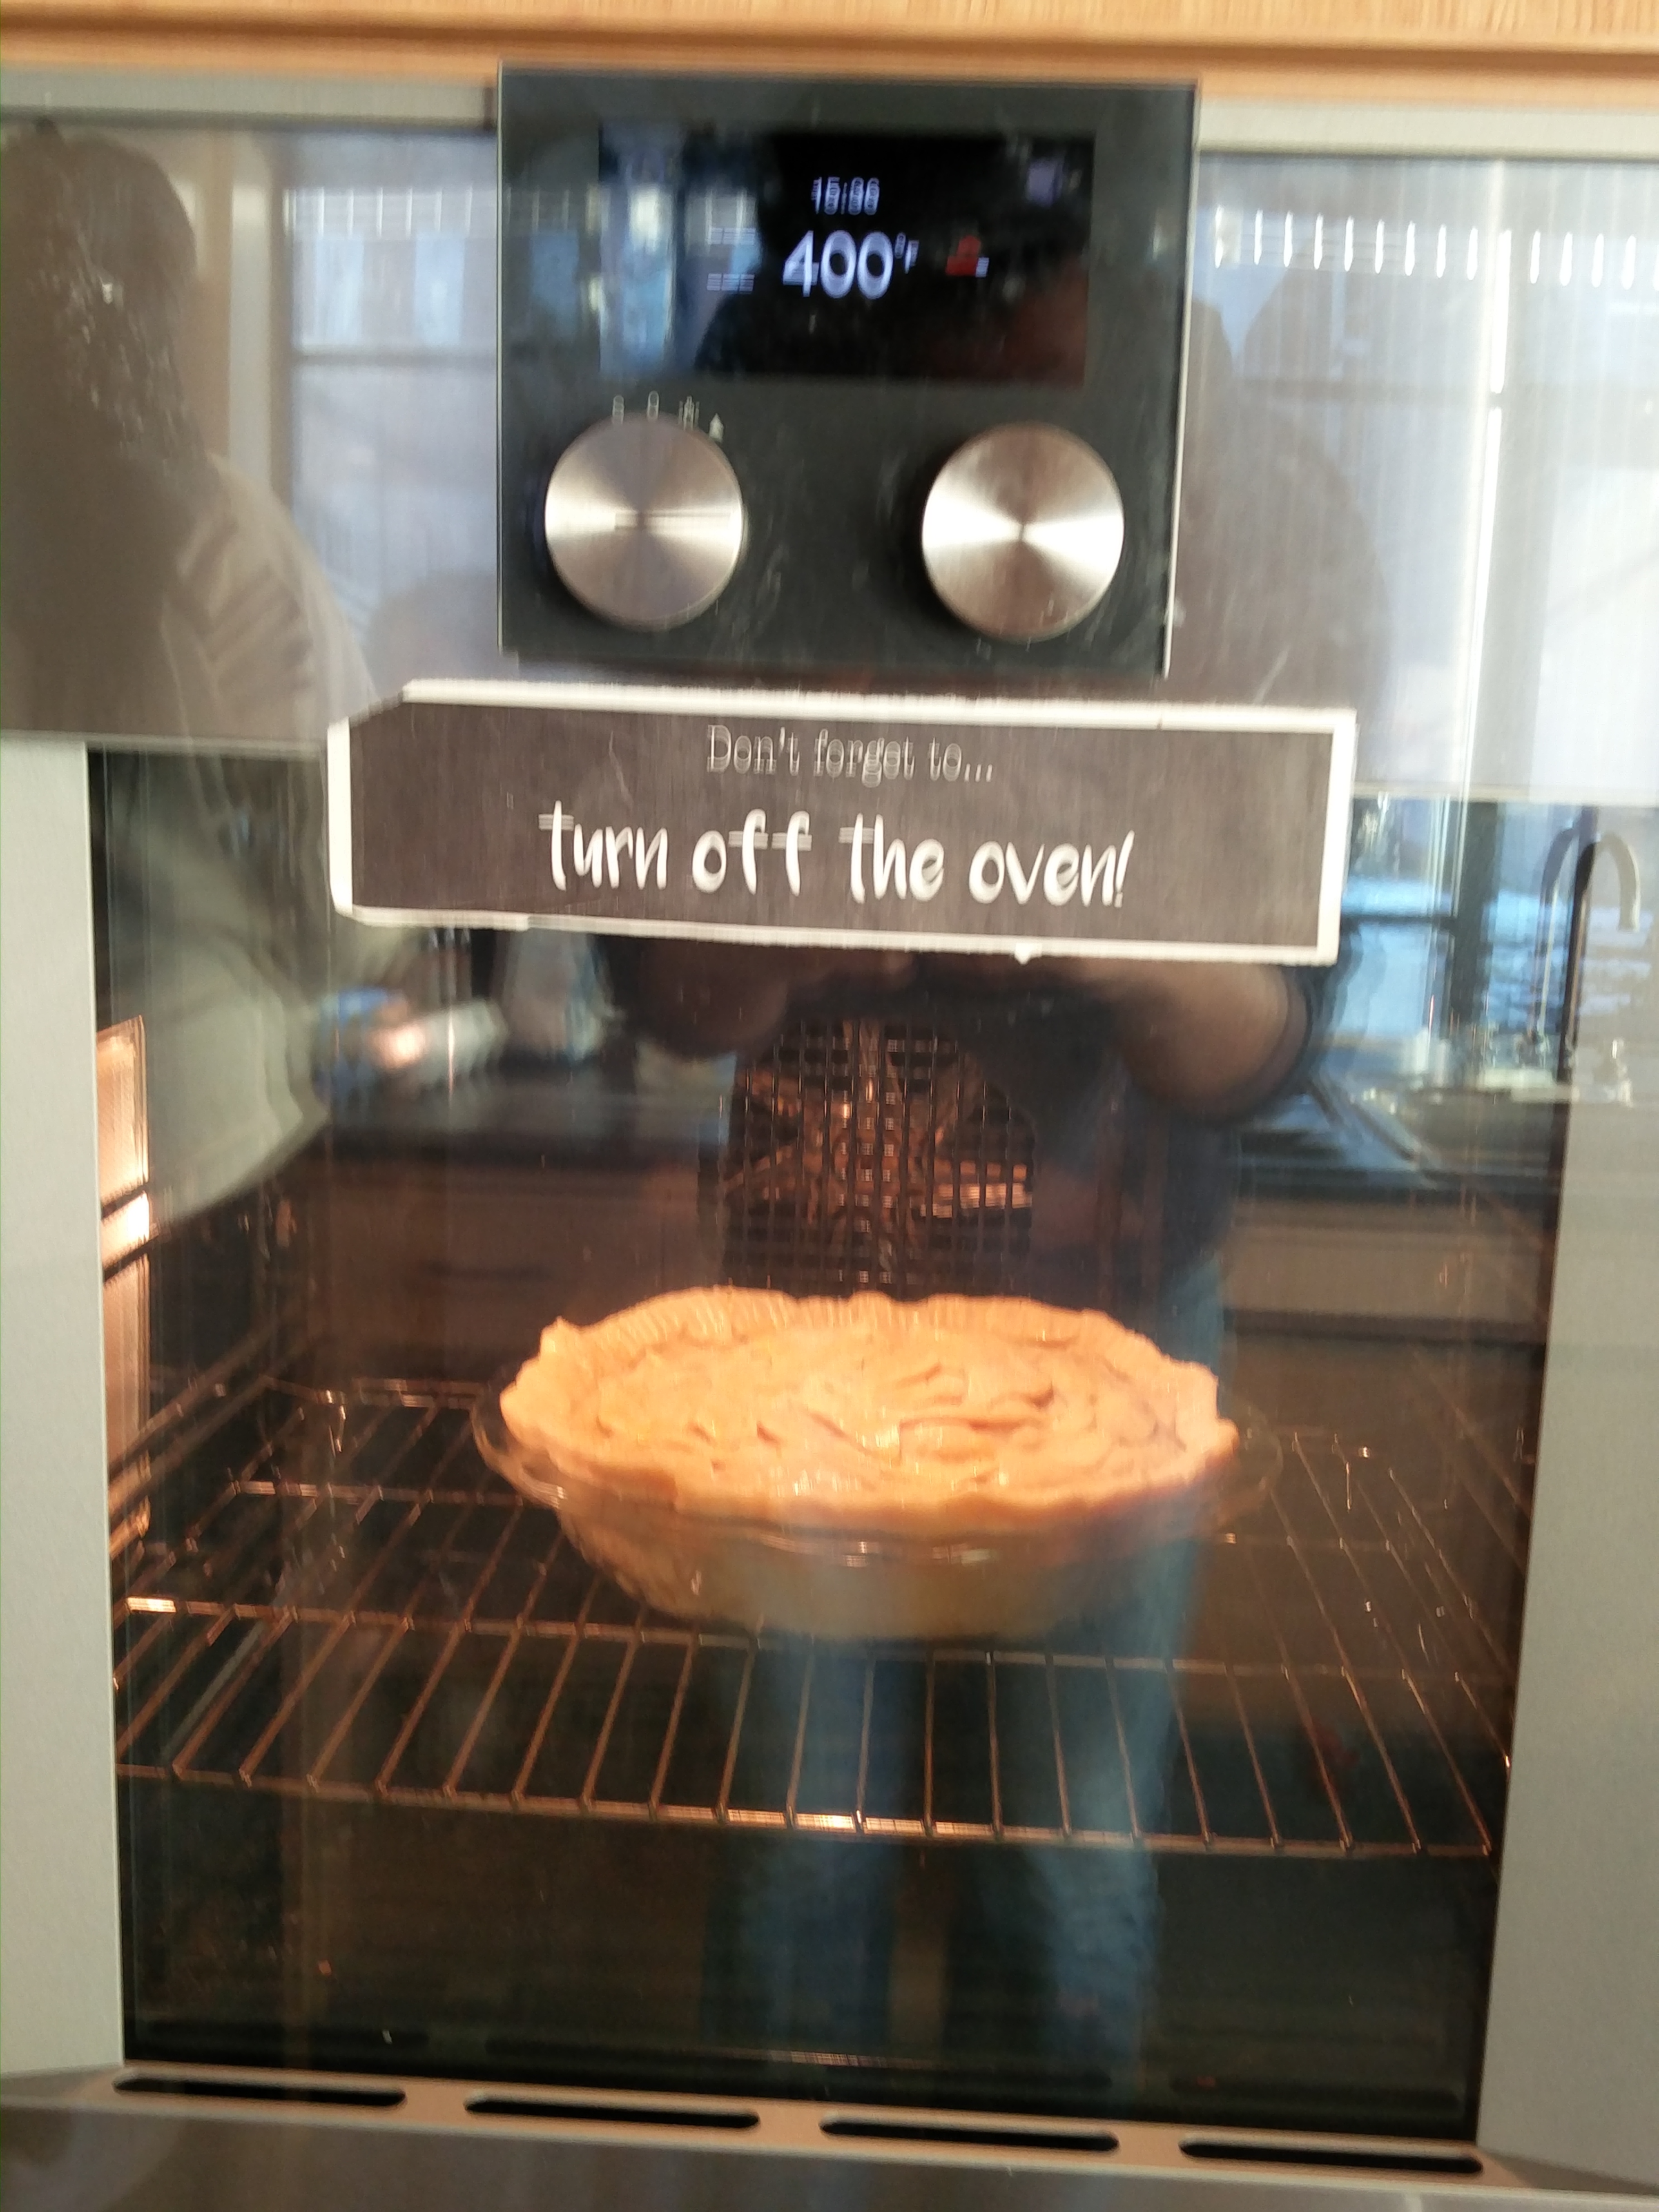
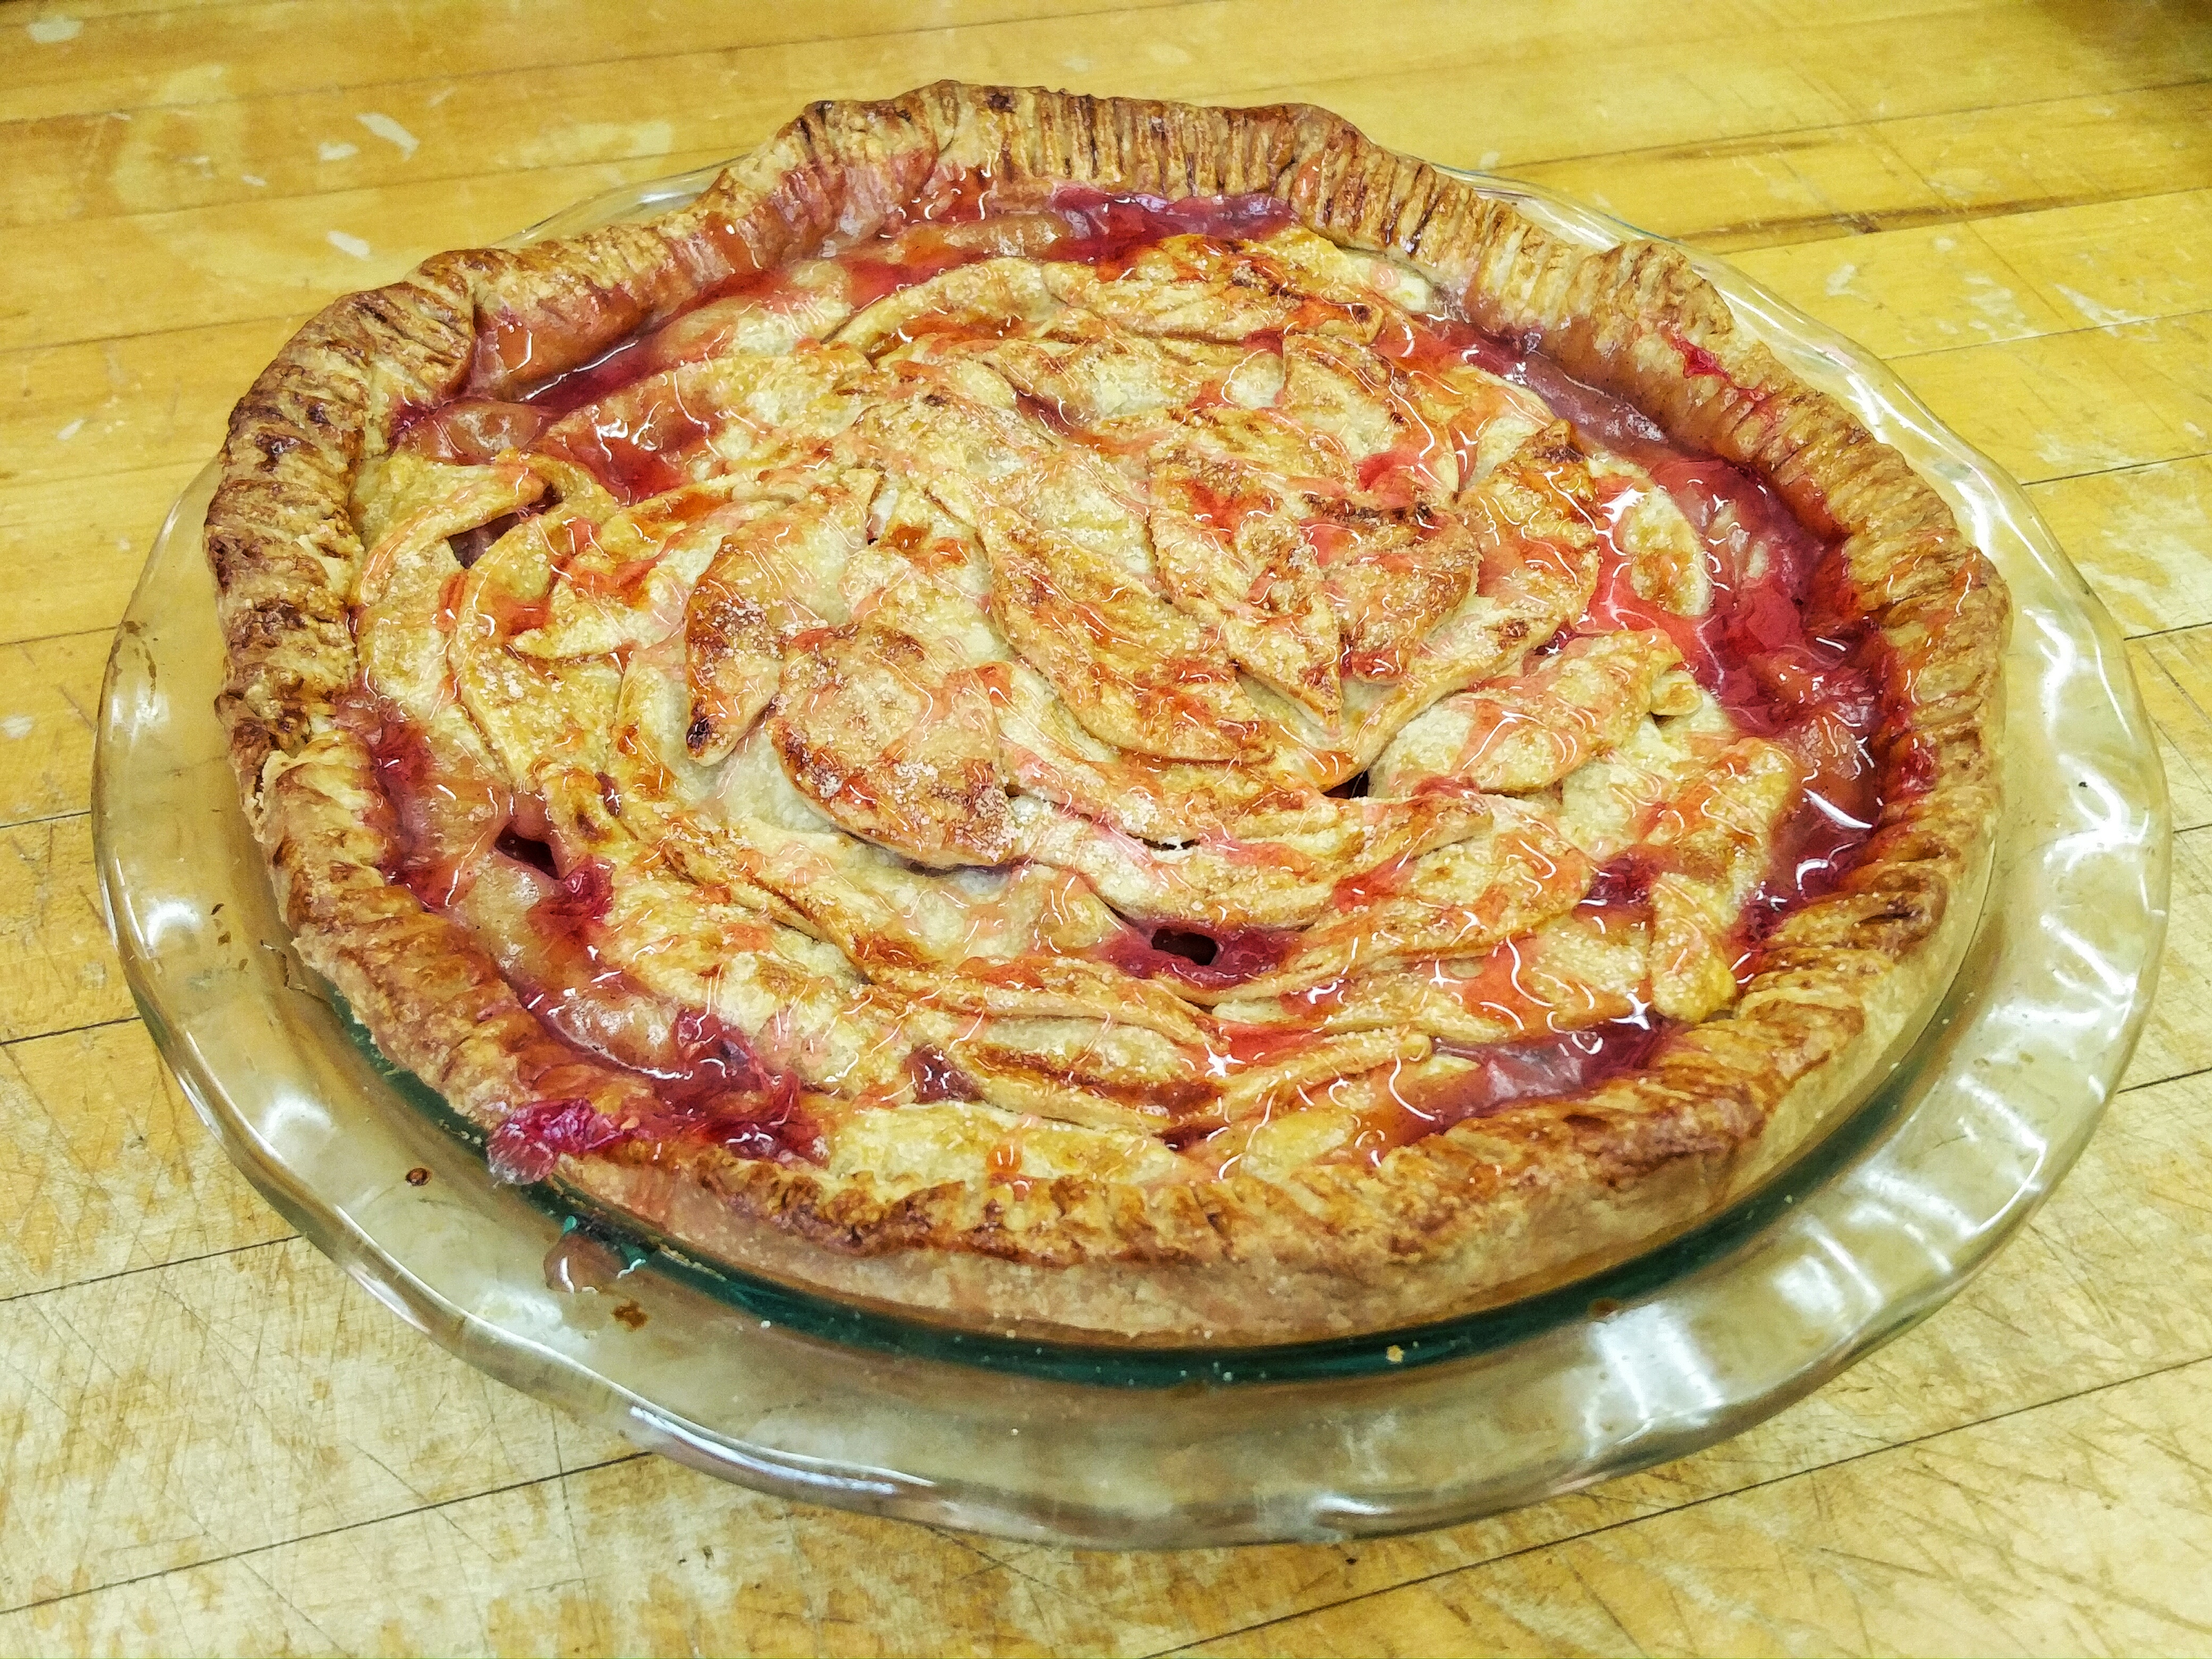
At this point I had to go to the Zilkha center kitchen because we ran out of time in the church’s kitchen. I wrapped my pie with plastic wrap and took it to the Zilkha center kitchen. As I peeled off the plastic wrap, a few leaves came off naturally so I just put in some butter into those gaps and then sealed the leaves back on. I also sprinkled some granulated sugar on top of the pie and then it was time for baking. 25 minutes on 400F and then around 1 hour 15 minutes on 360F till the pie looked golden brown and beautiful juices were oozing out and bubbling.

IMG_20160106_153717 IMG_20160107_131425-01

I took out the pie, let it come to room temperature before wrapping in plastic wrap and now it has been sitting on my window sill overnight ready to be eaten! Let’s hope it gets the seal of approval from my class mates.

Link to Martha Stewart’s recipe: http://www.marthastewart.com/335569/pear-raspberry-heart-pie