Author Archives: Grace Flaherty

Blueberry Lavender Pie & Salmon Pie

Alas, the last week of pie making has come and gone, and I am left with not a single crumb of my two final pies to spare –thankfully I have the two recipes, photos and the great memories from the culminating banquet.
IMG_9500IMG_9502

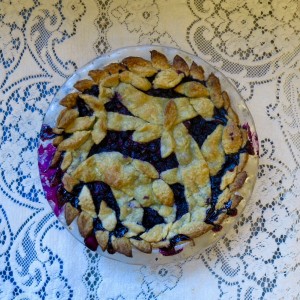
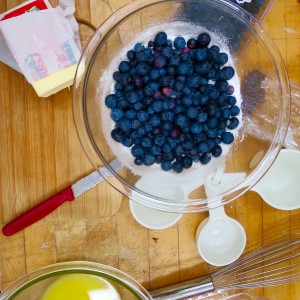
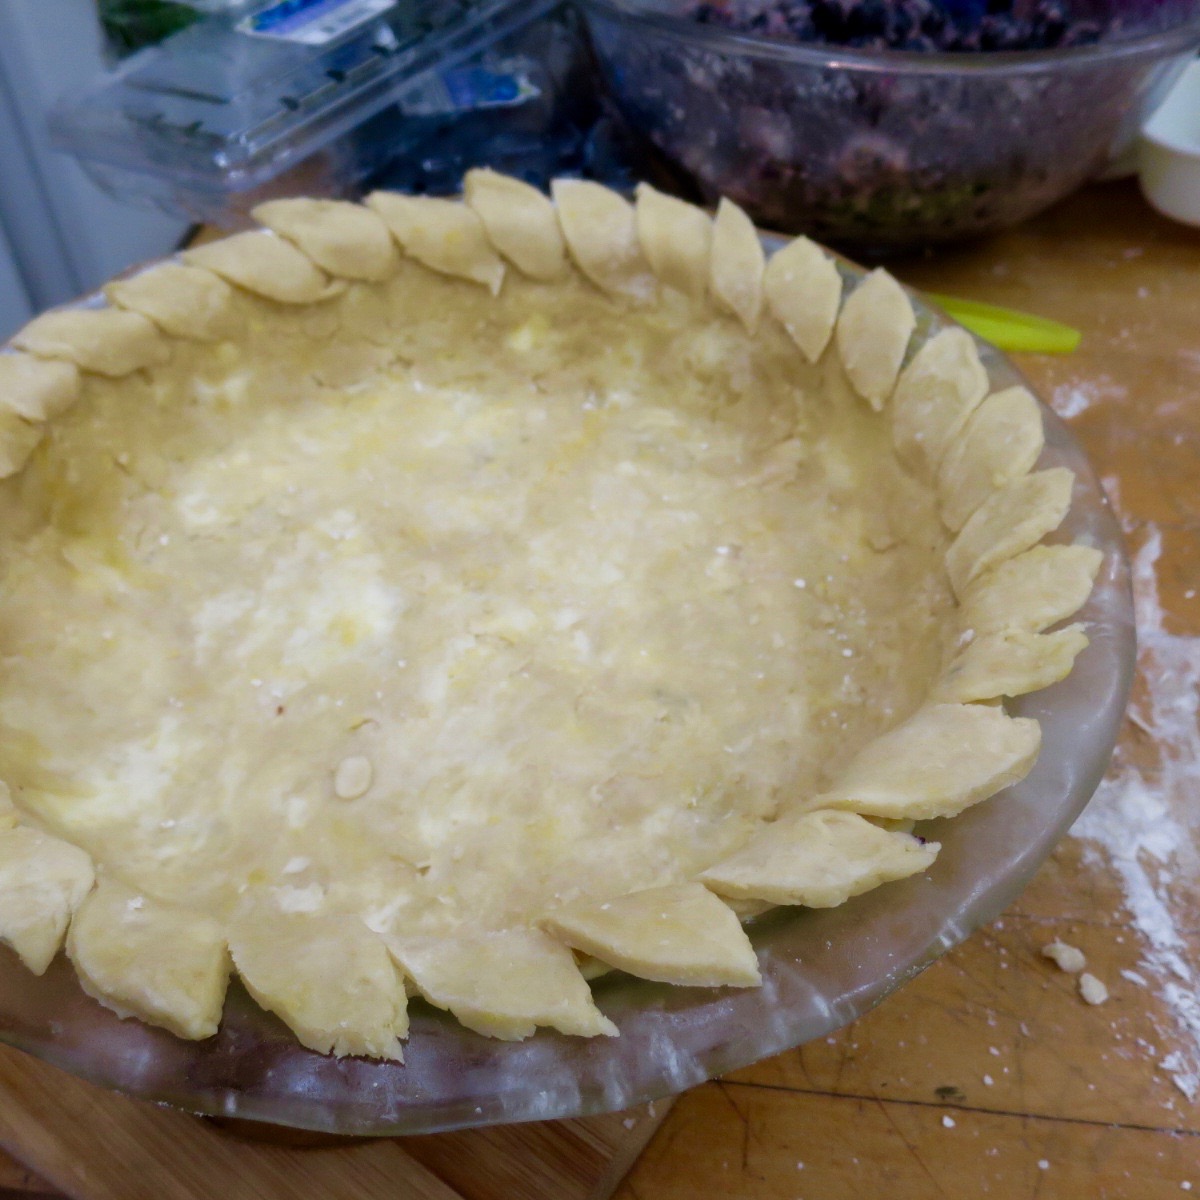
For my sweet pie I made a blueberry lavender pie (recipe: http://beachtownbaking.com/blueberry-lavender-pie/). After pondering for a while about how to capture the lavender flavor in this pie, I decided on using dried lavender leaves mixed into the blueberry mixture. For additional flavor I added a bit of lemon juice and cinnamon to the otherwise very simple filling.


For the crust, I made a basic all-shortening pastry. However, although the pastry dough seemed fine when I put it in the fridge, when I tried to roll it out it was EXTREMELY DRY. I think I had to add at least one full cup of water in order to roll it out and create the top crust decoration.


Because of this I was afraid it would be tough and, frankly, inedible. However, the final product was flaky and delicious, which was a huge relief. The pie as a whole had amazing flavor, with the lavender adding a lovely floral undertone to the sweet, fresh blueberries. It was a hit with all my friends and I’m definitely going to make it again!
IMG_9475IMG_9480


For my savory pie I chose to tackle a salmon pie. I was very apprehensive about making a fish pie, because the concept of an overly fishy flavor sounded repulsive.


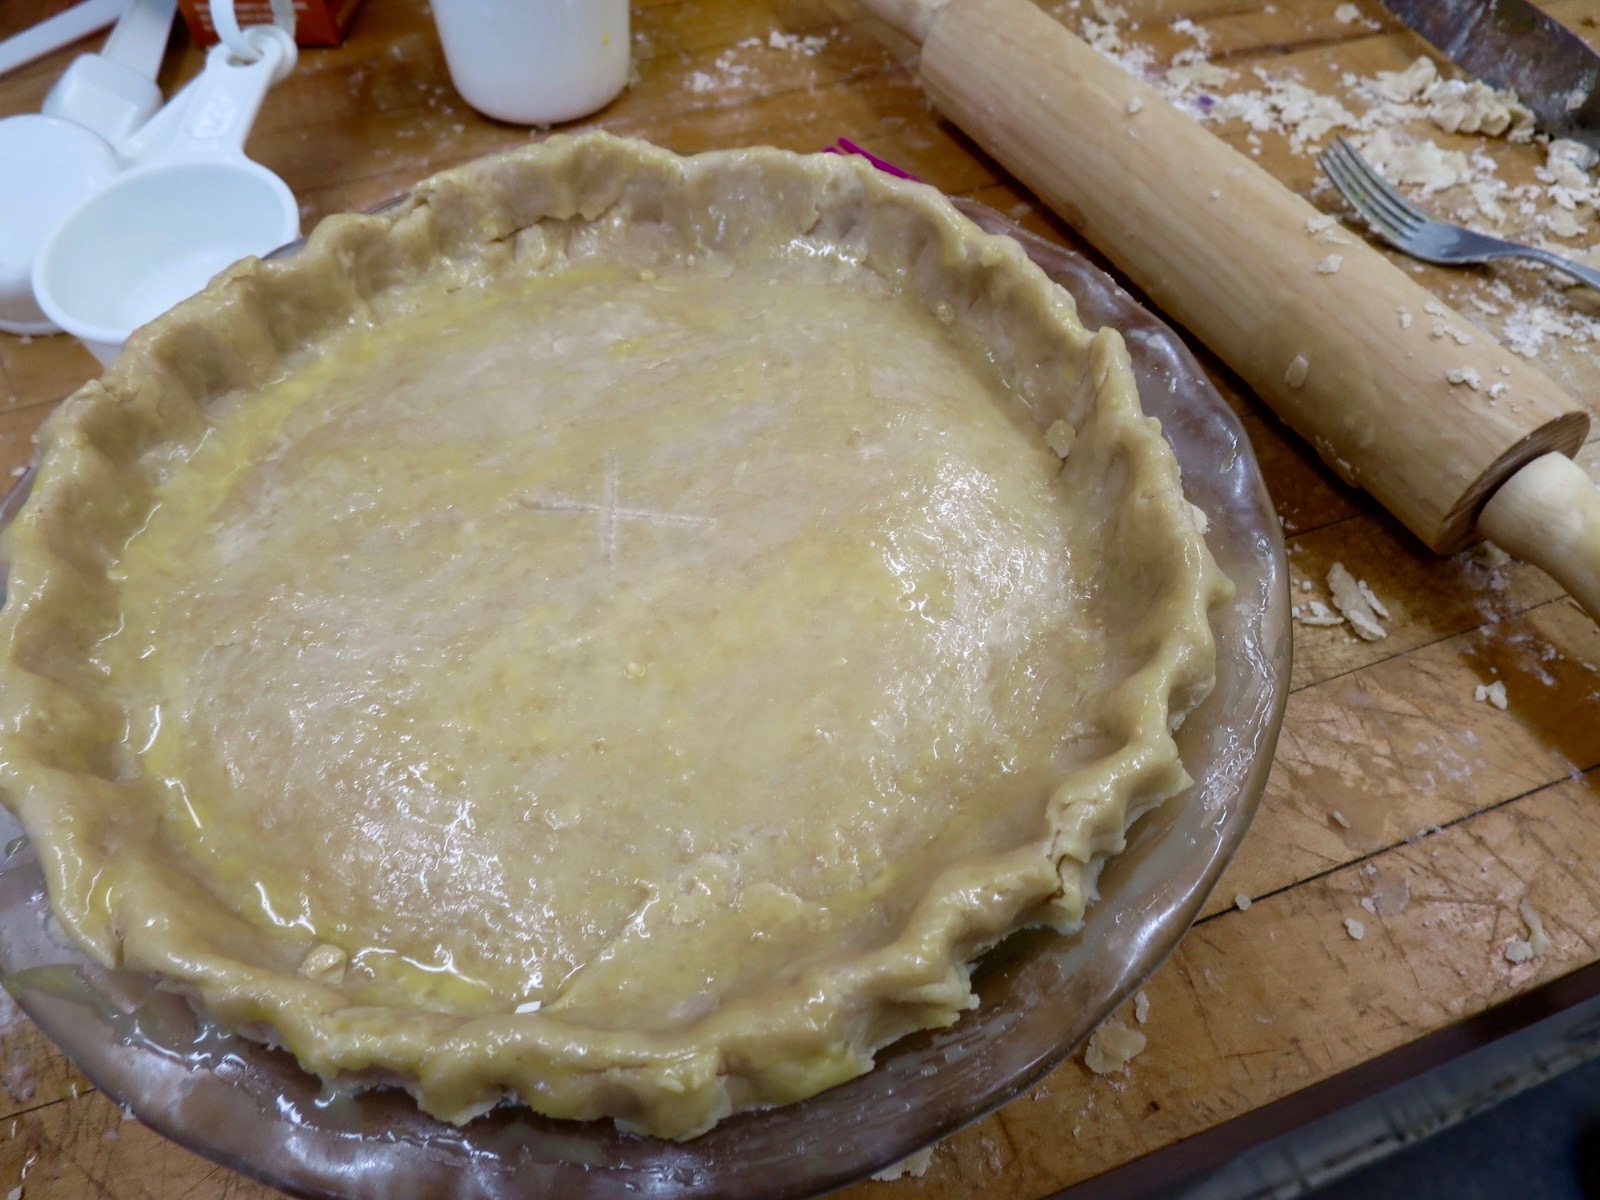
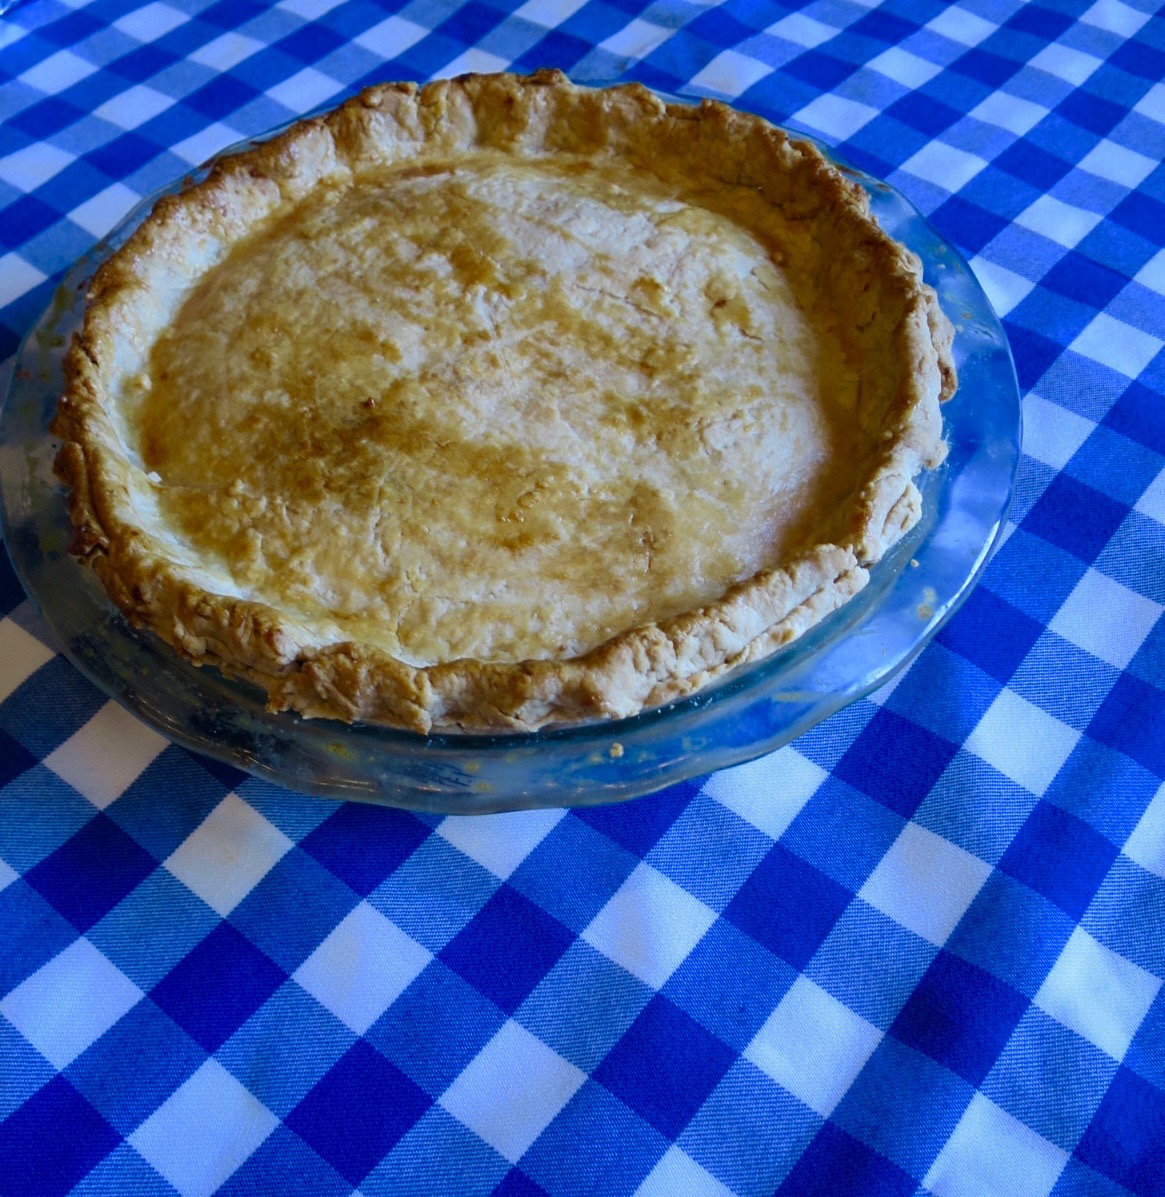
But I found a recipe (http://www.foodnetwork.com/recipes/emeril-lagasse/salmon-pie-recipe.html) that seemed reasonable, and used a savory pastry dough recipe with butter, shortening, and egg.


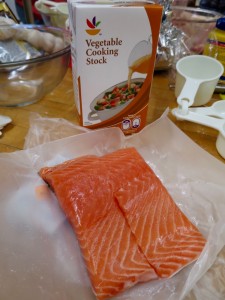
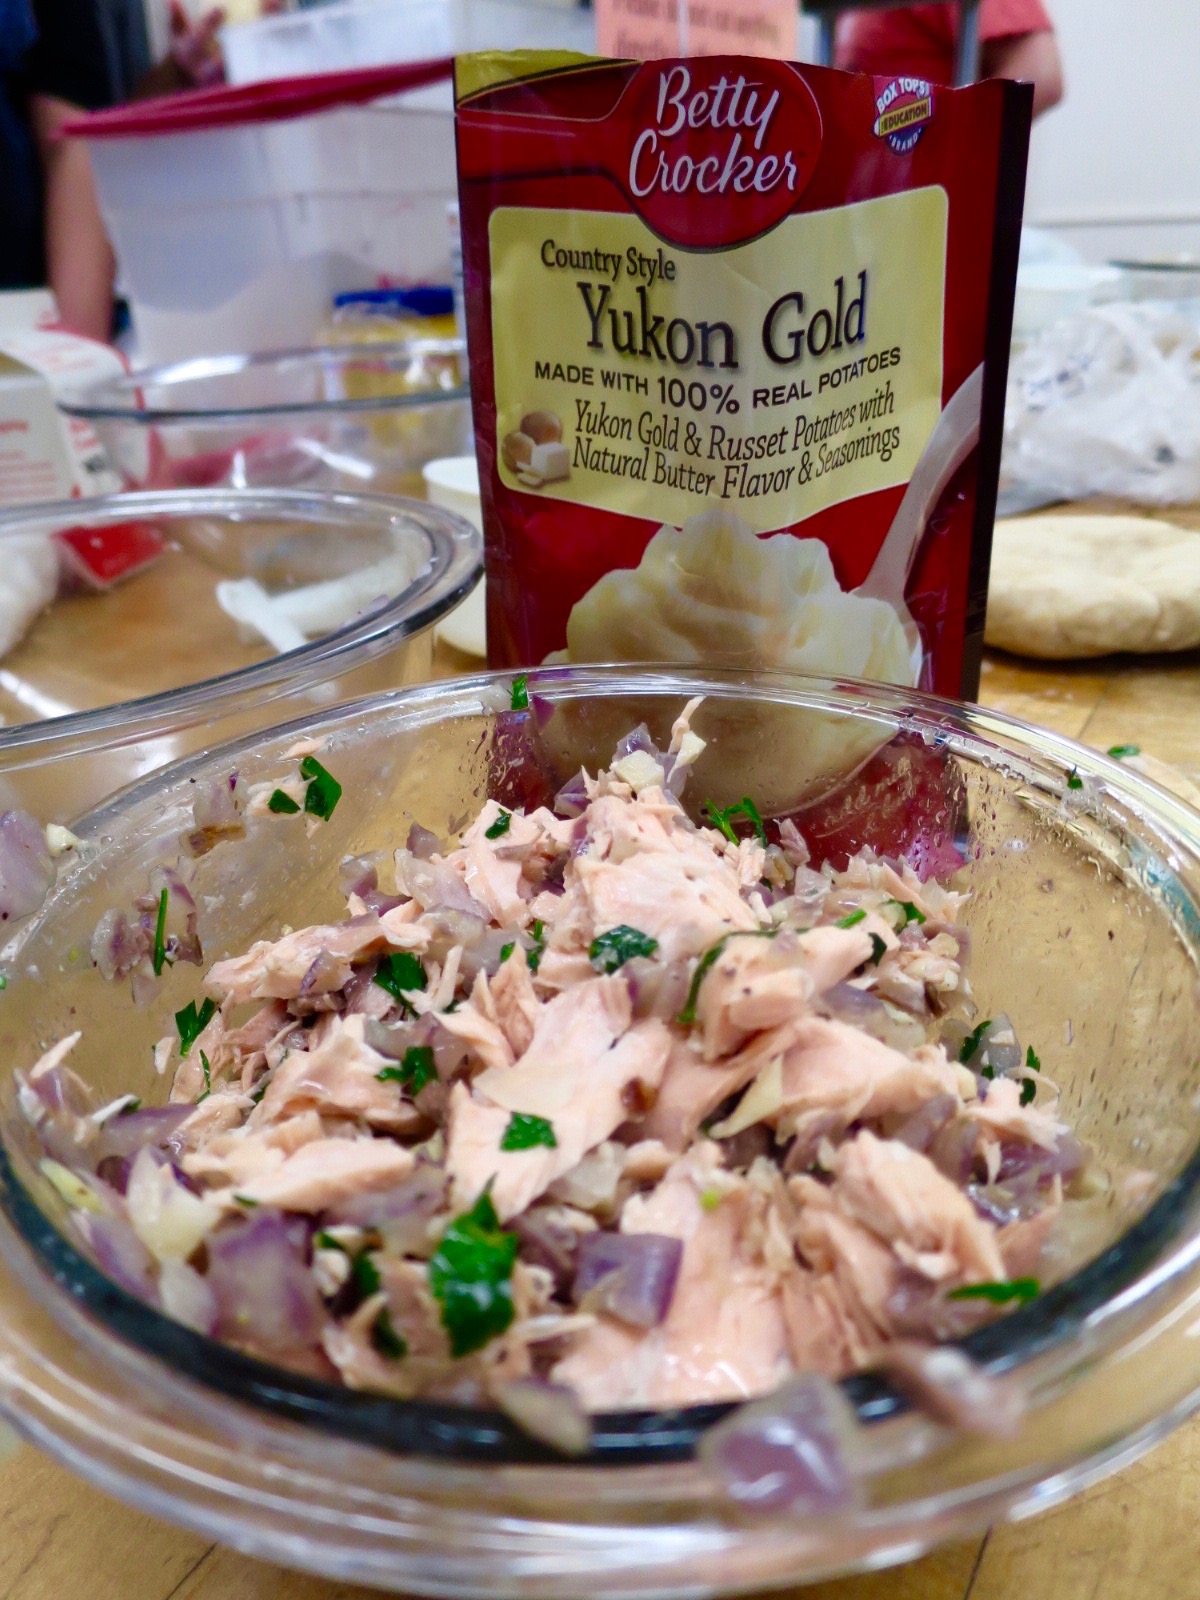
I bought two 8oz salmon fillets and poached them before flaking them into a mashed potato, parsley, onion, and garlic mixture. After covering the filling with a full top crust, I baked it for about 40 minutes, and the result was a piping hot, delicious and hearty pie.


If I was to make this pie again I would definitely add more seasonings, because although the texture was pleasant it was lacking a bit of flavor.
IMG_9482IMG_9489IMG_9494

The final banquet was, without a doubt, the most delectable experience I’ve ever had. The creativity, talent and enthusiasm of my fellow pie-makers blew me away, and I left even more inspired to push the boundaries of my baking abilities.


I can’t thank my professor, David, for this wonderful experience, and for teaching me the skills to live a Life of Pie for many years to come.
Lo How a Rose

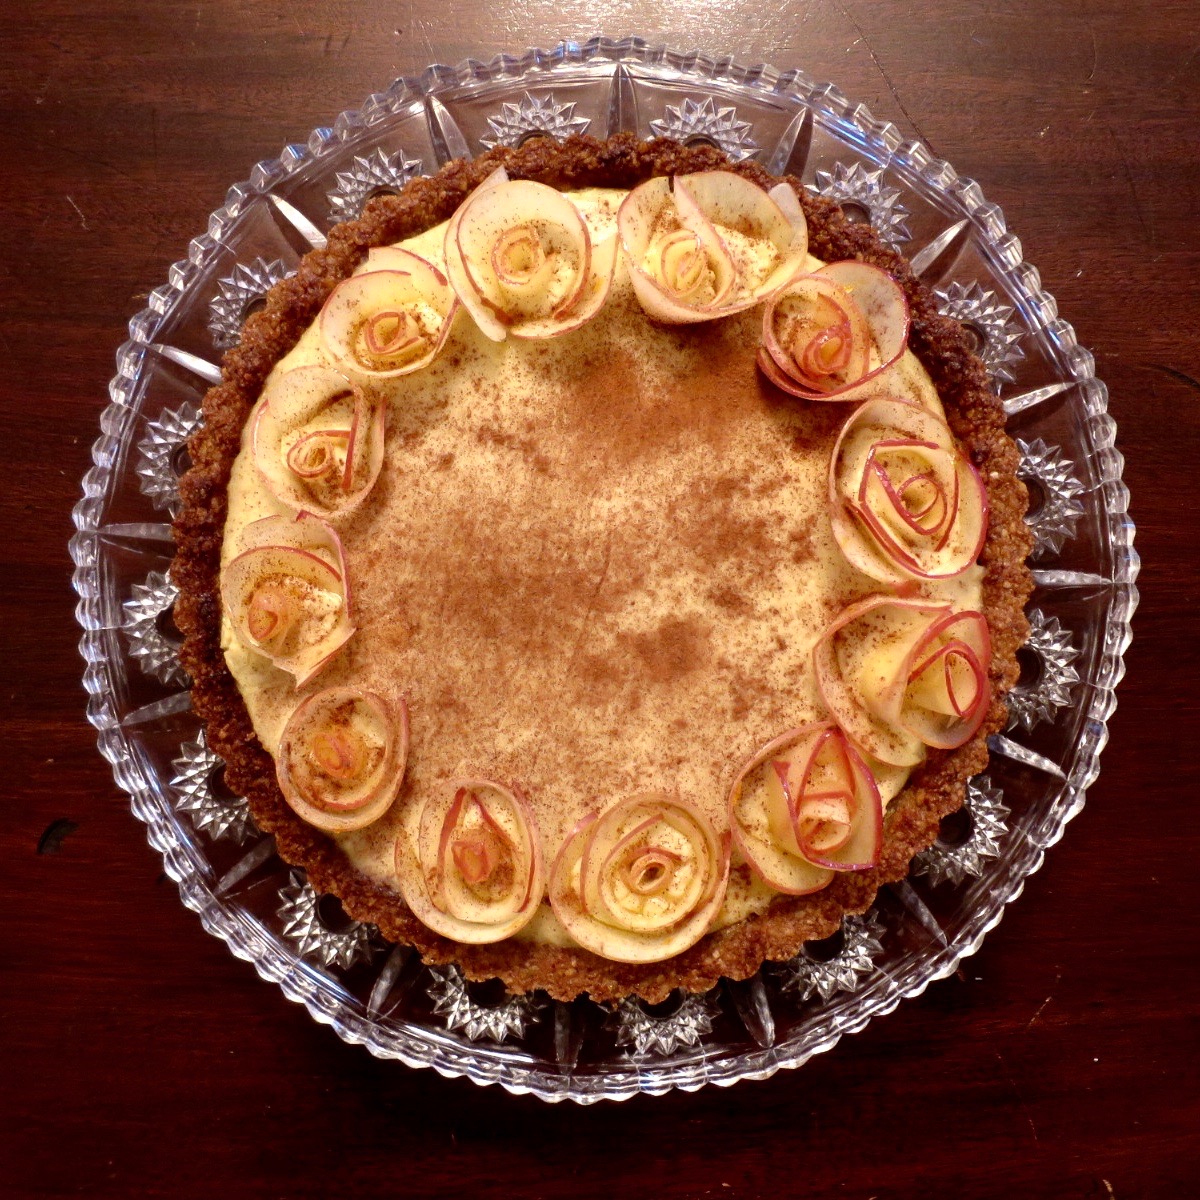
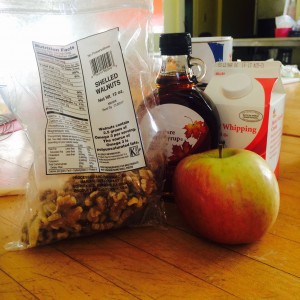
In honor of this week’s decorative theme, I decided to tackle a baking feat I’ve been meaning to master for a while –apple roses. I’ve tried to make apple roses in the past without any success so I went into this week determined to master the perfect apple flower décor to top a maple custard tart with a walnut crust.


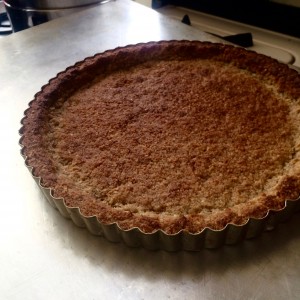
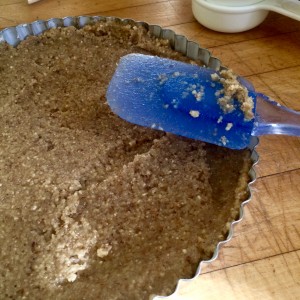
The recipe for the tart was quite simple. I learned how to use a food processor for the walnuts, and how to properly press the crust into the tart pan. The crust only needed about 15 minutes to bake, and it turned out perfectly browned all the way around which I was happy about.

IMG_9237IMG_9235IMG_9242

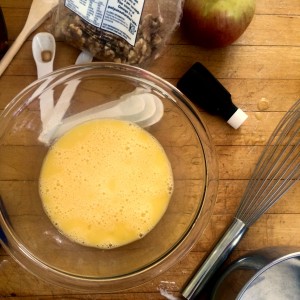
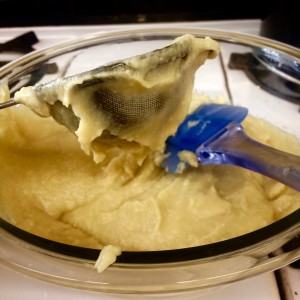
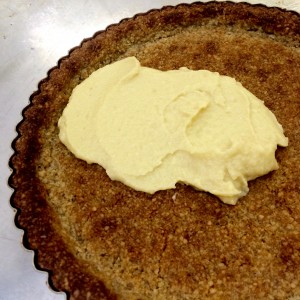
The custard was also very straightforward. It just involved whisking and heating eggs, cream, maple syrup, and cornstarch into a pudding-like consistency. The recipe said to push the custard through a mesh sieve to reduce clumps, but that didn’t go very smoothly so I skipped that step. But there weren’t any clumps when I tasted it, so I think it was probably unnecessary.

IMG_9238IMG_9250IMG_9251

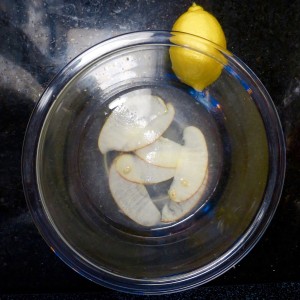
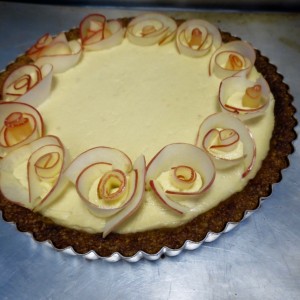
After 45 minutes of practicing slicing apples incredibly thin I was ready to try my hand at the rose-decoration. The most difficult part was definitely getting thin enough slices, but I found using a peeler was very effective. I soaked the pieces in lemon juice to prevent browning and then warmed them up in the microwave for about ten seconds made them more pliable. I then rolled them and arranged them into the cooled maple custard.

IMG_9264IMG_9268IMG_9267

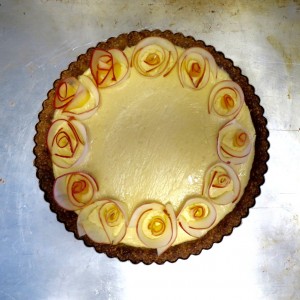
After all the roses were arranged around the pie, I sprinkled the entire thing with cinnamon as a little added decoration and for a bit more flavor.


The final product was dainty, creamy, nutty, and quite lovely. Very happy with the end result, I will definitely make this pie again in the future!


IMG_9275

Roasted Vegetable Galette

What beats a hot, flaky, savory pie on a cold January day? A warm, savory pie stuffed full of healthy vegetables.


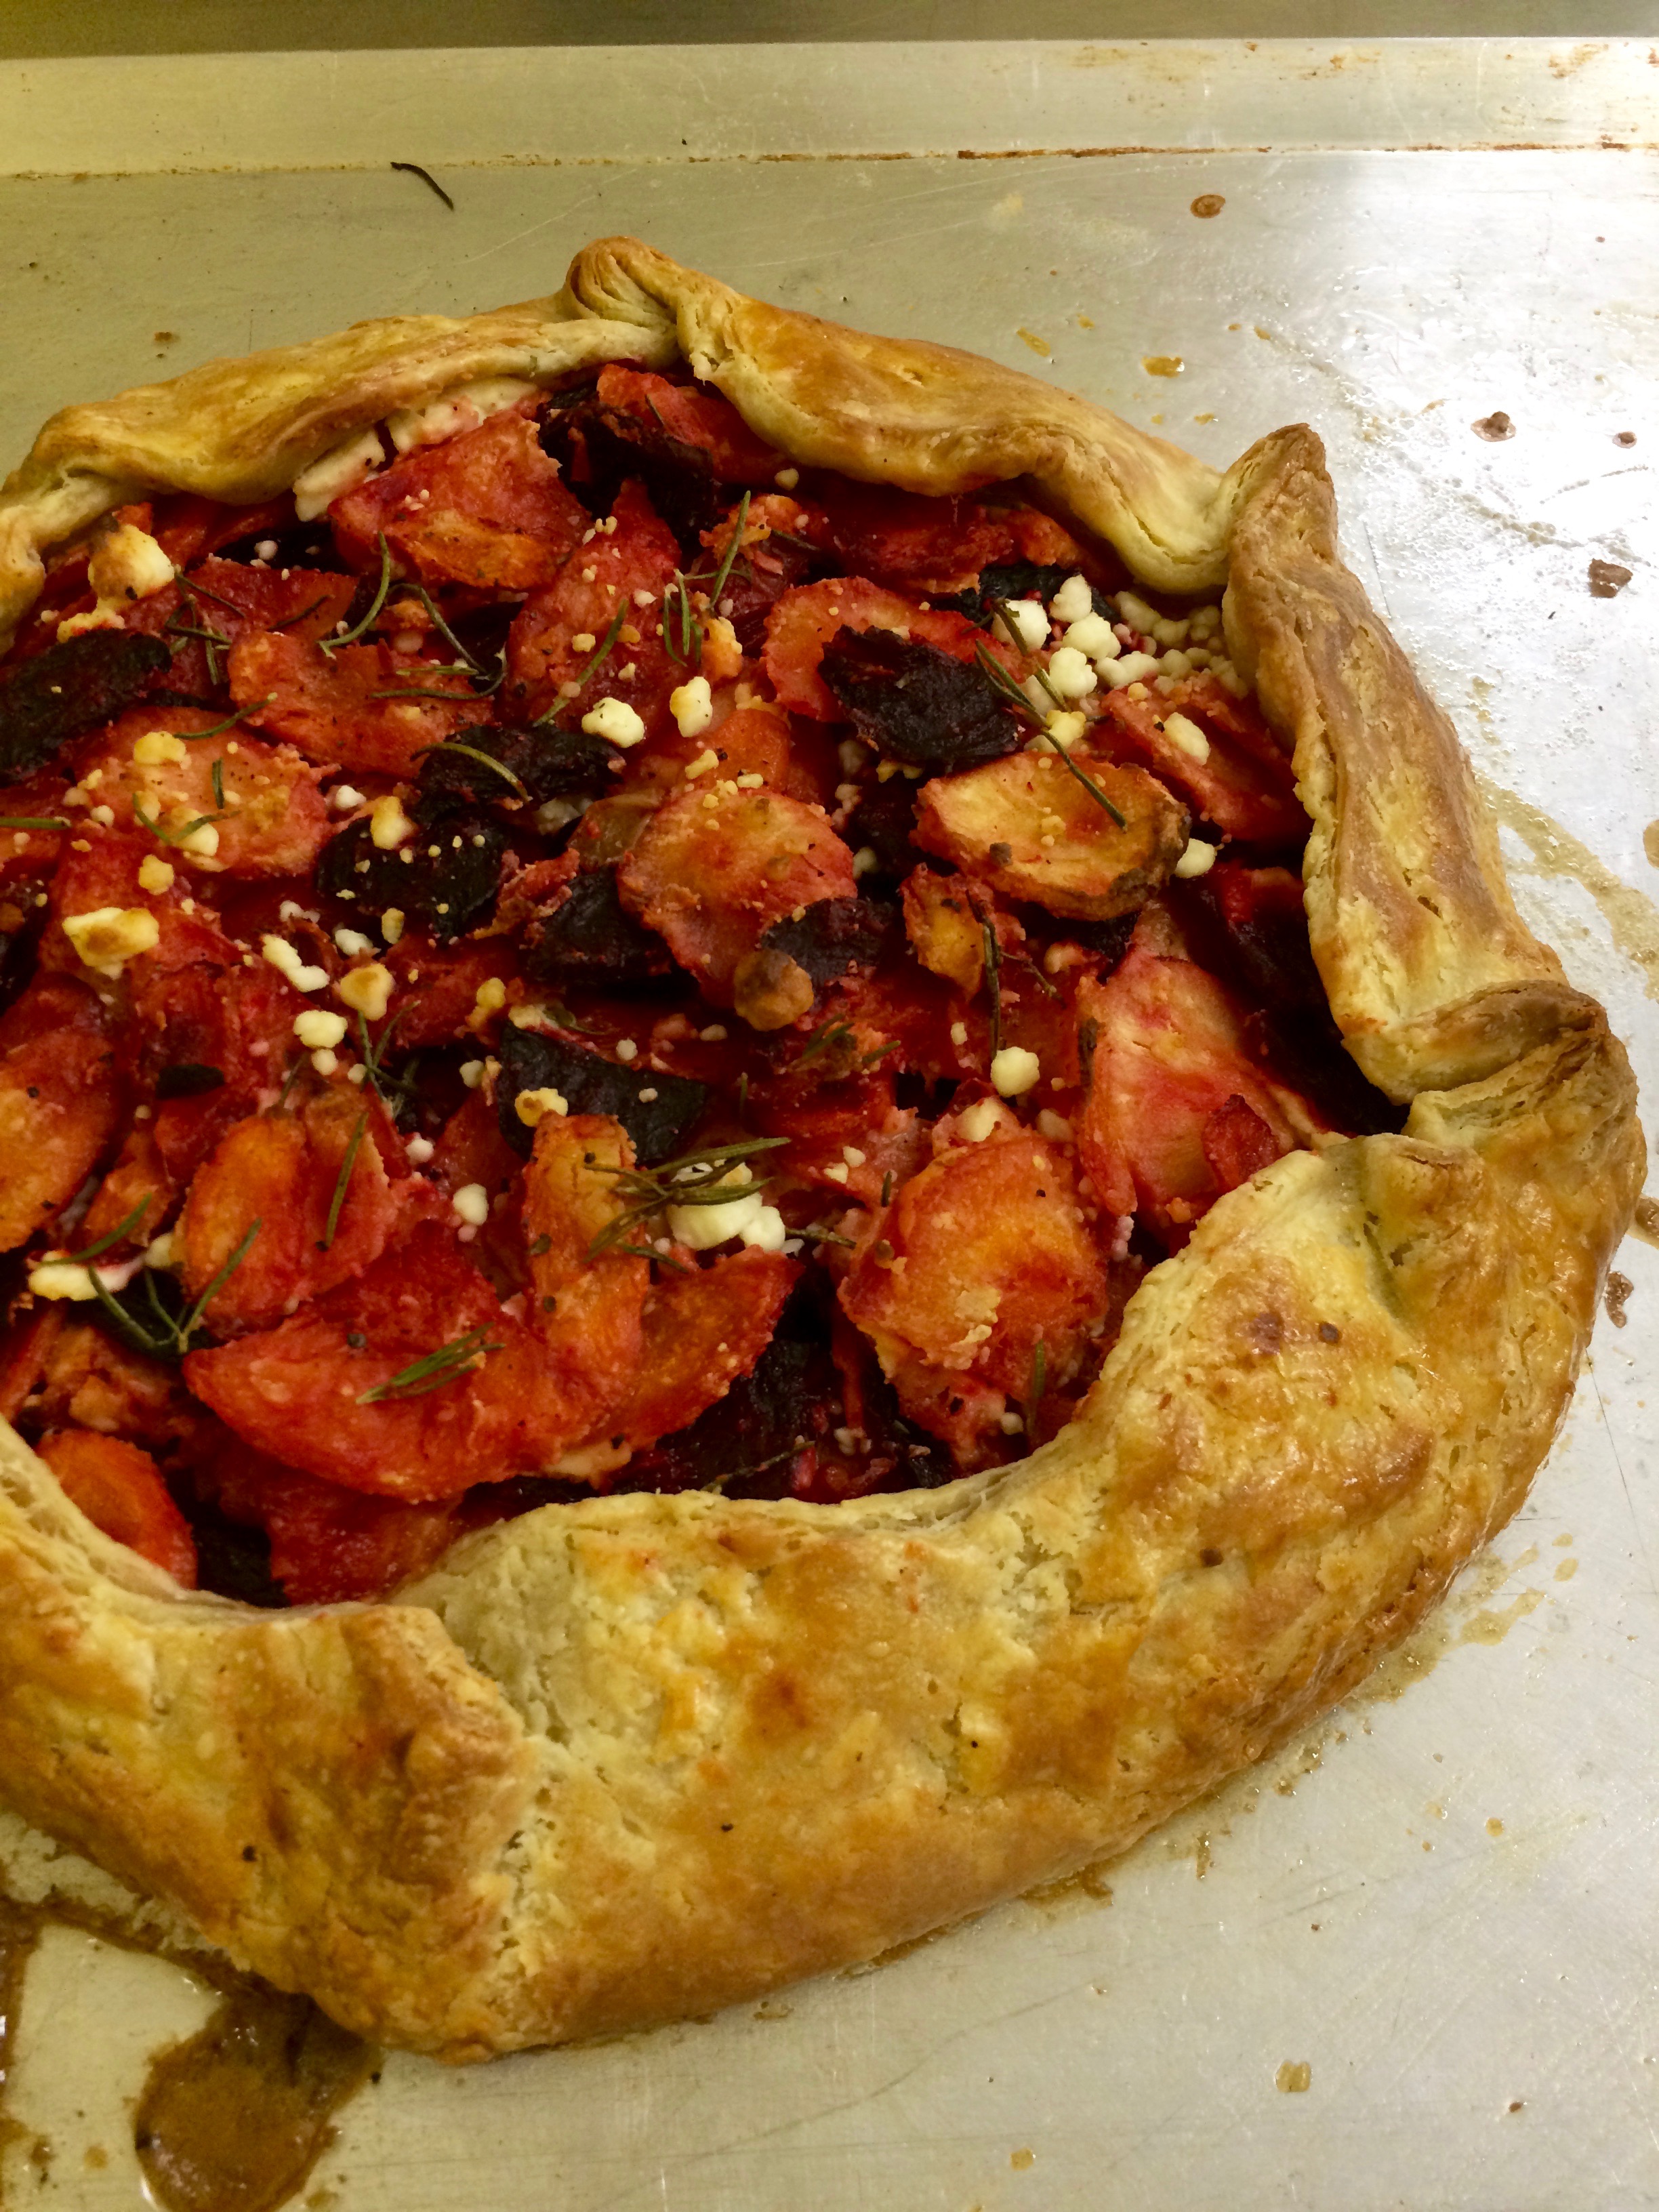
I knew I wanted to make a gallette this week –I love how the exposed center of a galette shows off its yummy filling, framed by golden crust. For my filling, I decided to use the Roasted Vegetable Galette recipe from the New York Times Cooking website. This filling called for parsnips, beets, butternut squash, carrots, goat cheese, and rosemary, combined to create a beautifully-colored medley of goodness.


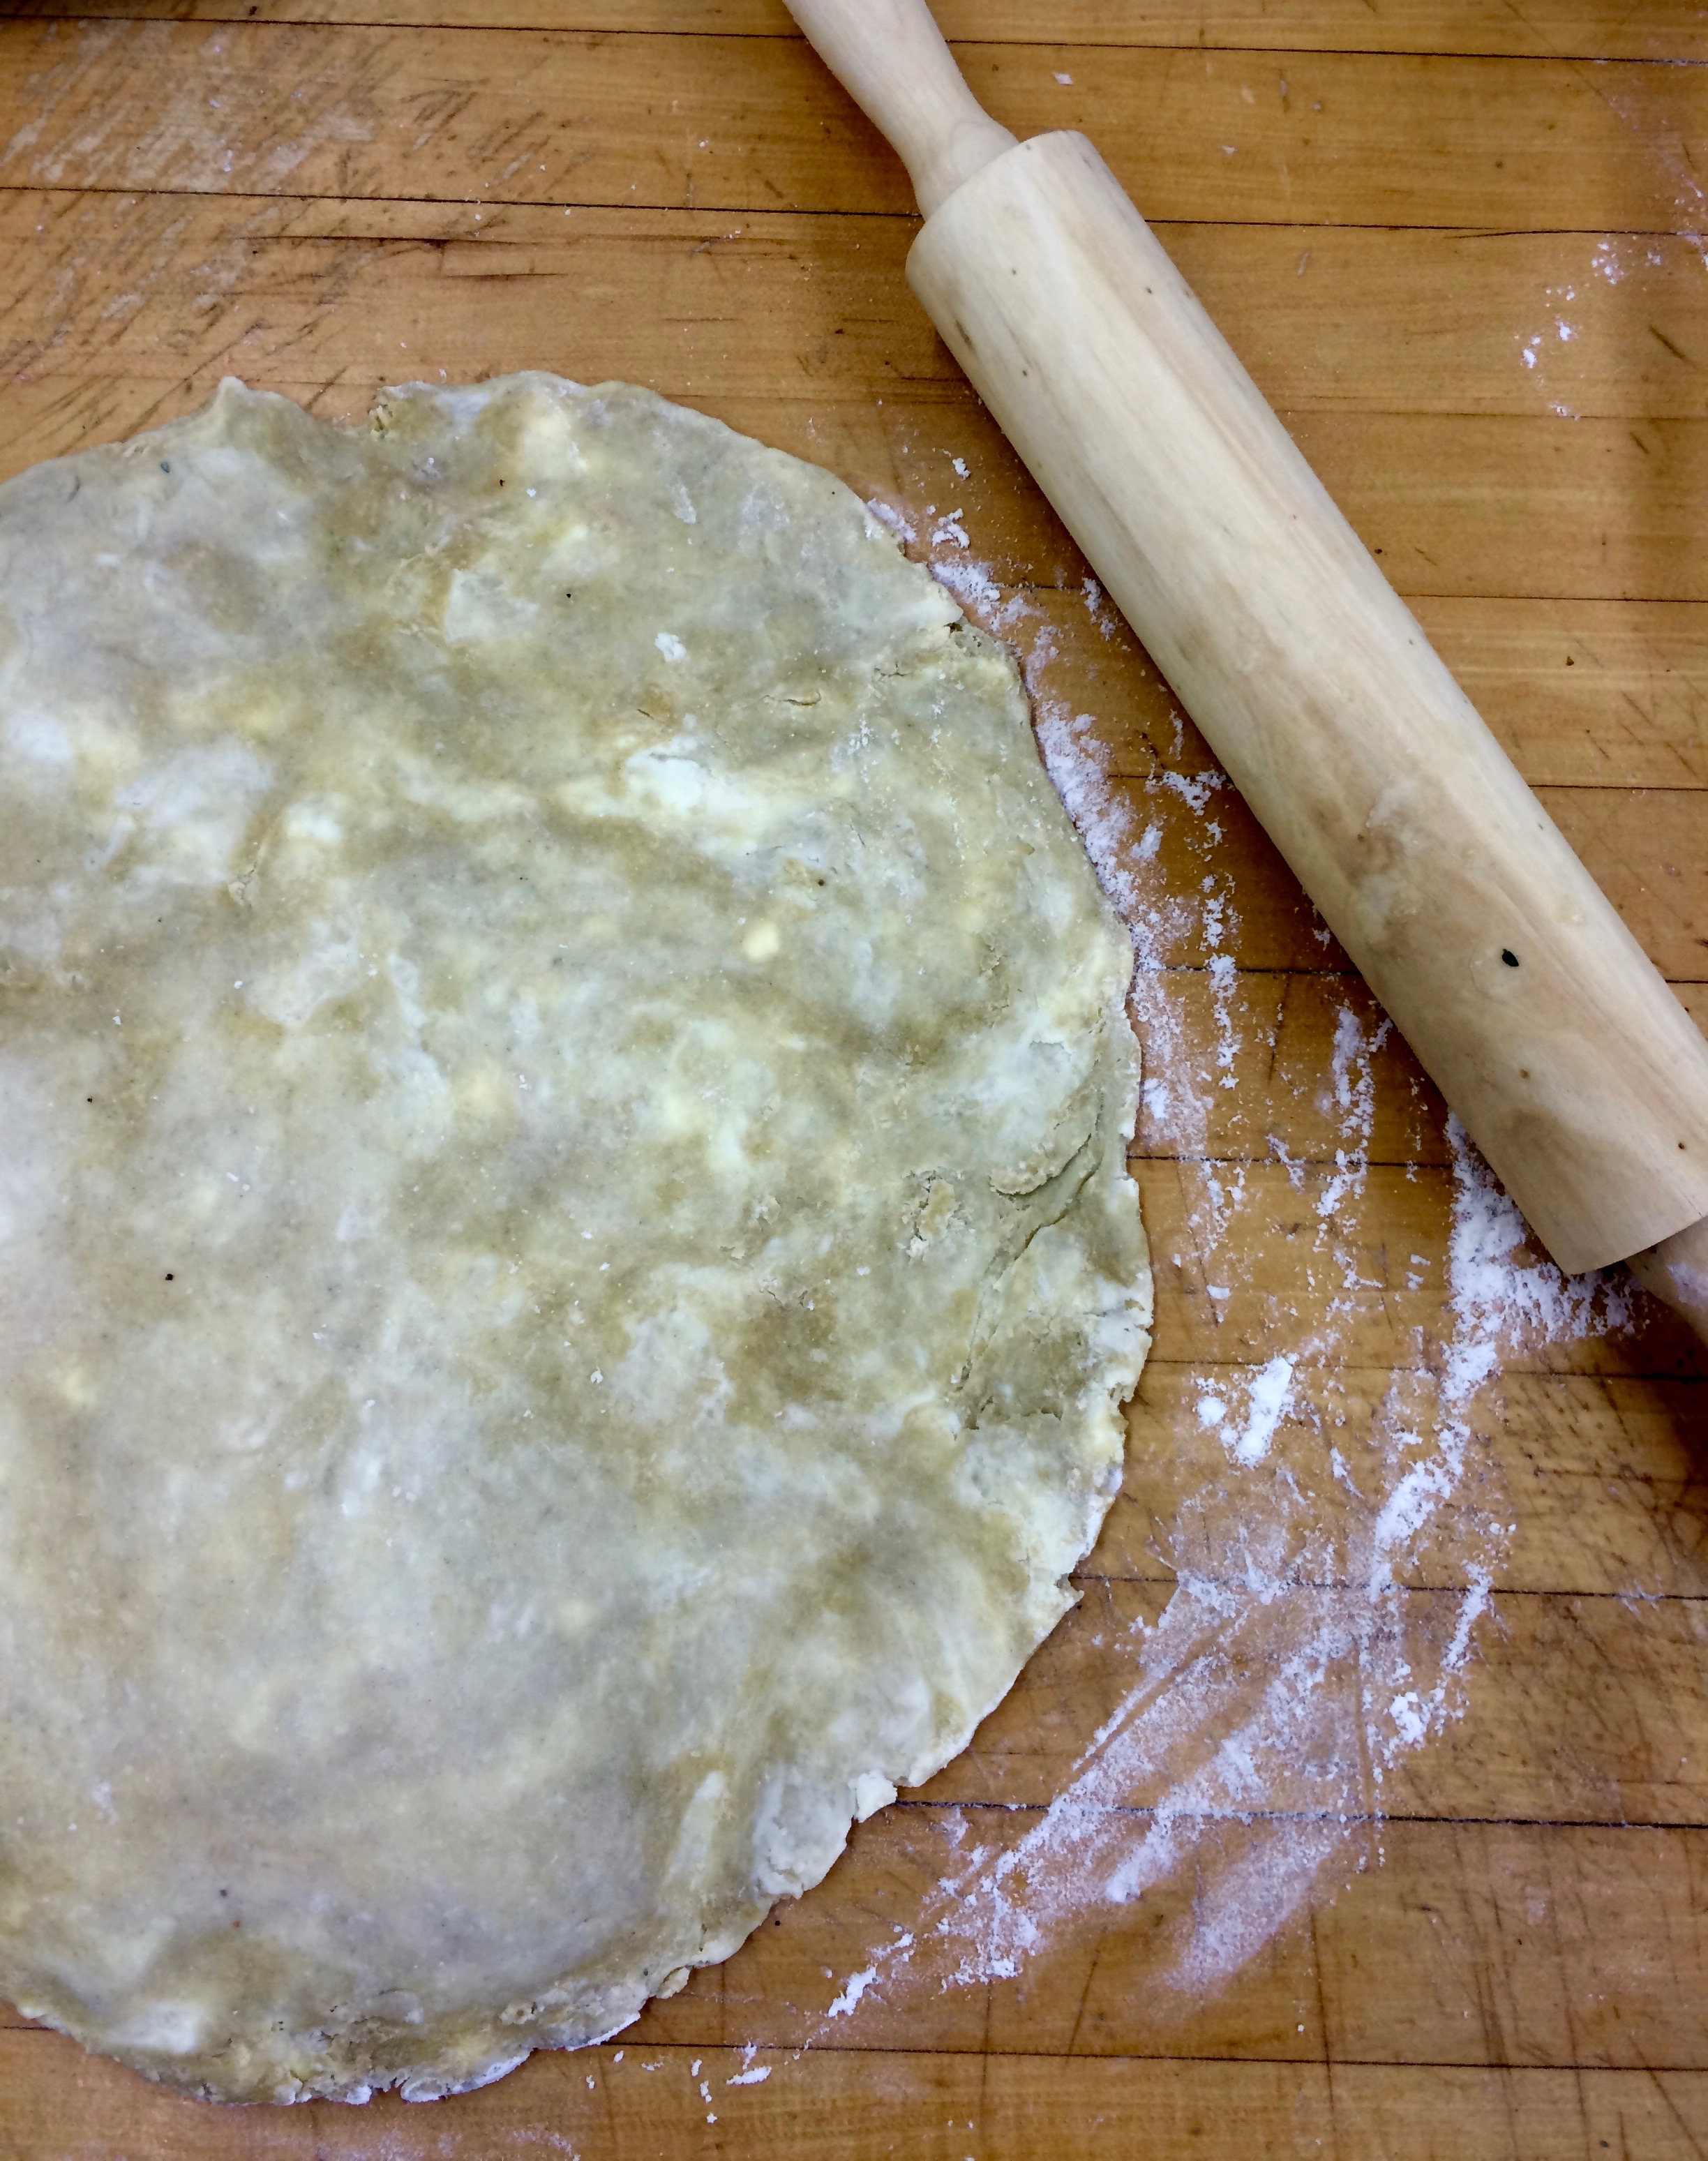
I chose to use a different type of crust for my galette, using flour, salt, butter and two eggs instead of water. This allowed me to stretch the crust into a larger disc and made the dough more plyable and easier to work with when folding around the contents of my galette.


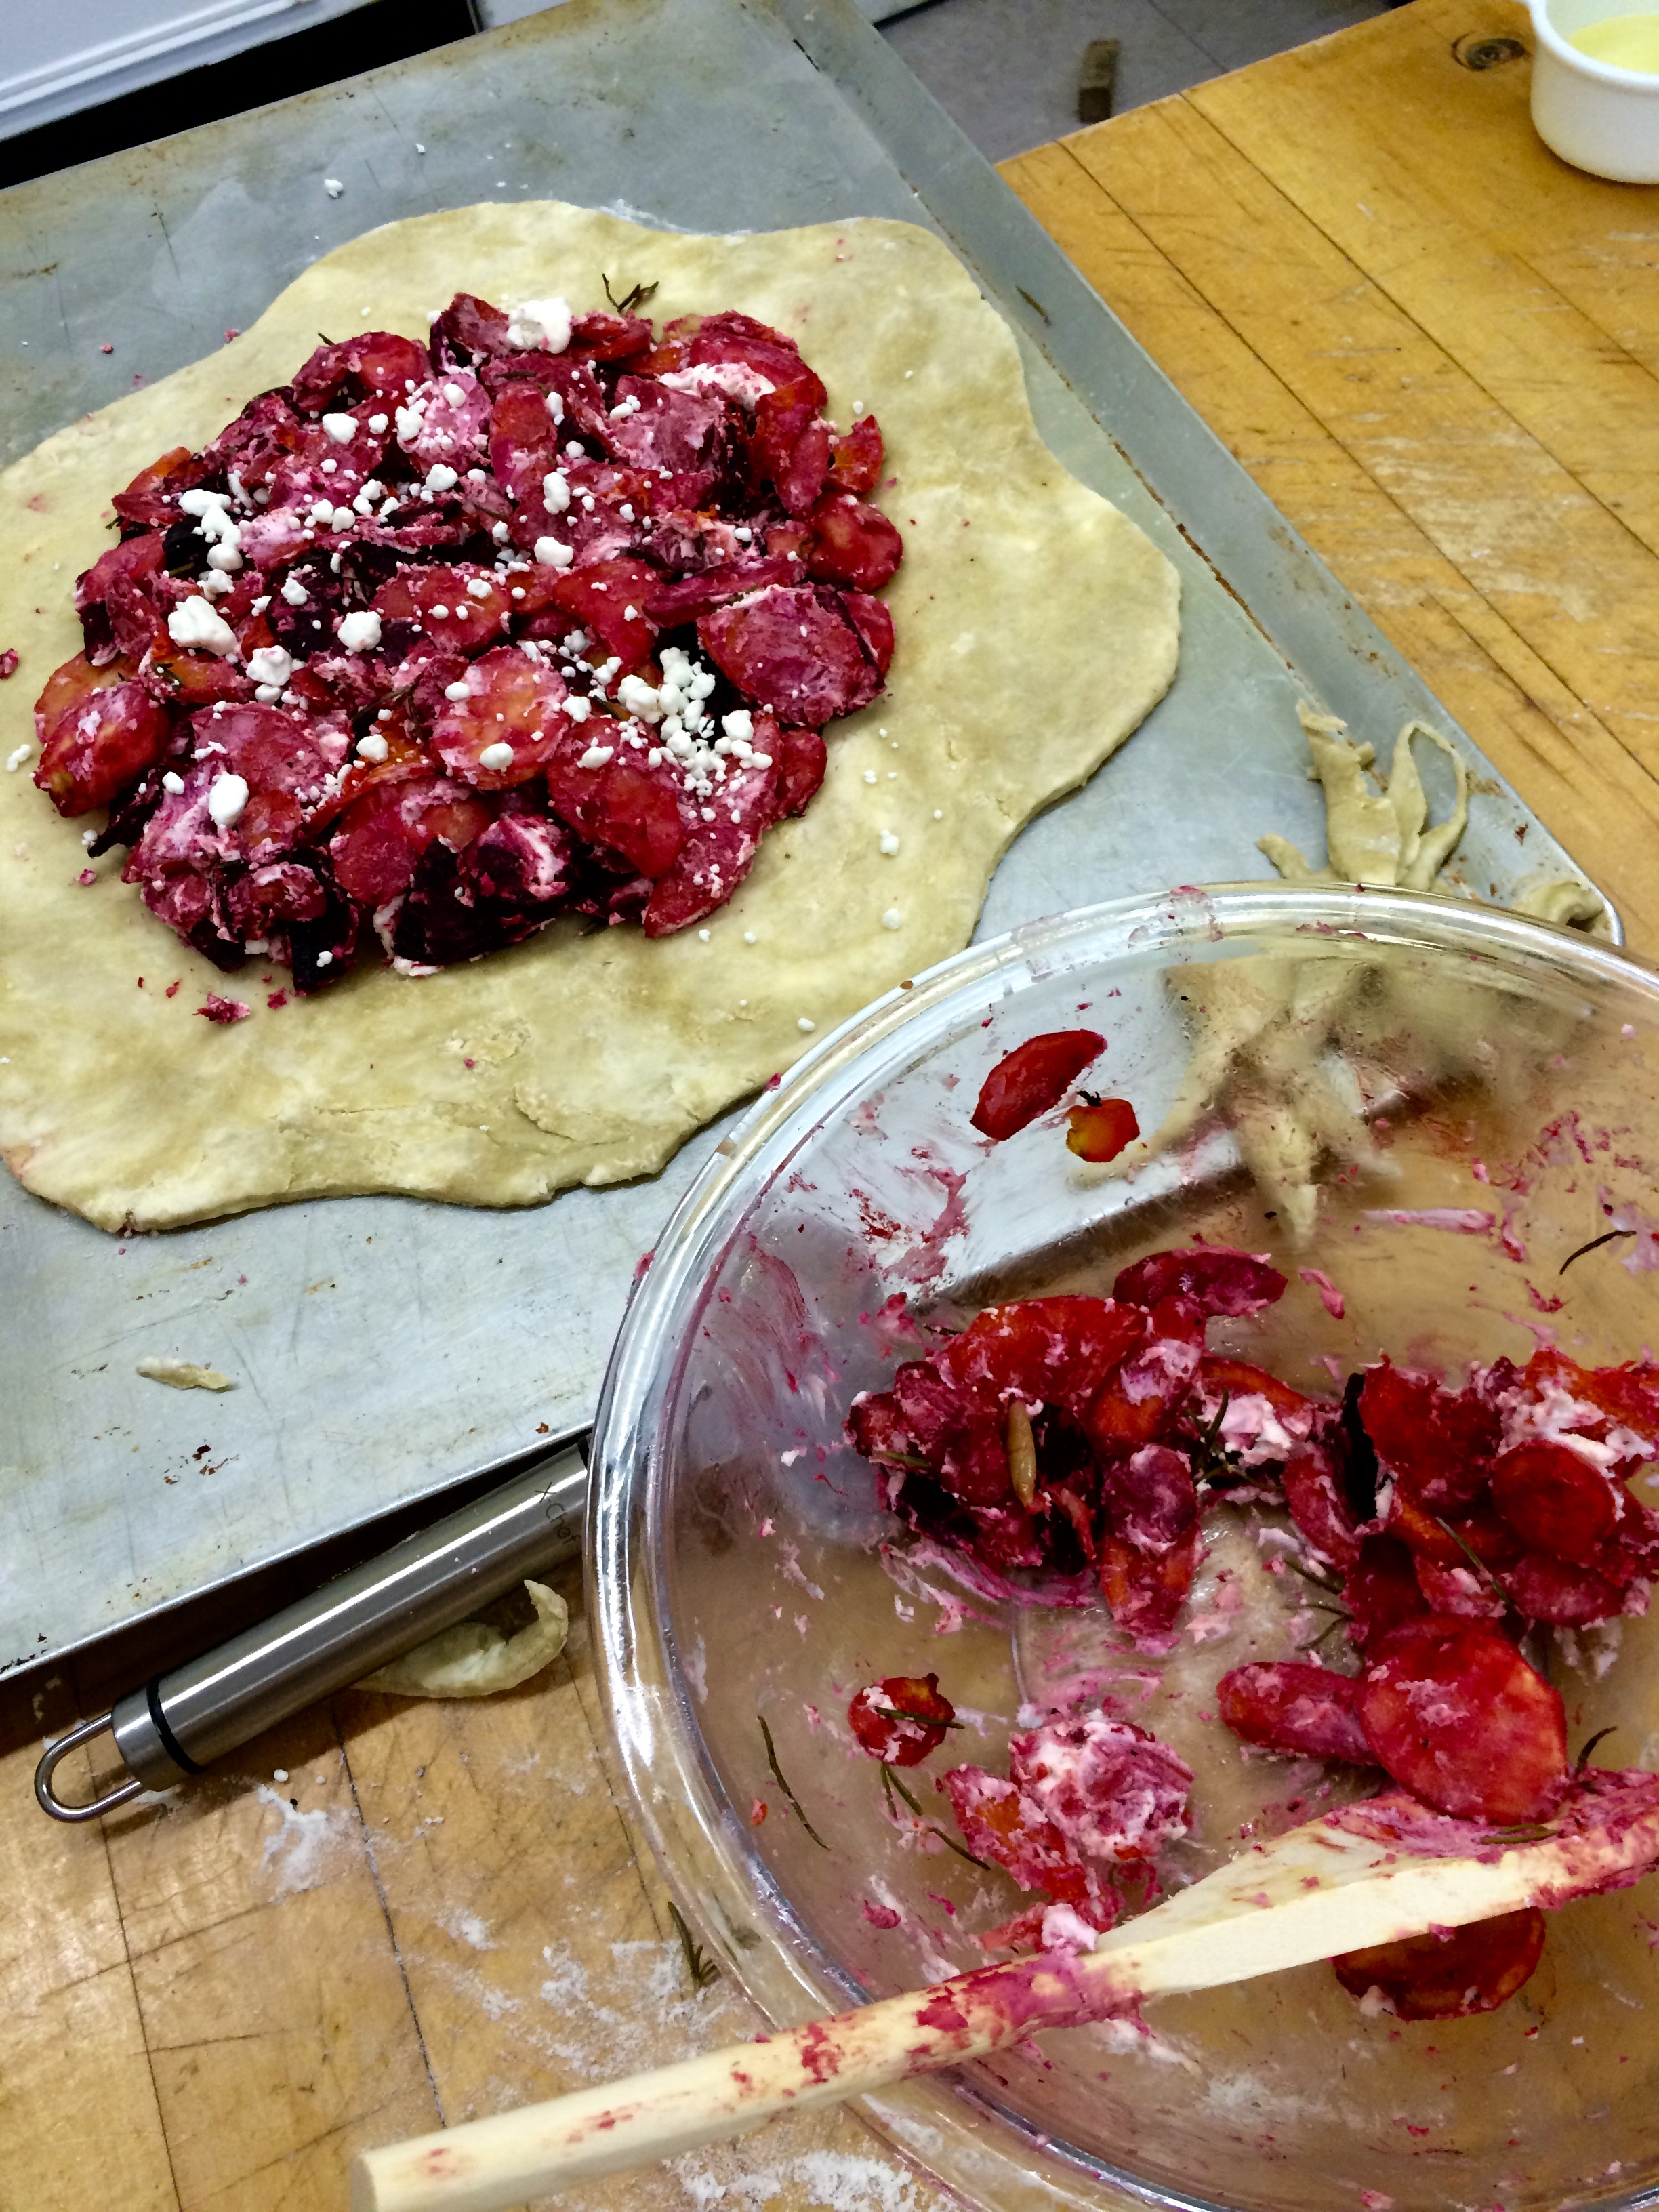
After coating the veggies in olive oil and rosemary I roasted them in the oven, tossed them with the goat cheese, and filled my crust. I brushed an egg glaze over the crust and the galette was ready to be baked on a cookie sheet for 30 minutes.


Before serving I warmed the galette and sprinkled it with balsamic vinegar and a little olive oil.


IMG_9199

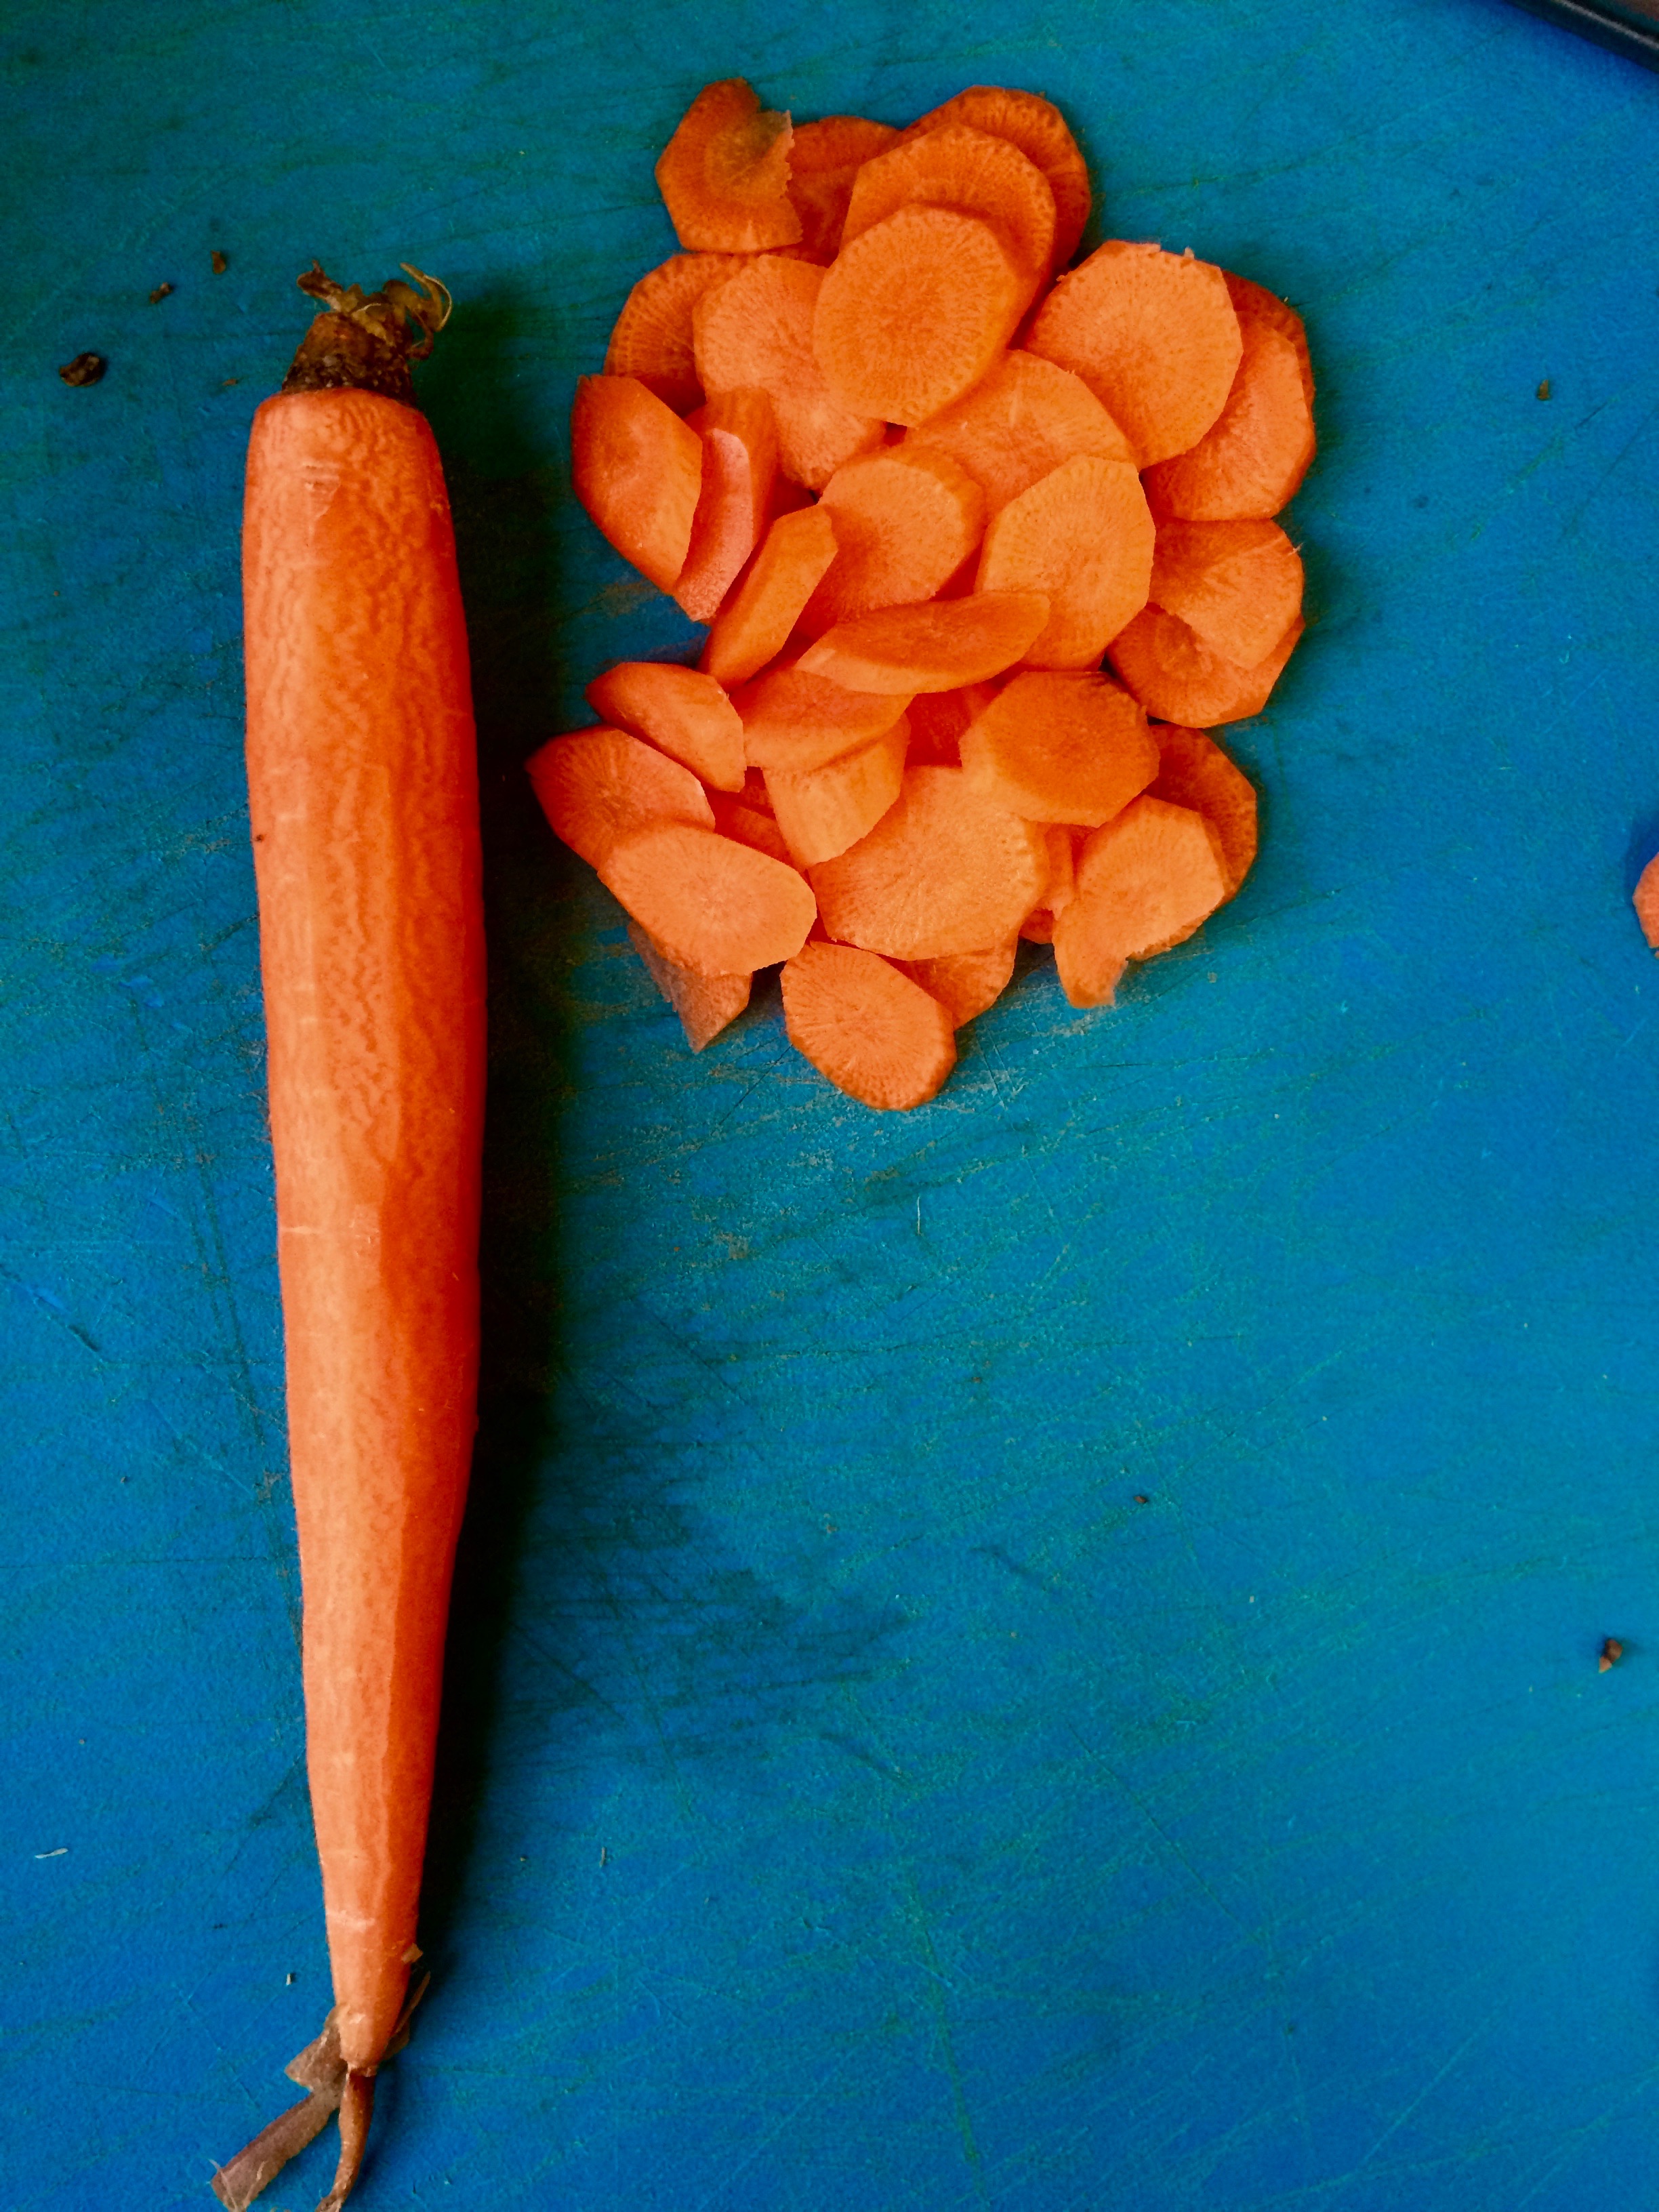
So much chopping this week

IMG_9201

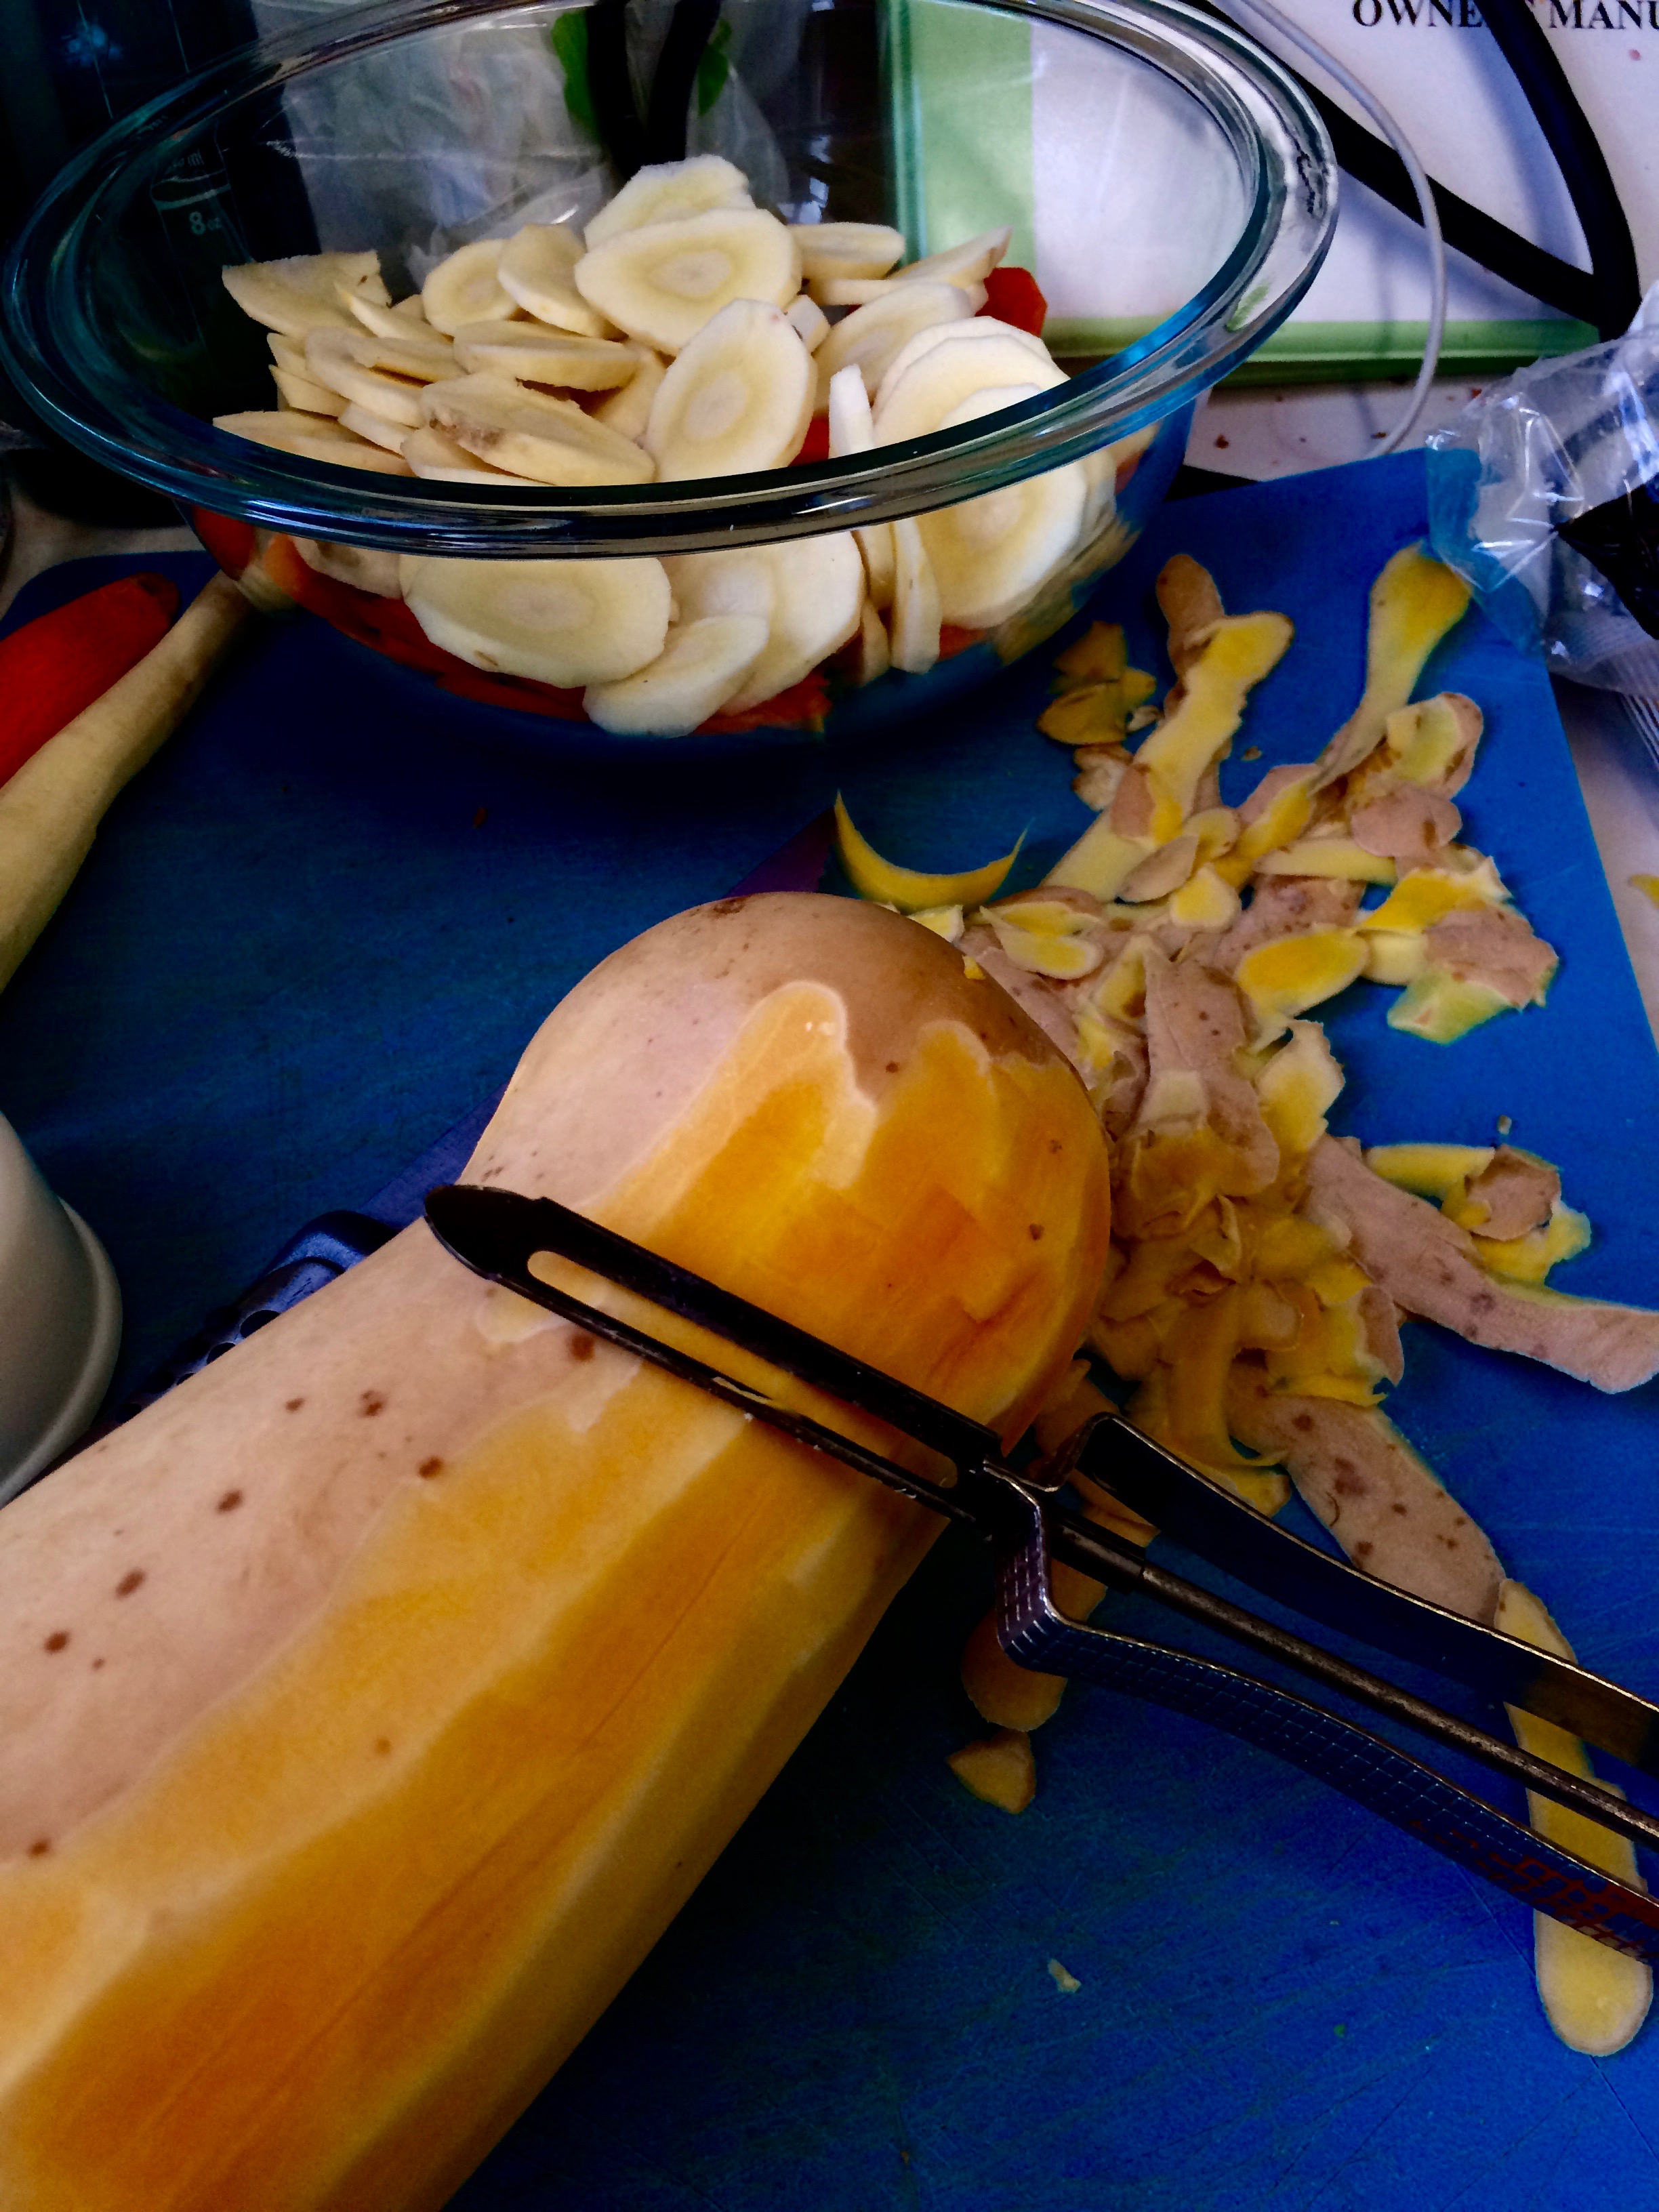
I had no idea what a butternut squash looking like before making this galette –sort of resembles a giant peanut!

IMG_9207

How beautiful is the color of the filling?!

Using eggs instead of water for the crust made it a lot more plyable and stretchy

Using eggs instead of water for the crust made it a lot more plyable and stretchy

The final product

The final product

IMG_9206

The most difficult part of this recipe was spicing the filling appropriately –I can never tell when I’ve added the right amount of salt and pepper

A Sweet Start to Winter Study

After much deliberating and drooling over cook books, Stephanie and I finally decided on three sweet pies to tackle this week: chili chocolate pie, grapefruit meringue pie, and ginger-pear pie.


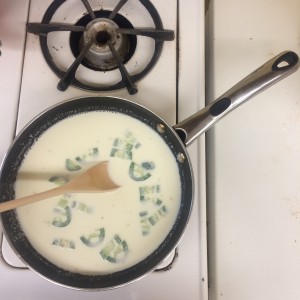
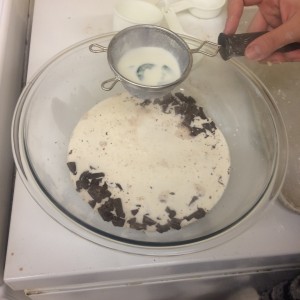
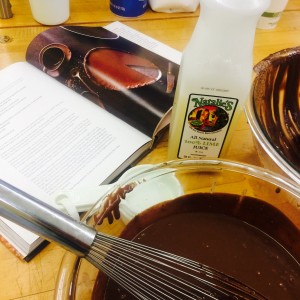
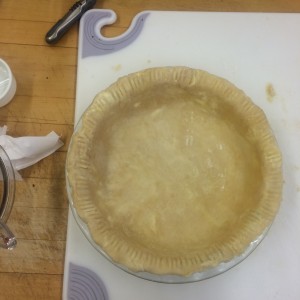
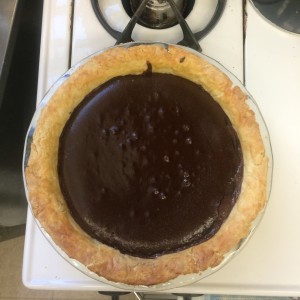
I was particularly excited to bake the chili chocolate pie, because not only am I a chocolate addict, I love spicy foods and the combination of the sweet and spicy sounded heavenly. Making the filling was relatively easy –it involved steeping the milk and cream with green jalapeno pieces to achieve the chili flavor and then using the hot cream mixture to melt the chocolate pieces. I’m glad Steph is as big of a chocolate snob as myself, because she had the great idea of using delicious 70% Lindt chocolate bars. Although the recipe called for a chocolate curst, we used a single butter and shortening crust which was, in my opinion, a smart tweak to the recipe because otherwise the already very rich, dense pie would have been absurdly decadent.

IMG_9069IMG_9070IMG_9076IMG_9080 IMG_9086IMG_9099

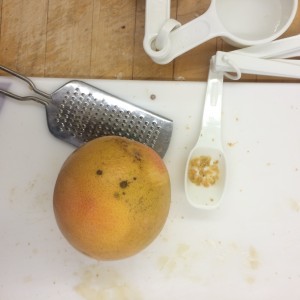
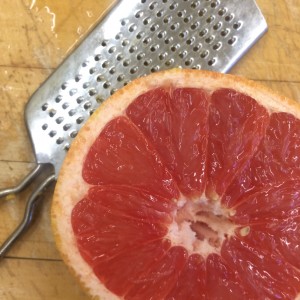
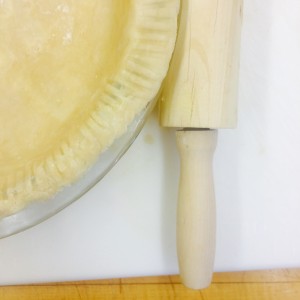
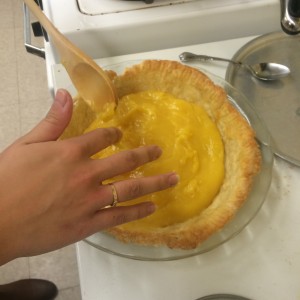
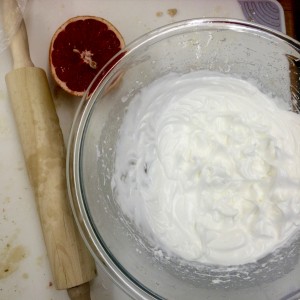
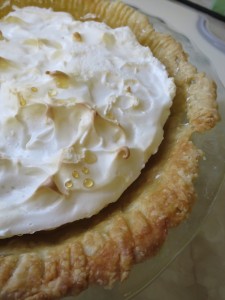
The grapefruit meringue pie was a bit more complicated to prepare, because it involved prebaking the crust, cooking the grapefruit filling, and I didn’t do a very good job rolling out the dough and as a result the crust edges were thin, crispy, and not all that attractive. Also, the morning of the taste test we discovered the meringue had shrunk, separating from the crust and creating a weird gap. We think this might be from transferring the pie from the oven to the fridge too quickly, but we can’t be sure. I loved the texture of this pie because it was light and airy, but if I were to bake it again I would add less sugar to the grapefruit base to create a more tart flavor, complimented by the sweet meringue topping.

IMG_9090IMG_9093IMG_9087IMG_9106IMG_9109IMG_9144

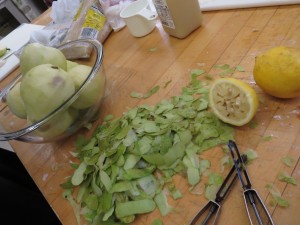
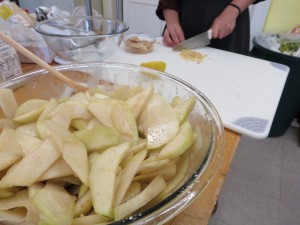
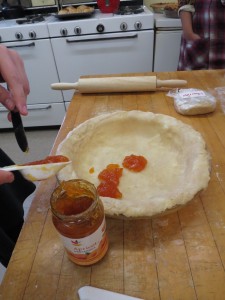
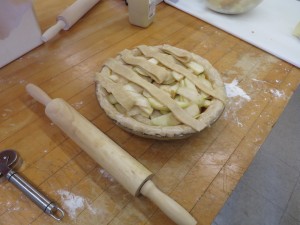
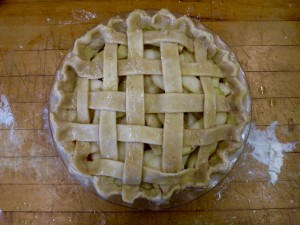
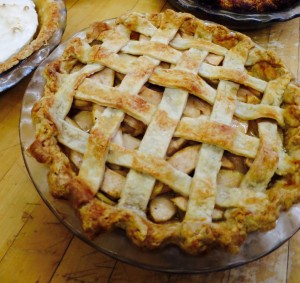
The pear-ginger pie was probably the easiest to make, because it only involved filling a double crust with a pear, sugar, ginger mixture. The ginger flavor was not a strong as I would have liked, and if I make this pie in the future I will definitely add more, or perhaps let the filling soak in the ginger pieces for a while before adding them to the crust. The crust of the pear pie was definitely the most successful of all three pies –it was nicely latticed, the edges were firm and golden, and the bottom tasted great with the apricot preserve layer. However, the inside was quite runny and the pears were still a bit crunchy.

IMG_9132IMG_9134IMG_9136IMG_9138IMG_9141IMG_9163

Overall, I think Steph and I picked three contrasting pies that gave us great experience in the sweet-pie making field, and I can’t wait to delve into savory pies next week!