
 Apple’s official how-to guide for iMovie on the iPad 2
Seems pretty thorough. Also, I think you get to more or less the same thing from within the app, tapping on the information i-in-a-circle on the My projects home screen.
Pinch in and out to adjust the size of the timeline for editing.
To split a clip, position the red line where you want it to split, then swipe down across the timeline.
To adjust a transition with more finesse, pinch apart vertically over the transition to get into precision editing mode, or tap the double yellow arrow. To exit precision editing mode, pinch together vertically over the transition.
Double tap on a clip to bring up options for titles, as well as to adjust (or mute) the volume of that clip.
Note that the title will be present throughout the whole clip, with some animations at the beginning and end. If you want it to only be present for some of the clip, set the title and then split the clip at the point where you want the title to be gone. It will be applied to the first part of the clip but not the latter.
I believe (should check this) that the style of the title and animation are set by the Theme selected for your movie, accessed from the settings “gear” in the upper right corner of the main editing screen.
David’s first video on iMovie (and uploaded to YouTube):
[youtube width=”640″ height=”360″]http://www.youtube.com/watch?v=h1HP386OUGM
A quick (3:45) overview tutorial in iMovie of the iPad 2:
[youtube width=”640″ height=”360″]http://www.youtube.com/watch?v=YMg7yh-lQR4
A longer (11:46) very thorough tutorial in iMovie:
Some basic notes:
(1) Open Screen:
-pretty snazzy
-you can swipe left and right through your projects
-automatically saves as “My Project” with date and duration; to change this, while it’s selected in the open screen, tap the words “My Project” and you can call it what you want
–Four Center Buttons:
1. “Plus Sign” adds new projects
2. “Play Full Screen” plays the selected project in full screen
3. “Export Options” – we’ll be using YouTube
4. “Import” – we won’t really be using this
–Corner Buttons:
Left: “Info”
Right: “Delete Project”
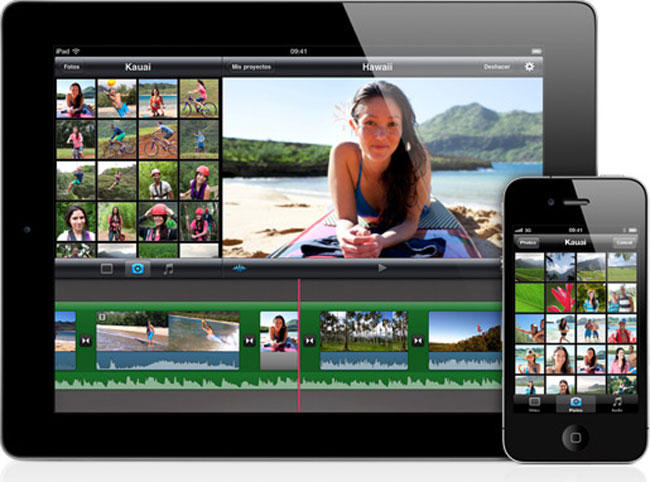
(2) Interface:
Upper Left Box
-shows you what media you have on your iPad and lets you insert it into the timeline (video, pictures, audio) by clicking the clip, then the downward arrow
-allows you to trim media
Upper Right Box
-viewer
-there are buttons to:
1. toggle on/off view audio waveforms under clips in timeline
2. play
3. record audio
4. record video
-if you want to add theme music, loop theme music, or fade in/out, tap the gear button in the top right corner
-if you mess up, there’s an undo button (top right corner)
Lower Half
-timeline
-double tap a clip to access its settings
-double click a transition to access its settings
(3) Edit Screen:
-similar to iMovie on a computer, but with limited functions
***One important difference is that the playhead stays in the middle of the screen and you move your single track around it
-when you insert a second clip into the timeline, iMovie will automatically insert a transition between the two
***to edit this transition, double-click on it (one option is to remove it if you want a straight cut)
(4) Exporting:
from Open Screen, tap left button and choose YouTube