Using Clay Based Filaments to Create 3d-Prints

This is an extension of the WCMA artist project. 

At this point, all of the 3d-prints for the Williams College Museum of Art (WCMA) have been in PLA plastic filament. Creating them in plastic was relatively inexpensive, convenient (as we already had that filament on hand), and gave a good enough visual representation of what the pieces looked like. 

Now that we now have access to a pottery clay-based filament the 3d-prints can now be created using the new filament type. As the pieces cannot be held by the average person creating models using stone based filament gives more accurate information on the artifacts weight and texture.

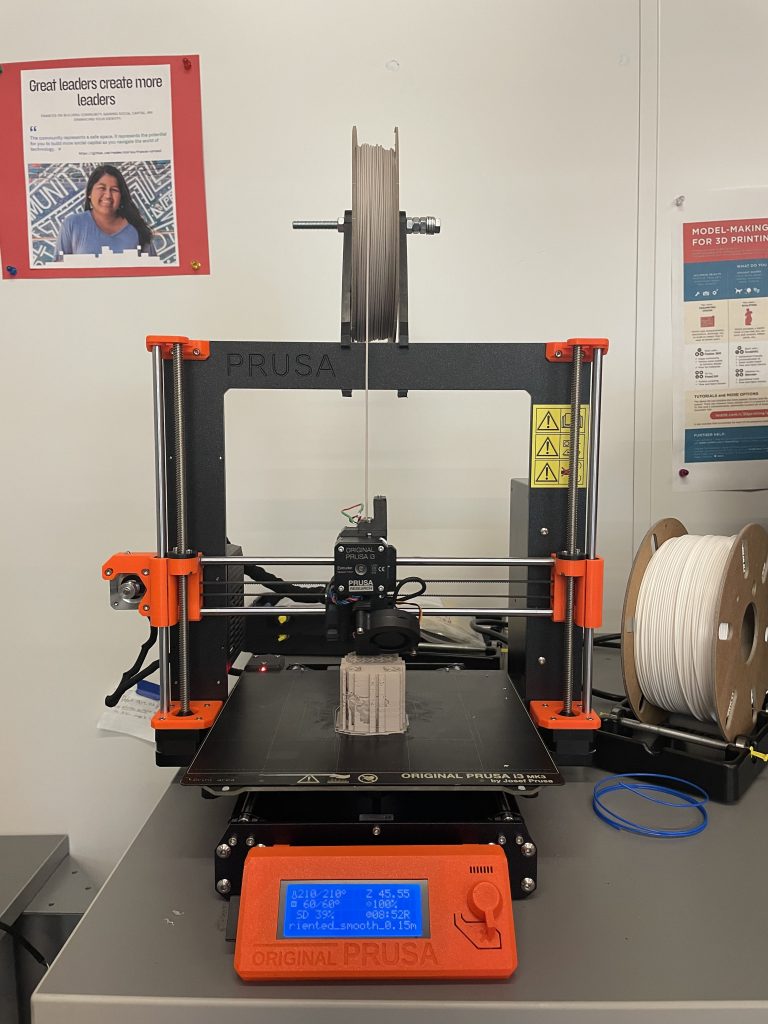
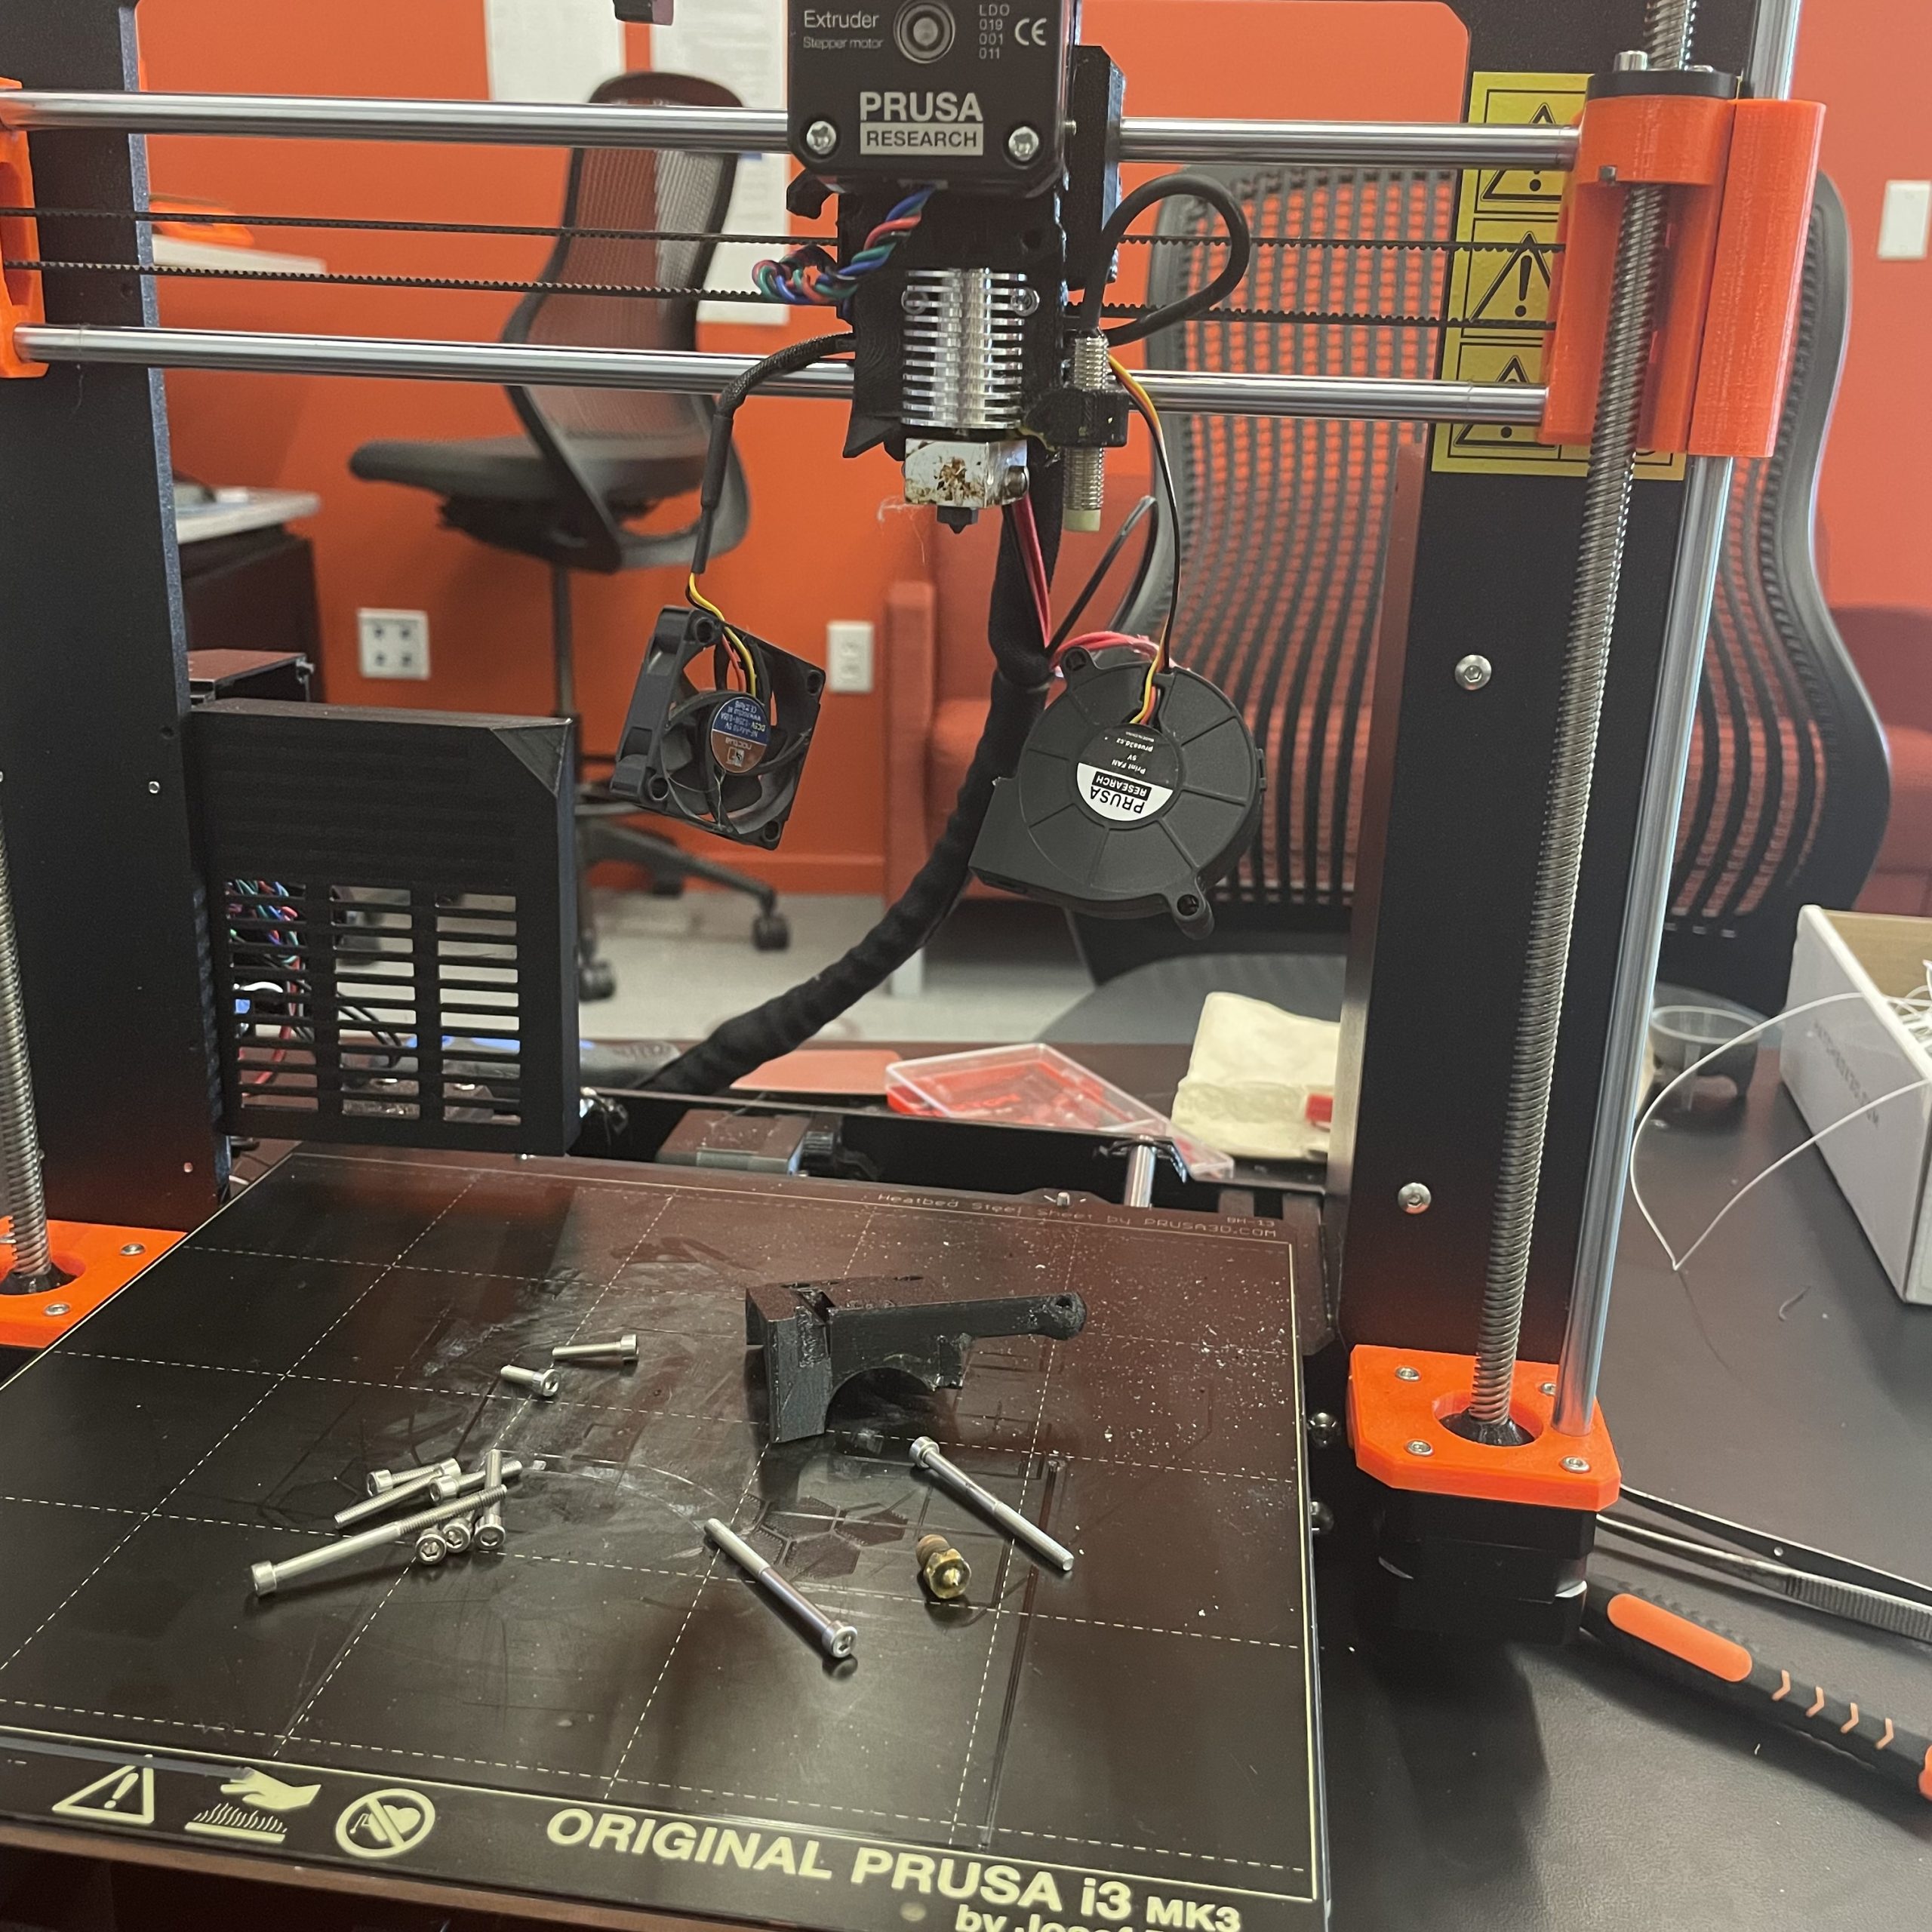
Our current machines have brass nozzles which are not suitable for the more textured pottery clay based filament. As a result, the brass nozzle needs to be removed and replaced hardened steel nozzle. 

Rebuilding the Prusa MK3S

Rebuilding the Prusa MK3S

Once the hardened nozzle was installed, the printer was recalibrated to account for any thing that might have changed when it was taken apart. The seated deity was printed as an initial test of the filament because it had the least amount of problems when printing in PLA. It was printed at 0.15 mm quality with a 15% infill and supports were generated everywhere. 

Printing with the Prusa MK3S

Printing with the Prusa MK3S

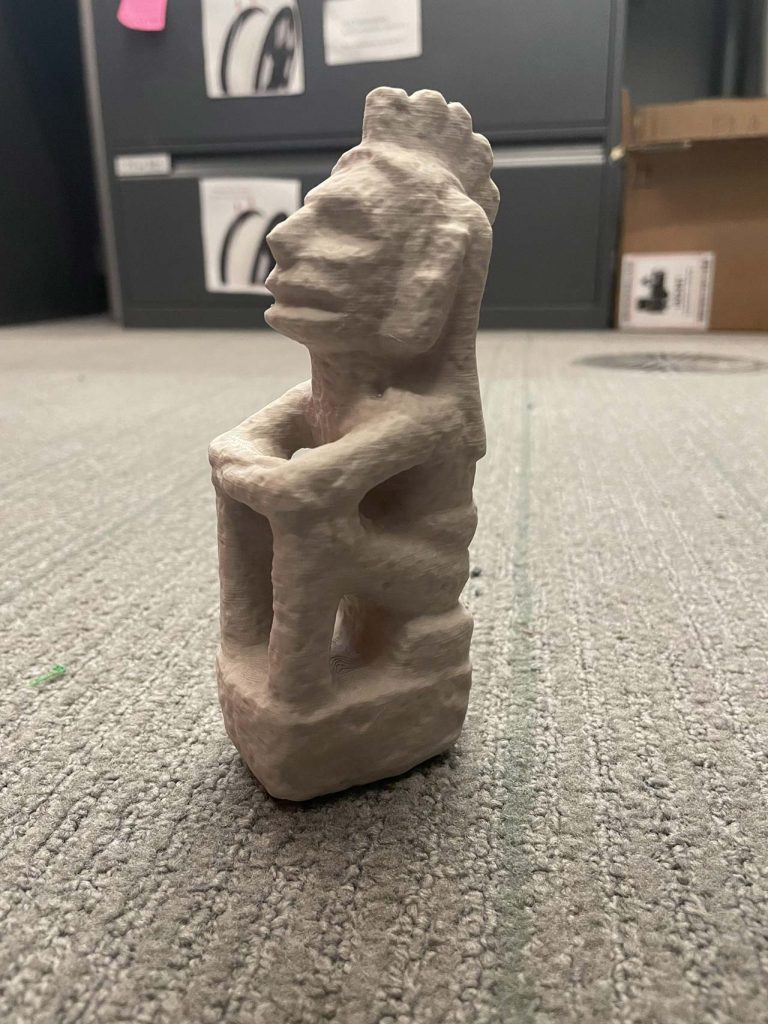
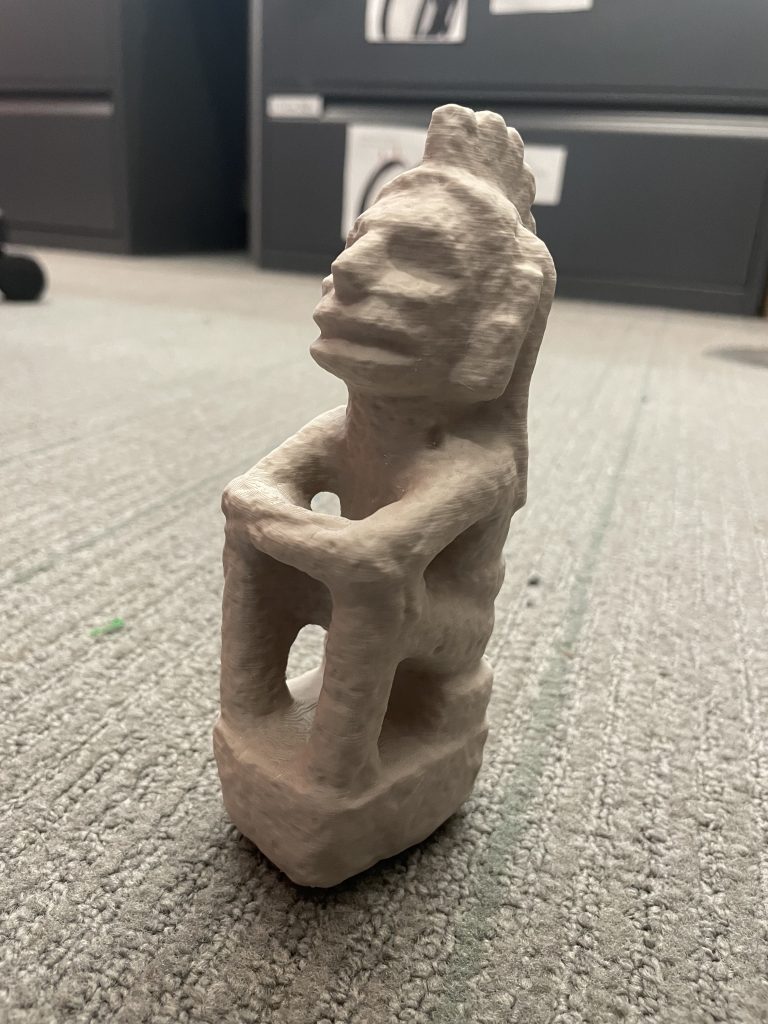
These are the results. 

Leah Williams 3D printed this using clay filament for Dr. Beatriz Cortez.

Leah Williams 3D printed this using clay filament for Dr. Beatriz Cortez.

Leah Williams 3D printed this using clay filament for Dr. Beatriz Cortez.

Leah Williams 3D printed this using clay filament for Dr. Beatriz Cortez.


E4 Bug Off Team Project : Mitigating Japanese Beetle Damage

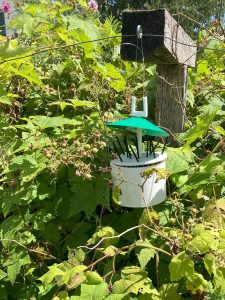
The E4 Bug Off Project: Installed in the Williams College Community Garden

The E4 Bug Off Project: Installed in the Williams College Community Garden

Japanese beetles are an invasive species that cause considerable damage to plants across much of the United States, including in the Williams College ‘66 Envi Center

gardens. The E4 Bug Off Team—consisting of students at Harvey Mudd and Pomona colleges (Javier Perez, Linna Cubbage, Betsy Ding, Eli Schwarz, and Stephanie Huang with guidance from Profs. Steven Santana and TJ Tsai)—collaborated with the Zilkha Center on the E4 Bug Off Team Project: Mitigating Japanese Beetle Damage to develop means for repelling the beetles from campus gardens and lands before they could harm the plants. The E4 Bug Off team developed a model for a physical artifact that emits repelling scents and can be attached to trees and plants. The device, which can be created by a 3D printer, is intended to be easily built, used, durable, and human and bee friendly.
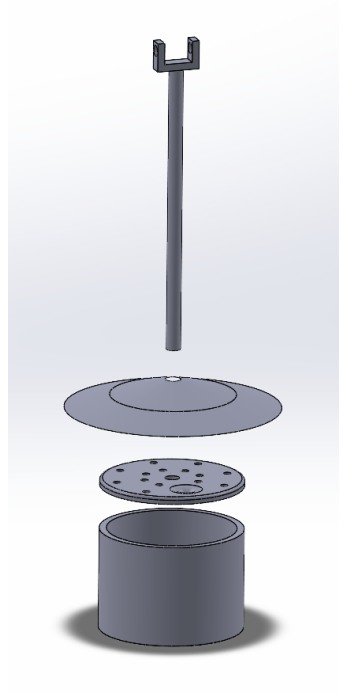
E4 Team 3D Prototype and Redesign
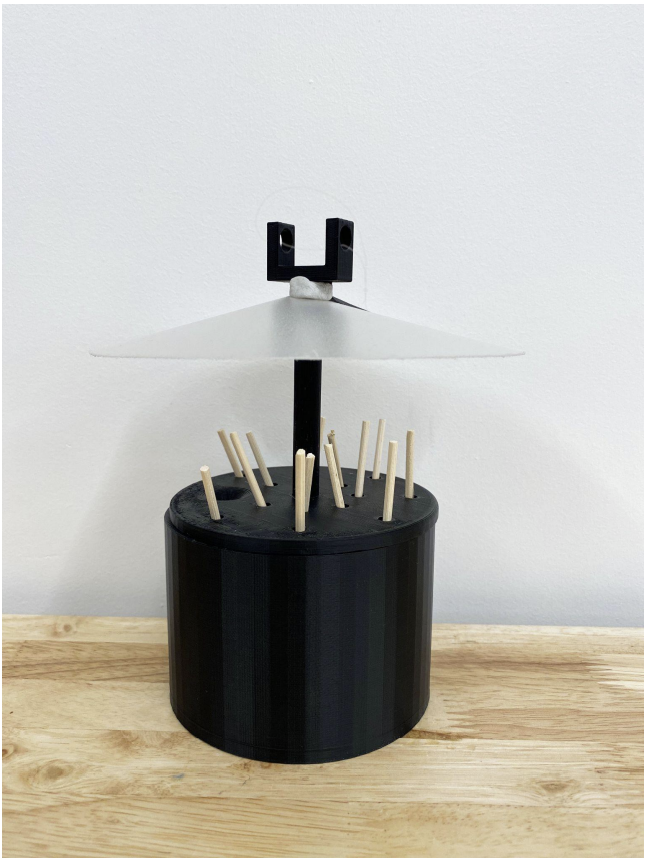
The E4 Bug Off Teams Final Prototype


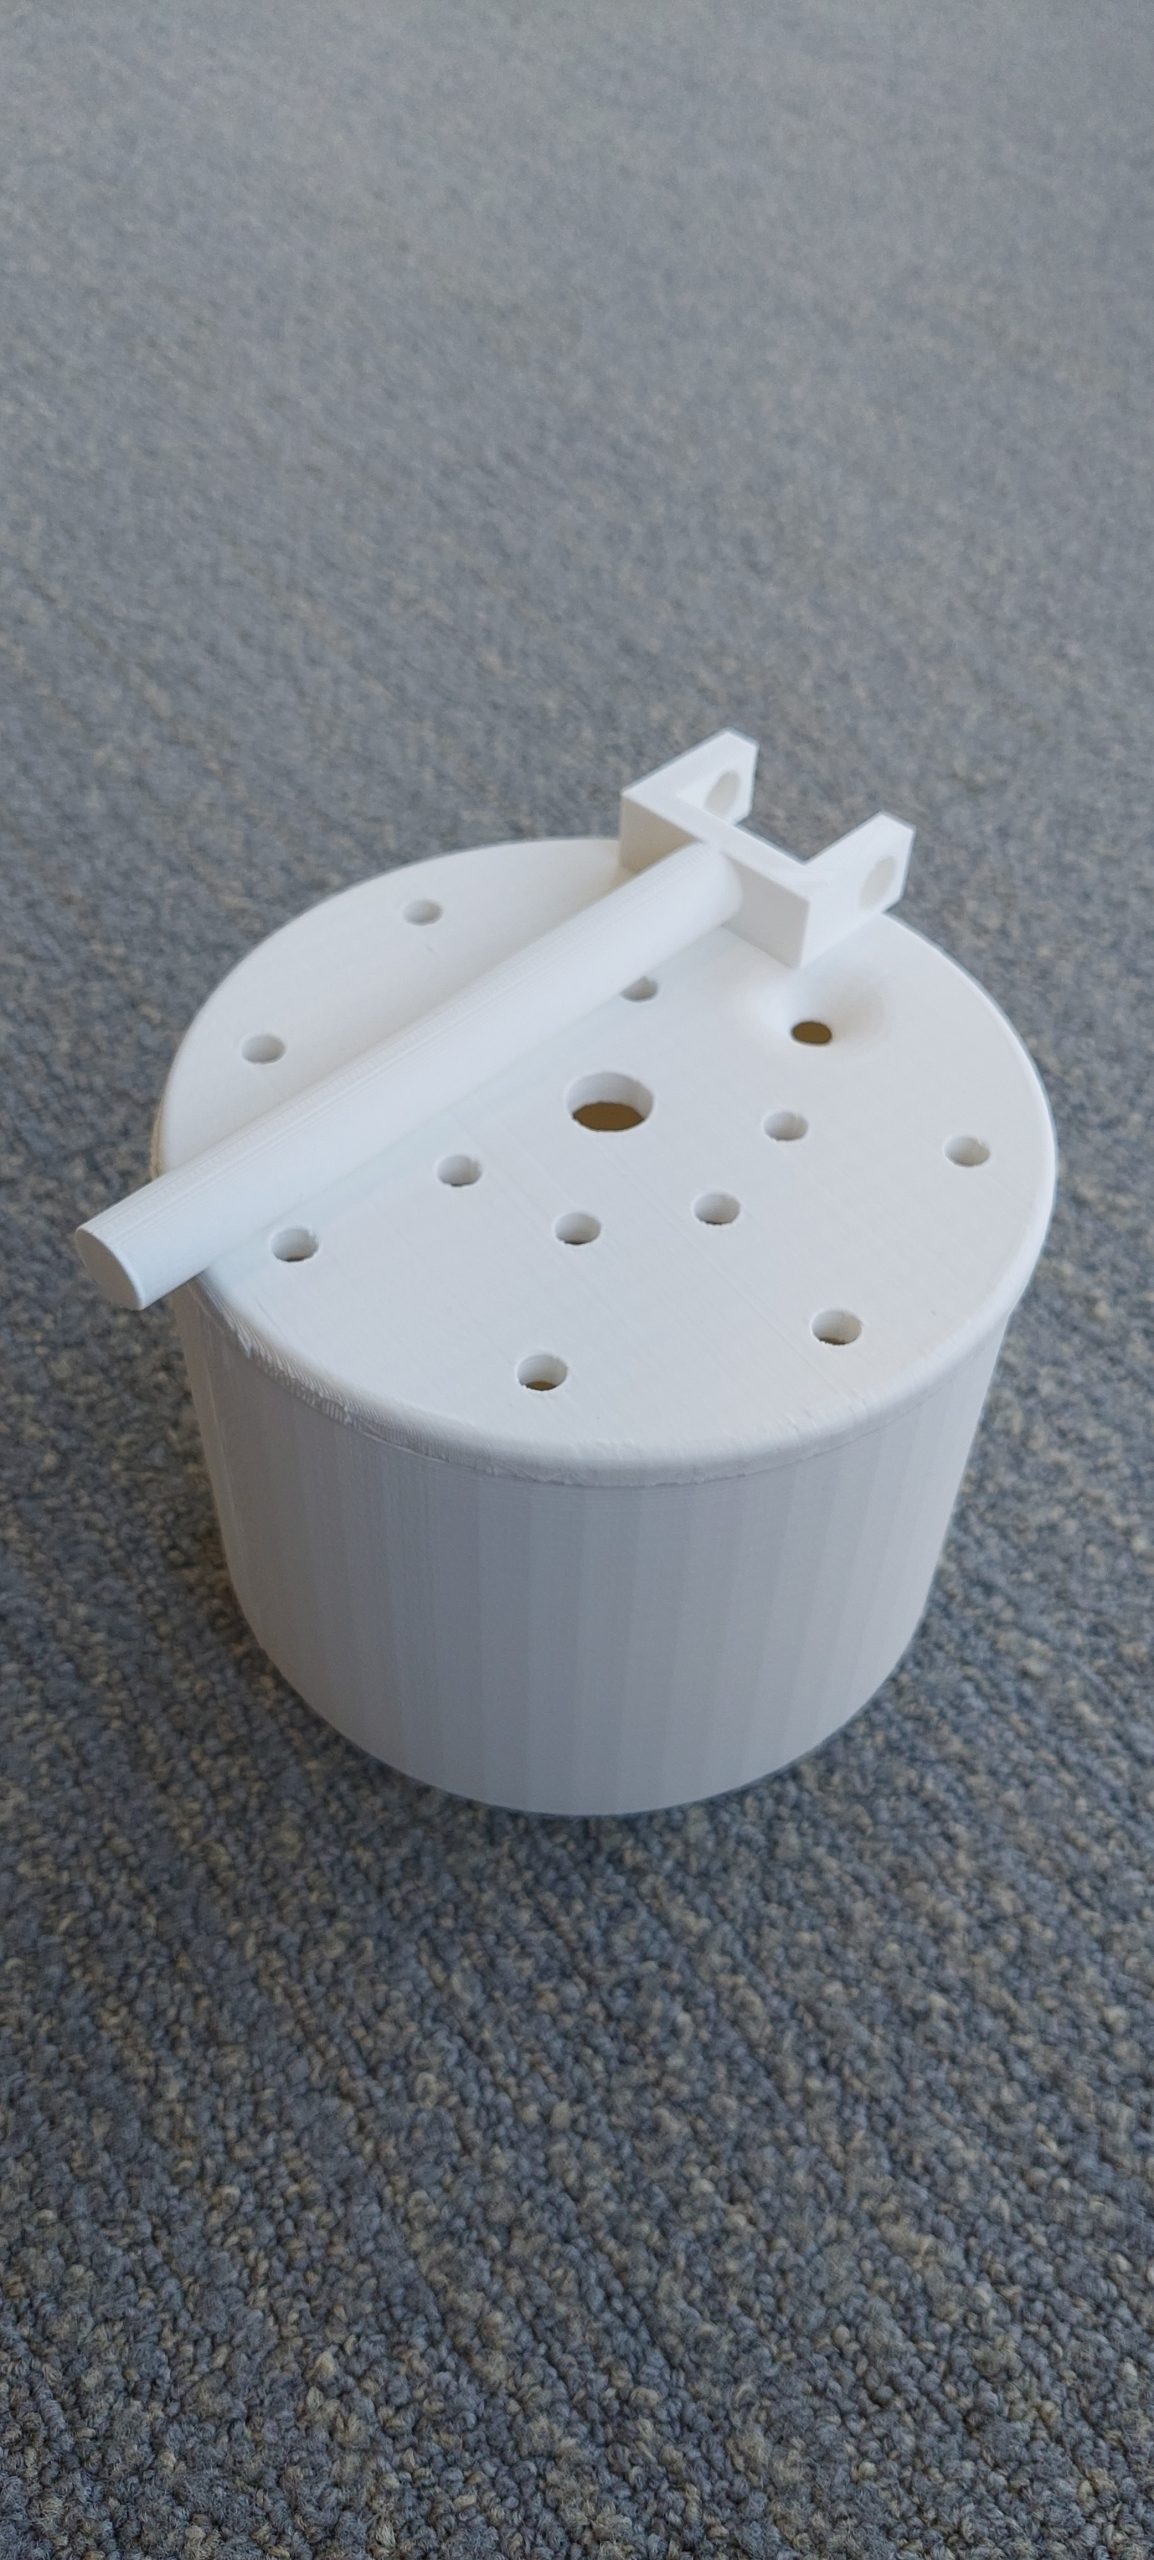
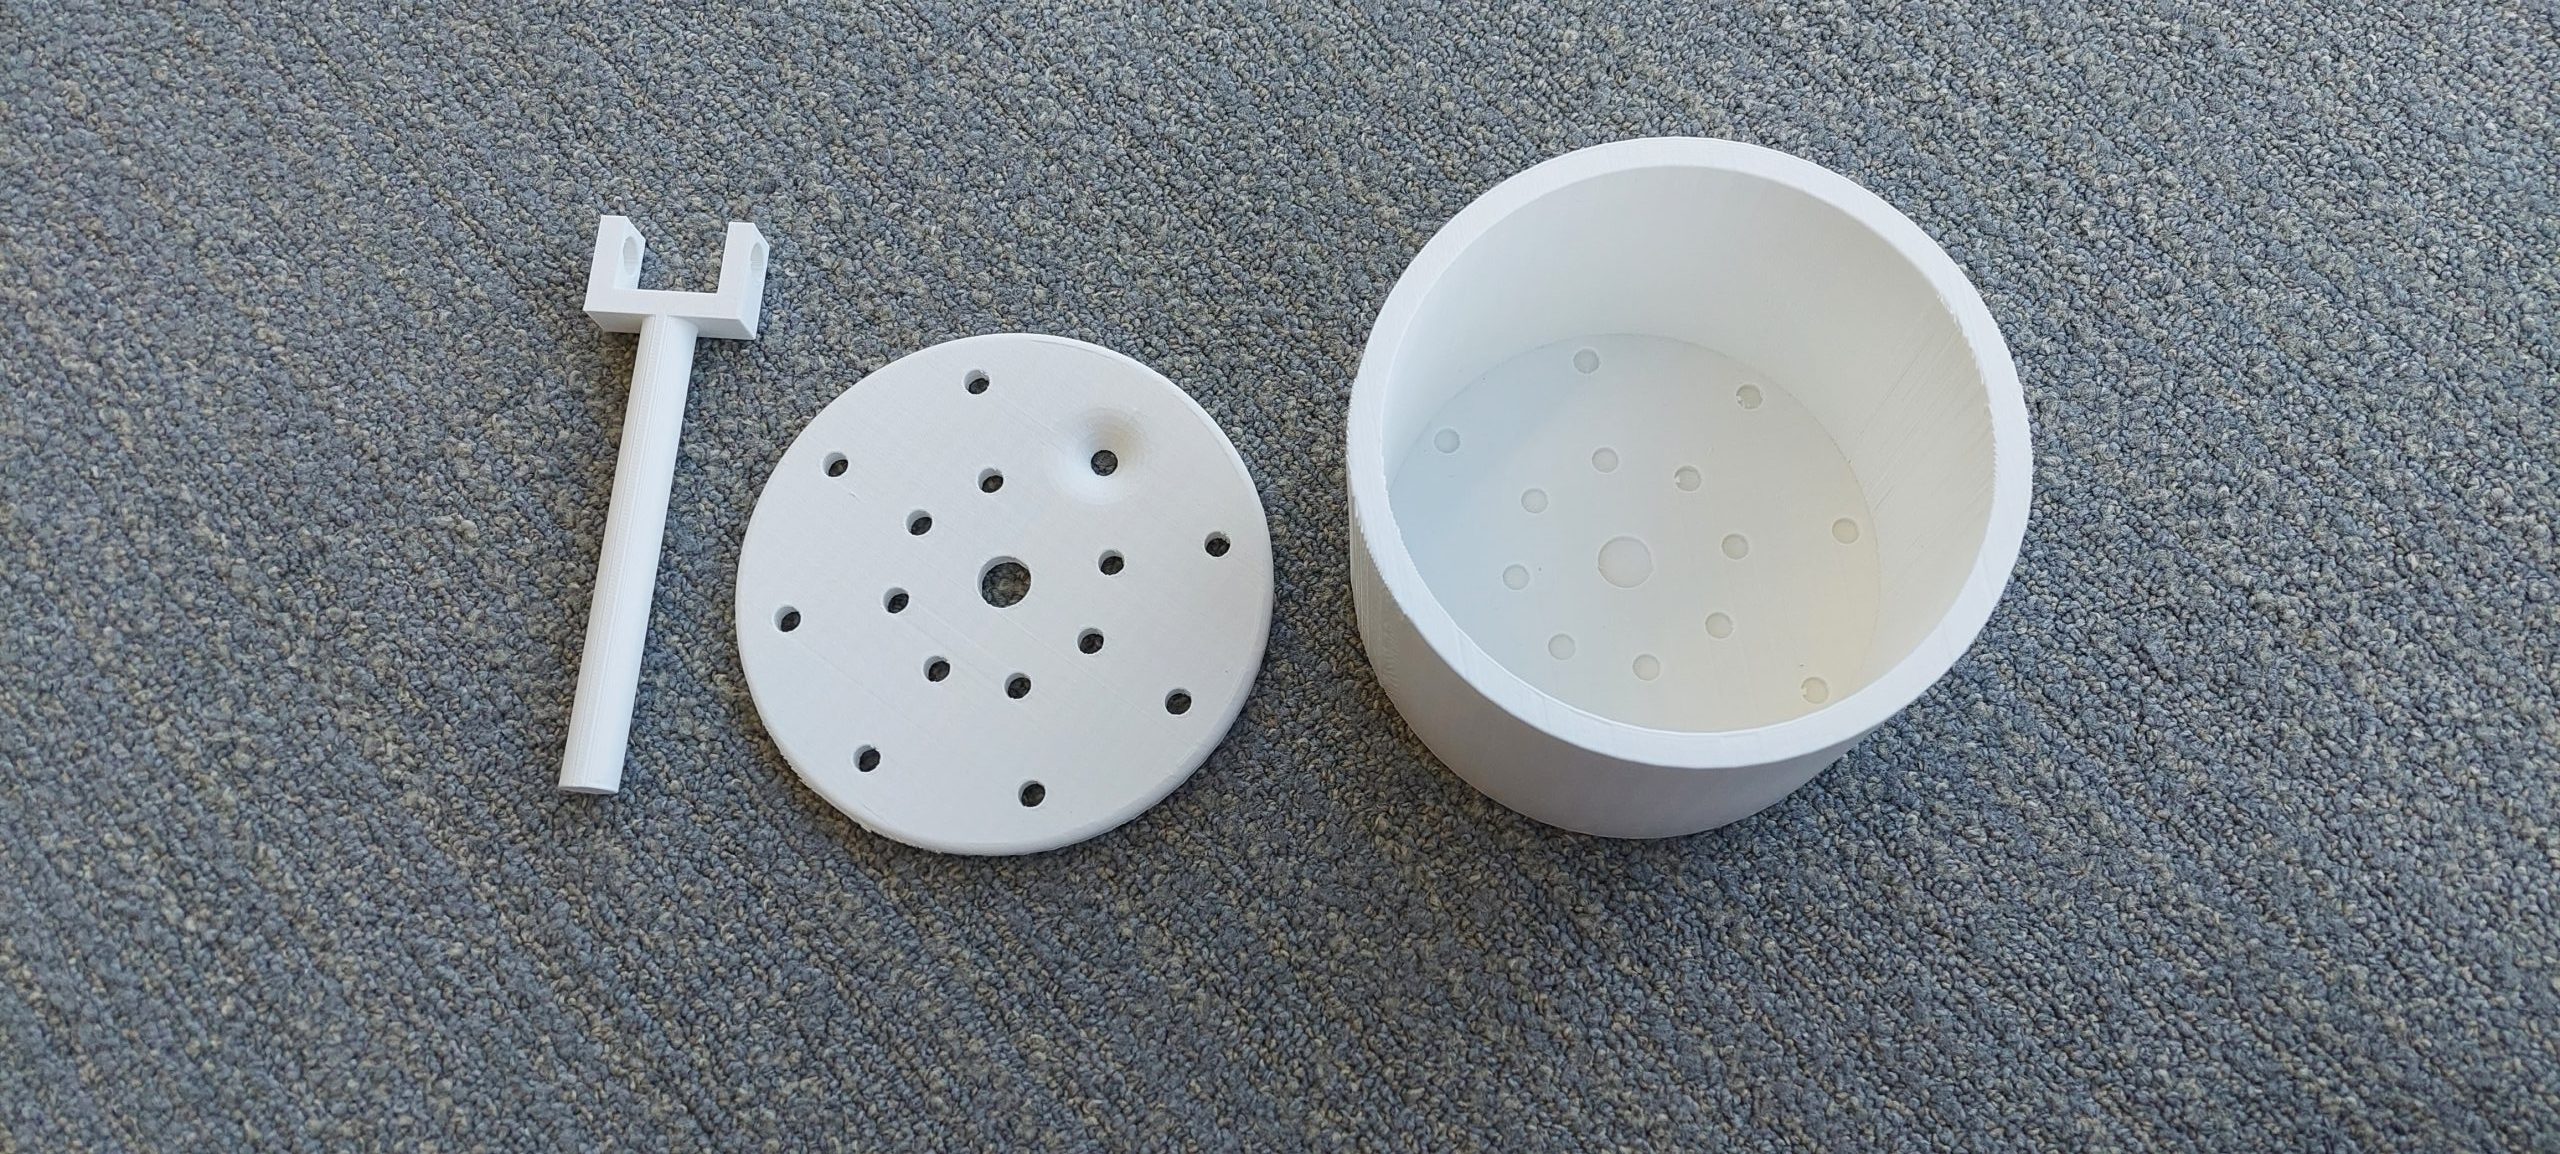
The E4 Bug Off team shared the CAD files with the Zilkha Center who asked the Williams College Makerspace for assistance with printing. The first iteration of the 3D model that was created by the Makerspace consisted of a white tall body, a lid with various holes, and a short rod. 

The holes in the lid are for peppermint-scented sticks and the tall body could hold additional scent liquid. Based on the research done by the E4 Bug Off team, peppermint scent was found to be a repellent of Japanese Beetles. Thus, if the scent is widely enough dispersed by the wind, it should help with keeping Japanese beetles from the area around the device. It remains to be tested, how many devices will be needed to cover the area of the gardens. It’s an innovative solution since peppermint is safer than other traps such as spectracide bags, which have low to moderate toxicity for humans. It has also been reported that such bags may also simply increase the numbers of beetles present.

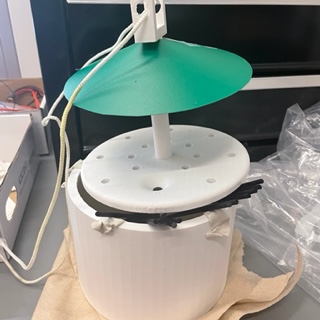
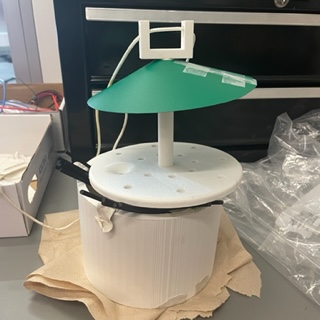
The artifact also features a green cone, which protects the scent sticks from rain. It was cut out of a plastic folder by the Zilkha Center summer garden interns. 

Zilkha Center: Beetle model 3D printed and built following the E4 Bug Off Team’s CAD files

The first prototype had a few shortcomings: its body was leaky and the rod was a little too big to fit into the lid. Zilkha Center garden interns, Martha Carlson and Evan Chester, put putty on the holes in the body to stop it from leaking and needed to heavily sand down the rod for it to fit in the base. 

To create a longer-lasting solution that could also be printed in larger numbers, a new body and slightly thinner rod were designed and reprinted. 

The plan is to launch the device in time for the summer 2023 Japanese Beetle season, assuming all goes well with the new sealing method. The Makerspace and Zilkha Center will share the final 3D design and list of ingredients after the final testing is complete.
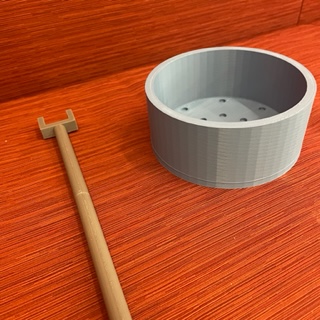
New body and thinner rod

New body and thinner rod
 

3d Printing Sculptures with WCMA

The makerspace was approached by a representative of the Williams College Museum of Art (WCMA) to create 3d models of some of the Maya objects, dated to approximately 600-900 CE, that they have in their collection. Some of their sculptures are old and have an unknown creator so creating 3d prints of them allows others to engage with them more and an accurate print gives insight into how it was made.

3d Printing Sculptures with WCMA

3d Printing Sculptures with WCMA

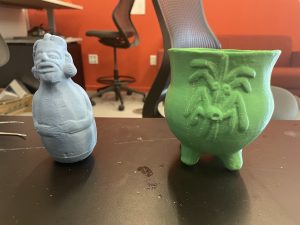
On the left is a hollow rattle and on the right is a corn pot.

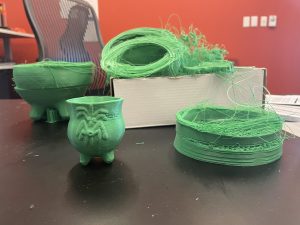
Examples of 3d printing failures

Examples of 3d printing failures

When printing the corn pot a lot of issues were encountered. When printing a large model a lot of layer shifting in the print would happening and the front left leg would have problems adhering to the print bed. A variety of different solutions were trim including different kinds of bed adhesion methods (skirt, brim raft), decreasing the print speed and changing the size of the model.

Eventually the final model was created at 50% print speed, around 80% of the original size and a 3.0mm brim to help with bed adhesion.


Raccoon Tracks

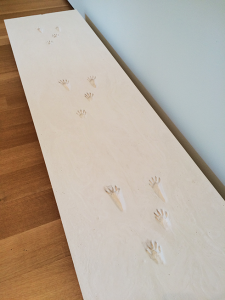
Raccoon footprints

Raccoon footprints

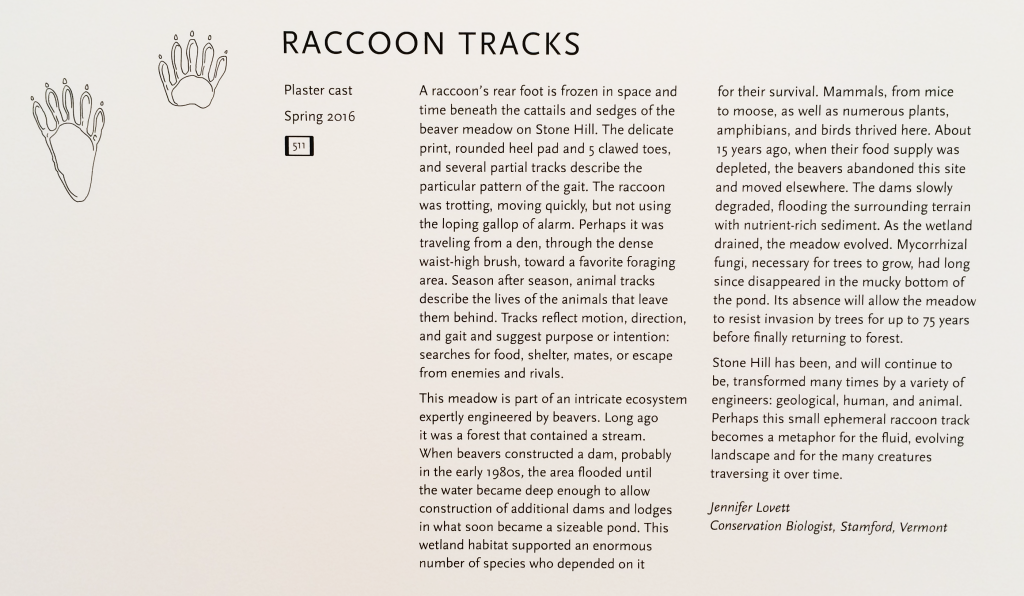
Over the summer of 2016, the Clark Art Institute came to the Makerspace for help. For their exhibit Sensing Place: Reflecting On Stone Hill at the Lunder Center on Stone Hill, they needed molds of raccoon paws to make a plaster cast of raccoon footprints. However, they only had molds of the raccoon’s right front and right back paws, and they needed molds of the raccoon’s left front and left back paws to complete the set.

We were able to help out by scanning the two footprint molds that the Clark Art Institute owned using the David Scanner. The scans were 3D models of the two molds which could be opened in Rhinoceros and then reflected to create a mirrored replica.

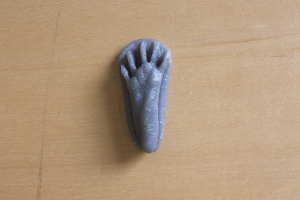
After creating a set of four 3D models using the scanning and modeling technology that we have, we used the Form 1+ printer to print the models out. The Form 1+ printer, which uses liquid resin, produced prints with the smooth texture required for the molds.

Raccoon mold

Raccoon mold

However, after two prints, there was not enough liquid resin to print an additional two sets of footprints that the Clark needed. To improvise, we mobilized the Makerspace’s remaining two printers, the MakerGear M2 and LulzBot TAZ 5. We used these printers to print the remaining footprints, applied the liquid resin on the surface of the prints, and left them to cure under the sun, allowing us to successfully recreate the smooth texture of the original prints.


Sensing Place: Reflecting On Stone Hill is on exhibit until October 10, 2016. Stop by to check out the Makerspace’s contribution to the exhibit!

Raccoon Tracks Panel at Clark Art Institute

Raccoon Tracks Panel at Clark Art Institute


e-NABLE Prosthetic Hands

The Williams college Makerspace is working with the organization e-NABLE to print and assemble simple prosthetic hands for children with manual disabilities! Project Updates will be posted here.

Prototype 1: Printing the First Hand (2/28/2015)

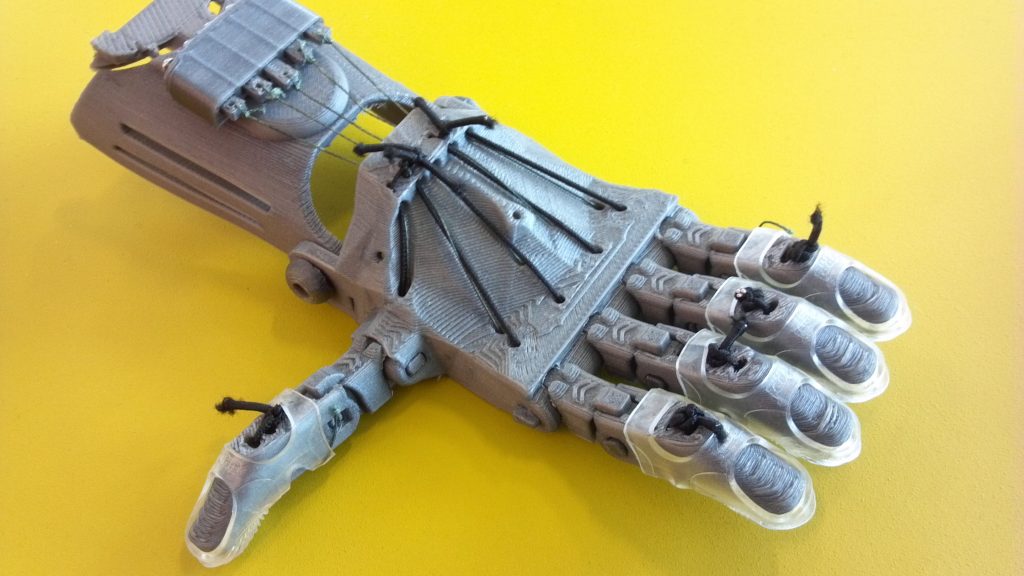
e-NABLE prototype hand

e-NABLE prototype hand

A few days ago, we set out on our first prototype of the Raptor Hand. Today, after much printing and assembly, we have a working final product!

Observations: The phalanges are a little too large for the joints, and stick badly, reducing grip strength. Next time around, we’ll print larger and in ABS to see how using different plastics affects the final project.