Introduction:
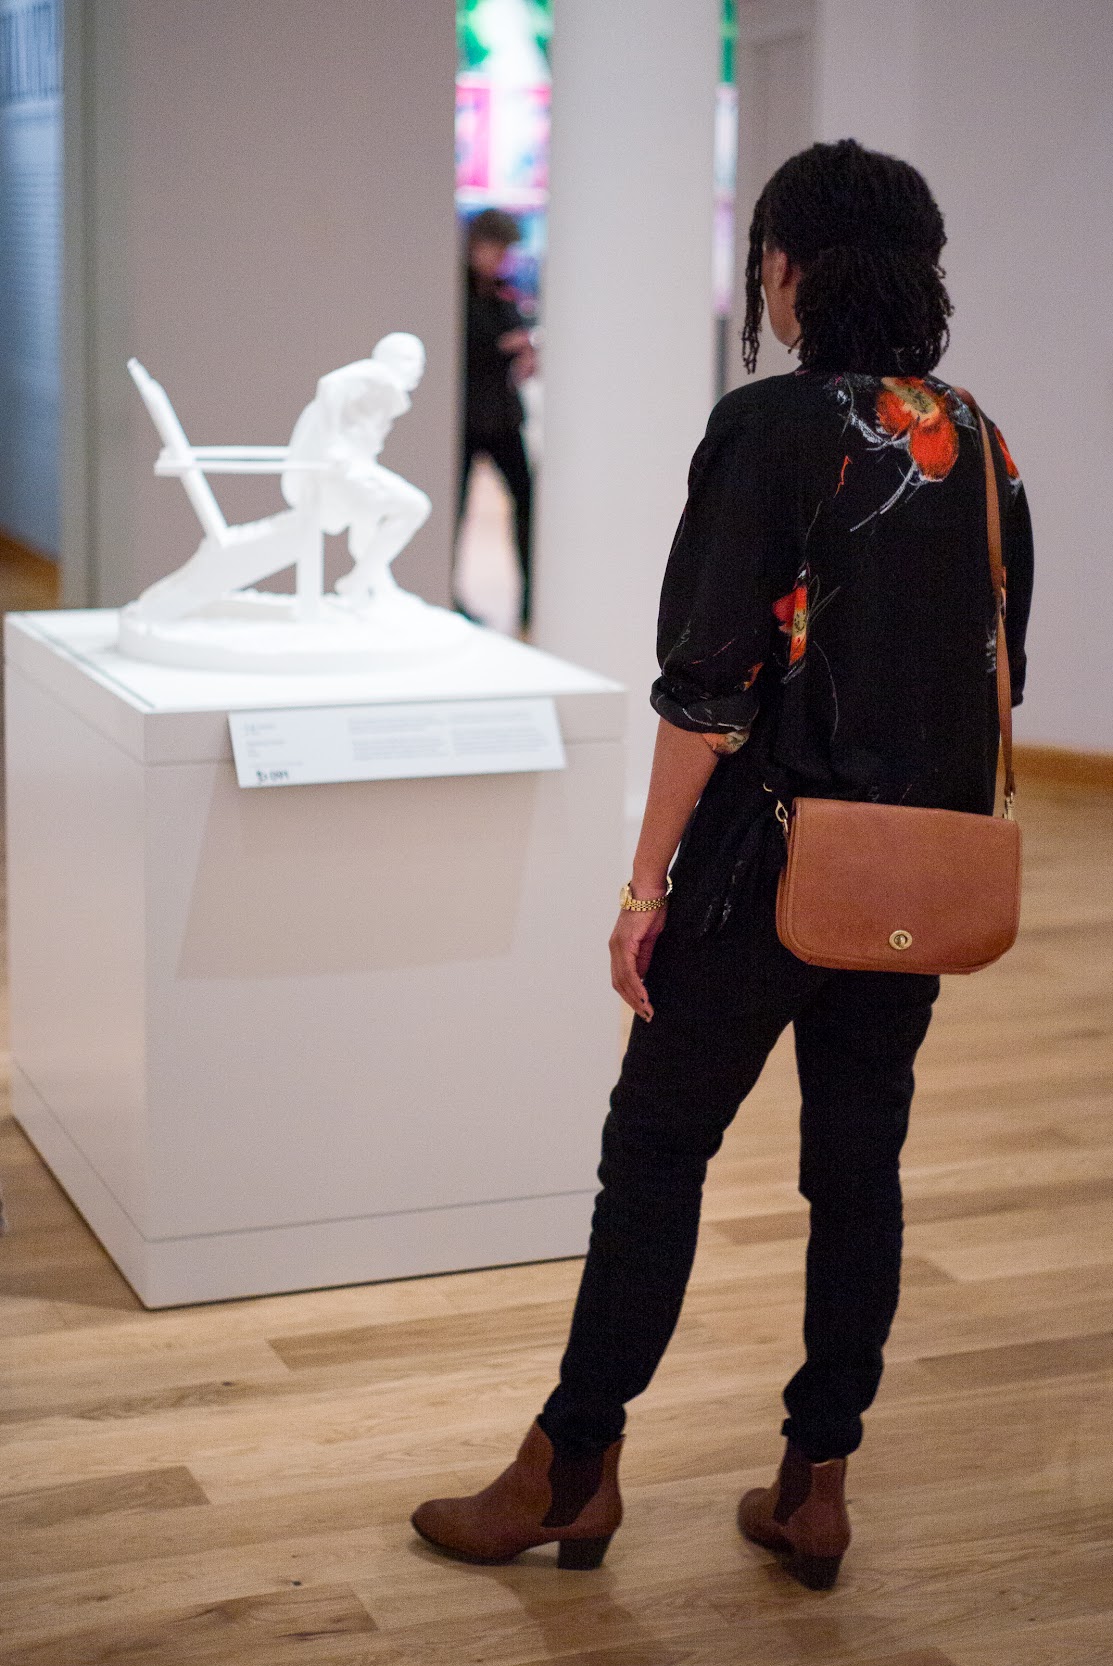
“Emancipation” exhibit
My most recent Makerspace academic project was assisting Beth Fischer, Assistant Curator of Digital Learning and Research for the Williams College Museum of Art. My task was to 3D print replicas of two sculptures of President Lincoln—Sarah Fisher Ames’ bust of Lincoln and the iconic Abraham Lincoln Life Mask by Clark Mill—as part of the WCMA’s “Emancipation: The Unfinished Project of Liberation” exhibits. These two models complement the work of Hugh Hayden, also present at Emancipation, who incorporates PLA prints into his artistic process. The exhibit emphasizes 3D printing as a relatively accessible medium for creativity and showcases different ways it can assist other styles of art, particularly molds.
Setup
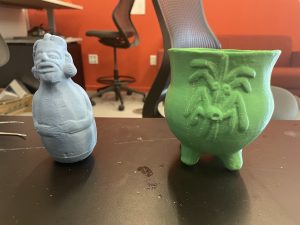
The two photogrammetry-based 3D models were gorgeous. They defined every ridge, bump, and strand of hair on Lincoln’s head while carrying the texture of the clay, but it was this beauty that posed a challenge. The multidimensional texture in clay is hard to depict using horizontal layers of filament, which is how 3D printers print. Although not a solution, a remedy to this problem was using a hybrid filament – part ceramic and part PLA. Although this filament can’t recreate the vertical complexity of a sculpted model’s texture, it provides a smoother, heavier finish that better resembles the original material.
We had some leftover StoneFil filament from a previous project, but we knew we would need more to complete both prints. The question was how much more. We did not know how much filament remained on the spools and there was no specific size requested – simply that the two models remain proportional and be as large as possible.
Naturally, as a math major, I took this as a challenge to maximize the size we could print with only one additional spool of filament. First, I printed two smaller models, noted their xyz scaling, and measured the distance from the nose to the chin. I then used those measurements to find the scale between the height of one and the length of the other. Then, given that scaling, I noted the estimated combined length of the models at a few different sizes and found the factor at which the necessary filament would scale in comparison to the size. In theory, I could approximate the maximum print size given the length of the filament we had left and the spool arriving soon. There was only one problem – we didn’t know how much filament we had. We could weigh the filament, but any statement on the spool-to-filament proportion would’ve been guesswork.
That was when another Makerspace student worker, Elena Sore, had an idea to create a reference guide for the weight of empty filament spools. We use a variety of brands of filament, and each has a different sized spool. Now, when we finish a spool, we weigh it and enter it into a spreadsheet, allowing us to measure the amount of filament remaining on any given spool by subtracting the spool from the overall weight.
Printing and Troubleshooting

The final bust with its supports still attached
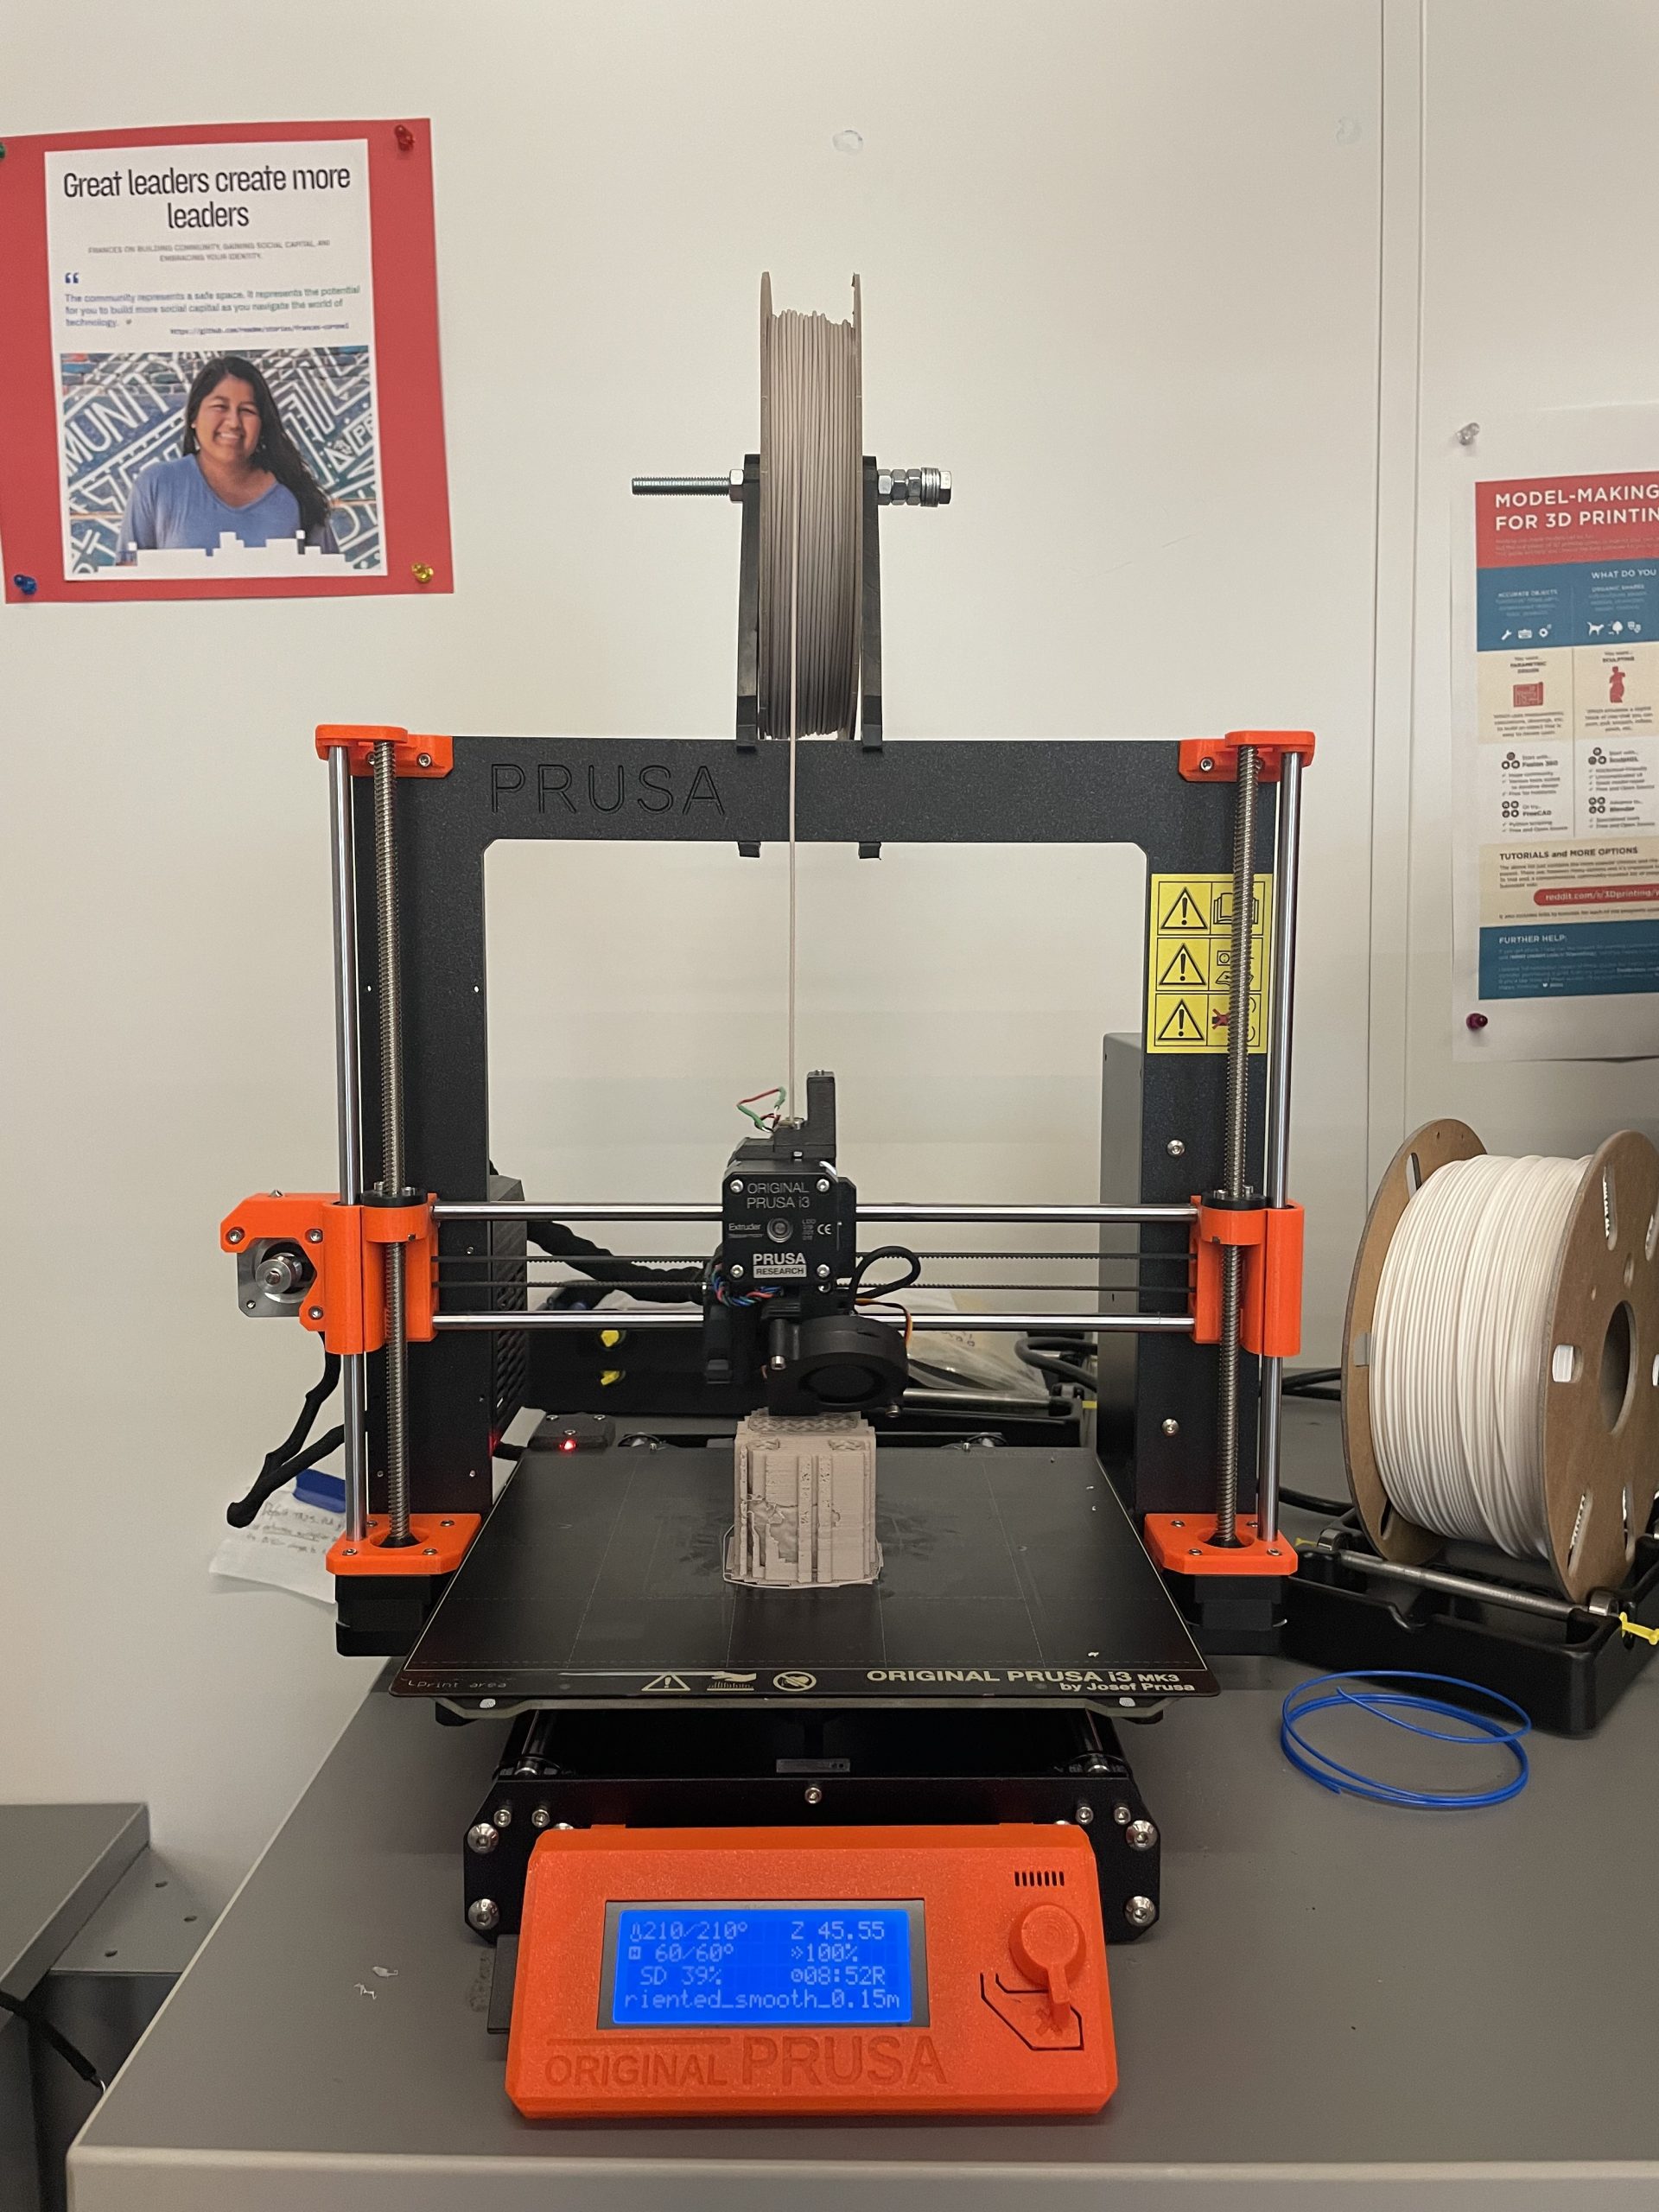
The time came to print the models. I had decided on the heights 140mm and 93.15, which would give us just enough filament to print both models with enough to spare to be able to still print one more, just in case of failure. I sliced and started the print of the bust and 20 hours later, it came out well. There were a few small holes that indicated mild under-extrusion, but they were not too distracting and the WCMA was interested in showcasing the uniqueness of 3-D prints, so I was perfectly content with the model.
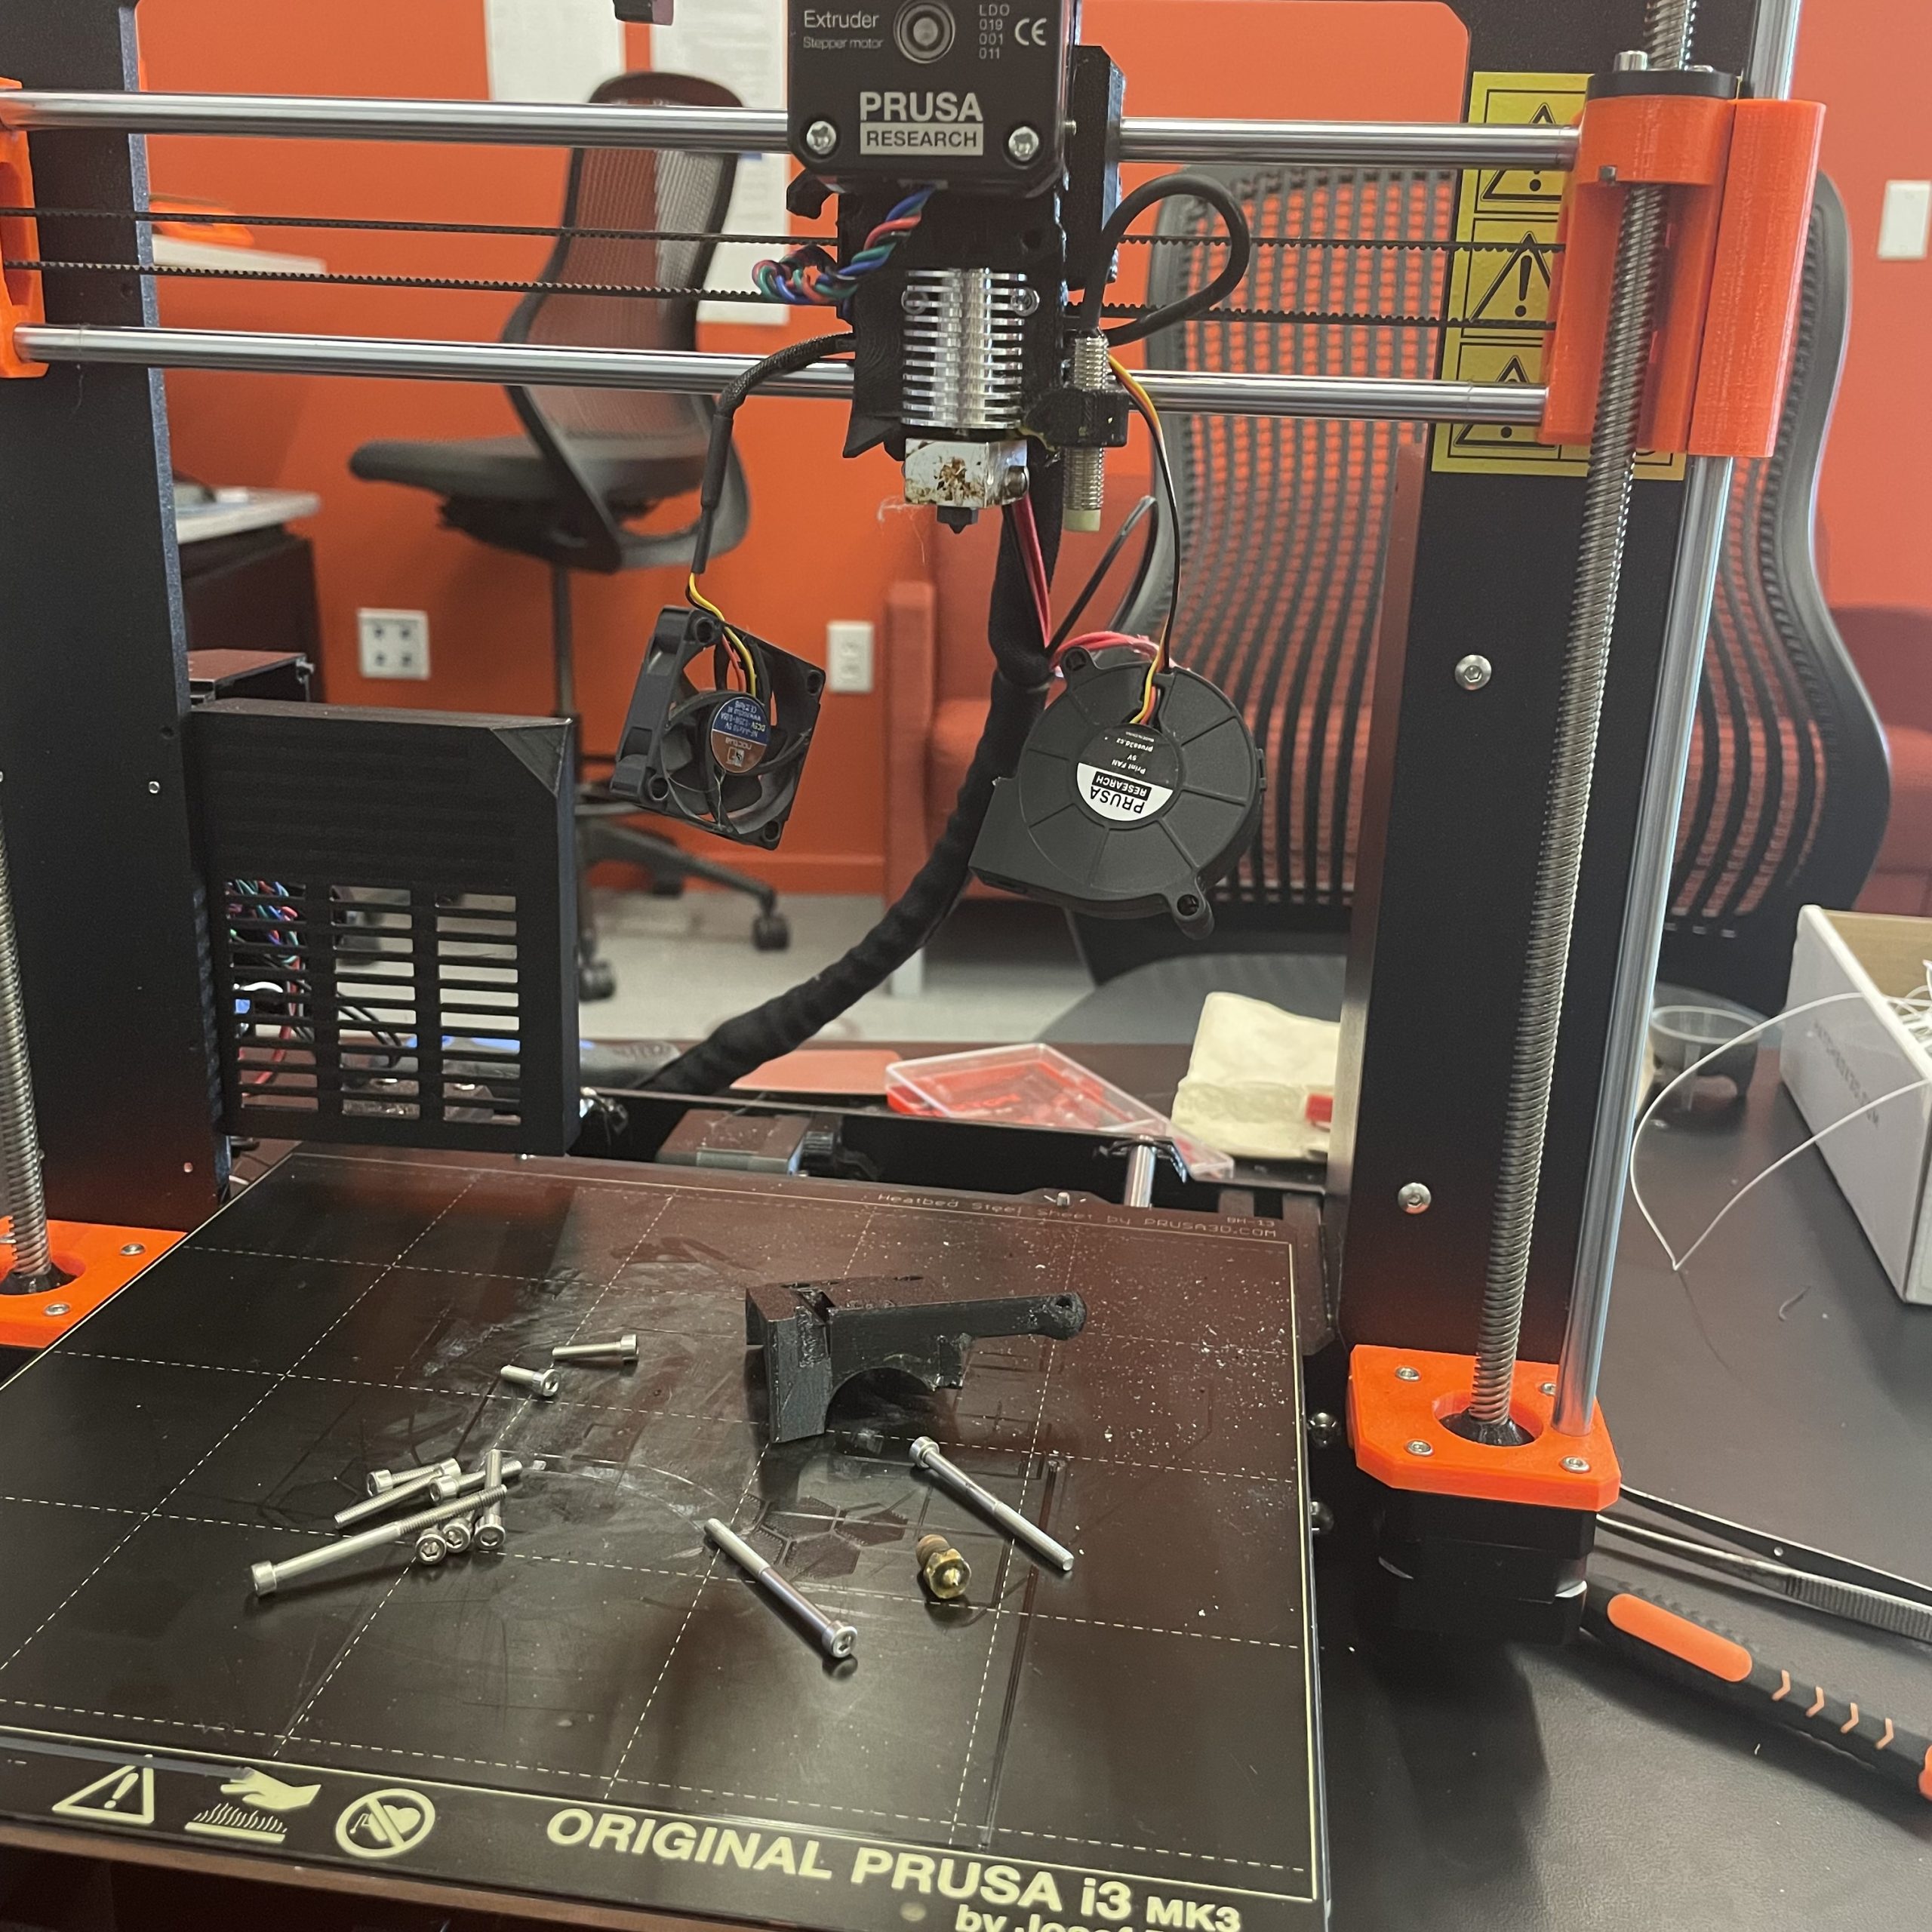
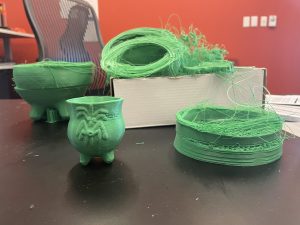
The second print was not as fortunate. Externally, it looked fine, except the under-extrusion was more visible than the first model. Before removing the model from the plate, I started googling remedies for under-extrusion because I was concerned that I didn’t have enough filament to endure another failure. I recalibrated the printer, increased the nozzle temperature, slightly decreased the printing speed, and ran another mini model with ordinary PLA. It came out perfectly – and that worried me because I was nervous that the problem was with the ceramic filament, which was a requirement for the project. Eventually, I stumbled onto a solution by turning the StoneFil model upside down to examine the supports, and to my shock, I found that they were completely “spaghettified”. The supports had completely failed and were just a mess of tangled filament. I was impressed that the print had managed to build at all.
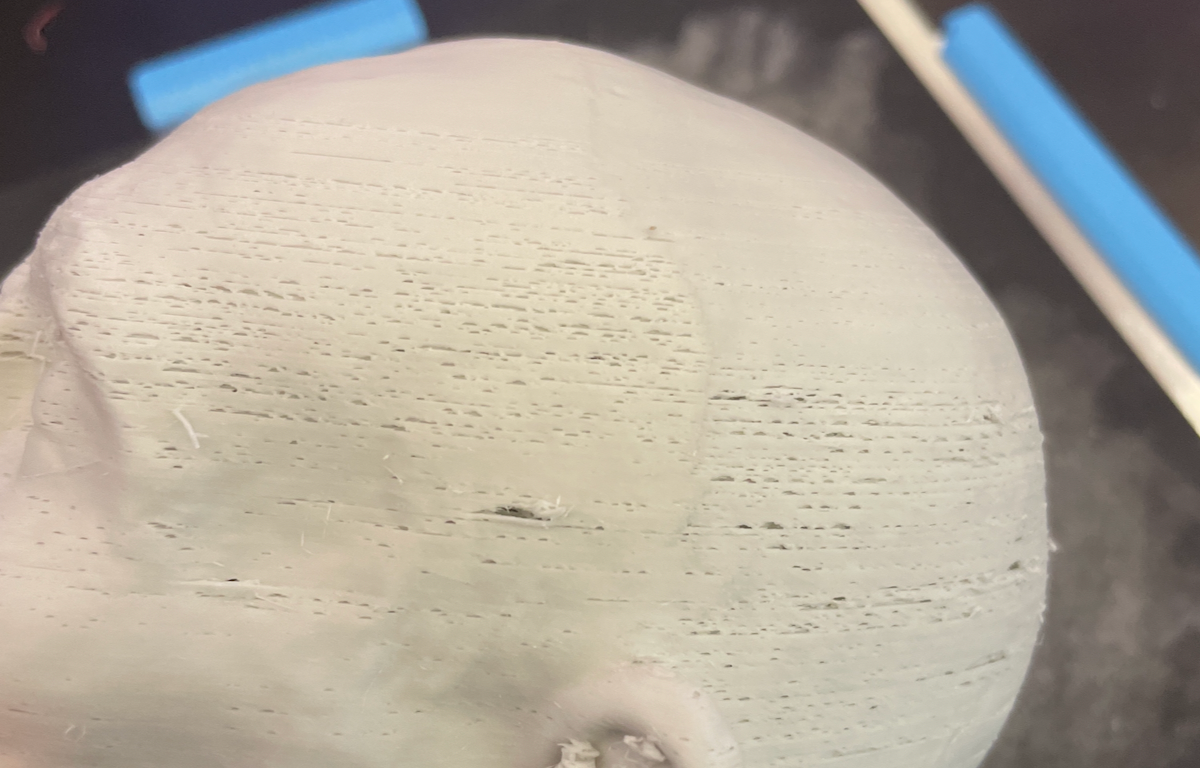
The under-extrusion was far more noticeable on the first print of the mask than the bust.
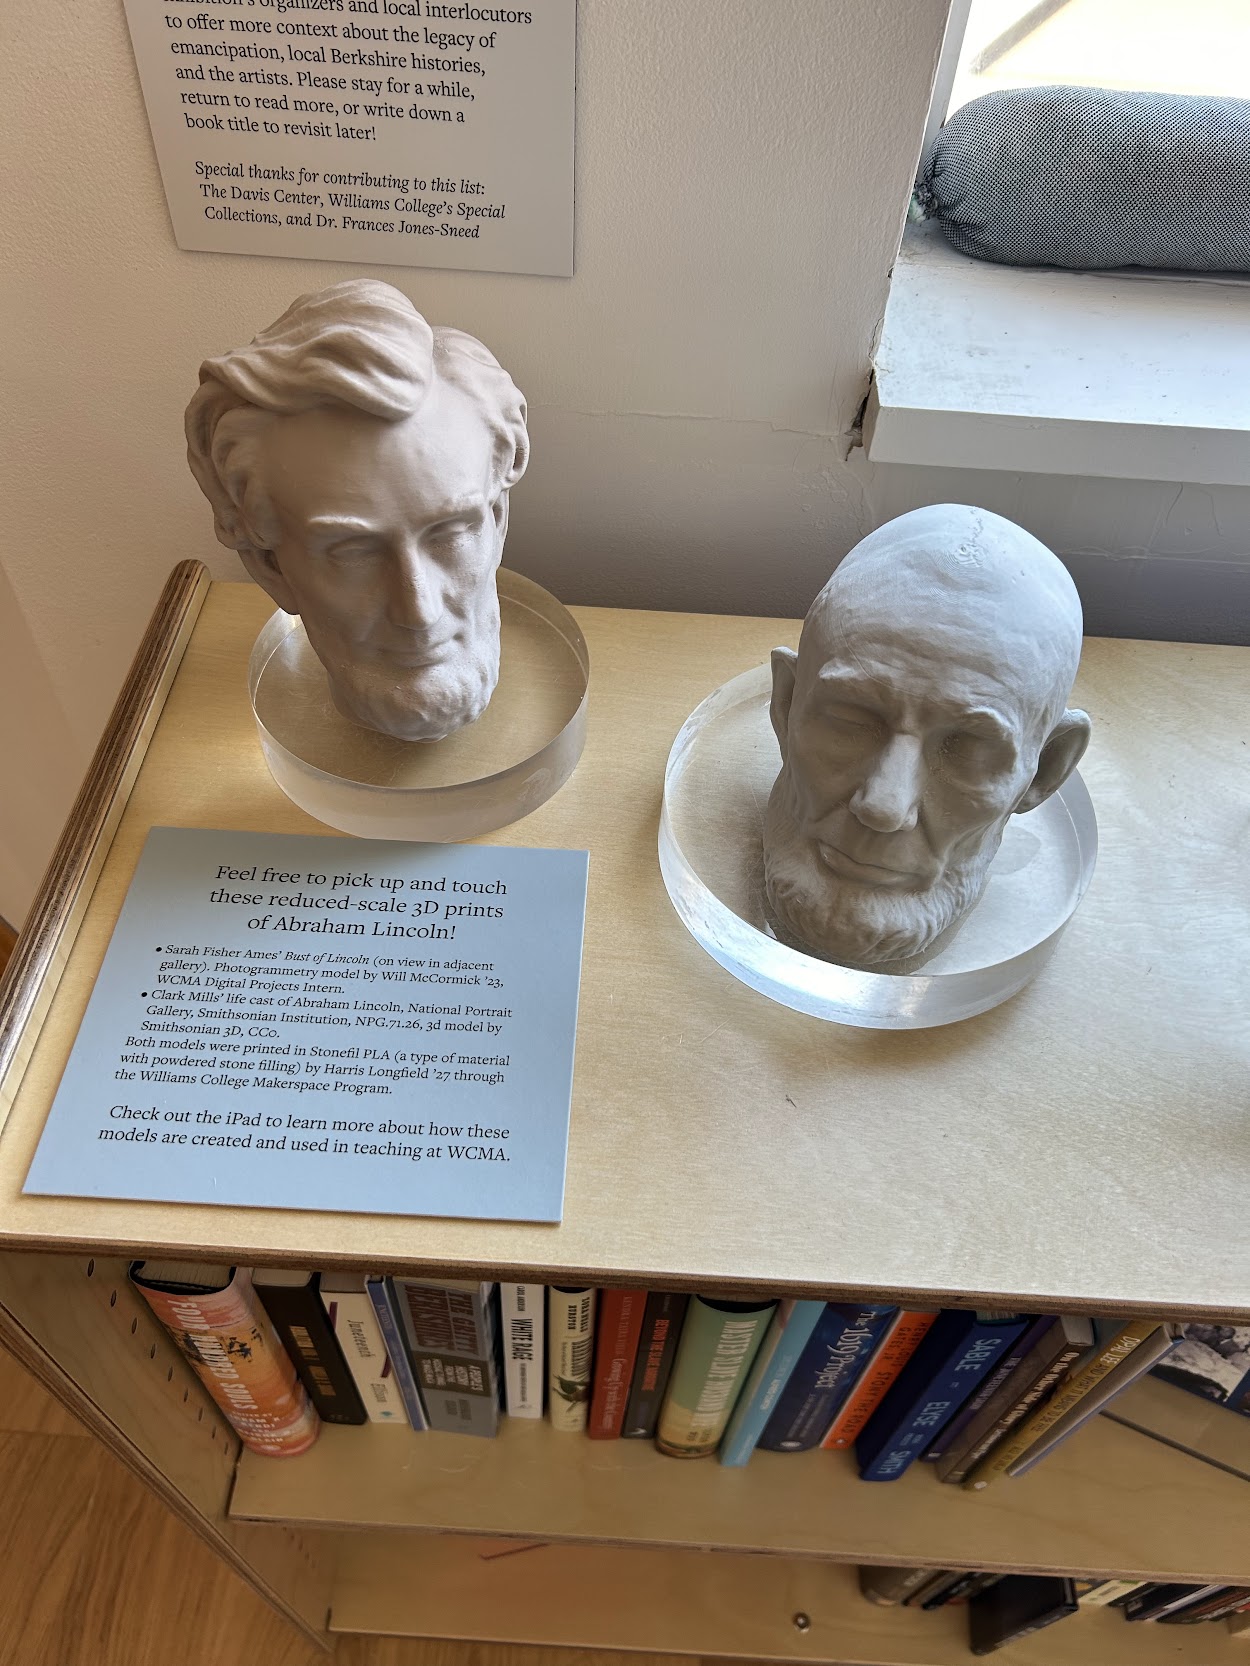
Exhibition: “Feel free to pick up and touch these reduced-scale 3D prints of Abraham Lincoln!”
I spent some time in different slicing softwares, trying to optimize the supports. It took (admittedly longer than it should have) to realize that with supports as dense as the model requested, this was a rare case where it would be more filament-efficient and less failure-prone to fill the space underneath the mask with infill, instead of supports. This was the solution we went with, and the bust printed perfectly.
While weighing the options for the final print, David Keiser-Clark, Makerspace Program Manager, and I brainstormed ways of filling in the holes caused by under-extrusion. Our favorite idea, and the only experiment we ran, was using a heat gun to melt a tiny bit of StoneFil filament into the hole and then sand down the excess. It was good in theory, and fun to try, but not entirely effective because it looked like a visible patch. This is because 3D printing filament solidifies incredibly fast after cooling, and we would have needed to either pour a liquid into the hold and/or do a tremendous amount of sanding afterward.
Conclusion
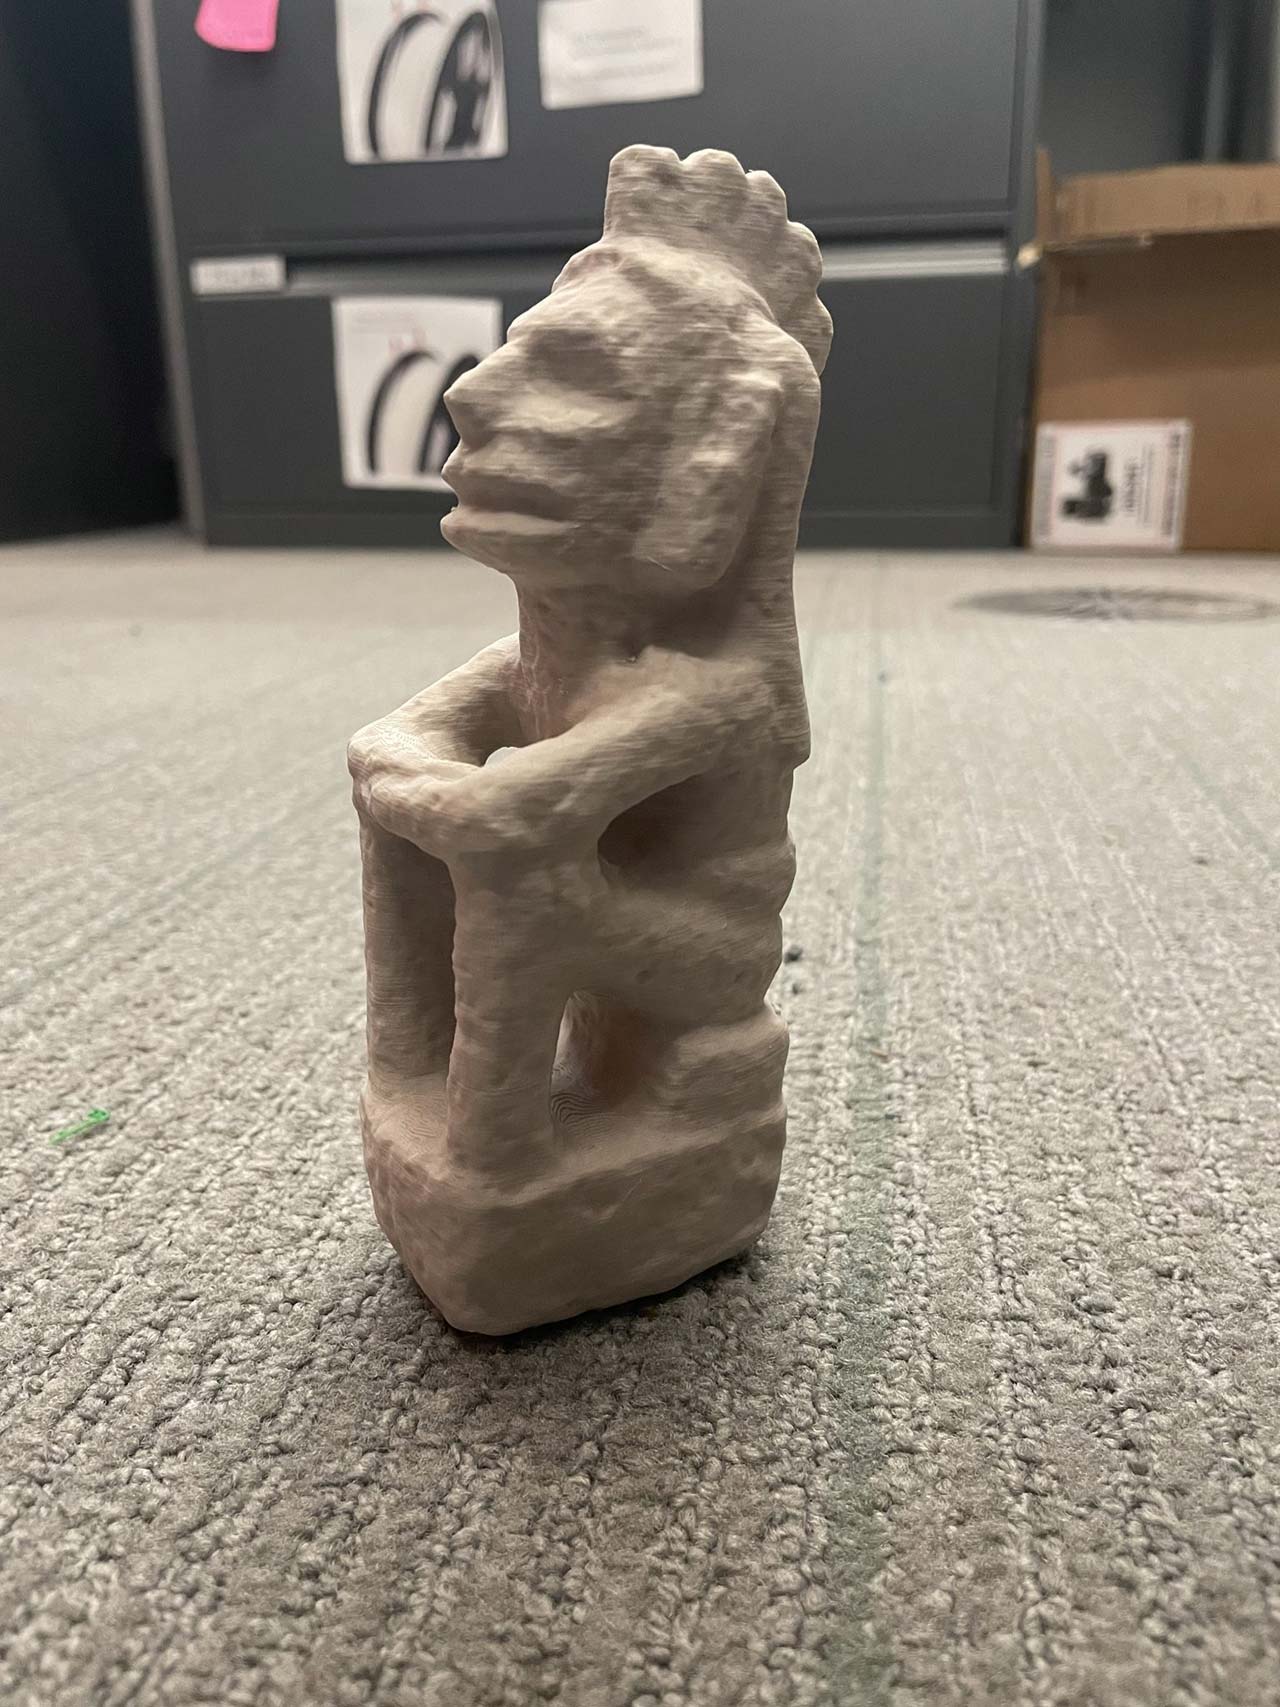
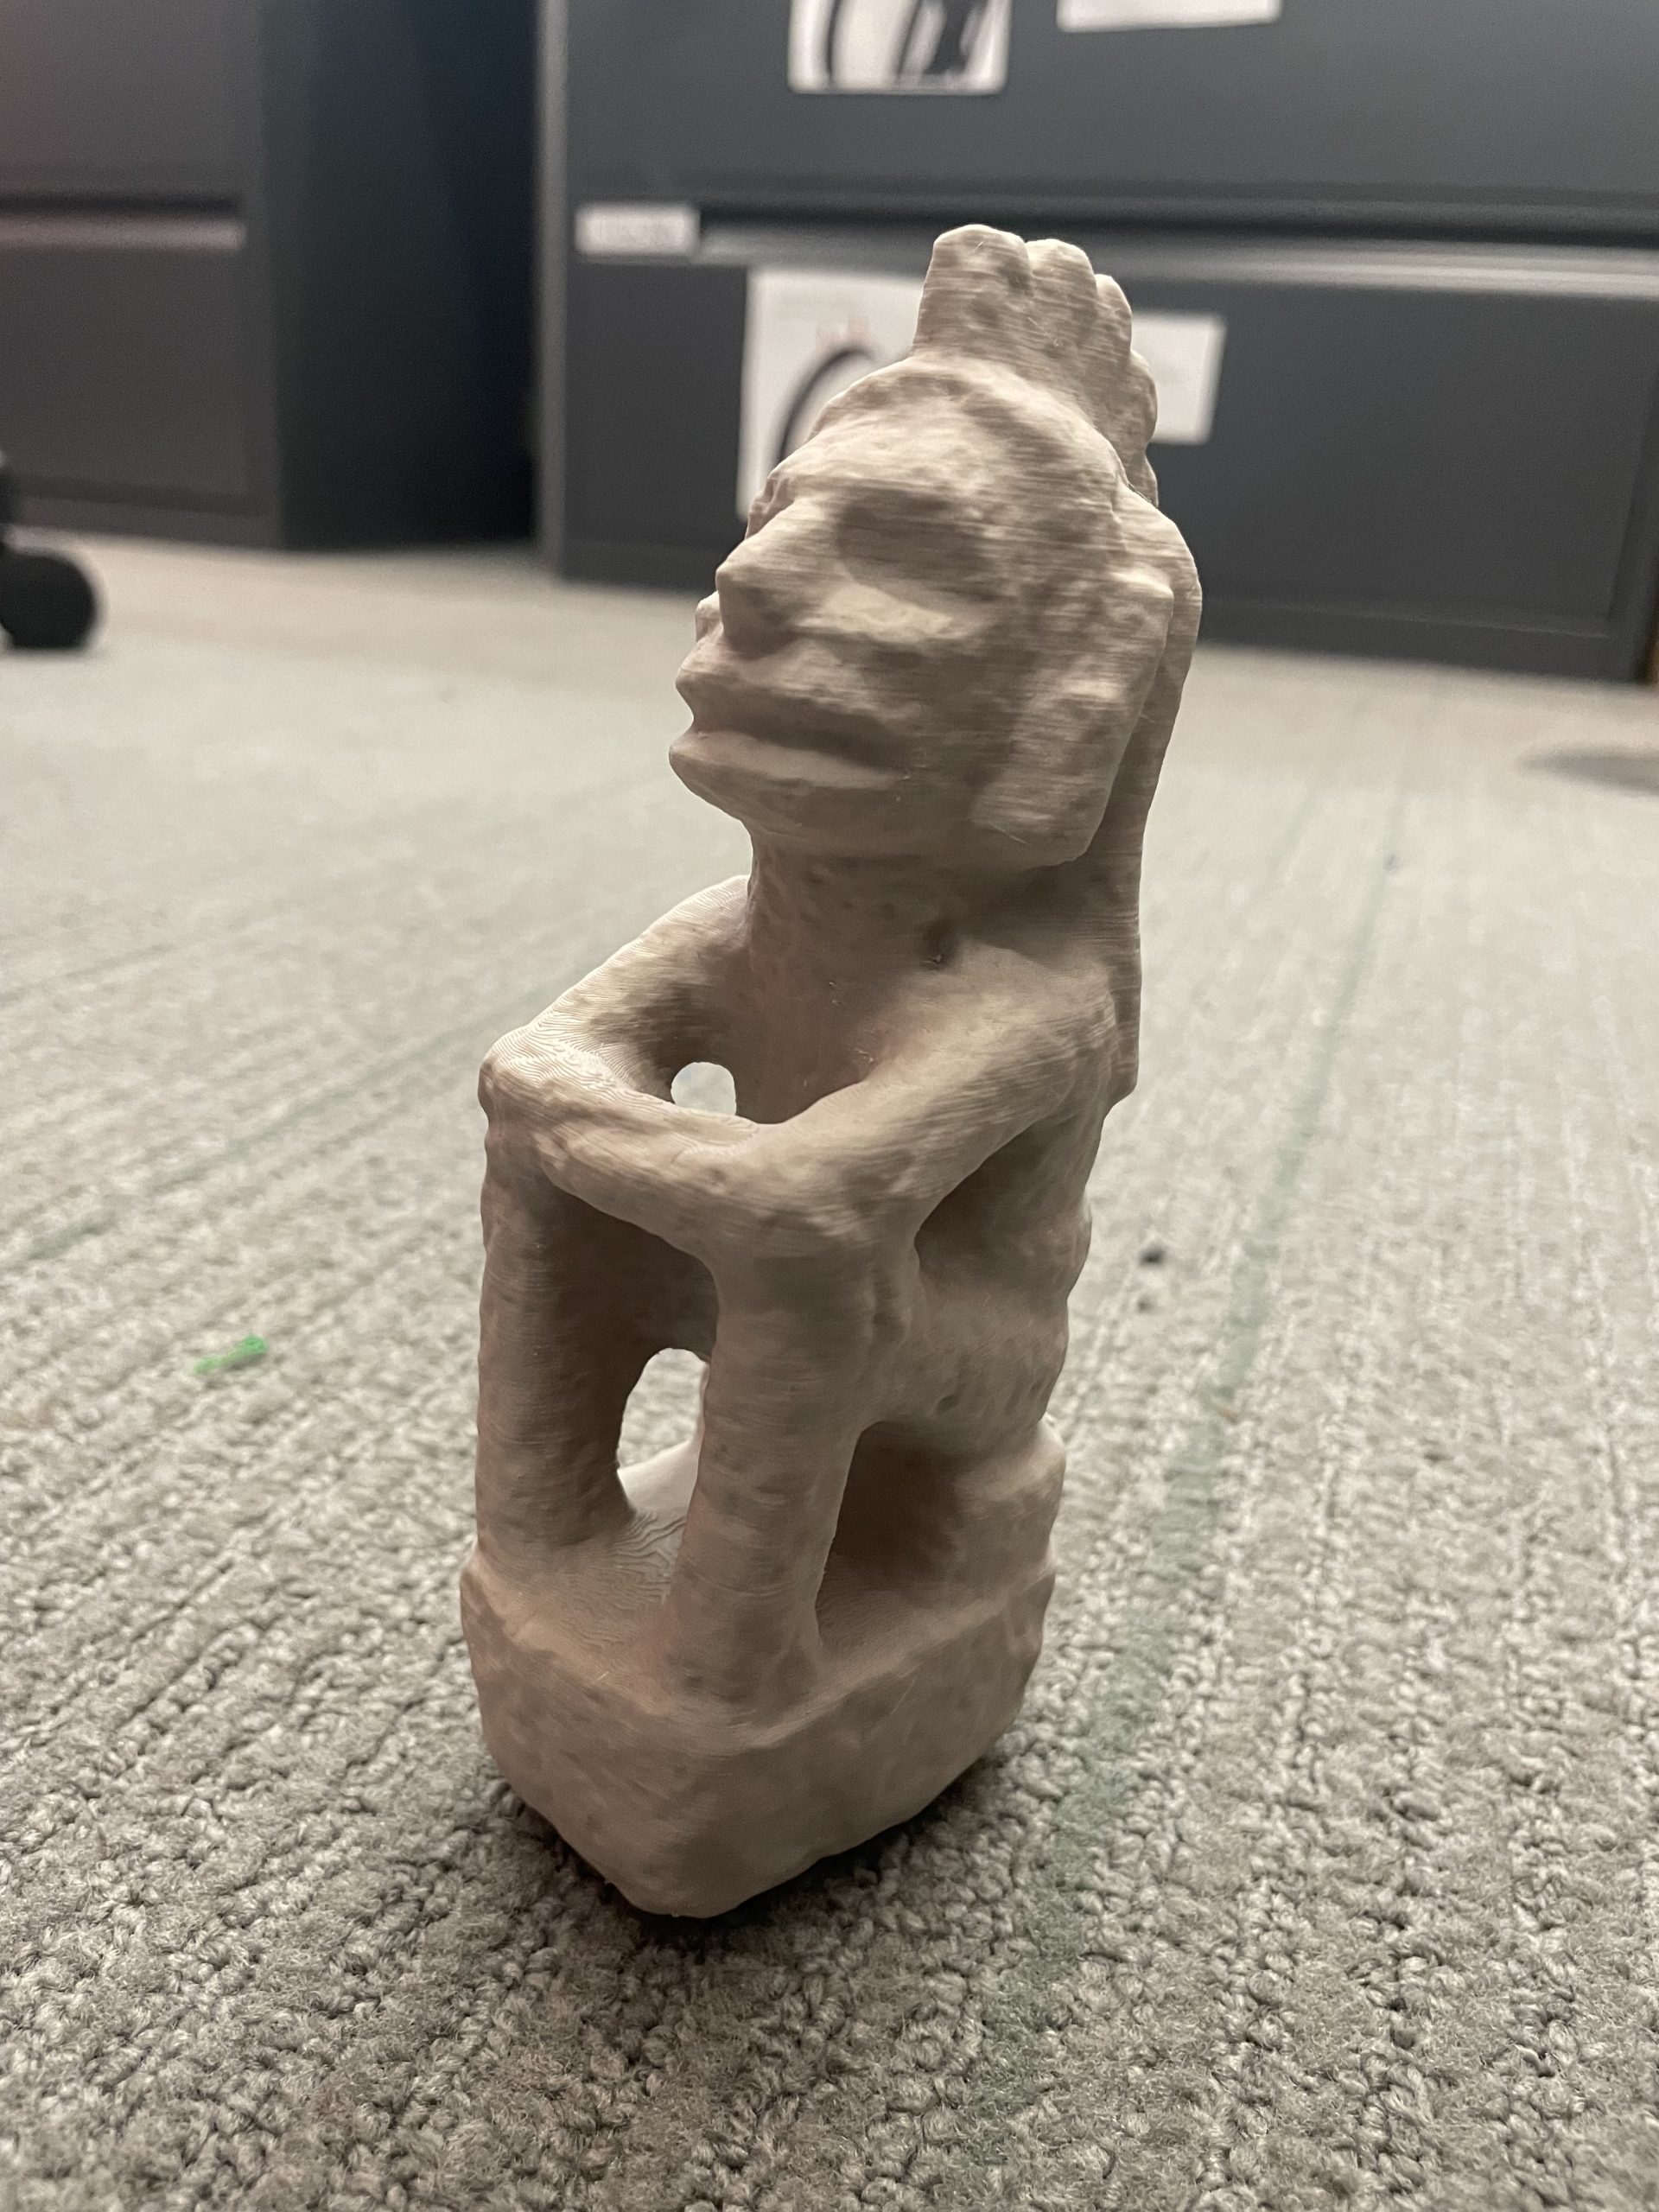
Coincidentally, as the final prints started, I again fell very ill and had to return home for the week and did not get to hand off the pieces. However, I did get the chance to go to the Emancipation exhibit and see the final results. The space itself was a moving experience, and I would strongly encourage anybody to visit or read about the exhibition and its incorporation of 3D printing. This was a fun project to complete during Winter Study, and I got the chance to answer a lot of looming questions about 3D printing during it. I learned a lot about the balance of layer height, print speed, and temperature, I’m excited to see what else we can do with our filament data log, and melting PLA with the heat gun was so much fun that I may try to find a way to make it practical. Although, I must admit, my favorite part of this project is the little Lincoln that found himself a home in my dorm.
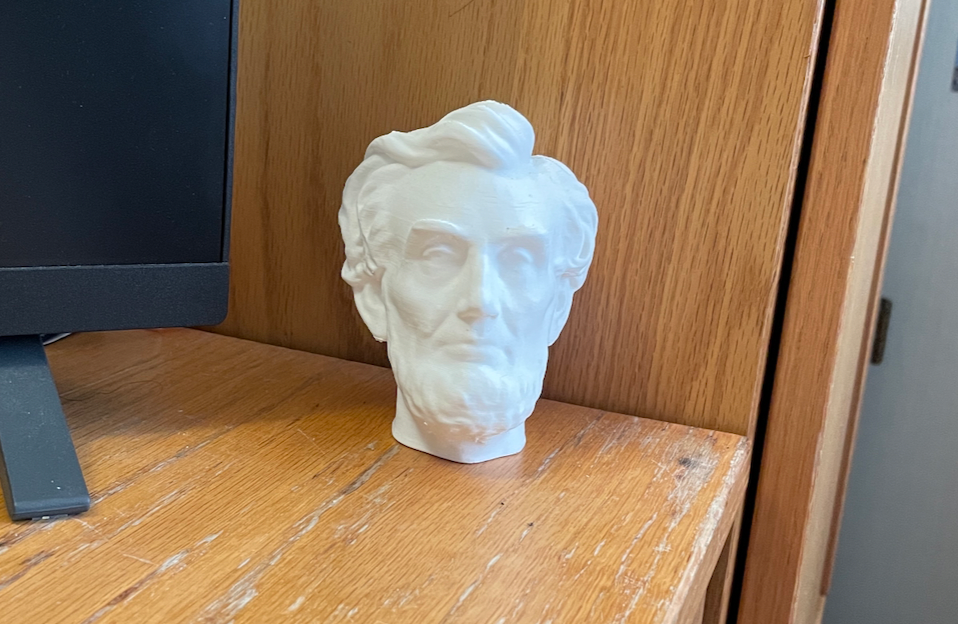
An early, miniature prototype that now adorns my desk as a reminder of my work on this WCMA project!