Sculpting a Spine with 3D Printing and Plaster
This semester in Beginning Sculpture (ARTS 132), my professor Amy Podmore tasked us with creating a sculpture in response to a prompt titled “Scaffolded Fragments.” For this project, we had to “create a sculpture where a part of a figure, (or a fragment or surrogate), is supported, contained, bracketed or held by a wooden support.” We could use any material of choice, but she strongly encouraged us to use wood as the support. To answer the prompt, I started by thinking about what fragment I wanted to use. My initial impulse was to make something that featured a spine. I knew I wanted the spine to be realistic, so I began brainstorming how I could emulate the curvature of a spine and create recognizable vertebrae. First, I modeled vertebrae out of clay and made some plaster molds of those clay pieces, but I knew there had to be a better way to create these bones.
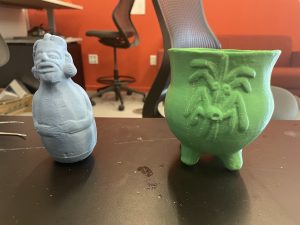
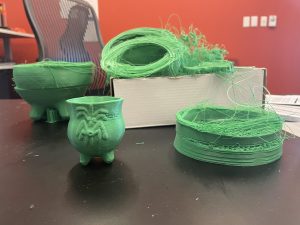
We were given freedom with regard to materials for this project, so I tried to think outside the box for how to make realistic vertebrae quickly and easily. In my brainstorming and searching, I found a design for a 3D printed vertebrae for sale on Etsy. From there, I went to the Makerspace to discuss the logistics and if using this design would be possible. The students working there told me it was not only possible, but I didn’t even have to make the purchase and instead could peruse a library of free designs online. I found one that worked, and the undertaking began!
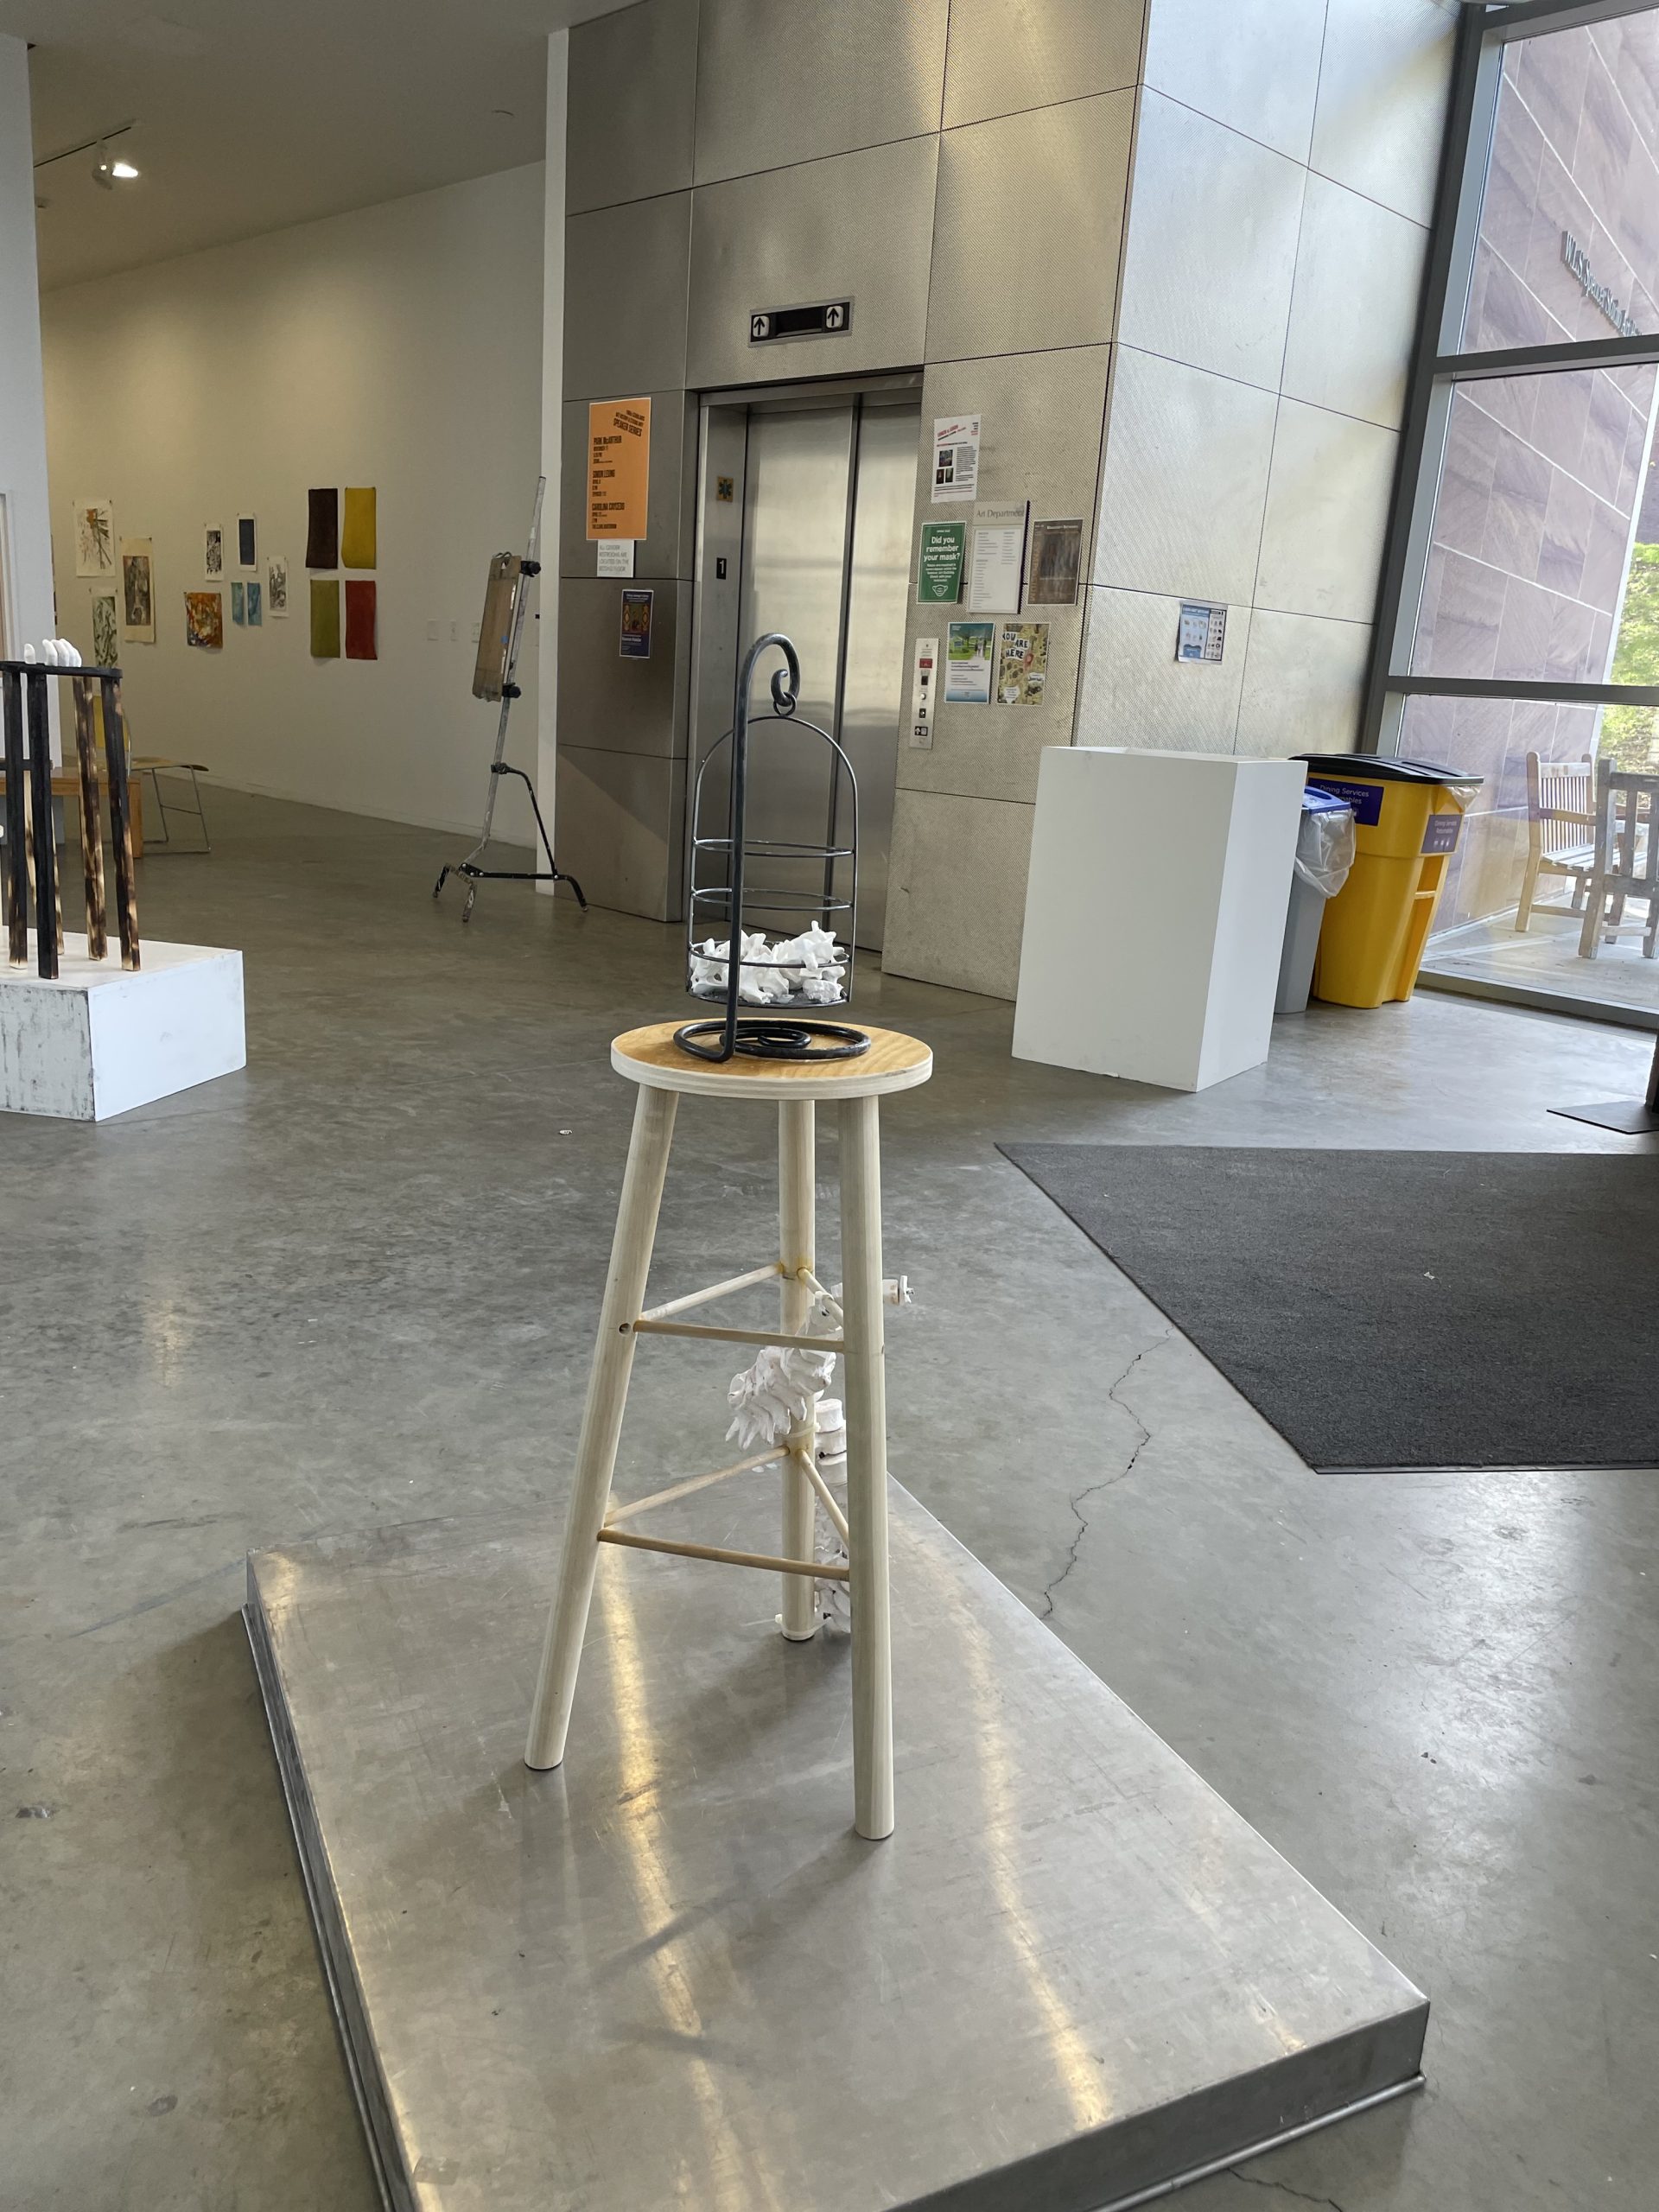
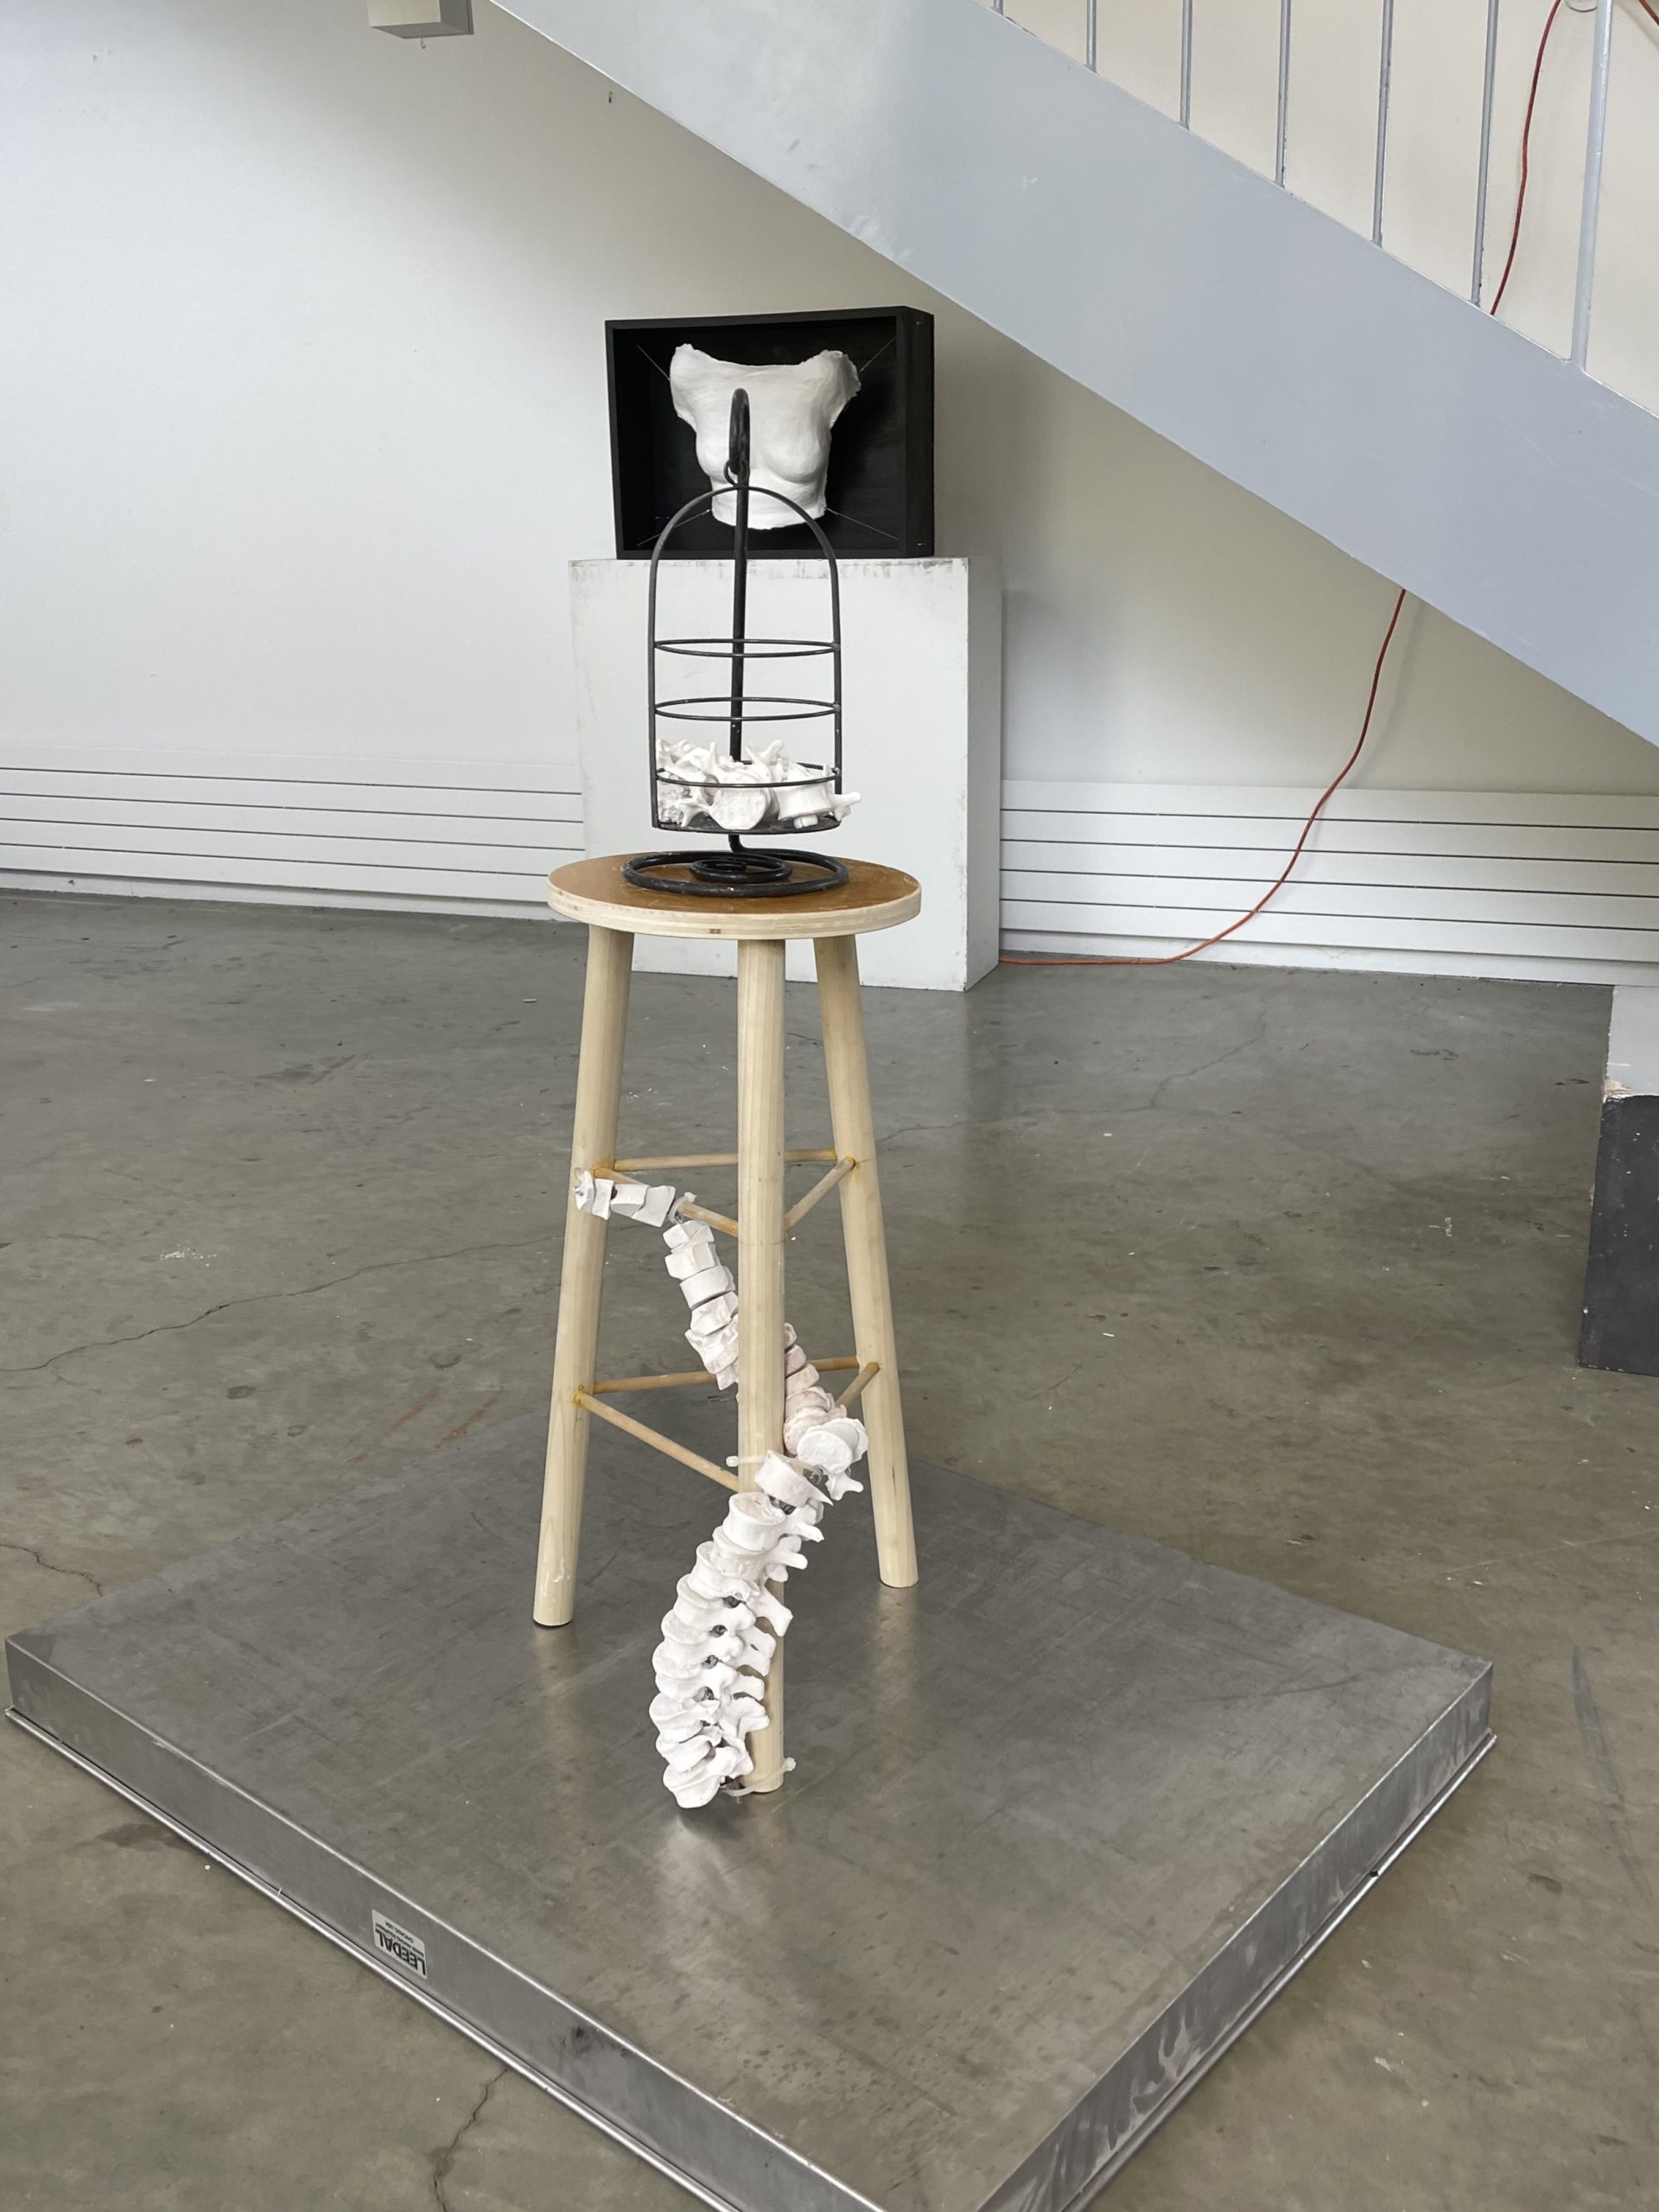
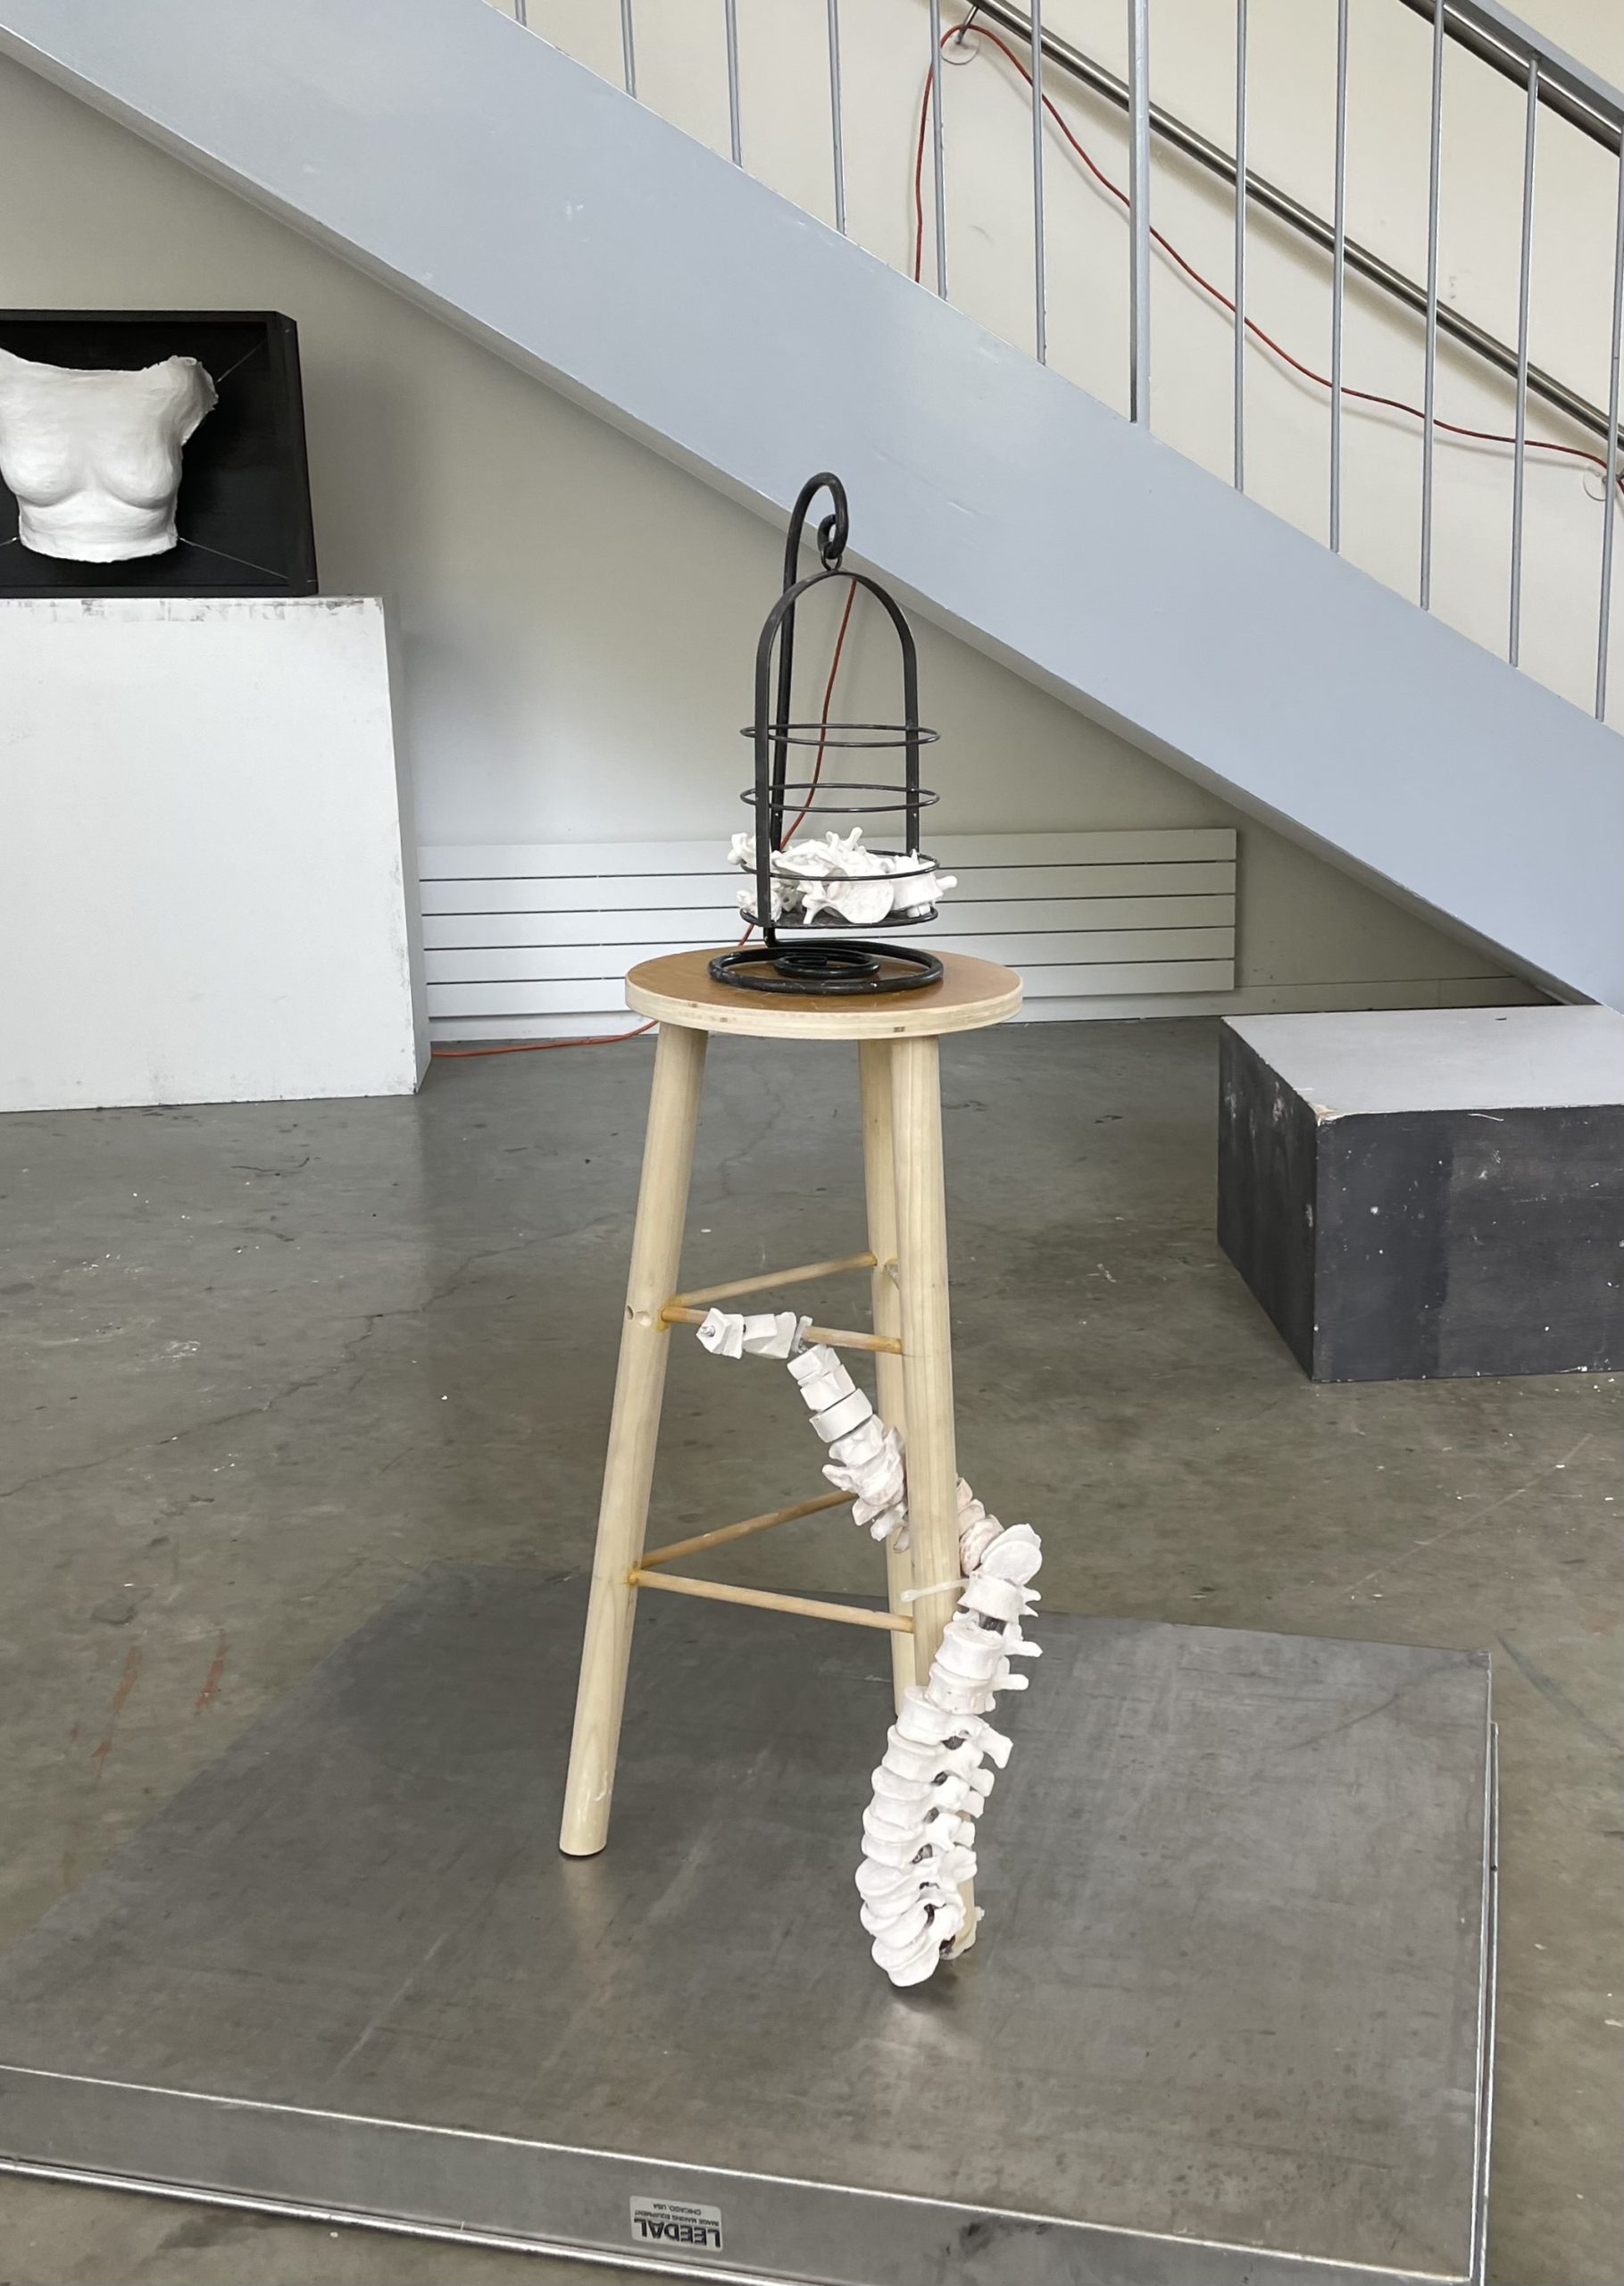
Spine Sculpture project on display in the Spencer Studio Art Building
Leah Williams led the Makerspace side of things for this project, and once she printed some vertebrae, I brought them to the sculpture studio. I made molds of the vertebrae using alginate and then poured plaster into the molds to create casts. After the casts hardened, I drilled holes in them and slid them onto a piece of steel I bent to resemble the twist of a spine. The plaster offered a smooth, matte look that the plastic couldn’t, so I decided to use the plaster casts for the spine, but I still wanted to incorporate the original 3D printed plastic vertebrae in my sculpture, so I placed them in a bird cage-like metal object resting atop the stool. Including both materials resulted in an interplay between the artificial and the natural (with the plaster representing the natural) that makes the viewer wonder about what happens when you bring the artificial into the human body.
Sculpting a Spine with 3D Printing and Plaster
One challenge with this project was the limited timeframe by which I was constrained. When we began printing, I had roughly 1-1.5 weeks to complete the project, and printing took more time than I had anticipated. But Leah was able to print enough pieces for me to make casts while more were still being printed, and we were able to make enough to fill the bird cage partway with the 3D printed pieces. In the end, I was able to bring my vision to life and incorporate both machine-made and handmade objects in my sculpture.