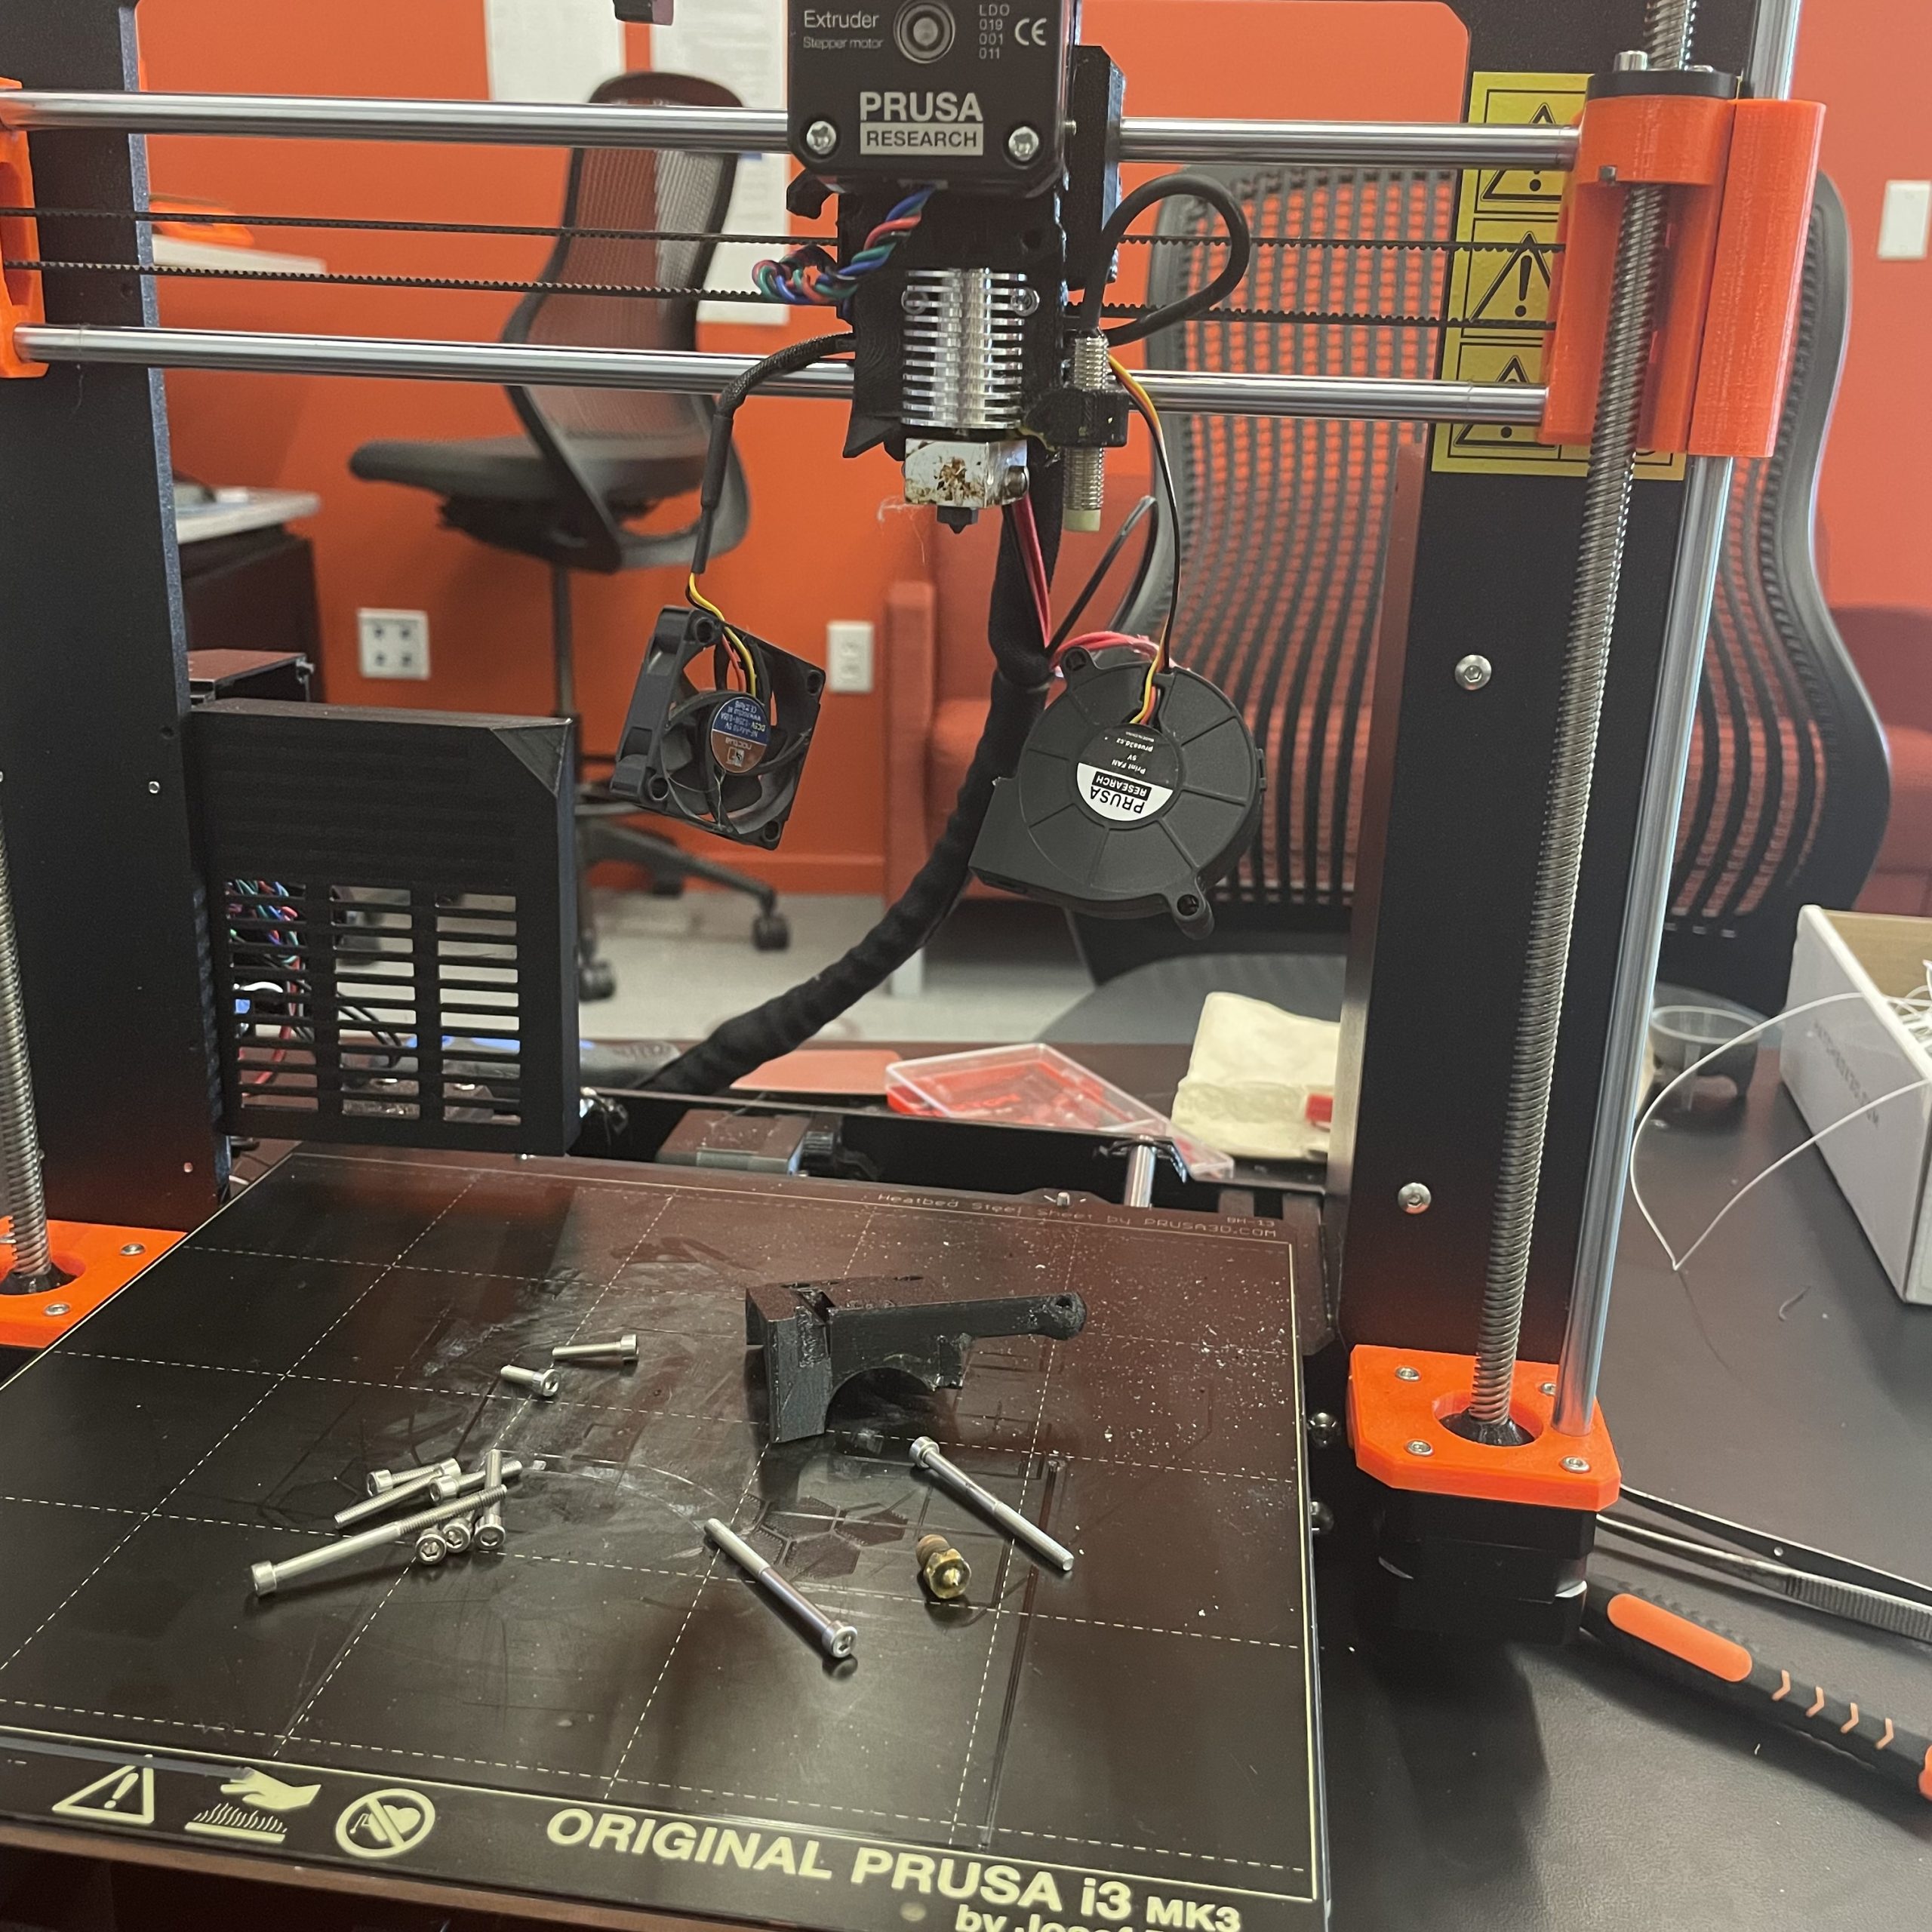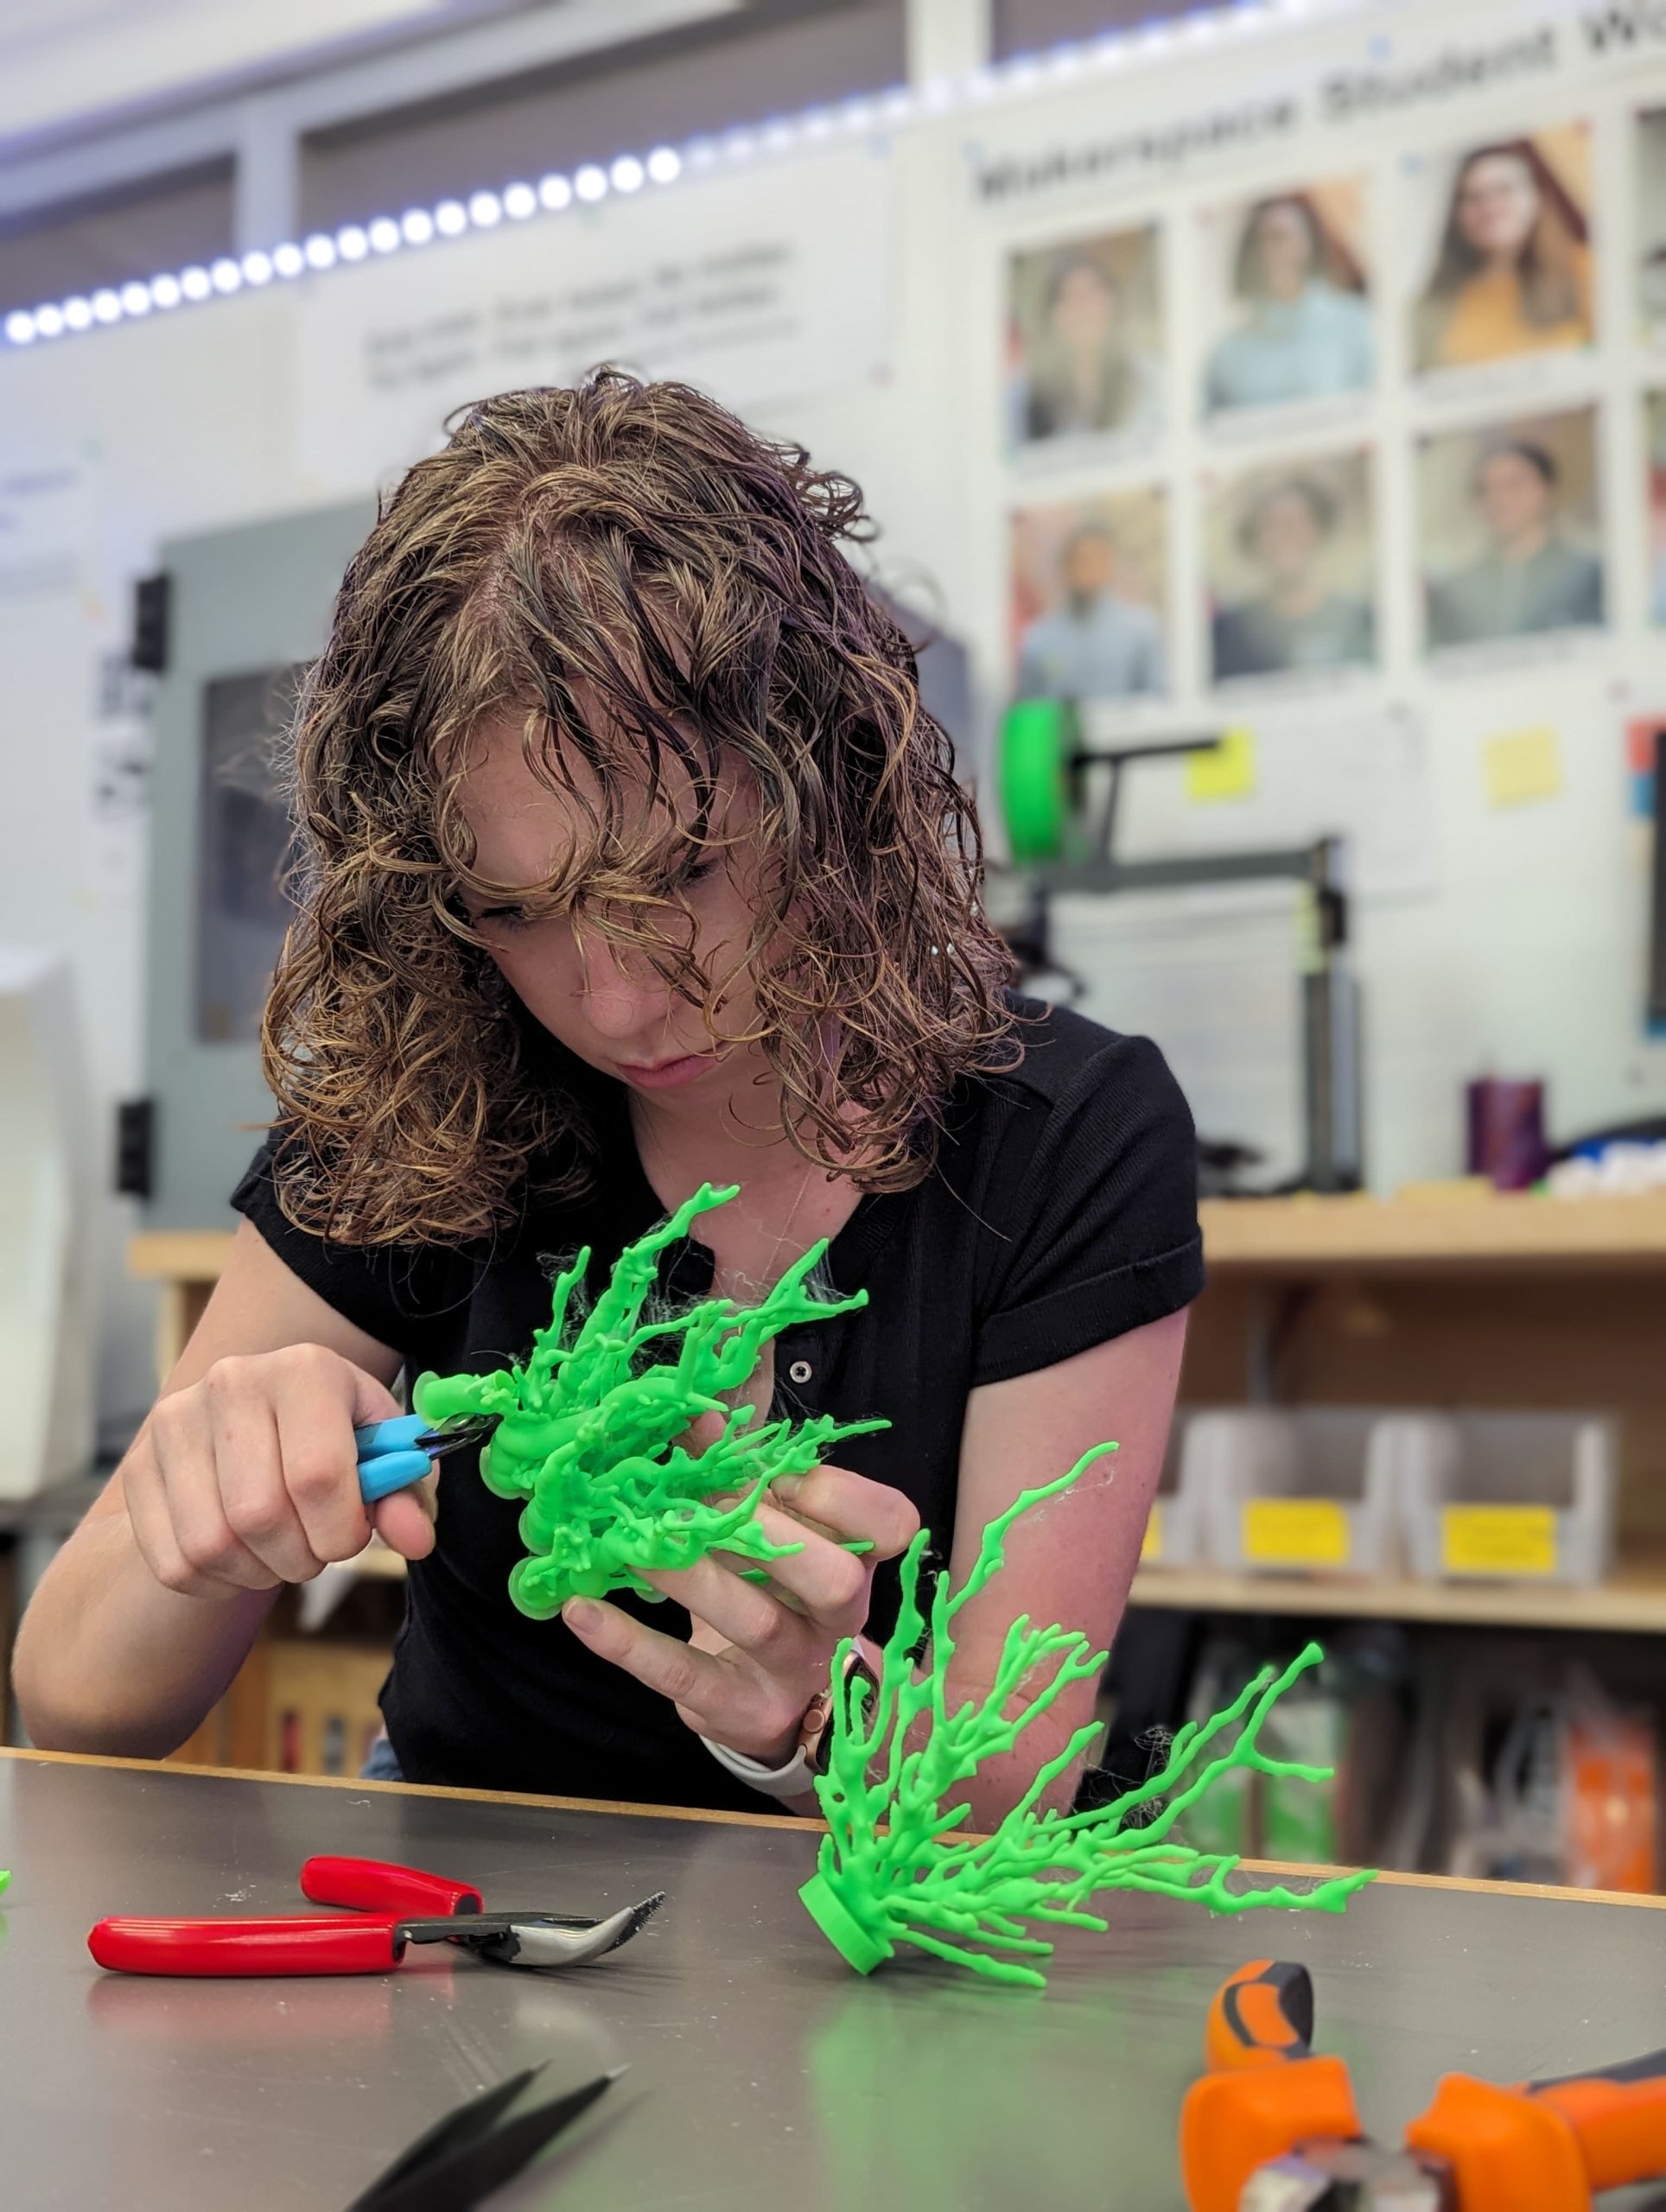
Lauren Mukavitz ‘27: In the Makerspace taking the supports off my finished models
When most people think about coral reef degradation, they often think about bleaching and the effects of climate change. However, coral faces another danger that is hardly talked about—tsunamis. Coral reefs have a unique structure that increases the friction a tsunami encounters on its way to the shore, slowing down the wave and mitigating damage. However, the intense forces during a tsunami can be extremely damaging and can destroy entire reefs. To better understand this impact, I embarked on a project for my class Geologic Hazards with Mike Hudak, Assistant Professor of Geosciences, to model coral before and after a tsunami.
Replicating Tsunami Damaged Coral
First, I created an undamaged model that represented a small colony of coral polyps before a tsunami event. I used Ultimaker Cura to design a 3D model of the coral. Next, I wanted to simulate the damage caused by a tsunami. After struggling to find existing methods for modeling tsunami forces on coral, I teamed up with the David Keiser-Clark, Makerspace Program Manager, Elena Sore, Makerspace Student Worker, and Jason Mativi, Science Shop Instrumentation Engineer, to use SolidWorks, a 3D CAD program. We applied a nonlinear analysis with 0.3 bar (or 3E3 N/m^2) of pressure, the estimated force an average piece of coral experiences during a tsunami, to the undamaged model and let SolidWorks create a “deformed” model for us. It took the software approximately four hours to render these forces to the 3D model.
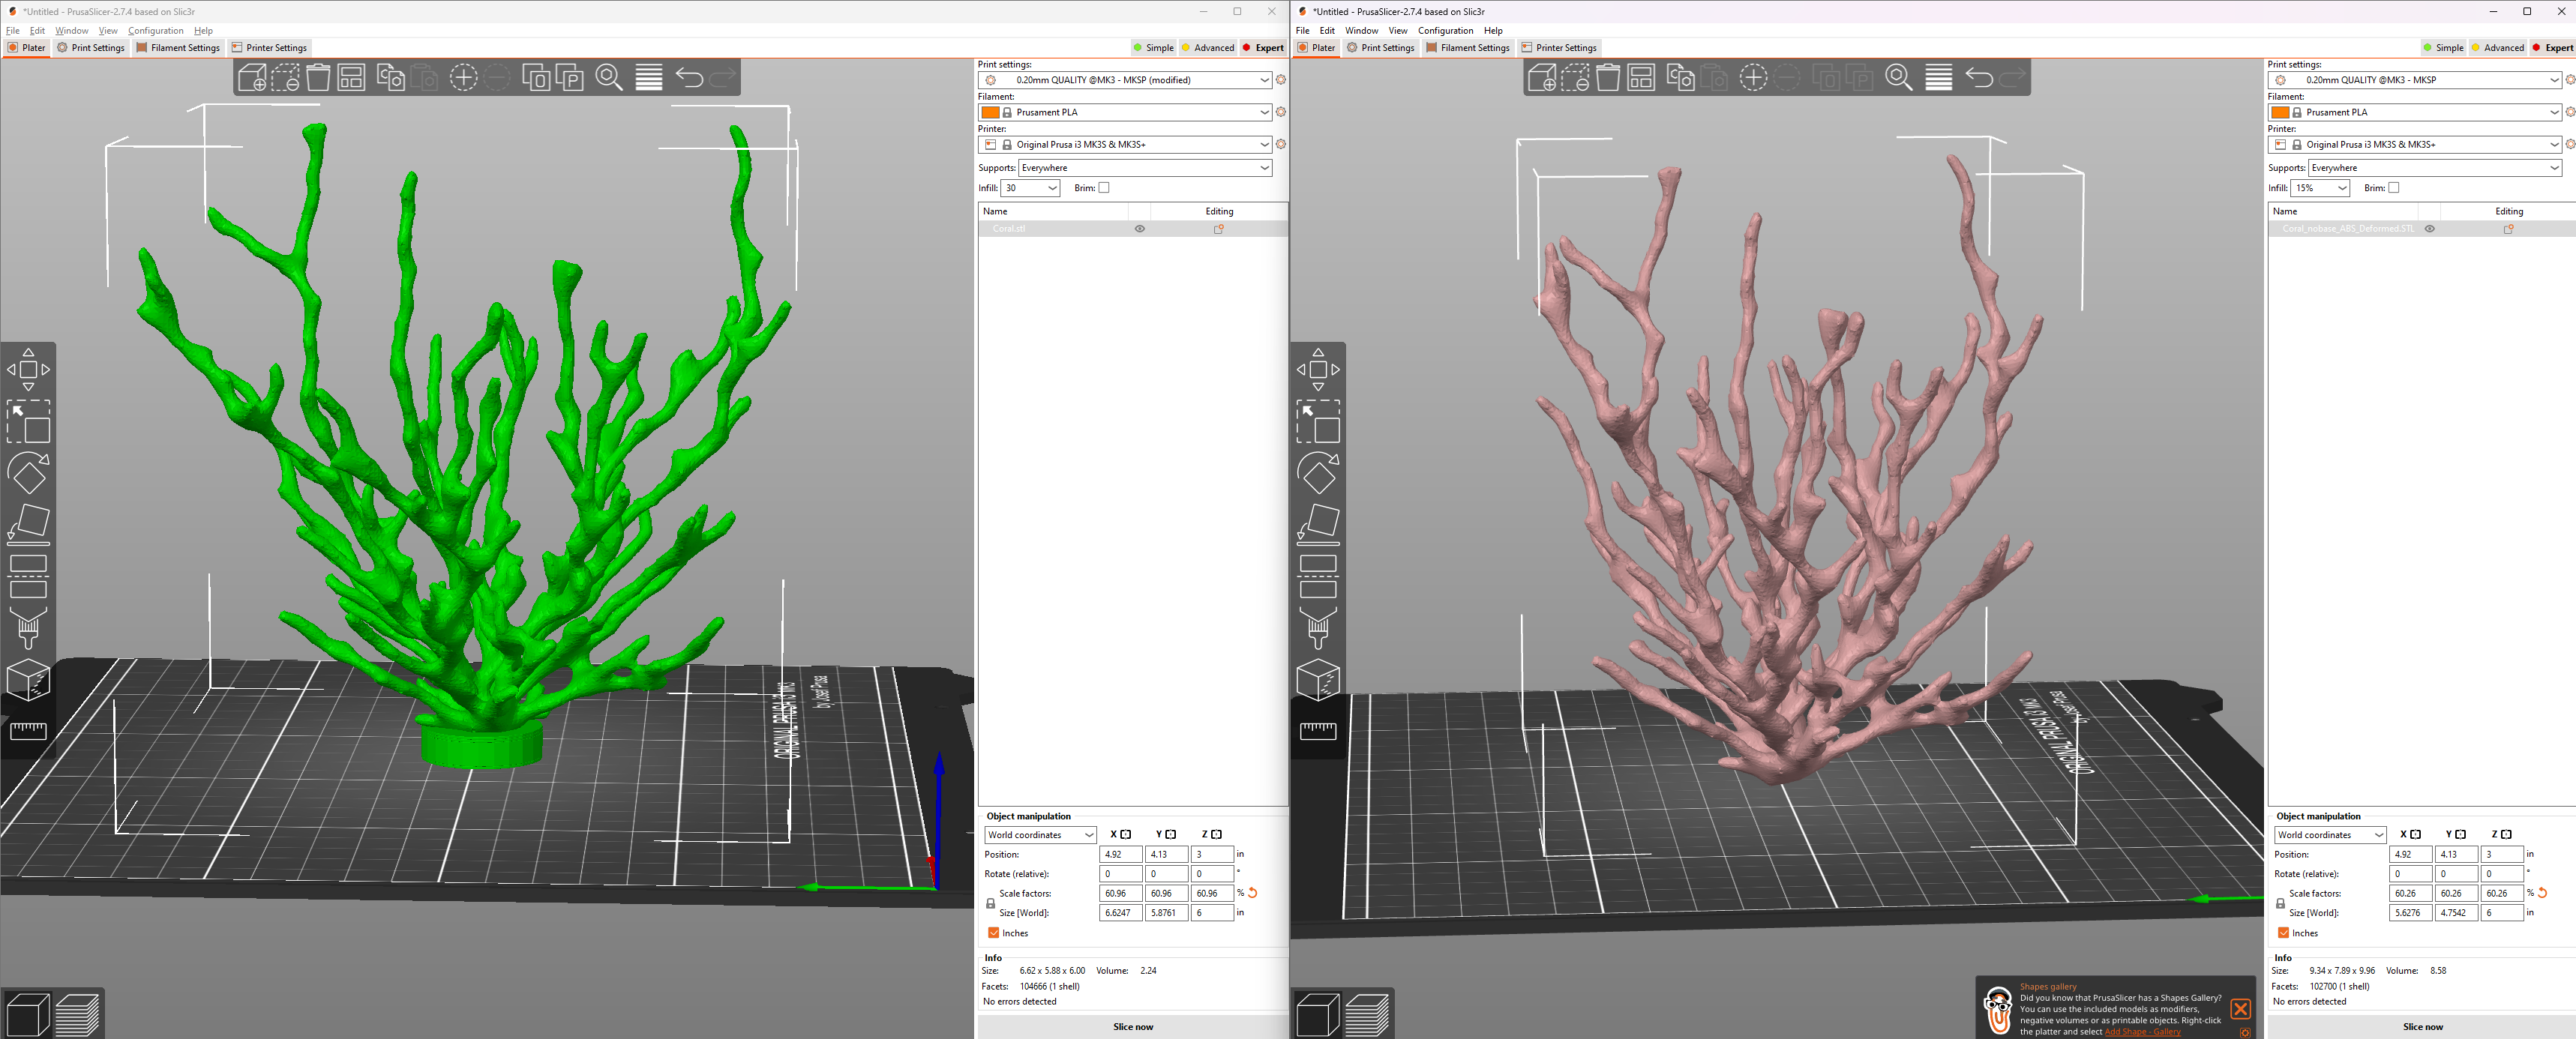
Left: Original coral 3D model; Right: Same model but deformed using SolidWorks to simulate tsunami forces
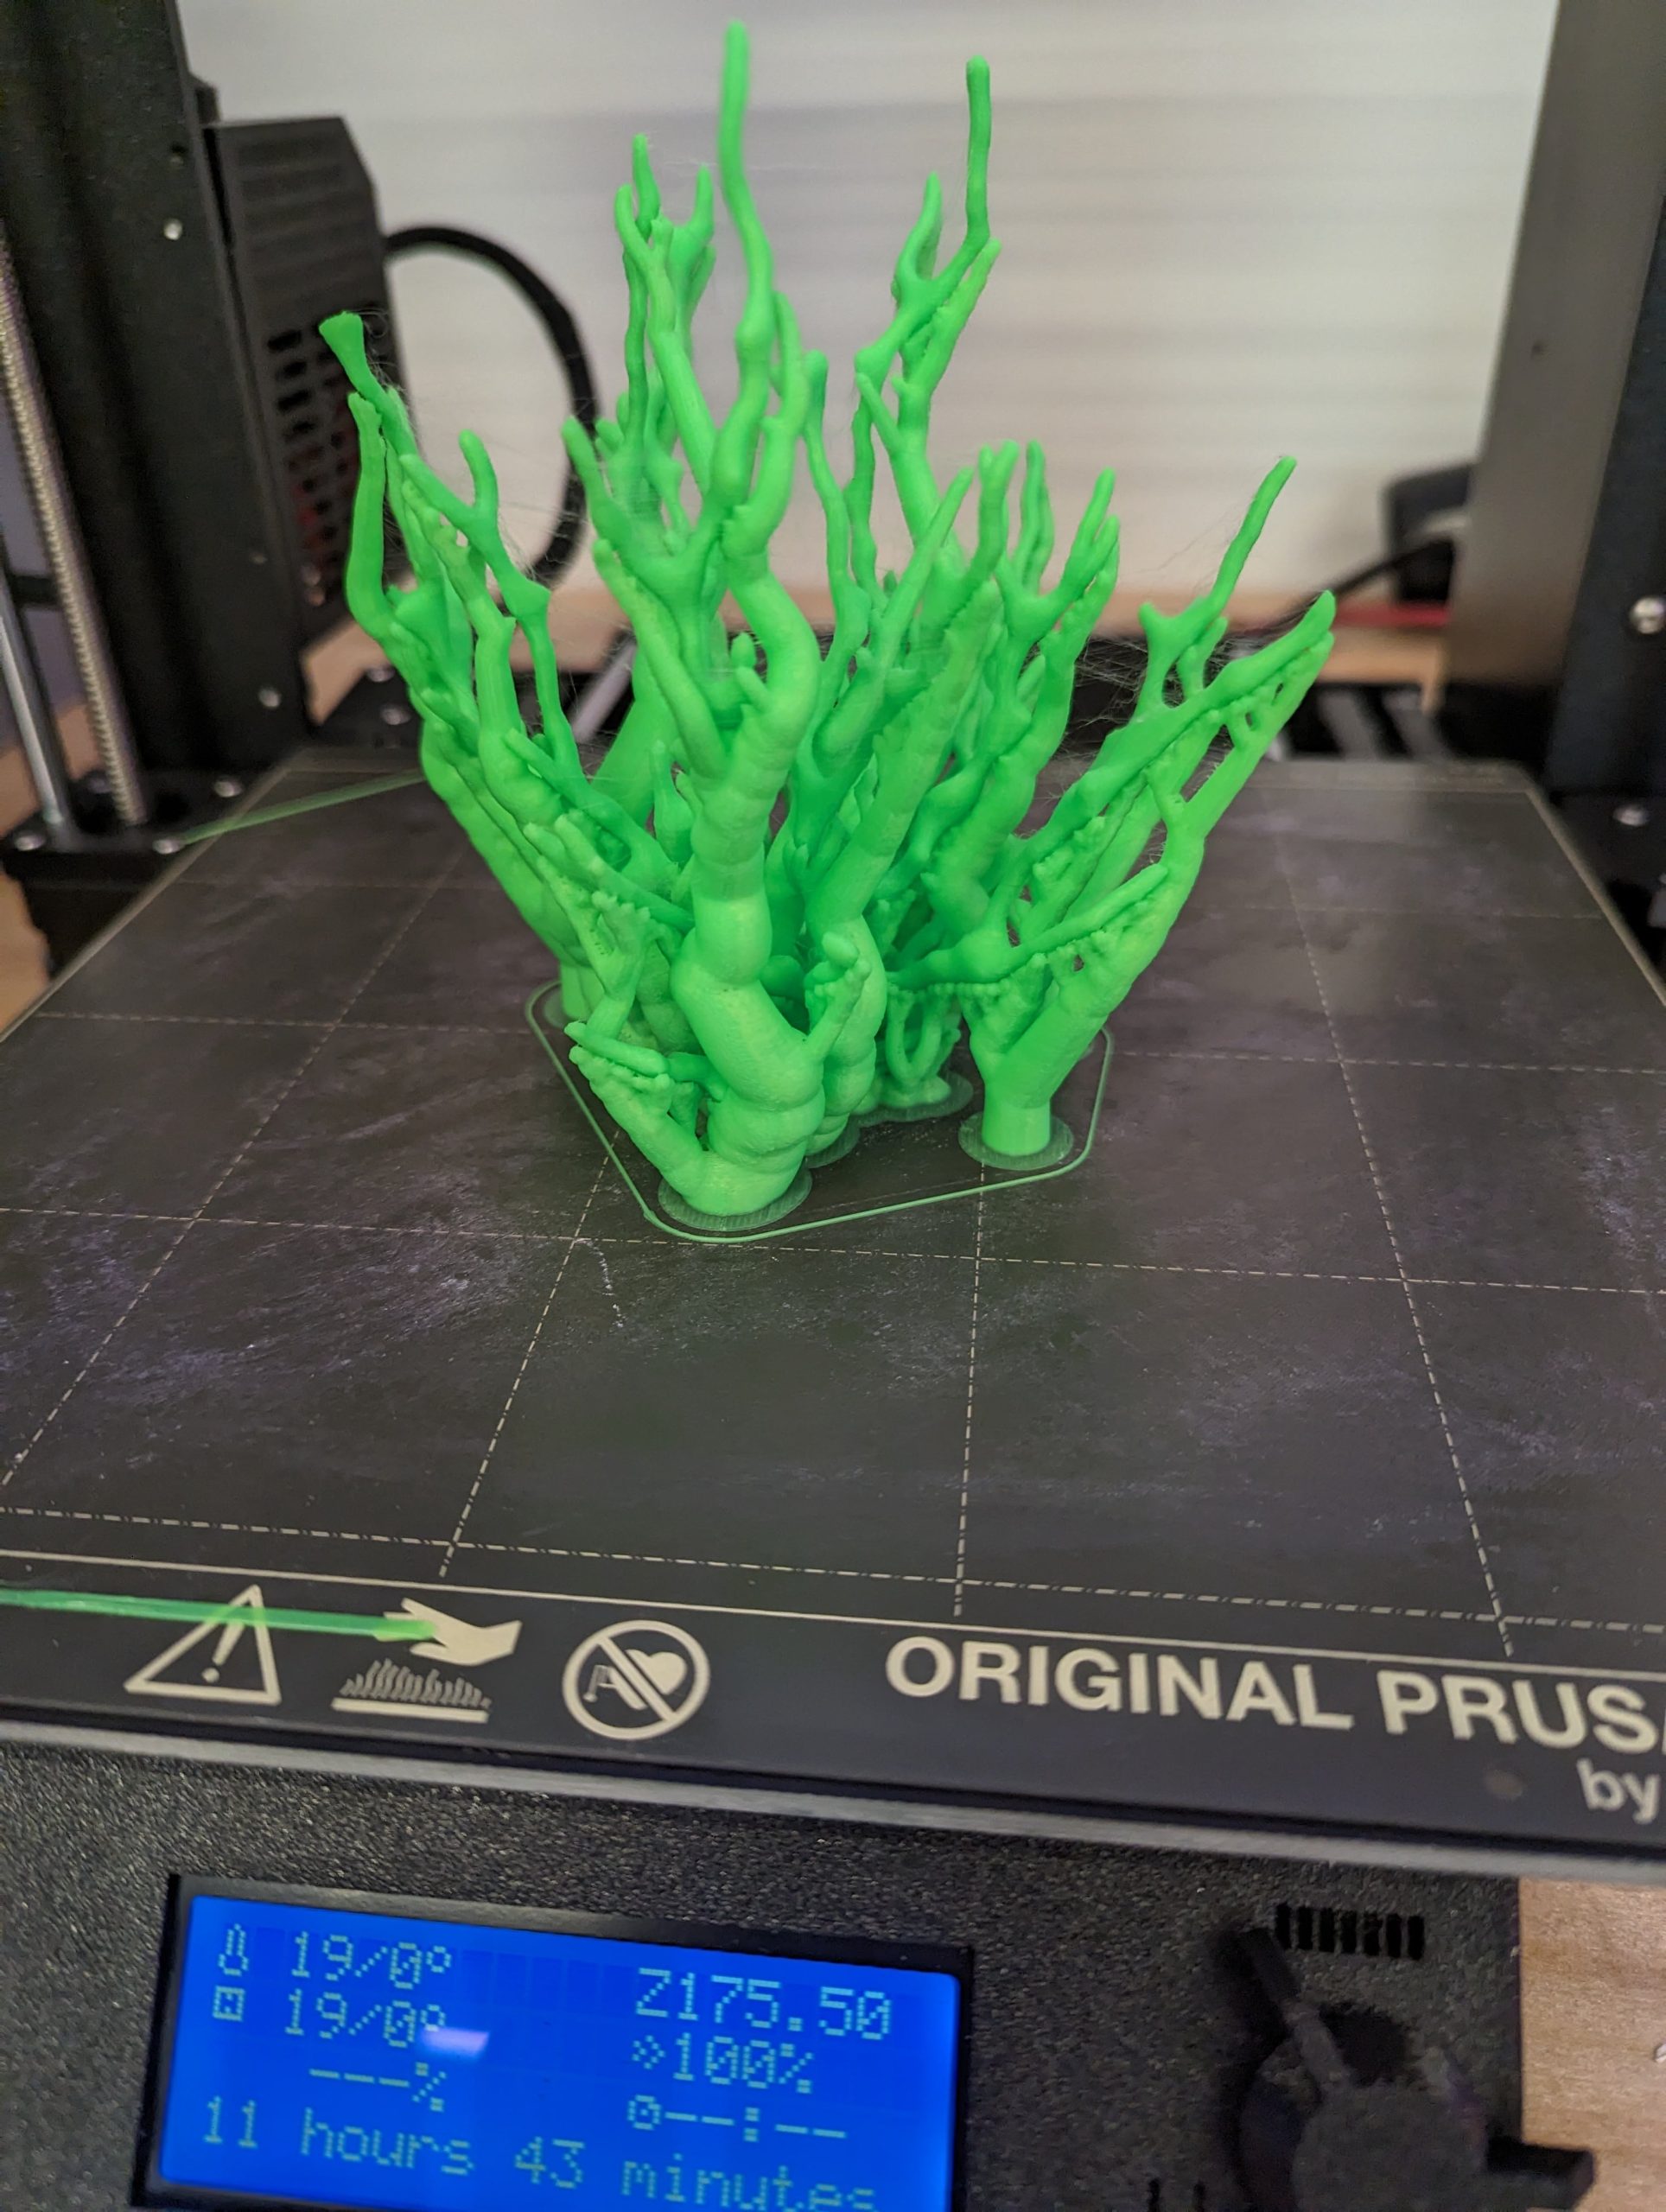
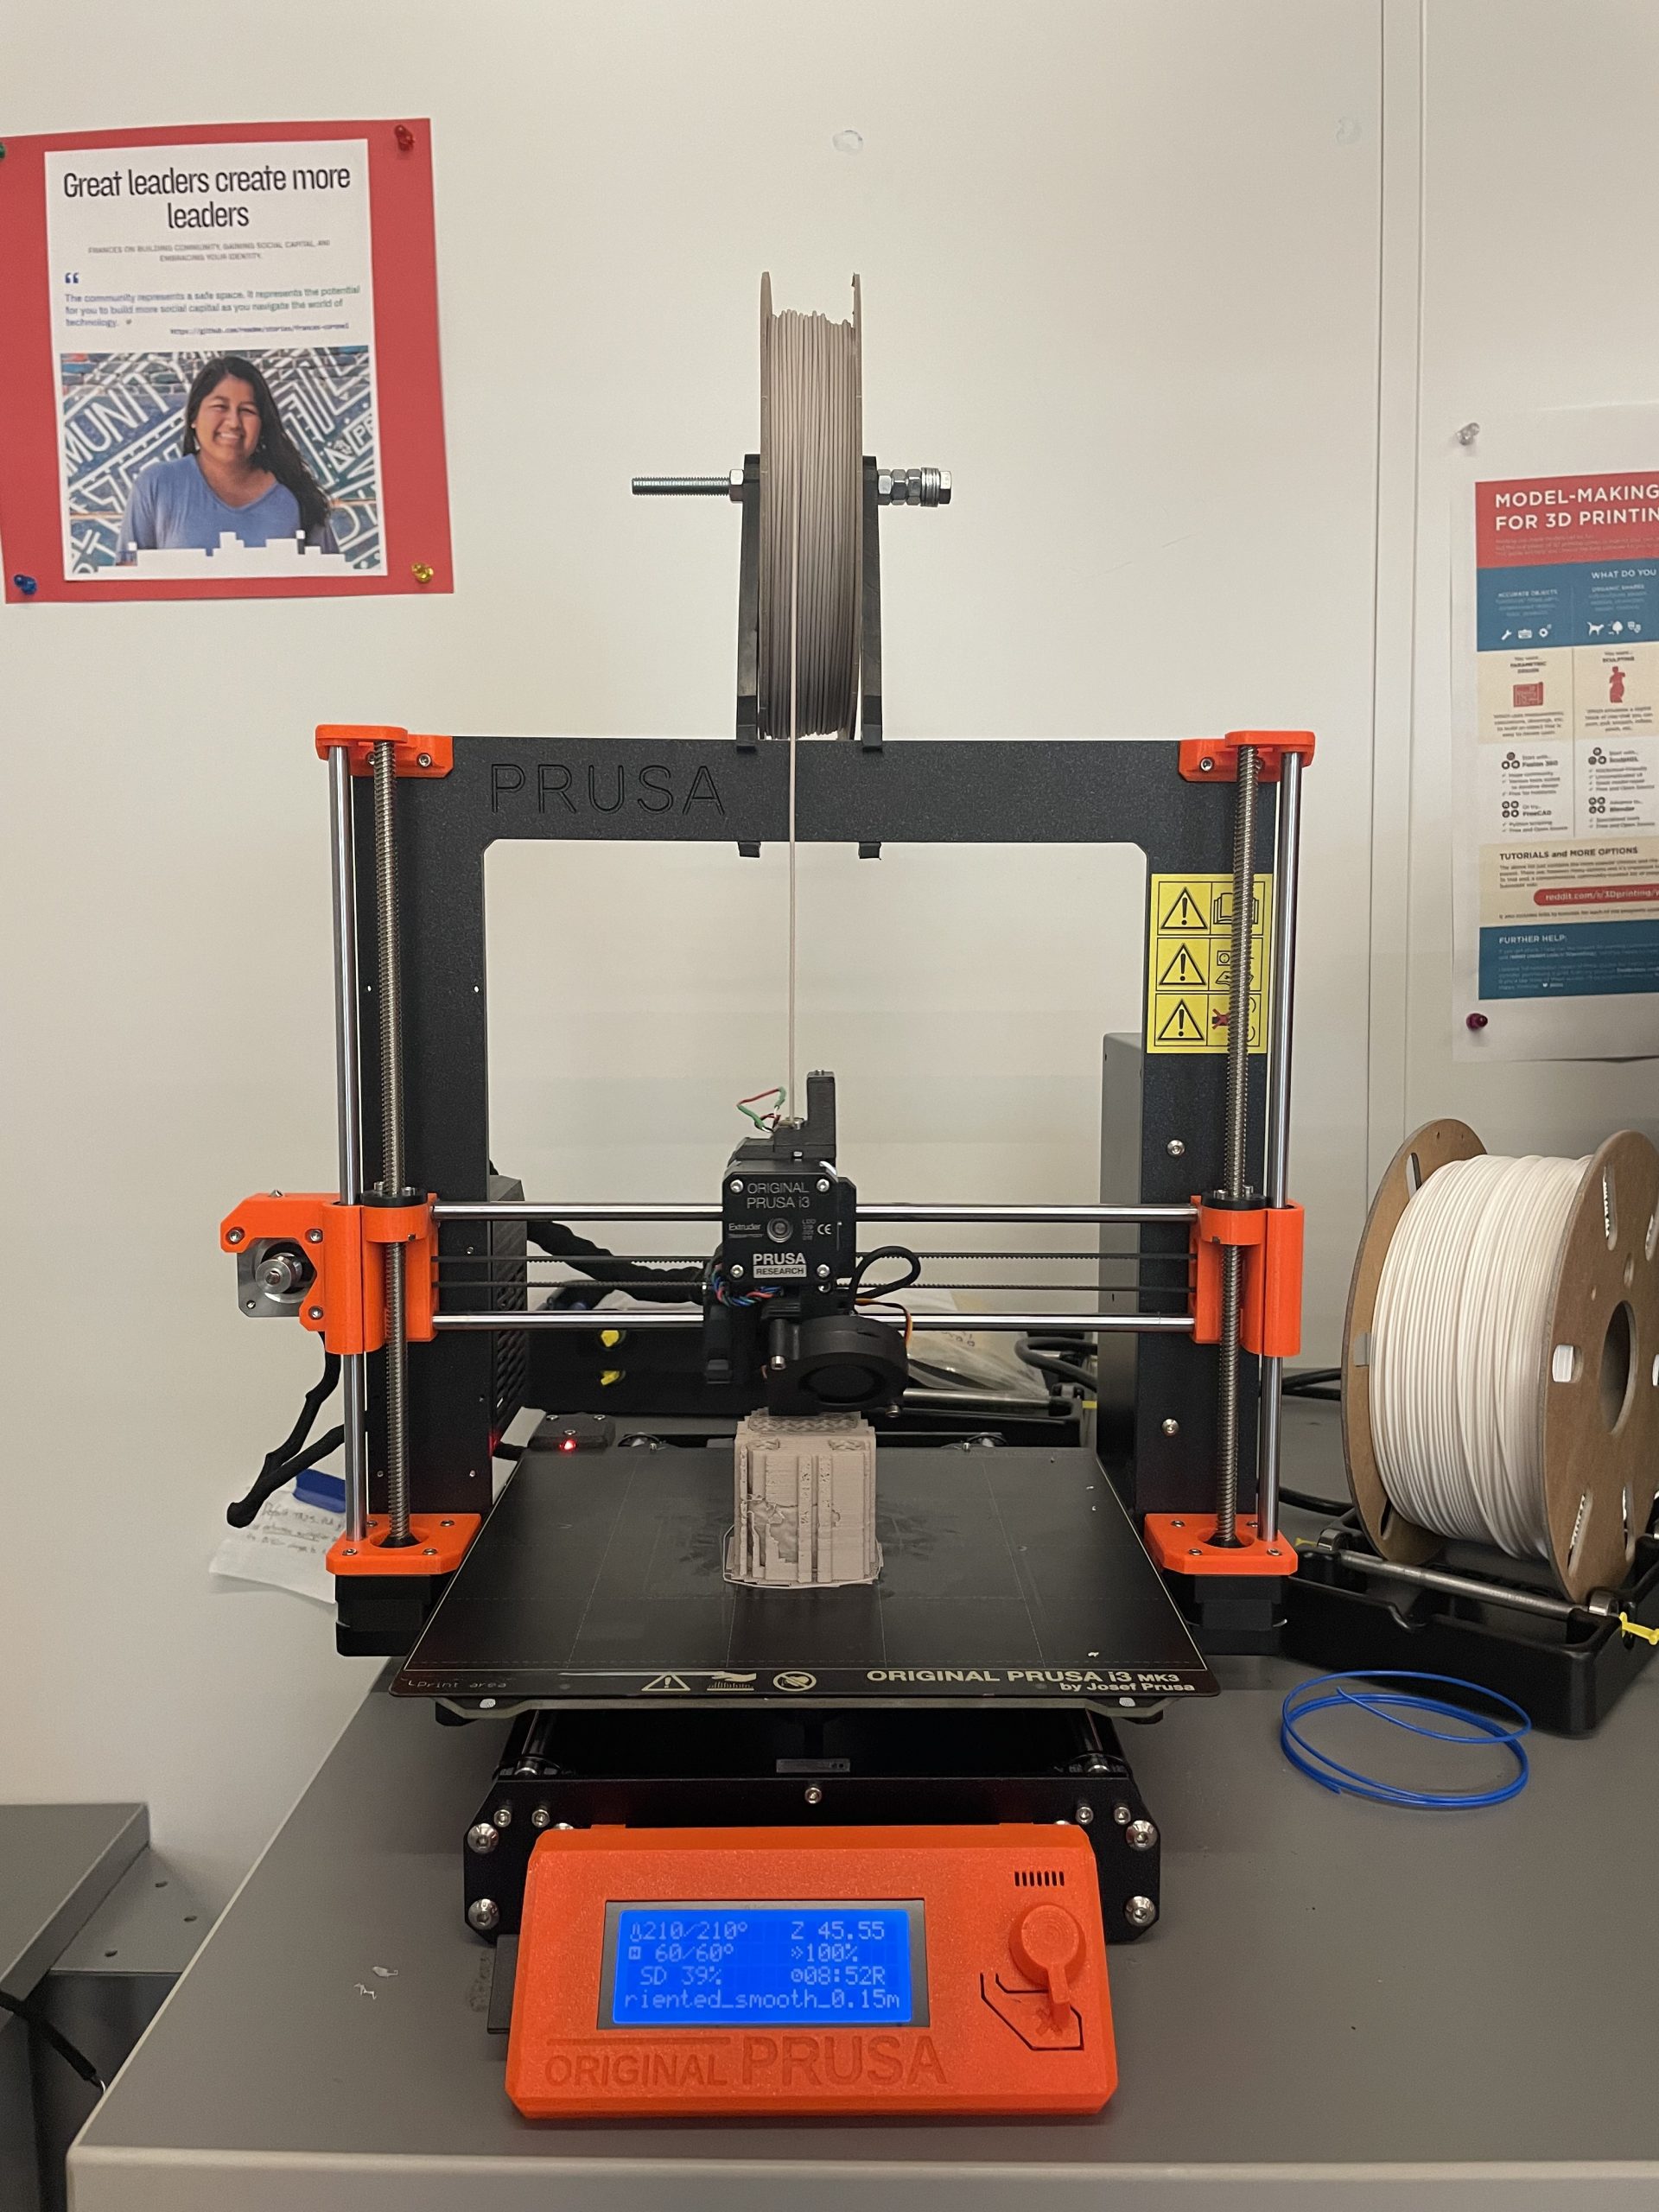
The successful PLA print — Stonefil was not a fan of my design
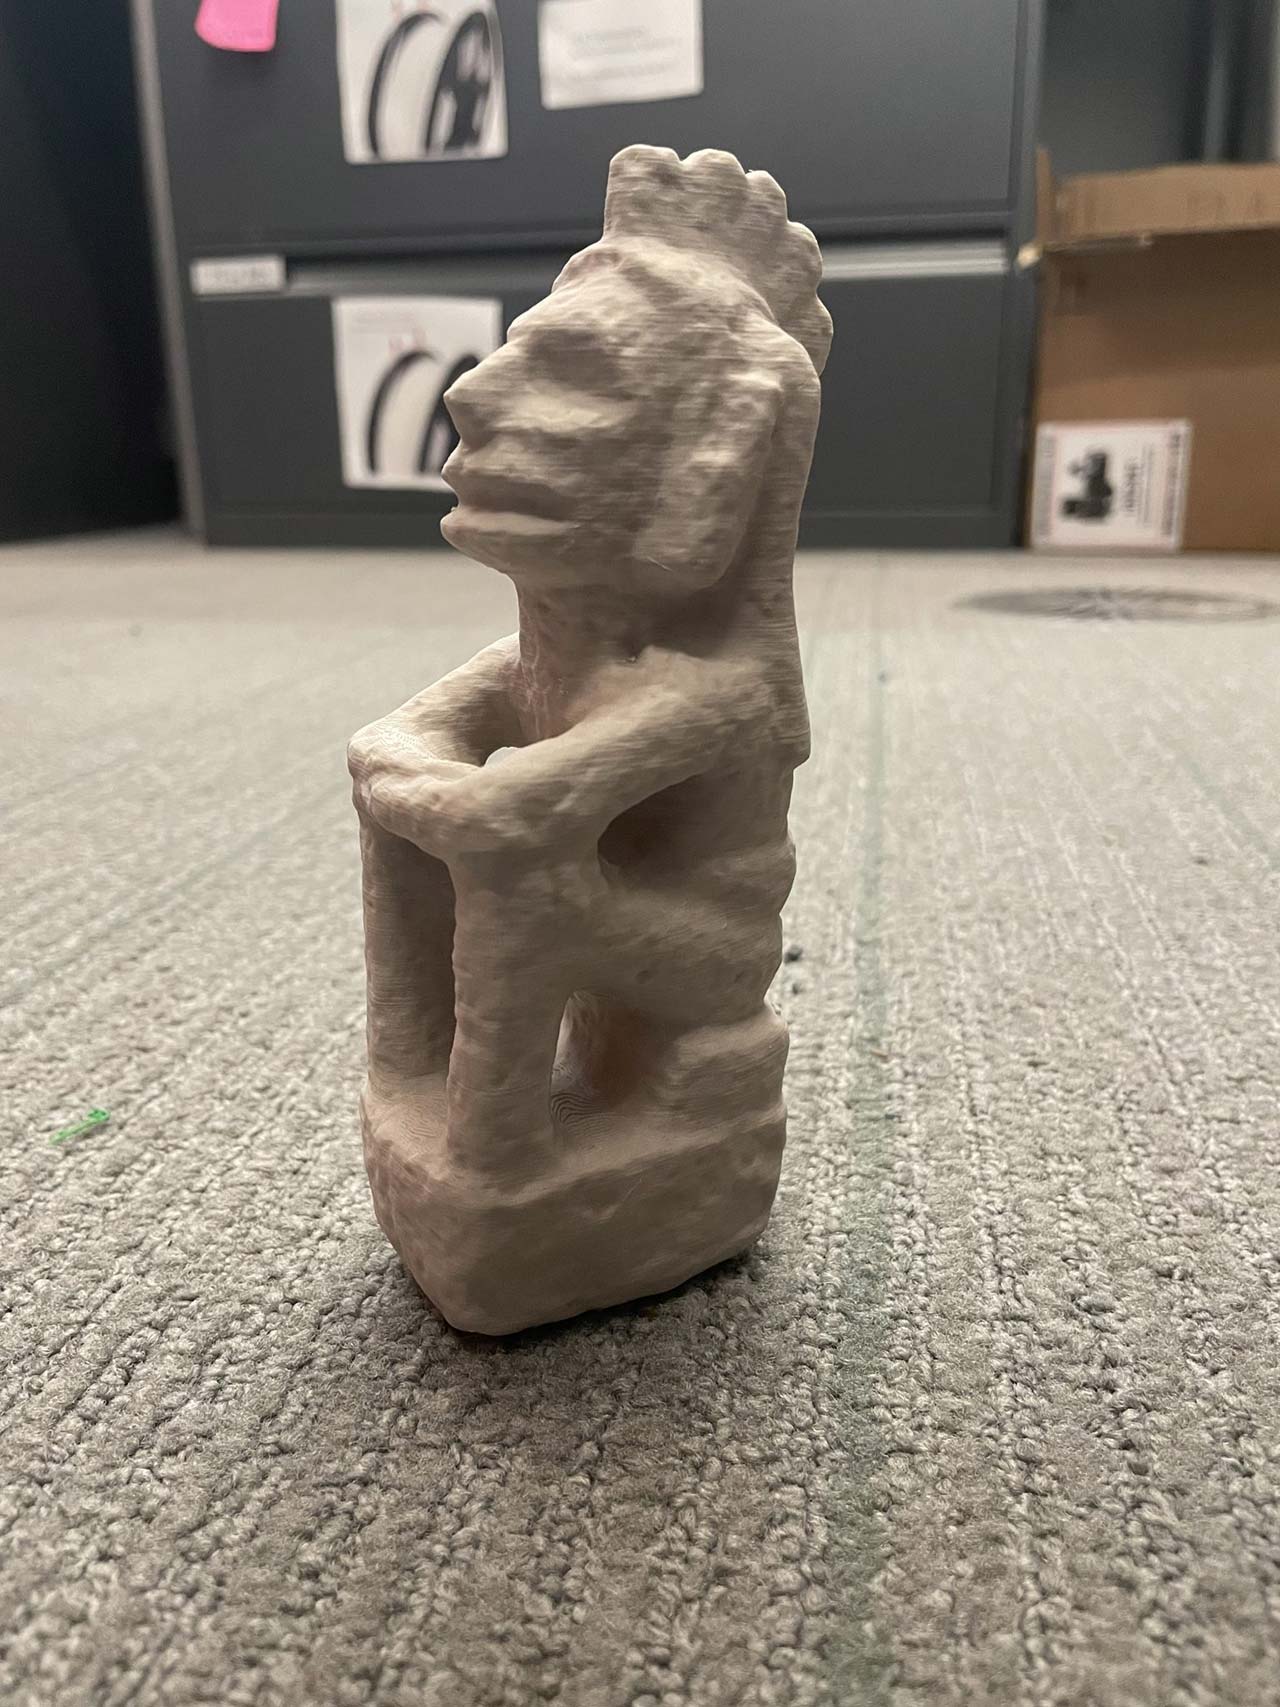
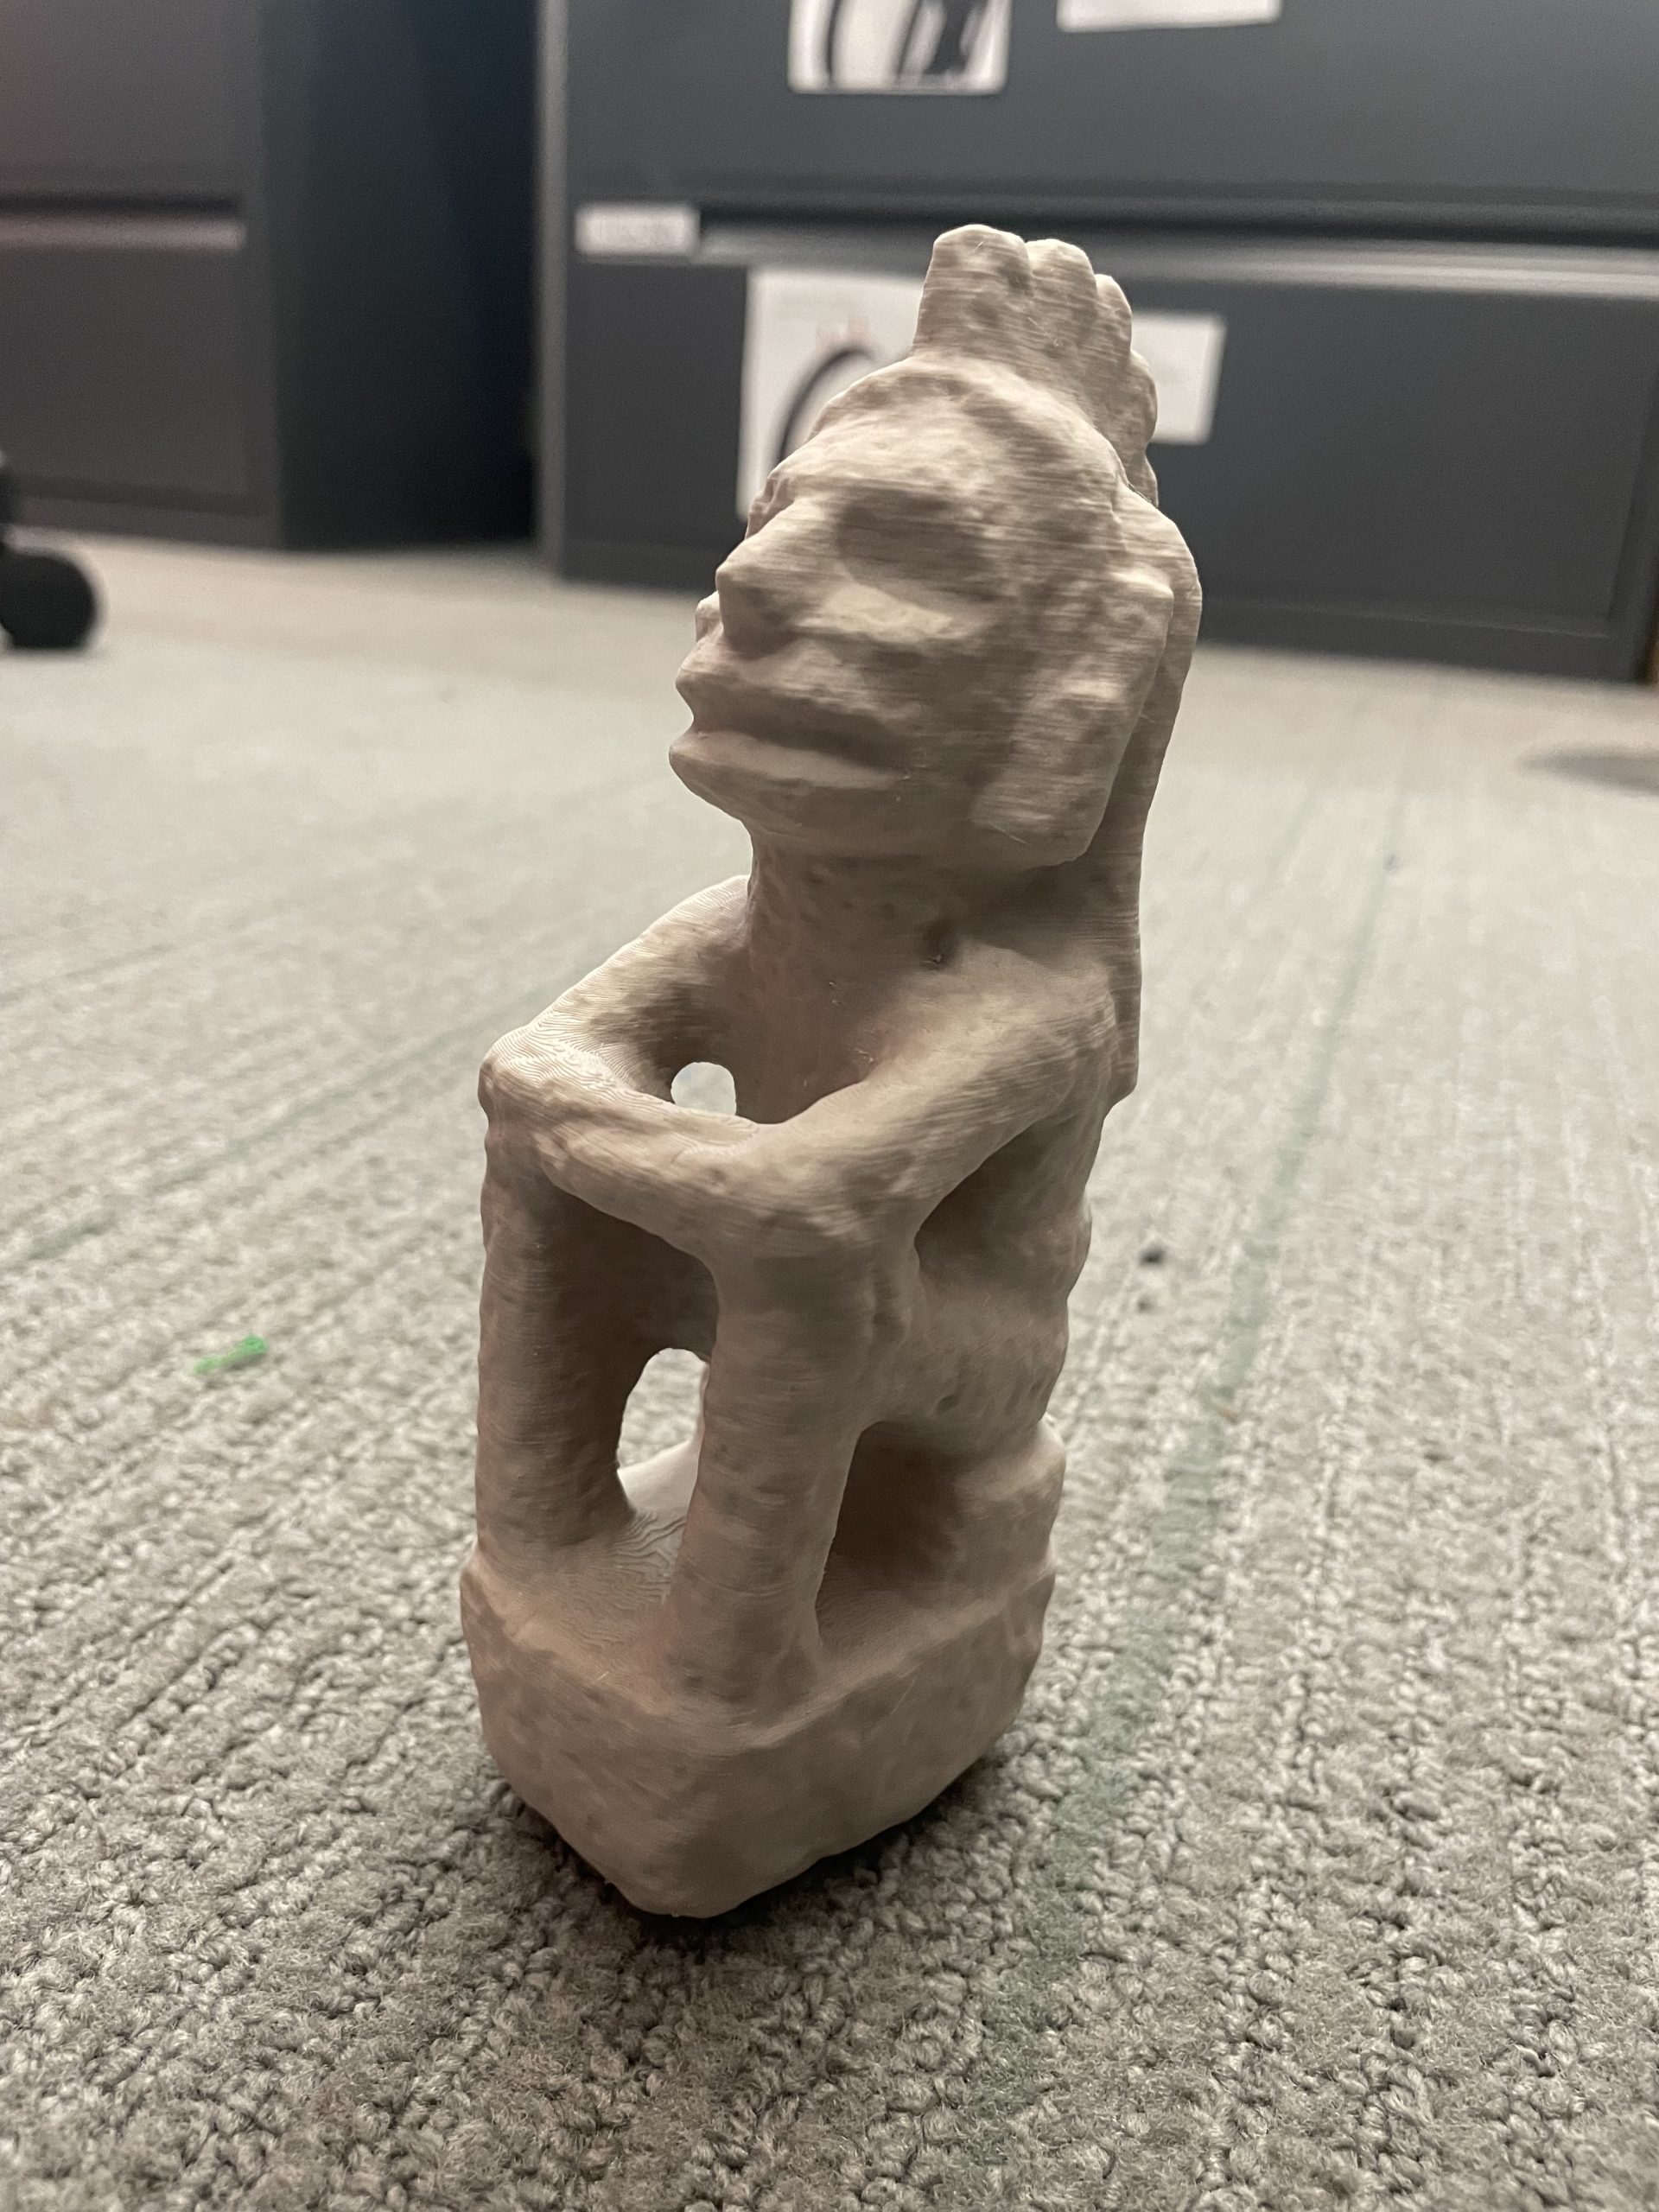
Then I had both models printed at the Makerspace. Initially, we tried using Stonefil PLA, a filament that would approximately mimic coral’s composition with its half PLA (a polyester typically derived from fermented plant starch, such as corn, cassava, sugarcane, or sugar beet pulp) and half ceramic powder. However, the model was too intricate for the material, resulting in a messy and unusable print. We ended up using standard PLA for the final models, which, while less accurate in texture, allowed us to proceed with the physical representation. To simulate sediment damage, I took the “deformed” model to the science shop and used a sandblaster. Unfortunately, the PLA was too strong, and the glass beads in the sandblaster didn’t deform as expected. So, we resorted to breaking the model by hand to represent the kind of physical damage coral might endure during a tsunami.
My models are only approximations of the damage coral sustains during tsunamis. The exact forces on coral polyps during these events are unique and complex, making accurate modeling challenging.
Next Steps
The first step to creating a more accurate model would be refining the methods to determine the necessary forces and coefficients. Then, we could use a 3D CAD program like SolidWorks for a more precise analysis. Additionally, applying post-processing techniques to the 3D printed models, such as using adhesives and texturing materials, could make the PLA models physically look-and-feel more like real coral, enhancing their realism.
Creating more accurate models provides a deeper understanding of the interactions between coral reefs and tsunamis, helping us plan better for these events. This knowledge can guide conservation efforts, inform disaster preparedness strategies, and contribute to the broader field of marine biology. As better models are developed, we move closer to mitigating the devastating impacts of natural disasters on vital ecosystems like coral reefs.
Postscript (August 16, 2024)
See related CNN article: Why this scientist is leaning on surfers, skaters and artists to protect the ocean – “Cliff Kapono is a Native Hawaiian pro surfer and chemist in a race to save the ocean he loves. He co-founded The Mega Lab, a science research group that welcomes anyone (no degree required!) who can help them develop technology and raise awareness about dying coral reefs.”
Postscript (September 9, 2024)
See related CNN article: See the technique that could help save the Great Barrier Reef – “Researchers in Australia are testing a technique called ‘coral seeding’ [that utilizes 3S printers] to help the Great Barrier Reef recover from the effects of climate change.”