Using Digital Performer to Control NI apps or Reason.
| Open Digital Performer before you open Reason! Opening the applications in this order is essential. It invokes “Rewire” which is linkage between the two applications. If you open the applications in the opposite way, that is, by opening Reason first, none of the following instructions will work. |
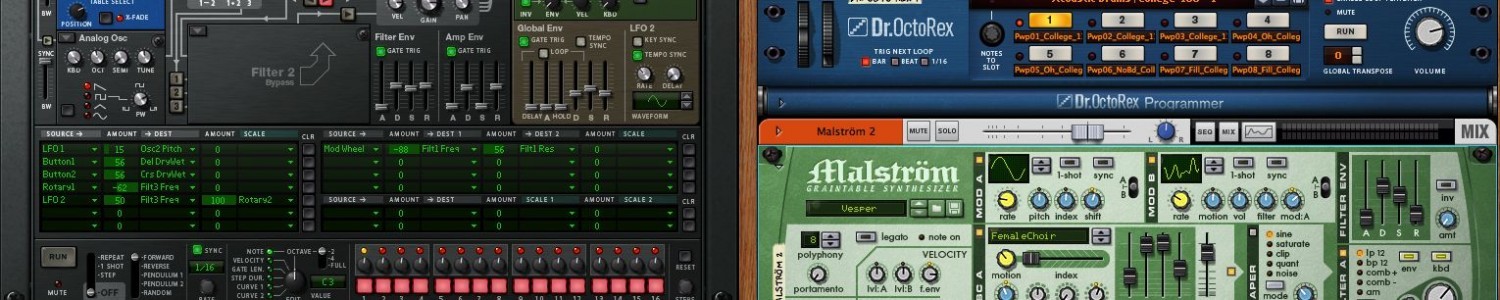
 The top left hand corner of the Reason virtual rack reveals that Reason is in Rewire mode. |
| Set up Reason For the purposes of demonstration, create a simple Reason virtual rack of equipment with a 14:2 Mixer on top (from utilities) followed by a Subtractor and Malstrom (from Instruments). |
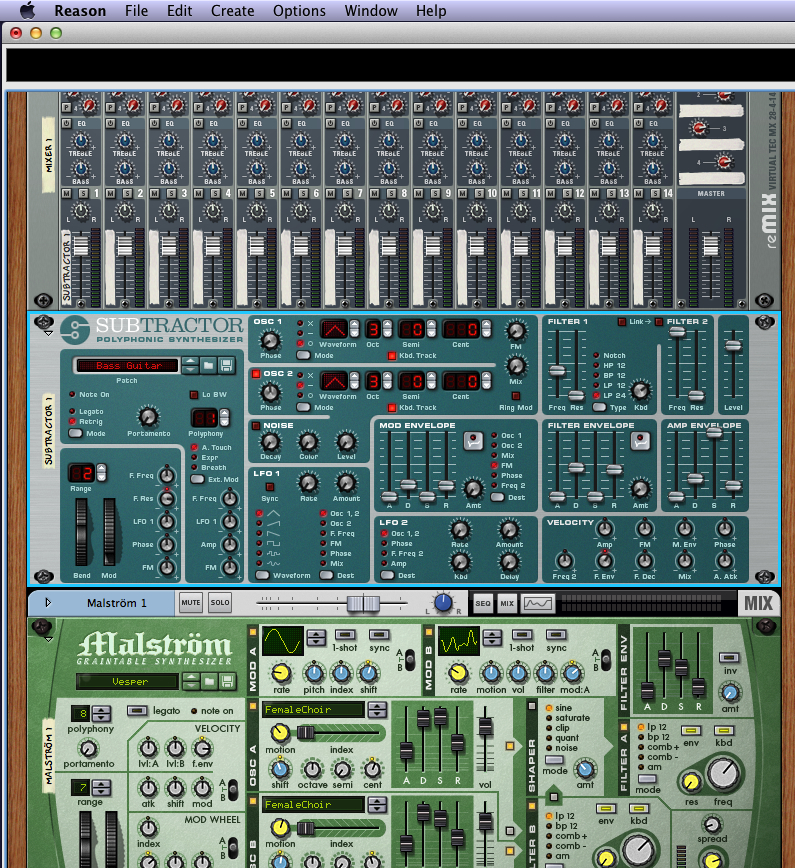 Basic Reason setup with a mixer, SubTracktor, and a Malstrom. |
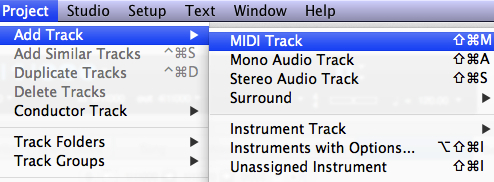
| Set up Digital Performer Add an Aux track. You do this by choosing Project from the main menu and then Add Track followed by Aux Track. There are likely several tracks already created for you as part of the default Digital Performer template. The bottom one will be the new Aux track you just created. Now under the Input column, select the input cell and change it to New Stereo Bundle and then Reason:Mix L 1-Mix R 2. What we just did is forward the left and right channels from the Reason application into Digital Performer. The output is likely set to Digidesign Mbox so we can monitor the sounds we create. |
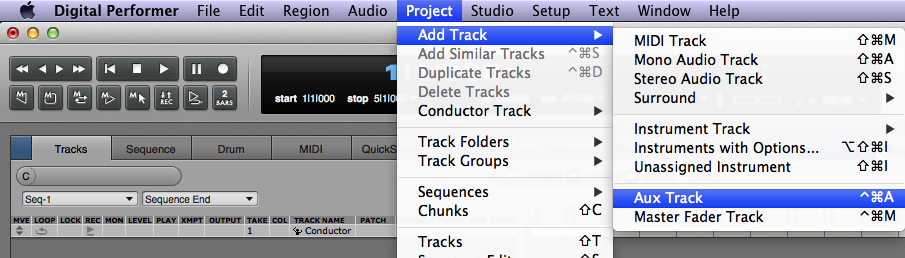 Create an Auxiliary track to connect Reason to Digital Performer. 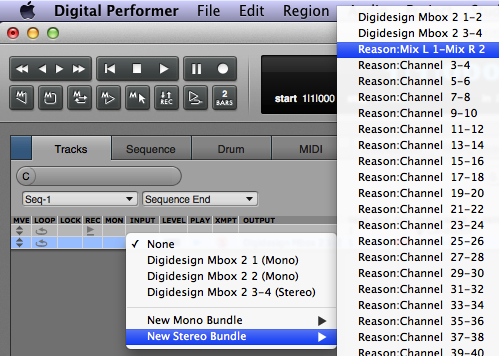 Set the input for the Auxilary track to Reason. |
| Set up Digital Performer part 2 Create two MIDI tracks from Project, Add Track, and then MIDI Track. Next change the output of each track to the device we wish to use from Reason. Change the output to Reason: bus 6 and then Reason: bus 6 SubTractor 1. The other output can be the Reason: bus 6 Malstrom 1. |
 Adding MIDI tracks with the correct output will allow us to use the Digital Performer interface with Reason sounds. 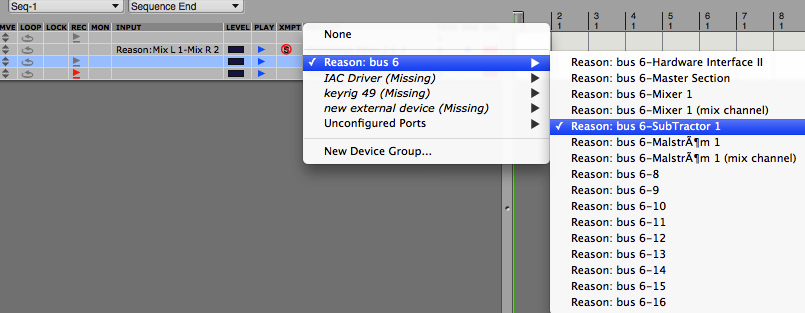 The output of the MIDI tracks are set to the Reason instruments we wish to use. |
| Record some MIDI in Digital Performer using Reason Instruments Finally we can play with some sounds. Record enable one of the MIDI tracks by clicking on the record icon in the Rec column of the track table, click on the record icon of the player control, and play some notes on your MIDI controller. Do the same for the other MIDI track. |
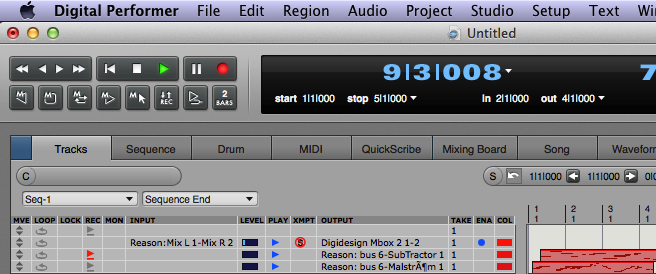 Record enable a track and select the record button on the controller. You are recording Reason instruments in Digital Performer using your MIDI controller. |
| The video goes on to describe how to convert the MIDI data into audio. The text description of that process will be in the Recording MIDI as Audio Data Tutorial in the menu above. |