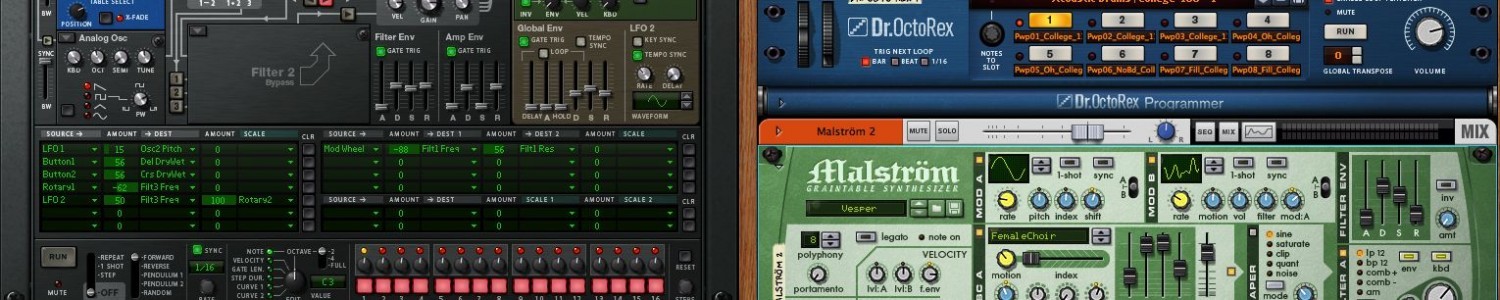
The video below is a short introduction to working in the music lab environment. It covers reimaging the machines, audio settings for the OS and individual apps, testing the MIDI controller, using the MBox, working with the mixer, using headphones, using the classroom speakers, and working with cables. Below the video is more information about these topics in the form of text and images.
| Reimaging the machines: When you work with music apps there are many preference files and settings in use. When things go wrong, it can be difficult to find the exact preference file to change or delete. Instead, you can reimage the machine using the Restore Me app in the “App Quick Launch” folder located on the dock. Running this process will initiate an audit where all files altered from the original computer settings will be replaced with the original settings. A multitude of difficulties can be solved by reimaging the computer you are working at and it takes about 5 minutes. Files on the scratch disk are preserved, but items on the computer hard drive or on the desktop will be lost. |
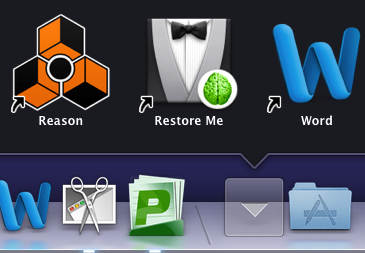 The Restore Me link can be found in the Quick App Launch or Applications > Utilities. |
|
Audio Settings: System Preferences: Audio settings can be changed on the Mac OS System Preferences. You can find the system preferences under the Apple Menu that resides in the upper left hand corner of the display. Select System Preferences and then choose Sound. You can change audio inputs and outputs here. Individual apps also have their own settings though that may override the OS settings. If something just is not working properly, you may consider reimaging the machine. Audio Settings: Reason: Look under Reason in the menu bar for Preferences and then select Audio. Change the Audio Device to the desired output. Audio Settings: Digital Perfomer: Look under Setup in the menu bar for Configure Audio System and then select Configure Hardware Driver… You can then change the output. Audio Settings: Finale: Look under the MIDI/Audio menu for Divice Setup and then select Audio Setup. Audio Settings: ProTools: Look under Setup in the menu bar for Hardware… and then depress the Lauch Setup App button. You can then change the output. Audio Settings: Kontakt: Look for the Options button and then select the Audio tab. You can then change the output. There are a variety of places to find audio routing preferences. Other applications will be similar. |
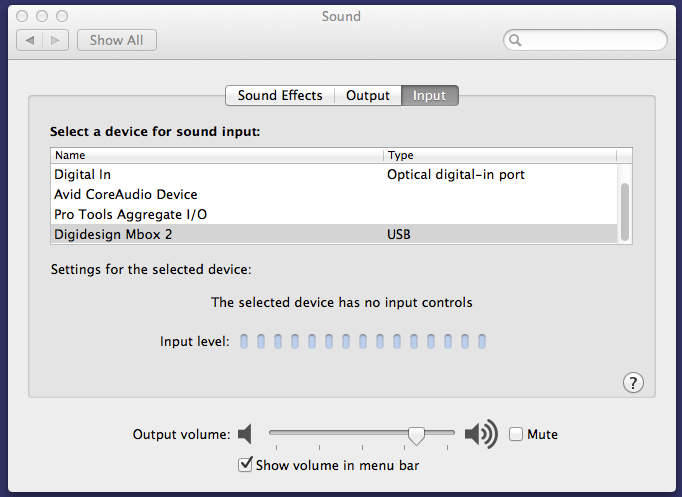 The Mac OS sound settings can be used to select input and output devices.  Digital Performer Audio Preferences. Not all music applications will have audio preferences in the same or even a logical place. |
|
MIDI Controller The MIDI controller is a simple device without much in the way of settings. It should be on and there are blue lights on the top of the MIDI controller that indicate that it has USB Power. You can test the MIDI controller by opening Reason, adding an instrument, and seeing if you can get sound. I usually add a SubTractor. There is an indicator light that lights up on the SubTractor when you touch the MIDI controller that you can see, even if you can not hear the MIDI working. MIDI Controller: Reason You can go to Reason on the main menu and select Preferences and then Keyboards and Control Surfaces. The MIDI controller should appear there. If not, reimage the machine as described above. MIDI Controller: Finale To test the MIDI controller, I choose Speedy Entry as an input method. It is the button with the eighth note that is slanted to the left with lines indicating motion. I’ll choose a measure and then depress and hold a key of the MIDI controller while depressing a number 4 on the keyboard. You should get a note instead of a rest. Try different notes to make sure you are getting the controller to work. If you get a rest, it is not connected. Try going to the MIDI/Audio menu and select Device Setup and then MIDI/Internal Speaker Setup. Under Input Device it should indicate Keyrig 49. It should not be in italics. If it is, select it and change it to Keyrig 49 without italics. |
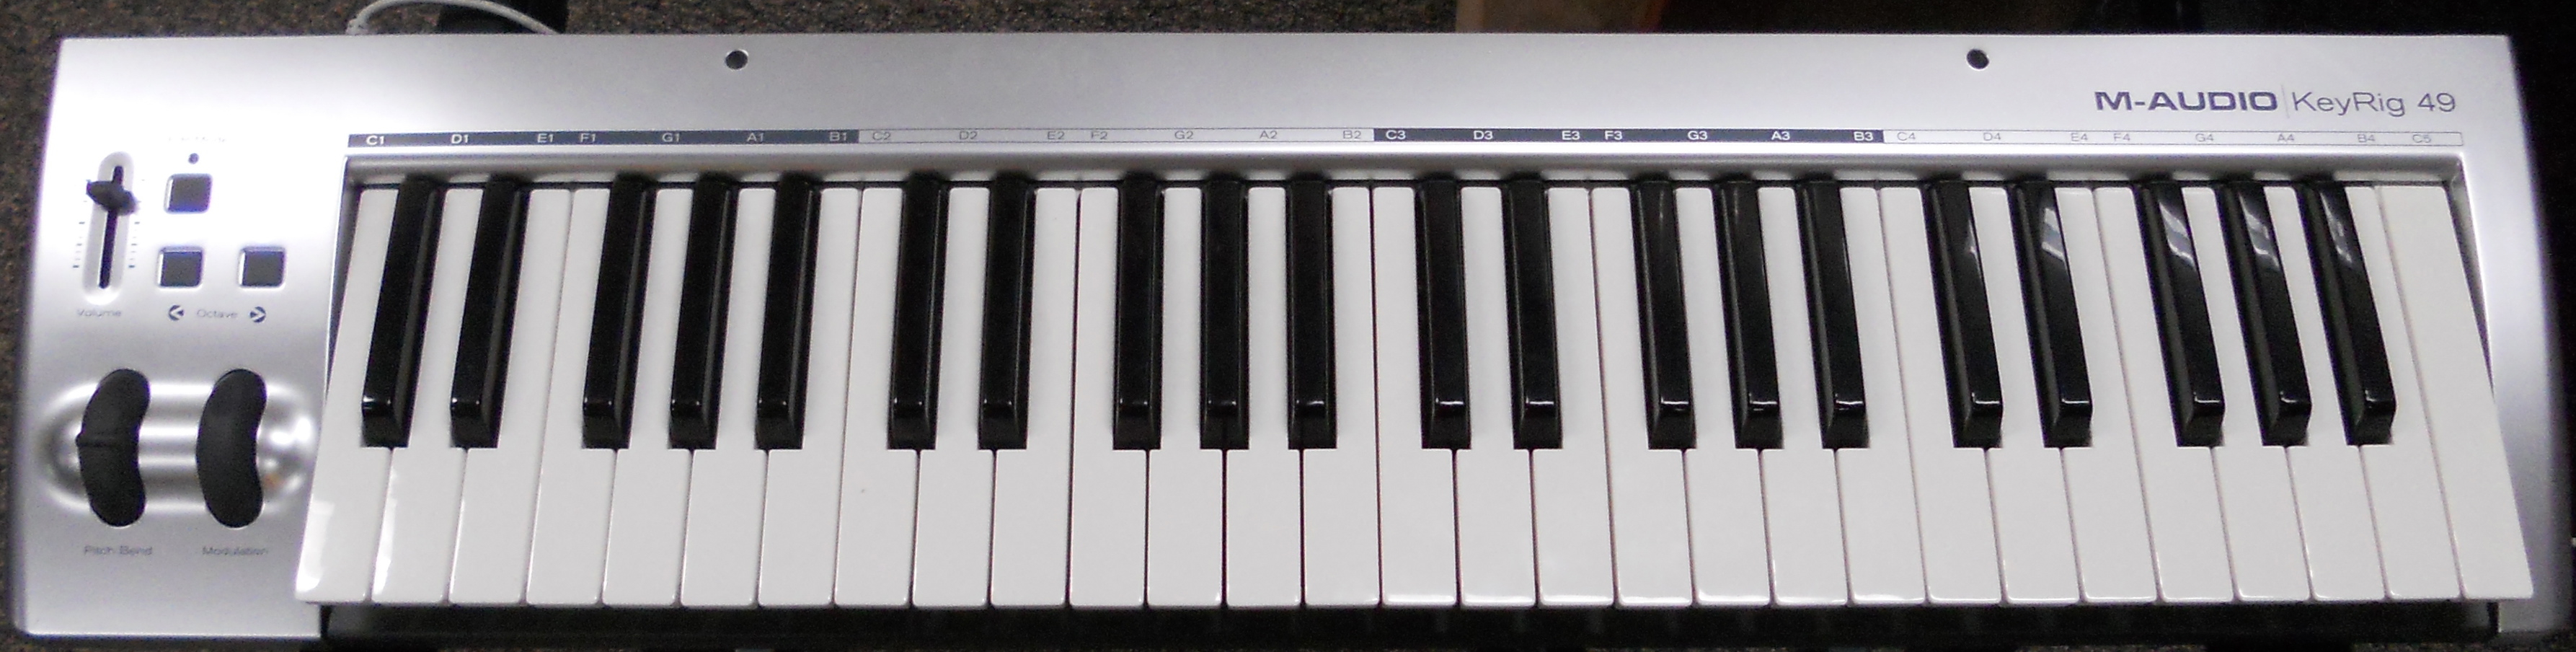 MIDI Controller 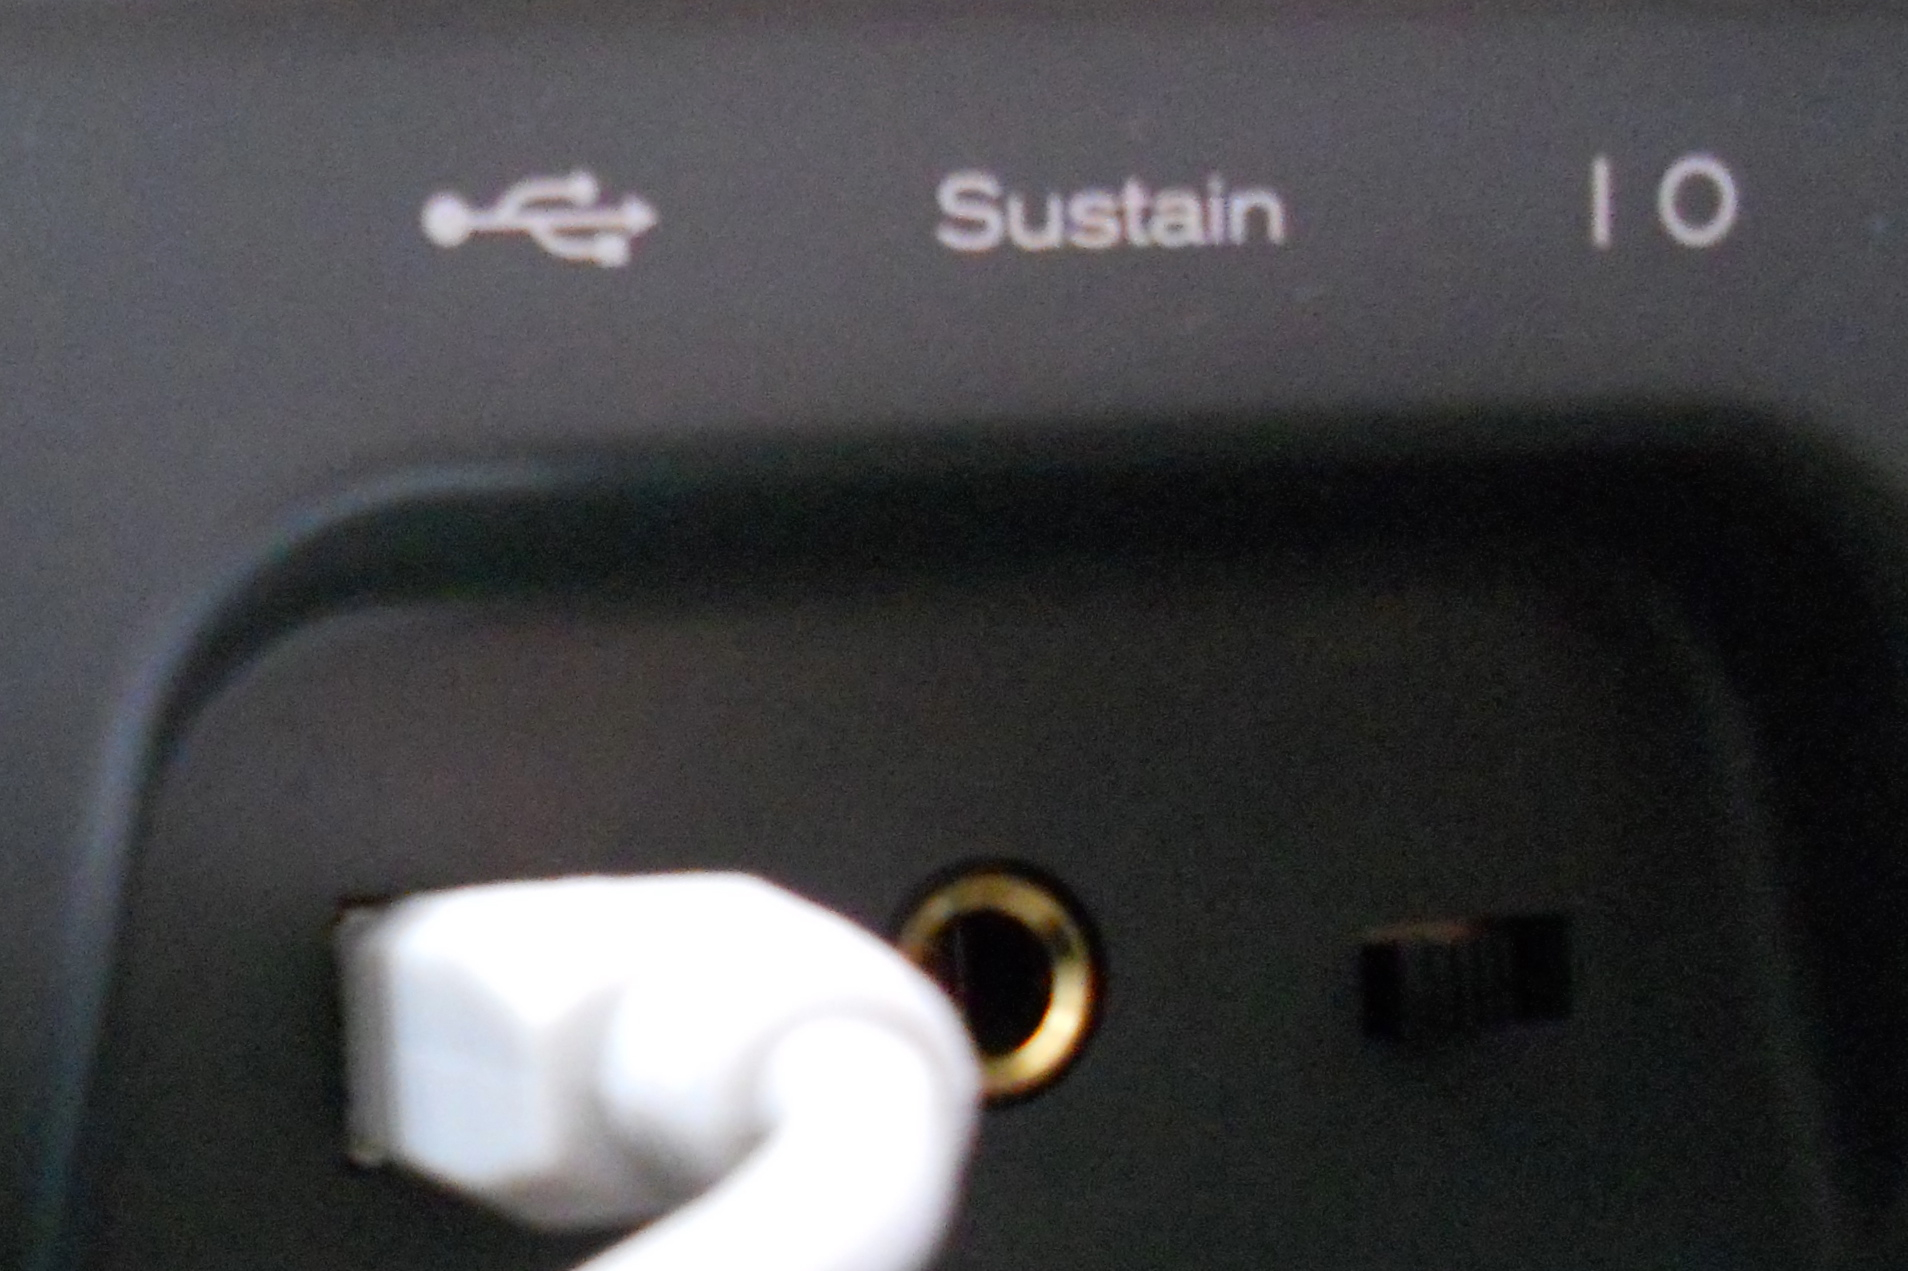 The back of the MIDI controller does have an off and on switch and a USB connection. |
|
MBox The MBox has two inputs labeled on the back where you actually plug in your microphone or guitar, and controls for the two inputs on the front where you can control the strength of the incoming signal (with the dial), and indicate if the input is direct (as in an electric guitar) or a mic (as in microphone). The pad button is to add 20dB of noise reduction if the signal is too loud. The phantom power button provides 48V of power to the microphone inputs. You know if your microphone needs phantom power if it has an on and off switch. The other controls are for the headphone volume, the output volume, and the mix dial that controls how much of input 1 or 2 comes through the MBox. Check out the manual for the MBox at MBox 2 Basics Guide (PDF). |
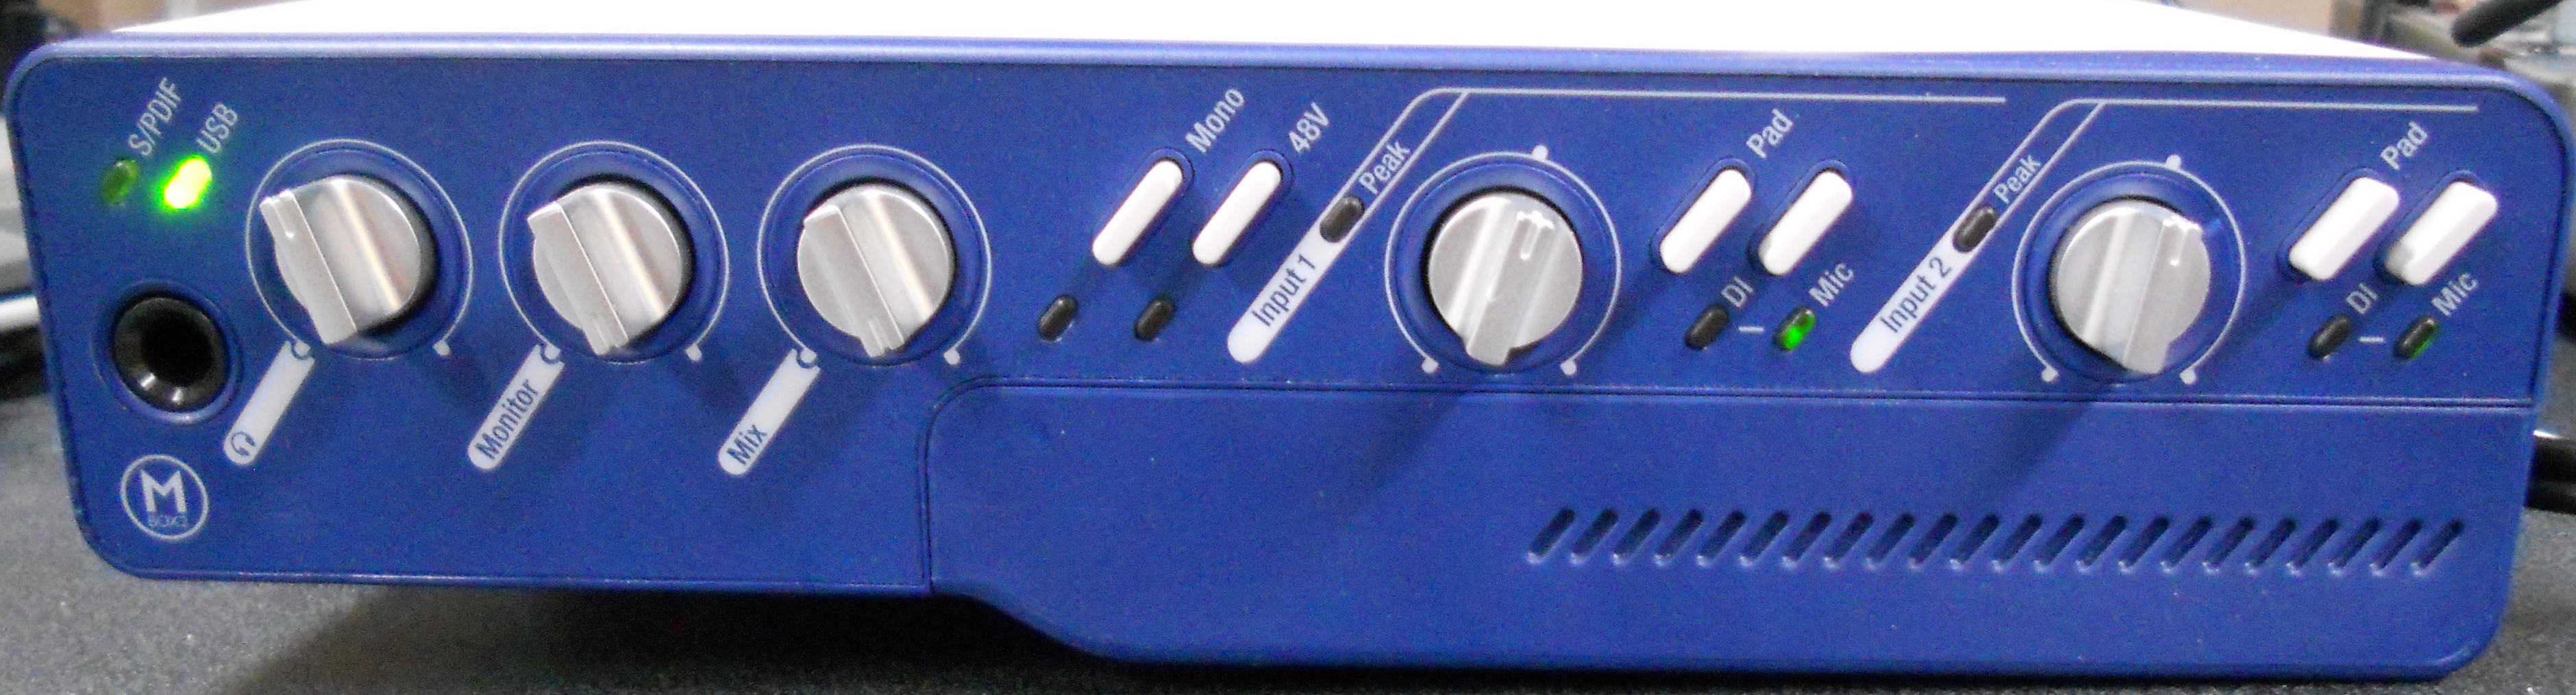 MBox Audio Interface. |
|
Mixer Watch the video above about working with the mixer. Familiarize yourself with the mixer through practice. Consult the PDF linked below for more detail and explanation on the various components of the mixer. They are too numerous to list here.
The mixer manual can be found at 802-VLZ3 Mixer manual (PDF). |
 The external mixer has many dials, buttons, inputs, and outputs. |
| Headphones You can plug in your headphones to the computer, but you will have to send your output to Line Out. This is a noisy way to listen to your work. The headphone jack is too close to the other components in the computer and you may experience hiss and crackling. It would be best to plug your headphones into the MBox. If you have headphones with the standard 8mm plug, you will need a 1/4 inch adapter. |
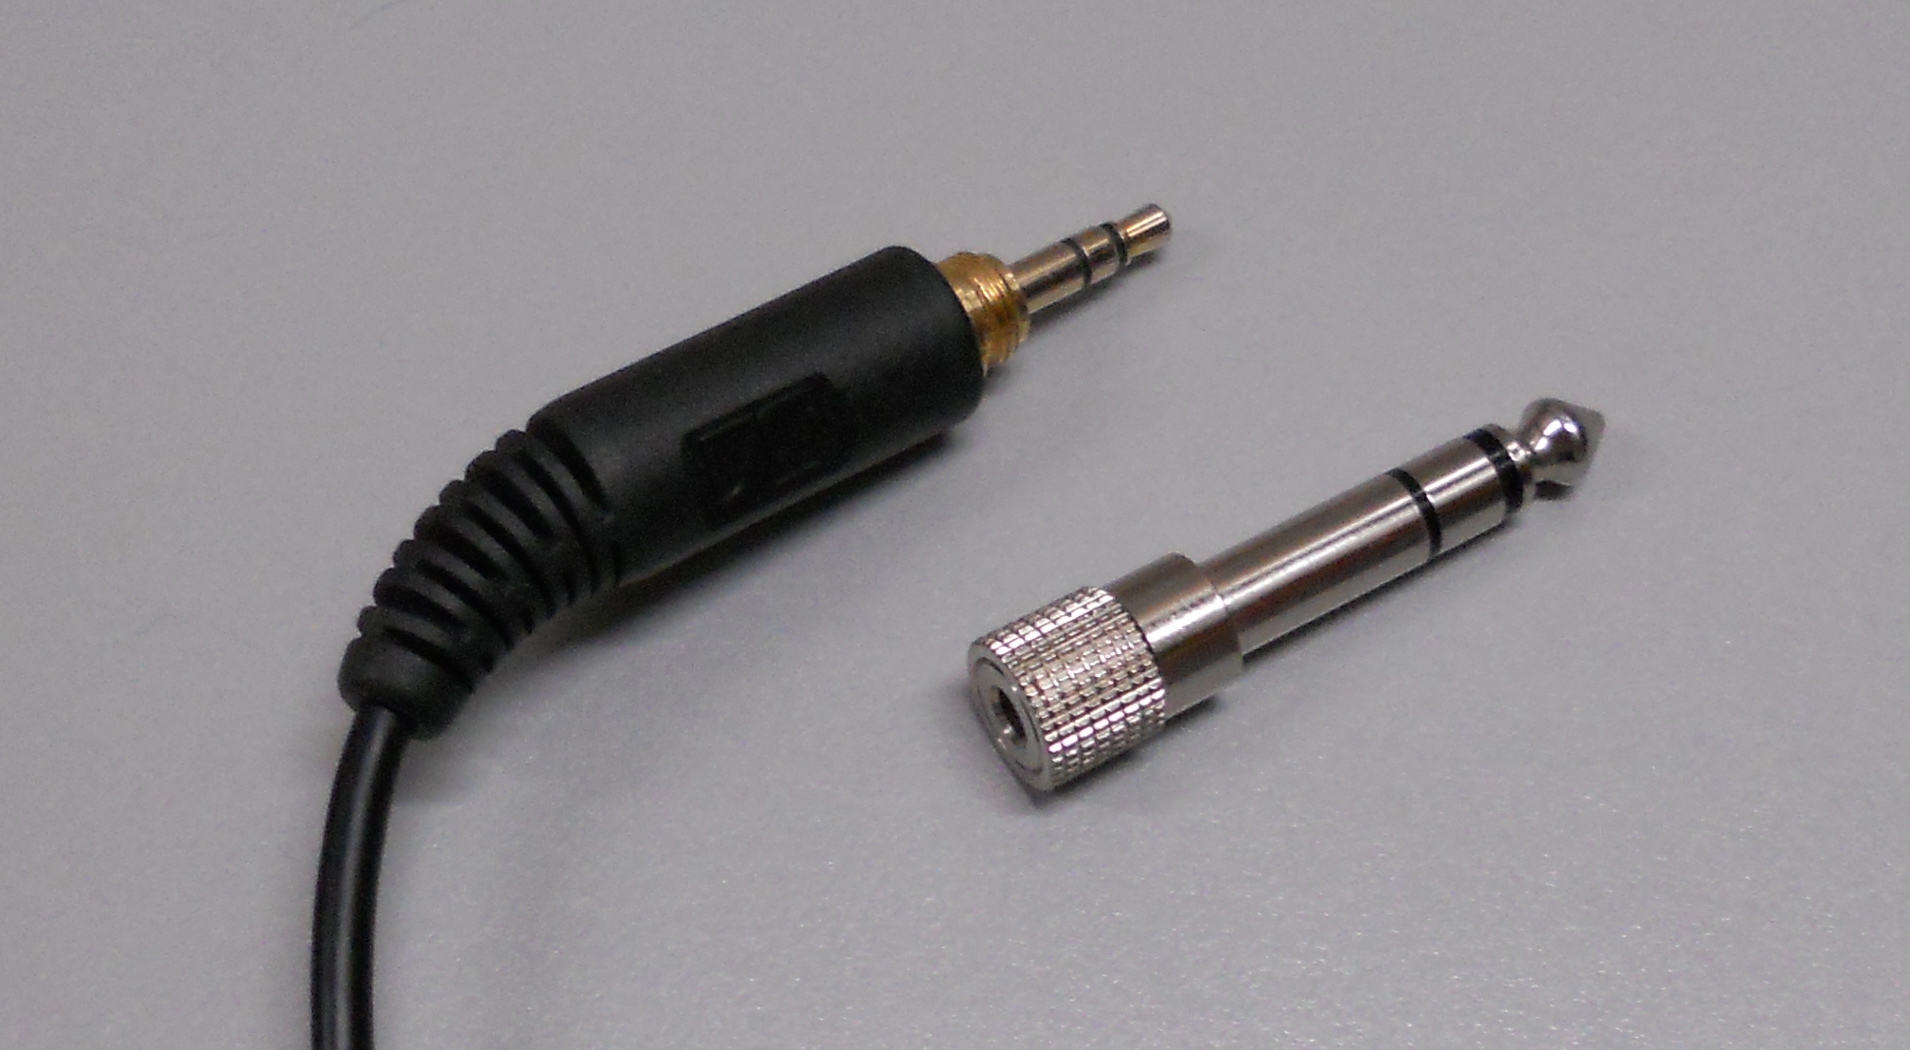 Here is a common 8mm headphone plug next to the 8mm to 1/4 inch TRS adapter you will need to listen to your project from the MBox or the external mixer. |
| Classroom Speakers Turn down the main mix knob on your mixer before you select your workstation number on the classroom speaker switch. The workstation number can be found on your computer. Once you have your station selected, gradually raise the volume. This will protect everyone’s ears from harm. |
 Classroom Speakers  Switch to select your station’s mixer as the source for the classroom speakers. The main mix output of the mixer at your station adjusts the volume. |