
How did we get here? Where do we come from? What does our future encompass? As an aspiring scientist, I have always been fascinated by these (and many more!) questions about the evolution of humanity and the cosmos. Specifically, the modern ways in which experts around the world are working towards finding a unifying, concrete answer about the theory of evolution and dispersal of early humans. To my pleasant surprise, scientists at Williams College are making wonderful discoveries and progress on this topic, and I was able to contribute — even just a tiny bit — to some of their work this semester!
Some Background

Anubhav Preet Kaur pictured working at the ESR Lab at Williams College
Scientists believe that early humans dispersed throughout the world because of changing global climates. The specific routes that these early humans took are still inconclusive. However, there are several hypotheses about the possible areas they inhabited, given early Pleistocene evidence of hominin occupation in those areas. Thus, the hypothesis I will explore in this blog post will be related to the pieces of evidence of hominin occupation from regions around the Indian subcontinent: i.e., Dmanisi, Nihewan, and Ubeidiya—just to name a few sites.
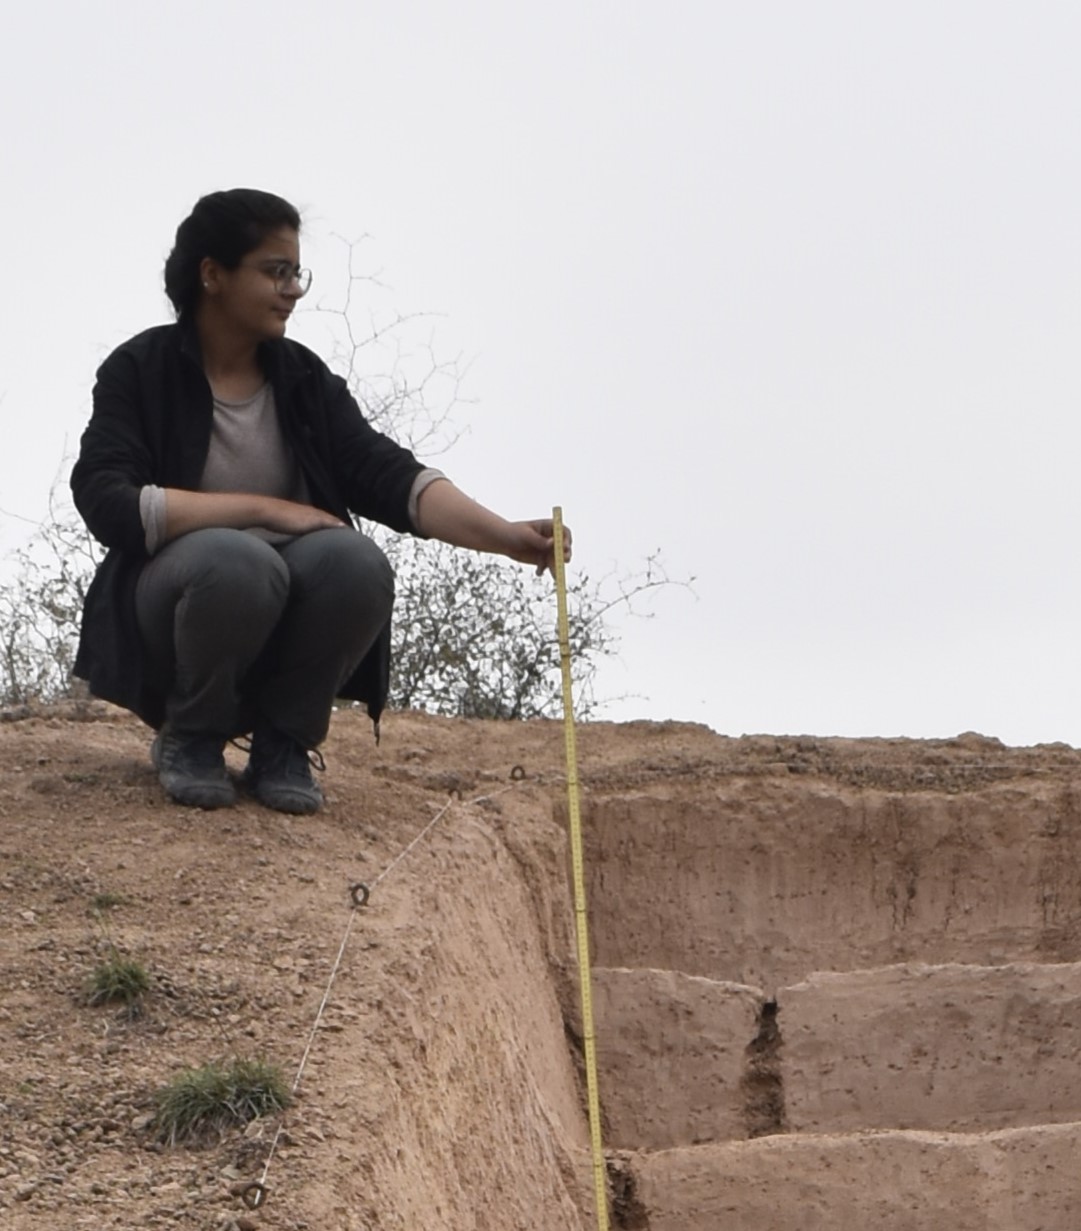
One of the supporters of this hypothesis is Anubhav Preet Kaur, an archeologist conducting a paleoanthropological research project that seeks to identify if the Siwalik Hills in India were a likely dispersal path for early humans. As Anubhav states: “The fossils of Homo erectus, one of the first known early human species to disperse outside of Africa, have been discovered from Early Pleistocene deposits of East Europe, West Asia, and Southeast Asia, thereby placing Indian Subcontinent in general—and the Siwalik Hills, in particular—-as an important dispersal route.” The problem is that no fossil hominin remains or evidence attributed to any early hominin occupation have ever been uncovered in that area. Thus, her project seeks to paint a clearer prehistorical picture of the region’s ecology by precisely dating faunal remains from her dig sites. She hopes to indicate if the Siwalik Hills, already famous for yielding many paleontological and archeological finds over the past hundred-plus years, would have had fauna and ecological conditions during these migratory time periods that would have supported early humans. And precisely dating these faunal remains requires the skills of Dr. Anne Skinner, a renowned lecturer at Williams College.
Anne is a distinguished Williams College emerita chemistry faculty member who is an expert in electron spin resonance (ESR) and specializes in applying ESR techniques to study geological and archaeological materials. Anubhav is a Smithsonian Institute Predoctoral Fellow and presently a doctoral student at the Indian Institute of Science Education and Research in Mohali, India. Anubhav spent three seasons, between 2020-2022, doing paleontological field surveys and geological excavations at the Siwalik Hills region in India. She led a team of undergraduate and graduate field assistants and volunteers in searching for clues that might indicate if the conditions were suitable for hominins. Ultimately, she brought a selection of her fossils to Williamstown, MA, so that Anne could begin to teach her the process of utilizing ESR to date her objects.
What is ESR?
ESR is a technique used on non-hominin remains that allow scientists to measure the amount of radiation damage a buried object—in this case, several partial sets of animal teeth—has received to provide insights into its geological and biological history. The Siwalik Hills region is a particularly important site for archaeologists because they are home to a variety of rich deposits of fossil remains that date back from the Miocene to Pleistocene periods; however, Anubhav’s sites in particular, contain remains from the Pliocene and Pleistocene. The periods that she studied in her site are relevant as those are the periods in which she theorizes a dispersal could have happened, making the study of the remains more effective. The region is located in the northern part of India (near the border of Pakistan) and covers an area of about 2,400 square kilometers. The fossils Anubhav and her team collected (~0.63-2.58 Myr) include the remains of Pleistocene mammals, such as bovids, porcupines, deer, and elephants. Thus, they and have been used as a tool for archaeologists to learn more about the region’s past climate and ecology.
The Story Starts Here
On January 9, 2023, Anne and Anubhav visited the Williams College Makerspace and inquired if we could create high-quality 3D models that would persist as a permanent scientific record for four sets of Pleistocene mammalian teeth that would soon be destroyed as a consequence of ESR dating. Electron spin resonance is currently the most highly specific form of dating for objects up to 2 Mya, and is used only with animal remains as the dating process requires crushing the material into powder in order to analyze with highly sensitive equipment. Hominin remains are widely considered too rare and valuable to allow destructive dating, while animal remains are relatively more frequent. Creating high-quality 3D objects allows researchers with a means to effectively consult and do further research on a digital reconstruction of the model at a future date. In addition, the 3D objects are the basis for creating 3D prints of the object for physical study and handling.
Furthermore, ESR is a rare and expensive technique that is only available at a limited number of sites throughout Australia, Japan, Brazil, Spain, France, and the United States. Williams College is, in fact, the only facility in all of North America with ESR equipment, and Anne is the only ESR specialist at Williams.
My Job
This spring, I collaborated on this 3D modeling project with David Keiser-Clark, the Makerspace Program Manager. We divided the job so that each of us was in charge of producing two unique 3D models of the highest quality. We began the project by holding a kickoff meeting with Anubhav and Anne to discuss project needs and to receive four sets of prehistoric teeth. Throughout the project, we held additional meetings to discuss progress and, finally, to present finished 3D digital and printed models. Despite the fact that this was my first photogrammetry assignment, I embraced the challenge head-on, working autonomously and engaging with stakeholders whenever necessary.
To build the 3D models, I used a photographic method known as photogrammetry. This required putting together many orbits of images using software to create a three-dimensional object. I participated in two workshops offered by Beth Fischer, Assistant Curator of Digital Learning and Research at the Williams College Museum of Art, to develop knowledge of this procedure. Her thorough understanding of the intricate workings of our photogrammetry software, Agisoft Metashape, was incredibly helpful. Beth was a great resource and was willing to meet with us numerous times. Moreover, I shared what I learned with David (and the entire Makerspace team) so that we could update the Makerspace’s new documentation on photogrammetry. By sharing my experiences, I helped to guarantee that the documentation addressed a wide range of challenging edge-case scenarios and would serve as a thorough and useful reference for future student workers.
Here is a walkthrough of the photogrammetry process:
Taking the Pictures
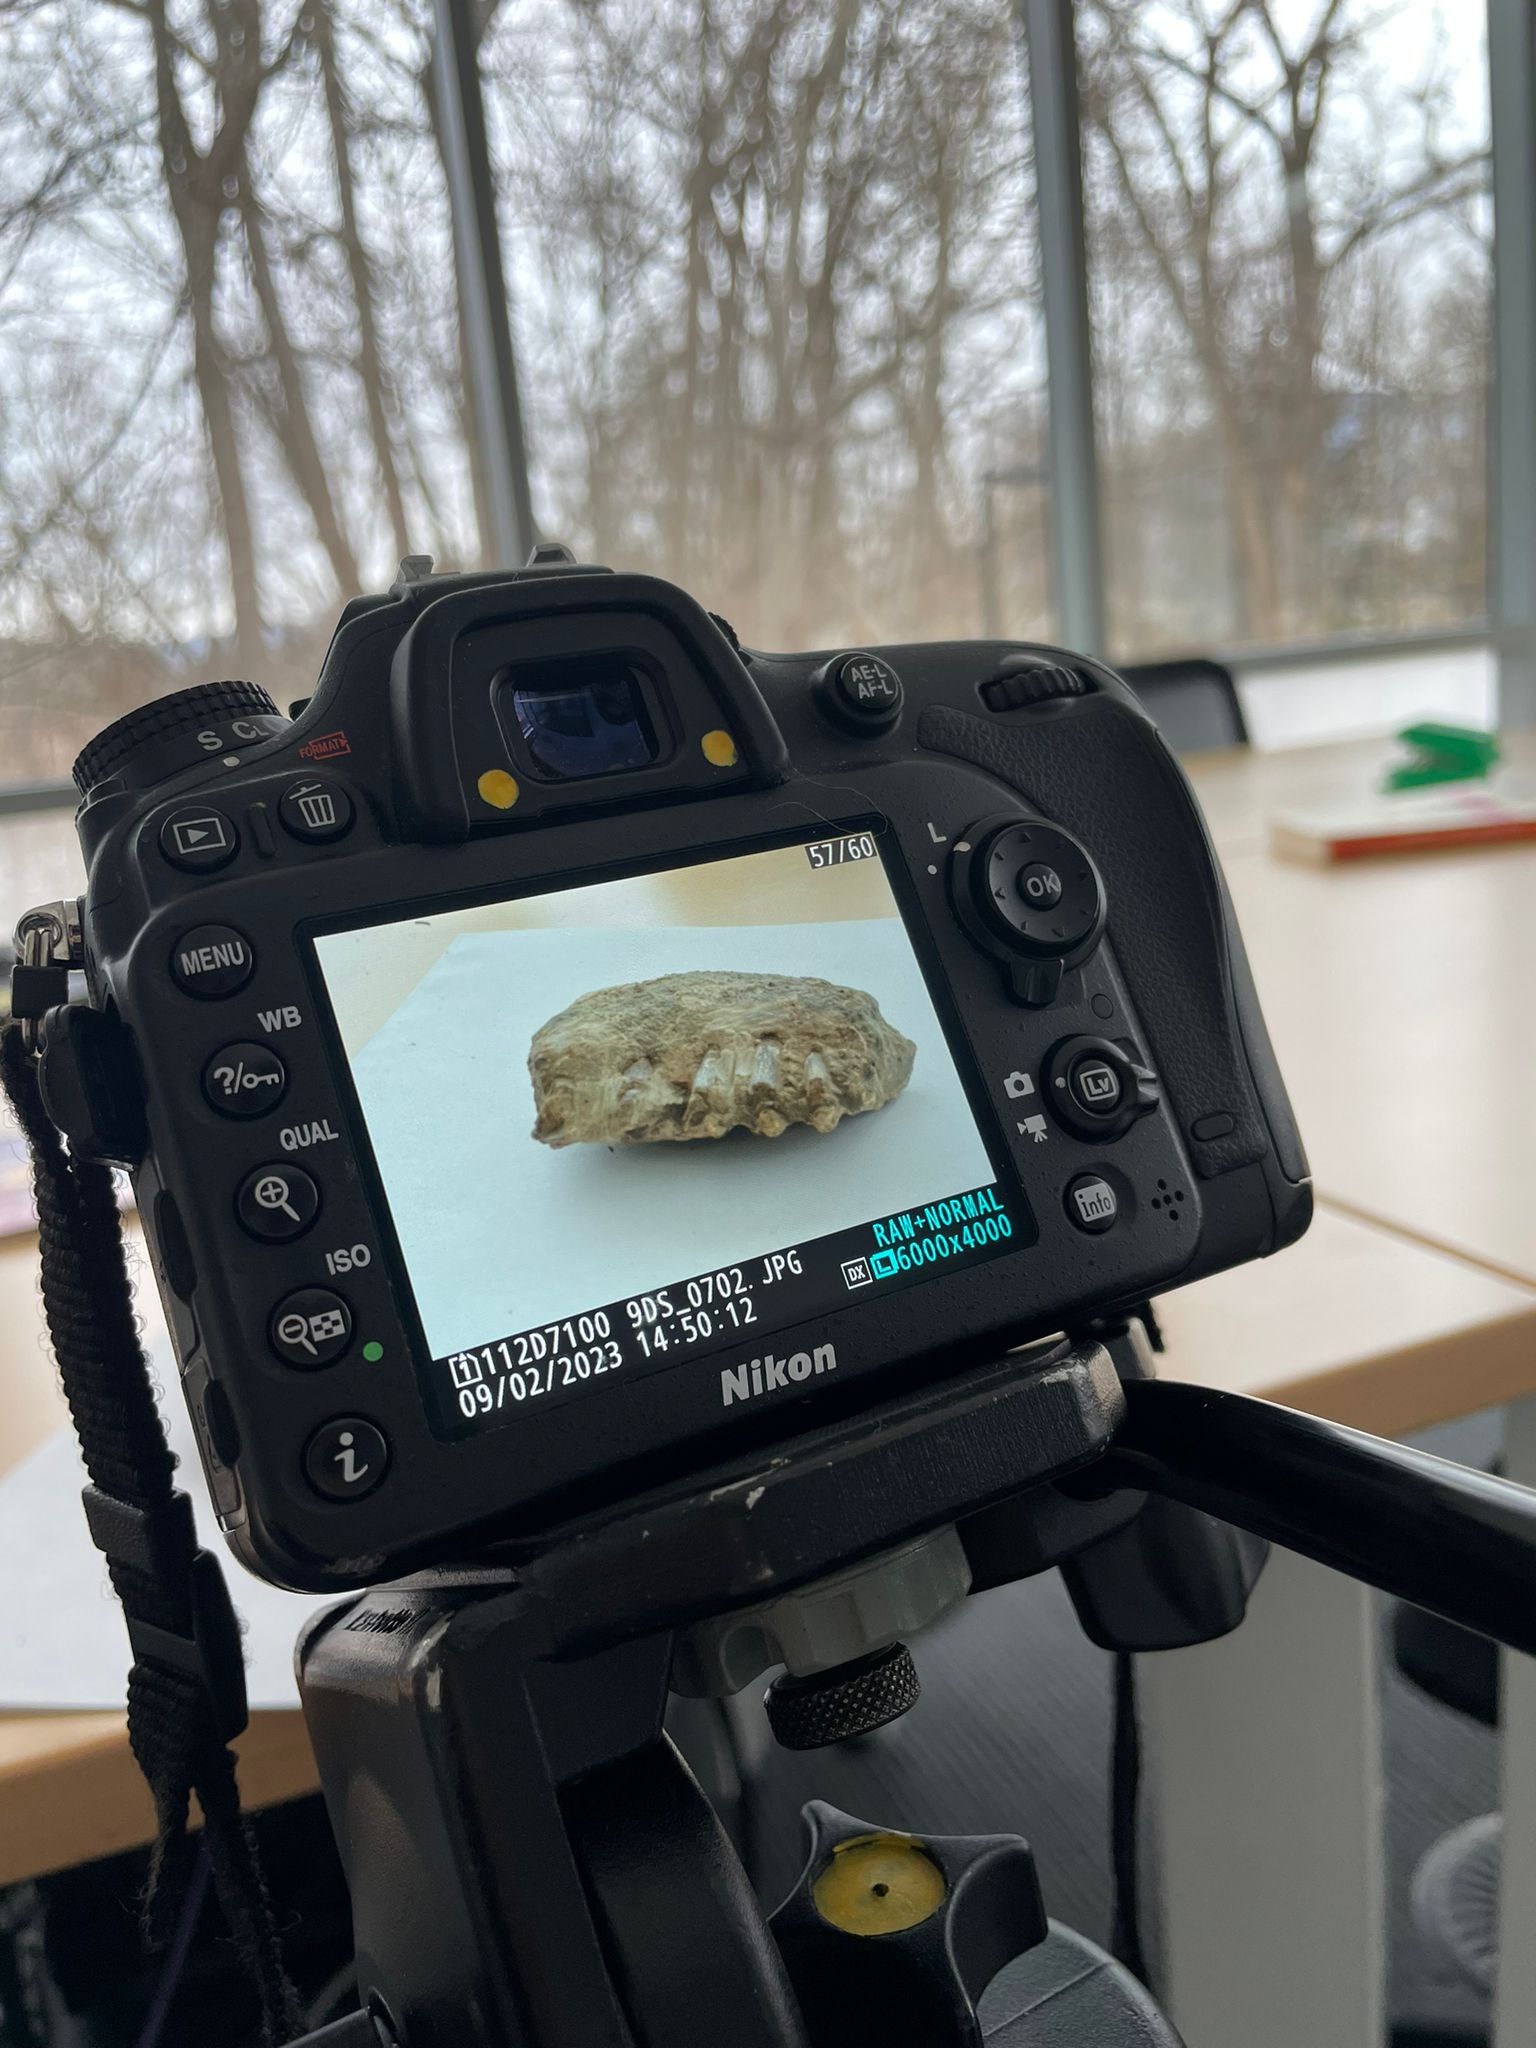
Valeria and David took an average of 341 pictures for each of the four sets of teeth (a total of 1,365 photographs).
I collaborated with David to take clear images from every aspect and dimension. We took a hands-on approach, testing different angles and lighting settings to look for the best approach to photograph each tooth. I first relied on natural lighting and a plain background. After a couple of runs, however, David pushed the concept to the next level by adding a photography lightbox, which allowed us to shoot higher-quality photographs with bright lighting and without shadows. These photos served as the foundation for subsequent work with the photogrammetry software.
Meeting with Anubhav
Valeria interviewed Anubhav Preet Kaur before starting the 3D model process.
I wanted to know more about the scope of the project and what function my contribution might provide. In order to have a better understanding of the scientific process, I interviewed Anubhav, whose important insight provided light on the significance of her research within the larger scientific field. This interaction helped me understand the purpose of the 3D models I was making, especially given the impending pulverization of the teeth via the ESR process. Furthermore, it emphasized the critical need to have an accurate digital 3D model, as well as a physical model, that would endure beyond the impending destruction of the original objects.
Using Photoshop to Create Masks: What is a Mask?
Valeria encountered several challenges when importing masks. However, Beth supported her in her journey, and they overcame those obstacles together.
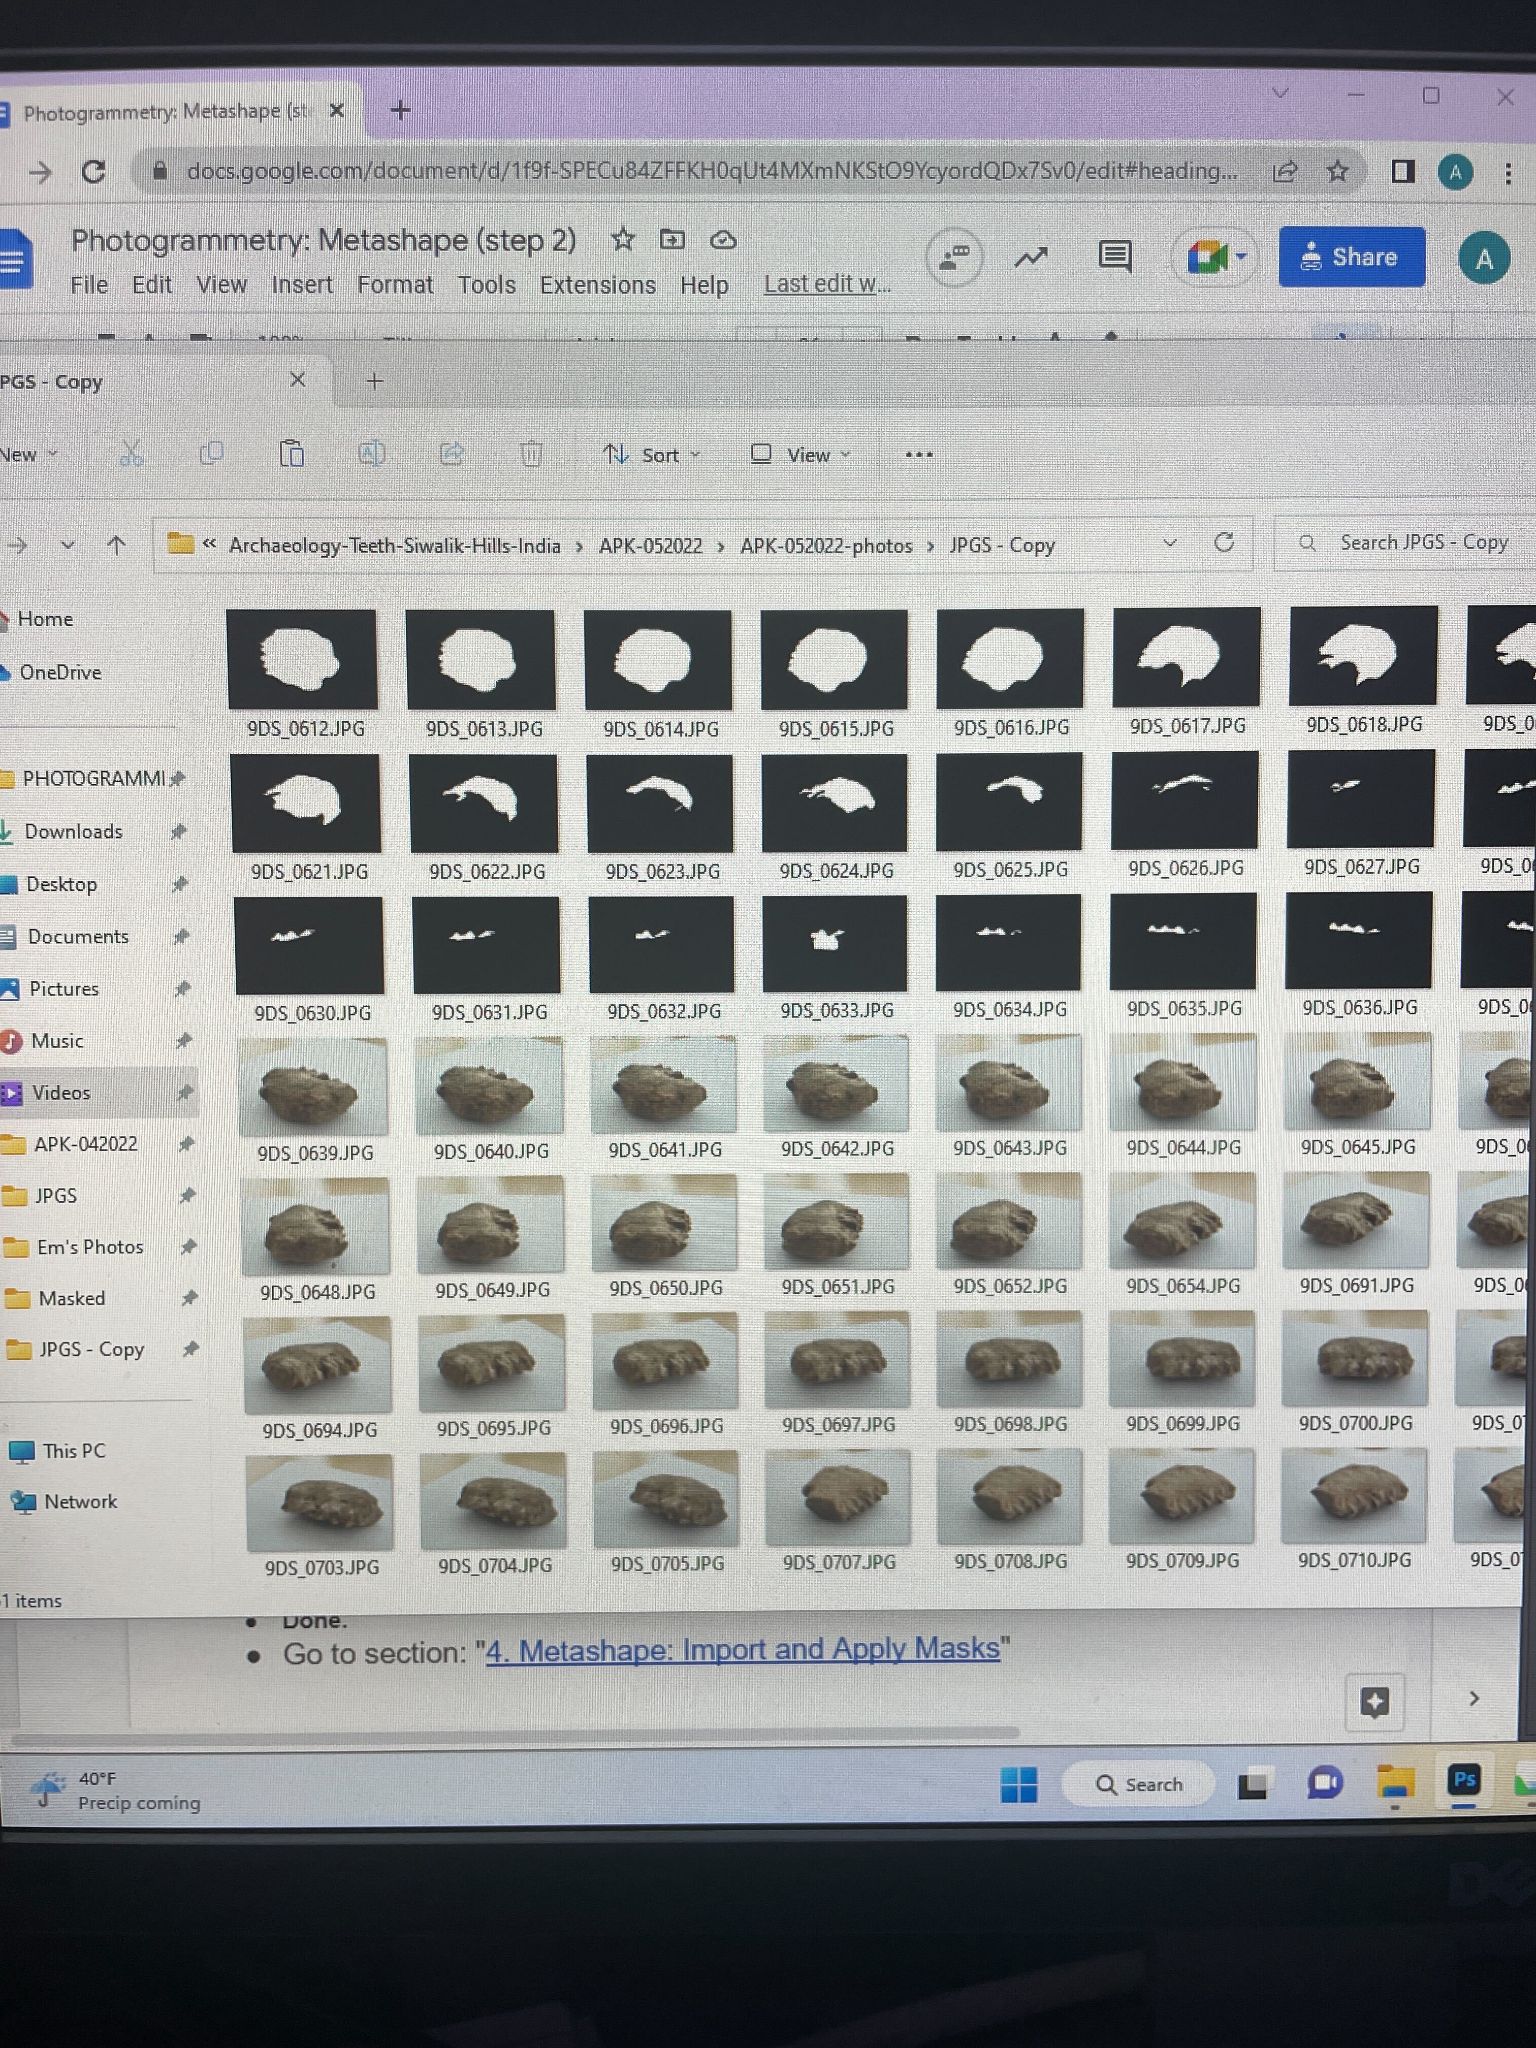
Masks play a crucial role in the model-building process in Agisoft Metashape as they provide precise control over the specific portions of an image used for generating the model. This level of control ensures the resulting reconstruction is accurate and detailed by eliminating irrelevant or problematic features. I used Adobe Photoshop to create masks for each set of teeth, and this proved to be one of the most challenging aspects of the entire project. Because the sets of photos had varying angles and lighting conditions, I collaborated with Beth Fischer to troubleshoot and overcome these obstacles. This collaborative effort deepened David’s and my own understanding of the process. This enabled him to document the issues I faced and their corresponding solutions for future students. After approximately one month of persistent trial and error and several meetings with Beth, we successfully identified effective solutions to the encountered problems.
Using Metashape to Create the 3D Model

Using Agisoft Metashape to construct the 3D Model by importing the photographs and generated masks.
When you use Metashape, it starts by scanning each image and looking for specific points that stand out, like a small group of dark pixels in a larger area of light pixels. These distinctive points are called “key points,” and the software only searches for them in the unmasked areas of the image. Once it finds these key points, Metashape starts to match them across multiple images. If it succeeds in finding matches, these points become “tie points.” If enough points are found between two images, the software links those images together. Thus, many tie points are called a “sparse point cloud.” These tie points anchor each image’s spatial orientation to the other images in the dataset—it’s a bit like using trigonometry to connect the images via known points. Since Metashape knows the relative positions of multiple tie points in a given image, it can calculate an image’s precise placement relative to the rest of the object. After that process, I made the model even more accurate by using “gradual selection” to refine the accuracy of the sparse point cloud, and then I “optimized cameras” to remove any uncertain points (yay!).
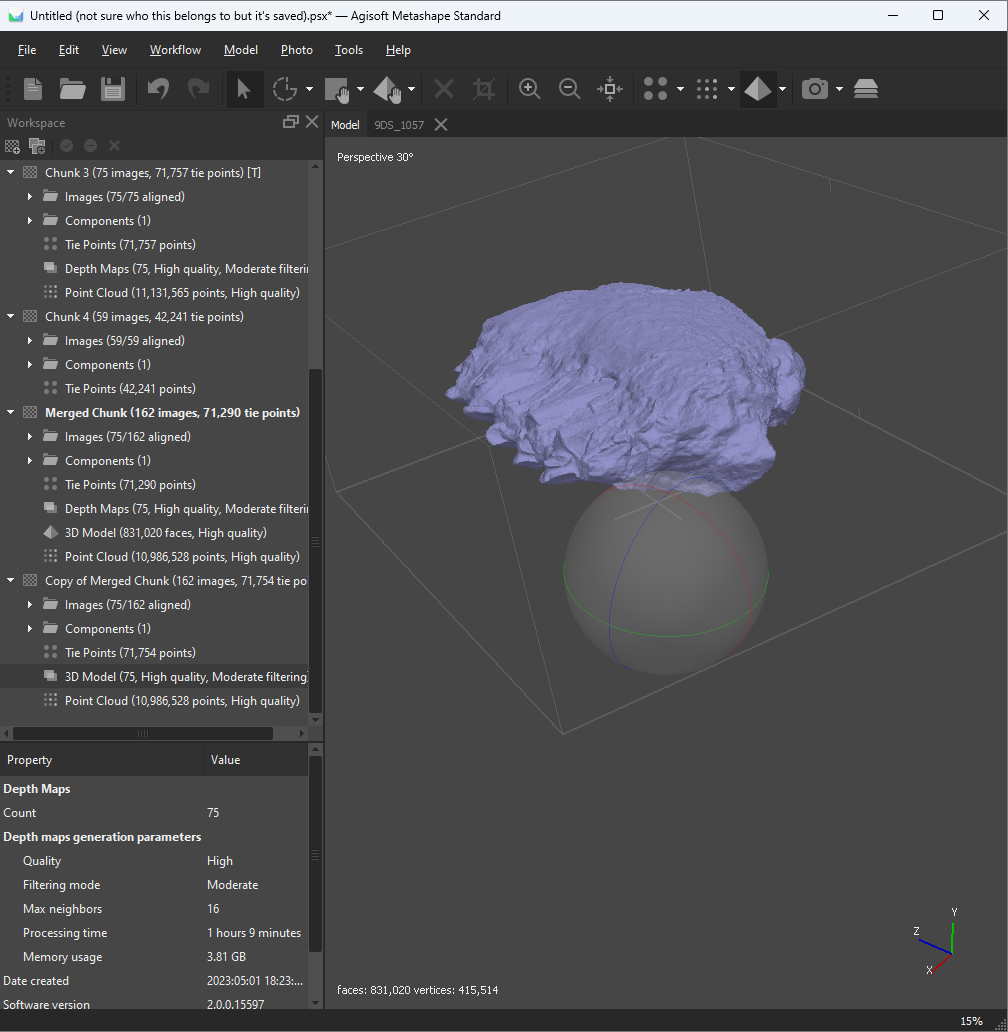
Using Agisoft Metashape to construct the 3D Model by importing the photographs and generated masks.
Later on, I moved on to building the “dense cloud.” This process utilizes the position of the photos previously captured to build a refined sparse cloud. Metashape builds the dense cloud by generating new points that represent the contours of the object. The resultant dense point cloud is a representation of the object made up of millions of tiny colored dots, resembling the object itself. I then cleaned the dense cloud to further refine it by removing any noise or uncertain points.

Using Agisoft Metashape to construct the 3D Model by importing the photographs and generated masks.
Now it was time to build the geometry! This is what turns the point cloud into a solid, printable surface. Through this process, Metashape connects the dots by forming triangular polygons called “faces.” The more faces the model has, the more detailed it will be (it also uses more memory!). As a point of comparison, early 3D animations often appeared to be blocky objects with visible facets, and that was because those models had low face counts. High face counts offer greater refinement and realism.
Lastly, I textured the model. Metashape uses dense cloud points to identify the color of each spot on the model. Texturing the model offers further realism because it applies the actual colors of the object (as photographed) to the resultant 3D model.
And that’s the general process I followed to turn a set of images into a high-quality 3D object using Metashape!
Printing the Model
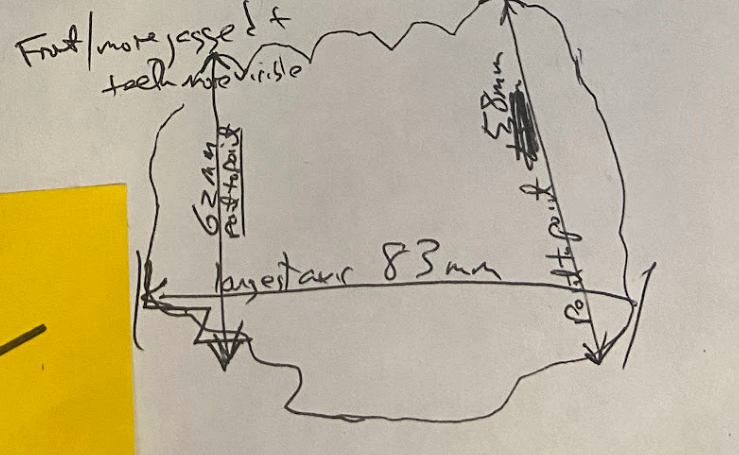
We used calipers and recorded those measurements for later use with accurately scaling the digital object.
To print the final 3D model of the set of teeth, Beth and David worked on scaling it in Metashape. Earlier in the project, David had measured each set of teeth with calipers and recorded metric measurements. Then, Beth marked the endpoints of two sets of David’s measurements and set the length between them. Based on those known measurements, Metashape was then able to figure out the proportionate size of the rest of the model to within 0.1 mm.
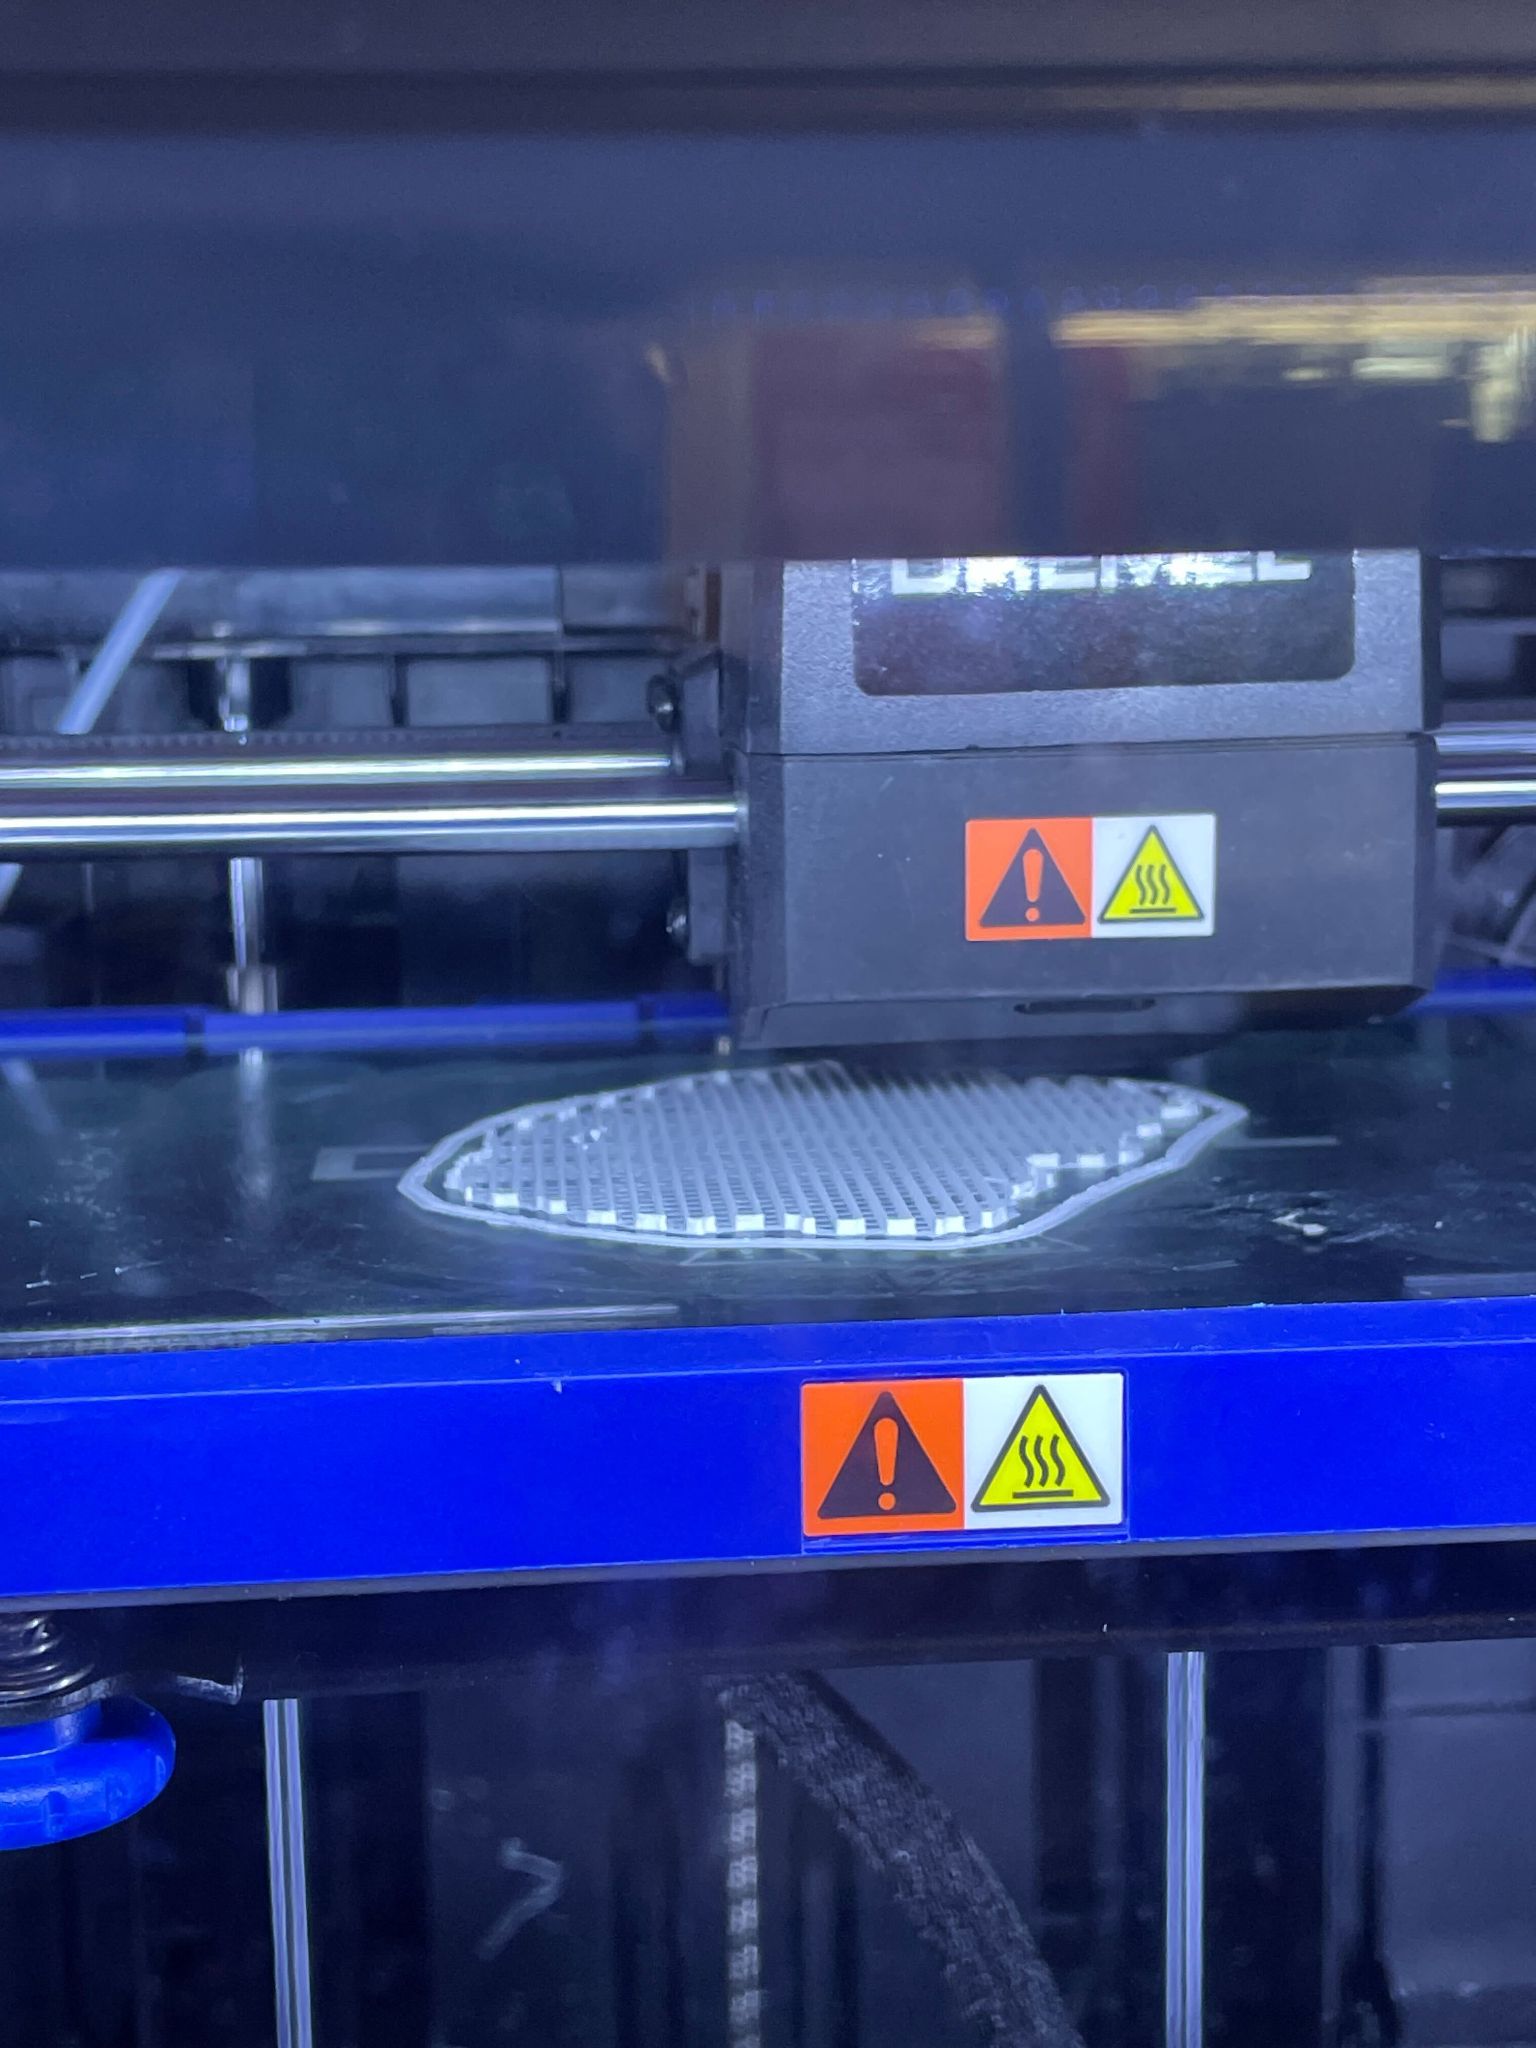
Valeria and David began printing a rough draft of how the models will look once the materials are set.
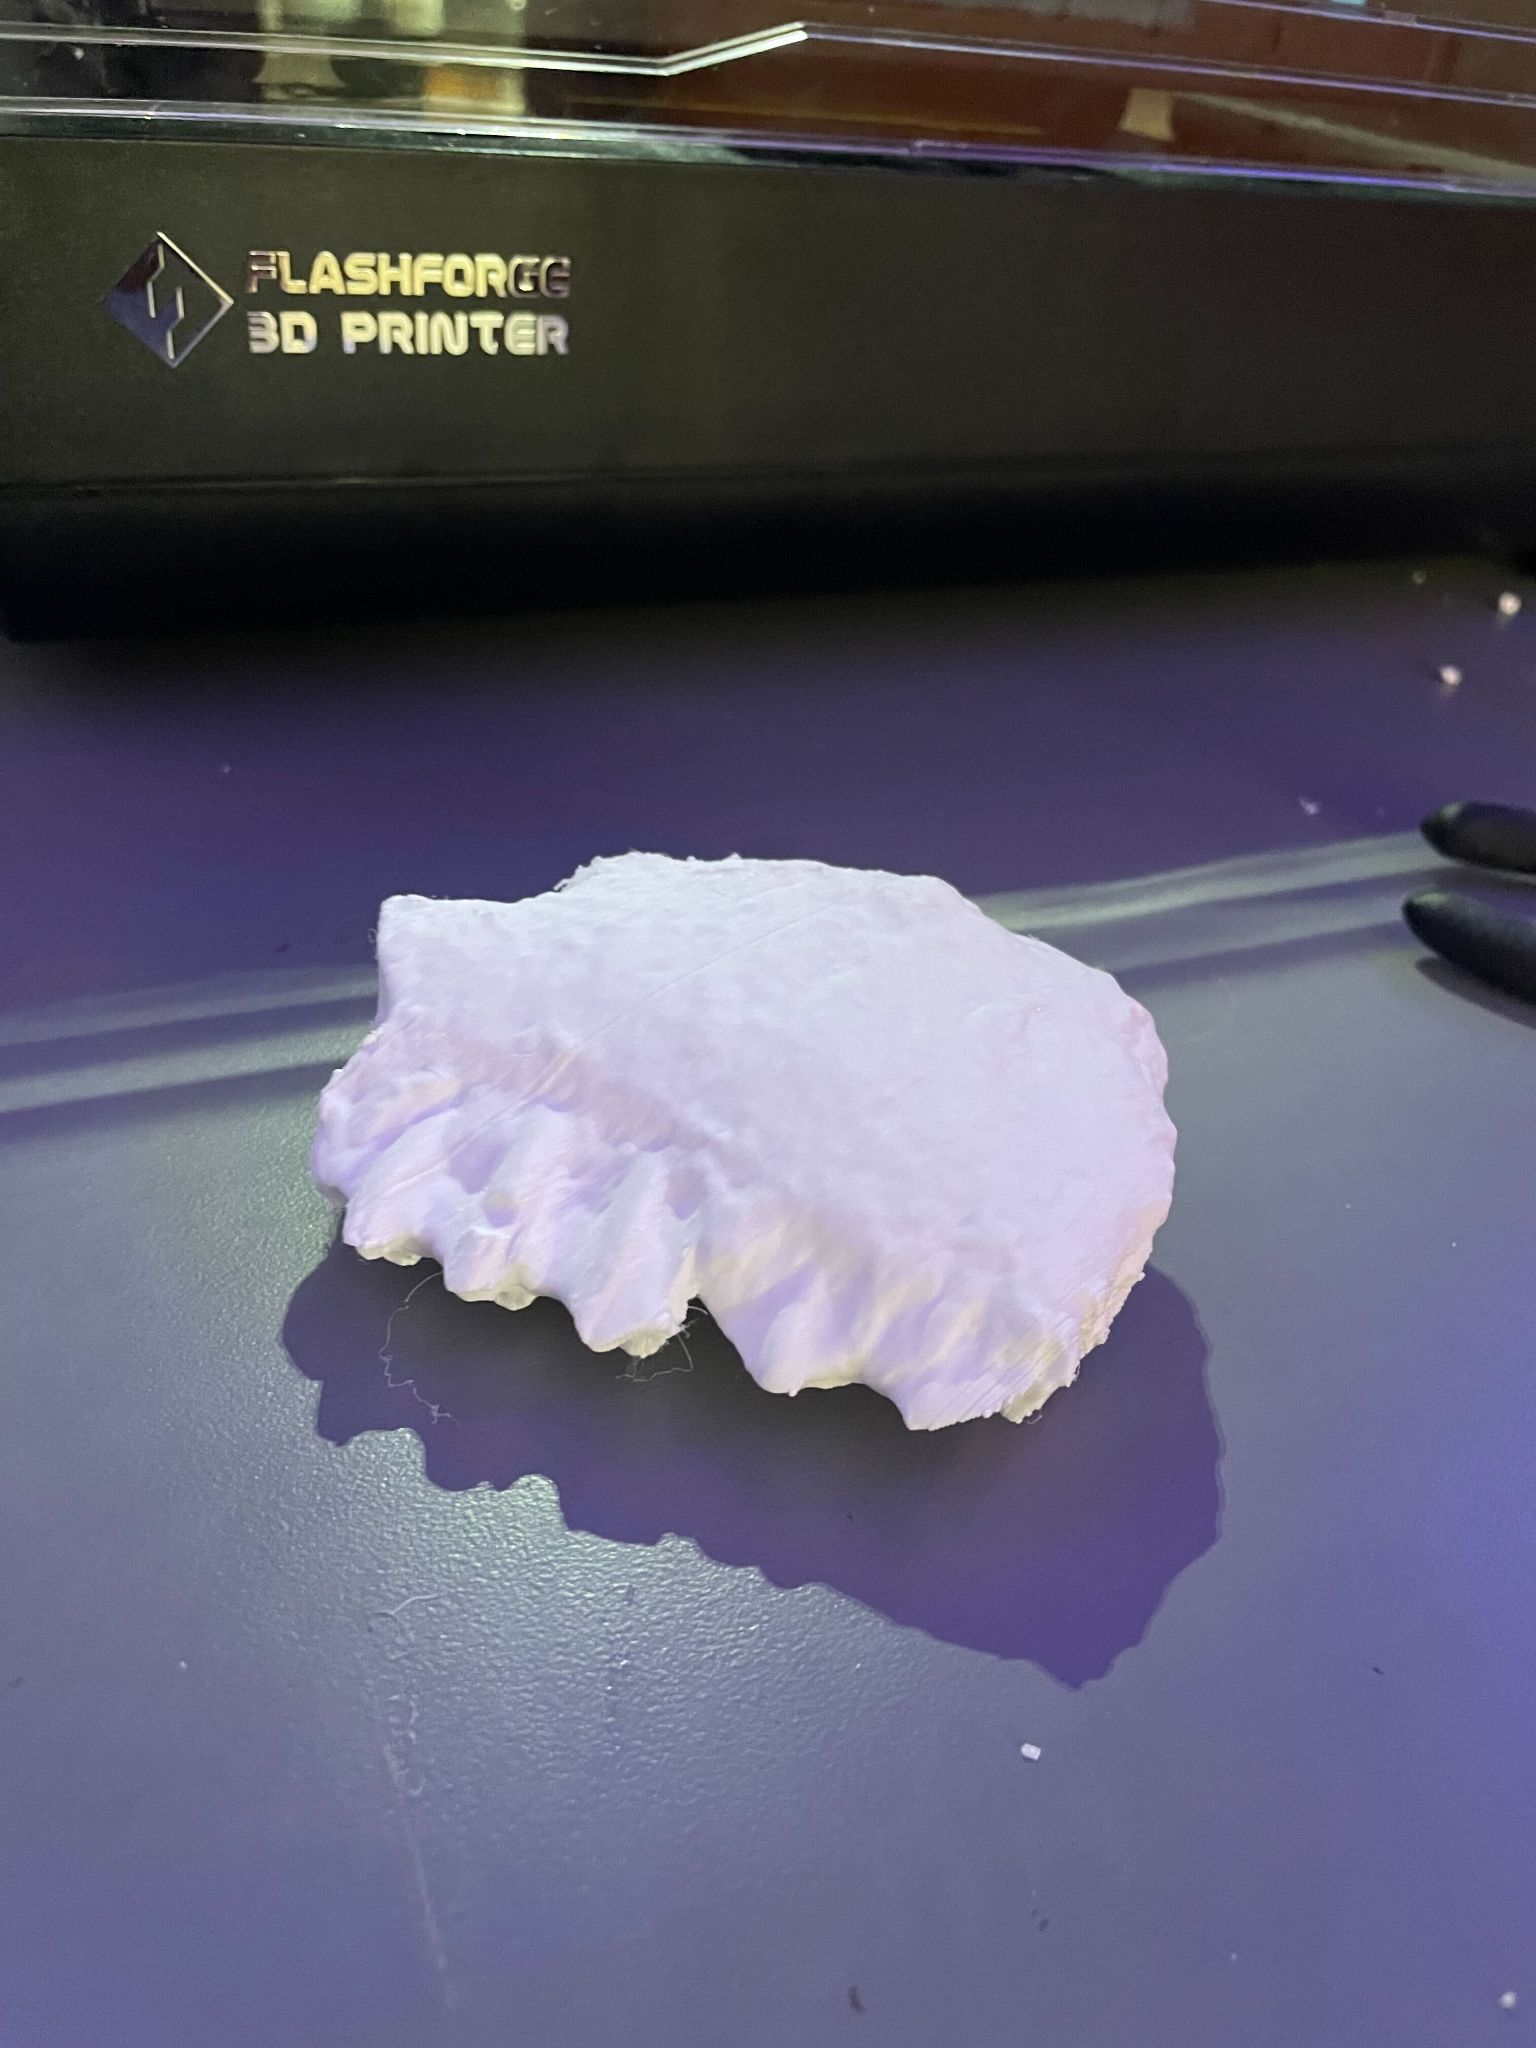
Valeria and David completed printing a rough draft to verify that the size is accurate.
Next Steps
The final steps, which are scheduled to take place this summer, will be to:
- Clean up the file structure of the four digital projects in preparation for permanent archiving in the college library;
- Send the final digital files to Anubhav Preet Kaur in India; we will include .stl files so that she may 3D print her models locally.
Post Script (Feb 23, 2024)
We have completed and shared all four photogrammetry projects with Anubhav Preet Kaur. Each project includes the following:
- All original photos
- Final Metashape digital 3D photogrammetry objects, including texturing
- A .stl and .3mf file, each of which can be used to 3D print the digital object
- Each project also includes a README text file that offers an overview of the project
We hope to add these 3D objects to this post later this year as rotatable, zoomable objects that can be viewed from all angles.
Post Script (Sept 15, 2025)
Electron Spin Resonance (ESR) dating of fossil mammals from the Pinjor Formation, Upper Siwaliks, India (Quaternary International, Authors: Anubhav Preet Kaur, Anne Skinner, Rajeev Patnaik)
Sources
- Chauhan, Parth. (2022). Chrono-contextual issues at open-air Pleistocene vertebrate fossil sites of central and peninsular India and implications for Indian paleoanthropology. Geological Society, London, Special Publications. 515. 10.1144/SP515-2021-29. https://www.researchgate.net/publication/362424930_Chrono-contextual_issues_at_open-air_Pleistocene_vertebrate_fossil_sites_of_central_and_peninsular_India_and_implications_for_Indian_paleoanthropology
- Estes, R. (2023, June 8). bovid. Encyclopedia Britannica. https://www.britannica.com/animal/bovid
- Grun, R., Shackleton, N. J., & Deacon, H. J. (n.d.). Electron-spin-resonance dating of tooth enamel from Klasies River mouth … The University of Chicago Press Journals. https://www.journals.uchicago.edu/doi/abs/10.1086/203866
- Lopez, V., & Kaur, A. P. (2023, February 11). Interview with Anubhav. personal.
- Wikimedia Foundation. (2023, June 1). Geologic time scale. Wikipedia. https://en.wikipedia.org/wiki/Geologic_time_scale#Table_of_geologic_time
- Williams College. (n.d.). Anne Skinner. Williams College Chemistry. https://chemistry.williams.edu/profile/askinner/
- Agisoft. (2022, November 4). Working with masks : Helpdesk Portal. Helpdesk Portal. Retrieved June 16, 2023, from https://agisoft.freshdesk.com/support/solutions/articles/31000153479-working-with-masks
- Hominin | Definition, Characteristics, & Family Tree | Britannica. (2023, June 9). Encyclopedia Britannica. Retrieved June 16, 2023, from https://www.britannica.com/topic/hominin