

Objects that scan well
- Small size (smaller than 6″ x 6″ x 6″)
- Matte, non-reflective surfaces
- Light in color
Setting Up the Projector
Launch David 3D Scanner Pro on the Makerspace computer. Make sure both cables from the projector/camera are plugged into the computer, and turn on the projector using its power button.
The projector should project a pattern while the computer monitor continues to show the desktop. If this is not the case, check the computer display settings and the settings in the setup menu of David.
Right click on Desktop -> Display Settings
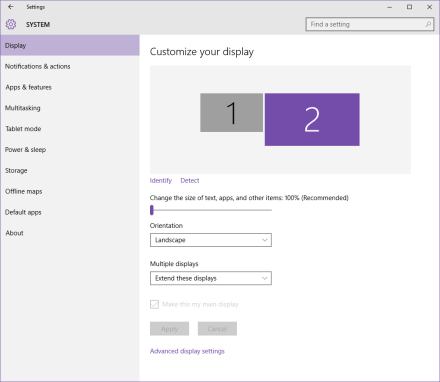
The computer monitor should be set as the “Primary Display” and “Multiple Displays” should be set to “Extend the displays”
Settings within the David program
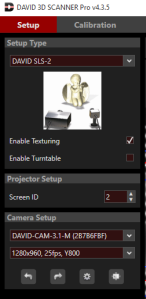
In the left hand panel
Setup Type = DAVID SLS-2
Projector Setup -> Screen ID = 2
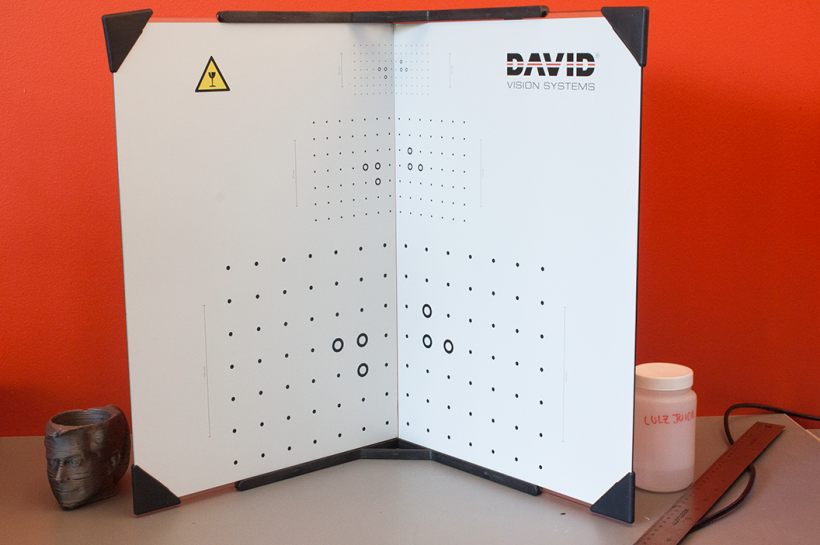
Setting up objects & calibrating
David Scanner: Step-by-Step How-to Video Guide
- Part 2 – Scanning Basics (Part 1 is unnecessary as it covers software installation)
- Part 3 – Calibrating the Projector
- Part 4 – Scanning and Stitching