
**CONSULT YOUR PROFESSOR FOR THEIR METHOD OF EXCLUSION IN MECHANICAL TURK.
Summary: in this page, you will learn how to create an exclusion list within MTurk so that Workers who have taken a previous HIT in your study cannot take the a subsequent related HIT within the same experiment.
*WARNING* This method is not a fast process, but is more intuitive than using a code script. This method uses EXCEL. If you are more familiar with R Studio, there is another similar method which can be completed in R.
The steps:
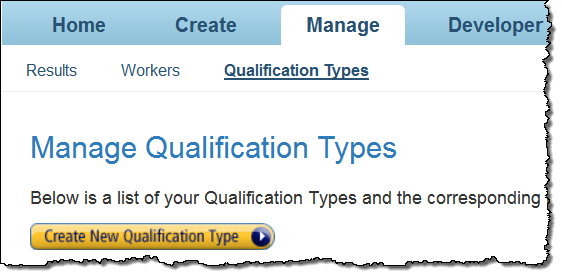
- Go to the “Manage” tab in your Requester account. Click the “Qualification Types” sub-tab below. You can use Qualifications to manage who can and cannot take your HITs by any criteria you wish. The most useful for this feature is exclusion by previous HIT or latitudinal studies (requiring the same participants to complete a study over a period of time).
- Click the “Create New Qualification Type” button shown above and a dialogue box should appear. In the Friendly Name text box, enter a name that describes the Qualification Type. Your workers will be able to see this so make sure that they will understand it. In the Description text box, enter a description of the Qualification Type and click the Create button.
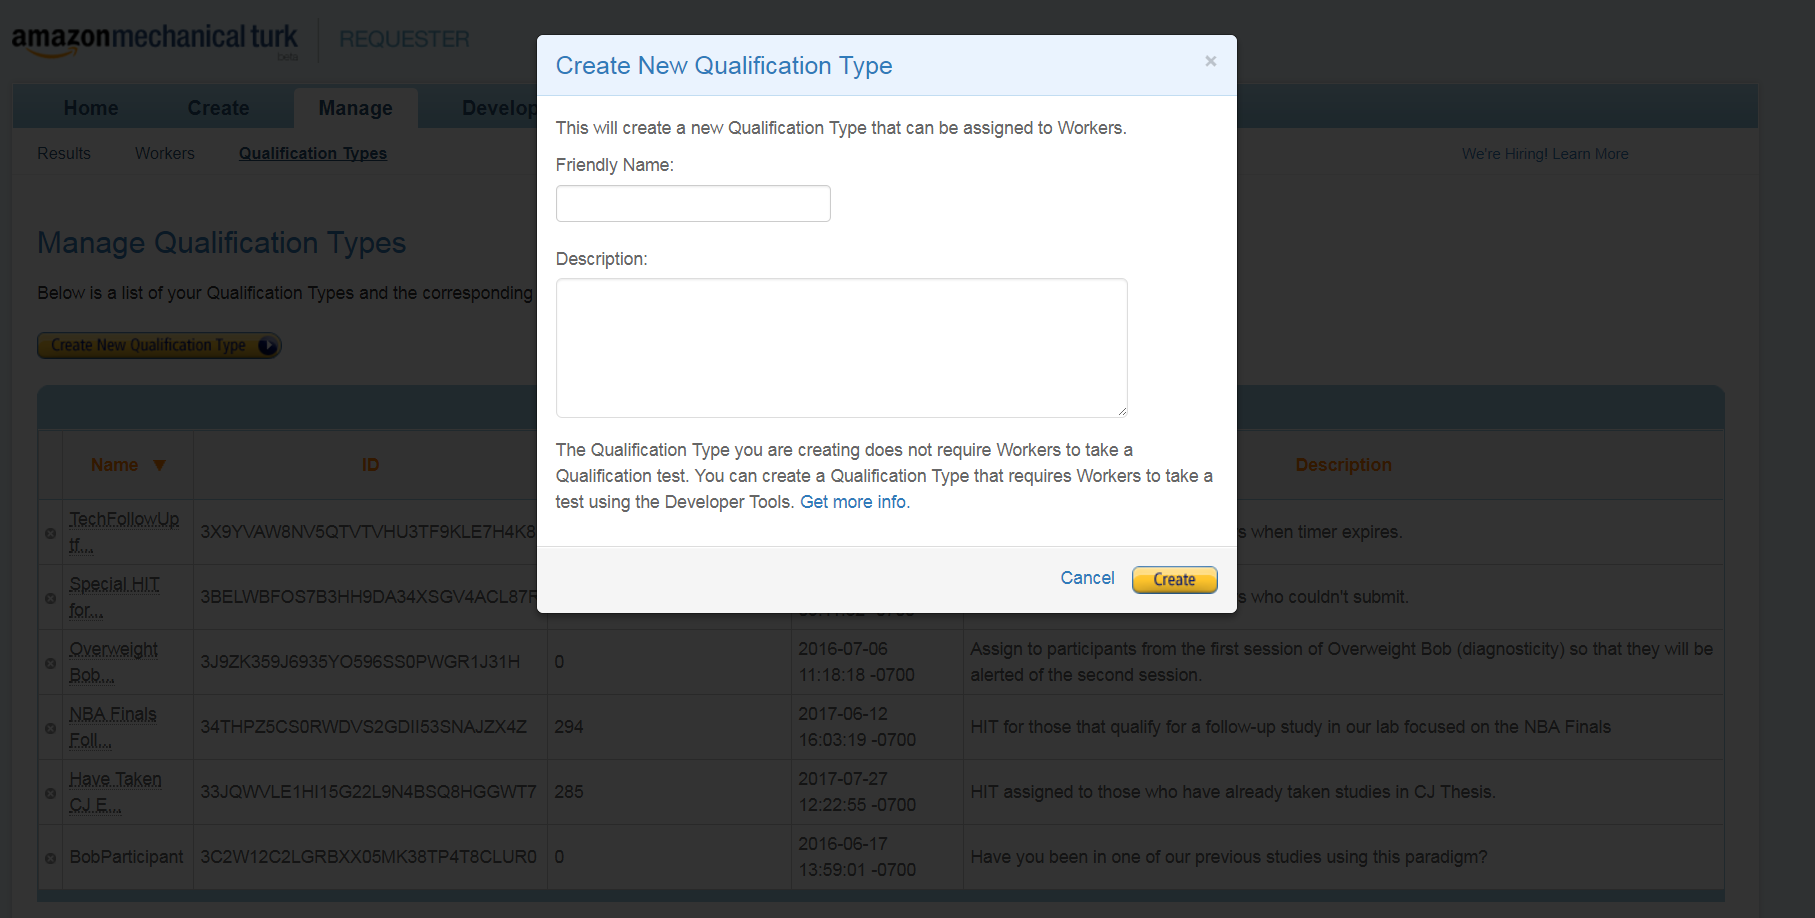
- The new qualification type appears in the list of Qualification Types on the Manage Qualification Types page. There is a short delay before the new Qualification type appears in the list. Refresh the browser if it doesn’t appear on its own.
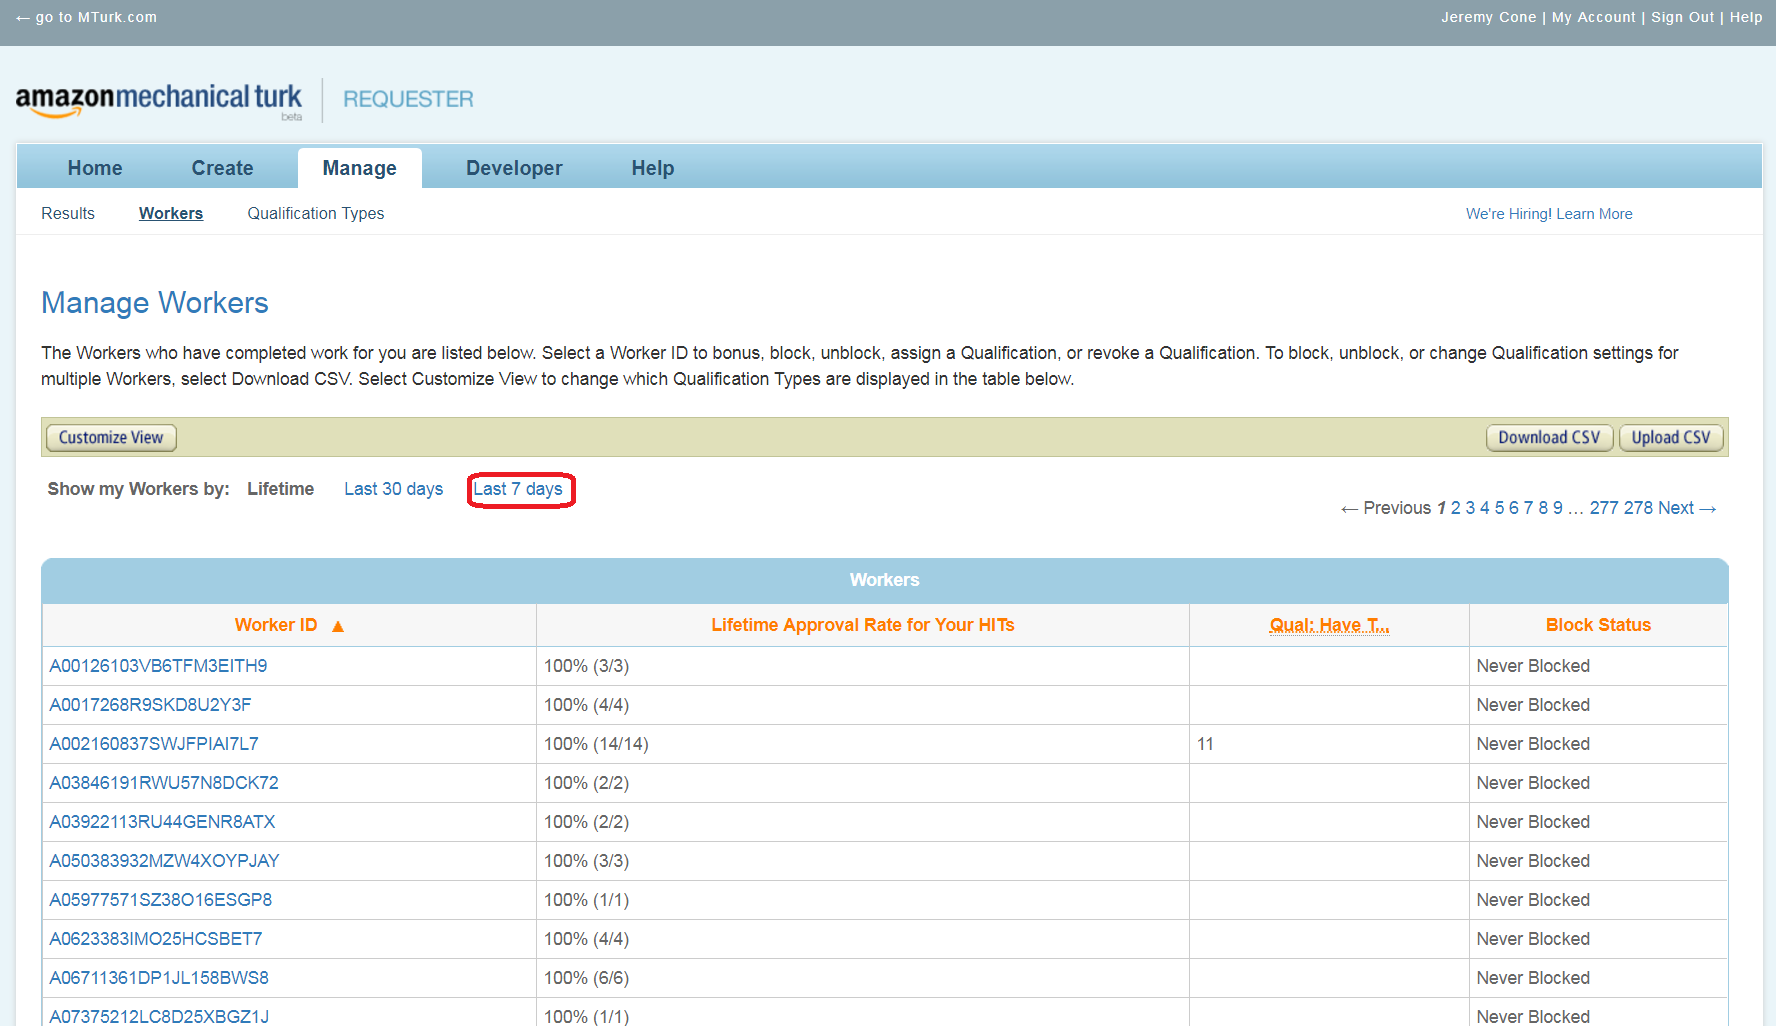
- Assigning a Qualification to a Worker is the harder bit. It requires you to download the .csv file under the “Manage” > “Workers” tab. If the HITs you wish to exclude people from have occurred within the last 7 days, click on the corresponding button to download only the Worker IDs from the past 7 days worth of experiments. This will likely take a few minutes (depending on how many studies you’ve run in this time and how may participants you had).
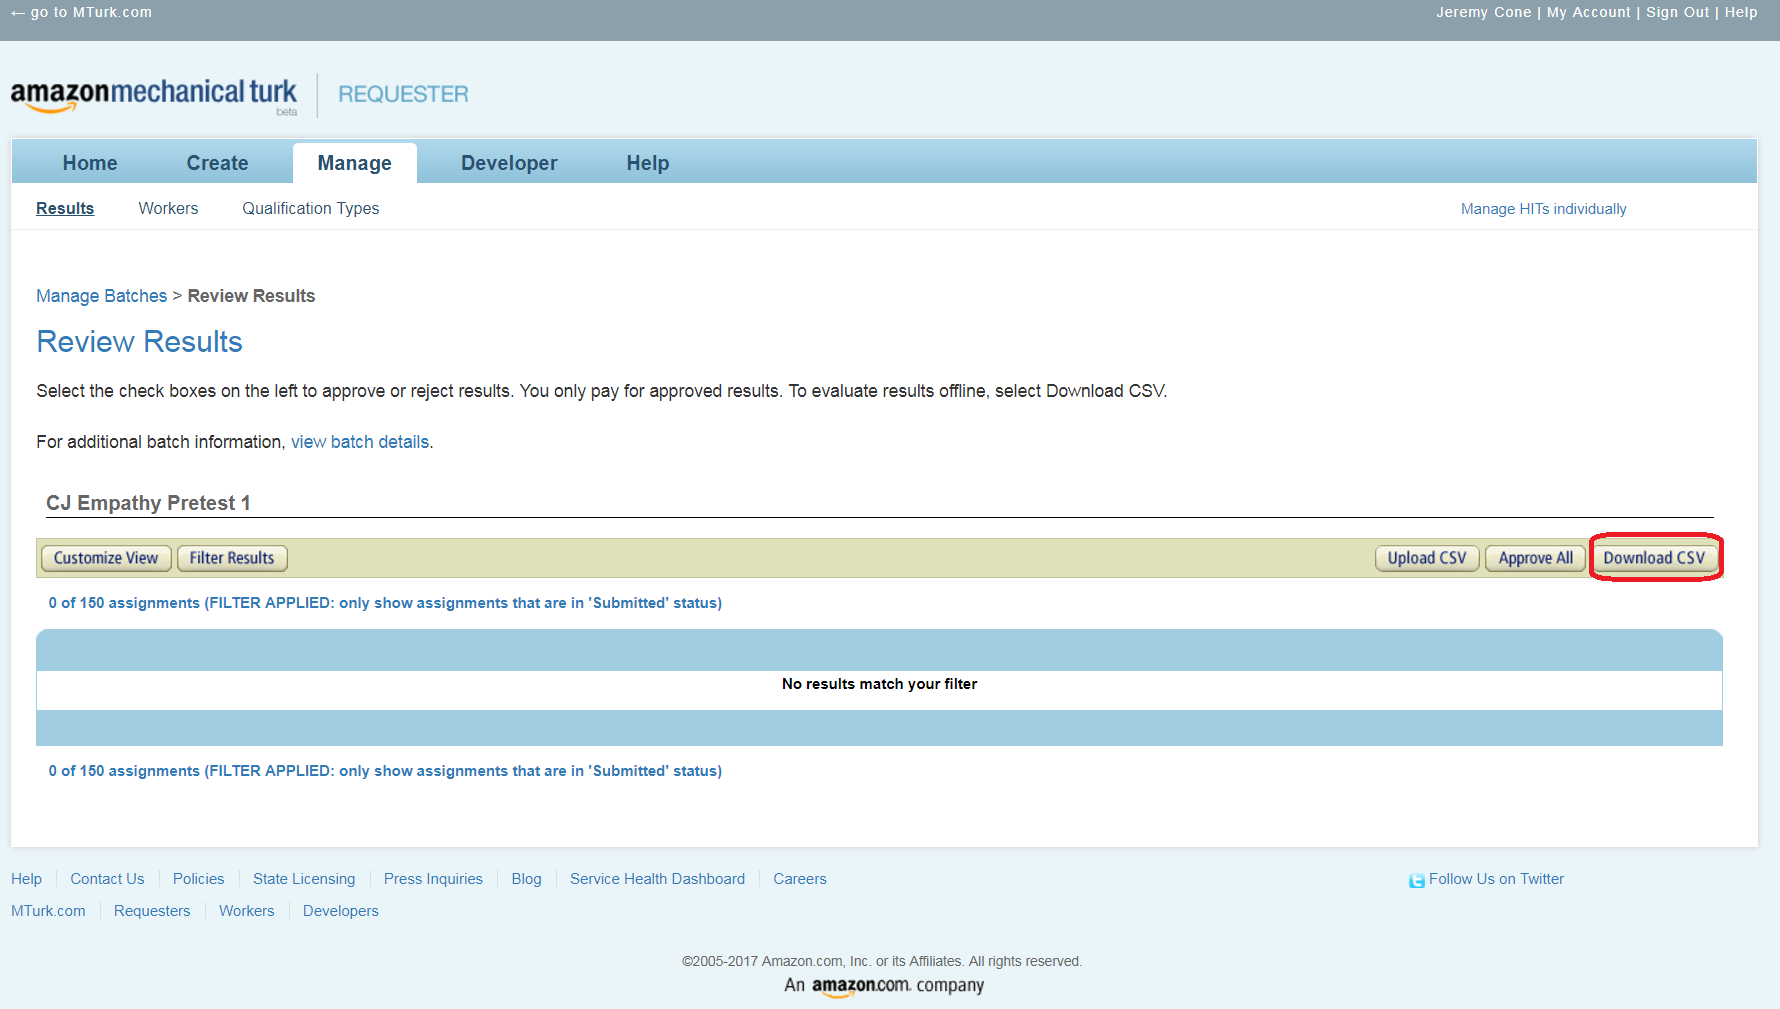
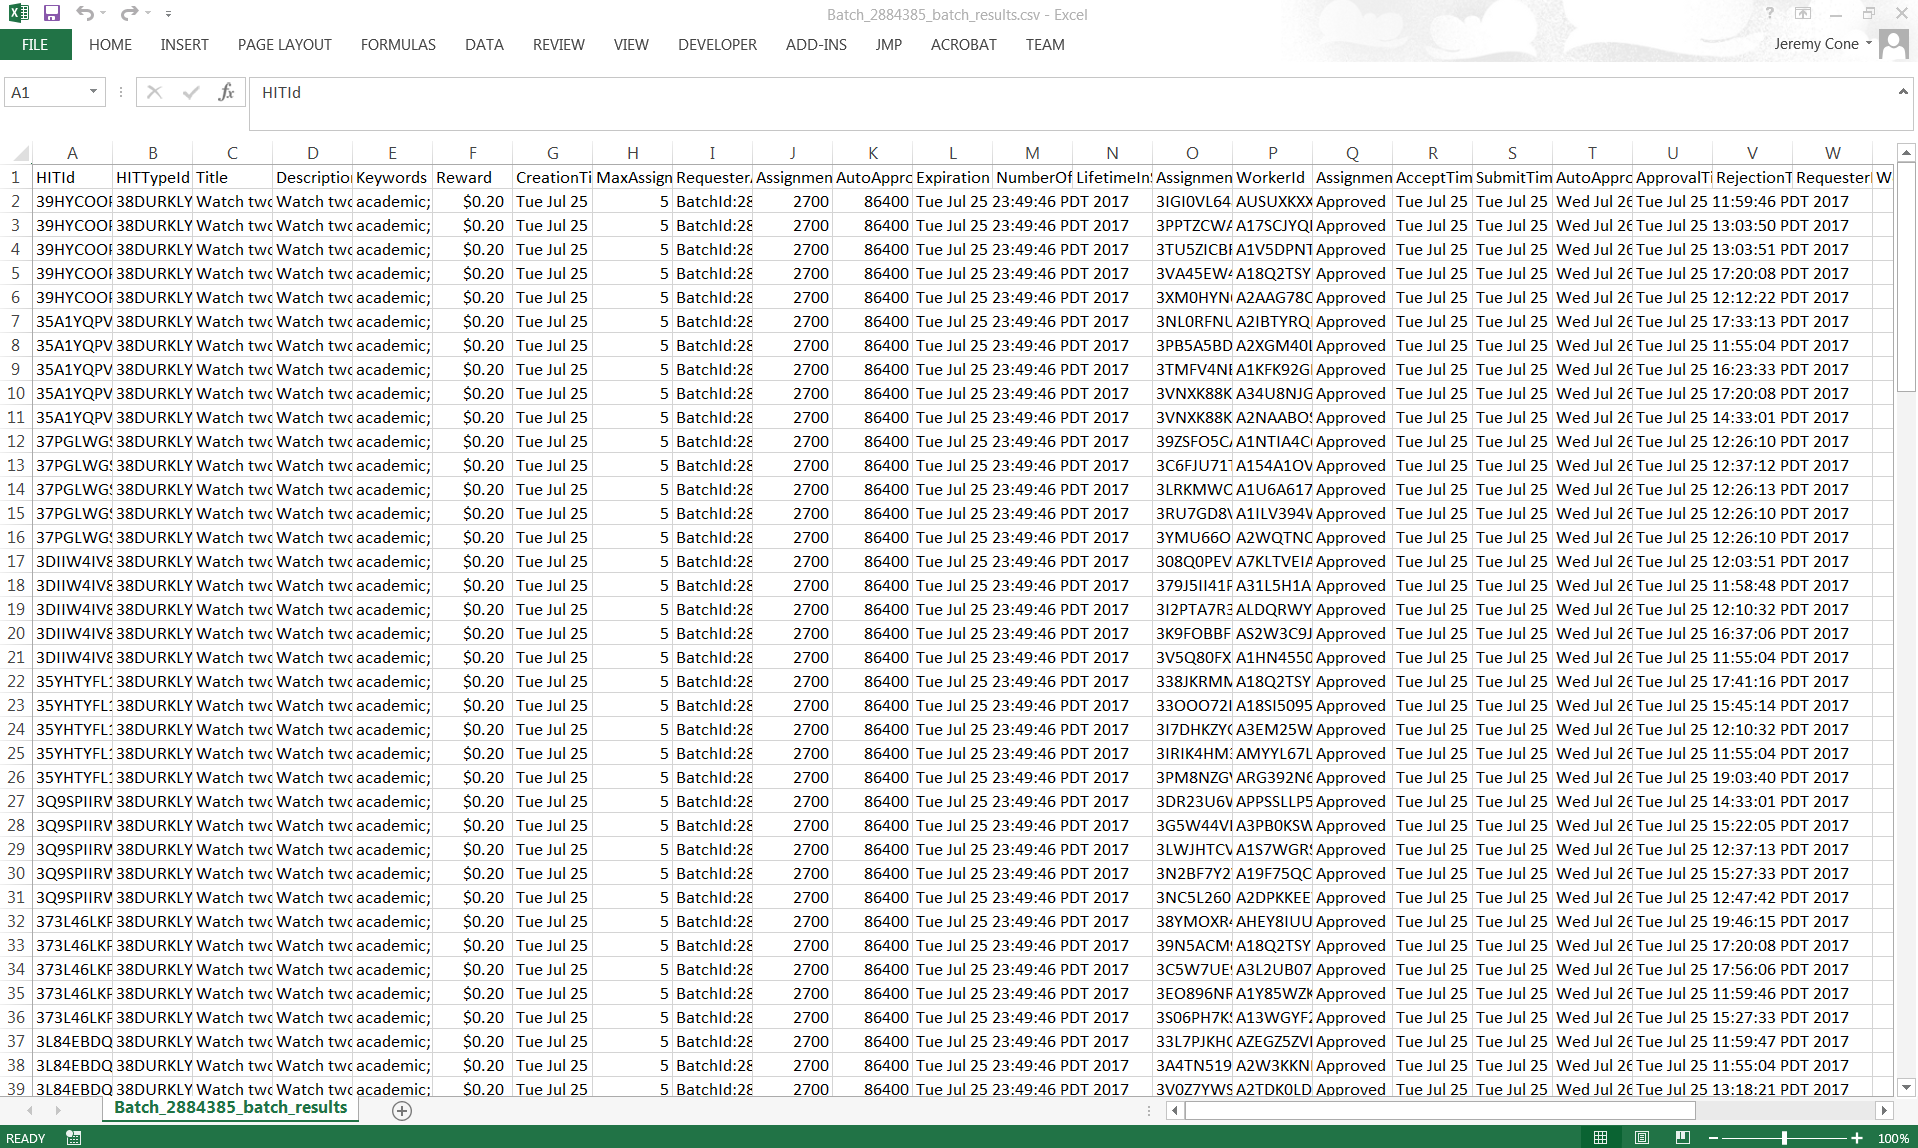
- Meanwhile, you can download the Batch CSV from the HITs you have run that you wish to be your exclusion. You can do this by going to the “Manage” > “Results” tabs and click on the specific HIT. Once it opens, navigate to the “Results” section of the HIT and “Download CSV” located on the right.
- Your batch should look something like what you see below. At this point, you should copy the column labeled “WorkerId” and paste it next to the “WorkerID” location in the “Last 7 Days” file.
- Now we need to check a few things in the large Worker ID file. You want to ensure that there are two columns, located near the end of the file, for your latest Qualification. They should be titled: CURRENT-Qualification Name and UPDATE-Qualification Name *No spaces unless there are some in the Qualification Name.*
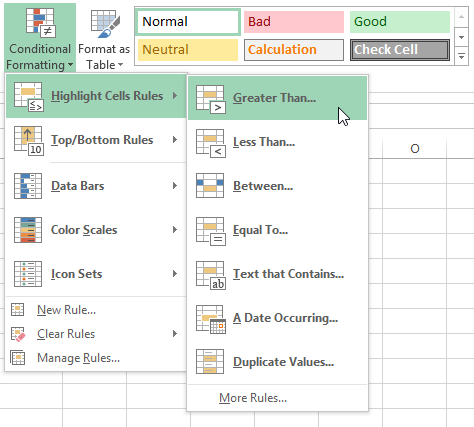
- Now we need the WorkerId (those from the Batch) to line up with the matching IDs from the larger file. In order to do this, select the two WorkerID columns (they should be next to each other at the front of the file). Navigate to the “Home” tab on the Excel sheet and the look for a feature called “Conditional Formatting” and then click on “Duplicate Values” as shown below.
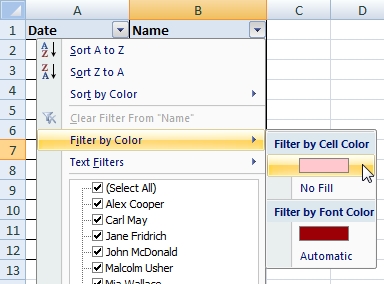
- In order to do this, navigate to the “Data” tab at the top and locate “Filter.” This feature opens up drop down menus on each column. Click on the drop down menu on the column titled “WorkerID.” Choose “Filter by Cell Color.”
- Now the two ID columns should match up and you can input the number of your choice (between 0 and 100) into the “UPDATE-Qualification Type.”
- “Upload CSV” in the “Manage”>”Workers” tab. Once you have done that (it takes some time to load), you can approve the new qualifications and you’re all set!
- When you edit a HIT, in the “Setting up the HIT” section, add the Qualification Type you have created and set it to “has not been granted.” This should prevent Workers who have this qualification from taking the HIT!
Here’s a link to a tutorial video if you have any questions: Exclusion List Tutorial.