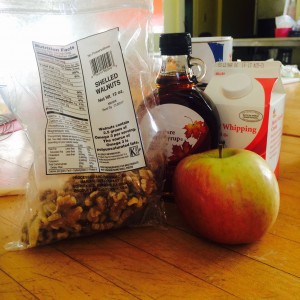
Unfortunately, we have reached the end. We all knew this was coming, the pie that is the month of January has run out of slices. It was a wonderful month full of wonderful pies that ended spectacularly with our banquet. For the banquet we had to make two pies one sweet, one savory, and I decided to make a pie I had wanted to make during savory week, a beef short rib pot pie, and one inspired by a friend, chocolate lava mini pies.
I knew there would be challenges with these pies, but I figured it was the last week, so why not go out with a bang, either a blaze of glory or with the actual flames of a burnt pie. With the savory pie I was concerned about the fact that I would be doing actual cooking, as the filling had to be cooked before being put into the pie, and by the fact that I had somehow got it into my head that puff pastry would greatly improve the pie. With the sweet pie I was concerned with just how exactly it would work. I knew it would have a bottom shell and the lava-y cake part would fill it, but I wasn’t convinced I could actually make the lava happen. Nevertheless, I sallied onward as this was the last week for pie baking and was not a time to be meek.
The puff pastry was the first obstacle I set out to conquer using the recipe for puff pastry outlined in Susan Purdy’s As Easy As Pie. Reading the recipe itself was daunting as it was three pages long, with an additional three pages of introduction, because puff pastry is not something one just blindly walks into, puff pastry is serious. So serious, that to make it you need diagrams and internal notation systems.


So complex!
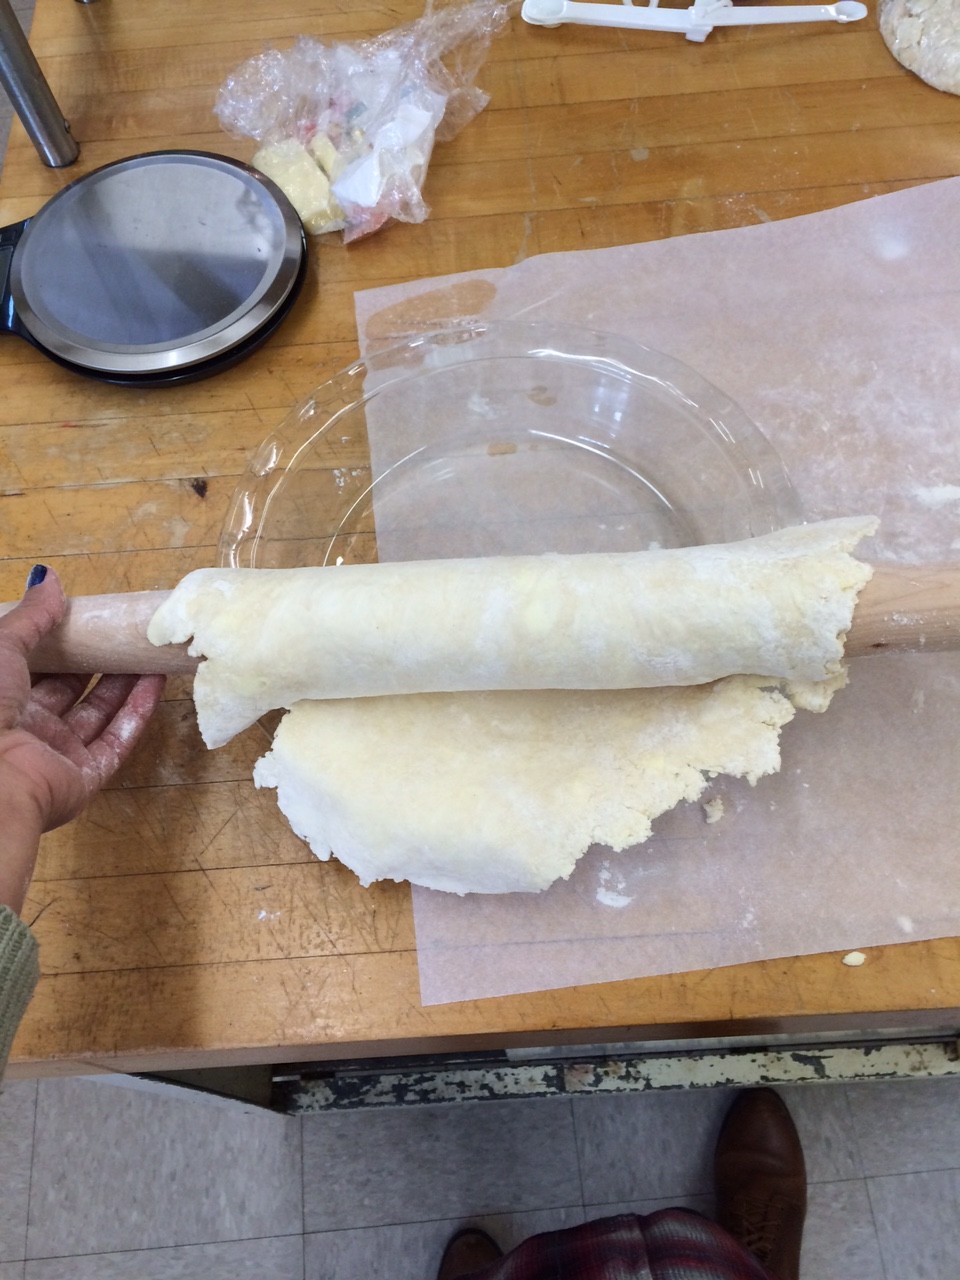
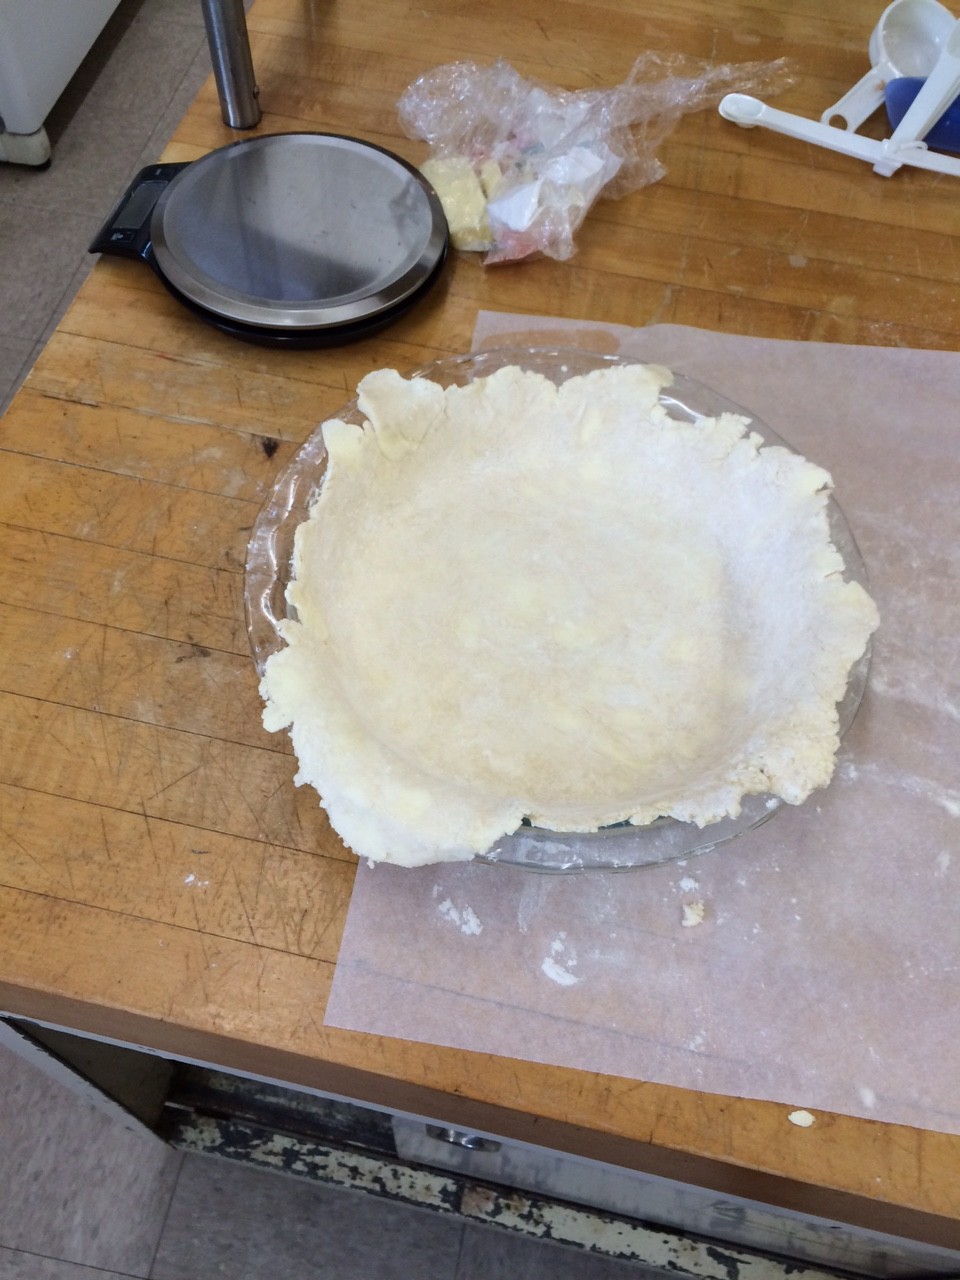
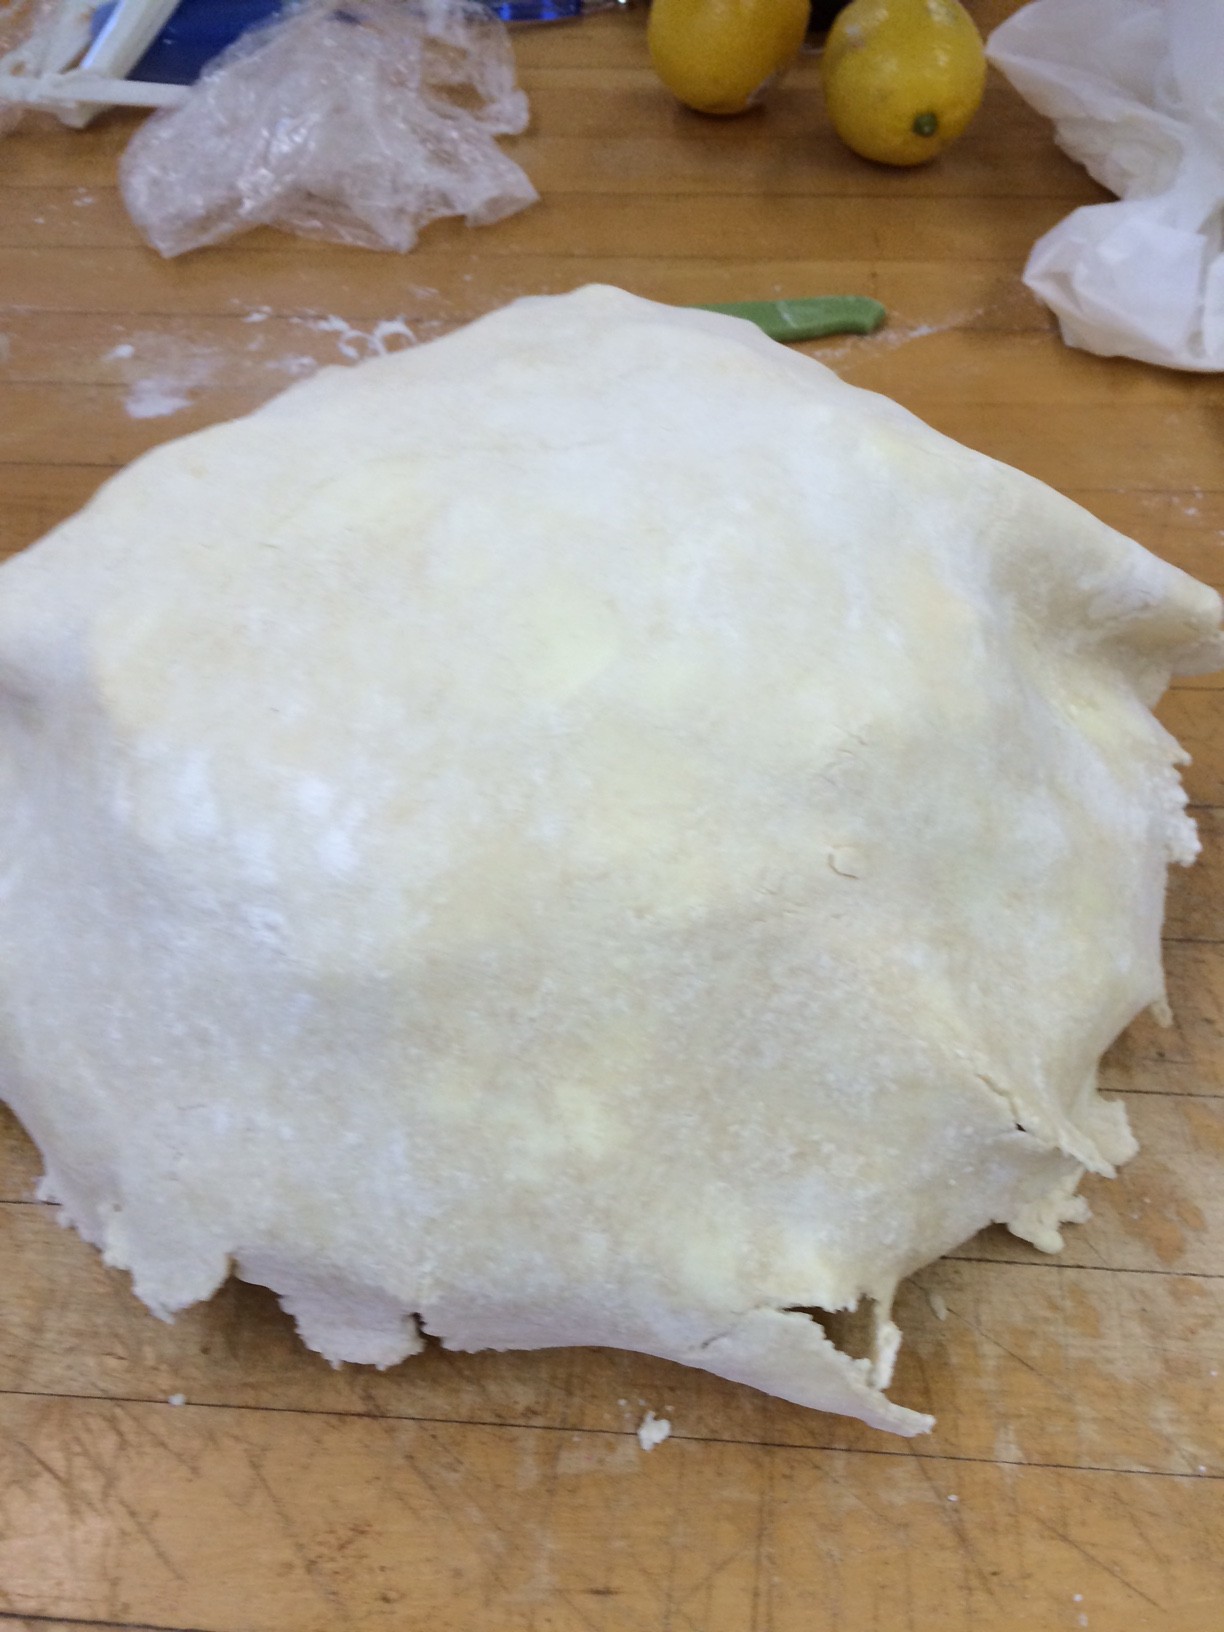
But I did it so I guess I will outline the key steps. First, you must make a what is essentially a basic all-butter pastry, which you then wrap, like wrapping paper, around a slab of butter that had been mixed with a smidge of flour. Then, you roll it out into a rectangle that is precisely 6in x 15in x 1in, fold it in thirds like an envelope, orient it so the top is the unfolded side with the flap oriented to the right, and then you mark it with a finger print for every turn of the pastry you have done. You do this 6 times. Chilling for 25 minutes in between each step.
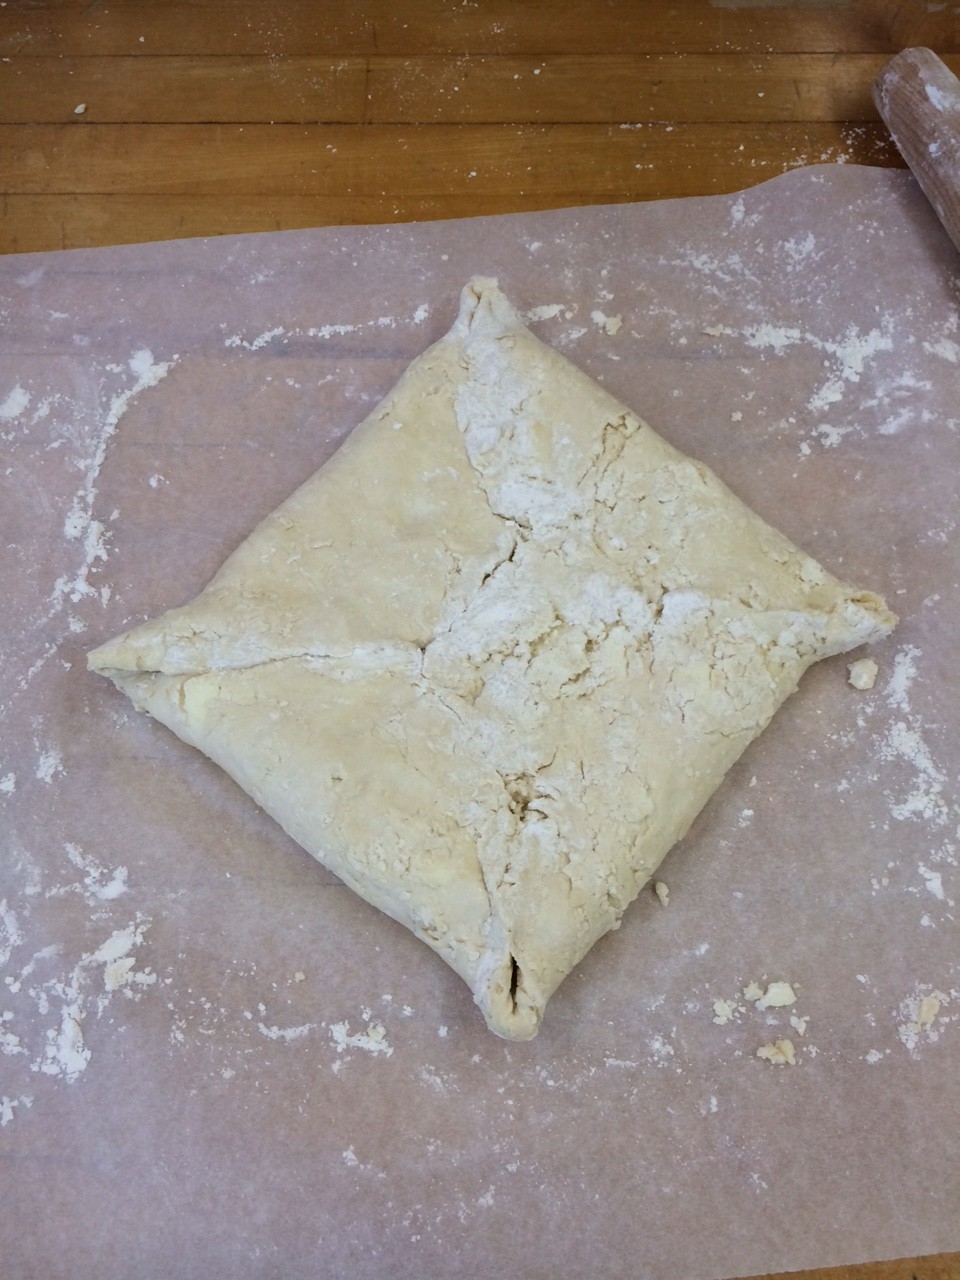
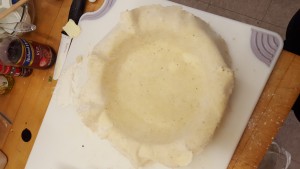
pastry wrapped butter present
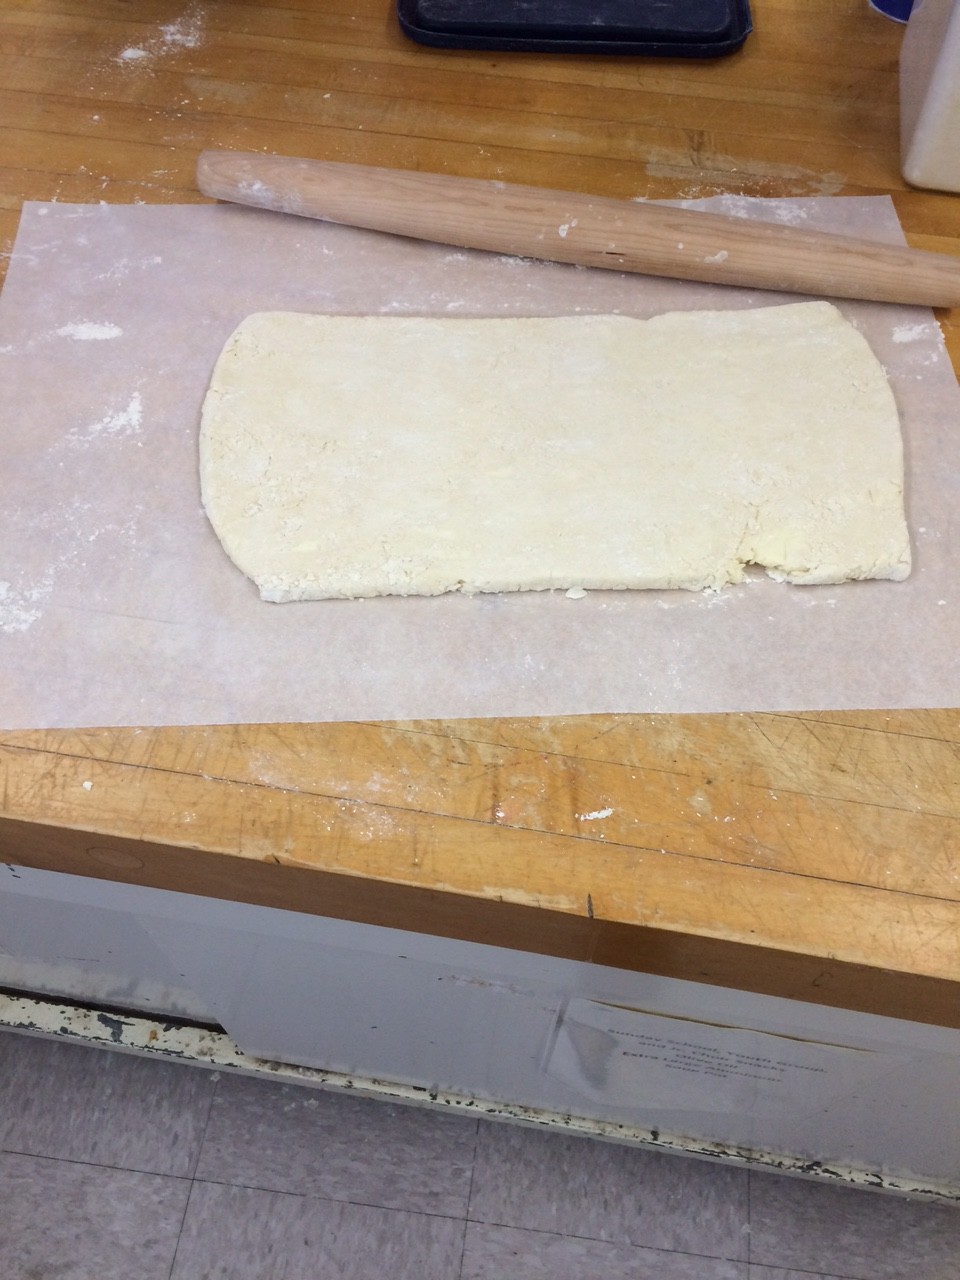
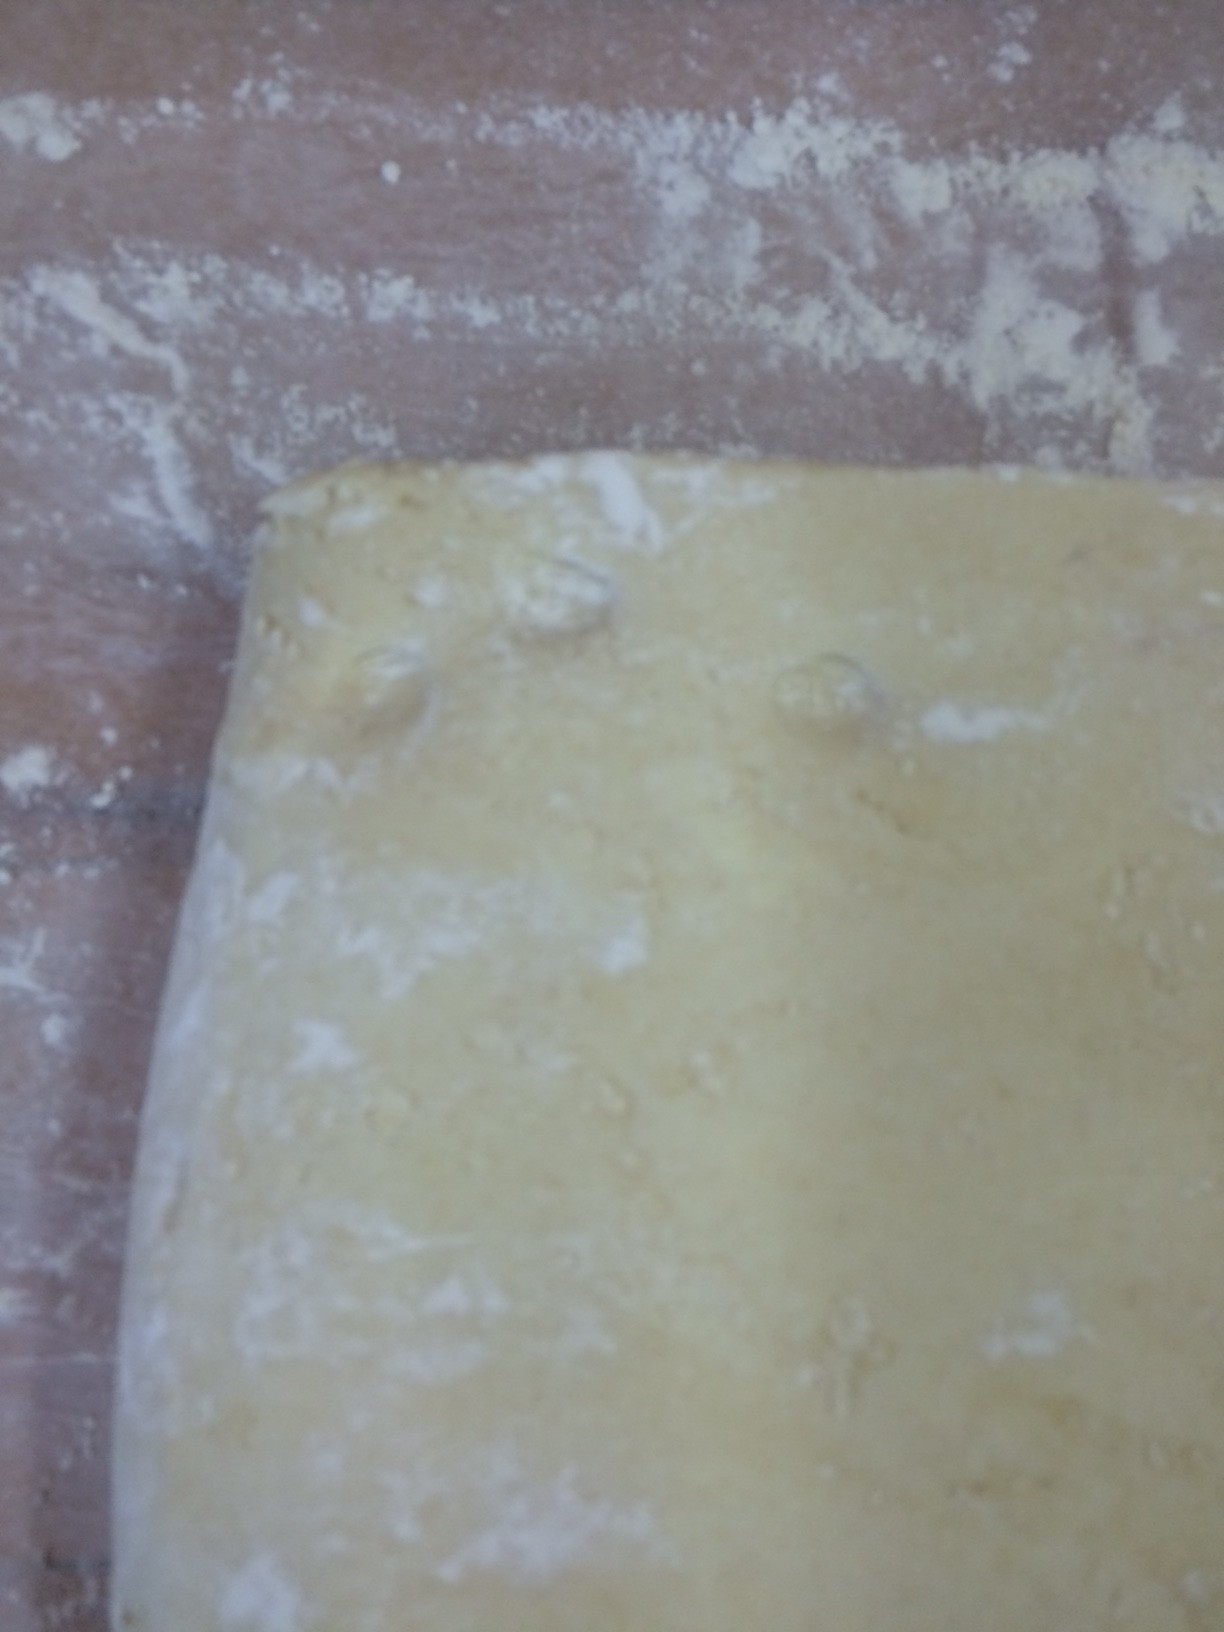
then you roll it out
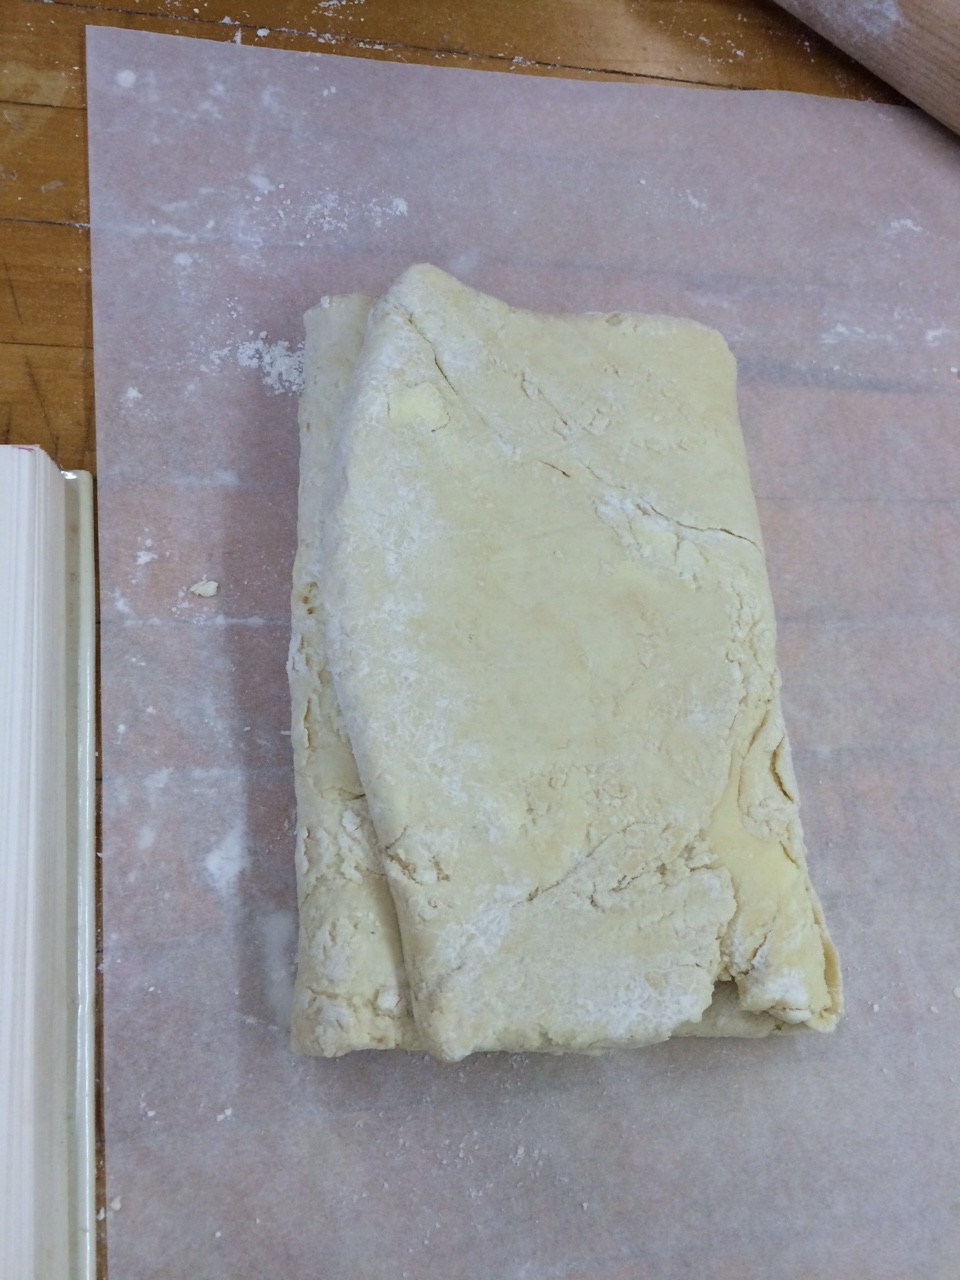
fold in thirds
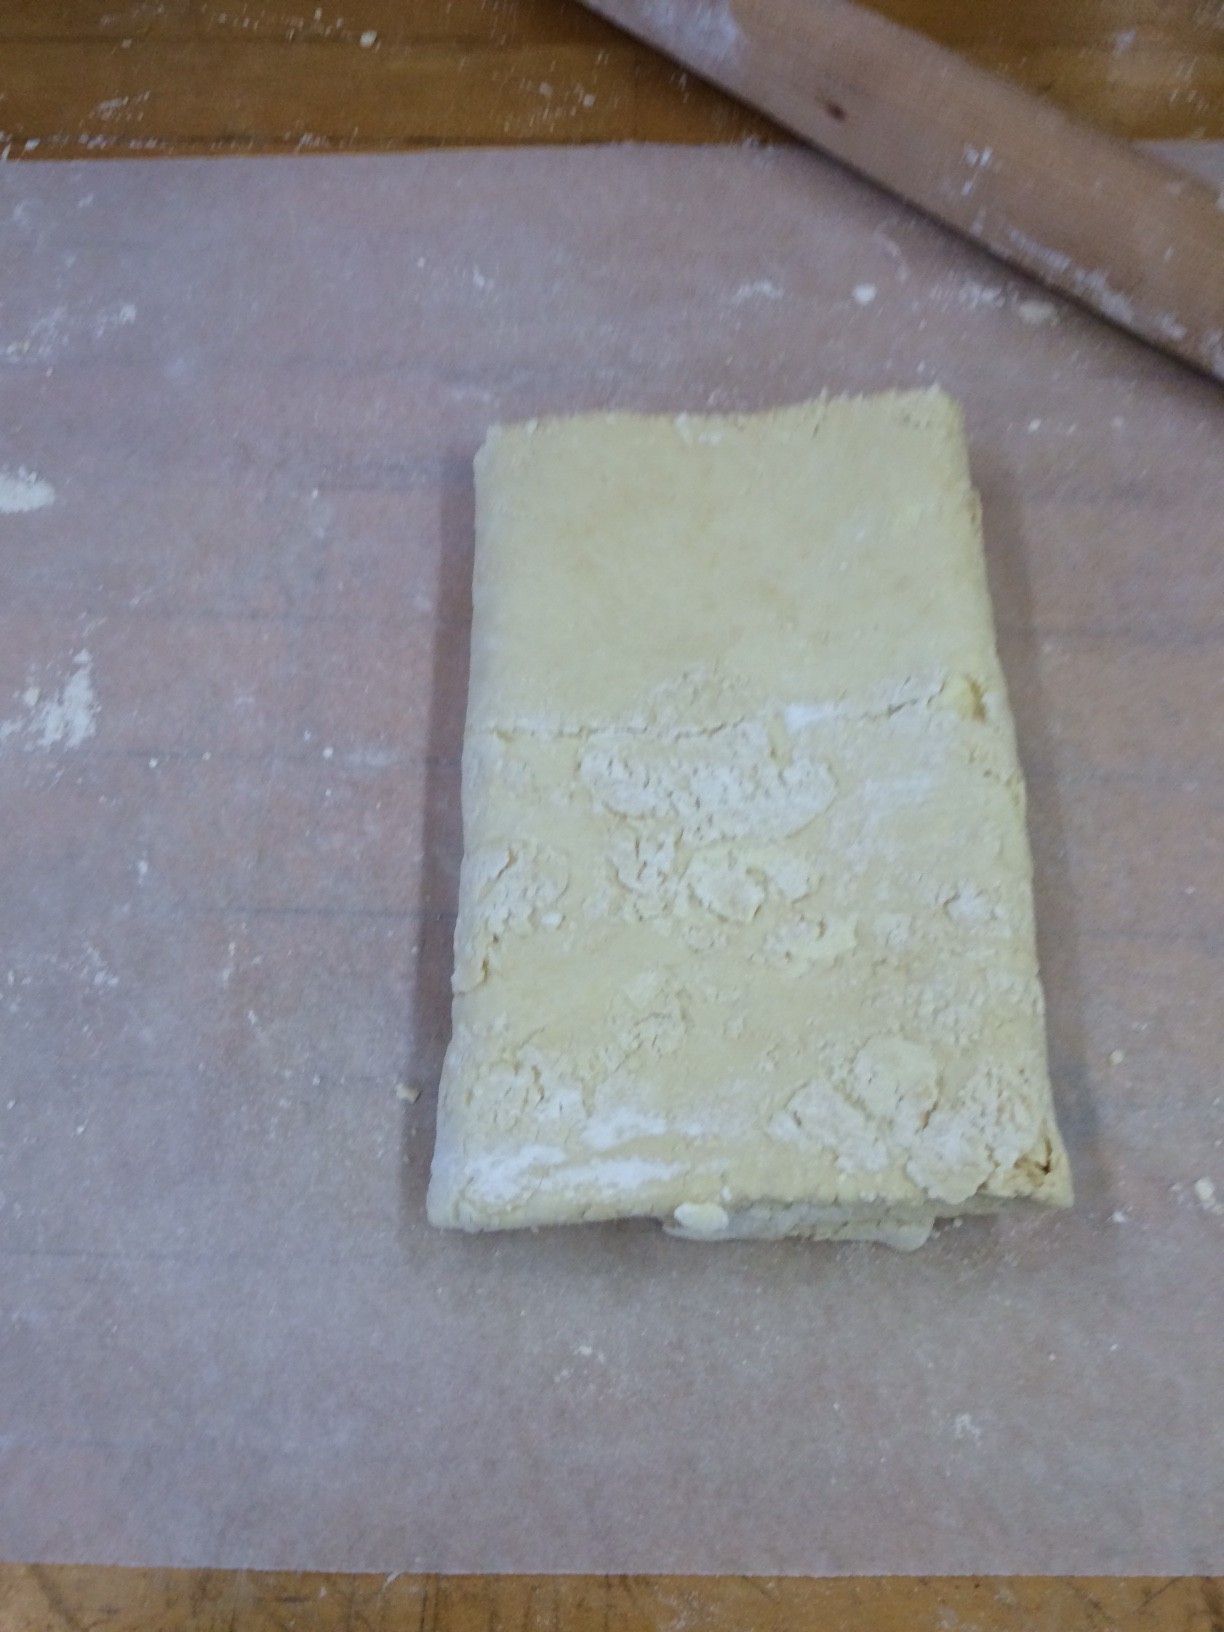
flip it
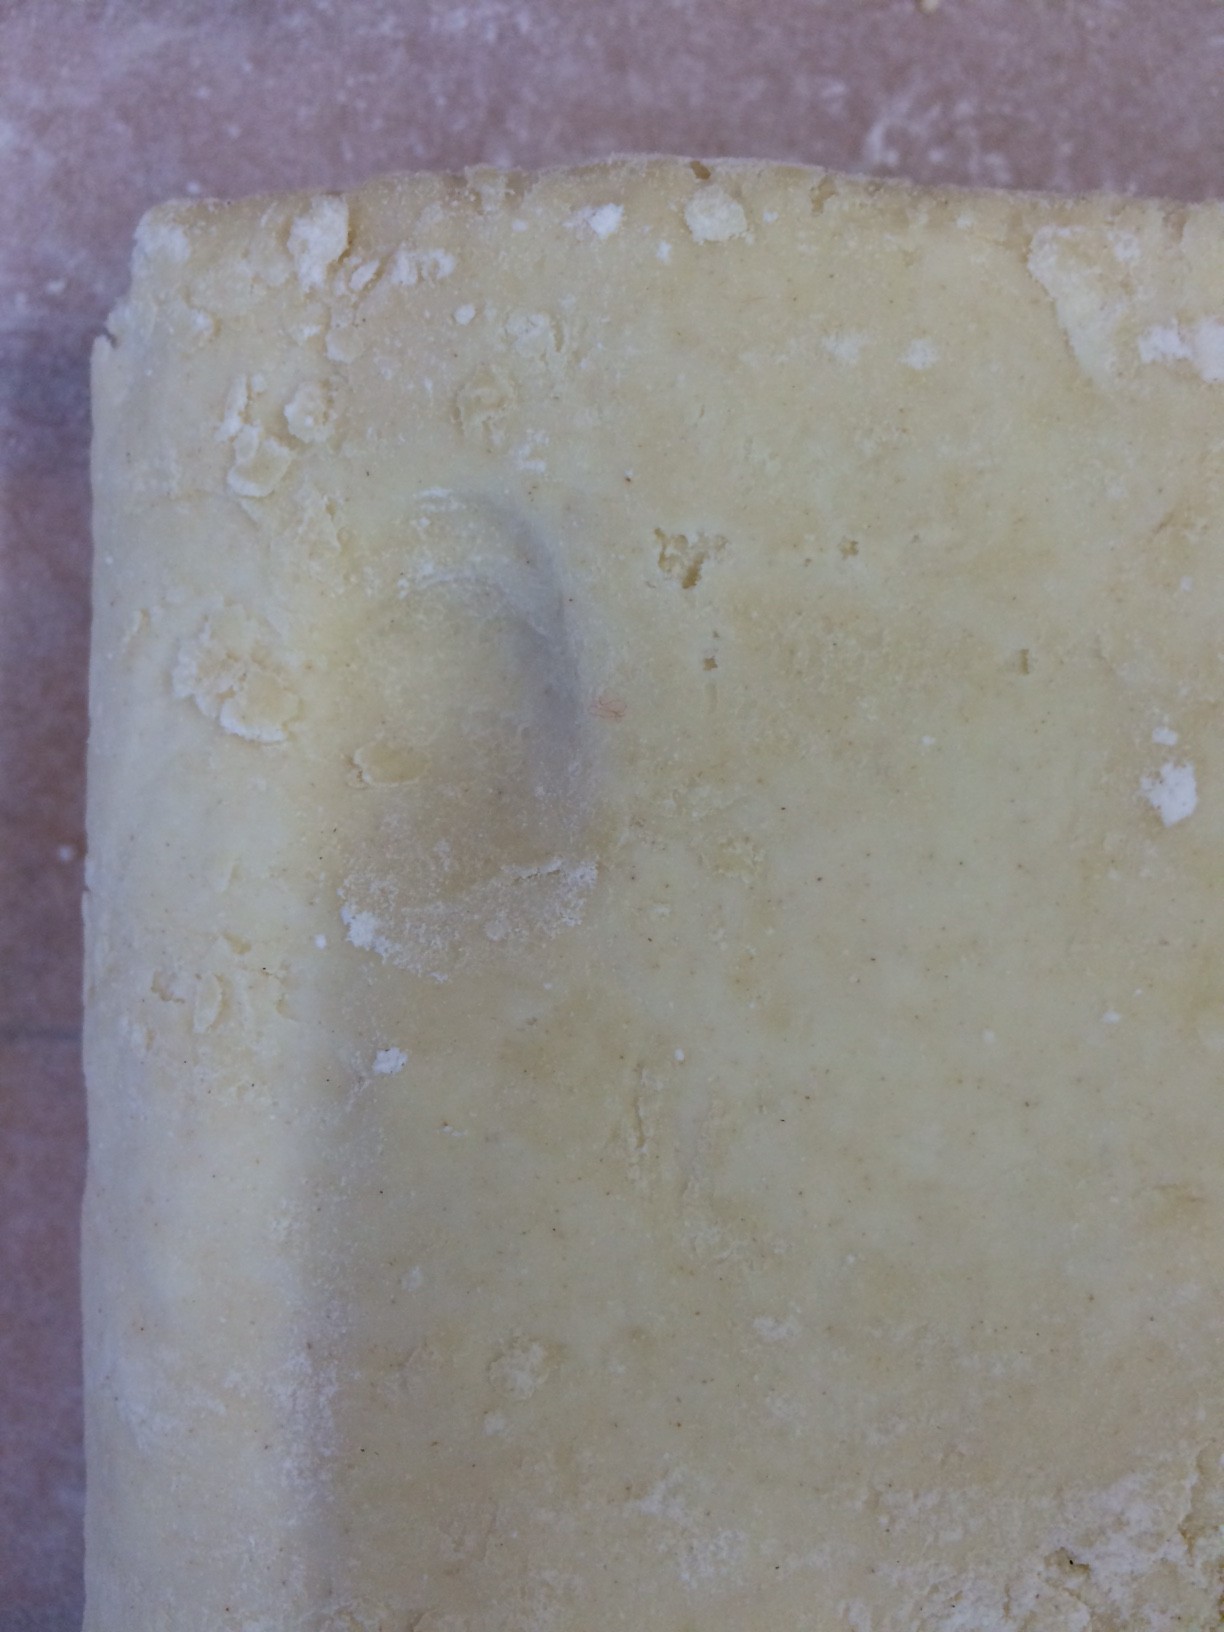
mark it with your finger
and then
do it again
and again

and again

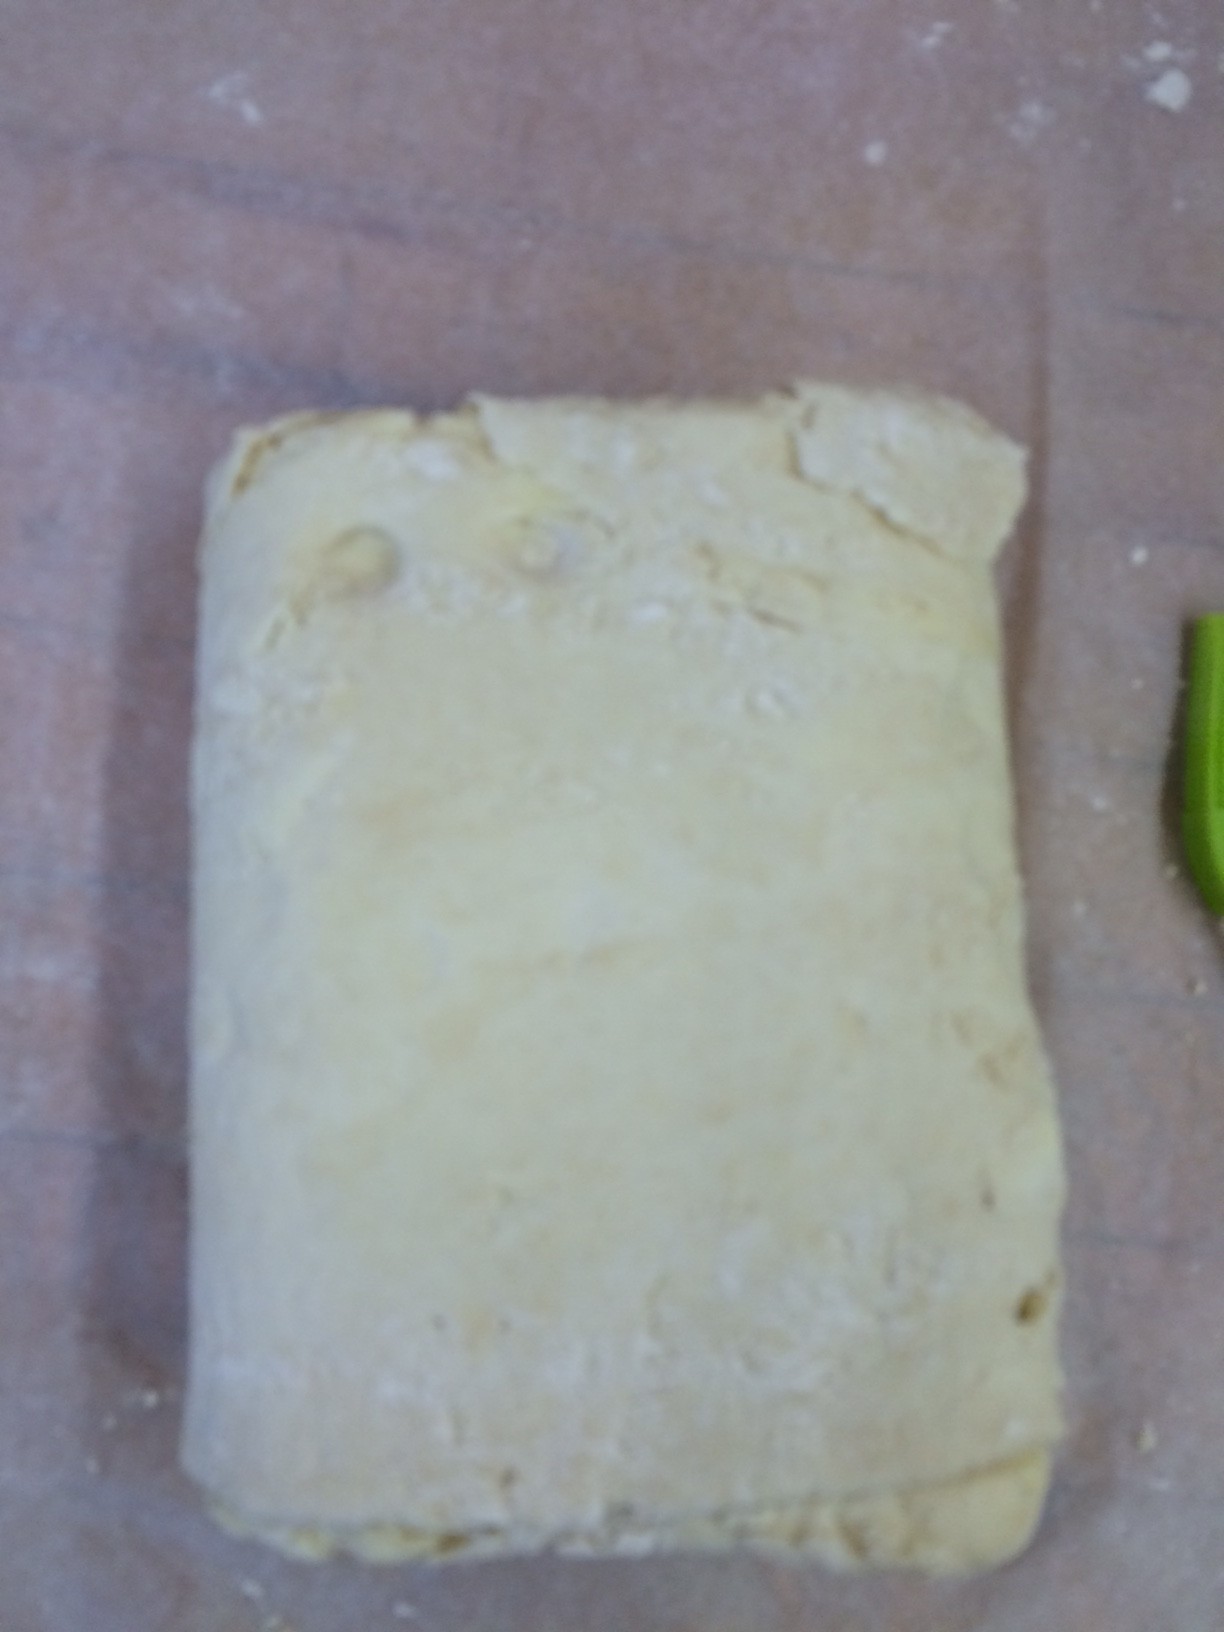
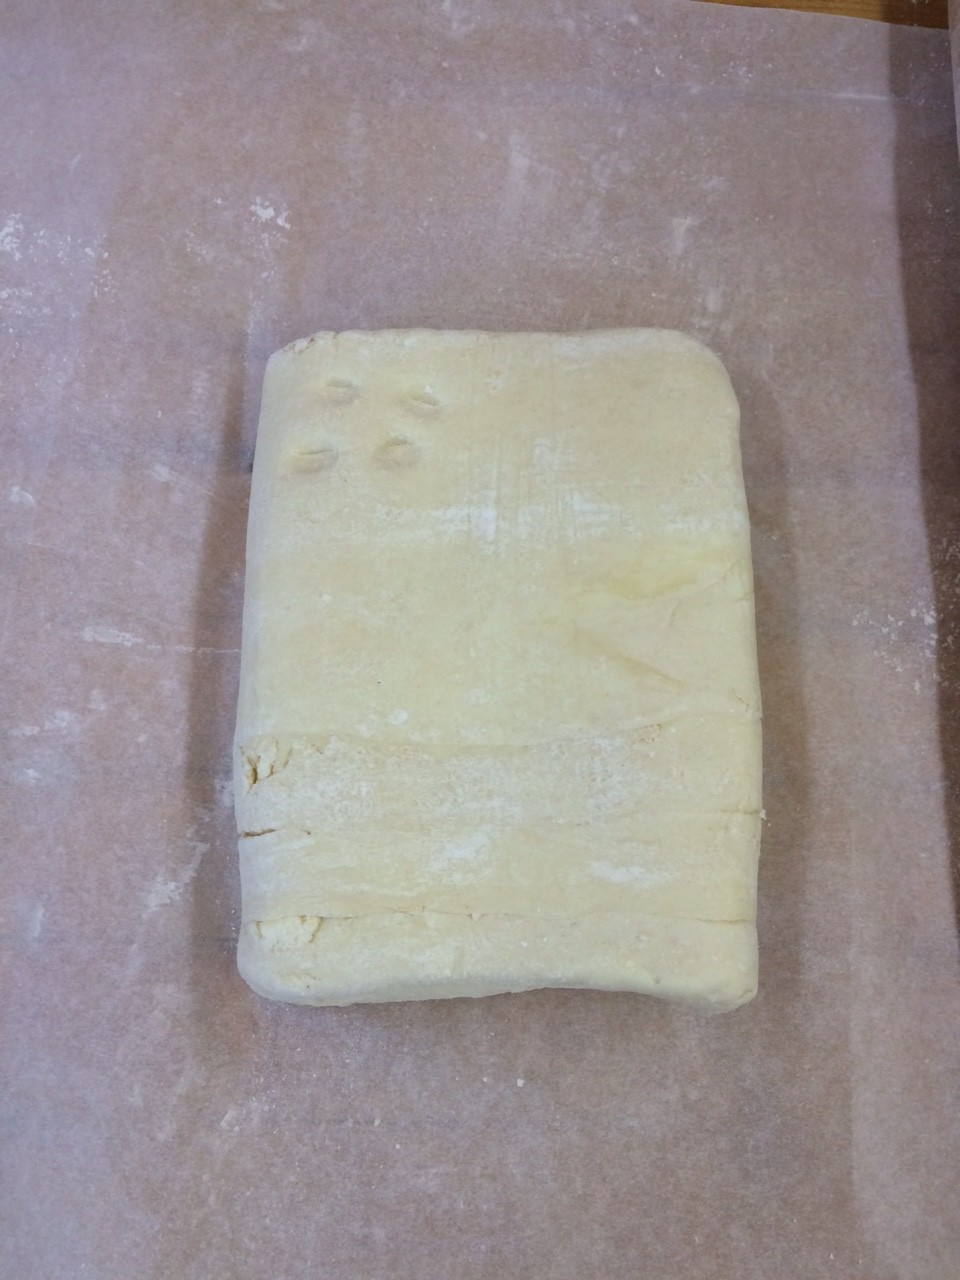
until you have six dots
And there you have it, puff pastry. In four short hours!
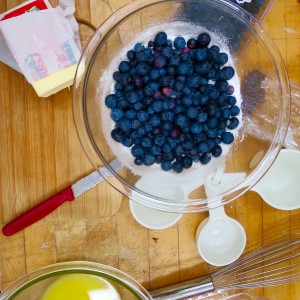
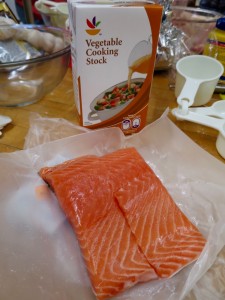
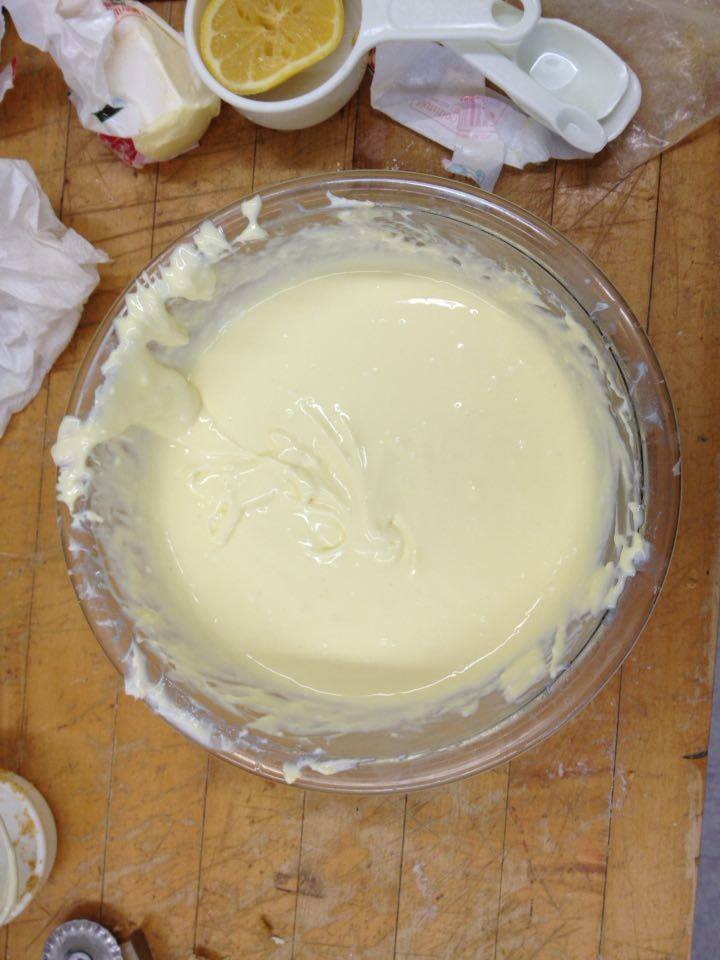
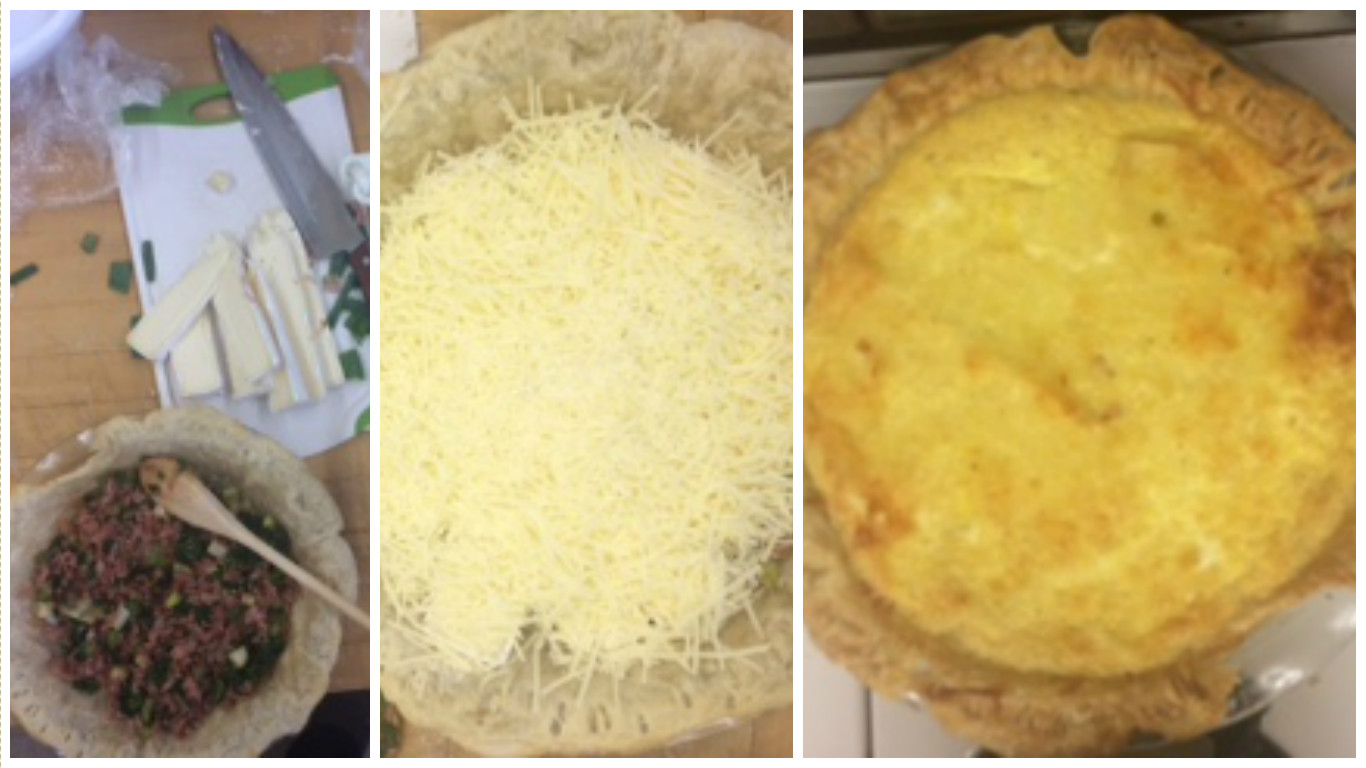
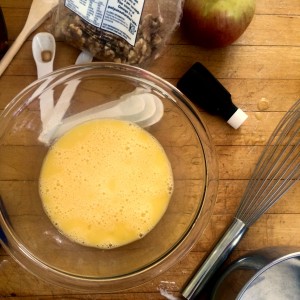
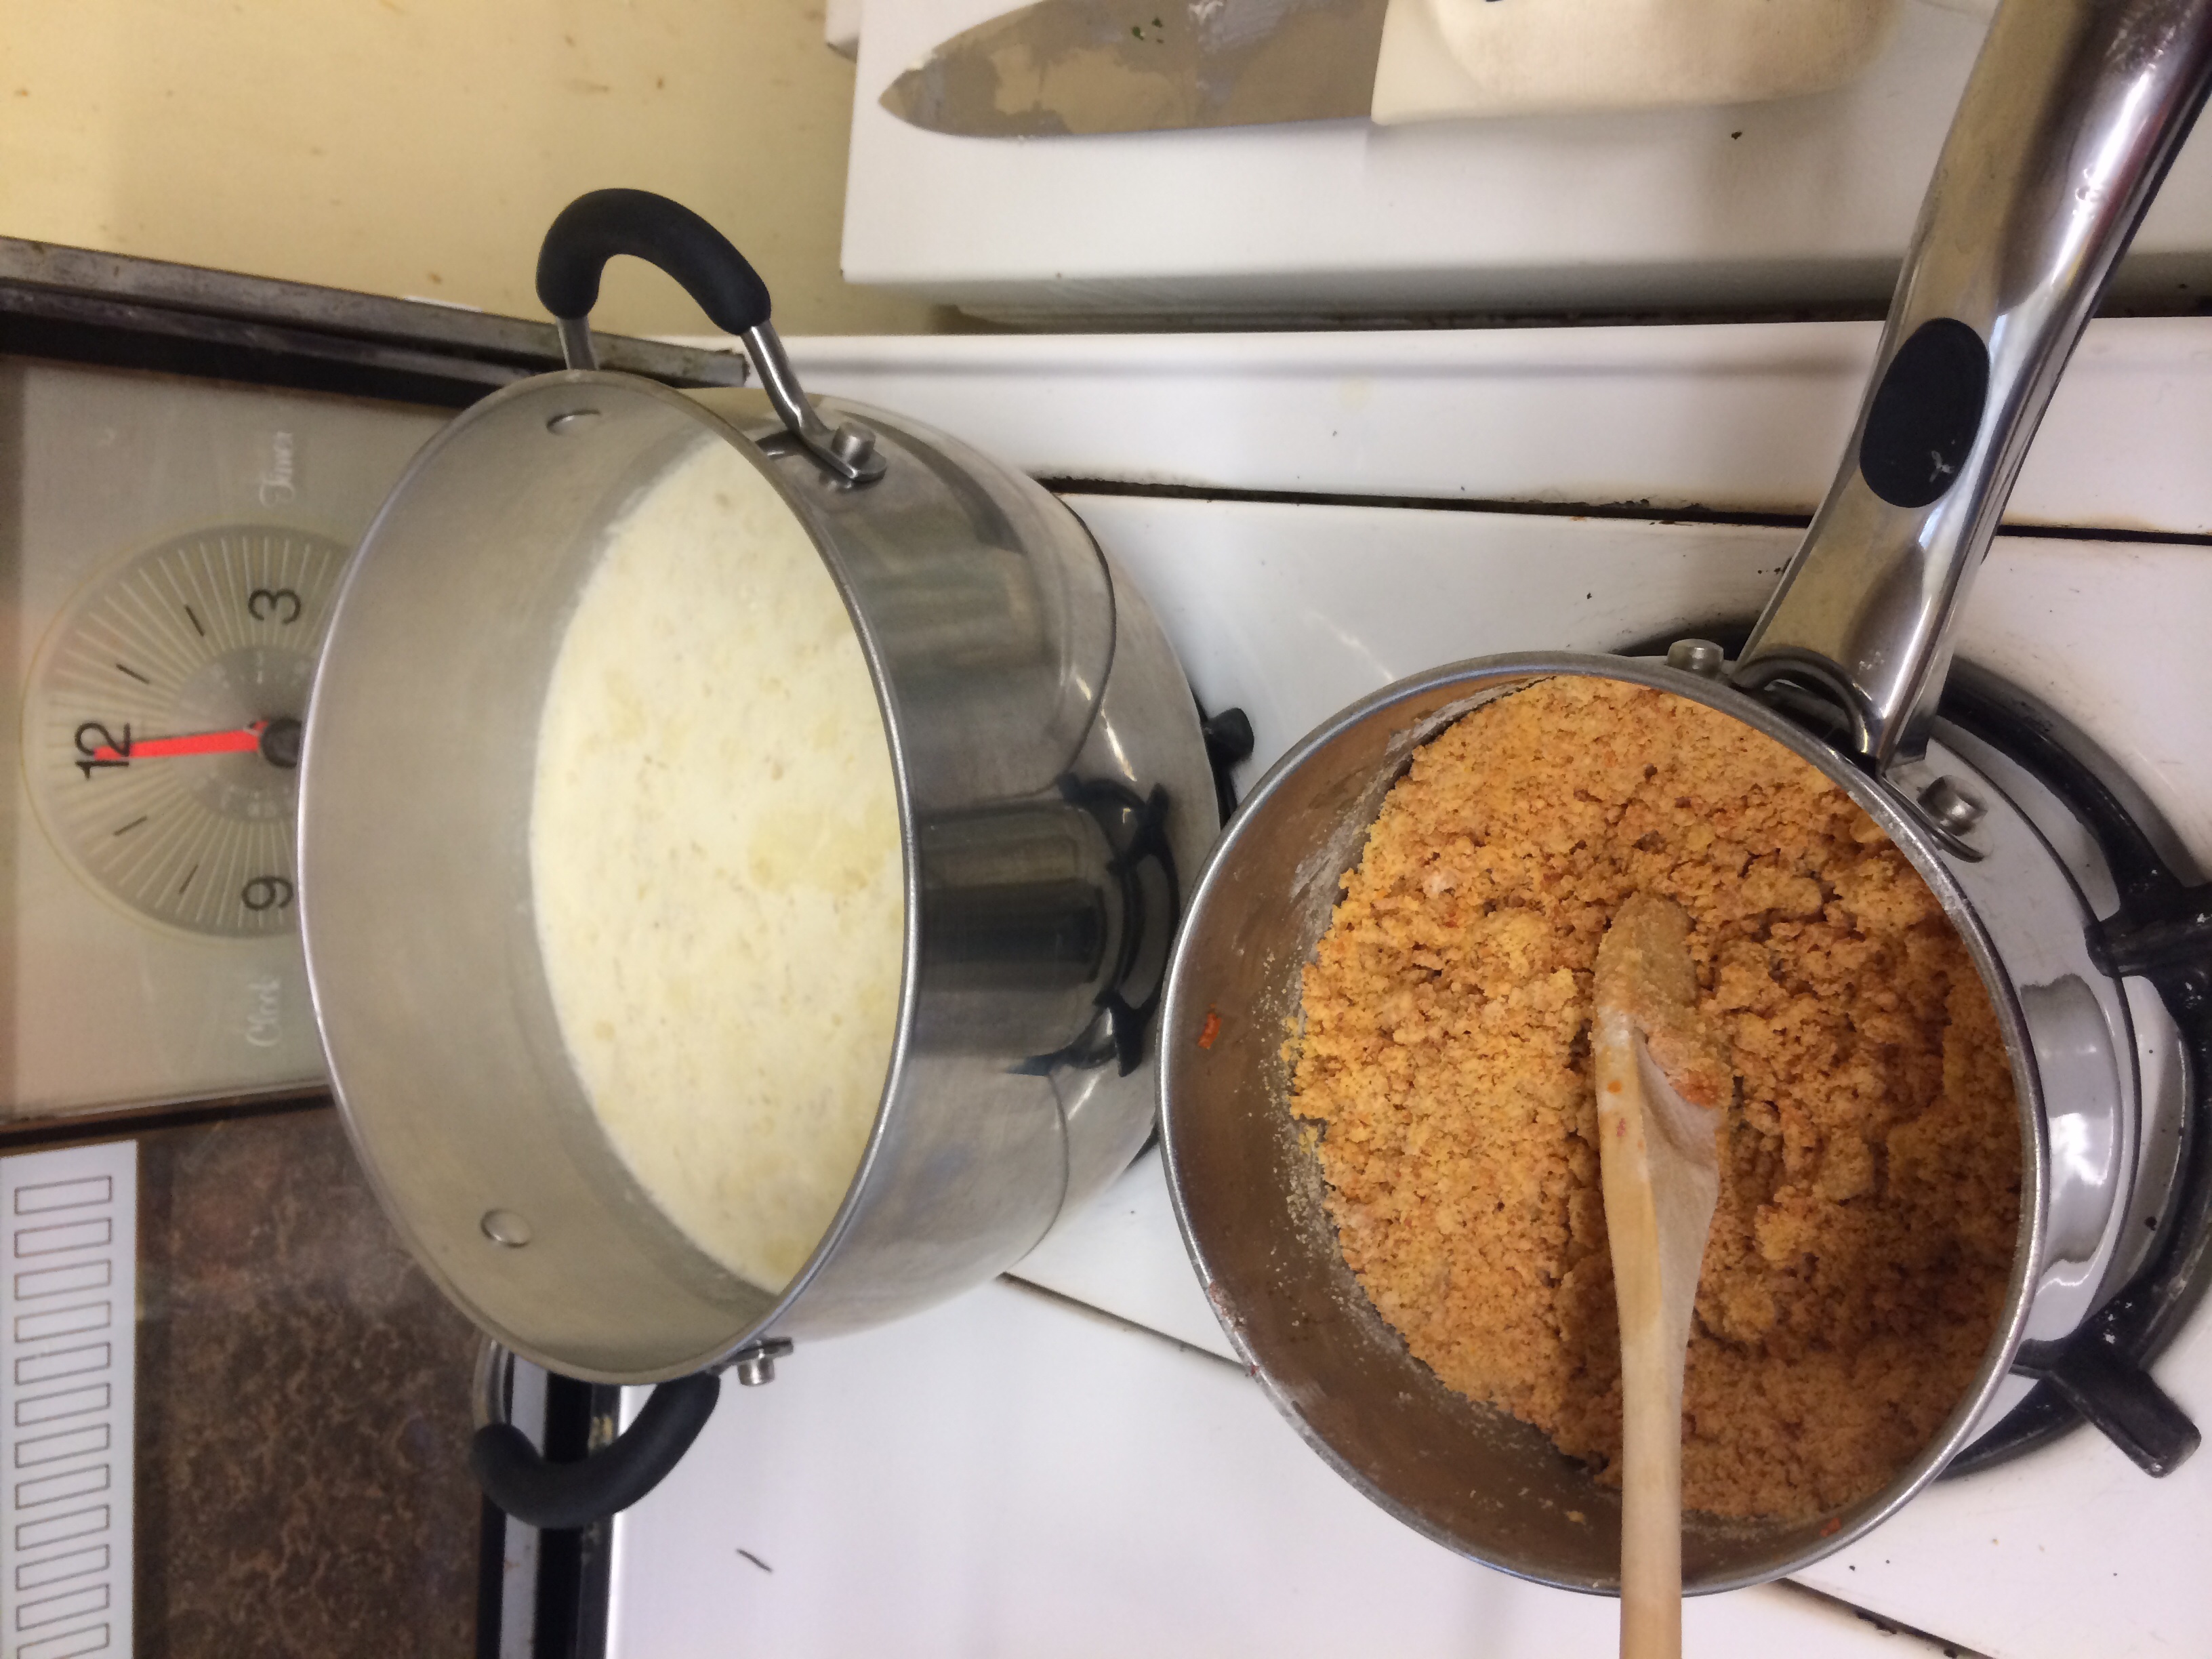
So the puff pastry was done and the next obstacle was tackling the filling of the pie, I approached it very methodically, setting out all my ingredients cooking-show-style in bowls before I began.
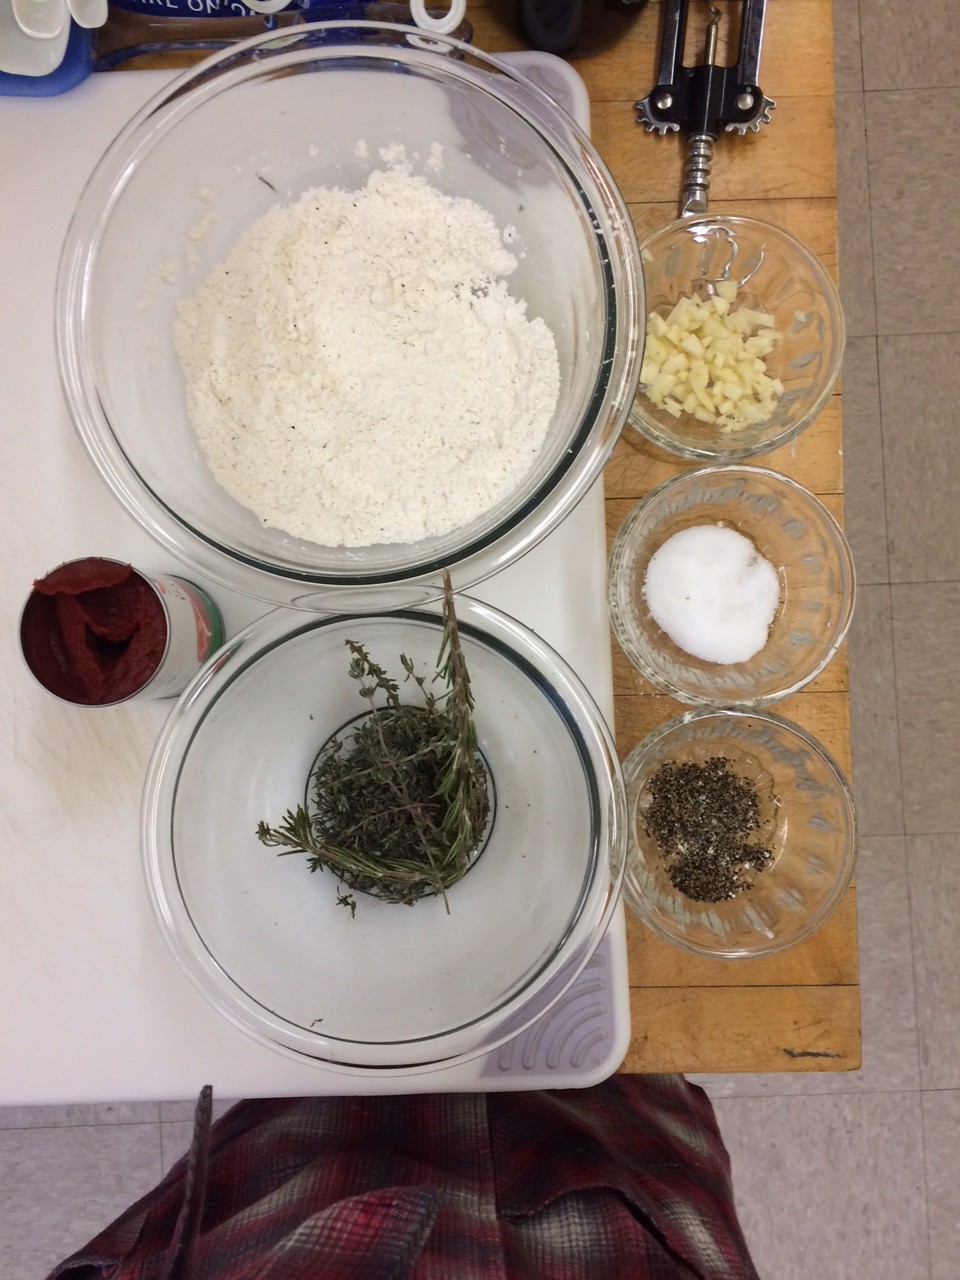
So organized
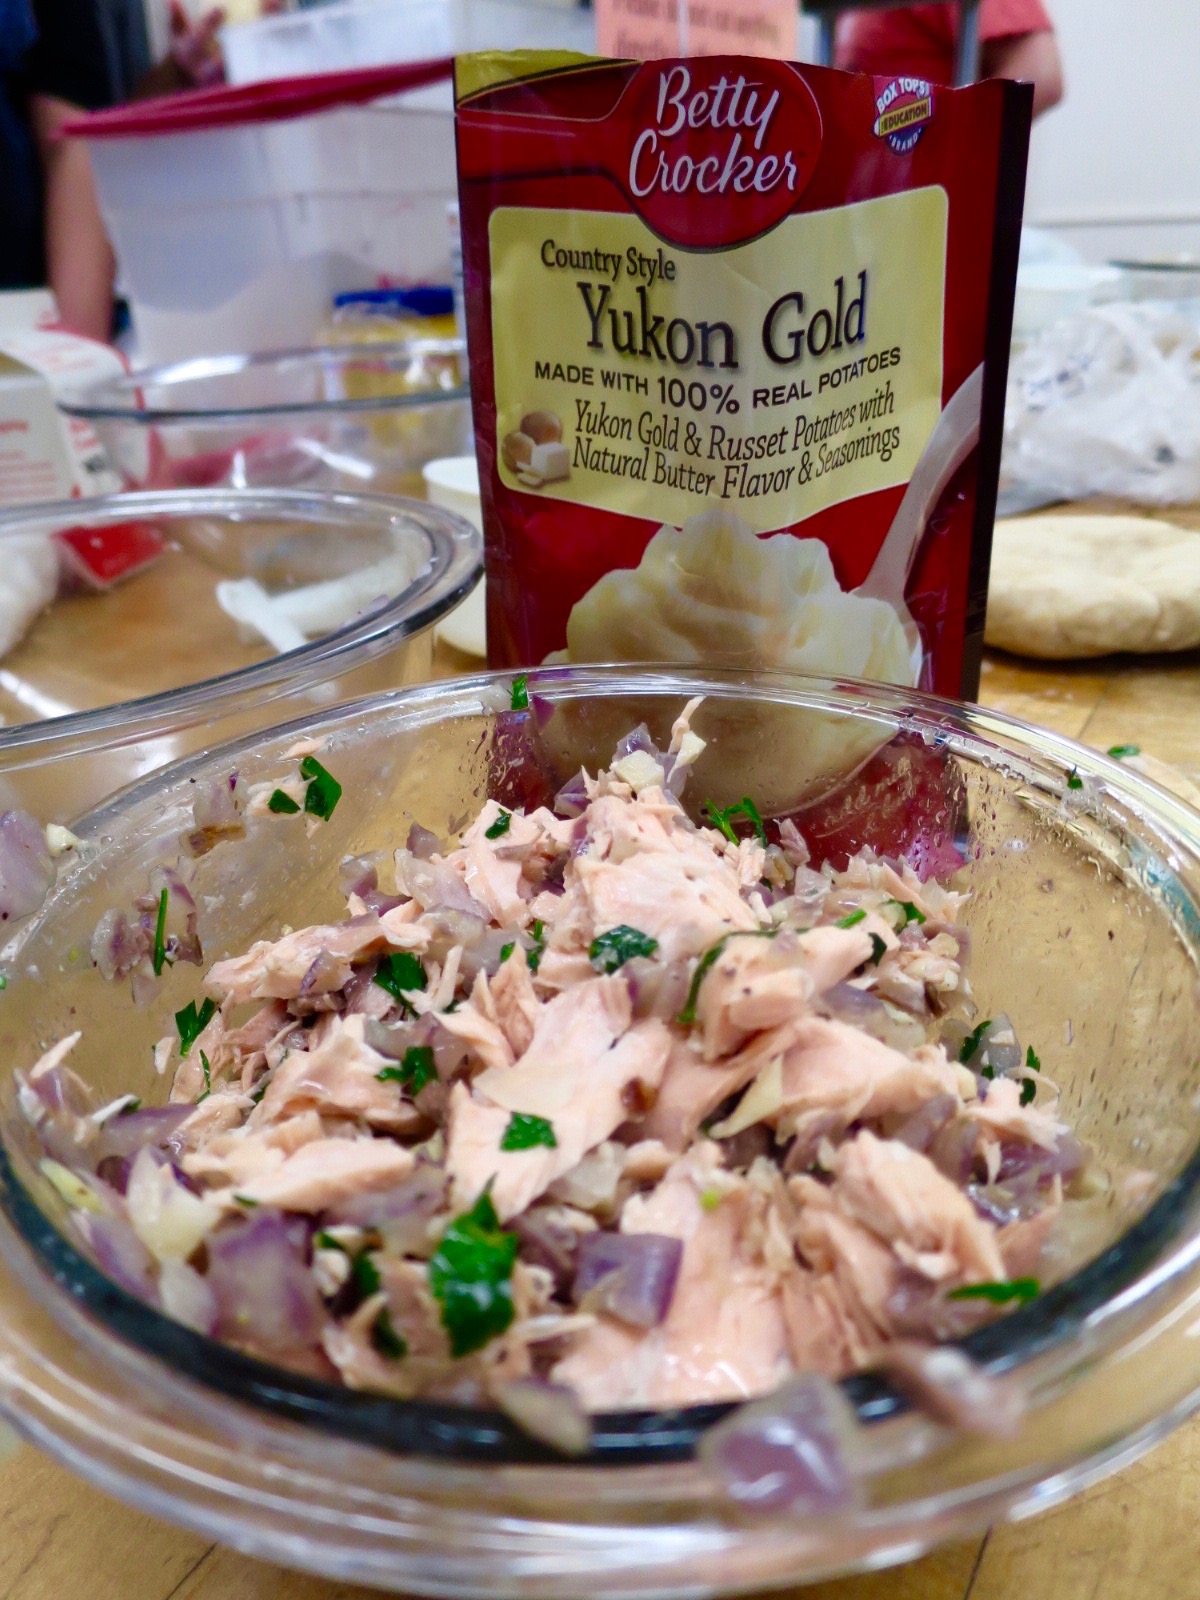
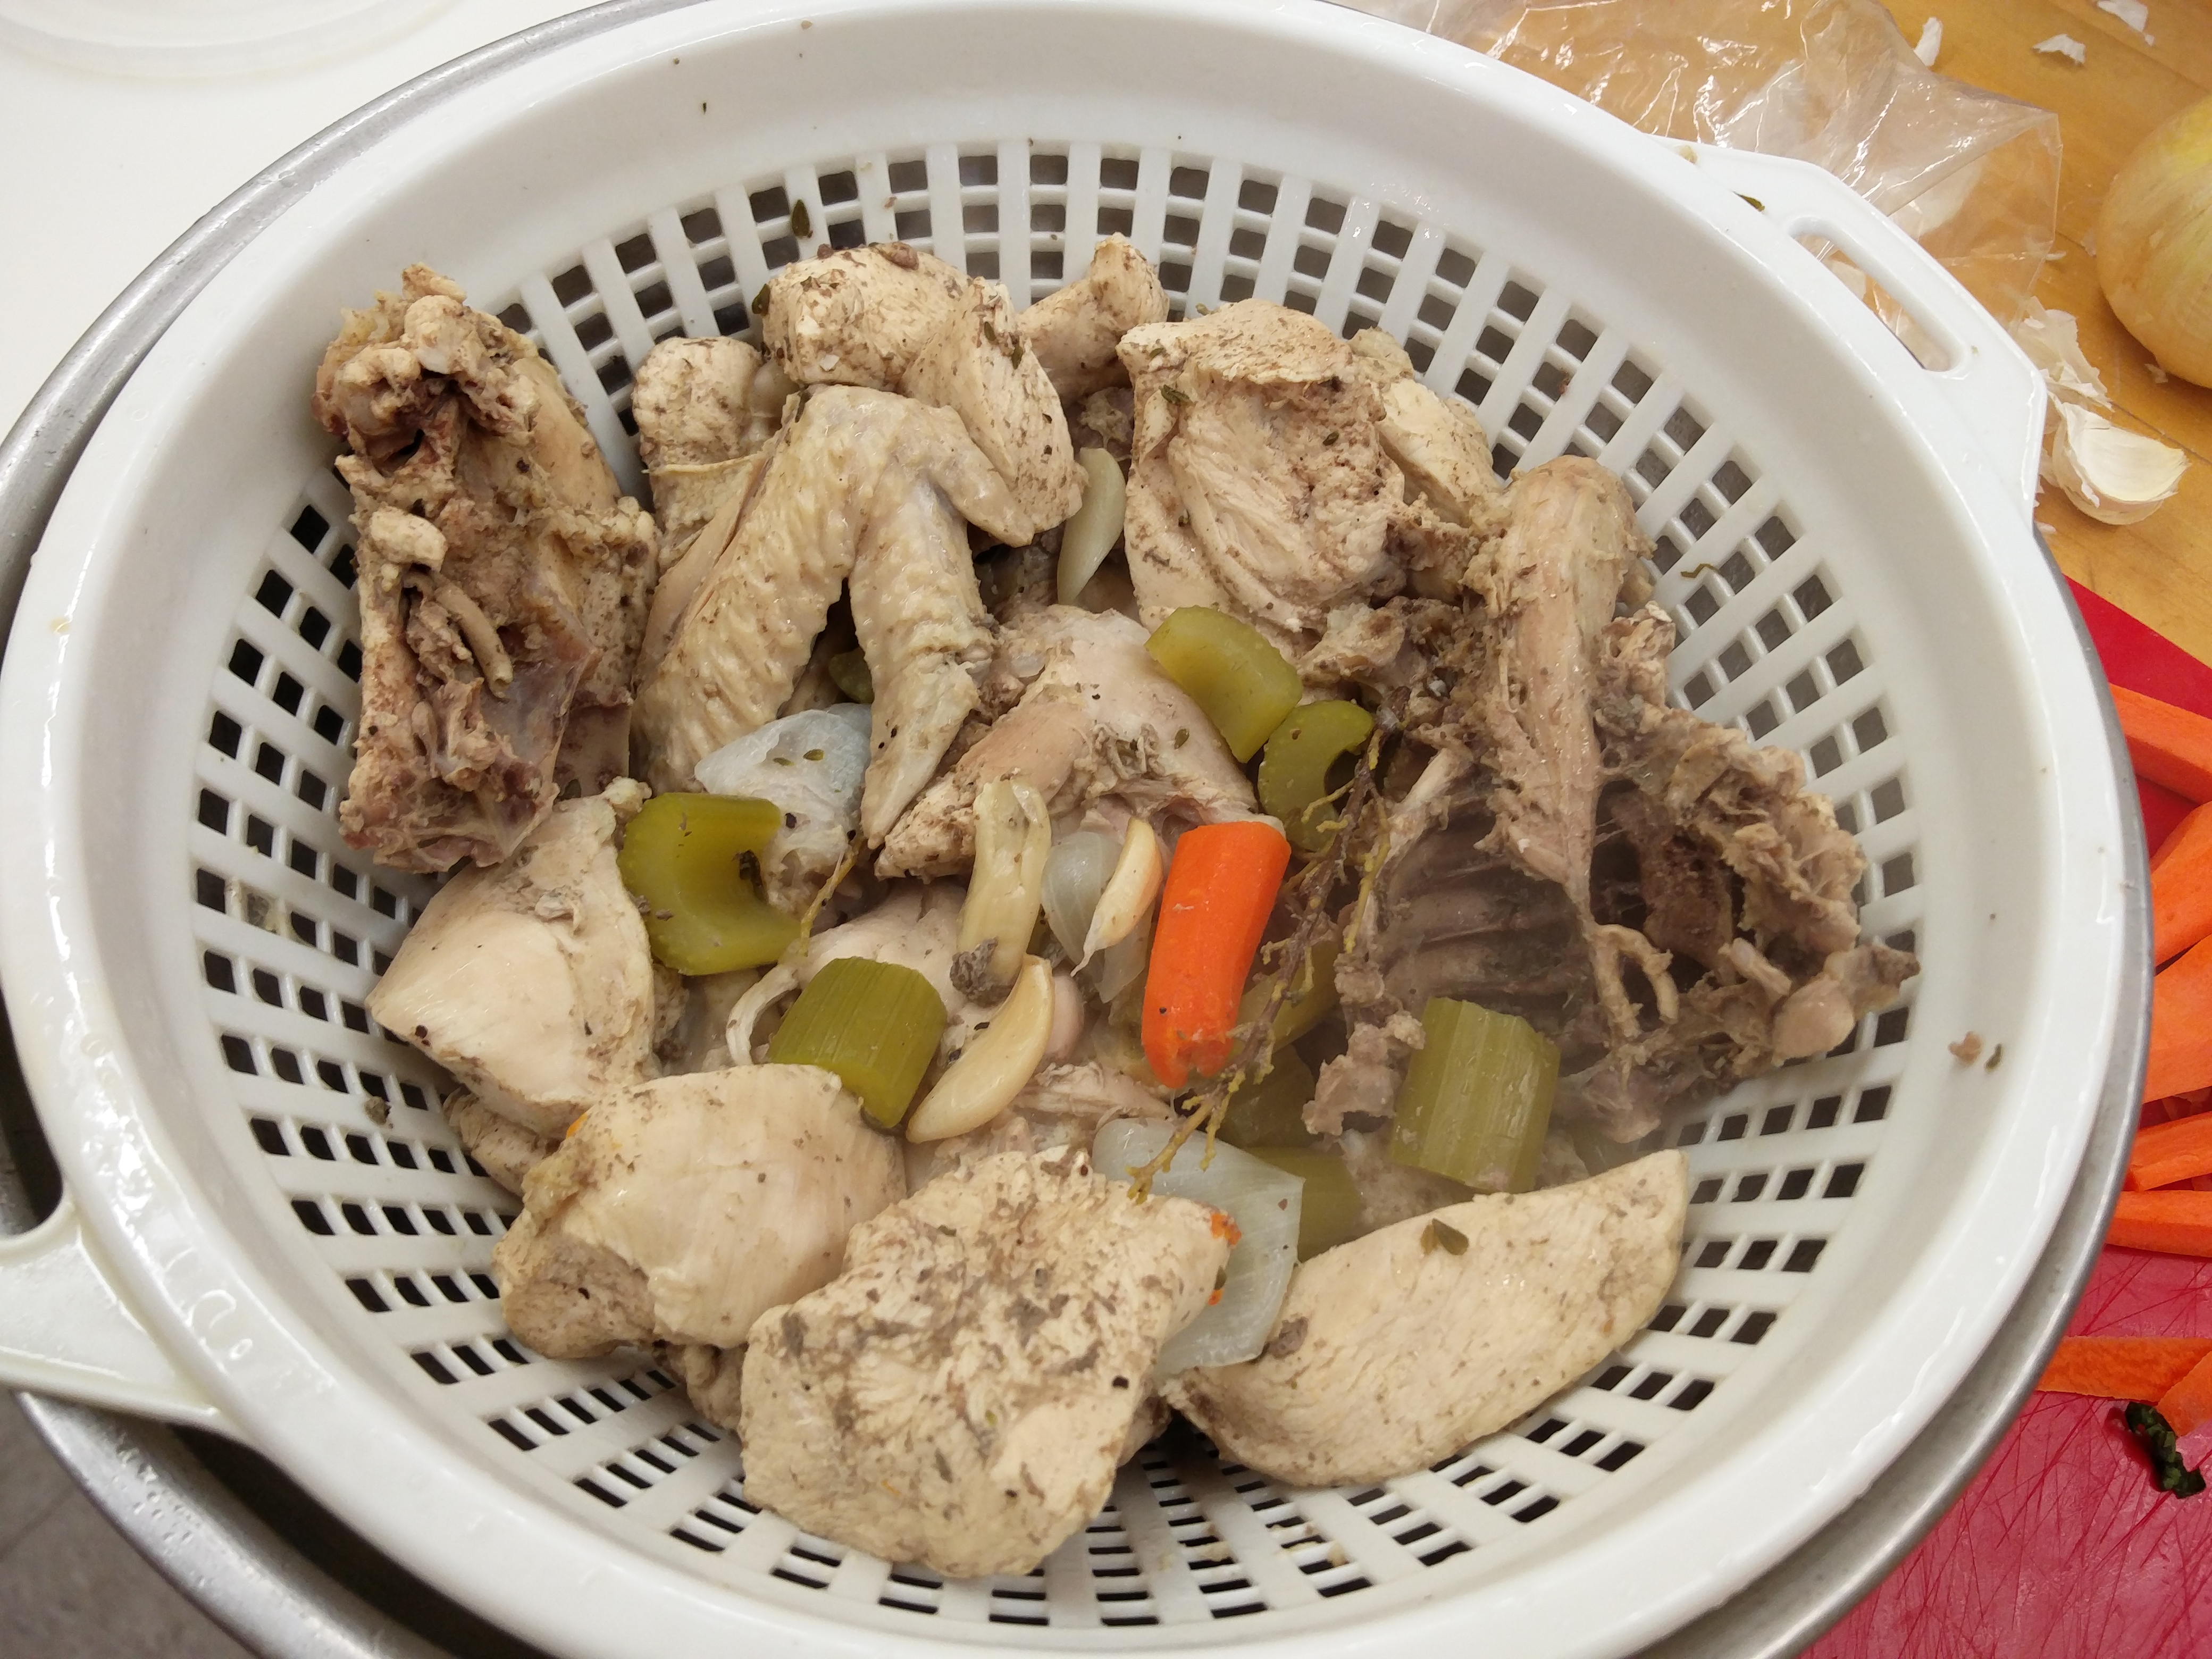
in the end the recipe I had ended up being very easy to follow, the only challenge was again how long it took. I began prep at 9am started cooking at 10 am, but didn’t officially take things off the burner until 2:30pm!
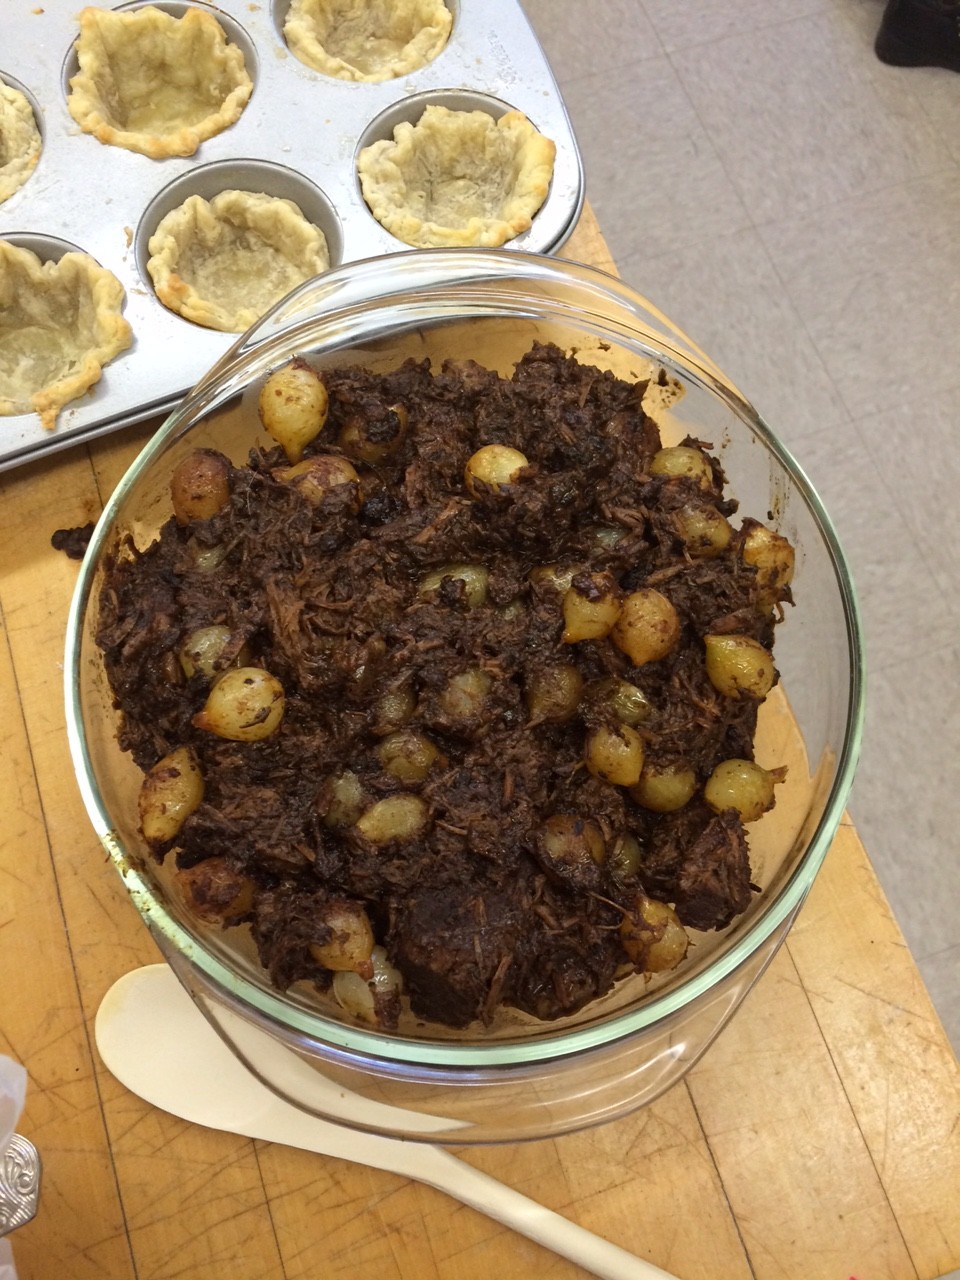
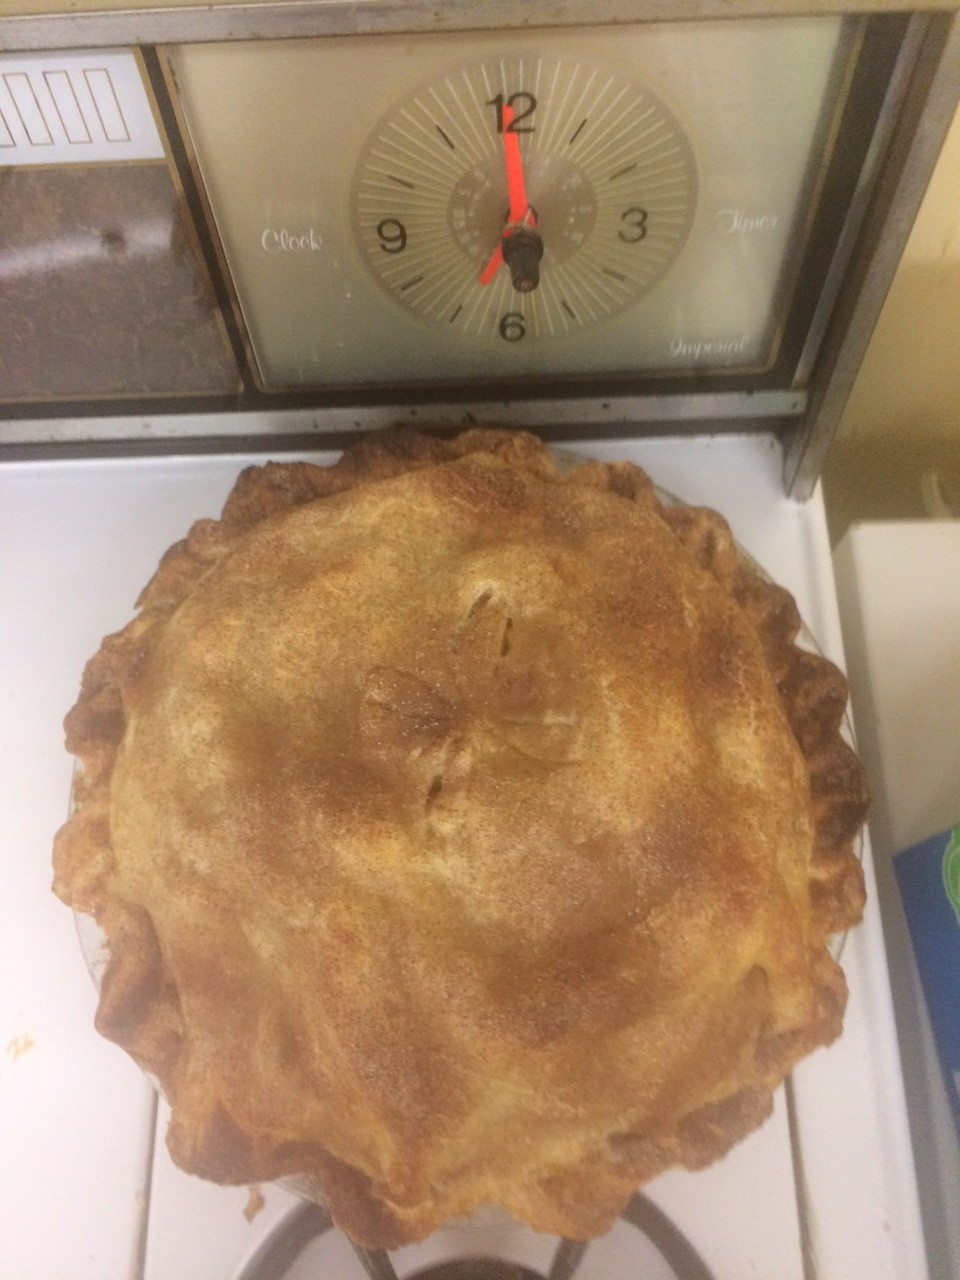
the final product of 5.5 hours of cooking
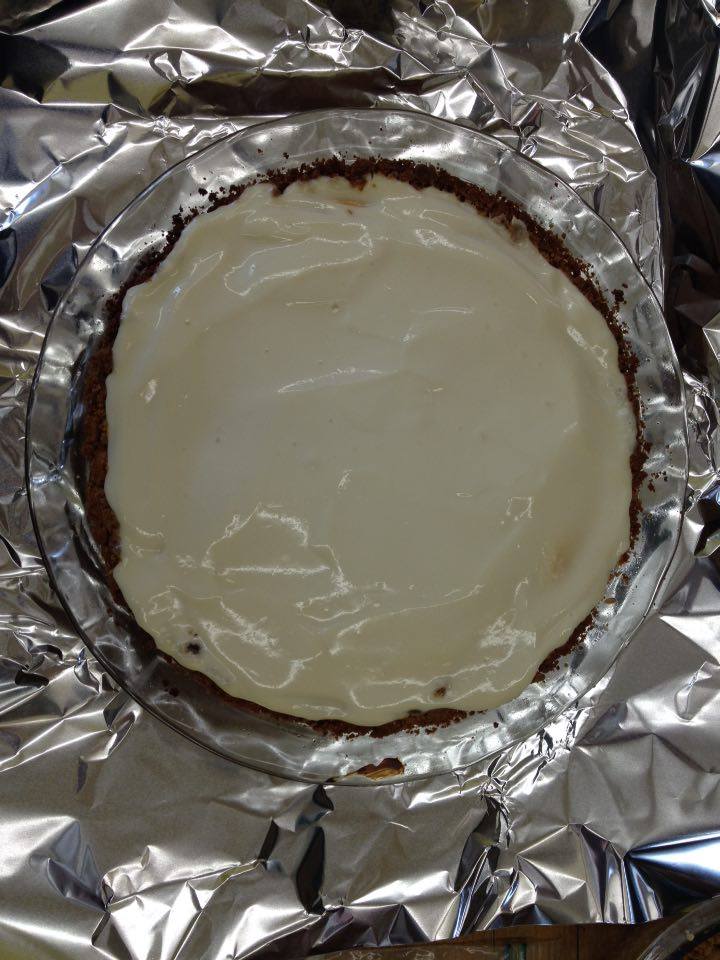
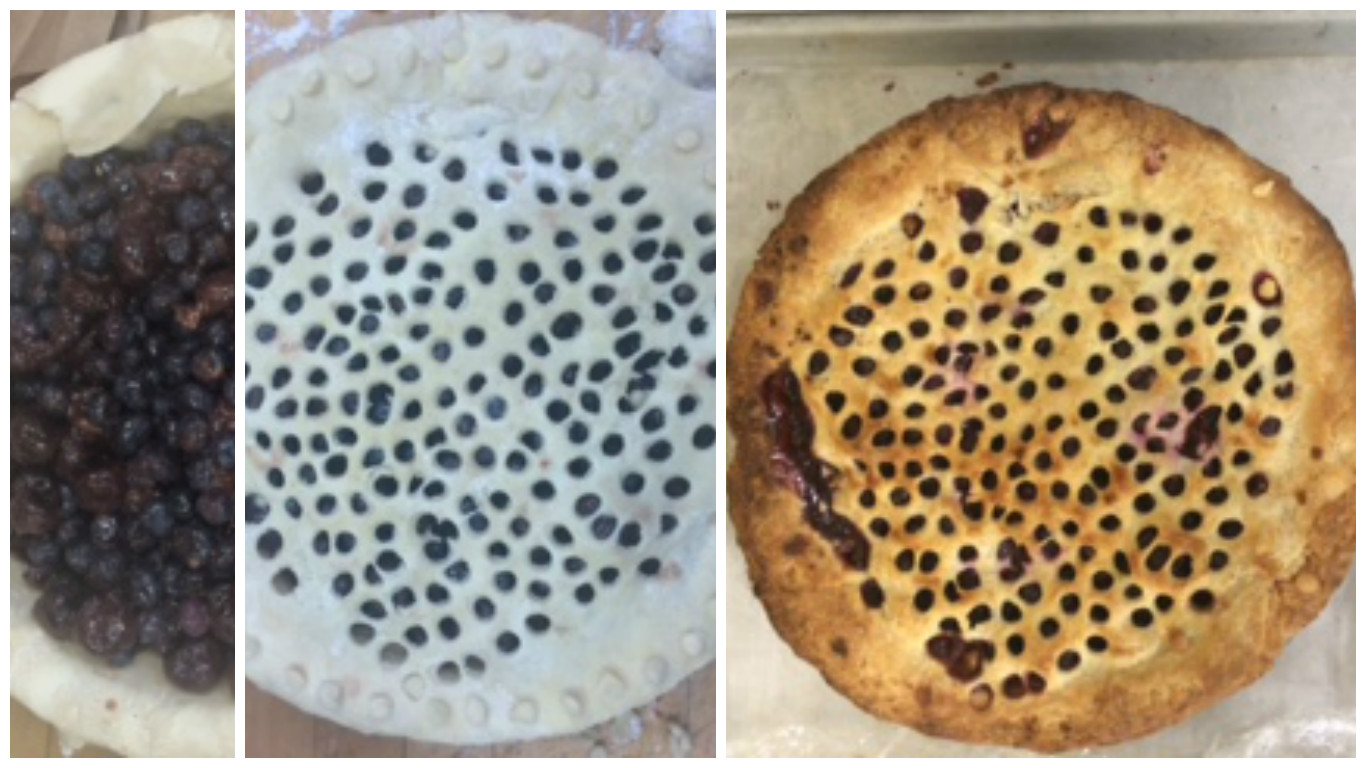
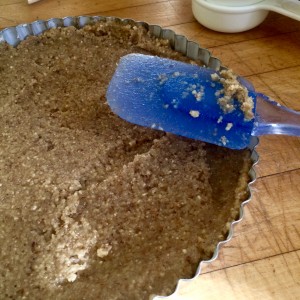
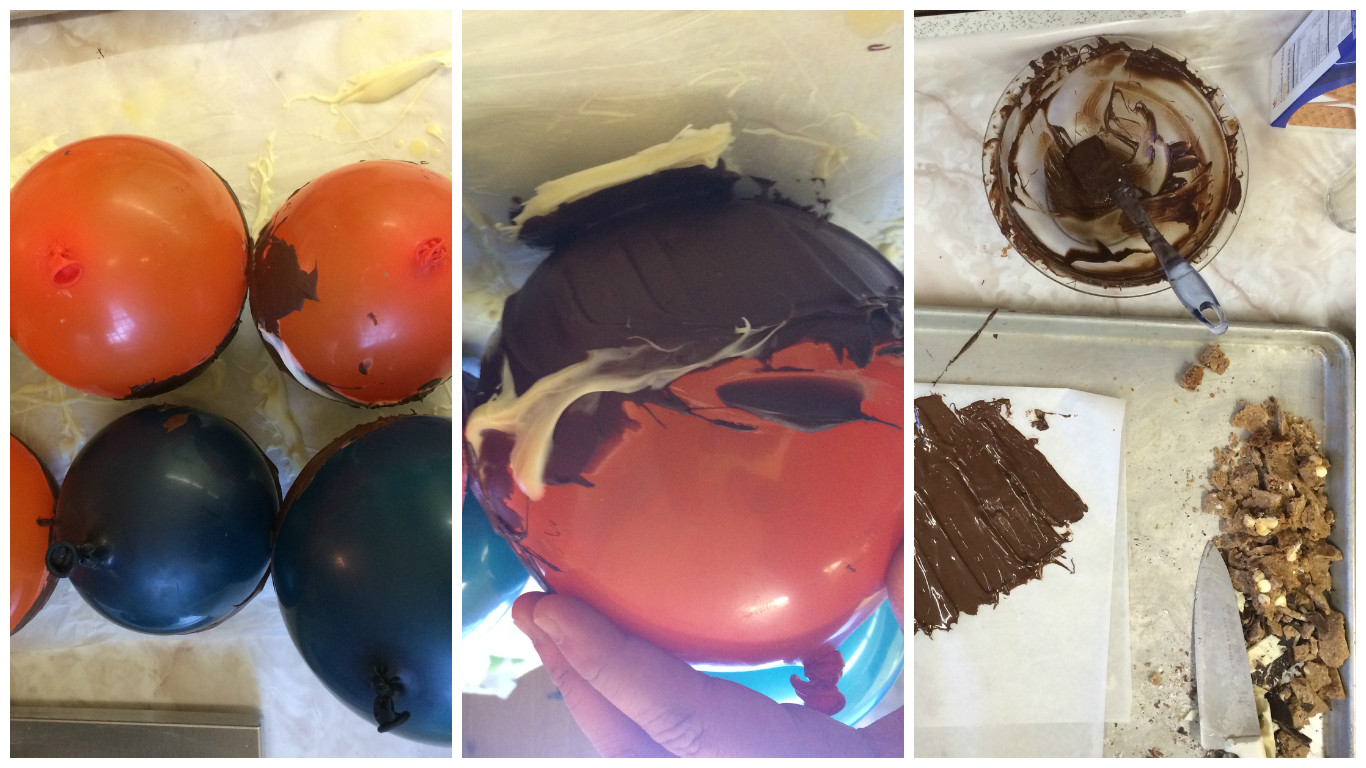
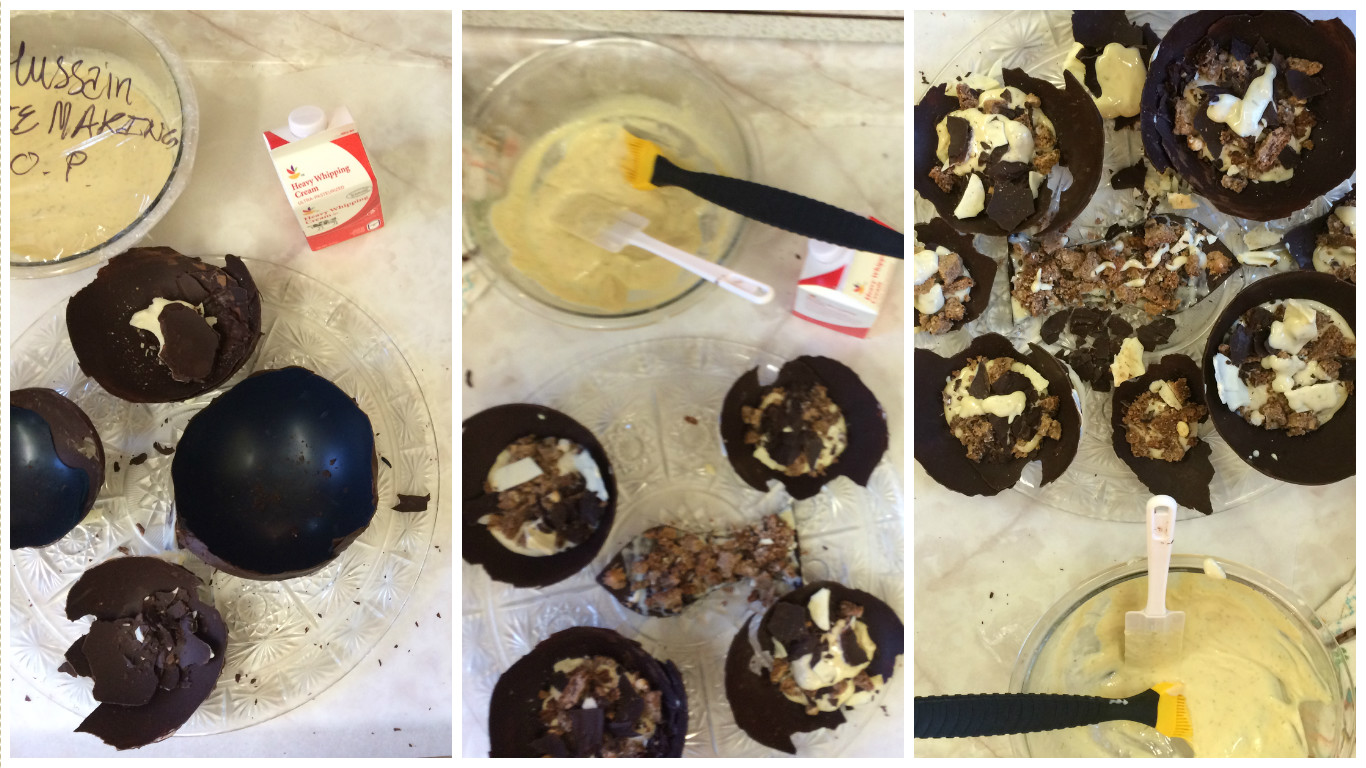
Luckily, 3 hours of that time was just letting it sit in a pot doing its thing. So while that was happening I made the bottom shell for my chocolate lava mini pies (featured in the background of the above photo), and I mixed the filling. The shells for these pies were the first time I have to blind bake a pie crust, so that was a fun adventure.
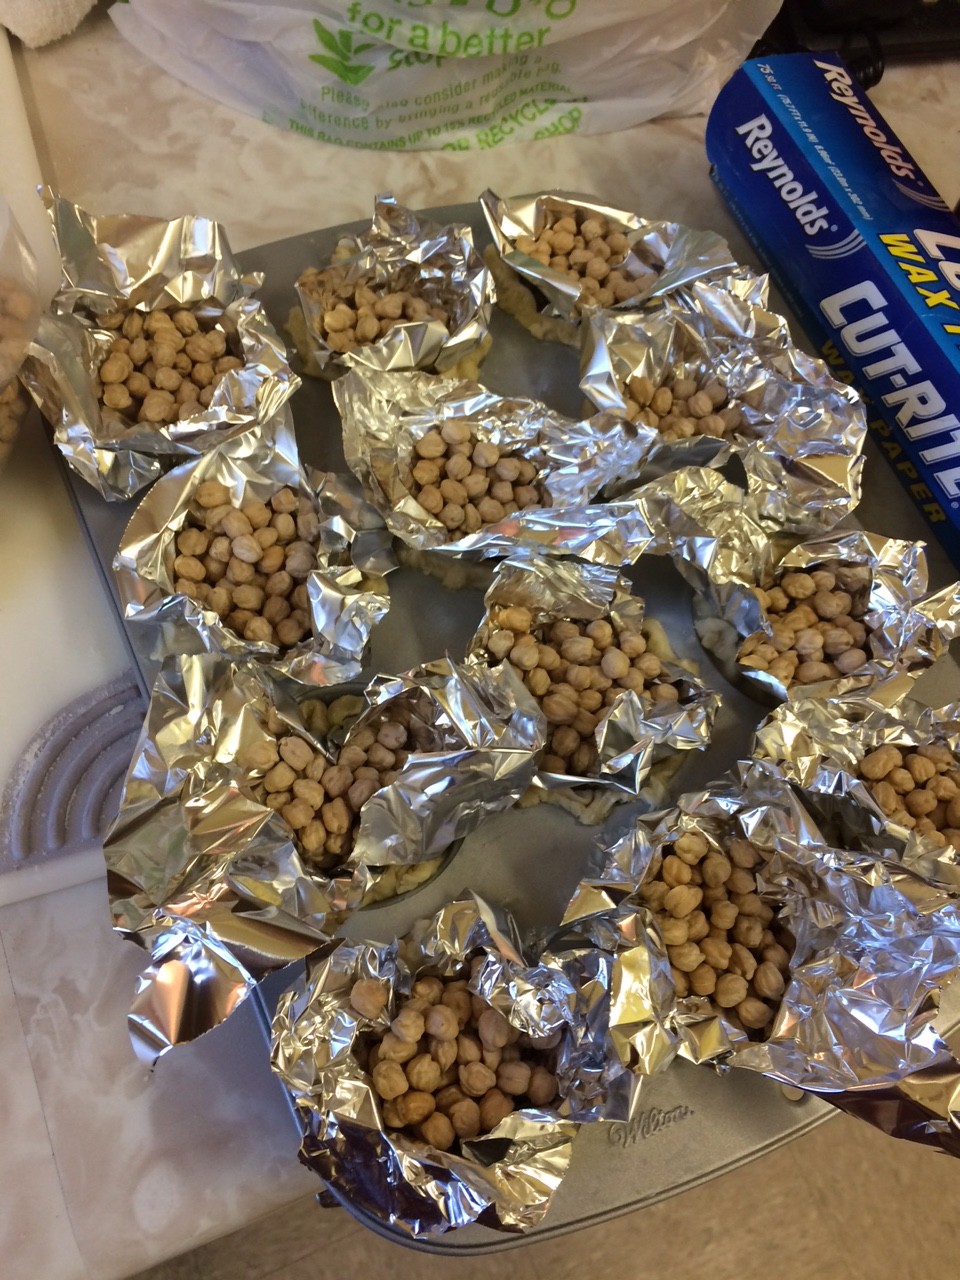
So much tin foil!
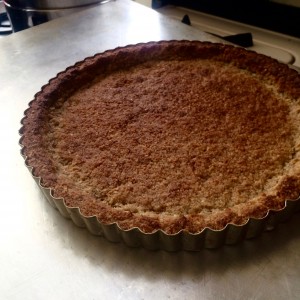
The only regret I had was buttering the muffin cups. I was really concerned about it sticking, but since the pastry already had so much butter in it, I got little buttery pools in the bottom of my cups that I had to wipe up. Aside from that my first attempt at blind baking was okay.
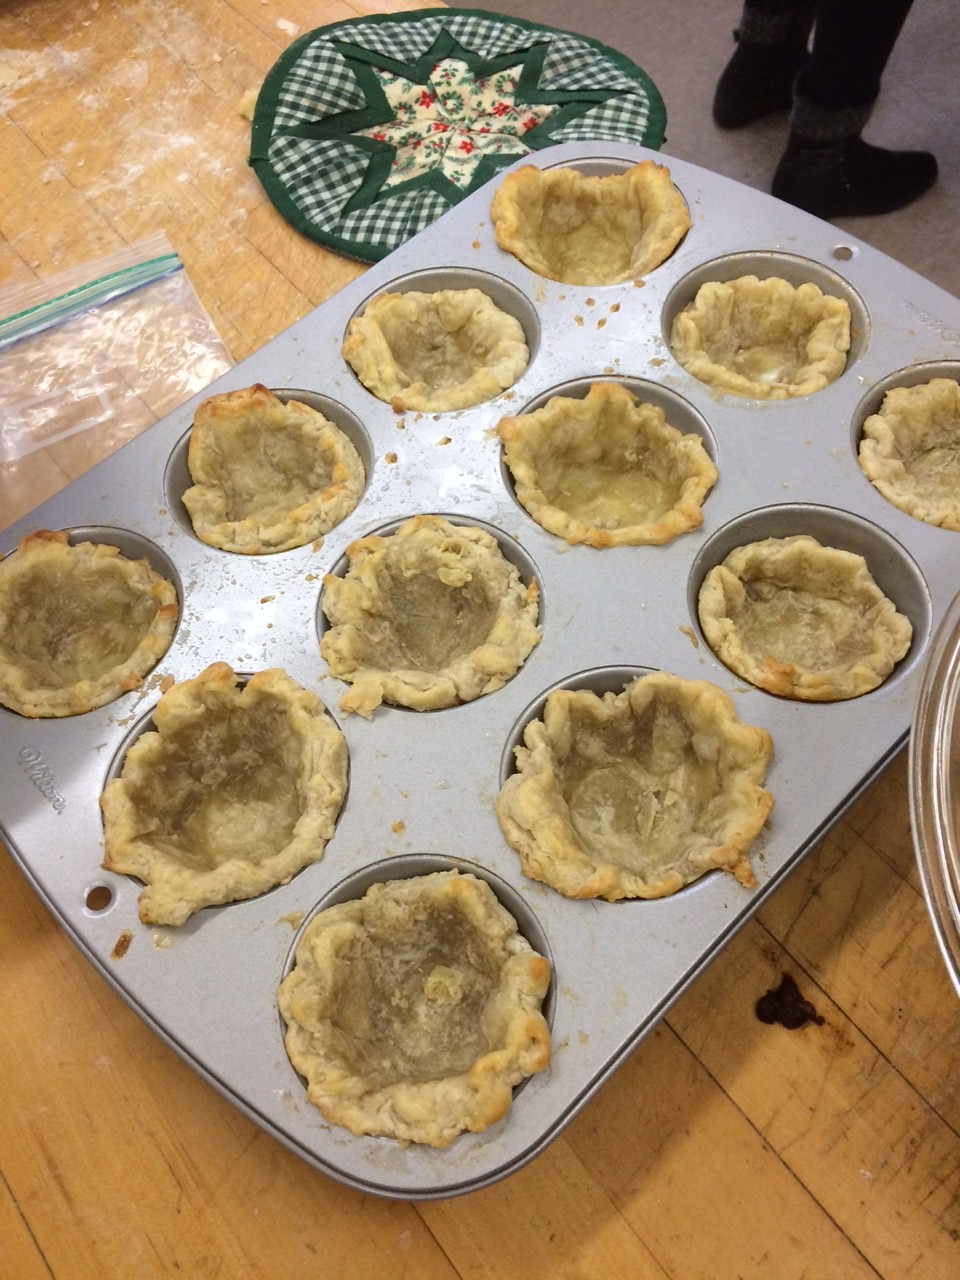
Pretty okay
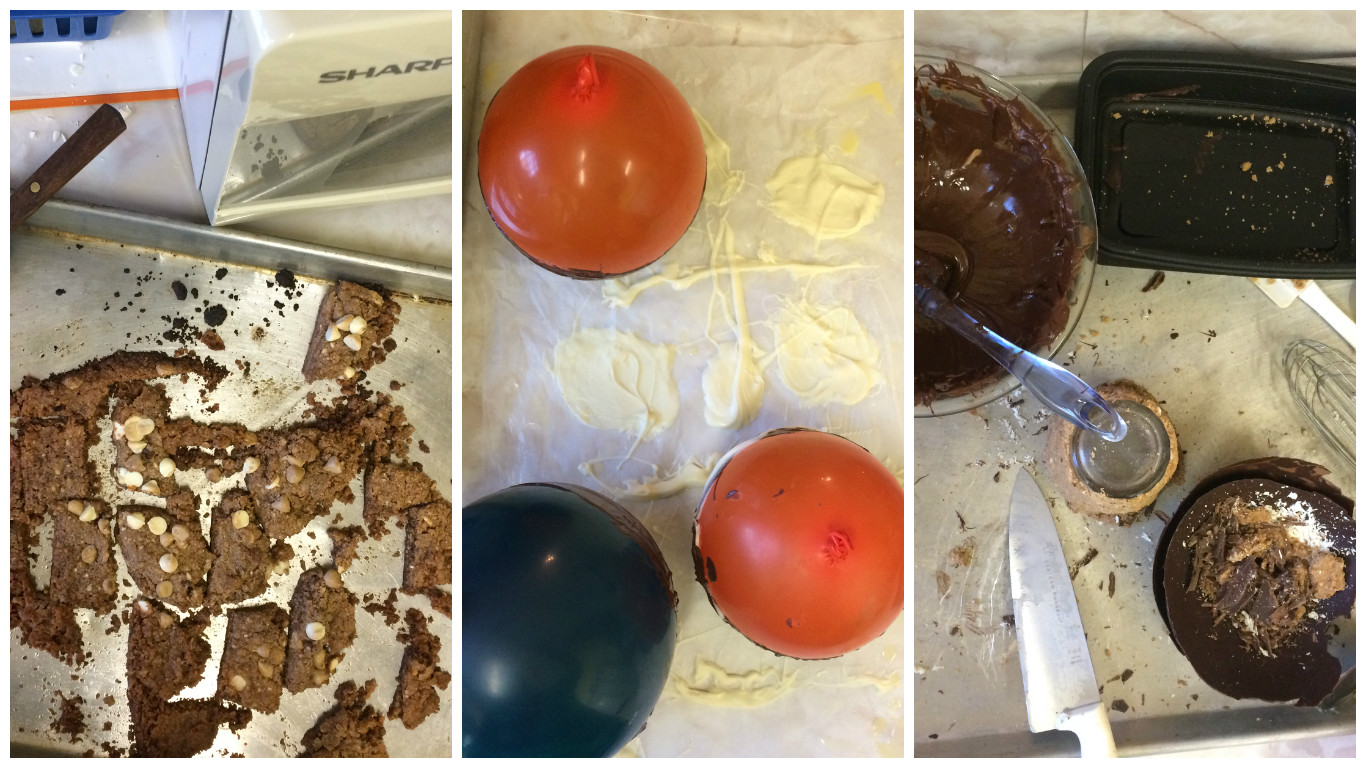
I set about doing all of this the first day of cooking, and the next I did a test lava cake, along with the real batch, and assembled and baked my pot pie. The lava cake pies were the major concern as I knew I could make pie and I knew I could make cake, but could I make the lava flow. In the end it was a lot of guess work. I found a recipe for a chocolate lava pie, but this was a whole pie not mini ones so any questions about timing were up in the air. In the end I just had to do a lot of checking, like every 3 minutes, but…..
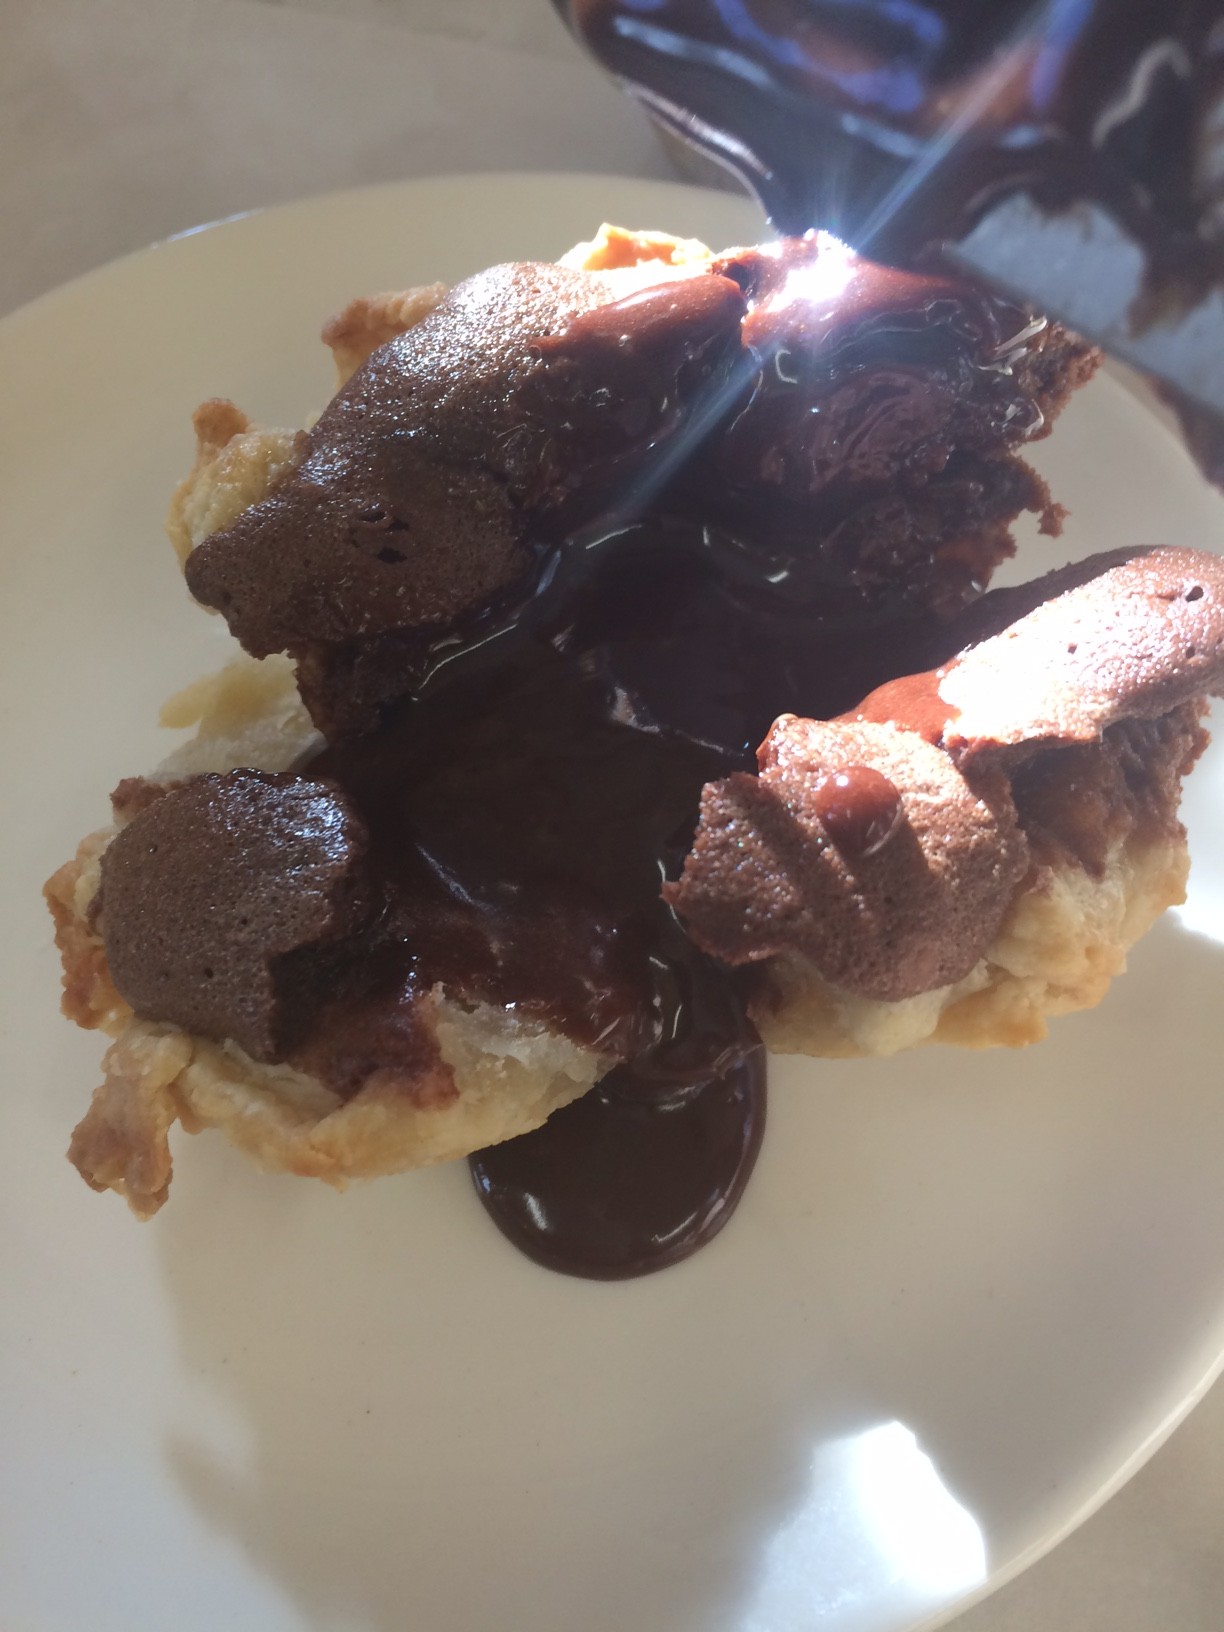
IT WORKED!
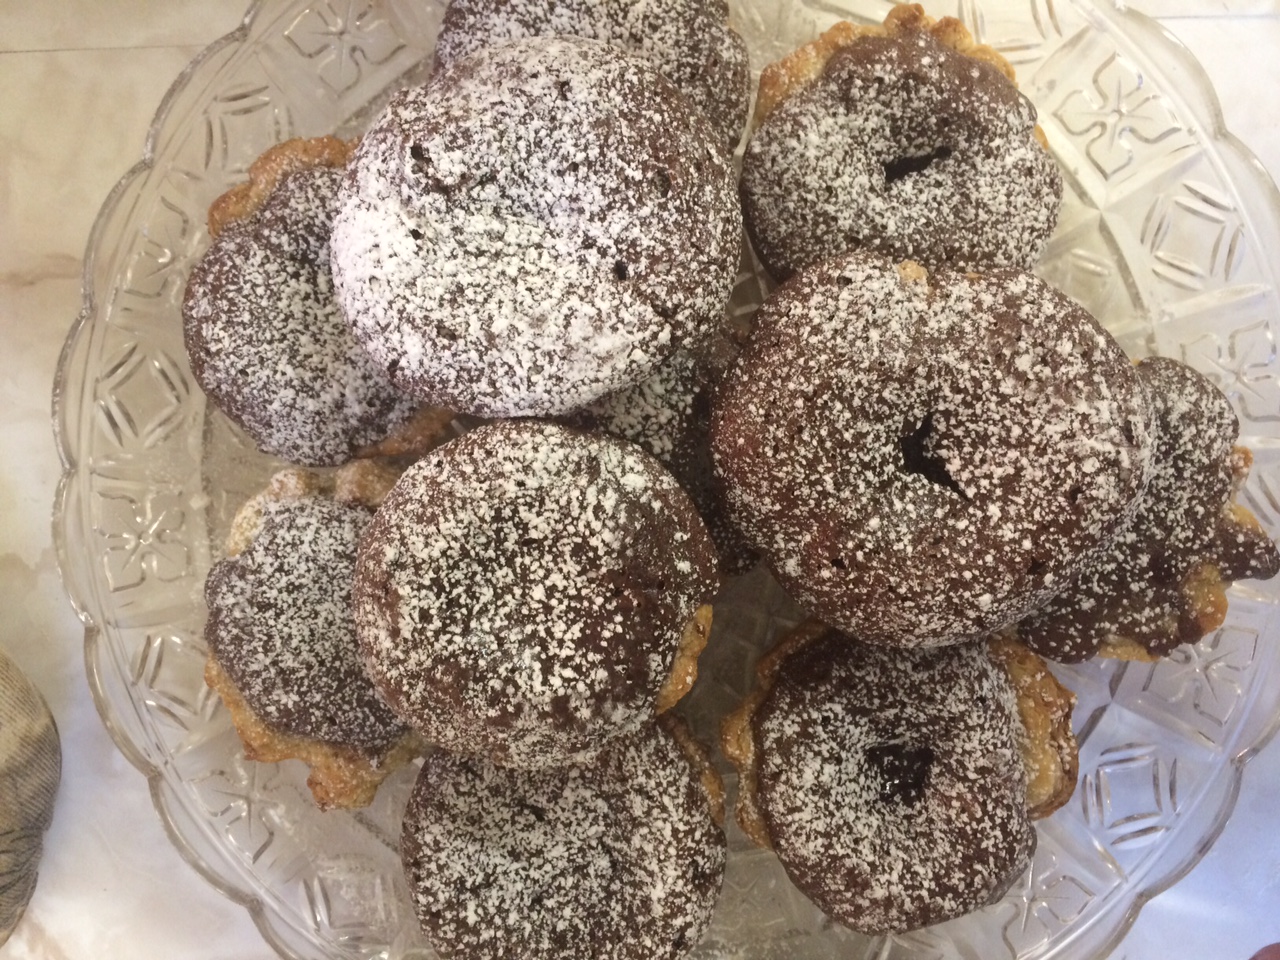
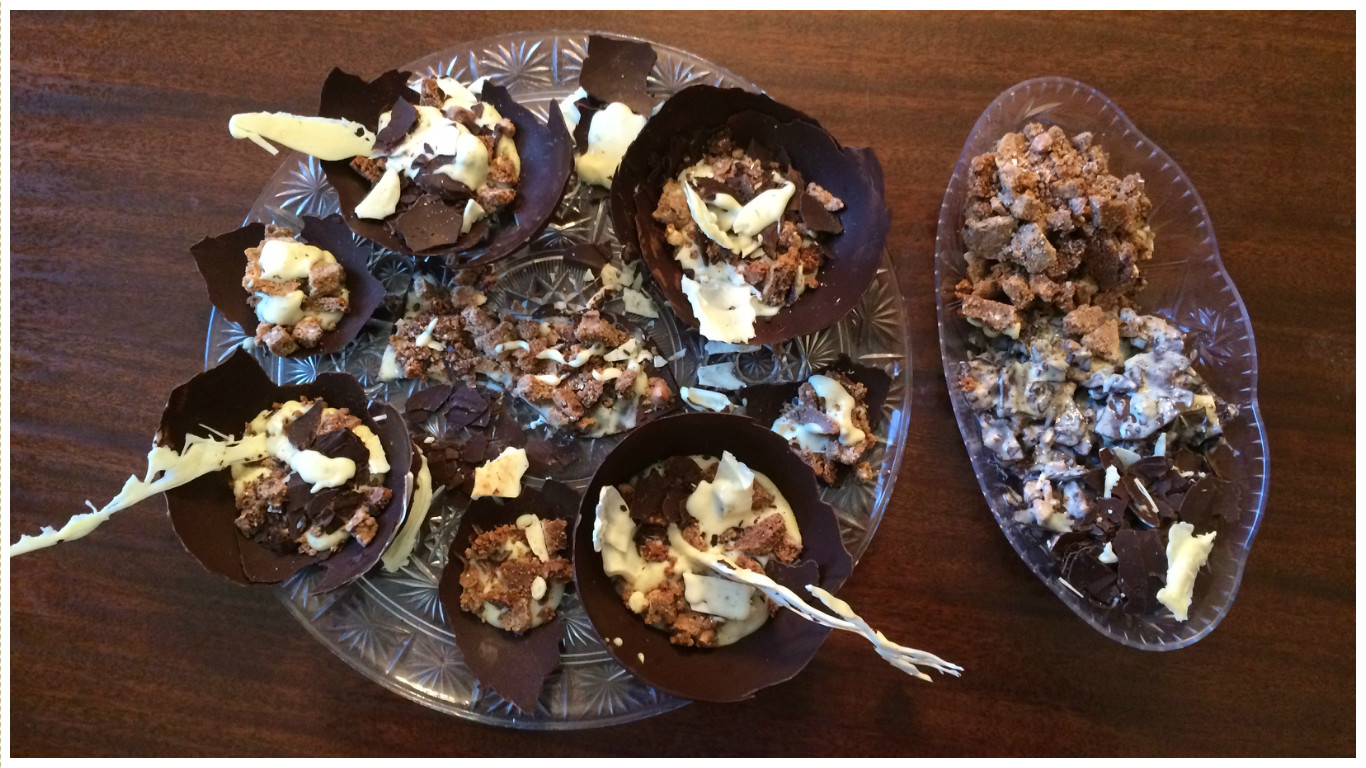
and so I made the rest!
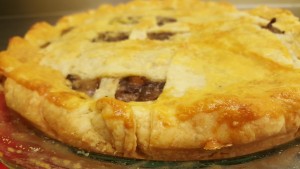
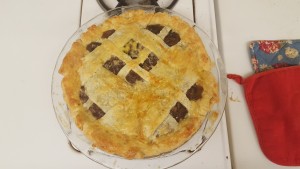
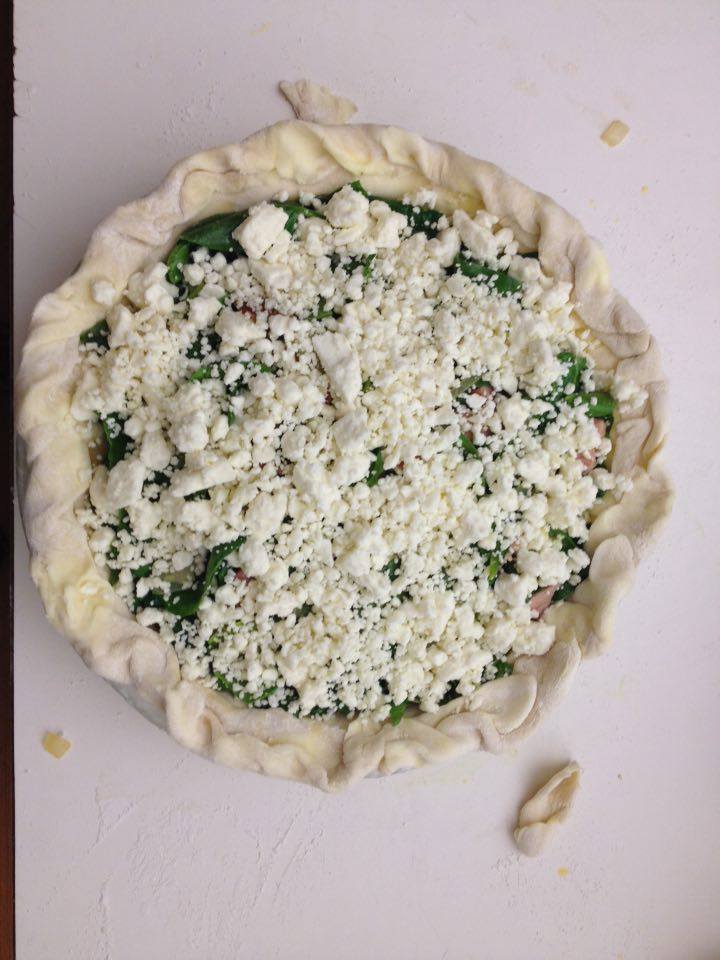
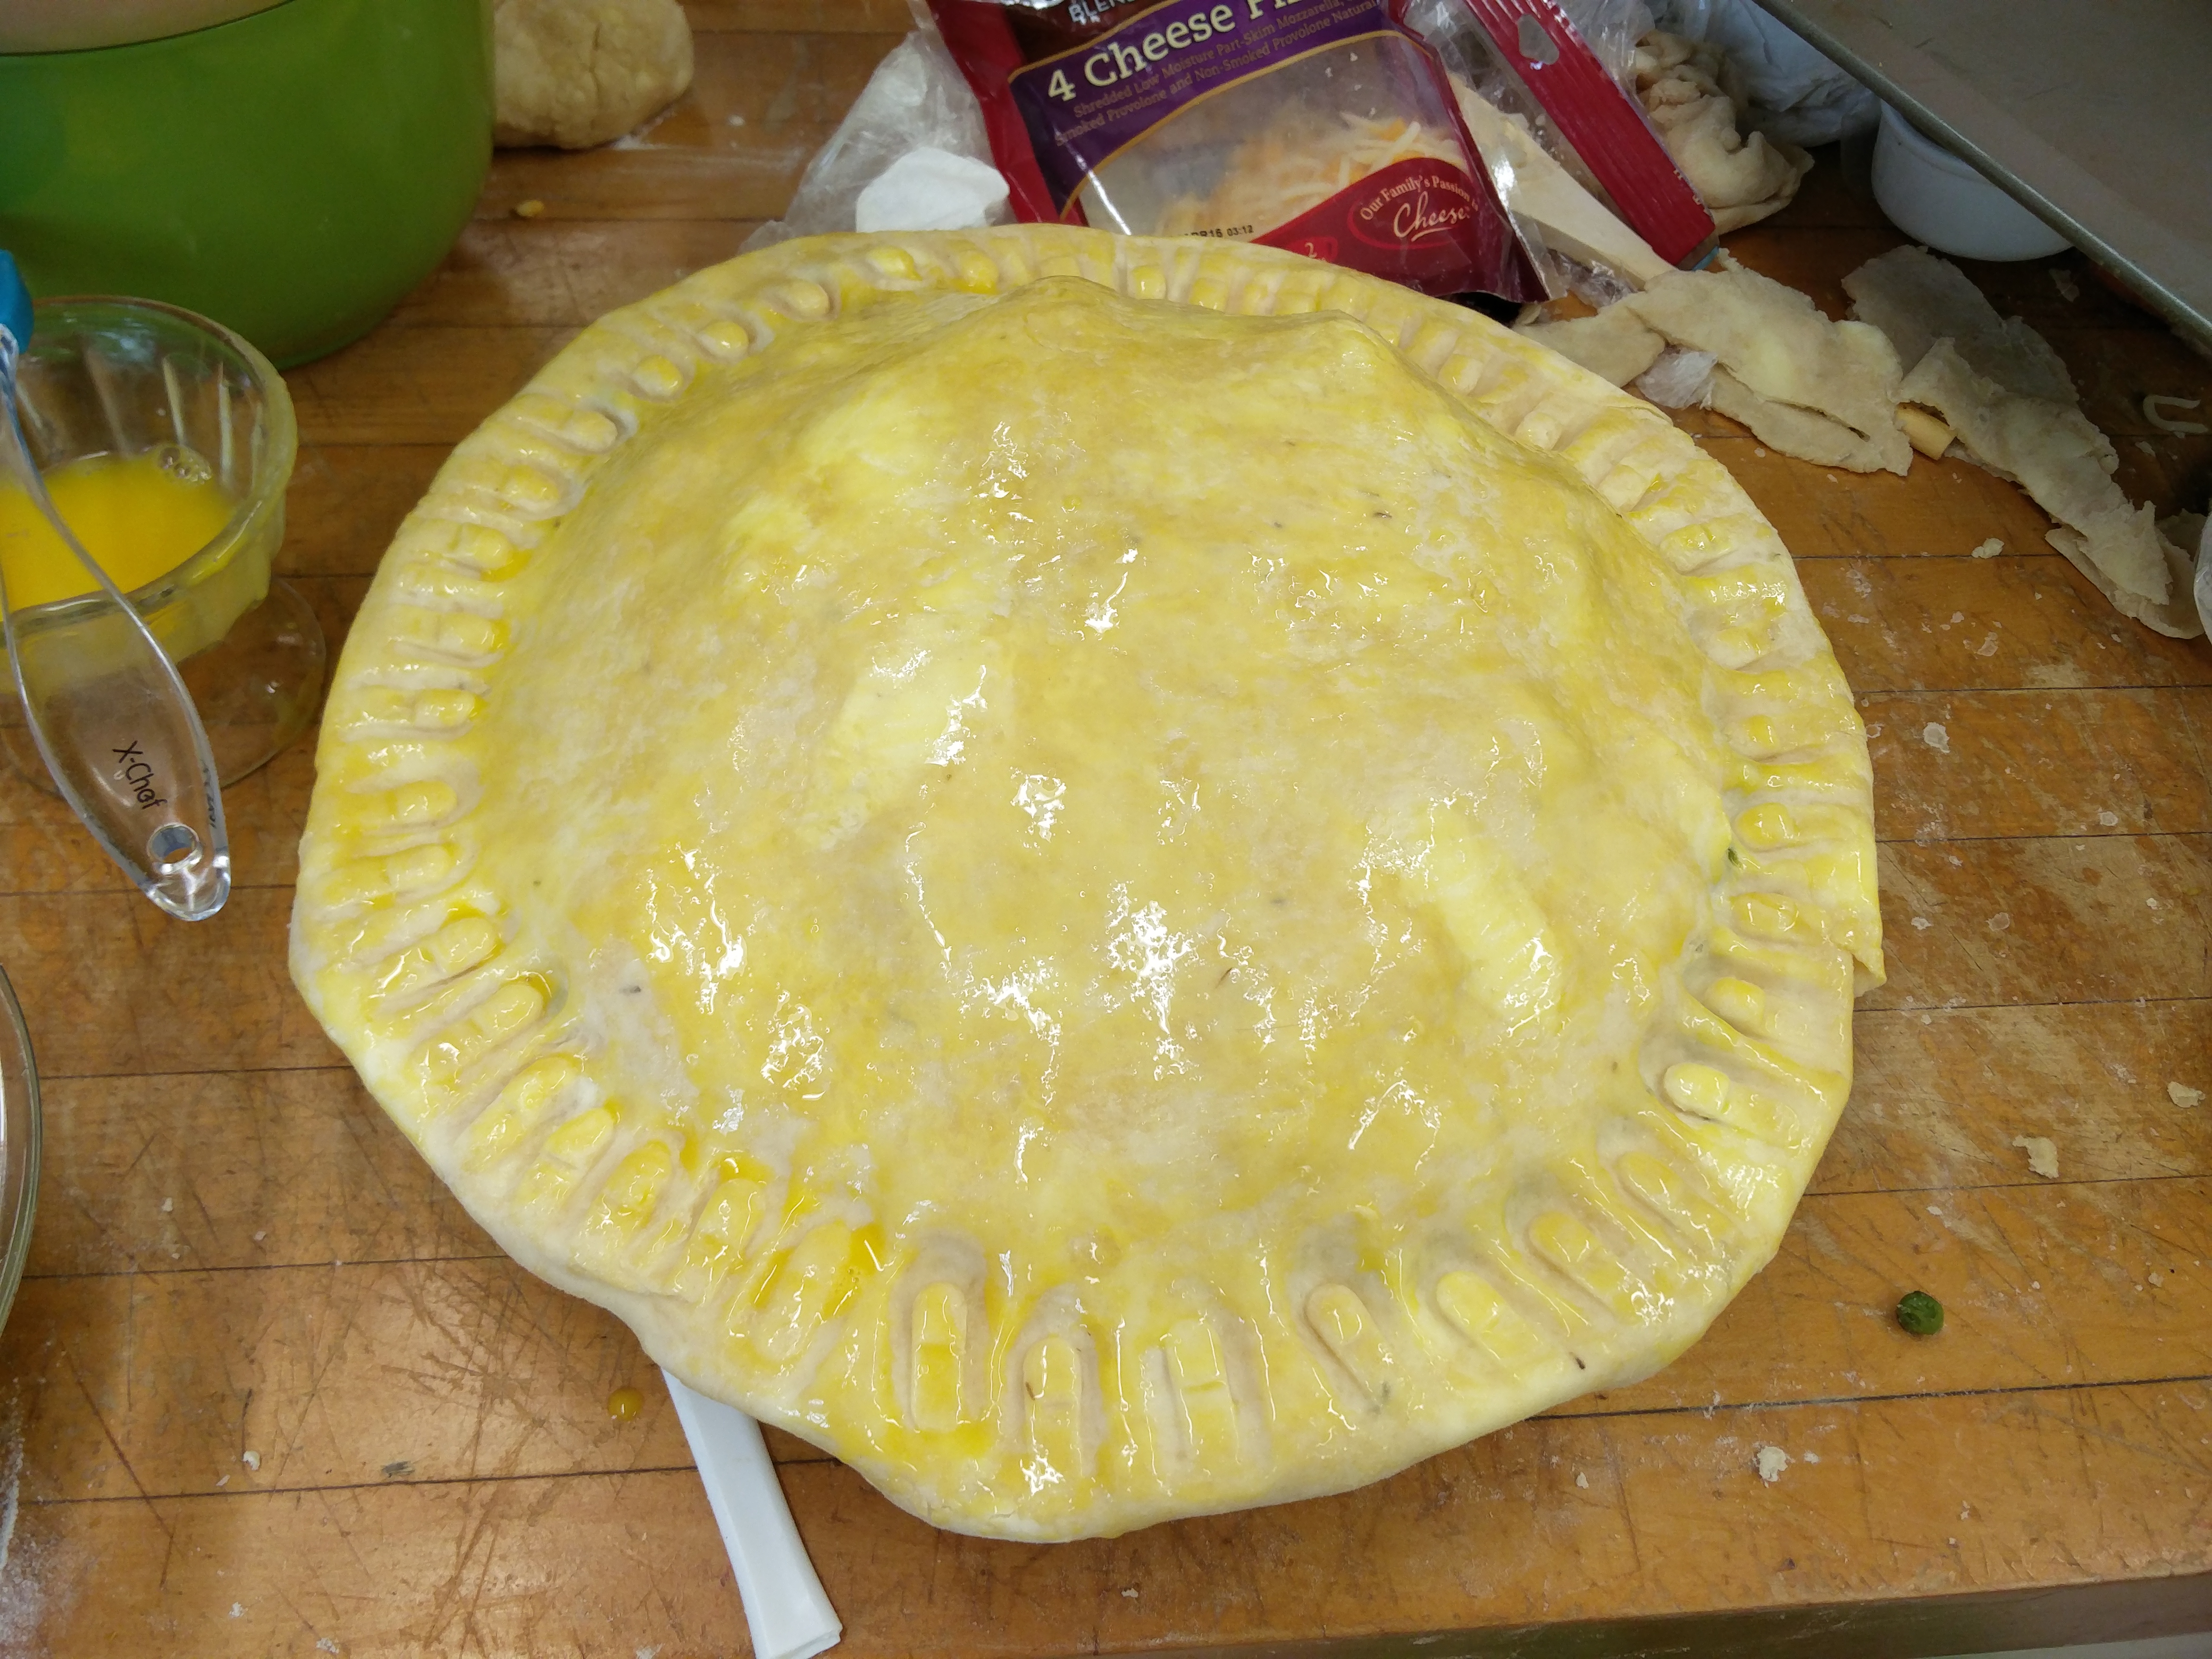
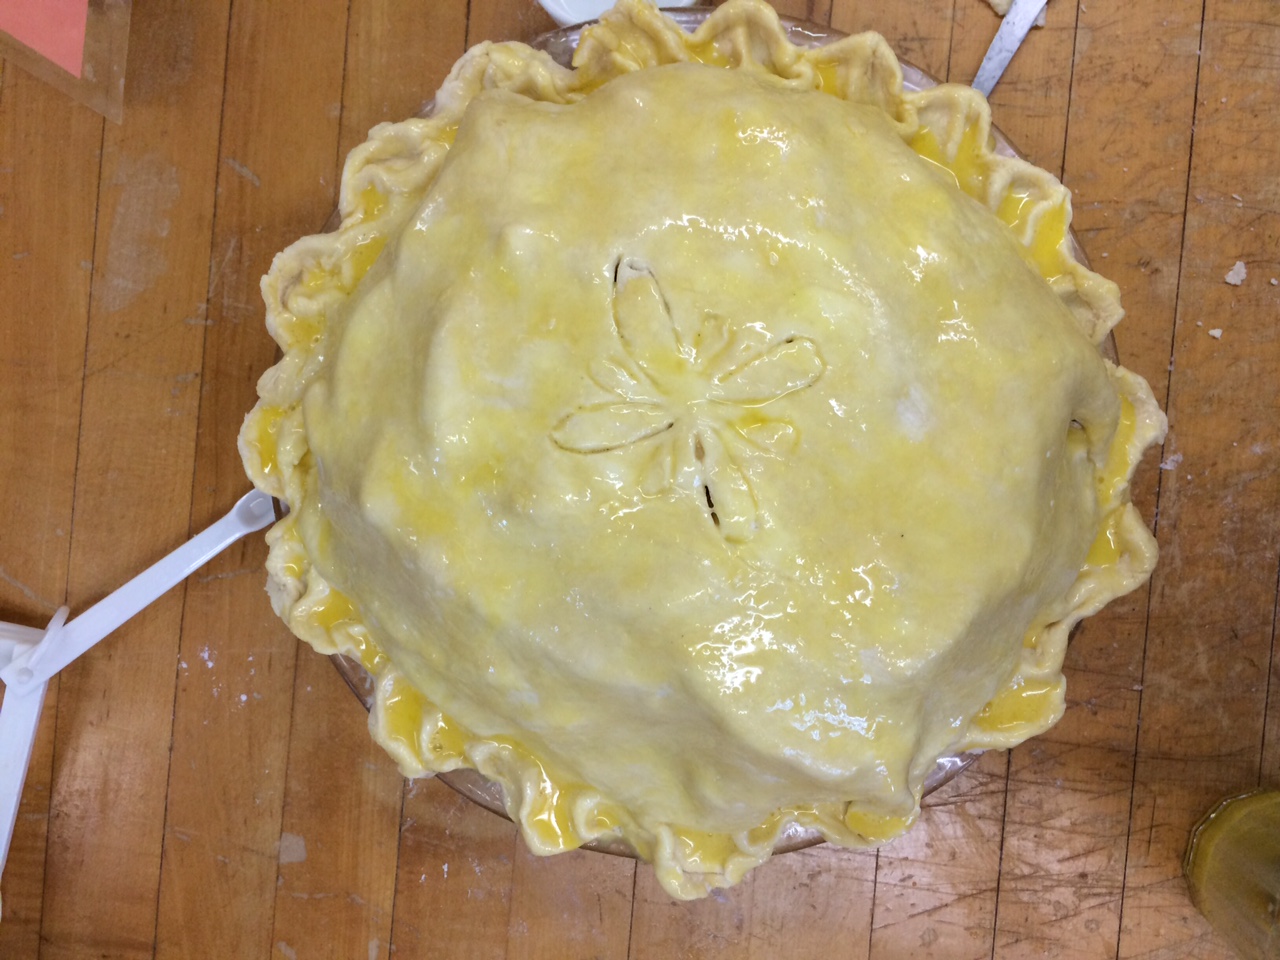
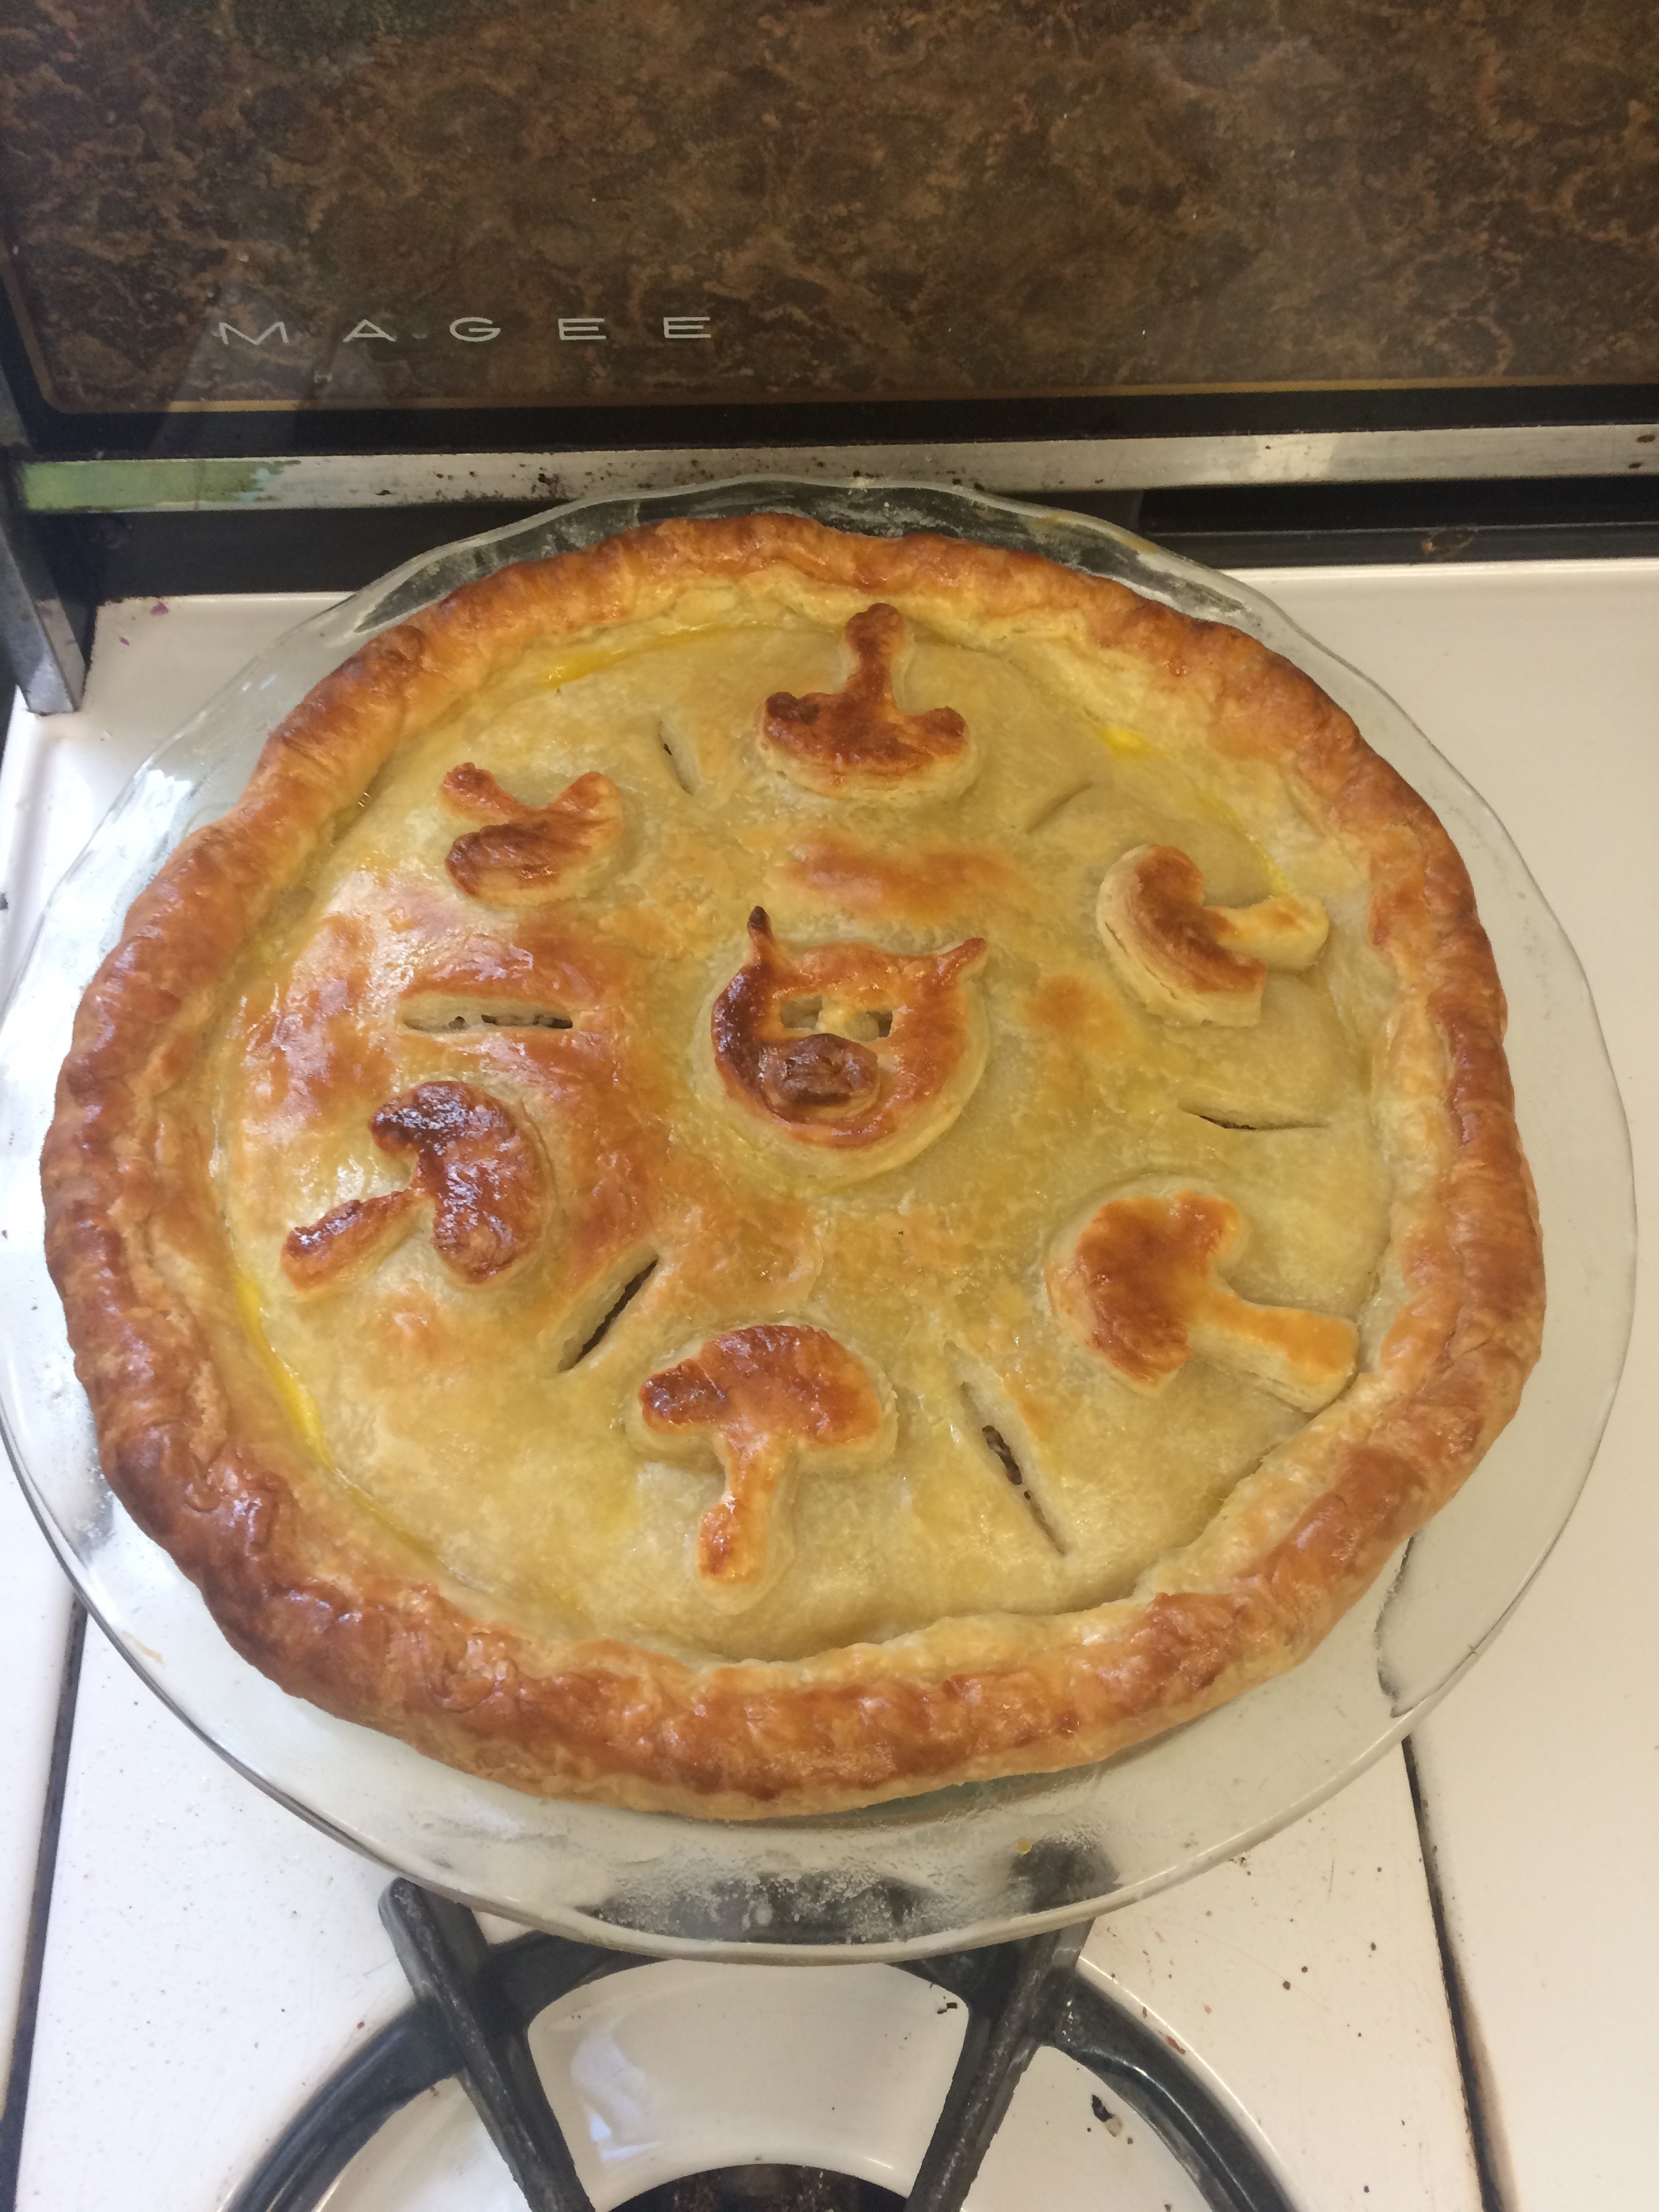
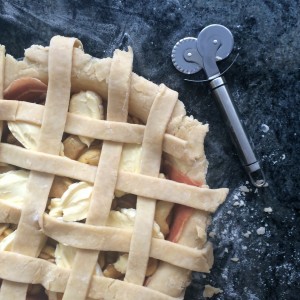
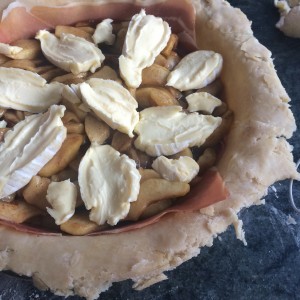
Then came assembling the pot pie. Last minute I decided to add some Boursin cheese into the pie because I felt it was a little to wine-y tasting and I thought it would mellow that out some. I also decided to go with a lattice crust because I hadn’t done that yet, but because I was concerned about how the puff pastry would puff I made a wider lattice, a very wide lattice.
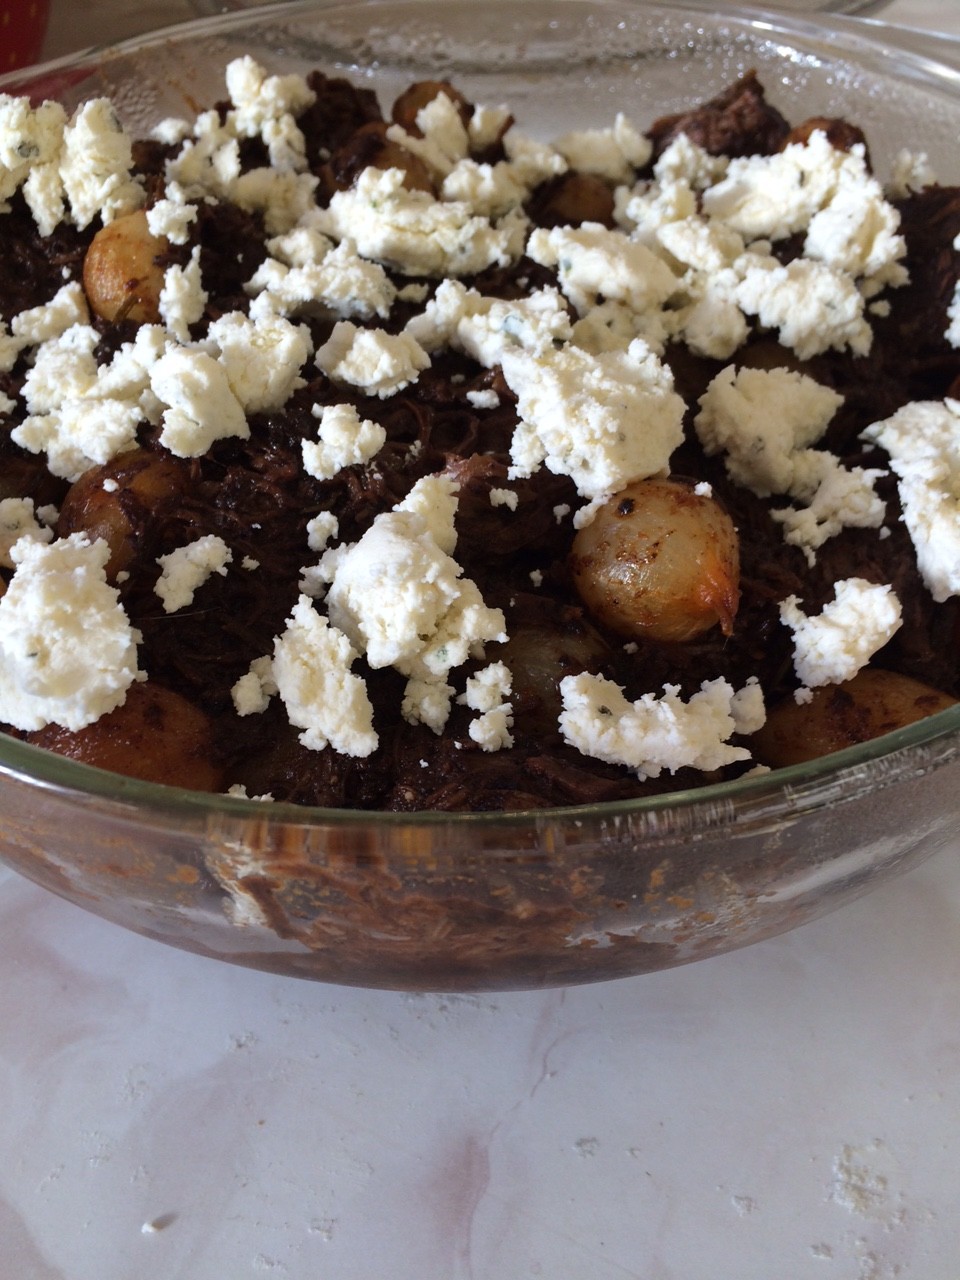
mmmmm cheese
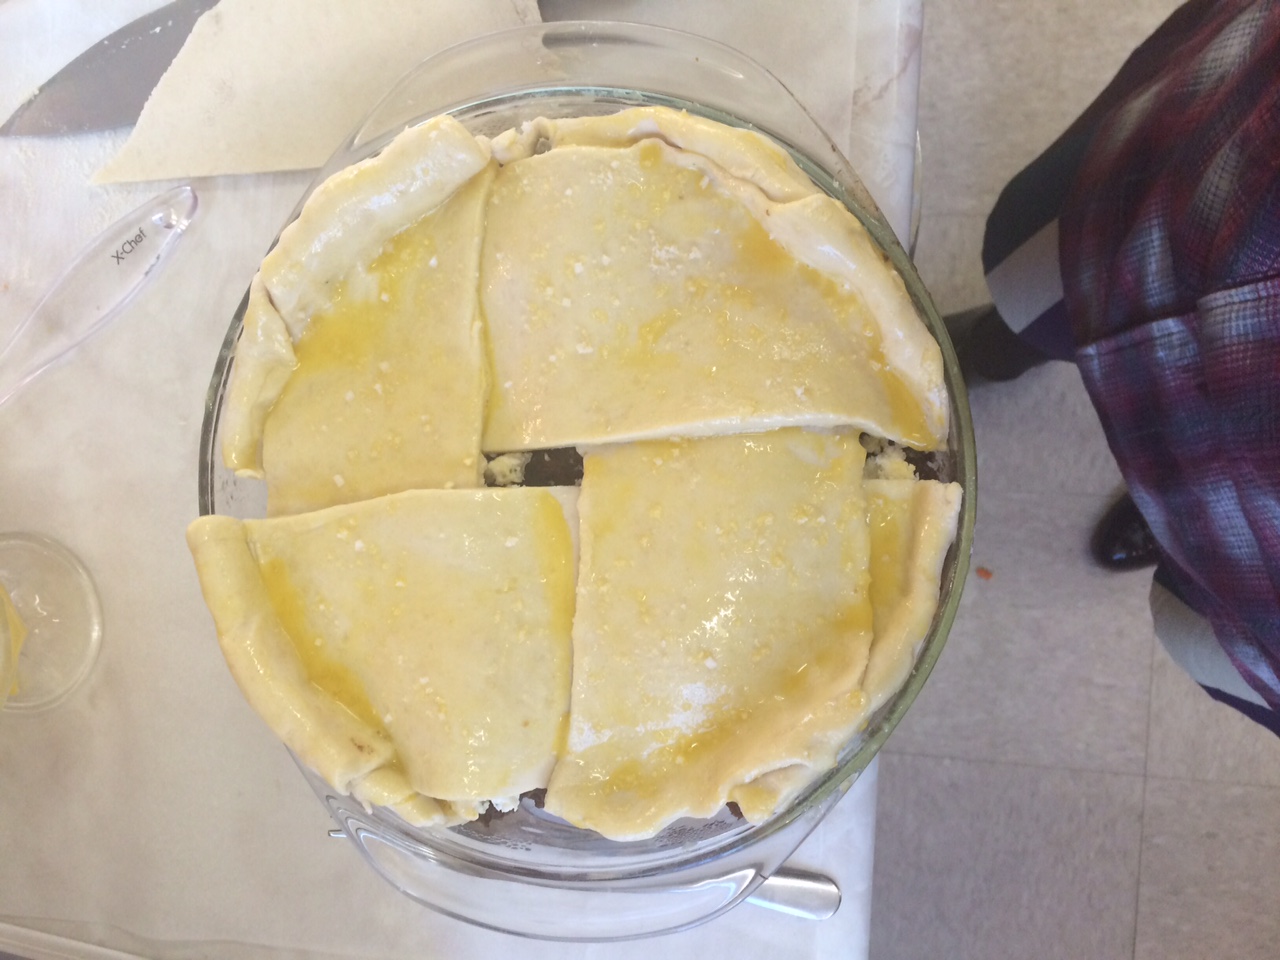
I’m not even sure we can call this a lattice
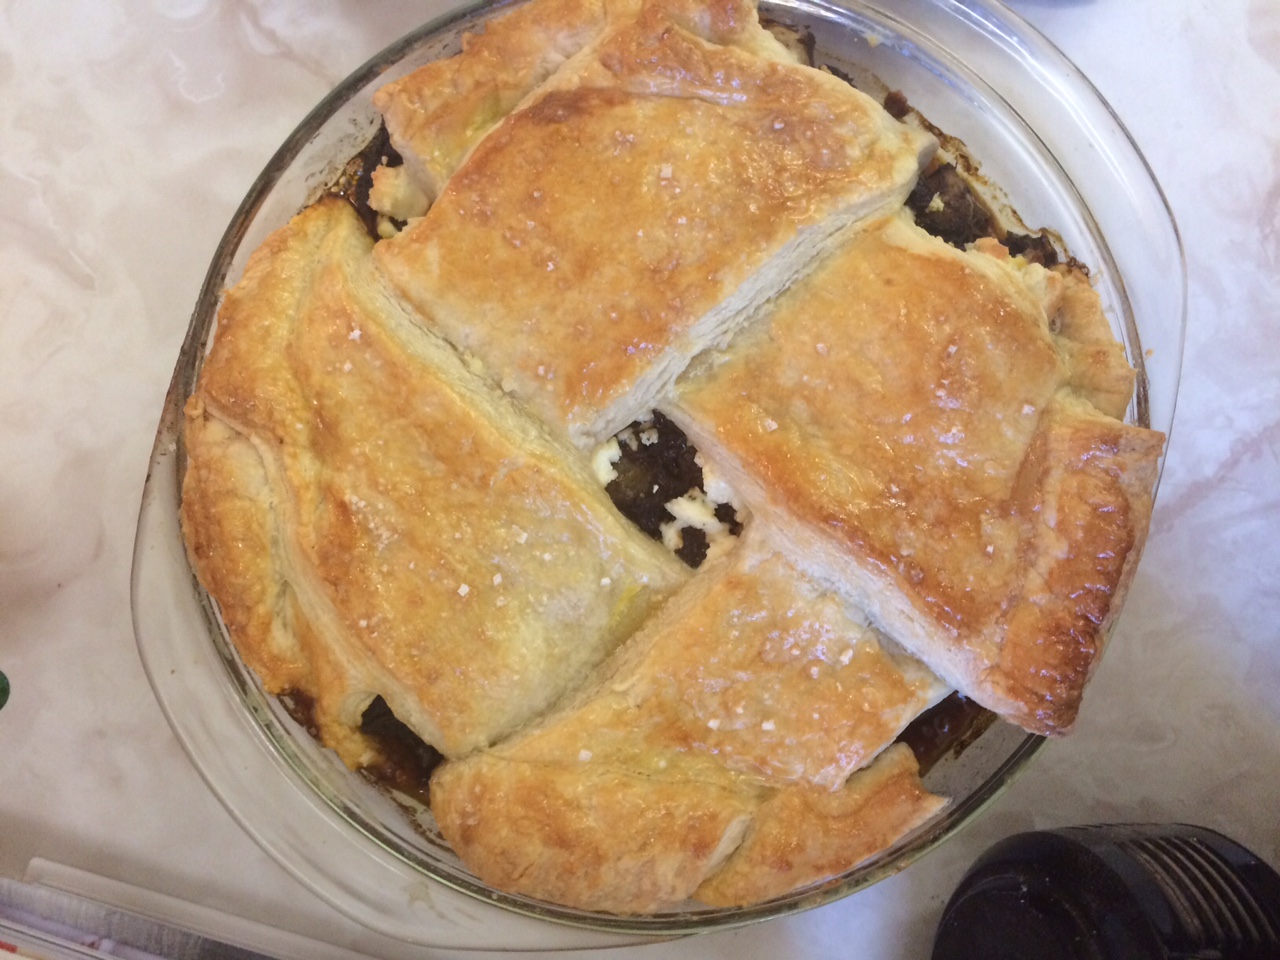
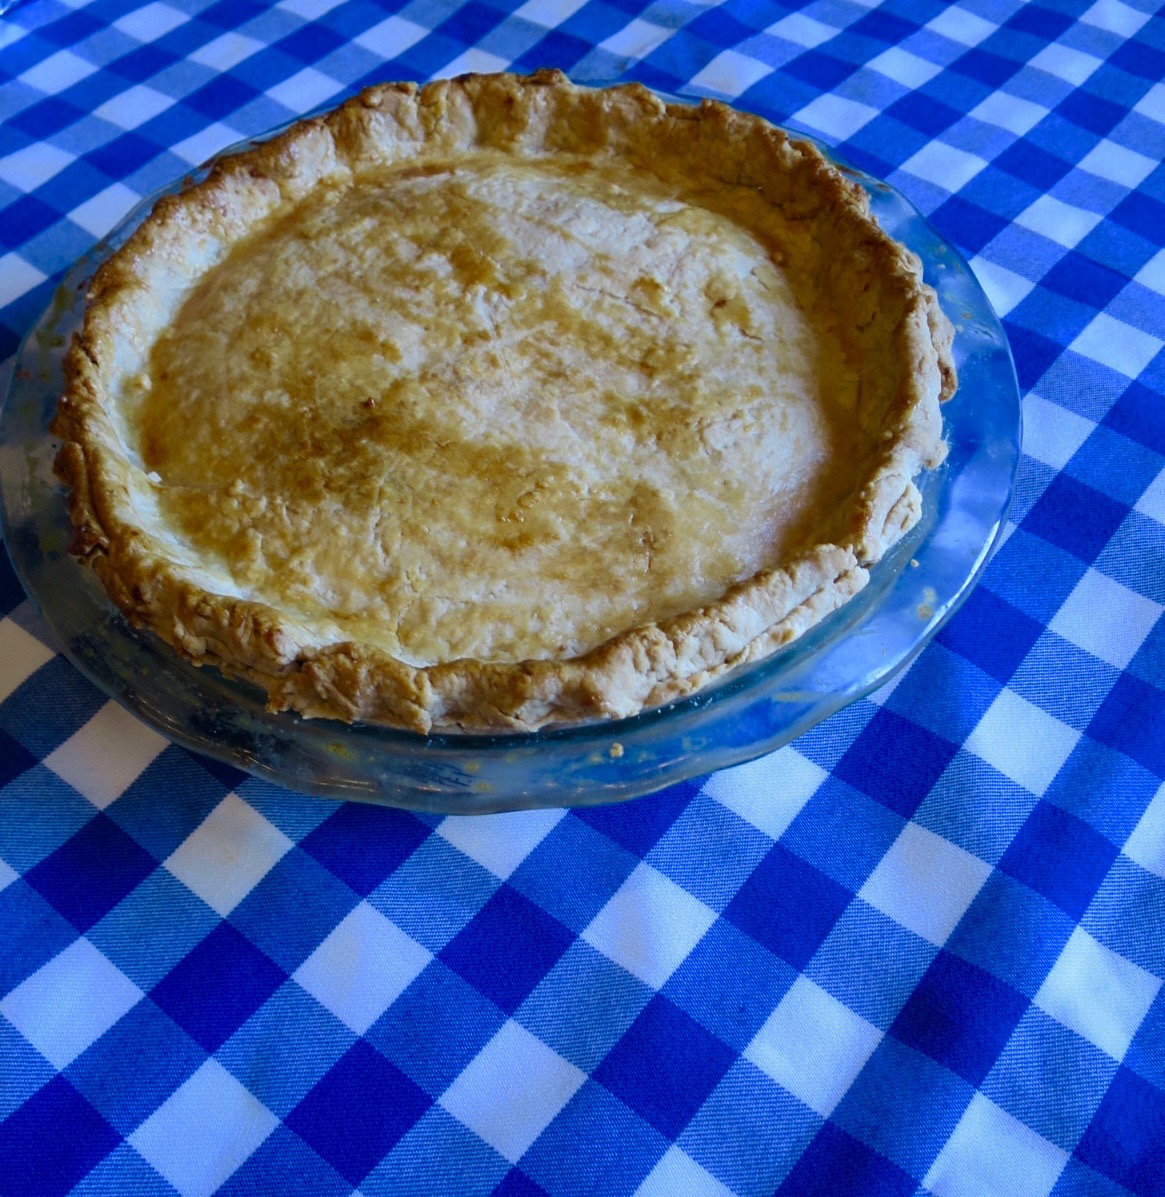
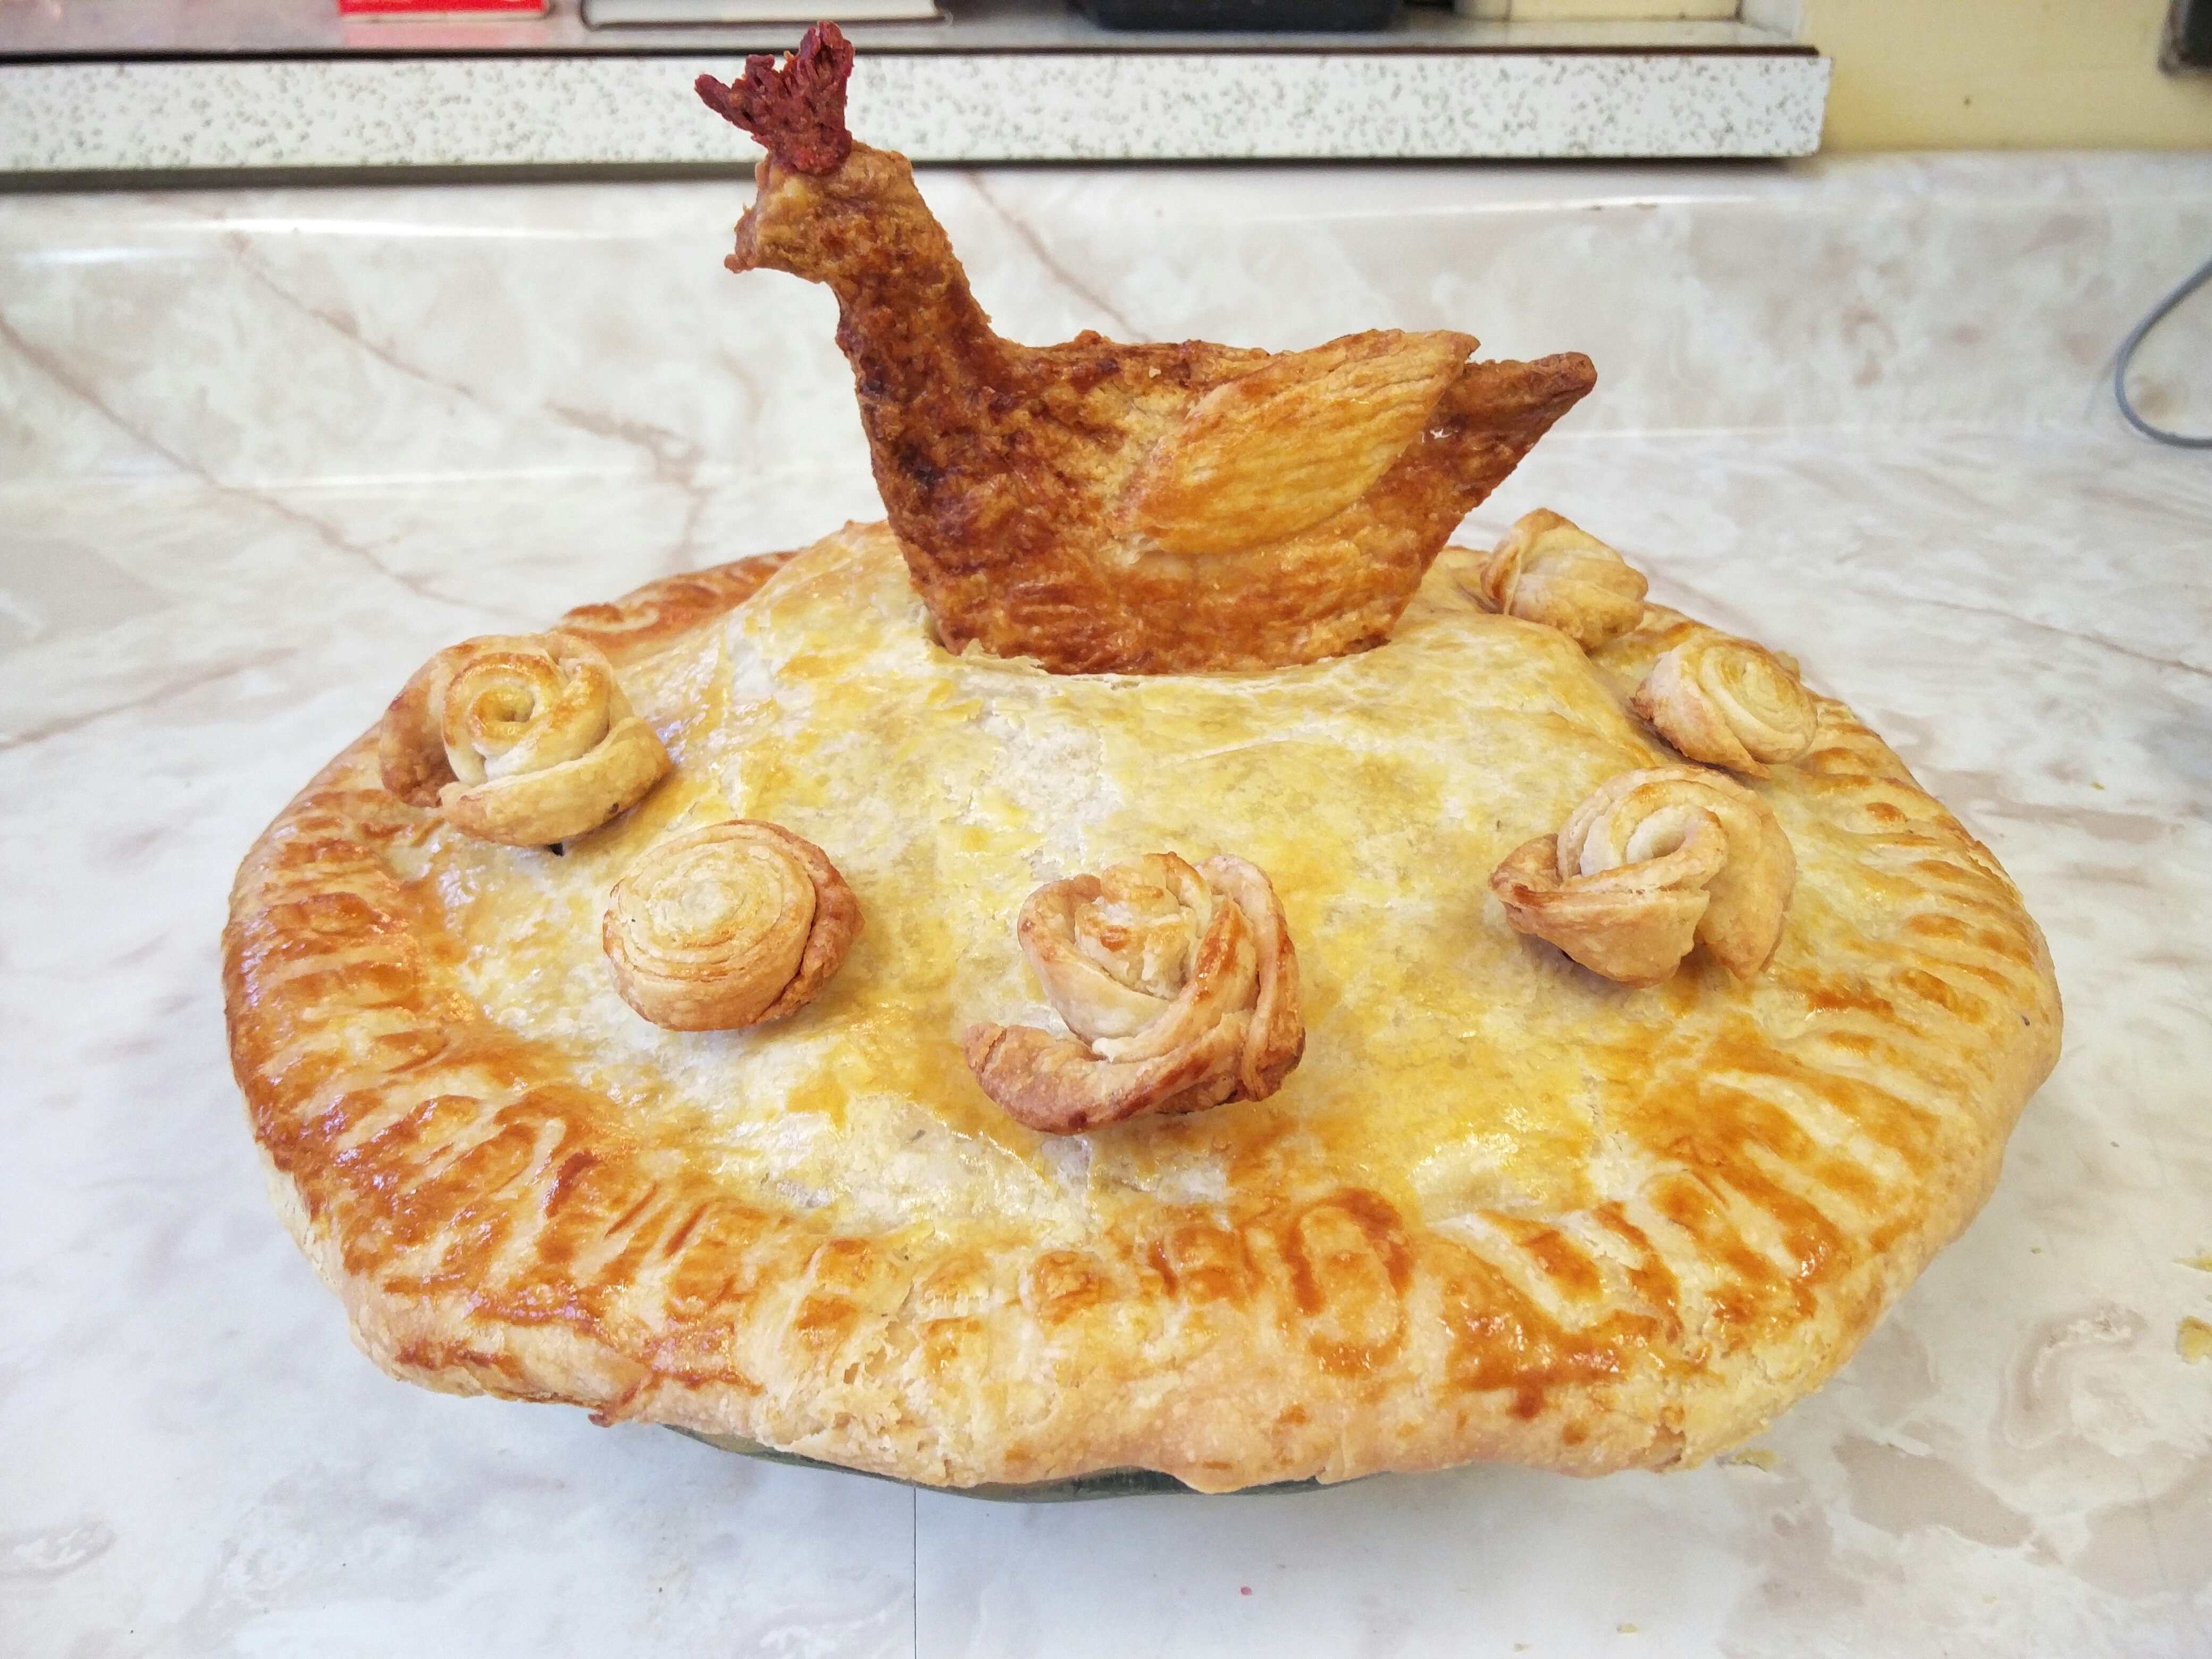
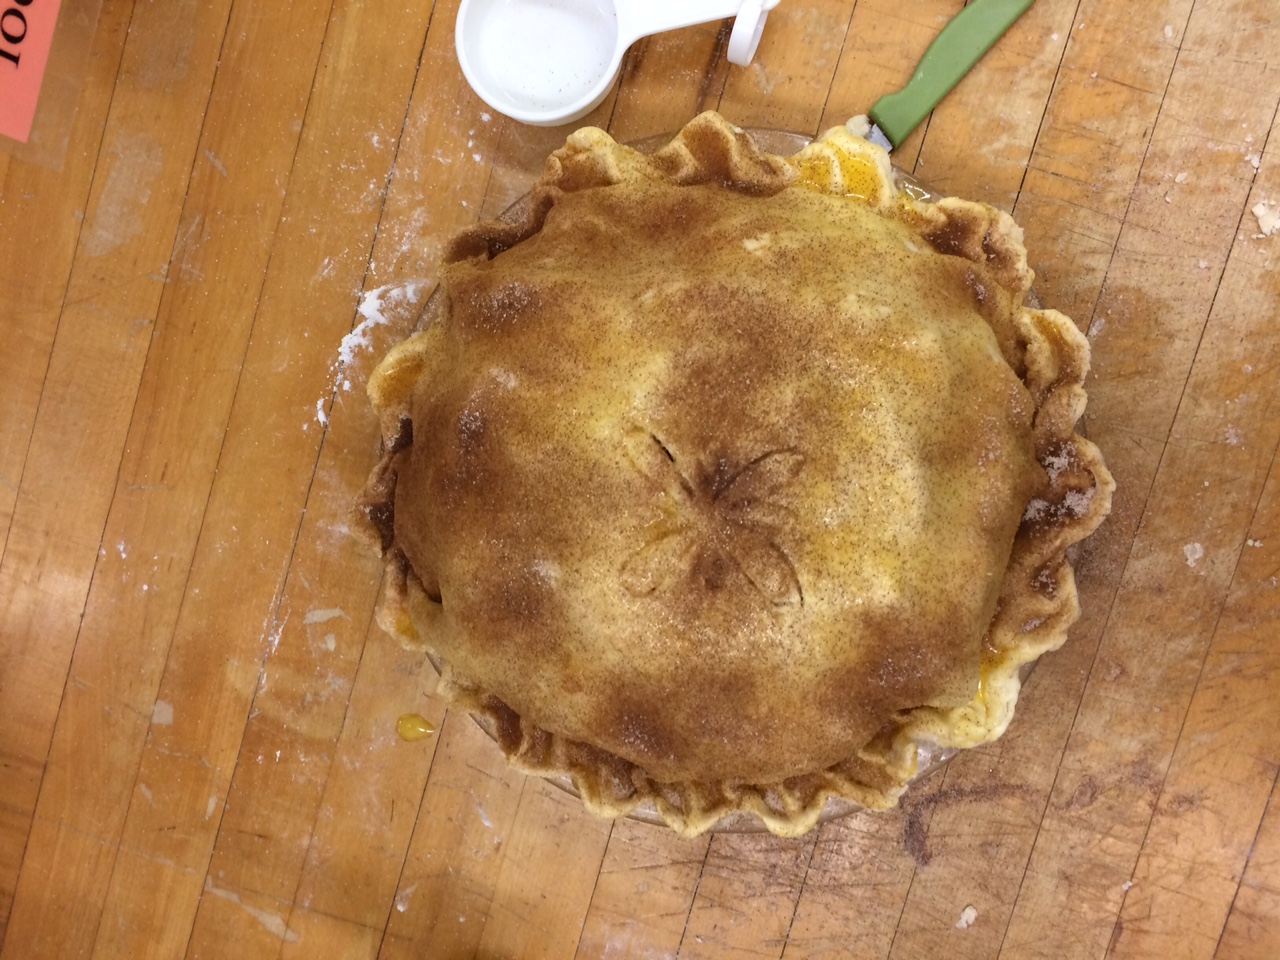
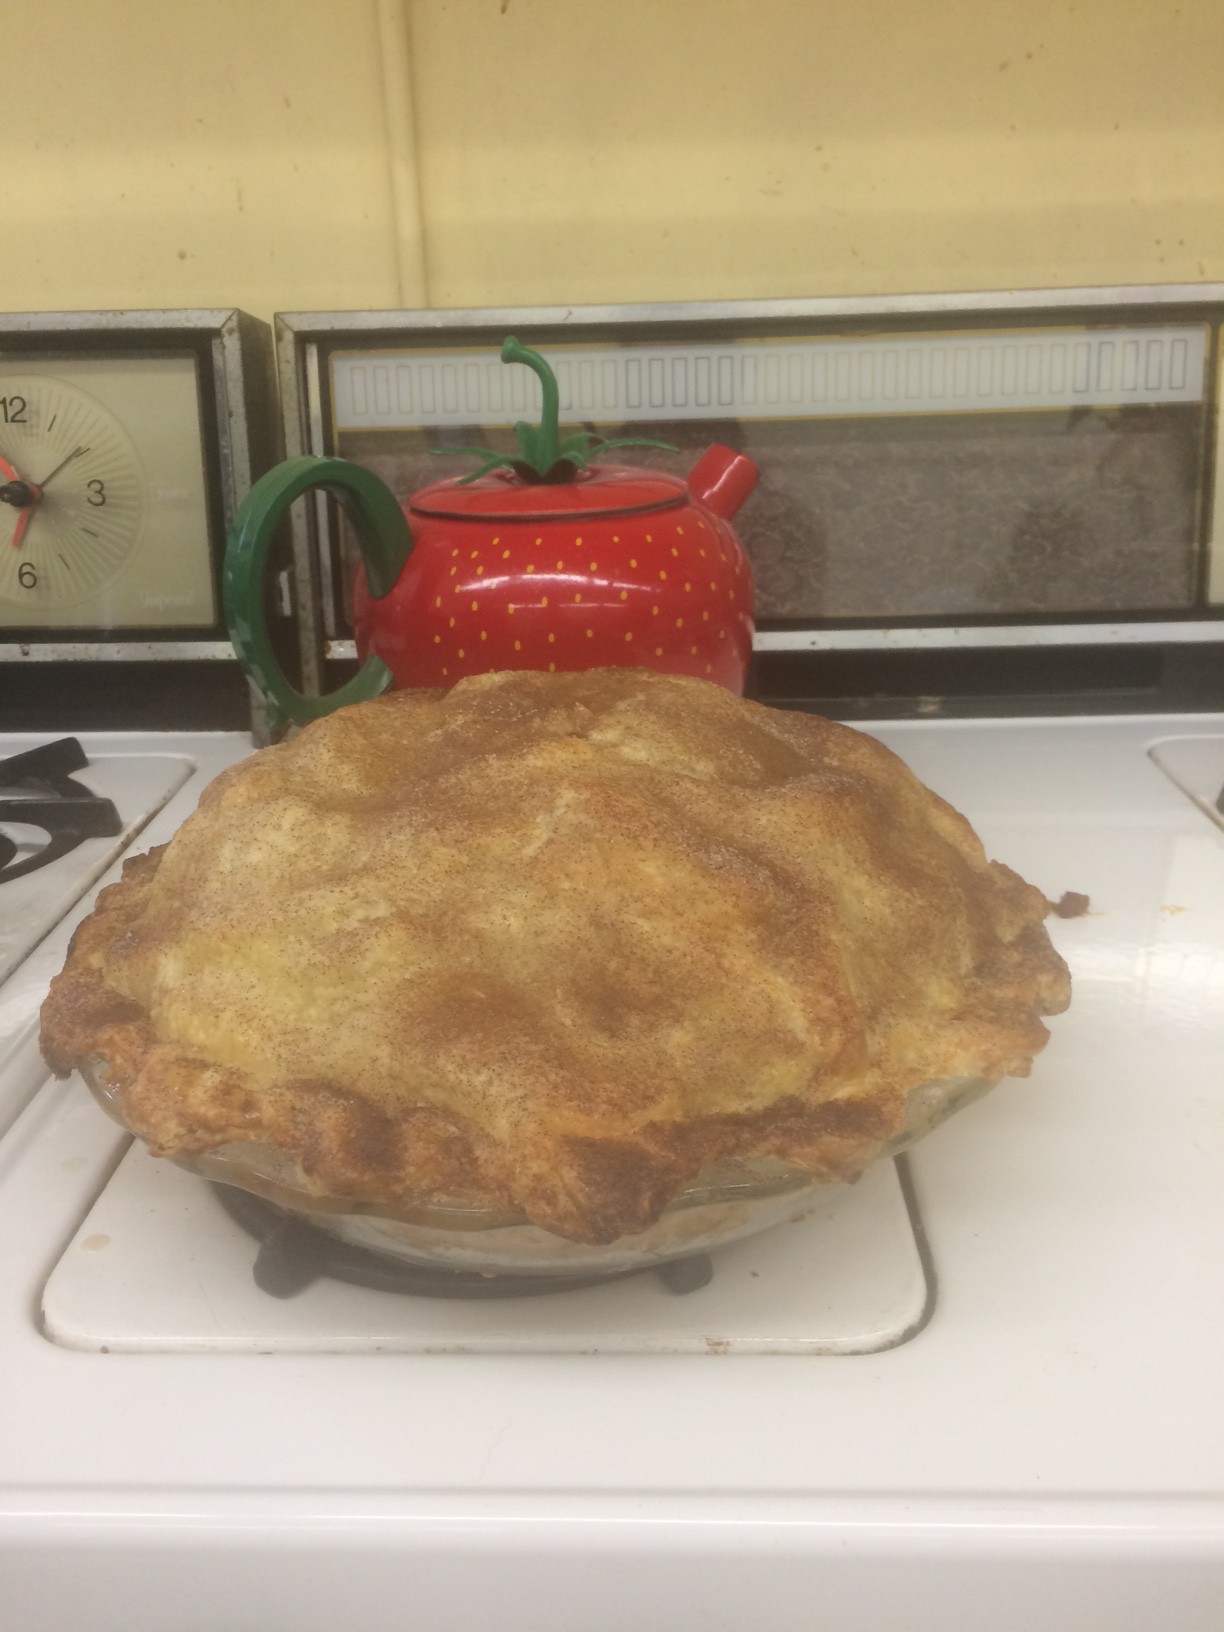
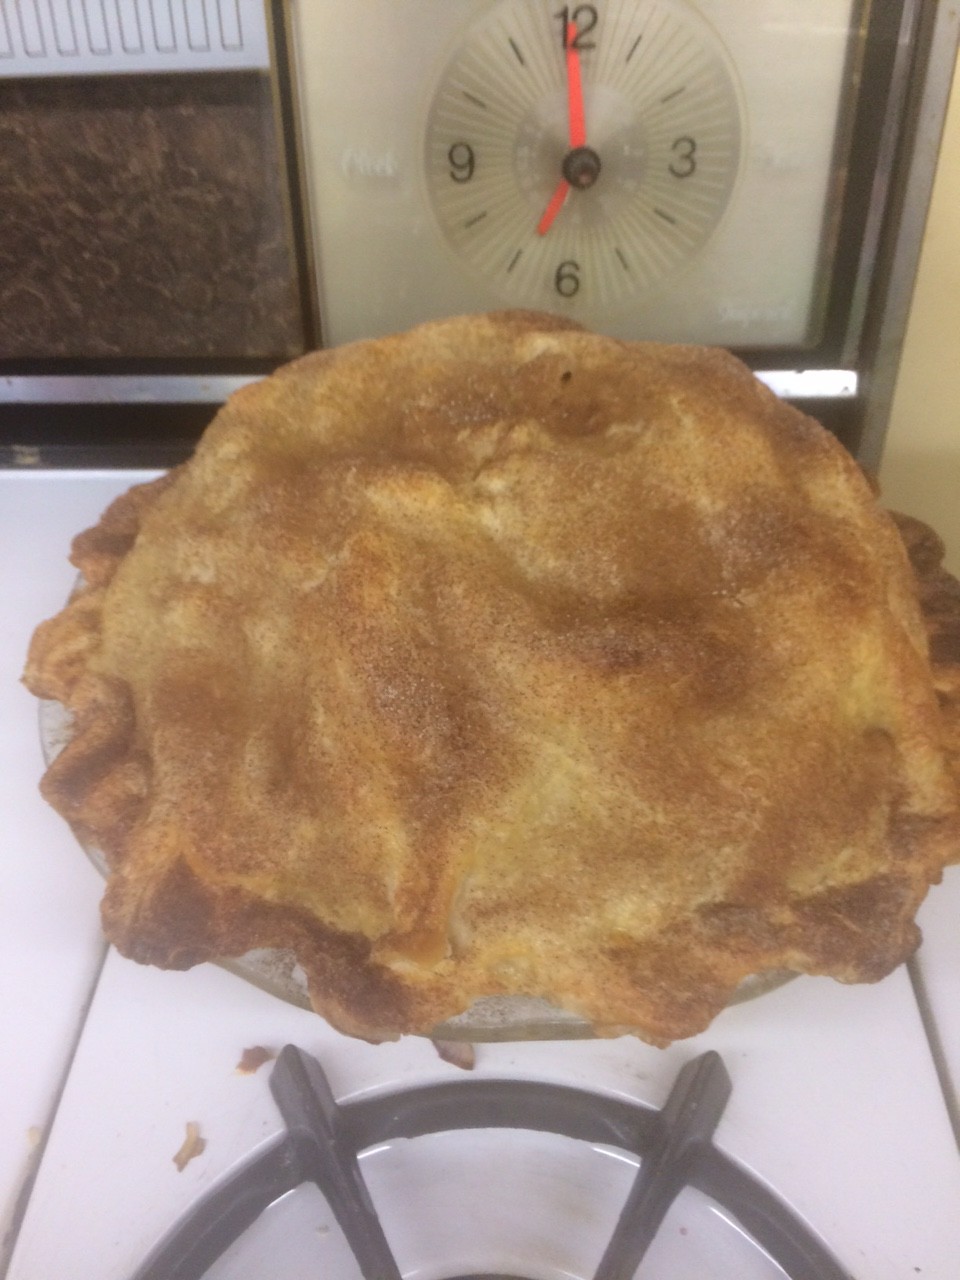
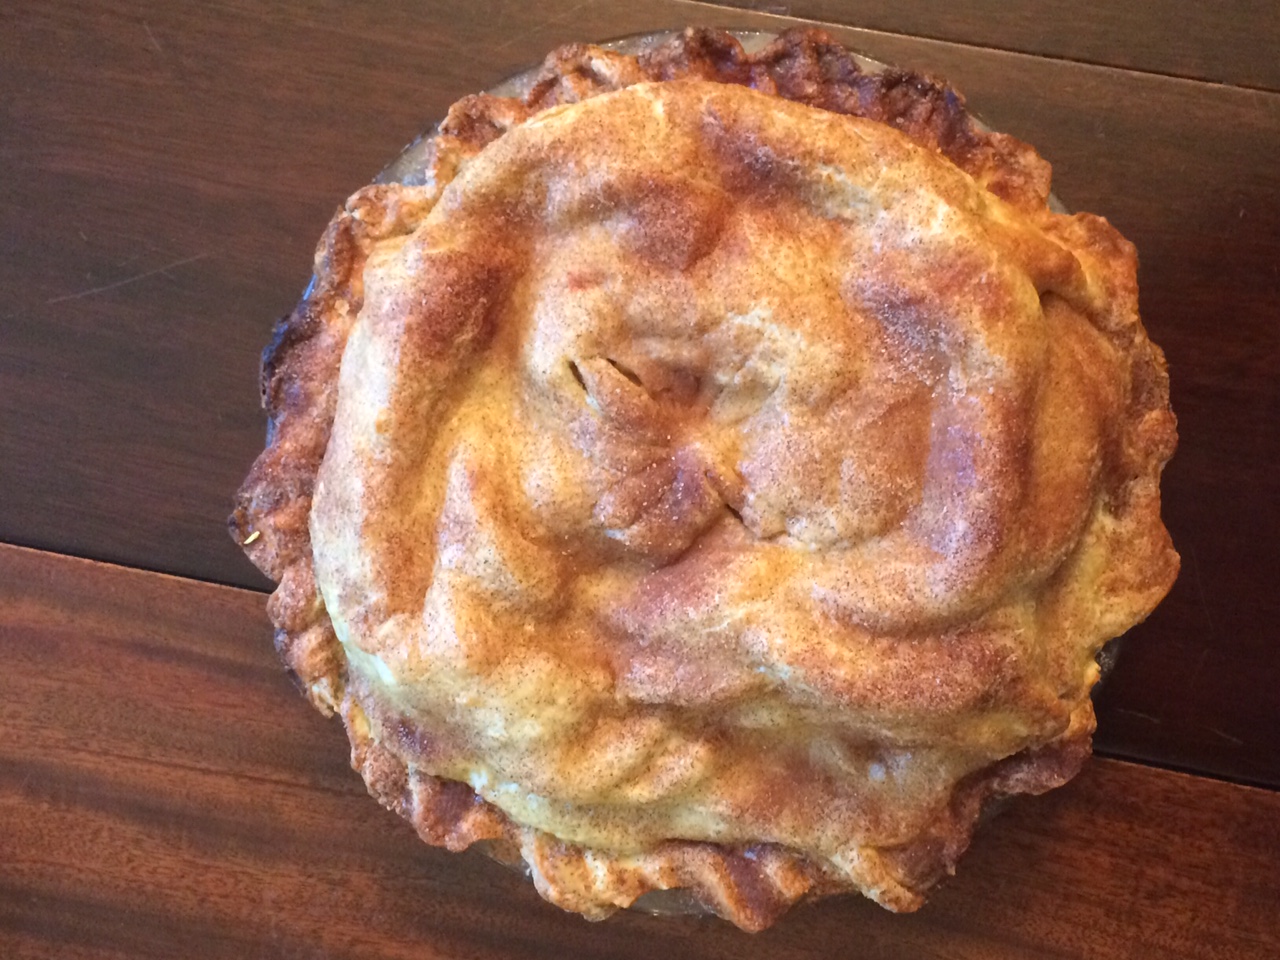
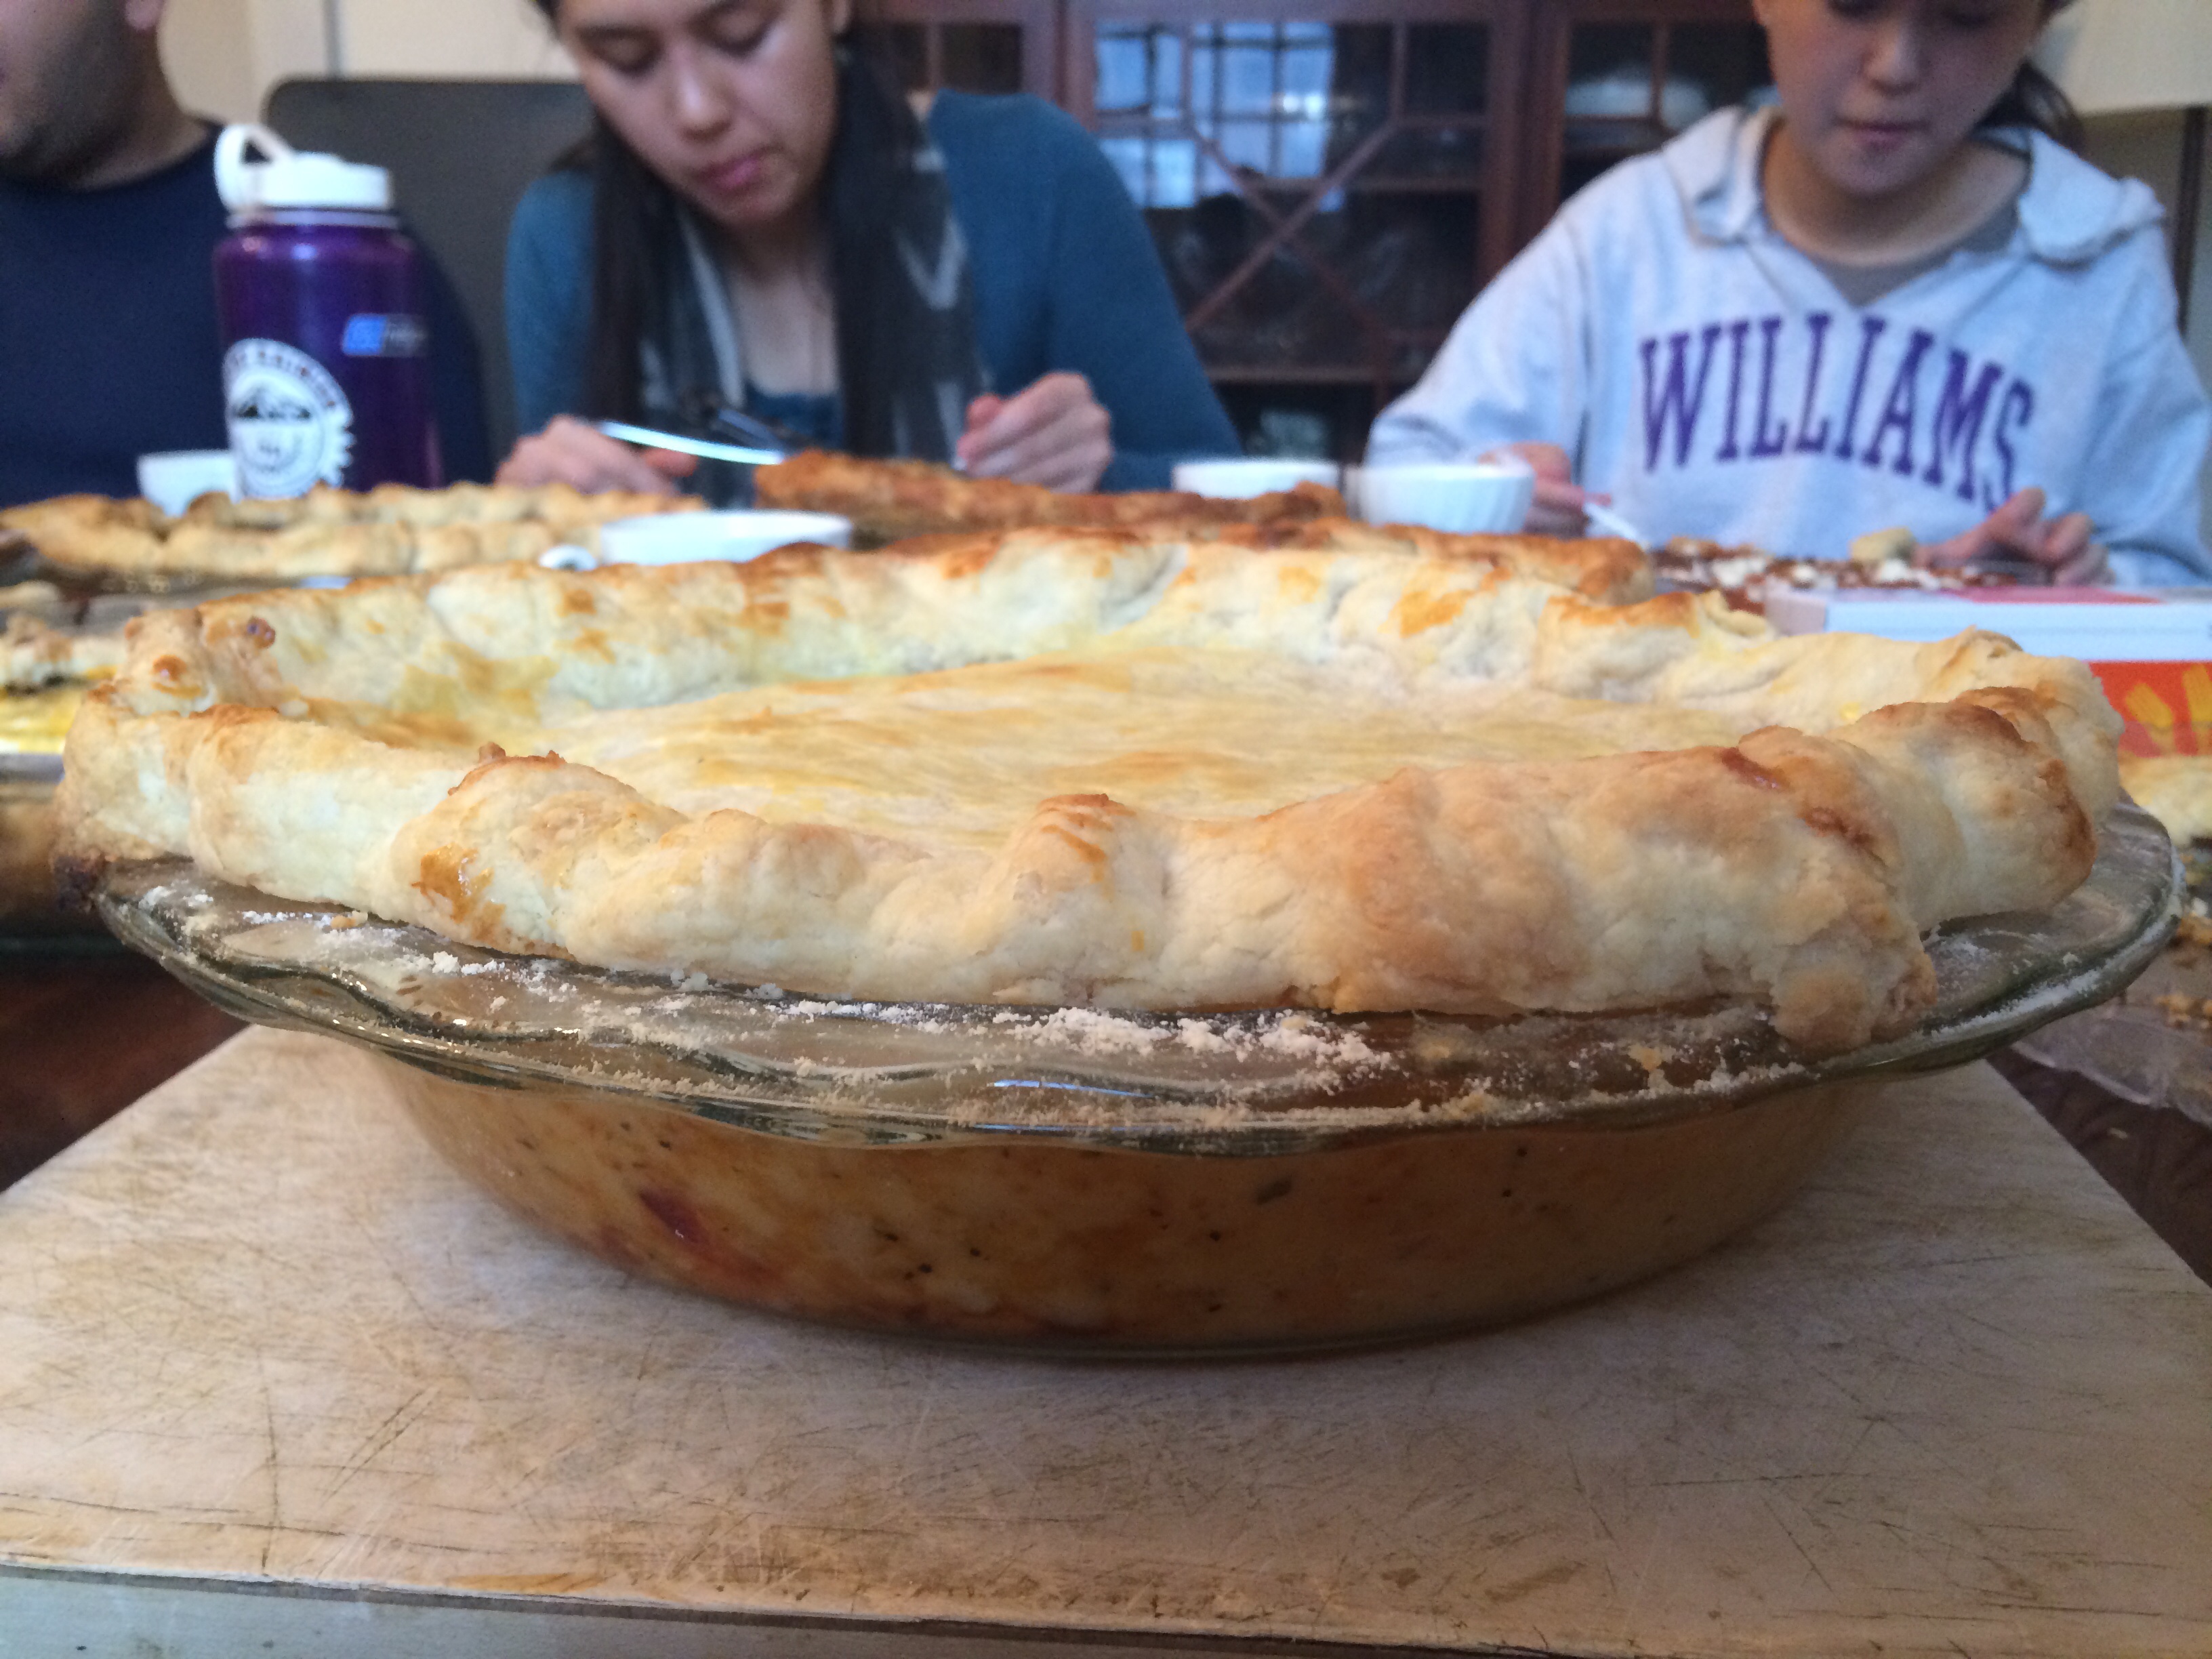
The finished pie!
So that’s it! I made my pies. Unfortunately the time between the lava pies coming out of the oven and there being consumed was a tad longer than expected, so the lava didn’t happen, but all of them were eaten in the end, so apparently they were good. The pot pie was successful as well, as the cheese worked as planned.
I definitely learned a lot over these past few weeks. I can make pie crust and not just on kind. I can make it with cream cheese, canola oil, just butter, butter and shortening, and I can make puff pastry. I can make sweet pies, I can make savory pies, I can make the various things that go into these pies, I can say I have eaten 14 different pies in one sitting, I can boast about being the proud owner of my own Pyrex mixing bowls, I know more than the average person about the history of pie, I am now a fan of The Great British Bake Off. I can say I can make a pretty tasty pie, and I can say I learned a valuable skill.


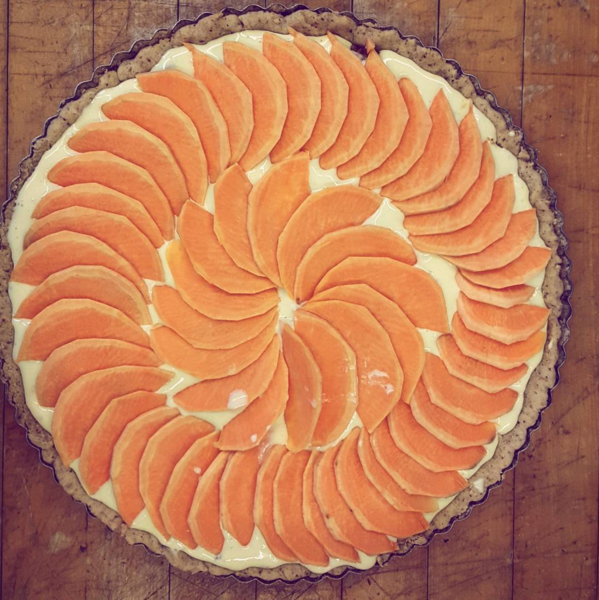

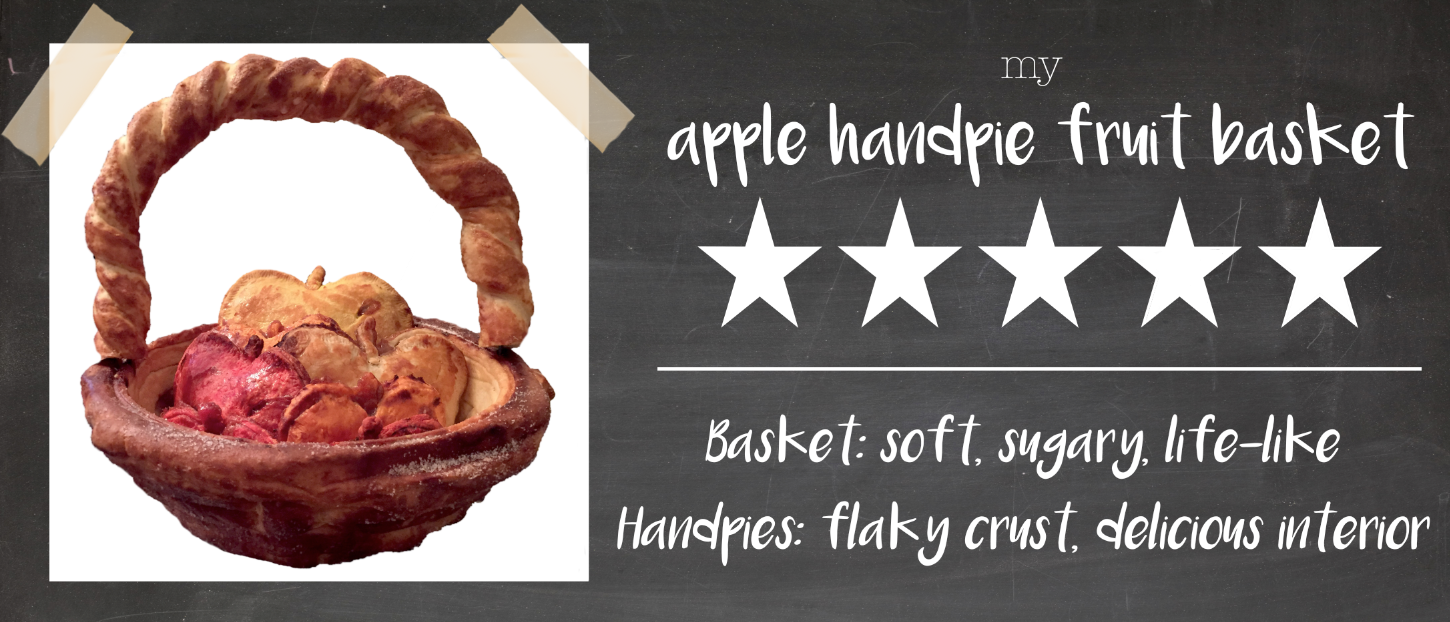
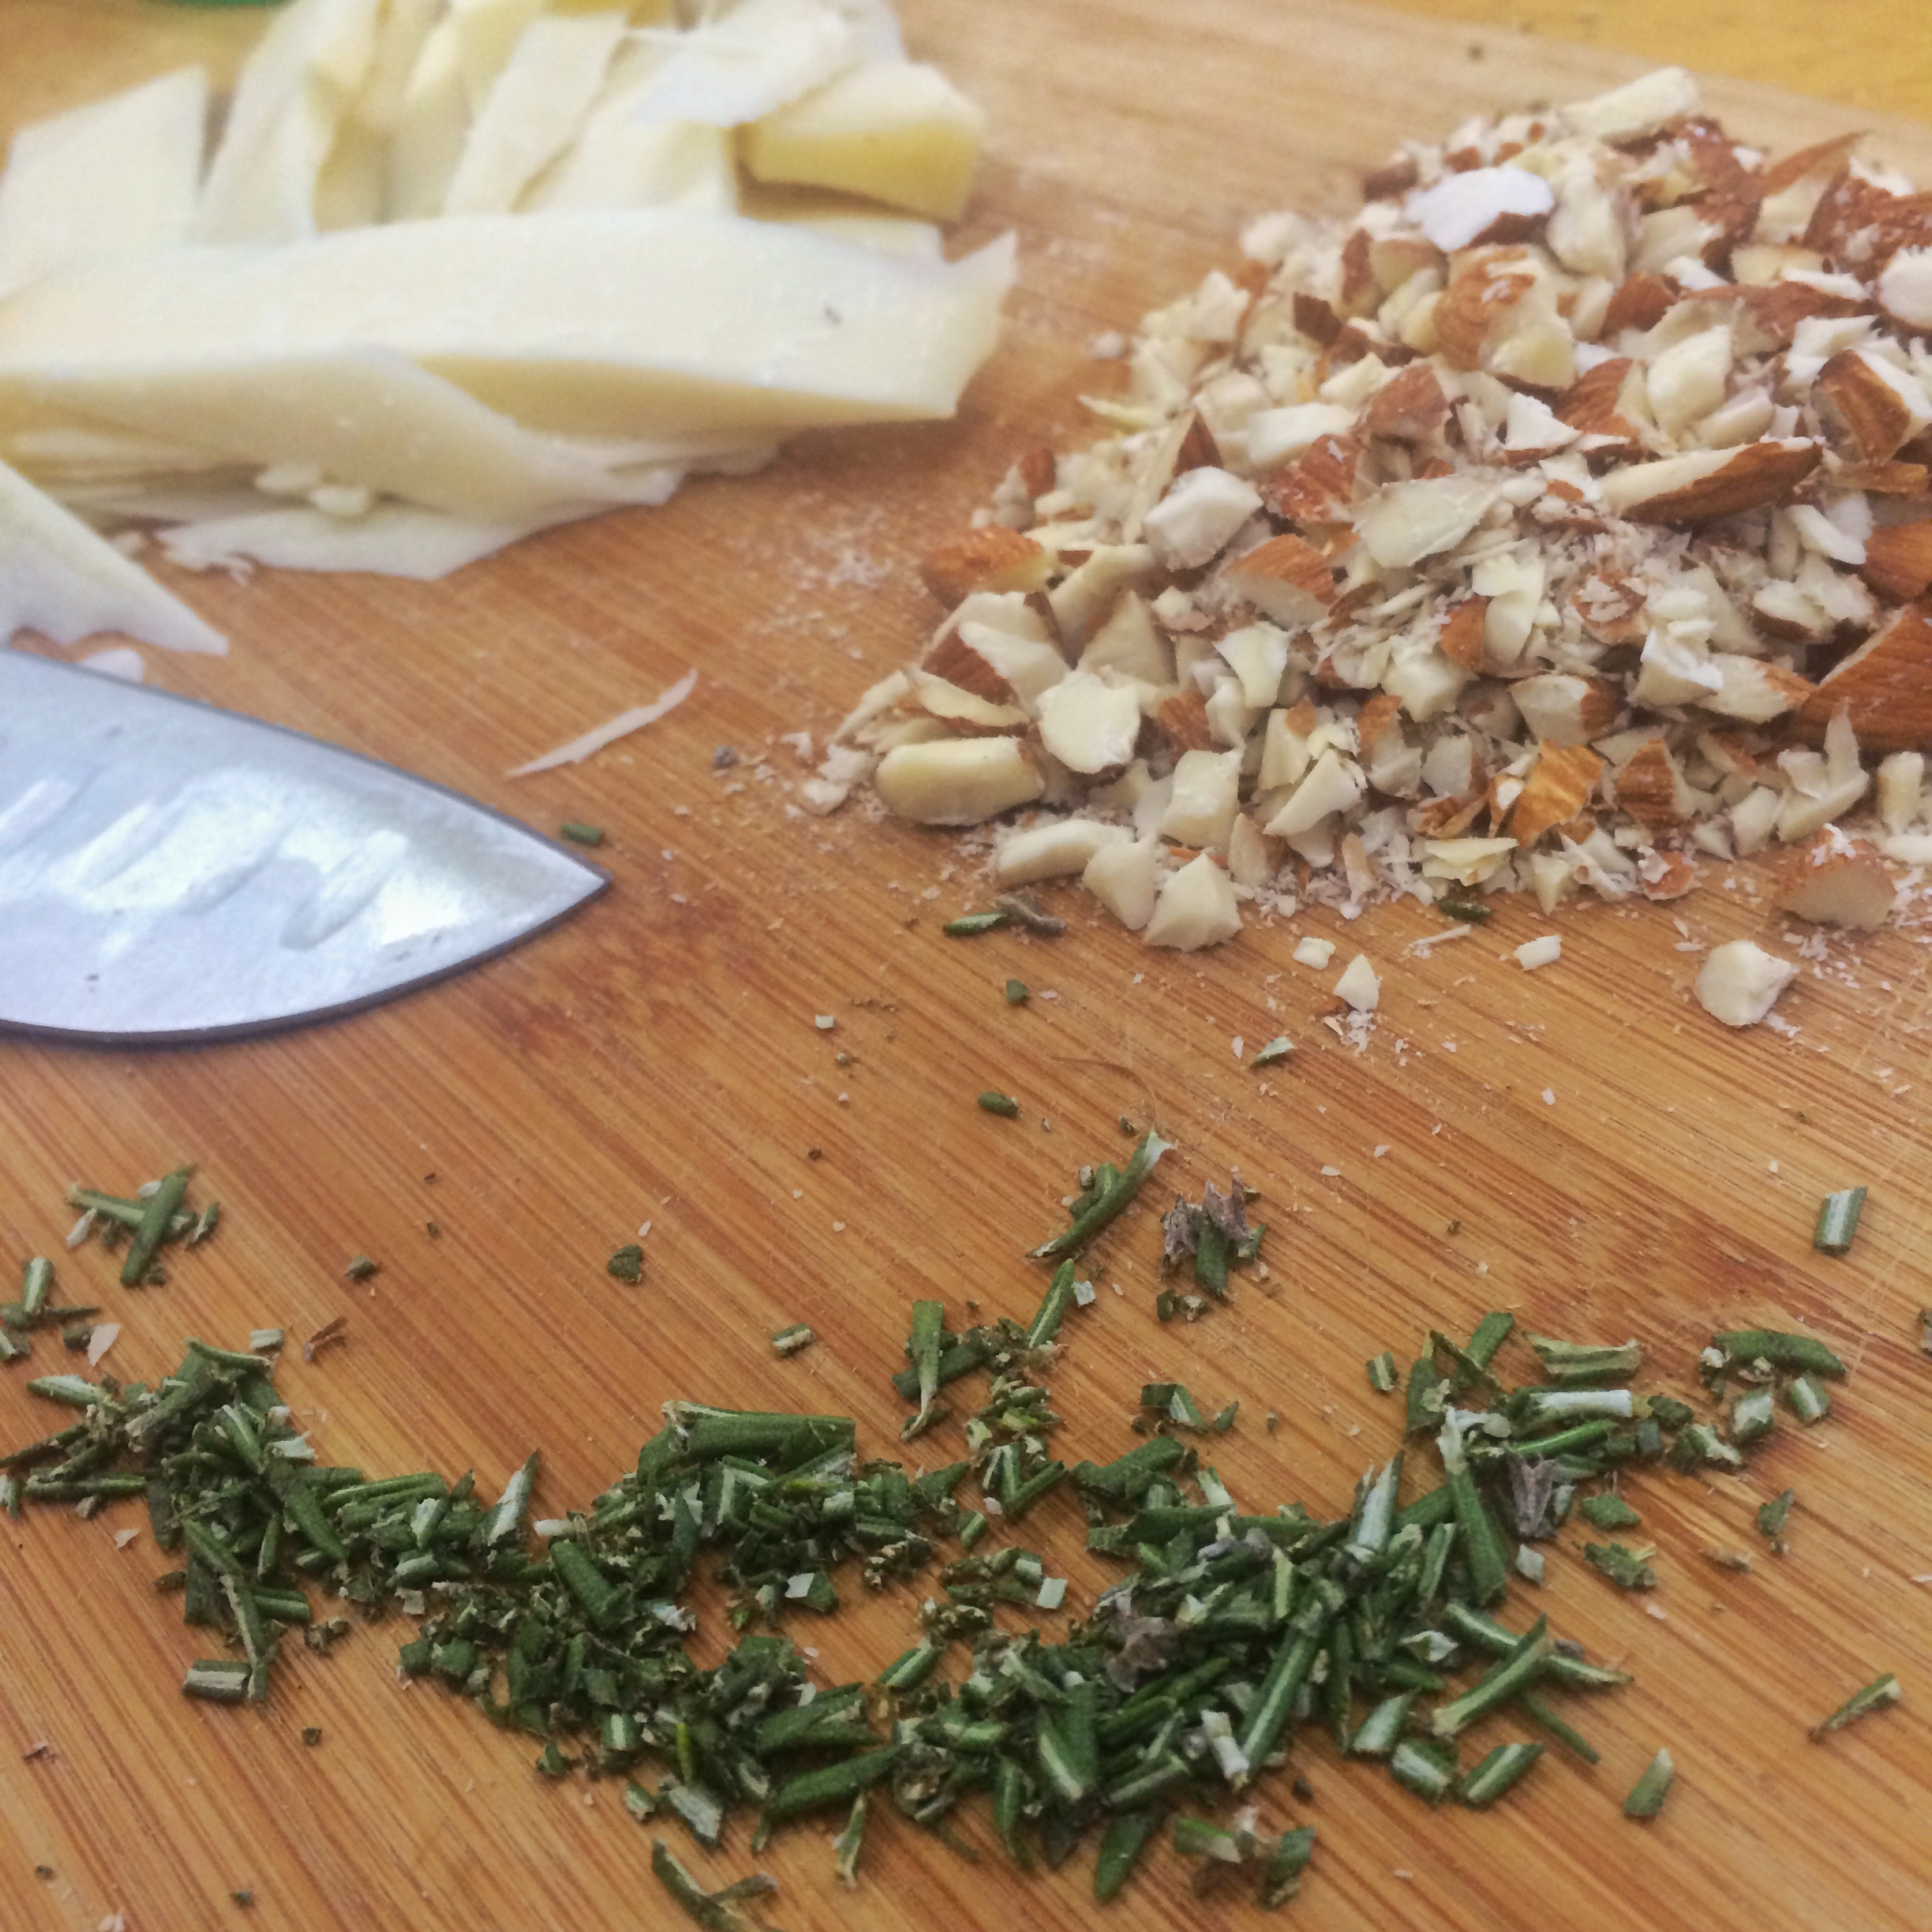
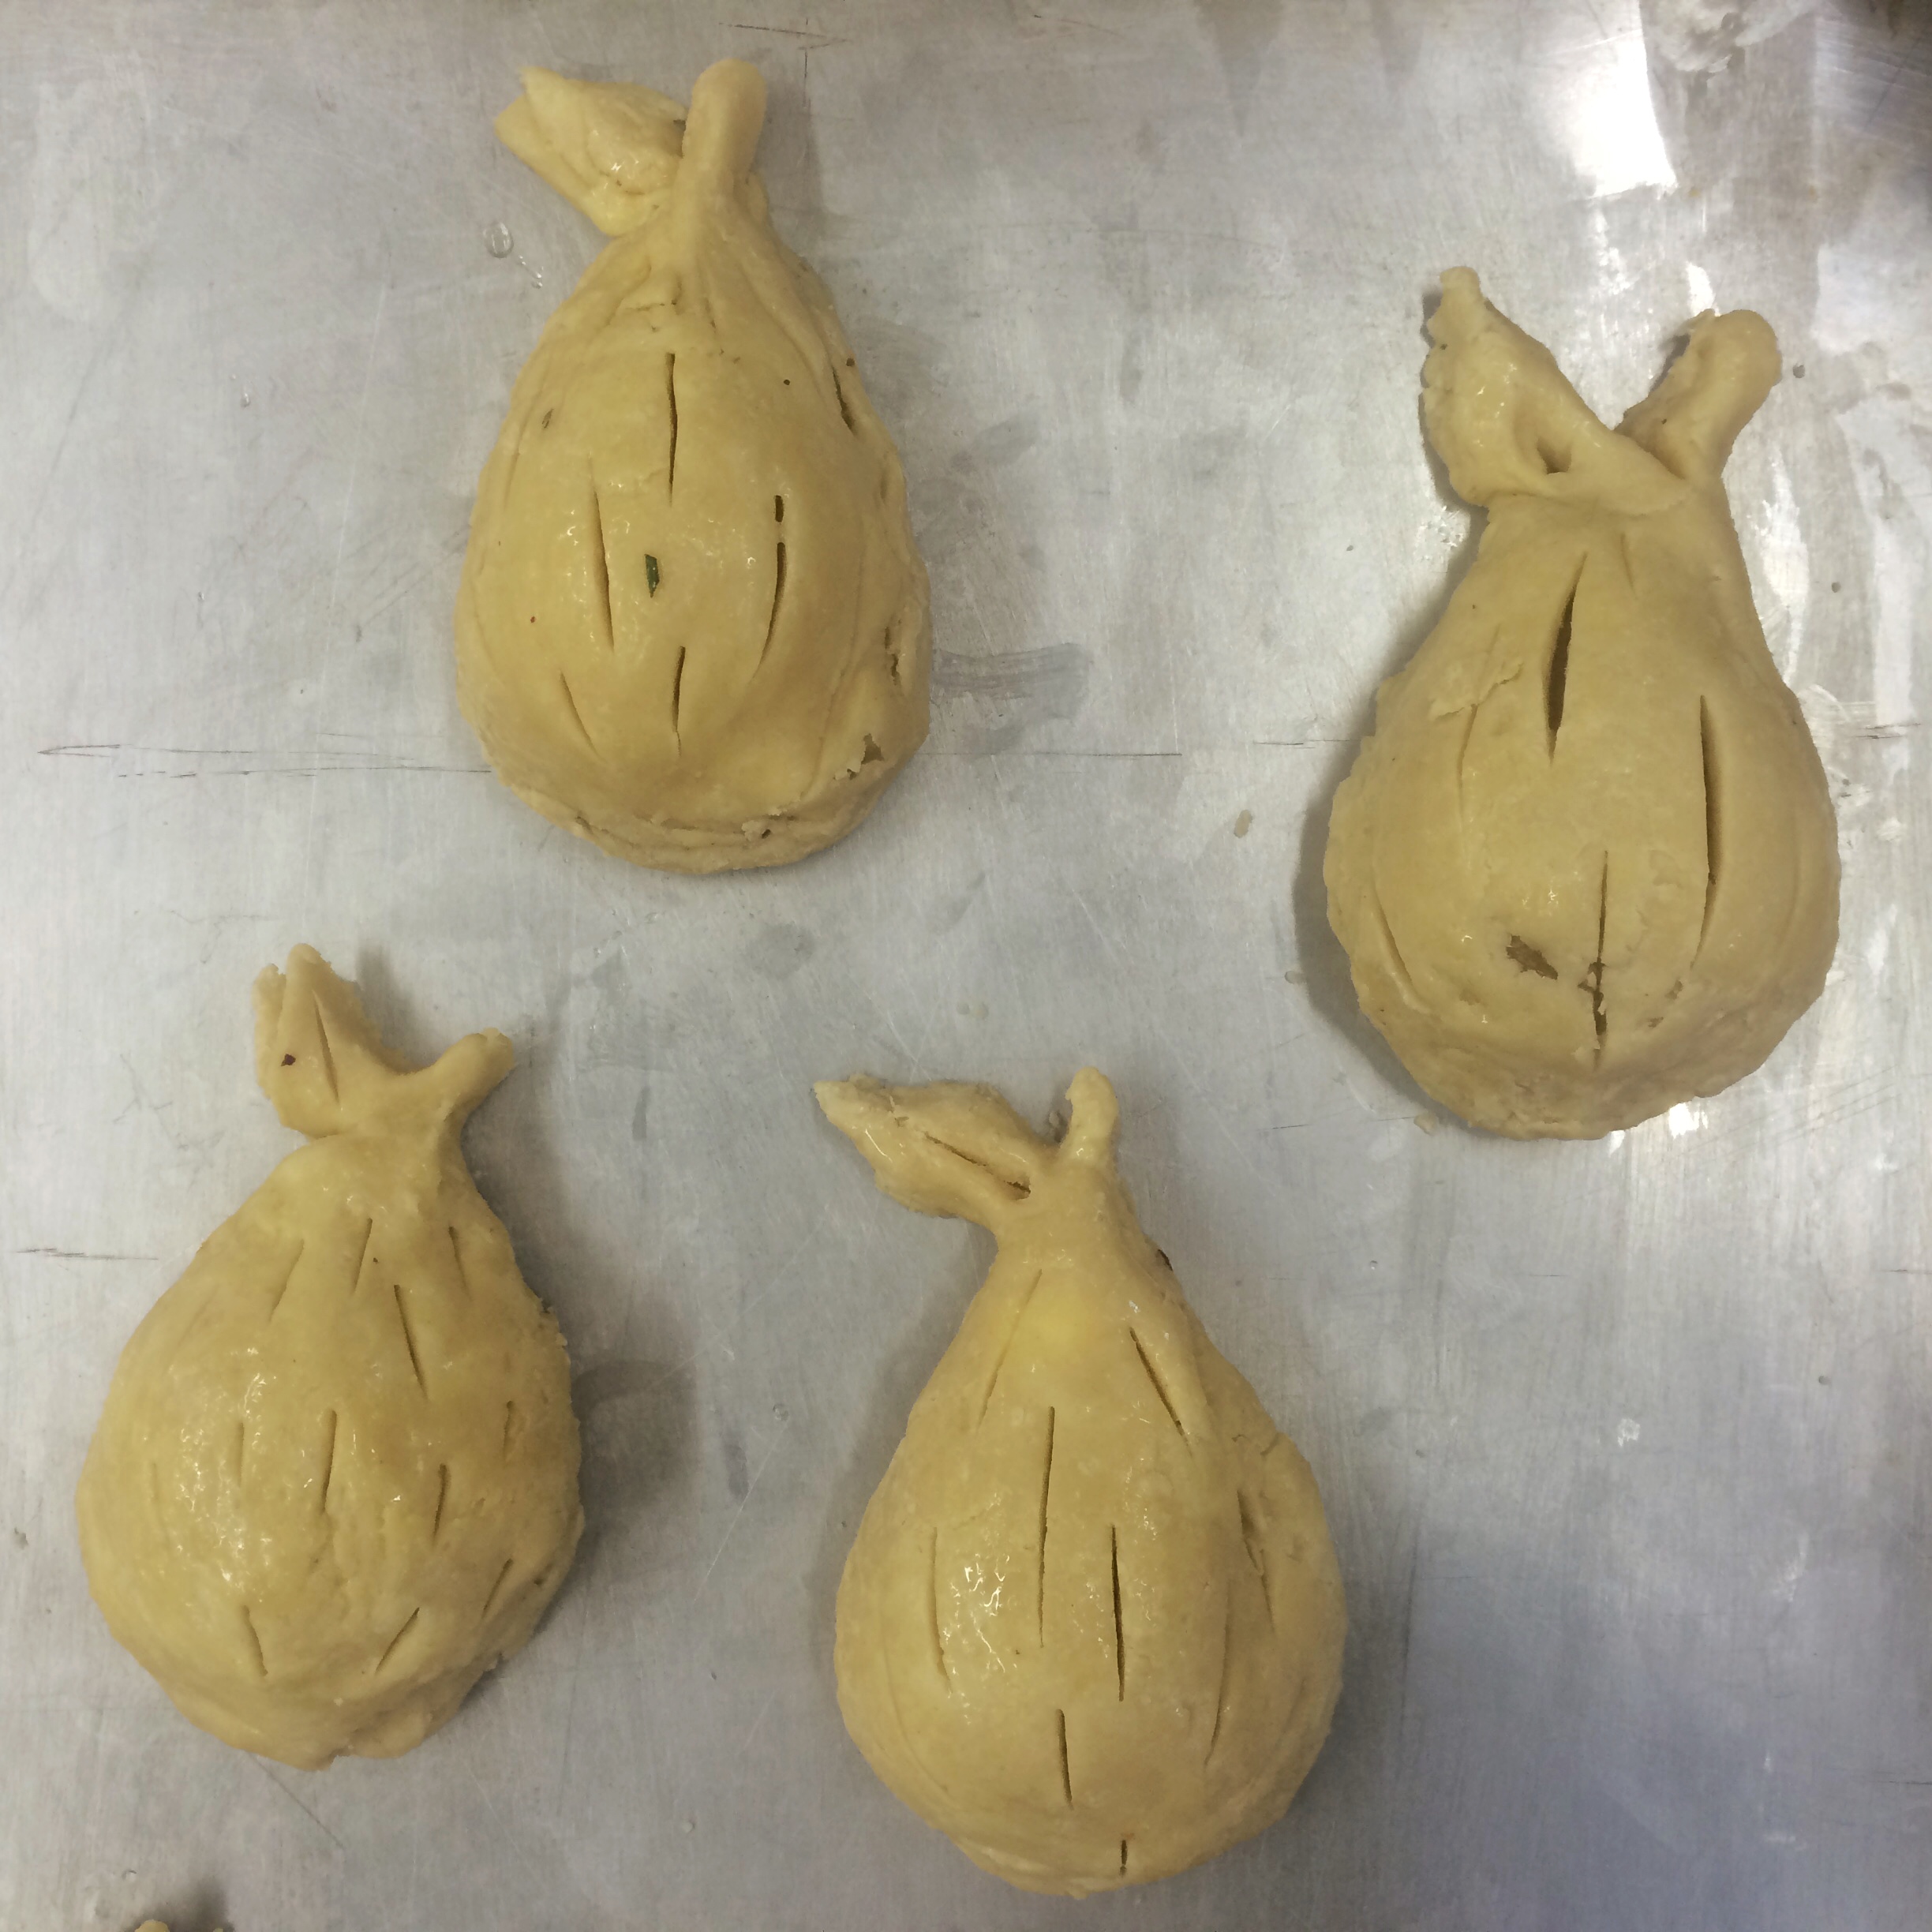
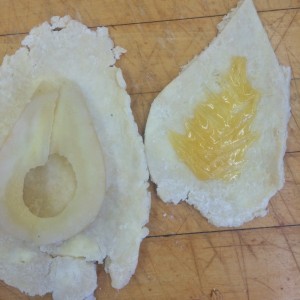
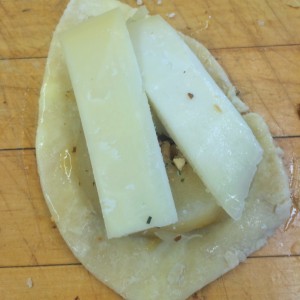
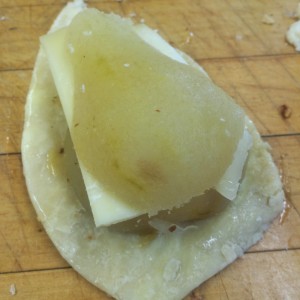
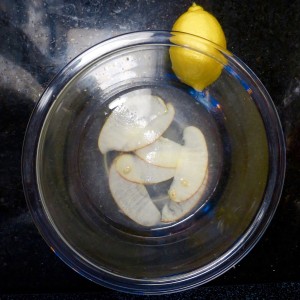
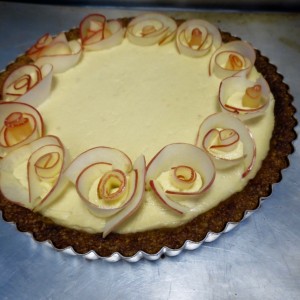
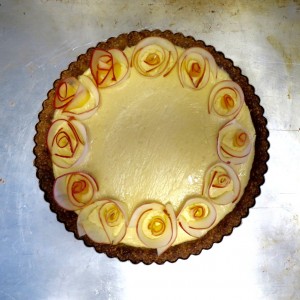
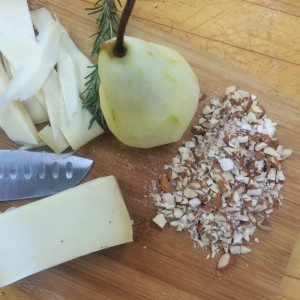 I came into the week without a clue as to what I wanted to do. I played with apple roses, celtic knot lattices, and floral cutouts but in the end chose something entirely different: hand pies. I’ve never tried making hand pies before and I started with the idea of a classic apple hand pie with a cheddar cheese crust shaped to make different flowers. After hearing what everyone else was making for the week, I changed again and decided I would go the savory route. With this in mind, I searched through dozens of recipes. After a while, I noticed a trend in my searches that included pears and cheese. Building off of that, I decided to be adventurous and gave up recipes all together. This week, my pie was entirely my own, the first I can put my name to. I ended up with a pear, gruyere, and toasted almond hand pie. To add the decorative aspect, I poached the pears and stuffed the halves, wrapping them into pear shaped pies.
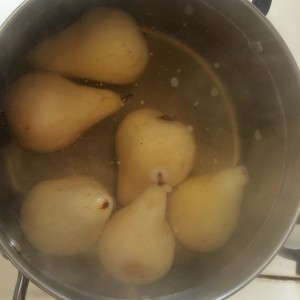

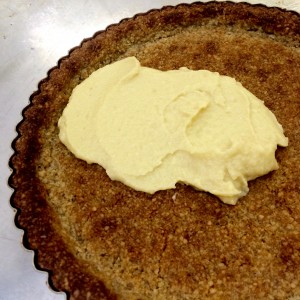
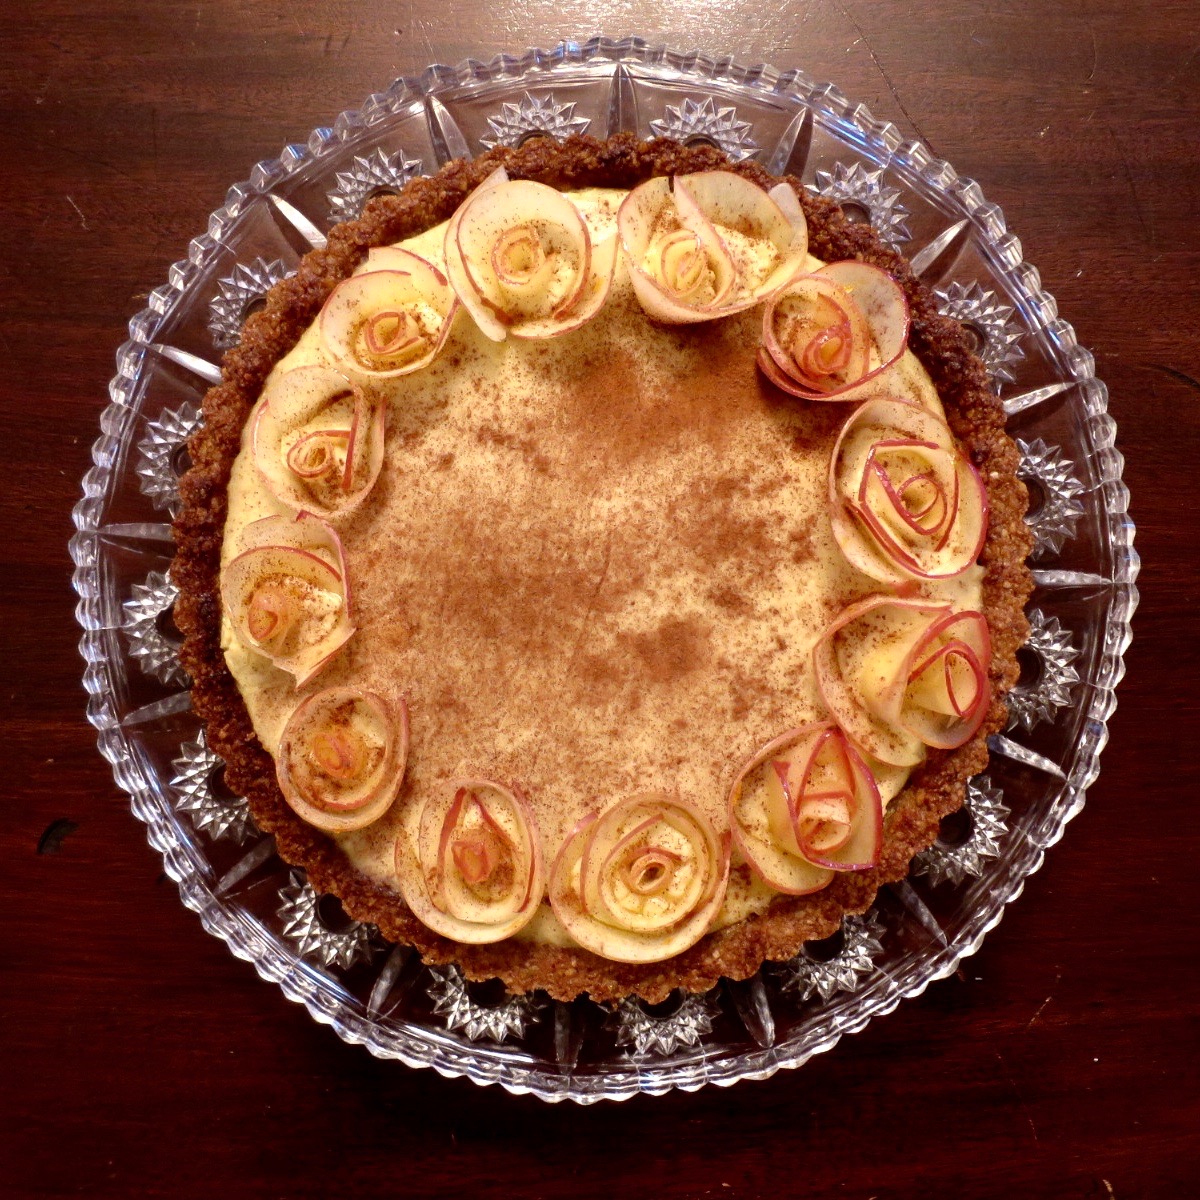

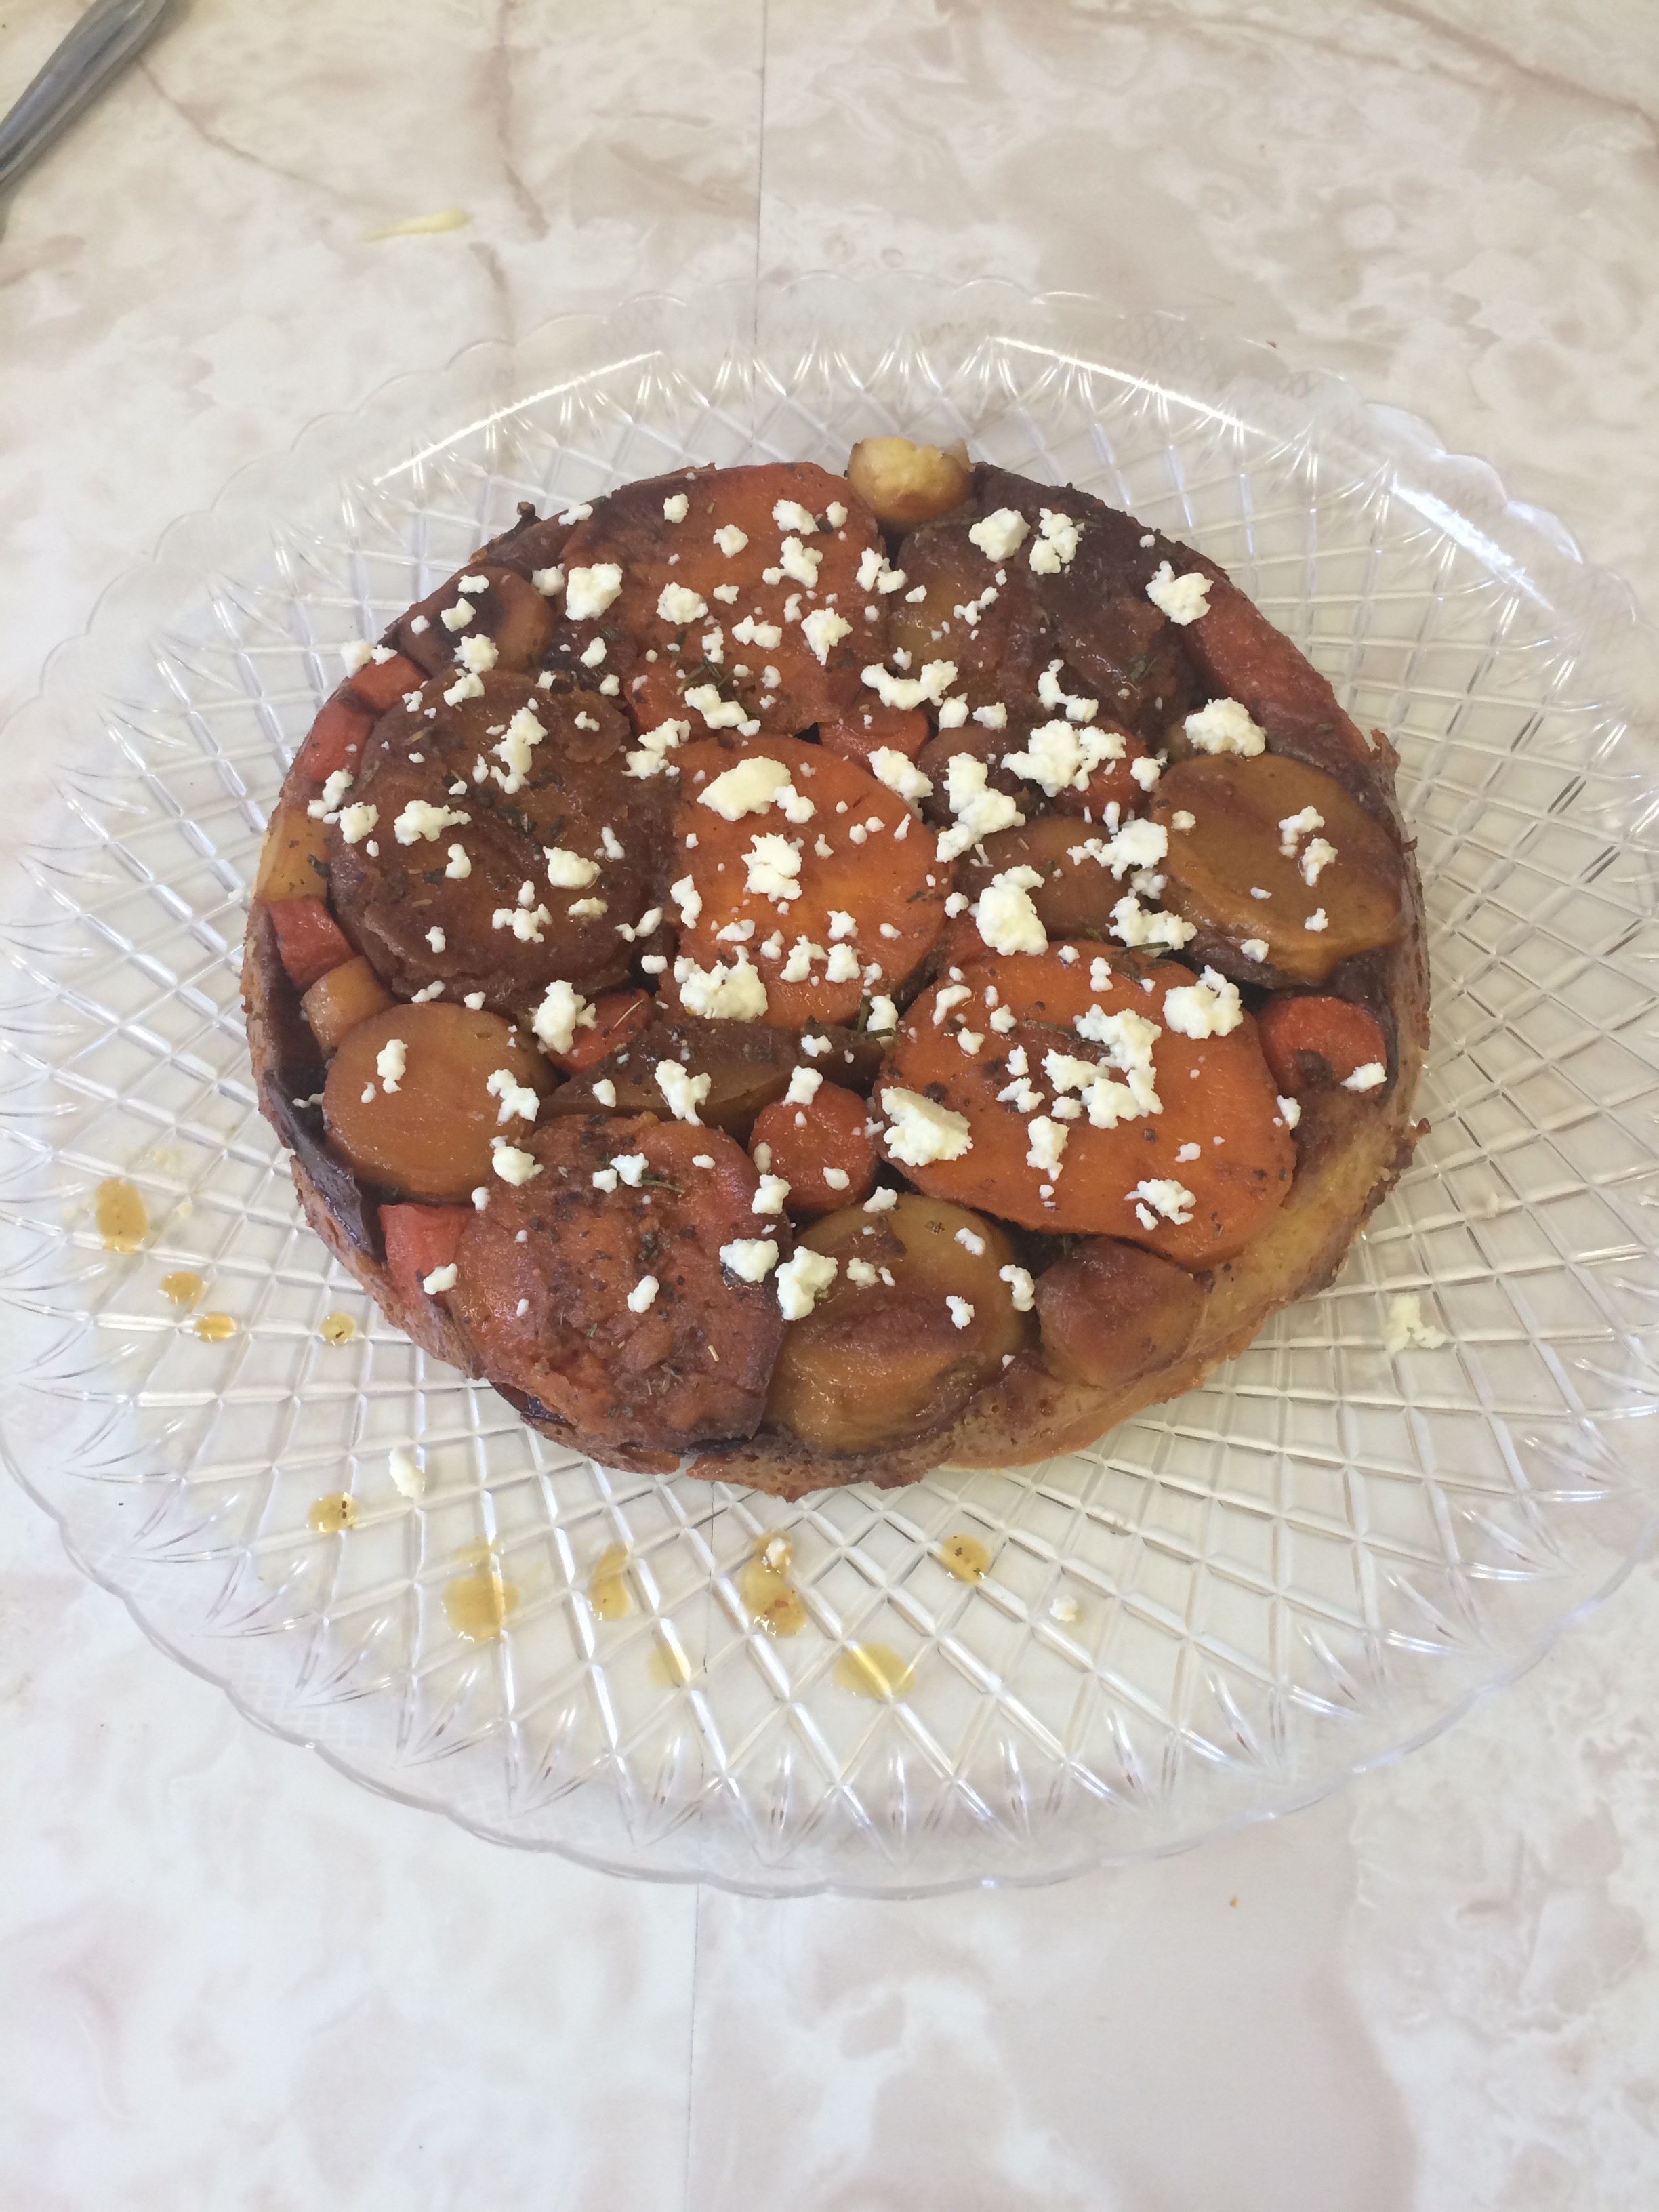


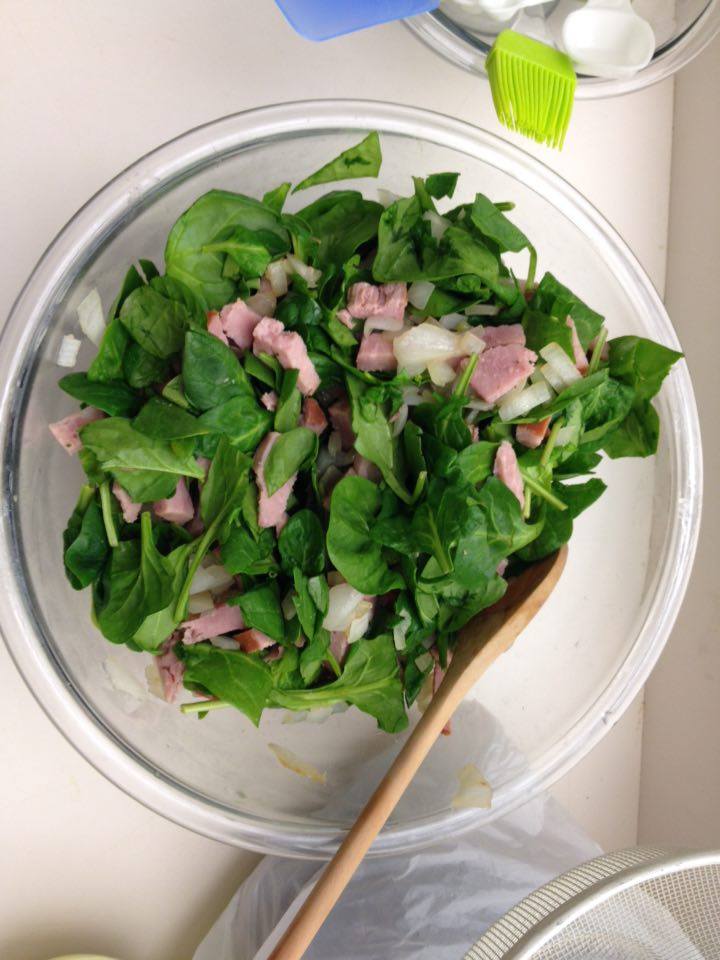
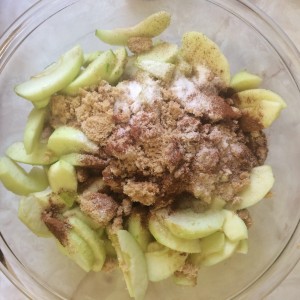
 Savory pies are entirely underrated. I’ve never baked a savory pie before so I was incredibly excited this week to explore a new side of what I’ve considered pie. Upon pouring through internet blogs and recipe books, I found I was consistently attracted to pies that centered around cheese. In the end I chose a pie and a galette for some variety. I’ve made fruit galette before, but the idea of a savory one was novel and exciting. The galette contained tri-color potato, caramelized onion, goat cheese, and fresh rosemary while the pie was a brie, apple, prosciutto sweet and savory mix.
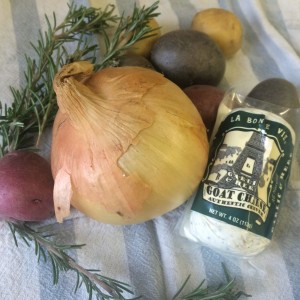
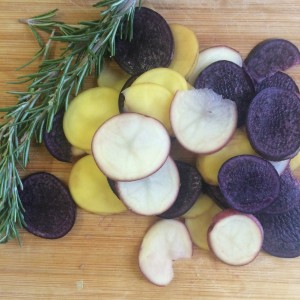
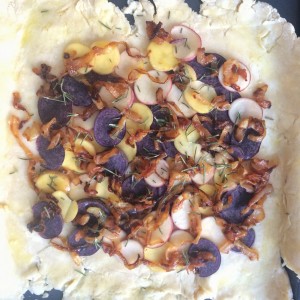
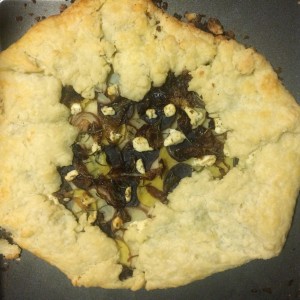 where I substituted half of the water with vodka in order to make the pastry extra fluffy and light when the vodka evaporated. Then I cut the potatoes, caramelized the onions, and layered them on the rolled out dough adding dollops of cheese and pieces of rosemary on top. The only addition I made was that I used herbed goat cheese with thyme. I was pleasantly surprised by how colorful the miniature potatoes were and if I had made the galette again, I might have added a bit more potato. As it was, I found the galette to be delicious. The vodka trick made a noticeable improvement and although there was a large crust to filling ratio, the rosemary flavored the crust well. I liked this recipe because the pie felt light and airy with little filling which is not the case for many pies.
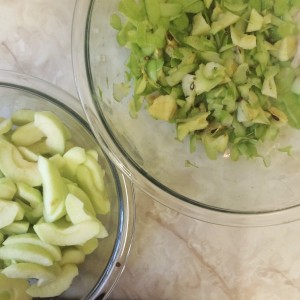

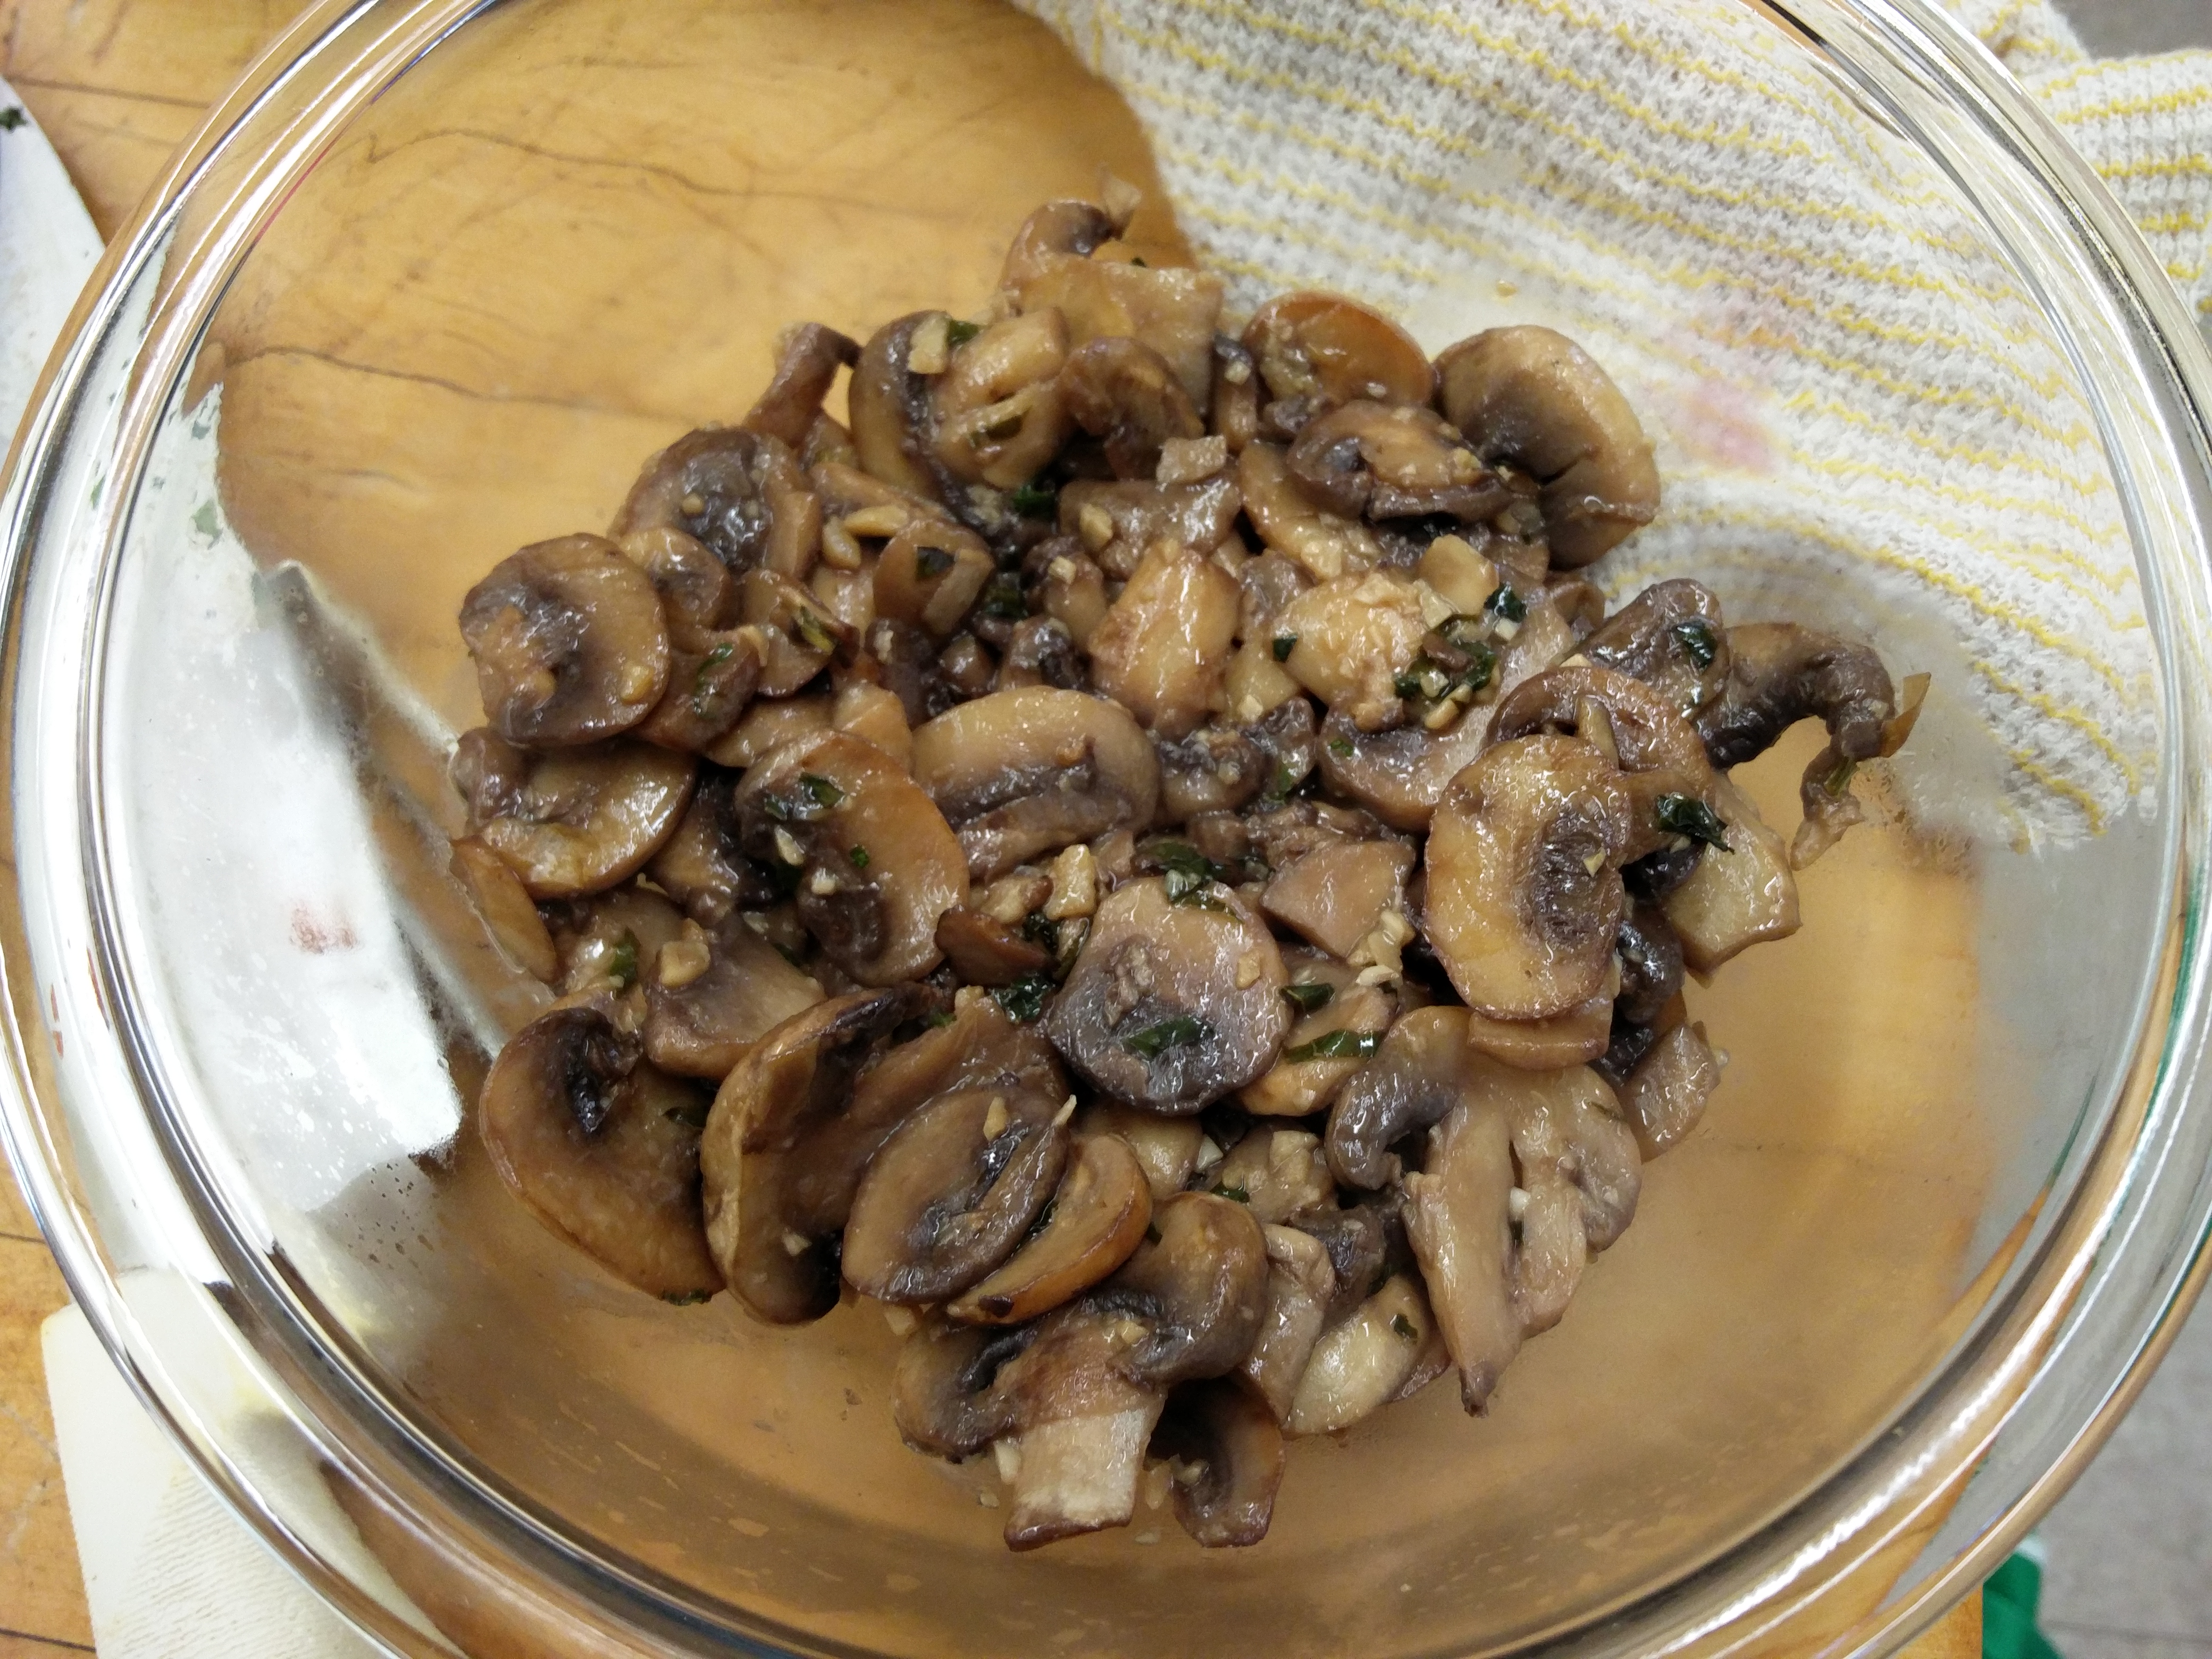
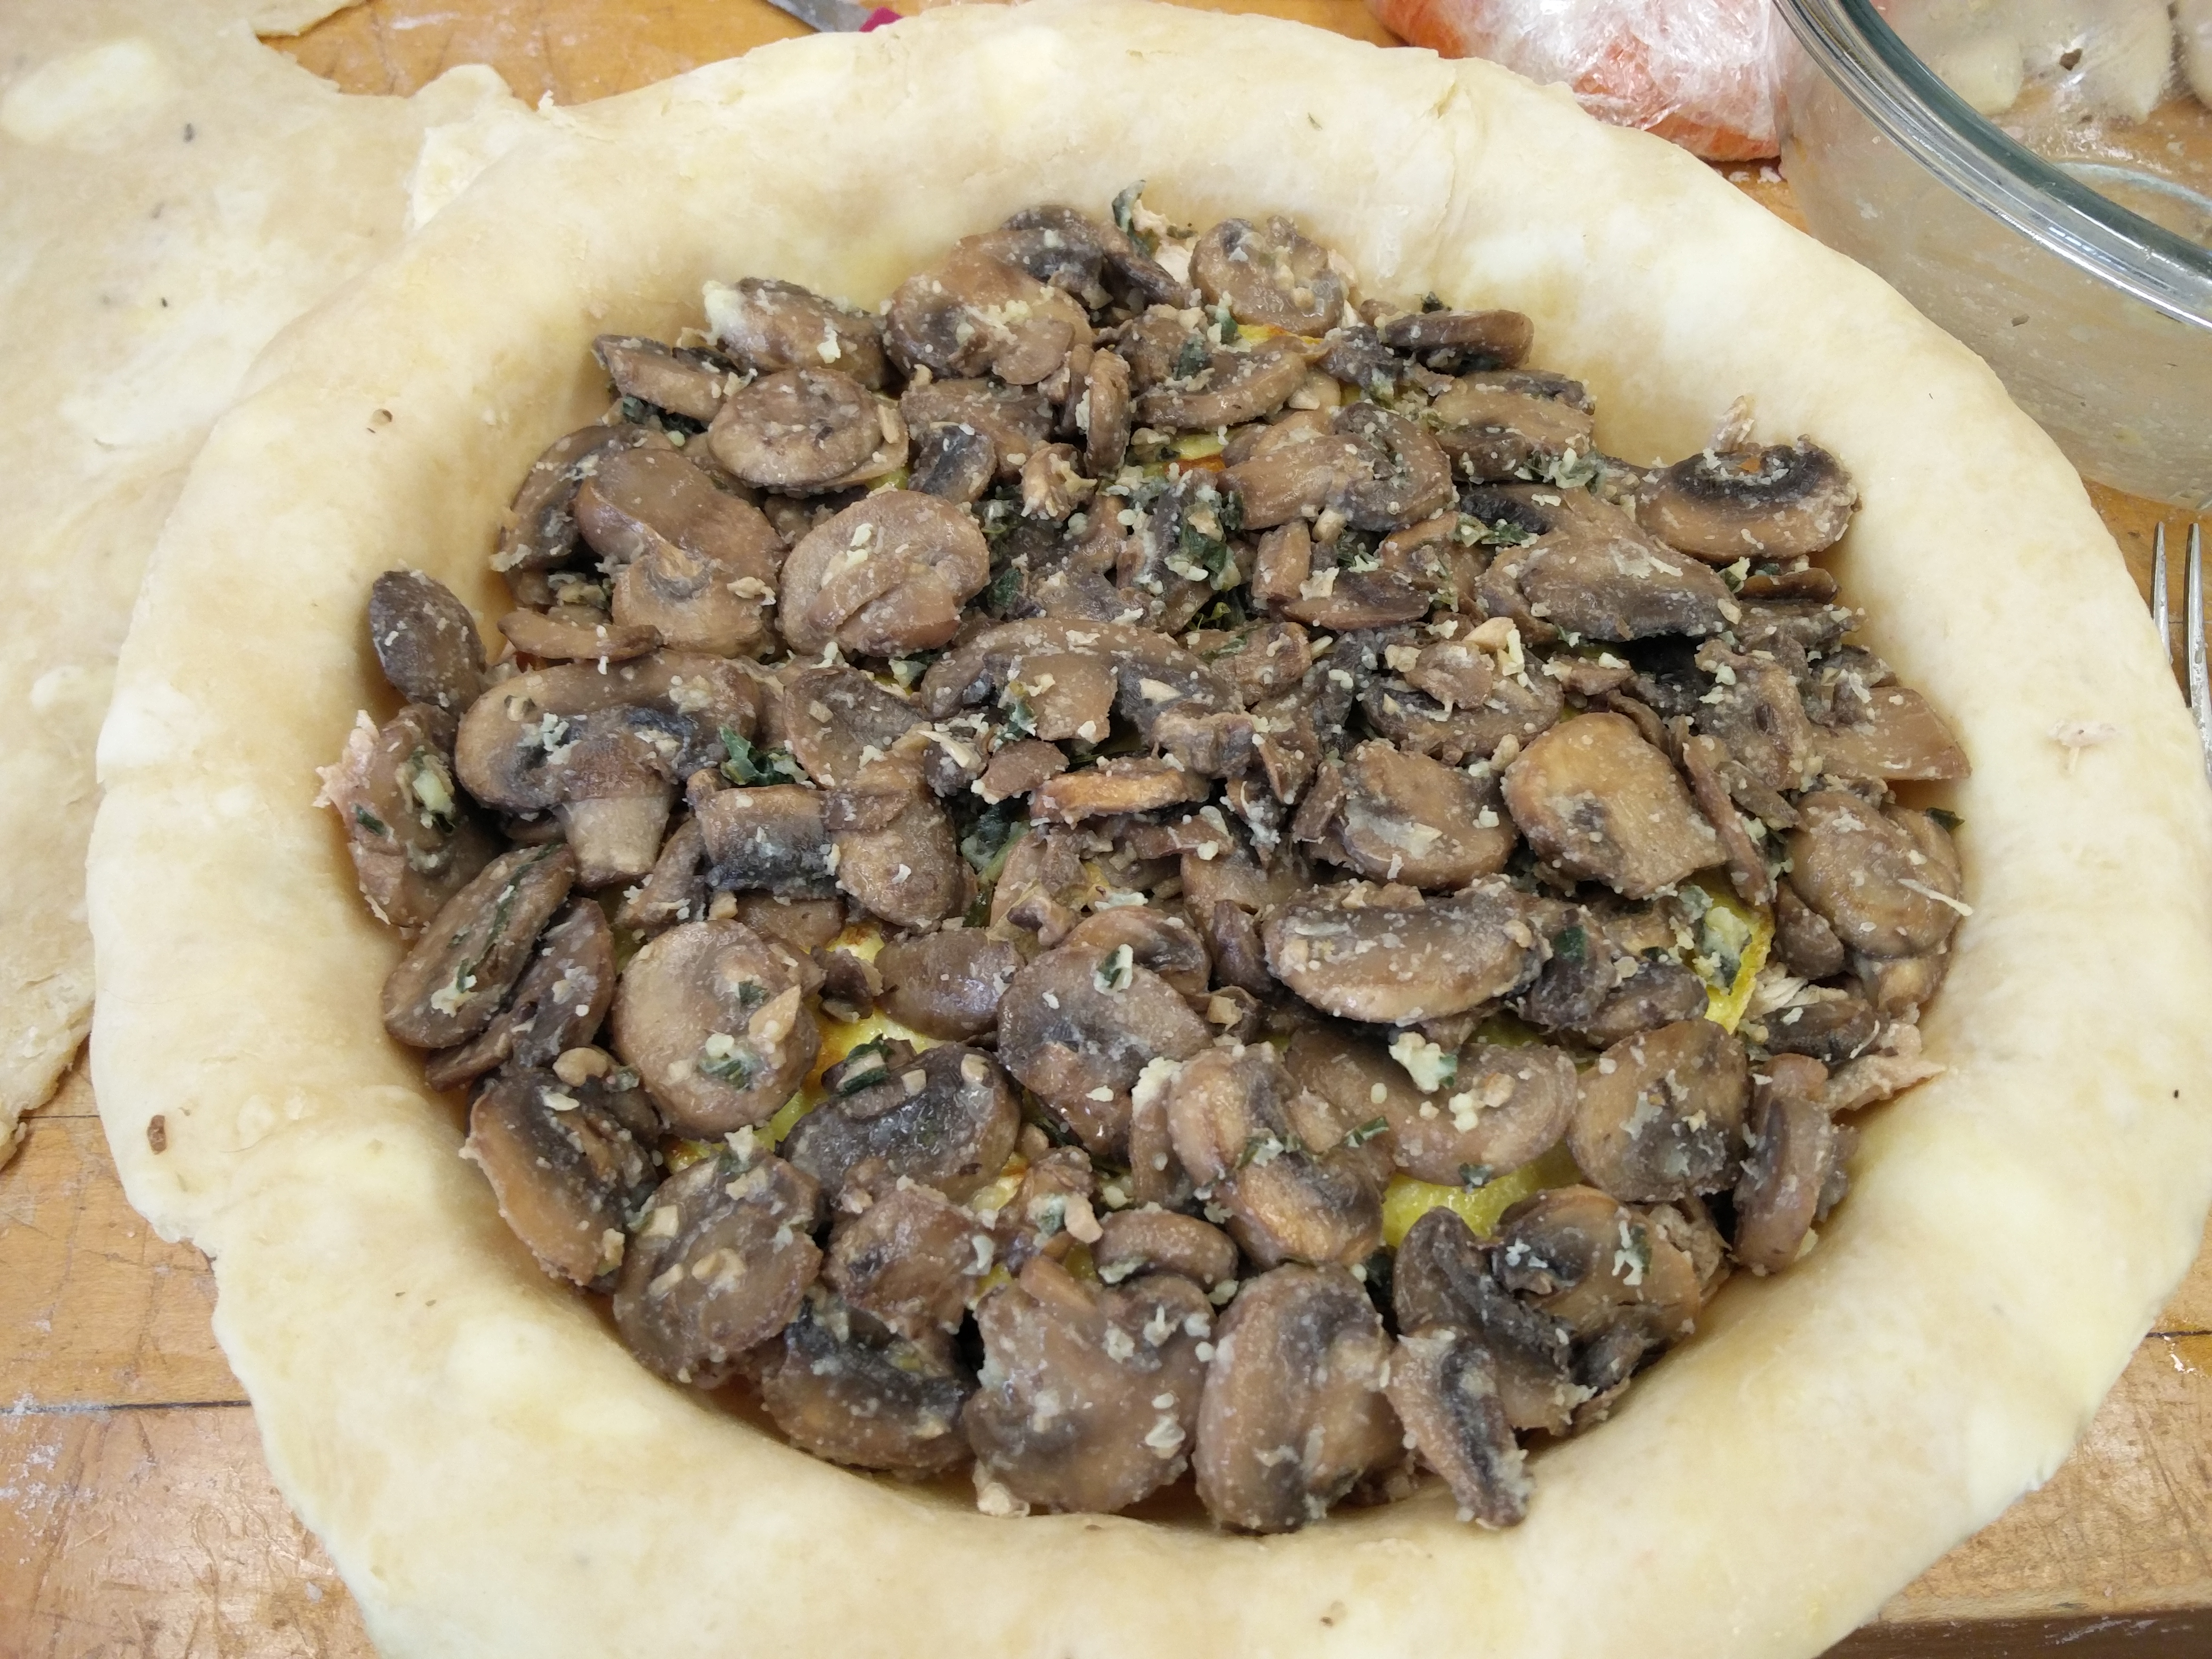
 all mushrooms. Remove pan from heat. Add in last ⅓ cup of red wine and set mushrooms aside.